Thank you for joining me last week for the January sew along. We absolutely loved seeing your daily progress and your finished cardigans! Don’t forget to show them off in the main Patterns for Pirates group too so everyone can ohhh and ahhhh at them 🙂
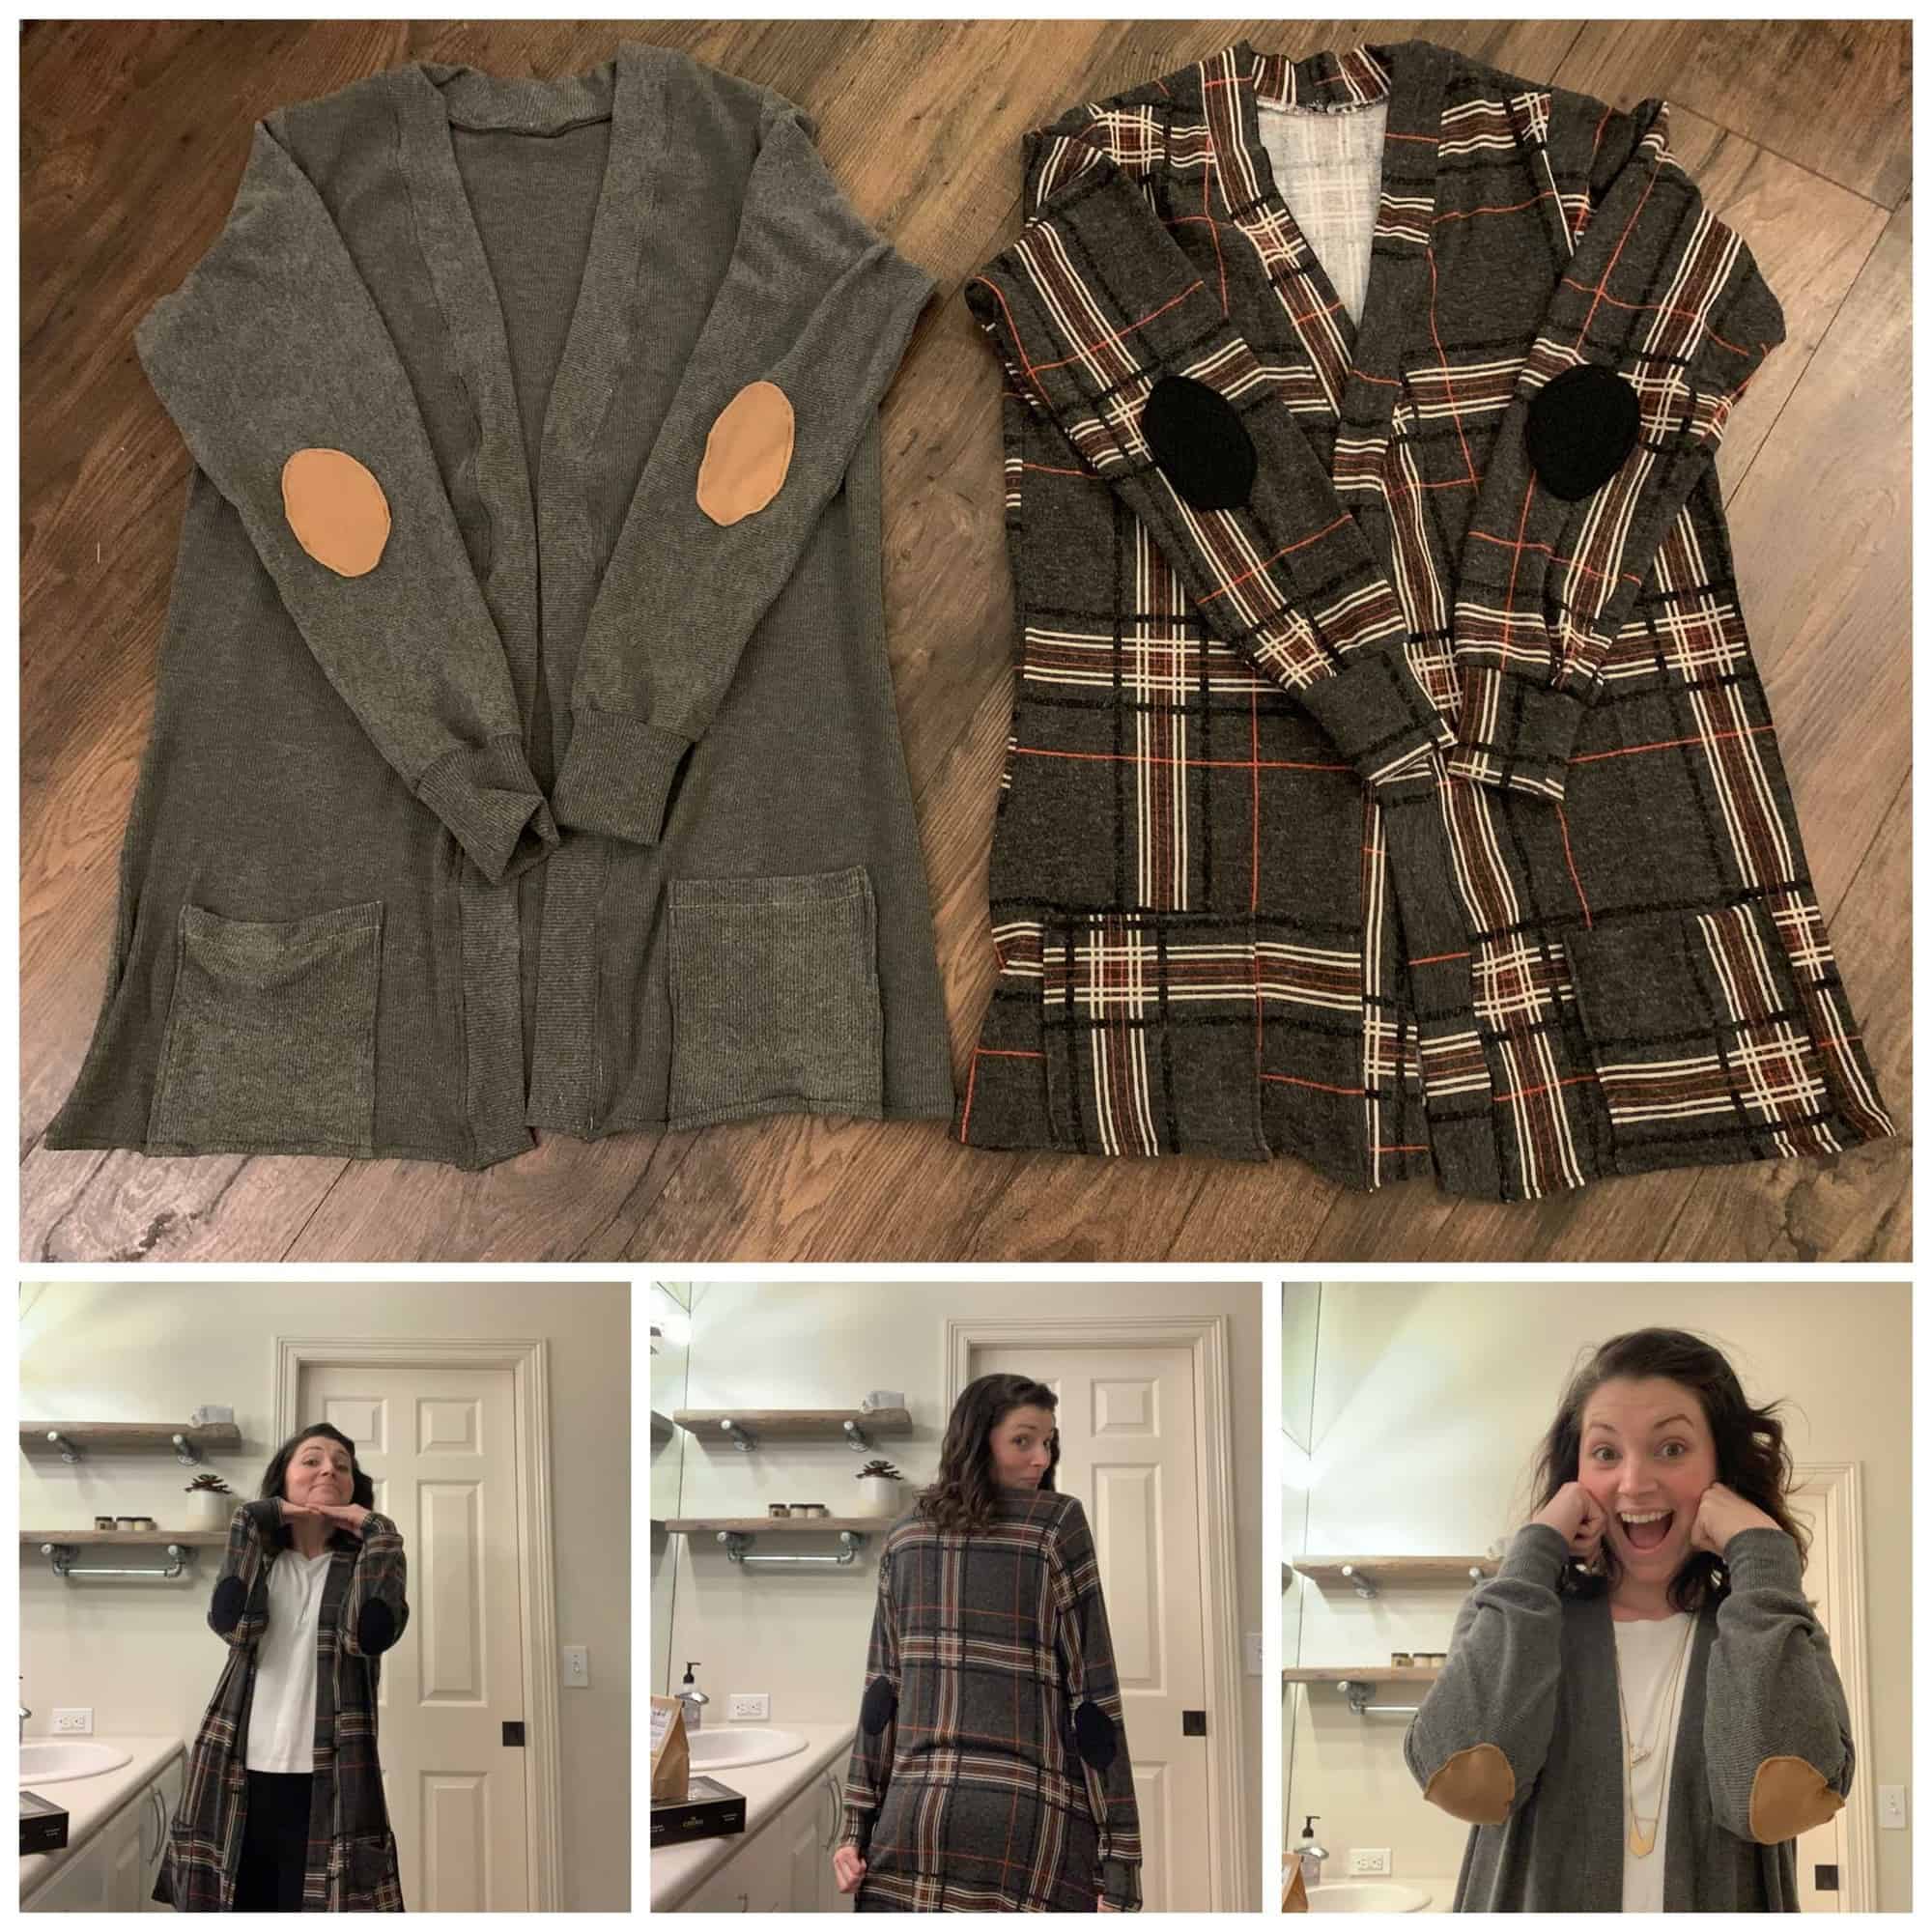
Without further ado…the SAL winner is: Christian Muffoletto
.
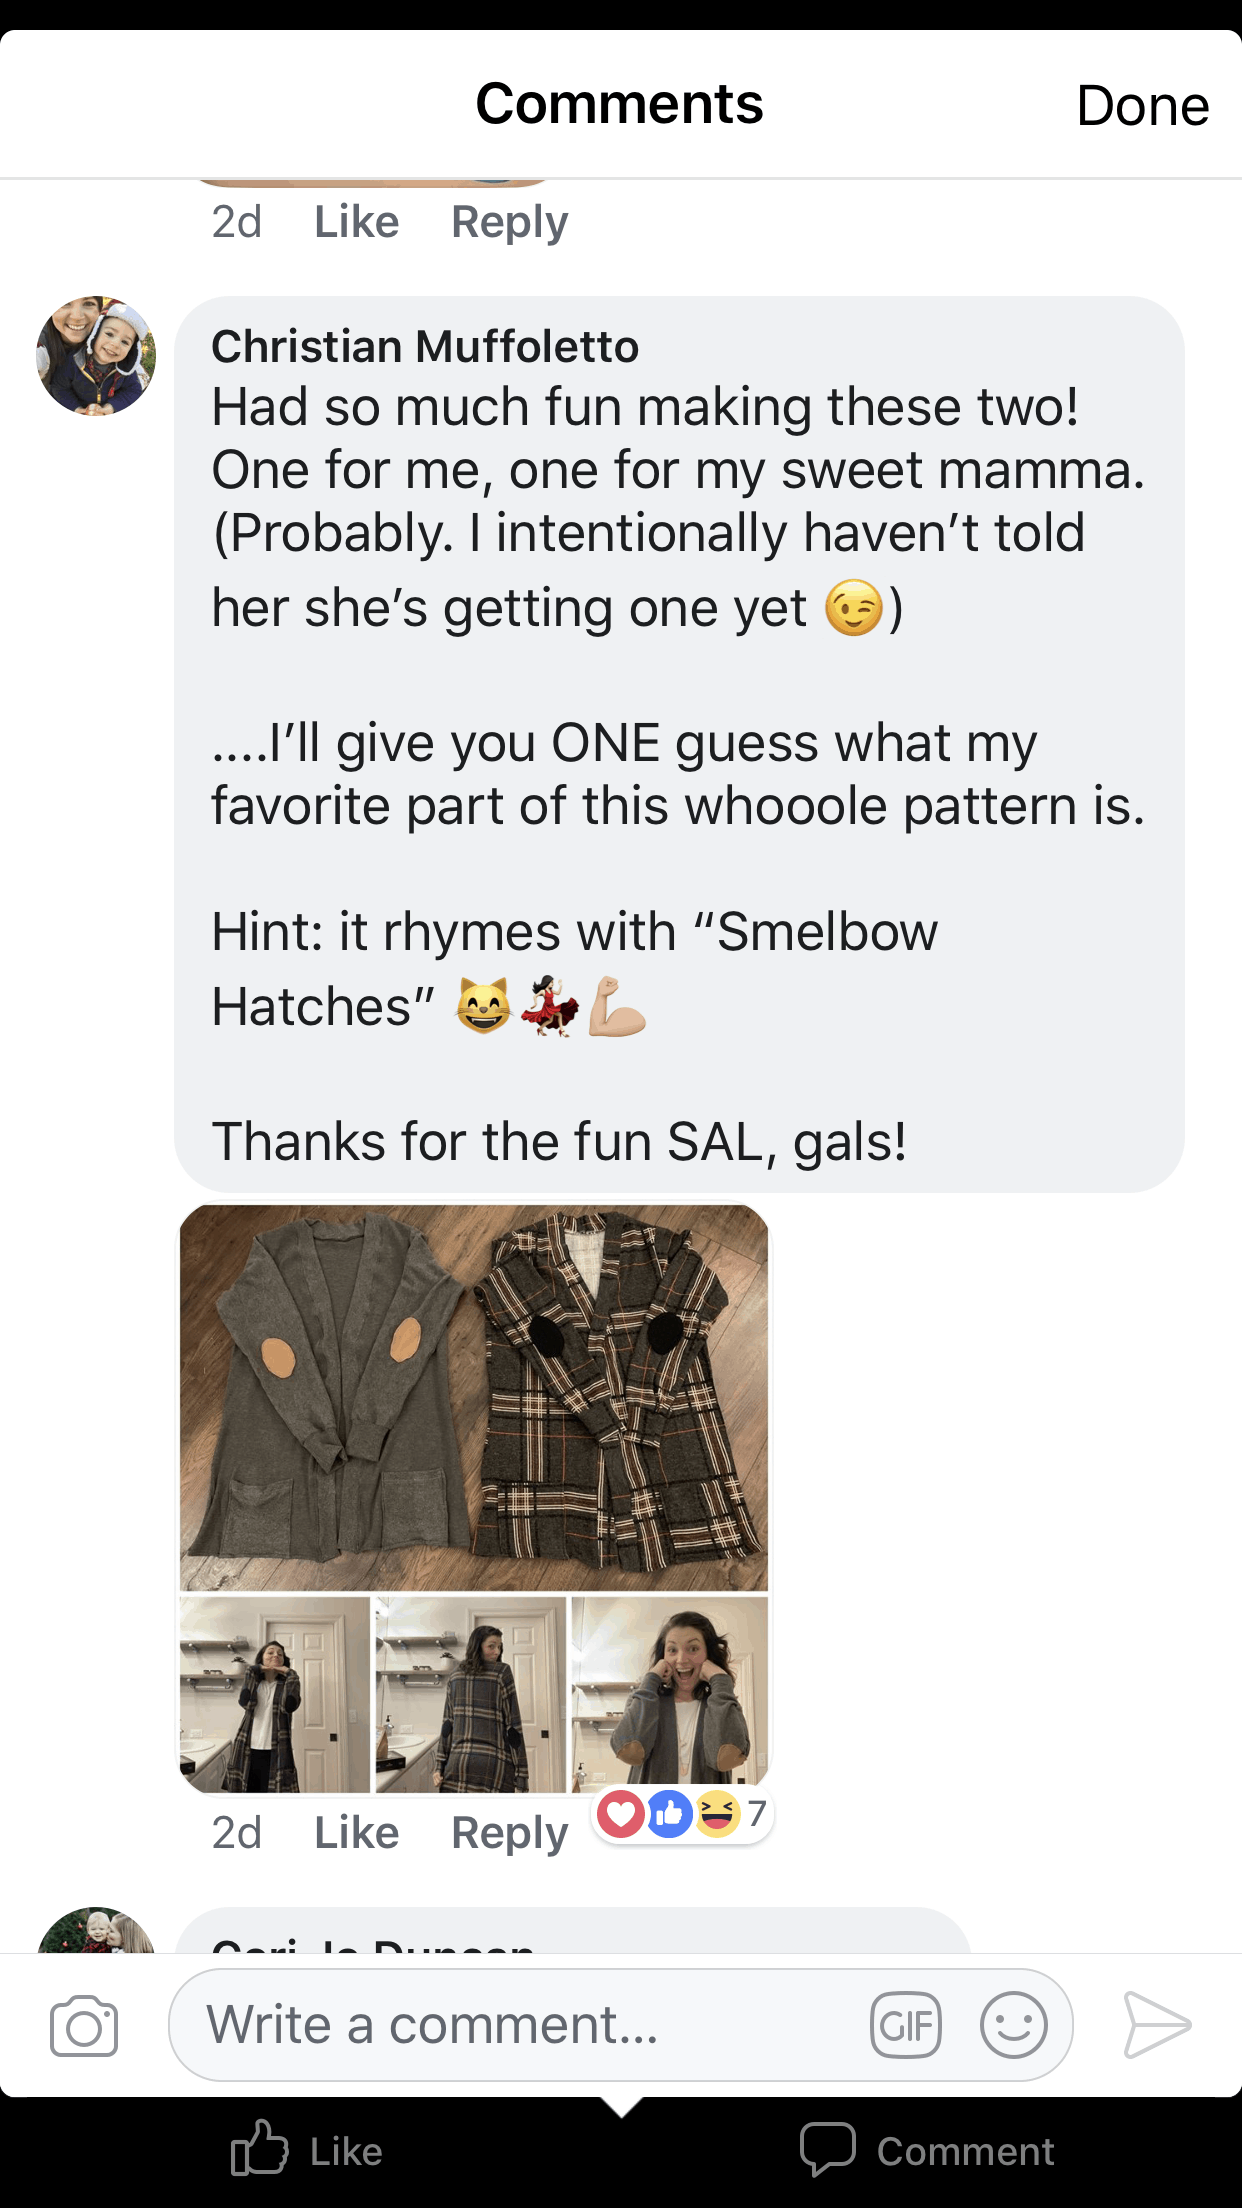
Congratulations, Christian! You won a $50 gift card to Sincerely Rylee Fabrics and a $20 store credit to Patterns for Pirates.
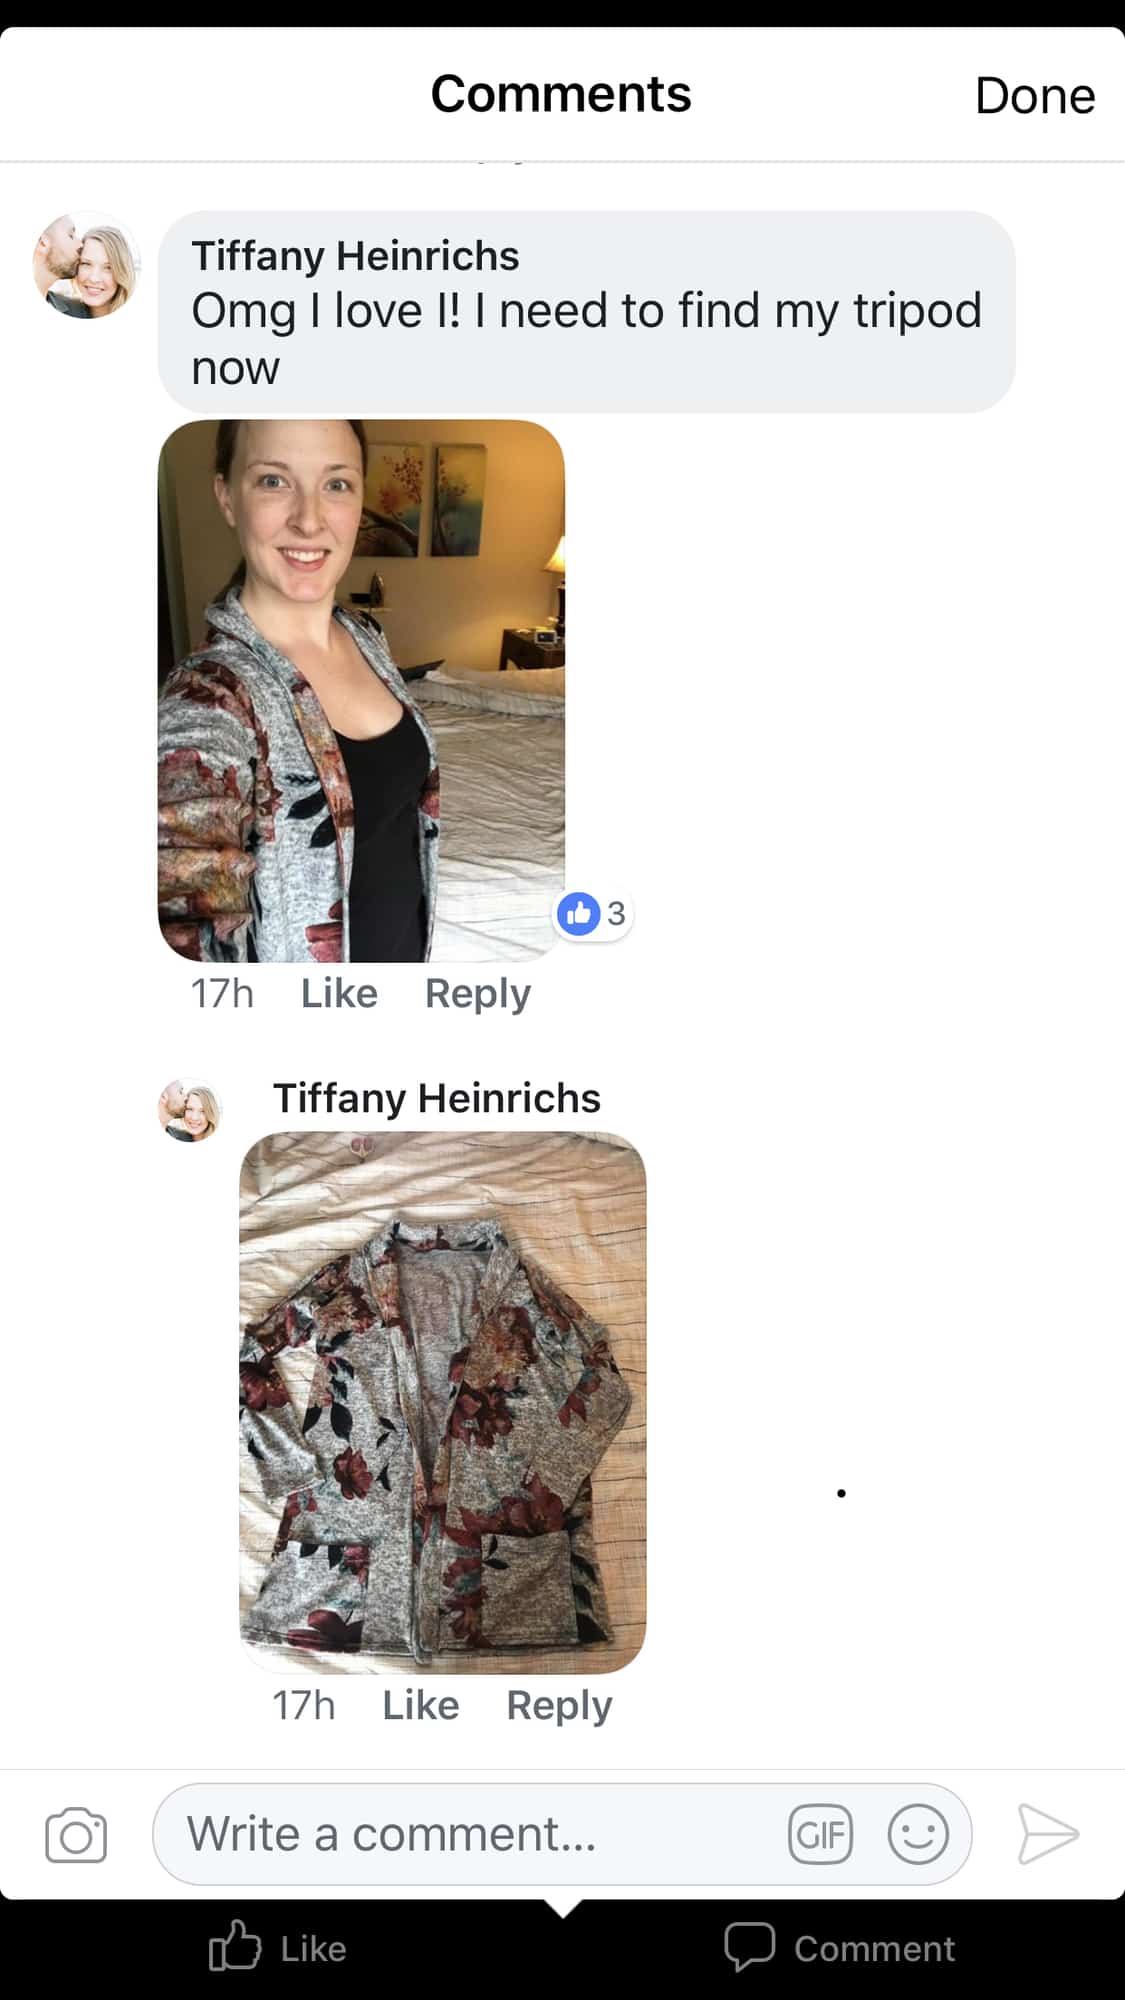
We picked a second winner too. Congratulations Tiffany Heinrichs! You won a $20 gift card to Made for Mermaids.
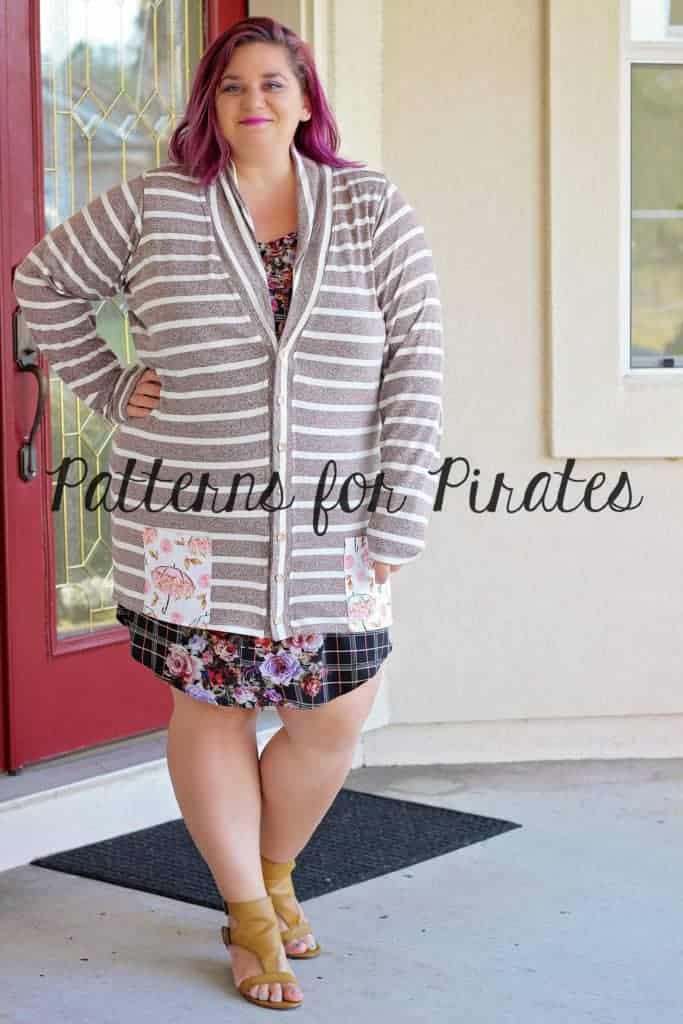
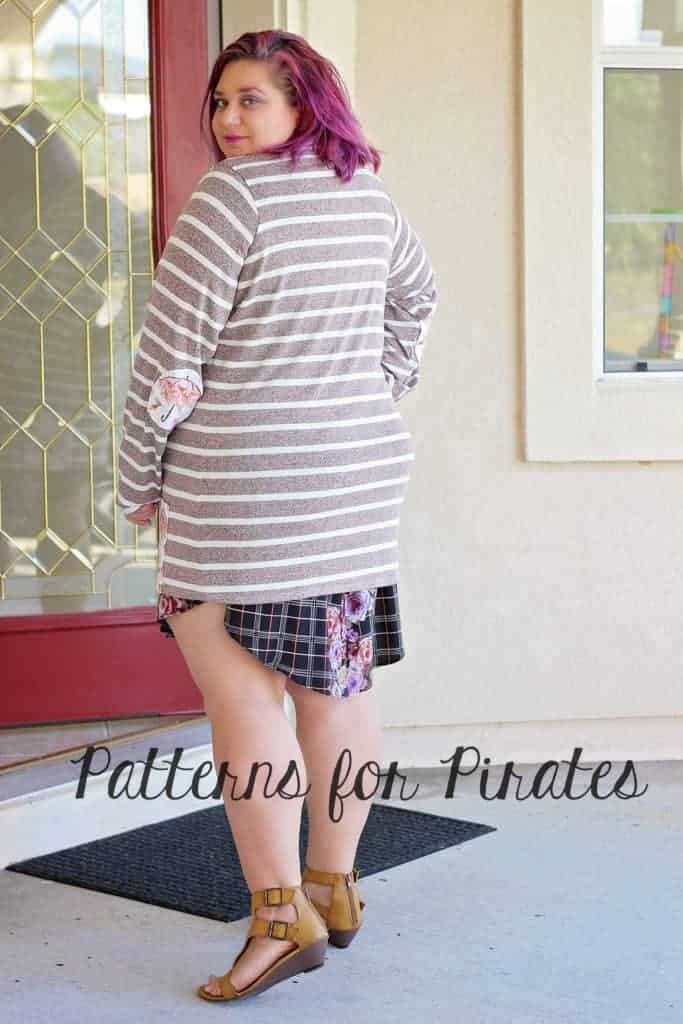
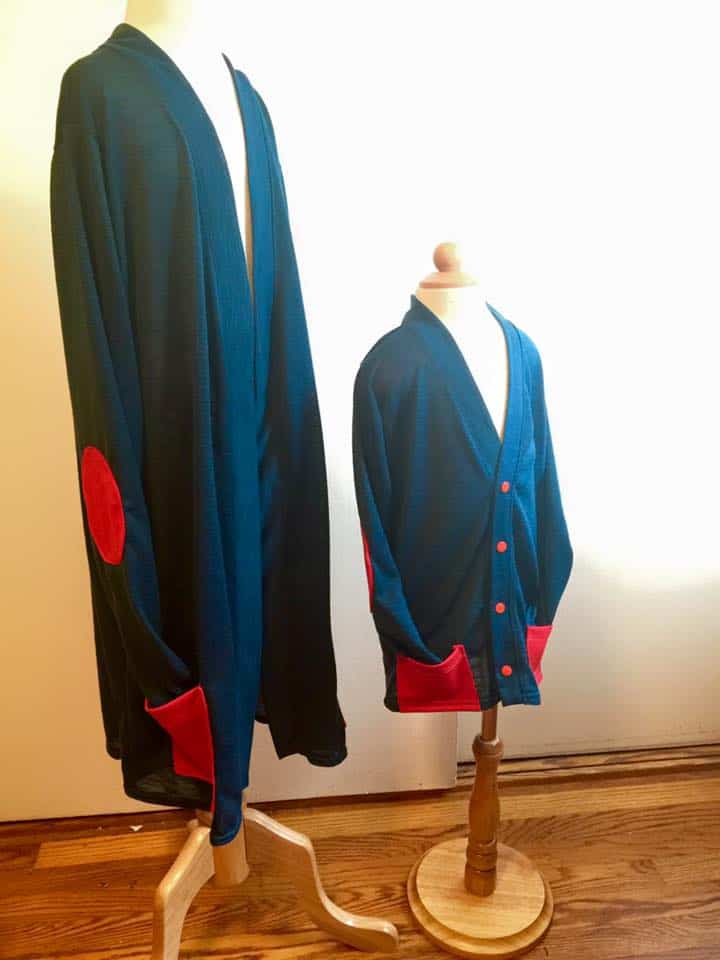
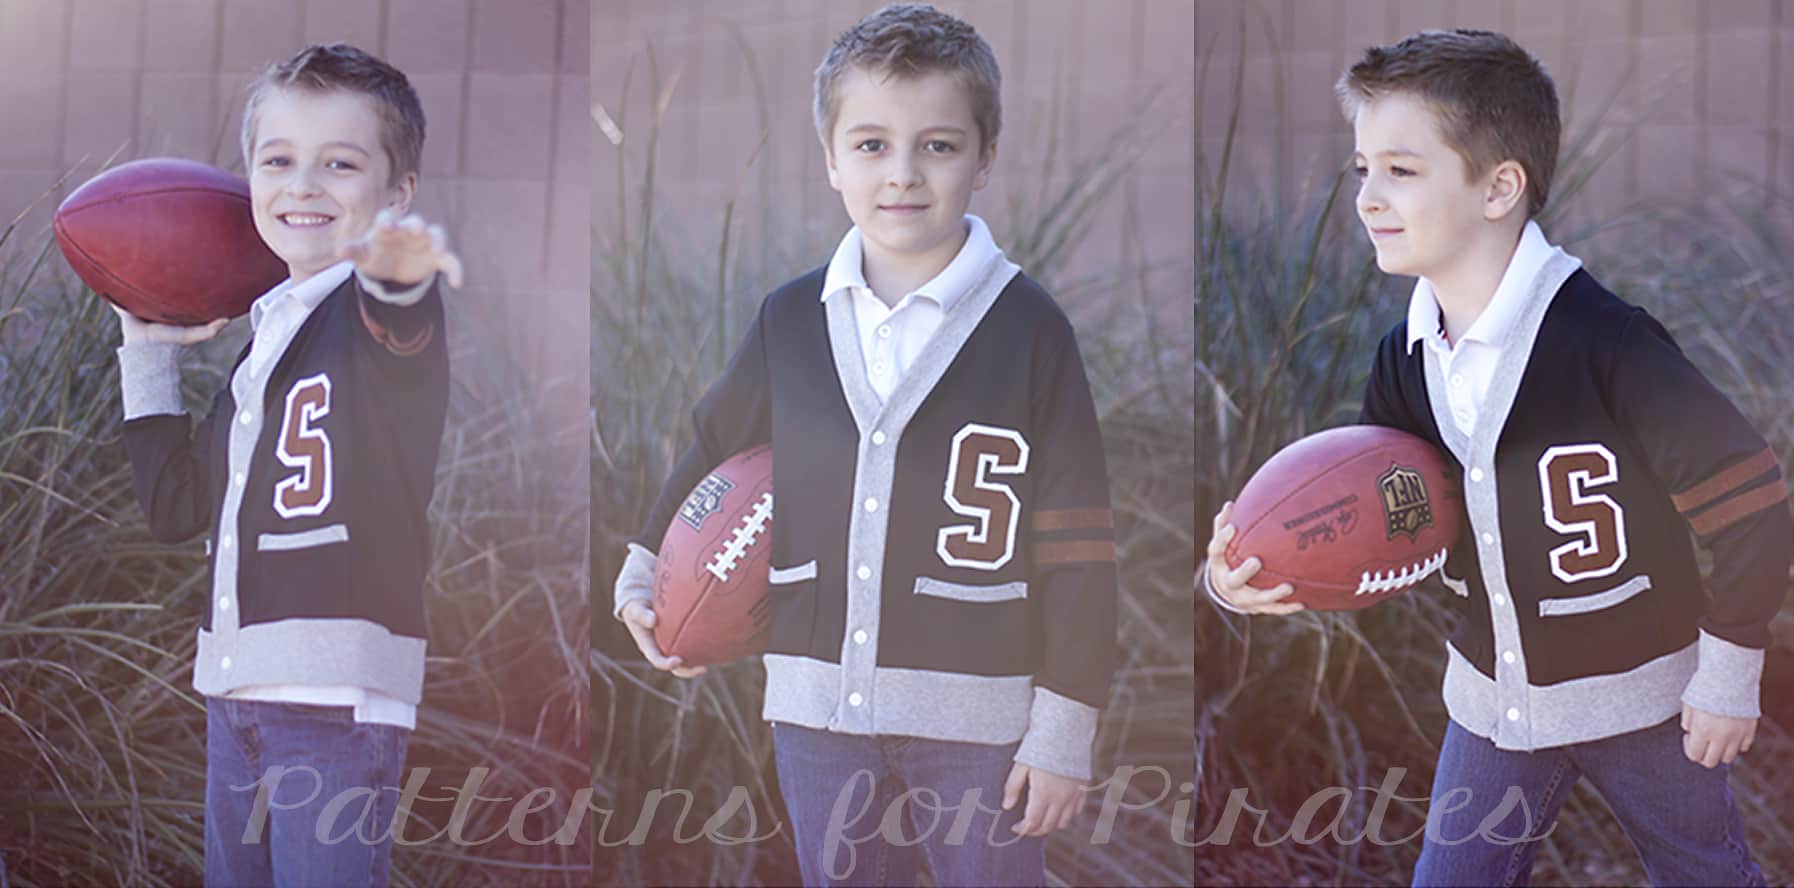
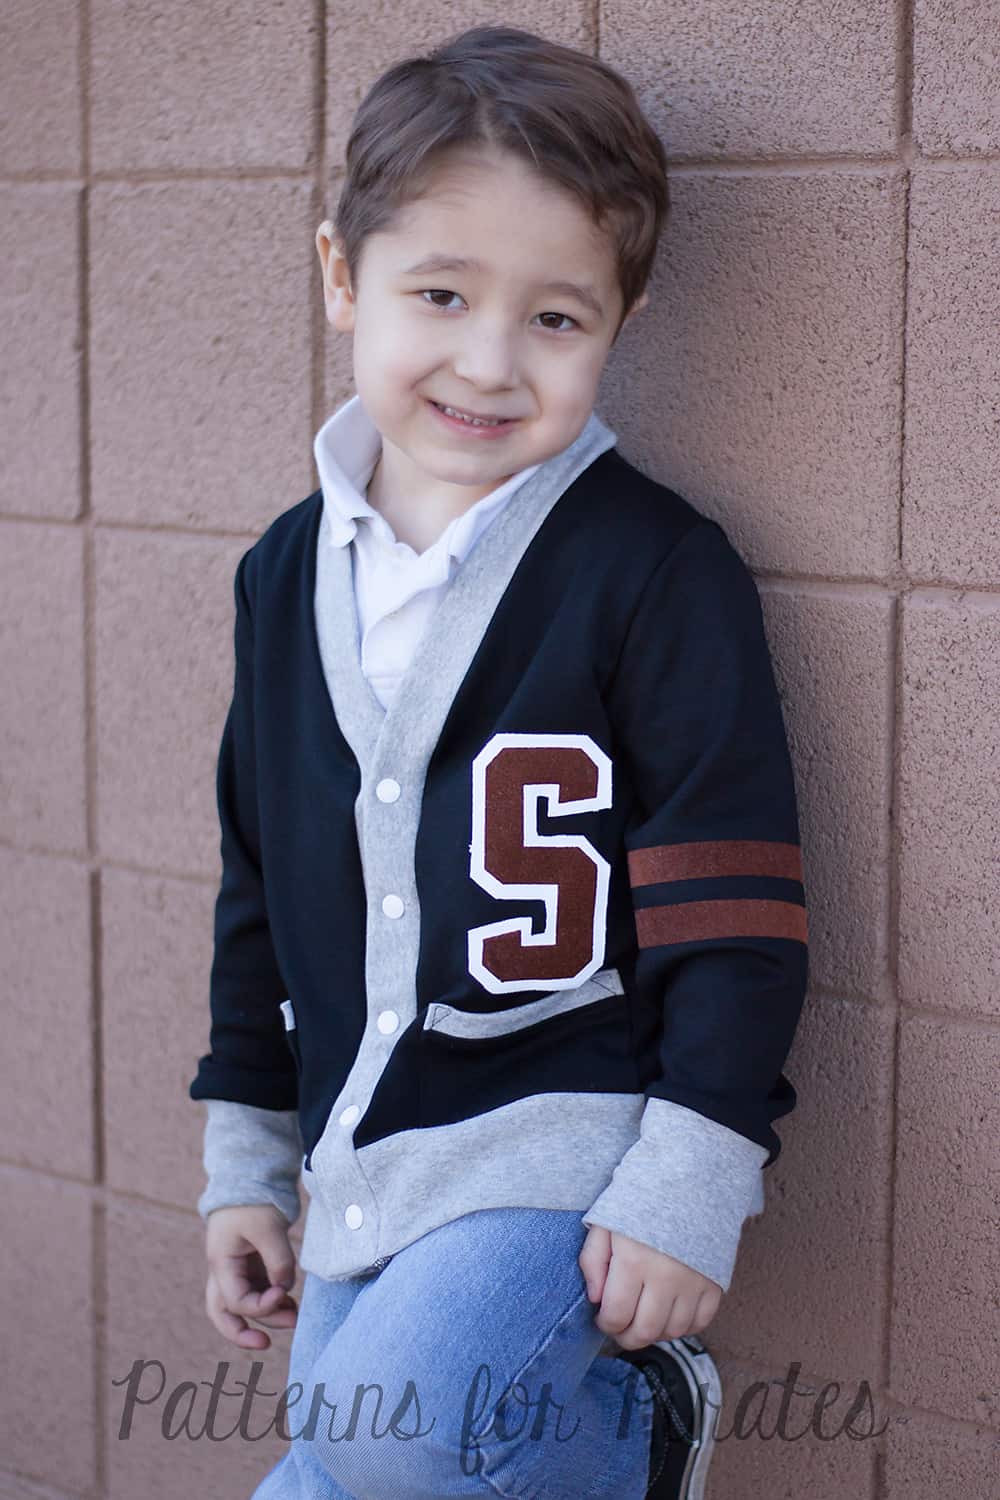
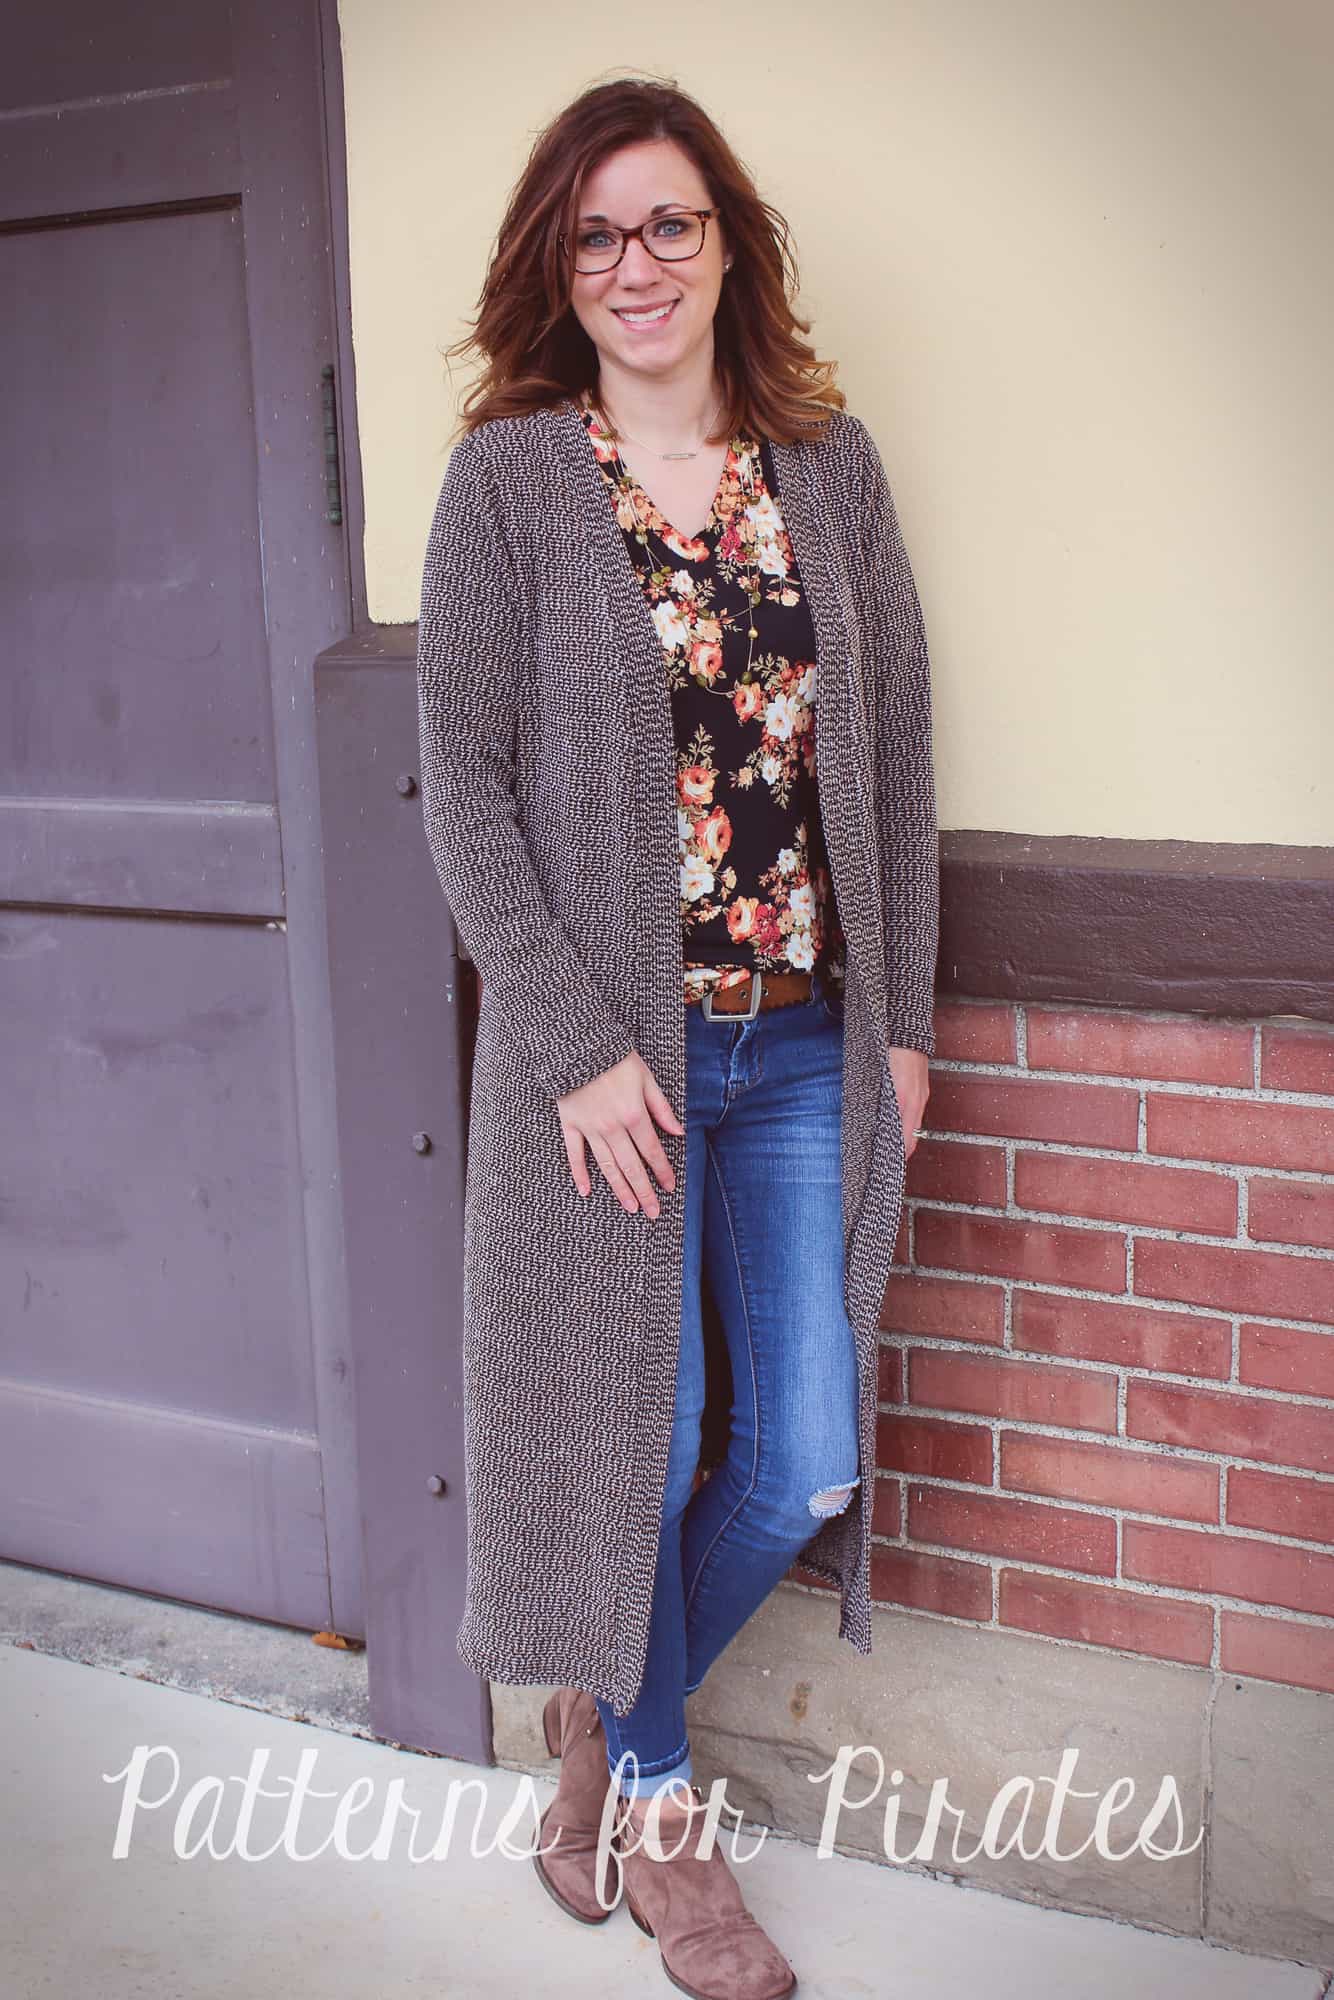
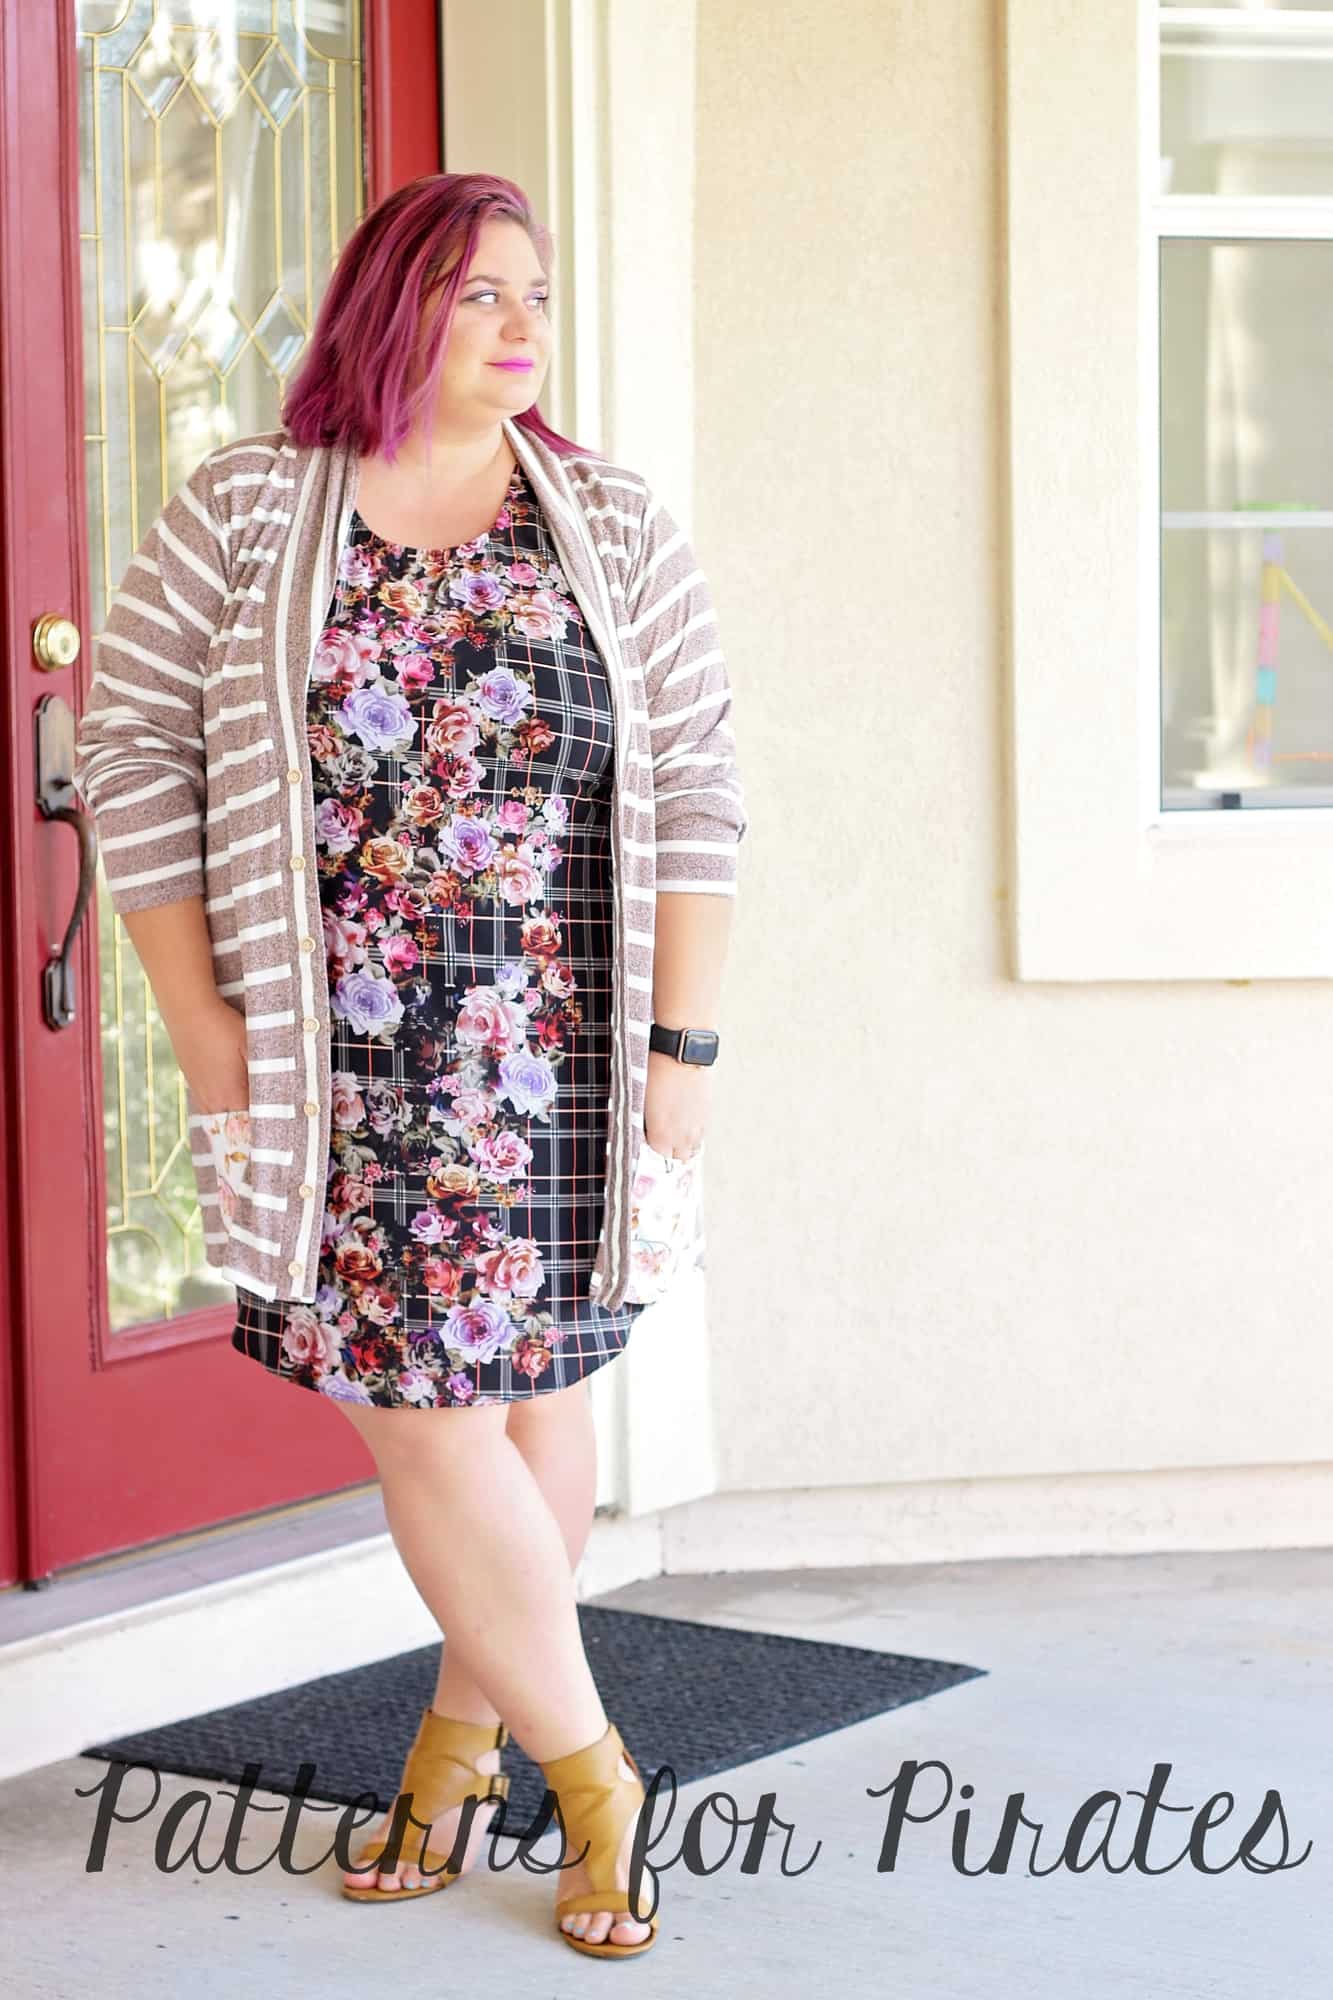
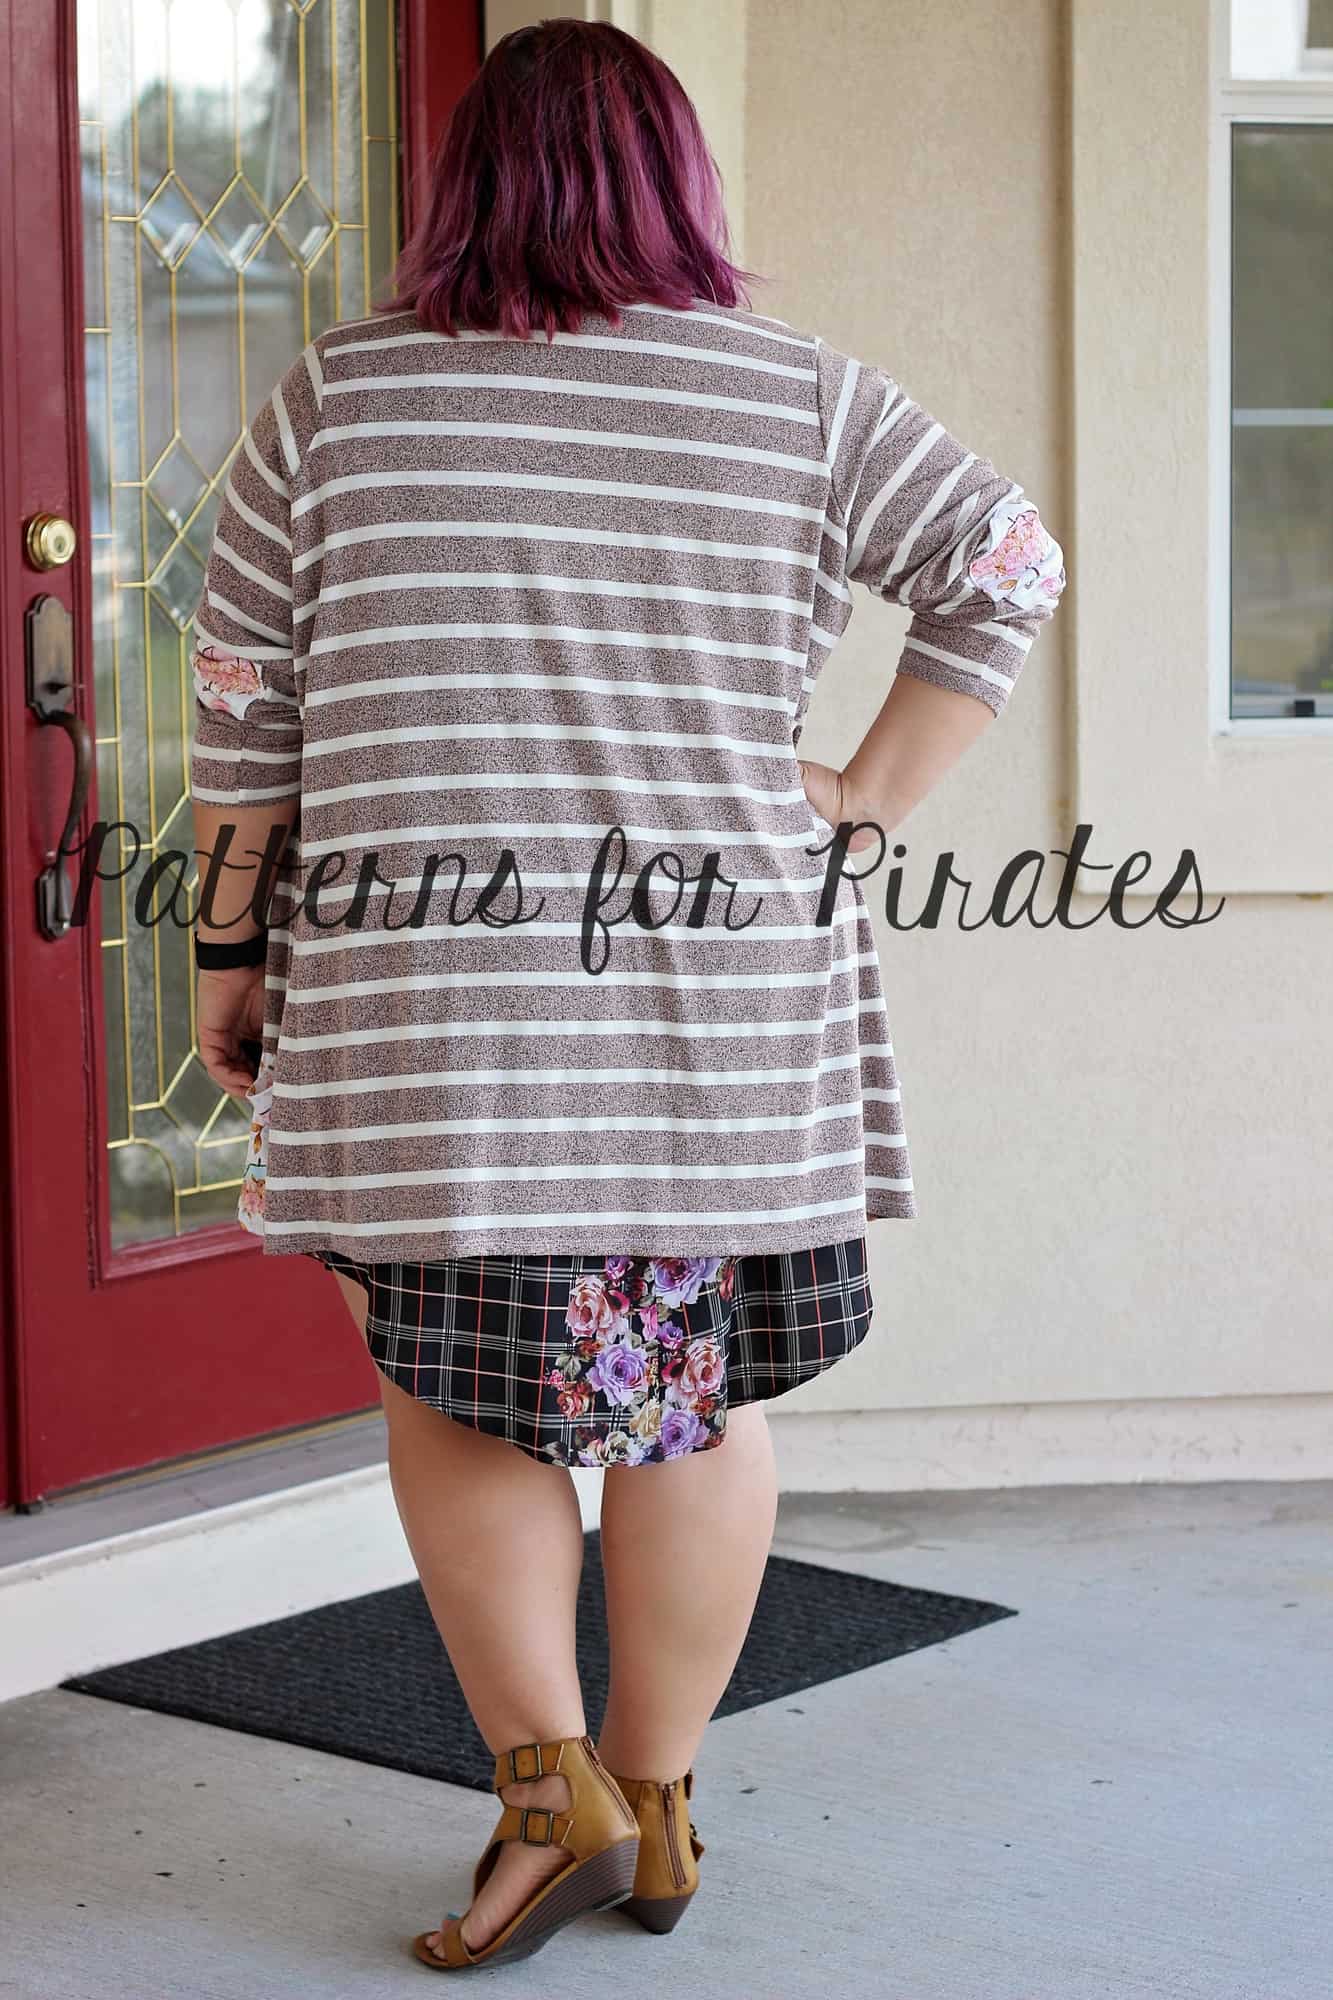
A huge thank you to our sew along sponsor, Sincerely Rylee who provided the fabric I used for the Grandpa Cardi as well as the prize.

Stay tuned for our February sew along announcement! The Mermaids have planned an amazing SAL for you in the M4M & P4P sew along group.
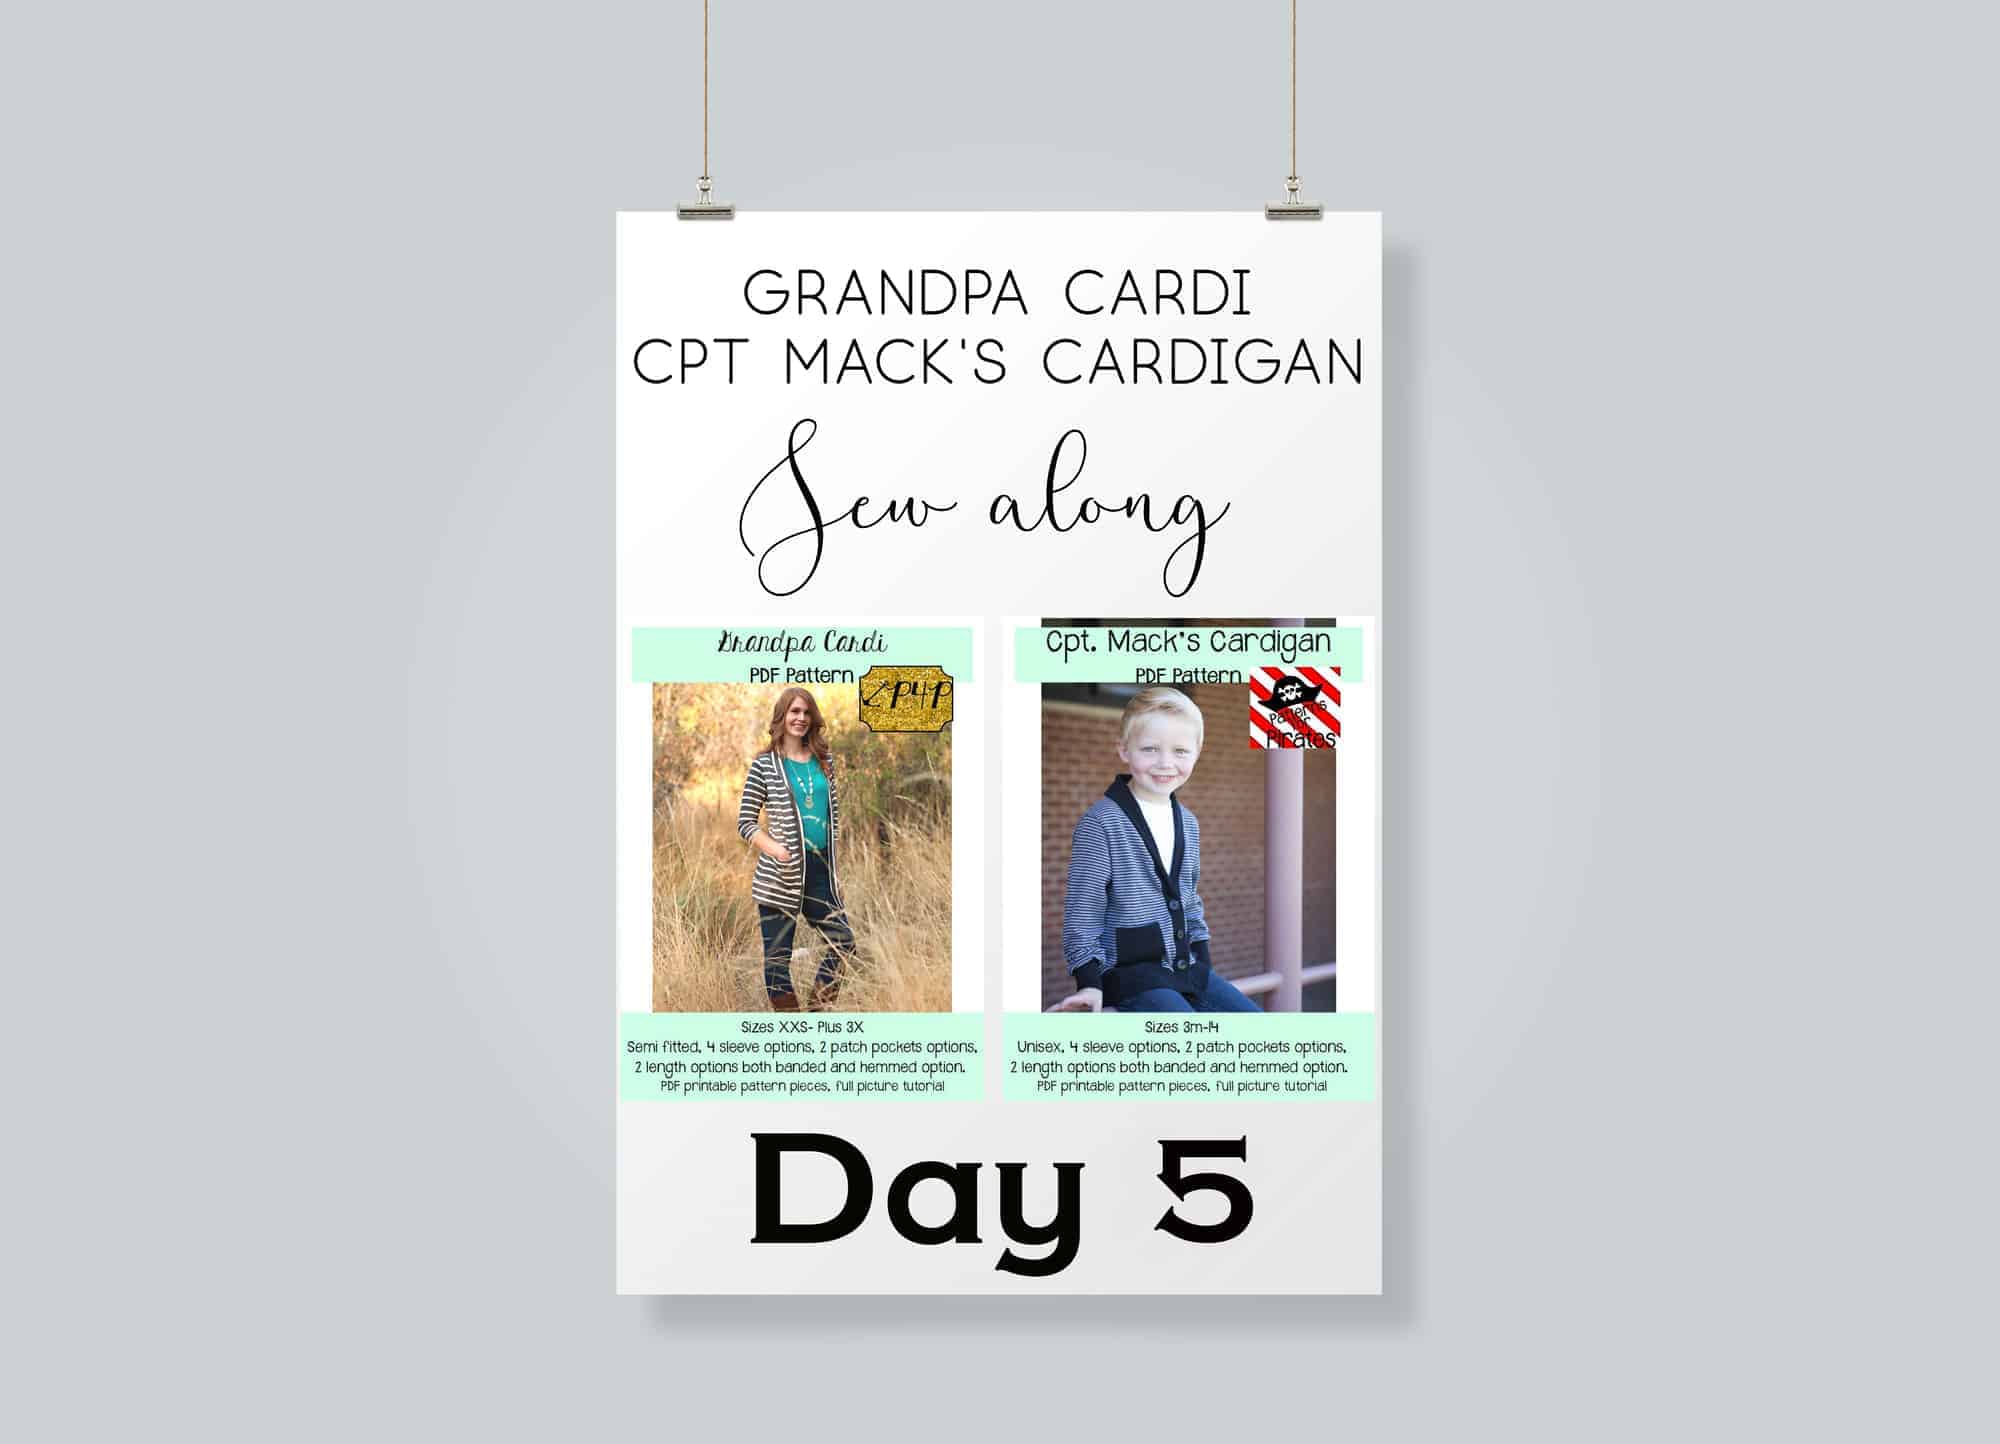
Grandpa Cardi | Cpt Mack’s Cardigan Sew along – Day 1 (Print & cut pattern)
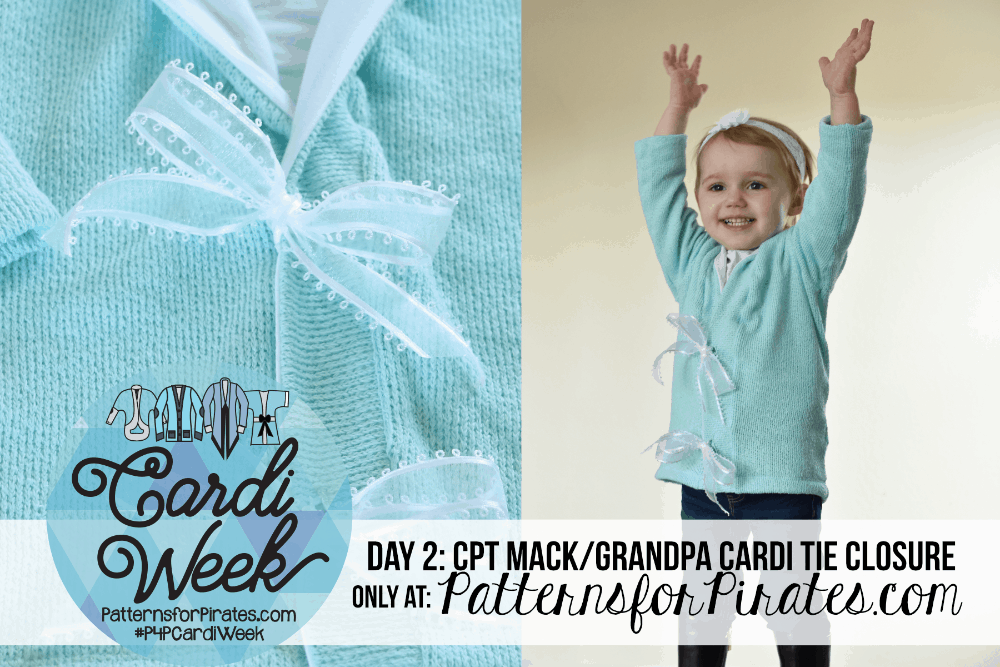
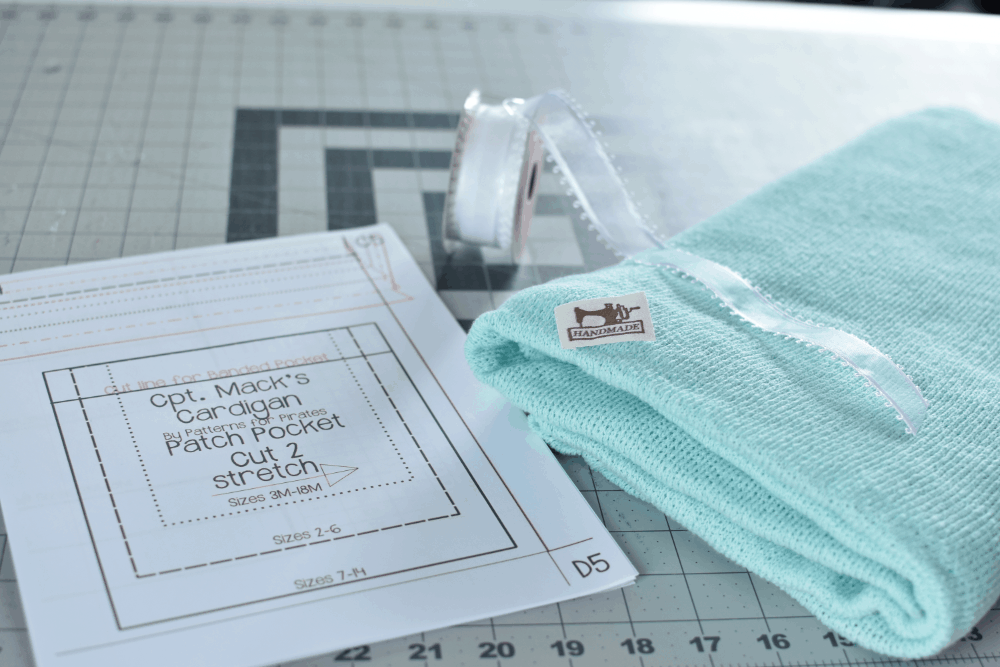
Grandpa Cardi | Cpt Mack’s Cardigan Sew along – Day 2 (choose and cut fabric)
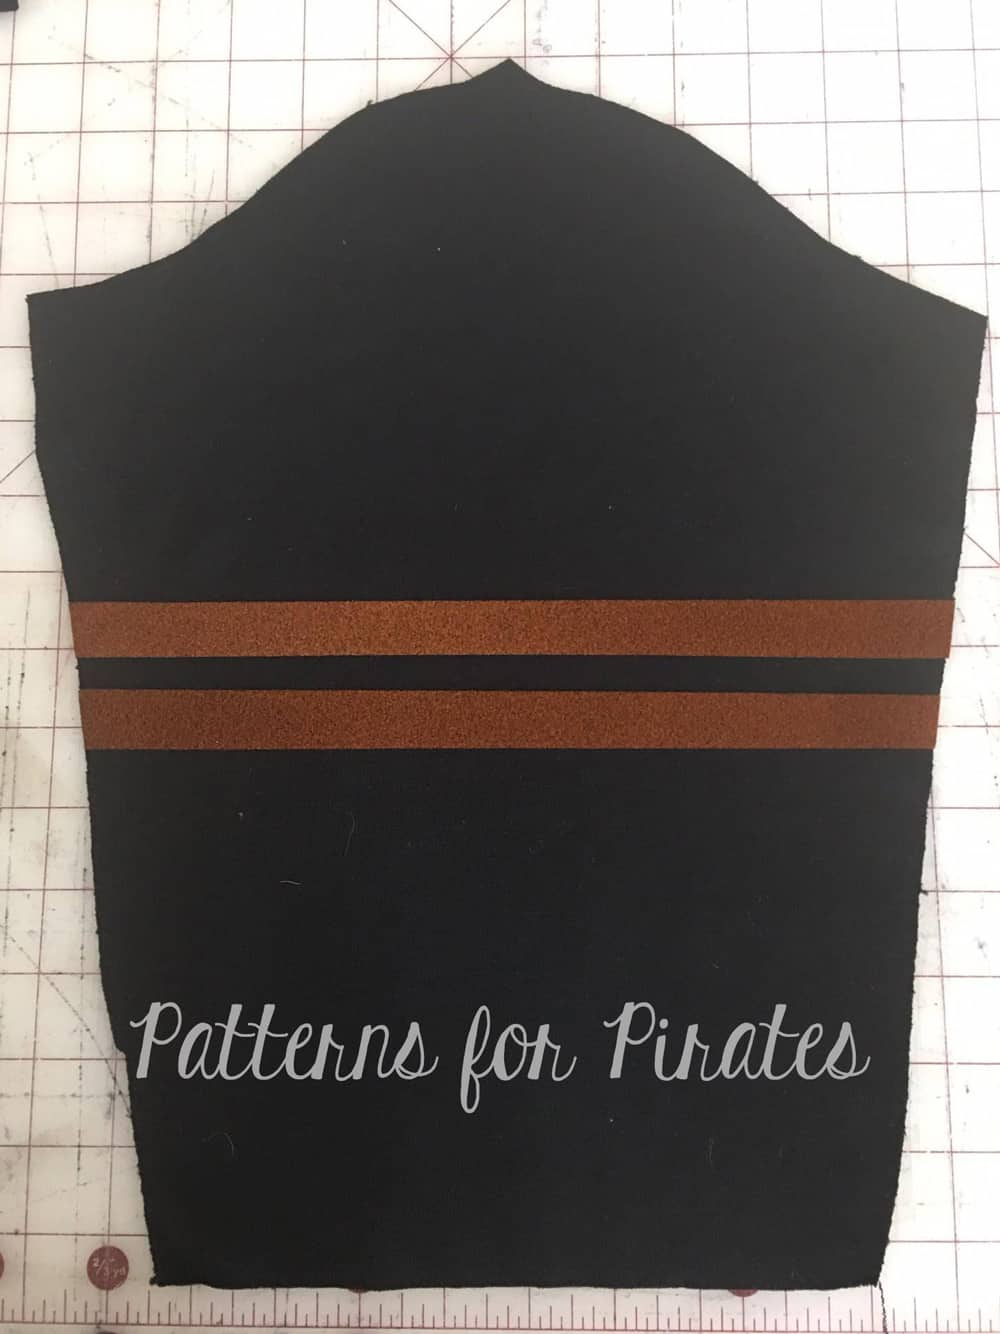
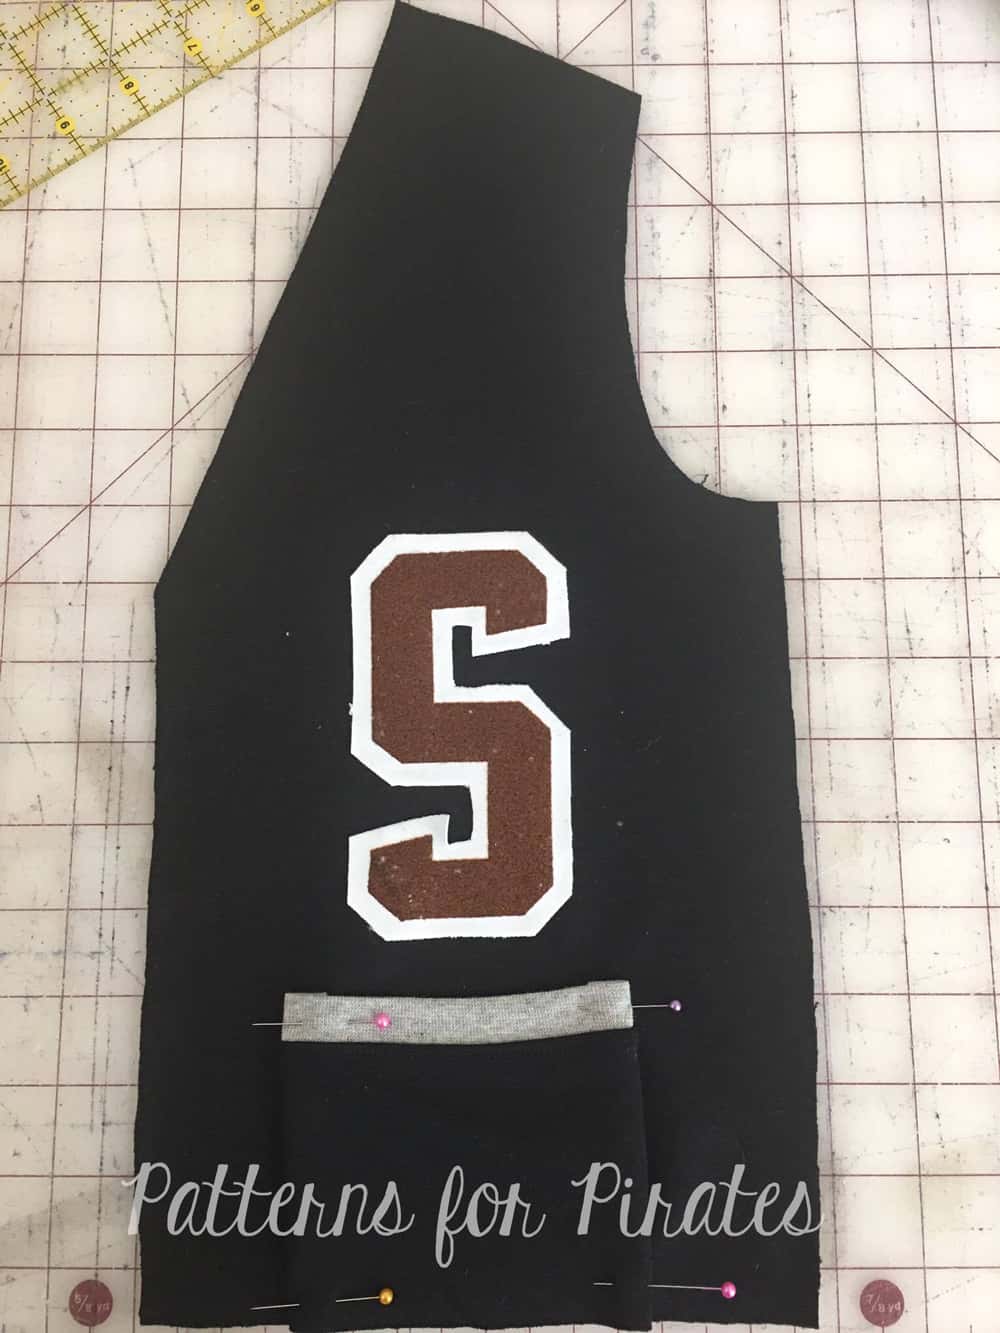
Grandpa Cardi | Cpt Mack’s Cardigan Sew along – Day 3 (pockets and elbow patches)
Grandpa Cardi | Cpt Mack’s Cardigan Sew along – Day 4 (shoulder seams and add sleeves)
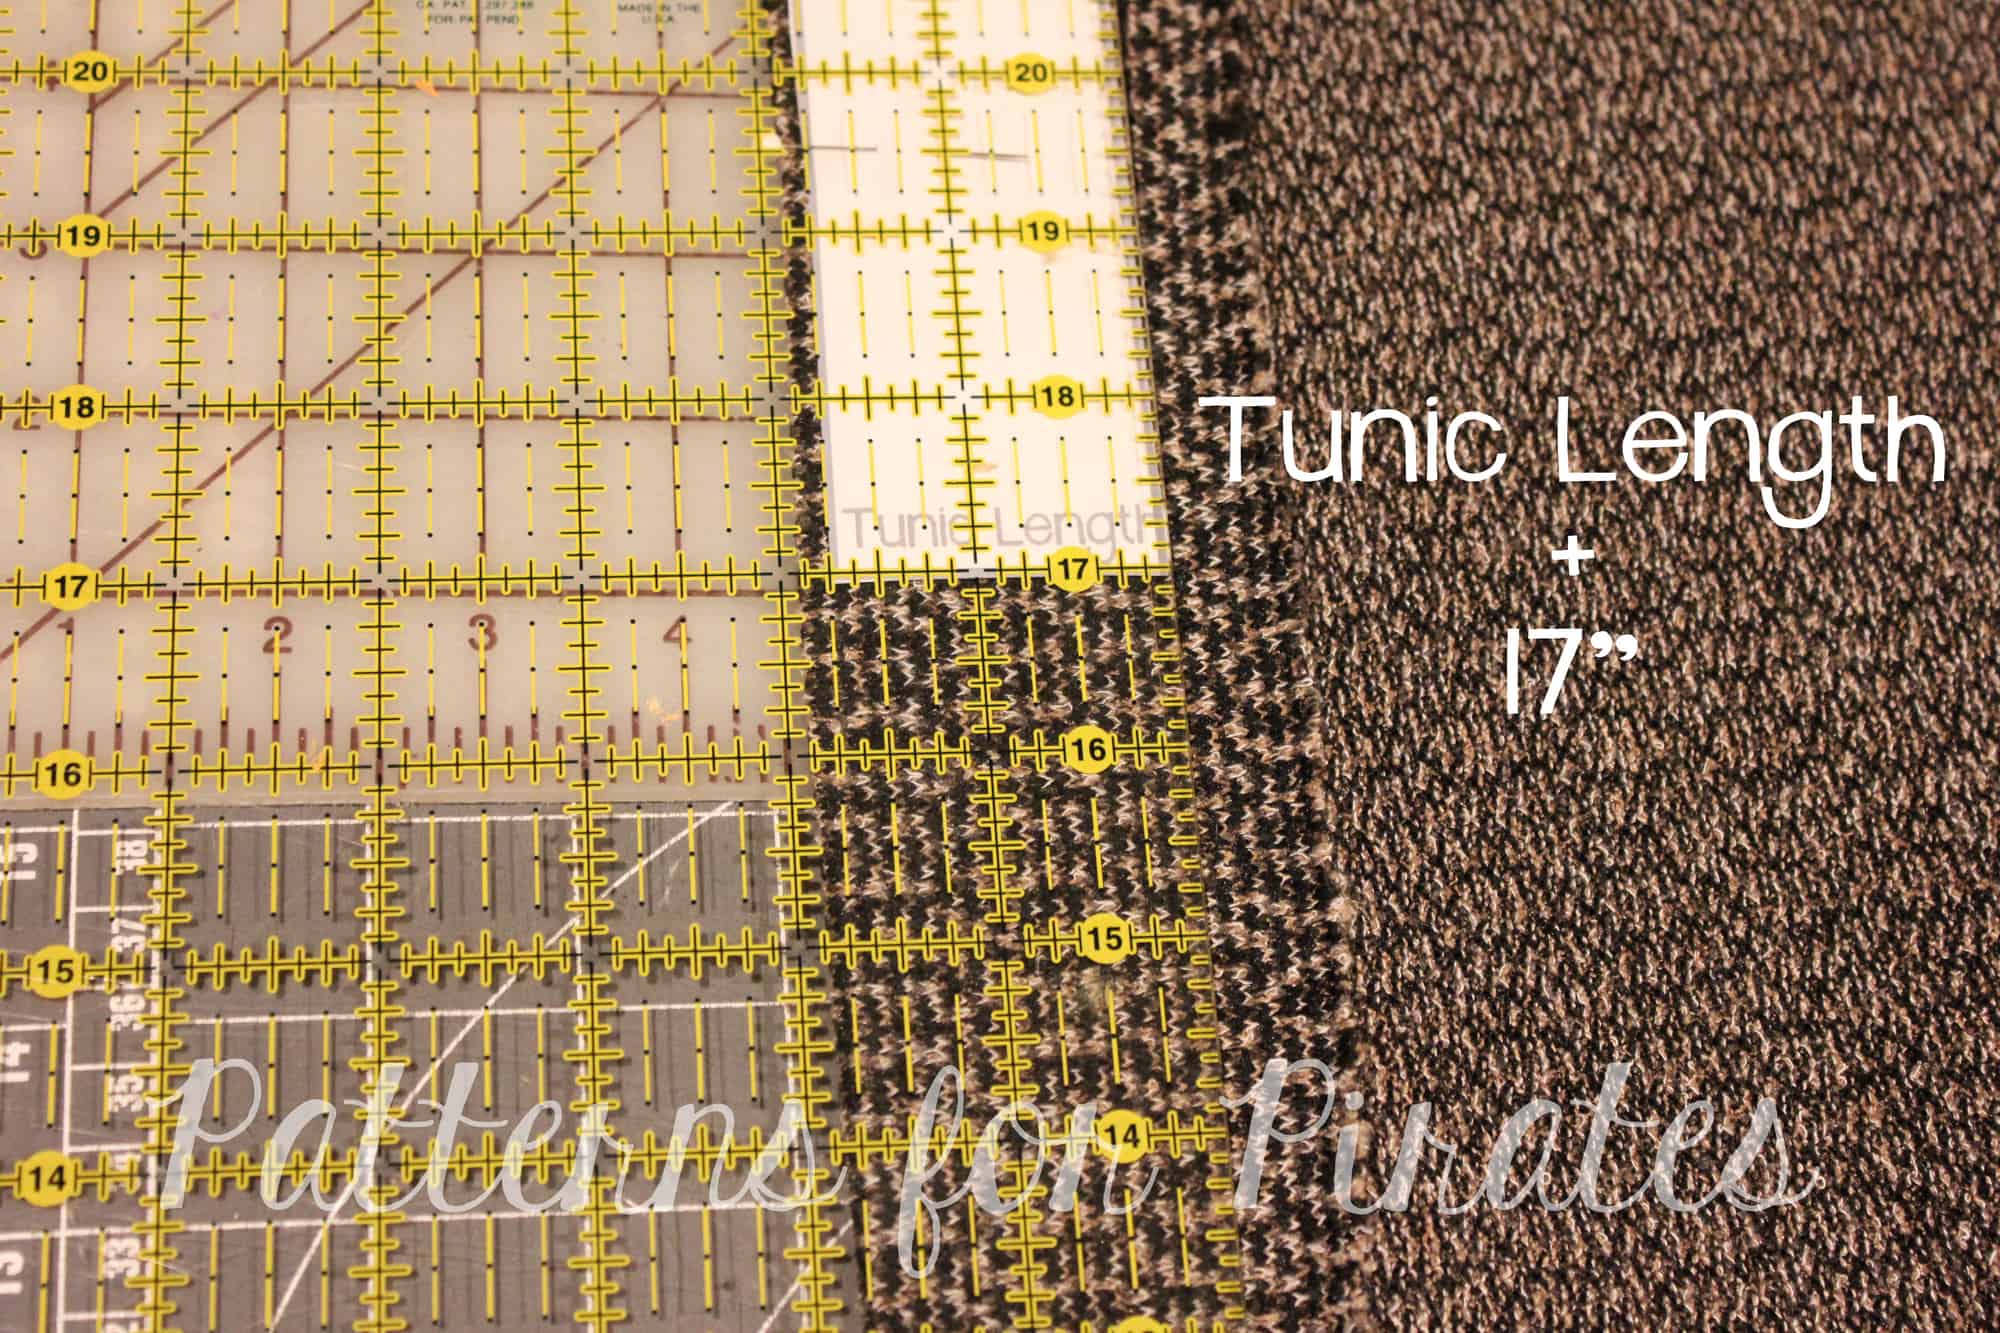
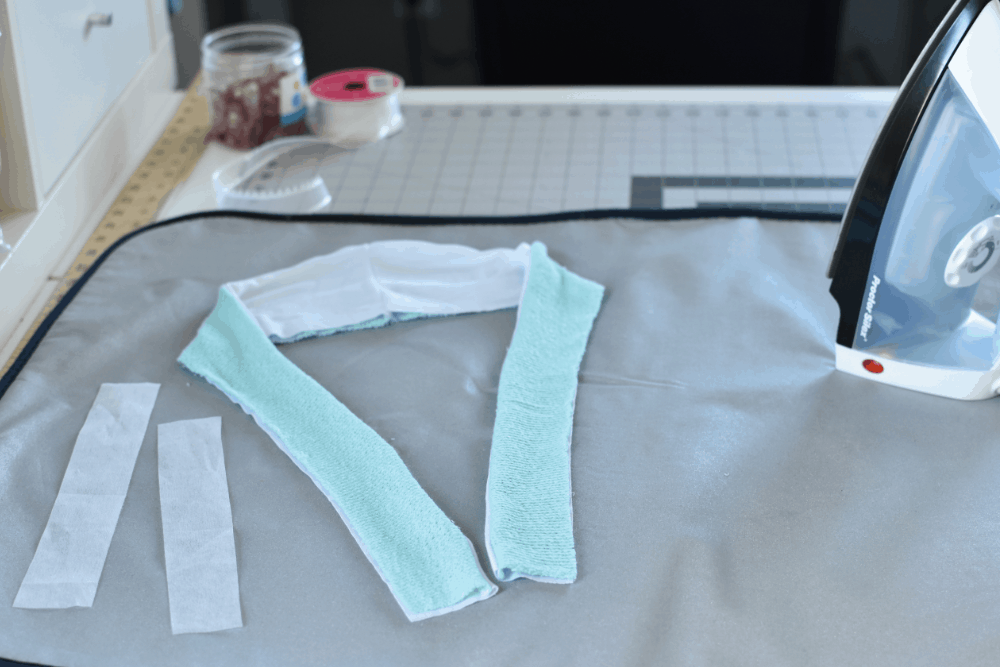
Grandpa Cardi | Cpt Mack’s Cardigan Sew along – Day 5 (finish sleeves and bottom edge)
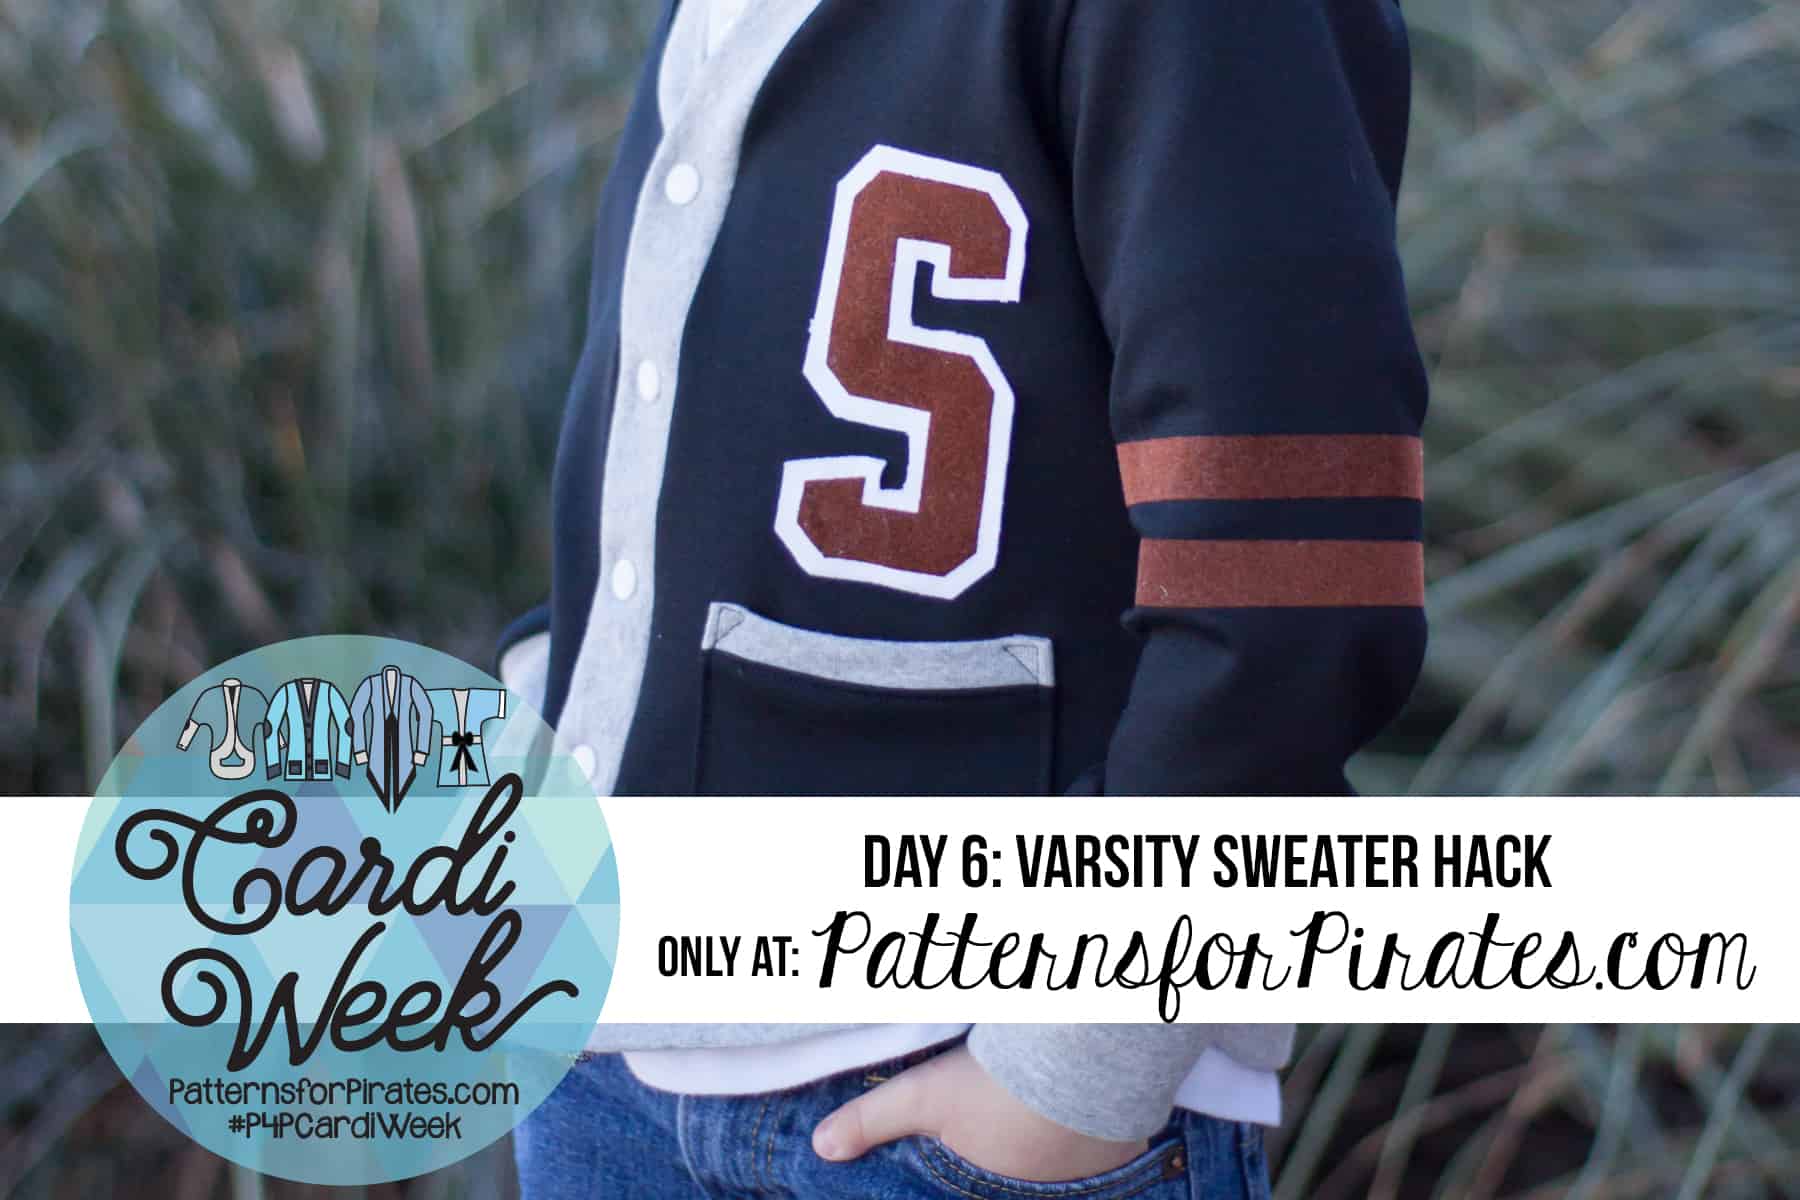
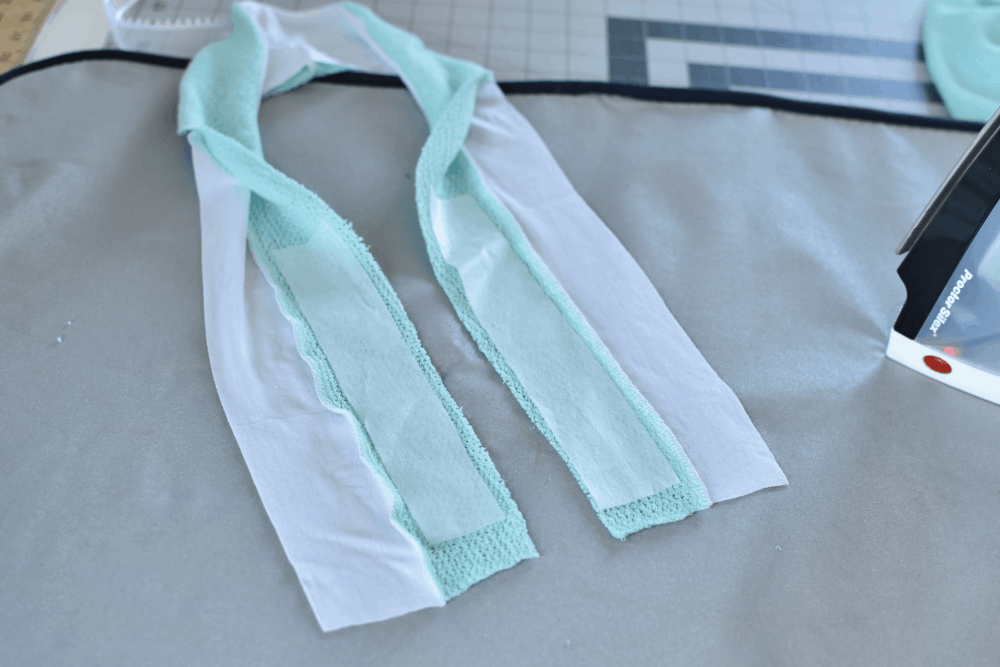
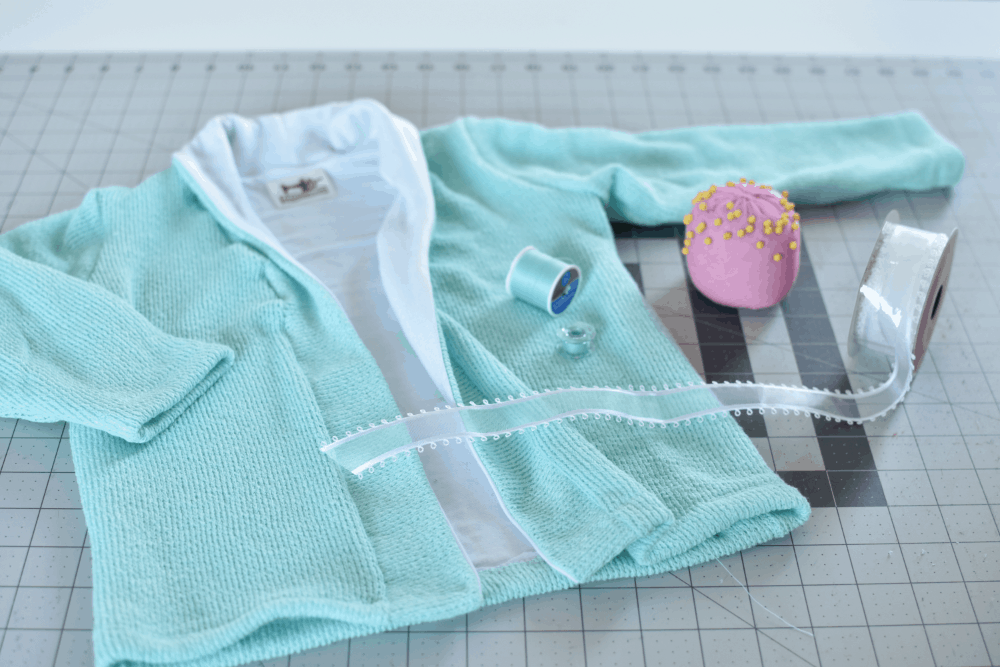
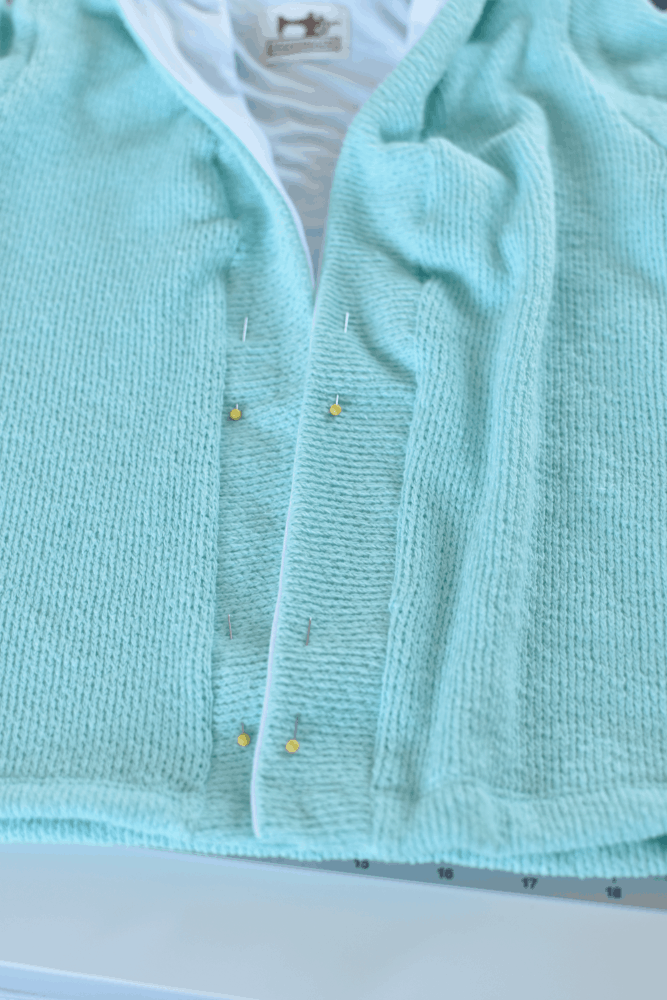
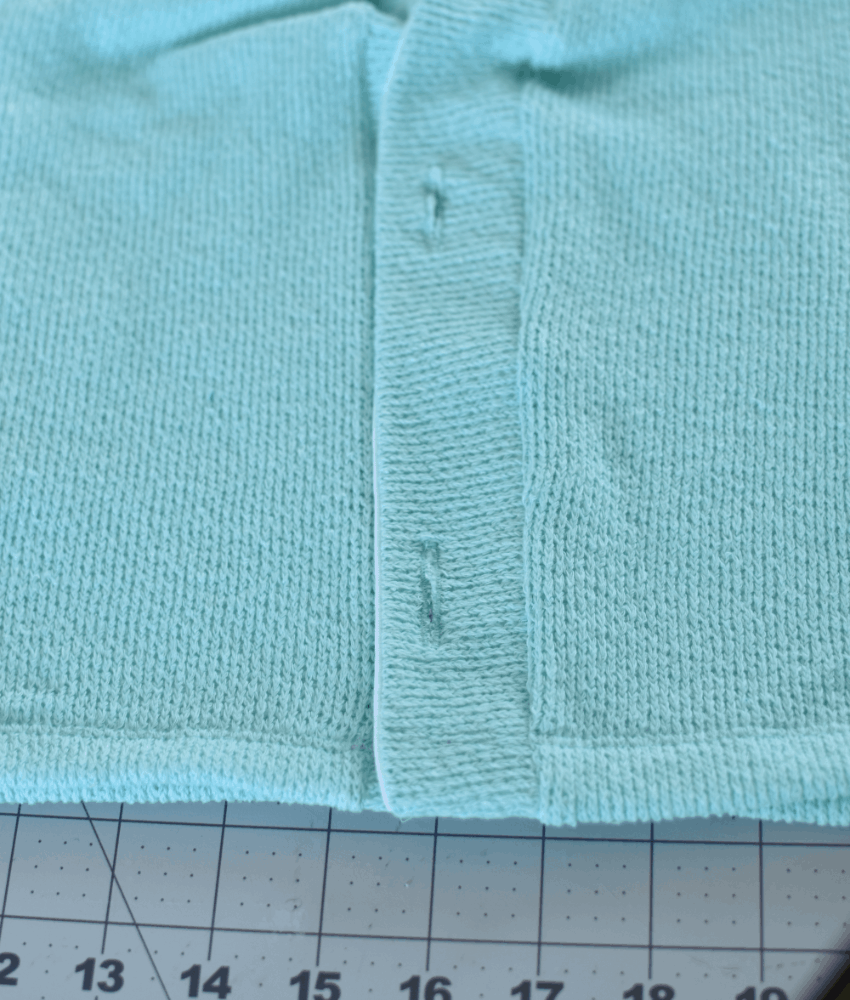
Grandpa Cardi | Cpt Mack’s Cardigan Sew along – Day 6 (collar/shawl and buttons)
Grandpa Cardi | Cpt Mack’s Cardigan Sew along – Day 7 (winners announcements)