Patterns for Pirates

P4P stylish, modern, wearable patterns

  • Home
  • Blog
    • Frequently Asked Questions
    • Pattern Releases
      • Free Patterns
    • P4P University
      • Fitting
      • Sewing with Stretch, Knit Fabrics
      • Sewing with Woven Fabrics
      • Sewing Machines
    • Sew-A-Longs
    • Fabric for Pirates
    • Pattern Hacks
    • Announcement
      • Blog Tours
      • Contest/Giveaway
  • Shop
  • Bundle Discounts
  • Flash Friday
  • Gift Cards
  • My Account
  • Cart

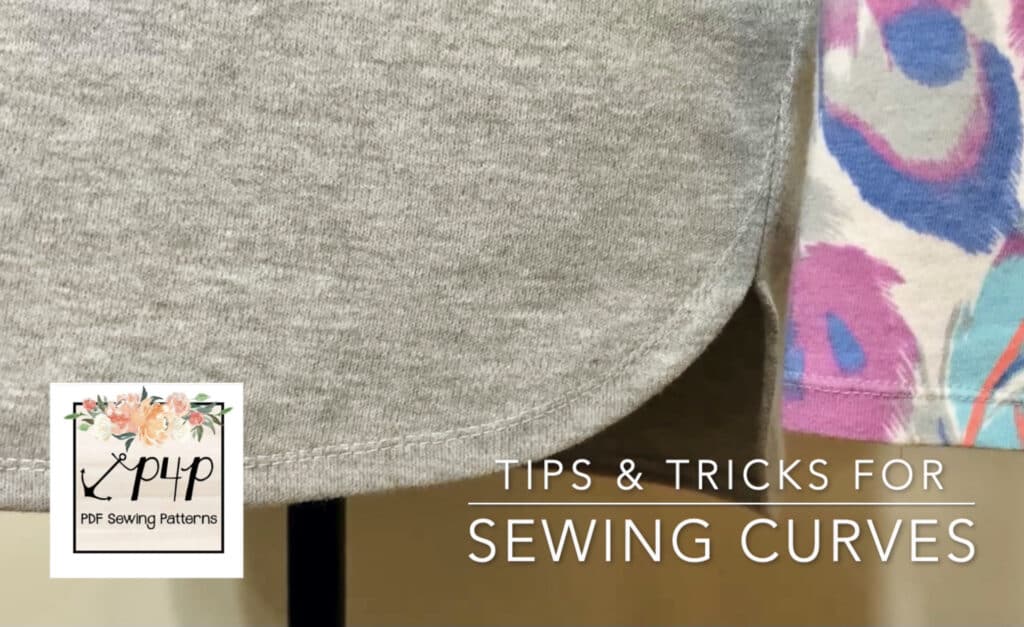
P4P University – Sewing Curves

March 9, 2021

Knowing how to properly sew curves makes a huge difference in giving your garments a more professional finish! There are different techniques, whether you are sewing a convex or concave curve… think neckline versus bust. At the core, the key is all about eliminating bulk and resistance so your curves can lay as designed.

Clip The Seams

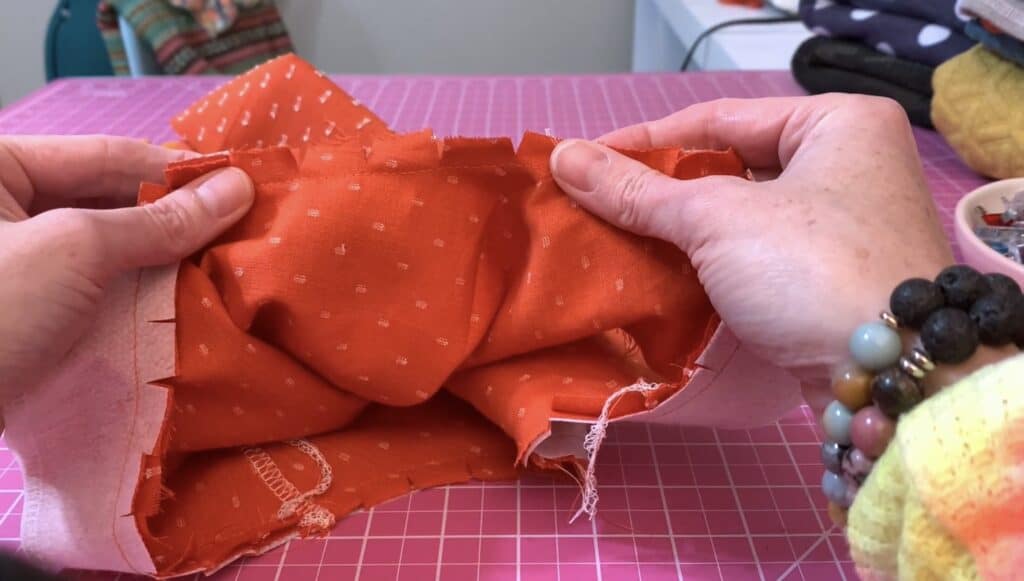
The first technique works for curves, like necklines, that require the fabric to spread in an array. It’s simple!

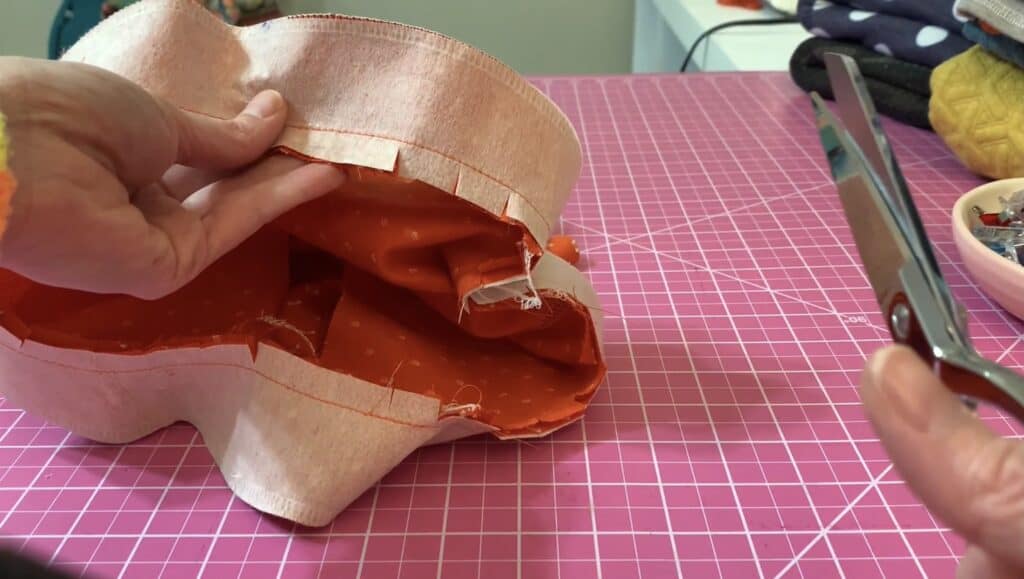
Once you have your pattern pieces stitched together, clip into the seam allowance every half inch or so. Take good care not to snip through your seam!

You’ll notice that the fabric relaxes because the tension in the curve is gone!

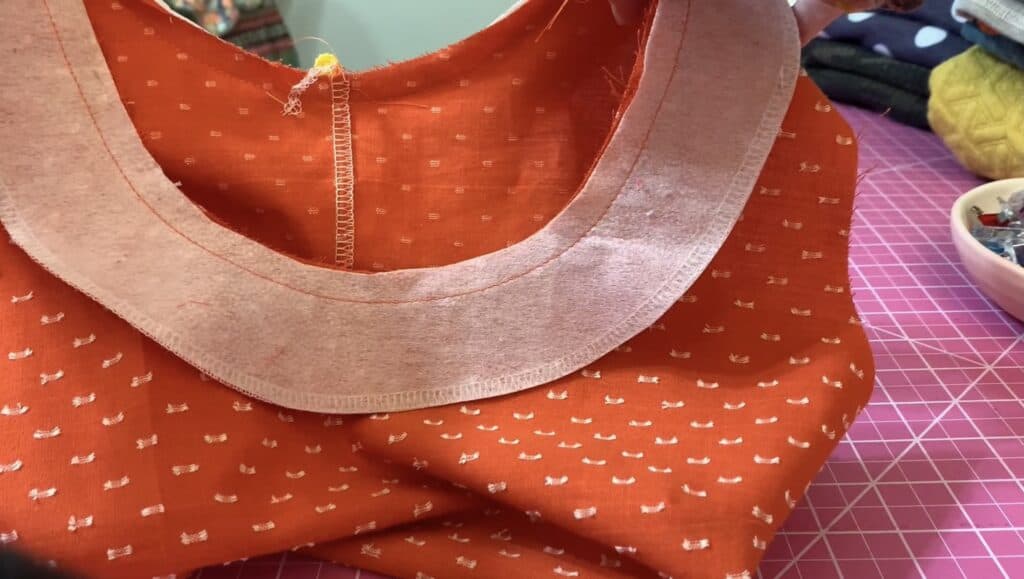
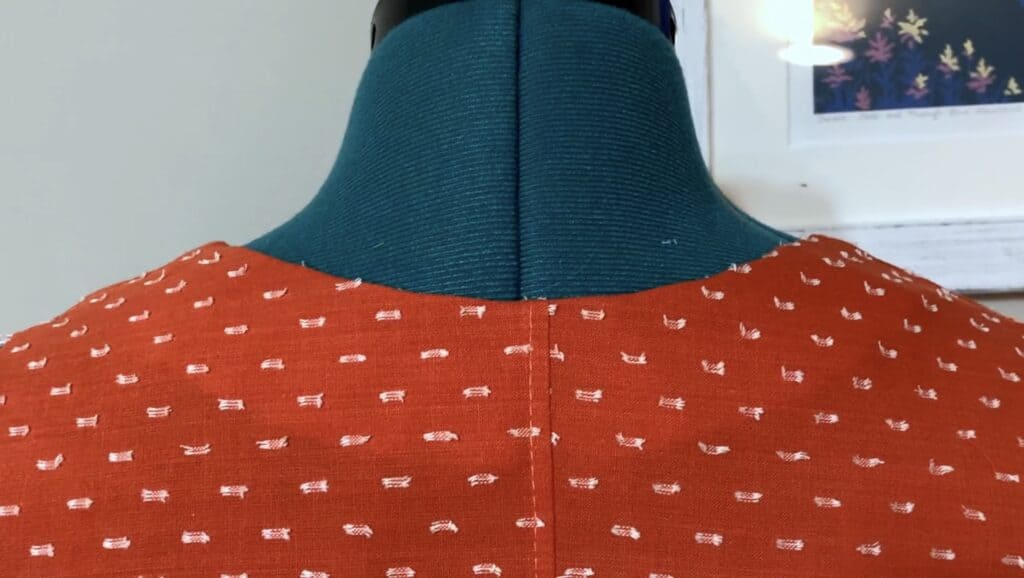
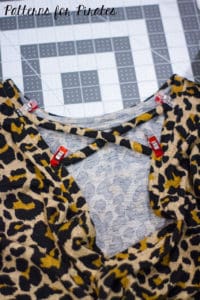
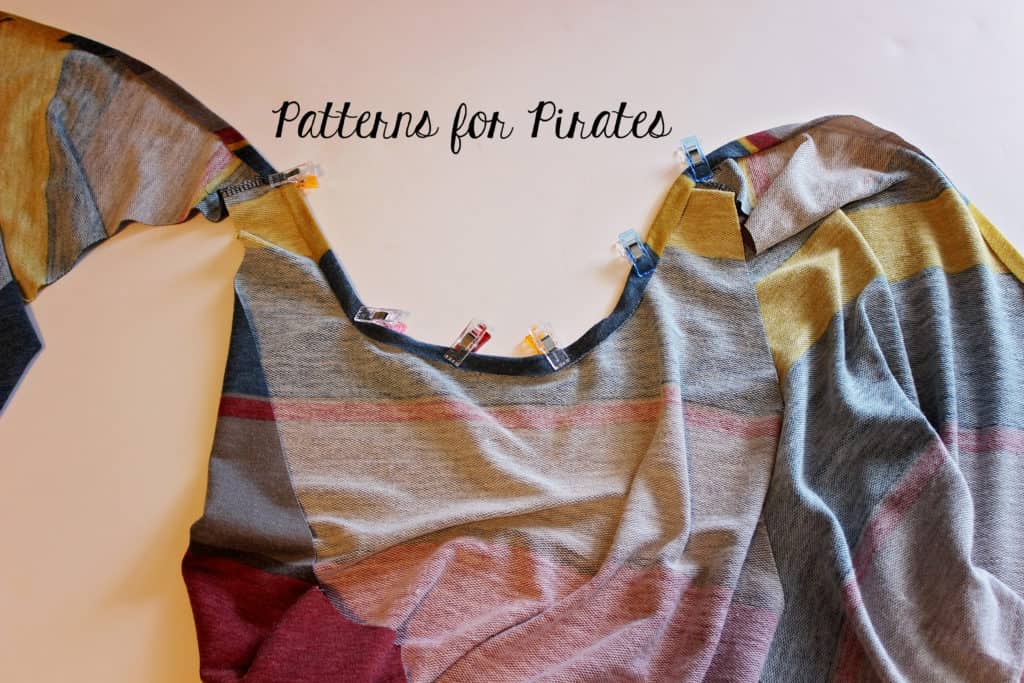
To demonstrate, I’ve added a facing to the neckline of the Brunch Blouse. After stitching together and clipping my seams, I turned the facing to the inside of the shirt and gave it a good pressing.

Look at that result!

Grab Those Pinking Shears

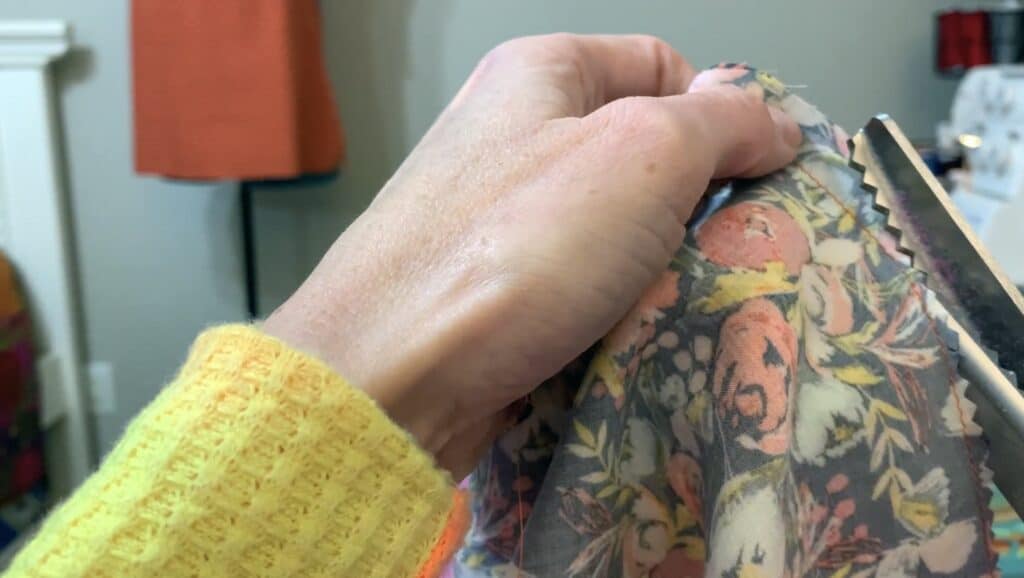
Pinking shears can pretty much do it all… they can reduce bulk and relieve tension in your curves. Even more, they stop fabric from fraying!

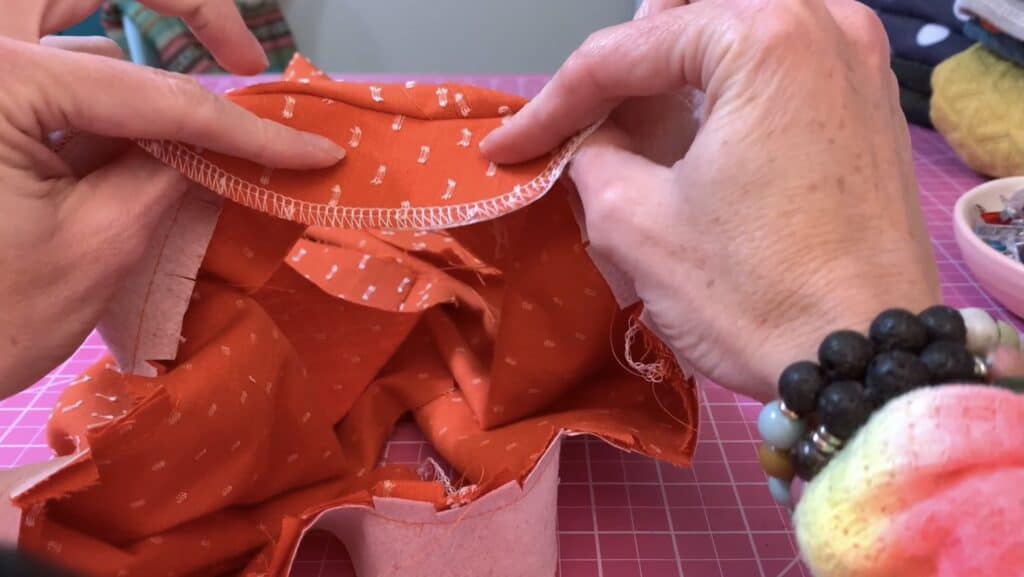
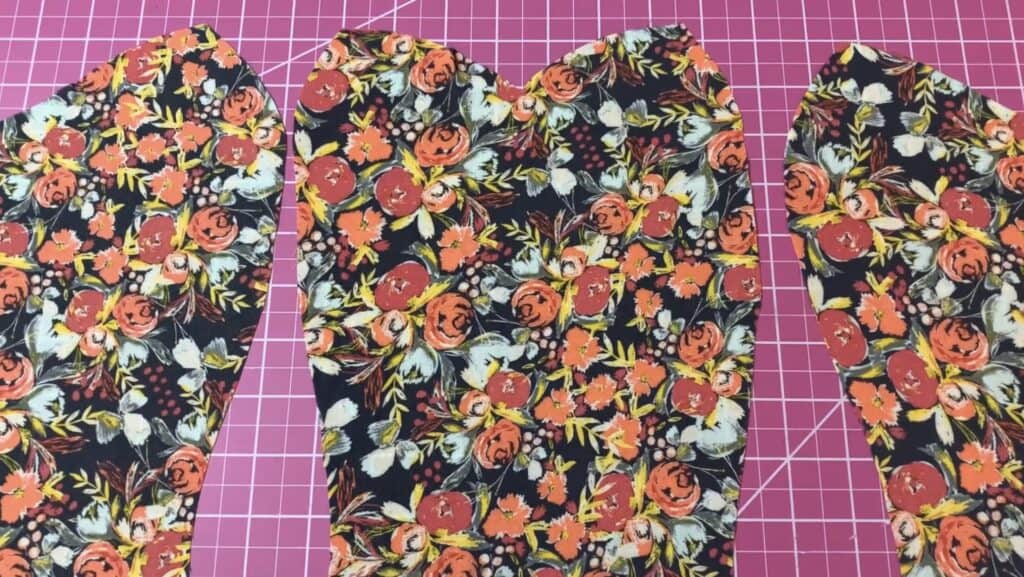
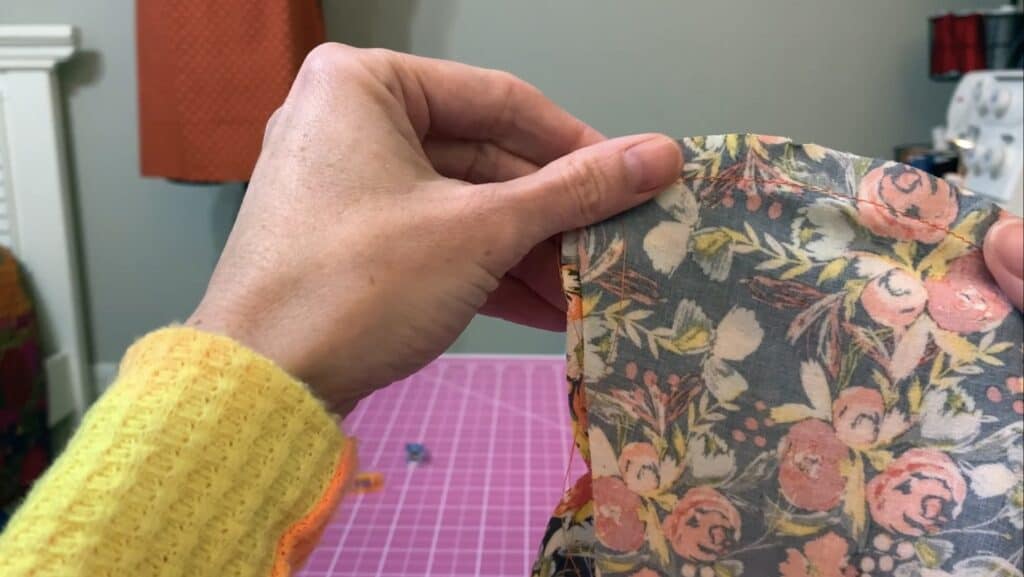
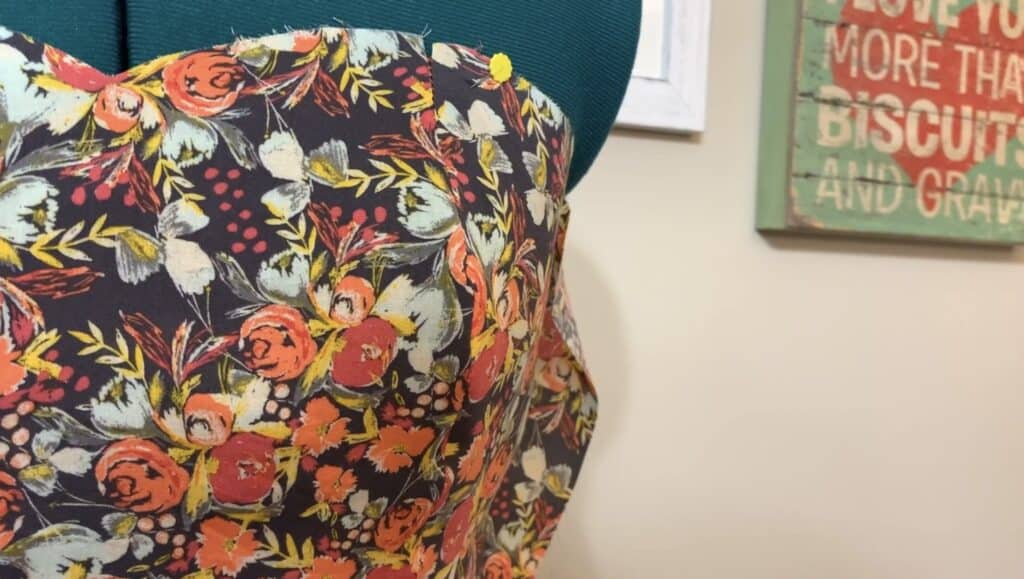
To demonstrate, I’ve stitched up the front bodice of the So Classic Sundress. This gorgeous pattern features princess seams. You definitely want to reduce the bulk in those princess seams that run right along the front of your bust!

After stitching my pieces together, I trimmed the seam allowance with pinking shears and pressed the seam open.

Here’s the result!

Your Serger is Magic

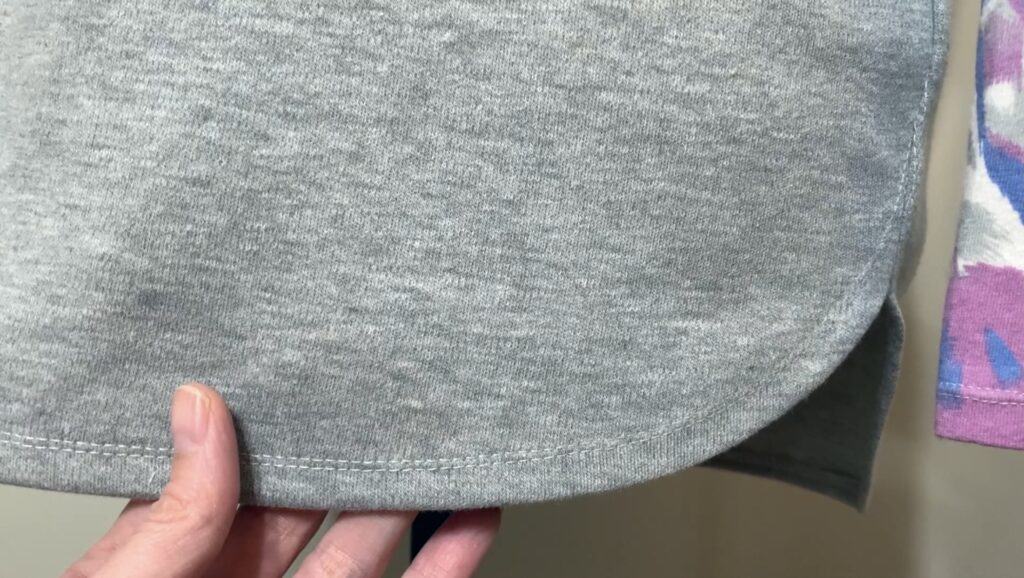
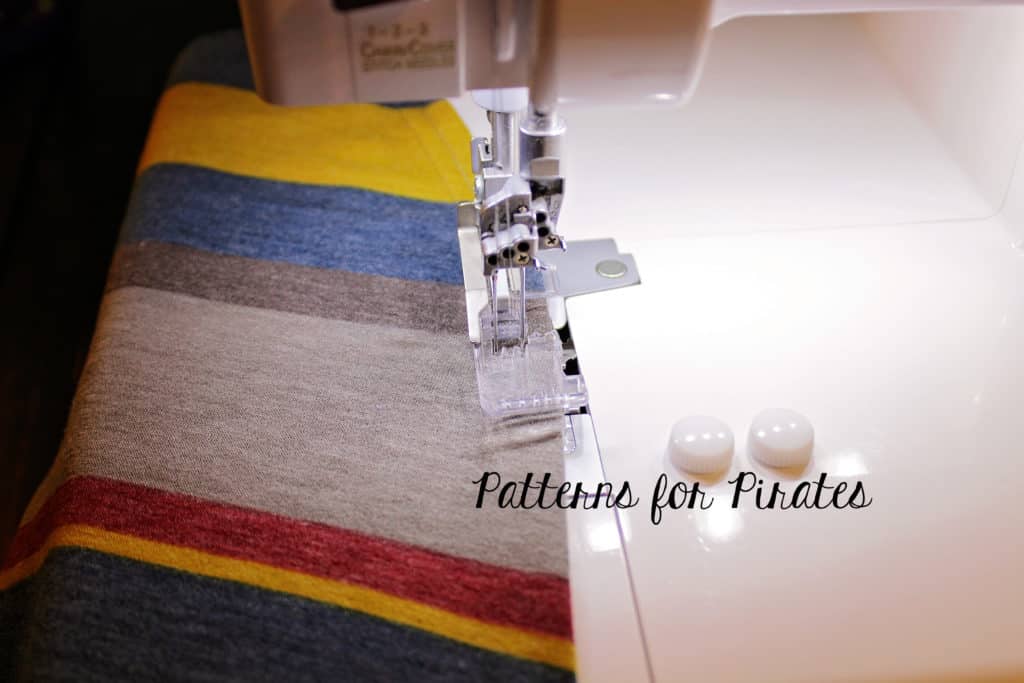
Once I learned how to gather on my serger, I wanted all the ruffles! It turns out that you can also make small adjustments that will help you to achieve the perfect curved hem on knits.

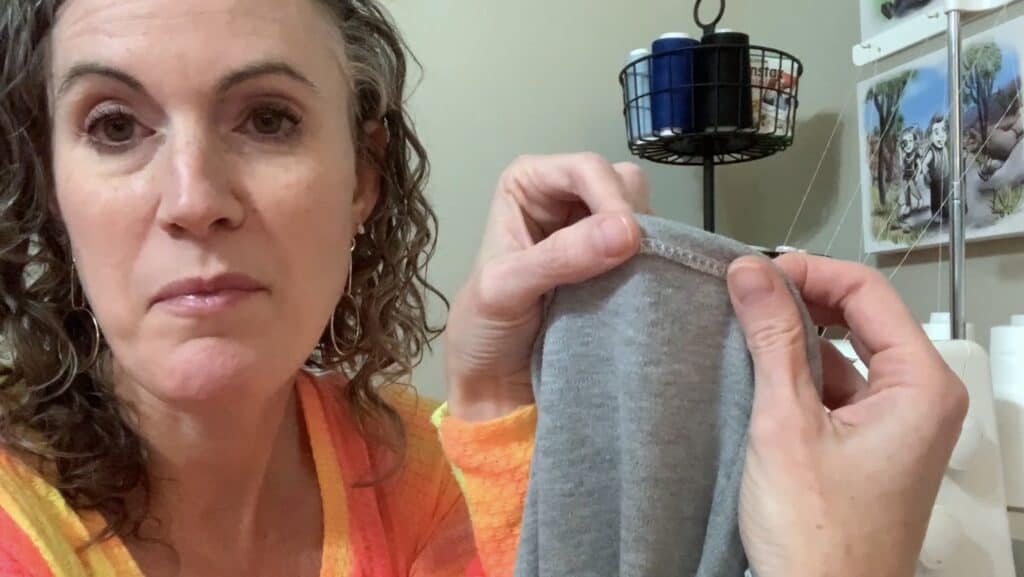
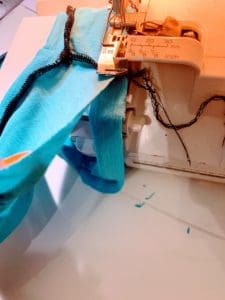
All you need to know… turn up that differential dial! You’ll want to test on a few scraps to determine how much to adjust the dial.

In this instance, tension is your friend! You want to create slight tension along the raw edge of your hem. That will cause the hem to naturally turn inward and help you to maintain that beautiful curved edge without fighting fabric folds. All you have to do is pin and stitch!

My fabric was a heavier knit so I adjust the differential feed all the way up. A lighter knit wouldn’t require the same adjustment.

Again, once I learned this trick, it changed my relationship with curves! I love it.

I hope you find these techniques helpful! Please drop questions in the comments below and join us in the Patterns for Pirates Facebook Group.

Happy sewing!
Filed Under: P4P University, Sewing Techniques, Sewing with Stretch, Knit Fabrics Leave a Comment

Twist Back Top Easy Hacks

September 20, 2019

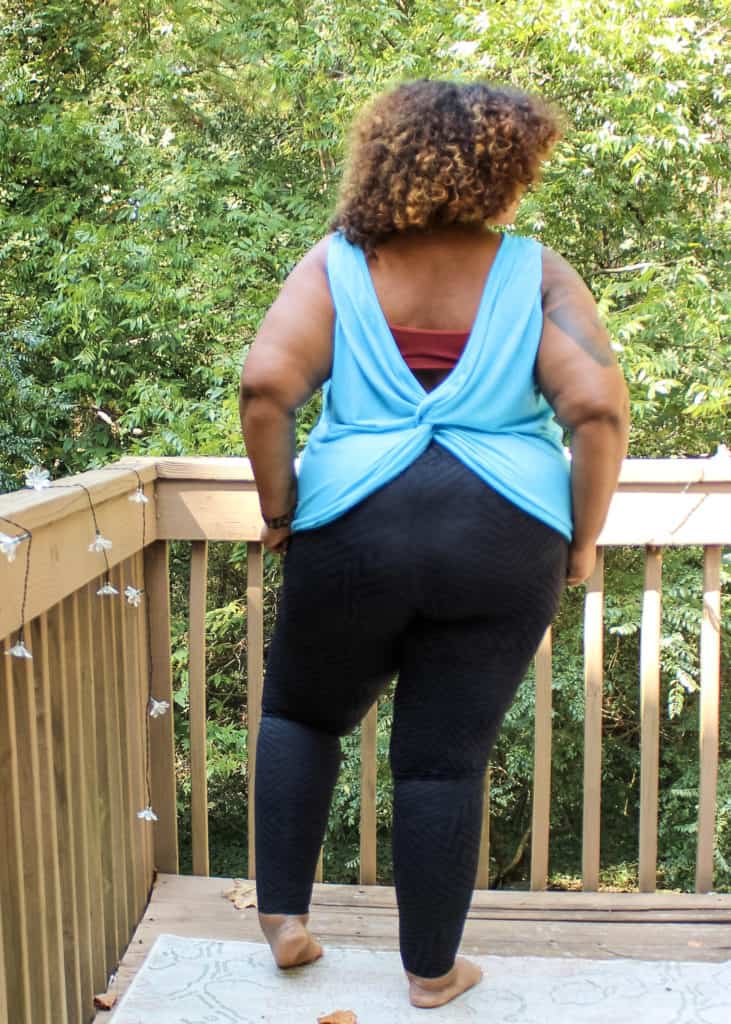
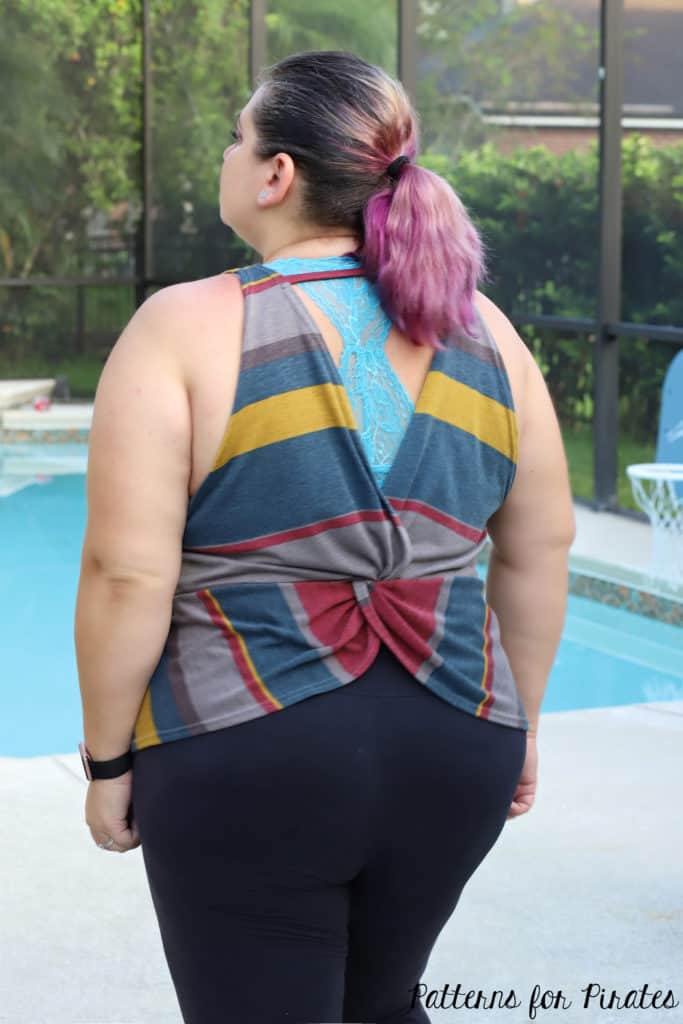
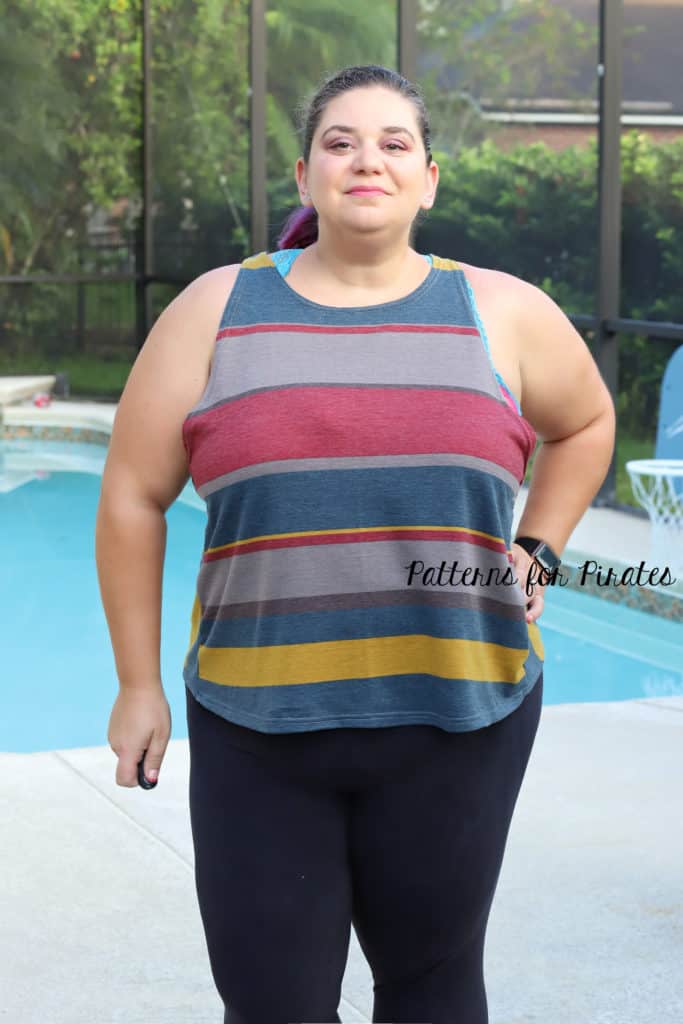
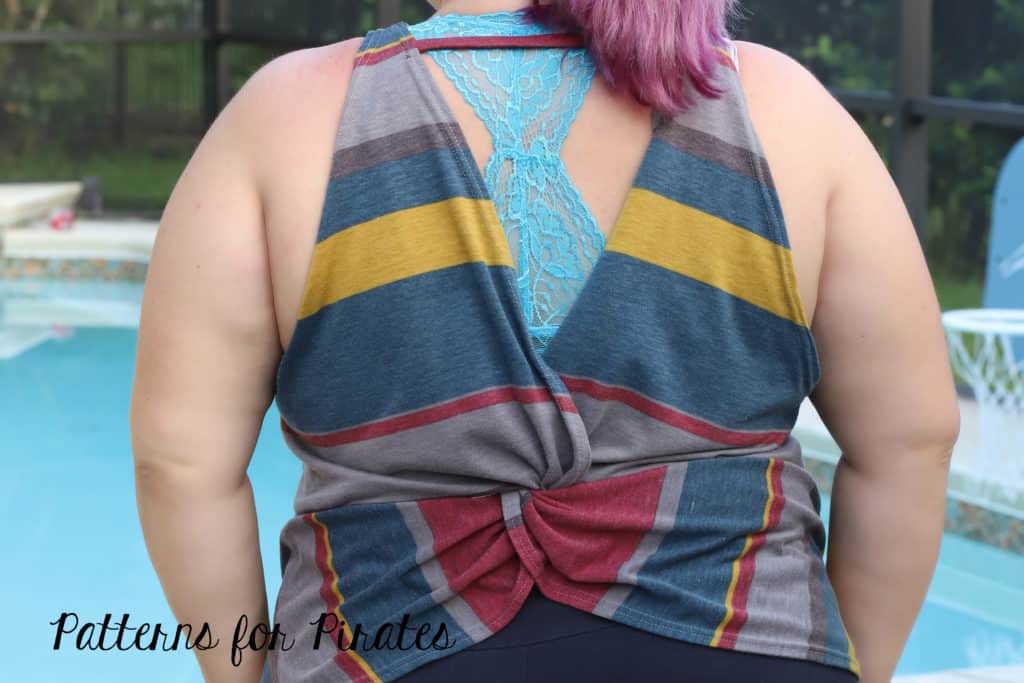
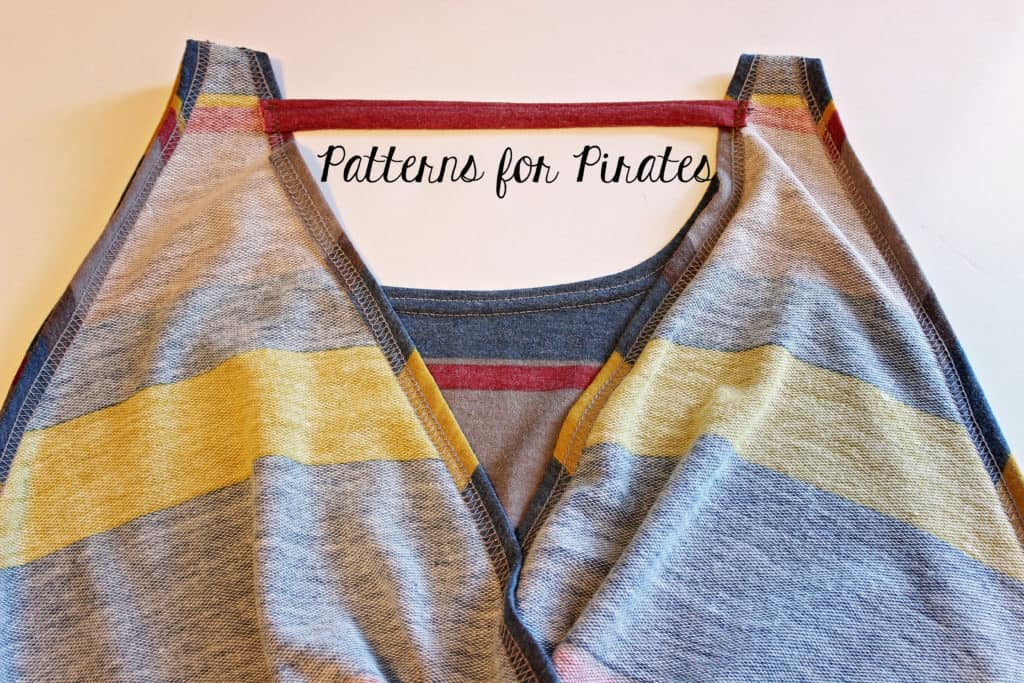
The Twist Back Top features a super fun back that inspired us to show you some easy hacks that will add some more options to the pattern. Let’ get started!
…..
Criss Cross Back Strap


Criss Cross Hack Twist Back

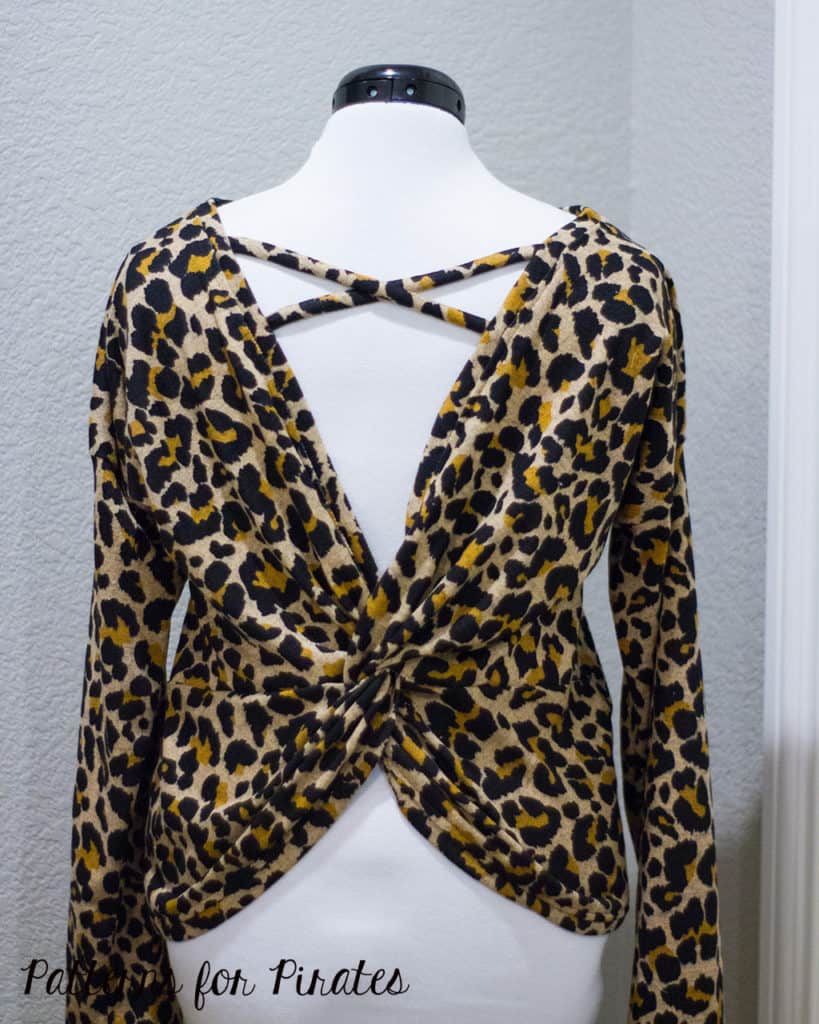
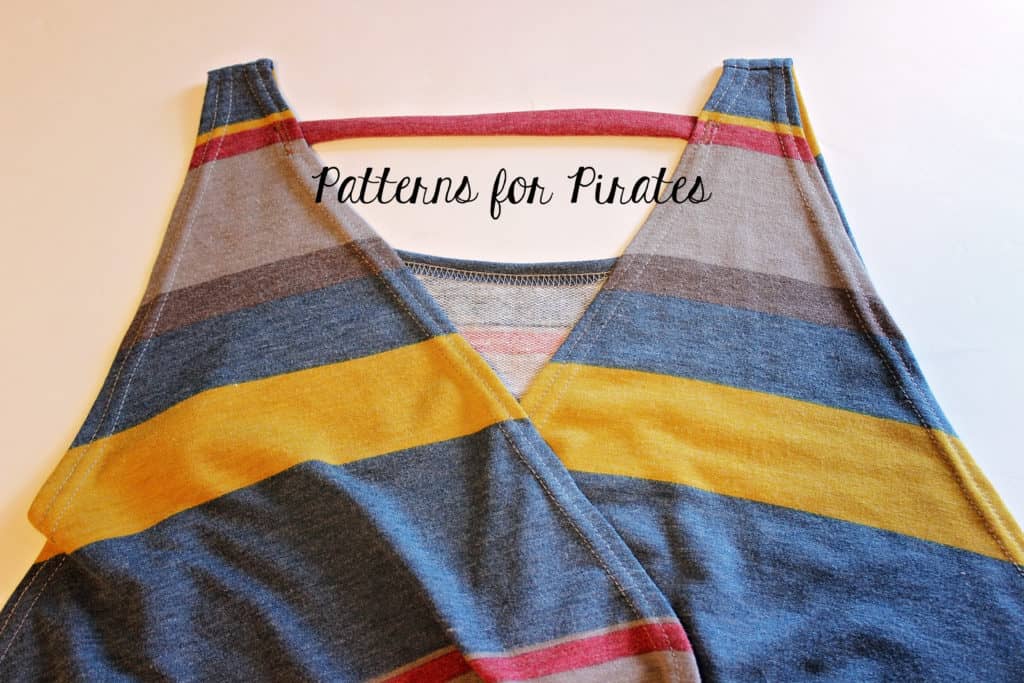
The new Twist Back top is so much fun to wear and style. While I love both the single strap and no strap options, adding a criss cross back strap is an easy and quick hack for another great look.

Begin by cutting and assembling your pattern according to the instructions for whichever sleeve length you choose. After your top is completely sewn together, take your Back Strap Pattern Piece and instead of cutting one, cut out two. I also like to add a little extra length here to play with while placing the straps. I added about an extra inch and a half to mine.

Criss Cross Hack
Criss Cross Hack

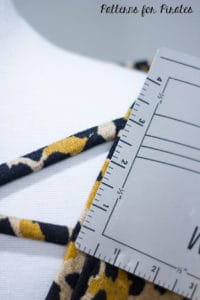
Sew the strap pieces and turn right sides out according to the pattern. Once you have two straps, begin placing them on your twist back top. I used the pattern’s back strap placement mark to place the top pieces of my criss-cross and moved around the straps until I liked how it looked. Be careful not to stretch your straps too much while placing, while also not having too much slack. You want the straps to lay flat while wearing. The best way to ensure the correct placement is to try on your top before sewing the straps in. I ended up moving mine around a little here and there before I was happy with the placement. In the end you can see my strap pieces are about 3 inches apart from each other.

Sew your straps in place and trim off any excess fabric. You now have a fun new criss cross back strap.

Shannon

…..
Bow Back


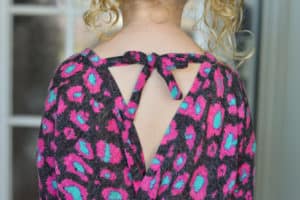
The Twist Back Top is already so much fun but if you want to add another little detail, I am here to show you how. Instead of the back shoulder strap, I added some ties to make a cute little bow and you can too with these simple steps!

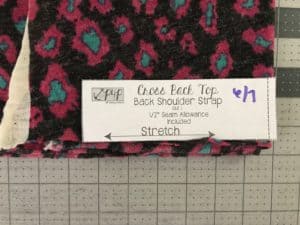
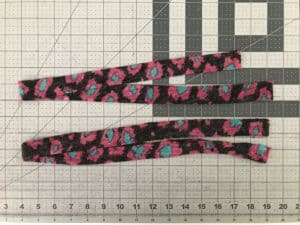
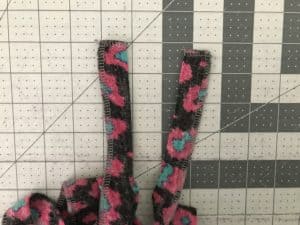
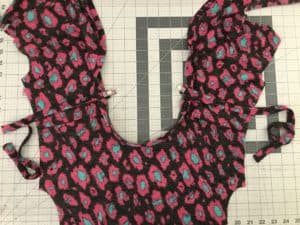
You will start off just as the pattern instructs, with cutting your pieces. The only difference will be when it’s time to cut that back shoulder strap. You can use any length desired to make them longer or shorter but I used the included pattern piece as a guide for the youth version and it worked out perfectly.Instead of cutting one piece, I folded my fabric in half and cut two shoulder strap pieces on the fold. This gave me two pieces that were both double the size of the pattern piece. For the youth size 6, my  ties ended up being 11.5″. (I shortened them from this photo)You then fold the straps in half, with right sides together, and sew along the long edge and ONE short edge. Turn your straps right side out and press. Note that using this method, your seam will be along one edge as opposed to the middle like the original back shoulder strap. 

Find your shoulder strap marks and attach one tie to each side at the markings. Before you sew on, it is a good idea to clip or pin them in place, and check the length of your ties. Once they are sewn in place, continue on as the pattern instructs and then you will have your adorable new top!

…..

Banded Tank


The muscle tank look may not be for everyone and we get that so I’m going to show you how to do a super simple banded hack–it’s unbelievably easy!

Instructions:

Print, cut and assemble the pattern just like the directions advise to.

When you get to the part about hemming the armcyce, stop!

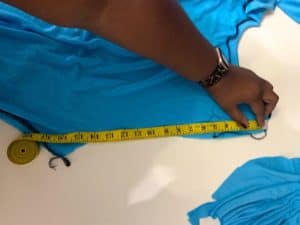
Measure the armcyce (front and back) and then multiply this number by 85%.

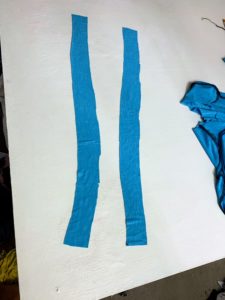
Cut bands from your fabric with a 2in height and whatever 85% of the armcyce is.

Add the bands to the arms and boom! You’re done!

Just that easy!

…..

Hemmed instead of banded


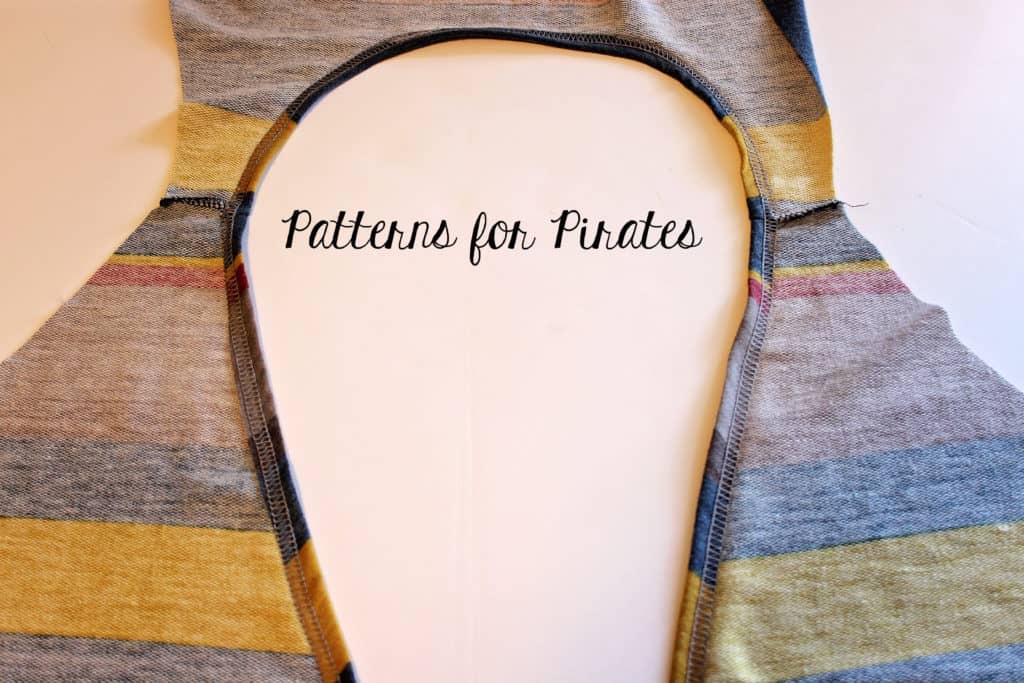
Last but not least I wanted to show how your Twist Back Top would look if you skipped the bands and simply hemmed the back and neckline. This is such an easy hack because it can be used for both tank and dolman and you do not need any new pieces.

Start by printing and cutting the pattern according to the style preference and sizes. I went with the tank option in a rayon french terry. Do not cut the two back band or the front neckline one. Mark the strap placement according to the pattern. For the mark, draw a line that is at least 3/4″ long.

Sew the shoulder seams. Press the back and neckline 1/2″. Optionally you can use pins or clips to hold it in place. For rayon french terry I found that I do not need pins along the back once pressed and steamed.

Using your coverstitch or a zig zag stitch (or twin needle) on your sewing machine hem along the pressed edge and iron it again.


All you have left to do is sew down the back strap using the markings you made earlier. I used a zig zag stitch for this step.


All done! All you have left to do is enjoy your new top and show it off.

Now that you have these additional options in your portofolio, start creating your unique Twist Back Top  and make sure to share them in the P4P Facebook group.

Filed Under: Pattern Hacks, Pattern Release, Uncategorized 1 Comment

SOS sal day 5 (leg inseam, side seam, hem)

May 19, 2019

Ahoy, matey! Today our project will start to take the shape of pants 😉 Whether you have opted for the skinny, straight, youth or adult option, you will be sewing the inseam and the side seam. The video below shows you how my preferred technique. I like to pin the front to the back at the inseam, the side seams and lastly sew them.

The pattern follows a 1/2″ seam allowance so if you are using your serger, remember to remove 1/4″ with the serger blade.

Hem the bottom of each leg by folding 1″ and stitching it with a STRETCH stitch. It is very important that you do use either a zig zag, a triple stretch or a coverstitch when sewing the hem. There will be tension and stretching applied to it when putting the SOS knit pants on and wearing them so a straight stitch may pop.

Take a look over the Day 5 video below and when you complete your step, post a picture of your progress in the comments of day 5 photo of the SOS sew along album.

SOS sew along | Day 1 – Print and cut pattern

SOS sew along | Day 2 – Cut fabric

SOS sew along | Day 3 – Back: pocket, yoke, inseam

SOS sew along | Day 4 – Front: pocket, inseam

SOS sew along | Day 5 – Leg inseam, side seam, hem

SOS sew along | Day 6 – Waistband

SOS sew along | Day 7 – Winners announcement

Filed Under: Frequently Asked Questions, Sew-A-Long Leave a Comment

5 TIPS for successfully hemming knits

July 28, 2016

IMG_9357

We have seen a lot of questions in the group about getting the perfect hem on your knit outfits. Most hems are sewn perpendicular to the grain and on the bias in the case of curved hems…this makes hemming sometimes appear stretched out, puckery or wavy.

I needed to sew a shirt to showcase this fabric so the first pattern that came to mind is the Women’s Henley. The only modification I did was to shorten the neckline placket so it would not interfere with the design of the fabric.listing pictures

I will give you my 5 best tips for avoiding stretched out hems (especially curved hems) and getting the perfect finish.

1. You IRON is your best friend!

Always have your iron hot and with plenty of water in the steamer. Iron your hem before your sew it, it will make hemming easier! This process is called a memory hem. Be sure to follow your pattern’s directions for the amount of fabric that needs to be folded. Pressing and steaming the seams once sewn will also remove the puckering and waviness back and make them look beautifully finished. Ironing and steaming your garment every step of the way is one of the most important parts of sewing. While steaming your hems may not fix all issues it will definitely fix most of them.

IMG_9203

Before pressing and removing excess fabric.

IMG_9210

After a good steam and press.

2. CLIPS and PINS galore!

When hemming, I clip/pin my fold over fabric almost every two inches. Having a stable seam will make sewing it a breeze. Whether you are using your coverstitch machine or your sewing machine having your fabric pinned every inch and a half or so will make your hemming experience much more pleasant. Sewing clips vs. pins is a matter of personal preference. I like sewing clips best because I find them to help me secure my hems faster than pinning used to. So, are you a “pin-er” or a “clip-ser”? 🙂 – insert pictures of the clipped hem

IMG_9197-1

3. HEMMING TAPE is magical!

Stitch Witchery or Easy Knit Tape will become your go to notions for hemming. Stitch Witchery is great for stabilizing and fusing together knit fabric. Simply lay the tape inside the memory hem and press it. This will not only fuse it but it will also give it more stability, making sewing so much smoother and hassle free. It is very important to make sure that the hemming tape you use it’s sew-able. Some no-sew tapes may leave a gooey residue that will damage your needles. Insert photo of hemming tape and photo of ironing it.

I also like to spray Best Press when I press my hems. The starch in it makes the hem more stable so it becomes easier to sew.

IMG_9193-1

Hemming tape can be transparent or opaque.

IMG_9196-1

4. Length of the STITCH and TENSION matters!

Whether you are using your sewing machine or your coverstitch machine, you must remember to adjust the stitch length and tension according to the type of fabric you use. Some coverstitch machines will adjust the tension automatically but most of them will not, so be sure to test your hemming on a scrap piece of fabric. It’s imperative that the scrap fabric you use is the same as your project. Usually hemming knits will require you to lower the tension and length the stitch. Some machines will prefer a longer stitch, some will work great with just a 3.0 length.

IMG_9199-1

If your machine will allow you to set up the stitching speed, do it!

IMG_9207-1

I tend to coverstitch at about 1/2 to 3/4 inches away from the fold so I remove the excess fabric with my applique scissors. You can use your regular scissors too, just be careful not to snip your stitches.

5. Last but not least, have PATIENCE! Go slow!

We all know that rush feeling we get when reach the hemming part of the project…one more step and then it’s ready!! Well, last thing you want is for this last step to ruin your hard work. Take a little more time and go slowly when hemming. Coverstitch machines sew pretty fast so remember to slow down and guide your fabric through.

IMG_9339-1

IMG_9211 IMG_9213-1

I hope you find my tips helpful and that you will tackle your next P4P project with more confidence. Don’t forget to post your creations in the group. Sew like a Pirate!

Filed Under: P4P University, Sewing Techniques, Sewing with Stretch, Knit Fabrics, Uncategorized 8 Comments

Featured Patterns

  • Mae Top - Bundle Mae Top - Bundle $20.00
  • Mae Bottom - Bundle Mae Bottom - Bundle $20.00
  • Loosey Goosey - Bundle Loosey Goosey - Bundle $20.00
  • Bacall Bodysuit Bacall Bodysuit $12.00
  • Privacy Policy
  • Refund Policy
  • Affliliate Program
  • Contact Us
  • About

Copyright © 2025 Patterns for Pirates

Copyright © 2025 · Genesis Framework · WordPress · Log in