Go To Jacket :: New Pattern Releases!
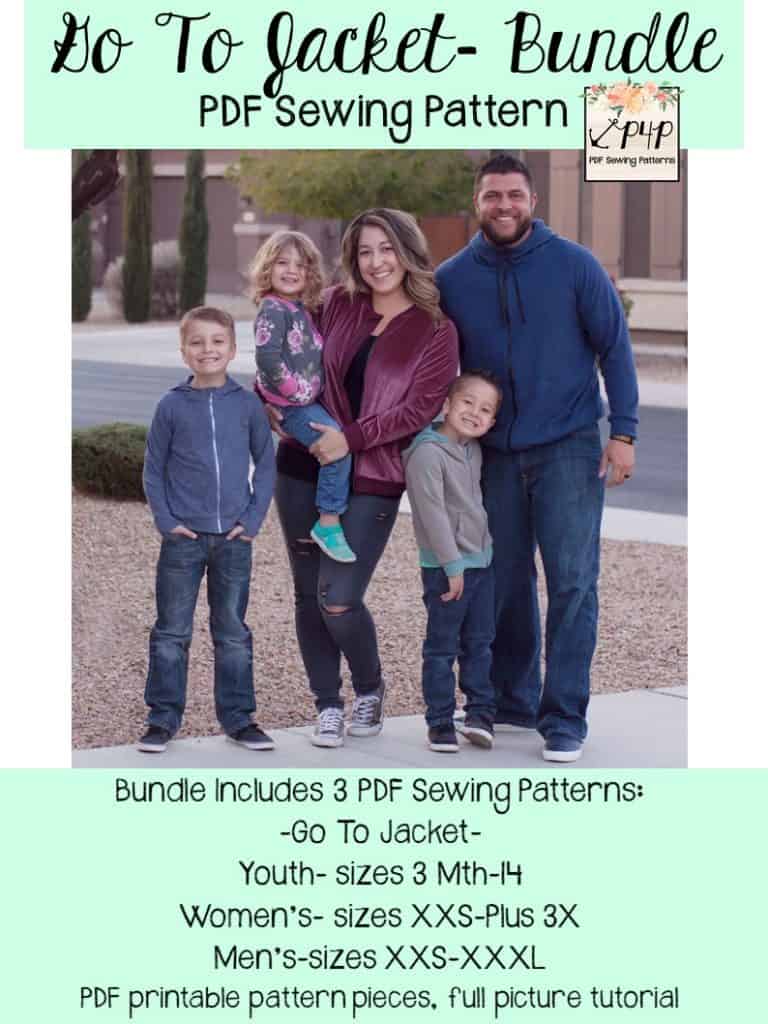
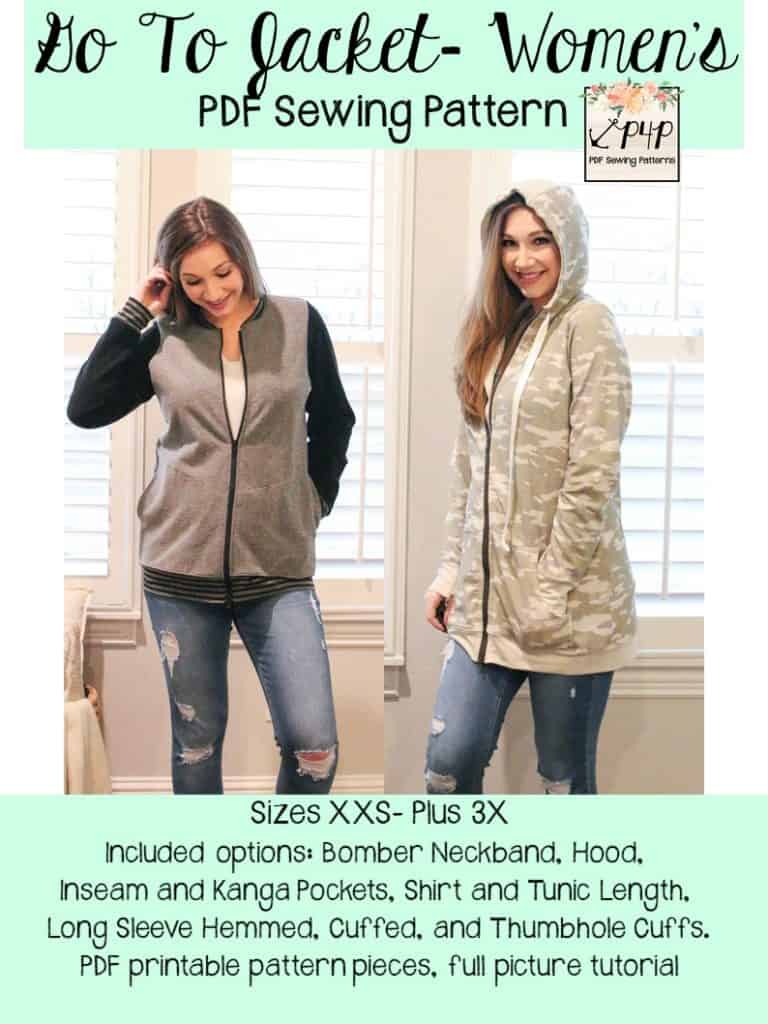
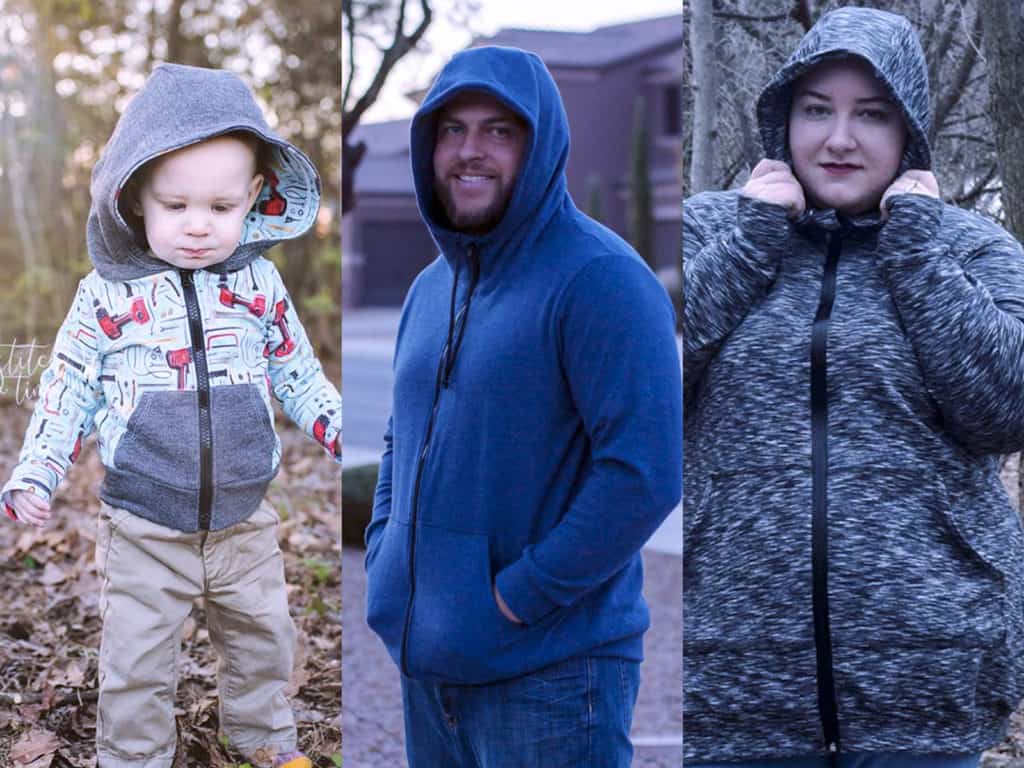
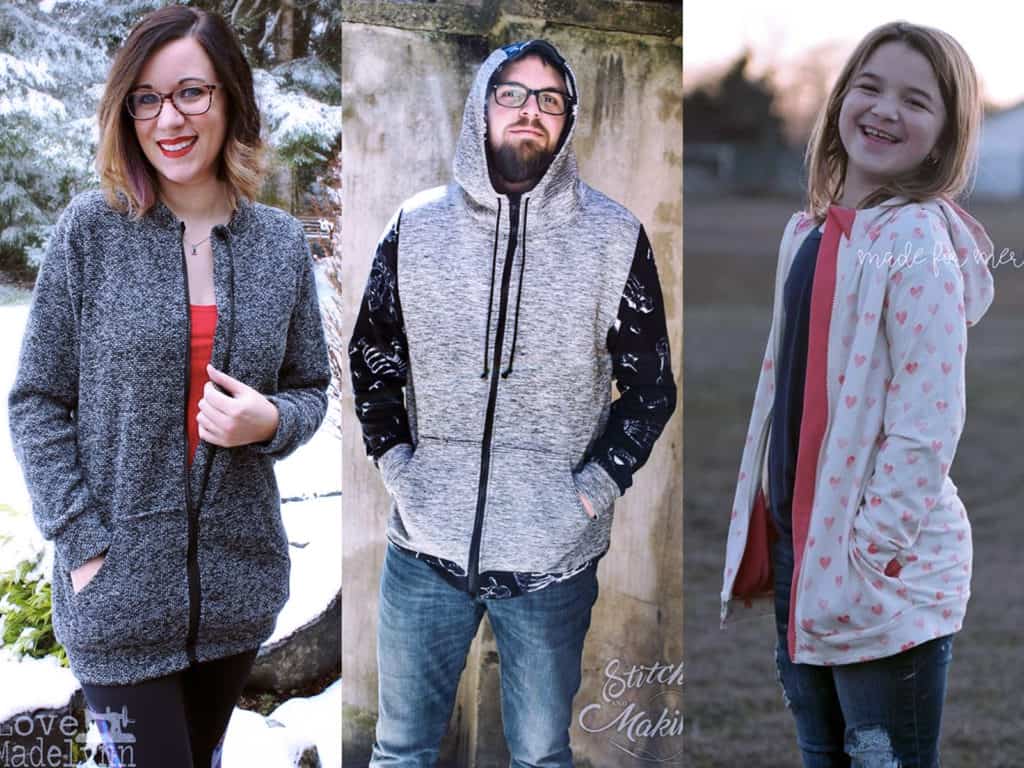
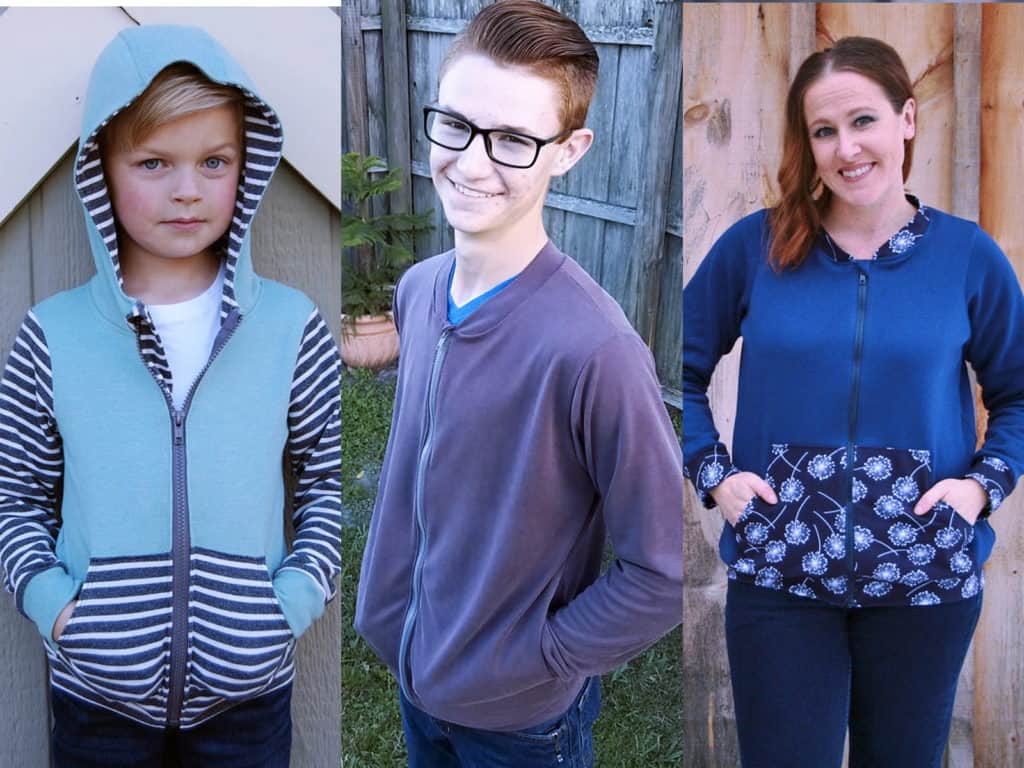
Stop the presses! P4P is releasing THREE new patterns today and we couldn’t be more excited! The Go To Jacket is available in enough sizes that you can make one for every member of your family. Because we made it for Men, Women and Kids!
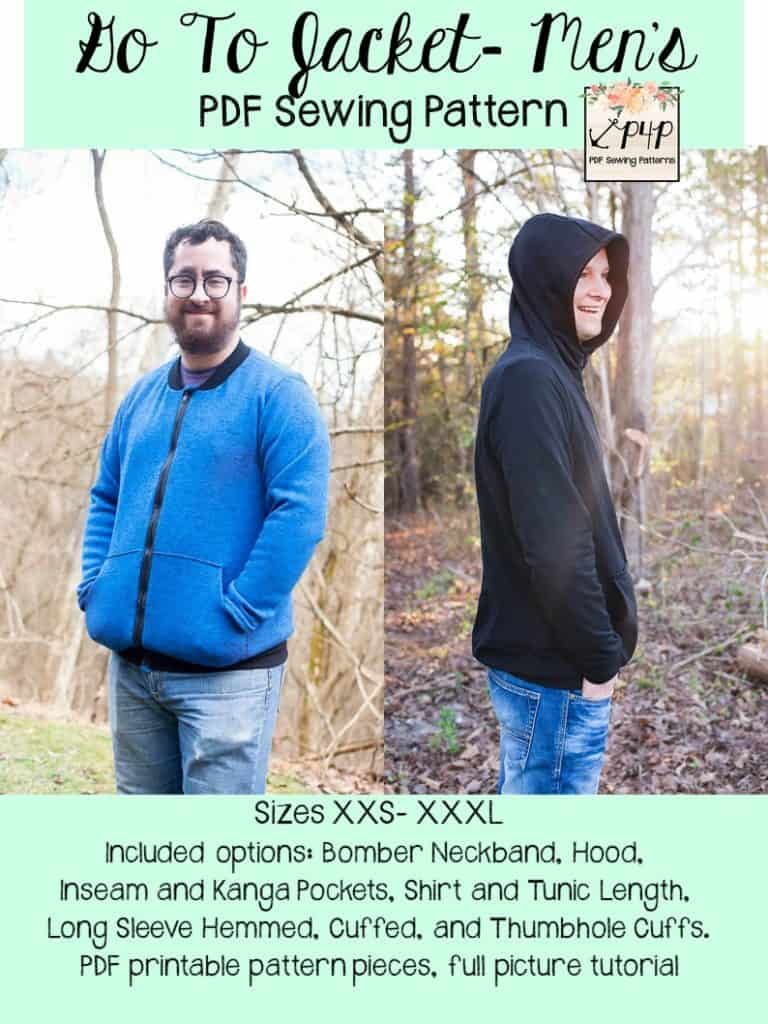
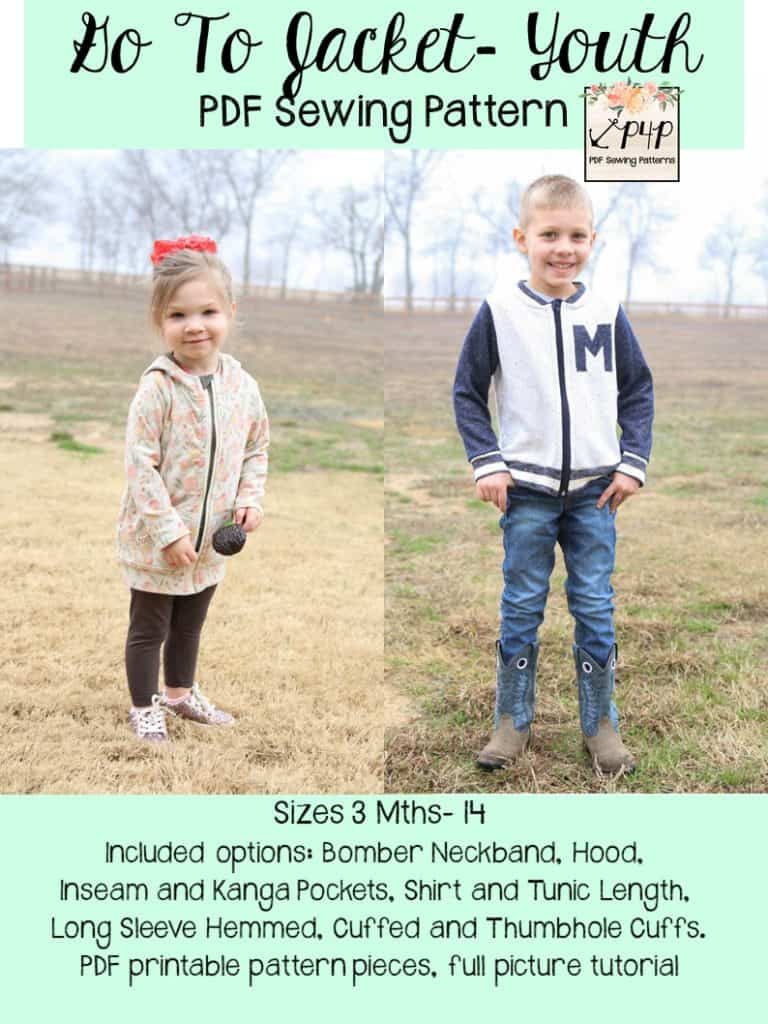
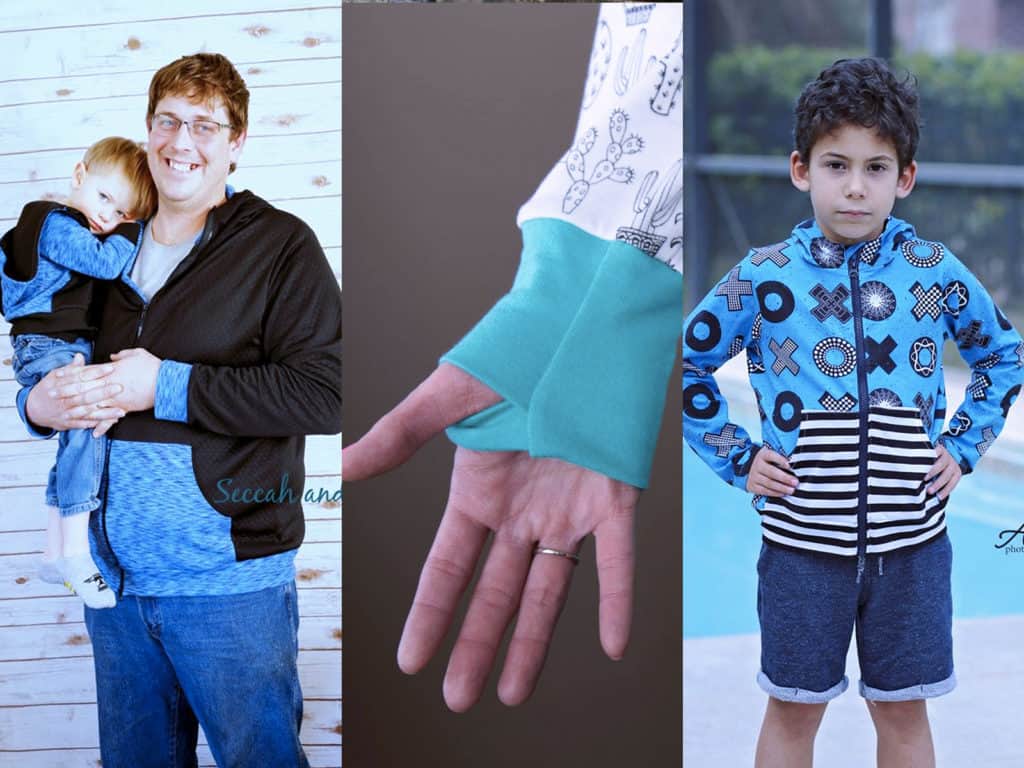
Just like the rest of our patterns, we’ve packed the Go To Jackets full of as many options as we could! It is drafted for women (sizes XXS – Plus 3X), men (sizes XXS – XXXL) and youth (3M – 14) and can be made into a bomber style, or finished with a 3-piece hood. There are two pocket options, two length options and three different sleeve hem types.
The Go To Jacket patterns were drafted for knit fabrics, which can range for lightweight fabrics to something on the heavier side, like fleece.
Don’t be scared of those zippers!! We have a couple very helpful links to walk you through them in the tutorial- you’ll be zipping ALL THE THINGS soon 😉
**Want to learn more about how to measure yourself for this pattern? We’ve got you covered with an in-depth blog HERE. And in case you’re new to Patterns for Pirates and PDF patterns in general, we have a great blog full of new user tips HERE to help you get started! And, as with all of our current releases and updates, the pdfs now include our layers feature and can be found in Letter, A4 and A0 sizes.
Let’s see some options in action, shall we?
Bomber Style
Hooded
Tunic + Shirt Lengths
Cuffed / Hemmed / Thumbhole Sleeves
Kangaroo + Inseam Pockets
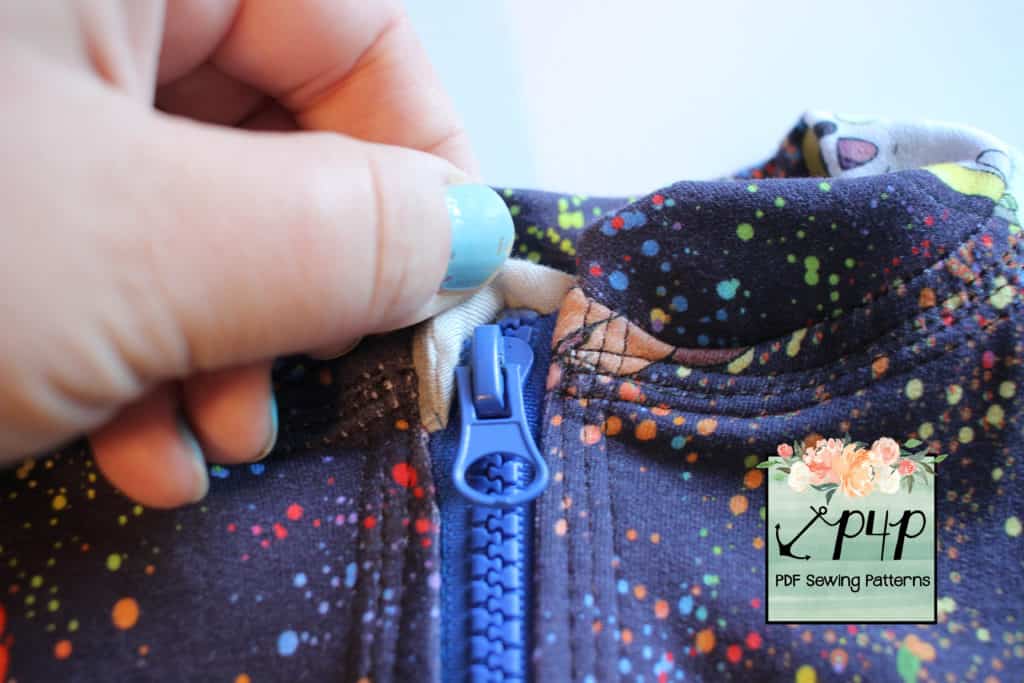
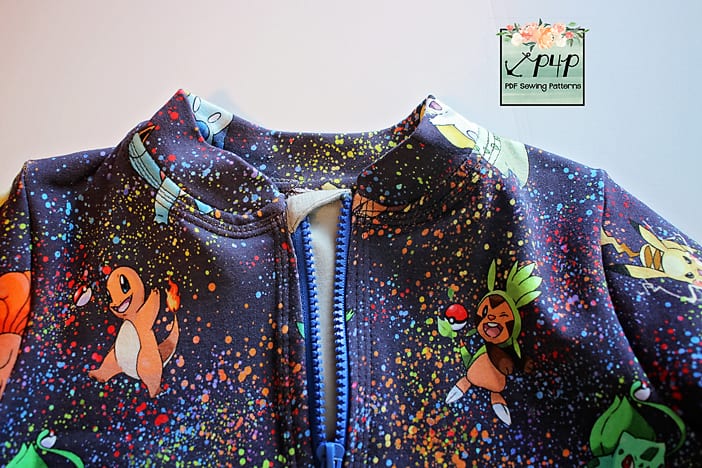
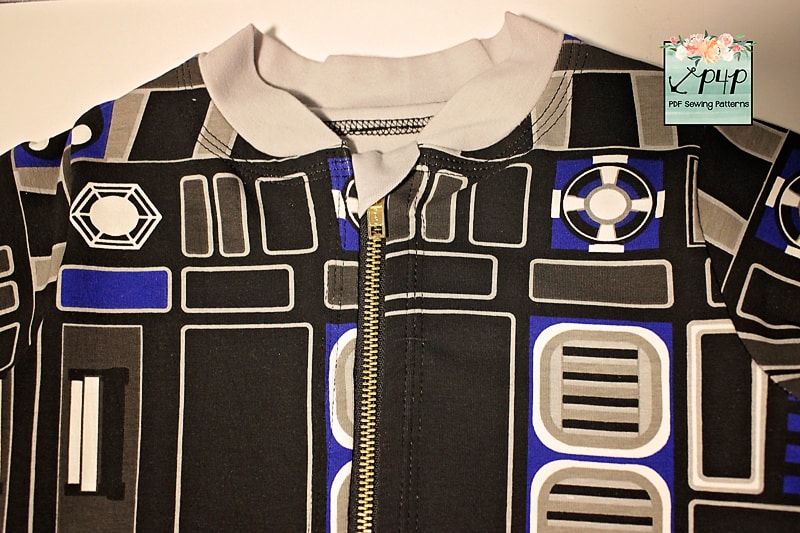
The jacket also boats a zipper/chin guard so your little one can zip up themselves and not worry about getting their little chins rubbed by the zipper all day! We also include instructions how to finish the neckline and zipper with a clean nice finish on the inside for extra gorgeous-ness!
Ready to grab your patterns? You won’t regret it!
Go To Men’s | Go To Women’s | Go To Youth | Go To Bundle
Need more convincing? Just take a look at this pattern on all of the amazing shapes and sizes of our testers, and get a look at more examples of all the options in our albums in the P4P Facebook group! Men’s Album / Women’s Album / Youth Album
The sale price will last through March 8 (11:59 PM US Central time zone) so grab it while you can at the introductory price!
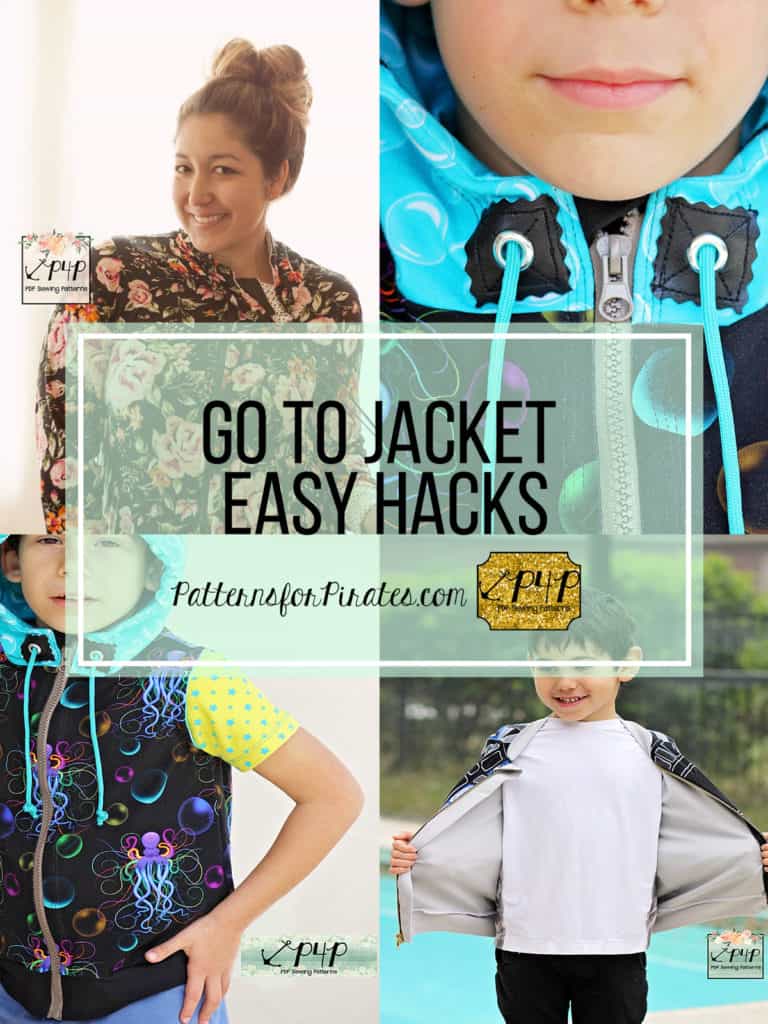
And if that wasn’t enough options, make sure to check out the hacks post to help take your patterns even further. Also head over to the P4P University post to learn all about shortening zippers for your Go To Jackets!
Happy Sewing, friends!
How to shorten zippers
Ahoy pirates! Today on the blog I wanted to show you how to shorten different style zippers. With the new Go-To Jacket patterns releasing, you will be playing around with various size zippers so I find that it’s easier to just stock up on longer zippers (30-36″) and then shorten them based on your needs.
*Plastic separating zippers
Let’s talk about plastic separating zippers first. They are my favorite zipper style for kids and women casual wear. And shortening them is a peace of cake. There’s no need for any fancy tool or muscles 😉
Simply grab a pair of scissors that you do NOT use to cut fabric, a measuring tape and a lighter. Measure the length of the zipper you need for your jacket, mark it on both sides of the separating zipper. Move the zipper pull down and cut the desired length. Follow the instructions I give you in the video below to create a “zipper stop”.
Note: since you’re working with an open flame (if you don’t have a hot knife) please be extra cautious and avoid having your little ones “help out” 🙂
TIP: Always measure 3 times before cutting the zipper, just to be sure.
*Metal Separating Zippers
The other separating zipper you may use for hoodies or jackets is a metal zipper. Walmart always carries them so, on a pinch, it’s a good alternative for plastic zippers.
Shortening a metal zipper is more time consuming and it requires a little bit of elbow grease and more tools but it’s totally doable. Just grab those non fabric scissors, a measuring tape and some long nose pliers and watch the video below.
TIP: Mark on both sides of the zipper where the waistband meets the bodice, the pockets and the hood. This will make it a lot easier to make sure that everything matches when you zip up the jacket.
*All purpose zippers
If you are making a Wiggle dress and you need to shorten the all purpose zipper you are using you will only need your scissors, a measuring tape and some thread. Simply mark on the BOTTOM of the zipper (not the top as you did for separating zippers) where you would like for the zipper pull to stop.
Sew by hand a zipper stop at the mark you just made. Simply sew back on forth over the zipper teeth a few times. You can certainly use your sewing machine for this step but I find it easier to just hand sew the thread zipper stop. Cut the zipper 1″ below the thread zipper stop you just created and seal your zipper ribbon with a lighter. Optionally, remove the plastic teeth below the thread zipper stop. Tadah! You have shortened your AP zipper in minutes.
Now that you have shortening zippers all figured out, go and sew all the Go To Jackets and make sure to post them in the Patterns for Pirates group!
Carefree with added Button
I’ve seen a lot of draped front cardigans with the big wooden buttons on Pinterest and in the Boutiques…and of course I thought, “I can do that!” So the Carefree Cardigan Big Button Modification was born!
The Carefree Cardigan is perfect for the look.
I choose the neckband only option, cuffed long sleeve, and choose to leave the front and bottom raw.
I’ve been making a ton of Carefrees after Baby Girl made her arrival… it is such a nice baby wearing cardigan that I feel cute in and can wrap us both up in when it’s windy or cold. I can also use it nursing her so easily without worrying about bringing another cover or getting anything on or ready when she’s ready to nurse! So, I thought I’d make TWO buttonhole placements… one for normal wear that just pulls the cardigan closed at the neckline… and a second for when I’m wearing Baby Girl and need the neckline open much more.

I placed my button down a bit away from my neck, because I happen to be one of those people who can’t stand anything tight up against their neck (you will never see a turtle neck from this designer ;)).
So now I needed to create the buttonholes, which is a bit different then usual because I wanted the GIANT buttons that are so popular right now and my sewing machine can’t fit a button near that big on my automatic buttonhole foot. SOOOO, I made my own buttonhole with 2 different size zigzag stitches.
First I marked my button placement and how big I need the buttonhole to be.
Then I sewed a very narrow rectangle that would be my buttonhole. I turned my zigzag length down very low to 1, so that it was a tight stitch.
For the top and bottom of my rectangle I used a wide 5 zigzag and for the sides I used a narrow 2. I simple freehanded it.
I used matching navy thread, so I knew if it wasn’t exactly perfect that no one would be able to see. Actually, the thread matched so close it was REALLY difficult to get a picture of the buttonhole!
Then I used my seam ripper to very carefully rip a line inside the narrow rectangle/buttonhole.
I created a second buttonhole for my baby wearing, looser option.
Wa-lah! Now I have a great on trend cardigan that was quick and easy that I can button up with or without Baby Girl! 🙂
