Patterns for Pirates

P4P stylish, modern, wearable patterns

  • Home
  • Blog
    • Frequently Asked Questions
    • Pattern Releases
      • Free Patterns
    • P4P University
      • Fitting
      • Sewing with Stretch, Knit Fabrics
      • Sewing with Woven Fabrics
      • Sewing Machines
    • Sew-A-Longs
    • Fabric for Pirates
    • Pattern Hacks
    • Announcement
      • Blog Tours
      • Contest/Giveaway
  • Shop
  • Bundle Discounts
  • Flash Friday
  • Gift Cards
  • My Account
  • Cart

Janet Jeans Easy Hacks

February 13, 2024

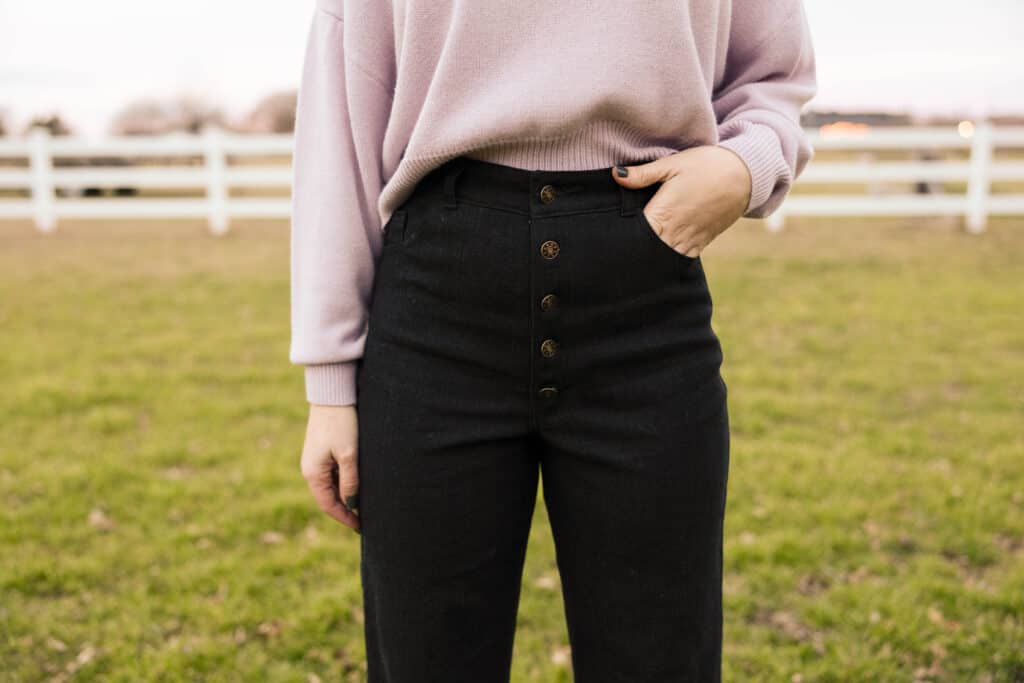
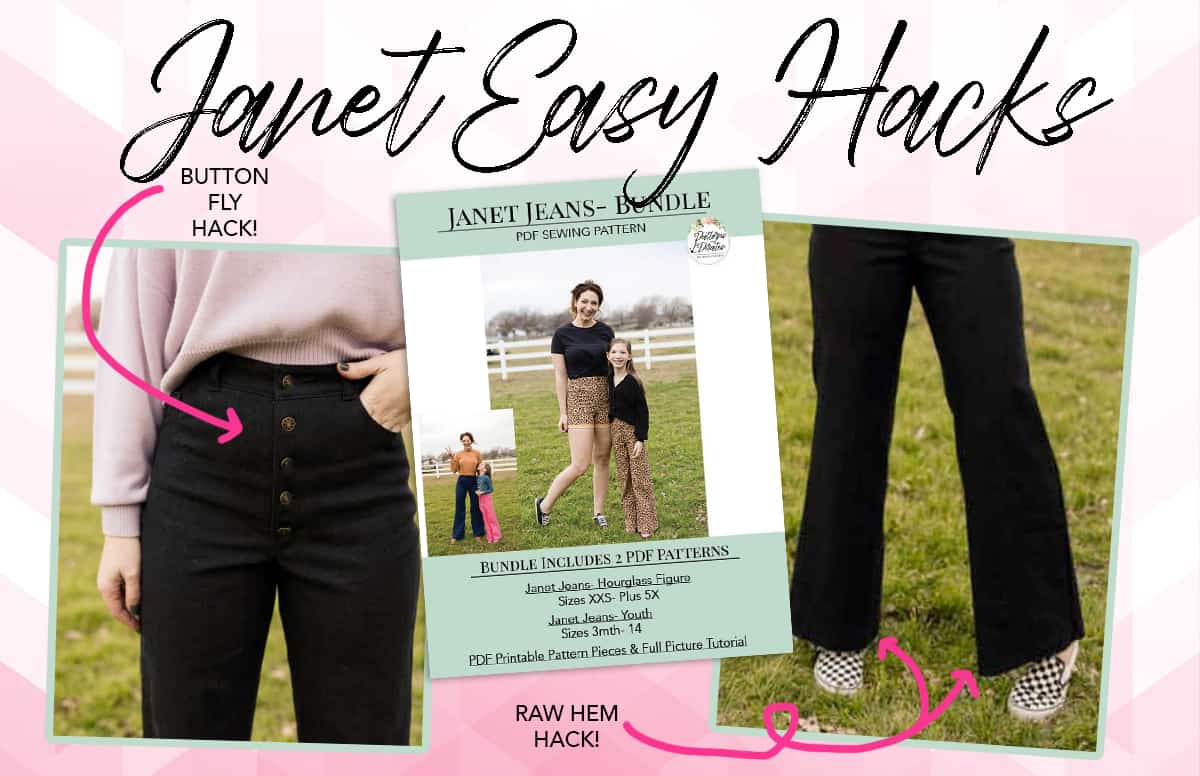
You didn’t think we we would release a jeans pattern without including an option for the trendy button fly, did you? Such a fun way to add some details and vintage flare to your new Janet Jeans.

You’ll need our brand new pattern to complete these fun sewing hacks: Janet Jeans / Janet Jeans – Youth / Janet Jeans Bundle

Button Fly

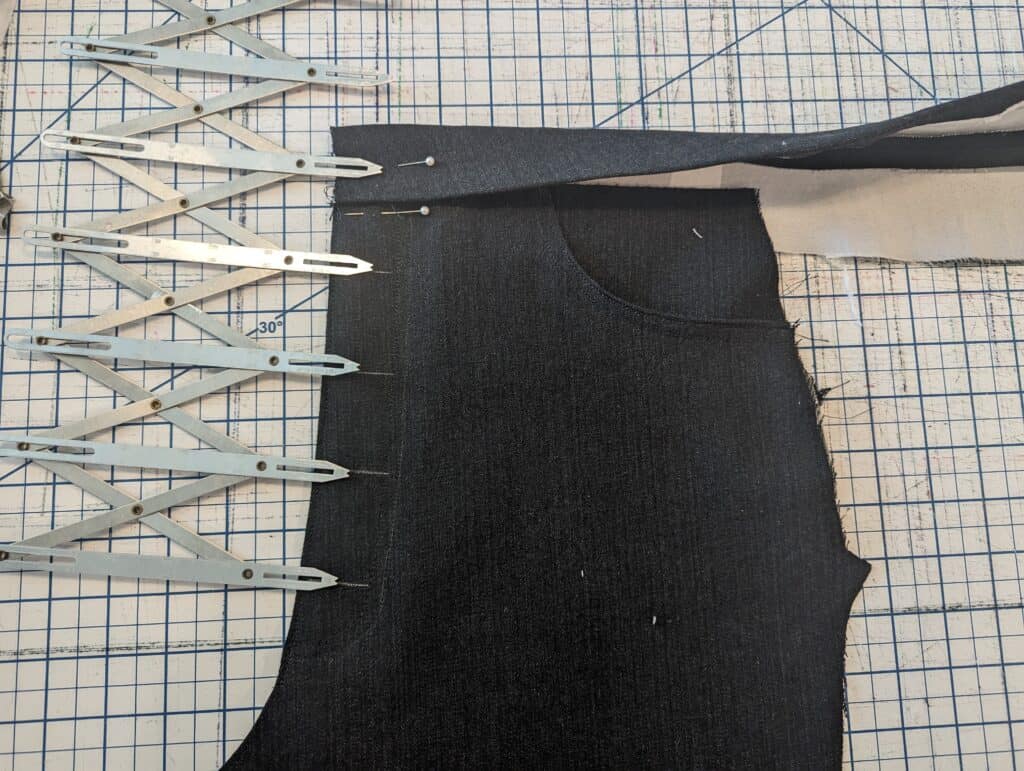
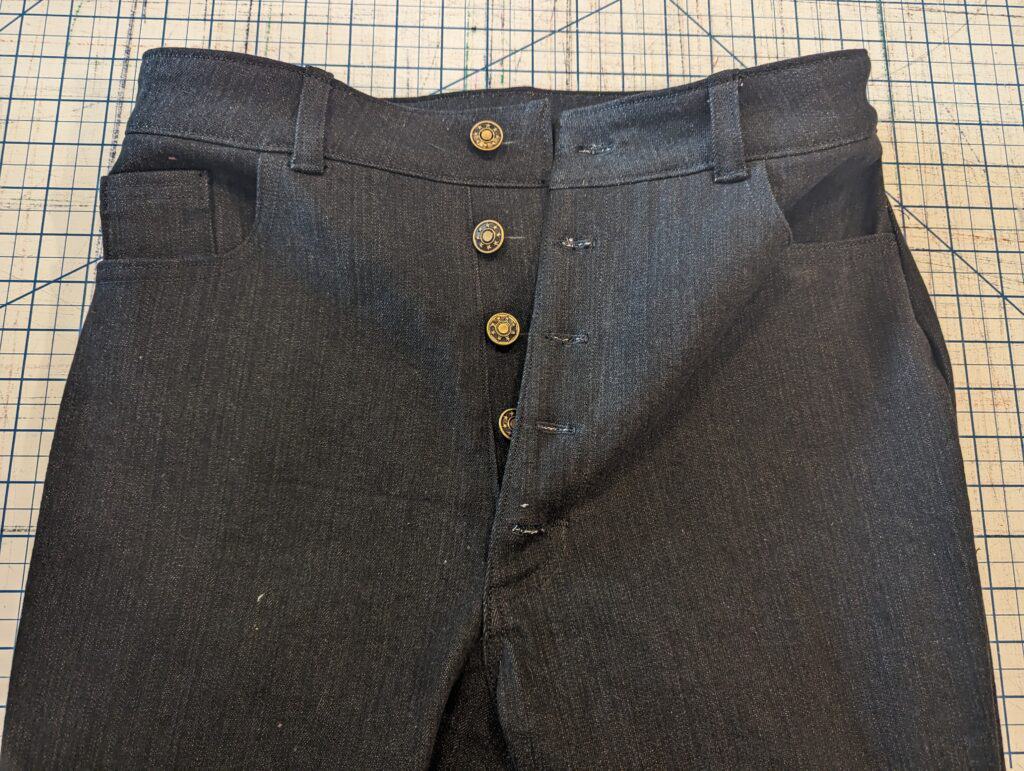
Start by creating the left and right front pieces, just skipping any mention of the zipper.  The waistband is needed so you can add the button markings and space them evenly.  Fold the bottom and top raw edges of the waistband and pin it in place. You DO NOT need to sew the waistband on, just pin it. Using your favorite button hole spacing tool (I like the Expanding Sewing Gauge Button Guide *aff link) or a ruler, mark the button hole location.

Make sure you center the waistband button as shown below. I like adding 5 buttons to the Janet Jeans, which is the average for a button fly.  You might need only 4 if you’re removing quite a bit of length from the rise though.

Tip: do not space the buttons too close to each other as they will make buttoning more difficult. You also don’t want them too far or they might gap open. 

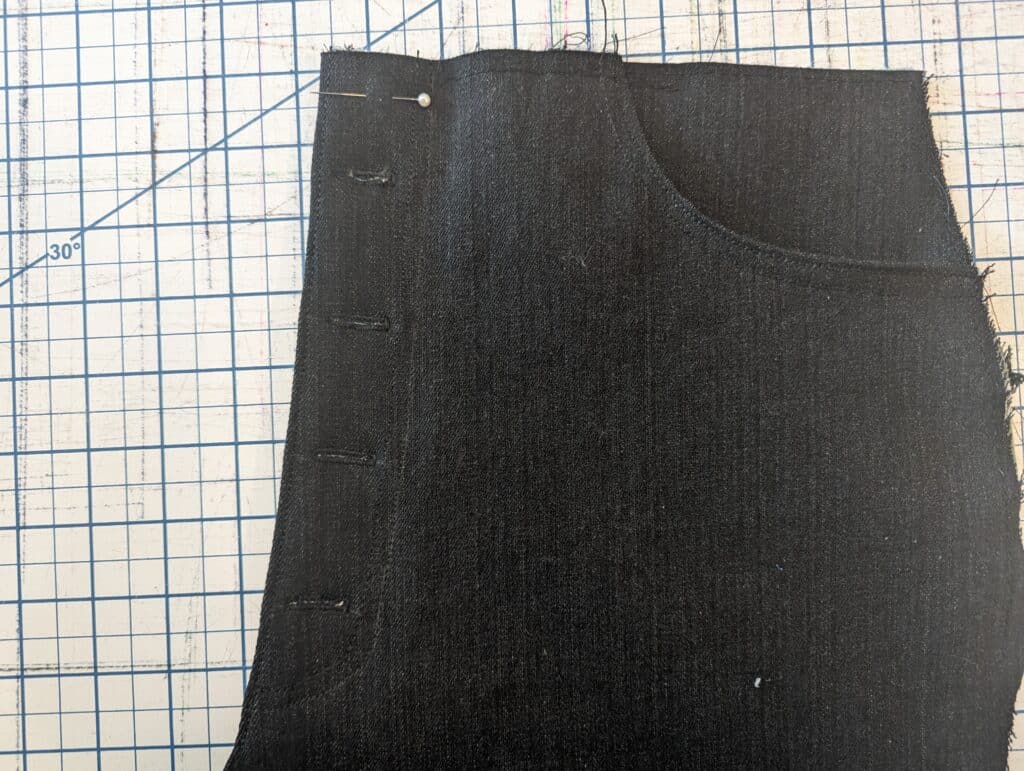
Add button holes to the front left side. I recommend using a matching thread. I know buttonholes can be intimidating, but I promise you, YOU GOT THIS! If you need any tips, tricks or hand holding, check out the Buttons and Buttonholes 101 P4P University blog we have for you.

Sew the front of the Janet Jeans as instructed in the tutorial.

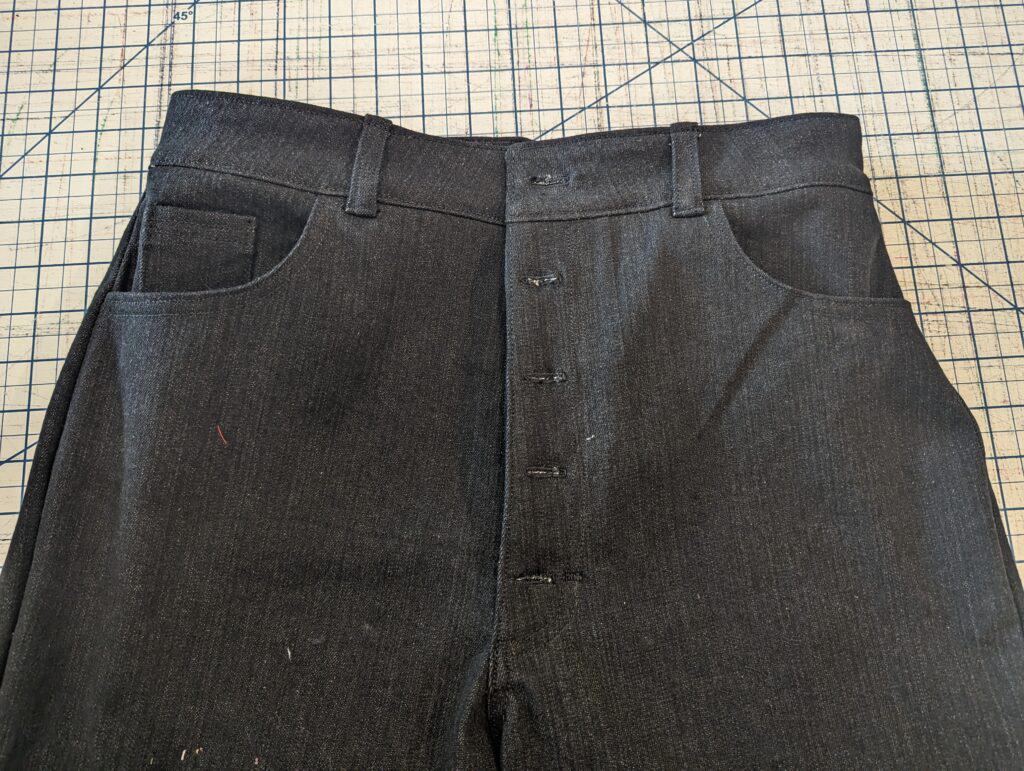
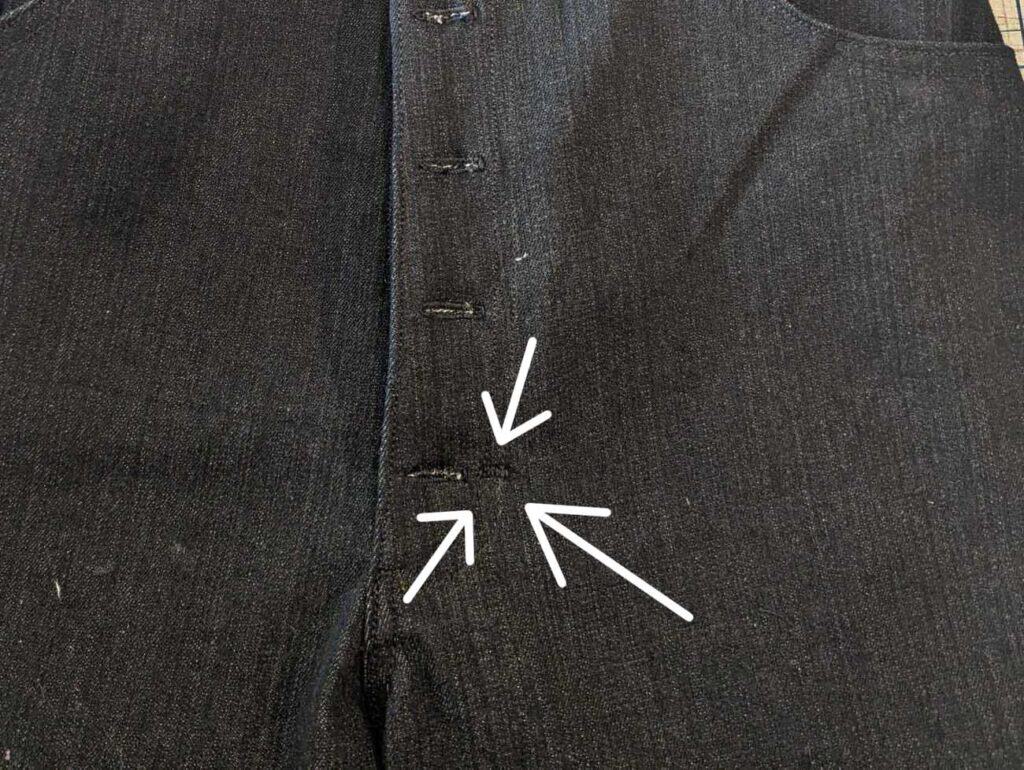
Continue sewing up the jeans as the tutorial instructs. Using a small zig zag stitch, tack the front fly openings together to the left of the bottom buttonhole.

Overlap the fly and pin the waistband closed. Using a disappearing pen* or tailor chalk *, mark your button placements. I like to use the buttonholes we already made as a guide for the button location.

I highly recommend using jeans buttons*  for this hack but if you prefer to add regular buttons you can do that as well. Just make sure they are a similar size to jeans ones, approximately 20 mm.

You are all done! 👏 Take a moment to admire your brand new button front custom-made jeans!


RAW HEM

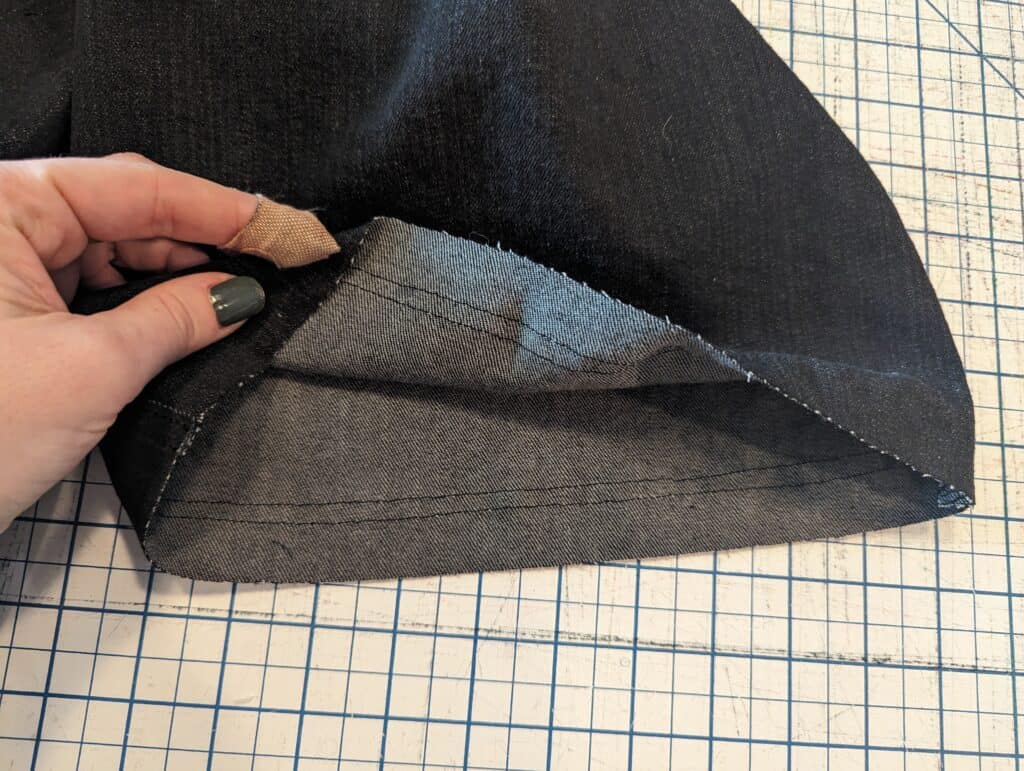
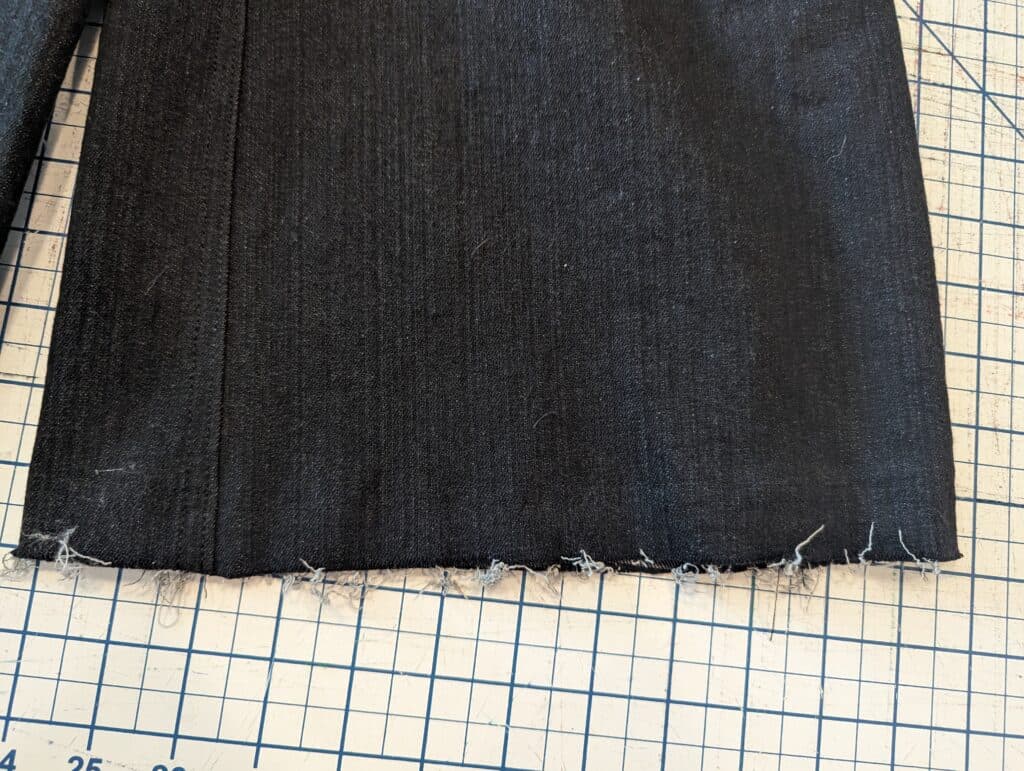
How about a raw hem Janet Jeans? Such a fun look and so easy to accomplish. If you want to keep the length of the inseam as per the pattern then you would have to shorten the bottom hem by 1 inch. I personally don’t mind a longer length so I keep the extra inch. Your call! Run two stay stitches 1 inch away from the raw hem. These stay stitches will prevent the fraying from extending past the stitches over time.

You’ll now need to make big decision 😉 …. how much do you want to fray your hem? I’d recommend starting with a little fraying… time and wear will definitely add to it. However, if you want to start off with a distressed look, go for it! Your jeans, your choice!

Ta-dah! Easy peasy! Enjoy your new pair of raw hem jeans!

Happy sewing,

Alex


We cannot wait to see what you create with the Janet Jeans pattern!

Here are some links to the patterns (in case you needed them):

  • Janet Jeans
  • Janet Jeans – Youth
  • Janet Jeans Bundle

We are so excited to see what you sew up for yourself using the Janet Jeans patterns! It is available on sale (no code needed) through 11:59pm CST, February 18, 2024.

Find your copy of the Janet Jeans here: Janet Jeans | Janet Jeans – Youth | Janet Jeans Bundle

As always, we’ve got more photos for you to use as inspiration! Head over to the Facebook group to browse our albums full of gorgeous photos, compliments of our tester team!

*Affiliate links.
Janet Jeans Adult Album | Janet Jeans Youth Album

Filed Under: Pattern Hacks 3 Comments

Vintage Jumper – Easy Hacks

October 1, 2020

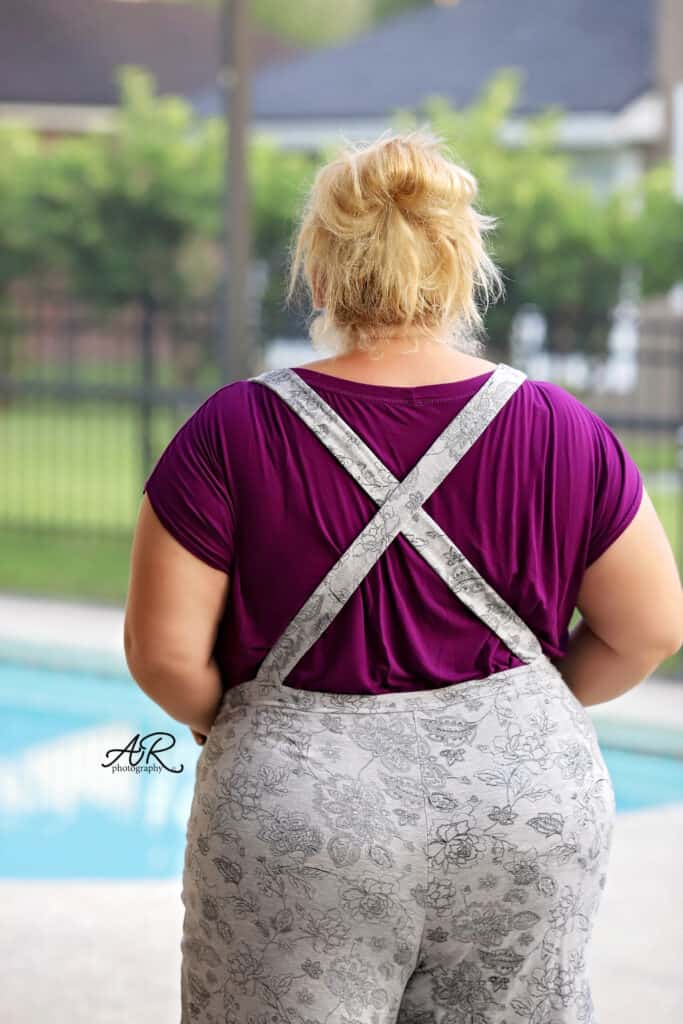
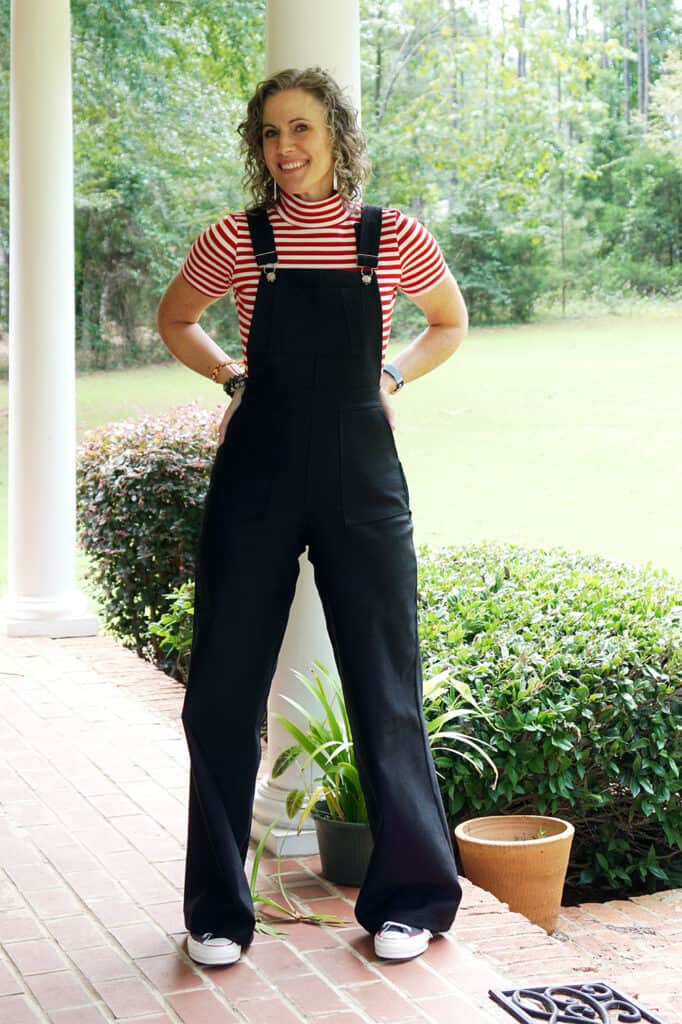
The Vintage Romper is here and we couldn’t be more excited to share with you the blog team’s take on some easy hacks. Grab your patterns and let’s get started!
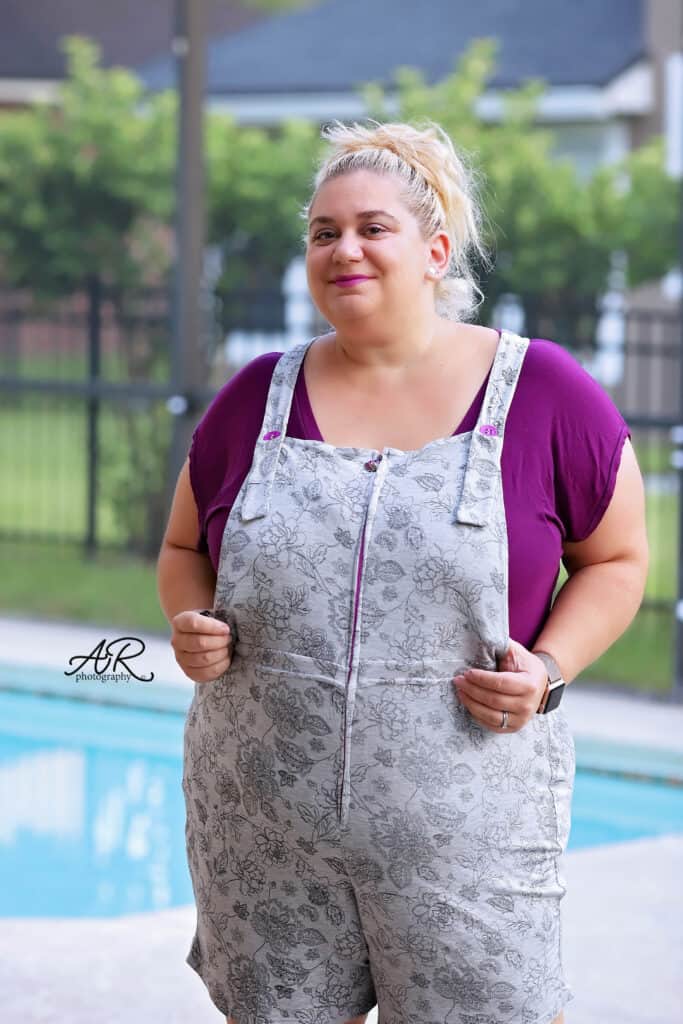
…..

Pants/skirt

Do you love shorts like we love shorts?! Then you’re in the right place. I’m going to spend a little time today showing you how to hack the new Vintage Romper into a shorts or skirt only piece. It couldn’t be easier and I have even filmed a little tutorial showing you how to adapt the waistband pattern piece and then put the waistband together too, which you can find here:

However, if you like it old skool here is the written blog post. 


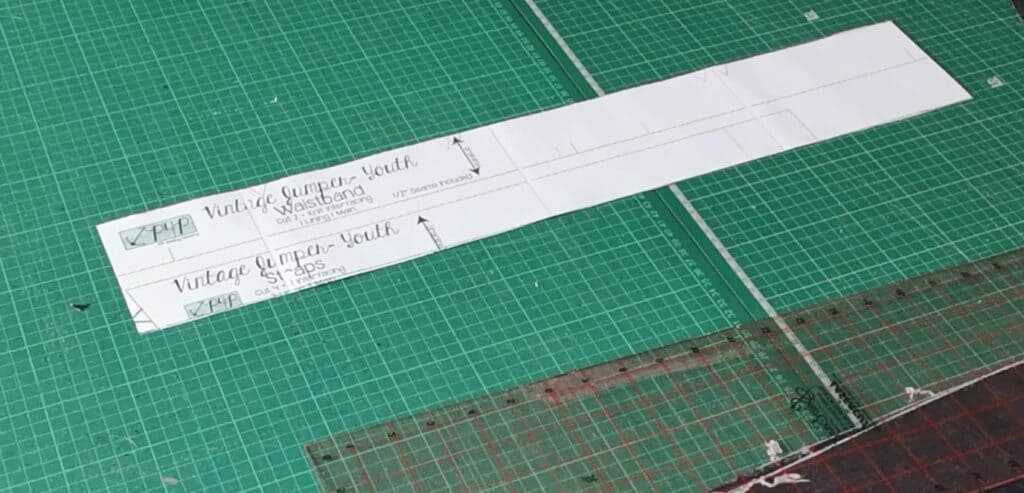
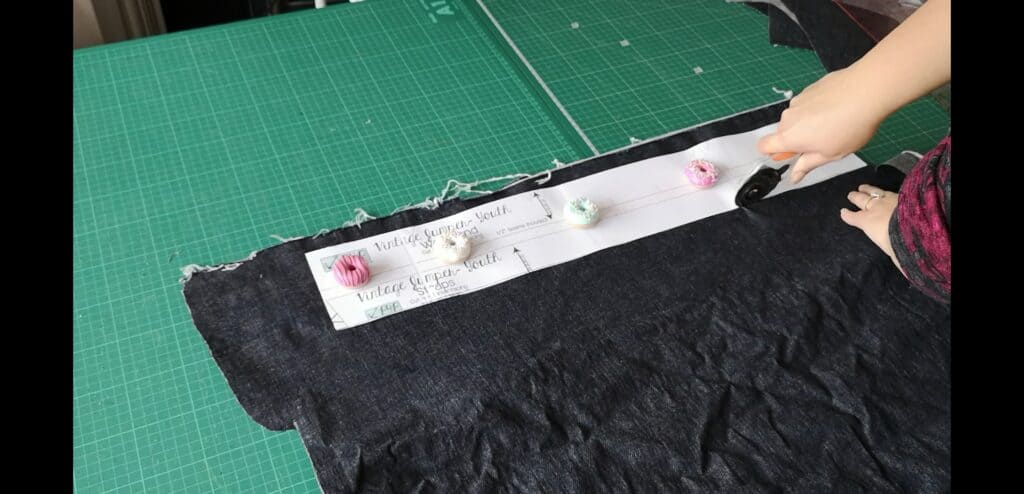
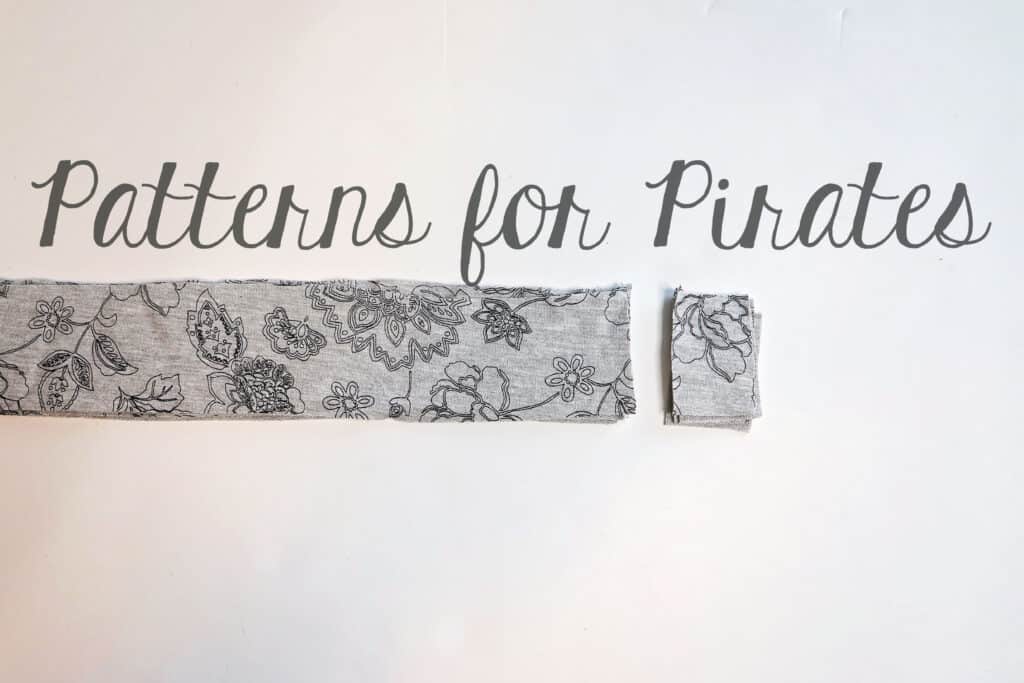
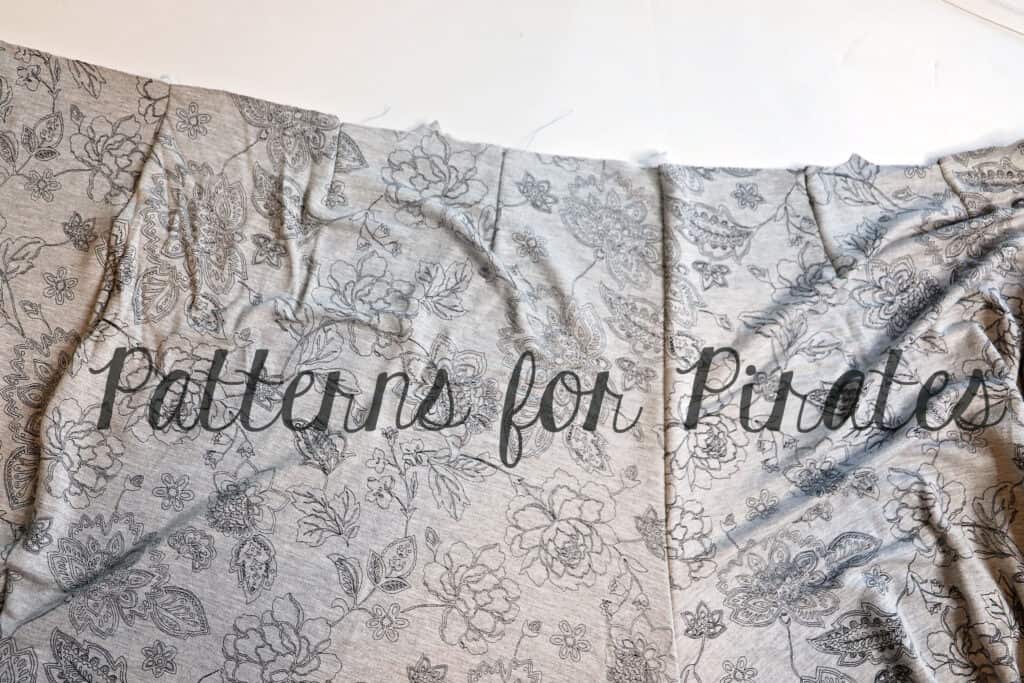
First you will want to cut out your skirt or pants pieces as per the regular tutorial. Then take your waistband piece and double the height of it. I used the Youth pattern to make mine and this measured 2 inches in height so I doubled it to make it 4 inches tall and then cut the length out as usual. I wasn’t going to use the strap pieces so I extended the waistband height out over the strap piece here, just to save paper.  Cut your waistband lining piece out in the same way.


Waistband piece cut with the height doubled


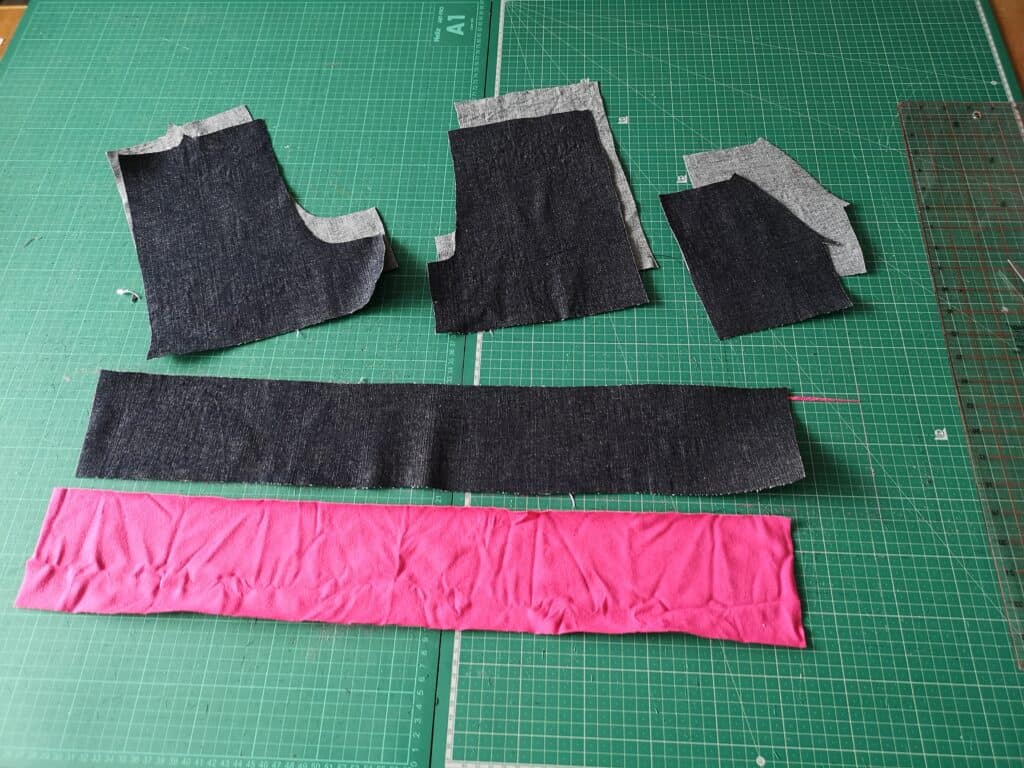
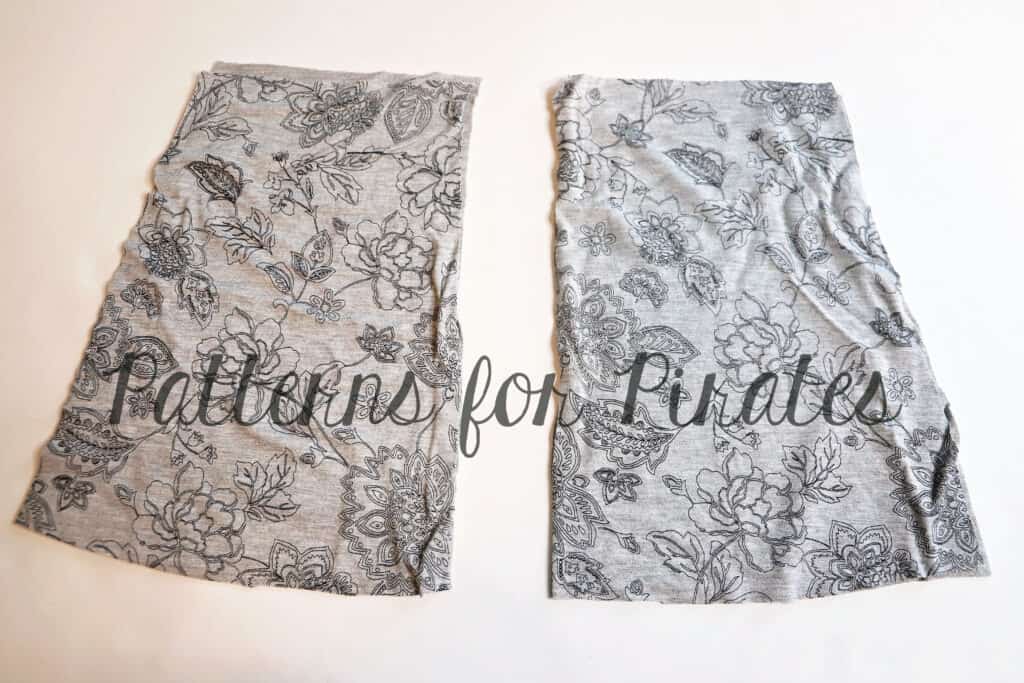
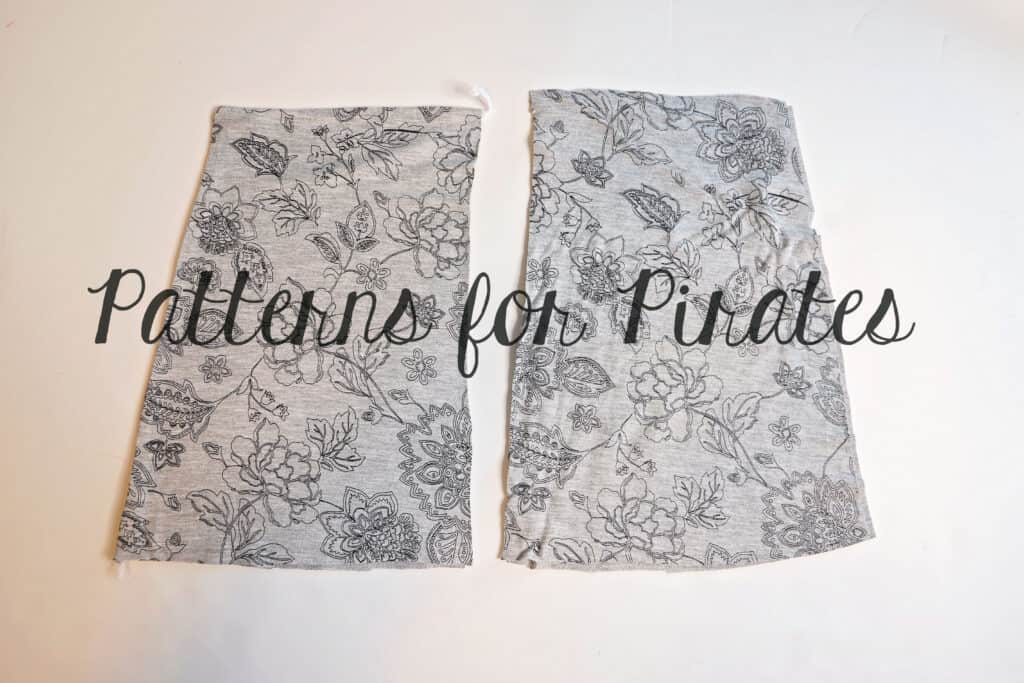
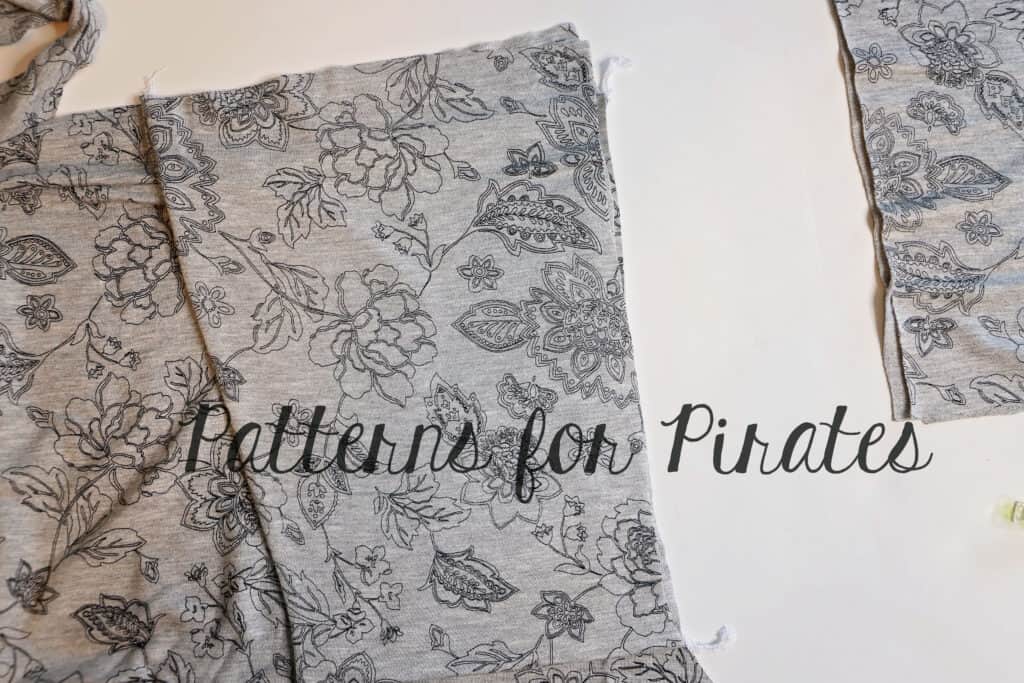
shorts pieces, pockets, waistband outer and lining.

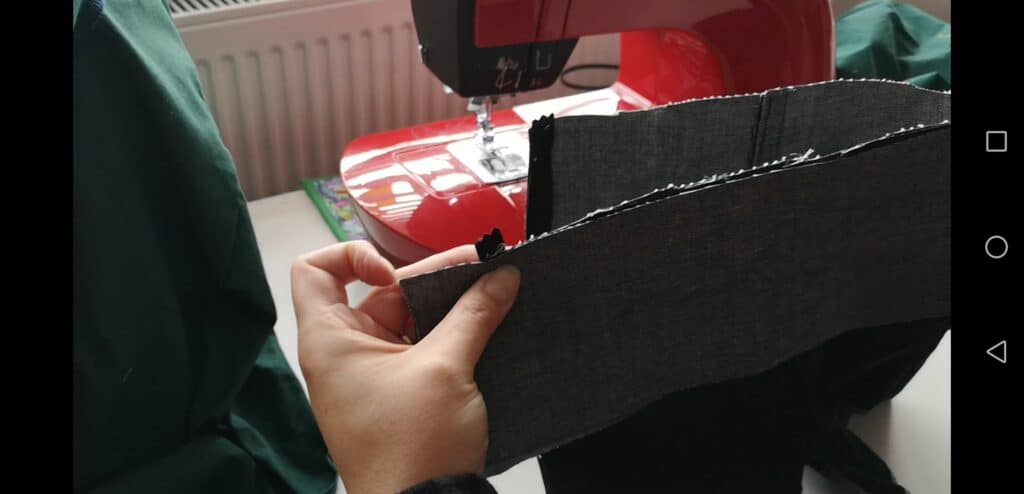
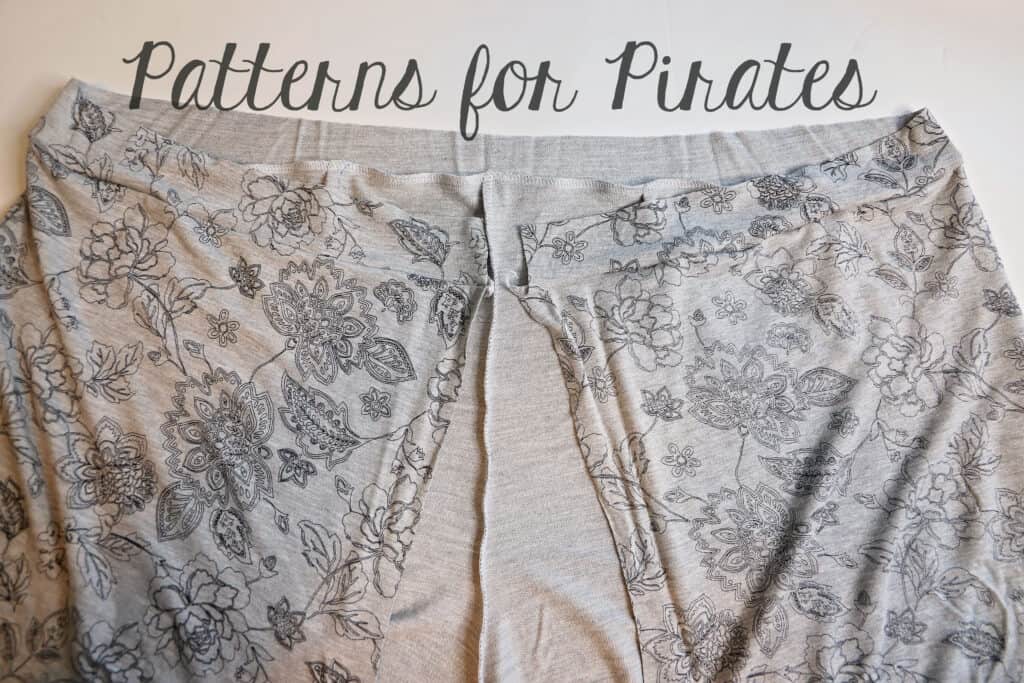
You will then have your pants/shorts/skirt pieces; pockets if using; extended waistband pieces; interfacing if using.  Construct the rest of your garment as usual until you get to the section where you have to attach the waistband. You will attach the waistband as per the tutorial, the only difference being you don’t have the bib and straps to sandwich between the outer and lining of the waistband pieces. So you will attach the waistband outer right sides together with the pants/skirt.
Waistband with overhang

You will have an overhang of the waistband over the edge of the pants piece .  This is correct, it enables you to attach a fastening for the top of the waistband at the end, like a button and buttonhole or poppers. Then sew the lining right sides together with the outer, up one short edge, along the top and down the other short edge.

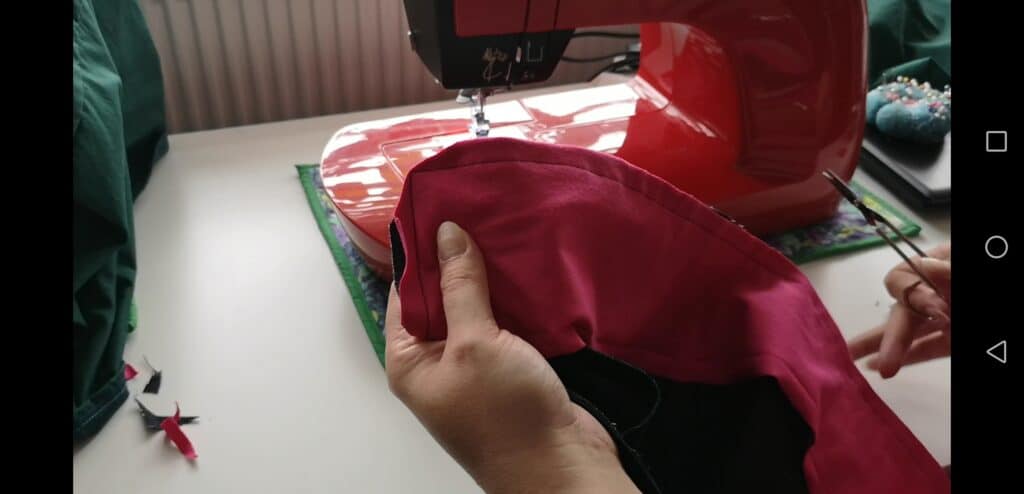
 Clip your corners, turn it through.


Topstitching after pressing

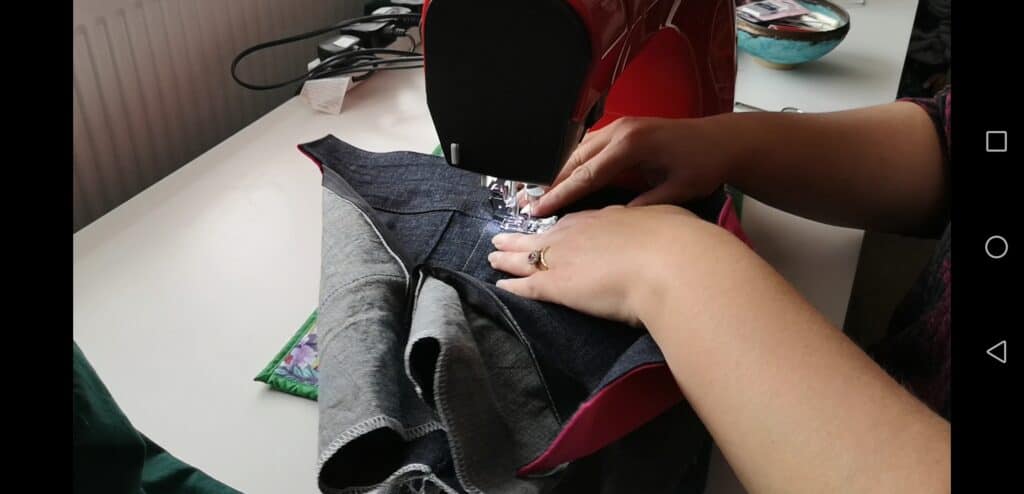
Press and topstitch around the entire waistband. 

Then finish off your garment as per the regular tutorial instructions and you’re done!

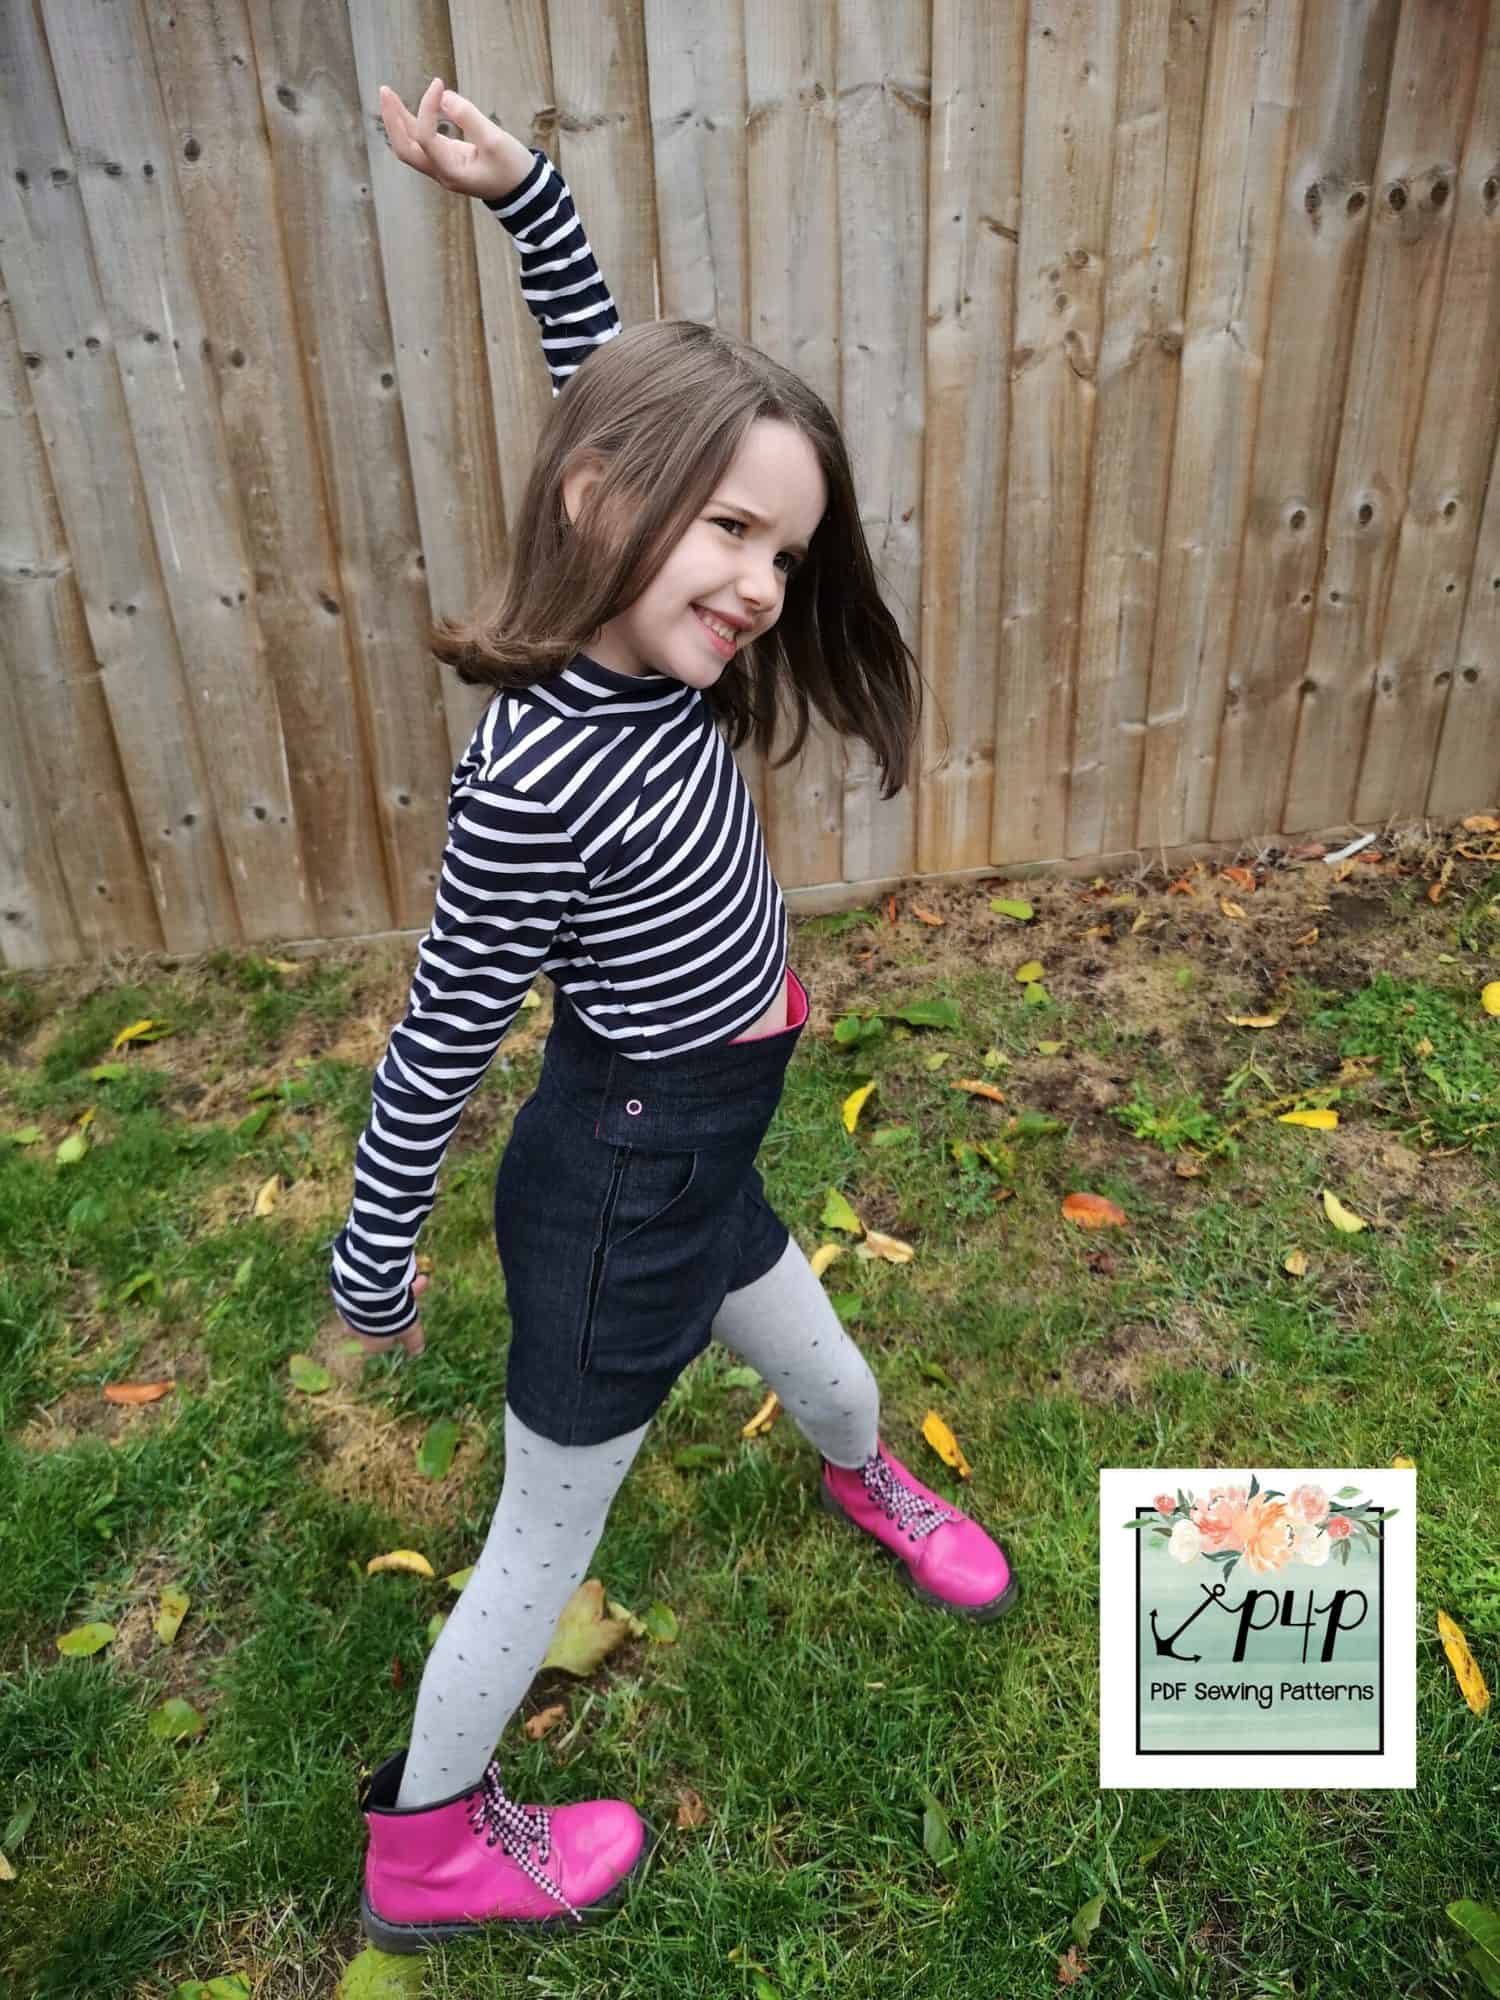
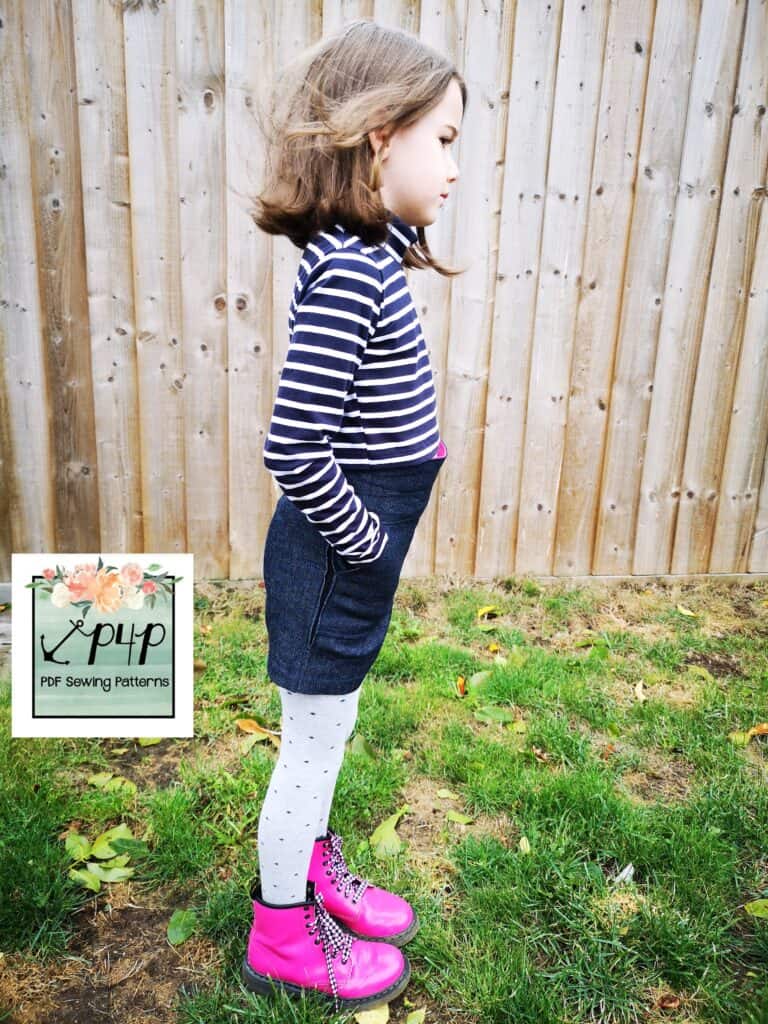
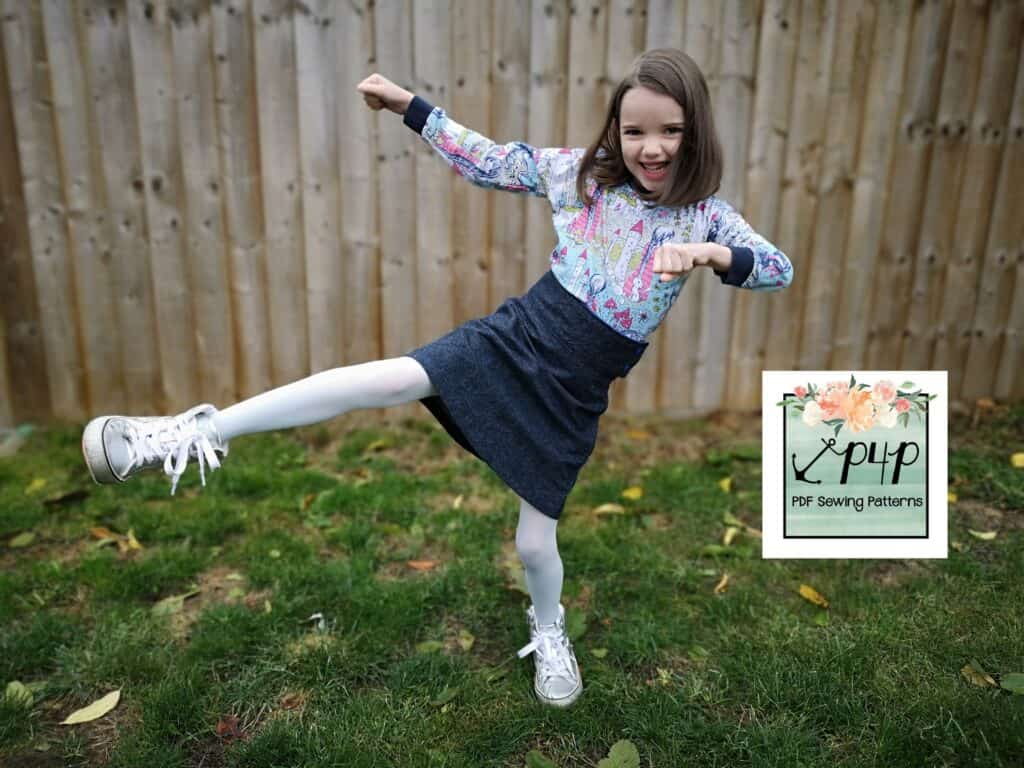
We style them with tights, Doc Martins and a crop length Hepburn. I loved it so much on the shorts I had to do it for the skirt too!  

Anyone else find that their child turns into a karate expert as soon as you turn on a camera?!

Obviously you can also just sew this up with the regular height of the original waistband too. The choice is all yours! 


Happy sewing! 


Dana x


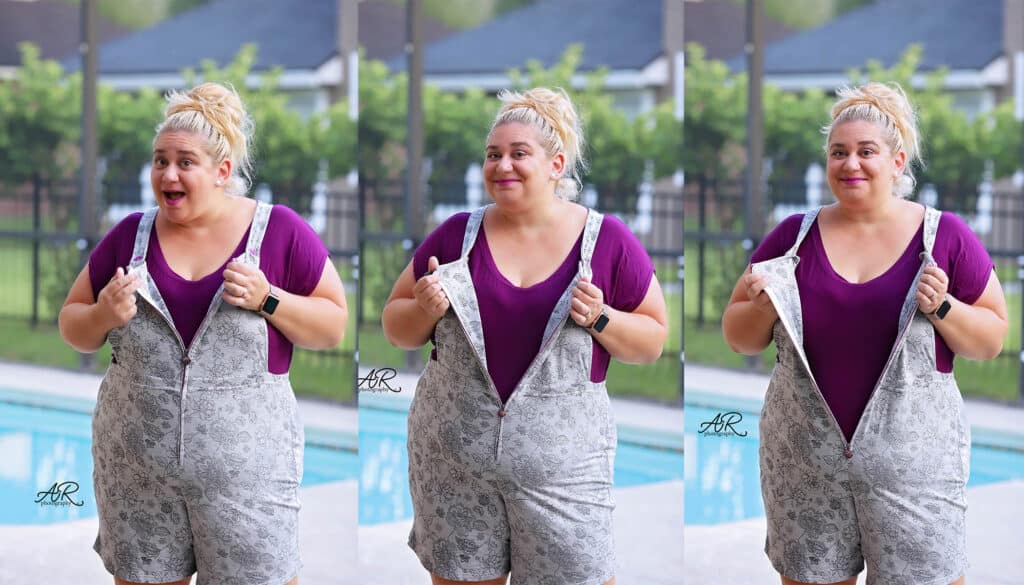
Front zipper

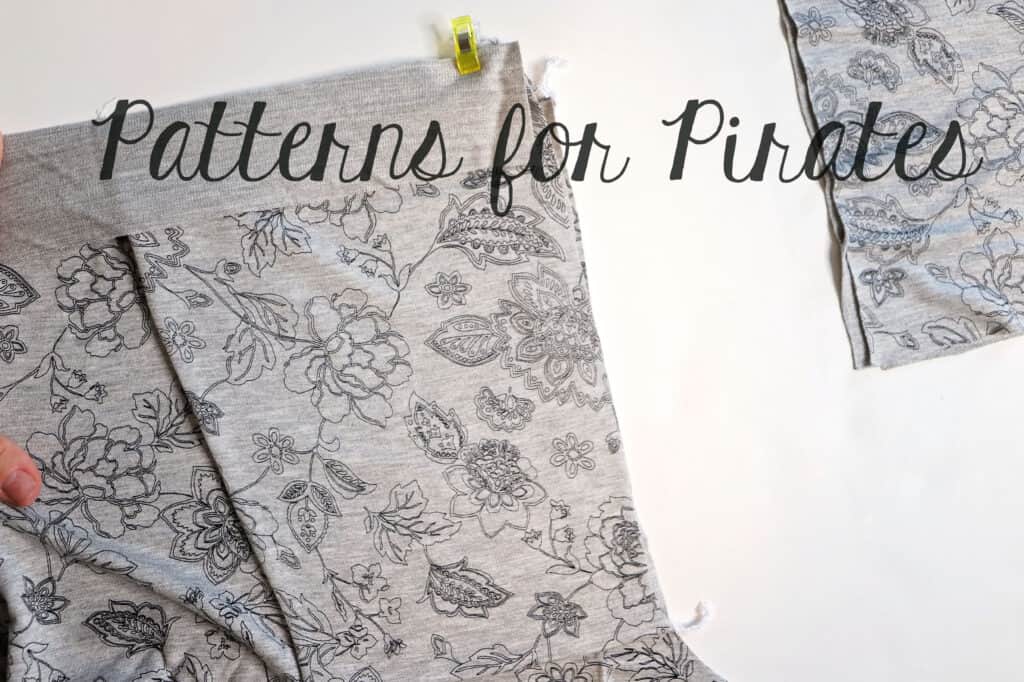
Up next we wanted to show you a different style jumper that can be achieved with the new Vintage pattern. Let’s add a zipper to the front instead of the side. This a s great opportunity to show off your favorite zippers and pulls. For my example I am using zipper by the yard with a fun rainbow finish zipper pull. I also went with a Doodles French Terry instead of stretch woven. Cut your pattern as instructed in the tutorial. You will make two changes. Remove the part of the waistband beyond the notch on both ends. Repeat for the waistband lining. The other modification would be for the bib. Cut two 2 mirror images instead of 1 set mirror pieces and the lining on fold.


After sewing the darts on the back pants pieces, sew the back crotch seam and the two side seams. The pants will not be sewn at the front crotch just yet.


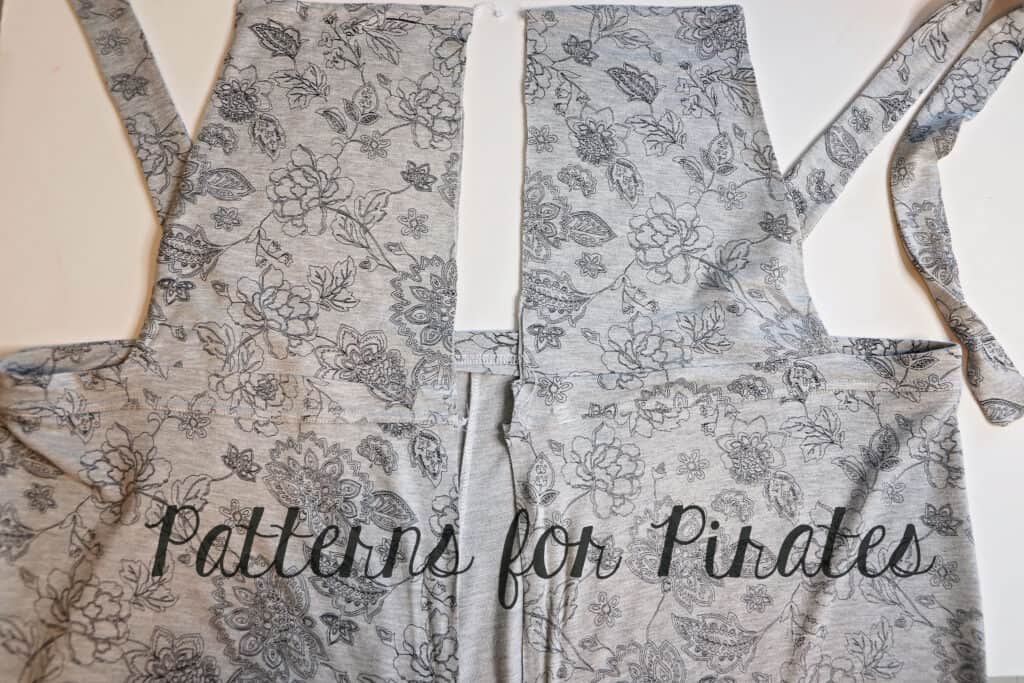
Prepare the bib by sewing the left side main and lining piece right sides together along the top and slanted side raw edge. Repeat for the ride side bib. You will now have two bib piece that will have raw edges on the vertical center seam and bottom.


Attach the main print waistband to the pants right sides together by matching the center to the center back and the raw edged to the front raw front seam.


Pin the straps matching the strap placement notches. Place the bib on the top edge of the waistband, right sides together matching the raw edges. Repeat on the other side with the other half of the bib. Place the lining on top, right side down, sandwiching the bib in between the main and lining waistband. Stitch in place.


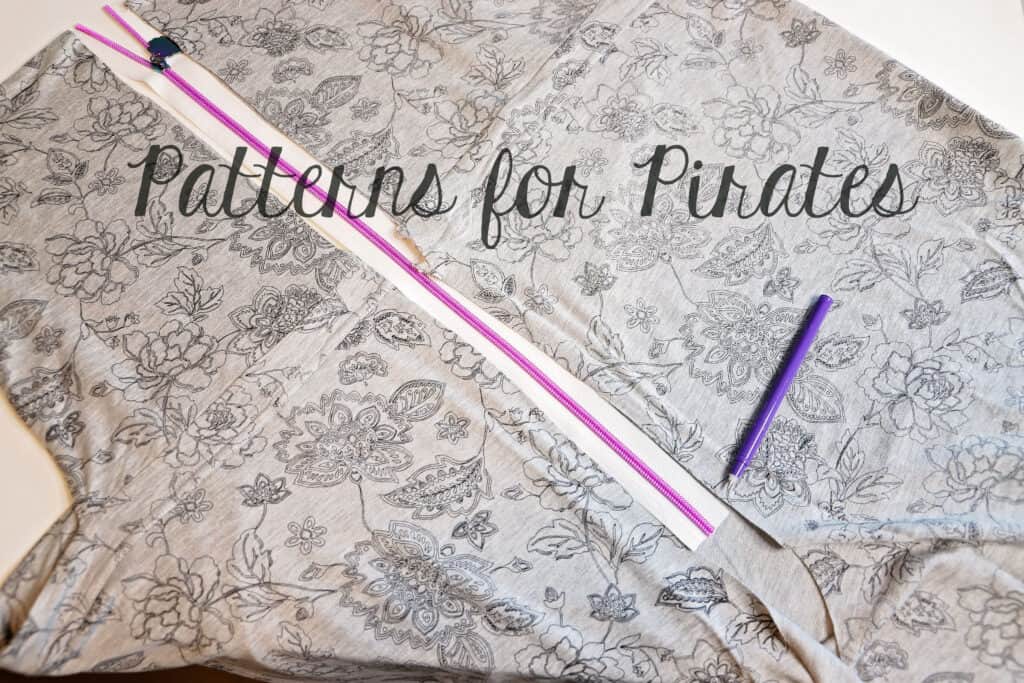
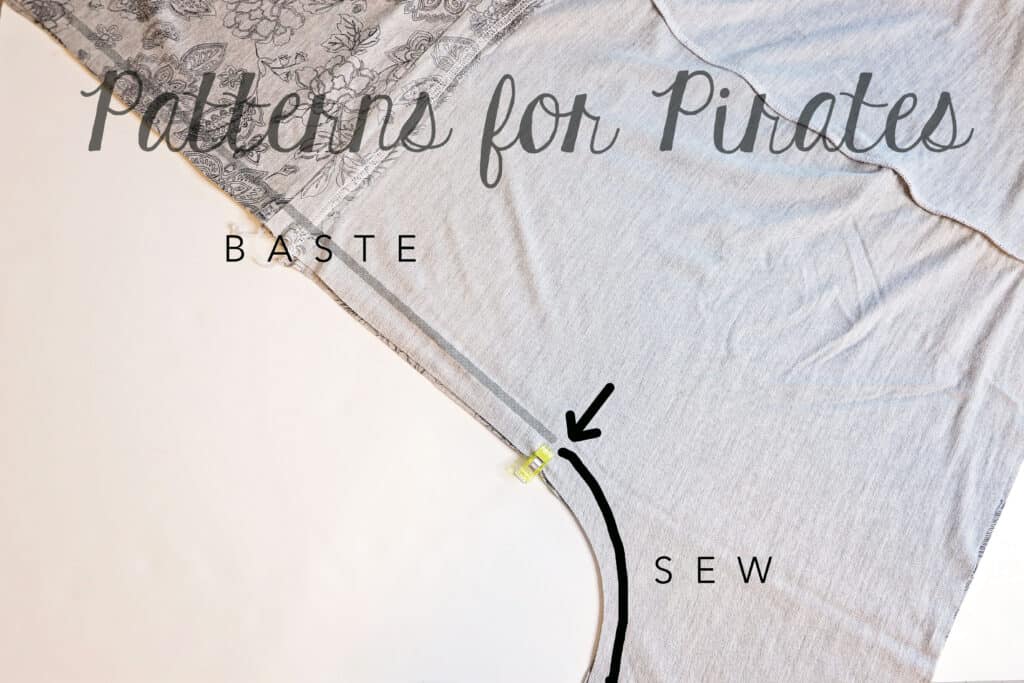
Mark the place of the zipper stop on the wrong sides of the fabric. Place the front of the jumper right sides together matching the front raw edge. Baste in place from the top to the marked point and sew in place down from that point along the front crotch seam. Attach the zipper using the same technique as in the Vintage Jumper tutorial.


Finish your jumper by attaching the straps to the front and hemming. All done! I can’t wait to see your take on this hack.


….

Overall buckles

Love the Vintage Jumper, but you’re terrified of button holes? Never fear! Buckles are here!

Adding buckles as a button replacement is an easy and super cute hack… no extra sewing involved!

For the Vintage Jumper, you’ll need 1 ¼” buckles. I ordered mine from WAWAK and they came within 2 days, but you can also order from Amazon or pick them up in your local fabric store.

I’ve put together a video tutorial, but if you prefer written instructions, just scroll a bit further!

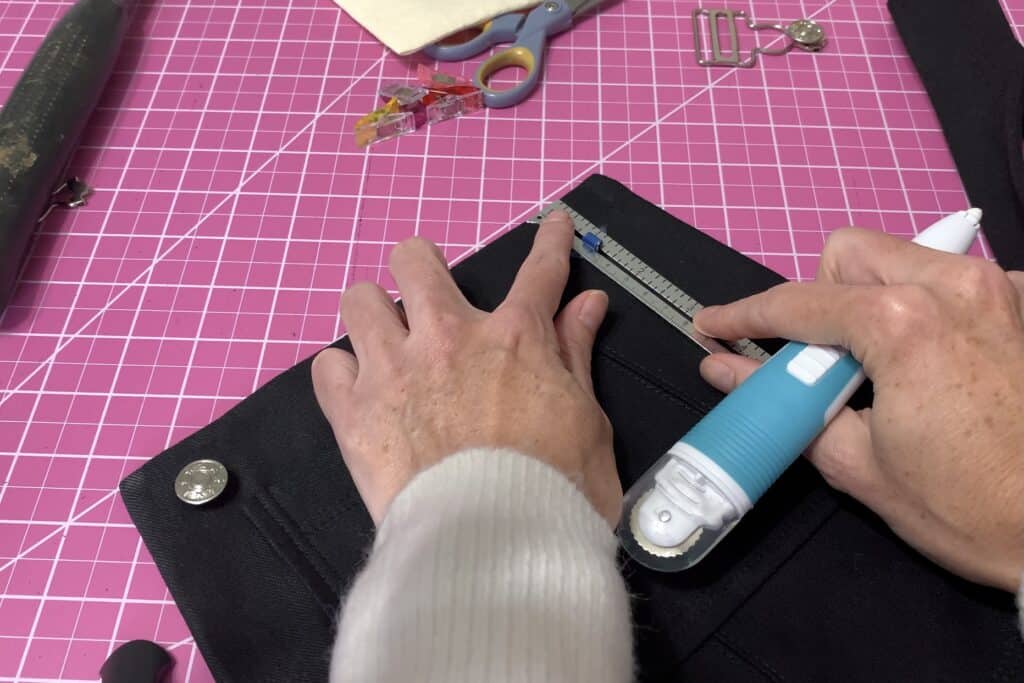
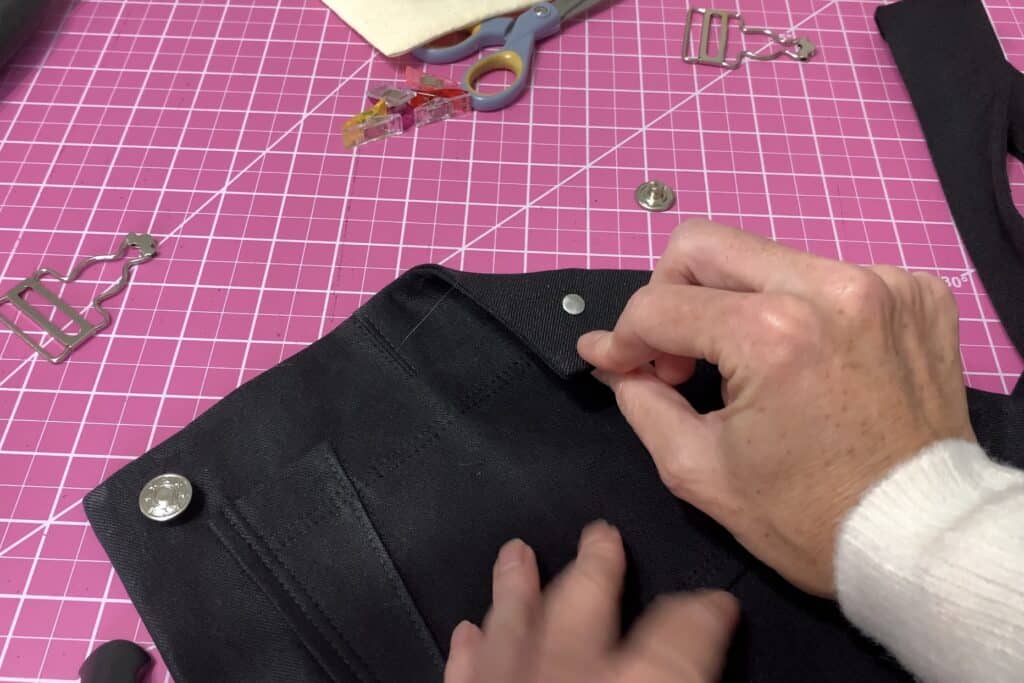
Mark your button placement on the bib with tailor’s chalk, 1” from the top and side edge of the bib.

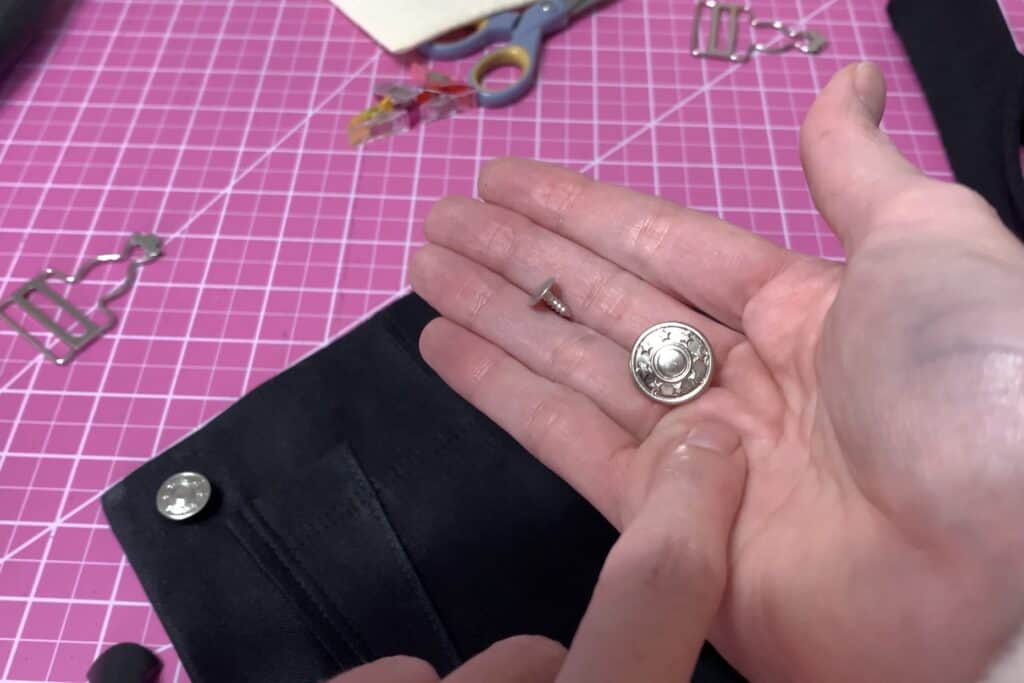
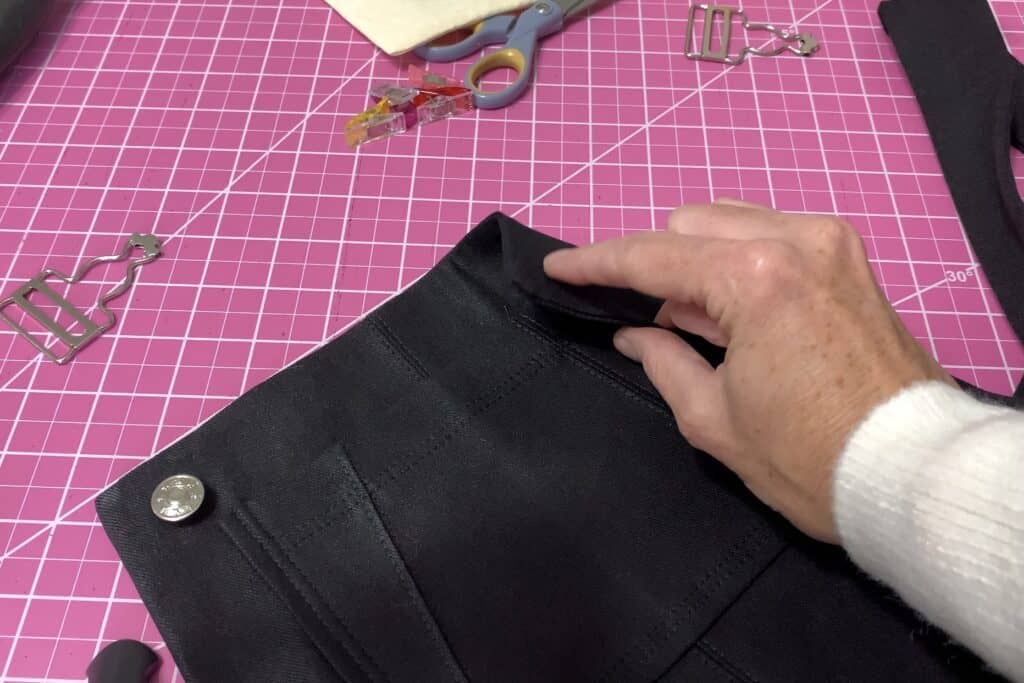
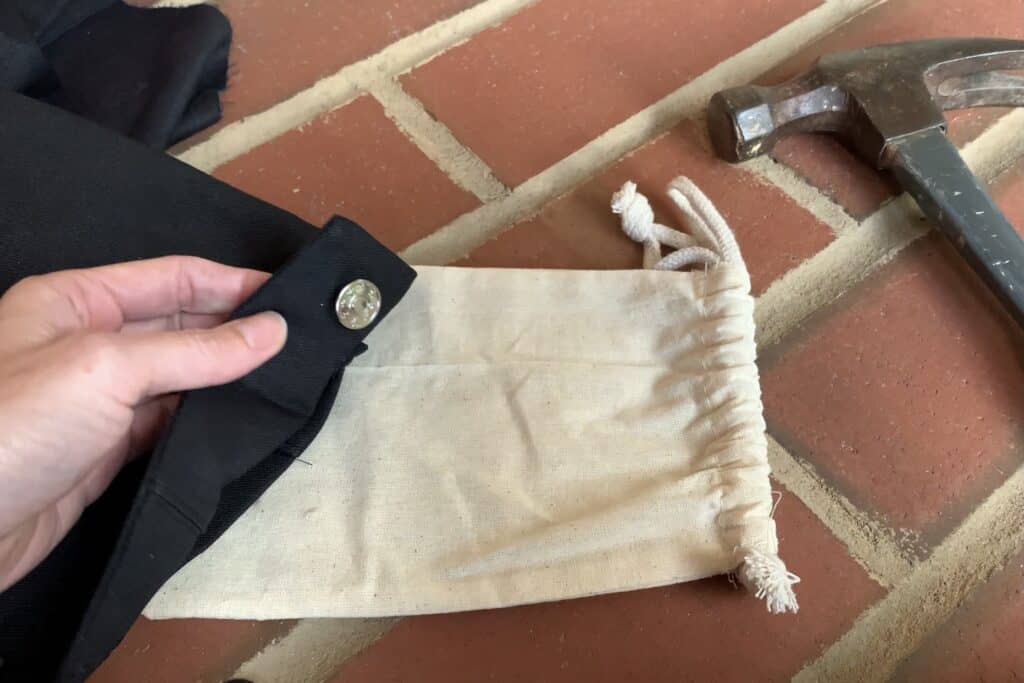
Take your button post and push it through the backside of your bib, at your chalk mark, going through all layers of your fabric.

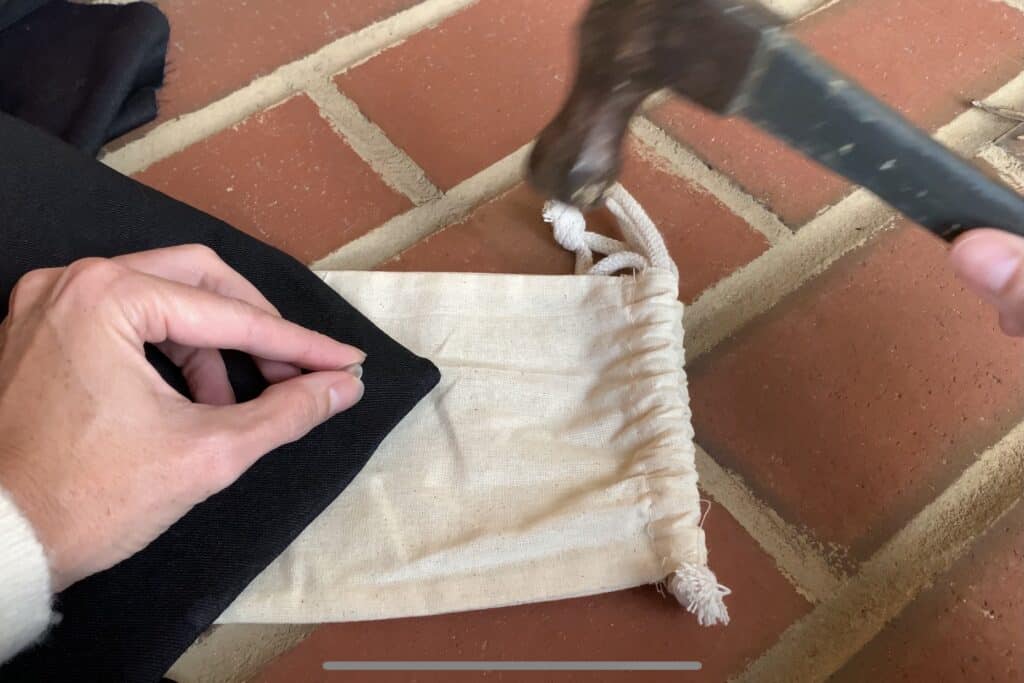
Protecting the front side of your button (as I’ve done here with a simple cloth bag), hammer the button post into the button.

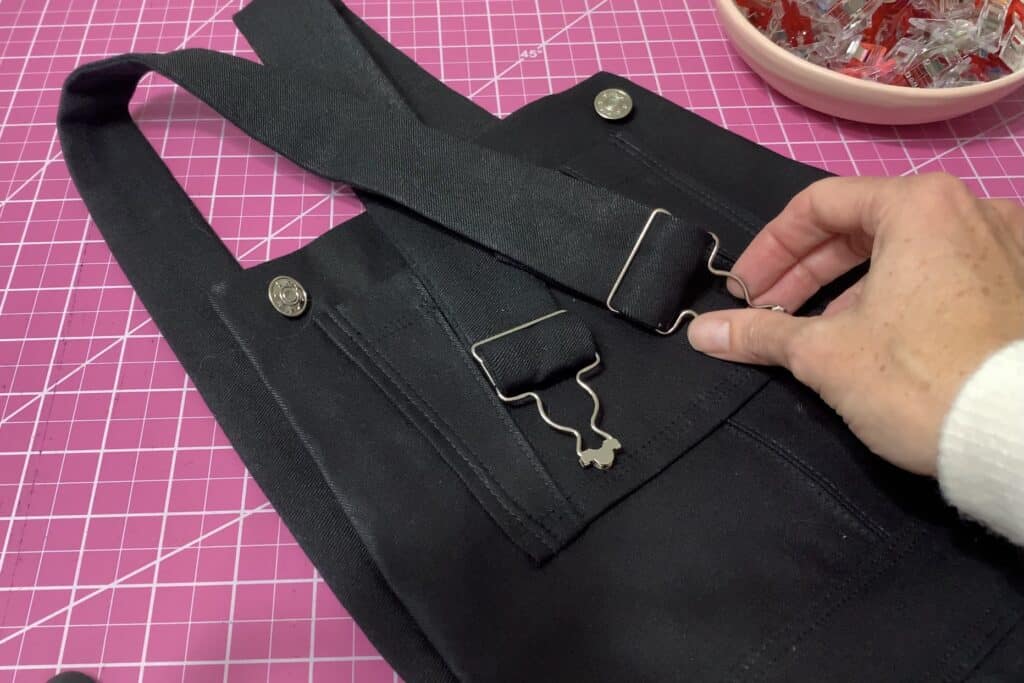
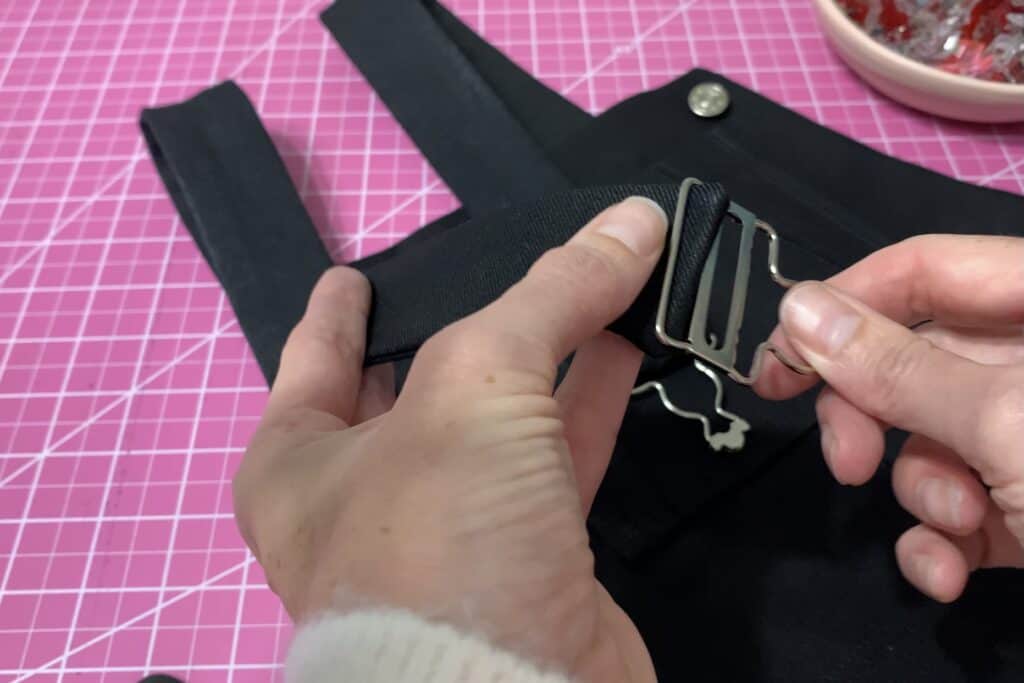
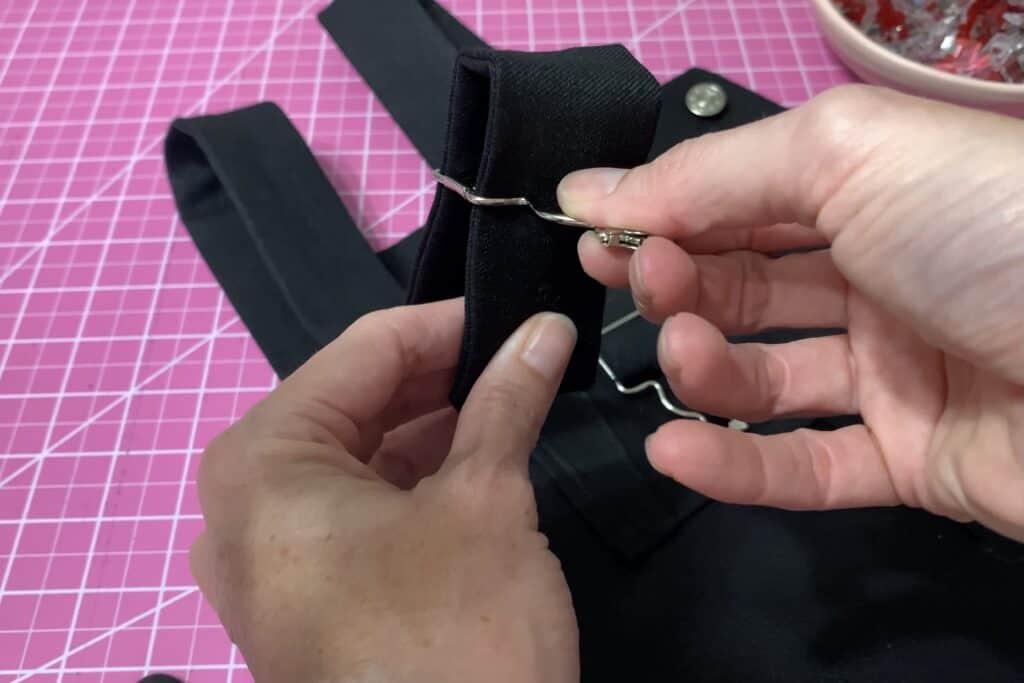
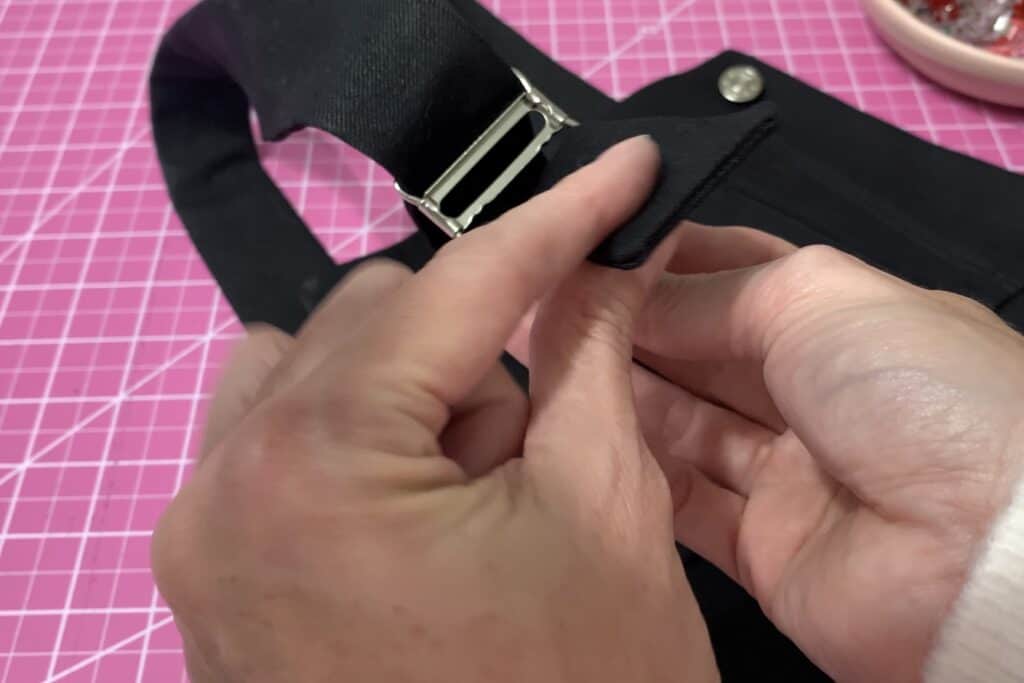
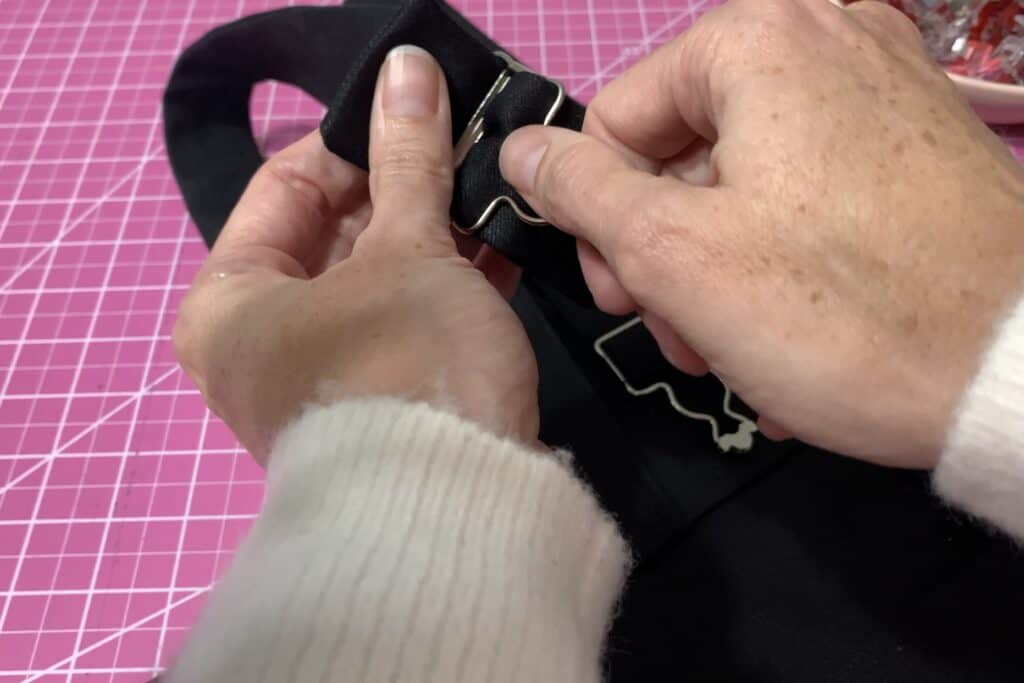
Thread your straps through the buckles, starting with the top…

Running through the bottom…

Back through the middle…

And behind the front of the strap, back through the top loop.

Give yourself plenty of play in your straps to make fit adjustments

5.     Adjust the straps to your preference and you’re done!

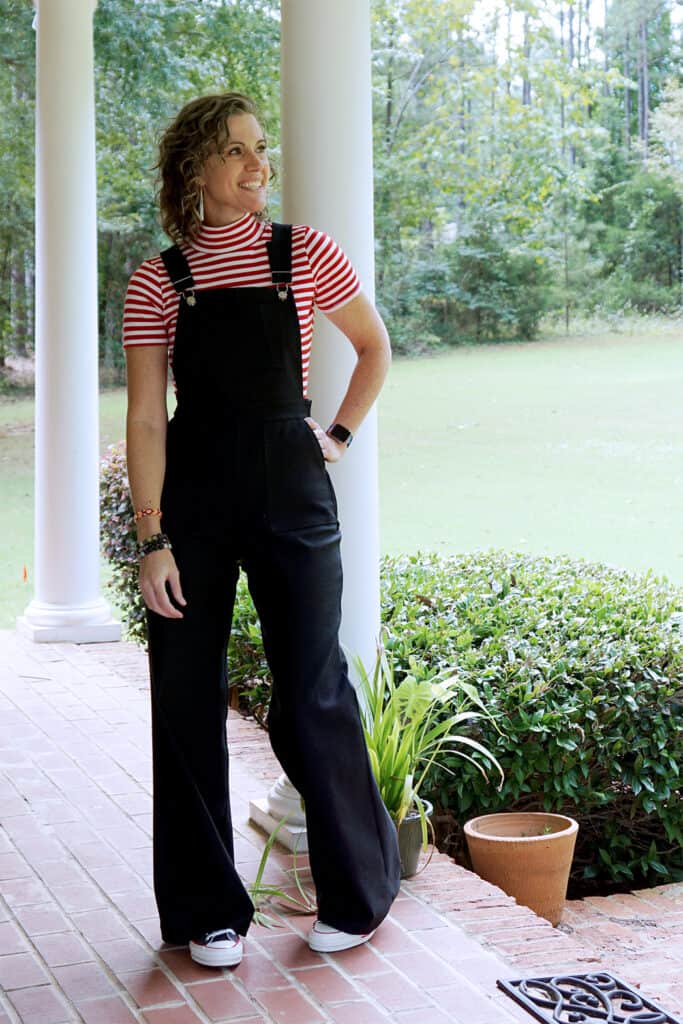
I have always loved overalls! I am so glad to have this updated pair in my wardrobe. As with all Patterns for Pirates makes, you can’t stop with one. I already have the fabric ready to make another pair soon.

I hope you enjoy your new jumper!!

Rachel

….
Skip the Zip

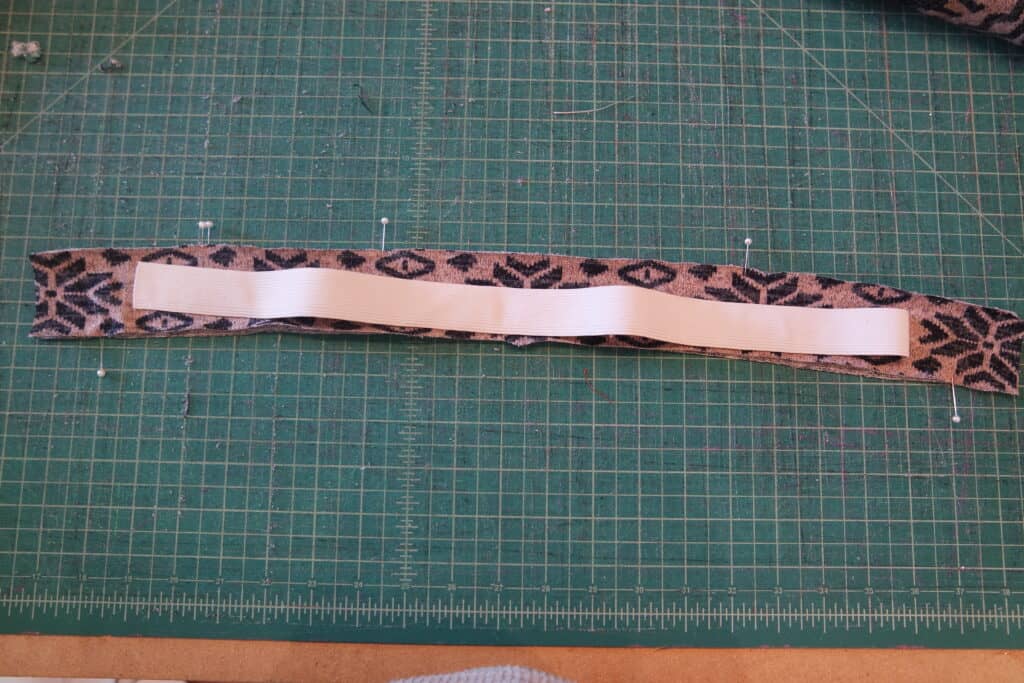
If you’d rather skip the zip you can choose a fabric with high stretch and recovery and slip it on/off. It’s a very simple modification, just make sure your fabric is stretchy enough to slip on and off with the snug waistband at natural waist. You will want a fabric that is more stable and can “hold” that waistband shape nicely. Or you can add some 1″ elastic into the waistband to help keep the shape.

Cut out all your pieces the same, except the waistband. You will need to trim off the extra 1″ on each end since we will not have them overlapping for a button. If you’re adding elastic I cut mine just slightly shorter then my new waistband piece so it would be snug to her waist.

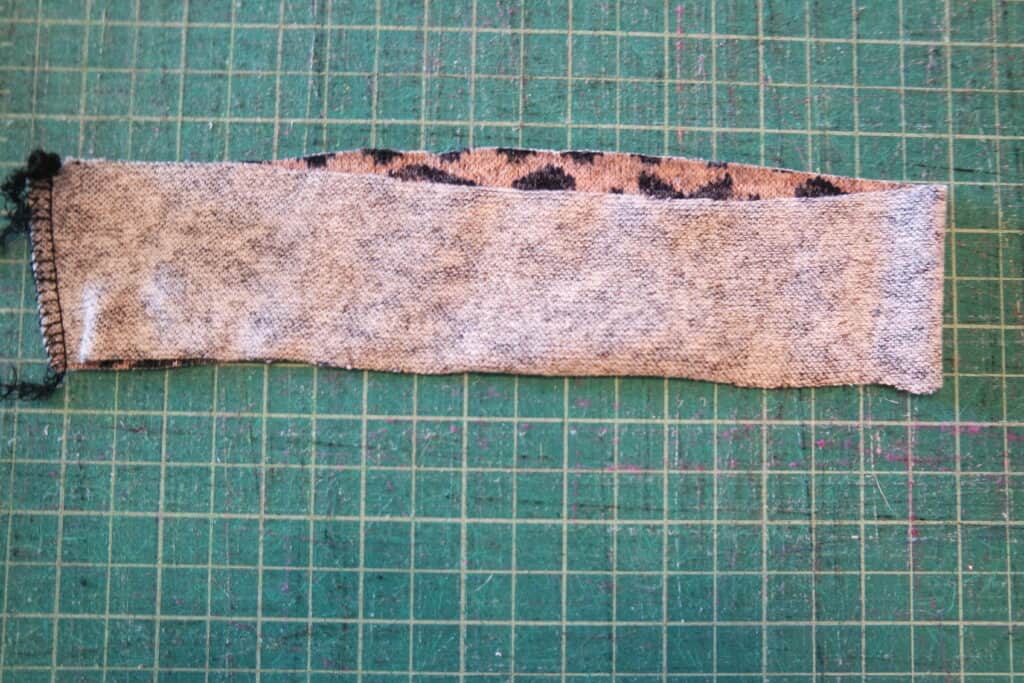
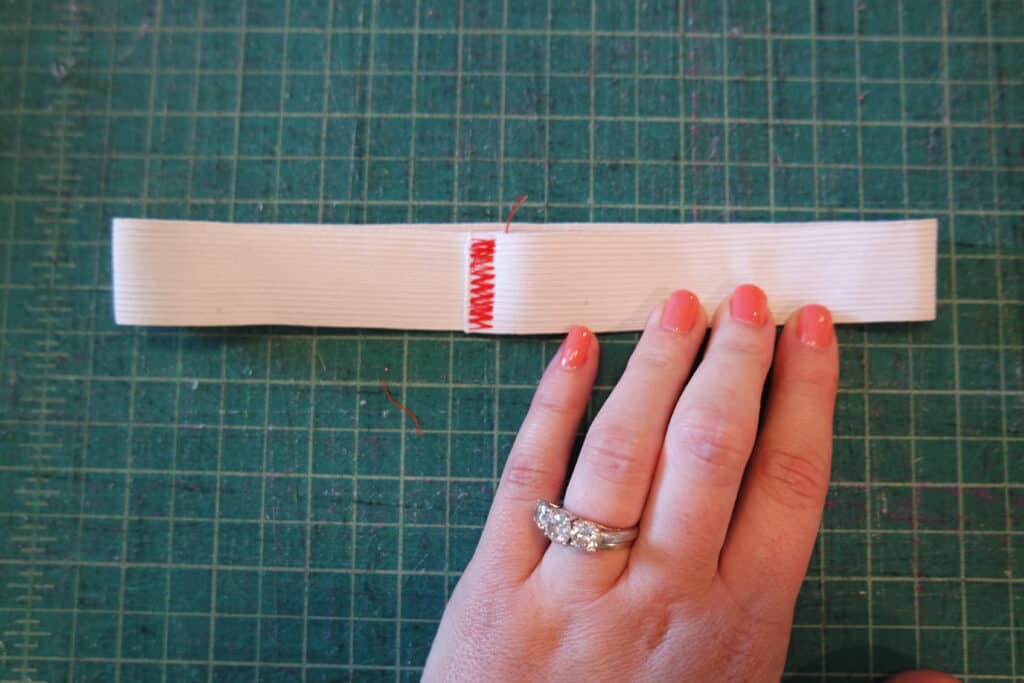
Instead of sewing your zip into your side seam you’ll just stitch it up. Stitch your waistband pieces into a circle. If you are adding elastic sew it into a circle as well.

You will follow the same steps as the tutorial attaching the main waistband piece, sandwiching the straps and bib between the main and lining waistband, and top-stitching band. You will just be sewing in a complete circle rather then having the ends that overlap for a button.

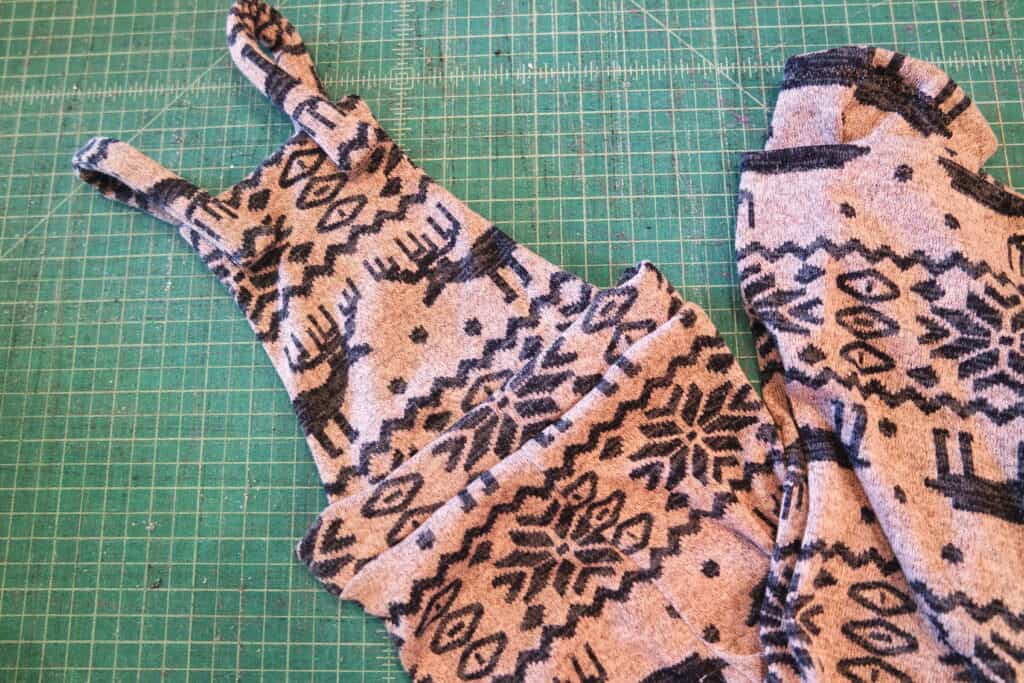
All done, now you can just slip it on/off with no zip!

….

Zipper Guard

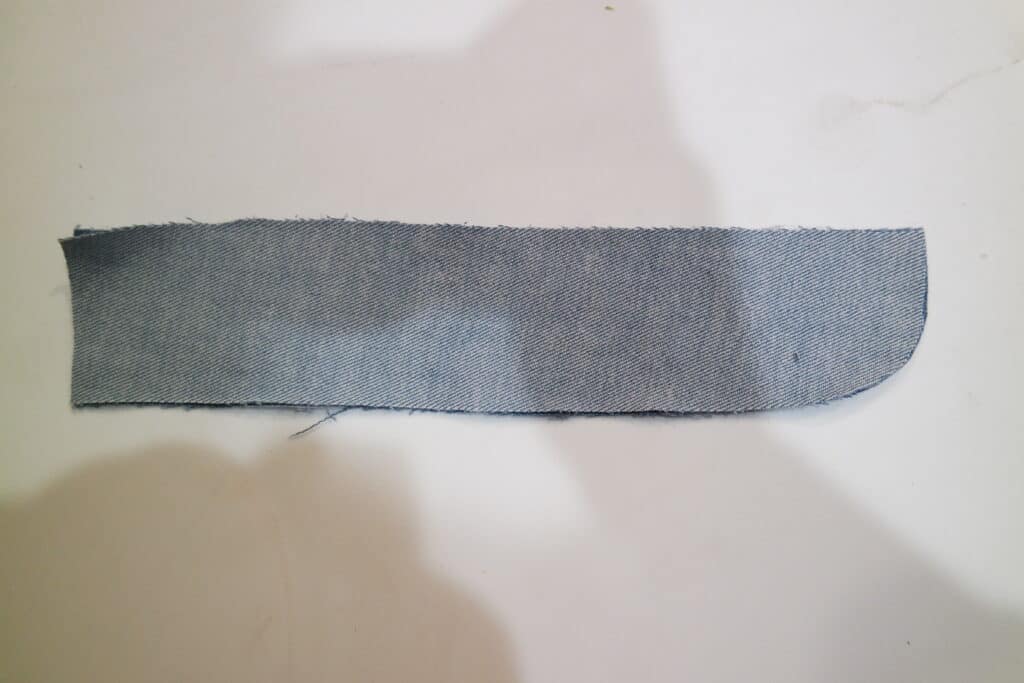
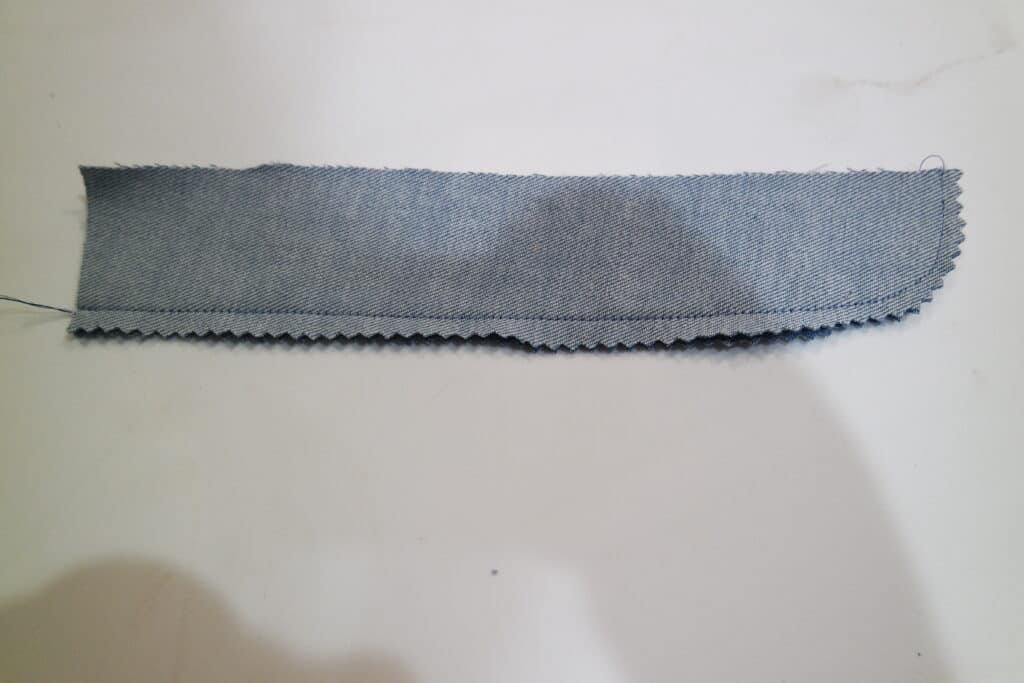
If the feeling of the zipper on your skin bothers you- you can add a simple zipper guard quickly and easily. You will cut out 2 rectangles (you can curve the bottom edge if you’d like I did or leave it a rectangle) a little longer (1-2″) then your zipper and about 2″ wide.

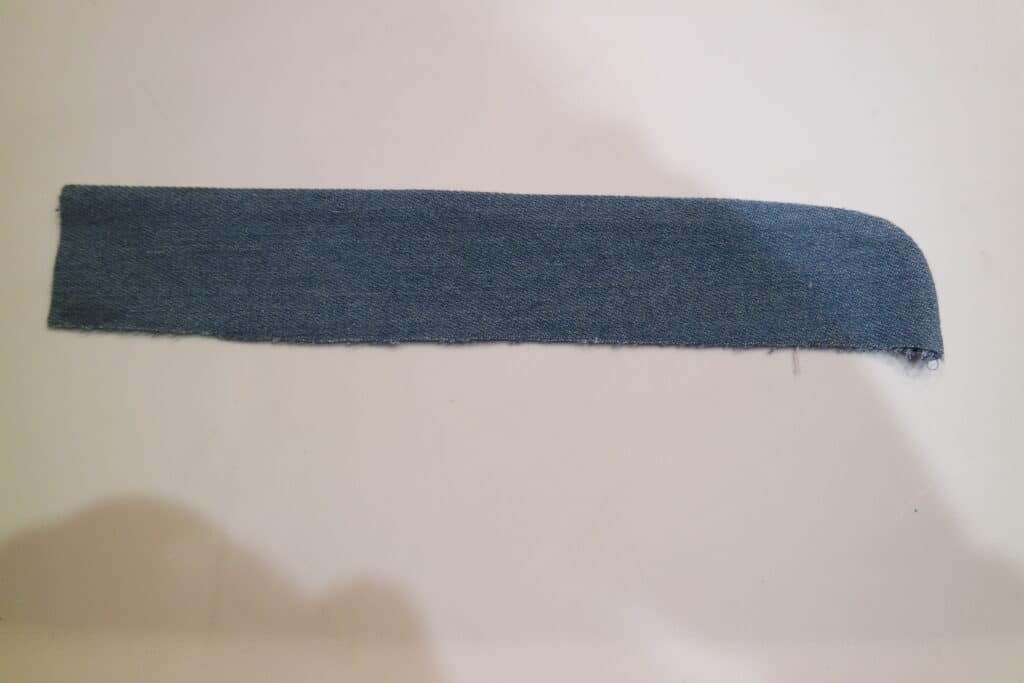
Stitch your pieces right sides together along one long and short edge like a L (J if you curved your corner like me) shape. Trim seam allowance and flip right sides out. Press and stitch.

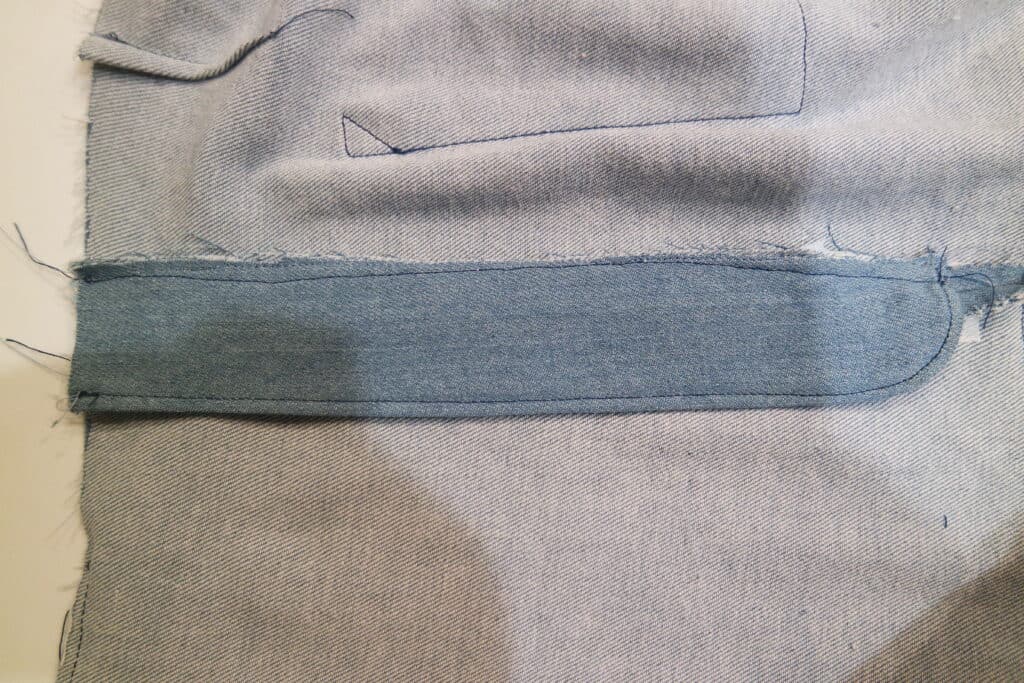
Place your zipper guard along the side seam with zipper with the raw edges aligned to the seam allowance of the front pant/skirt. Stitch guard to seam allowance (do not stitch through pant/skirt).

Pin in place from front. Stitch in the ditch along your zipper seam on the front pant/skirt through the zipper guard.

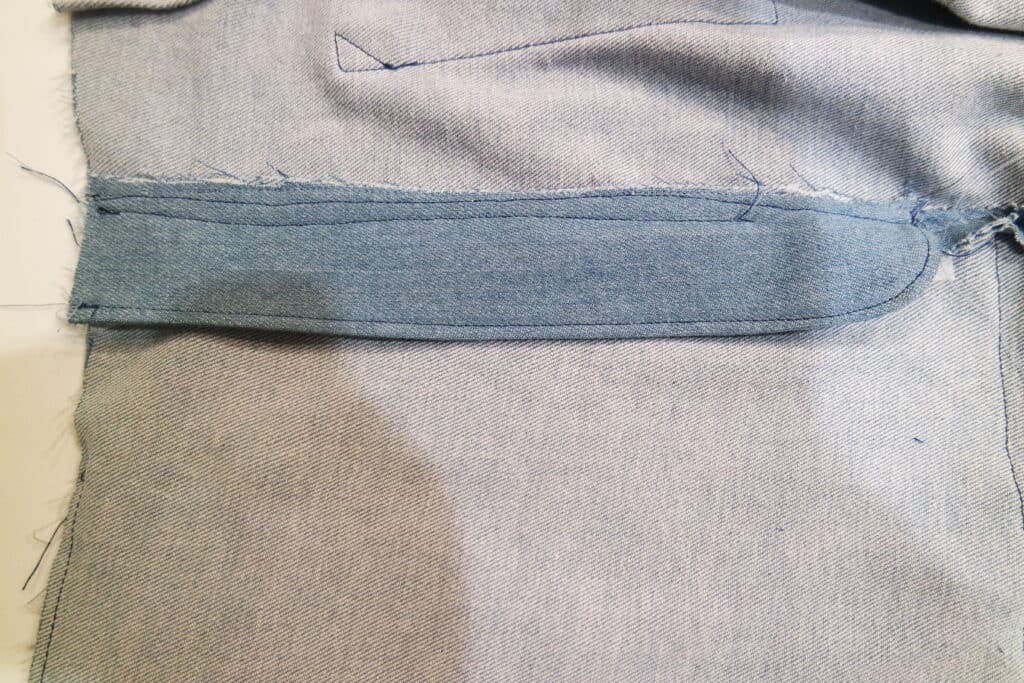
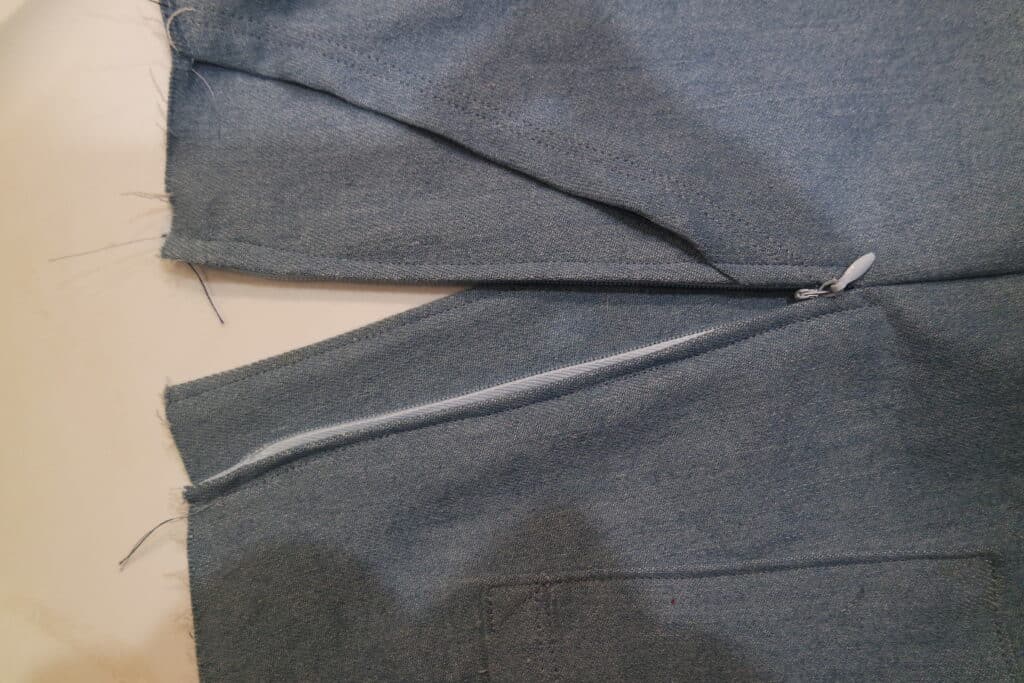
You can also continue to stitch in the ditch across the bottom and up just a little to help keep the guard in place when taking on/off. This is what it will look like after with the zipper guard keeping the zip from touching your skin:

….

Add some Ears

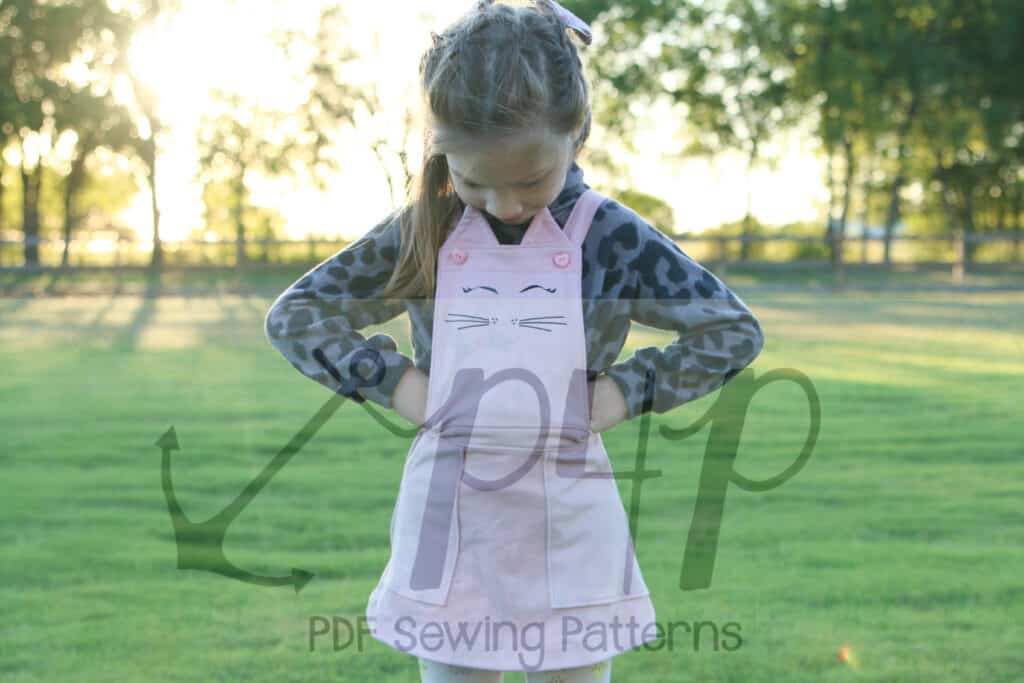
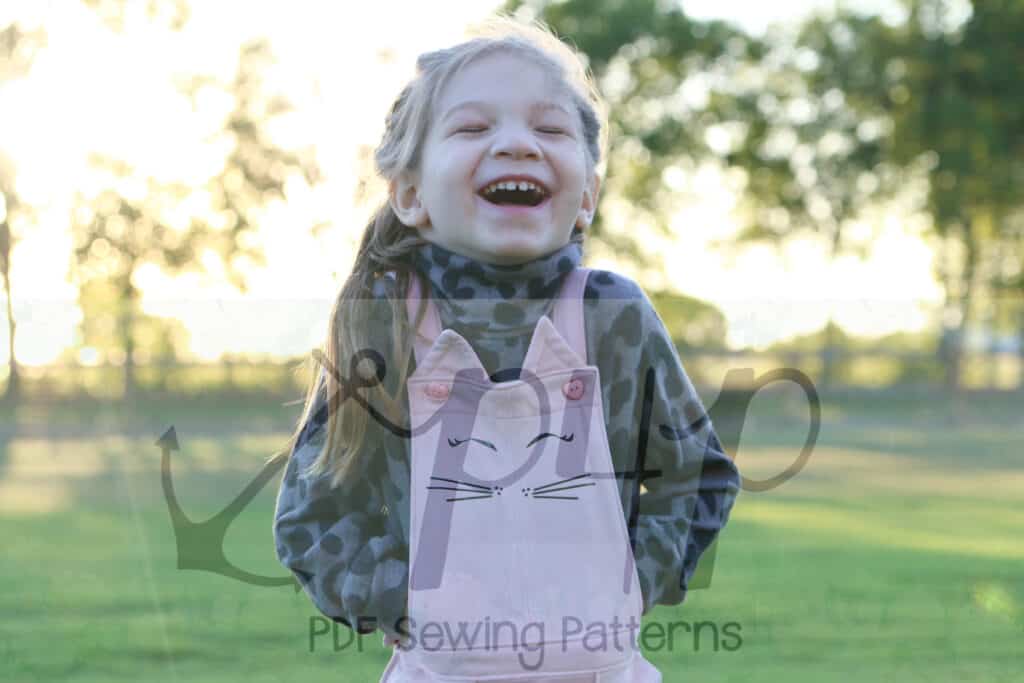
Adding a little face and ears is always a way to make my daughter super happy with something I sew her. She requested a kitty for this one after seeing one similar at a store. It was such an easy little modification. I simple free-handed the ears… but we do have some ears in the Oversized Sweater-Youth pattern and I used the faces from our free Animal Faces for our Jolly Roger Raglan. I only freehanded the ears to make sure they fit perfectly and…. well… I didn’t want to print anything 😉

Stitch the ears up and sandwich them between the main and lining bib. Ta-da… that’s it! So cute and simple!

What an amazing line up! We look forward to seeing  your own “”hacked” Vintage Jumper  creations on Facebook and Insta.

Filed Under: Frequently Asked Questions, Pattern Hacks, Pattern Release Leave a Comment

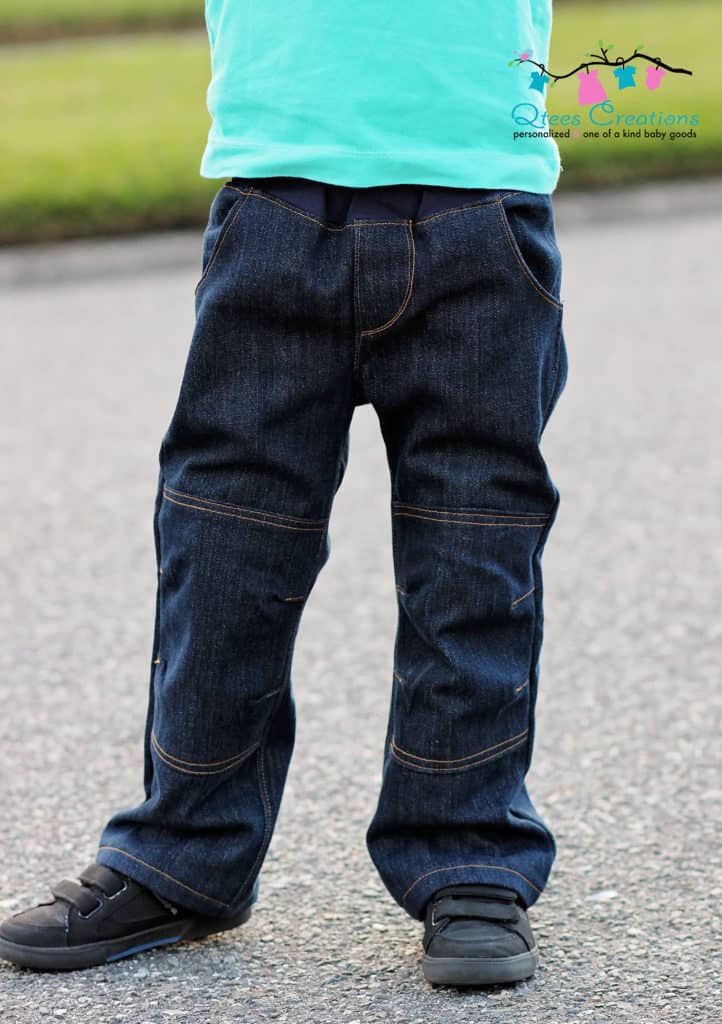
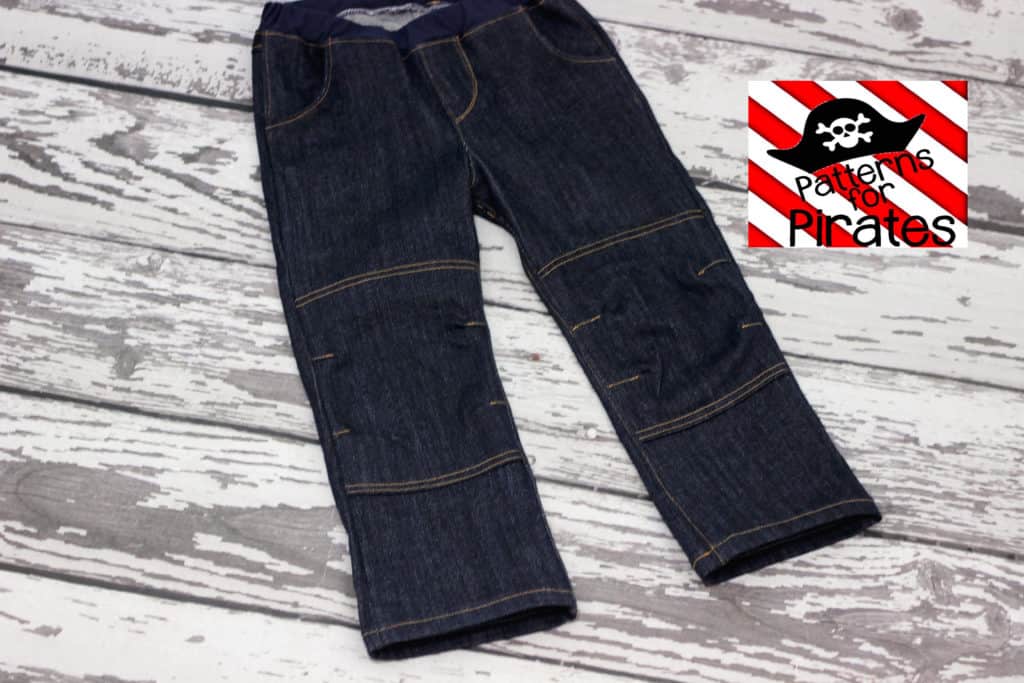
a cool way to add reinforced knees to the Captain Comfort Jeans

November 15, 2016


img_3369

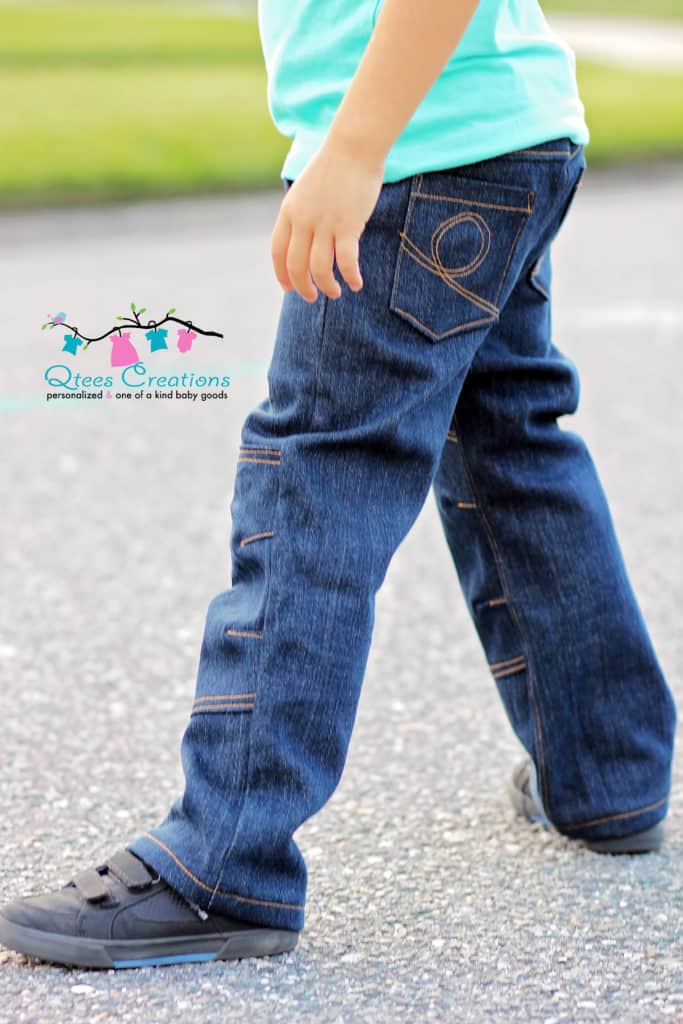
As a mom of young kids I am always looking to make them cool clothes that are not only on trend but can withstand their active lifestyle. In today’s blog I will show you how to take the already cool Captain Comfort Jeans to the next level and reinforce the knees in a modern new way.  If you’re looking at the Cpt. Comfort and need some tips on sewing jeans we’ve done a blog post all about it here!

img_3979

img_3319

img_3321

Start by printing the pattern and cutting your fabric. I used an old pair of jeans I had saved for upcyling. (Here is a blog post about using an old pair of jeans for this pattern!) I find denim fabric by the yard to be pretty costly so I save all usable jeans pairs that my husband and I don’t wear anymore. You can make any style Comfort jeans with this hack, including the lined version.

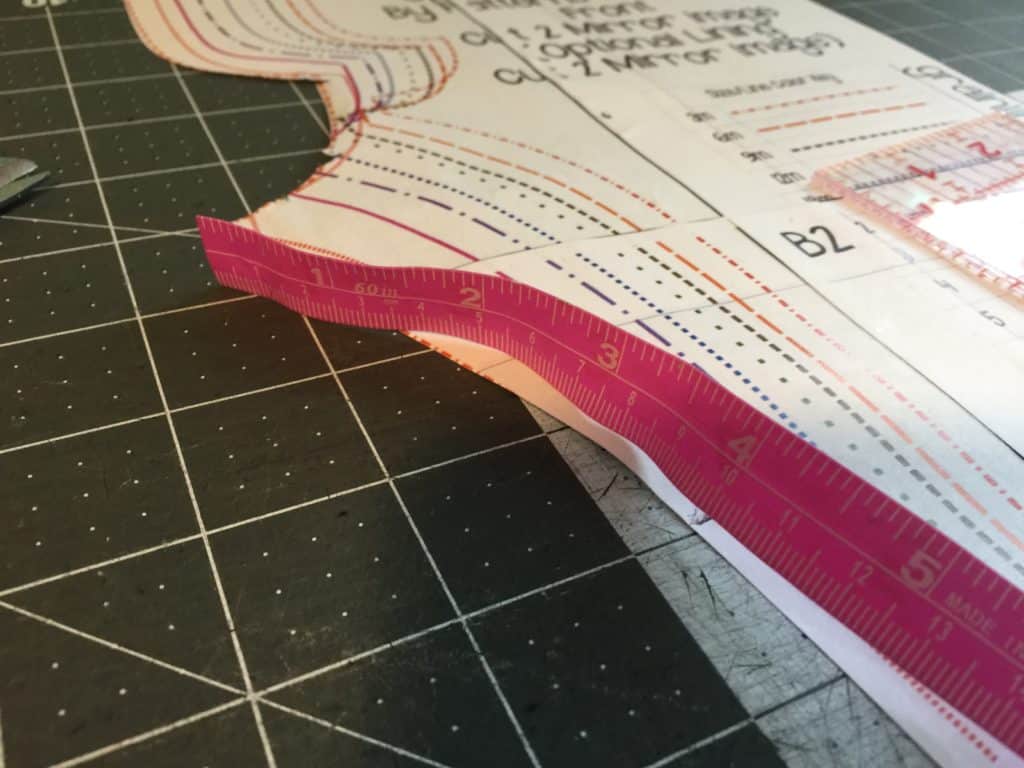
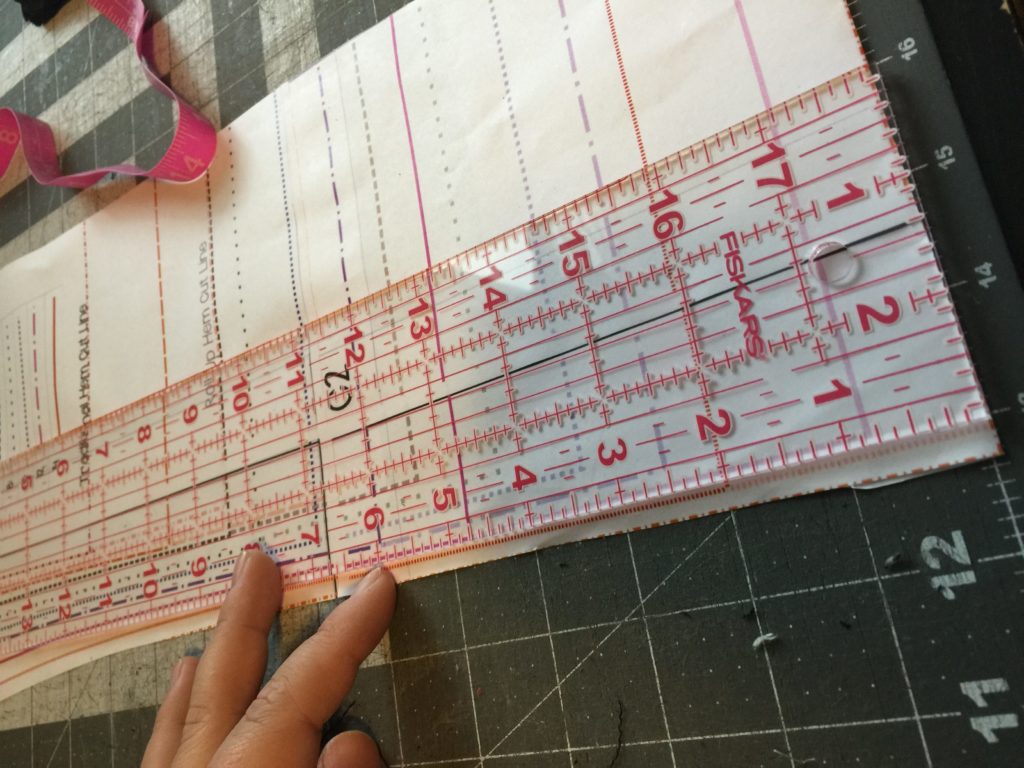
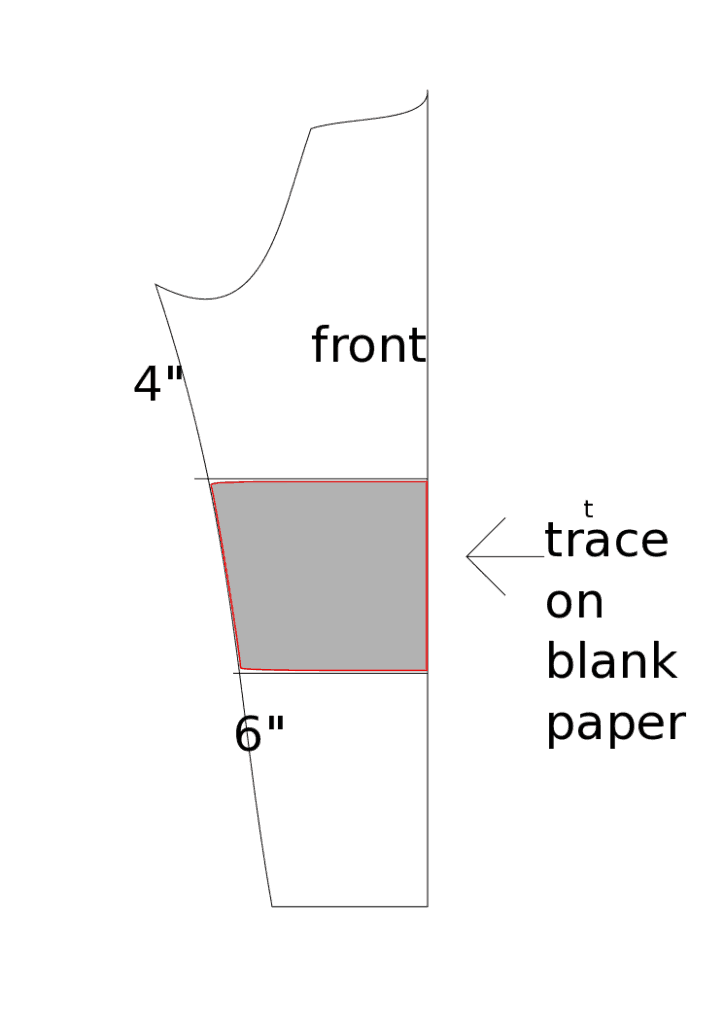
Take your front piece pattern and measure 4 inches down from the top of the inseam, mark it on the pattern. Now measure and mark 6 inches from the bottom of the hemmed option cut line. I made a size 5 but I think these measurements would work well for sized 4-6. You will need to mark higher or lower depending on the size you need and how big you want the knee patch.

img_3936

img_3937

front-cpt-comfort

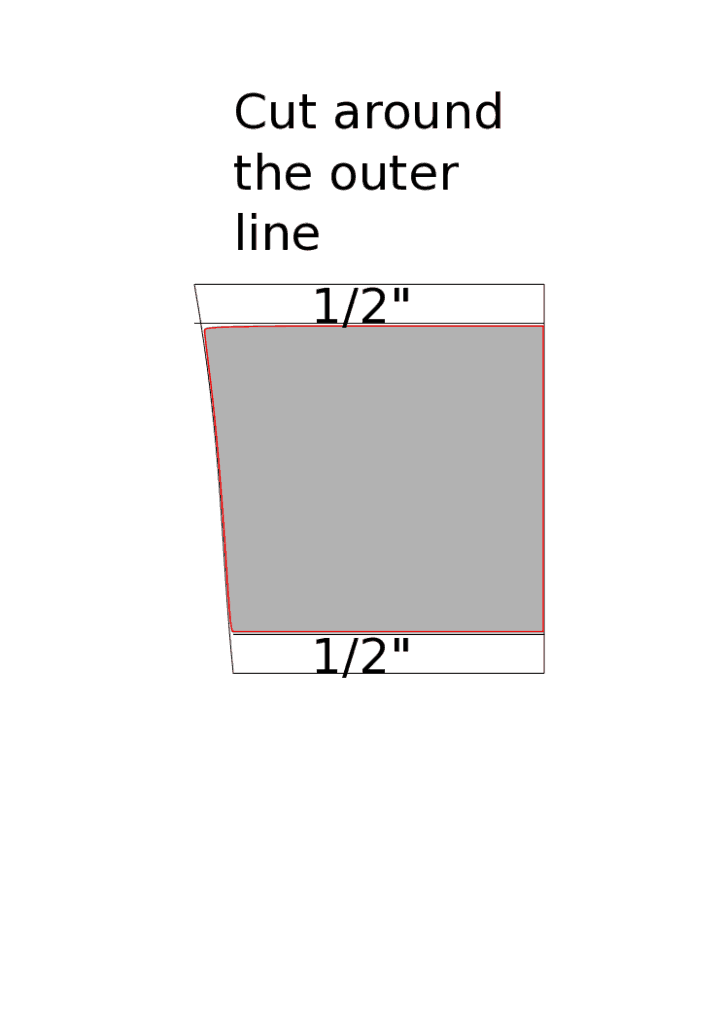
Draw a horizontal line from the two markings. Using a blank paper trace the knee patch between the two lines you just drew. Now you will draw another line parallel to these two 1/2 inch above the top line and 1/2″ bellow the bottom one. You just made the patch pattern piece.

patch

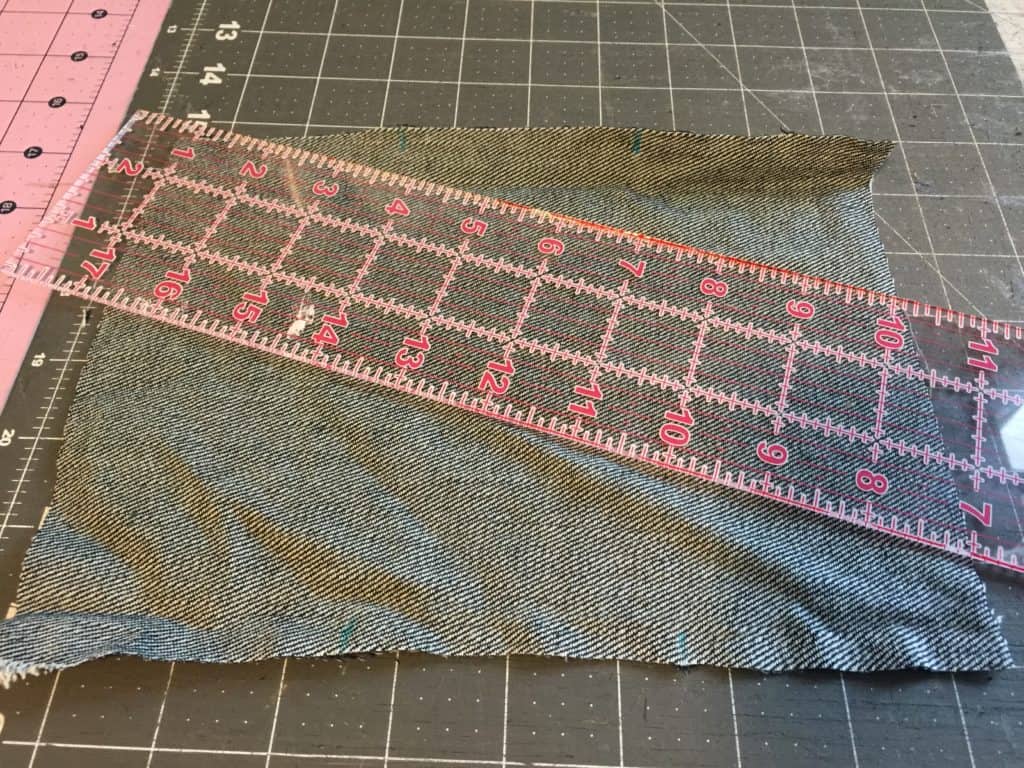
Cut two jeans patches using the pattern piece you just created. Don’t forget to mirror the pieces!! Measure the inner and outer leg part of the patch and divide it by 3. Grab your fabric marker or chalk  and draw a one inch line perpendicular to the sides of the patch at the markings.


img_3940

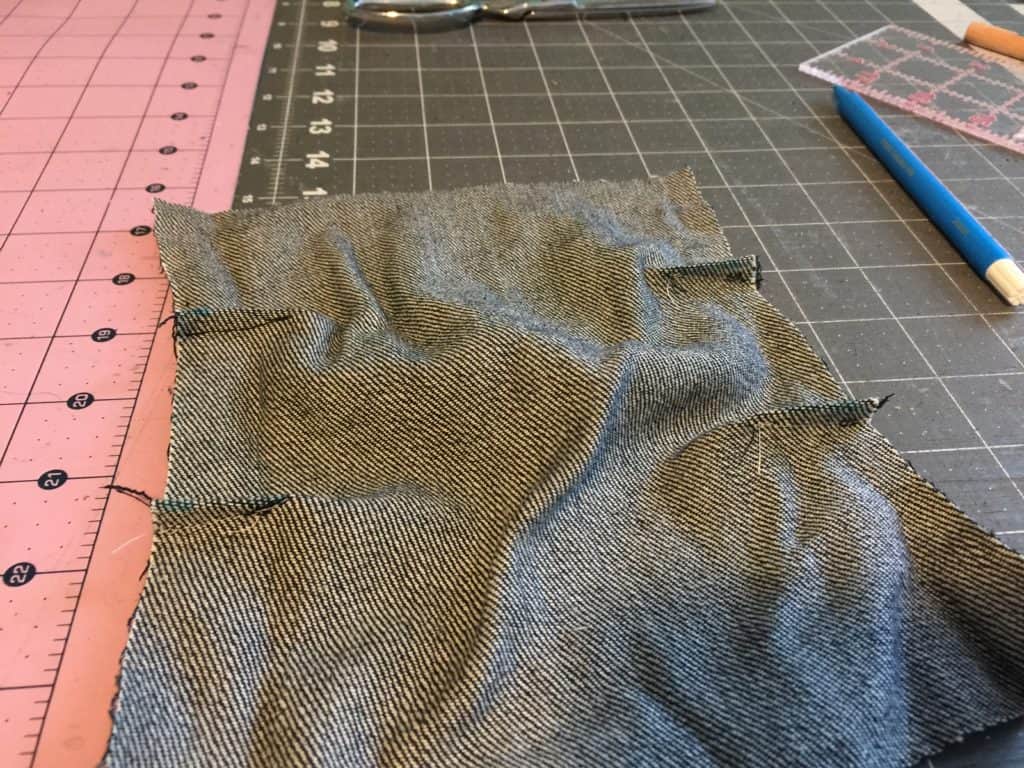
Using a your sewing machine and denim needles sew a small dart that starts 1/4 inch away from the marking. Repeat the process for the remaining 7 small darts on the two patches .

img_3942

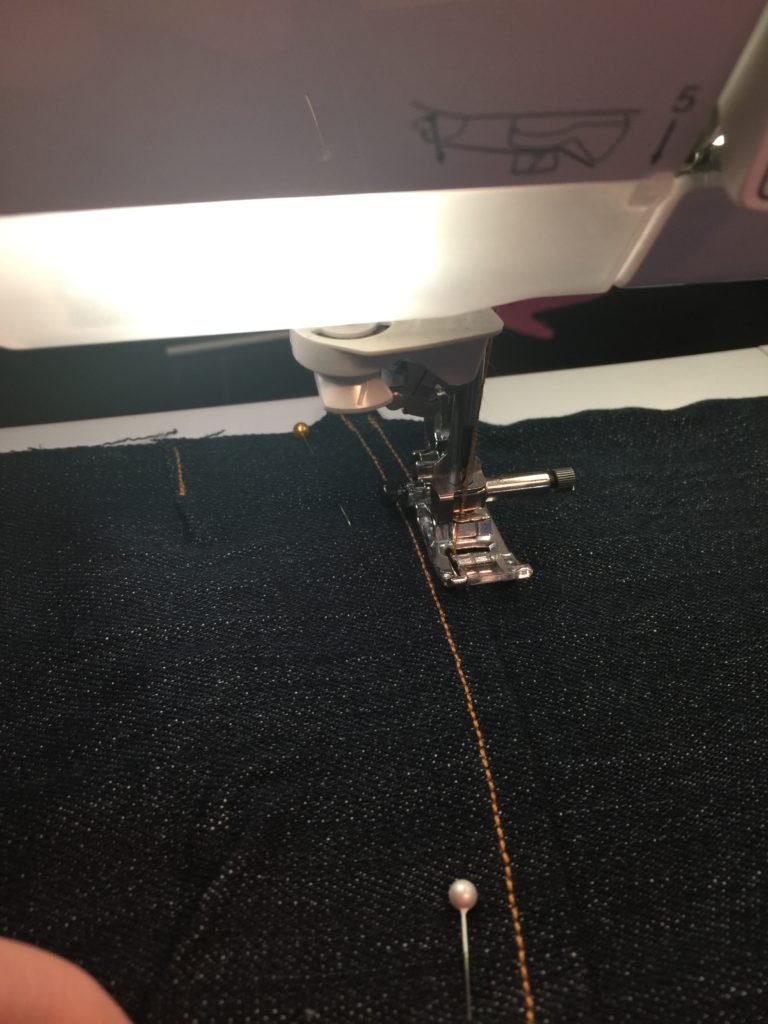
Press the top dart up and the bottom darts down. Top stitch them in place. I love jeans thread for topstitching, It adds a nice touch to the finished look. Take your patches to the ironing board and press the top and bottom edges 1/2″ wrong sides together. Stitch in place 3/8 inch from the fold.

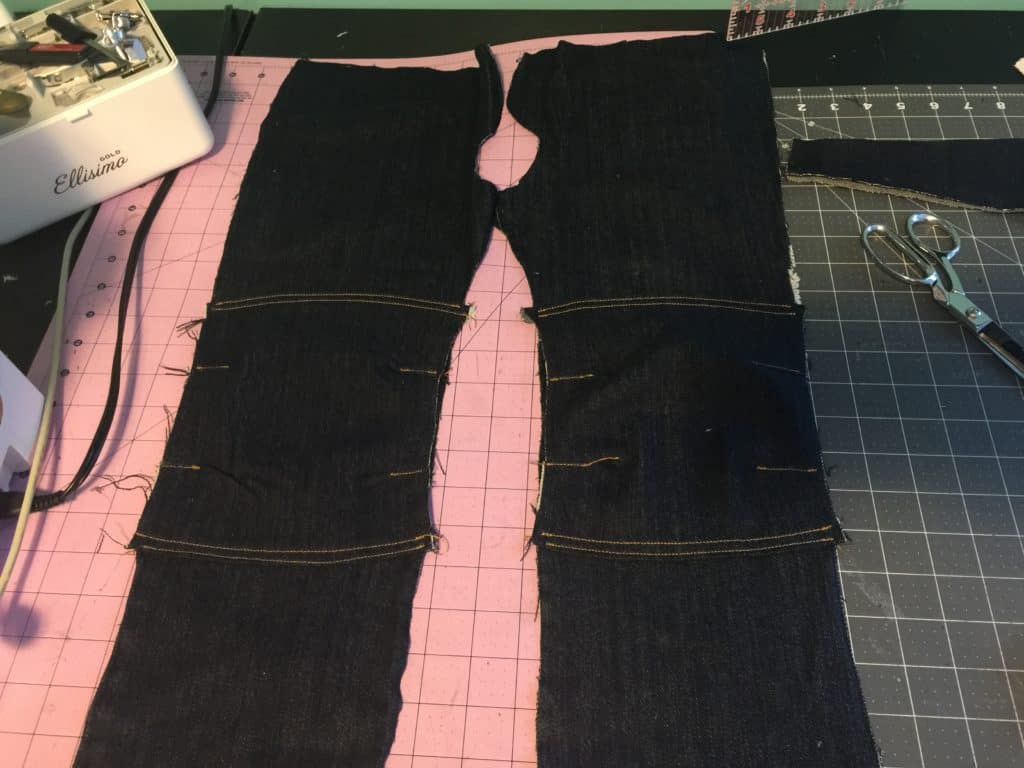
Place the patched on the front pieces (wrong side of the patch to the right side of the leg piece) making sure to match the right leg patch to the right patch and the left leg patch to the left leg.  Sew the patches on about 1/8 inch away from the folded edge.

img_3952


img_3953

There you go! You just added cool knee patches to the Cpt Comfort Jeans. Continue sewing the pants according to the pattern and don’t forget to show them off in our group.

img_3349

img_3353

img_3339

Happy sewing, pirates!

Alex

Filed Under: Frequently Asked Questions, Pattern Hacks, Uncategorized 1 Comment

Tips and Tricks on How to Up-Cycle Jeans/Denim

June 13, 2015

Making jeans can be a little intimidating for some… and we’ve already had a post here about making jeans look more like store bought jeans with details like top-stitching thread and distressing.

But, a really easy way to get your jeans looking professional is to use an old pair that an adult is throwing/giving away! This means a lot less work for you distressing and top-stitching if you’re smart about laying out your pattern pieces! So here it goes…my tips on using pre-existing jeans:

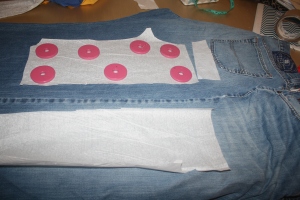
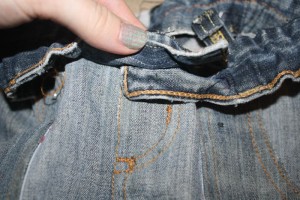
1- Making a few cuts along the seams can really make cutting your pieces much easier! I like to cut along the inside legs/crotch, cut off the waistband and beltloops, and the back pockets.

IMG_9003IMG_9001 IMG_9004

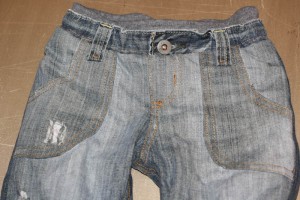
2- Be cautious about distressed/washed jeans and laying out your pattern pieces… meaning, if your jeans have a very obvious fade/wash/distress pattern on them then you need to make sure you like where it will be placed and that it will match when you sew up your jeans. For this pair, I wanted the distressed area of the original jeans, so I laid my patterns around that.  Notice that my two pieces are very close to the same area horizontally, and that the back yoke is placed above the back piece.  All of this will ensure that the distressing and wash look natural on my finished jeans.

IMG_7758

You can also use the original hem line if you prefer to get that instead. Remember to account for hem allowance. I did that with this pair, because my jeans didn’t have a very noticeable distressing.

IMG_9000

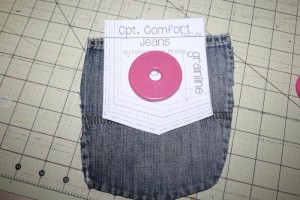
Use the back pockets when cutting your new pockets, Remember to account for the hem allowance at the top.

IMG_9005

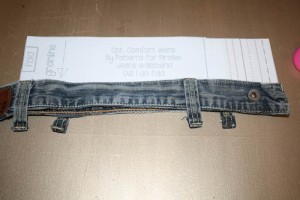
If you’d like to use the waistband and belt loops you can…. but warning, unpicking those belt loop stiches is not fun 😉

If you pattern calls for elastic in the waistband, like my Cpt. Comfort Jeans, then you will have to cut a slit on the wrong side of the waistband to slip your elastic through- I just use a wide zigzag to mend the slit after (I hide the zigzag stitches behind a belt loop!).  Make sure when overlapping that you line up your jeans button and button hole, you can see here on mine they overlapped much more then the pattern called for.  Then you will tack down the bottom of the belt loops 🙂

IMG_9006IMG_9012IMG_9213

3- Now that you have your pieces cut you will continue to sew them just like the pattern calls for  matching the store bought top-stitching thread as best you can. And although they have a wash and distressing, I STILL distress along the way! That way my finished jeans will have the distressing where store bought jeans do, like along pocket lines.

IMG_7260 IMG_9009

IMG_9010

Now you have a great fitting (no plumbers crack!) pair of jeans that cost you nothing but the thread and time <3 and plus they look amazing!

IMG_9218   IMG_9422IMG_9403

Filed Under: Pattern Hacks, Sewing Techniques, Sewing with Woven Fabrics, Uncategorized 1 Comment

How to Sew “ready to wear” looking Jeans/Denim

June 13, 2015

Jeans can be an intimidating sewing task, but they really aren’t that difficult and it is so great to have well fitting jeans for you or your little ones! No more plumbers crack when bending down!!!!! 😉

IMG_9403

With my recent release of the Cpt. Comfort Jeans I wanted to post about how to distress your new denim to look more like ready to wear jeans! I personally LOVE the distressed look! Although a super clean dark denim can look nice as a “dressy” pair of jeans like here:

_DSC4859

But for everyday, I just love the little distressed look… something about looking like Daddy gets me every time with my little guy!

So, lets get started on those great store bought look jeans!

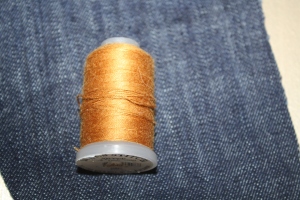
You really MUST use a top-stitching thread for all your top-stiching if you want store bought look… I scoffed at my Mom the first time she told me it was a must… BUT she was right, like always!!

IMG_7260

You will use this heavier/thicker weight top-stitching thread in the top only and for top-stitching only. You will use regular thread in the bobbin and for all seams sewing the jeans together– yep, you have to rethread a lot ;). But it is absolutely worth it if you want ready to wear looking jeans! I promise!

You will also NEED a bigger needle designed for heavy weight fabric like denim or you will be breaking needles on those thick belt loops!… here is a single and double needle:

IMG_7259

Now, I only have one machine, so there is A LOT of switching threads and needles if I use the double needle. So, I will often just sew two lines with my single needle instead of switching to my double needle 😉

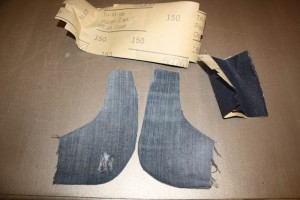
Now for the distressing, you will need some sandpaper! To be honest, I’m not sure the BEST kind of sandpaper to use… I asked my husband if he had some and used whatever he handed me 😉 Here is a shot of the kind I happen to use!

IMG_9008

The trick to distressing your denim is to do at WHILE you’re sewing the jeans! If you try to do it before it’s hard to gauge where the distressing needs to be. If you do if after you’ve top-stitched them then you will be breaking your top-stitching threads (ask me how I know that one 😉 ) see left top pocket with it’s broken threads :/ oops!

IMG_9422

So, I suggest sewing the jeans together with your normal thread, then distressing with sandpaper before you top-stitch. Here is my patch pocket sewn, turned right sides out, and distressed along the edges (and any other places I fancied at the moment). Then I top-stitched.

IMG_9010

Some areas are harder to distress before topstitching like back pockets, belt loops, any piece that you are top-stitching closed or onto the jean.  But I still follow the same steps.  I just fold and press, distress, then top-stitch onto the back piece.

IMG_8998

So have fun with a little distressing or A LOT! lol! I like a lot 😉 I end up with a mound of blue fuzz all my sewing room by the time I’m done!

Last is the button! I love to use “real” jeans buttons- and honestly, I always have been lucky enough to take them from my loving mother’s stash! But they are very easy to put on, just line up the two parts and hammer away! Yep, you’ll have sandpaper and a hammer in your sewing room for jeans!!

I’ve always used snaps, which are very common on ready to wear for younger children 🙂

IMG_9000 IMG_9218 IMG_9245

Filed Under: Fitting, Frequently Asked Questions, Sewing Techniques, Uncategorized 3 Comments

Featured Patterns

  • Loosey Goosey Loosey Goosey $12.00 Original price was: $12.00.$10.50Current price is: $10.50.
  • Loosey Goosey- Youth Loosey Goosey- Youth $10.00 Original price was: $10.00.$8.50Current price is: $8.50.
  • Loosey Goosey - Bundle Loosey Goosey - Bundle $20.00 Original price was: $20.00.$18.00Current price is: $18.00.
  • Everyday Shirt Everyday Shirt $12.00
  • Everyday Shirt- Youth Everyday Shirt- Youth $10.00
  • Privacy Policy
  • Refund Policy
  • Affliliate Program
  • Contact Us
  • About

Copyright © 2025 Patterns for Pirates

Copyright © 2025 · Genesis Framework · WordPress · Log in