Patterns for Pirates

P4P stylish, modern, wearable patterns

  • Home
  • Blog
    • Frequently Asked Questions
    • Pattern Releases
      • Free Patterns
    • P4P University
      • Fitting
      • Sewing with Stretch, Knit Fabrics
      • Sewing with Woven Fabrics
      • Sewing Machines
    • Sew-A-Longs
    • Fabric for Pirates
    • Pattern Hacks
    • Announcement
      • Blog Tours
      • Contest/Giveaway
  • Shop
  • Bundle Discounts
  • Flash Friday
  • Gift Cards
  • My Account
  • Cart

Runabout Romper – easy hacks

May 22, 2020

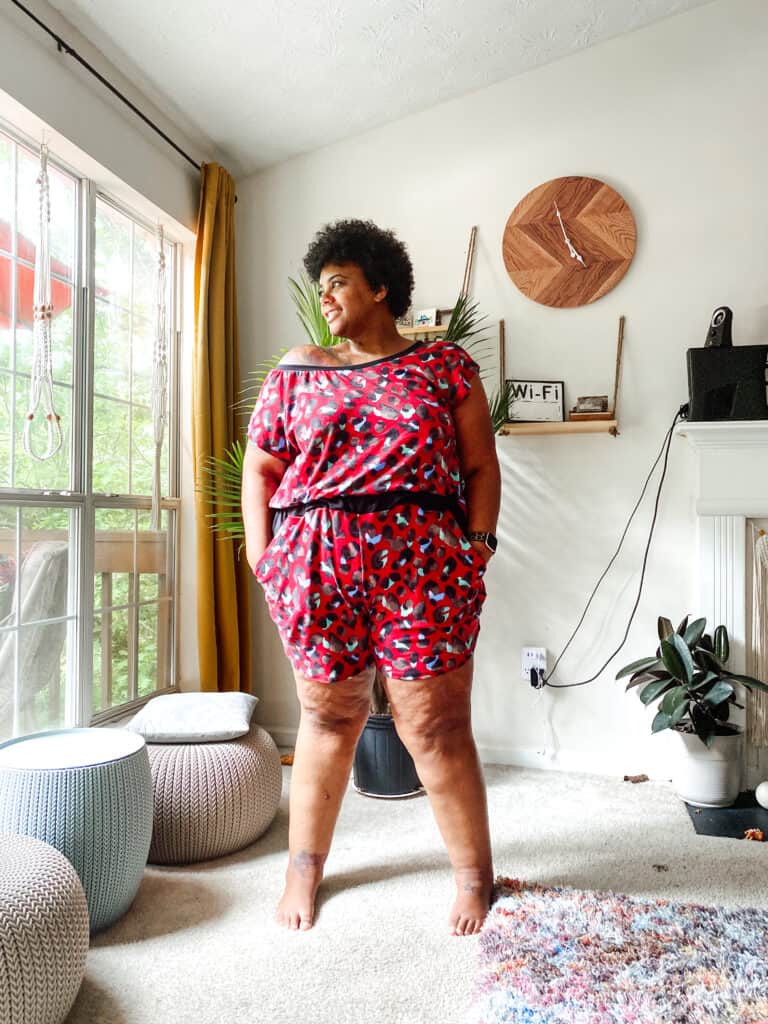
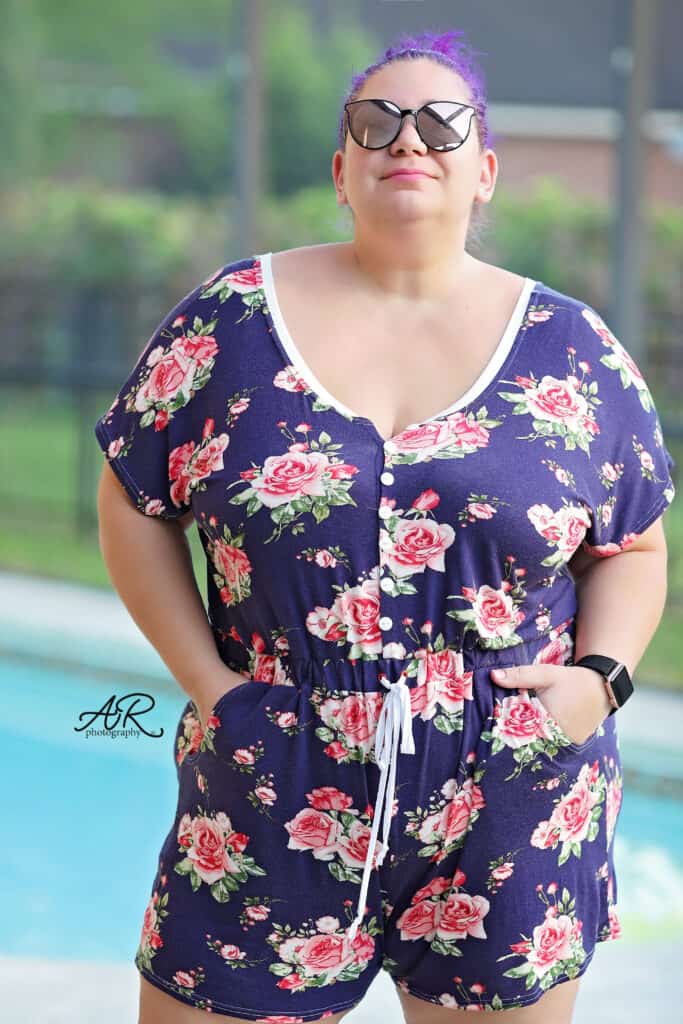
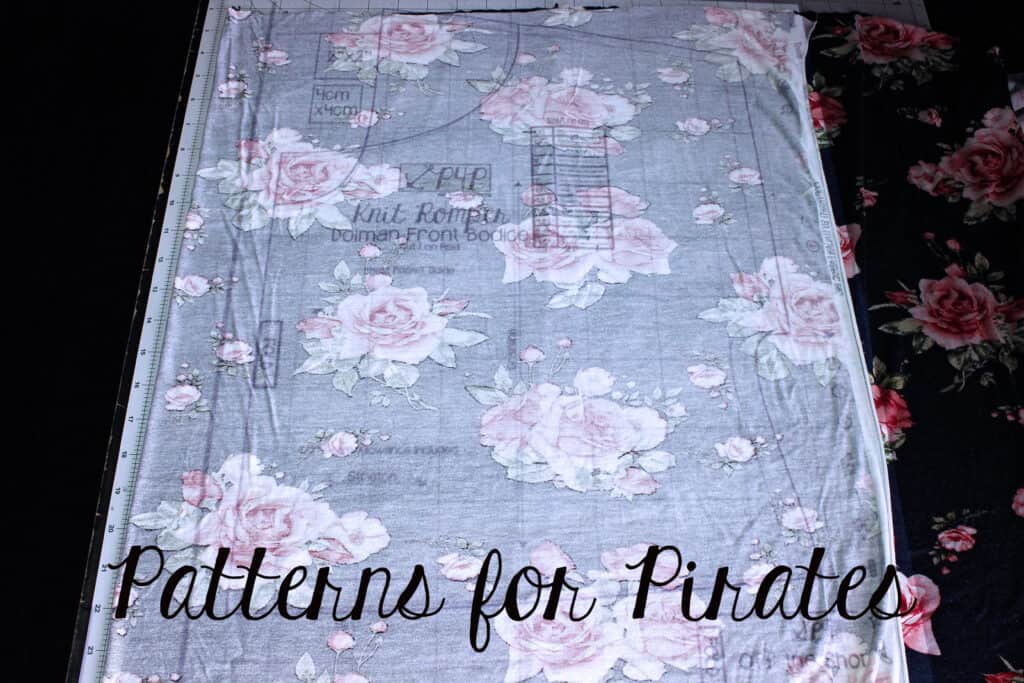
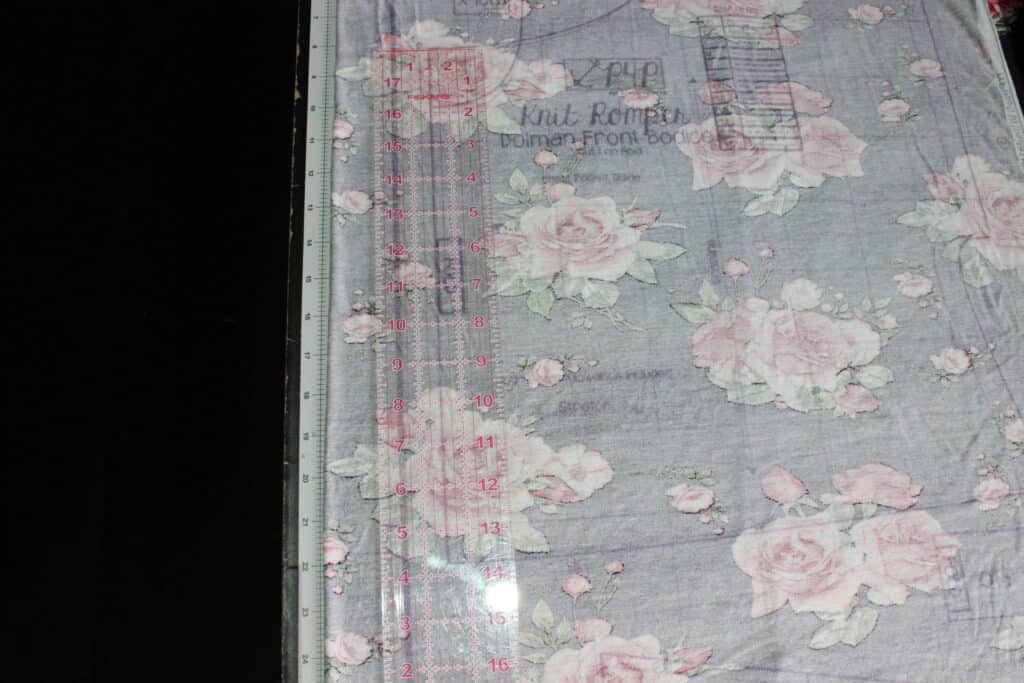
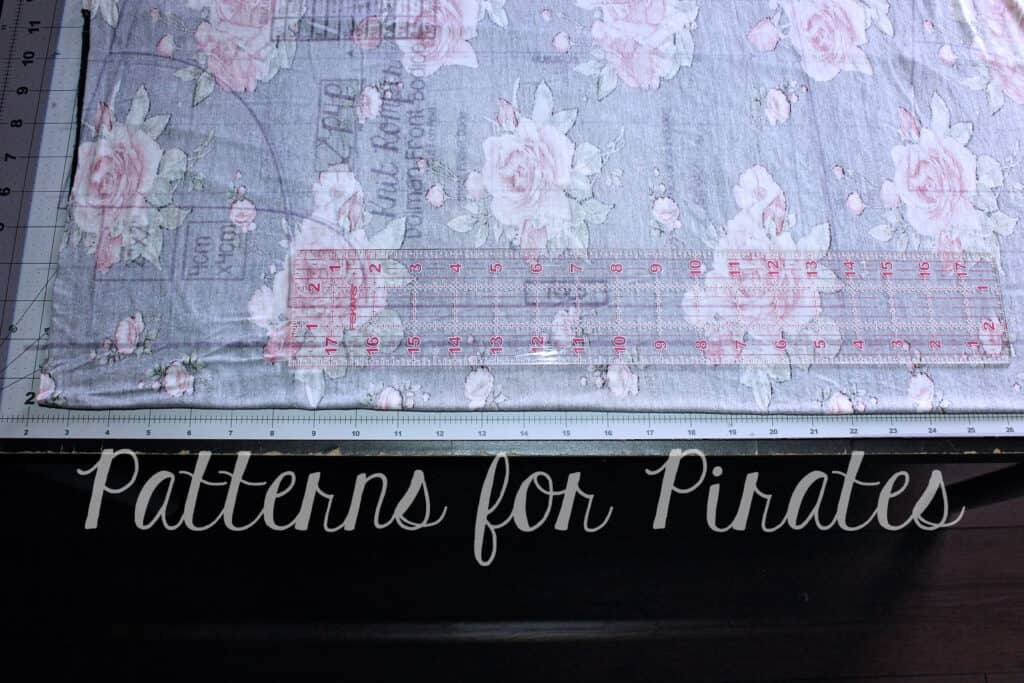
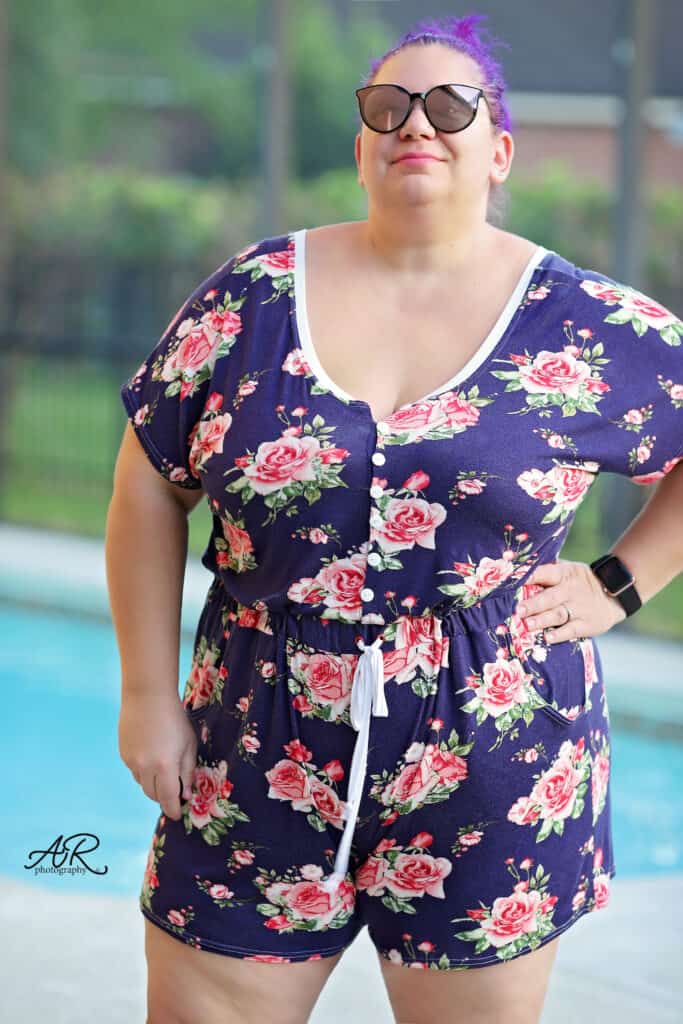
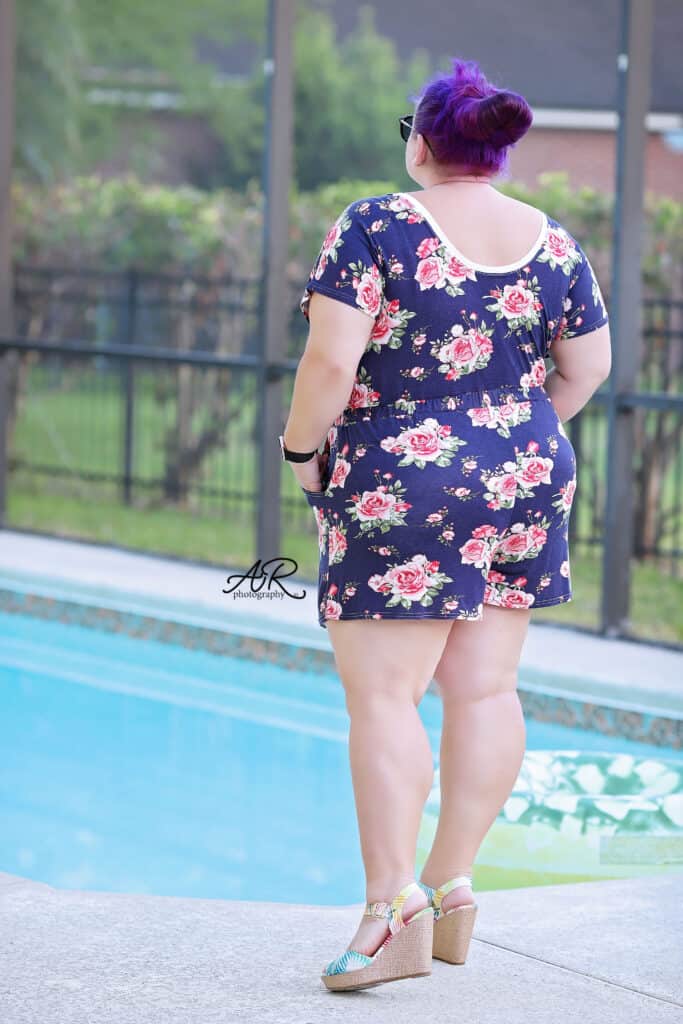
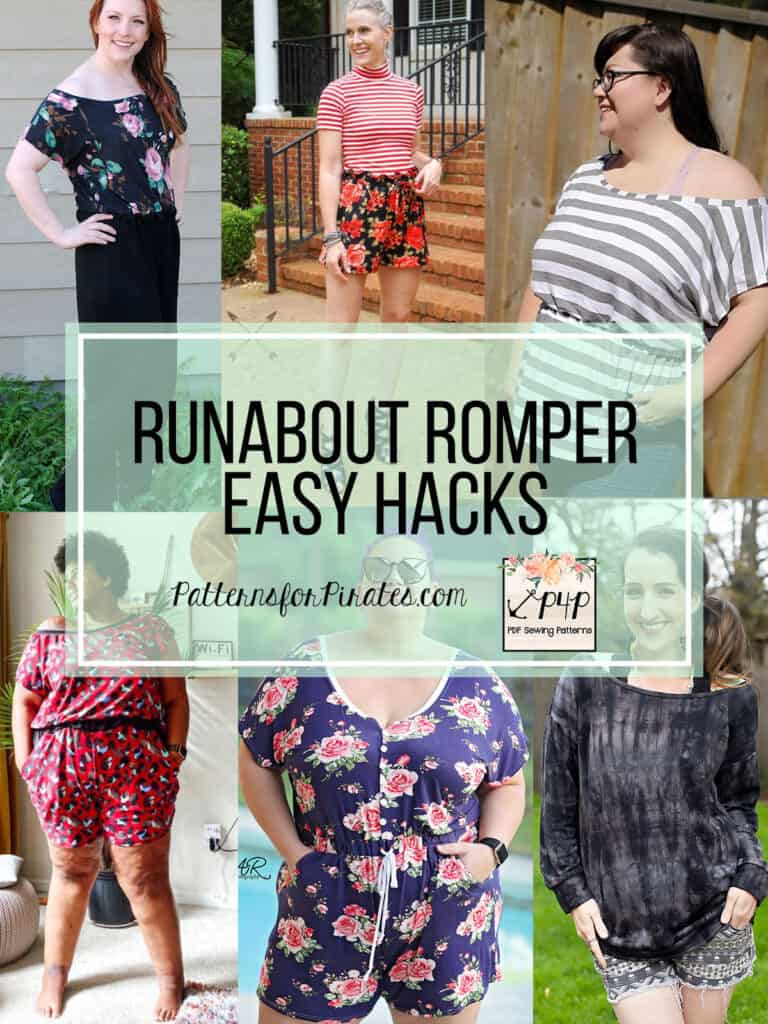
It’s here! It’s here! The Runabout Romper and Dress patterns (adult and youth) and jam packed with option but we couldn’t let this release pass without adding a few more. The P4P bloggers will show you how to make separate pieces, paperbag shorts, looser pants, slimmer shorts, button front and tunic length. Let’s take a look! 

…..

Separates 


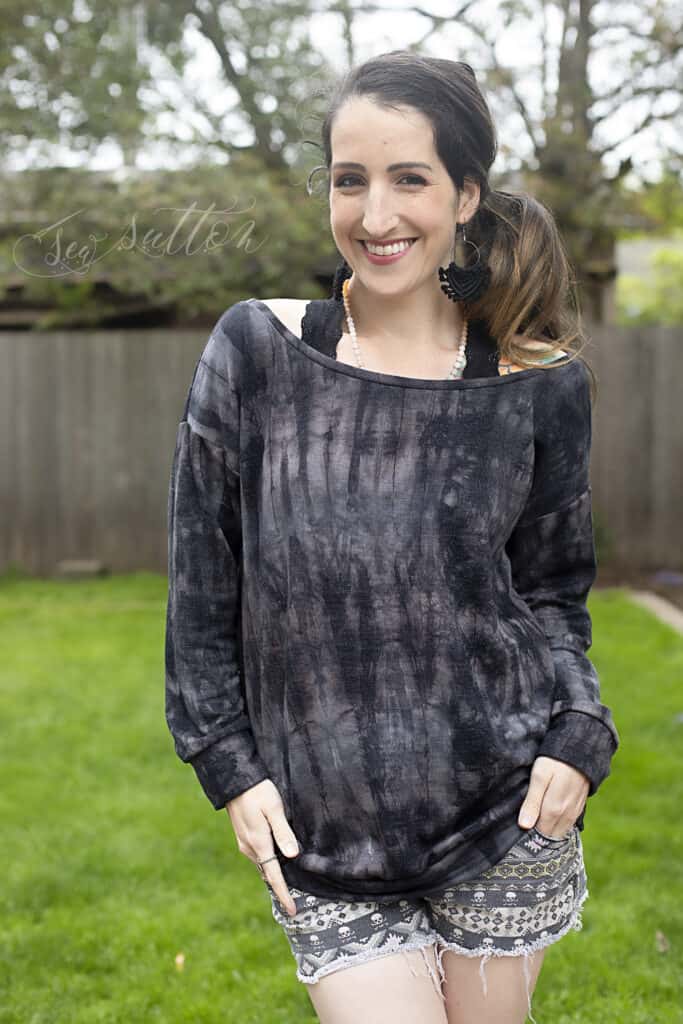
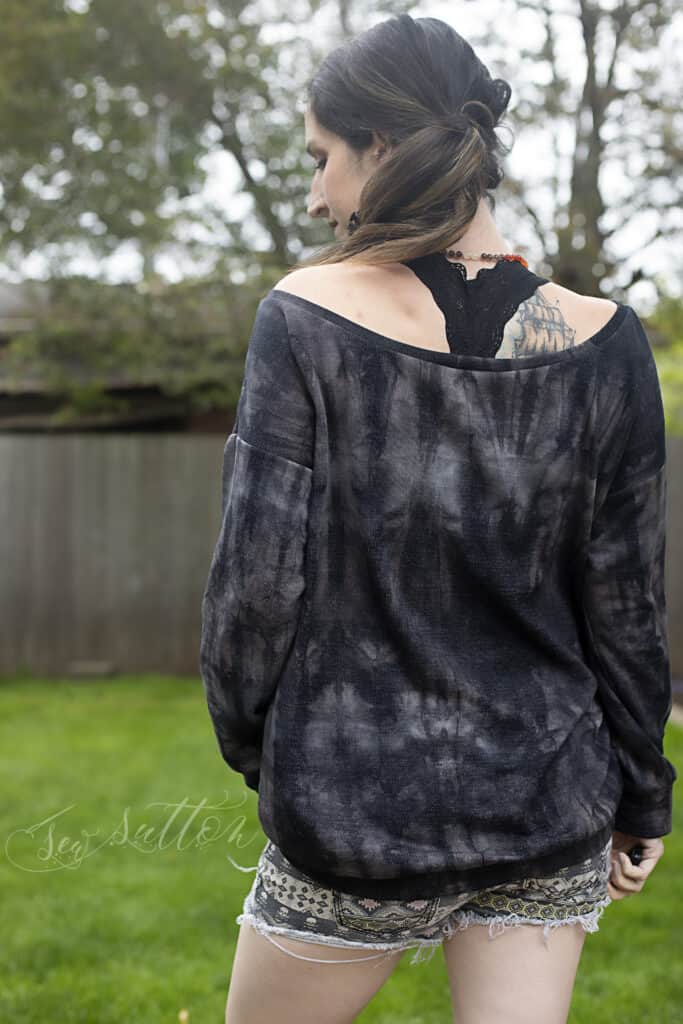
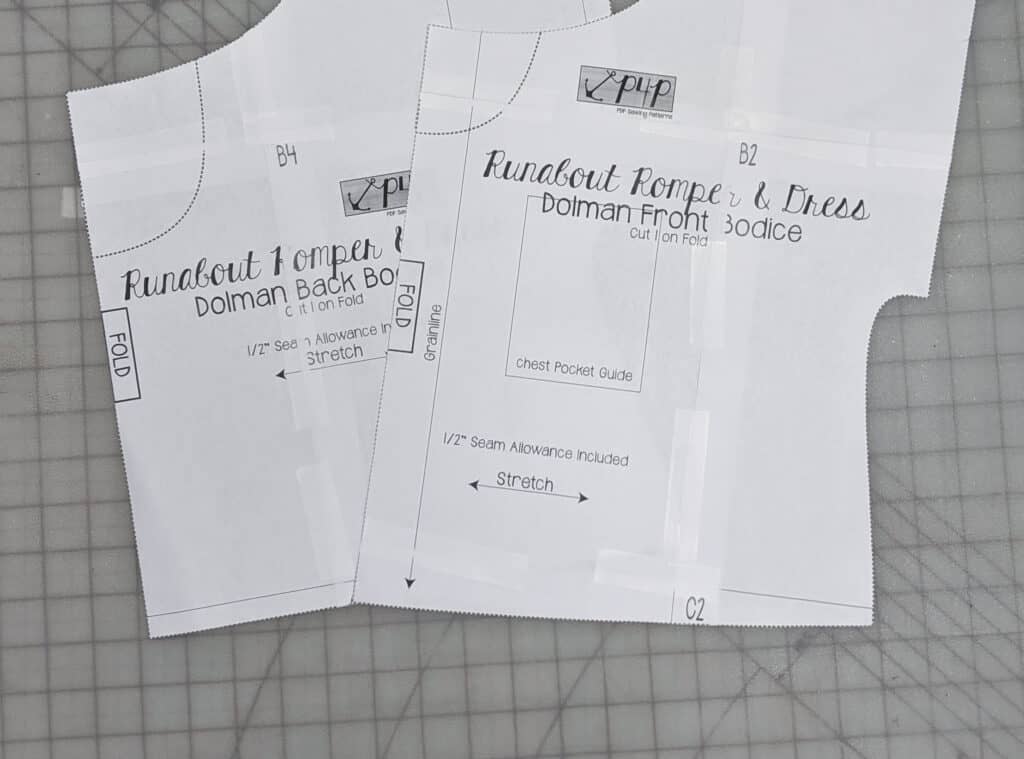
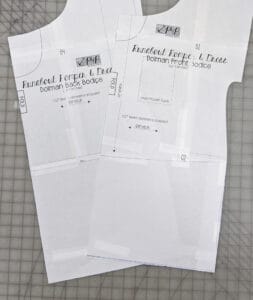
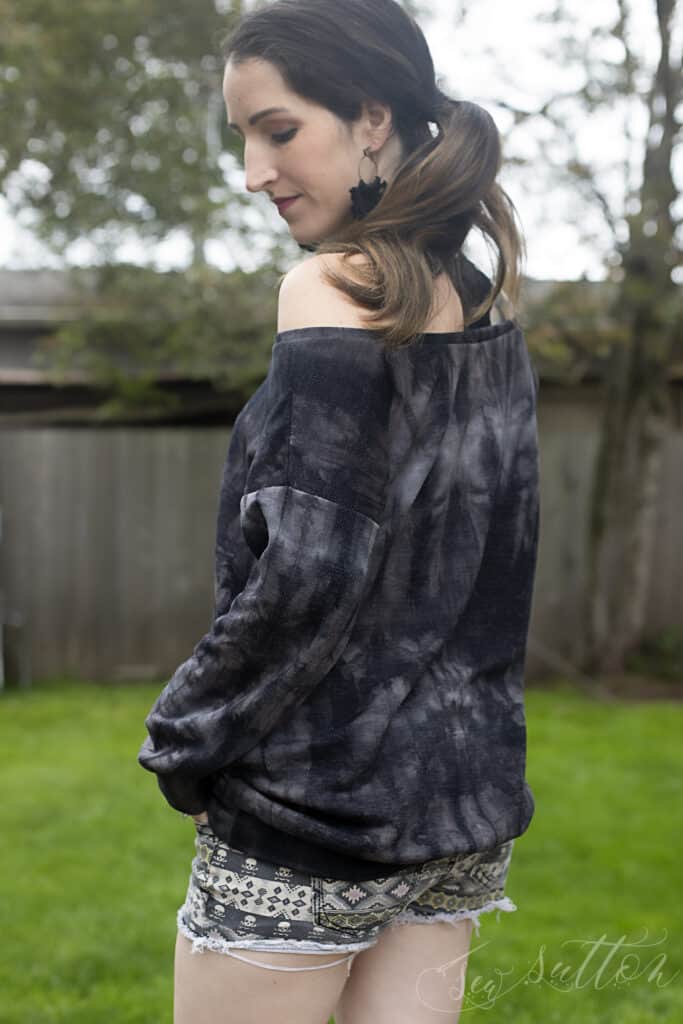
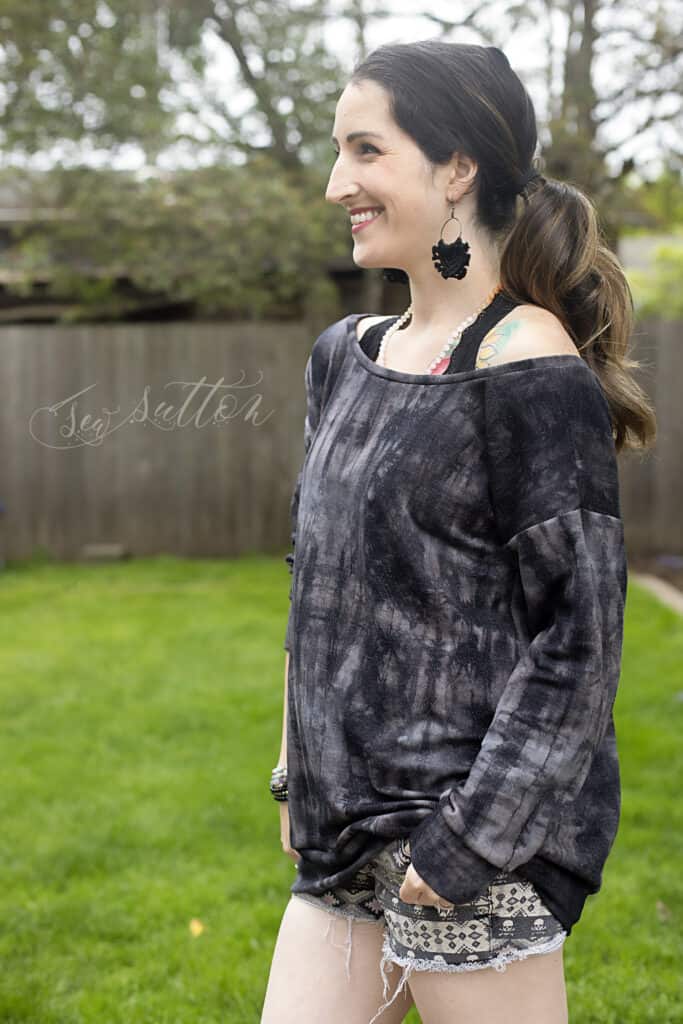
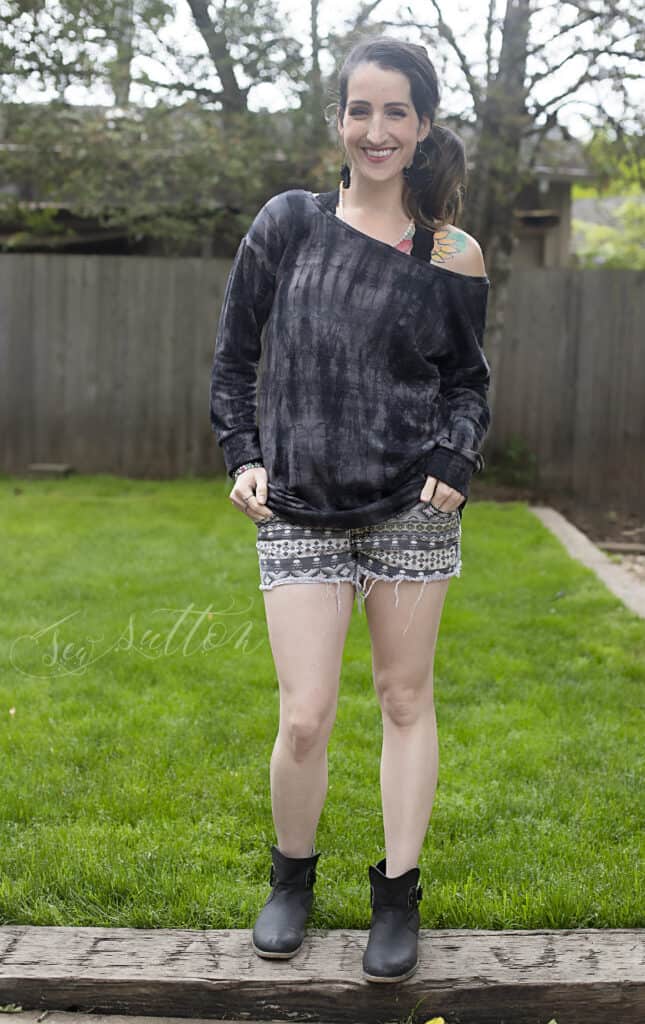
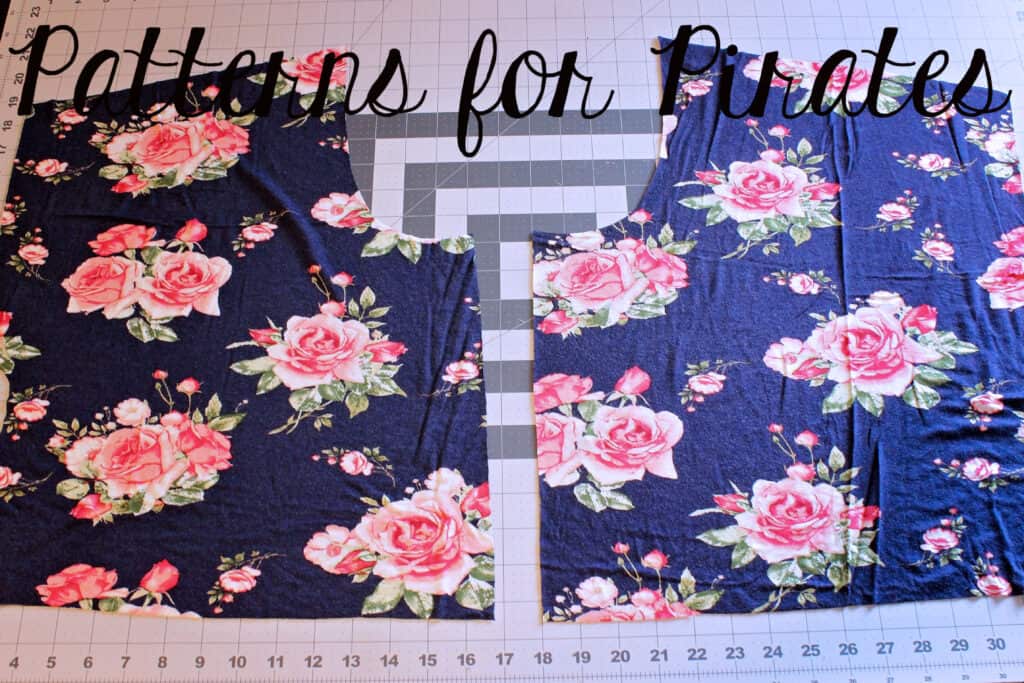
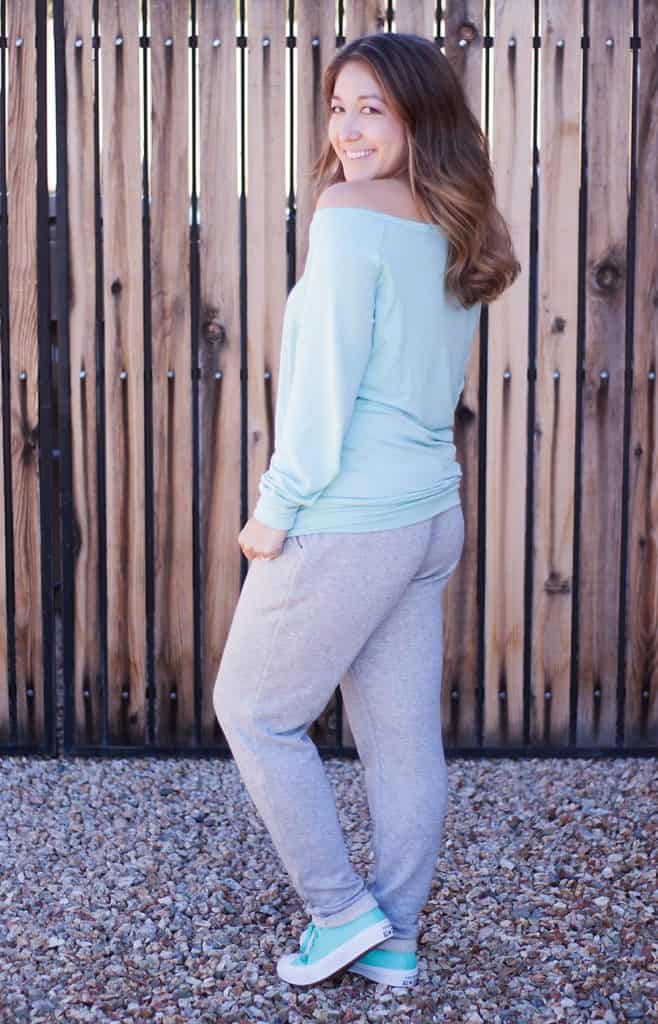
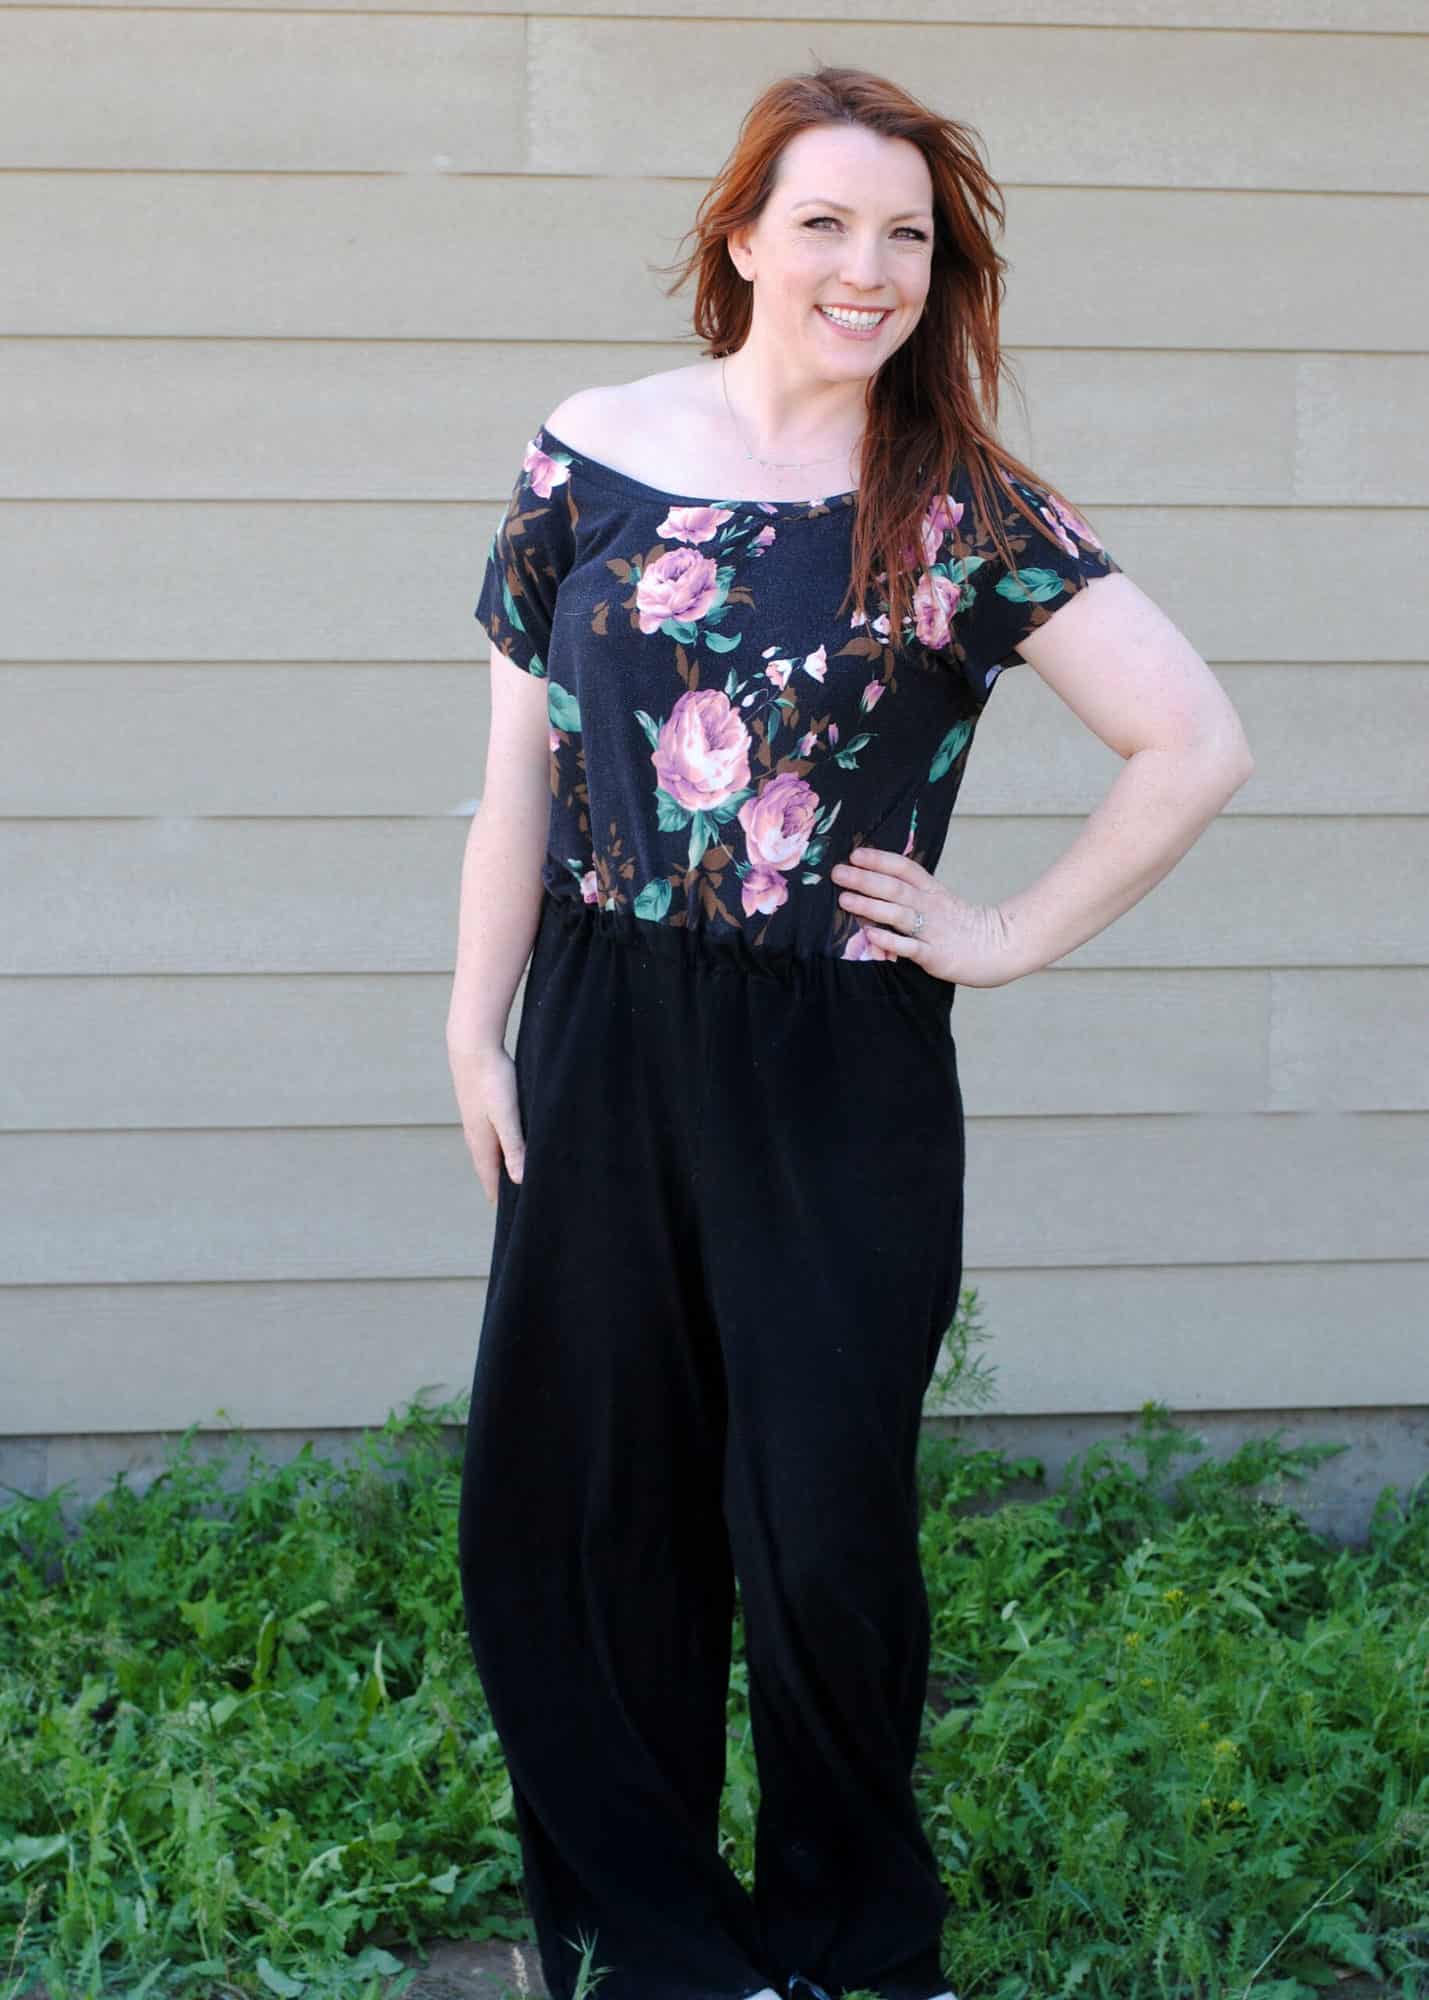
I absolutely fell in love with the off the shoulder neckline of the  Runabout Romper but wanted it in shirt form for non-romper days.  So, of course, an easy hack was needed and I now have the coziest sweatshirt ever.   It’s so easy to do!   First, start by printing just your top pieces, putting together, and cutting them out. 

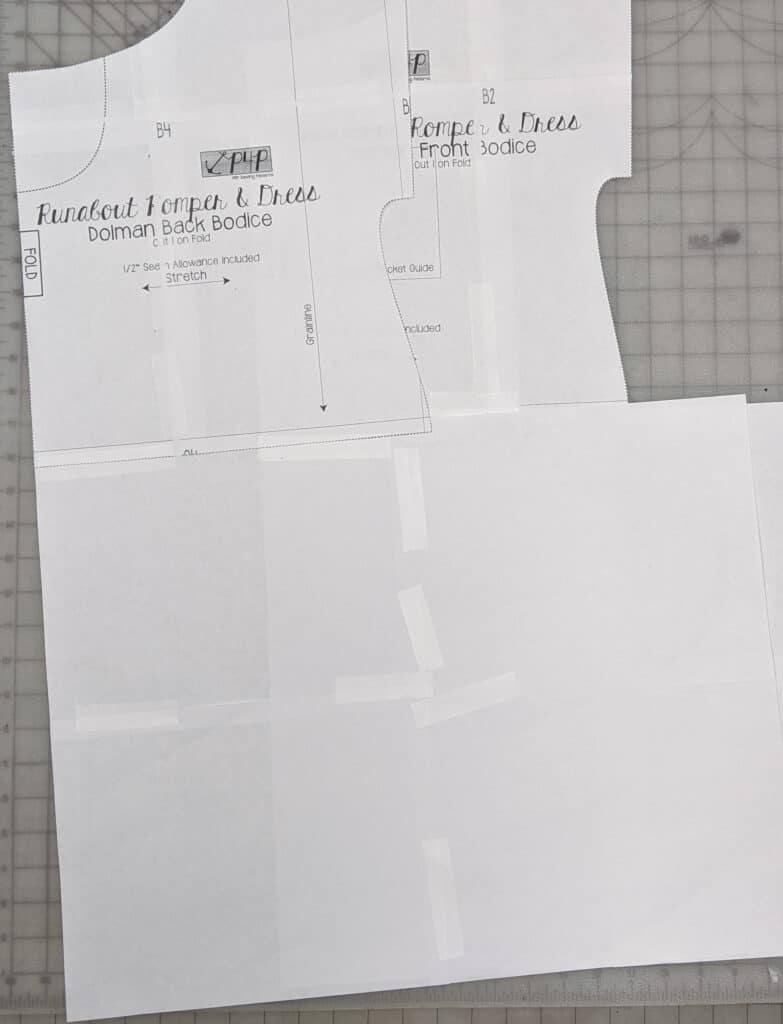
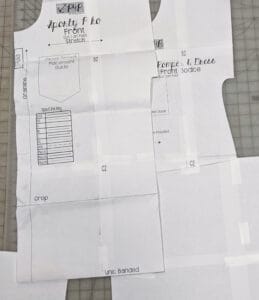
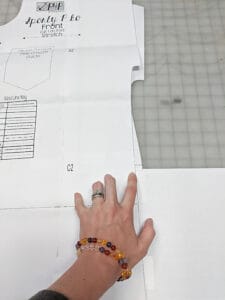
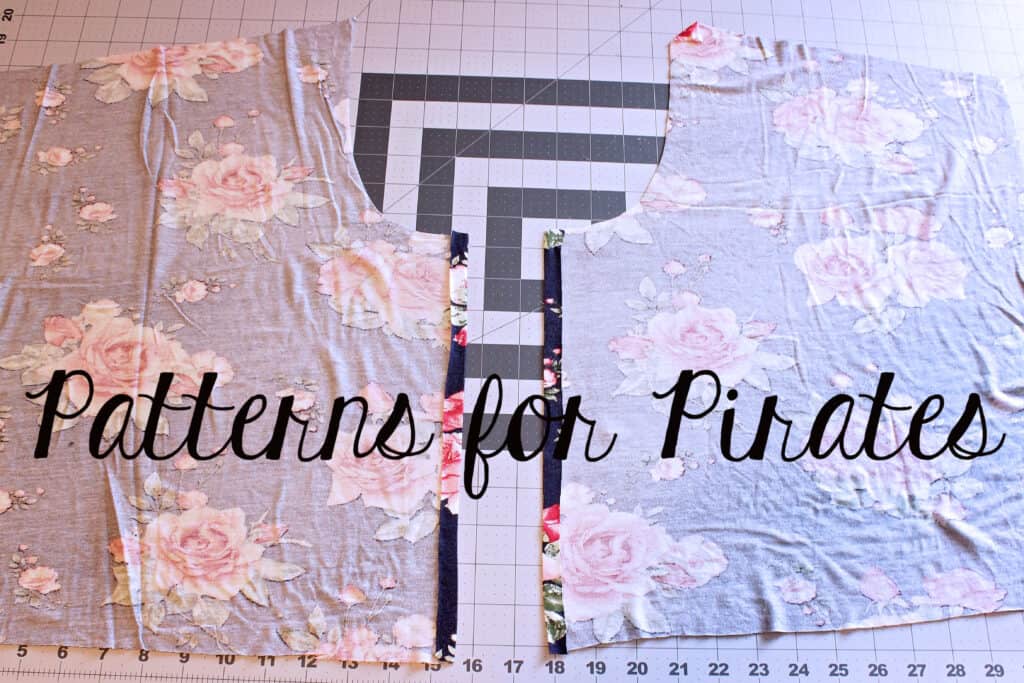
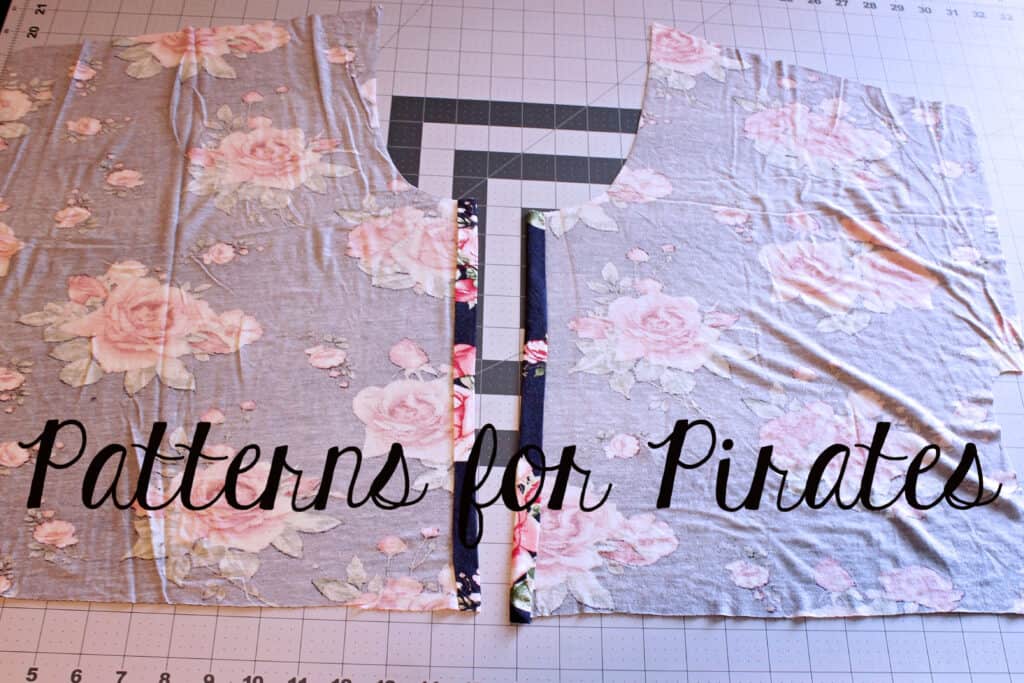
Now you are going to want to turn them into full-length top pieces.   To do this, first- add a few blank pieces to the bottom of your pattern piece lined up along your fold line. 

Then go ahead and grab your favorite p4p top that has the length you want, I chose the banded sporty piko.   Alternatively, you can measure from your natural waist to where you’d like it to hit (don’t forget to take in account the seam allowance built in the waist).  

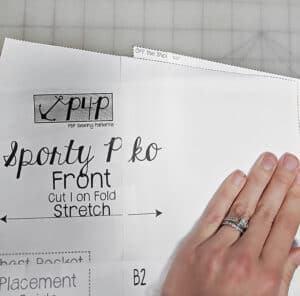
Lay the top of your chosen pattern piece on top of your romper top piece lining up your shoulder and the side seam (your actual widths may be different).  

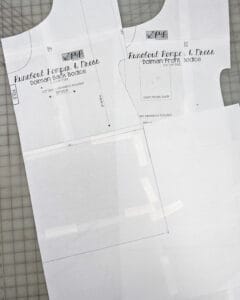
Make sure your pieces are straight and trace the bottom of your piece to get the length you want for your top and up the side of your piece. Repeat with the other piece and cut out along where you traced and you’ll have two new full-length shirt pieces. 

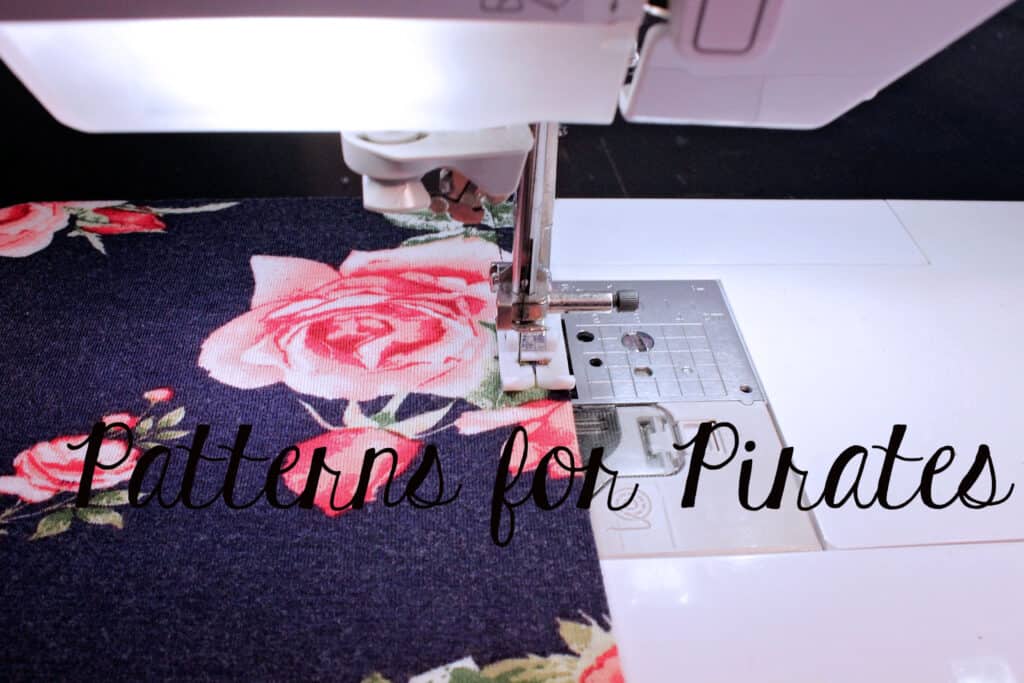
Sew together as directed by the pattern and either hem your top or if you are banding your shirt you’ll simply measure the bottom of your new top all the way around and multiply that by .85 plus seam allowance to get the width of your new band.  I can’t wait to see your cozy shirts!! 


Happy Sewing, 

Michelle


…..

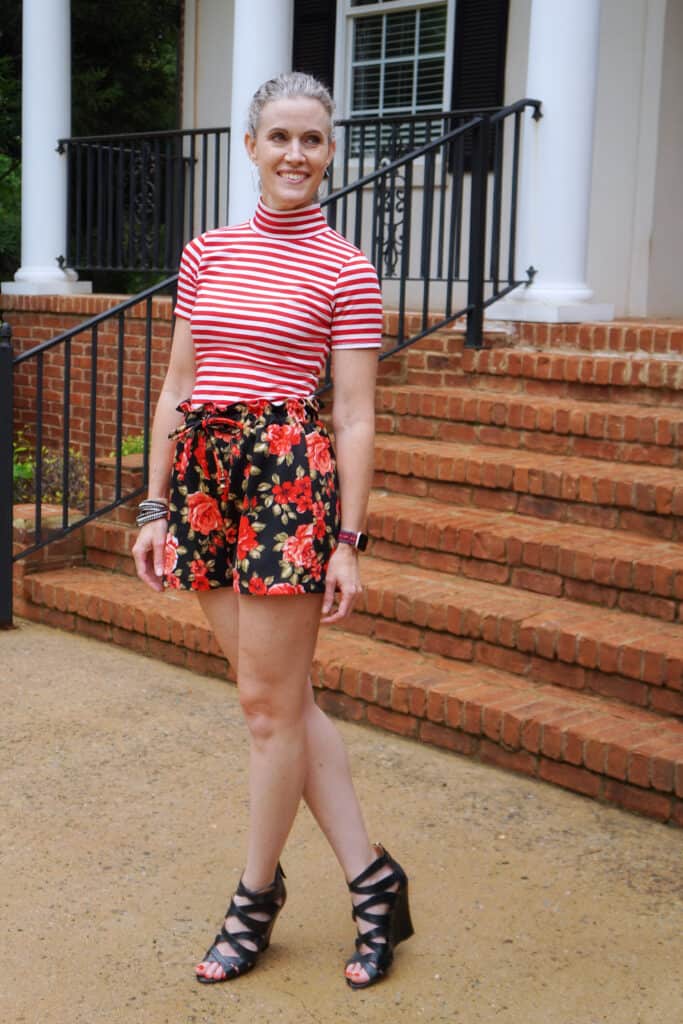
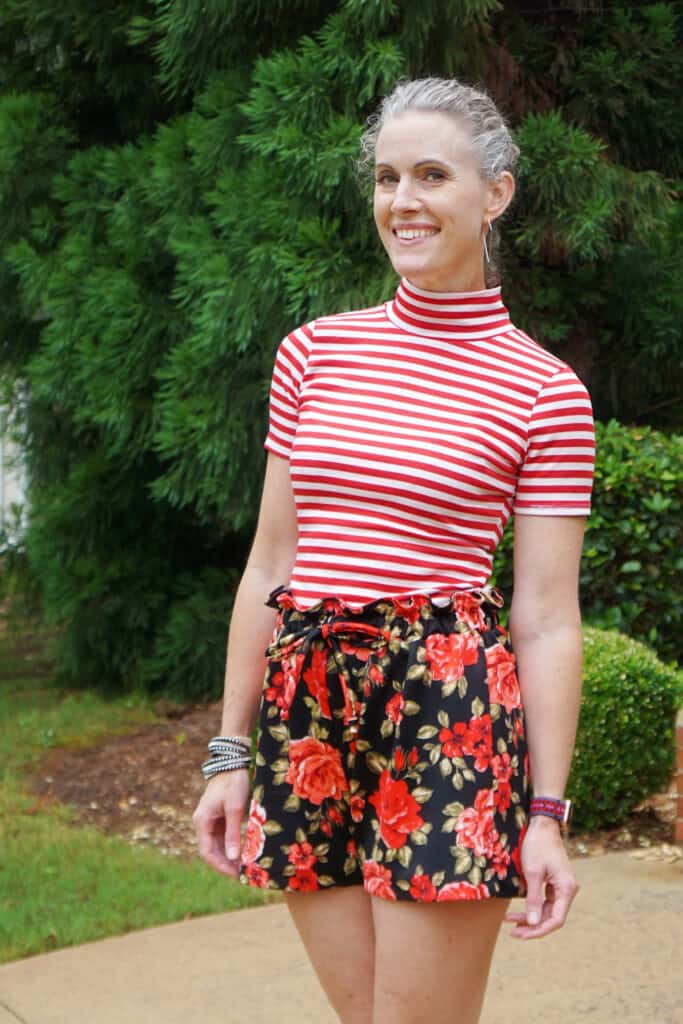
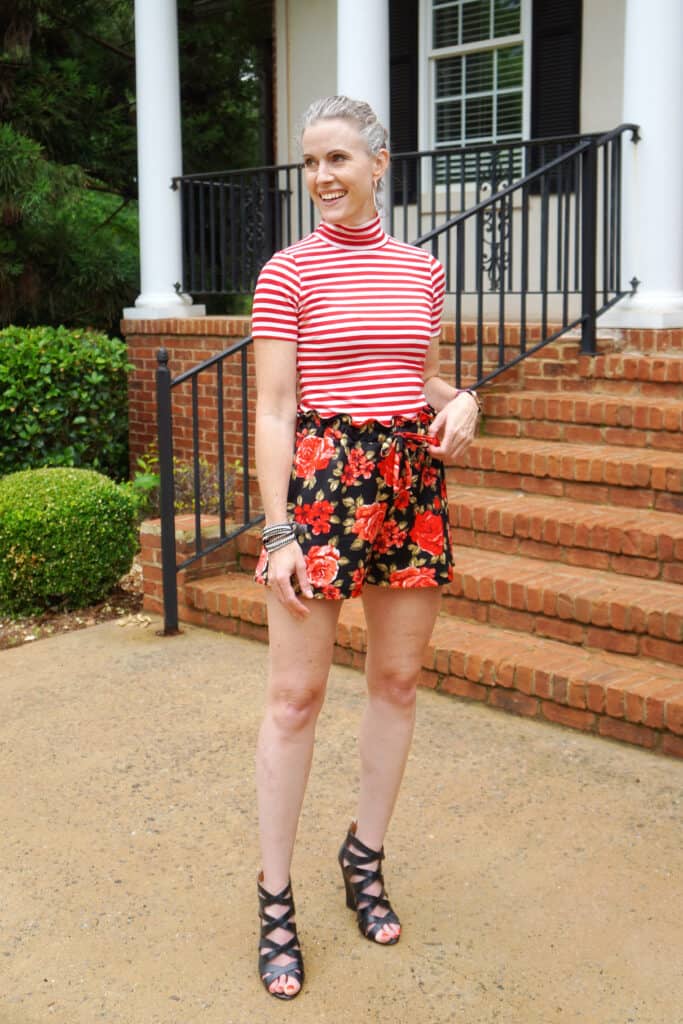
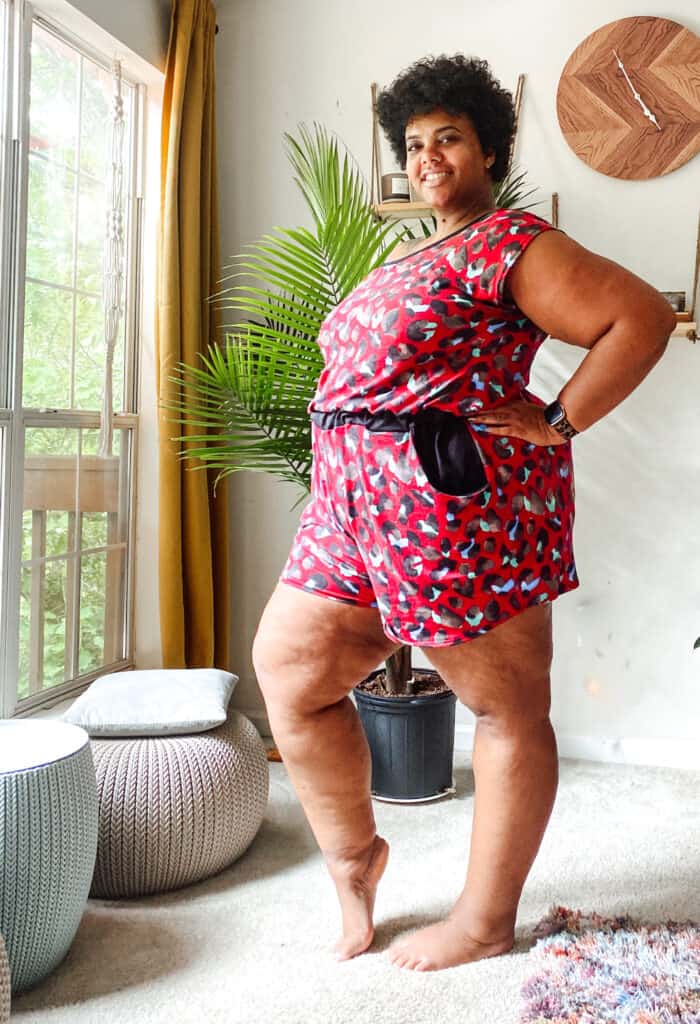
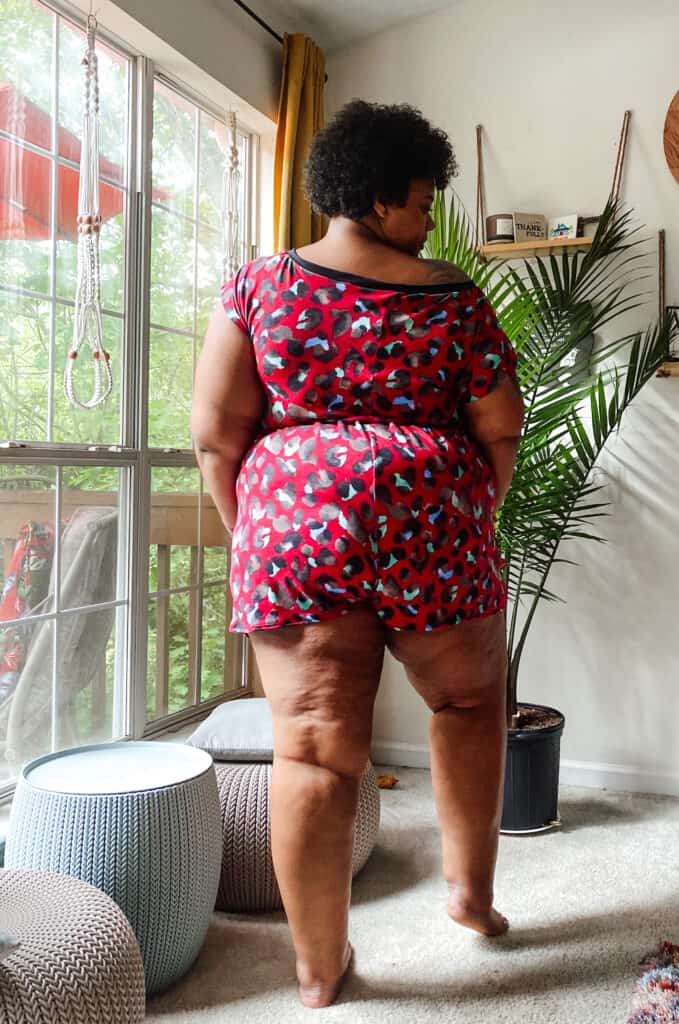
Paperbag Shorts


I absolutely love the paperbag waist trend that is so popular right now! The cinching is universally flattering for all figures.

Once you’ve mastered the Runabout Romper waistband, you can easily turn the pattern bottoms into pants or shorts with this cute ruffle feature. And I’m here to show you how to do it!

Start by cutting the bottom pieces to your preferred length. I’ve decided to make shorts for this tutorial.

Sew the pants or shorts pieces together per the pattern instructions.

Now for your waistband…

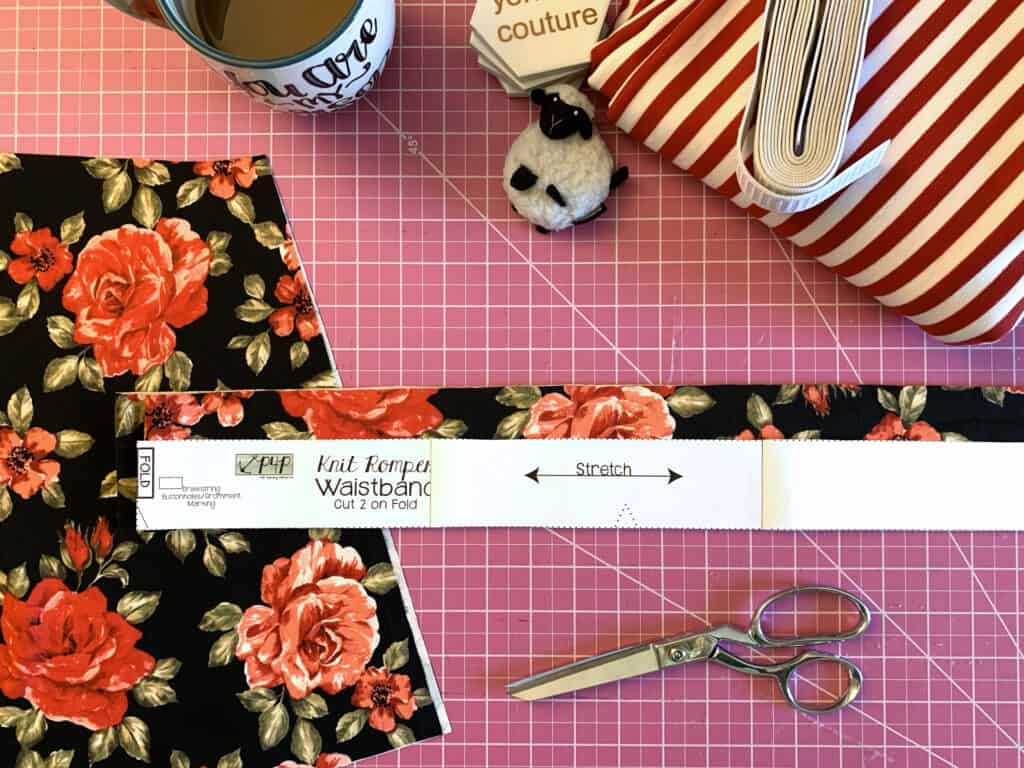
Add an inch in height when you cut your waistband pieces… instead of 2” tall waistband pieces, yours will be 3” tall.

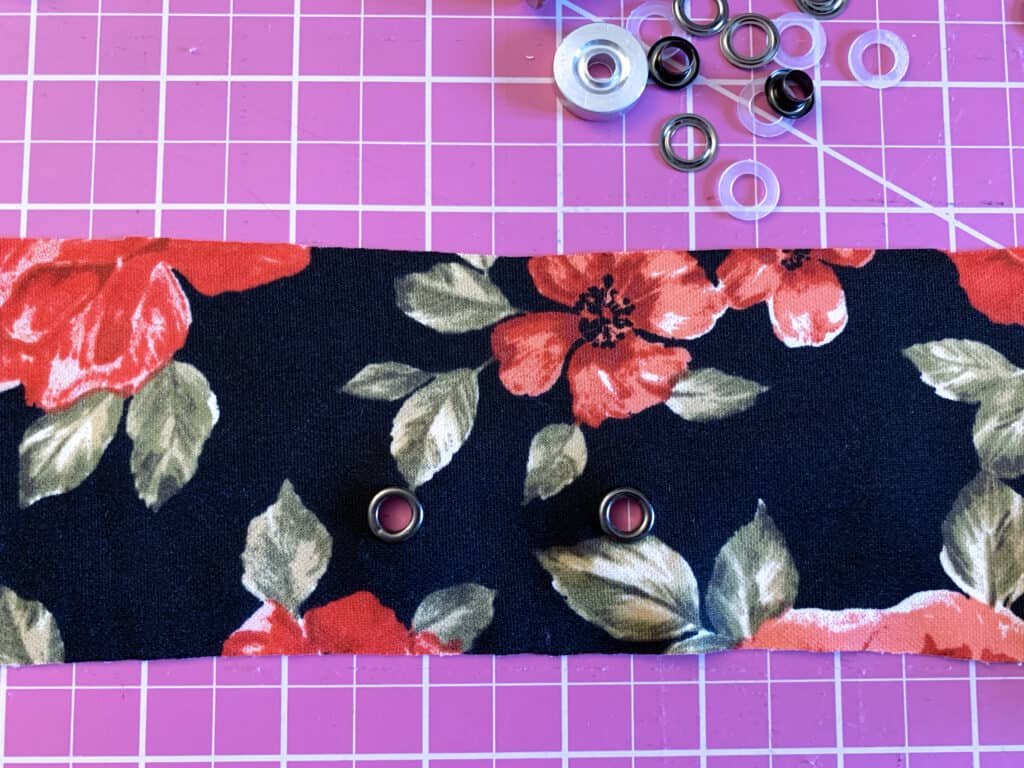
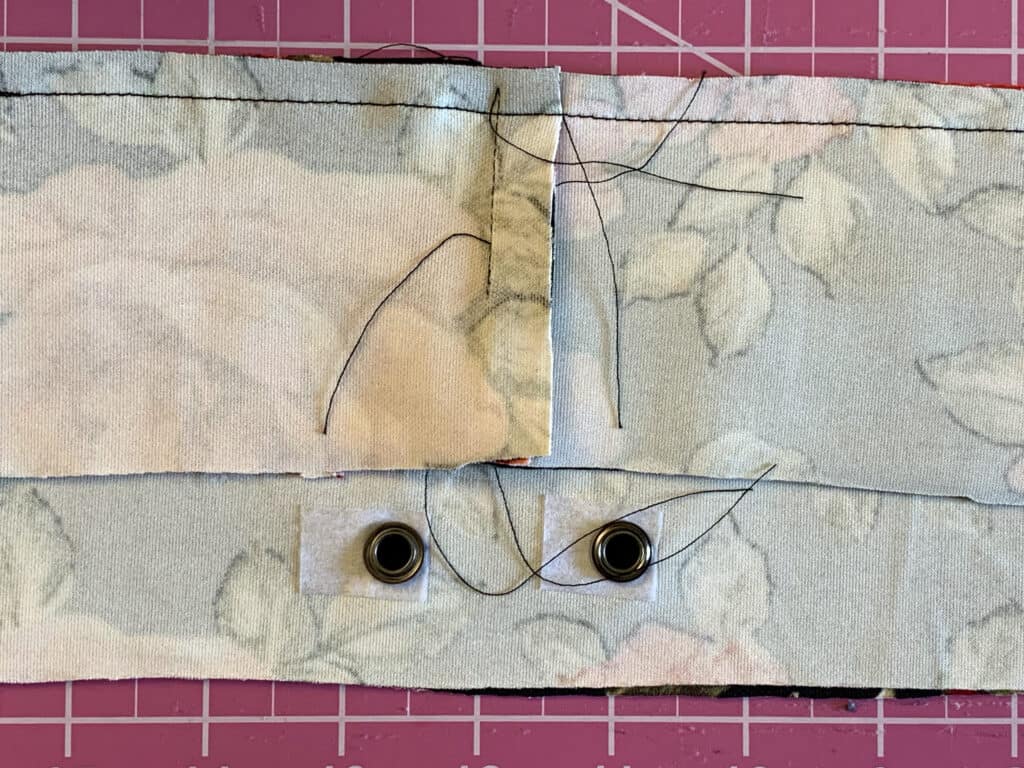
If installing grommets, you will mark your fabric and add those to your outer waistband where indicated by the pattern piece.

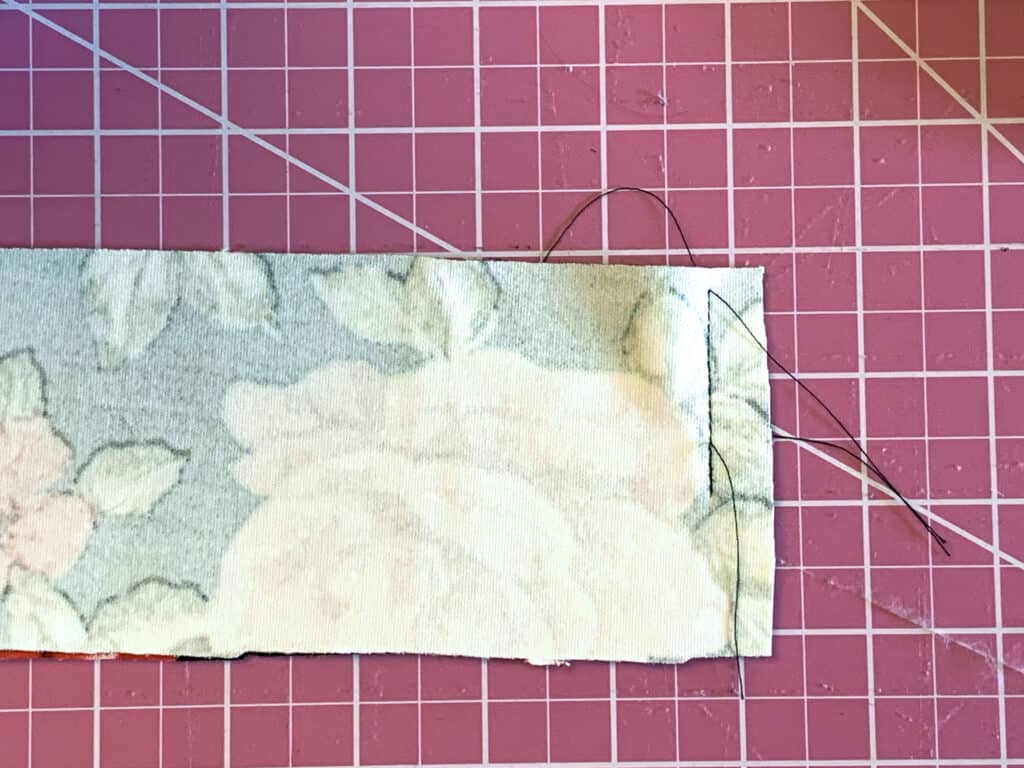
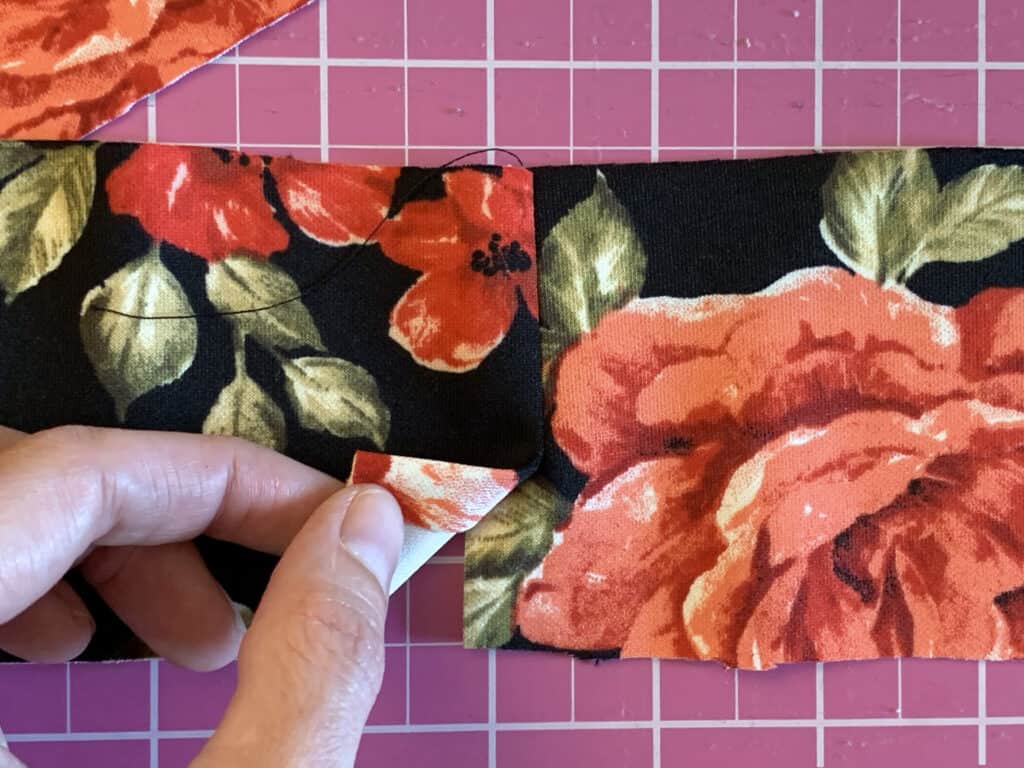
Next, take your inner waistband piece and stitch with right sides together, stopping 1” above the bottom of the band. Press the seams to one side.

This opening will become your entry point when you install your elastic waistband.

Stitch your inner and outer waistband pieces, right sides together, along the top edge per the pattern instructions.

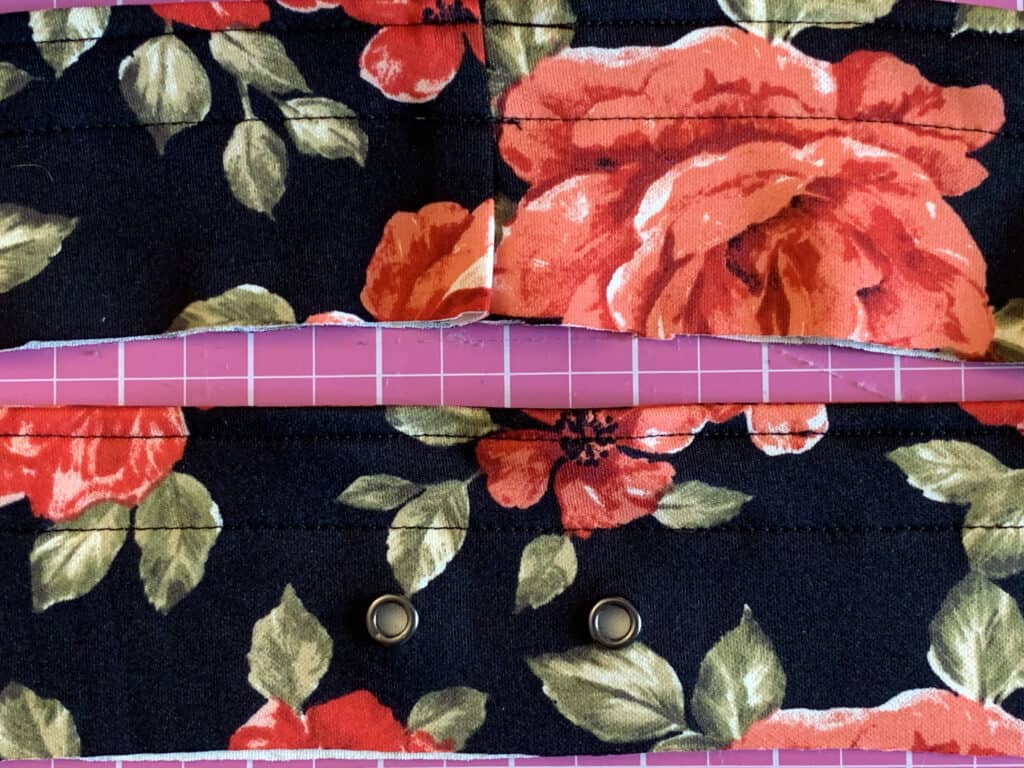
Open with right sides out, wrong sides together, and press your top seam to the inside. You may wish to topstitch this edge for a crisper finish.

Sew a second seam 1” down from the top edge.

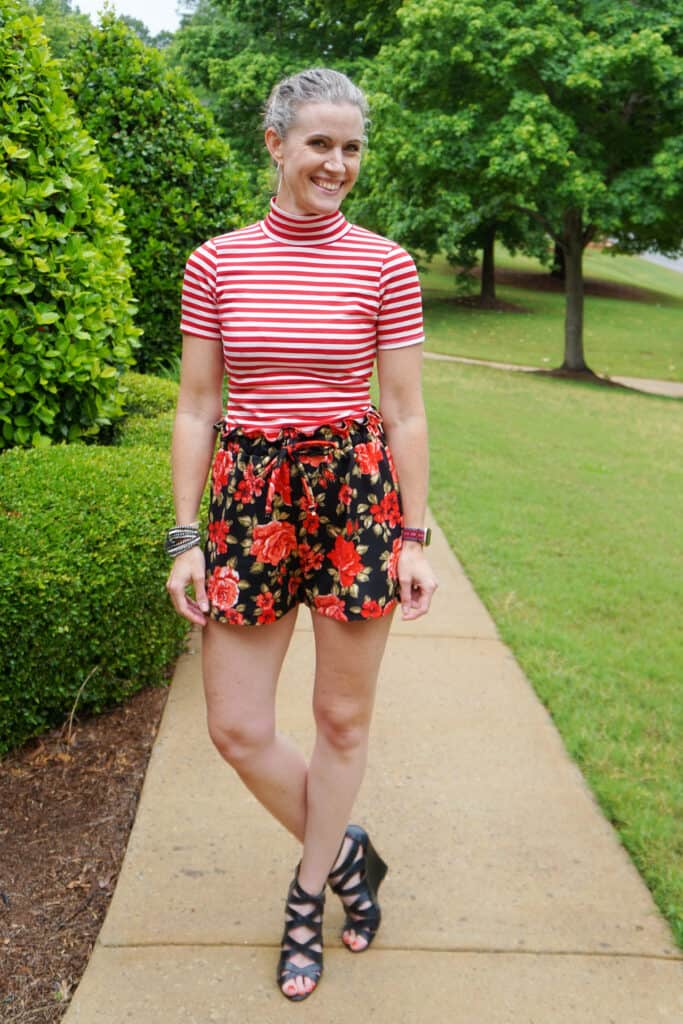
Sew your waistband to your shorts or pants per the pattern instructions and complete your bottoms accordingly. Enjoy!!!


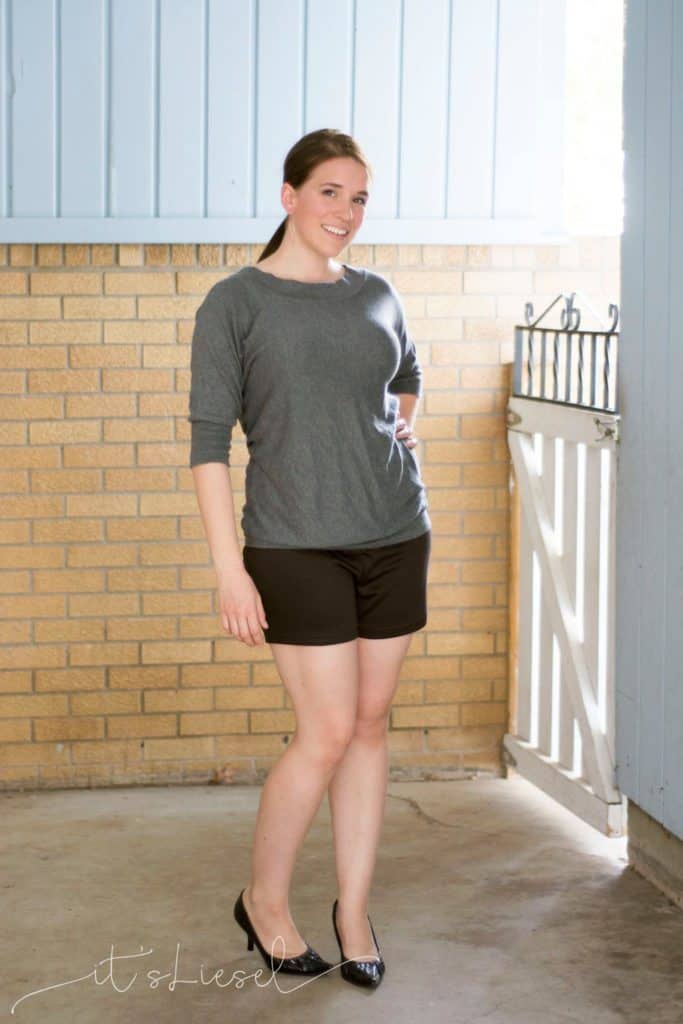
I’ve paired my shorts here with a Hepburn top. Cute, cute, cute!!


…..

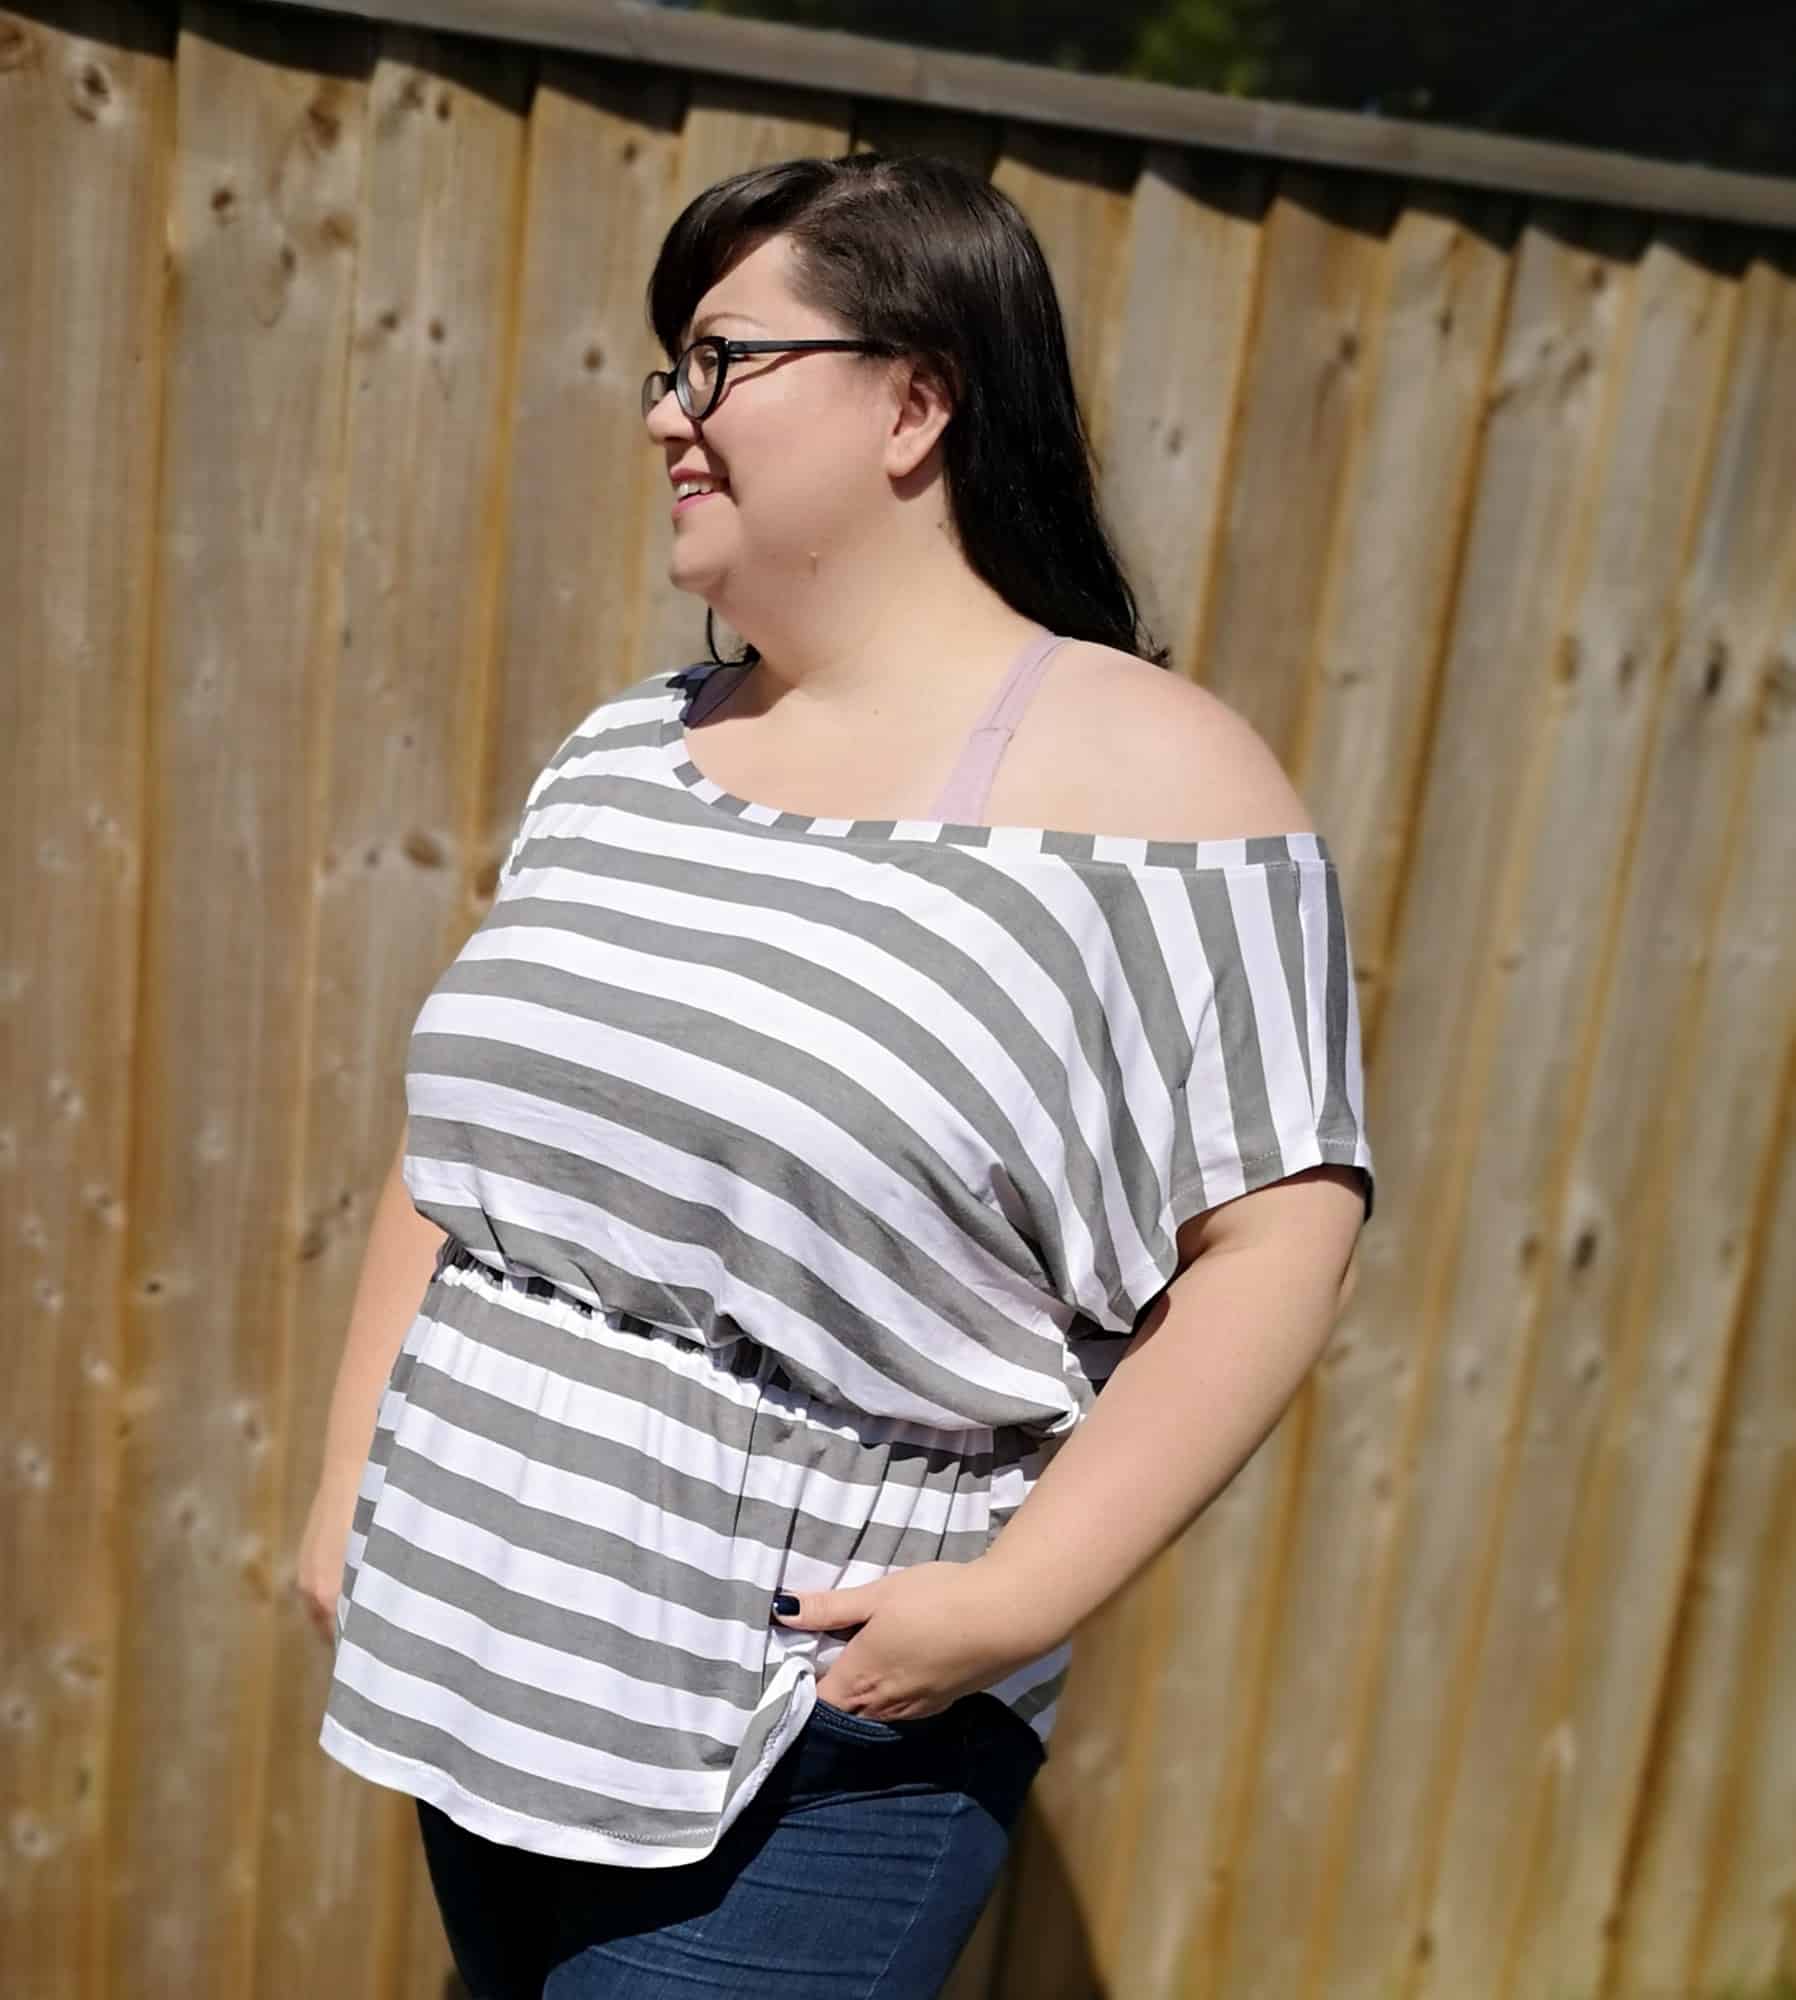
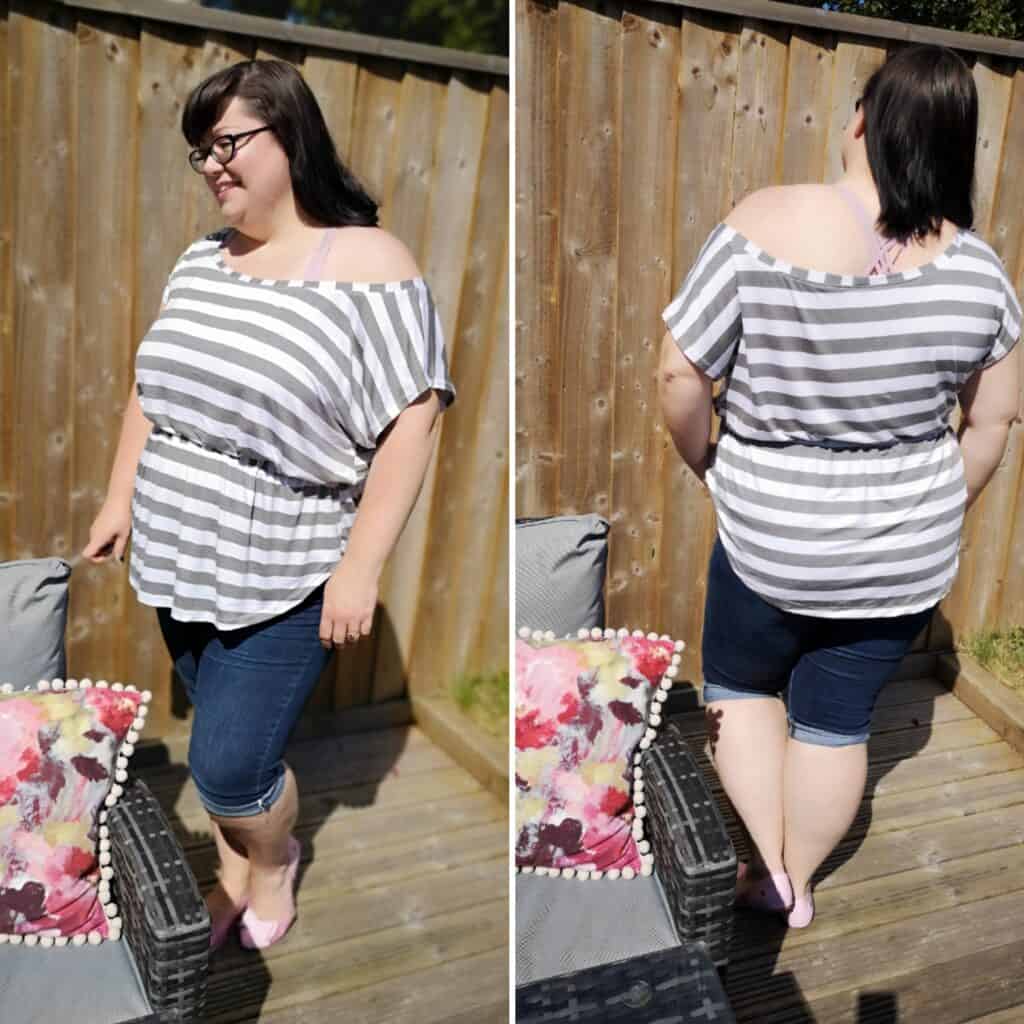
Tunic/top 


Hi, I’m going to show you how easy it is to make the new Runabout Romper as a tunic/top instead of a dress. 

First of all you will want to decide how long you want to have the skirt portion, as this is going to determine how long your top is. You could make the bodice first and attach the waistband onto it (just safety pin your elastic together to try on) and measure how far you would like the front of your top to come down, or you could just be brave and guestimate. 

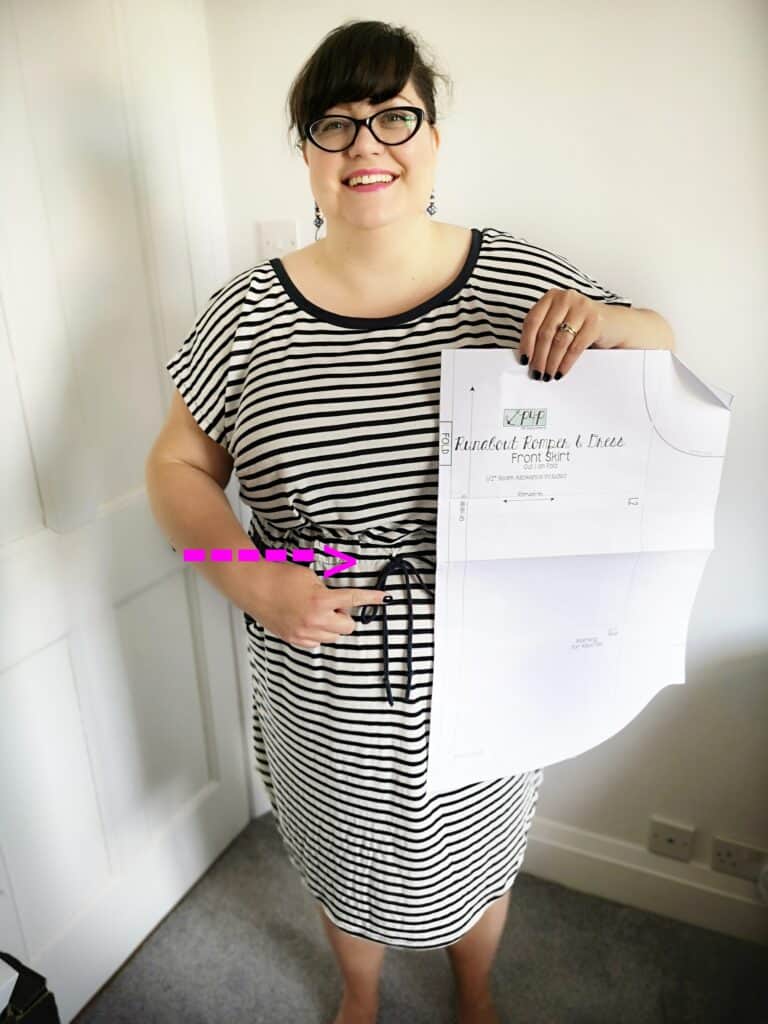
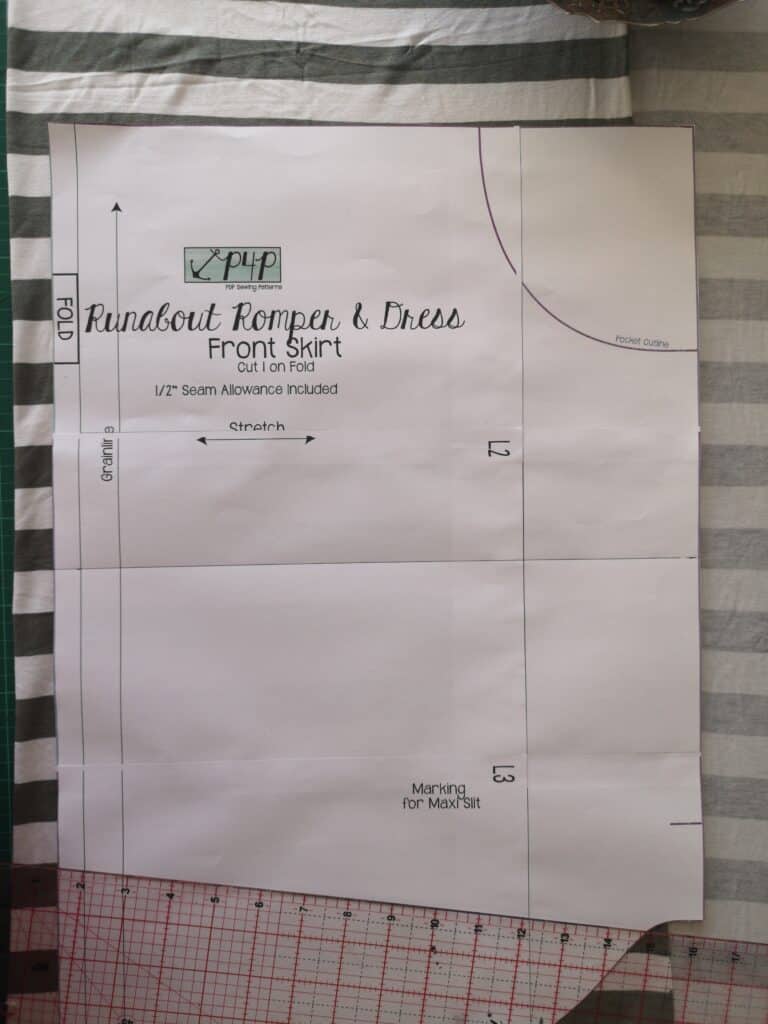
 In this picture you can see I’m wearing my Runabout Romper dress, which was perfect because I could use the waistband on it to help gauge how long I wanted the top to be.  There are two ways to make your top, either with a straight hem or keeping the curve of the dress hem. I chose to keep the curve. Hold the front skirt pattern piece up to your body and make a mark when it’s at the right height, don’t forget you’ll need to add a combined 1 1/2″ for the seam allowance at the waist and the hem allowance.

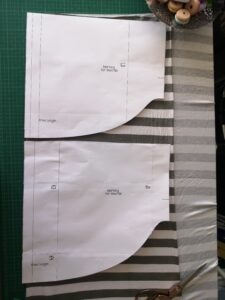
Using the mark I just made on the paper at the fold line, I then measure and make the same mark at the other side of the pattern piece at the outside seam line and rule a line across. For me, this mark was 10 inches down from the top edge of the pattern piece. Then repeat for the back piece. Fold the top of both pieces down (you might need to flip a corner out of the way by the curved hem edge) and you have your new top length pattern pieces. 

If you want a straight hem to your top, you  just have to fold the bottom of the pattern piece up to get rid of the curve, rather than the top of the pattern piece down to keep the curve.

Cut your fabric out using your new pattern pieces and construct as per the Tutorial. 

Enjoy!

Dana xx


…..

Slimmer fit shorts


The jogger shorts are some of my favorite shorts. They’re fitted but not too fitted–they have the perfect amount of ease in my humble opinion and as we enter the hot summer, they were screaming to be added to this romper! It’s such a super easy hack that you’ll be cranking out Runabout Jogger Short Rompers super fast. 

Let’s get into it!

  1. Print out your bodice option and the jogger patterns. 
  2. Decide what you’d like your inseam to be and add .5 in for the seam allowance. I did a 4″ inseam here so I measured out 4.5″ from the crotch curve. Draw a line from the inseam to the outseam. Do this on both the front and back pieces.
  3. Cut the new pattern piece.
  4. Assemble per the instructions. 
  5. Enjoy your super cute and cool new romper!

                                                                        …..                                                                      

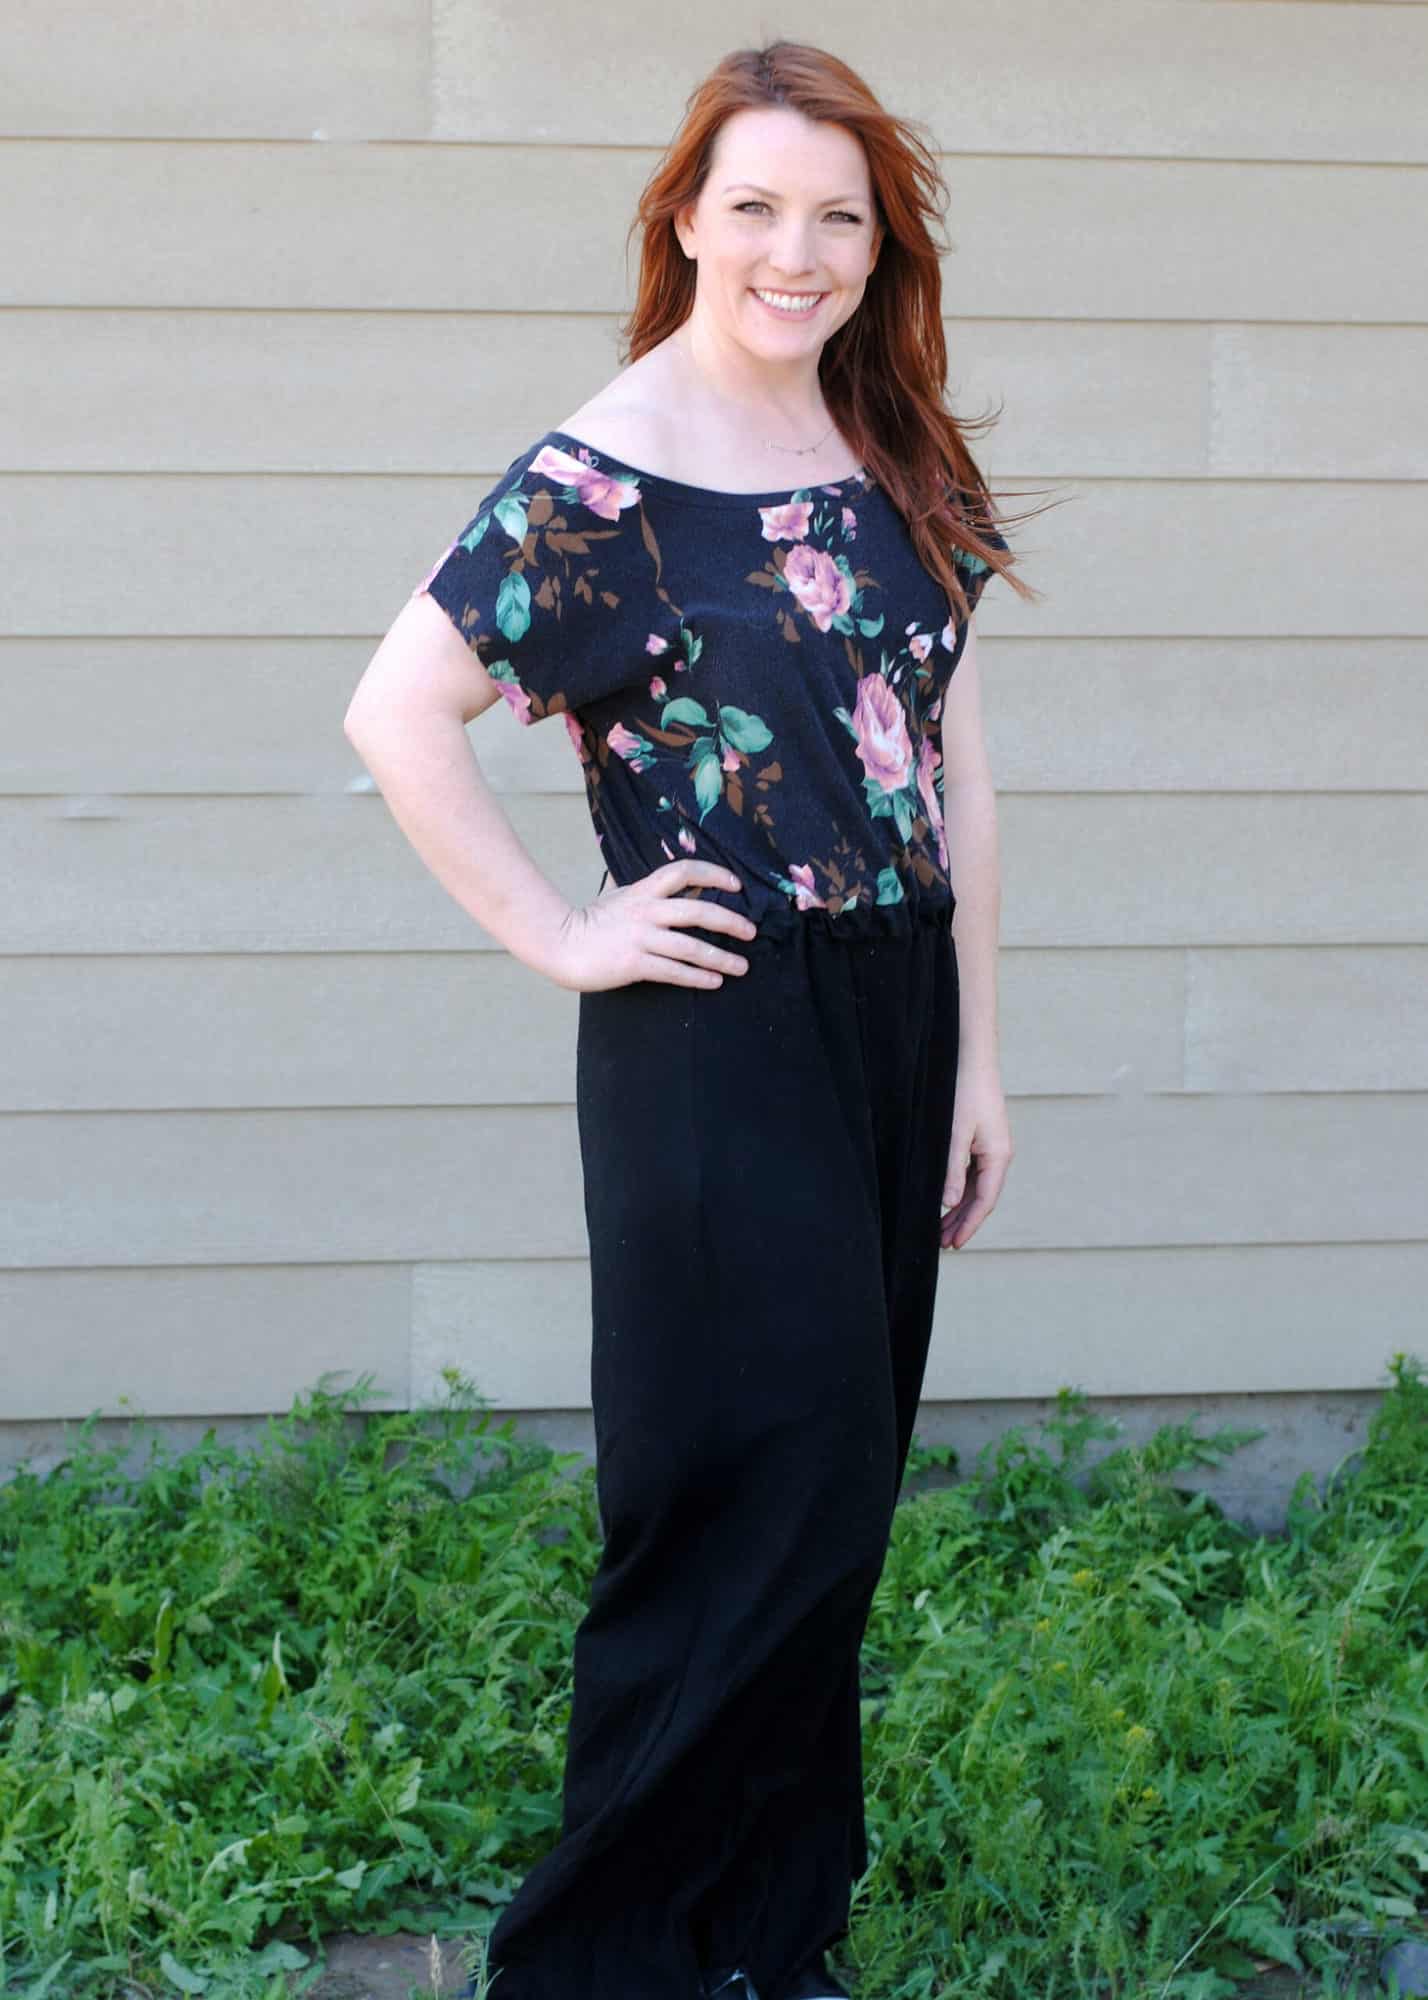
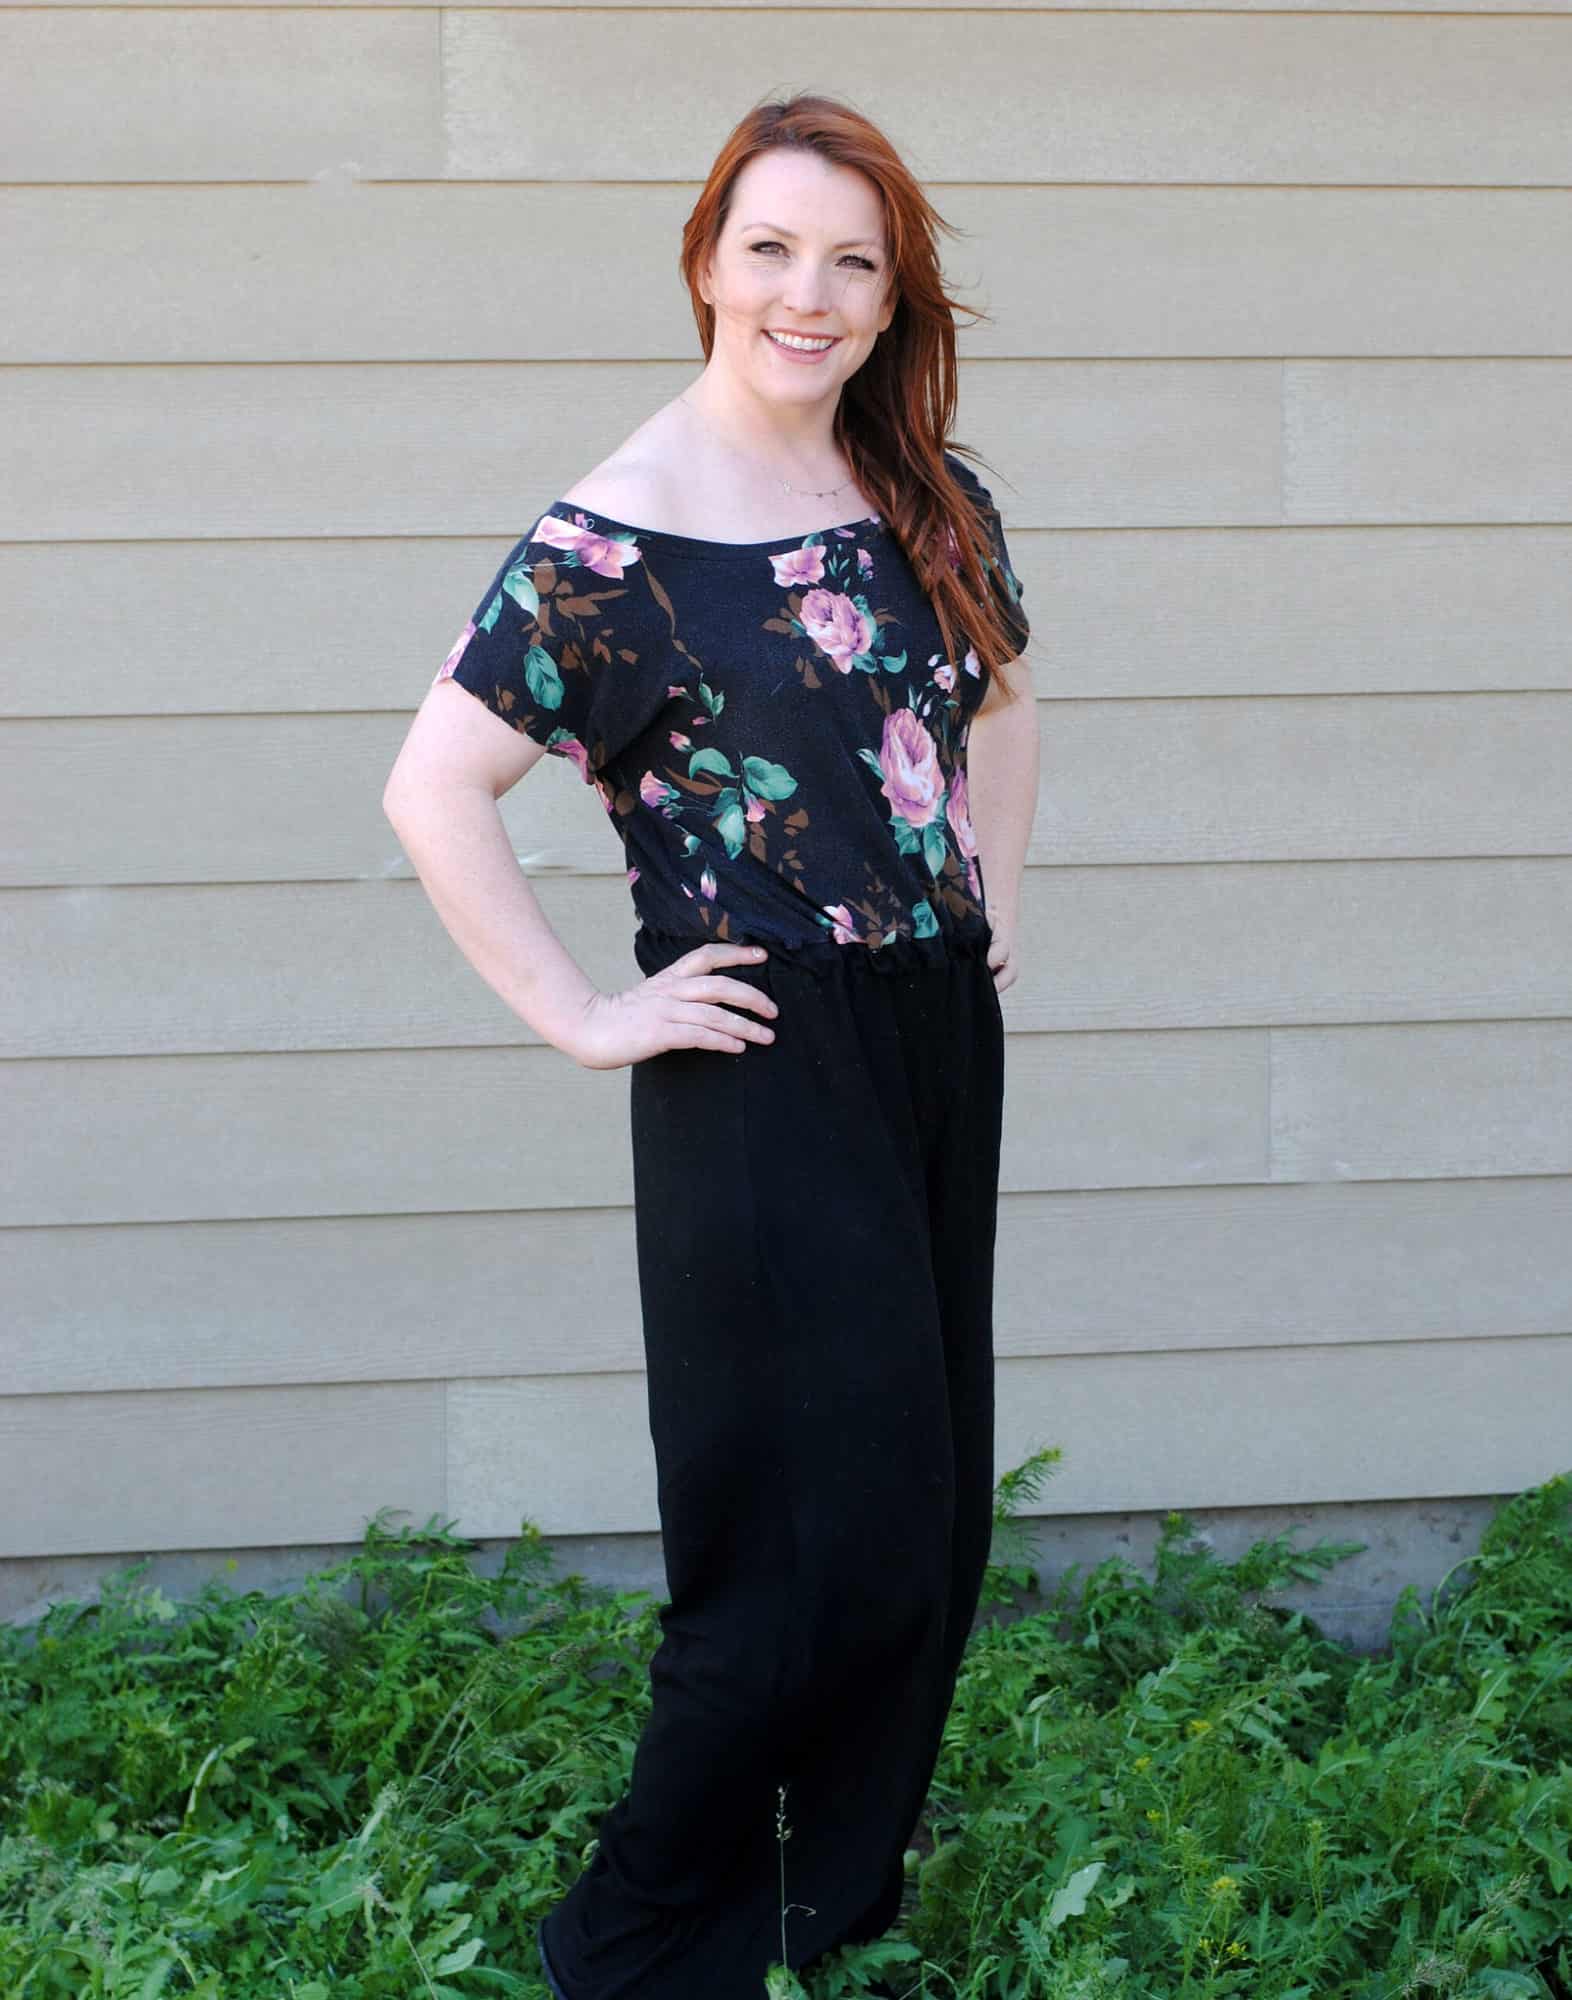
Straight pants


I absolutely love the look of a wide-leg jumpsuit, and this hack gives me exactly the look I’ve been looking for! 

First off, we need to make our new pant leg pattern pieces using the existing front and back shorts pieces. I laid mine on top of the jogger legs as a guide for length. Using a straight edge and marker, I drew a straight line down from either side of the shorts pieces, ending 3 1/2” below where the jogger piece ended (this is to account for the added length of the jogger cuff). After doing this for both front and back pieces, you now are ready to cut out your new wide-legged pants!

Sew up the romper as directed, hemming pant legs 1”. Now take a step back and admire your new trendy jumpsuit!                                                                                                                                                     


…..

Faux buttons placket


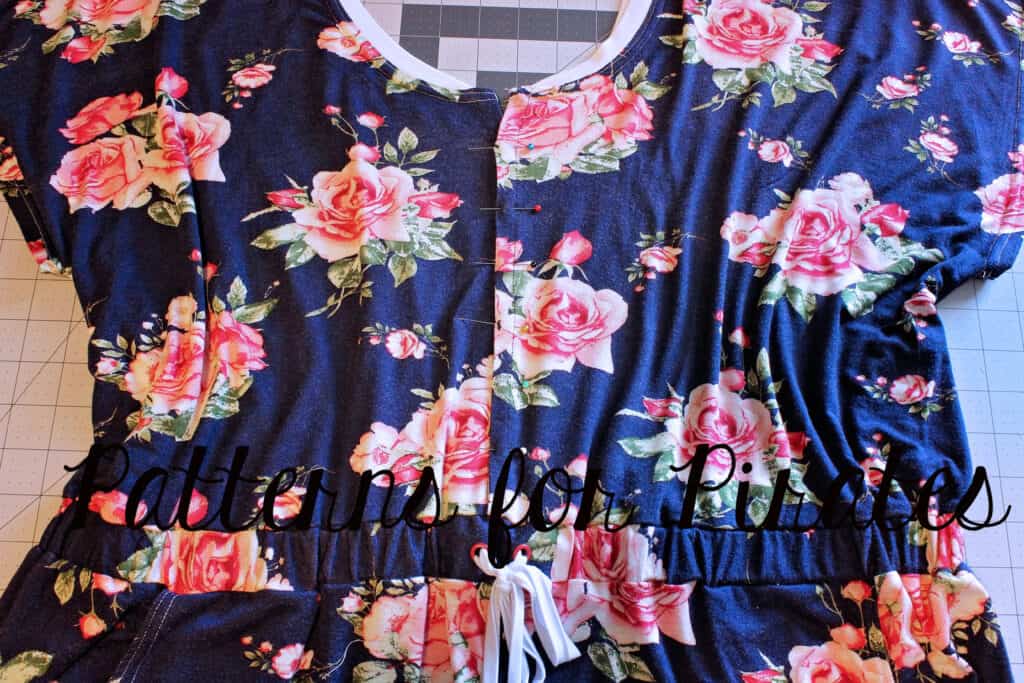
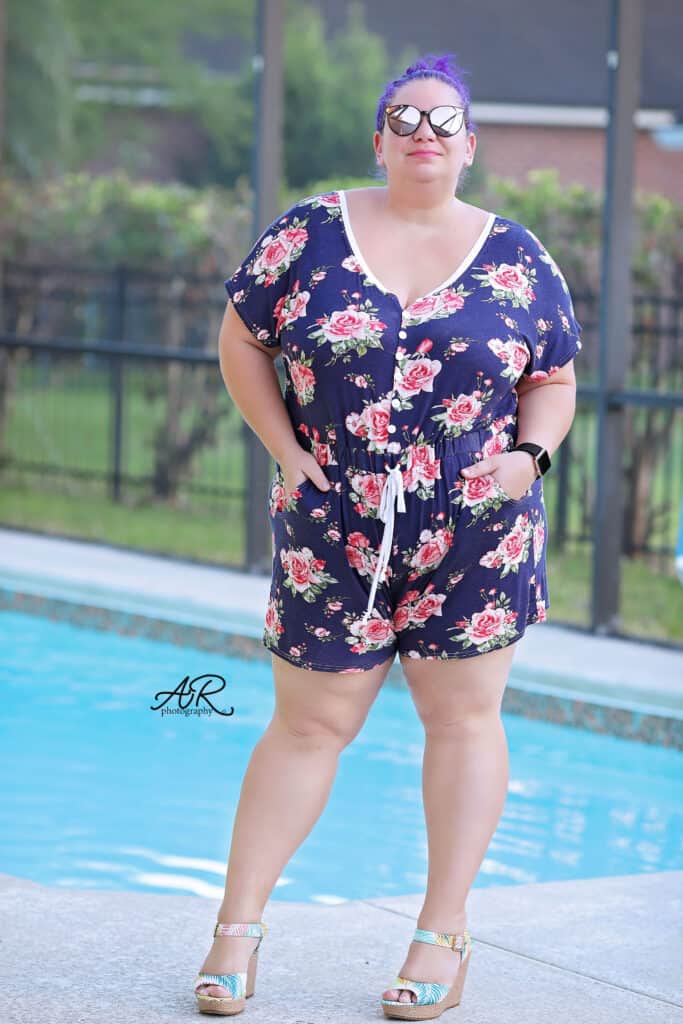
Inspired once again by Pintrest and a photo Katy showed me, I made myself a faux button up Runabout romper. Want to see how I did it? Keep reading! 

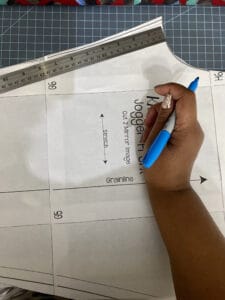
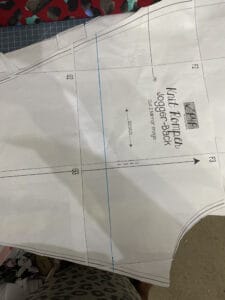
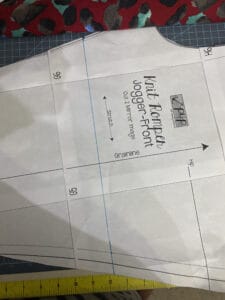
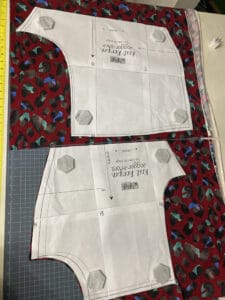
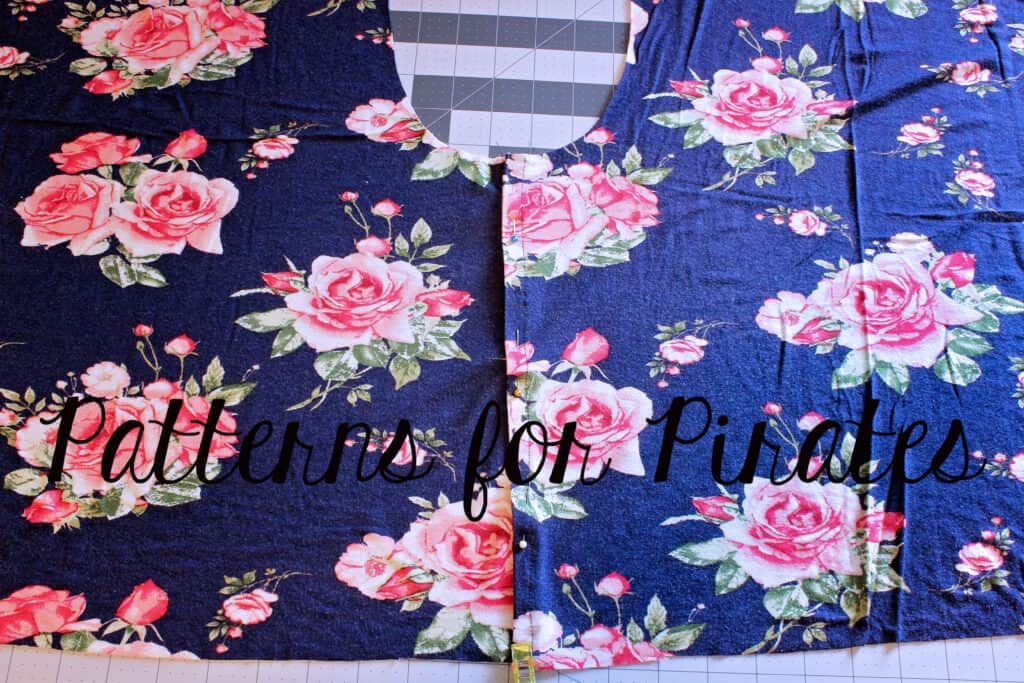
I cut the pieces exactly as in the pattern, except for the front bodice. The front bodice will not be cut on fold but will be two mirrored images. Using a ruler, add 1.5″ extra width to the center of the front bodice. Cut two mirror images!


If you are using a projector, like I am, simply place a ruler along the fold line to measure the 1.5″. Cut along the ruler for the center bodice. 

Turn the two bodice pieces wrong side up and fold 1/2″ along the center, press. Fold again another half an inch and press again. If you are adding faux buttons like I am, you don’t really need interfacing. If you plan on adding real buttons and make buttonholes, or add snaps then you should add a 1/2″ wide strip of interfacing along both sides of the front bodice. 


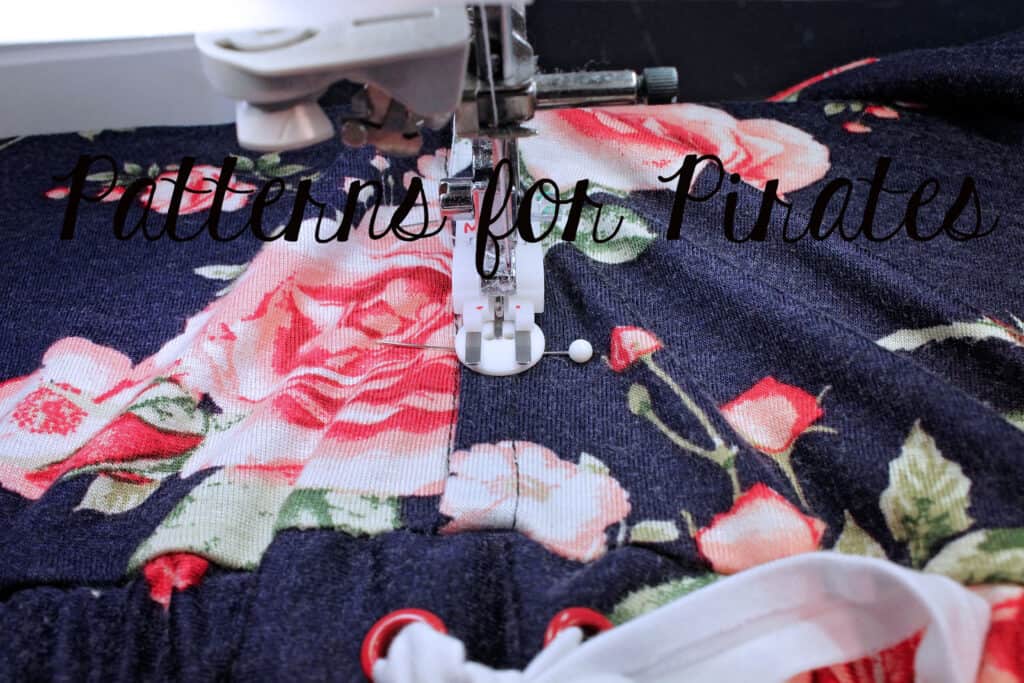
Sew the folded hems down with a scant 1/2″ seam allowance. 

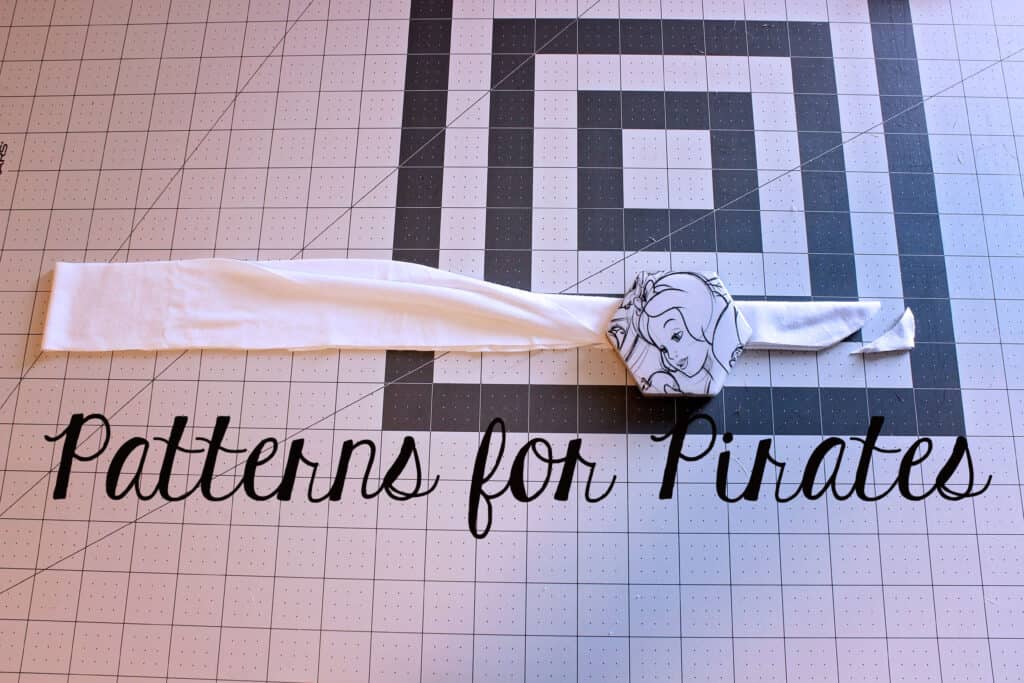
Time to make the neckband. Fold it in half width wise and then again length wise. Curve the raw edge as shown below. You will now have a long necknand, Henley style. Fold it again along the length and press. 


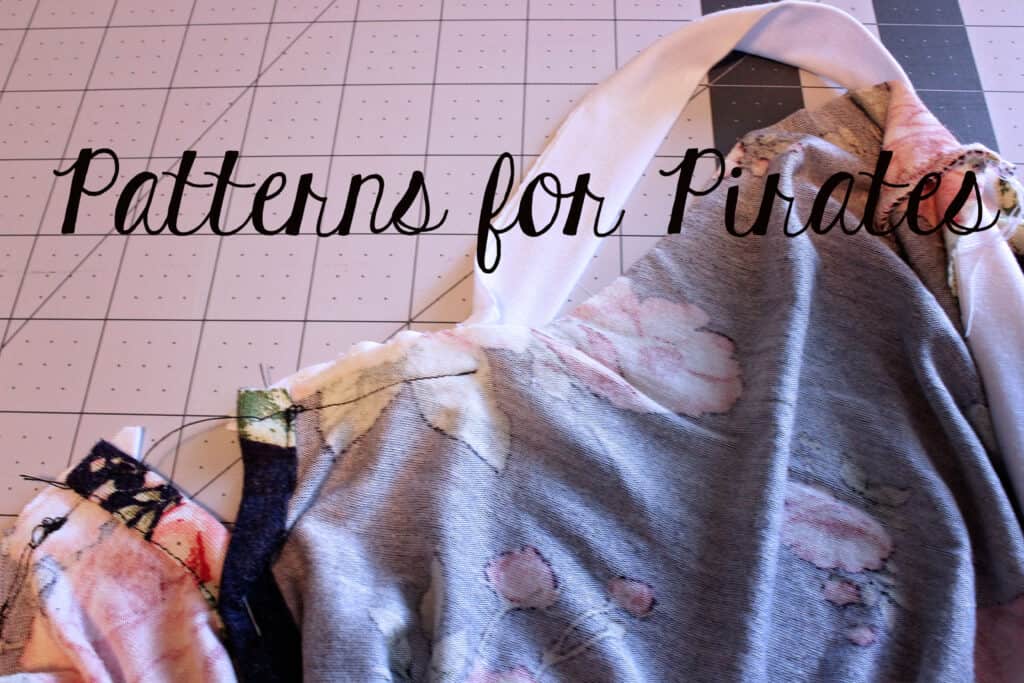
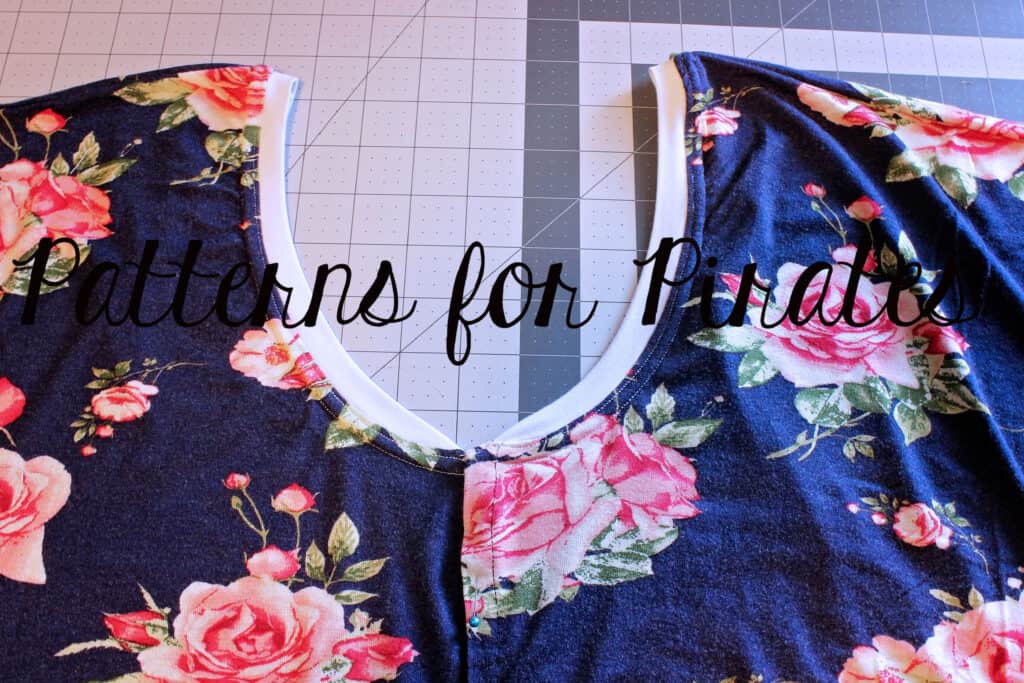
Overlap the center fold of the bodice 1/2″ and pin it in place. You will now treat that piece as the front bodice from the pattern. Sew the dress or romper as in the tutorial. Pin the neckband starting with back center and working your way to the two fronts. Sew in place with 1/2″ seam allowance using a stretch stitch or your serger.  


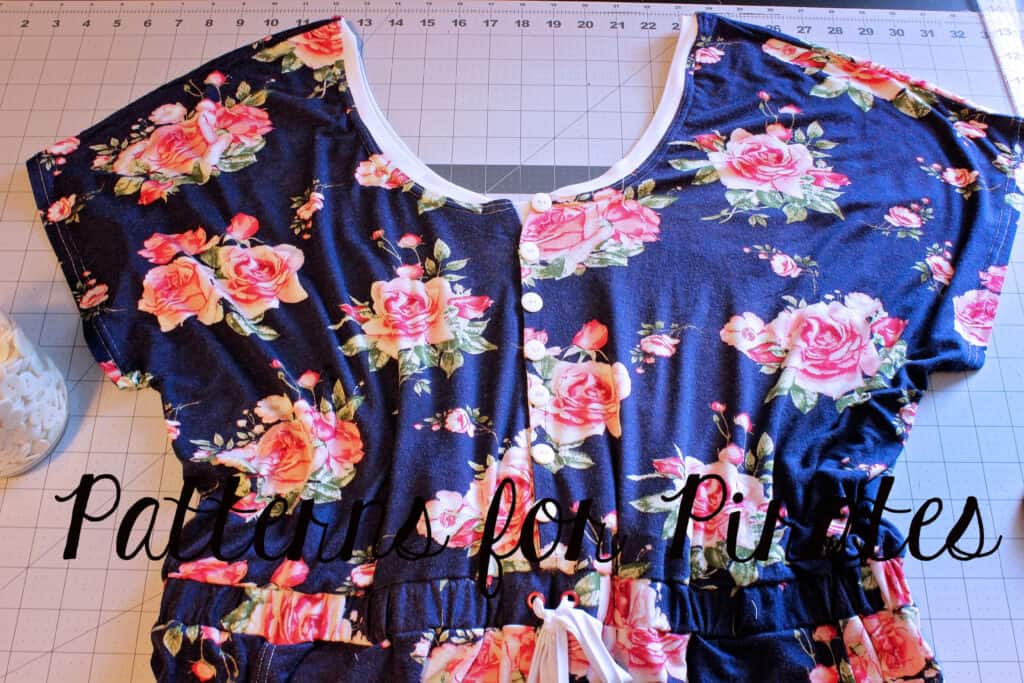
Now it’s the time to decide if you want a real button up or just the look of one. The buttons do not need to be functional, they can be there just for looks. I have sewn the buttons through all layers about 1.5″ away from each other. The top button is only attached to one side, just a personal style preference. Super easy! If you would like functional closures you will sew buttons on one side and button holes on the other. 


All done!! Time to enjoy your new romper! 


Hope you enjoyed these easy mods to the Runabout pattern as much as we enjoyed making them for you. Don’t forget to show off your creations in the Patterns for Pirates Facebook group or #p4p on Instagram so we can admire them too. 
Filed Under: Frequently Asked Questions, Pattern Hacks, Pattern Release, Uncategorized Leave a Comment

Loggers :: New Pattern Release!

March 12, 2019

What do you get when leggings and joggers get together and make a baby?  LOGGERS!!

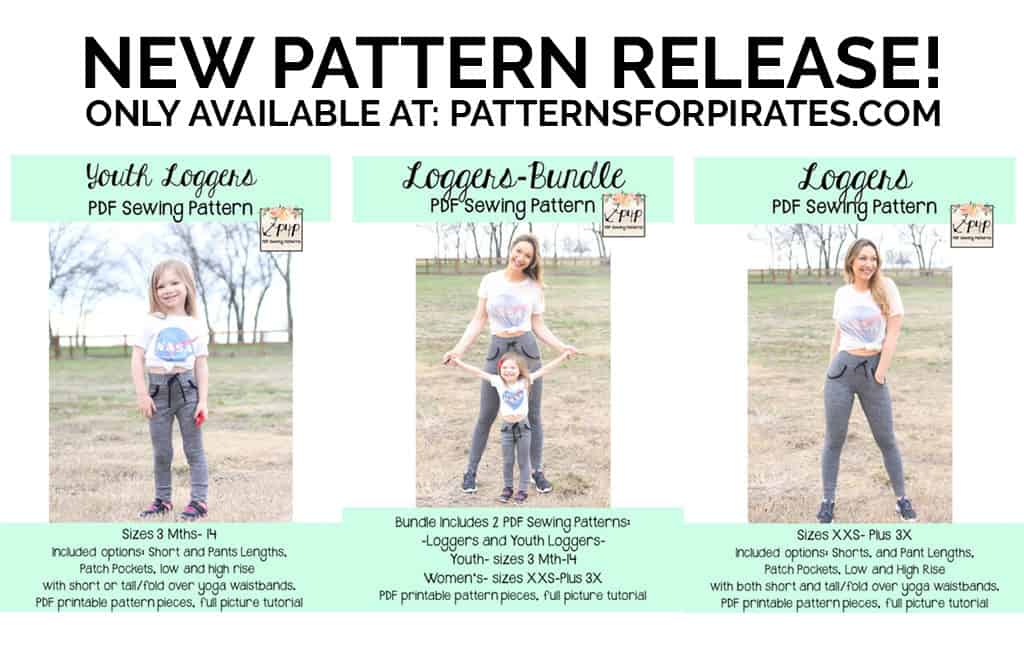
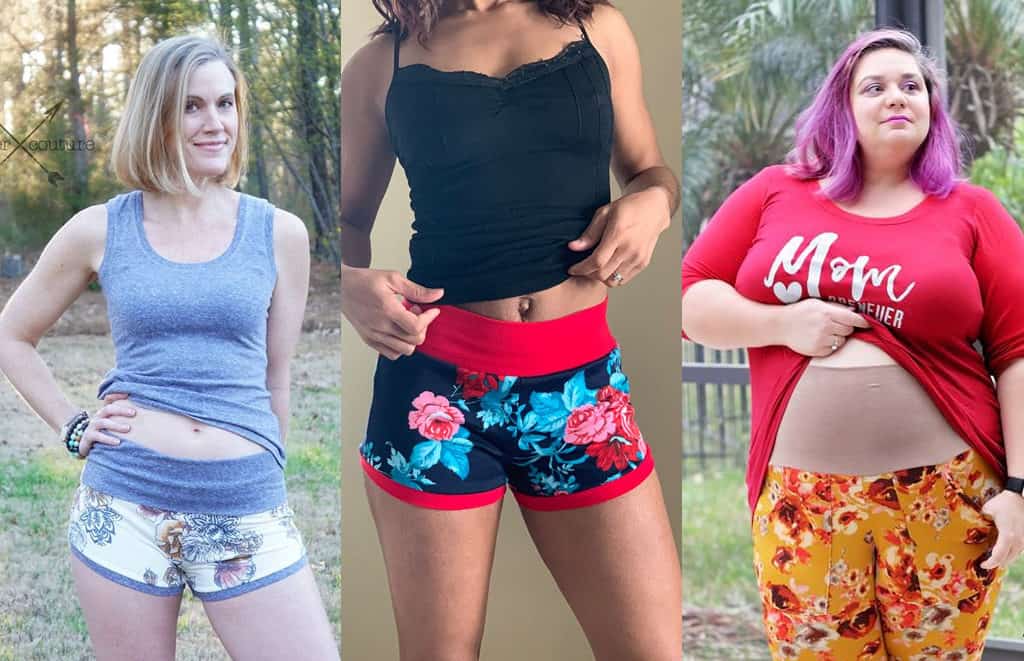
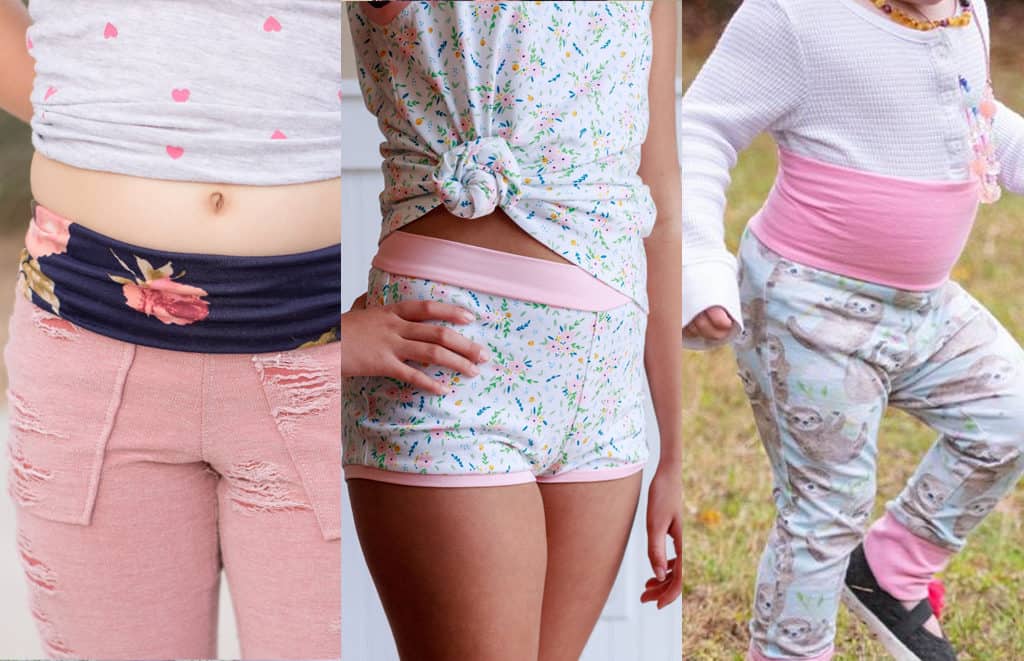
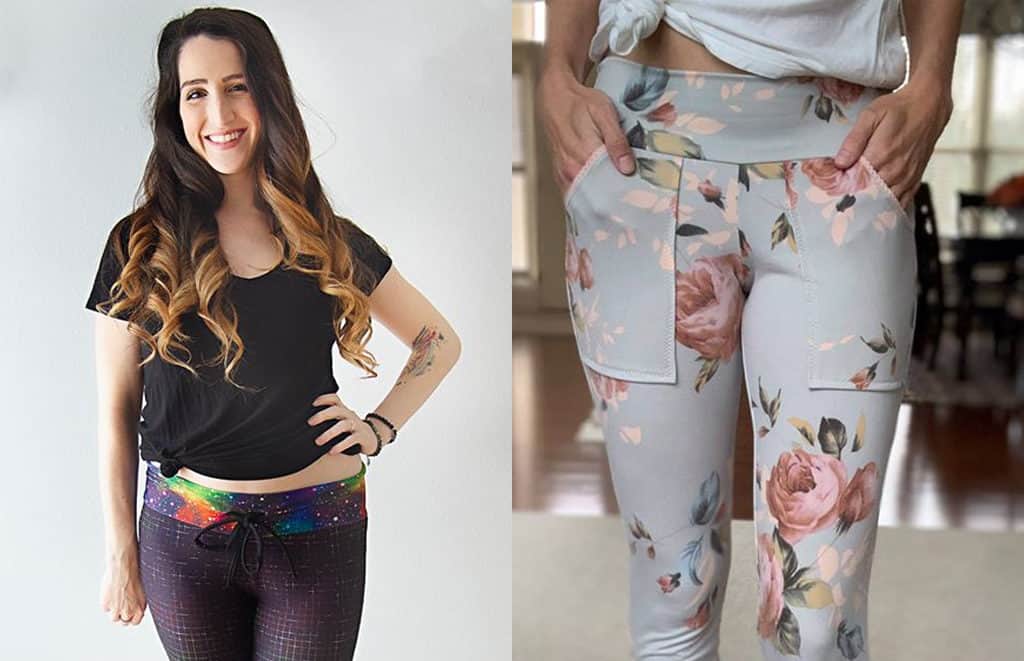
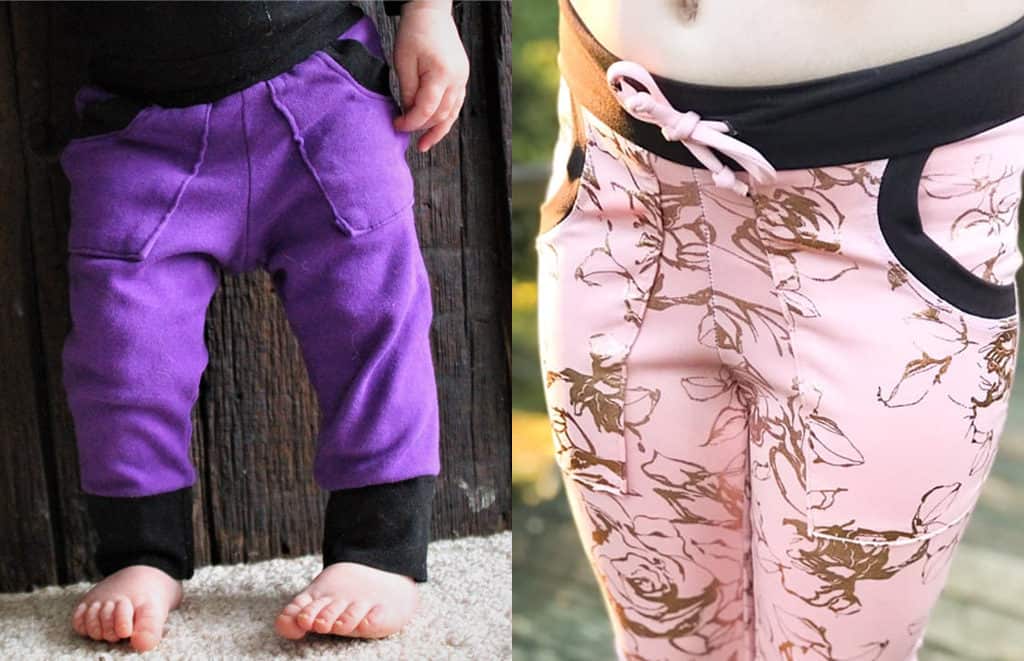
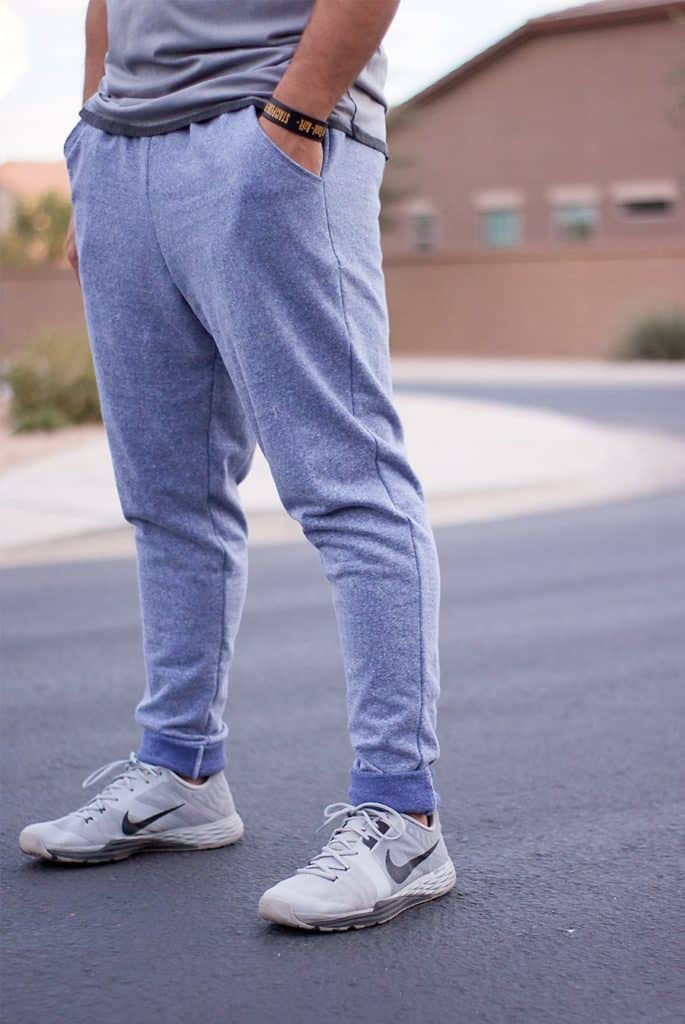
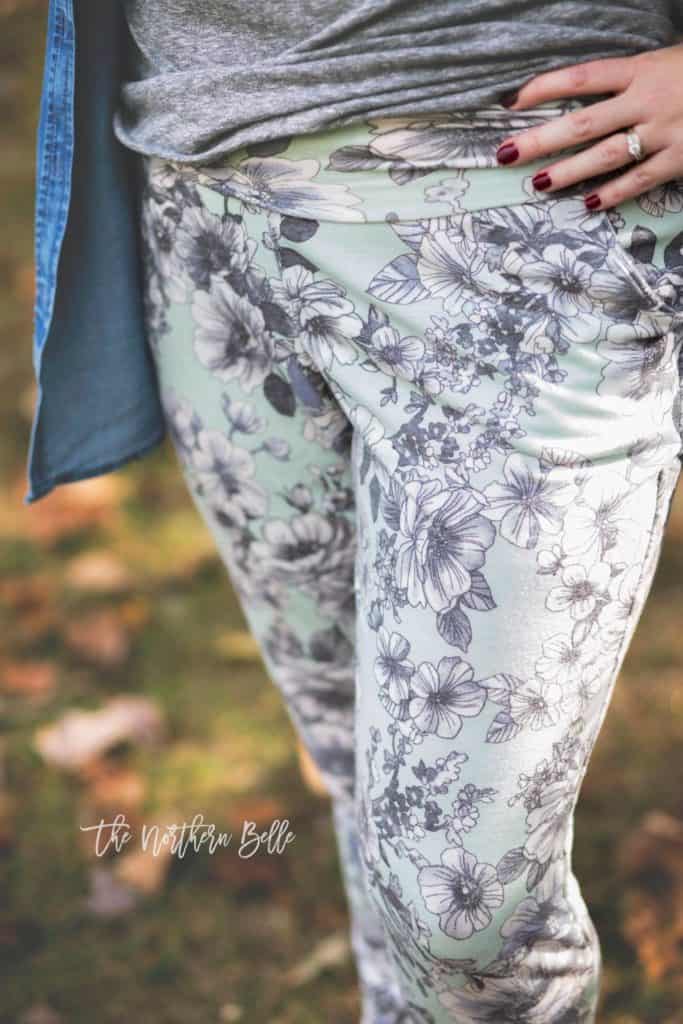
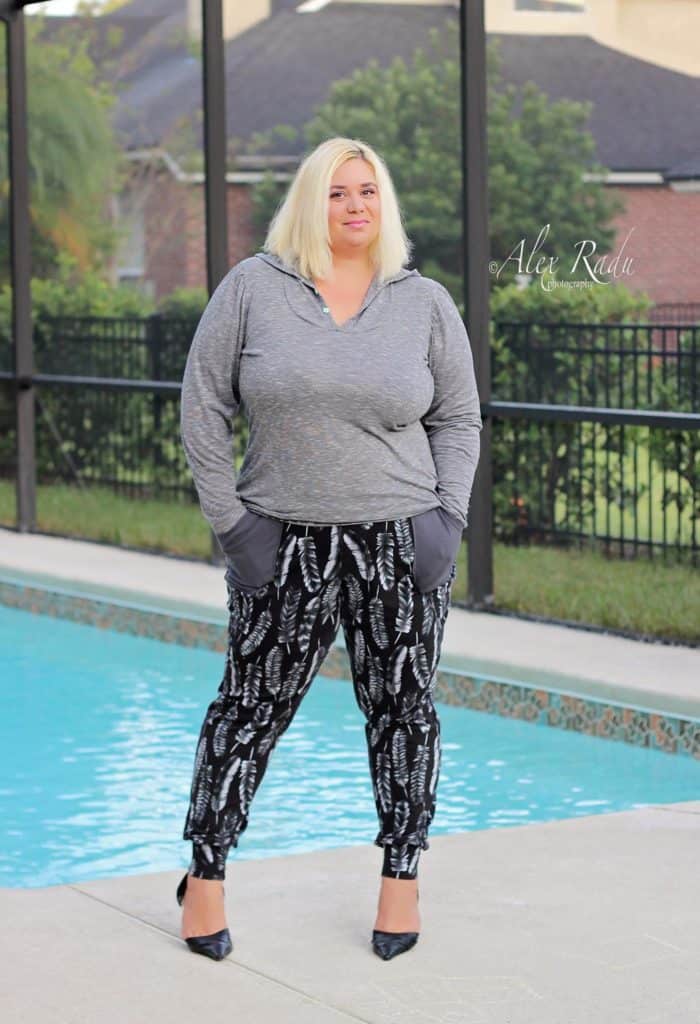
Today is like Christmas and my birthday all wrapped up into one because we are bringing you two brand new patterns that I think you’re really going to love: Loggers and Youth Loggers!These patterns are drafted for a stretch knit fabric with a 40-50% horizontal stretch, and you will want some vertical stretch for wearing comfort.  Both the adult and youth versions feature a tighter pant with cuffs and optional pockets on the pant length.  They are drafted in two lengths (shorts and pants), a large size range (XXS – Plus 3X in women’s and 3M – 14 in youth), have two rises (high and low), two waistbands (short or tall/fold over yoga) as well as an optional drawstring.
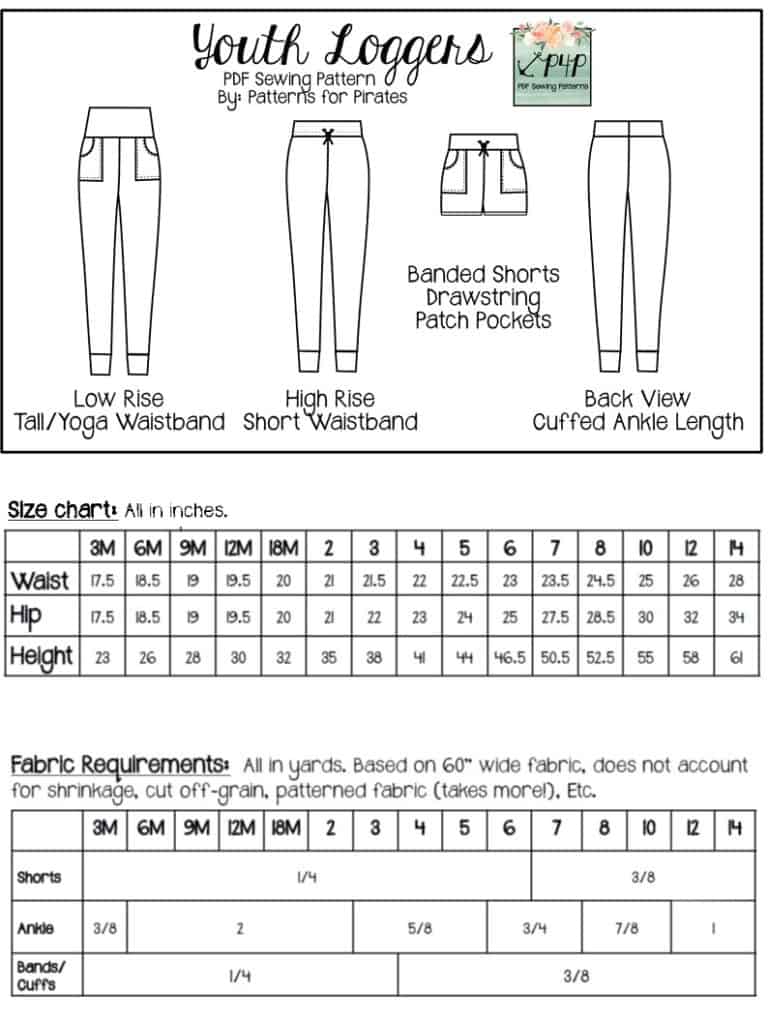
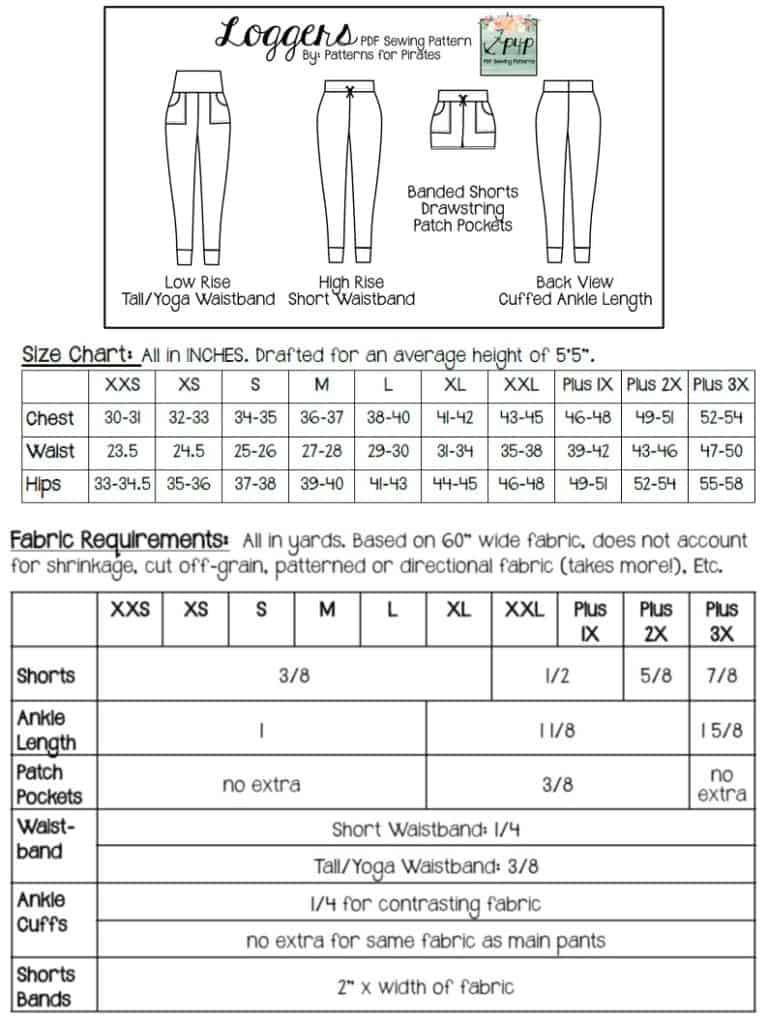
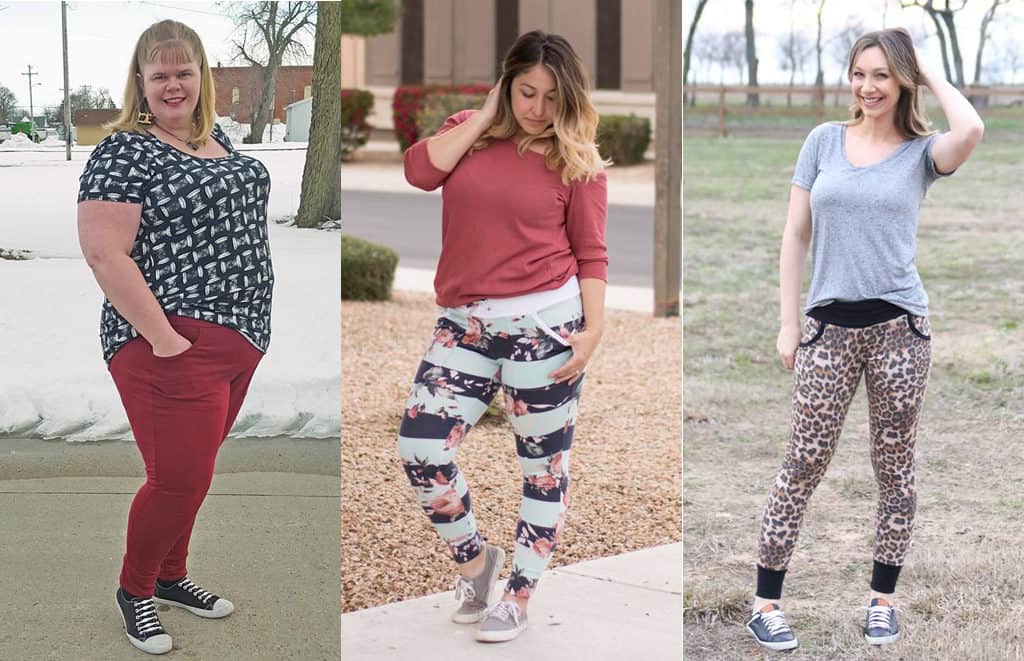
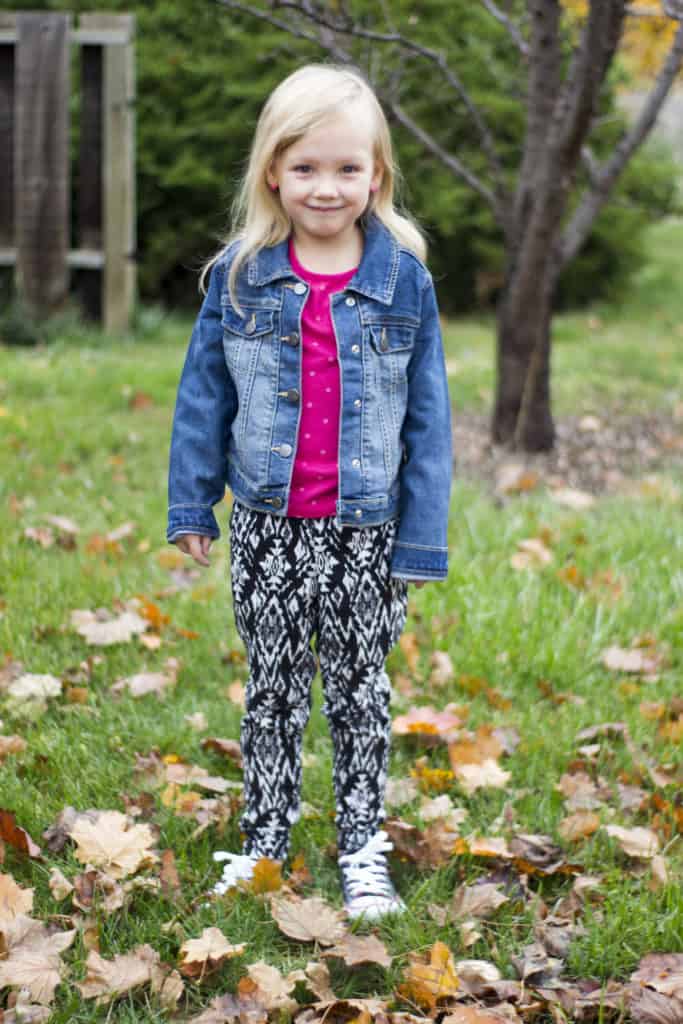
Loggers wear like a jogger but look like a legging.  Everything is finished with a band, meaning there is no hemming required.  And they are perfect for lounge wear, workout gear, swim cover-ups, layers under dresses/skirts, and everything in between.

**Want to learn more about how to measure yourself for this pattern?  We’ve got you covered with an in-depth blog HERE.  And in case you’re new to Patterns for Pirates and PDF patterns in general, we have a great blog full of new user tips HERE to help you get started!  As with all of our current releases and updates, the pdfs now include our layers feature and can be found in Letter, A4 and A0 sizes.  And for even more helpful fun, we have a *free* printable that you can use to help record your measurements as you take them.

Let’s take a quick look at the different options!

PANT LENGTH W/CUFFS

SHORTS LENGTH W/BANDS

SHORT + TALL/FOLD-OVER YOGA WAISTBANDS

OPTIONAL PATCH POCKETS + DRAWSTRING

Are you ready to get in on the logger fun?  Go grab your pattern(s) now!

LOGGERS | YOUTH LOGGERS | LOGGER BUNDLE

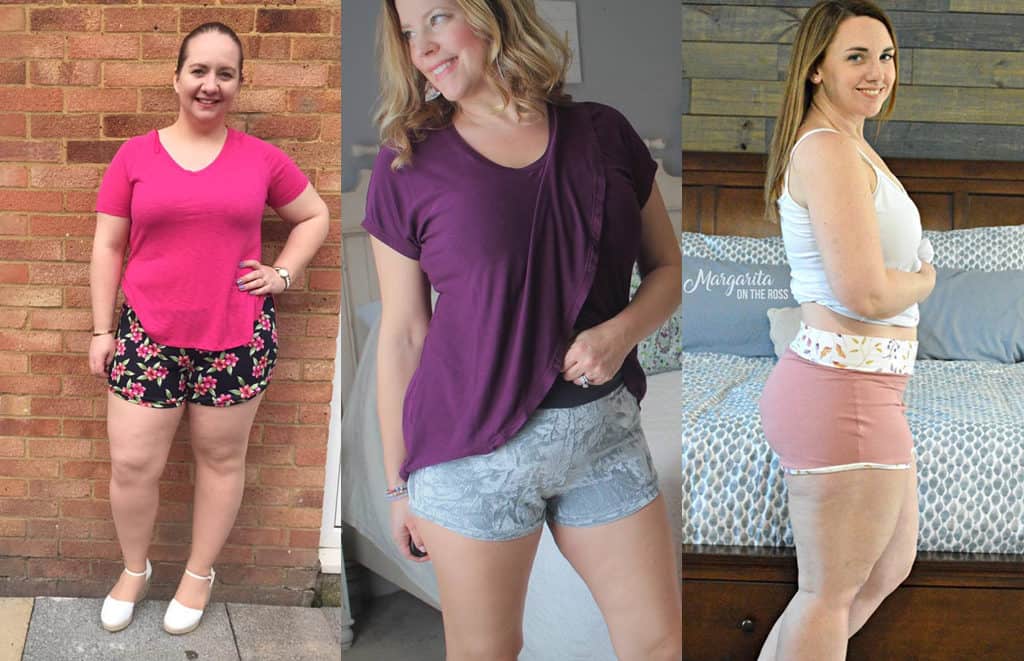
Need more convincing?  Just take a look at this pattern on all of the amazing shapes and sizes of our testers, and get a look at more examples of all the options in our albums in the P4P Facebook group! Logger Album | Youth Logger Album

And if that didn’t give you enough options, make sure to check out the hacks post to help take your patterns even further.

The release sale (no code needed) will be through Sunday, March 17, 2019 (11:59PM US Central Time Zone).

Happy Sewing, pirates!

Filed Under: Pattern Release Leave a Comment

Mama Bear Joggers :: Stretch Woven

May 9, 2017


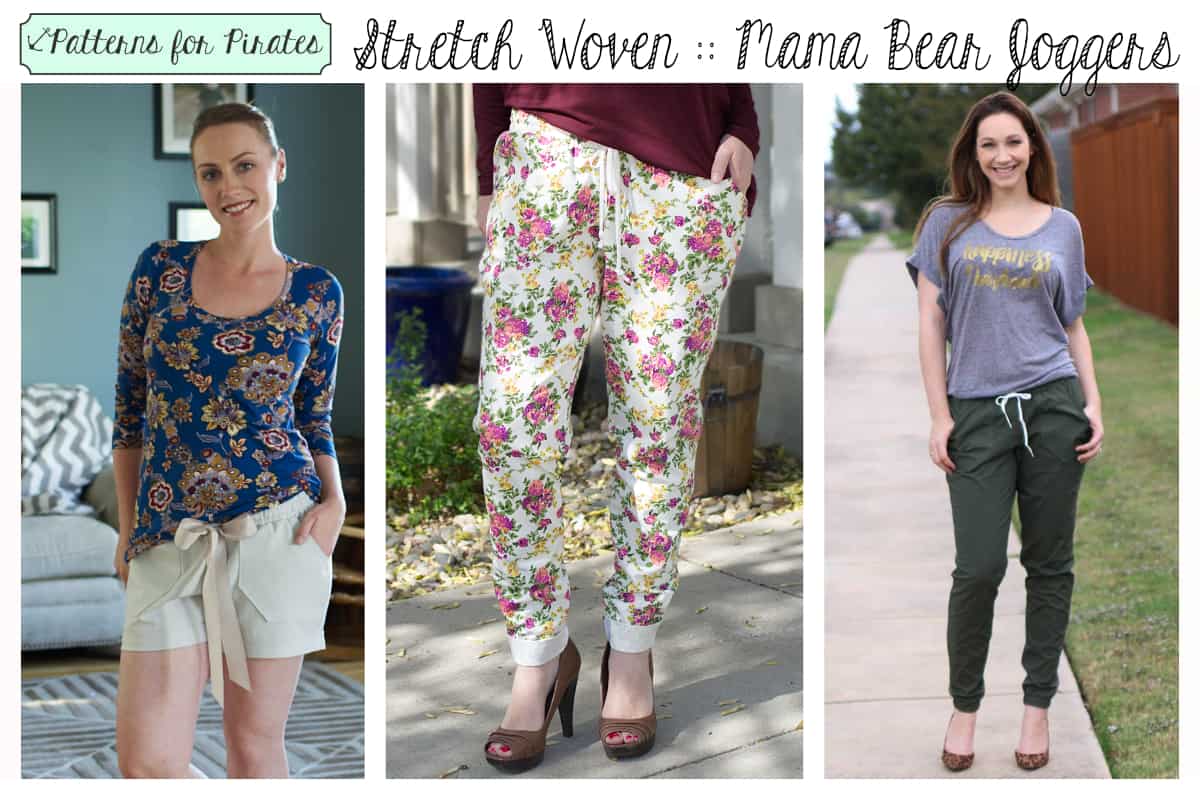
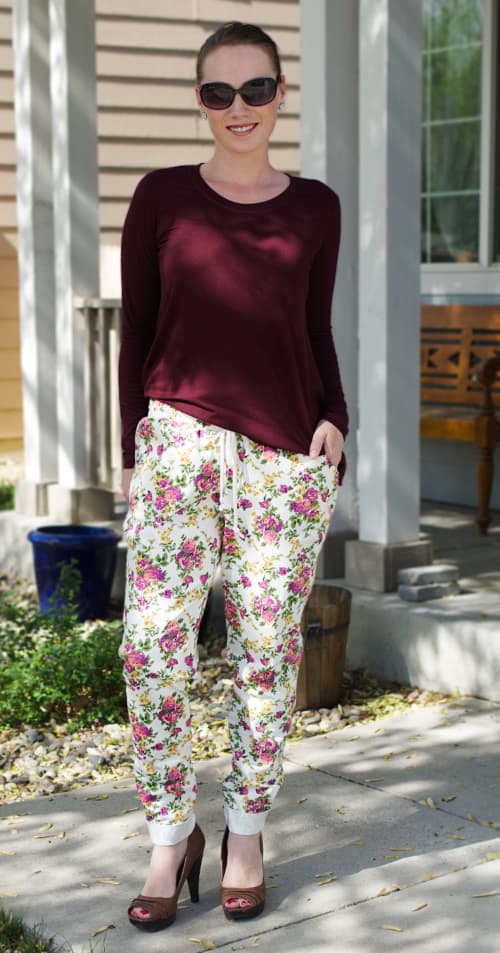
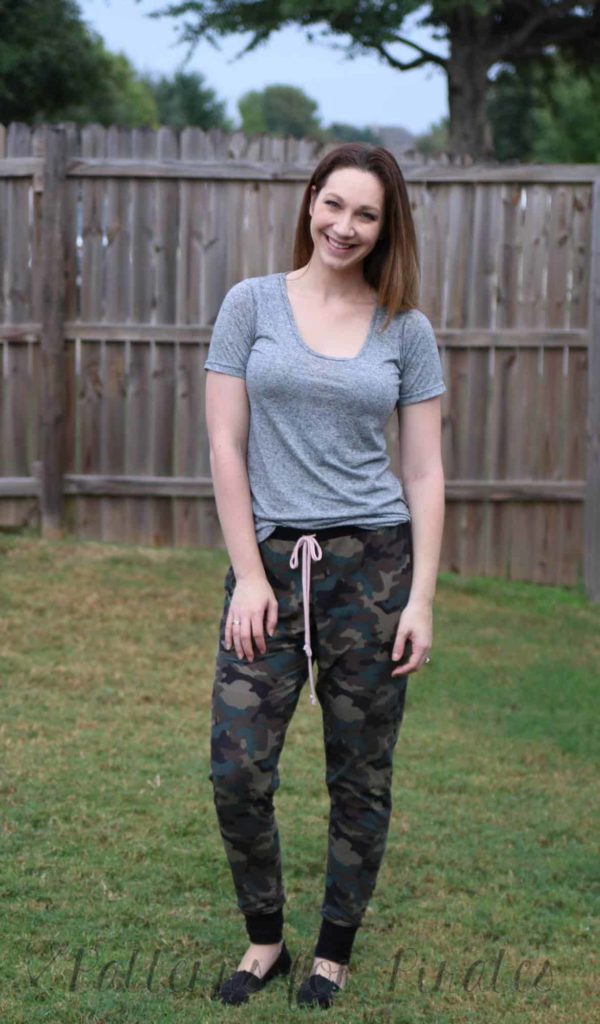
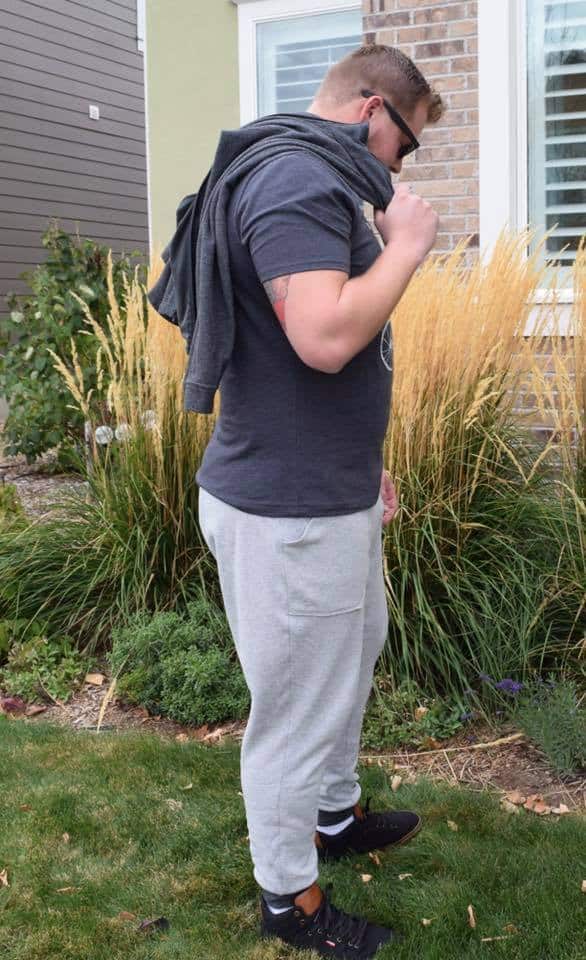
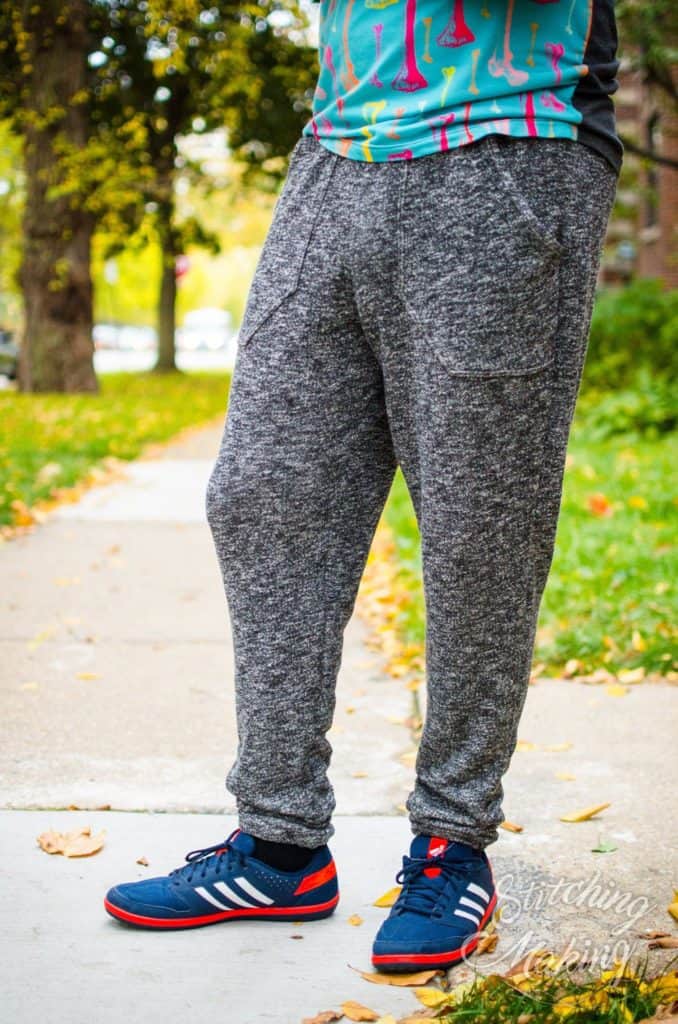
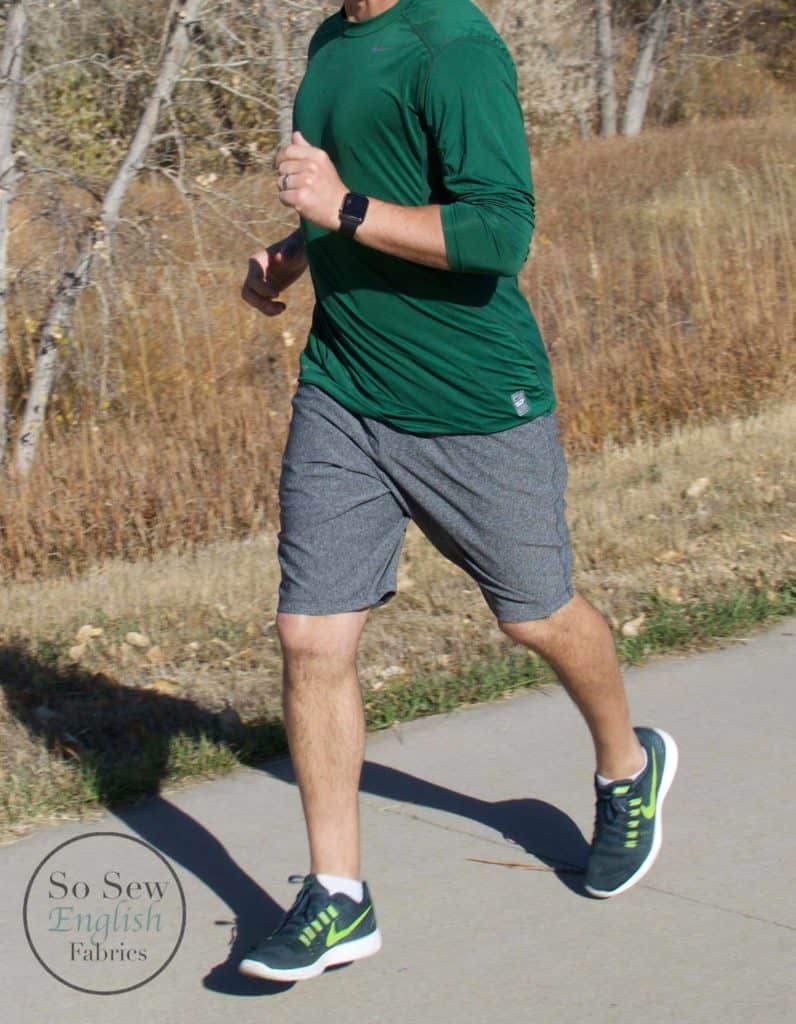
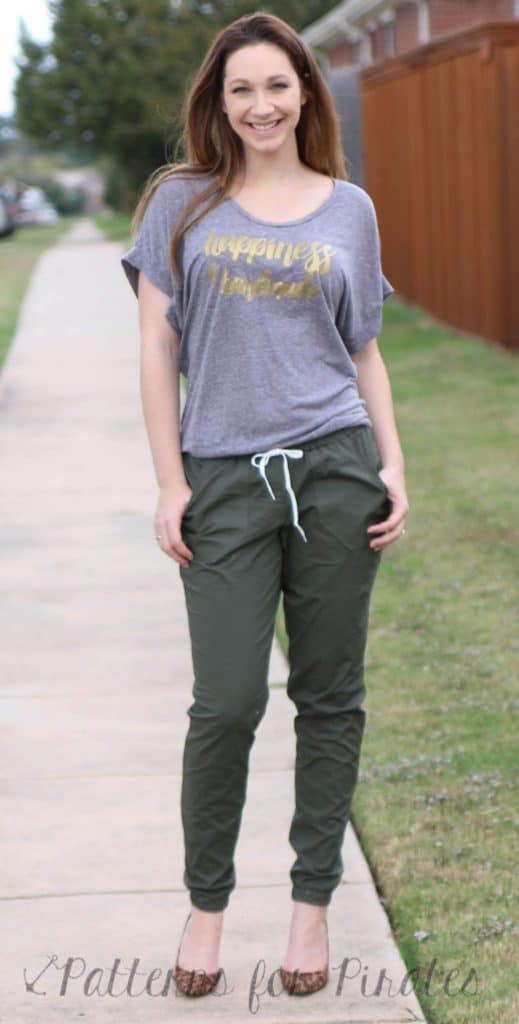
Joggers have been a really popular trend lately. A big reason, aside from the pure comfort, is because they can be dressed down with a pair of sandals or they can be dressed up with some heels for a day out in the city. But did you know? The Patterns for Pirates Mama Bear Joggers (as well as Papa and baby of course) only require 20% stretch! This leaves SO many options to choose from when deciding on fabric to sew your own. Inspired by Judy’s olive poplin version (below), I sewed up a couple joggers for myself in some other fabric options.

While rummaging around for something to use, I discovered some stretch denim that was hiding away in my fabric stash. I just knew it would be perfect! This denim is about 25% stretch and wears incredibly comfortably. I wear these joggers around the house or I like to style them with a pair of heels and a blousey, loose or fitted tank top for a day out. The denim definitely adds some structure to the pants but certainly does not take away from the comfort.

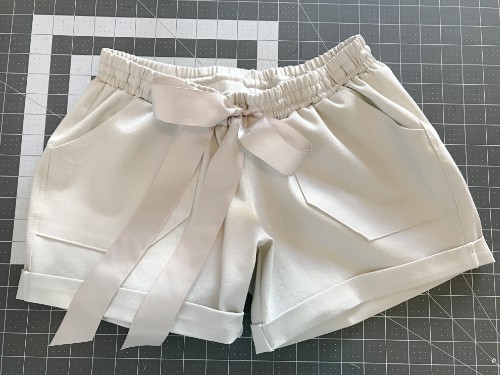
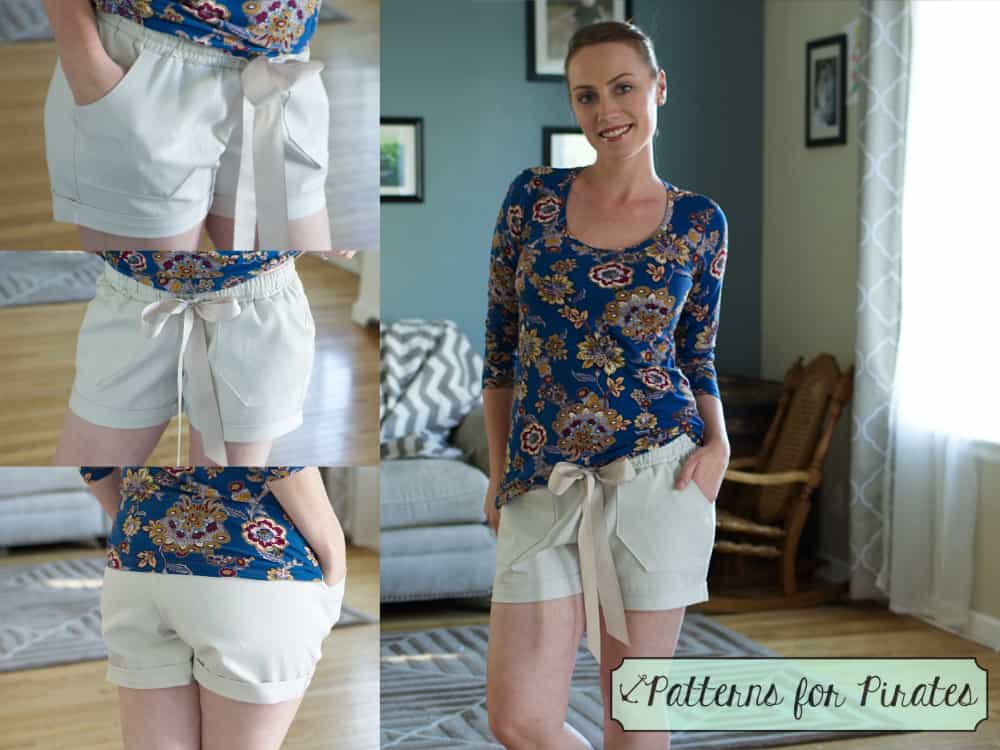
I also found some stretch twill in my stash and knew I HAD to whip up a pair of summer shorts with it! I used the Mama Bear pattern in shorts length, but added about 2.5″ to the bottom hem line in order to do the roll-up hem instead. I love the look of it over the traditional version for this purpose. Some ribbon in my stash was used for the drawstring and really finished off the look. These are just seriously cute and comfortable!

So next time you’re at the fabric store or digging around in your stash at home, break out your stretch ruler (you can find one in Judy’s cheat sheet) and then use those stretch wovens!

::: Written by Kelly Bailey – P4P Blog Contributor :::

Read more about sewing joggers for the entire family here!

Read some easy Bear Jogger hacks here!

[Read more…]

Filed Under: Frequently Asked Questions, Uncategorized 2 Comments

Easy Bear Jogger Hacks

November 11, 2016

img_3221

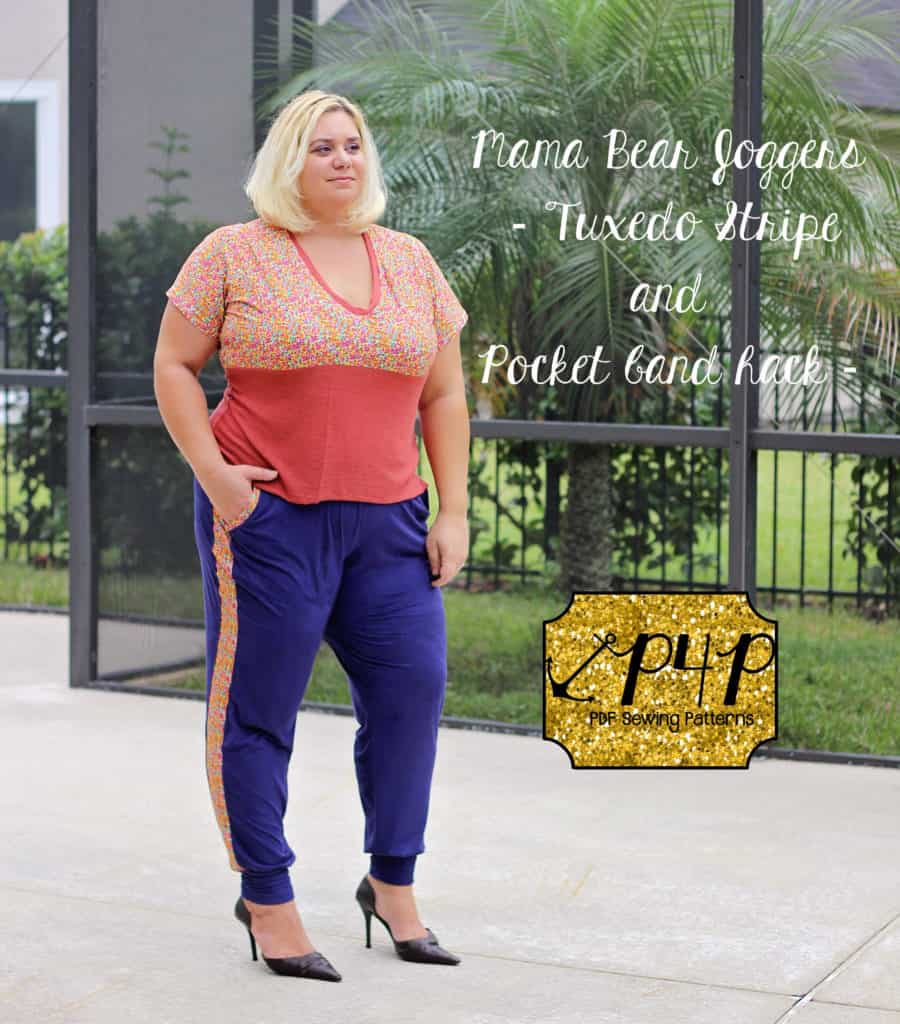
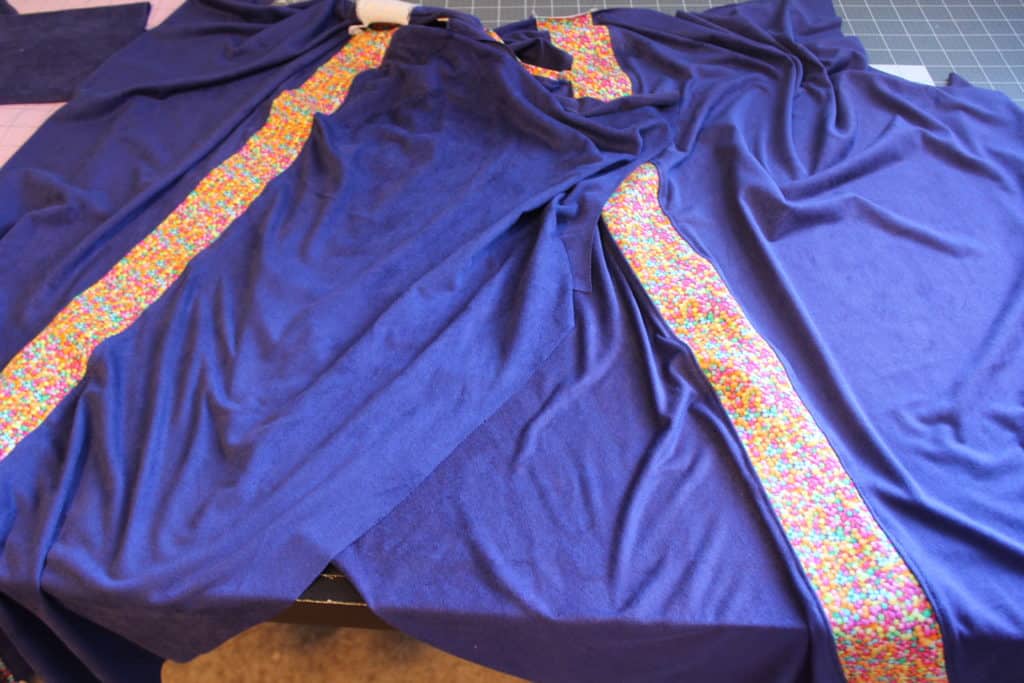
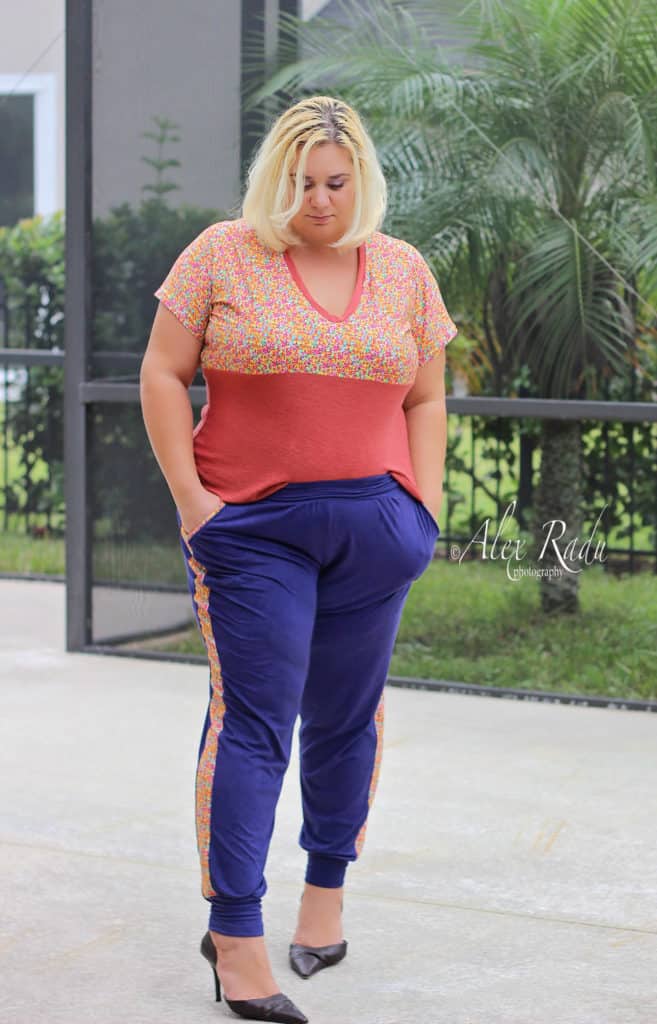
The Mama Bear Joggers were just released and are packed with options. I have already made myself a few pairs so I was browsing Pinterest for styling ideas (don’t we all?). I came across a cute pair of joggers that had a tuxedo stripe on the side so I just had to make myself a pair like that. In today’s blog I’ll show you how I did the tuxedo stripe and an accent slat pocket band.

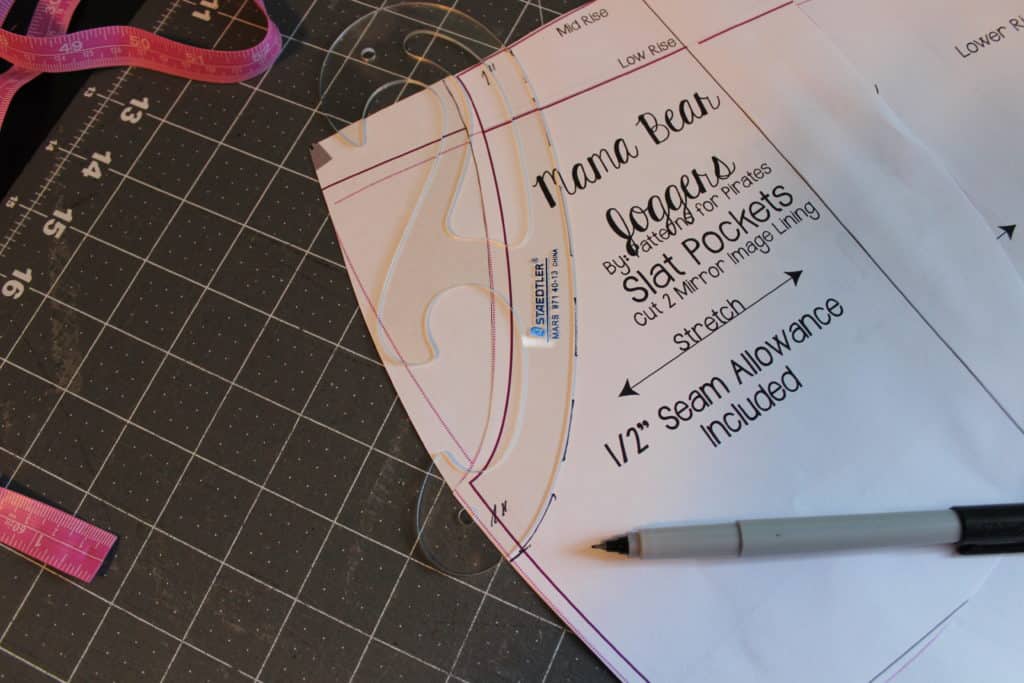
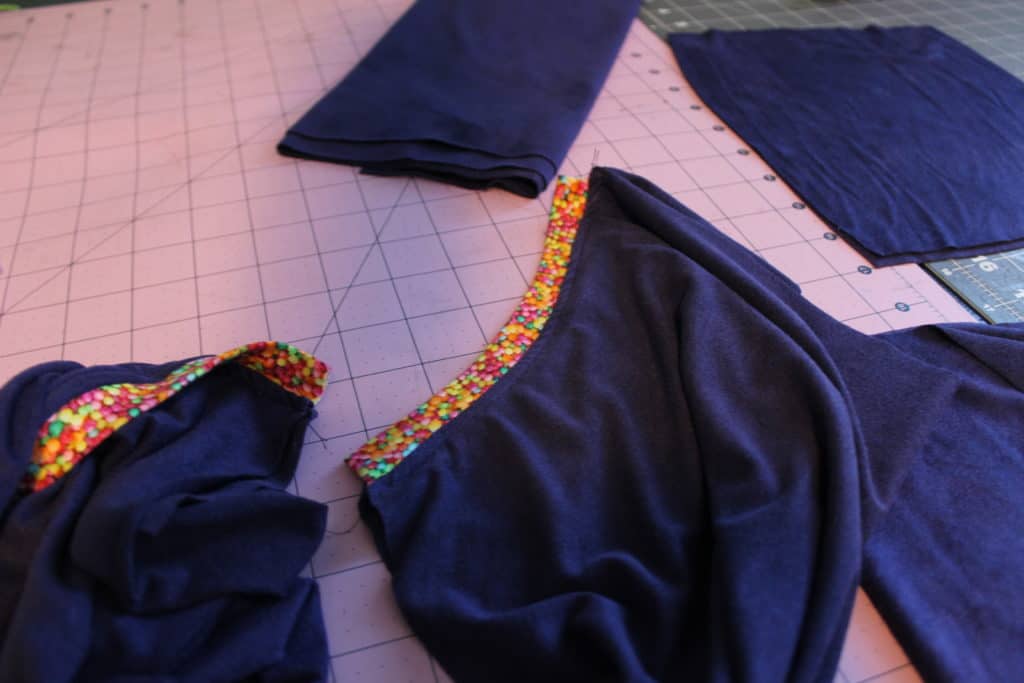
Start by printing and cutting the pattern in your size. (I grade mine in for the waist that’s why you’ll see two lines instead of one). Don’t cut the fabric just yet. If you’d like to do just the accent pocket band you’ll nee to place the pocket lining over your front piece and remove 1 inch from the curve. That can be done easily if using a French Curve.

img_3040

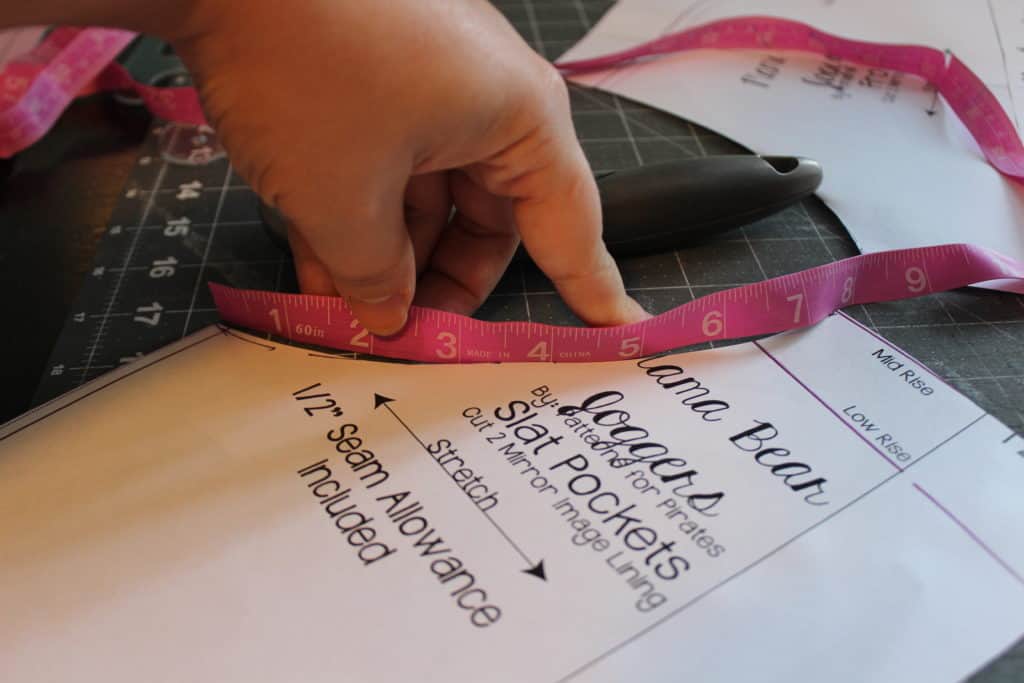
Now take your measuring tape and measure the new pocket opening. You will be cutting your accent band to be 2″ by 95% of the opening.
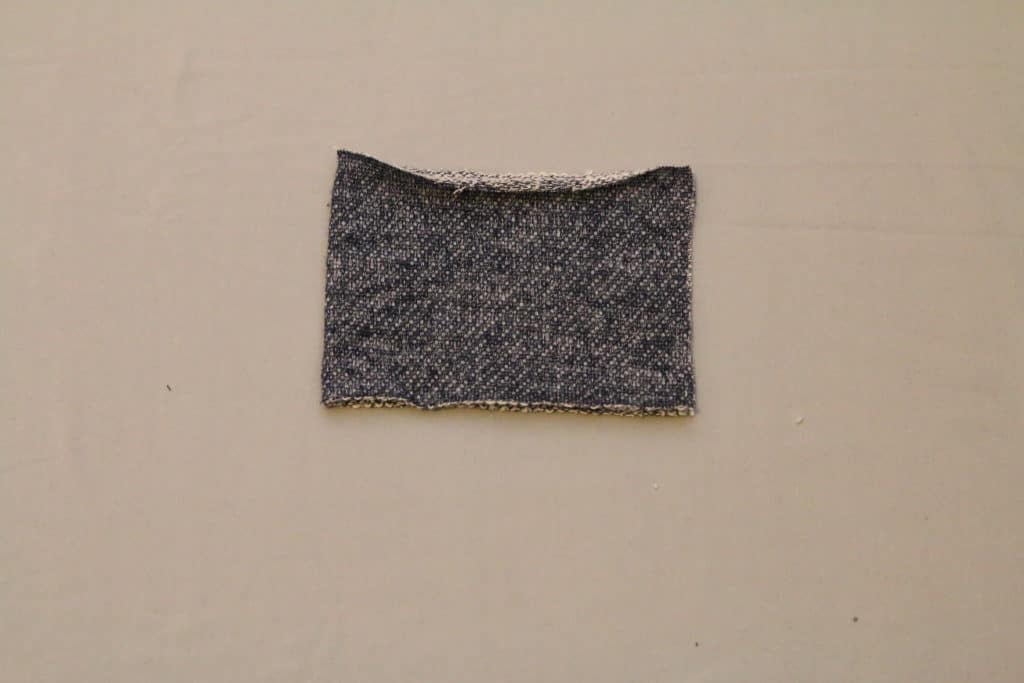
img_3043

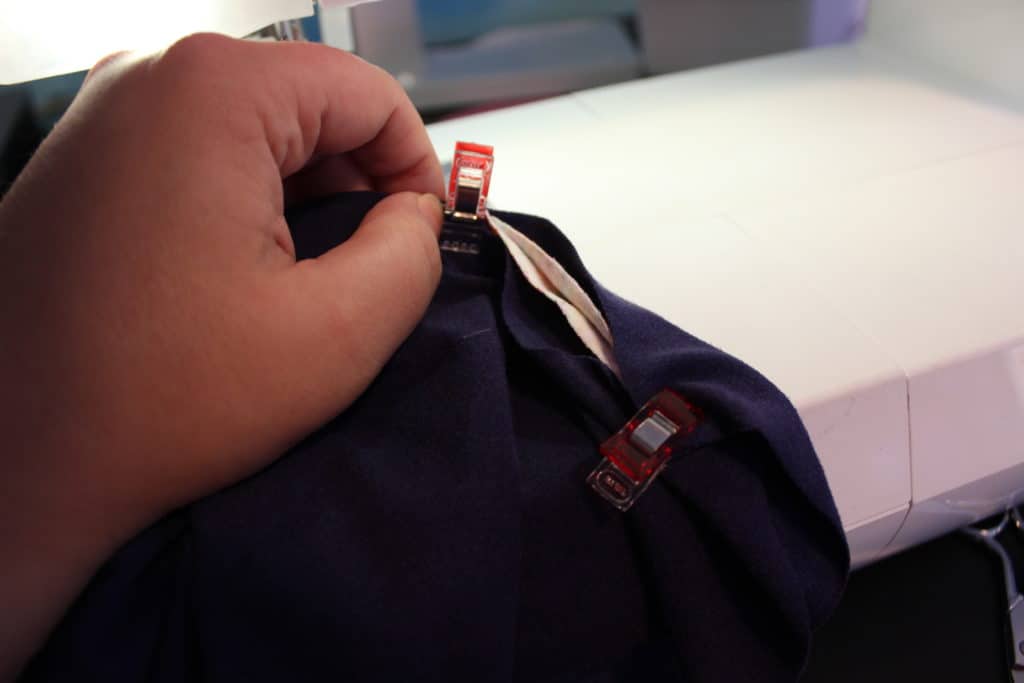
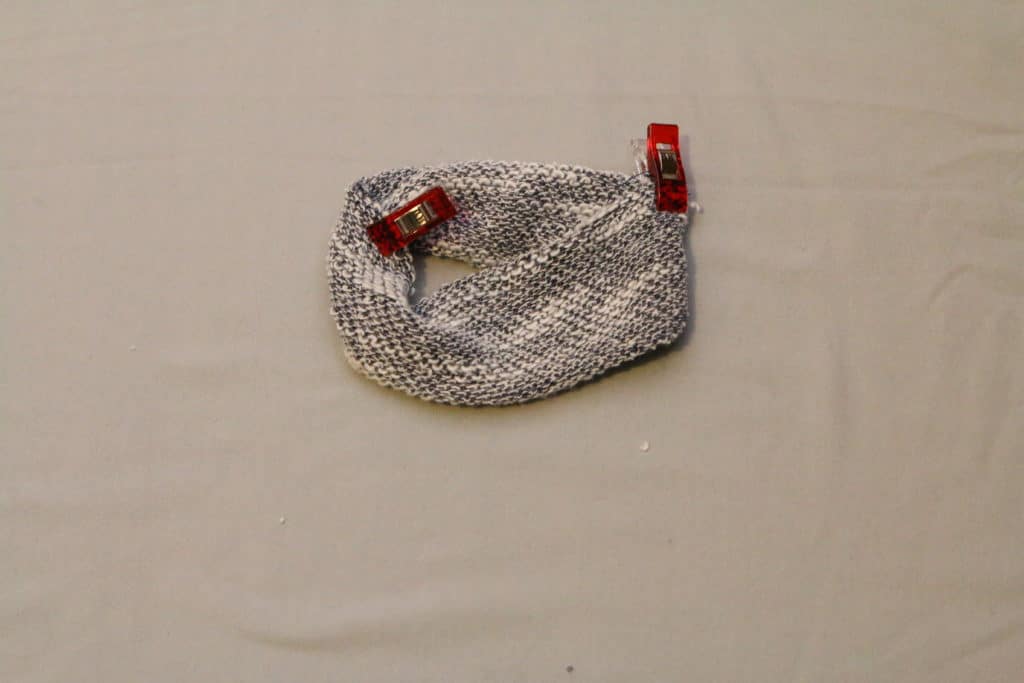
Fold the band wrong sides together and give it a good press. Sandwich the  folded band between the right side of the front of the pants and the right side of the pocket lining. You will be stretching JUST the band slightly. Sew the 4 layers together.
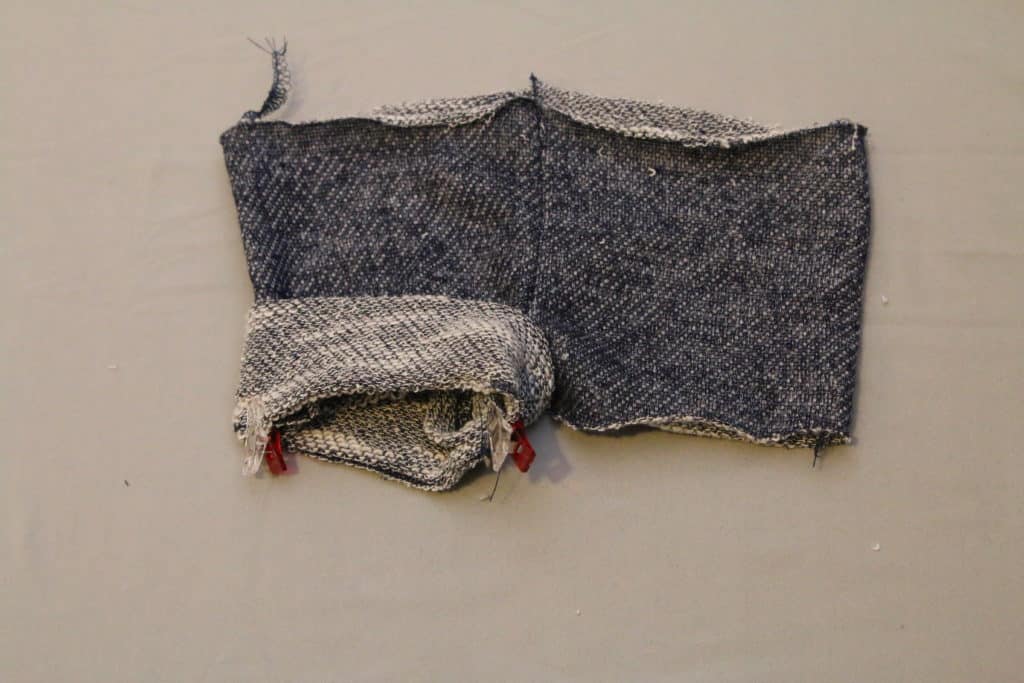
img_3050

Turn the pocket over so its wrong side is on the wrong side of the front leg. You can now top stitch along the curve. Tadah! You’ve added a decorative band to the slat pocket. If you do not add the side strip proceed with sewing the joggers according to the pattern tutorial.

img_3052

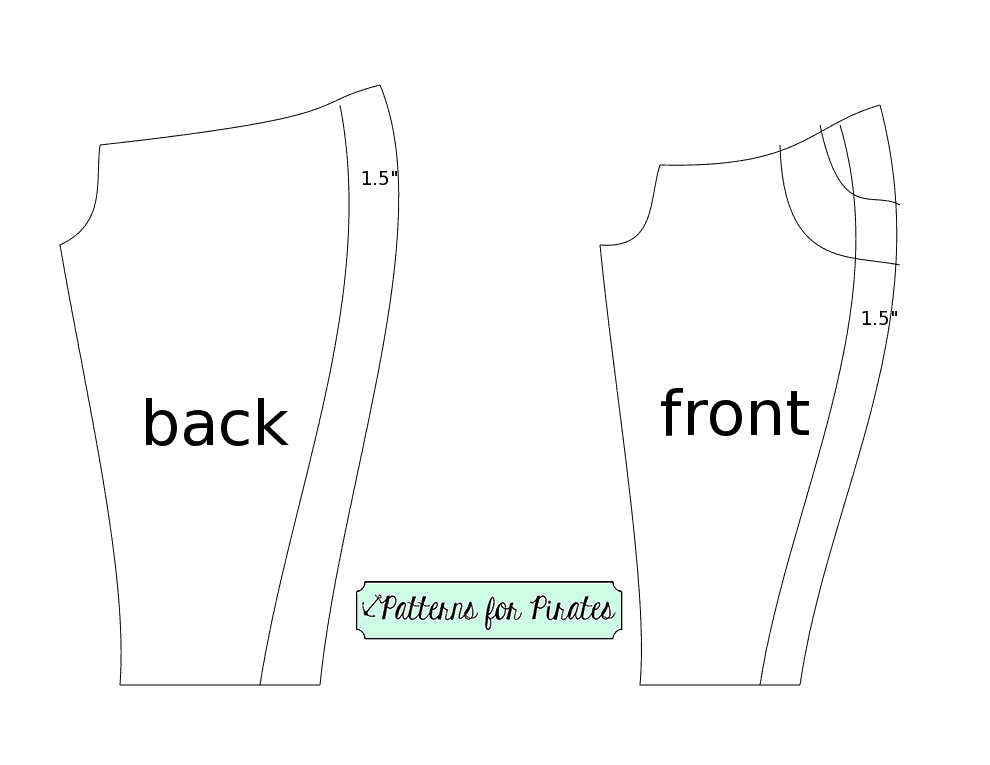
If you add the stripe, we will be making some pattern alteration prior to cutting the fabric. Place your pocket lining and back on top of the front of the pants matching the top and  side lines. We will be removing 1.5 inches from the side of the front of the pants. Following the side curve draw a line parallel to the side, 1.5″ away.joggersstripe

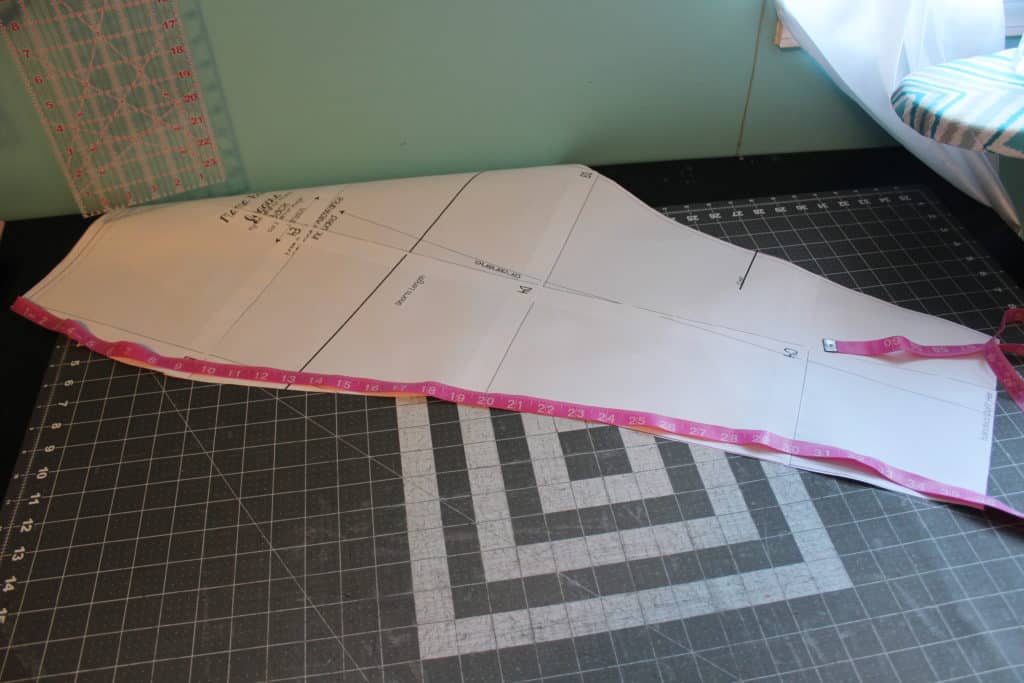
Cut along the new line. Now grab the back of your pants and repeat the process on the side. You now have 4 new pattern pieces, front and back, pocket and pocket lining. We will measure the new side length with a measuring tape because it’s flexible. The tuxedo stripe will be 3″ by the new measured side. See? That wasn’t so bad.

img_3038

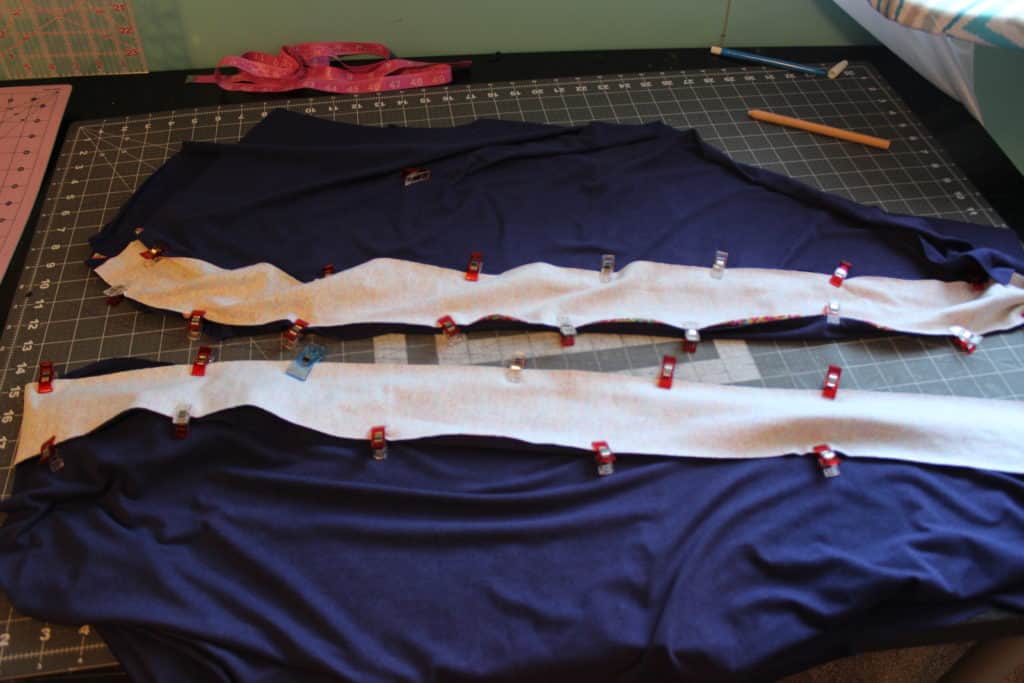
Add the pocket according to the tutorial. We will now sew RST the front piece with one side of the strip. Then attach the other side of the strip to the back of the leg, right sides together. Repeat with the the other leg.

img_3055

img_3056

That’s it! Those are the only changes we made to the pattern. You can now finish your joggers according to the tutorial. You can add the strip to either one of the leg options, cuffs, elastic or rolled.

img_3200img_3223

Get creative with all these joggers hacks and as always post your pretties in the group.

Alex

img_3225


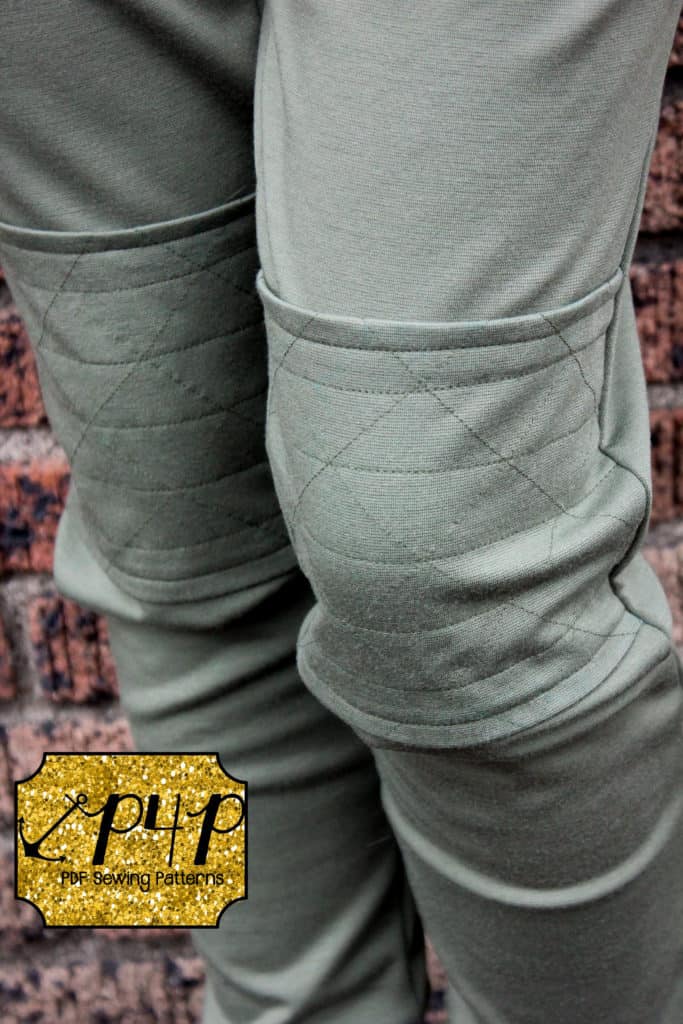
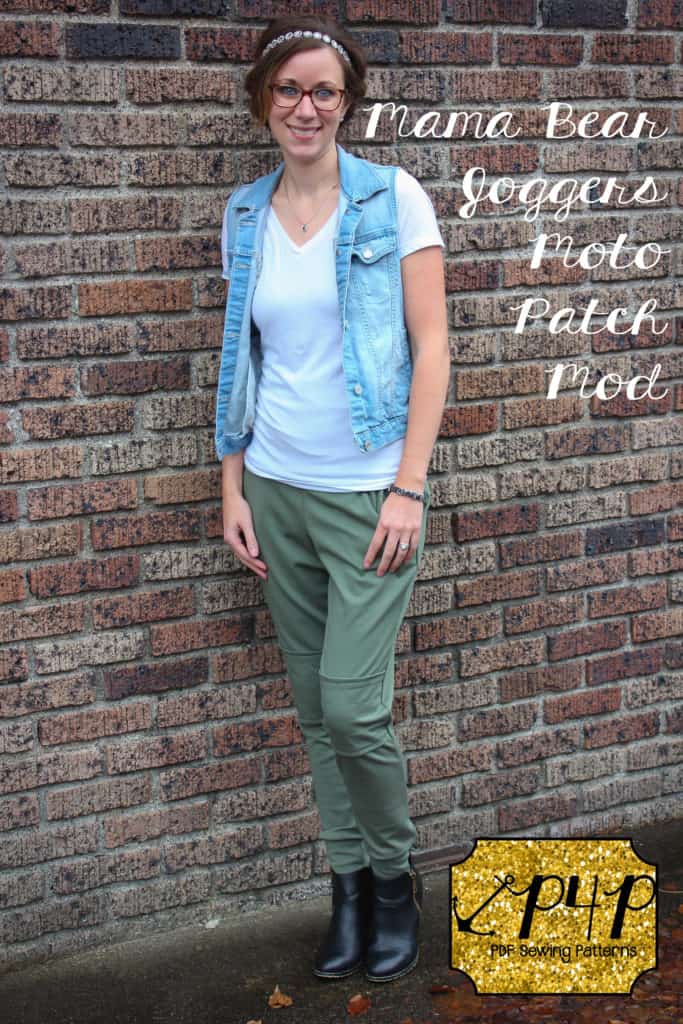
Let’s face it- everyone loves a jogger and the Patterns for Pirates Joggers are perfect! One of the things that I love about joggers is that there are so many different ways to style them. One of my favorite looks is the addition of a moto patch. This simple detail can add an extra bit of edge and flair to your joggers and help take an already awesome look to the next level! So let’s get started…

img_52302

Creating Patch Piece

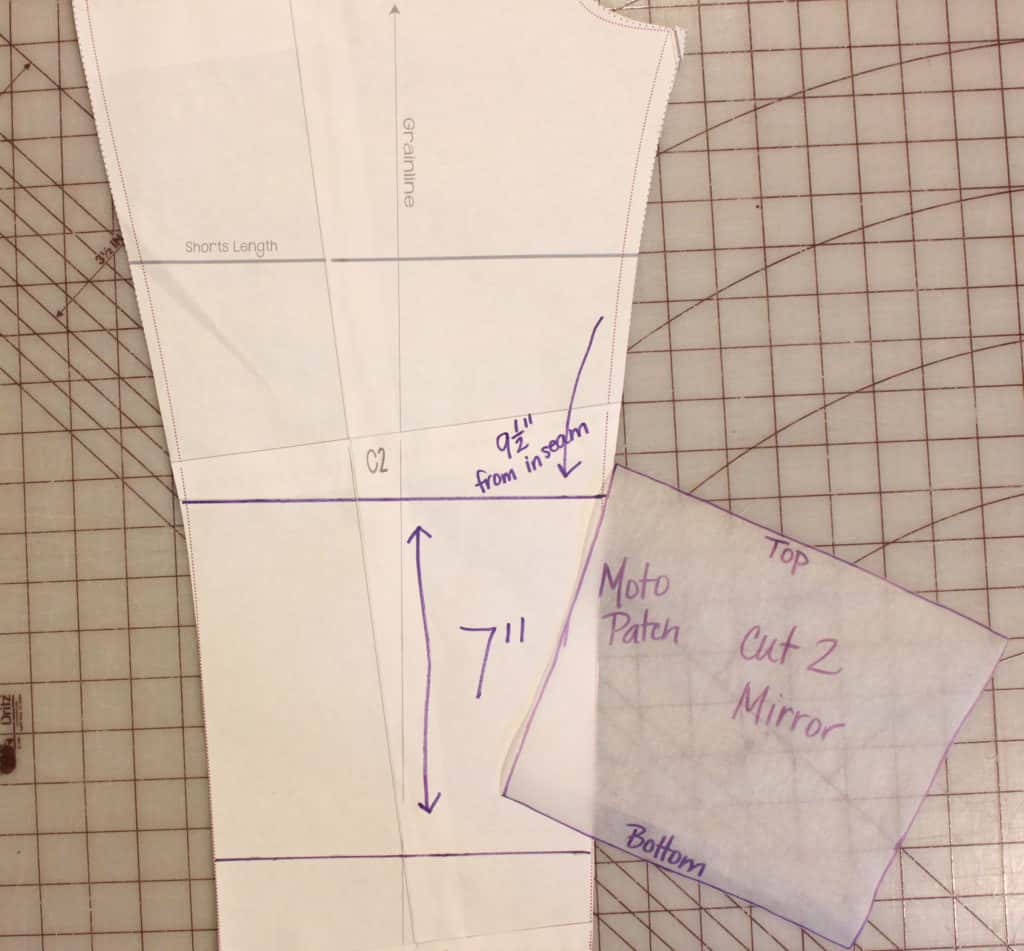
To start with, you will need to determine how far down to attach the patch. You will want to measure from your inseam to the top of where you want to attach the patch. As you can see in the picture below, mine measured 9.5″. Draw a line across your pattern piece at this measurement. Next, you will draw the bottom line for your patch- your next line should be 7″ down from this line (your finished patch will be at total of 6″). Using tracing paper, copy this section of your pattern to create your moto-patch.

img_5240

Quilting the Patch
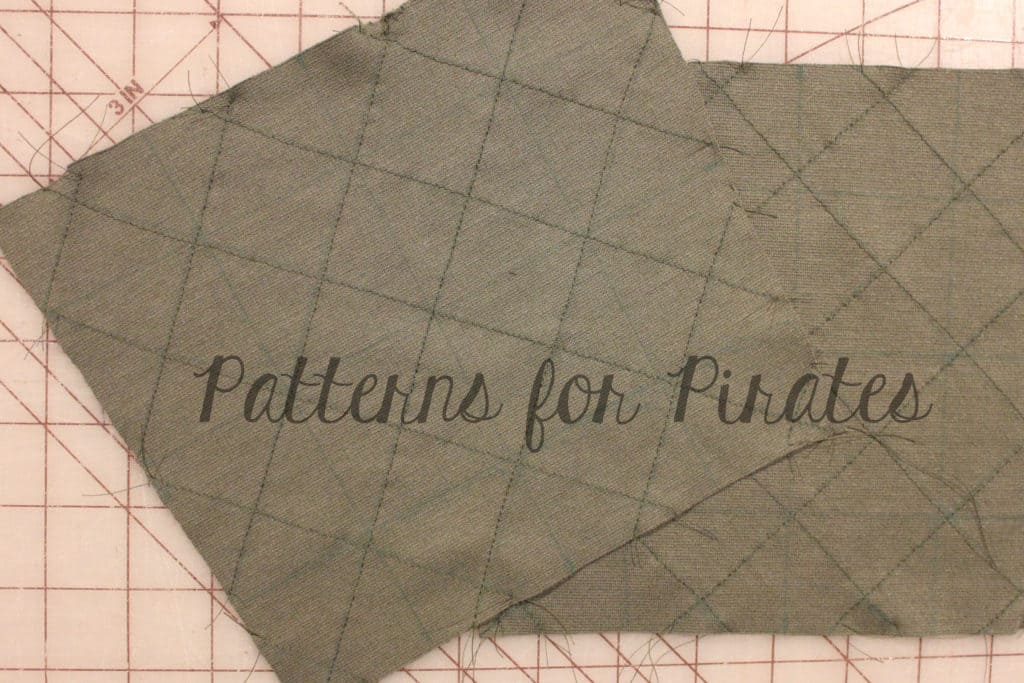
You will need to cut out two mirror image pieces. Next, you will trace your quilting lines on each piece (make sure to do mirror images!). Begin by marking both the horizontal and vertical centers of your piece (if you don’t have a quilters ruler- this mod is a GREAT excuse to go purchase one!!). After marking centers, draw lines every 2 inches in both directions. The final markings will be on the diagonals- connecting your squares. Repeat on the other patch.

picmonkey-collage

After completing your markings, stitch across all of the diagonal marks only. Then, take a few minutes and admire all of the hard work you just did— Ok! Moment over, because now you get to repeat all of that beautiful stitching on the other patch! img_5214

Finishing and Attaching Patch
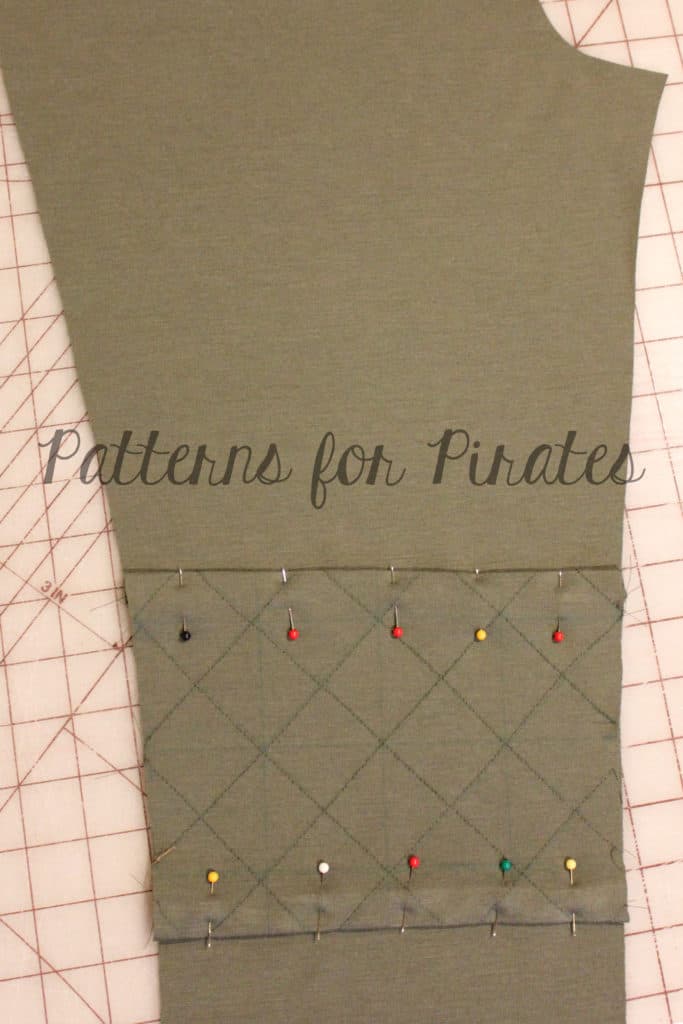
Press both the top and bottom of your patch, using a 0.5″ allowance to create a finished edge. Taking your front leg piece, place patch piece 0.5″ lower than original line (to account for your pressed seam… ex. Mine was at 9.5″ and I placed the patch at 10″ down) and pin in place.  img_5219
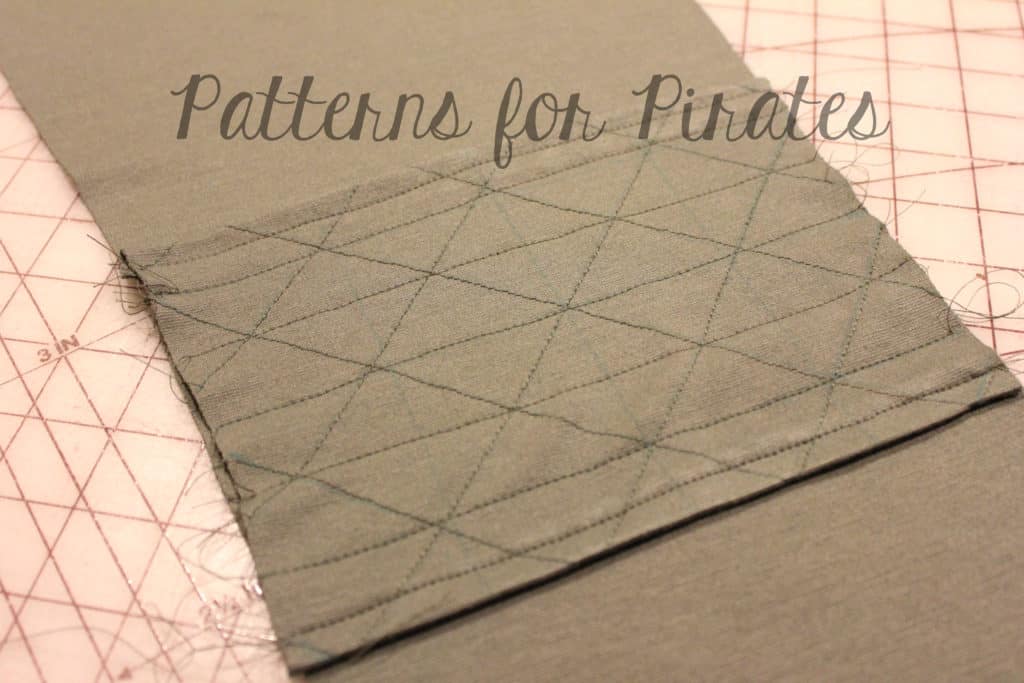
Using a 0.25″ seam allowance, stitch the top and bottom into place. Then stitch over the horizontal lines only to finish creating your quilted look. img_5222You can now complete your Joggers by following the pattern directions.

And if you needed a few other ideas for you patches, you could also…

  • Cut your patches at angles
  • Place patches on thighs
  • Mix and match fabric patterns
  • Use fabrics that are already quilted (Yes- They exist and would be a huge time saver for this!)

img_52363

I can’t wait to see how your patches (and joggers!) turn out. Make sure to share all of your creations on the P4P Facebook page!

~Erinn


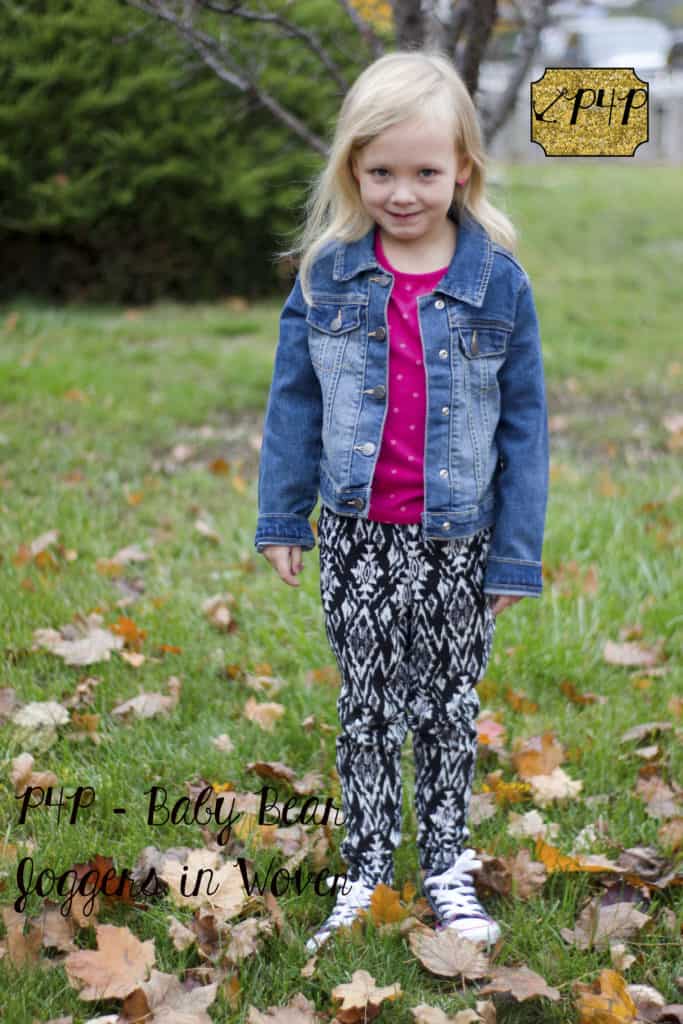
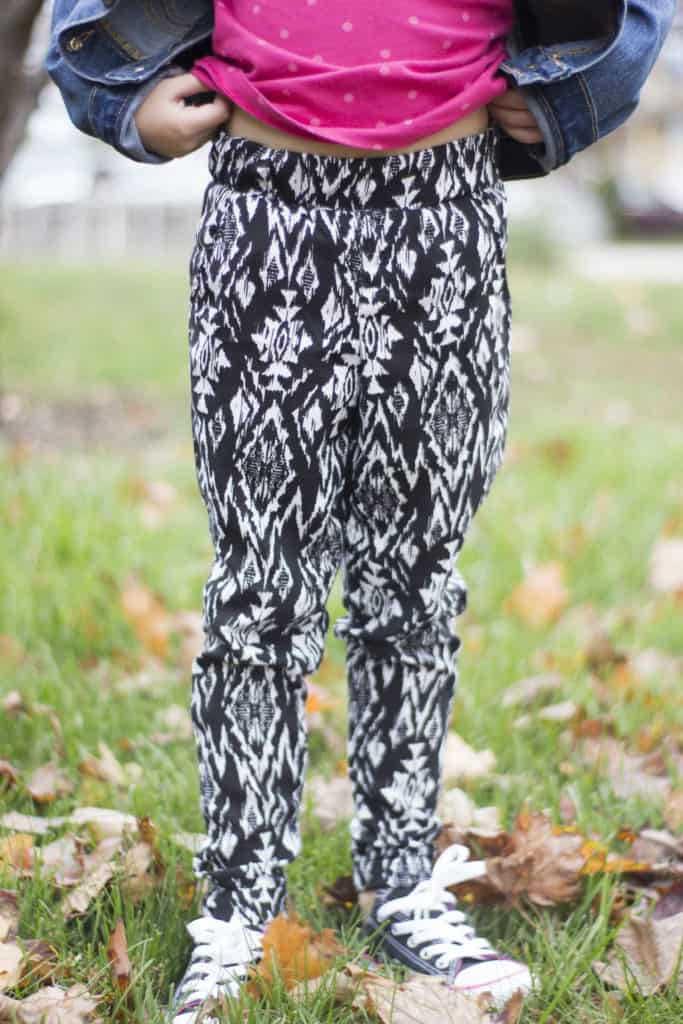
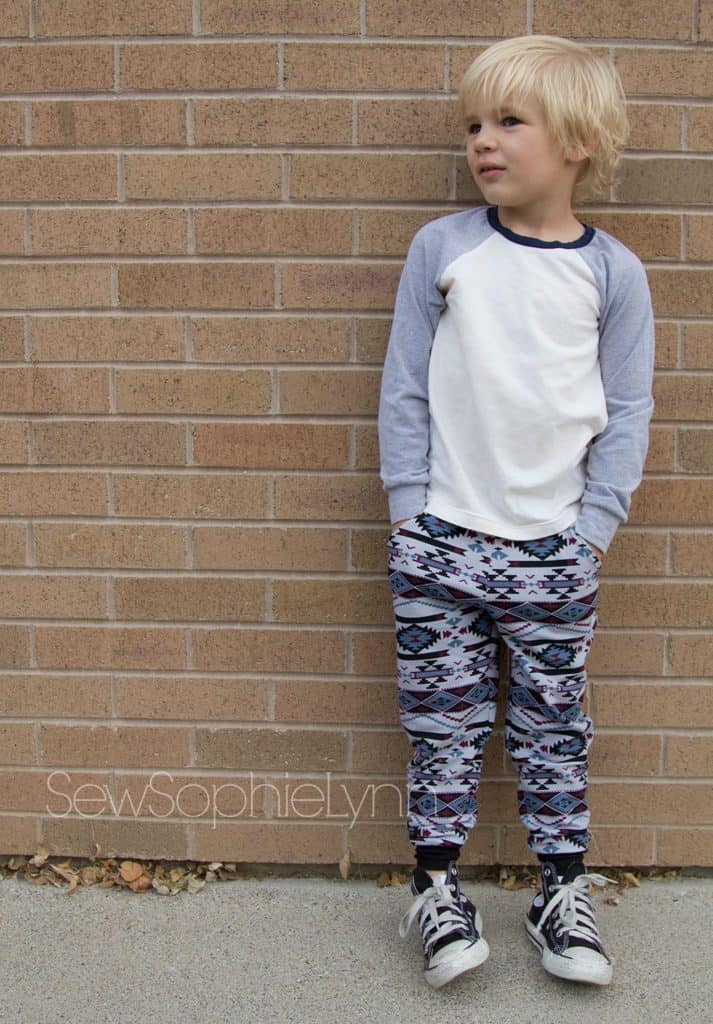
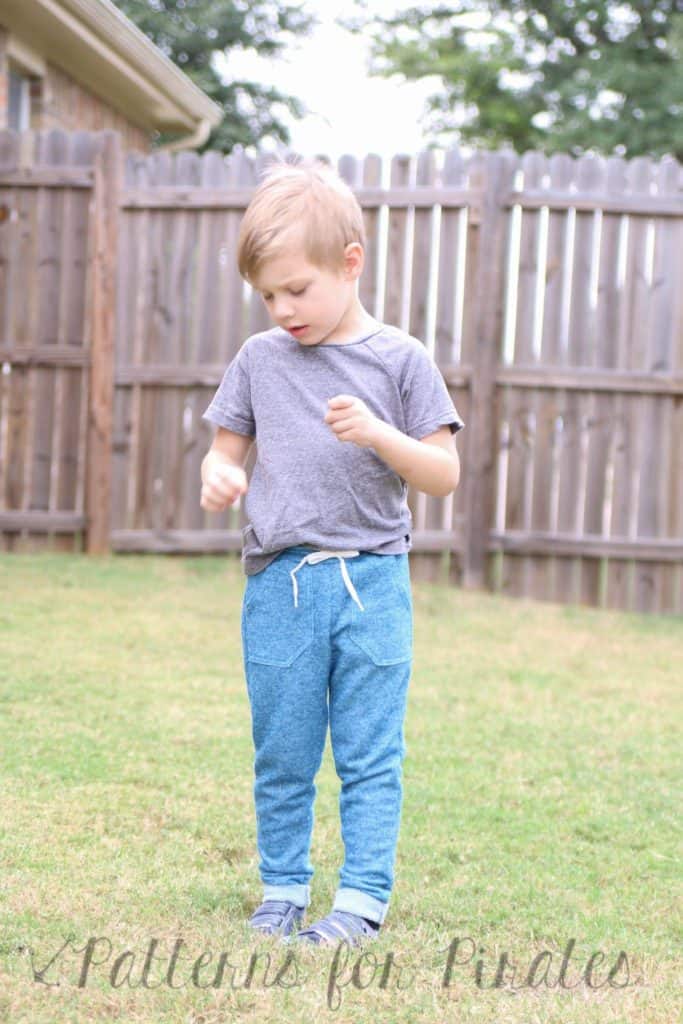
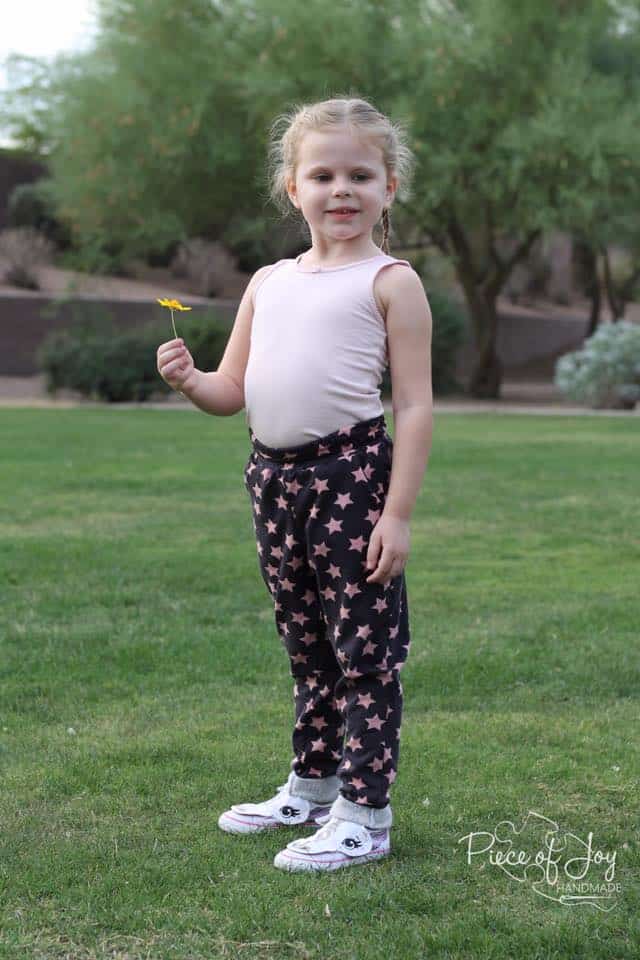
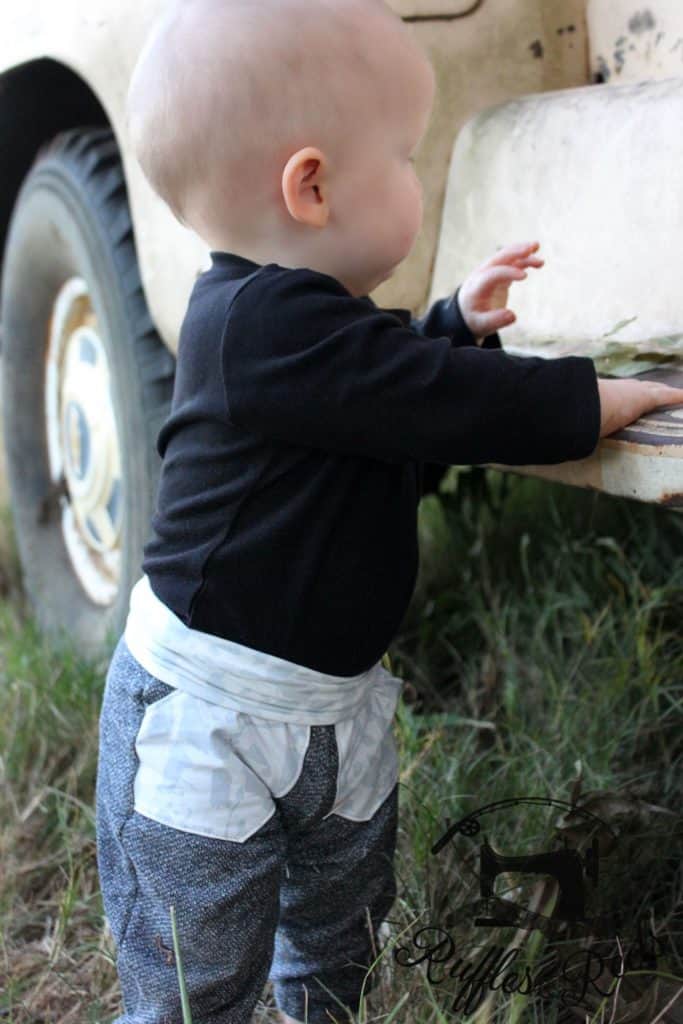
img_60741I have been eying up all the adorable woven joggers that seem to be everywear this season and as soon as I saw the new P4P joggers I thought hmm, I wonder if then could be done in woven and guess what, they work great in woven for the baby bear joggers! I sewed up this pair for my daughter in a rayon challis remenant that I found and they are just too cute on her and super trendy right now! I didn’t alter anything while sewing but if your child has thicker calfs or ankles you may want to grade out one size to give a bit more room or take a smaller seam allowance from the calf down. These have the elastic waistband but as I had some 1 1/4 elastic in my stash Idecided to use it instead of doing the 3 rows of elastic. I inserted my elastic into the waistband and then basted the seam allowance before attaching the waistband to the pants. I did the elastic casing cuff which worked great the rolled cuff may be a touch to tight thou for wovens. No other changes to these and my girl has adorable woven joggers! I can’t wait till spring to make her a pile more!

img_60771

img_60751


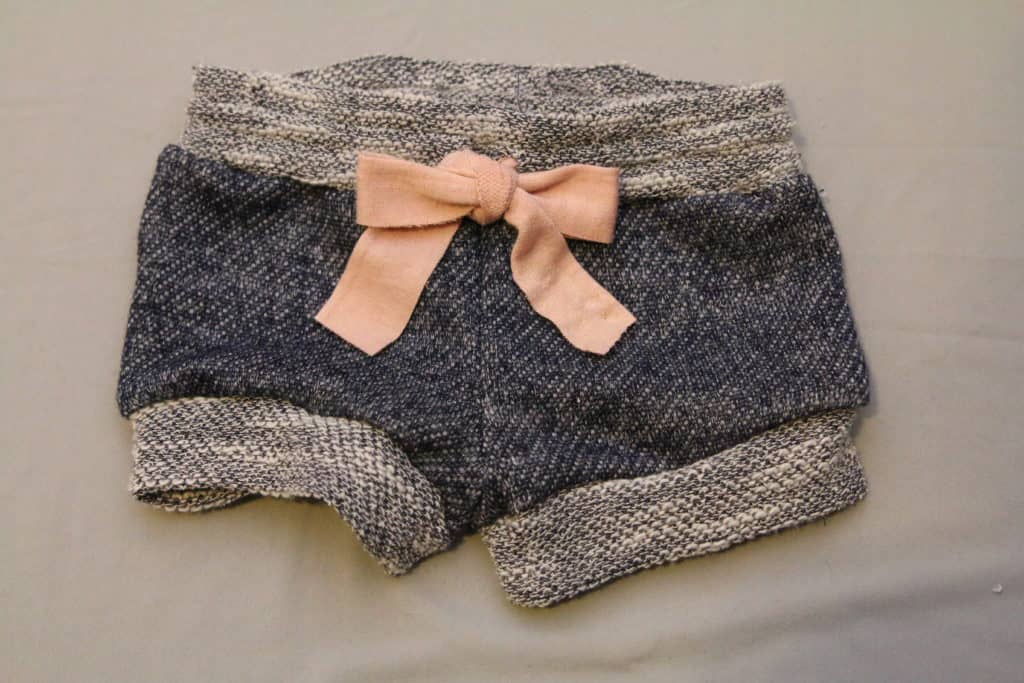
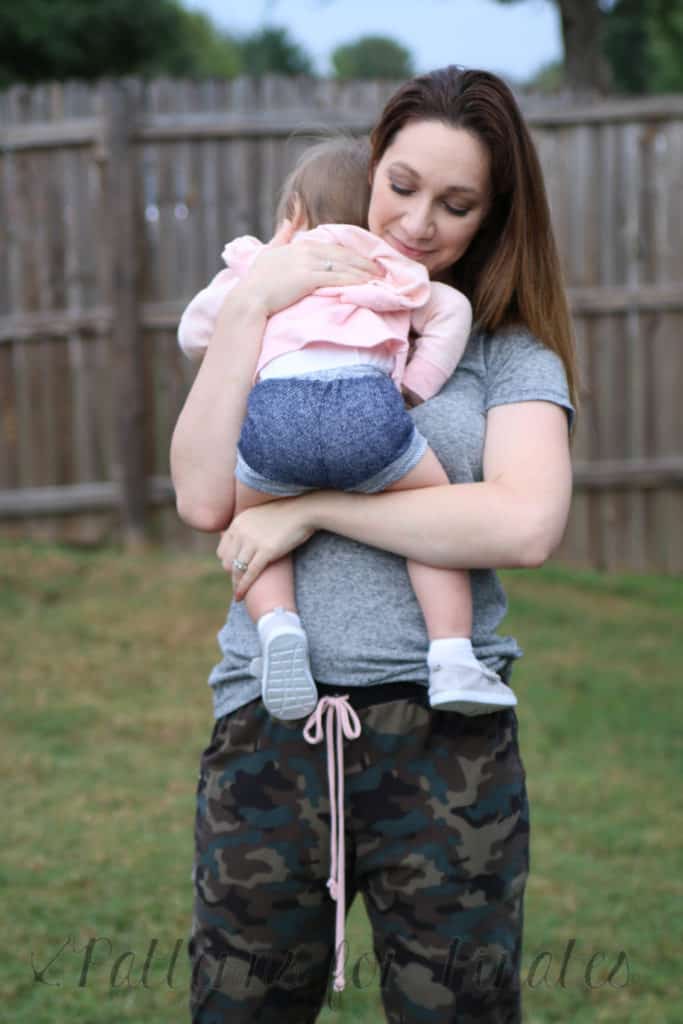
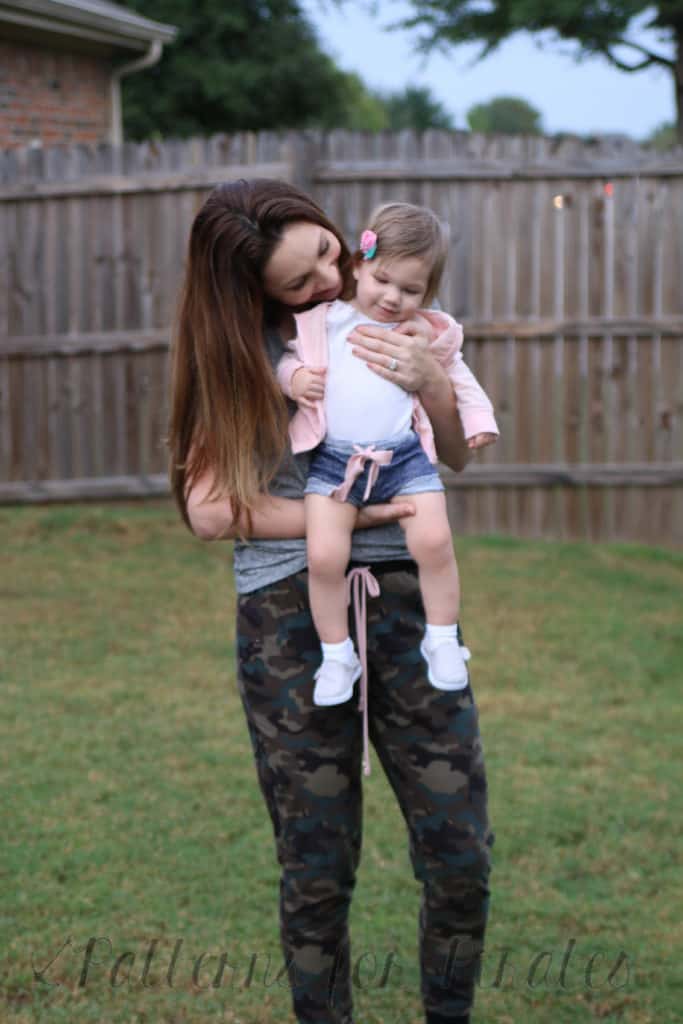
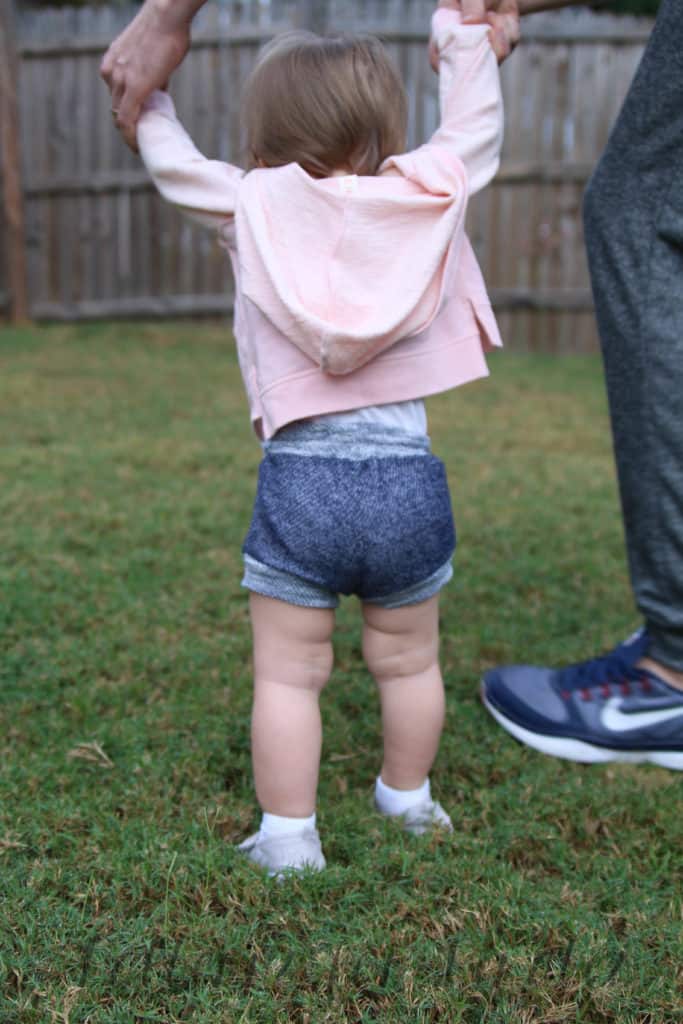
I love the little shorties or bloomers look for my Baby Girl.  Show off those rolls on her legs that I love so much!  It’s very simple to use the new Baby Bear Joggers to create this cute, trendy look!

I determined the inseam by estimating how wide I would need it to cover her diaper.  I made hers about 1″ before bands…they could’ve used another 1/2″ really though.  I marked this on the inseam of back and front pieces.  The side seam length I determined by thinking about how long I needed it to cover the diaper.  I curved the bottom hem up towards the outer leg seam by about 2″ on both the back and front pieces.

I sewed the pattern up per the directions.  To finish the bottom hem I added thick bands.  I made them finish 1.5″ matching the waistband thickness.  So, I cut 4″ by slightly shorter than my leg opening.  You want to stretch the bands to fit the leg openings so that your bands are snug to their thighs.

Fold the bands in half width wise with right sides together (I wanted the “wrong side” to show on my bands.

img_0985

Fold the band in half lengthwise with wrong sides together.

img_0986

Align raw edges with raw edges of shorts and stitch, stretching band only as you sew all three layers together. Then flip band down with seam inside shorts.

img_0987

I think they’re so precious! My Baby Girl has been sick and wasn’t really up for pictures, but we snapped just a couple to show them a bit.     img_0990 img_0630  img_0659  img_0692 img_0693

Filed Under: Pattern Hacks 2 Comments

Papa, Mama + Baby Bear Joggers! :: New Pattern Release

November 10, 2016

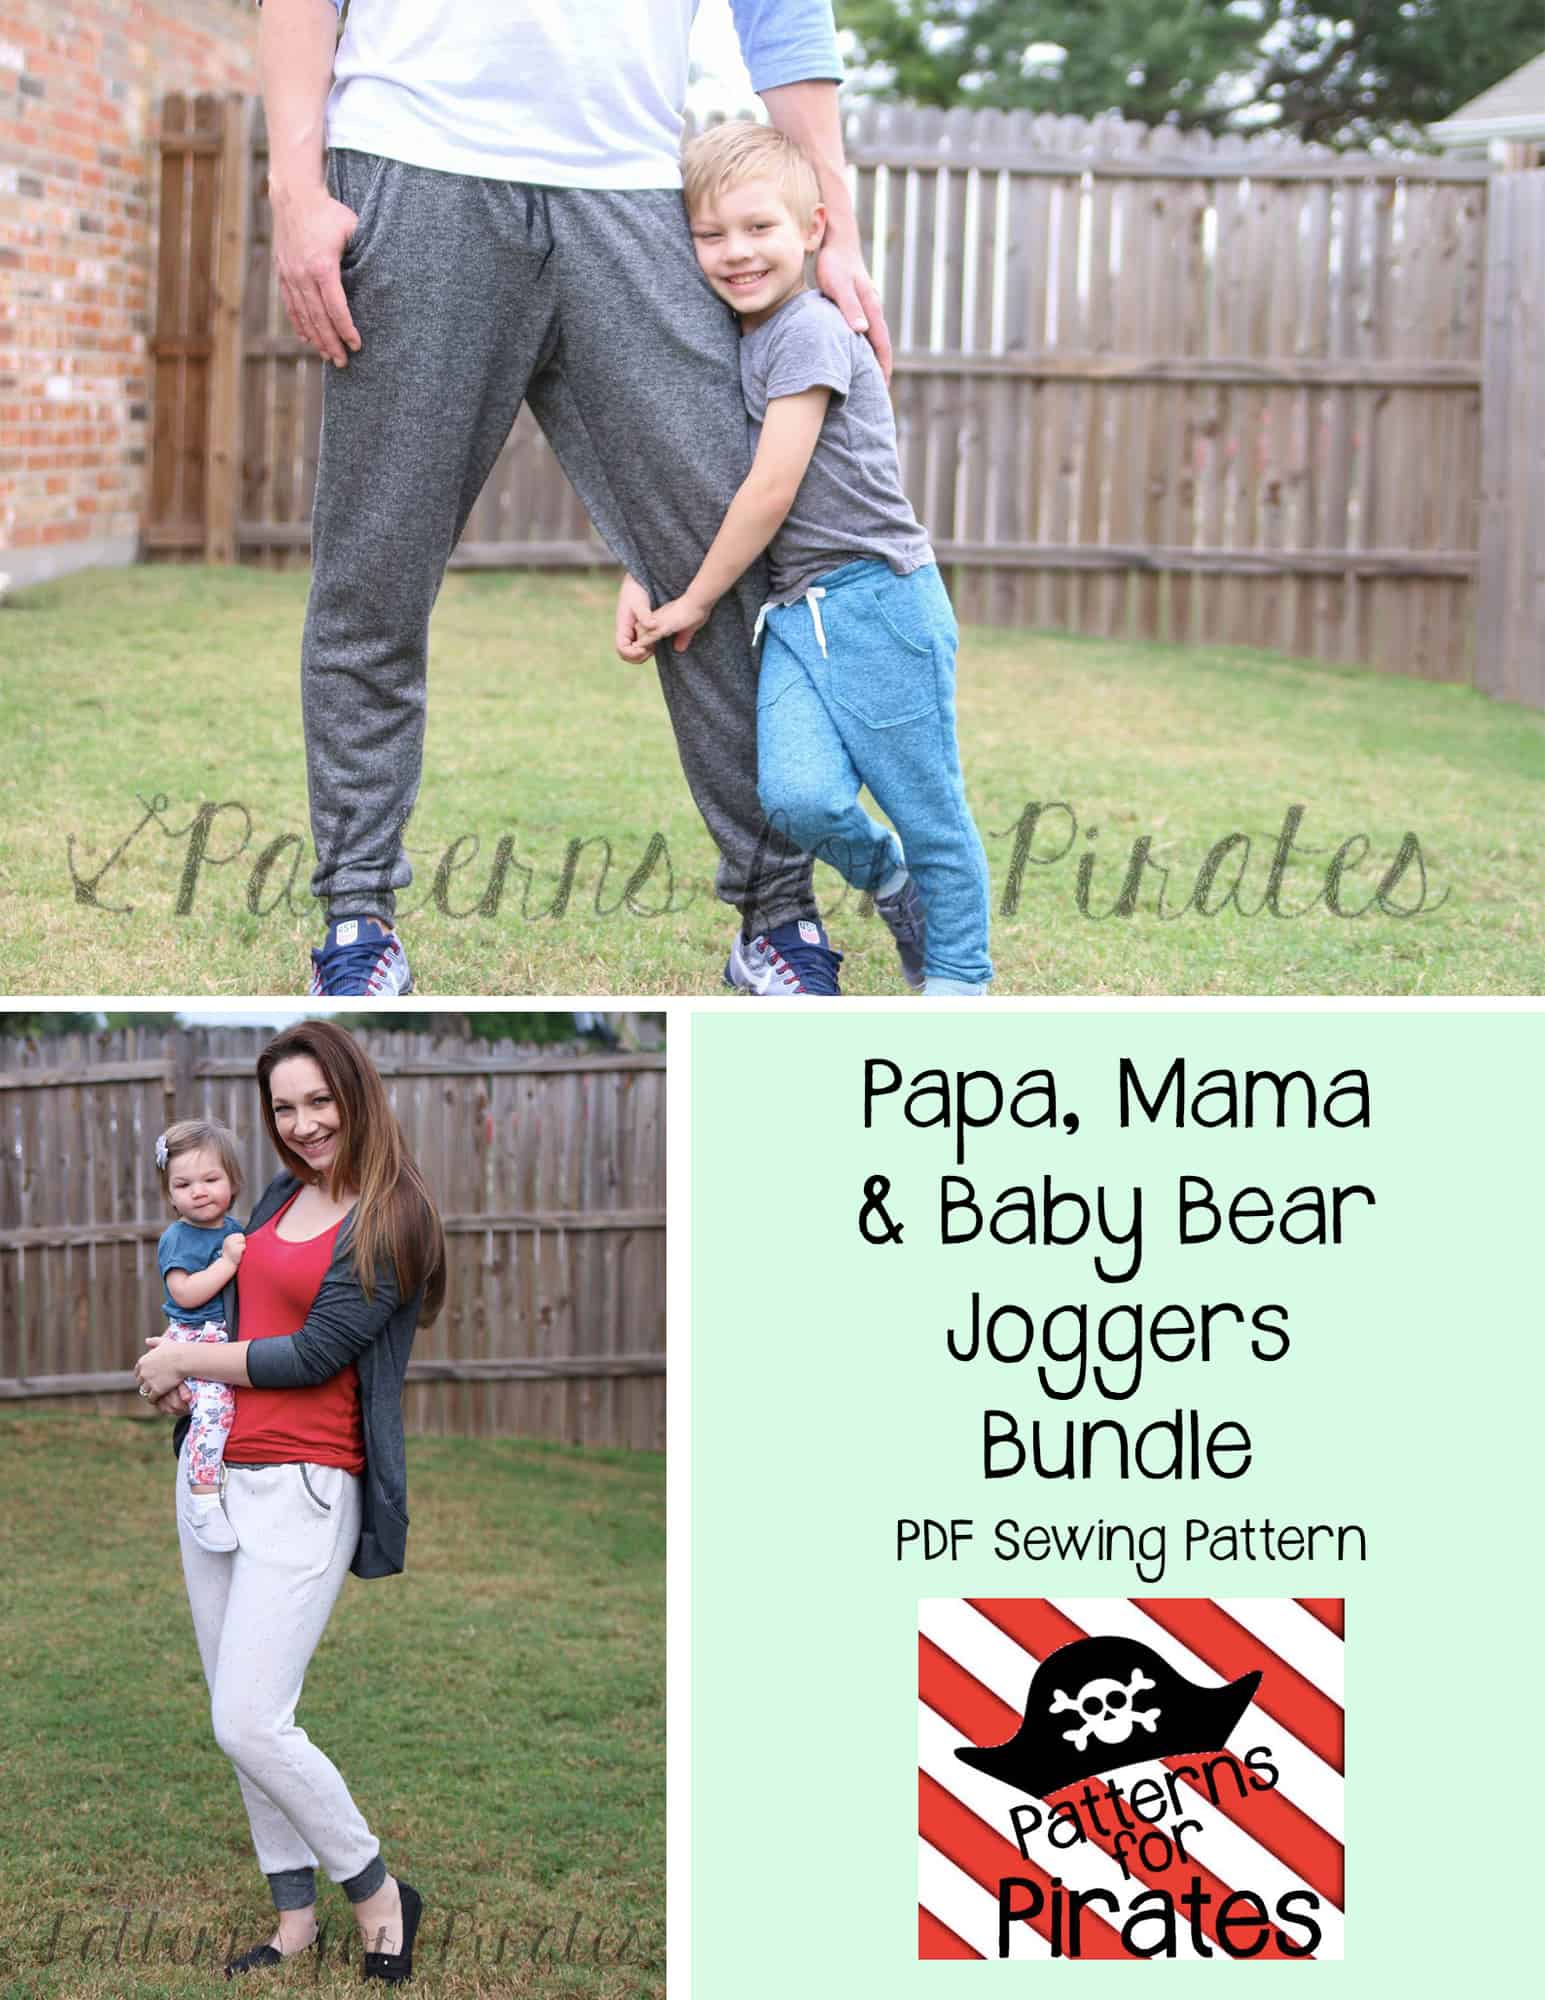
We are officially announcing the release of, not just one, but THREE patterns: Papa, Mama and Baby Bear Joggers!!  (I’ll wait while you do a little happy dance.)

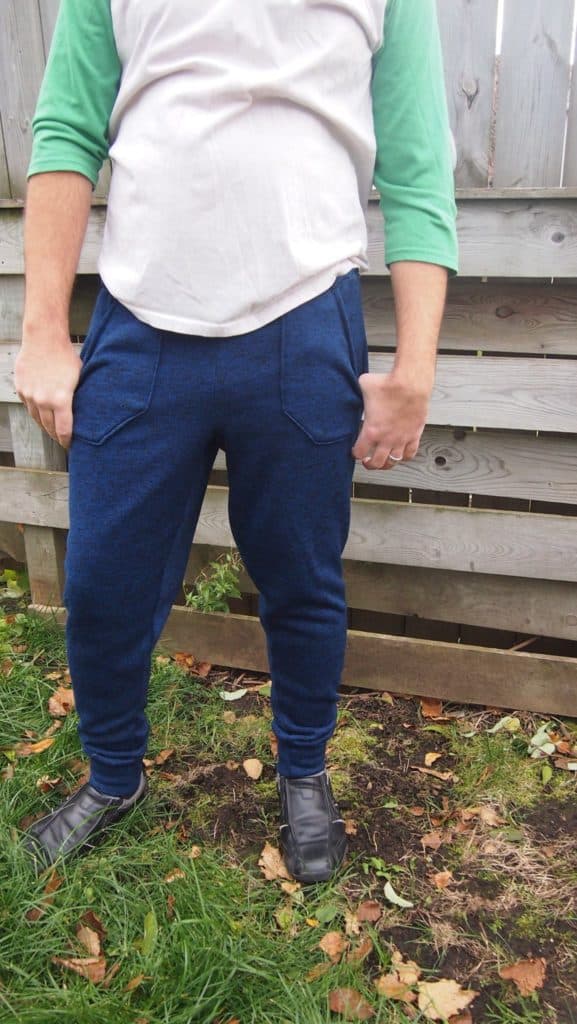
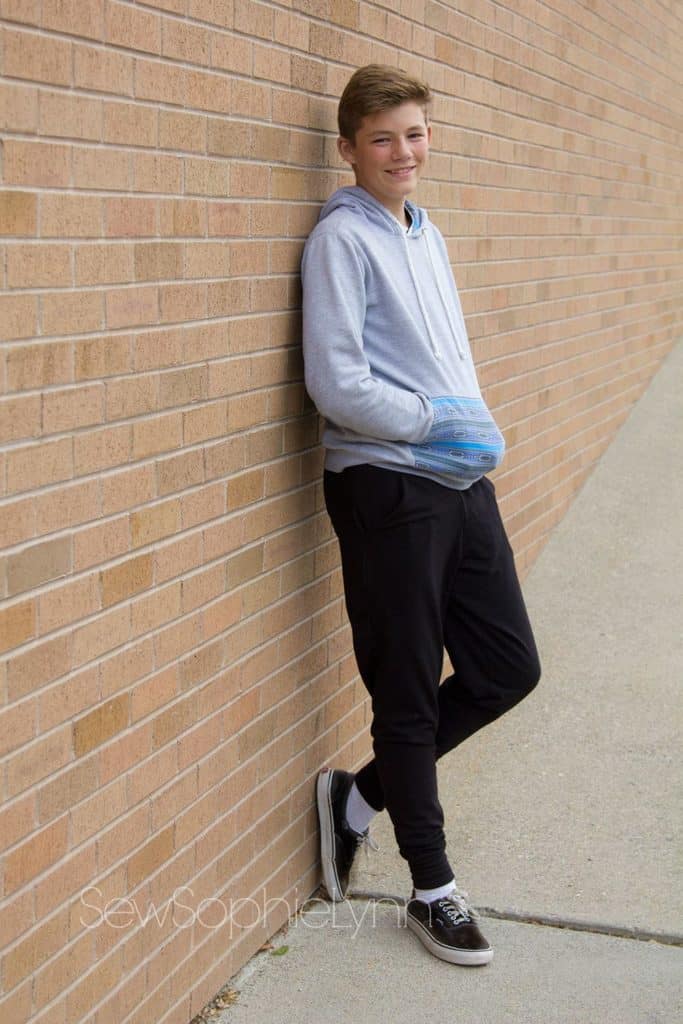
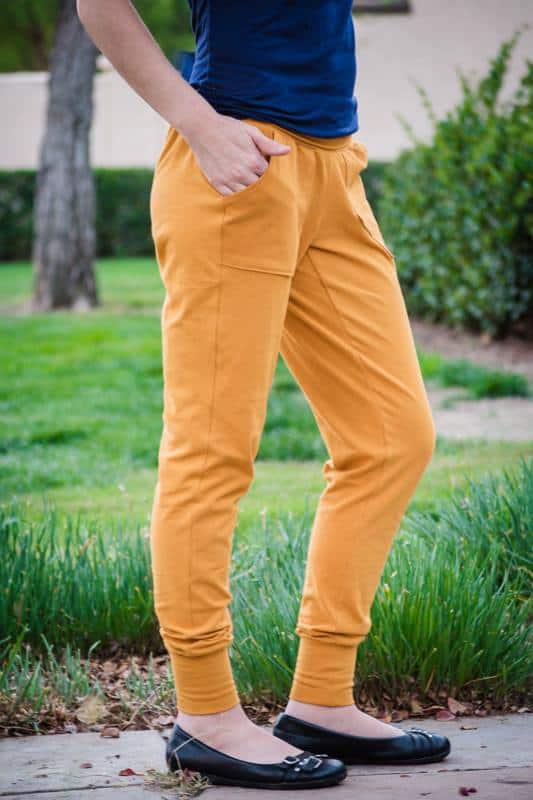
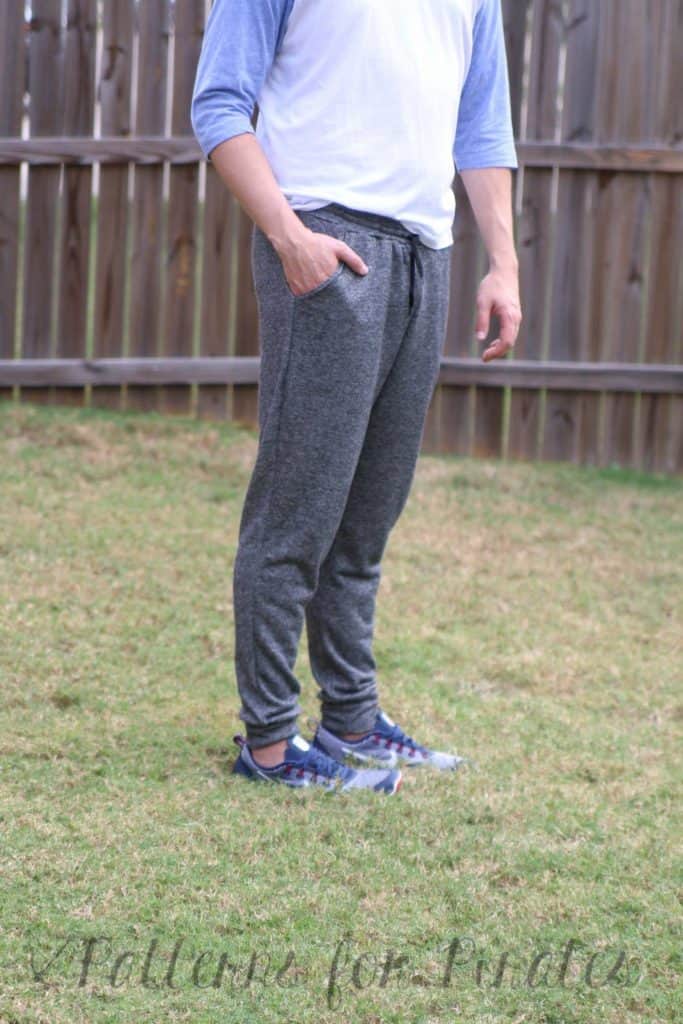
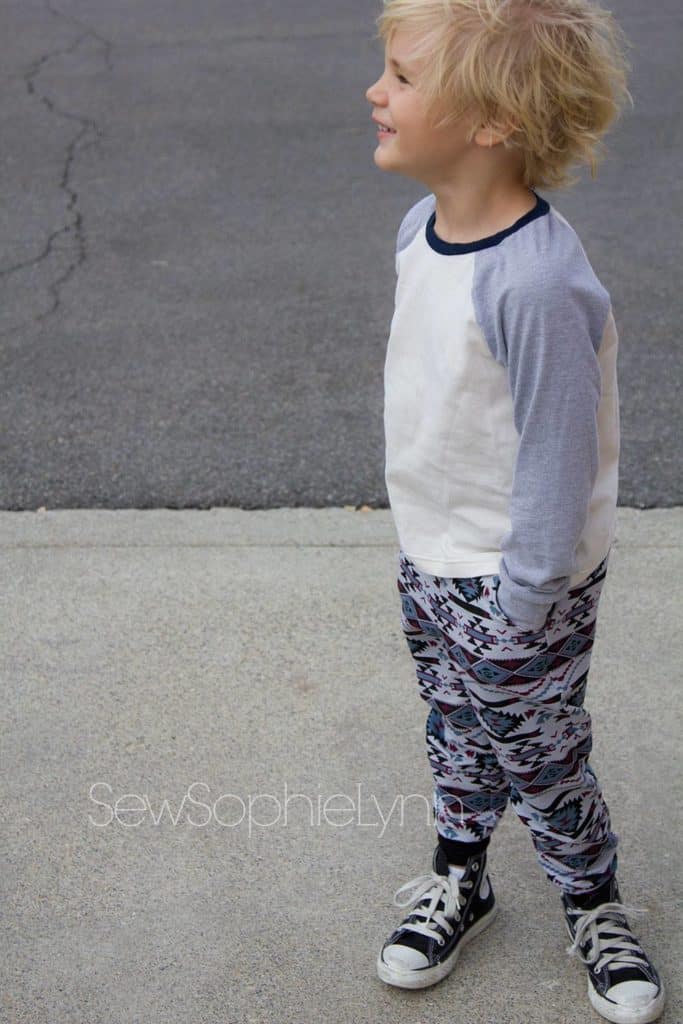
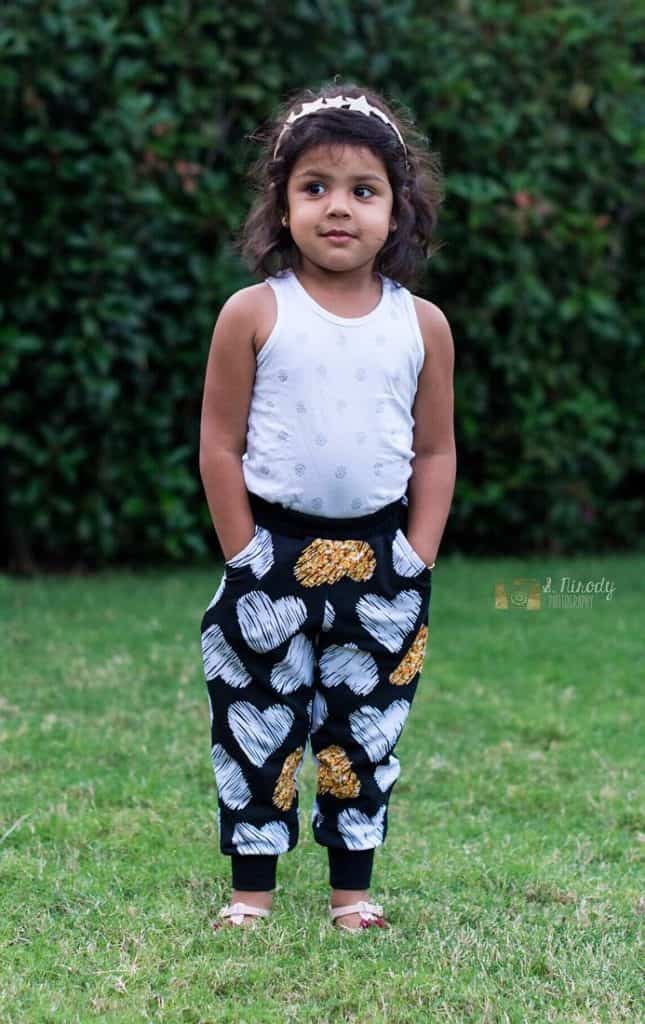
Maybe you feel like you’ve been waiting forever since Judy first teased with you with jogger images, and maybe it took a little longer to get it “just right”, but that means you’ll be more than happy with what we’ve got for you guys.  You can clothe the entire family in joggers this fall, winter and beyond.  And you’ll want to, because they’re just that comfy and perfectly in style.

We’d like to thank Raspberry Creek for being our fabulous sponsors on this set.

bundle6

As usual, you will not be shorted on options.

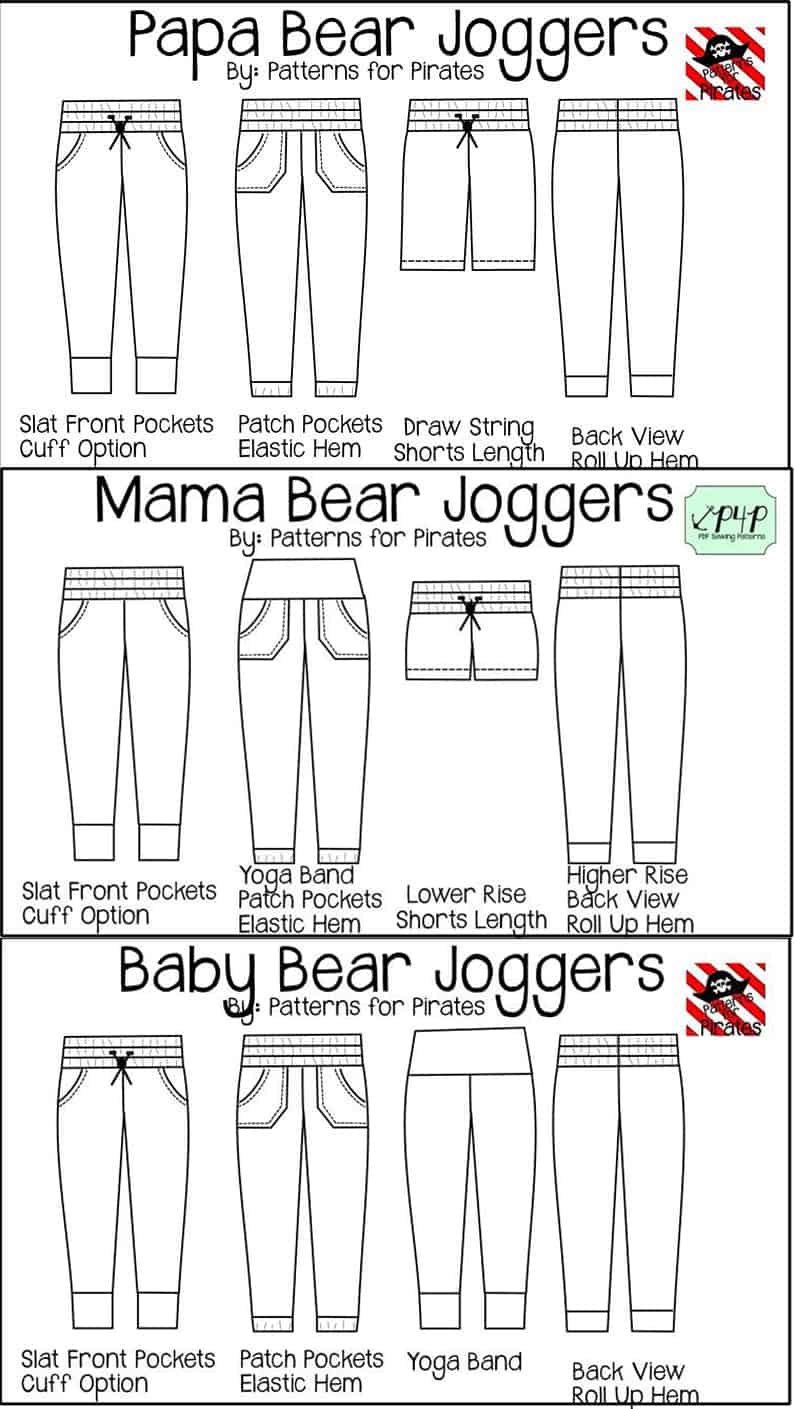
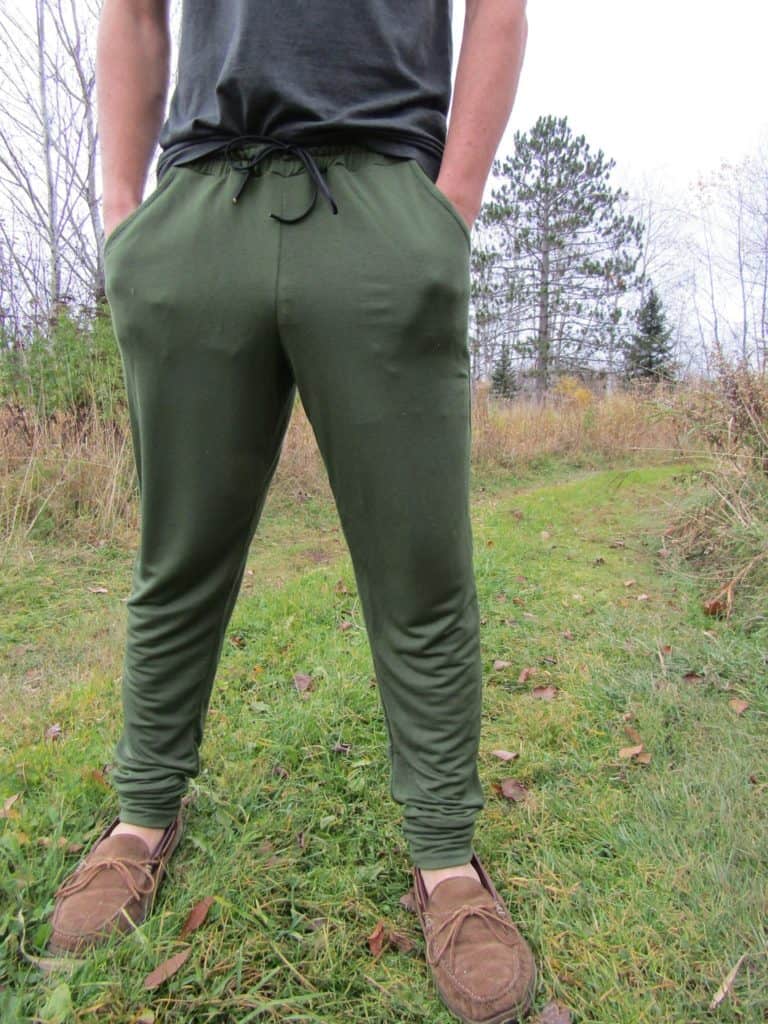
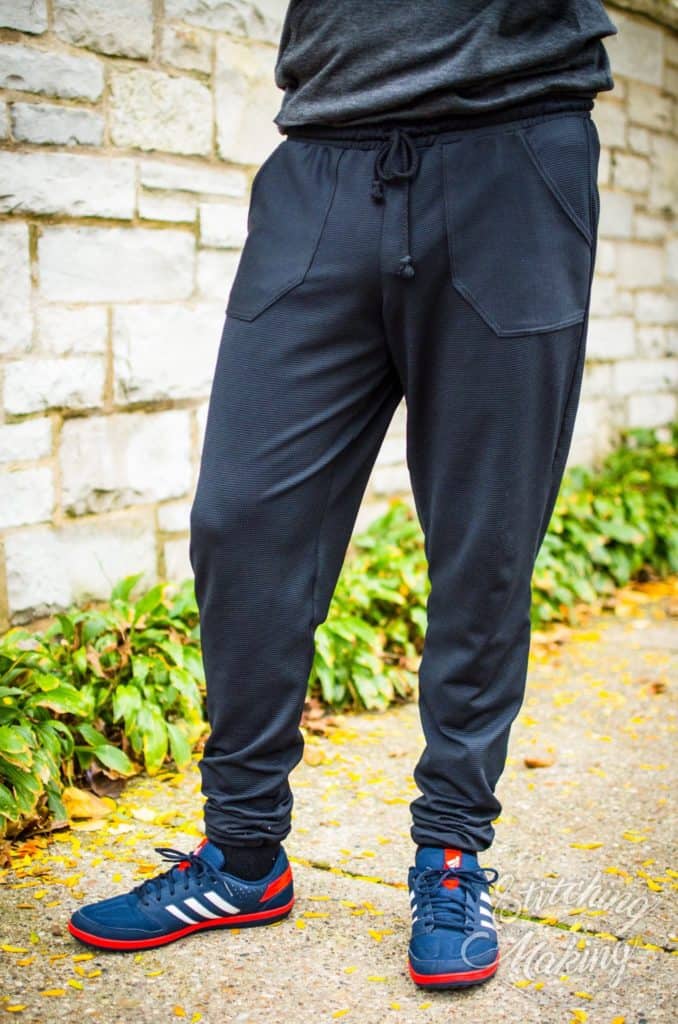
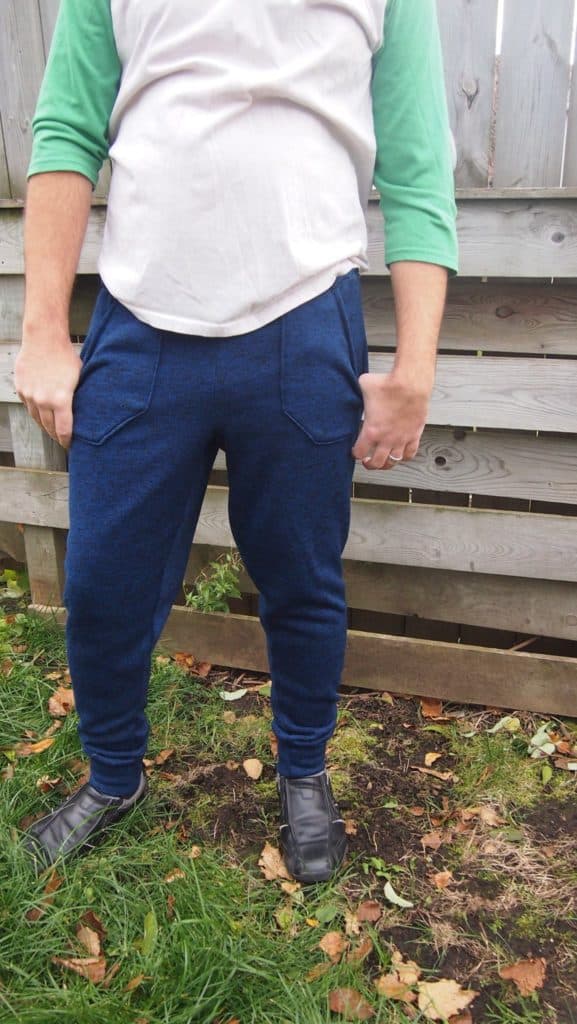
The Papa Bear Joggers have two lengths (shorts and pants), three hem types (cuffed, rolled and elastic), two waistbands (elastic only or drawstring), and two pocket types (slat and patch).
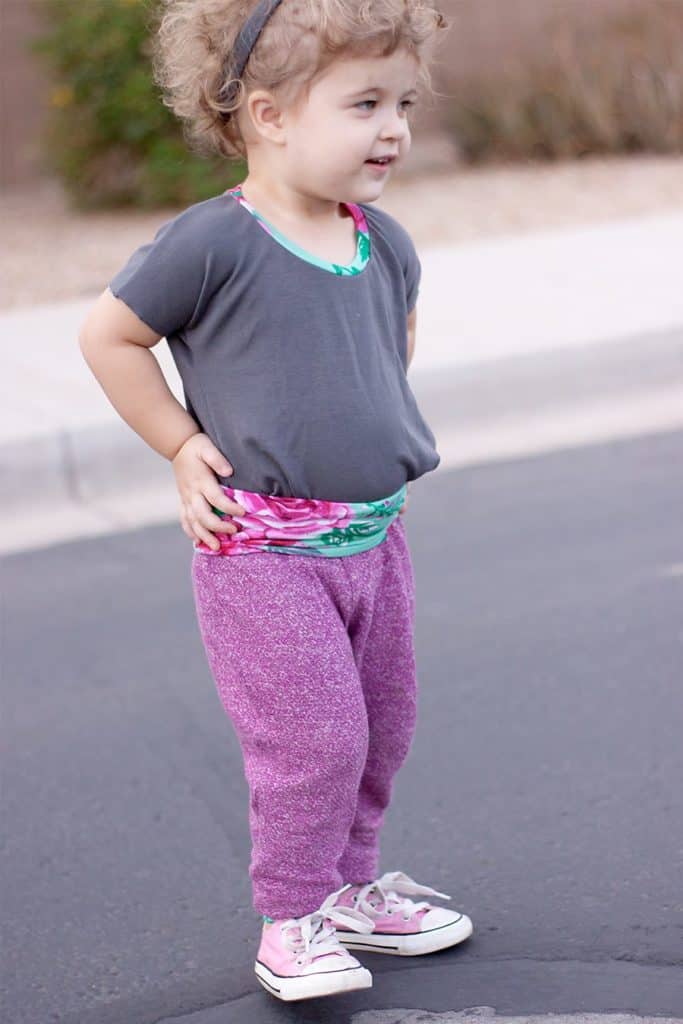
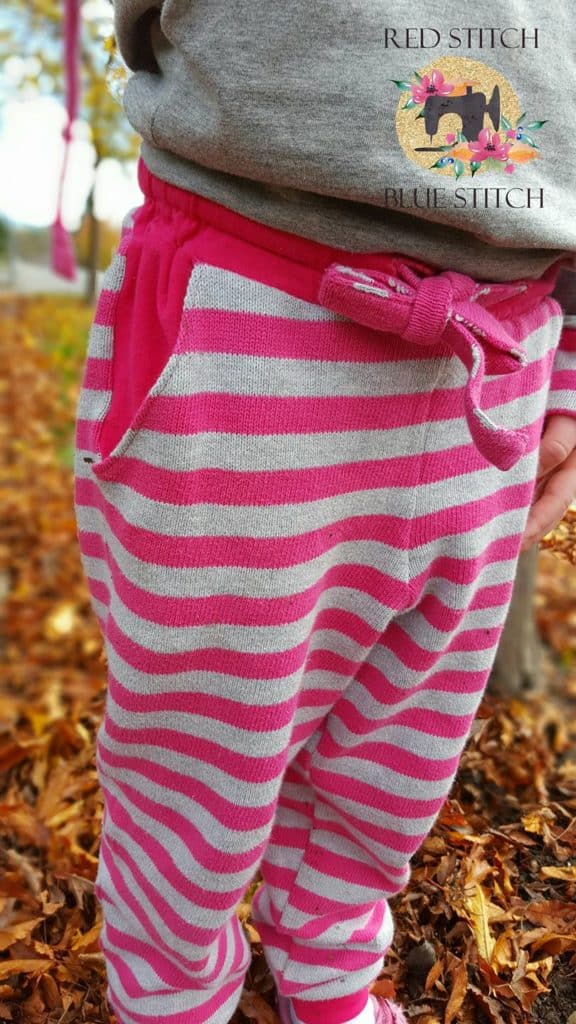
The Mama Bear Joggers and Baby Bear Joggers have all the same options as the men’s pants, with a yoga waistband option included…however the Baby Bear sizes do not have a shorts length.

joggers-line-drawing

For all sizes of joggers, we recommend only using stable knits with a 20% stretch.  Think: cotton lycra, liverpool, french terry, ponte de roma, etc.  You can mix up your fabric picks by adding waistbands and cuffs that have a little more stretch, coming in with a minimum of 50% stretch horizontally.

Cuffed Bottoms:


Rolled Hem Bottoms:


Elastic Hemmed Bottoms:

img_0344 img_060014882140_10157765142130599_6859717849300847514_o

Shorts Length (Mens and Womens Sizes only):


Yoga Waistband (Women and Youth sizes only):


Elastic / Drawstring Waistband:


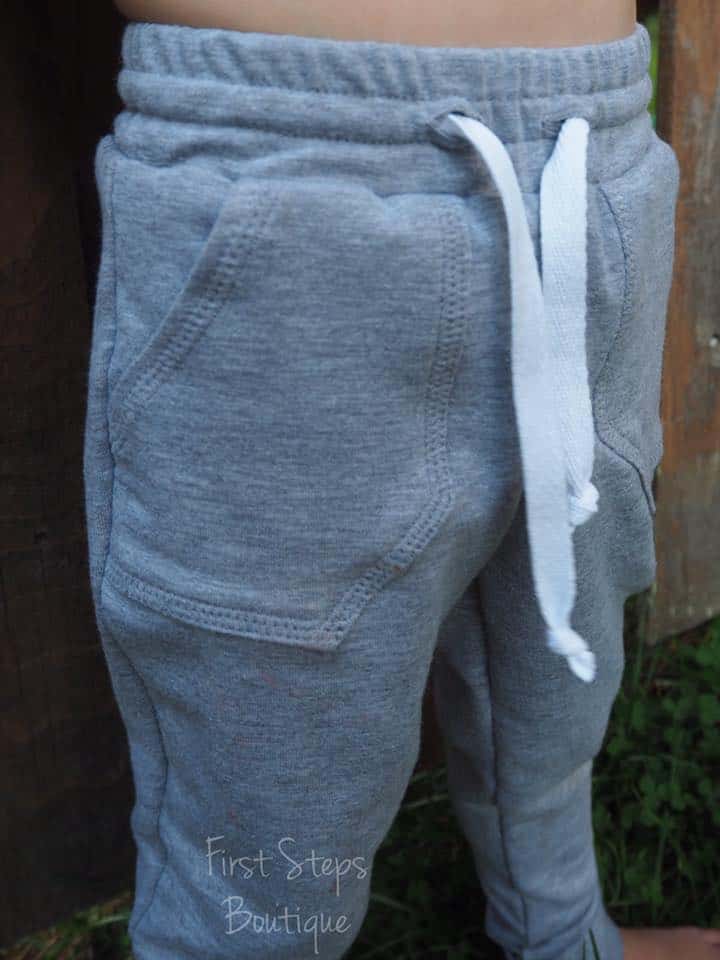
Patch Front Pockets:


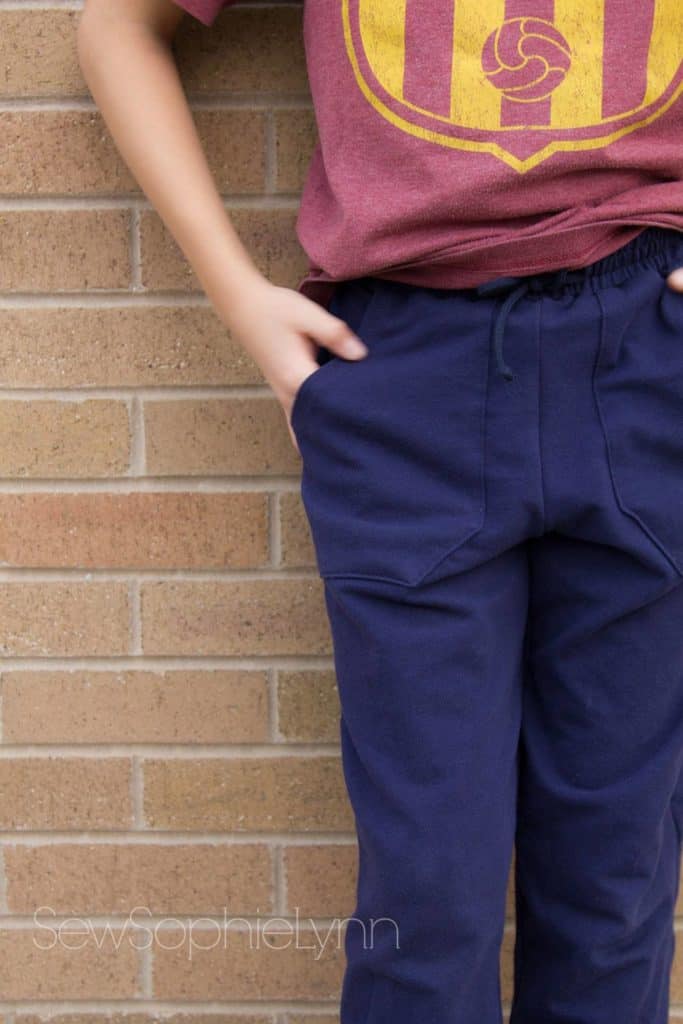
Slat Front Pockets:


You can find the Joggers patterns bundle HERE.
Or snag them as individuals: Papa Bear Joggers | Mama Bear Joggers | Baby Bear Joggers

They will be on sale through Monday 11/14/2016 with no code needed.

Be sure to head over to the Patterns for Pirates Facebook Group to see more tester images and pull inspiration from the amazing creations they  made during our multiple rounds of testing!

Filed Under: Pattern Release Leave a Comment

Featured Patterns

  • Loosey Goosey Loosey Goosey $12.00 Original price was: $12.00.$10.50Current price is: $10.50.
  • Loosey Goosey- Youth Loosey Goosey- Youth $10.00 Original price was: $10.00.$8.50Current price is: $8.50.
  • Loosey Goosey - Bundle Loosey Goosey - Bundle $20.00 Original price was: $20.00.$18.00Current price is: $18.00.
  • Everyday Shirt Everyday Shirt $12.00
  • Everyday Shirt- Youth Everyday Shirt- Youth $10.00
  • Privacy Policy
  • Refund Policy
  • Affliliate Program
  • Contact Us
  • About

Copyright © 2025 Patterns for Pirates

Copyright © 2025 · Genesis Framework · WordPress · Log in