Every once in awhile, our Facebook group gets hit with a picture of a trending item with the question “How can I make this?”. For a few months, a picture of a lace waistband was circulated and while we secretly worked on the Peg Legs update, we knew we had to add it to our hack lineup.
To achieve this look, we are going to eliminate the waistband piece, but in order to help keep them up, we will be increasing the rise and adding elastic at the top edge. You will also need wide stretch lace (we used lace between 5-6″ tall) and 1/4″-3/8″ elastic.
I wanted to keep the original mid-rise of the leggings but since we are eliminating the extra waistband piece, I cut on the high rise line and added about 0.25″ to accommodate the elastic. Once cut, assemble the legs as you normally would.
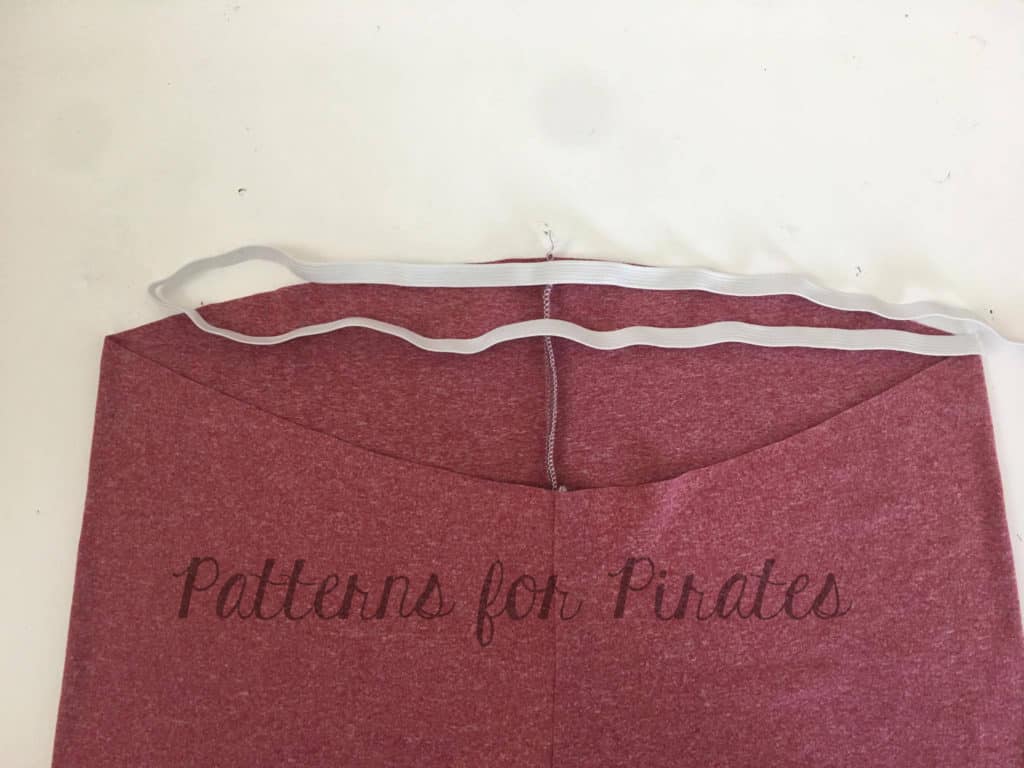
Cut your elastic the width of the waist of the Peg Legs. The Peg Legs already have negative ease (meaning, they are smaller than your body measurements and stretch to fit) so we do not need to cut the elastic smaller than the opening. This is just used as extra support to help keep them up.
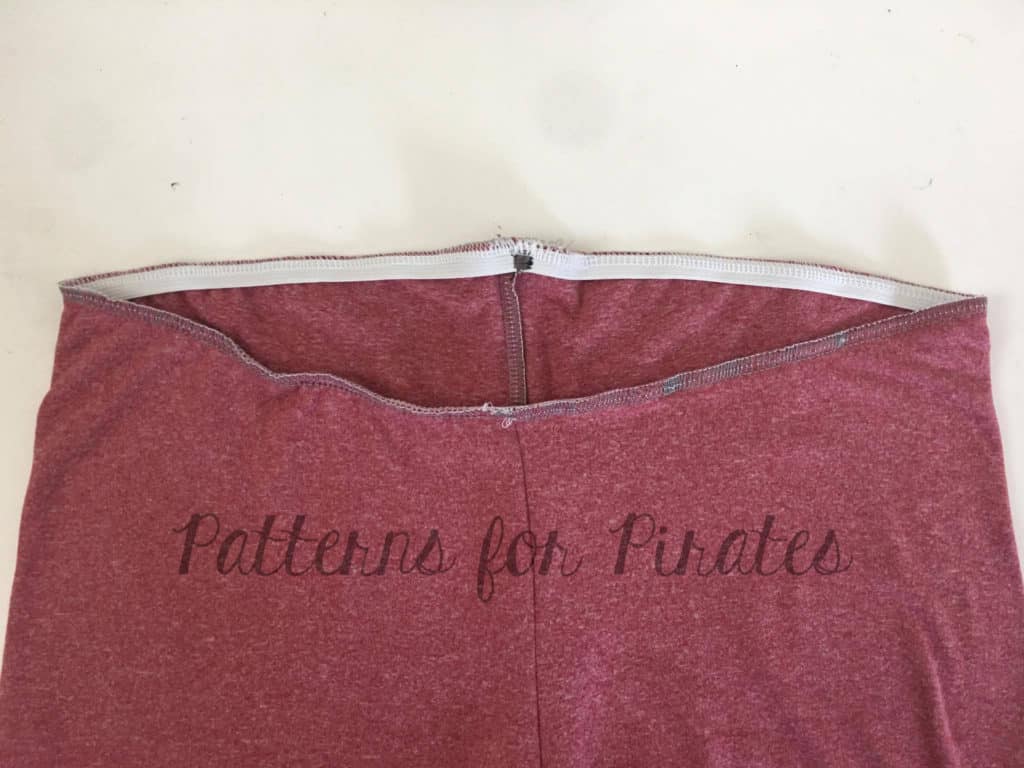
Butt the ends of the elastic to one another, and using a zig-zag stitch, stitch, creating a circle. Stitch the elastic to the wrong side of the fabric using your favorite stretch stitch. If using a serger, do not cut any fabric off. The elastic should be measured at 1:1 with the top of the leggings so should not need to stretch to fit the opening.
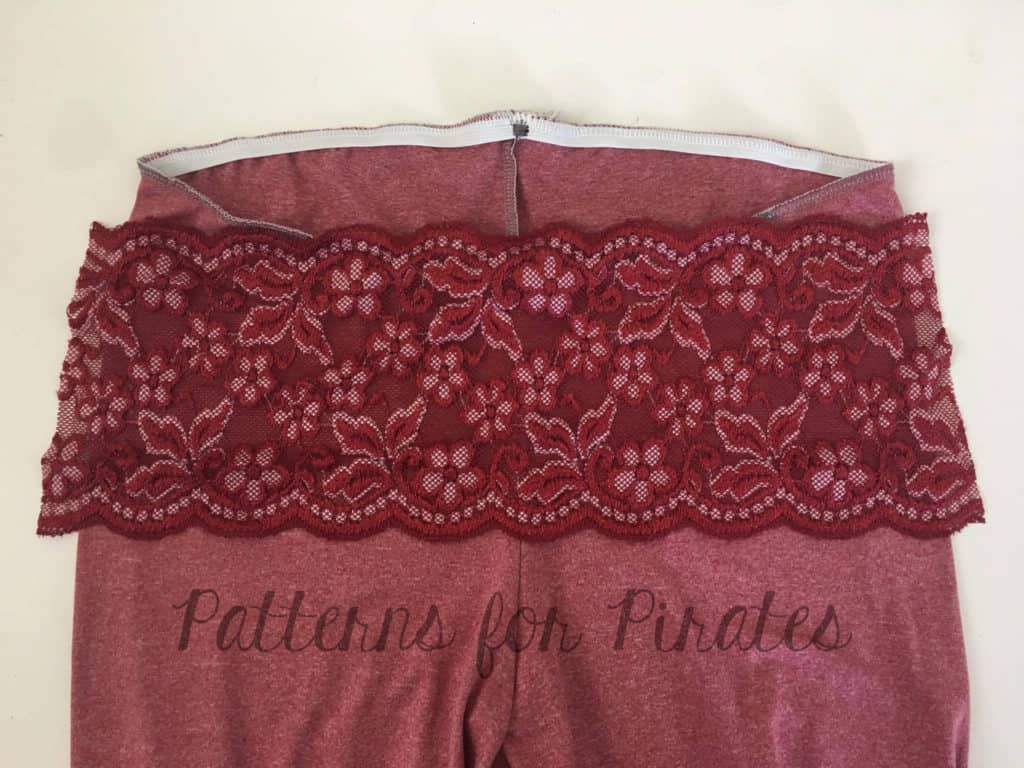
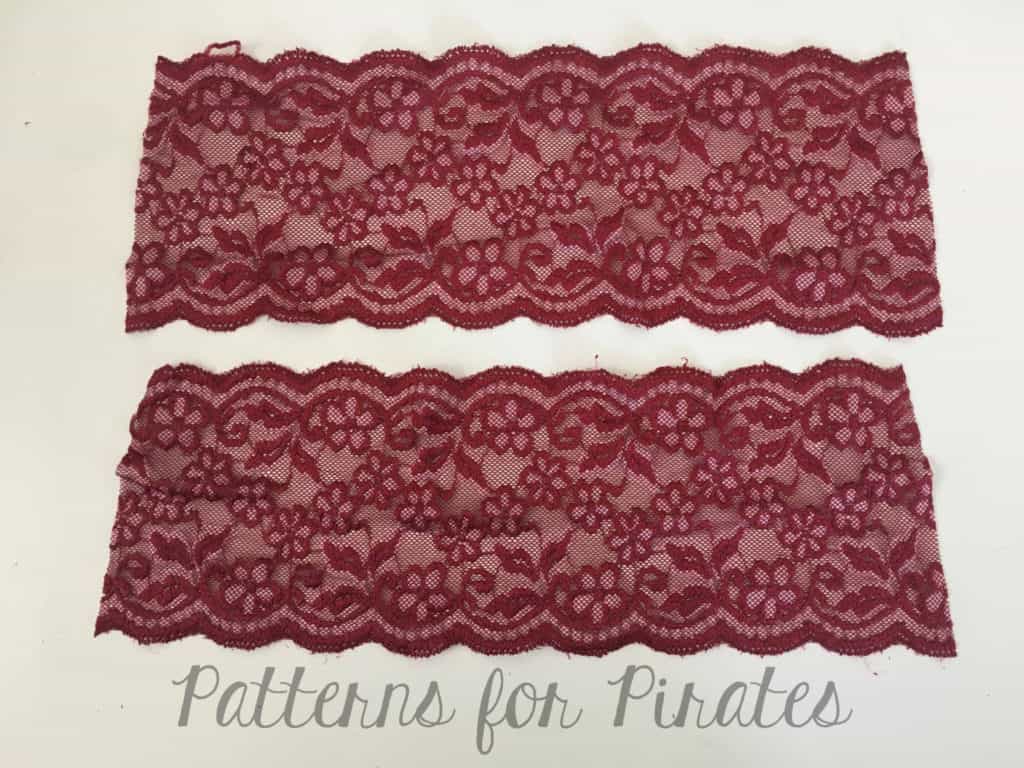
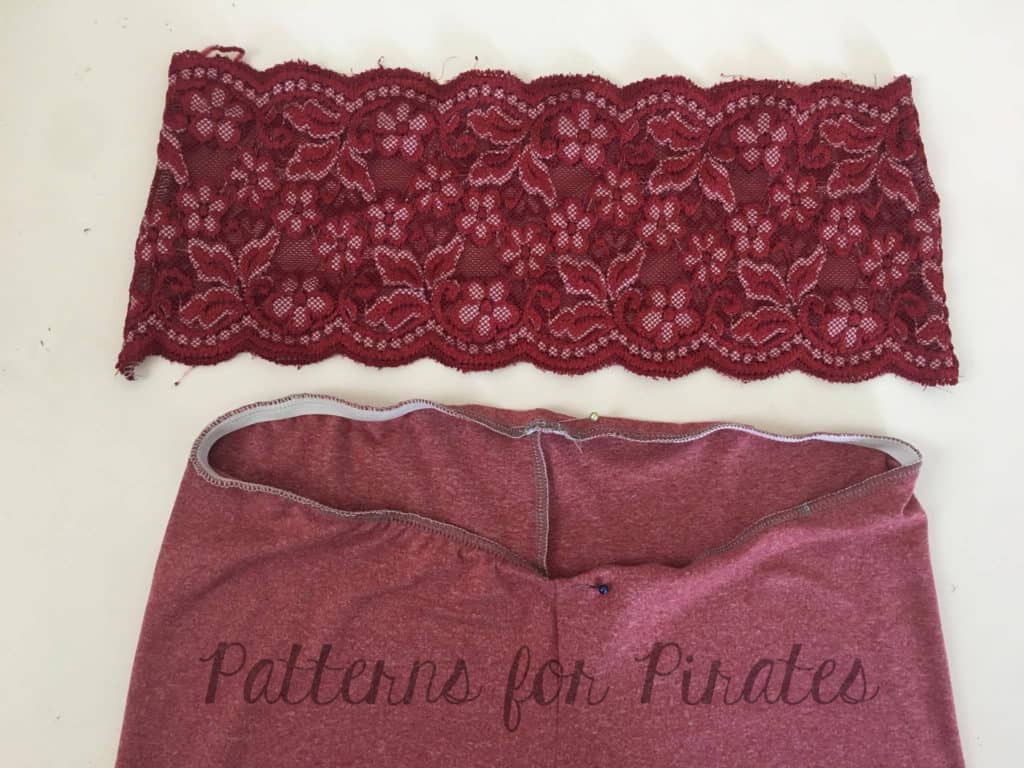
To determine the size of the lace waistband, lay your lace on top of the leggings and cut them 1/2″ wider than the leggings on either side. Cut 2.
With right sides together, stitch each short end with a 1/2″ seam allowance to create a circle. Flip right side out.
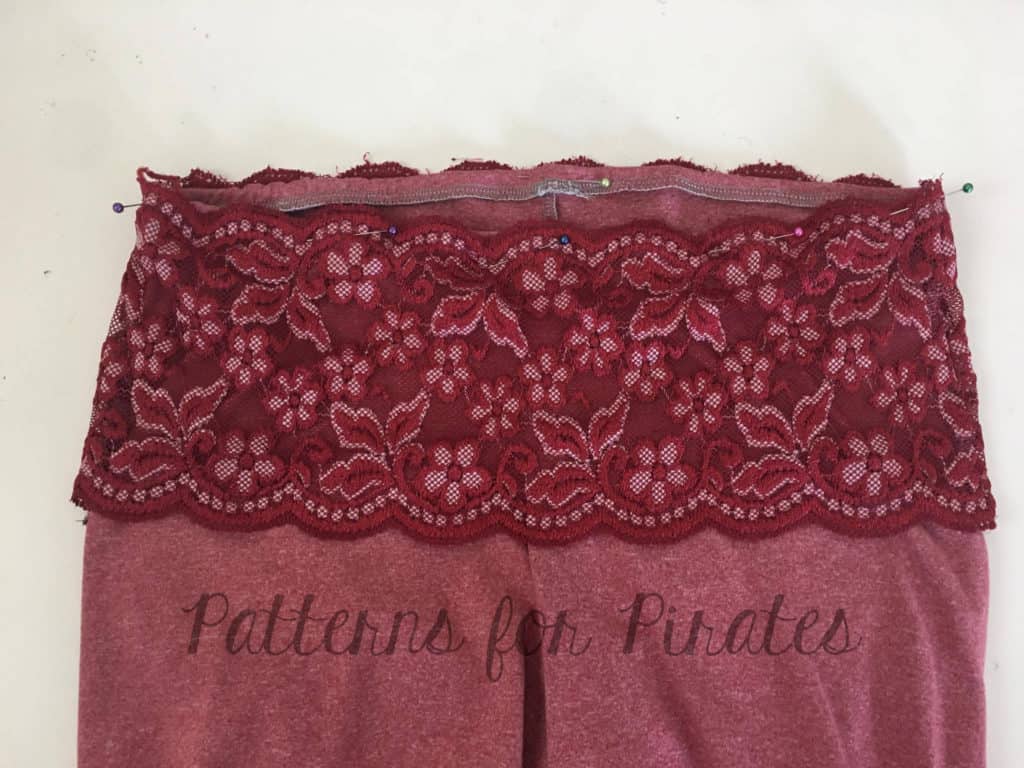
With both right sides out, slip lace waistband over the leggings. I wanted to encase my elastic so chose to fold over the edge of the fabric as well. Top-stitch using your favorite stretch stitch around the top edge of the leggings. I did not stitch along the bottom edge of the lace. I used a brushed poly so the lace sort of “stuck” to the fabric when worn so found I did not need to stitch the bottom edge in place.
We are celebrating reaching 50K fans in our Facebook group! To make it a party, our beloved PegLegs pattern just got an update AND some new add-ons. Before you go running to your machine to sew up your own leggings, make sure to read our PegLegs 101 blog post. This way, you’ll have all the the information you’ll need to make the perfect pair before you even cut into your gorgeous fabric.
But wait, there’s more! After any good party is an after-party. We are taking it one step further and sharing some easy hacks that’ll bring even more flavor to your favorite leggings pattern! We hope you check them out, make your new favorite pair of leggings, and know that we appreciate every single one of you amazing sewing guys and gals!
Here are our hacks / tutorials / latest tricks:
Lace Waistband Alternative | Drawstring Waistband Tutorial
Exposed Elastic Waistband | Stirrup Pant Hack
Ruched Ankles Adjustment | Decorative Topstitching Tutorial
Ruched Side Panel Hack


