Patterns for Pirates

P4P stylish, modern, wearable patterns

  • Home
  • Blog
    • Frequently Asked Questions
    • Pattern Releases
      • Free Patterns
    • P4P University
      • Fitting
      • Sewing with Stretch, Knit Fabrics
      • Sewing with Woven Fabrics
      • Sewing Machines
    • Sew-A-Longs
    • Fabric for Pirates
    • Pattern Hacks
    • Announcement
      • Blog Tours
      • Contest/Giveaway
  • Shop
  • Bundle Discounts
  • Gift Cards
  • My Account
  • Cart

Gala Gown :: Easy Hacks

November 29, 2019

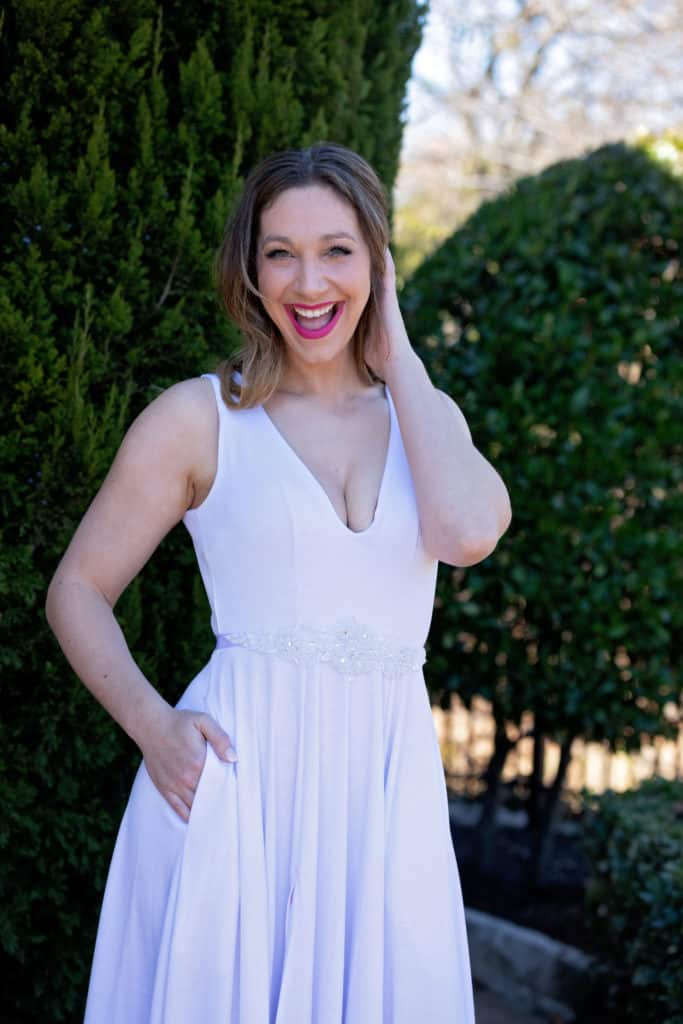
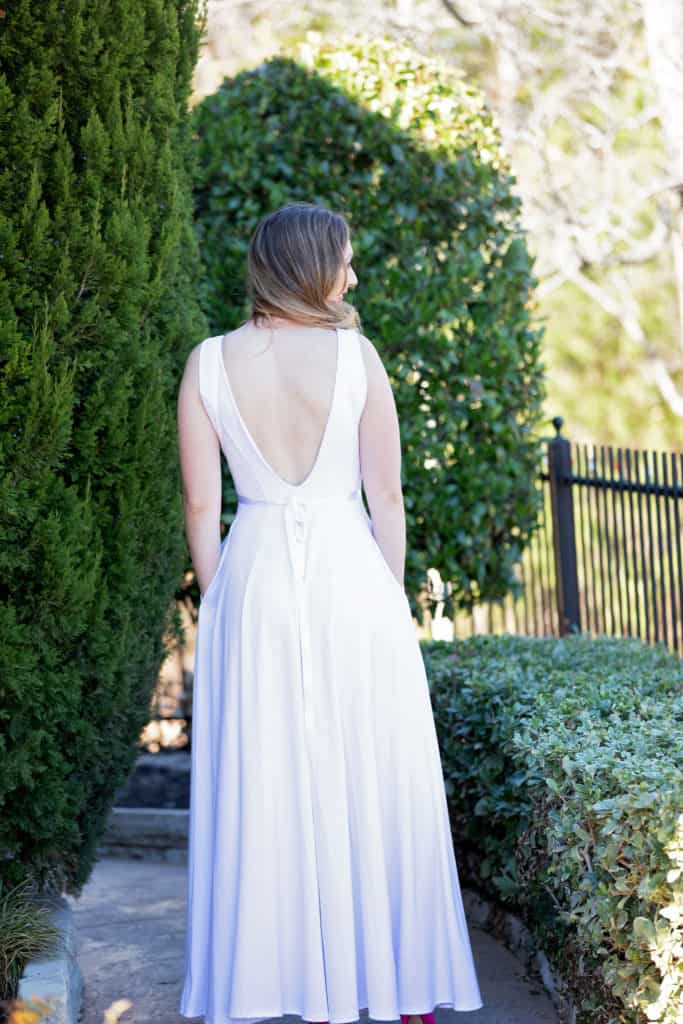
It’s a Gala Hacks party! In true P4P fashion, our amazing blog team has some fun, easy hacks and mash ups ready for you.

…..

Gala – Sweetheart mash up

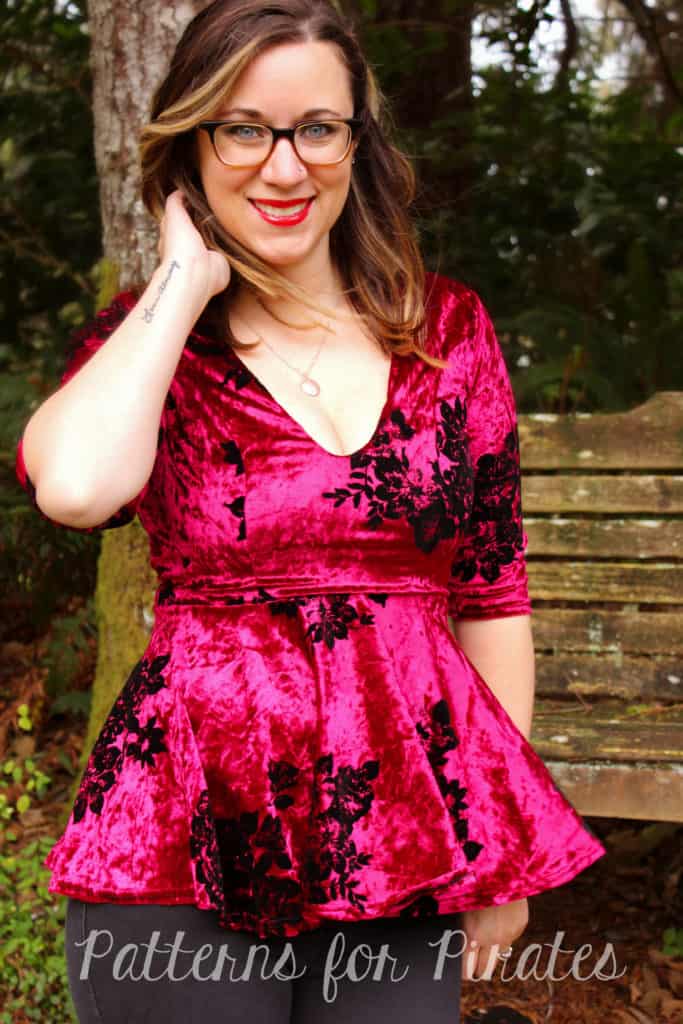
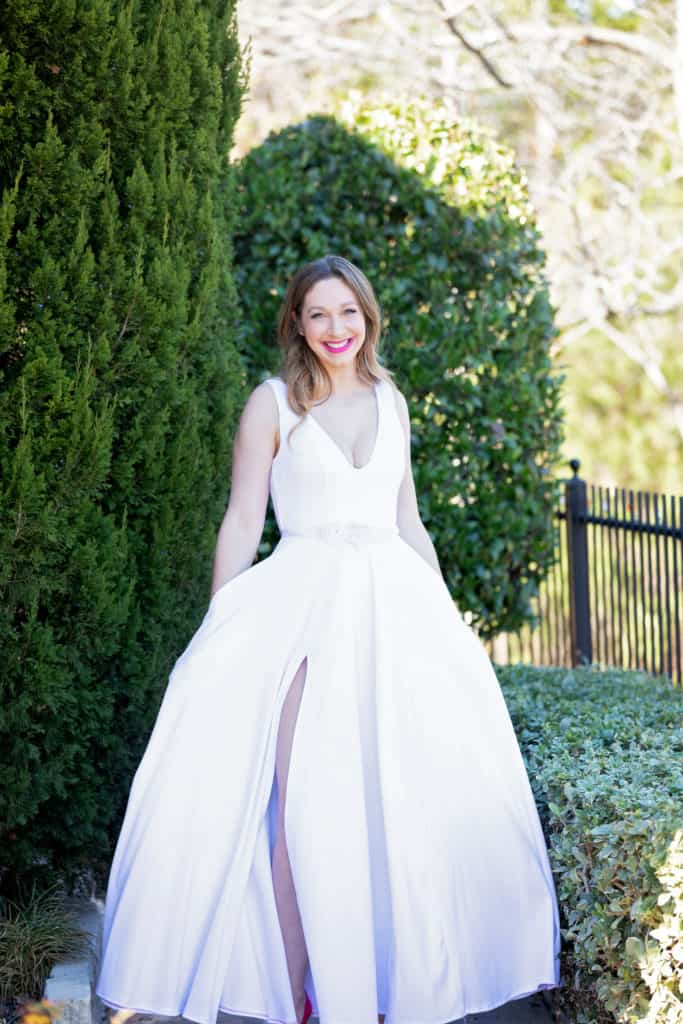
There’s no denying that the Gala Gown has all of the drama and beauty needed for all of those amazing times in our life. However, it can also be transformed into a fun little top with very little effort! I used the bodice of the Gala Gown for this look, however I paired it with the peplum skirt option from the Sweetheart Dress. 

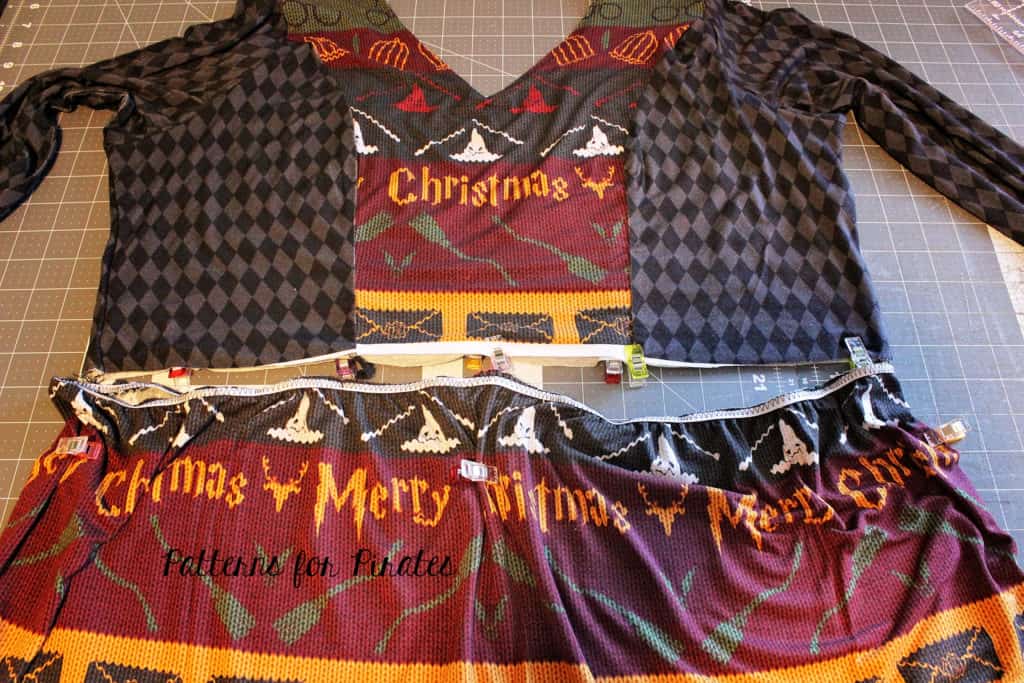
To create this look, cut and assemble your bodice from the Gala Gown as directed in the tutorial. You will then want to use the peplum skirt option from the Sweetheart Dress. Mark the quarter points on both the bodice and the skirt. Slip the skirt over the bodice, right sides together, and match quarter points. Attach using a ½” SA. Finish your peplum by hemming and you’re all done!
~ Erinn

…..

Gala – Pencil Skirt mash up

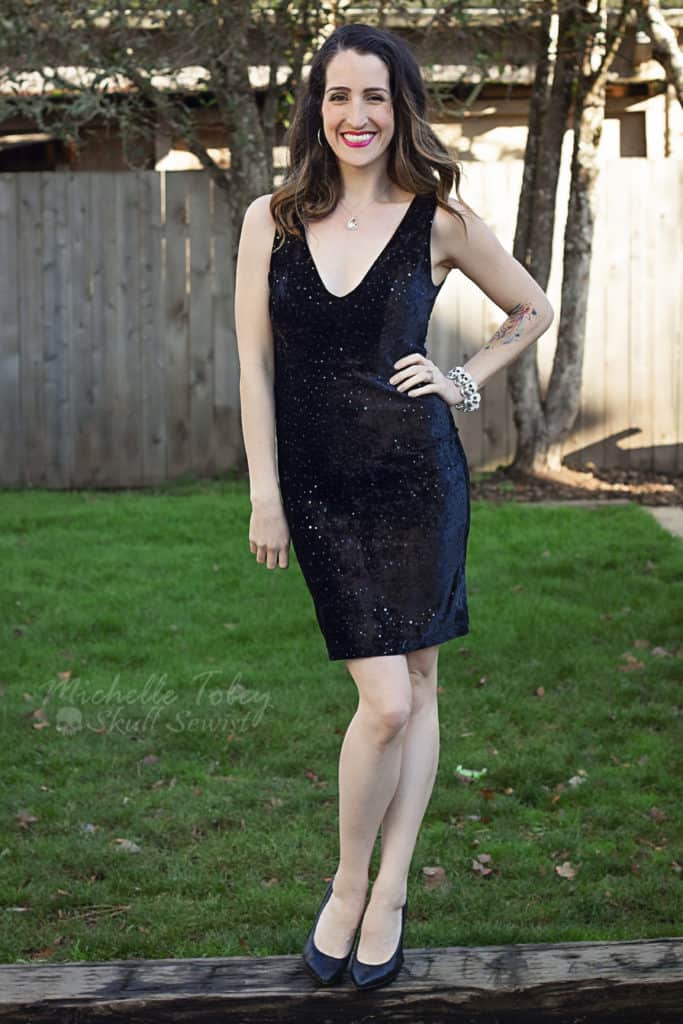
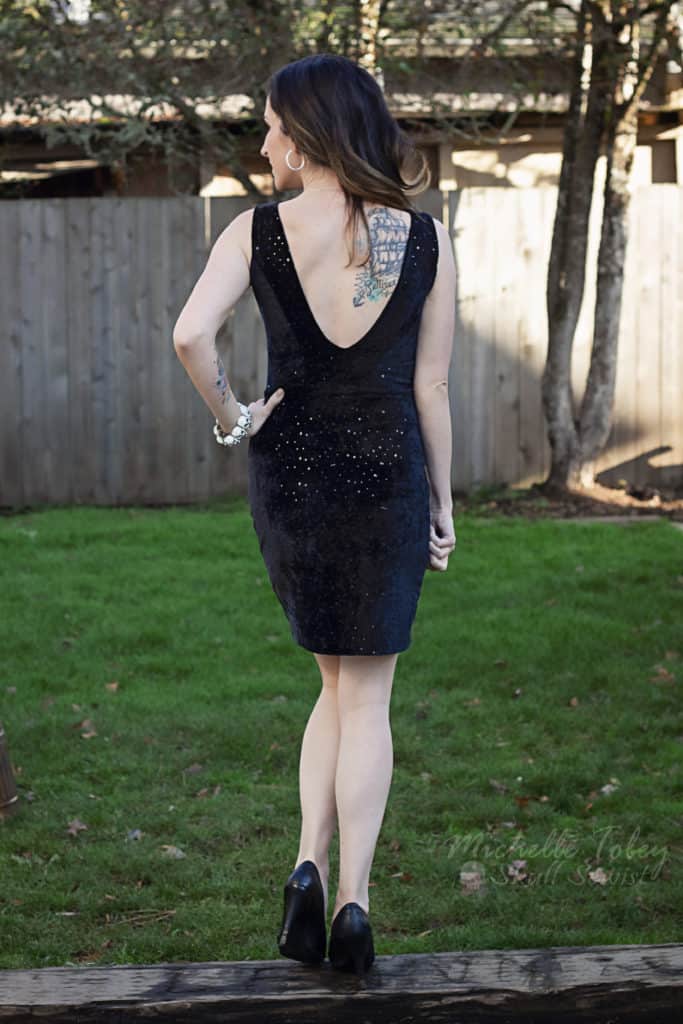
Loving the new Gala top but looking for something a little more form-fitted through the hips?  I’m going to take you through a super quick and easy mash with the Freebie Pirate Pencil Skirt that’ll give you a totally different look. Go ahead and grab your Gala Bodice Lining and your Pencil Skirt Pattern (high rise height) pieces.  You’ll want to make sure the bodice bottom is close to the same width as your pencil skirt top for mashing (based on your sizing it should be).  You may have to grade your pencil skirt pieces slightly to match the Gala Bodice.  I did this through the added waistband height.

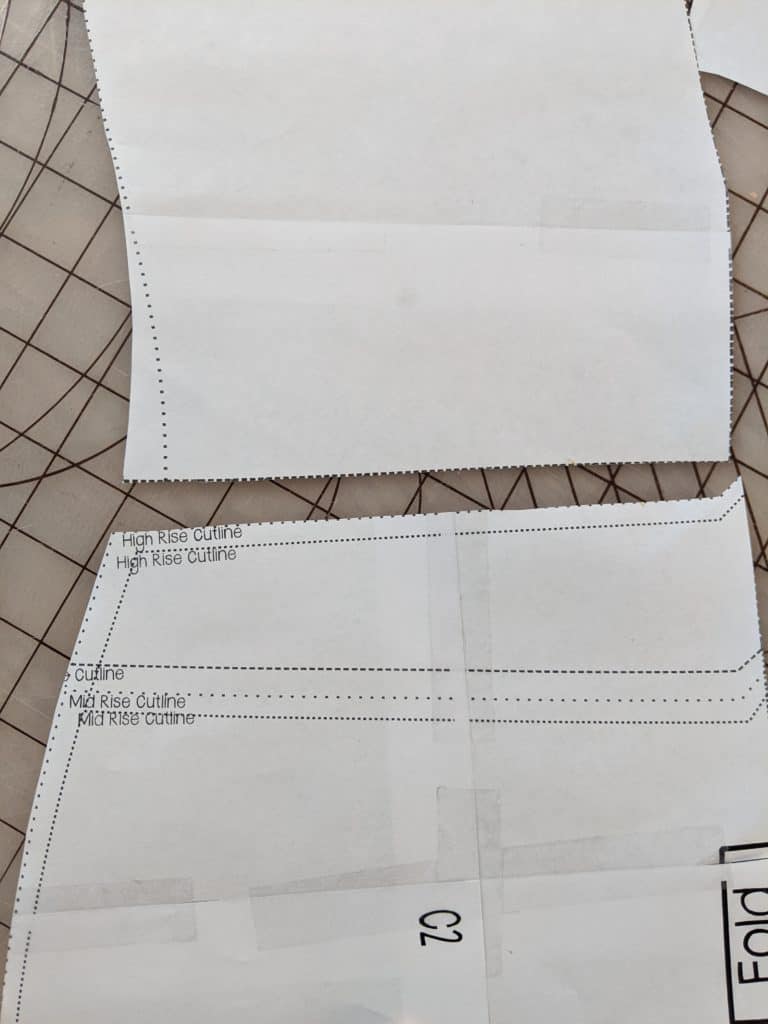
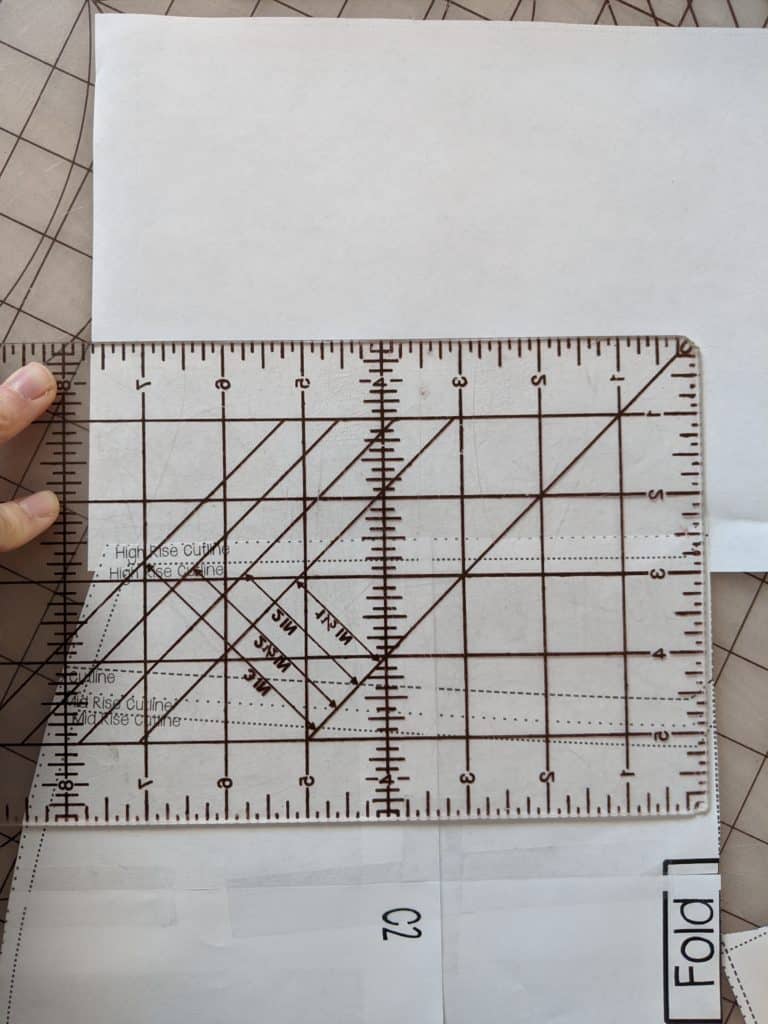
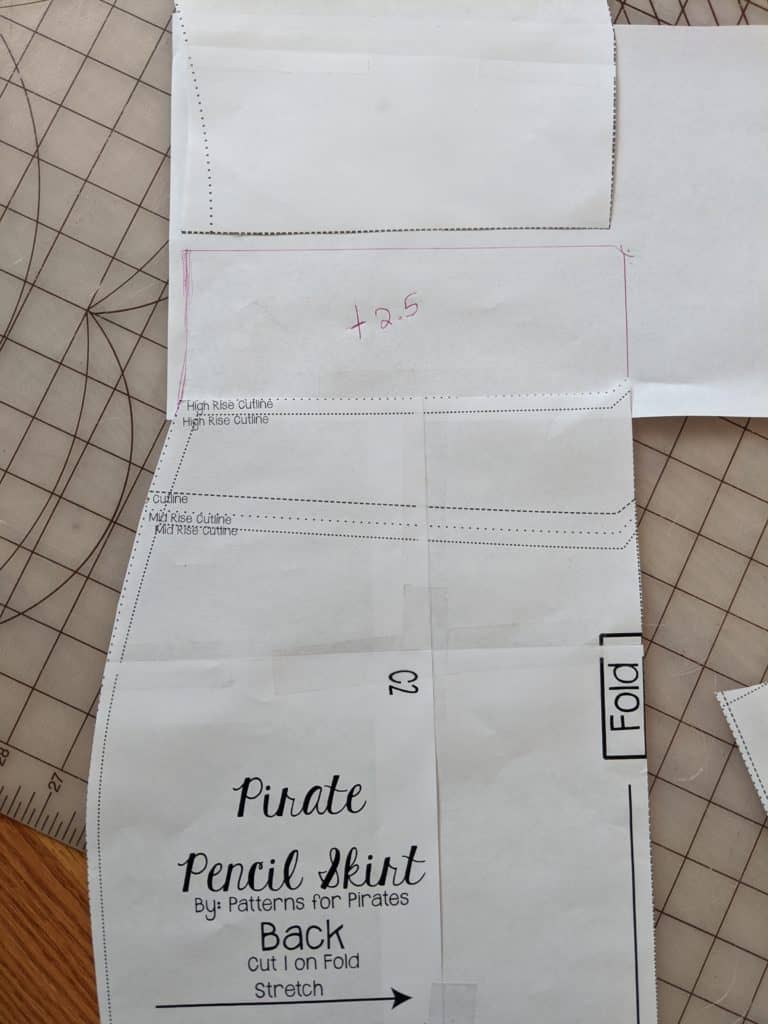
Next, you’ll need need to add the Pencil Skirt band height to your pencil skirt pattern.  You’ll take the given band height and divide it by 2 and then add that to the top of your pattern pieces.  For example- the band height on mine called for 5 inches so I added 2.5 to my pattern piece ( since the band is folded in half for the actual skirt height).  This is what you’ll cut for the bottom of your dress.


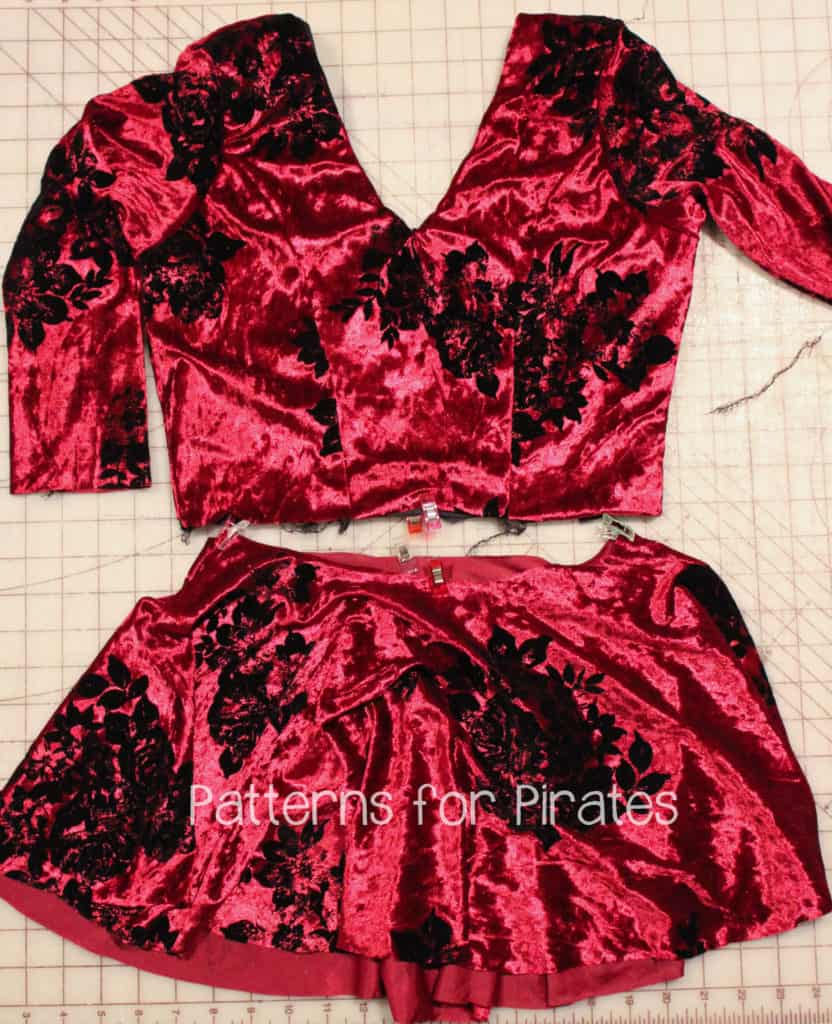
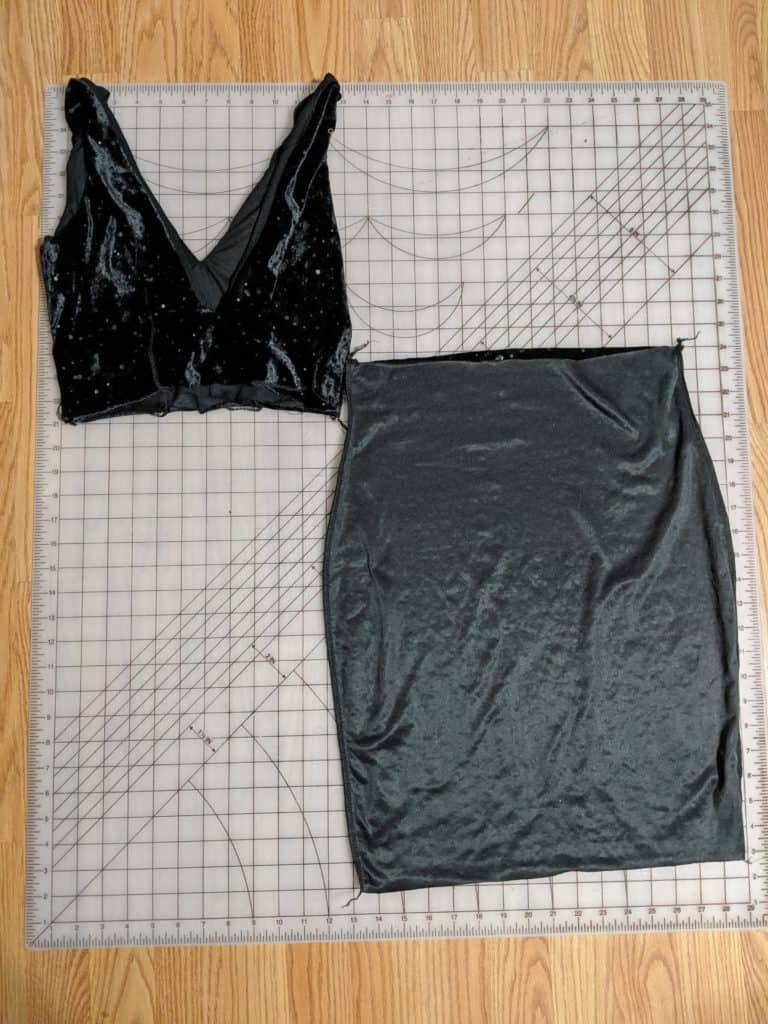
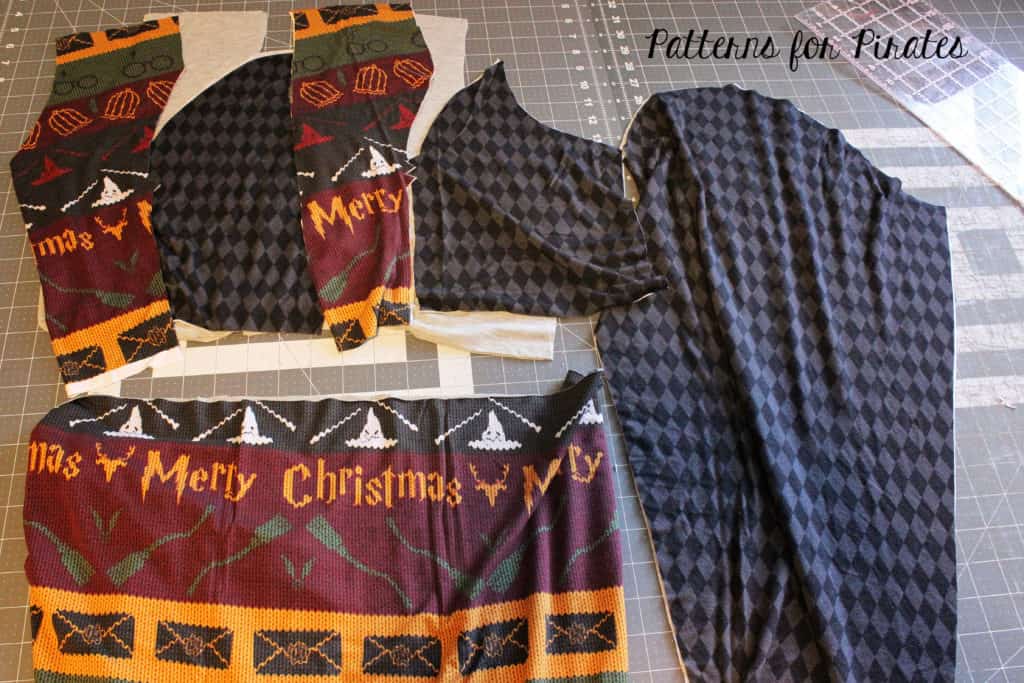
Now, sew your bodice as directed in the pattern and the side seams of your pencil skirt.   You’ll end up with two separate pieces that look like the photo below.

Finish your dress by sewing your bodice to your skirt piece just like you would if you were sewing the standard Gala skirt and you’re done!  Totally new look- perfect for New Years’ Eve fun!


Happy Sewing and Cheers,

Michelle


…..

Gala – Boundless mash up

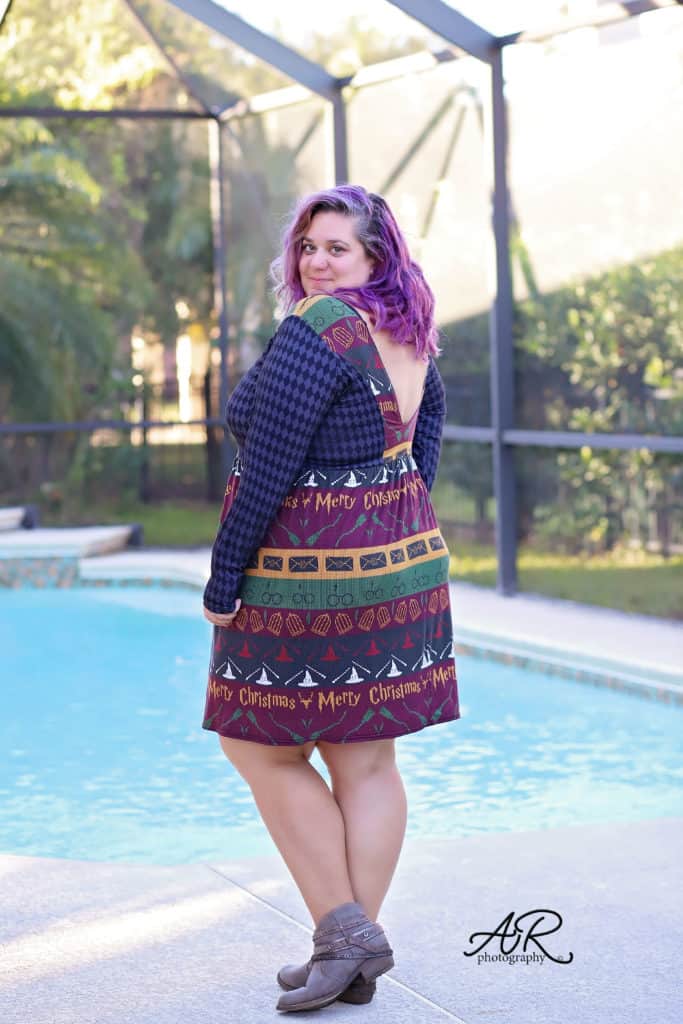
It’s no secret that the Boundless dress is one of my favorite P4P dresses so it was only natural that I would mash the Gala Gown bodice with the Boundless skirt. This is a super easy hack.

All you have to do is cut the Gala Gown bodice and sleeves and the Boundless skirt. I used bamboo knit for my whole dress but if you used stable knits for the top, I encourage you to use fabric with great drape for the skirt.

Sew the top and the skirt as instructed in the patterns. You will be adding the skirt as in the Boundless tutorial, using elastic to stabilize the waist.

Hack: I used the width of the fabric and stitched the skirt in a loop. I marked the sides and front of my skirt and attached it to the bodice with the seam in the back. 


…

Ribbon Belt

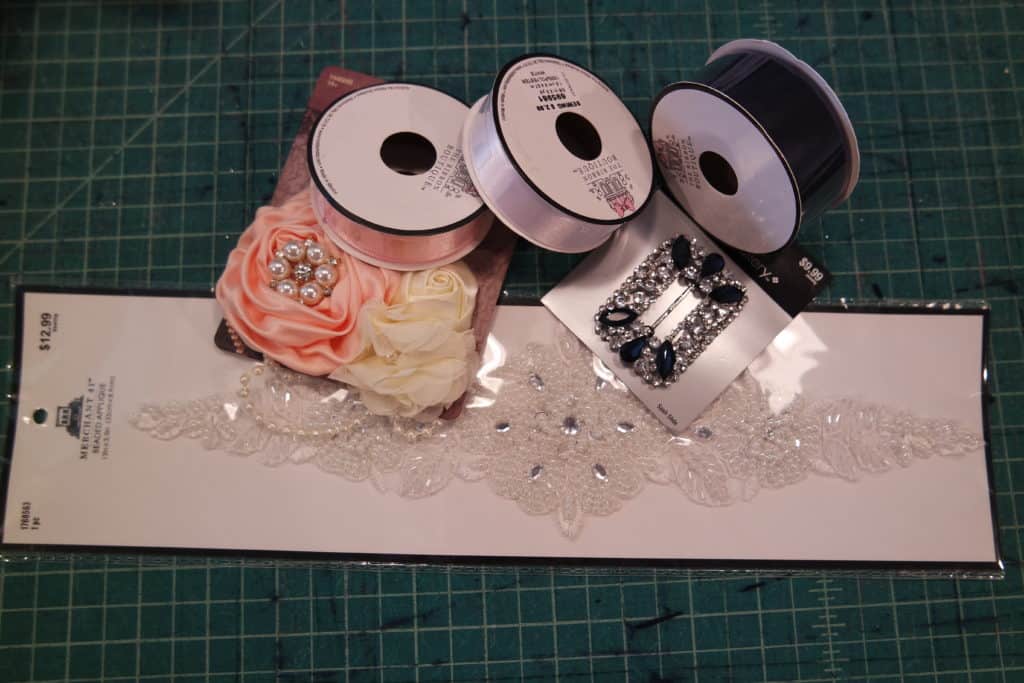
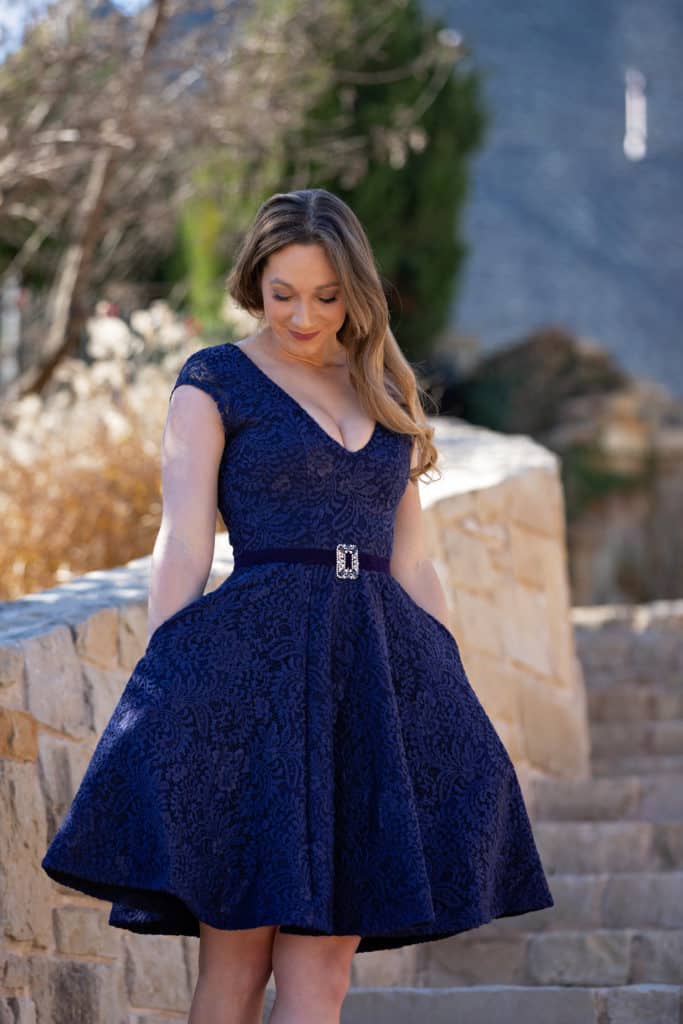
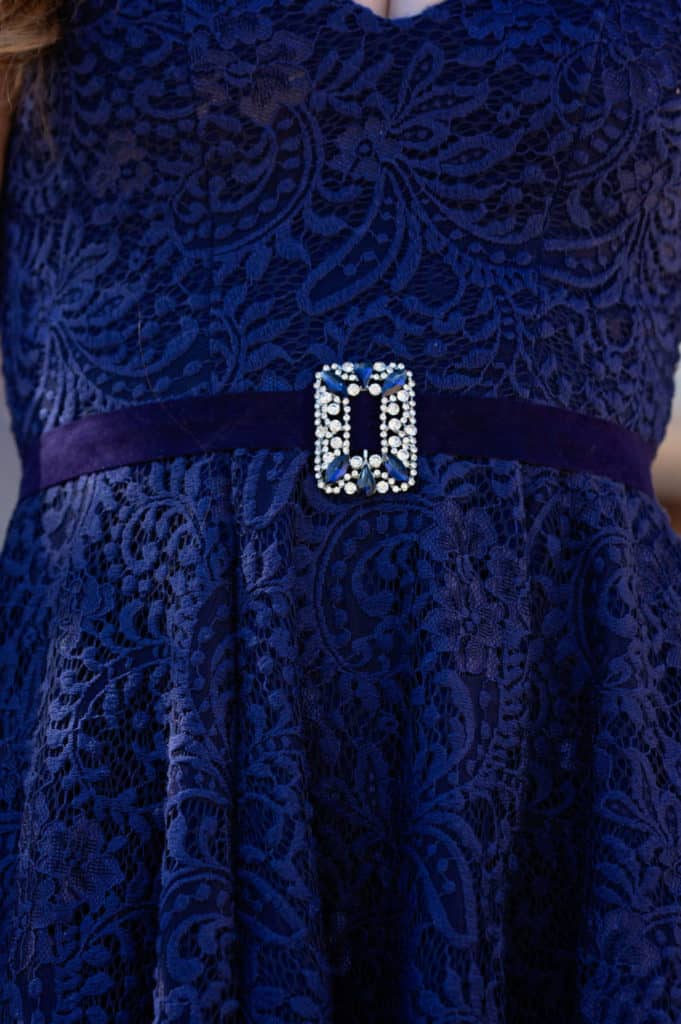
I see a lot of posts wanting something to really highlight the waist when wearing a dress, but if you’re wearing a more formal dress you might not have a belt that goes! A ribbon belt can be very elegant and simple to create to give yourself a little more definition or attention to your waistline.  You can grab any ribbon style you’re drawn to that coordinates with your dress and attach whatever embellishment you find that makes your heart sing!

Some ideas would be appliques, belt buckles, brooches, fabric flowers, hair-clips, bows, etc.  I picked up satin ribbon and some great velvet ribbon as well.

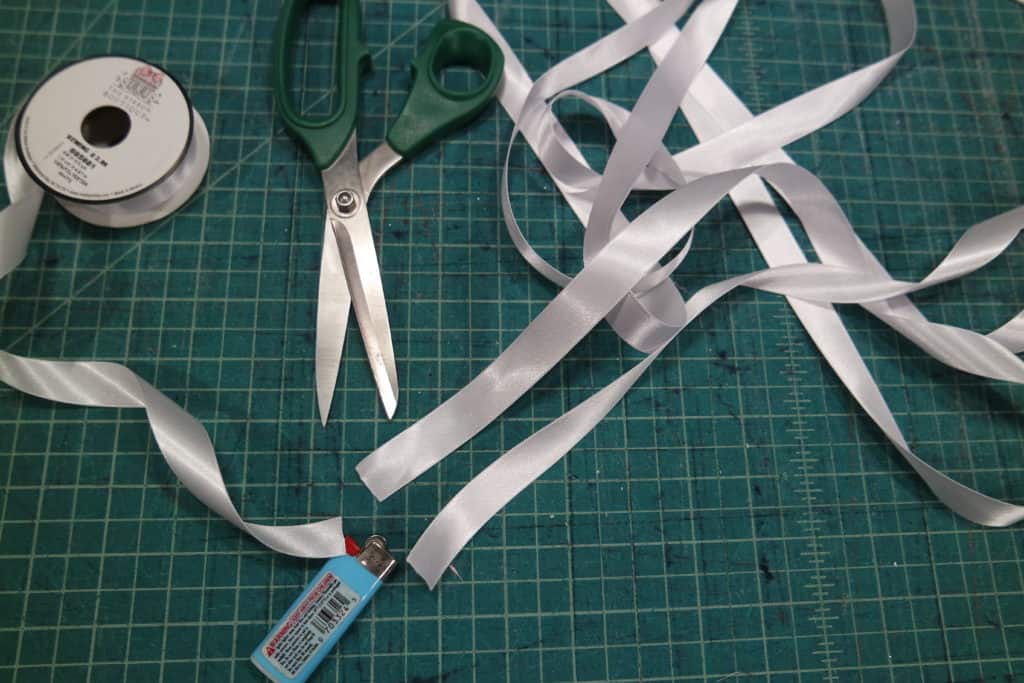
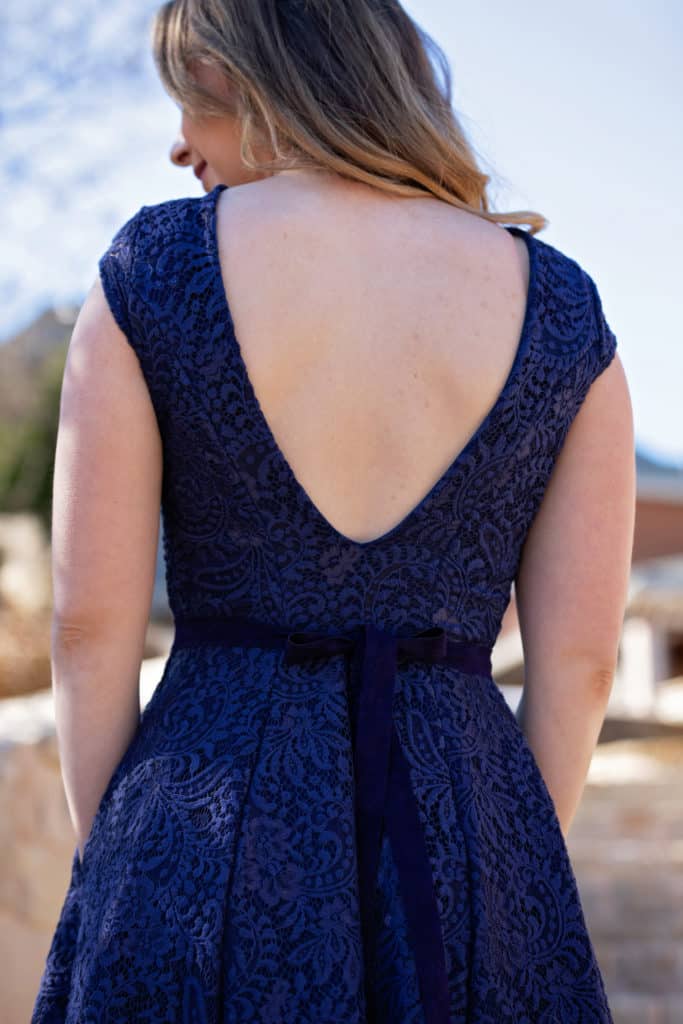
To create it you just need to cut your ribbon as long as you’d like- so the waist measurement plus enough to tie a bow and however long you want  your tails.  I like to have my tails go to almost the very bottom of my hem personally, but that’s just personal preference.  Make sure you finish the edges if you pick a ribbon that frays.  Satin ribbon I prefer to heat seal with a flame.

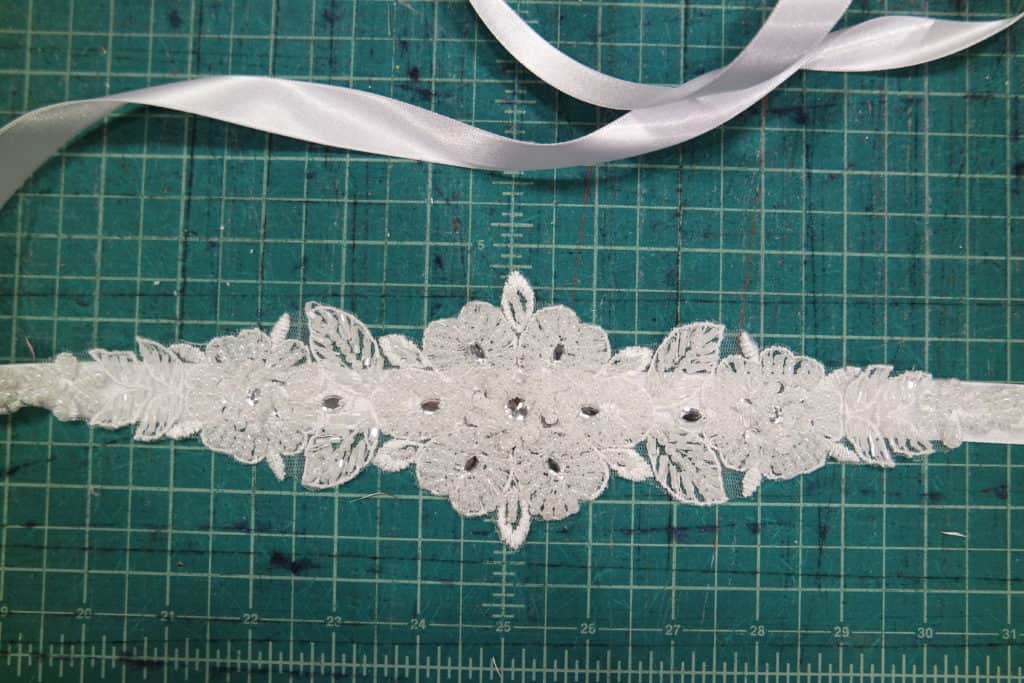
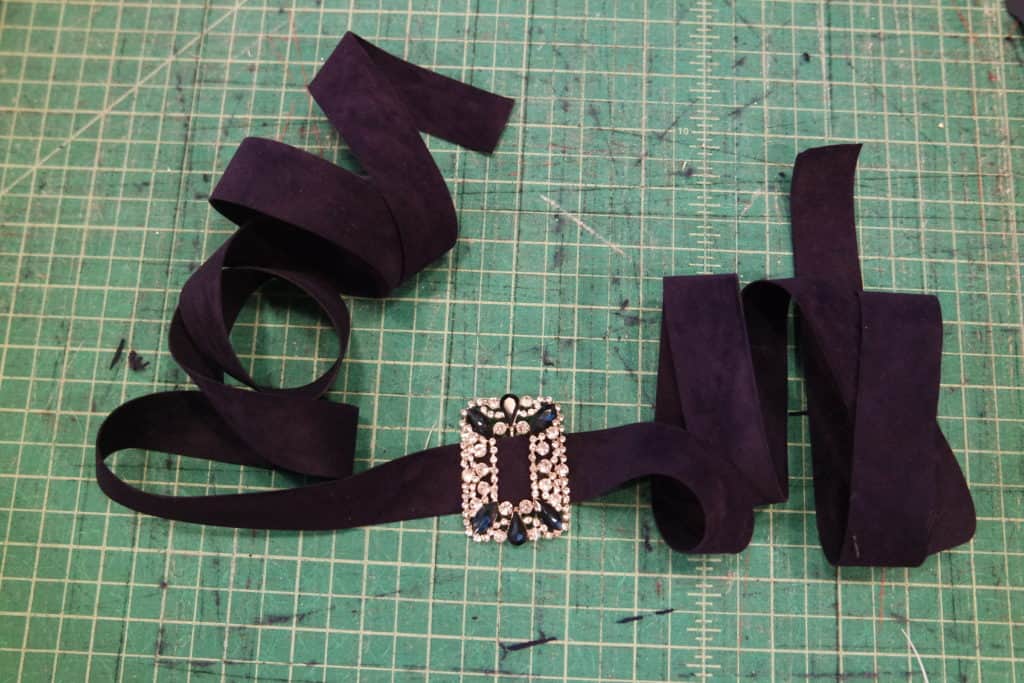
Find the center of your cut ribbon and attach your embellishment with hand stitching.

There! You now have a beautiful belt that will look stunning on your more formal dresses! It’s quick and simple for such a fabulous add on and the possibilities are endless!


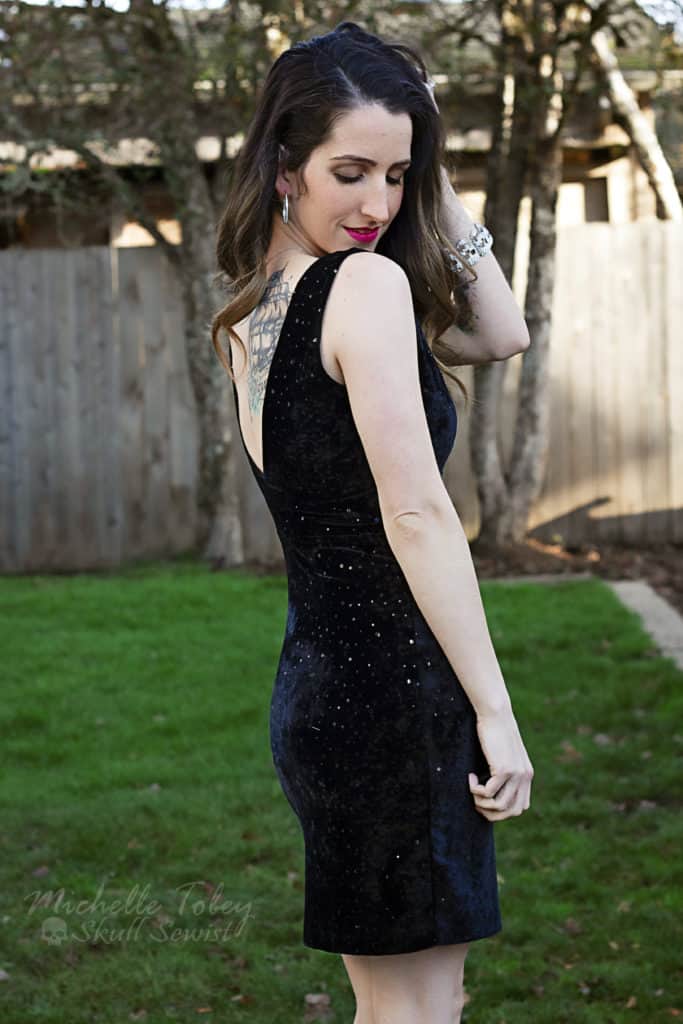
Here a a few modeled with the Gala Gown.


Judy

Which hack will you make first? Don’t forget to share your creations in the P4P Facebook group so we can all admire them too.

Filed Under: Pattern Hacks, Pattern Release 1 Comment

Boundless/Boho Babydoll Mash-Up

May 7, 2018
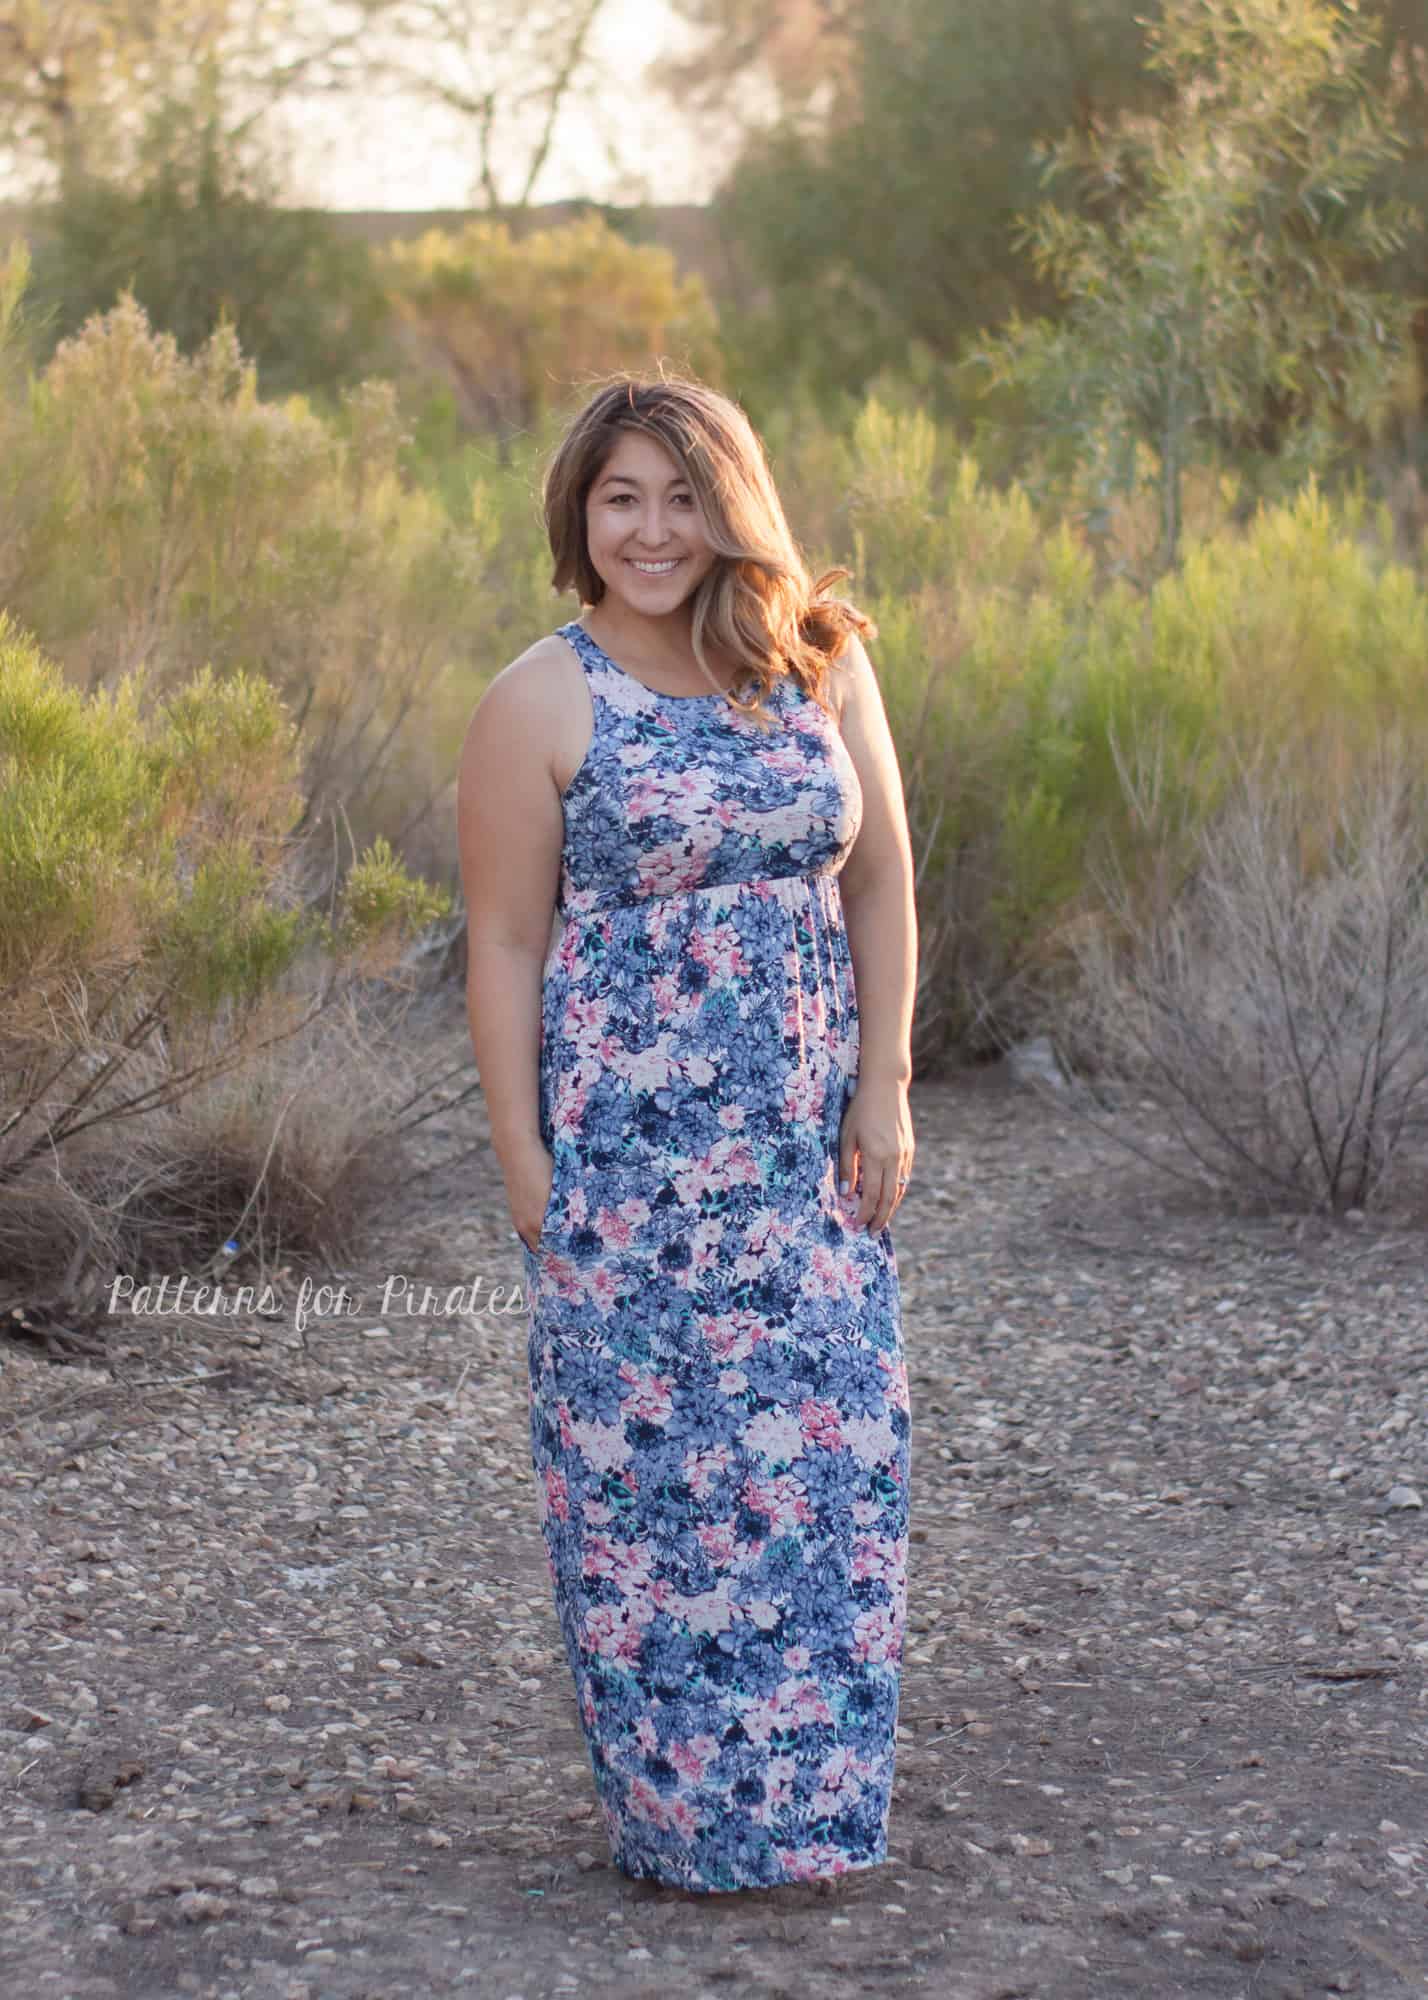
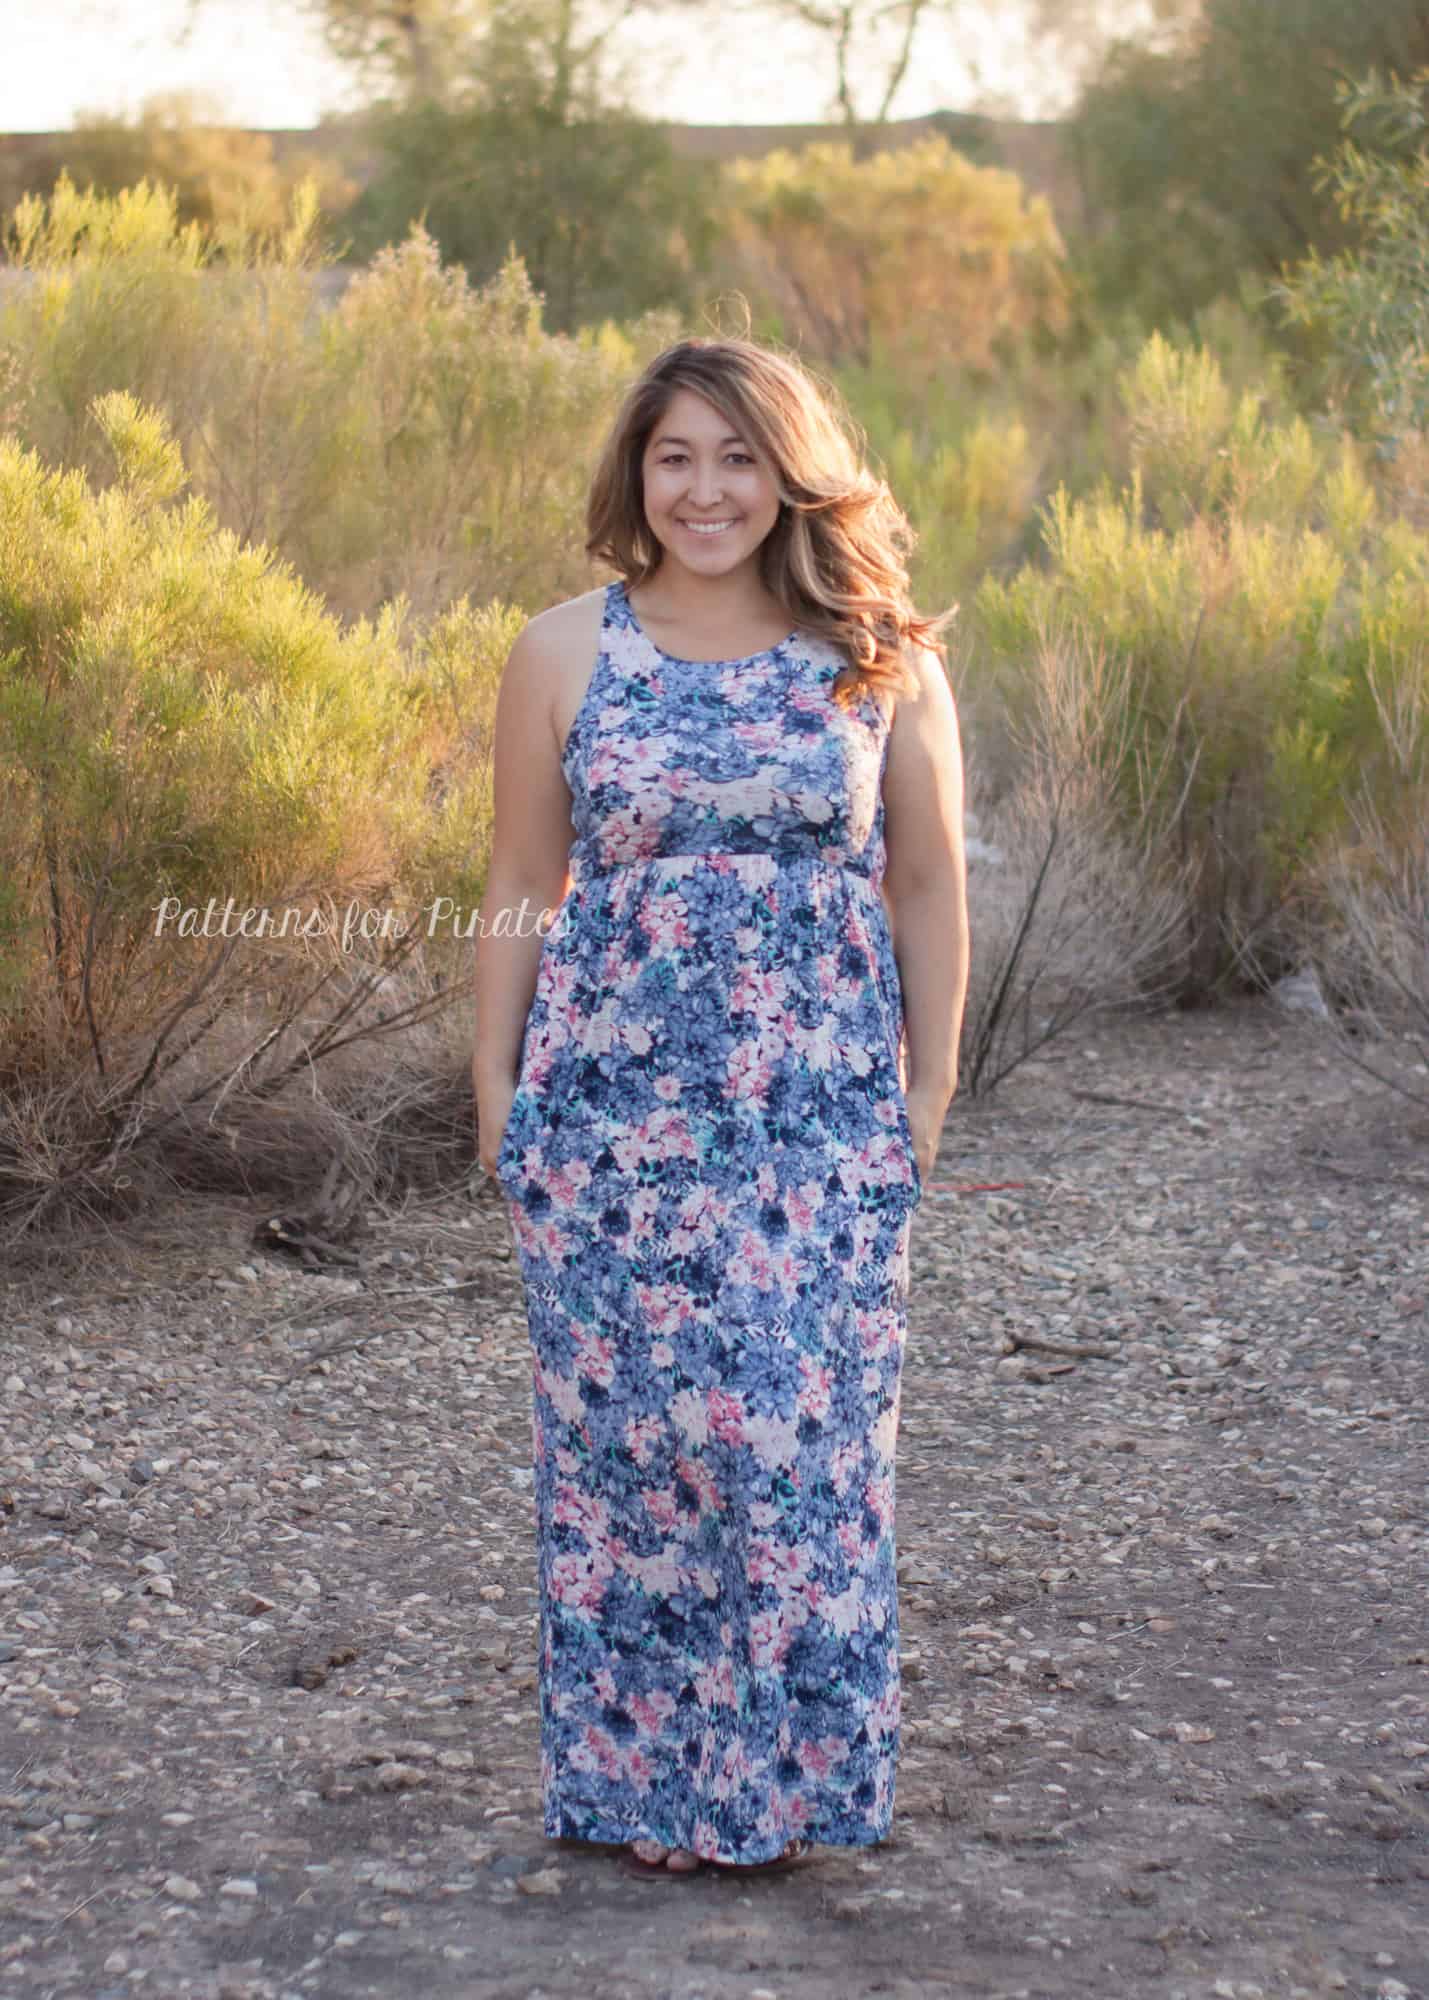
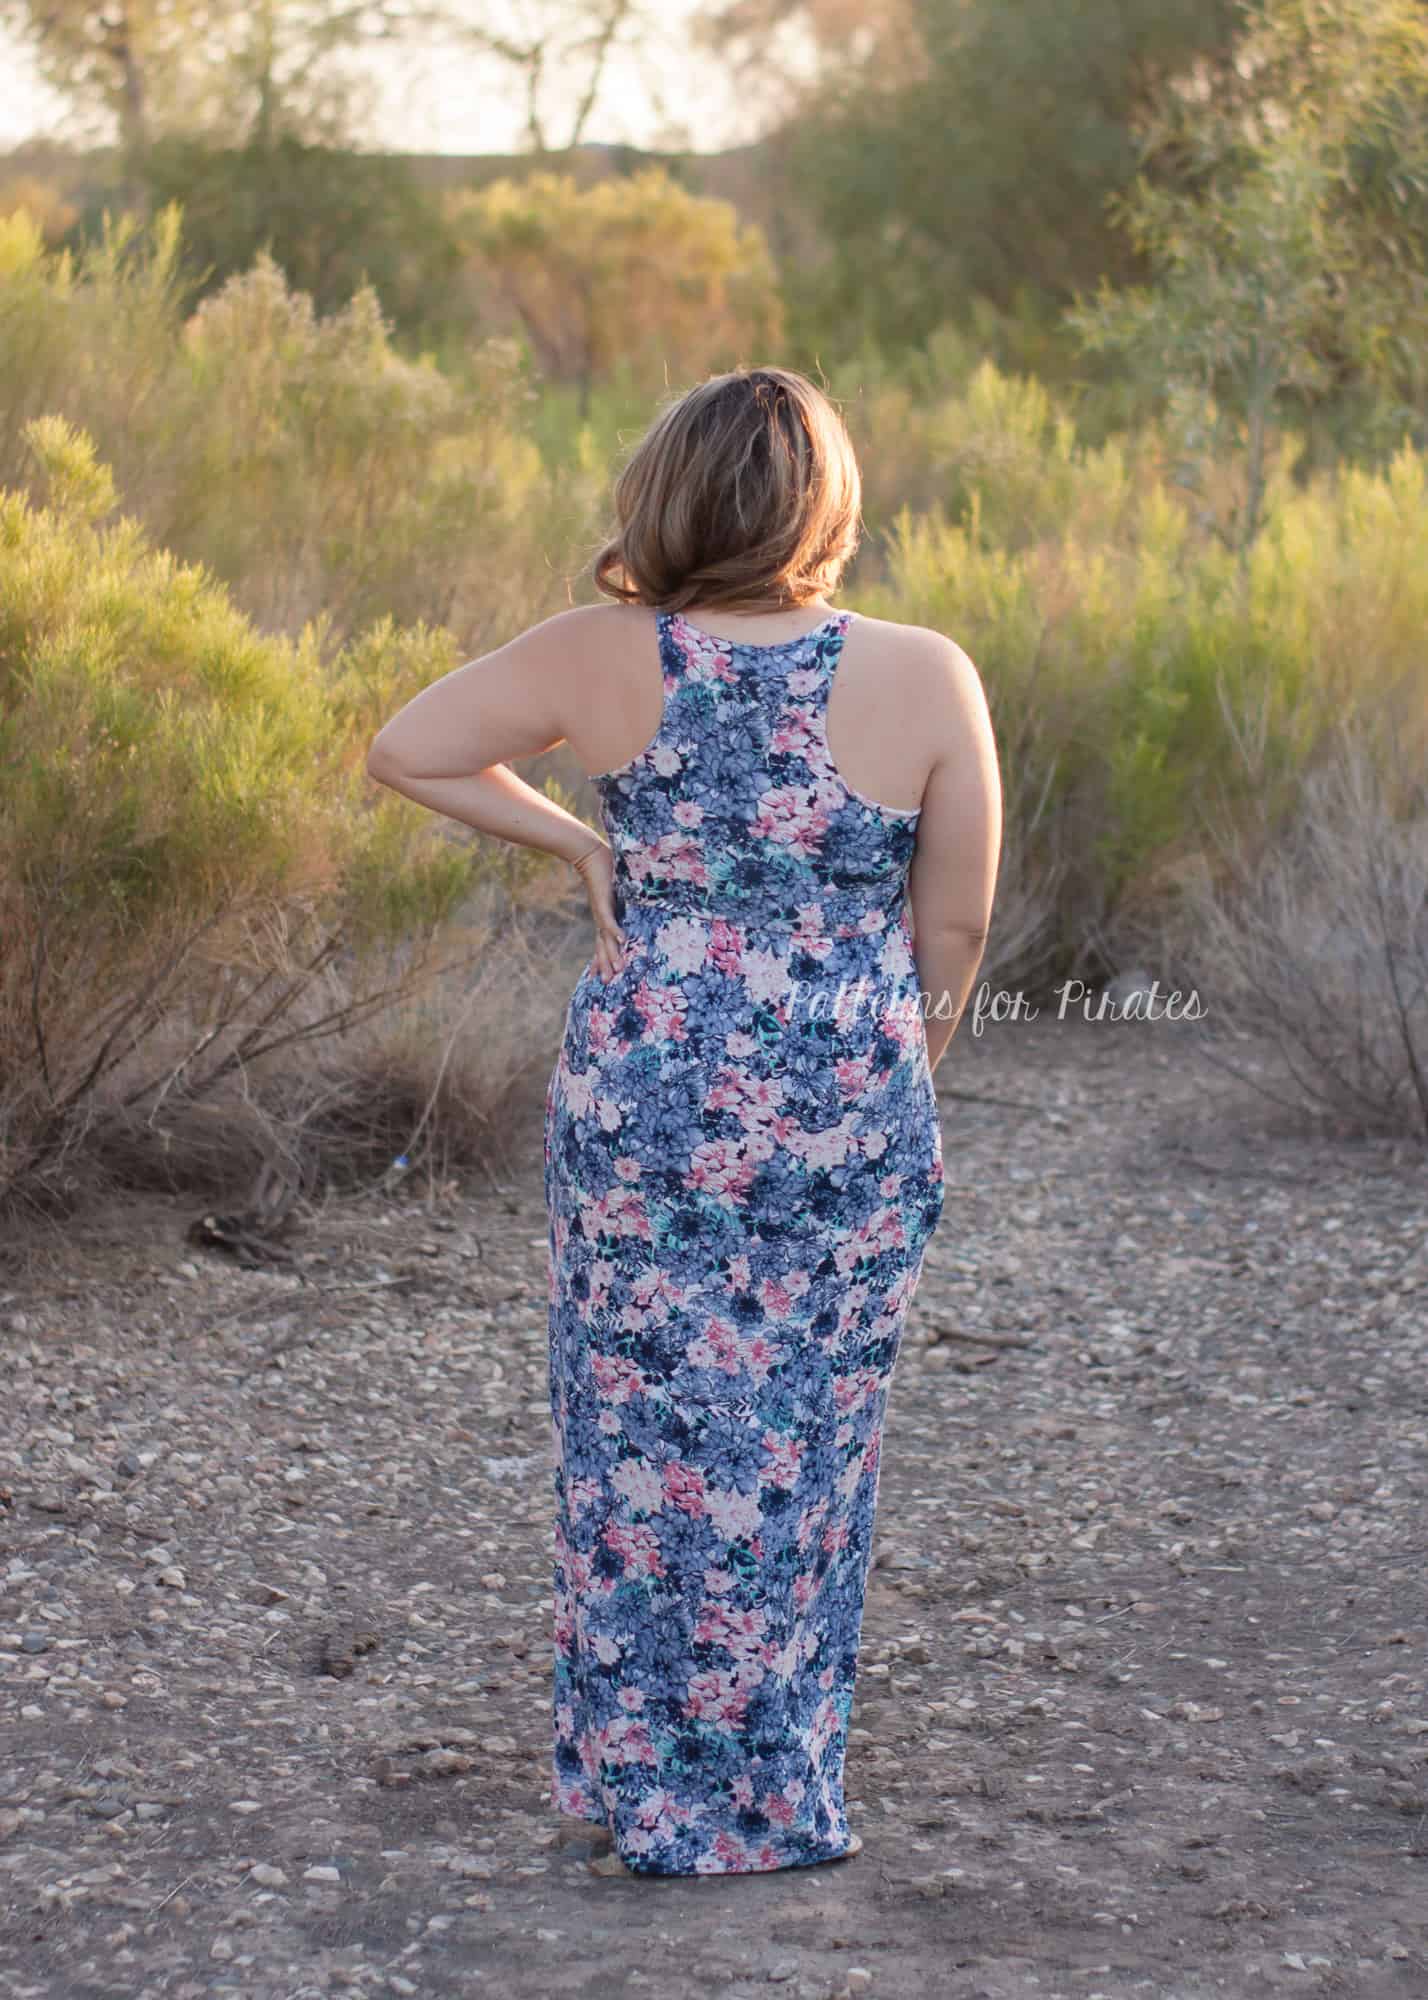
Since the original release of the Boundless Knit Dress, we have seen many requests how to make it a racer back tank dress.  With the recent release of the Boho Babydoll (which includes a racer back option), we thought it would be the perfect mashup. So, I’m here to show you how to mash and grade the two bodices to create a racer back Boundless Dress. This will also work with the Essential Tank if you prefer the shape of the racer on that tank.


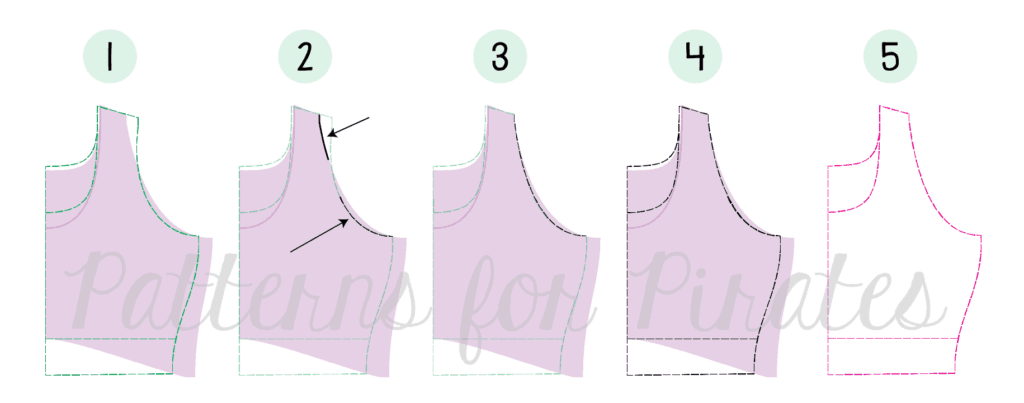
The Boundless and Boho have different amounts of ease. (read more about ease HERE.)  The Boundless is a fitted bodice with negative ease, while the Boho is a relaxed cut top with ease so we can’t really just take the Boho and adjust the width to the boundless, otherwise the armscye would be too wide and cut in across the shoulder since the overall size of the bodice is wider/larger.  The Boundless is shown here in the green dashed  lines and the Boho is the light purple.

  1. Print out both the boundless knit dress and Boho babydoll bodices and align at the shoulder seam.  We will be creating a new Boundless bodice.  You can choose which neckline you prefer as the only modification we are making here is to the armscye.
  2. Trace the upper portion of the armscye from the shoulder seam of the Boho Babydoll. Trace the lower portion of the armscye of the Boundless toward the side seam.
  3. Using a French curve, blend the upper and lower portion of the armscye previously traced.
  4. Continue tracing the Boundless along the side seam and neckline. Note- if using a 1/2″ seam allowance, you will want to widen the shoulder by 1/4″.  You can also trace as is and just use a 1/4″ seam allowance along the shoulder seam only.
  5. You now have a new Boundless front racer Boundless bodice.


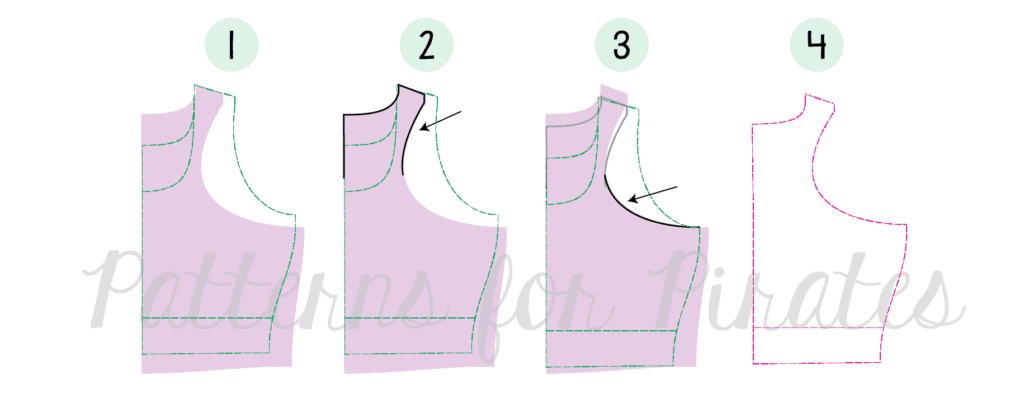
We will repeat similar steps for the back

  1. Print out both the boundless knit dress and Boho babydoll bodices and align at the shoulder seam.  We will be creating a new Boundless back bodice.
  2. Trace the Boho bodice from neckline, shoulder seam and top portion of the racer back armscye. Note- if using a 1/2″ seam allowance, you will want to widen the shoulder by 1/4″.  You can also trace as is and just use a 1/4″ seam allowance along the shoulder seam only.  
  3. Slide the Boho bodice so that it is aligned with the Boundless at the armscye and trace the lower portion of the racer back armscye to the side seam of the Boundless bodice.
  4. Use a French curve if need to match and blend the racer back curve and continue tracing the Boundless bodice.  You now have a new Boundless back bodice.

Construction of the bodice/dress is the same as the Boundless.  Cut 2 main and cut 2 lining pieces and use the burrito roll method to create a fully lined racer back.

I hope you love it as much as I do!


Filed Under: Pattern Hacks, Uncategorized Leave a Comment

FST/LMU Mash Up

August 5, 2015

So you LOVE the loose a-line fit of the Free Spirit Tank, but would love it with sleeves?

Here is how you take the Layer Me Up Shirt to add sleeves 🙂

First… grab both patterns, some tracing paper and a pencil.

Trace your size of the Free Spirit Tank.

Place your Layer Me Up – SLEEVED BODICE piece matching on fold and at the top shoulder. Make sure you’re matching the front with the front 😉

Don’t worry about the neckline, although if you wanted it higher/tighter you could trace off the neckline from the Layer Me Up 🙂 Now just trace the armsyce from the Layer Me Up.

Repeat with the back pieces!

Now you can use any sleeve option from the Layer Me Up Shirt.

Here is mine I made for the fall!

Little guy wanted in 😉 Please excuse the no make up, mom hair, sports bra look!! It’s what I’m sporting most days though! 😉

I can’t wait to pair it with some leggings for the fall and winter! 🙂 It will be perfect right after baby girl comes!

Filed Under: Pattern Hacks 10 Comments

Newest Patterns

  • Notch Top & Dress $12.00 $10.50
  • Notch Top & Dress - Youth $10.00 $8.50
  • Notch Top & Dress - Bundle $20.00 $18.00
  • Friendly City Sweater $12.00
  • Friendly City Sweater - Youth $10.00
  • Privacy Policy
  • Refund Policy
  • Affliliate Program
  • Contact Us
  • About

Copyright © 2023 Patterns for Pirates

Copyright © 2023 · Genesis Framework · WordPress · Log in