Patterns for Pirates

P4P stylish, modern, wearable patterns

  • Home
  • Blog
    • Frequently Asked Questions
    • Pattern Releases
      • Free Patterns
    • P4P University
      • Fitting
      • Sewing with Stretch, Knit Fabrics
      • Sewing with Woven Fabrics
      • Sewing Machines
    • Sew-A-Longs
    • Fabric for Pirates
    • Pattern Hacks
    • Announcement
      • Blog Tours
      • Contest/Giveaway
  • Shop
  • Bundle Discounts
  • Gift Cards
  • My Account
  • Cart

Minute Maillot SAL – day 7 (winners announcement)

July 15, 2019

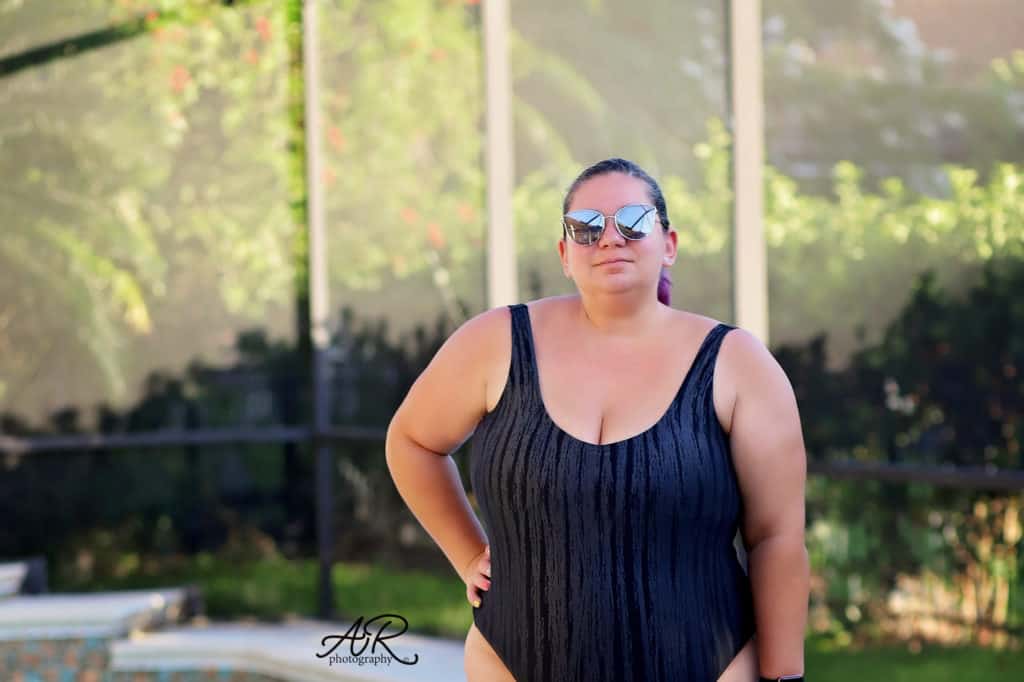
Absolutely beautiful job this week, friends! We have see and admired so many gorgeous Minute Maillot swim suits that made our decision a very difficult one to  make. Without keeping you waiting any longer…

Congratulations Karolina Linden!

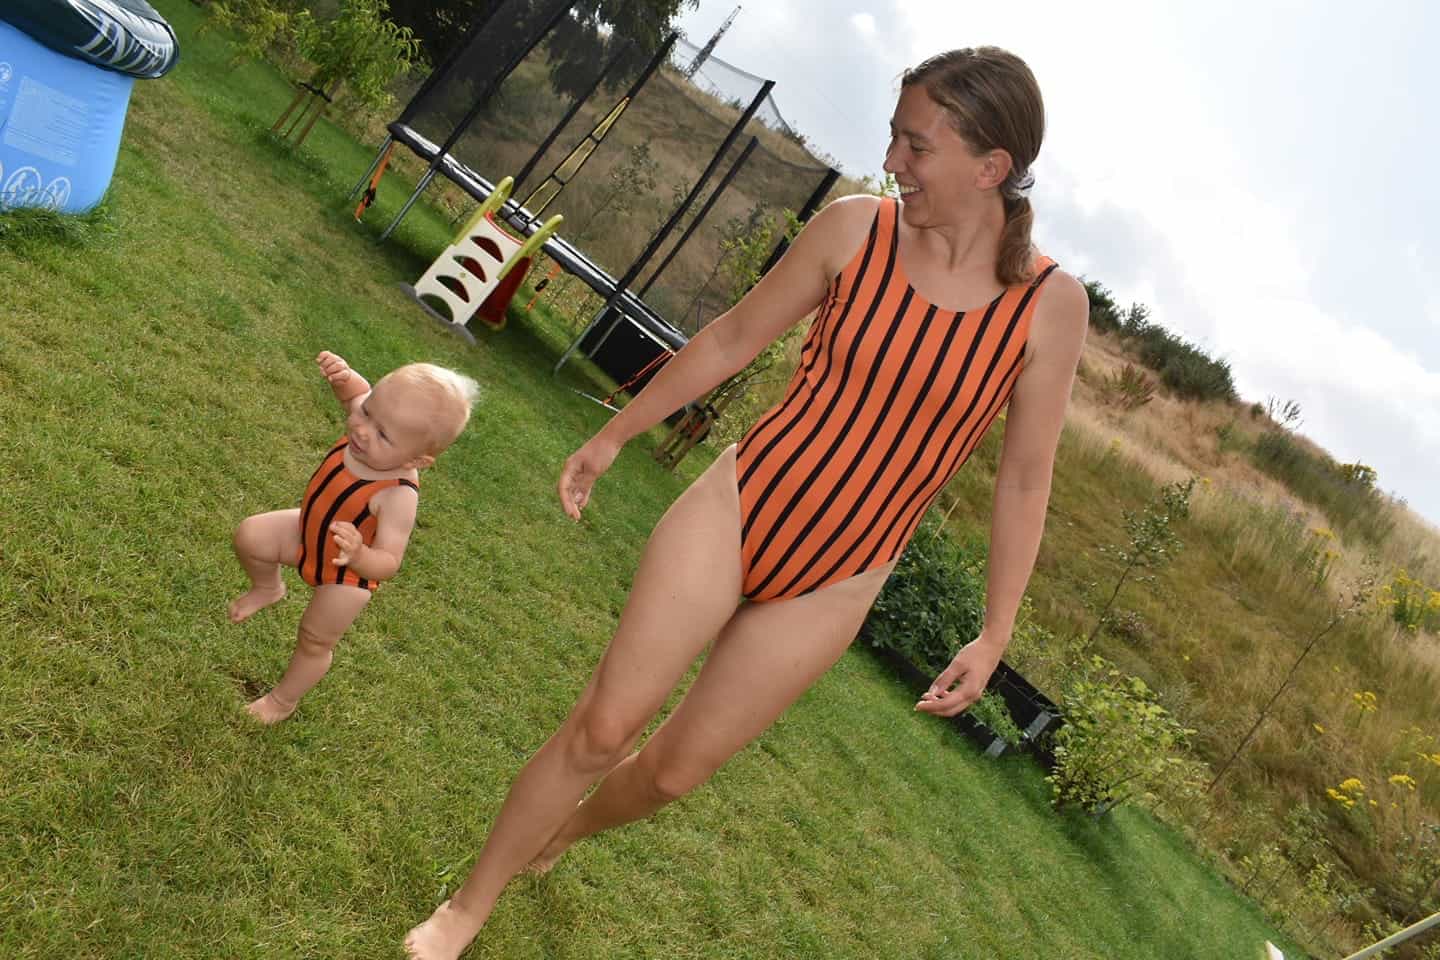
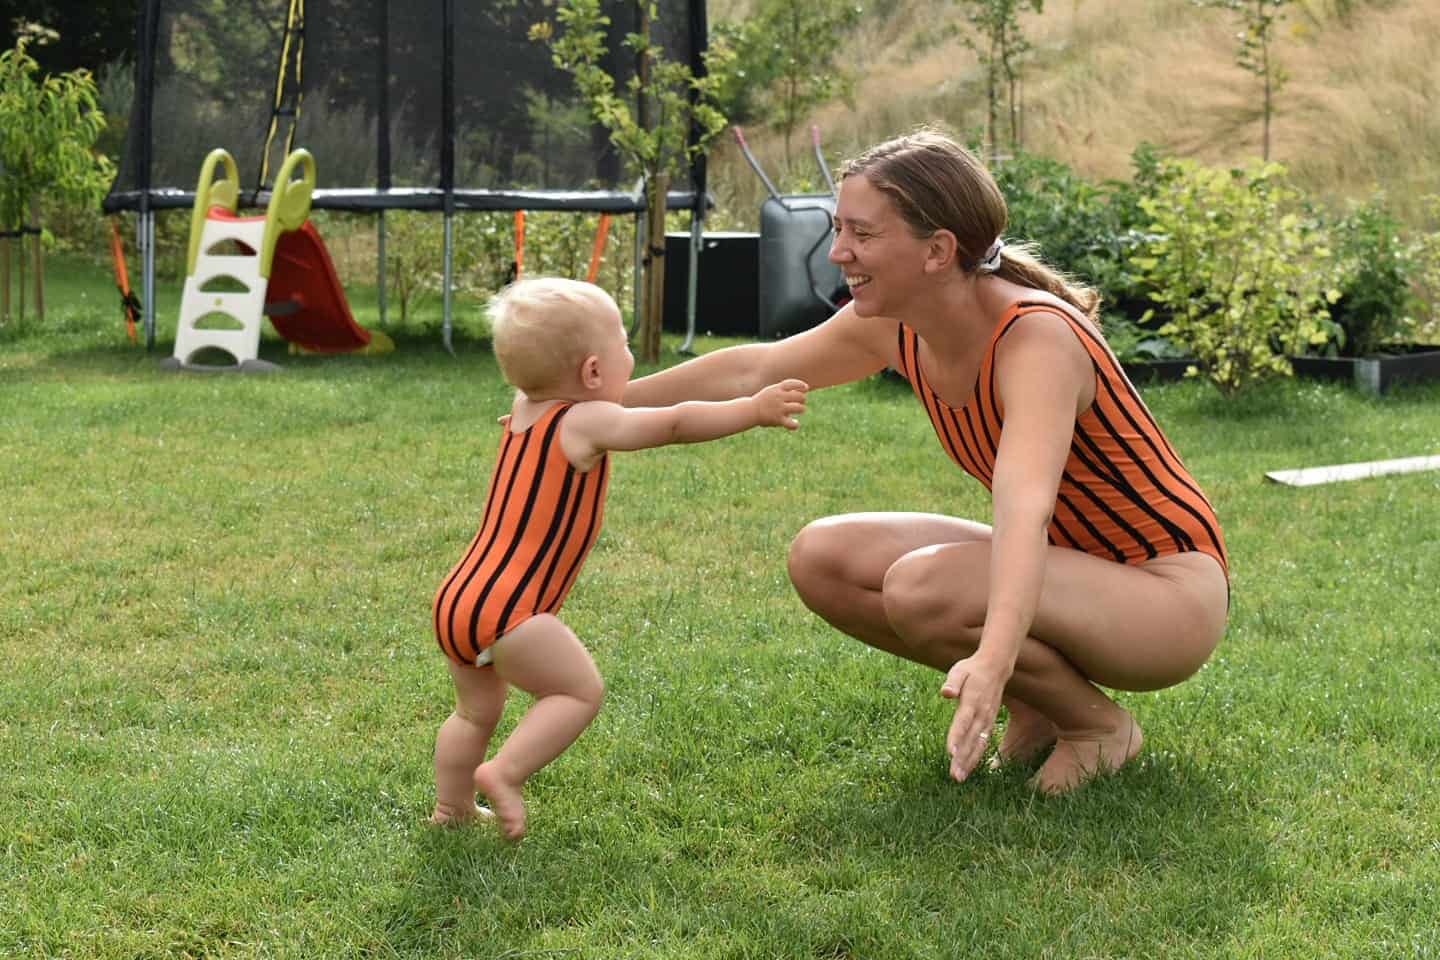
Karolina won a $20 store credit to Patterns for Pirates and a $25 Gift Card from Boho Fabrics.

As always, we have two winners:

Great job, Megan Marie!

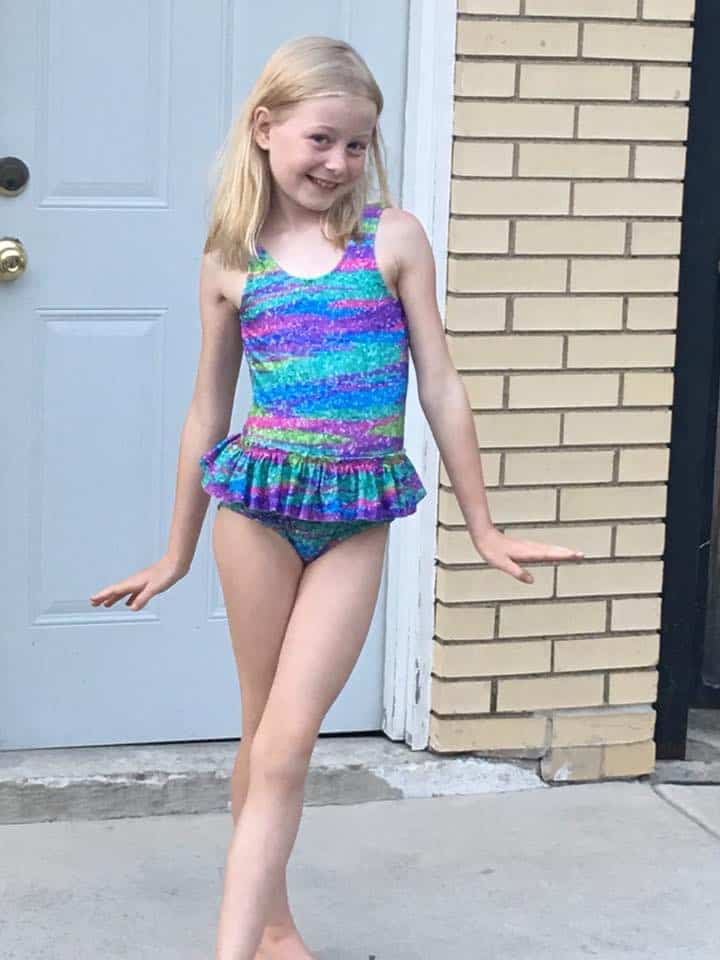
Megan will receive a $20 store credit to Made for Mermaids and a $25 Gift Card from Boho Fabrics.

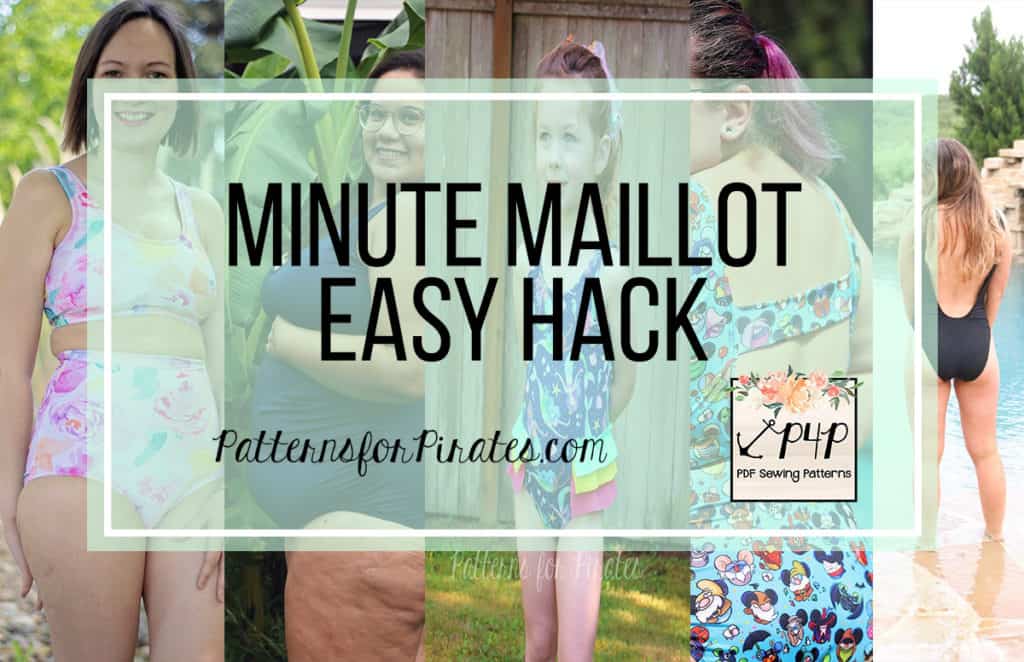
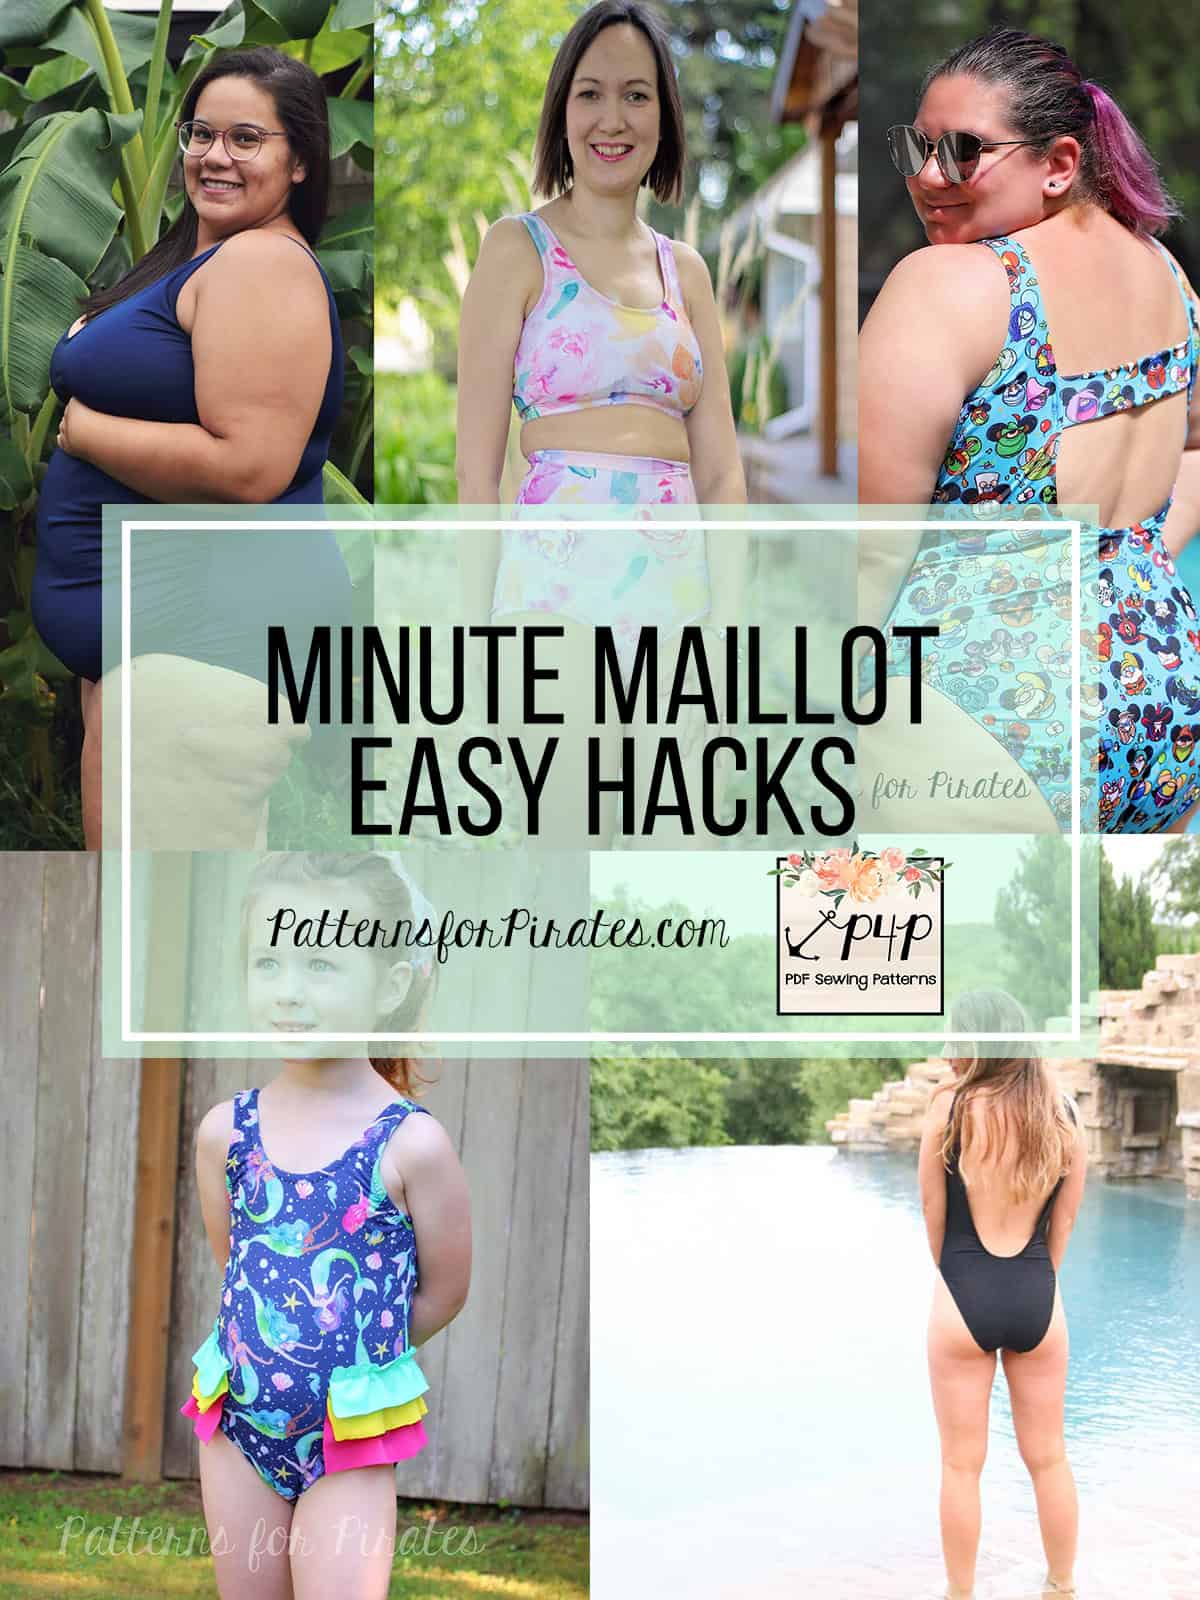
A huge thank you to Emily from Boho Fabrics who sponsored the Minute Maillot SAL and also provided the fabric I used for my swim suit.

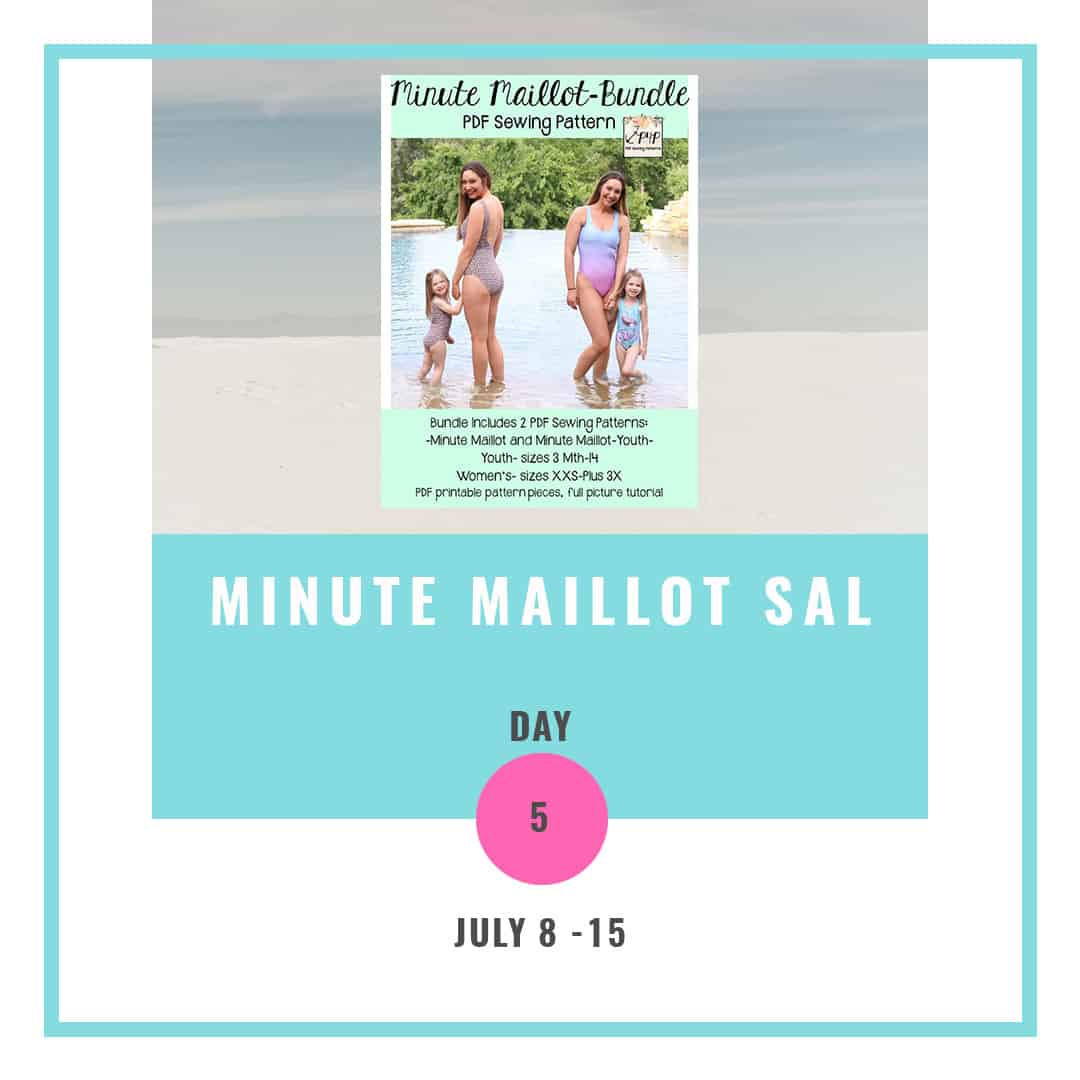
Colleen will be letting you all know the pattern we will be sewing together in August soon.

Minute Maillot SAL | Day 1

Minute Maillot SAL | Day 2

Minute Maillot SAL | Day 3

Minute Maillot SAL | Day 4

Minute Maillot SAL | Day 5

Minute Maillot SAL | Day 6

Minute Maillot SAL | Day 7

Filed Under: Sew-A-Long, Uncategorized Leave a Comment

Minute Maillot SAL – day 6 ( finish arms, legs and neckline)

July 13, 2019

We made it to the last day of the Sew Along!! You’ve all been doing amazing this past week. All we have left to do (for both the youth and adult Minute Maillot) is to finish the arms, legs and neckline opening. This consists of three steps, sewing the elastic in a loop, attaching the elastic to the opening and hemming.

Tip: Write on each elastic where you will be adding it, eg: arm. This way you make sure you don’t accidentally add an arm elastic to the leg opening.

I highly recommend sewing the elastic with a wide zig zag stitch to minimize bulk. If you prefer using your serger for this step, you can. It’s just not my first choice. When hemming I love using a wide coverstitch with wooly or bulky nylon in the looper. If that is not an option, a zig zag stitch on your sewing machine will work just as well.


You did it!! All you have to do now is post a picture of your finished Minute Maillot swim suit (modeled or not) in the comments of the day 6 photo of this sew along’s album. Reminder, only photos posted in the comments of DAY 6 photo will qualify for the prize. You are most definitely welcome to share on the wall as well (the SAL group and P4P group). Good luck!

Minute Maillot SAL | Day 1

Minute Maillot SAL | Day 2

Minute Maillot SAL | Day 3

Minute Maillot SAL | Day 4

Minute Maillot SAL | Day 5

Minute Maillot SAL | Day 6

Minute Maillot SAL | Day 7

Filed Under: Sew-A-Long, Uncategorized Leave a Comment

Minute Maillot SAL – day 5 (sew side and crotch seams)

July 12, 2019

Almost there! Today the project will take swim suit shape when we stitch the side seams and the bottom seam. woohoo! 🙂 Grab your lining and main swim and let’s get started!

If you are making the partially lined version then your lining side seams are already sewn from day 3. For the fully lined option you will lay the lining and main fabric similar to the way you did the shoulder seams yesterday. ALWAYS triple check with the pattern instruction before stitching the side and crotch seam to make sure all layers are placed correctly.

Ruffles 

If you added ruffles to your little one’s Minute Maillot today you are adding them to the swim suite. I recommend using a disappearing pen like the Frixion to mark the placement of the ruffles.

Tip: use a Wash away Wonder Tape to keep your ruffles in place when while sewing them on with a zig zag stitch. It will not gum up your needles and as soon as the suit hits the water it will disappear.

Here is day 5’s video. Take a look and once you finish sewing the side and crotch seam, snap a picture of your progress and post it in the comments of day 5 photo of the MM sew along album.

Minute Maillot SAL | Day 1

Minute Maillot SAL | Day 2

Minute Maillot SAL | Day 3

Minute Maillot SAL | Day 4

Minute Maillot SAL | Day 5

Minute Maillot SAL | Day 6

Minute Maillot SAL | Day 7

Filed Under: Sew-A-Long, Uncategorized Leave a Comment

Minute Maillot SAL – day 4 (sew shoulder seams)

July 11, 2019

Good morning, friends! Today is a short, quick sewing day. We are only sewing the shoulder seams. You can do this step on your sewing machine using a triple stretch stitch or a lightning bolt stitch or you can use your serger.

The most important thing is to layer the pieces exactly as instructed in the tutorial. This is imperative to ensure that the seam allowance in enclosed and feels comfortable against your skin. If you are adding the bust lining AND full lining you will have 6 layers at the shoulder seam, instead of 4.

Below is today’s video. Once you finish your steps post a picture in the comments of day 4 photo of the Minute Maillot SAL album in the Sew Along group.

Minute Maillot SAL | Day 1

Minute Maillot SAL | Day 2

Minute Maillot SAL | Day 3

Minute Maillot SAL | Day 4

Minute Maillot SAL | Day 5

Minute Maillot SAL | Day 6

Minute Maillot SAL | Day 7

Filed Under: Sew-A-Long, Uncategorized Leave a Comment

Minute Maillot SAL – day 3 ( sew bust lining / prepare ruffles)

July 10, 2019

Ahoy, pirates! On day 3 of our sew along we sewing the bust lining if you are making the adult Minute Maillot and/or prepping the ruffles if you are doing the youth swim suit. You will need the bust lining if you do not want to fully line your MM or if you want to add cups to a fully lined one.

Bust lining

Note: If you are sewing the low back option you will have 3 pieces for the bust lining, one for the front and two mirrored ones for the back. For the mid and high back the bust lining is only two pieces, one front and one back.

For extra support, I have decided to add cups to my bust lining. The cups should be sewn to the wrong side of the bust lining, this way when worn, they will be sandwiched between the main print and the lining.

Ruffles

Tip: When gathering the ruffles use two rows of stitching 1/4″ away from each other. This will yield uniform gatherings and a “back up” should the one of the stitching break.

Take a look over the day three video below and post  picture of your progress in the comments of day 3  picture of the Minute Maillot SAL album.


Minute Maillot SAL | Day 1

Minute Maillot SAL | Day 2

Minute Maillot SAL | Day 3

Minute Maillot SAL | Day 4

Minute Maillot SAL | Day 5

Minute Maillot SAL | Day 6

Minute Maillot SAL | Day 7

Filed Under: Sew-A-Long, Uncategorized Leave a Comment

Minute Maillot SAL – day 2 (cut fabric and gather supplies)

July 9, 2019

Welcome to day 2 of our Minute Maillot sew along. Today we will be choosing the fabric, cutting it and gathering all necessary notions. To make the MM you will need swim fabric, lining, swim elastic and optionally power mesh or swim cups.

Judy made this very in depth video about various swim fabric, notions and how to accurately take your measurements to create the perfect custom swim suit. I highly encourage you to watch it:

For my Minute Maillot I decided to go with a gorgeous nylon swim I got from Boho Fabrics. I will be making the low back, mid front, high leg option with a bust lining. I am using solid black swim, also from Boho, for lining and cotton swim elastic for the arms, legs and neckline.

The Day 2 video is posted below. Check it out and once you are done cutting your fabric post a picture of your prepped fabric in the comments of the Day 2 photo of the SOS SAL album in the M4M & P4P Sew Along group.

Minute Maillot SAL | Day 1

Minute Maillot SAL | Day 2

Minute Maillot SAL | Day 3

Minute Maillot SAL | Day 4

Minute Maillot SAL | Day 5

Minute Maillot SAL | Day 6

Minute Maillot SAL | Day 7

Filed Under: Sew-A-Long, Uncategorized Leave a Comment

Minute Maillot SAL – day 1 (print and cut pattern)

July 8, 2019

Welcome to the Minute Maillot

Sew Along!

Day 1 is for purchasing the patterns, printing and cutting the size(s) you need. If you plan on sewing for yourself you can get the Minute Maillot here, if you’re sewing for your little one, the Youth MM can be purchased here and if you’re sewing for both of you (just think of the mommy and me matching outfits!) you can get the bundle.

This Sew Along will take place in our M4M & P4P Sew Along group so be sure to join the group not only for the exclusive discount code available for the patterns but also to post your progress this week. As always all daily posts will be here on the blog but you’ll be checking in with your completed steps in the group.

This sew along is sponsored by Boho Fabrics. Emily has graciously offered our pirates and mermaids a discount. Code MAILLOT20 (valid until July 14th) will save you 20% off swim fabrics, notions and mesh in case they needed other supplies for the perfect suit 😊 (Happy hour bundles are excluded from the sale code since they are already discounted )


Now that you have your pattern printed, time to cut the correct size(s). Patterns for Pirates drafts for 5’5″ height for the Women pattern so do not forget to adjust for height too. For swimwear, especially one piece swim suites like the Minute Maillot it’s important to measure your trunk as well. Measure inside shoulder, across your bust, down through your legs, over the booty and back up and over the shoulder.

P4P has an amazing blog that gives you tip for accurately taking your measurements. You can read all about it here. If your measurements put you in a different size for bust/waist/hips be sure to check out our P4P University blog and grade to achieve the perfect fit.

The Basics of Sewing Swim blog post has a lot of useful information, especially if you’re making swimwear for the first time.

Check out the day 1 video below and then comment “done” on the Day 1 picture of the SOS knit pants SAL album in the sew along group. We don’t allow pictures of the pattern pieces so this will count as your day 1 check in. Let’s get started!


Minute Maillot SAL | Day 1

Minute Maillot SAL | Day 2

Minute Maillot SAL | Day 3

Minute Maillot SAL | Day 4

Minute Maillot SAL | Day 5

Minute Maillot SAL | Day 6

Minute Maillot SAL | Day 7

Filed Under: Sew-A-Long, Uncategorized 6 Comments

Minute Maillot :: New Pattern Release!!

May 11, 2019

Happy Release Day, Pirates!!  We are excited to be sharing with you the latest patterns in our swim lineup: the Minute Maillot and Minute Maillot Youth!


This pattern is about to make a splash in your swimwear sewing, because it’s super easy AND a super flattering to sew.  The pattern features partially lined and fully lined options.  The women’s also includes a bust support piece with elastic which you can sew swim cups to.  They both include 3 back neckline options: high, mid, and low.  The women’s also includes 3 front neckline options: high, mid, and low as well as 2 leglines: high and low.  You can mix and match to your personal preference for modesty and flatter your personal bodytype…or sew one of each variation and have a huge stack!

Never heard the word “maillot” before?  Here’s a quick history lesson:  In the 1920’s the term maillot was first used to describe a tight fitting, one-piece swimsuit.  In present day, the word has almost entirely been replaced by the term “one-piece” or “tanksuit,” but is now known in the designer’s world for specific styles that include higher cut leglines, and often plunging necklines or revealing cutouts.


**Want to learn more about how to measure yourself for this pattern?  We’ve got you covered with an in-depth blog HERE.  And in case you’re new to Patterns for Pirates and PDF patterns in general, we have a great blog full of new-user tips HERE to help you get started!  As with all of our current releases and updates, the pdfs now include our layers feature and can be found in Letter, A4 and A0 sizes.  And for even more helpful fun, we have a *free* printable that you can use to help record your measurements as you take them.

Let’s take a quick look at the different options!

HIGH AND LOW LEGLINES (ADULT VERSION ONLY)

HIGH NECKLINE / MID NECKLINE / LOW NECKLINE (ADULT VERSION ONLY)

HIGH BACK / MID BACK / LOW BACK

RUFFLE SKIRT (YOUTH VERSION ONLY)

Are you ready to get in on the Minute Maillot fun?  Go grab your pattern(s) now!

MINUTE MAILLOT | YOUTH MINUTE MAILLOT |MINUTE MAILLOT BUNDLE

Need more convincing?  Just take a look at this pattern on all of the amazing shapes and sizes of our testers, and get a look at more examples of all the options in our albums in the P4P Facebook group!  Minute Maillot Album | Youth Minute Maillot Album

And if that didn’t give you enough options, make sure to check out the hacks post to help take your patterns even further.

The release sale (no code needed) will be through Friday, May 17, 2019 (11:59PM US Central Time Zone).

Happy Sewing, pirates!

Filed Under: Pattern Release 1 Comment

Minute Maillot – Easy Hacks

May 11, 2019

Don’t let the name of the pattern fool you! While The Minute Maillot is a super quick sew, it is full of options. But you know us- we like to add more easy hacks that you can customize to your preference.

…..

Separates

Although I love the Minute Maillot as a one piece, I tend to wear a lot of two pieces in the summer and this pattern is so quick and easy to hack into a two piece!  Let’s jump right in!

Step 1 – Grab your both your front and back lining pieces.  All we need to do is add a bit of length to these pieces.  Add 1 1/4 inch to the bottom of each piece and then draw your side seam line down on a curve to match as shown here. You will do this on both your front and back piece.  NOTE: This is going to work best on the high back, the mid back will work but its going to leave you with a very thin back band.


Step 2: Cut out your pieces you will need one main and one lining of each the front and the back.  You will sew in your cups if using them just as instructed in the pattern but DO NOT sew on the underbust elastic! Assemble the top just as instructed in the pattern.

Step 3: Your top is now assembled and we just have to finish the bottom. Cut your 3/4 inch under bust elastic as stated in the chart and butt the edges together and zig zag in the round exactly like shown in the tutorial. .  Instead of attaching it to the lining only we are going to attach it in the same way as we did the neckline and arm elastic.  First we will quarter our elastic and suite and match them together.  The elastic will be on the lining side of the suite.  Baste your elastic to your suite making sure that the edge of your elastic matches the edge of both the lining and the main fabric.  I choose to serge my elastic on, you will need to slightly stretch the elastic to match your suite.  After you have it sewn in place you will flip it up to the lining side and top stitch in place, again just like all your other elastic in the suite you want to top stitch right on the edge of that elastic as close as you possibly can, this helps prevent the elastic from flipping out on you.


All done! Quick and easy and super cute! This would also work great in athletic fabric for a sports bra! I paired mine with the Hello Sailors bottoms but you could easily hack to make your own bottoms from this pattern as well!  You just need to figure out where you would like the top of your bottoms to hit and add 3/8th to that.  You would add 3/8 inch elastic to the top on the lining side and then top stitch in place!  You can also apply this same hack to the girls suit, just decide how long you would like your top you can make it as long or as short as you would like, add 1/2 inch to where you decided you would like it to finish and add 3/8 inch elastic to finish the bottom.  No measurements are provided for this but I would do an inch less then the finished measurement so you can stretch that elastic just a little bit.

…..

Low back strap

My favorite back option of the Minute Maillot is for sure the low one! I also feel like it gives me the opportunity to get even more creative. Let me show you how quick and easy it is to add a strap to the back.

Start by making the swimsuit’s low back option, any front option or leg you prefer. We will add the strap once the suit in completed. Place a quilting ruler at the bottom arm opening and measure the opening of the back at that level. In my case (1x) it is 9 inches.

Cut your back strap 6″ wide by the back opening you measured earlier. In my case I used a swim piece that was 6″x9″. This is a step you can customize to your liking. If you’d like a thinner strap you can certainly cut the fabric shorter than 6″. Fold the strap right side together lengthwise, sew along the top with a 1/4 or 1/2″ seam allowance (depending on your preference). Turn the strap inside out.


Bring back your swimsuit, back side up, and mark the point on the opening that matches the bottom arm opening.

Pin your strap in place making sure that the top of the strap matches the mark you just made on both sides of the back opening.


Sew the strap in place using a zig zag stitch, stretch stitches or your coverstitch. That’s all!

Tips: Using the same technique you can make the back with two or three thinner straps, two long ones  tied in a bow, two thinner ones crossed like an X….endless possibilities!


…..

Ruffles at the legs

Looking for one of the fastest way to make most little girls happy- add ruffles! For this hack, you will first need to cut and assemble your pattern according to the tutorial, stopping at the step which attaches the crotch seam. Once assembled, you will want to measure the width that you would like your ruffles to be. I choose to measure from the side seam to approximately the leg curve, giving me a 3″ area to add the ruffle to the front, as well as another 3″ to the back.

You will now cut the rectangles needed for the ruffles.  You will need a total of 6 rectangles, 3 for each side. To determine the total length needed, I took my 6″ I measured above and multiplied by 1.5. If you’d like a more full ruffle, you could multiply this width by 2. For the height, I cut each ruffle to 2″. My final ruffle measurements were 9″x 2″. After you’ve cut your rectangles, you will want to sew your gather stitches (the longest straight stitch on your machine). I like to sew two rows of stitches to help create more even gathers.

Beginning with your bottom ruffle, match the center of the ruffle with the side seam, then pin in place 3″ from the side seam on both the front and back bodice pieces. Pull your gather strings and adjust as needed.

Attach the ruffle using a narrow zigzag stitch. You may now remove the basting stitches.

Repeat these steps with both the middle and top layer, placing it 1″ above the previous layer.

After attaching the ruffles, finish sewing the crotch seam as directed in the tutorial and then finish by adding the elastic! Lastly, show it to that little cutie and see her face light up when she sees the added flair to her suit!


~Erinn


…..

Maternity


Hi Lovelies,

Today we are going to discuss how to hack the new suit to be maternity friendly. You’re going to need the Maternity Layer Me Up add on pattern piece and your front piece of the swimsuit. Okay, let’s get started!
First, before cutting fabric we will need to modify the front pattern piece.  You’re going to take the front piece of the swimsuit and you’re going to measure one inch above the High Leg cut line. From there you will have two pieces to add your LMU in the middle.
You’re going to tape the top area of the LMU maternity add on where the red line is in the picture by the bust line curve.
Then, you’re going to tape the bottom piece of the swimsuit by the bottom notches on the LMU pattern piece. You will now blend the bottom of the belly area on the LMU to bottoms swimsuit piece.
Now, you’ll use your newly drafted maternity front piece to cut out the front of your swimsuit (and your swim lining if you’re fully lining the front of your swimsuit).
Next, you will be gathering the center belly section. Instead of using elastic to gather like in the LMU add on instructions I did the traditional two basting stitches and gathered by hand to match the back swimsuit pattern piece.  You will start gathering at the top notch under the bust and go until the very last notch on the belly.
From here on out you will continue with the Minute Maillot instructions as normal. Bam, you’re done with your beautiful new maternity swimsuit!

Amanda S


…..

How Low Can You Go Back

I love a dramatic low back! The low back option included is a bit lower then natural waistline.  I kept seeing gorgeous Pinterest photos of super low backs and had to try one!

I marked a line from the high cut legline horizontally across my back piece.  Then marked a vertical line just continuing the back low cutline vertically down until it met with the horizontal line I already marked.  Using a french curve I drew the curve (you can also cut out and use the curve from the low option if you don’t have a french curve handy).

I sewed up the suit exactly the same, just lengthening the back elastic to match the lower line. (I didn’t measure, I just applied it as I sewed only stretching where needed).

Ta-Da! A super dramatic low back that would be stunning on any beach or romantic get away… I’ll have to try to get invited to one of those one day to show mine off 😉


Judy

Filed Under: Frequently Asked Questions, Pattern Hacks, Pattern Release 1 Comment

Newest Patterns

  • Friendly City Sweater $12.00
  • Friendly City Sweater - Youth $10.00
  • Friendly City Sweater - Bundle $20.00
  • Red Carpet Dress $12.00
  • Gather 'round $12.00
  • Privacy Policy
  • Refund Policy
  • Affliliate Program
  • Contact Us
  • About

Copyright © 2023 Patterns for Pirates

Copyright © 2023 · Genesis Framework · WordPress · Log in