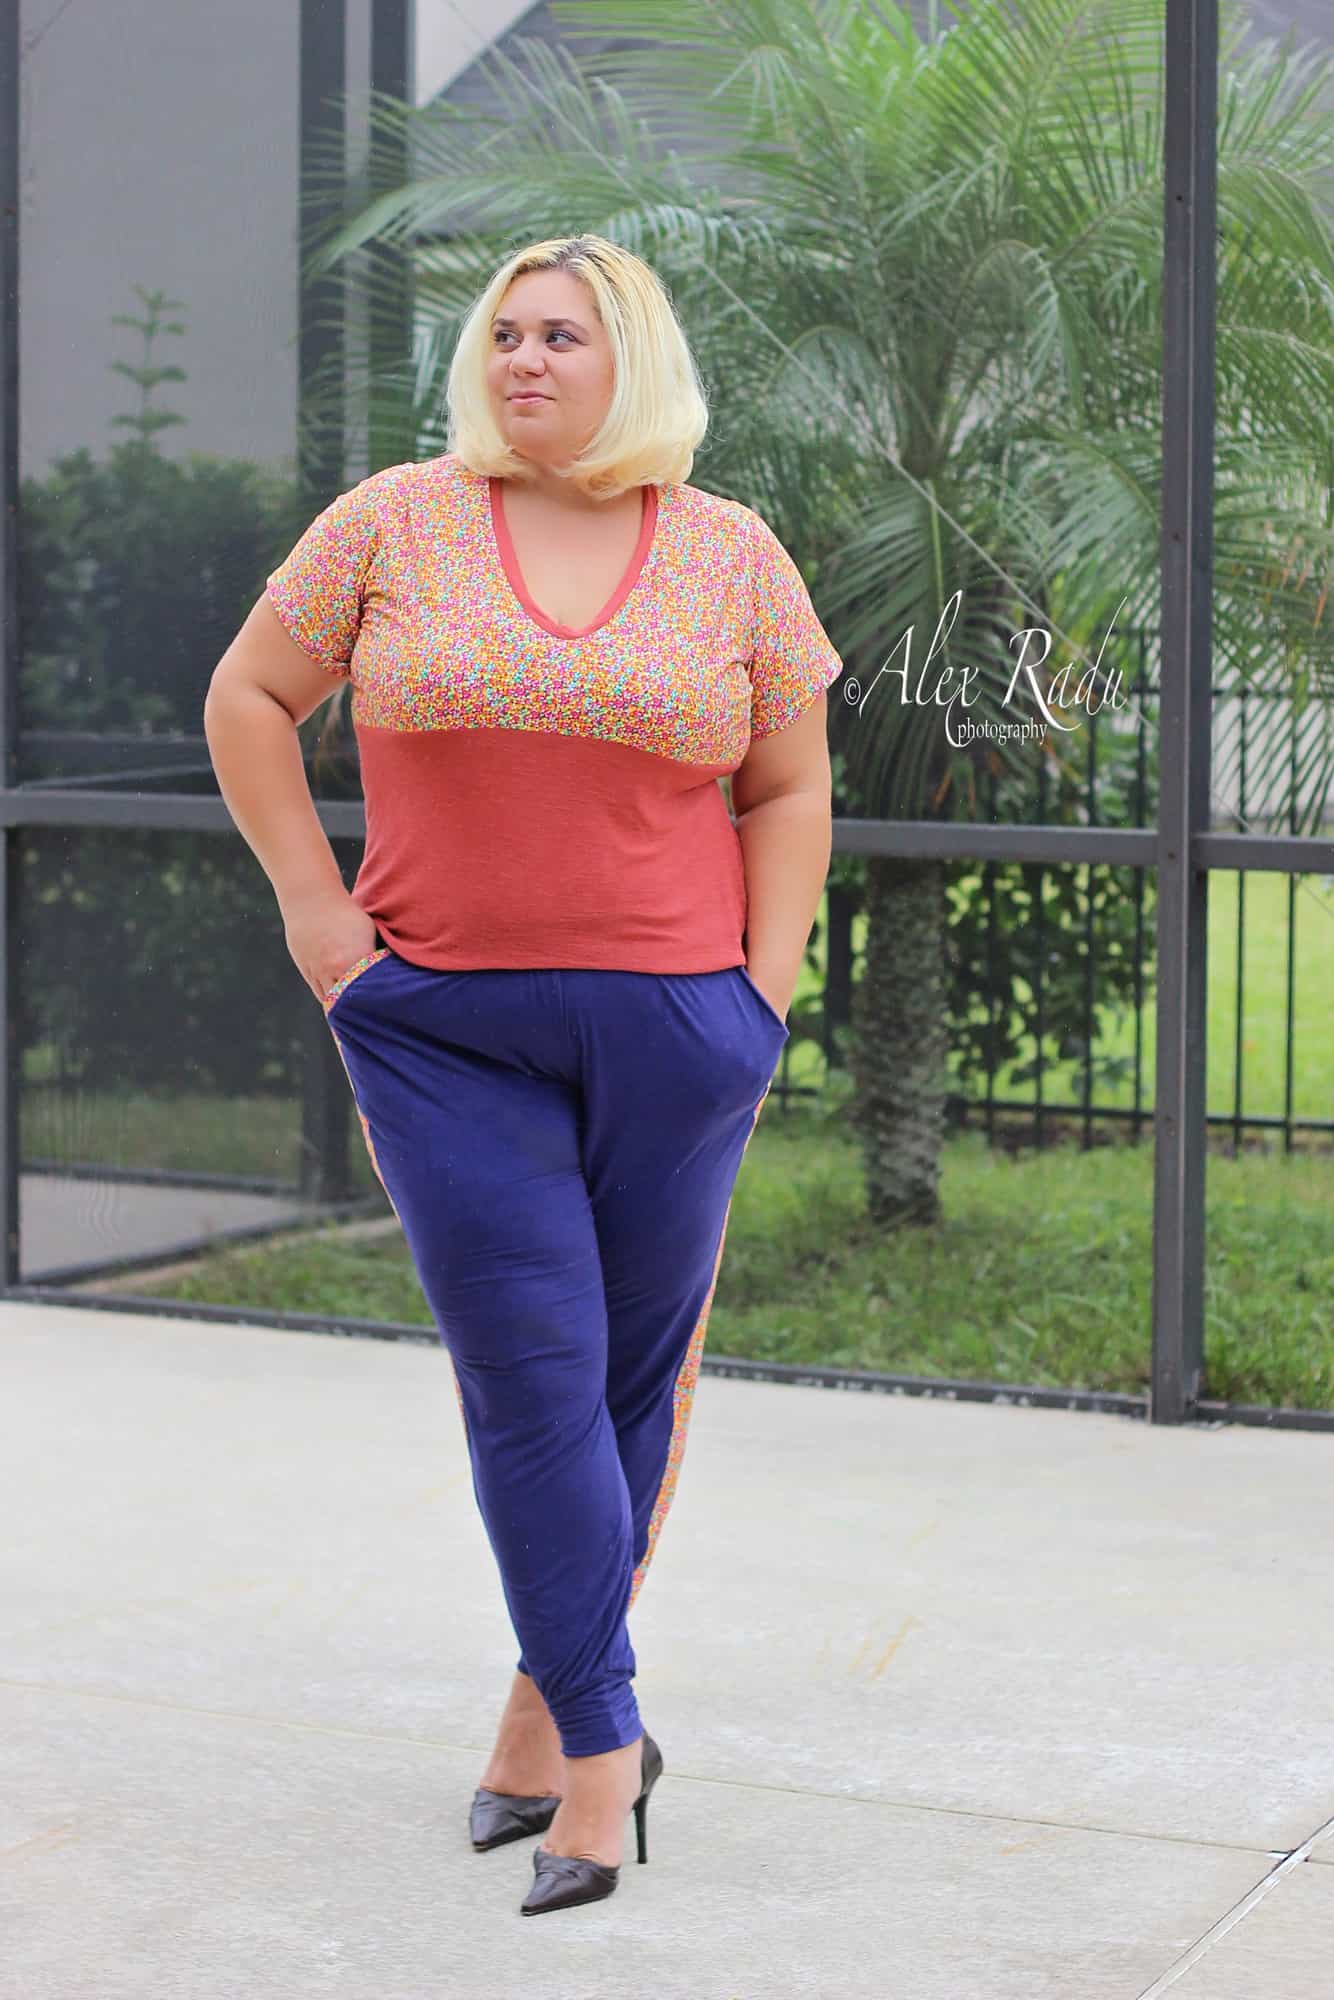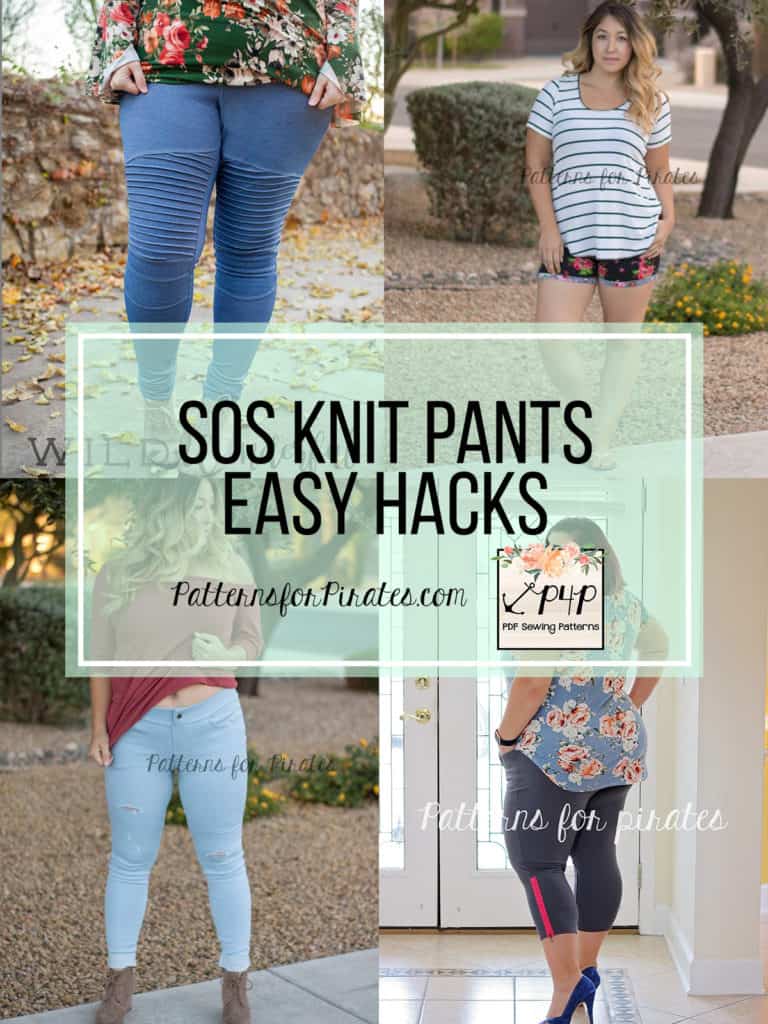
Not only did the SOS Knit Pants get a facelift but we also released the mini version and added a few easy hacks. Here are some of the P4P team’s favorite mods you can do to get even more looks.
…..
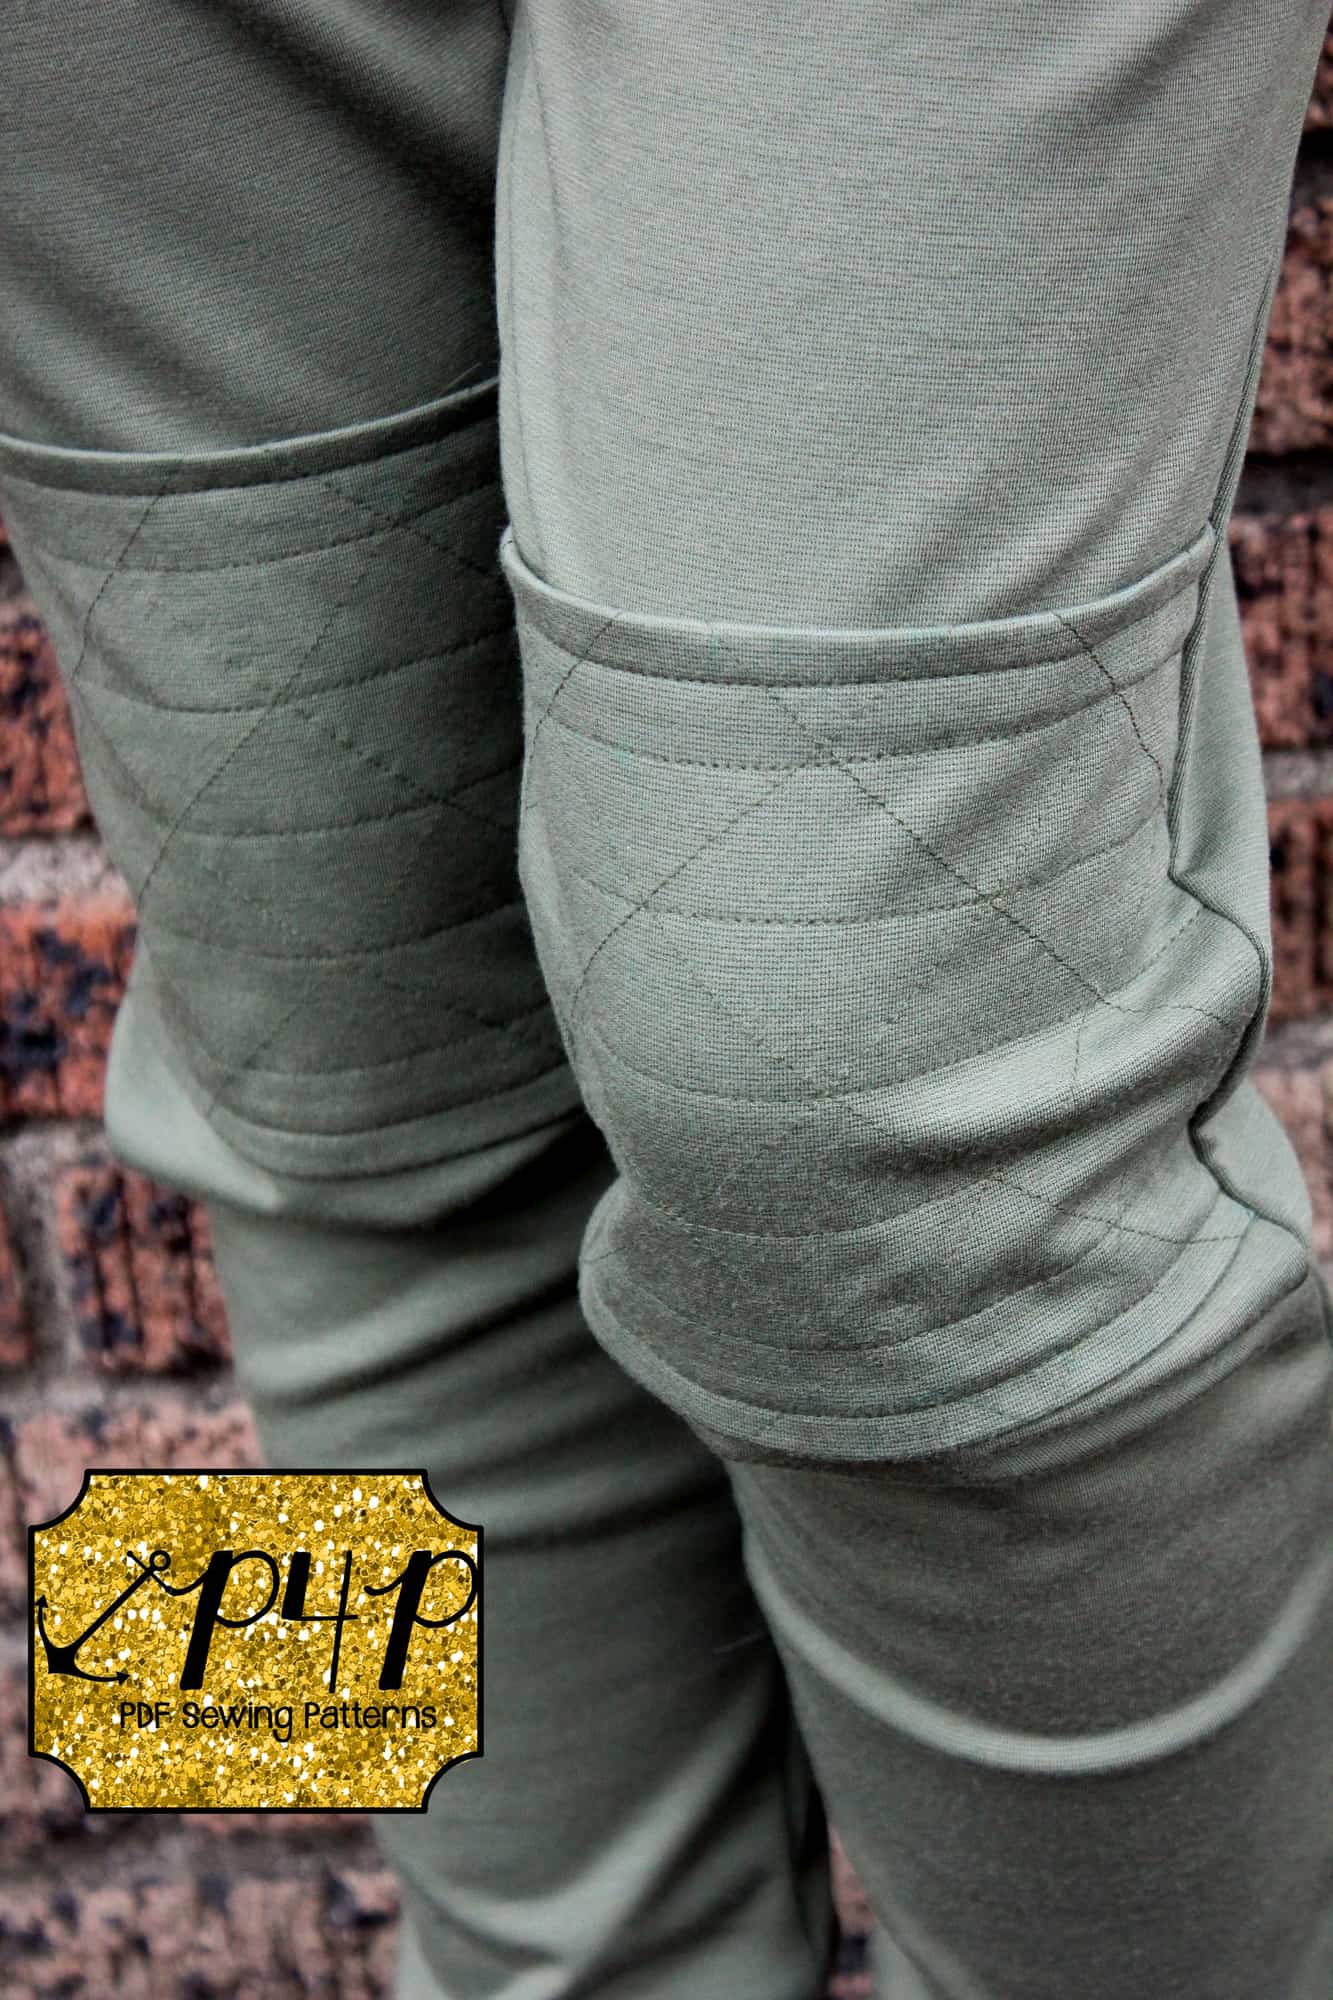
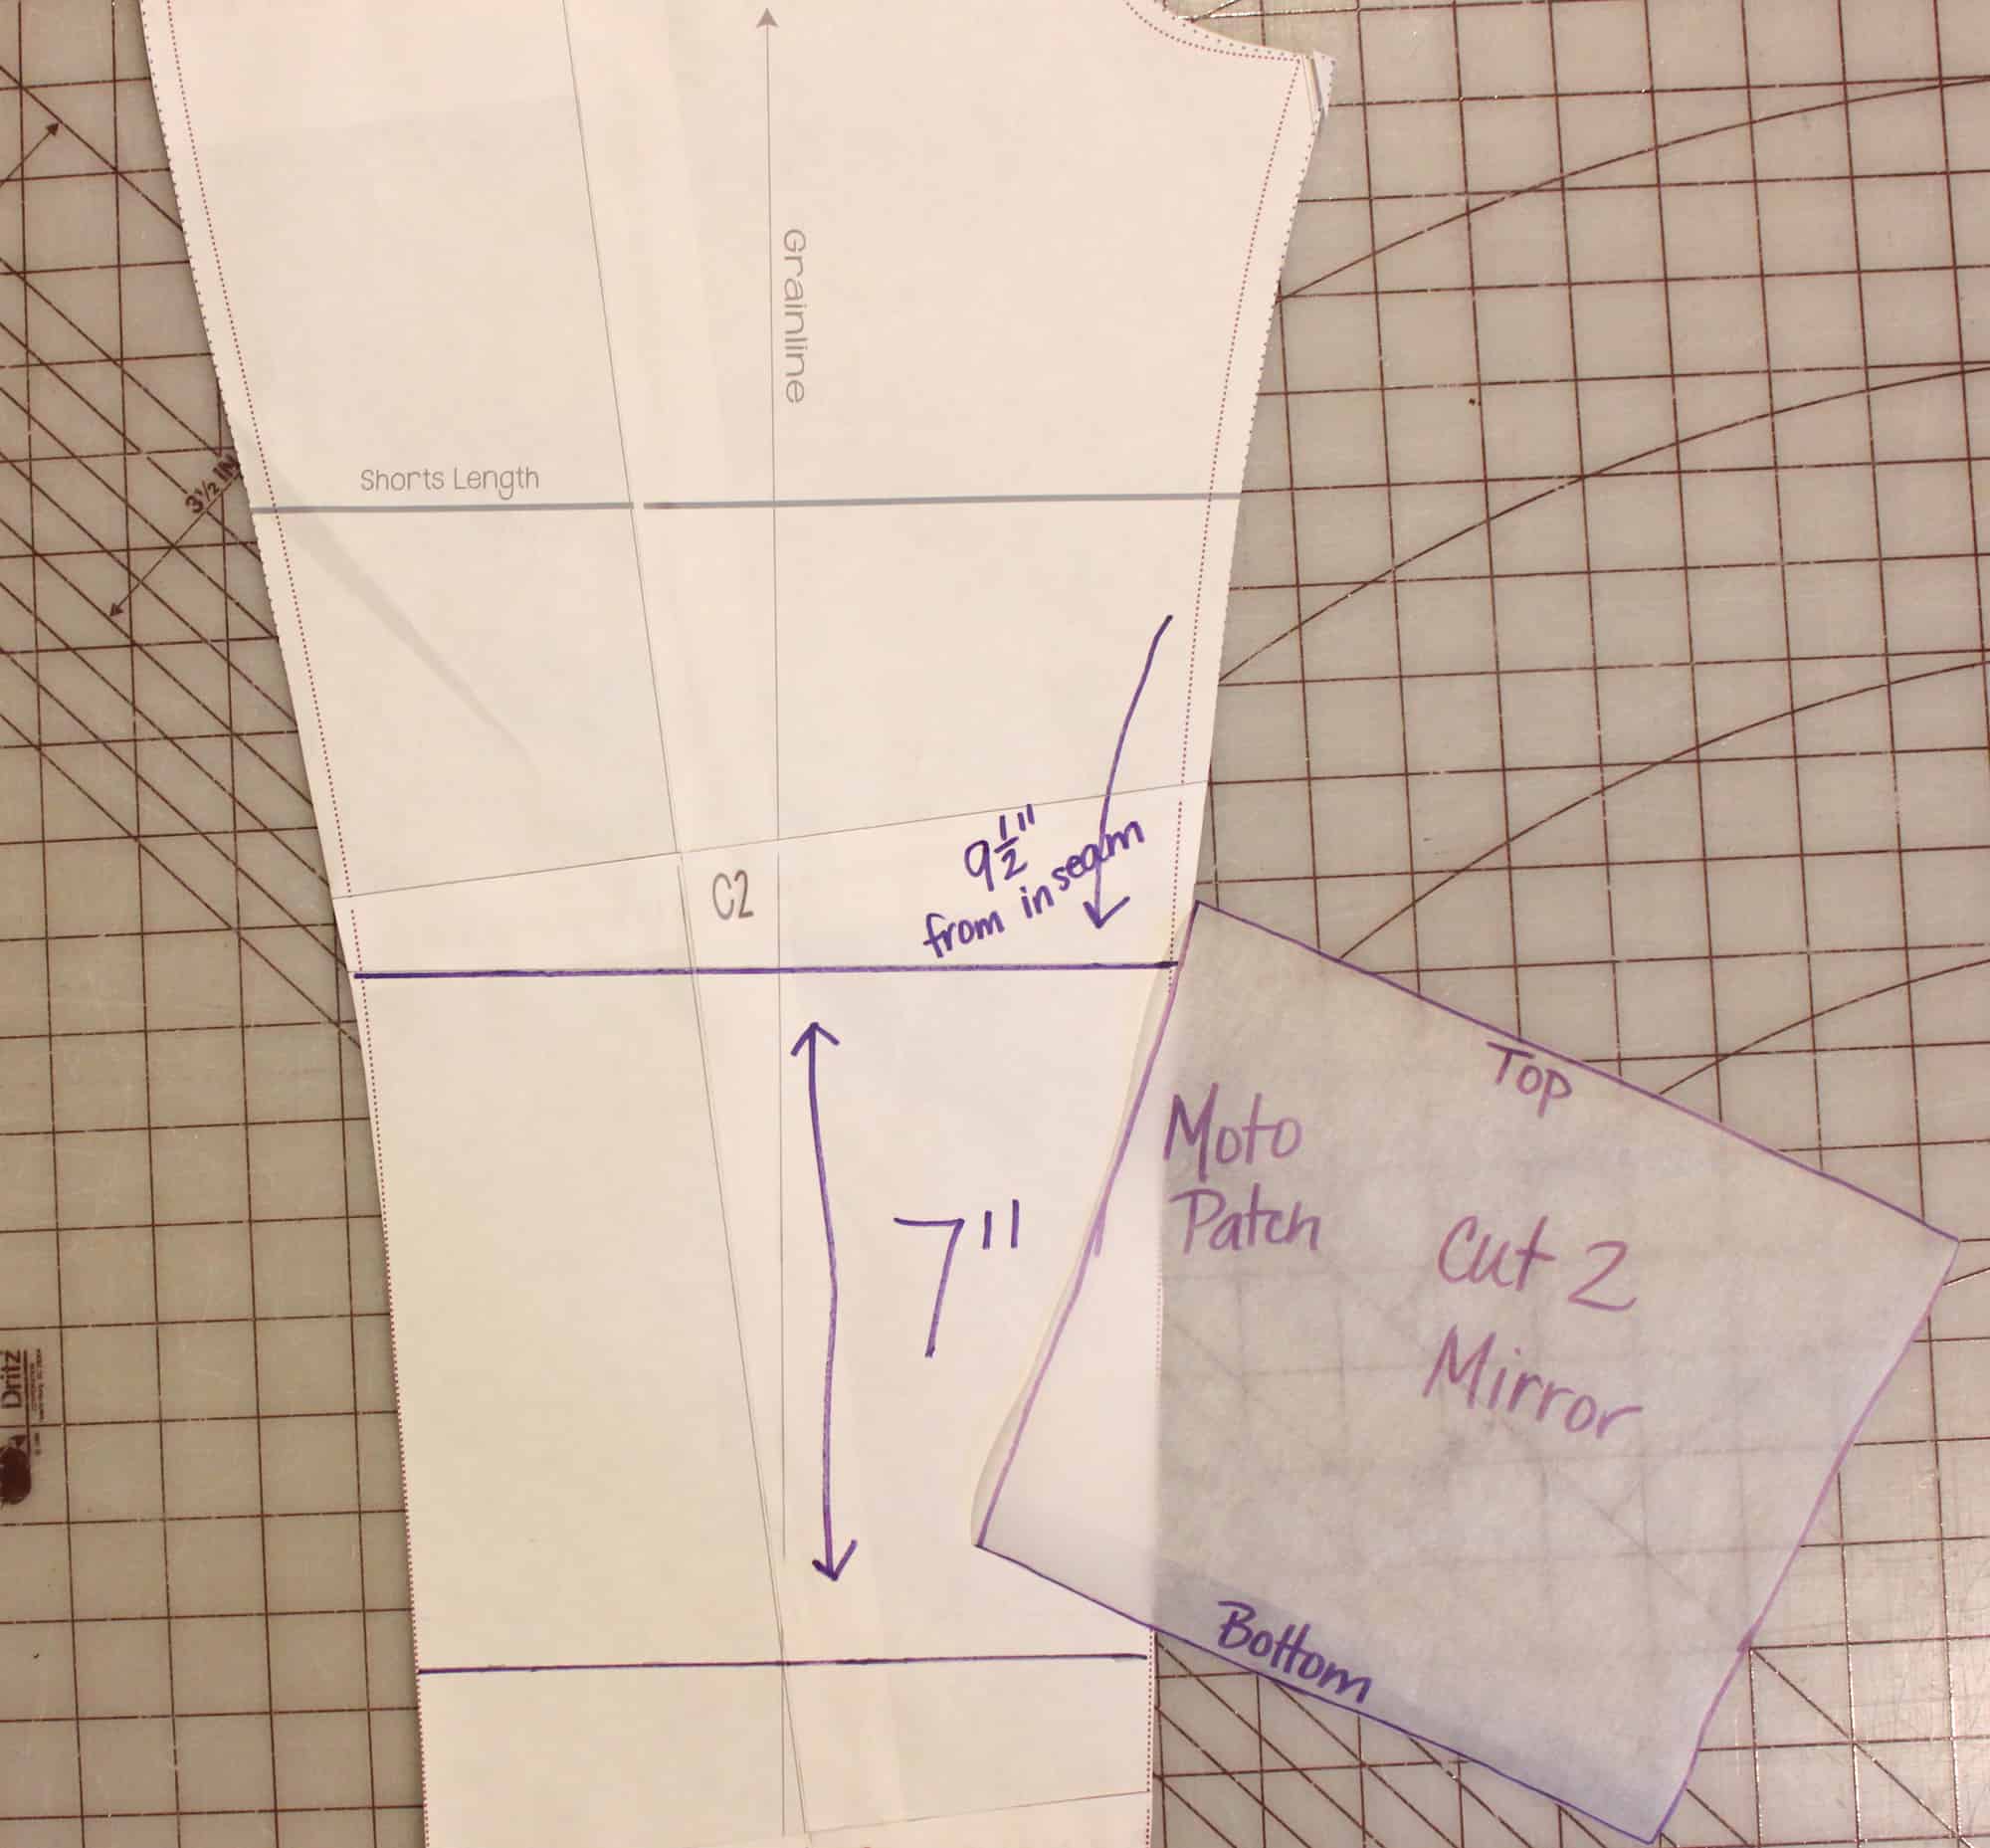
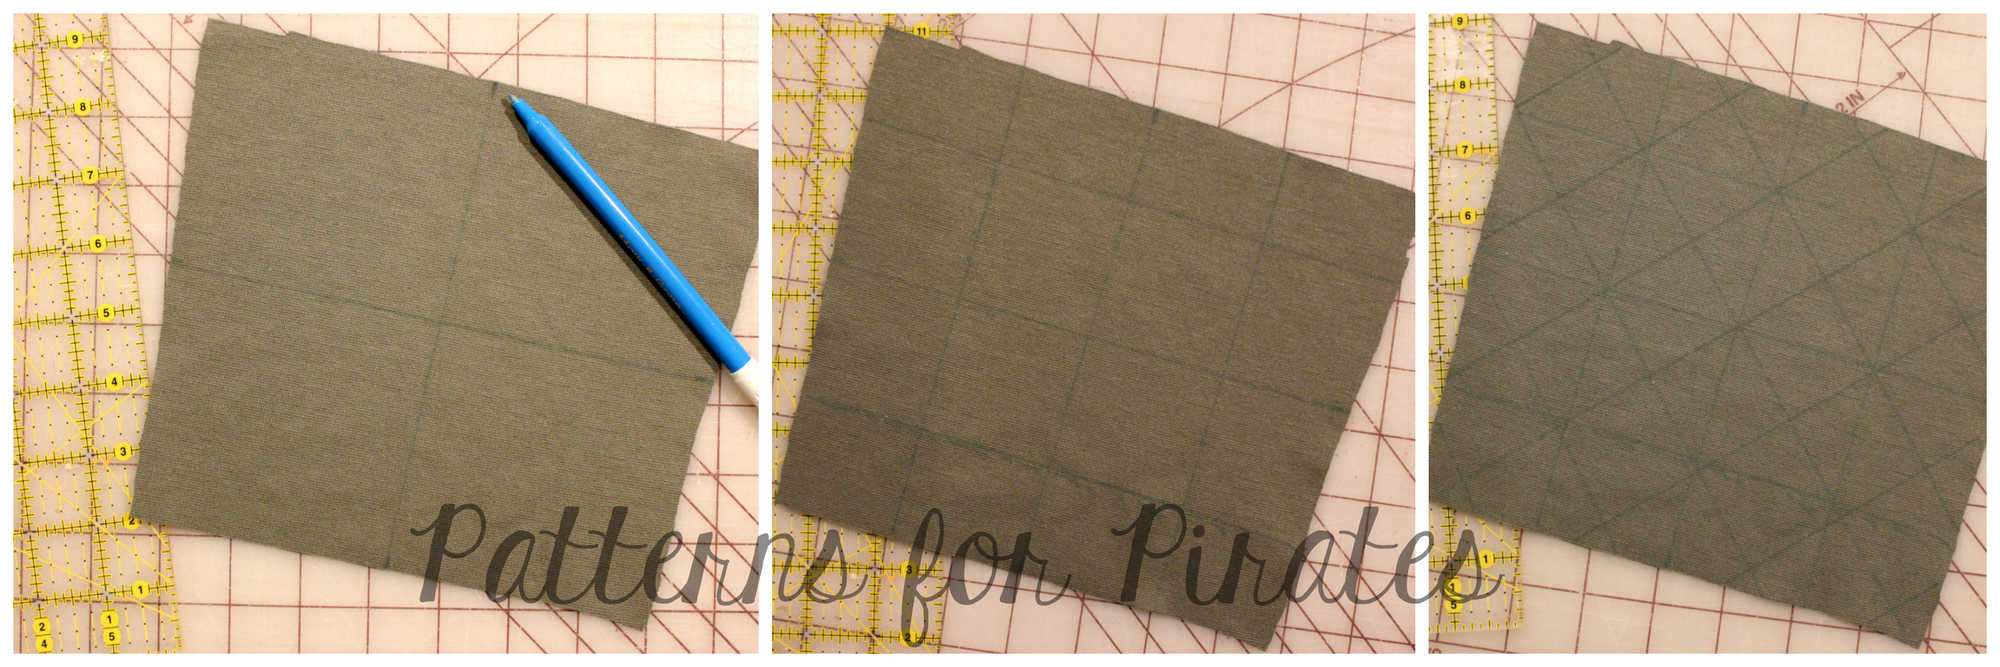
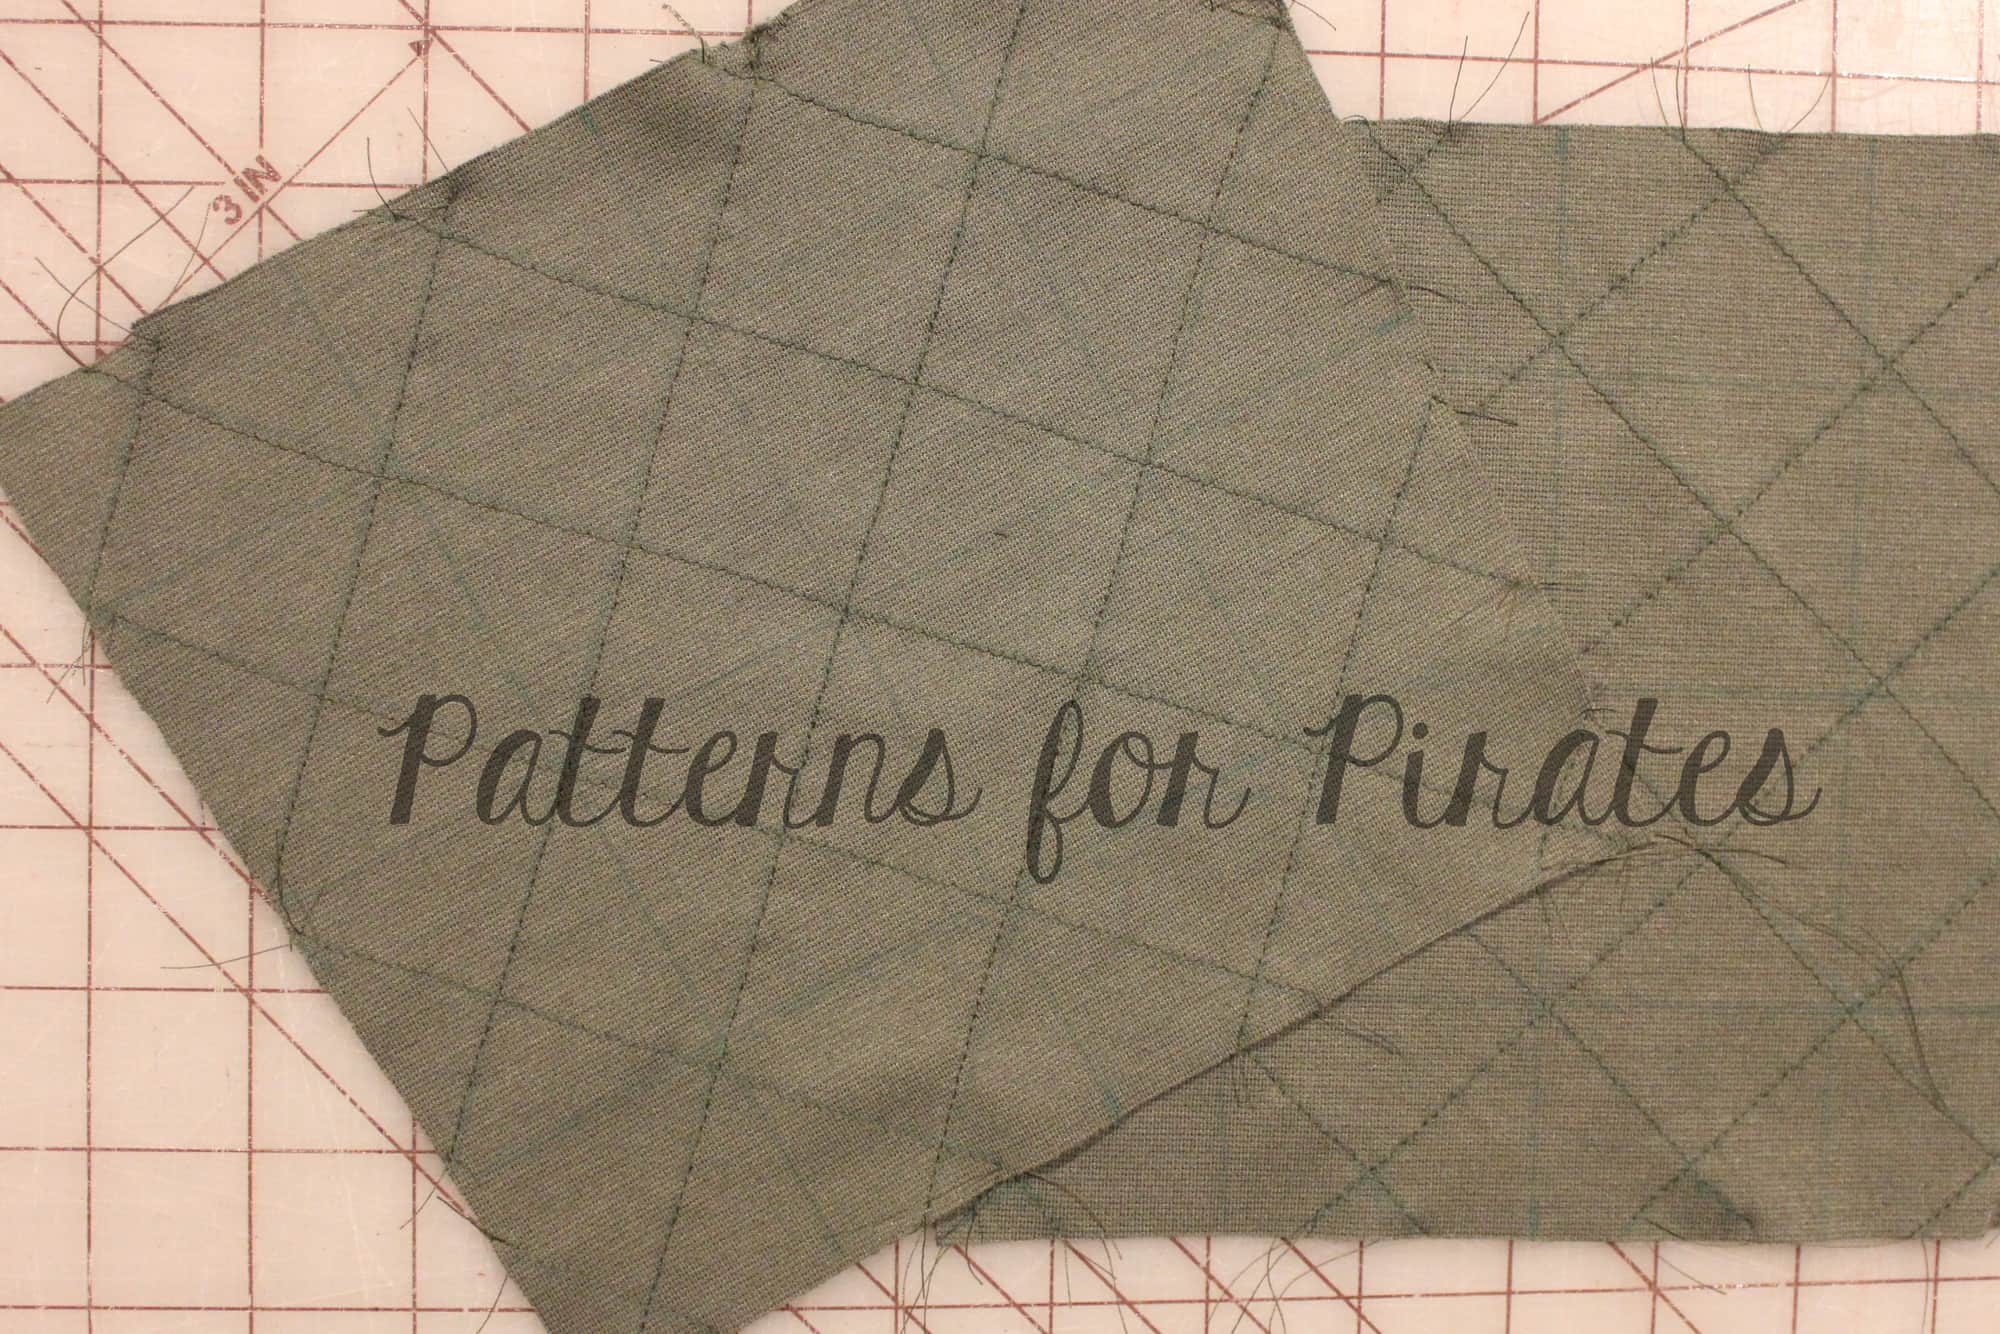
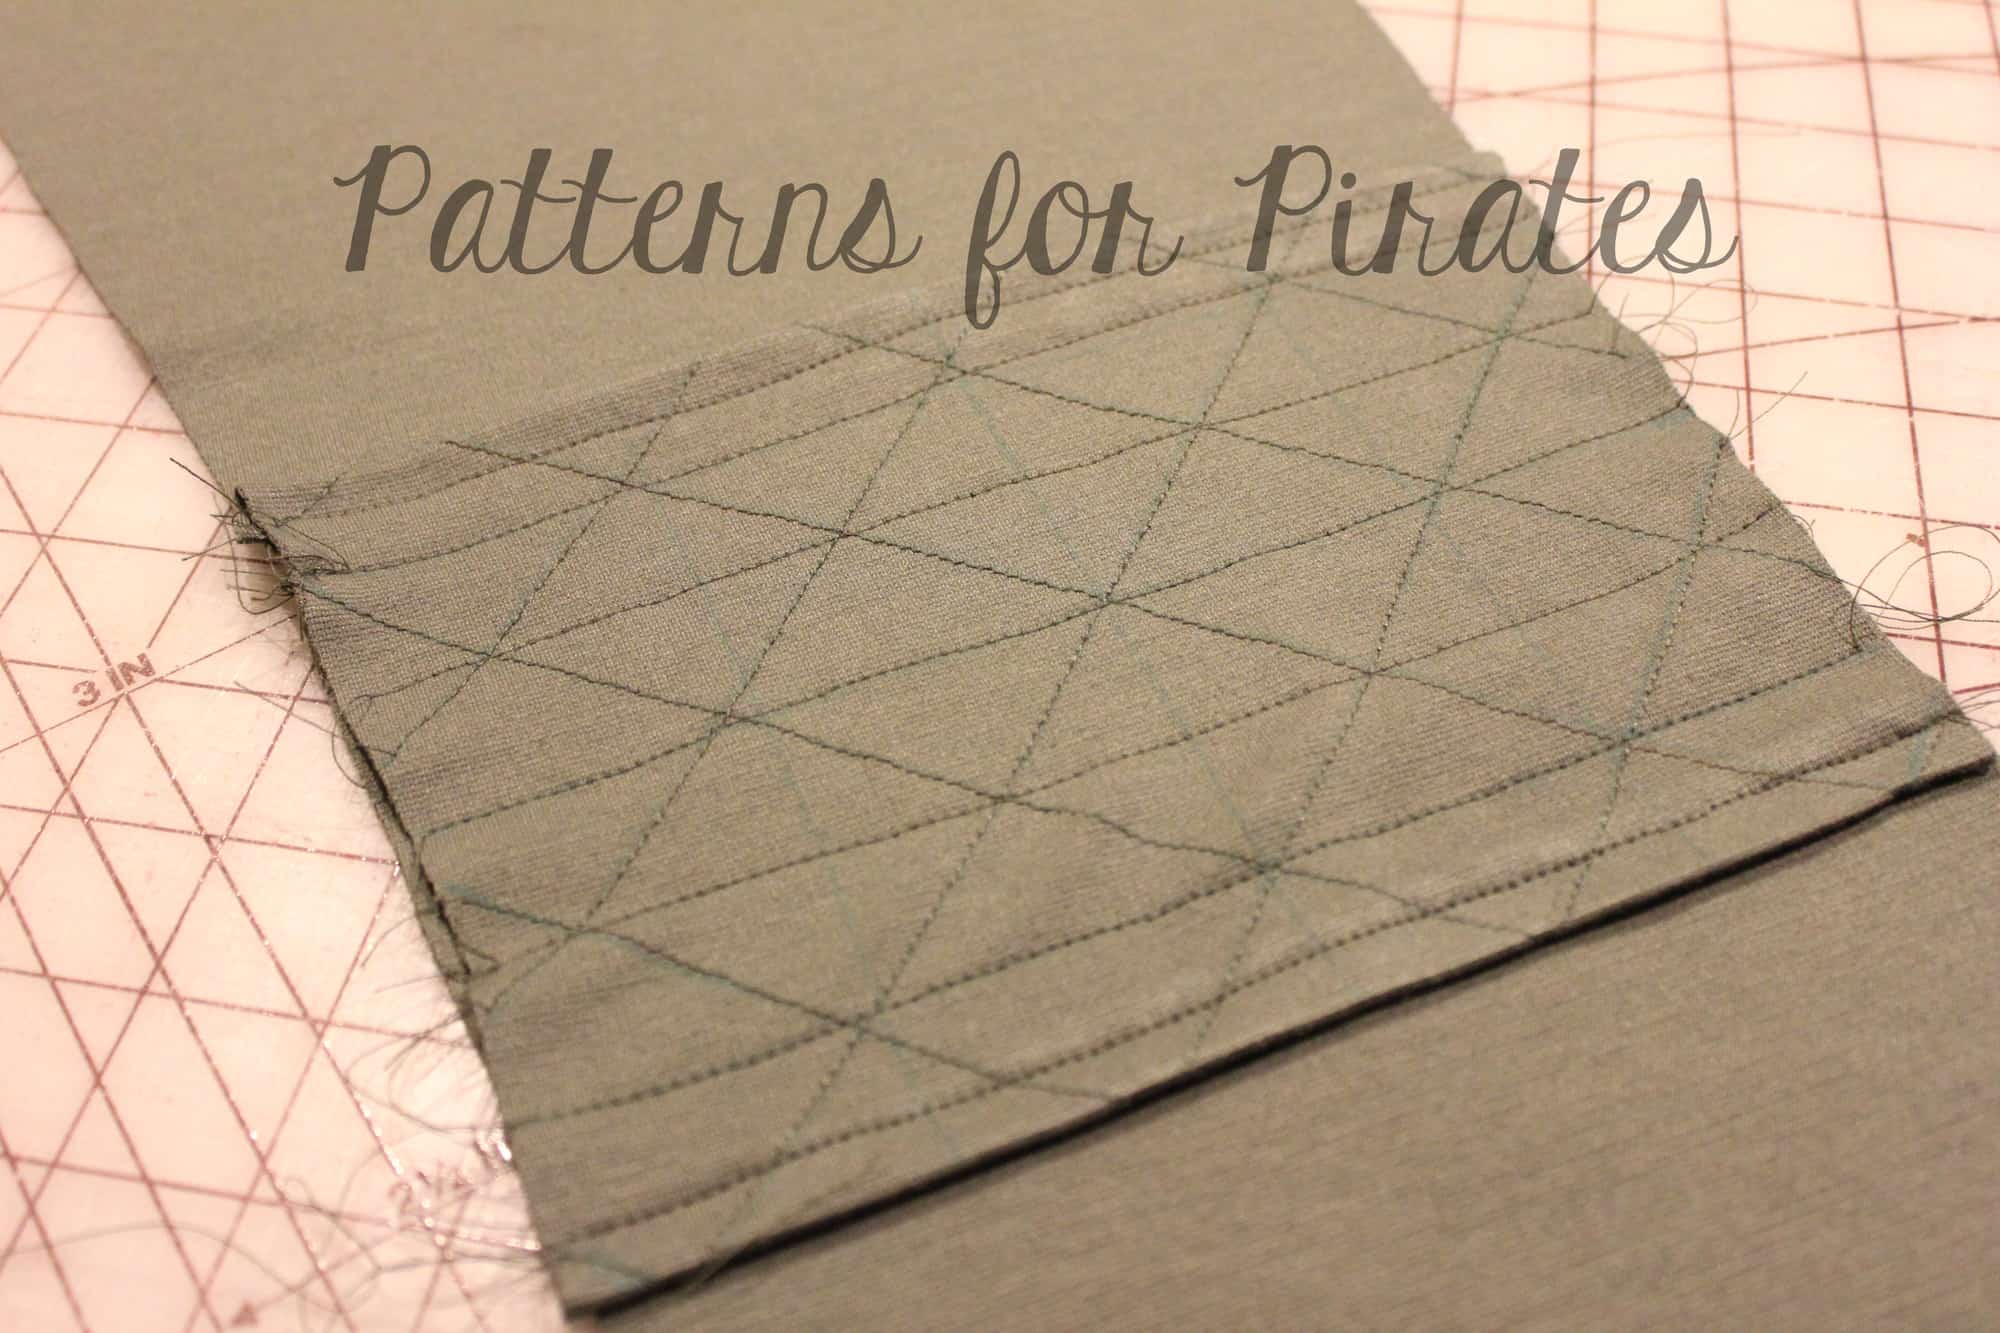
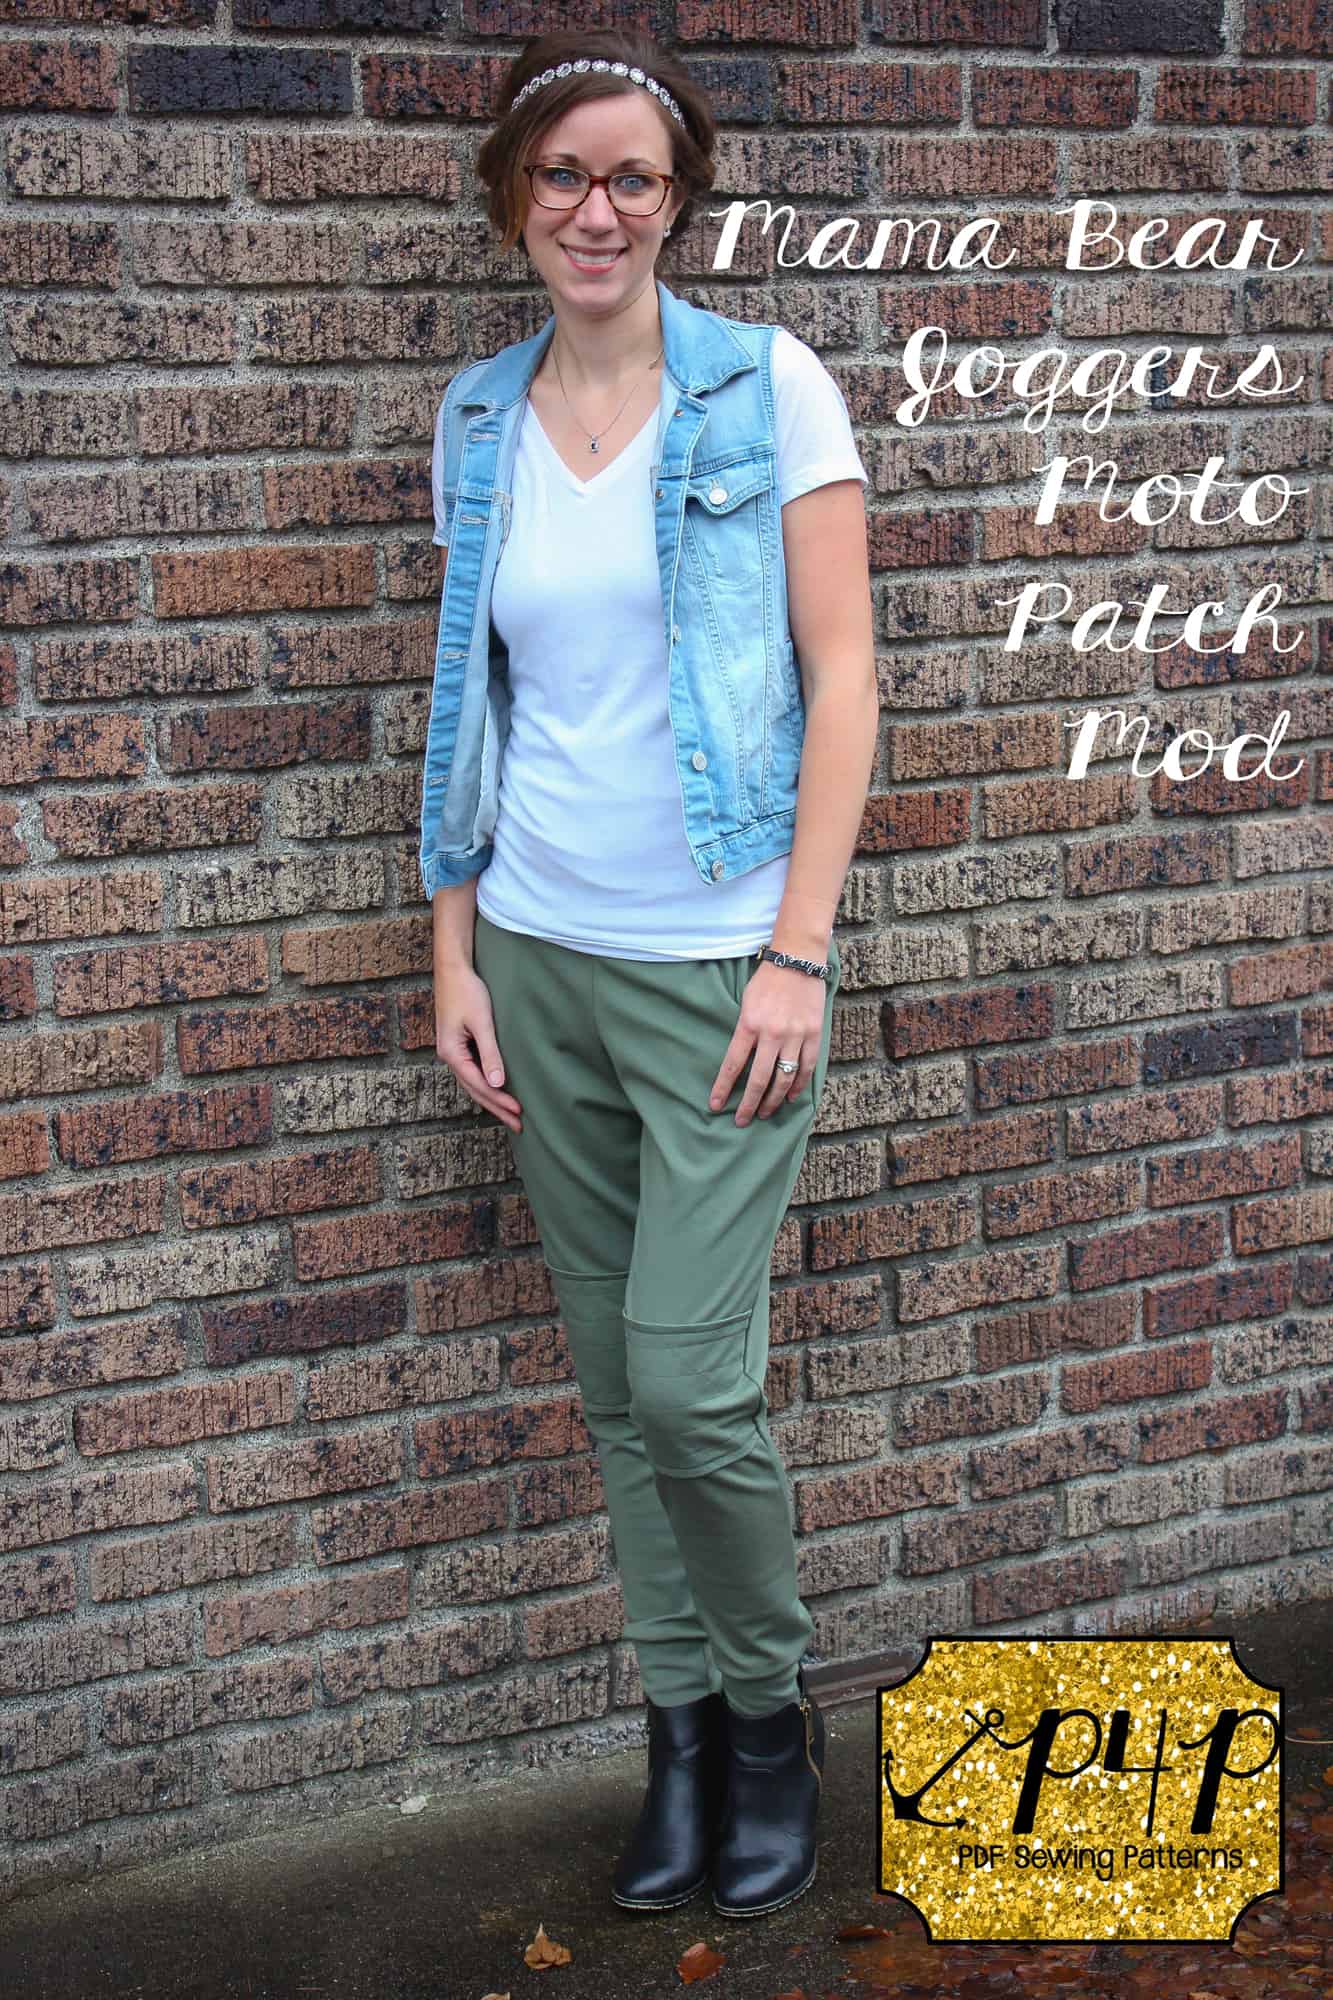
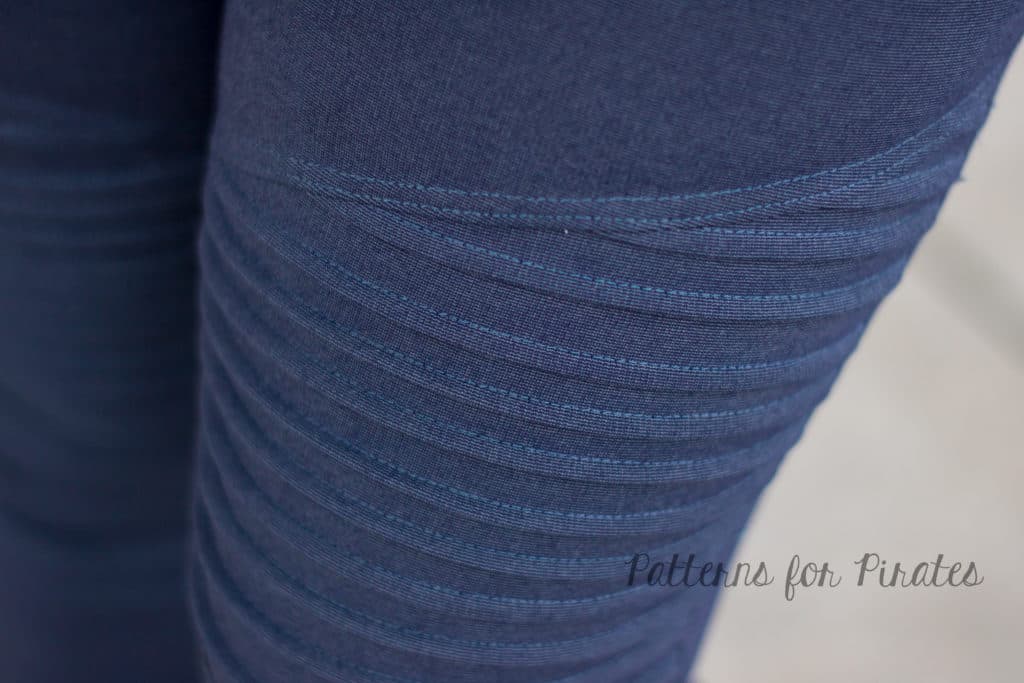
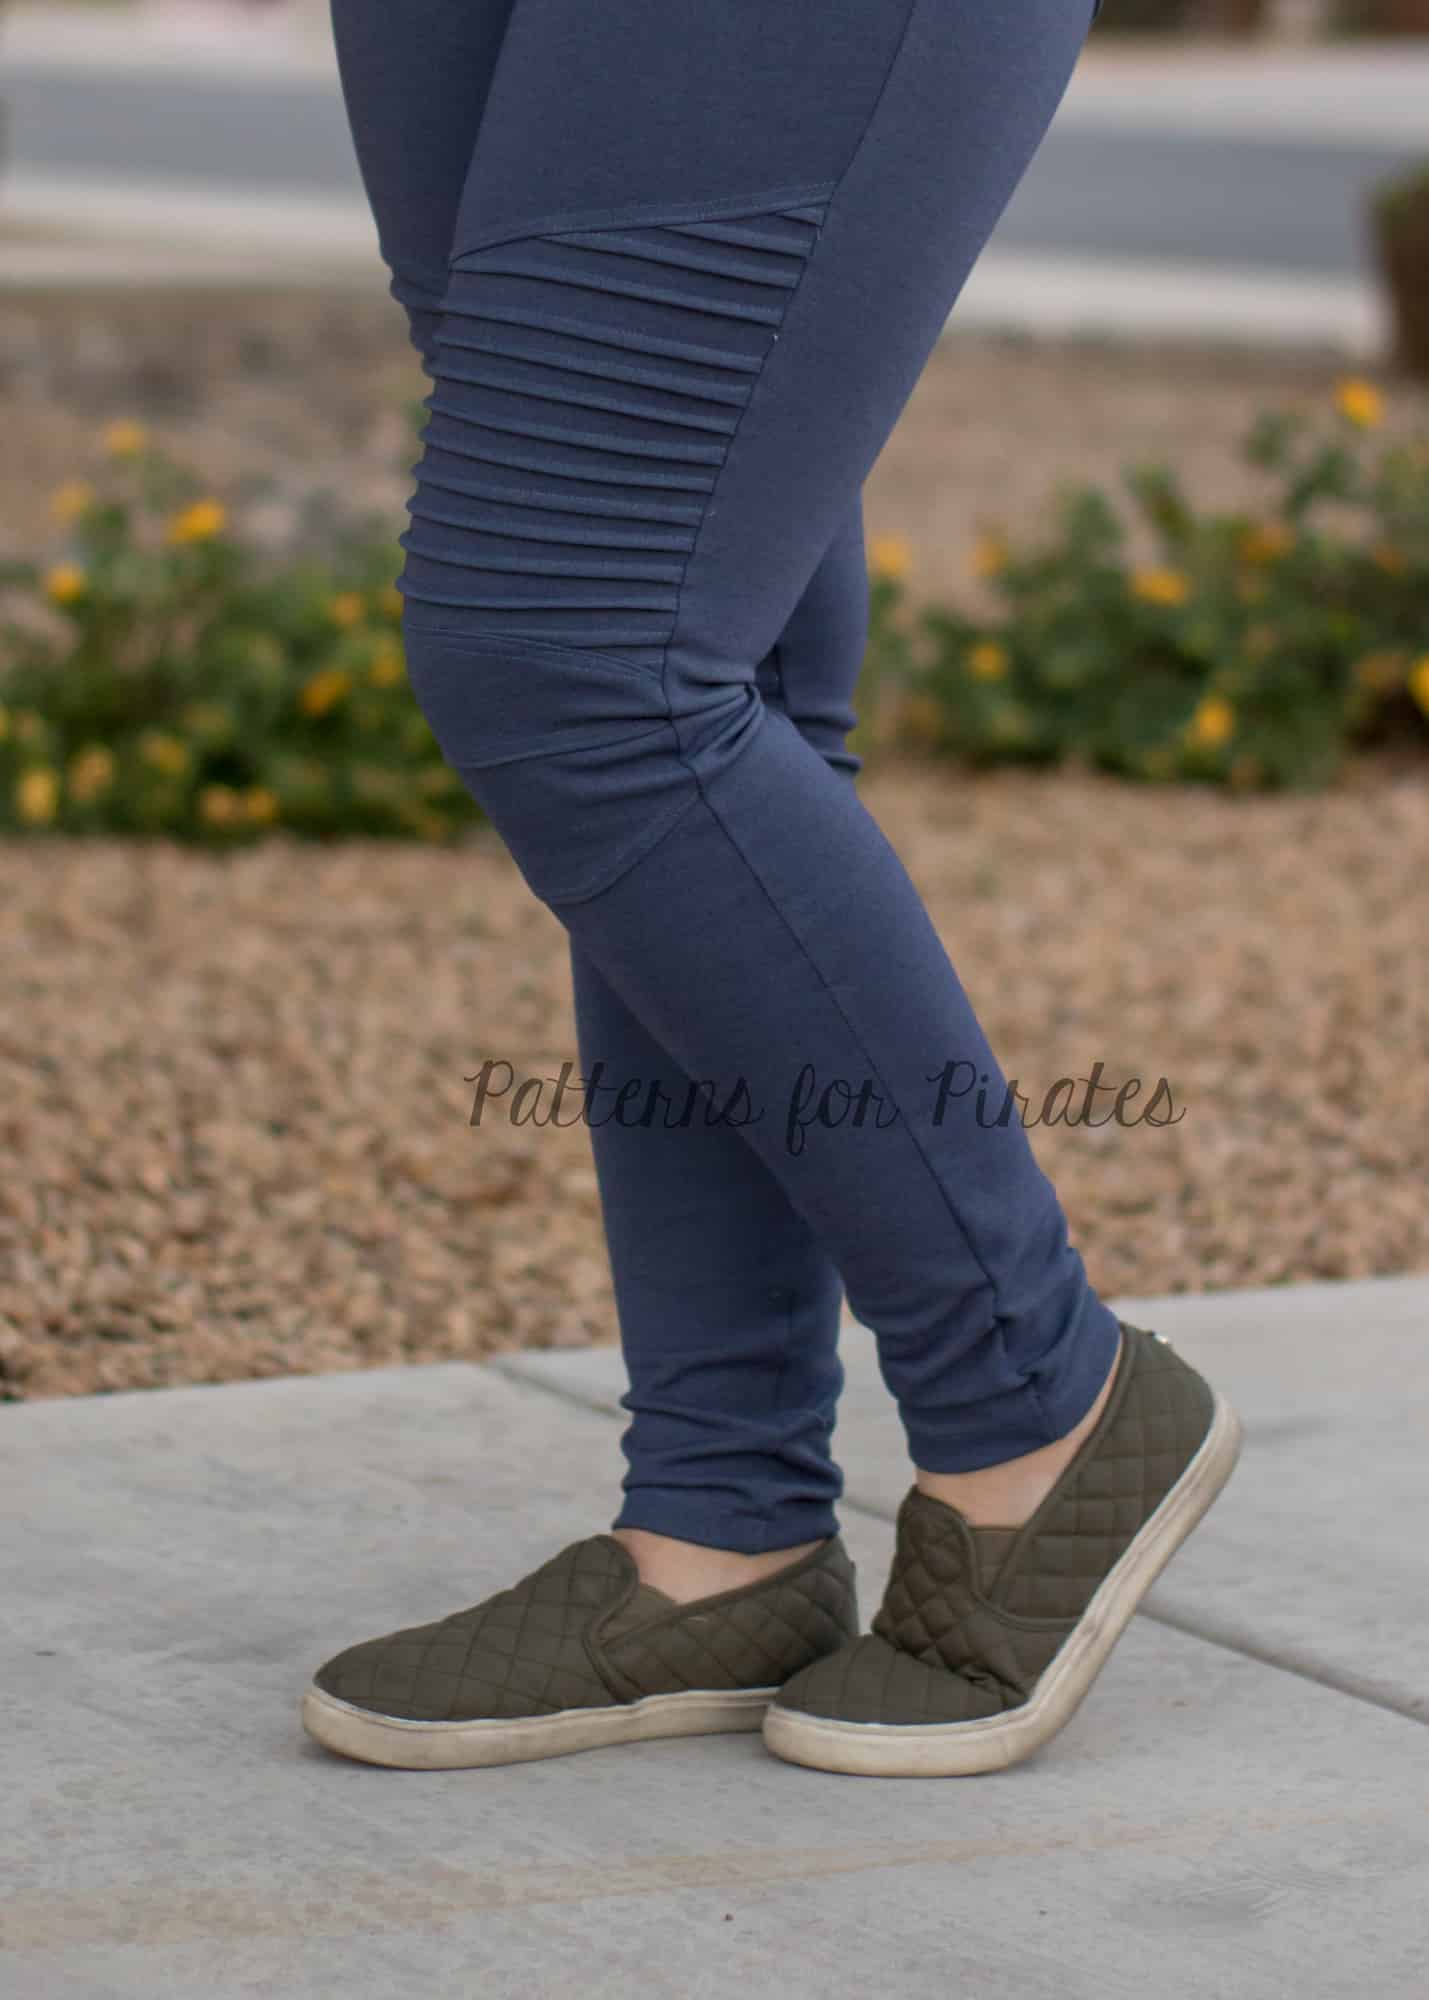
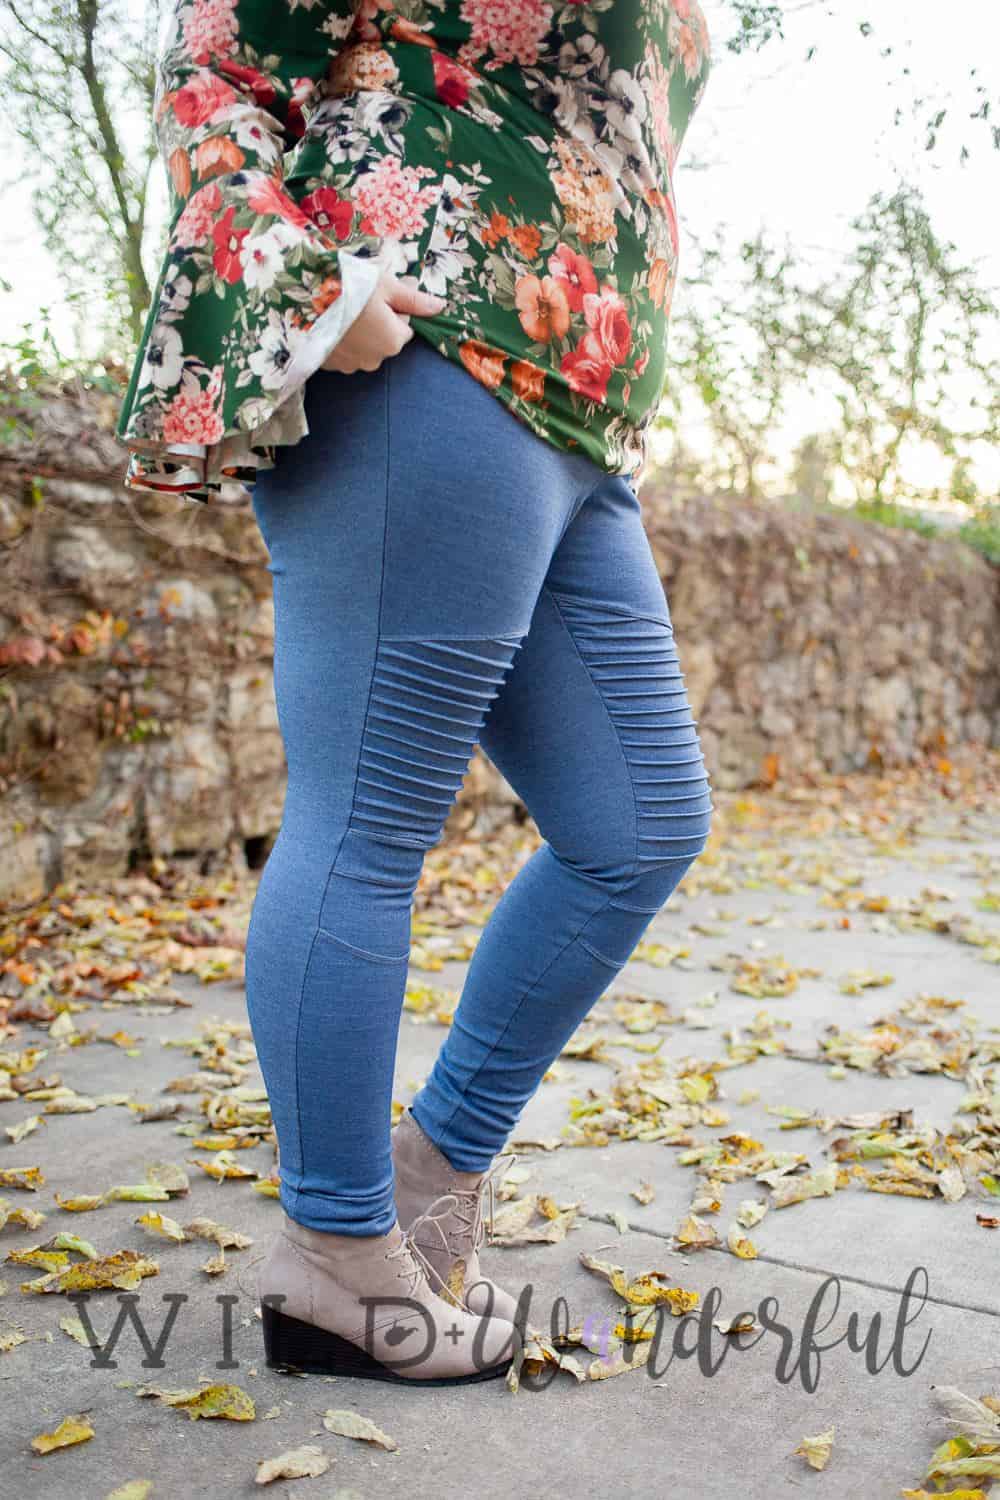
Moto Hack
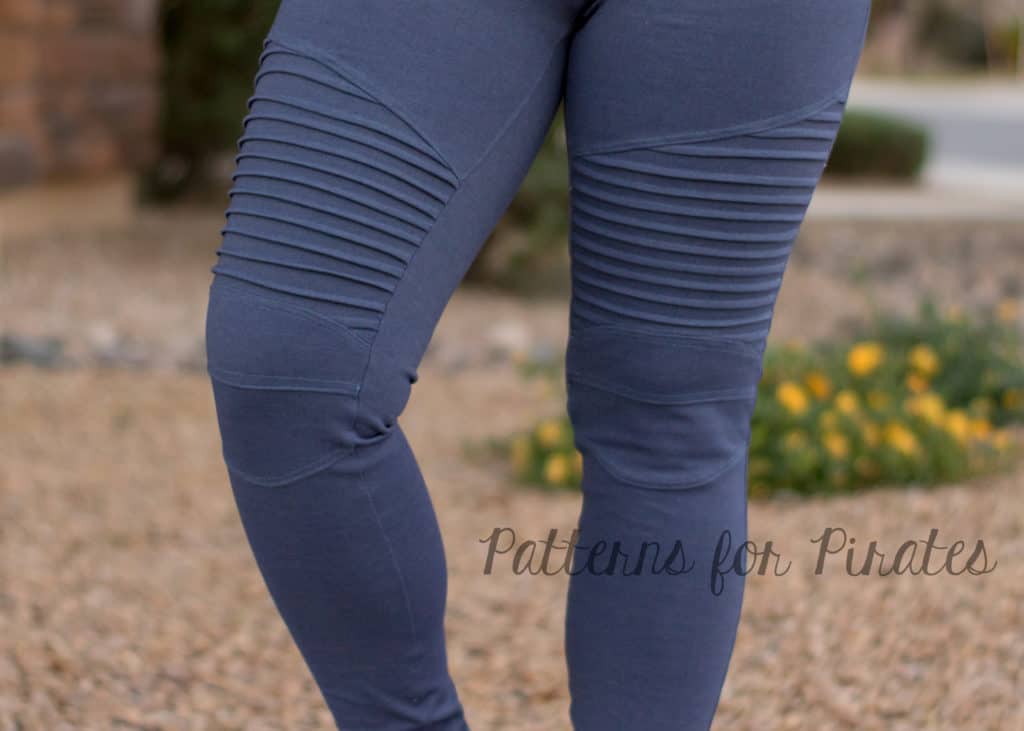
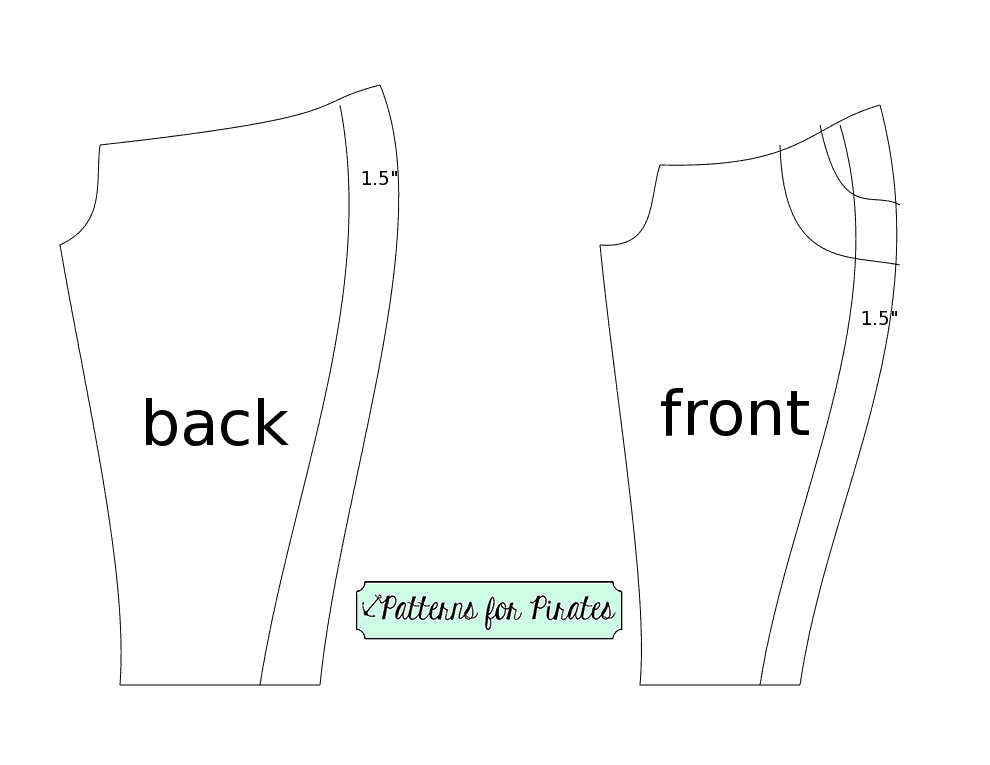
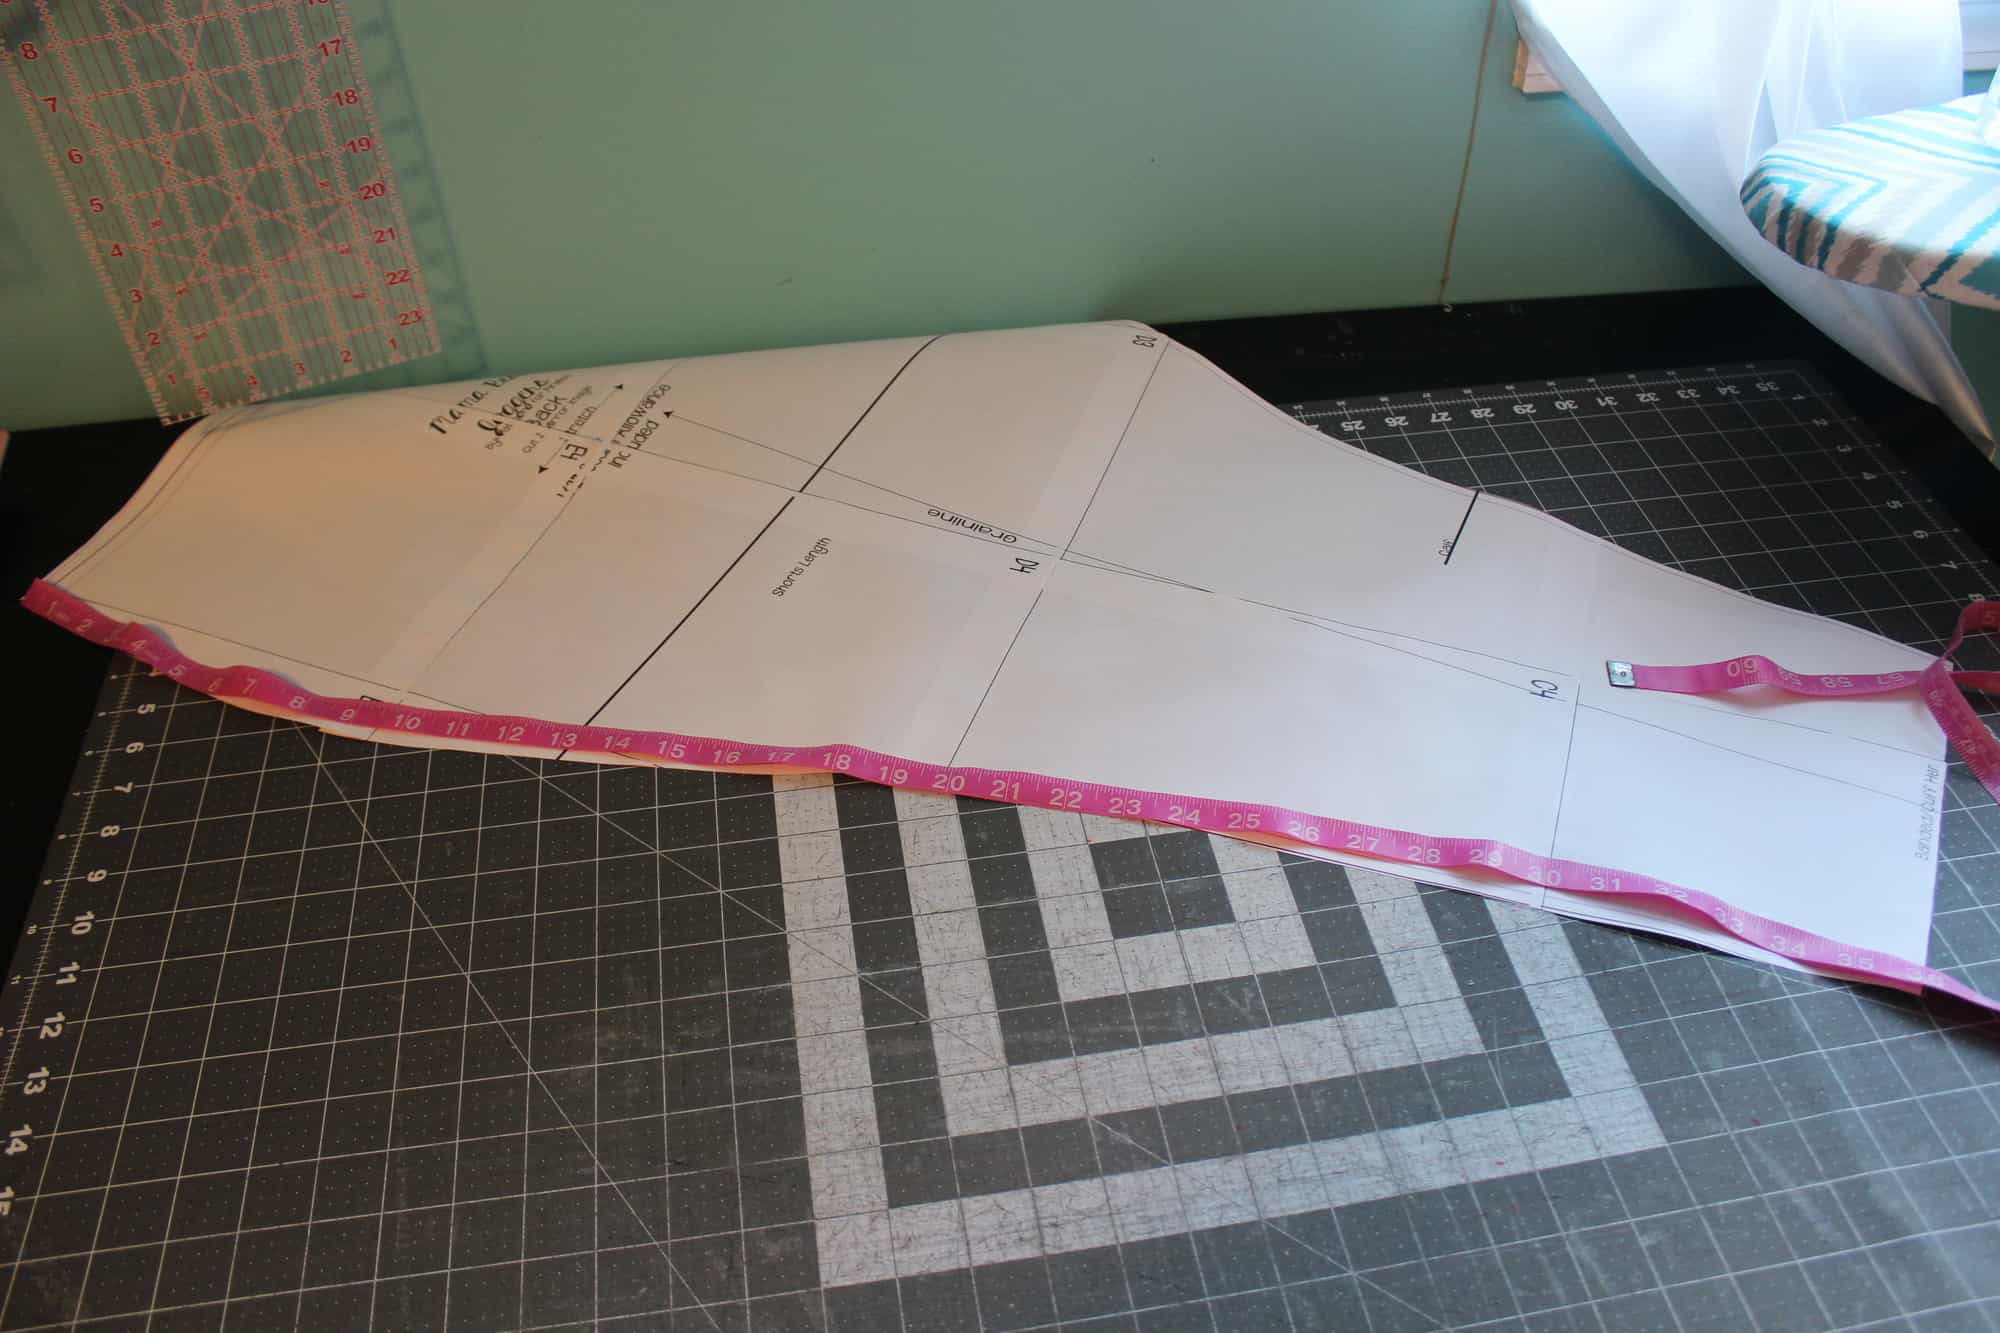
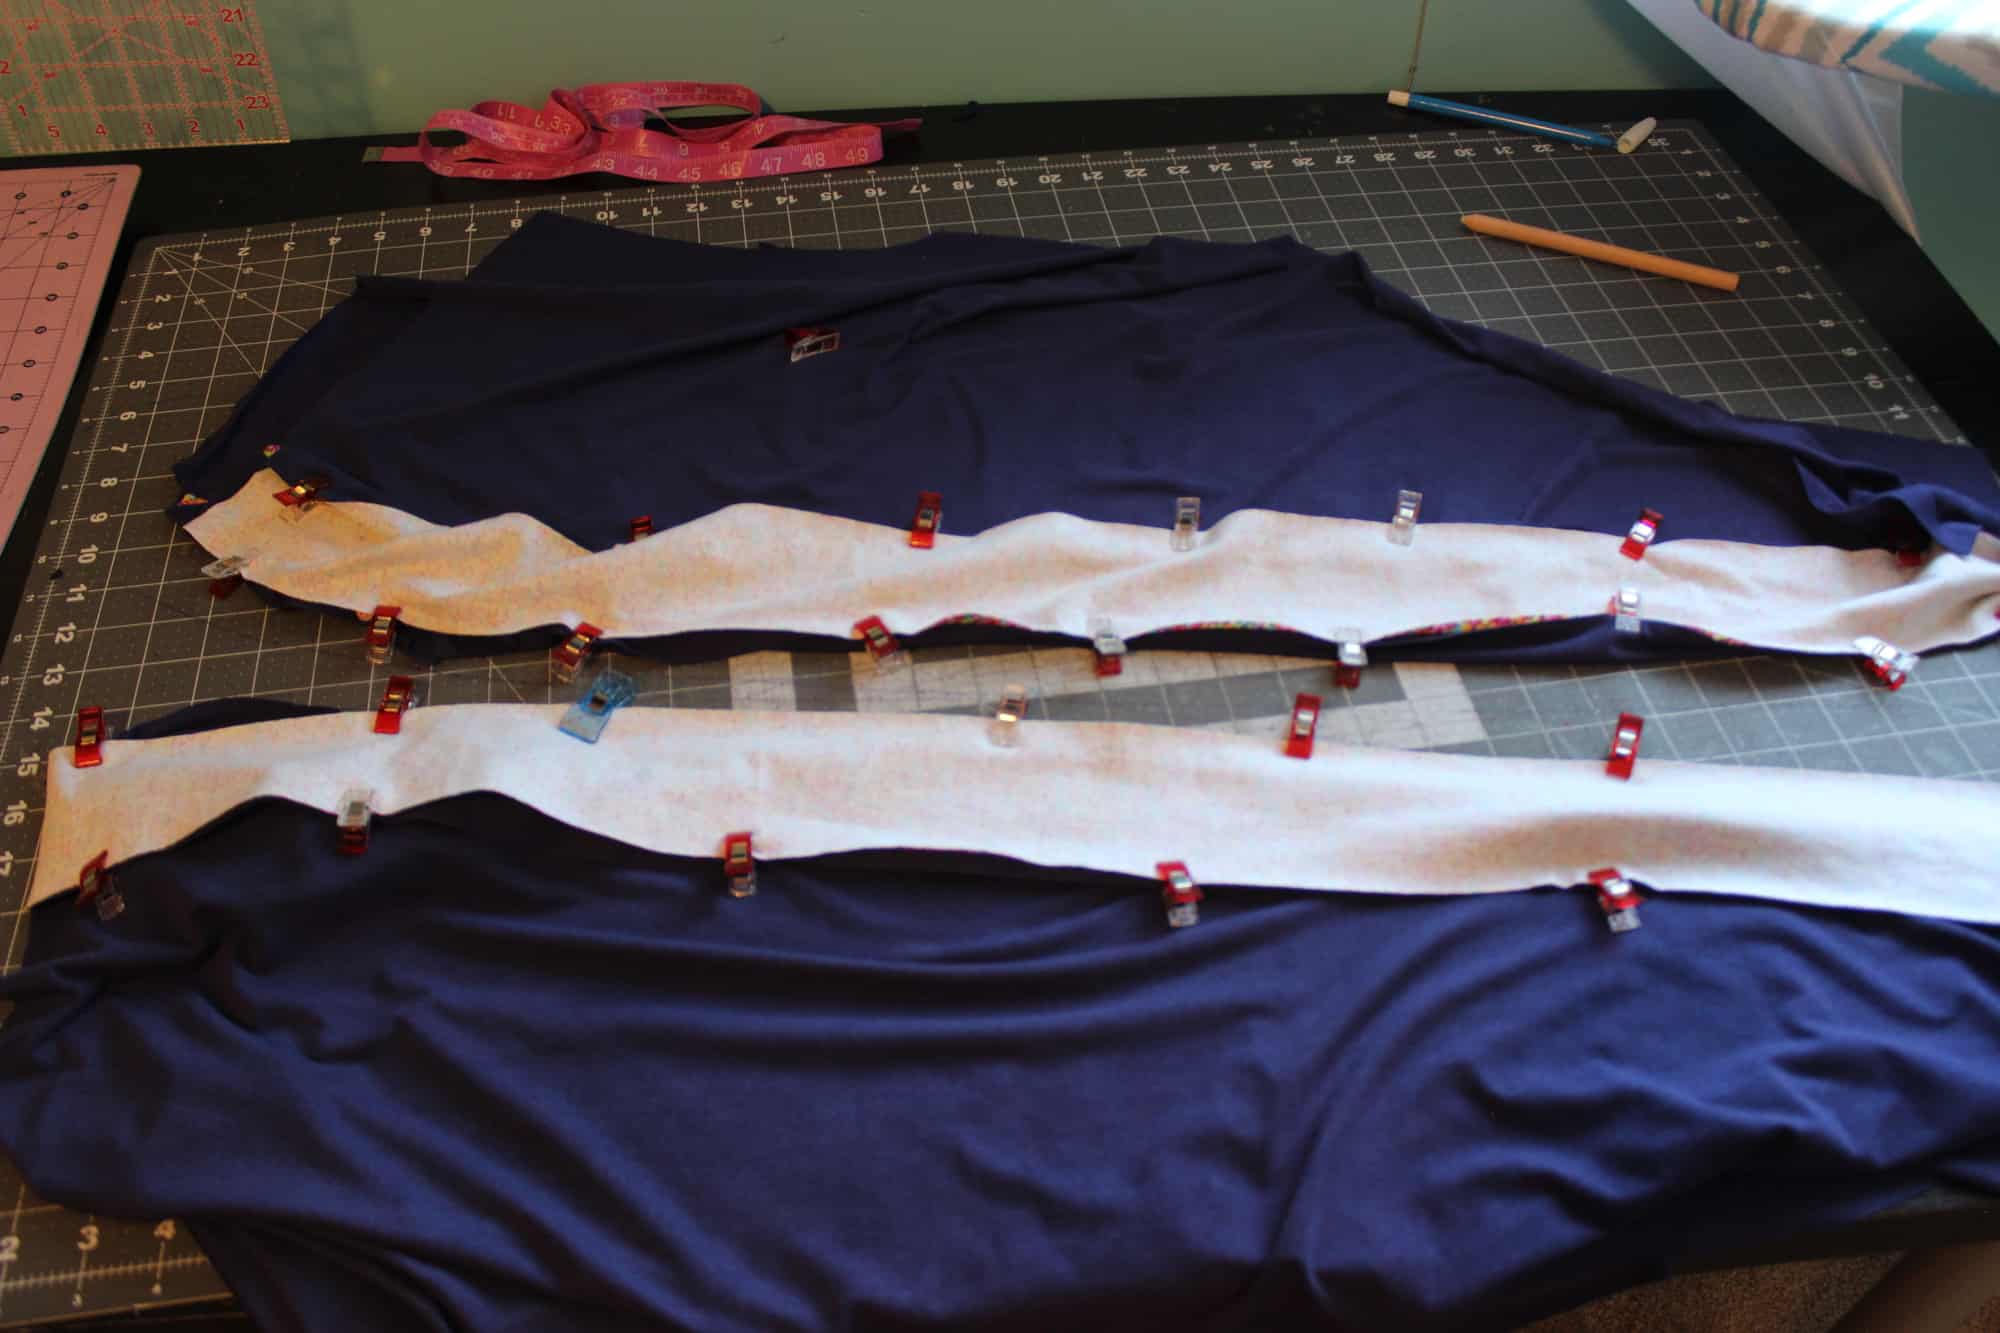
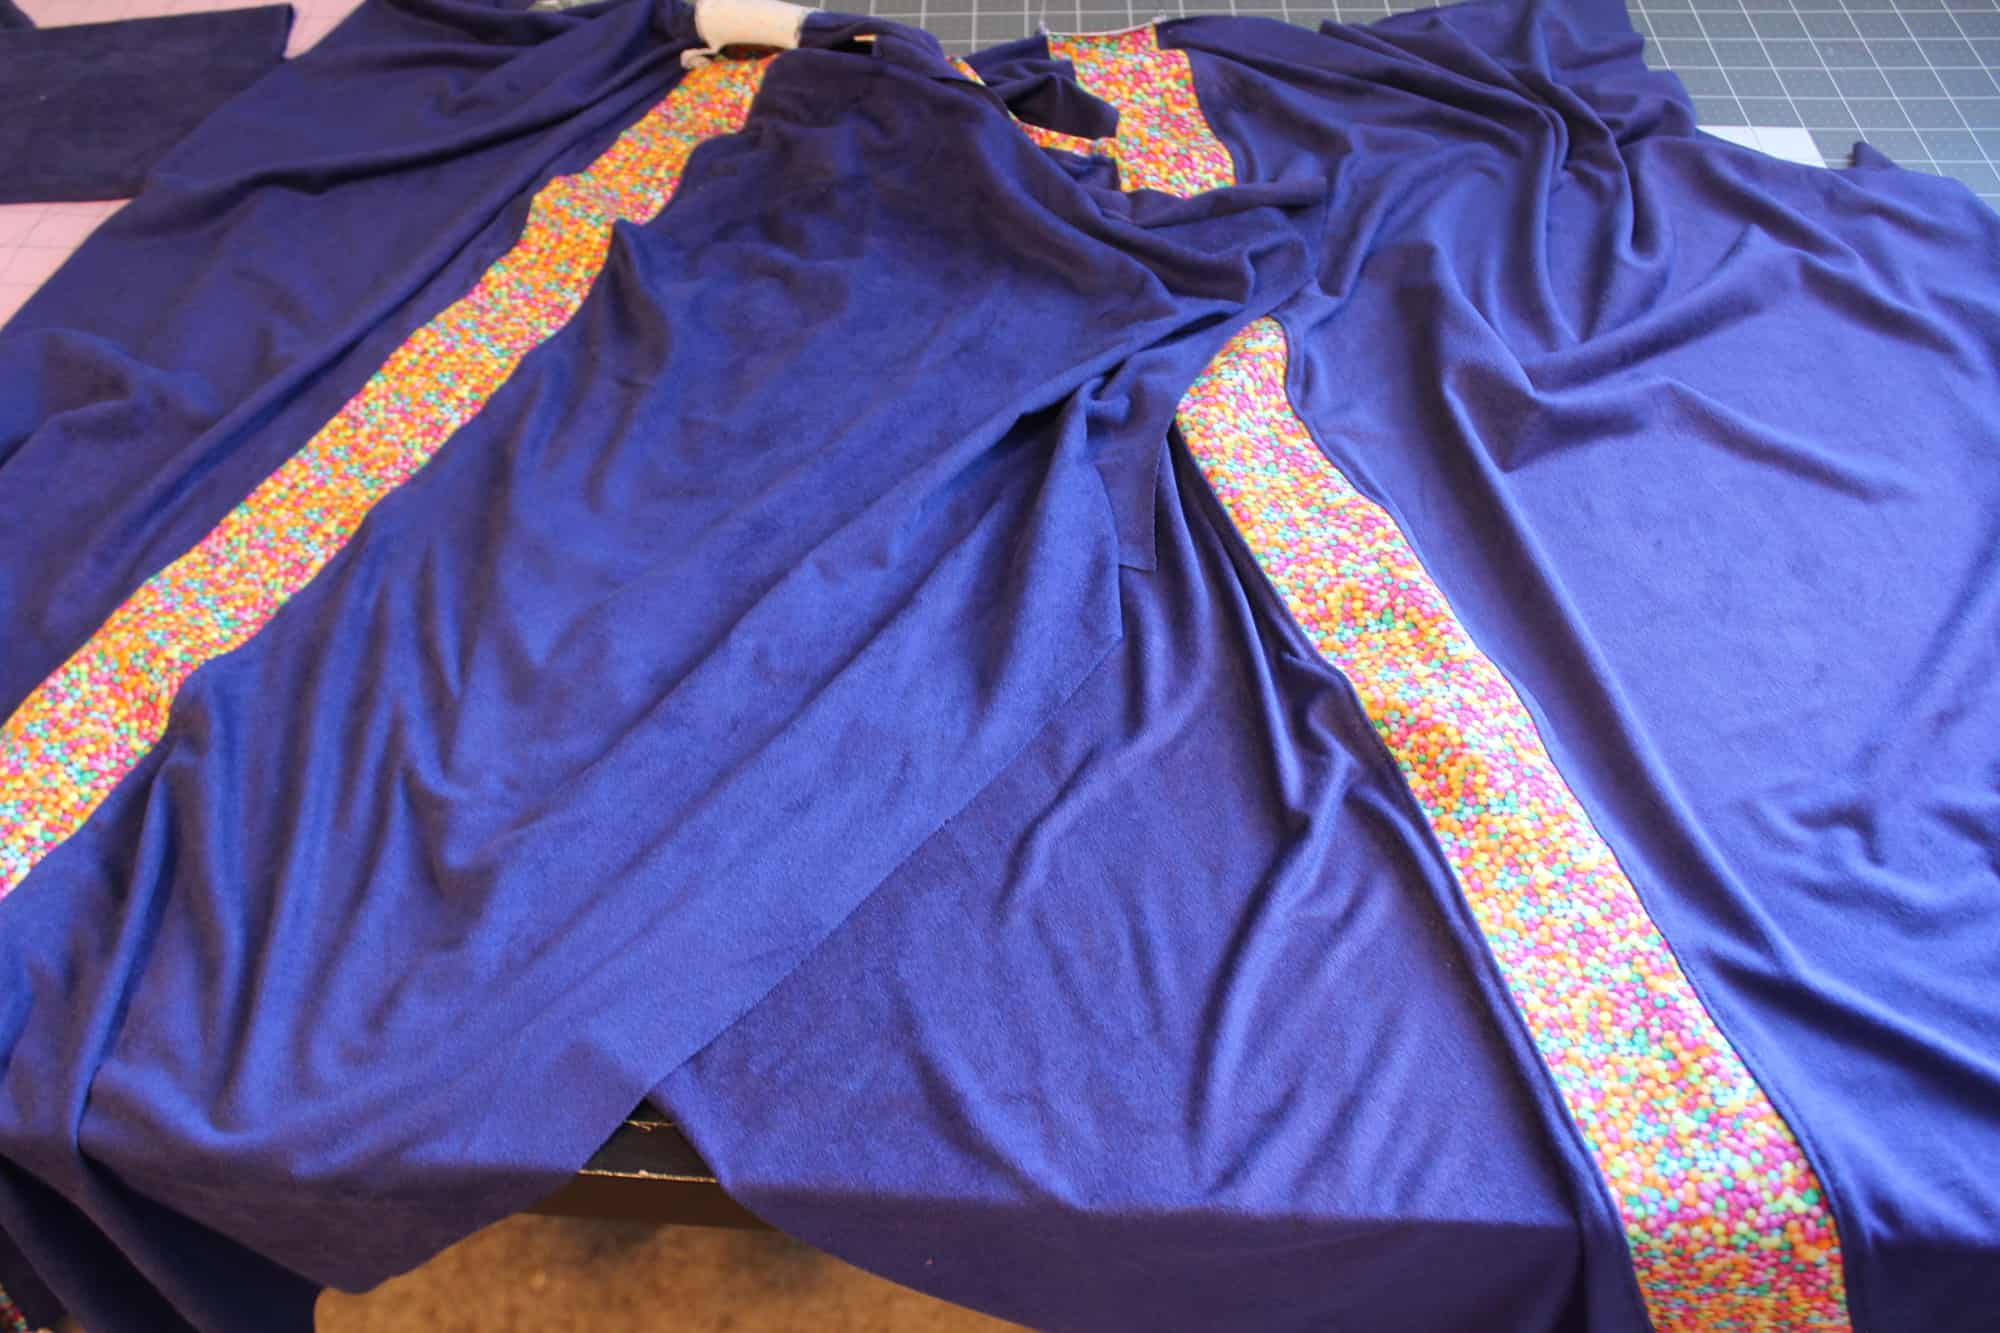
The SOS Knit Pants have been around awhile and there seems to be a never-ending request for a Moto style option. With the revamp of the original pattern, we thought, what better time to take the Moto for a spin. Rather than trying to make you figure out the pieces on your own, we decided to provide a full step by step tutorial, including pattern pieces…for FREE! You can “purchase” the Moto Hack HERE. These are definitely not a “quick-sew”, so be prepared to spend some time stitching all those pin-tucks, but seriously… how amazing are the final results! (This is for the women’s version only at this time but don’t worry…we plan on releasing the same hack for the girls’ soon!)


-

- Jeggings


…..
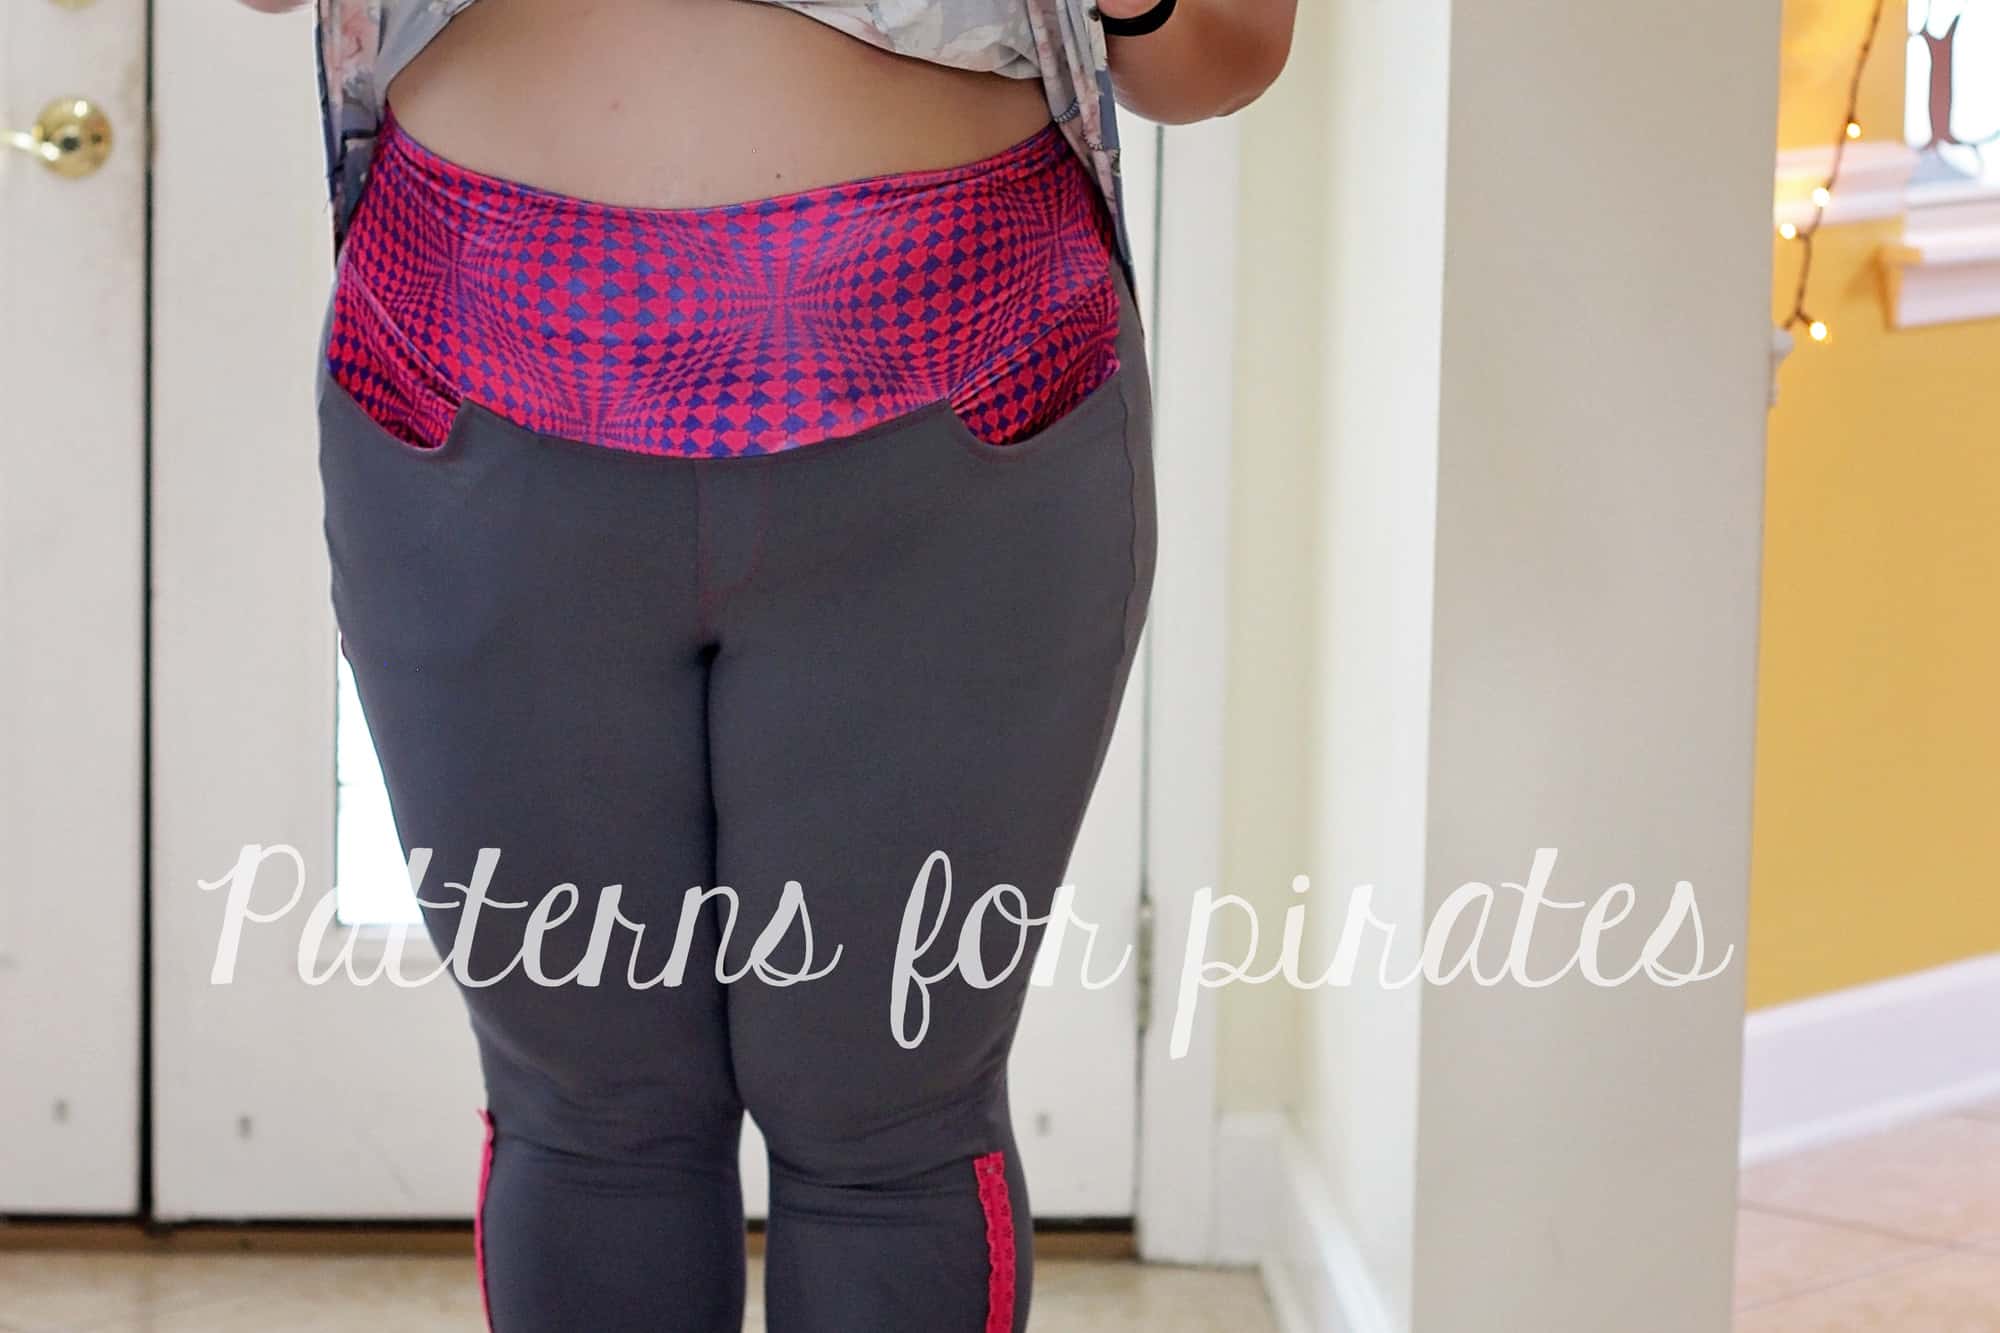
Contour Waistband
Admit it, you’ve been thinking about using the Peg Legs contour waistband that’s included in the free Add-On with all our pants patterns, haven’t you? Well, I have, so I wanted to show you how easy it is to replace the SOS elastic waistband with the contour one.
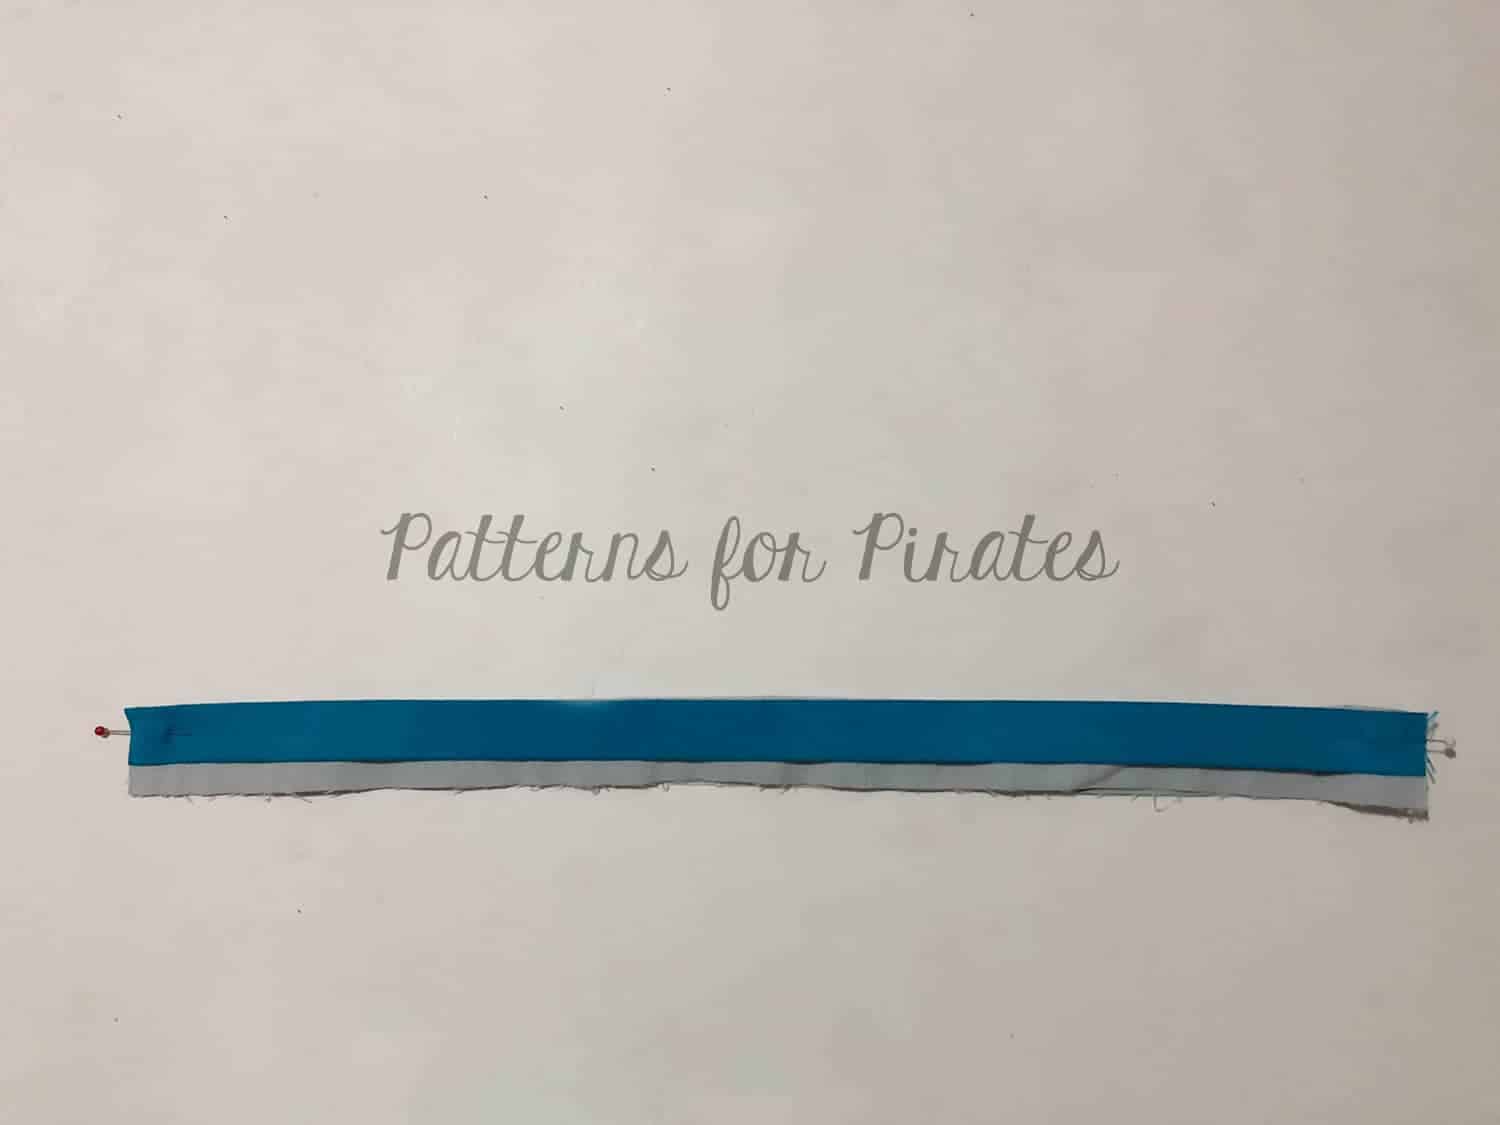
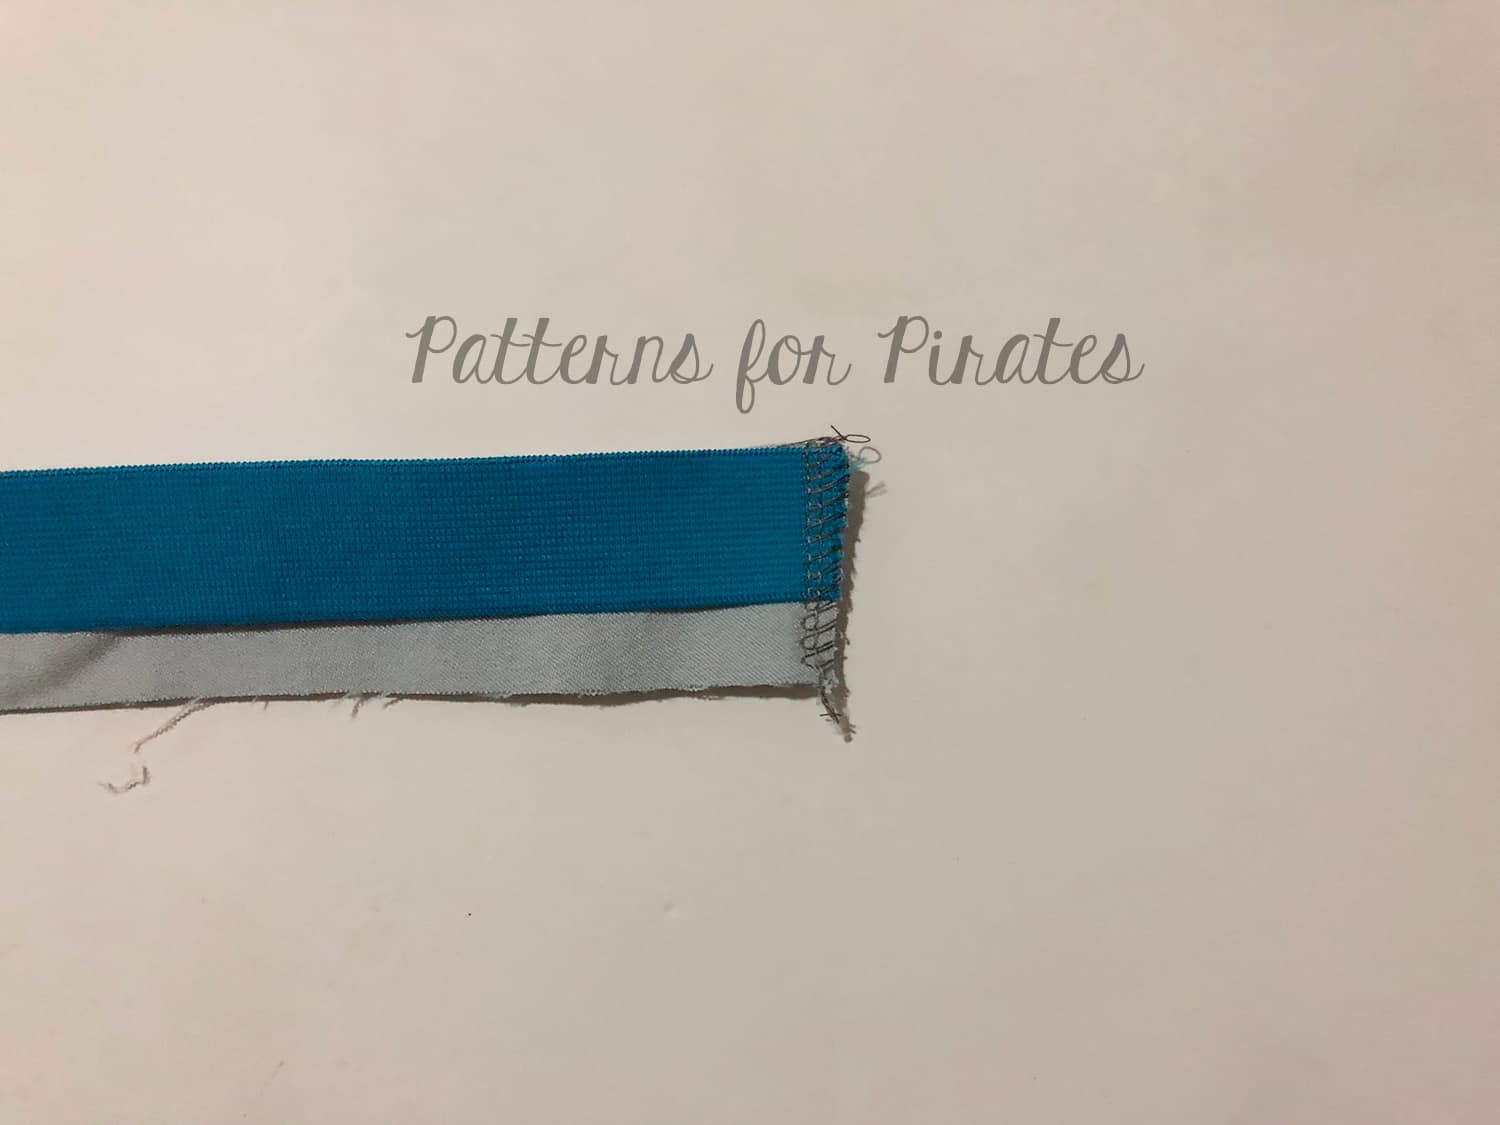
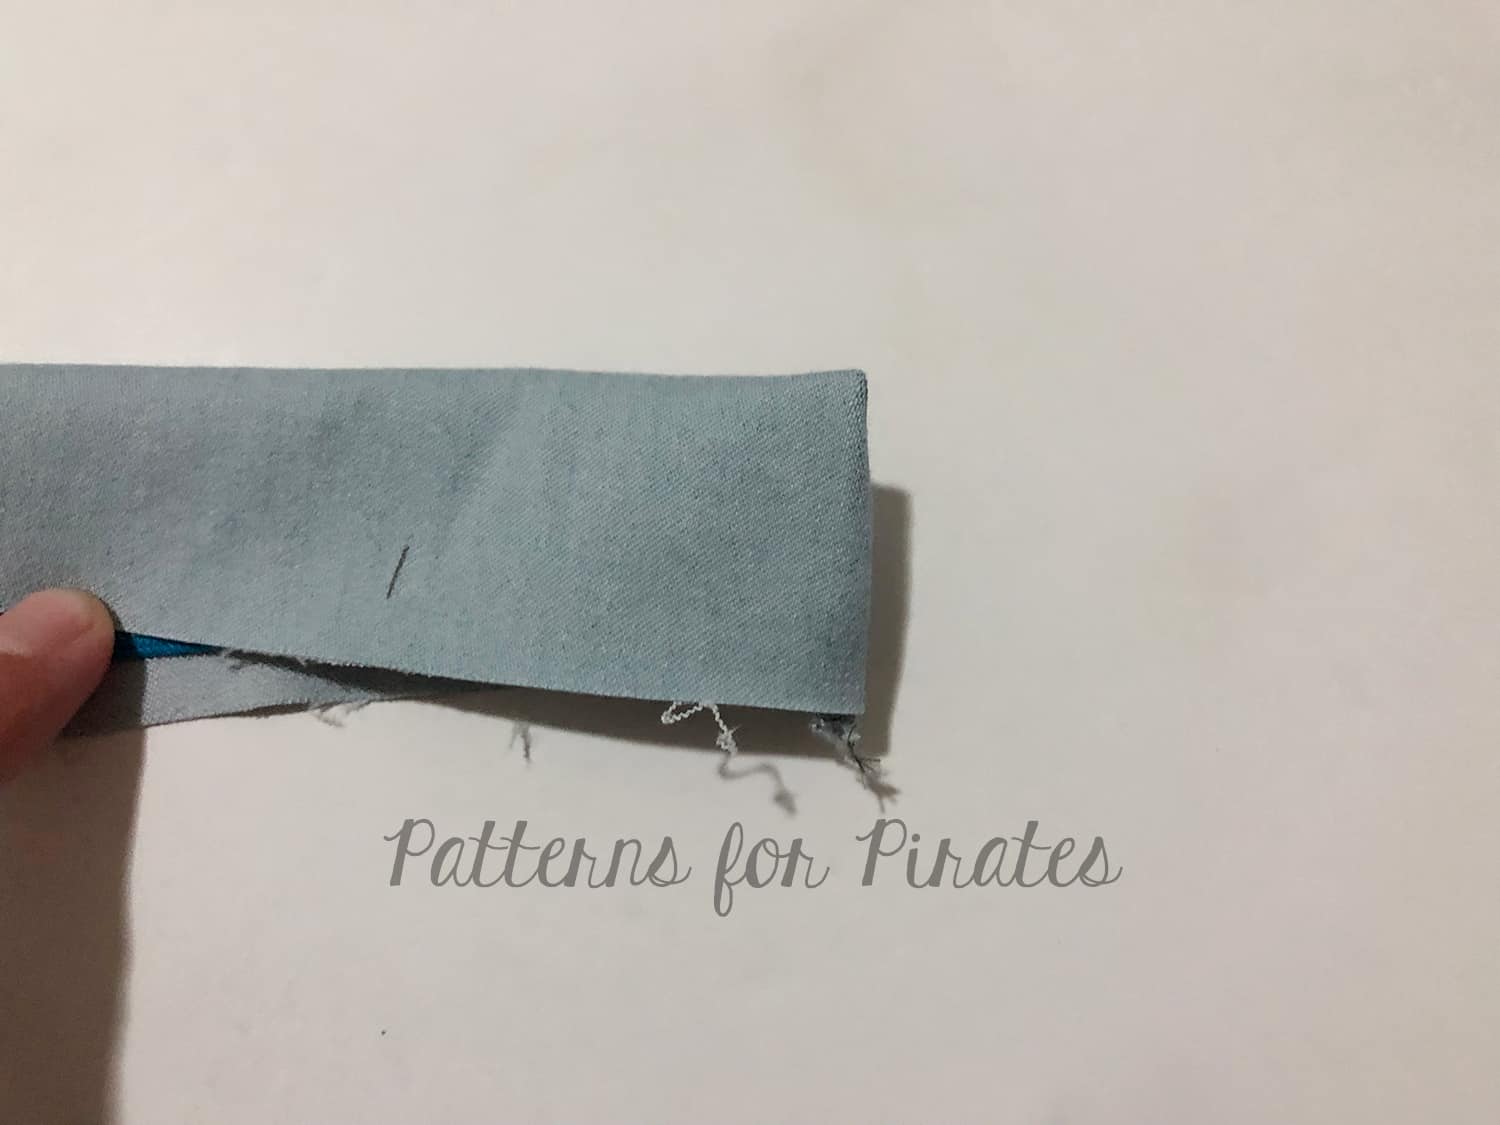
Cut your SOS Knit Pants fabric pieces without the elastic and the knit waistband. Print and cut the contour waistband included in the Peg Legs Add-On. Sew the knit pants and the contour waistband as instructed in their respective tutorials.

Tip: If you would like the extra tummy control you can add a layer of power mesh in between the lining and the main fabric of the contour waistband.
For my contour waistband, I used custom brushed poly so it is pretty thick. The lining is the same fabric so I did not add any power mesh.
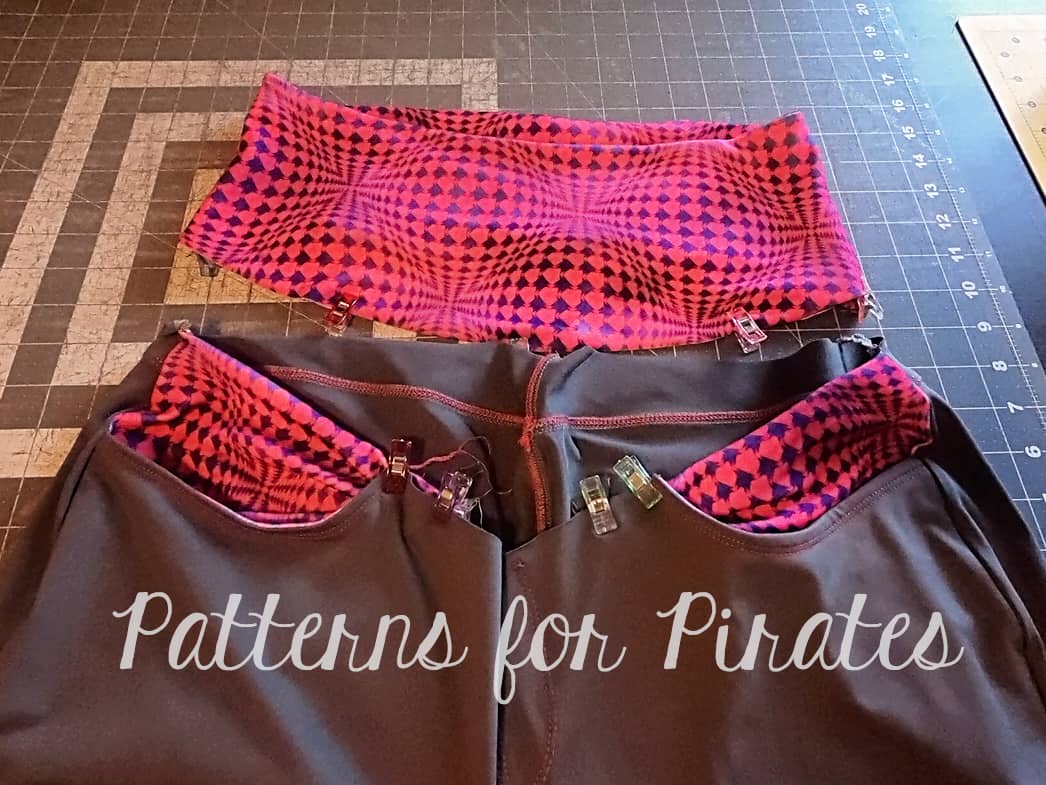
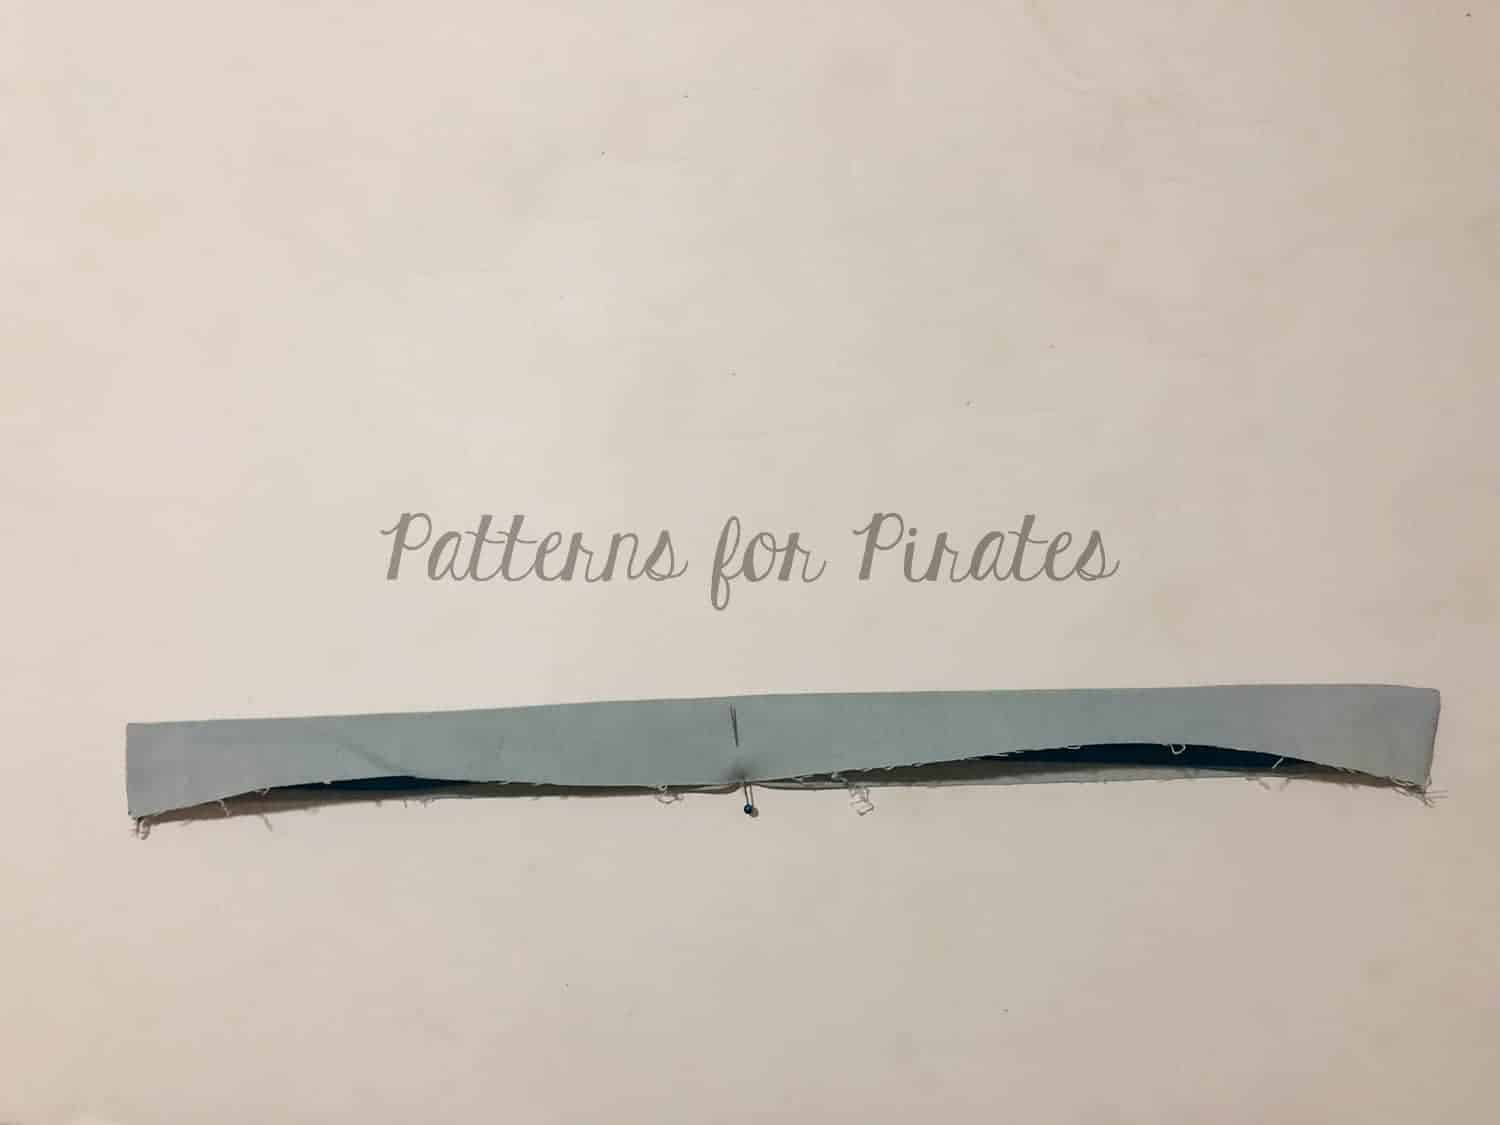
Attach the contour waistband to the SOS pants the same way you would attach it to the Peg Legs.

Tadah! All done. All you have left to do now is enjoy your new contour waistband SOS knit pants.
Note: please note that the rise on the contour waistband SOS will finish a little higher than the original pattern.

…..
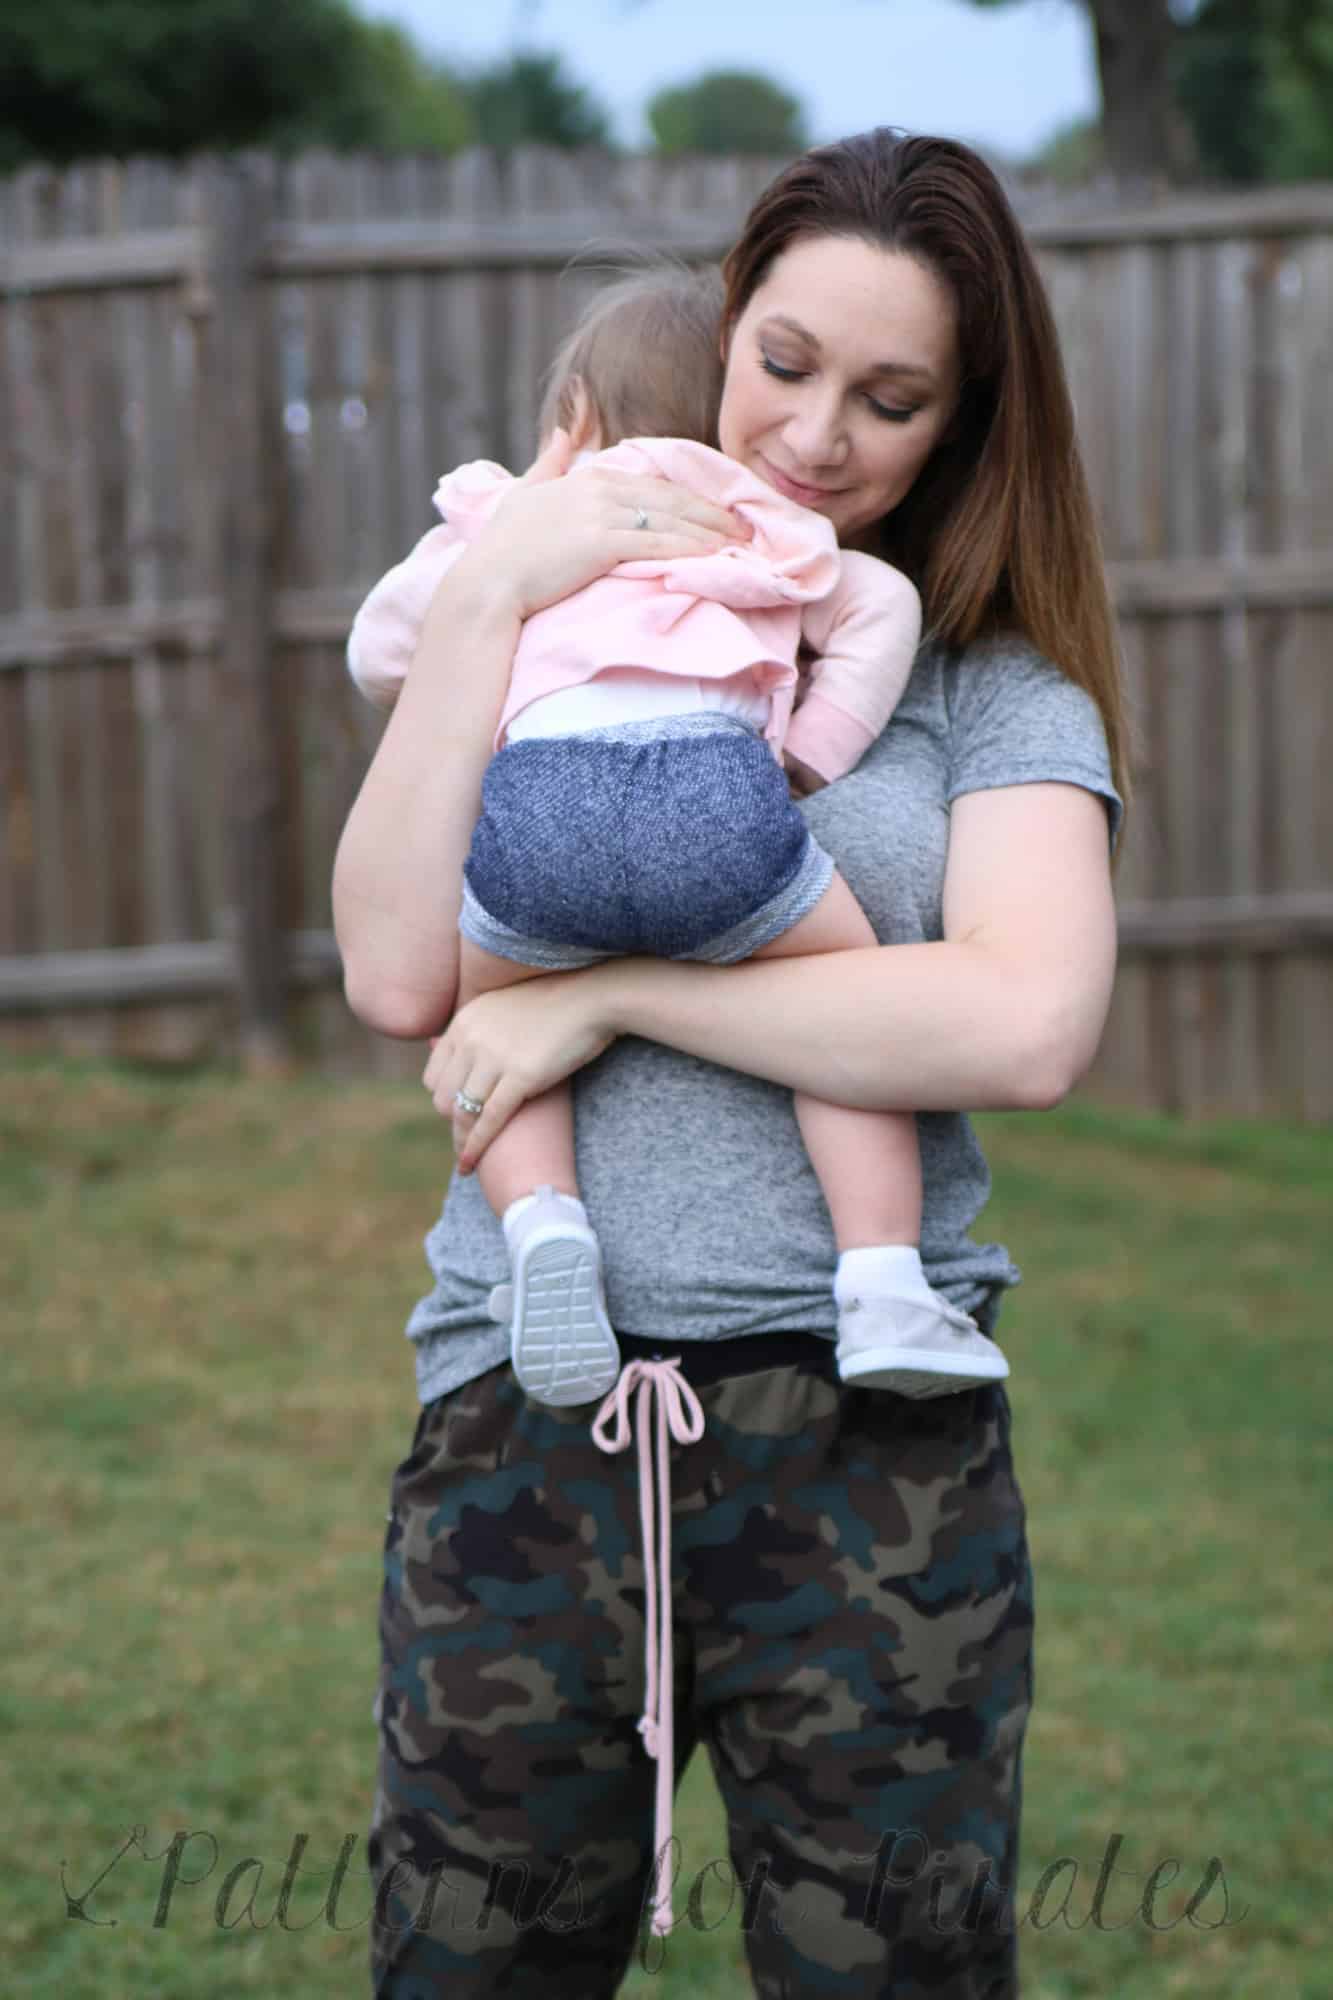
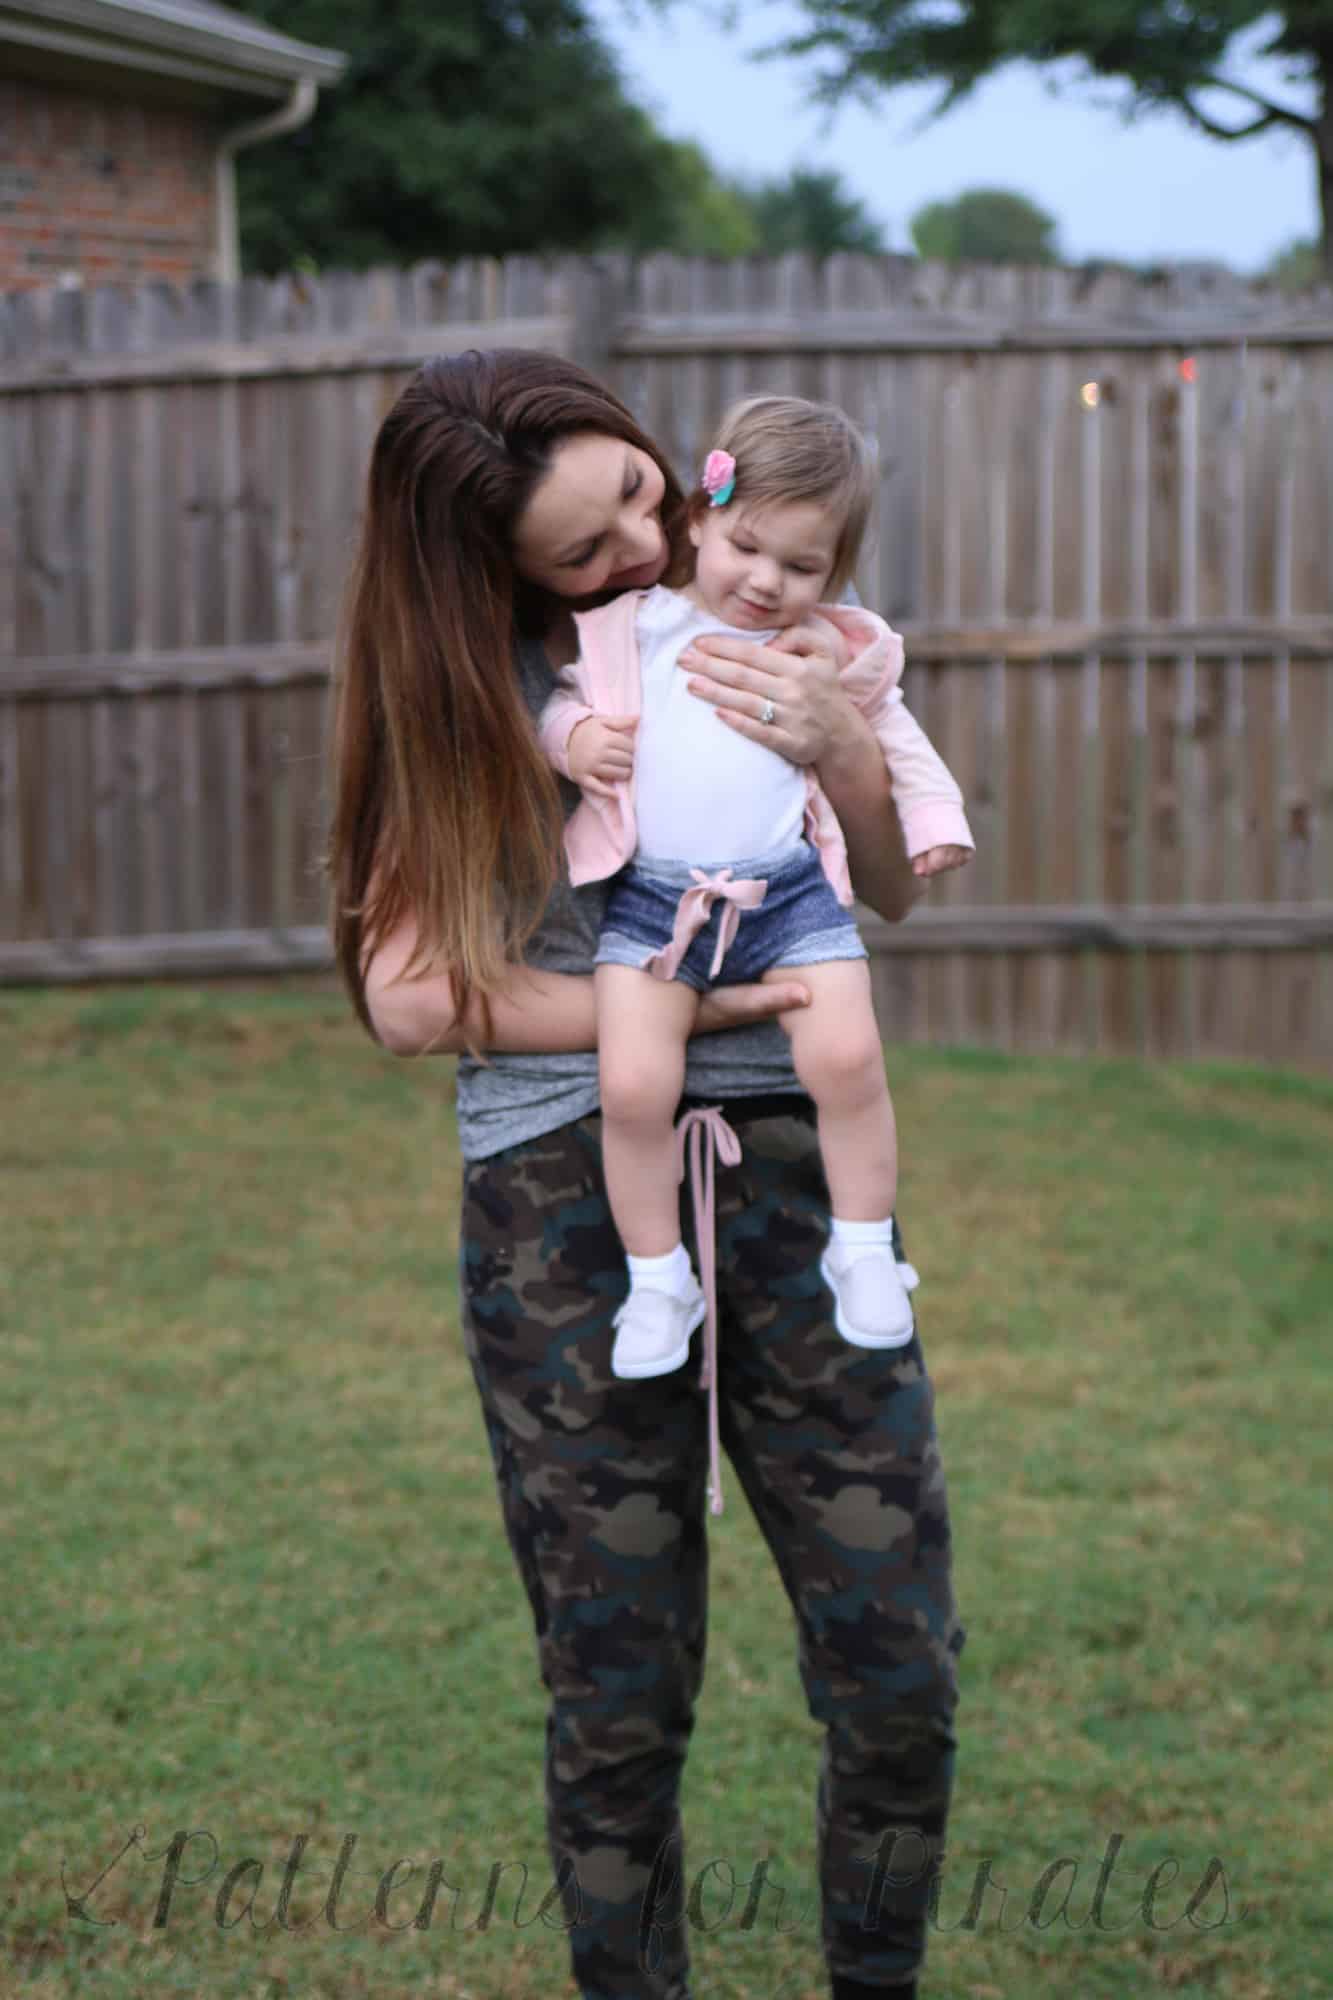
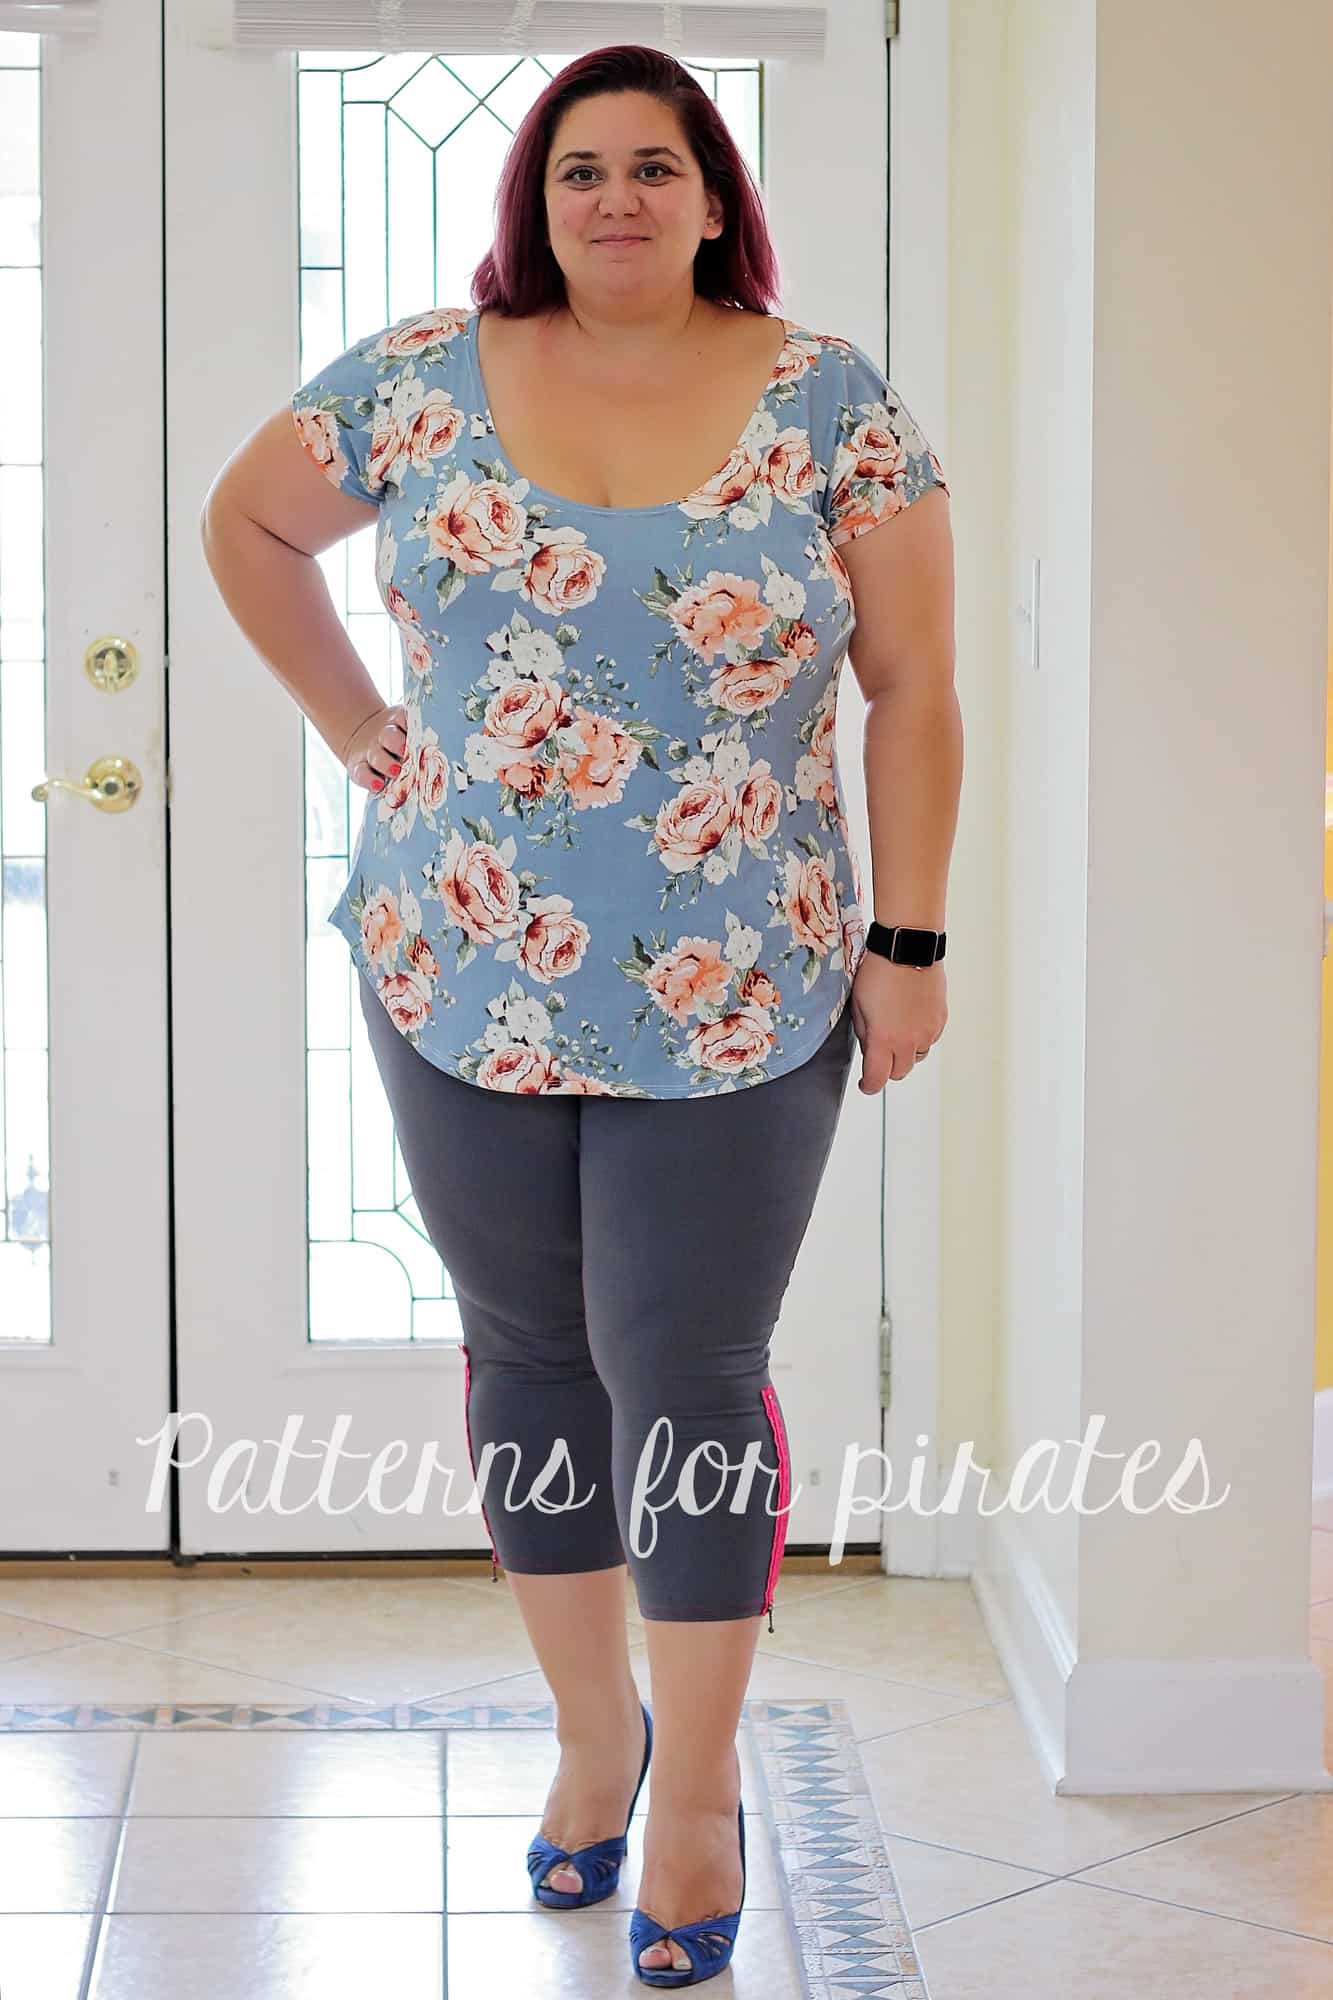
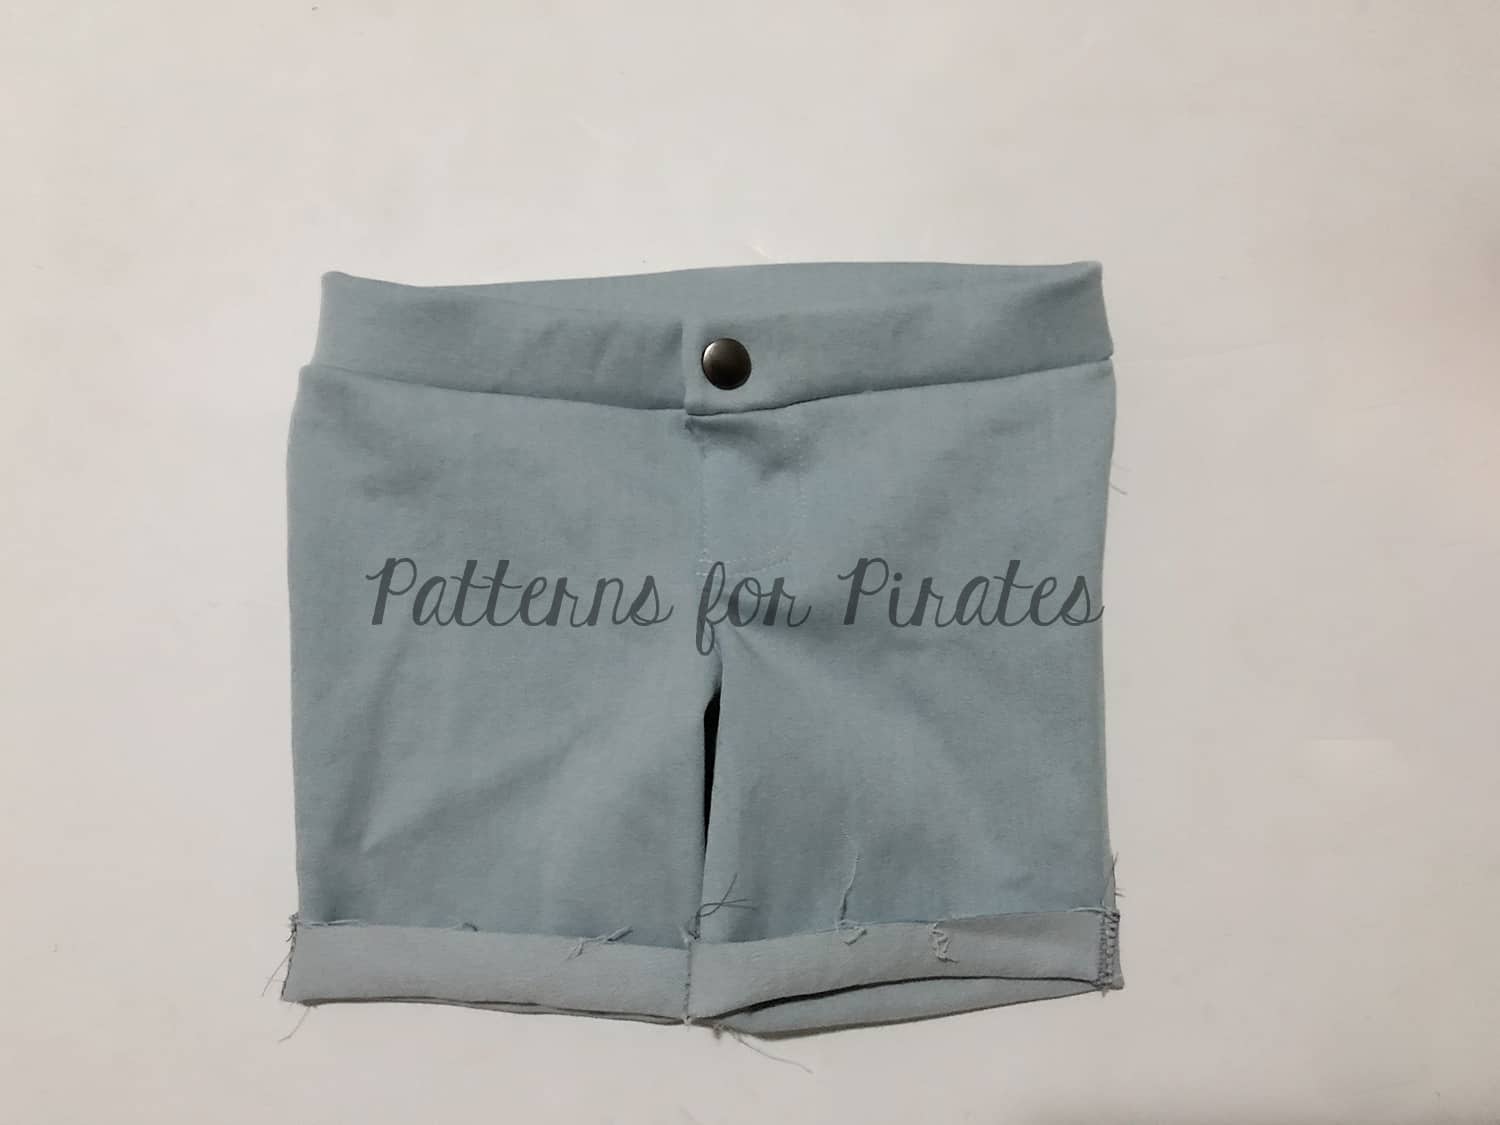
Shorts

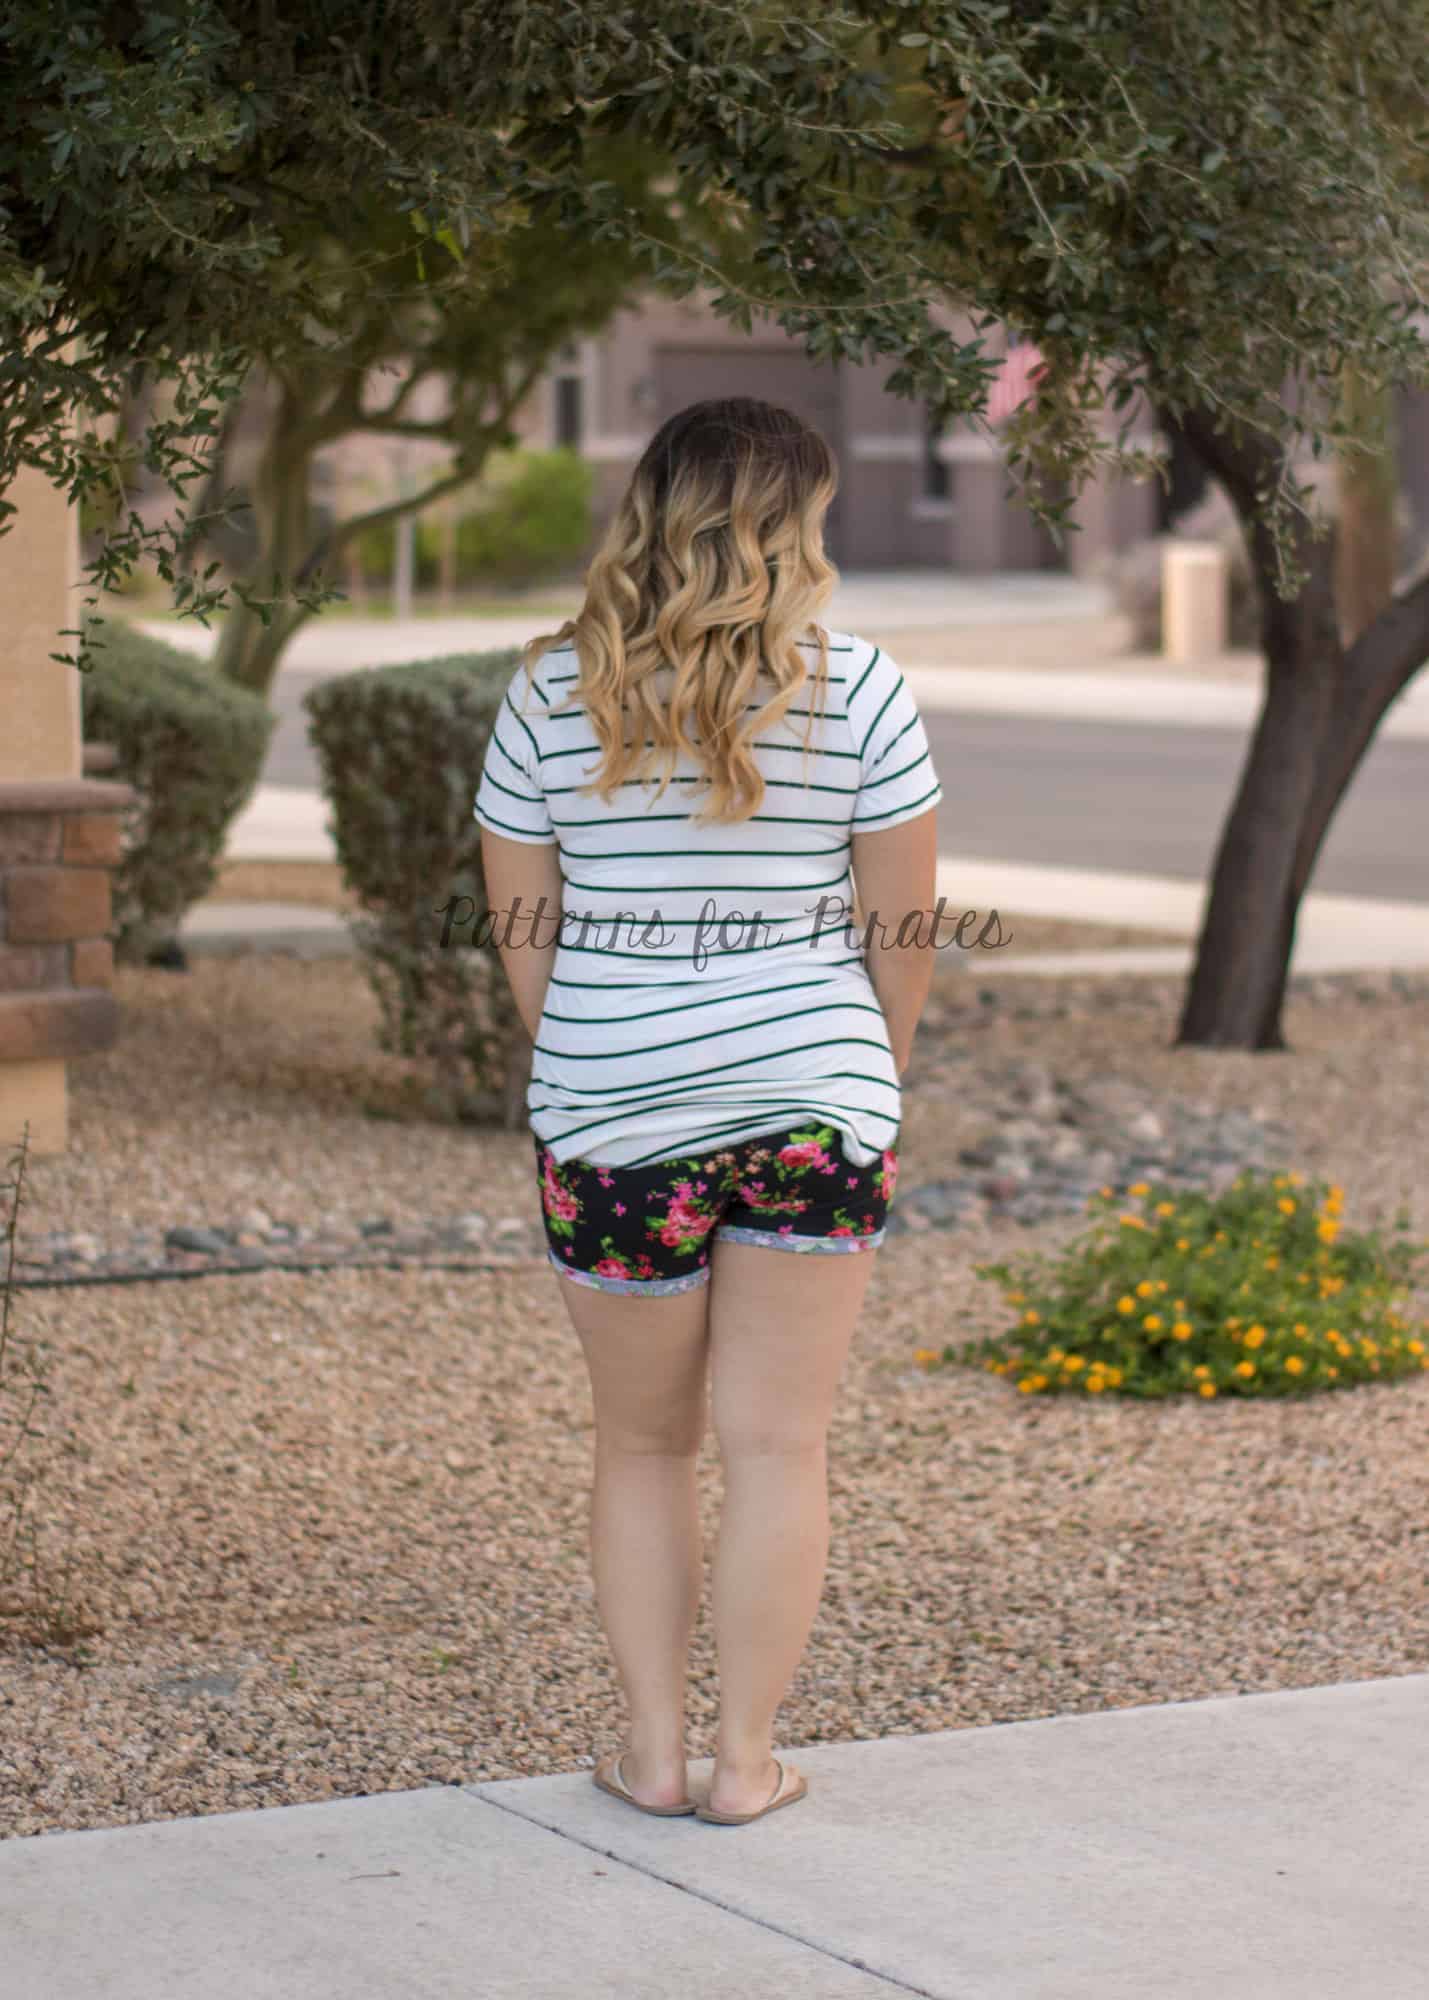
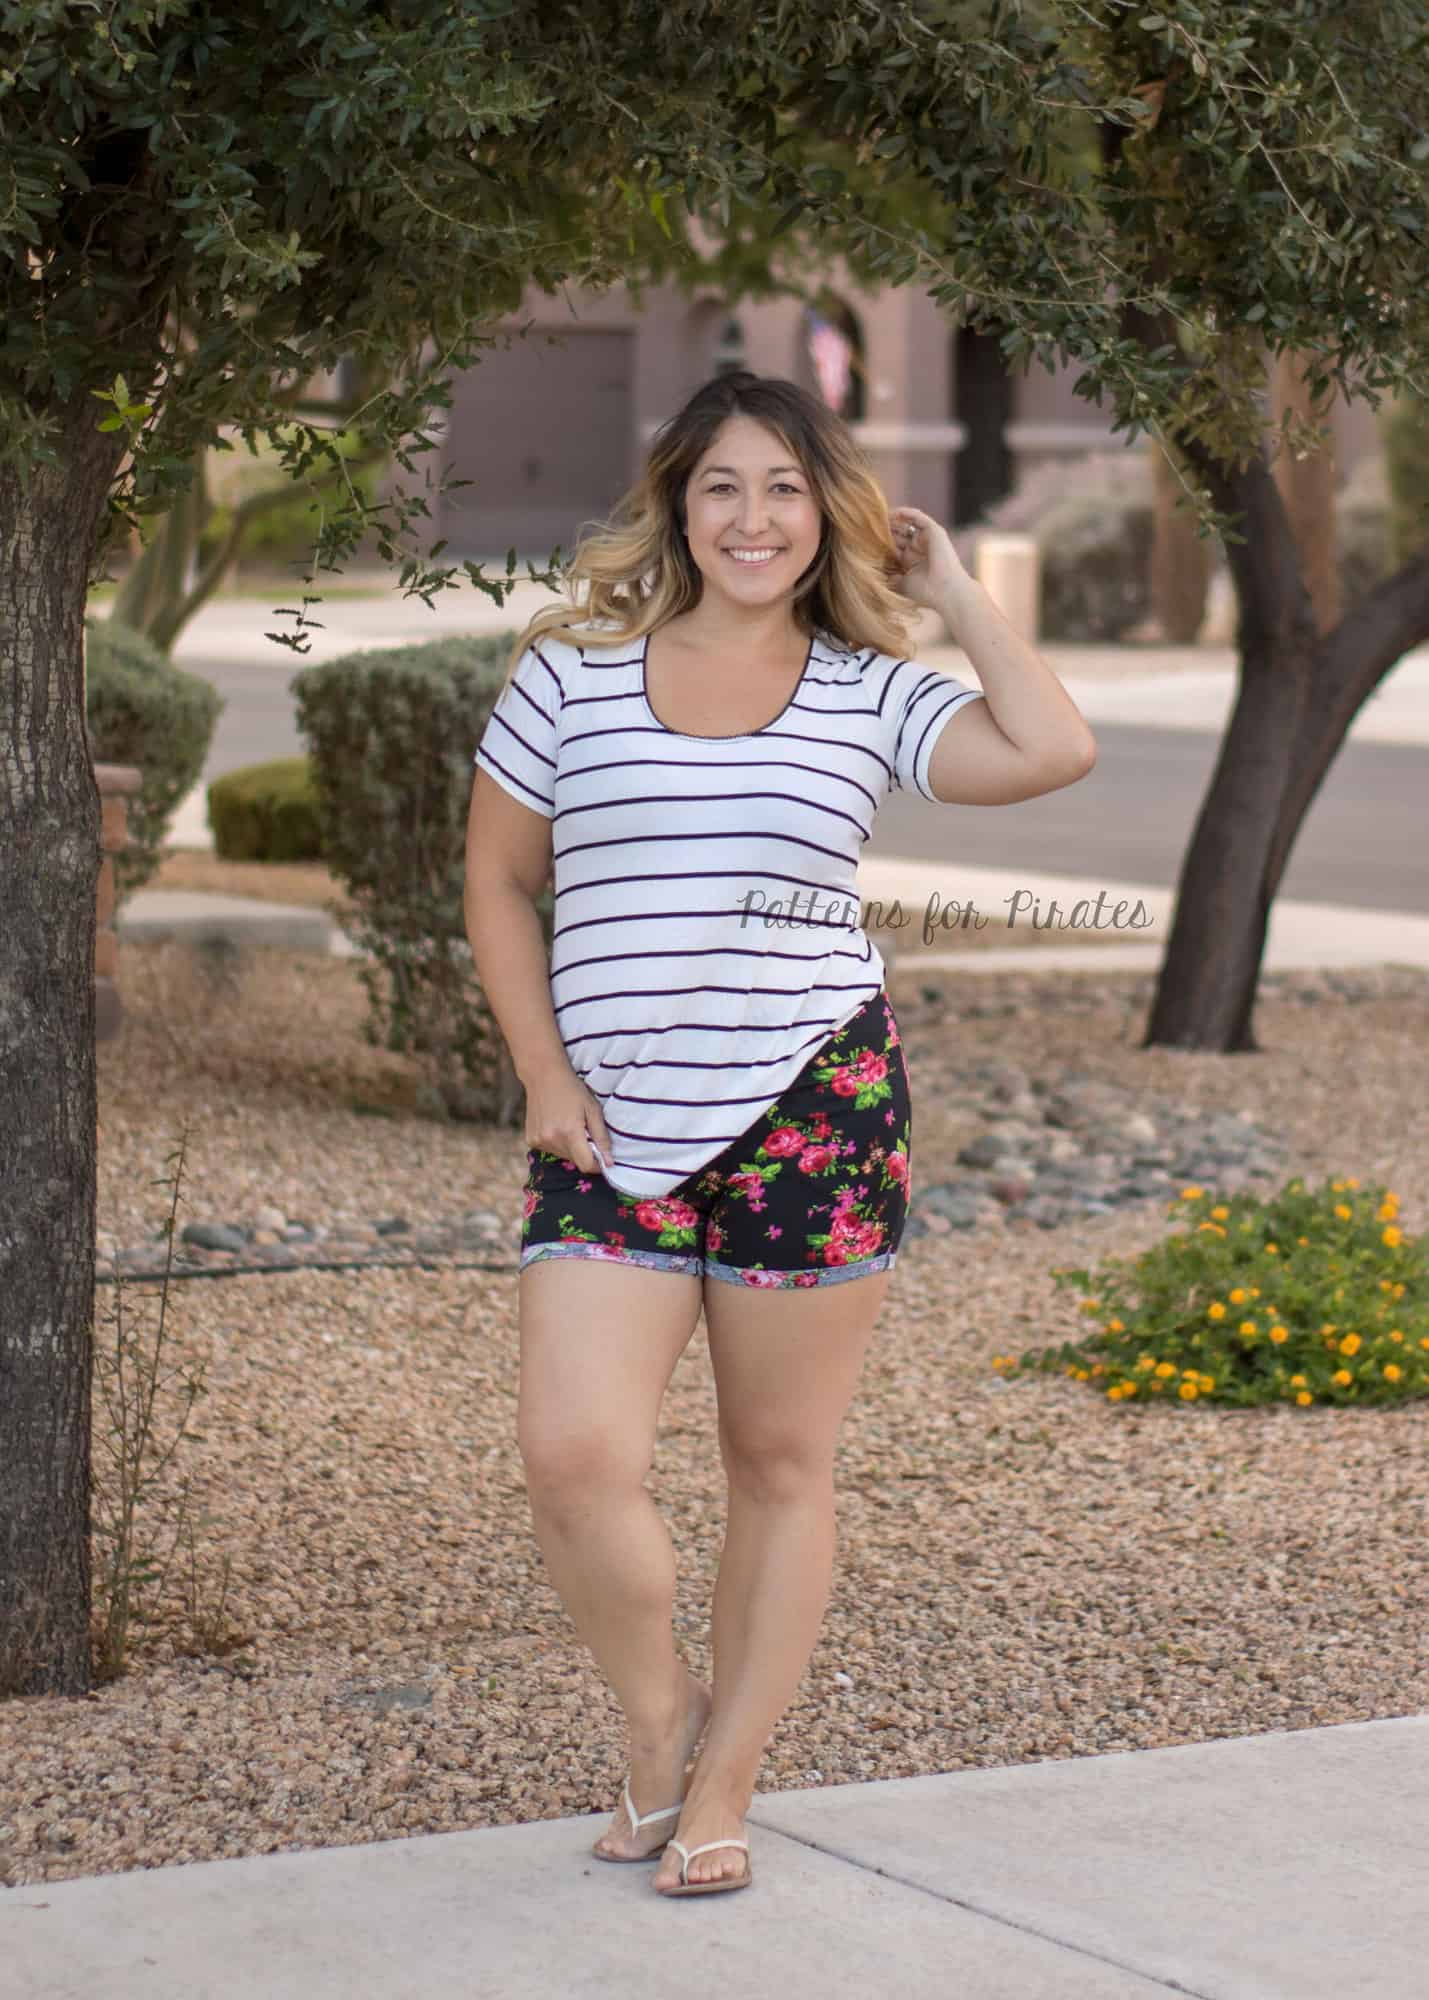
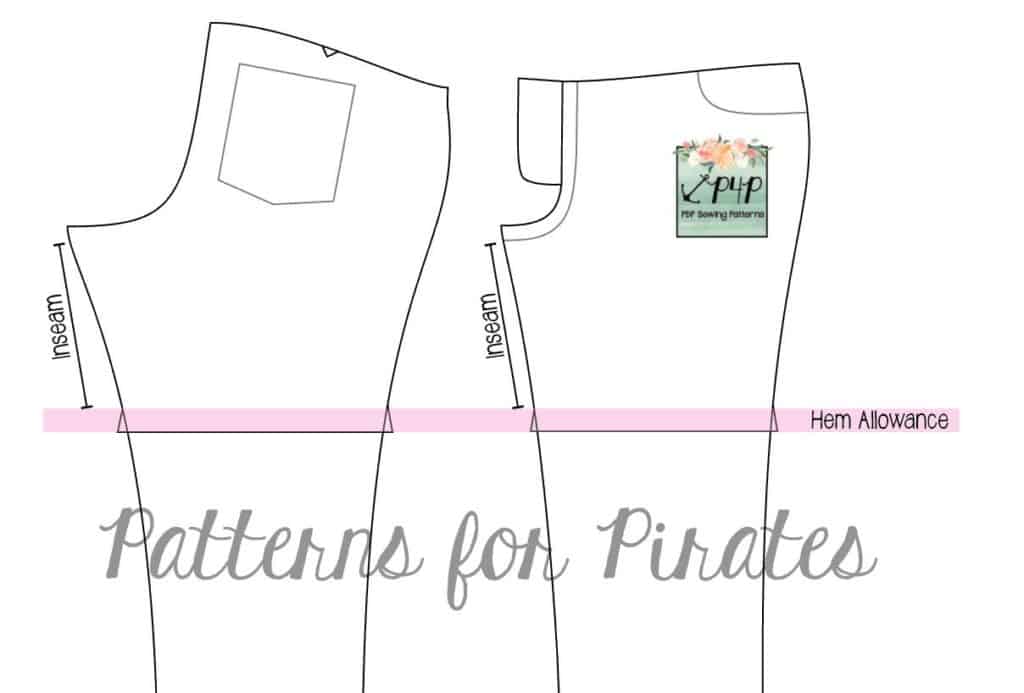
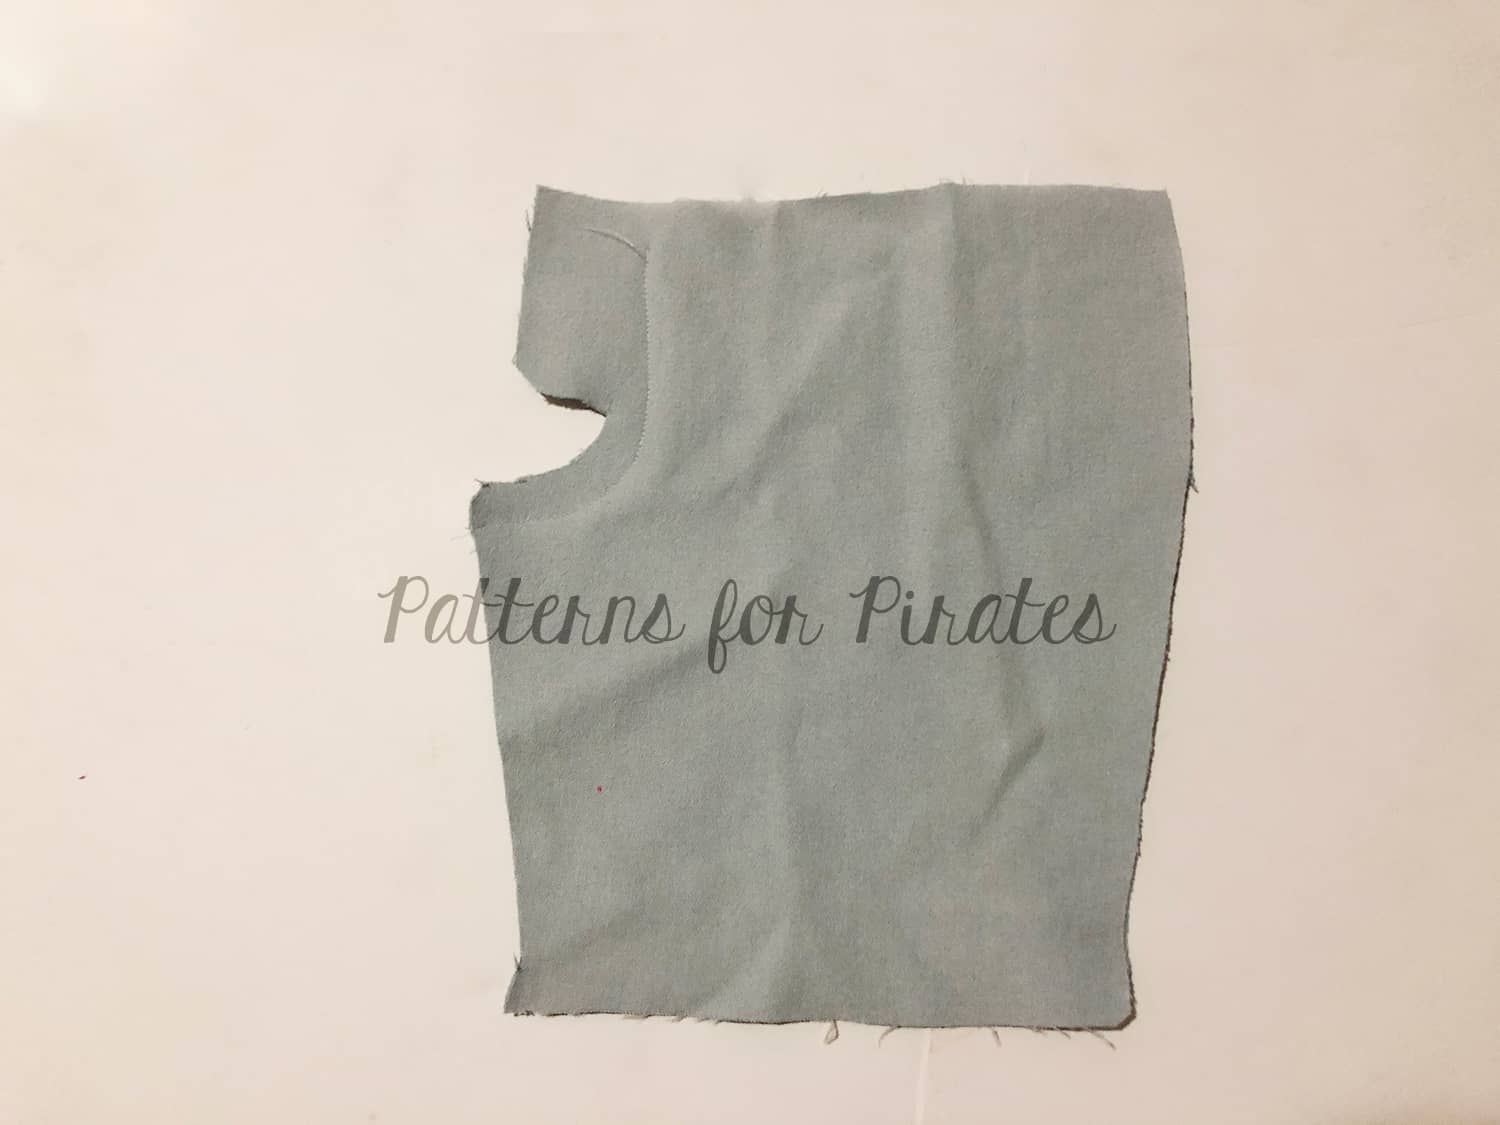
SOS Knit Shorts is one of the most popular requests and probably one of the easiest modifications. Determine your desired inseam and preferred hem allowance. I chose to keep the 1″ hem (1/2″ folded twice) as shown in the pattern and a 5″ inseam.
Measure the length of your inseam, starting 1/2″ from the pattern line (for seam allowance) to your desired length. Draw a horizontal line across the leg for both front and back. Now that you have adjusted your inseam length we will make our hem gauge for the hem. Cutting the outward notch will allow the hem to lay flat once folded. The angle of the gauge should be a mirror image of the seam just above it so that when its turned under it will lay flush. Again, my hem allowance is 1″, if you choose to do a narrower or wider hem, you will want to make your hem gauge to match the same length of your hem allowance. This is super easy and can be done both skinny and straight leg options. Now, you can customize your pants to any shorts length!
…..
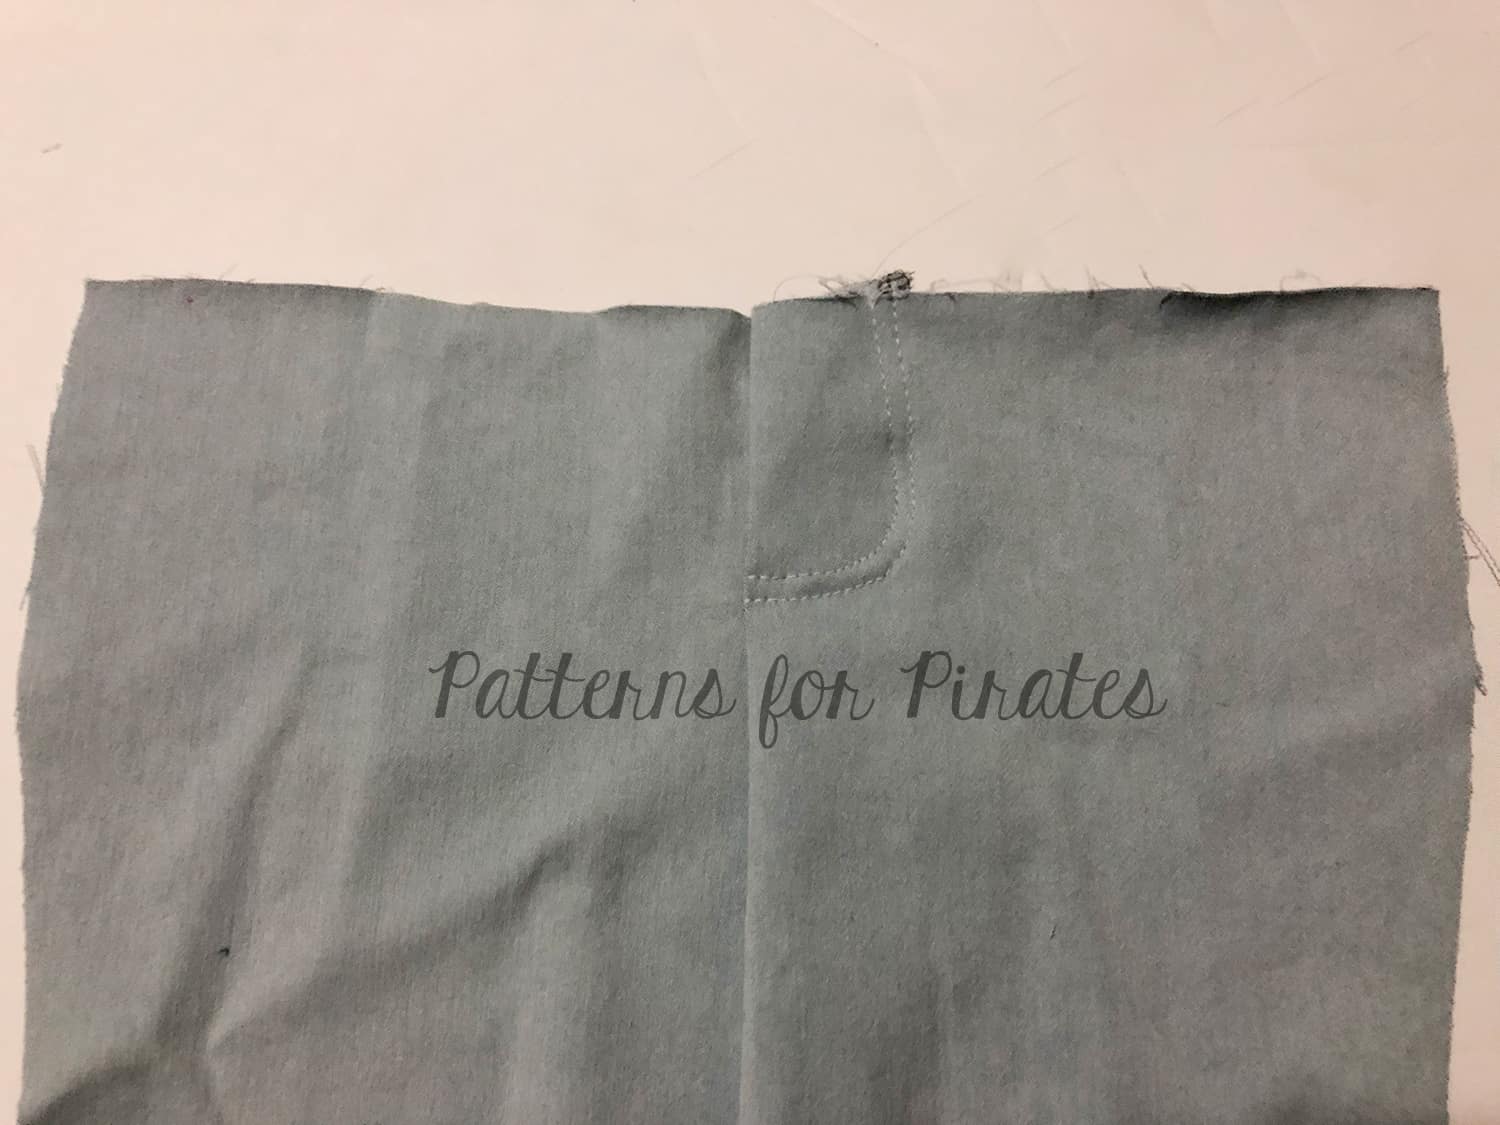
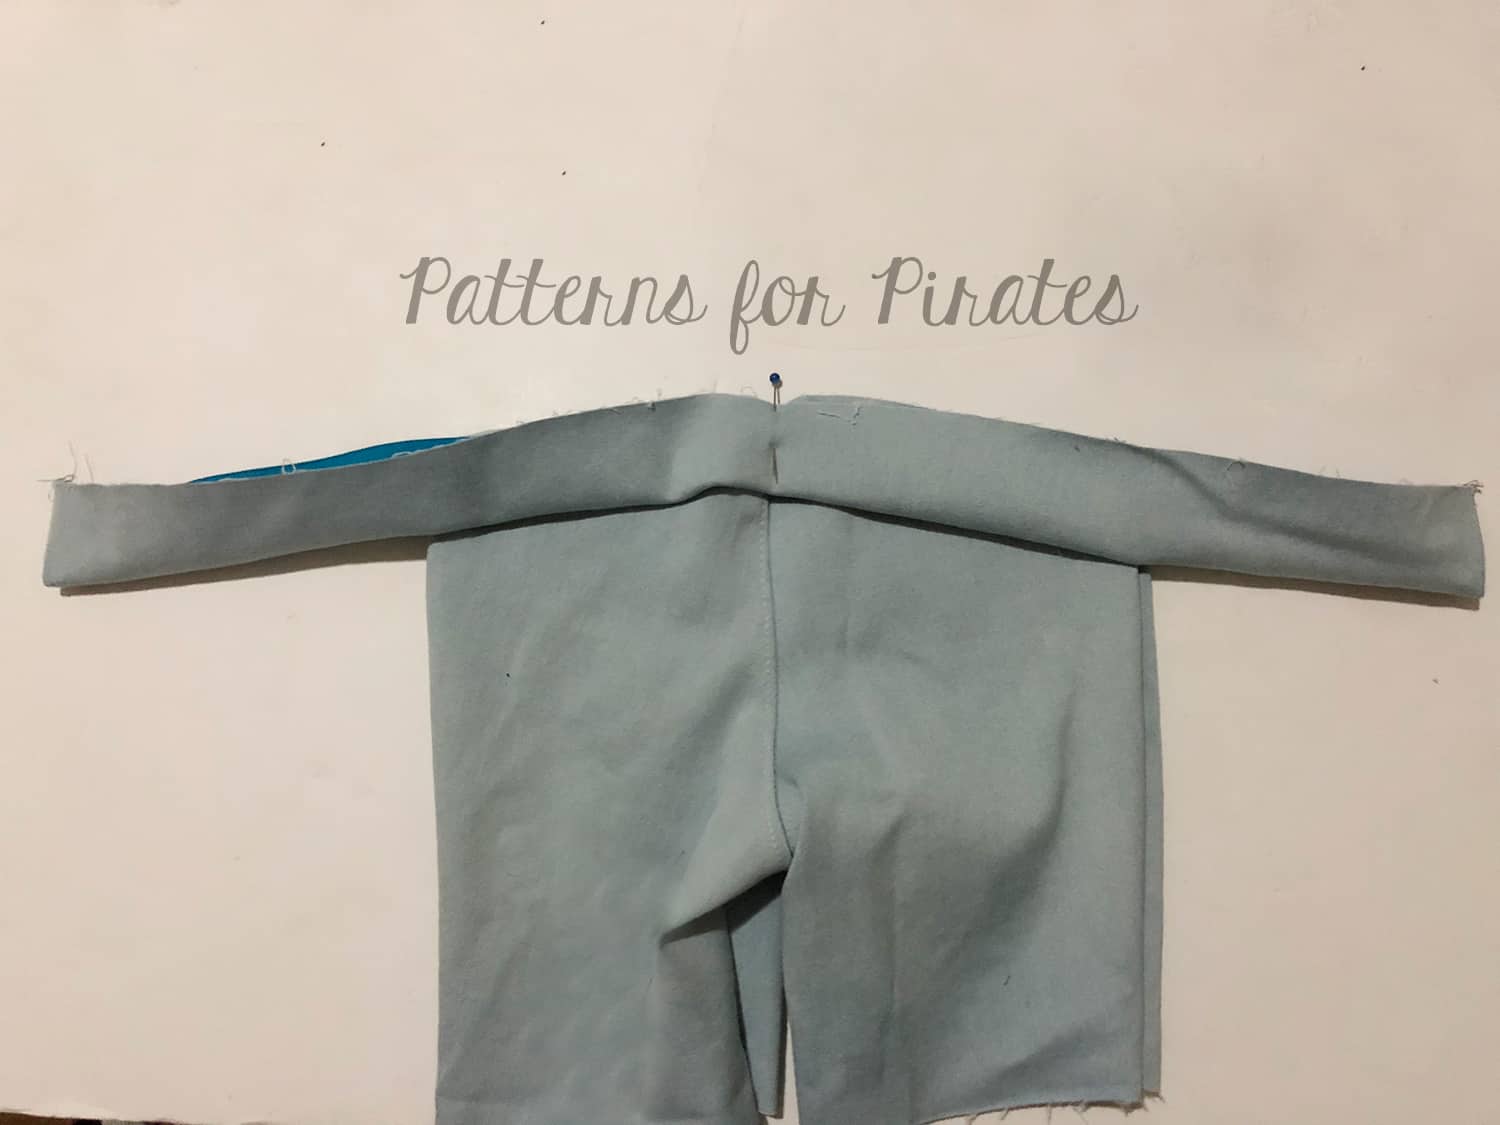
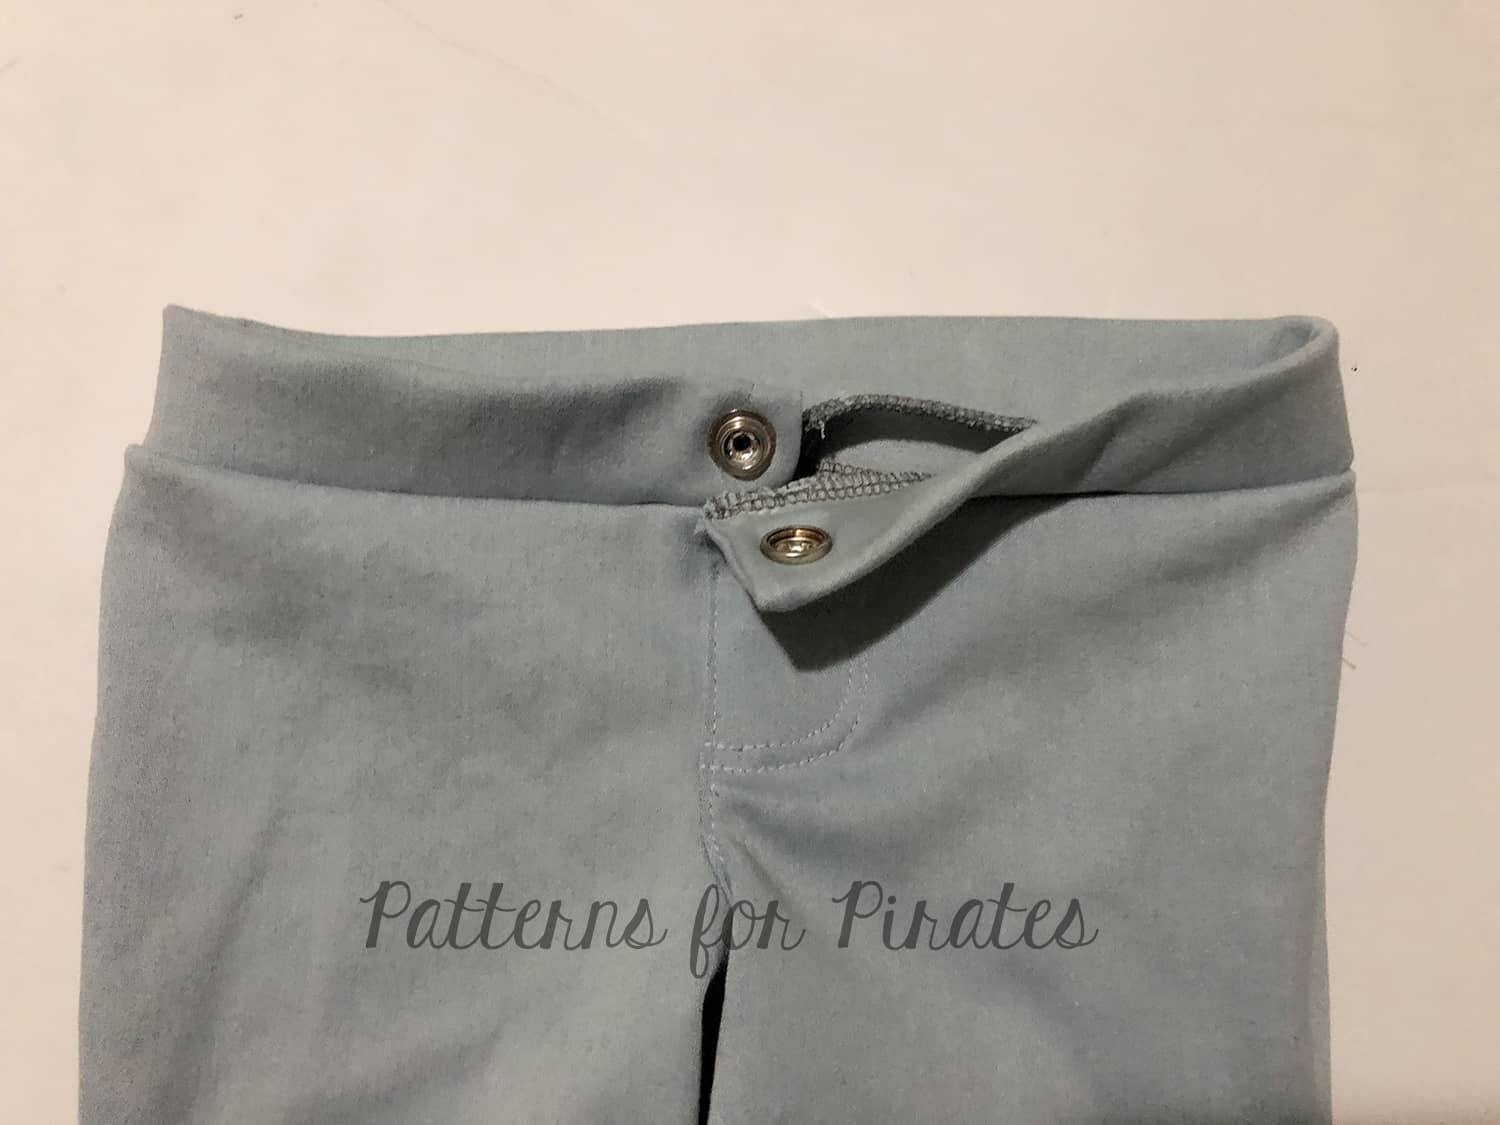
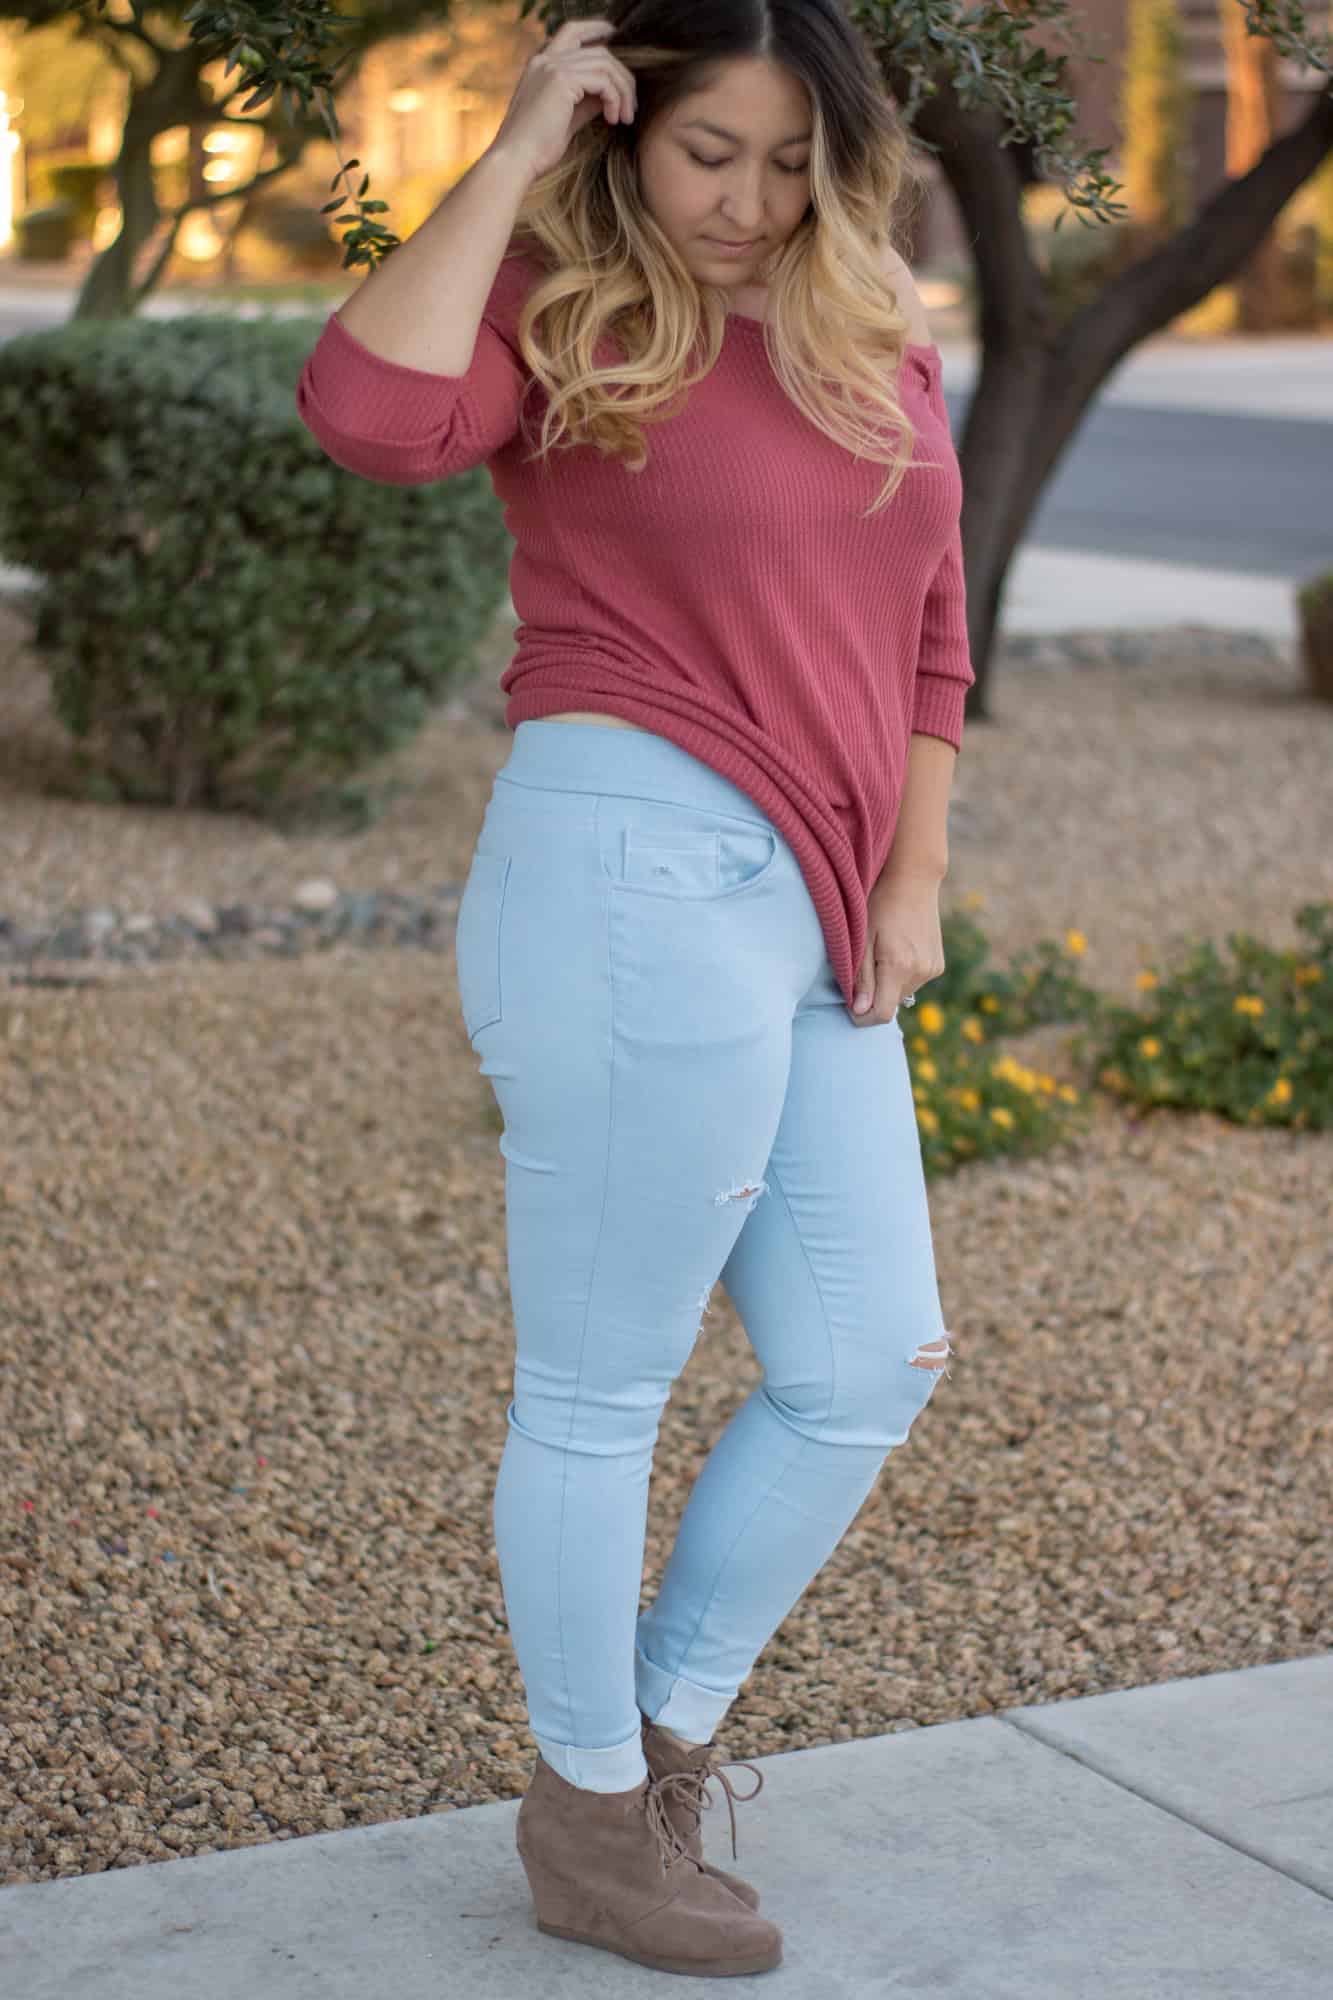
Button/Snap Waistband
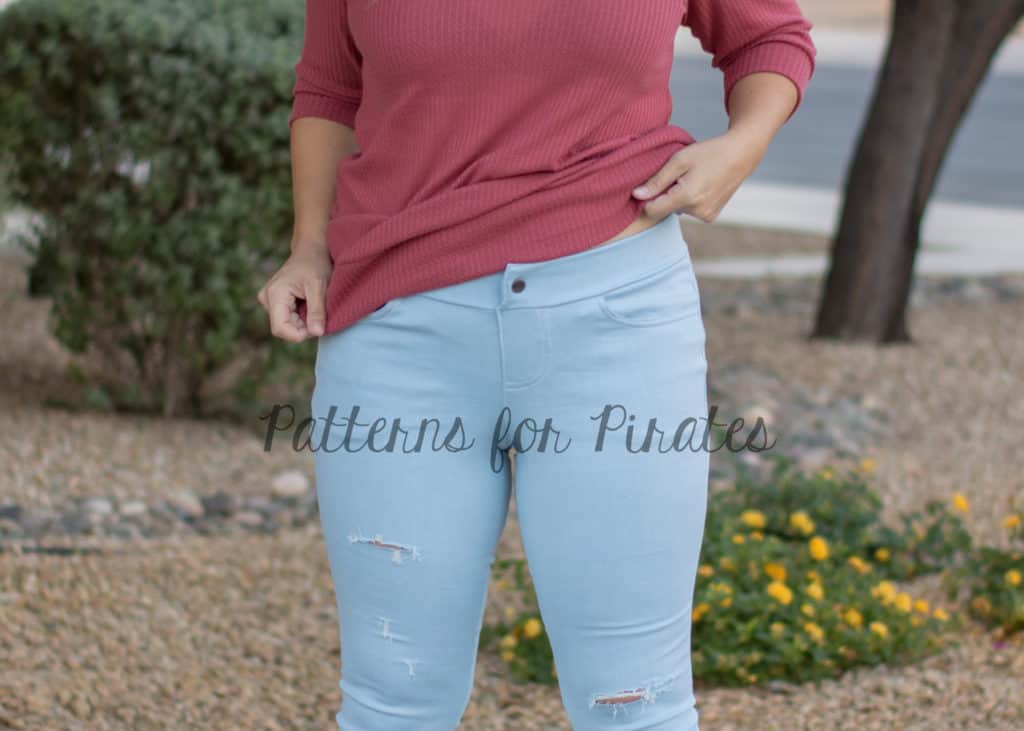
Most of the time, everyone raves about a “jean” with an elastic waistband that was accomplished with the SOS… I mean, other than leggings or sweats, what could possibly be more comfortable and look like real pants? With a few simple steps, we’re going to transform the SOS to mimic real pants with a semi-functional waistband to give you an even more RTW jean/pant look!
First, add 1″ to the waistband and elastic measurements. You’ll need that little extra so that the waistband overlaps one another. Construct you pants as instructed in the tutorial except as follows:
-

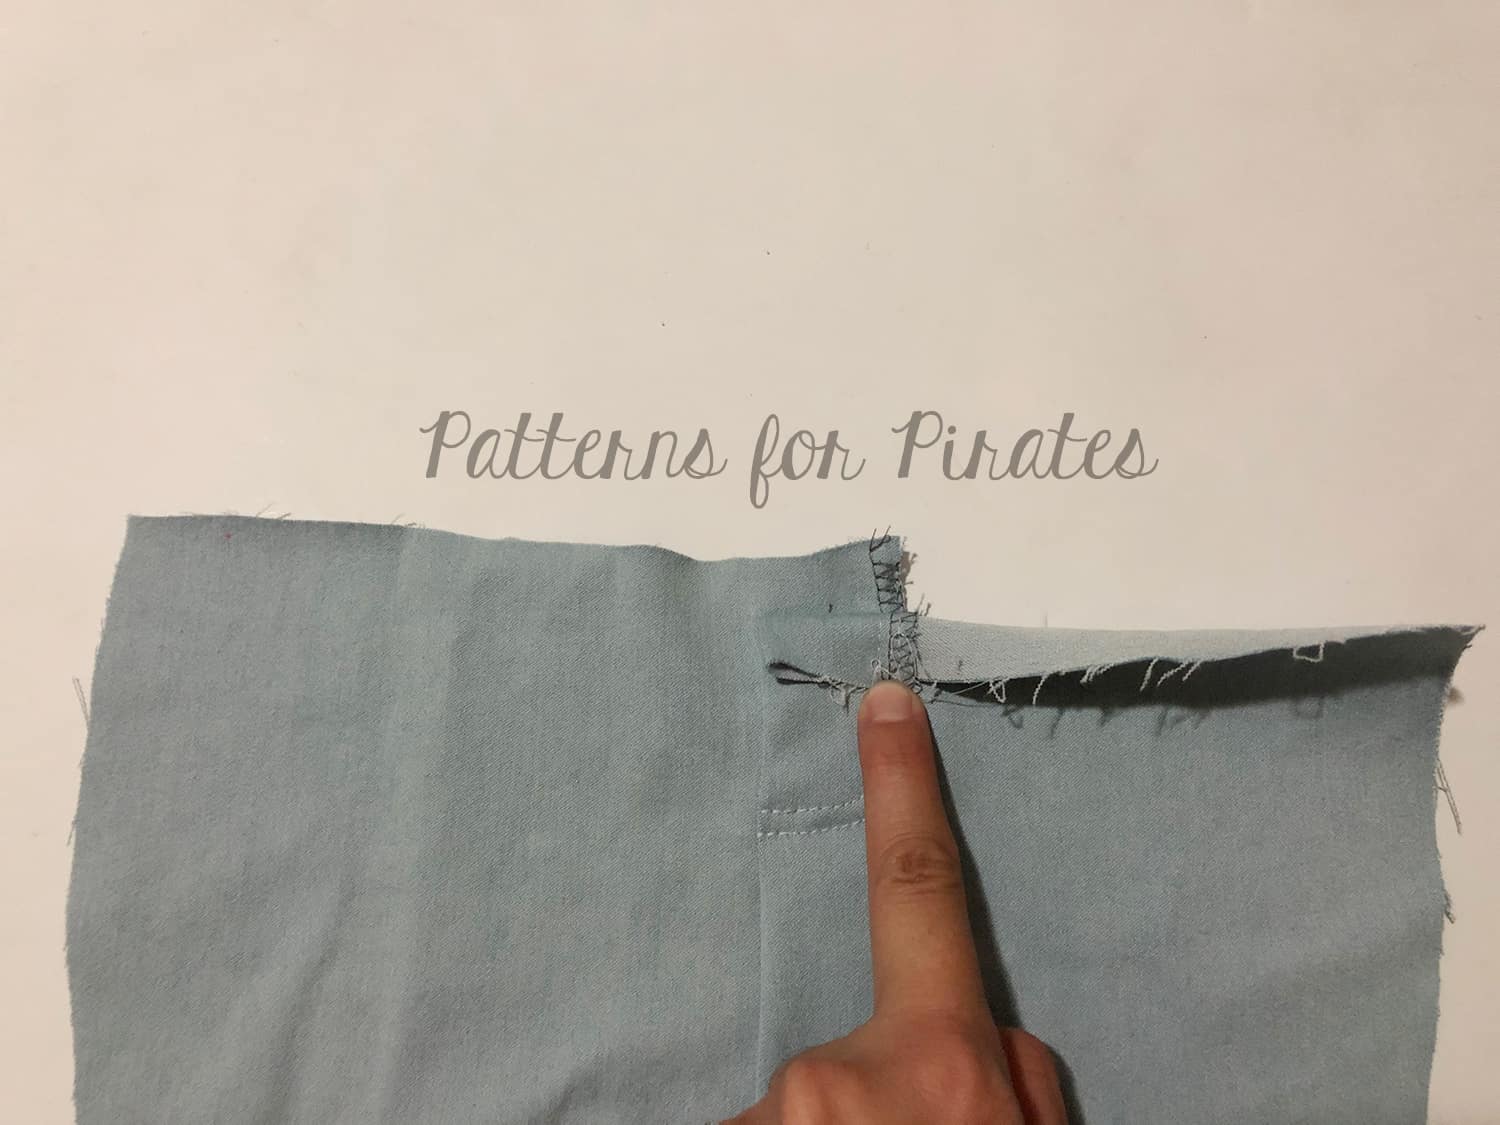
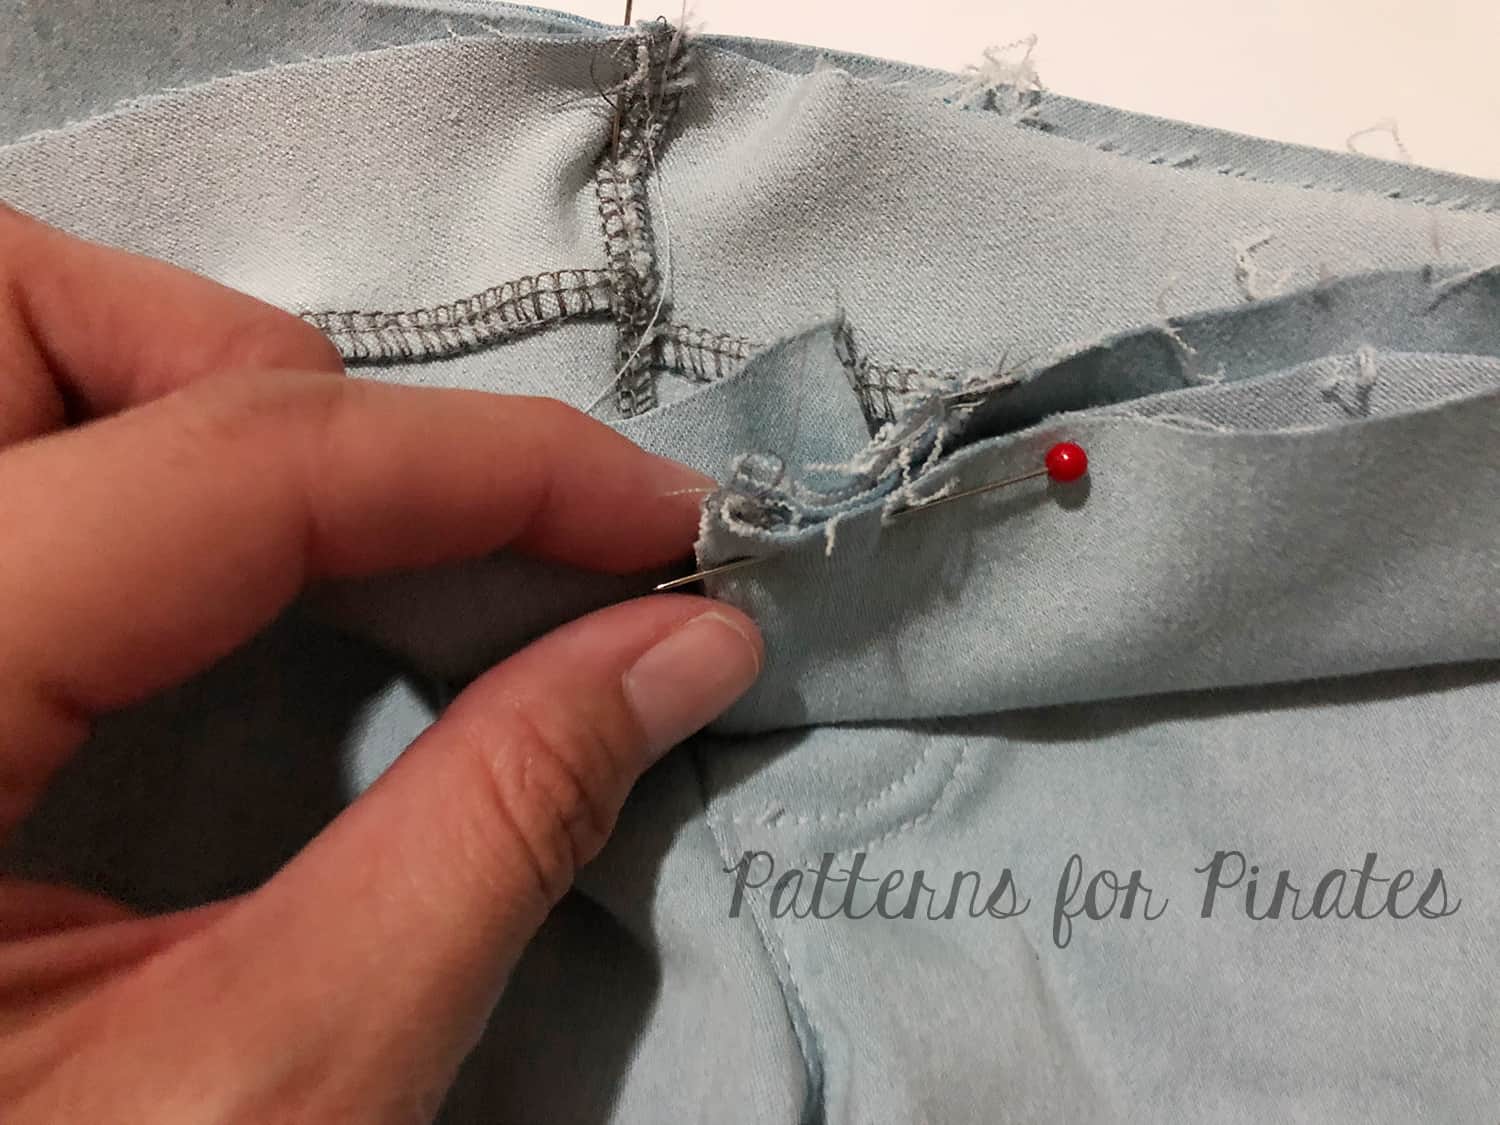
- Starting 3/4″ from the top edge, stitch front crotch seam.
-
- If you choose to finish the raw edge of the faux fly, finish each separately and do not sew together.
-
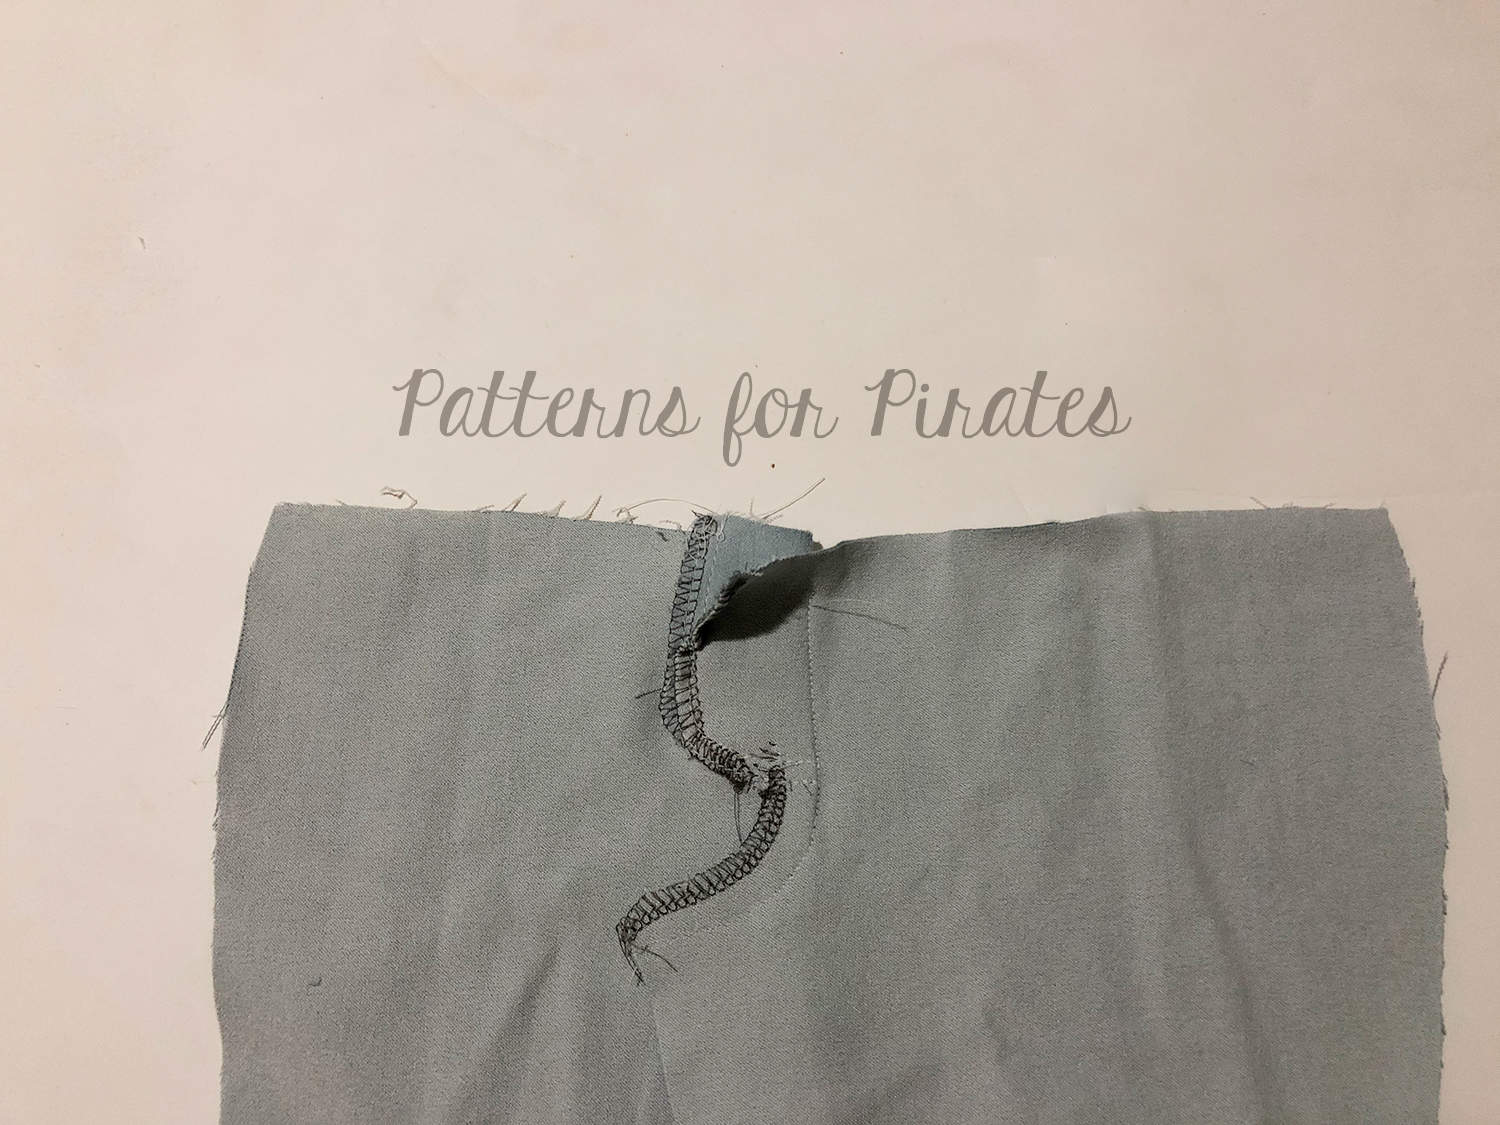
- With wrong side facing up, press faux fly to wearer’s left and fold the top fly piece wrong sides together 3/8″.
-
- Top stitch faux fly, being careful not to catch the portion of the faux fly piece you previously folded.
-
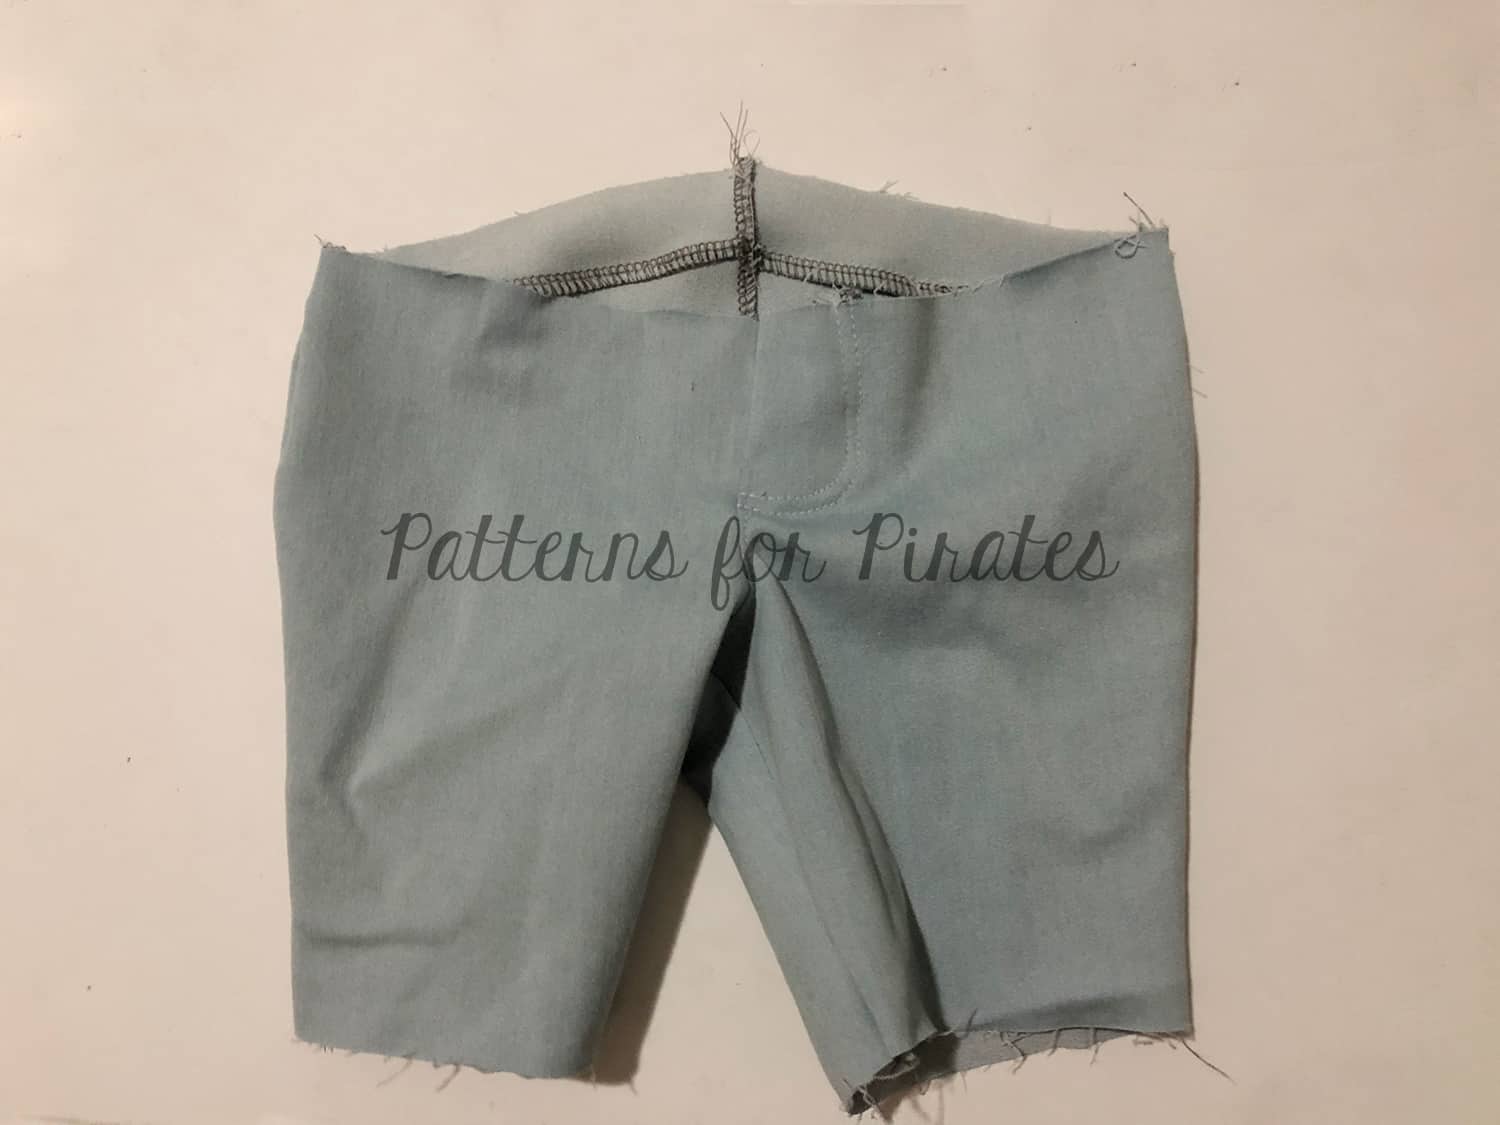
- Complete construction of the main pants as shown in the tutorial.
-
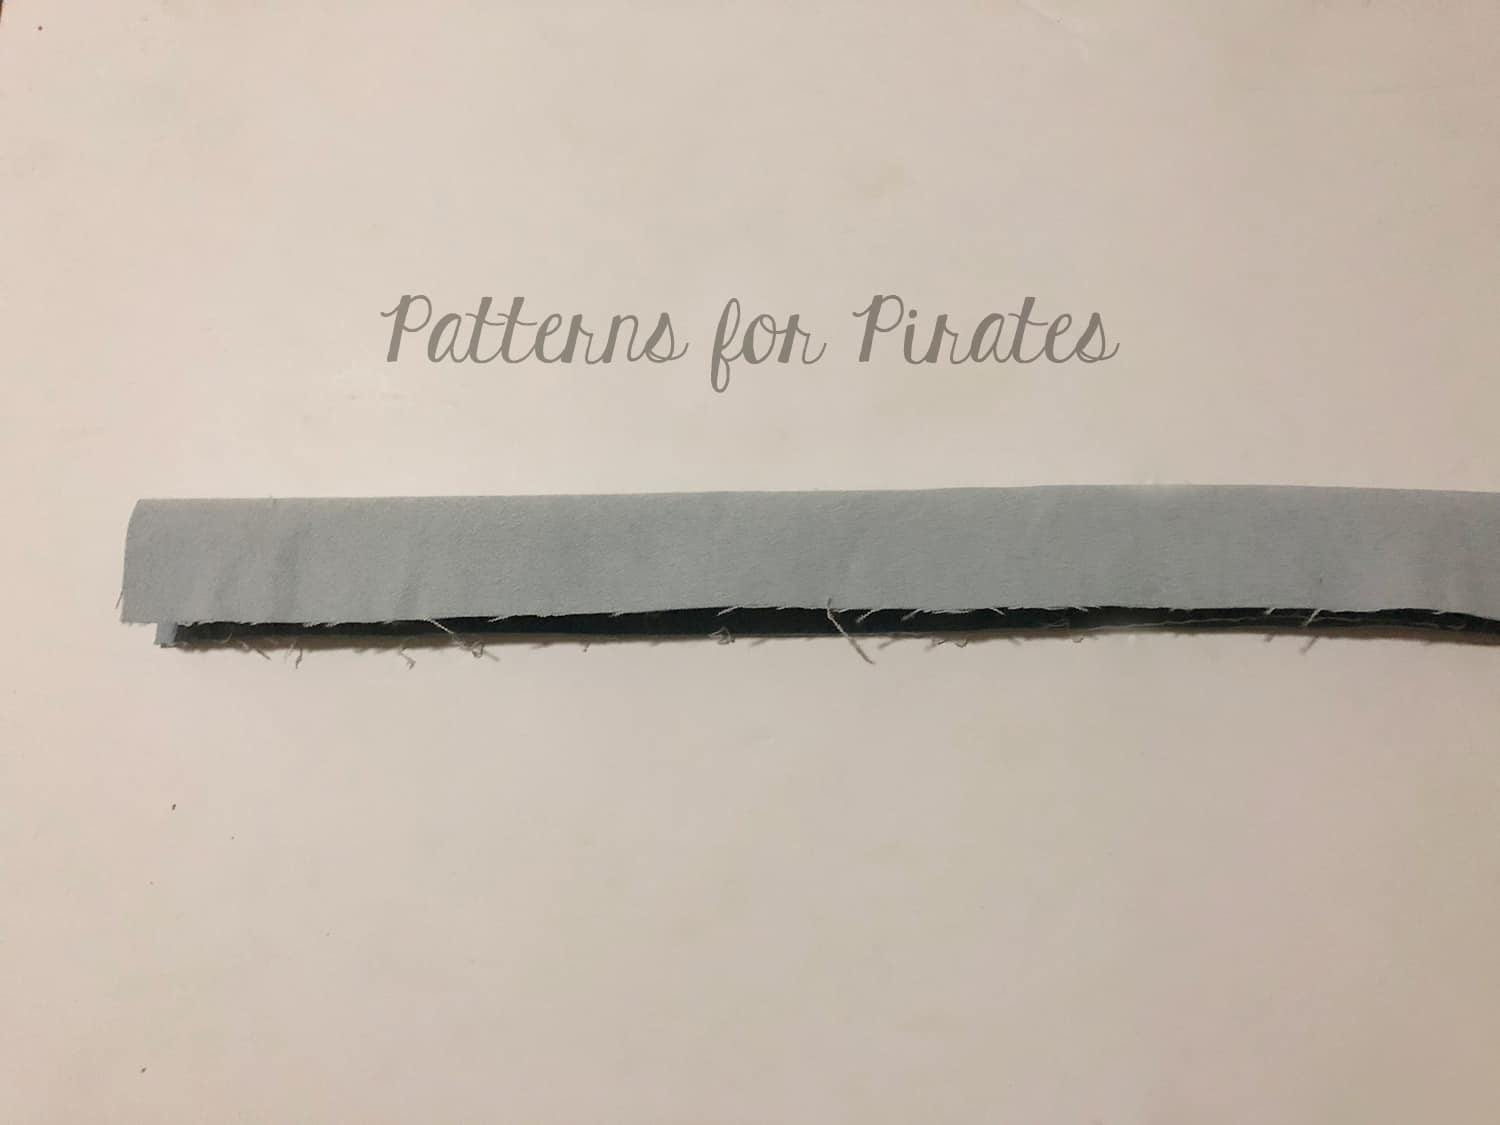
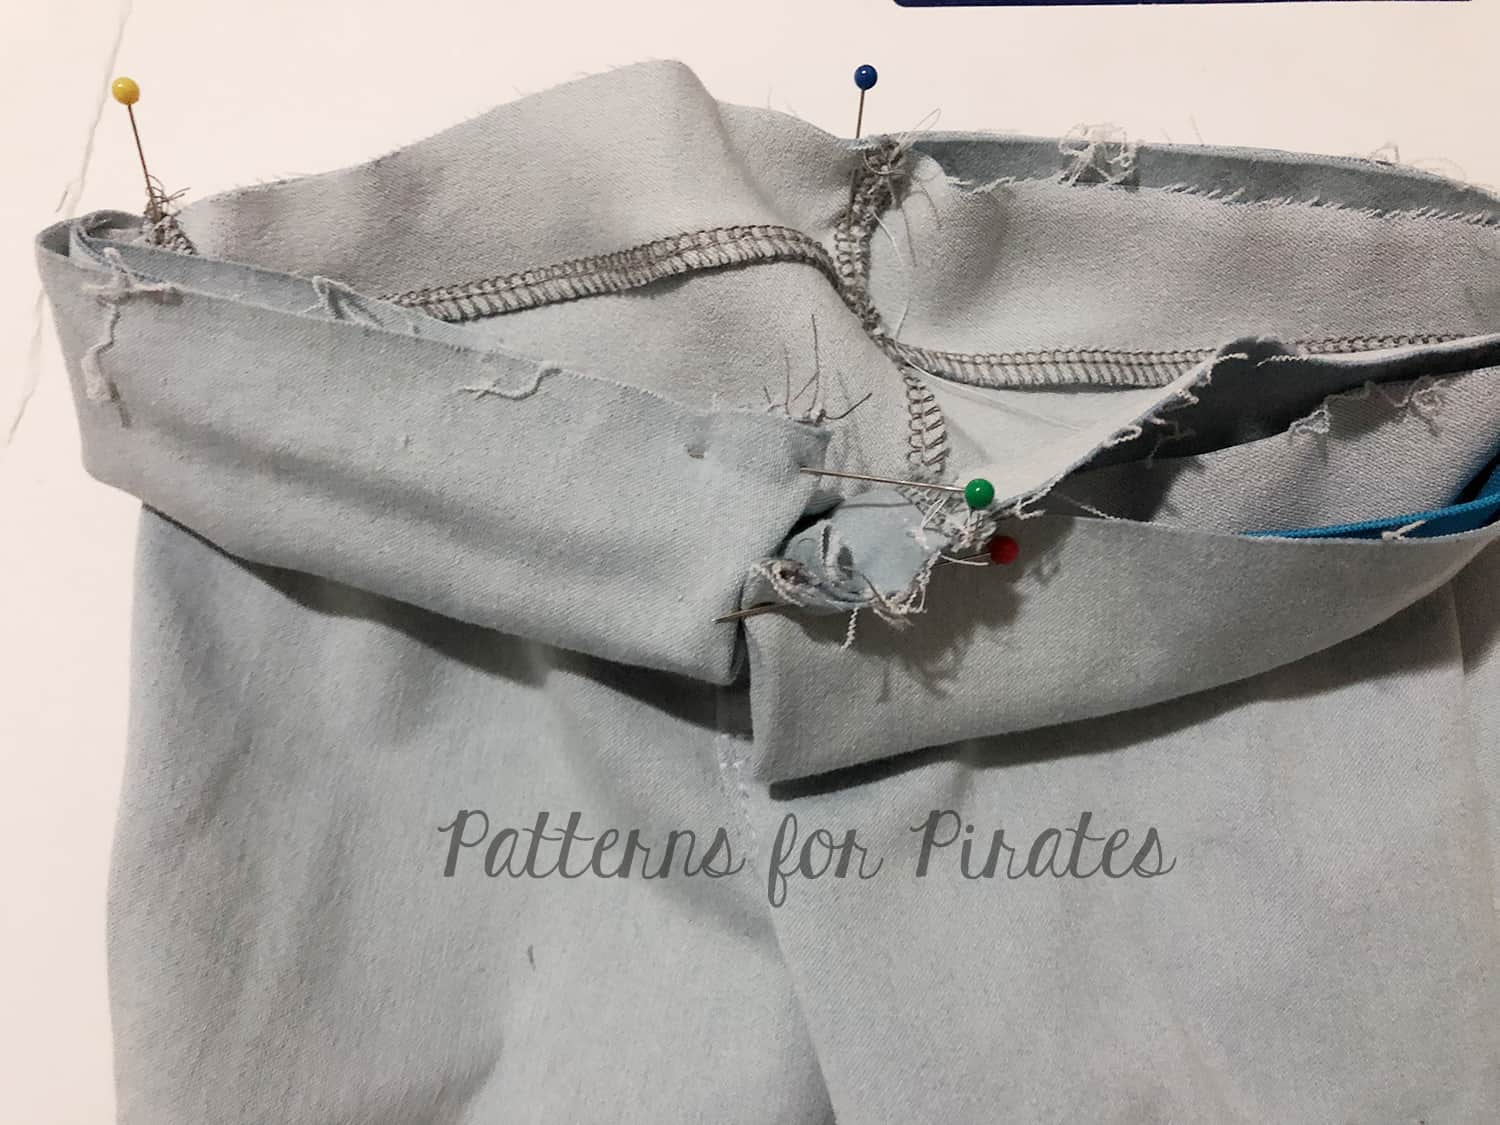
- Fold waistband right sides together.
-
- Aligning the elastic with the folded edge of the waistband, pin or clip in place at each end.
-
- Stitch with 1/4″ seam allowance along short end.
-
- Turn waistband right side out.
-
- Find center of waistband.
-
- Match center of waistband with back center seam of pants.
-
- Match the waistband with the center from seamline. The top fly will be folded and not stitched here.
-
- Continue pinning waistband to pants.
-
- Stitch.
-
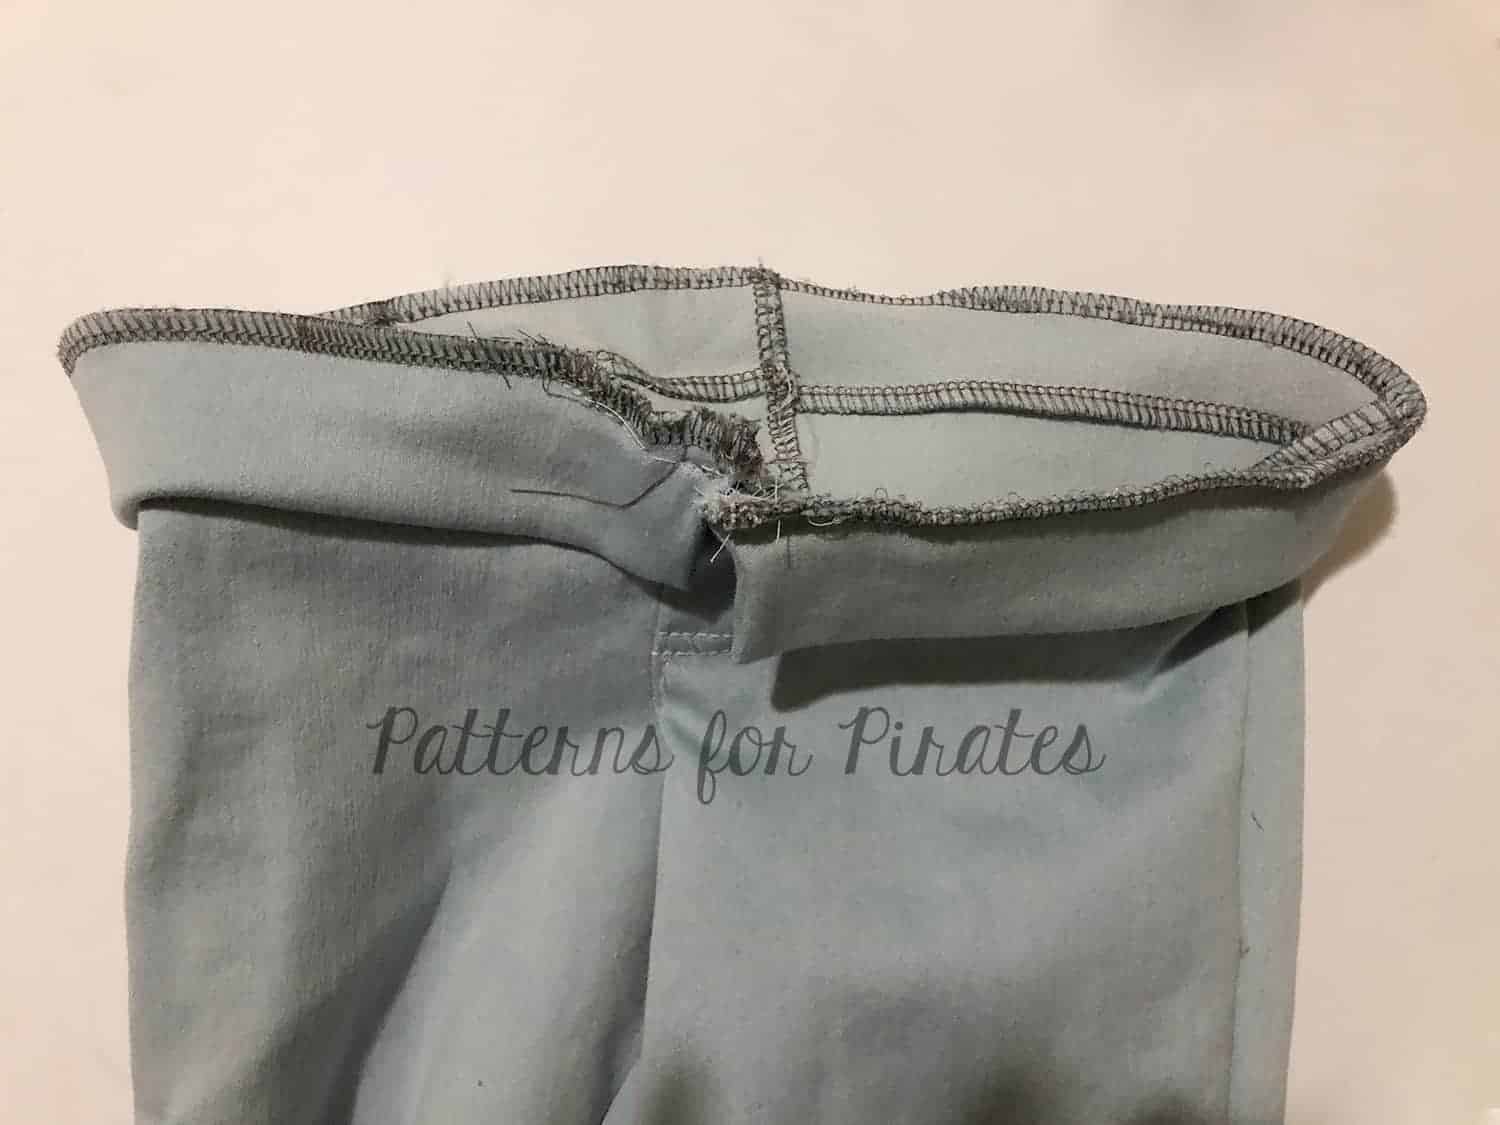
- Add a snap or button and top-stitch fly closed along the center seam.

-

- Jacquard
…..
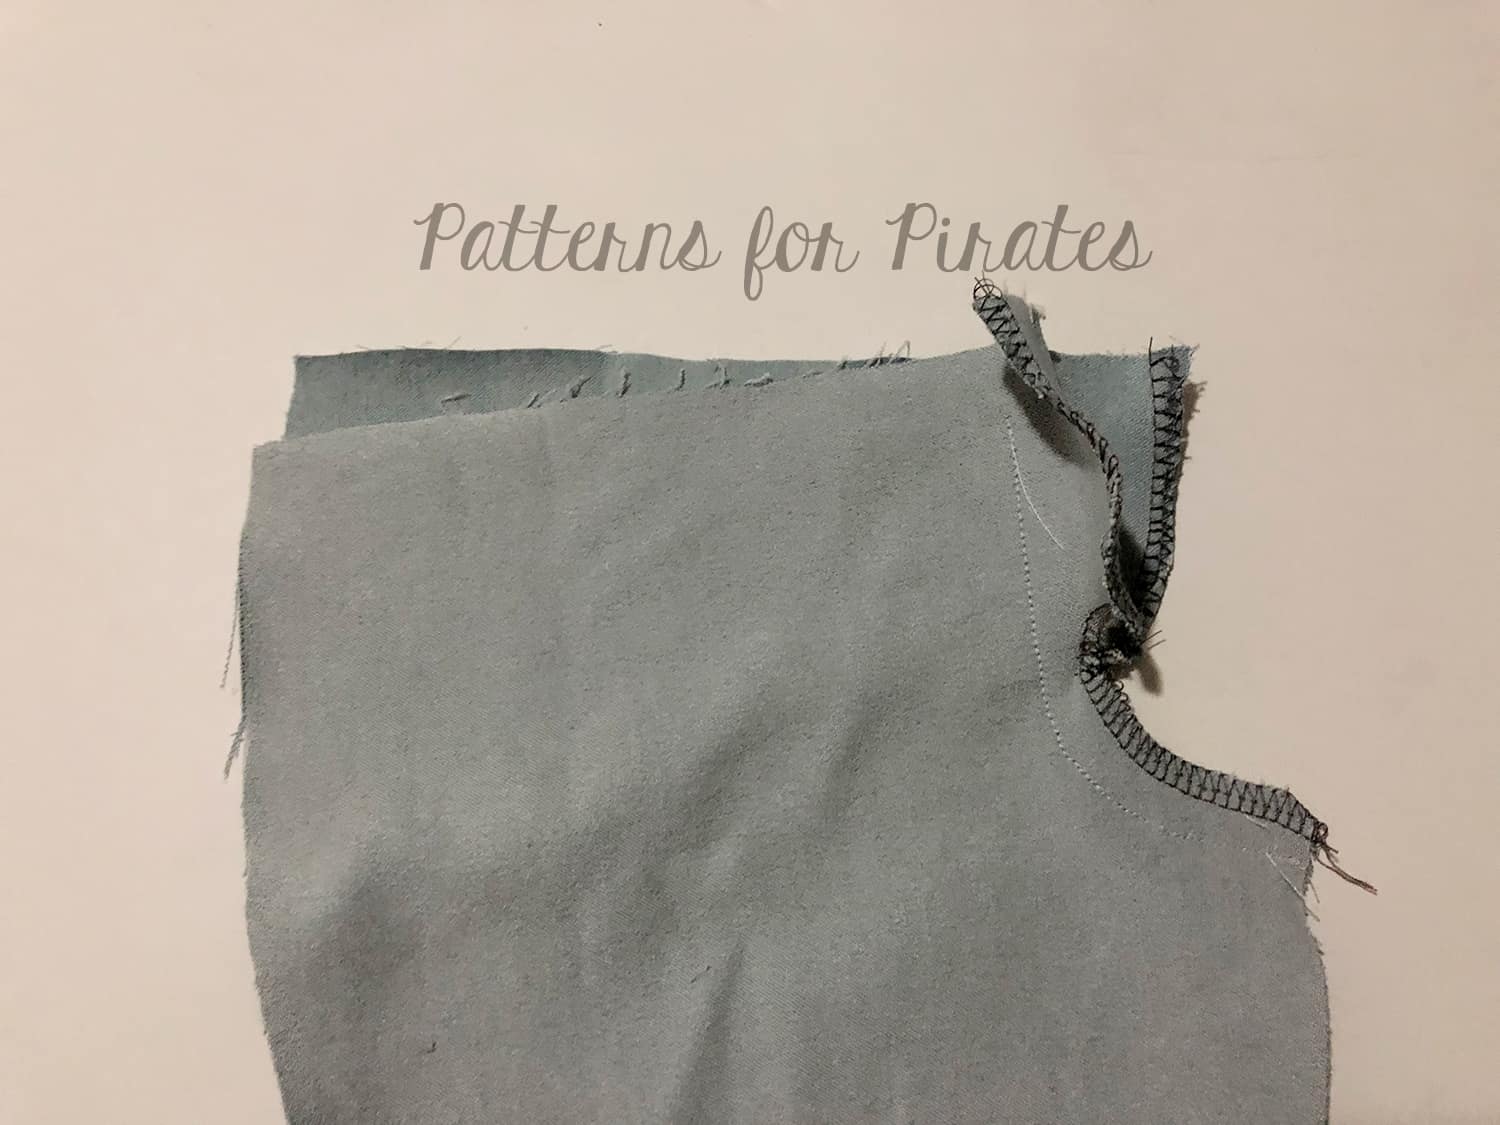
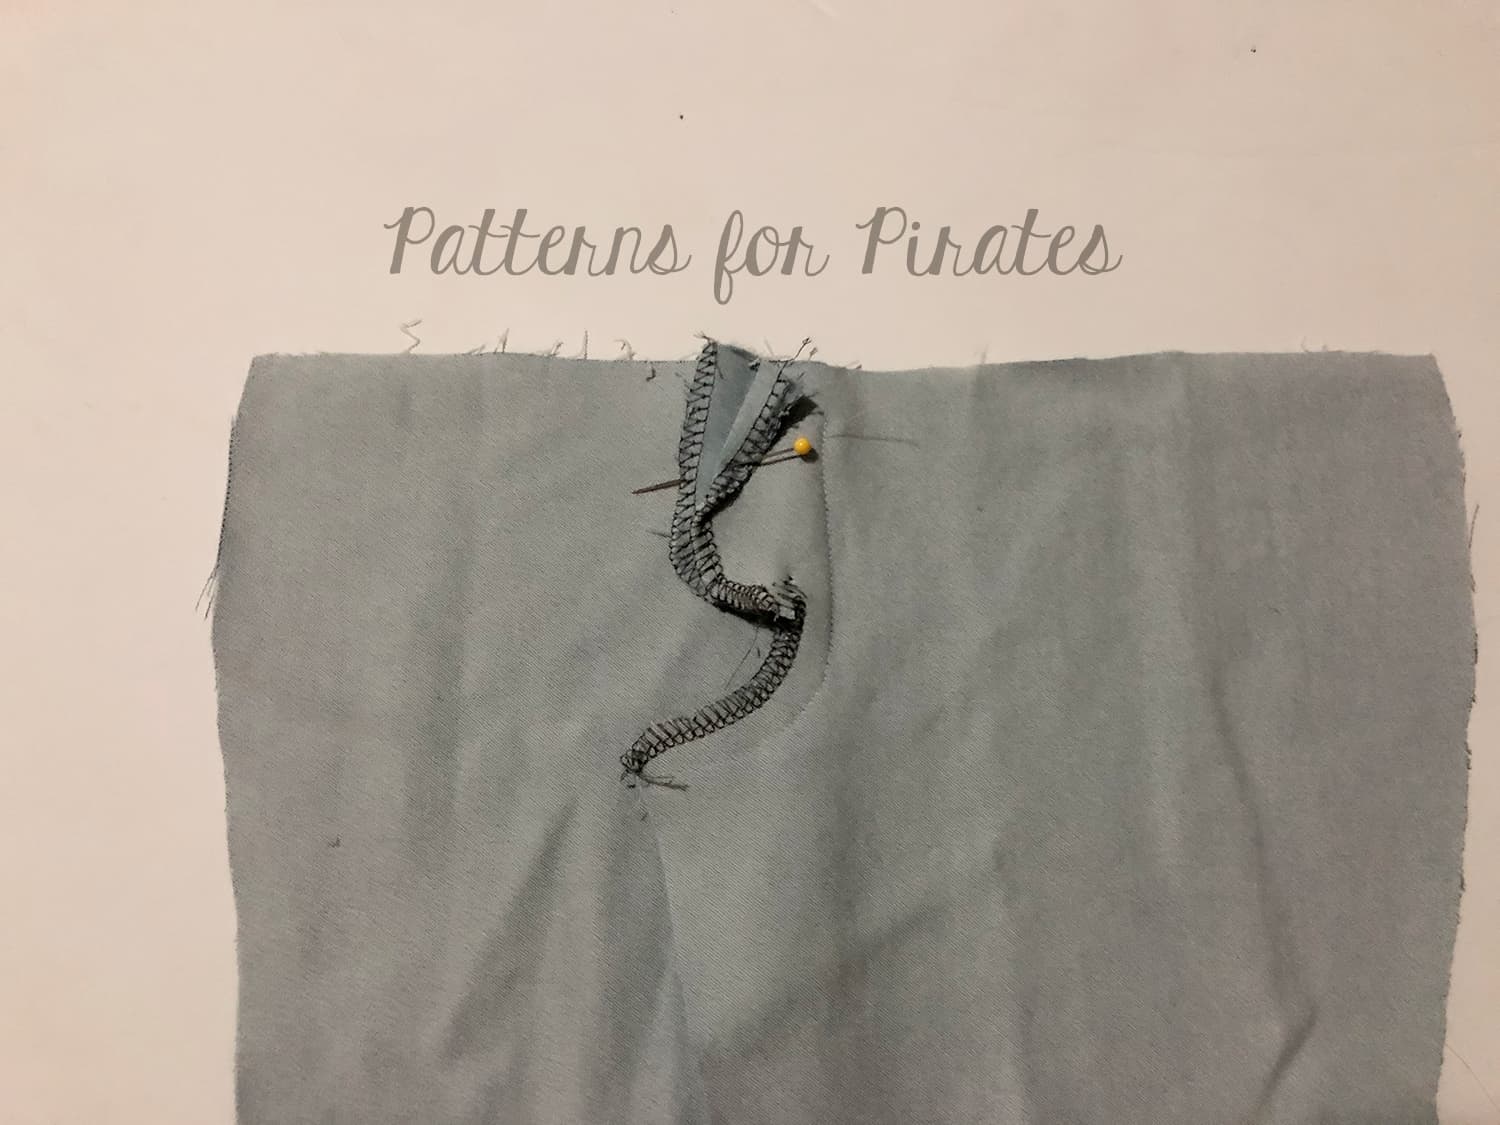
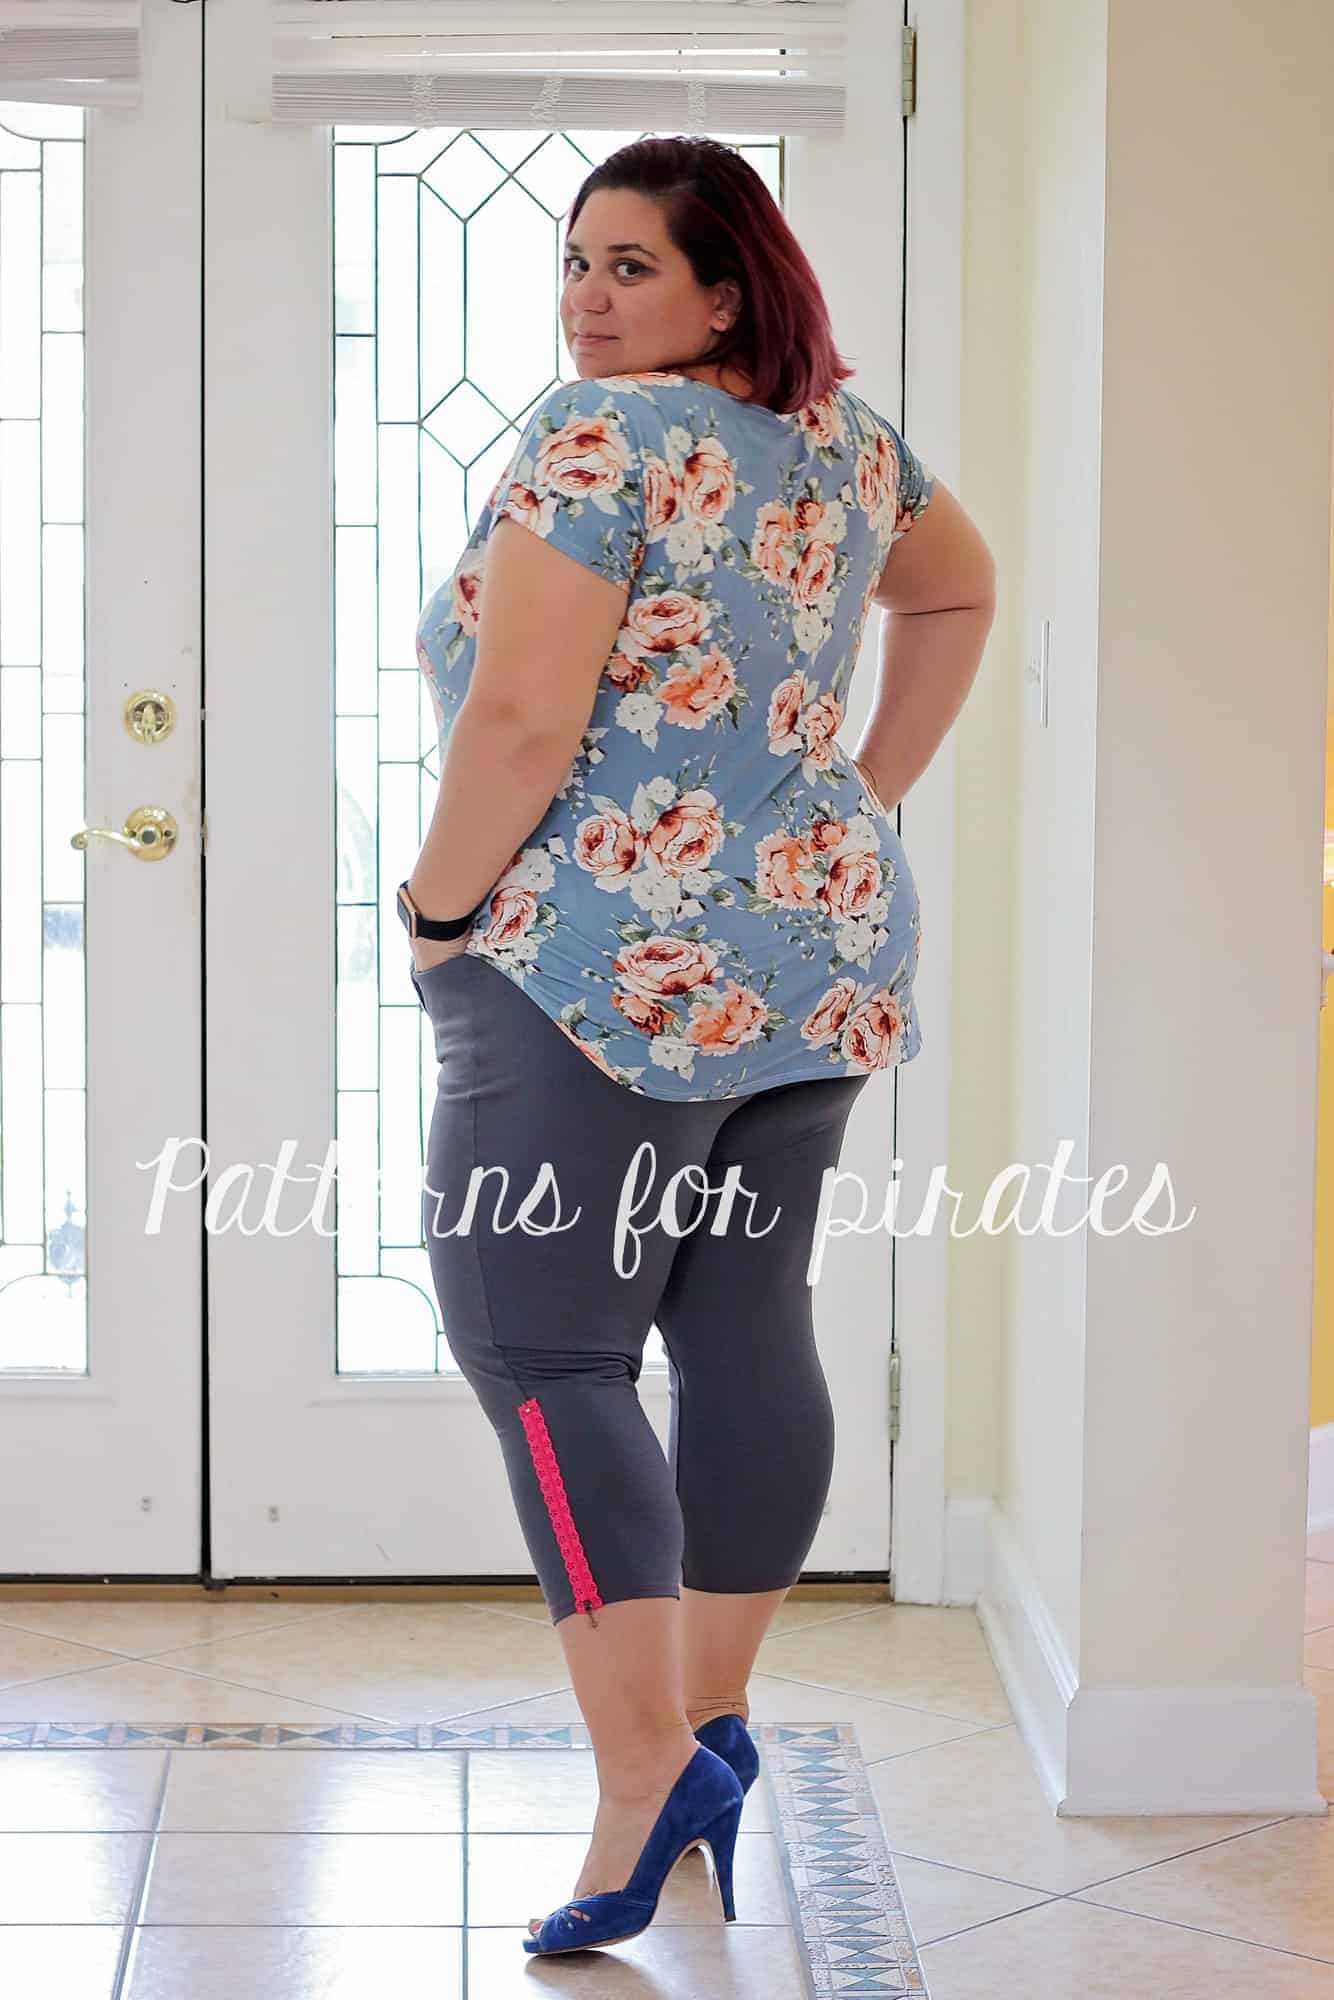
Zipper Accents
The SOS just screamed for a zipper detail so I made myself a pair using some pretty decorative lace zippers. Here’s how to achieve this look.
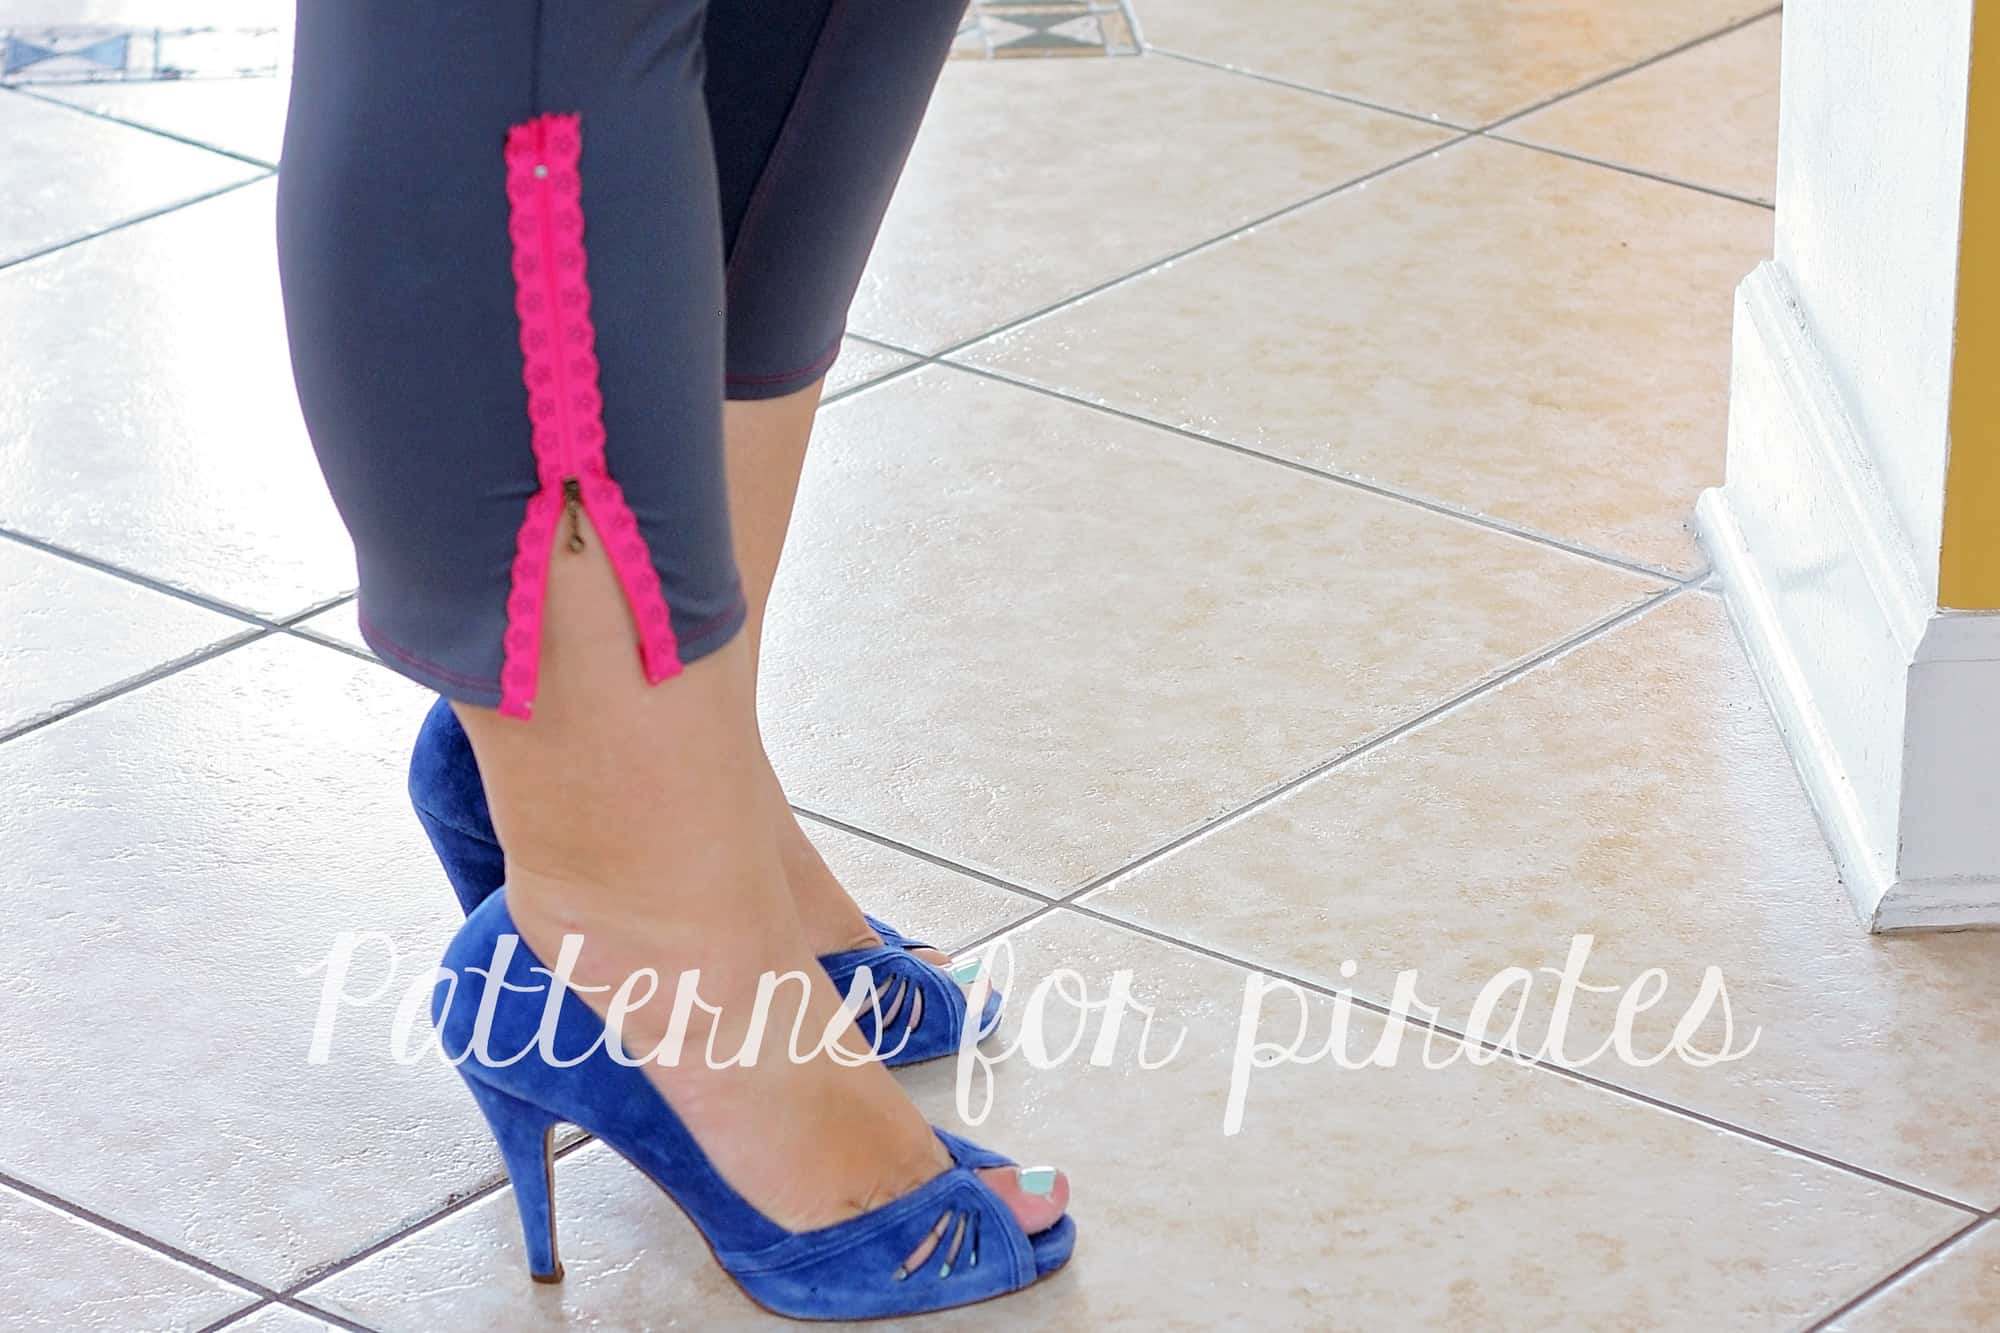
Print and cut the SOS knit pants pattern pieces and grab two lace zippers. I used 9″ ones. I did cut a calf length instead of the pattern’s ankle length because I had a remanent of this grey athletic fabric that I really, really wanted to use. It’s very easy to make 3/4 length SOS pants…just cut both the front and the back leg at the calf marking instead.
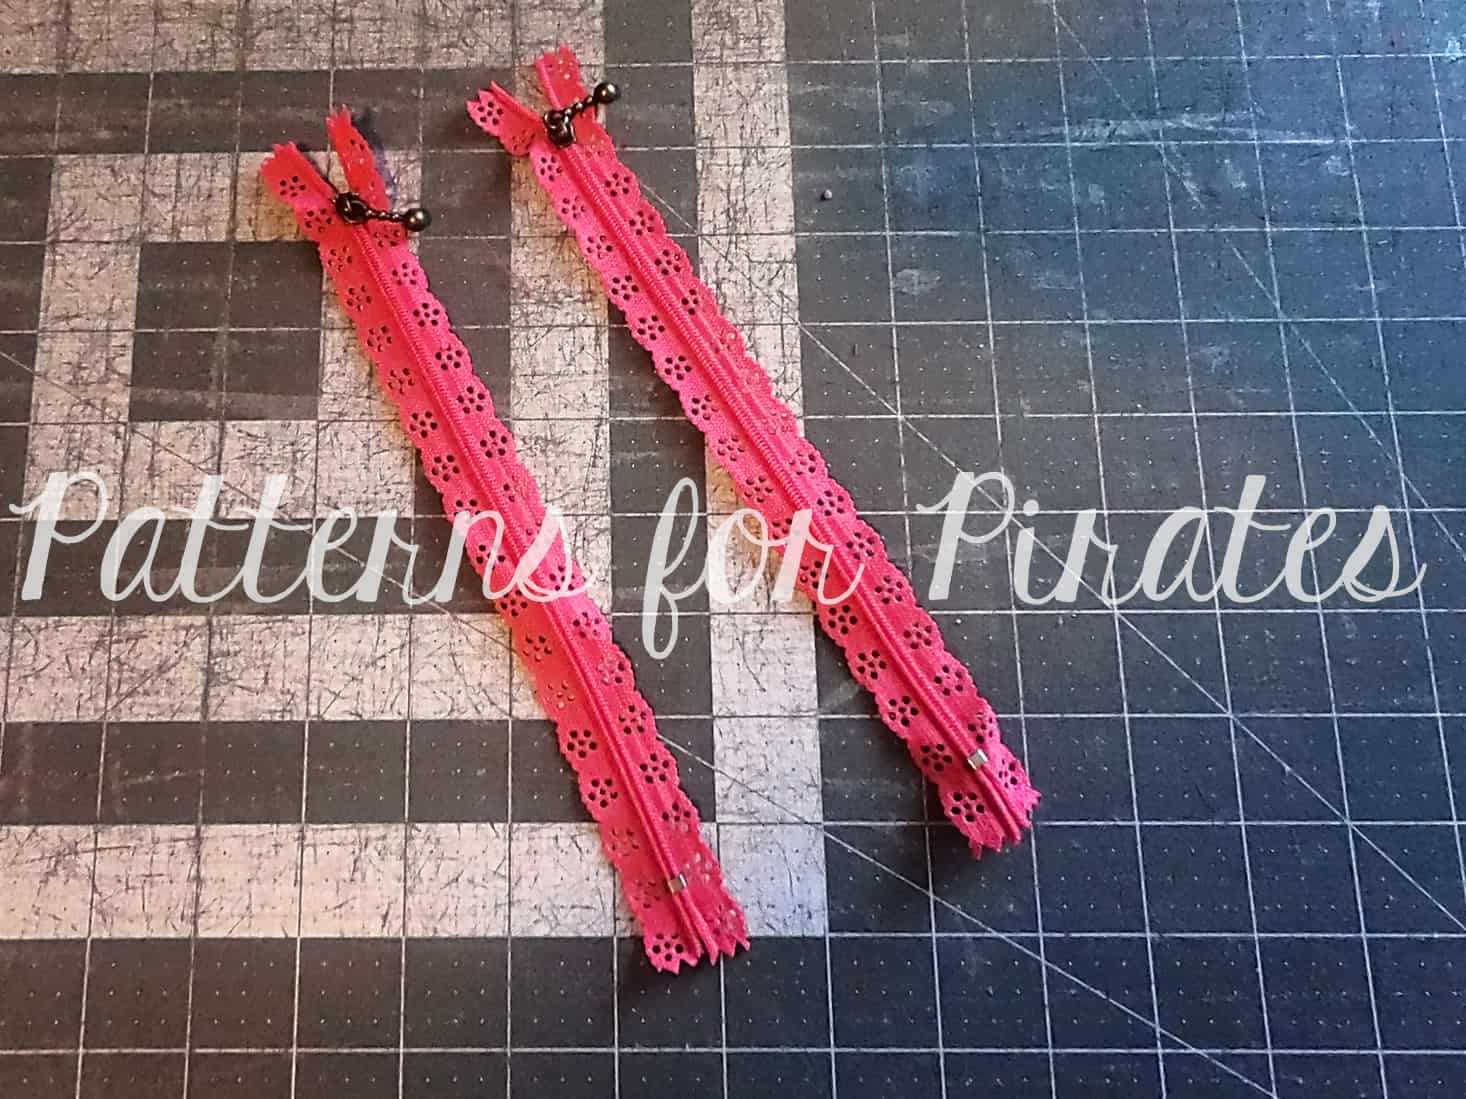
Using a fabric pen or tailor chalk, mark the top of the zipper on both the front and back side seam.
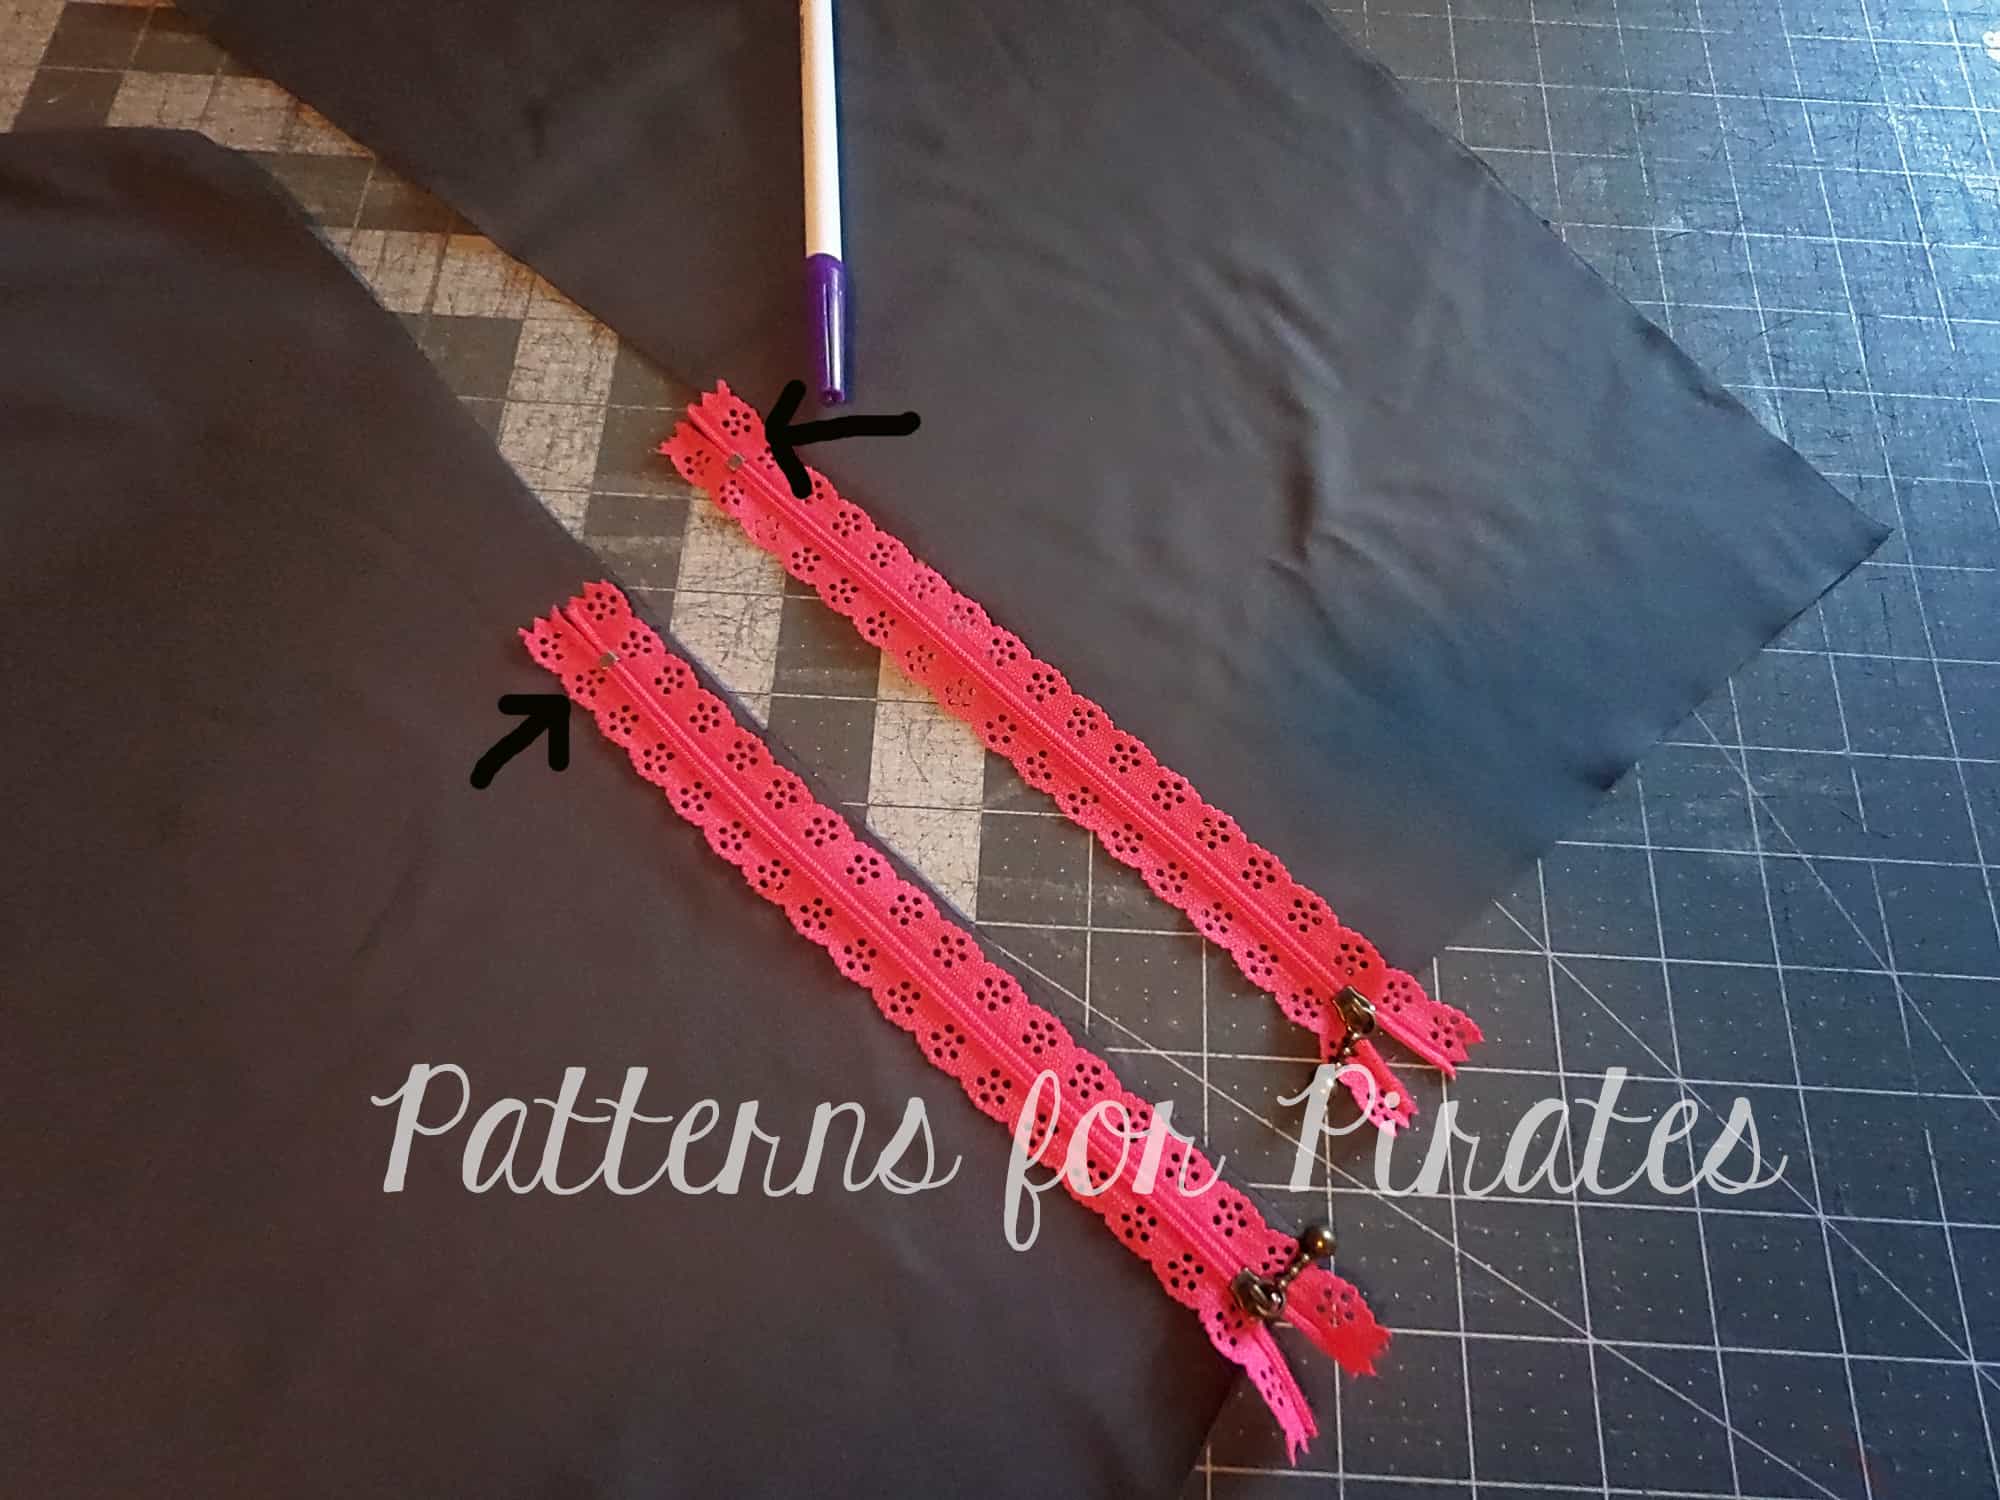
We will now be changing the construction of the pants a little. Sew the pockets and crotch curves as instructed in the tutorial. Sew the inseam next. Hem your SOS pants using a coverstitch or twin needles.

Now that the inseam and hem are done, you will sew the side seams. Using your serger or a stretch stitch sew the side seam, front and back, right sides together and STOP AT THE MARKED POINT. Using a basting stitch, sew from the marked point to the hem.

Place your zipper on the right side of the pants and pin pit n place. It is important to have the zipper teeth on the side seam.
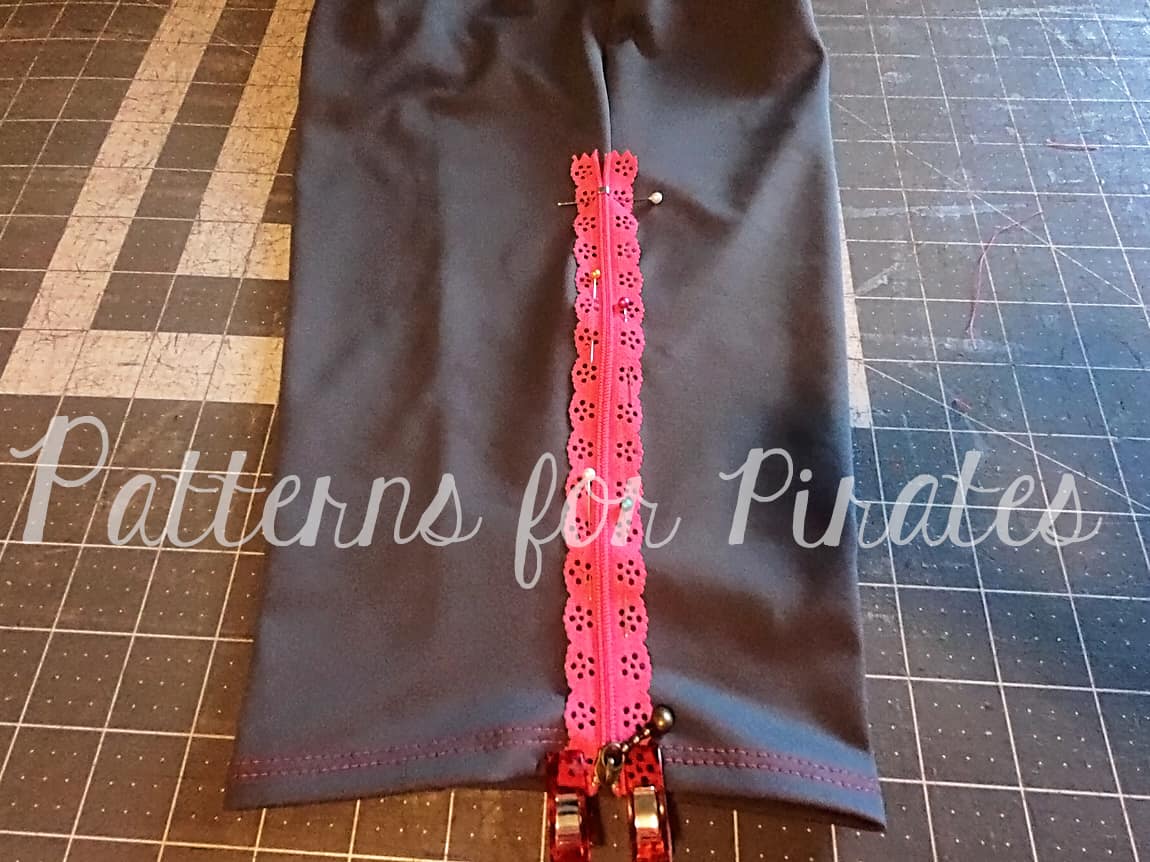
Remove the basting stitches to make it easier to sew the zipper in place.
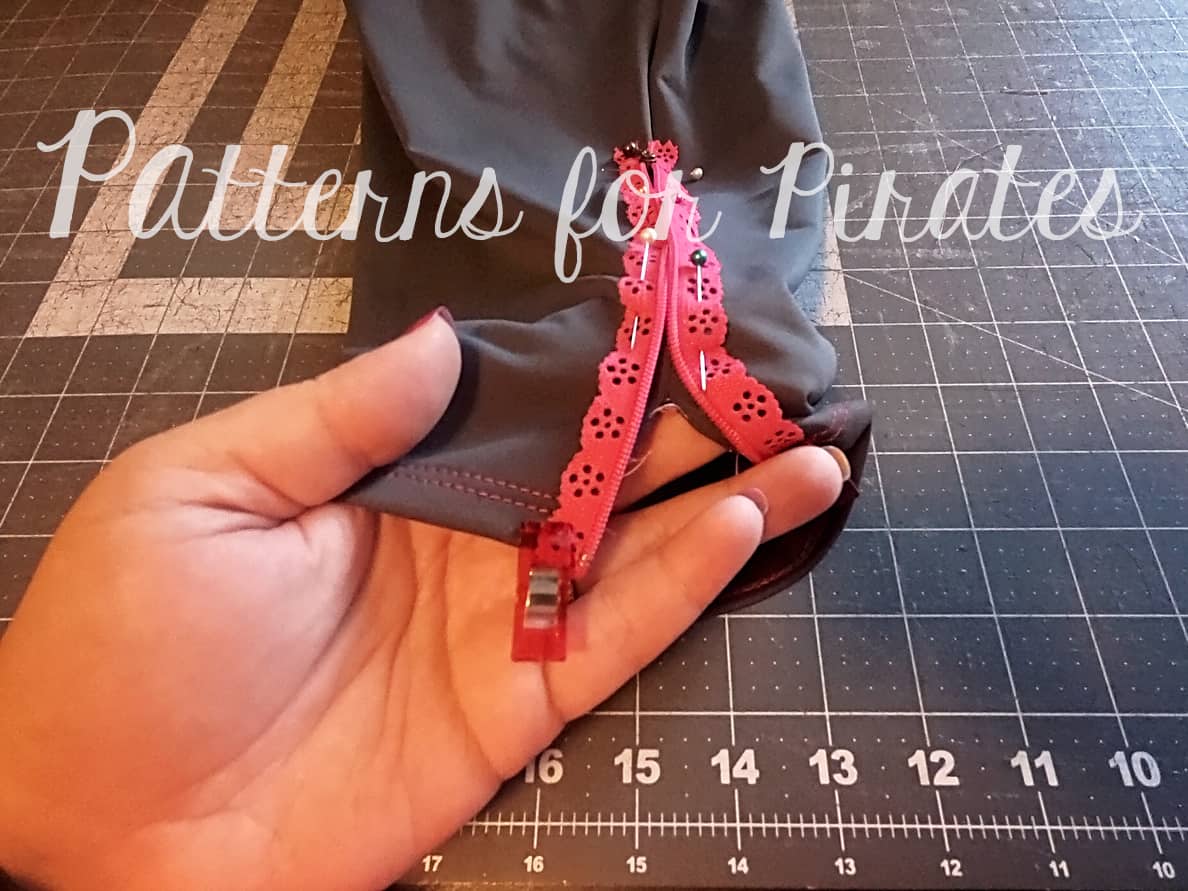
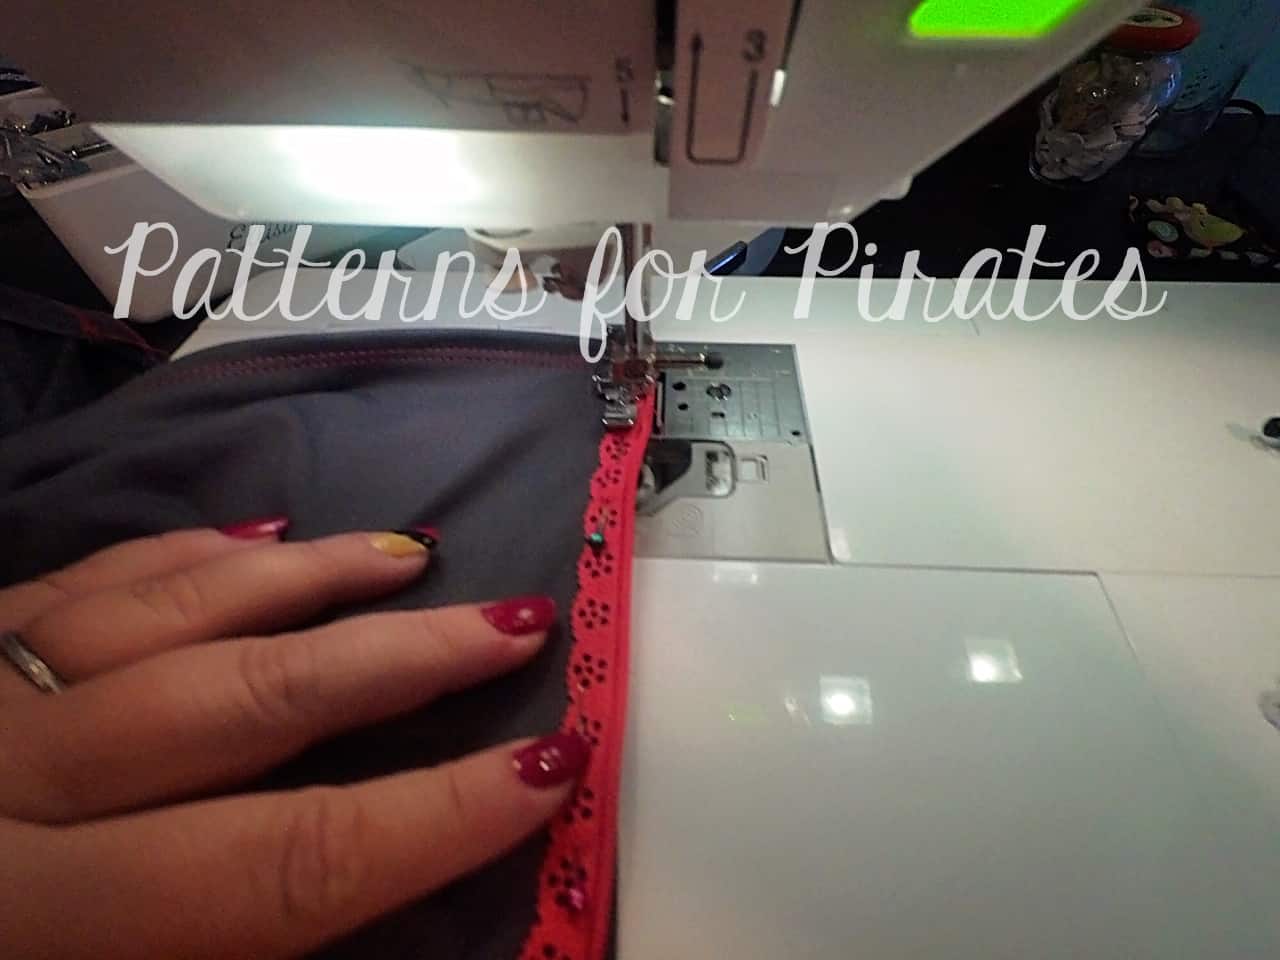
Using a zipper foot and a straight stitch, sew the zipper on, making sure you fold the lace under the hem.
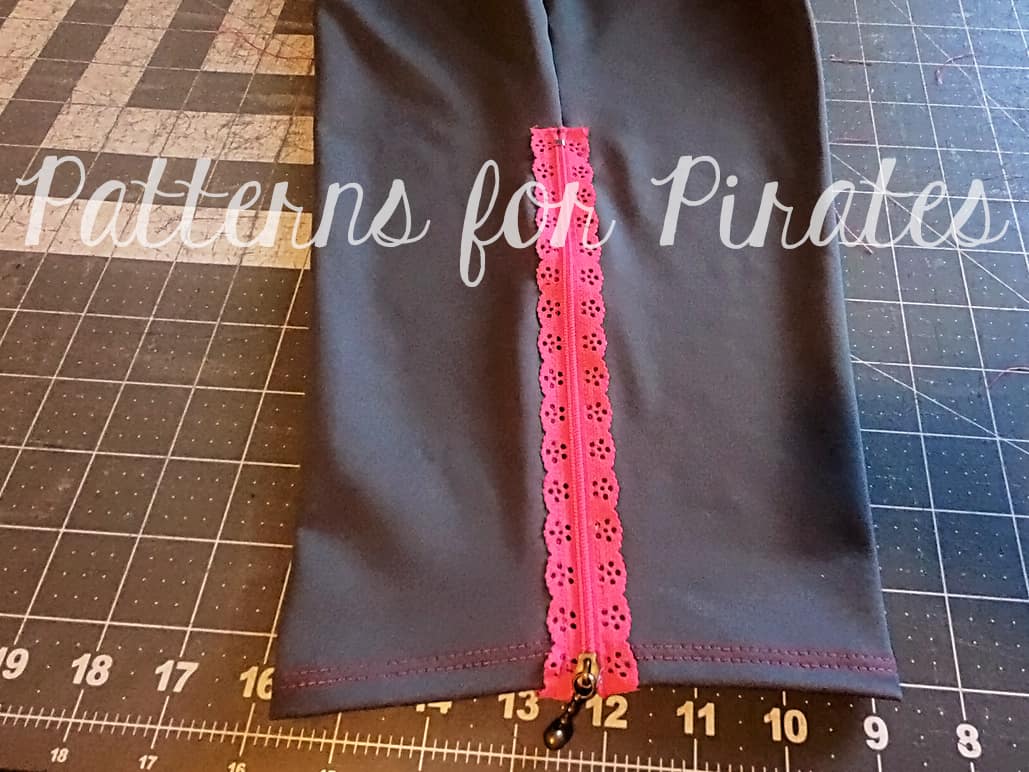
All done! Now go to Pinterest for some more zipper skinnies inspiration, order yourself some lace zippers and get creating!
How’s that for more options? We hope you love the hacks as much as we do. Sew up a pair of SOS Knit Pants using one of our hacks? Be sure to share in the Facebook Group or tag us on Instagram (@patternsforpirates).
Alex, Katy & Nicole