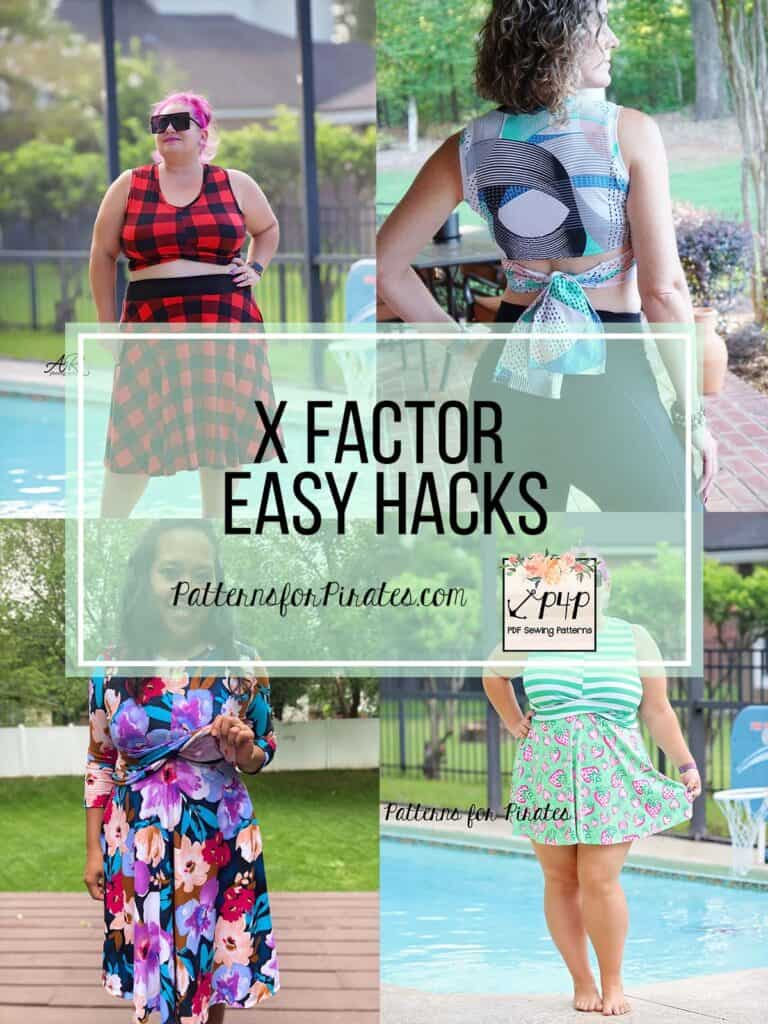
…..
Mini or Peplum options

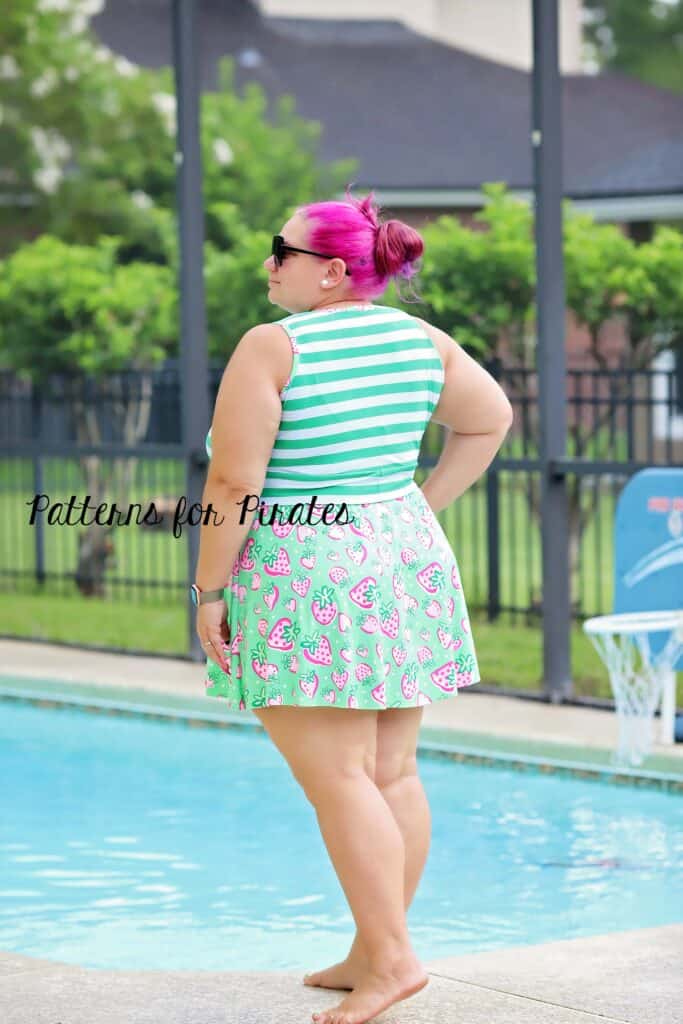
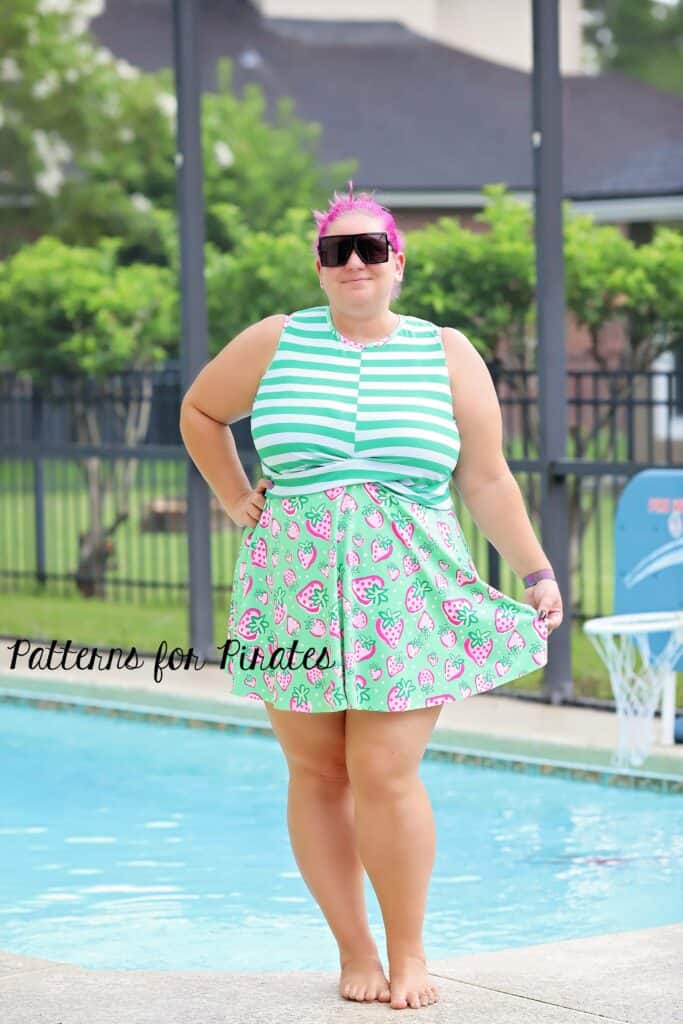
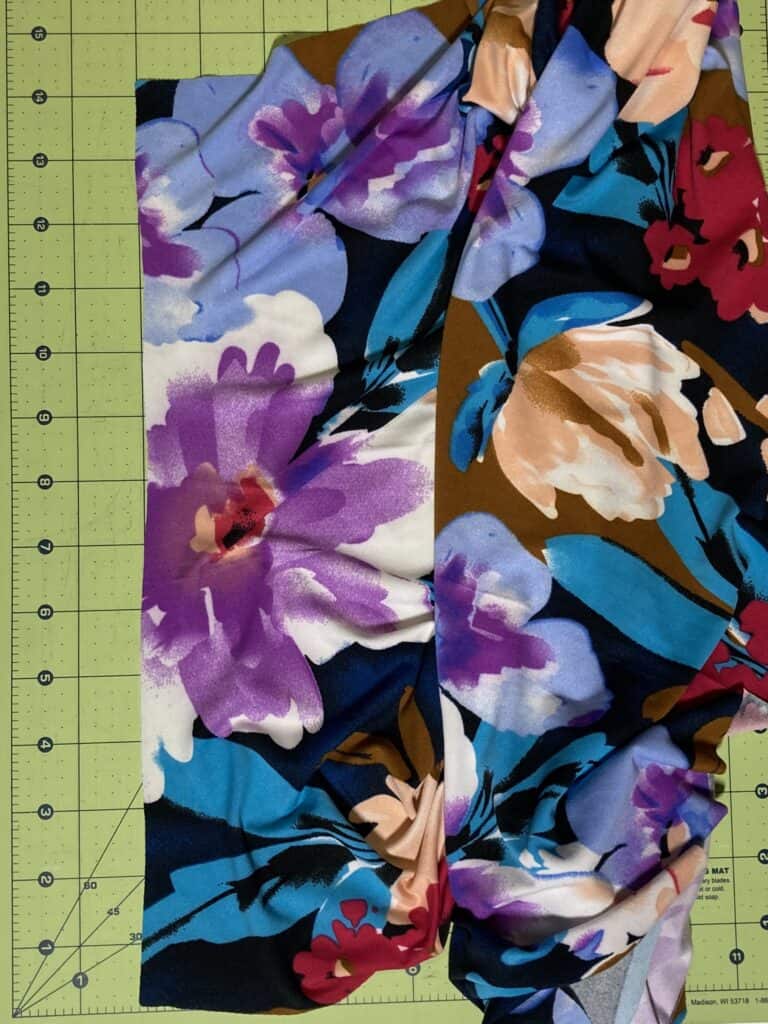
First easy hack that we waned to show you is how to shorten the X Factor dress to a peplum top or mini dress. For my example I decided to make a running dress with a mini skirt. I used swim fabric for this cute green dress.
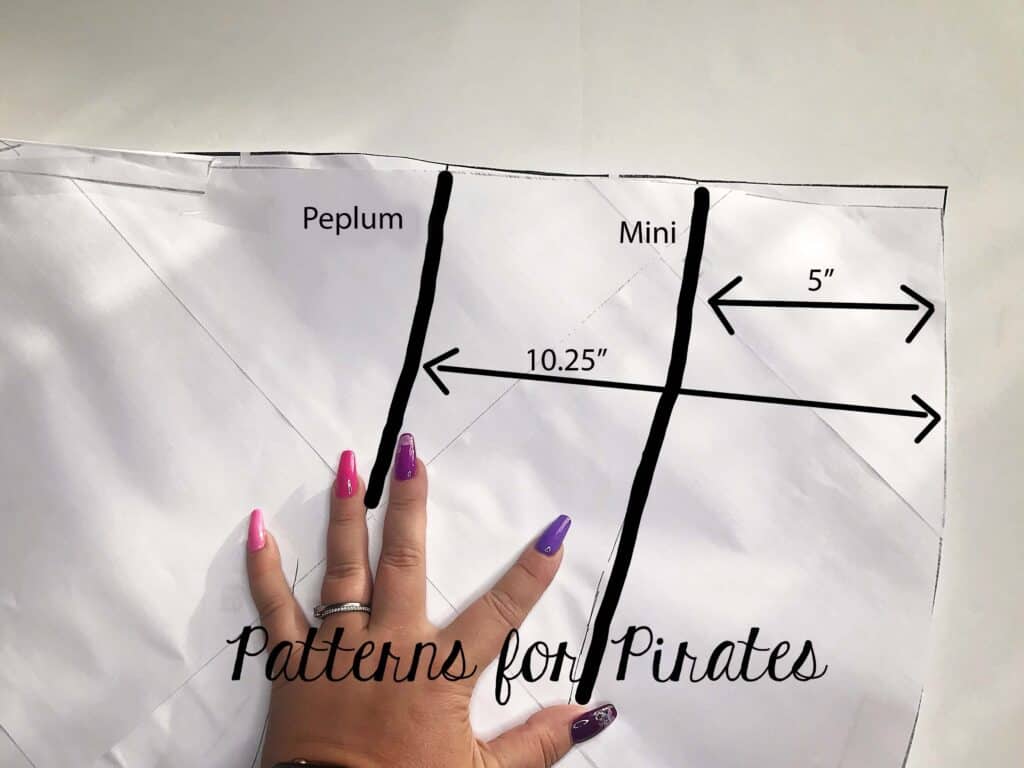
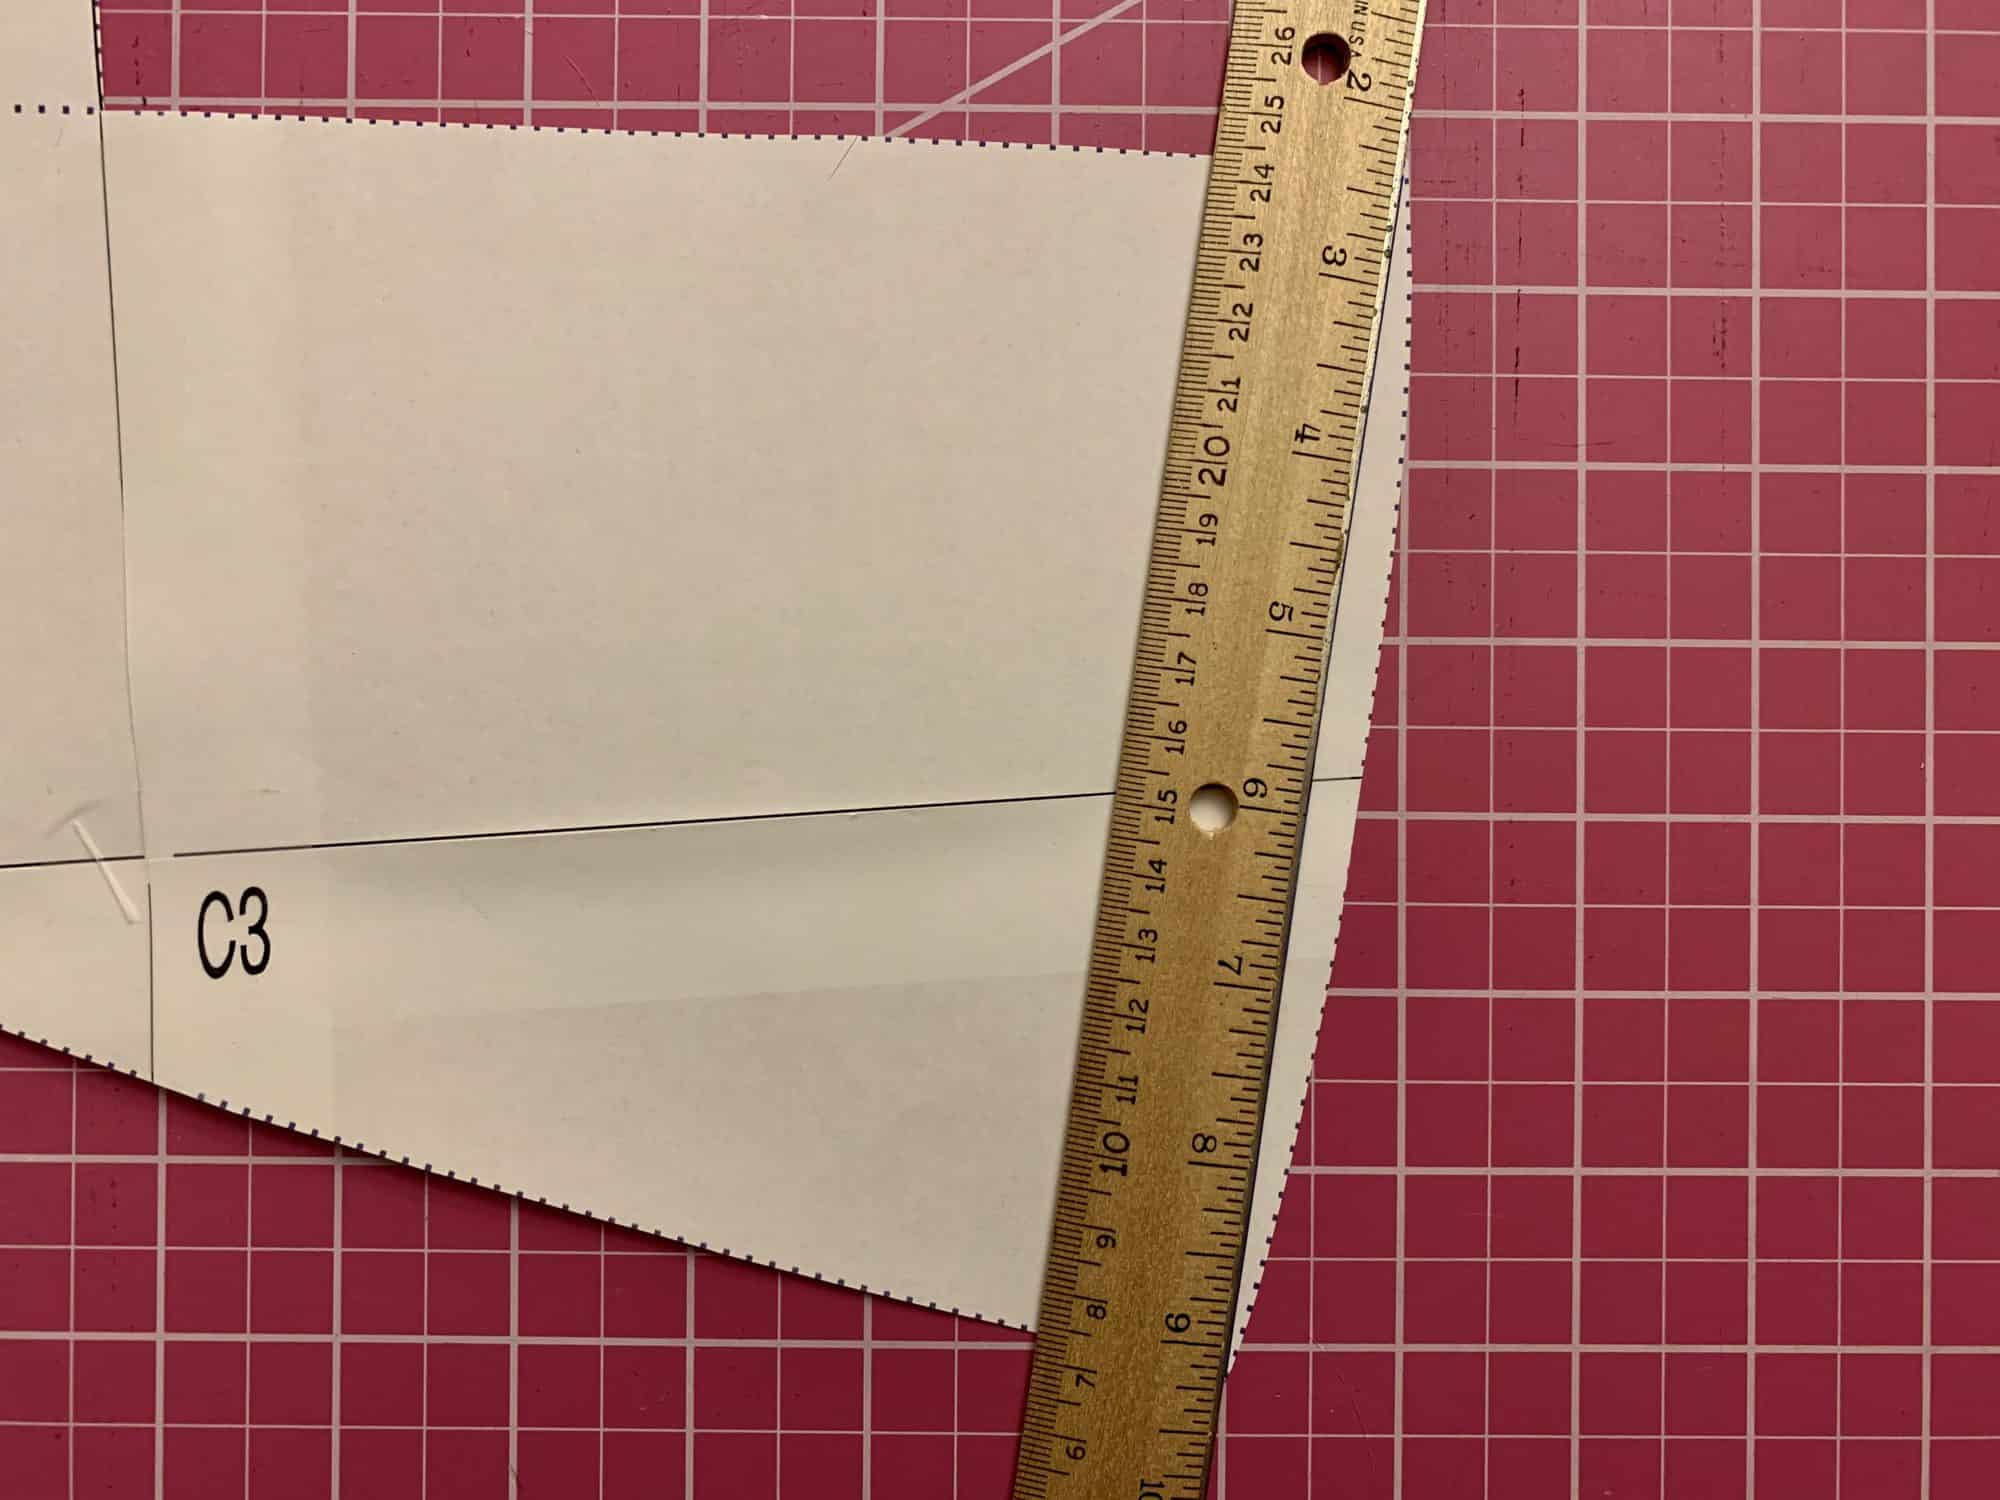
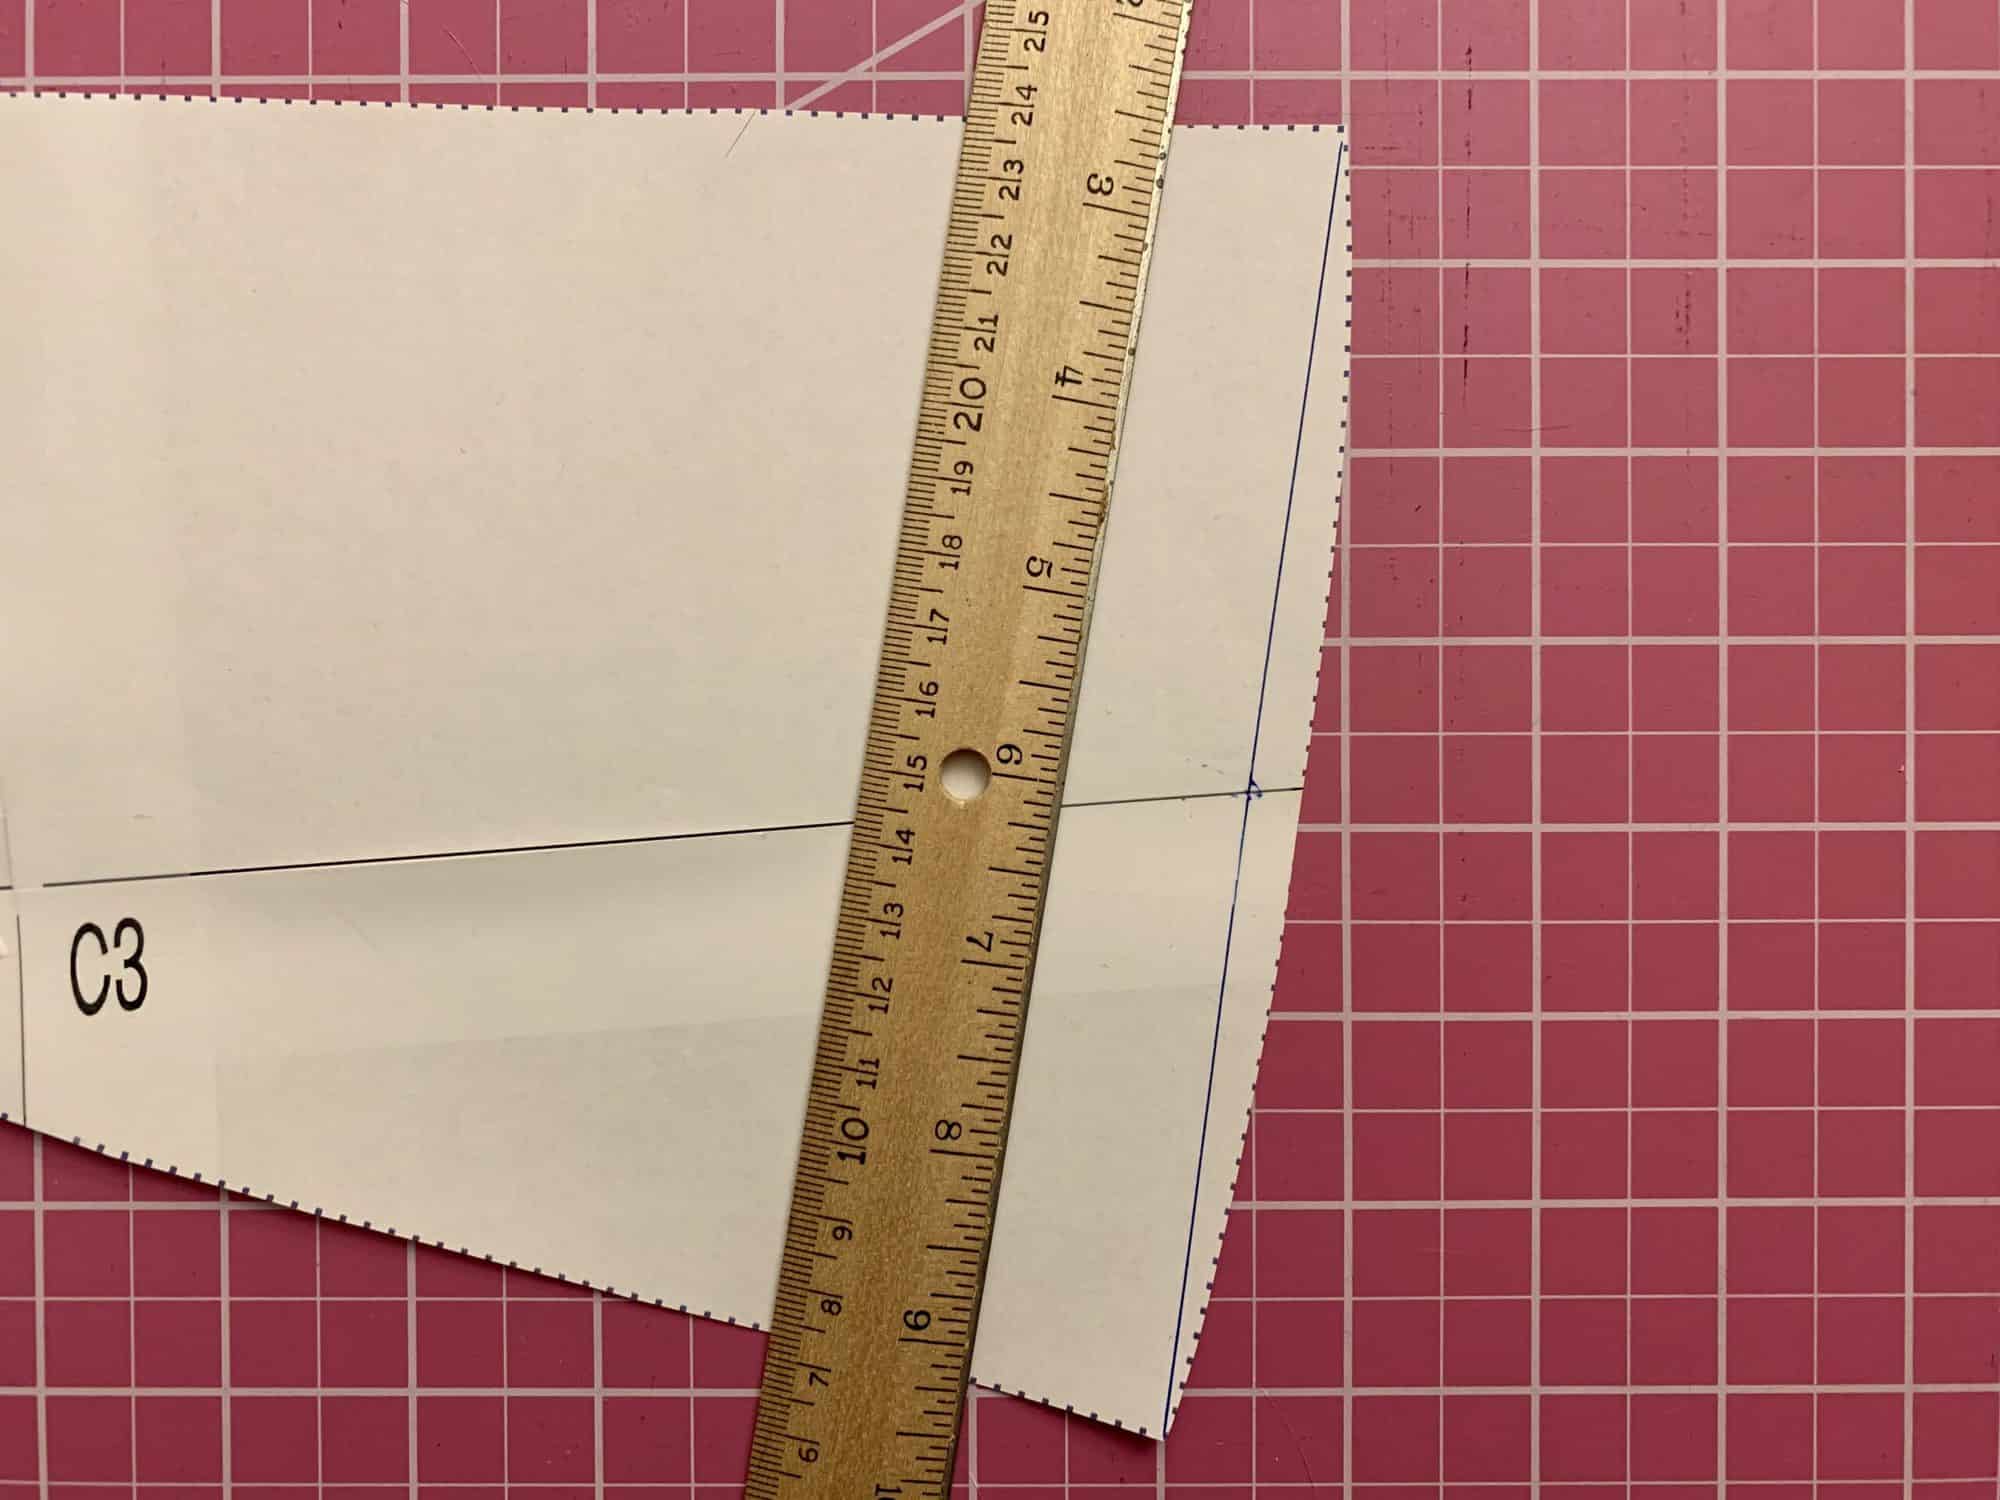
You will start by grabbing the skirt pattern and marking your new cut lines, one for peplum and one for mini skirt. I used the Sweetheart dress skirt as my guide since that one includes all 3 option. The Sweetheart skirt is a full circle while the X Factor one is a half circle. Lay the X Factor pattern piece on top of the Sweetheart pattern matching the bottom edge.
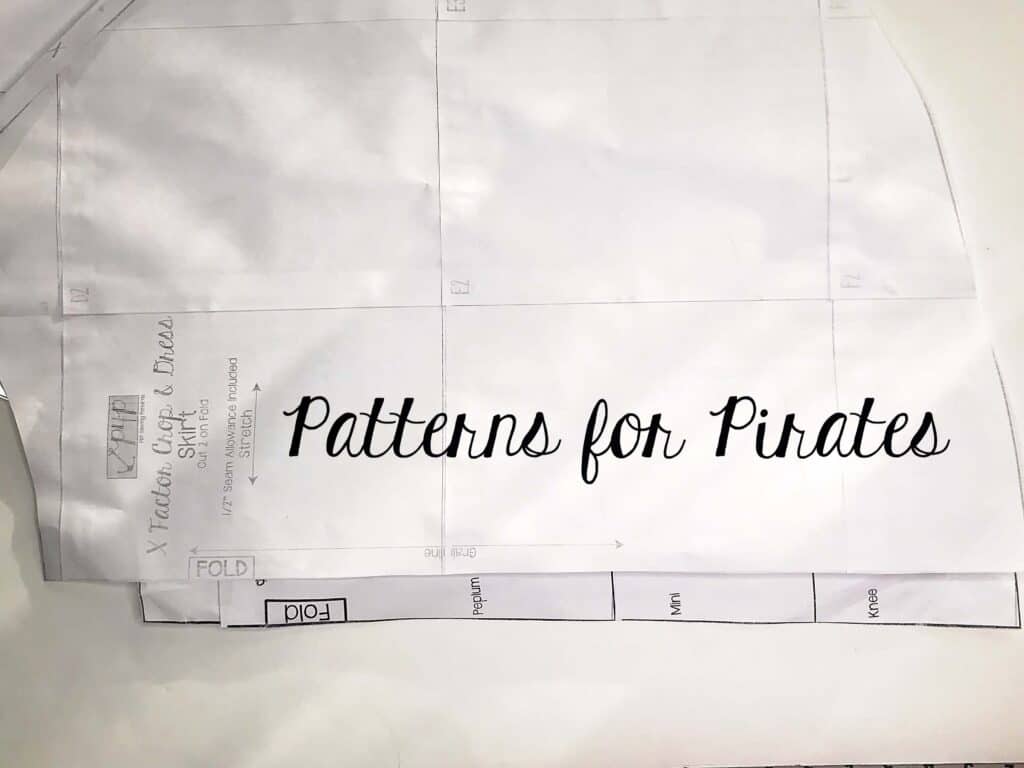
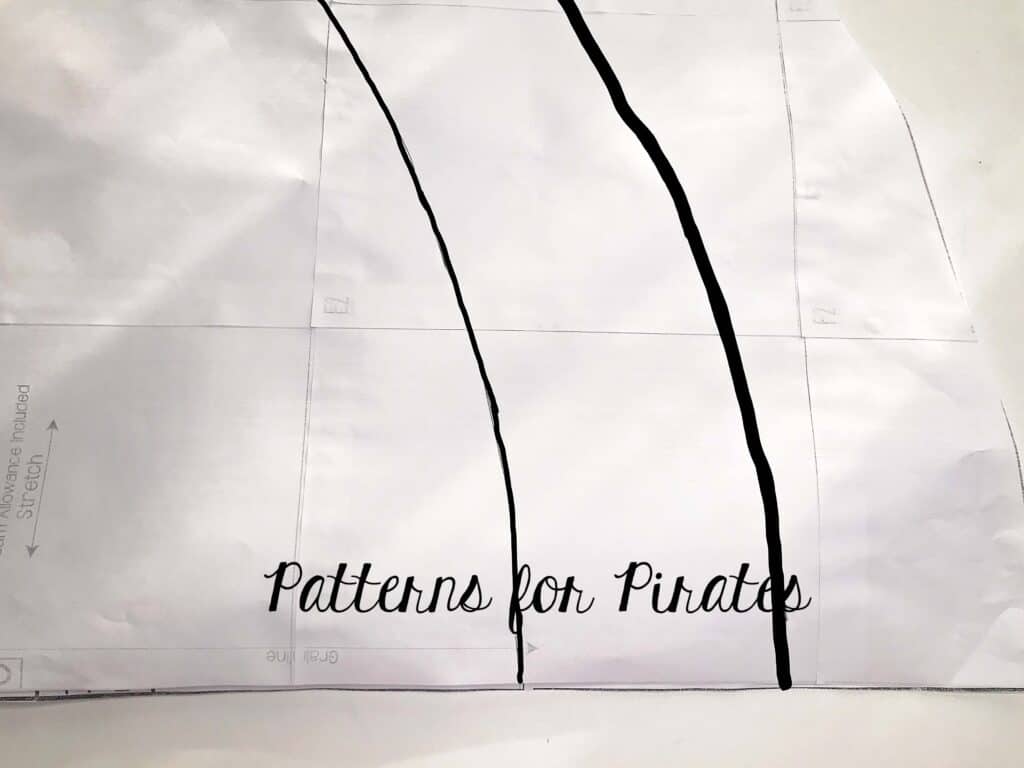
Mark the new cutting line starting with the “fold” edge. Using a French curve, or if you have a steady arm, just your hand, draw the two new curves. Make sure that you keep a constant distance from the bottom edge on both sides of the pattern. If you do not have the Sweetheart dress pattern you can measure 5″ up from the bottom for the Mini or 10.25″ up for the Peplum option.
Once you created your new pattern piece, cut your fabric and sew the dress a instructed in the tutorial. I skipped hemming my swim skirt so mine final mini look is 1″ longer than intended. Your dress, your call! 😉

…..
Tie Back
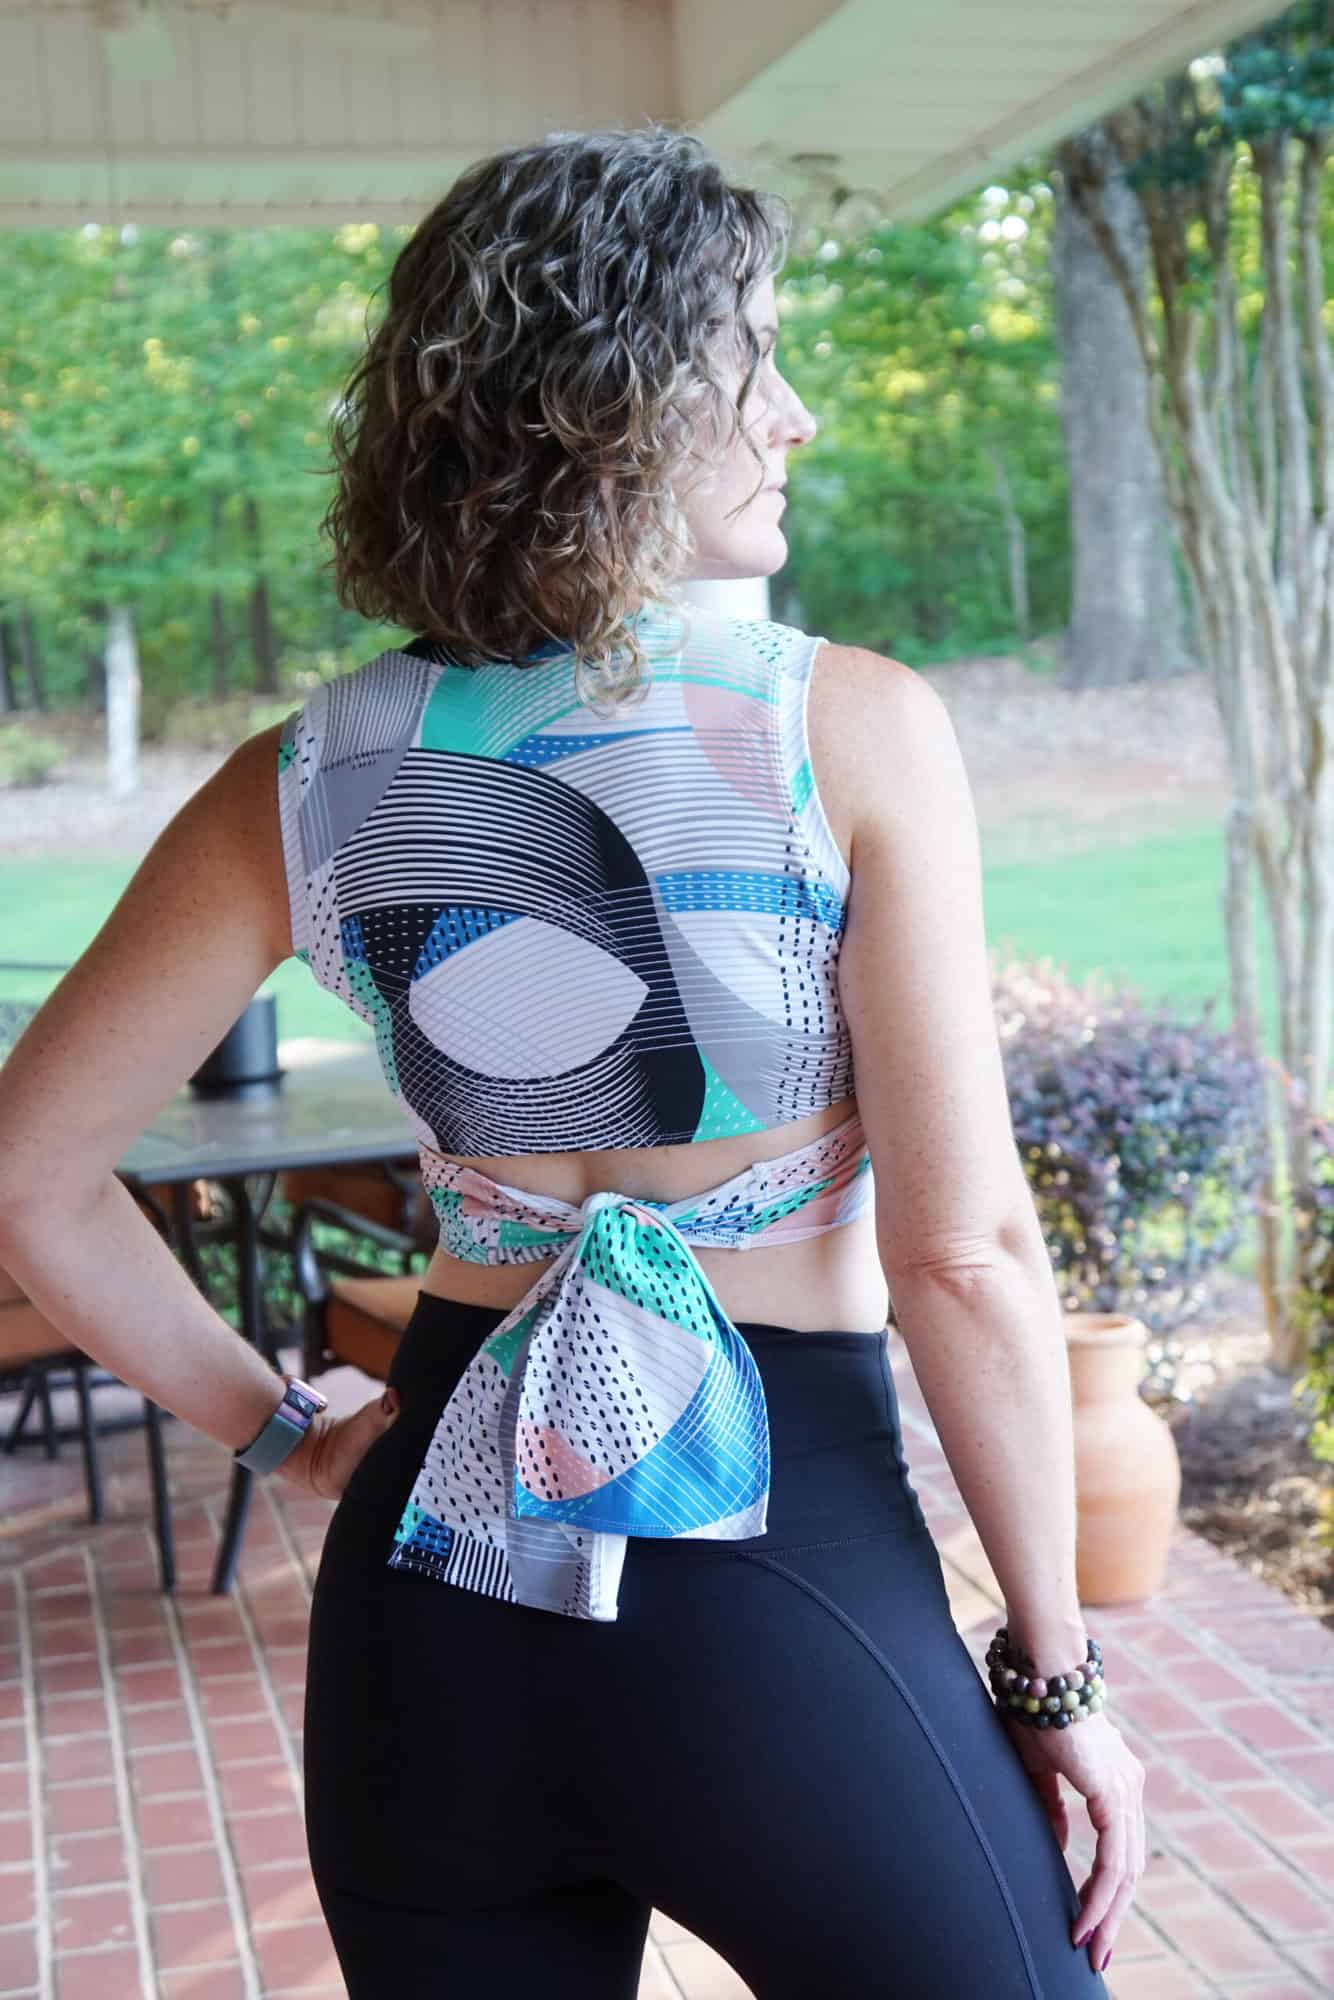
Crop tops are back in a big way and the X Factor Crop is such a standout! It will take you from the gym to date night (if you’re not too sweaty, of course!)… there aren’t many garments that can do that!

The Patterns for Pirates team always loves to give you even more options. I’m so excited to share with you a tie-back hack for the X Factor! And, it really couldn’t be simpler.

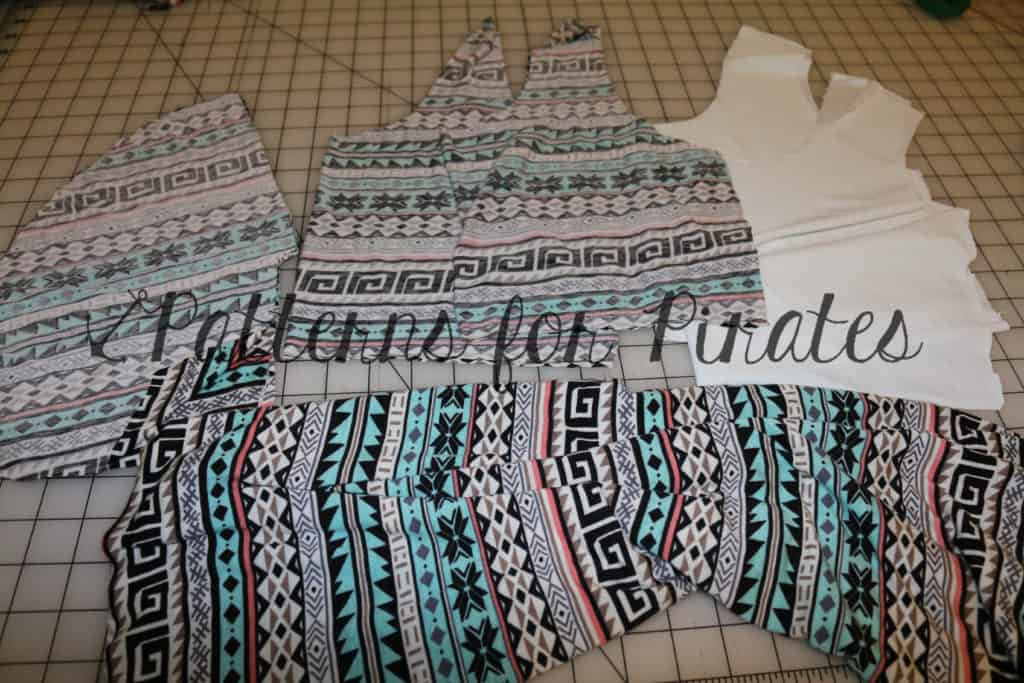
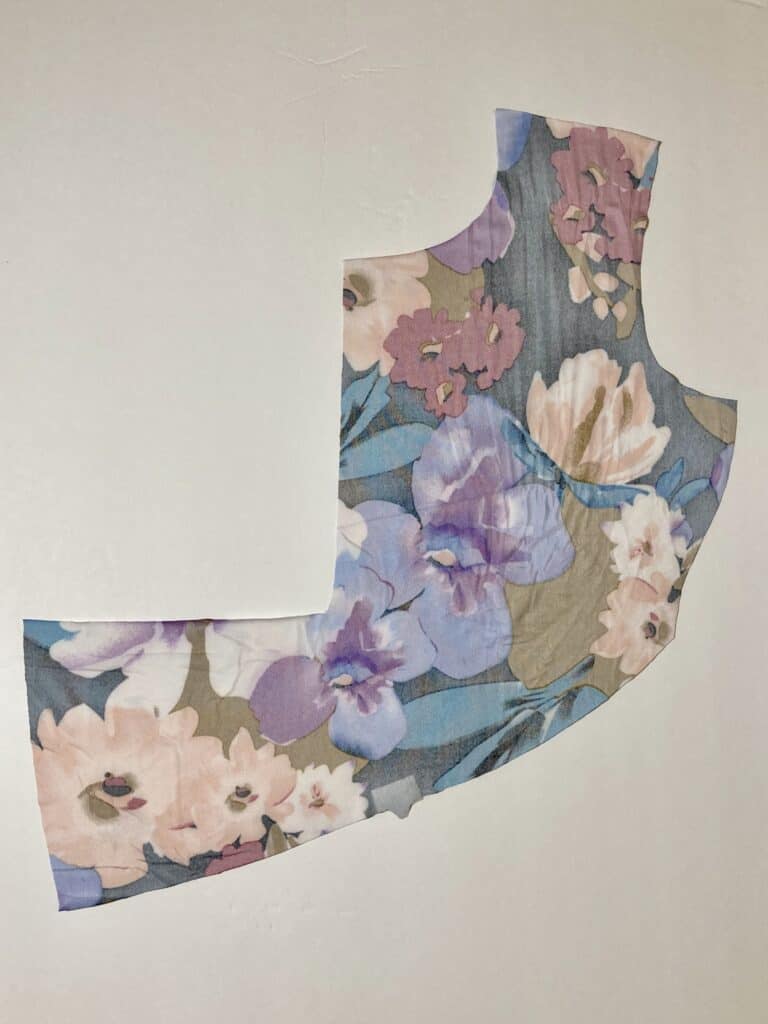
Assemble and cut your preferred pattern pieces. For this make, I chose the cropped tank.
Modifications are so simple!
You will square up the cross-over pieces of the Front Bodice…
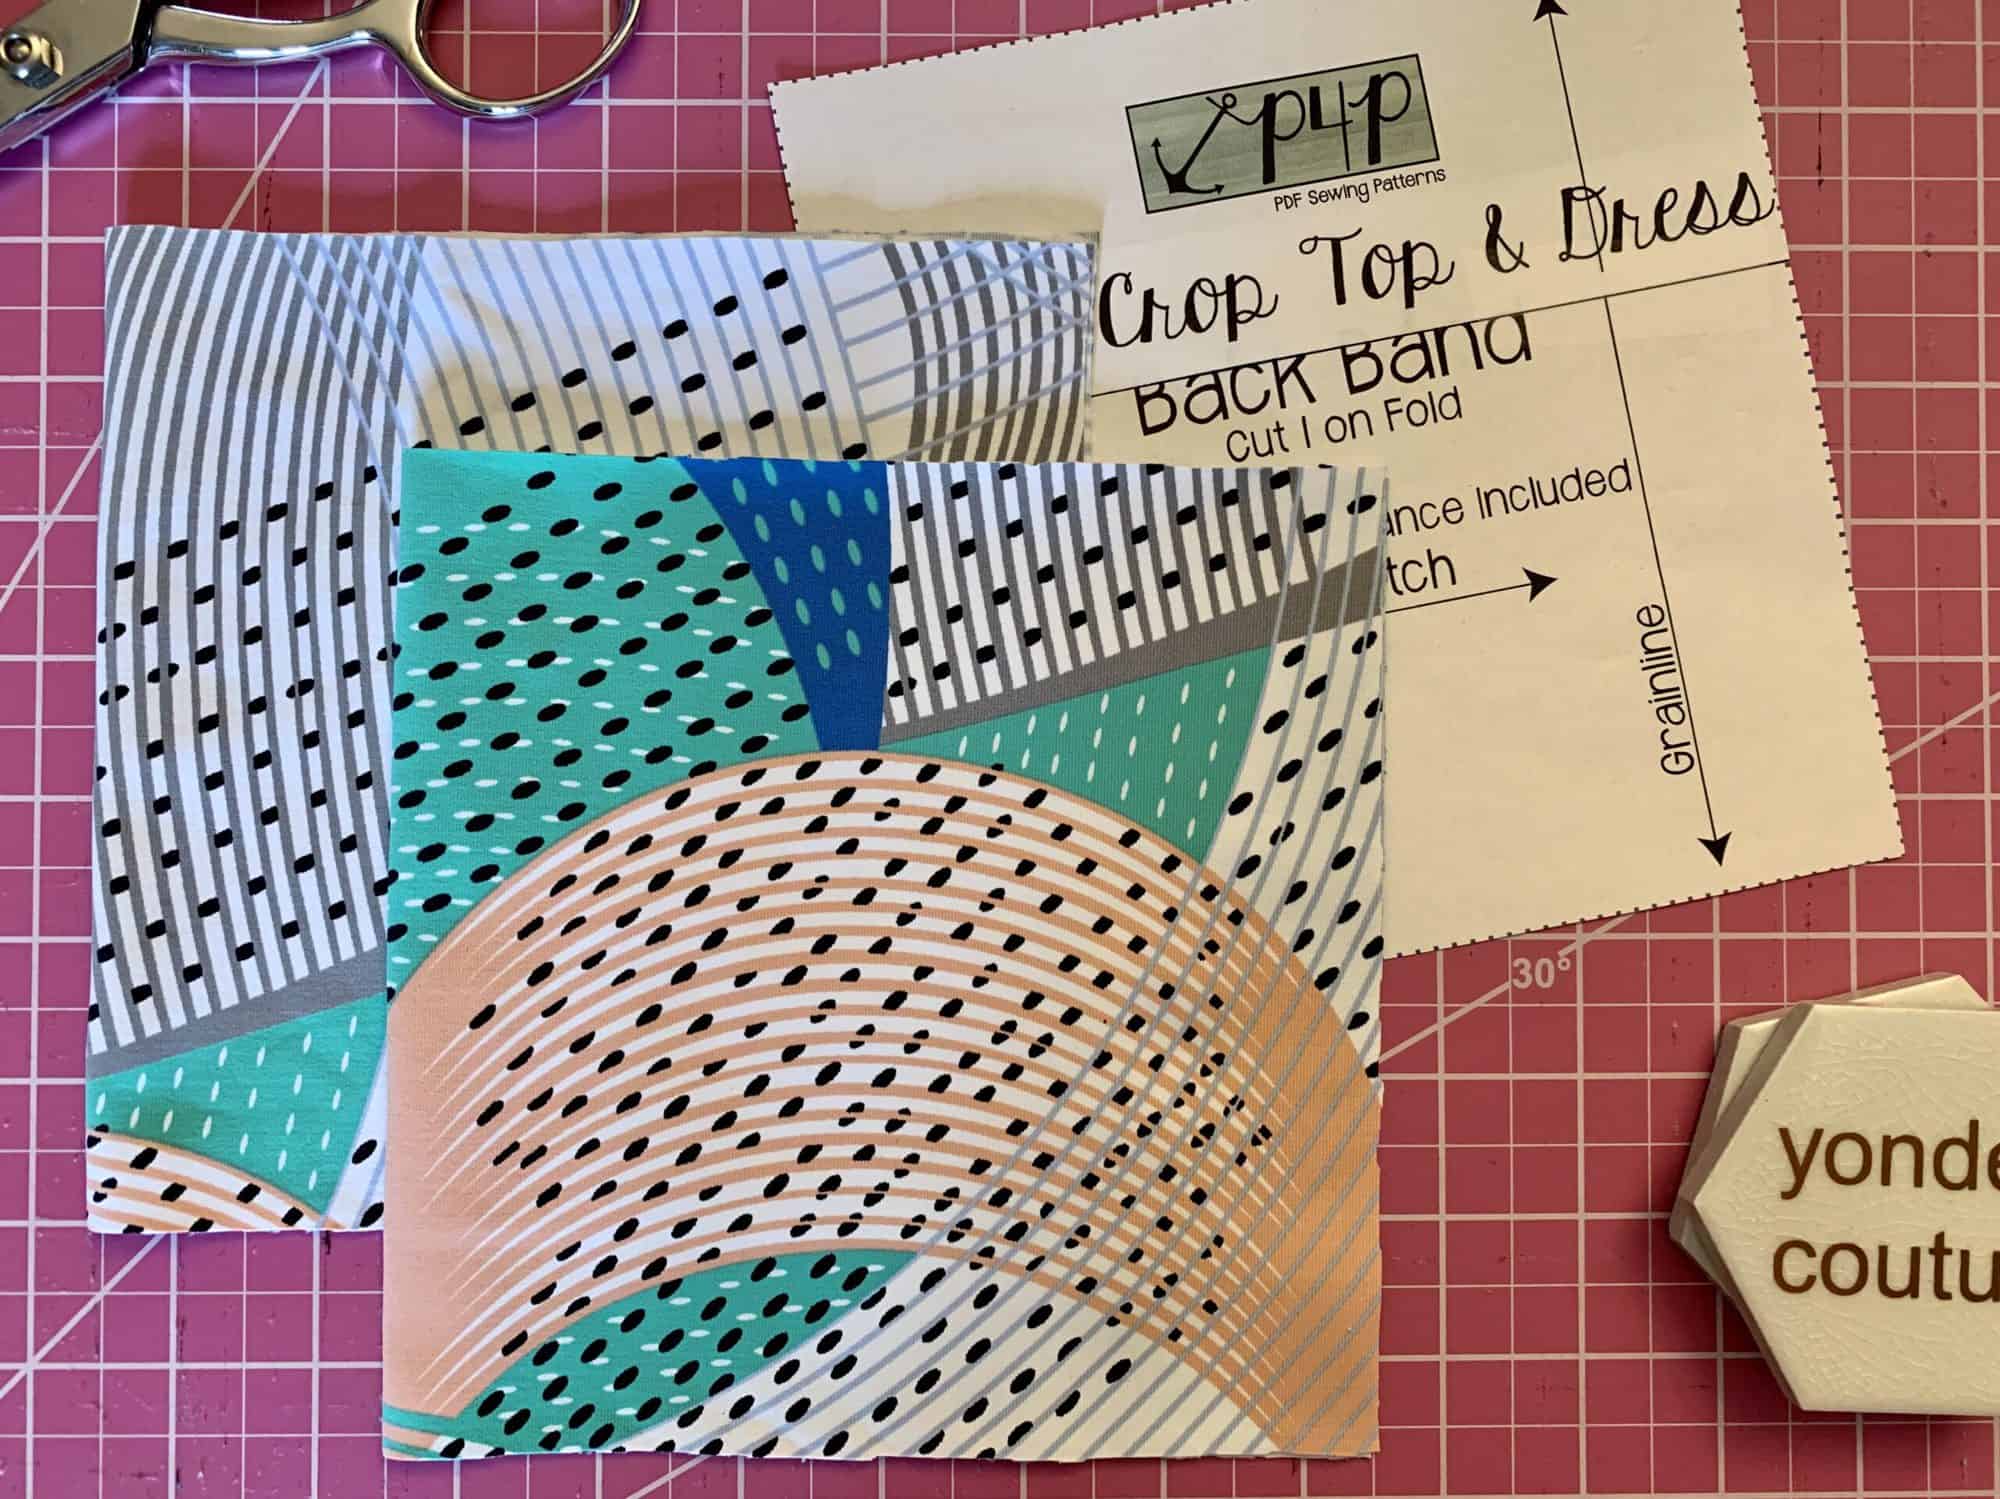
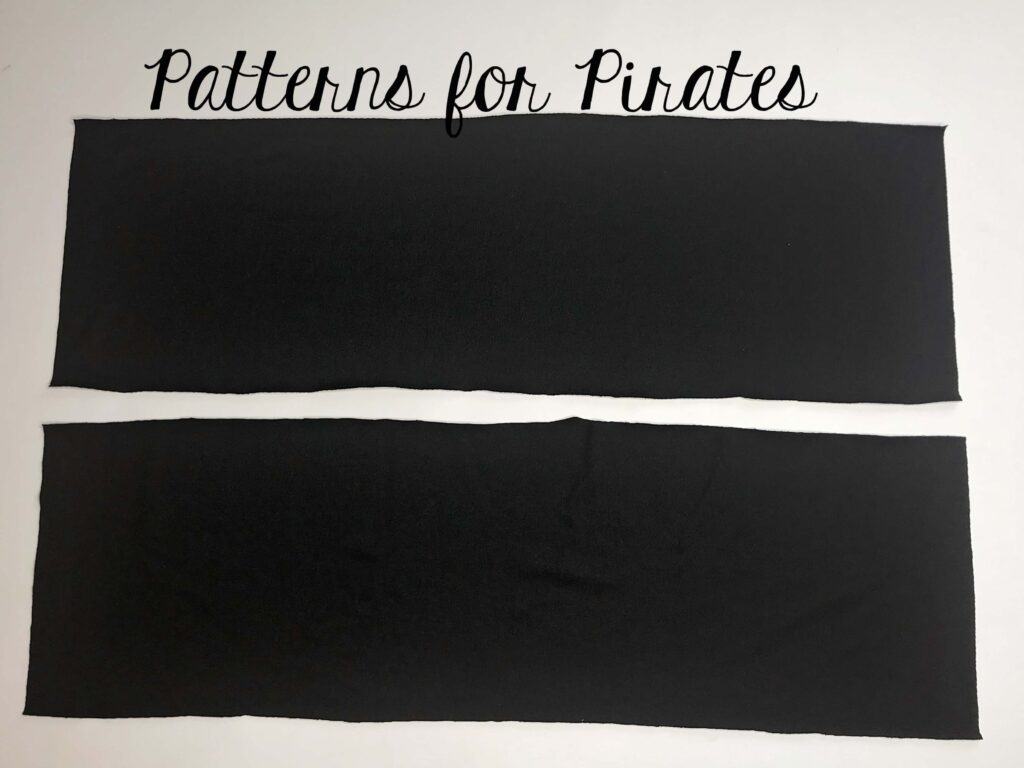
And cut 2 of the Back Band pieces (on the fold).
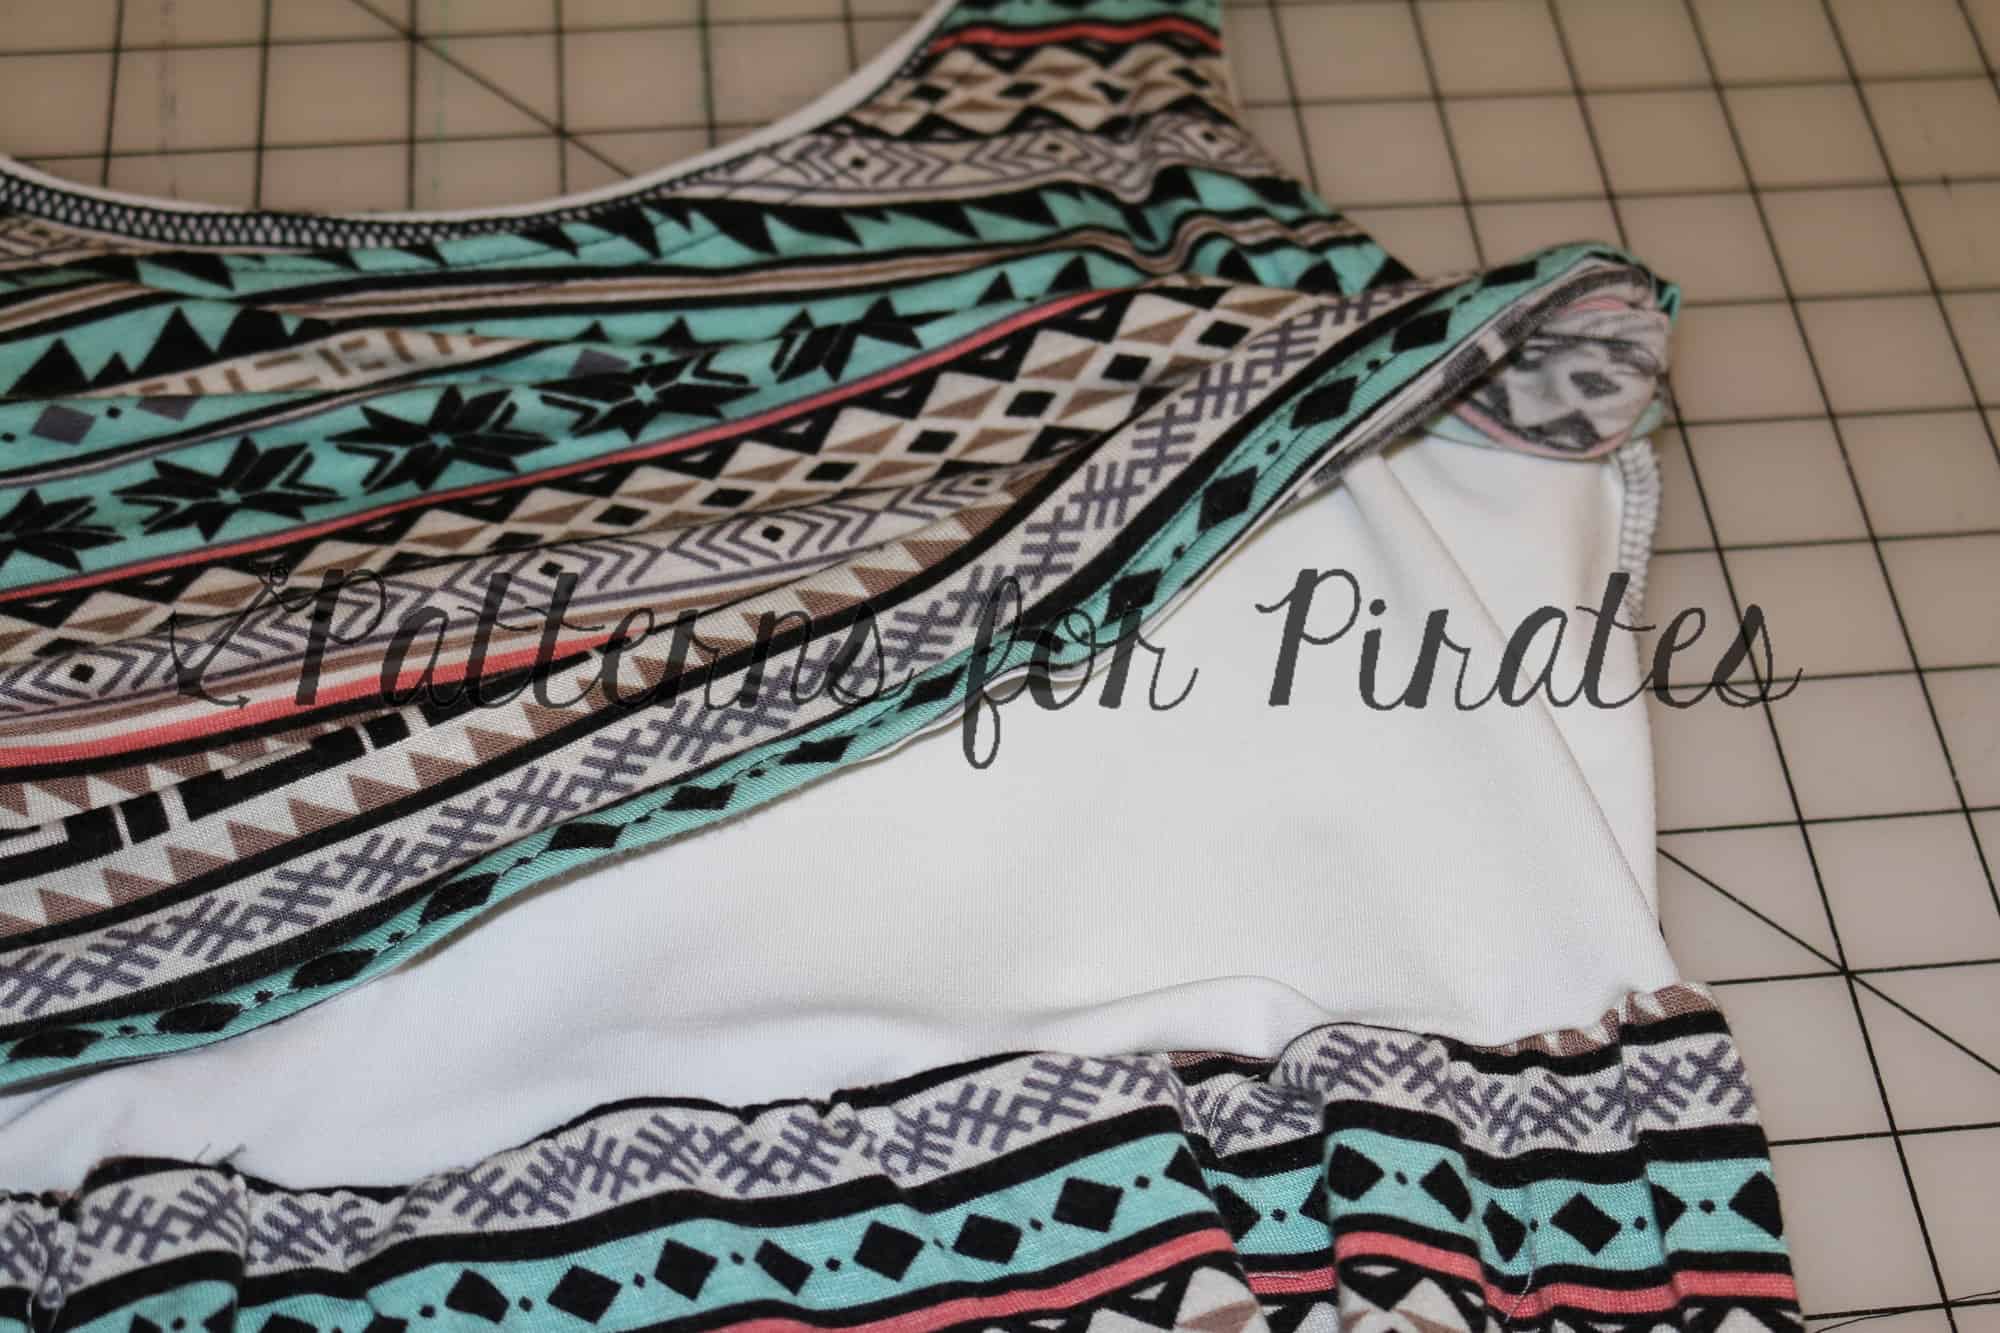
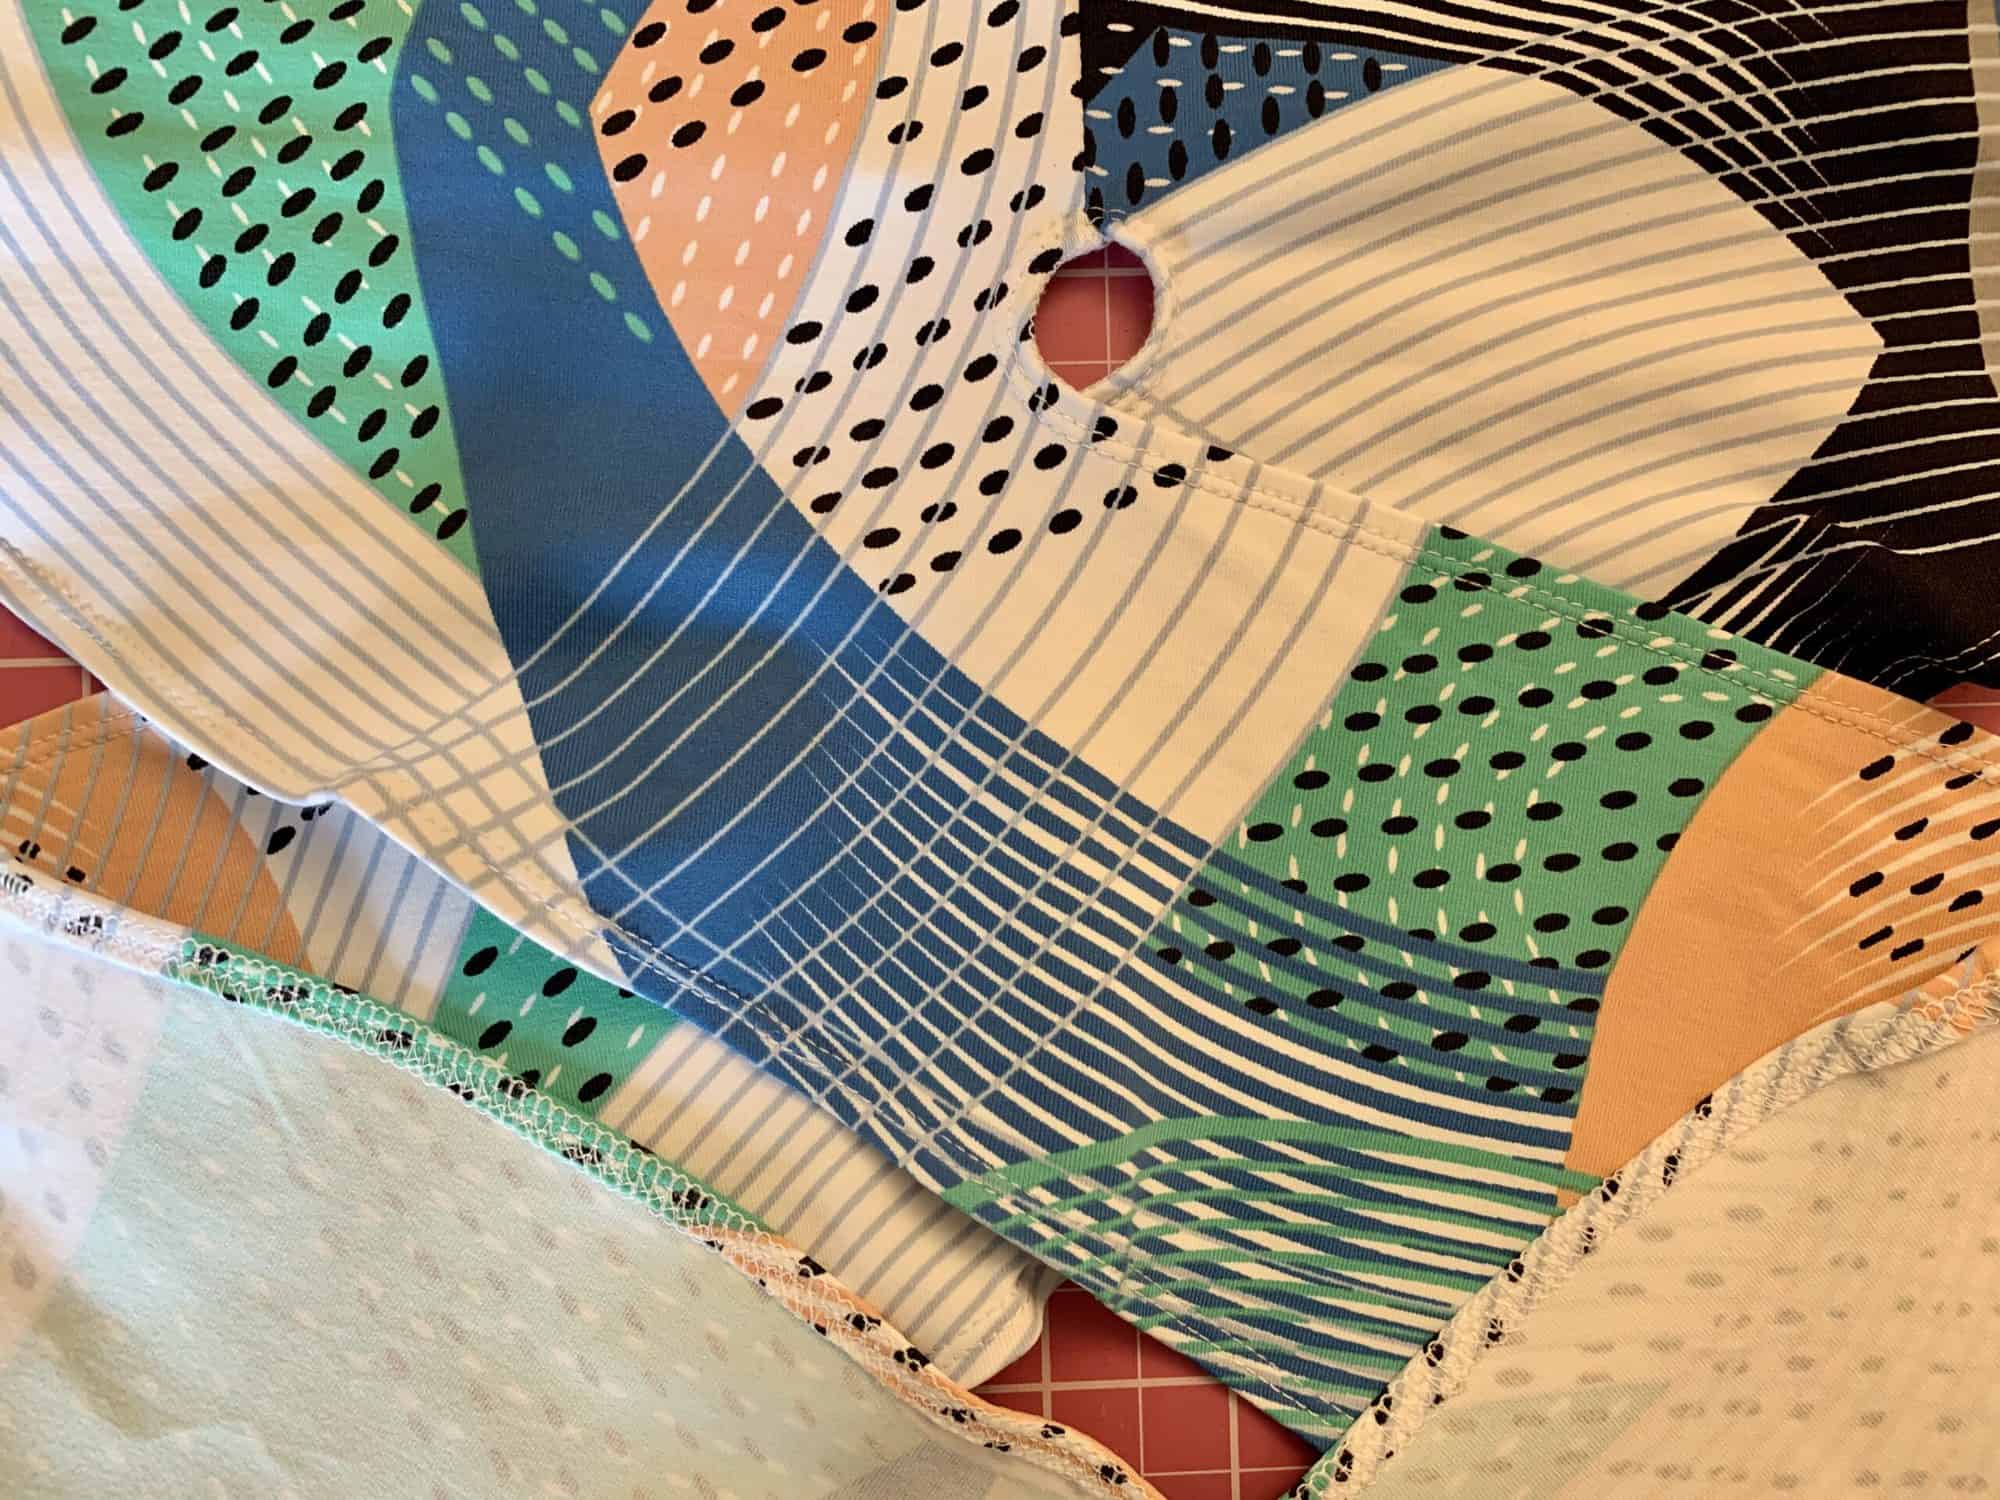
Assemble the top per the pattern instructions, stopping at the step for attaching the Back Band.
From here, you’ll attach your two band pieces, one to each end of the bodice cross-over.
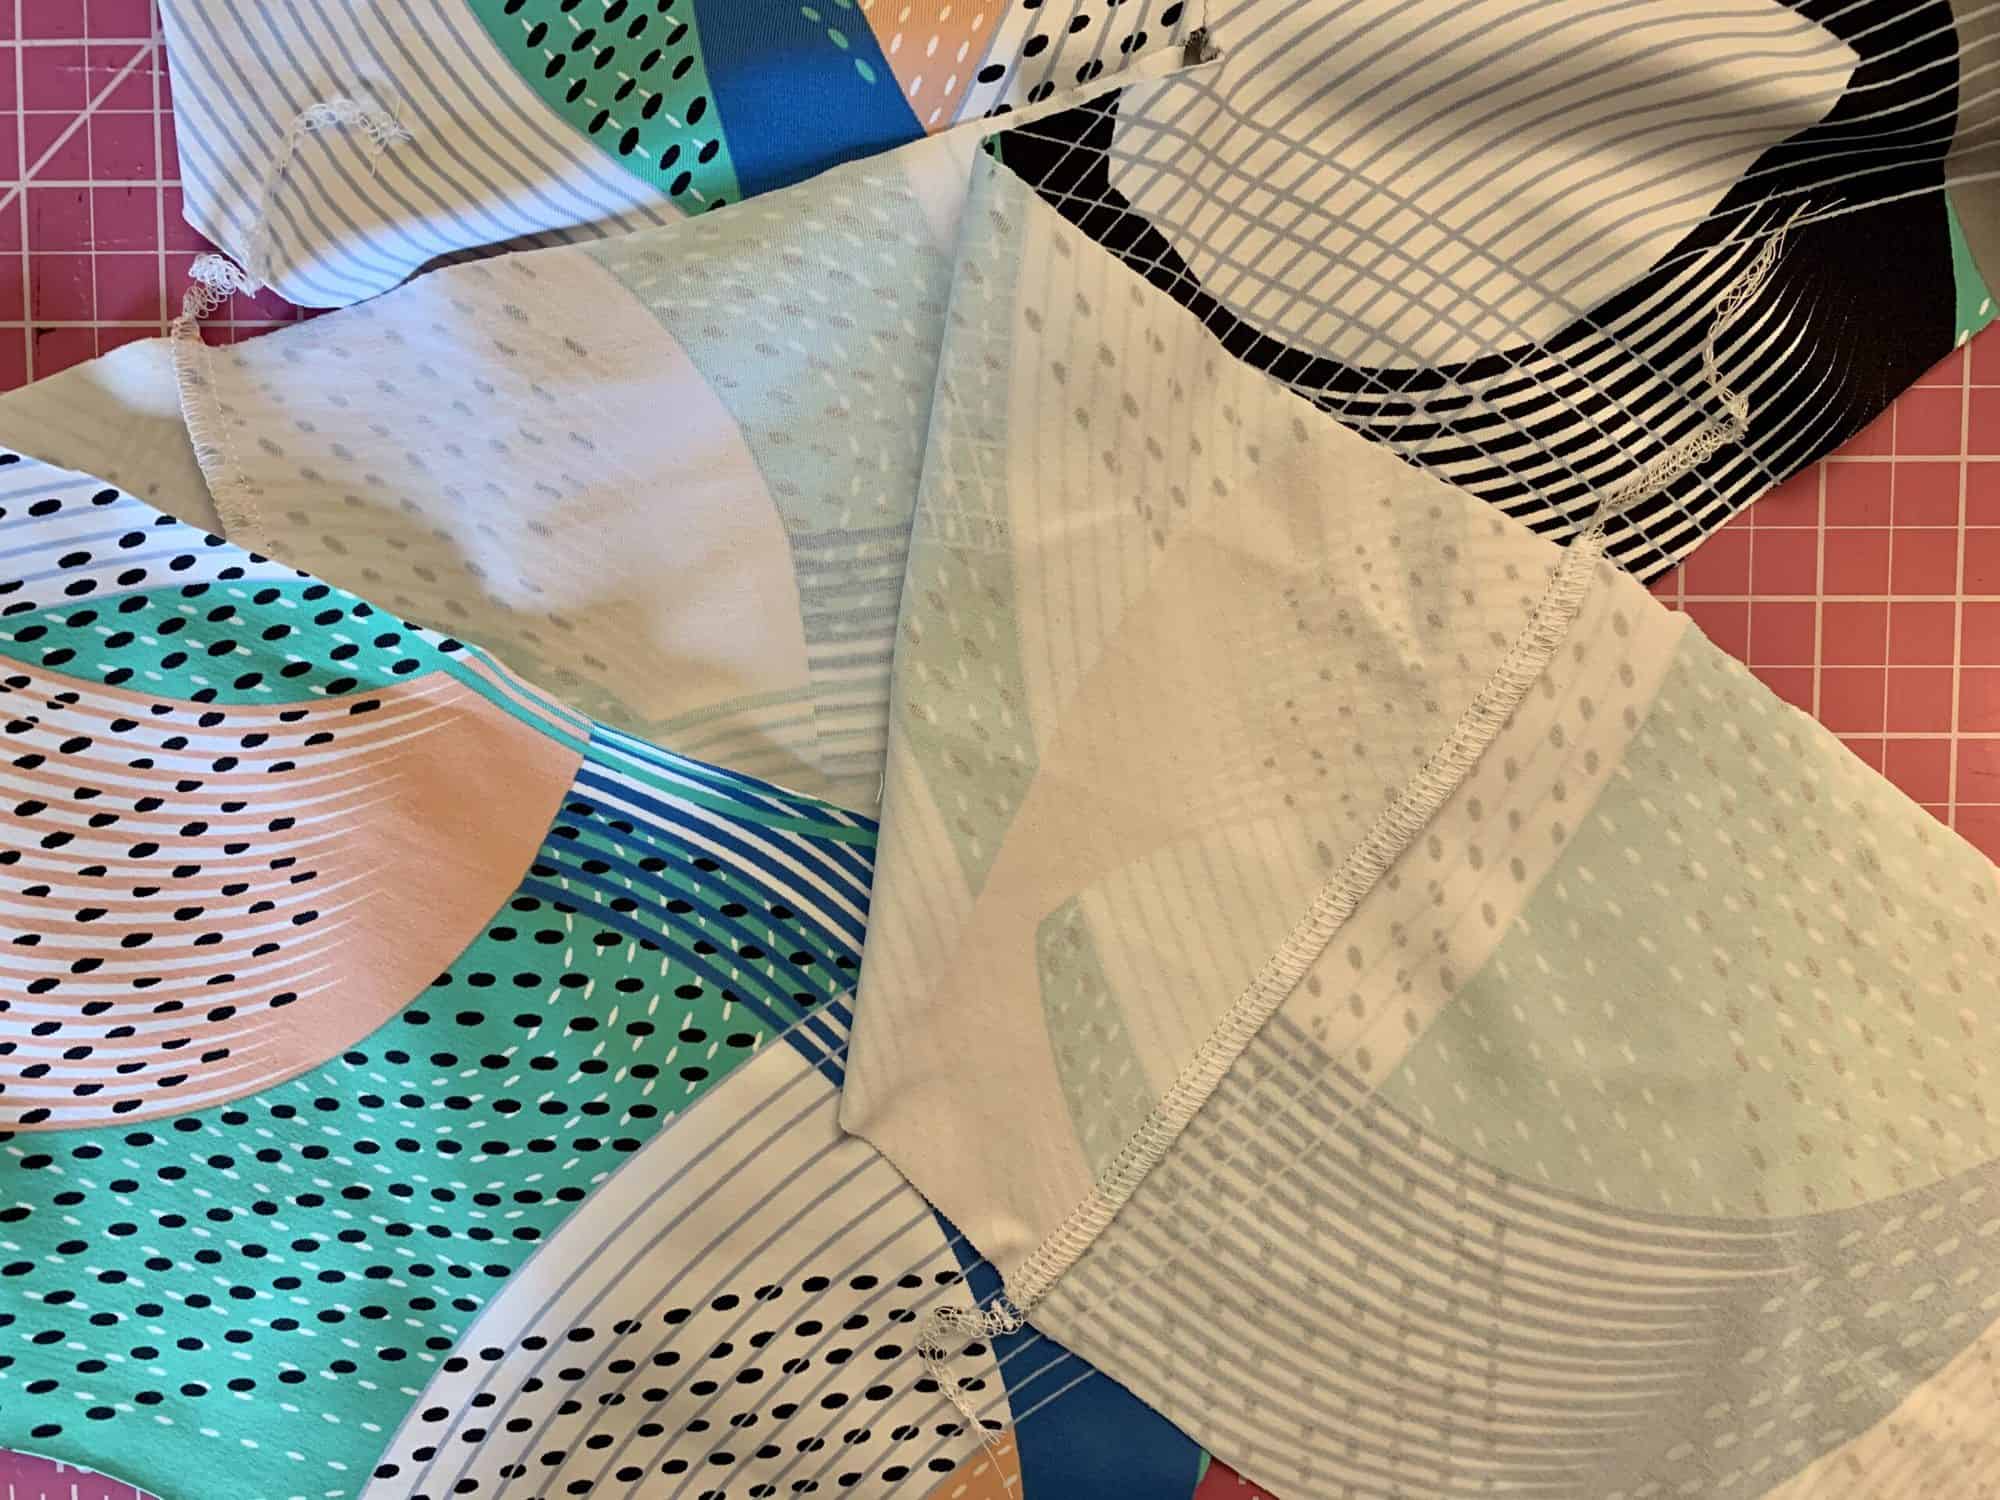
At this step, I serged all of my edges. That is a matter of preference! You can leave them raw if you prefer.
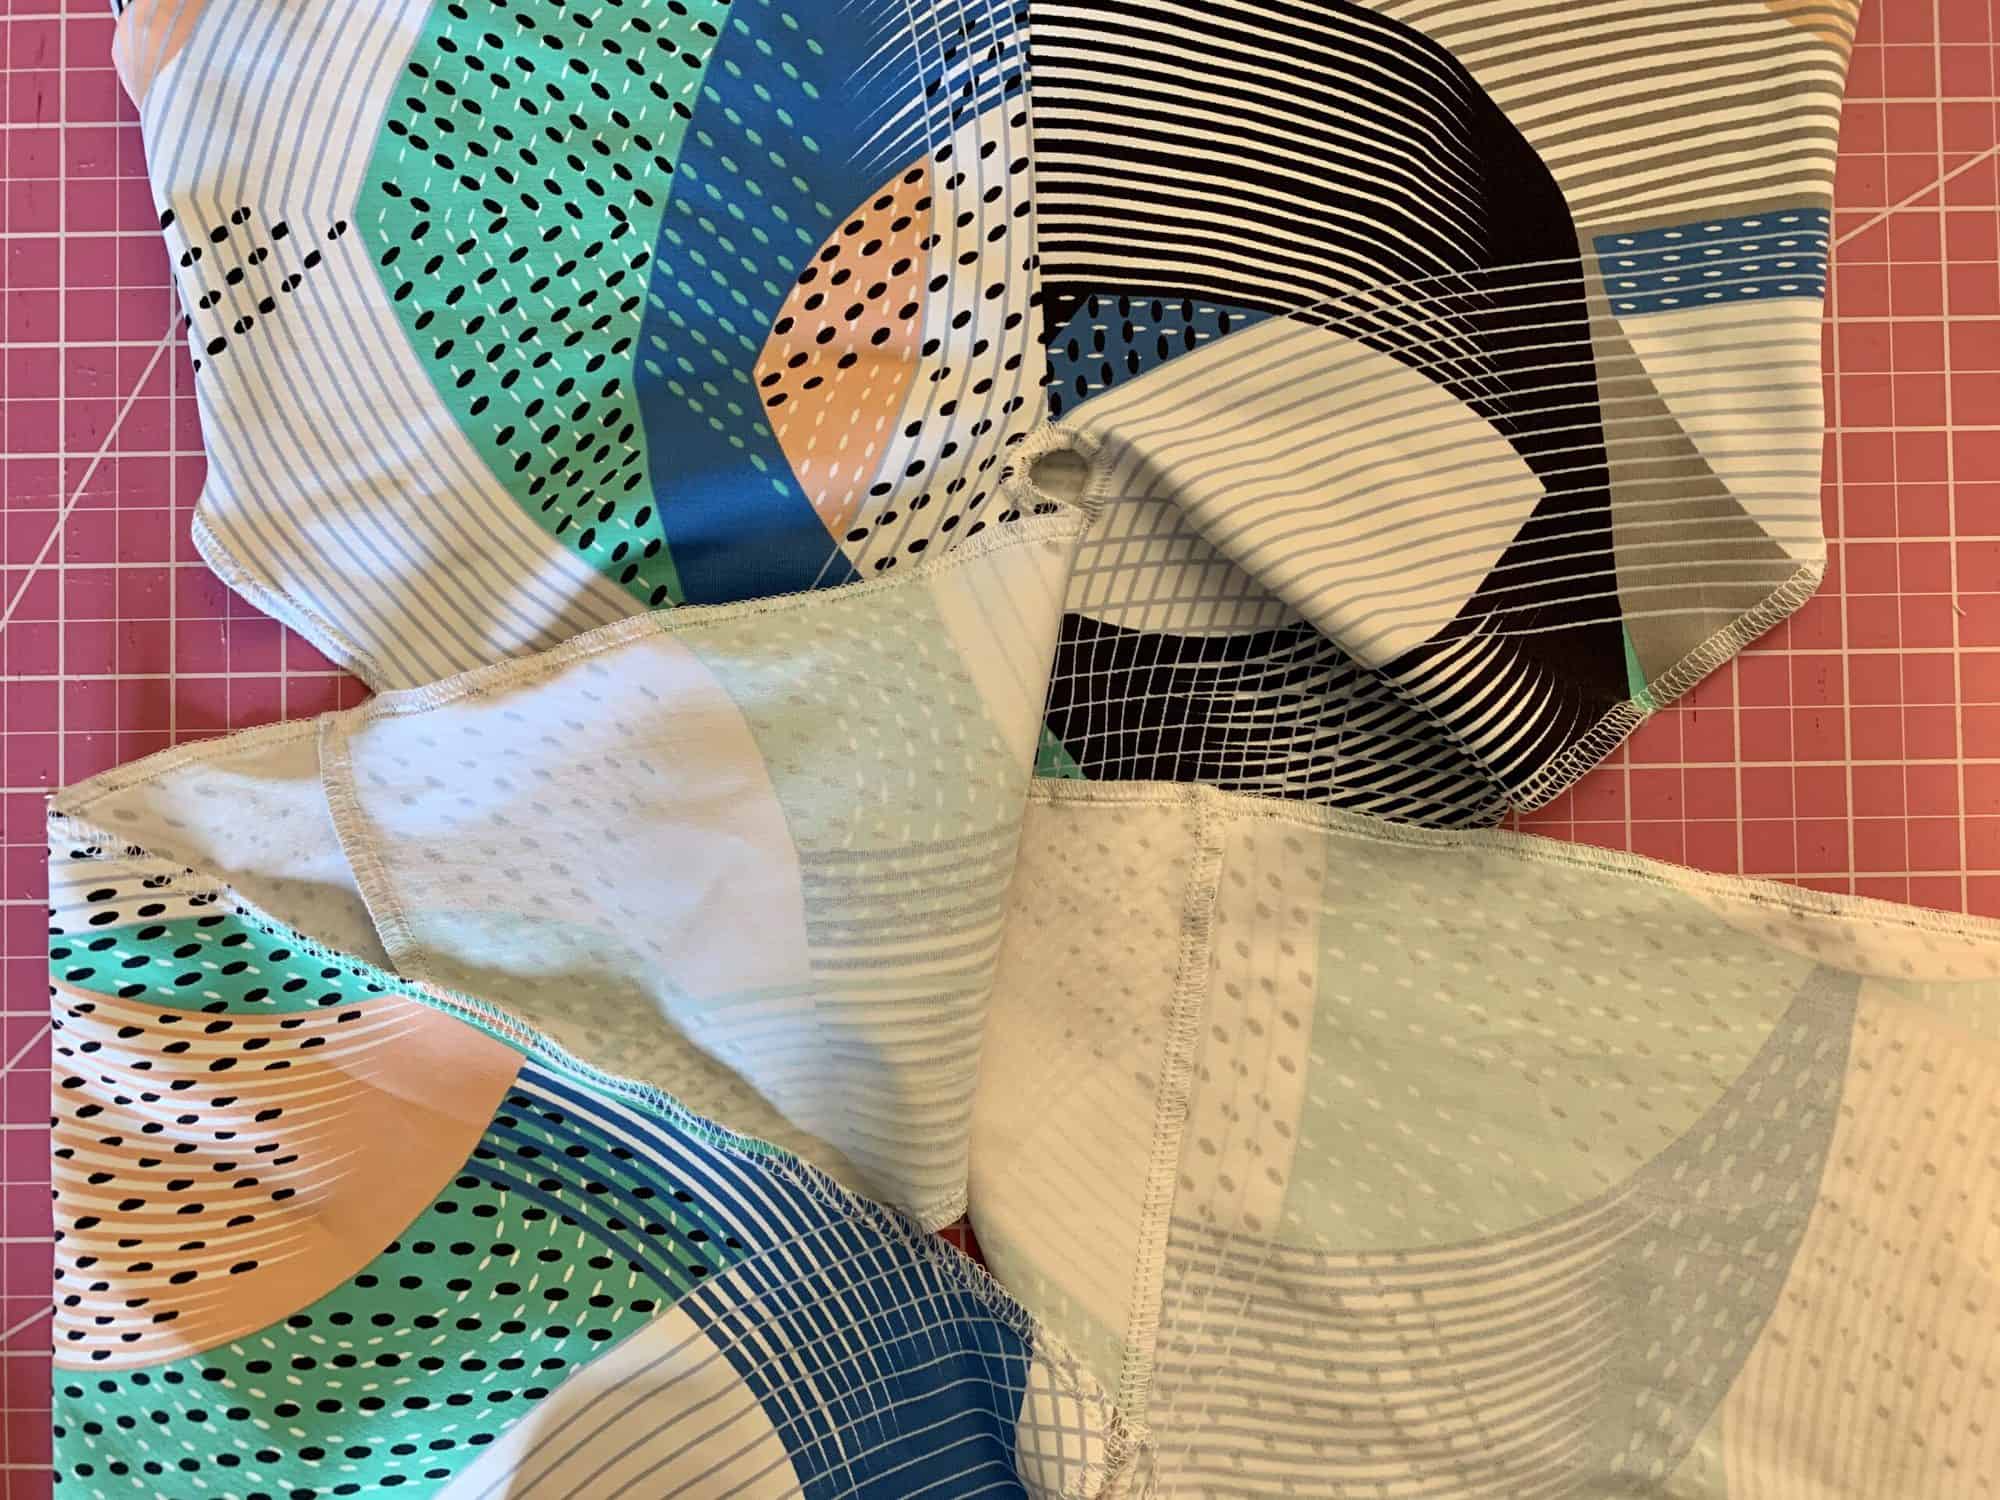
Finally, finish all edges with a narrow hem.
Throw your top on, tie it up, and get ready to turn heads… no matter where you are! You can even experiment with tying and wrapping your top in different ways.
You’ve got the X Factor!!


…..
Separates


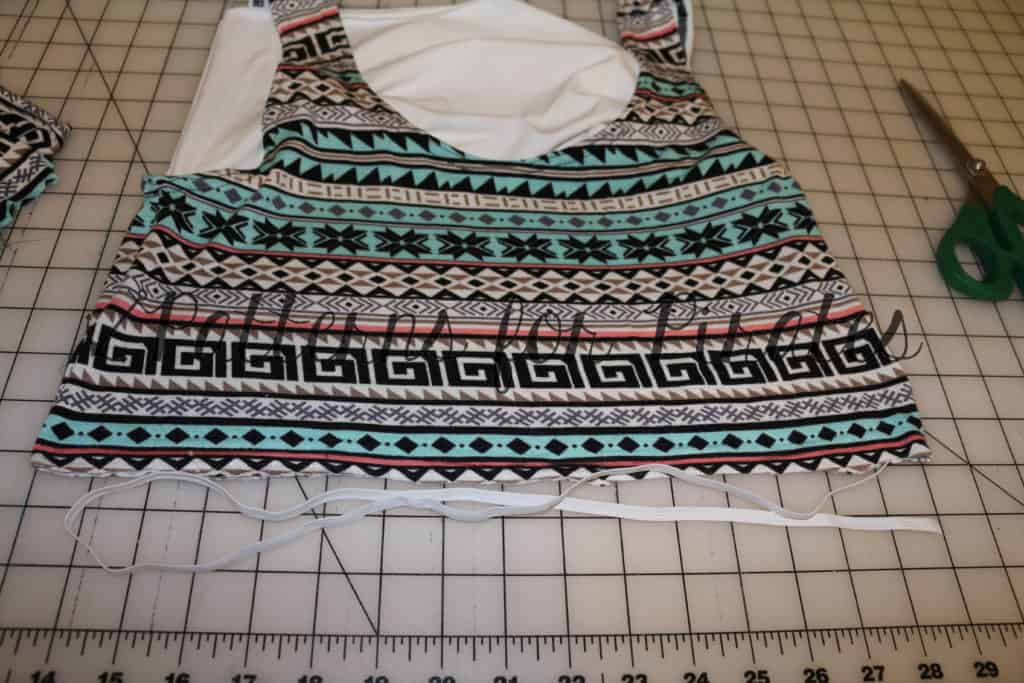
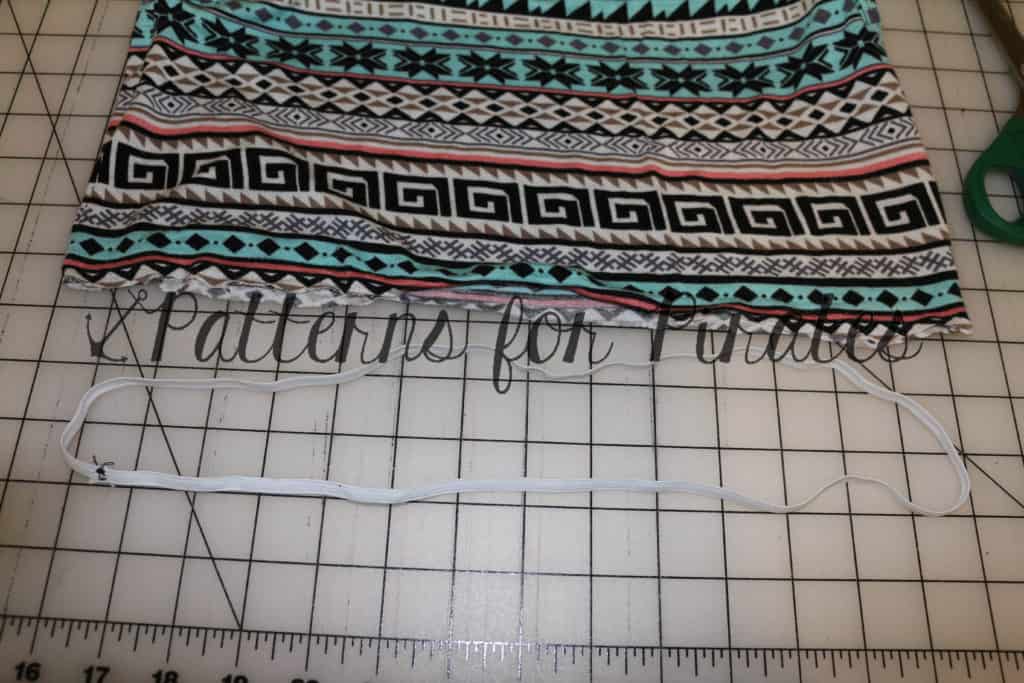
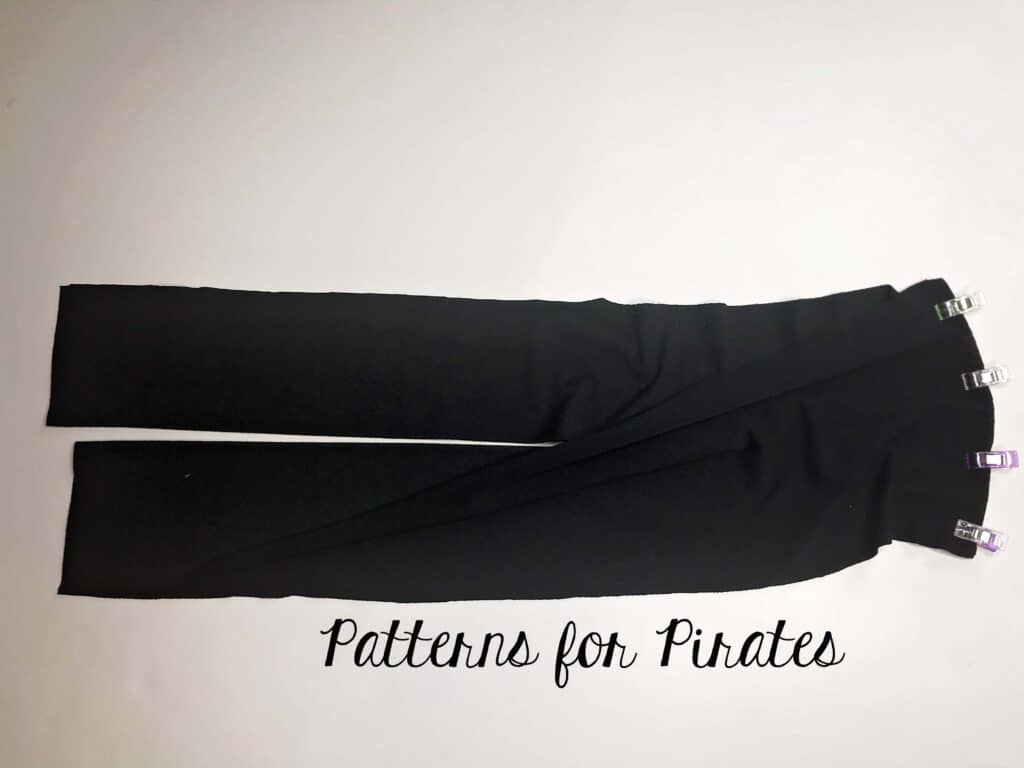
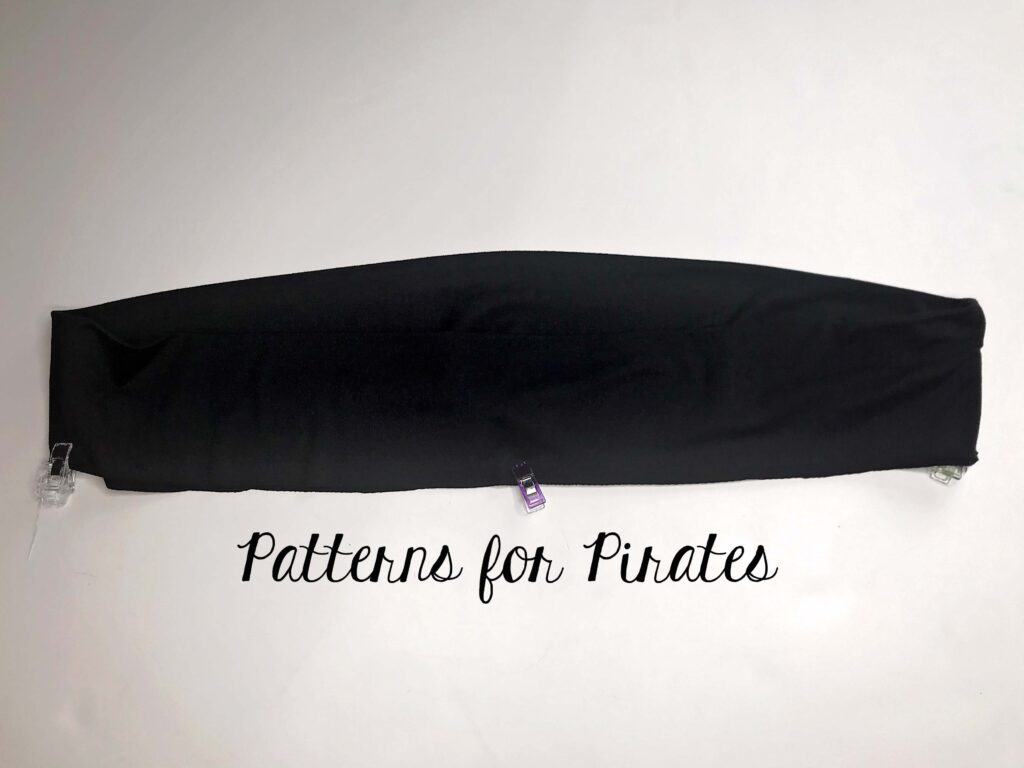
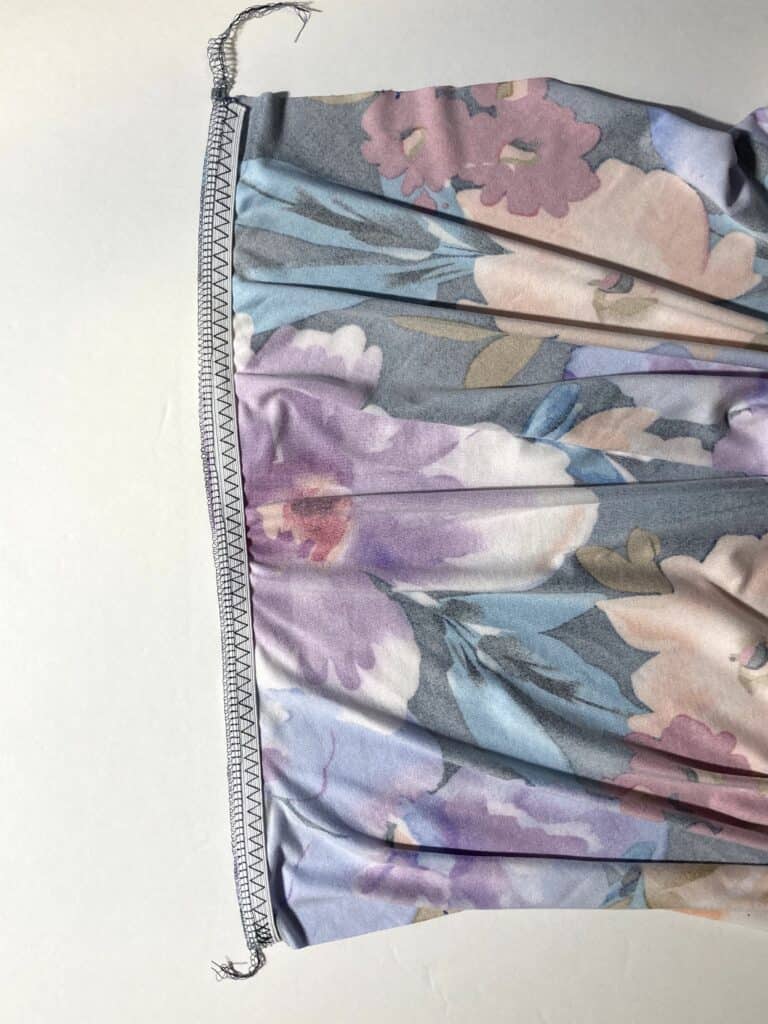
We couldn’t let this Easy Hacks series end without a separates option, especially since the top is already a stand alone pattern. So for the separated you just need to finish the skirt waist without attaching it to the top. You can do that in various ways. I opted for a simple waistband. I cut 2 of the back band pieces. After pressing them wrong sides together, open them back up and sew the two ends RST to create a loop.
If your waistband piece has excellent recovery and stretch you can continue marking the quarter points. If you’re not sure, I would add 1-1.5″ wide elastic in the waistband to make sure it stays on throughout the day.
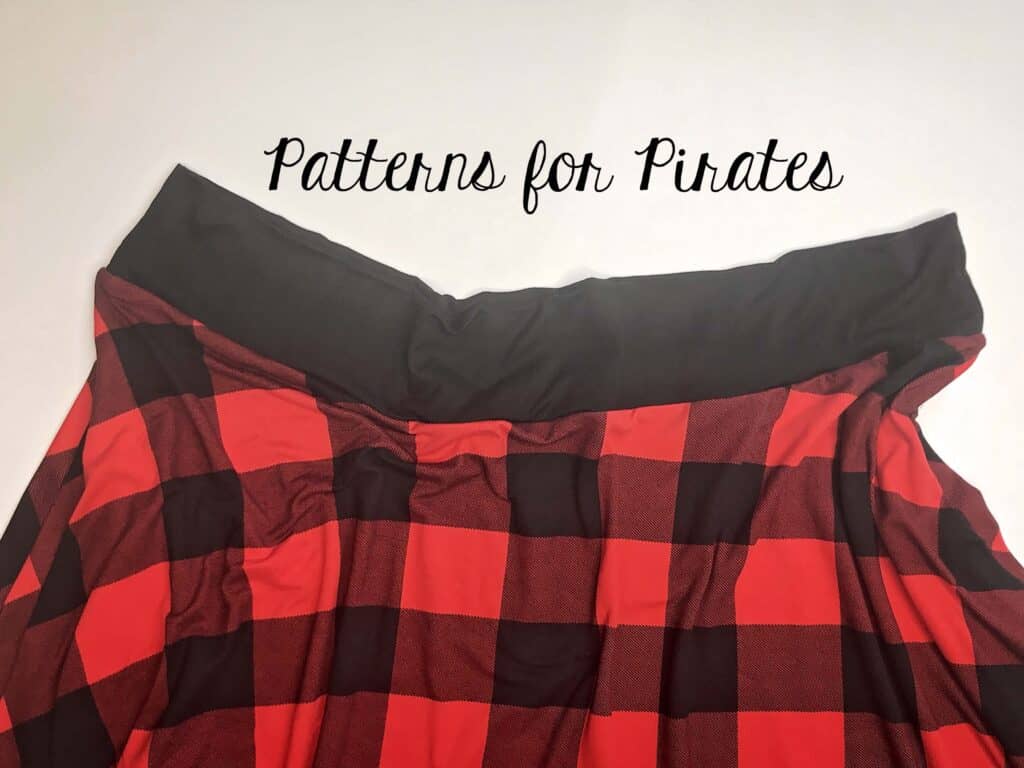
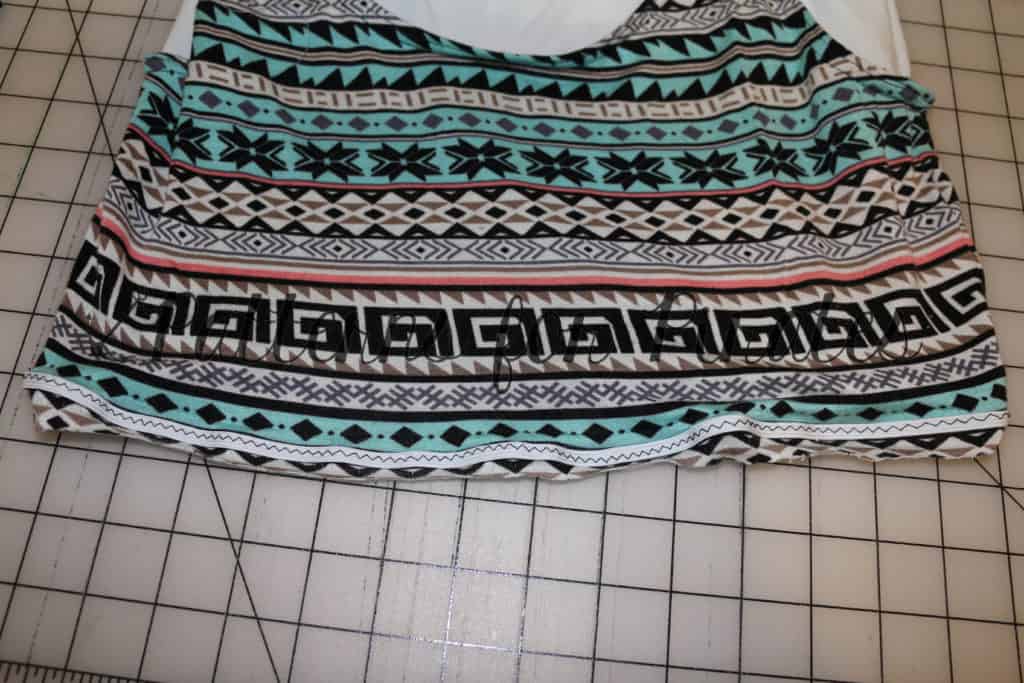
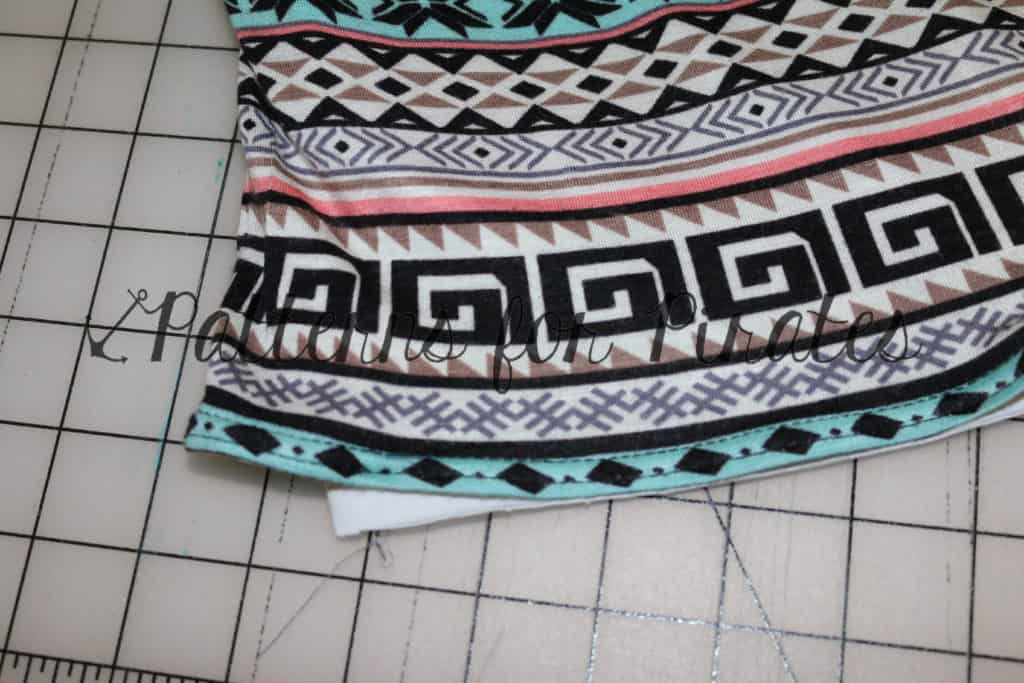
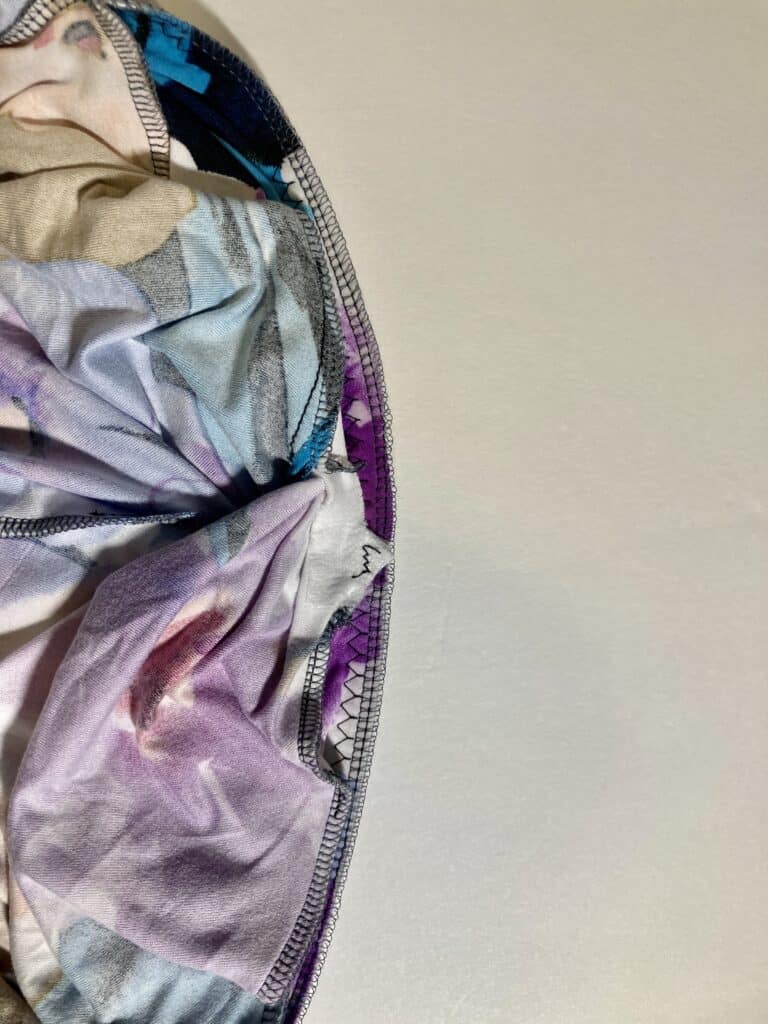
Mark the skirt quarter point and pin the waistband to it matching said points. Attach the waistband using your favorite stretch stitch. All done. You just created a half circle skirt that pairs beautifully with the X Factor Crop top and not only.


…..
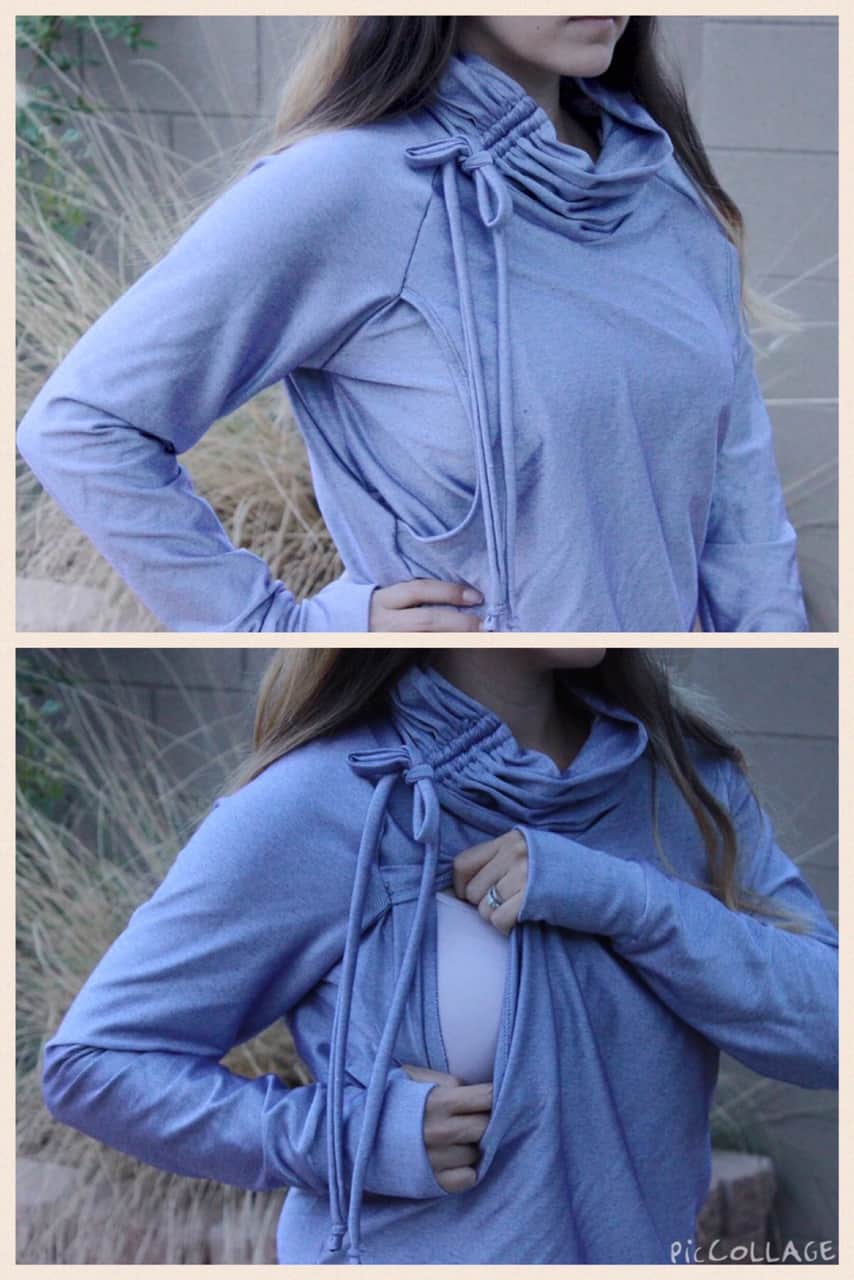
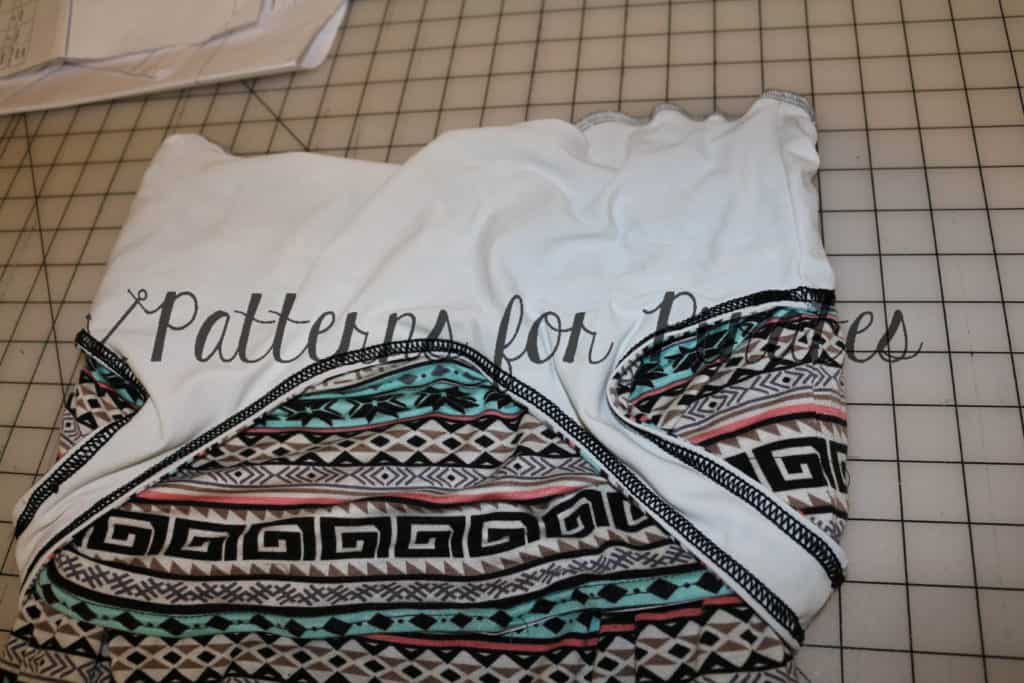
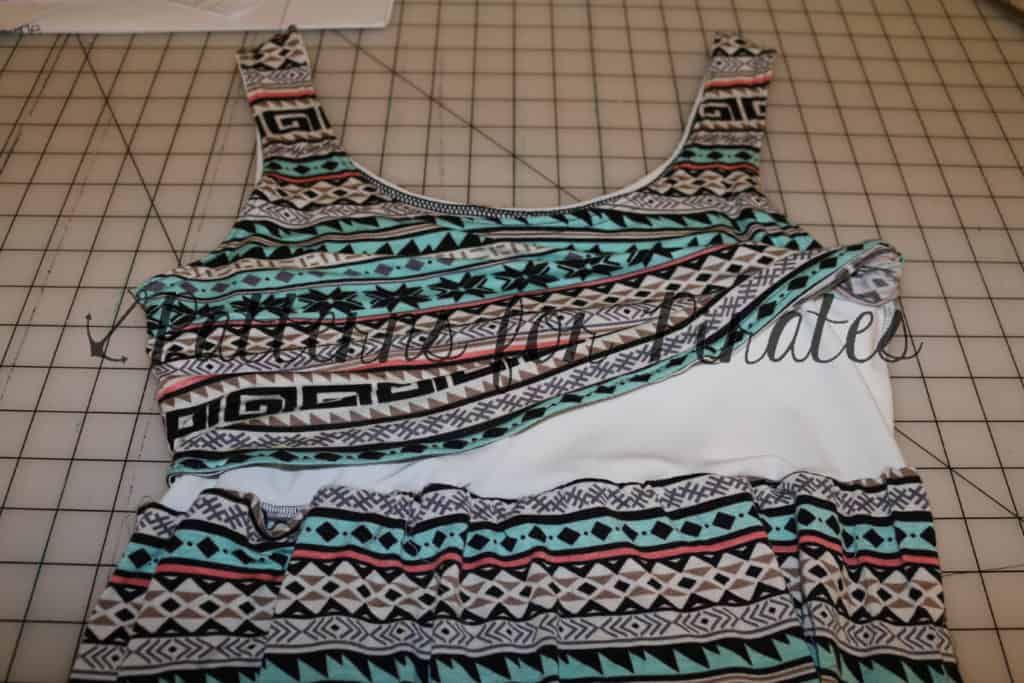
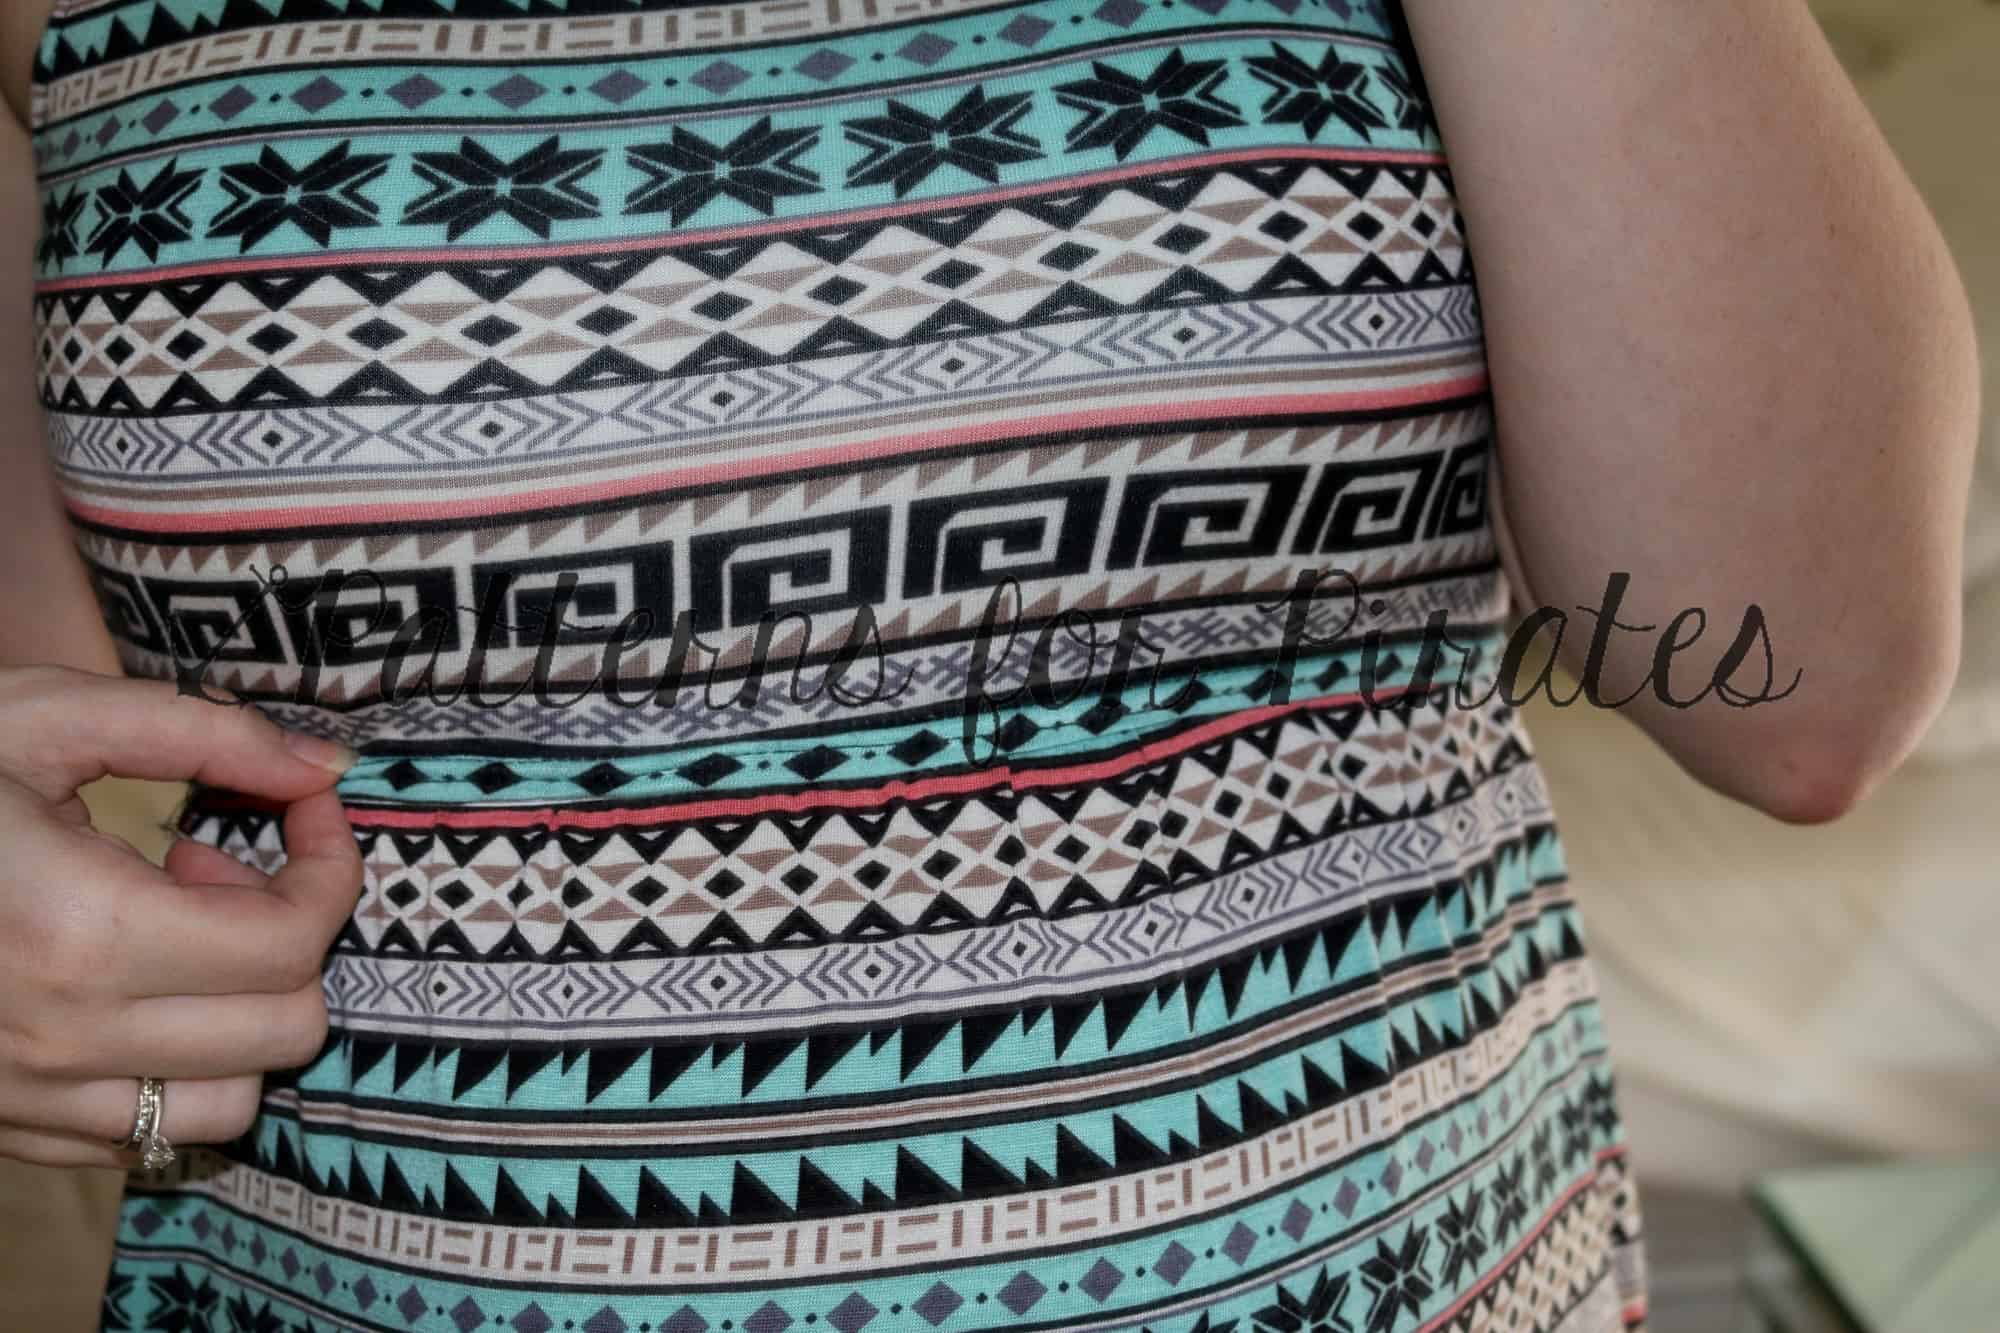
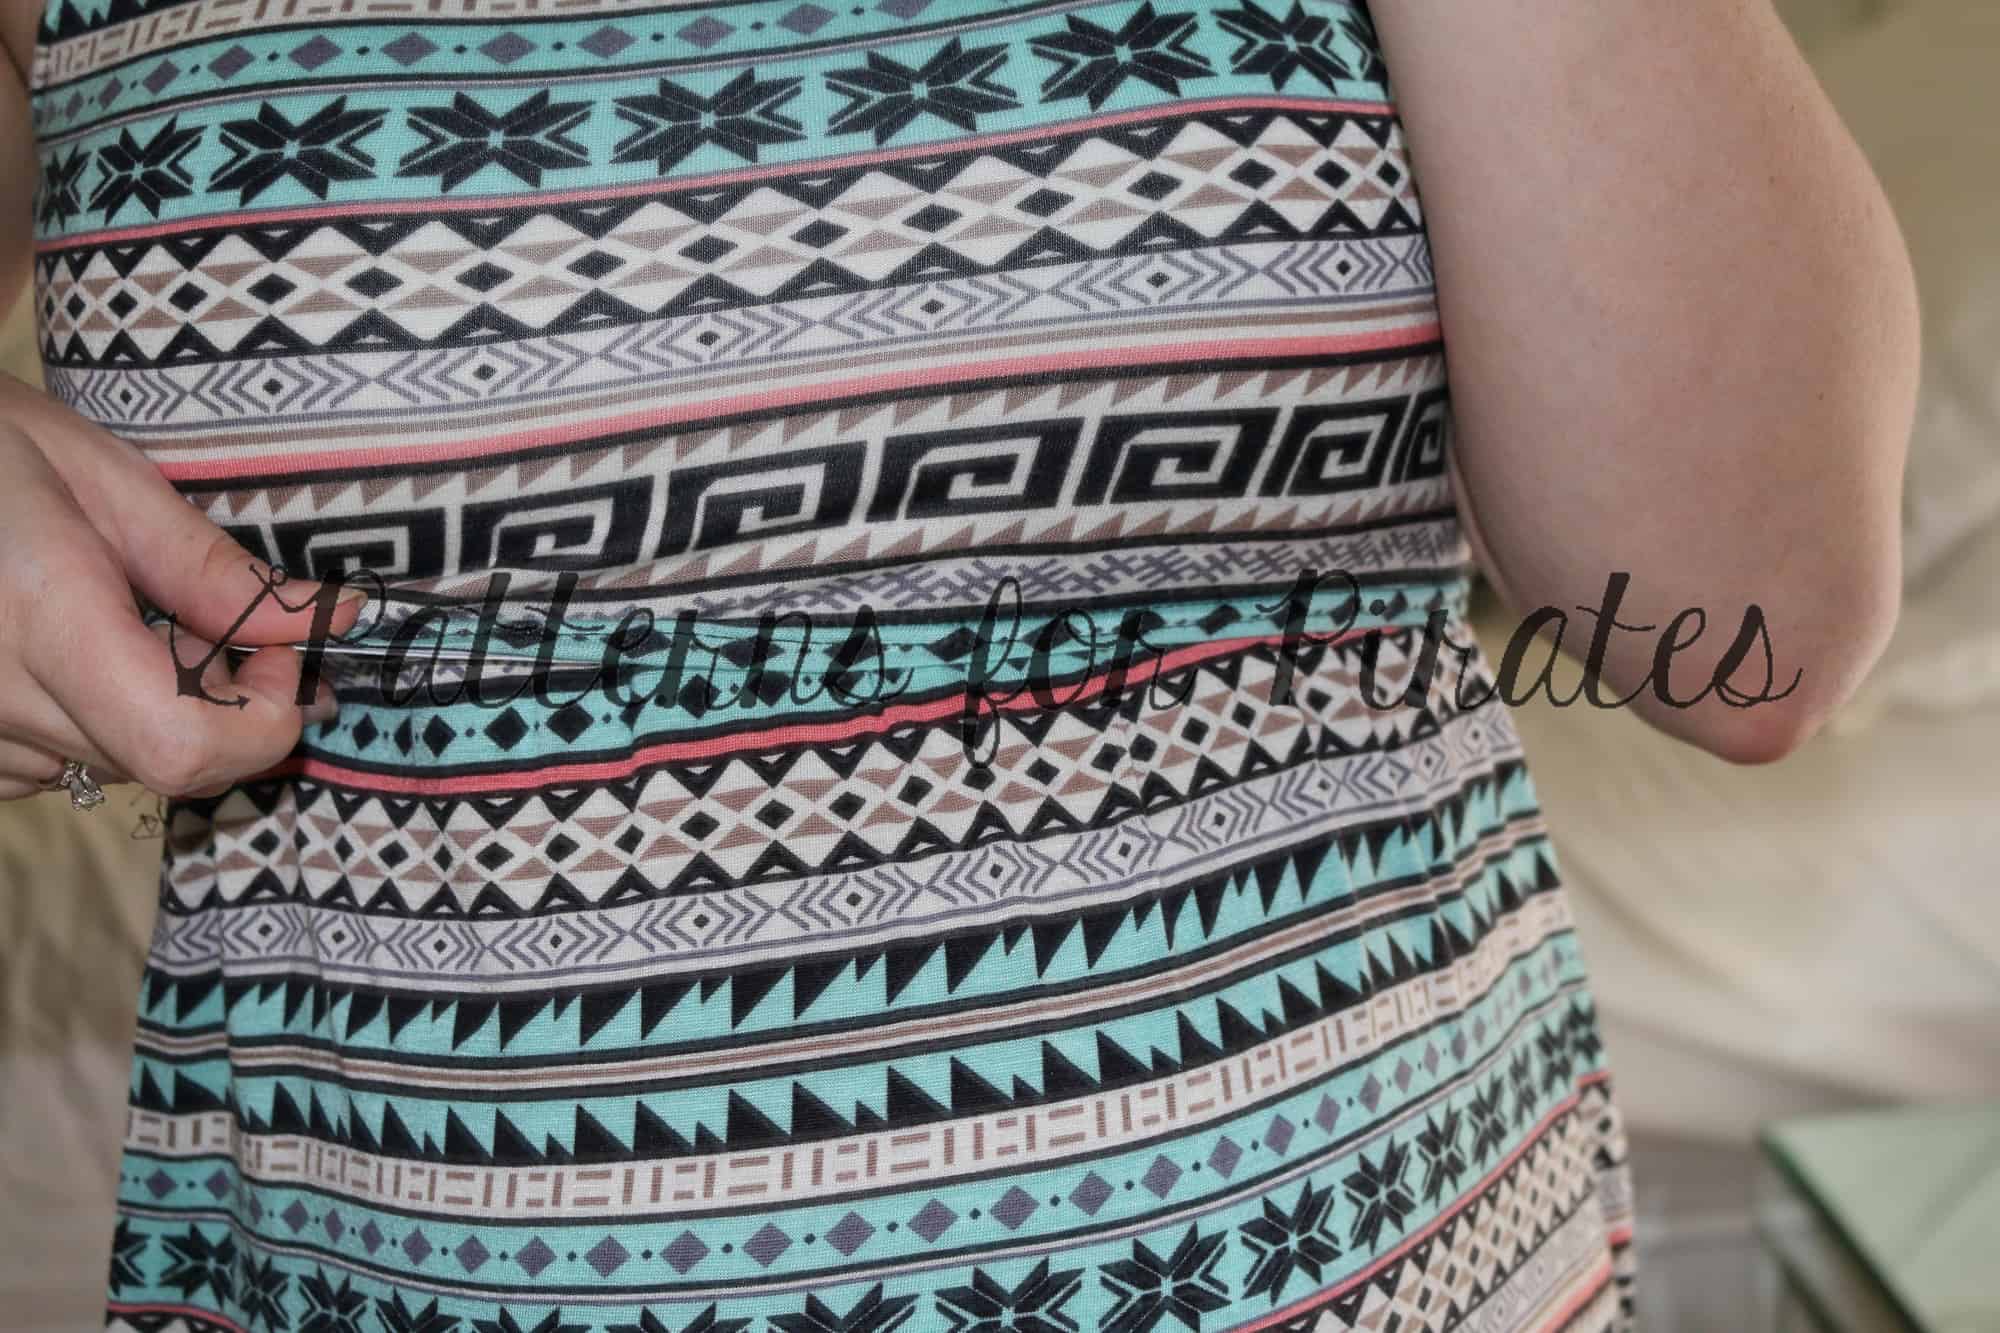
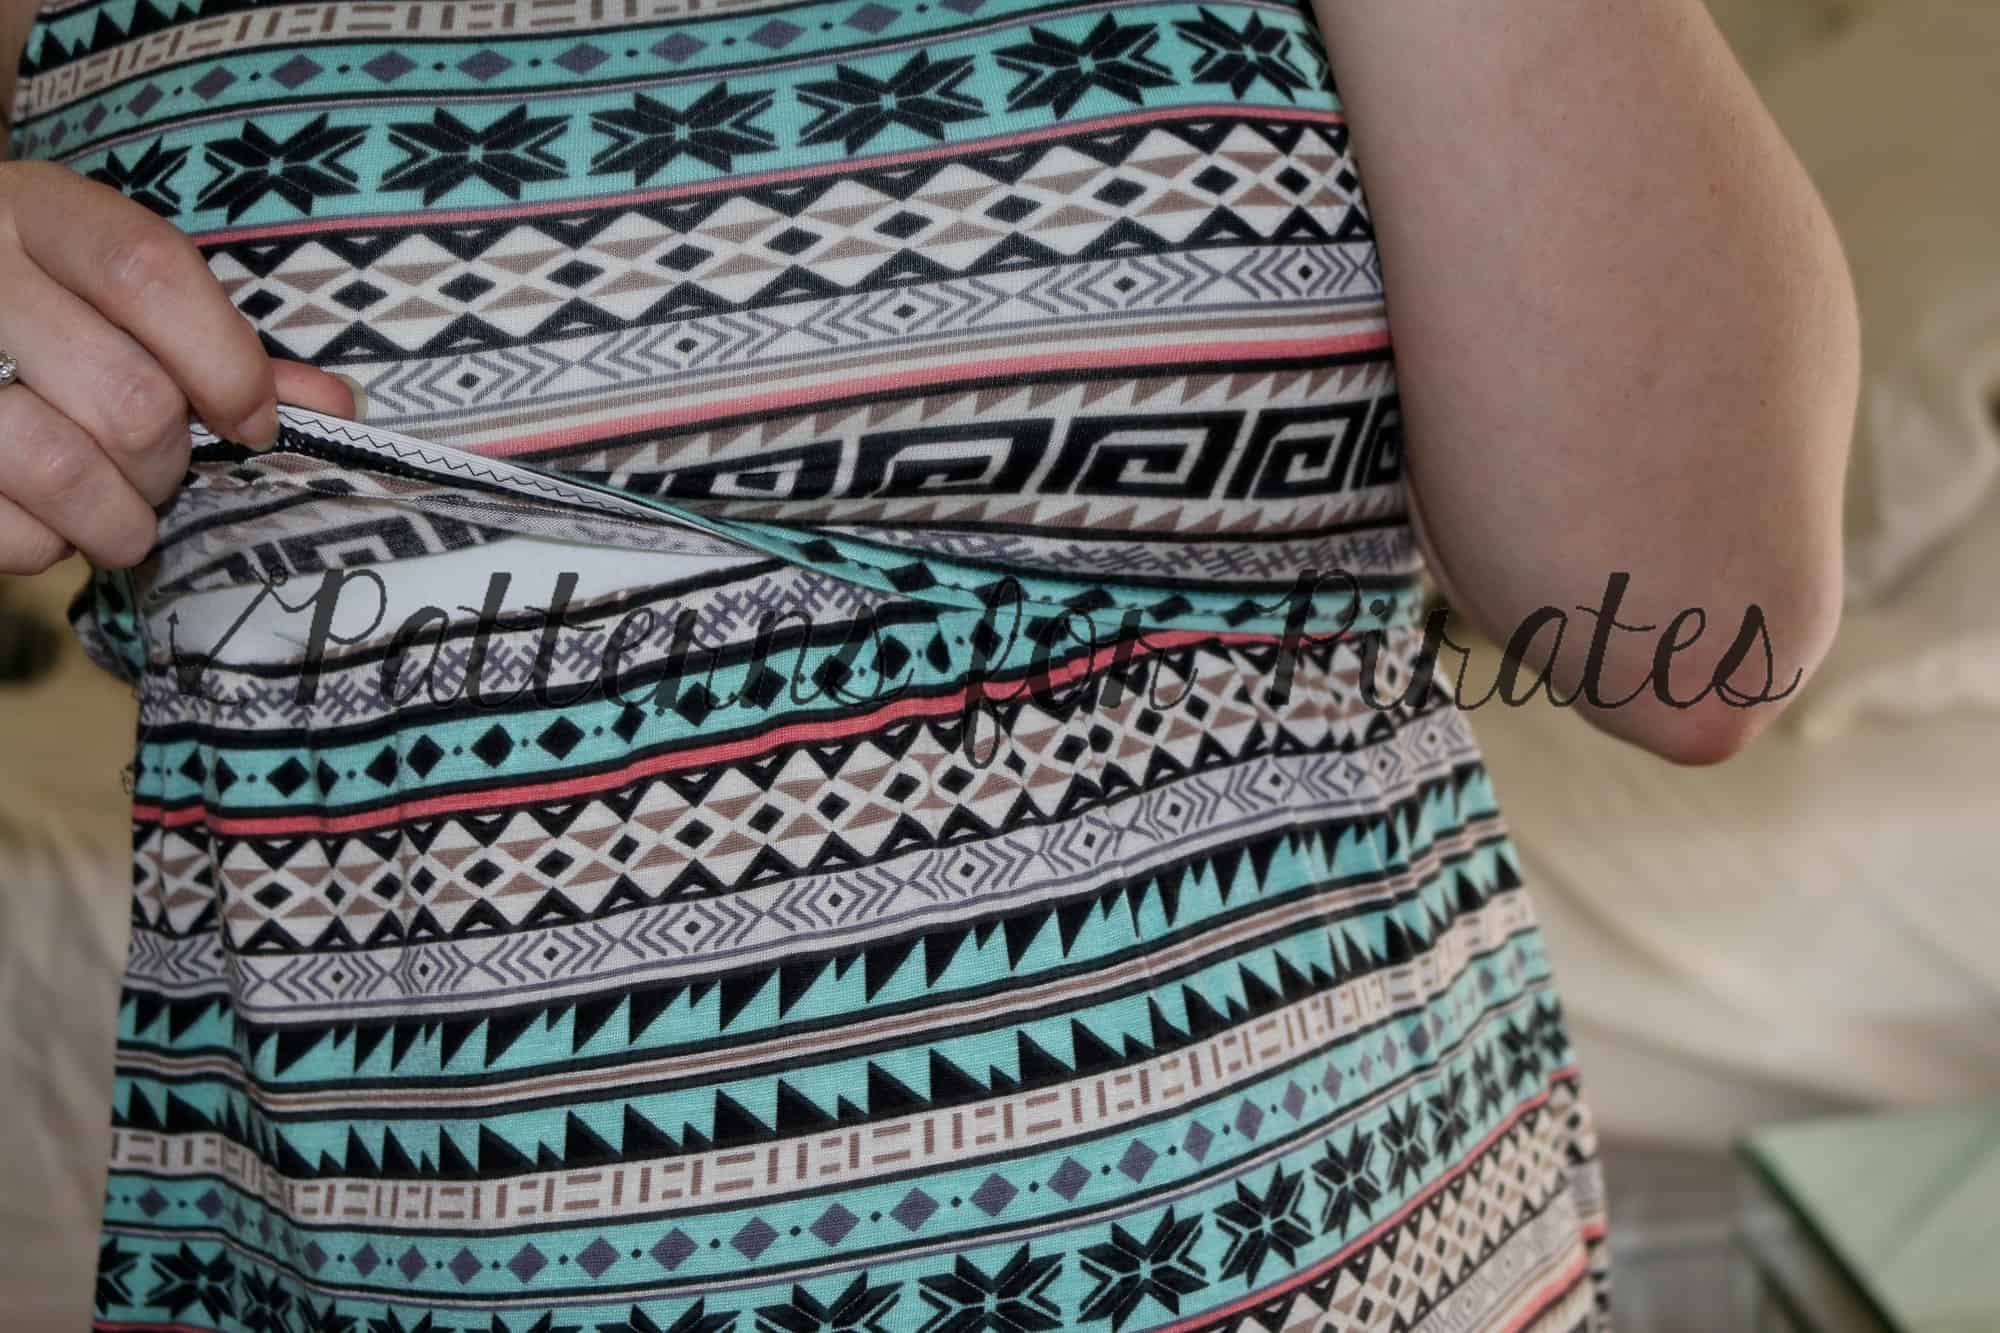
Nursing friendly
Last but certainly not least Djem is showing us how to modify the X Factor dress to make it nursing friendly.


-

- Processed with Focos

-
- Processed with Focos