Patterns for Pirates

P4P stylish, modern, wearable patterns

  • Home
  • Blog
    • Frequently Asked Questions
    • Pattern Releases
      • Free Patterns
    • P4P University
      • Fitting
      • Sewing with Stretch, Knit Fabrics
      • Sewing with Woven Fabrics
      • Sewing Machines
    • Sew-A-Longs
    • Fabric for Pirates
    • Pattern Hacks
    • Announcement
      • Blog Tours
      • Contest/Giveaway
  • Shop
  • Bundle Discounts
  • Gift Cards
  • My Account
  • Cart

FREE Convertible Cover Pattern + 100k Sale-A-Bration Day 2!

September 11, 2018

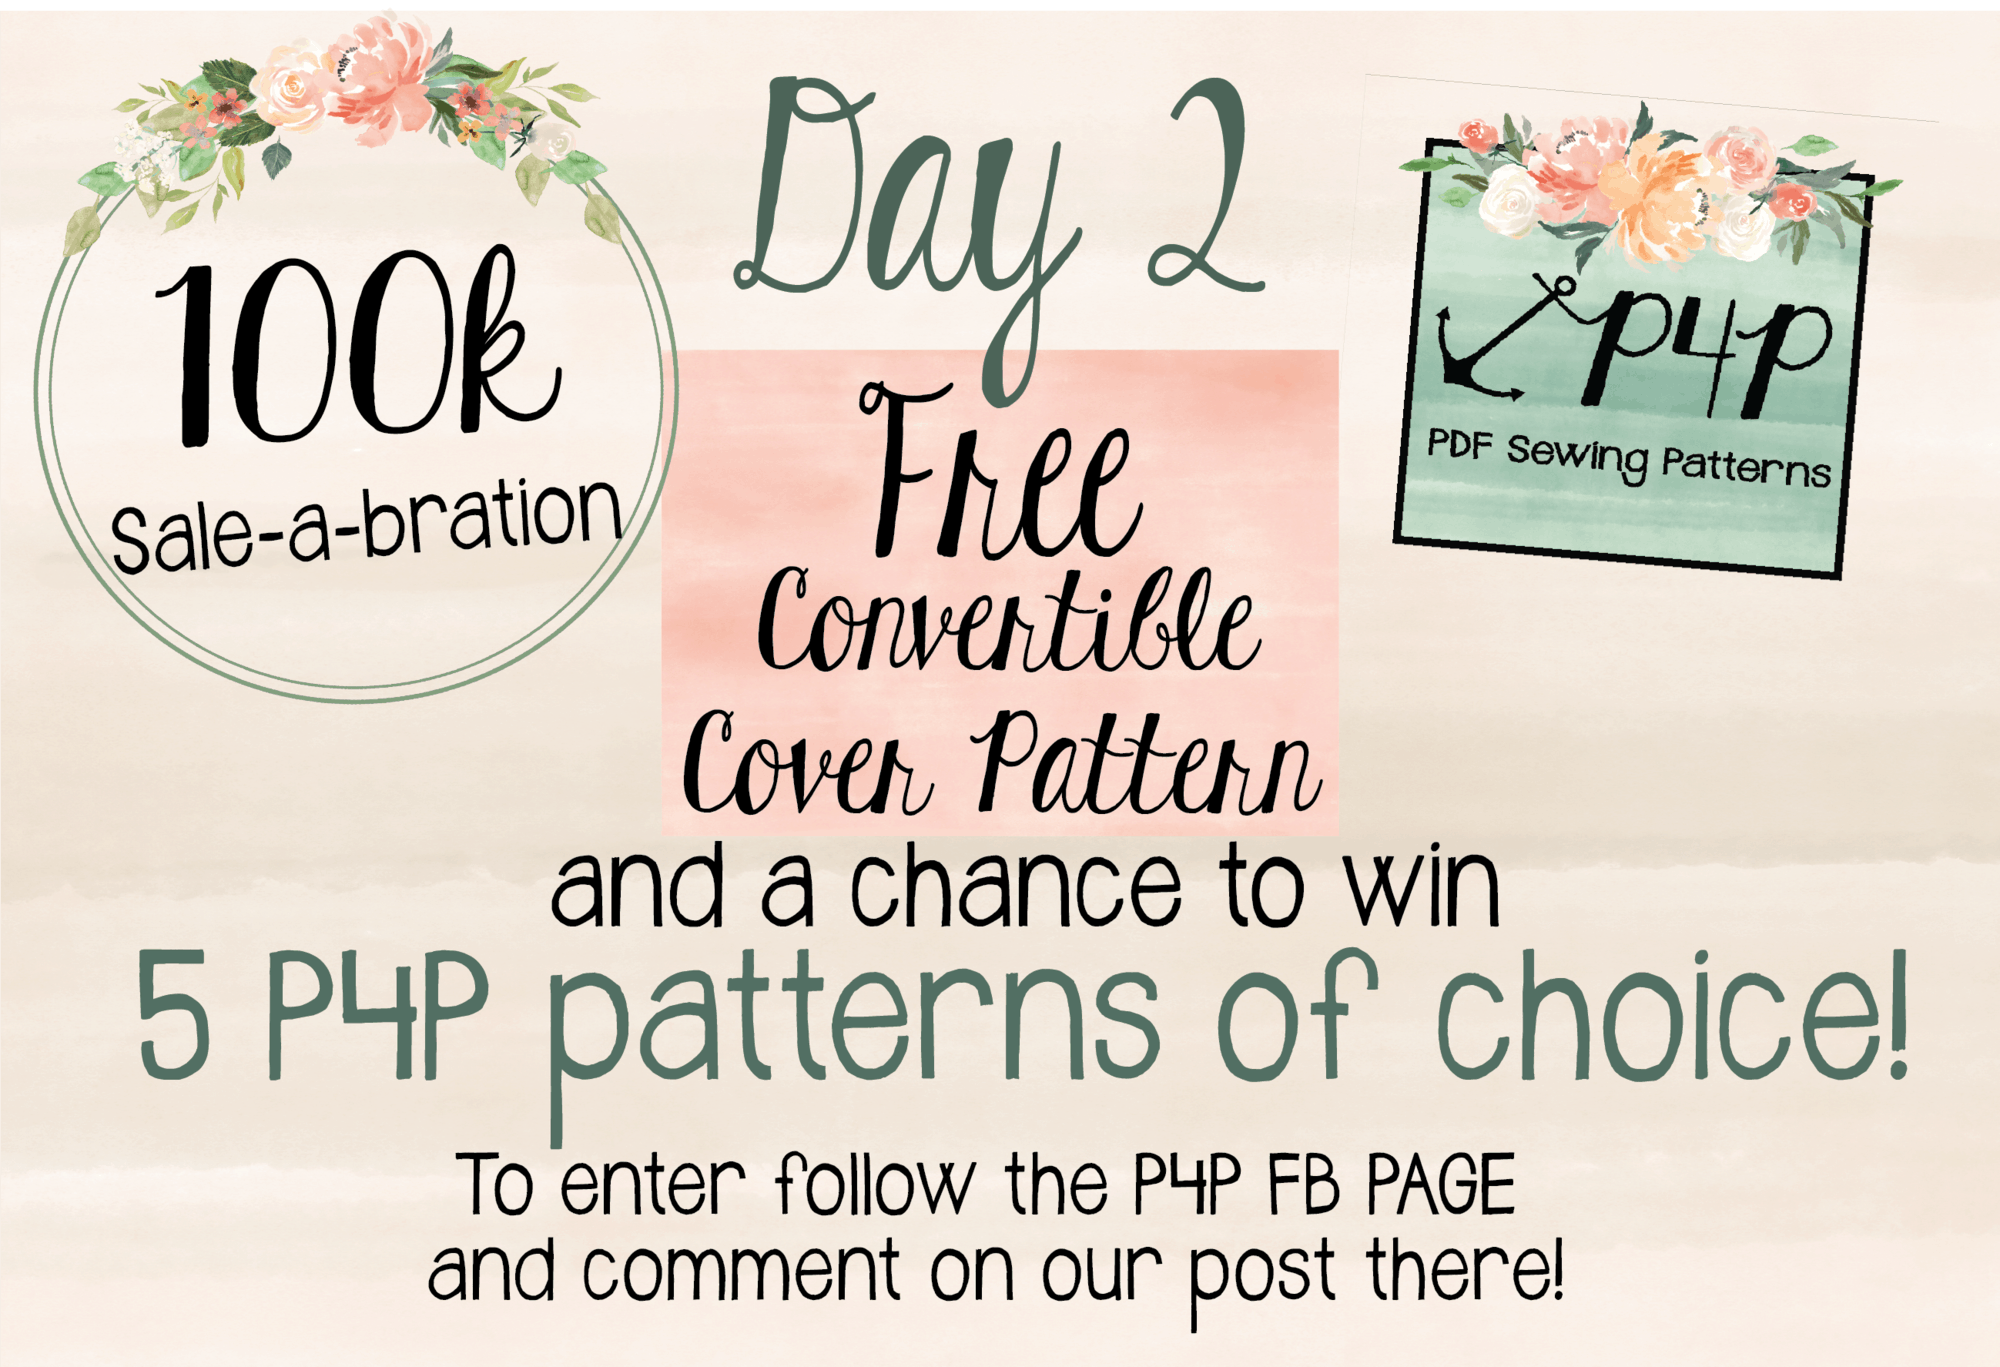
EEP!  Are you guys ready for the second day of our 100K Sale-A-Bration?!?!

If you missed what the party is all about, go read all about the giveaway, sale, and the pure appreciation/joy/excitement surrounding this big milestone HERE.

As we all know, the owner, designer and fearless leader behind Patterns for Pirates is Judy Hale.  P4P is such a big part of her life, and you can tell that she brings a lot of personal experiences and interests into her designs.  When we celebrated our 75K Milestone (which feels just like yesterday), our freebies were themed around the wee baby that was still growing inside of her belly.  Judy’s nesting for her third child ended with her designing and sharing the Wee Lap Tee, Petite Pegs, Teeny Beanie and Burp Cloth.

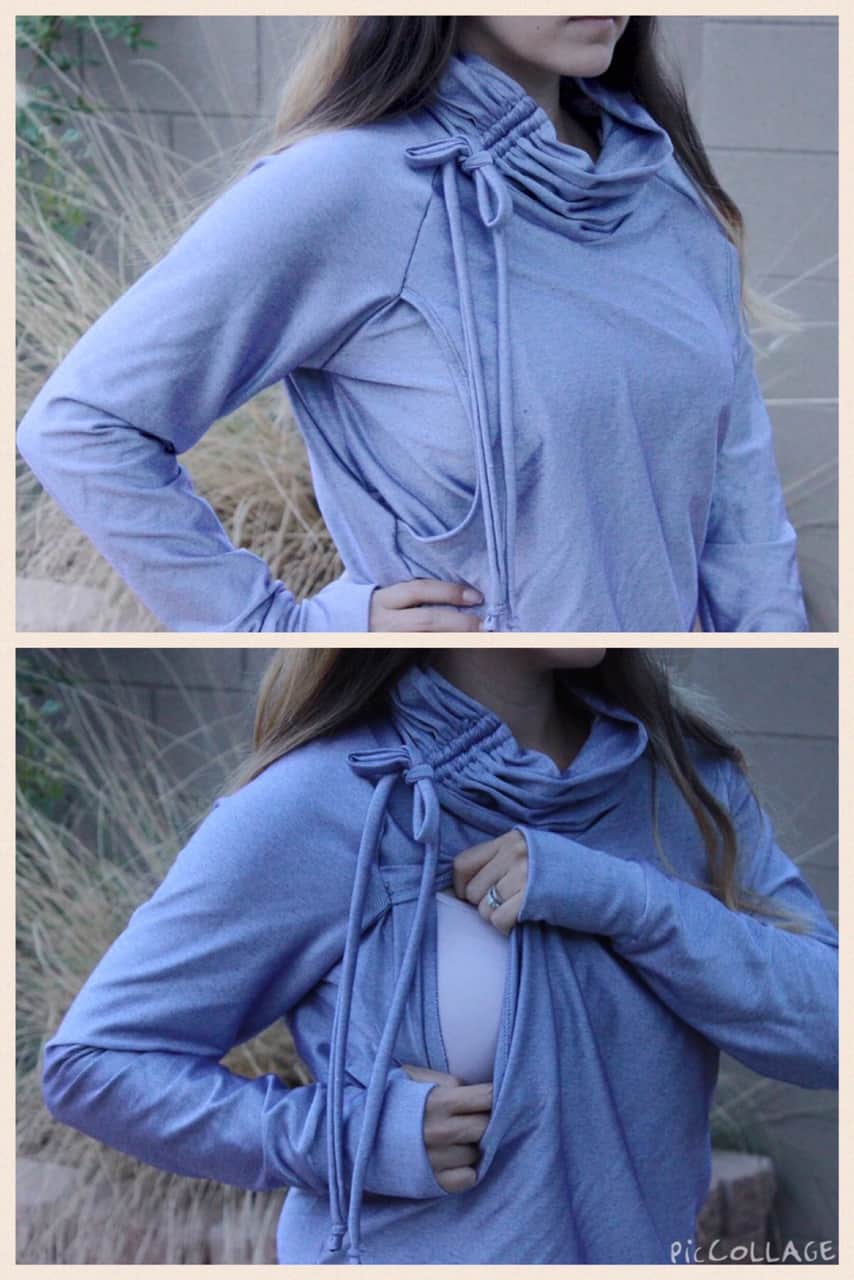
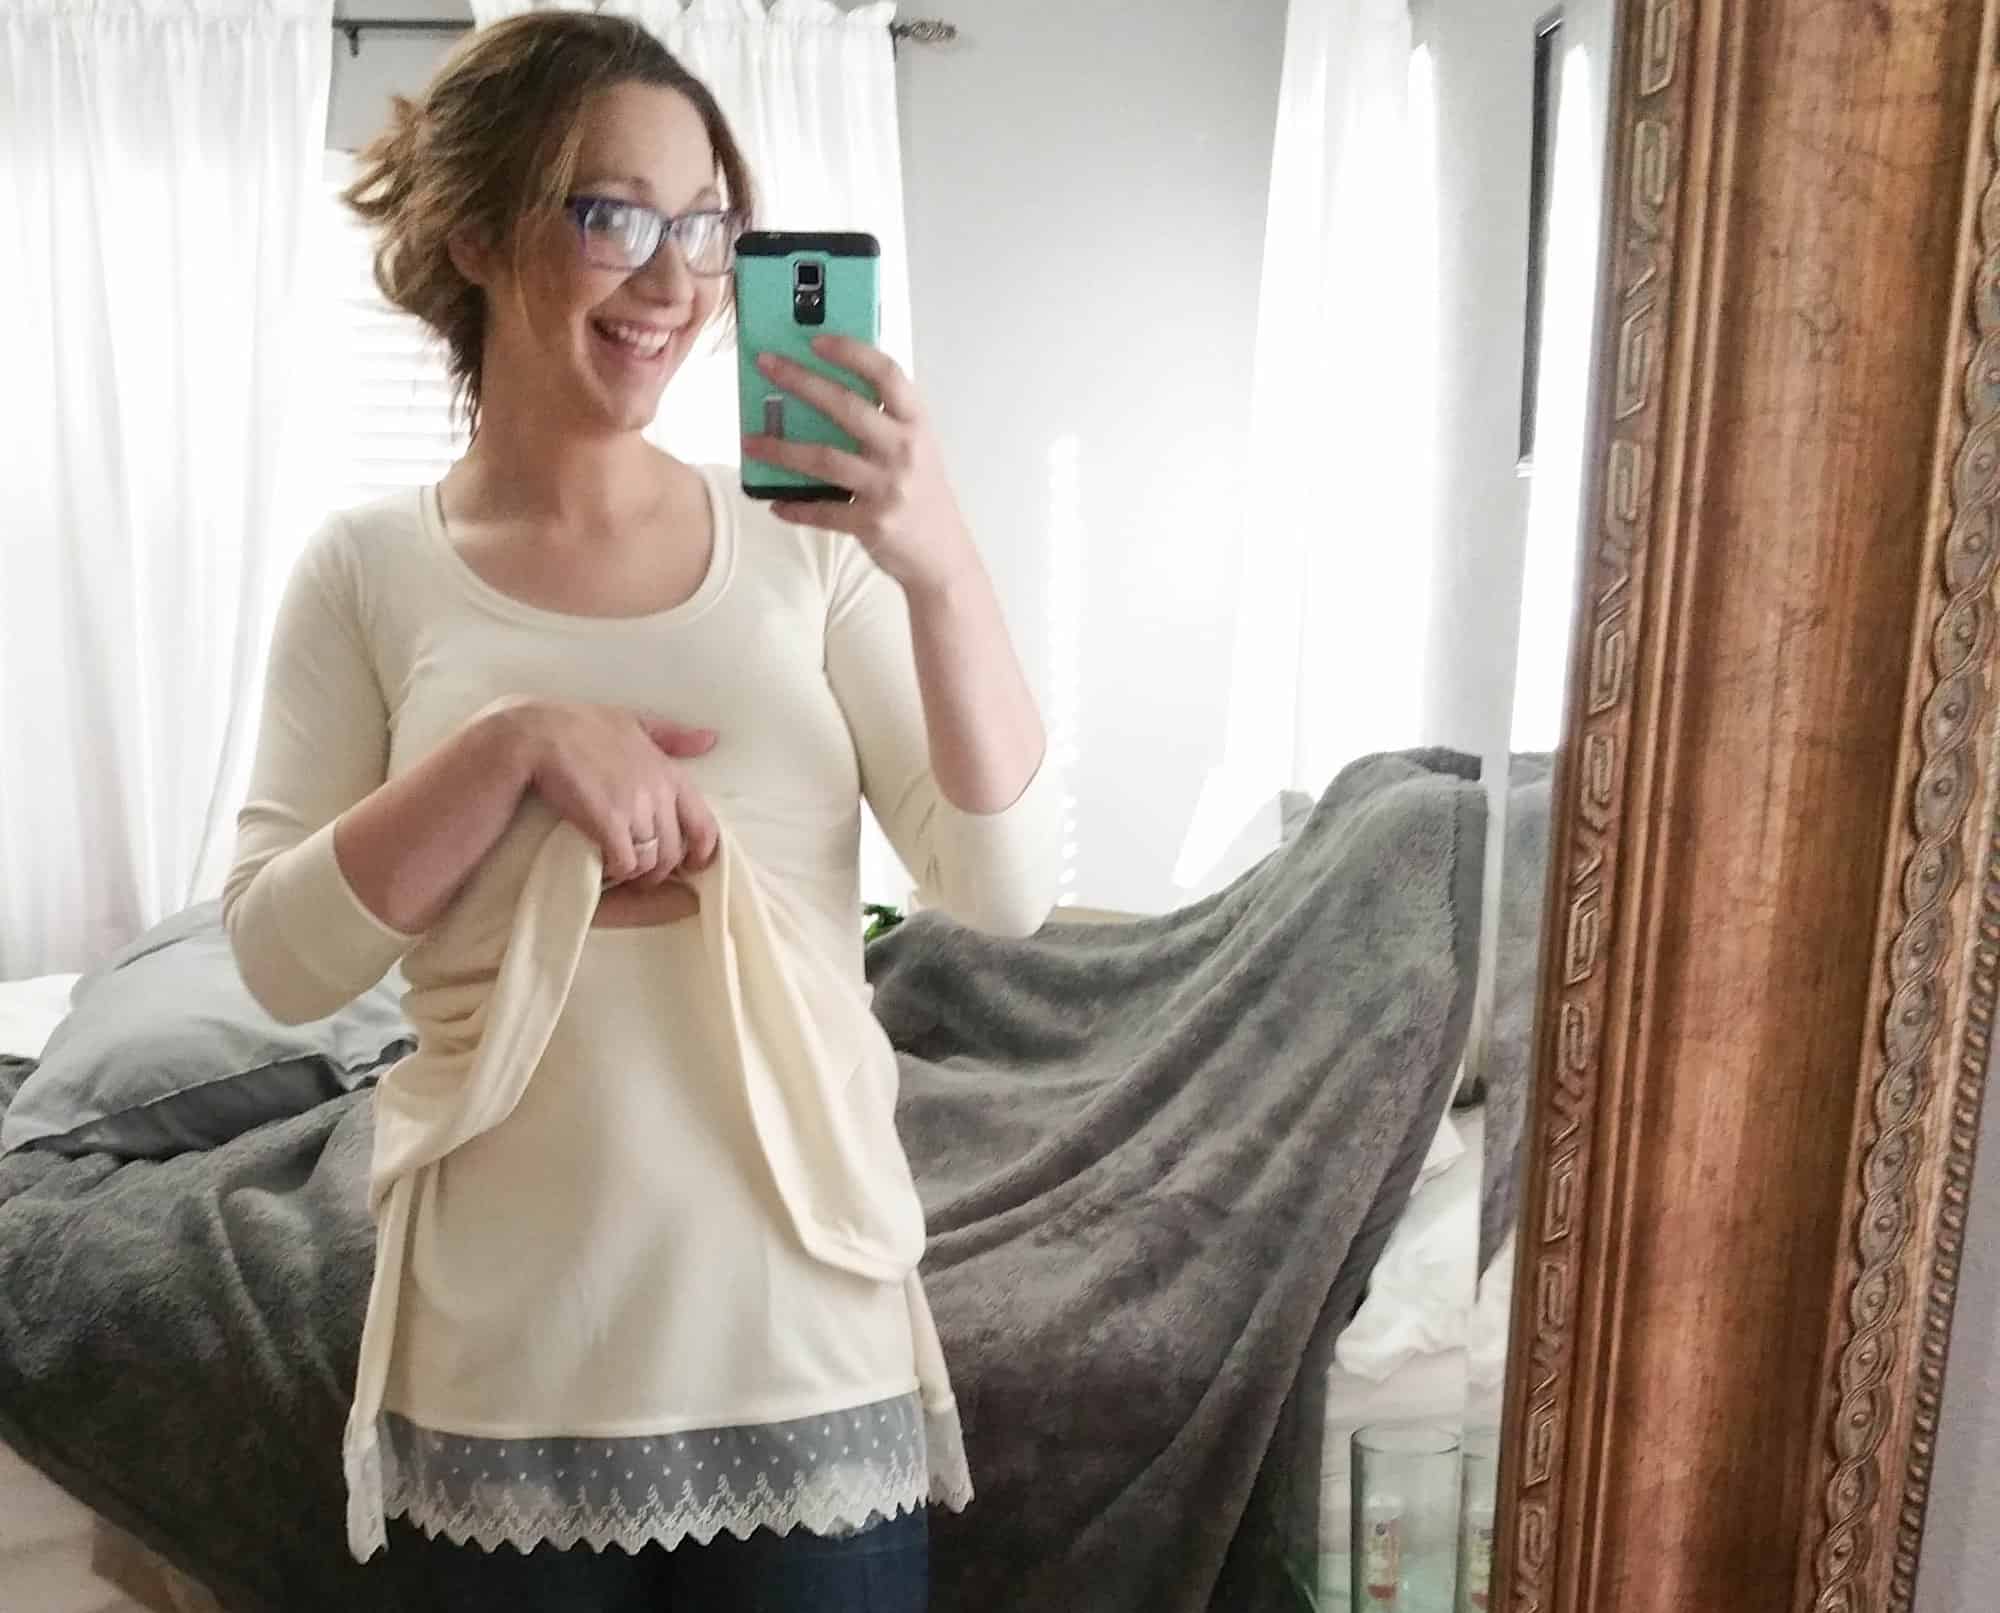
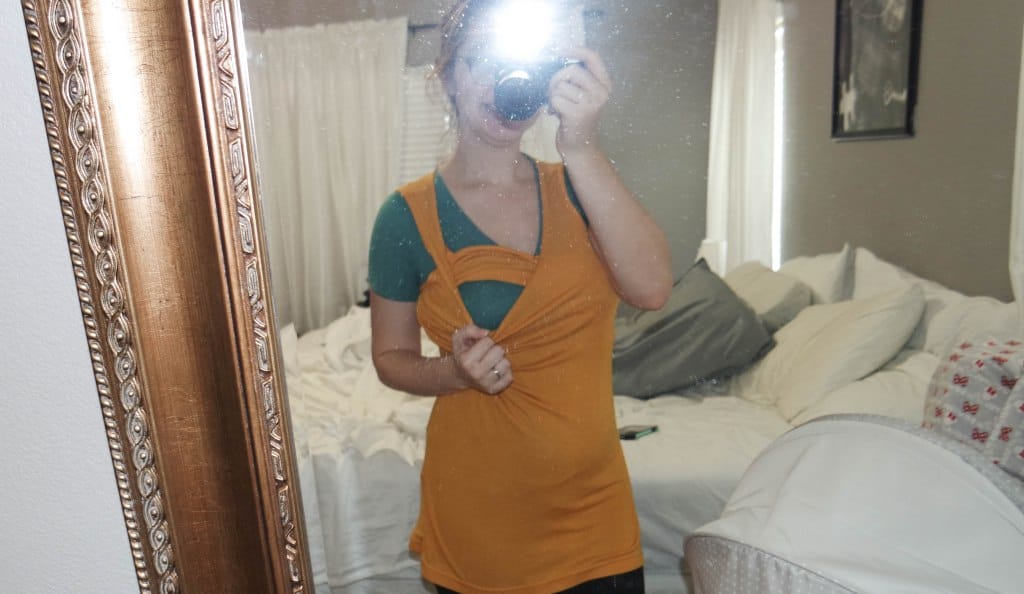
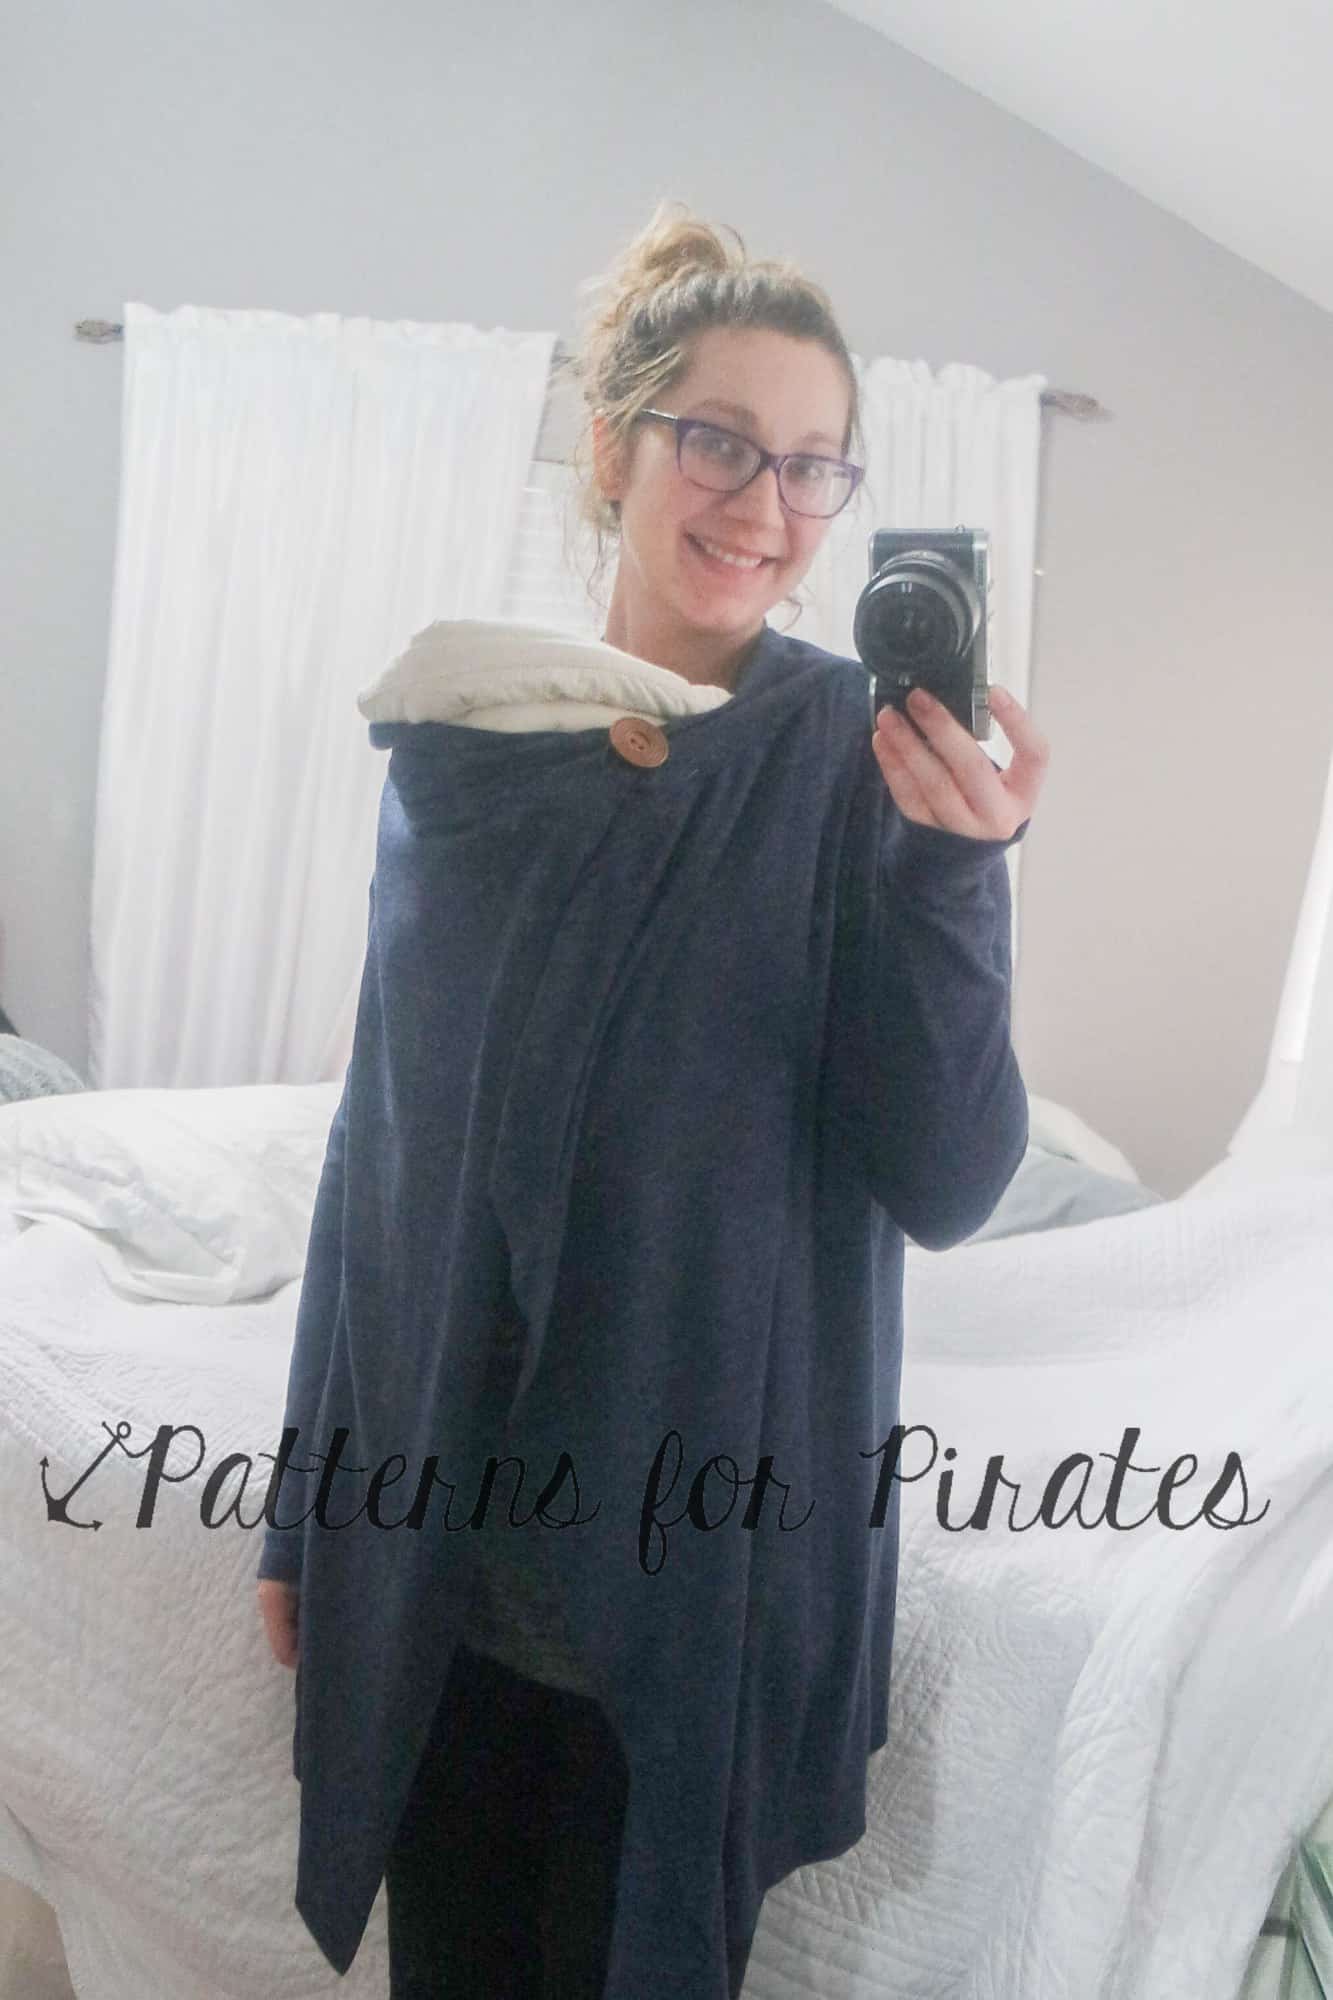
This time around, the baby boy is here and our freebies are a little more focused on the daily needs of the Momma!  It’s time to introduce you to the Convertible Cover Pattern!

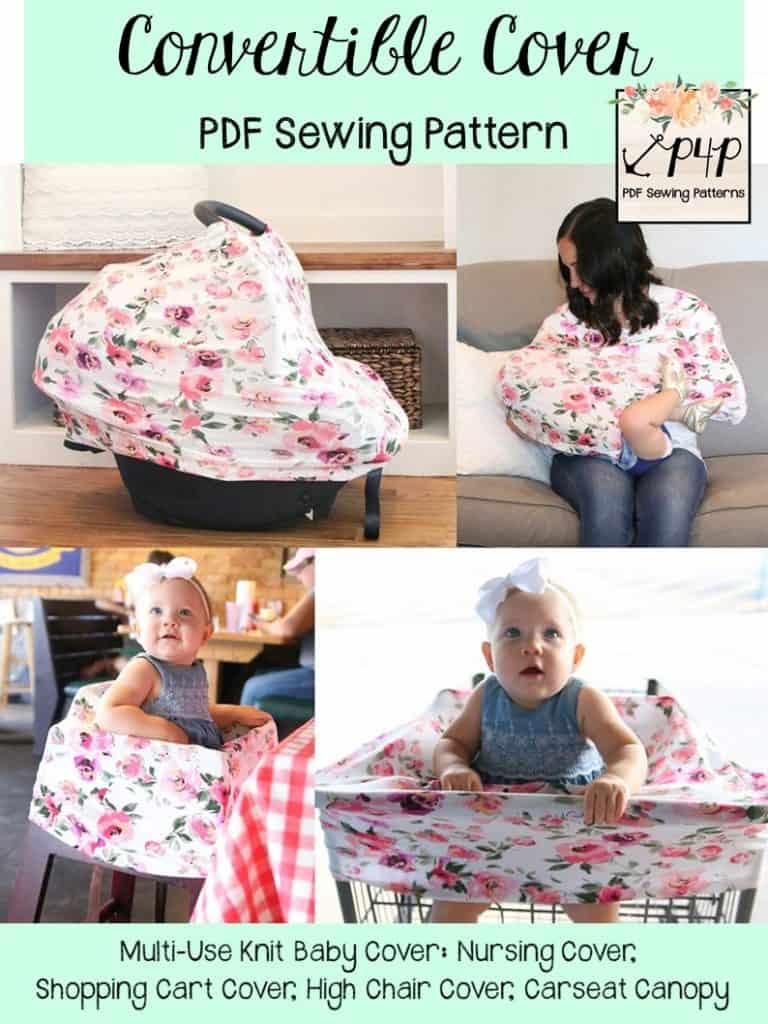
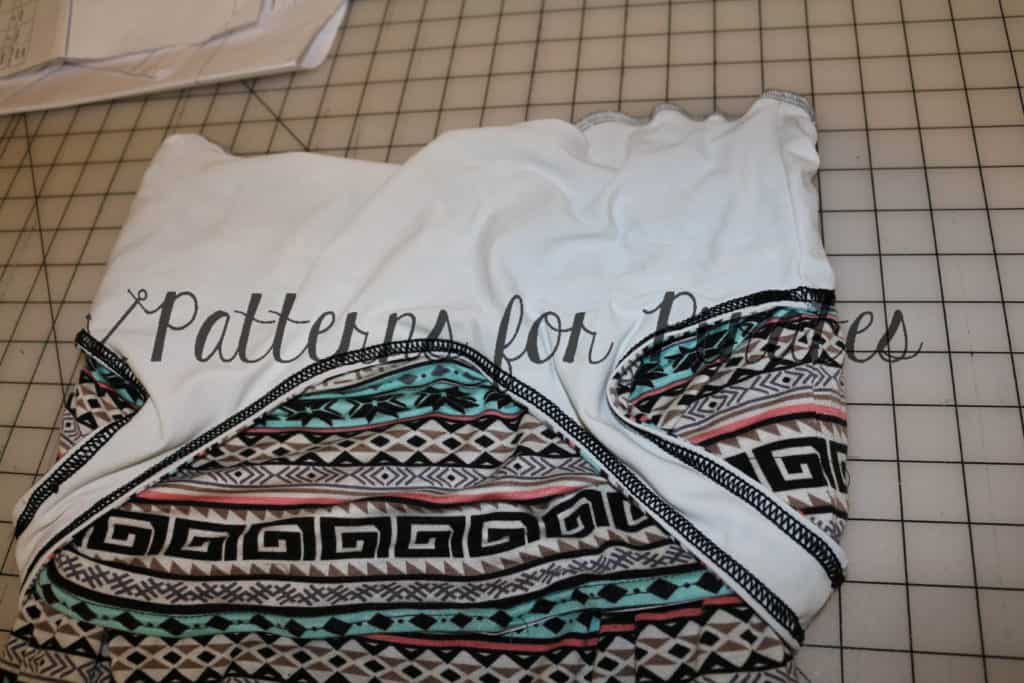
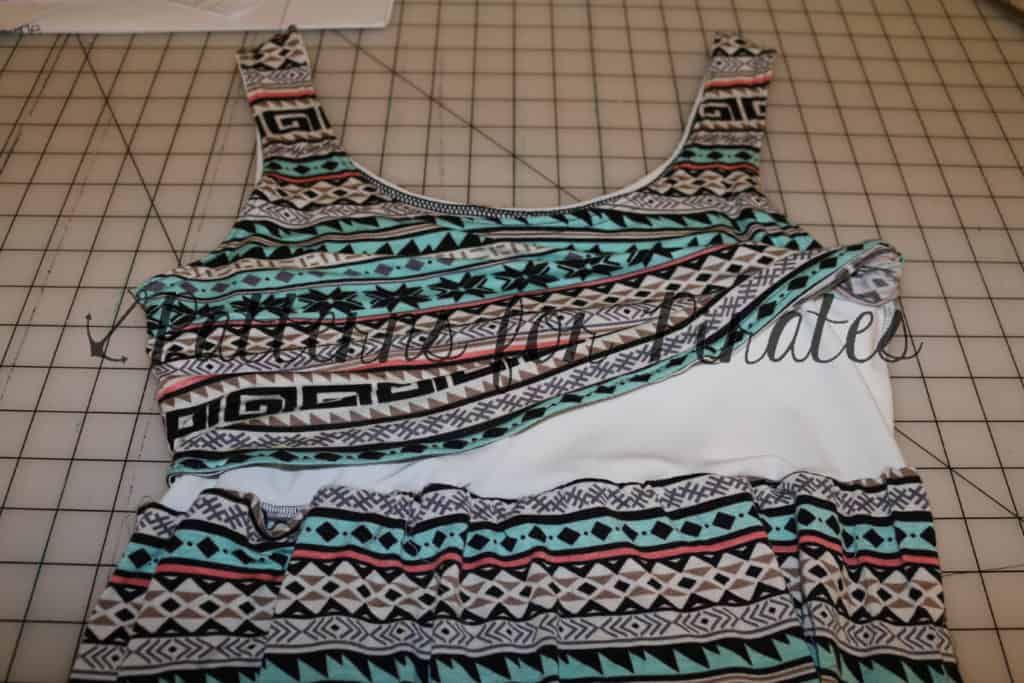
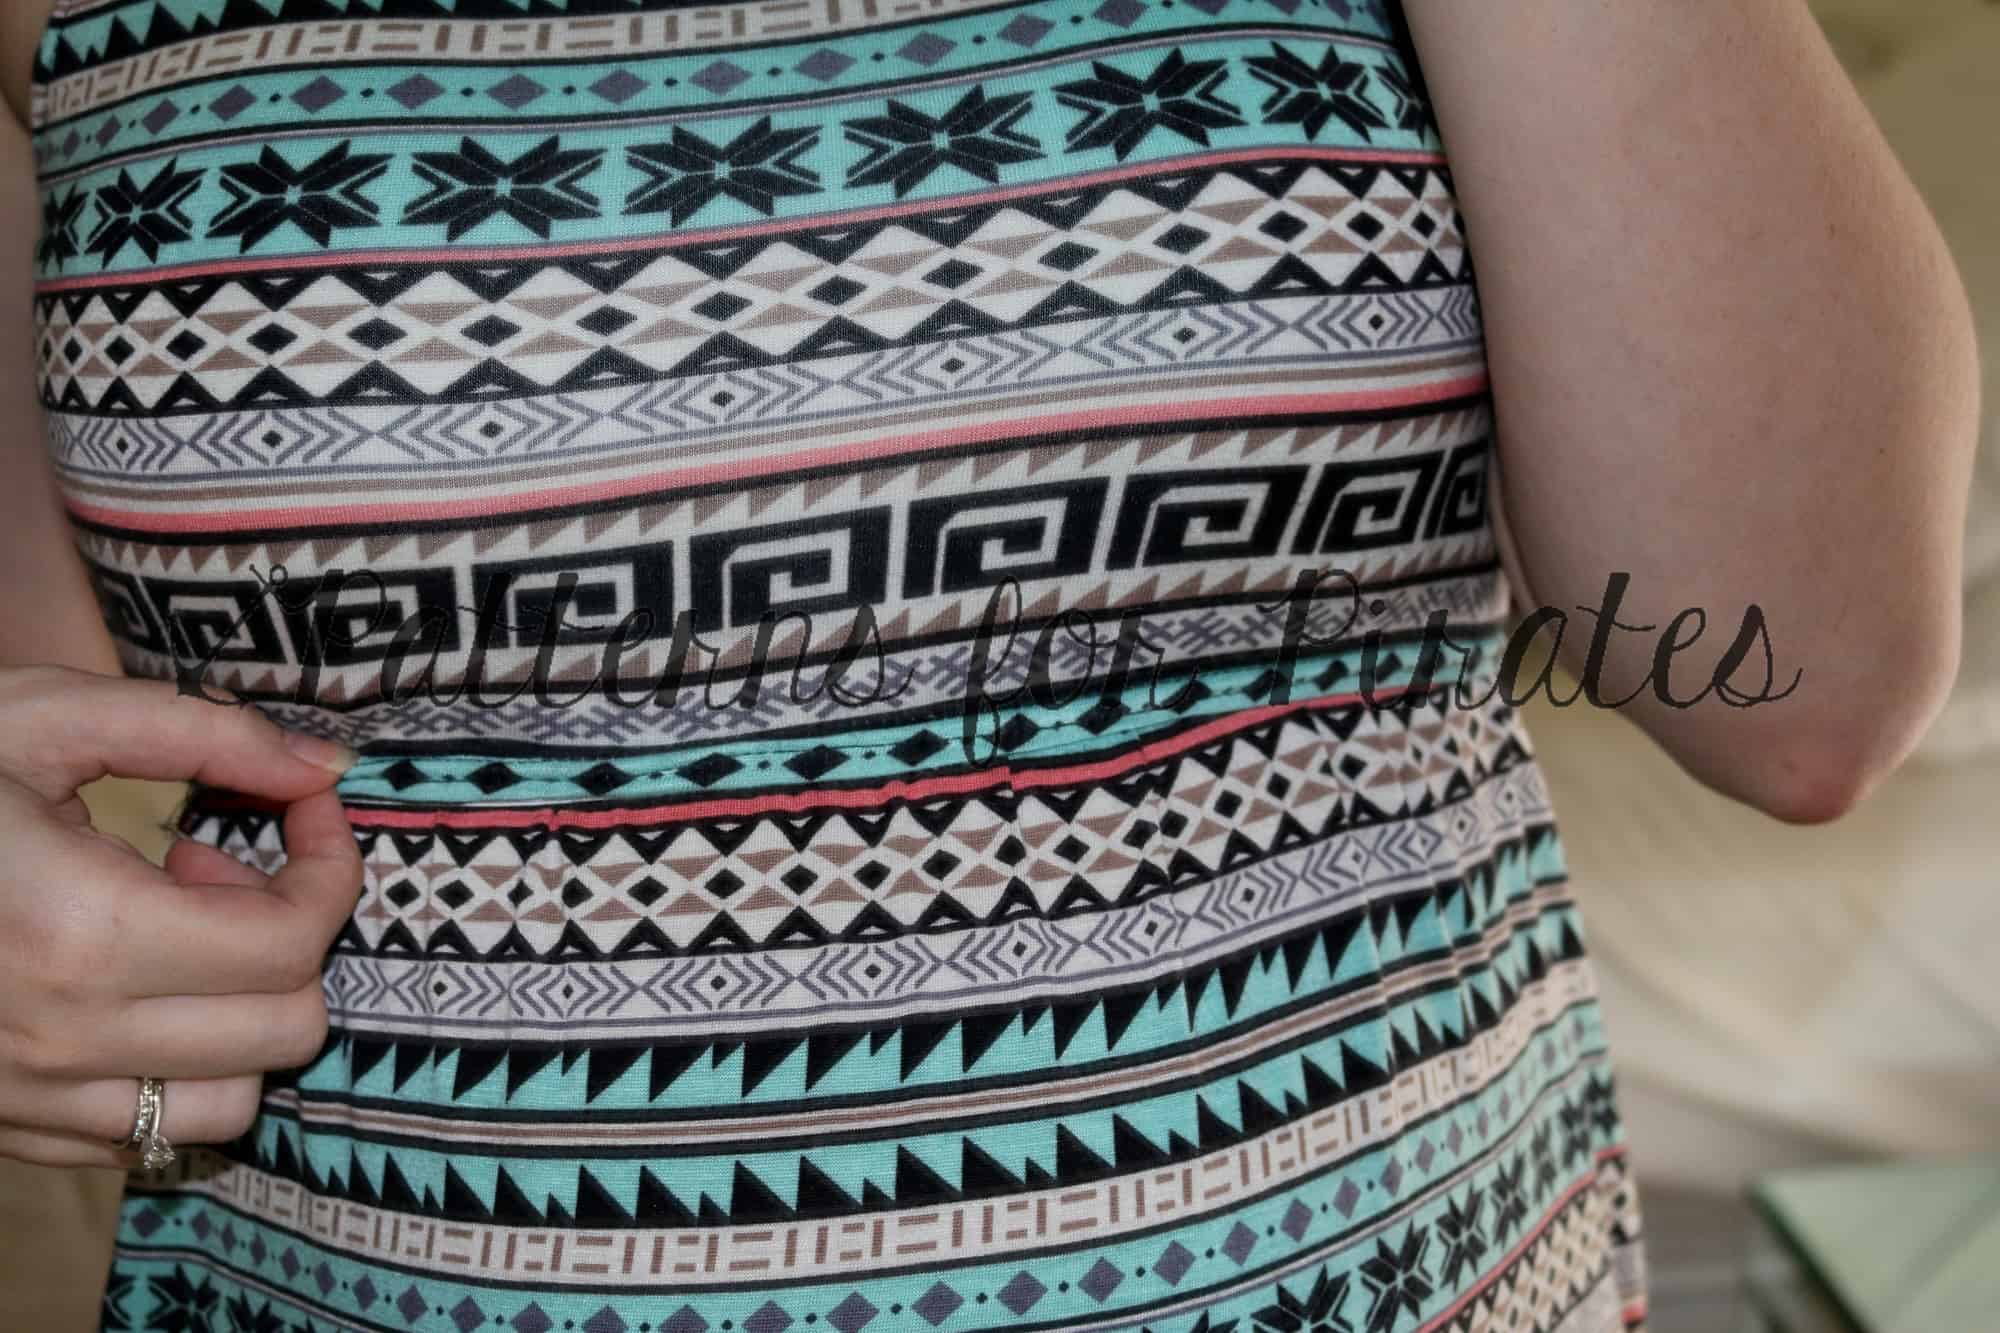
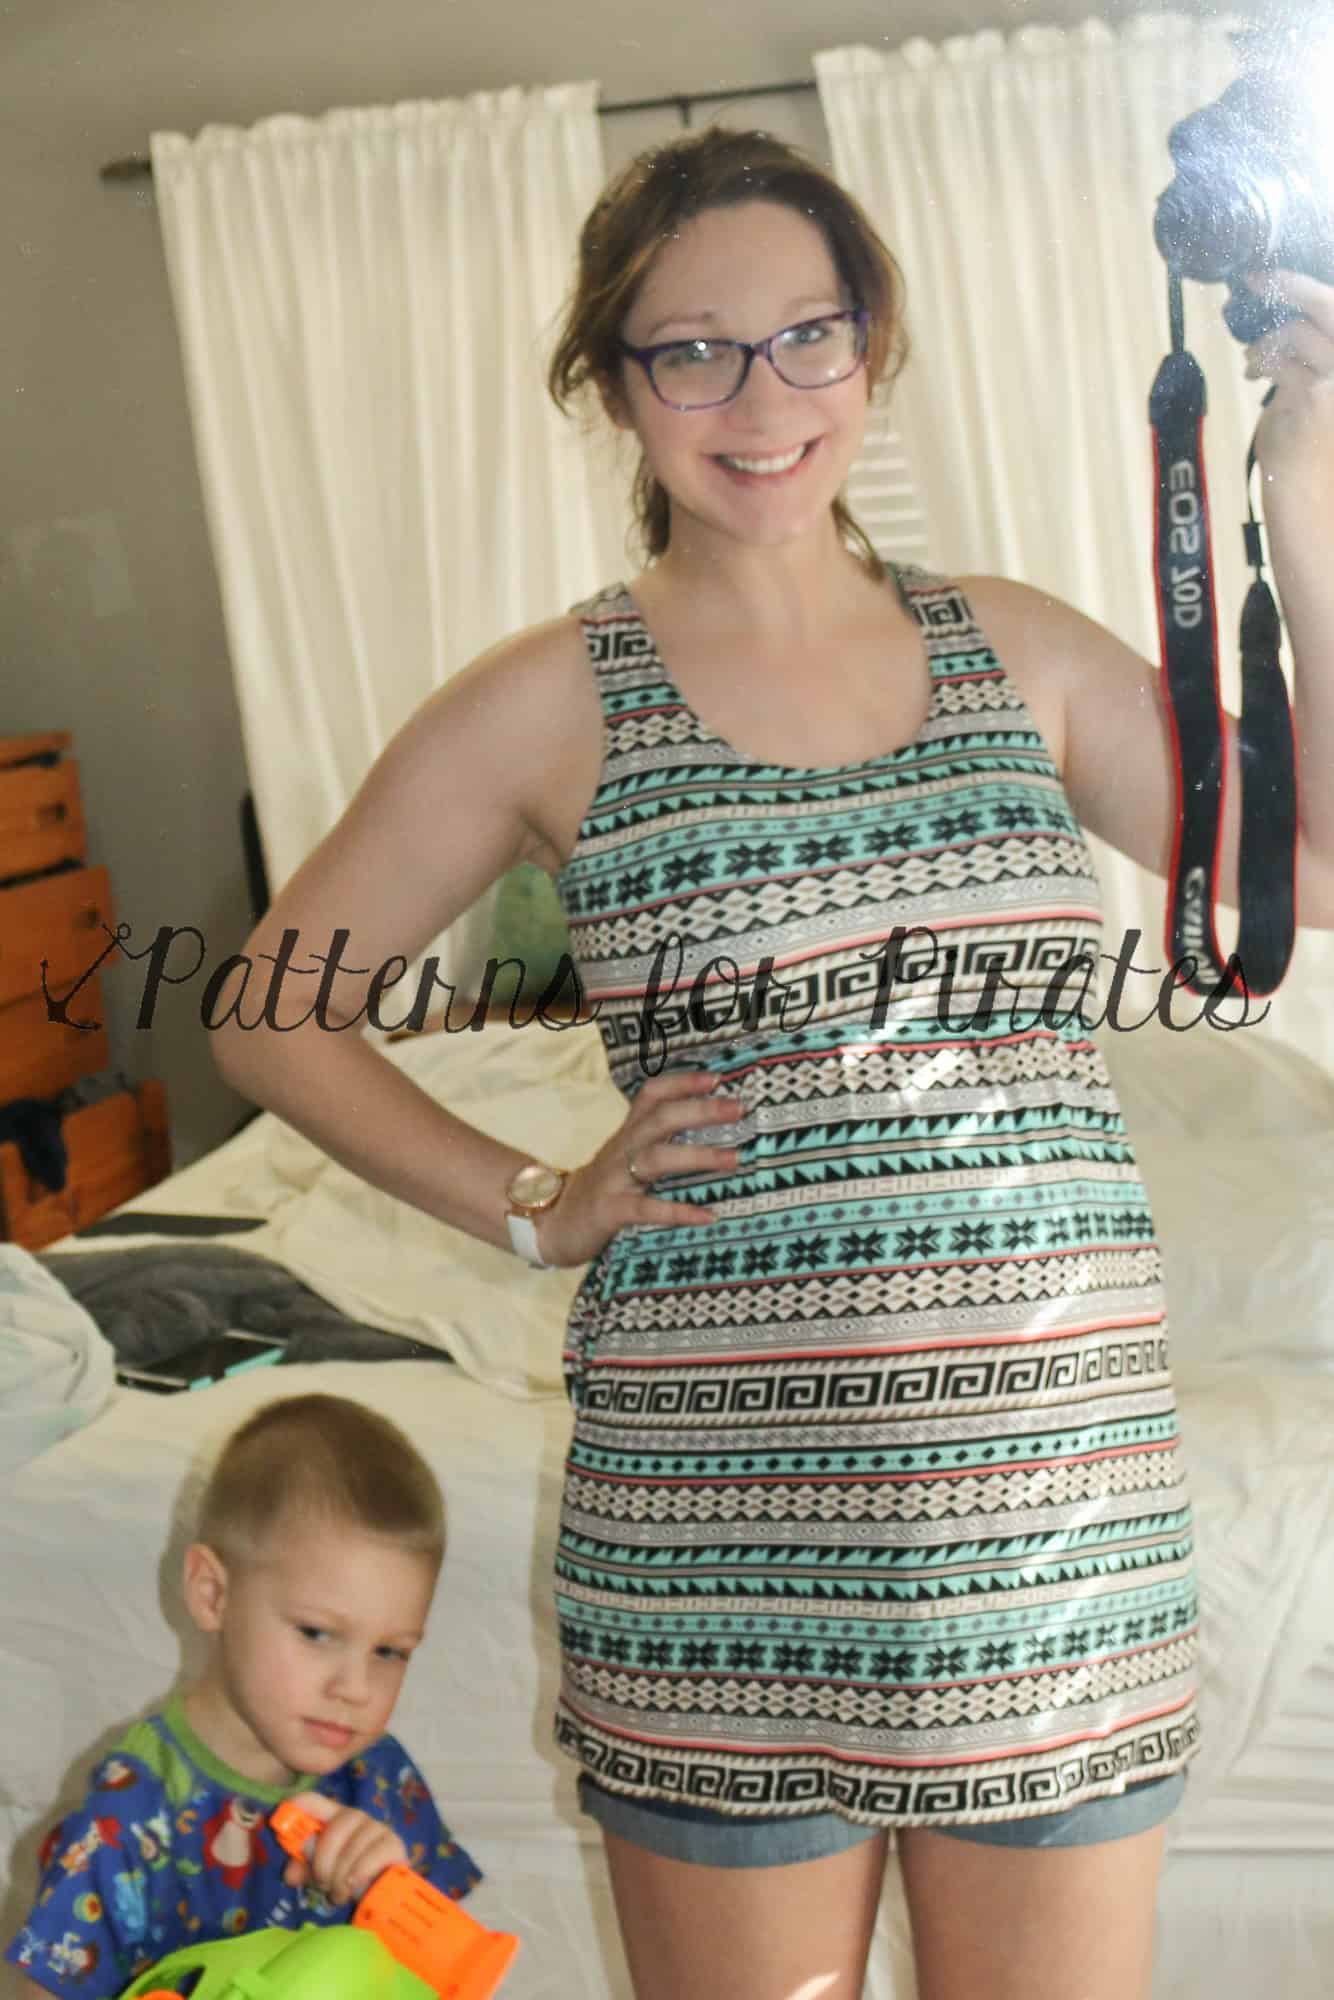
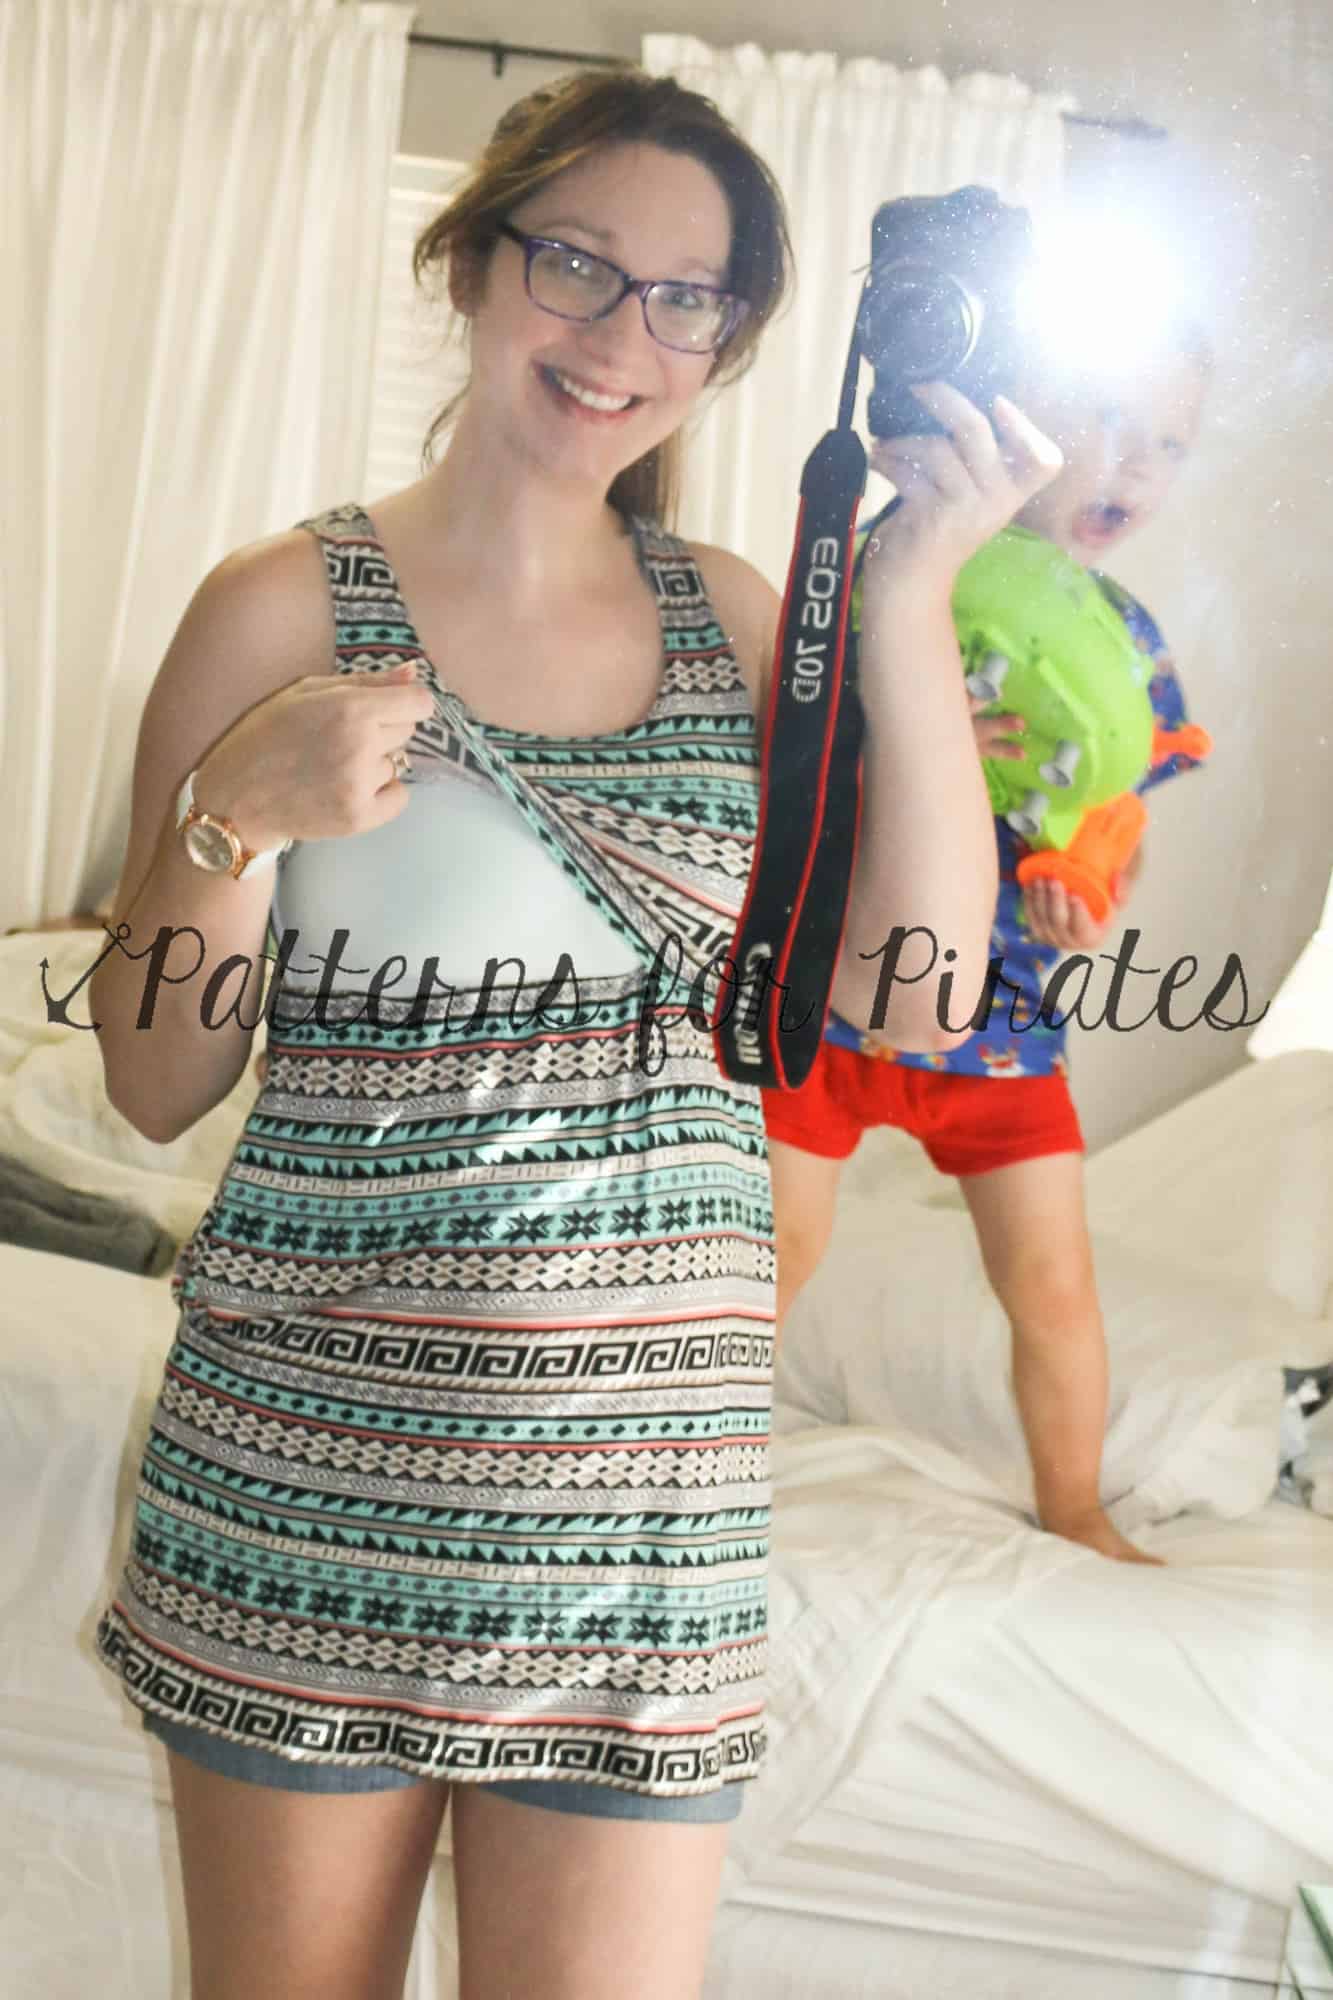
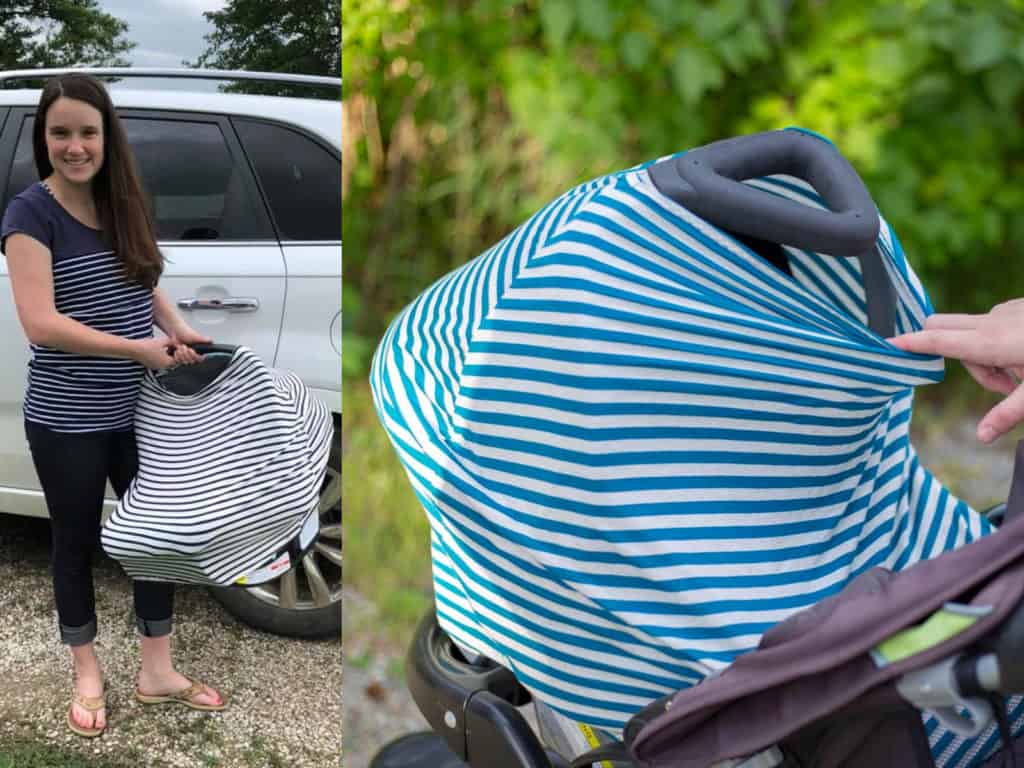
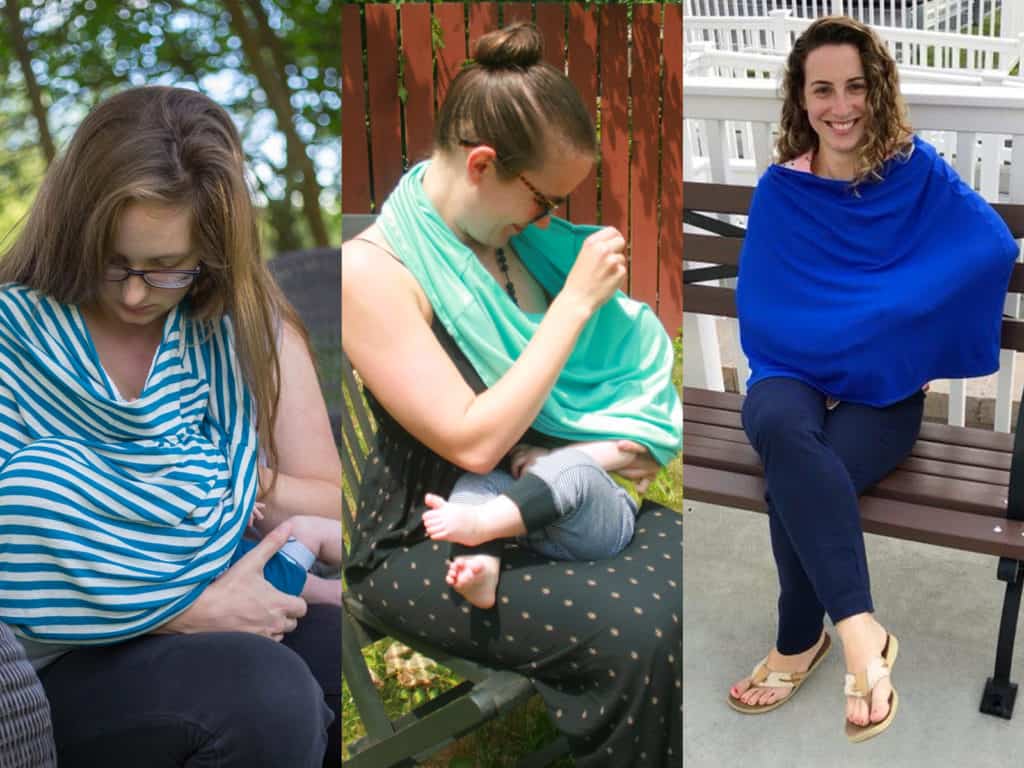
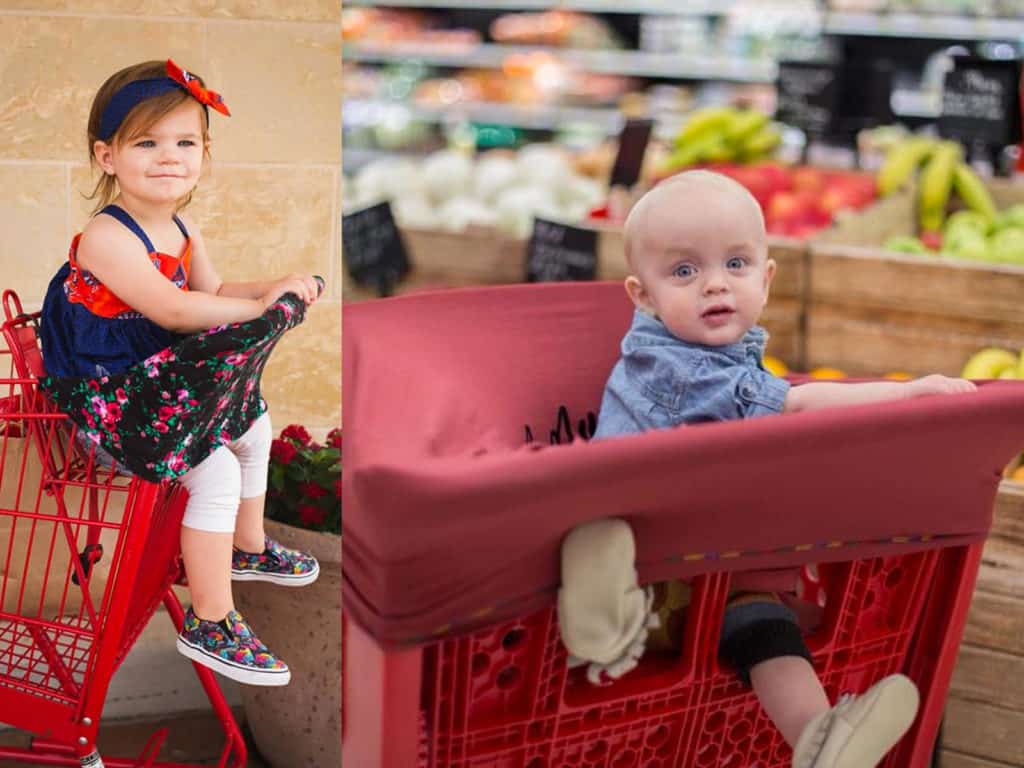
The Convertible Cover is multifunctional, 4-in-1 cover that is so easy to make, and even easier to fit into your daily routine!  You can use it as a cover for infant car seats, nursing, high chairs, and shopping carts.

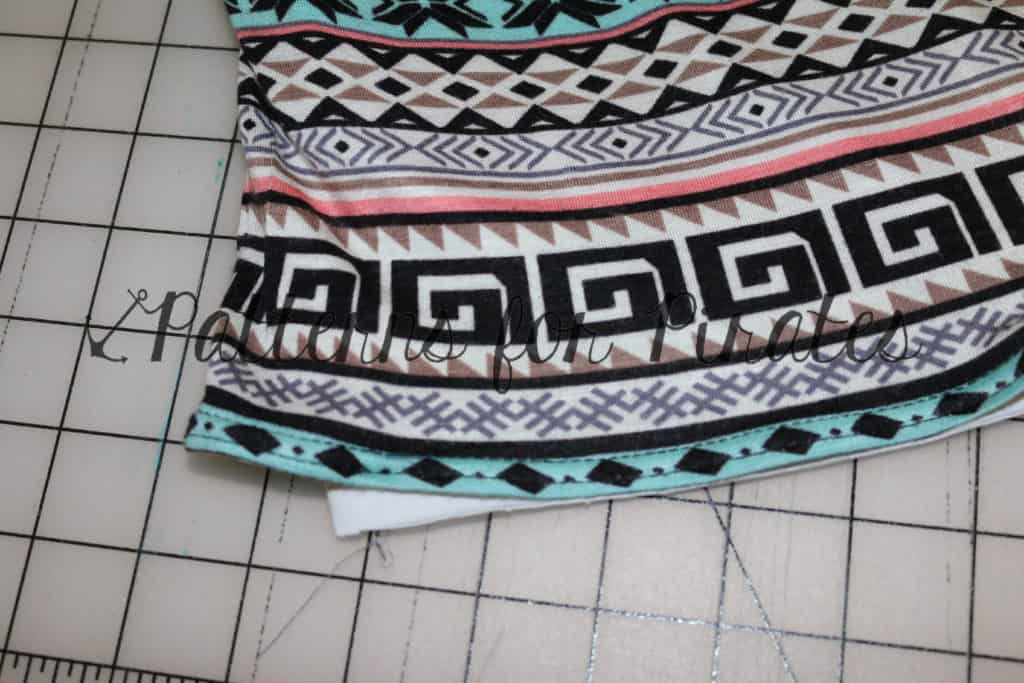
You must use a breathable, lightweight fabric with a high stretch.  The fabric content is vital.  Natural fabrics that breathe are needed to keep baby safe and at a safe temperature while in use (ie: rayon spandex, modal, bamboo spandex and lightweight cotton spandex.)

**We care about the safety of your child!  Always remove cover from your child’s infant car seat before placing it into a vehicle and never leave your child covered while unattended. It is important to monitor your baby to ensure they do not overheat in warm climates or during the hot summer months. Keep the cover away from any heat source.   Please use recommended breathable fabrics, and always remove cover before placing baby into vehicle. If gifting the cover please give safety guidelines to the recipient.

Let’s take a peek at all of the ways it can be used, shall we?

INFANT CAR SEAT COVER
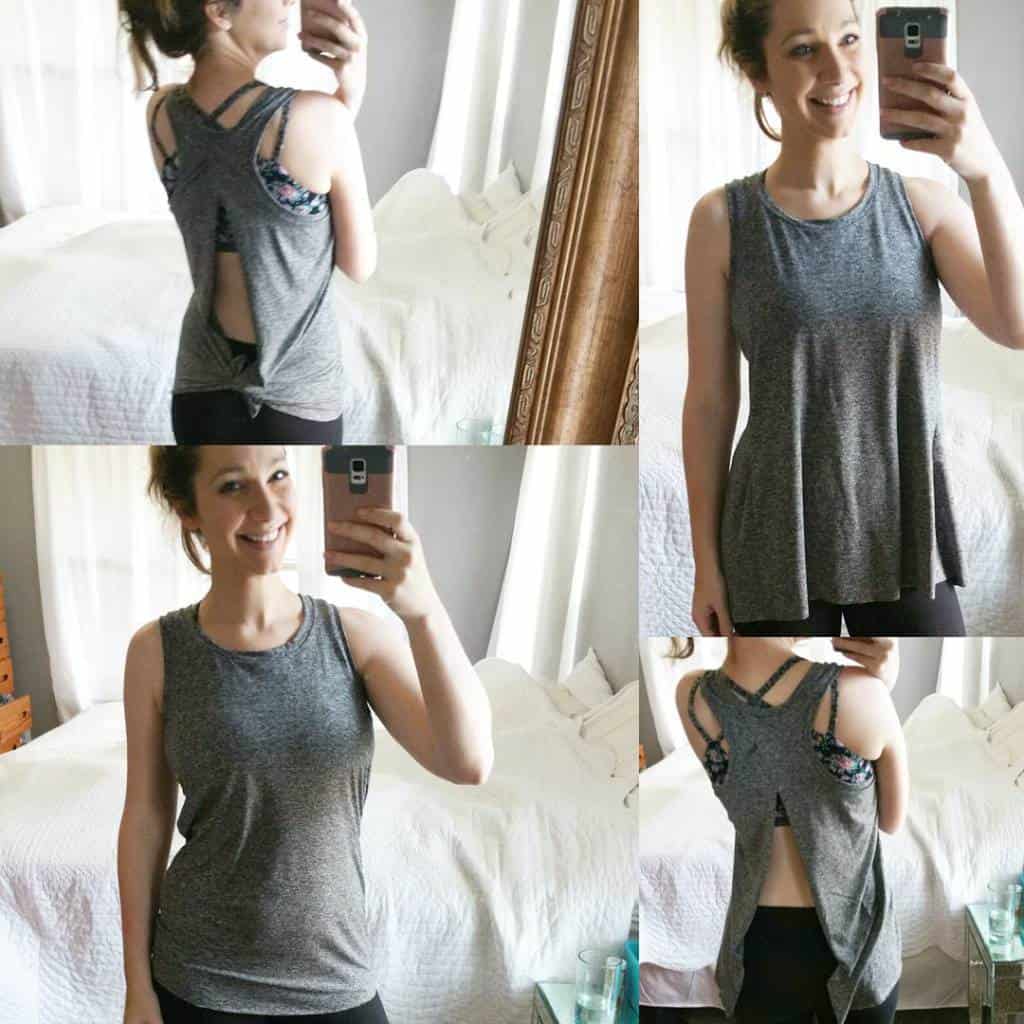
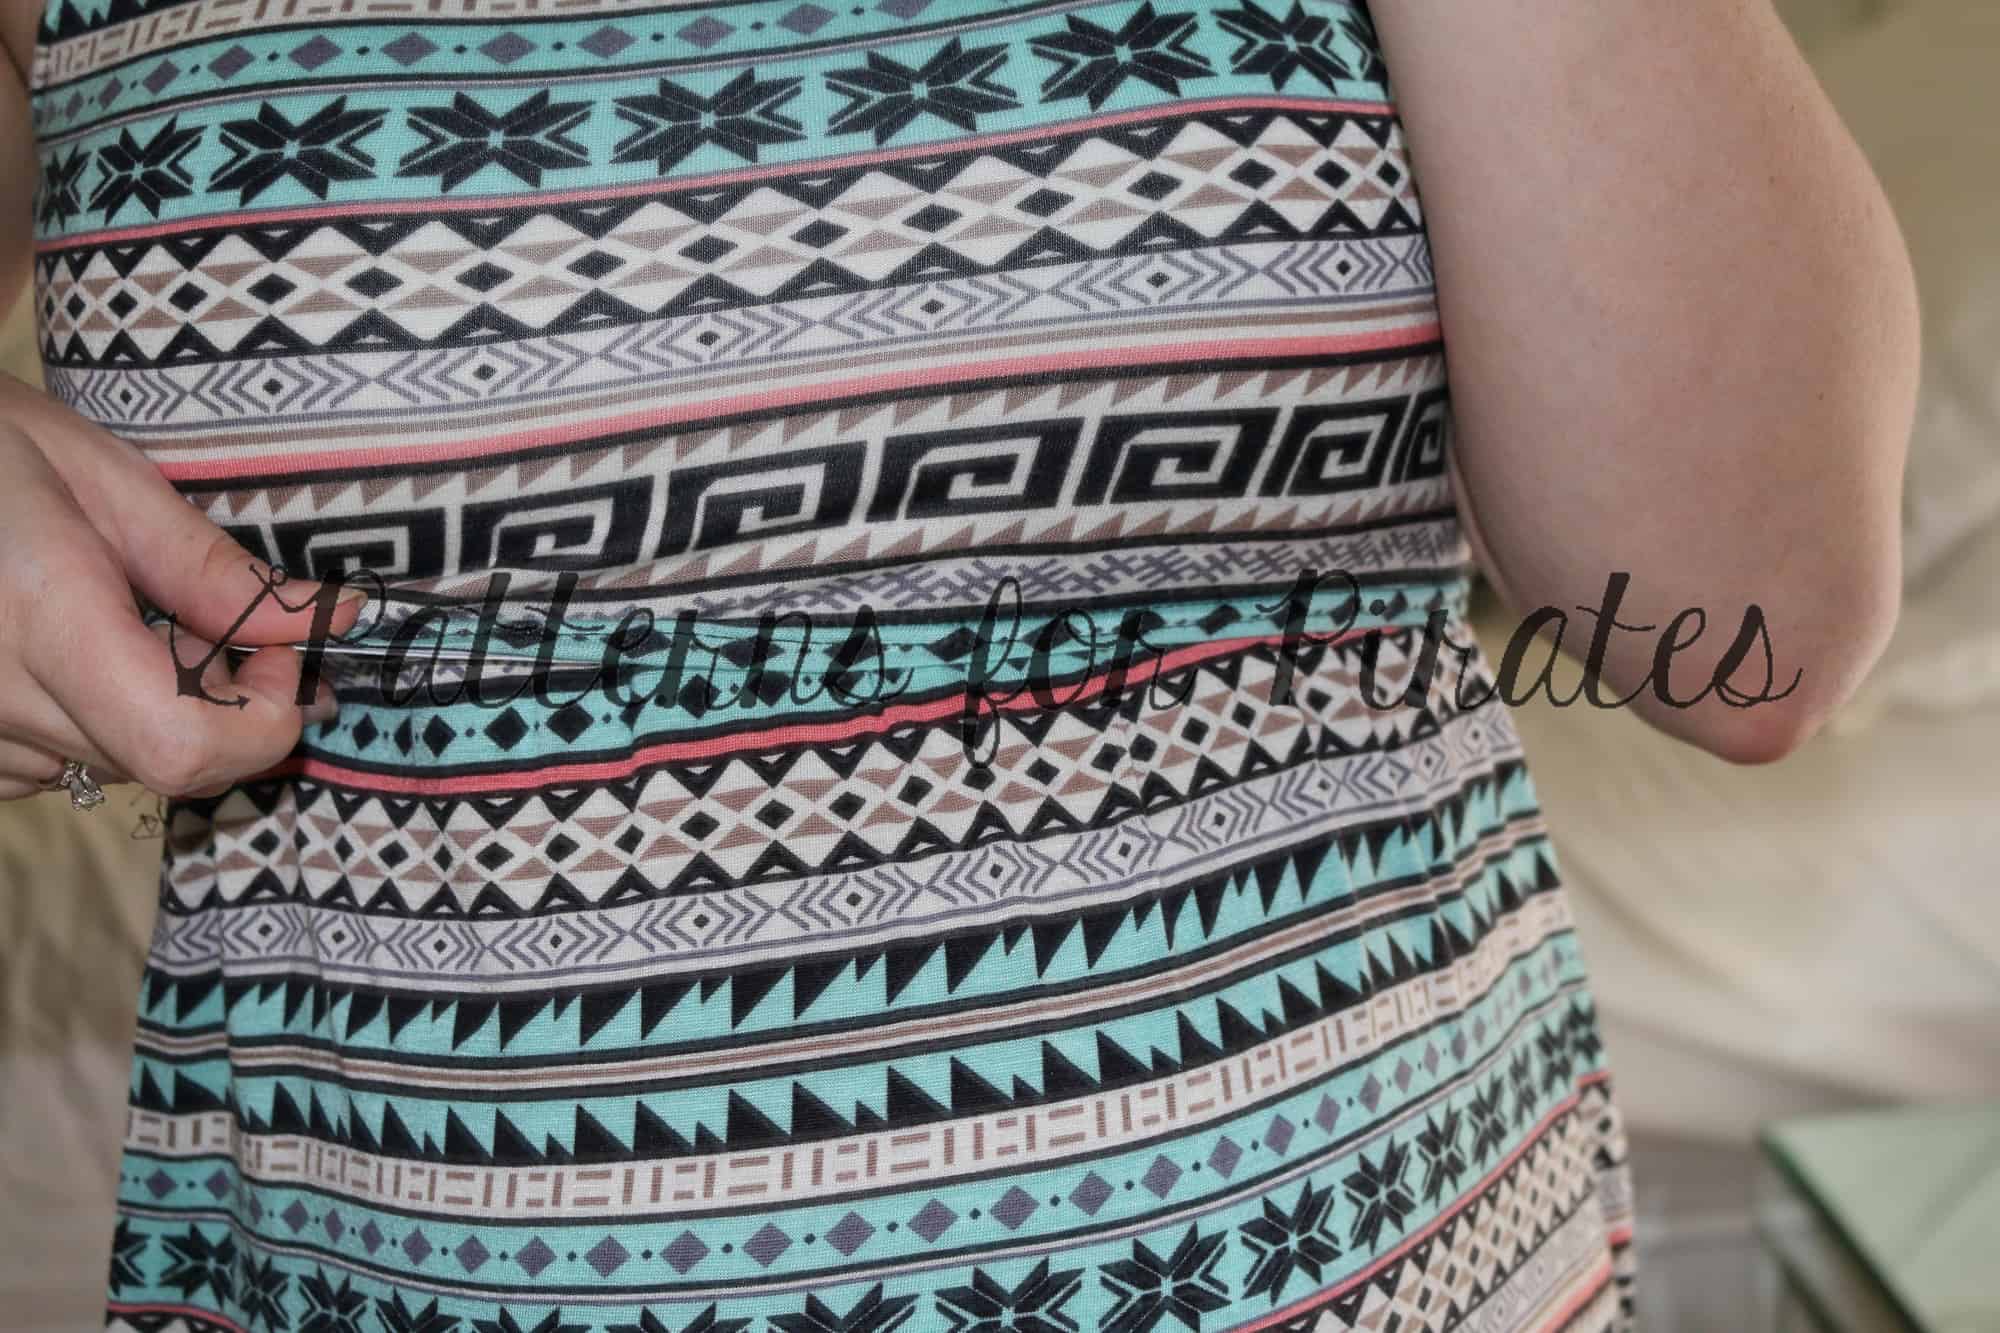
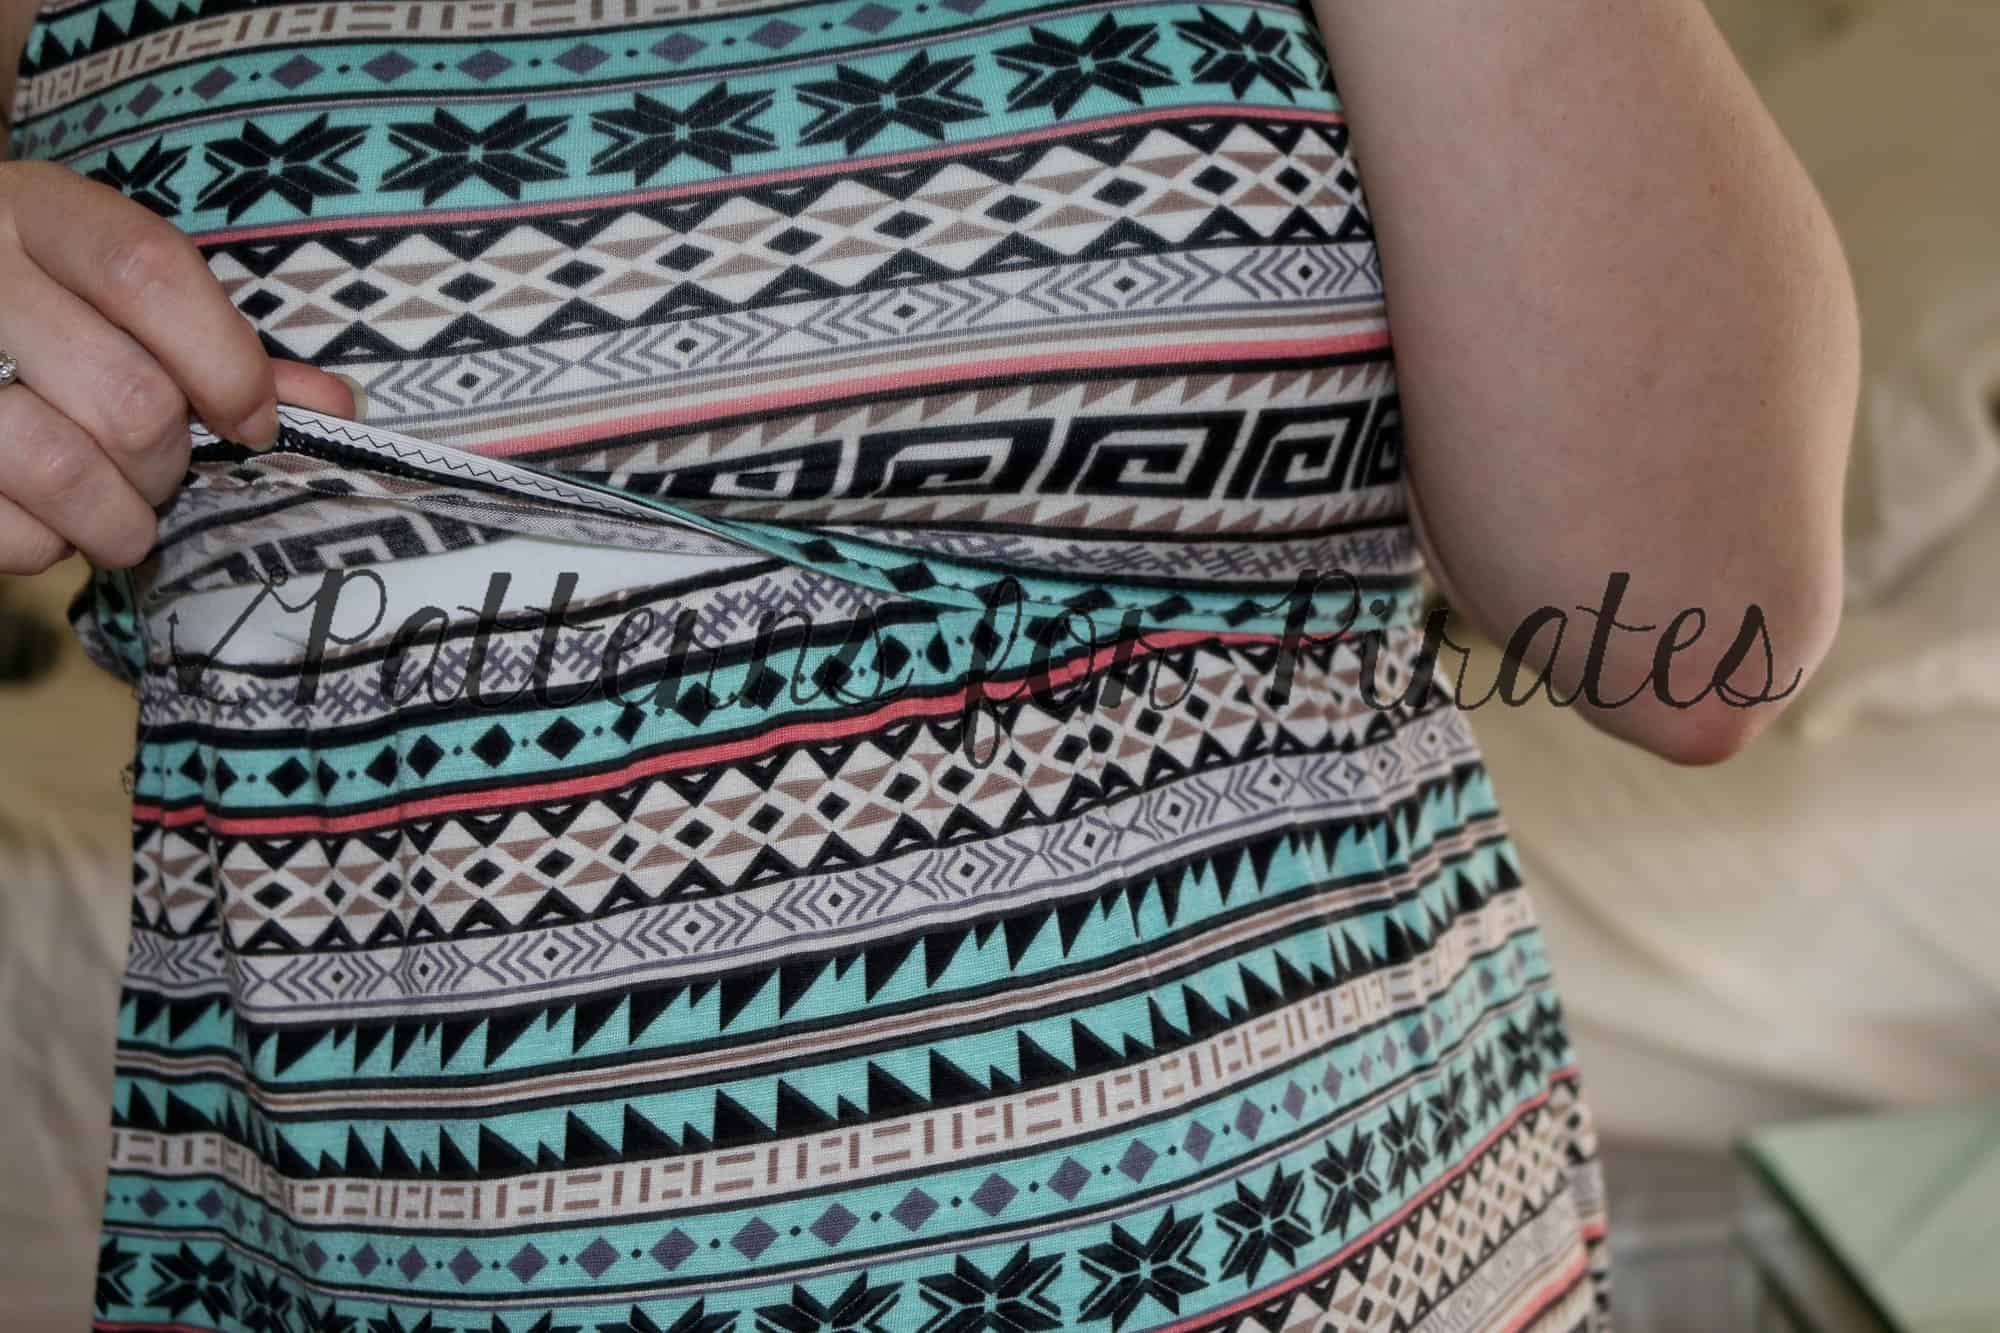
NURSING COVER

HIGH CHAIR COVER

SHOPPING CART COVER

What are you waiting for?

Go grab your copy of the Convertible Cover now!

Also be sure to head over the Patterns for Pirates Facebook Group and enter yourself into today’s daily drawing for the 100K Sale-A-Bration

Happy Sewing, Pirates!

Filed Under: Contest/Giveaway, Free Pattern, Pattern Release 1 Comment

P4P nursing hacks

June 12, 2018

Ahoy, pirates! Throughout the years the P4P team has showed you lots of ways to hack our patterns and make them nursing friendly.  So today I wanted to put them all together in a round up blog. this way you have easy access to them at all times.


RELAXED’S RAGLAN Nursing Hack

Nicole is showing us how to modify the Relaxed Raglan (or the Ragdoll, or the Slim Fit Raglan) to make it nursing friendly. You can find the blog here.


HENLEY nursing hack

Next up we have a Henley modification that can certainly be applied to the Brunch Blouse as well. The blog can be found here.


FST/LMU MASH nursing hack

A lot of us are big fans of the FST/LMU mash so we couldn’t skip this mash in our nursing line up hack. You can find the details here.


LAYER ME UP nursing hack

Our Layer Me Up Shirt has a nursing hack on the blog as well. Judy is showing us here how to modify the shirt to achieve a nurse friendly look.


BOUNDLESS nursing hack

The Boundless Knit Dress nursing modification can be found here. The same technique can be applied to other dresses like the Sunshine or the Sweetheart dress.


BOHO BABYDOLL nursing hack

Our Boho Babydoll hacks includes a split side seam modification is that is great for nursing as well. You can read Erinn’s blog here.


CAREFREE CARDIGAN nursing hacks

Our cardigans are already nursing friendly but Judy took it up a notch with the Carefree Cardigan Button Hack. The blog can be found here.


ESSENTIAL TANK nursing hacks

Last but not least we have an Essential Tank hack that is nursing friendly too. Judy shows us here how to achieve an open back look for the ET.


All you have to do now bookmark this blog post so you have easy access to all our nursing hack and get sewing. 🙂


Filed Under: Frequently Asked Questions, Pattern Hacks Leave a Comment

Women’s Raglan Nursing Mod

January 19, 2016

womens raglan nursing mod

If you’re a nursing mom, you know that there are not many fashionable and functional tops out there for nursing that are reasonably priced.  After having my little one last year, I quickly realized I wanted  a nursing hoodie.  I usually just wore a camisole and did the pull up method, but with a hoodie or sweater, that’s not quite as easy.   I searched a few sites for inspiration and came up with a mod that works great for the looser relaxed cut tops.  We just so happen to be testing the raglan add on pack at the time, so I used the Women’s Raglan as my base.  This mod works best with thicker, more stable knits like French Terry, jegging (what I used in the tutorial), fleeced back knit, cotton Lycra, Ponte de Roma and so on.  If using a knit with poor recovery, you will want to invest in some clear elastic.

First, you will cut two (2) Front pattern pieces on the FOLD.  One will be your under layer and only needs to be about half the length.  Measure from armpit to a couple inches below your bust.  My example is approximately 9″ from armpit to bottom edge.

UNDER LAYER: Cut a “V” from about  2″ from bottom edge to top.  You can also keep fabric on the fold and cut a diagonal line to create the “V”.  Since knit does not unravel, you can choose to either leave the V and bottom edge raw, or finish the edges with your preferred  method.  You can also add a band at the bottom edge.  I would recommend measuring the width and subtracting a couple of inches.  This will help tighten the under layer and keep it under your bust.  raglan nursing mod under layer

TOP LAYER: Cut a semi-circle from each side. (tip: cutting the curves while the fabric is still on the fold will keep them equal)  My curves start at approximately 4″ from neckline to 7″ from armpit however,  you can adjust the curve to your liking based on your bust size and how deep you would like them.

Fold under curve 1/2″ to the wrong side and finish using a stretch stitch, zig zag or cover stitch.  If your knit is less stable with poor recovery, add clear elastic in the hem for extra stability. raglan nursing top layer

Place top layer wrong side to right side of the under layer.  (my picture shows opposite, as I later decided to use the wrong side of the fabric as the right side of my finished garment.) Baste neckline and side seams.

raglan nursing mod both layers

This is now your new front piece.  Continue construction of the raglan as shown in the tutorial.  Finished product = An awesome nursing friendly hoodie or sweater!  Once you’re done nursing you can go back and topstitch the curves closed and have an added design detail that no one would ever know it was for nursing.


Followed this nursing hack?  Or came up with something of your own?  We would love to see it!  Share your latest make on the Patterns for Pirates facebook group!

Filed Under: Pattern Hacks, Uncategorized 3 Comments

FST/LMU Mash Nursing Hack

November 25, 2015

20151123_15051720151123_150313

I love the FST and LMU mash for after baby.  It makes me feel stylish, put together and comfortable! The loose aline look hides any left over baby belly and the tighter top doesn’t feel you leaving frumpy.

For this hack I essentially did a double layer body.  I can lift up the top layer and have the bottom layer covering my back/belly during nursing. And it looks like a perfectly “normal” everyday shirt! 🙂

20151123_150449

I made mine completely doubled because we are going into winter here and I didn’t mind the added warmth.  If I was making this for spring or summer months I would probably tinker with a faux double layer for the back piece.

I cut 2 front and back pieces.

SAMSUNG CAMERA PICTURES

Then took 1 front piece to modify for the under layer.  I measured on myself from the neckline to under my bust (I did happen to have on the same shirt, so I didn’t even need to guess where the neckline hit ;)). Then I transferred that measurement to the front center and curved up to the armpit.

SAMSUNG CAMERA PICTURES

SAMSUNG CAMERA PICTURES

Since the FST flares out under the bust it was a little loose there.  So I added a thin elastic to the raw edge.  I just held the elastic taute (not tight) on my body from seam to seam (again, I happen to be wearing this shirt, so there was no guessing!). This way the two layers would have the same finish length–without the elastic holding up the center it would droop lower then the top layer.  As well as not worry about holding it up while nursing–bonus :).

SAMSUNG CAMERA PICTURES

I choose to put my elastic on the right side of my under layer, because I didn’t want to feel it against my skin.  But you can put it on the wrong side so that it is hidden when you nurse– whatever you prefer! You will need to stretch the elastic to fit the curve.  I serged mine on, but any stretch stitch will work! It will line up right at the armpit.

SAMSUNG CAMERA PICTURES

I sewed the shoulder seams and sleeves on like normal.  Then when going down the side seams I kept the main body layers seperate (so you can lift the top layer freely).  It is a bit tricky right at the armpit, but just go slowly  and remember you wont be showing anyone the inside of your armpit seam! 😉

SAMSUNG CAMERA PICTURES

SAMSUNG CAMERA PICTURES

SAMSUNG CAMERA PICTURES

Now for hemming, I choose to hem the top layer completely normal with a 1″ allowance.

For the under layer I choose to add a pretty lace trim to stick out longer then the top layer.  I wanted the seam hidden, so I trimmed off 1″ from the bottom.

SAMSUNG CAMERA PICTURES

I serged my lace on right sides together trimming off about 1/2″ of both shirt and lace (the top of the lace that was blank).

SAMSUNG CAMERA PICTURES

Then flipped up and top-stitched (I didn’t want that seam flipping and showing through the dainty lace trim!).  So, I trimmed 1″ and took off another 1/2″.  This means my seam on the under layer should be 1/2″ above the hemmed edge of my top layer and the lace will peek out below.

SAMSUNG CAMERA PICTURES

SAMSUNG CAMERA PICTURES


I attached the neckband normally catching both layers on the back piece and top layer of the front piece.

SAMSUNG CAMERA PICTURES

SAMSUNG CAMERA PICTURES


Tada! I love my new warm winter nursing friendly shirt! It screams fashionable and not I’m nursing! 🙂 When you’re done nursing you can still wear it as is… or cut out the under layer!

20151123_150424


Filed Under: Pattern Hacks, Uncategorized 9 Comments

Boundless Nursing Mod

August 5, 2015

I had lots of inquiries about nursing option for the Boundless Knit Dress.  I know ladies love to create items they can wear during and after pregnancy! Since the Boundless has a lined bodice it is a super simple modification to do! Here is how I did mine 🙂

listing pictures1

I cut out all my pieces normally- main fabric bodice, lining bodice, sleeves, skirt, and I did pockets for this one too! I did a mini length and didn’t add my 3″ I should for being super tall because I wanted a tunic length! I wear tunics and leggings much more then a dress 🙂

IMG_0993 IMG_0998

Choosing fabrics: I choose a spandex blend for both since the main fabric would be pulled and stretched a lot, you want it to have good recovery and not get stretched out and sloppy by the end of the day! The lining I choose a true spandex.  I thought it would be soft on my skin, stretch nicely with the changes throughout the day of your bust measurement and be sturdy enough to do well with cut outs.  I also choose a solid b/c it when you lift up you will actually be showing the wrong side of the fabric.  You COULD sew the lining were a print shows, but you might make your brain very tired trying to figure it out 😉

IMG_0985

You can follow the normal directions in the tutorial all the way through the bodice and skirt construction.  ATTACHING the skirt is where we will change it up a bit! 🙂  ***Although, after creating mine I SHOULD have put right side of bodice to WRONG side of lining–this way the sides seams wouldn’t show when you pull up!***

Here is my bodice, again put together just as the directions say in the regular tutorial.  For the main bodice fabric I choose to hem with an elastic hidden in the hem.  I would’ve use a clear elastic if I hadn’t been all out 😉 so I used what I had! I measurement the finished bodice and cut to that size.  I did not add for a seam allowance b/c I want to stretch it EVER so slightly with attaching.

IMG_0989


Sew the elastic ends together creating a circle.

IMG_0990


Now, I TOTALLY messed up here with pregancy brain, but didn’t want to unpick it! lol… so bare with me with this picture that is wrong! You want to baste the elastic stretching it EVER so slightly (I mean just barely) to the wrong side of the bodice edge.  See my mistake 😉 I did right side lol!

IMG_0991

Fold under and hem with the elastic enclosed in the hem. (Mine was obviously not enclosed b/c I messed up!)

IMG_0992

Now for attaching to the skirt. I recommend using the “Traditional Gathering Method” for the skirt since there is elastic in the bodice, it might start getting bulking with elastic also in the skirt!  Attaching the top with right sides together, but only catching the lining.  The main bodice piece will be free.

IMG_0995

IMG_0997

Now you can try on and mark/make cut outs in the lining.  I used my handy pen that disappears with a hot iron! I didn’t take pictures with the cut outs 😉 I’ve been asked several times what shape I cut out.  I just did a horizontal slit below the apex (fullest part) of my bust.  I thought it showed through the least that way.  I just opened up the slit to use it.

IMG_0993

Here is my finished nursing tunic from the Boundless Knit Dress!

IMG_1016 IMG_1017 IMG_1018

And some with Little Guy sneaking in the action of course! He’s showing off his new toy! And I LOVE his face in the 2nd one, looks like he’s super impressed with the nursing mod! 😉

IMG_1007 IMG_1012 IMG_1025

Love the pockets and the tunic length 🙂

IMG_1026 IMG_1015


Filed Under: Pattern Hacks, Uncategorized 20 Comments

Newest Patterns

  • Notch Top & Dress $12.00 $10.50
  • Notch Top & Dress - Youth $10.00 $8.50
  • Notch Top & Dress - Bundle $20.00 $18.00
  • Friendly City Sweater $12.00
  • Friendly City Sweater - Youth $10.00
  • Privacy Policy
  • Refund Policy
  • Affliliate Program
  • Contact Us
  • About

Copyright © 2023 Patterns for Pirates

Copyright © 2023 · Genesis Framework · WordPress · Log in