Patterns for Pirates

P4P stylish, modern, wearable patterns

  • Home
  • Blog
    • Frequently Asked Questions
    • Pattern Releases
      • Free Patterns
    • P4P University
      • Fitting
      • Sewing with Stretch, Knit Fabrics
      • Sewing with Woven Fabrics
      • Sewing Machines
    • Sew-A-Longs
    • Fabric for Pirates
    • Pattern Hacks
    • Announcement
      • Blog Tours
      • Contest/Giveaway
  • Shop
  • Bundle Discounts
  • Flash Friday
  • Gift Cards
  • My Account
  • Cart

Oversized Sweater :: Easy Hacks

January 23, 2020

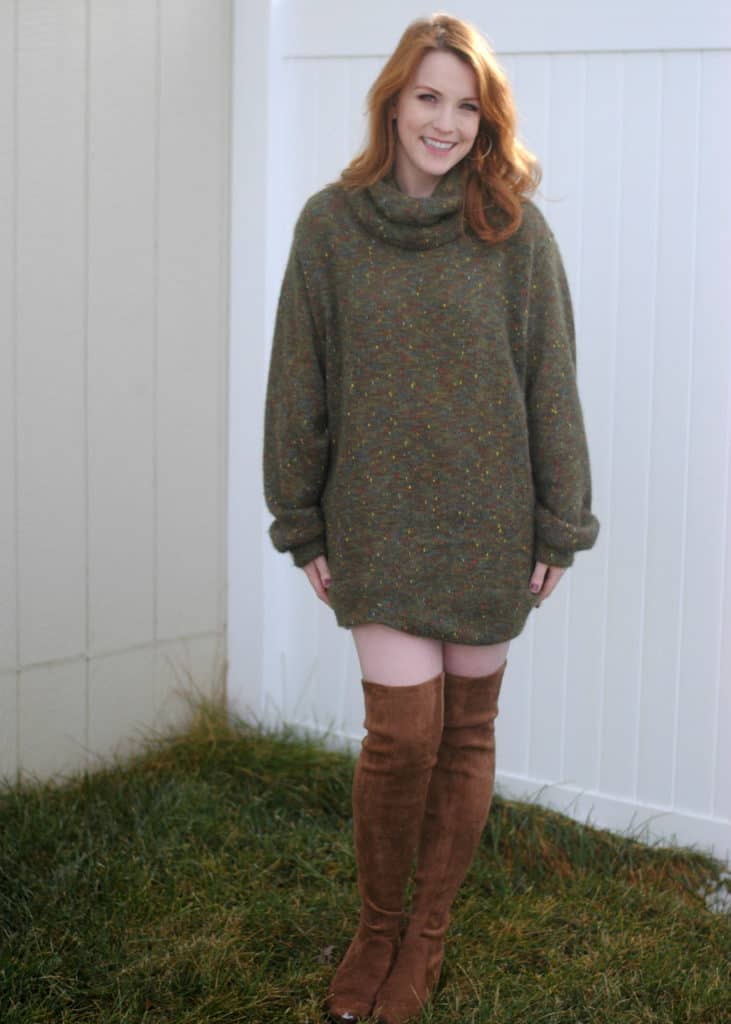
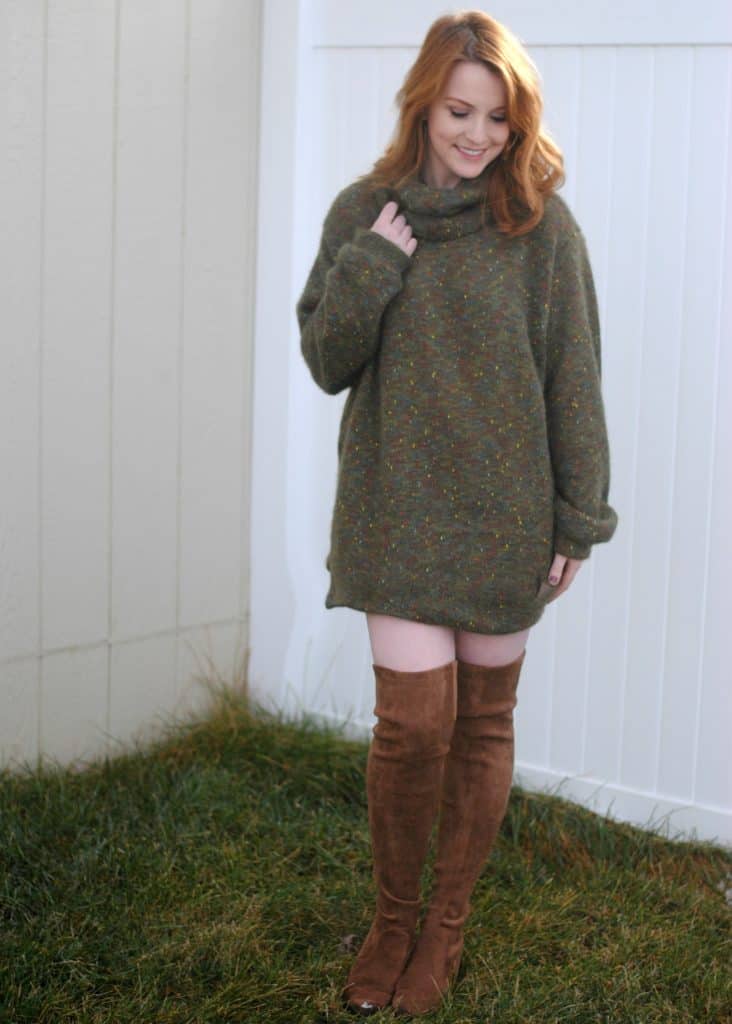
It’s here! It’s here! The comfiest, snuggliest, coziest sweater you will ever have. The Oversized Sweater includes so many options for both youth and adult but we couldn’t help ourselves…we wanted more! The P4P blog team is showing you how to make an Off the shoulder sweater, a mini dress, a color blocked one, the cutest pom poms hack ever and a higher side slit one. Enjoy!


…..

Off the shoulder

Off-the-shoulder shirts are my jam. I still remember falling all the way in love with the first one I saw Alex do for the Relaxed Raglan. This Oversized Sweater is the PERFECT top to hack into your favorite Pinteresty slouchy off-the-shoulder sweater. And it’s pretty easy! Grab your fabric and pattern pieces–let’s get started!

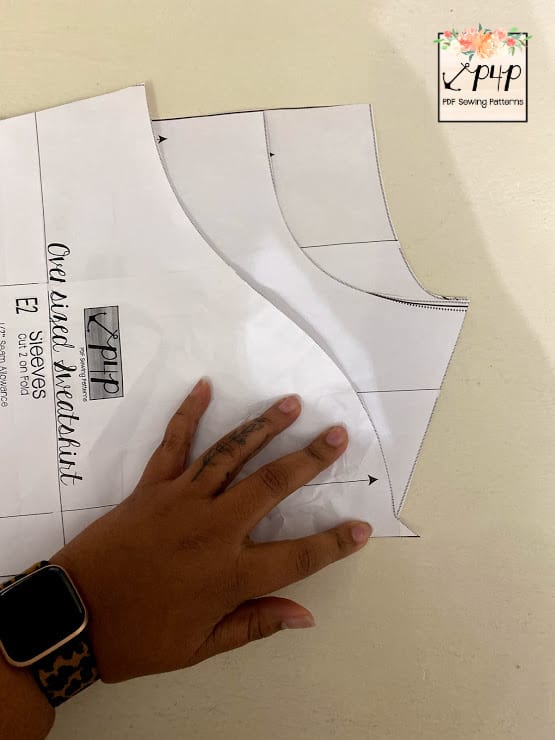
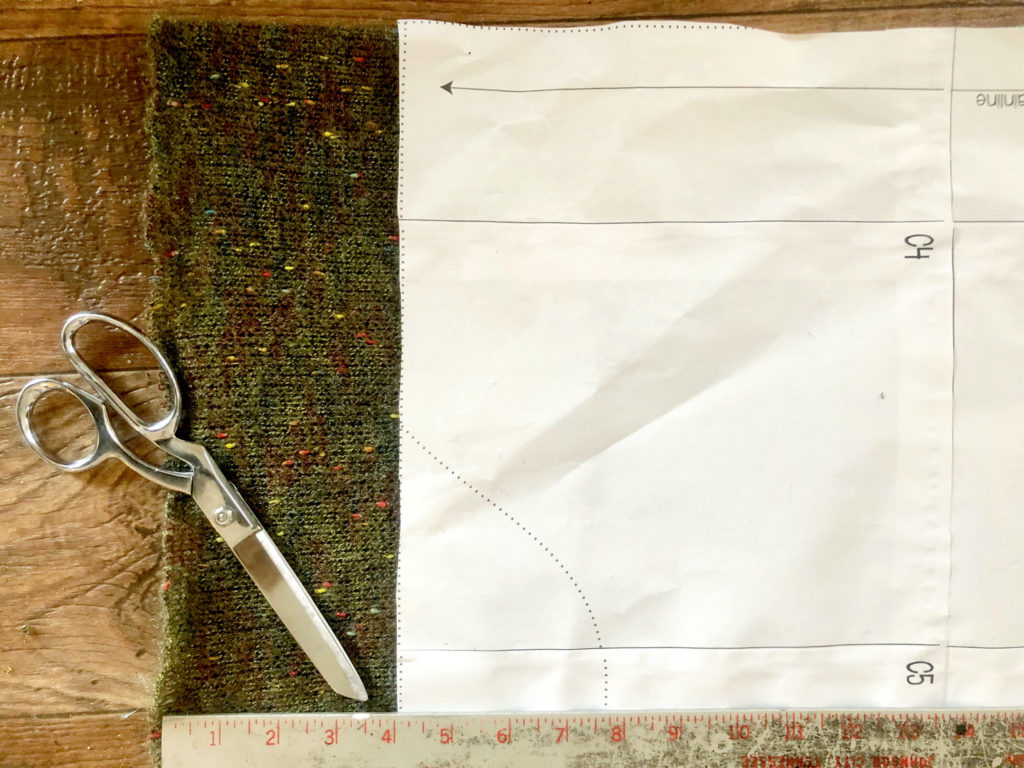
Layer your front, back and sleeve pieces on top of each other.

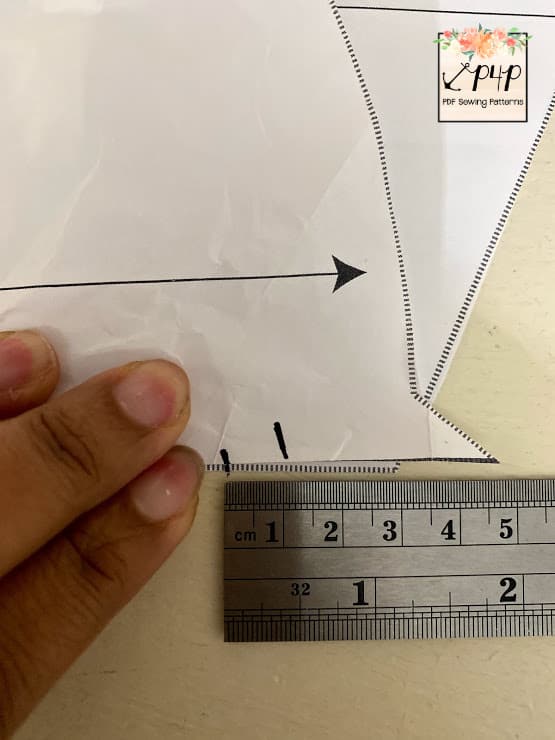
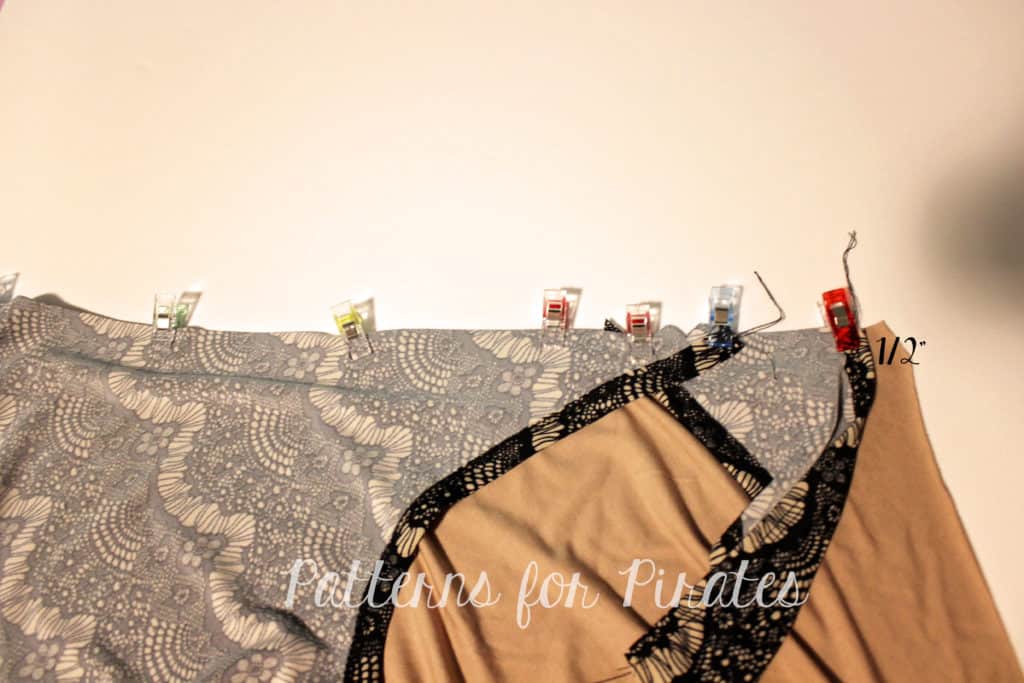
Measure down 1/2 inch.

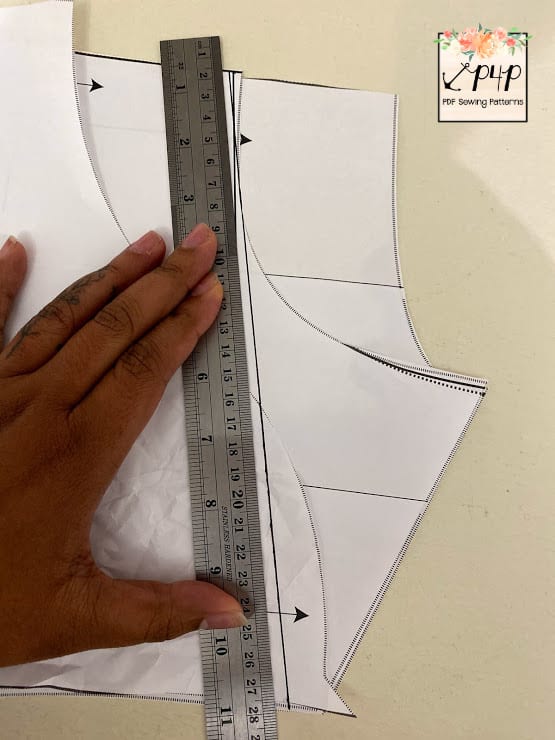
Draw a line. This is going to be your new cut line.

Cut out your pieces.

**Tip: Place a clip on the front of the sweater to differentiate your pieces.

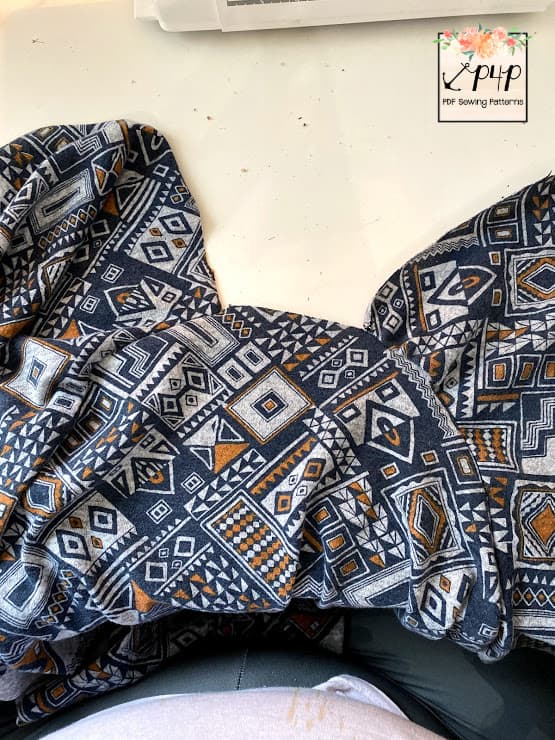
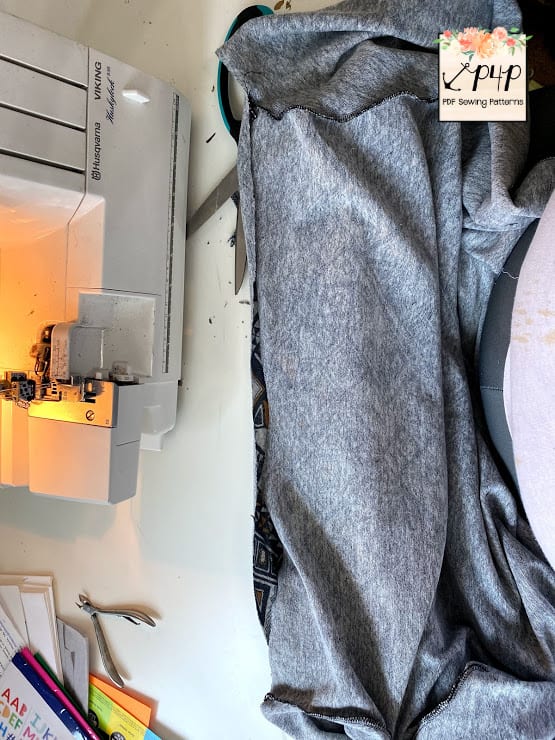
Sew your sleeves on first. They aren’t going to be sewn all the way up so remember that. You’re going to sew them on similarly to how raglan sleeves are done. They’ll look like this:

Once the sleeves have been attached to both the front and back pieces, it’ll look like this.

Cut a neckband 3 inches in width by 85% of your measurement of your shoulders (with shoulders down, measure around your body). Add the neckband.

Finish assembly as instructed in the tutorial and then rock the hell out of it!

I’m wearing a hachi sweater knit in a straight P1 with a curved hem.


…..

Mini dress

Next up, we have a mini dress hack. I love anything that I can wear that’s comfy, but that’s also really sexy, and this mini dress hack fits the bill perfectly.

For this version, we’ll be using the high-low hem option of the sweater.  Because the bottom of both the front and back pieces of the bodice are straight, it’s very easy to simply add length to the bottom of these to lengthen your sweater into a dress. How much length you add to the bottom of your pattern pieces is completely up to you, but I found that 4 inches was perfect for the “mini” look I was going for.

When cutting out both the front and back pieces of your sweater, simply add 4 inches to the length at the bottom of each. Please note that the high-low bands were not changed at all for this hack; only the length of the main body pieces have been altered.

Cut and sew together the rest of the sweater as described in the tutorial, and voila! You now have a cute and very trendy mini dress, ready to go!

…..

Poms

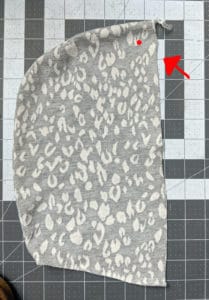
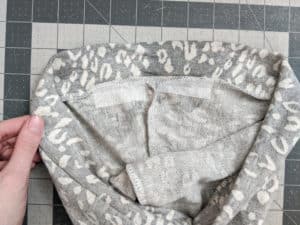
If you’re anything like me you might have an addiction to Faux Fur Poms especially on the littles! They are just so cute! I’m going to show you a quick and easy way to substitute the ears for Poms! You’ll sew your hood together exactly the same as all of the instructions but before sewing the hood I recommend marking your ear placements slightly past the seam allowance in a washable pen that way you know where to place your poms. Then I highly recommend adding interfacing where your poms will be for added durability especially if using a pom with snaps.


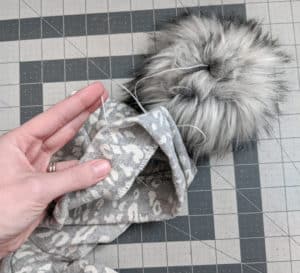
Now if you have a sew on pom you’ll sew it right along the markings you made for the ears. I recommend going directly through the seam allowance, once again for added durability.
 

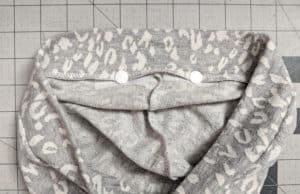
If you are using a pom with snaps (which I recommend for washing purposes as well as pom changing fun!), push your seam allowance toward the back of the hood and attach your snap through your interfacing and the seam allowance.

and wallah! You are done and now have super cute pom ears!


Happy Sewing,

Michelle


…..

Colorblocked

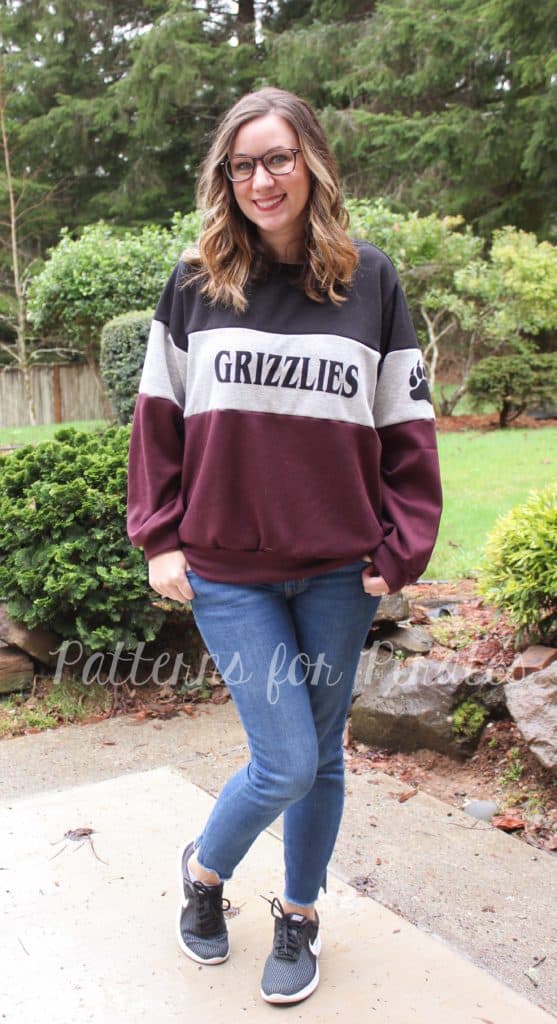
I am all in anytime that I have a chance to sport some spirit gear for our local team (Go Grizzlies!). Awhile ago, I was doing some aimless browsing and came across a colorblocked sweatshirt that was absolutely perfect. Of course they didn’t have our team colors, but the oversized sweater was the perfect starting point to recreating this sporty look.

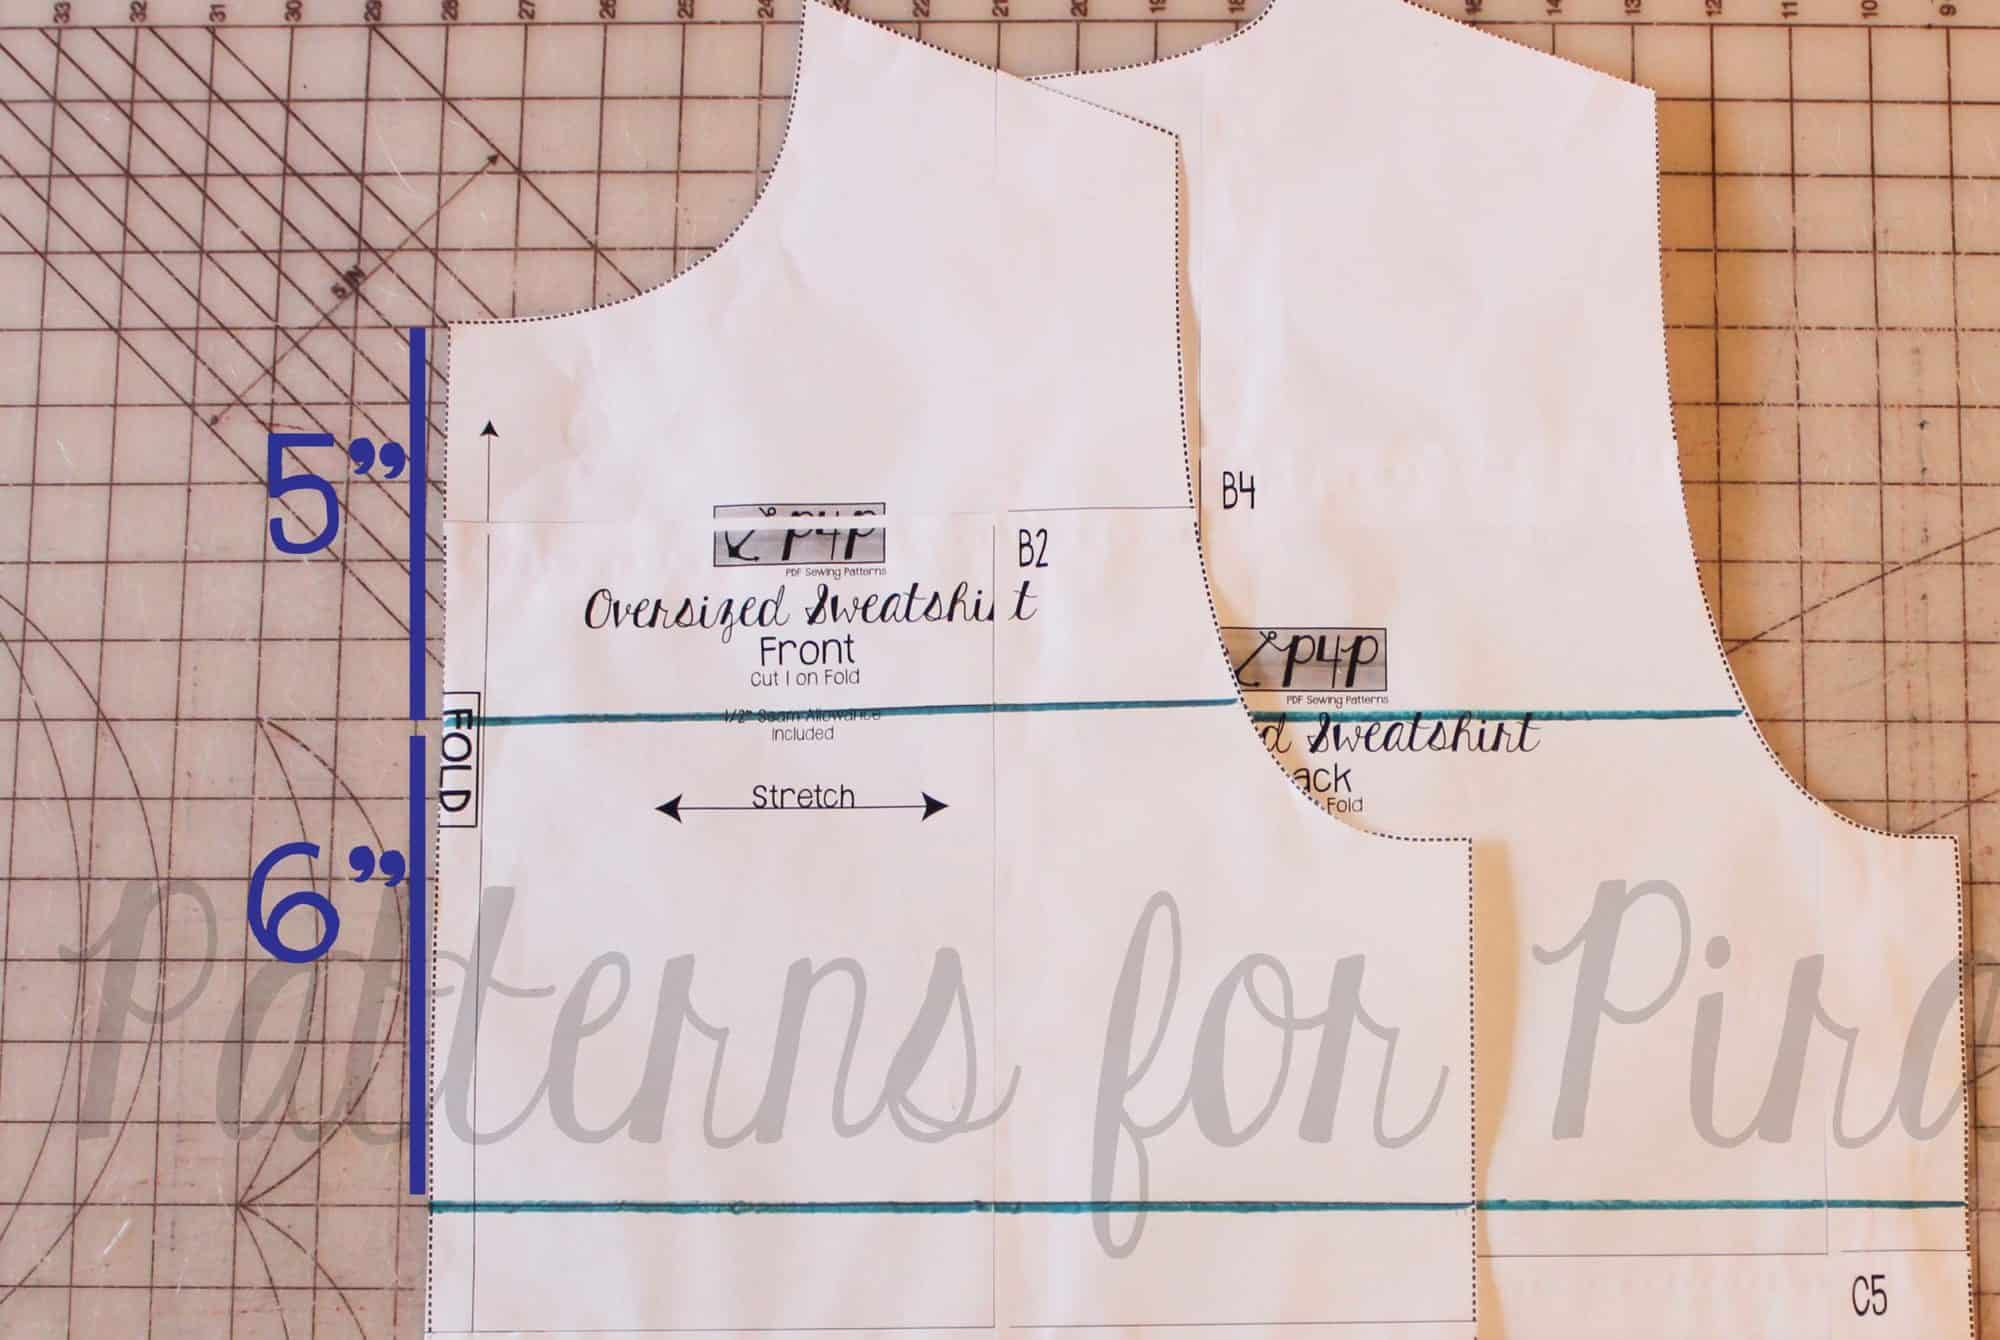
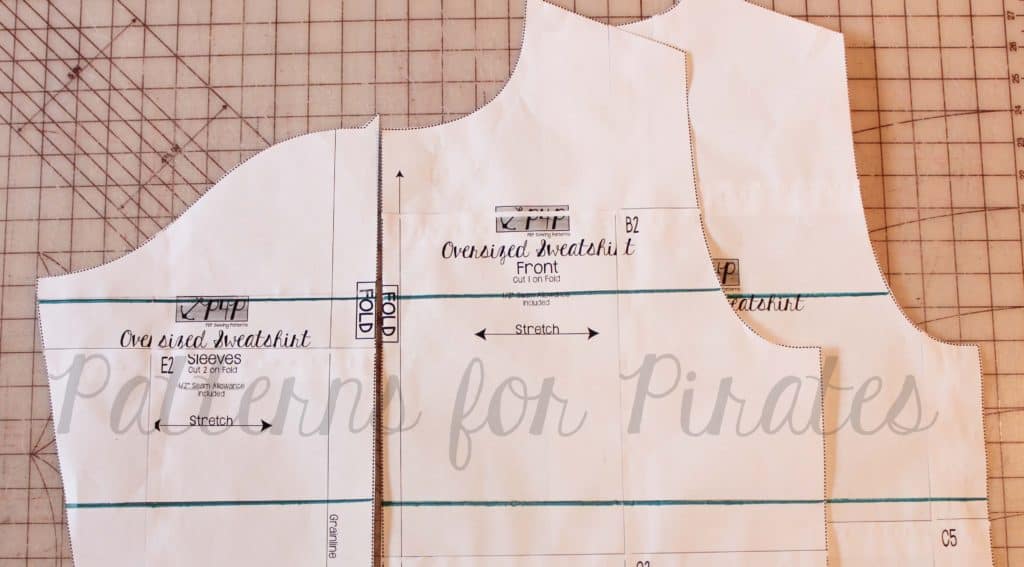
To begin, you will want to divide the front and back bodice pieces, as well as the sleeve, into the sections. For mine, I began with the front bodice piece. I measured 5″ down from the neckline and placed a vertical line. I then measured 6″ below that to create my second color block. The remaining section will be for my third color block.  For the back bodice, I lined up the bottom hemline of both front and back piece, and transferred my lines to this piece as well.

To create the colorblocked sleeve, I began by aligning to top of the sleeve with the front bodice neckline and again, transferring these lines.

Once the lines are drawn, you will then need to cut your pieces on these lines (you can also fold your pattern on each of these lines if you’d rather not cut your original). To cut the fabric, you will need to add an additional 1/2″ to each line you drew, both to the top and bottom colorblocked sections of this line, to account for the seam allowance.

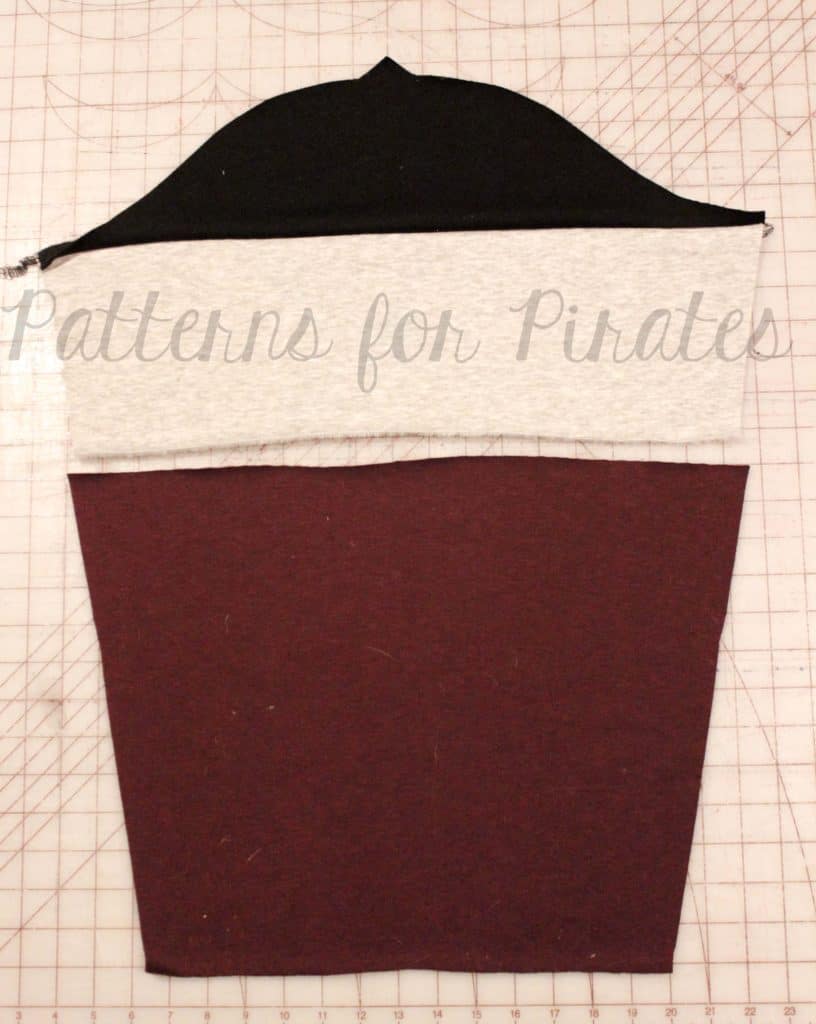
Now that you’ve cut out your pieces (phew, wasn’t that fun?! haha), you will begin to reassemble the bodices and sleeves. With right sides together, match up each colorblock section and sew using a 1/2″ SA.

Once your pieces have been sewn together, you will then follow the original tutorial to construct your sweatshirt.  And just like that, you’re now ready to show off your favorite colors, prints, or school spirit all in one fun, colorblocked sweater!

…..

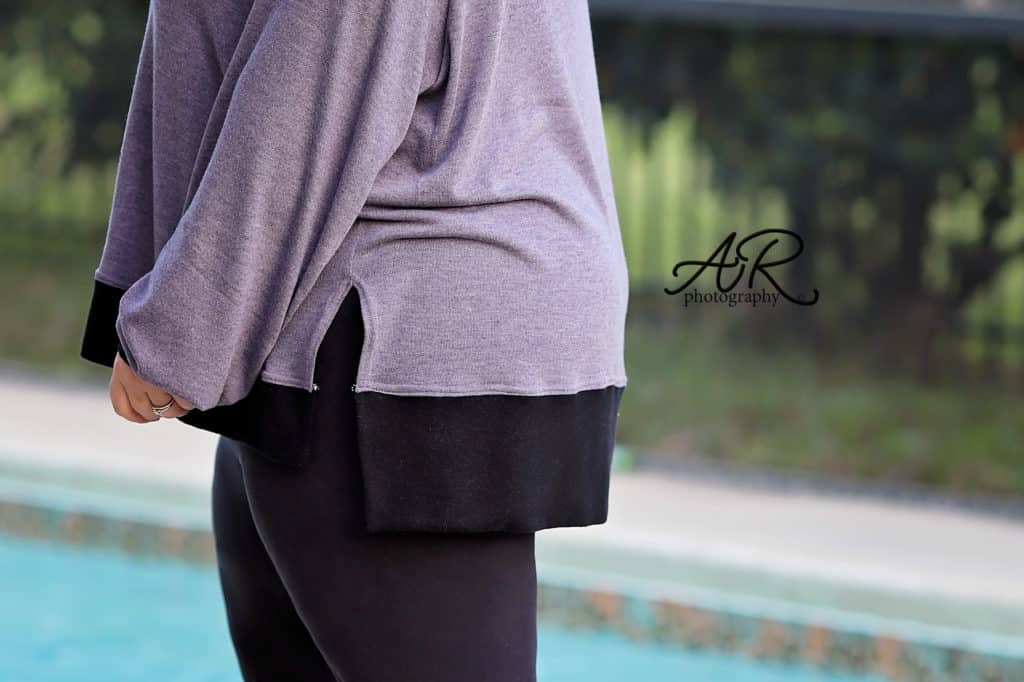
Higher side split

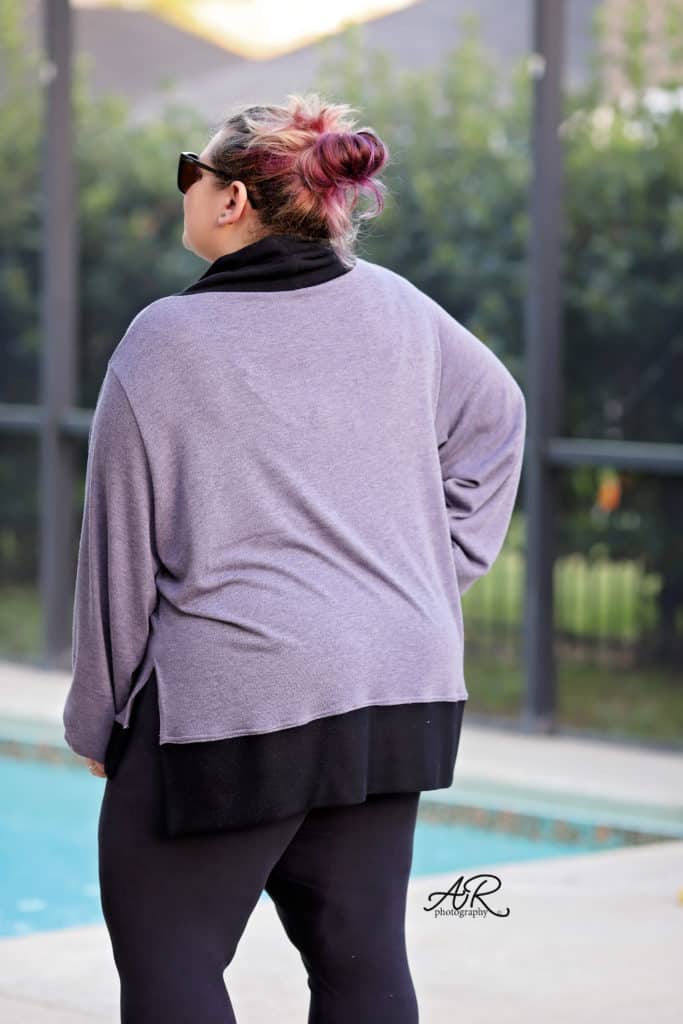
Let’s end this easy hacks series with a Pinterest inspired hack. One of the testers shared a picture of a high side slit oversized sweater and I knew I just have to have one. This is super easy look to achieve!

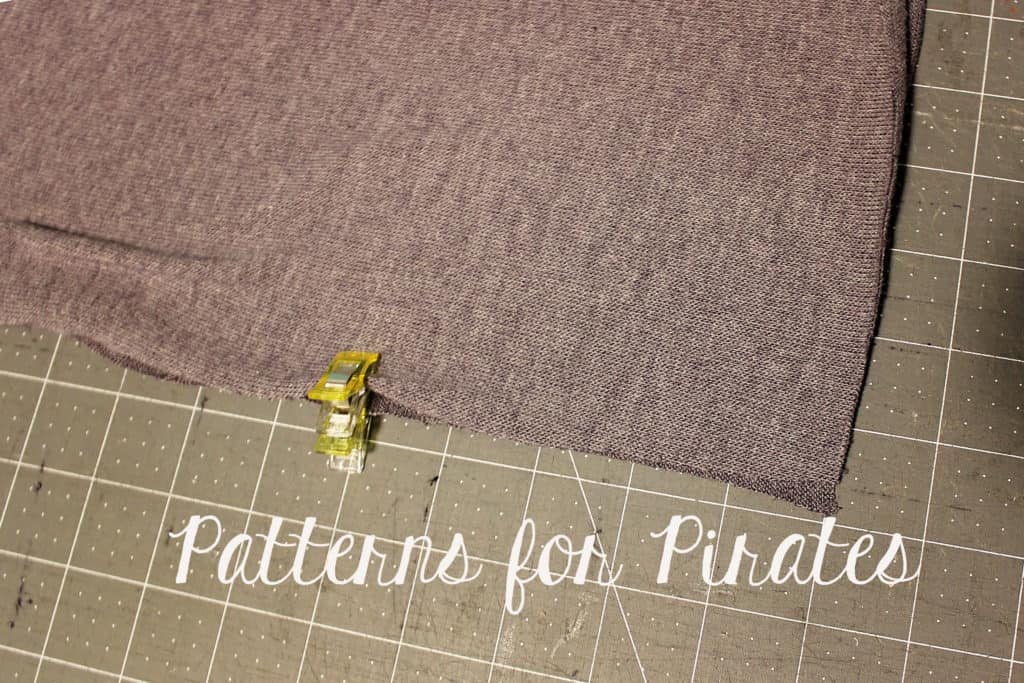
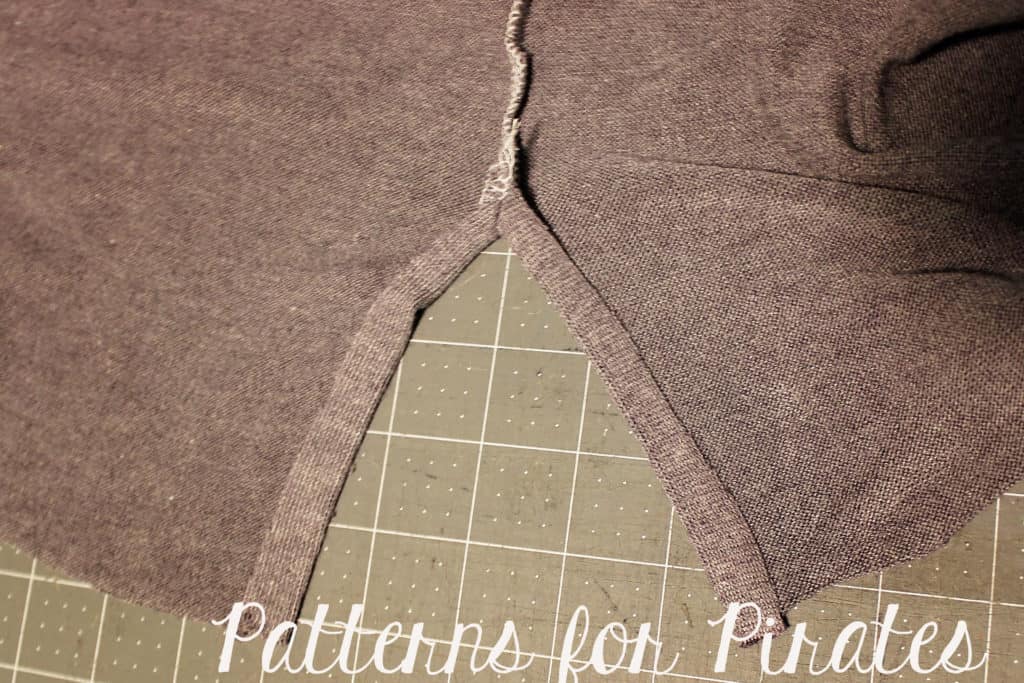
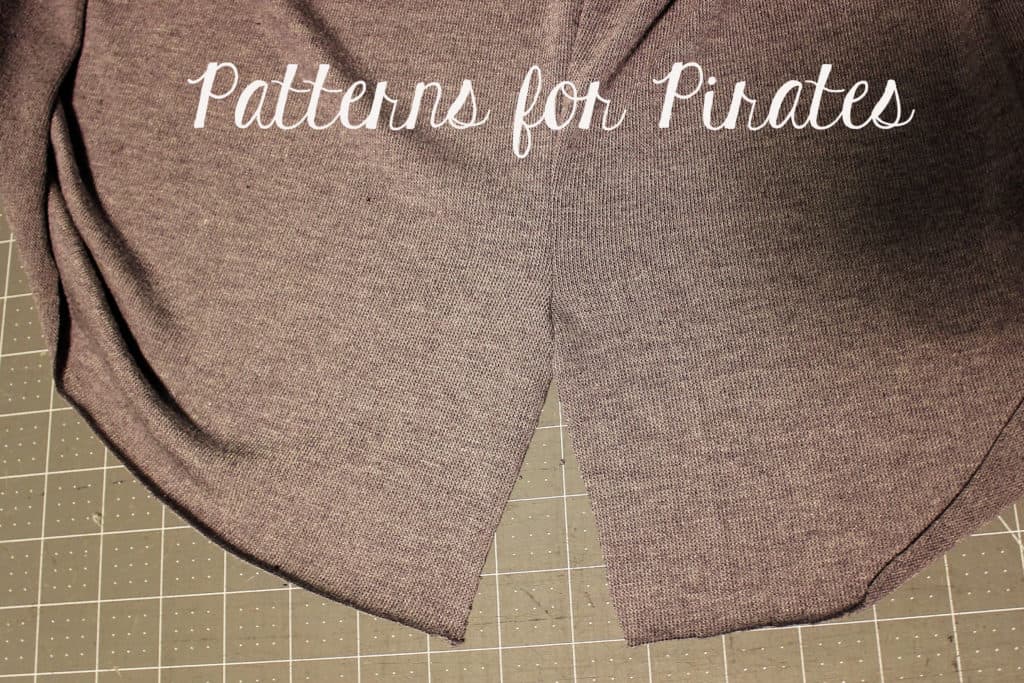
I chose to make the slit 5″ but that is just a mild suggestion. You can certainly make it bigger (or smaller) if you’d like. Mark 5″ up from the bottom raw edge on all 4 side seams. You can use pins, clips or a tailor chalk.

Sew the pattern as instructed in the tutorial but stop the at the 5″ mark. You may find this step easier to be done if you sew (at least the last few inches) with a sewing machine. Repeat the steps on the other side.

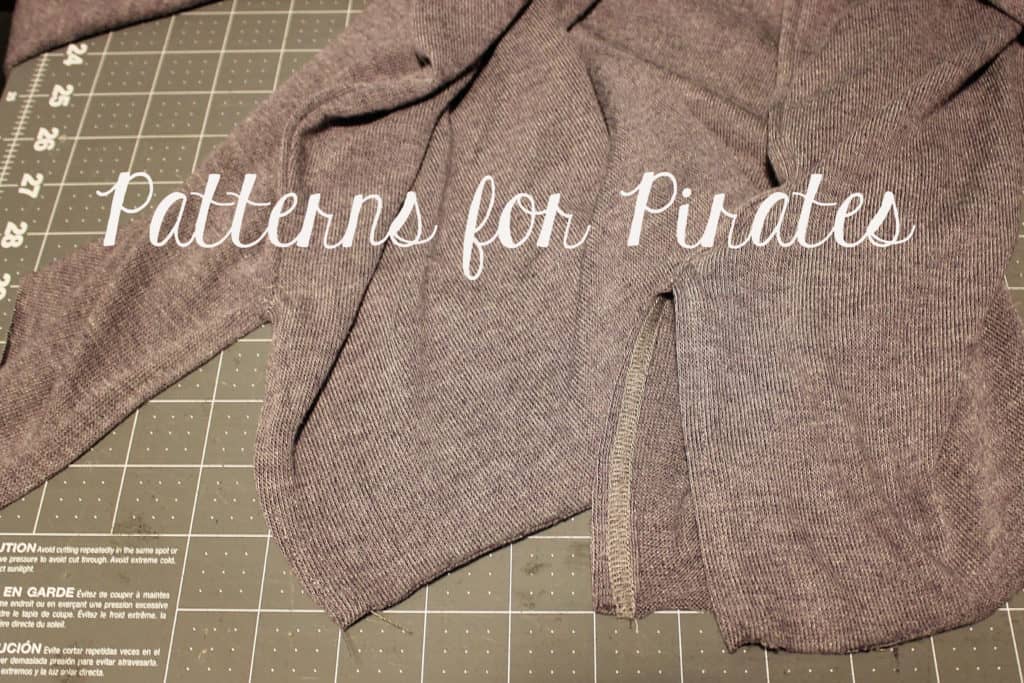
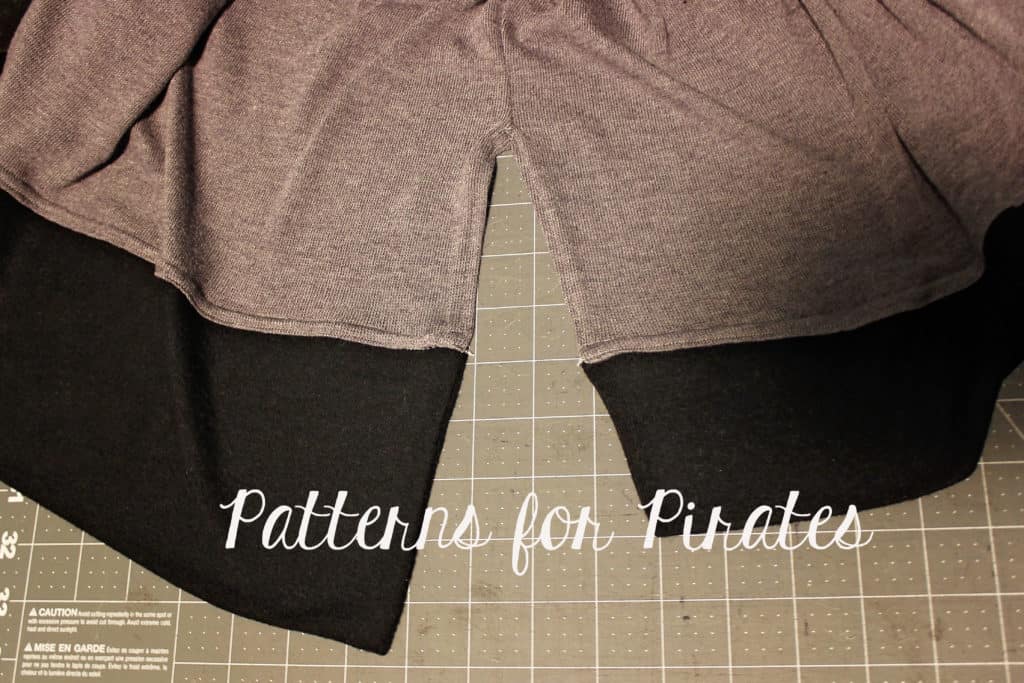
Press a 1/2″ hem on both sides of the side seam. Stitch the hem down with a zig zag stitch, twin needles or a coverstitch.


Continue adding the front and back bands ad in the tutorial. See that was super easy!

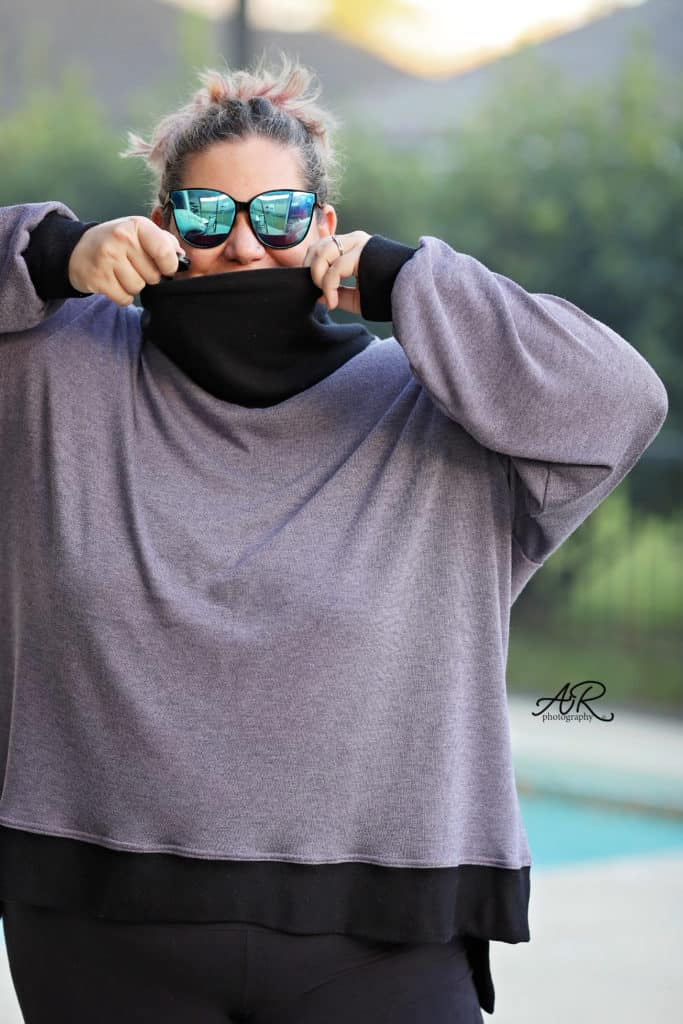
I did the hack on my turtleneck version but it would be super cute on all neckline.

Tip: If you would like to make the high side seam on the curved hem option you would have to sew the side seams the same way you do the high low option. 


Hope you enjoyed these as much as we loved making them for you. As always, don’t forget to show off your creations in the P4P Facebook group or Instagram (use #patternsforpirates) so we can ohhh and ahhh over them!

Filed Under: Pattern Hacks, Pattern Release, Uncategorized Leave a Comment

RagDoll easy hacks

November 30, 2017


. . . . .

Cold Shoulder


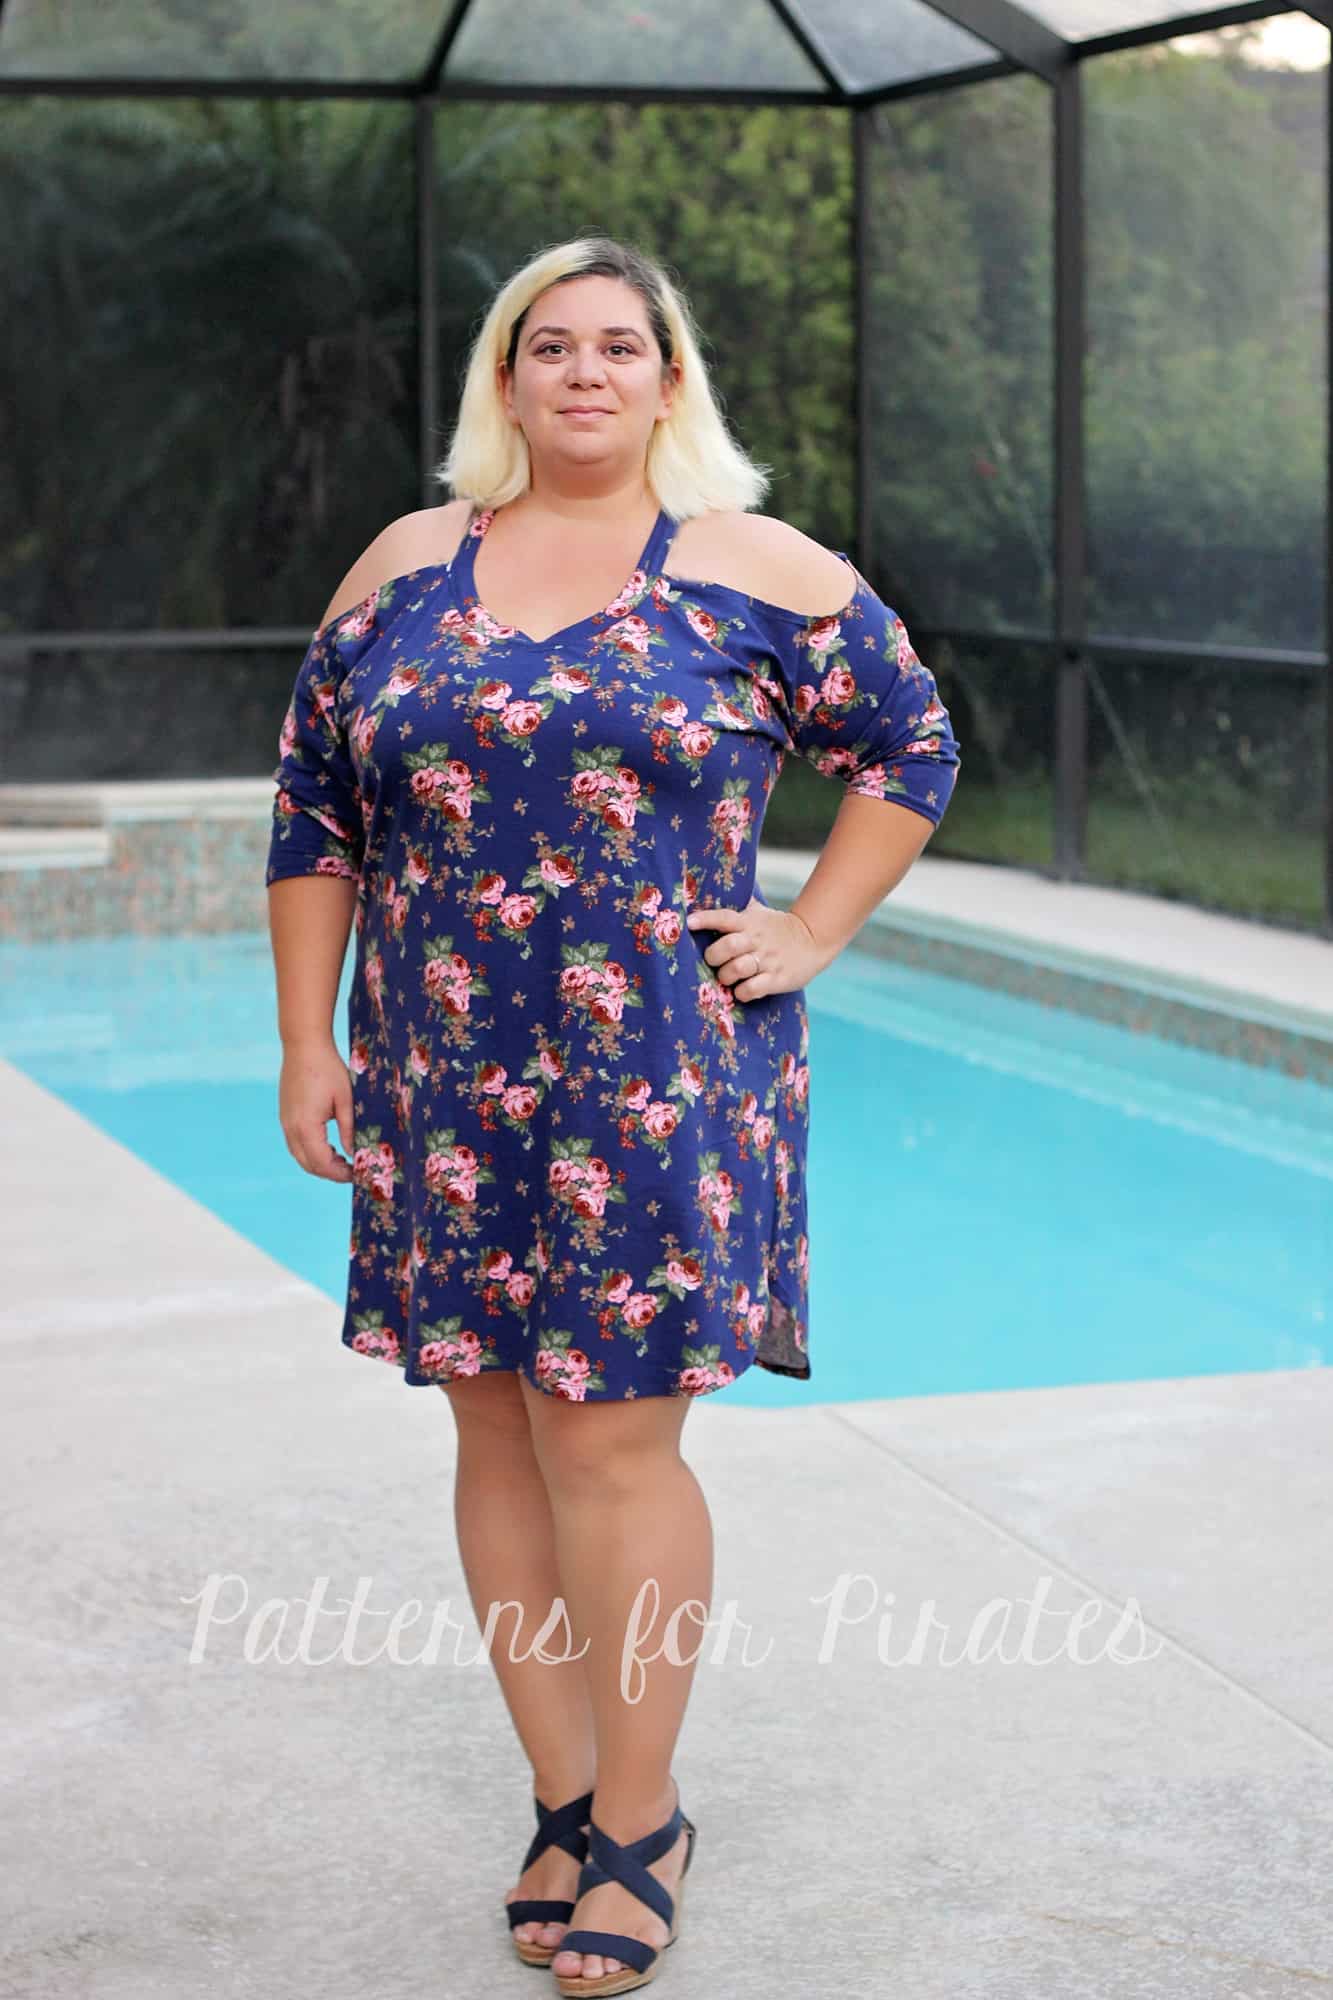
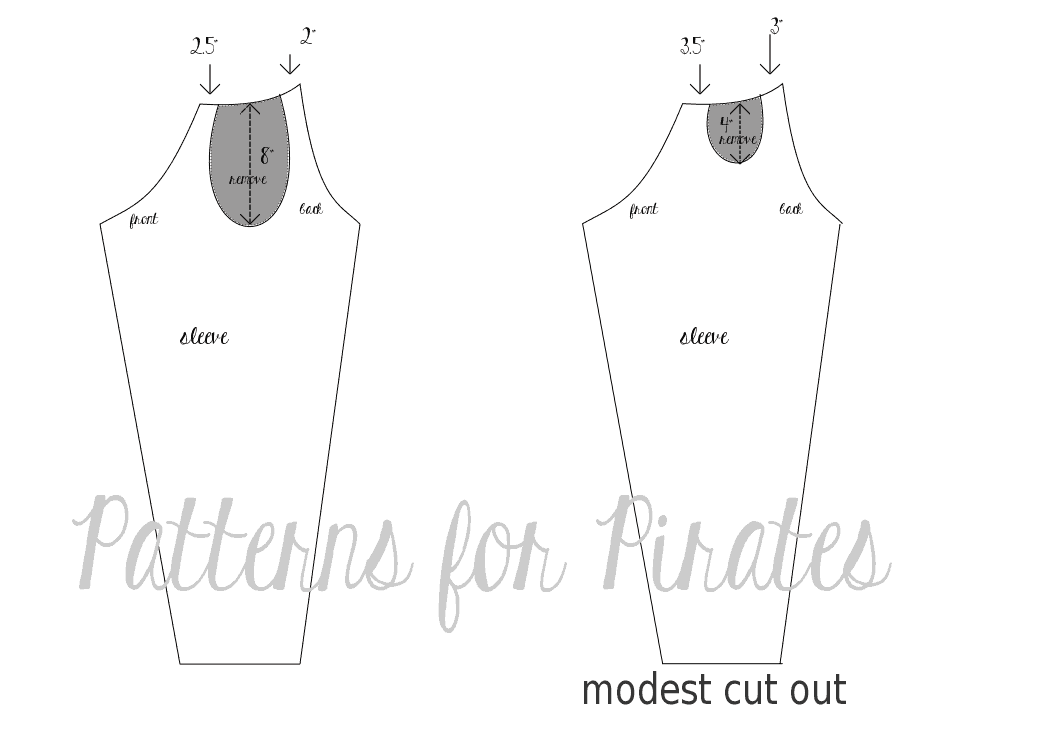
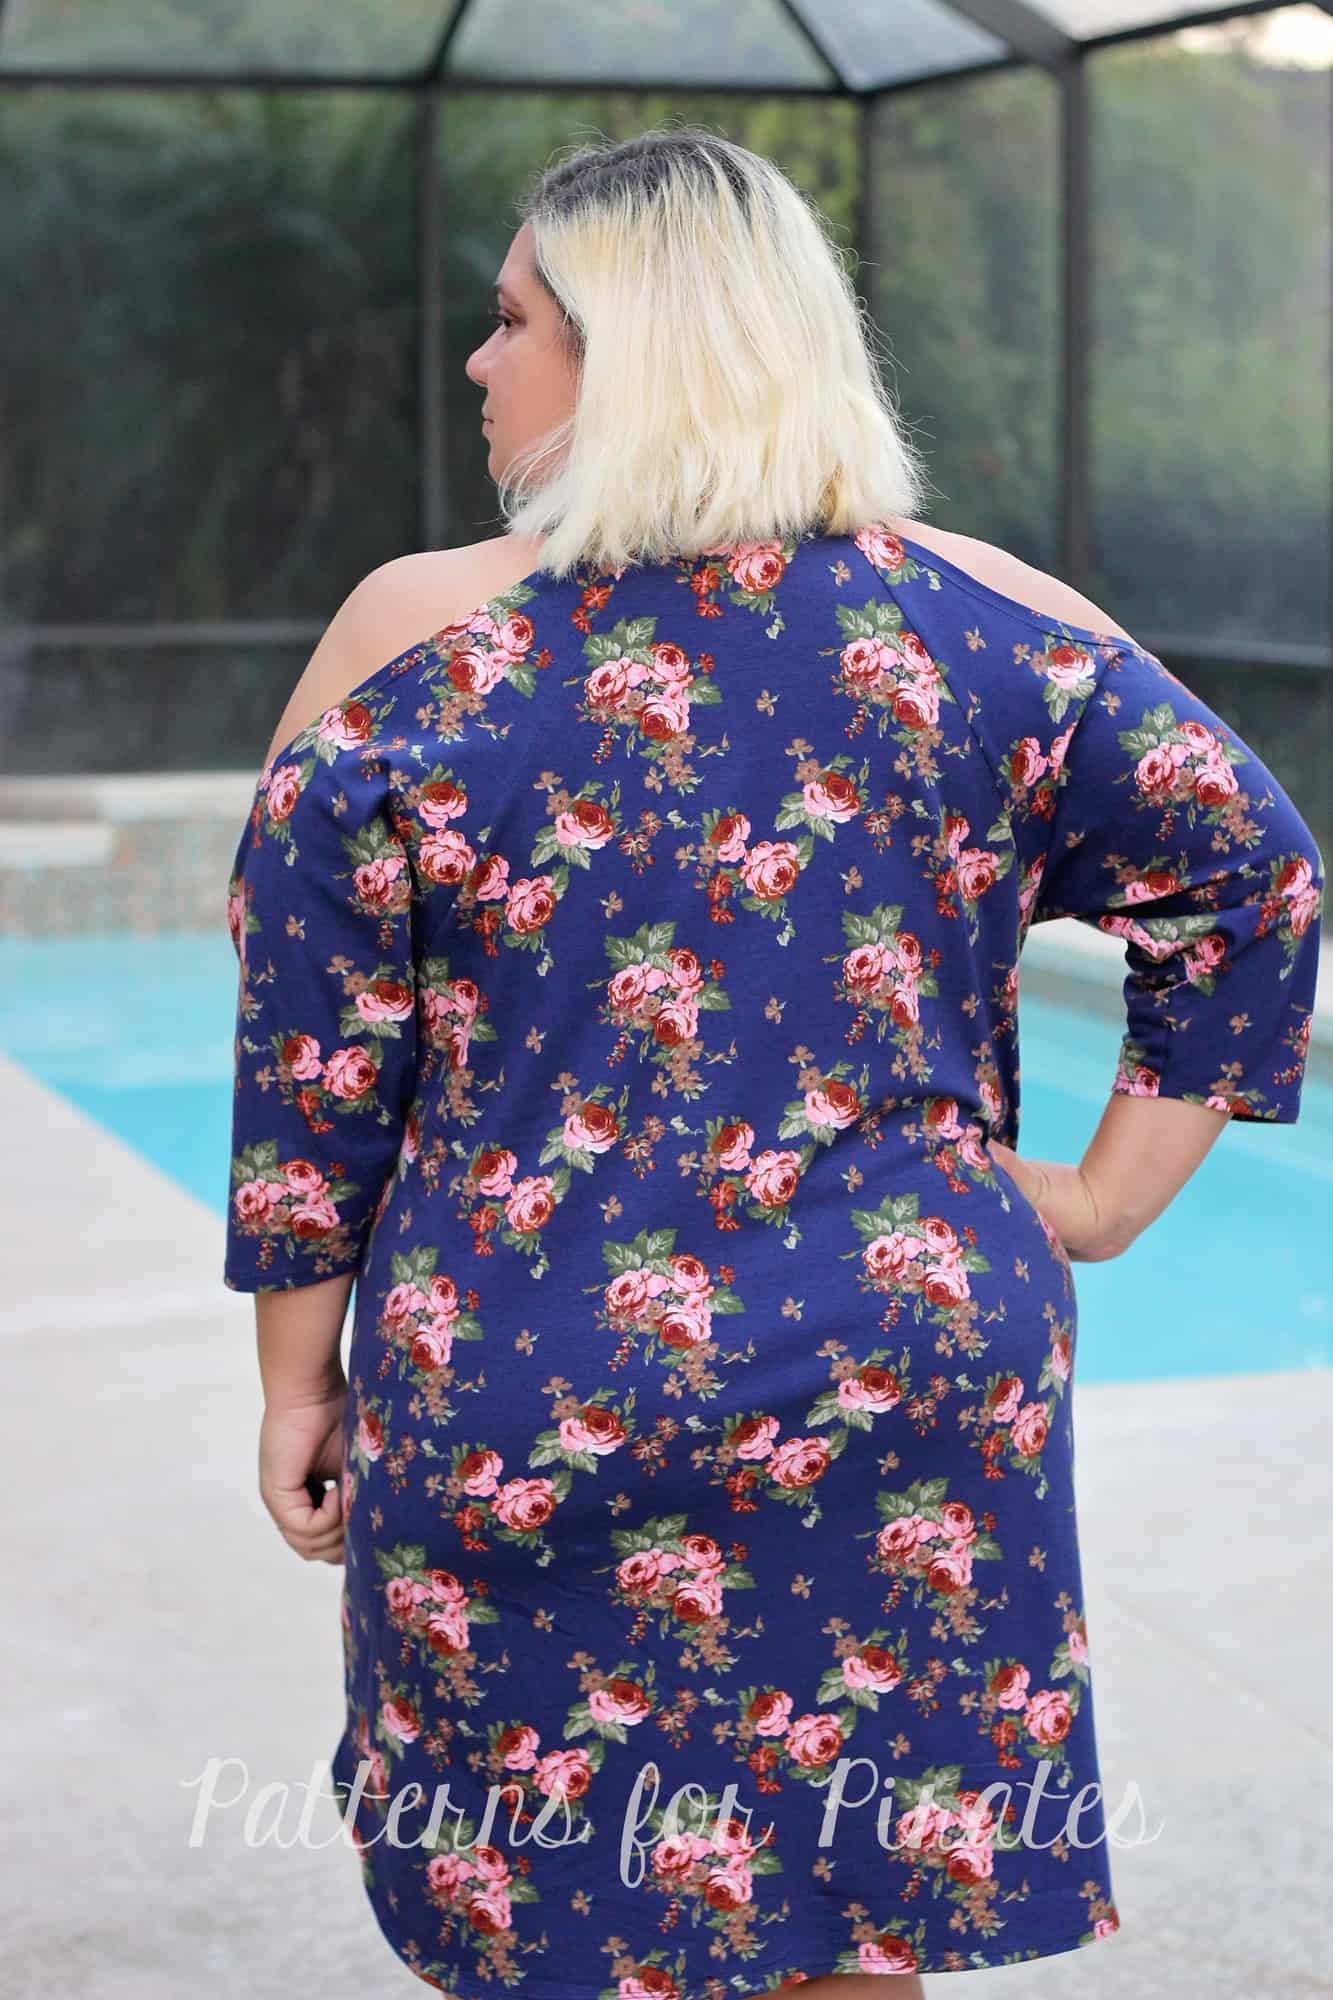
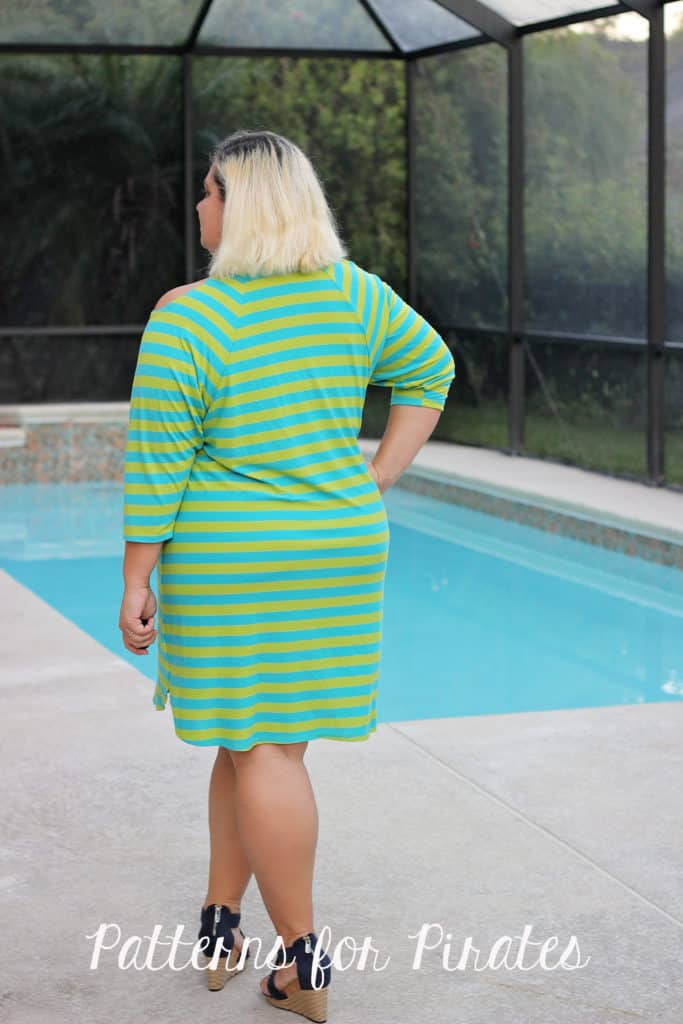
With the off the shoulder look being all the rave right now, I just had to show you how easy it is to get the look with our newest Ragdoll pattern. I will show you two different looks, one more modest and one sexier if you will. The technique will be the same for both you will just make the sleeve cut out different sizes. Feel free to play with it to get your desired cold shoulder size.

Start by printing the pattern in your size. You will be cutting out a portion of the sleeves as in the graphic below.

Hem the cutout using a 1/2″ hem allowance. The easiest way to do that is to steam press and pin it in place with a lot of pins (or clips). Stitch with your coverstitch, a twin needle or a zig zag stitch. Don’t forget to give it a good press after you hem it.

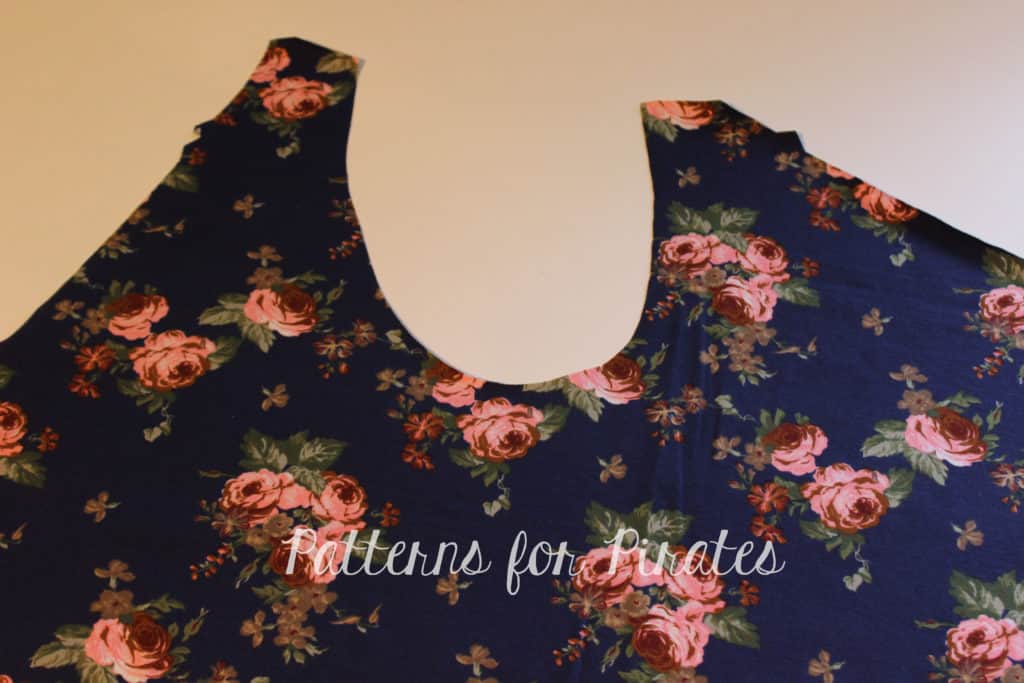
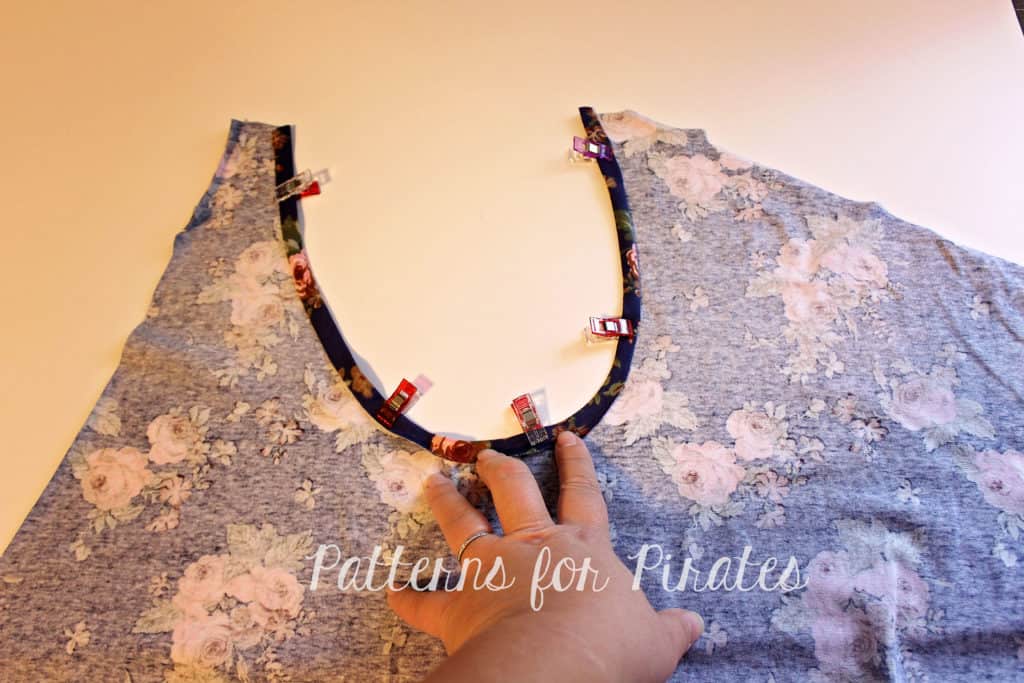
Sew the shirt or dress as shown in the pattern tutorial. All we have left to do now is attach the neckband. Press 1/2″ memory hem as shown below.

Fold the neckband lengthwise and press it really well. Sew the short sides together to create a loop. Mark the center back (where the seam is) and the center front.

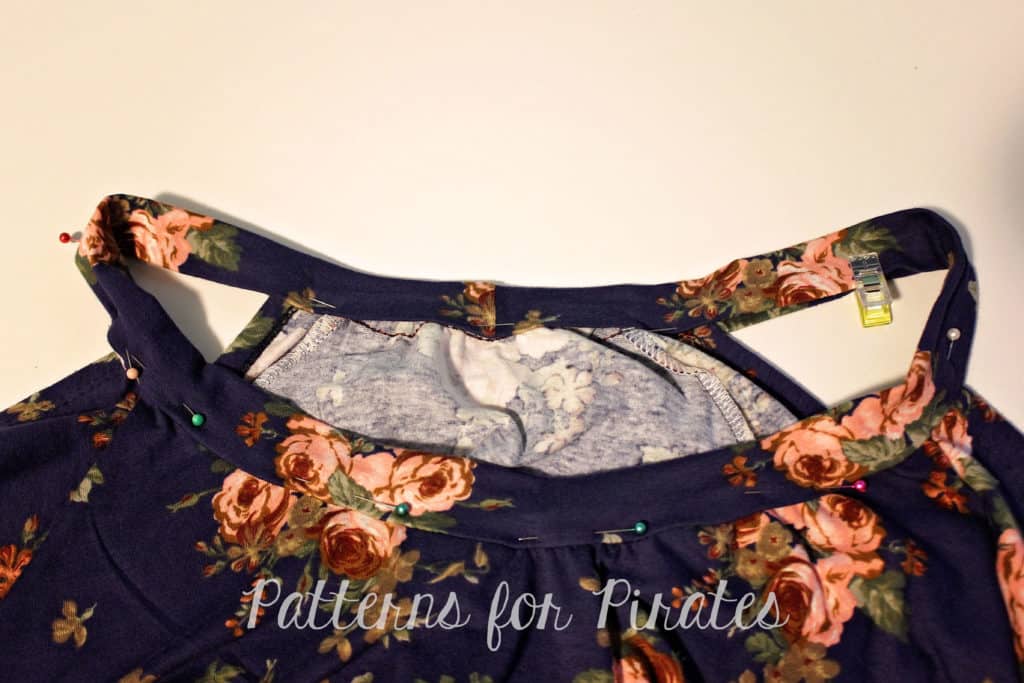
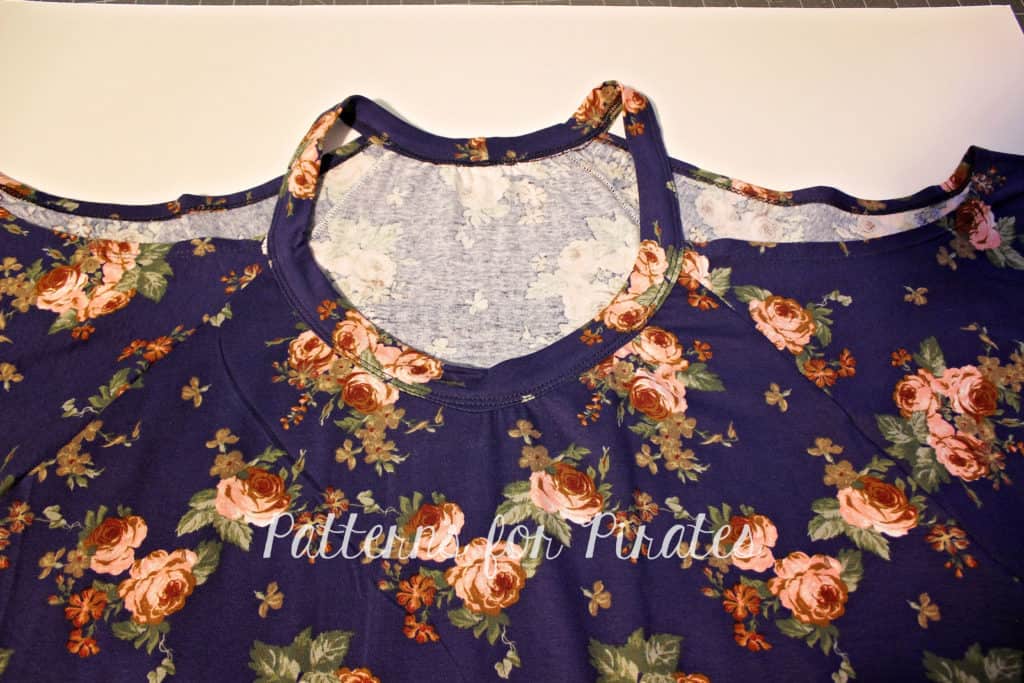
Match the center back of the neckband with the center back of the shirt. Slightly stretch the unfolded neckband and pin it to the back. Repeat for the front of the shirt. Using a stretch stitch, sew the neckband to the shirt right sides together.

Using the memory hem you created earlier enclose the front and back of the shirt and stitch the neckband with either your coverstitch machine, twin needles or a zig zag stitch.

All you have to do now is give the neckband a good steam press and show off your new cold shoulder shirt.


Play around with the cut-out size and get more looks!

. . . . .

Tie Back


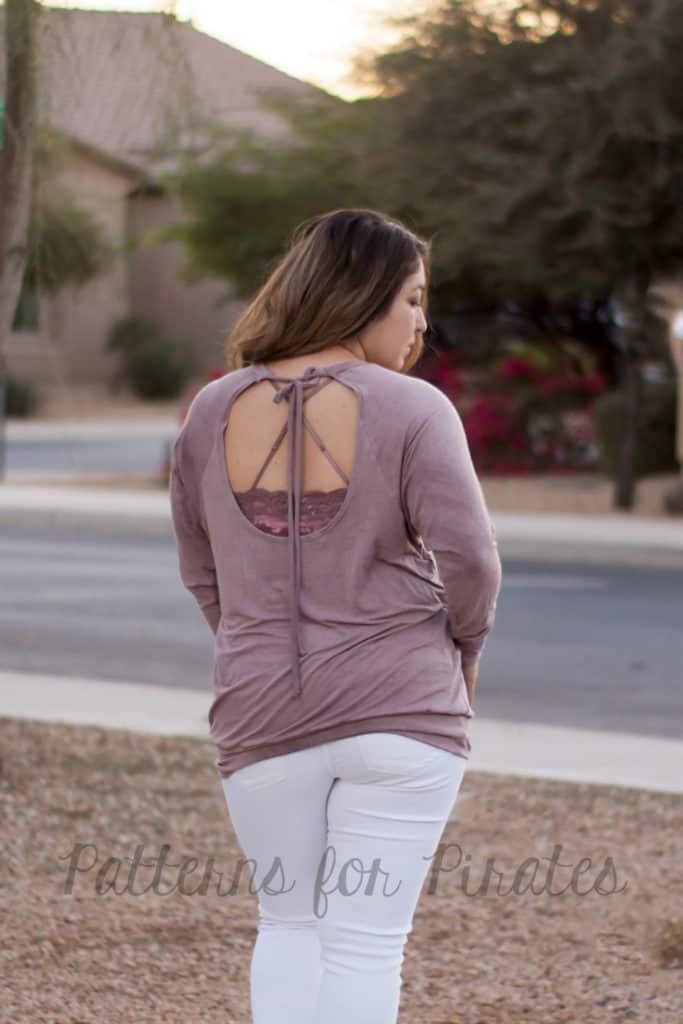
During Raglan Week last year, we showed how to create a keyhole back for the Slim Fit Raglan (here), so I knew a tie back option for the RagDoll Raglan had to be done.  Instead of binding the neckline, I decided to do a spaghetti strap style tie.  You can really use anything for your ties; lace, ribbon, etc. but will show you how to make the spaghetti straps.

Cut your patterns pieces as usual:

  • front, back with low scoop option, 2 sleeves (mirror image).
  • For the ties, I did 1.5″ x 22″.  You can adjust to your preference but found this to be a good length for me.
  • Neckband: as per pattern but less 3″ from the width measurement on the cut chart.  Example: Size large is 2.75″ x 26.75″ so my adjusted neckband is 2.75′ x 23.75″.

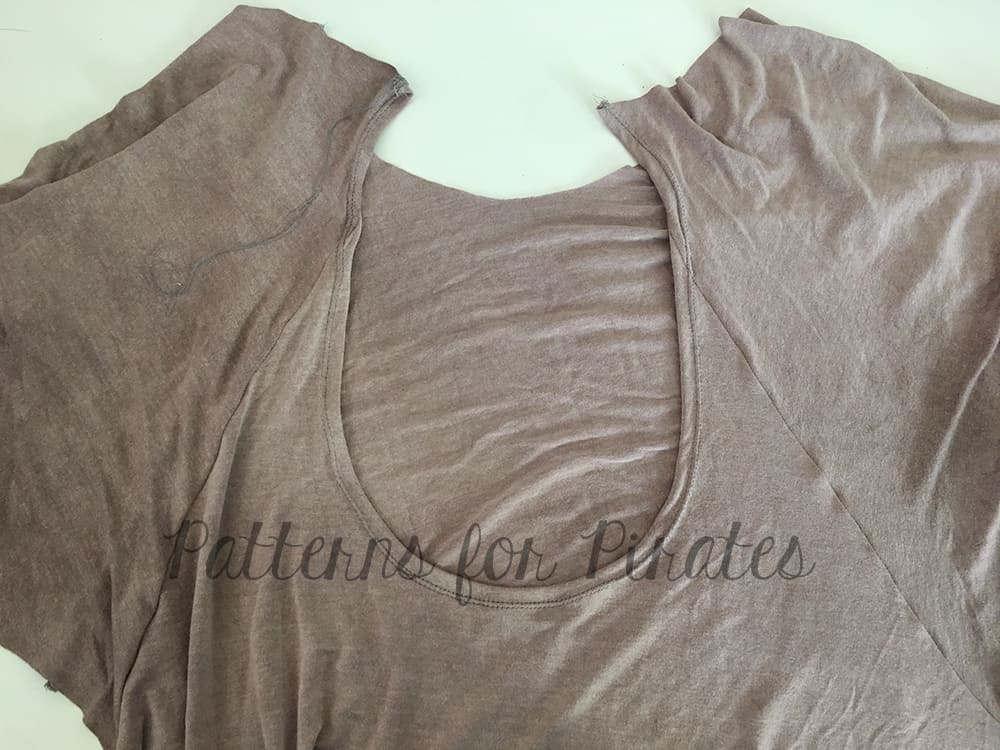
Construct your pattern as provided in the tutorial but skip hemming the low back curve.  We will do that after the back has been attached to the sleeves.

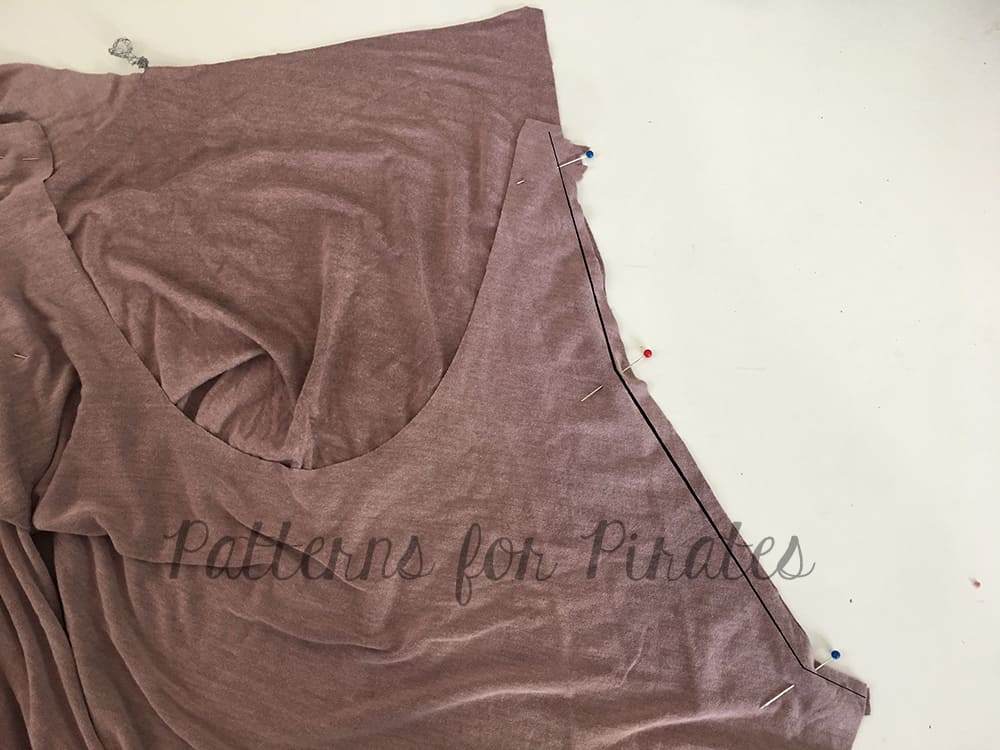
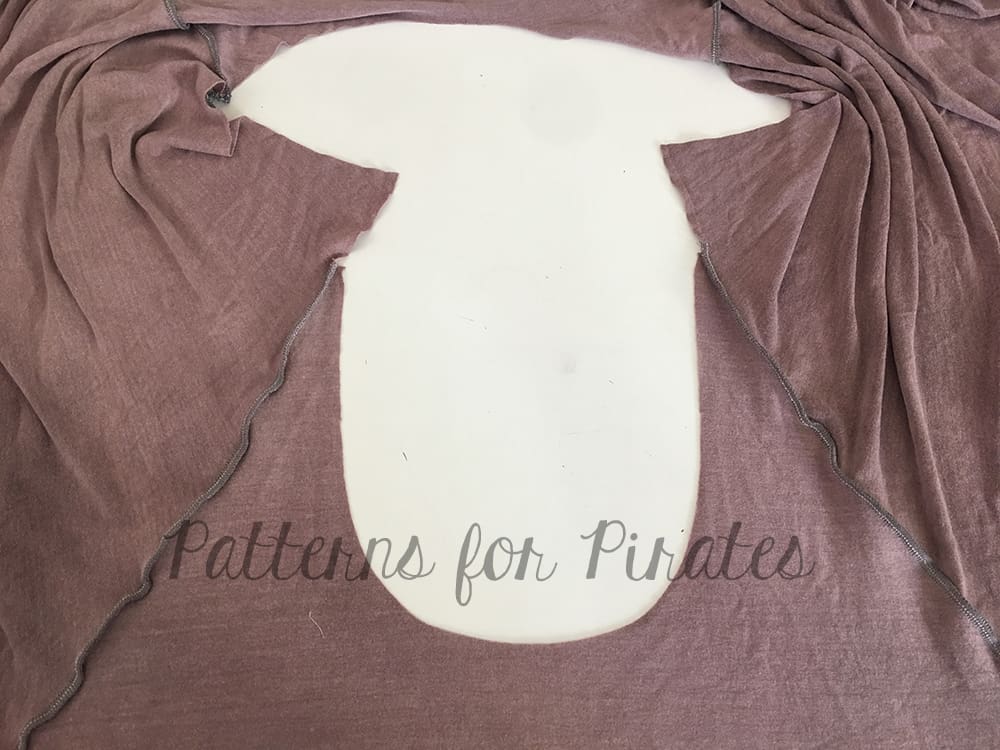
With right sides together stitch sleeves to front and back as instructed in the tutorial. You will have excess at the top back, do not cut off your seam allowance.
Back view.
Turn the low back curve and top portion of the sleeve under 1/2″ to the wrong side and edgestitch.

Now to create the ties.

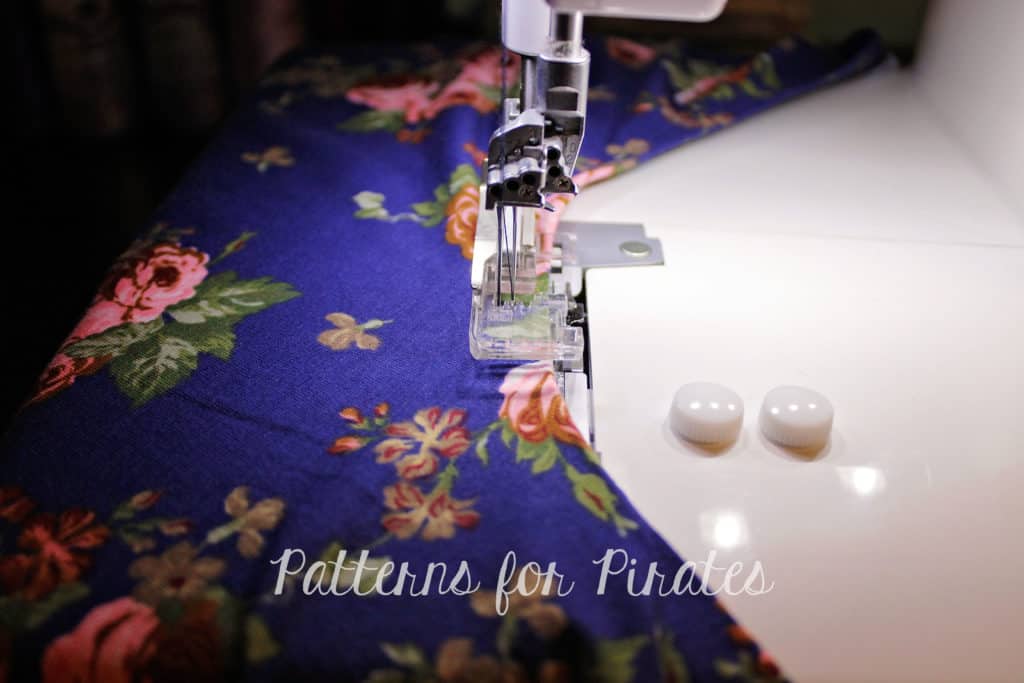
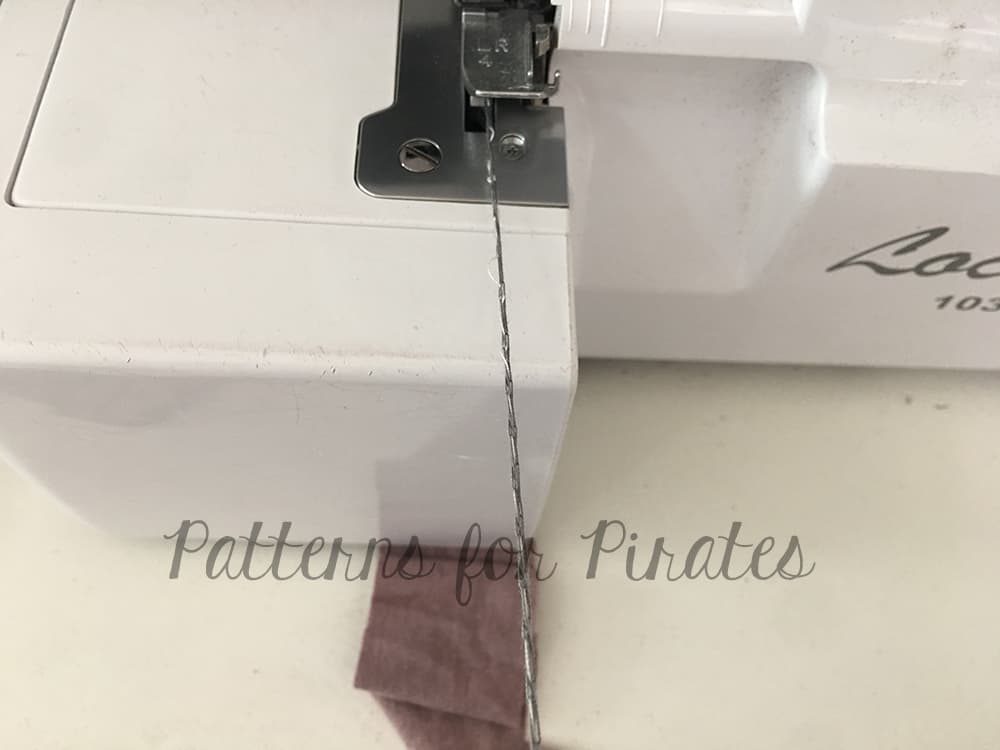
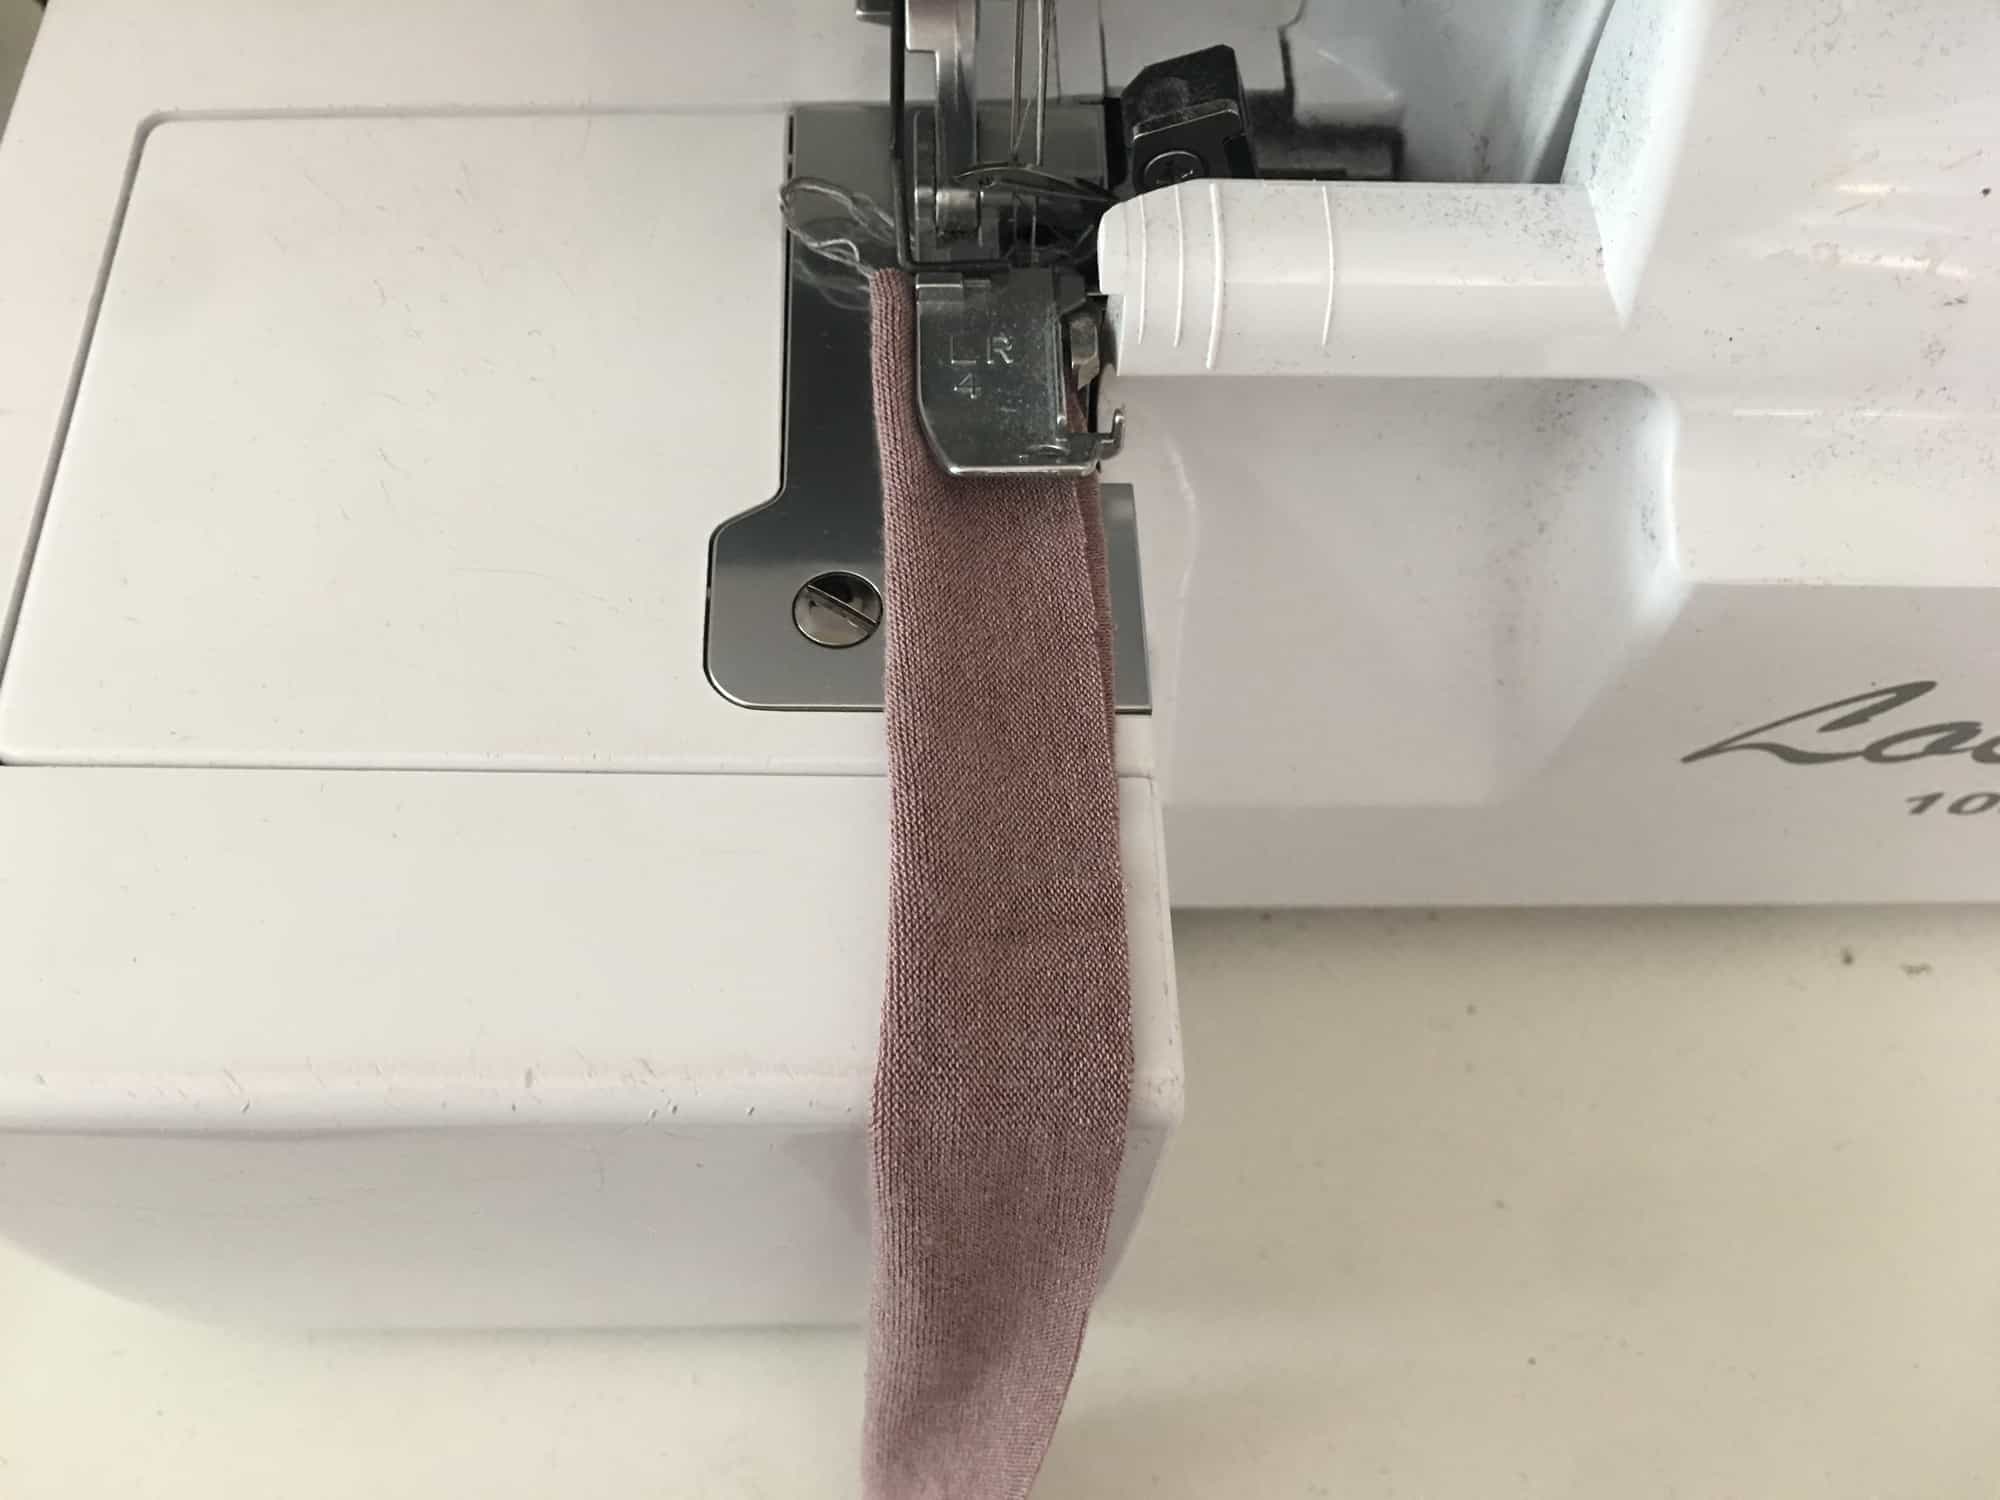
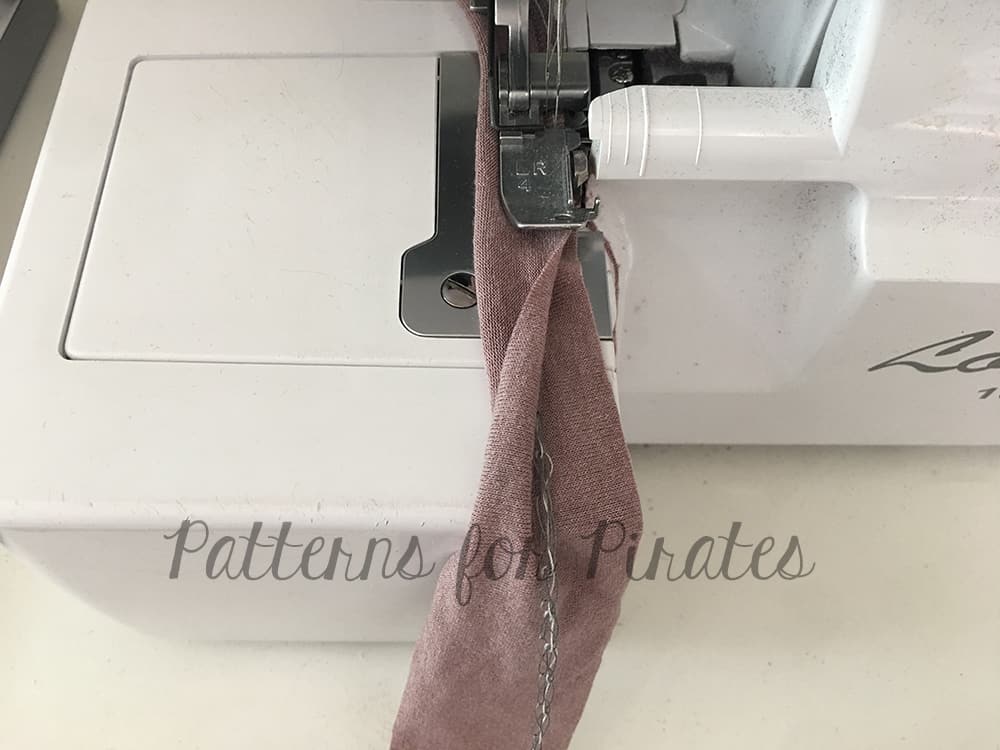
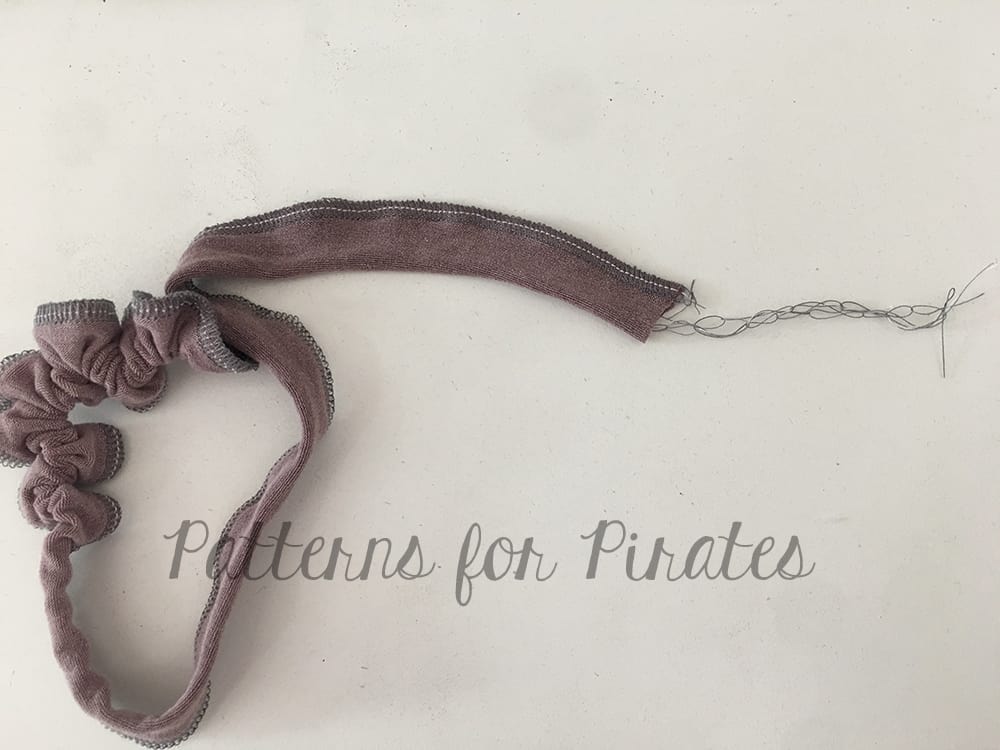
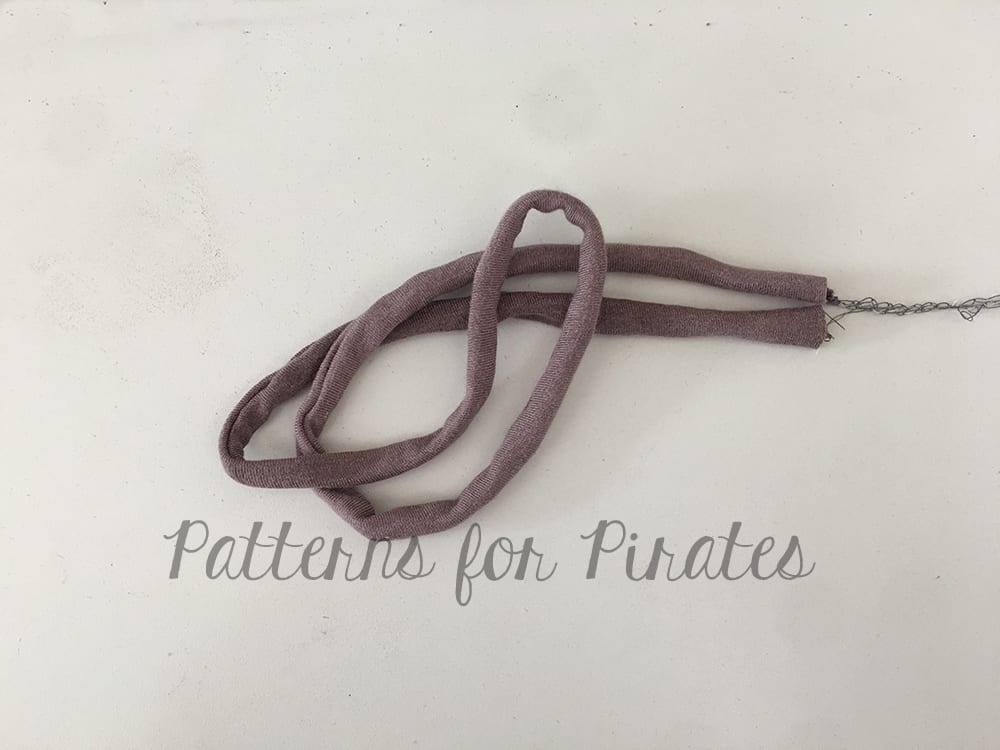
On your serger or sewing machine create a long tail at least 3/4 the length of your tie.
Place your tail on the right side of the tie.
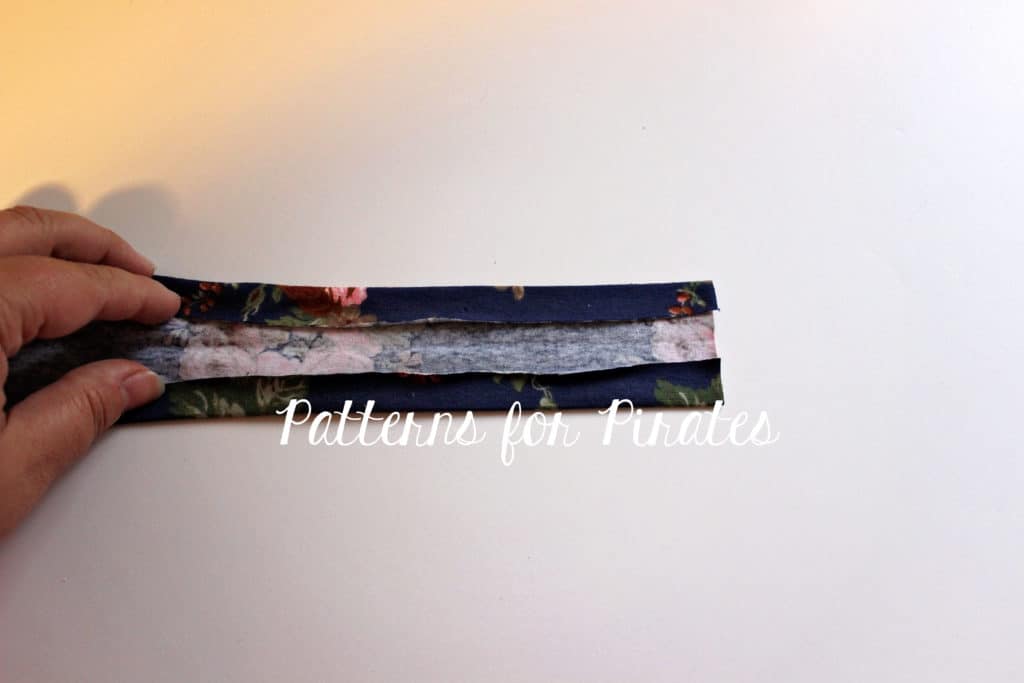
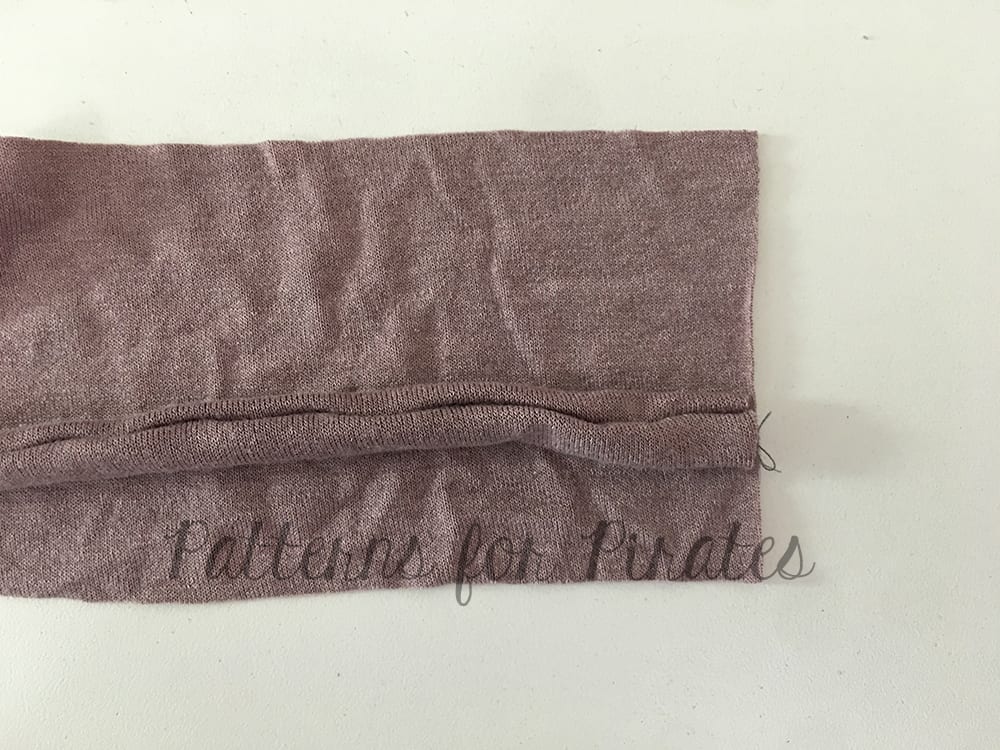
Fold tie with right sides together over the tail.

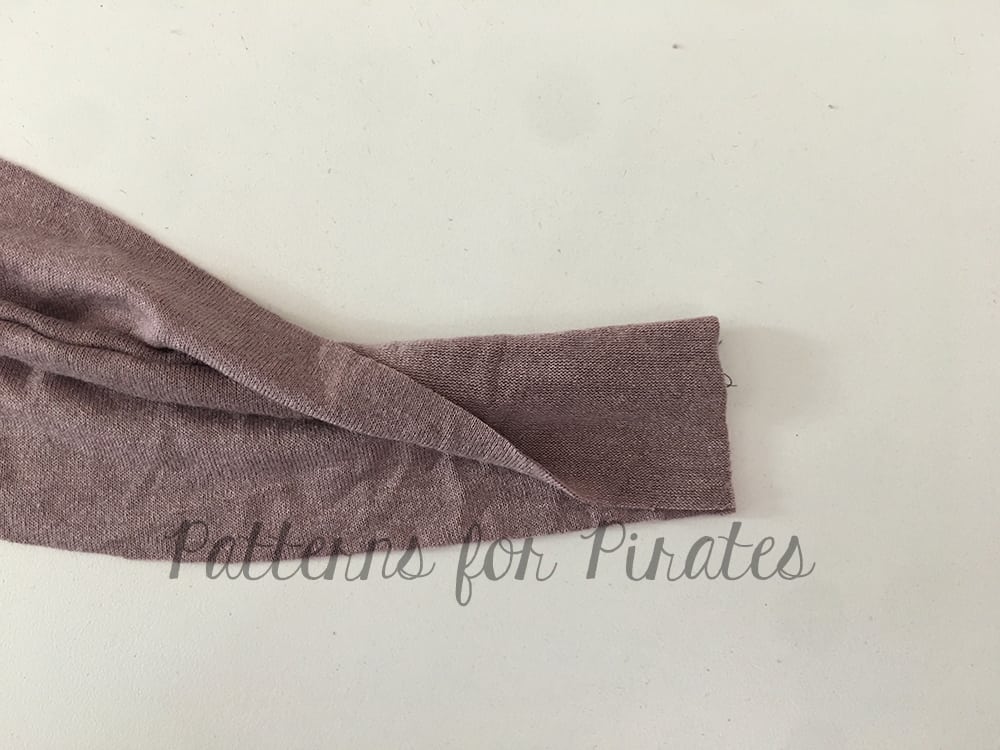
Stitch using a 1/4″ seam allowance. Be sure not to catch your tail. As you stitch, pull the tail toward you so that you have excess and does not end up enclosed in your tie.
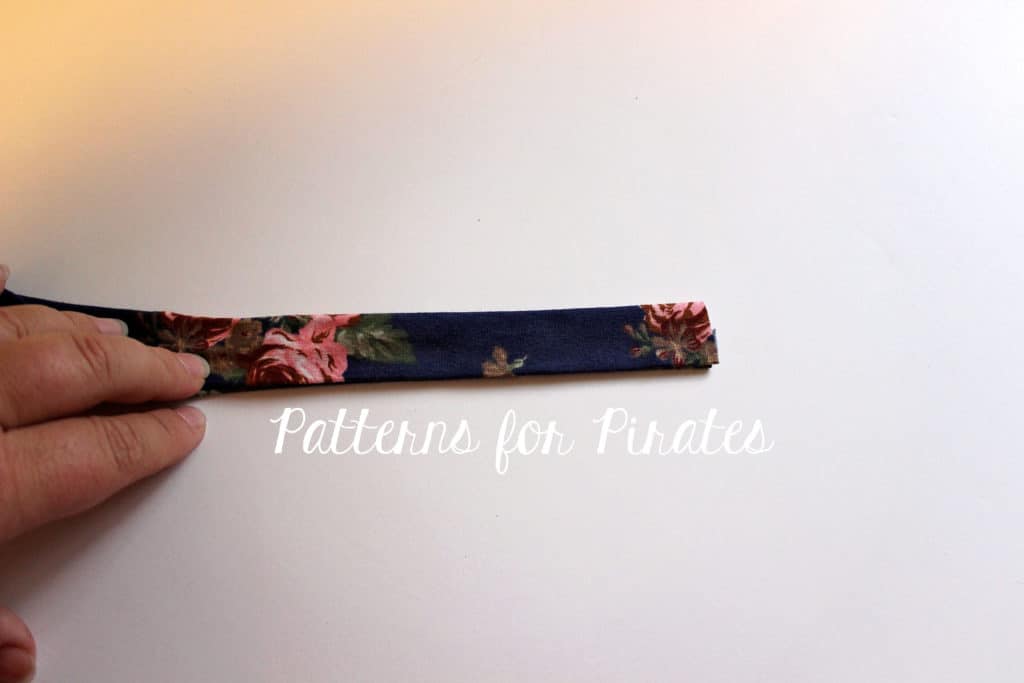
Gently pull the tail and turn your tie right side out.
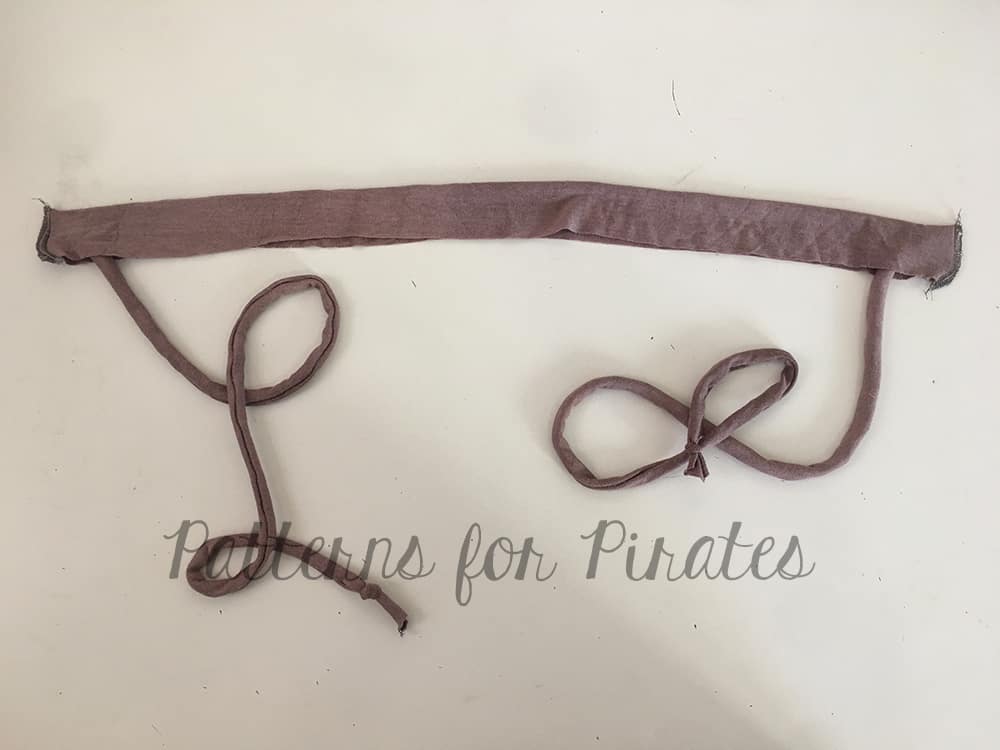
Finish or knot your ends.

Now, we can finish the neckband.

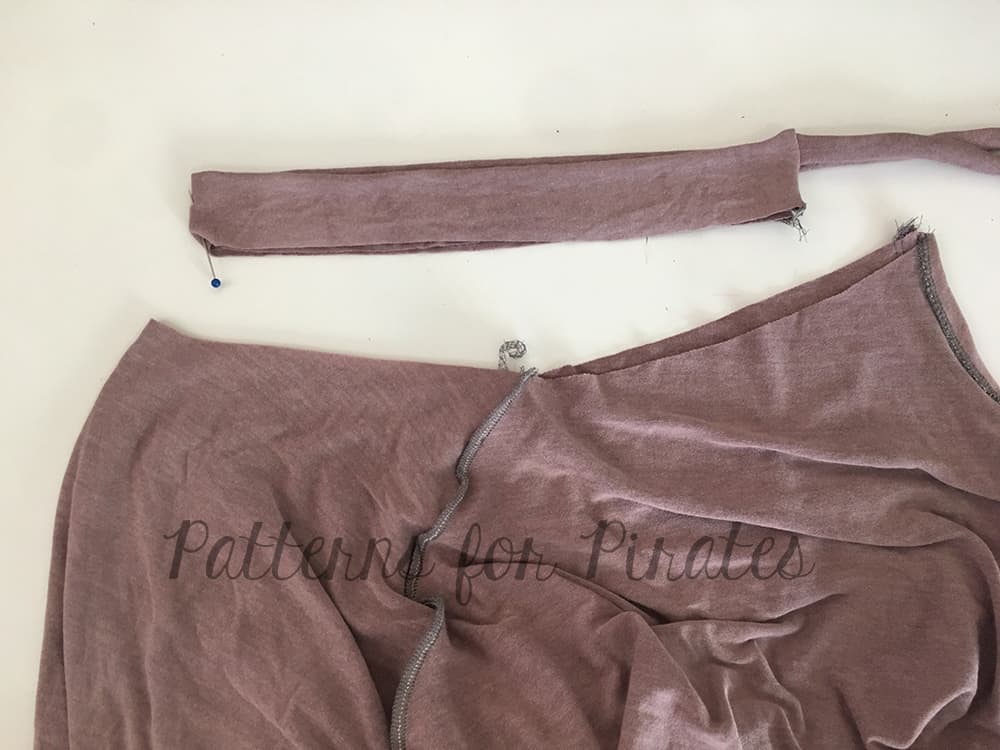
Grab your ties and neckband.
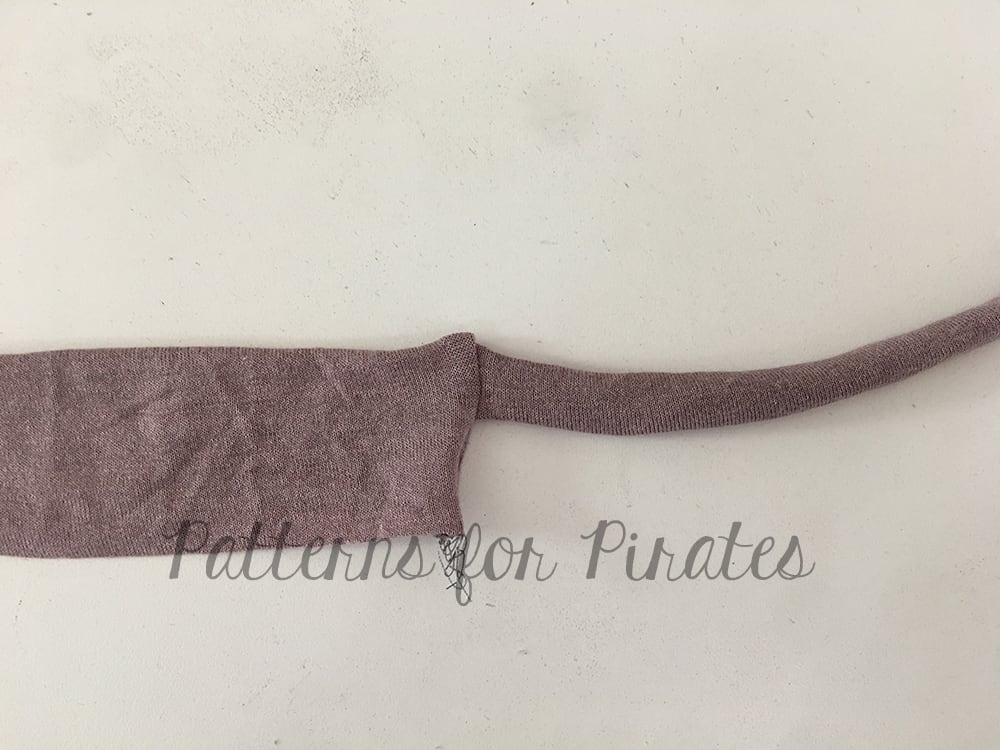
With right sides together, place one tie at one end of the neckband just below center.
Fold neckband over tie with right sides together and stitch using a 1/4″ seam allowance.
Repeat on other side.

Flip neckband right side out.
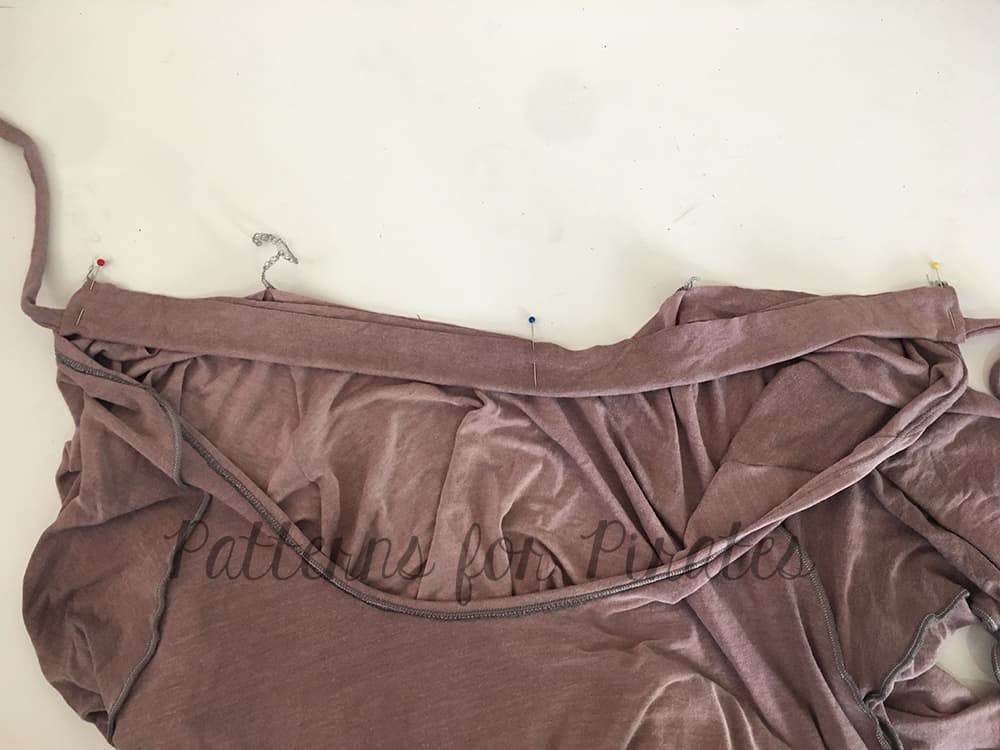
Mark center of neckband and neckline of shirt.
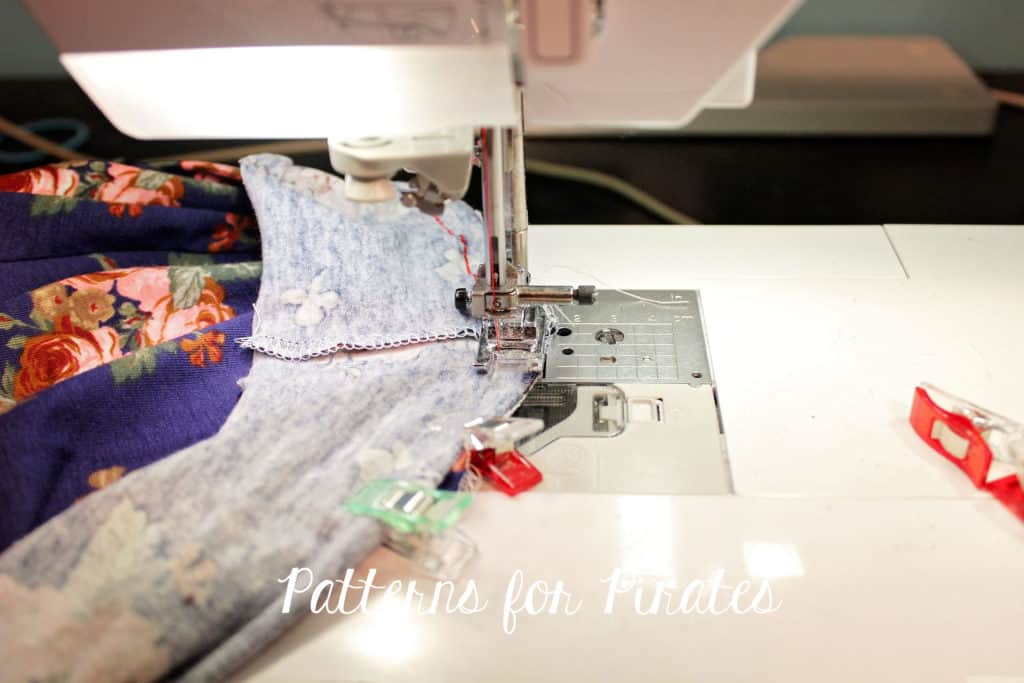
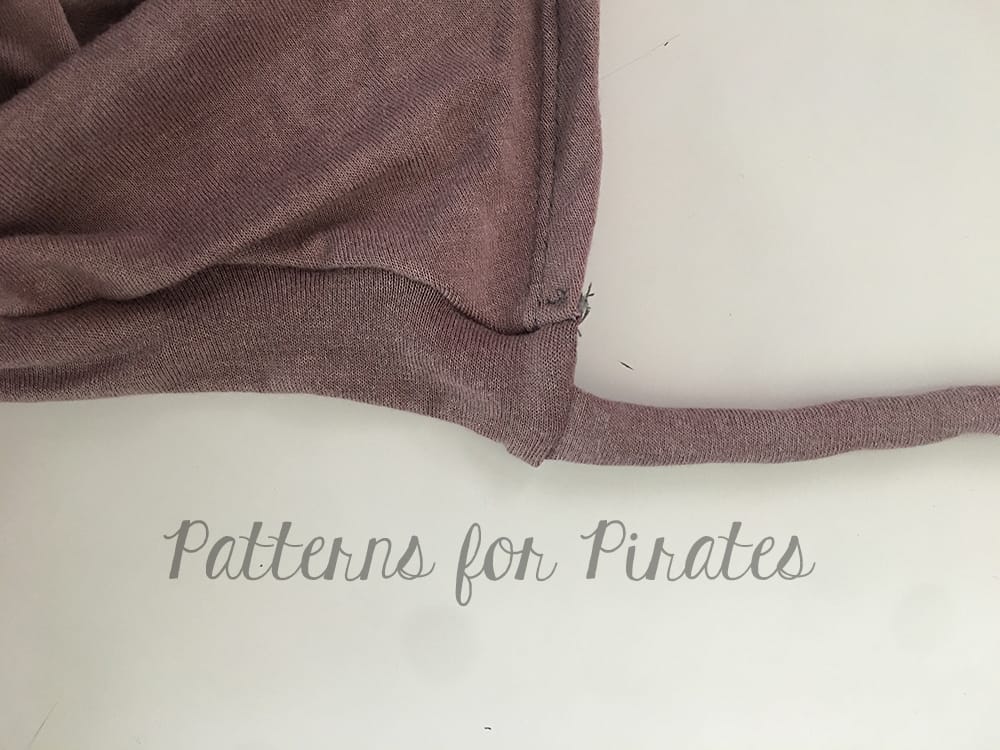
With right sides together, match center and each end of the neckband to the back neckline. Stitch.
Press seam allowance down and stitch a small bar tack to keep in place or topstitch entire neckline.

The tie back gives a much more open back but is perfect to show off all those strappy bralettes :).


. . . . .

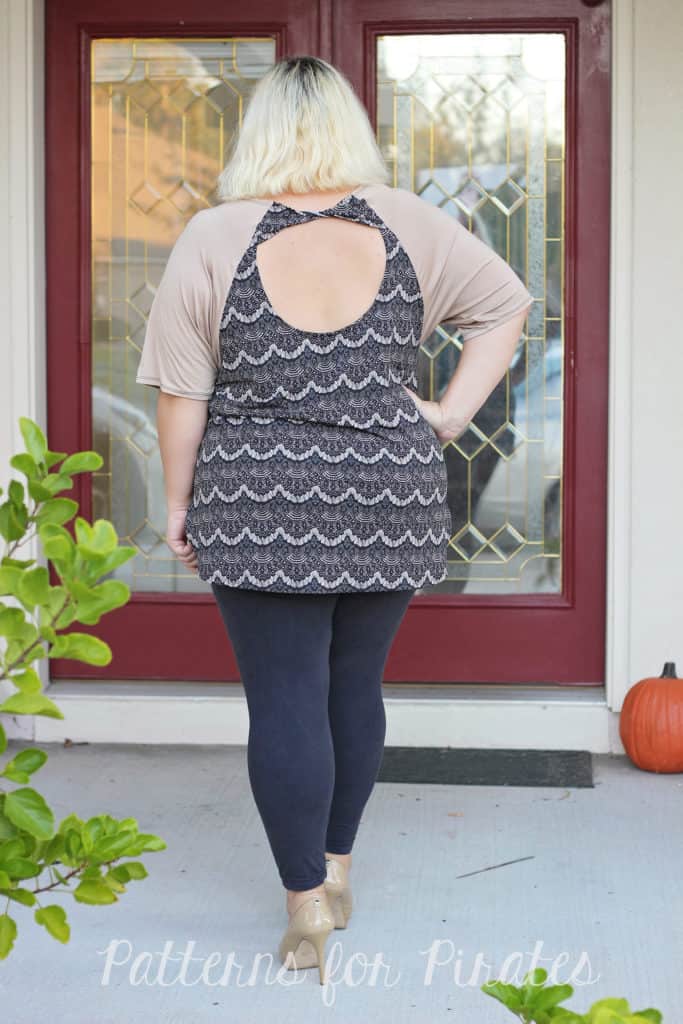
Twist Back

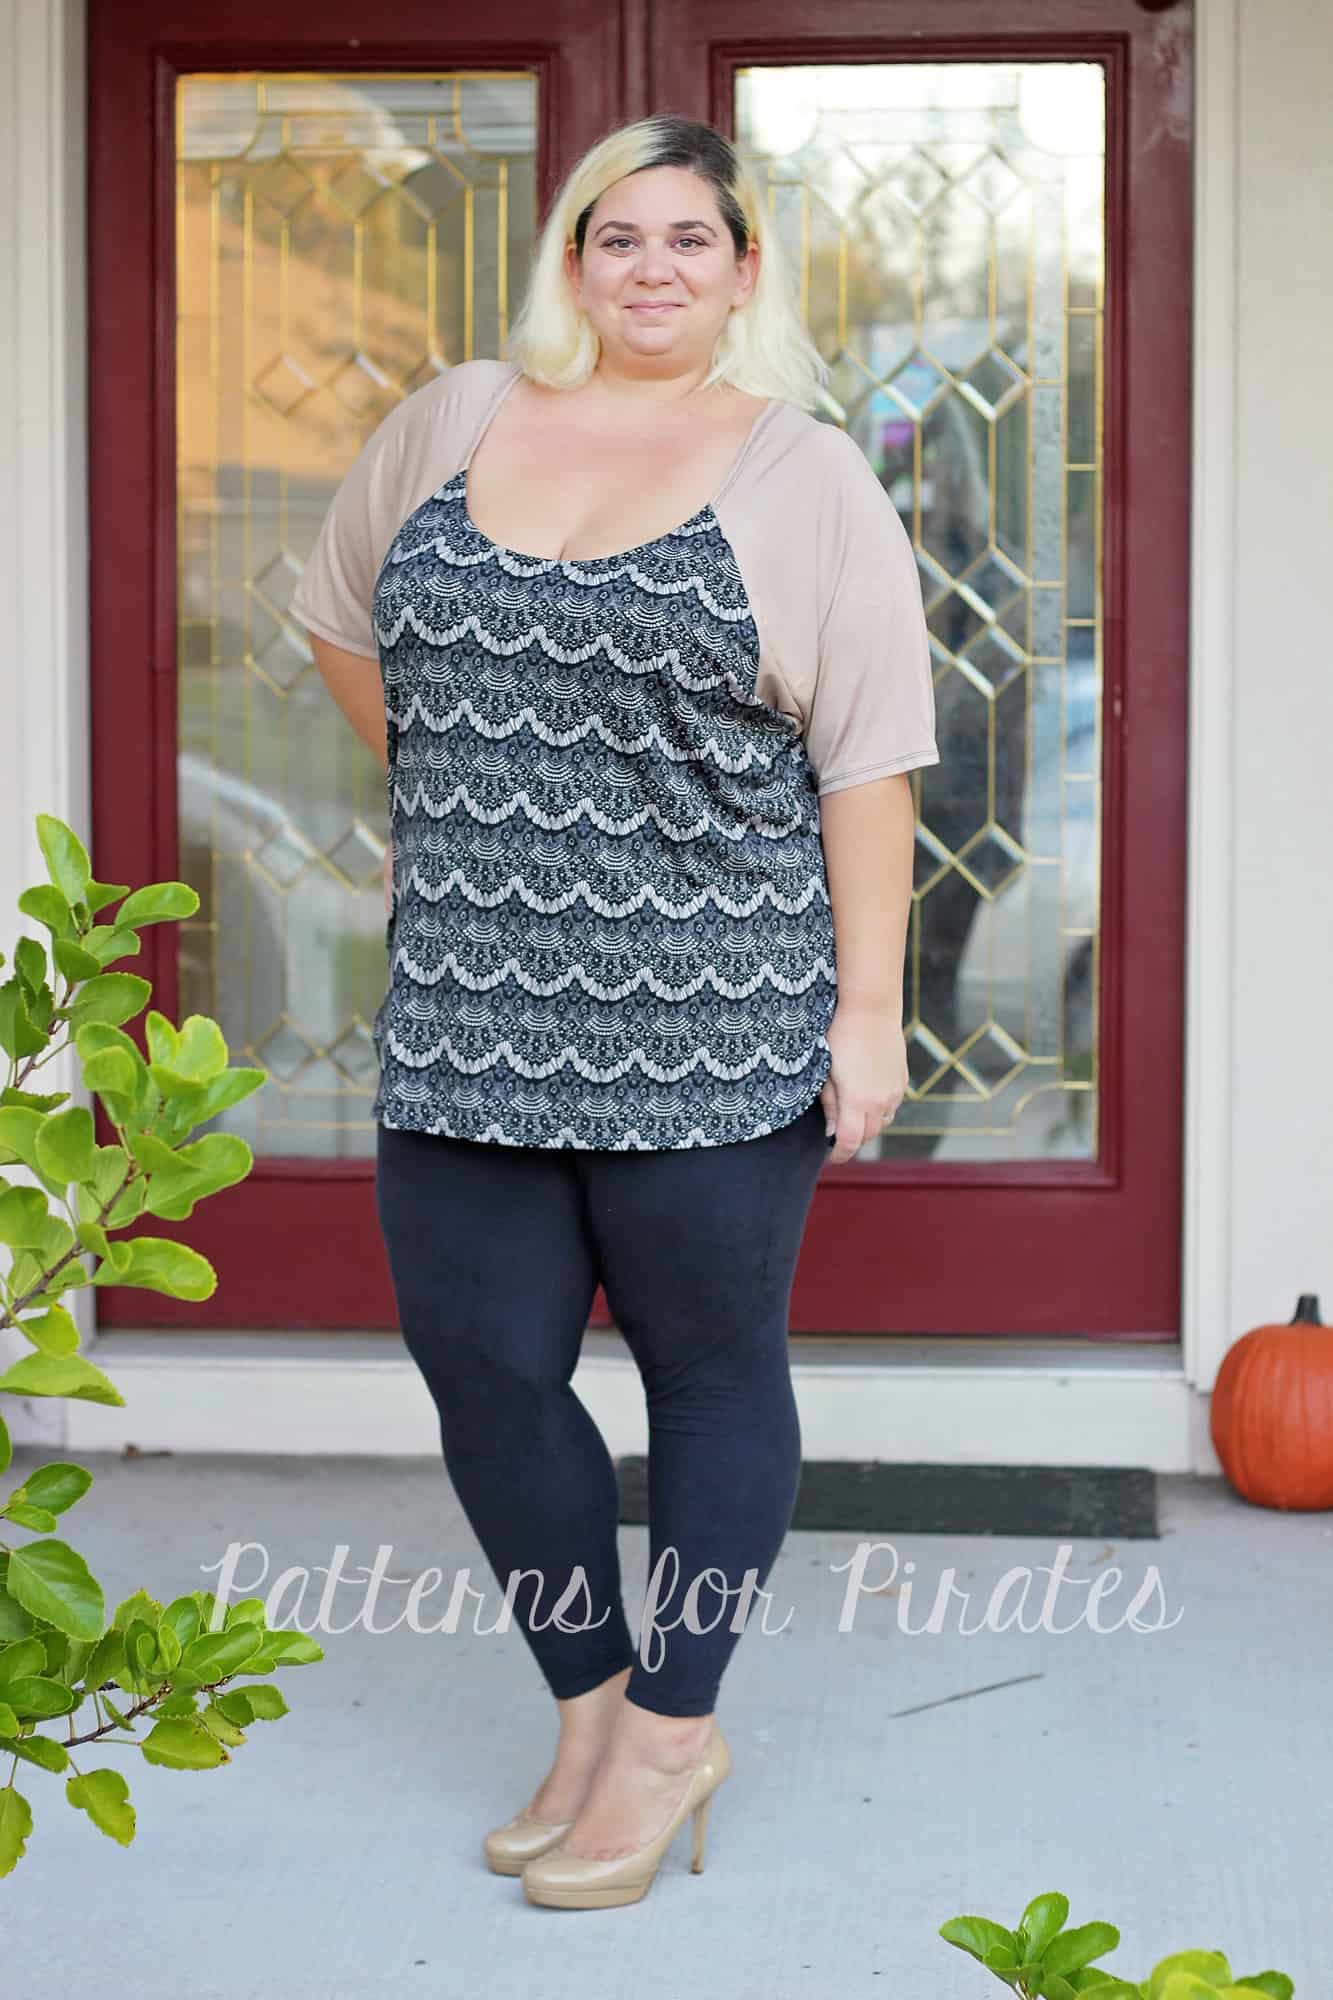
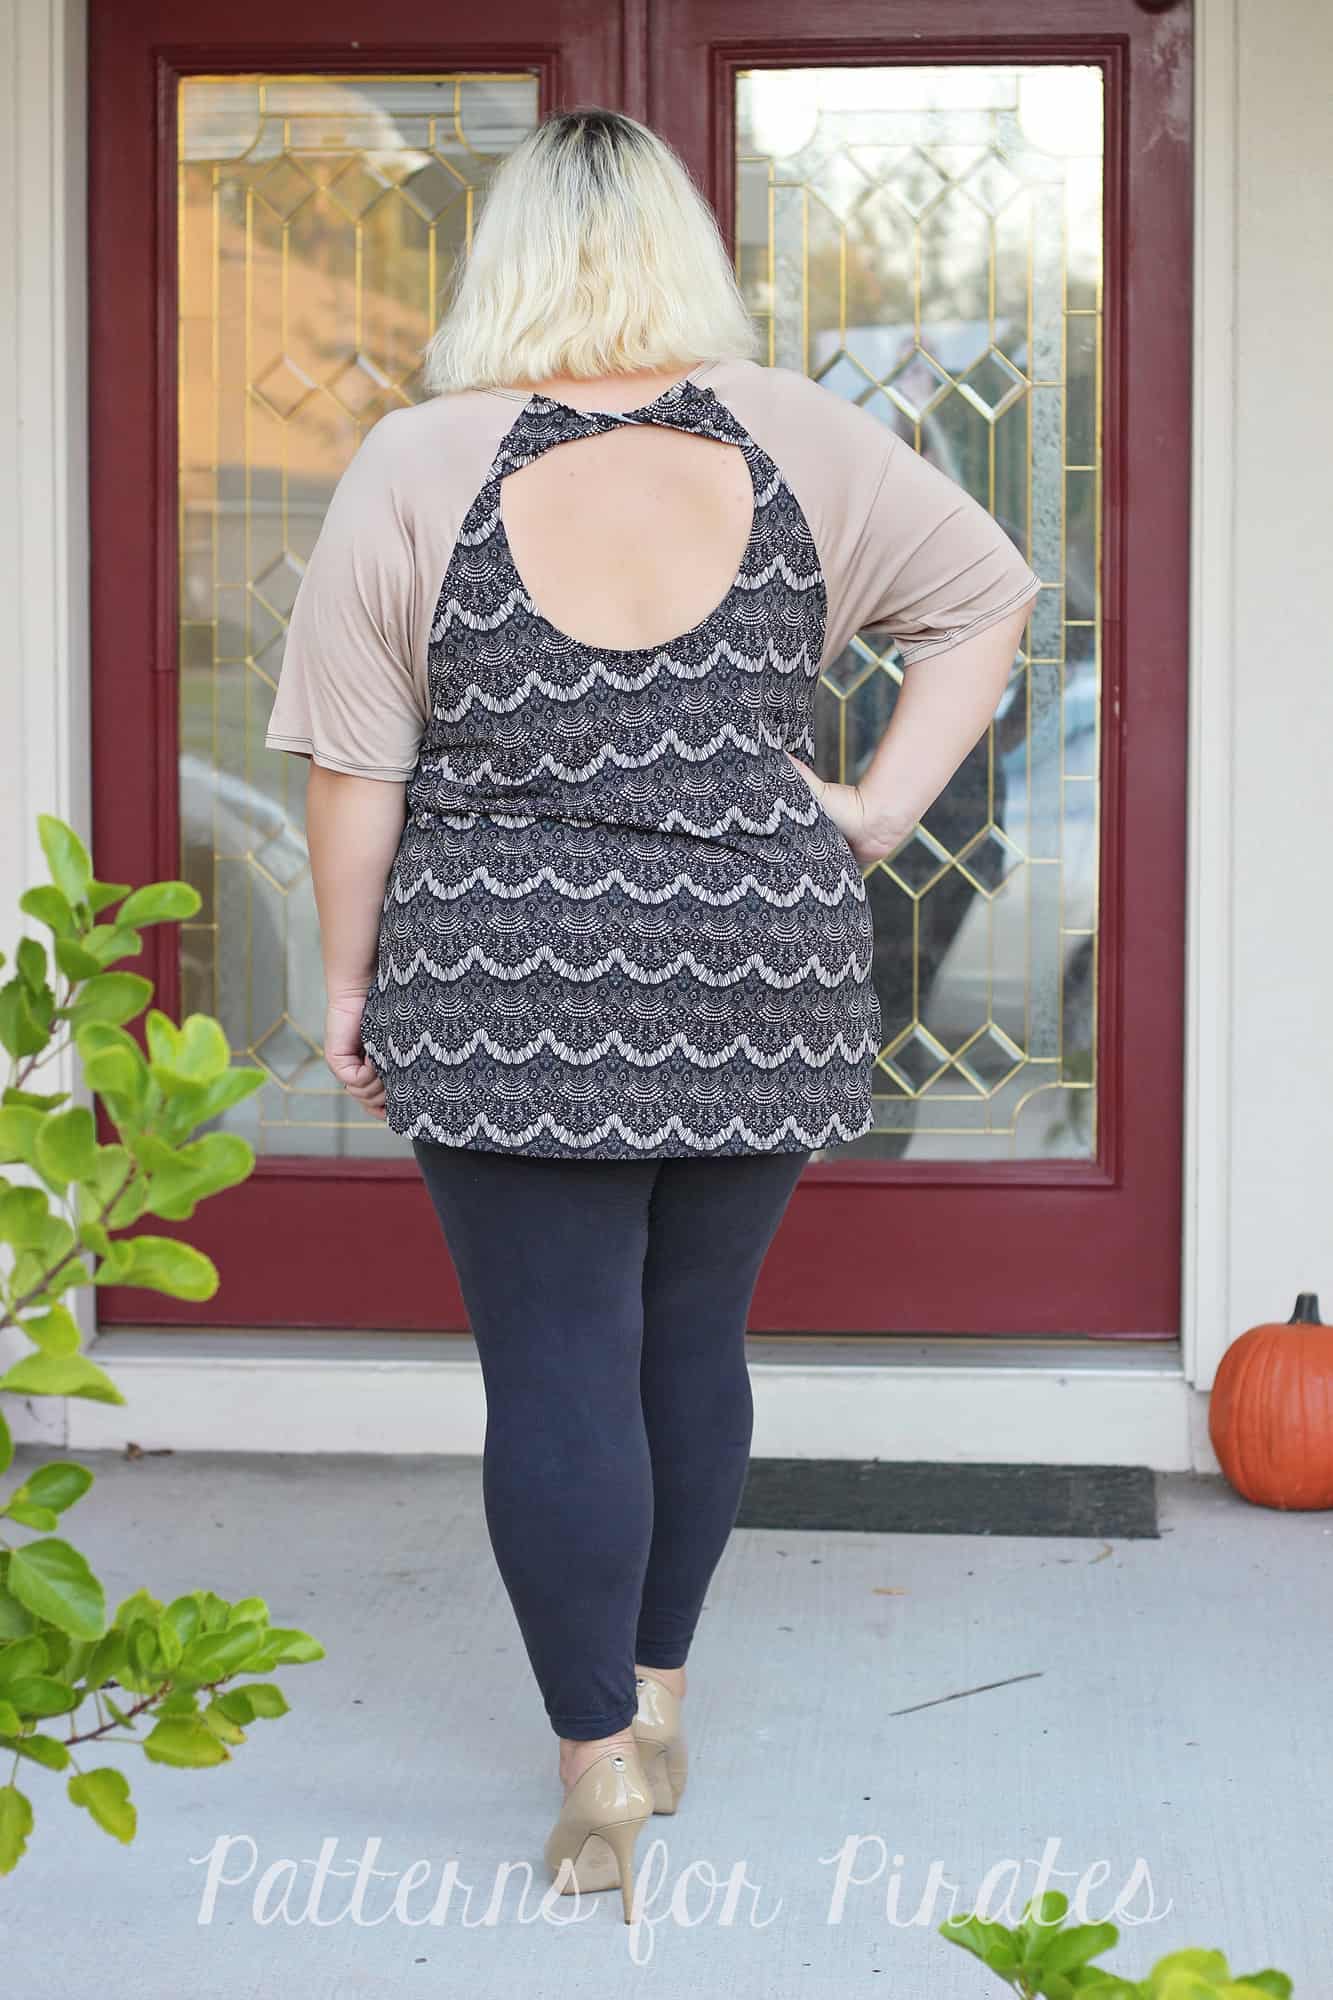
We couldn’t have ended this hack series without a twist back. For this option, you will need to print and cut the low back option. You will not be adding the neckband to this hack so the shirt neckline will be 1.5″ lower than the intended look of the pattern. You may need to wear a cami underneath (like the Cross My Heart Cami) or you can raise the neckline prior to cutting the fabric. Check out this “how to” blog!
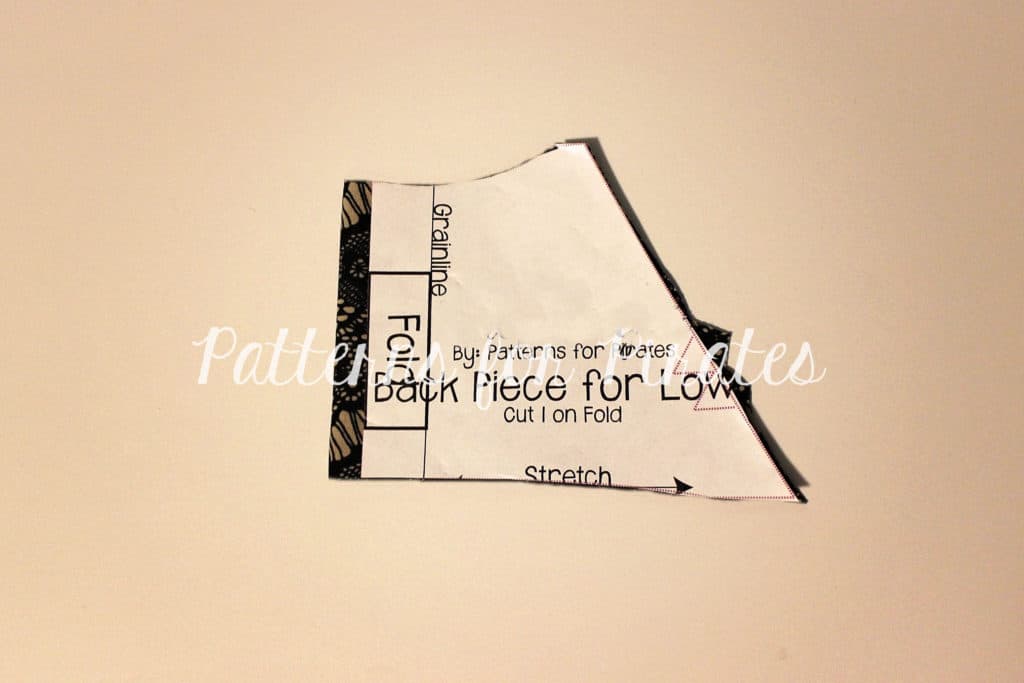
Place the back top piece 1/2″ away from the fold line.

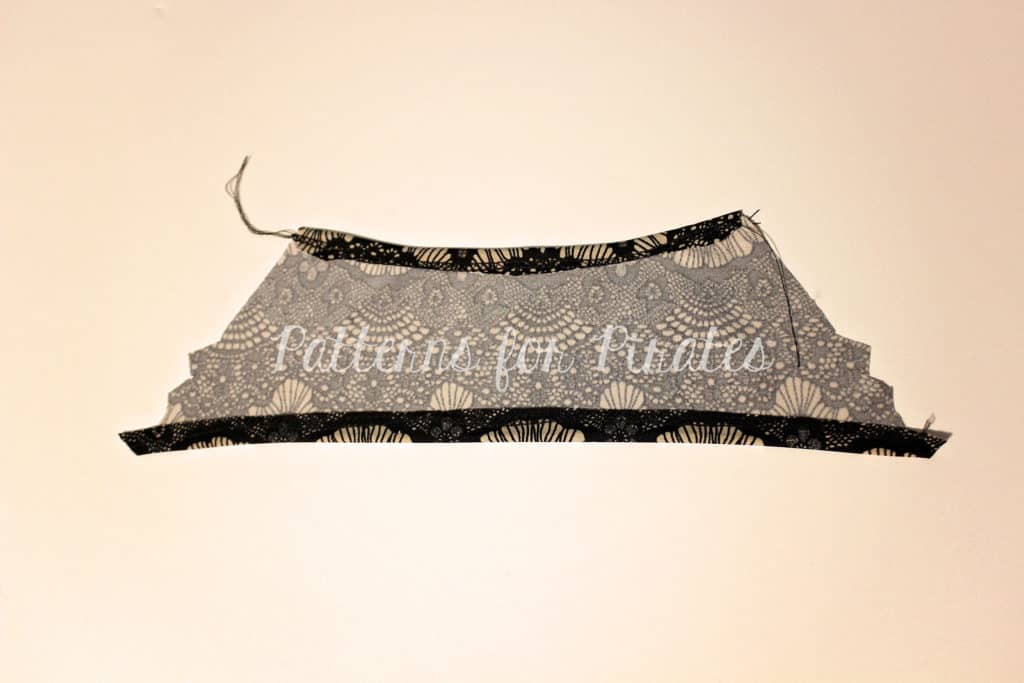
Using a 1/2″ hem allowance, hem the top and bottom. You can use a coverstitch, a zig zag stitch or twin needles.

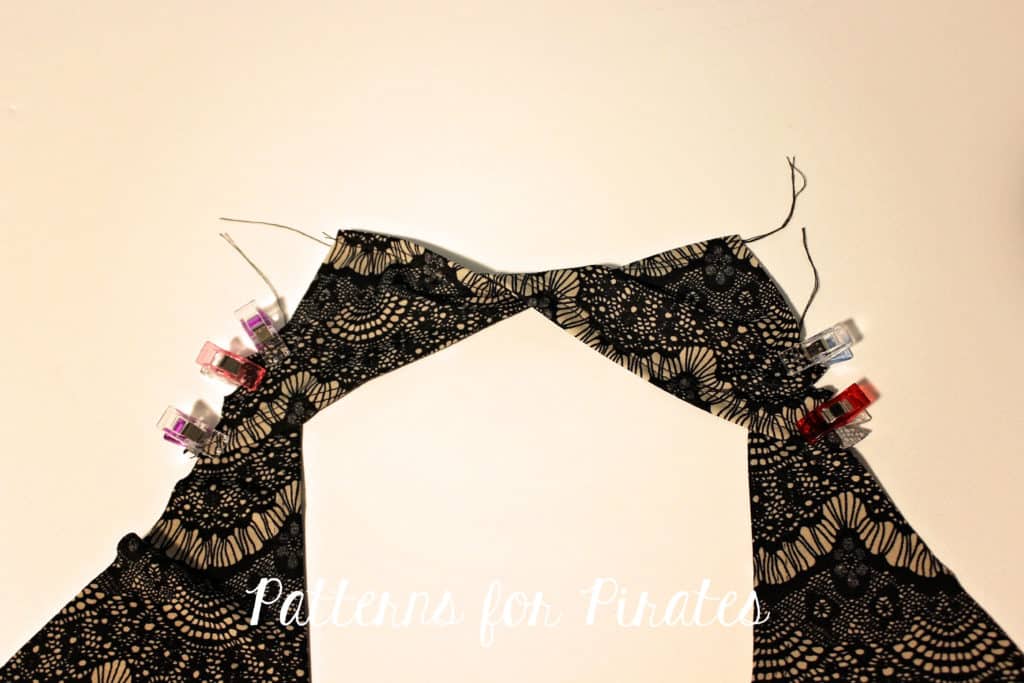
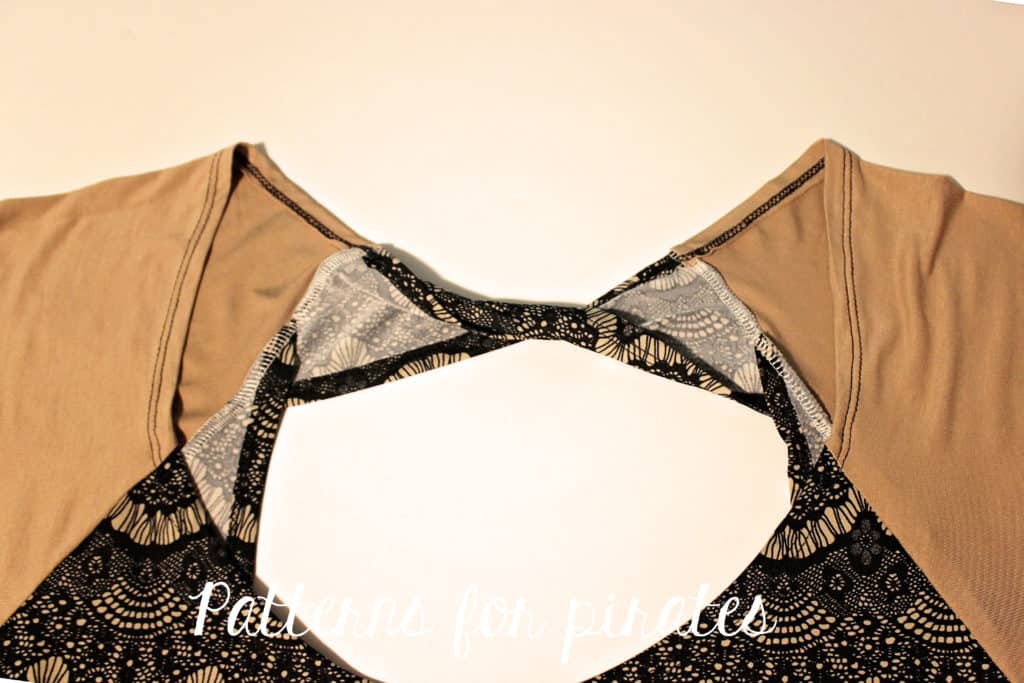
Twist the top piece twice so the right side of both the left and right sides are up. Baste the top and bottom pieces together as in the tutorial.

Attach the sleeves matching the notches. There will be 1/2″ excess fabric at the top which will be hemmed next.

Hem the neckline with a 1/2″ hem allowance. All you have left to do is give the shirt a good press and show it off!


. . . . .

Off the Shoulder

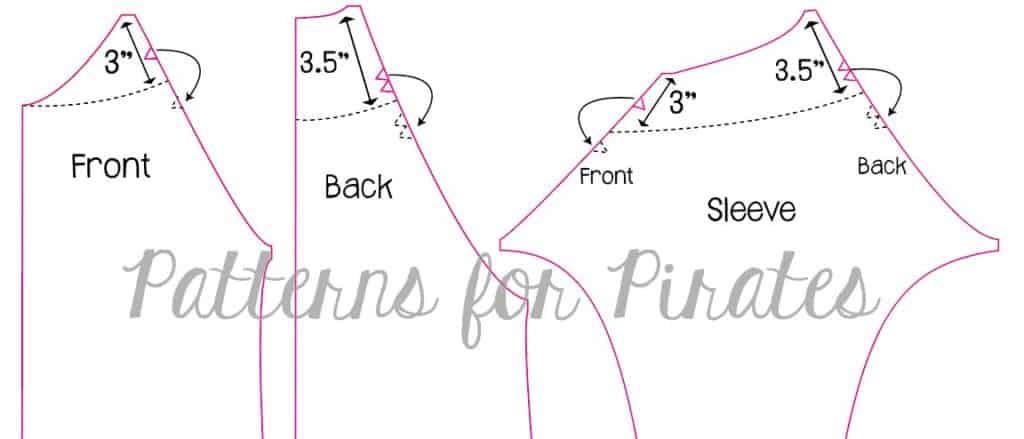
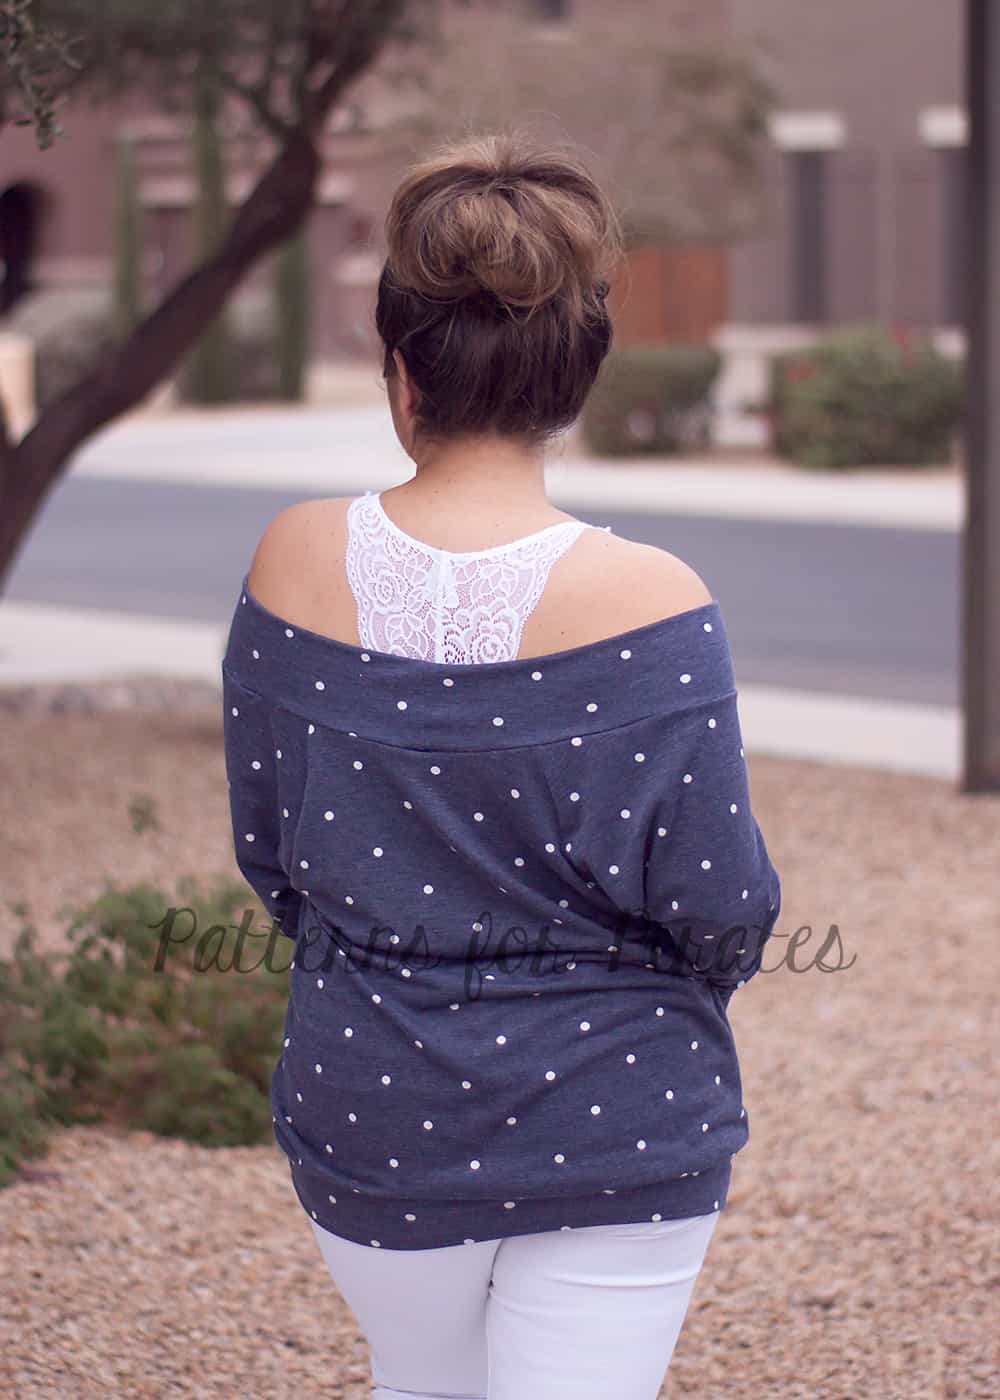
Last but not least, we couldn’t leave you without a full off the shoulder option.  Using the same idea that we did for the Relaxed Raglan (here), we’re going to remove some height to all the pattern pieces (front, back, and sleeve).  Also, be sure to move your notches to help you keep the pieces in order and you know which side lines up with one another.
For the band, I used the same measurement as the waistband in the pattern.  In hindsight, I could have made it a smidge tighter around the shoulders but as is doesn’t move around too much. Now, I didn’t measure each size, but just to be safe…..measure your neckline once you’ve completed the main pieces.  Make your band between 80-85% (plus seam allowance) of the opening.  (Unsure how to measure the neckline? Check out this blog post for more details.) Mark in quarter and stitch just like you would a waistband. As with any neckband though, be sure your band has good recovery! This will help keep it up on your shoulders. 🙂


Make a RagDoll Raglan?  Be sure so share you makes in the Facebook Group or tag us on Instragram!

Filed Under: Frequently Asked Questions, Pattern Hacks, Uncategorized Leave a Comment

P4P Raglan Week: Off-The-Shoulder Raglan Hack

September 24, 2016

raglan-week-day6

IMG_0881 Did you start your fall sewing, pirates? Even though it doesn’t look like fall outside I like to tell myself cooler weather is coming. One of the staples in my fall/winter wardrobe is the raglan tunic. It is perfect for wearing it with Peg Legs (and we all know peg legs are practically fall uniform) and SOS pants. For my blog today I’ll show you how to get an “off the shoulder” look using the Relaxed Raglan. You can certainly use the Slim Fit Raglan if you prefer. I just am going for a looser, more casual look so I used the Relaxed Raglan pattern.

Screen Shot 2016-08-30 at 9.13.22 AM

First off, select your size, print and cut the pattern pieces according to the instructions. Don’t cut the fabric just yet! We’ll now make some small hacks to the pattern to get a wider neckline. Take the front pattern piece and measure 3 inches down on the center fold and mark that spot. Then measure 3 inches down on the sleeve part and mark that point too. Using a french curve (or just going slowly) and following the original pattern, draw a curve line between the two points. Repeat with the back and the sleeve pattern pieces.

testraglan

Once you drew the new cut line, remove the top part and cut the fabric following the new pattern pieces. At this point you will have a front, back and two sleeve pieces plus and additional cuffs or waistband you may need depending on the style raglan you chose. Do not cut the neckline as per the original pattern suggestion. If you do, the neckband will be too small for the new neckline.
Sew the raglan according to the instruction, leaving the neckline as is. Once sewn, take the shirt/tunic, lay it flat on a table and measure the neckline opening circumference. You will calculate the new neckband based on this measure. The new neckband will be 85% of the opening plus seam allowance. So you will do Opening X 0.85 + 1 (for SA). You now have the new length of the neckband. The width stays the same as the pattern.
You’re almost there. All you have to do now is cut the neckband and attach it to the shirt. Tadah! All done, you have a cool new off the shoulder raglan.

IMG_0903 IMG_0882 IMG_0888

I can’t wait to see what you create.  Don’t forget to show off your raglan in the group and keep an eye out for all the surprises during this Raglan Week.

IMG_0905

If you’ve hacked a sexy off-the-shoulder look of a raglan during P4P Raglan week, we would love for you to share it with us!  Head over to the Facebook Group or share on Instagram.  And be sure to use the tag#P4PRaglanWeek so we can find you!

Curious about what else has been happening during our raglan-loving week of fun?

Just take a look at our schedule!

Monday, September 19: Jolly Roger Raglan Pattern Update + Jolly Roger Add-On Pack Pattern Release

Tuesday, September 20: JRR Woven Fabric Hack

Wednesday, September 21: JRR Animal Faces Add-On

Thursday, September 22: Contrast Band Hack for Kangaroo Pockets

Friday, September 23: Women’s Keyhole / Scoopback Raglan Hack

Saturday, September 24: Off-The-Shoulder Raglan Hack

Sunday, September 25: Adding Stripes to Your Raglan Sleeves

Filed Under: Pattern Hacks, Uncategorized 4 Comments

Featured Patterns

  • Loosey Goosey Loosey Goosey $12.00 Original price was: $12.00.$10.50Current price is: $10.50.
  • Loosey Goosey- Youth Loosey Goosey- Youth $10.00 Original price was: $10.00.$8.50Current price is: $8.50.
  • Loosey Goosey - Bundle Loosey Goosey - Bundle $20.00 Original price was: $20.00.$18.00Current price is: $18.00.
  • Everyday Shirt Everyday Shirt $12.00
  • Everyday Shirt- Youth Everyday Shirt- Youth $10.00
  • Privacy Policy
  • Refund Policy
  • Affliliate Program
  • Contact Us
  • About

Copyright © 2025 Patterns for Pirates

Copyright © 2025 · Genesis Framework · WordPress · Log in