Patterns for Pirates

P4P stylish, modern, wearable patterns

  • Home
  • Blog
    • Frequently Asked Questions
    • Pattern Releases
      • Free Patterns
    • P4P University
      • Fitting
      • Sewing with Stretch, Knit Fabrics
      • Sewing with Woven Fabrics
      • Sewing Machines
    • Sew-A-Longs
    • Fabric for Pirates
    • Pattern Hacks
    • Announcement
      • Blog Tours
      • Contest/Giveaway
  • Shop
  • Bundle Discounts
  • Gift Cards
  • My Account
  • Cart

P4P University – Intended Fit vs. Preferred Fit

November 16, 2020


One of the huge benefits to making your own clothing is having finished garments that fit just the way you like! Sometimes it takes a little trial and error, adjustments, or blending of sizes to find the perfect fit for you, and other times the pattern is designed exactly the way you like it. Today we are going to dig into the intended fit of a pattern versus your fit preferences (which sometimes differ from the intended fit).

Intended Fit

First, let’s talk about what intended fit means. The intended fit is how the pattern is designed, by the pattern designer, to fit your body. It is based on sizing using your current measurements, the use of fabrics suggested in the pattern, and using the given seam allowances. These factors all play a role in obtaining the intended fit of a given pattern.

A great way to see the intended fit of a pattern across all sizes, would be to view the listing photos on the website as well as the album in the P4P Facebook Group. Both of these options show photos of the garments made by the pattern testers. All testers are required to make the patterns as designed, for their measurements, without any modifications.

Preferred Fit

When it comes to preferred fit, it is pretty much exactly how it sounds: how you like your clothes to fit. Maybe you like your sleeves extra long or for your shirts to always hit right at your hip bone. It could be that you don’t like high necklines or you would like the skirts of your dresses to be extra full. For me, I am more comfortable in clothing that fit a bit loose around my stomach.

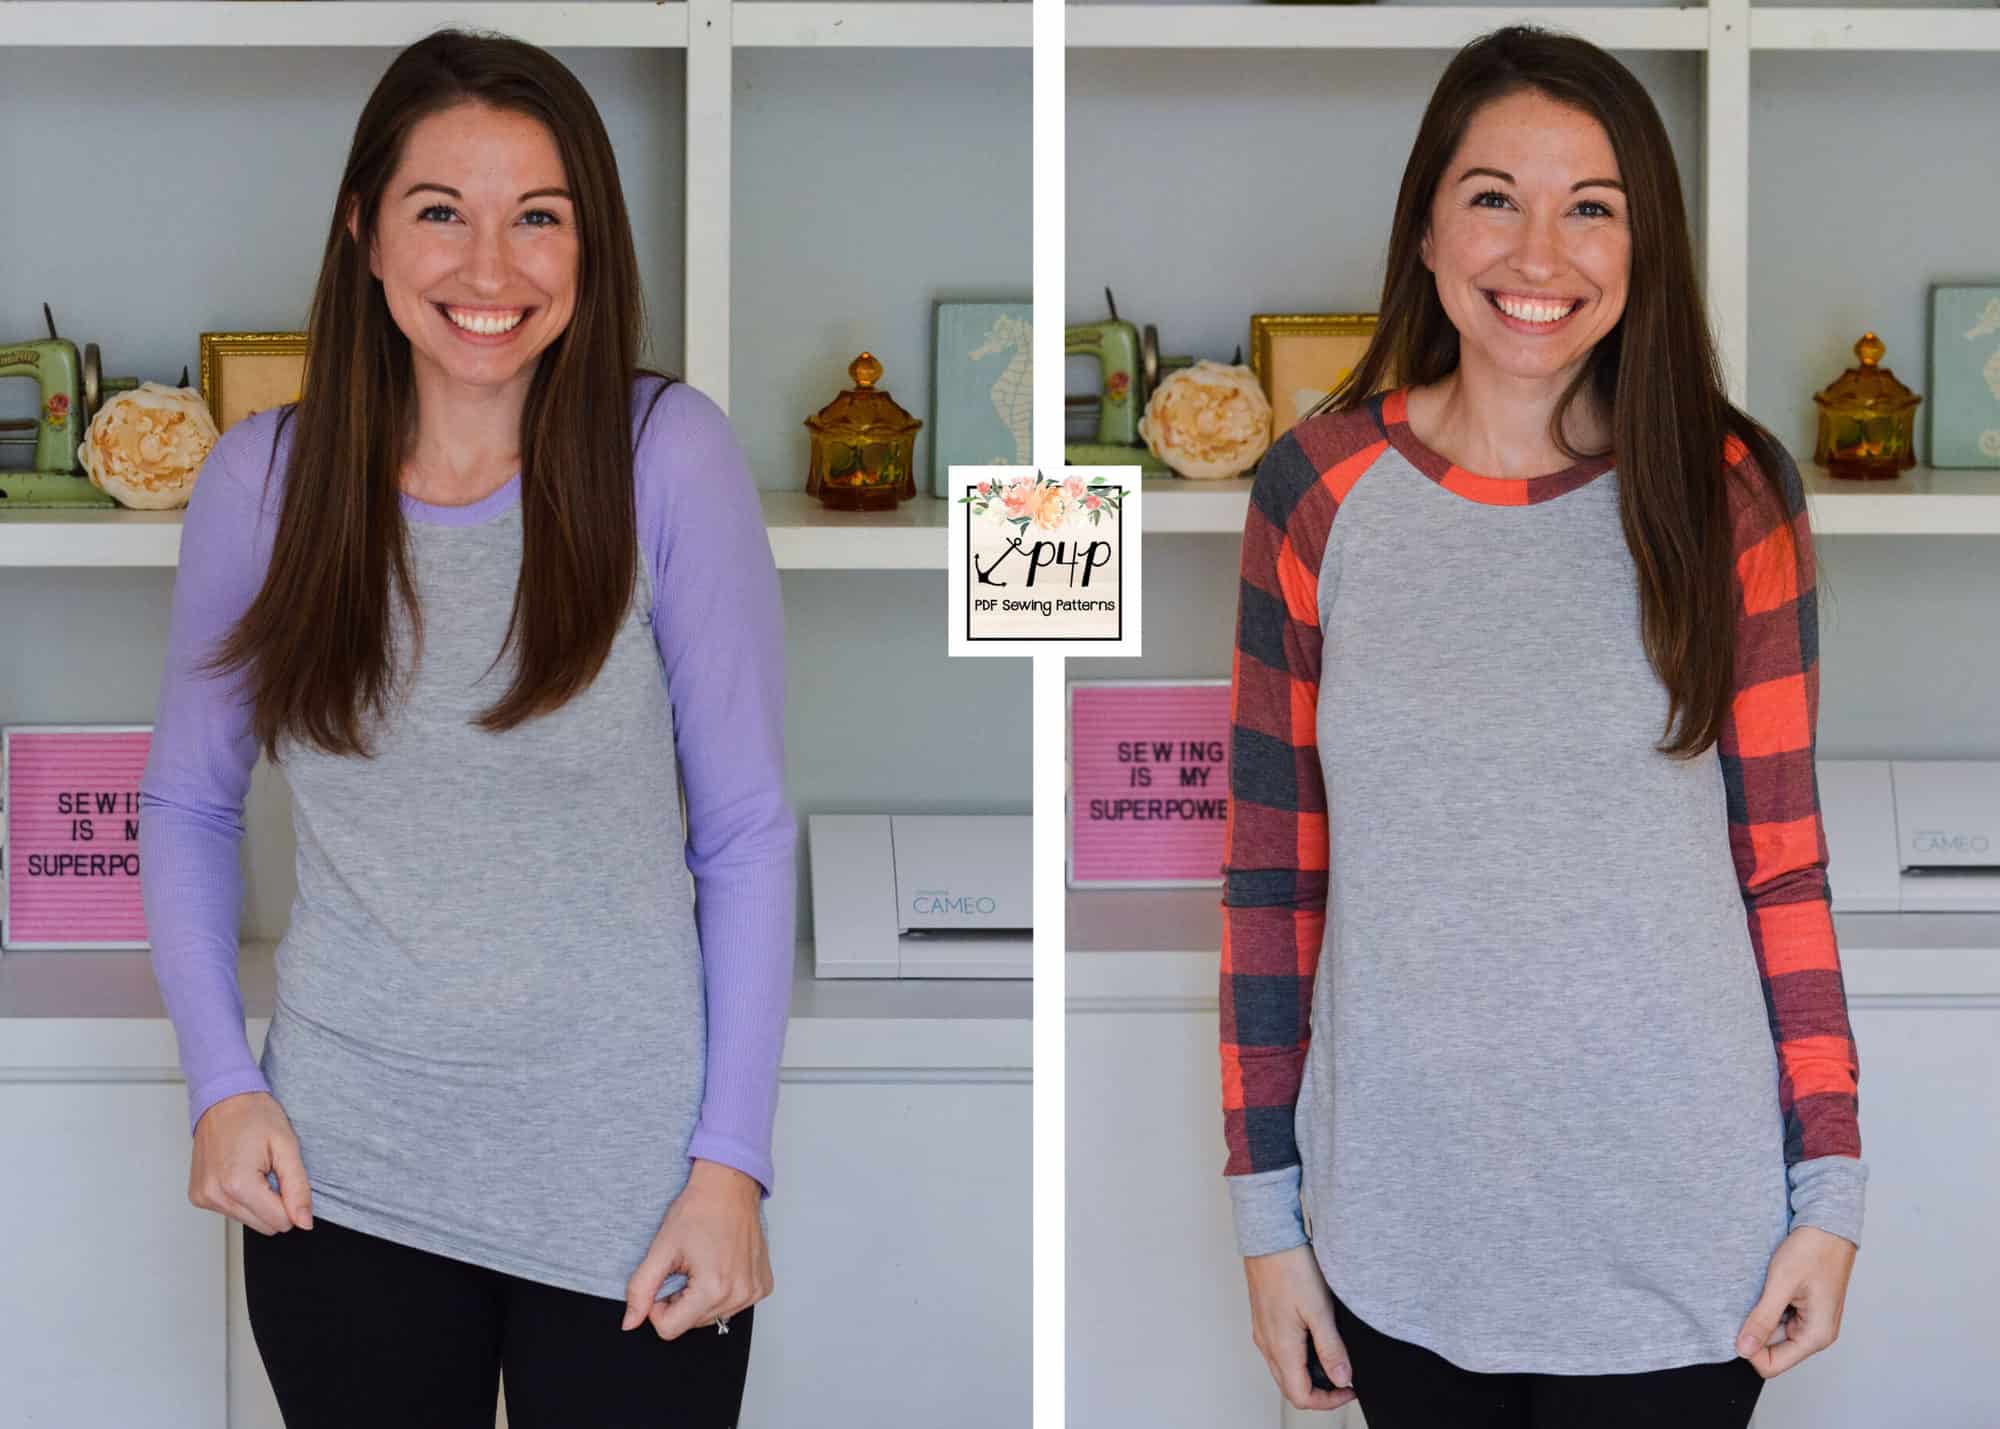
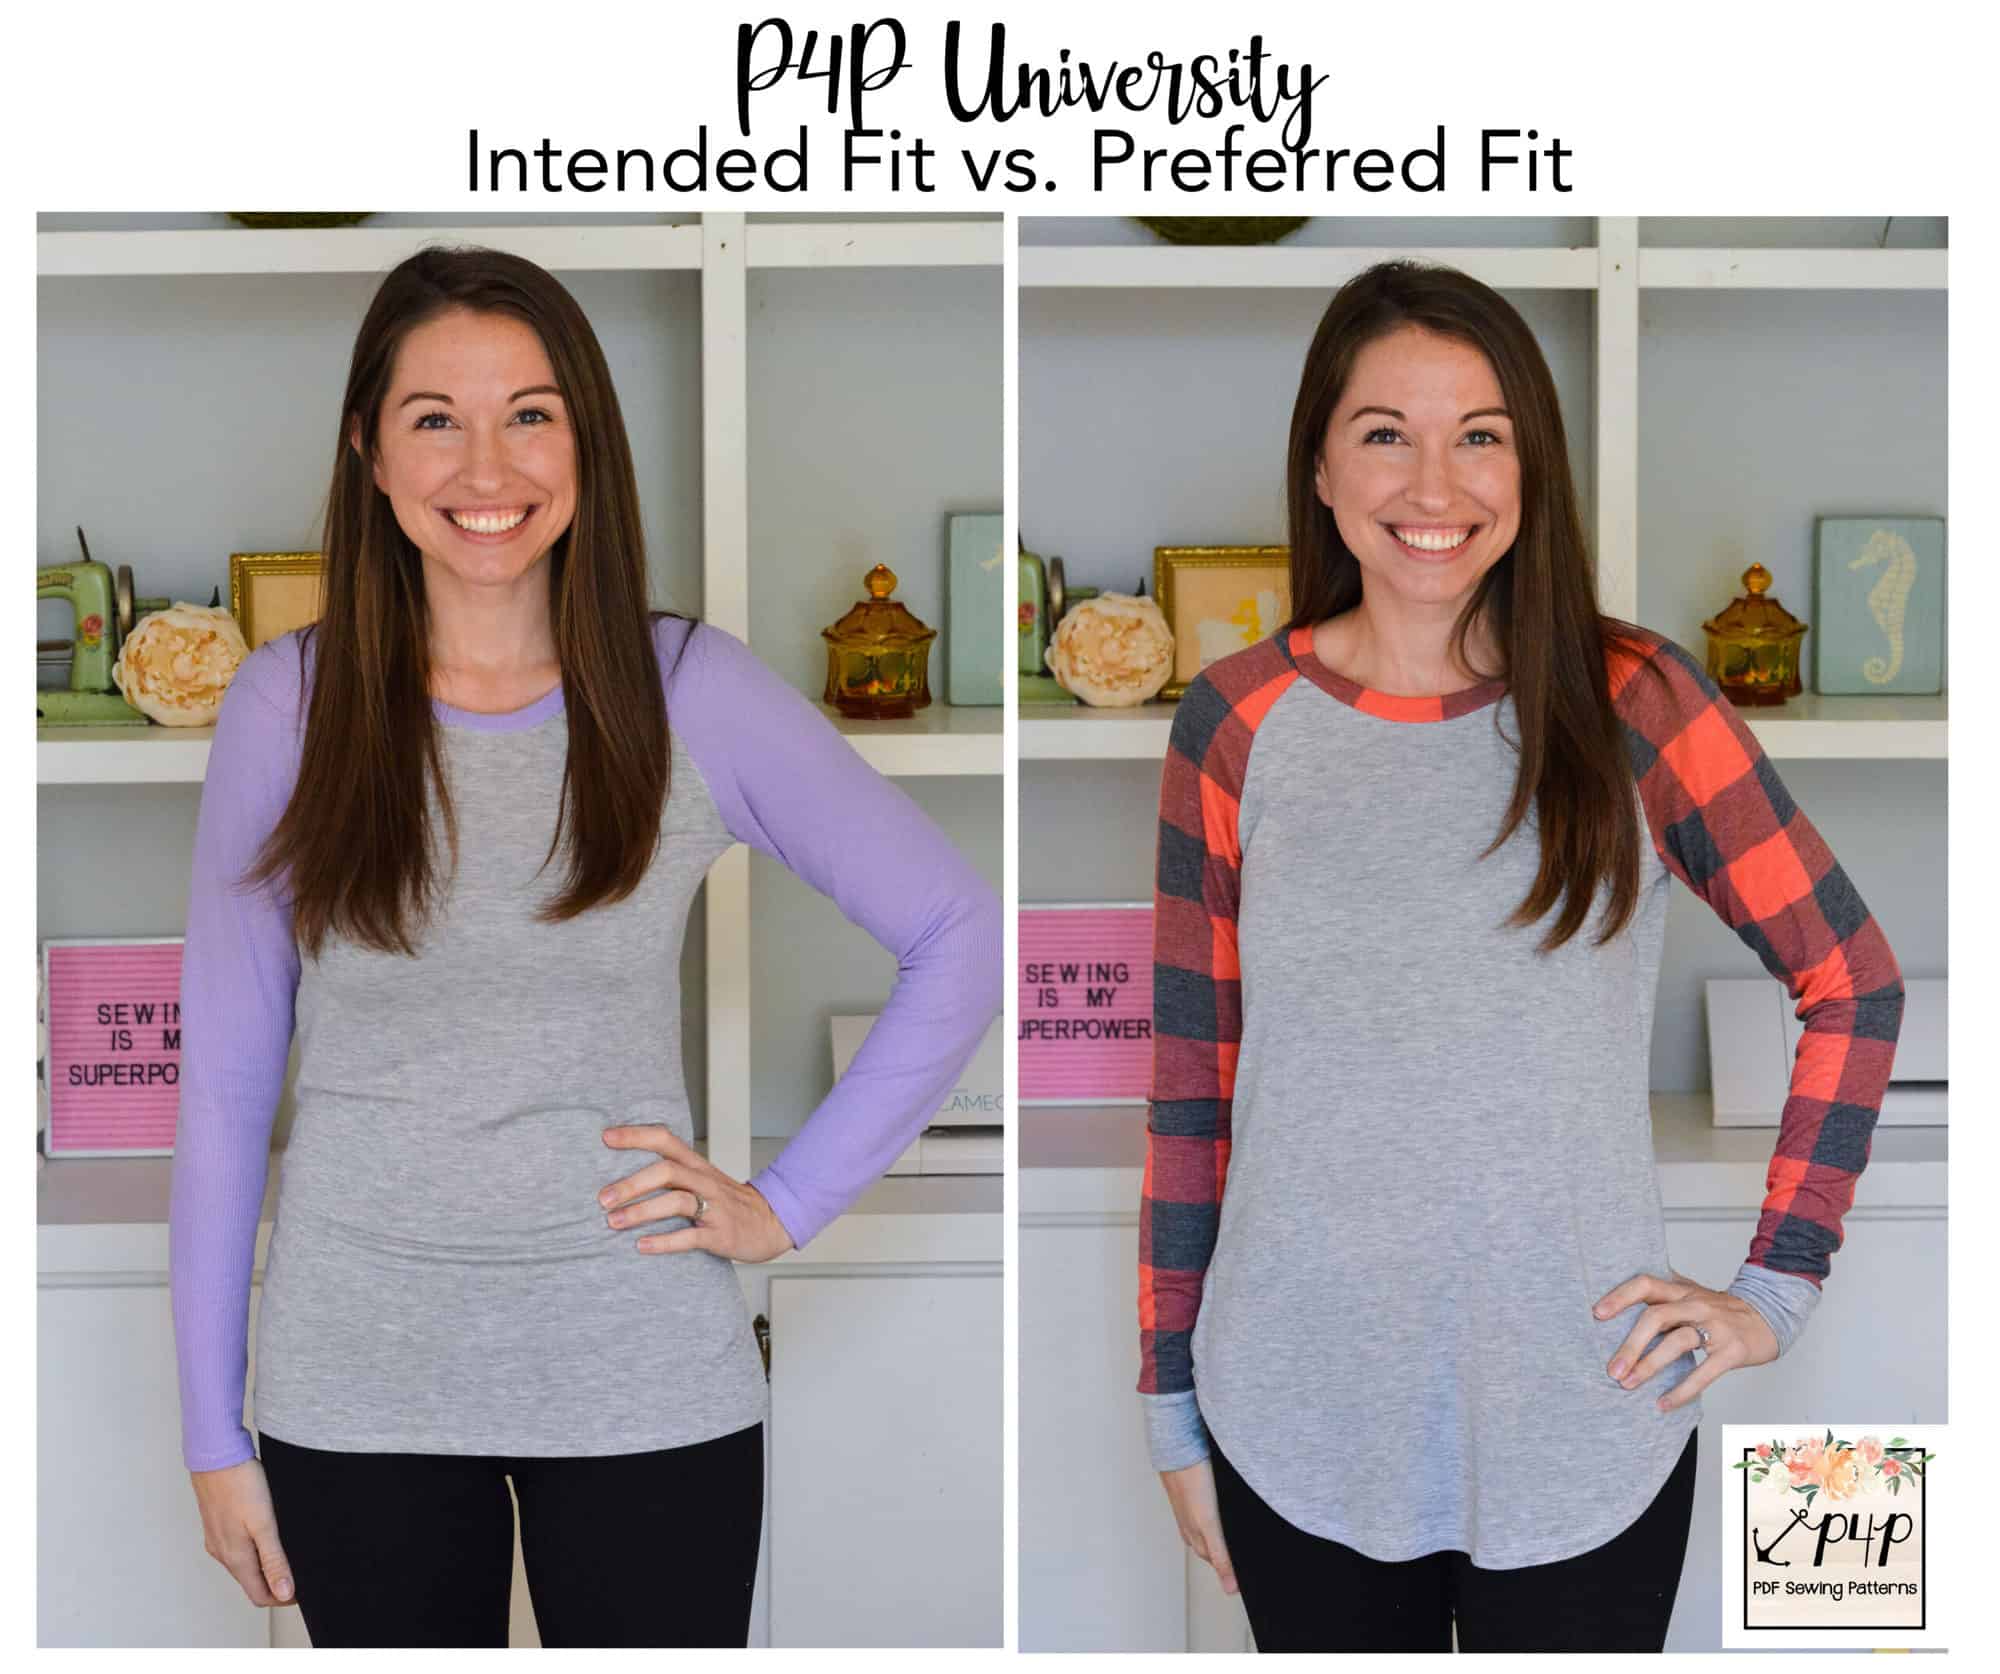
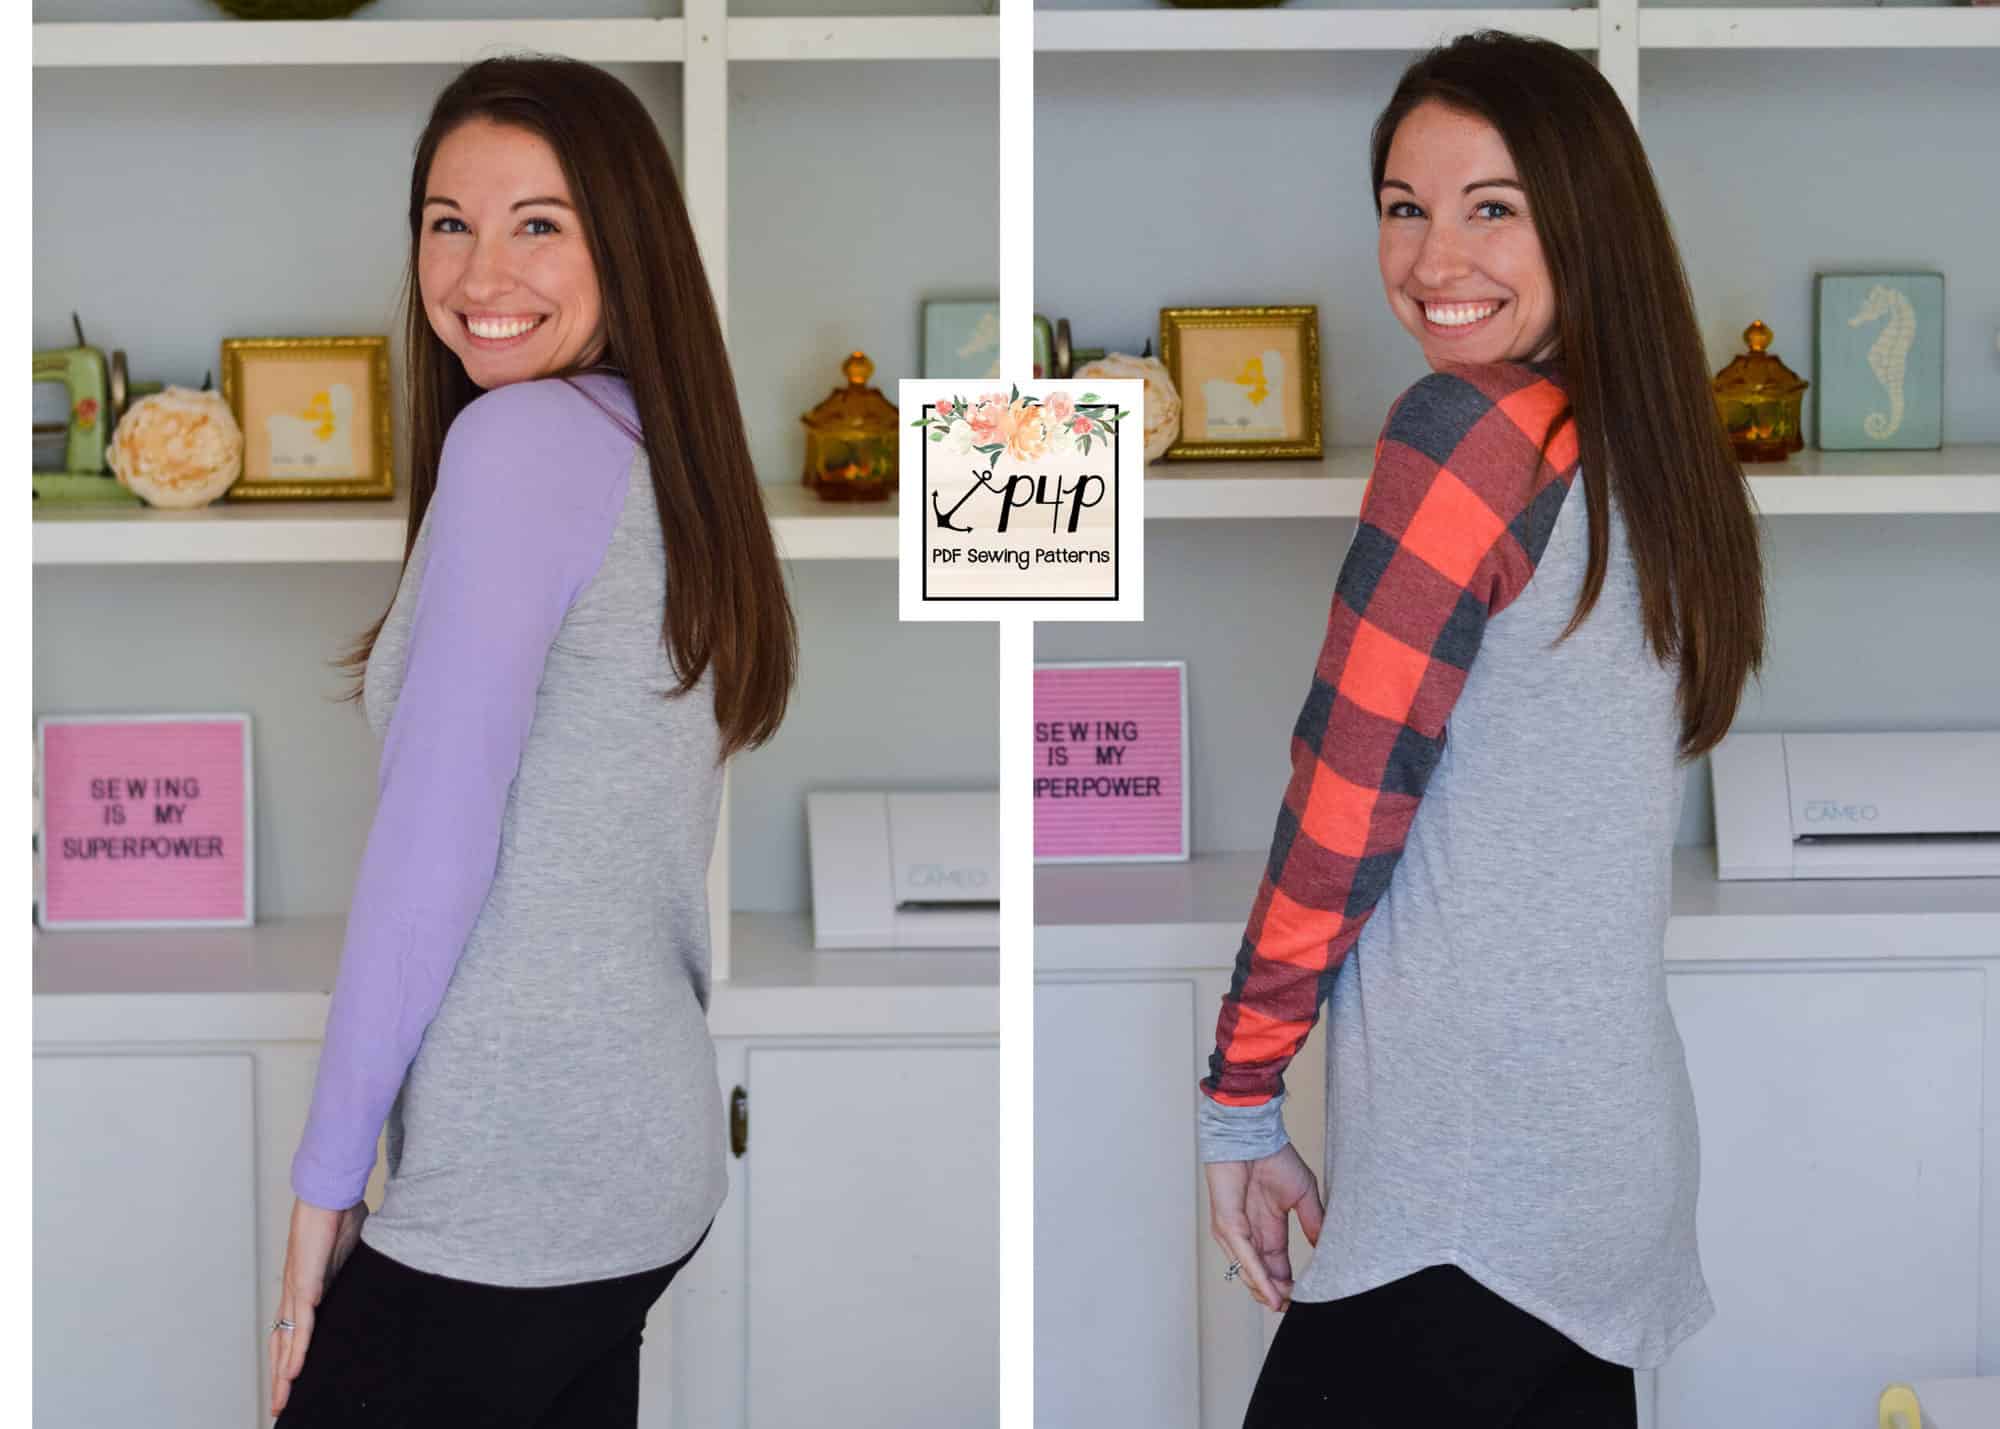
The Slim Fit Raglan is the perfect example for my intended fit vs. preferred fit comparison. The SFR is one of my most made patterns because I just adore the shape and style. It is intended to be semi-fitted and allows a wide range of fabric choices. You can see how the pattern is intended to fit me in the photo on the left (purple sleeves). I made the pattern based on my measurements, in my correct size, and followed the pattern exactly. It’s a super cute and comfy but is a little more fitted around my waist than I prefer.

If you are making a pattern for the first time, I always recommend making a muslin (or a practice version) before cutting into your favorite fabrics. If you make the pattern as intended, you are then able to decide if you would like to make adjustments and where. For my SFR, I decided to grade to the next size up from the bust down. This allowed me to keep all of my favorite things about the pattern but also provide a fit that I really felt good in.

Some things to remember when striving for that perfect fit:

  • Am I measuring myself correctly? P4P University has a great post, if you need some help.
  • Is my pattern printed correctly? Always double check that 2″ square.
  • Am I using the right kind of fabric for this particular pattern? The patterns always list recommended fabrics and you can also check out the tester photos to see how those fabric types look with the pattern. If you are using fabrics types that are outside of the suggested ones, you may need to make other adjustments to get the intended fit.
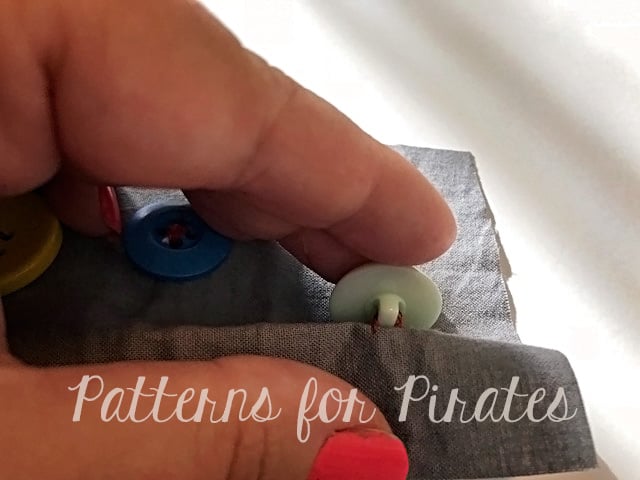
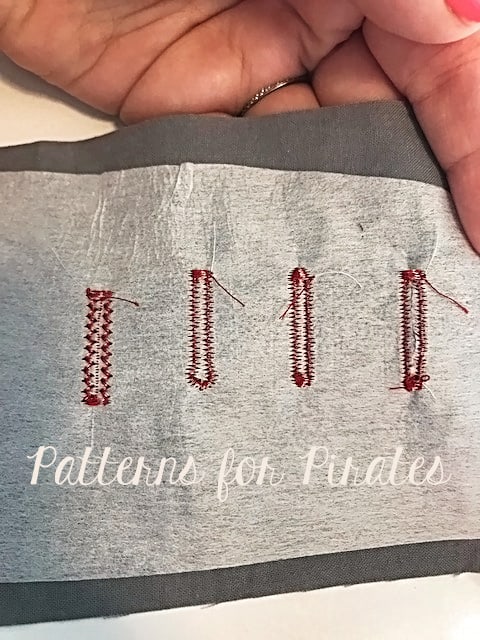
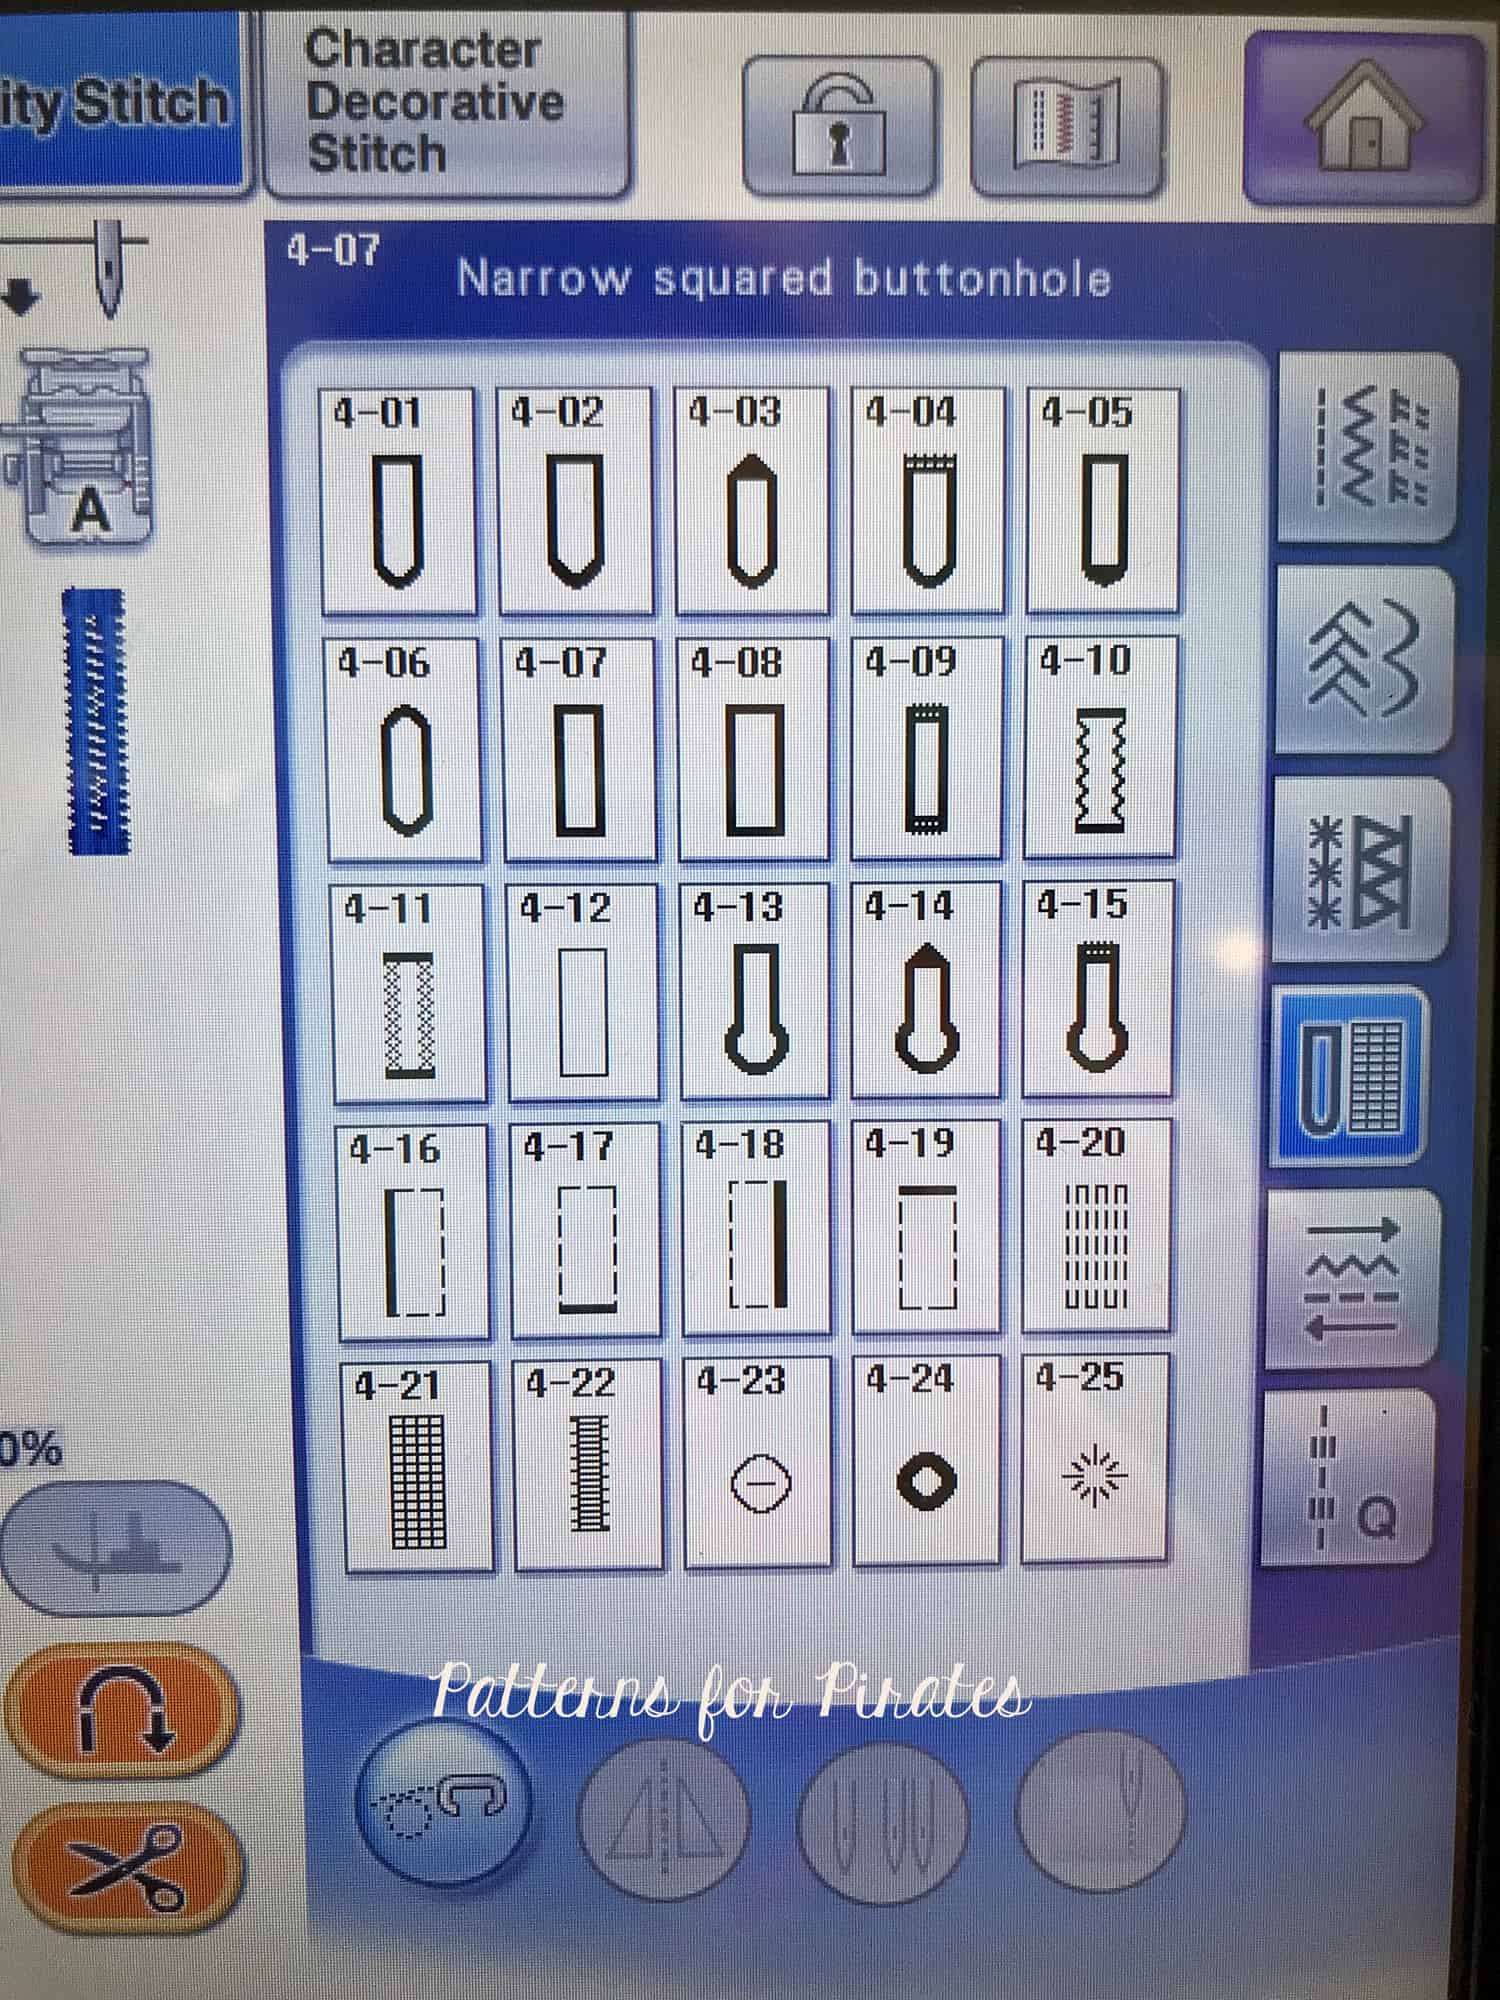
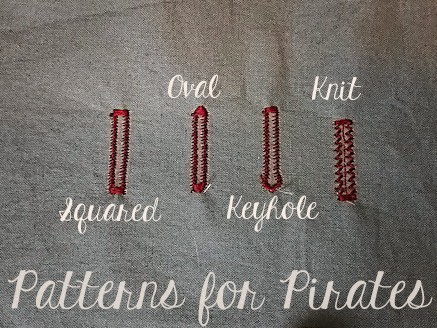
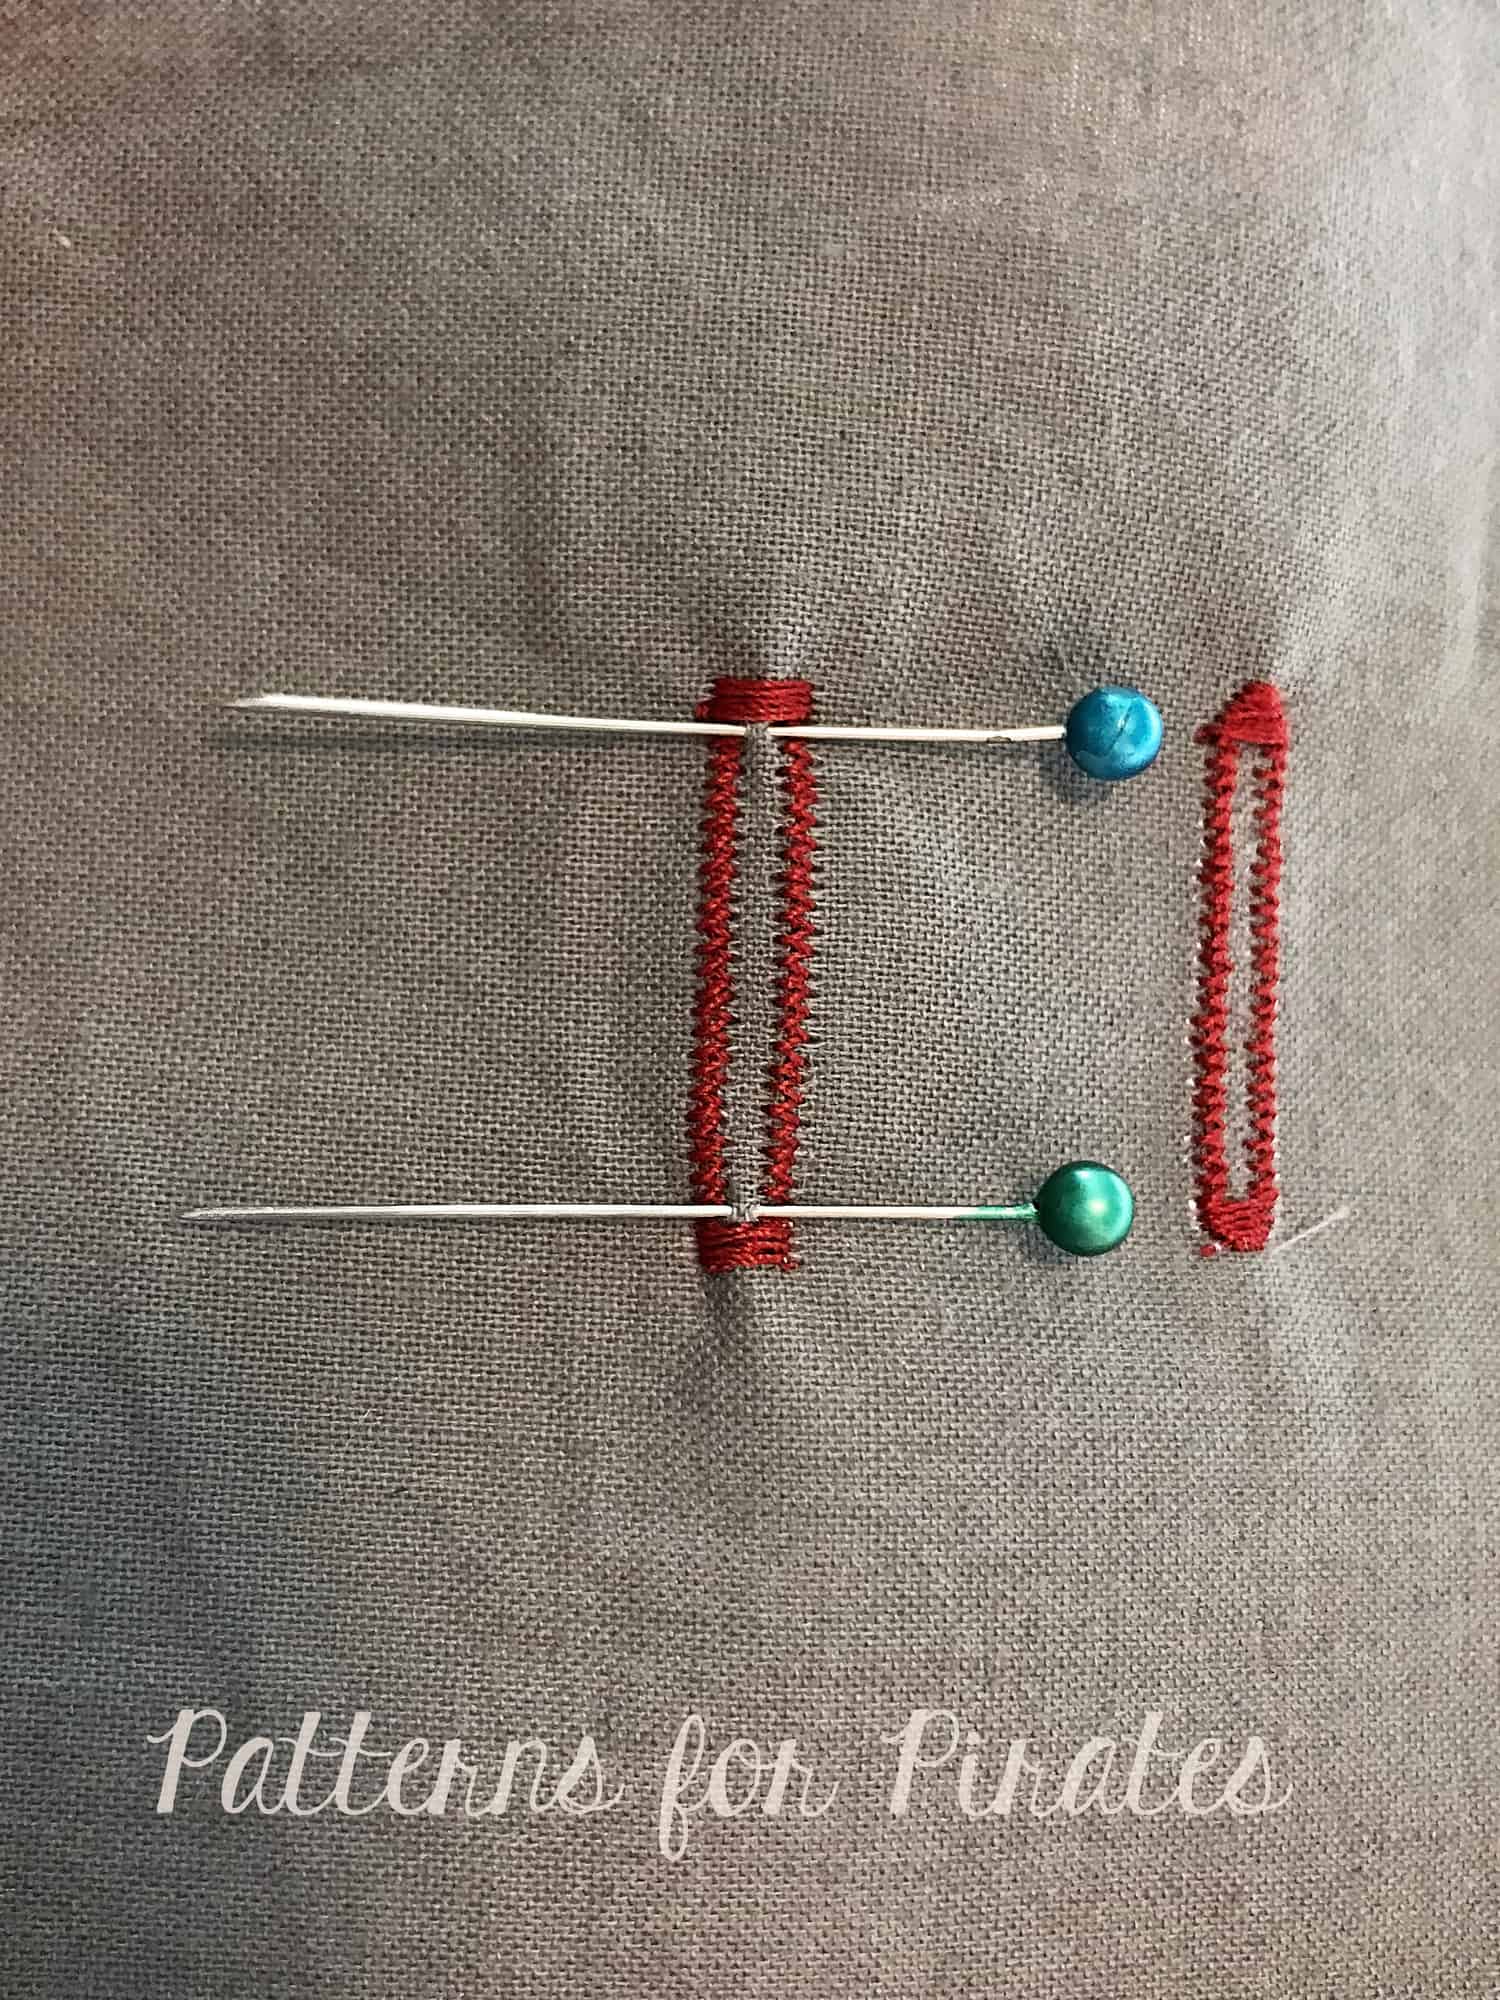
  • Lastly, am I using the proper seam allowance? You won’t believe what a difference, 1/4″ all around makes if you miss this one.

I hope this helps you determine how a pattern is intended to fit and encourages you to make them your own and feel great in everything you make!


Filed Under: P4P University Leave a Comment

P4P University – Buttons and Buttonholes

June 26, 2018

Ohh the dreaded buttons and button holes!!! Well…fear them no more. Today on the blog I wanted to talk to you about buttons and how easy it can be to add buttonholes to your projects.


Buttons

I am sure you noticed a few styles of buttons while walking around the notions sections of you favorite fabric store. The most commonly used buttons are 2-hole ones, 4-hole buttons and shank buttons.

  • 2 hole buttons are usually used for decorative purposes or for items that will not require a heavy use of the buttons. That being said, I personally prefer the look of the 2 hole button for day to day wear so I just reinforce the stitching to make it more durable.
  • 4 hole buttons will yield a sturdier construction. You can sew them on using an ” X “ style stitch or a ” = ” style. Either one of the methods can be done using a sewing machine or hand sewing.
  • Shank buttons are buttons that once sewn will not lay flushed with the fabric. They have a shank that will allow for some space between the button and the garment. These style buttons can be used for decorative purposes but they are mainly used when adding buttons to coats or heavy jackets.

You can sew buttons by hand or using your sewing machine. All 3 types of buttons listed above can be sewn by hand while only the 2 hole and 4 hole buttons can be sewn with the machine.

Note: when using a 4 hole button it is generally preferred to add a thread shank so there is some space between the button and the fabric. That can only be achieved by hand sewing.

In the video below I am showing you how to attach two-hole buttons with your sewing machine and different button feet available.


Buttonholes

Now that we have added buttons, we need to add button holes. Here are some must-does when adding buttonholes.

Always interface!

The key to successful buttonholes is interfacing the fabric. Whether you are using knit, light weight of medium weight woven always interface the areas you plan on adding buttonholes. Light to medium weight interfacing would work best.

Chose the right buttonhole style for your fabric! 

You might have noticed that your machine has quite a few options for button holes.

The one I use most is the squared one (as you can see in the video below) because I sew mainly medium weight fabrics. This buttonhole is also used for home decor sewing. If you use light weight fabrics, silks or chiffons, use the “oval” buttonhole, the one that has a round top and bottom.

If you are sewing coats or heavy weight jackets you will want to use a keyhole buttonhole because it will make pulling a thicker button through it much easier. When sewing knit outfits, if you need to preserve the stretch of the fabric around the buttonhole then the “knit buttonhole” is the one to use. It features a wider zig zag or a criss-cross stitch.

All you have to do now is make a slit in the fabric to allow for the button to pull through the hole. I like to use my seam ripper for that (make sure it’s not dull!!) and mark the top and bottom ends of the hole with pins as shown below.

This will help prevent any unwanted snips of the thread.

In the next video you can see the buttonhole foot in action.

Now that we have all that covered and hopefully you feel more confident sewing buttons and buttonholes, go sew some Henley and Lumberjack shirts and Brunch Blouses and be sure to show them off in the P4P group.

Filed Under: P4P University, Sewing Machines, Sewing Techniques, Uncategorized 3 Comments

Newest Patterns

  • Notch Top & Dress $12.00 $10.50
  • Notch Top & Dress - Youth $10.00 $8.50
  • Notch Top & Dress - Bundle $20.00 $18.00
  • Friendly City Sweater $12.00
  • Friendly City Sweater - Youth $10.00
  • Privacy Policy
  • Refund Policy
  • Affliliate Program
  • Contact Us
  • About

Copyright © 2023 Patterns for Pirates

Copyright © 2023 · Genesis Framework · WordPress · Log in