
I’m so excited to bring you this fun summer hack! These open leg pants are perfect for summertime, yoga, belly dancing, beachwear coverup, and really whatever you want them to be! I’ll be taking you through two styles- the overlap with a tie and the split seam with banding. They can be mixed and match as well :).
Let’s talk about fabric, drapey fabrics are a must for this so things like Bamboo Lycra, Rayon spandex, and Double Brushed Poly work great (although DBP is better for colder weather due to breathability). I used Bamboo Lycra for both of my options. I definitely recommend using a cheap muslin fabric first to make sure you get the fit you want before cutting into your nice fabric.
Now for the fun part! Open up your Palazzo pattern and for sizing I chose to size up for a looser fit through the hips. Print your pattern and assemble as normal.
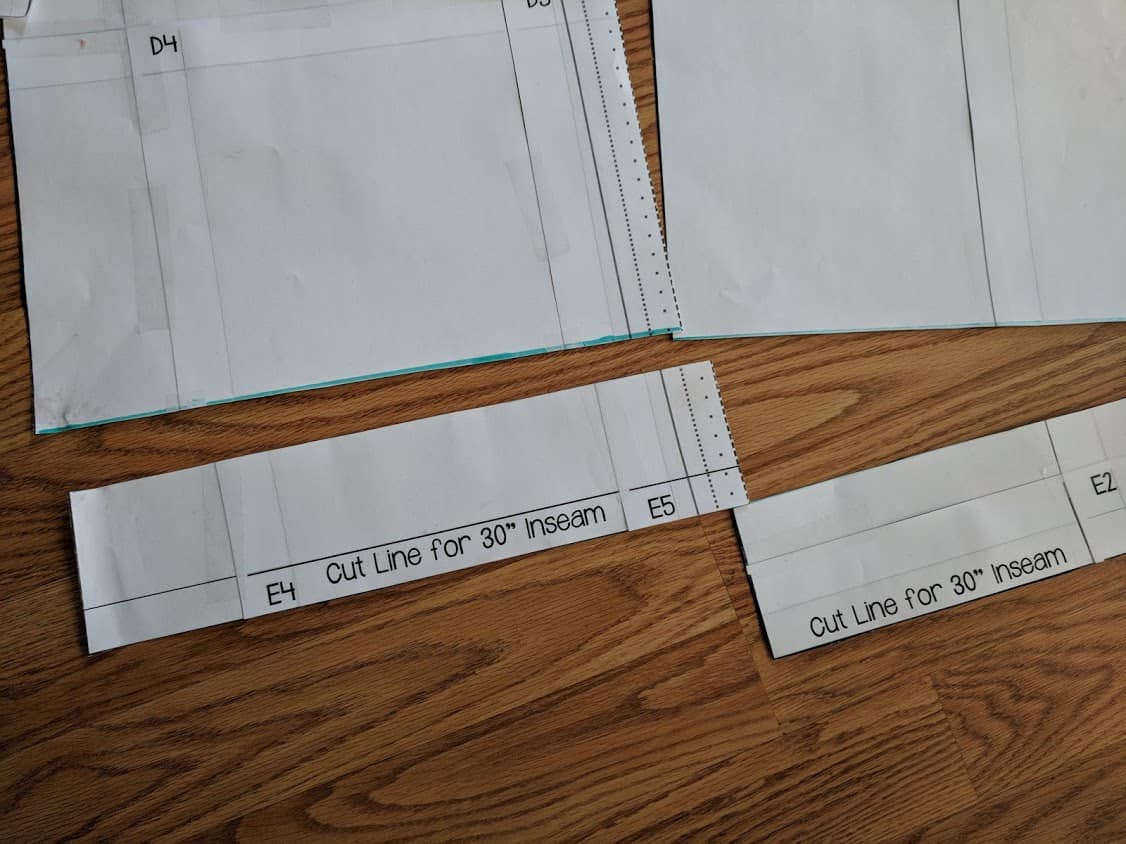
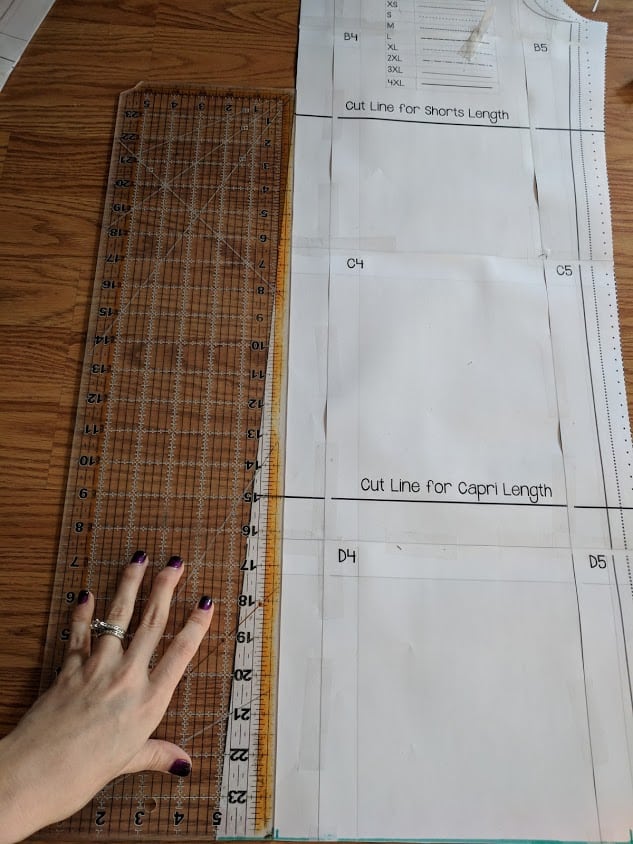
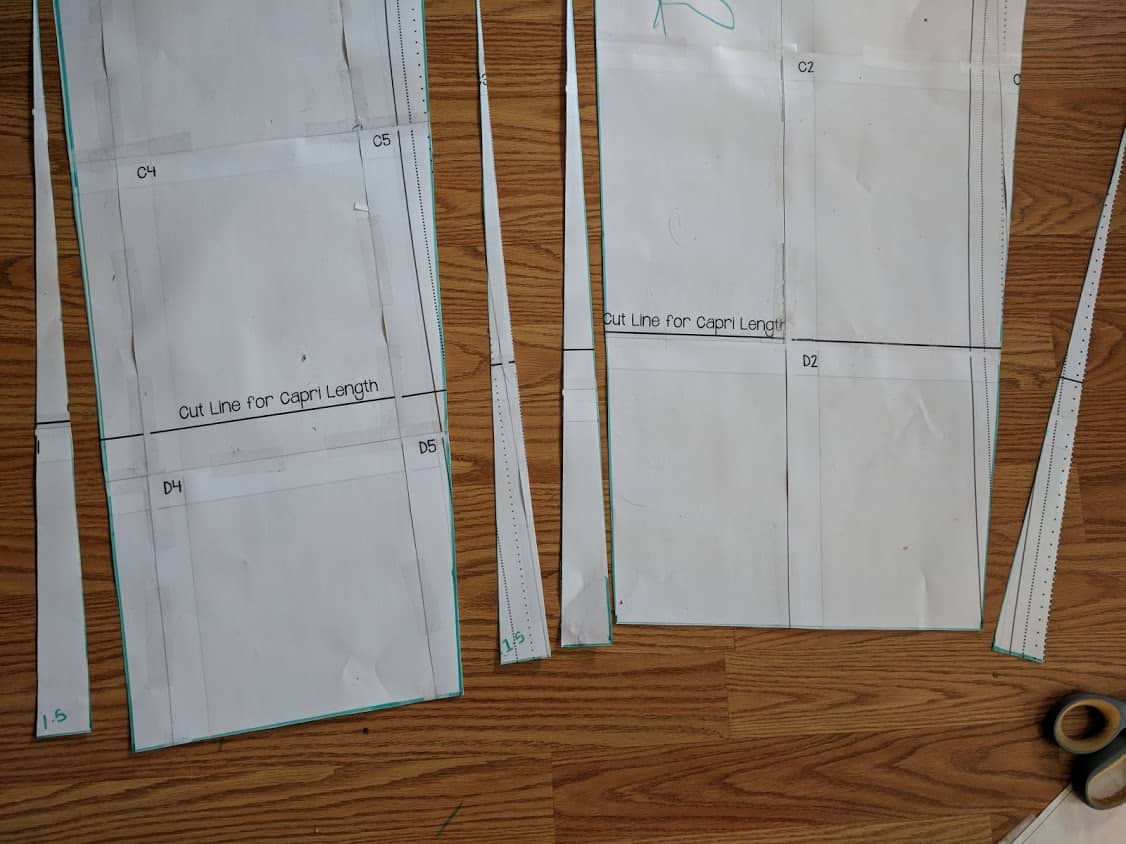
First, you’ll need to take off some length – I took off about 3 inches. It still left me with a lot of drape at the ankle. It was perfect for the tie version but if you want less ankle drape you’ll need to take off more especially for the cuff version.

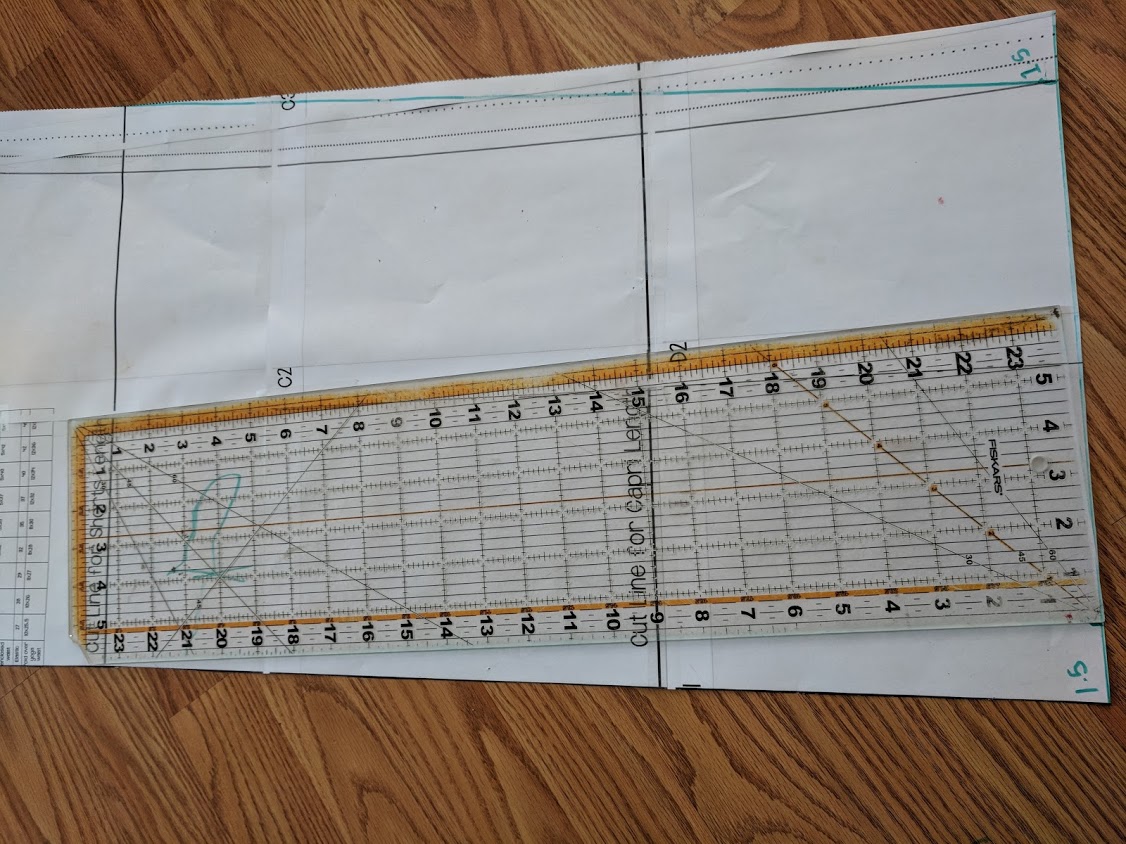
Next, you need to taper in your legs. The amount you take in will also determine the look you want. If you want a thinner leg take them in even more. For the tie option, I marked in 1.5 inches on each side of the pattern piece for a size medium. (If you are doing the cuff I’d recommend taking it in .5-1 inch more.)
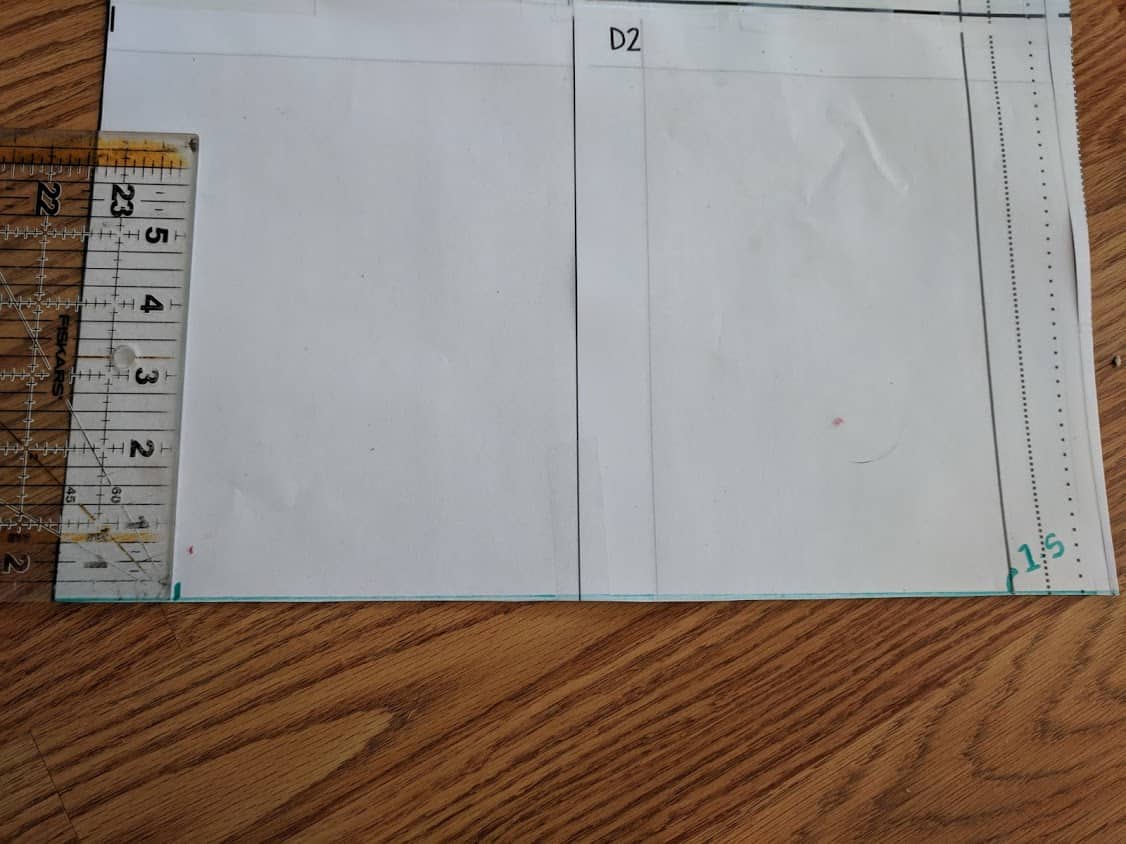
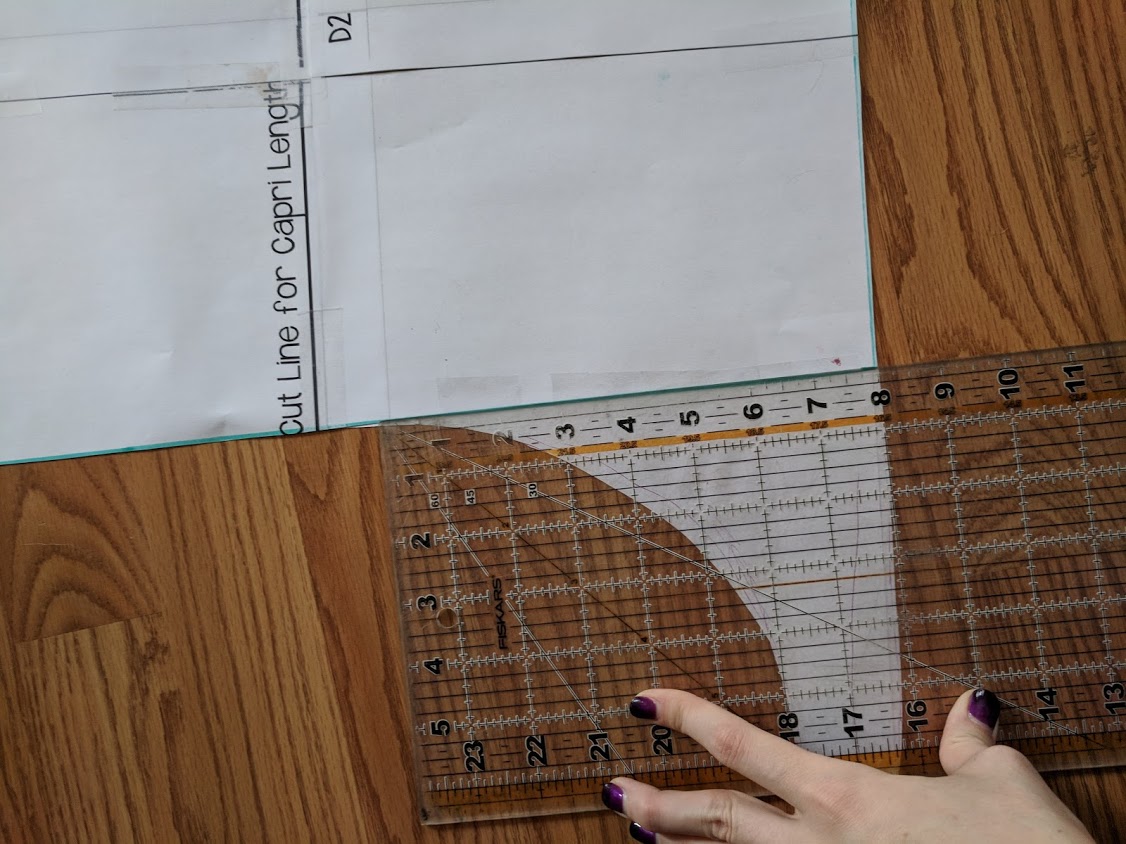
Once you have your 1.5 inches marked on both pieces you’ll take a straight edge up to the shorts cut line to create a gradual grade ending there. Now cut those off.
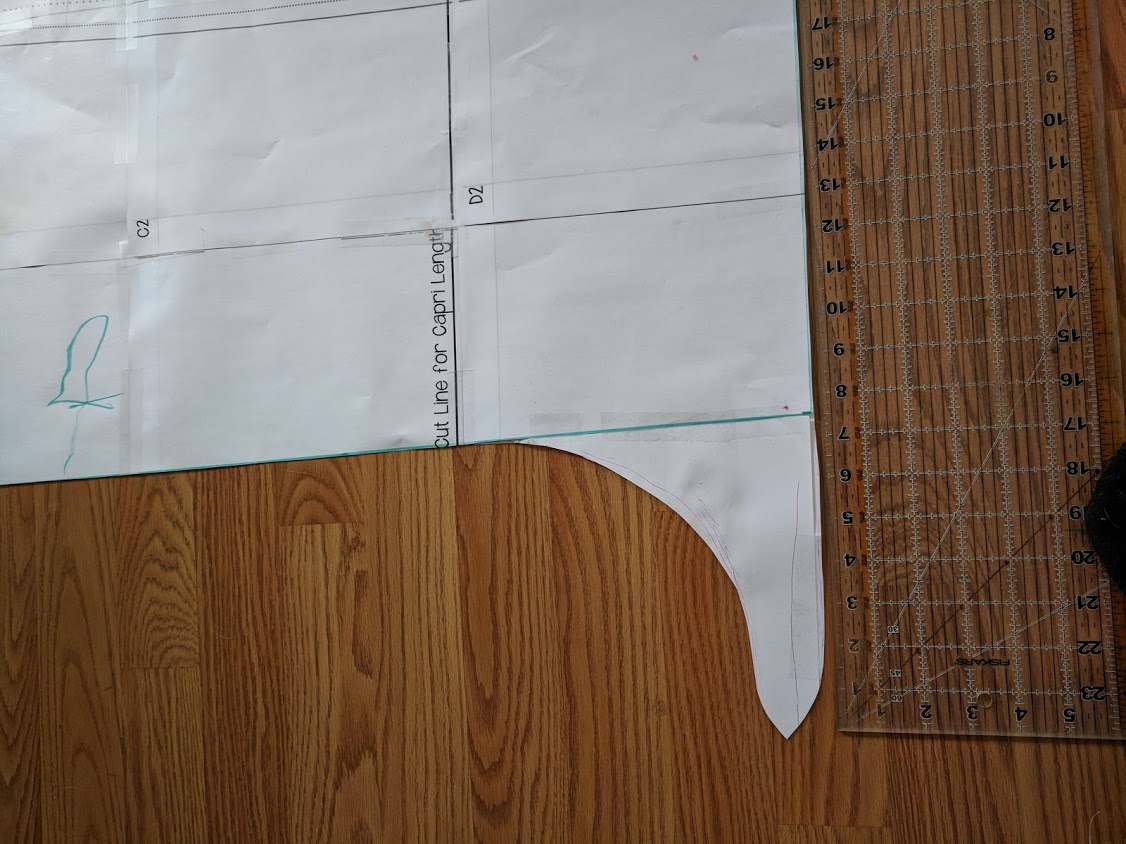
If you are doing the Cuff bottom stop here and move on to sewing. If you are wanting the tie- you’ll need to create a tie extension on the outer leg seam. Honestly I just kind of winged it. The size shown here is smaller than the one in the photograph as those were a tad too long. Here are the measurements and tie shape. Make sure you do matching ties on both outer edge seam pieces.
Now cut out your fabric pieces! For your waistband- I used the fold over yoga band and you’ll cut it at your normal size, not the upsized.
Sewing the Tie Overlap option-
The first thing you are going to do is hem the entire outside edge of the pants through the tie and along the bottom using a .25-.5 inch hem. It’s a lot of hemming but worth it! Do this on all four pieces. Outside edge only- not the inner leg seam.
Next lay your front and back pattern pieces right sides together and sew up the inner leg seam as instructed in the original pattern. Then sew the two pieces together along the crotch seam.
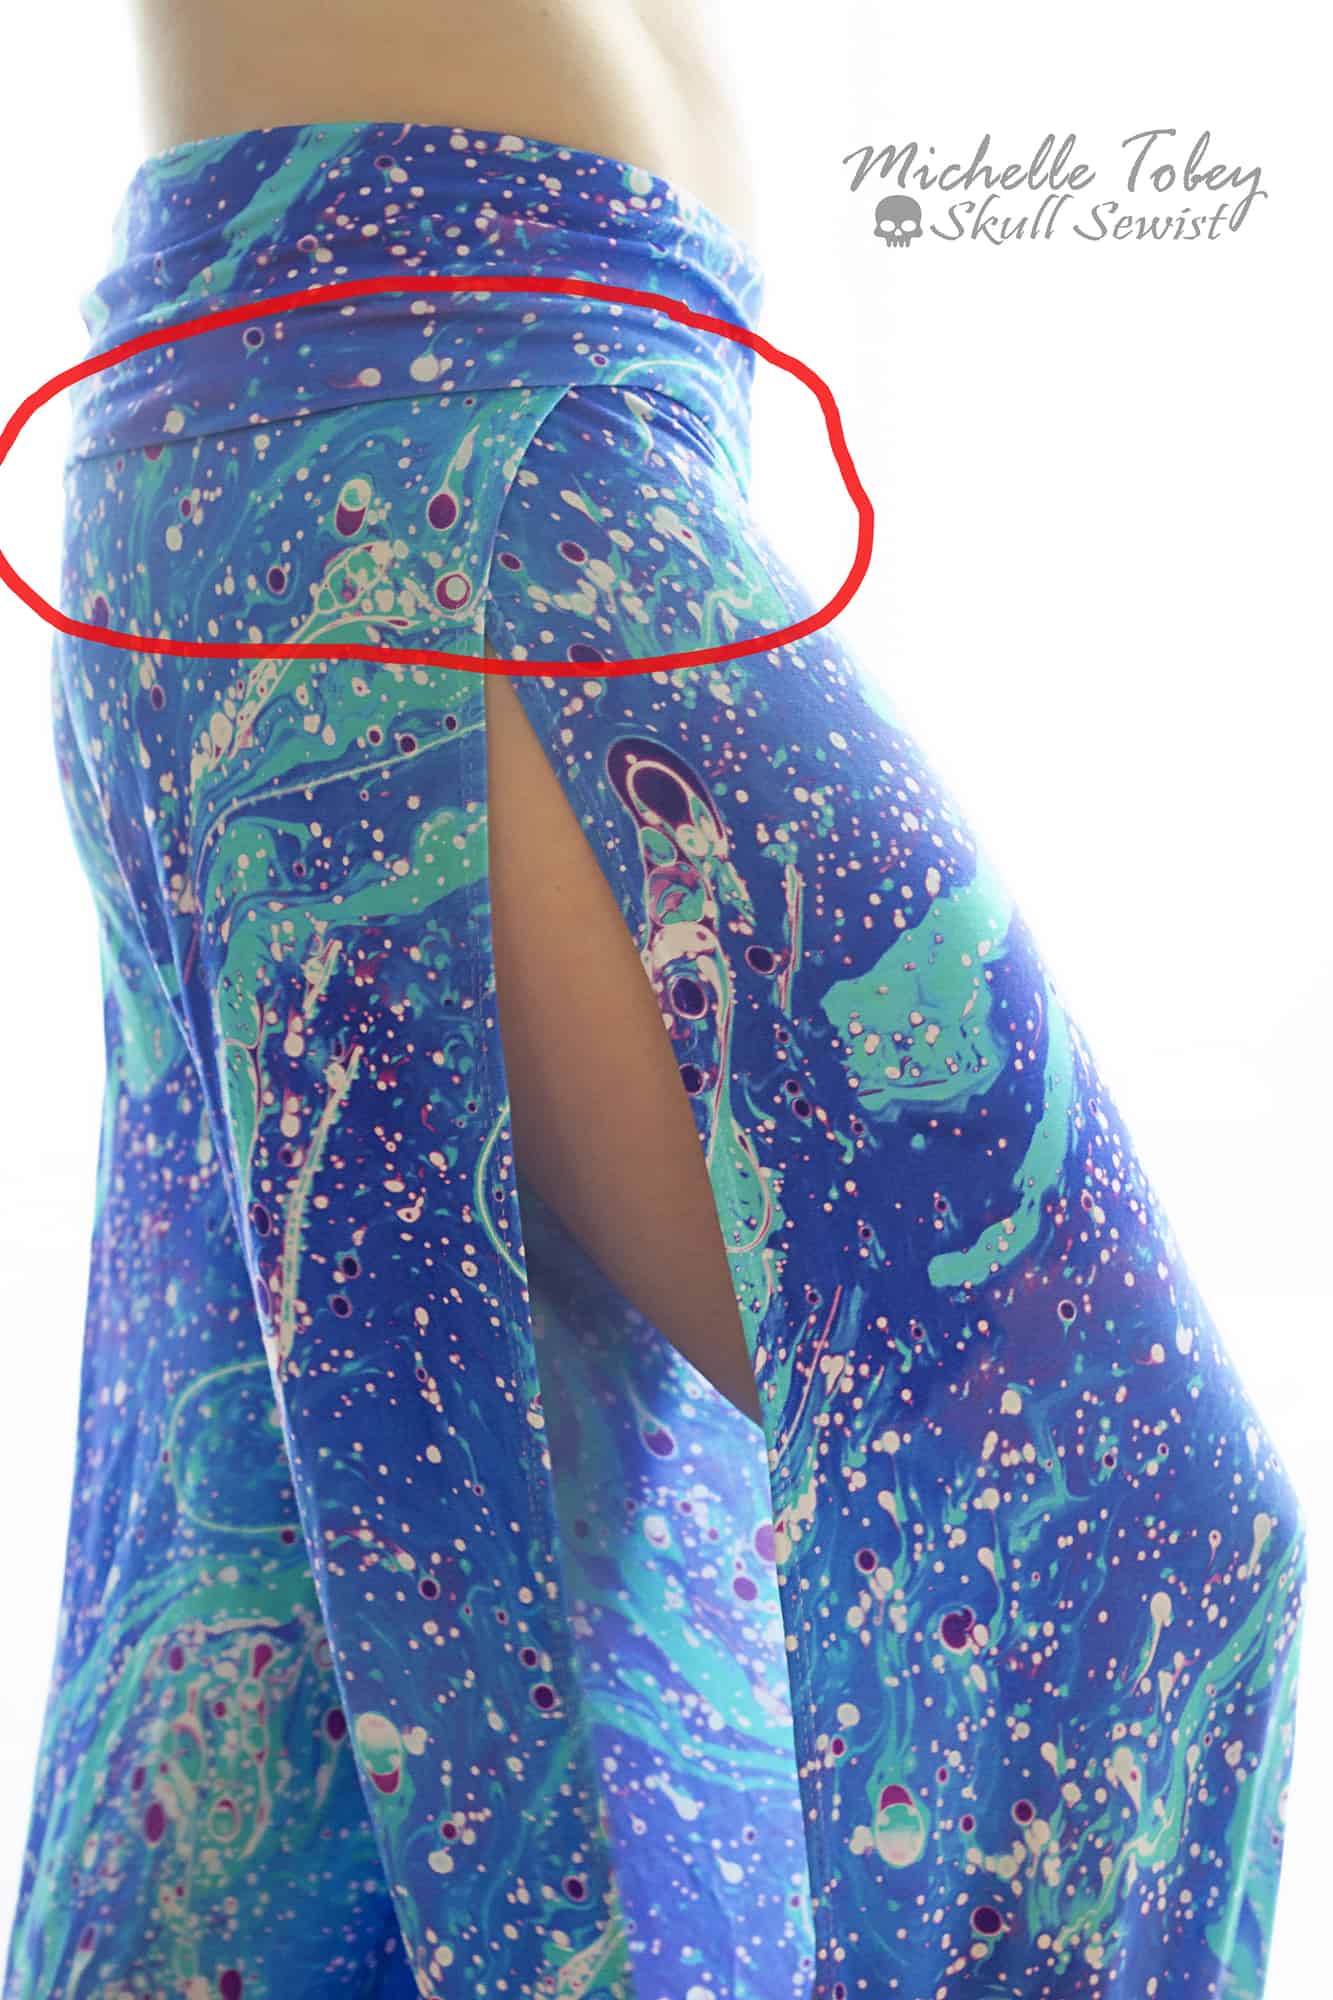
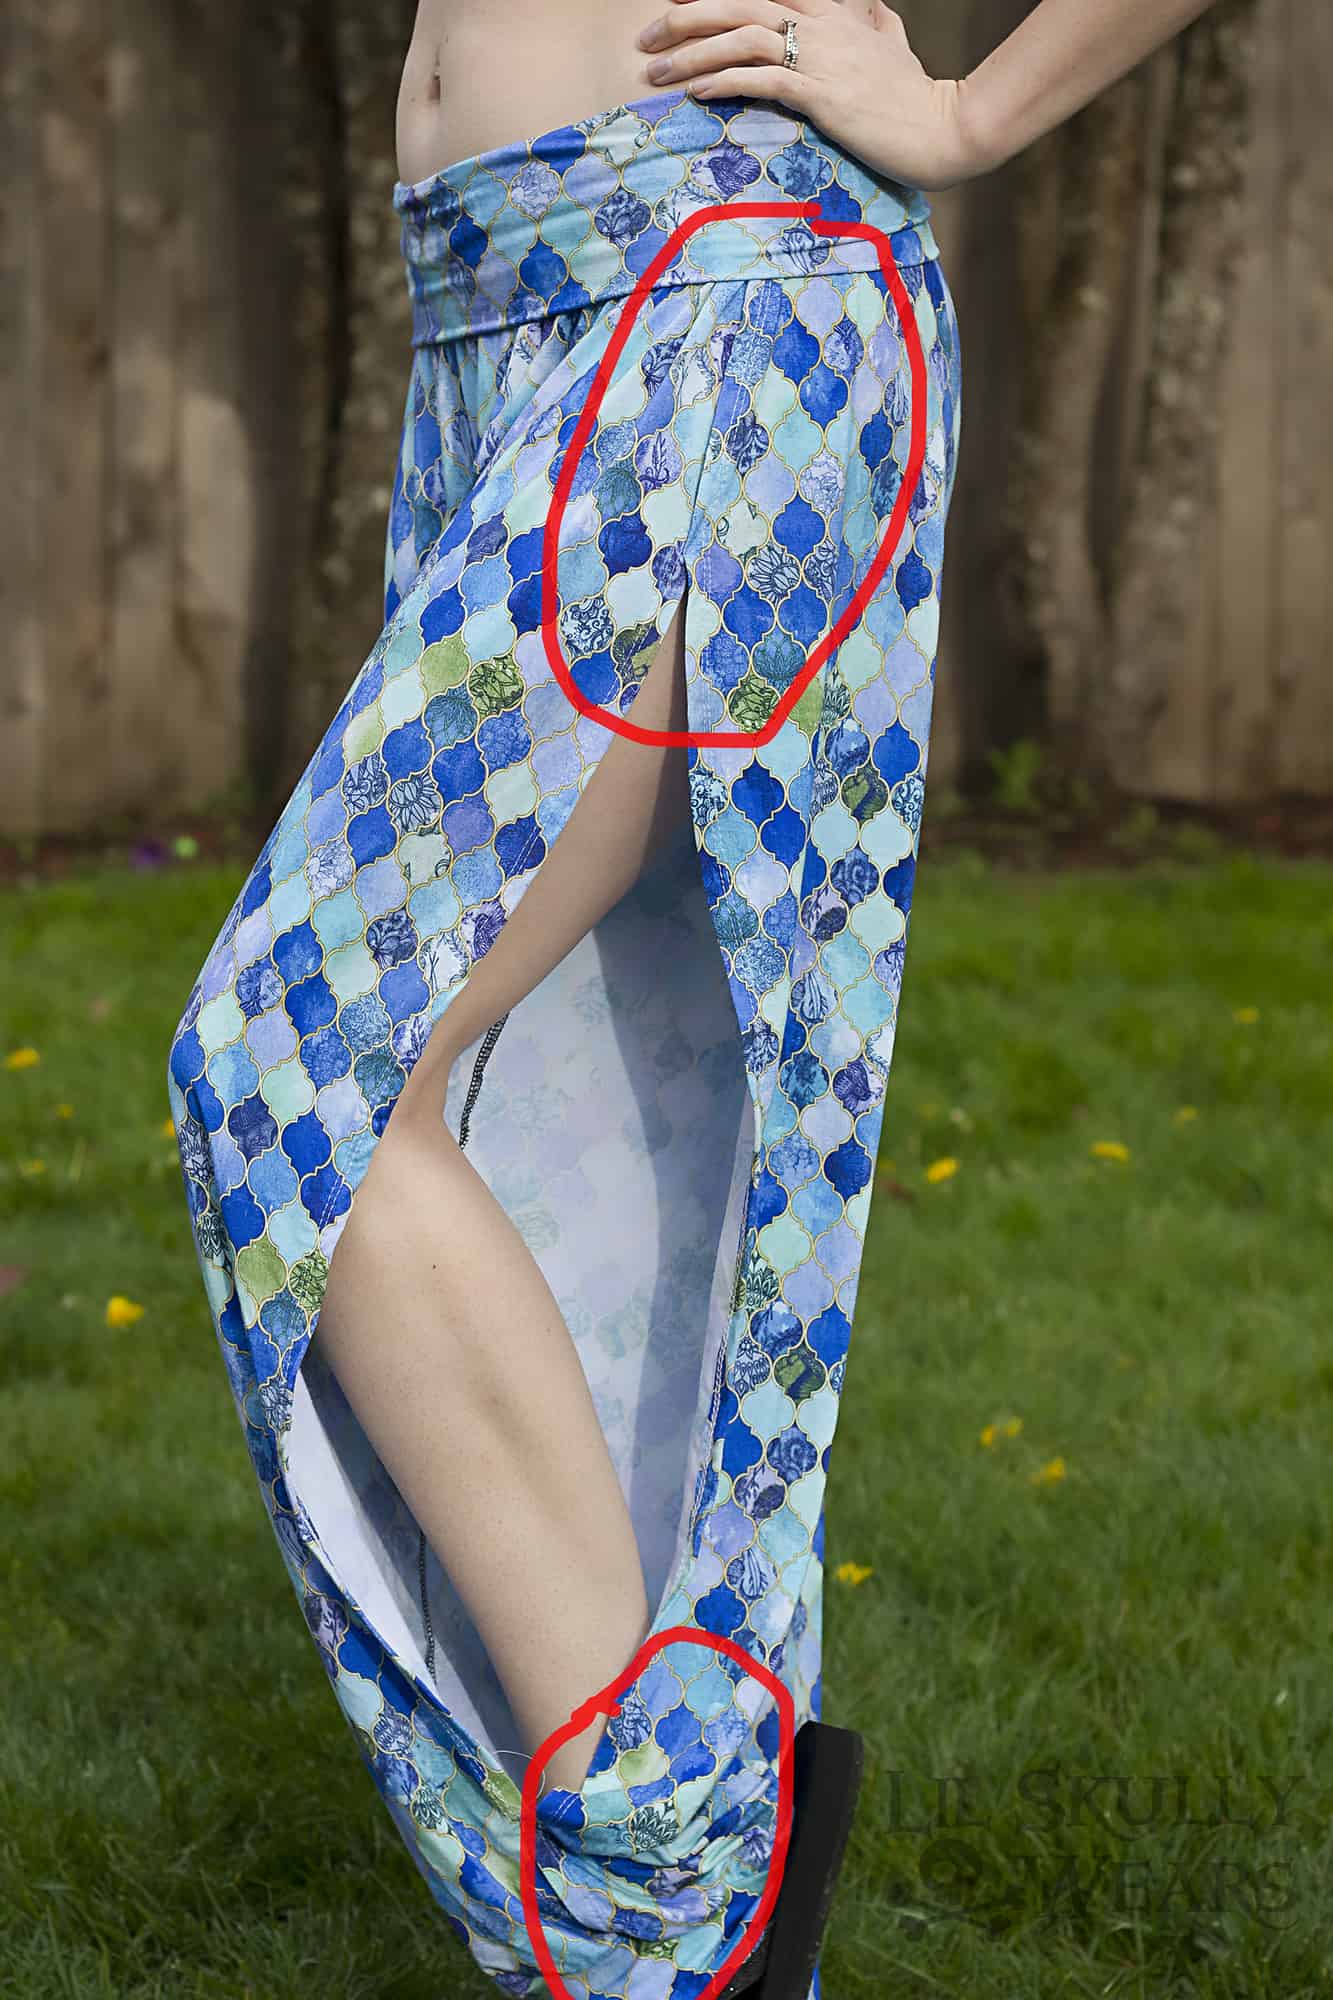
Now you are a going to put your pants on- I know it’s a little tricky as they are totally open but pull them up one side at a time. You are going to take your front and back pieces at the top and overlap them to where you feel comfortable. Mine overlapped about 4 inches. Use some clips to clip it together and then baste the pieces together. The red circled part is where you are overlapping.
Now cut the waistband from your regular size- (not your upsize) and sew it to your pants and you are done! If you’d like a more modest leg you can tack your opening closed however low you’d like it. Tie your bottoms up and you are ready for some summer fun!
Sewing the Cuff option-
First I’m going to have you clip your front and back inner leg seams RST together on one leg.
Now slip your pant leg on inside out- I know it’s a little weird as the side is totally open but at this point, you are going to figure out how big you want your slit to be. Using clips- clip the top as far down as you’d like it and the bottom as far up as you’d like it. Repeat on the other side. It’s helpful if you have someone that can help you hold up the side. You can also just guess if you want and clip on the floor. Mine are about 8 inches from the top and 4 inches from the bottom. The photo below shows what you are clipping.
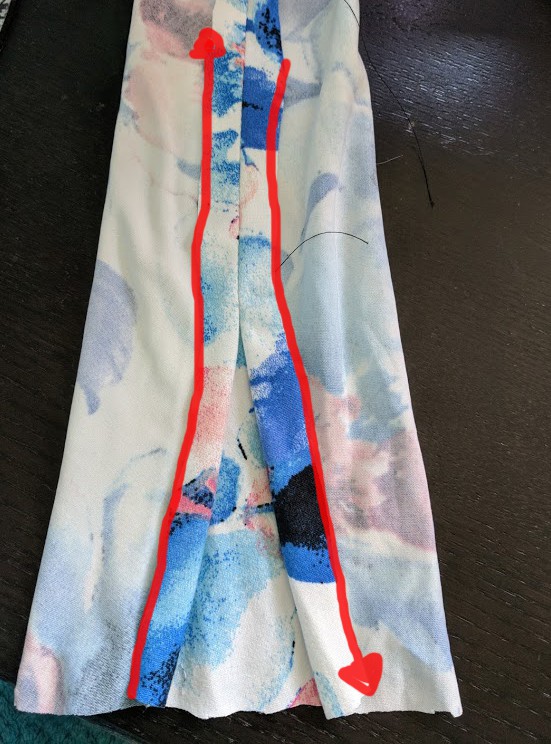
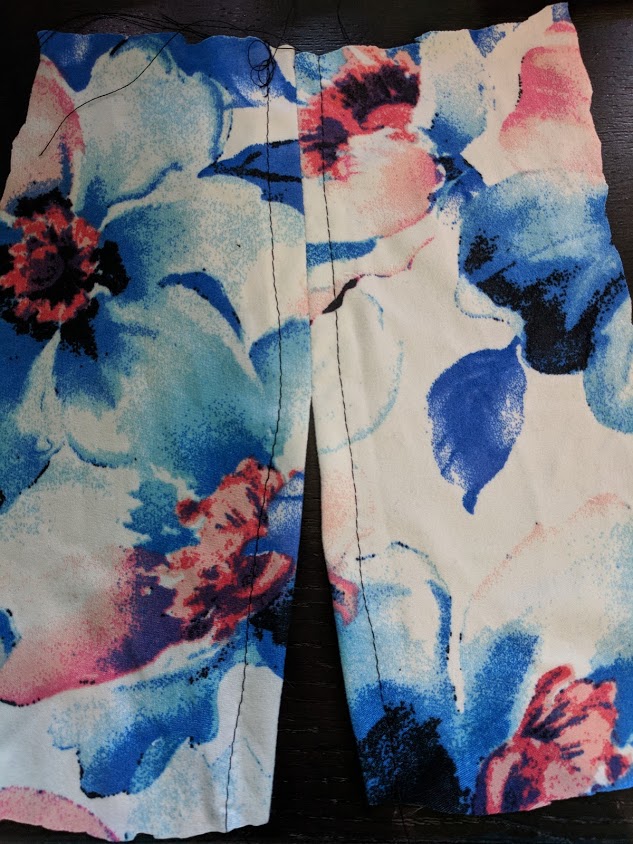
Then, using your sewing machine (you might want to baste first), sew your seam allowances together up to where you clipped on the bottom and top. Feel free to try on again after basting to make sure this is the size you want your opening. Don’t forget to back and front stitch a few times to seal your seam. Once you have your set opening you’ll press open your seam allowance and topstitch from the bottom all the way to the top as shown by the red lines below. The second picture is what your finished outer leg will look like at the bottom and top.
Now go ahead and sew up your inner leg seams, crotch seams, and waistband.
Finally, for the cuff, you’ll take your bottom width of your pant and multiply it by .7. Cut out two cuffs that are that length (going with the stretch of the fabric) by 4 inches tall. If you’d like a different height feel free to use whatever.
Then you will serge on your cuff stretching as you go and leave a small 1.5-2inch opening. Now using any elastic you’d like that will fit in the cuff, find a comfortable length around your ankle and cut two pieces. Feed the elastic into your cuff opening using a safety pin and making sure to keep one end out. Once you have both ends out and the elastic fed through, overlap your elastic ends and stitch using a stretch stitch. Push the elastic back into the cuff and finish your cuff seam.
Yay!! Now you have your finished pants!!
Thank you so much and I hope you enjoy these pants as much as I do! Don’t forget to show them off in the P4P Facebook group too!
May your sails and bobbin always be full,
Michelle


 Next, I cut a small rectangle of interfacing.


 Next, I marked my buttonholes. I did about 1/2″ from the center for each. I choose a smaller button so that my holes weren’t too big (I hate when I tie a drawstring and the holes gap open!).
 You will need to use a knit button hole. Here is what mine looks like on my machine. The zigzag sides let the knit stretch without popping the threads.
 Now just sew up your pants exactly as the pattern tutorial instructs. The only thing to consider is to make sure you’re placing your button holes correctly when attaching the waistband to the pants. After they’re all sewn up, you can put your drawstring through your button holes and around the waistband. I always use a safety pin to help guide it through.
 Tada! Now you can wear your ever so comfortable, stylish sweatpants without fear they might look like you stepped out in your pjs 😉


