Patterns for Pirates

P4P stylish, modern, wearable patterns

  • Home
  • Blog
    • Frequently Asked Questions
    • Pattern Releases
      • Free Patterns
    • P4P University
      • Fitting
      • Sewing with Stretch, Knit Fabrics
      • Sewing with Woven Fabrics
      • Sewing Machines
    • Sew-A-Longs
    • Fabric for Pirates
    • Pattern Hacks
    • Announcement
      • Blog Tours
      • Contest/Giveaway
  • Shop
  • Bundle Discounts
  • Flash Friday
  • Gift Cards
  • My Account
  • Cart

Vintage Jumper – Easy Hacks

October 1, 2020

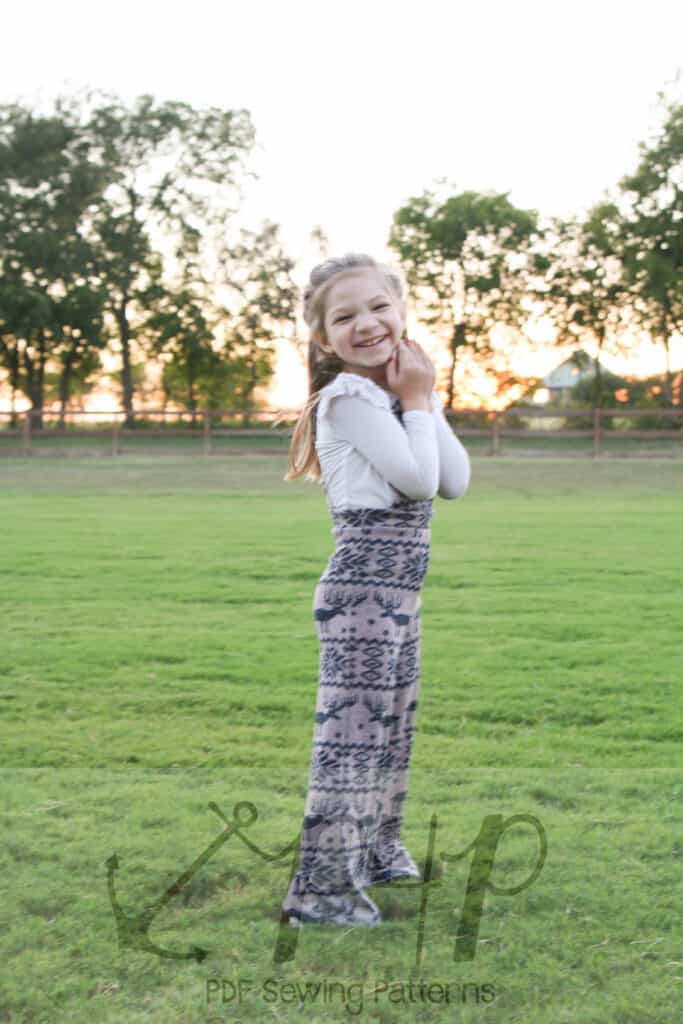
The Vintage Romper is here and we couldn’t be more excited to share with you the blog team’s take on some easy hacks. Grab your patterns and let’s get started!

…..

Pants/skirt

Do you love shorts like we love shorts?! Then you’re in the right place. I’m going to spend a little time today showing you how to hack the new Vintage Romper into a shorts or skirt only piece. It couldn’t be easier and I have even filmed a little tutorial showing you how to adapt the waistband pattern piece and then put the waistband together too, which you can find here:

However, if you like it old skool here is the written blog post. 


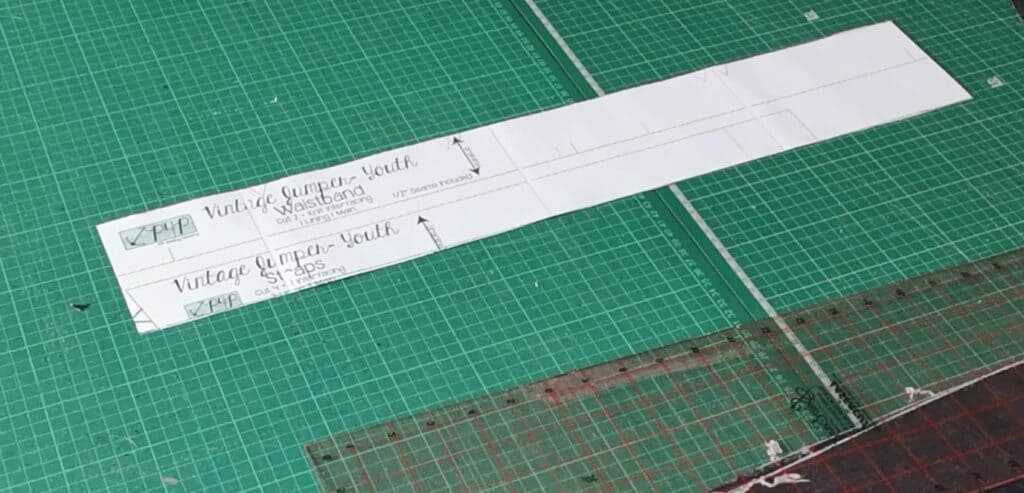
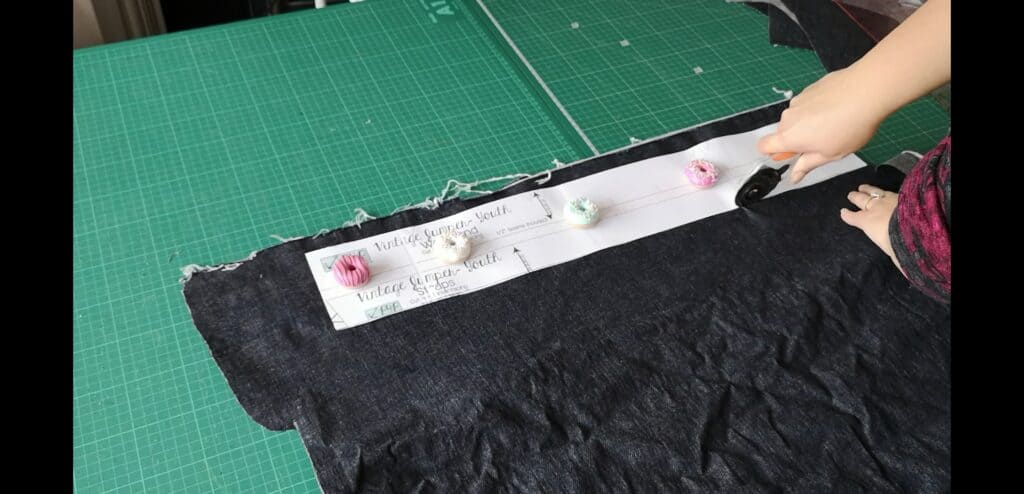
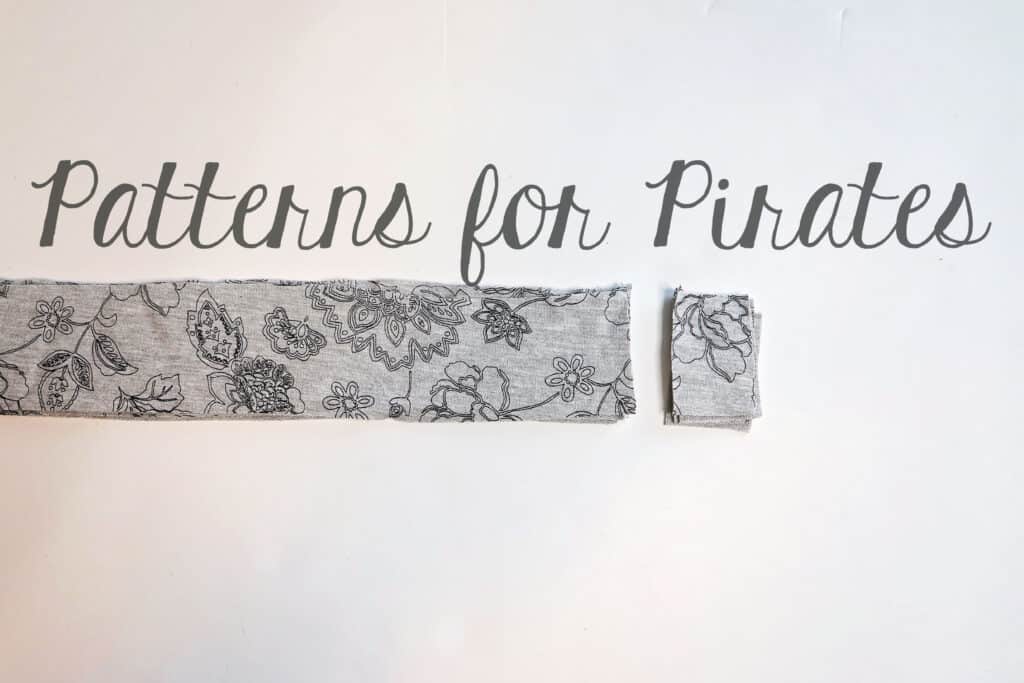
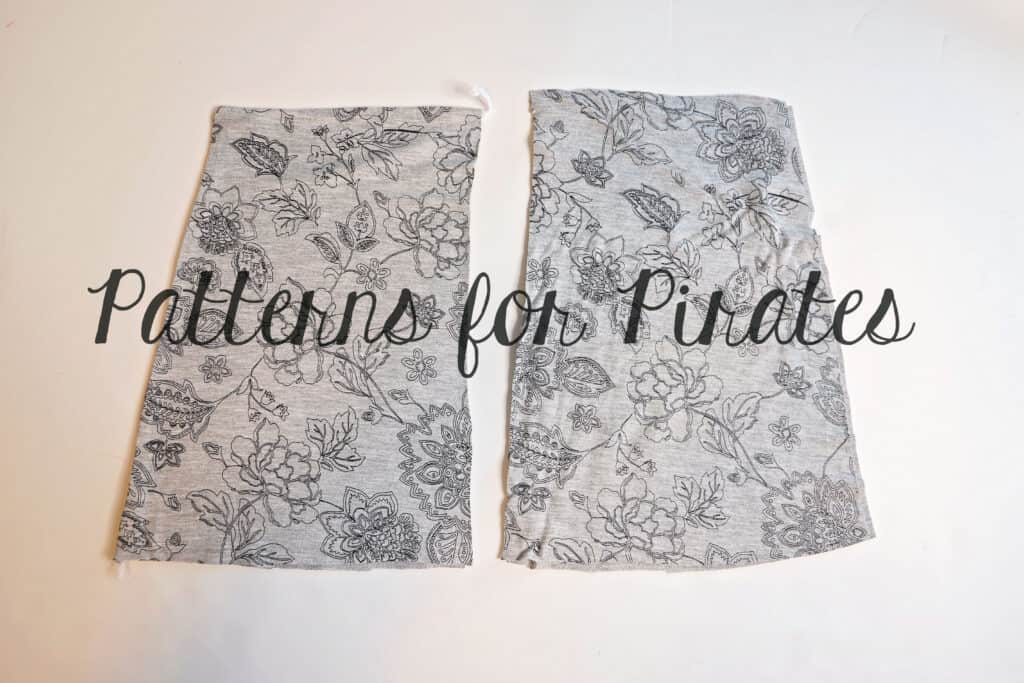
First you will want to cut out your skirt or pants pieces as per the regular tutorial. Then take your waistband piece and double the height of it. I used the Youth pattern to make mine and this measured 2 inches in height so I doubled it to make it 4 inches tall and then cut the length out as usual. I wasn’t going to use the strap pieces so I extended the waistband height out over the strap piece here, just to save paper.  Cut your waistband lining piece out in the same way.


Waistband piece cut with the height doubled


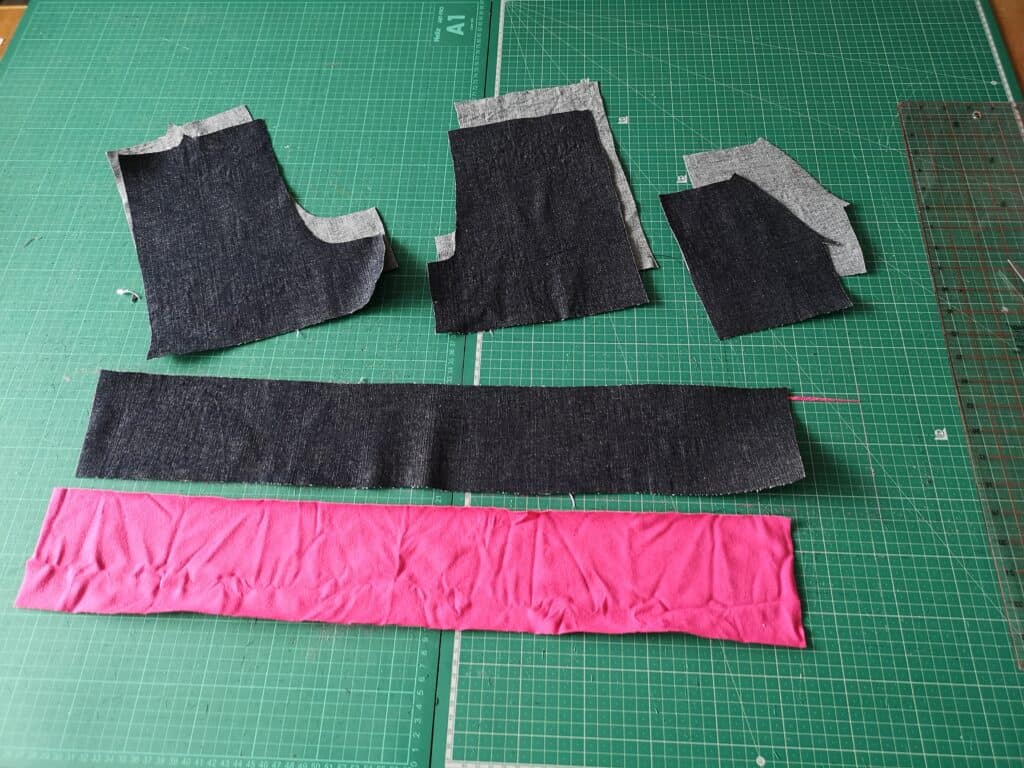
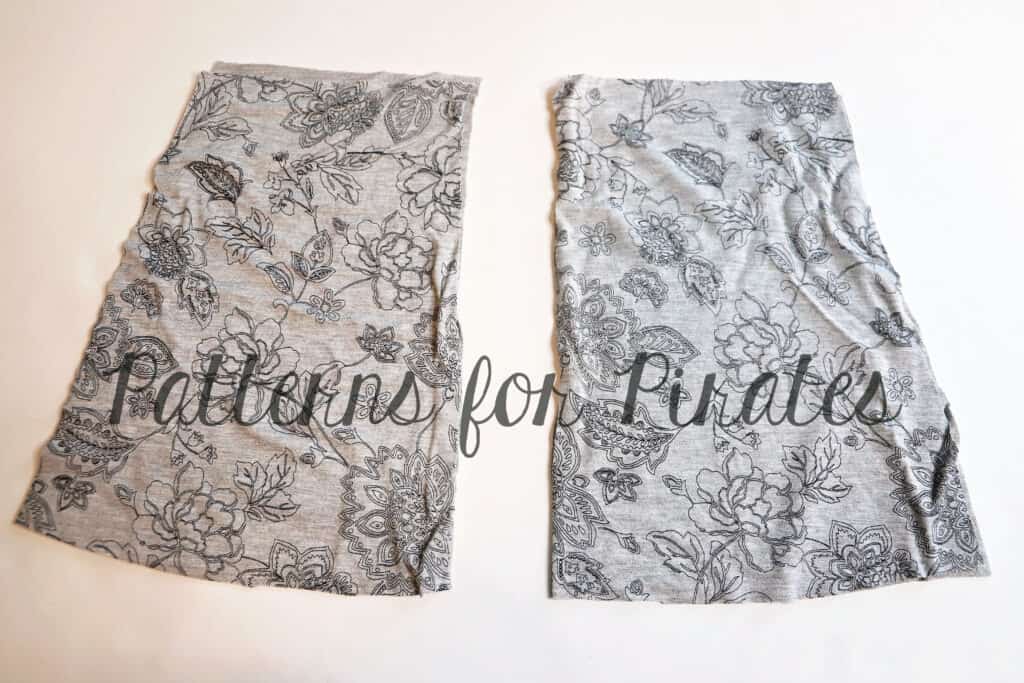
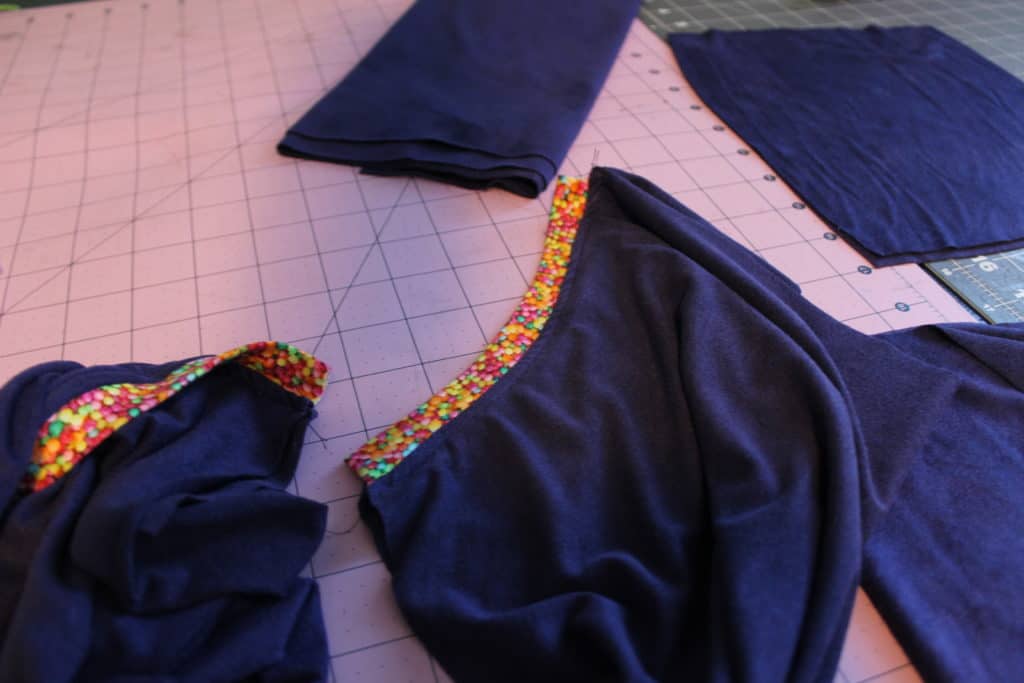
shorts pieces, pockets, waistband outer and lining.

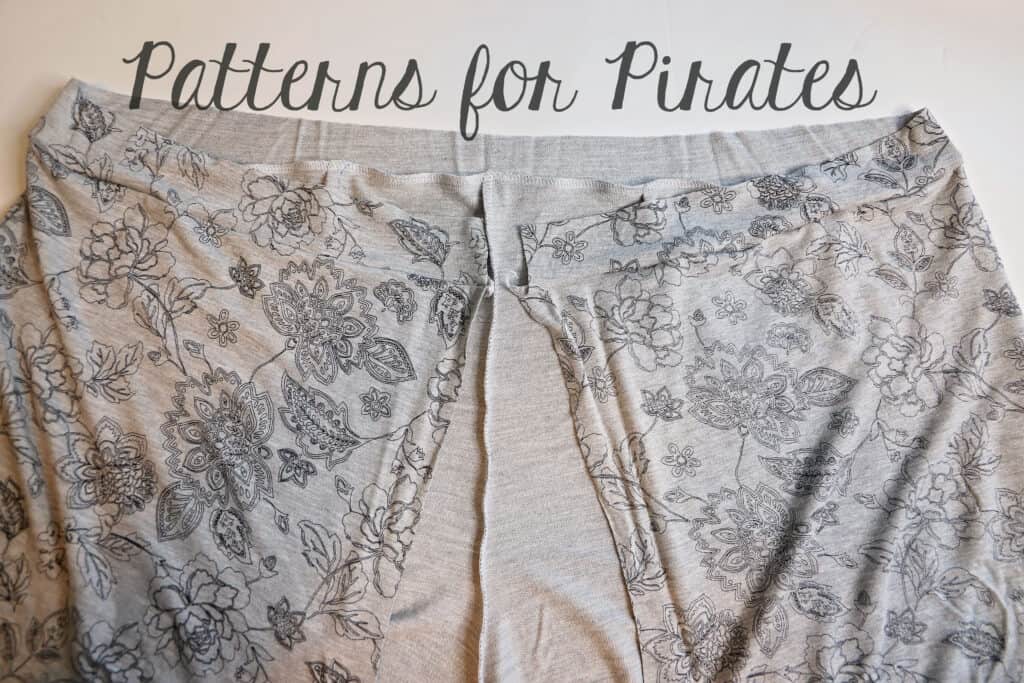
You will then have your pants/shorts/skirt pieces; pockets if using; extended waistband pieces; interfacing if using.  Construct the rest of your garment as usual until you get to the section where you have to attach the waistband. You will attach the waistband as per the tutorial, the only difference being you don’t have the bib and straps to sandwich between the outer and lining of the waistband pieces. So you will attach the waistband outer right sides together with the pants/skirt.

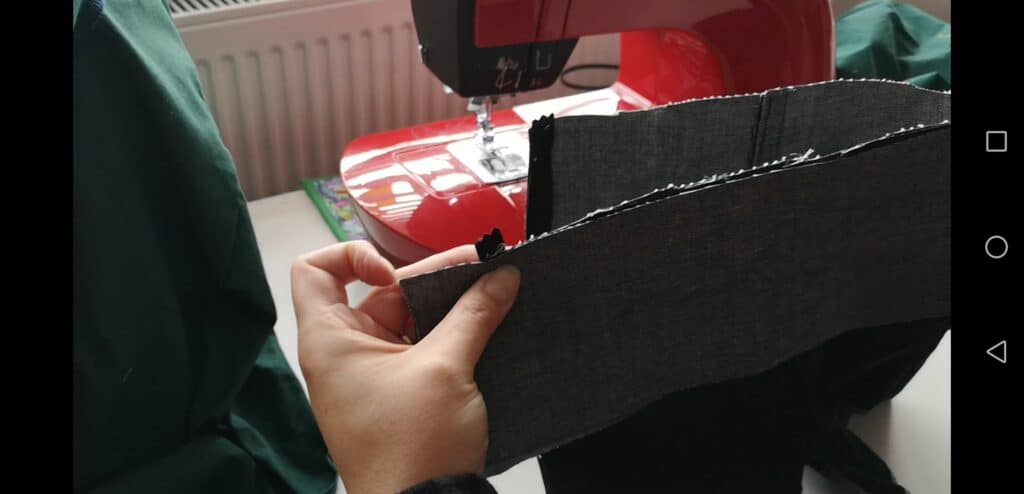
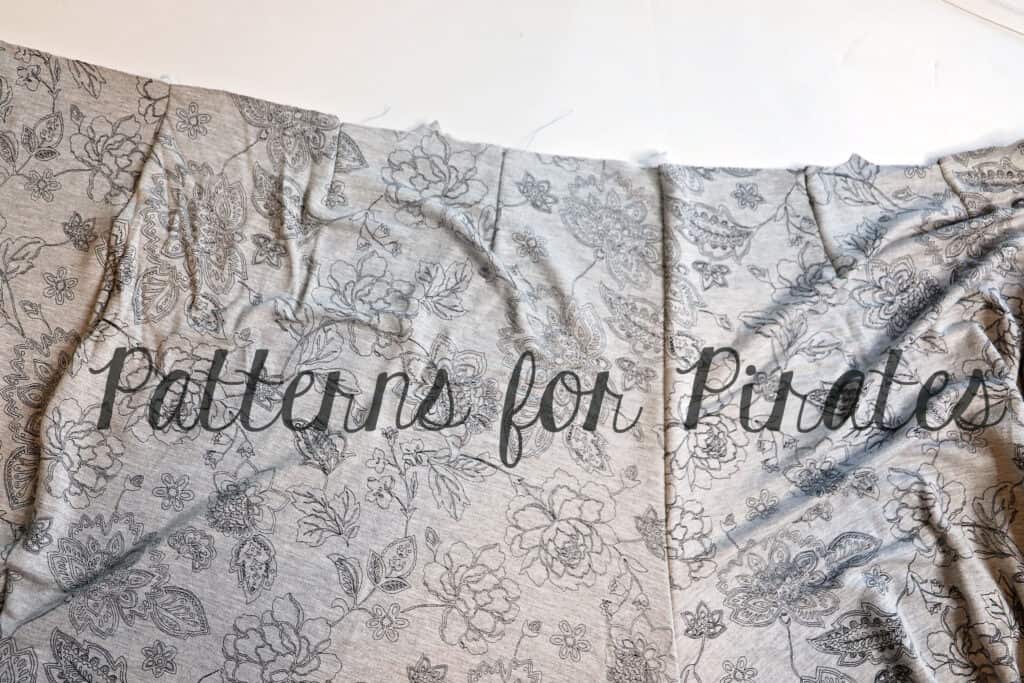
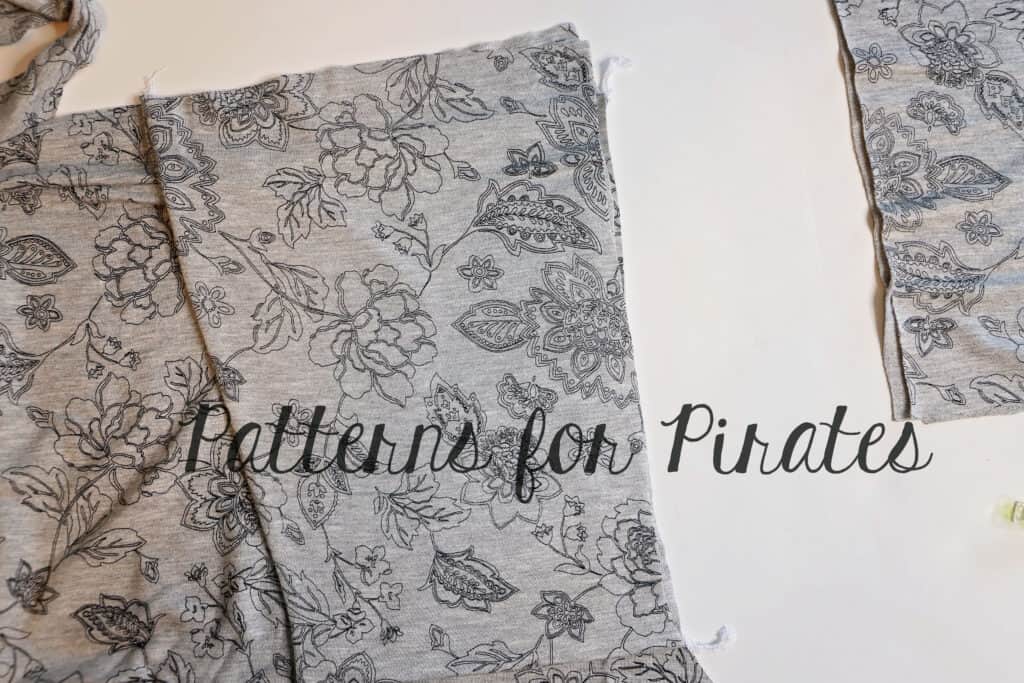
Waistband with overhang

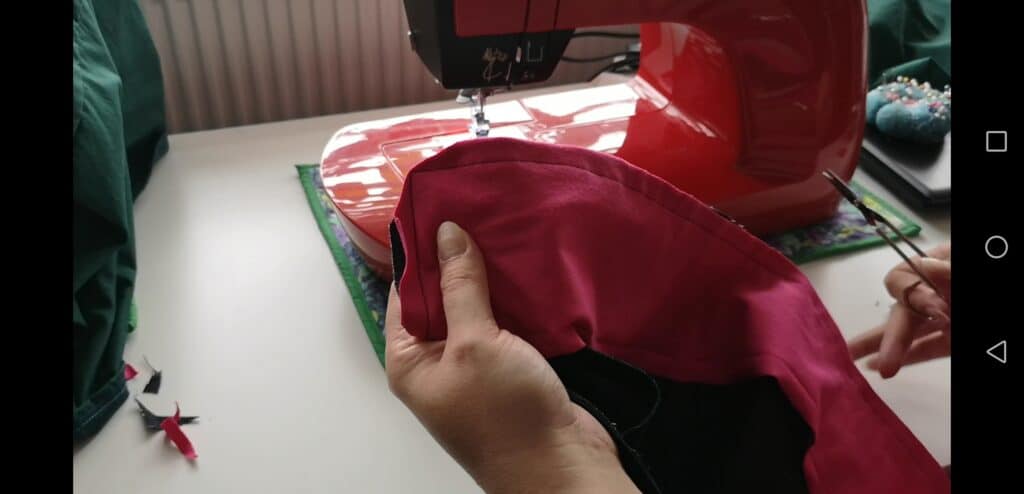
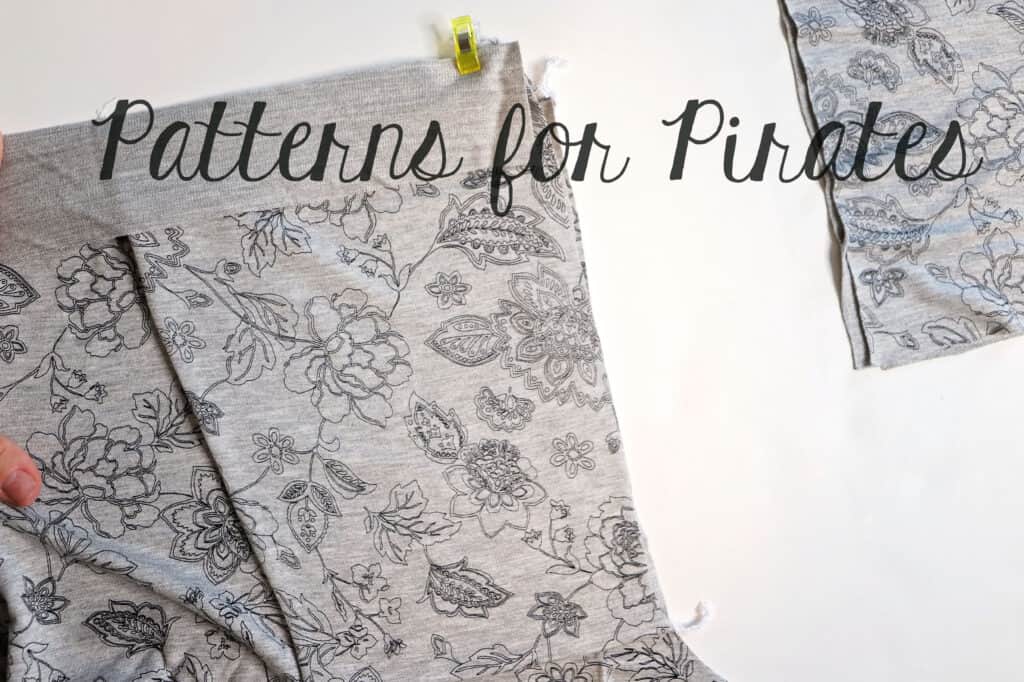
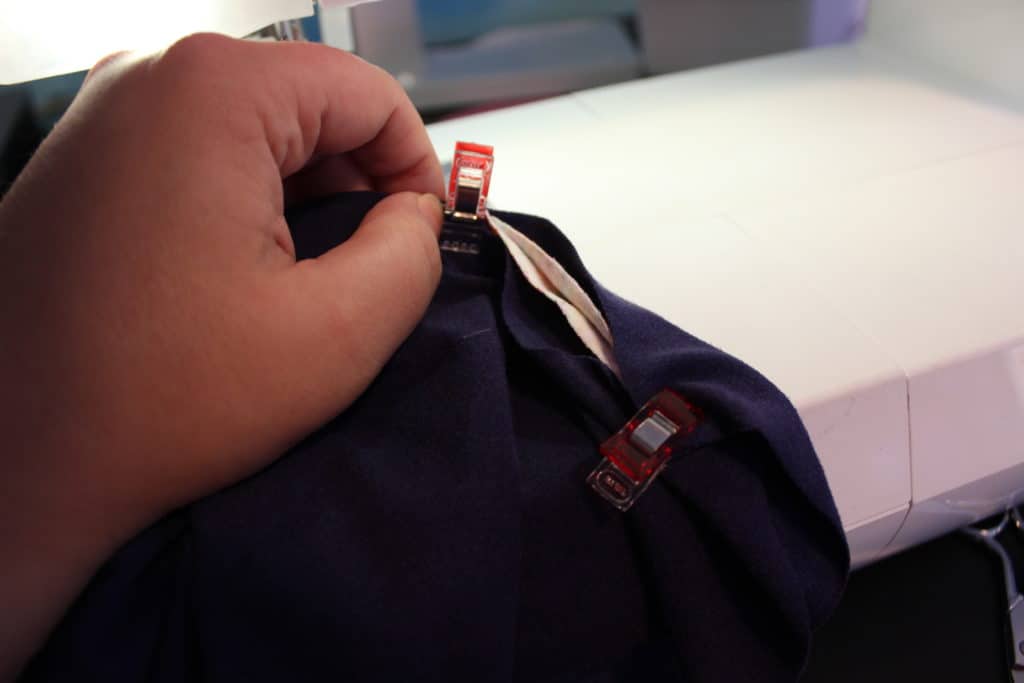
You will have an overhang of the waistband over the edge of the pants piece .  This is correct, it enables you to attach a fastening for the top of the waistband at the end, like a button and buttonhole or poppers. Then sew the lining right sides together with the outer, up one short edge, along the top and down the other short edge.

 Clip your corners, turn it through.


Topstitching after pressing

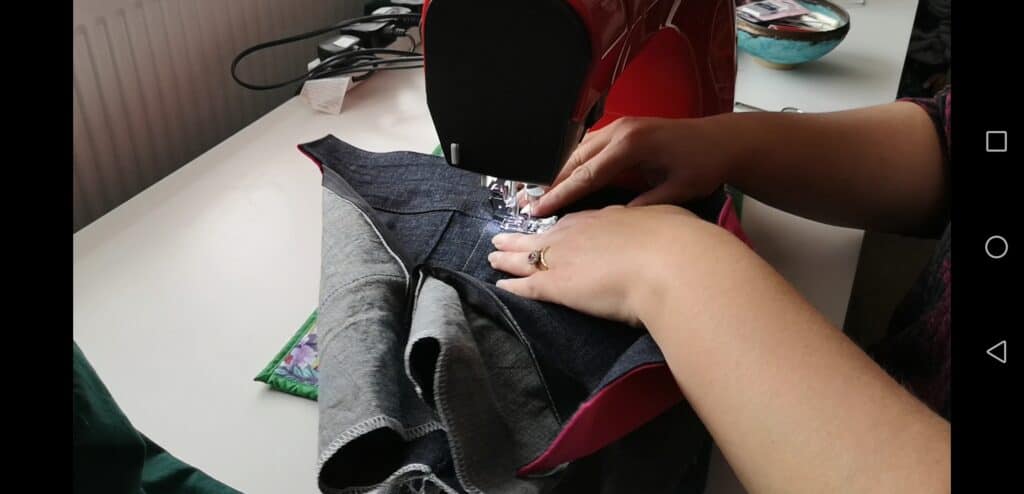
Press and topstitch around the entire waistband. 

Then finish off your garment as per the regular tutorial instructions and you’re done!

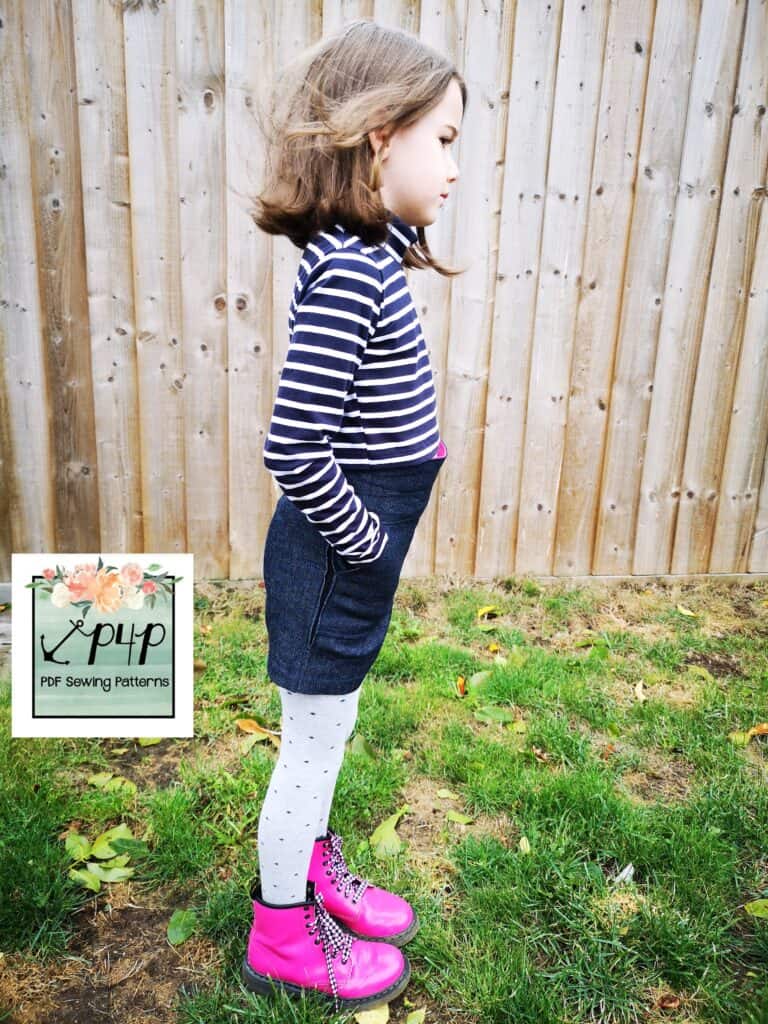
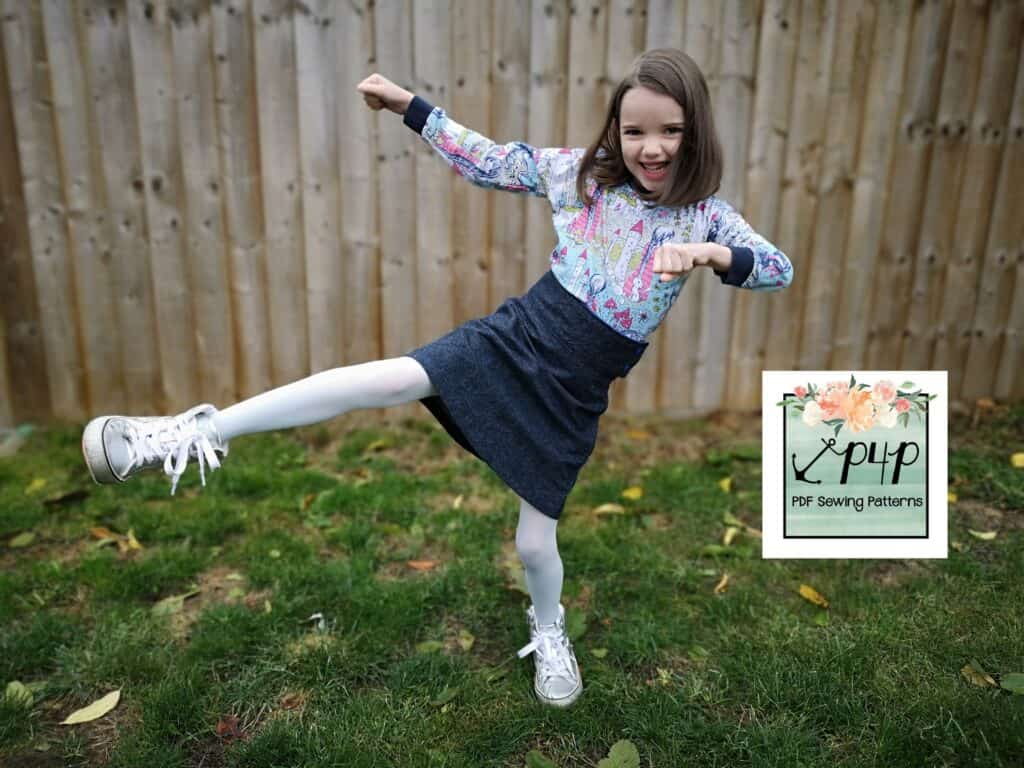
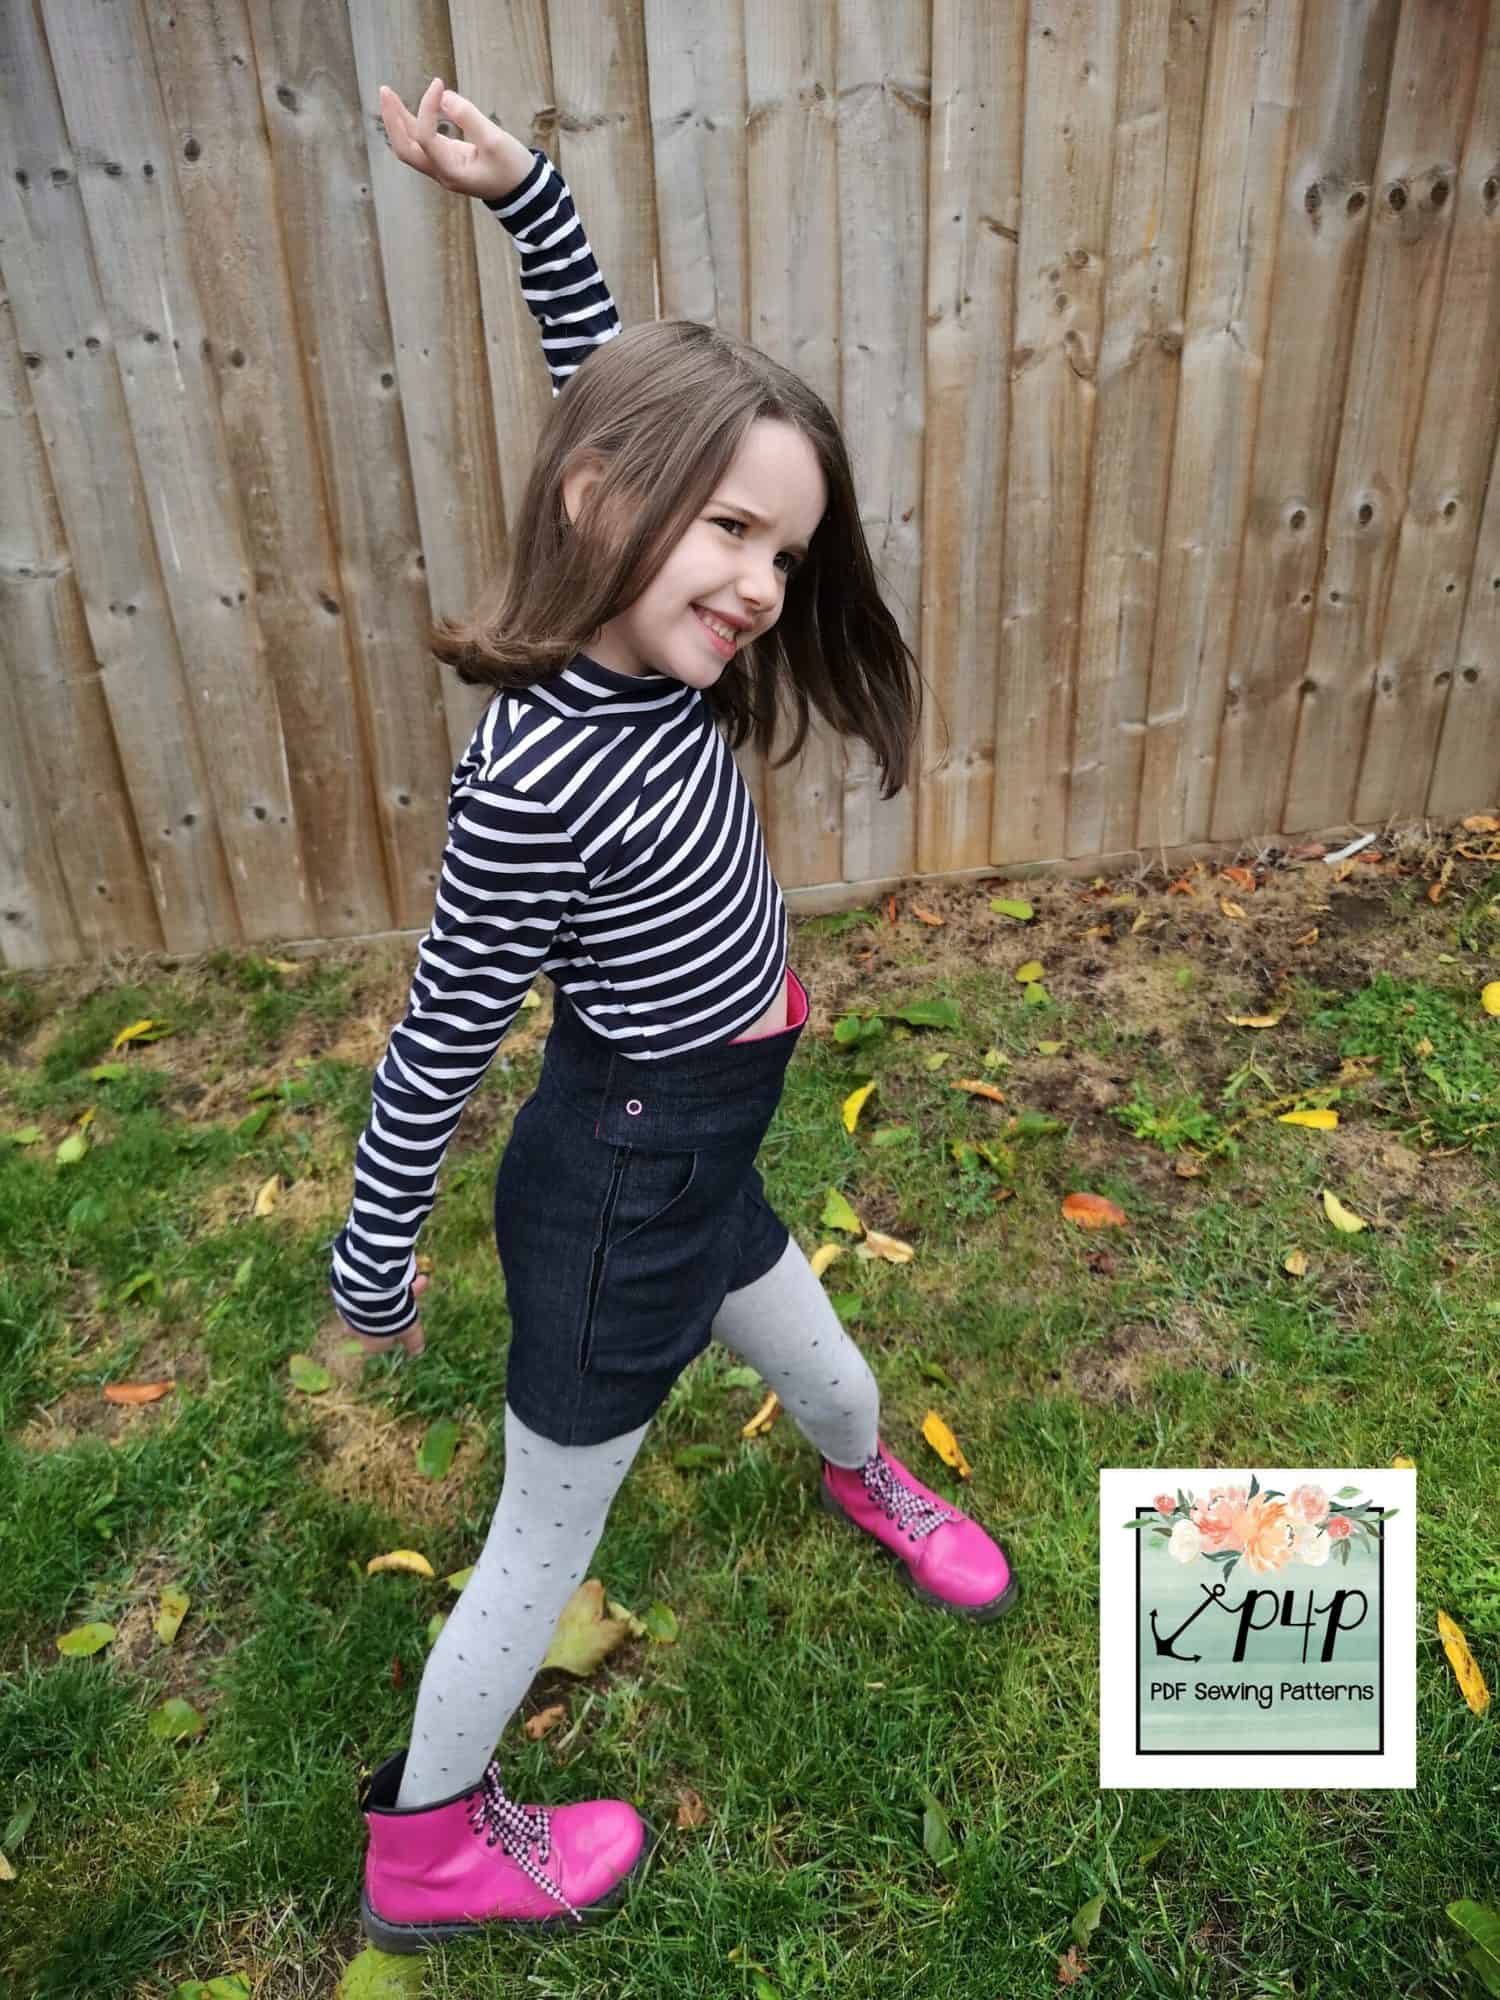
We style them with tights, Doc Martins and a crop length Hepburn. I loved it so much on the shorts I had to do it for the skirt too!  

Anyone else find that their child turns into a karate expert as soon as you turn on a camera?!

Obviously you can also just sew this up with the regular height of the original waistband too. The choice is all yours! 


Happy sewing! 


Dana x


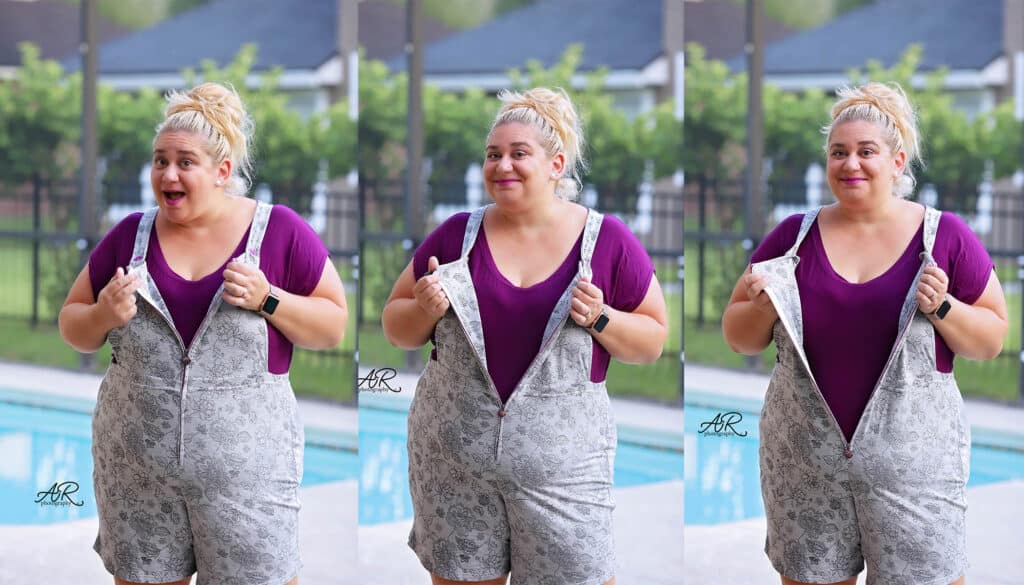
Front zipper

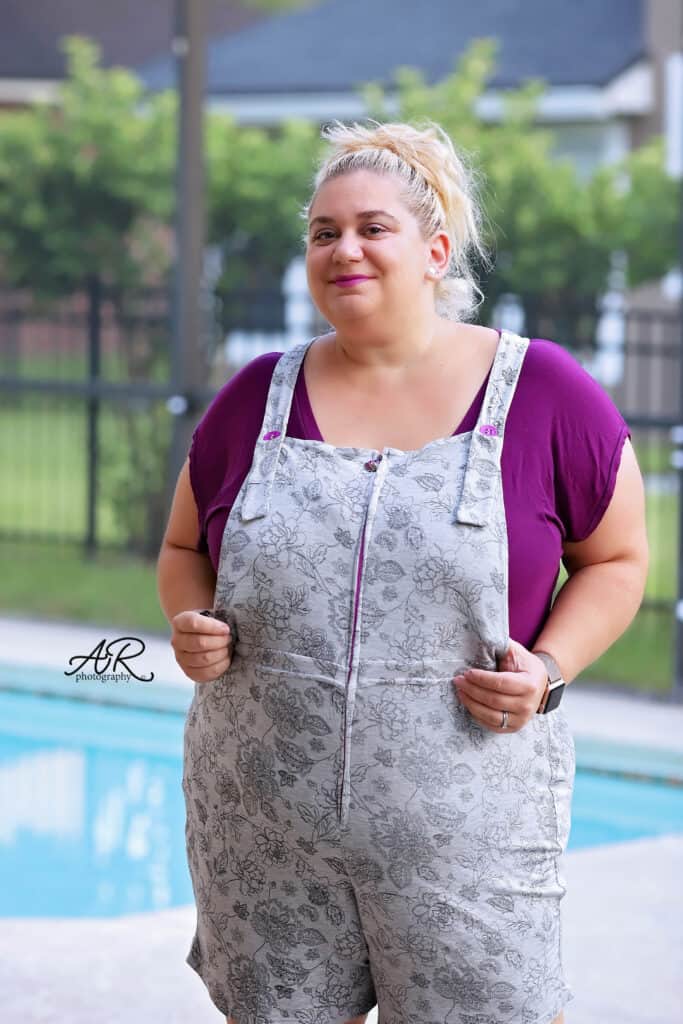
Up next we wanted to show you a different style jumper that can be achieved with the new Vintage pattern. Let’s add a zipper to the front instead of the side. This a s great opportunity to show off your favorite zippers and pulls. For my example I am using zipper by the yard with a fun rainbow finish zipper pull. I also went with a Doodles French Terry instead of stretch woven. Cut your pattern as instructed in the tutorial. You will make two changes. Remove the part of the waistband beyond the notch on both ends. Repeat for the waistband lining. The other modification would be for the bib. Cut two 2 mirror images instead of 1 set mirror pieces and the lining on fold.


After sewing the darts on the back pants pieces, sew the back crotch seam and the two side seams. The pants will not be sewn at the front crotch just yet.


Prepare the bib by sewing the left side main and lining piece right sides together along the top and slanted side raw edge. Repeat for the ride side bib. You will now have two bib piece that will have raw edges on the vertical center seam and bottom.


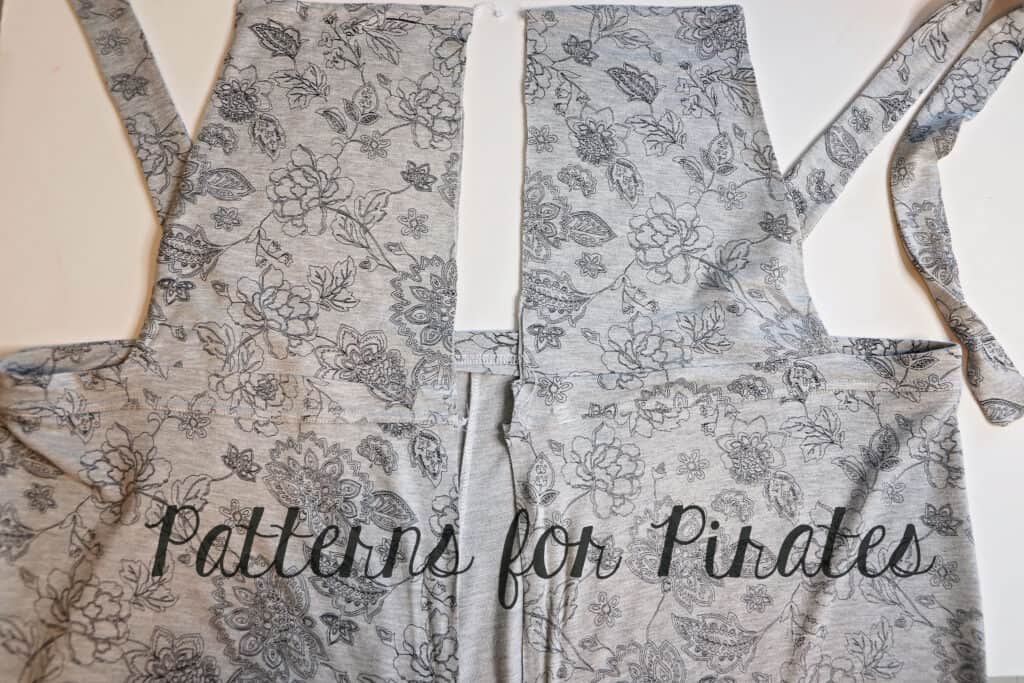
Attach the main print waistband to the pants right sides together by matching the center to the center back and the raw edged to the front raw front seam.


Pin the straps matching the strap placement notches. Place the bib on the top edge of the waistband, right sides together matching the raw edges. Repeat on the other side with the other half of the bib. Place the lining on top, right side down, sandwiching the bib in between the main and lining waistband. Stitch in place.


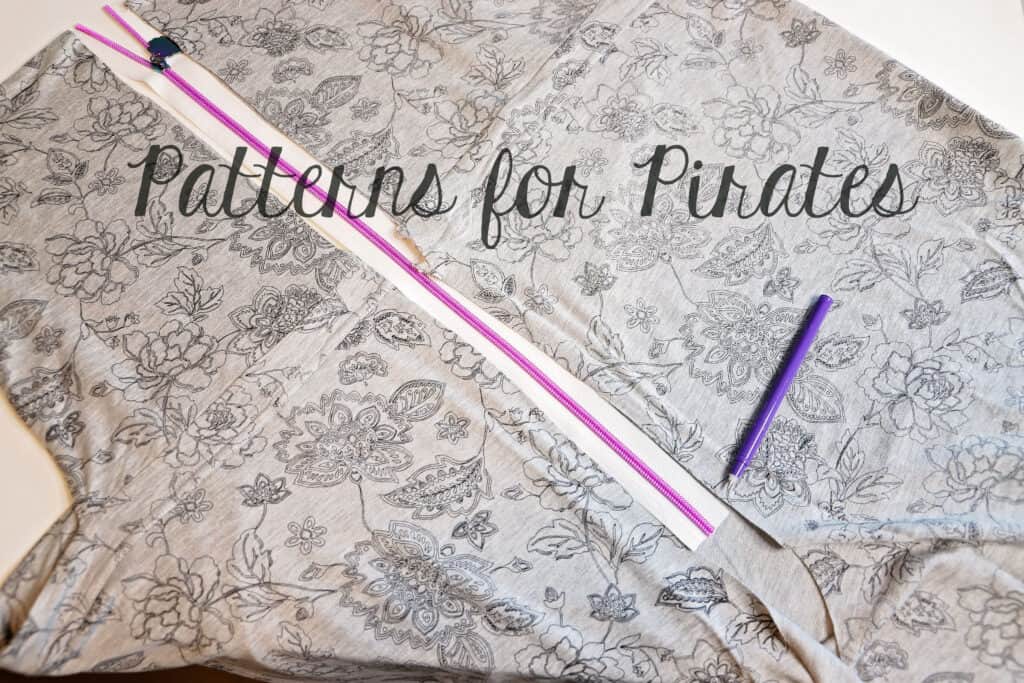
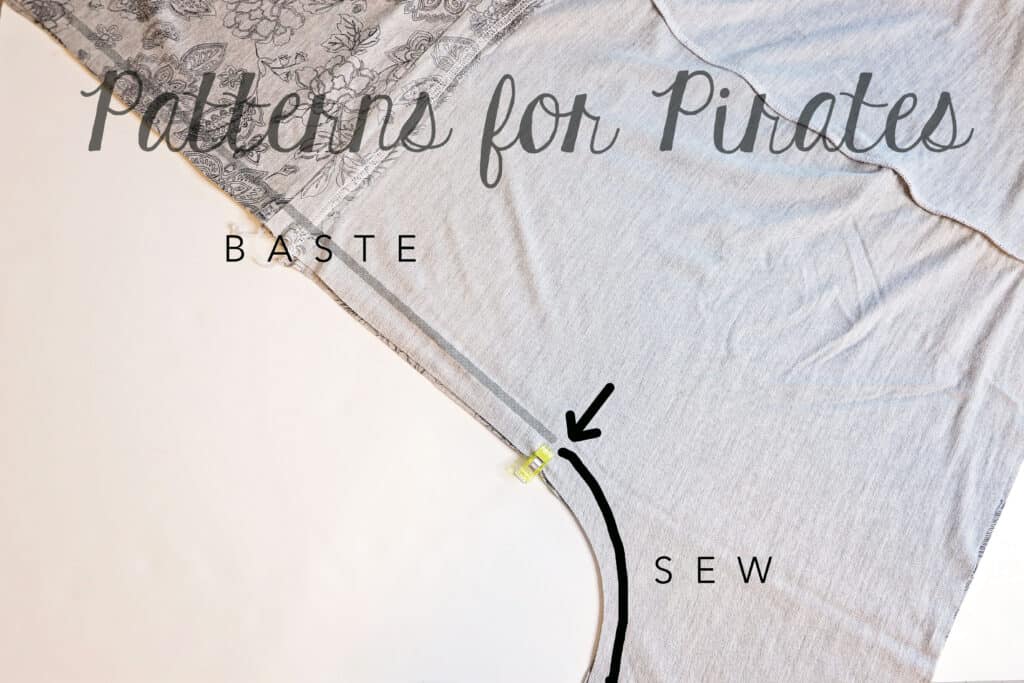
Mark the place of the zipper stop on the wrong sides of the fabric. Place the front of the jumper right sides together matching the front raw edge. Baste in place from the top to the marked point and sew in place down from that point along the front crotch seam. Attach the zipper using the same technique as in the Vintage Jumper tutorial.


Finish your jumper by attaching the straps to the front and hemming. All done! I can’t wait to see your take on this hack.


….

Overall buckles

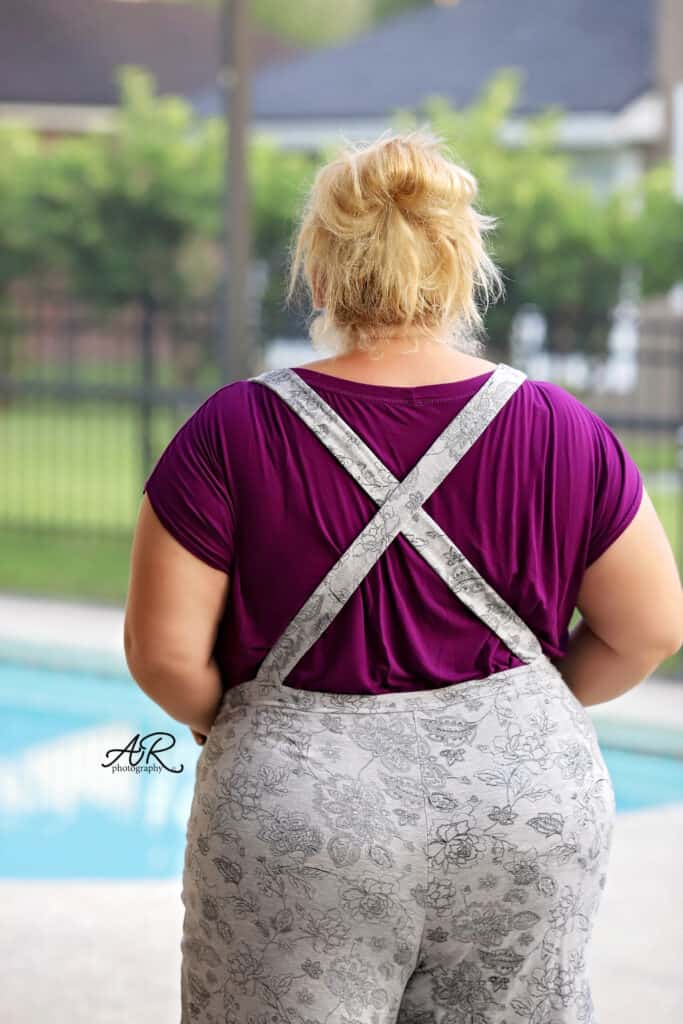
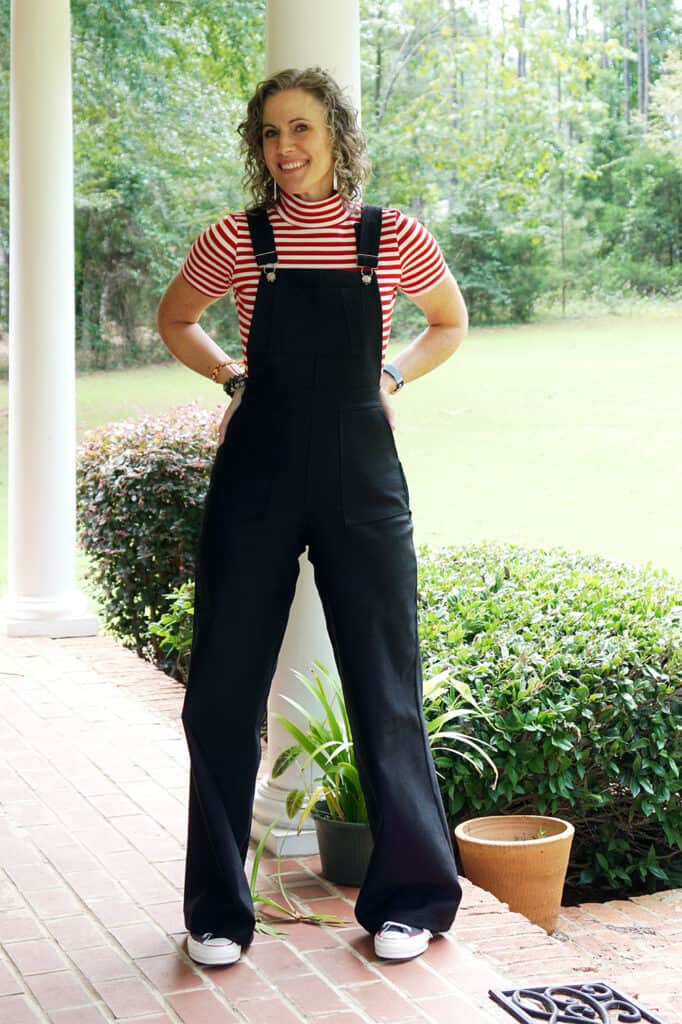
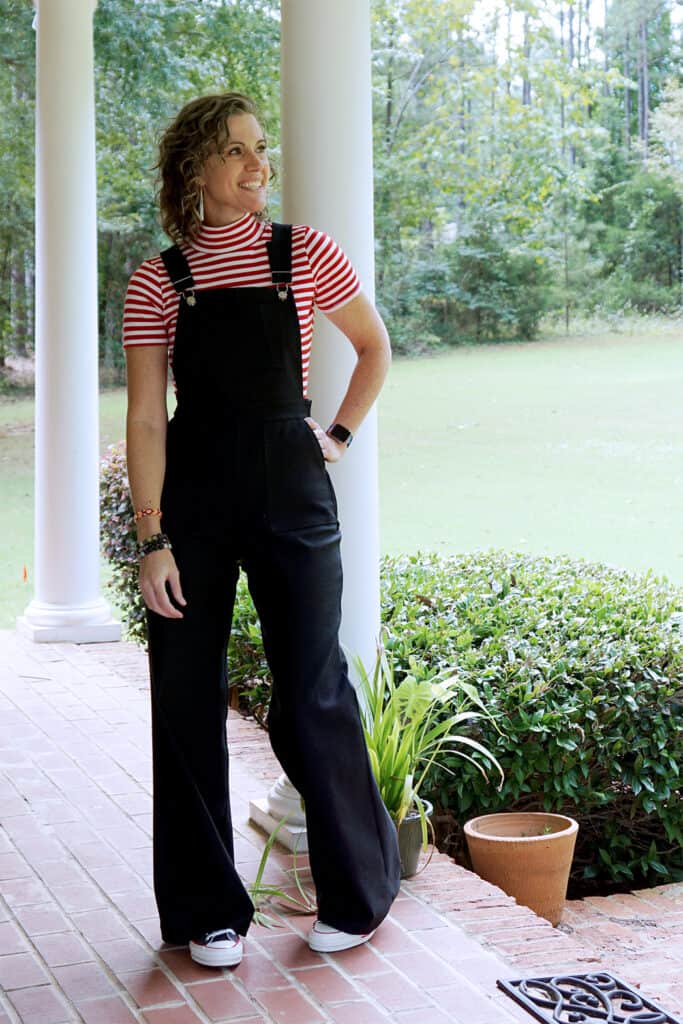
Love the Vintage Jumper, but you’re terrified of button holes? Never fear! Buckles are here!

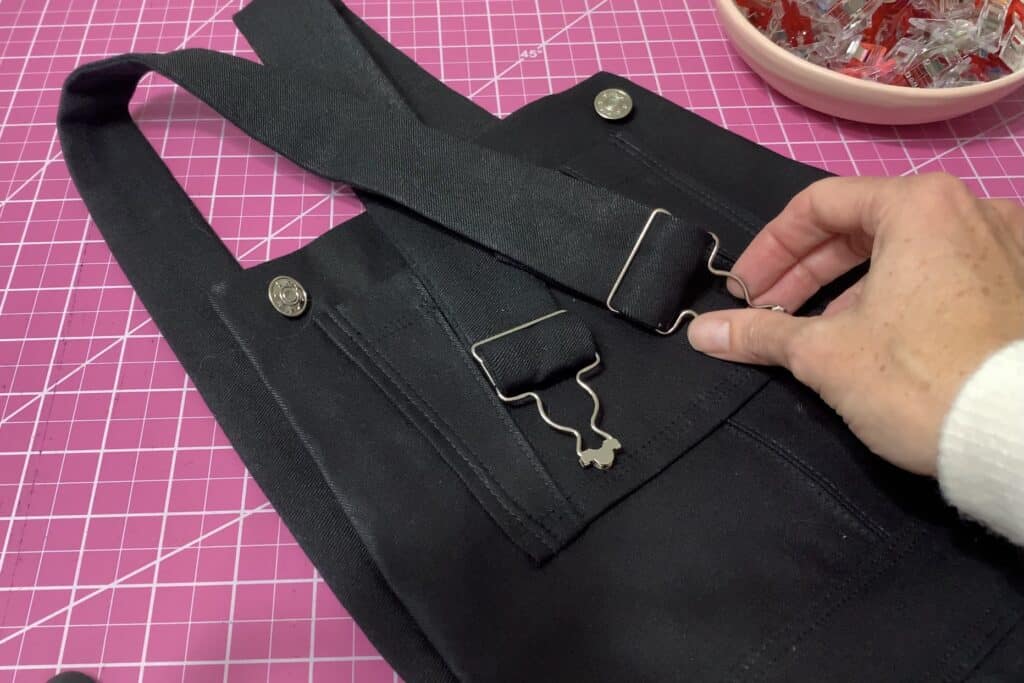
Adding buckles as a button replacement is an easy and super cute hack… no extra sewing involved!

For the Vintage Jumper, you’ll need 1 ¼” buckles. I ordered mine from WAWAK and they came within 2 days, but you can also order from Amazon or pick them up in your local fabric store.

I’ve put together a video tutorial, but if you prefer written instructions, just scroll a bit further!

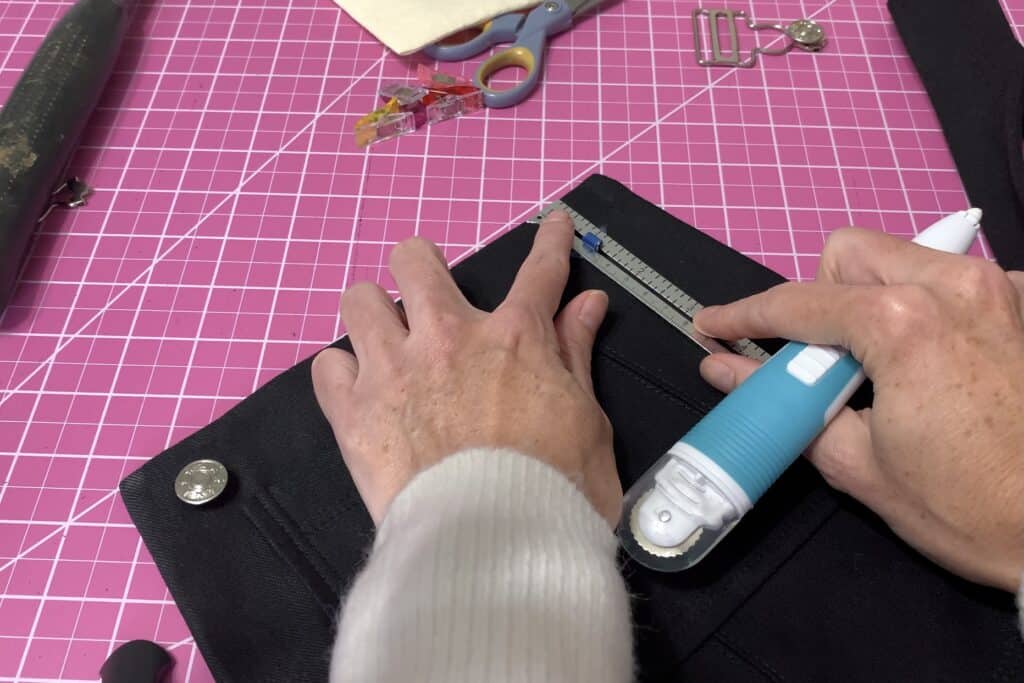
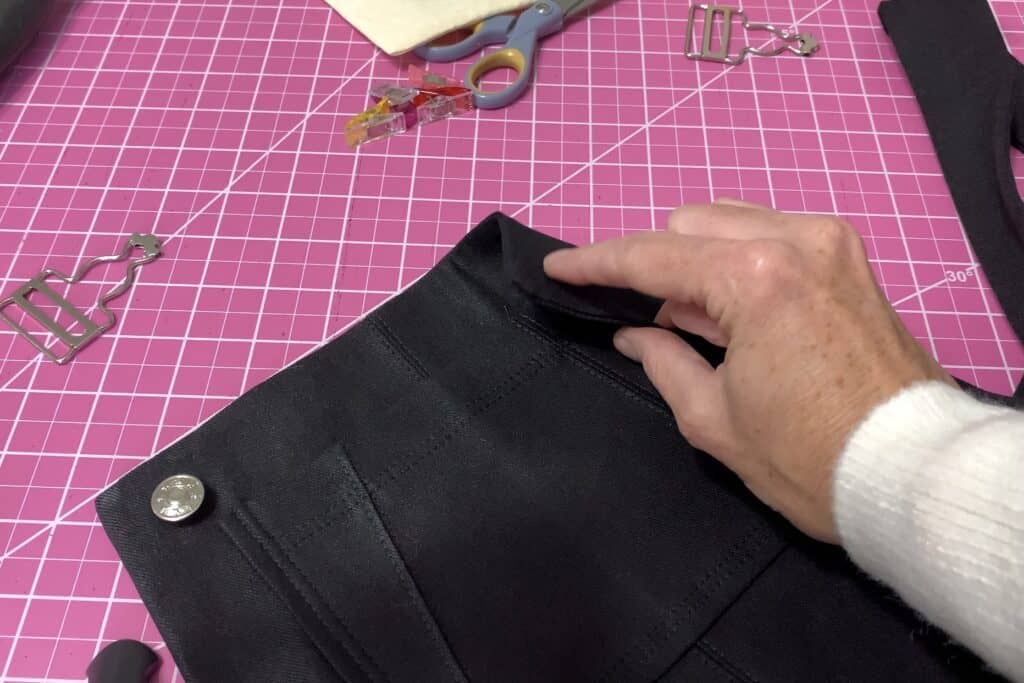
Mark your button placement on the bib with tailor’s chalk, 1” from the top and side edge of the bib.

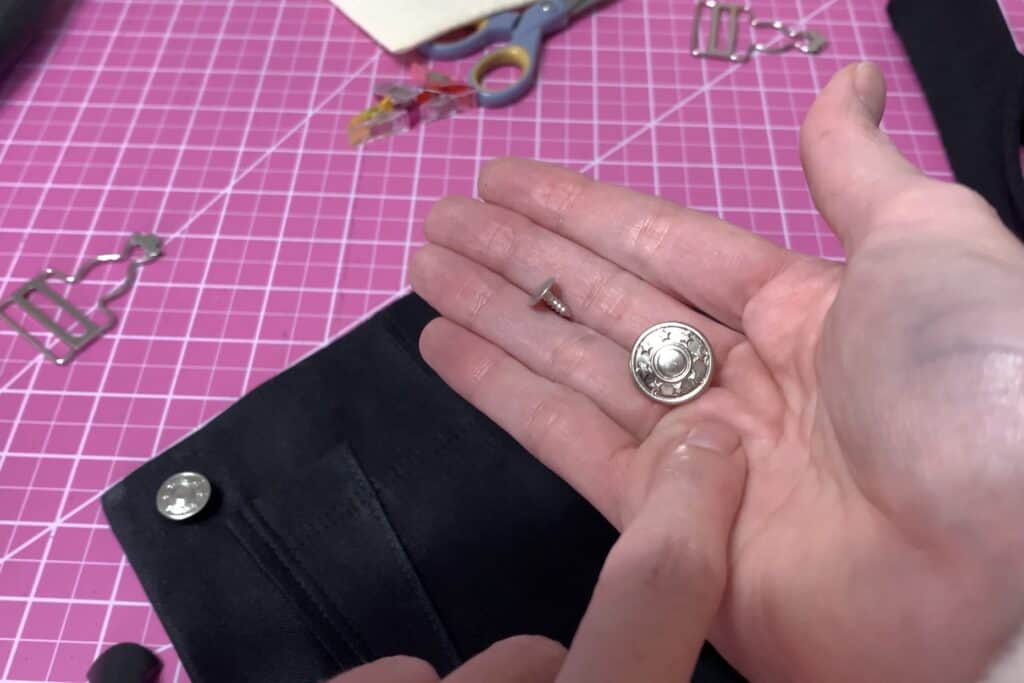
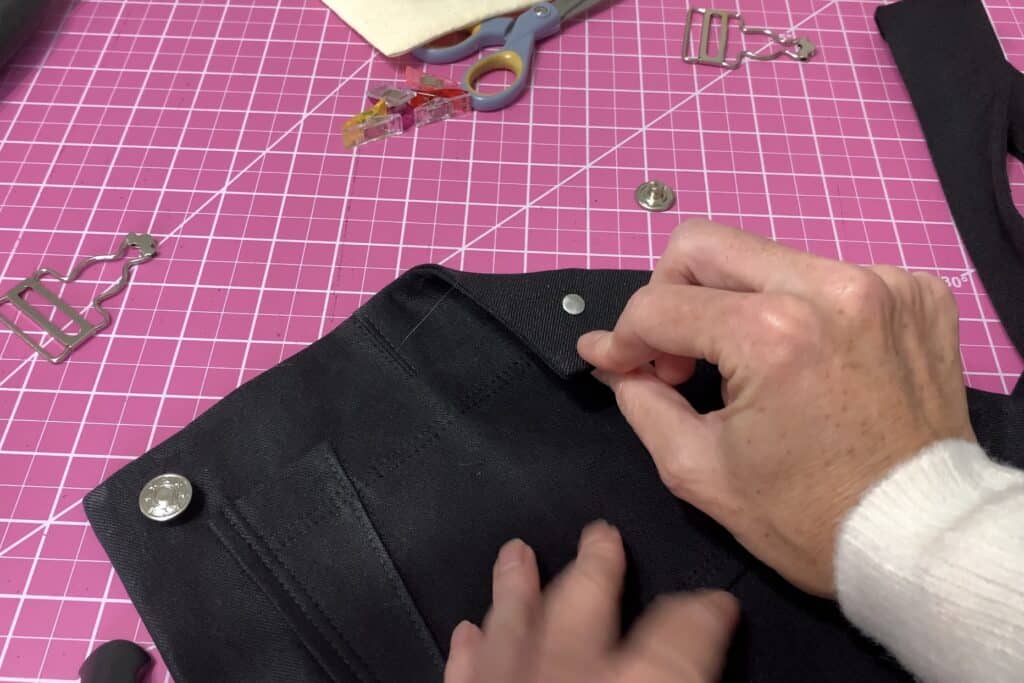
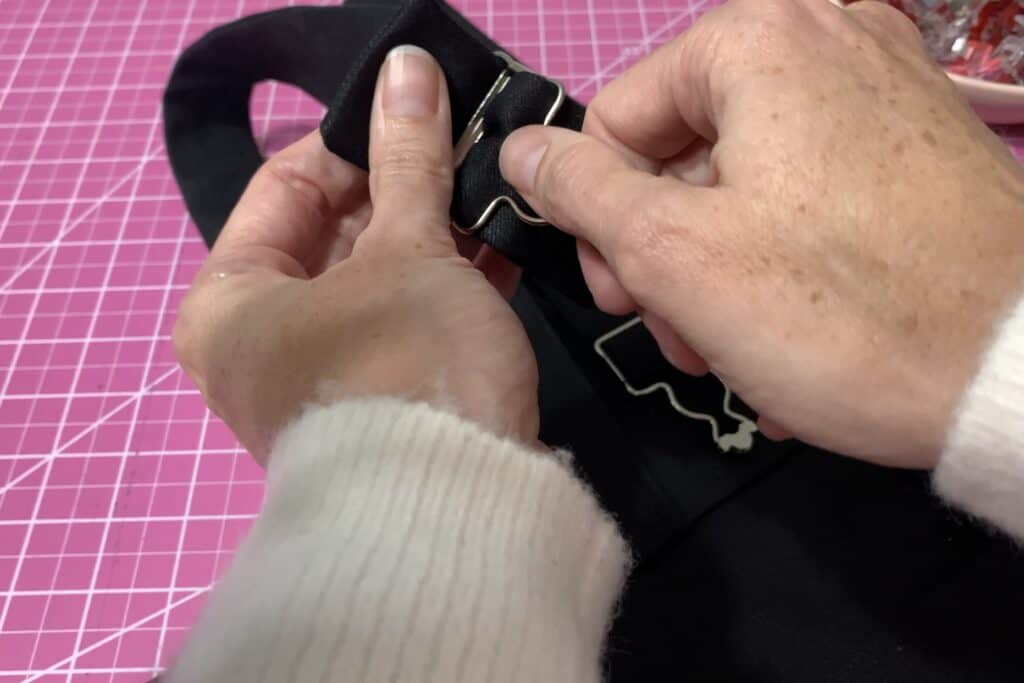
Take your button post and push it through the backside of your bib, at your chalk mark, going through all layers of your fabric.

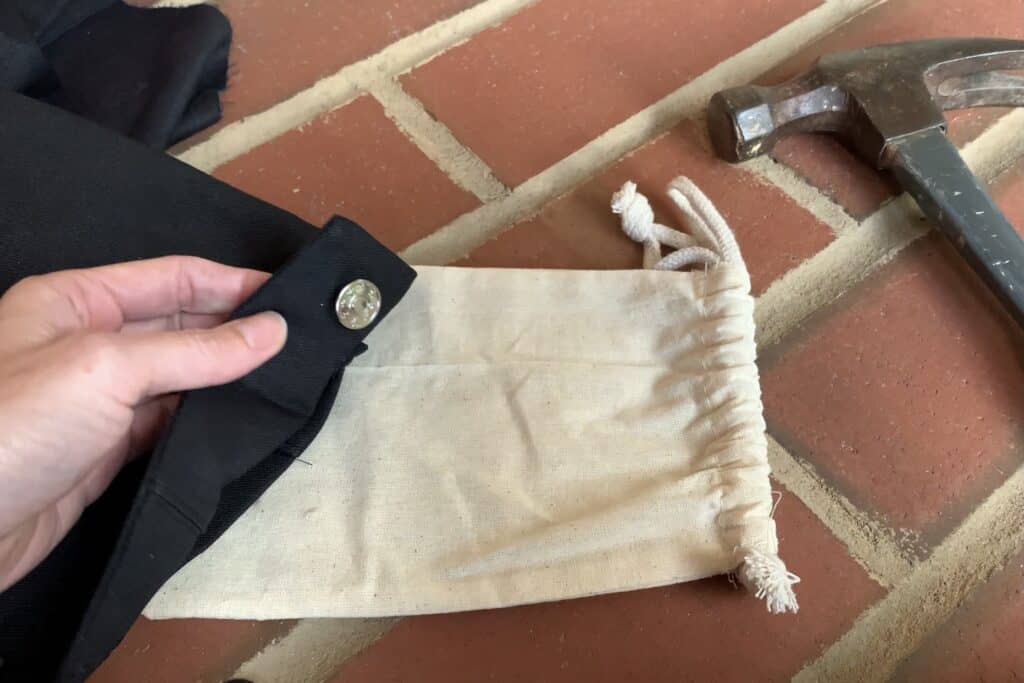
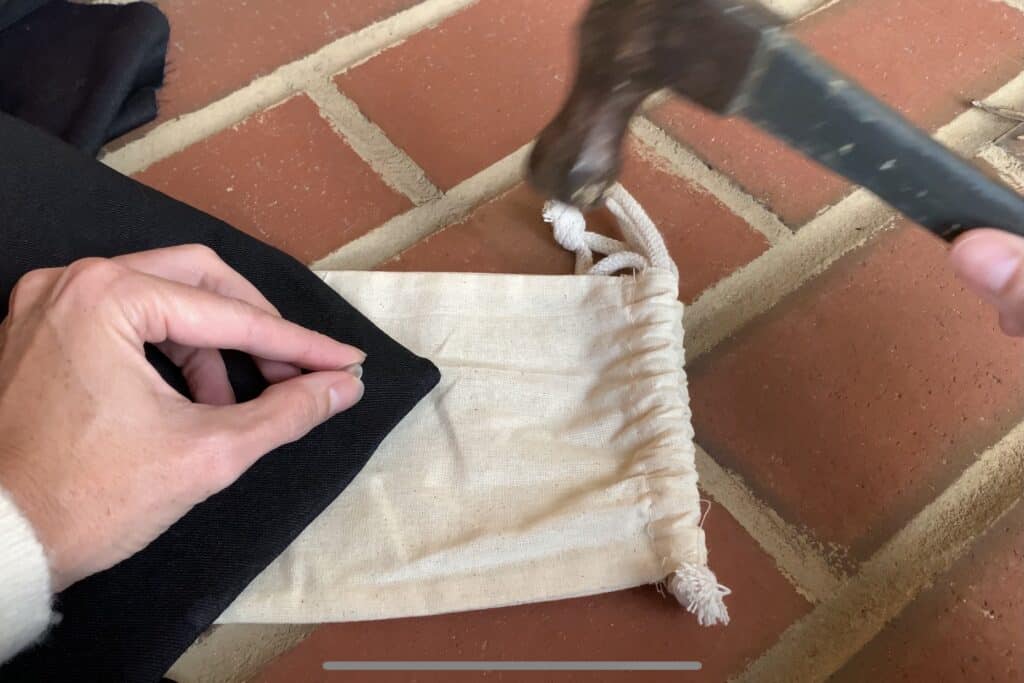
Protecting the front side of your button (as I’ve done here with a simple cloth bag), hammer the button post into the button.

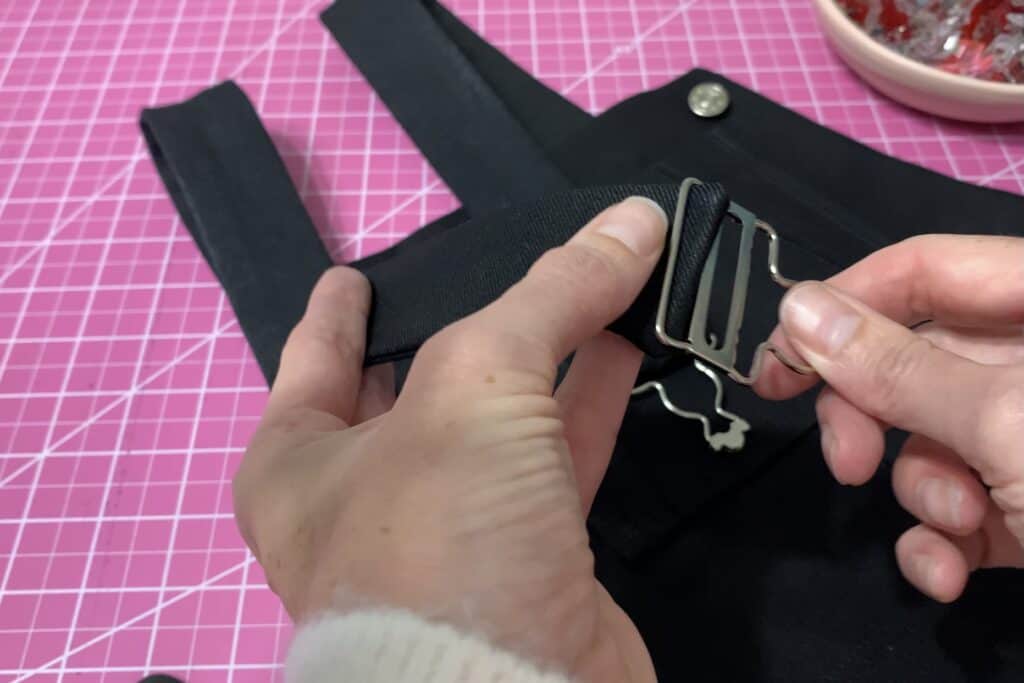
Thread your straps through the buckles, starting with the top…

Running through the bottom…

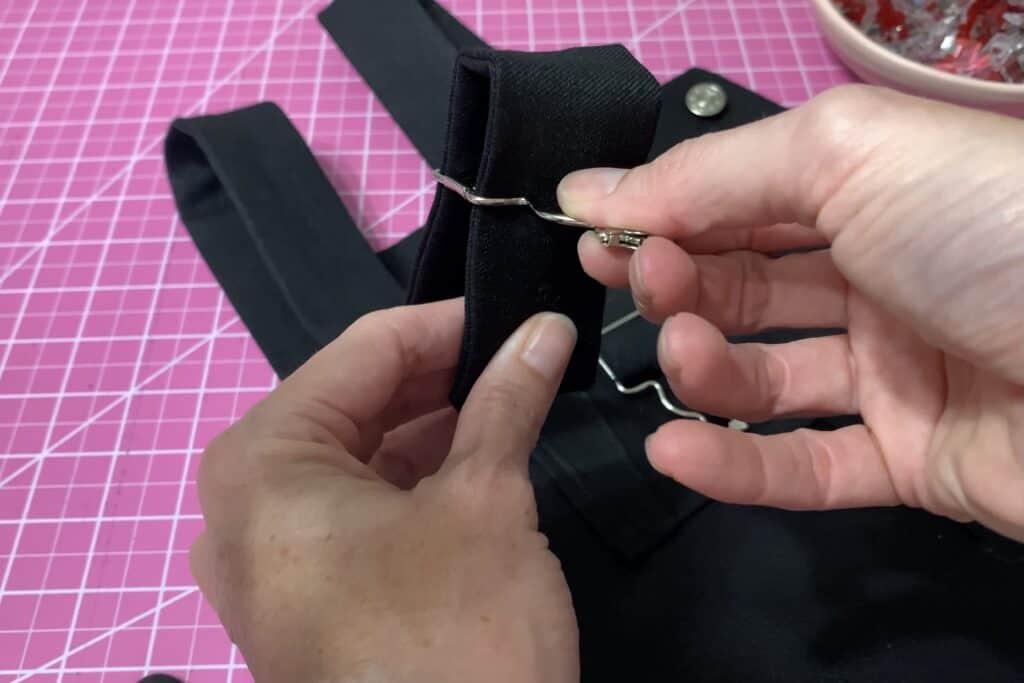
Back through the middle…

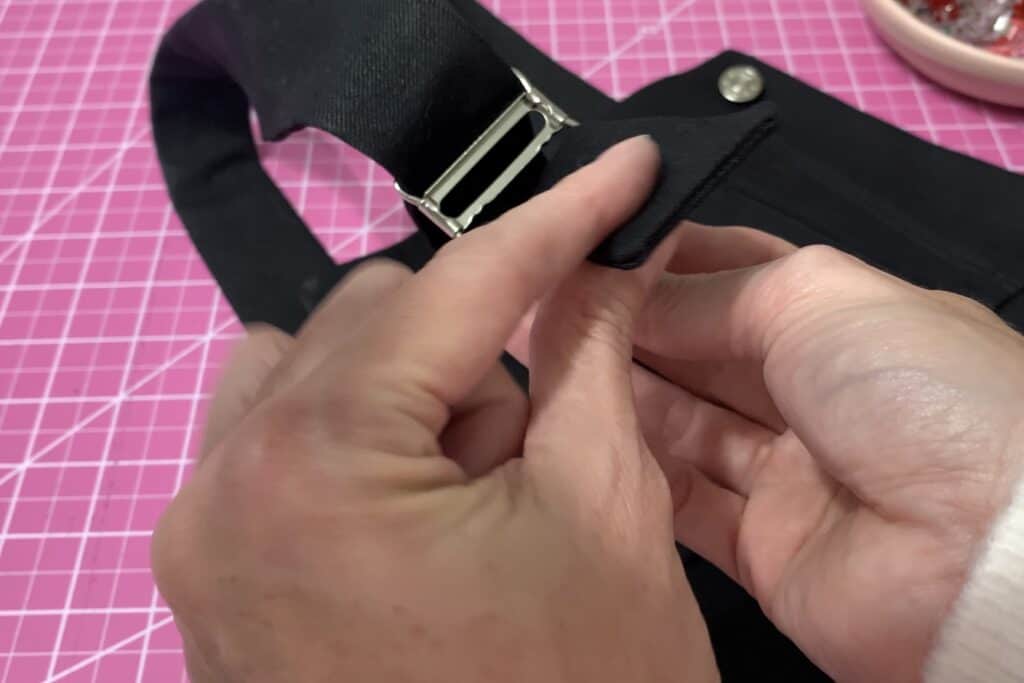
And behind the front of the strap, back through the top loop.

Give yourself plenty of play in your straps to make fit adjustments

5.     Adjust the straps to your preference and you’re done!

I have always loved overalls! I am so glad to have this updated pair in my wardrobe. As with all Patterns for Pirates makes, you can’t stop with one. I already have the fabric ready to make another pair soon.

I hope you enjoy your new jumper!!

Rachel

….
Skip the Zip

If you’d rather skip the zip you can choose a fabric with high stretch and recovery and slip it on/off. It’s a very simple modification, just make sure your fabric is stretchy enough to slip on and off with the snug waistband at natural waist. You will want a fabric that is more stable and can “hold” that waistband shape nicely. Or you can add some 1″ elastic into the waistband to help keep the shape.

Cut out all your pieces the same, except the waistband. You will need to trim off the extra 1″ on each end since we will not have them overlapping for a button. If you’re adding elastic I cut mine just slightly shorter then my new waistband piece so it would be snug to her waist.
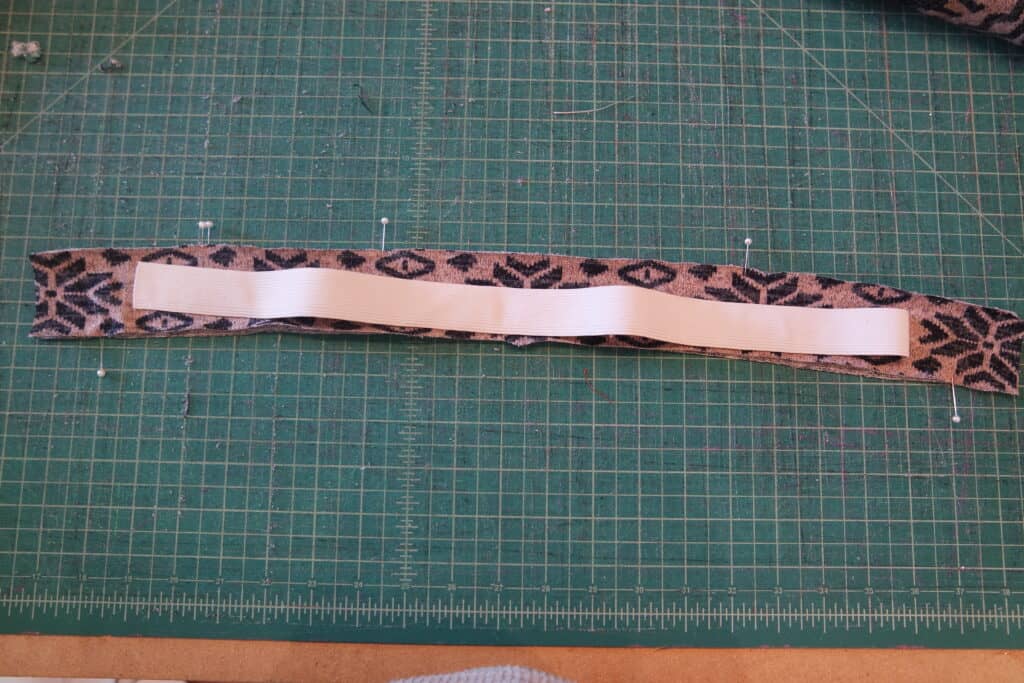
Instead of sewing your zip into your side seam you’ll just stitch it up. Stitch your waistband pieces into a circle. If you are adding elastic sew it into a circle as well.
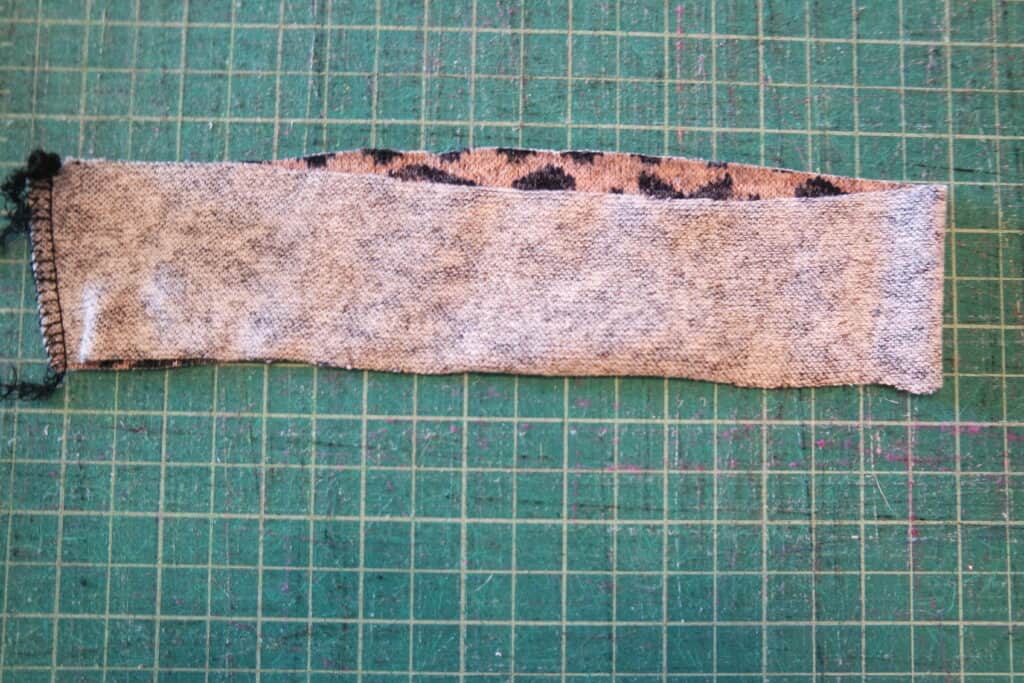
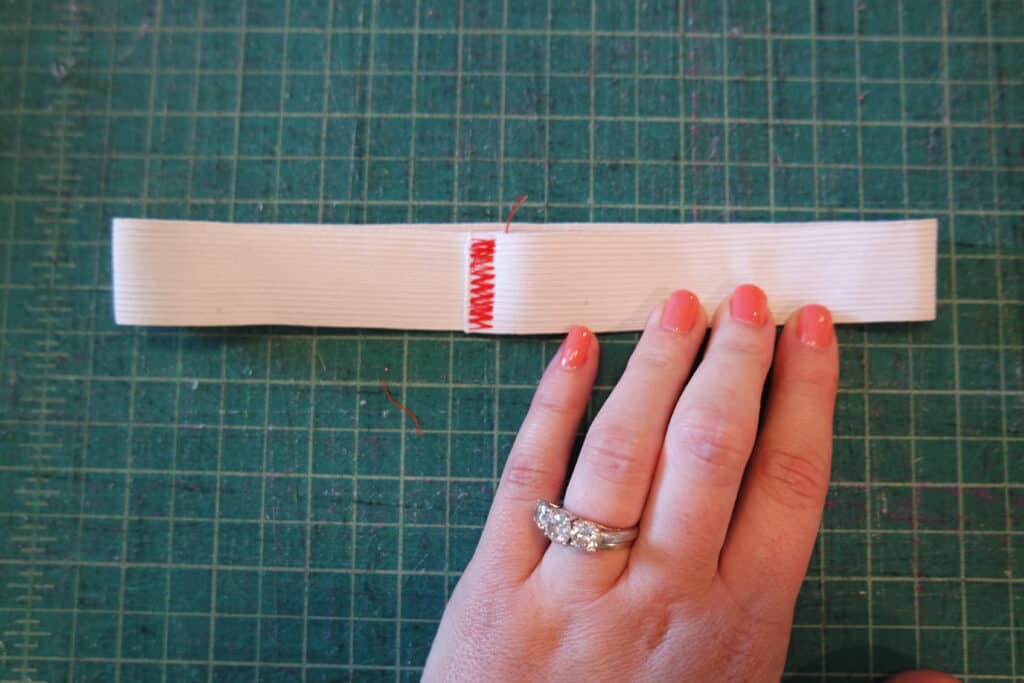
You will follow the same steps as the tutorial attaching the main waistband piece, sandwiching the straps and bib between the main and lining waistband, and top-stitching band. You will just be sewing in a complete circle rather then having the ends that overlap for a button.
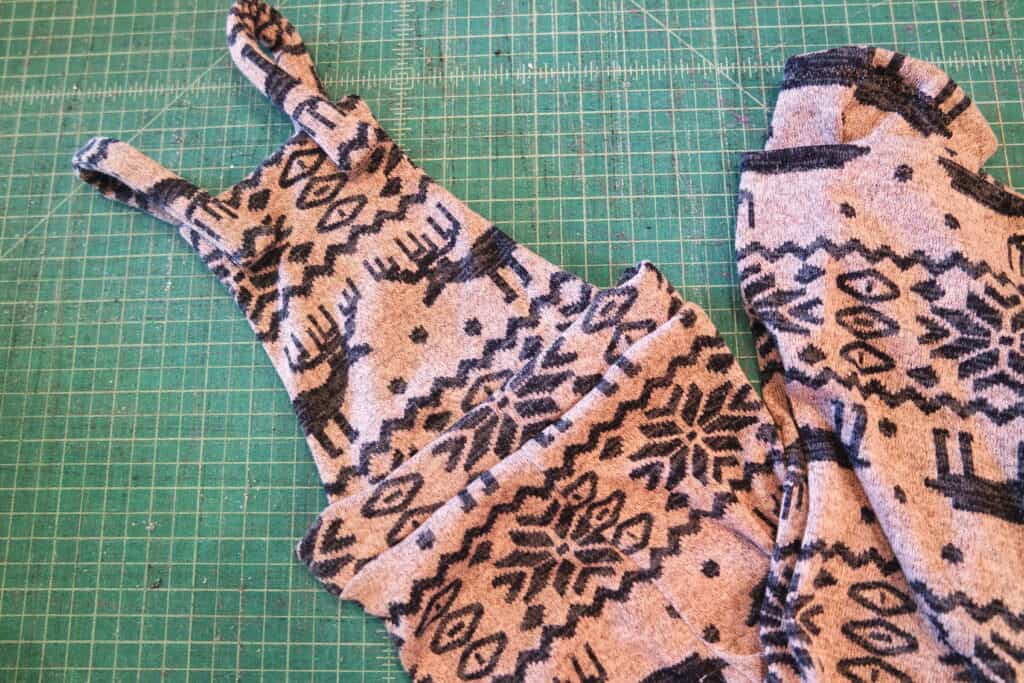
All done, now you can just slip it on/off with no zip!

….

Zipper Guard

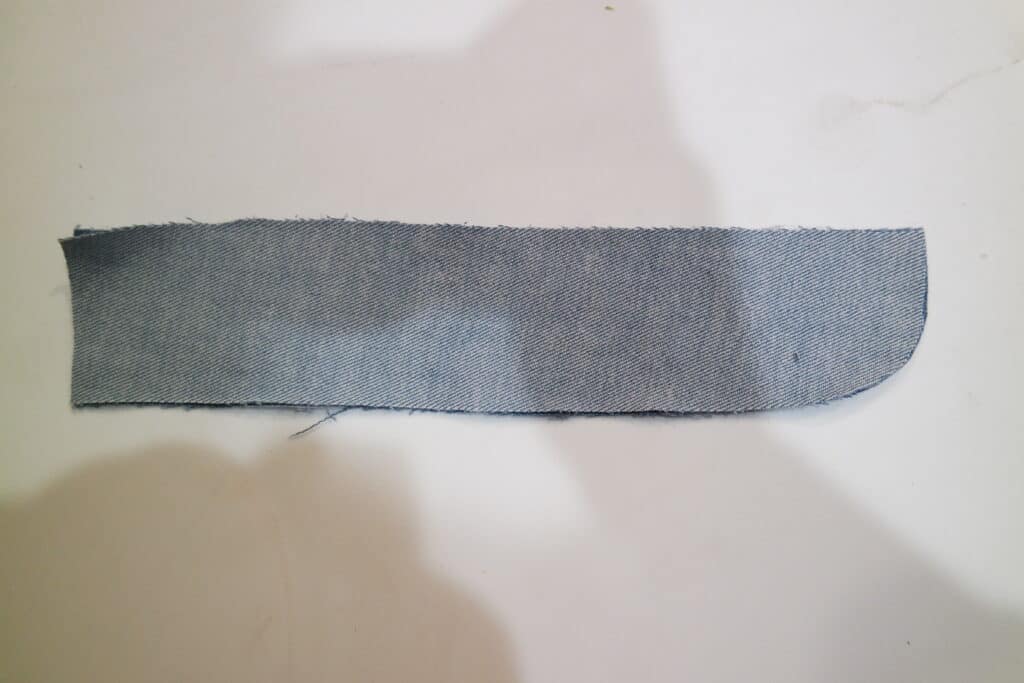
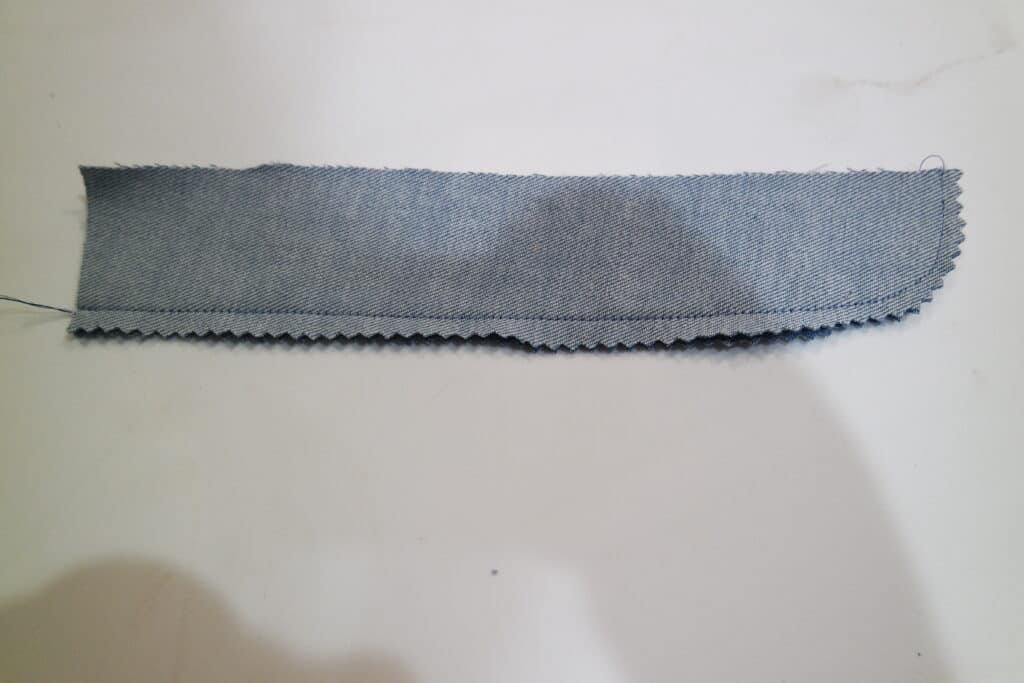
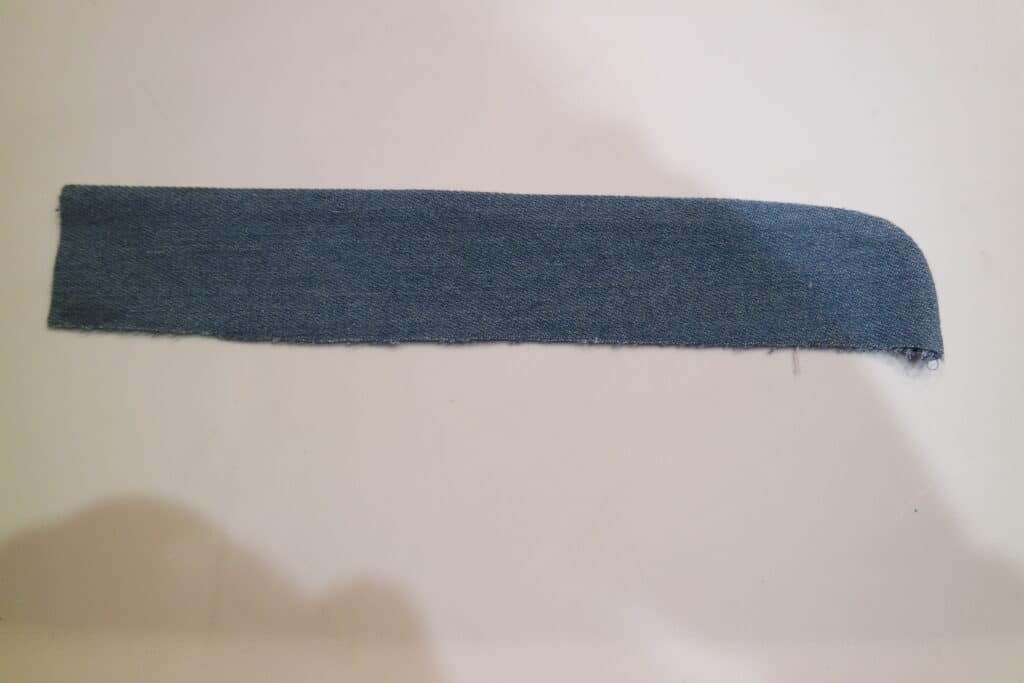
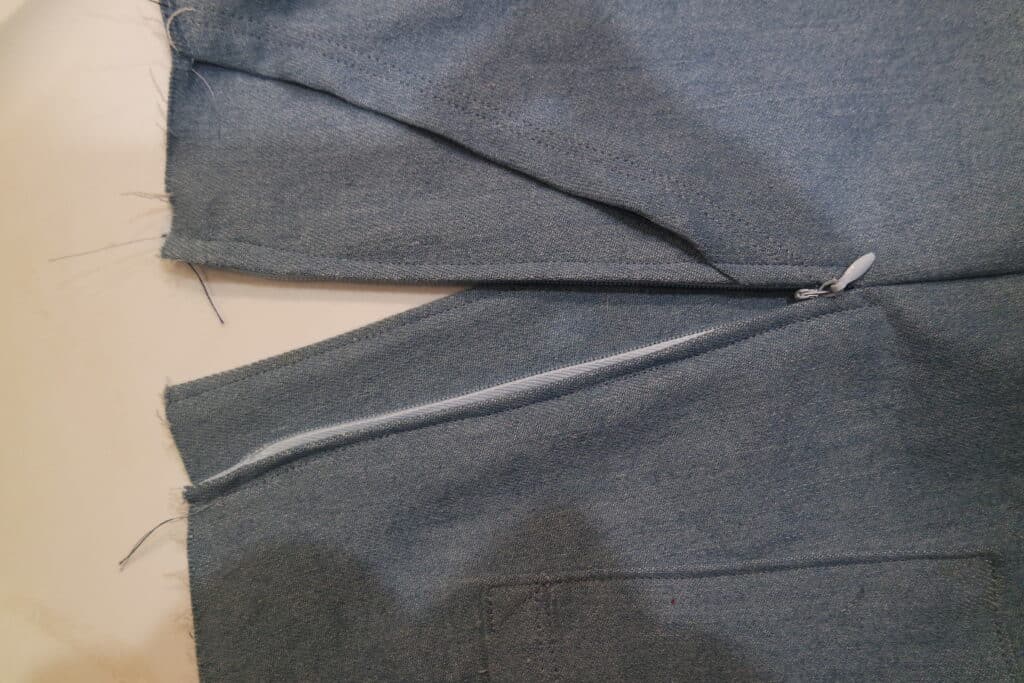
If the feeling of the zipper on your skin bothers you- you can add a simple zipper guard quickly and easily. You will cut out 2 rectangles (you can curve the bottom edge if you’d like I did or leave it a rectangle) a little longer (1-2″) then your zipper and about 2″ wide.

Stitch your pieces right sides together along one long and short edge like a L (J if you curved your corner like me) shape. Trim seam allowance and flip right sides out. Press and stitch.

Place your zipper guard along the side seam with zipper with the raw edges aligned to the seam allowance of the front pant/skirt. Stitch guard to seam allowance (do not stitch through pant/skirt).
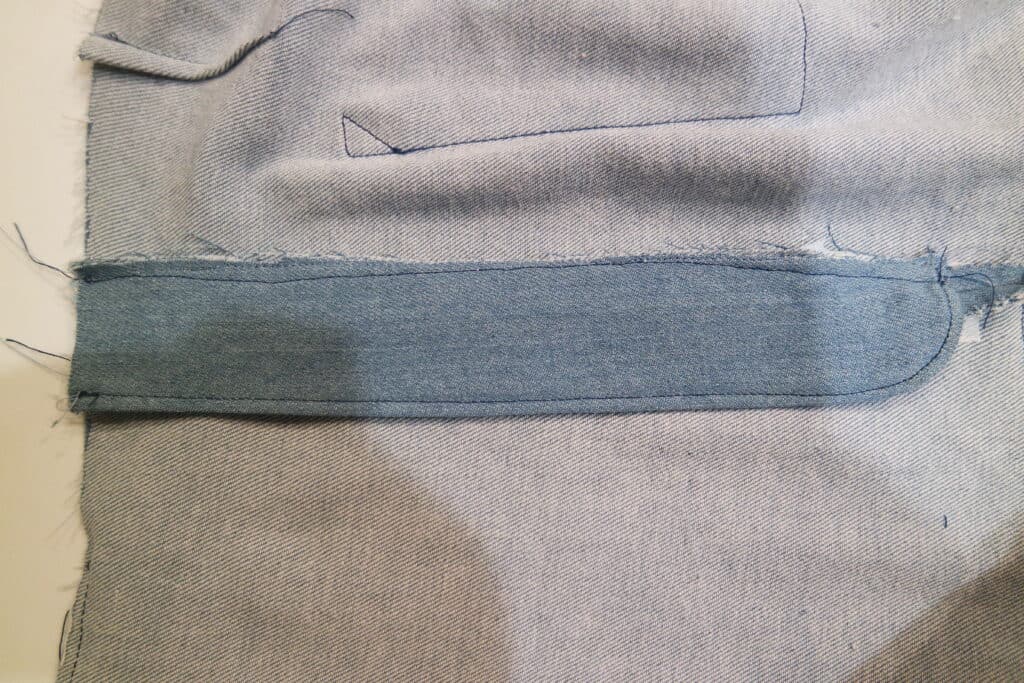
Pin in place from front. Stitch in the ditch along your zipper seam on the front pant/skirt through the zipper guard.
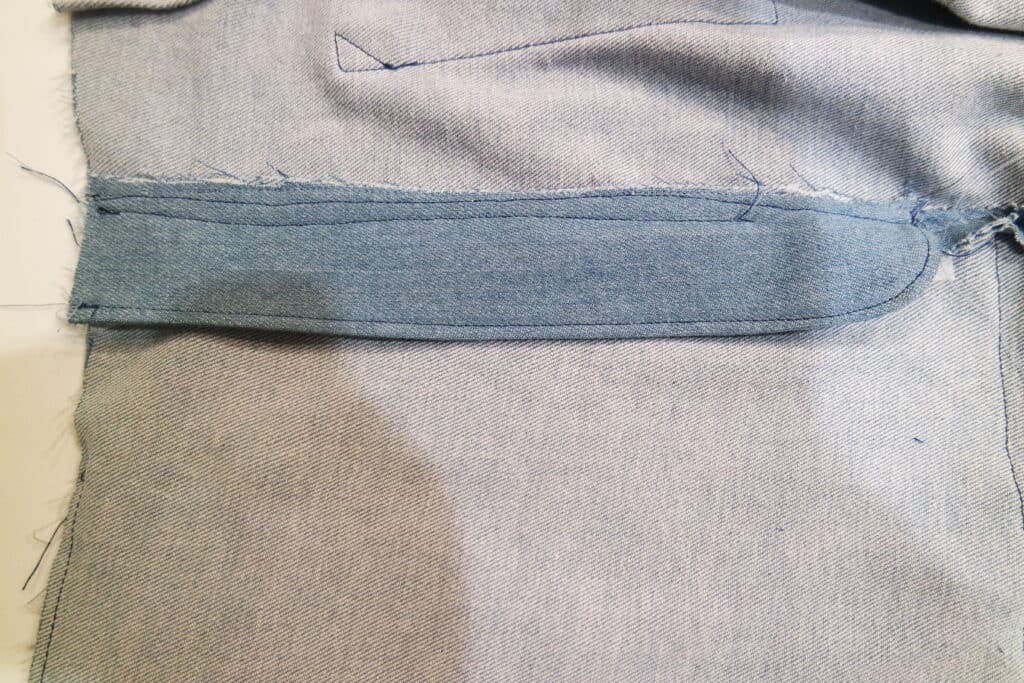
You can also continue to stitch in the ditch across the bottom and up just a little to help keep the guard in place when taking on/off. This is what it will look like after with the zipper guard keeping the zip from touching your skin:
….

Add some Ears

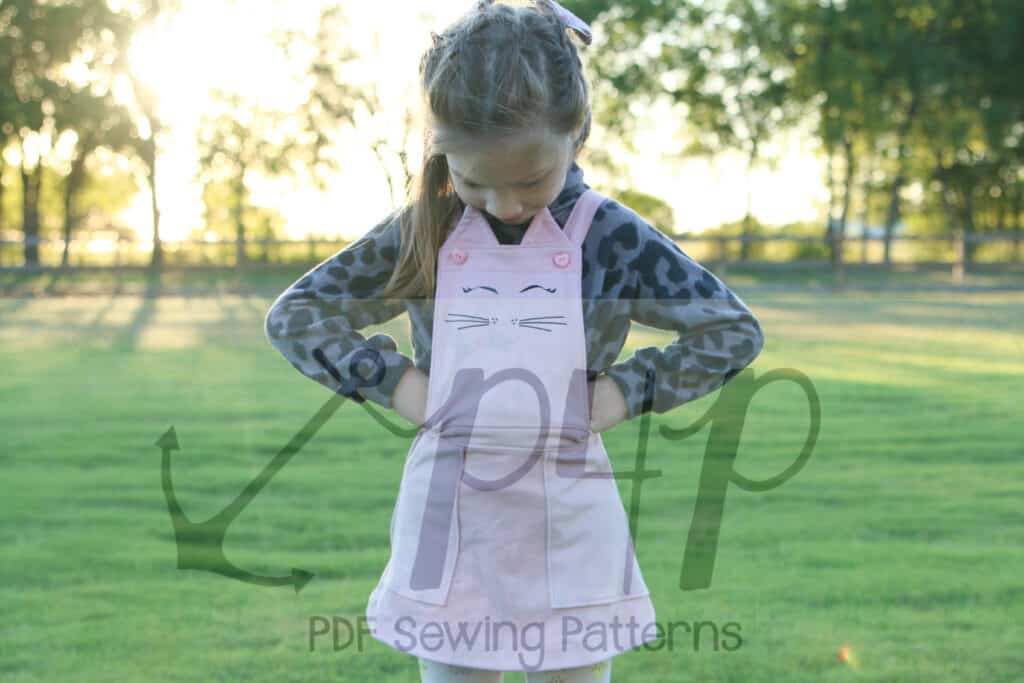
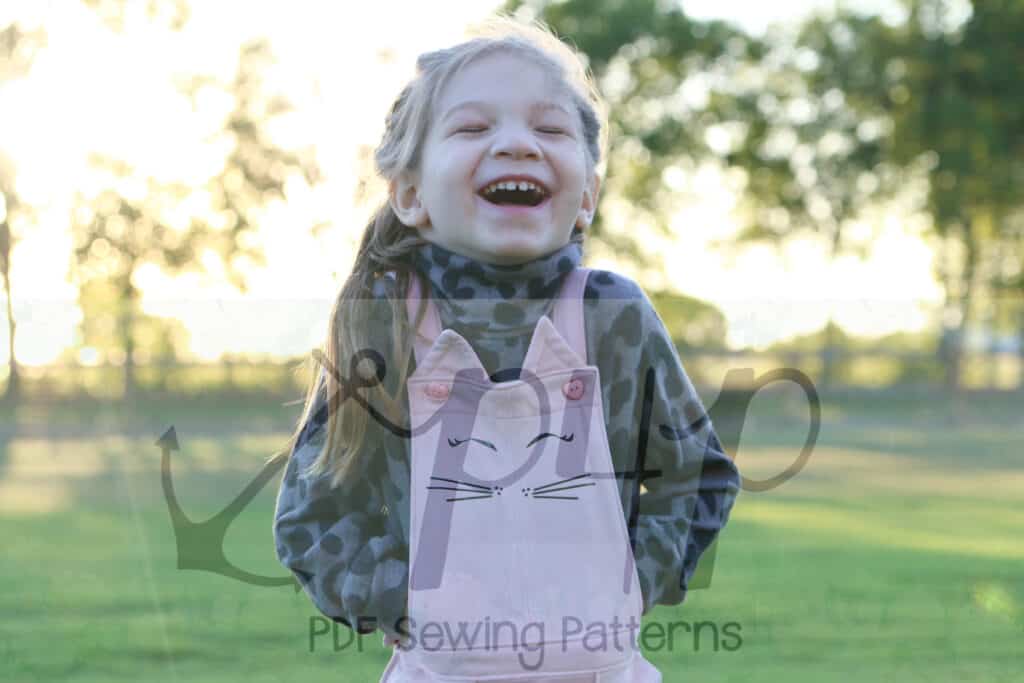
Adding a little face and ears is always a way to make my daughter super happy with something I sew her. She requested a kitty for this one after seeing one similar at a store. It was such an easy little modification. I simple free-handed the ears… but we do have some ears in the Oversized Sweater-Youth pattern and I used the faces from our free Animal Faces for our Jolly Roger Raglan. I only freehanded the ears to make sure they fit perfectly and…. well… I didn’t want to print anything 😉

Stitch the ears up and sandwich them between the main and lining bib. Ta-da… that’s it! So cute and simple!
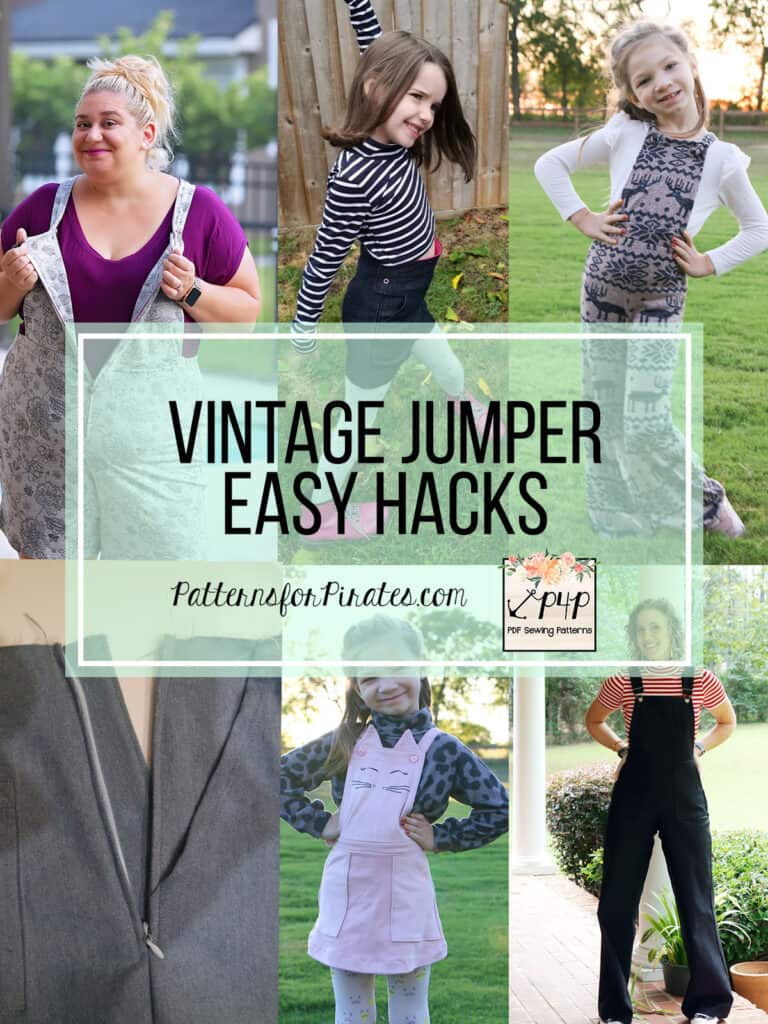
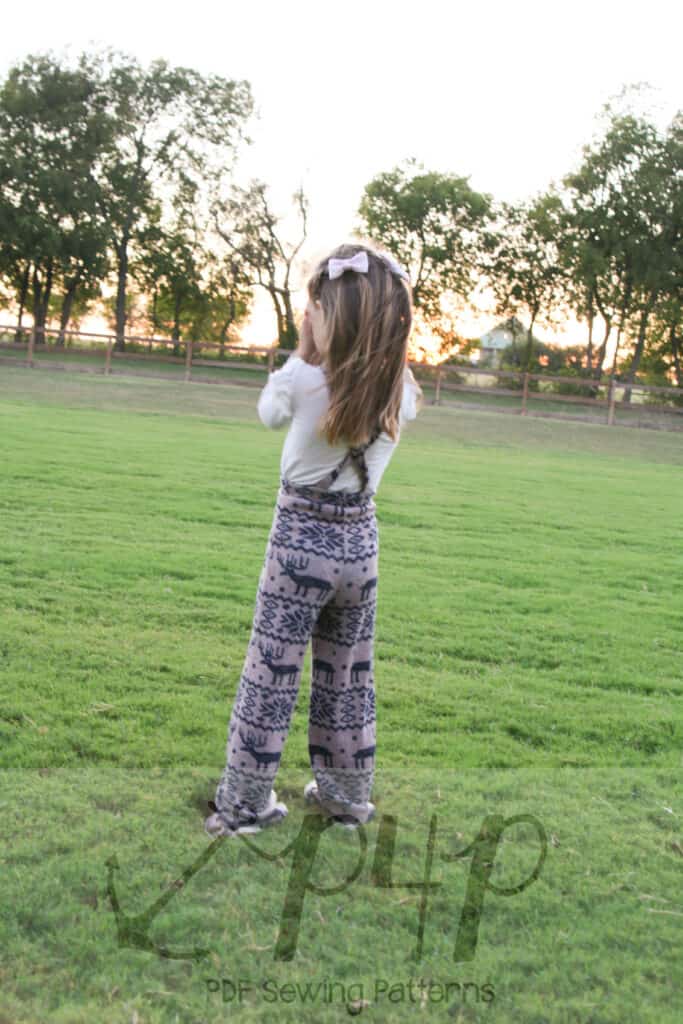
What an amazing line up! We look forward to seeing  your own “”hacked” Vintage Jumper  creations on Facebook and Insta.

Filed Under: Frequently Asked Questions, Pattern Hacks, Pattern Release Leave a Comment

P4P University- Pants and Their Wrinkles

May 14, 2019

We get a lot of questions about fitting, wrinkles and pull lines and how to fix those when sewing for different body types.  Pants seem to cause a lot of anxiety for some sewists when it comes to the crotch area and the lines they can see there, but it isn’t too complicated as it seems.

First, lets talk about wrinkles and pull lines in general.  You will never have a garment that will never have any in any position.  Meaning a garment is drafted and fitted to look great in one main position (usually standing up straight with feet slightly apart for pants).  So, if you’re only getting wrinkles or pull lines when moving a certain way don’t worry! A garment can’t be perfectly drafted and fitted to every movement you’re going to be in.  I often see that sewists are worried about this though… “I have wrinkles when I sit” is a very common plea for help… but the truth is you should! You need that extra length when you’re standing and it will wrinkle or bunch when you’re not using that length when sitting.


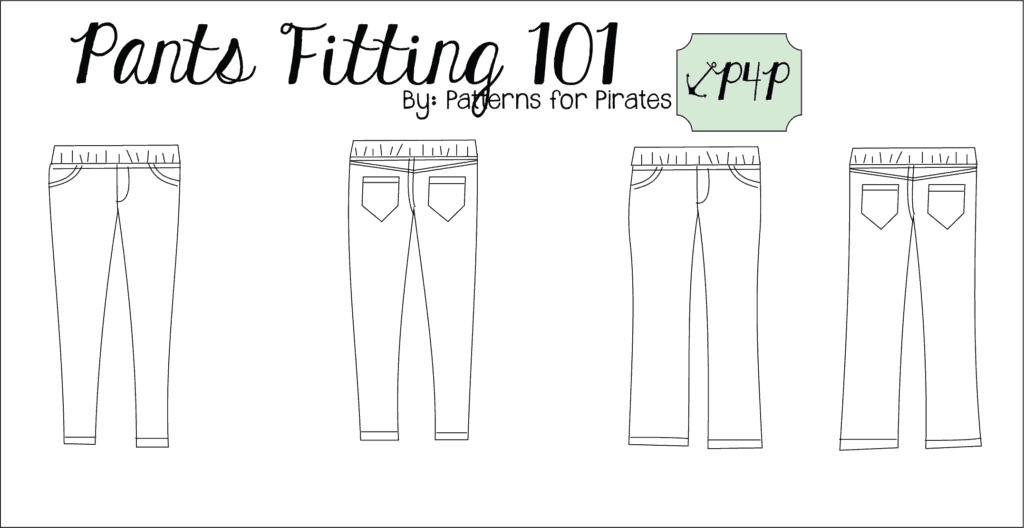
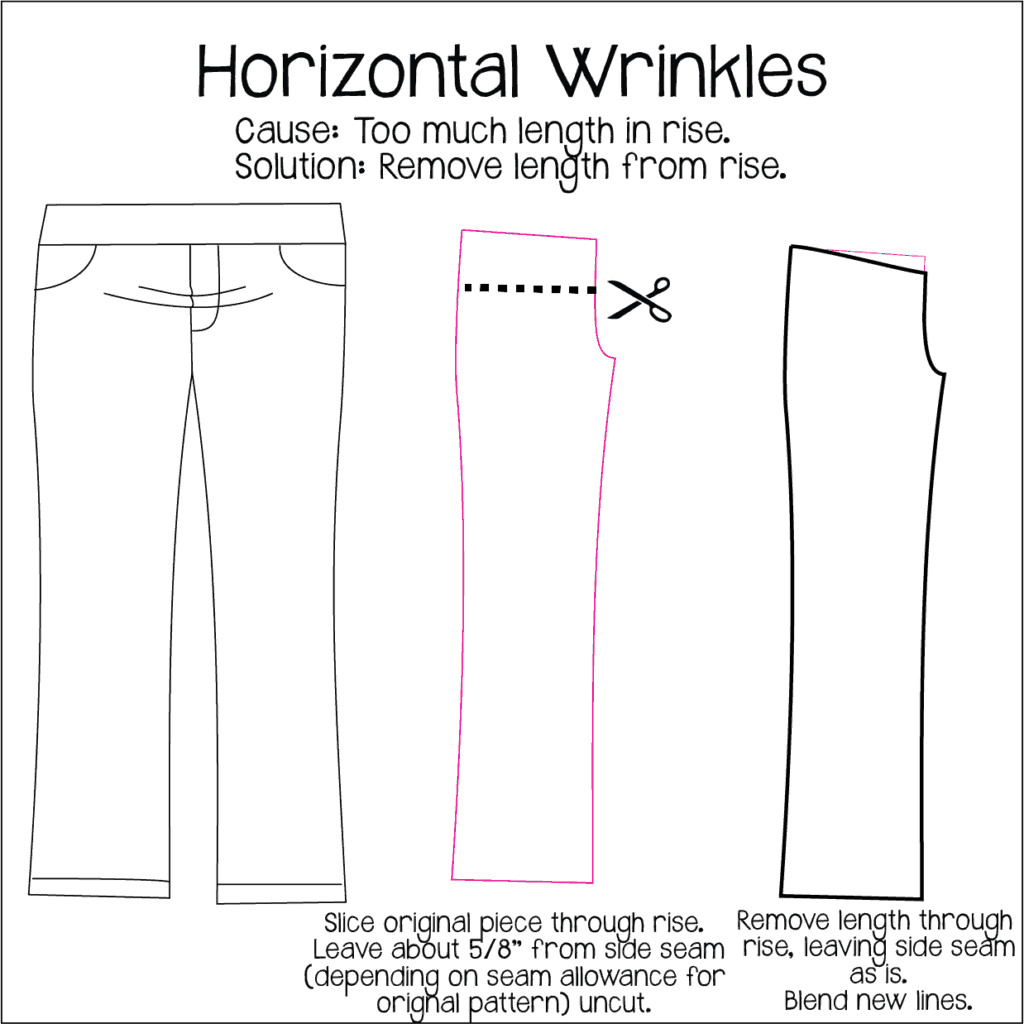
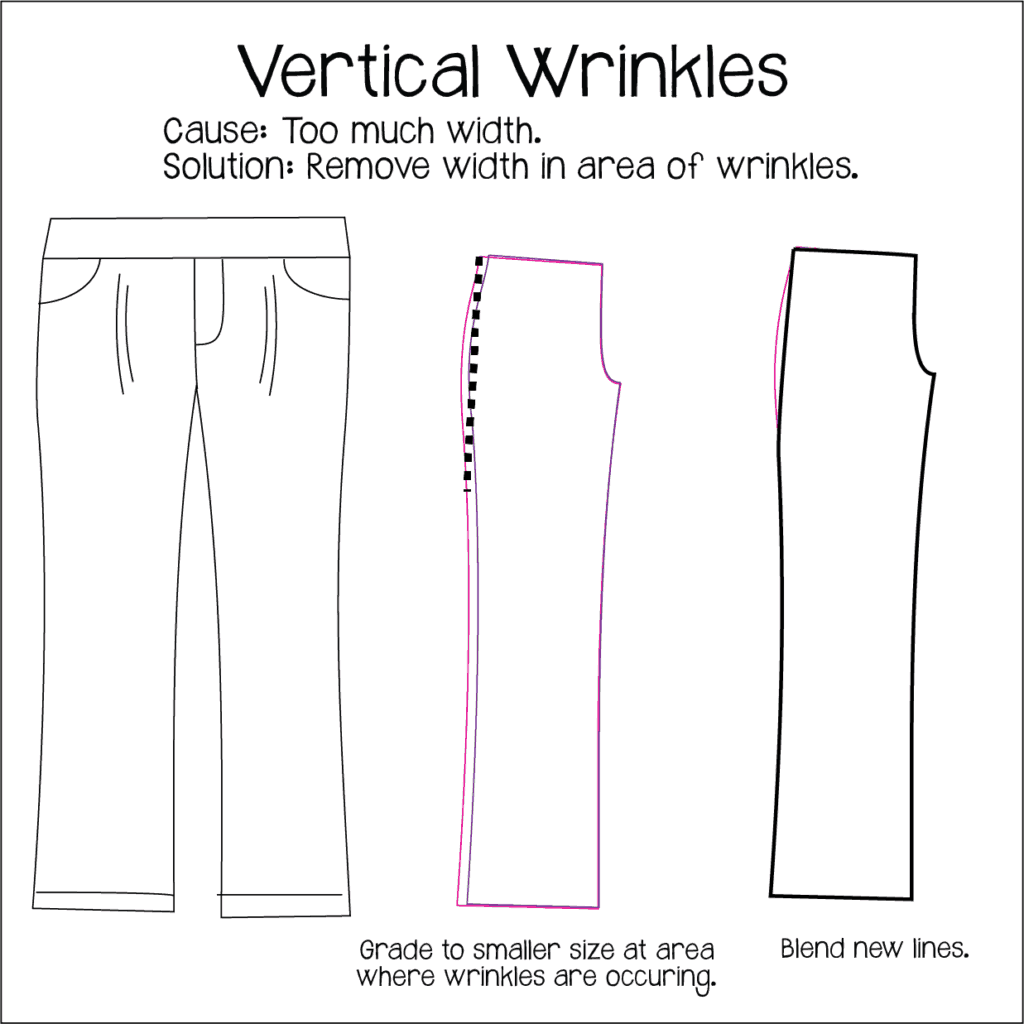
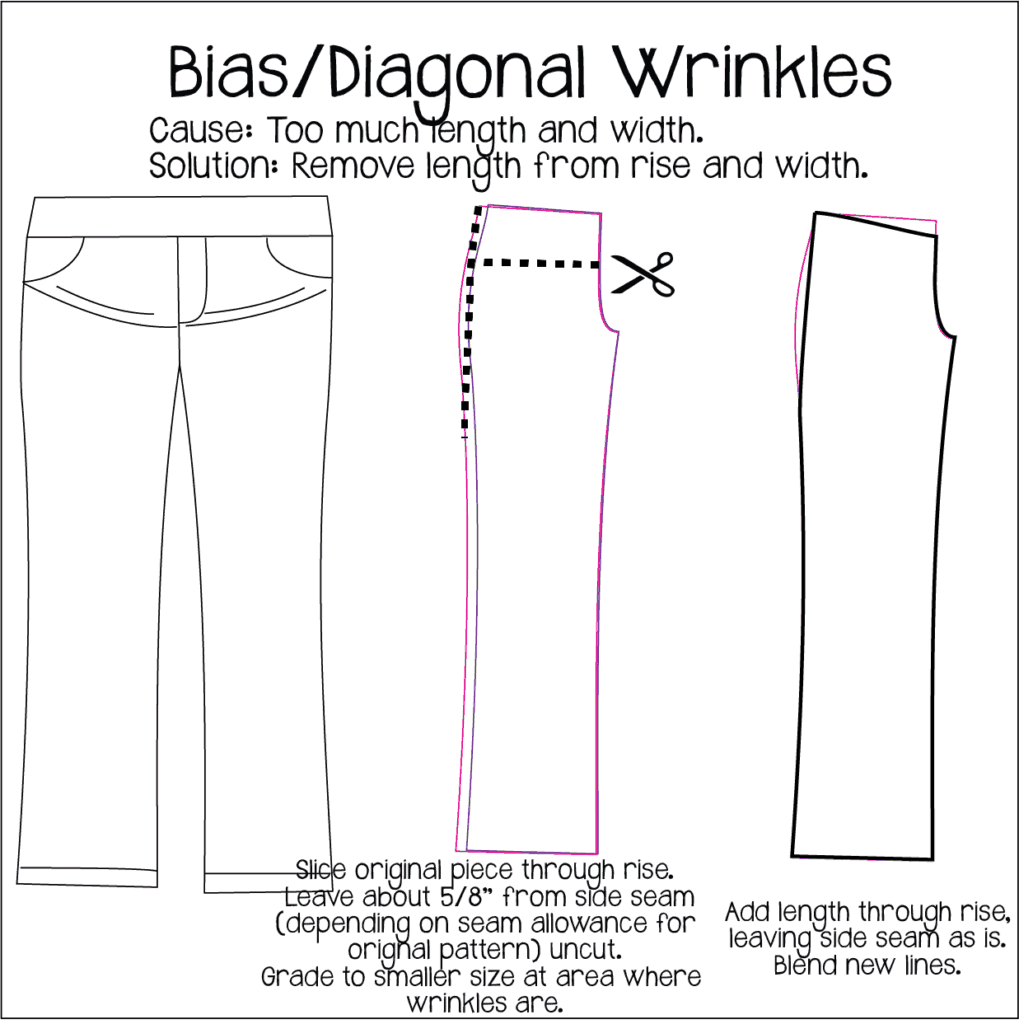
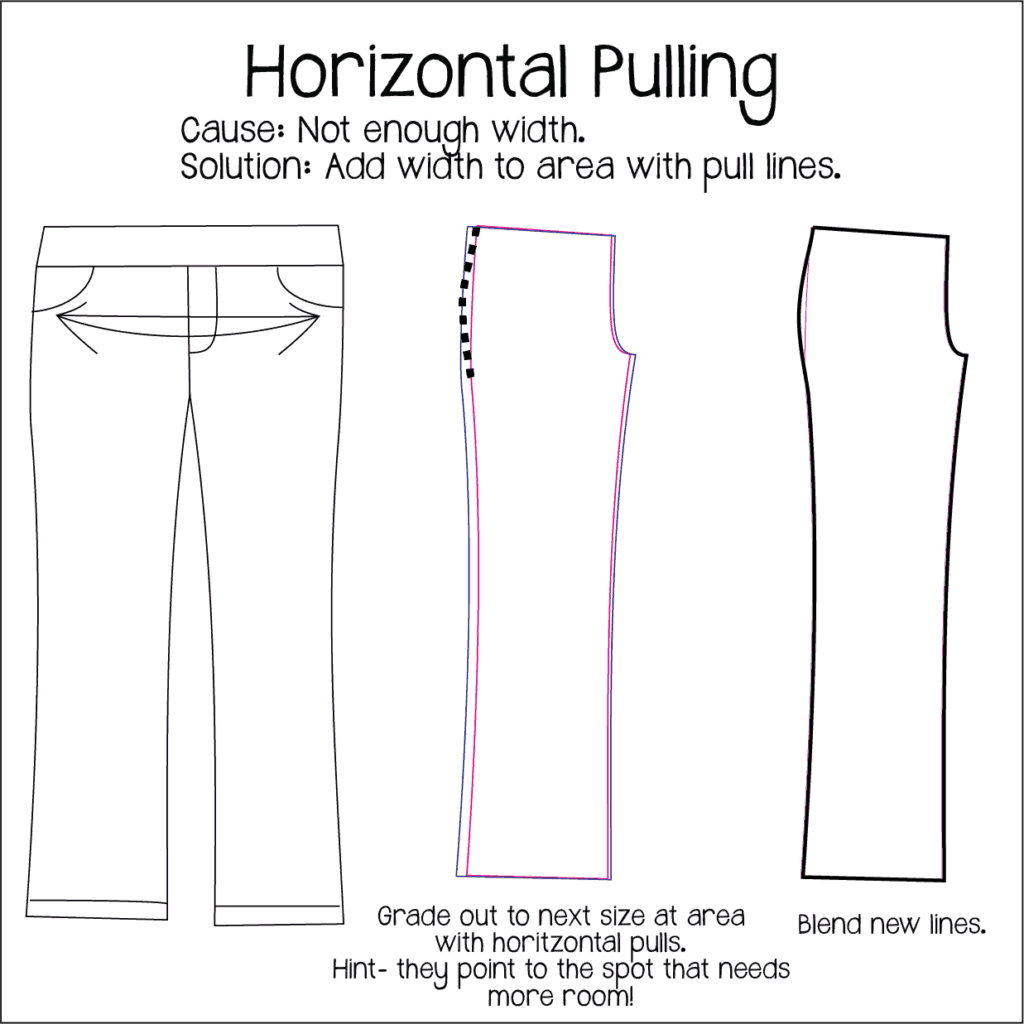
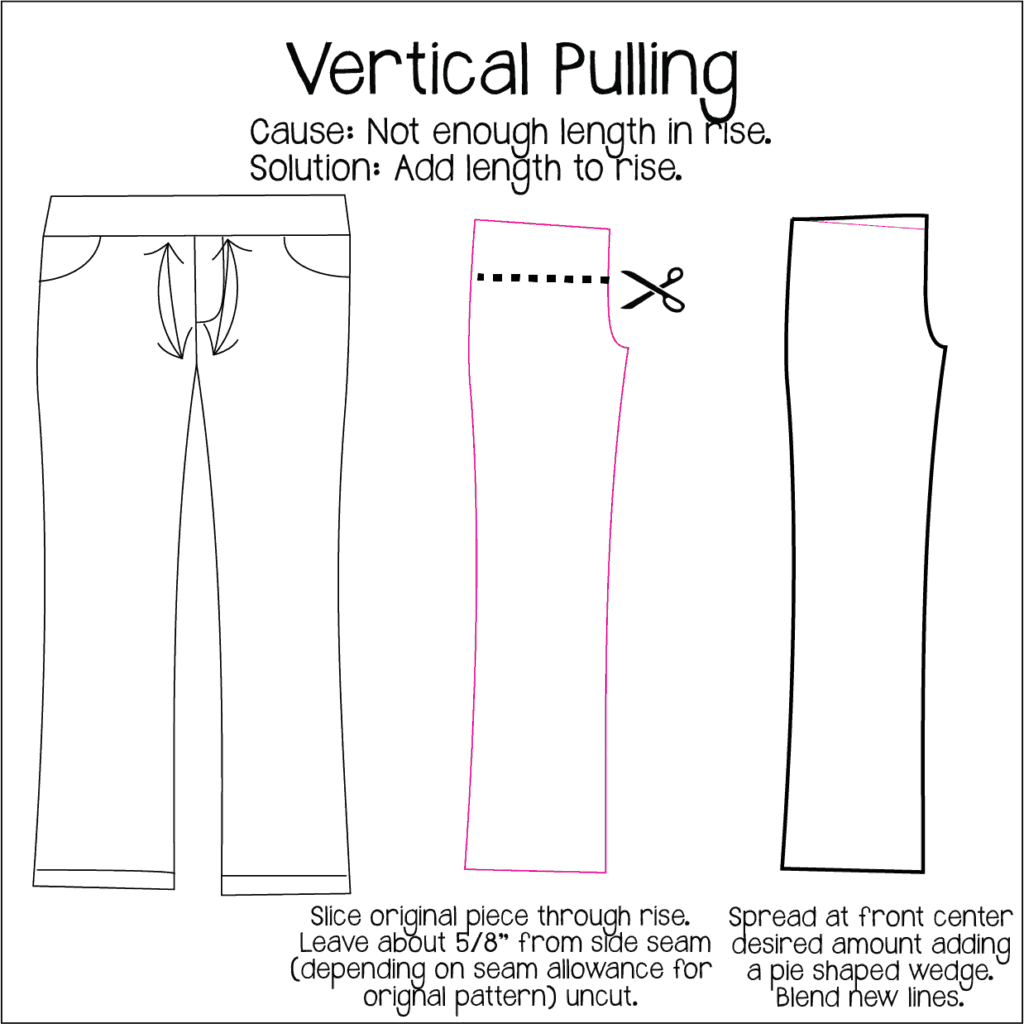
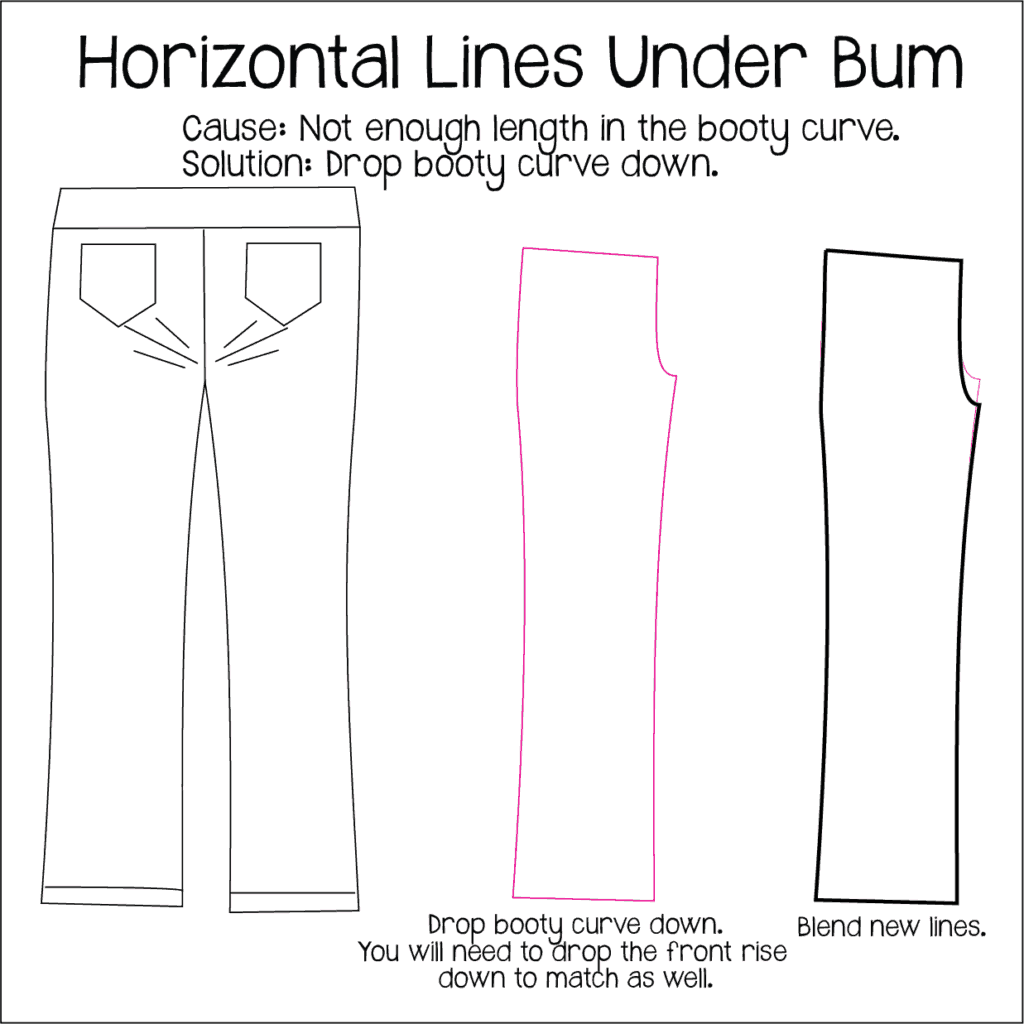
But, if you’re fitting pants and you’re having wrinkles or pull lines when just standing straight then you’ll want to alter the pattern for a better fit.  Lets go over some wrinkles and pull lines and what you would need to do to fix them.  I have the issue on the left, followed by how you would alter the pattern in the middle, and to the right what your new pattern piece will look like against the old one (old pattern in pink and new altered in black).

When you have wrinkles this indicates that you have too much fabric somewhere and it is bunching up.  Pinching out the excess will show you exactly where the extra fabric is coming from usually and if it is horizontal, vertical, or both that needs to be taken out.


When you have pull lines this indicates that there is not enough fabric somewhere and it is straining.  If you’re unsure you can unpick to let the tension out and see if the lines go away.  The gap that your seam spreads would be the amount your pattern needs to not strain.  You can unpick along the side seam to check for horizontal pulling or along the top waistband for vertical.  You might need both as well if you’re getting bias pulling.


The same goes for booty with wrinkling vs pull lines and vertical vs horiztonal.   But, I wanted to touch on a common fit issue I see asked about, which is pulling under the bum.  This is generally when your booty is a bit lower then the pant is drafted for.  Lowering the booty curve will help elevate that straining and pull lines.


Pants aren’t all that scary 🙂 Once you learn the basics you can alter the pattern for your perfect fit easily!  Good luck!

Filed Under: Fitting, P4P University, Uncategorized Leave a Comment

LL – easy hacks

July 20, 2017

In true Pirate fashion we could not have let this double release go by without showing you some easy but fun hacks for the Little Loungers and Linen Loungers. Erinn will start you off with an adorable bias binding hack for the curved hem shorts.

…..

Bias Binding curved hem

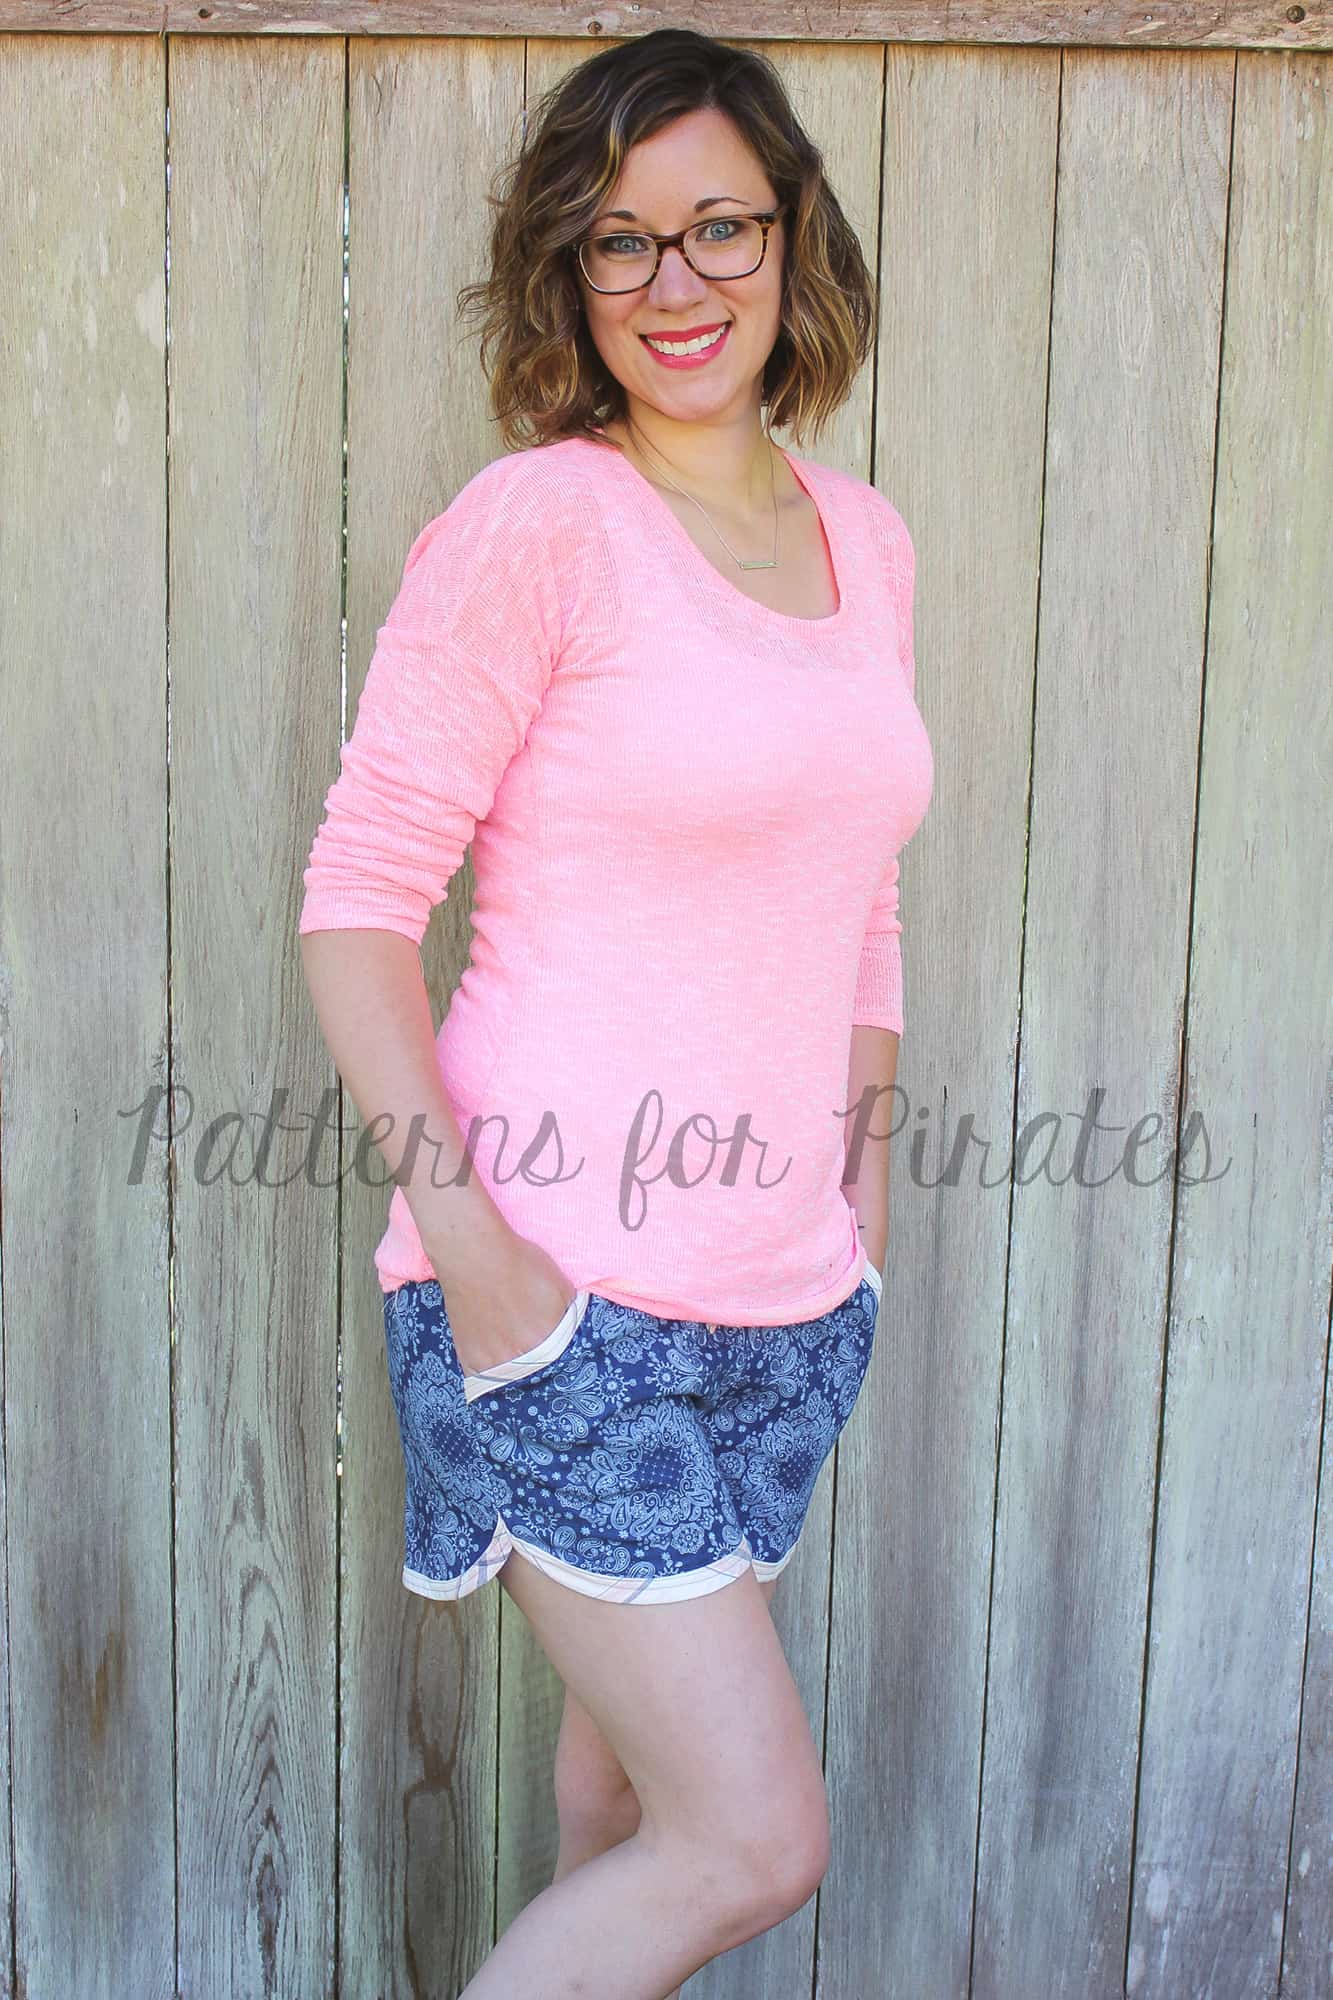
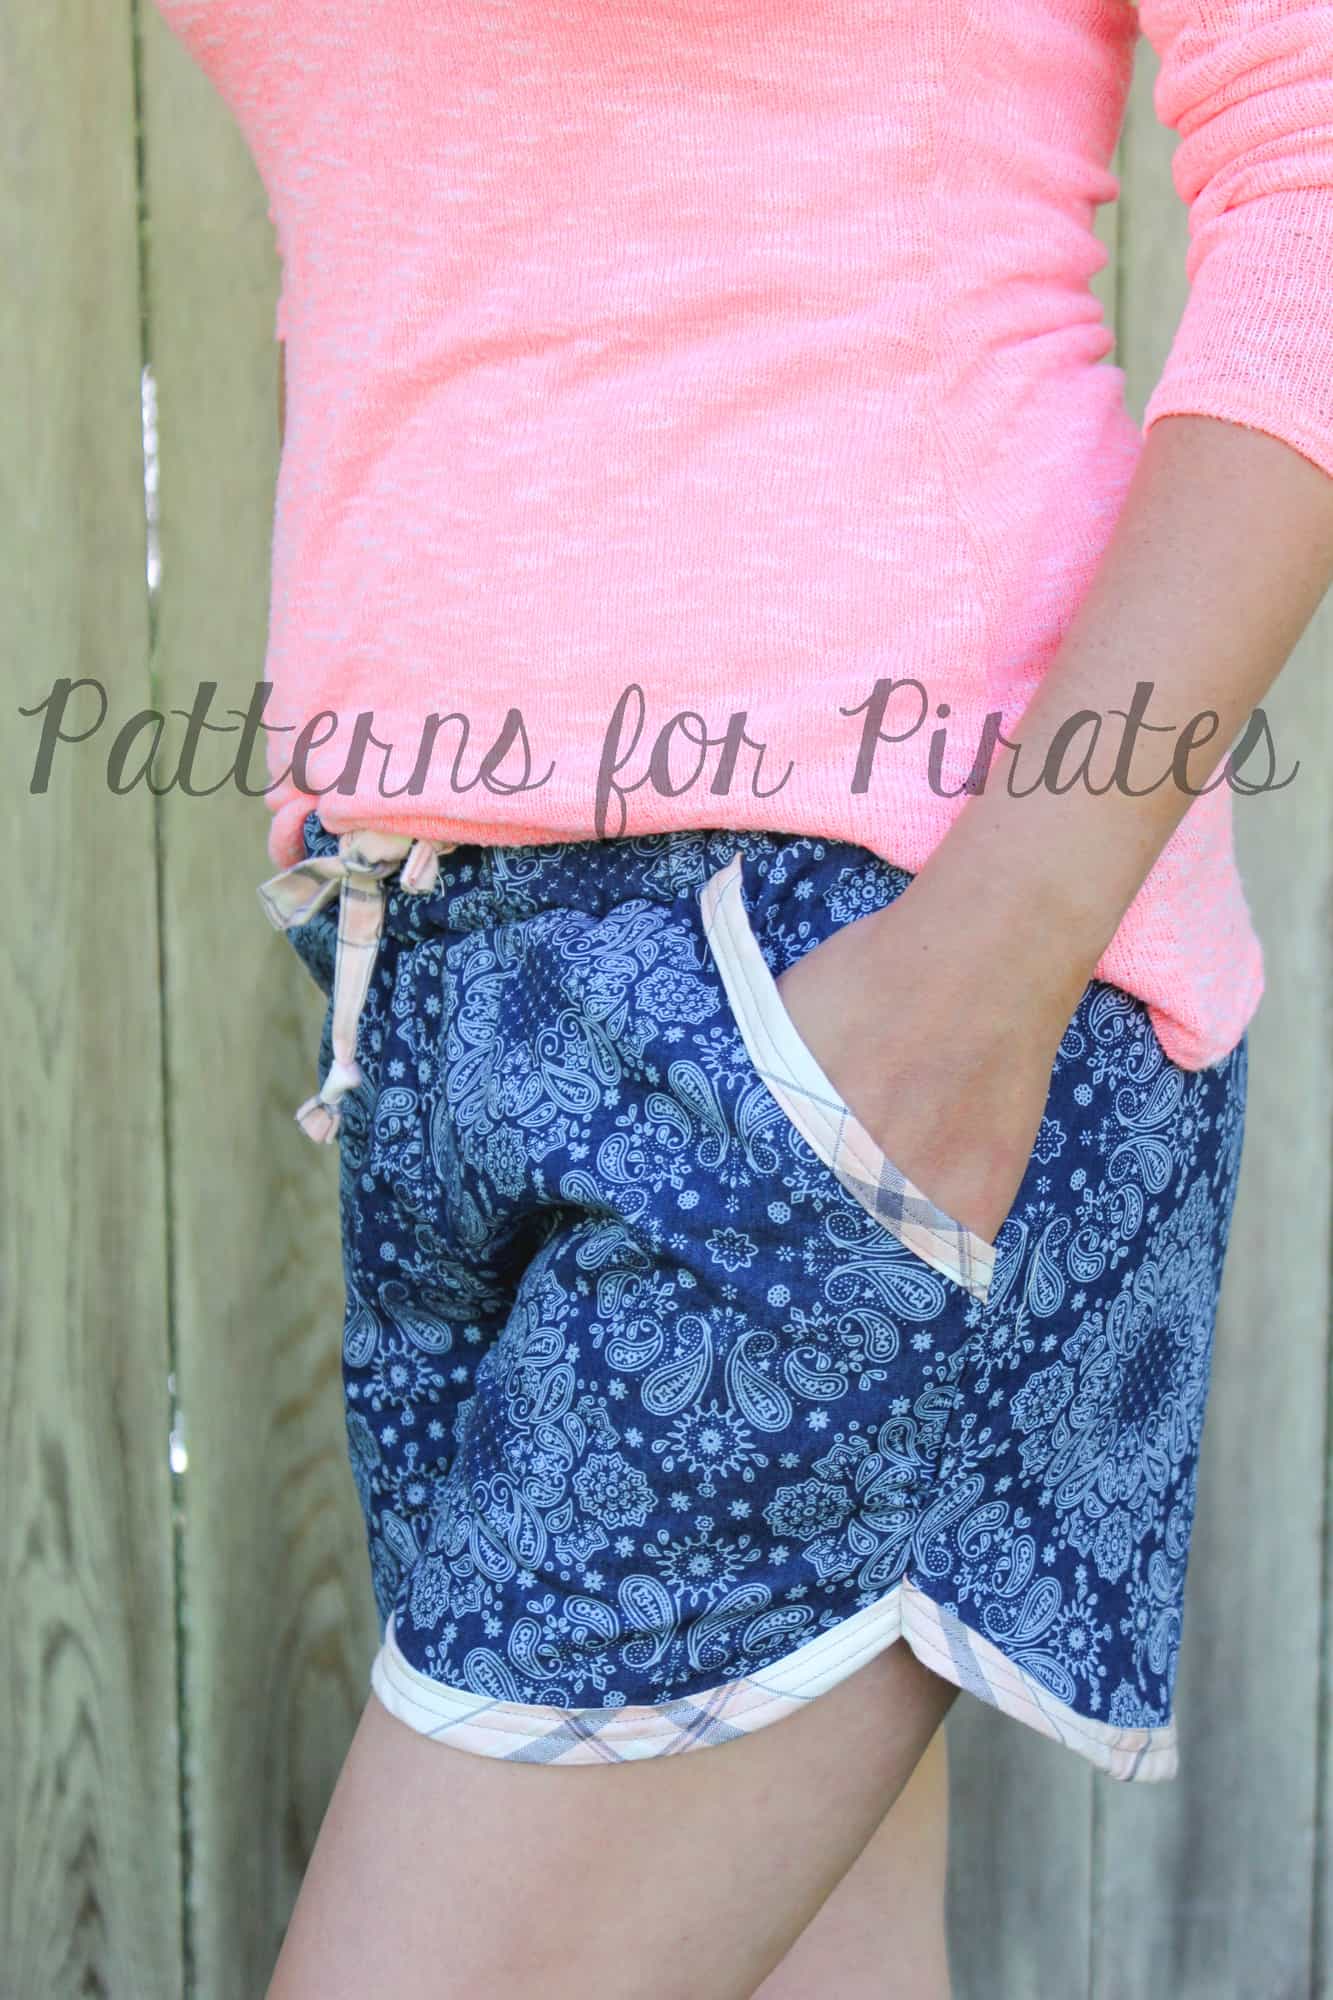
Adding bias bindings to the hemline of the curved shorts is a quick and easy way to create an entirely different look. One of the things that I love most about this look is that it’s a great way to add a pop of contrasting or coordinating fabrics.

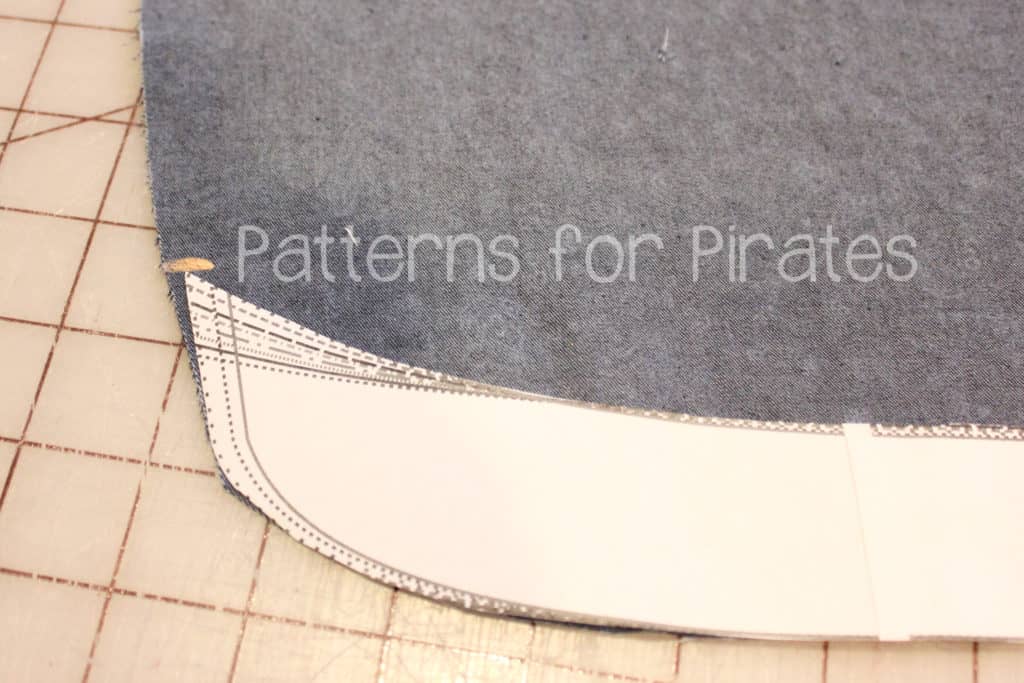
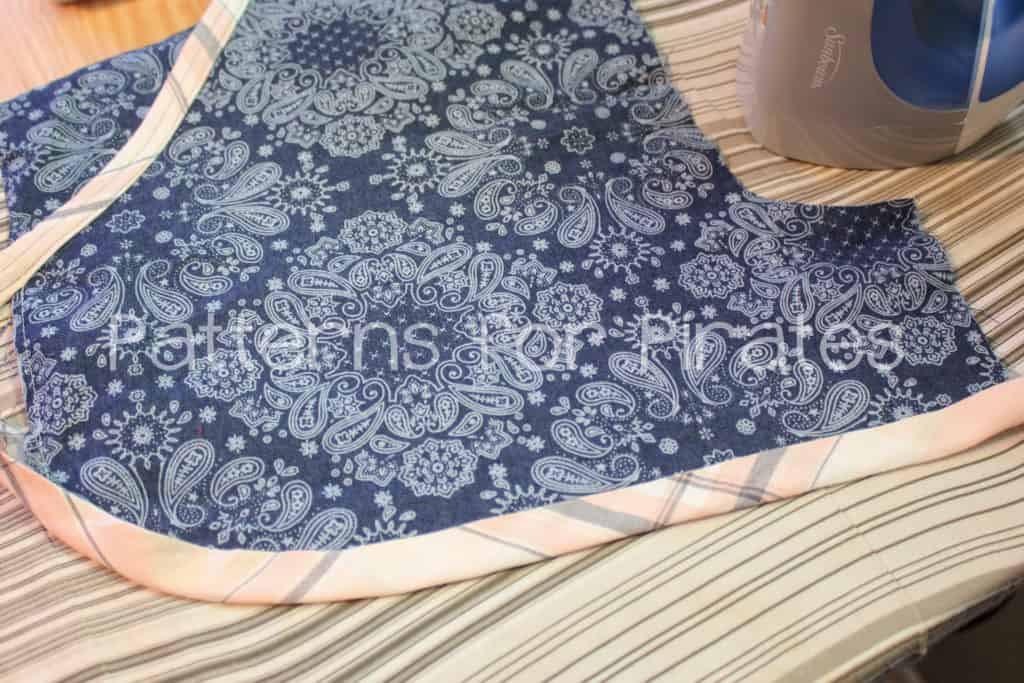
To create this look, cut out your pattern pieces as you would per the pattern. The only additional thing you will need are your bindings. For mine, I cut them 2″ wide by a length that was longer than the hemline. As you can see below, I used the curved pattern pieces and marked the top edge. I will connect my bias binding pieces up to this marking.

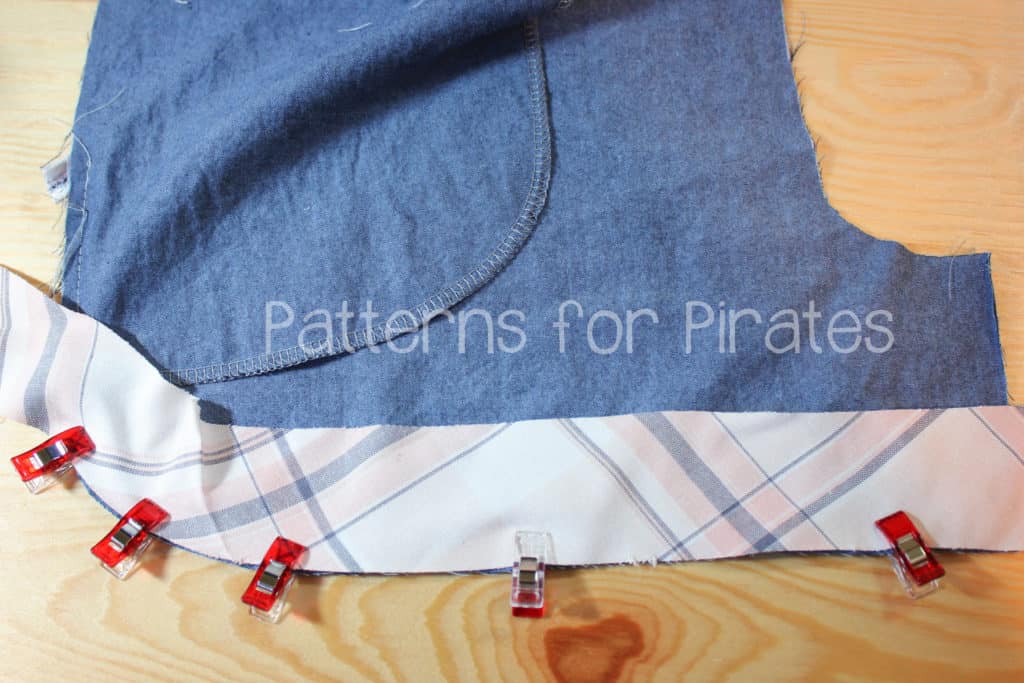
If you are attaching pockets, you can complete everything through these steps. Before sewing up the inseam and sides, you will want to complete your bindings along the curves. Place your shorts facing down and bias binding pieces face down and then gently ease them along the curves. You will want to pin/clip this in place. As you can see, my pieces are longer than the edges, but these will be trimmed later. Attach with a 1/2″ seam allowance, then clip into seam allowance along curve.

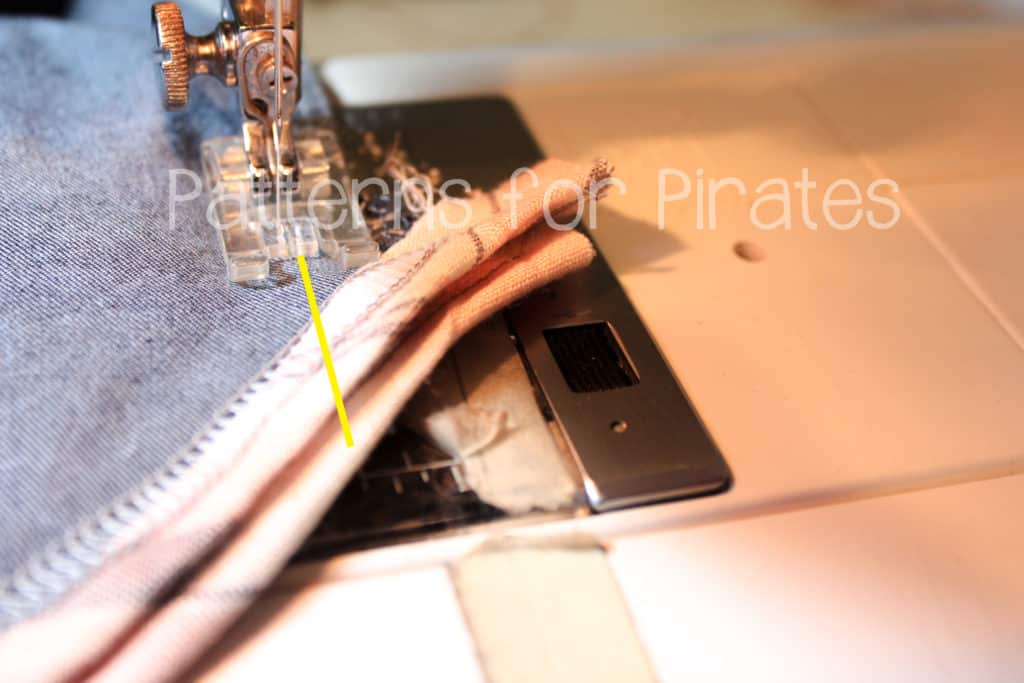
Once you’ve attached your binding, press binding piece and seam up. Press bias binding piece to align with top edge, then press again as you fold binding over (these are the same steps as were completed on pockets).  Edge stitch along folded edge and repeat on the other three hemlines.

Once you’ve attached all bias bindings, you will assembly your pattern as directed. When reaching the curved seam and inseam, you will want to make sure to use a straight stitch for the last few inches to create a cleaner finish (With wovens, it is advised to use a straight stitch first and then go back over with a serger if desired. If doing so, end your serged section a few inches before your straight stitch to help create that cleaner look). Trim any bias binding pieces that might be longer than your seam allowance.


…..

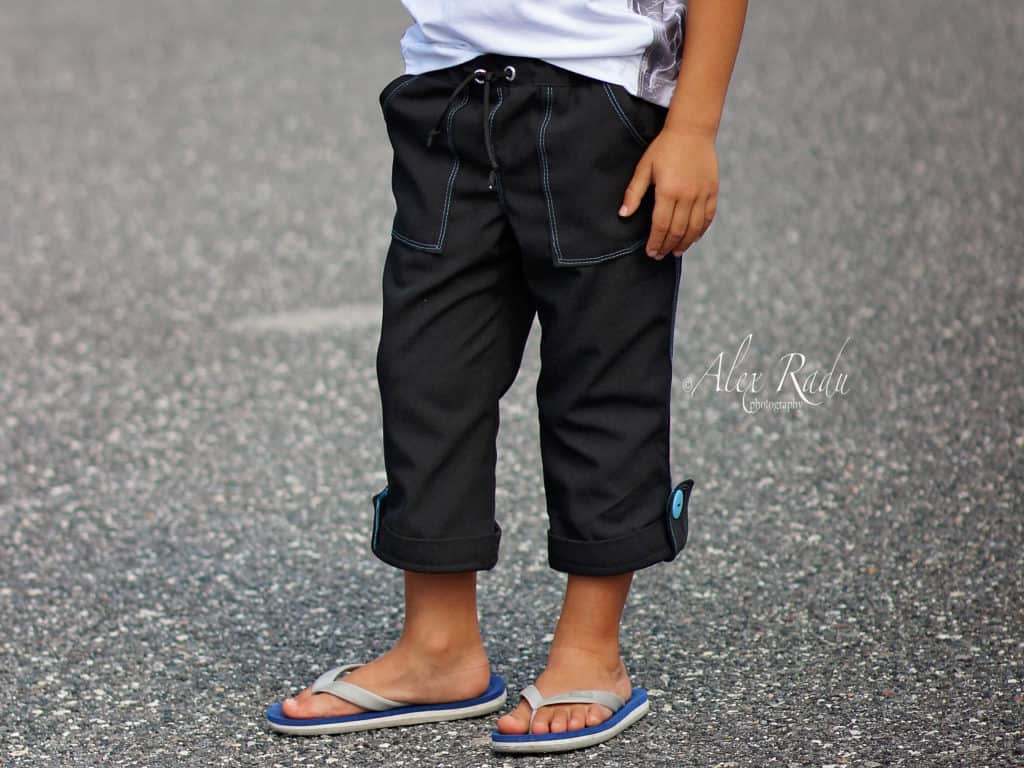
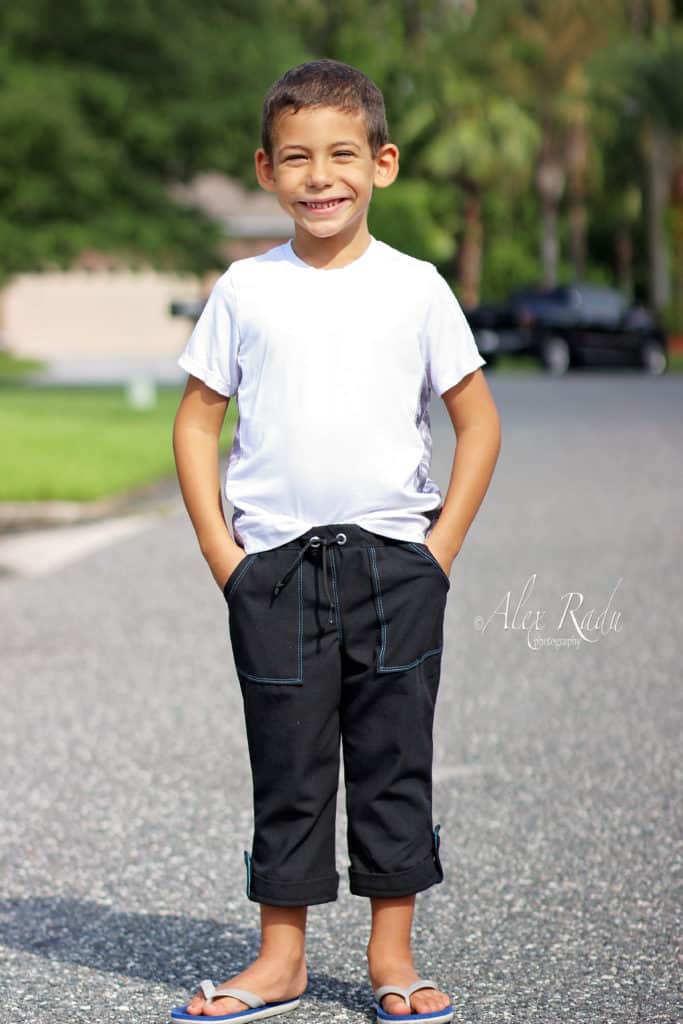
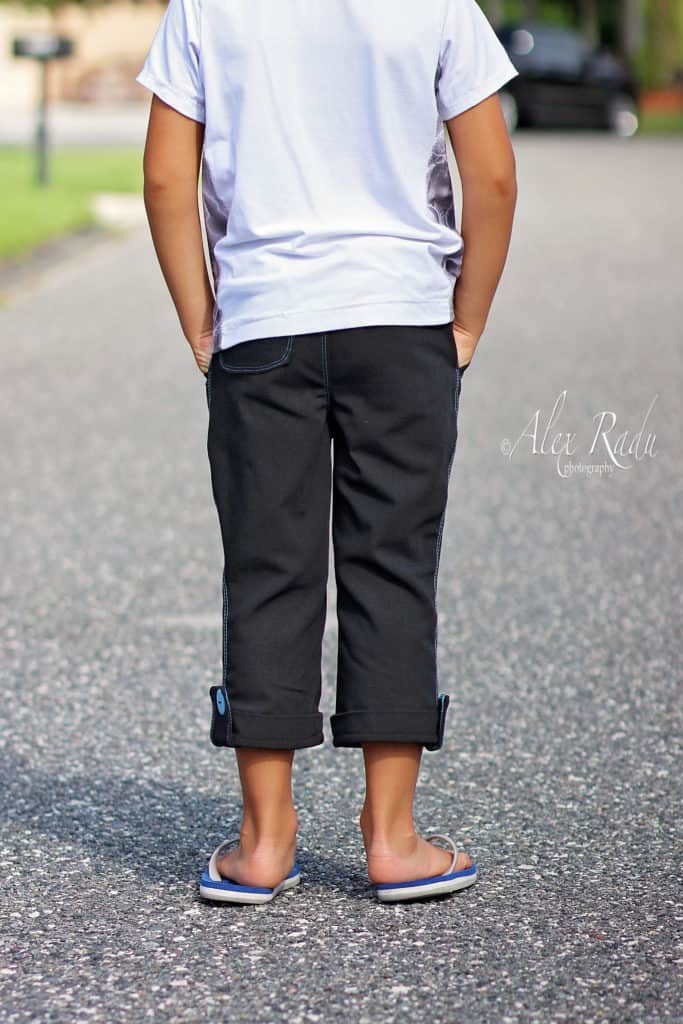
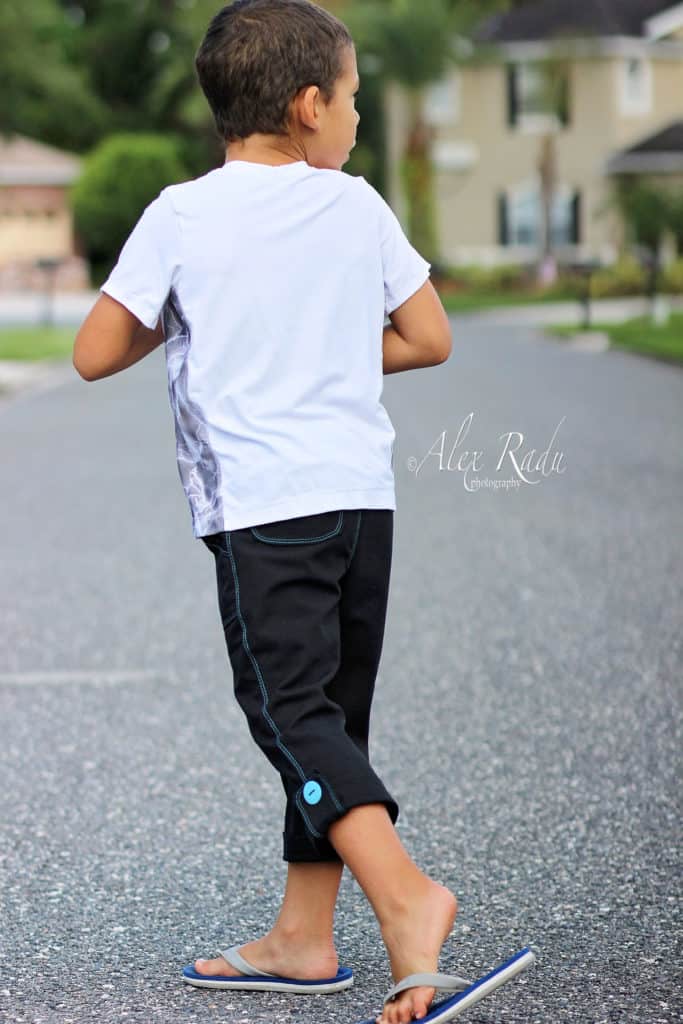
Cuffed capri pants

Next I will show you how easy it is to add  cuffs to the capri pants. The patterns include a cuff option for the short so we will use the same tutorial techniques. Start by printing the pattern in your desired size. I made a size 6 Little Loungers with patch pocket and elastic waistband.

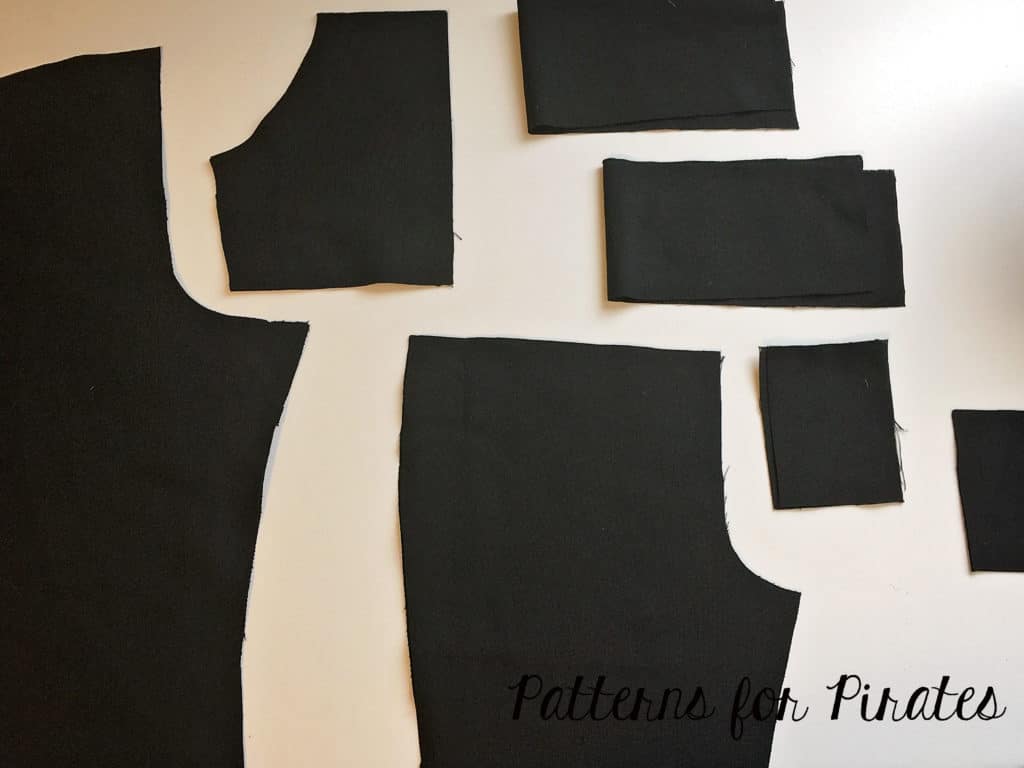
There are two changes you will need to do to the original pattern. You must cut the capri length 1 inch shorter than the cut line for both the front and back pieces. We do that because we won’t be hemming anymore, we will be adding the cuffs. That brings me to the second change you’ll need to make. The cuffs in the pattern are drafted to fit 1:1 ratio to the shorts leg opening. The capri leg opening is smaller so we will need to shorten the width of the cuff. How much you shorten the width will vary for each size. The length of the cuff will remain the same.

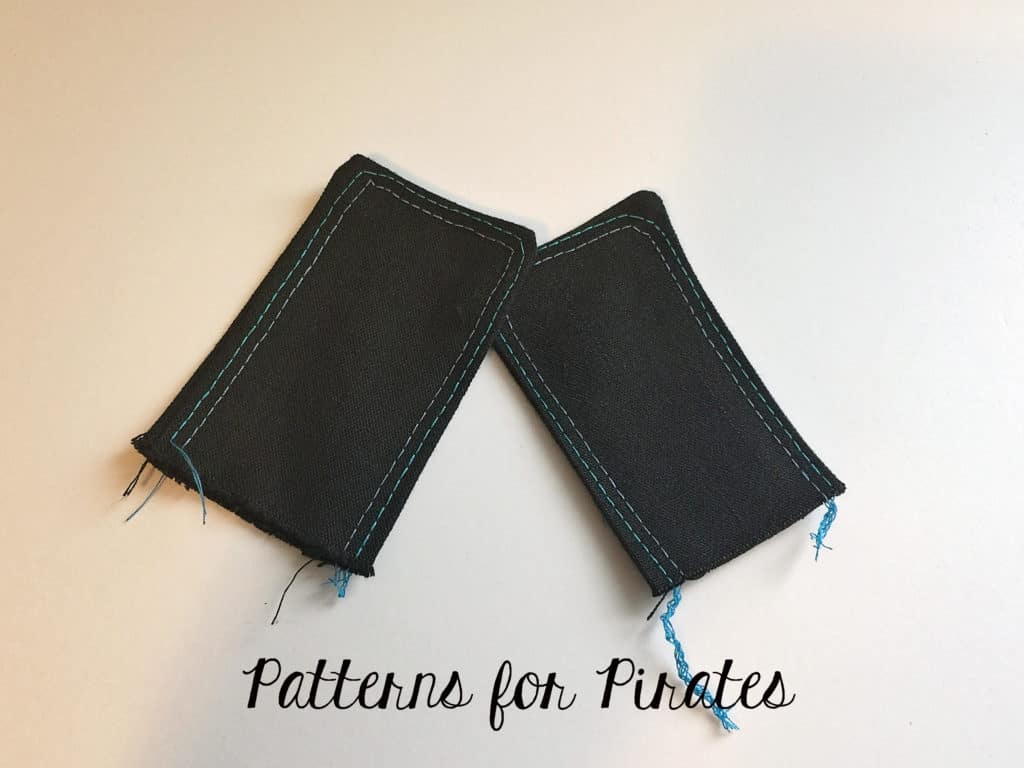
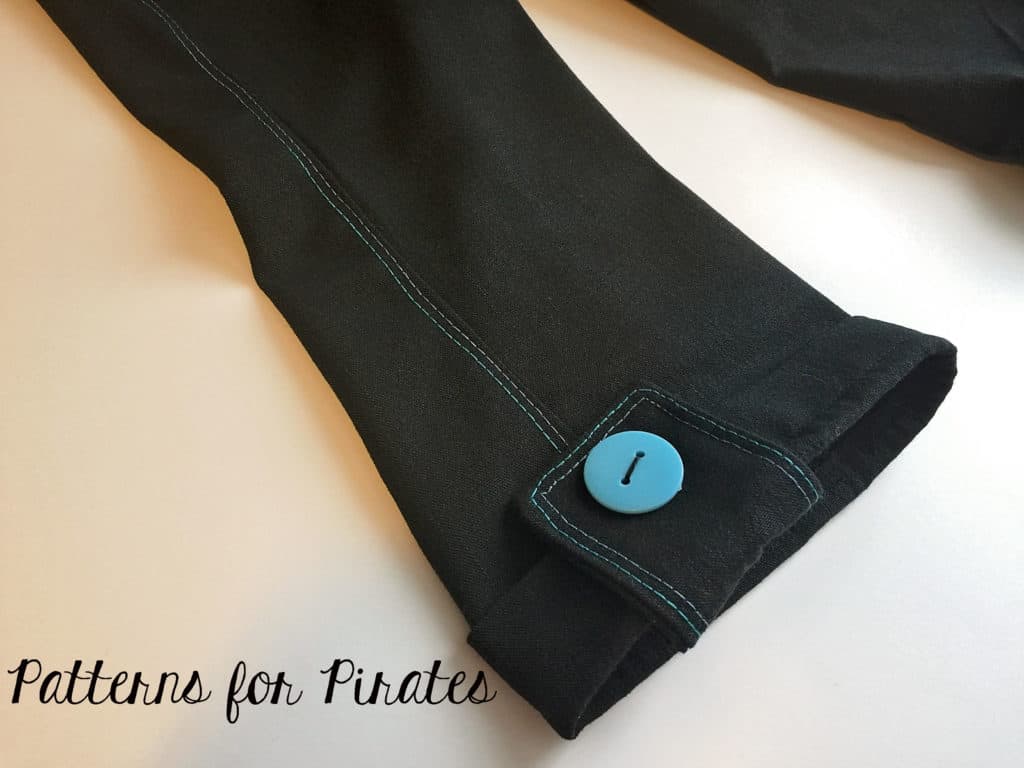
Don’t forget to cut and attach the button tabs too! They add such a cute touch to the capris!

Sew the pants as per the tutorial. Easy peasy! Don’t be afraid to add some detail stitching to the button tabs or the pockets! I used my coverstitch to add a touch of blue but you can certainly use a twin needle or your preferred decorative stitches.

If you love the look of the cuff but prefer the bermuda length you can certainly apply the same principals and created a cuffed bermuda linen lounger or little lounger…the sky’s the limit! 🙂


…..

 Hemmed and lined shorts

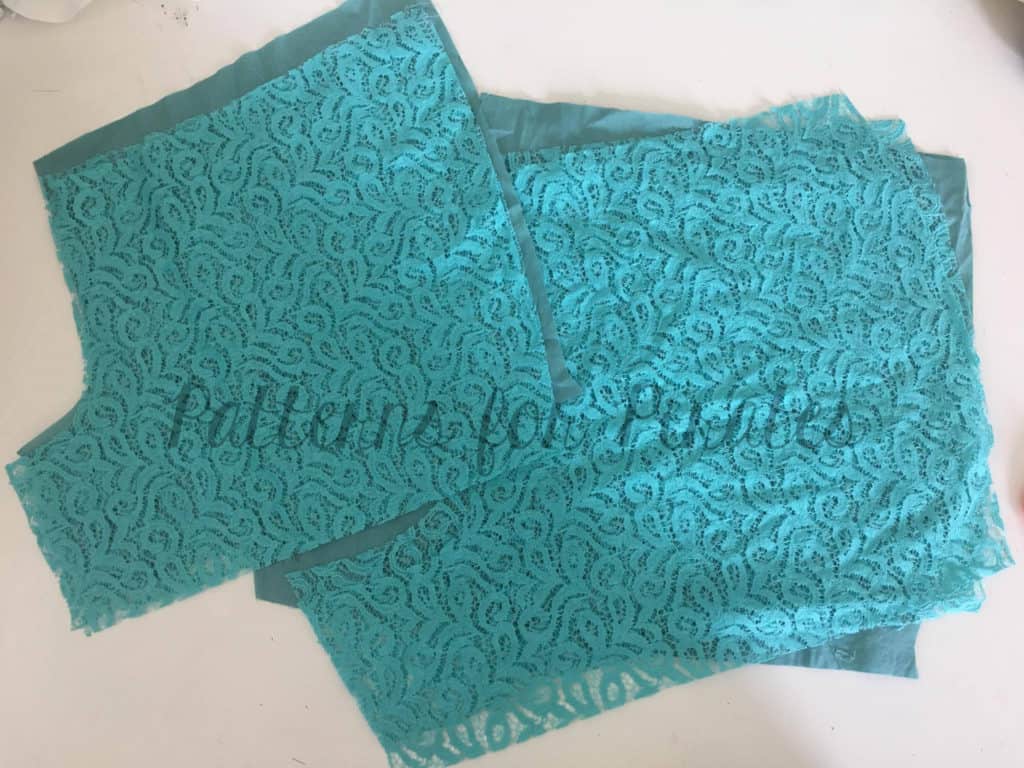
We always like to mix up our finishing options to give you a wide variety that you can apply to any pattern so we went with a cuffed or curved hem facing for the shorts this time.  If you’ve been following P4P for awhile, you’ll notice Judy loves some short shorts 😉 but that may not be your  preference.  I’m going to show you how to lengthen your inseam and do a simple hemmed edge.  I also wanted to use this gorgeous embroidered lace so will give some insight on how to line them.

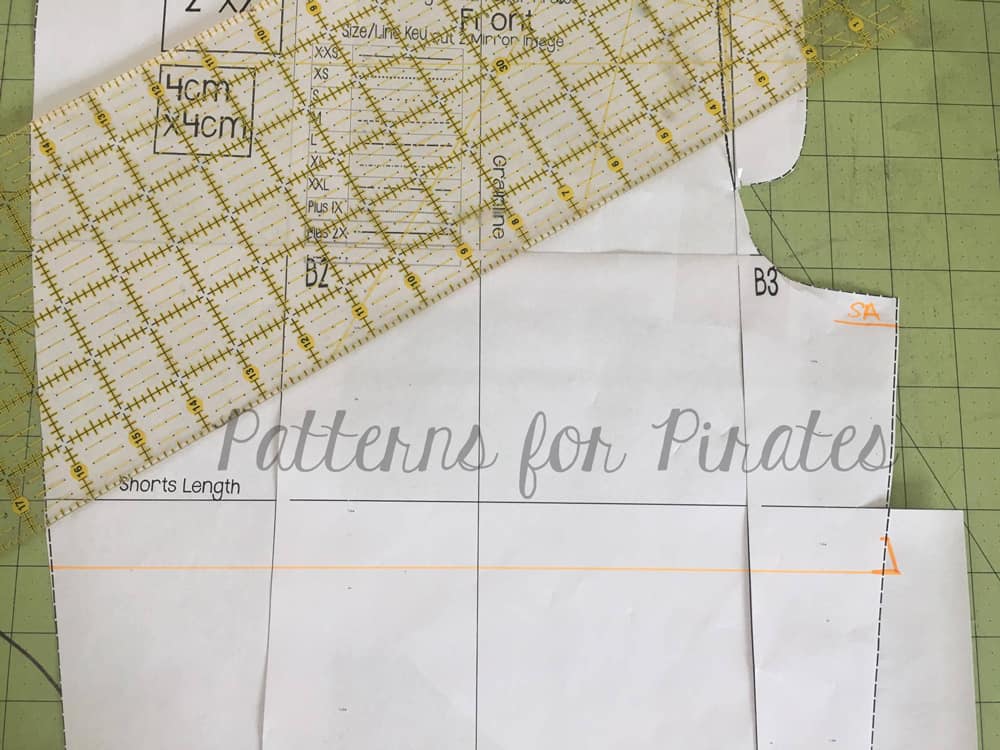
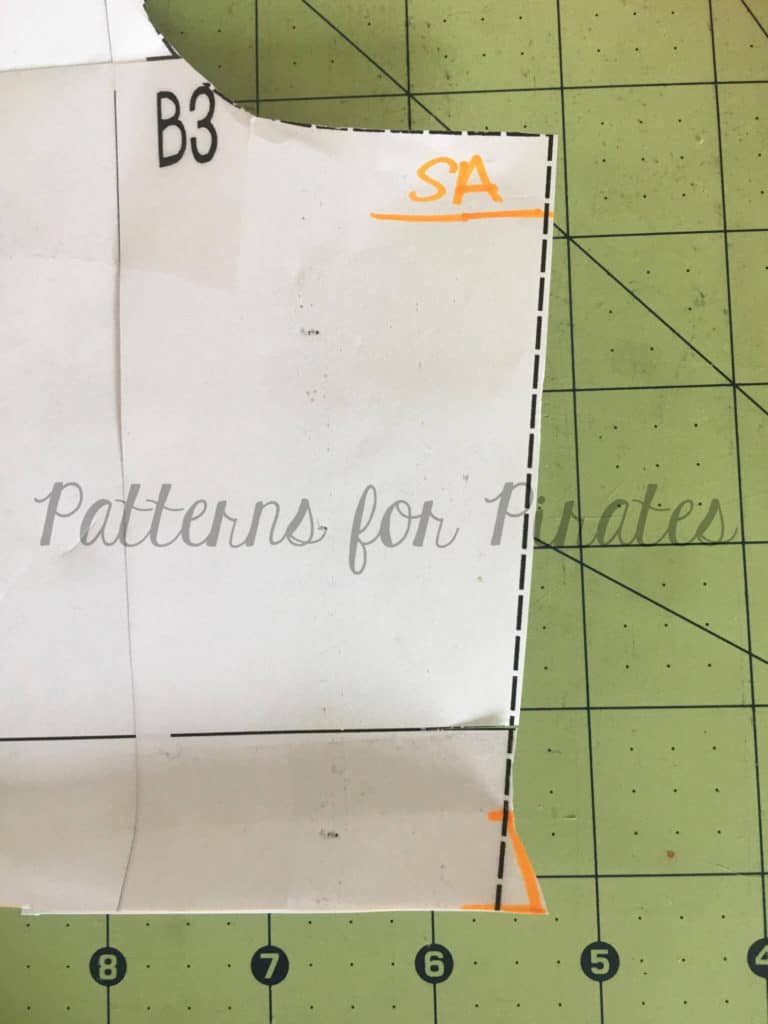
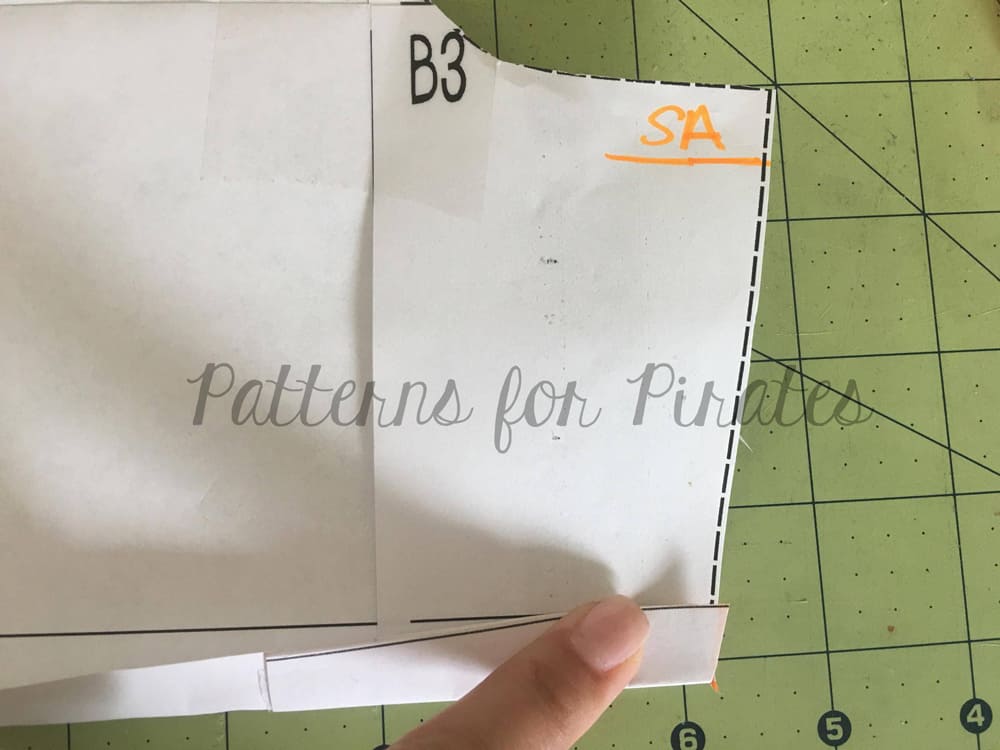
First, decide what you would like  your finished inseam length to be.  The current inseam finishes at 2.5″.  For my finished length I went with 3.5″.  Decide the length of your preferred hem (I did 1/2″) and add this to your desired inseam length.  Measure and transfer to your pattern.  Don’t forget all seam allowances are 1/2″ so your total inseam on the pattern should be 1/2″ longer.  Example for my 3.5″ finished inseam: 1/2″ seam allowance at the crotch curve + 3.5″ inseam length + .5″ hem allowance = 4.5″ total inseam.

Now that you have adjusted your inseam length we will make our hem gauge for the hem.  You’ll notice these outward notches on other cutlines (bermuda) as well as on sleeves hems.  It may look a little funny, but it actually serves a purpose.  Cutting the outward notch will allow the hem to lay flat once folded.  The angle of the gauge should be a mirror image of the seam just above it so that when its turned under it will lay flush.  Again, my hem allowance is 1/2″, if you choose to do a wider hem, you will want to extend your hem gauge to match the same length of your hem allowance.


Proceed to cut your pattern and construct as instructed in the tutorial.  To make a lined pair, cut every piece from both your main and lining fabric.  Lay your main fabric on top of your lining piece (right sides up) and construct as usual, treating them as one piece.

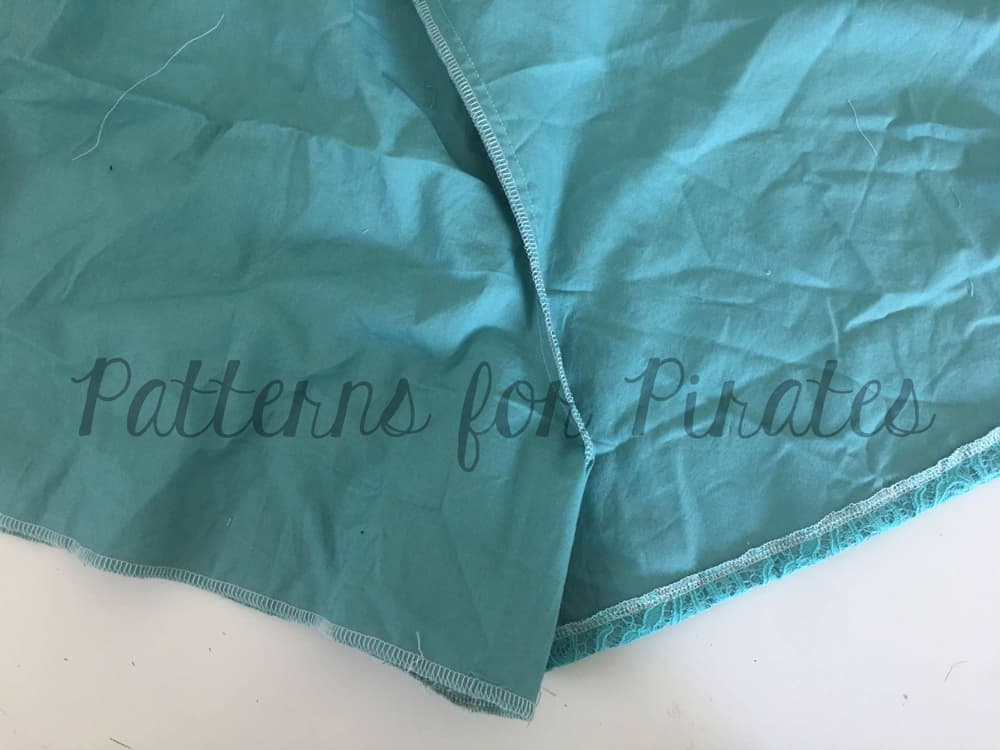
To hem, I serged both the main and lining fabric together to finish the edge . Then turned and top-stitched.  Easy right?


You can also line the shorts by treating your lining and main fabric as separate items.  So construct a main short and lining short then slip them inside one another and attach your waistband to both the lining and the main.  I chose to it the other way since I would be hemming them together anyway.


…..

Fully Enclosed Seams on Cuffed Shorts

When it comes to seams on my pants, I tend to gravitate toward wanting to enclose all of them.  It gives a nicer, neater look to your pant, and just feels more “handmade” than “homemade” to me.  The Loungers tutorial already tells you how to enclose the waistband on your pants, but what if you wanted to enclose the cuff hems too?

Here’s a quick rundown of how to make that happen:

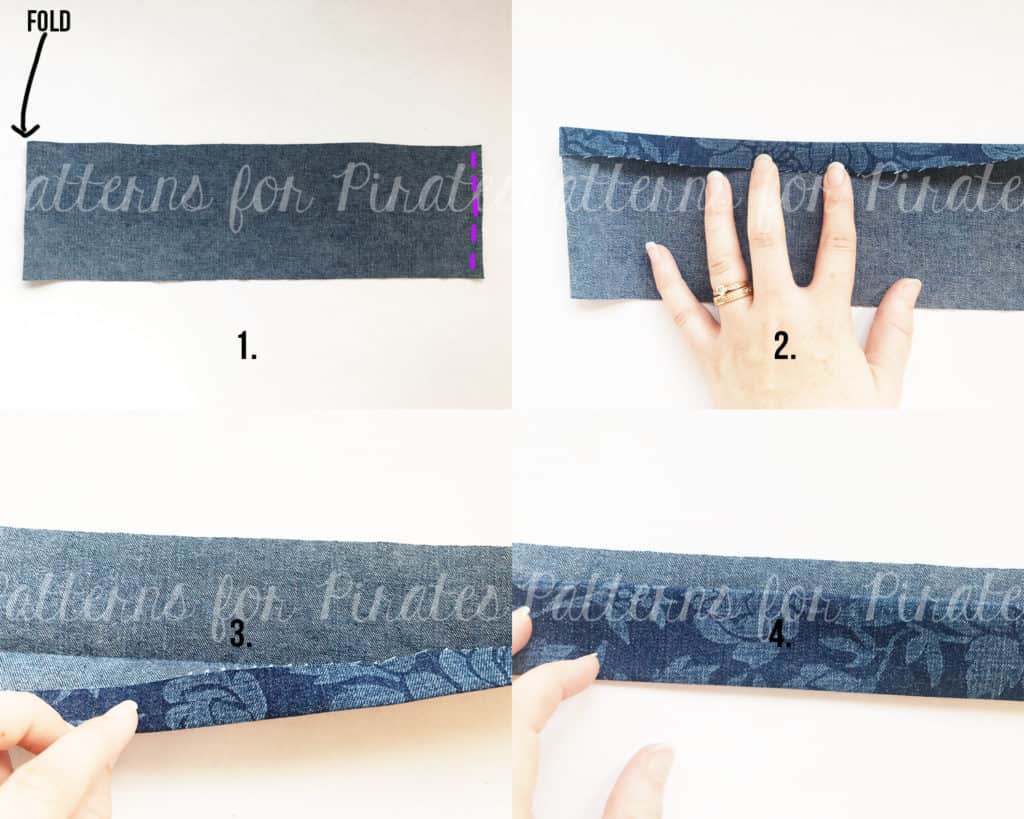
  1. Prepare your cuff as the pattern states.  Right sides together, fold piece in half and stitch along unfolded edge.
  2. Working from the wrong side of the fabric, fold and press 1/2″ on one of the long edges of entire cuff piece.
  3. With right sides together, fold and press your cuff piece, leaving 1/2″ seam allowance at the top edge.
  4. Press, press, press.

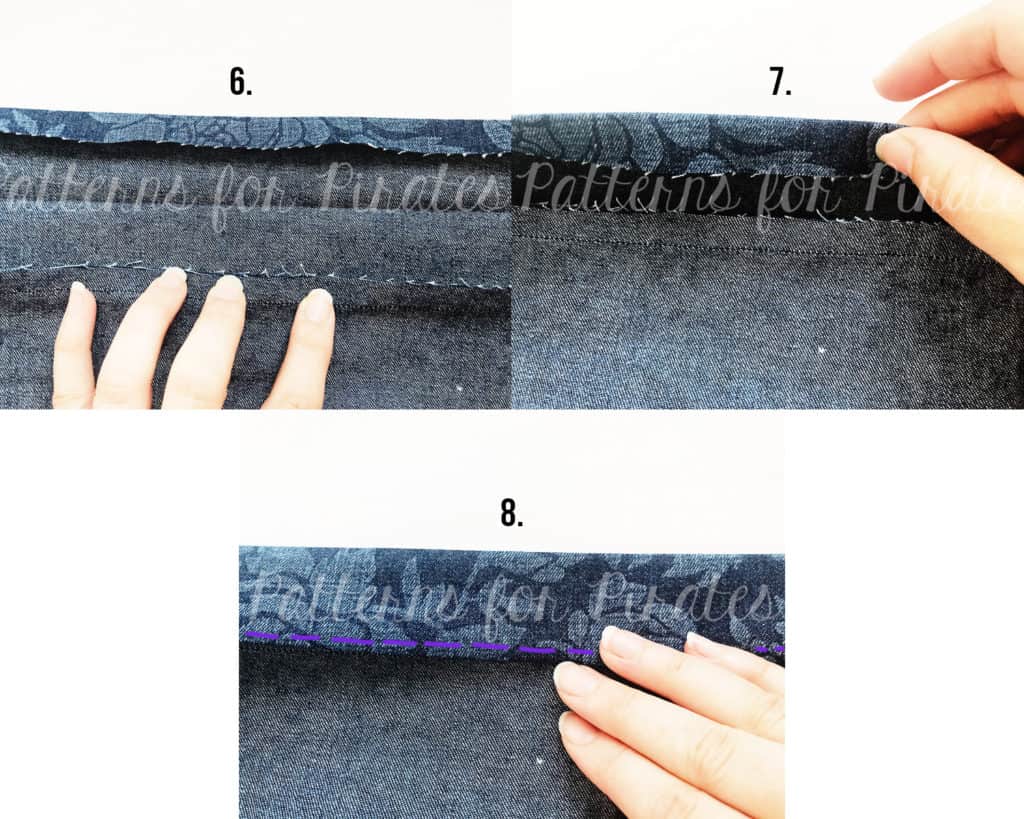
5. With your pant leg piece right side up, place your cuff piece on top (pinning carefully and aligning all of your seams.  Stitch at a 1/2″ seam allowance.

6. Flip your fabric over so you’re looking at the wrong side of your pant leg.  Open up your cuff piece and press the raw edges away from the pant leg, toward your cuff.
7. Using those beautifully pressed lines that you created for yourself back in steps 2-4, fold your cuff piece so it encloses all of your raw edges.
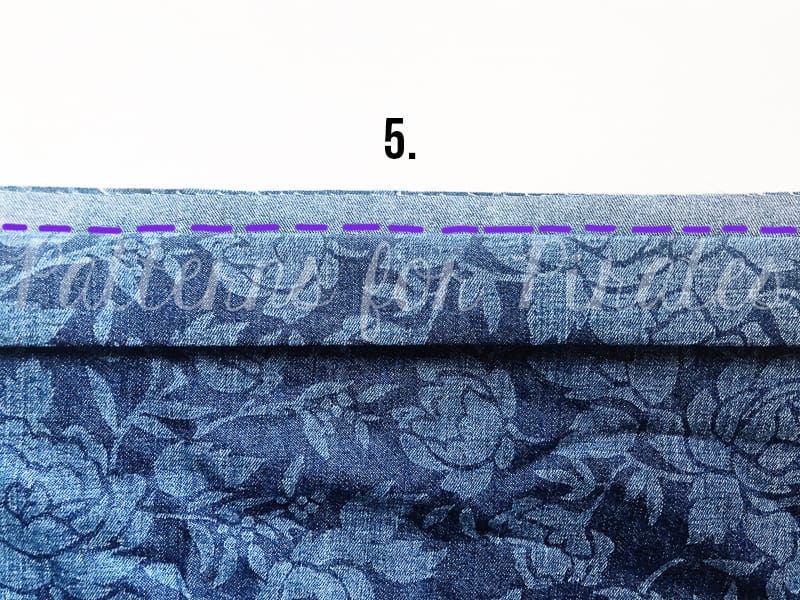
8. Press and edge stitch.

You now have a beautifully enclosed hem on your pant leg!  Do a small happy dance, pat yourself on the back, and then repeat the steps for your other cuff.

(I didn’t have a chance to grab photos in my new shorts made from the tutorial yet, but I used that same method on the short pictured below and I LOVE them!  You will too!)


Use one of these hacks?  Be sure to hop on over to the Facebook Group and share your Linen and Little Loungers love. 🙂

Filed Under: Pattern Hacks, Uncategorized 1 Comment

Easy Bear Jogger Hacks

November 11, 2016

img_3221

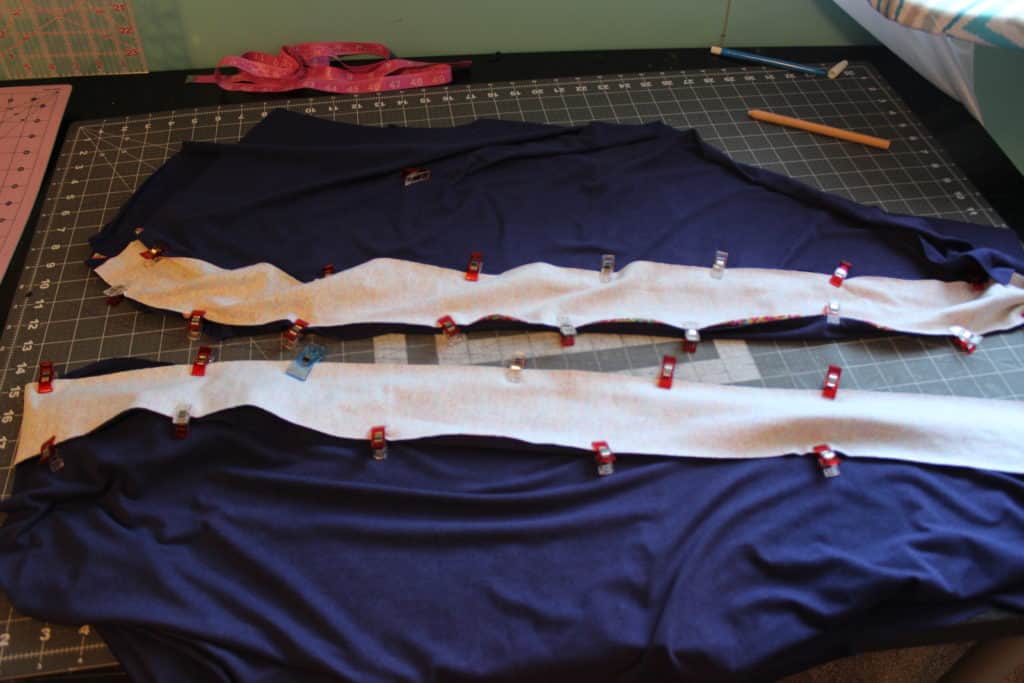
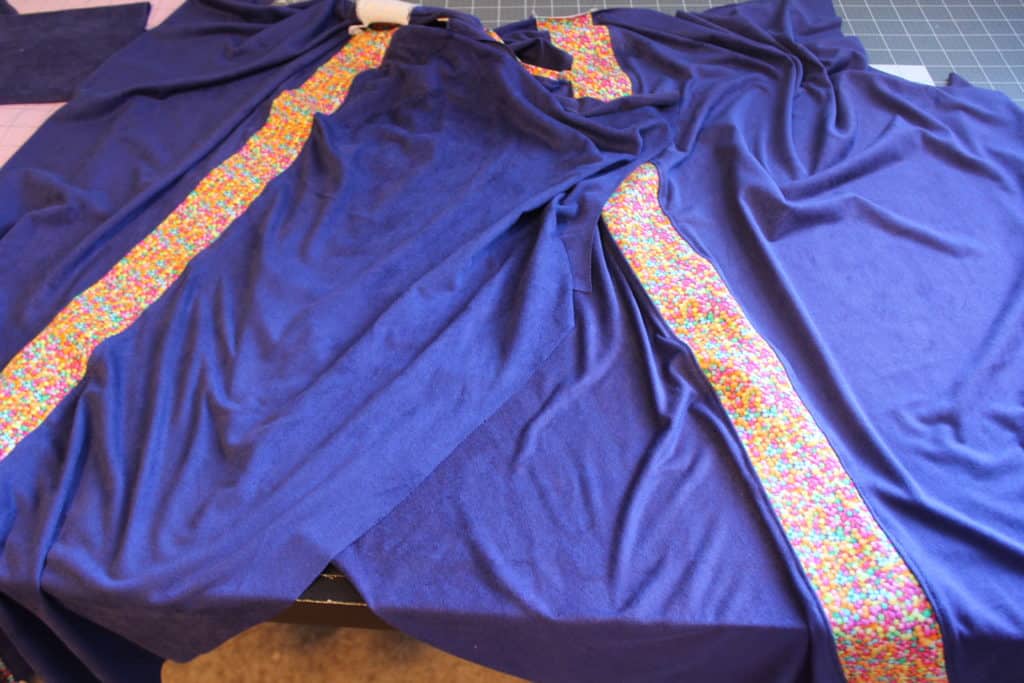
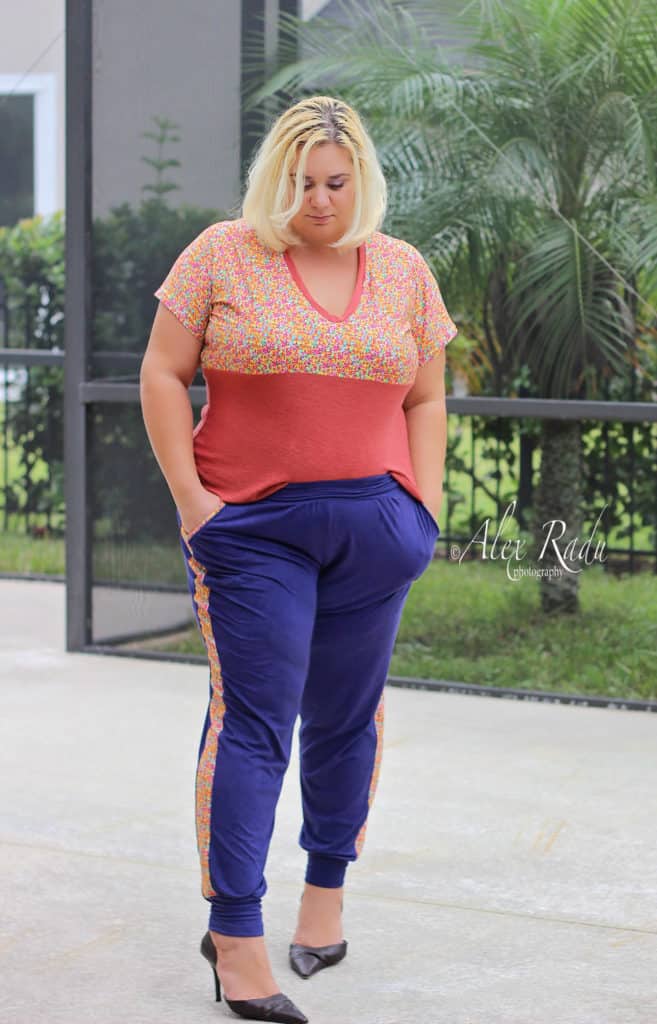
The Mama Bear Joggers were just released and are packed with options. I have already made myself a few pairs so I was browsing Pinterest for styling ideas (don’t we all?). I came across a cute pair of joggers that had a tuxedo stripe on the side so I just had to make myself a pair like that. In today’s blog I’ll show you how I did the tuxedo stripe and an accent slat pocket band.

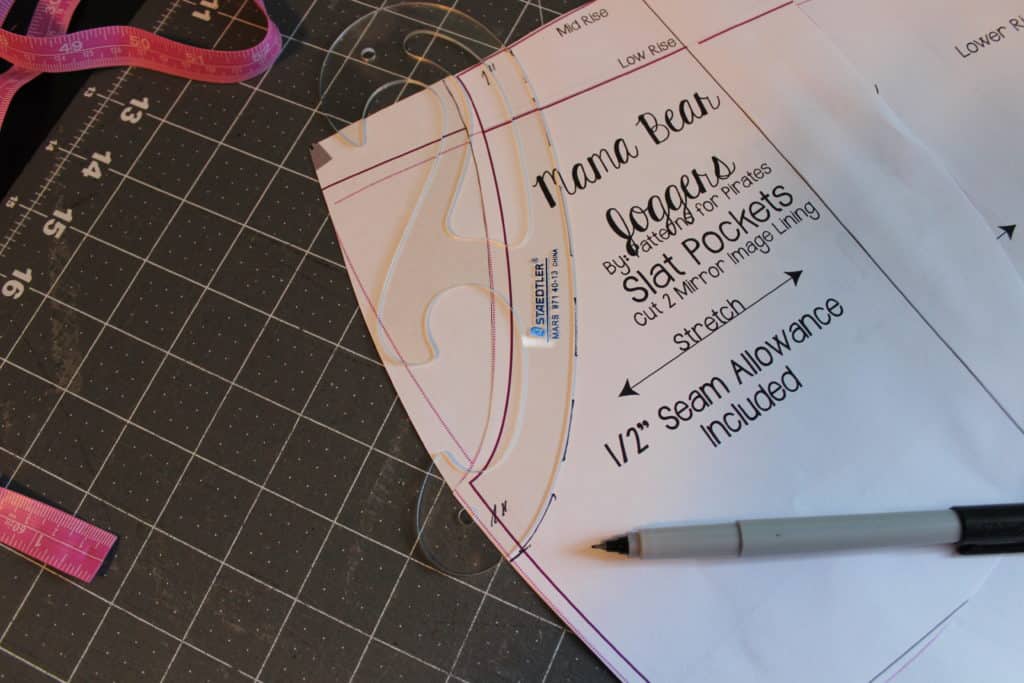
Start by printing and cutting the pattern in your size. (I grade mine in for the waist that’s why you’ll see two lines instead of one). Don’t cut the fabric just yet. If you’d like to do just the accent pocket band you’ll nee to place the pocket lining over your front piece and remove 1 inch from the curve. That can be done easily if using a French Curve.

img_3040

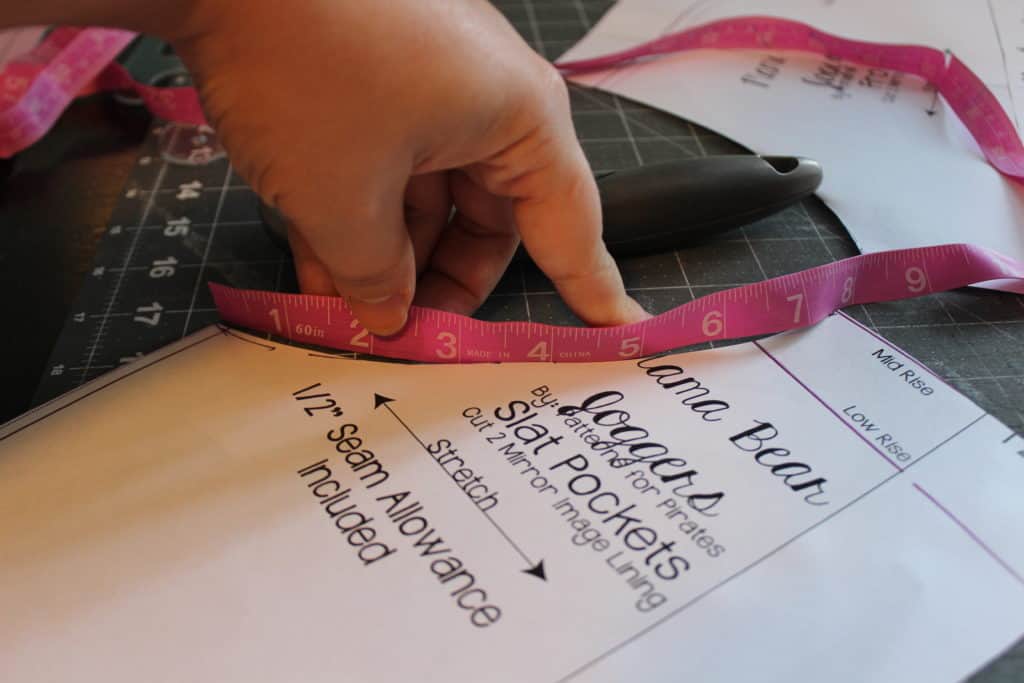
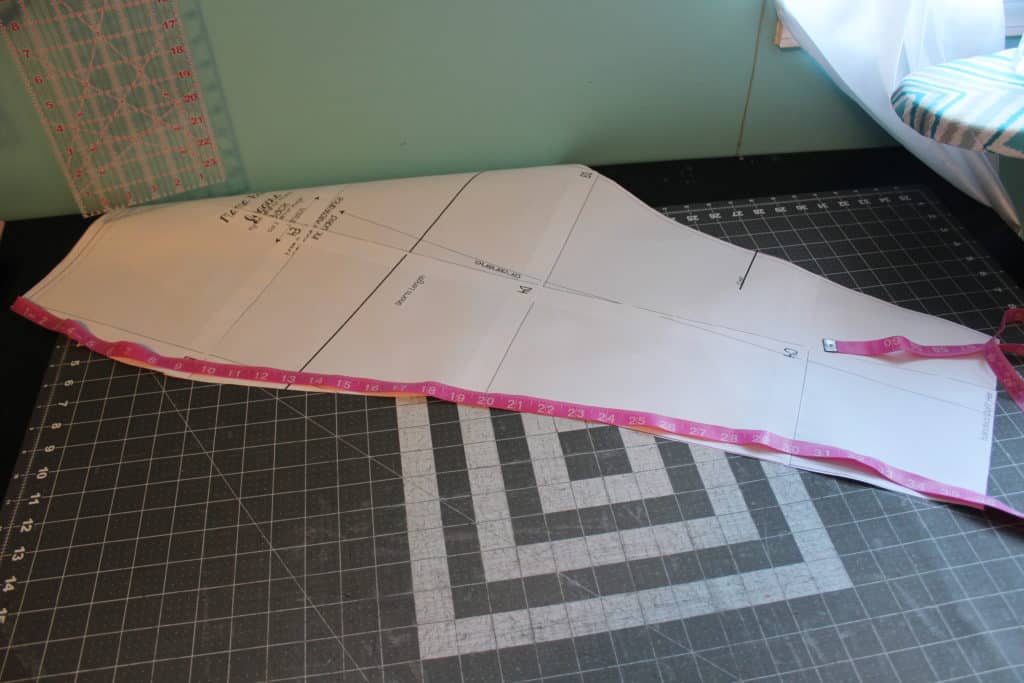
Now take your measuring tape and measure the new pocket opening. You will be cutting your accent band to be 2″ by 95% of the opening.

img_3043

Fold the band wrong sides together and give it a good press. Sandwich the  folded band between the right side of the front of the pants and the right side of the pocket lining. You will be stretching JUST the band slightly. Sew the 4 layers together.

img_3050

Turn the pocket over so its wrong side is on the wrong side of the front leg. You can now top stitch along the curve. Tadah! You’ve added a decorative band to the slat pocket. If you do not add the side strip proceed with sewing the joggers according to the pattern tutorial.

img_3052

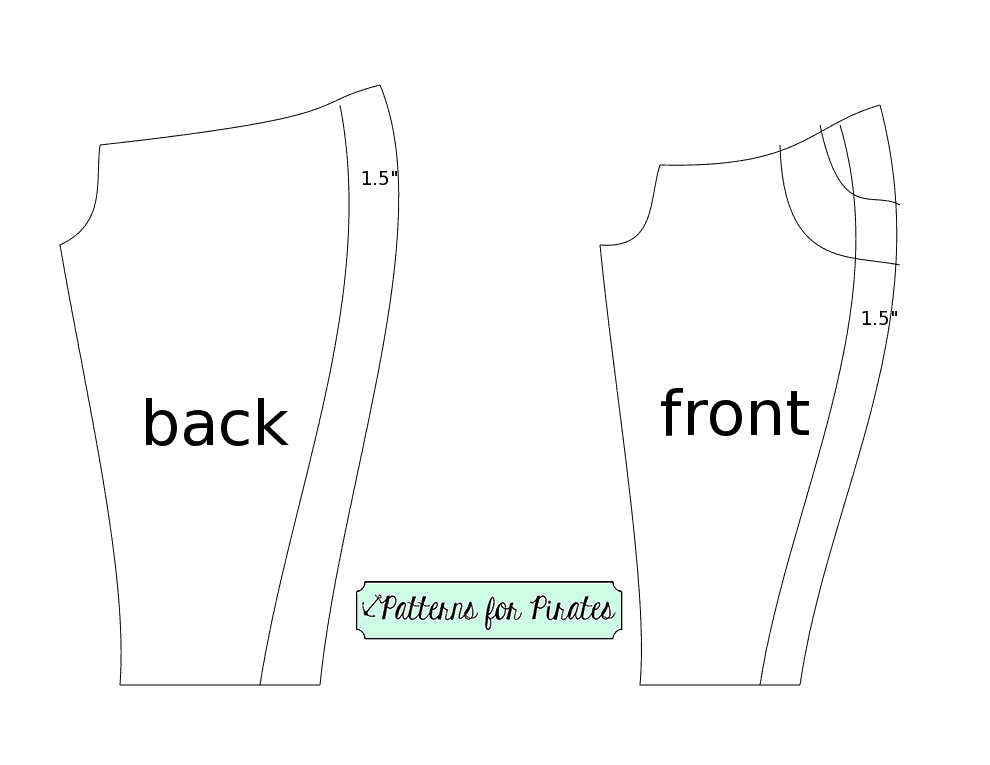
If you add the stripe, we will be making some pattern alteration prior to cutting the fabric. Place your pocket lining and back on top of the front of the pants matching the top and  side lines. We will be removing 1.5 inches from the side of the front of the pants. Following the side curve draw a line parallel to the side, 1.5″ away.joggersstripe

Cut along the new line. Now grab the back of your pants and repeat the process on the side. You now have 4 new pattern pieces, front and back, pocket and pocket lining. We will measure the new side length with a measuring tape because it’s flexible. The tuxedo stripe will be 3″ by the new measured side. See? That wasn’t so bad.

img_3038

Add the pocket according to the tutorial. We will now sew RST the front piece with one side of the strip. Then attach the other side of the strip to the back of the leg, right sides together. Repeat with the the other leg.

img_3055

img_3056

That’s it! Those are the only changes we made to the pattern. You can now finish your joggers according to the tutorial. You can add the strip to either one of the leg options, cuffs, elastic or rolled.

img_3200img_3223

Get creative with all these joggers hacks and as always post your pretties in the group.

Alex

img_3225


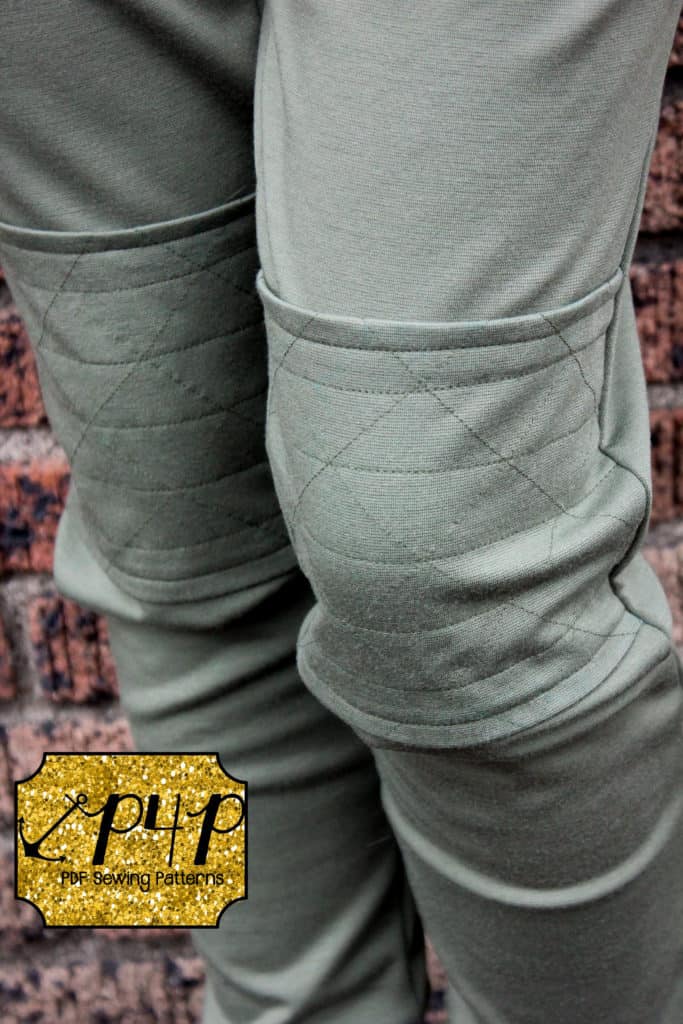
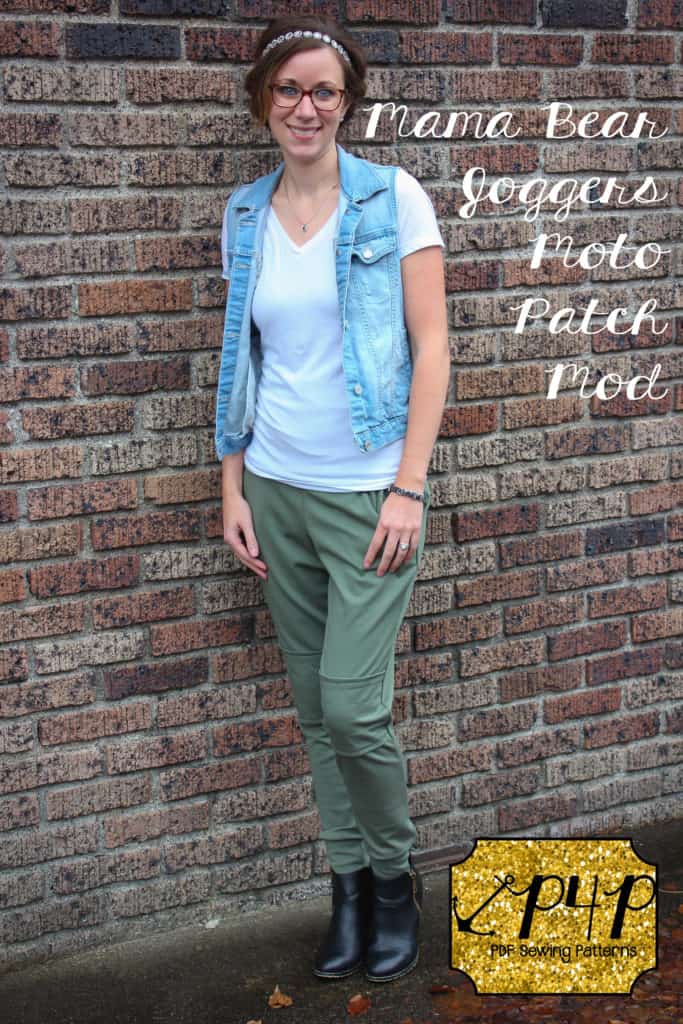
Let’s face it- everyone loves a jogger and the Patterns for Pirates Joggers are perfect! One of the things that I love about joggers is that there are so many different ways to style them. One of my favorite looks is the addition of a moto patch. This simple detail can add an extra bit of edge and flair to your joggers and help take an already awesome look to the next level! So let’s get started…

img_52302

Creating Patch Piece

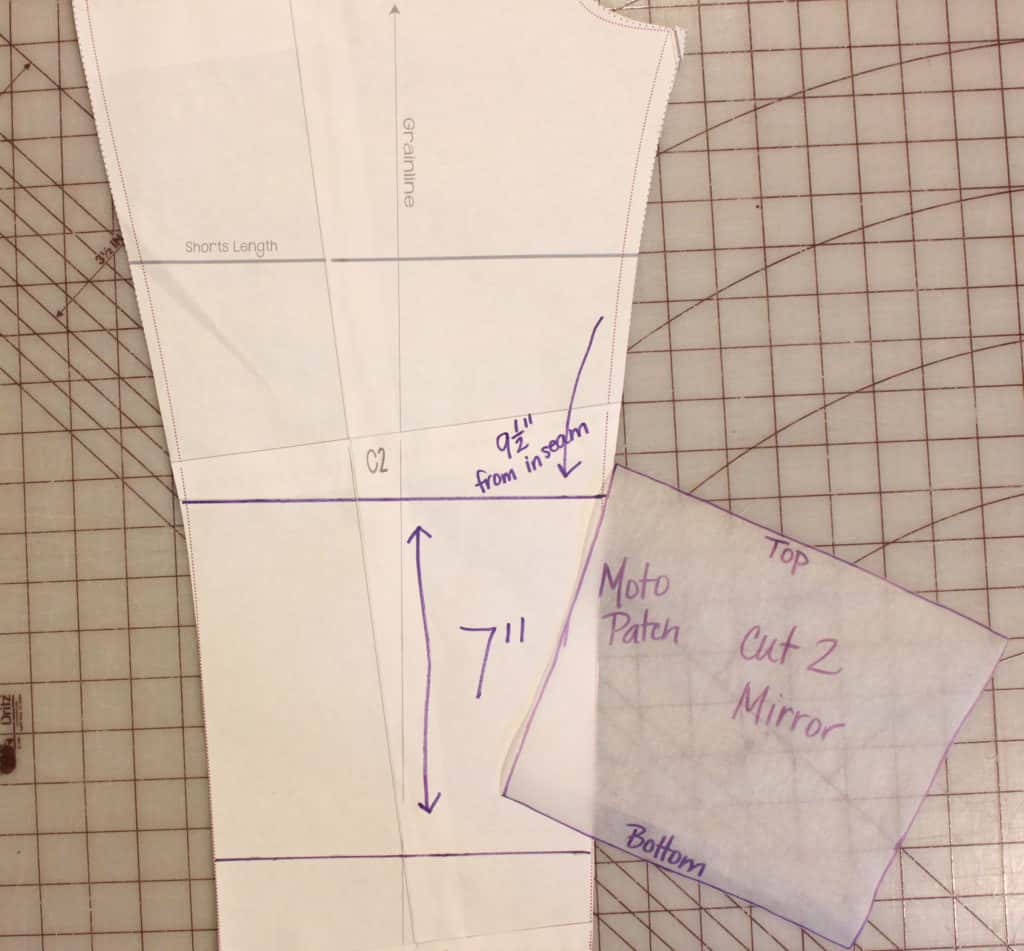
To start with, you will need to determine how far down to attach the patch. You will want to measure from your inseam to the top of where you want to attach the patch. As you can see in the picture below, mine measured 9.5″. Draw a line across your pattern piece at this measurement. Next, you will draw the bottom line for your patch- your next line should be 7″ down from this line (your finished patch will be at total of 6″). Using tracing paper, copy this section of your pattern to create your moto-patch.

img_5240

Quilting the Patch
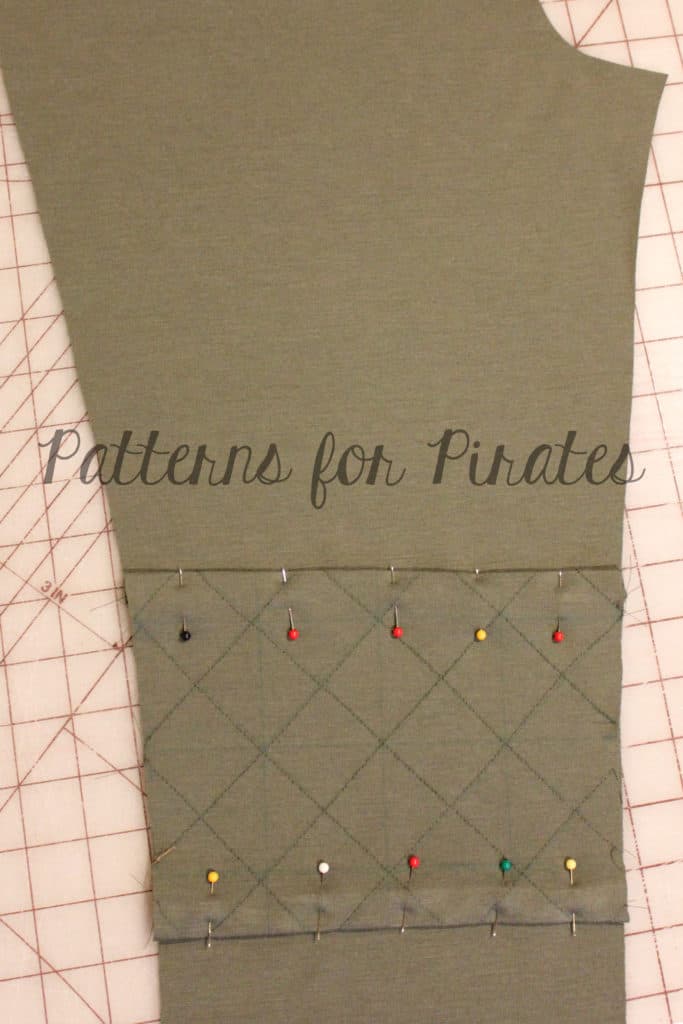
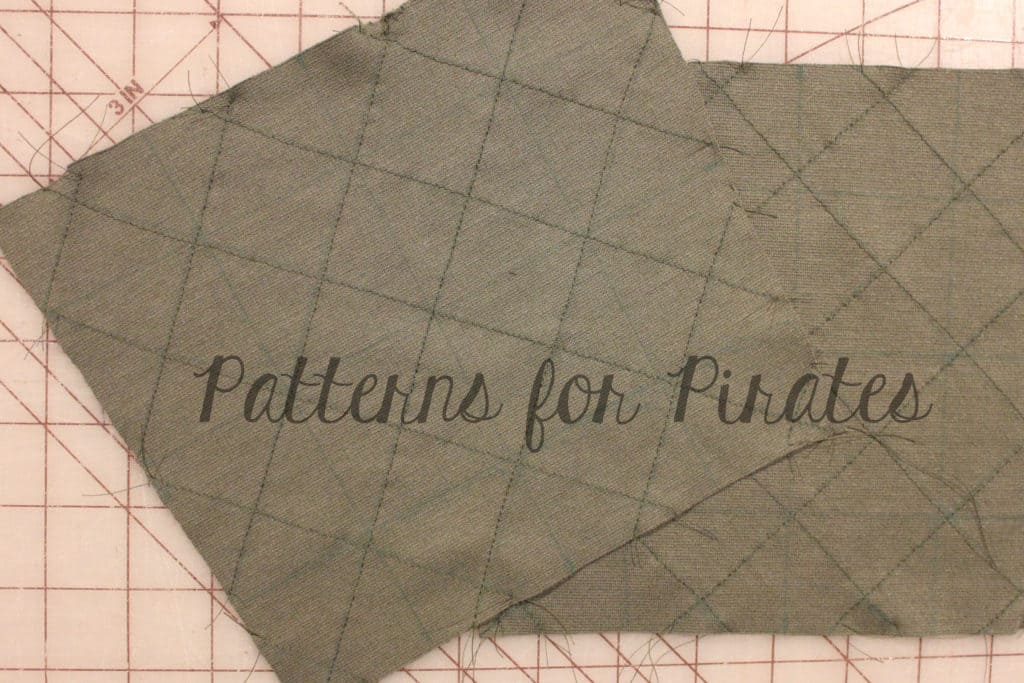
You will need to cut out two mirror image pieces. Next, you will trace your quilting lines on each piece (make sure to do mirror images!). Begin by marking both the horizontal and vertical centers of your piece (if you don’t have a quilters ruler- this mod is a GREAT excuse to go purchase one!!). After marking centers, draw lines every 2 inches in both directions. The final markings will be on the diagonals- connecting your squares. Repeat on the other patch.

picmonkey-collage

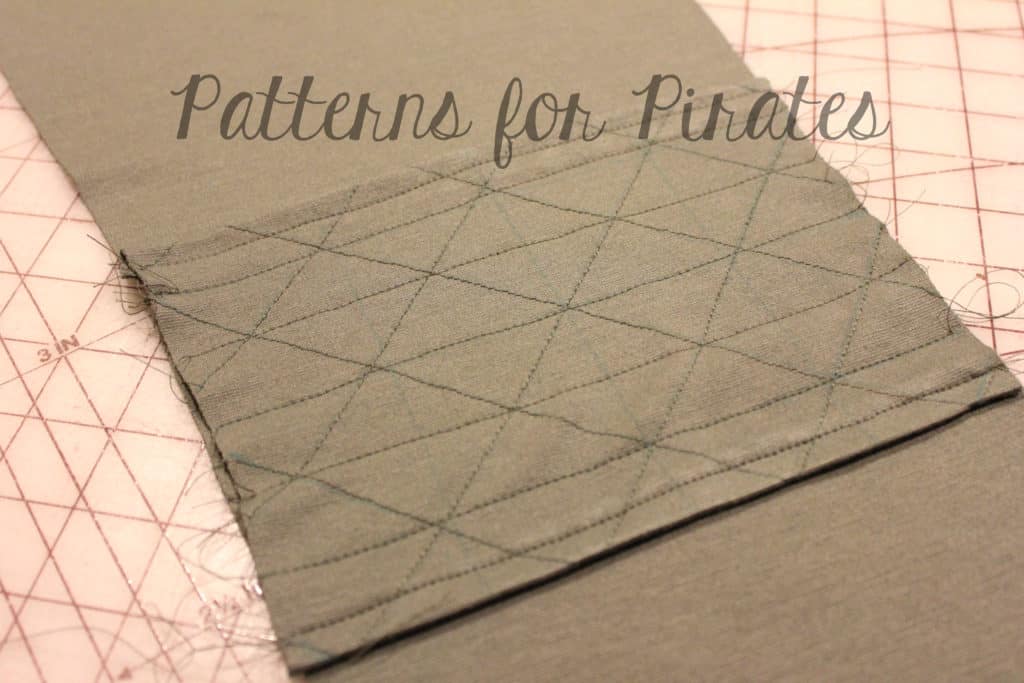
After completing your markings, stitch across all of the diagonal marks only. Then, take a few minutes and admire all of the hard work you just did— Ok! Moment over, because now you get to repeat all of that beautiful stitching on the other patch! img_5214

Finishing and Attaching Patch
Press both the top and bottom of your patch, using a 0.5″ allowance to create a finished edge. Taking your front leg piece, place patch piece 0.5″ lower than original line (to account for your pressed seam… ex. Mine was at 9.5″ and I placed the patch at 10″ down) and pin in place.  img_5219
Using a 0.25″ seam allowance, stitch the top and bottom into place. Then stitch over the horizontal lines only to finish creating your quilted look. img_5222You can now complete your Joggers by following the pattern directions.

And if you needed a few other ideas for you patches, you could also…

  • Cut your patches at angles
  • Place patches on thighs
  • Mix and match fabric patterns
  • Use fabrics that are already quilted (Yes- They exist and would be a huge time saver for this!)

img_52363

I can’t wait to see how your patches (and joggers!) turn out. Make sure to share all of your creations on the P4P Facebook page!
~Erinn


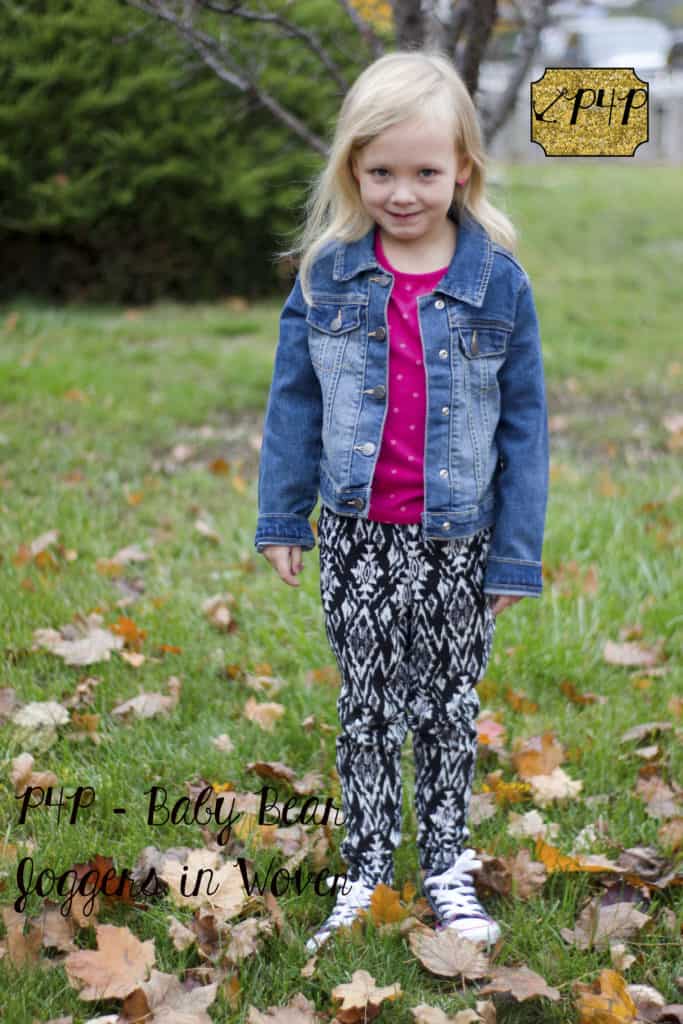
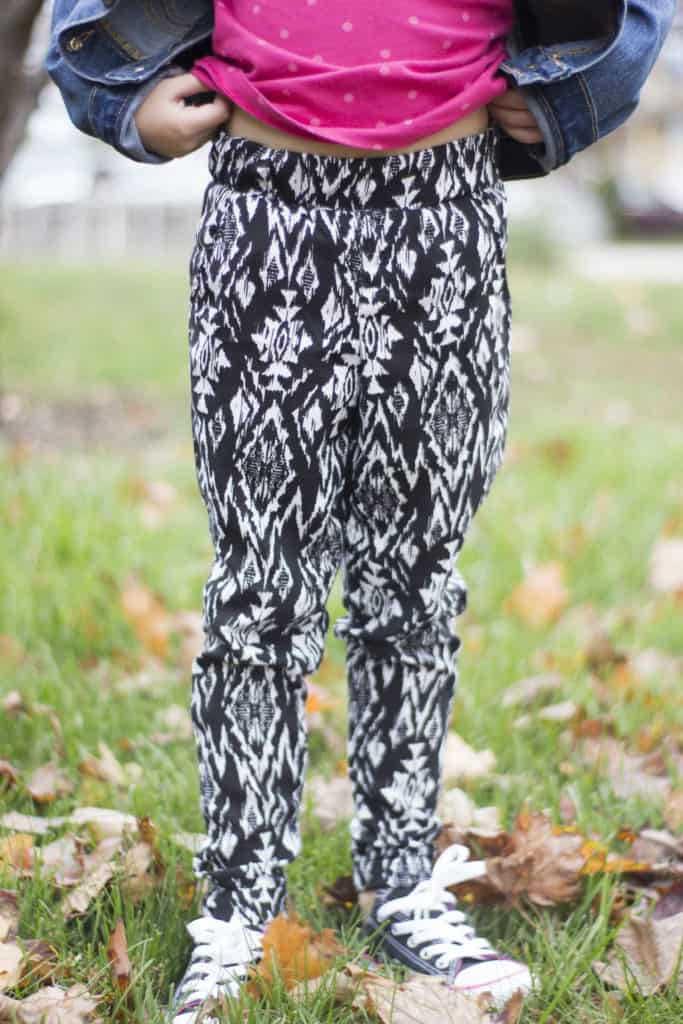
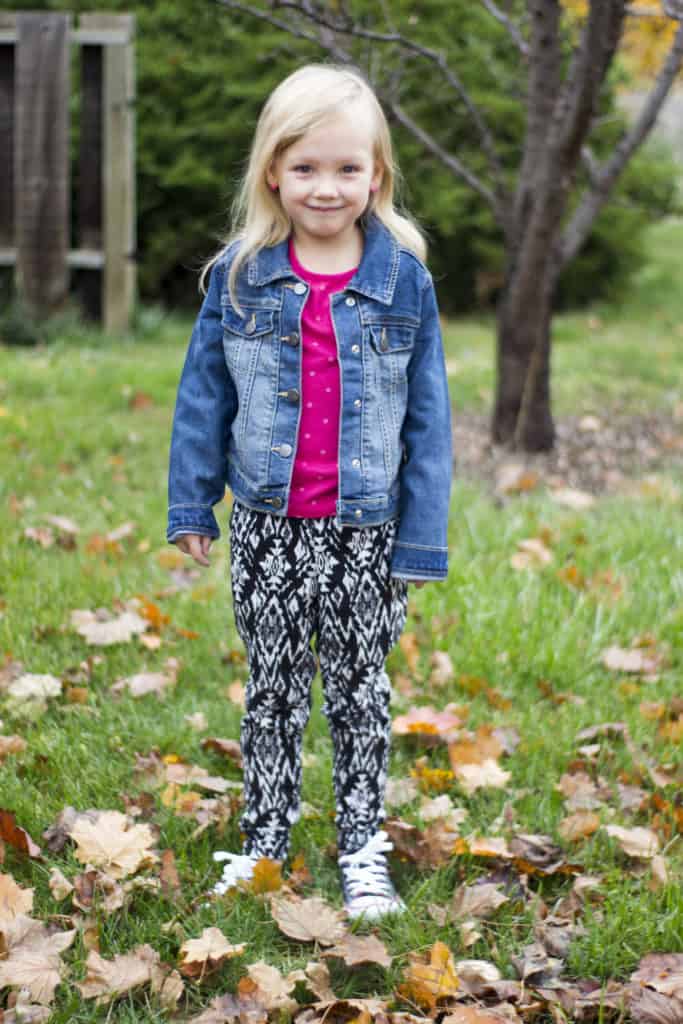
img_60741I have been eying up all the adorable woven joggers that seem to be everywear this season and as soon as I saw the new P4P joggers I thought hmm, I wonder if then could be done in woven and guess what, they work great in woven for the baby bear joggers! I sewed up this pair for my daughter in a rayon challis remenant that I found and they are just too cute on her and super trendy right now! I didn’t alter anything while sewing but if your child has thicker calfs or ankles you may want to grade out one size to give a bit more room or take a smaller seam allowance from the calf down. These have the elastic waistband but as I had some 1 1/4 elastic in my stash Idecided to use it instead of doing the 3 rows of elastic. I inserted my elastic into the waistband and then basted the seam allowance before attaching the waistband to the pants. I did the elastic casing cuff which worked great the rolled cuff may be a touch to tight thou for wovens. No other changes to these and my girl has adorable woven joggers! I can’t wait till spring to make her a pile more!
img_60771

img_60751


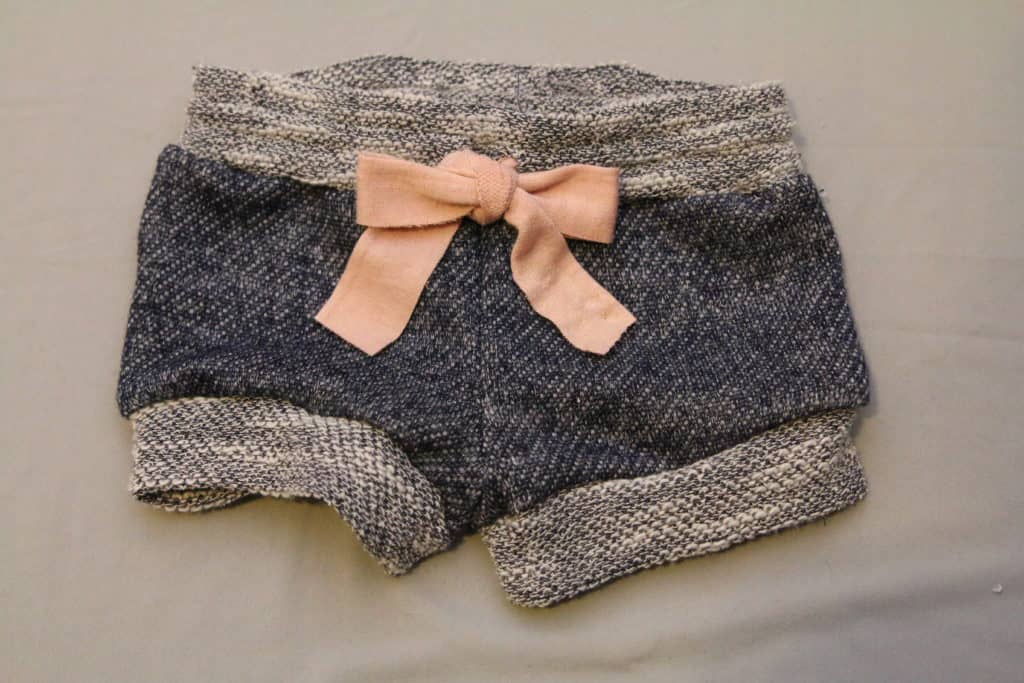
I love the little shorties or bloomers look for my Baby Girl.  Show off those rolls on her legs that I love so much!  It’s very simple to use the new Baby Bear Joggers to create this cute, trendy look!
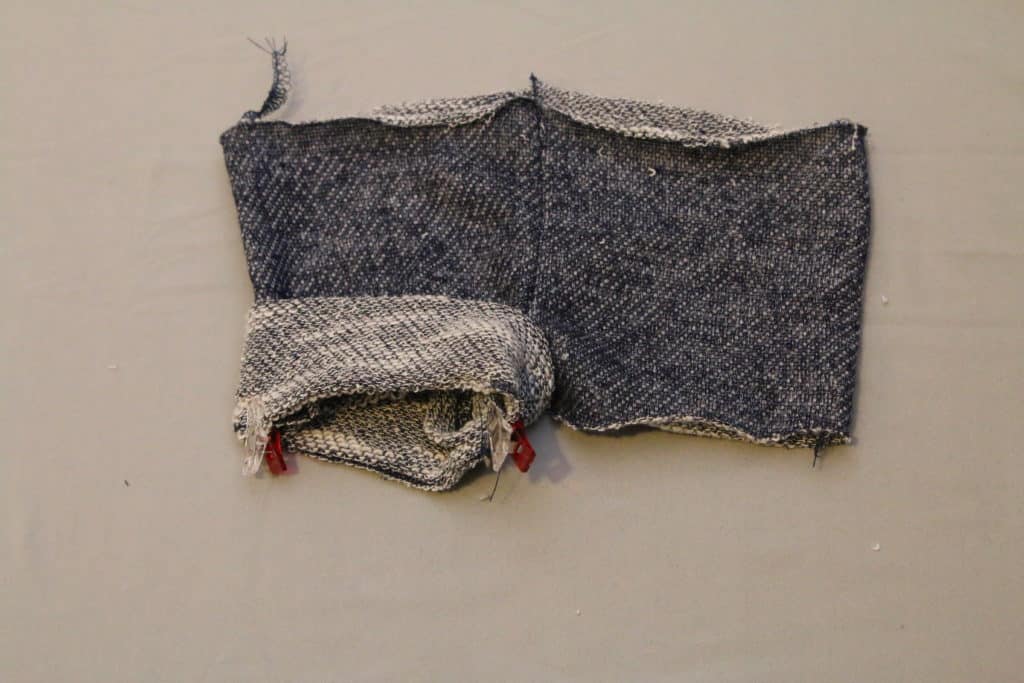
I determined the inseam by estimating how wide I would need it to cover her diaper.  I made hers about 1″ before bands…they could’ve used another 1/2″ really though.  I marked this on the inseam of back and front pieces.  The side seam length I determined by thinking about how long I needed it to cover the diaper.  I curved the bottom hem up towards the outer leg seam by about 2″ on both the back and front pieces.

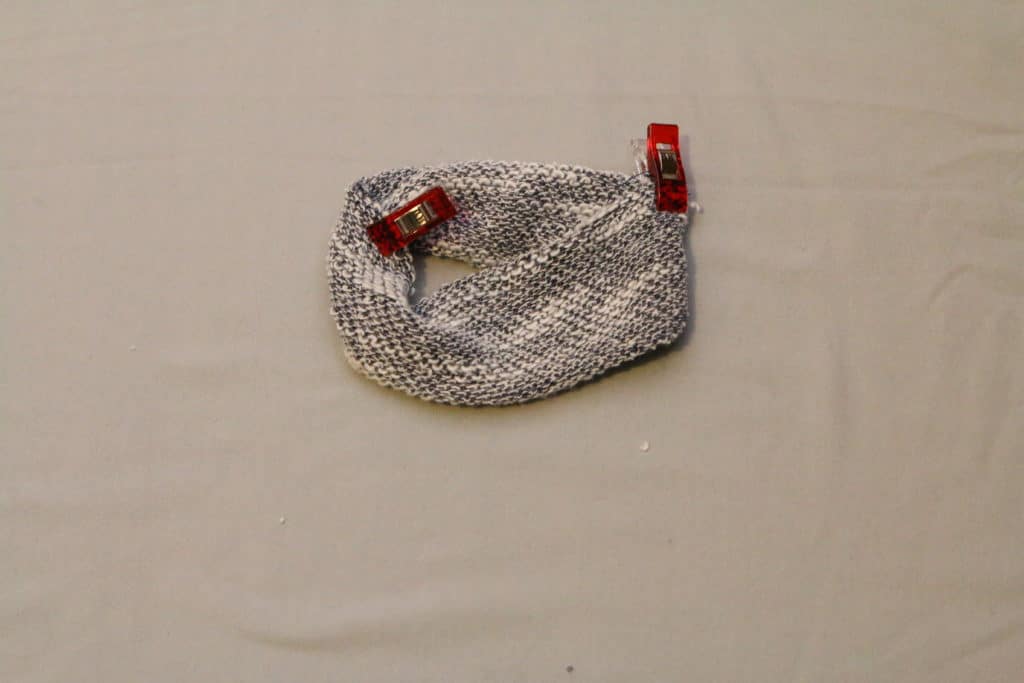
I sewed the pattern up per the directions.  To finish the bottom hem I added thick bands.  I made them finish 1.5″ matching the waistband thickness.  So, I cut 4″ by slightly shorter than my leg opening.  You want to stretch the bands to fit the leg openings so that your bands are snug to their thighs.

Fold the bands in half width wise with right sides together (I wanted the “wrong side” to show on my bands.

img_0985

Fold the band in half lengthwise with wrong sides together.

img_0986

Align raw edges with raw edges of shorts and stitch, stretching band only as you sew all three layers together. Then flip band down with seam inside shorts.

img_0987

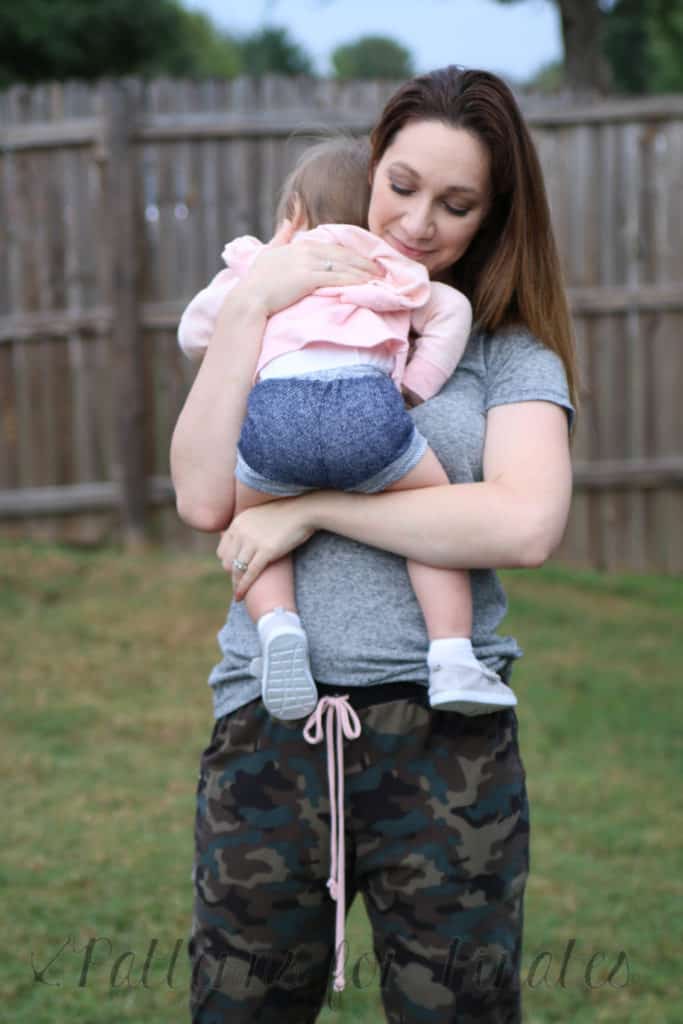
I think they’re so precious! My Baby Girl has been sick and wasn’t really up for pictures, but we snapped just a couple to show them a bit.     img_0990 img_0630  img_0659  img_0692 img_0693

Filed Under: Pattern Hacks 2 Comments

Featured Patterns

  • Loosey Goosey Loosey Goosey $12.00
  • Loosey Goosey- Youth Loosey Goosey- Youth $10.00
  • Loosey Goosey - Bundle Loosey Goosey - Bundle $20.00
  • Everyday Shirt Everyday Shirt $12.00
  • Everyday Shirt- Youth Everyday Shirt- Youth $10.00
  • Privacy Policy
  • Refund Policy
  • Affliliate Program
  • Contact Us
  • About

Copyright © 2025 Patterns for Pirates

Copyright © 2025 · Genesis Framework · WordPress · Log in