Guess what day it is?? It’s pattern release day!!! And we’ve got a doozy of a pattern to tell you all about. It checks off SO MANY requests that we’ve had come in over the last few years.
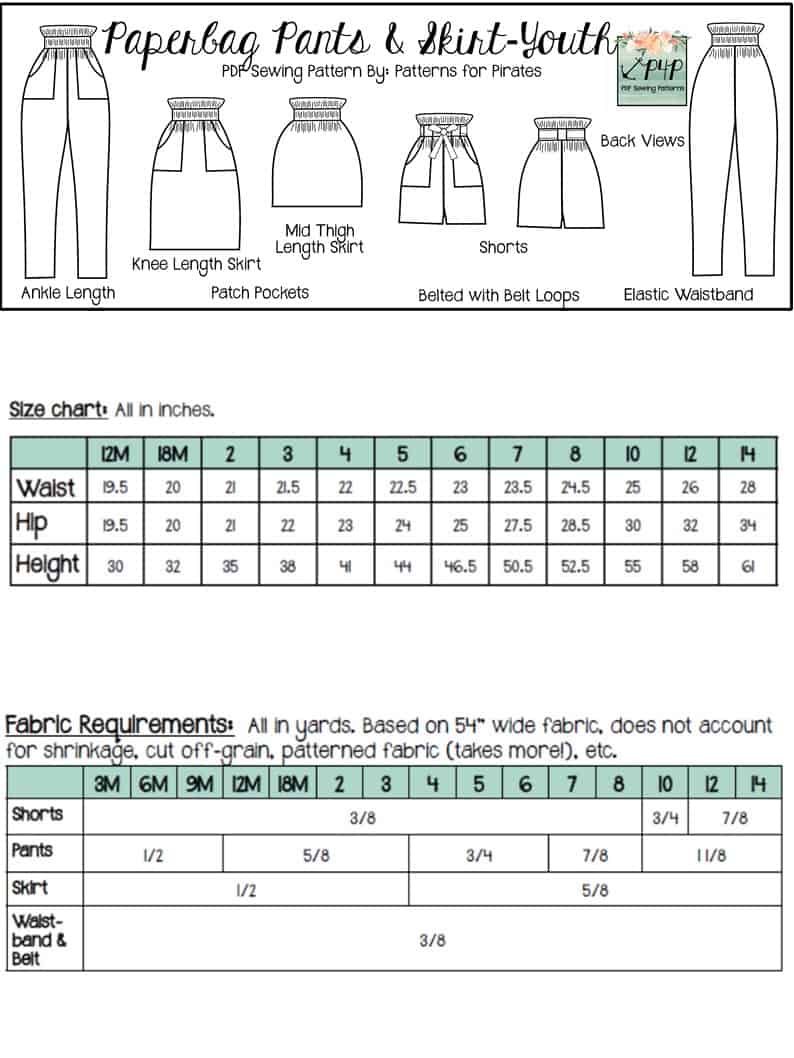
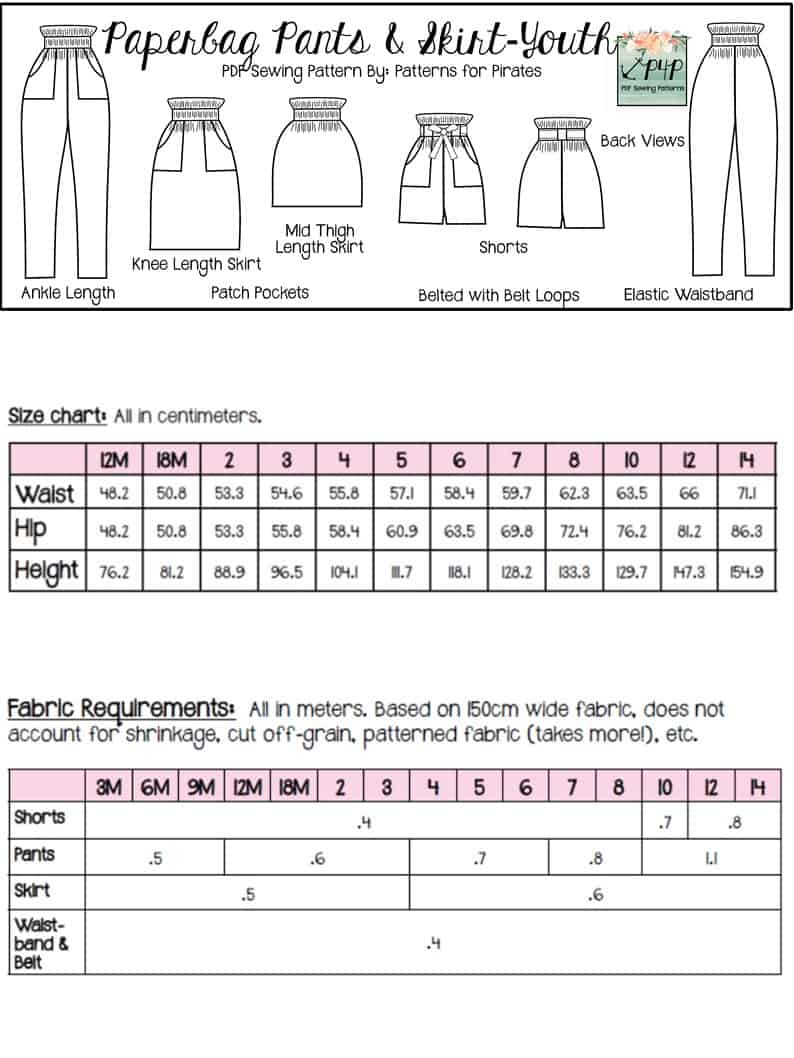
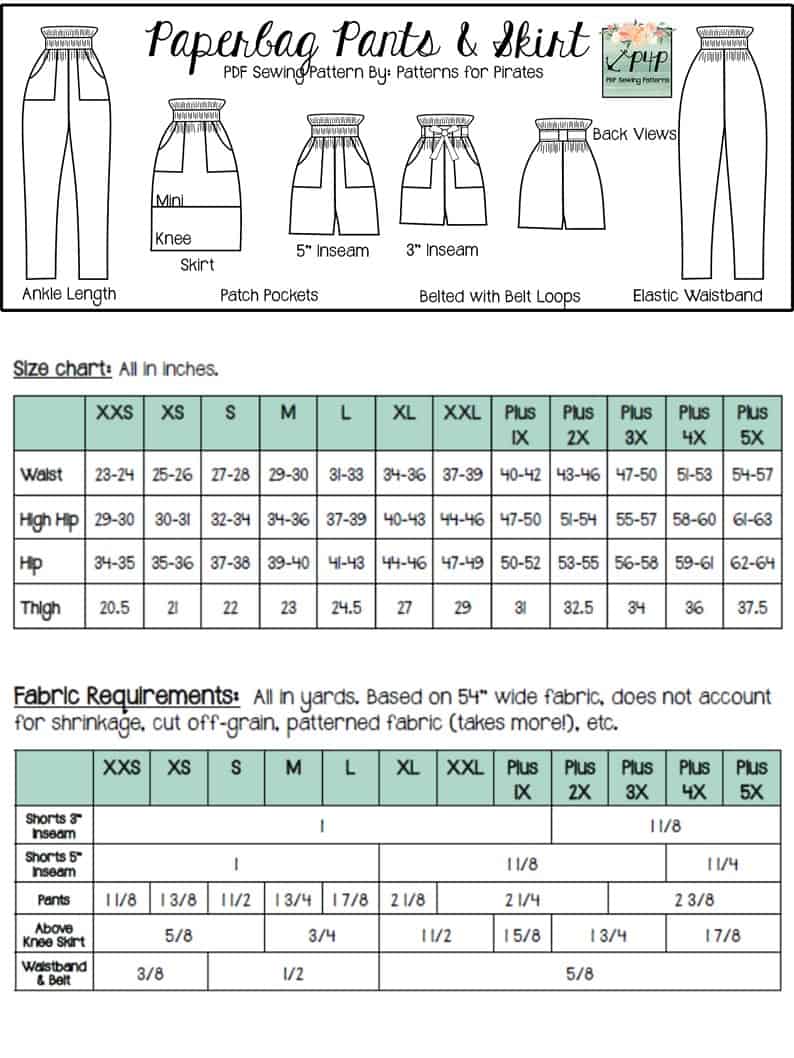
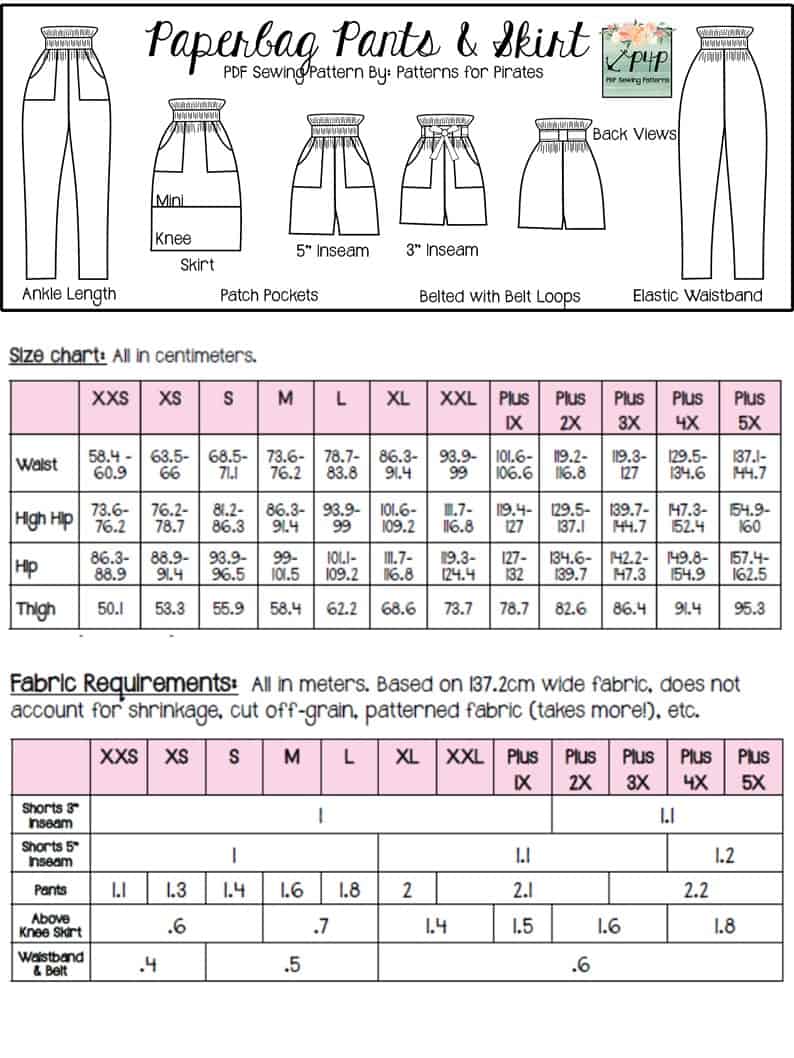
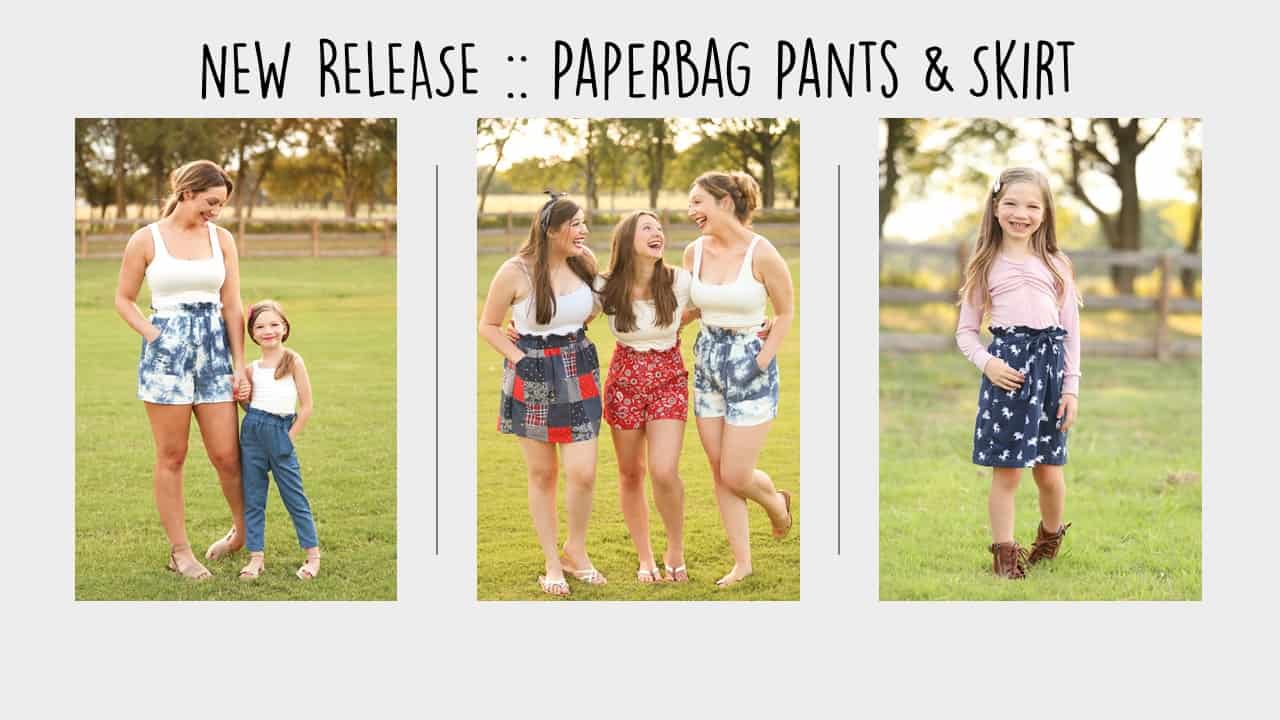
Let’s talk all about the new Paperbag Pants + Skirt patterns, in both youth and adult sizes!!
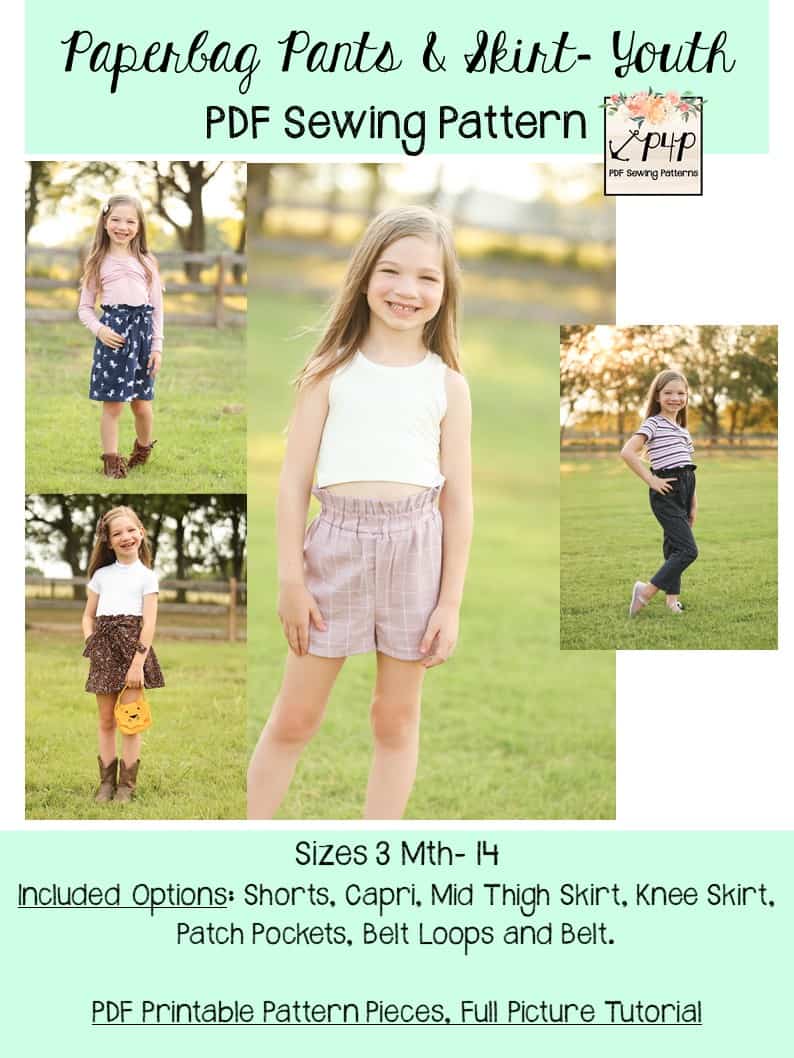
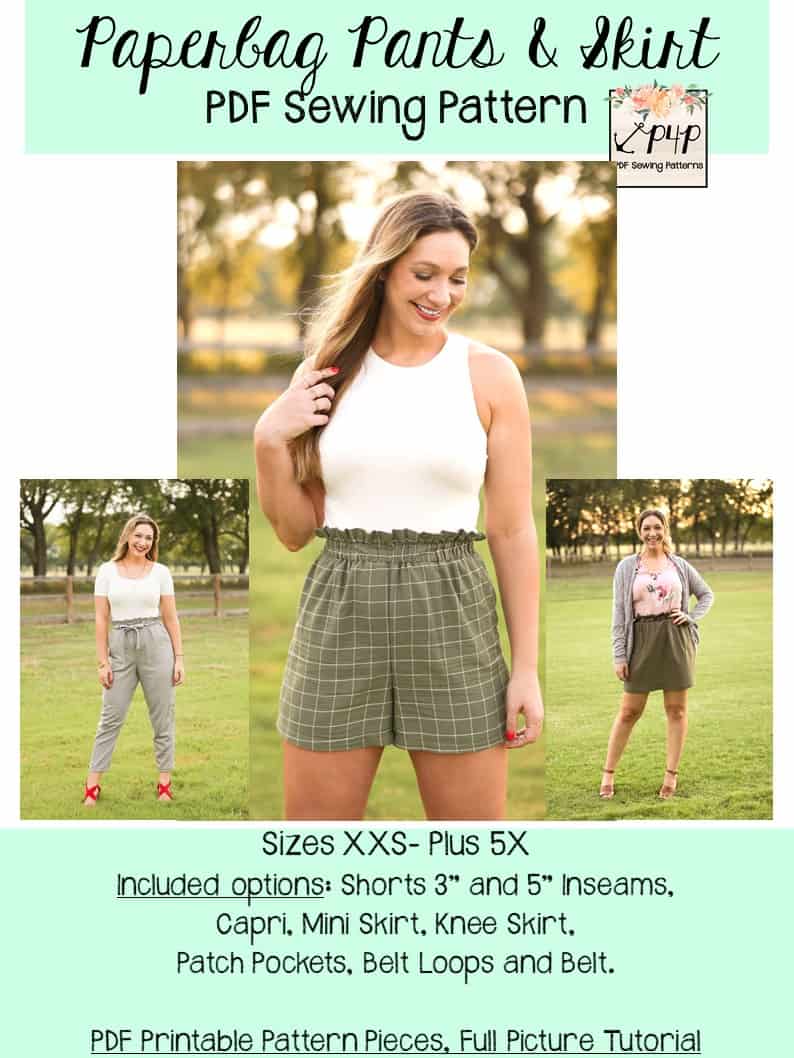
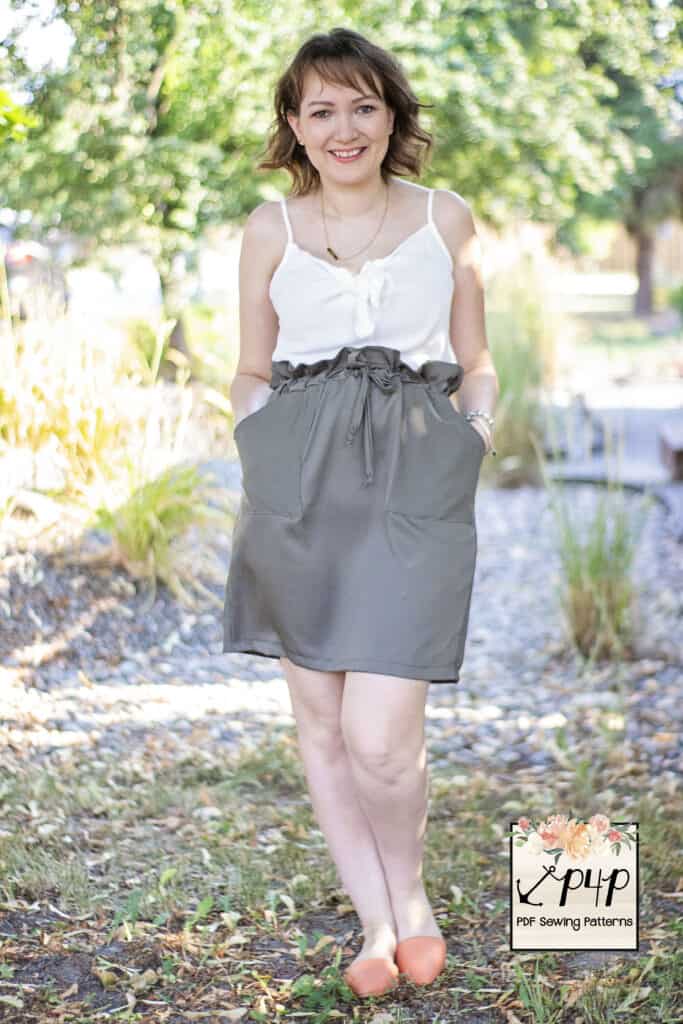
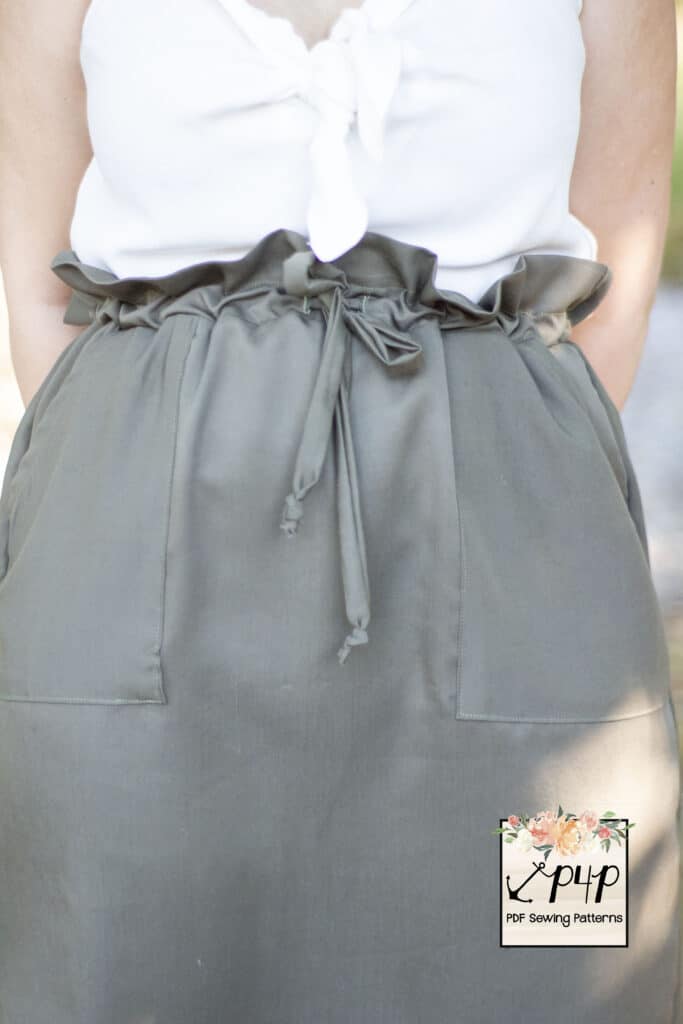
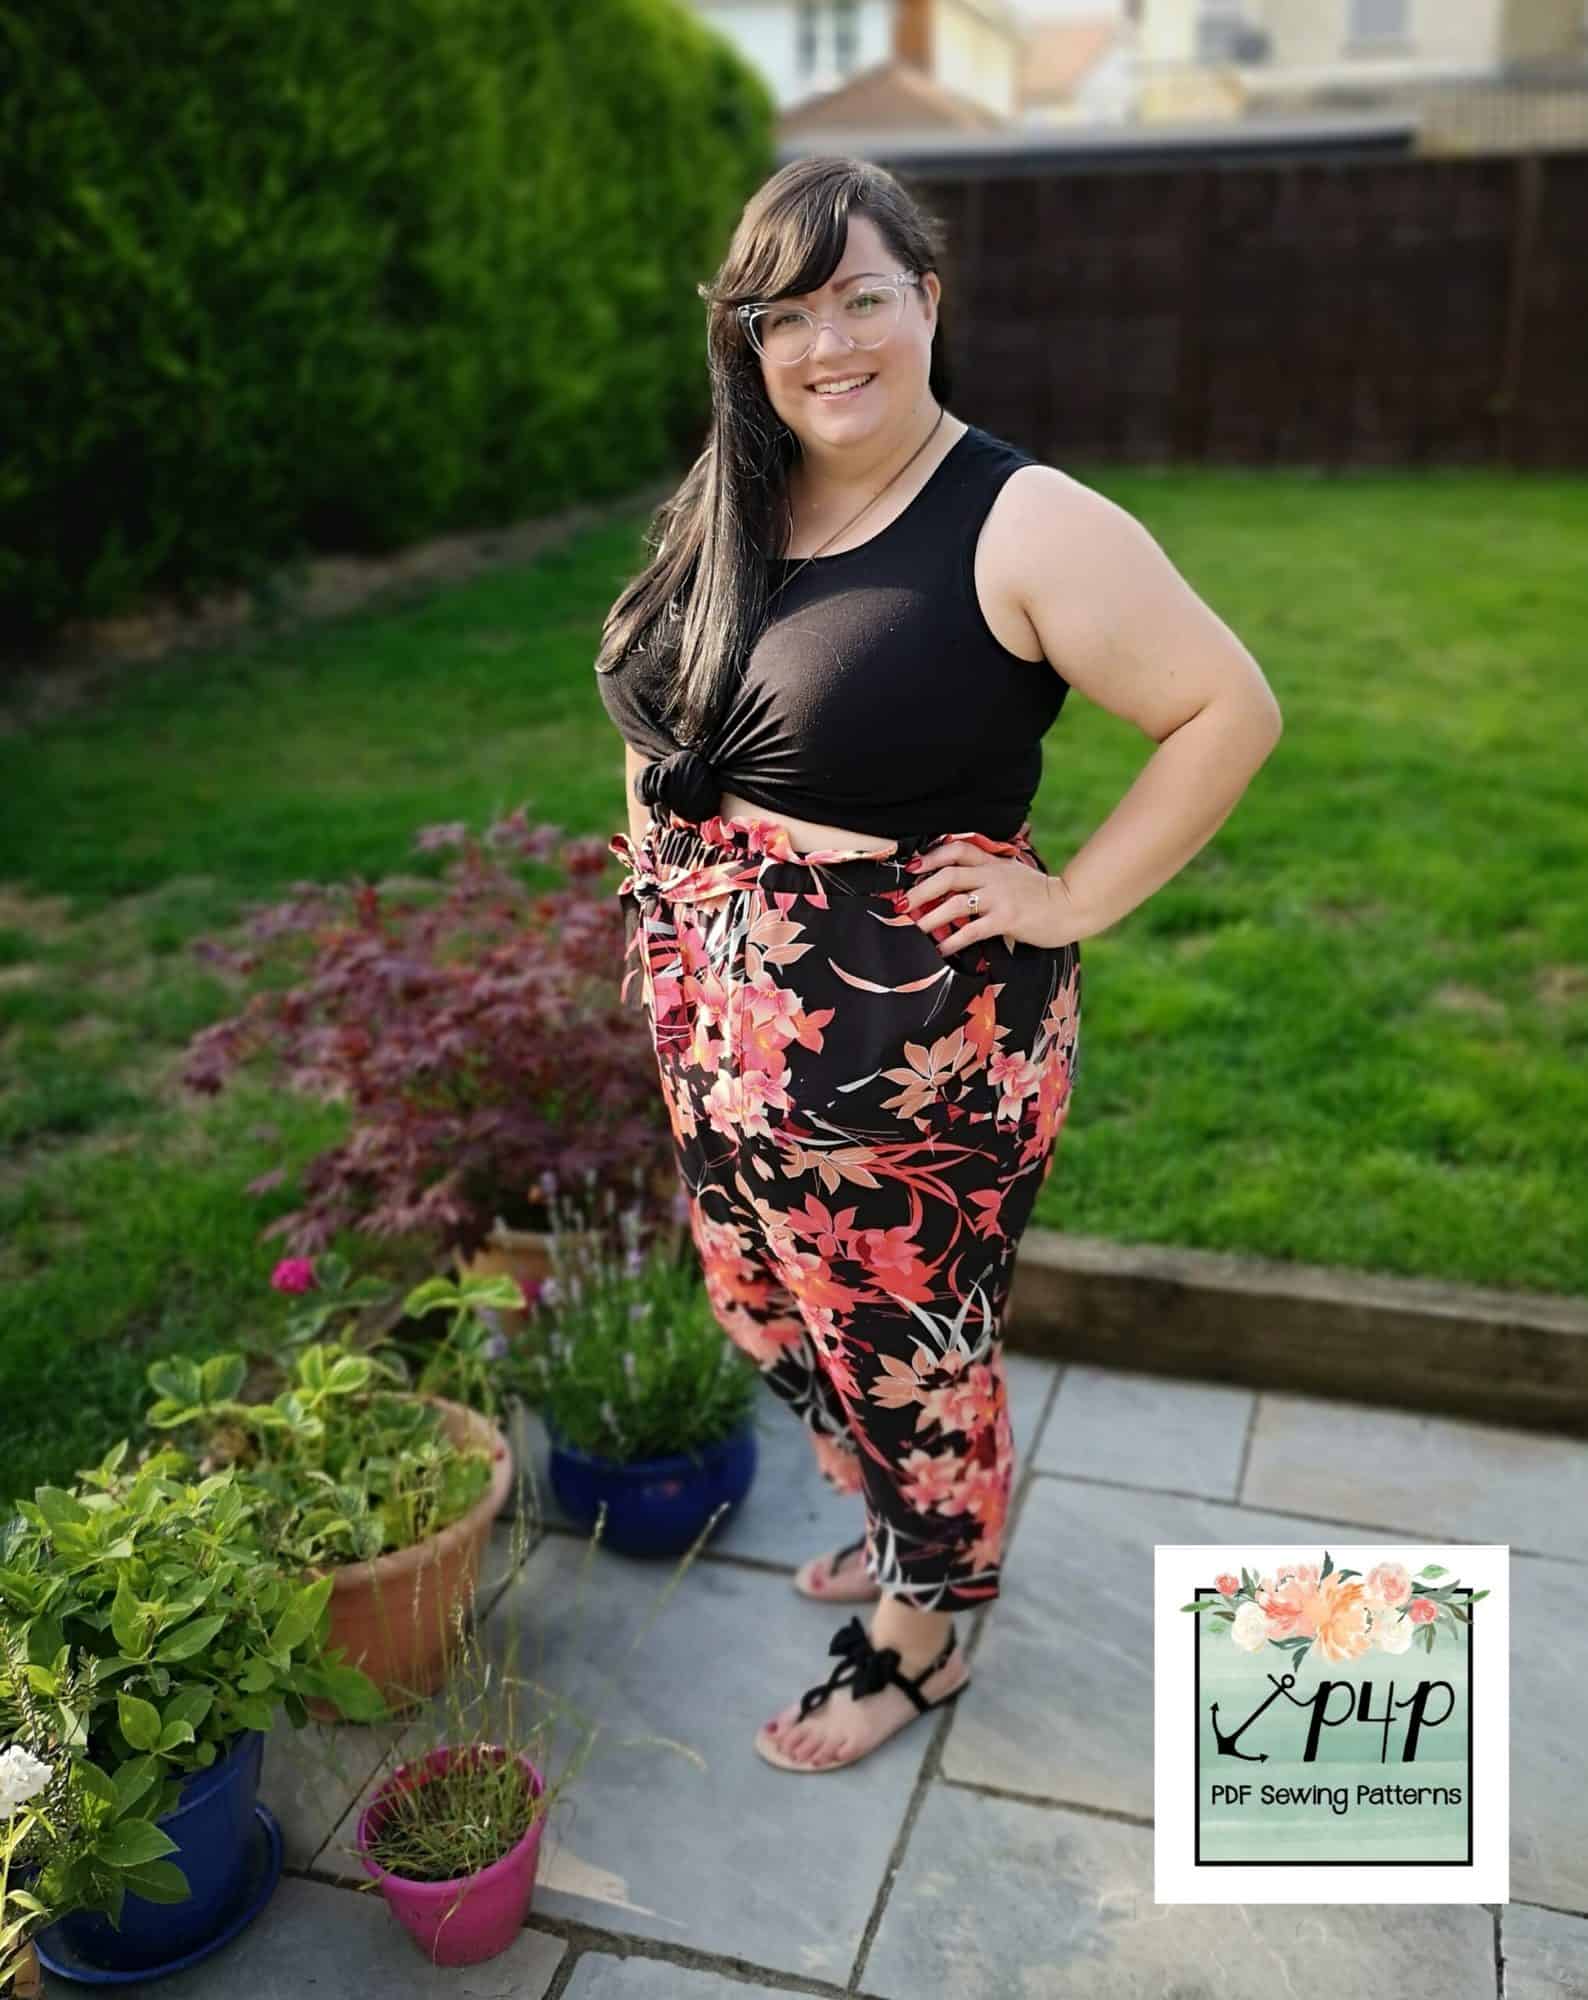
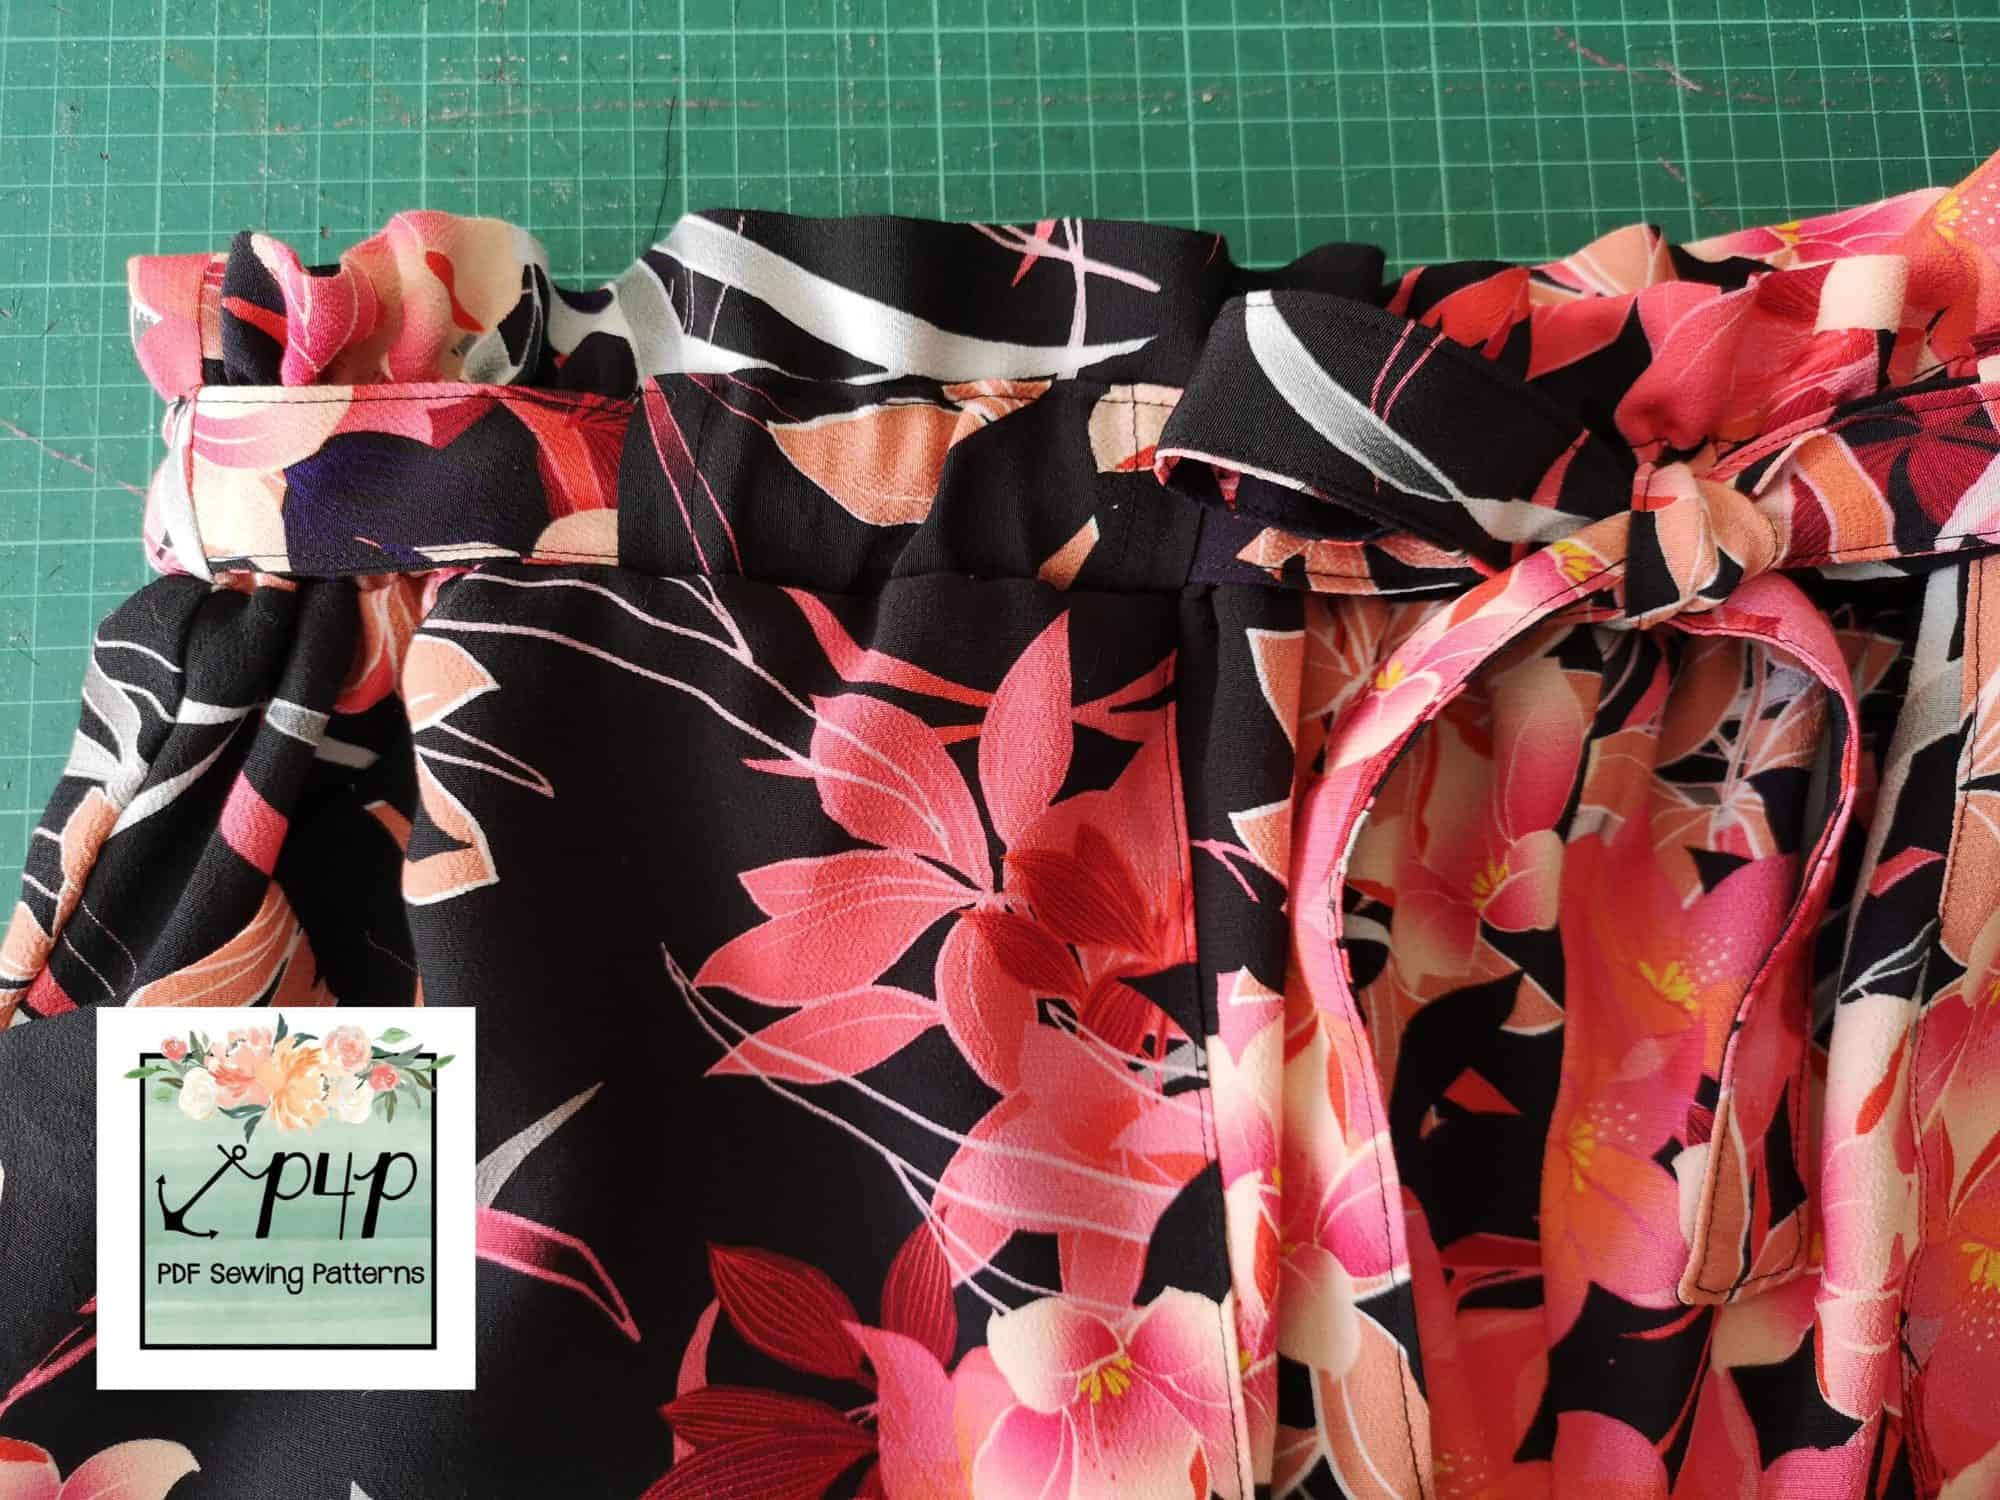
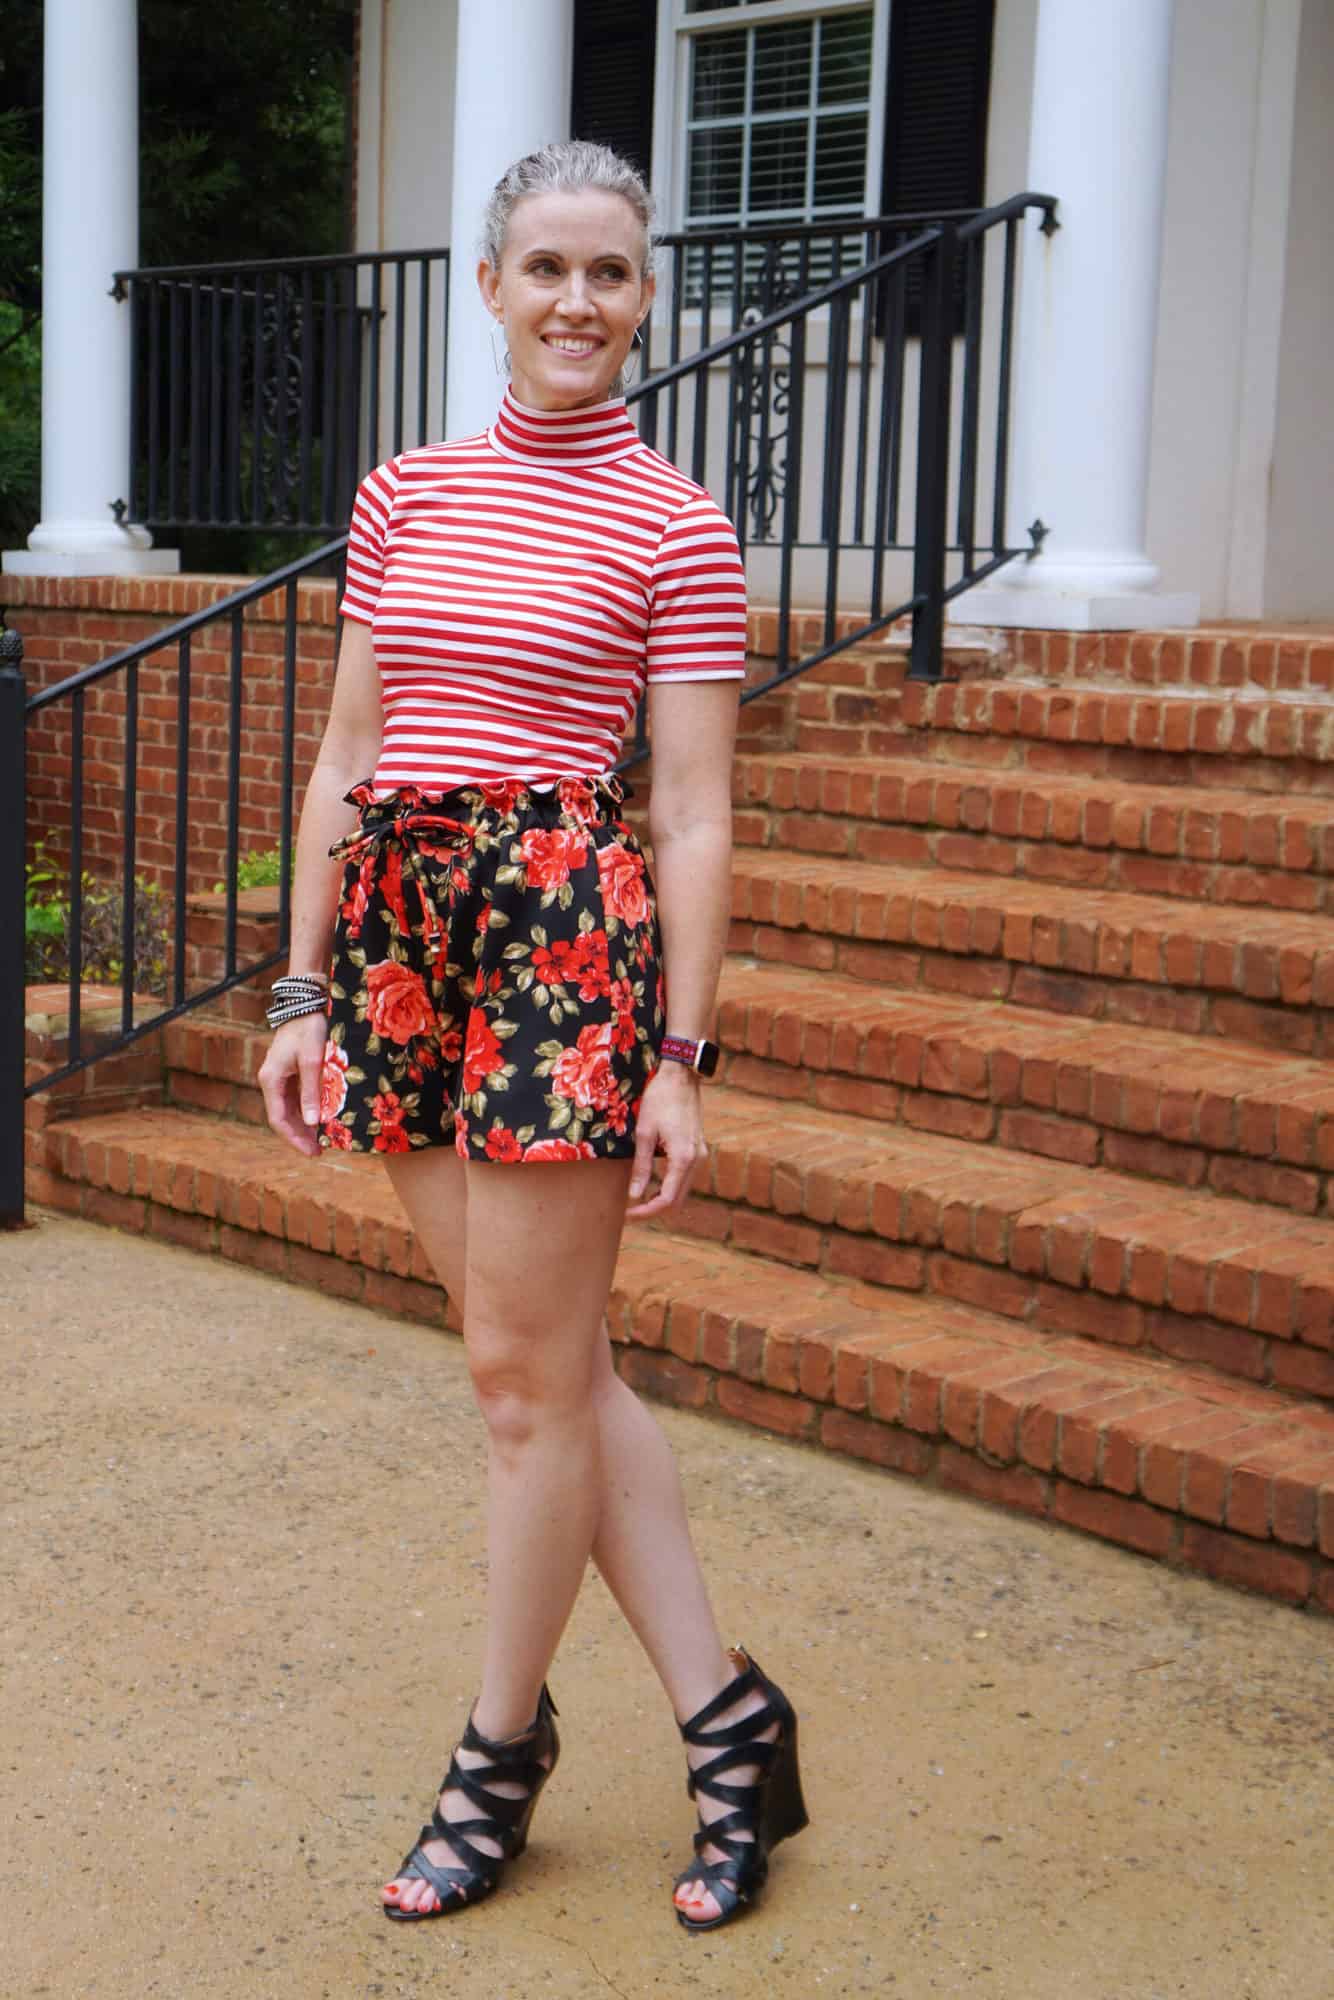
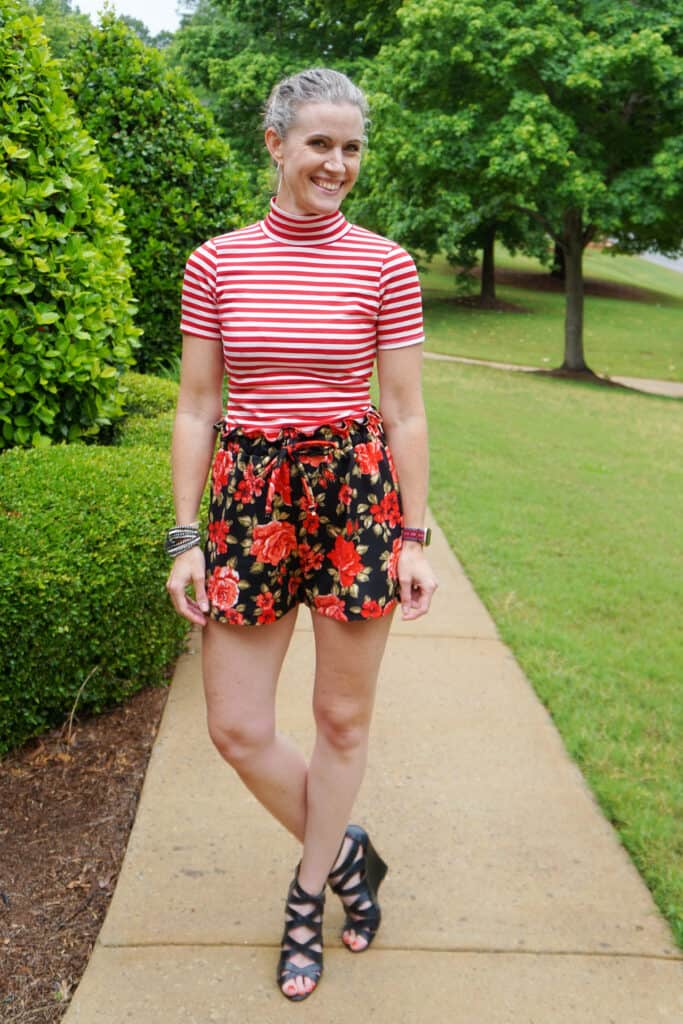
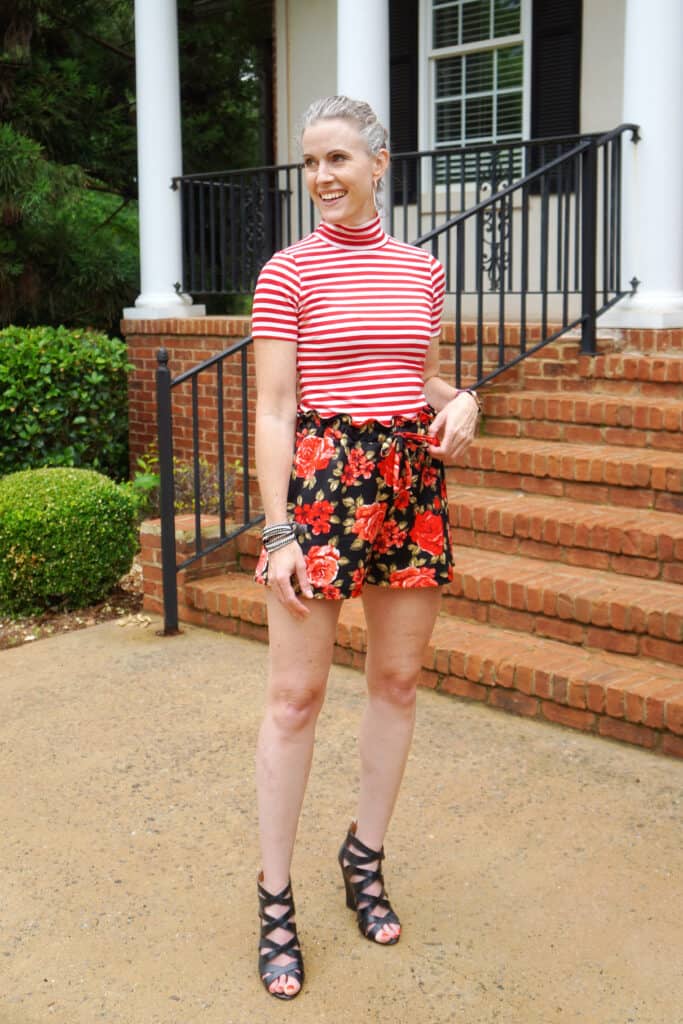
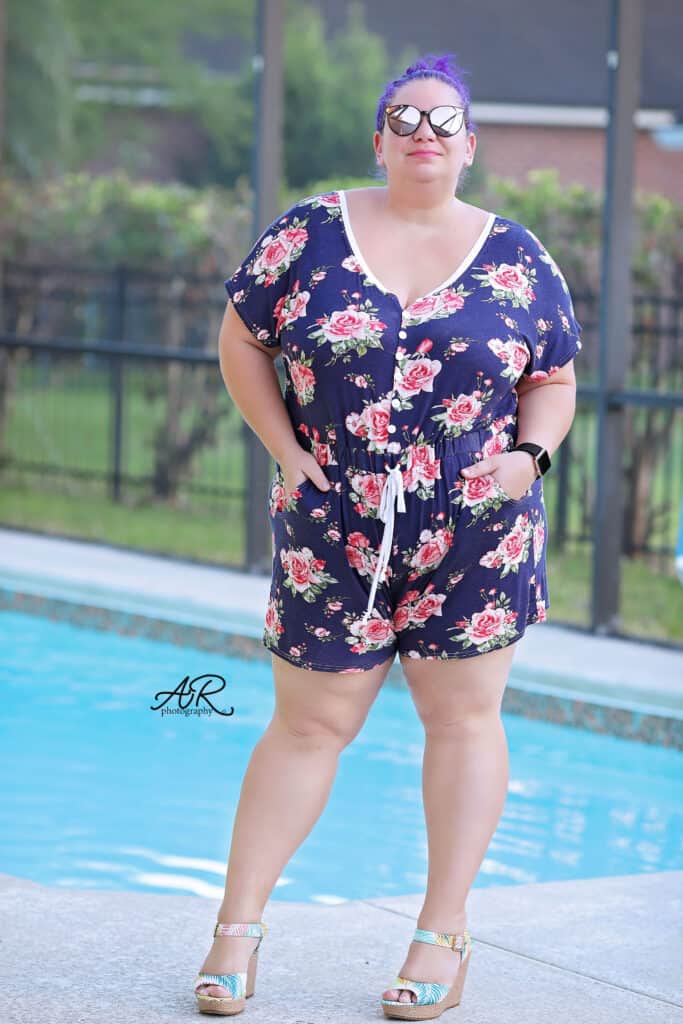
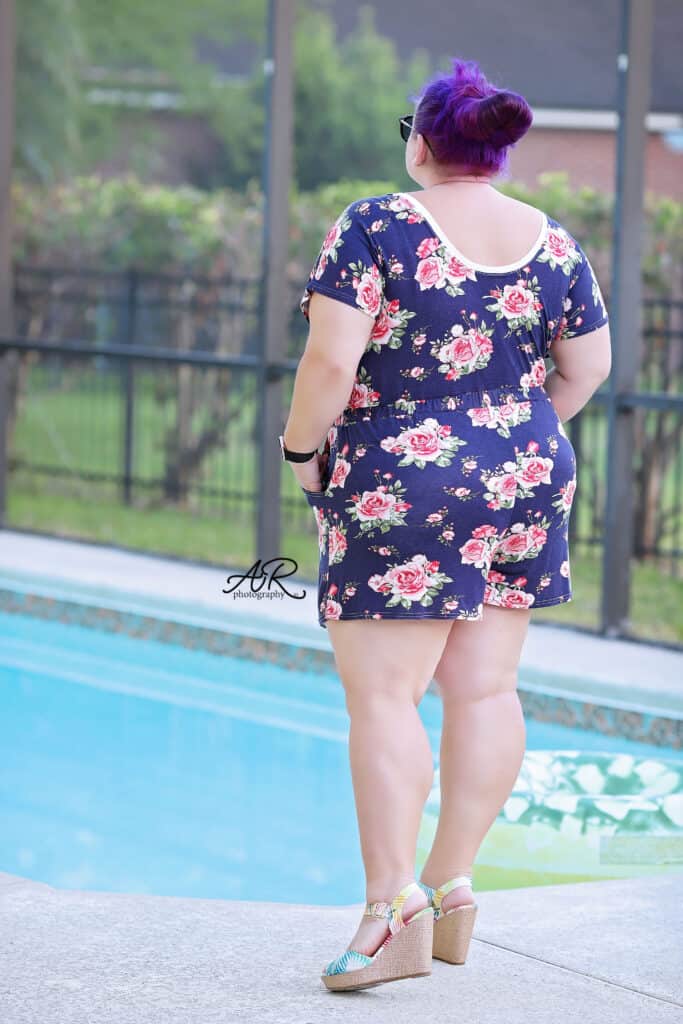
You will have so much fun sewing up these simple bottoms with the adorable paperbag ruffle top! They’re on trend and comfortable with an elastic waistband. They’re perfect for woven fabrics with no stretch, stretch wovens or even a stable knit. The ruffle along the top of the waistband is adorable and fun to wear year round paired with a tank or a cardigan. You can pink the perfect length shorts from 3″ or 5″ inseams. The above ankle capri pant is an adorable more fitted pant you can easily dress up or down with different tops and shoes. You can go short with a mini skirt or longer with a knee length.
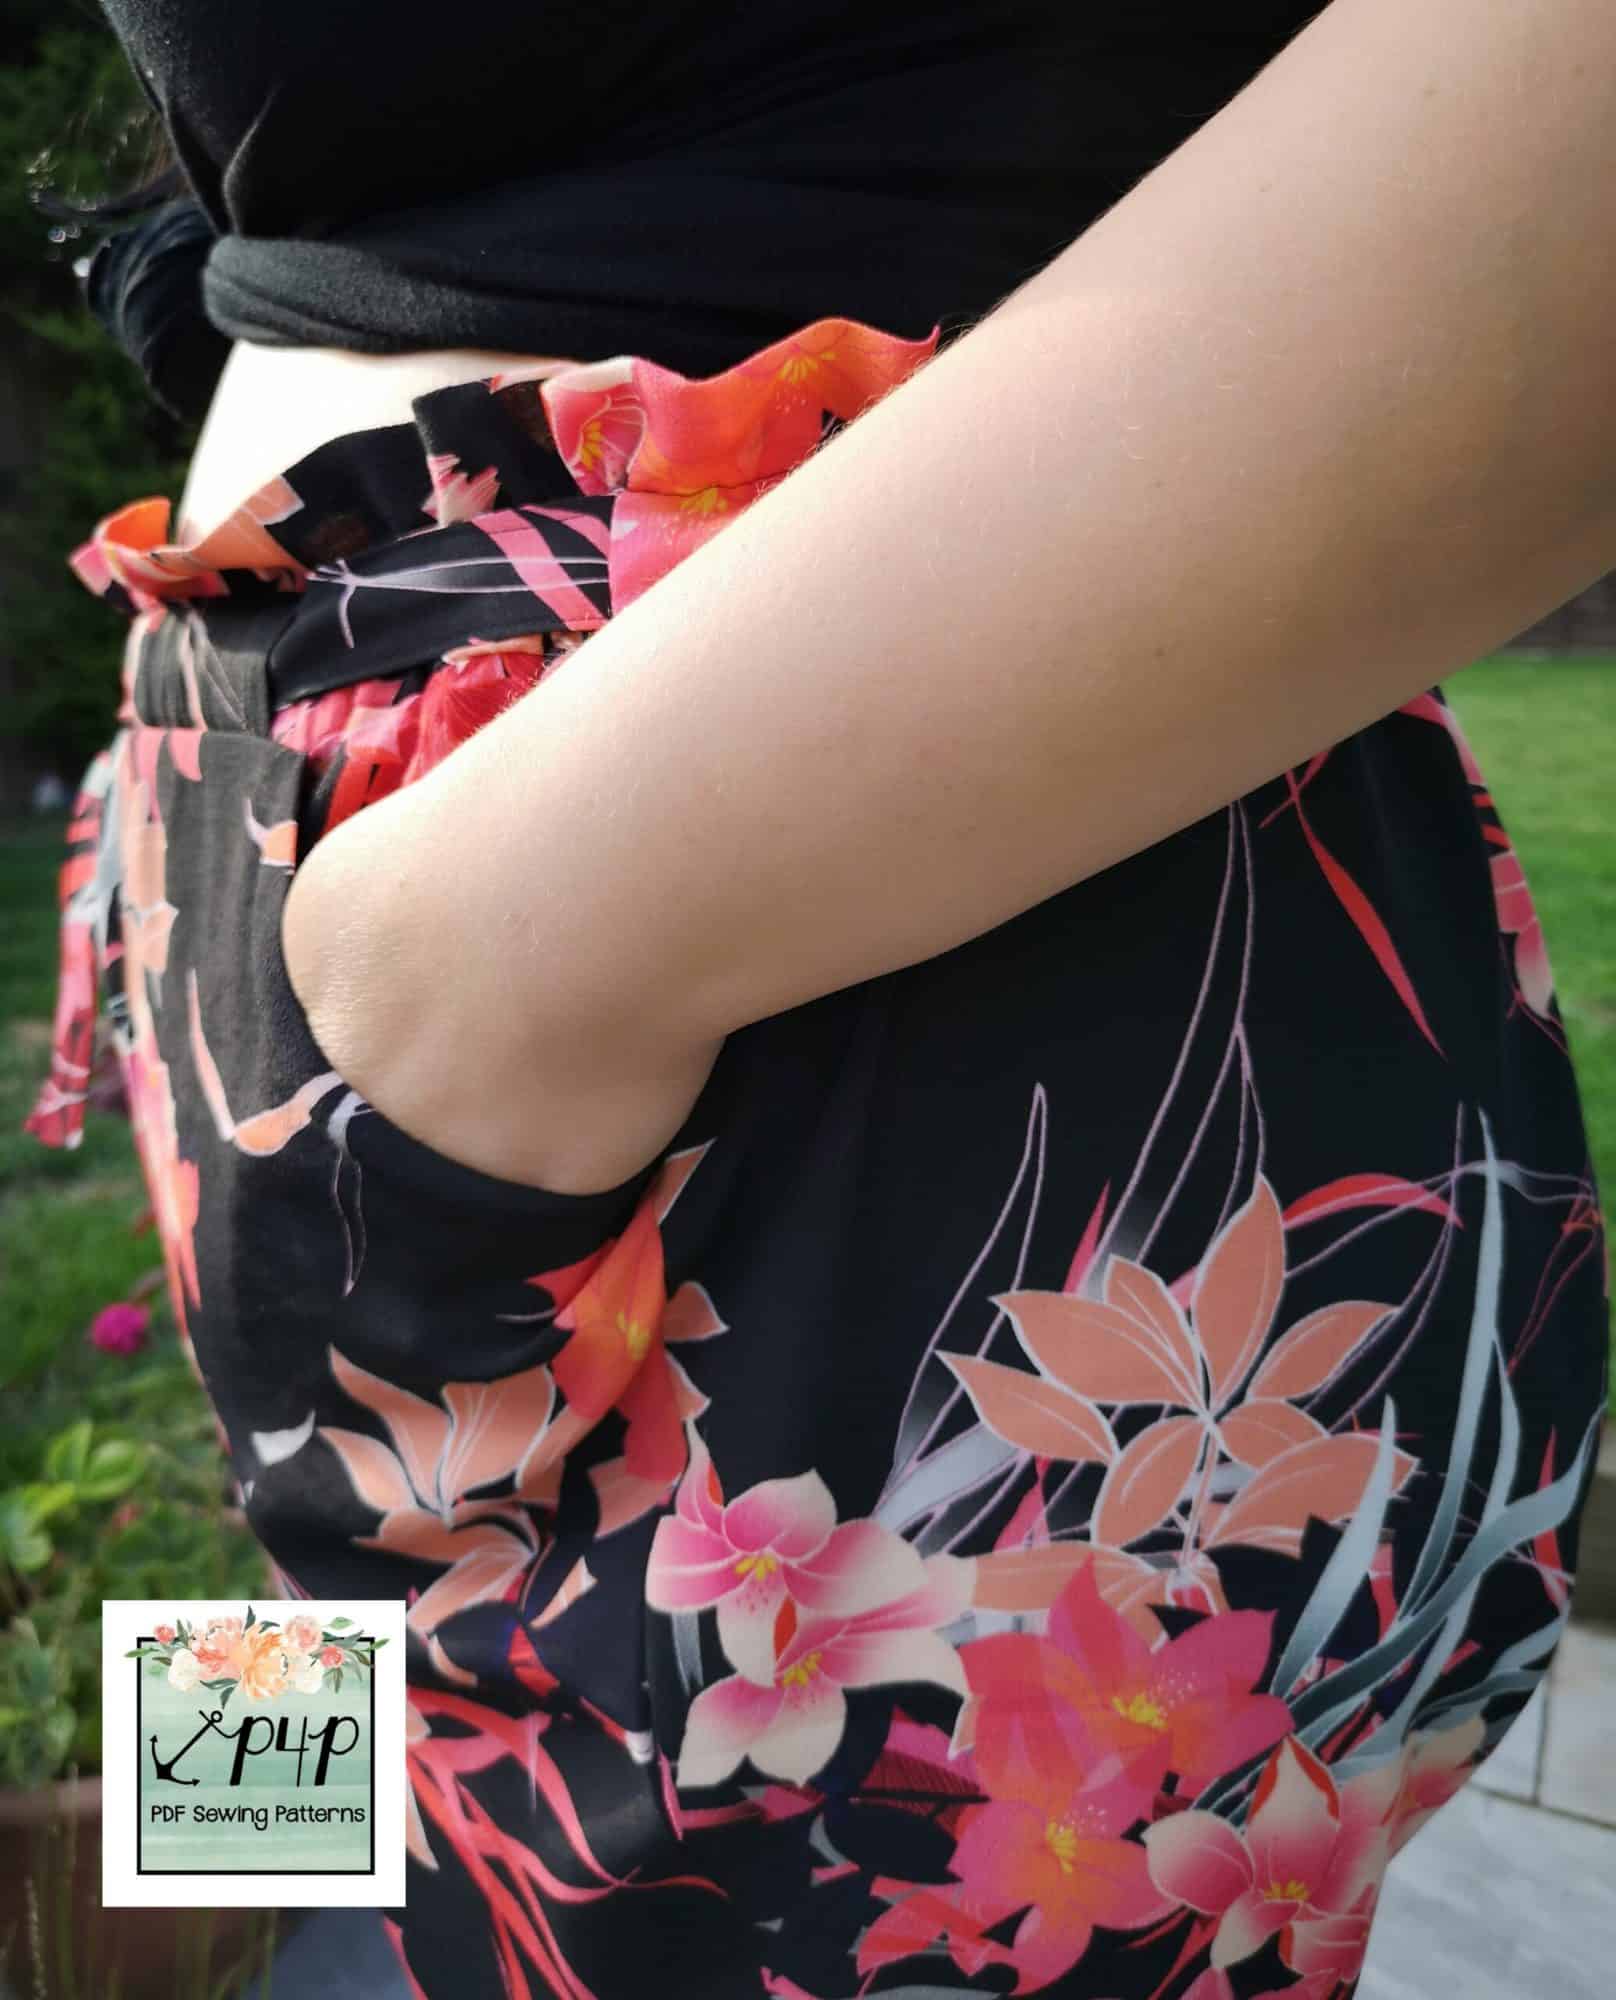
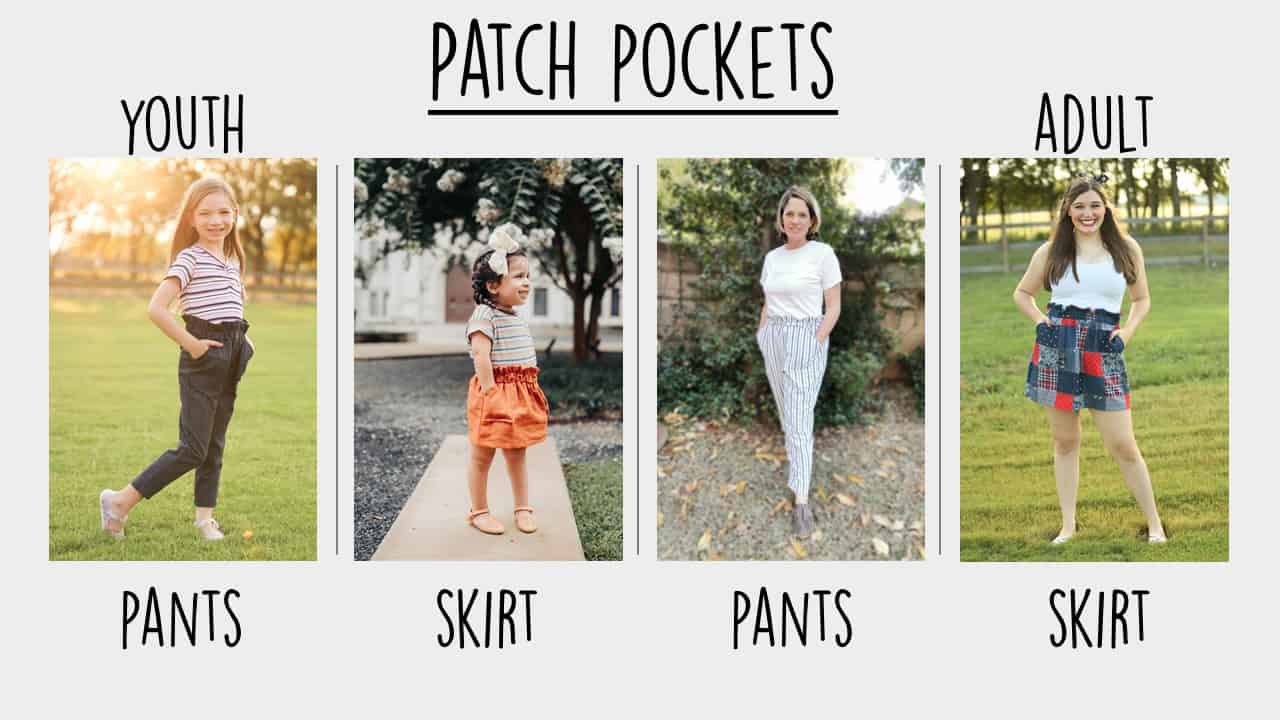
Pair any of these options with adorable patch pockets big enough to fit your giant cell phone in comfortably! You can go all out and add belt loops and a tie belt to tie everything together as well!
*Want to learn more about how to measure yourself for these pattern? We’ve got you covered with an in-depth blog HERE. And in case you’re new to Patterns for Pirates and PDF patterns in general, we have a great blog full of new-user tips HERE to help you get started! As with all of our current releases and updates, the pdfs now include our layers feature and can be found in Letter, A4, A0 and projector sizes. And for even more helpful fun, we have a free* printable that you can use to help record your measurements as you take them.
The options include: Options include: 3″ or 5″ inseam shorts for adult/ shorts, 26″ capri pants, mini for adult/mid thigh skirt, knee skirt, patch pockets, belt loops and tie belt.
Let’s take a look at the different ways we can sew up these patterns!
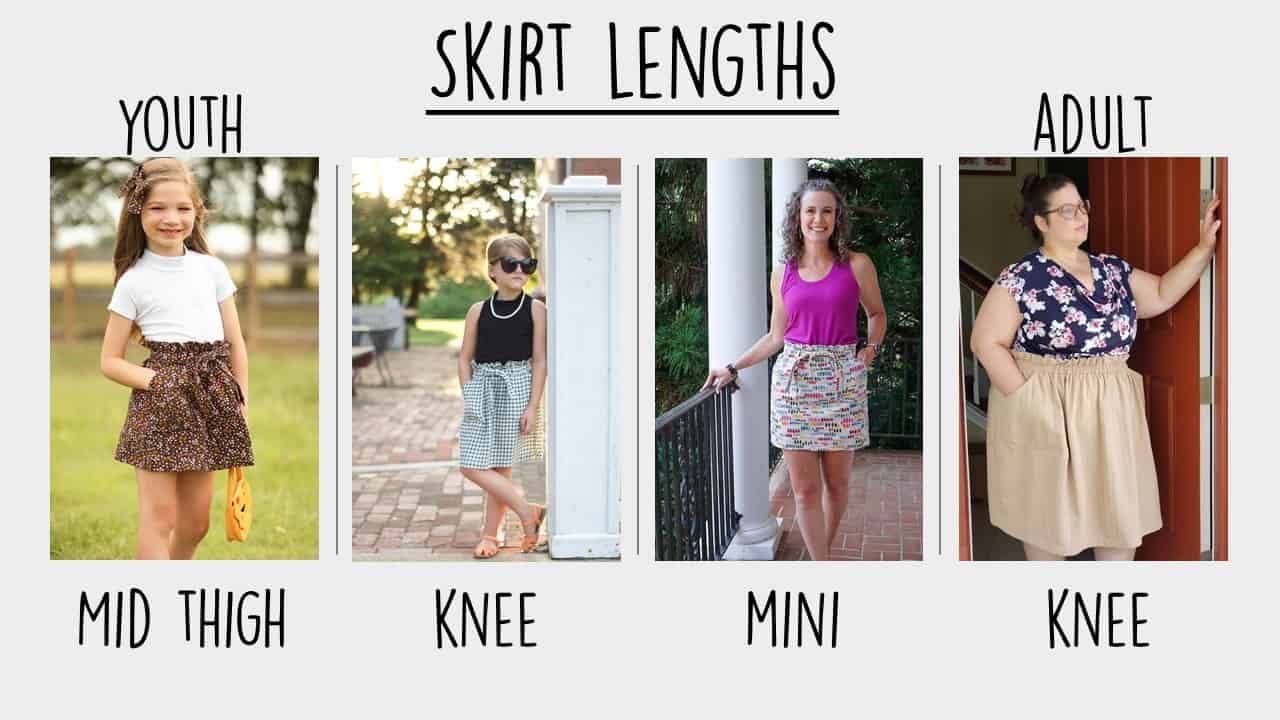
SKIRT LENGTHS (MINI + KNEE)
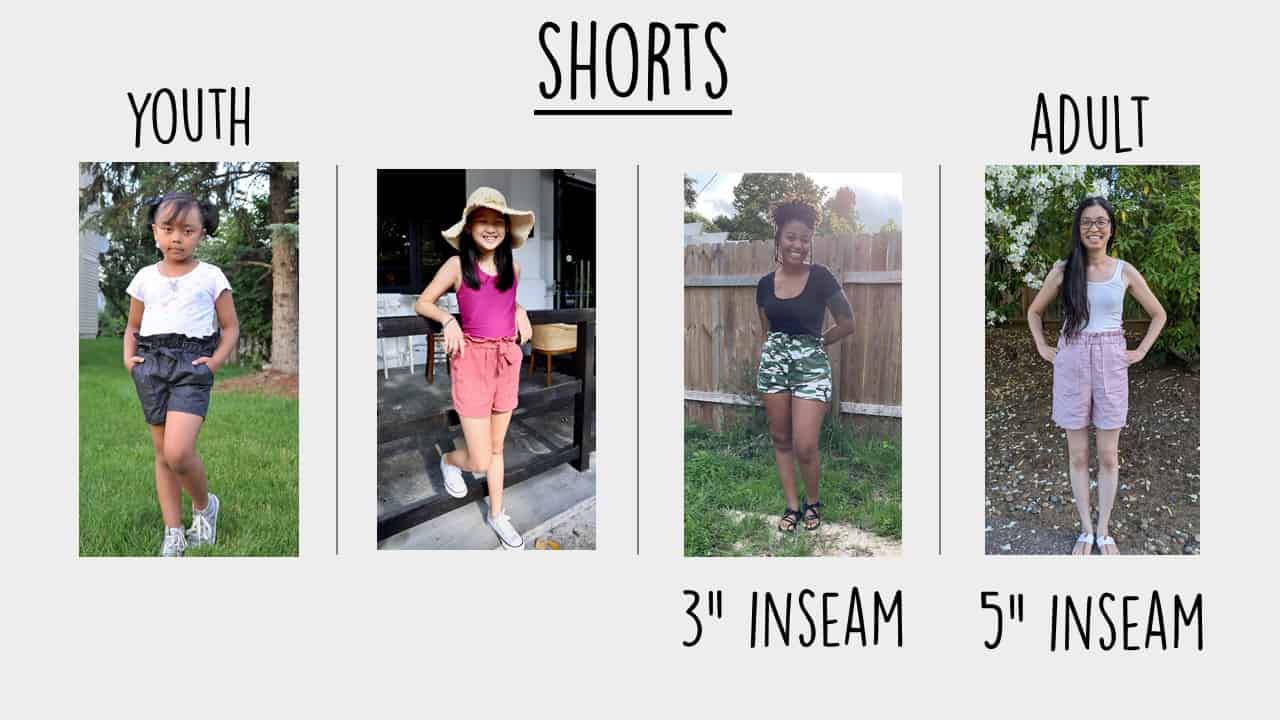
SHORTS (3″ INSEAM / 5″ INSEAM ADULT)
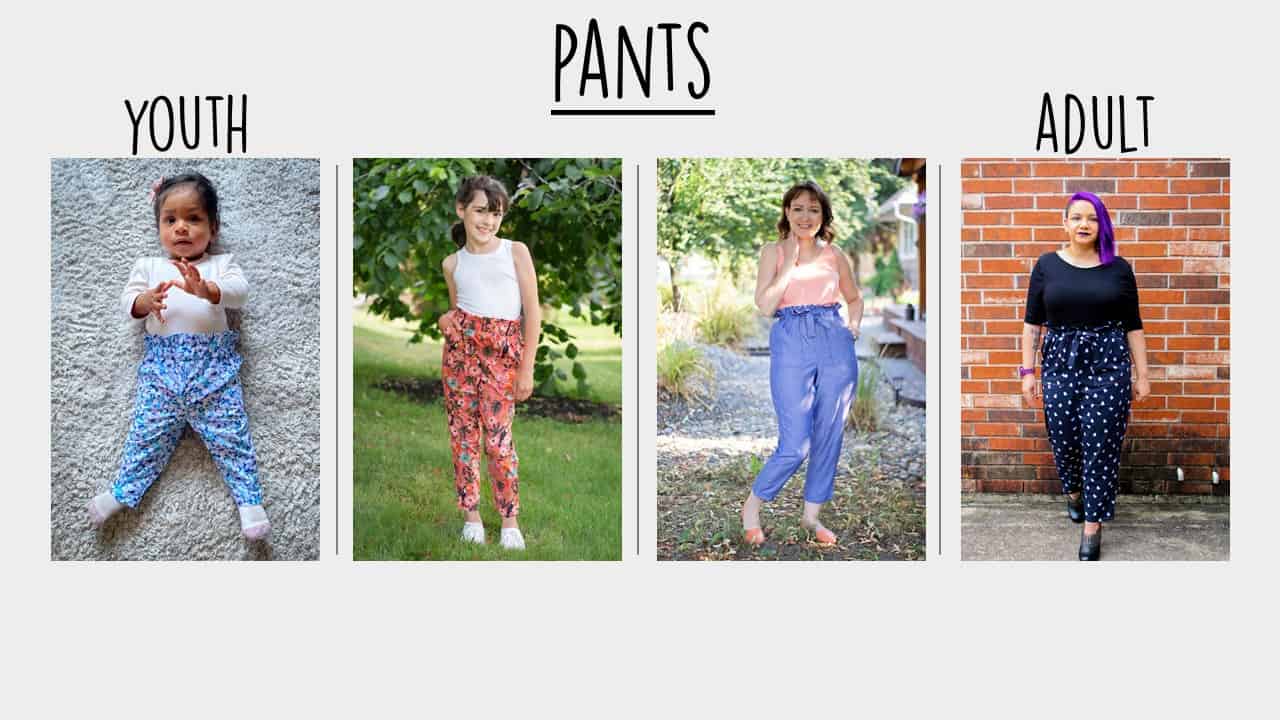
ABOVE ANKLE PANT LENGTH
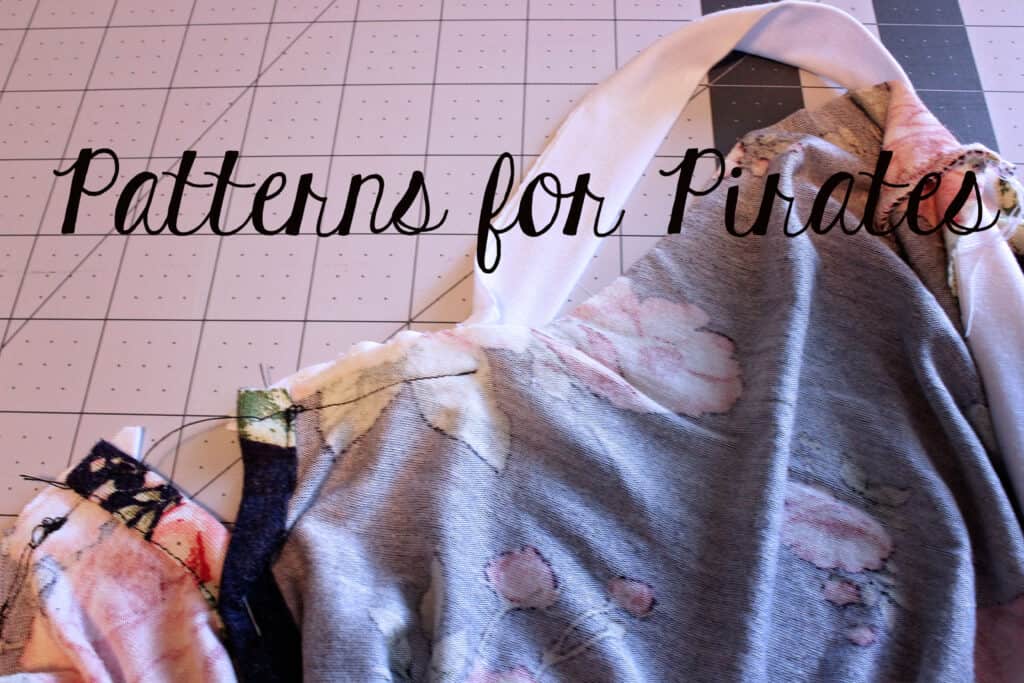
PATCH POCKETS
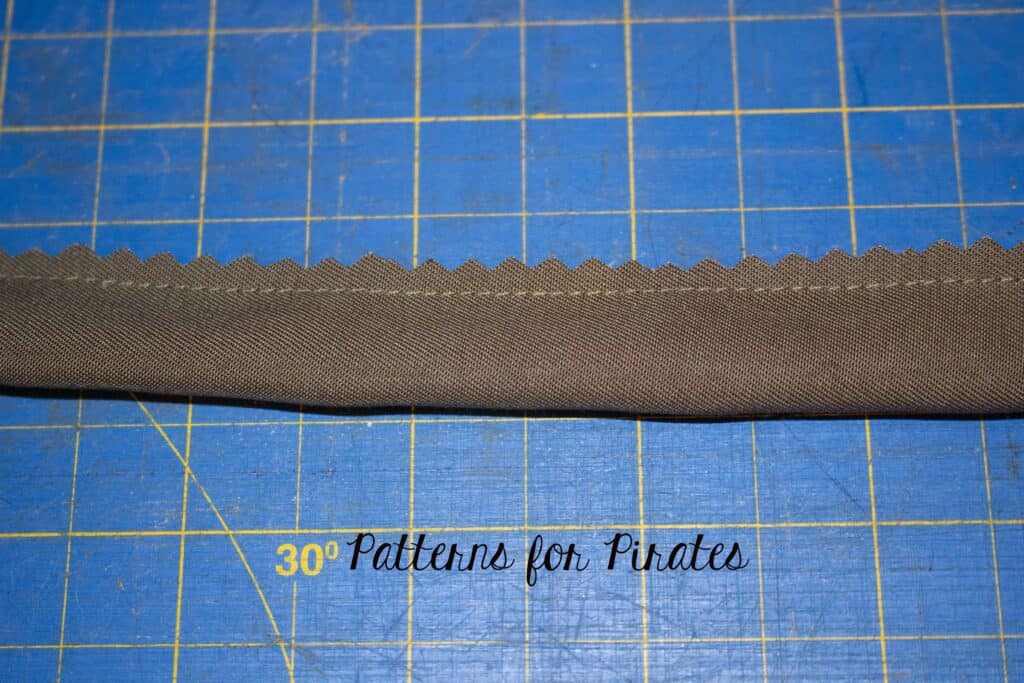
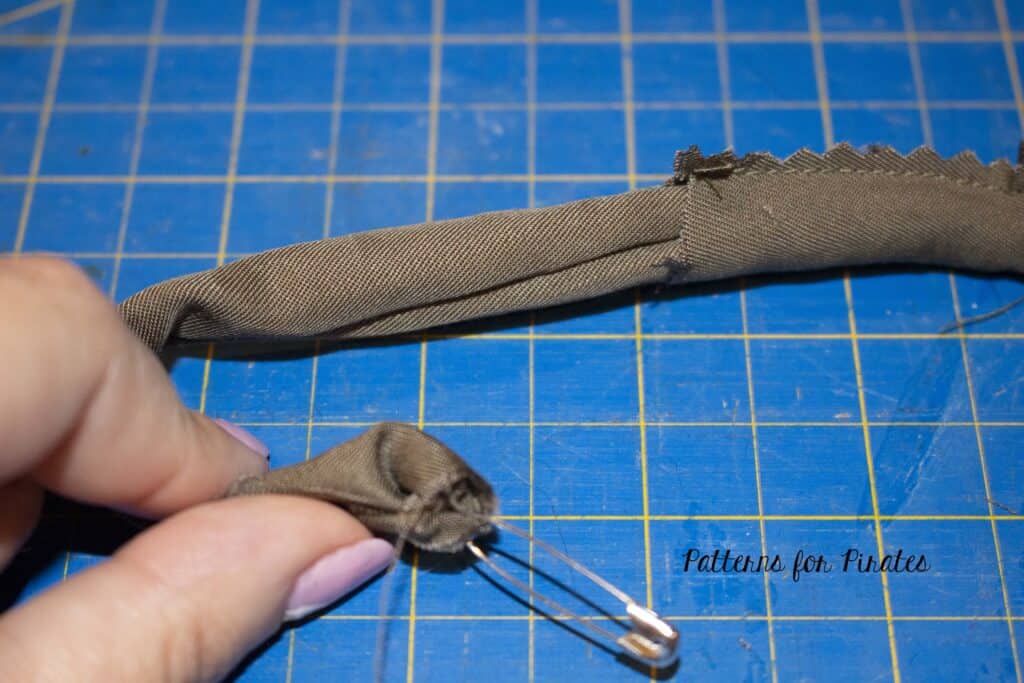
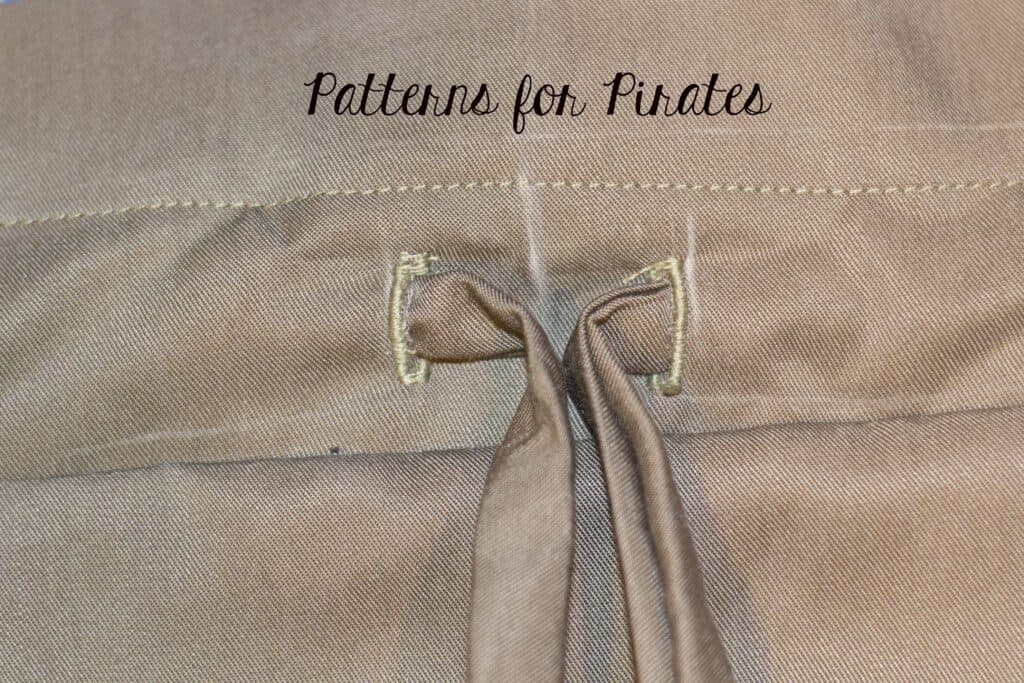
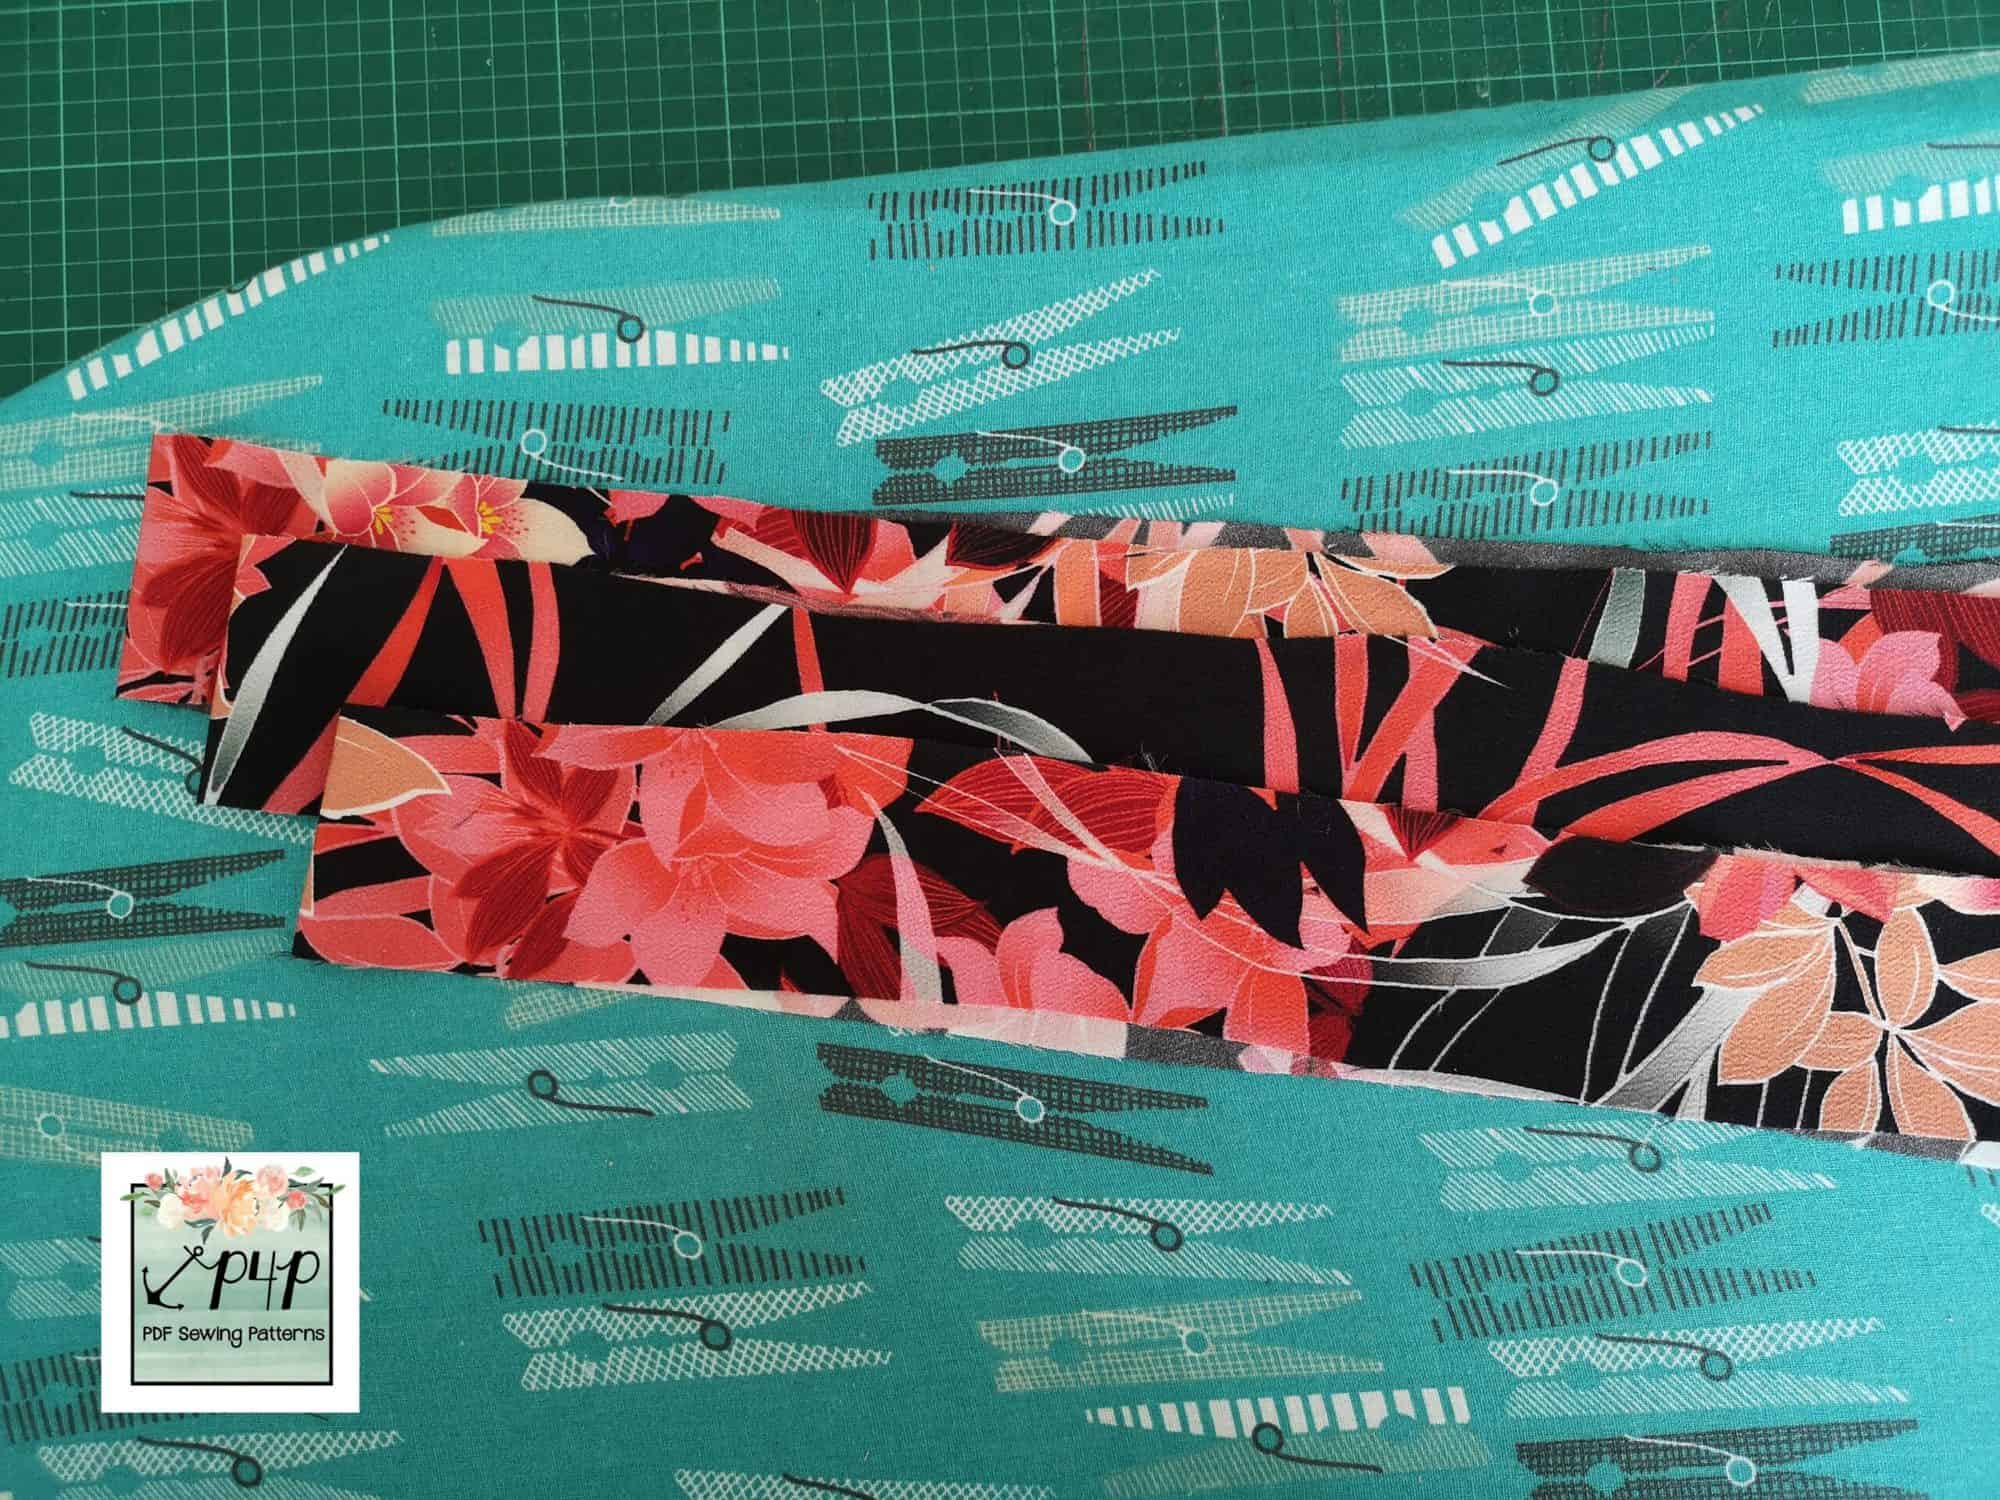
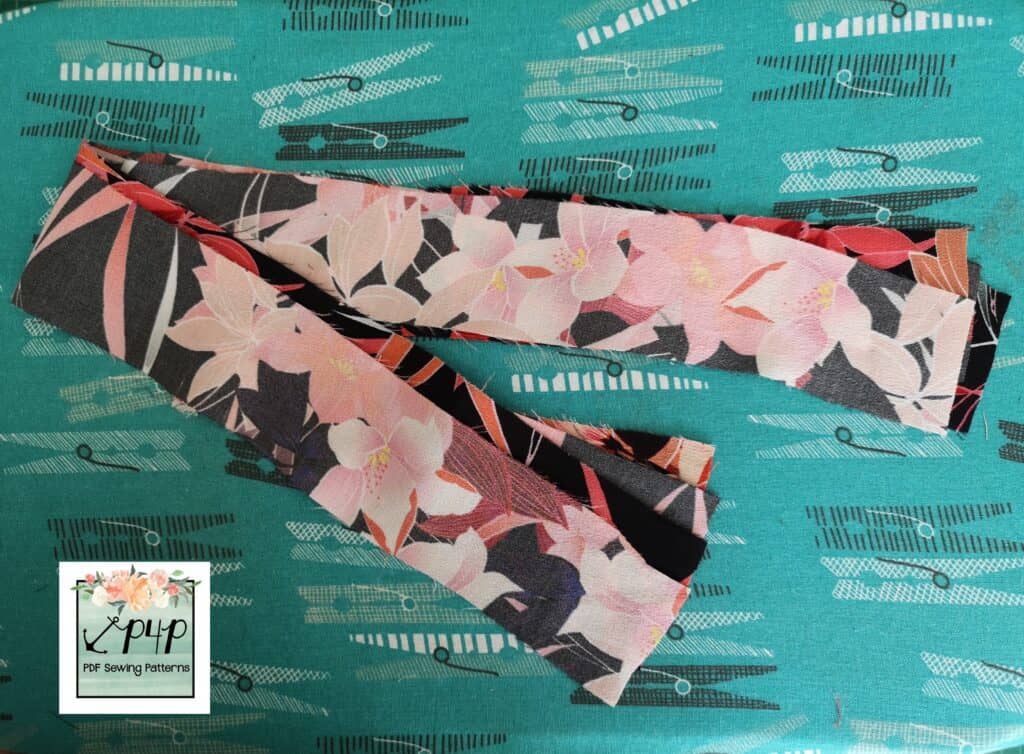
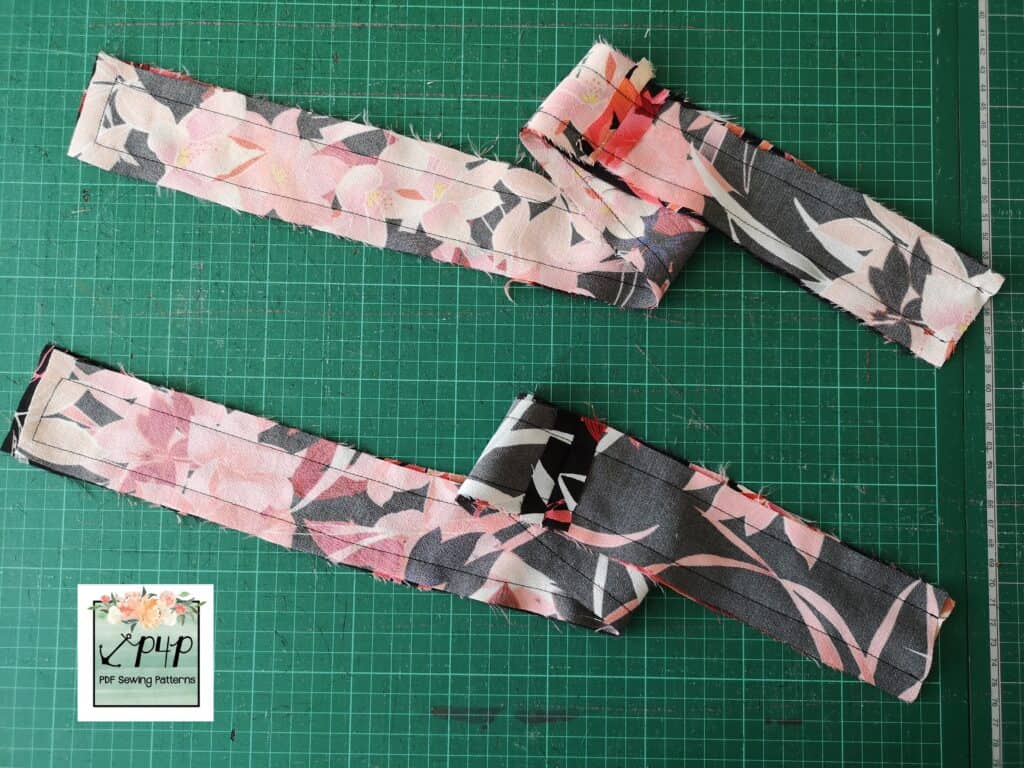
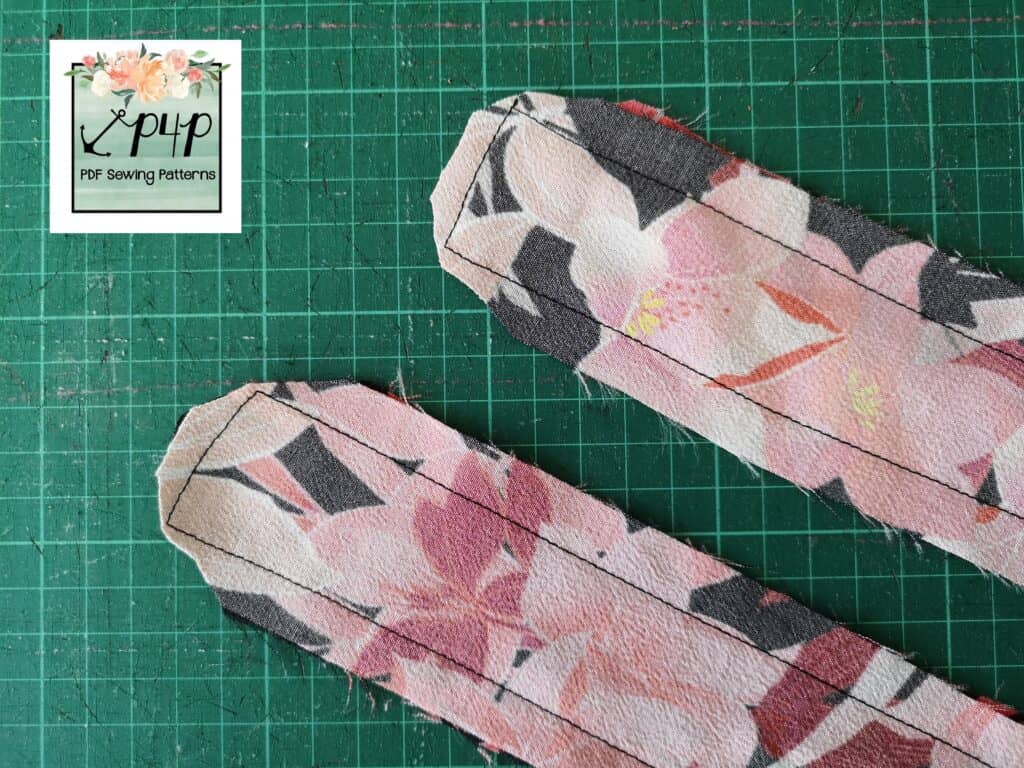
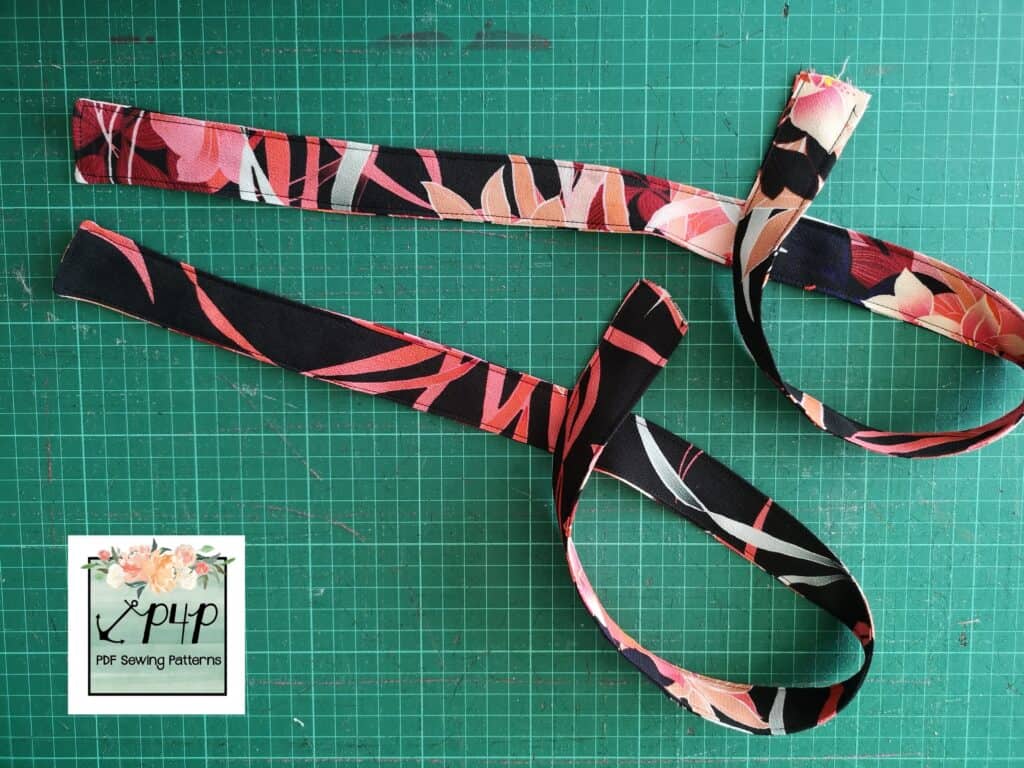
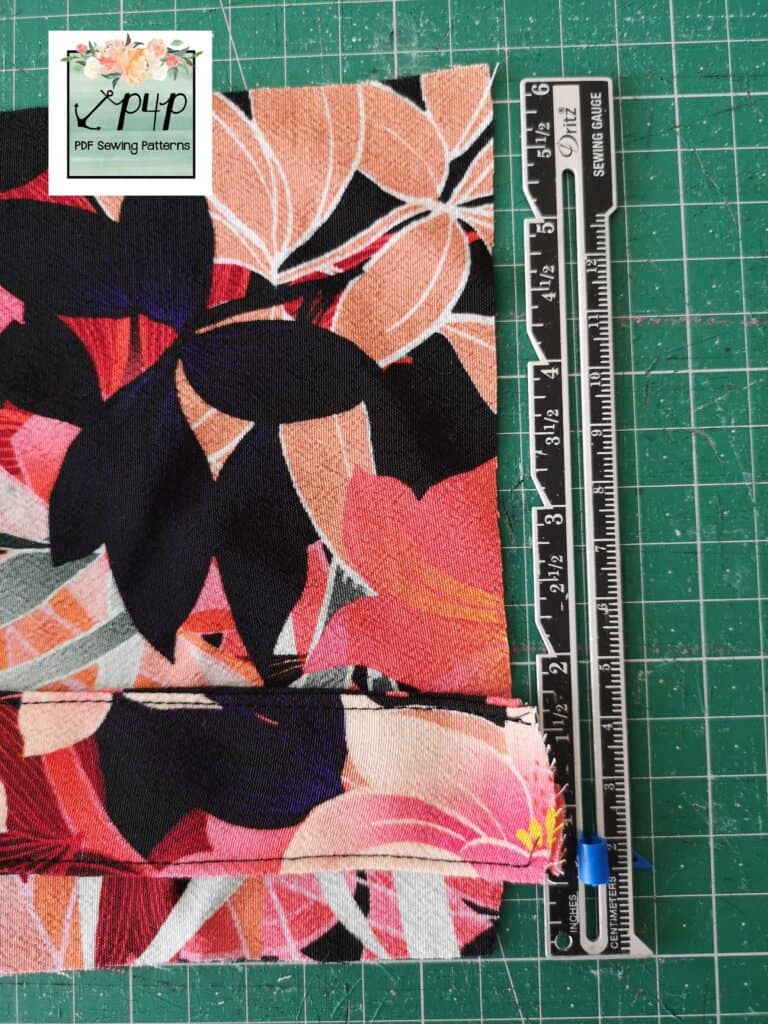
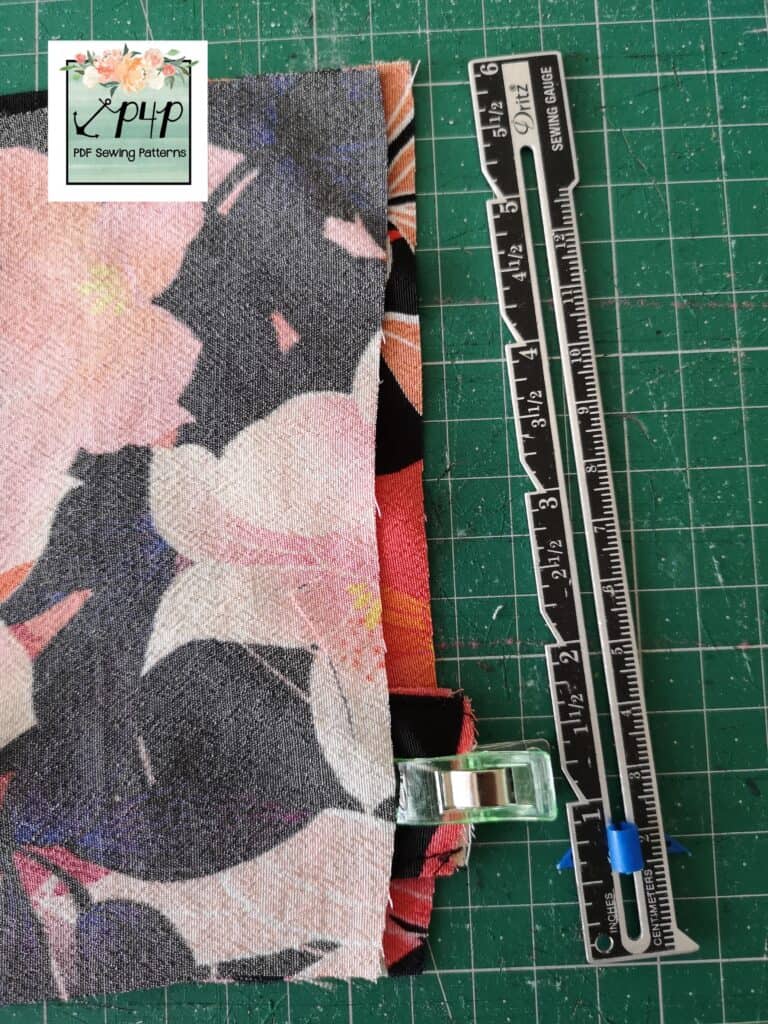
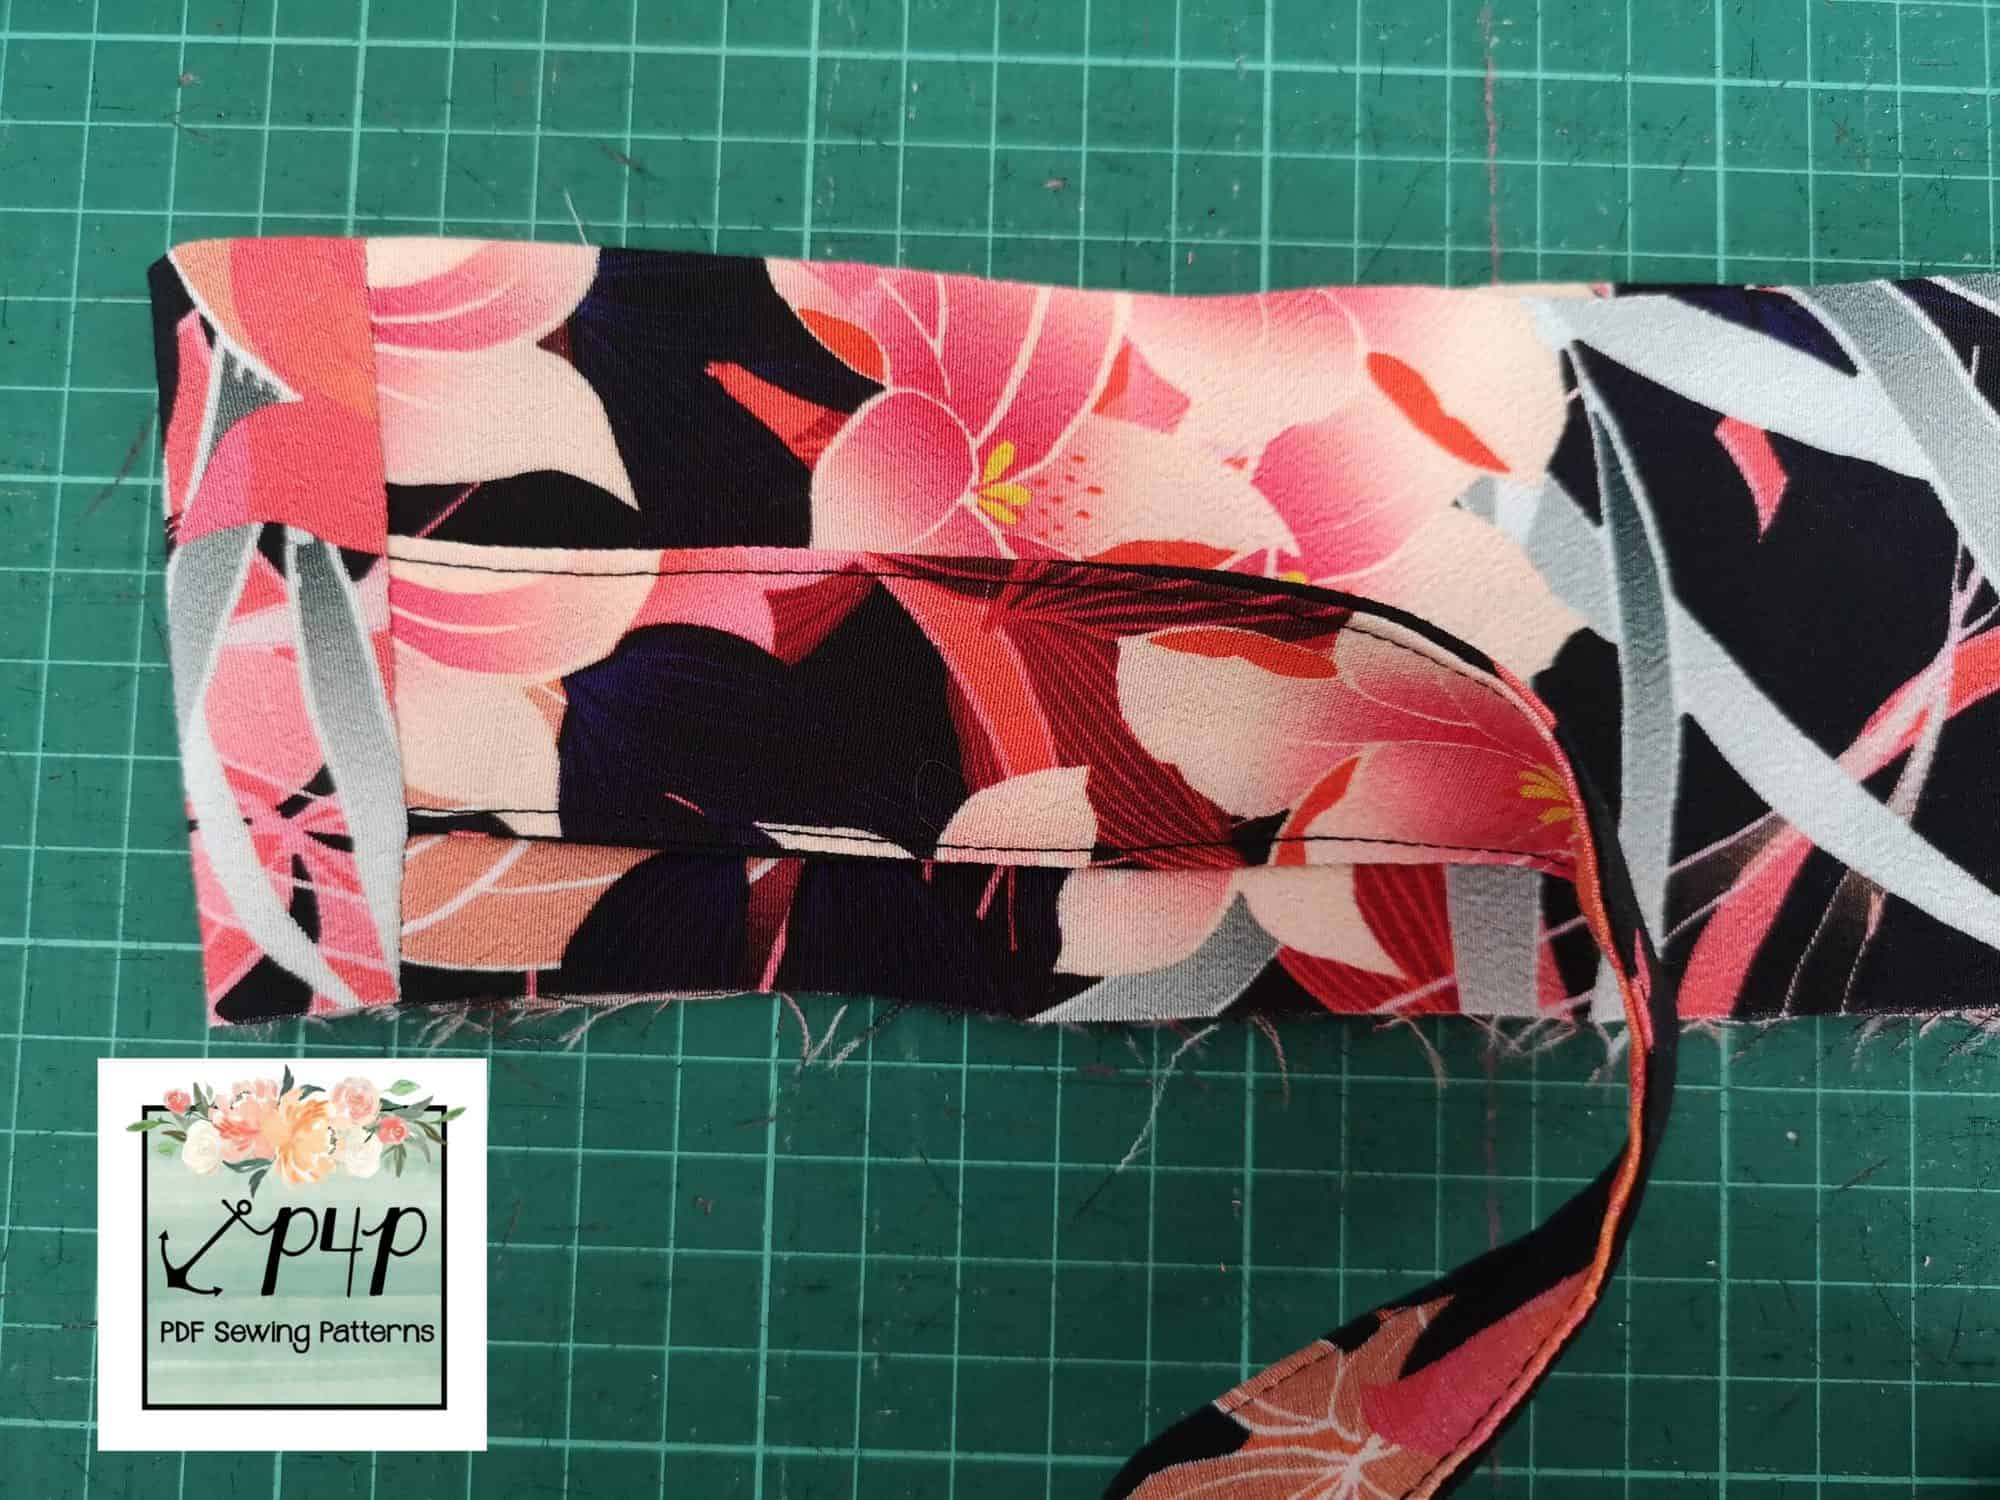
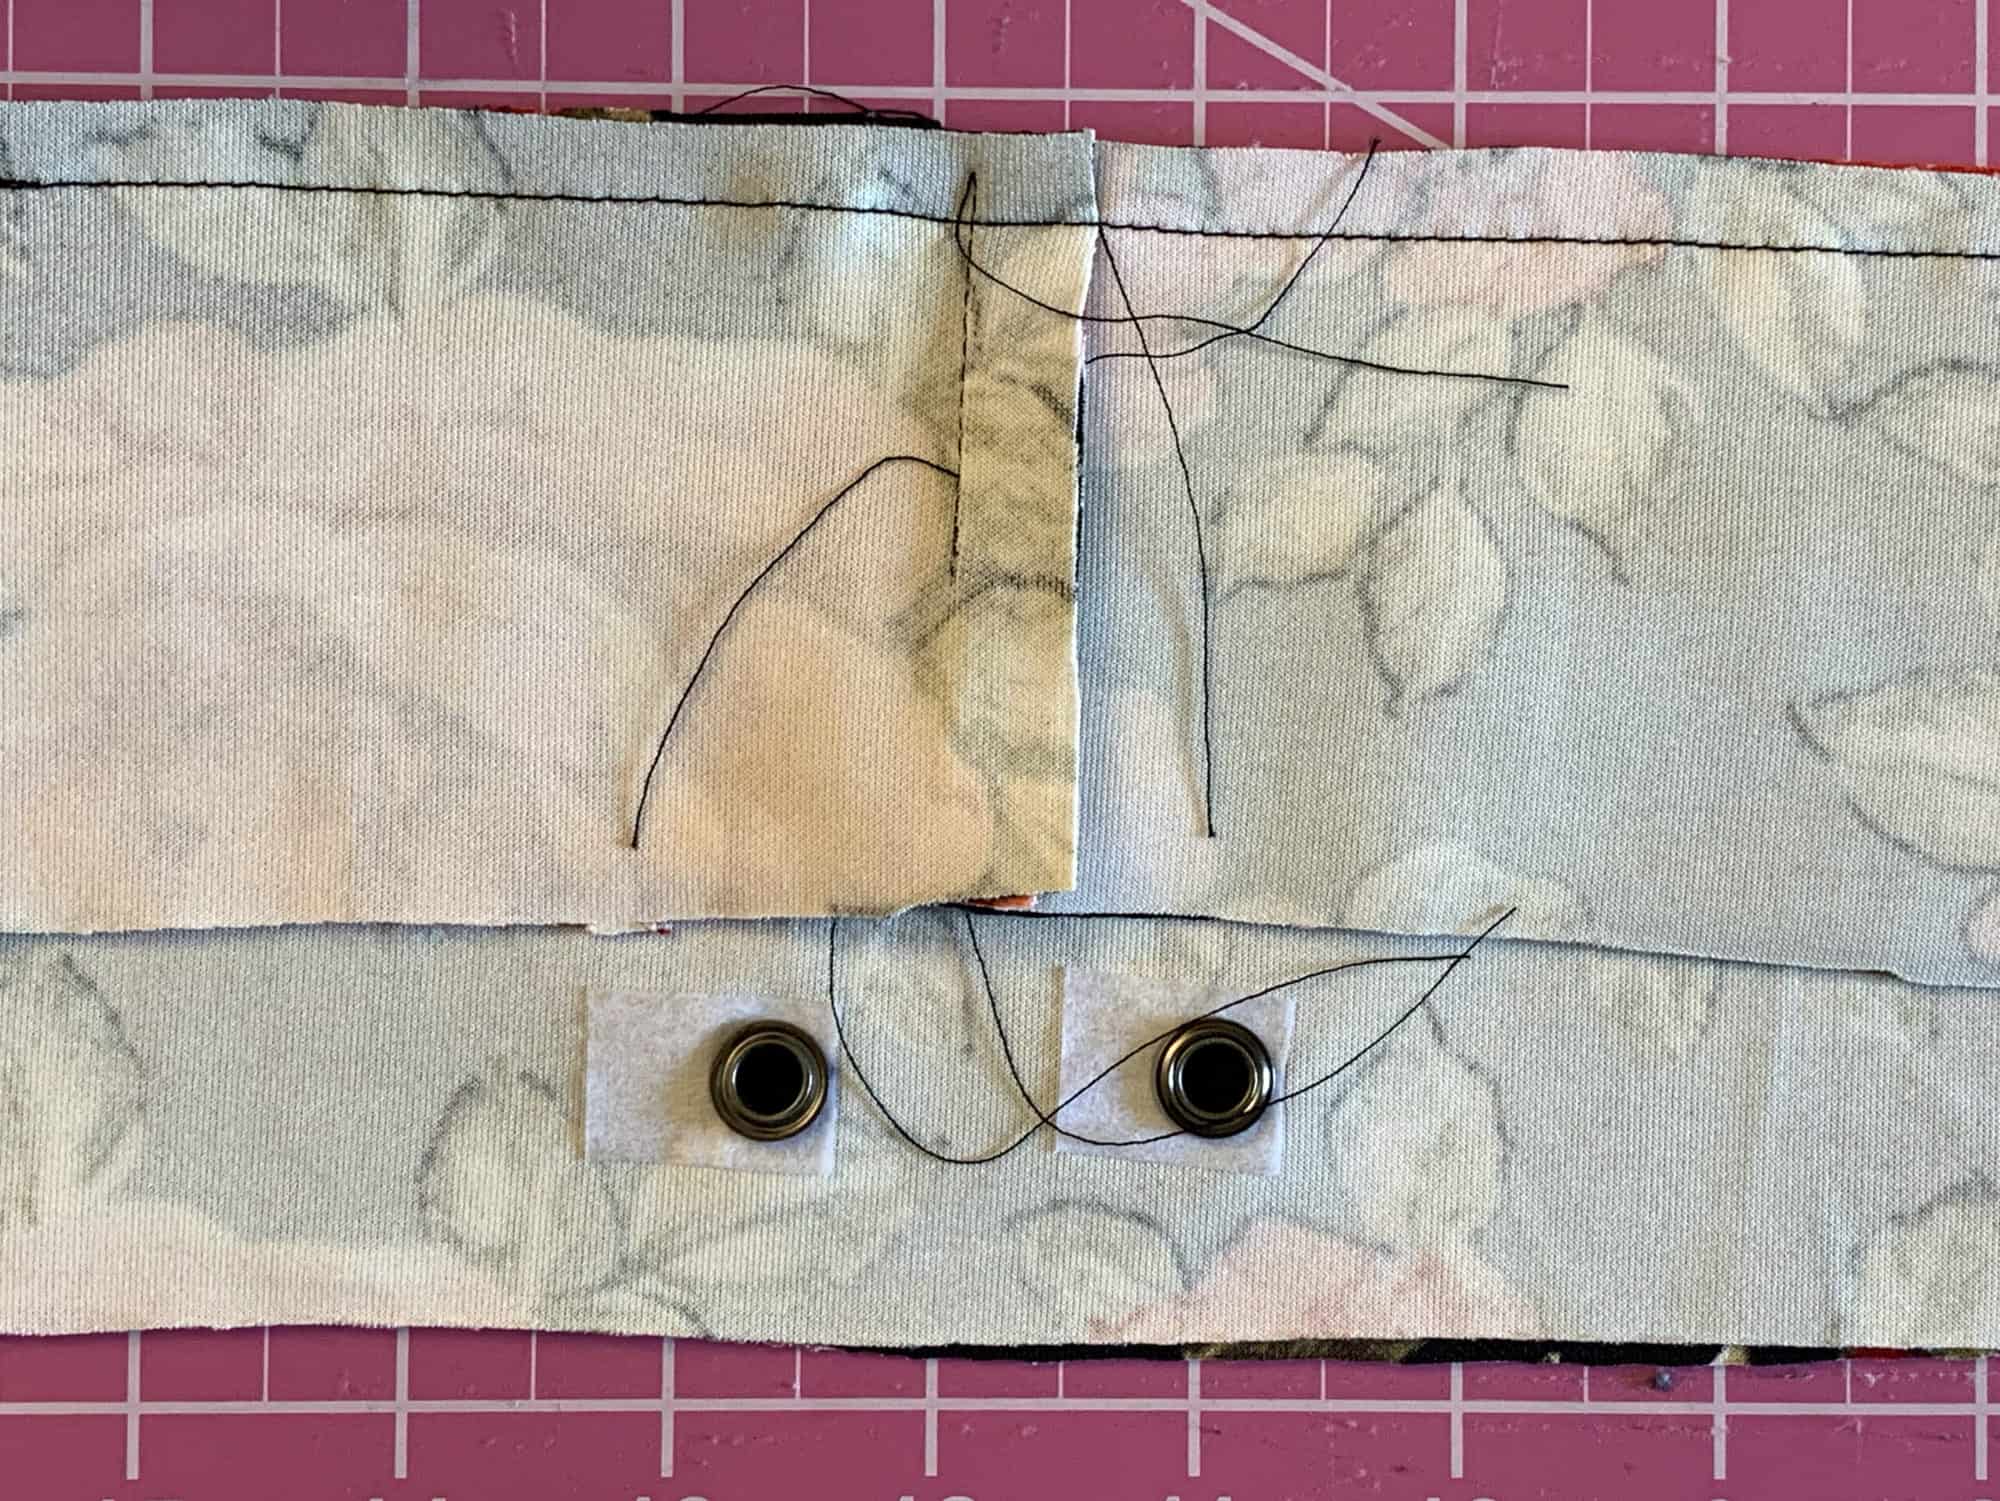
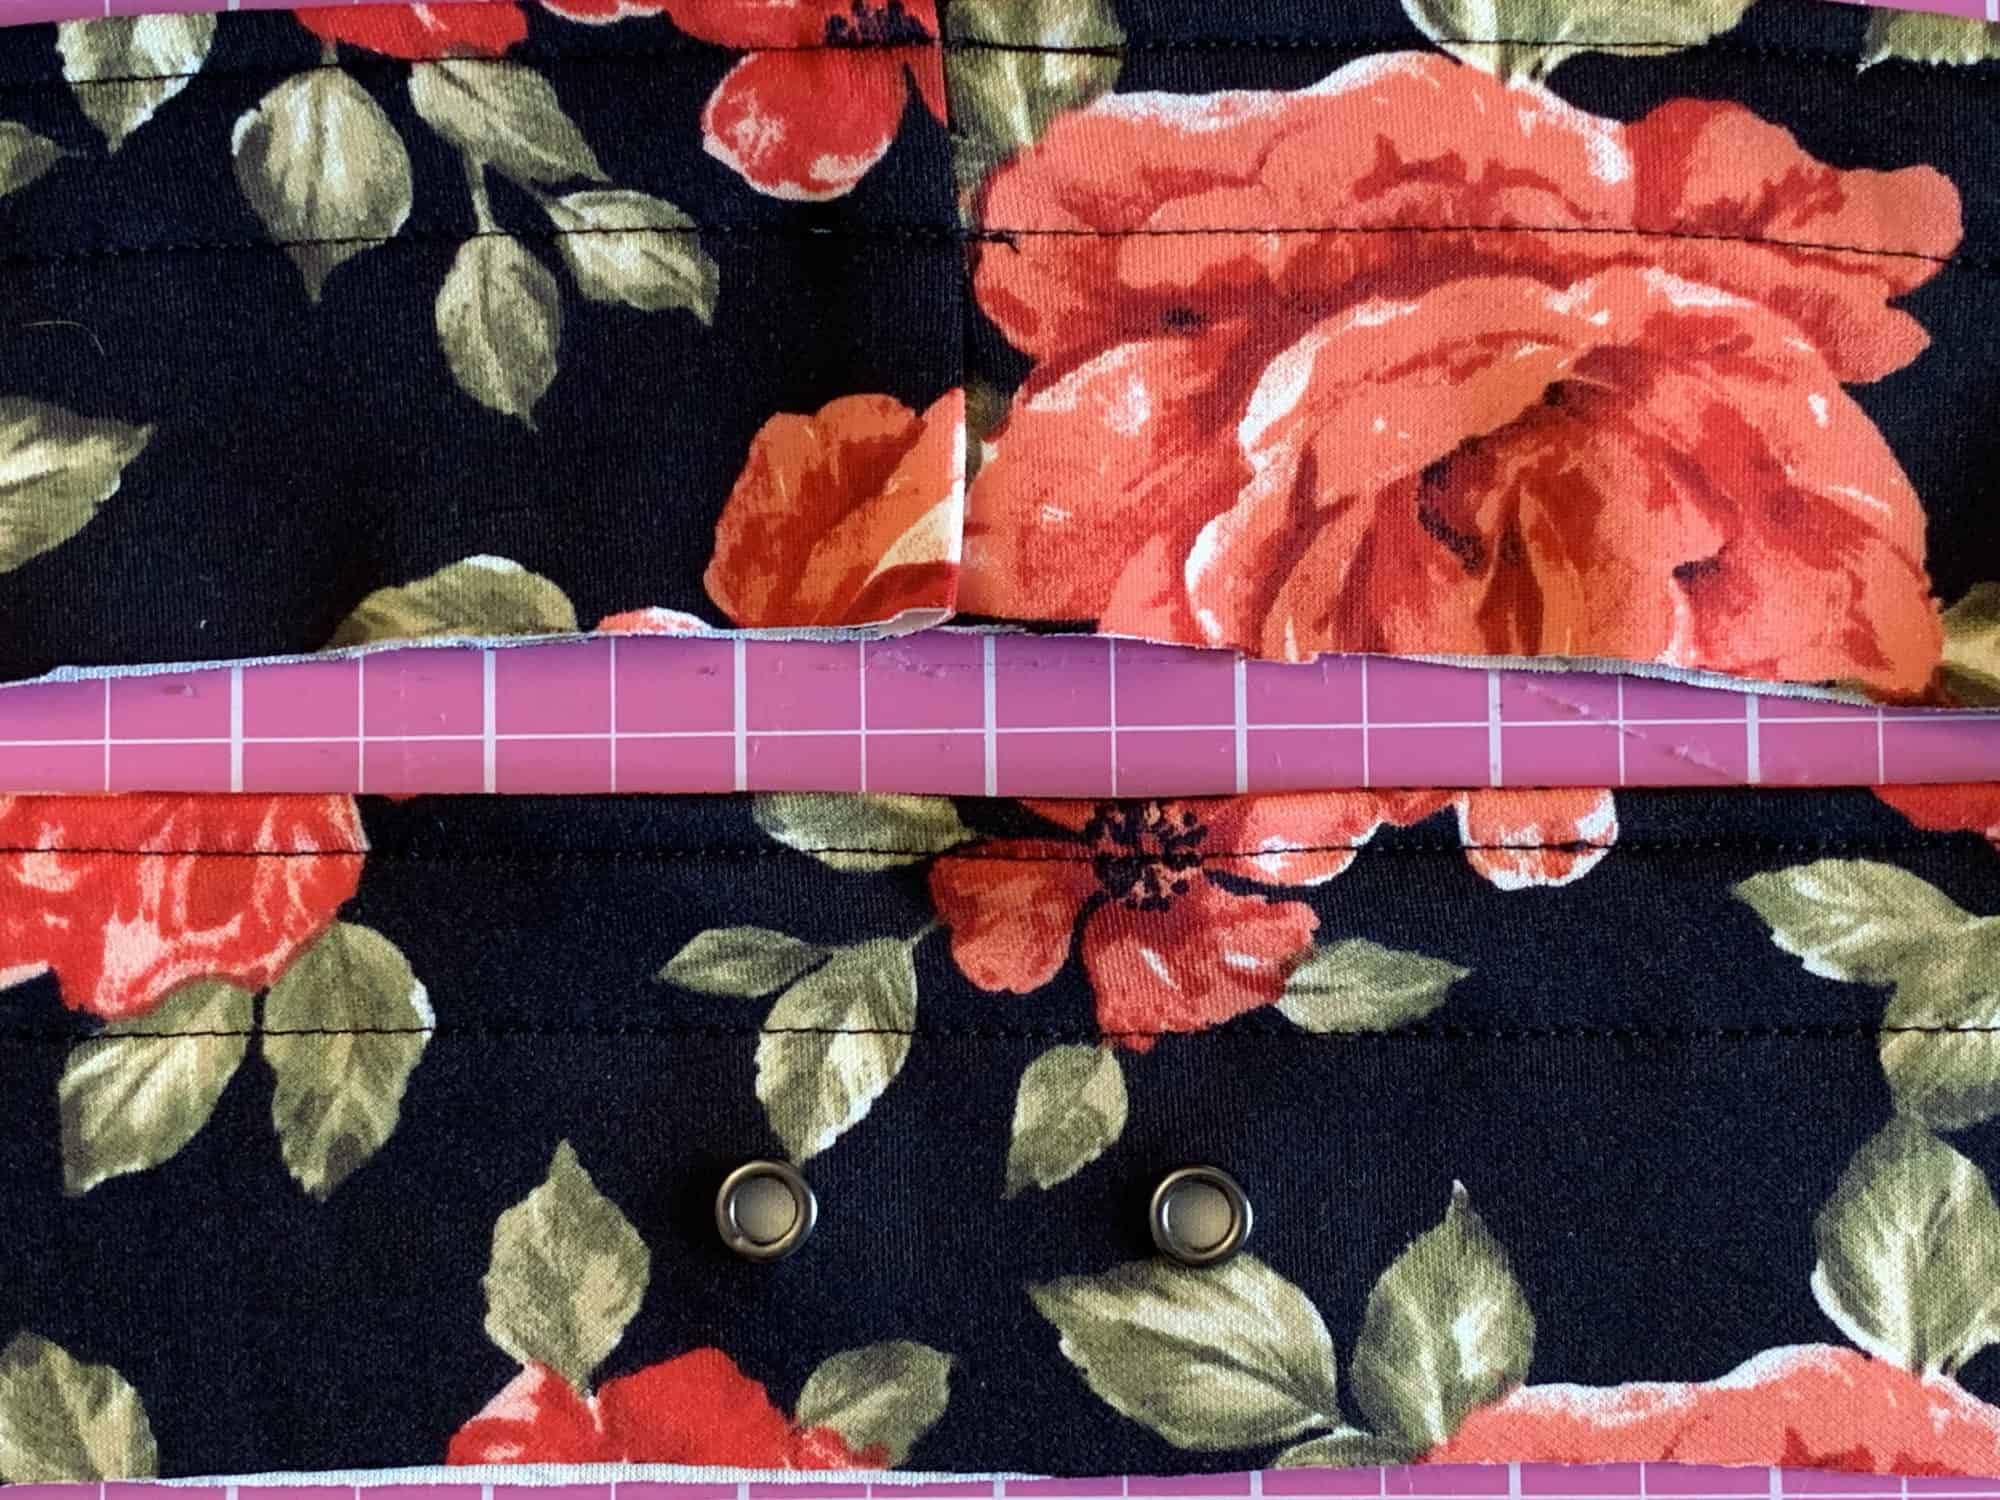
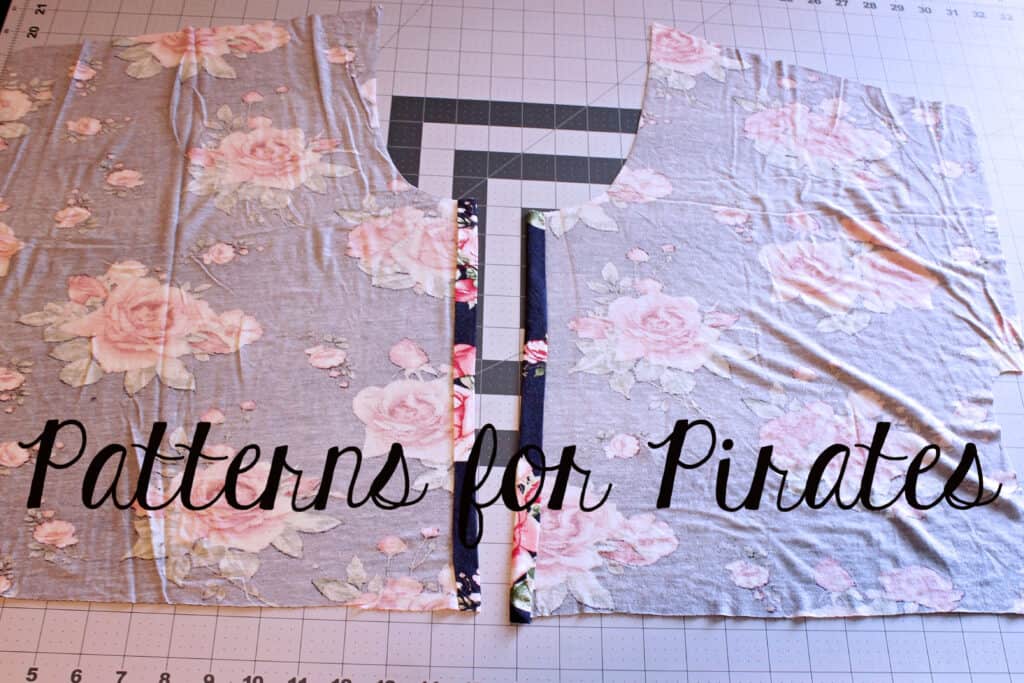
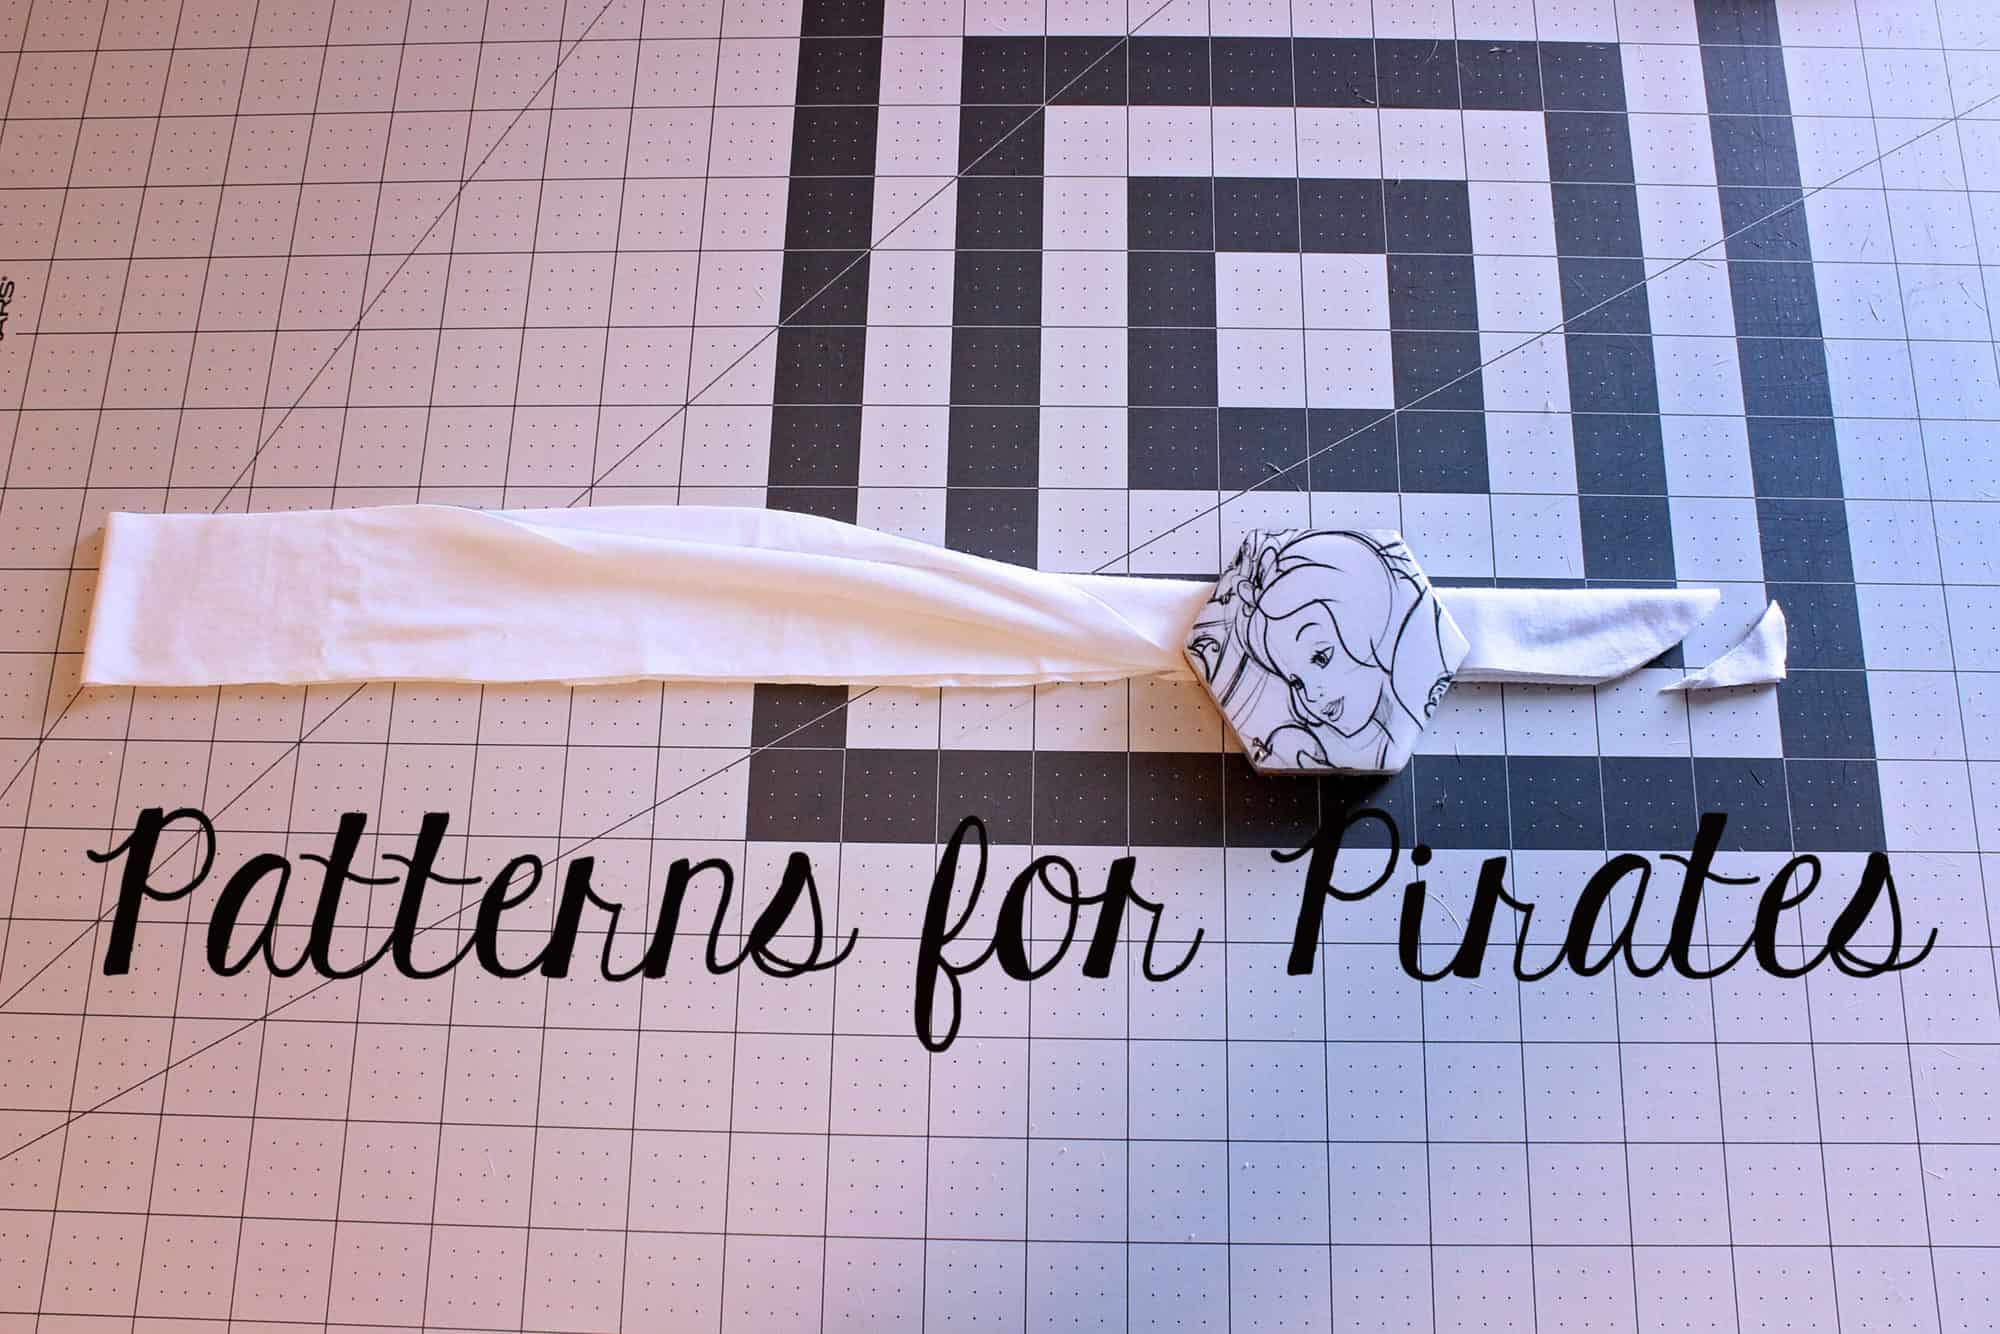
BELT LOOPS + BELT

What are you waiting for? Head on over and grab yourself a copy of the Paperbag Pants + Skirt patterns! They are available on sale (no code needed) through 11:59pm CST, July 19, 2021.
PAPERBAG PANTS + SKIRT | PAPERBAG PANTS + SKIRT – YOUTH | PAPERBAG PANTS + SKIRT – BUNDLE
Maybe hoping for a little more inspiration before you make the purchase? Head over to our Facebook group where you can see tester albums full of amazing images!
Paperbag Pants + Skirt Album | Paperbag Pants + Skirt – Youth Album
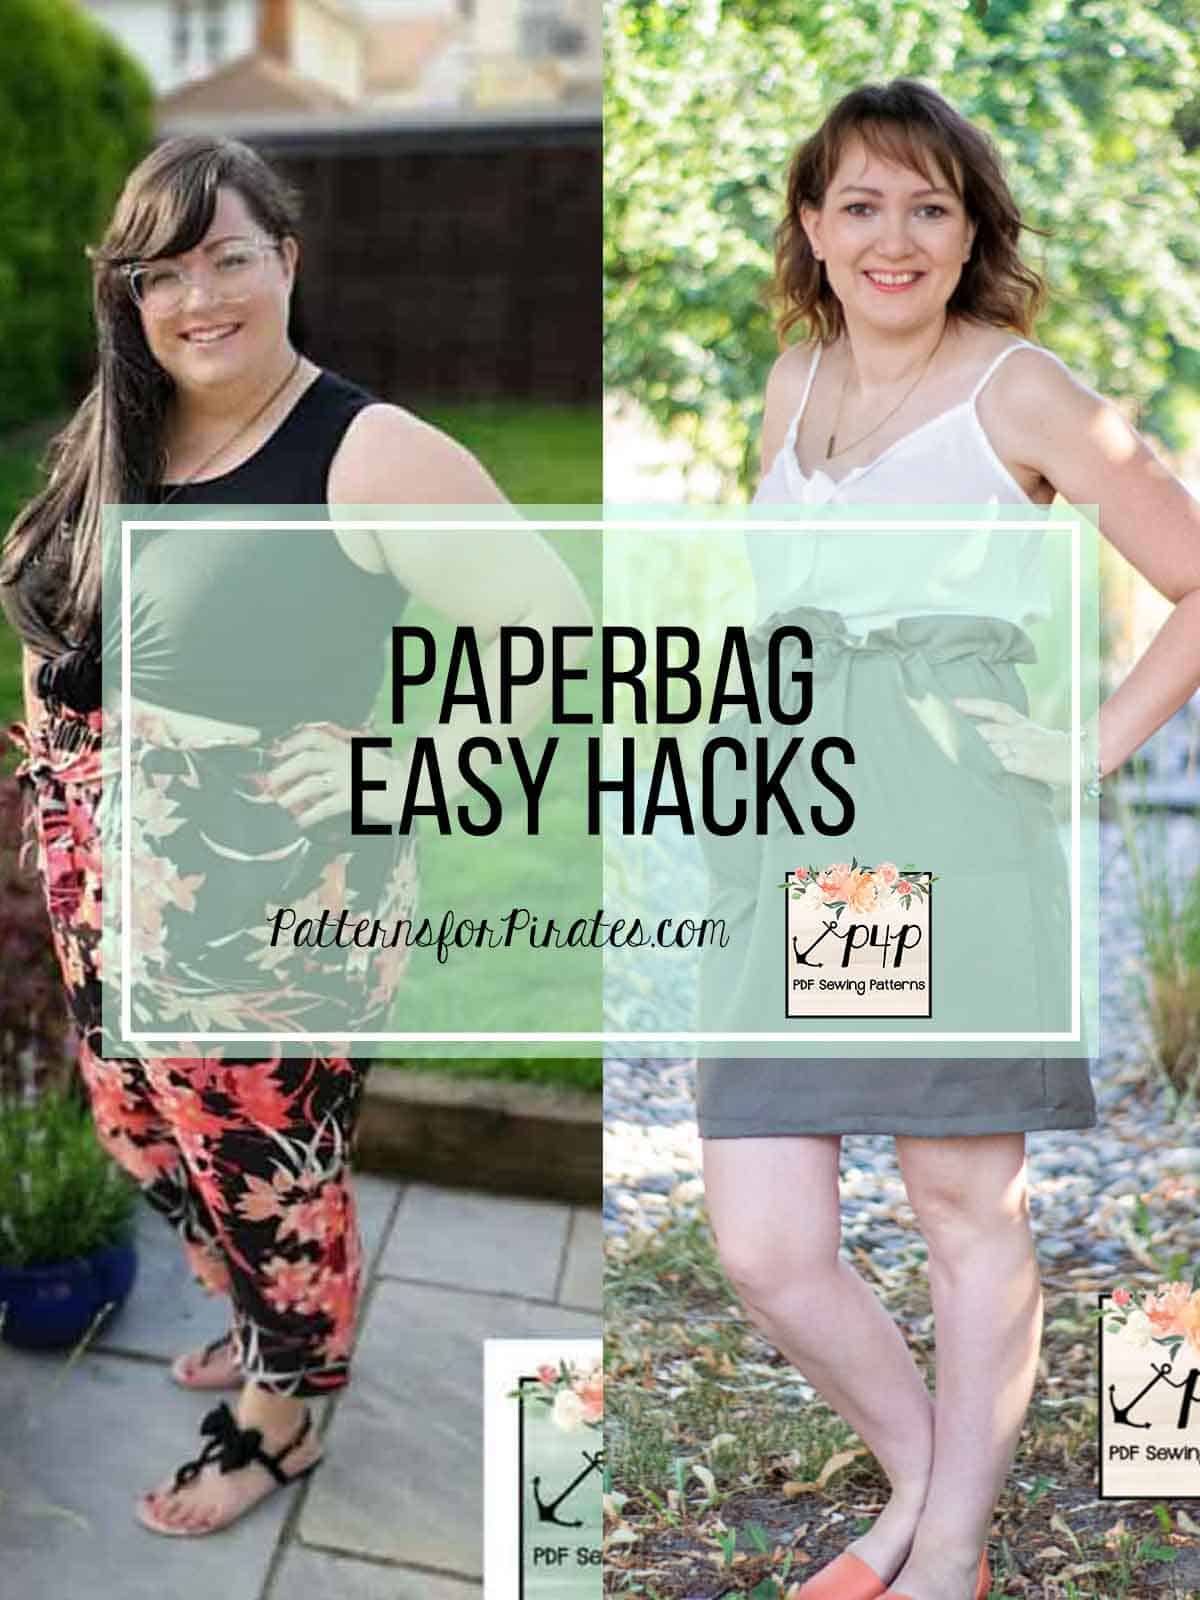
If you’re looking for even more options, we show you a few more ways you can use this pattern in our Paperbag Pants + Skirt Easy Hacks post.