Patterns for Pirates

P4P stylish, modern, wearable patterns

  • Home
  • Blog
    • Frequently Asked Questions
    • Pattern Releases
      • Free Patterns
    • P4P University
      • Fitting
      • Sewing with Stretch, Knit Fabrics
      • Sewing with Woven Fabrics
      • Sewing Machines
    • Sew-A-Longs
    • Fabric for Pirates
    • Pattern Hacks
    • Announcement
      • Blog Tours
      • Contest/Giveaway
  • Shop
  • Bundle Discounts
  • Gift Cards
  • My Account
  • Cart

Peg Legs SAL: Day 4 – Sew add ons (pocket, color block, side strip etc)

April 29, 2017

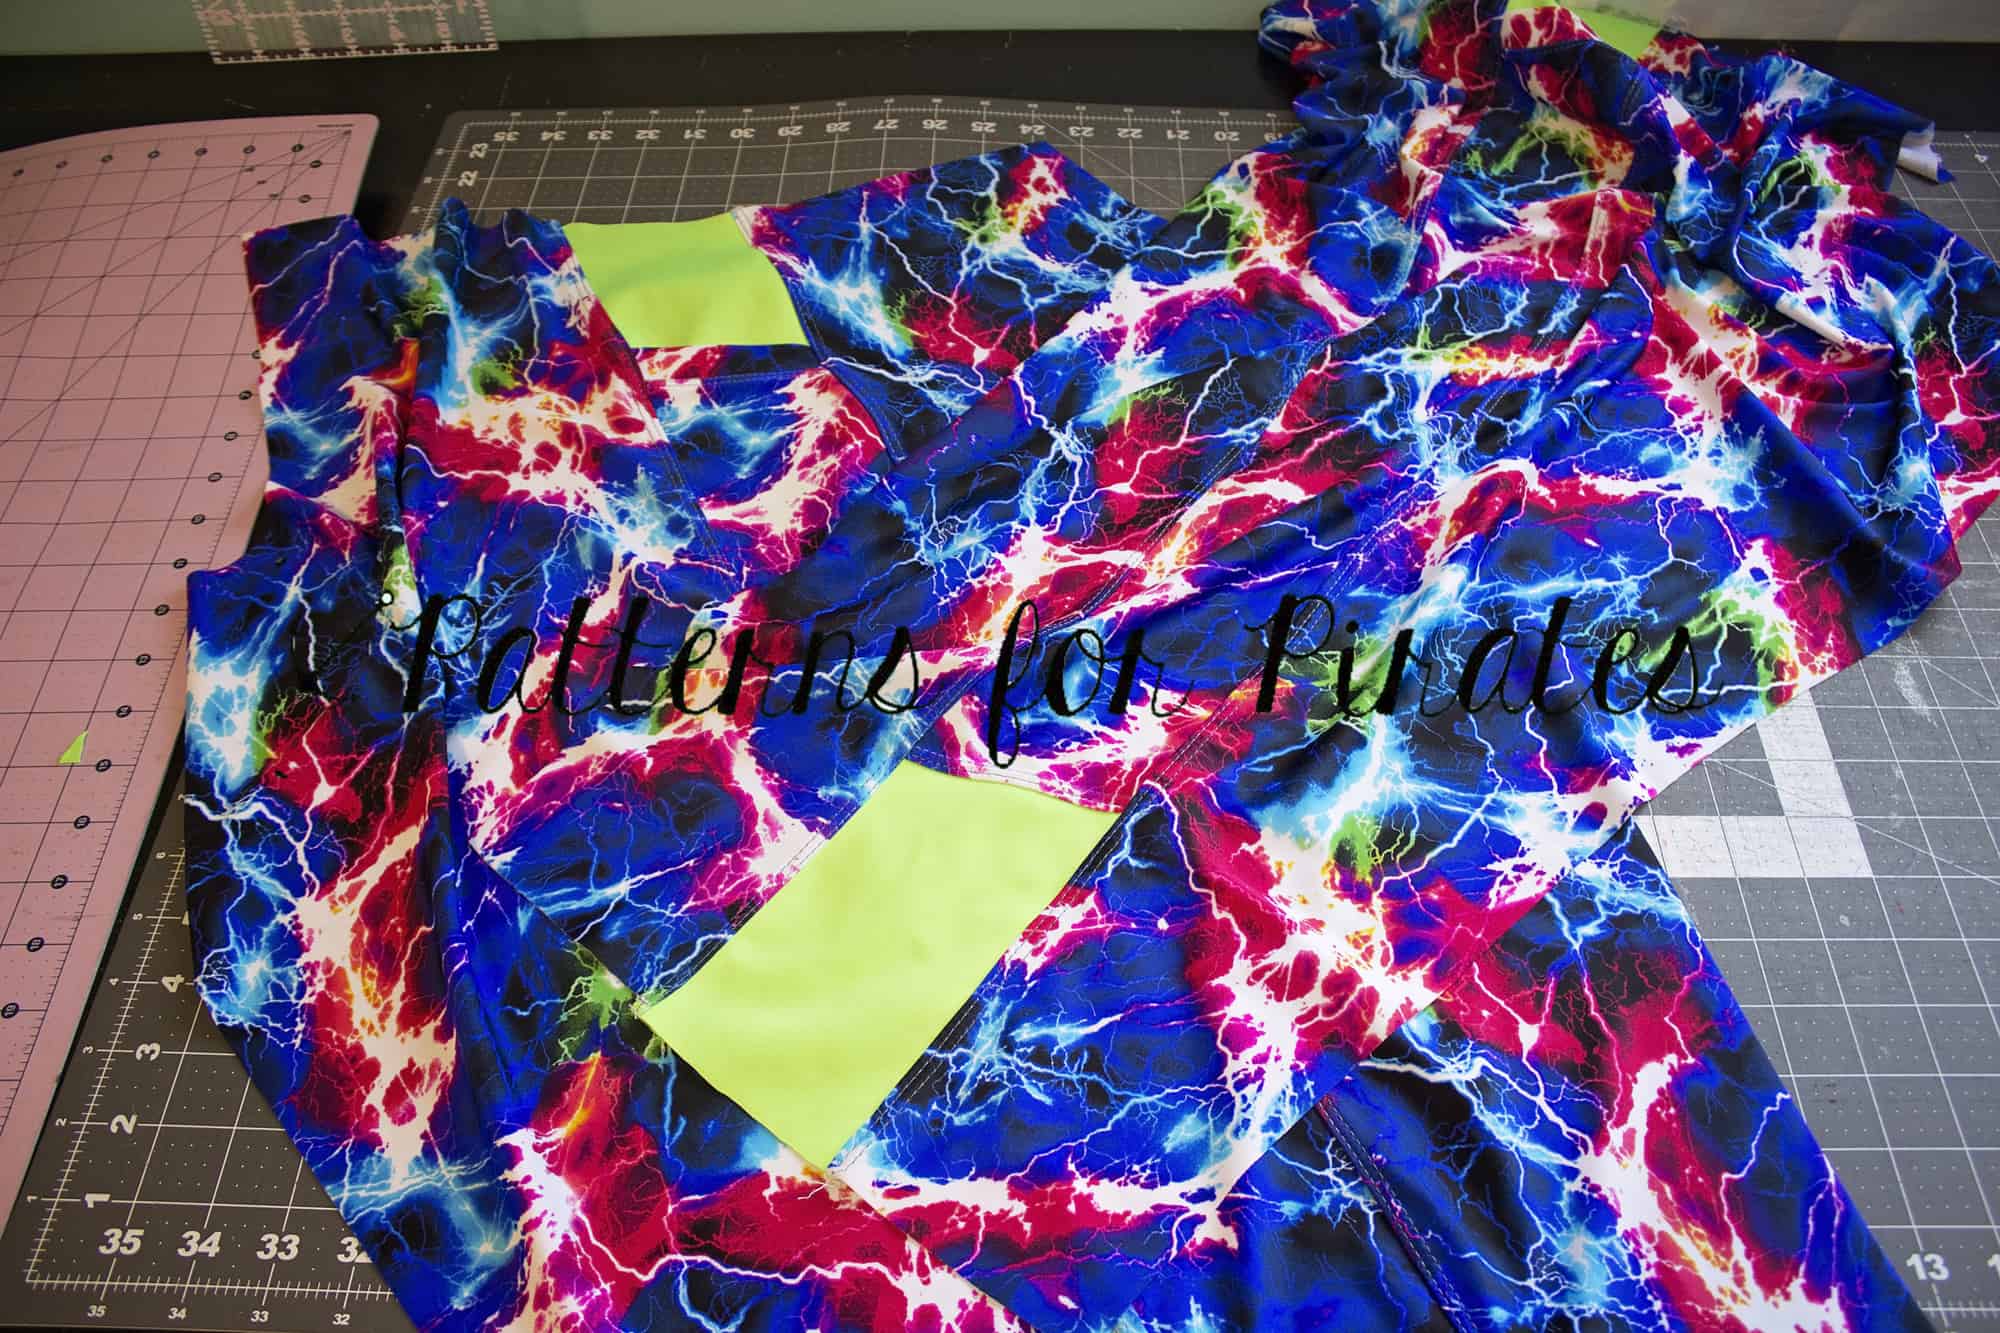
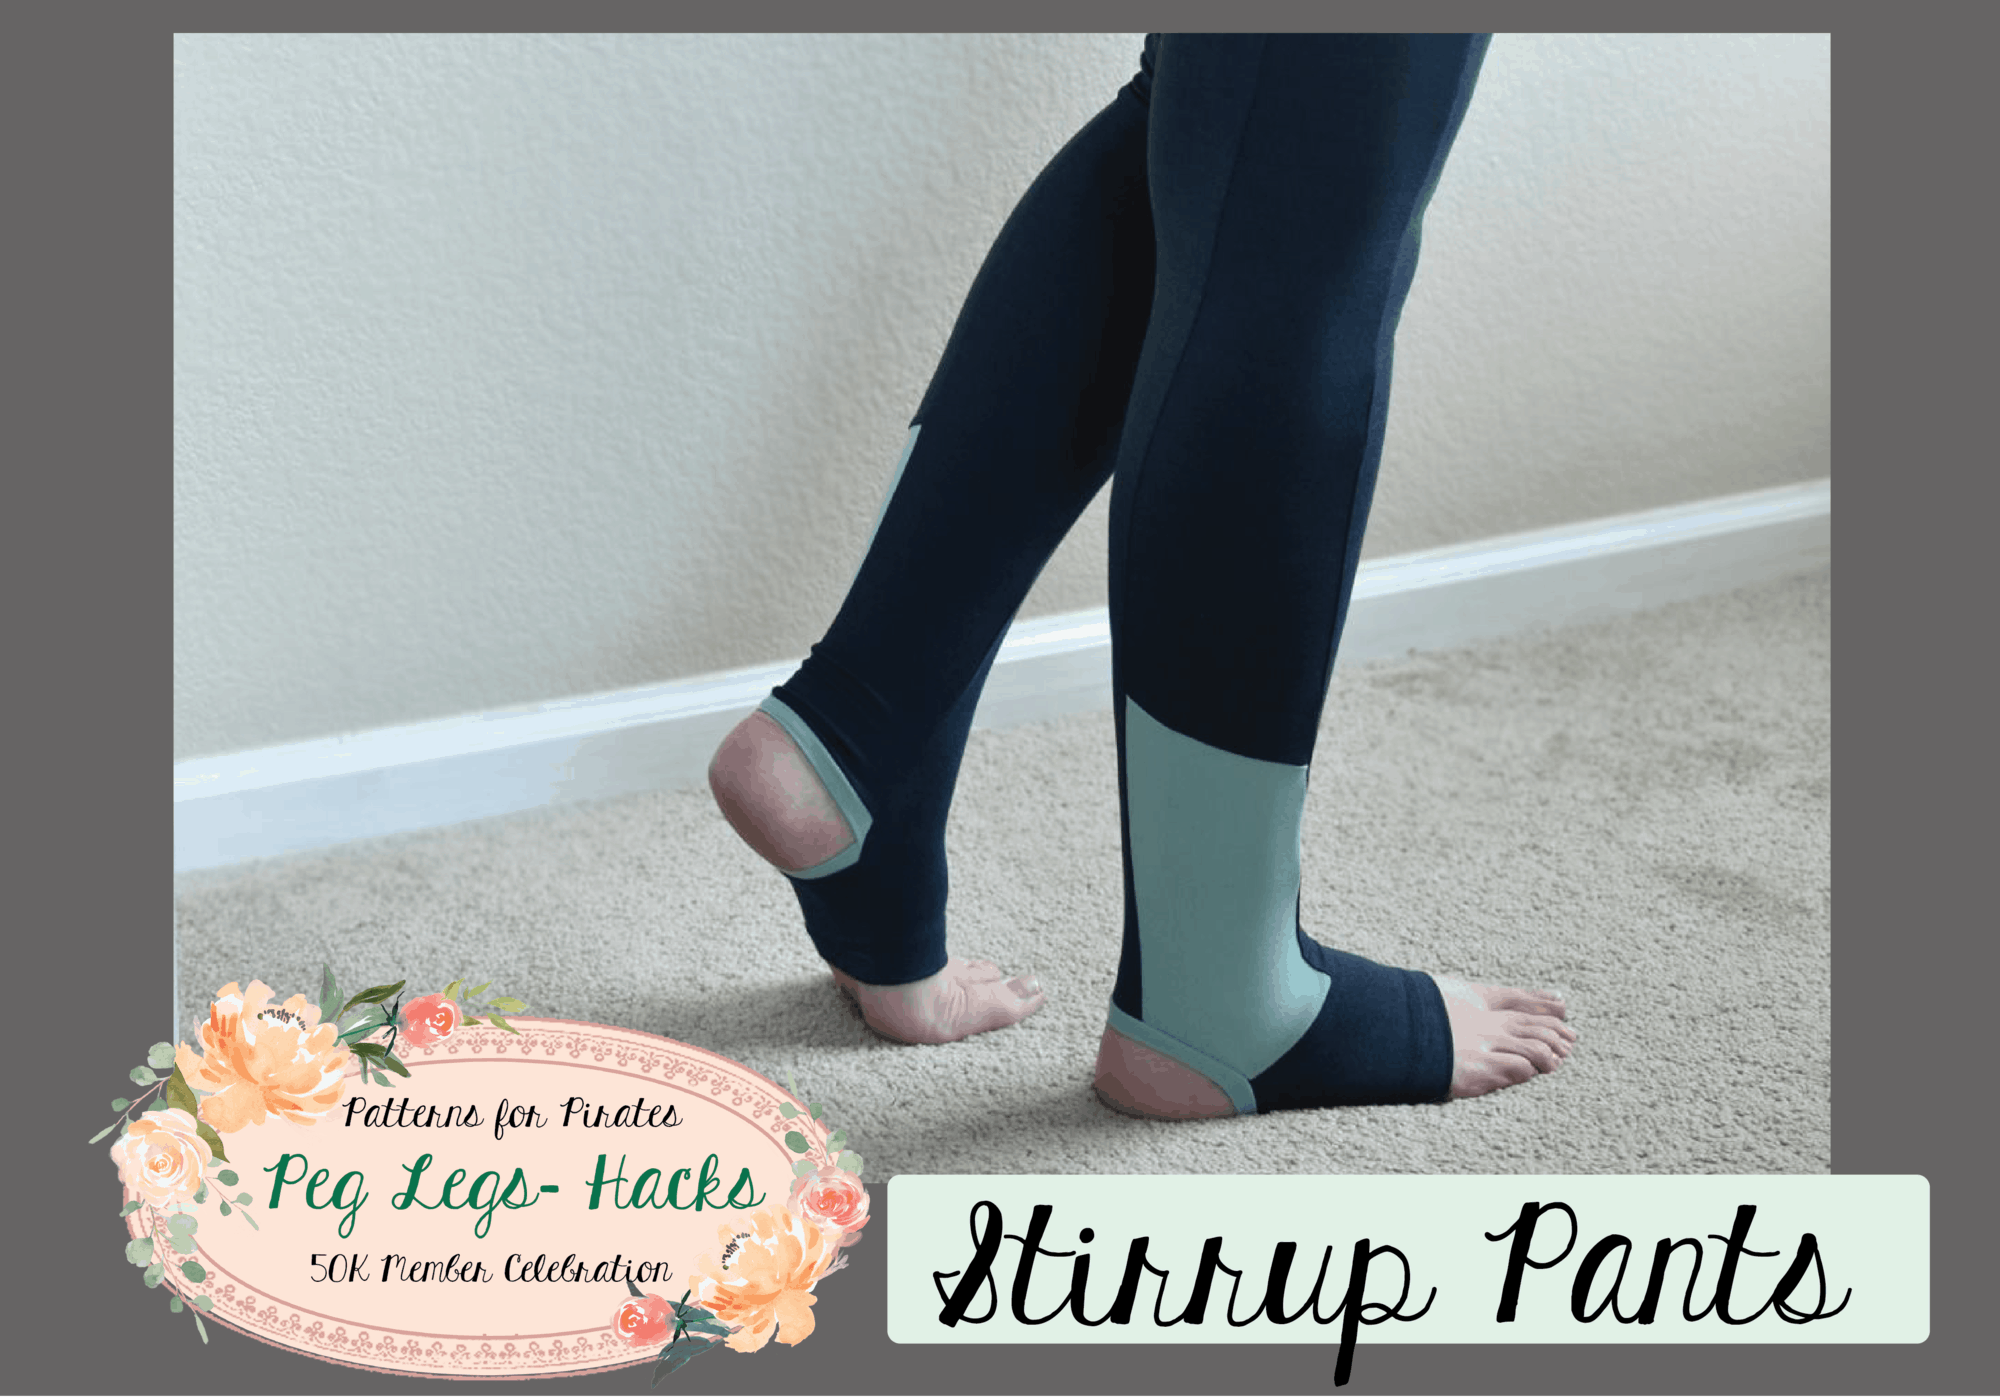
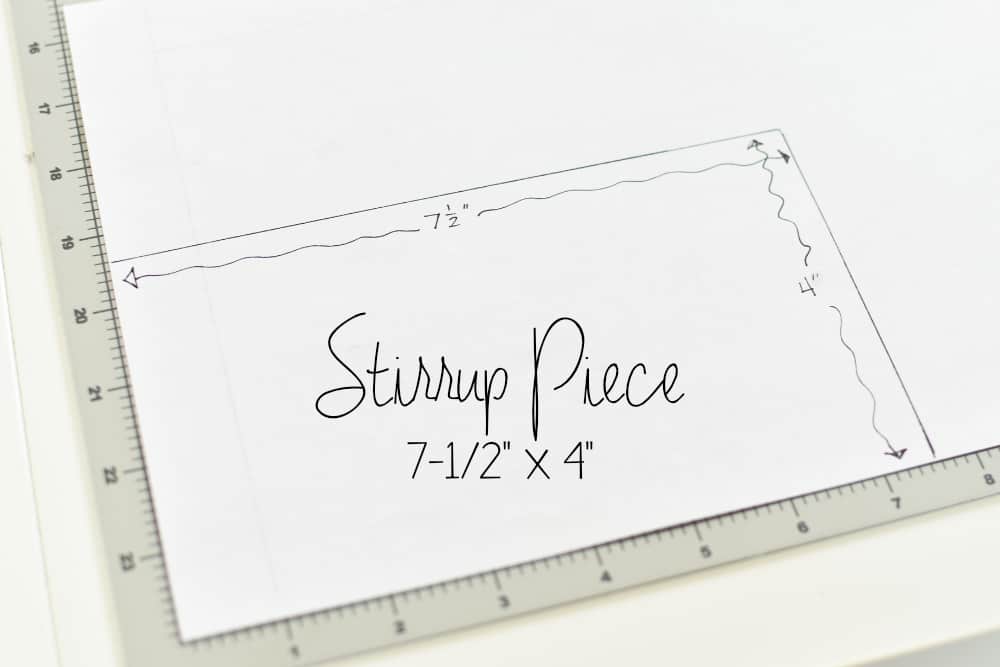
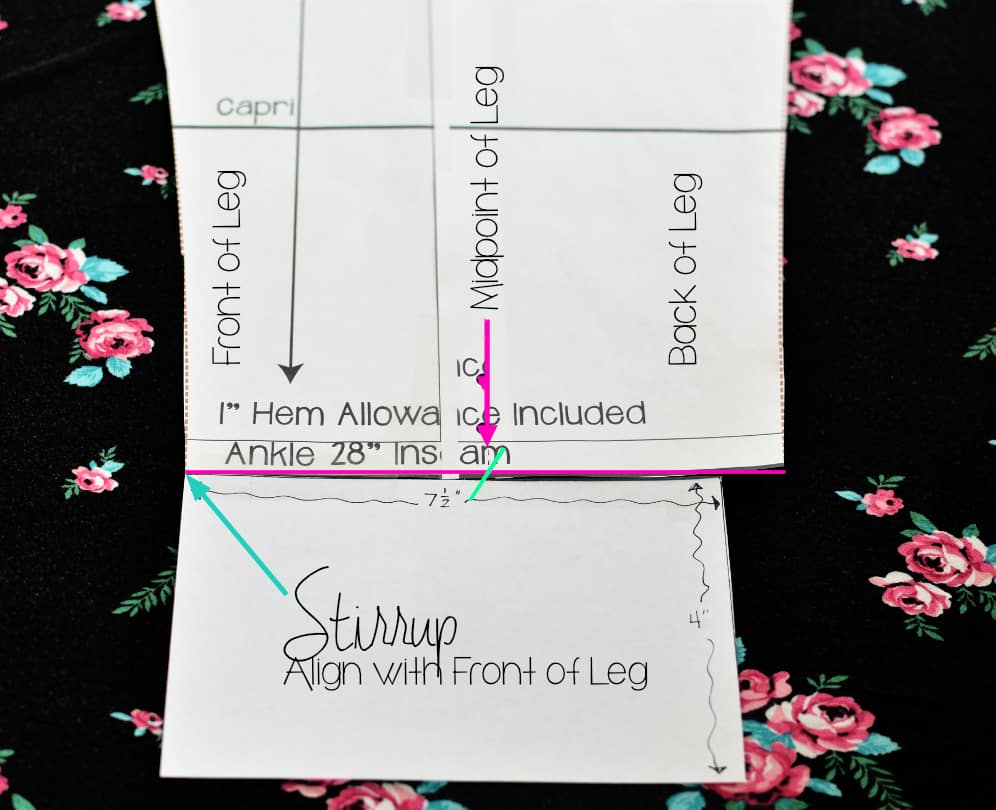
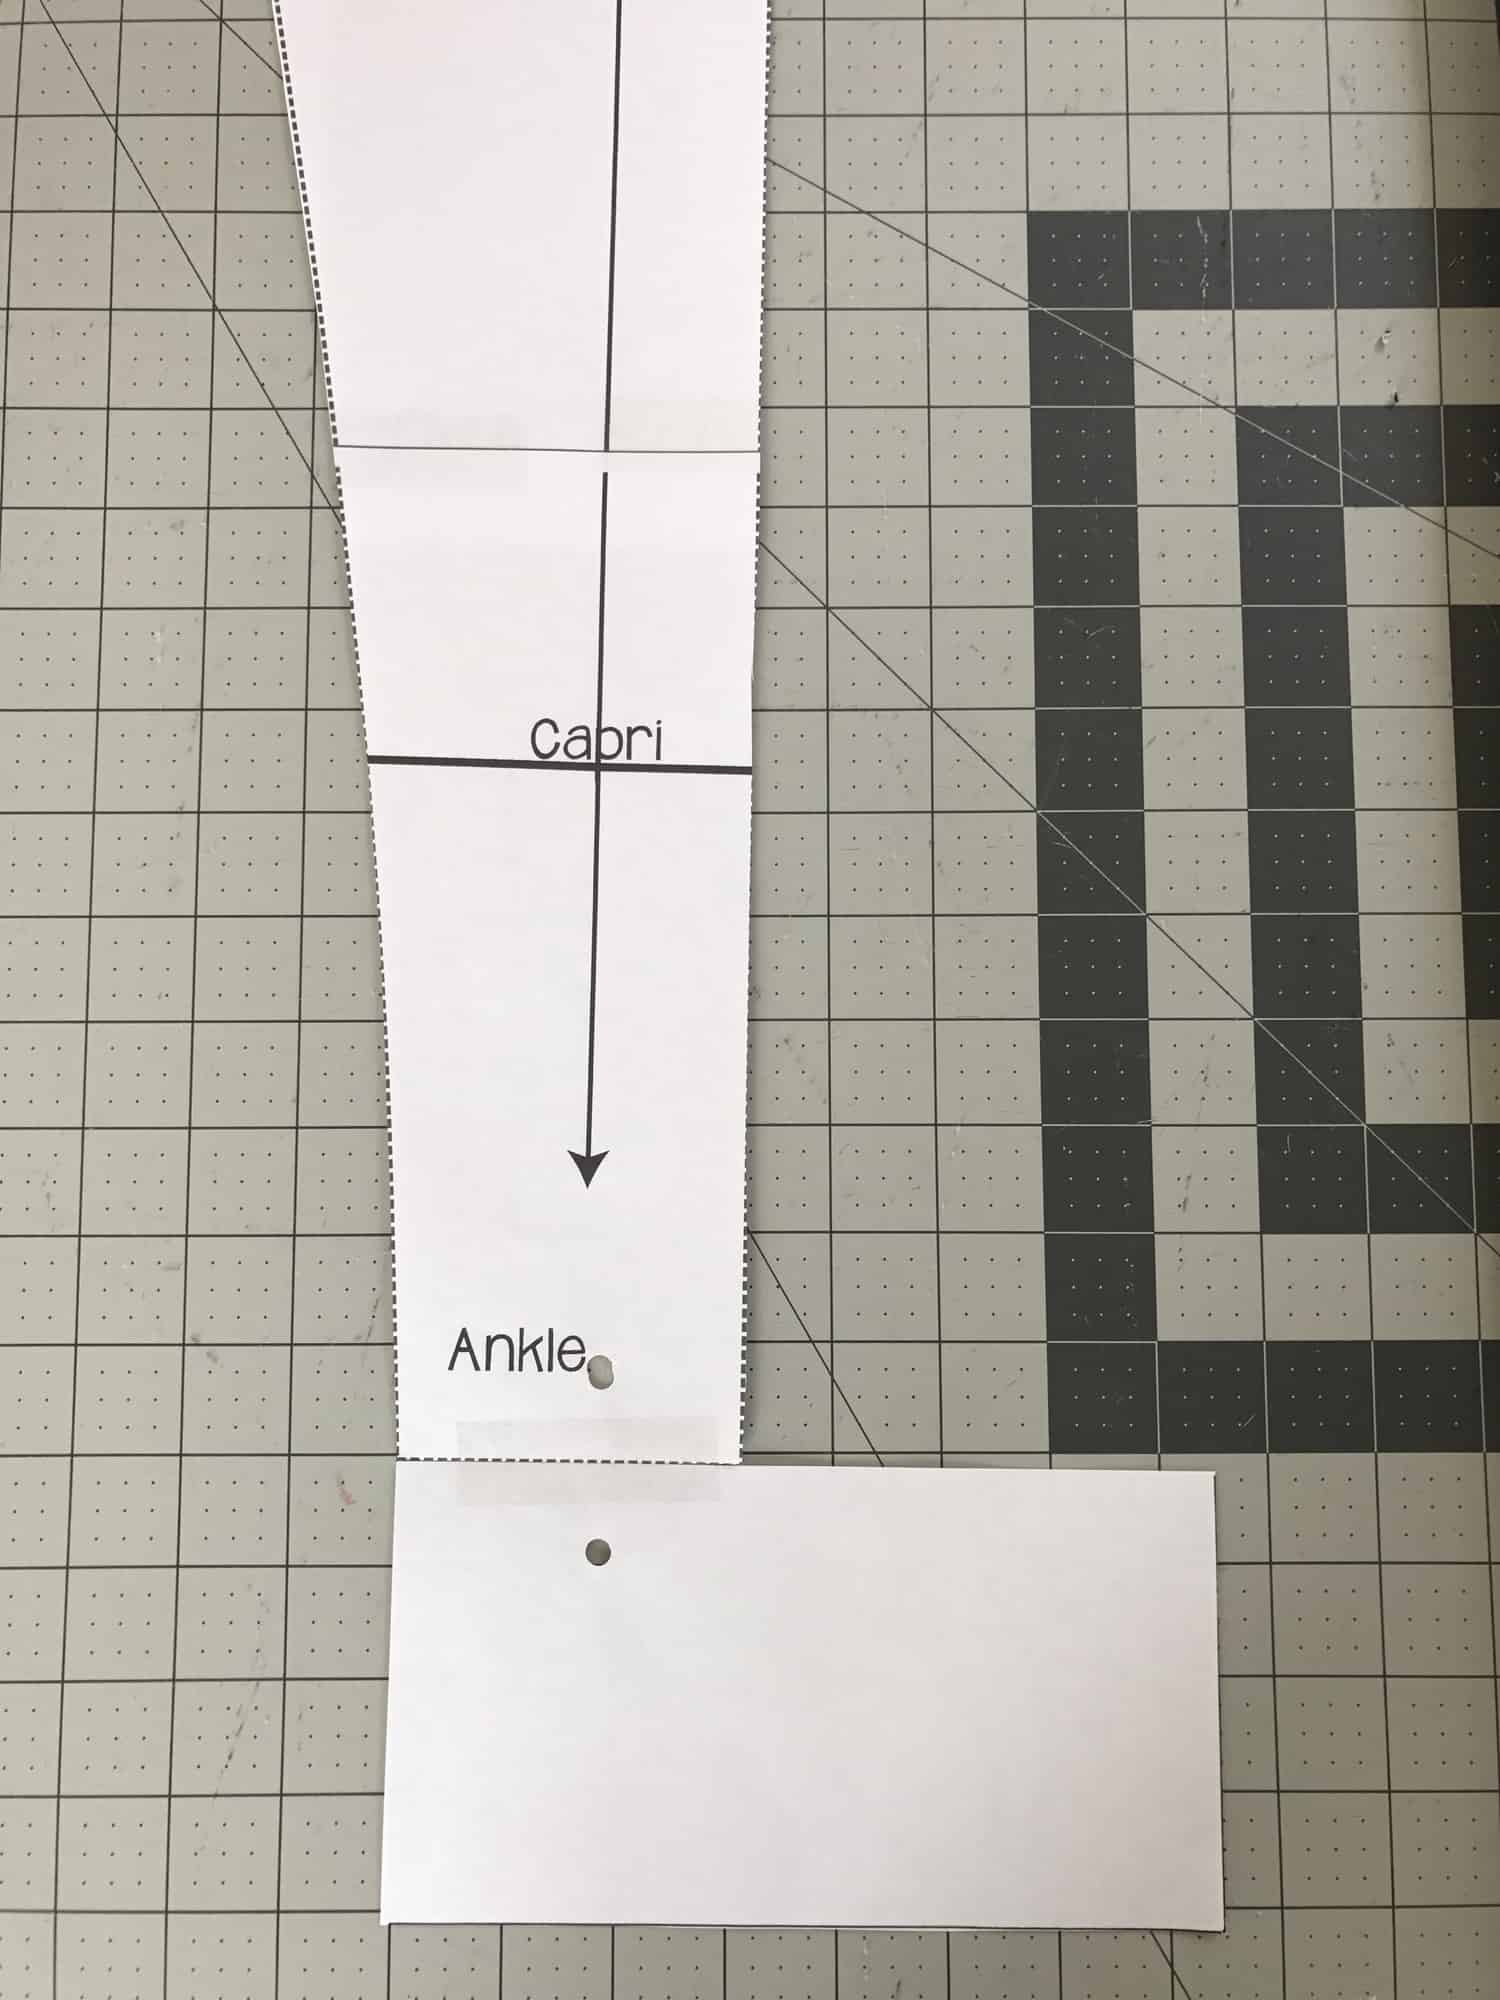
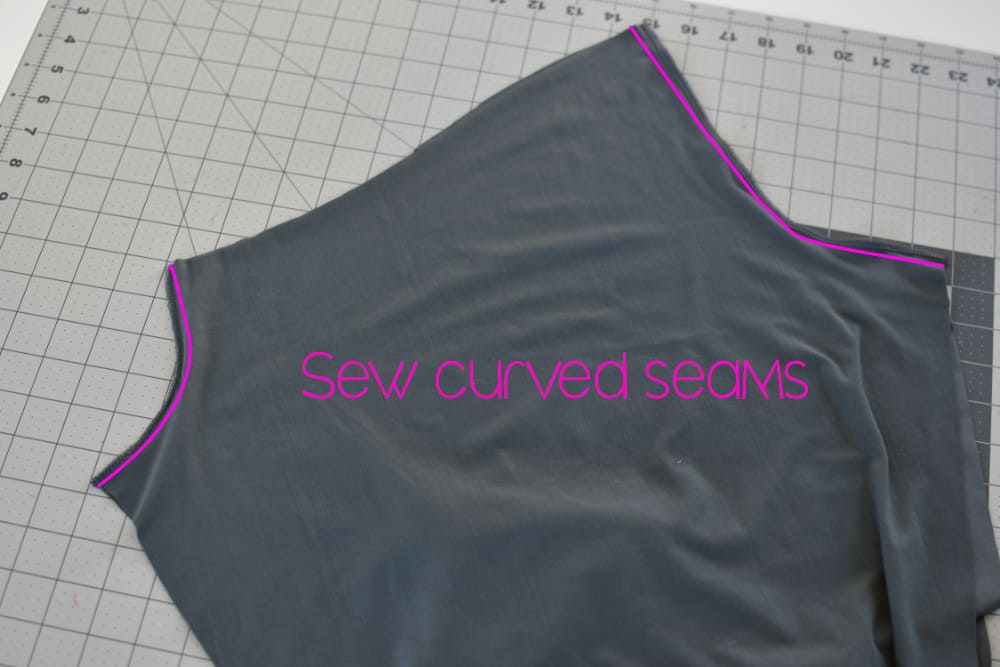
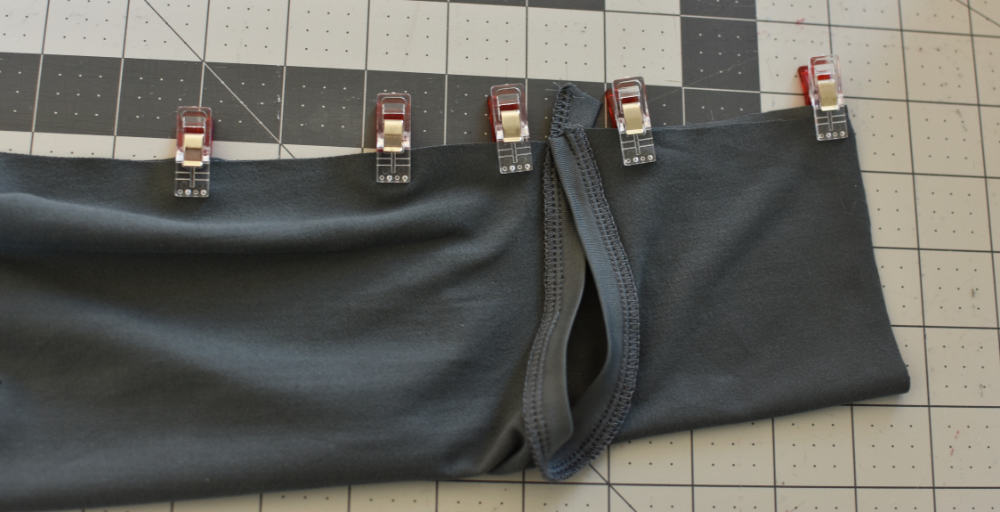
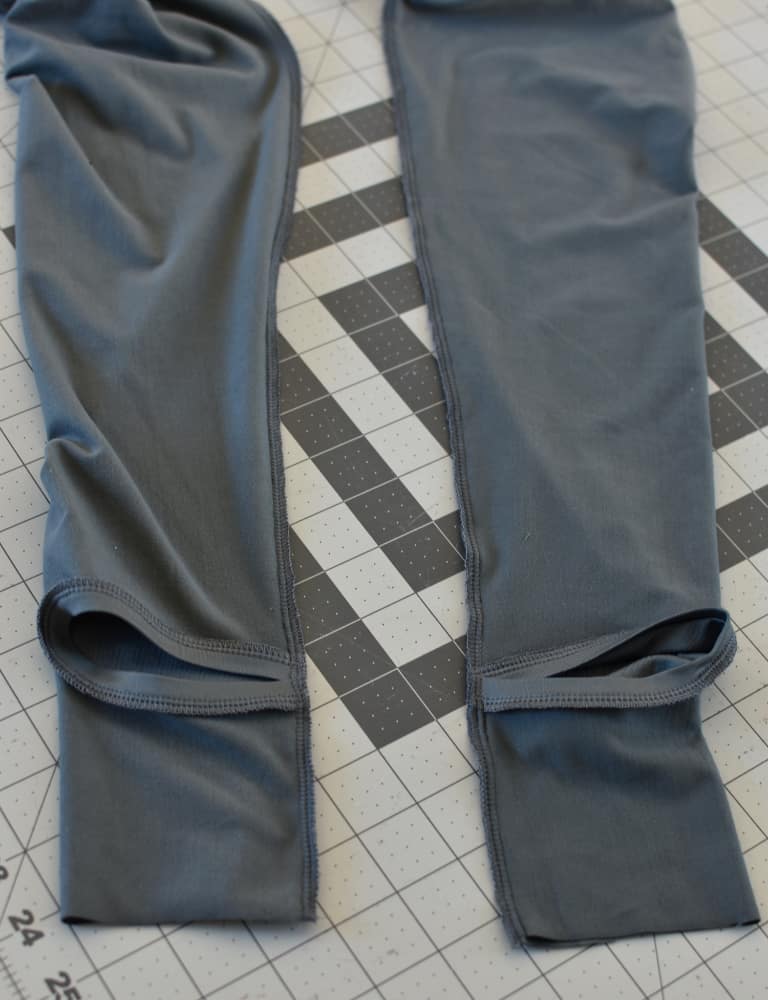
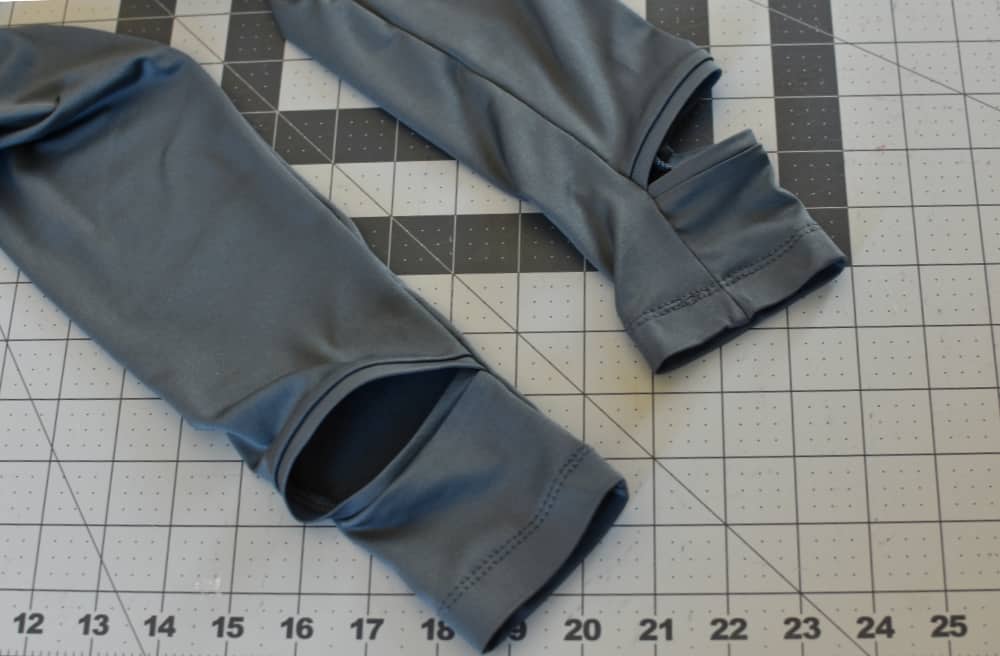
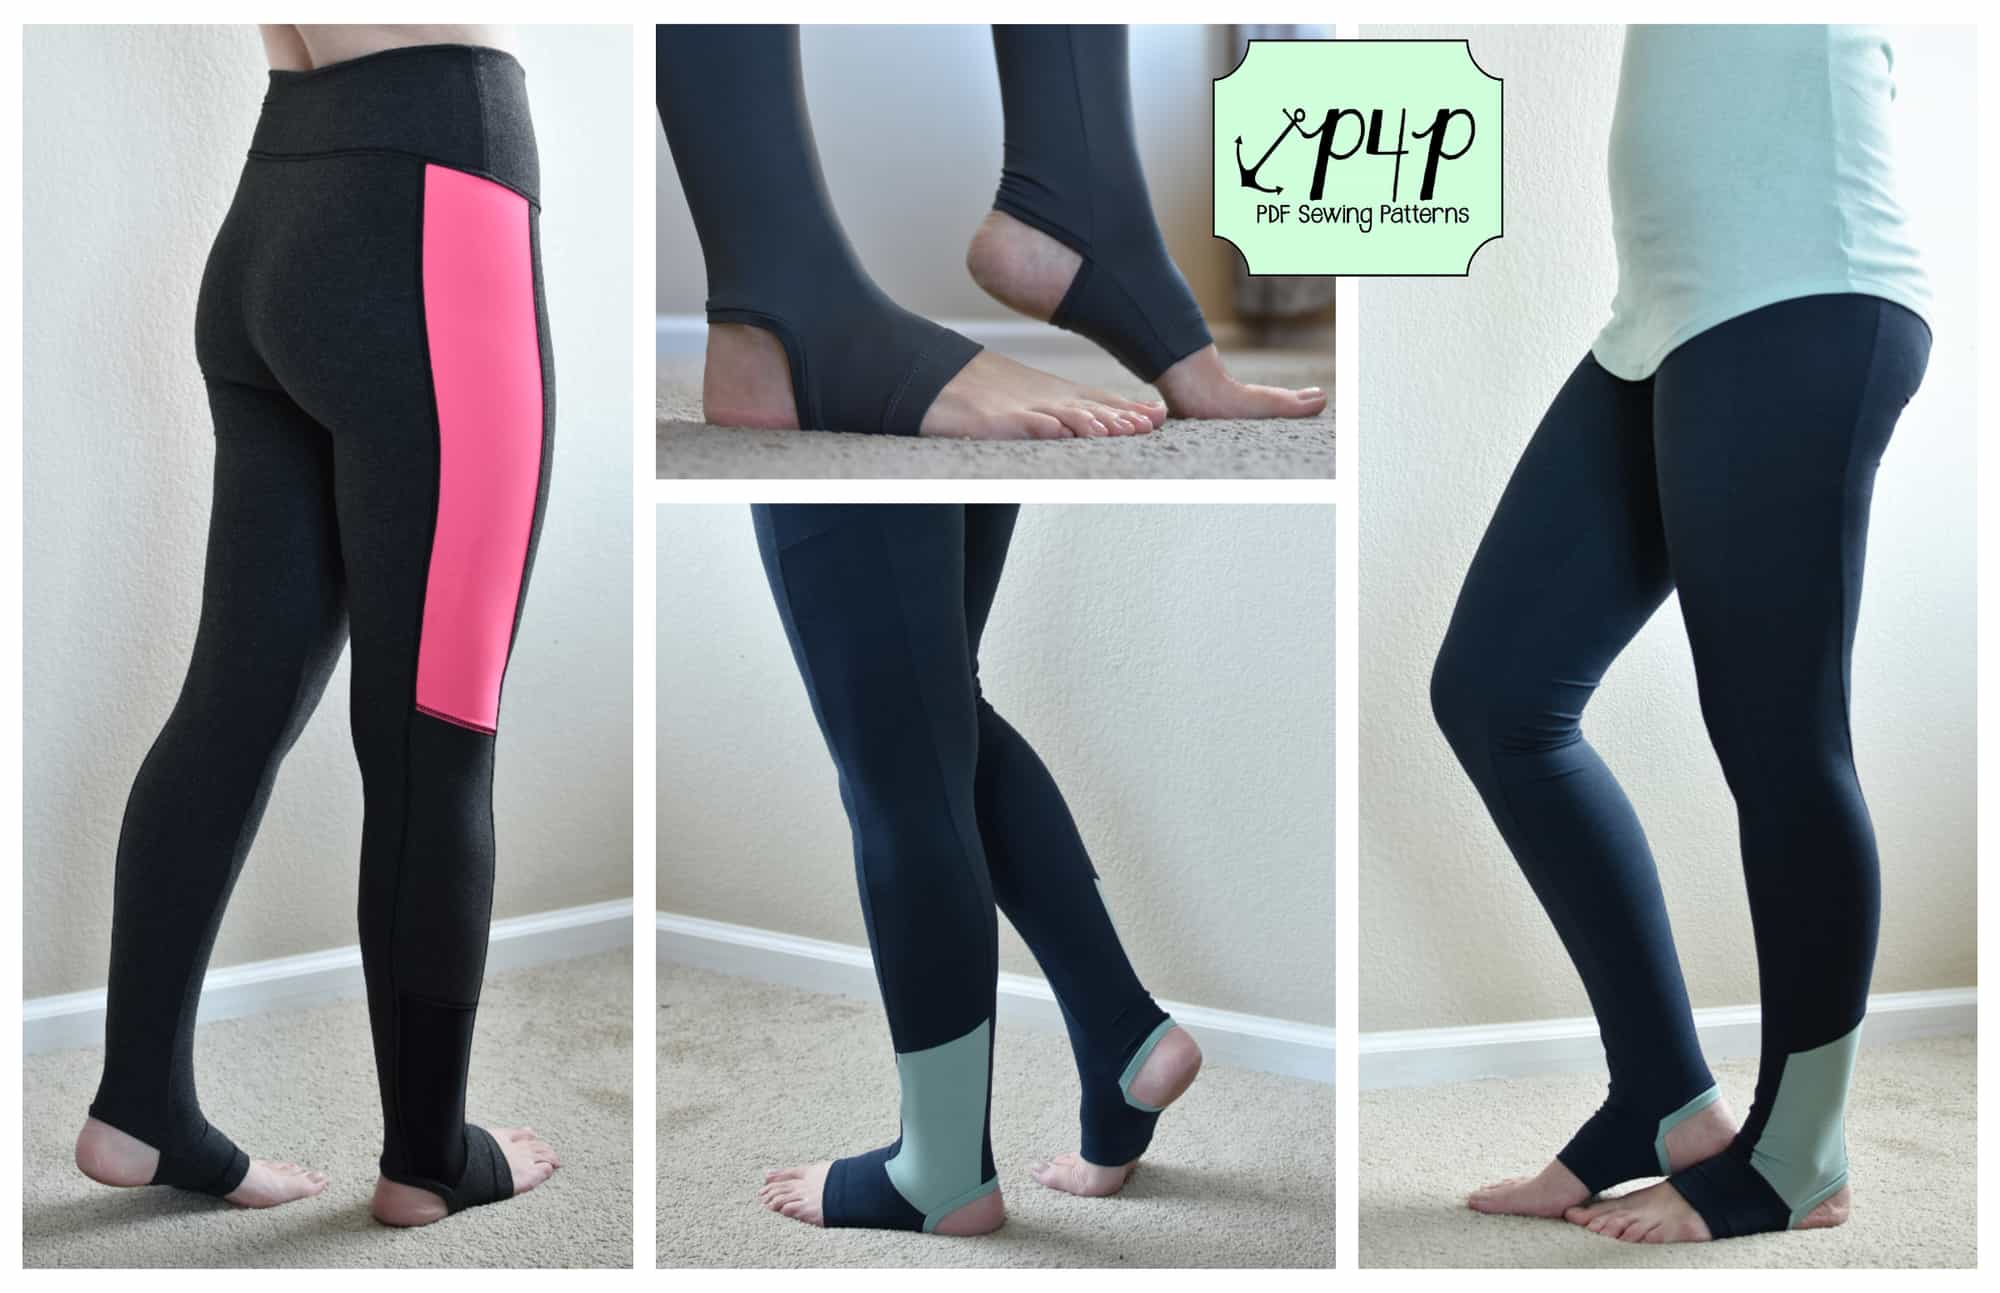
Hello there! Day 4 is here and we’re starting to sew! Woohoo! Today we’ll be putting the leg pieces together. If you added a pocket, or a side strip, or color blocked the side strip, now is the time to put them together.

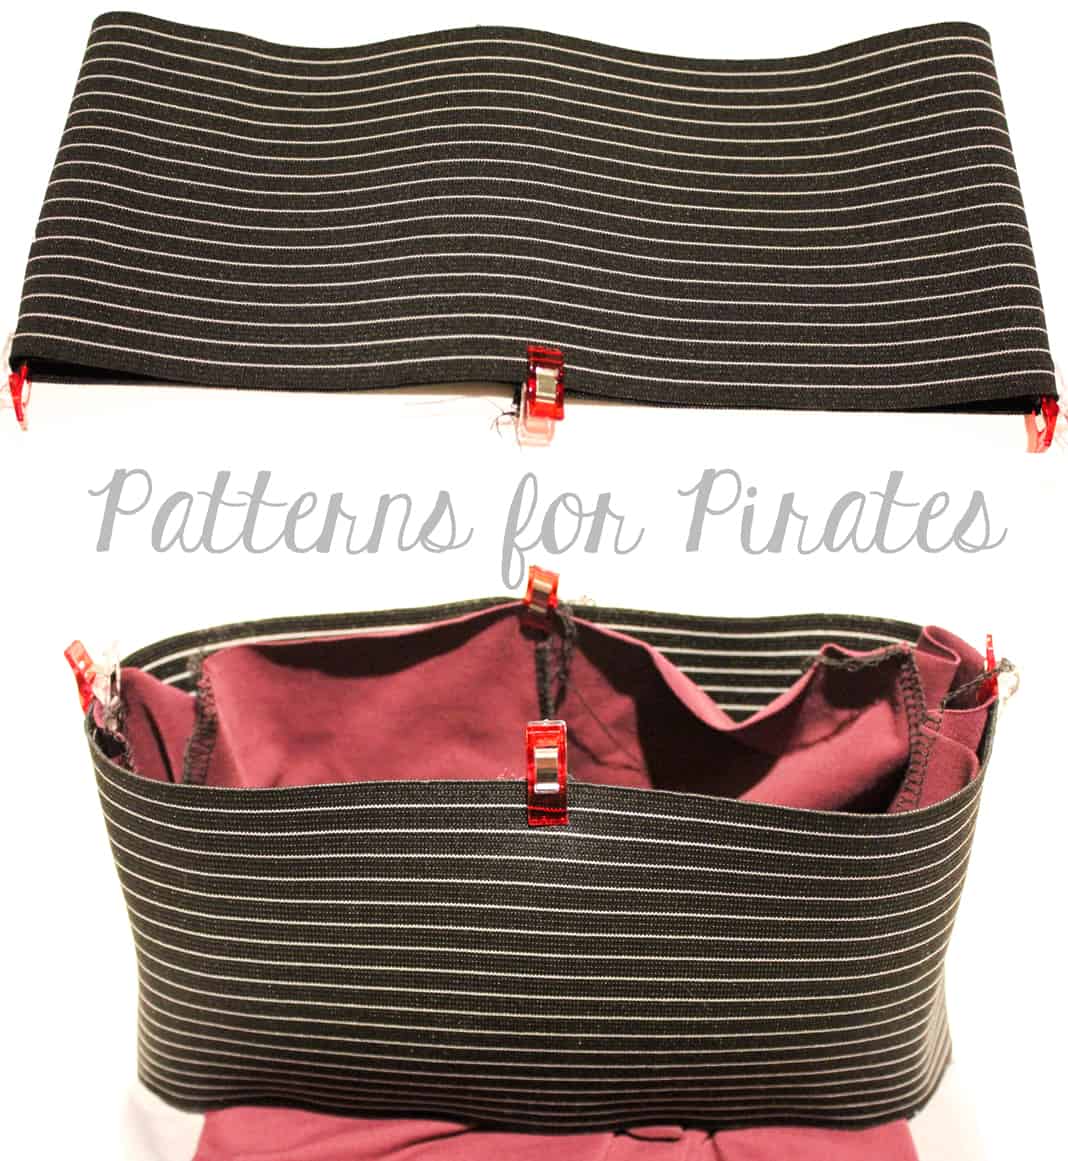
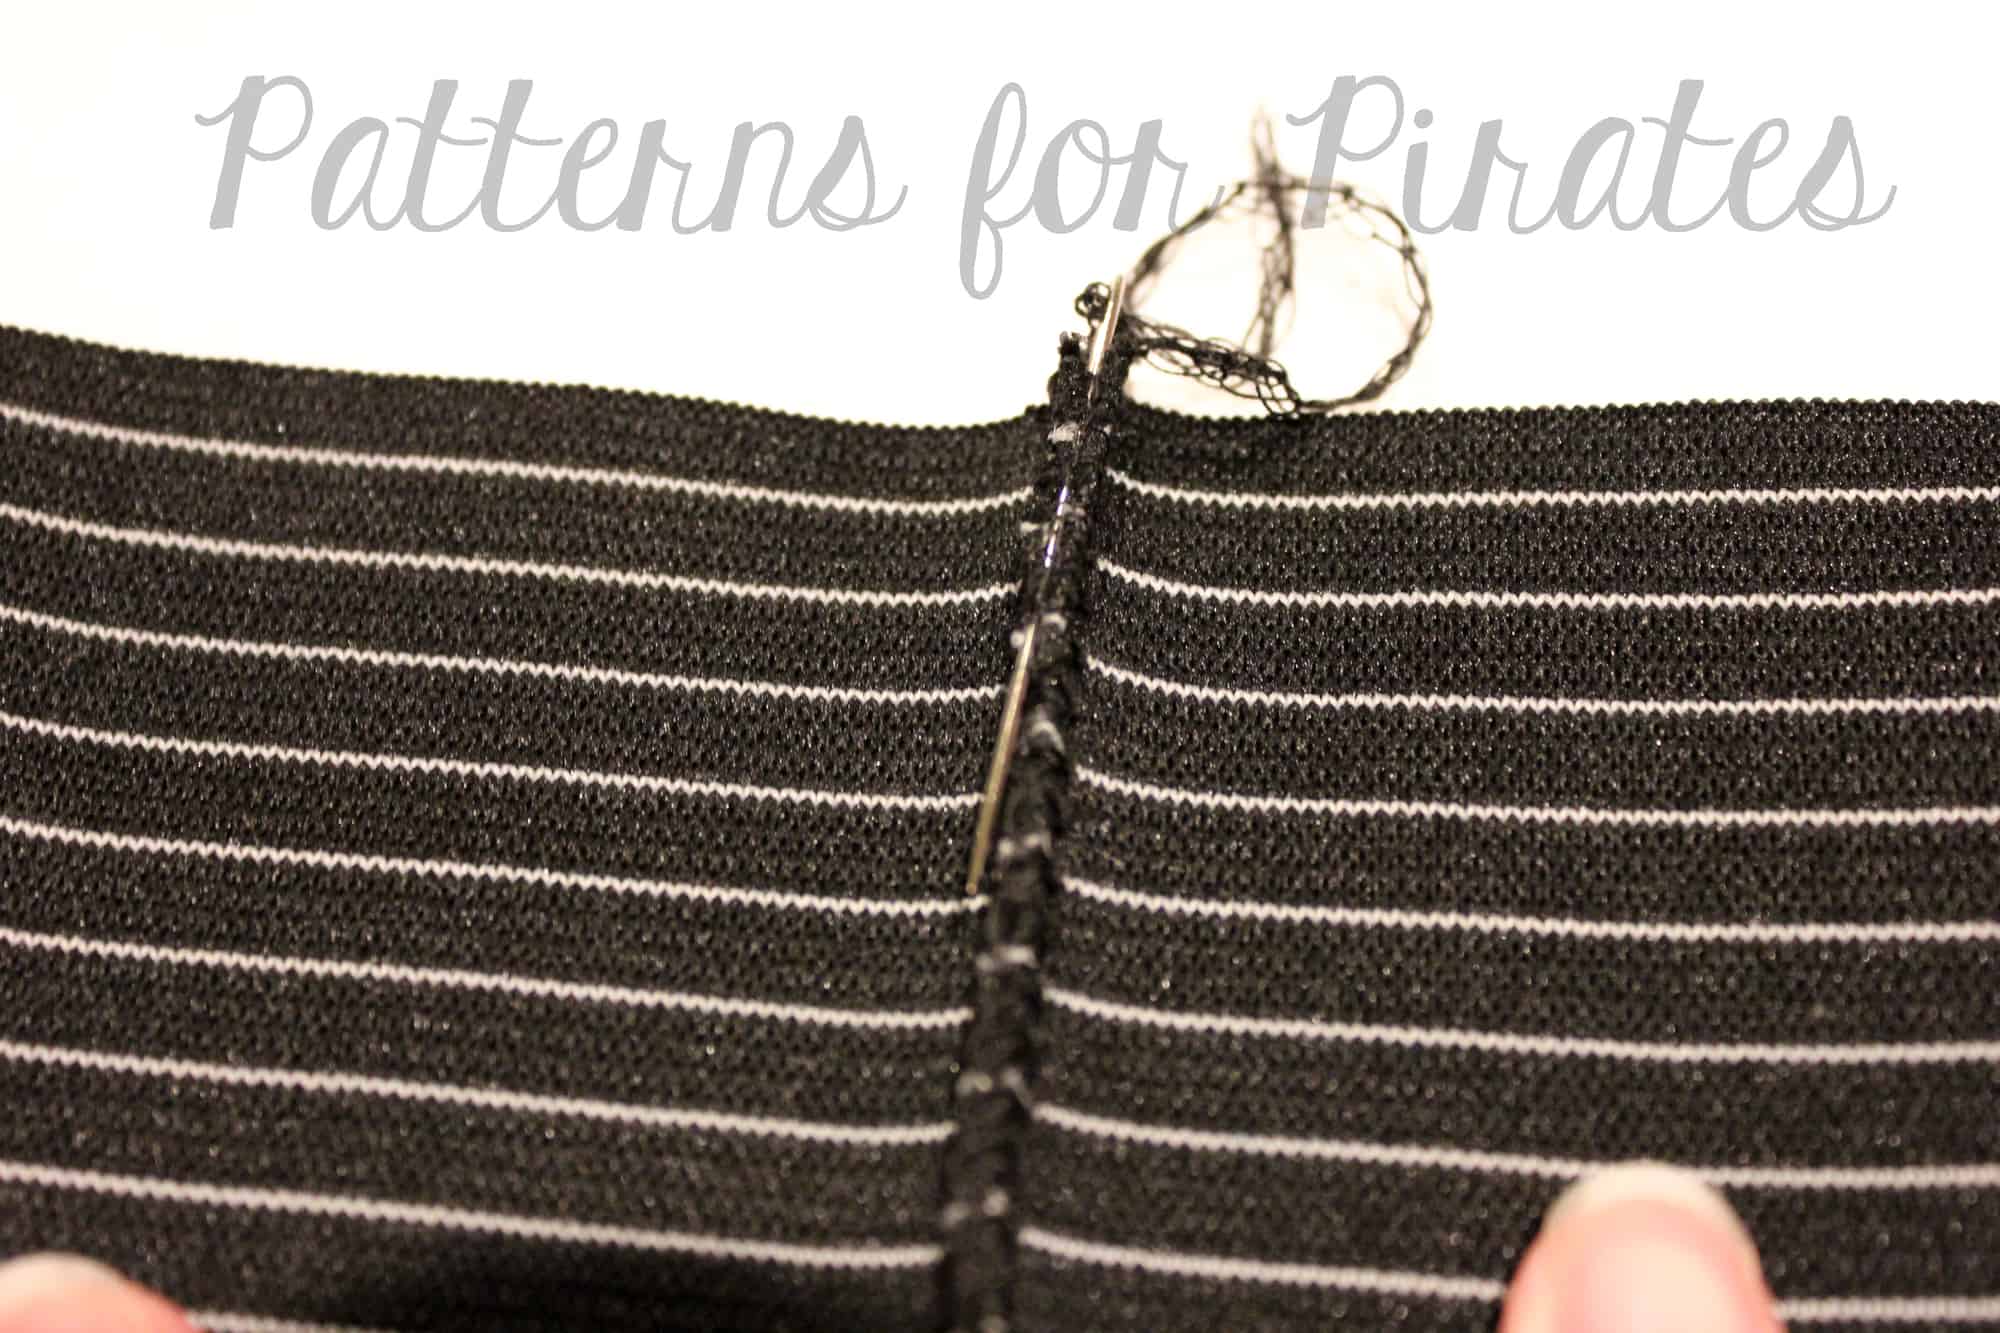
I love to work “assembly line style” so I pin…well clip…all pieces together first. Then sew/serge and then topstitch. If you are using a sewing machine make sure you use a stretch stitch like the “thunderbolt” , a triple stretch stitch or a very narrow zig zag. When top stitching with a sewing machine I highly recommend using twin needles. Check out the Twin Needles Blog for some tips and tricks!

For my SAL Peg Legs pair I stitched with my serger and topstitch with the coverstitch machine. You can see how I put together the add ons in the day 4 video here!

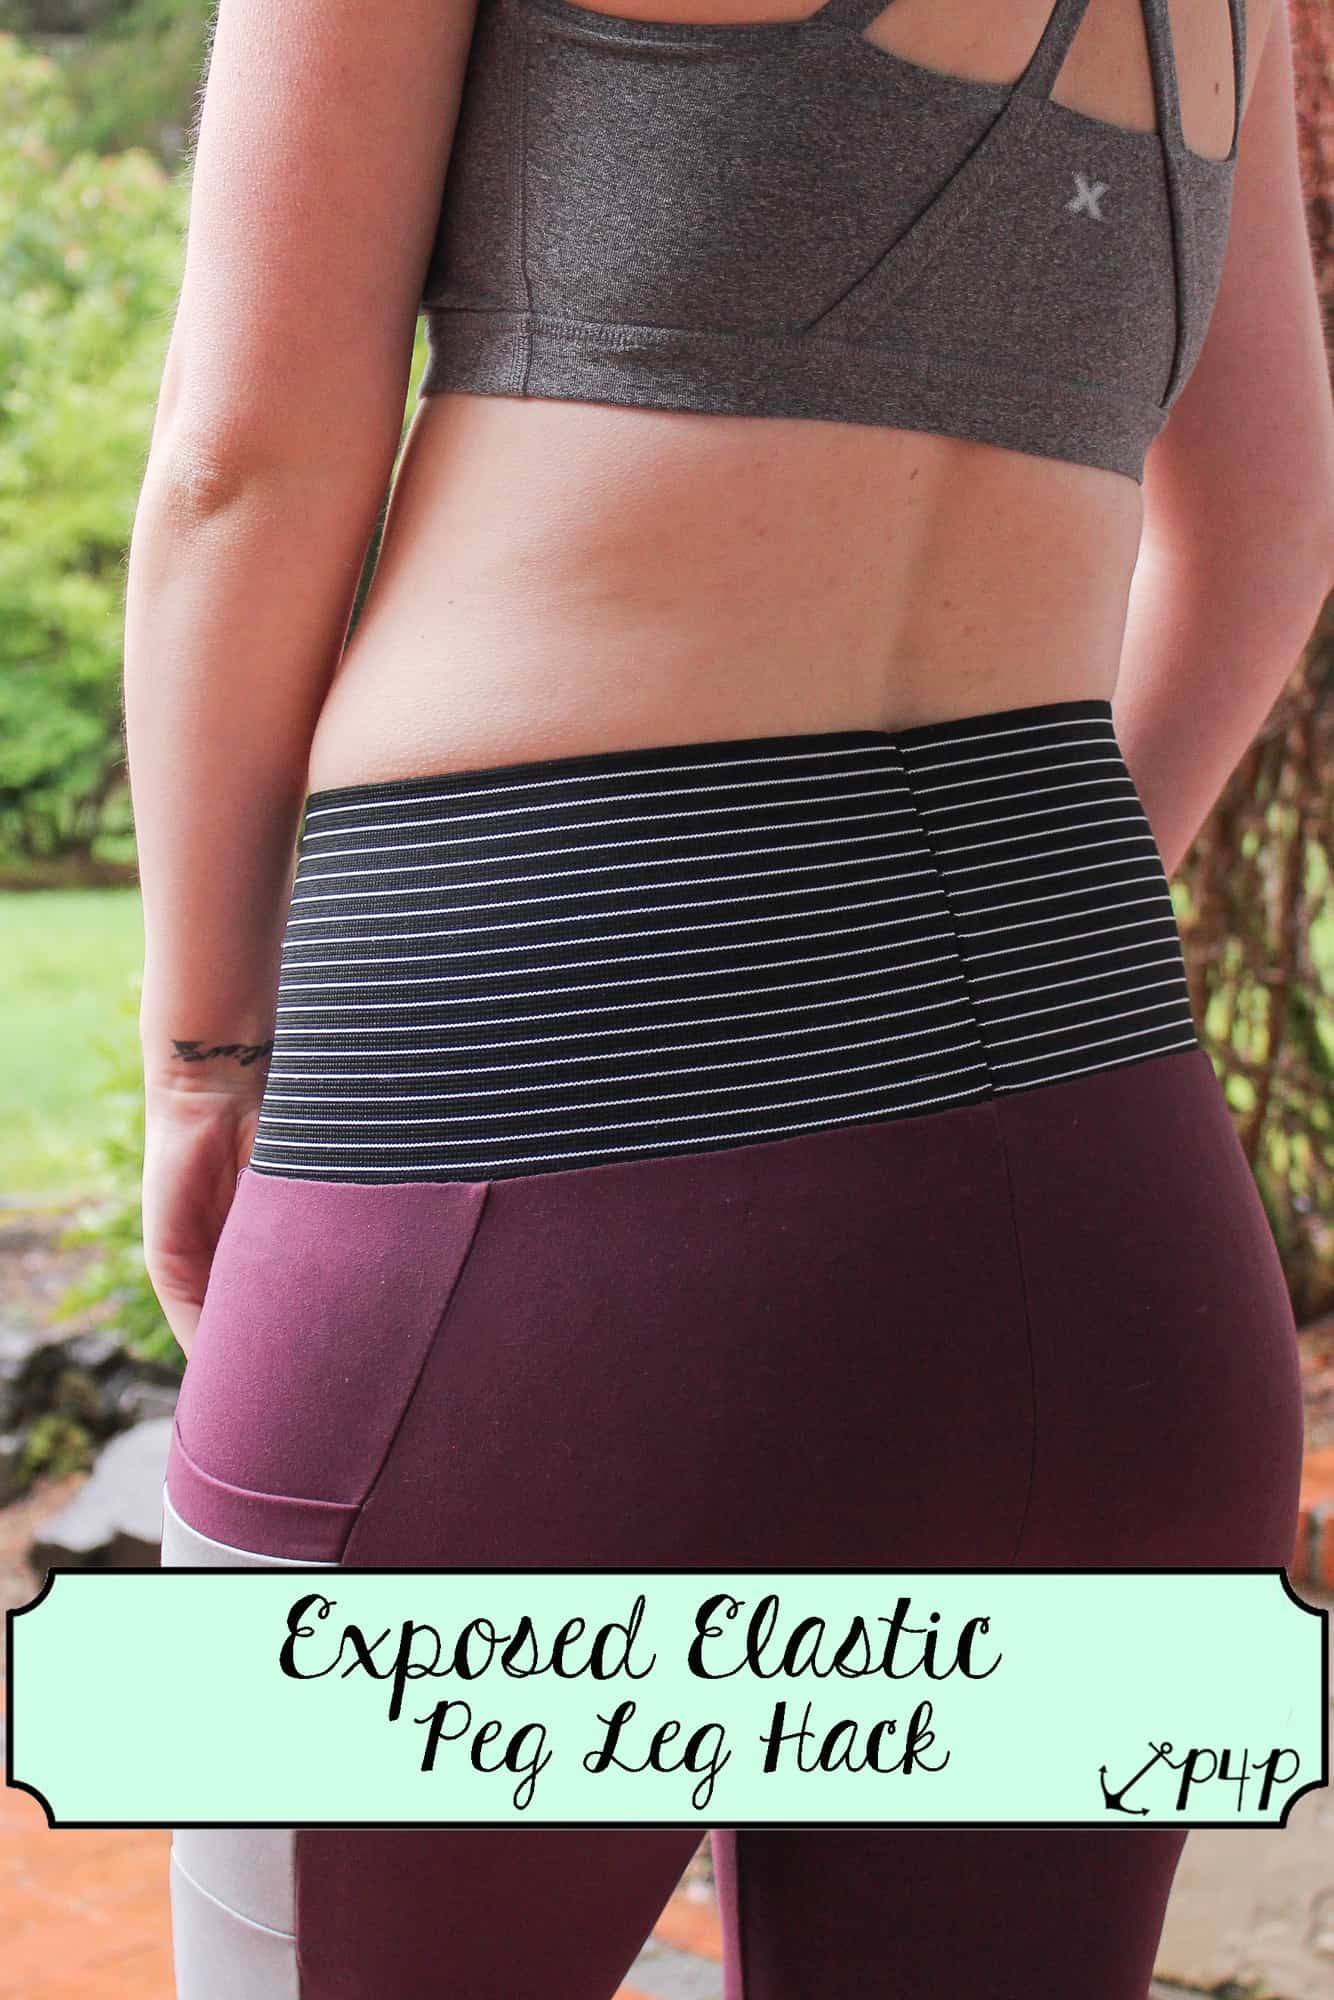
If you want to take it up a notch you can use decorative top stitching too. The Decorative stitching blog is an excellent source for all of you who would like to take the Peg Legs up a notch!


Once you’ve assembled your leg pieces post a picture in the Peg Legs SAL Event and hash tag it #pegsalday4. See you back here tomorrow!

Filed Under: Contest/Giveaway, Free Pattern, Sew-A-Long, Uncategorized Leave a Comment

50K Fan Celebration :: Exposed Elastic PegLegs Hack

April 24, 2017

Want to make your Peg Legs even easier? How about skipping the band? Today we have an easy hack for you- adding an exposed elastic band.

There are so many types of elastic available in a variety of colors and designs, as well as a multiple widths. For this hack, you will want to first determine how high you would like your band to come. When I was looking for mine, I searched online for “boxer elastic”  knowing that I wanted a large band and this gave me the biggest variety. I finally decided on one that was 5″ tall.

I chose to cut my Pegs as a low rise since the elastic I chose will add quite a bit of height. You can determine which rise is best for you, keeping in mind how tall your elastic is. You will then want to assembly your Peg Legs as per the tutorial until you reach the step of attaching the band.

For the width of my band, I used the cut chart as a guide. I added 2″ to this, as my elastic did not have the same amount of stretch as a fabric band would have had (you can always take more off if you need to, should your band be too large when attaching). Fold band in half width-wise, with wrong sides together, and stitch to create an elastic circle.

Mark both your elastic band and Pegs into even quarters, then slip band around waist of Peg (with right sides together), aligning quarter points. You will want to make sure that you will have to slightly stretch the band, not the waist of the Pegs. If you do not have to stretch, unpin and remove a small amount from the waistband. It is important to have the band stretch slightly to help hold the Pegs up!

Once you have the elastic waistband and Pegs clipped/pinned together, serge or sew around the waist as you would when attaching a fabric band using a 0.5″ seam allowance. Once attached, if you serged the elastic together in the first step, you will need to finish your seam. I prefer to weave my thread back through using a large needle, however you can also use one of the methods Alex described here. The last step is to hem your Pegs according to the tutorial directions and you’re all finished! Enjoy! ~Erinn


We are celebrating reaching 50K fans in our Facebook group!  To make it a party, our beloved PegLegs pattern just got an update AND some new add-ons.  Before you go running to your machine to sew up your own leggings, make sure to read our PegLegs 101 blog post.  This way, you’ll have all the the information you’ll need to make the perfect pair before you even cut into your gorgeous fabric.

But wait, there’s more!  After any good party is an after-party.  We are taking it one step further and sharing some easy hacks that’ll bring even more flavor to your favorite leggings pattern!  We hope you check them out, make your new favorite pair of leggings, and know that we appreciate every single one of you amazing sewing guys and gals!

Here are our hacks / tutorials / latest tricks:

Lace Waistband Alternative | Drawstring Waistband Tutorial
Exposed Elastic Waistband | Stirrup Pant Hack
Ruched Ankles Adjustment | Decorative Topstitching Tutorial
Ruched Side Panel Hack

Filed Under: Pattern Hacks, Uncategorized Leave a Comment

50K Fan Celebration :: Stirrup Pant PegLegs Hack

April 22, 2017


Written by Kelly Bailey (P4P Blog Contributor)

For this tutorial I will be showing you how to take the updated Patterns for Pirates Peg Leg pattern and hack it into a pair of leggings featuring the stylish yoga stirrups! Have you seen these store purchased versions in your gym classes, or maybe on Pinterest, or maybe you’ve been looking for a comfortable pattern for stirrup leggings to compliment a casual outfit? This simple hack is both comfortable and durable. Follow along with this tutorial and please share your results in the P4P sewing group!

Step One: Fabric

My first, and most important, advice is to choose your fabric wisely. This pattern is intended for 4-way stretch knit with at least 50% stretch. See Peg Leg 101 to review the way the fabric contents and stretch will affect your results. Not all knits are meant for leggings due to the degree of stretch this pattern requires. For all 3 of my versions I have used a brushed polyester spandex knit with varying weights. Athletic knits, such as supplex or heavy weight brushed poly, are the best option if you intent to vigorously work out in your finished garment.


Step Two: Stirrup Pattern Piece

Print out and assemble your Peg Leg pattern as normal, being sure to add or take away height as necessary for you. See Peg Leg 101 for more information on how, where and when this is necessary. The Peg Leg pattern is drafted for an average height of 5’5” and an inseam of 28”. This hack can be applied to both the “plain” version and the “color-blocked” versions. Beware that once you’ve sewn this up you will not be able to simply trim off length at the very end of construction as you would with the standard pattern. So be sure to make a traditional pair and know these height adjustments before attempting this hack.

Next cut out a paper rectangle measuring 7.5” x 4”. The 4” height fits my size 9 foot perfectly but you may need to add or remove a little bit to that measurement depending on your shoe size.

Step Three: Modifying the Peg Leg Pattern

If you’re modifying the “plain” version tape your rectangle to the ankle of your peg pattern as shown. Be sure to pay attention to the side you’re attaching the rectangle to. You want to line the edge of the stirrup rectangle with the FRONT side of the leg piece.

If your modifying one of the “color-blocked” versions line up and attach your stirrup rectangle with the edge of the FRONT pattern piece as pictured.

NOTE: You can switch up the top and middle color-block panel pieces and the pattern will still go together without issue if you are not attaching the pocket. If you do attach the pocket still, it would just sit lower on your leg. My charcoal and hot pink pair show what this swap looks like. My navy and seaglass version show the color-block panel assembly as instructed in the original pattern. I also chose to give a faux flatlock look to my pink version. Follow Alex’s decorative top stitching blog to get this look yourself!

Step Four: Cut Out Your Pieces & Assemble Color-block

Use your modified pattern to cut from your fabric all legging pieces. Add to this the addition of two 1.25” x width of ankle strips with the greatest stretch going with the longer length. Theses will be the bands that stretch around the heel of your foot. The width measurement will leave extra that will get trimmed off after attachment. For a size small I cut a 8″x 1.25″ sized heel band.

For the “plain version” make a cut in each leg piece, as shown in the image below, just to the center width of the leg. This is where you will attach the heel band.

For the “color-blocked” version you are going to sew together all color-block pieces as normal, creating two full leg pieces. You will need to pivot the seam 90 degrees to attach the stirrup to the ankle at the front of the leg. Be sure to only sew the stirrup to the halfway mark along the ankle (mid color-block). Leave the rest unattached so that you can sew the heel band in place.

Step Five: Sew Crotch Seams

Lay your fully assembled leg pieces right sides together on top of one another. Sew your crotch curves together.

Step Six: Attach Heel Bands

Press your heel bands wrong sides together lengthwise and then pin along the unfinished slit along ankle edge. Sew in place being sure to use a stretch stitch but not to stretch either the band or the leg piece.


Step Seven: Pin Inseam in Place

Start by pinning your crotch seams right sides together then go to the stirrup piece and start lining up inseams there. Work your way up the leg making sure to overlap the bands as shown in the photo below. Sew inseam together using stretch stitch. Trim off excess heel band.


Step Eight: Finishes

At this point you can attach your waistband using the directions in the patterns tutorial and then hem the bottom of the stirrups using a stretch stitch and your preferred hem width. Press.

All Done!

Try them on and enjoy. Keep your feet cozy whether in yoga class or sewing your next garment at home!


We are celebrating reaching 50K fans in our Facebook group!  To make it a party, our beloved PegLegs pattern just got an update AND some new add-ons.  Before you go running to your machine to sew up your own leggings, make sure to read our PegLegs 101 blog post.  This way, you’ll have all the the information you’ll need to make the perfect pair before you even cut into your gorgeous fabric.

But wait, there’s more!  After any good party is an after-party.  We are taking it one step further and sharing some easy hacks that’ll bring even more flavor to your favorite leggings pattern!  We hope you check them out, make your new favorite pair of leggings, and know that we appreciate every single one of you amazing sewing guys and gals!

Here are our hacks / tutorials / latest tricks:

Lace Waistband Alternative | Drawstring Waistband Tutorial
Exposed Elastic Waistband | Stirrup Pant Hack
Ruched Ankles Adjustment | Decorative Topstitching Tutorial
Ruched Side Panel Hack

Filed Under: Blog Tours, Pattern Hacks, Pattern Release, Uncategorized 2 Comments

Newest Patterns

  • Uptown Joggers - Youth $10.00 $8.50
  • Uptown Joggers $12.00 $10.50
  • Uptown Joggers - Bundle $20.00 $18.00
  • Notch Top & Dress $12.00
  • Notch Top & Dress - Youth $10.00
  • Privacy Policy
  • Refund Policy
  • Affliliate Program
  • Contact Us
  • About

Copyright © 2023 Patterns for Pirates

Copyright © 2023 · Genesis Framework · WordPress · Log in