Our newest pajama patterns are just so perfect for the holiday season, aren’t they? So if it’s a party, let’s make it a pajama party with some easy hacks that will add even more options to the Naughty Nice and Sugar Spice PJs you’ll be making.
….
Zipper

Let’s start by switching the front of the Naughty Nice pajamas from a button/snap placket to a fun zipper. Fear not, it’s super easy! I personally find the zipper to take less time than adding all the snaps or buttons. Grab a 9″ zipper and let’s get started.
Sew the pajama as instructed in the tutorial, except for the neckband. You won’t be using the one in the tutorial, you’ll make a new neckband.
Lay your zipper right side down on the front opening. The to of the sipper will be at the curve. Sew it as close to the zipper teeth as possible. Using a zipper foot will make this easy.
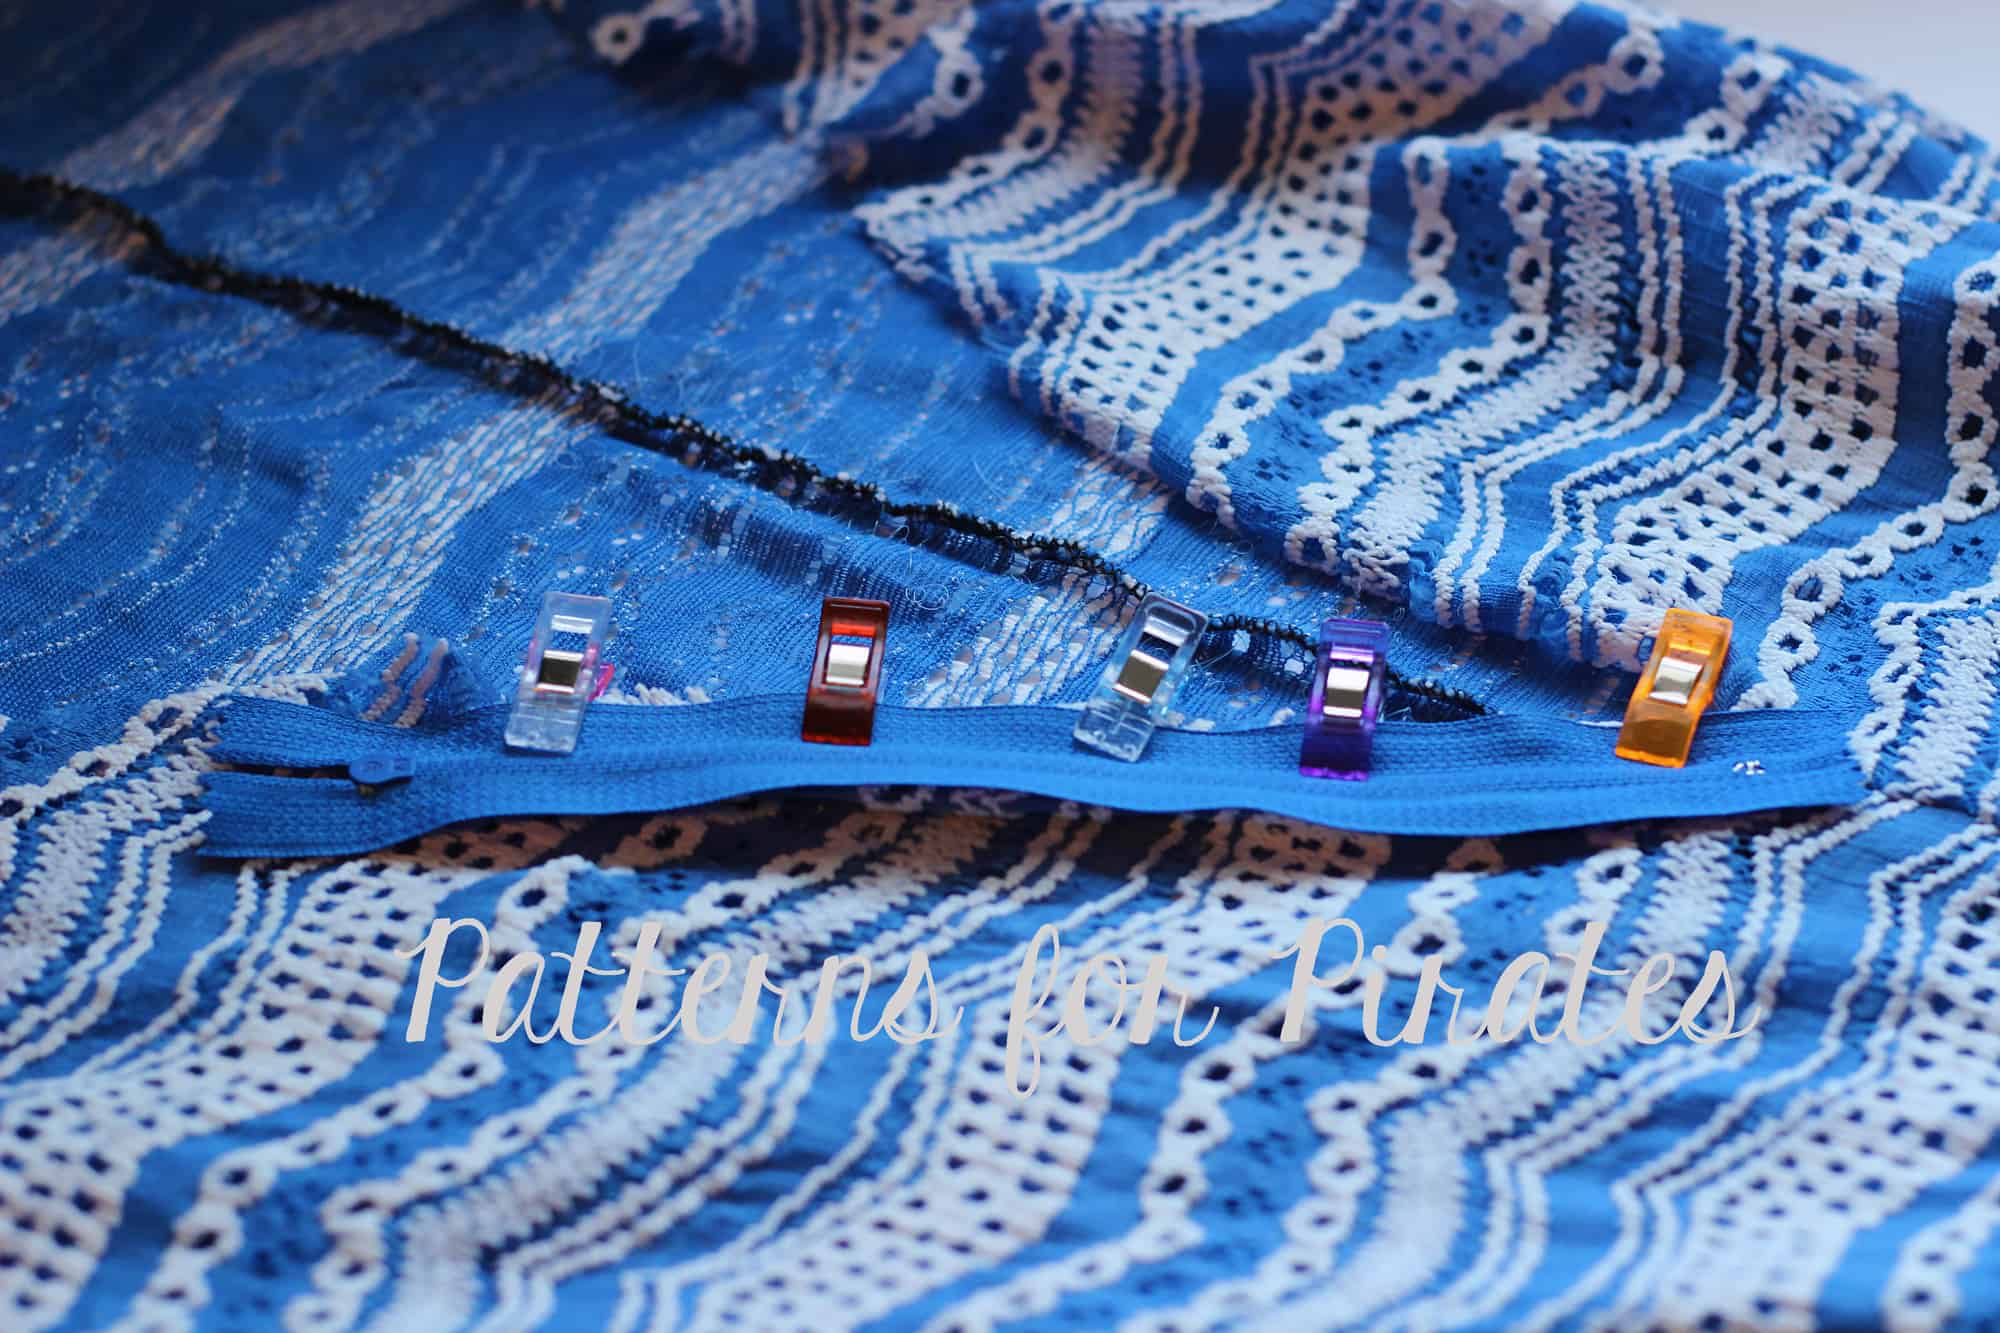
Repeat the process on the other side of the zipper.
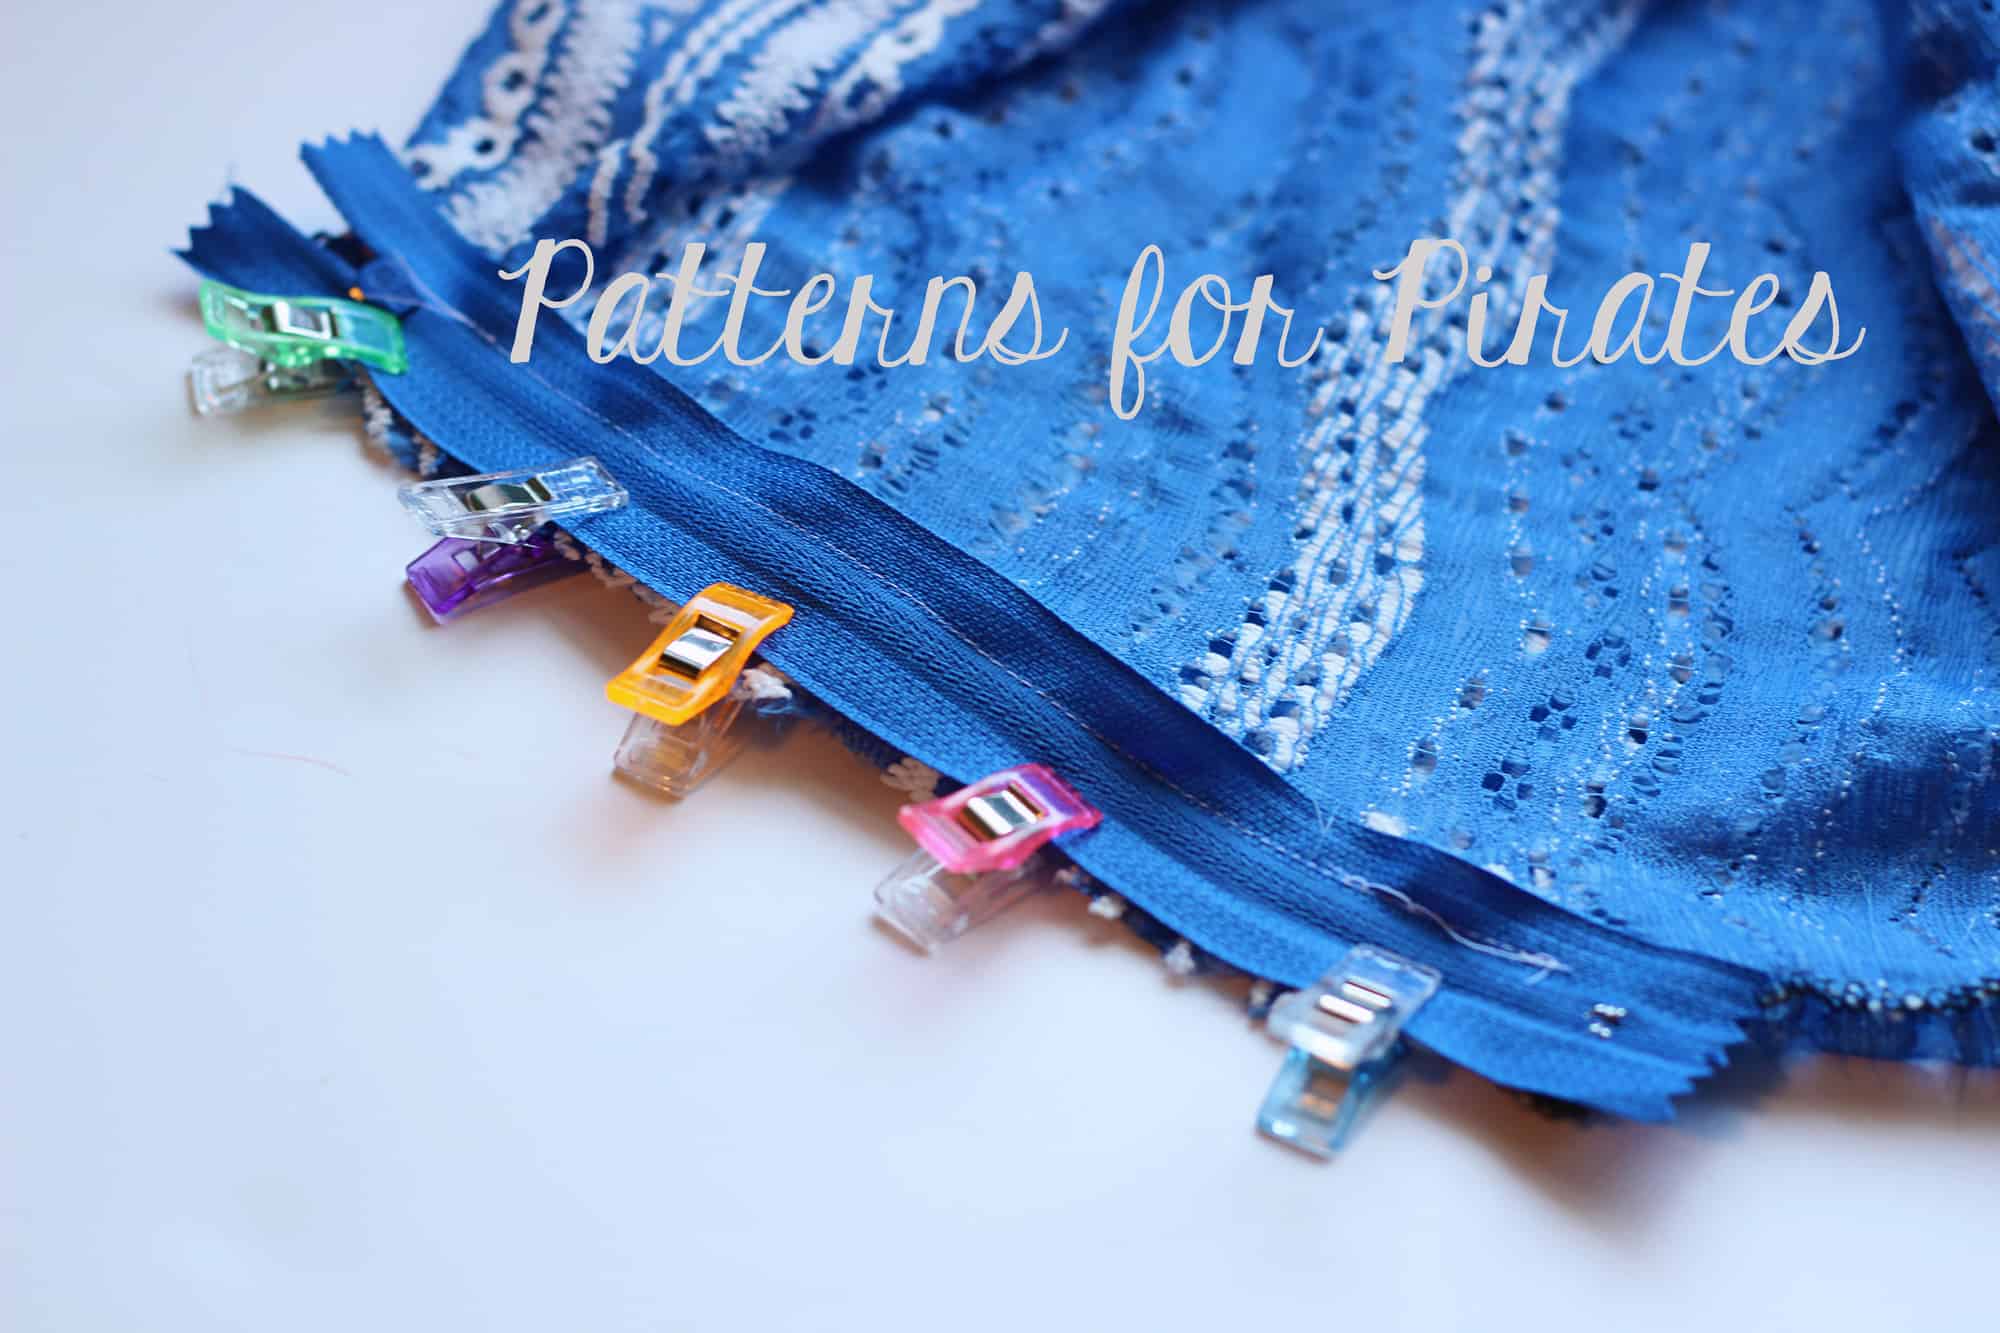
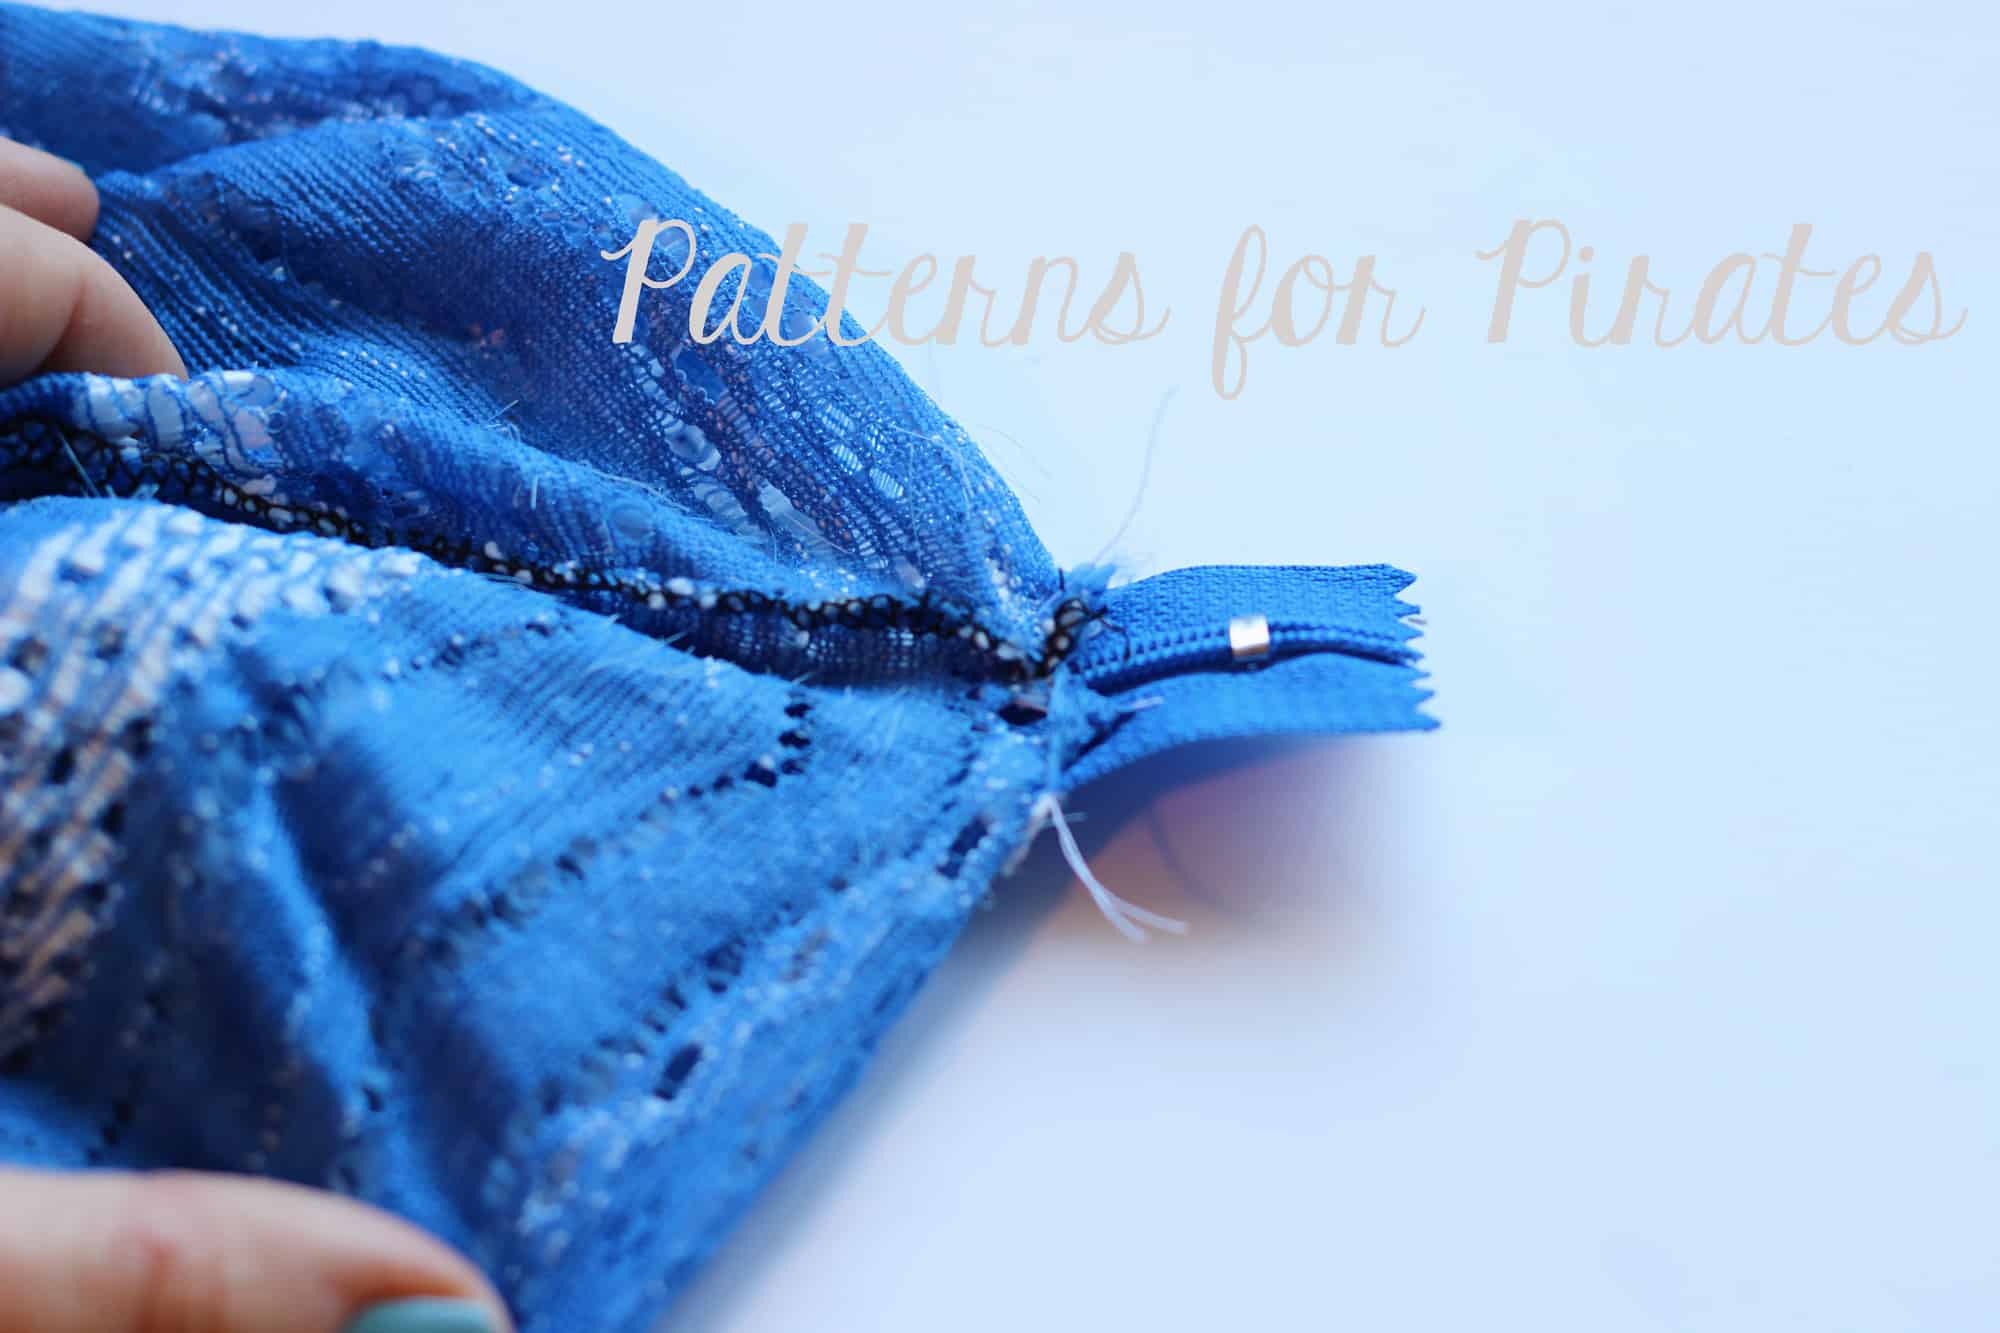
On the wrong side of the fabric, sew a straight stitch where the fabric and zipper meet and remove excess zipper.
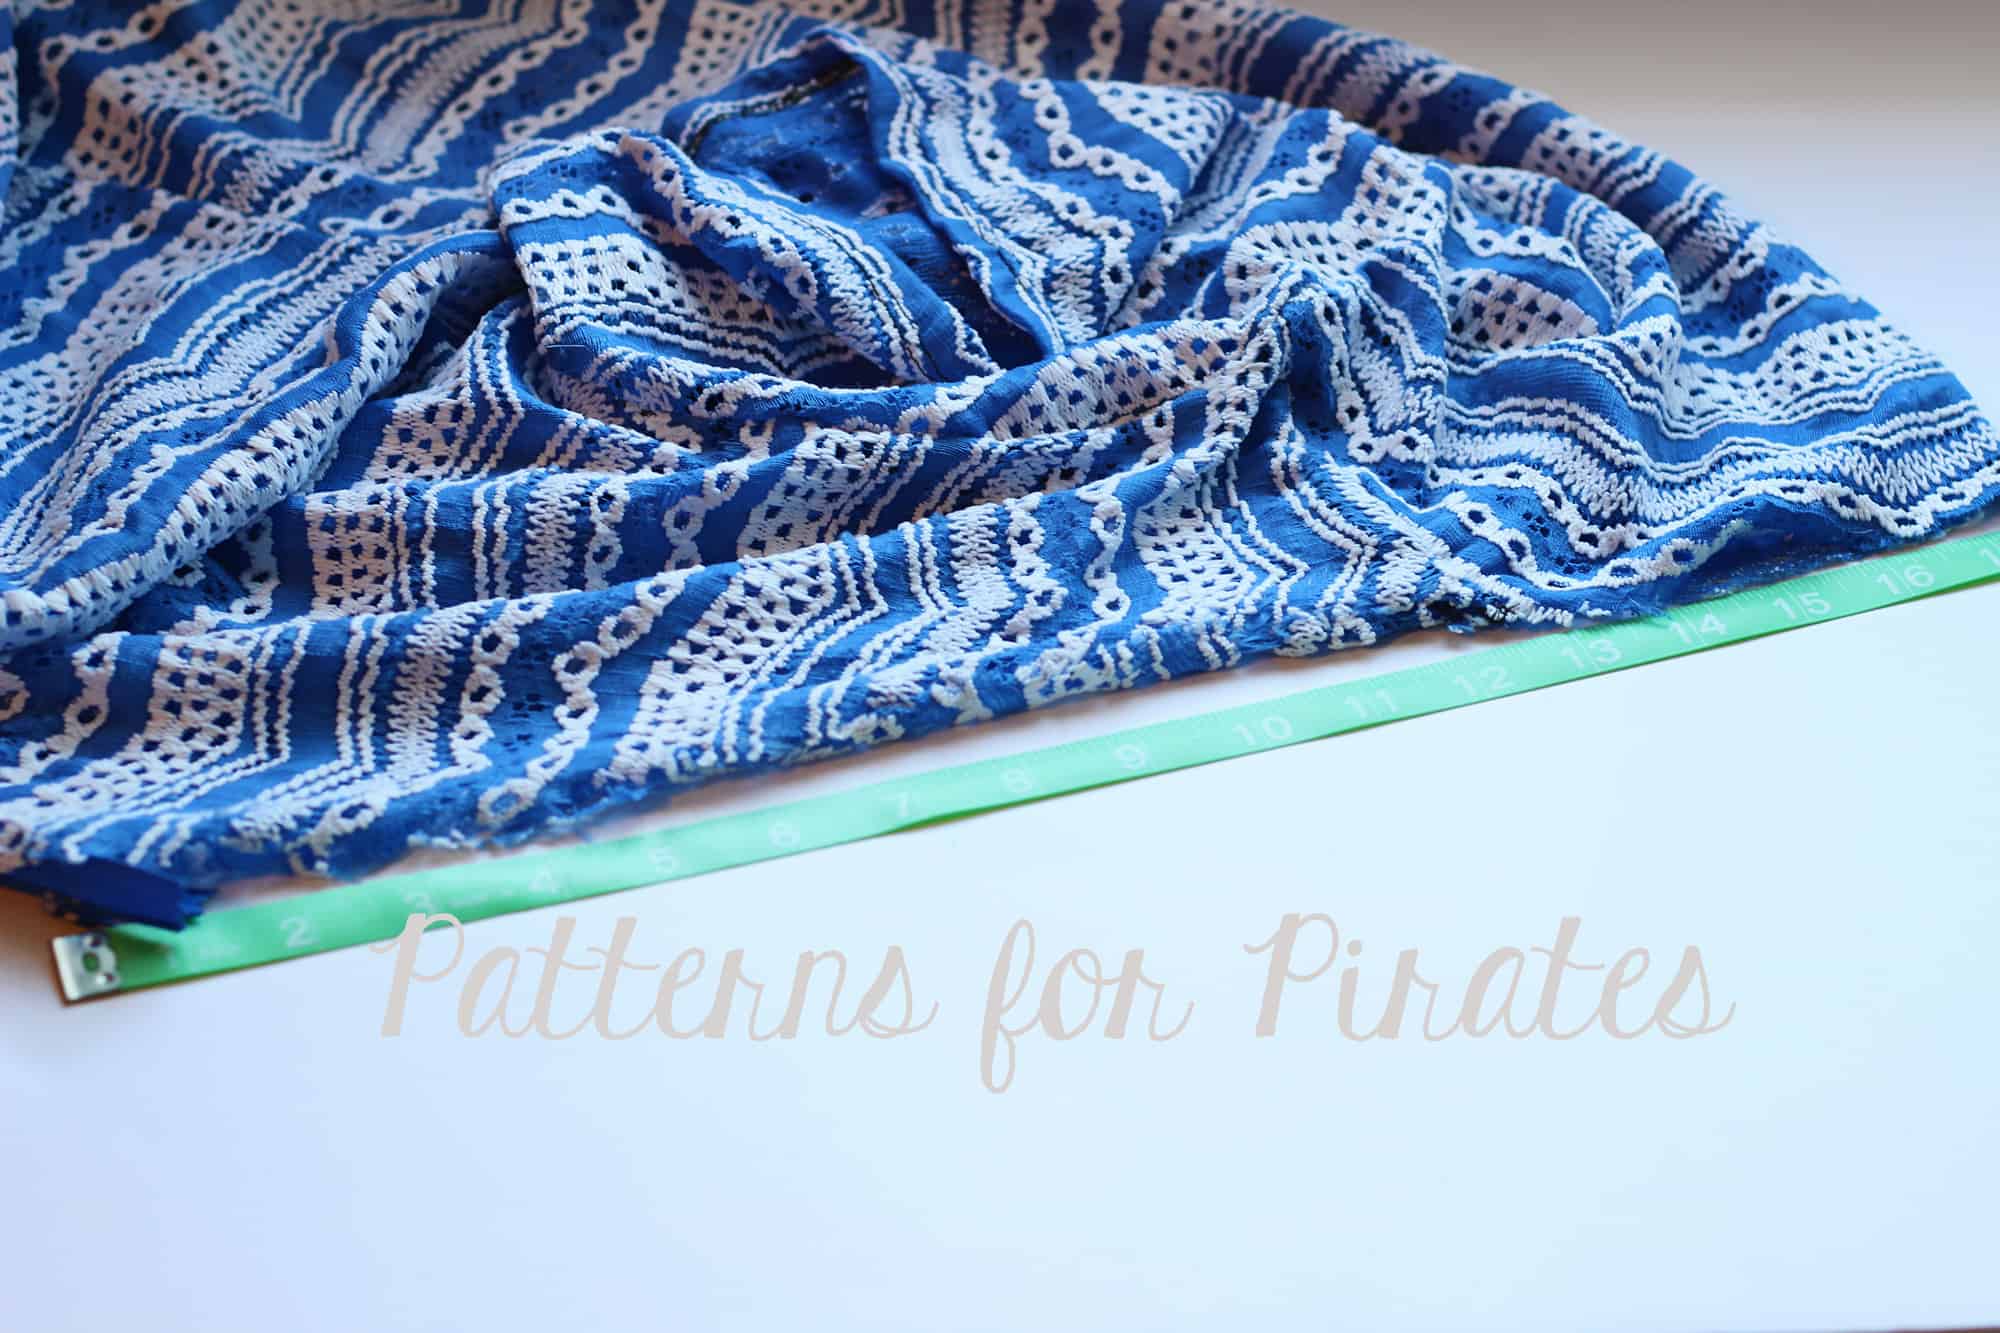
Now that we added the zipper we need to create a new neckband. With the zipper closed measure the neck opening. I like to lay mine flat but you can measure anyway you feel comfortable.
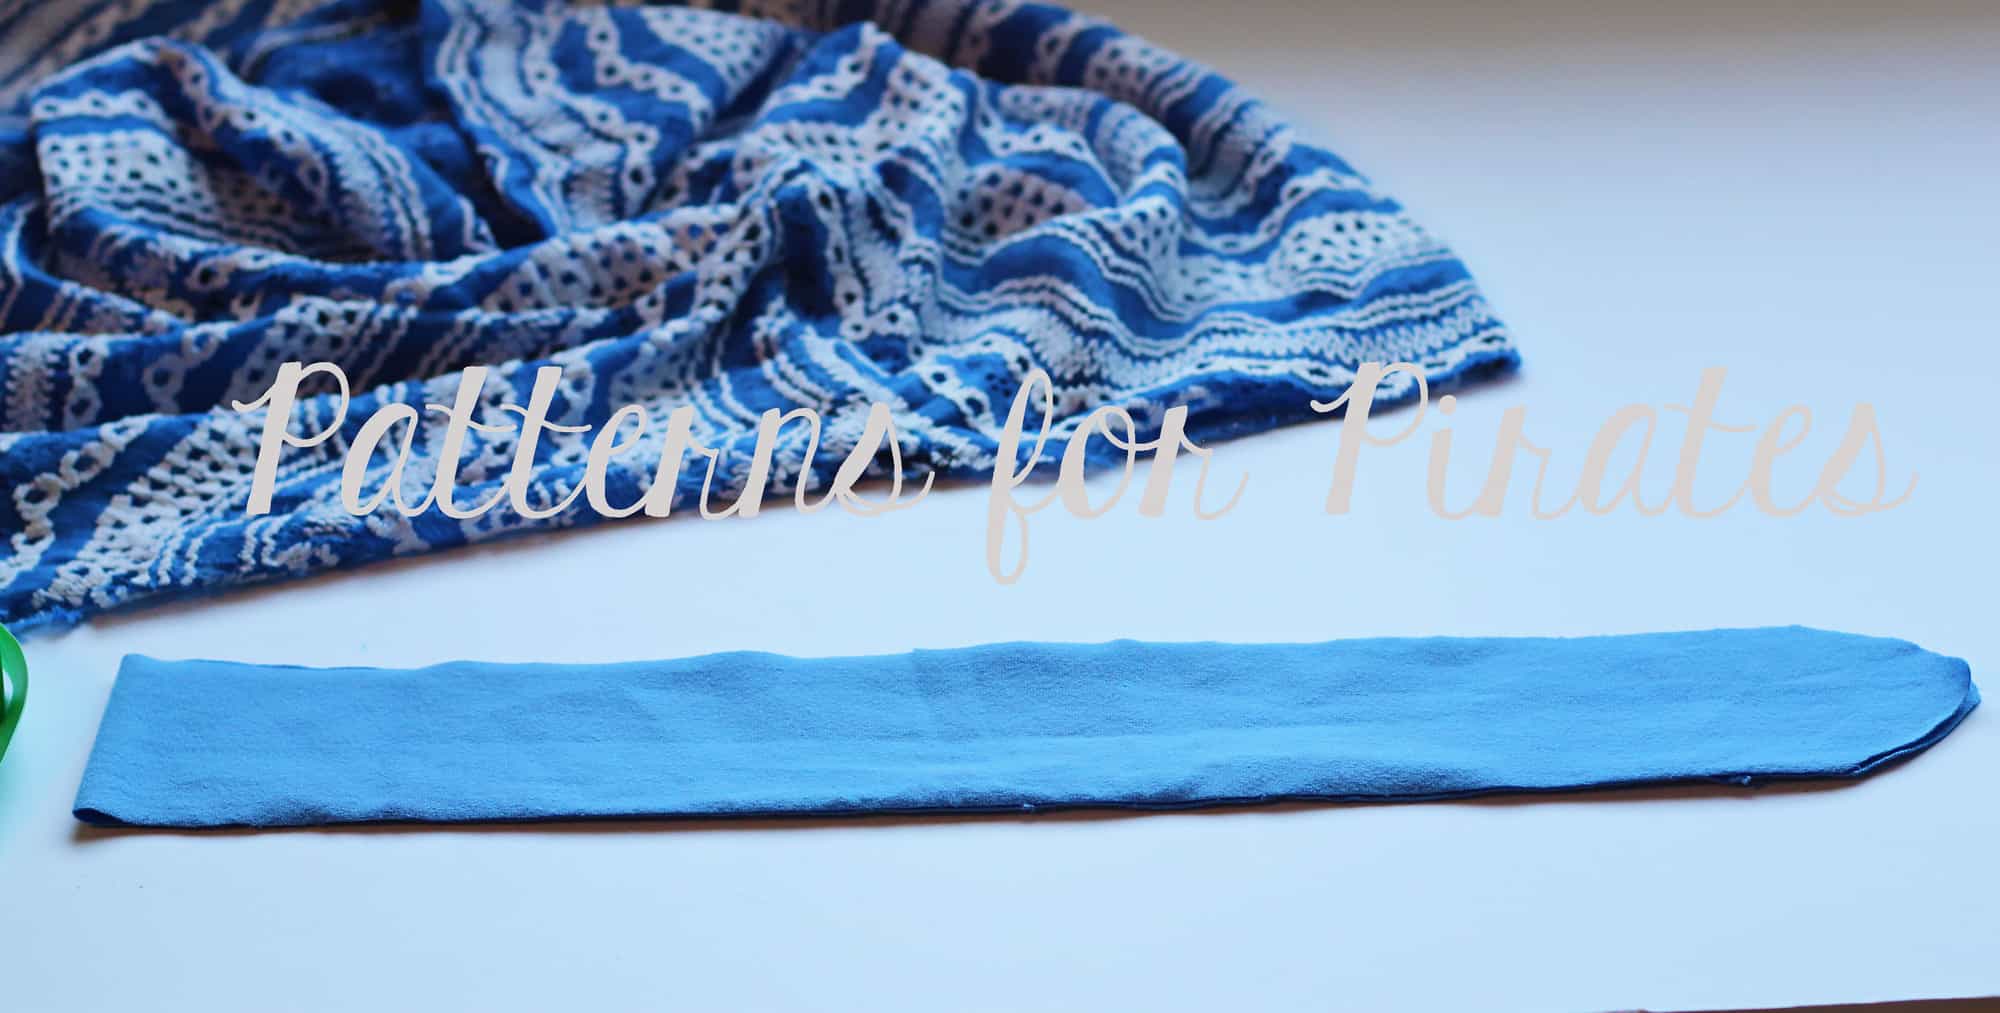
Cut your neckband 85% of the neckline opening plus 1″ for seam allowance by 2.5 inches. Fold your neckband widthwise and round your open edge to resemble a henley neckband. Open then neckband and fold it lengthwise, wrong sides together. Give it a good press and mark the back and the quarter points.
Mark the quarter points on the neckline opening. With the zipper open, pin (or clip) the neckband in place.
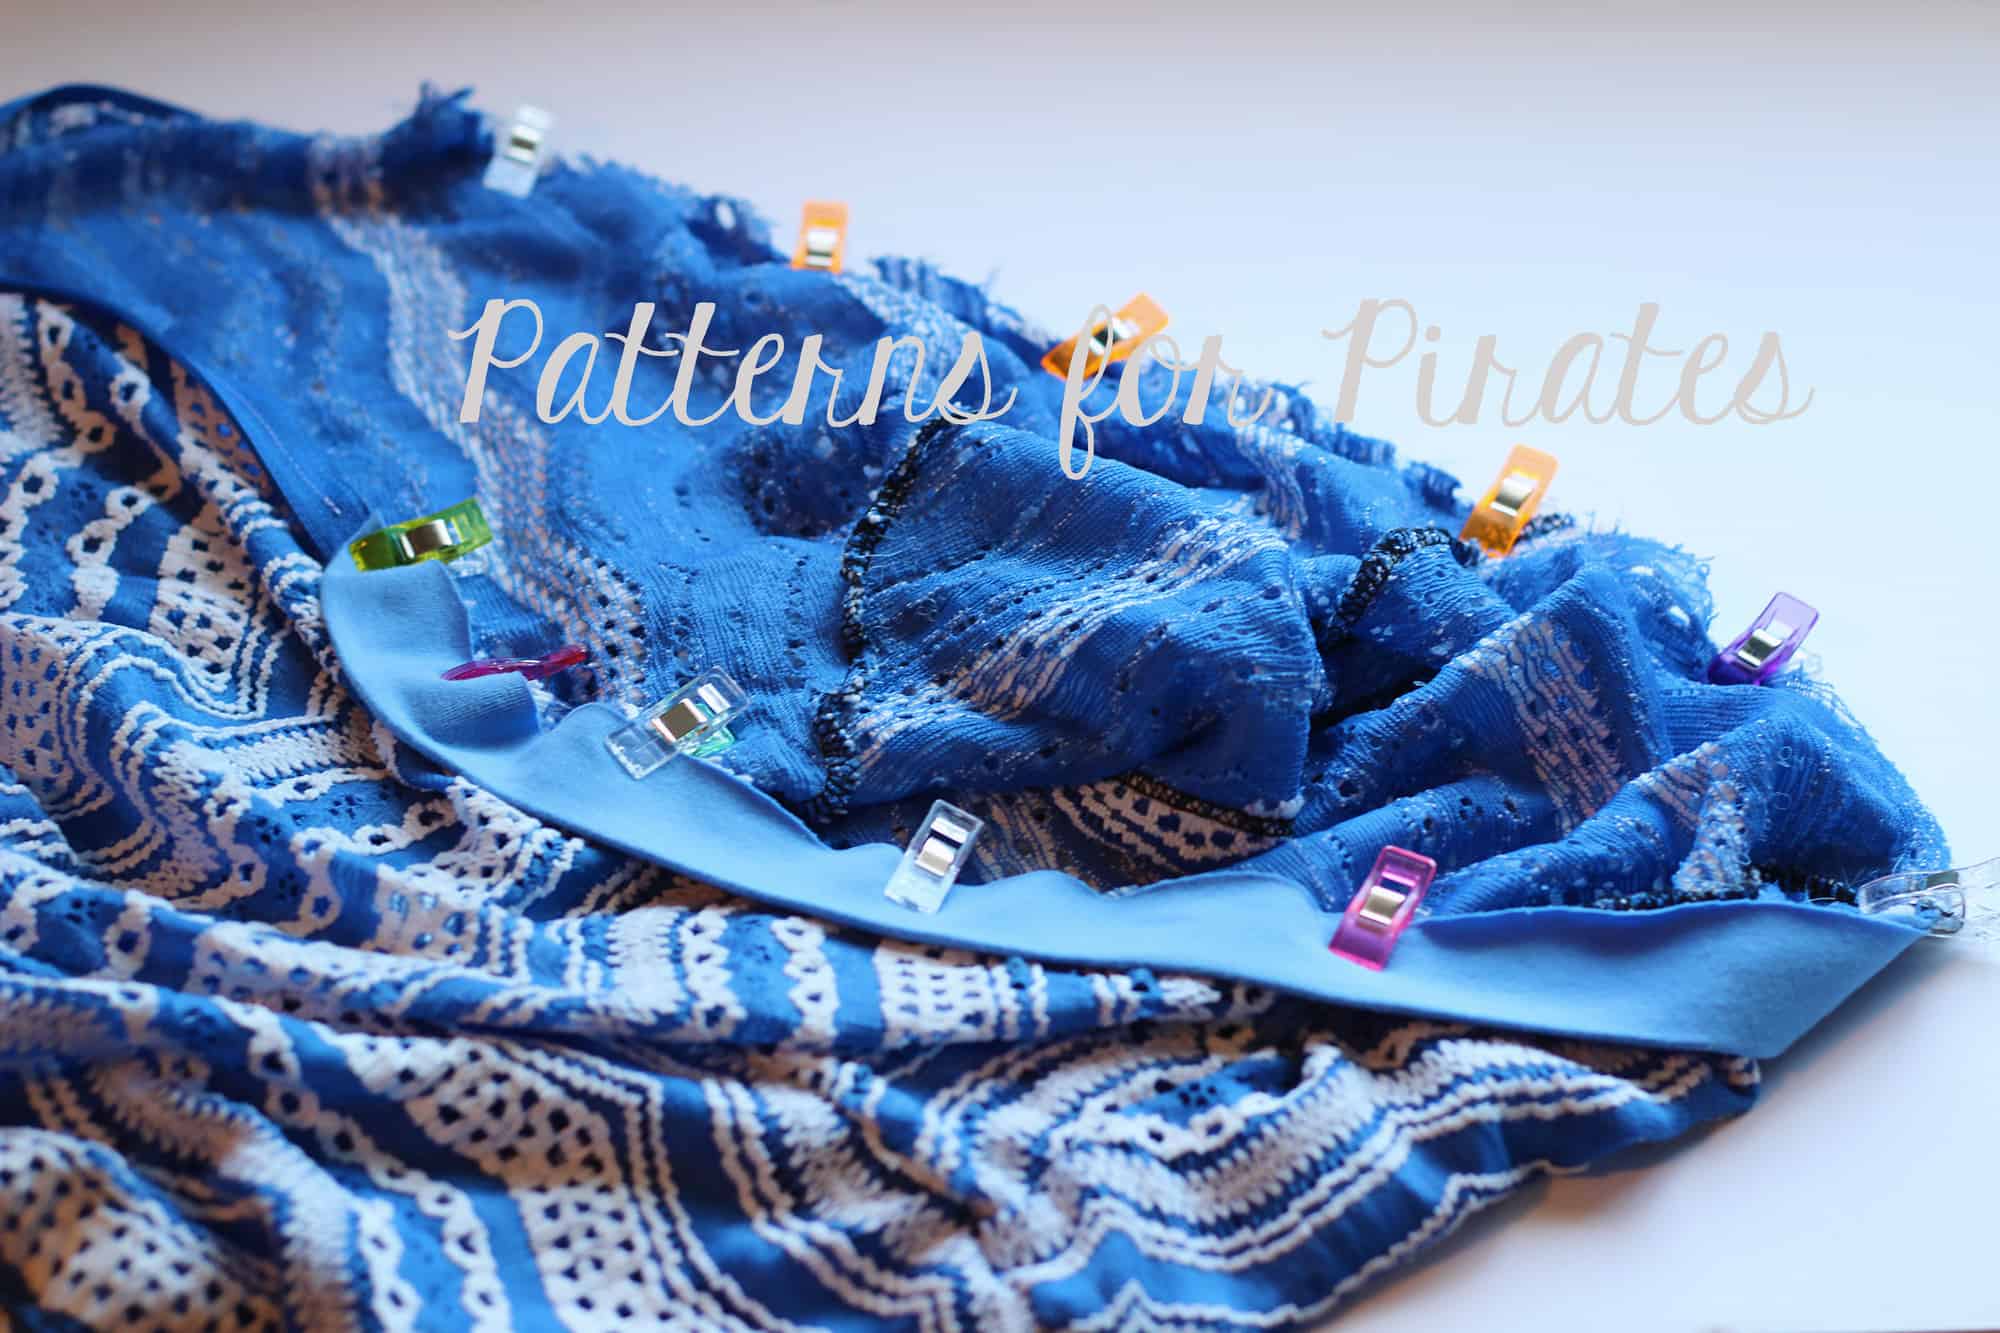
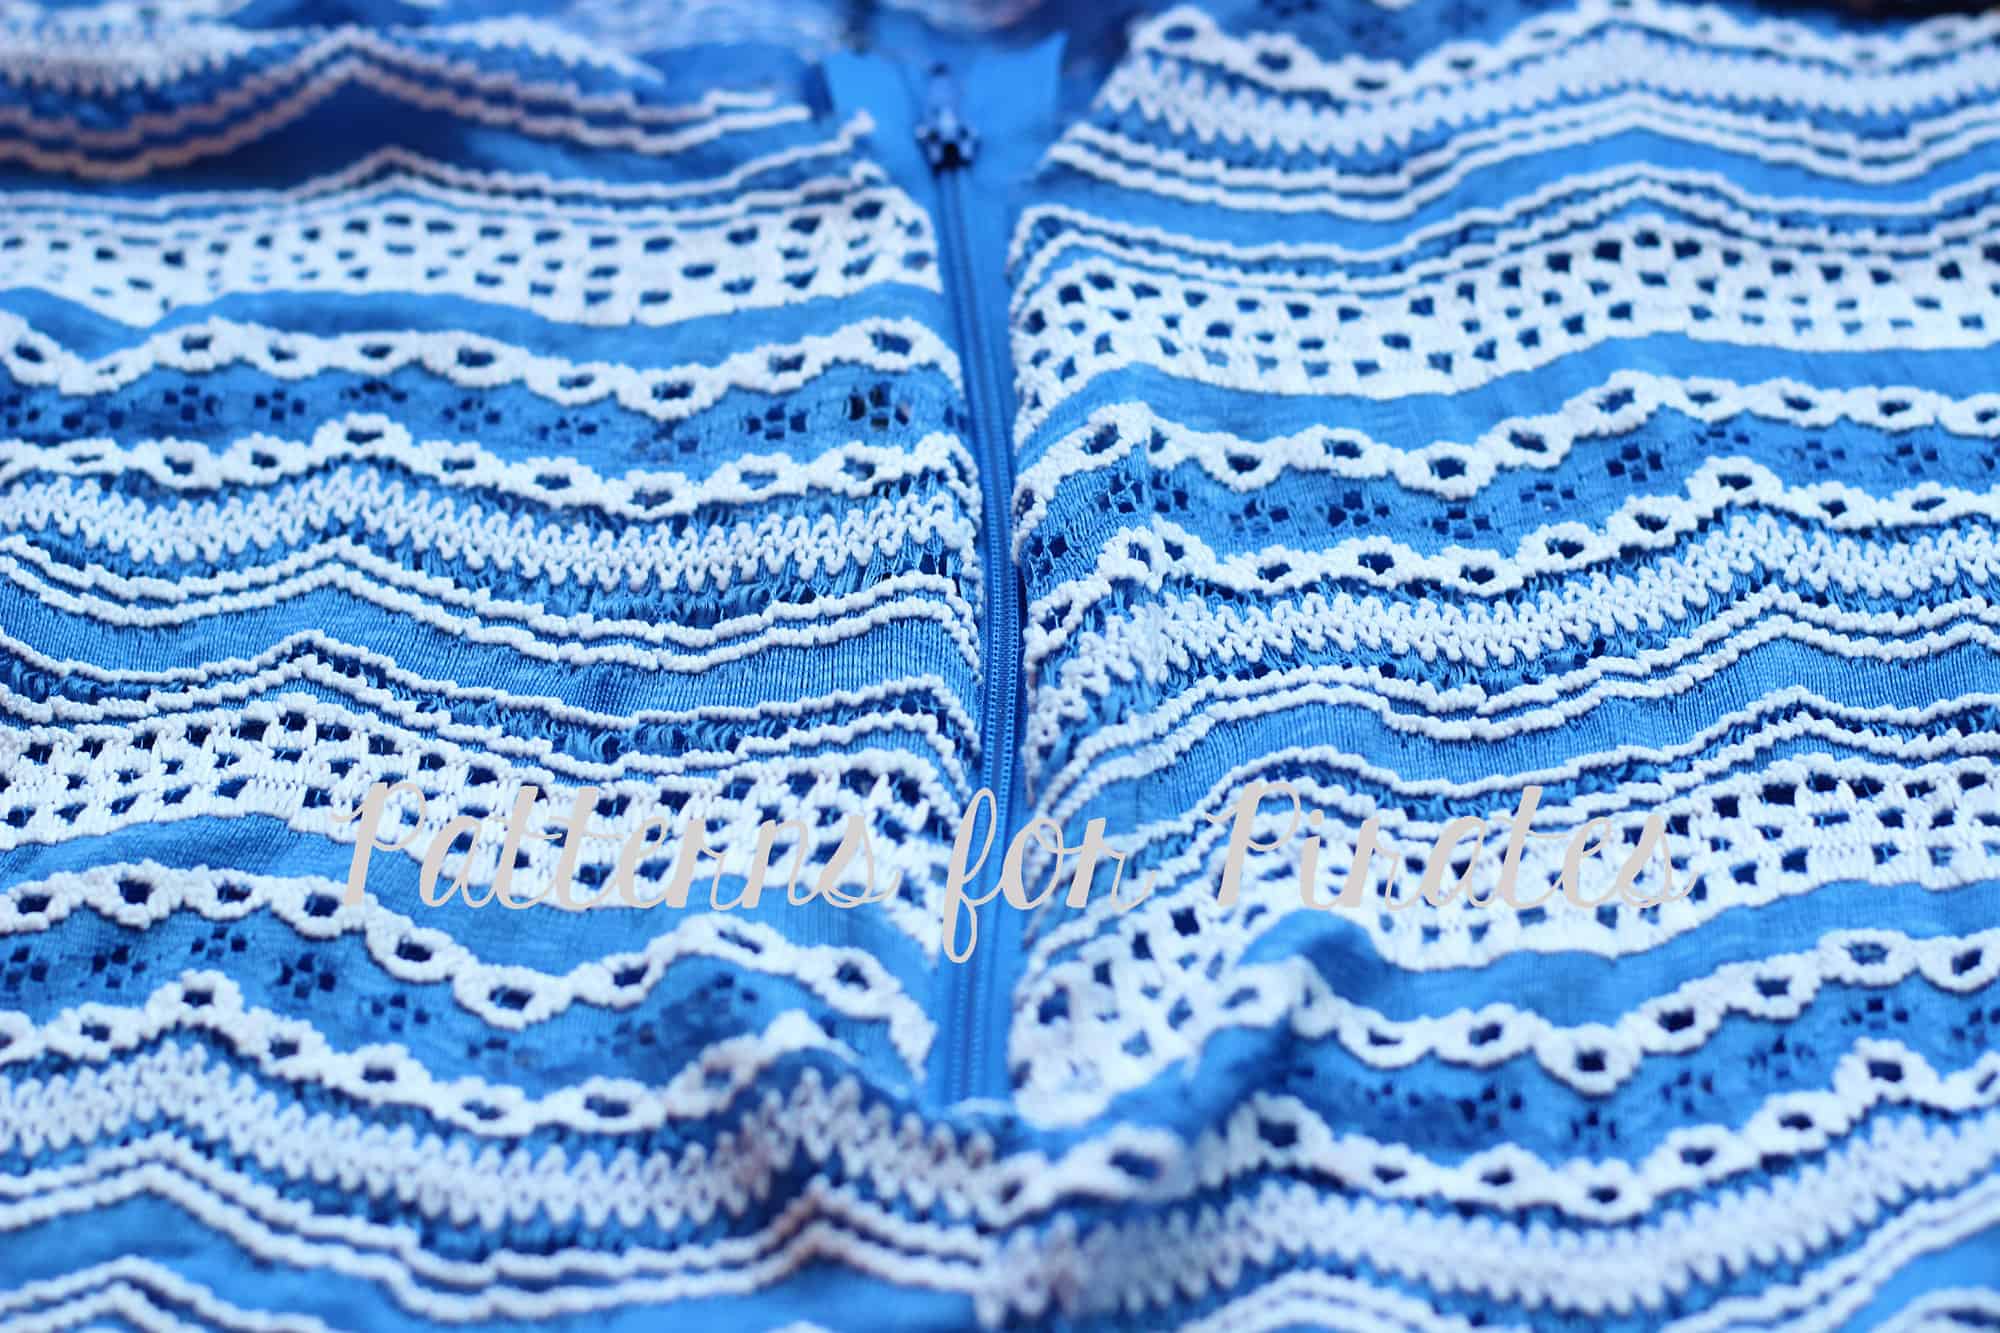
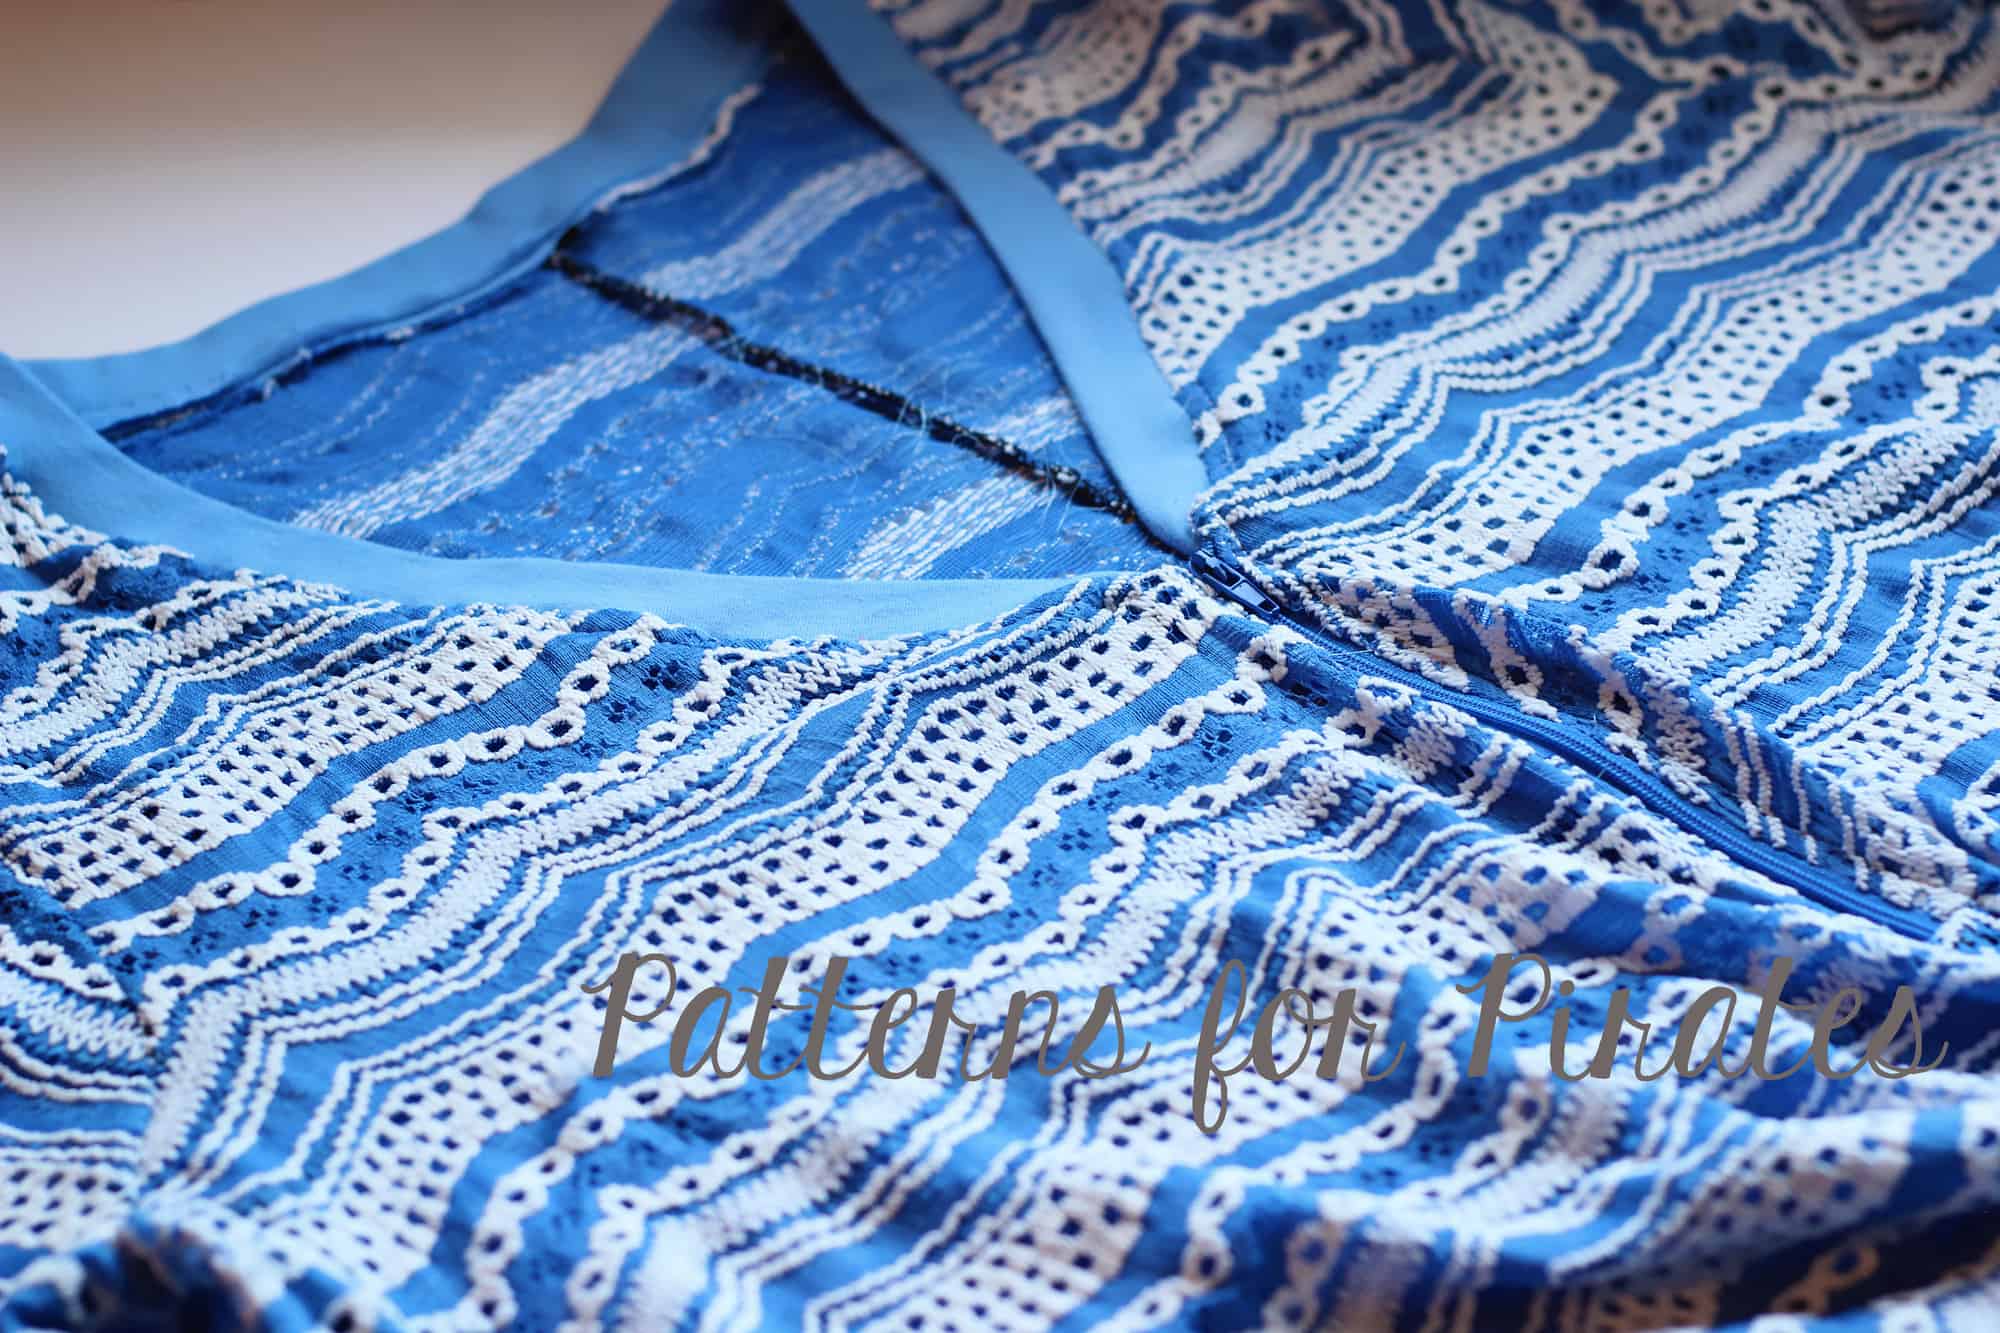
Attach the neckband using a stretch stitch. Optionally, top stitch. I actually like to topstitch around the neckline and zipper right now, using a continuous stitch.
All done! You can use the same technique to add a front zipper to the Sugar and Spice PJs too. You will just have to adjust the zipper length.


…..
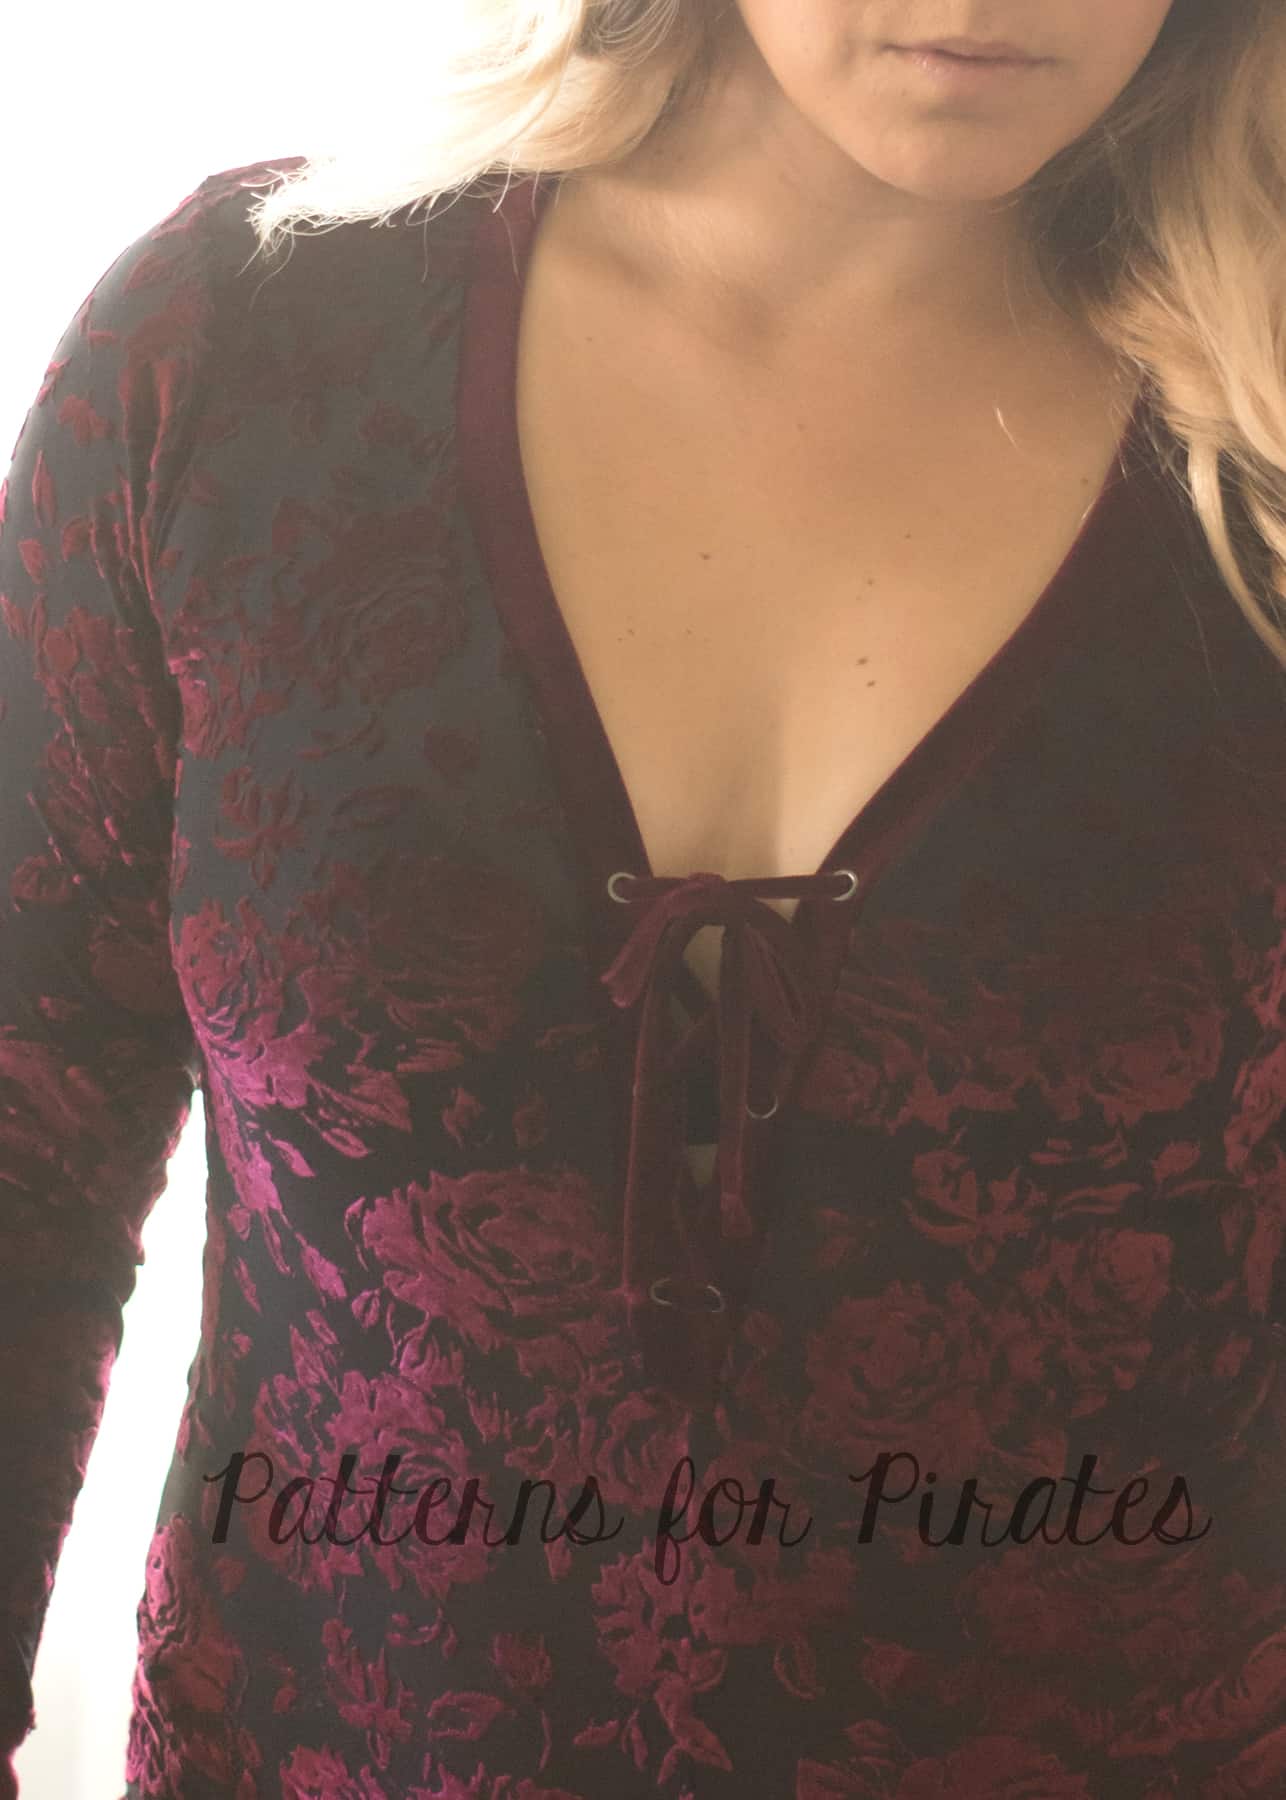
Lace Up Front

Want to spice up the naughty version or just want some extra fun detail? Instead of snaps or buttons, use grommets/eyelets on the front neckline. Use as many or as little as you prefer. I chose to do 4 spaced about 1.5″ apart. Use drawstring, ribbon, lace or our knit fabric to create the string and lace it up!


…..
Hood
When I was searching for inspiration for my Naughty Nice PJs, I kept coming across hooded versions of this same style pajama. I’m not sure how comfortable a hood would be to sleep in, but to have a little extra coziness around you while you’re lounging around? Sign me up! Plus, I think this pattern will translate so amazingly well for costumes next Halloween, and a hood is always a good thing to be able to attach for those as well.
You can use your favorite hood piece from any pattern. I chose to use the Women’s Henley hood piece.
Assemble your hood piece like you normally would. I chose not to line mine and hem it instead.
You’ll need to take two measurements:
— The width of the bottom edge of your hood, where it will attach to your PJs.
— The full length of the neckline + placket opening.

You won’t be using the neckband piece that comes with the pattern. Instead, you’ll need to do a little more math.
(Neckline Opening Measurement – Hood Width Measurement) / 2 + 1″ Seam Allowance
This will give you your new placket piece length. You’ll want two of them, for either side of the openings.
With your placket pieces folded in half (wrong sides together), pin it along the front placket opening and stitch. Repeat with the second placket piece on the opposite side. Follow the instructions just like the Naughty Nice / Sugar Spice patterns call for, to finish the bottom of your placket pieces.

With right sides together, align your hood piece along the raw edges of the neck opening. Pin and stitch. You’re done!


…..
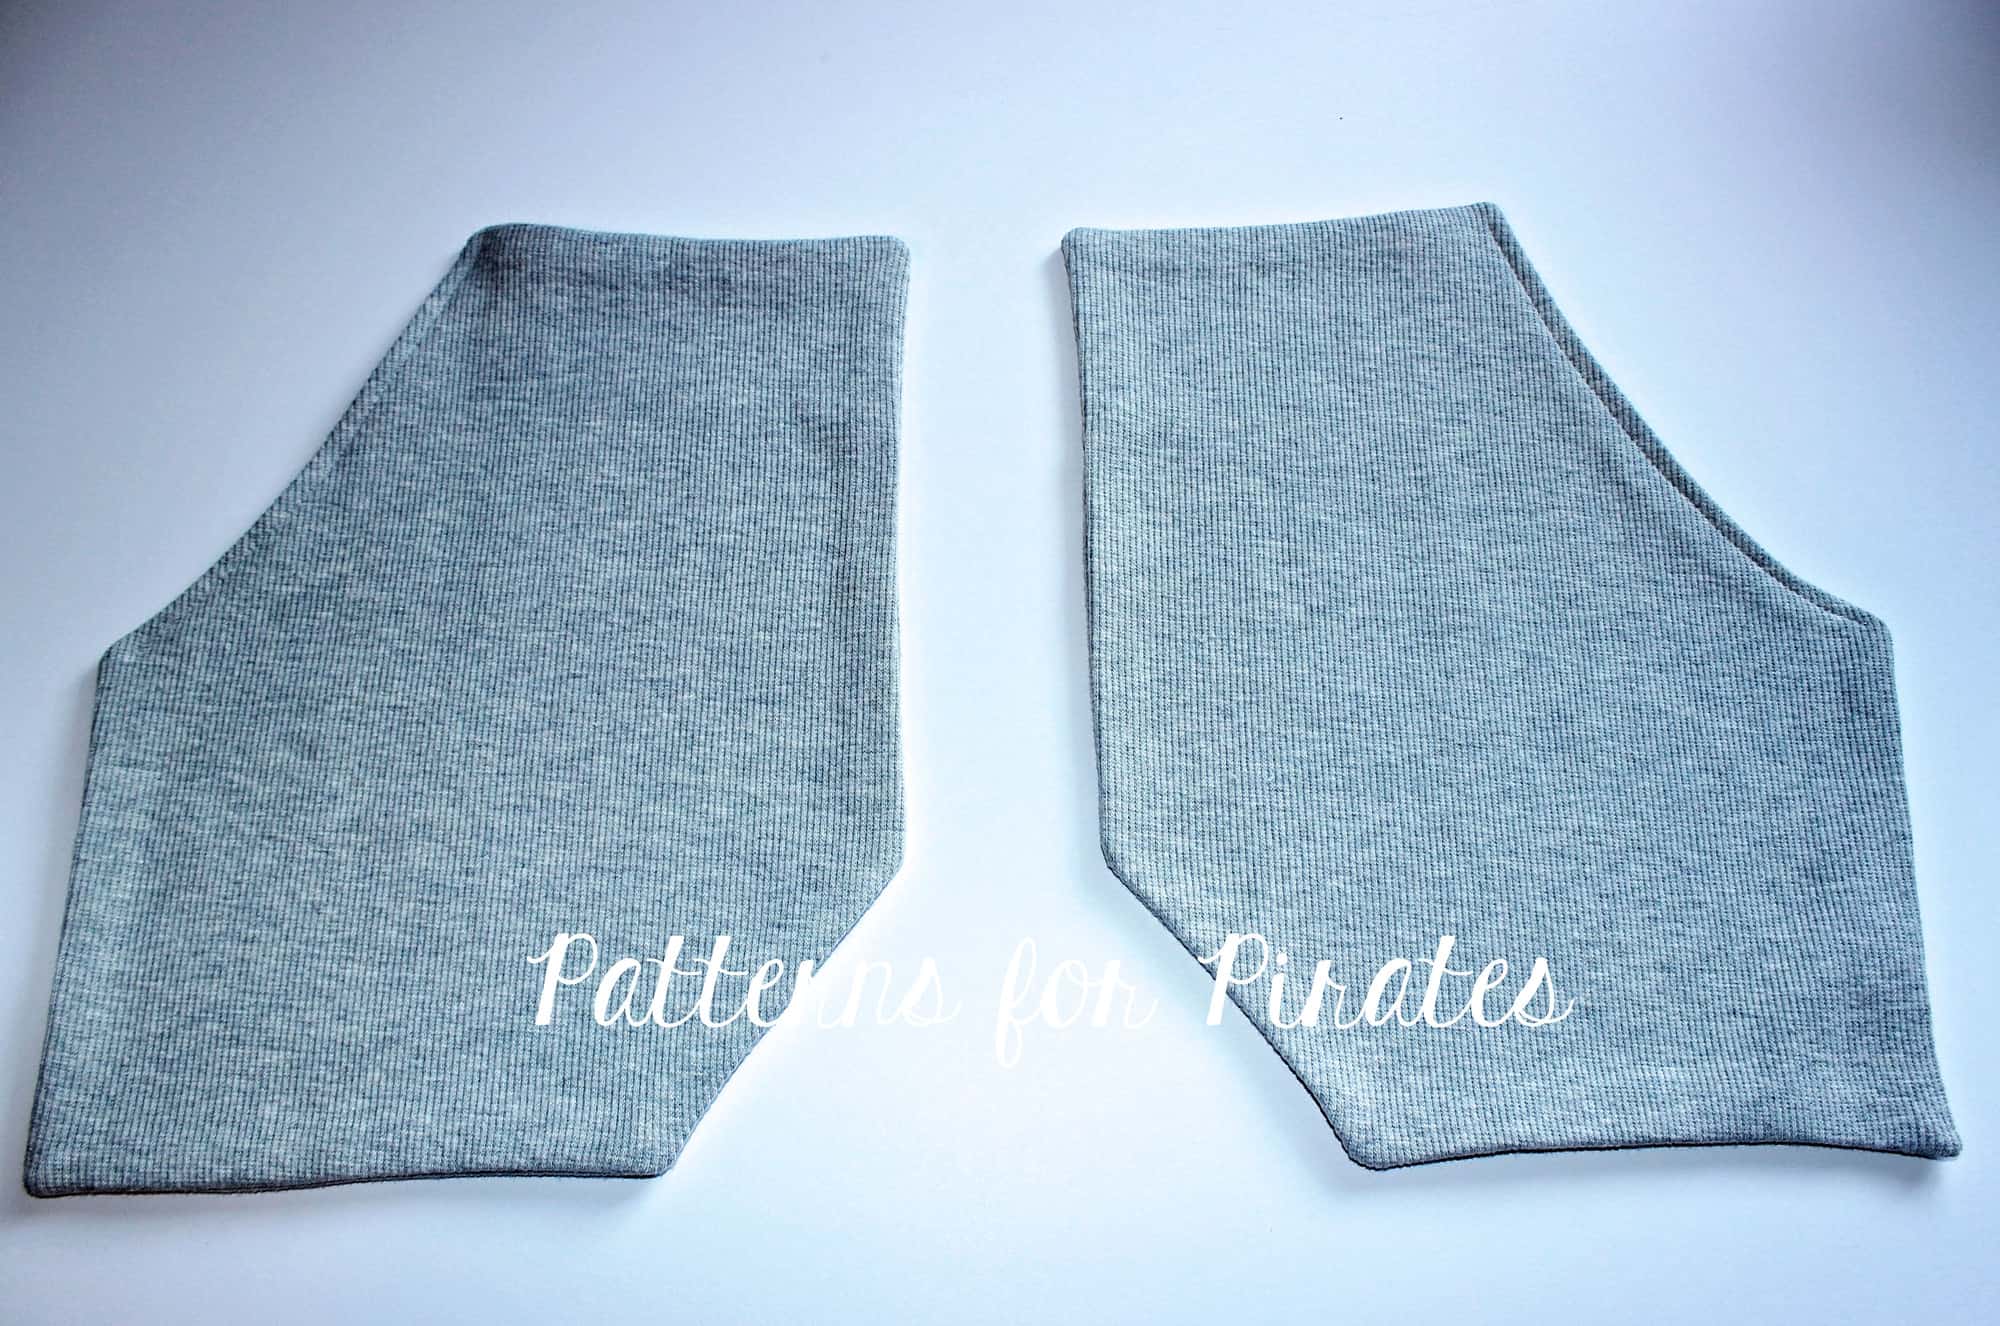
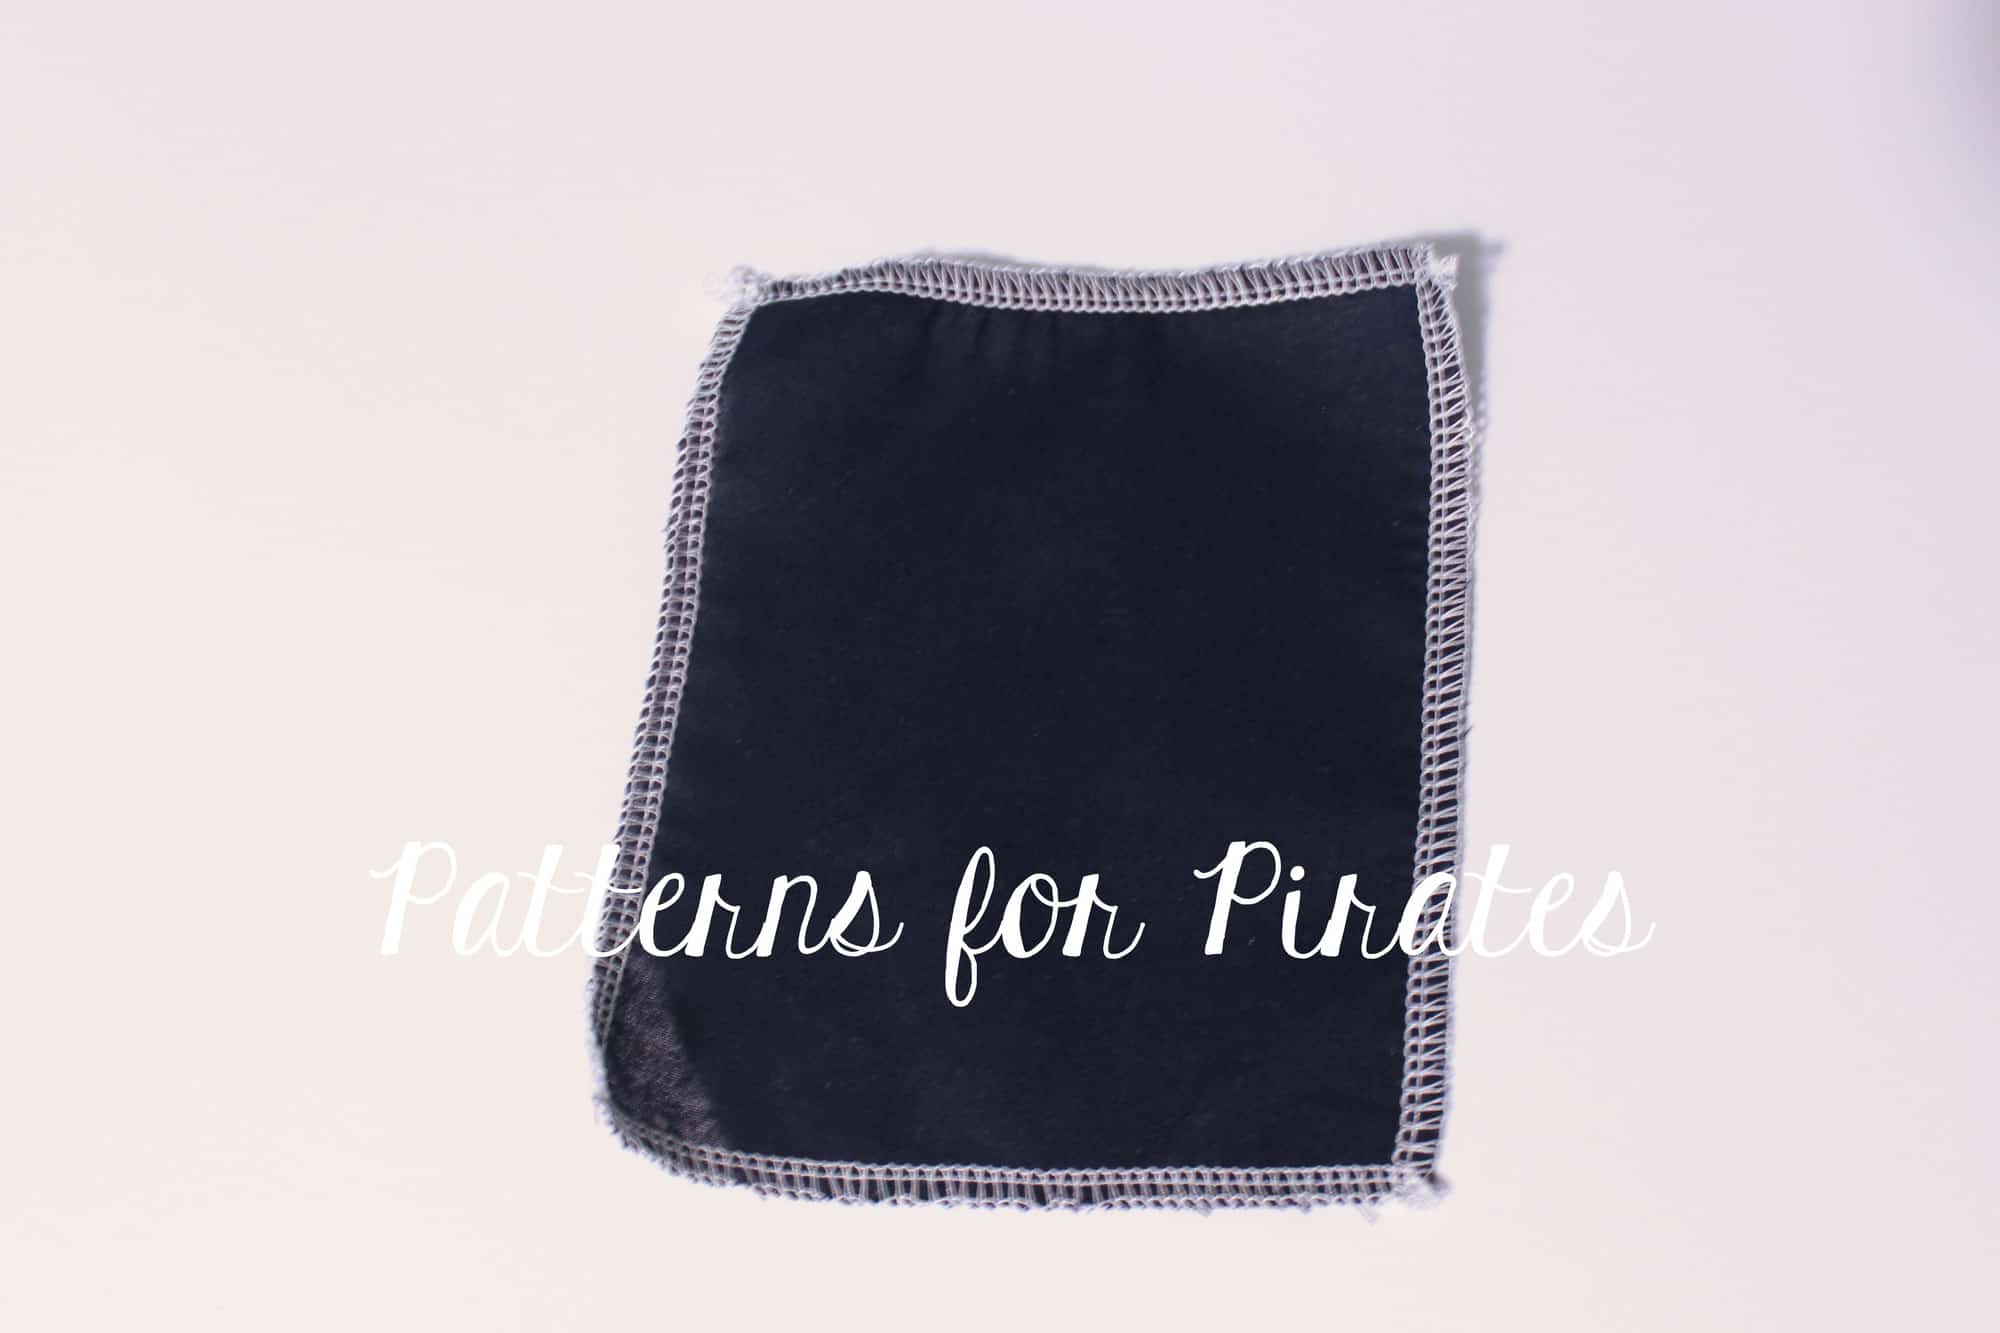
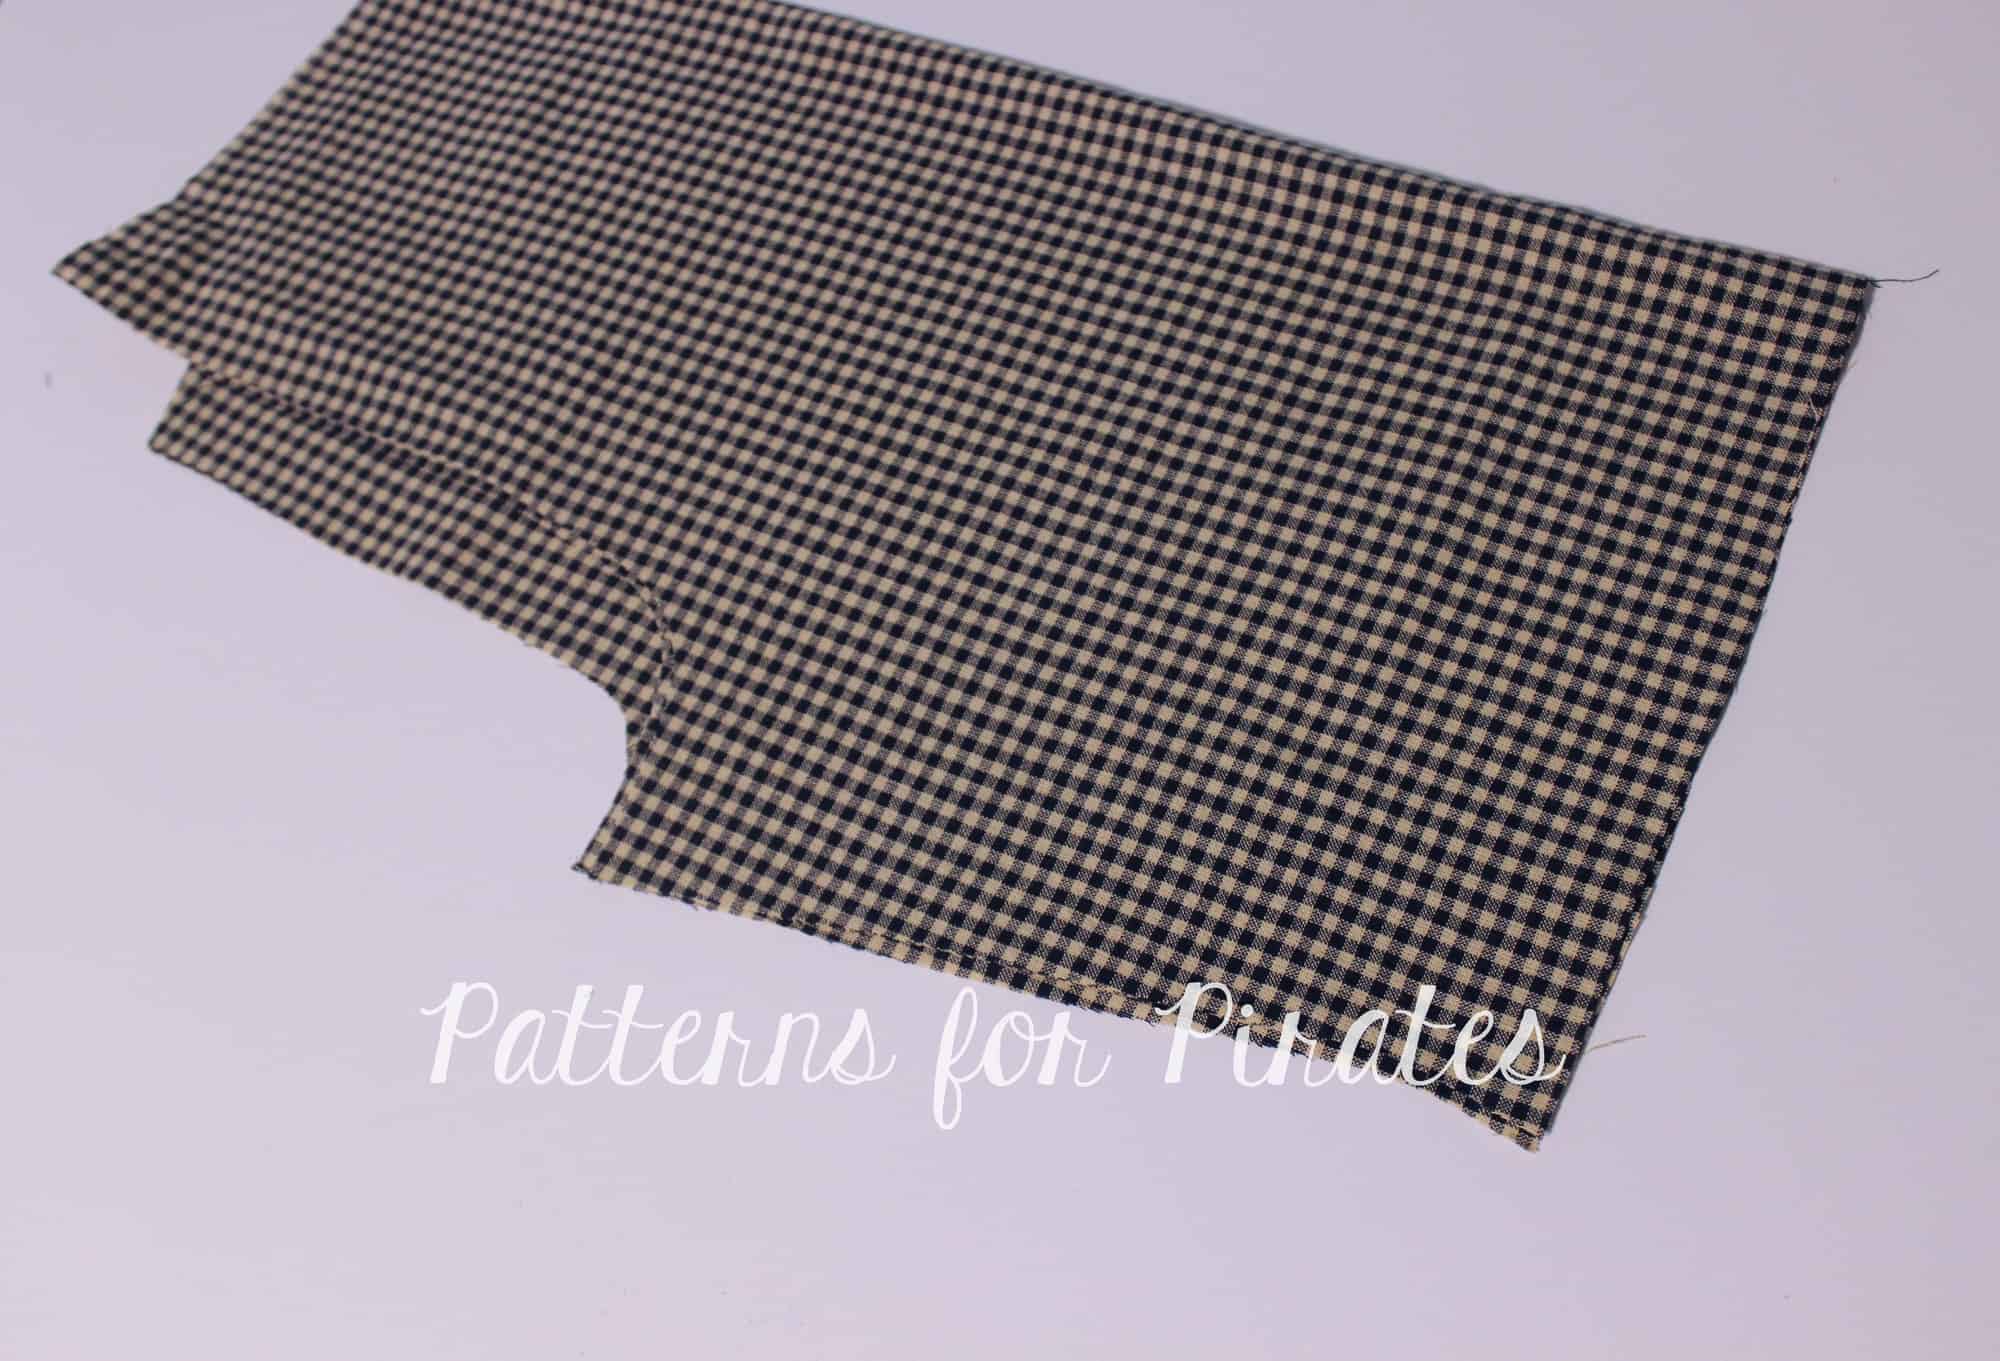
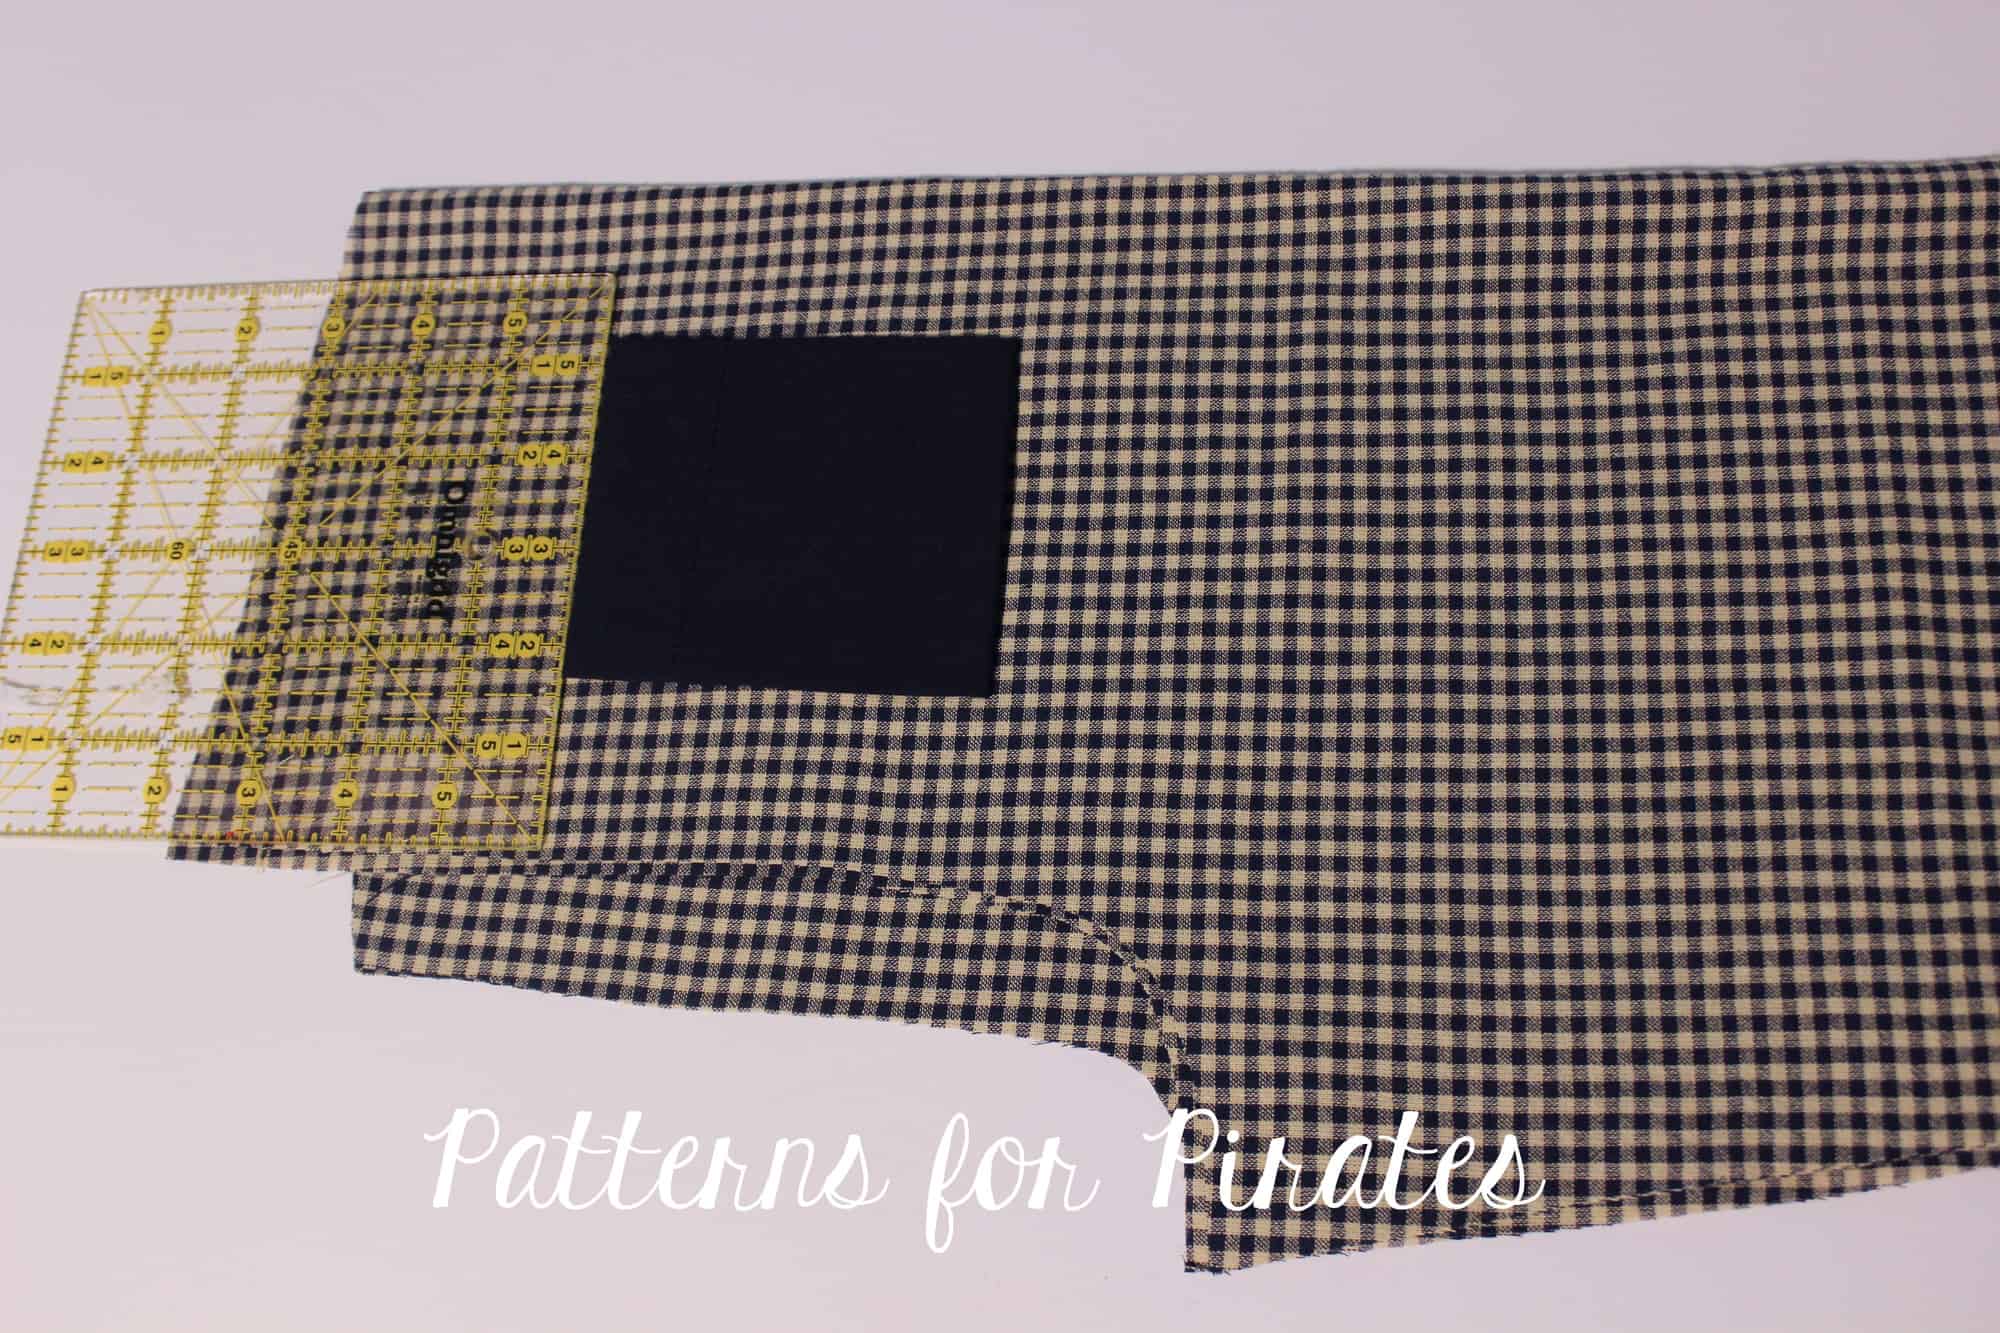
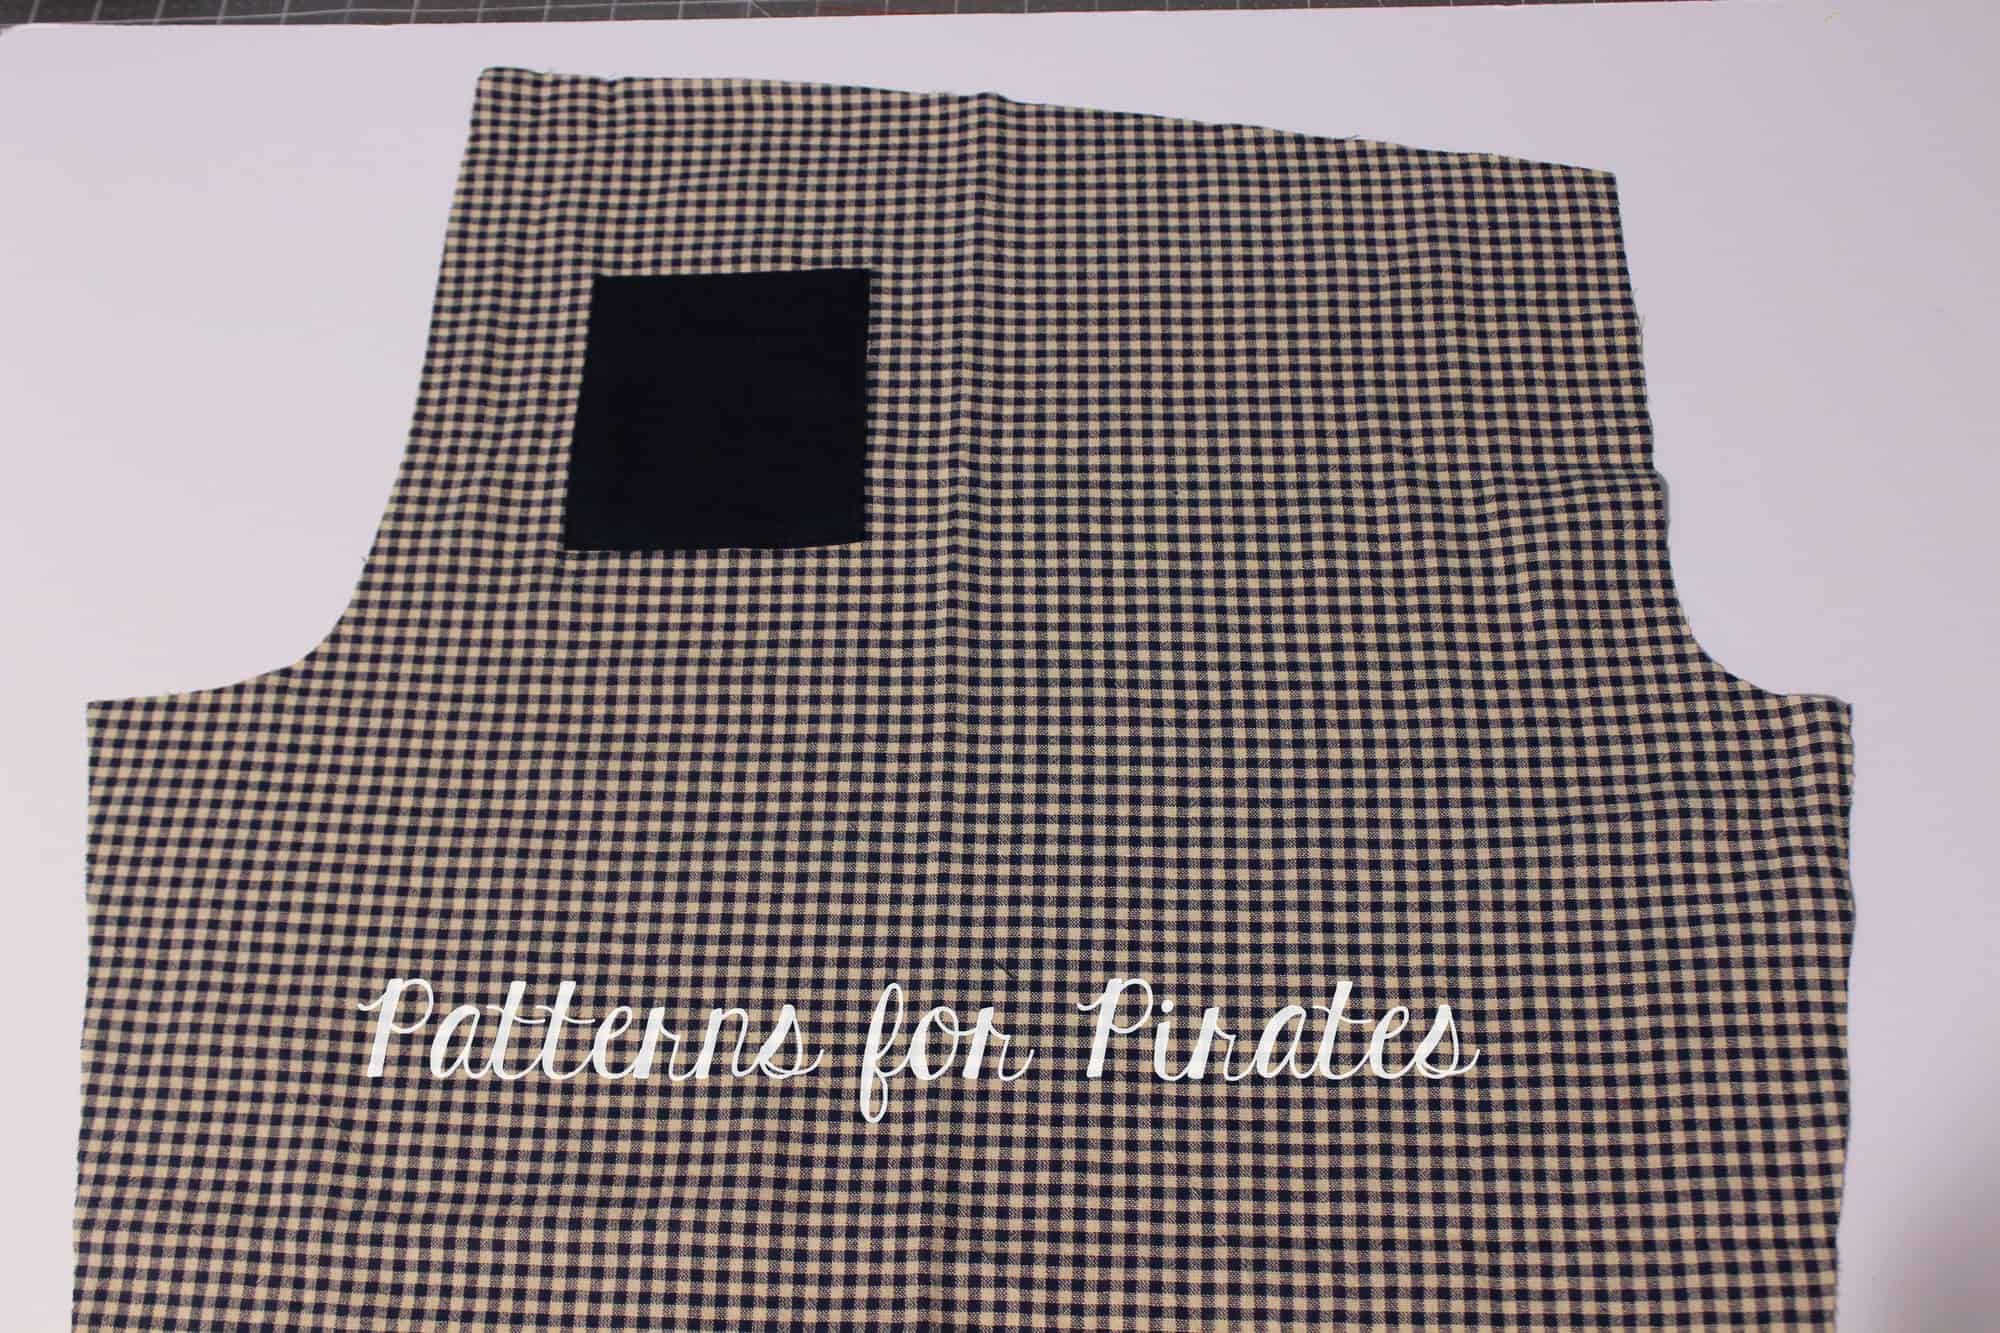
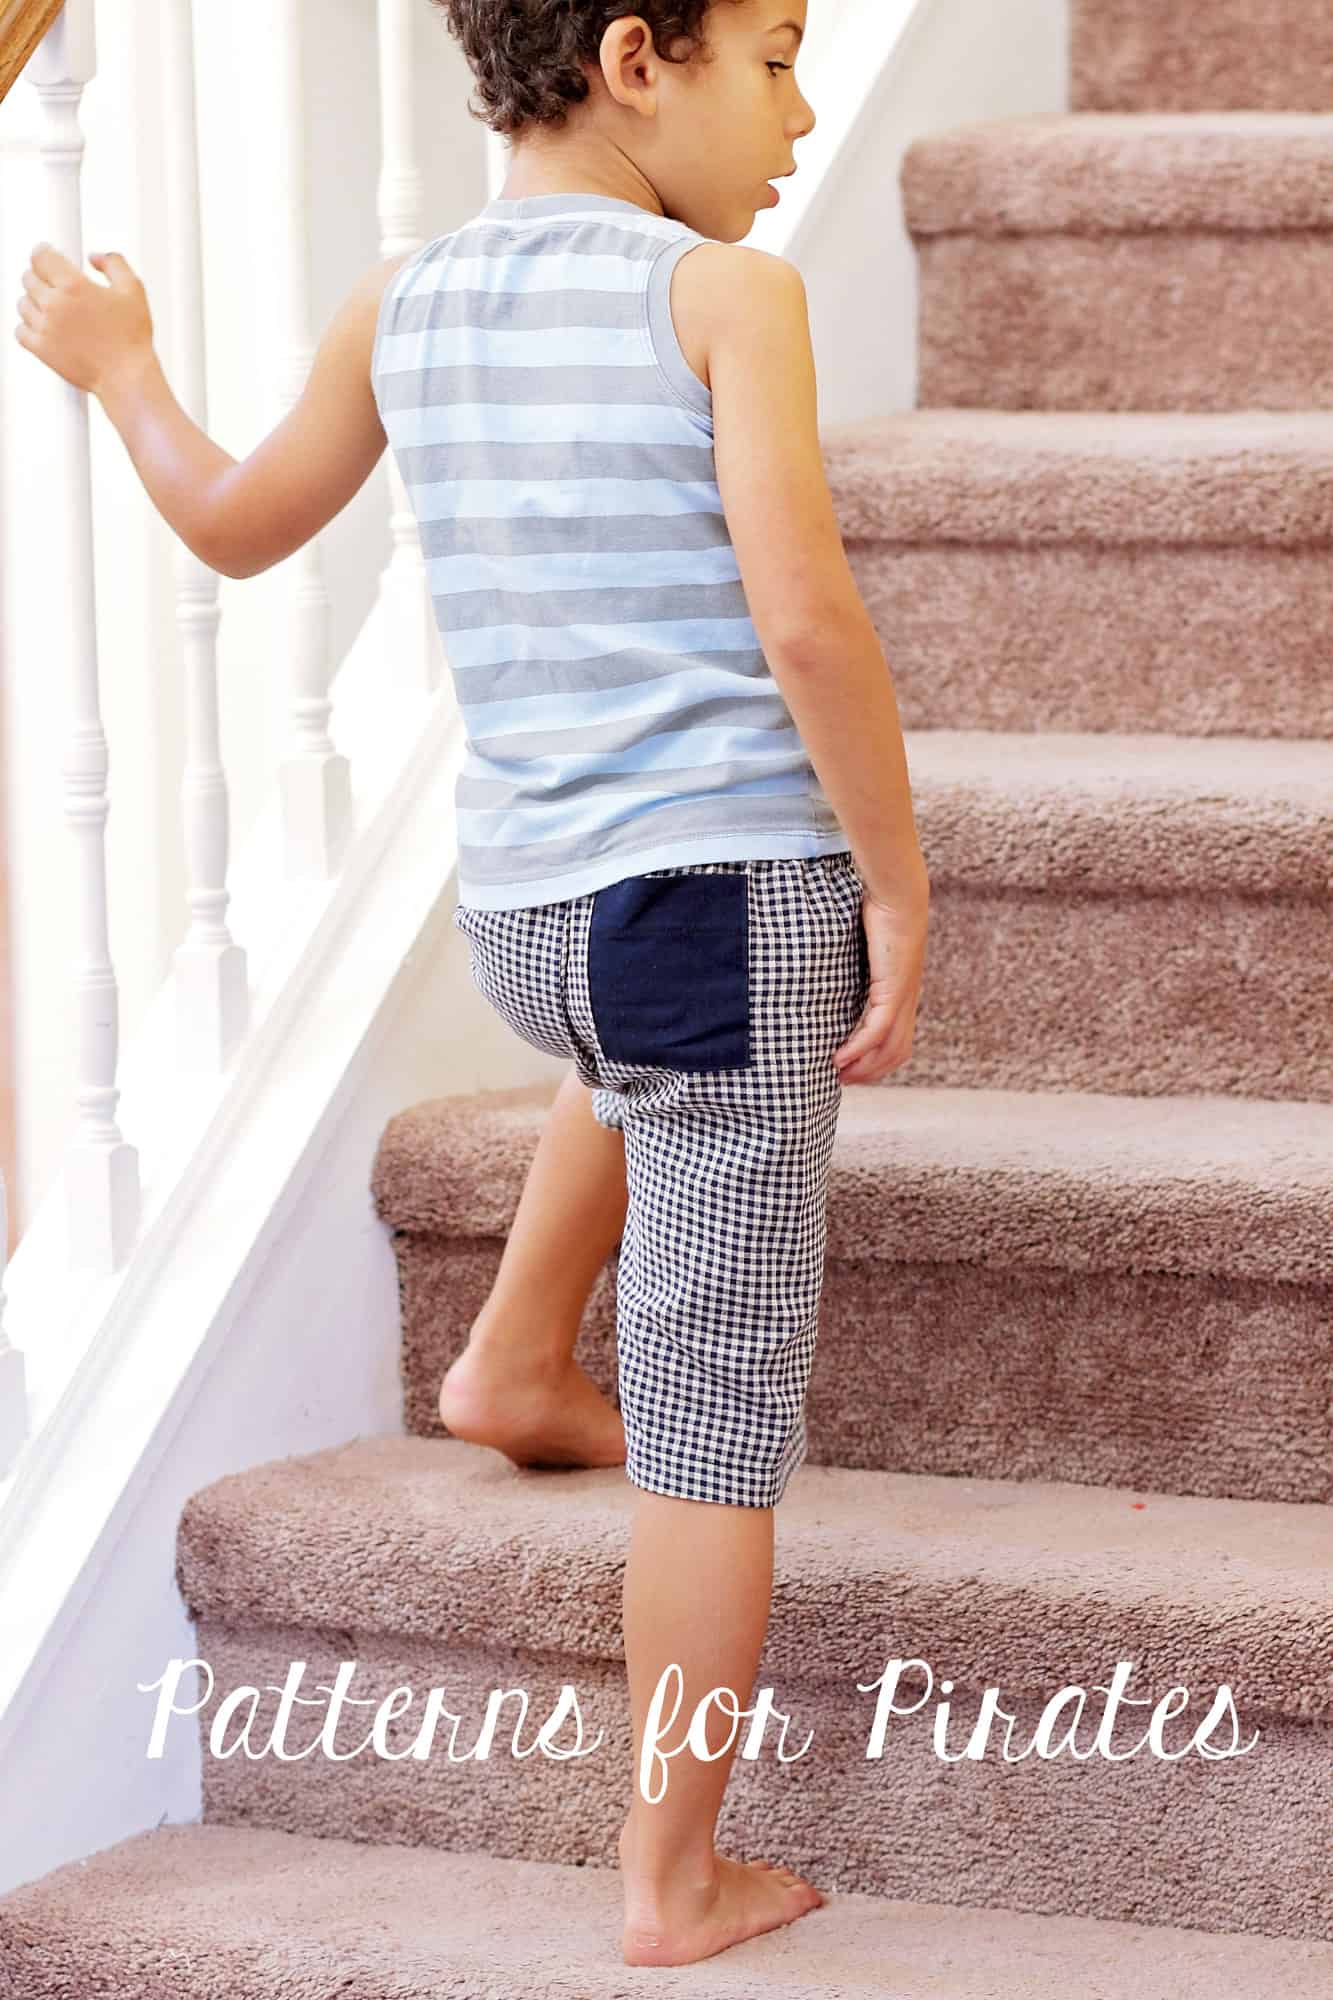
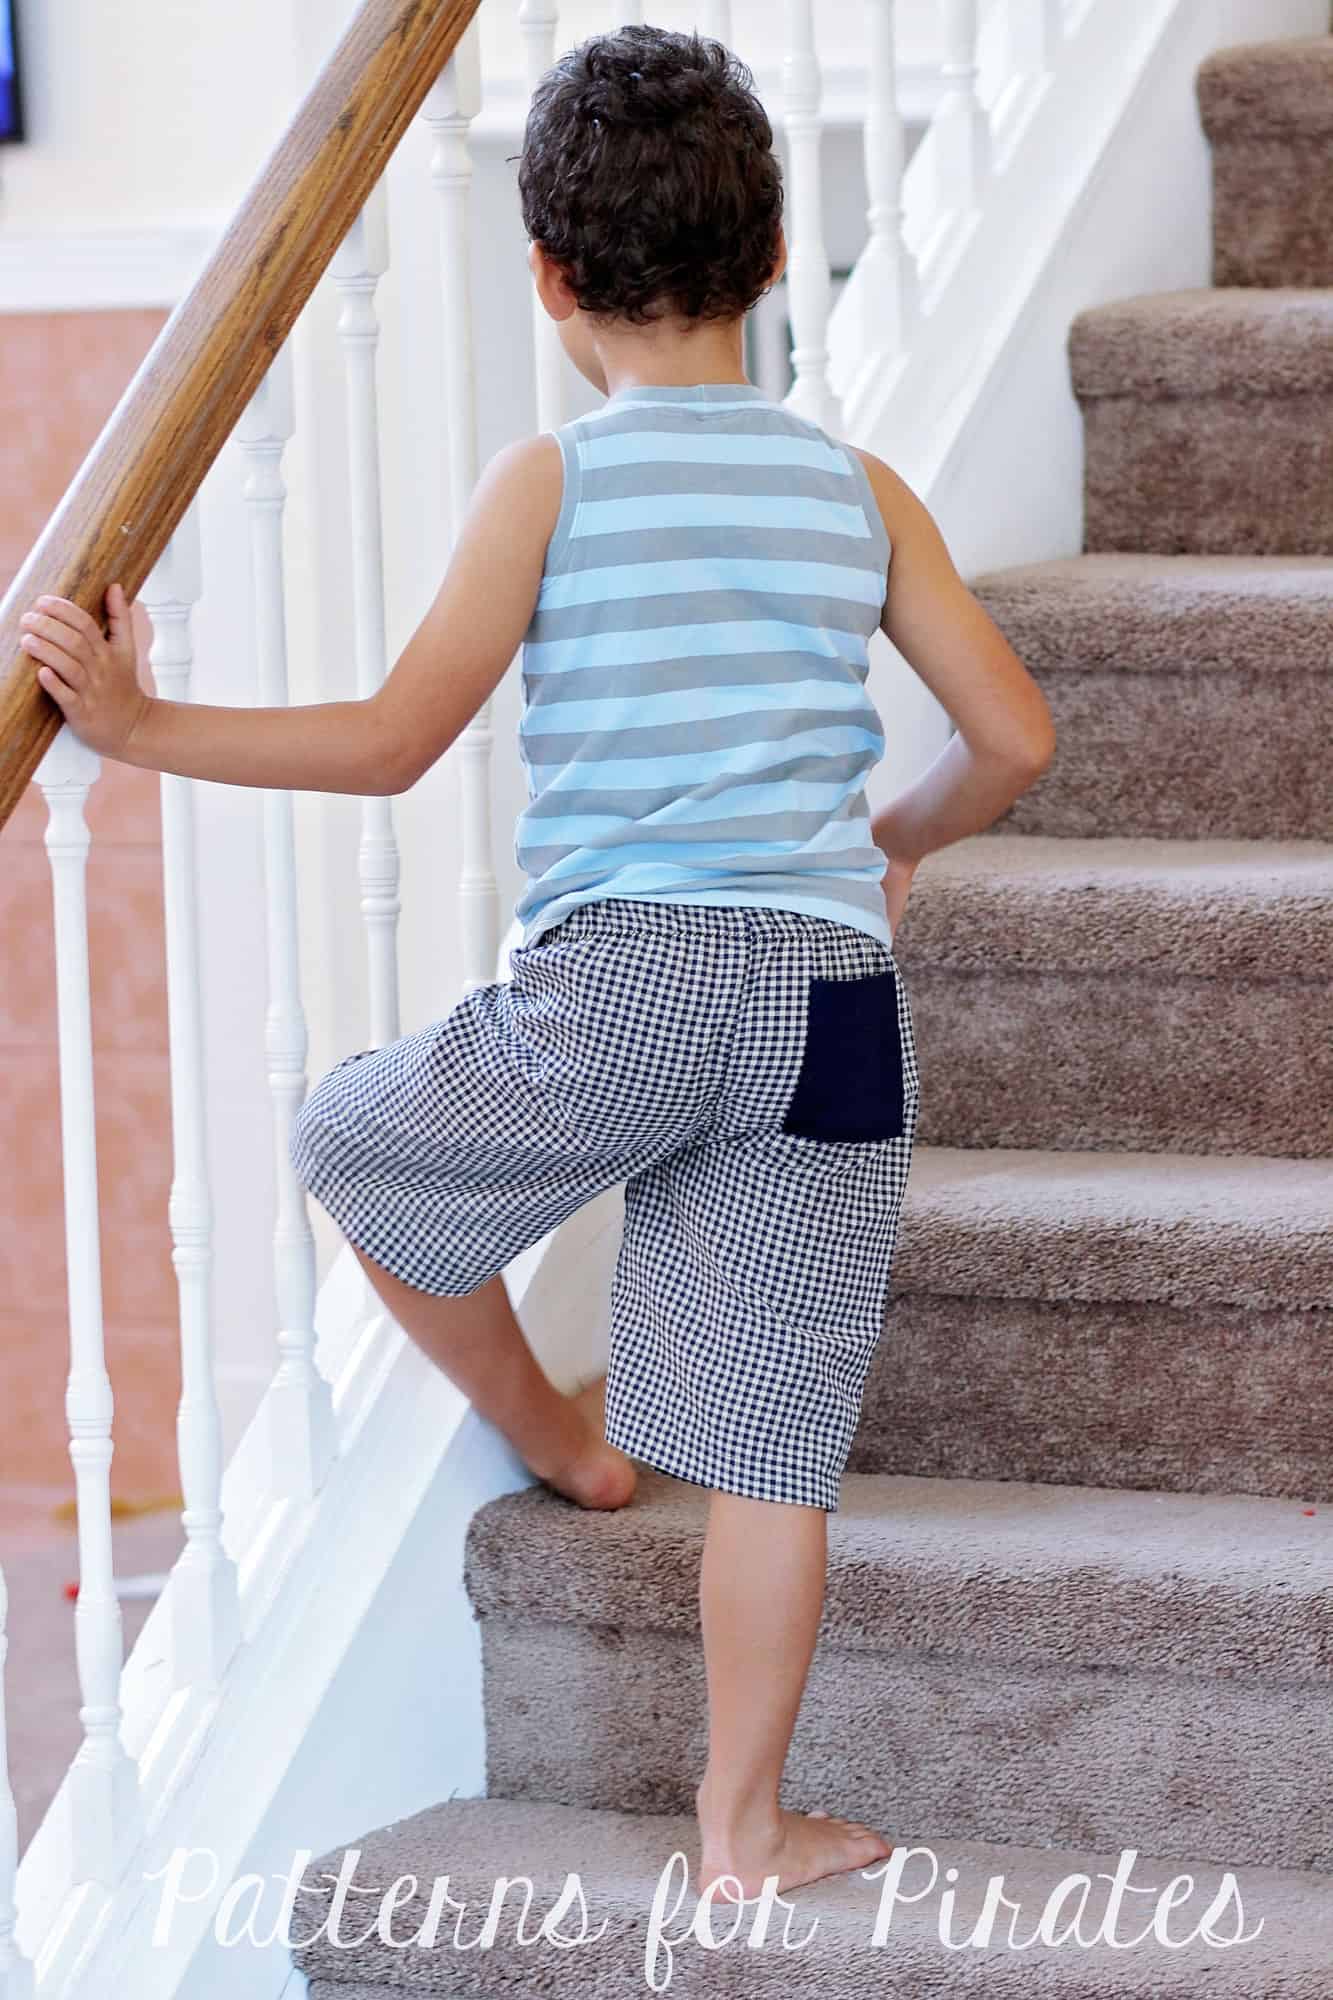
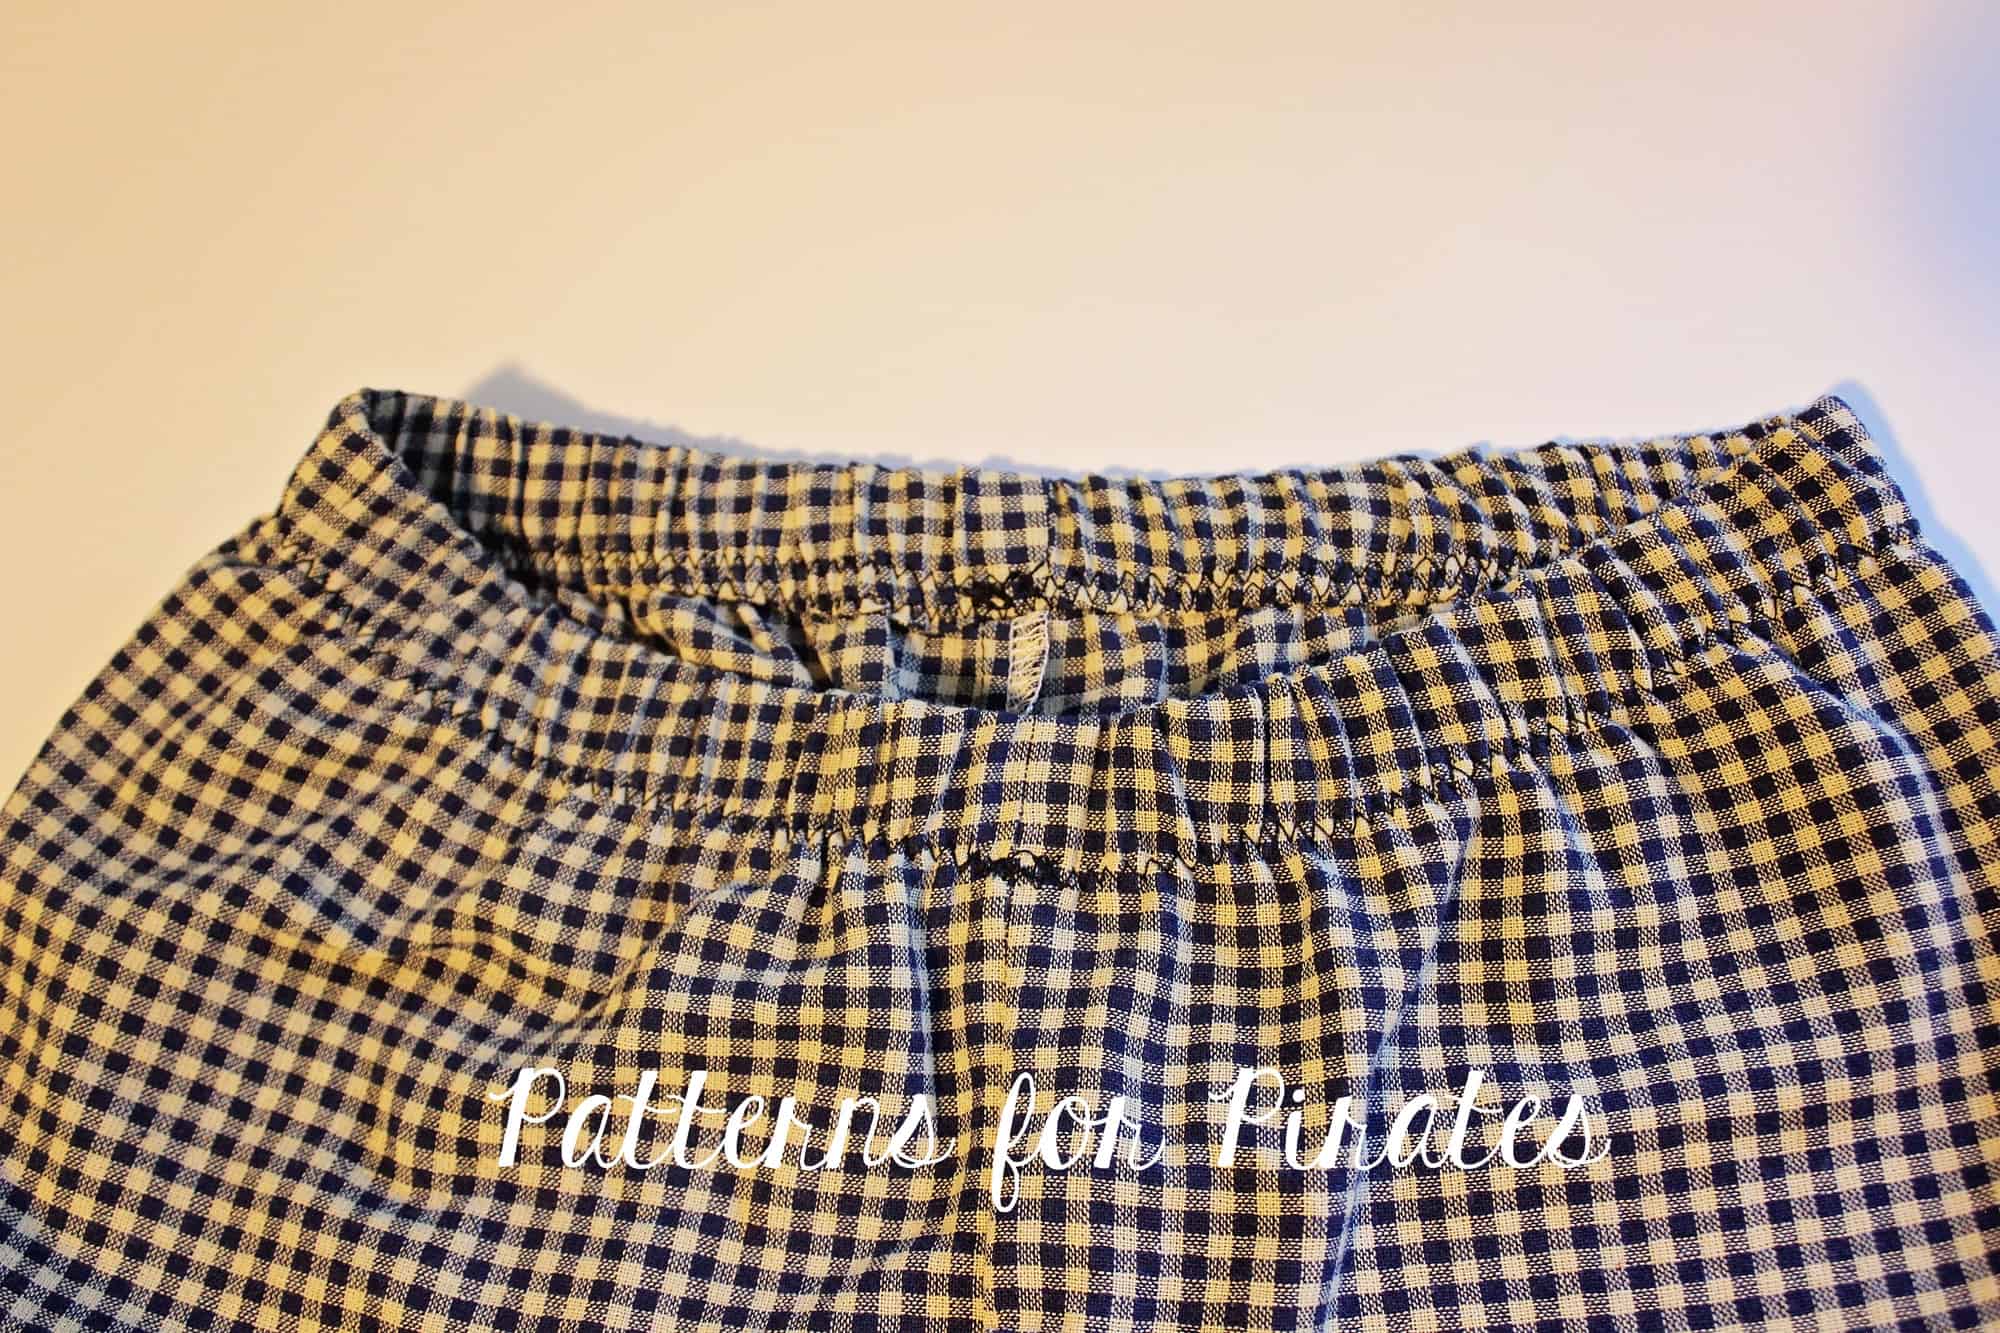
Leg Placket
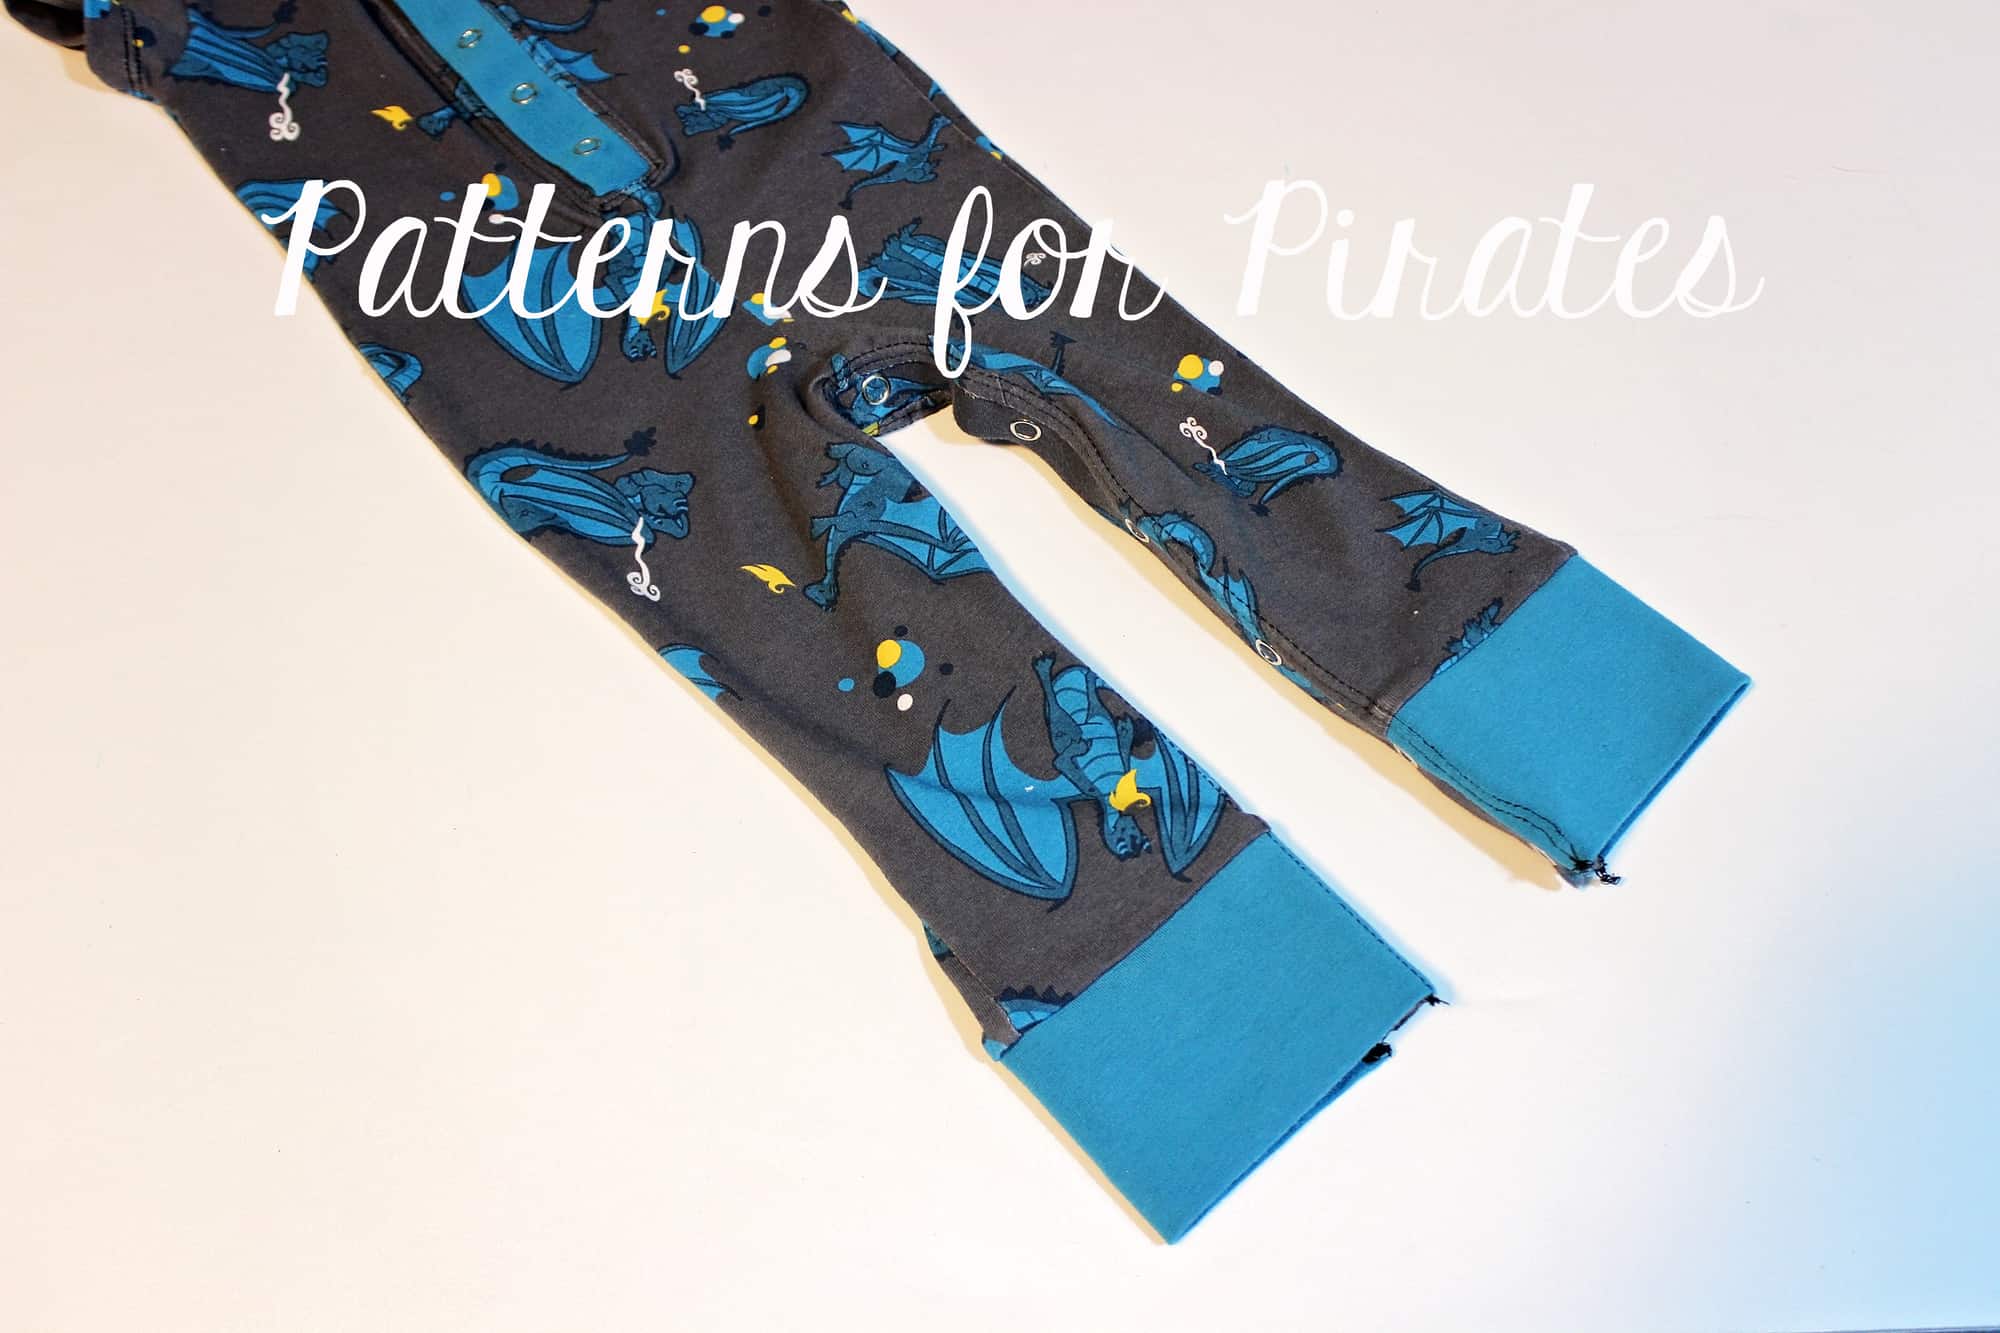
The last easy hack we wanted to show you is geared towards the Sugar and Spice. We all know how changing a bitty’s diaper can be difficult when they get all wiggly, especially in the middle of the night. So I wanted to show you how to add leg plackets to make changing a little easier.
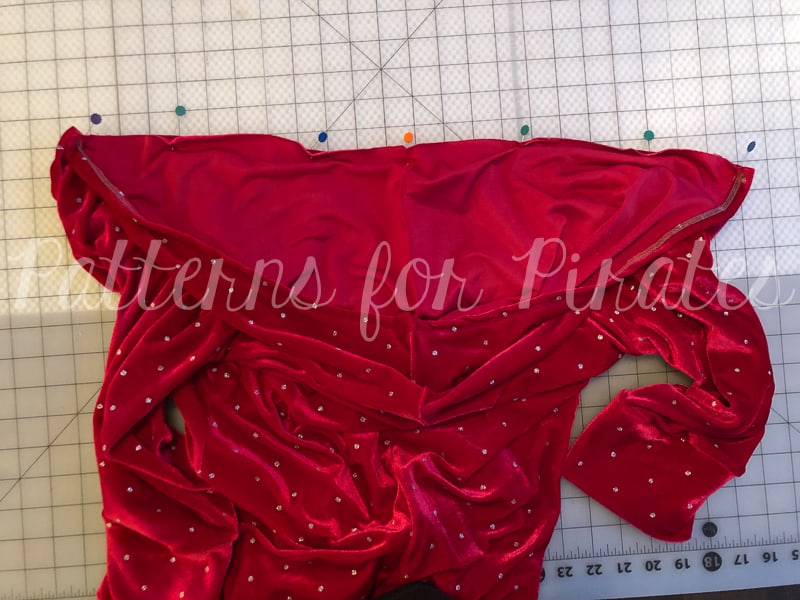
Make the pajamas as instructed in the tutorial but do not stitch the inseam. Instead, add the cuffs flats, right sides together.
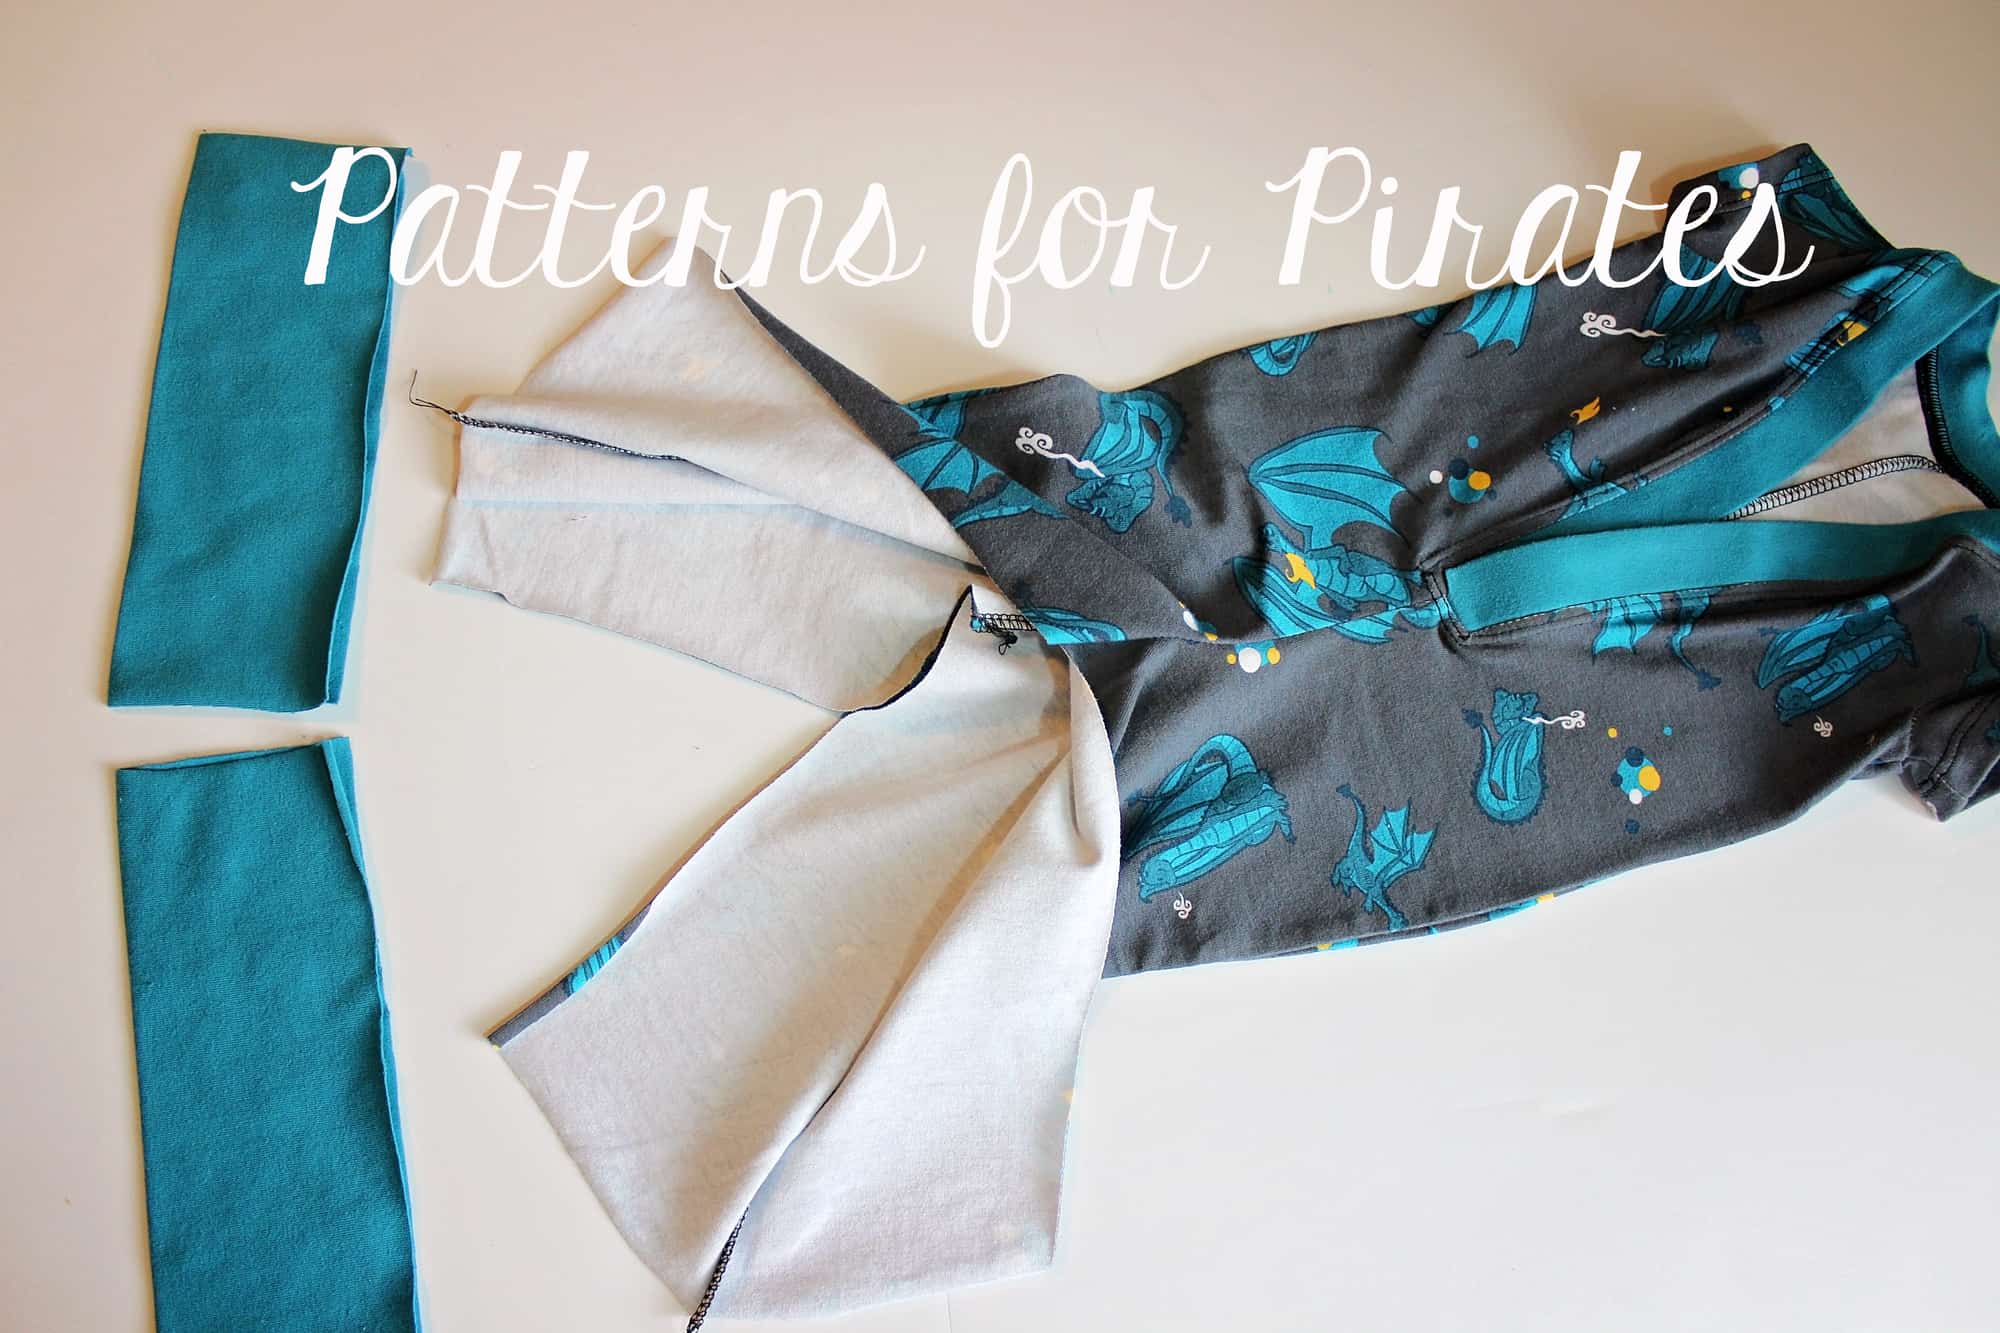
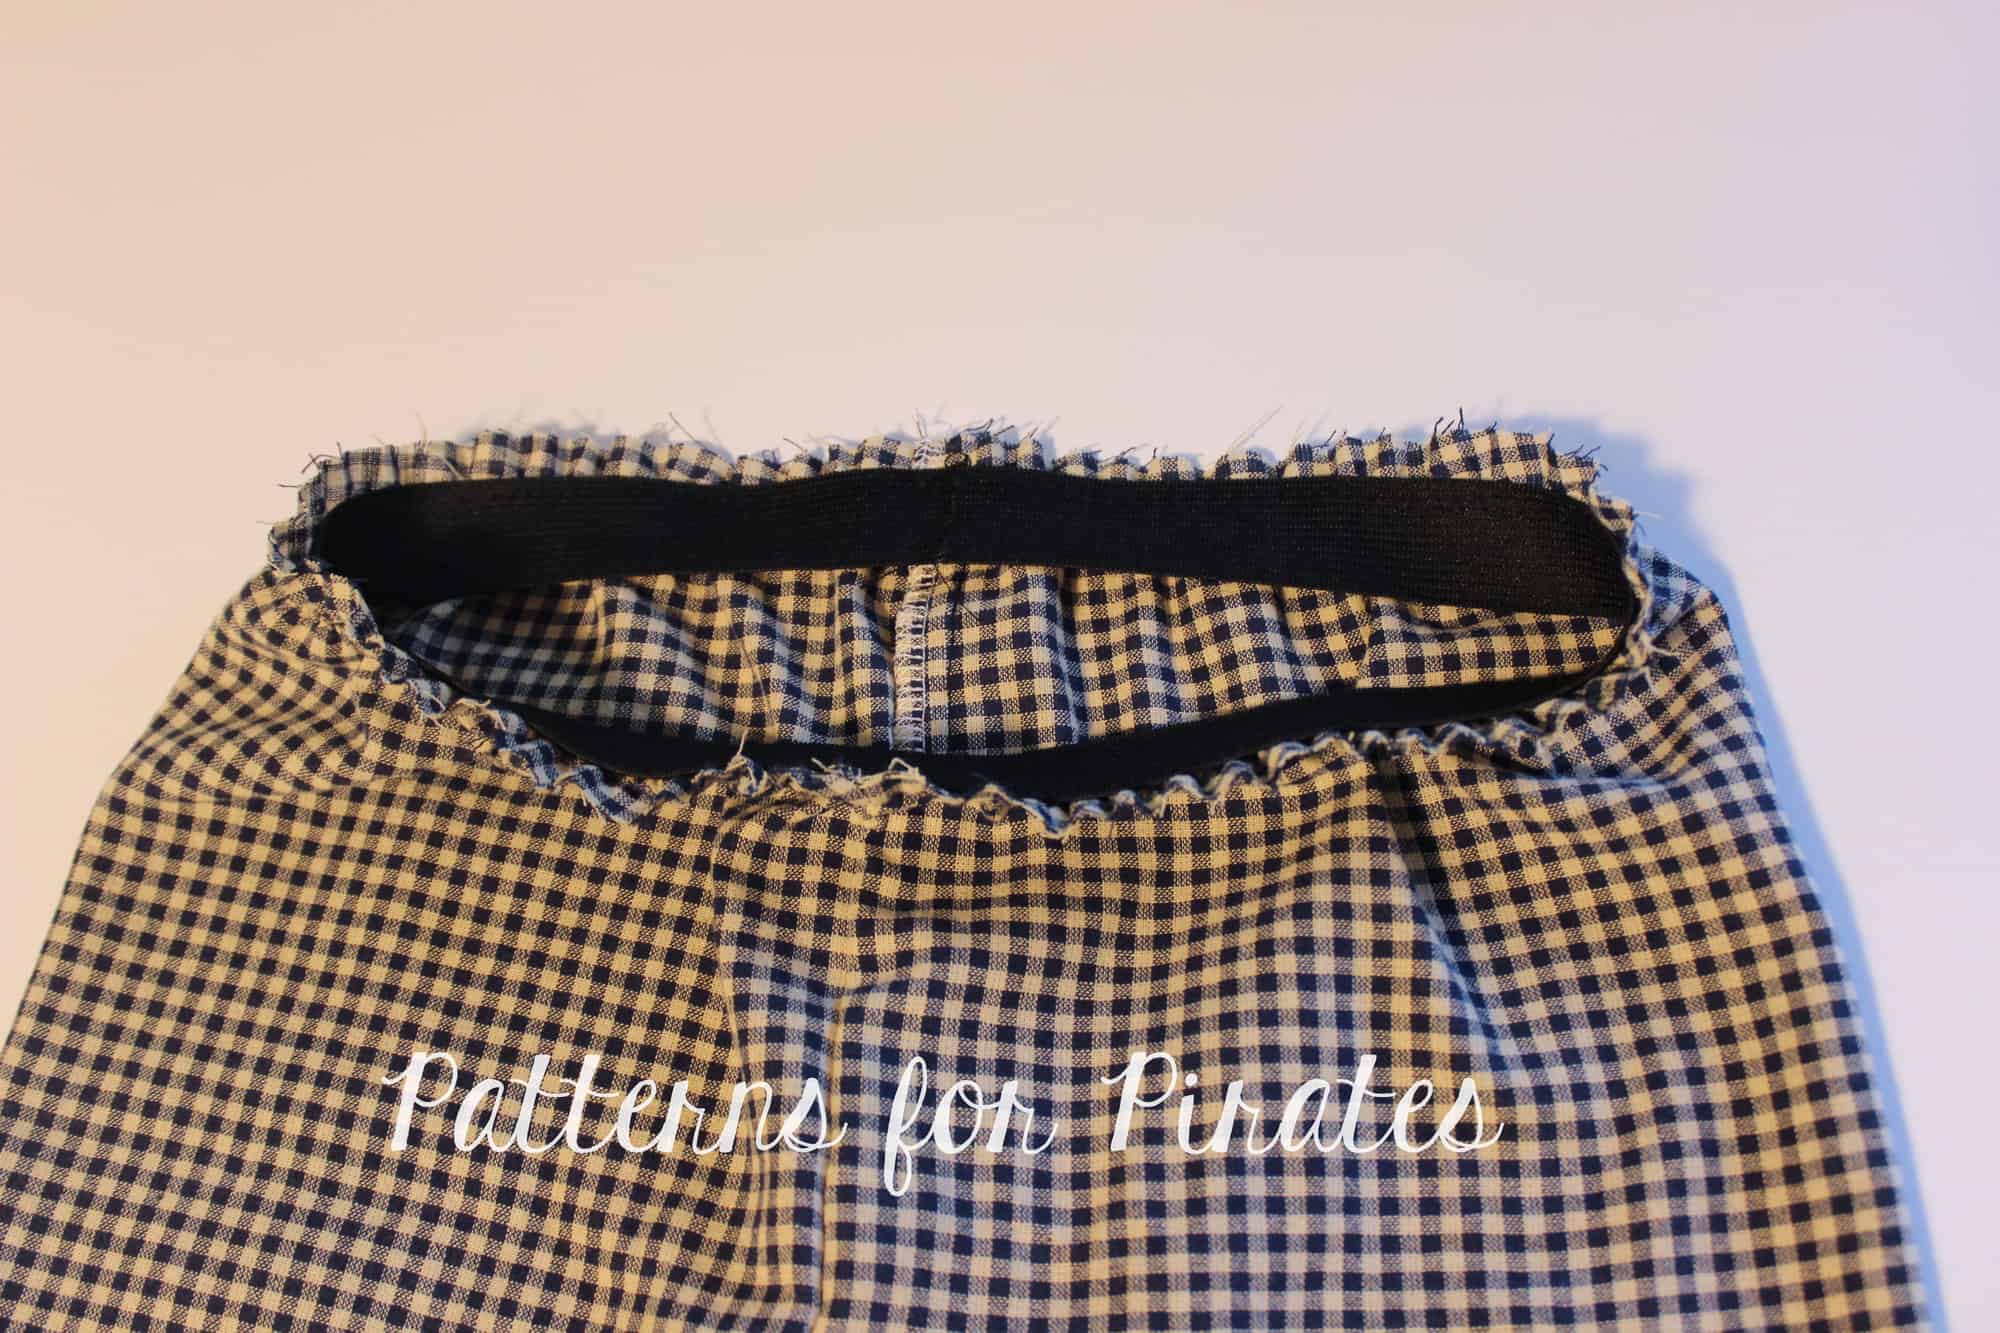
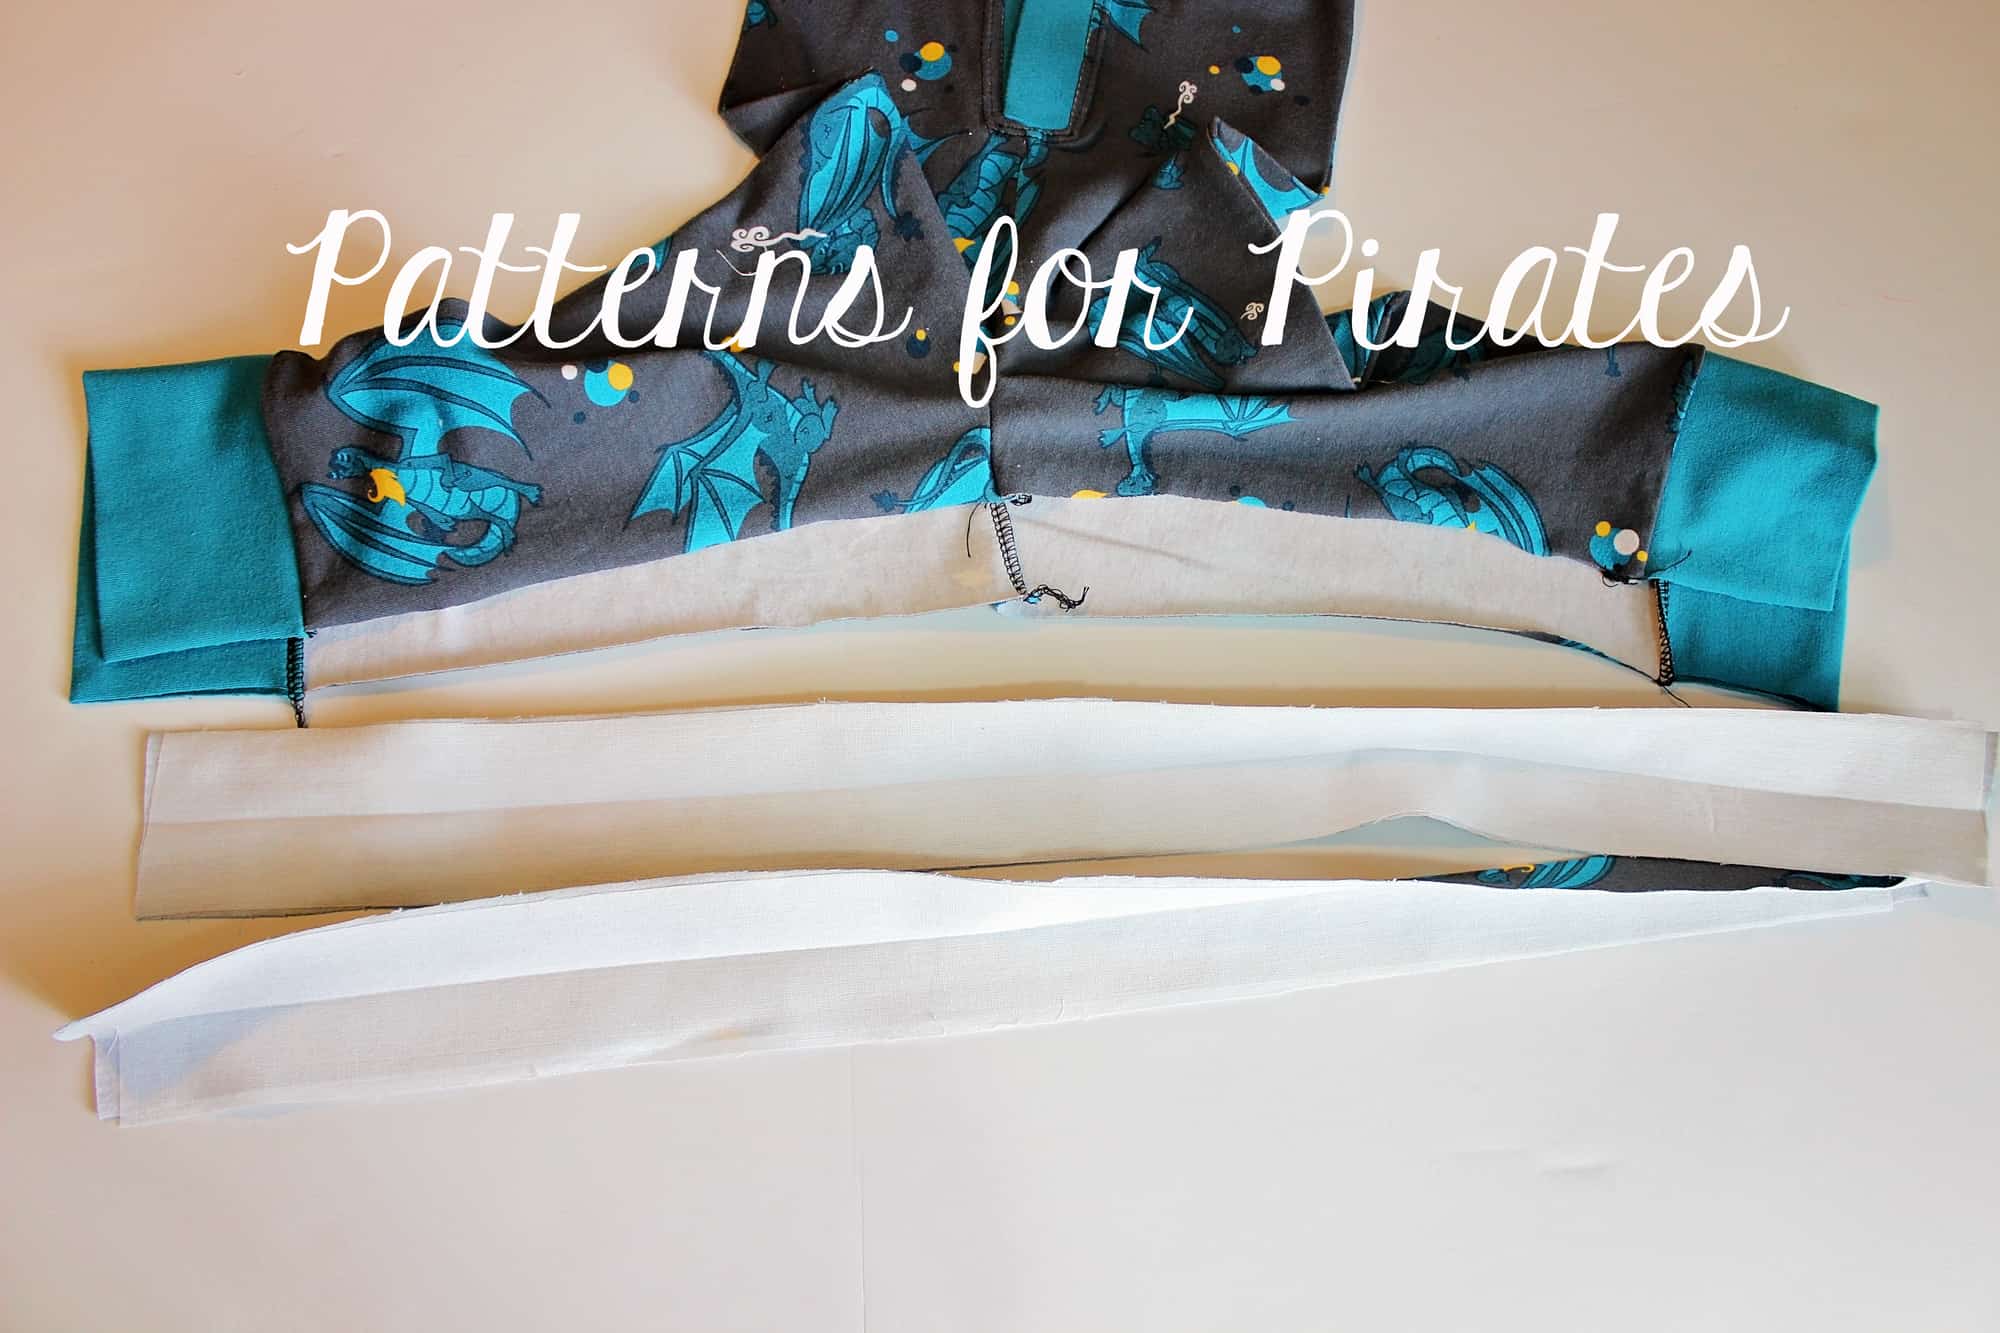
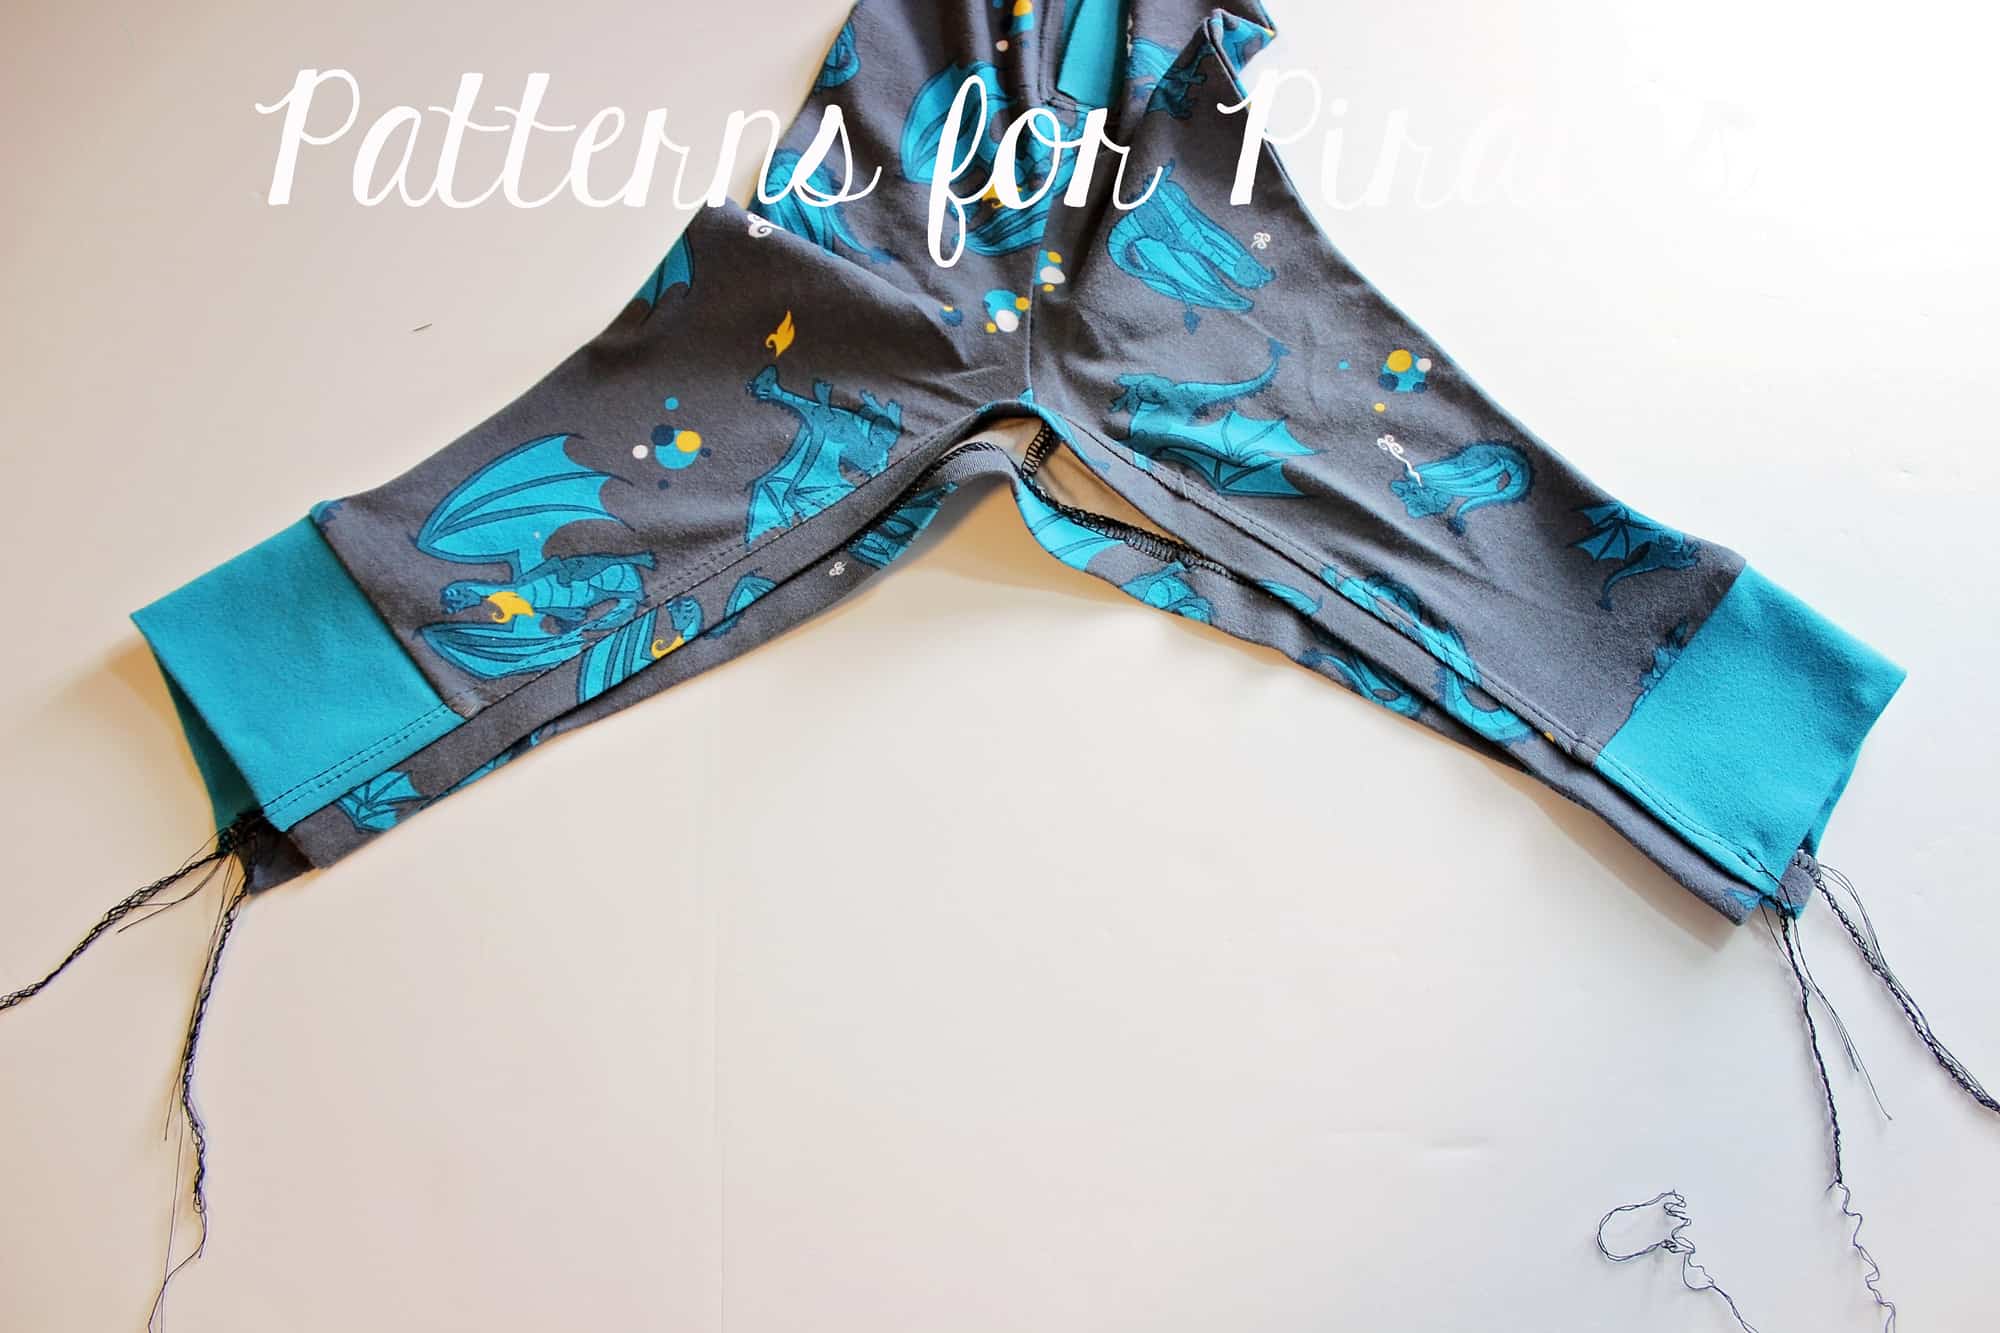
Once you add the cuffs, your pajama legs will look like this.
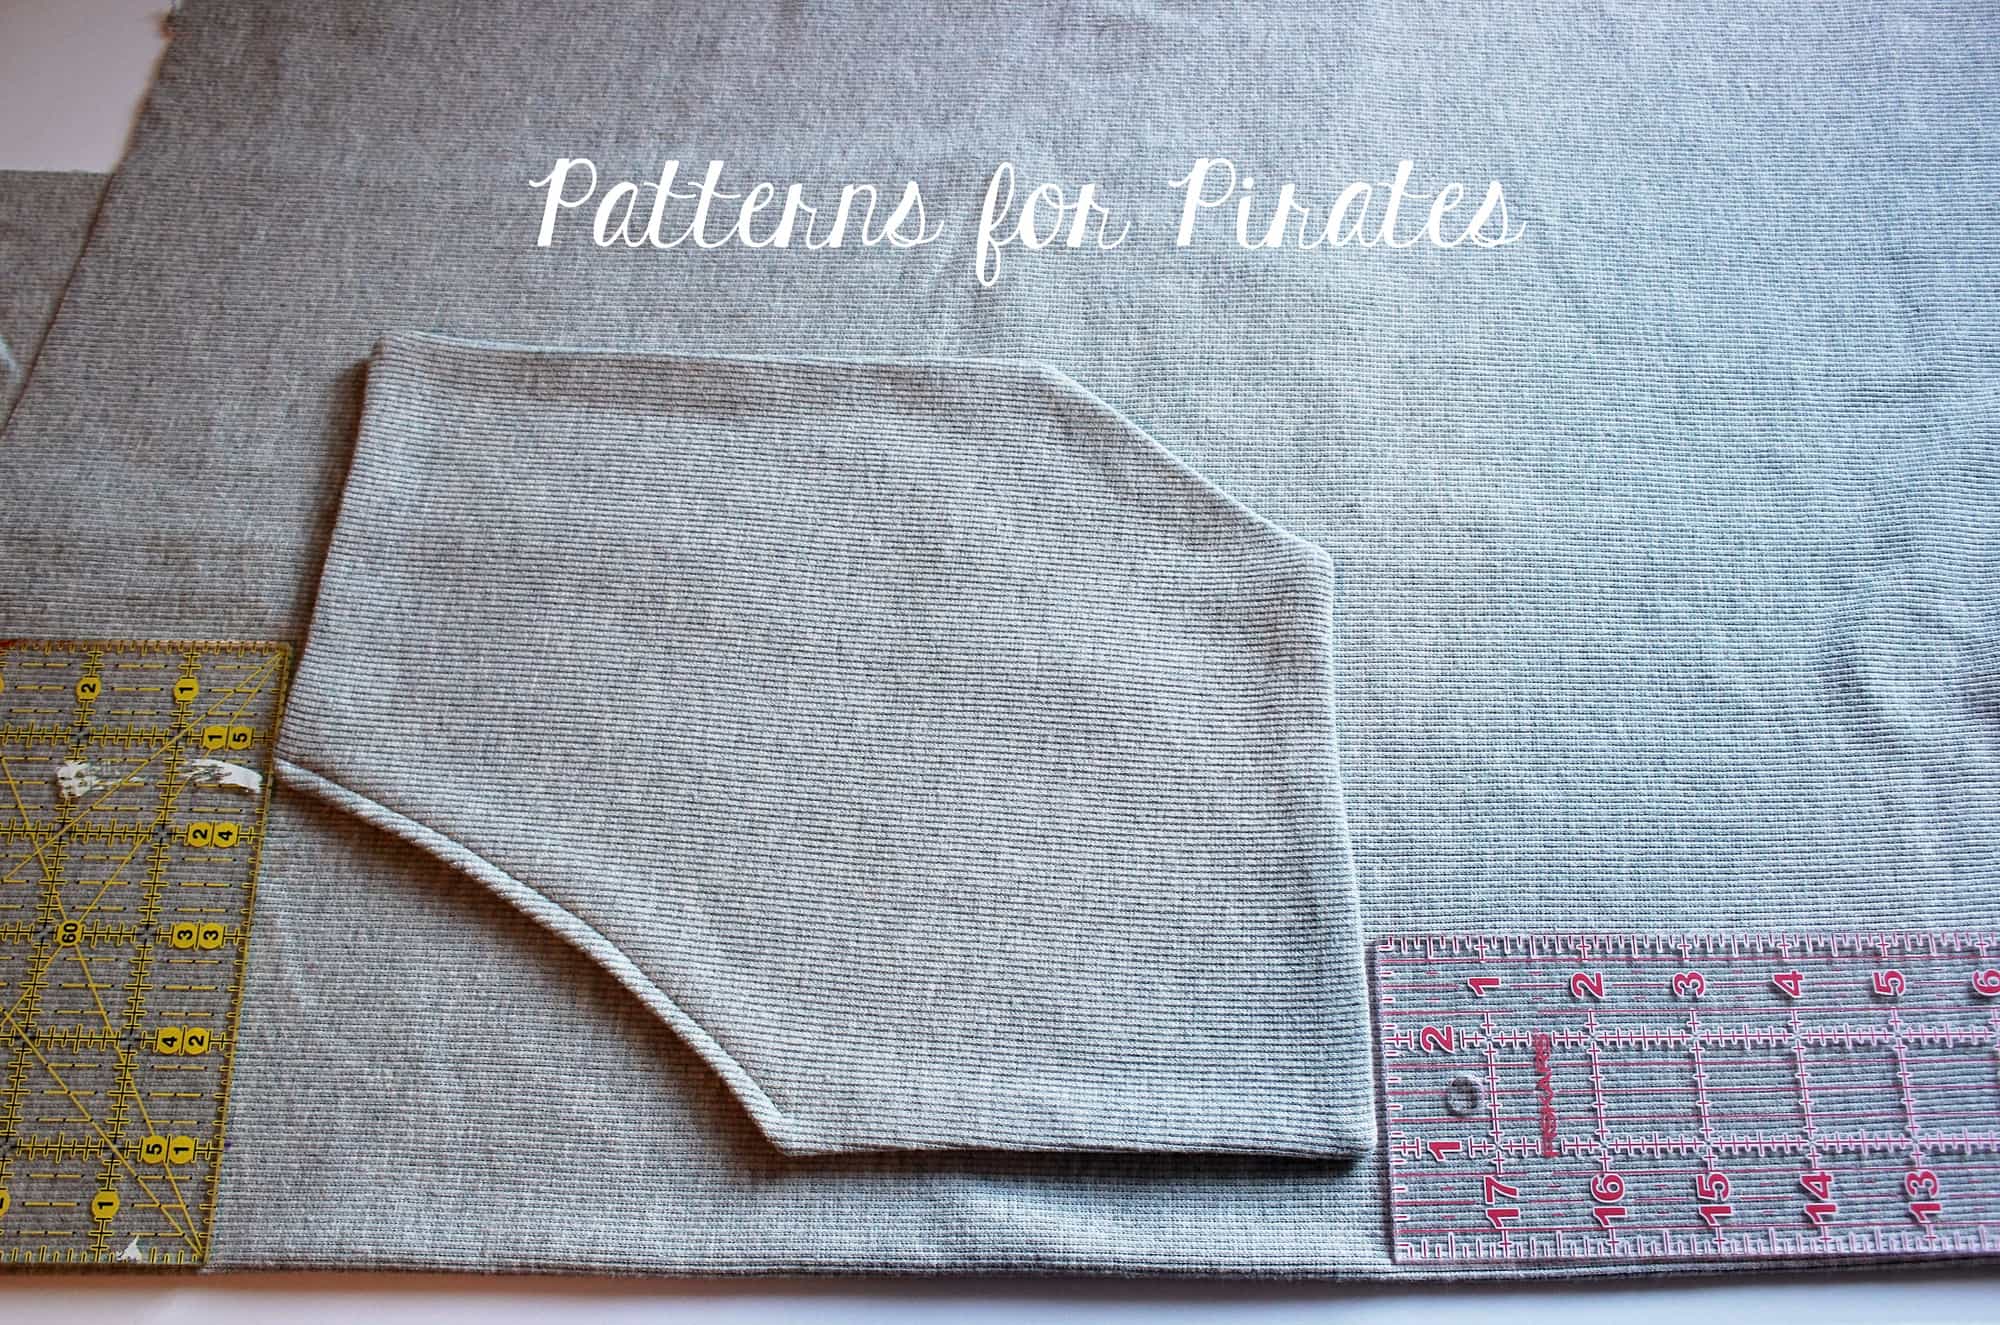
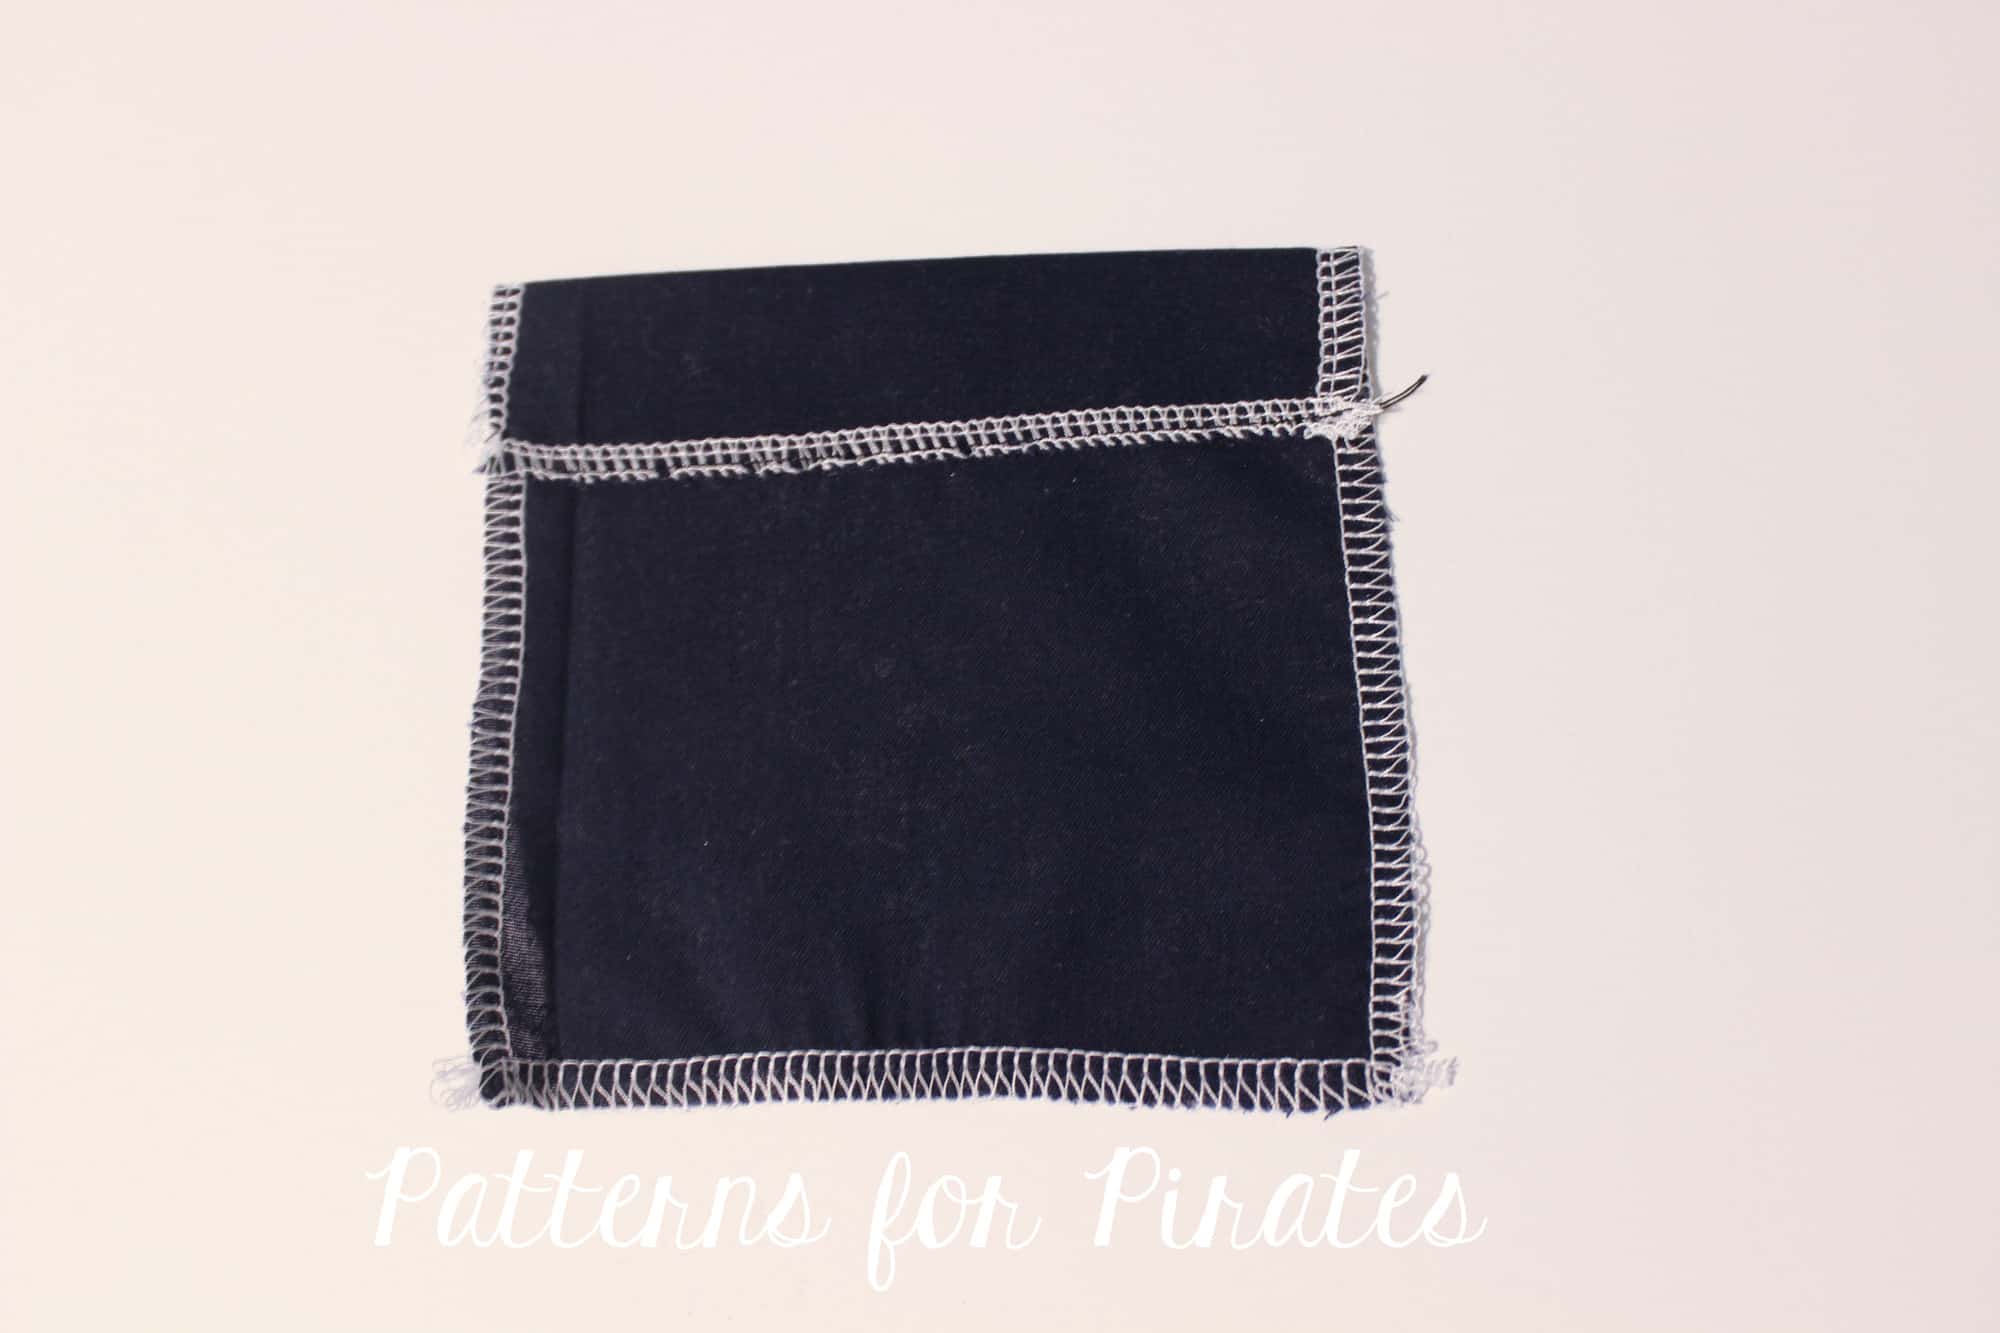
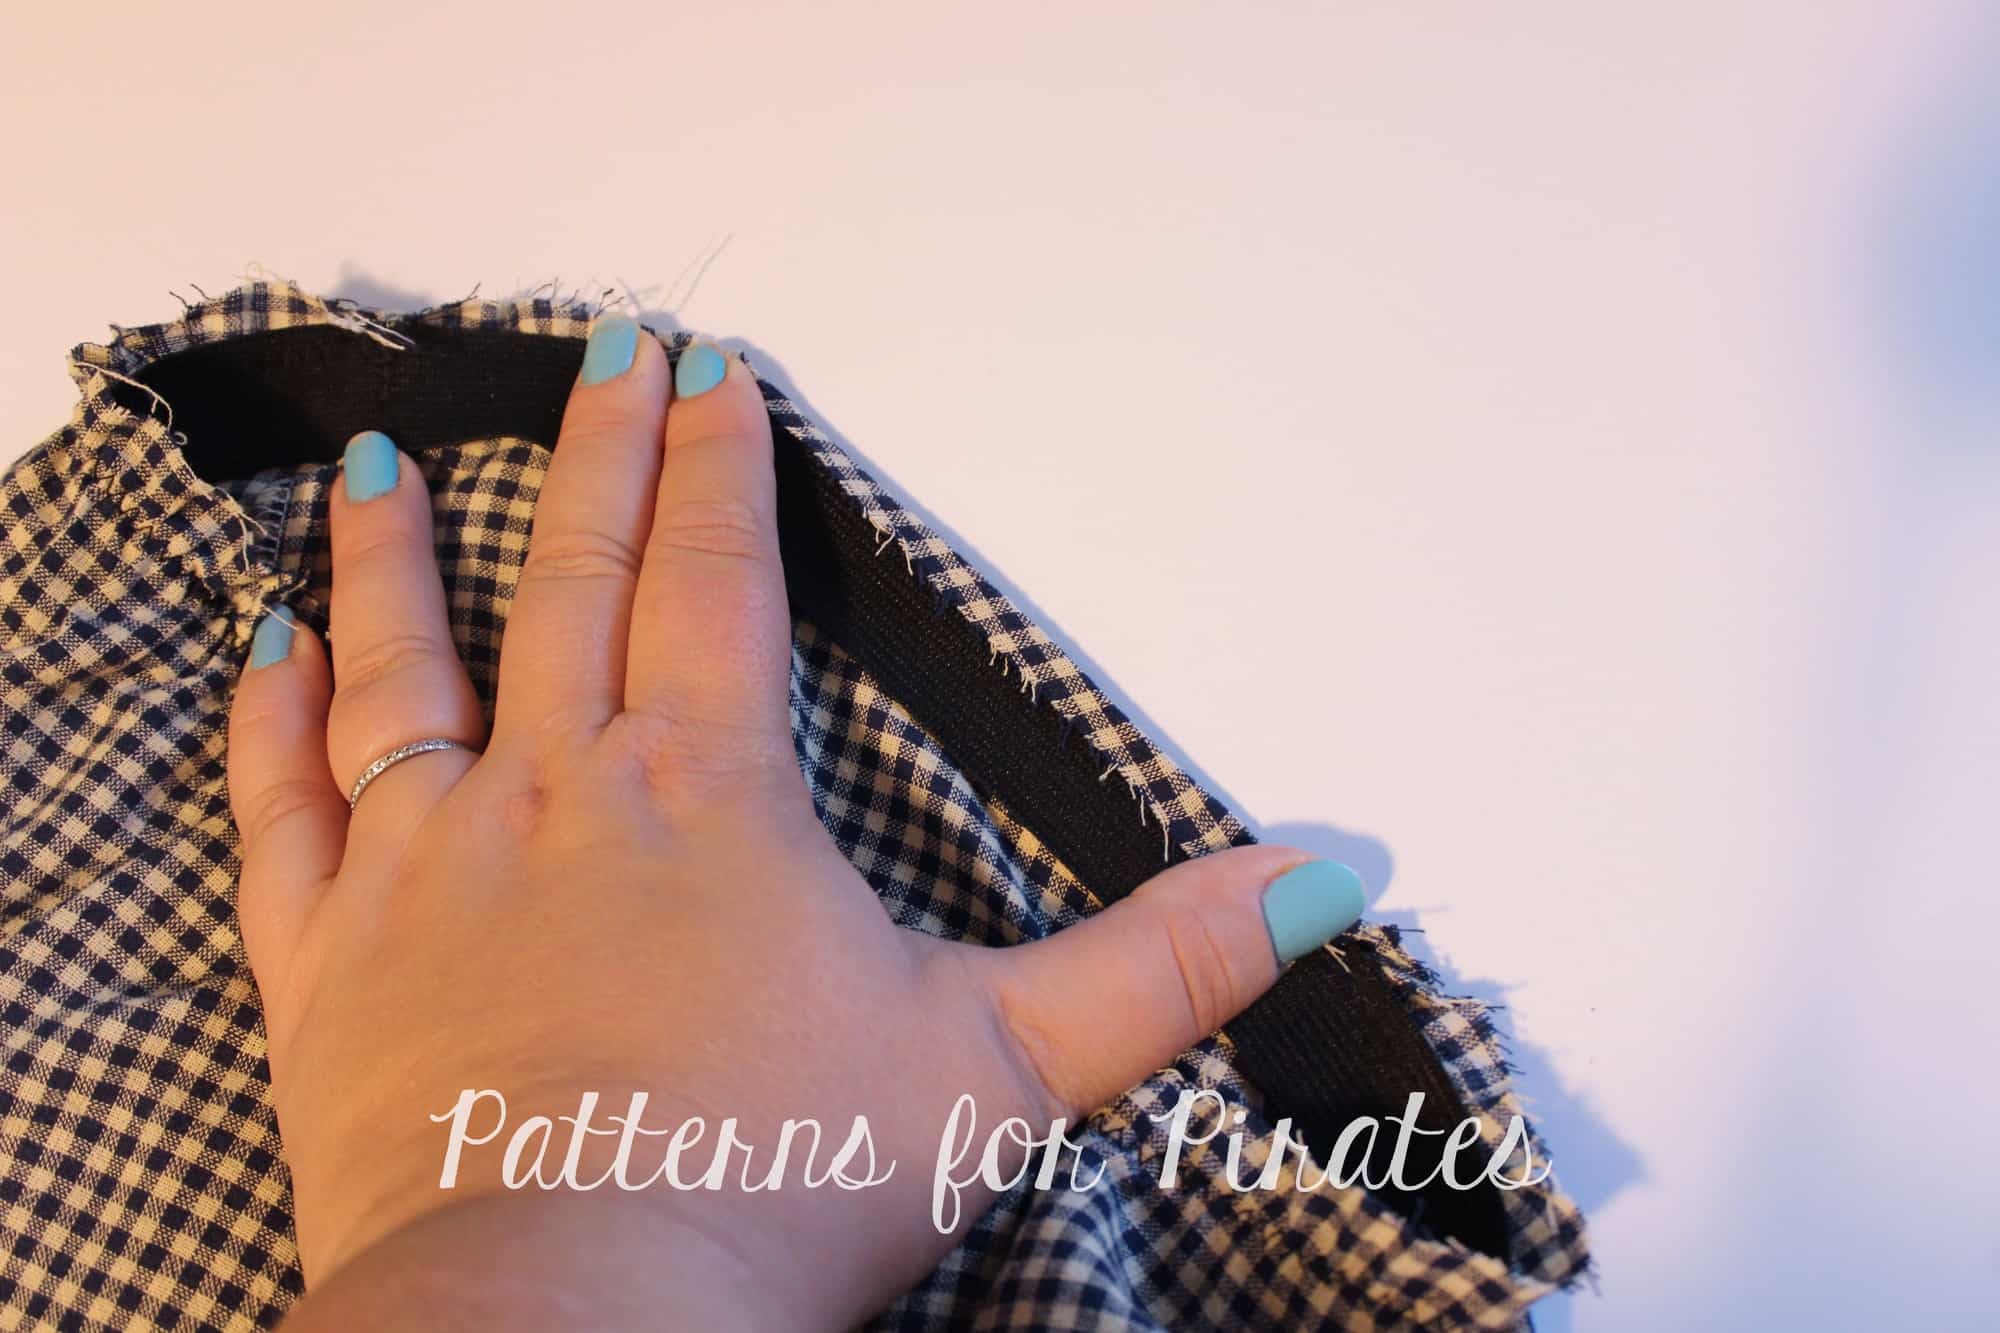
Open the PJ legs and measure the front and back inseams.
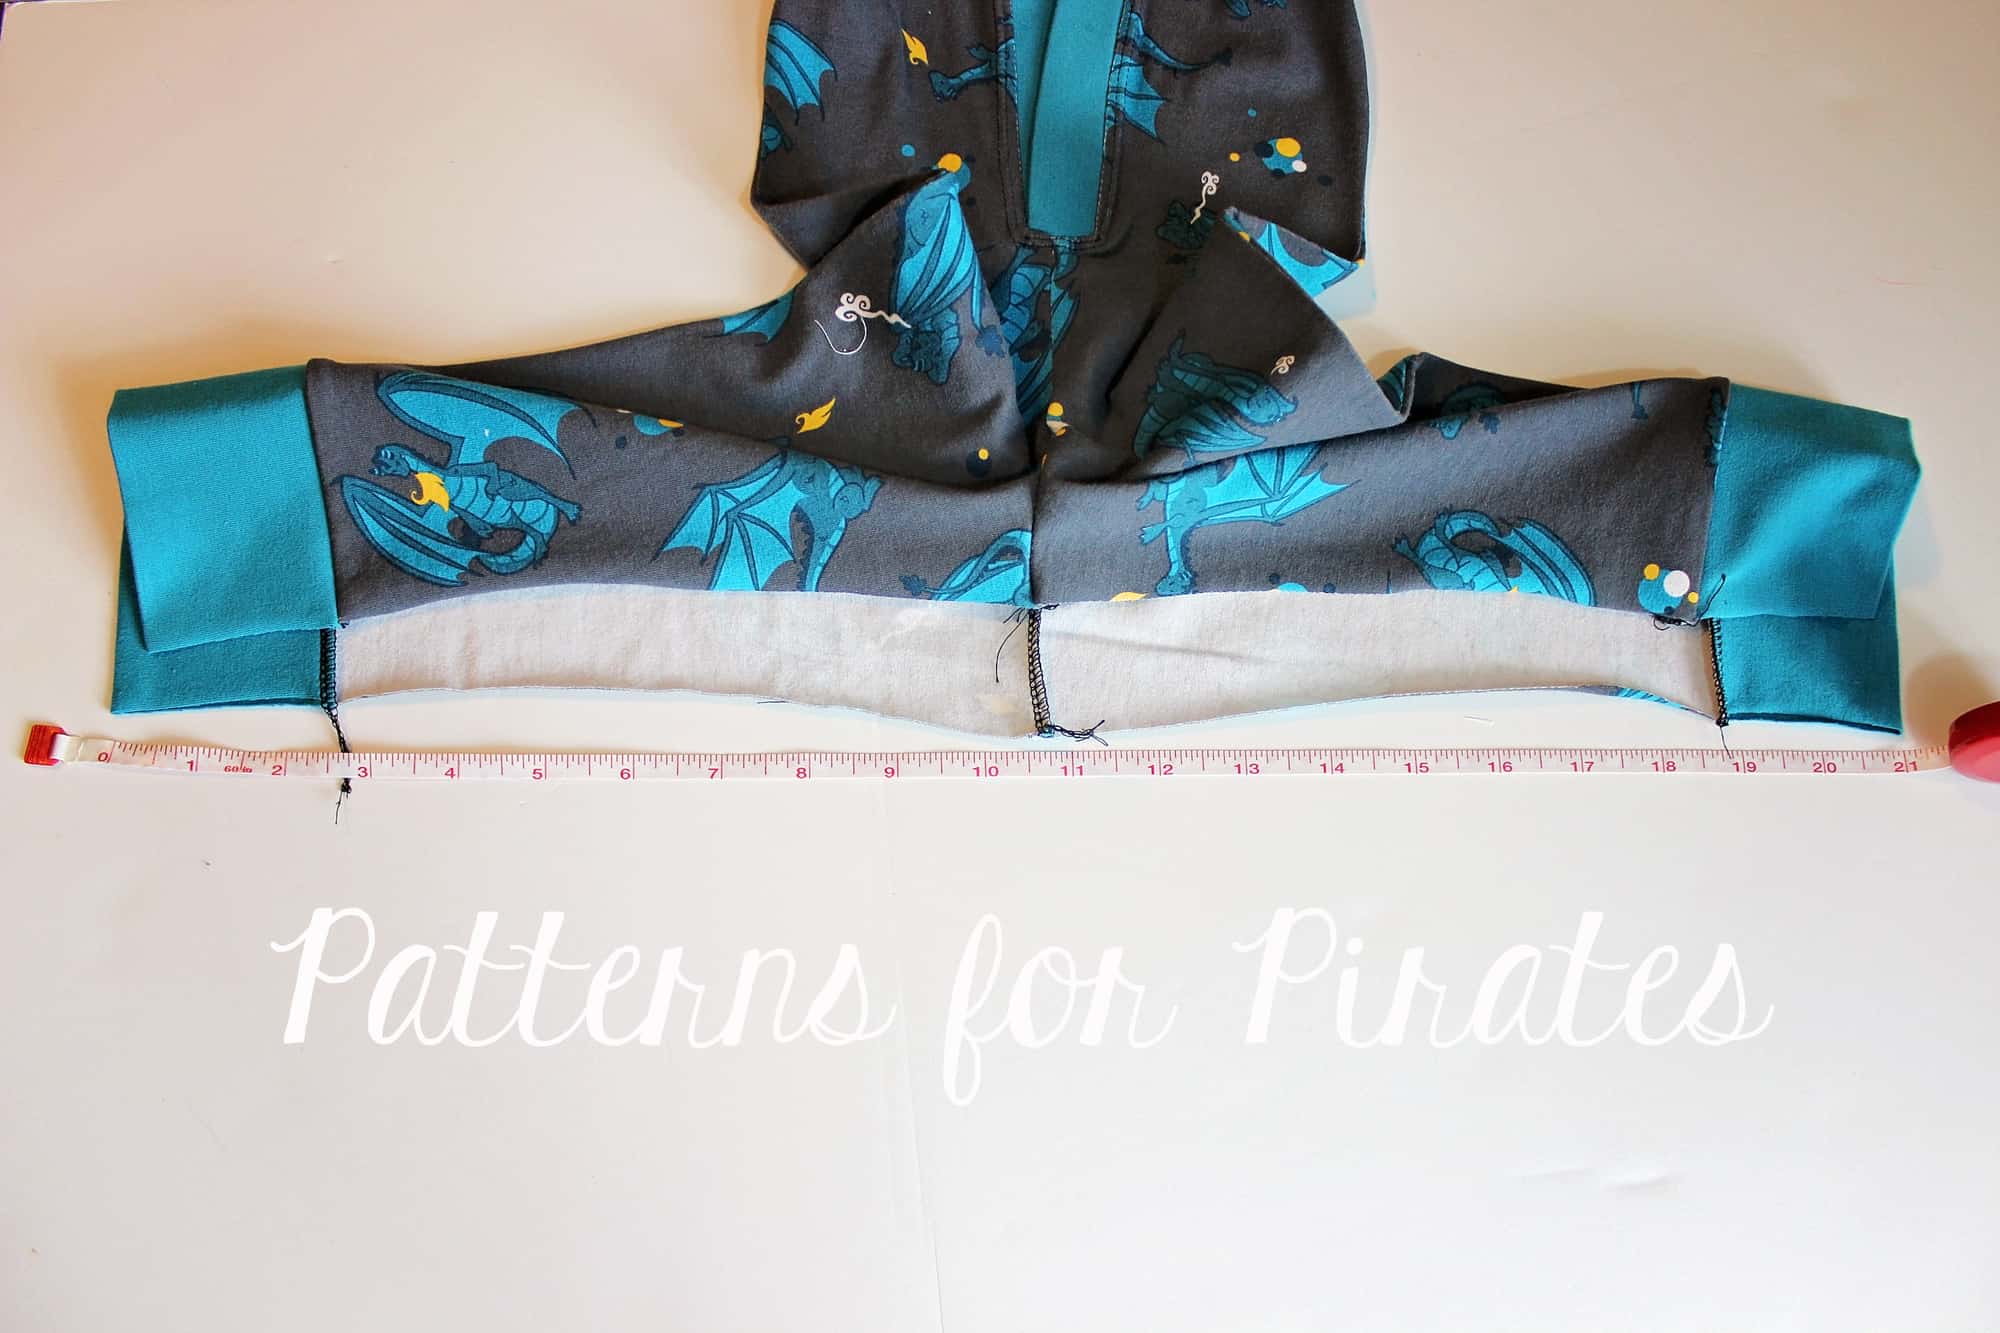
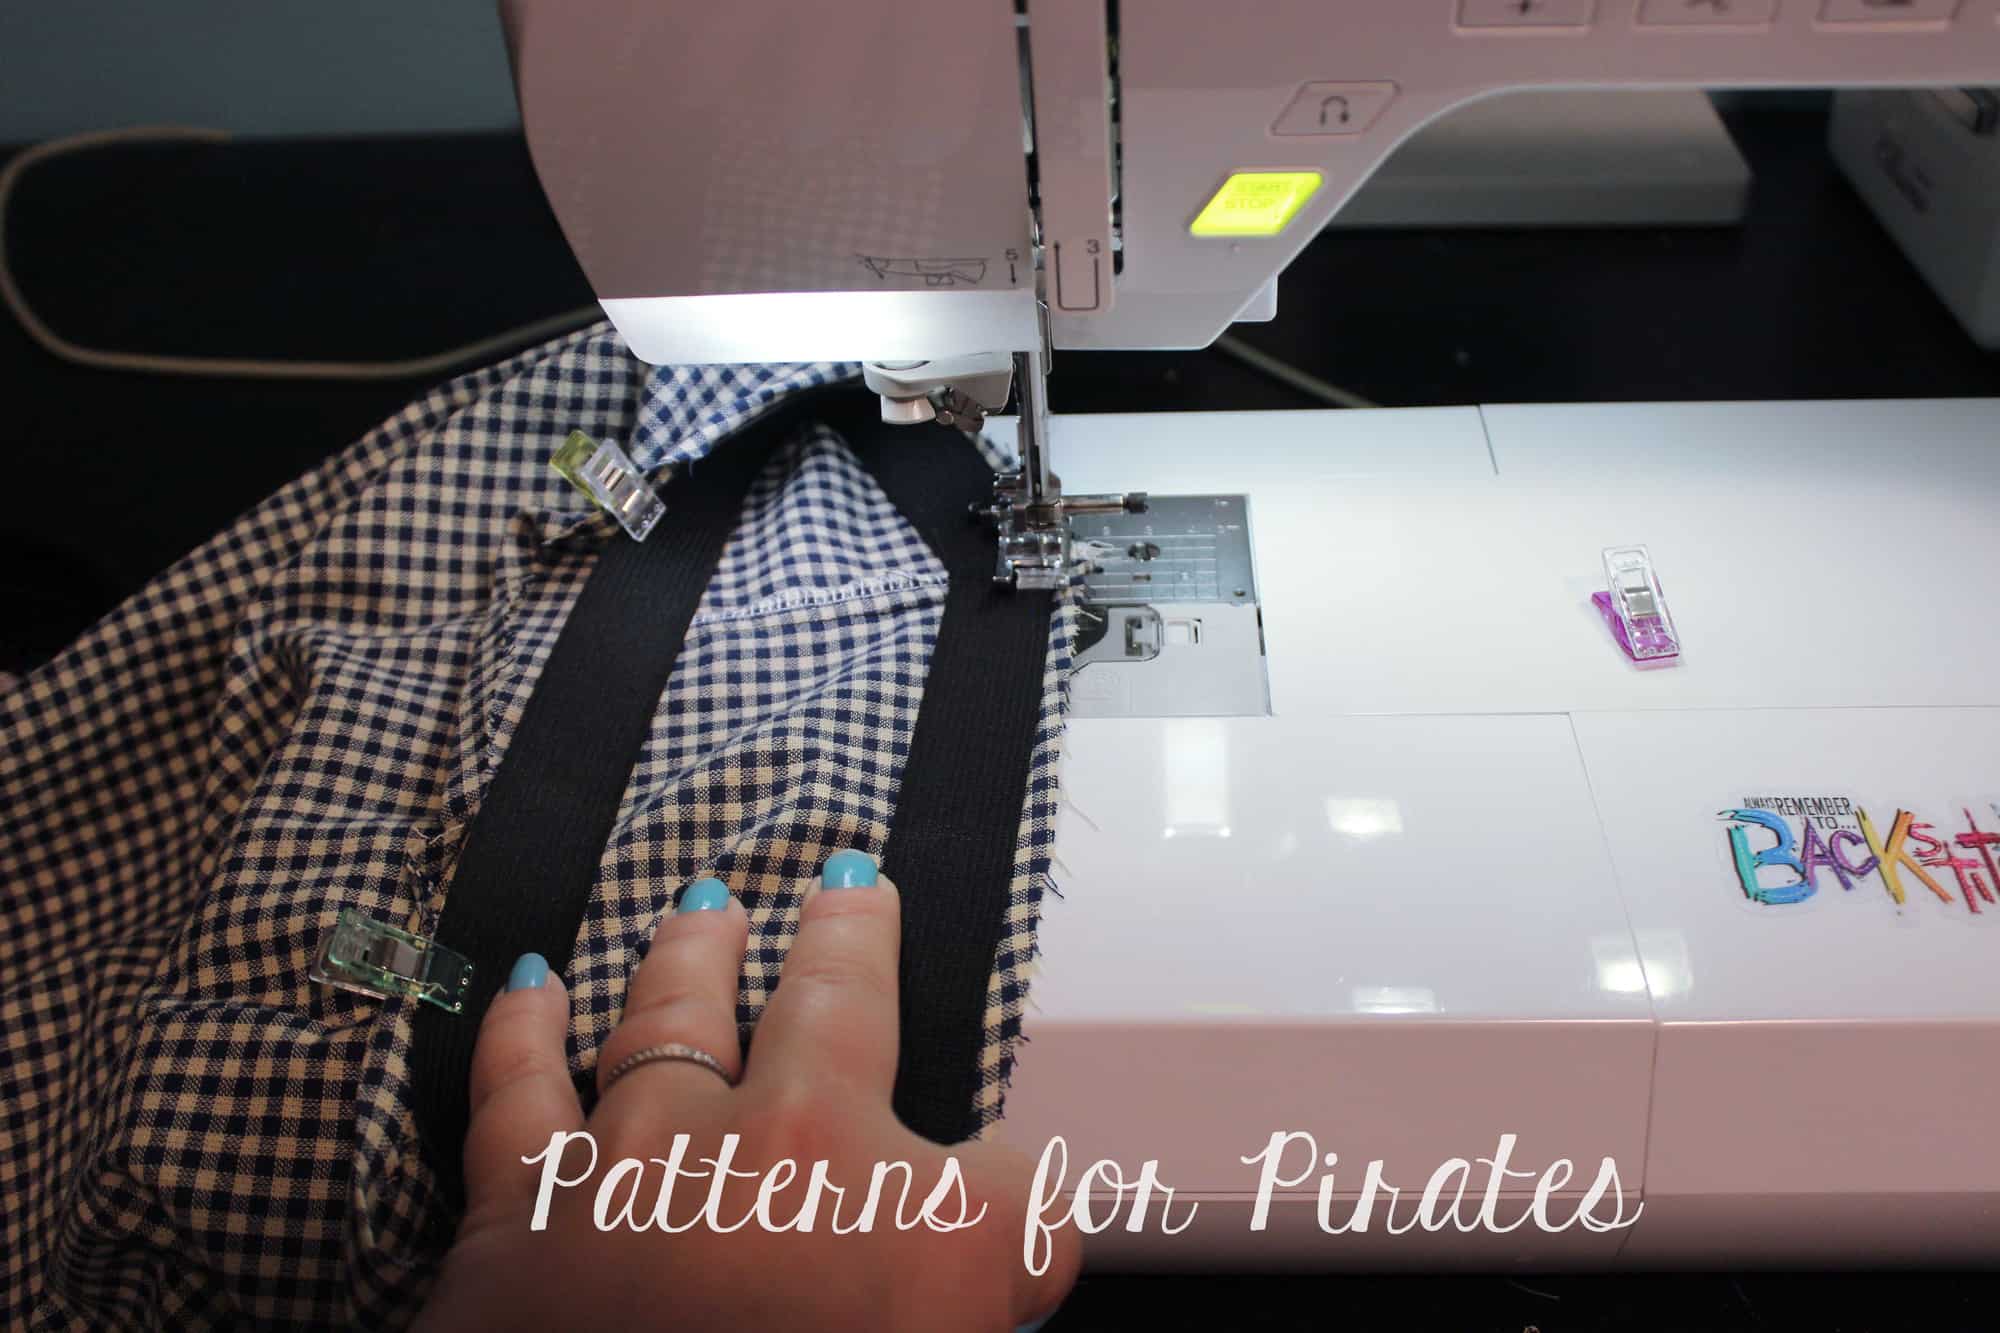
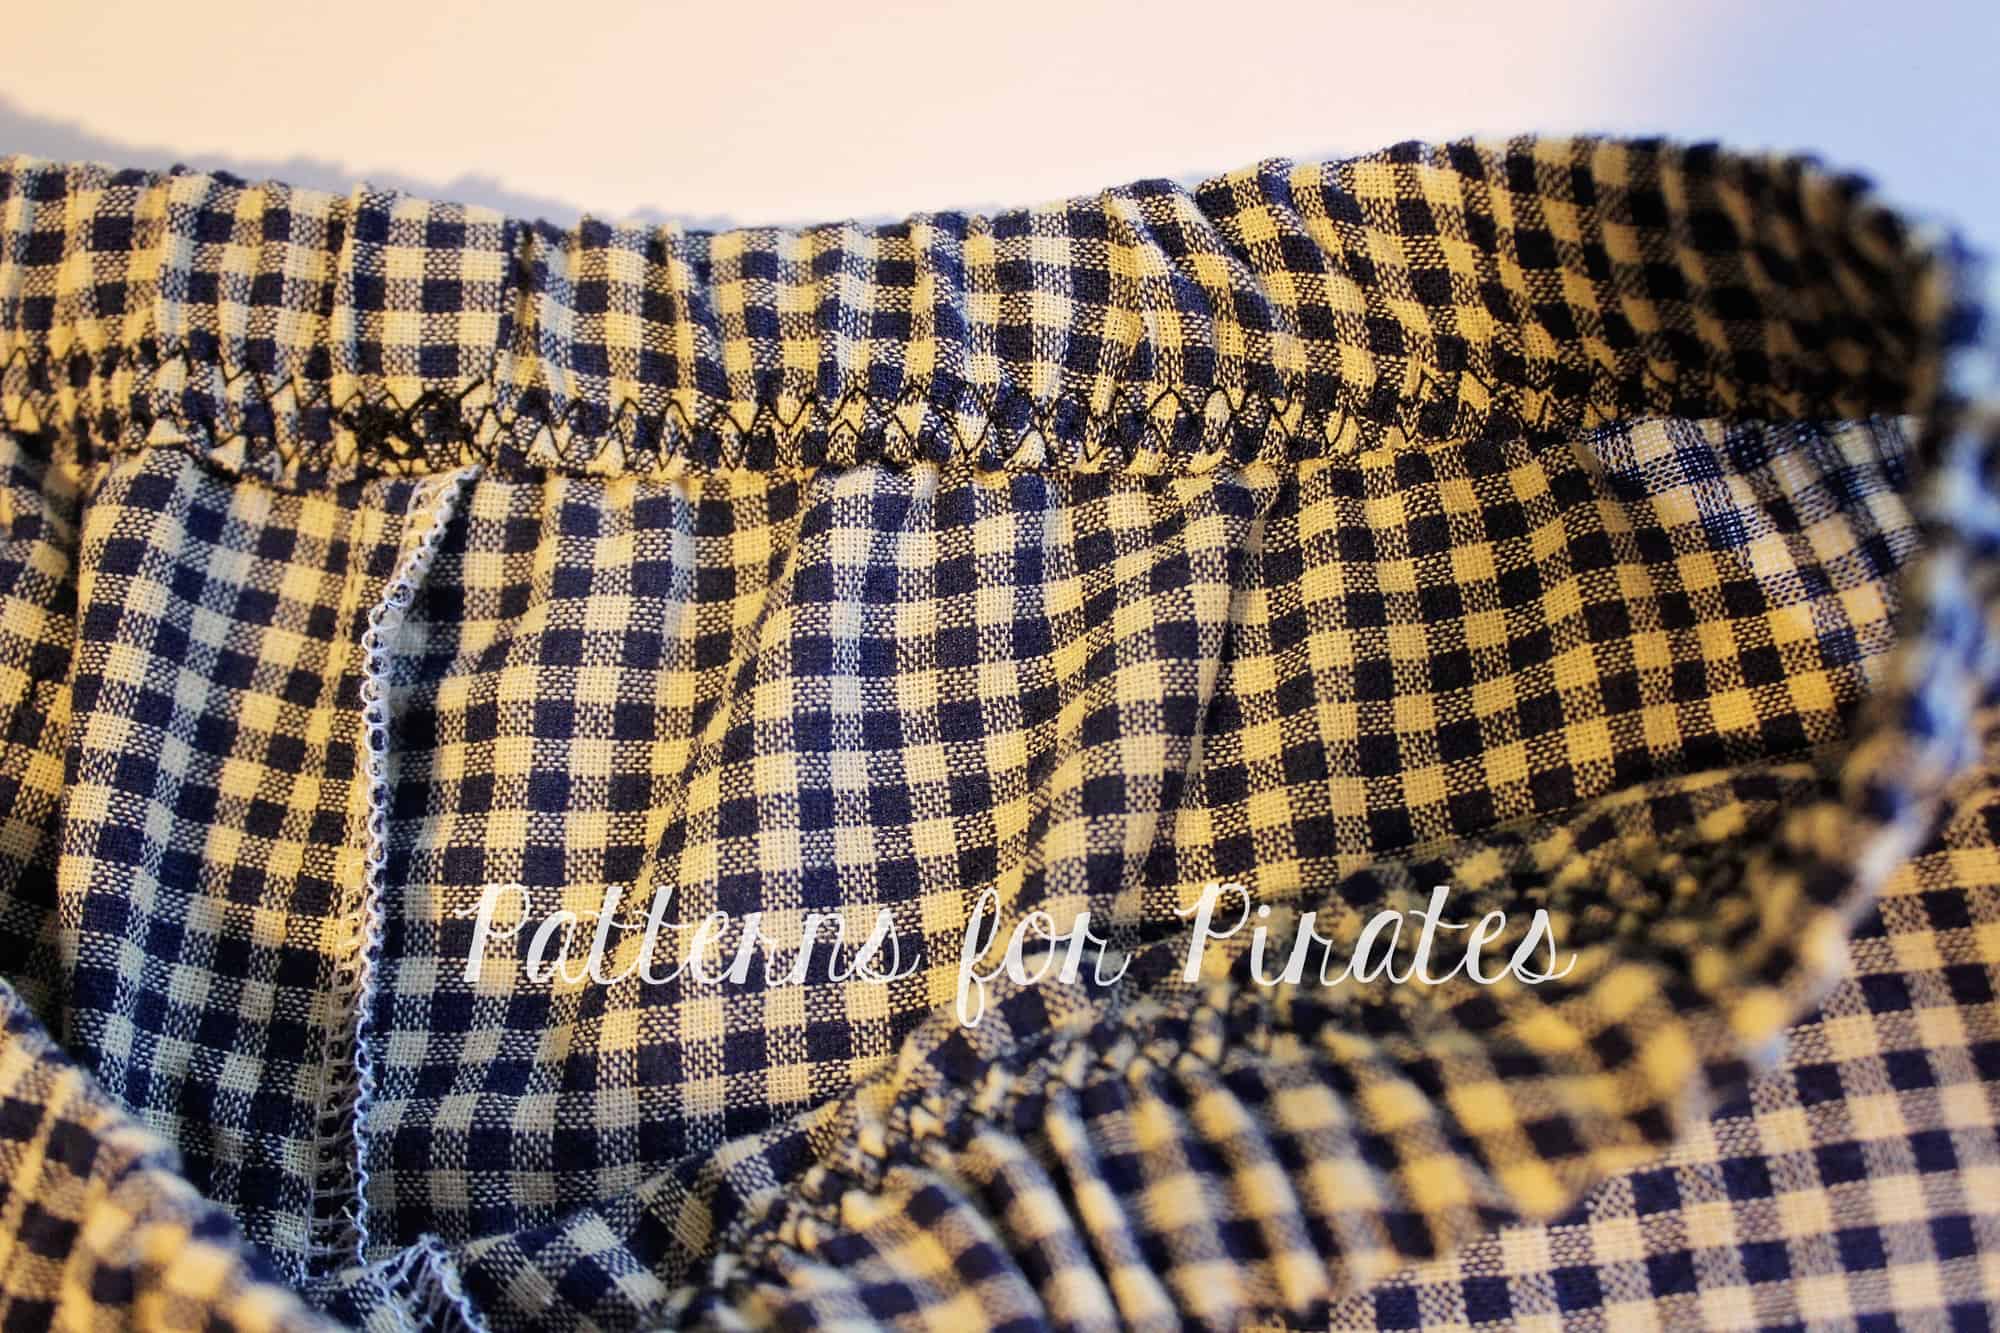
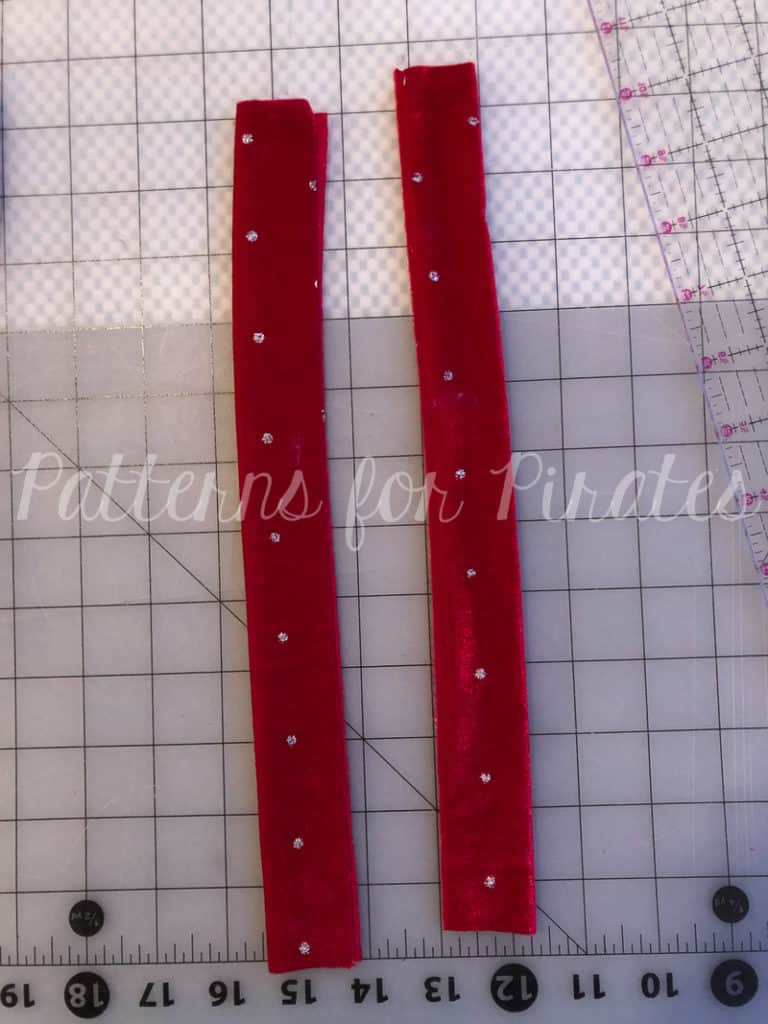
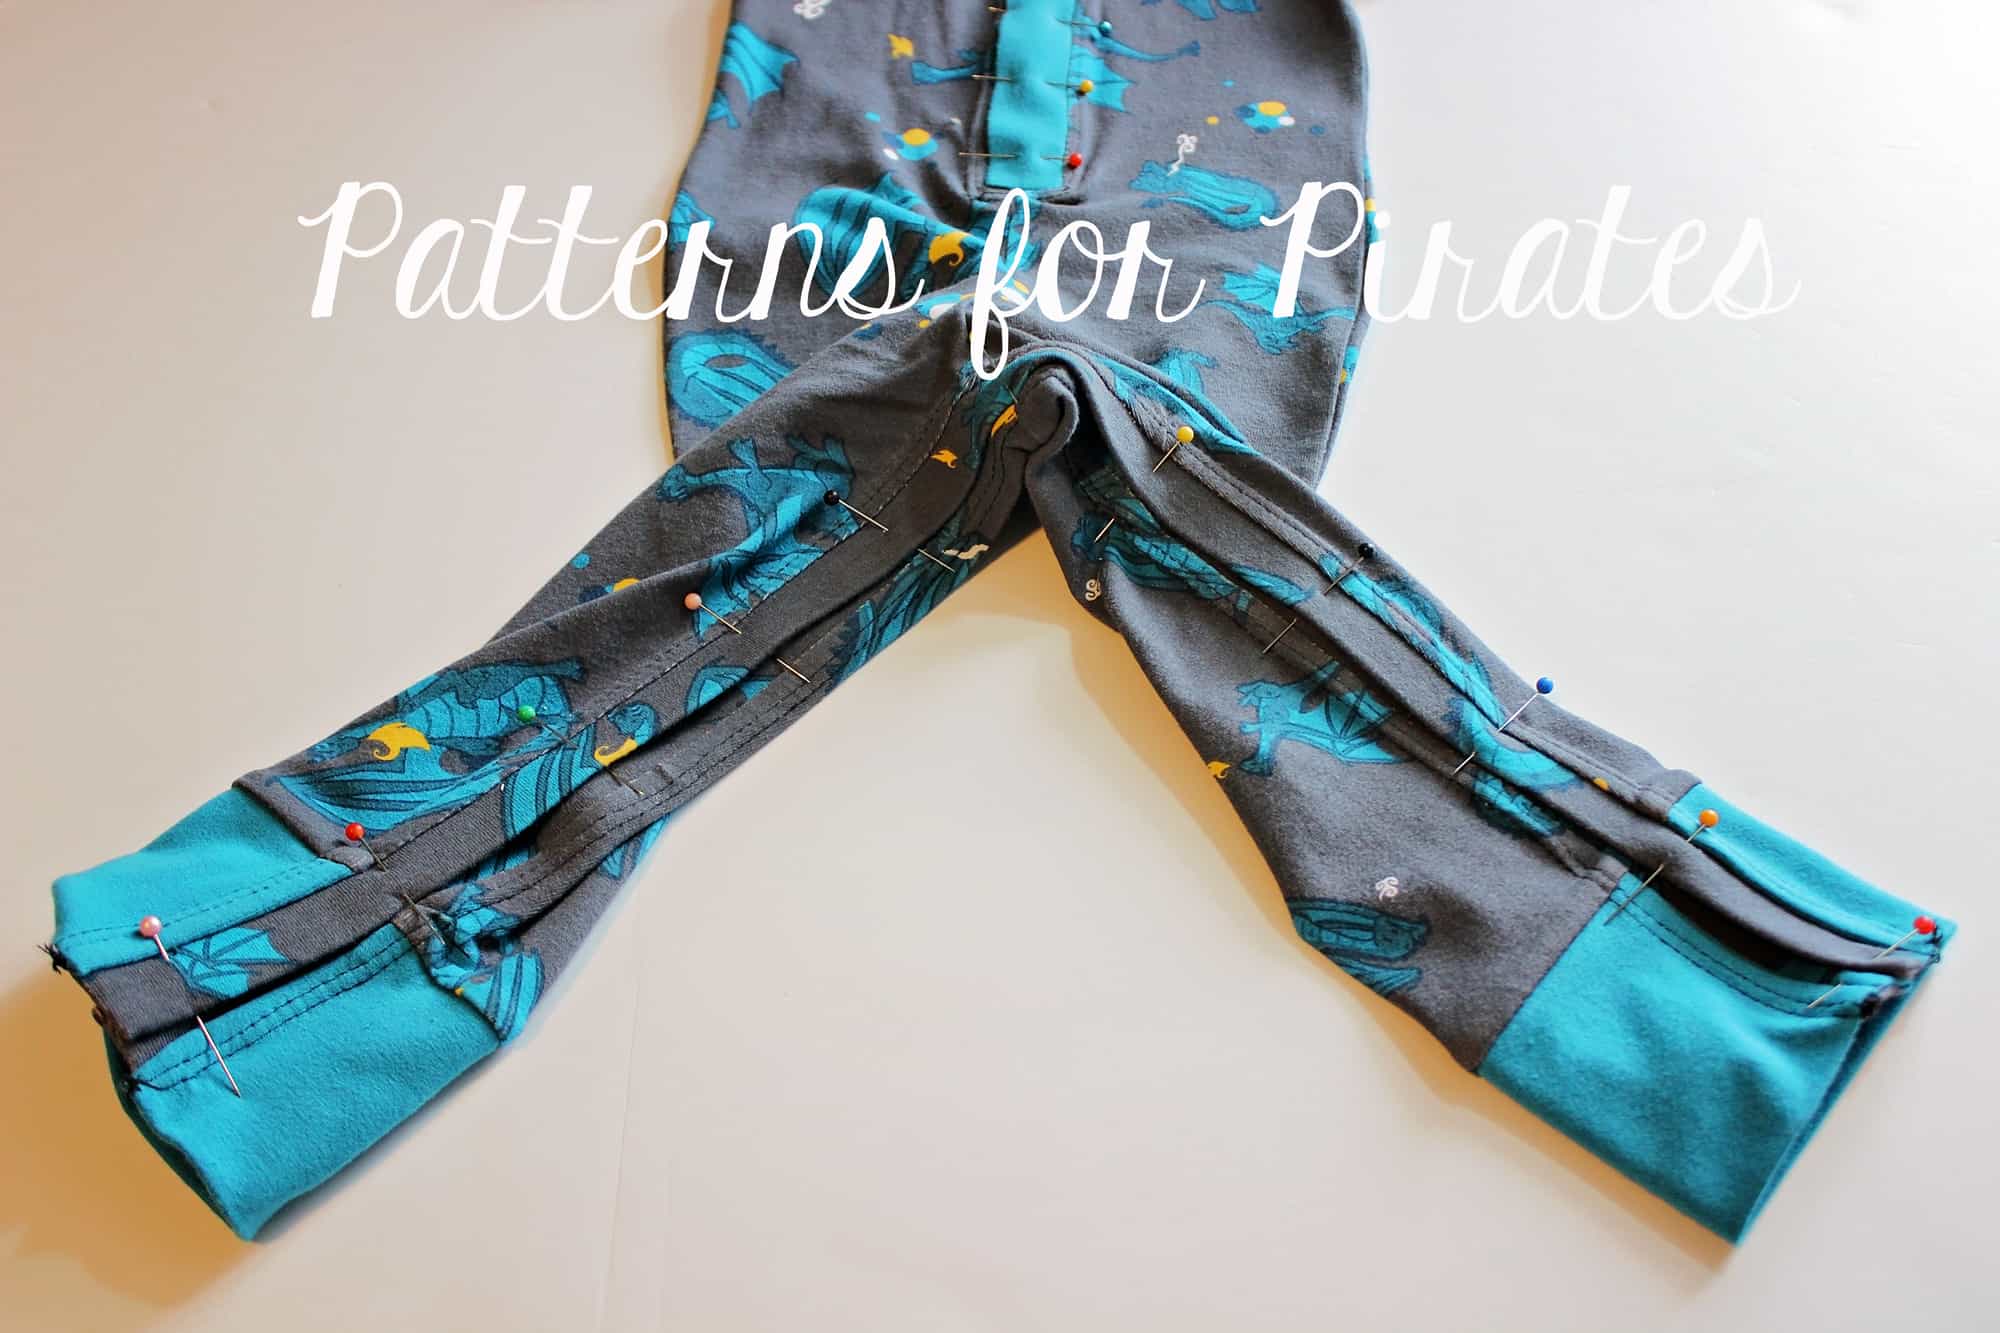
Cut two strips of fabric and interfacing that will be the measured length plus 1″ by 2″ width. Add the interfacing to the placket, fold and press lengthwise.
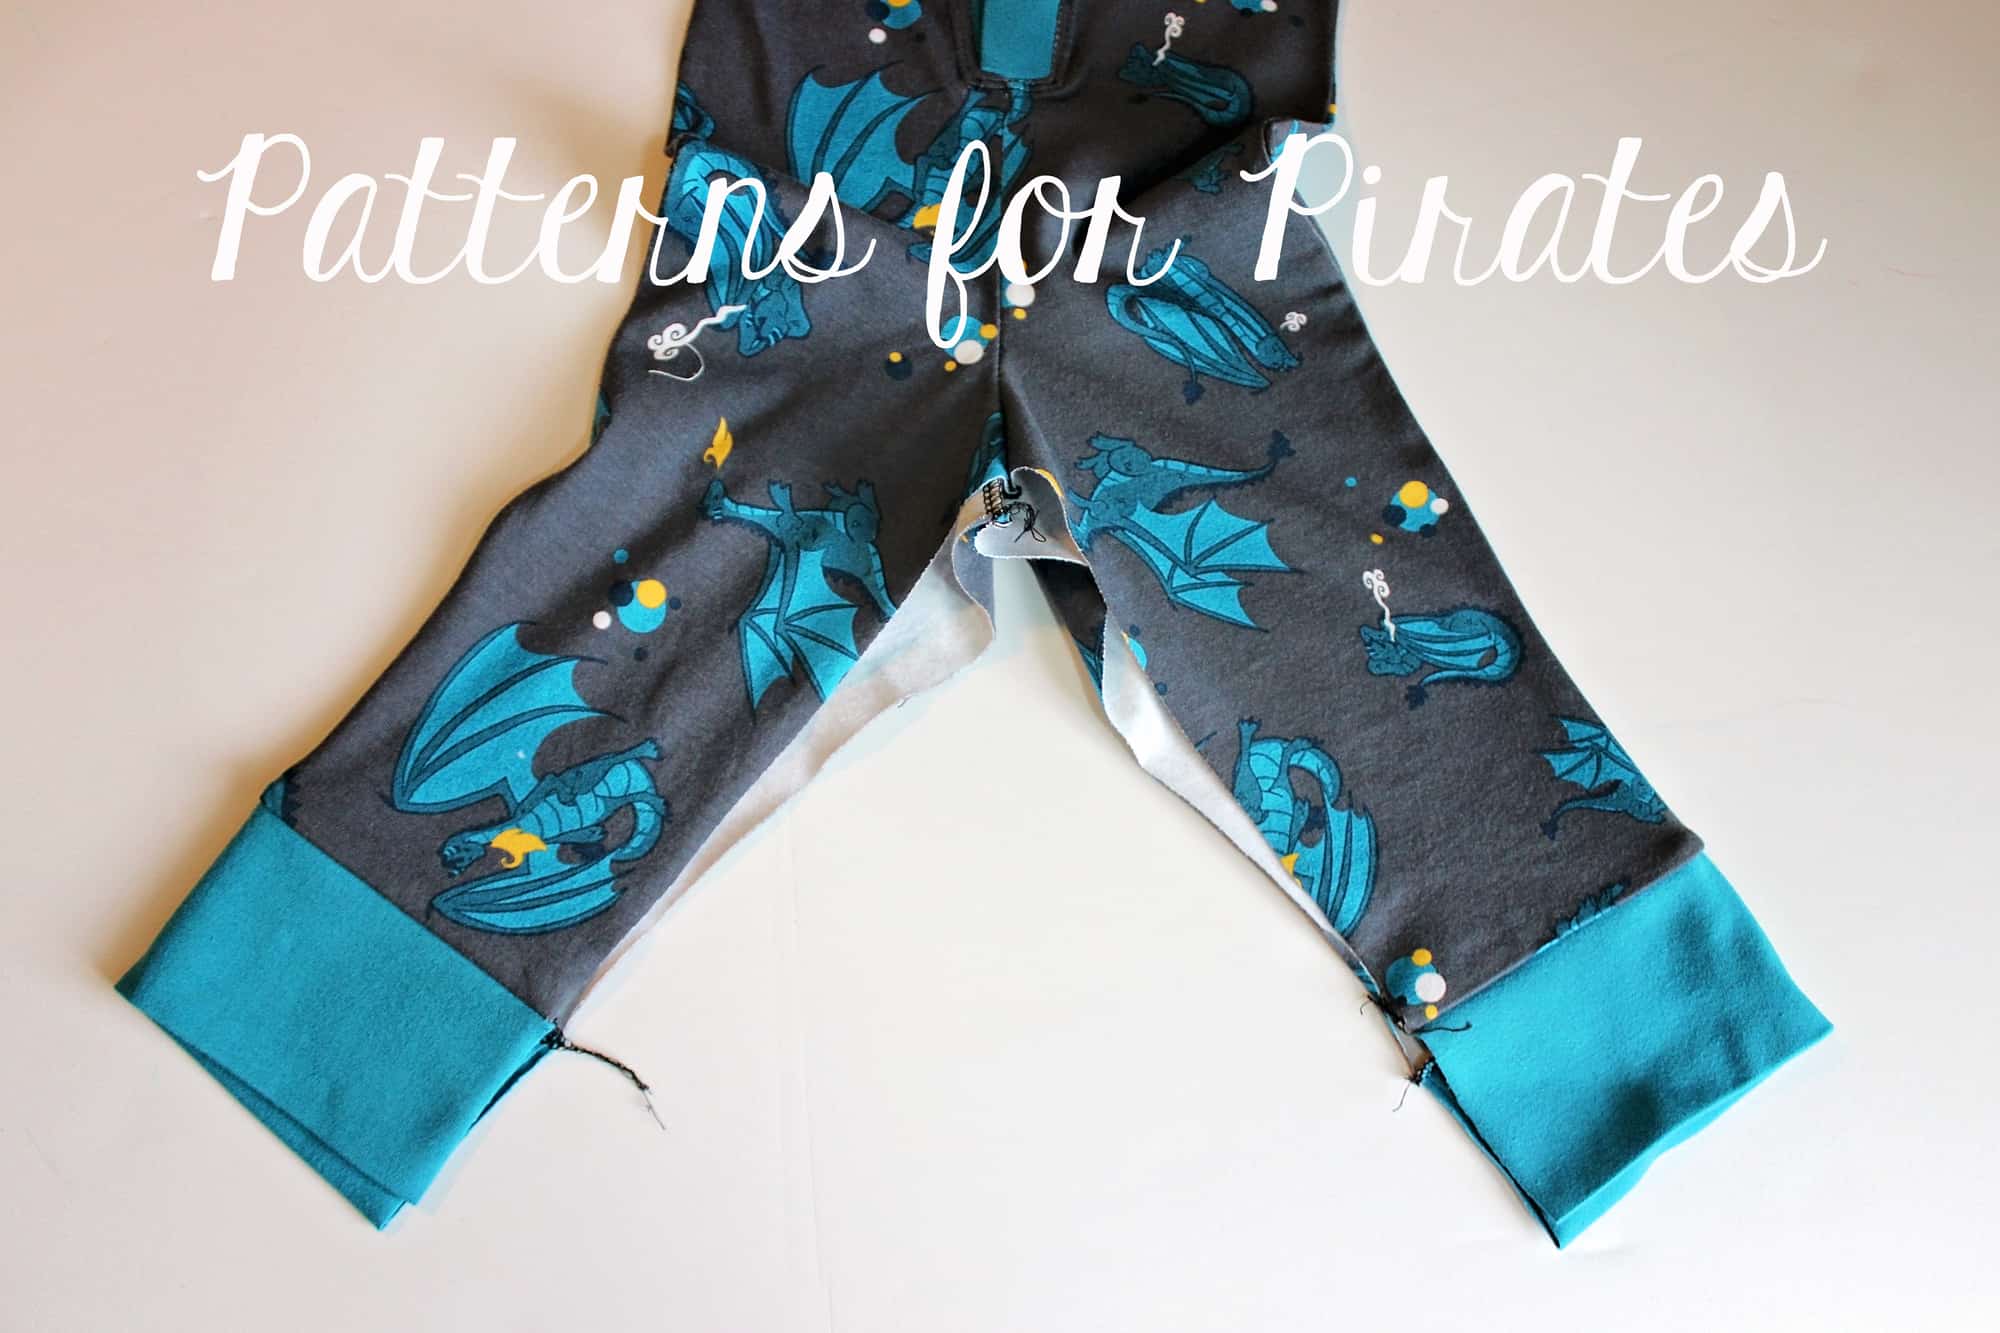
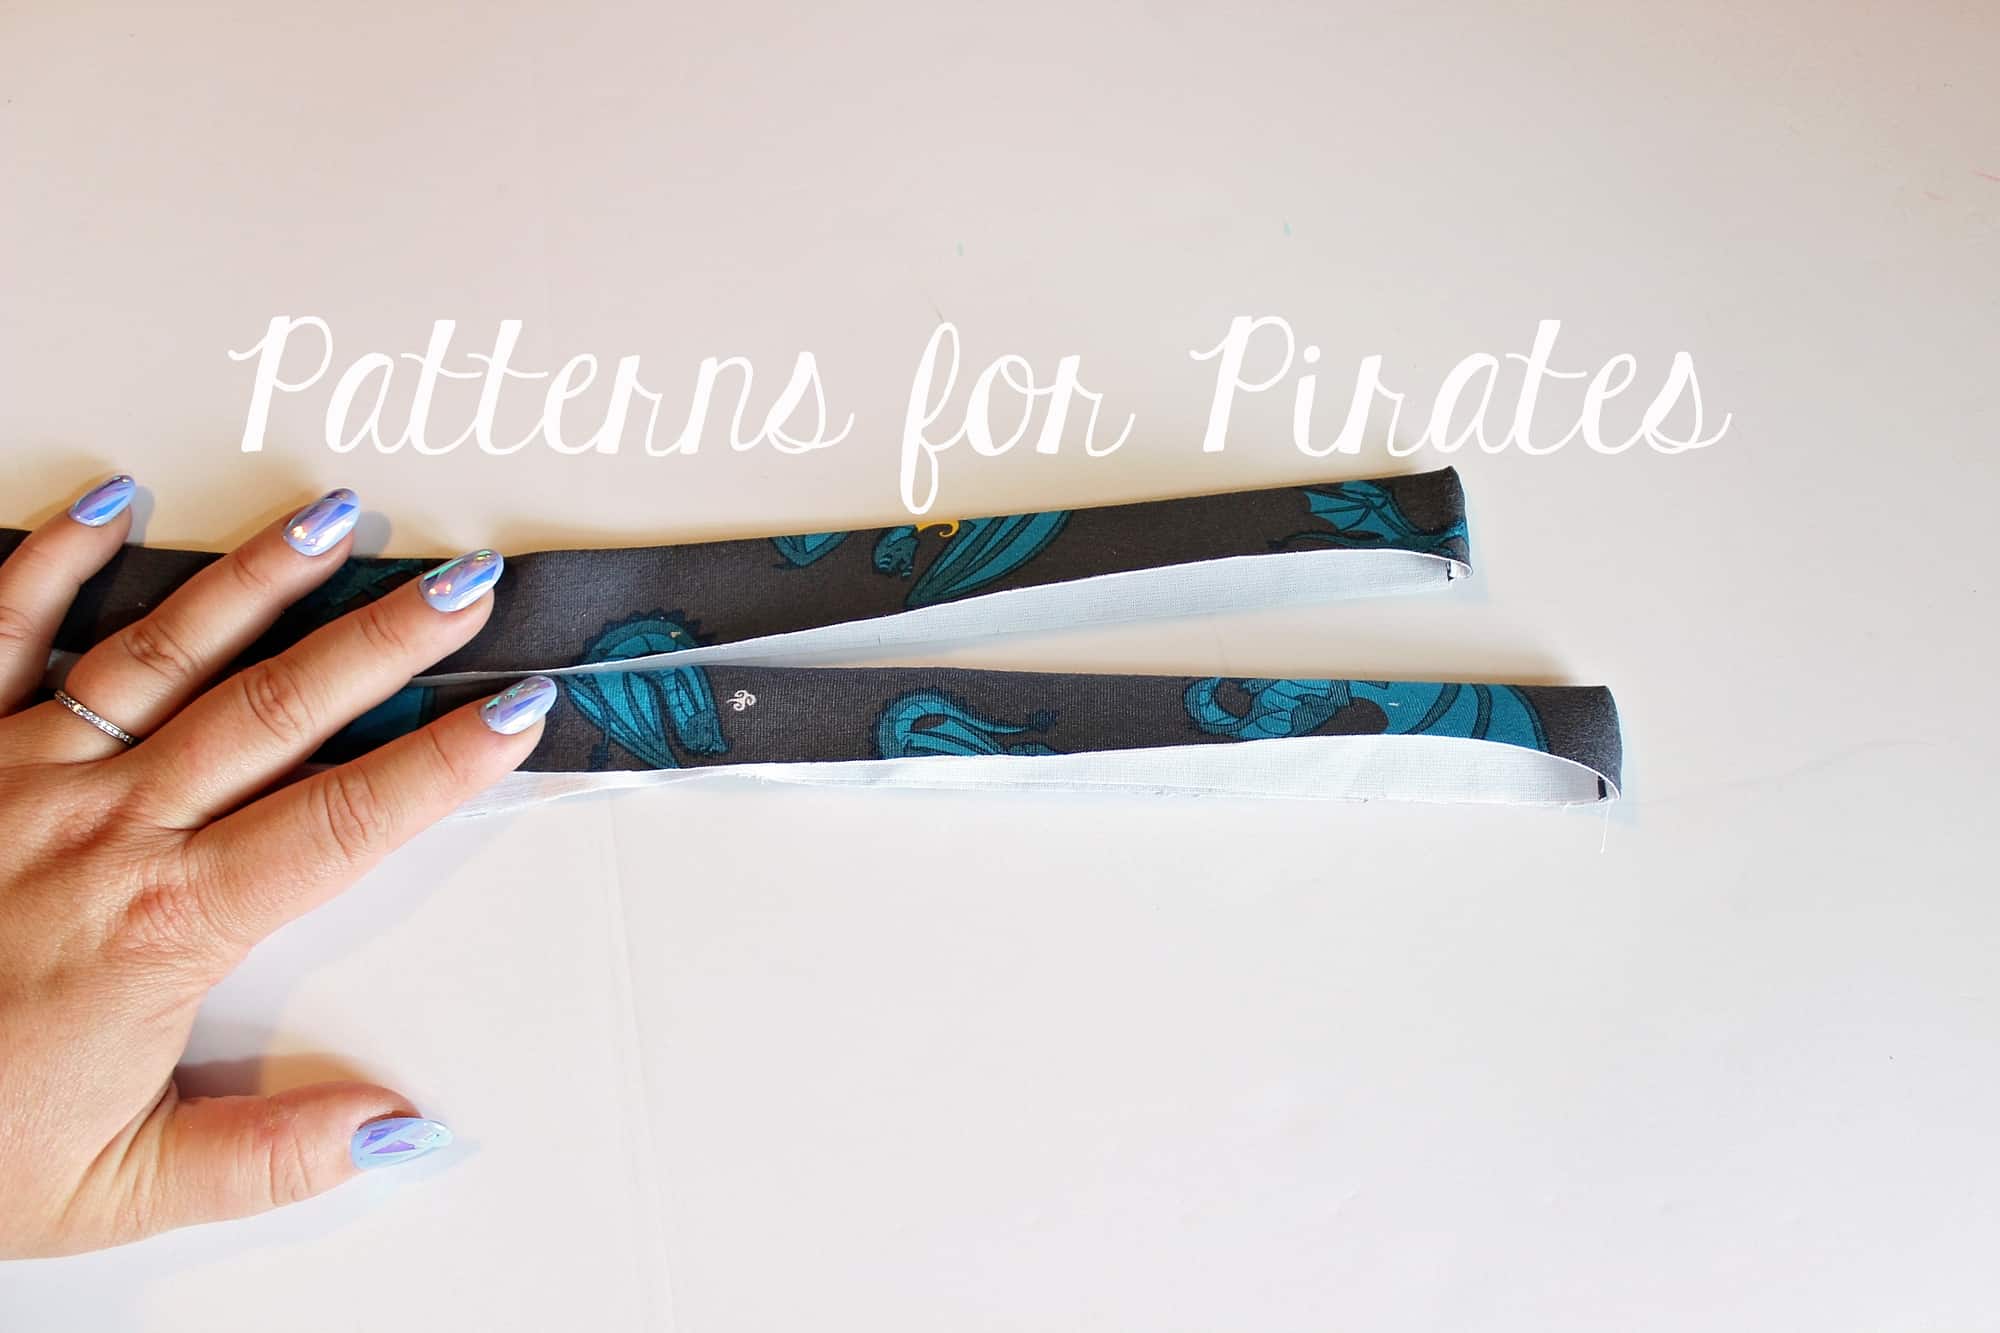
Fold the placket pieces right sides together and sew a stitch along each short end. Use a 1/2″ seam allowance. Cut the seam allowance to about 1/8″ and turn outside out. Press.

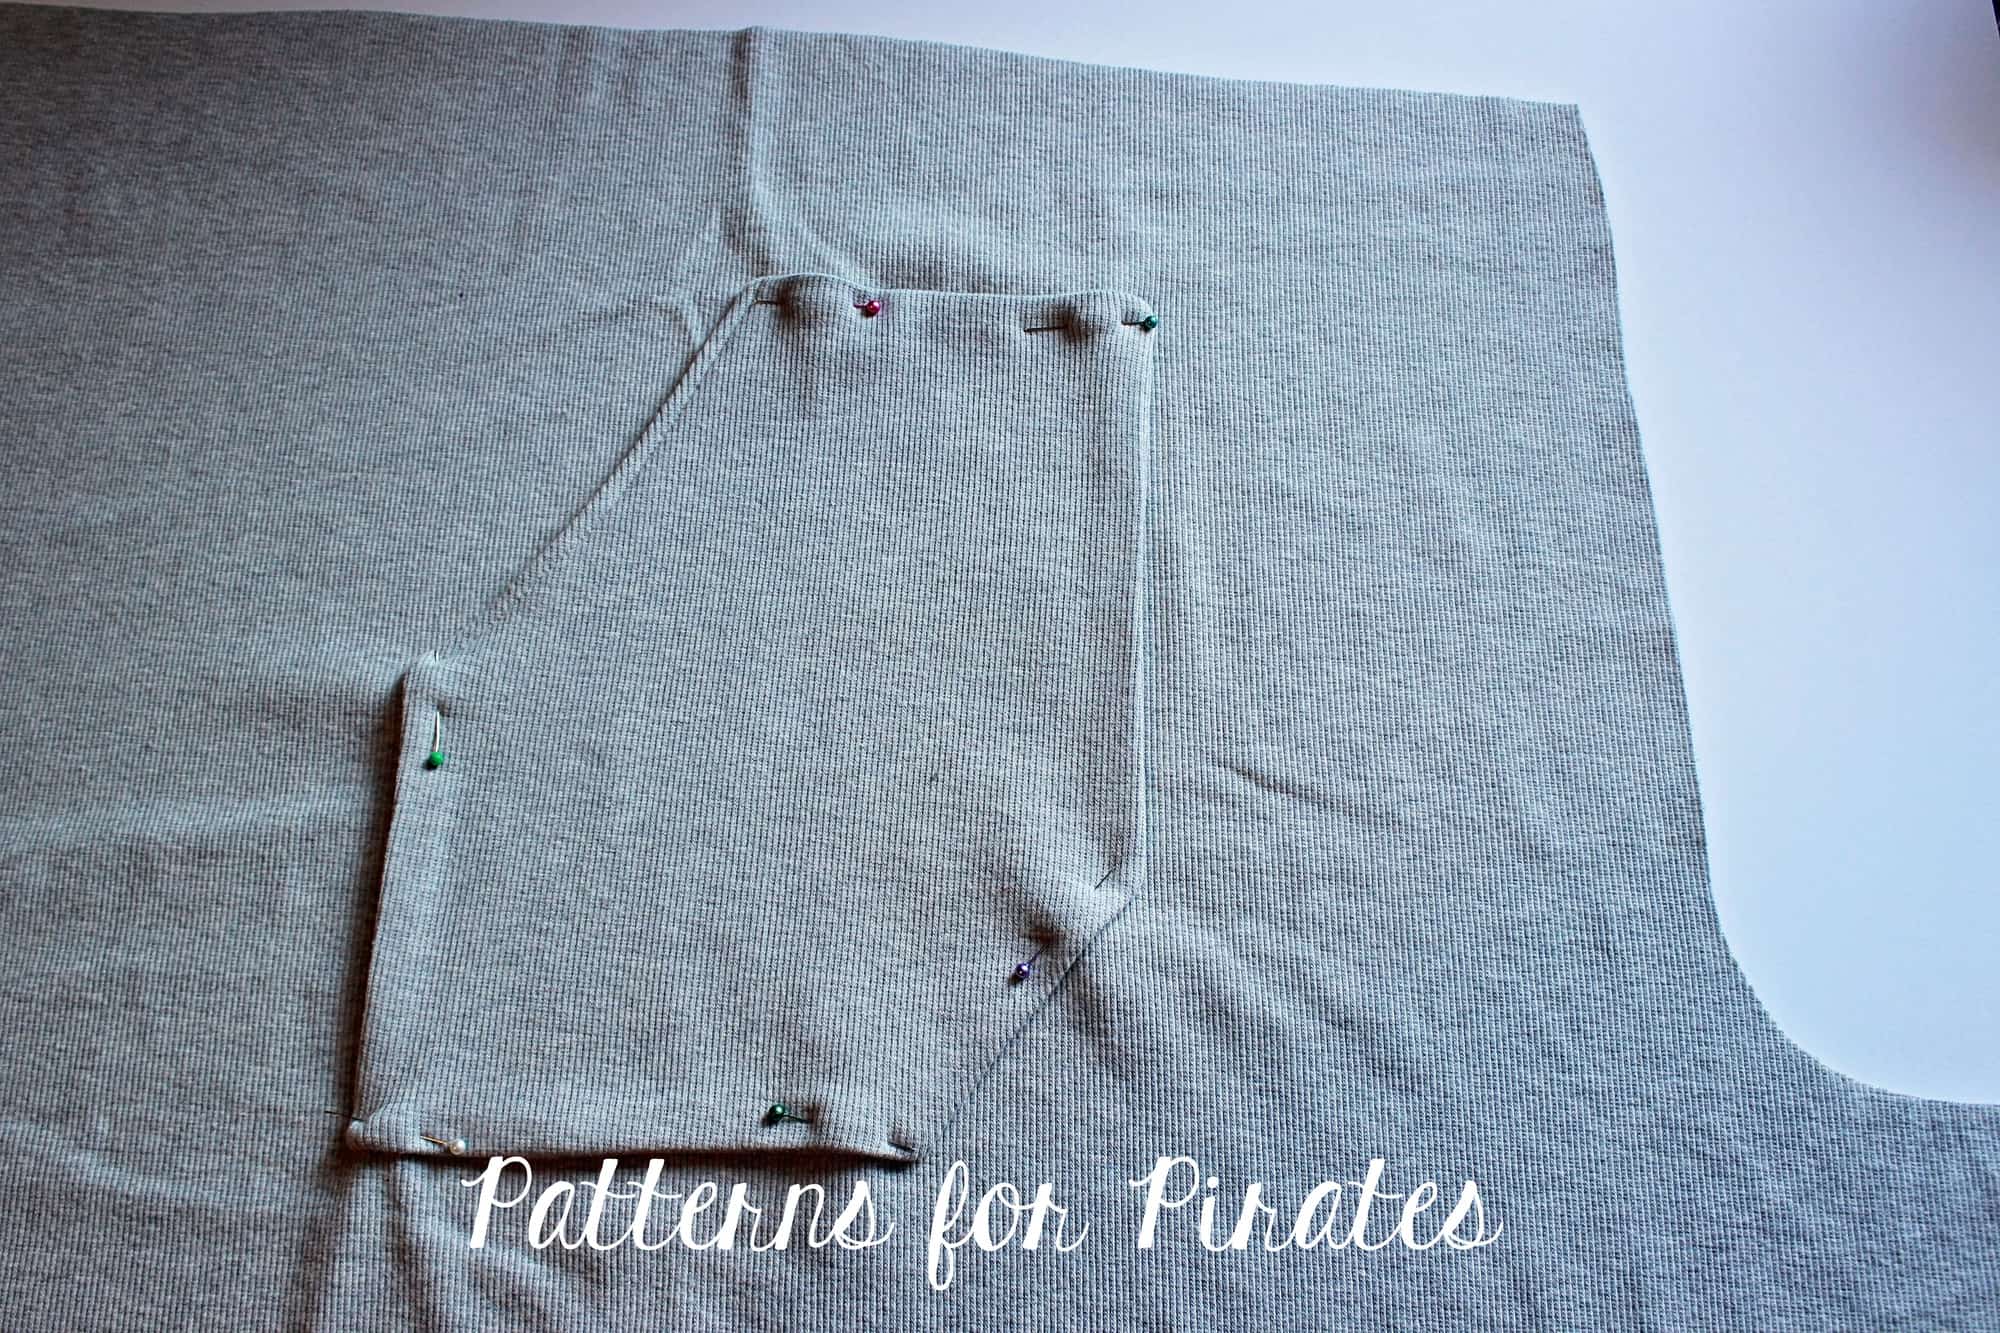
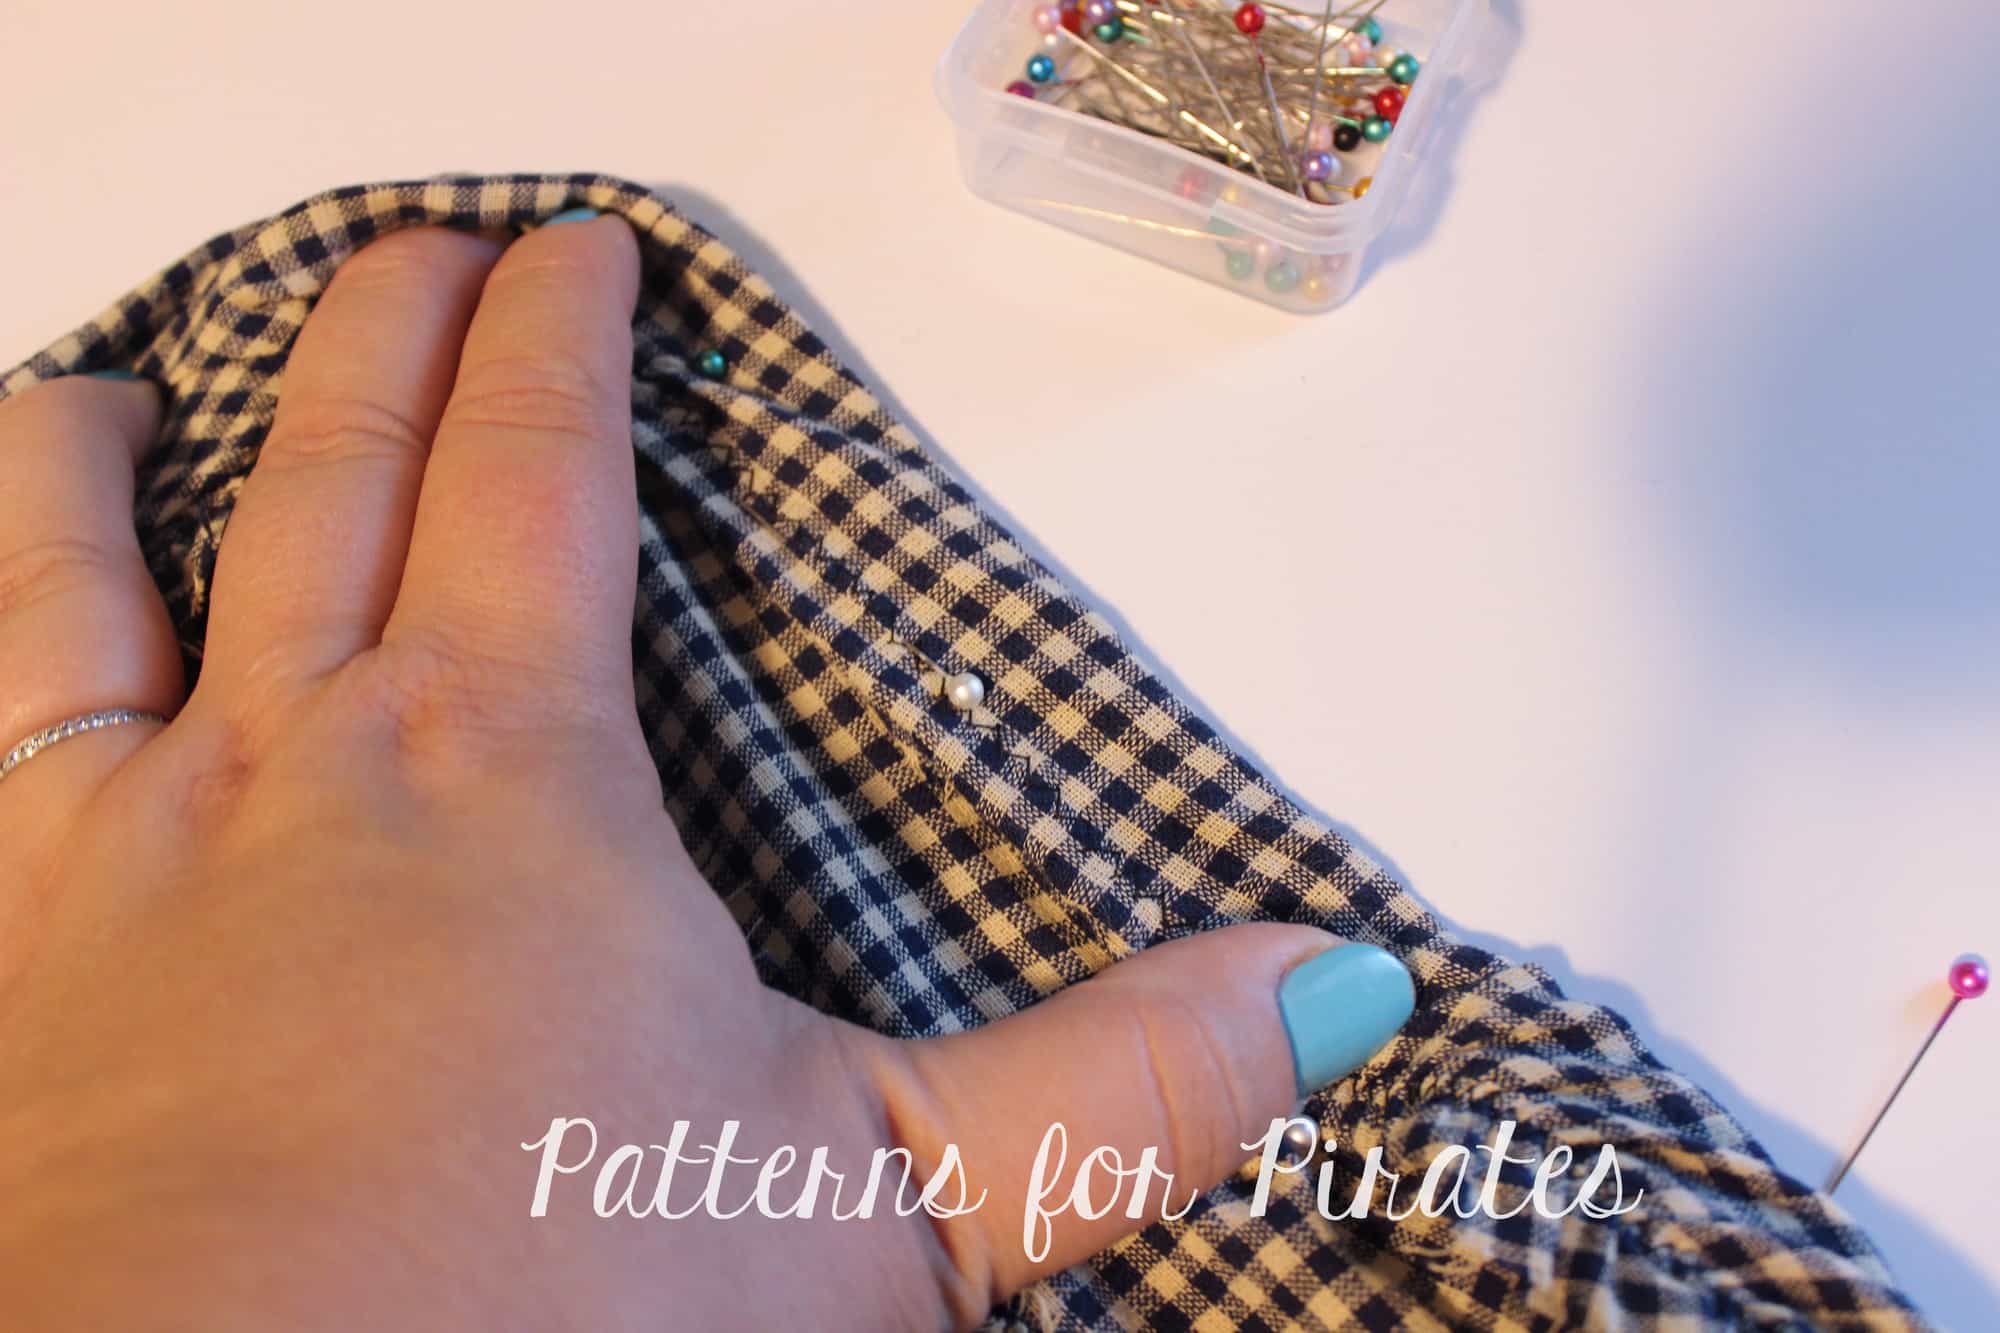
Pin each placket strip to the leg opening, making sure you match the front placket to the front opening and the back placket to the back.
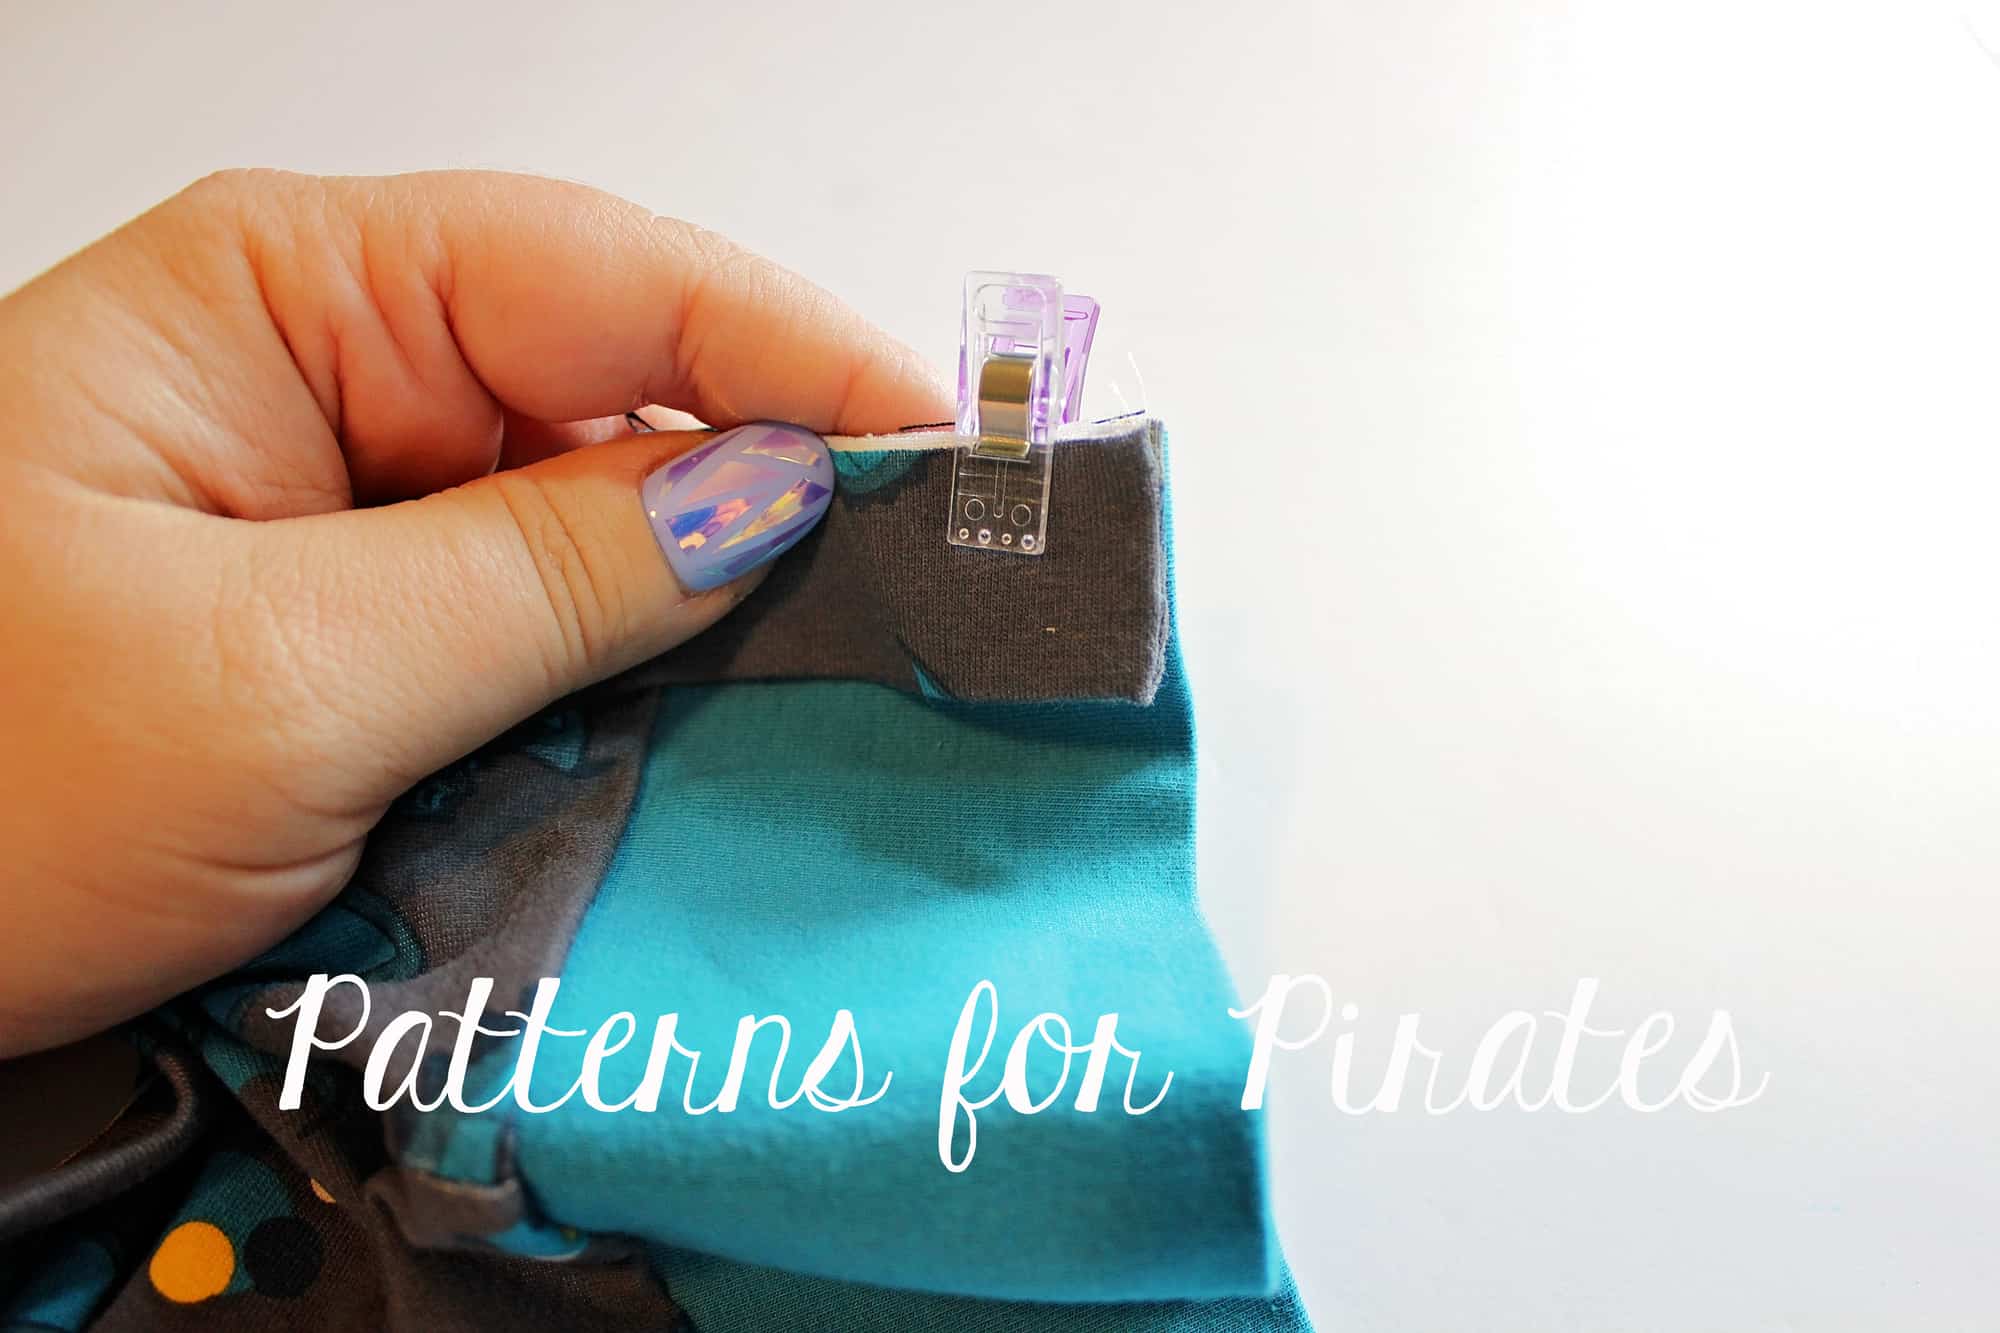
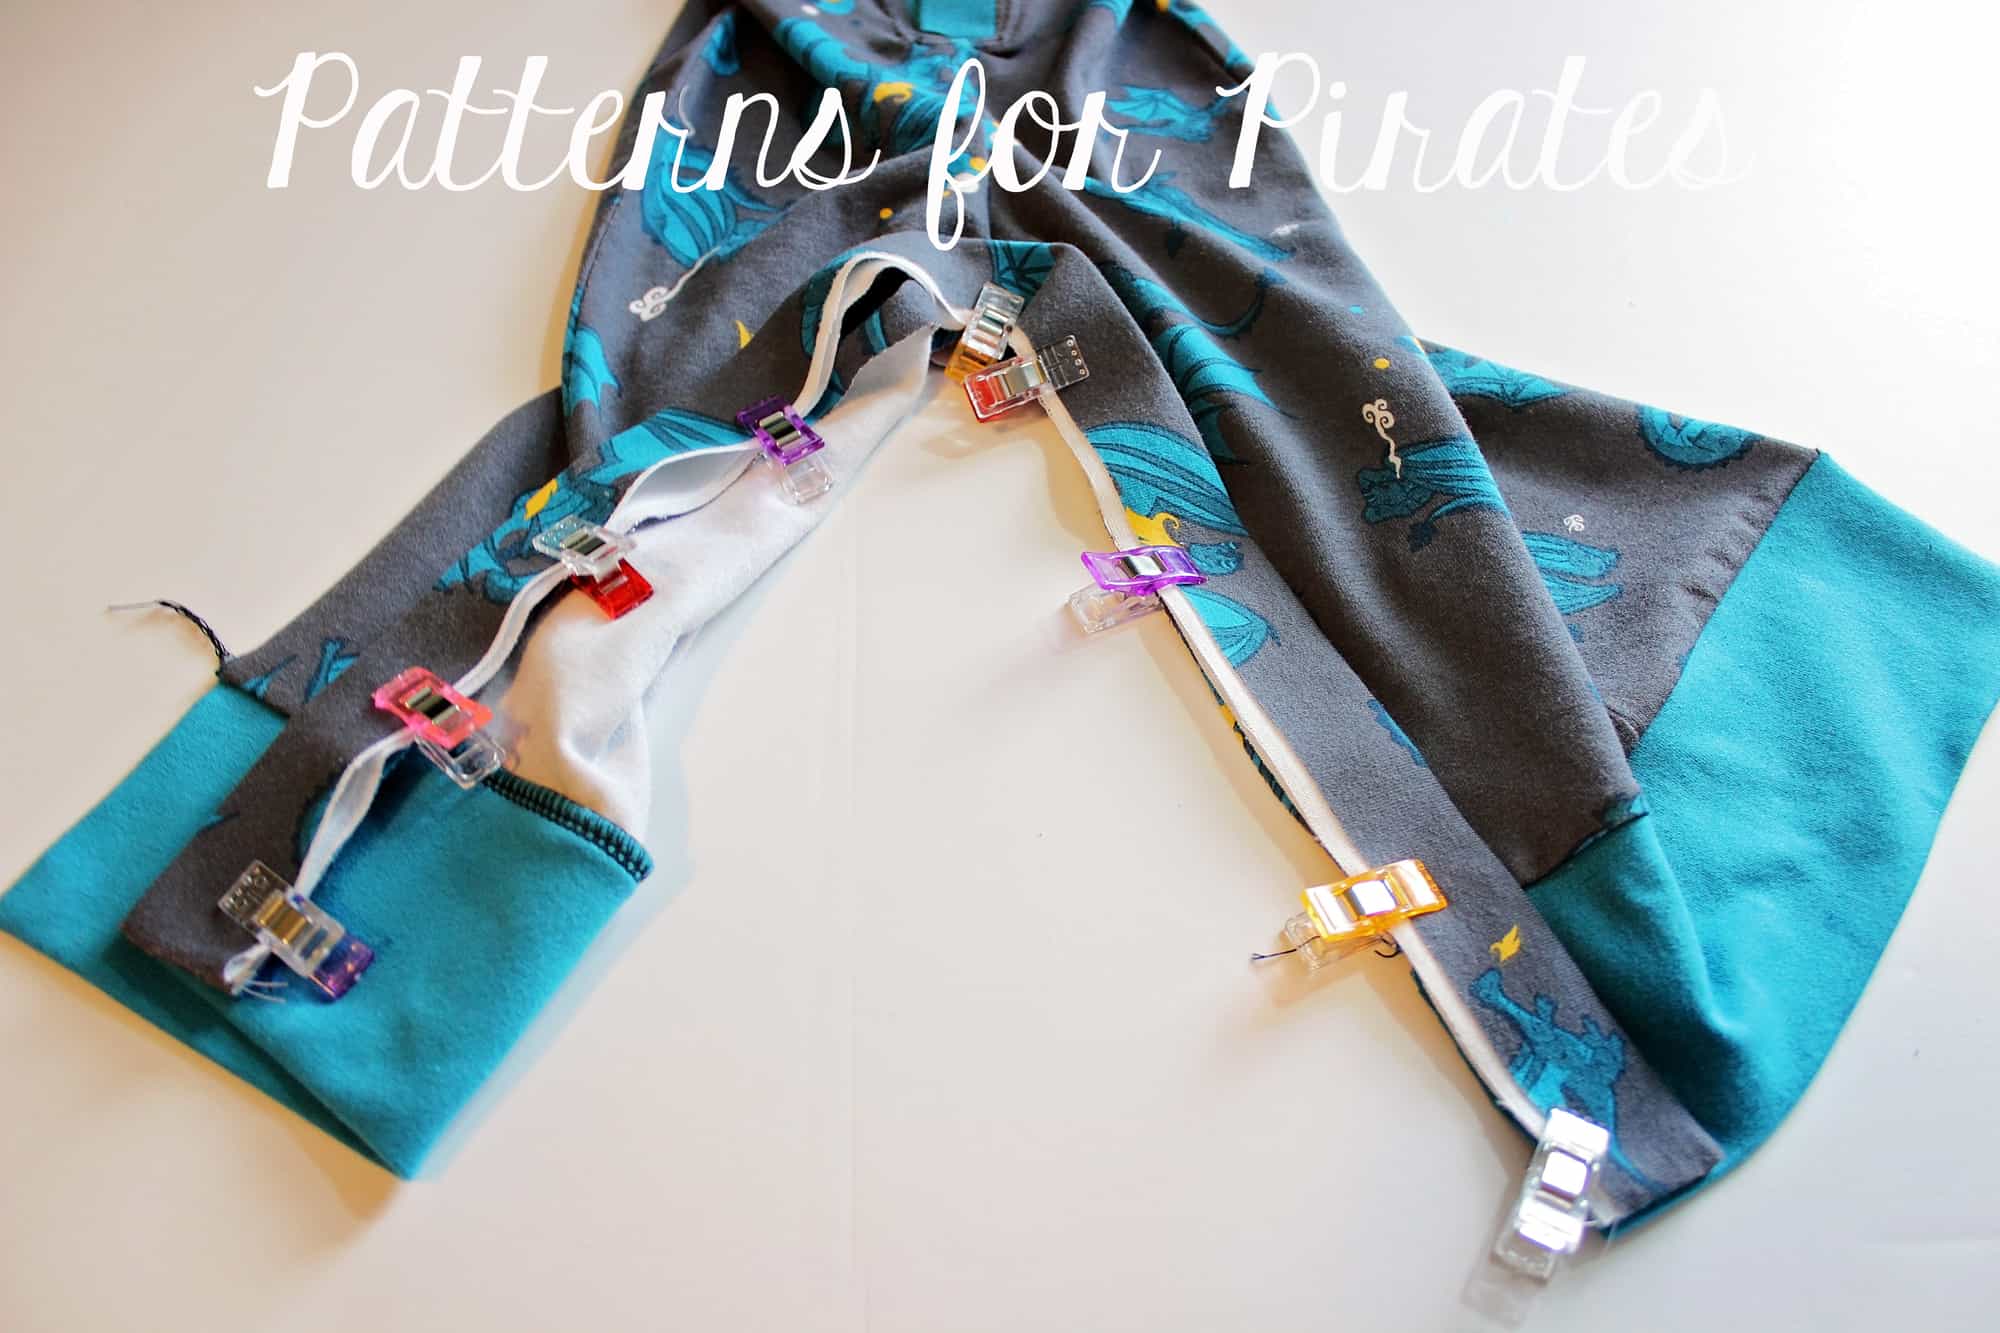
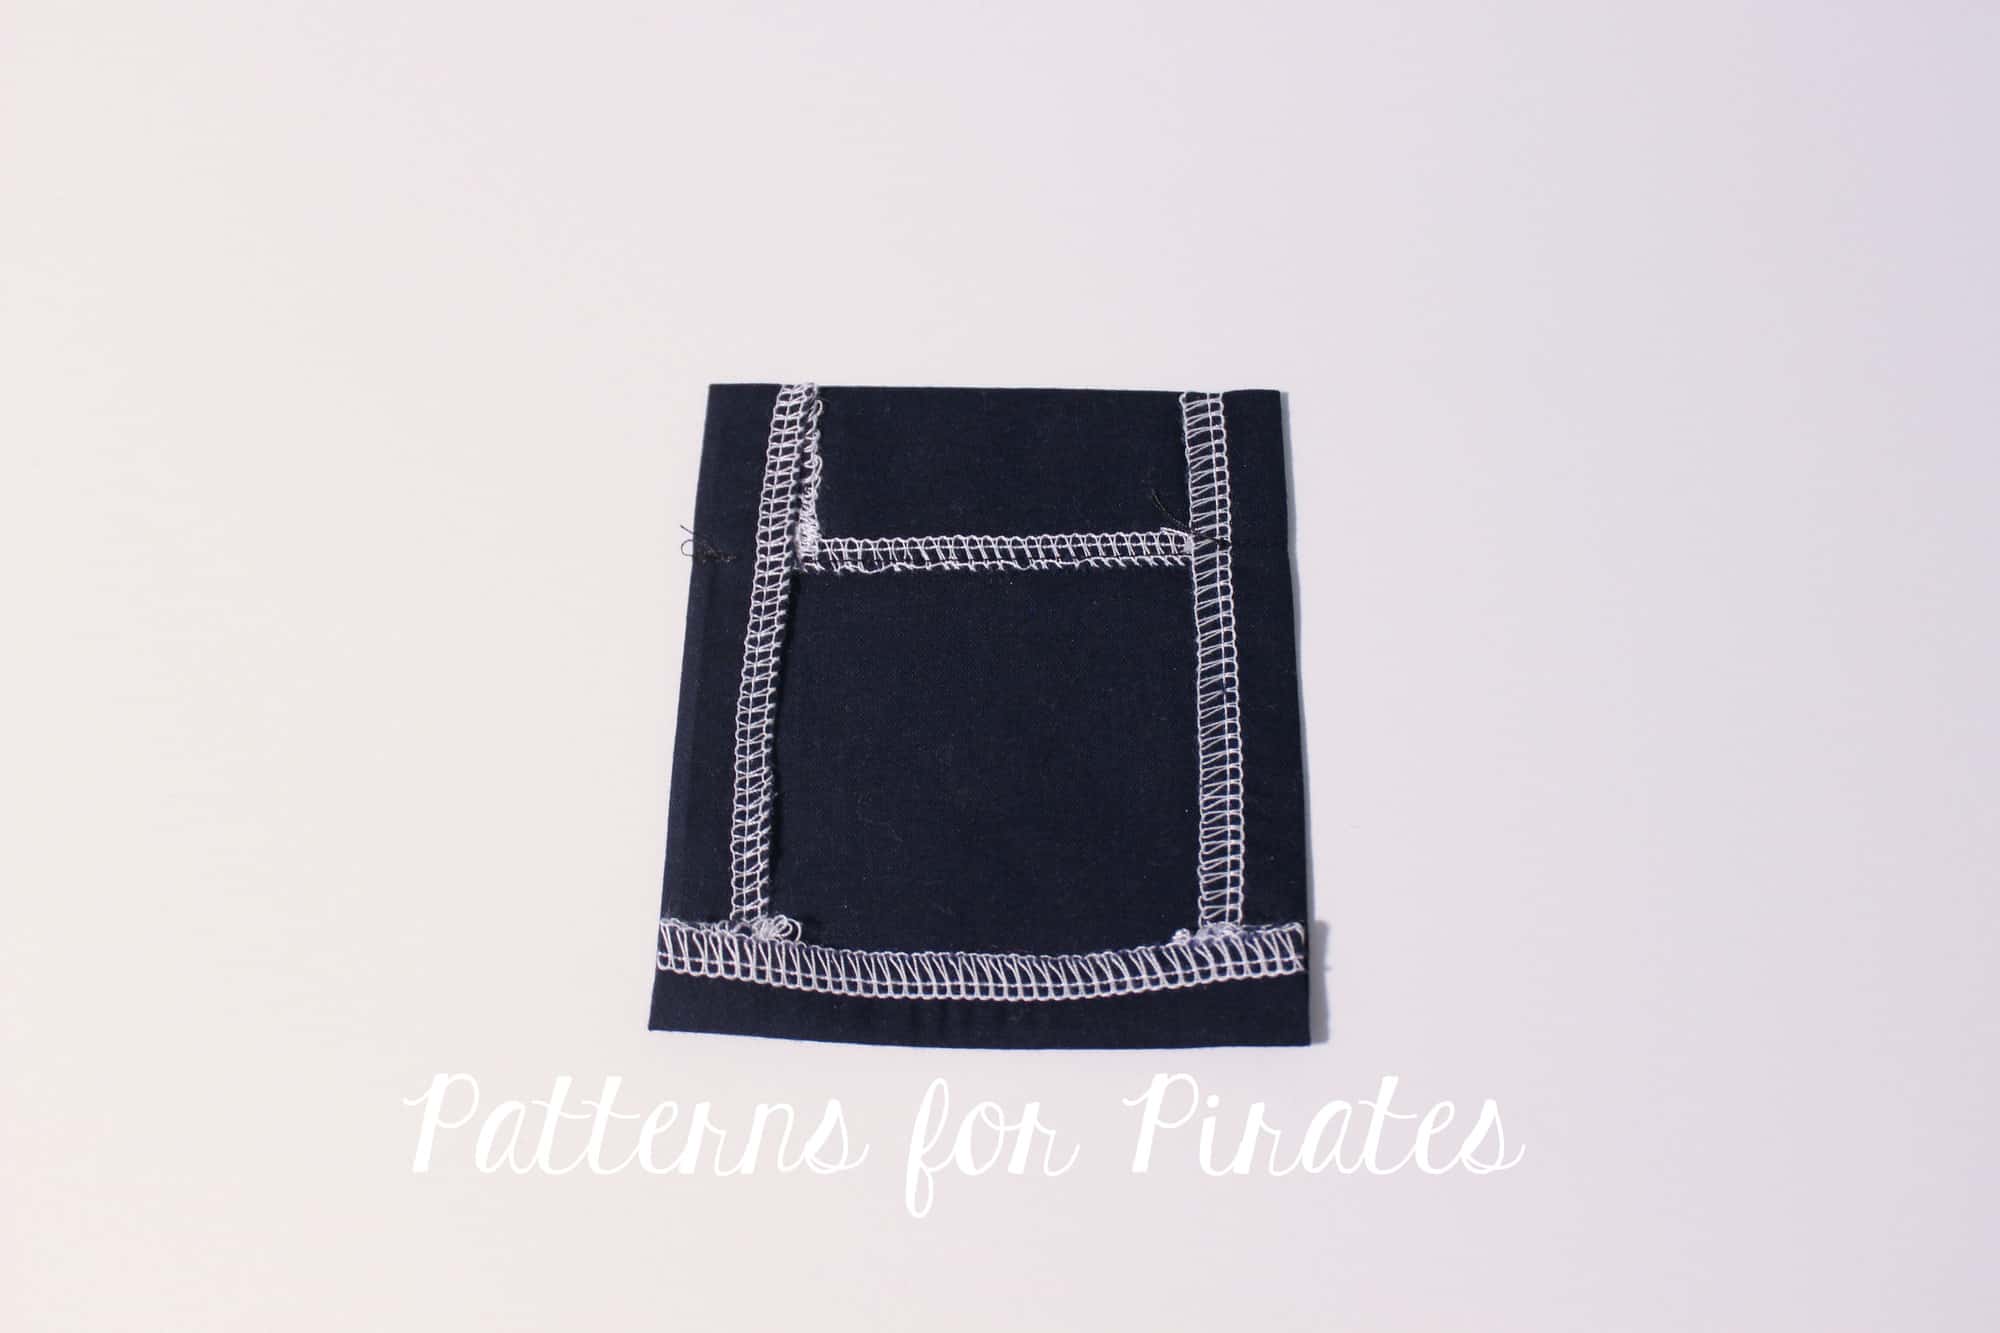
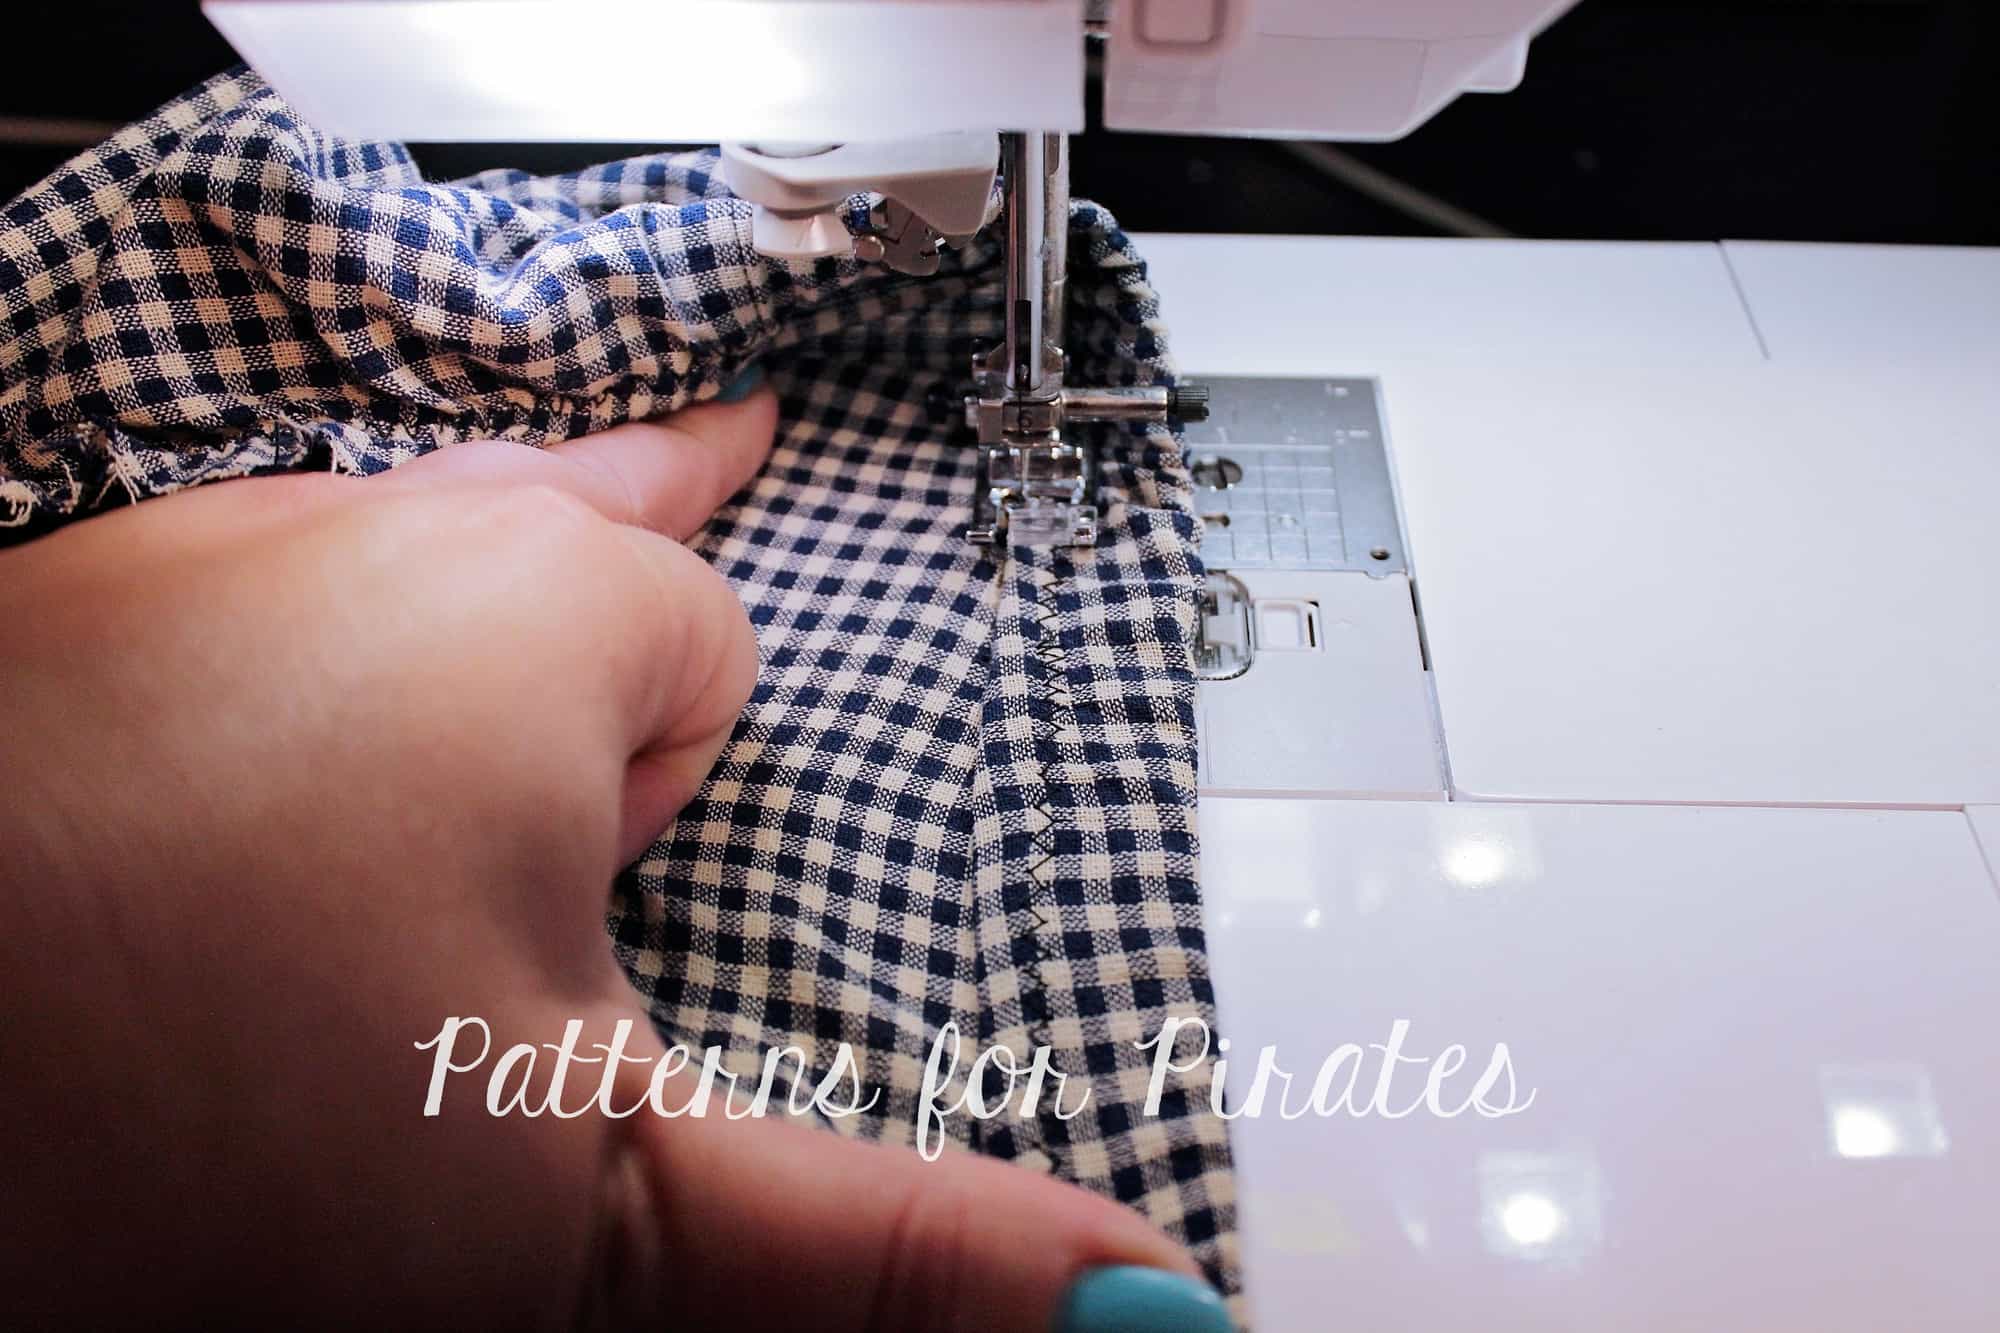
Stitch in place and top stitch. If you used a serger to add your plackets, take a look over this blog to see how to finish the serger tails.
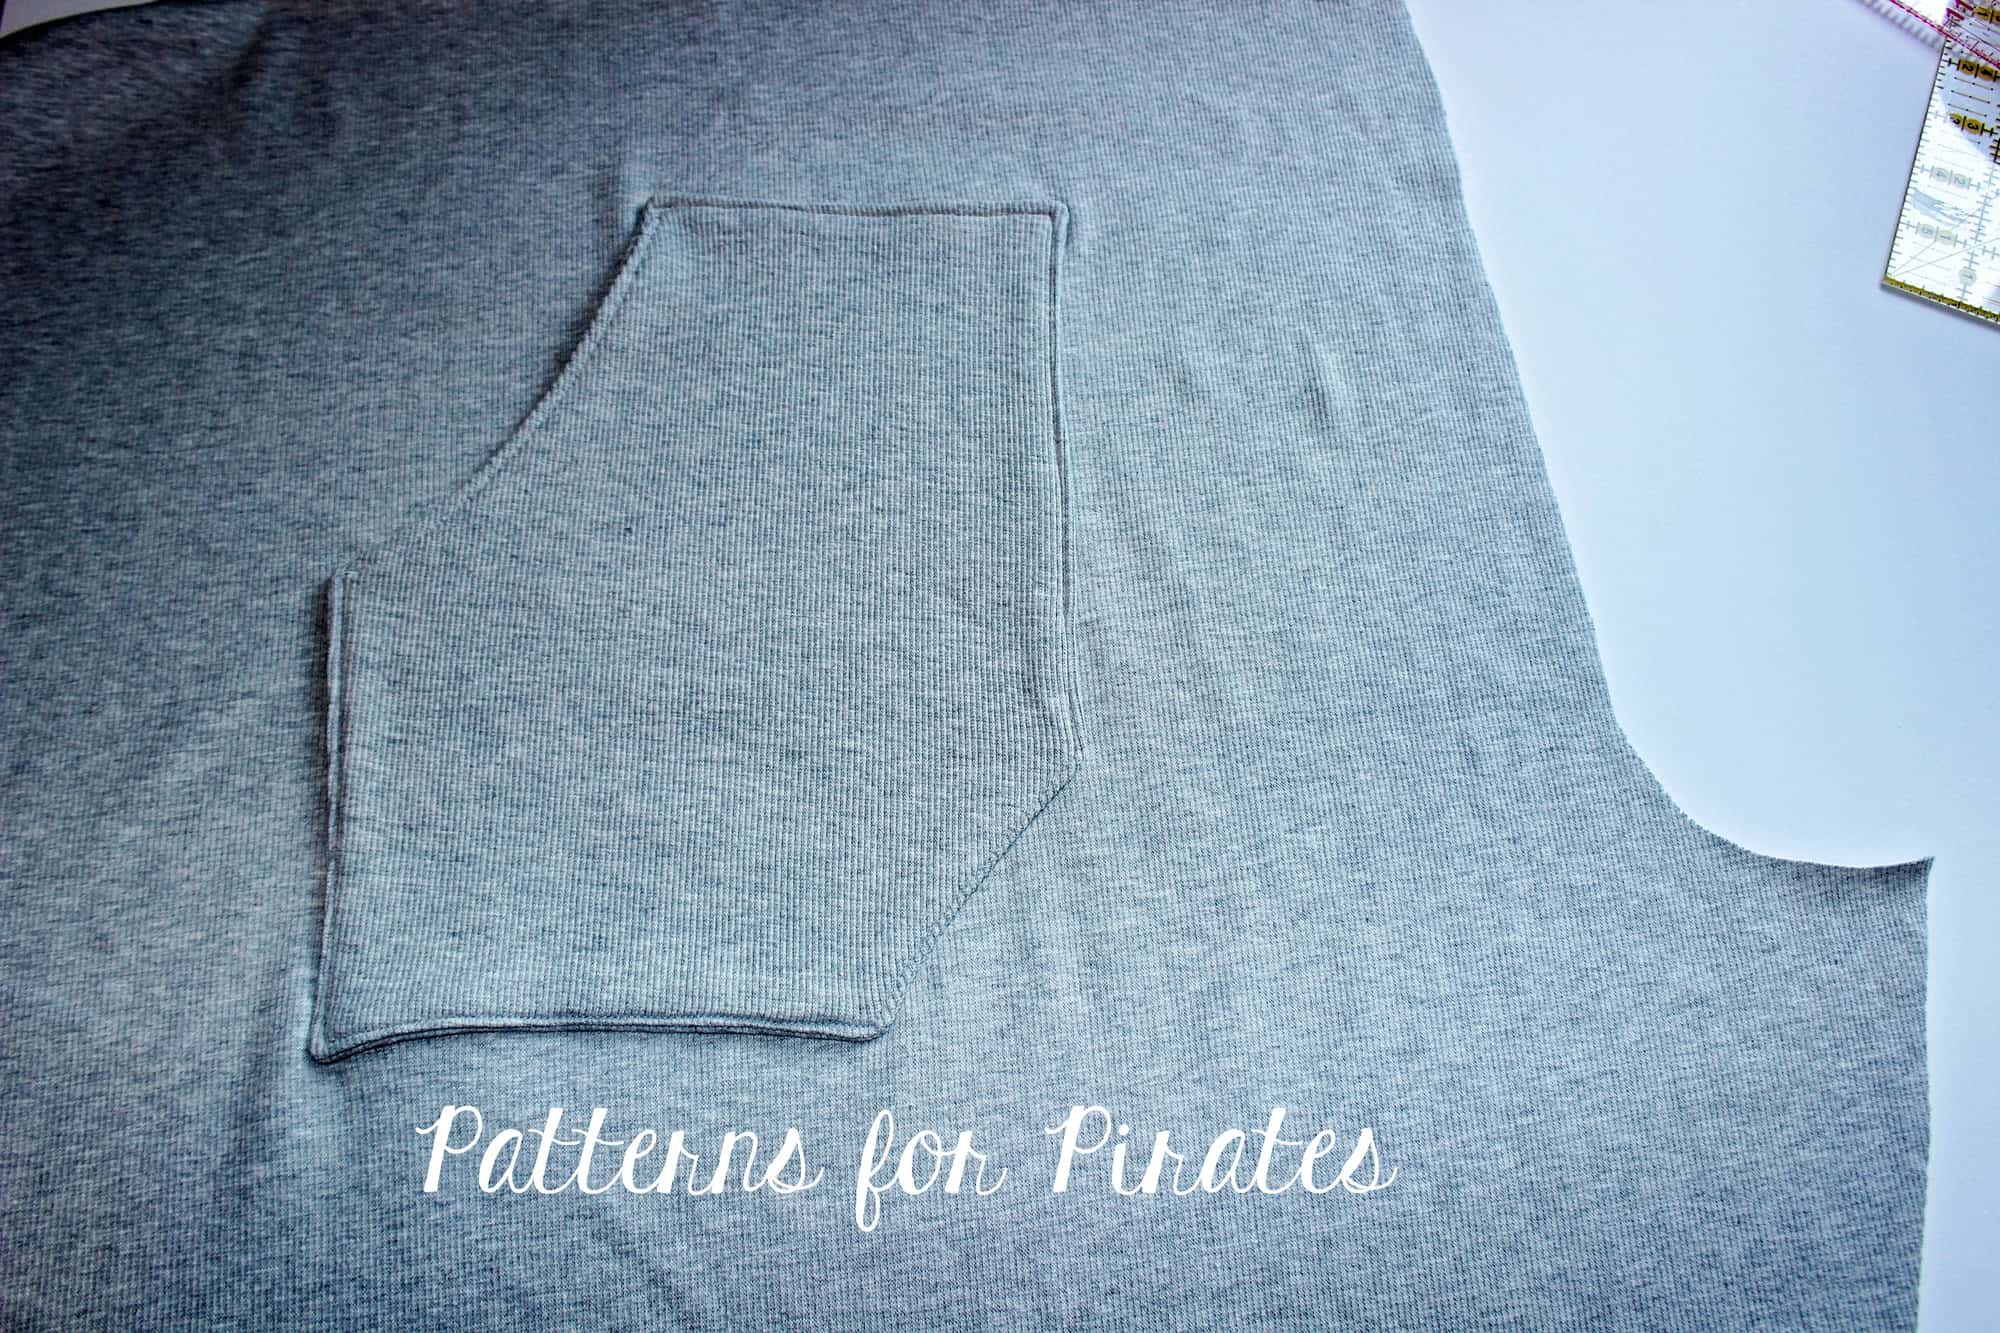
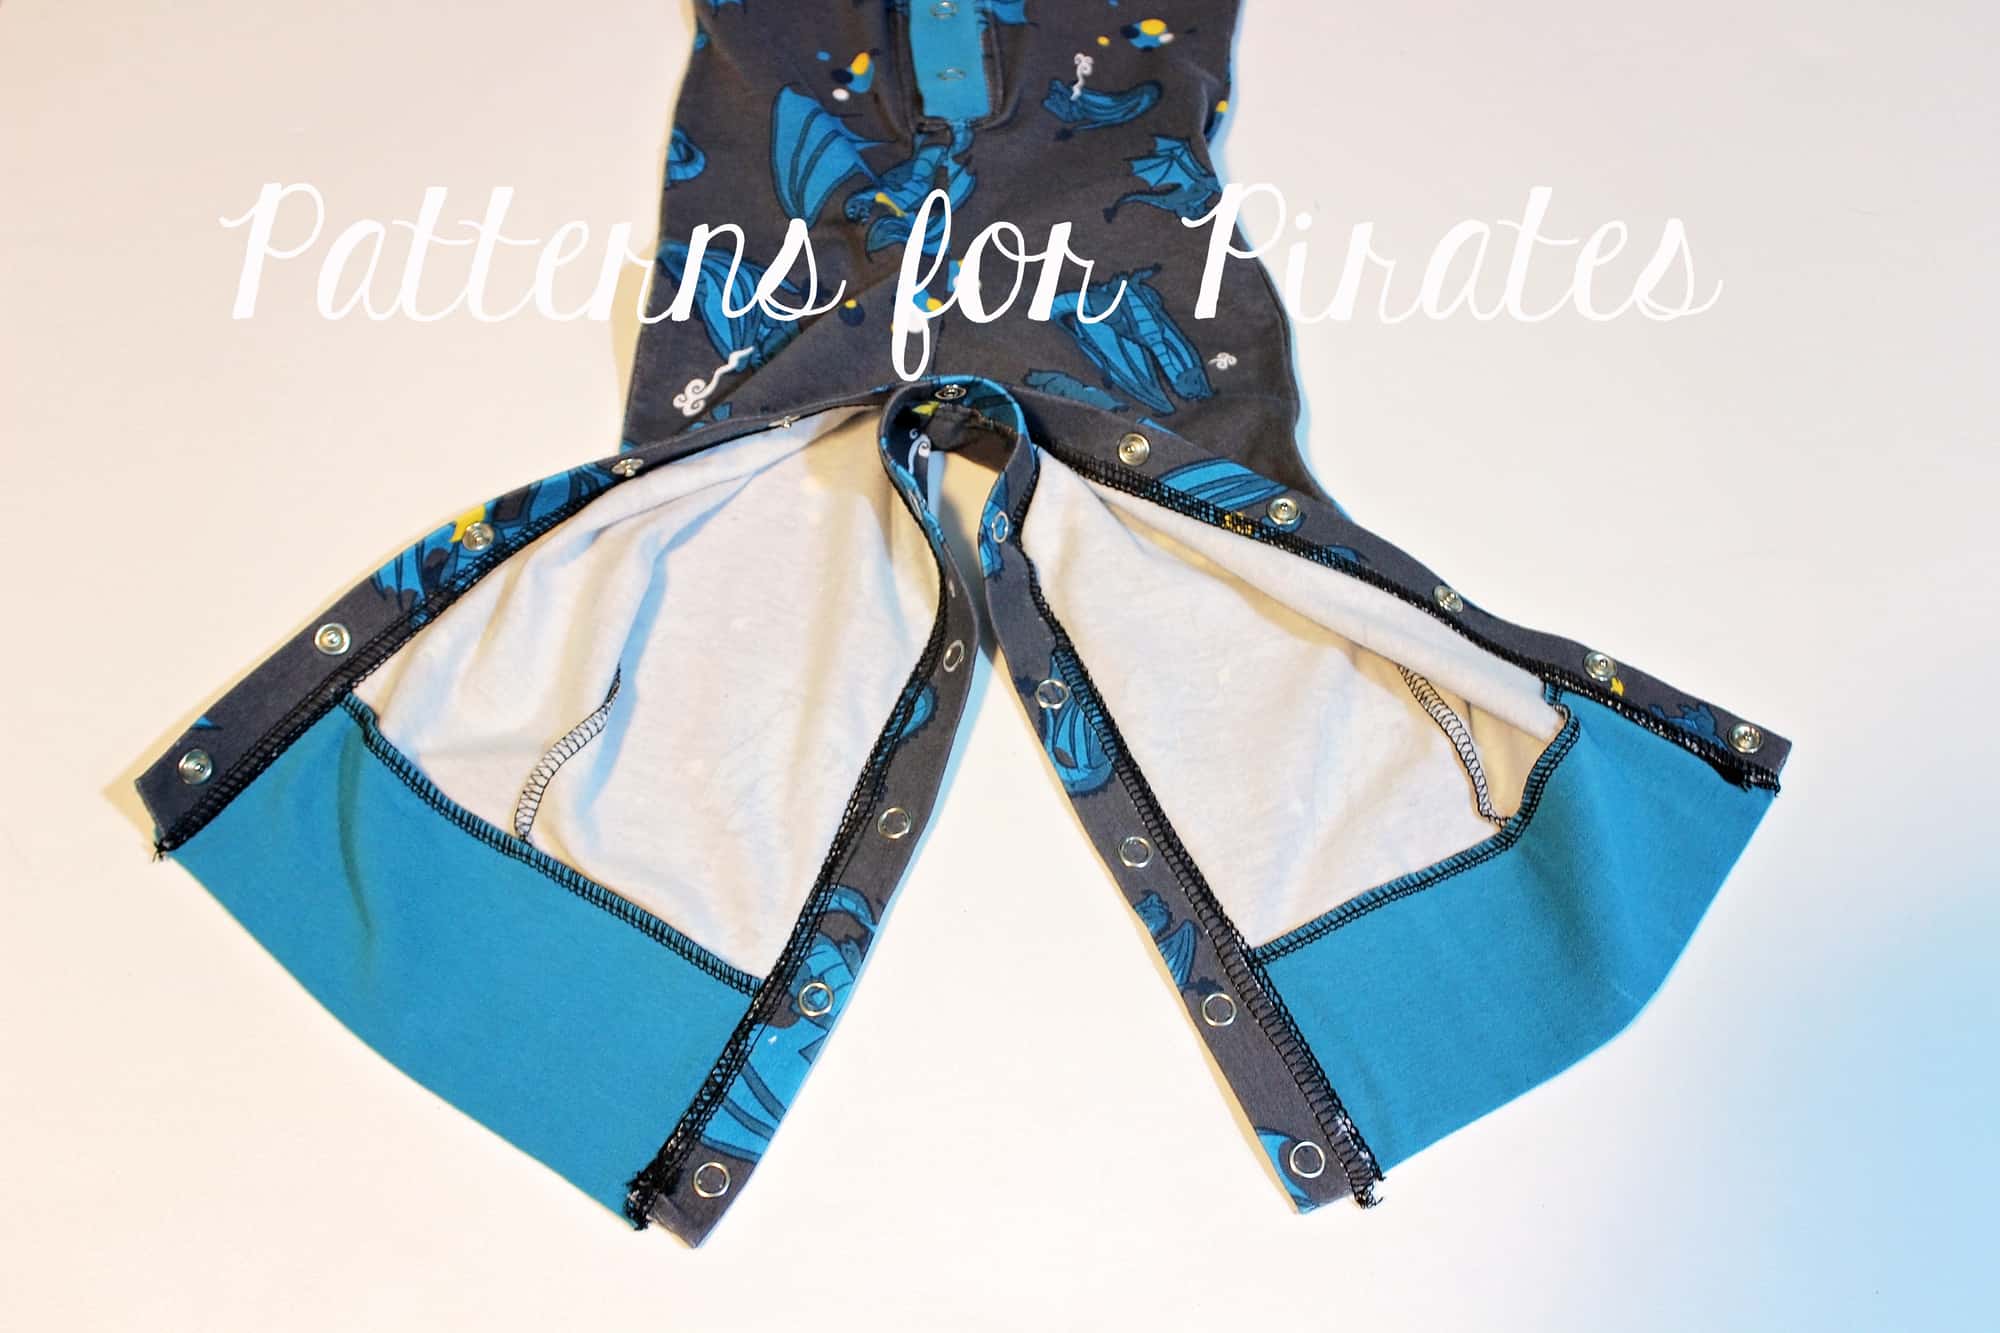
All you have to do now is add your snaps. Space them about 1 – 1.5″ apart from each other.
All done! Now you have easy diaper change Sugar Spice Pajamas!
There you have it, 4 easy hacks to give your pajamas even more options! We can’t wait to see what your Naughty Nice and Sugar Spice Pajamas will be. Post your creations in the P4P group!
Alex, Nicole and Katy