Ohhh….plackets! Why are you so scary? Today on the blog I’m hoping to change that perceptions of them and help you face this fear.
What are plackets?
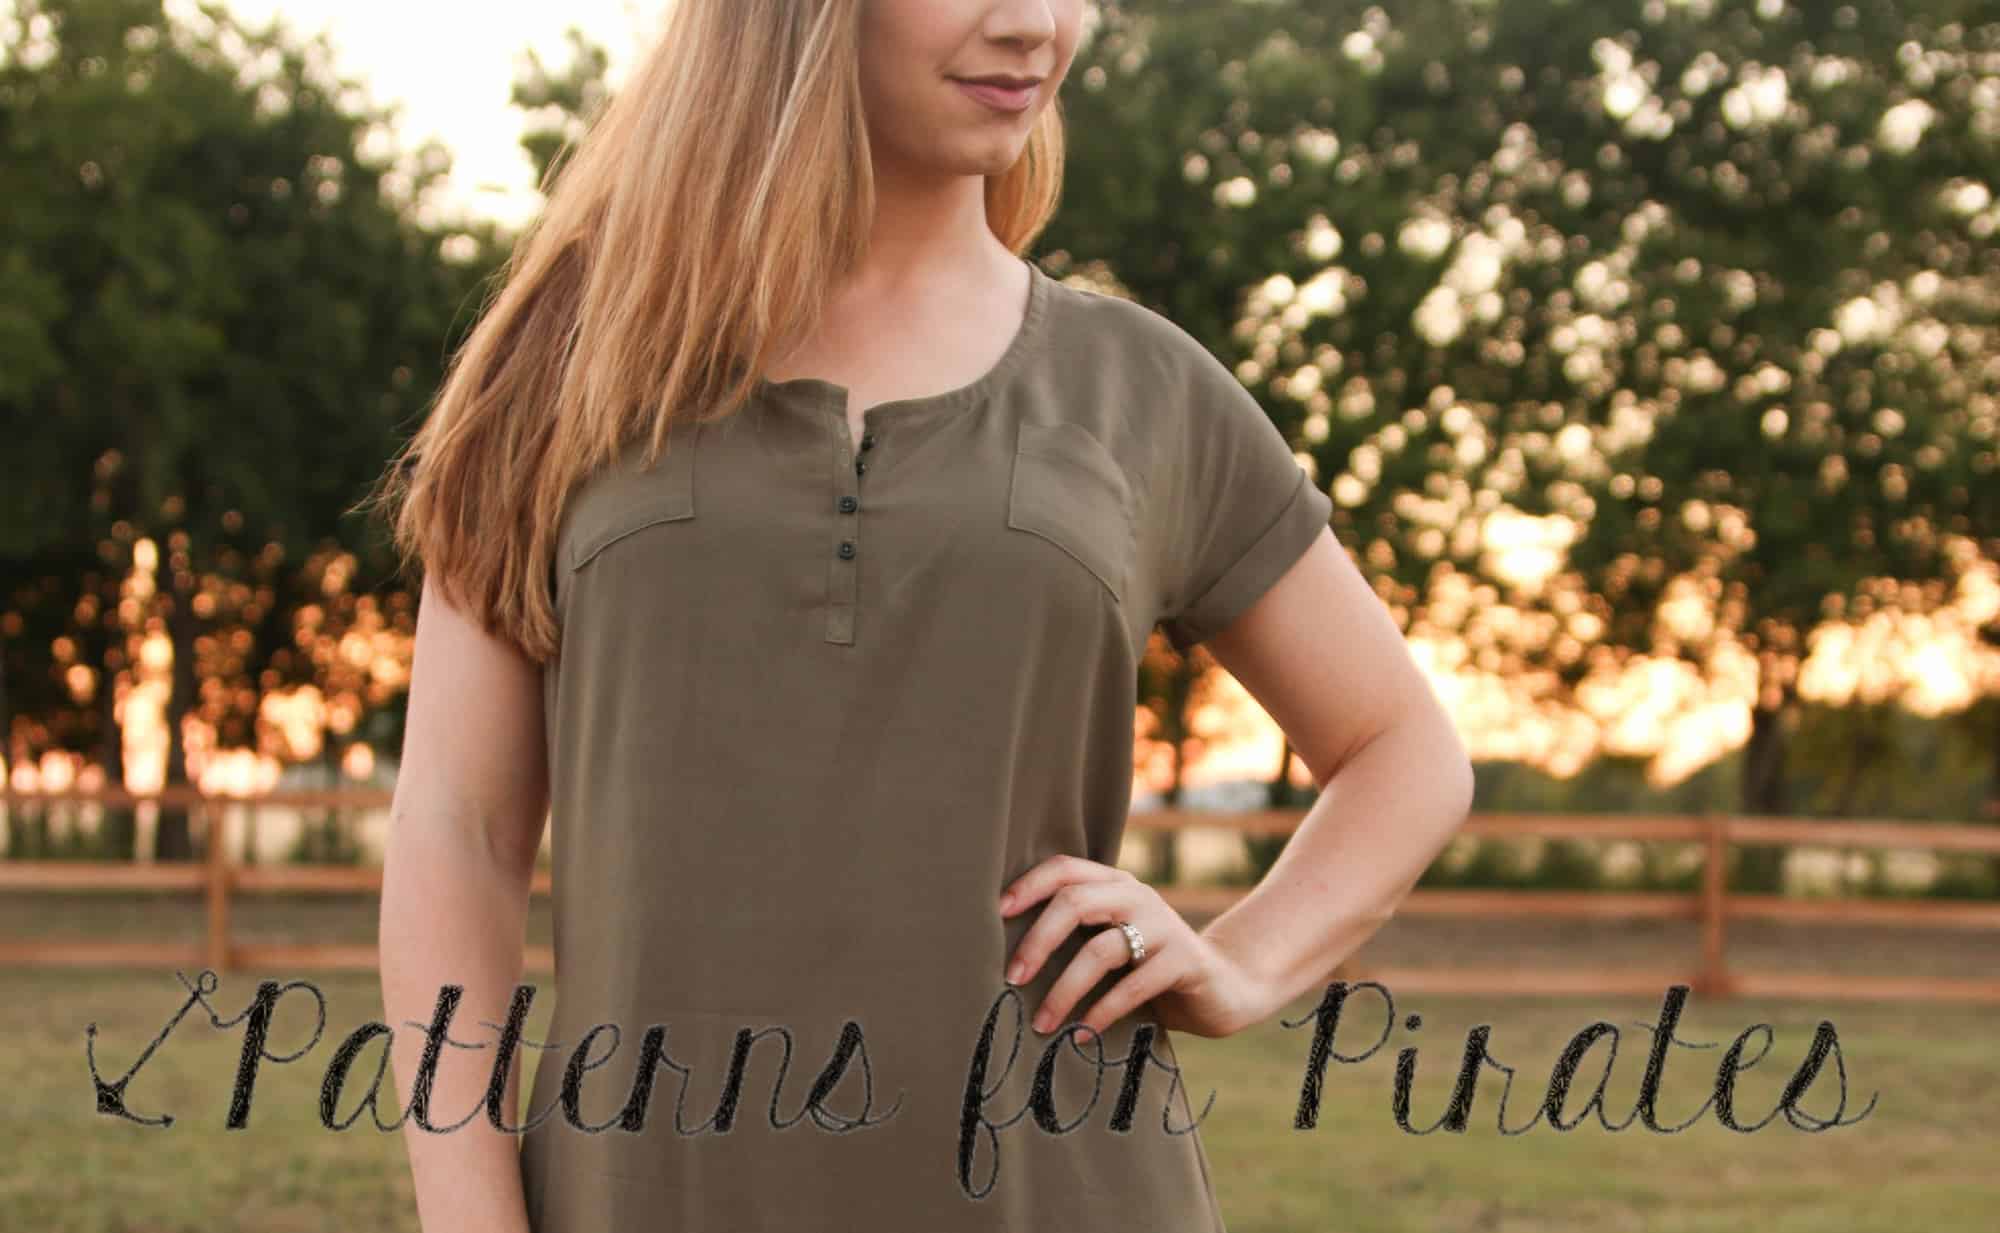
Plackets are basically just a slit or an opening in the fabric that allows for garments to be easily put on or taken off. Sometimes plackets are purely decorative. You can find them on sleeves, on pants, back of skirts and neckline. You can have a placket on the back of the neckline or on the front. The most common neckline front plackets are for Henley or Polo style shirts. On this blog I will be using the new Brunch Blouse placket but you can certainly utilize the same principles for a Yo Ho Henley or a Women or Men Henley shirt too.

Interfacing? Yay or nay?
My first tip/recommendation is to always use light weight interfacing for the placket piece. Simply fuse a piece of interfacing to the wrong side of the pattern piece. You can get away with not using any if you’re making a woven pattern but even so, the result will be so much better if you do add it. Interfacing will help stabilize your piece which in turn will make it a lot easier to sew. ALWAYS use interfacing for knit plackets!
Mark and press!
As you can see in the video above, I use a tailor chalk to mark the pressing and sewing lines on the back of the placket piece. You can use a soluble fabric pen or a fabric marker too.
If you have a tailor clapper now would be a good time to use it. It will defiantly come in handy and help keep those pressing marks firm. Spray starch will help too!
Sew slowly!
Make sure you pin a lot and catch any notches that need to be enclosed! This may be the most tedious part of adding a front neckline placket so it is well worth paying extra attention and sewing slowly.
Enjoy the fruits of your labor! 🙂
Now that you took the time to create the perfect placket, show it off! Be proud of your achievement and don’t let sewing techniques intimidate you! Speaking of showing off…don’t forget to brag about your Henleys and Brunch Blouses in the P4P group.