Patterns for Pirates

P4P stylish, modern, wearable patterns

  • Home
  • Blog
    • Frequently Asked Questions
    • Pattern Releases
      • Free Patterns
    • P4P University
      • Fitting
      • Sewing with Stretch, Knit Fabrics
      • Sewing with Woven Fabrics
      • Sewing Machines
    • Sew-A-Longs
    • Fabric for Pirates
    • Pattern Hacks
    • Announcement
      • Blog Tours
      • Contest/Giveaway
  • Shop
  • Bundle Discounts
  • Gift Cards
  • My Account
  • Cart

Grandpa Cardi/Cpt Mack’s Cardigan SAL – day 5 (finish sleeves and bottom edge)

January 18, 2019

FriYAY! One more sewing day left and we’ll be all done. Today we focus on finishing the sleeves and the bottom hem. Both the women and youth cardigans include options for a banded or hemmed bottom edge finish as well as cuffs or hemmed sleeves. My cardigan is a tunic length with hemmed sleeves.

If you are sewing a banded cardigan your waistband lengthwise, wrong sides together before you attach it, press  and steam it after too!

If you went for the hemmed sleeves all you have to do is hem them 1/2″ allowance using either a zig zag stitch, a triple stretch stitch or your coverstitch. Remember that memory hem we did a few days ago? It makes hemming so easy now.

If you chose the sleeves cuffs take a look over our Knit Cuffs 101 blog post and once again, don’t forget to press. In this video I am hemming both the sleeves and the bottom edge. Once you finish, post your progress in the day 5 picture comments of the Cardigan Sew Along album in the M4M & P4P Sew Along group.

Grandpa Cardi | Cpt Mack’s Cardigan Sew along  – Day 1 (Print & cut pattern)

Grandpa Cardi | Cpt Mack’s Cardigan Sew along  – Day 2 (choose and cut fabric)

Grandpa Cardi | Cpt Mack’s Cardigan Sew along  – Day 3 (pockets and elbow patches)

Grandpa Cardi | Cpt Mack’s Cardigan Sew along  – Day 4 (shoulder seams and add sleeves)

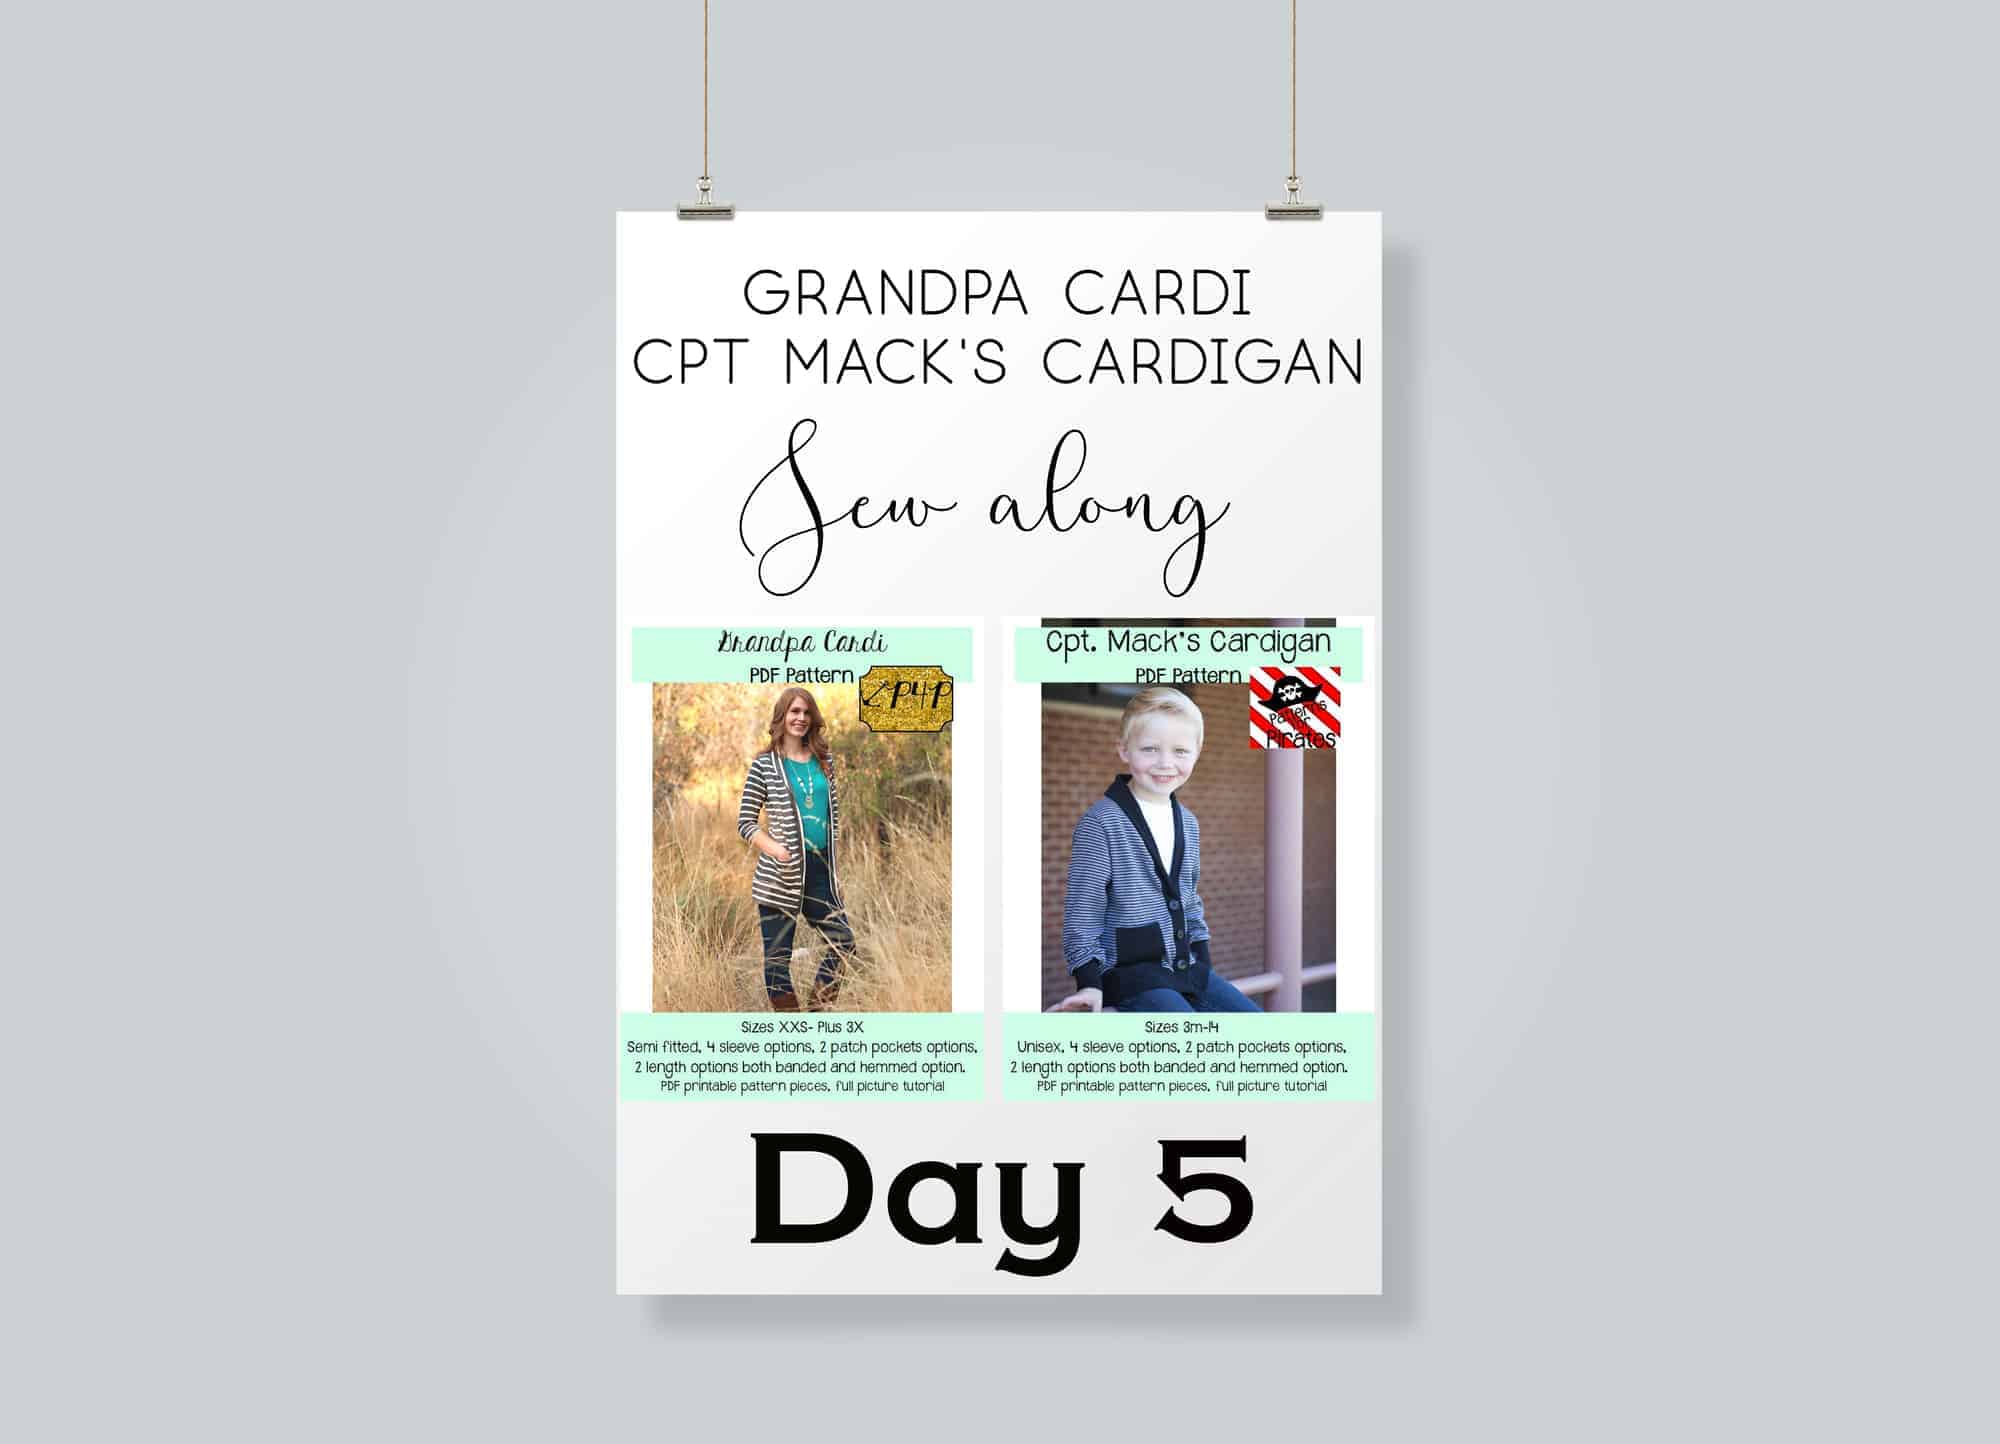
Grandpa Cardi | Cpt Mack’s Cardigan Sew along  – Day 5 (finish sleeves and bottom edge)

Grandpa Cardi | Cpt Mack’s Cardigan Sew along  – Day 6 (collar/shawl and buttons)

Grandpa Cardi | Cpt Mack’s Cardigan Sew along  – Day 7 (winners announcements)

Filed Under: Frequently Asked Questions, Sew-A-Long, Uncategorized Leave a Comment

Go To Jacket – SAL day 5 (sew neckband / hood)

October 12, 2018

It’s FRIDAY!! On our 5th sew along day we’ll be attaching the neckband for the bomber style jacket or the hood for the hooded one.

The Go To Jacket hood features a center panel which makes it great for mixing and matching fabrics too. If you’d like to add a leather accents to the hood, you can follow the steps in the Go To Jacket hacks blog post.

TIP: If you like the look of the drawstrings and want to add them to the younger kids’ jackets, go for a FAUX DRAWSTRING. Simply cut two 5-6″ pieces of cord and tie a knot at one of the ends. Pull the other end through the drawstring hole and tack it down in the lining. Repeat with the other side. Done! Now you have the look of drawstrings without the safety concern of a real one.

Watch the video below for a visual step by step of the hood construction.

If you decided to go with the very trendy bomber style then all you have to do is press the neckband in half lengthwise, wrong sides together and attach it to the neckline opening. It is very important to remember to attach the neckband 3/8″ away from the front opening, on both sides!

Once you’ve added the hood or neckband post a picture of your progress on the day 5 photo comments of the Go To Jacket SAL album.

Go To Jacket Sew Along

Day 1: Print + Cut Pattern

Day 2: Choose + Cut Fabric

Day 3: Sew Pockets

Day 4: Sew Shoulder Seams + Attach Sleeves

Day 5: Attach Neckband / Hood

Day 6: Add waistband + Finish Sleeves

Day 7: Add Zipper

Day 8: Recap + Catch Up

Day 9: Winners Announcement

Filed Under: Frequently Asked Questions, Sew-A-Long, Uncategorized Leave a Comment

Favorite/Fav Tee SAL – day 5 (hem bottom/add waistband)

August 10, 2018

Ahoy, Pirates! Welcome to day 5 of our Favorite Tee and Fav Tee Sew along. Today we’ll be hemming the bottom or adding the bottom band if you’re doing that option.

As you remember from day 2, the bottom band has 4 pieces for sizes 1x to 3x and 2 pieces (cut on fold) for sizes xxs to xxl. Construct and add your band according to the tutorial, making sure you add all necessary notches!

If you chose the hemmed option, you can do that using your sewing machine, twin needles or your coverstitch as I have. Before you start, take a look over our Hemming blog because we have a few tips for easy and successful hemming. If you are finishing the bottom hem using twin needles, a good refresher blog is the P4P University Twin Needles Tips.

In the Day 5 video below I am showing you how easy it is to hem the curved dress option. Check it out and once you finish your day 5 steps, be sure to post a picture of your progress in the comments of the Day 5 picture. Can’t wait to see!


Favorite Tee & Fav Tee SAL

Day 1: print + cut pattern

Day 2: chose + cut fabric

Day 3: shoulder seam + attach sleeves

Day 4: side seam + hem sleeves

Day 5: hem bottom or add band

Day 6: neckband

Day 7: winner announcement 

Filed Under: Sew-A-Long 1 Comment

Newest Patterns

  • Notch Top & Dress $12.00 $10.50
  • Notch Top & Dress - Youth $10.00 $8.50
  • Notch Top & Dress - Bundle $20.00 $18.00
  • Friendly City Sweater $12.00
  • Friendly City Sweater - Youth $10.00
  • Privacy Policy
  • Refund Policy
  • Affliliate Program
  • Contact Us
  • About

Copyright © 2023 Patterns for Pirates

Copyright © 2023 · Genesis Framework · WordPress · Log in