Patterns for Pirates

P4P stylish, modern, wearable patterns

  • Home
  • Blog
    • Frequently Asked Questions
    • Pattern Releases
      • Free Patterns
    • P4P University
      • Fitting
      • Sewing with Stretch, Knit Fabrics
      • Sewing with Woven Fabrics
      • Sewing Machines
    • Sew-A-Longs
    • Fabric for Pirates
    • Pattern Hacks
    • Announcement
      • Blog Tours
      • Contest/Giveaway
  • Shop
  • Bundle Discounts
  • Gift Cards
  • My Account
  • Cart

2018 Holiday Freebies :: Pirate Stocking Cap

December 4, 2018

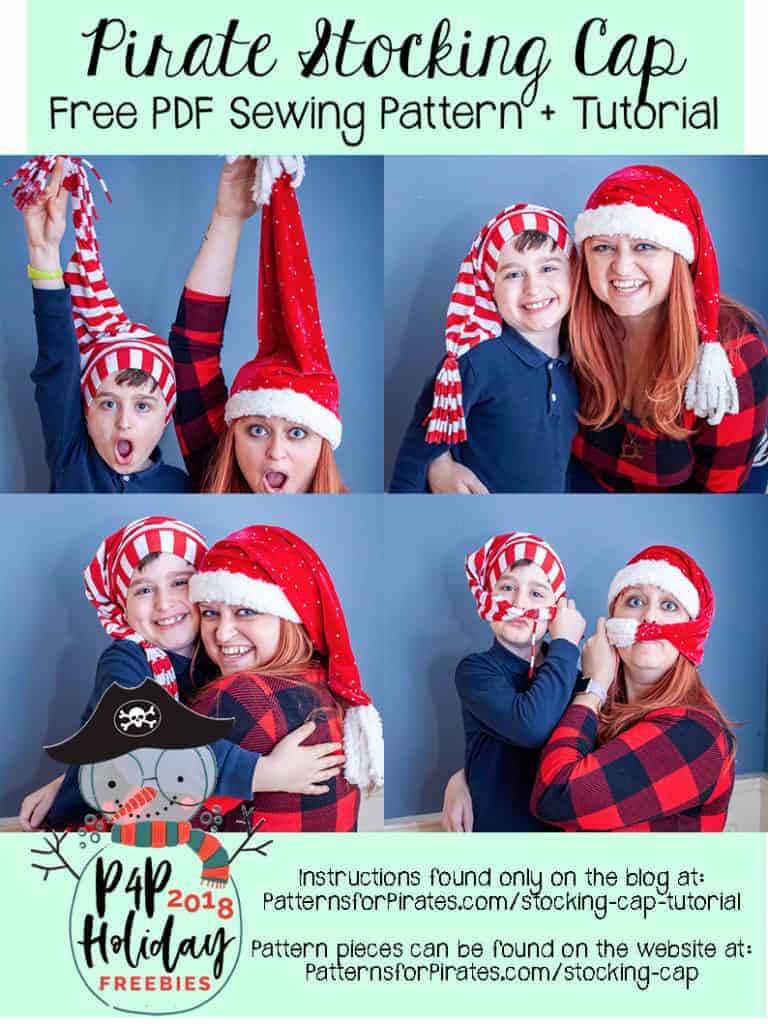
On our THIRD day of freebies this holiday season, I thought it was time to bring to you a new hat pattern.  Did you know that I (Katy) started in the handmade selling world with crocheted hats?  Putting things on people’s heads apparently is my “thing” and it can be your thing too!

Today’s pattern is a super quick and easy one.  Perfect for scrap busting.  And even more perfect for people who like fun hats.

This stocking cap pattern comes in four sizes, which should cover the heads of the majority of your family!

XSmall (fits 17″ – 18″ head circumference) – Toddler
Small (fits 19″ – 20″ head circumference) – Child
Medium (fits 21″ – 22″ head circumference) – Teen/Adult
Large (fits 23″ – 24″ head circumference) – Adult

Grab your free pattern pieces here. If you need help putting the pattern together, pop over to the First Time Users Tips page or ask in our facebook group .

Recommended fabrics: Ponte, sweater knits, liverpool, brushed poly, rayon blends, tshirt knits, upcycled sweaters, etc.   Anything with a decent amount of drape to it works best, otherwise the “slouch” won’t happen as well.  I suggest washing your fabric before you begin to pre-shrink & help prevent color bleeding in the future.
Cuff piece: Any knits with at least a 20% stretch.

Instructions:

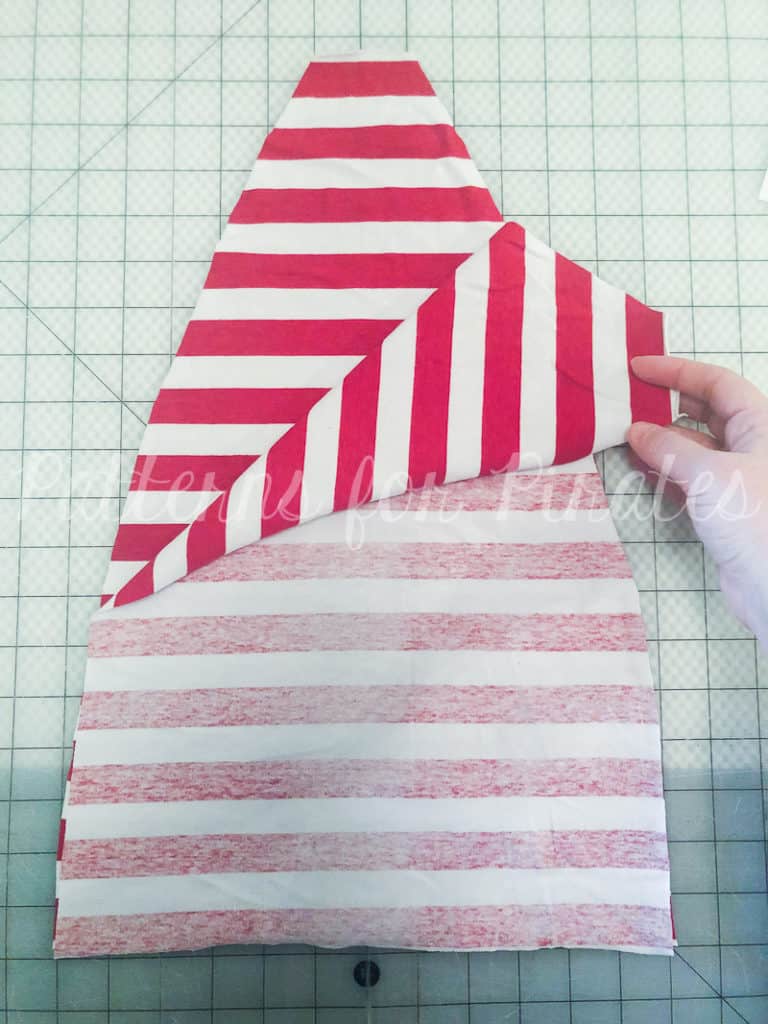
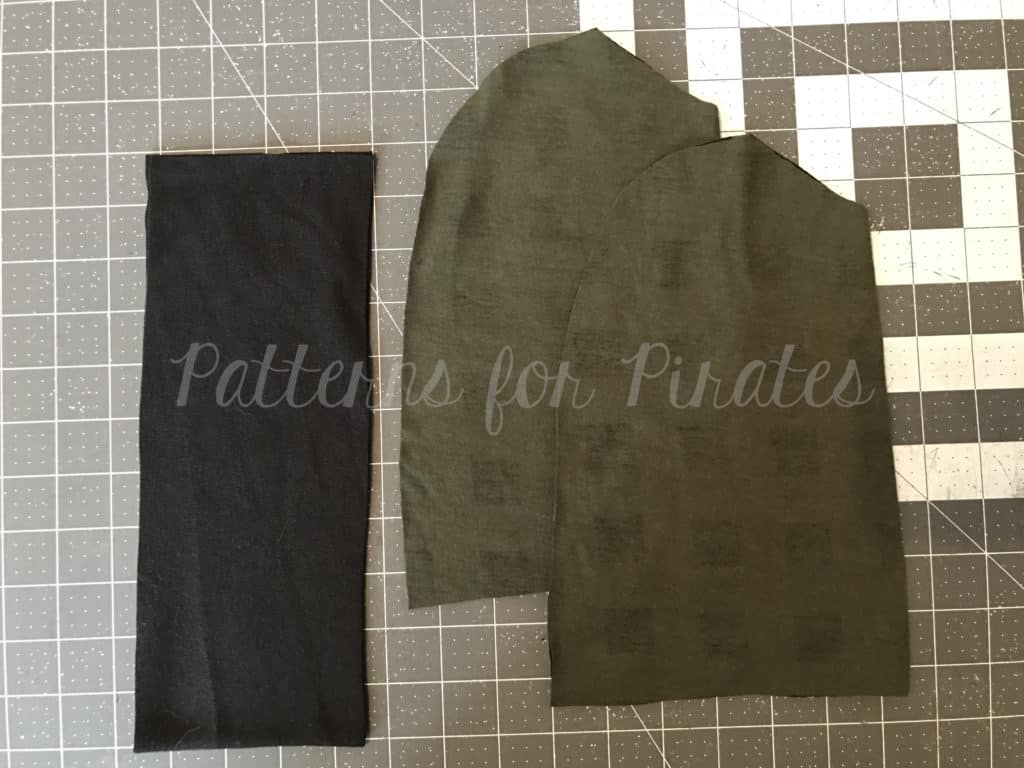
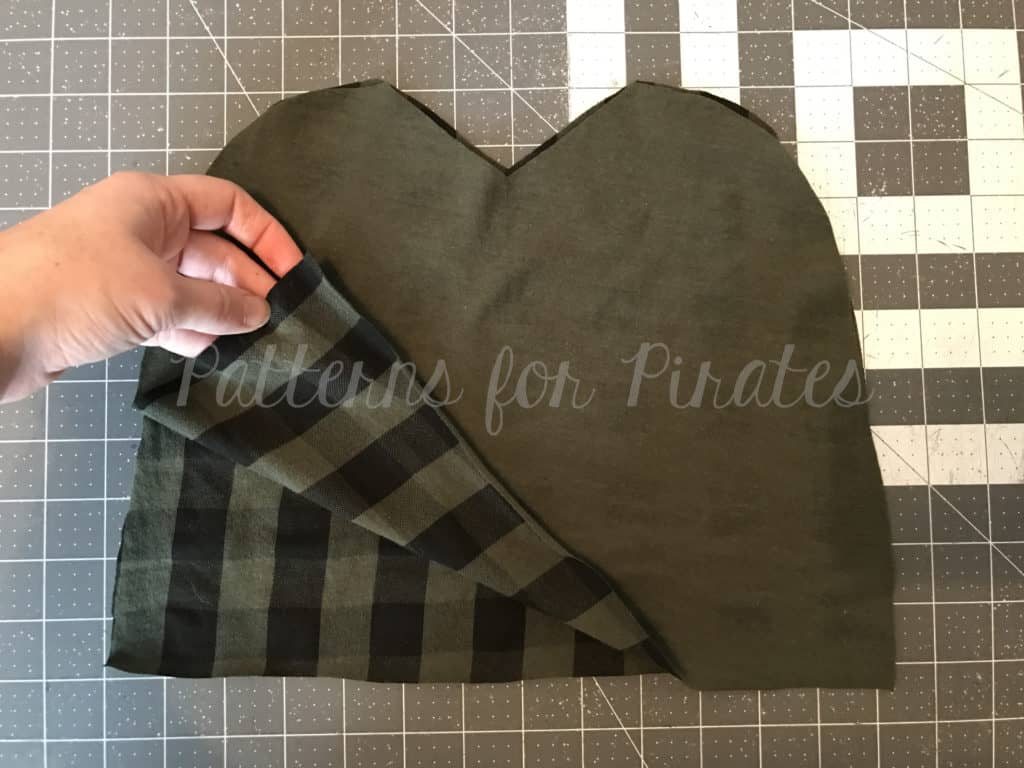
Lay one main hat piece, right side up.

Lay the second main piece on top, right sides together.

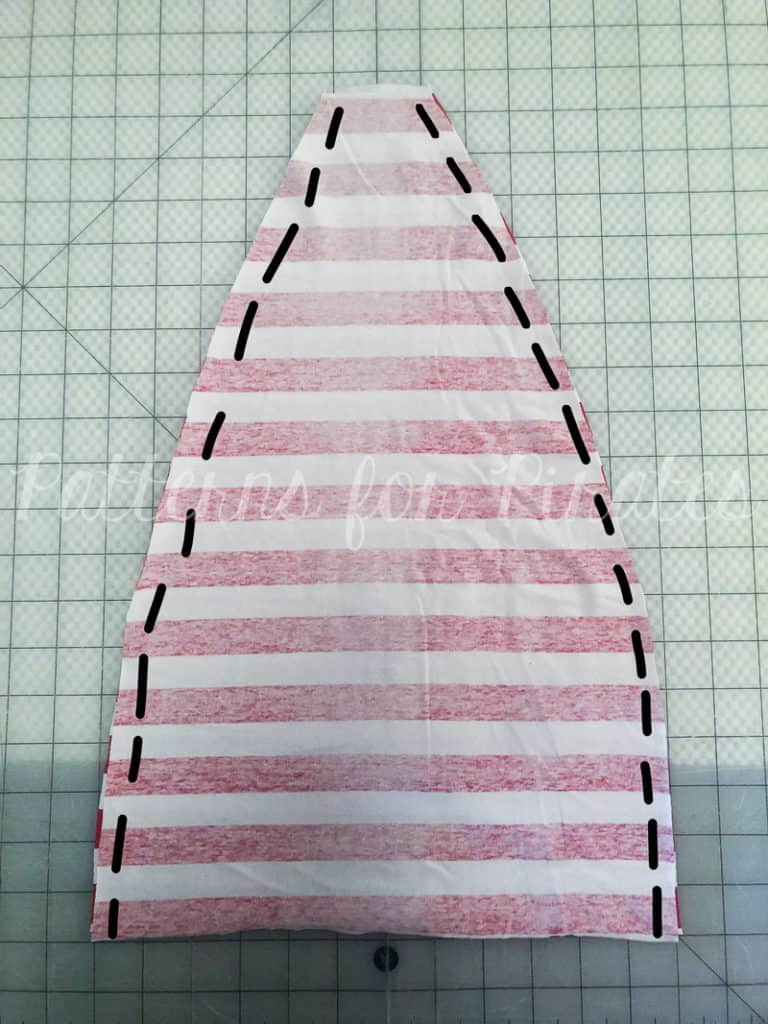
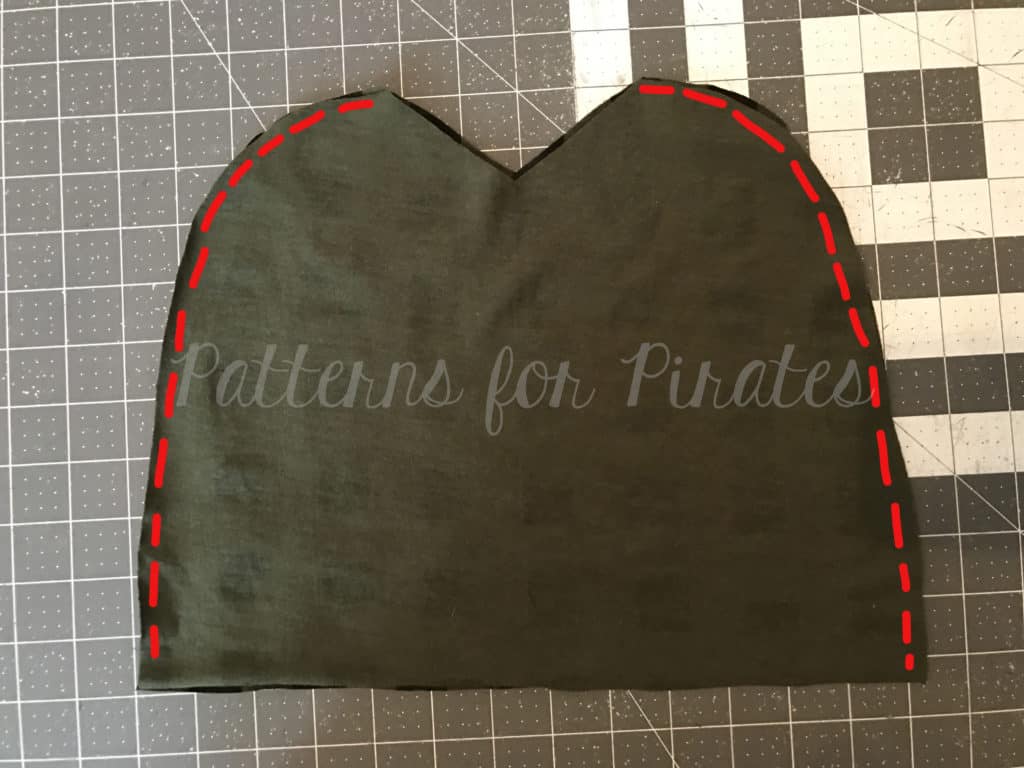
Using 1/2″ seam allowance, sew around the two outer edges.

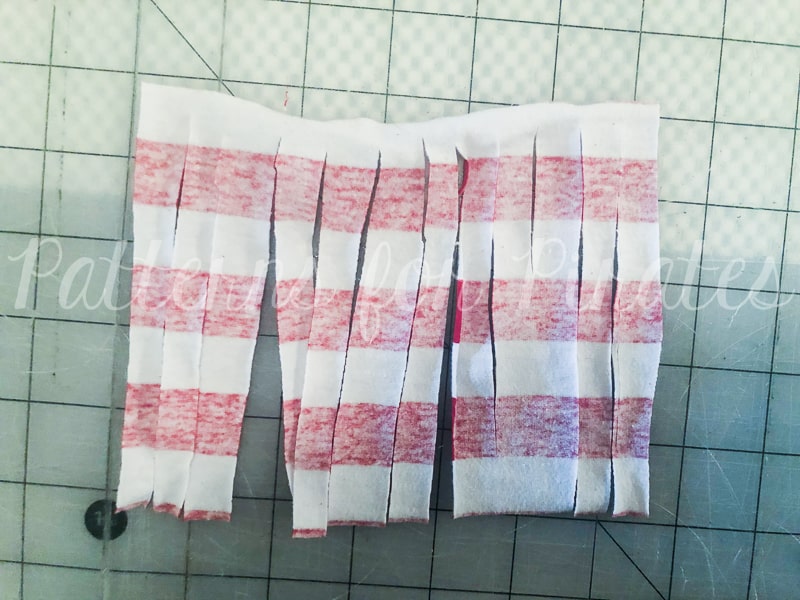
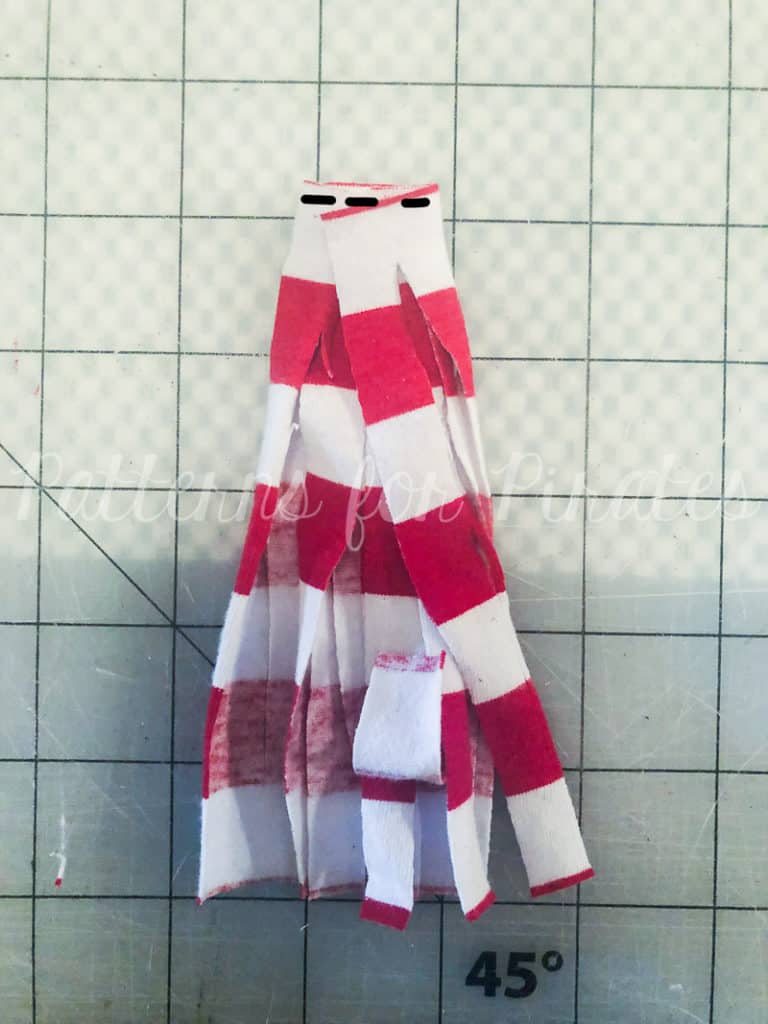
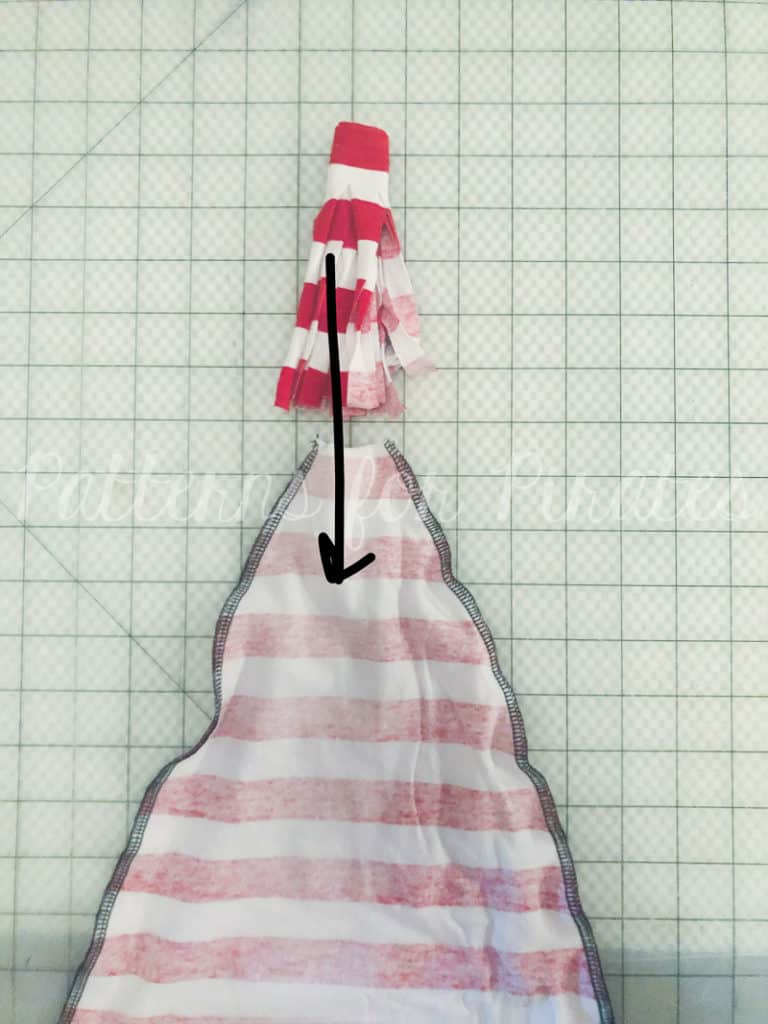
With your fringe piece face down, start rolling it — wrong sides together.

You want this piece to be as close to 1/2″ wide as possible. Baste the top together.

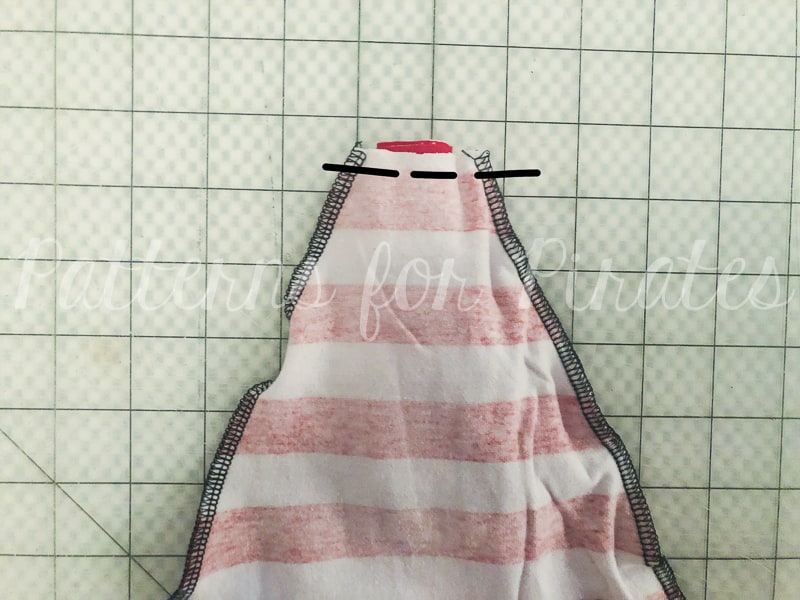
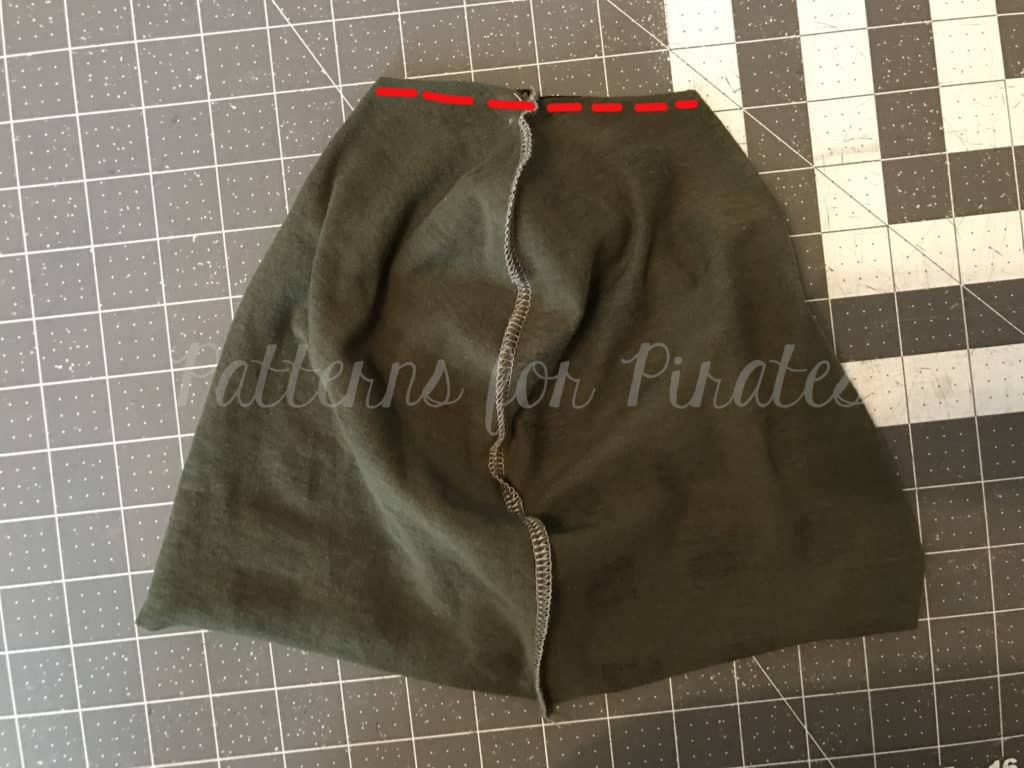
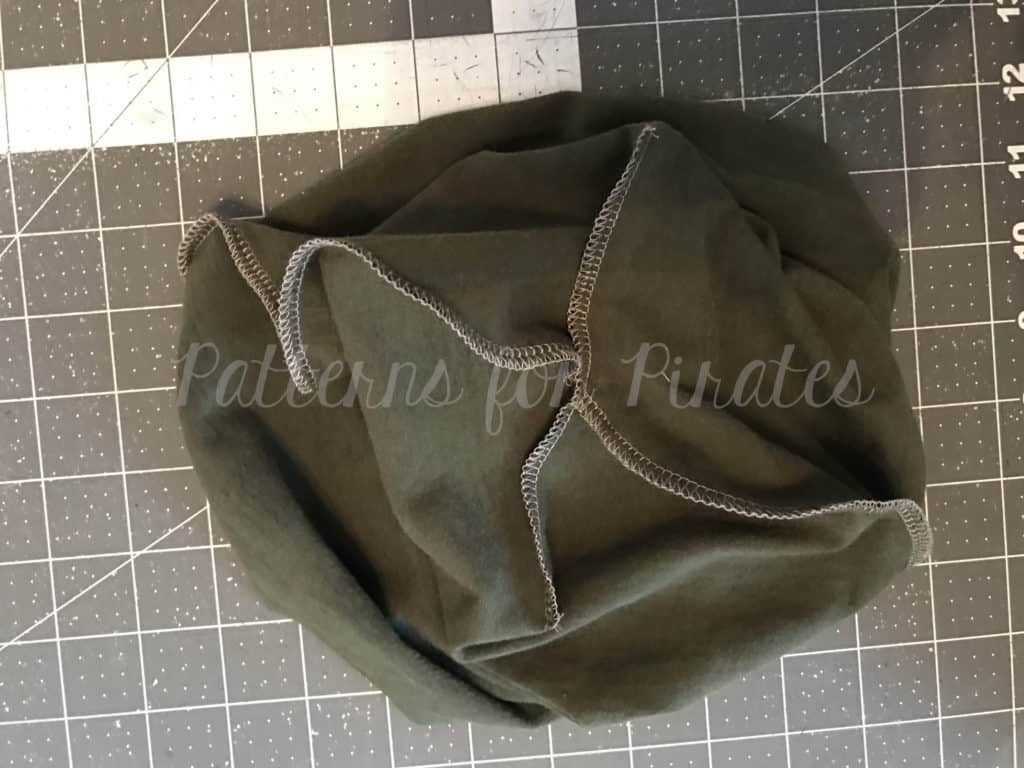
Slide the fringe piece inside the main hat. Make sure to tuck all of the fringe edges inside, so you don’t catch them.

Stitch along the raw edges, using 1/2″ allowance. (You might find this step easier to do with your sewing machine, as it can generally handle a thicker amount of fabric than your serger.)

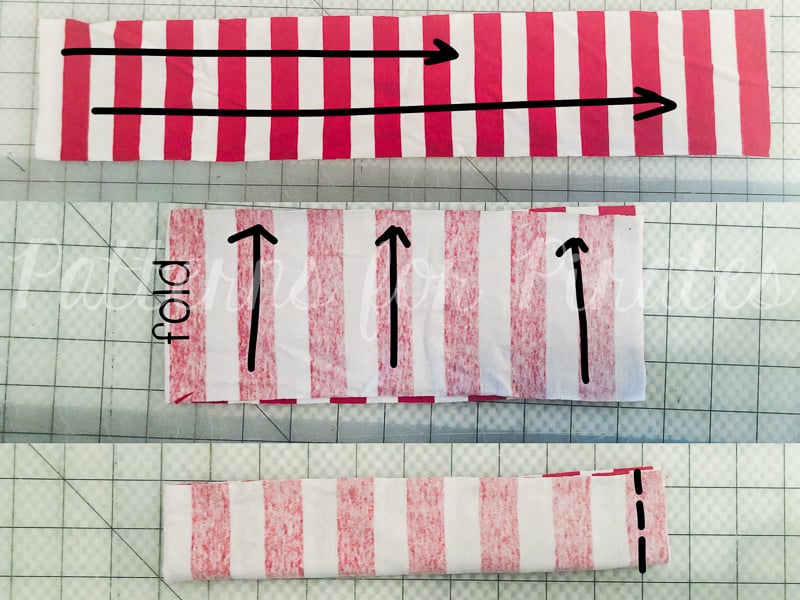
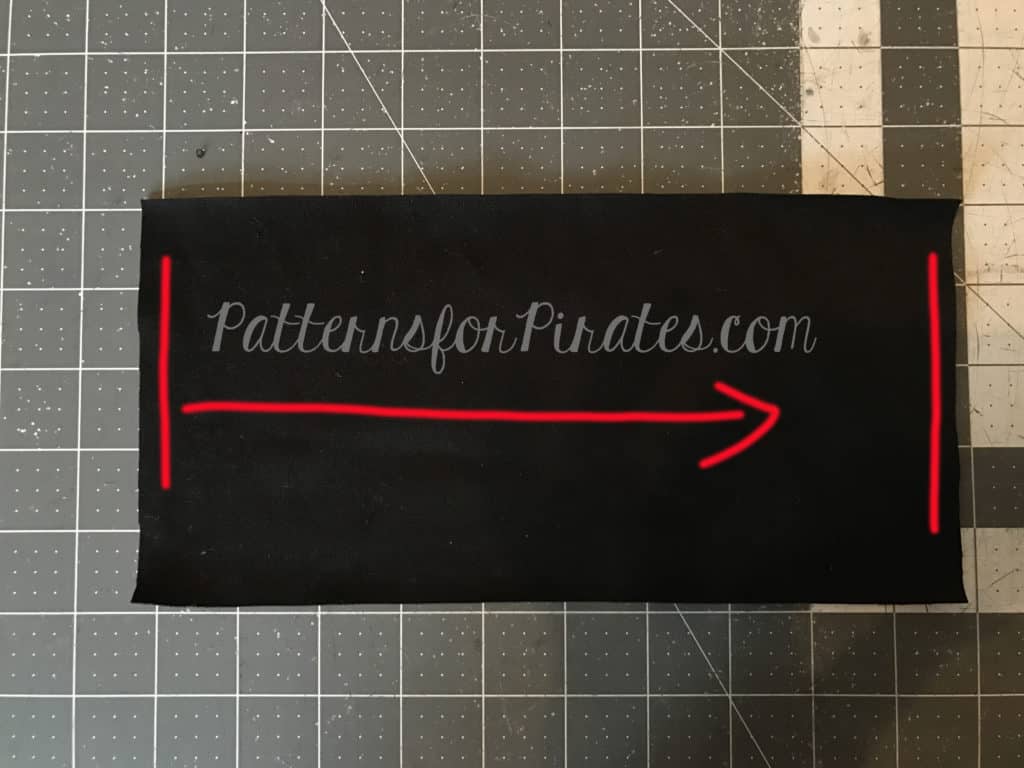
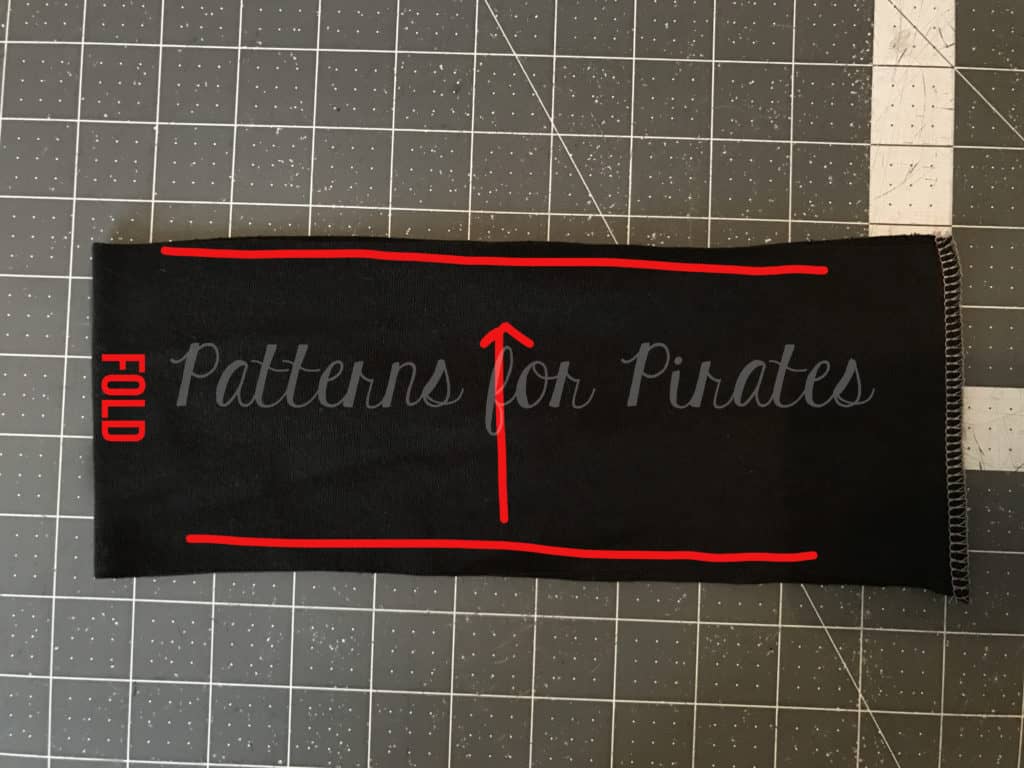
1. Fold your band piece, right sides together, meeting the short ends together.
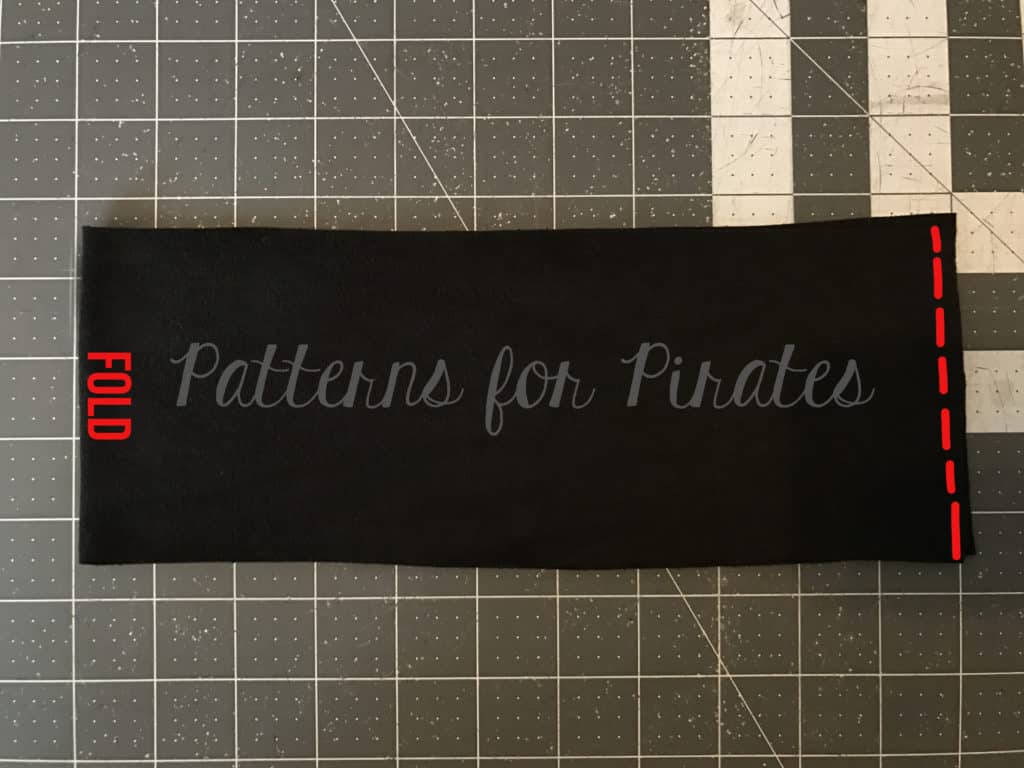
2. Now meeting the long ends together, folding in half again.
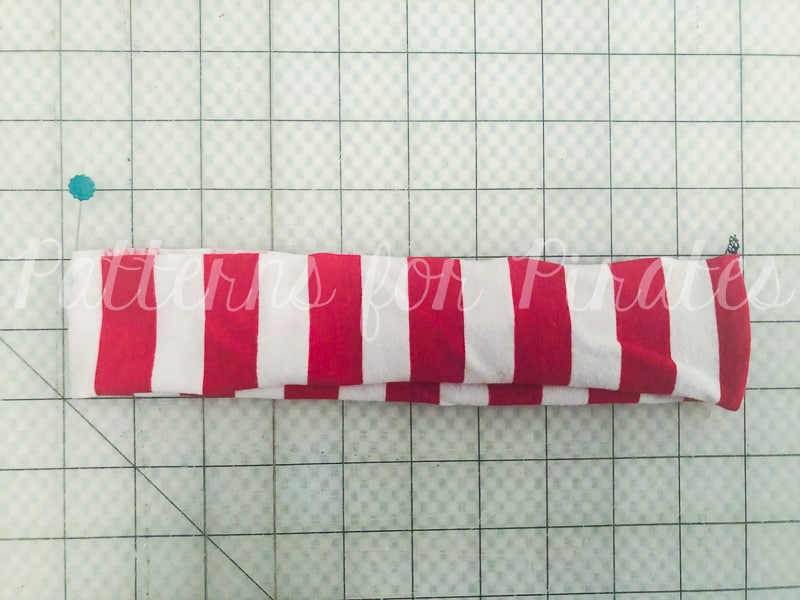
3. Using 1/2″ seam allowance, sew short raw edges (you will be sewing through four layers).

Flip open your band, enclosing the seam cleanly in the middle. Mark the half points of the band.

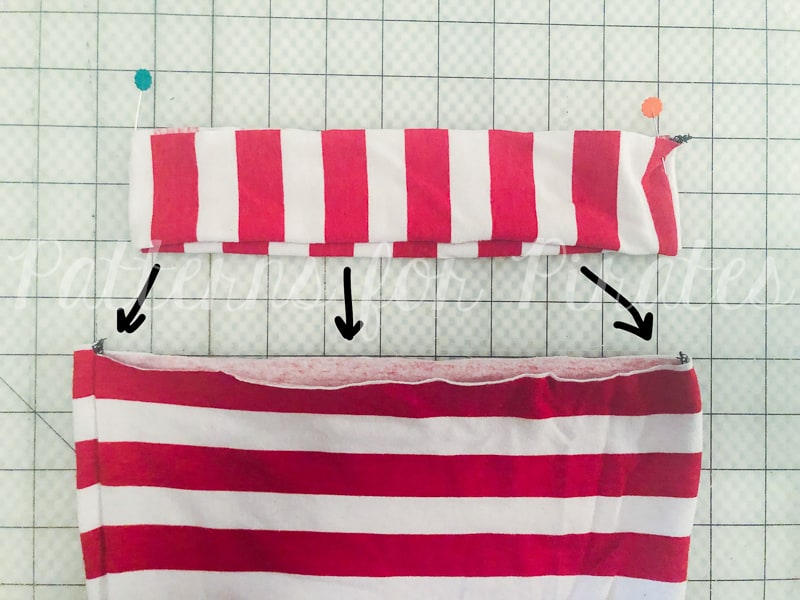
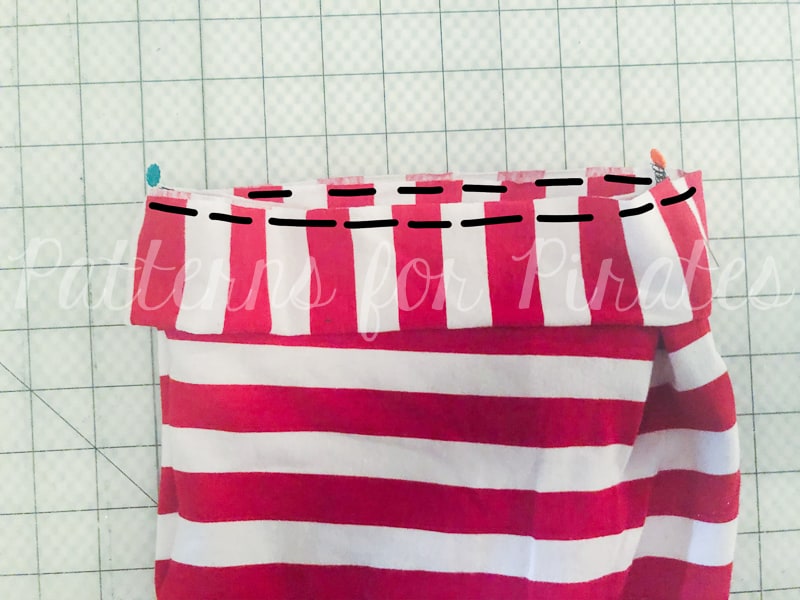
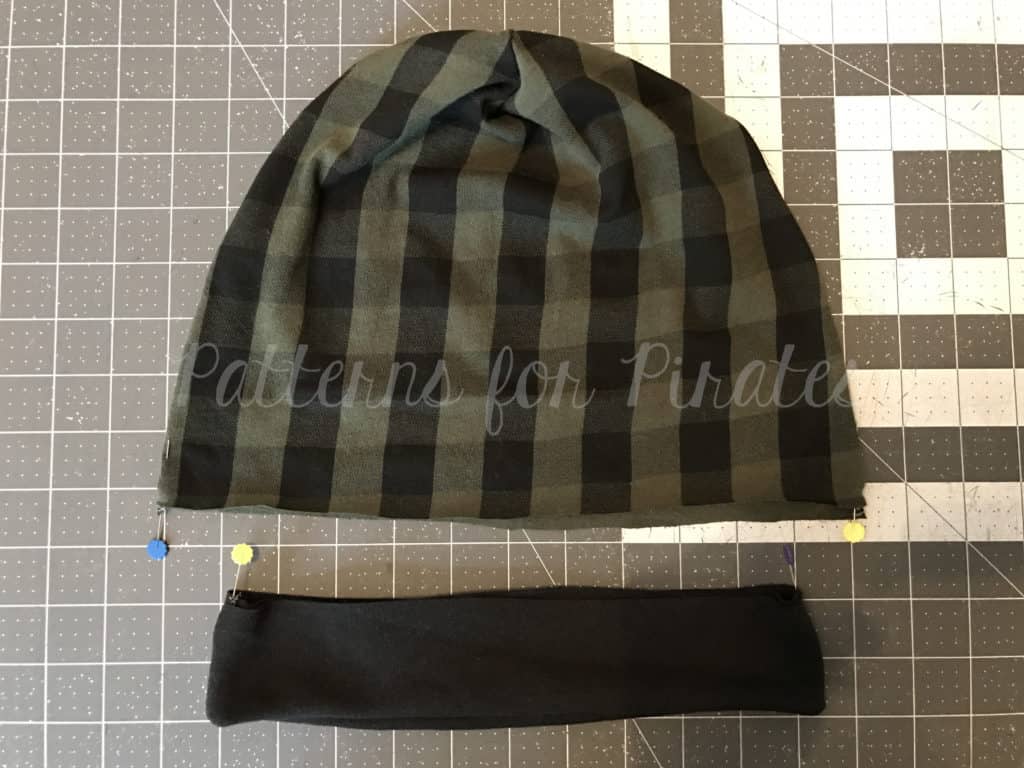
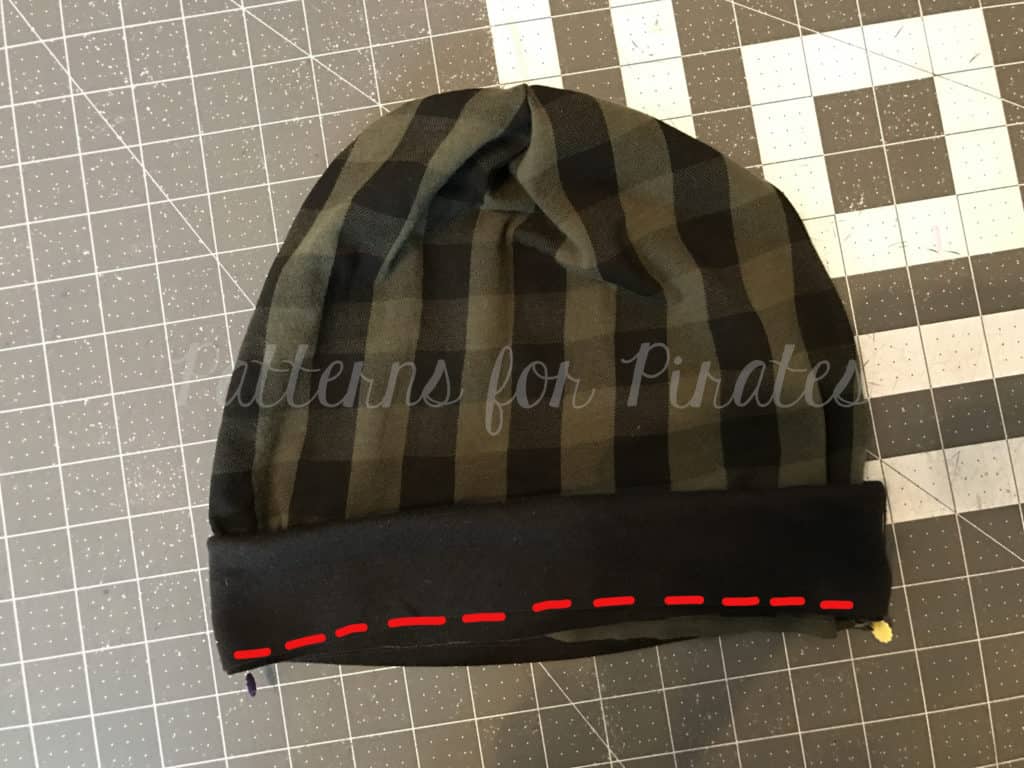
Slide the band over the hat body, aligning the raw edges and matching the half-marked points. Note: The band is slightly smaller than the hat body.

Stretching the band only, stitch through all three layers of raw edges.

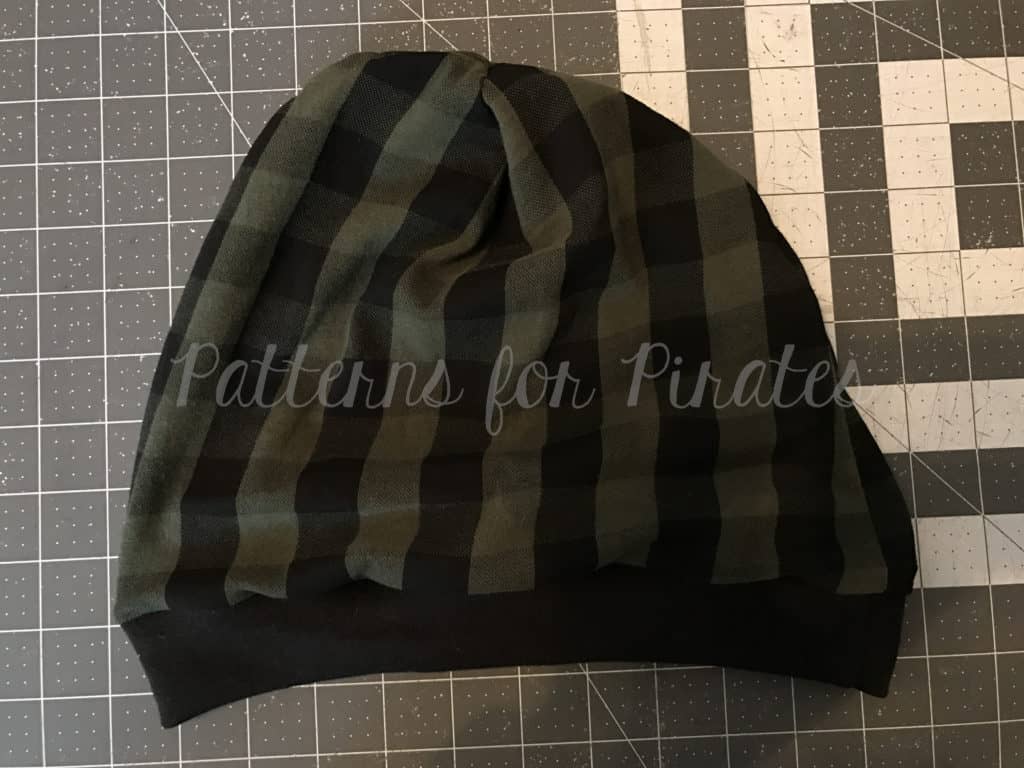
You’re finished!!  So easy, right??

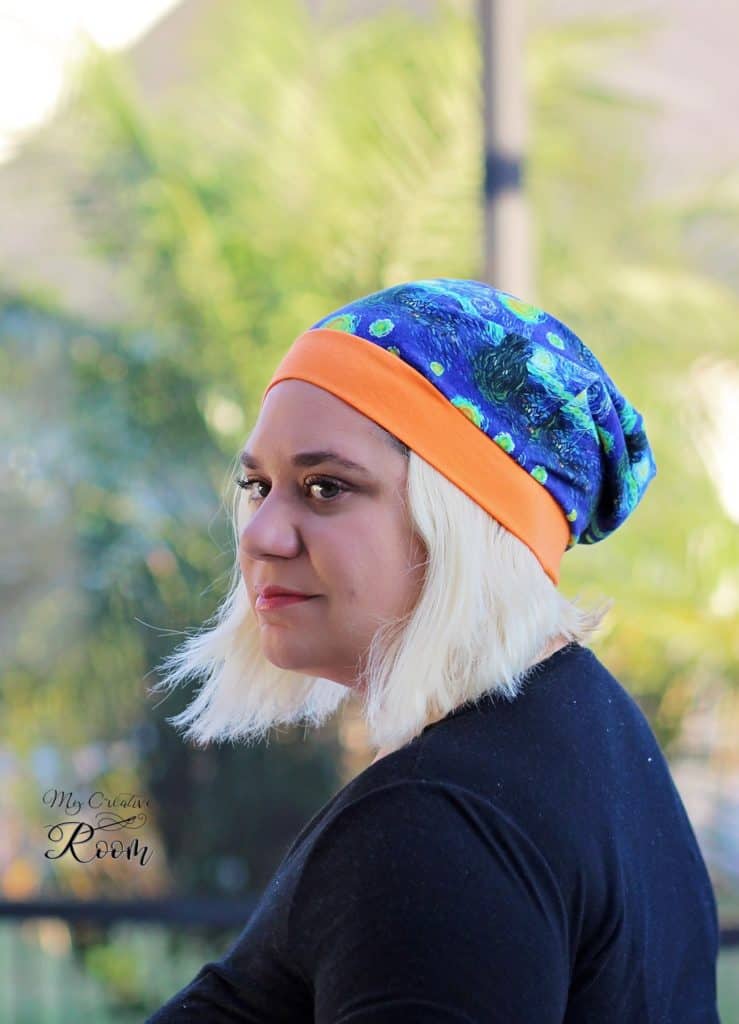
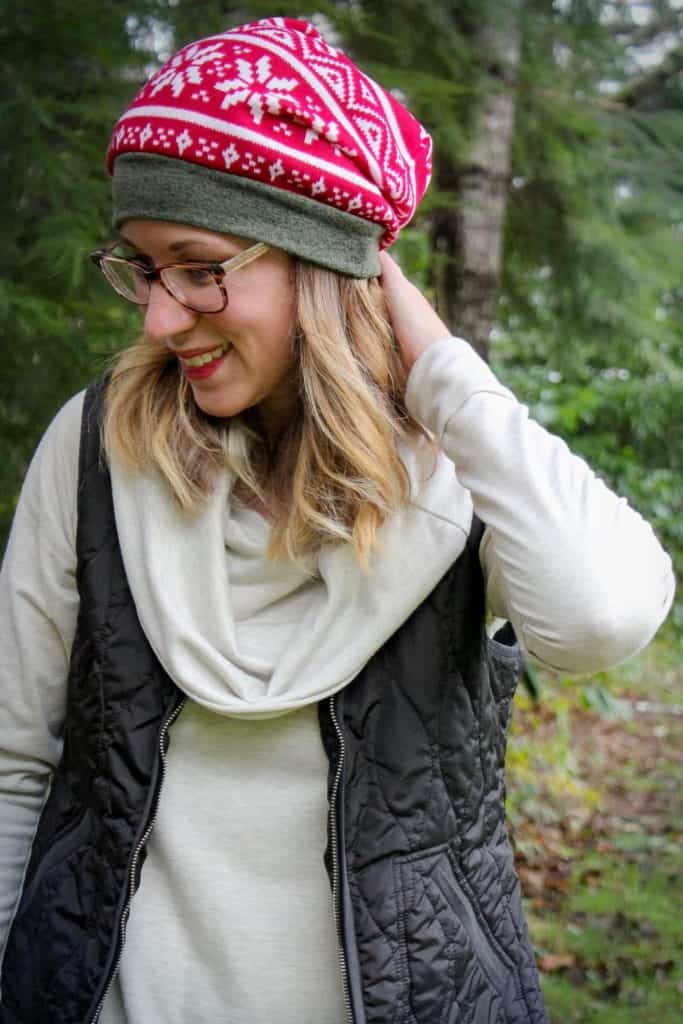
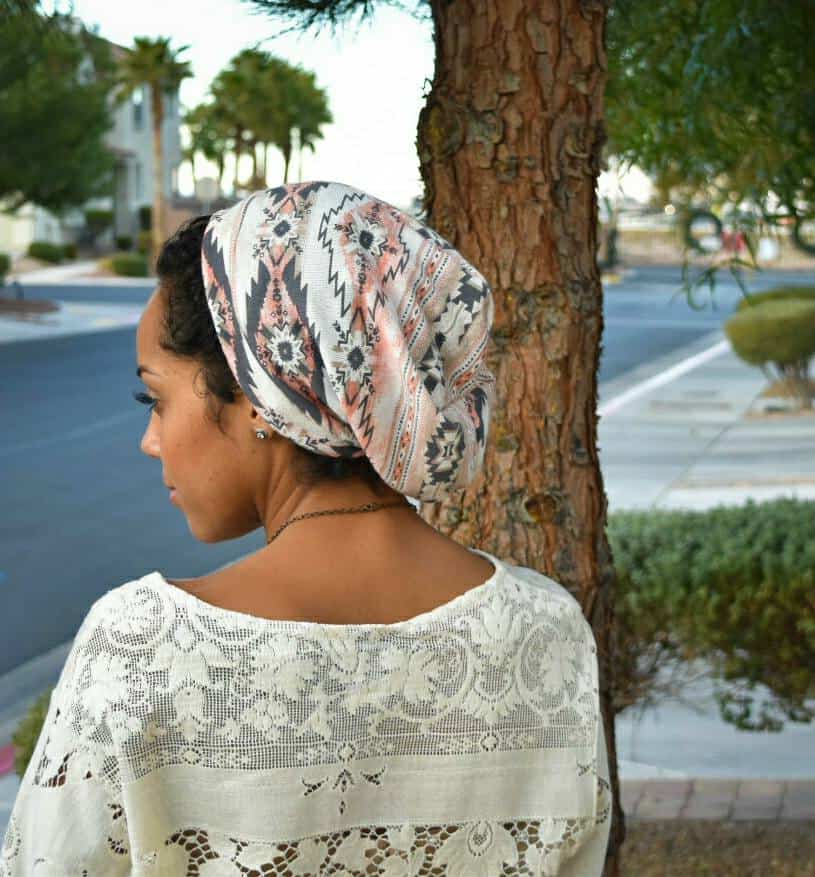
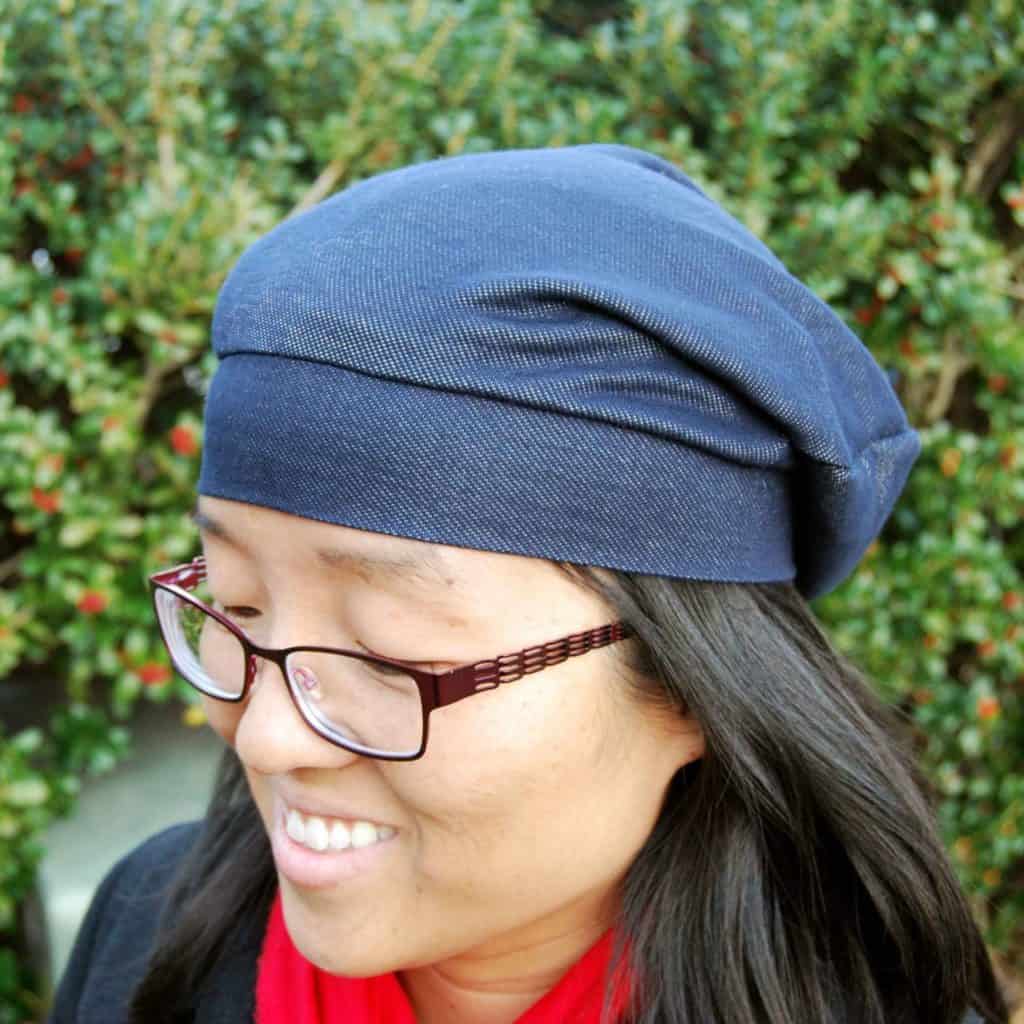
In case you needed it, here is some inspiration from our fabulous group of testers:

As always, we love when you share what you’ve made with us.  Head over to the Patterns for Pirates Facebook group and show off the fabulous Pirate Stocking Caps you’ve managed to make from our freebie pattern!
Filed Under: Free Pattern, Pattern Release 2 Comments

Trick or Treat Bag :: Free Sewing Tutorial + Pattern!

October 28, 2018

Let’s get to it, my Pirate friends!  This my favorite time of the year: HALLOWEEN!!  It’s full of kitchy decorations, creative costumes, and lots of sewing (at least for me!) and is also the start of the holiday season.

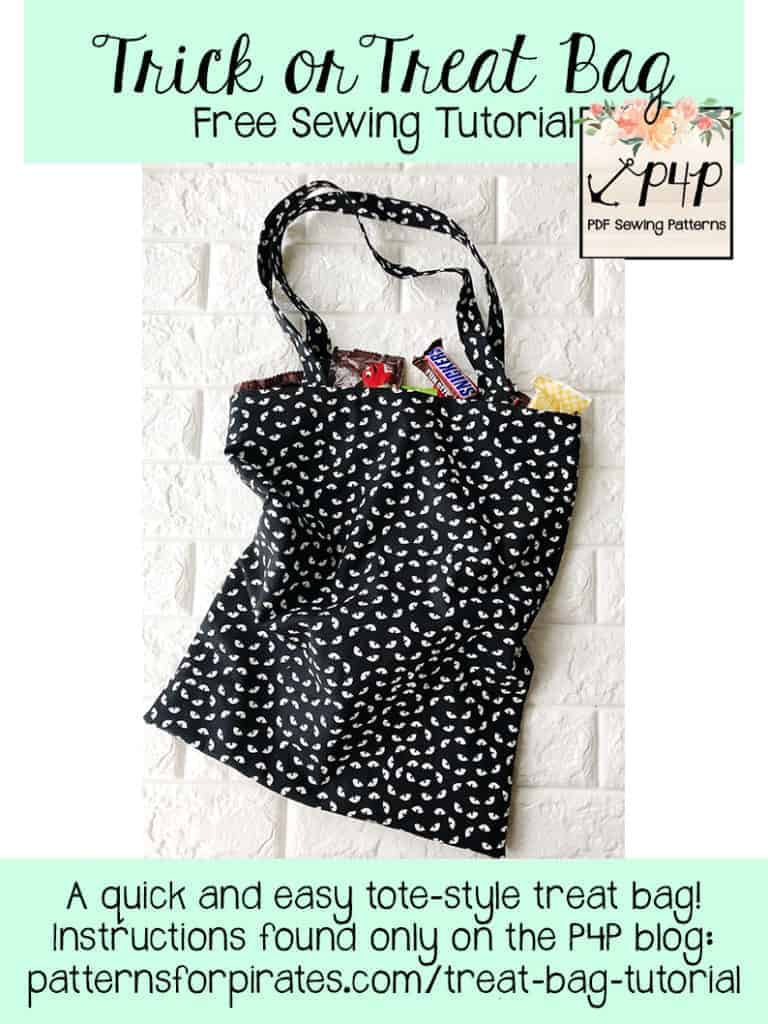
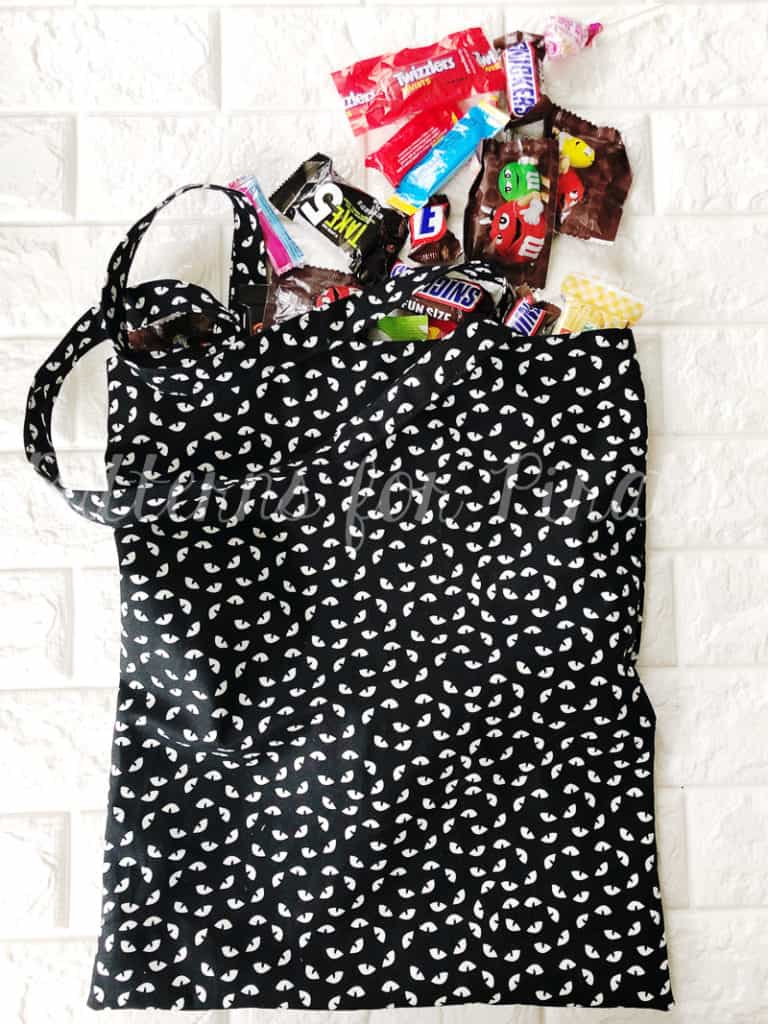
We are all treats and no tricks this year, by giving you a quick and easy Trick or Treat Bag that you can whip up in no time for your littles — or yourself!  It doesn’t take much fabric and is a great way to finally use up all of that fun cotton woven that you keep buying while browsing the fabric store, without any actual plan of what you’re going to make with it.

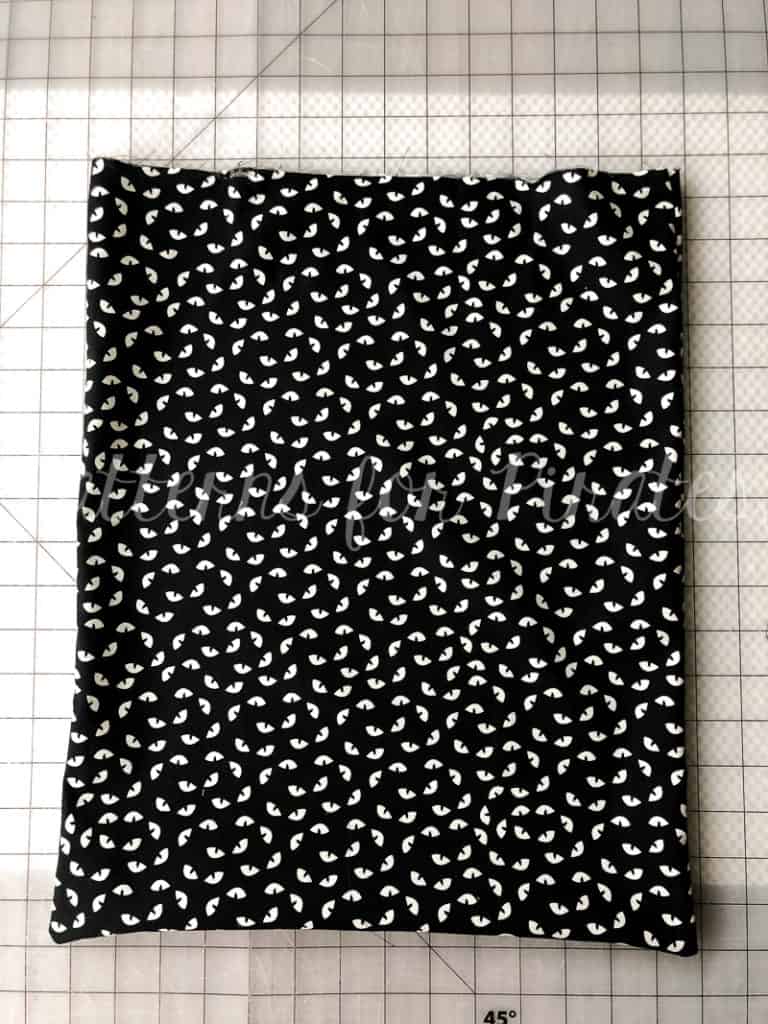
This tote is meant to be made with woven (non-stretch) fabrics.  You will need a little under 3/4 Yard of the main fabric, and 1/2 Yard of the lining fabric.  This bag ends up being reversible — so if you can’t decide between fabrics (which we couldn’t at all….the prints this time of year are SO CUTE!!), you can use it one way, and then turn it inside out and use it again.  It’s like two bags in one!

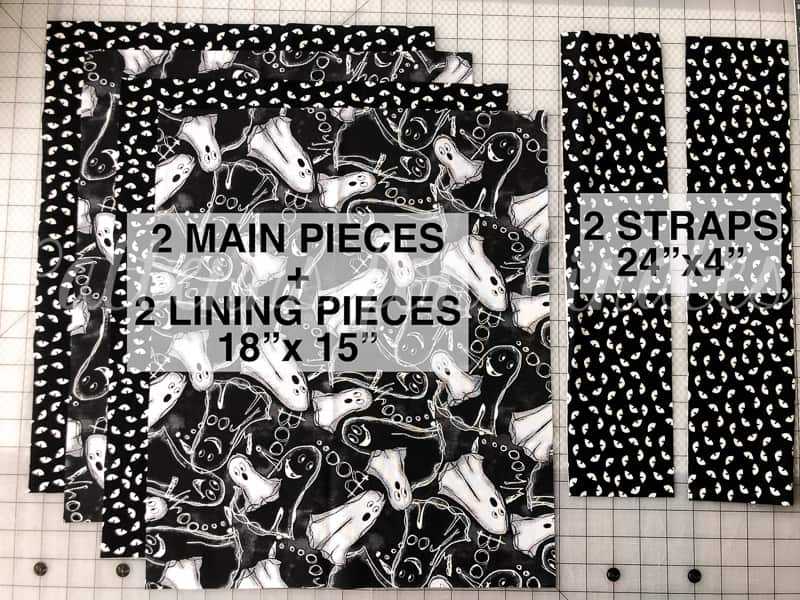
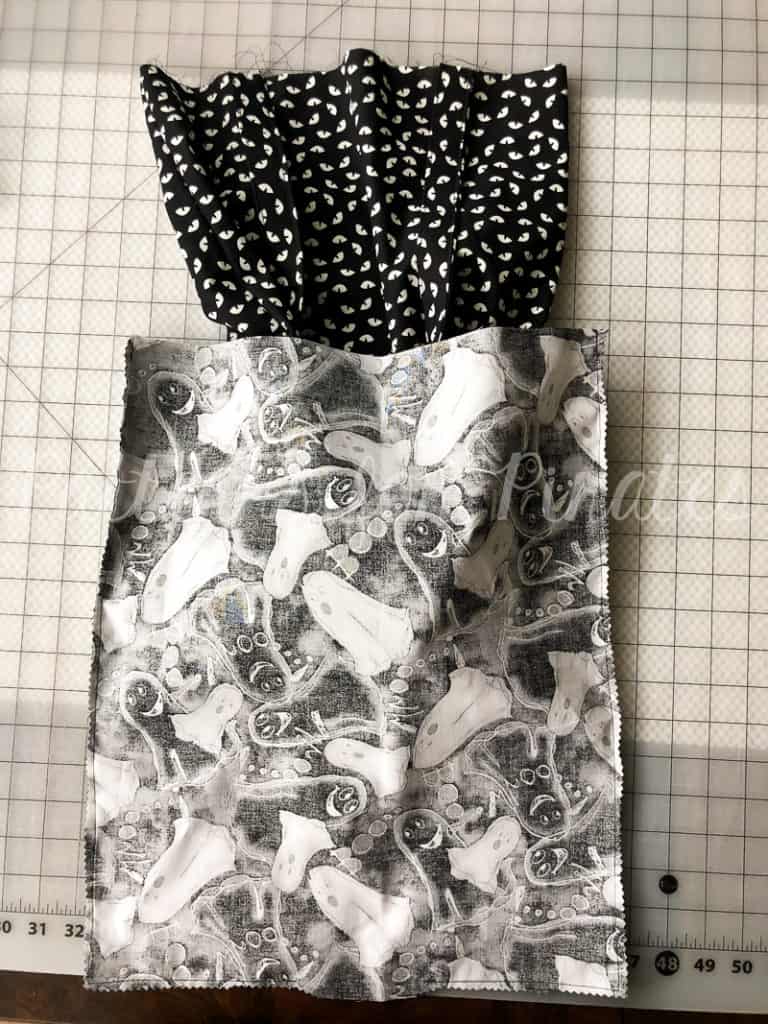
Step 1: Cut 2 Main Fabric pieces and 2 Lining Pieces 18″ long x 15″ wide.  Cut 2 Straps 24″ long x 4″ wide.

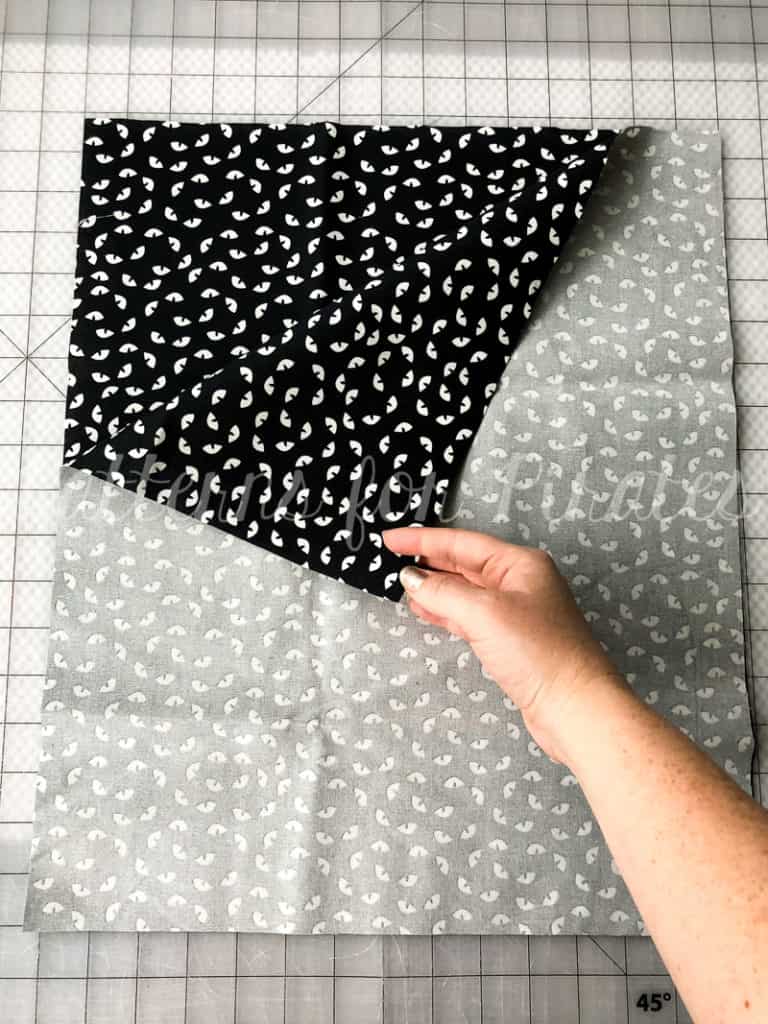
Step 2: Lay main bag pieces, right sides together.

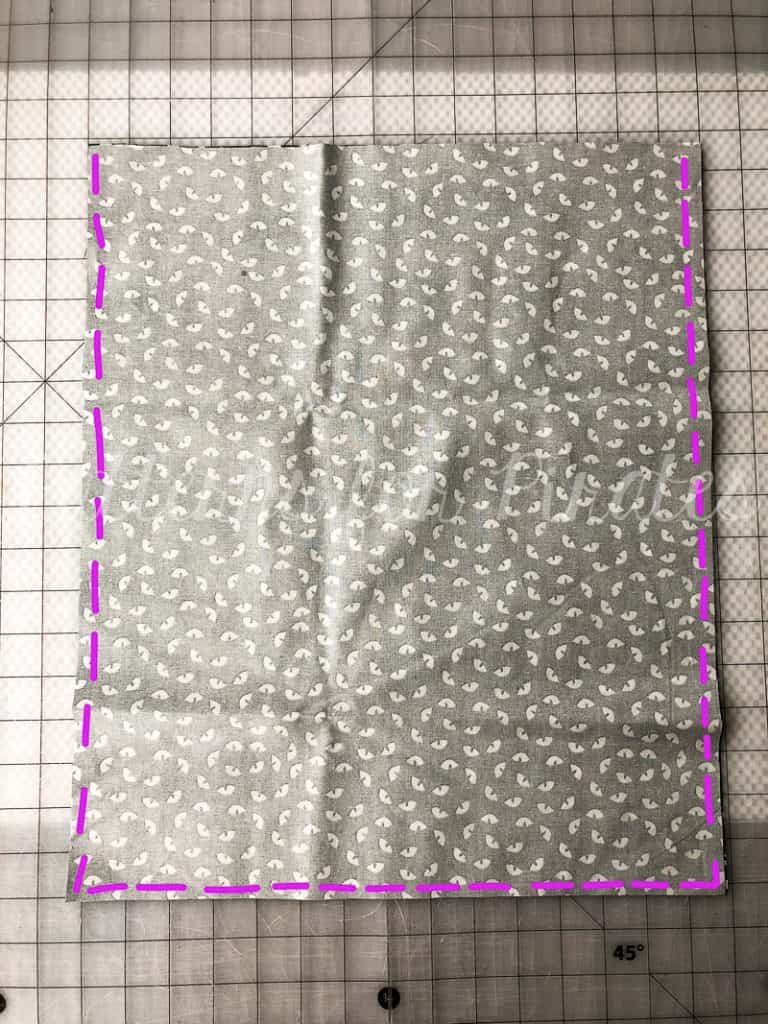
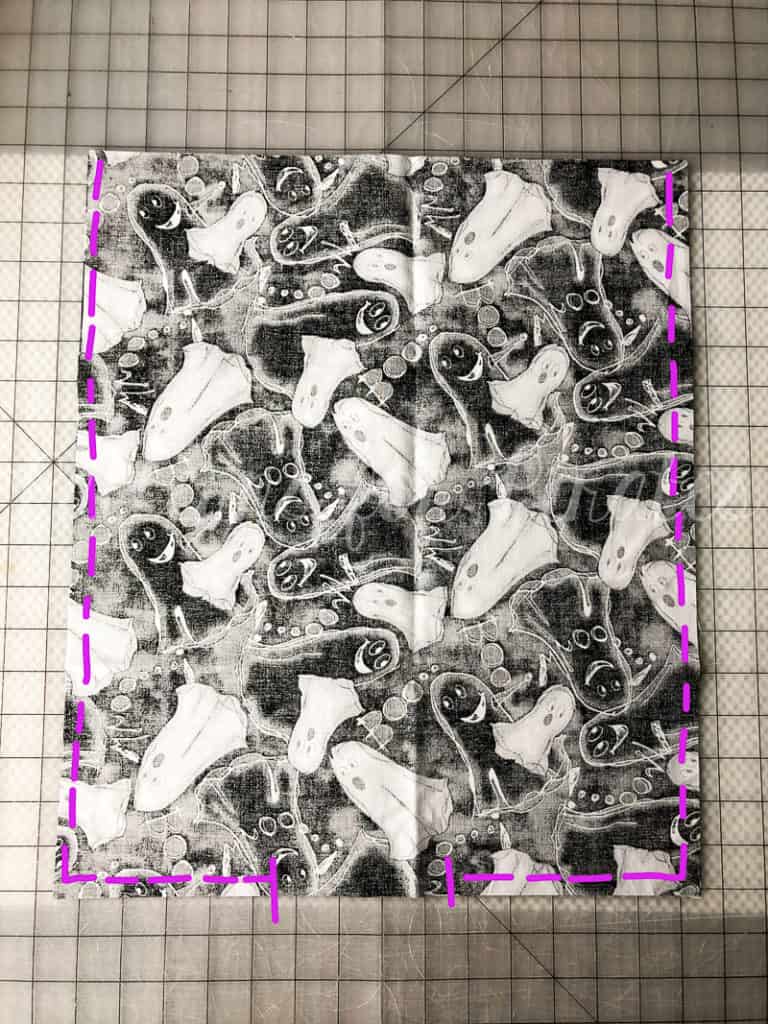
Step 3: Using 1/2″ seam allowance, sew along the side and bottom edges.

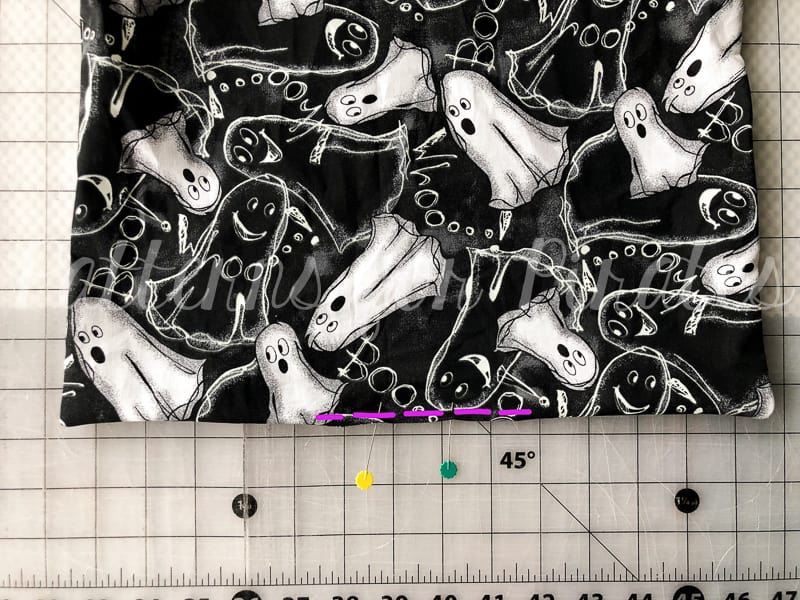
Step 4: Repeat Steps 2 + 3 with lining fabric, only this time leaving a 3-4″ opening in the middle bottom for turning.

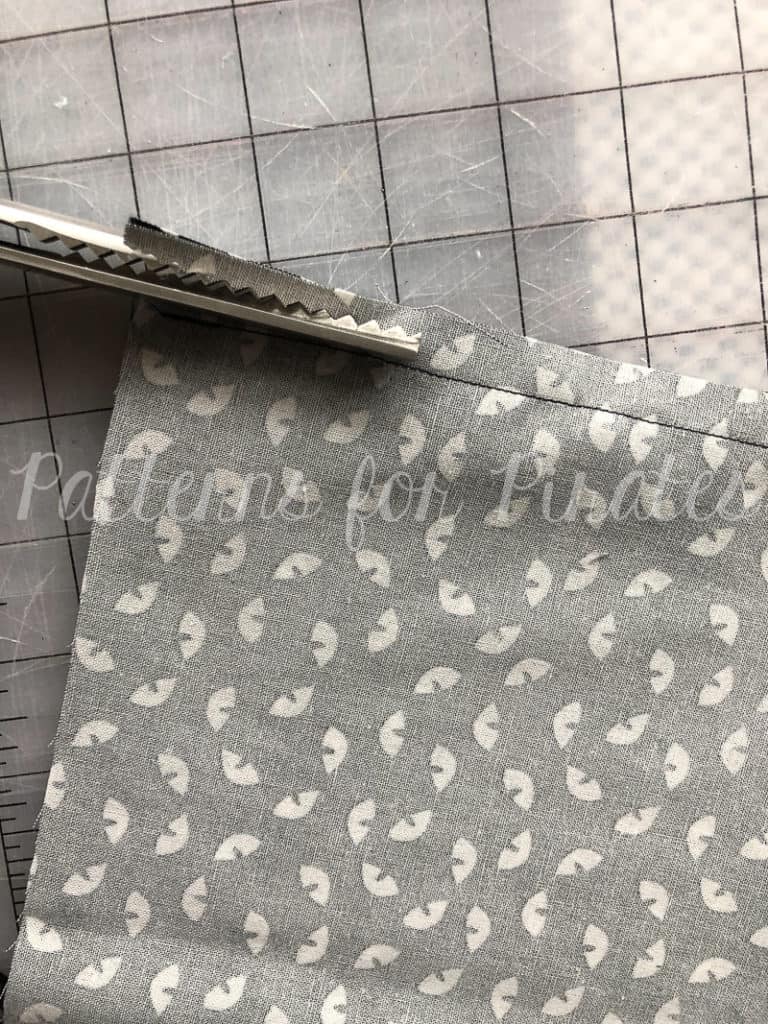
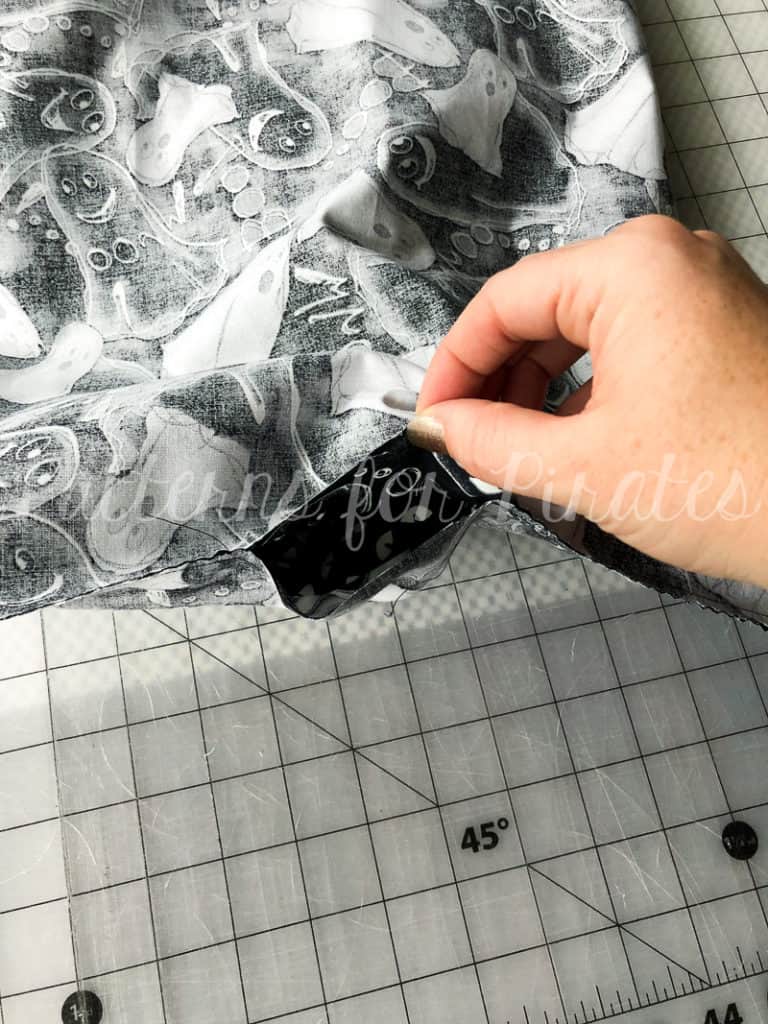
Step 5: Trim seam allowances and corners on both main and lining pieces.  Be careful not to clip through your seams, and leave the allowance on the opening of the lining piece.  Set aside main and lining bag pieces for now.

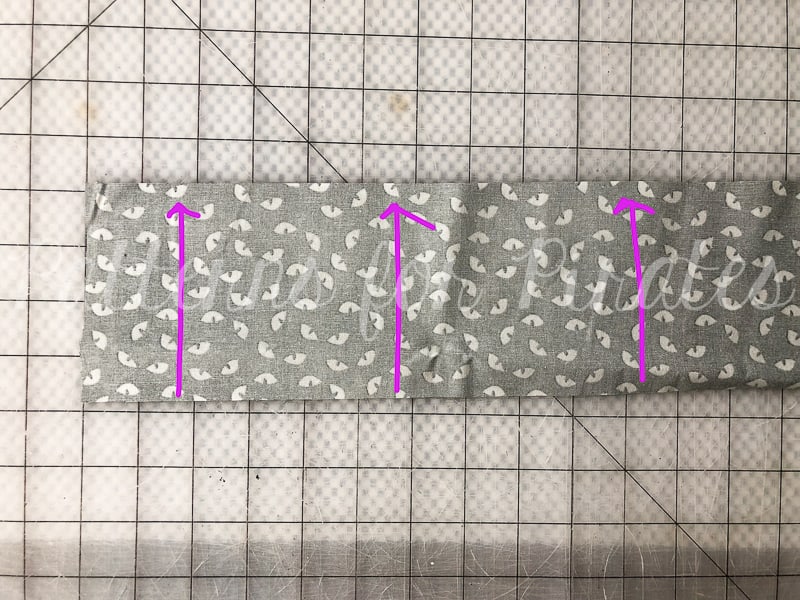
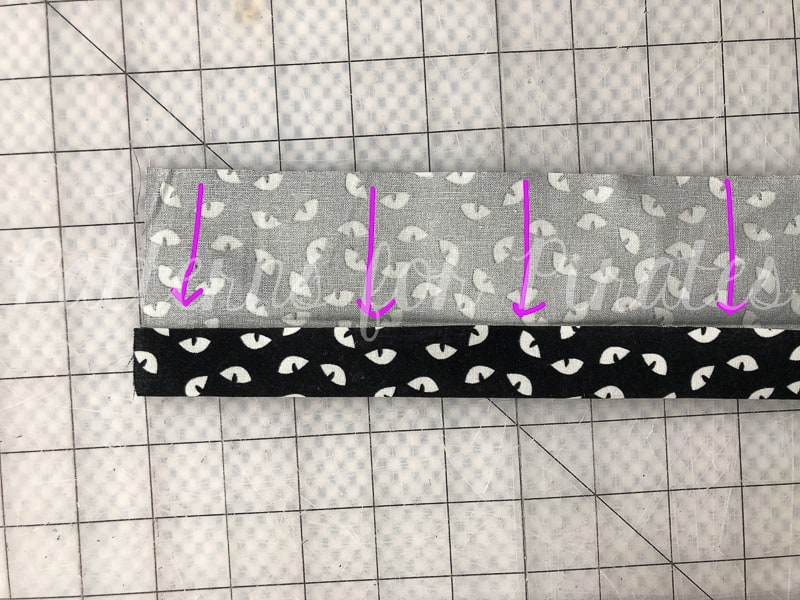
Step 6: With one of your strap pieces, lay with wrong side facing you.  Fold in half, meeting the long edges together.  Press.

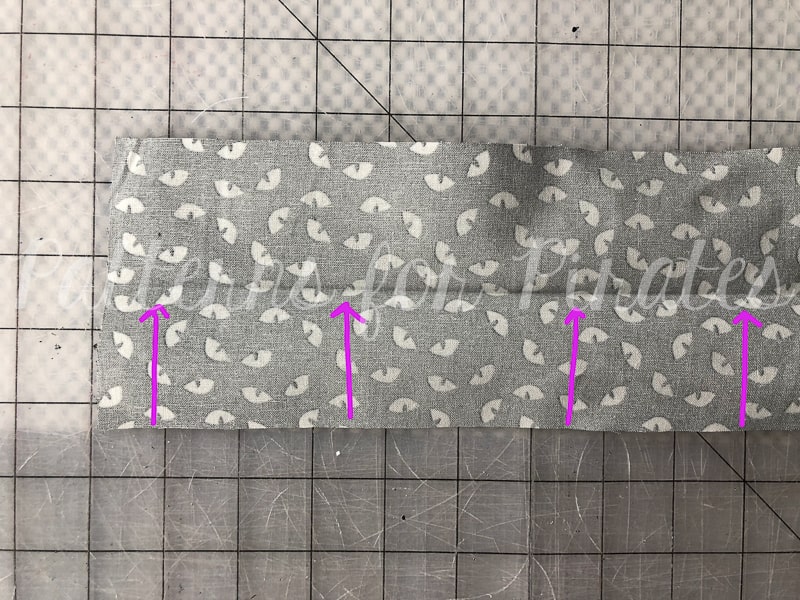
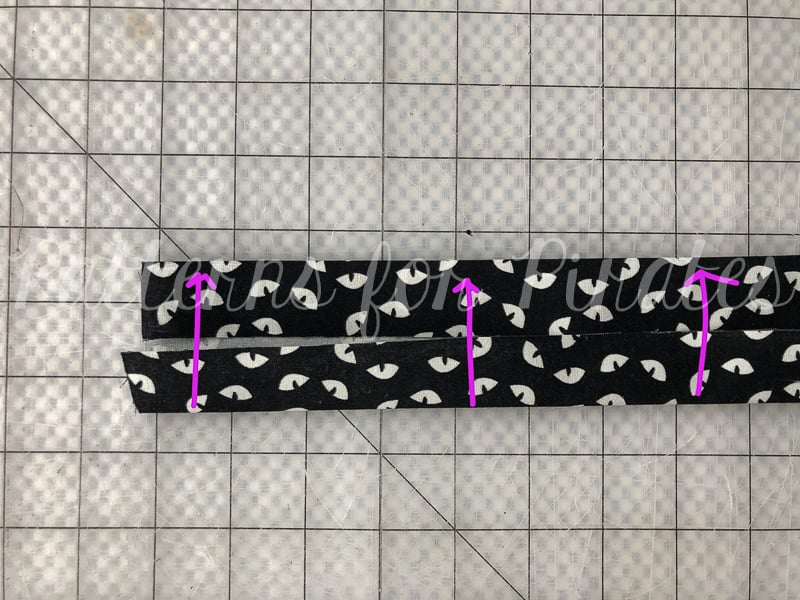
Step 7: Open up your piece and fold one of the raw edges toward the middle crease you just made.

Step 8: Repeat with the second raw edge. Press.

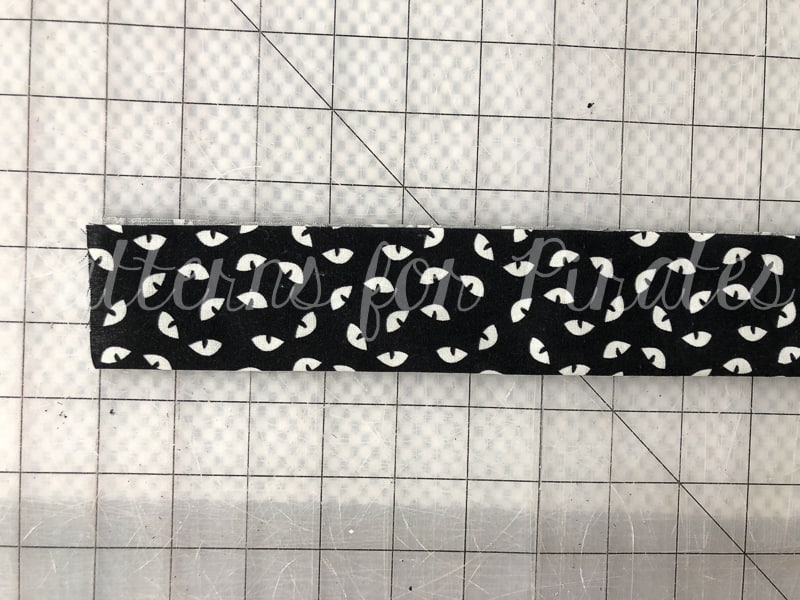
Step 9: Fold along middle crease, meeting both folded edges. All of your raw edges will be fully enclosed now.

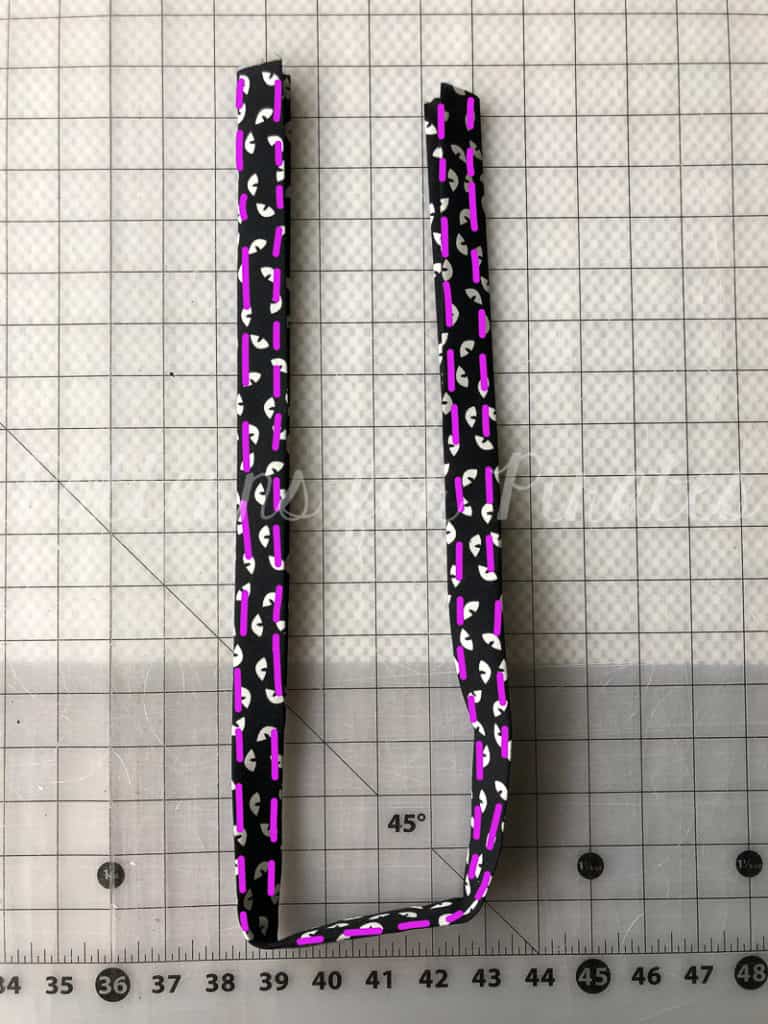
Step 10: Press you strap piece.  Then edge stitch along both long, outer edges.  Repeat with second strap.

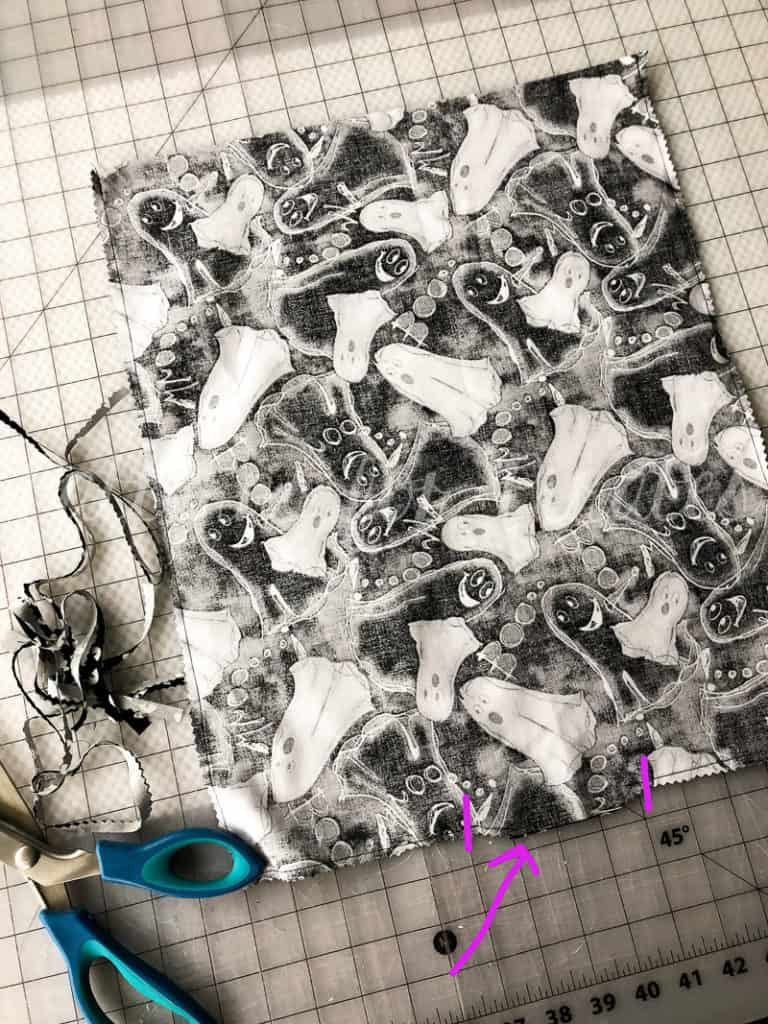
Step 11: Grab your main bag piece and turn right sides out.

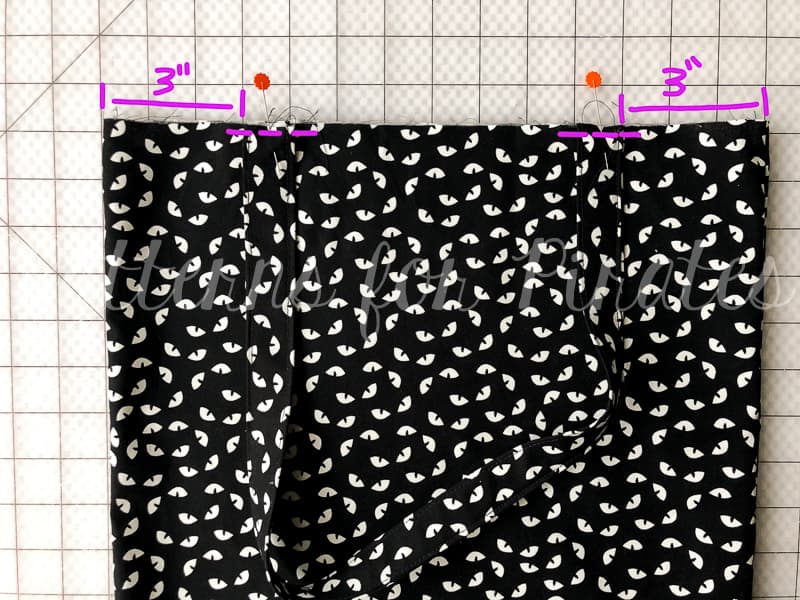
Step 12: Careful not to twist your strap, pin raw edges in place, measuring 3″ from the edge of your bag.  Baste, using 1/4″ allowance.  Repeat on other side of main bag piece, using the other strap.

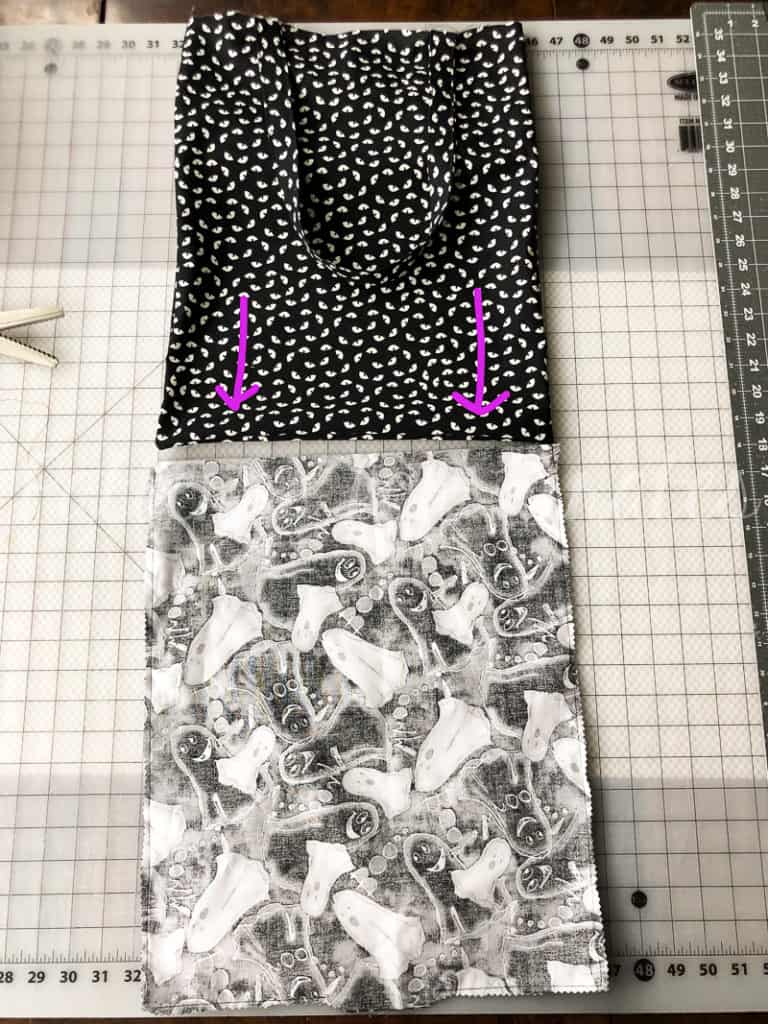
Step 13: With your main bag piece (with straps now basted onto it) right sides out, and lining piece wrong sides out, slide the main bag inside of the lining.

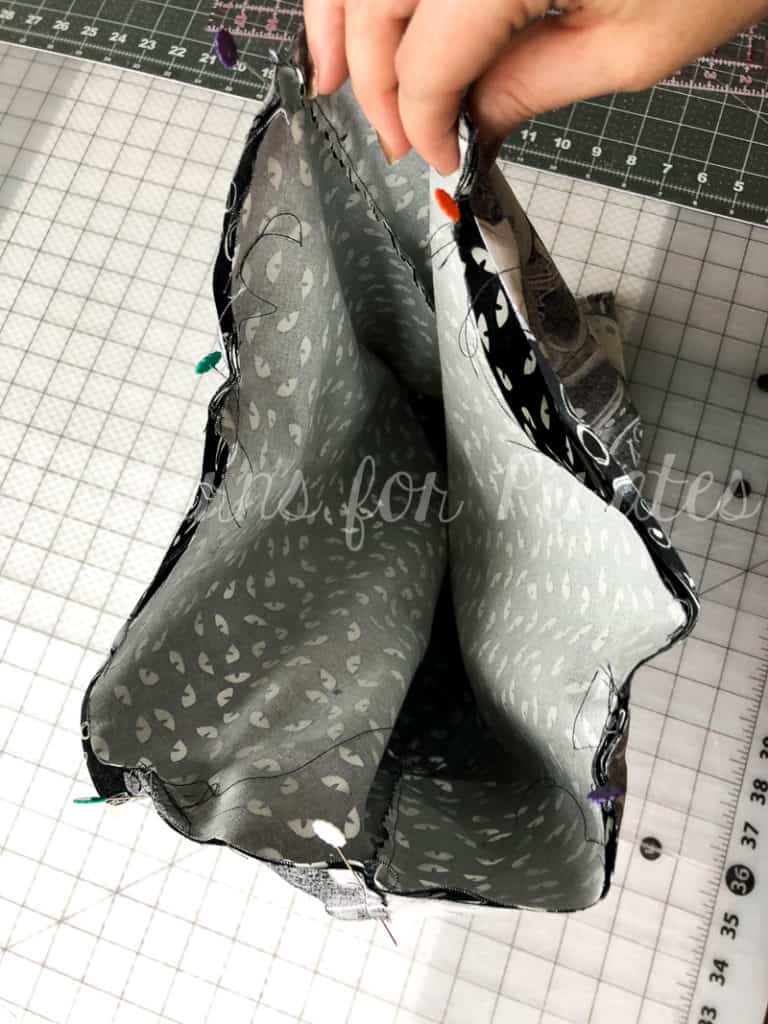
Step 14:  Align raw edges and seams, and pin in place.

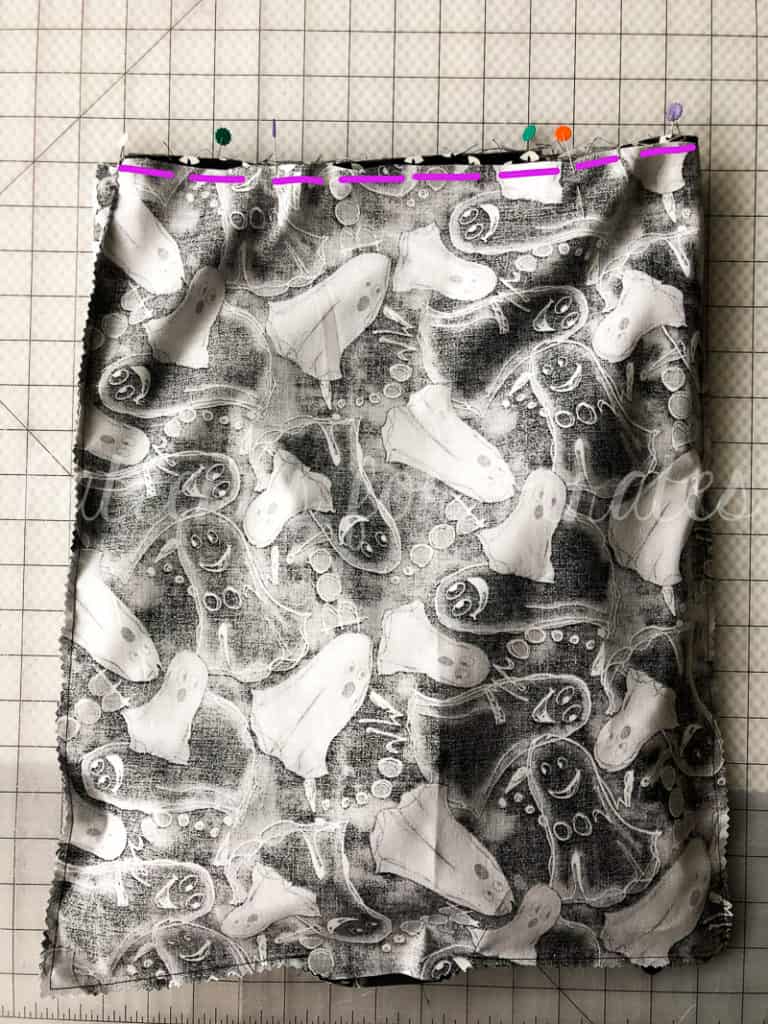
Step 15: Using 1/2″ seam allowance, stitch around entire top edge of bag.

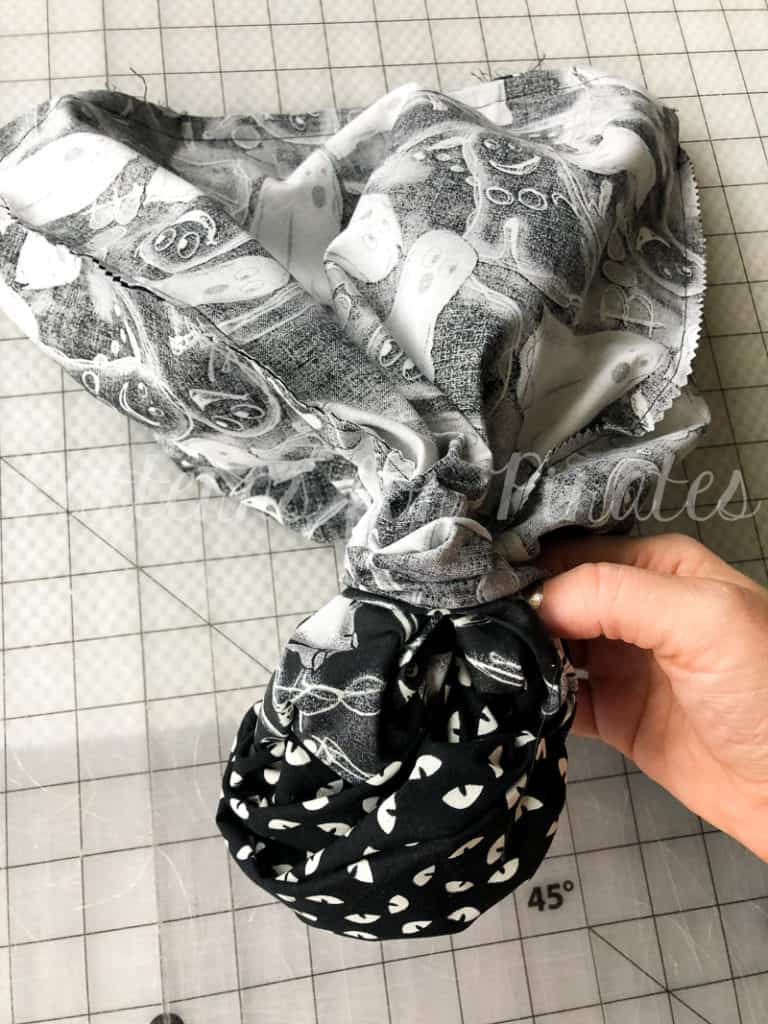
Step 16: Through the opening that we left in the bottom of the lining piece, turn your bag right sides out.

Step 17: Using your favorite stitch (I recommend doing a blind hand stitch), close the opening in the bottom of the lining piece.

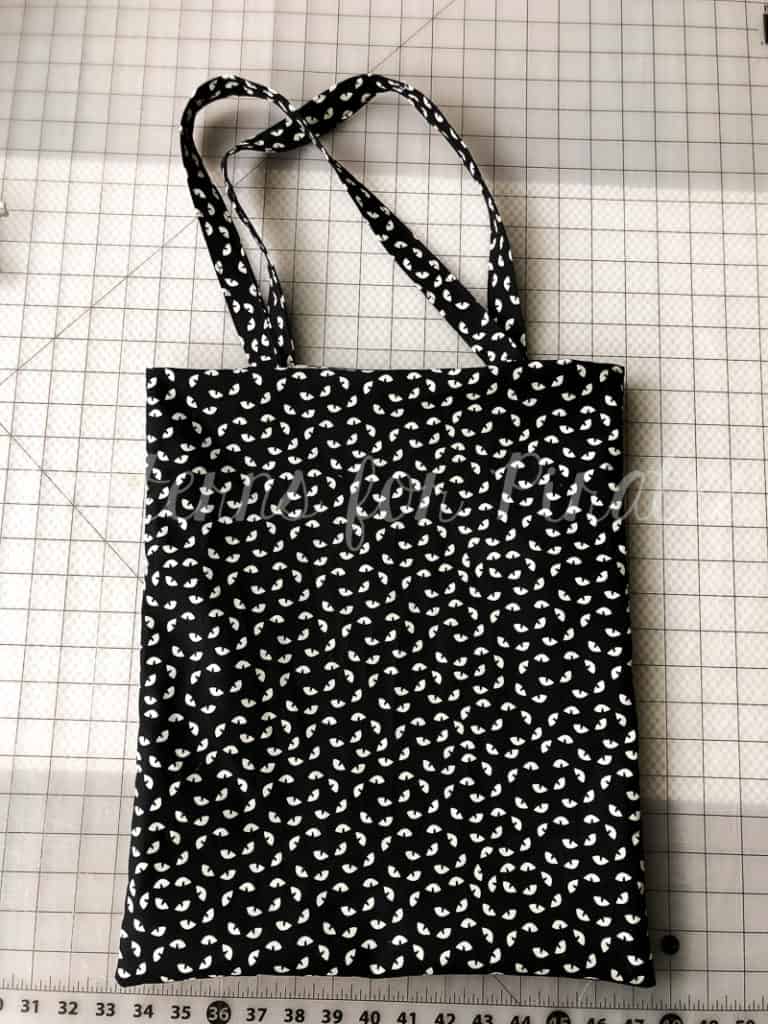
Step 18: Push lining inside of the main bag piece, press, and admire your new handiwork before your littles steal it and fill it with candy this Halloween!

Happy Halloween, friends!  I’m loving all of the costume photos that have been rolling in so far.  Can’t wait to see the rest of them (hopefully with some new P4P Trick or Treat bags in tow!)

Filed Under: Free Pattern 4 Comments

2016 Holiday Freebies :: Slouchy Hat Pattern (4 Sizes!)

December 13, 2016

Ready for our second holiday present to you this year?  This one is for the entire family!

p4p-slouchy-hatp4p-hat


This slouchy hat pattern comes in four sizes, which should cover the heads of the majority of your family!

XSmall (fits 17″ – 18″ head circumference) – Toddler
Small (fits 19″ – 20″ head circumference) – Child
Medium (fits 21″ – 22″ head circumference) – Teen/Adult
Large (fits 23″ – 24″ head circumference) – Adult

Grab your free pattern pieces here. If you need help putting the pattern together, pop over to the First Time Users Tips page or ask in our facebook group .

Recommended fabrics: Ponte, sweater knits, liverpool, brushed poly, rayon blends, tshirt knits, upcycled sweaters, etc.   Anything with a decent amount of drape to it works best, otherwise the “slouch” won’t happen as well.  I suggest washing your fabric before you begin to pre-shrink & help prevent color bleeding in the future.
Cuff piece: Any knits with at least a 20% stretch.


Supplies needed:

Main Fabric: 1/3 yard
Cuff: less than 1/4 yard required

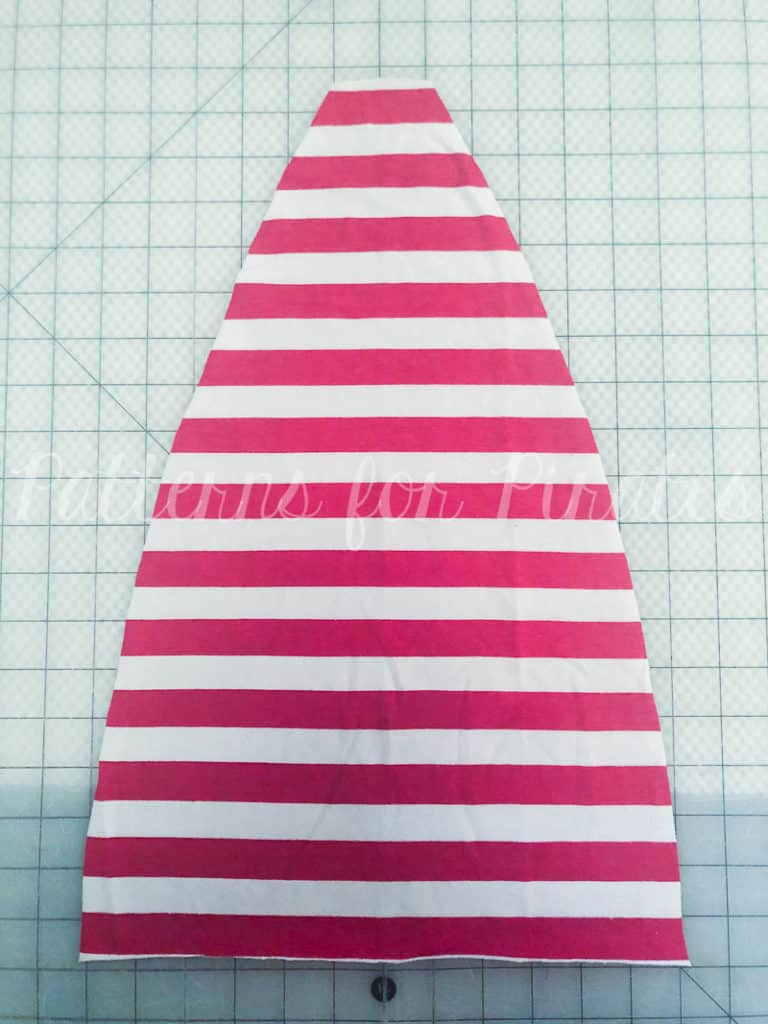
Step 1: Assemble your pattern and cut your pieces out.  You will need two of the main hat, cut on the fold.  And one cuff piece, cut on the fold.

hat1


Step 2: Lay two mirror images, right sides together.  Using 1/2″ seam allowance, sew around the two outer edges.  Make sure to leave the bottom and the top “v” open.

hat2hat3


Step 3: Open up the hat and fold it (right sides still remaining together) so the “v” lays flat, and the two side seams are meeting in the middle.  Stitch the top opening shut.

hat4

The top of your hat should now look like this.  You’ll have an X of one long seam (going from bottom edge to bottom edge) and one short seam.

hat5

Step 4: Fold your cuff piece, right sides together, meeting the shorter ends together.

mitten7

Step 5: Stitch (using 1/2″ seam allowance) short ends together.

hat6

Step 6: With wrong sides together, fold the raw edges together to meet each other.

hat7

Step 7: On both your hat body and cuff pieces, mark raw edges into halves.  (The hat body will be the two seams.  The cuff will be one seam and the halfway point on the opposite side.)

hat8

Step 8: Slide the cuff over the hat body, aligning the raw edges and matching the half-marked points.  Note: The cuff is slightly smaller than the hat body.  Stretching the cuff only, stitch through all three layers of raw edges.


hat9


Step 13: Flip cuff down.  You’re finished!

hat10


Need some inspiration?  Take a look at the fabulous hats that our gorgeous testers made!


As always, we love when you share what you’ve made with us.  Head over to the Patterns for Pirates Facebook group and show off the fabulous mittens you’ve managed to make from our freebie pattern!
Filed Under: Free Pattern 18 Comments

Essential Tank- Open Back Hack

June 12, 2016

Presentation1

I’m excited to share another hack to the new Essential Tank pattern! I’ve seen this look in the popular athletic wear brands and love it! But being 5’10” means no way I can buy it off the rack, even if I wanted to splurge on the price tag 😉
So, I hacked the newest pattern in the P4P collection and I’m so in love with the result! I used a brushed polyester blend that is super soft.

listing pictures1 listing pictures3

I took the front and raise the neckline by 2″ (although the inspiration tank was probably 3″ higher I just can’t take a neckline that close!). Make sure your neckline ends at a straight angle or you will have a point when you open up your folded front.  If you have a french curve use it for a nice smooth neckline. If not, you can get it as smooth as possible.

IMG_6990

Next I cut the back. Here I cut the full piece to help demonstrate, but you can skip cutting the entire piece to save on fabric.

IMG_6993

I took my straight edge and alined it to the widest part of the racerback.  I sliced it straight from the top of the shirt to the bottom hem. (I’ll mention here I did shirt length cutline. but left it unhemmed).

IMG_6995

Then I cut another MIRROR image back piece.

I decided to leave my hem and back edges raw. If you wanted to hem, go ahead and hem those back center edges now.

Tip-I ALWAYS cut a center notch on the necklines of every shirt- they’re cut on the fold and you always need that center mark for attaching your neckband marked anyways.  It is such a quick, easy time to mark it with a notch!

With both right sides up and aligning the center, baste the overlapping sections along the neckline.  Looking back I would also advise to baste just outside the 3/8″ seam allowance as well to hold it in place while attaching the neckband. It’s such a small section that extra baste will really help keep it nice and neat.

IMG_6997

Then just sew up the shirt as the tutorial recommends, treating the back as 1 back piece.  If you make the neckline higher you will need to shorten your neckband a bit as well.  A good ratio is about 80-85% of the finished neckband plus your seam allowance.

IMG_6999 IMG_7001

And wa-lah! Now you can waer it open and loose or tie it at the bottom for a more fitted look! And a big bonus (for me anyways ;)) is that you can untie the back and it’s super nursing friendly! I already have 2 more fabrics that need to become this hack! I can see myself wearing these with some capri peglegs throughout the hot TX summer!  I have it paired with a cute Siren Swim Top I made for a sports bra!

13402172_151754171904282_974103483_n(1)

Don’t forget to share your final creations in the P4P Facebook group, tag me on Instagram, or in your favorite sewing forum! <3 I absolutely love to see your P4P creations!


Filed Under: Pattern Hacks Leave a Comment

  • « Previous Page
  • 1
  • 2

Newest Patterns

  • Tie Up Top $12.00
  • Tie Up Top- Youth $10.00
  • Tie Up Top- Bundle $20.00
  • 24/7 Tank $12.00
  • Fabric for Pirates-A Monthly Mystery Fabric Subscription
    Rated 4.14 out of 5
    $30.00 on the 1st of each month
  • Privacy Policy
  • Refund Policy
  • Affliliate Program
  • Contact Us
  • About

Copyright © 2022 Patterns for Pirates

Copyright © 2022 · Genesis Framework · WordPress · Log in