Patterns for Pirates

P4P stylish, modern, wearable patterns

  • Home
  • Blog
    • Frequently Asked Questions
    • Pattern Releases
      • Free Patterns
    • P4P University
      • Fitting
      • Sewing with Stretch, Knit Fabrics
      • Sewing with Woven Fabrics
      • Sewing Machines
    • Sew-A-Longs
    • Fabric for Pirates
    • Pattern Hacks
    • Announcement
      • Blog Tours
      • Contest/Giveaway
  • Shop
  • Bundle Discounts
  • Gift Cards
  • My Account
  • Cart

Lumberjack – Reversible Hack

November 1, 2021

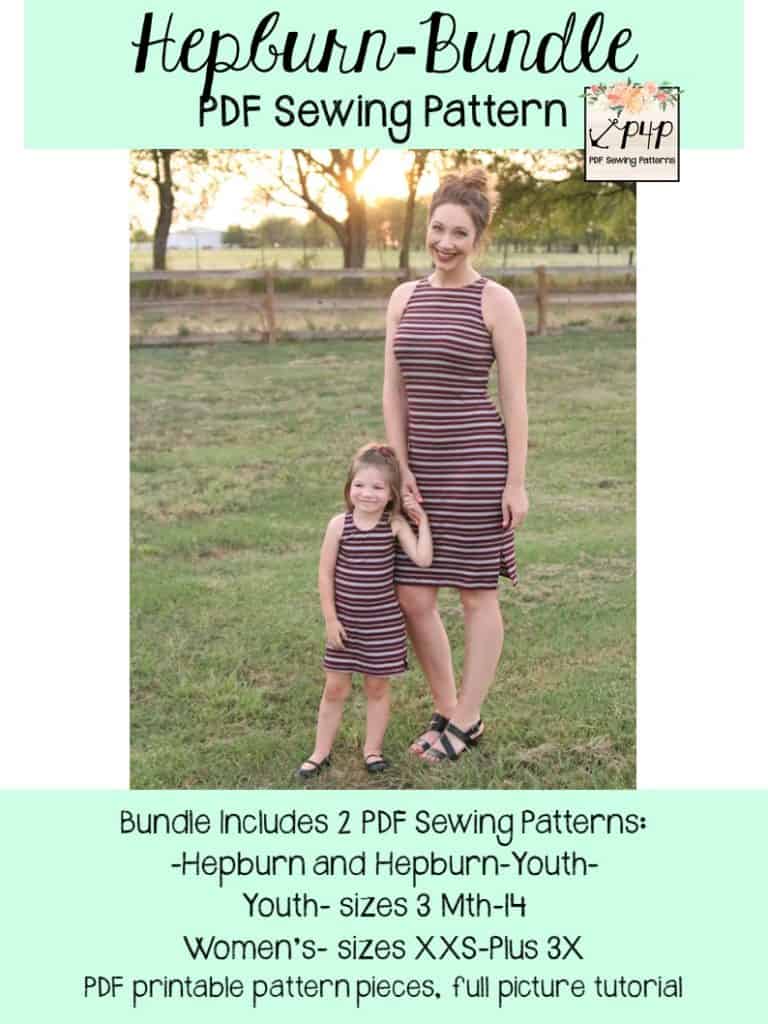
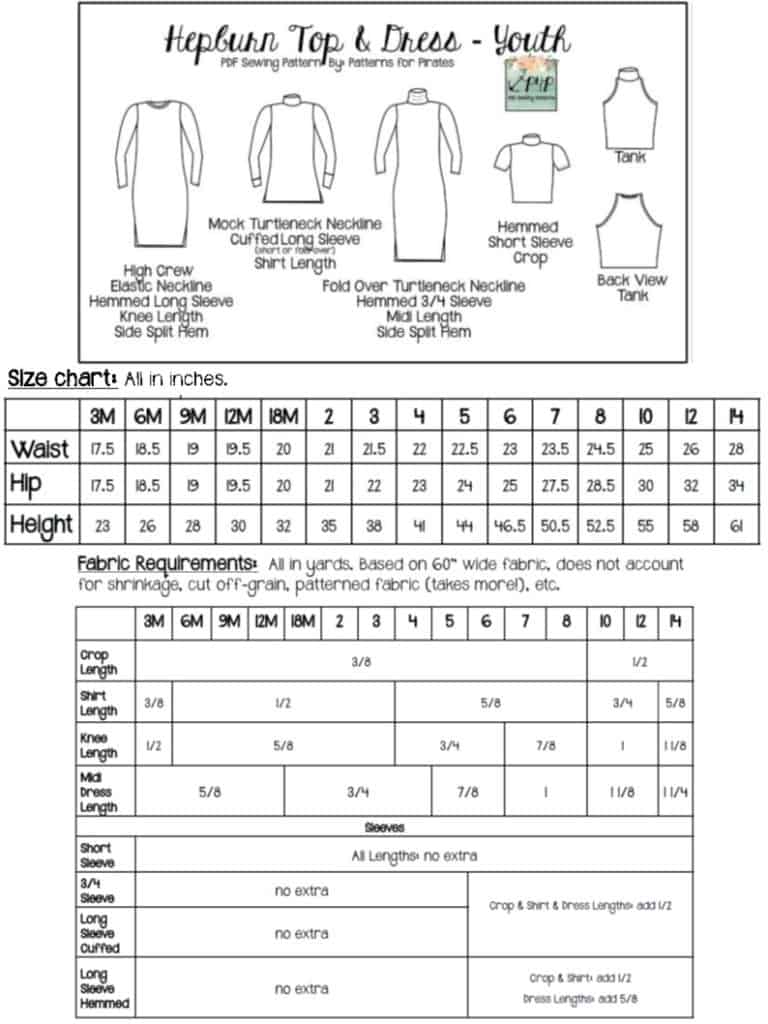
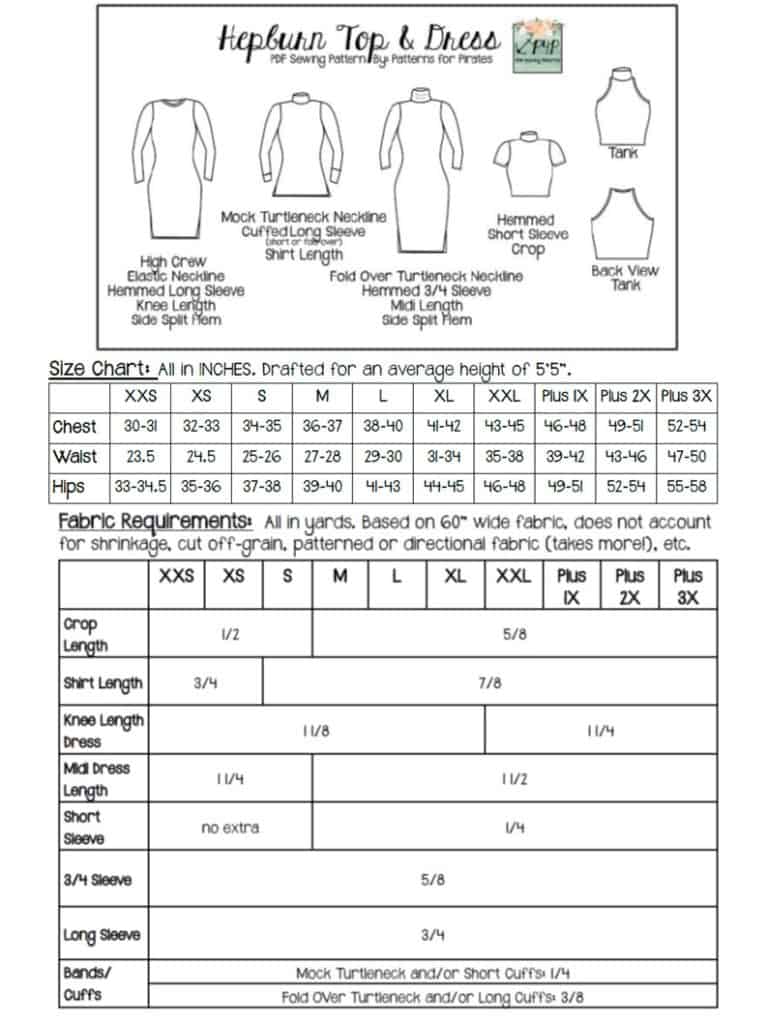
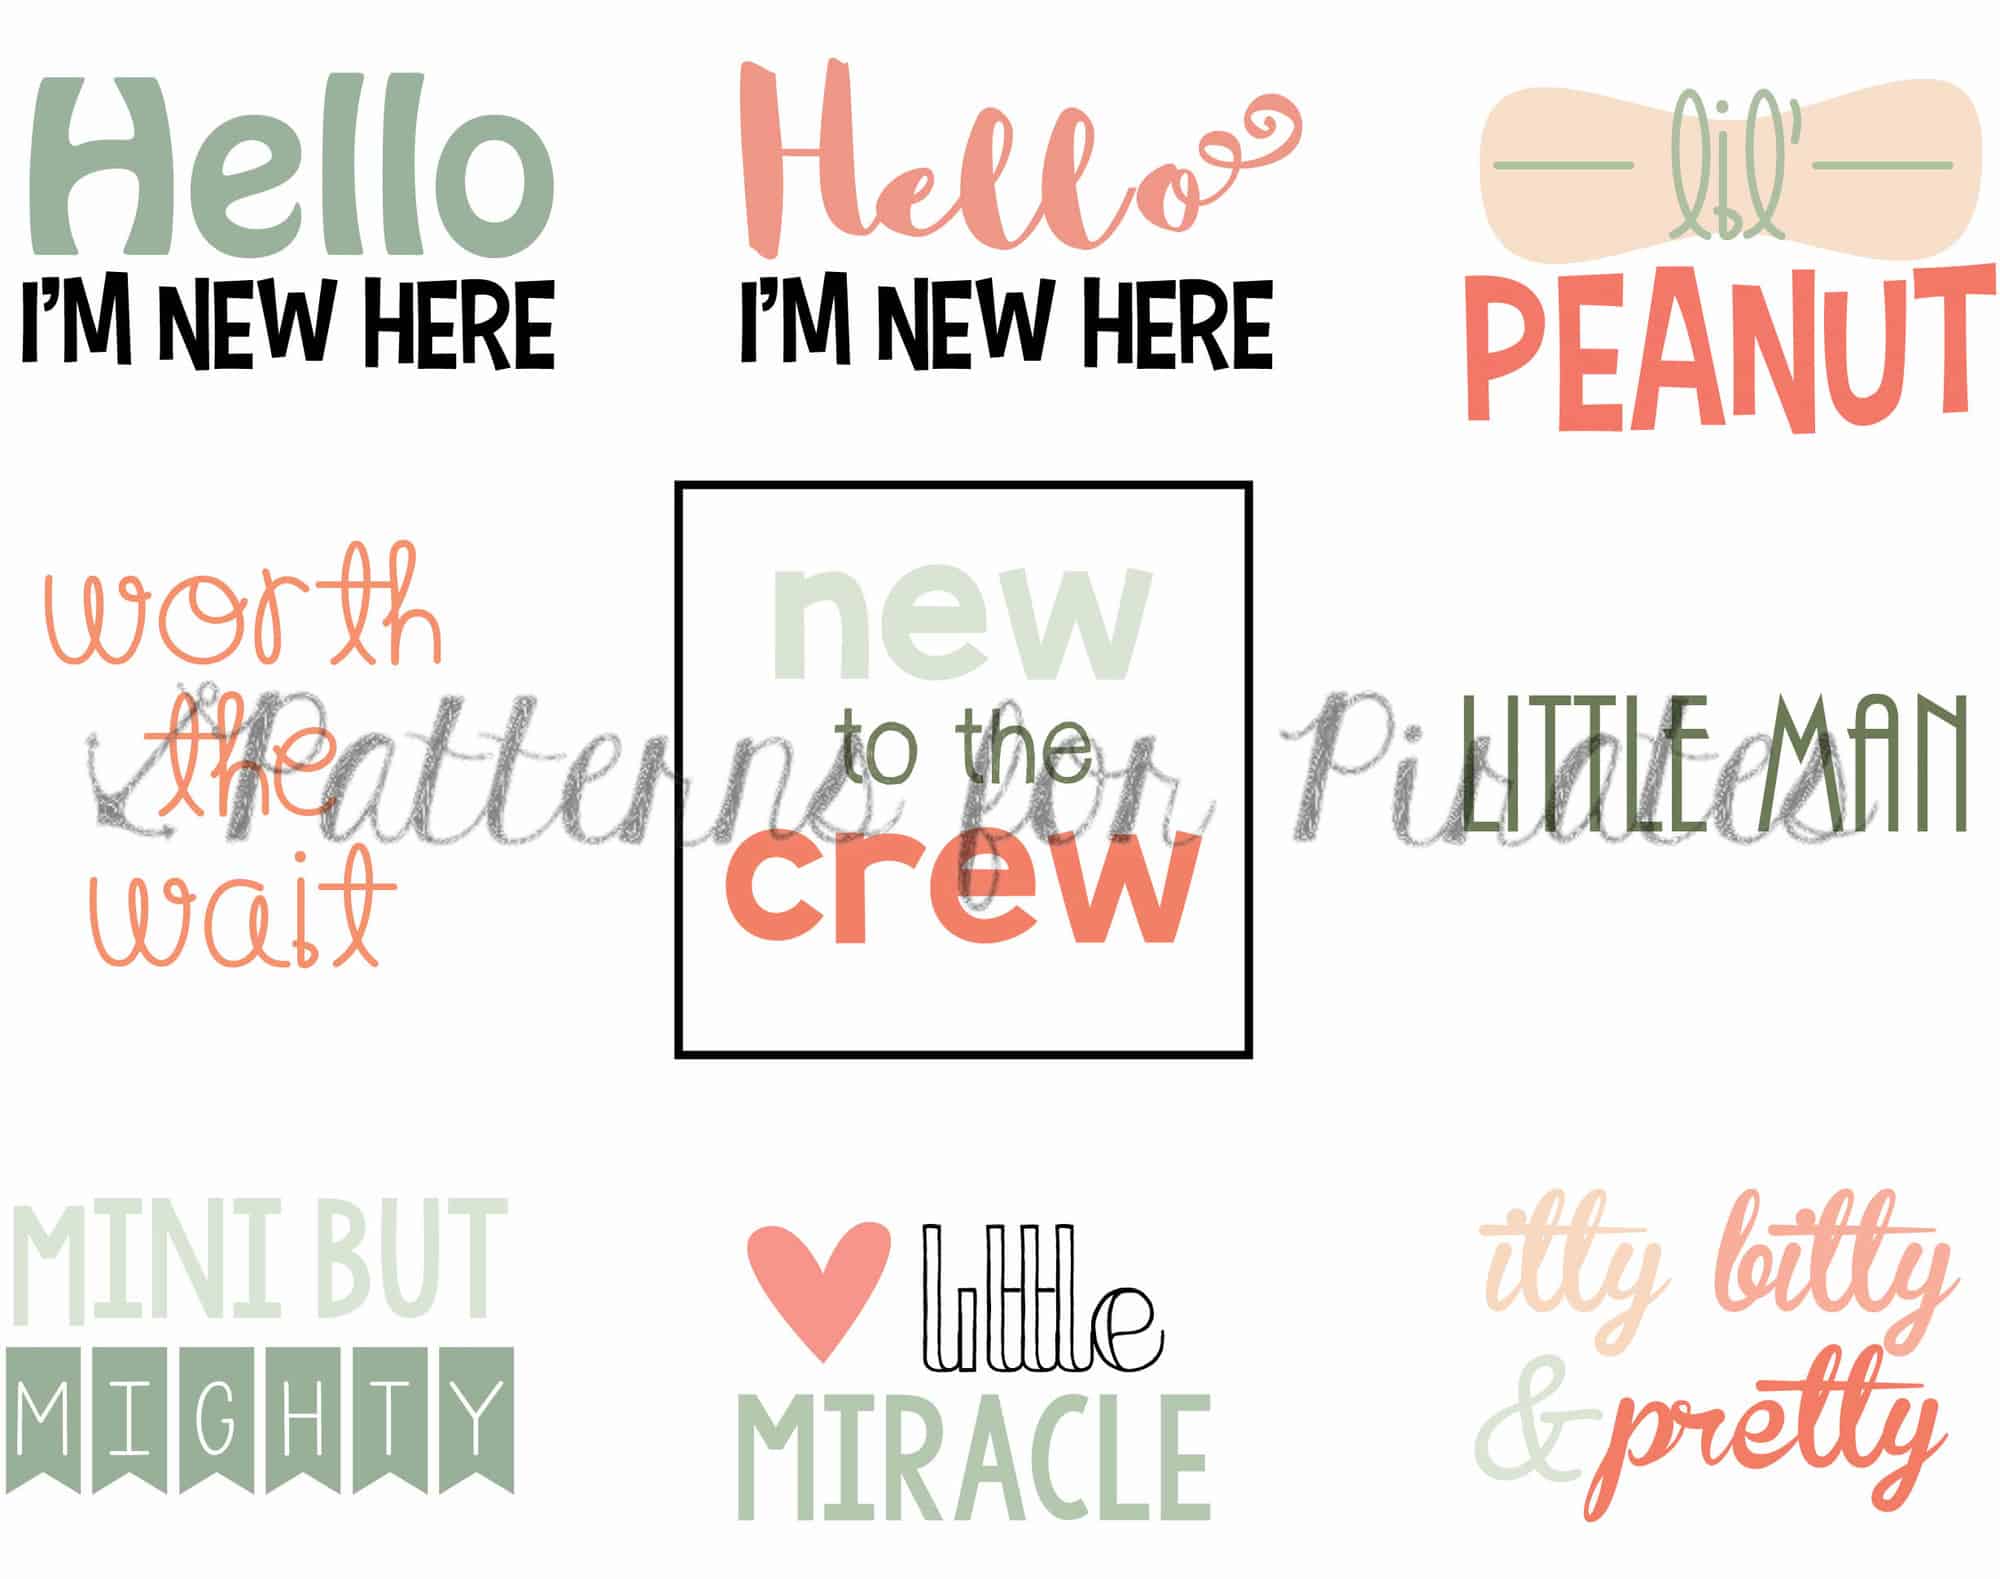
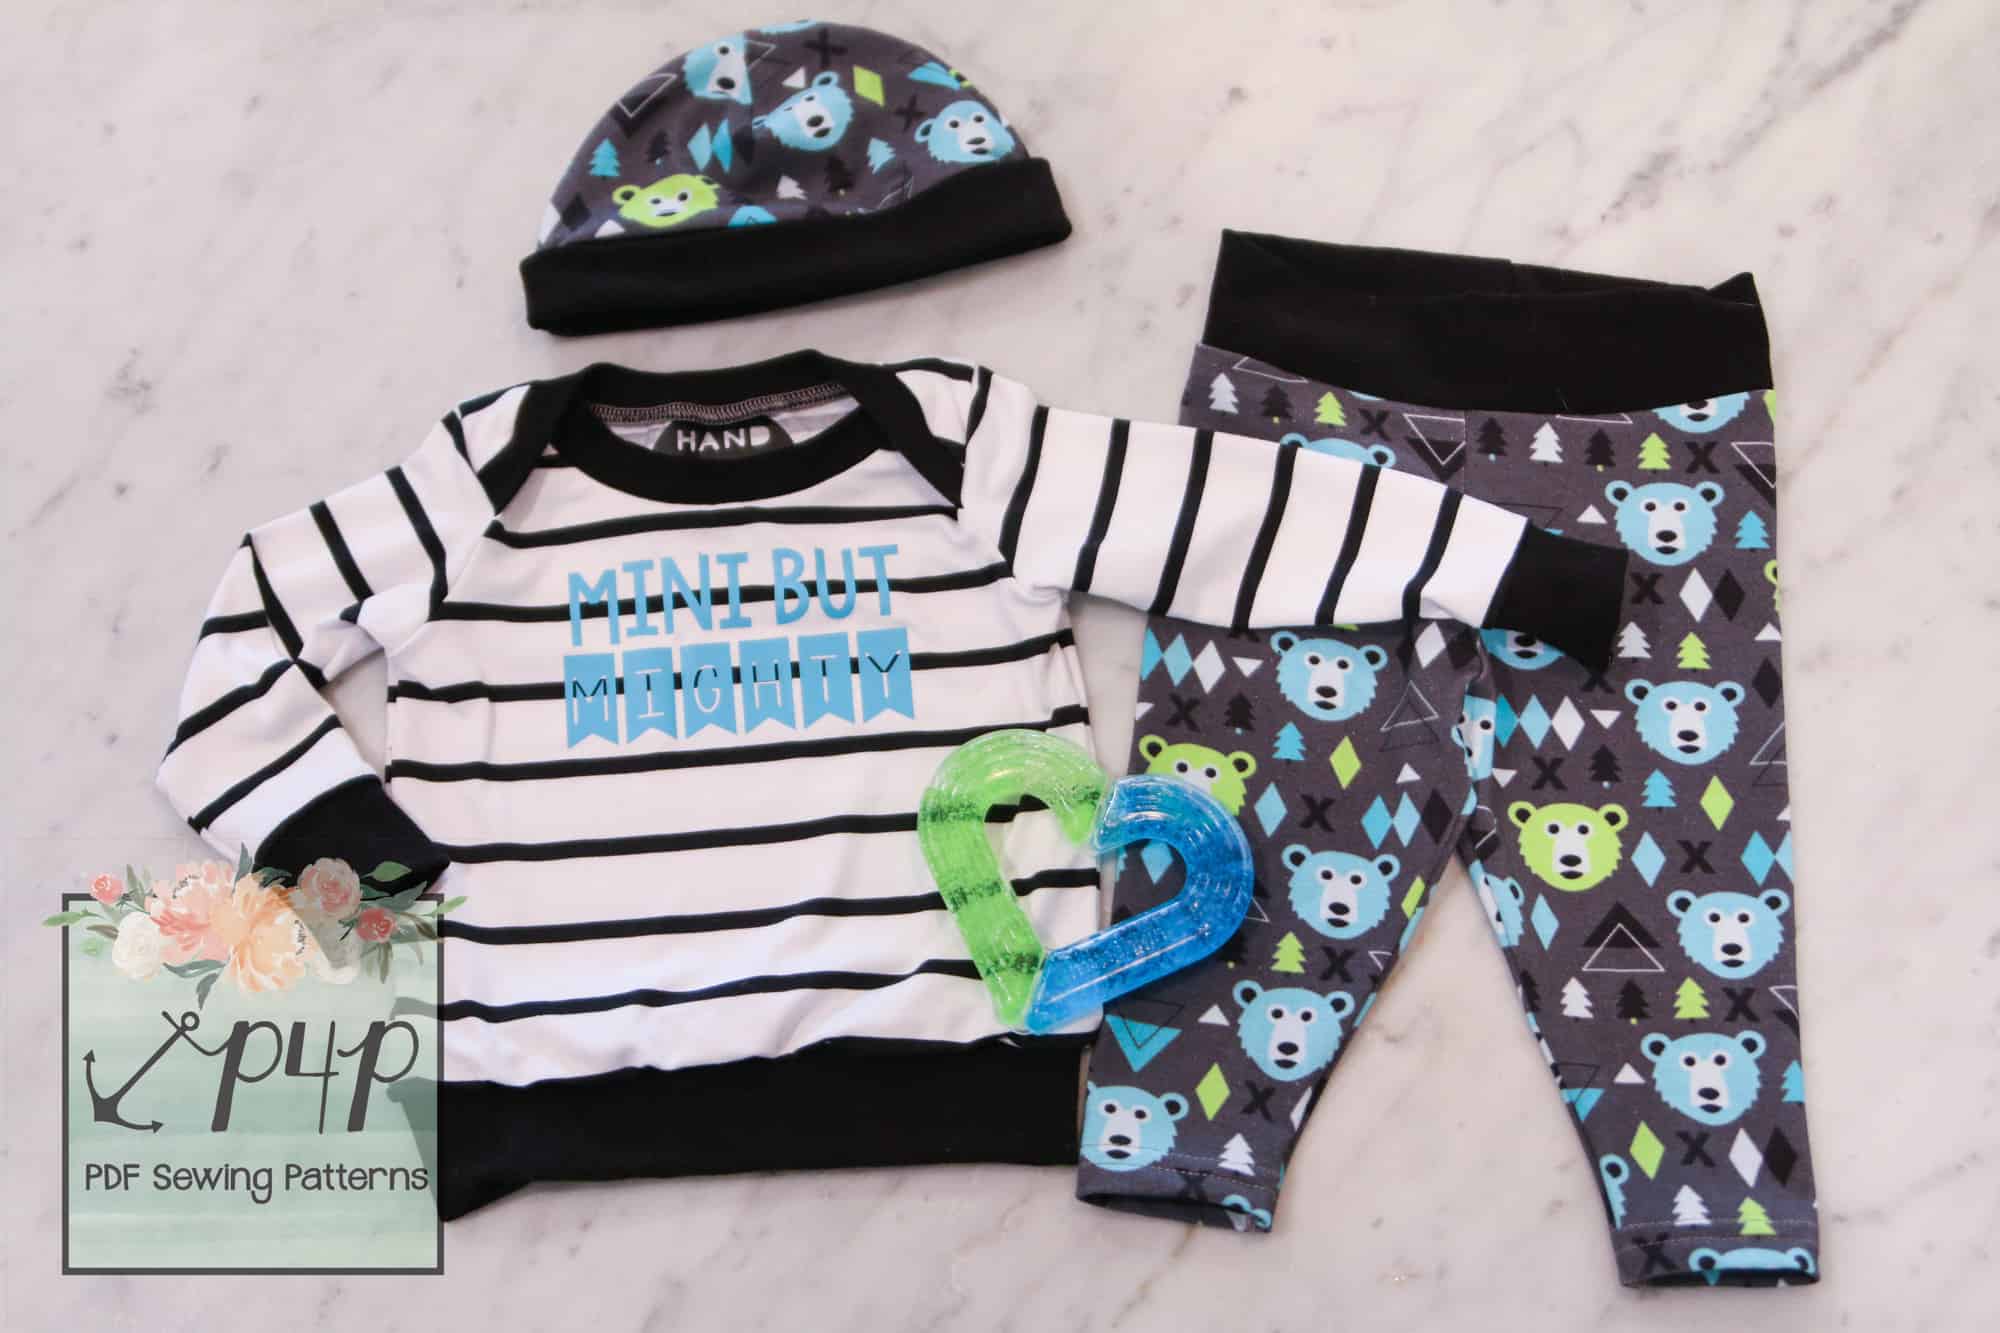
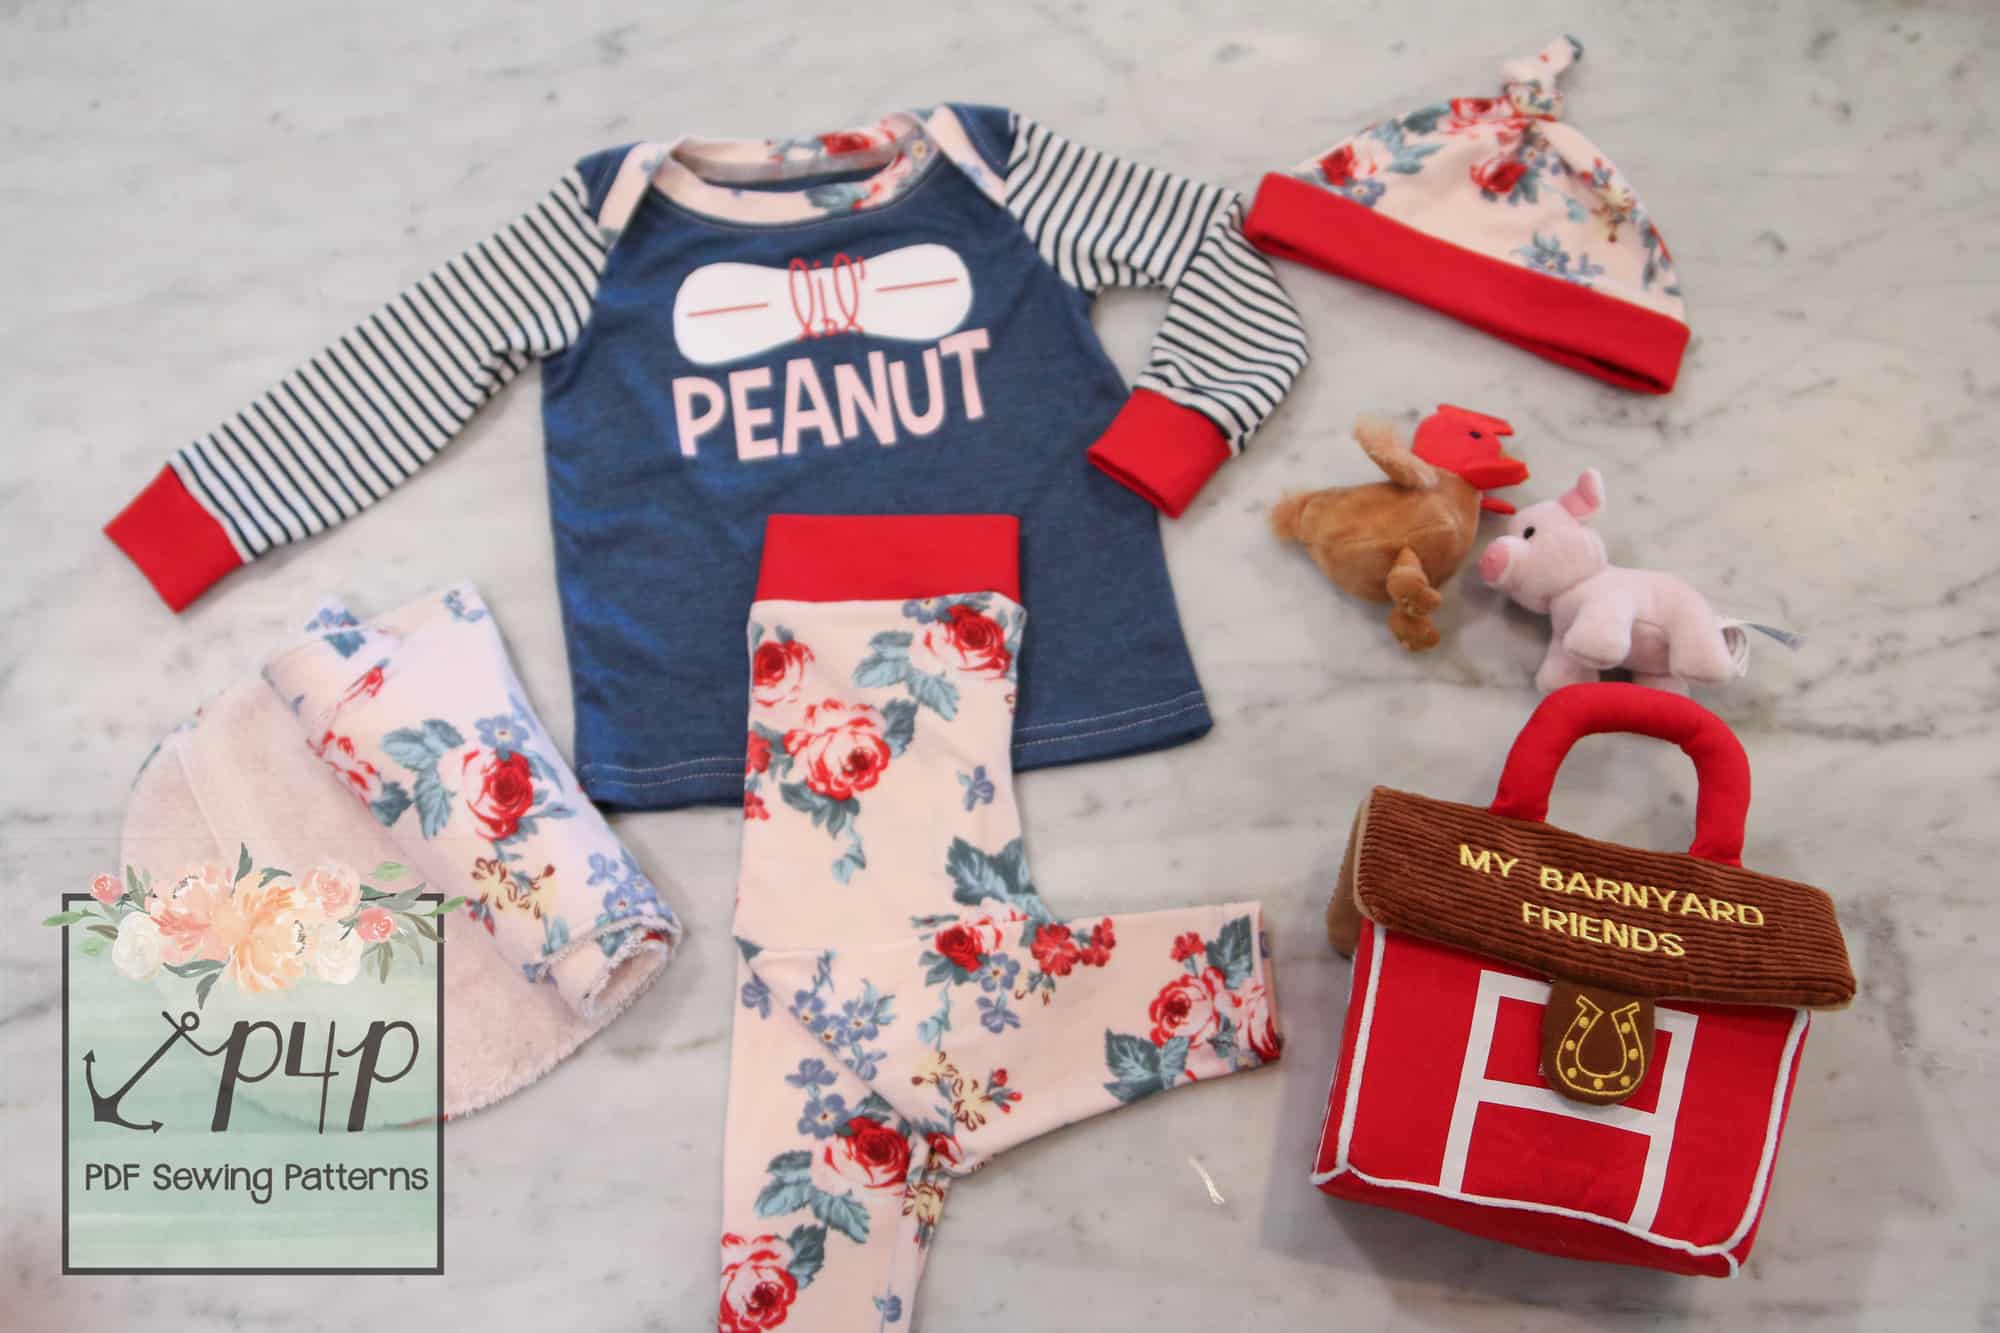
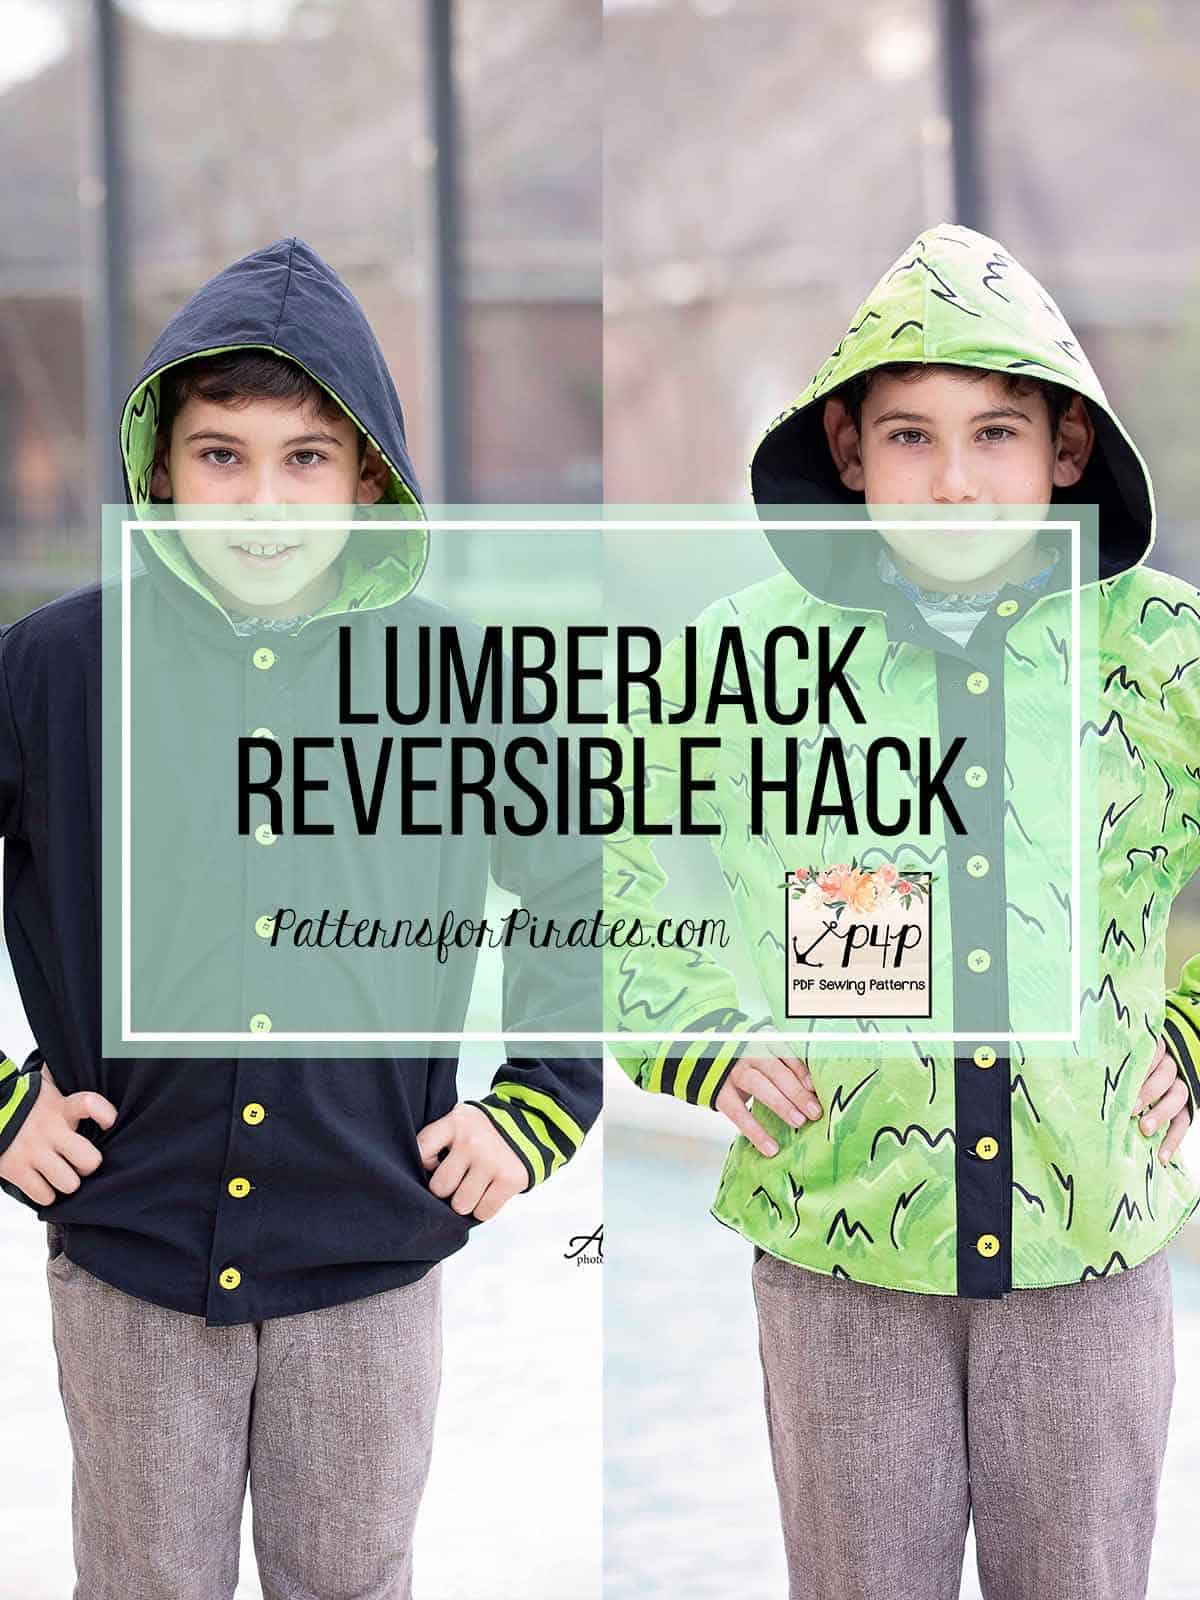
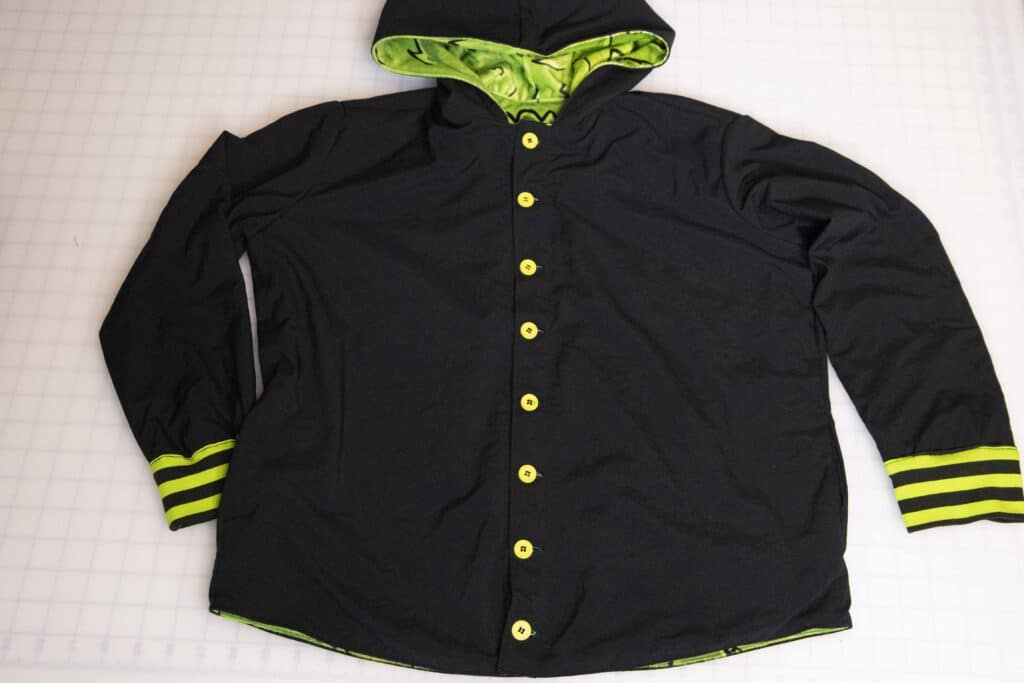
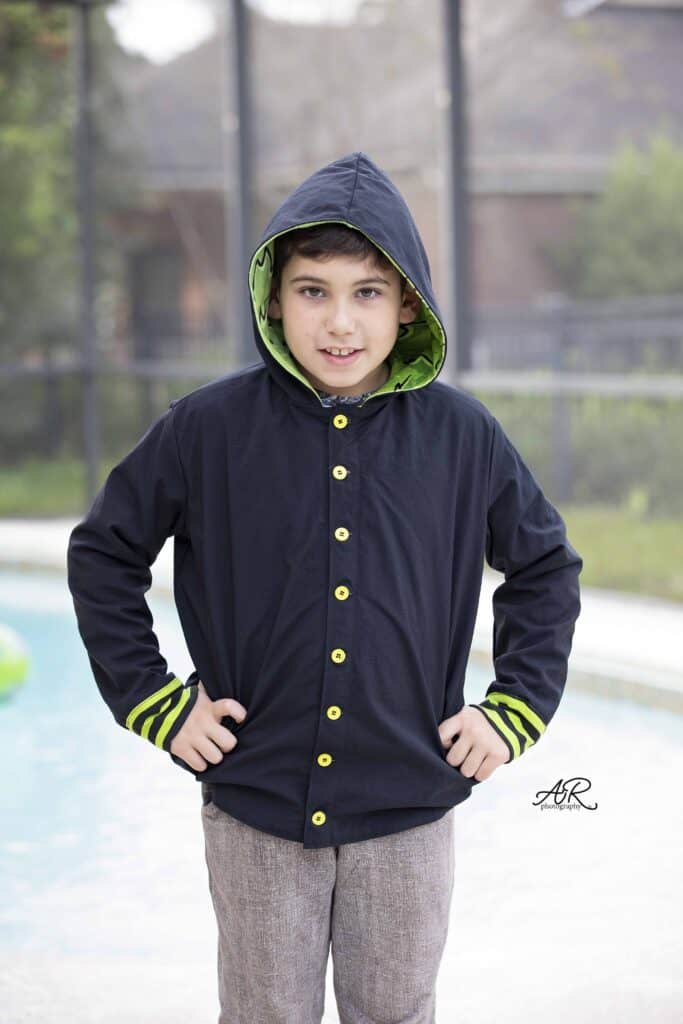
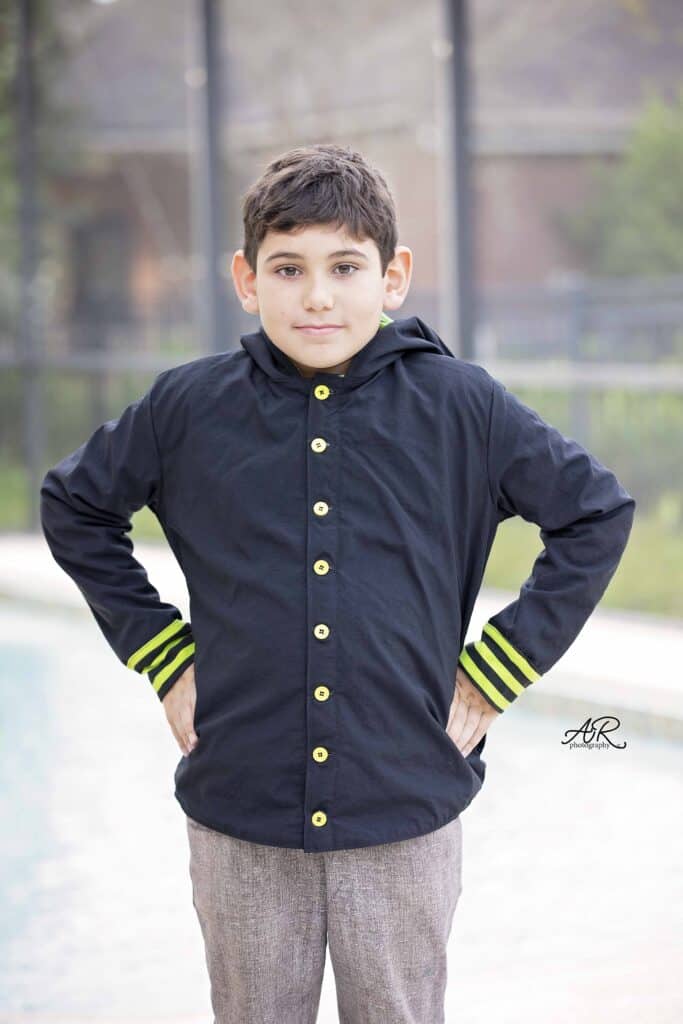
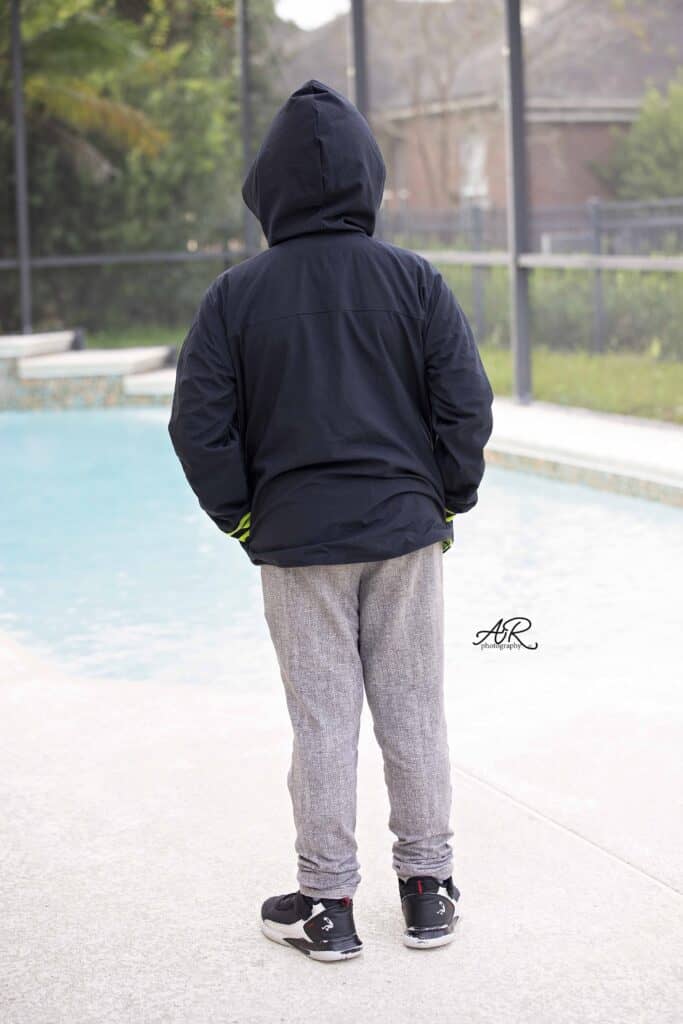
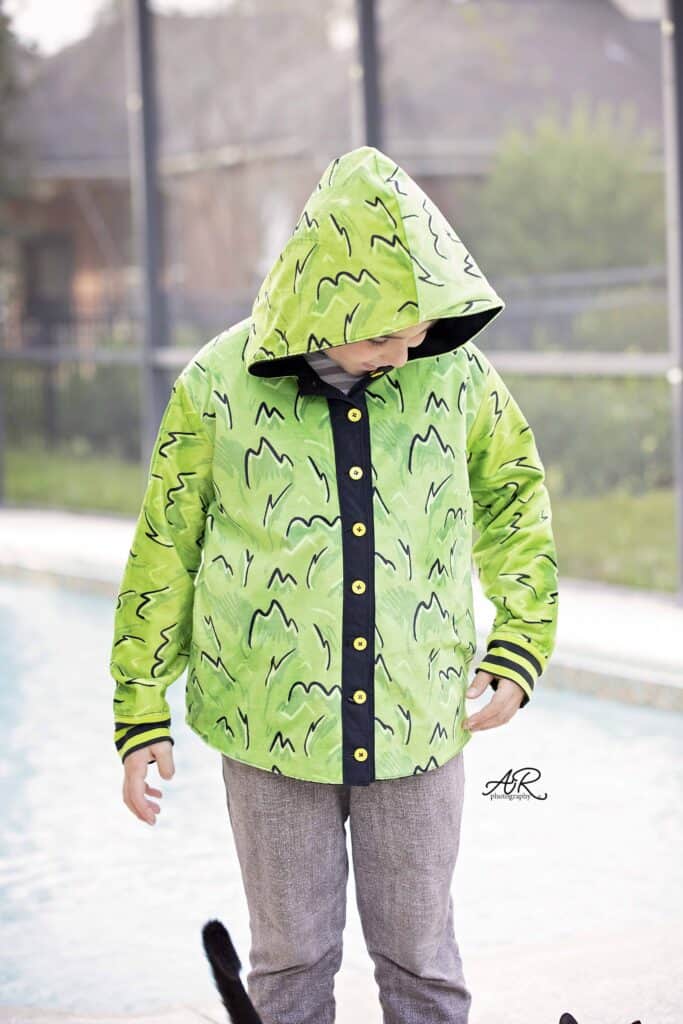
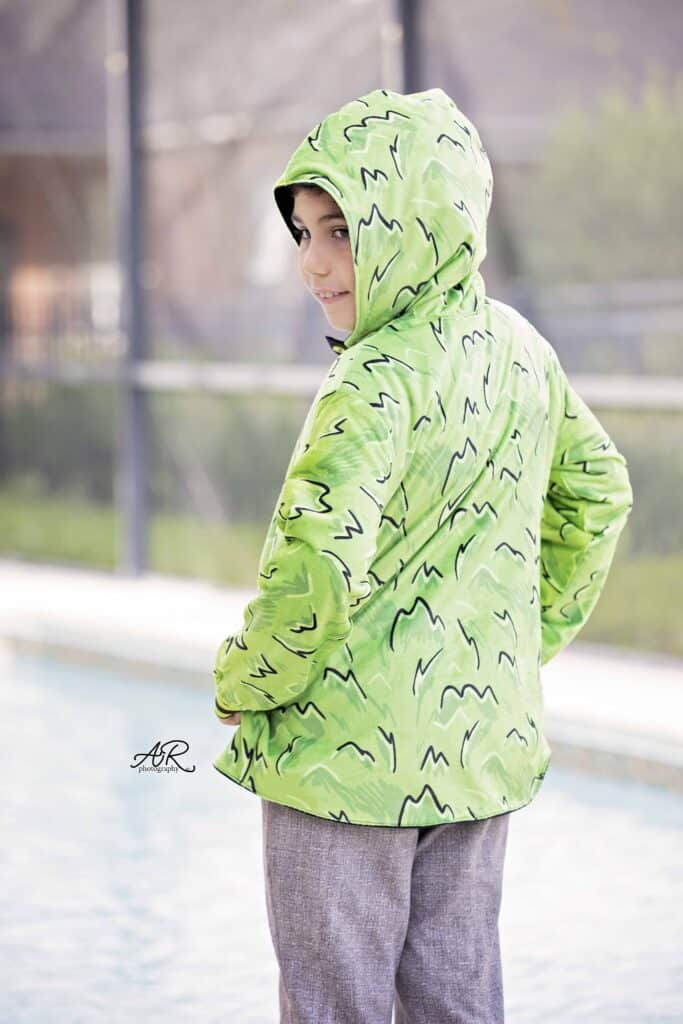
It’s here! It’s here! And I don’t mean only the cooler weather! The updated Lumberjack Shacket is here and now it it’s available in V figure (based on men measurements) and Hourglass figure (women’s measurement). Everyone gets a Lumberjack shirt or shacket!

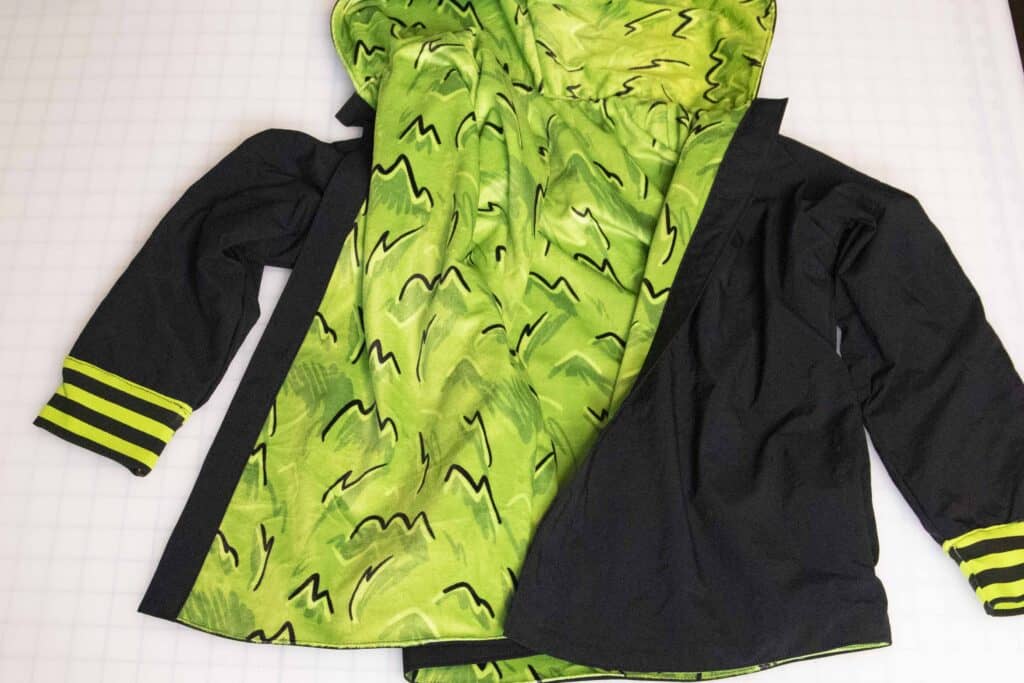
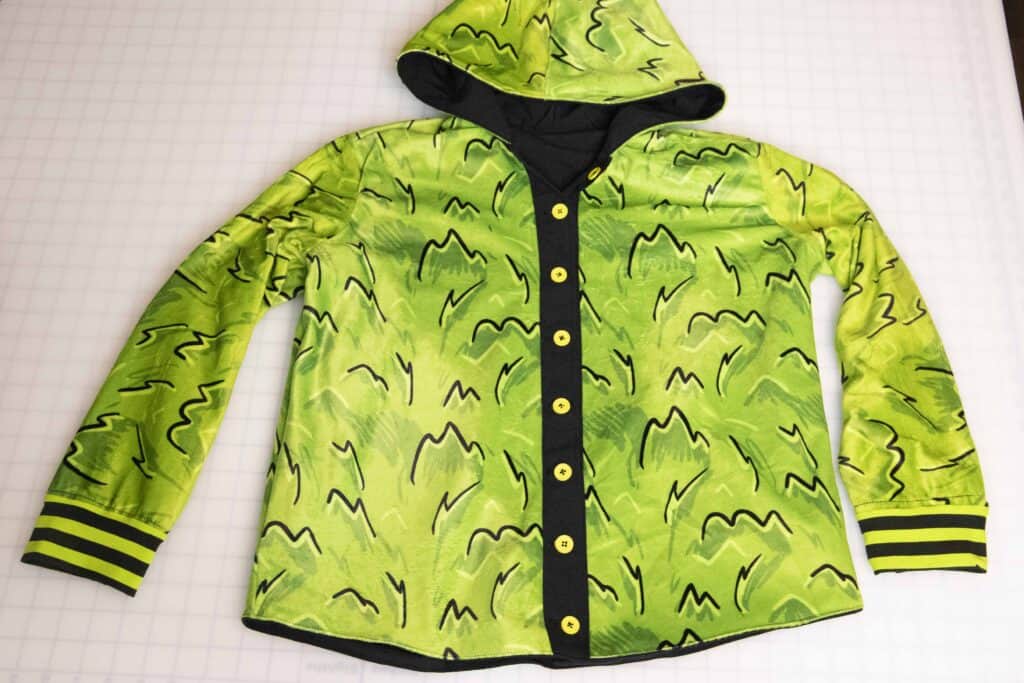
The pattern includes a lined and an unlined option so today on the b log I wanted to show you how to take the lined option and make it fully reversible! Yup, one shirt that can be worn both ways. 

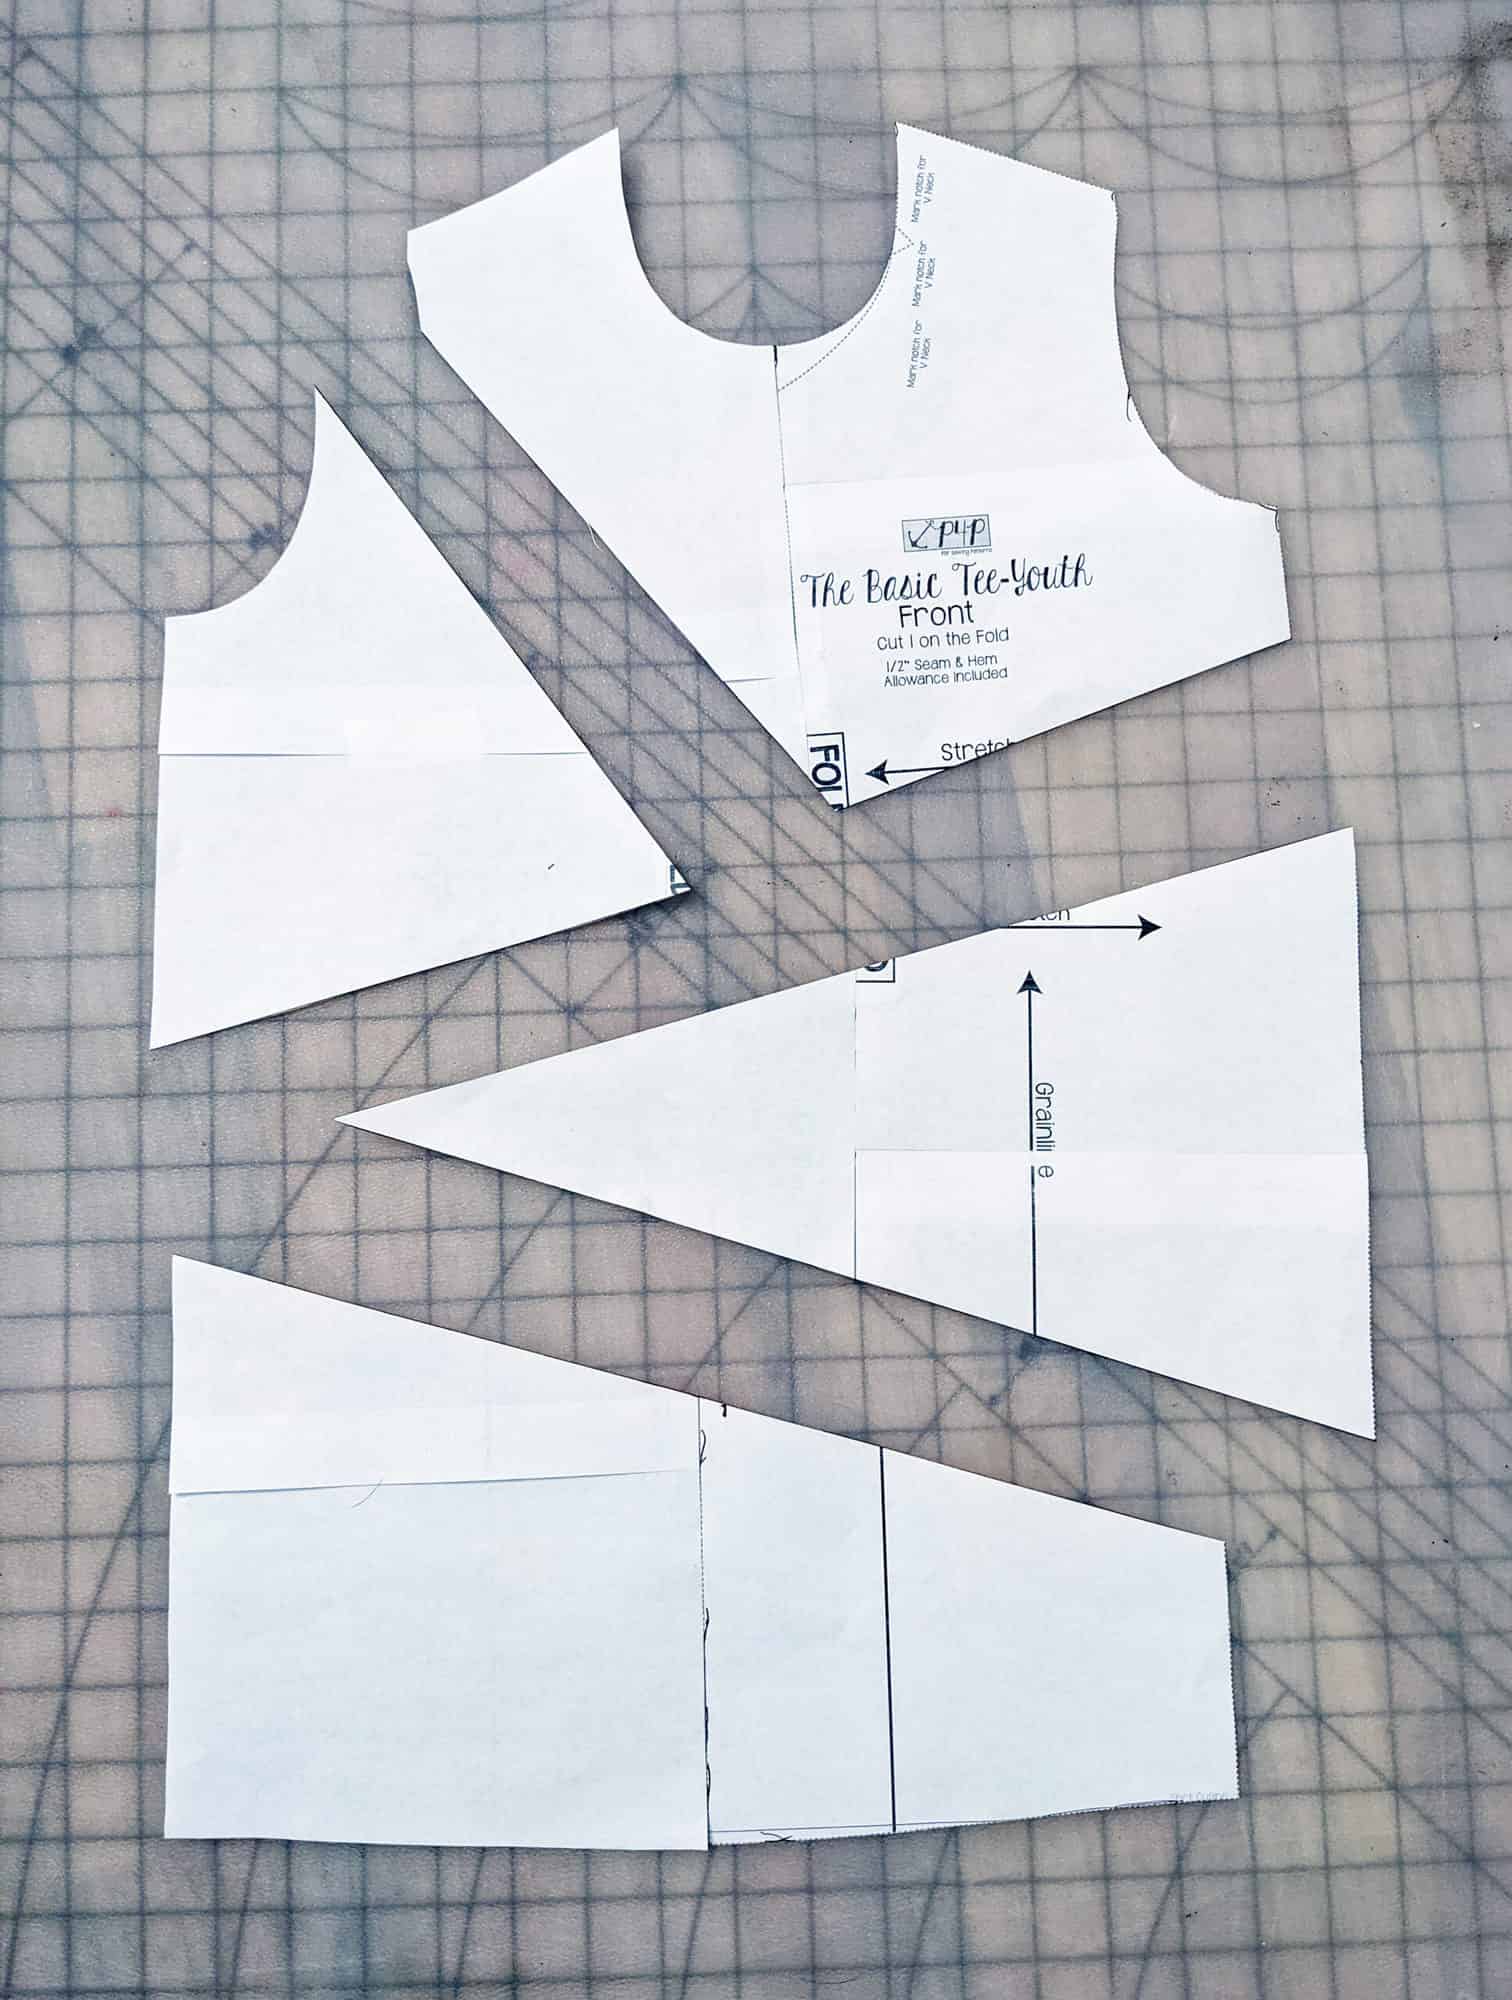
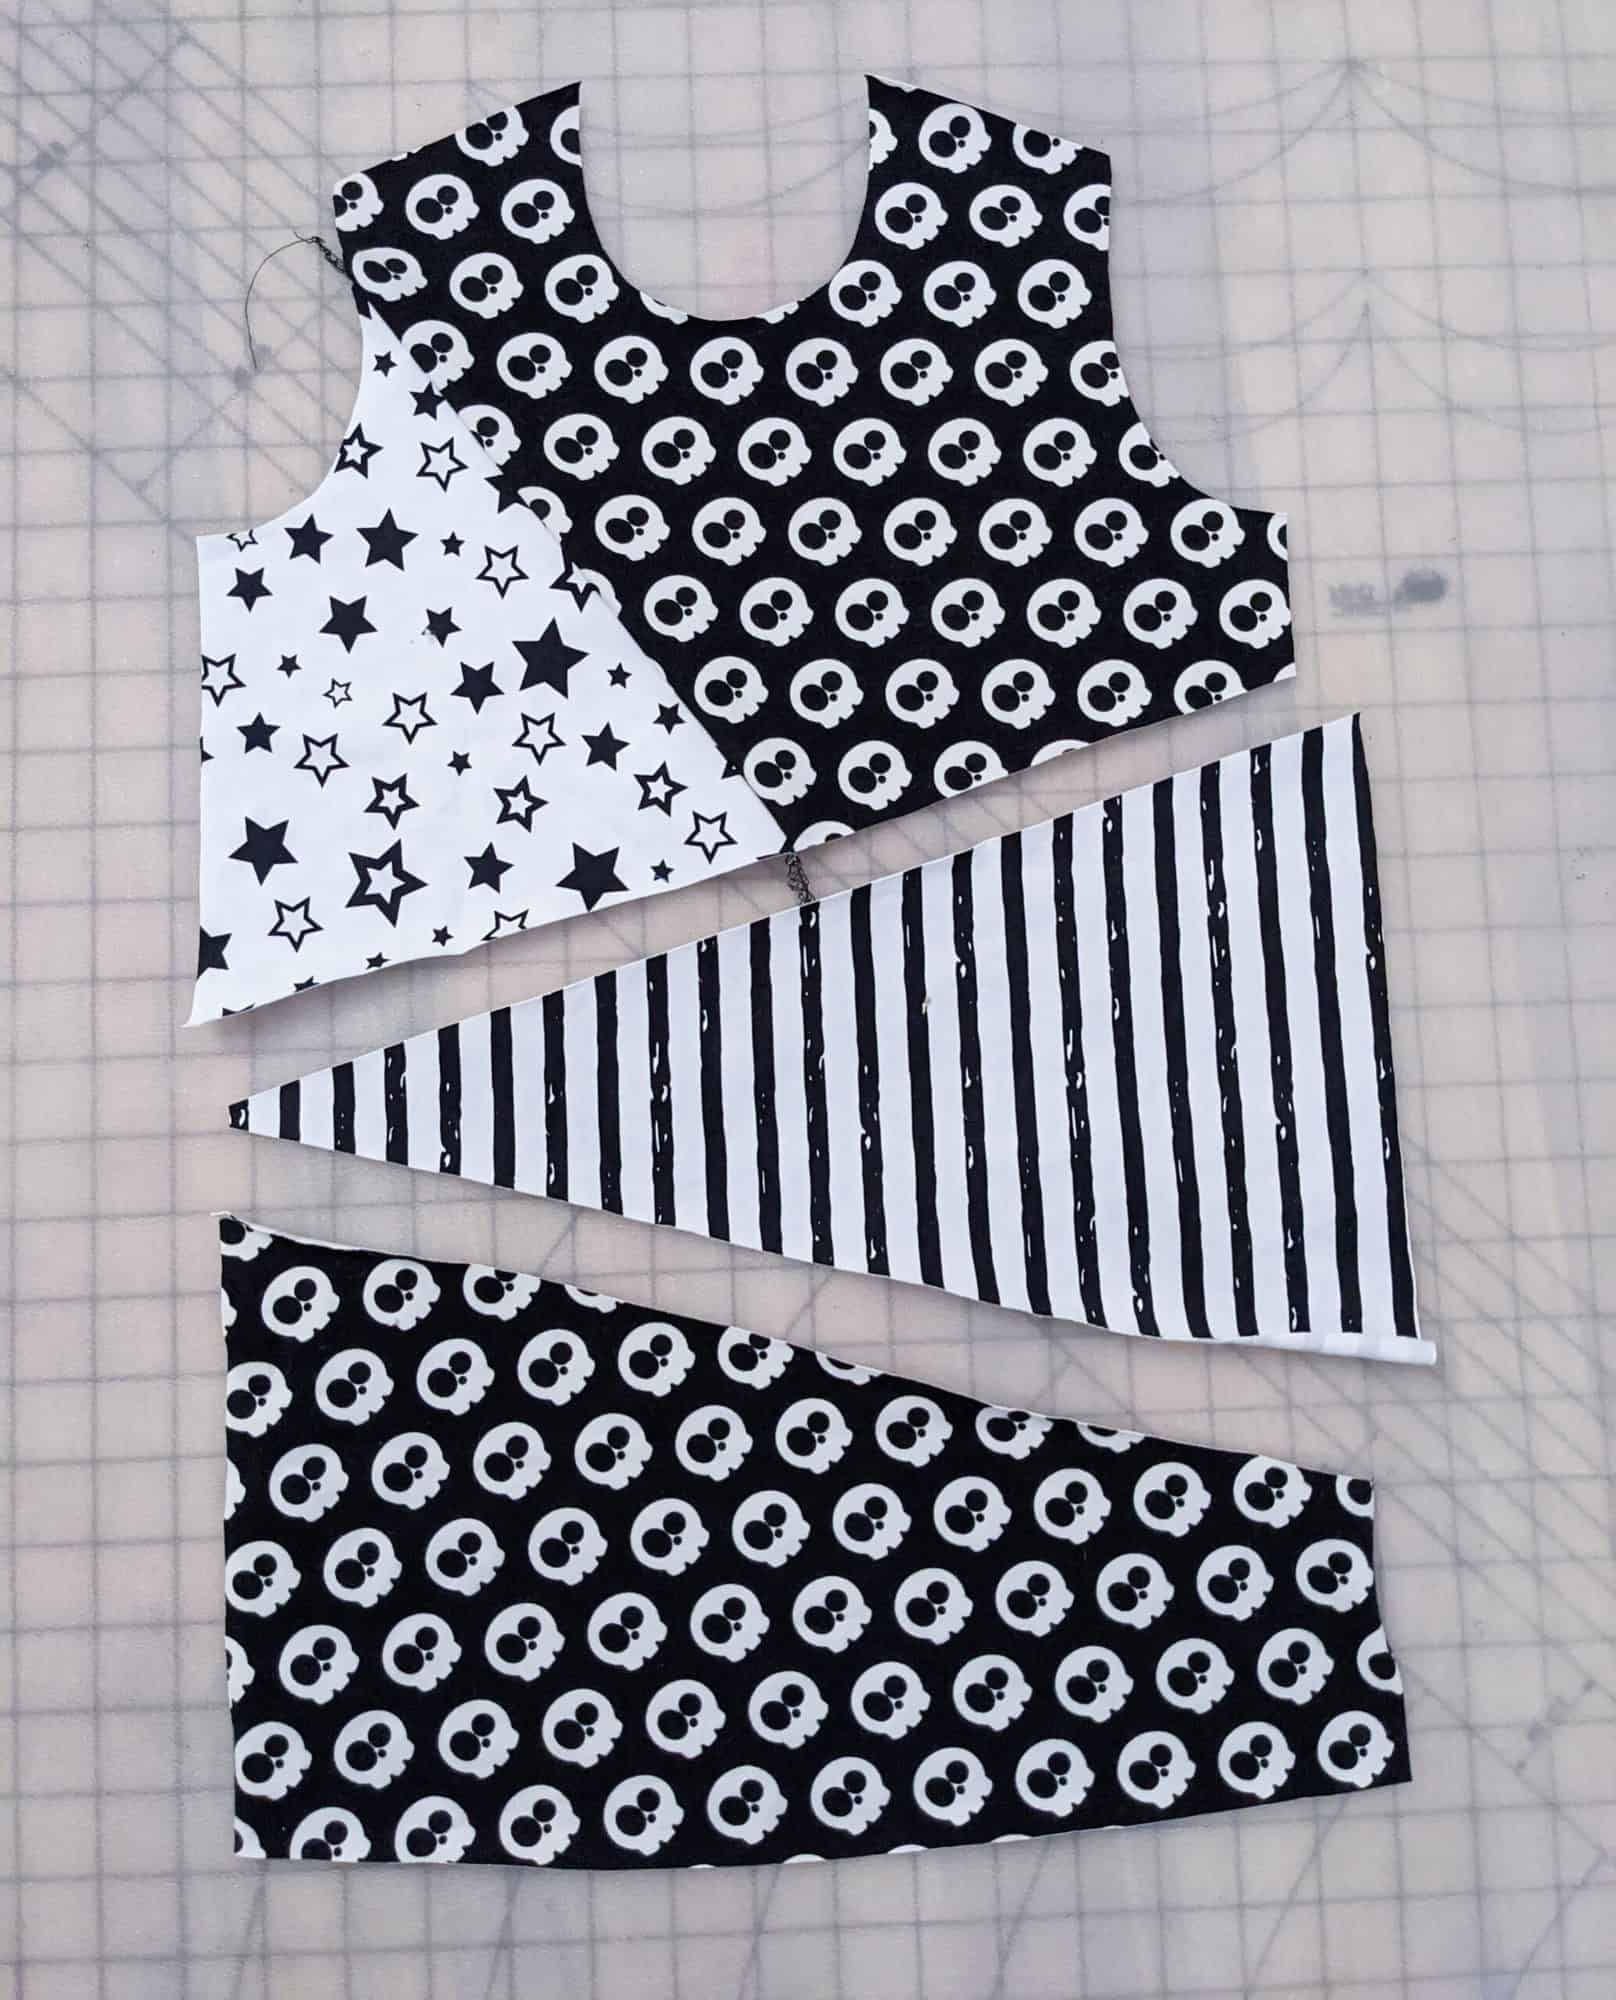
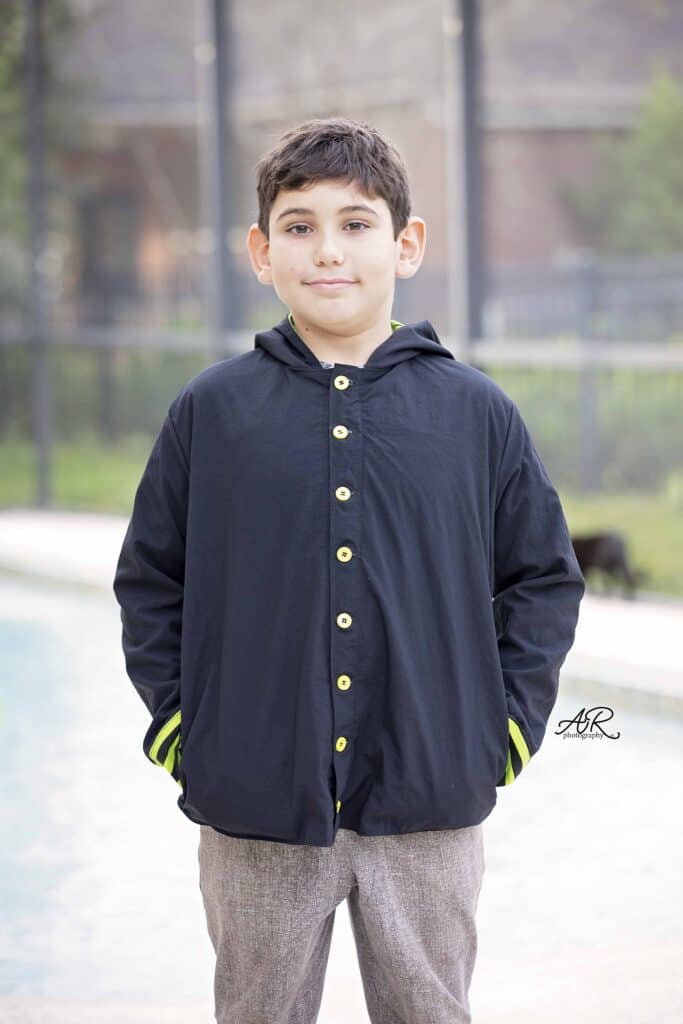
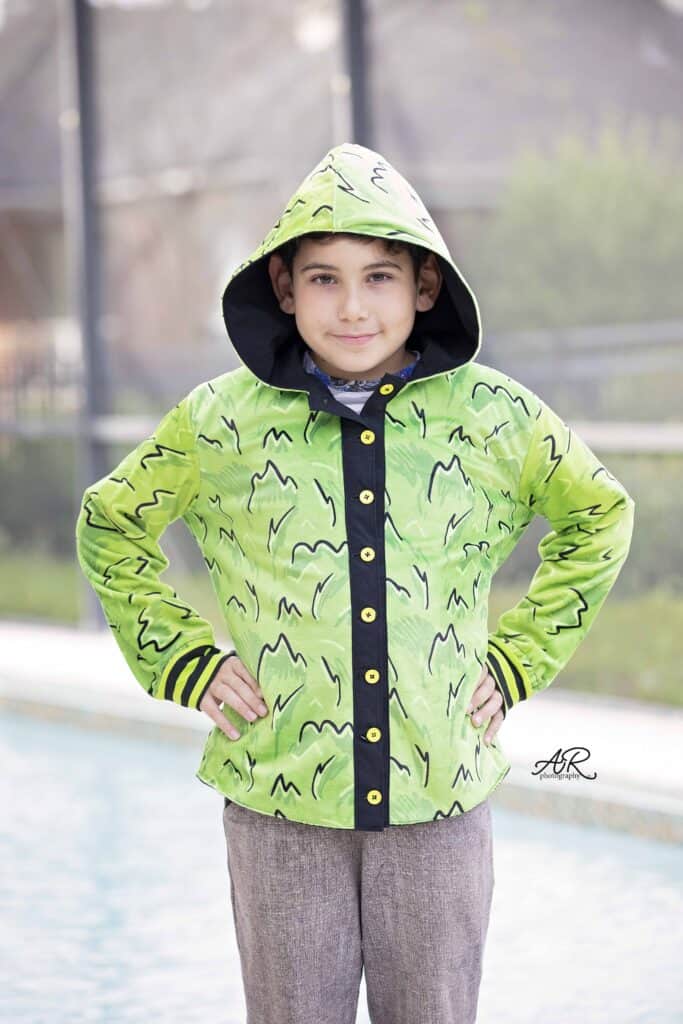
Let’s get started! Print and cut the pattern and fabric as instructed in the tutorial. Make sure you use the lined option. For this tutorial I used a nylon, poly blend woven (the solid black) and a custom minky (the green one) for the lining.

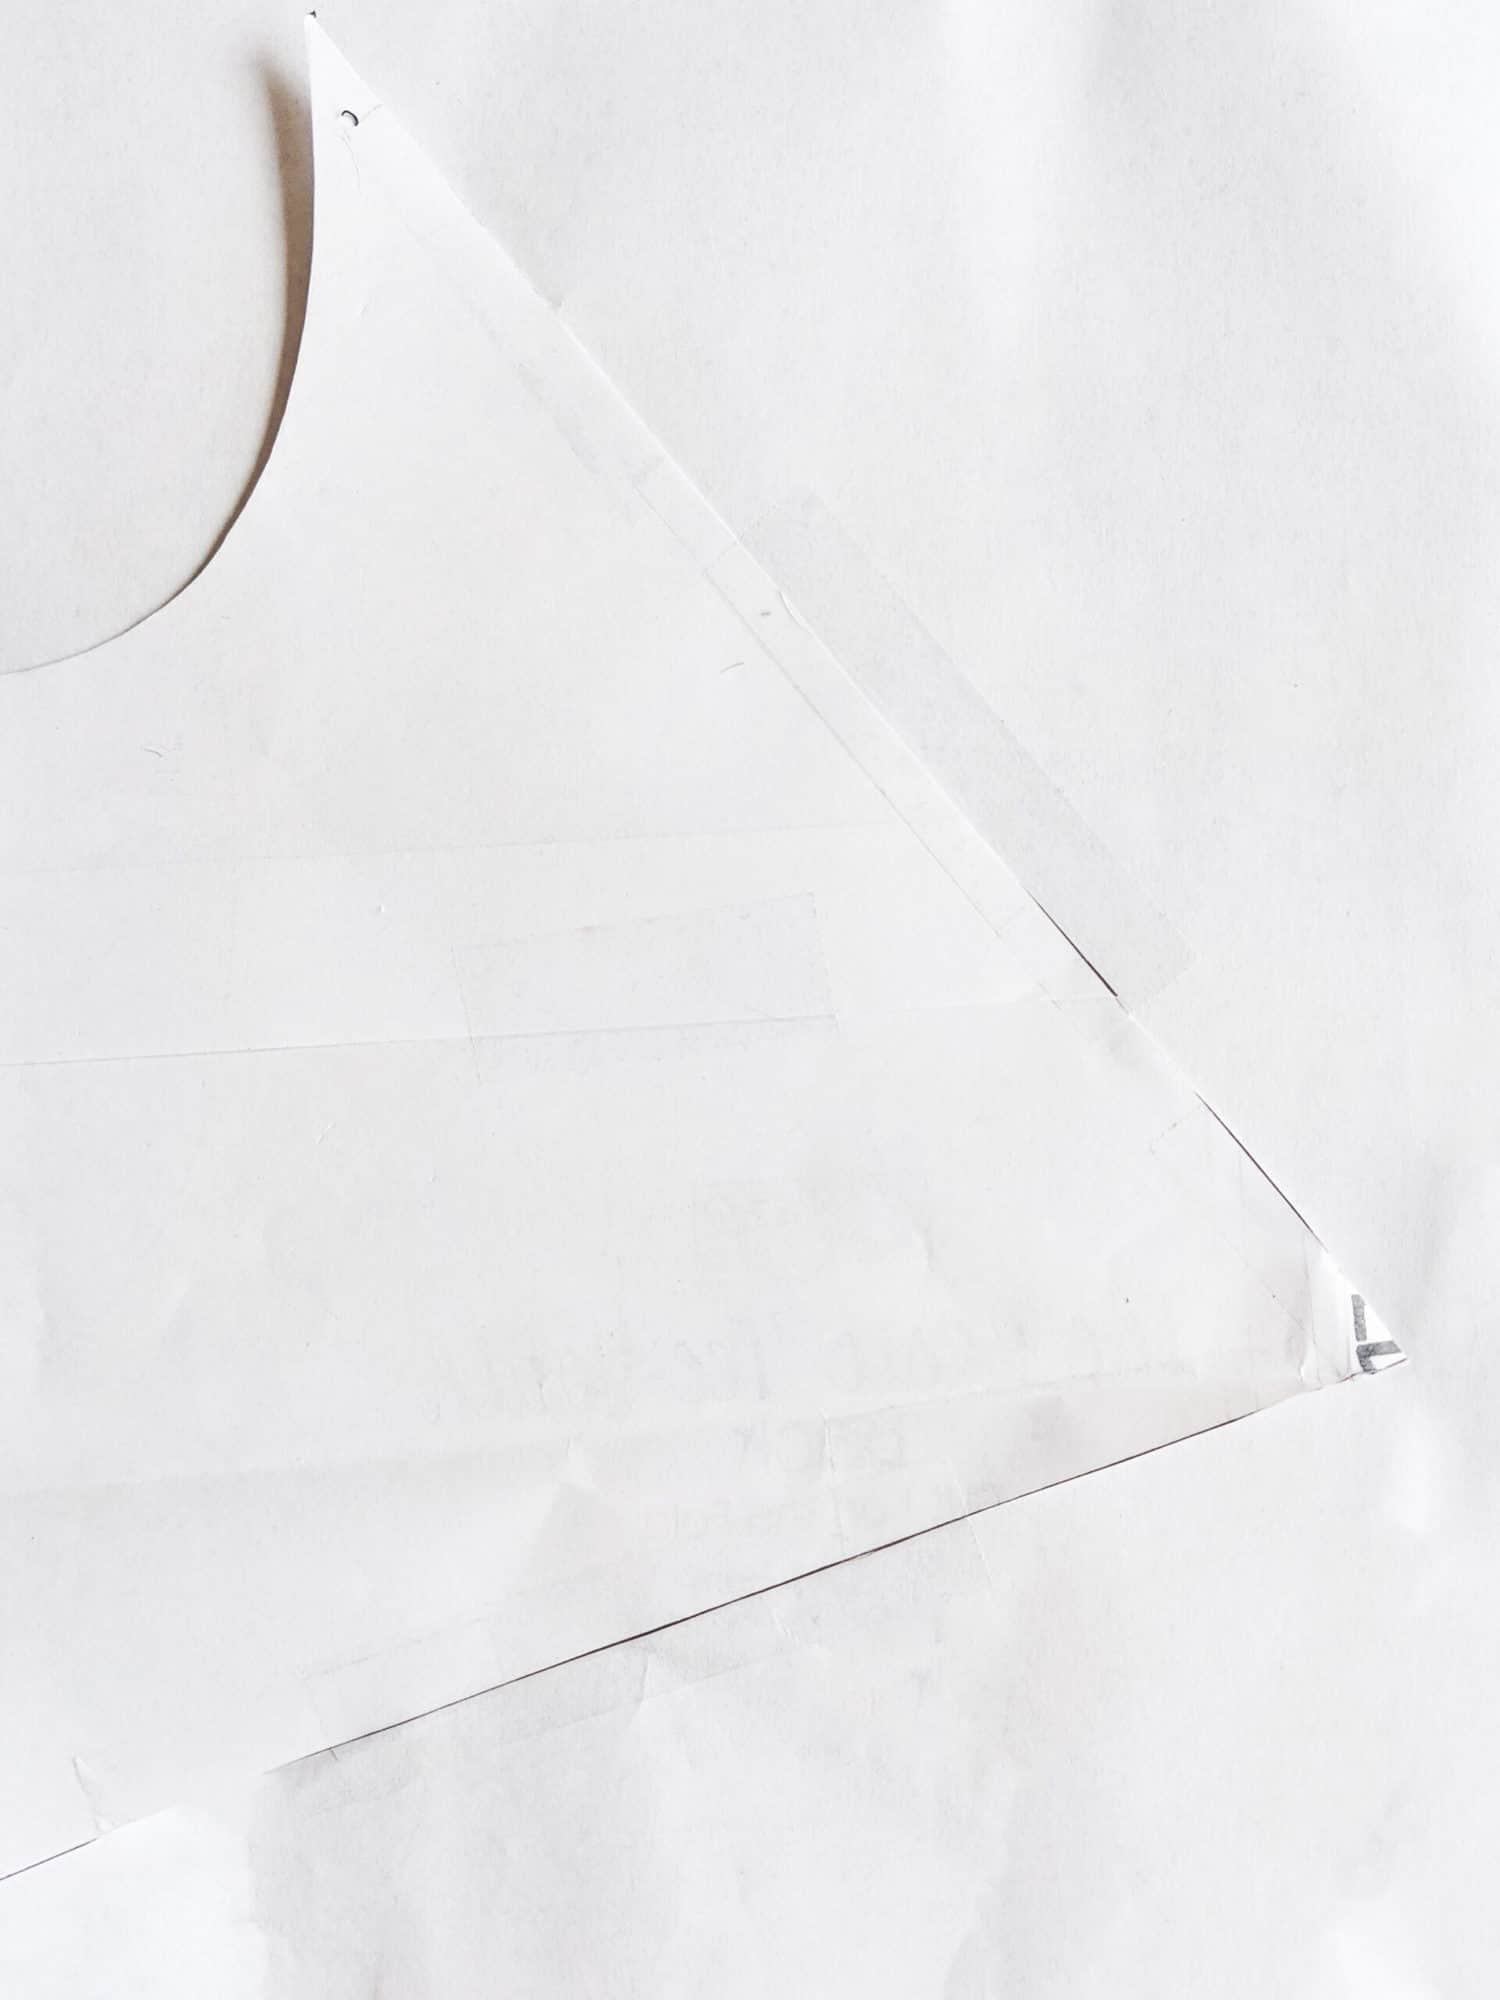
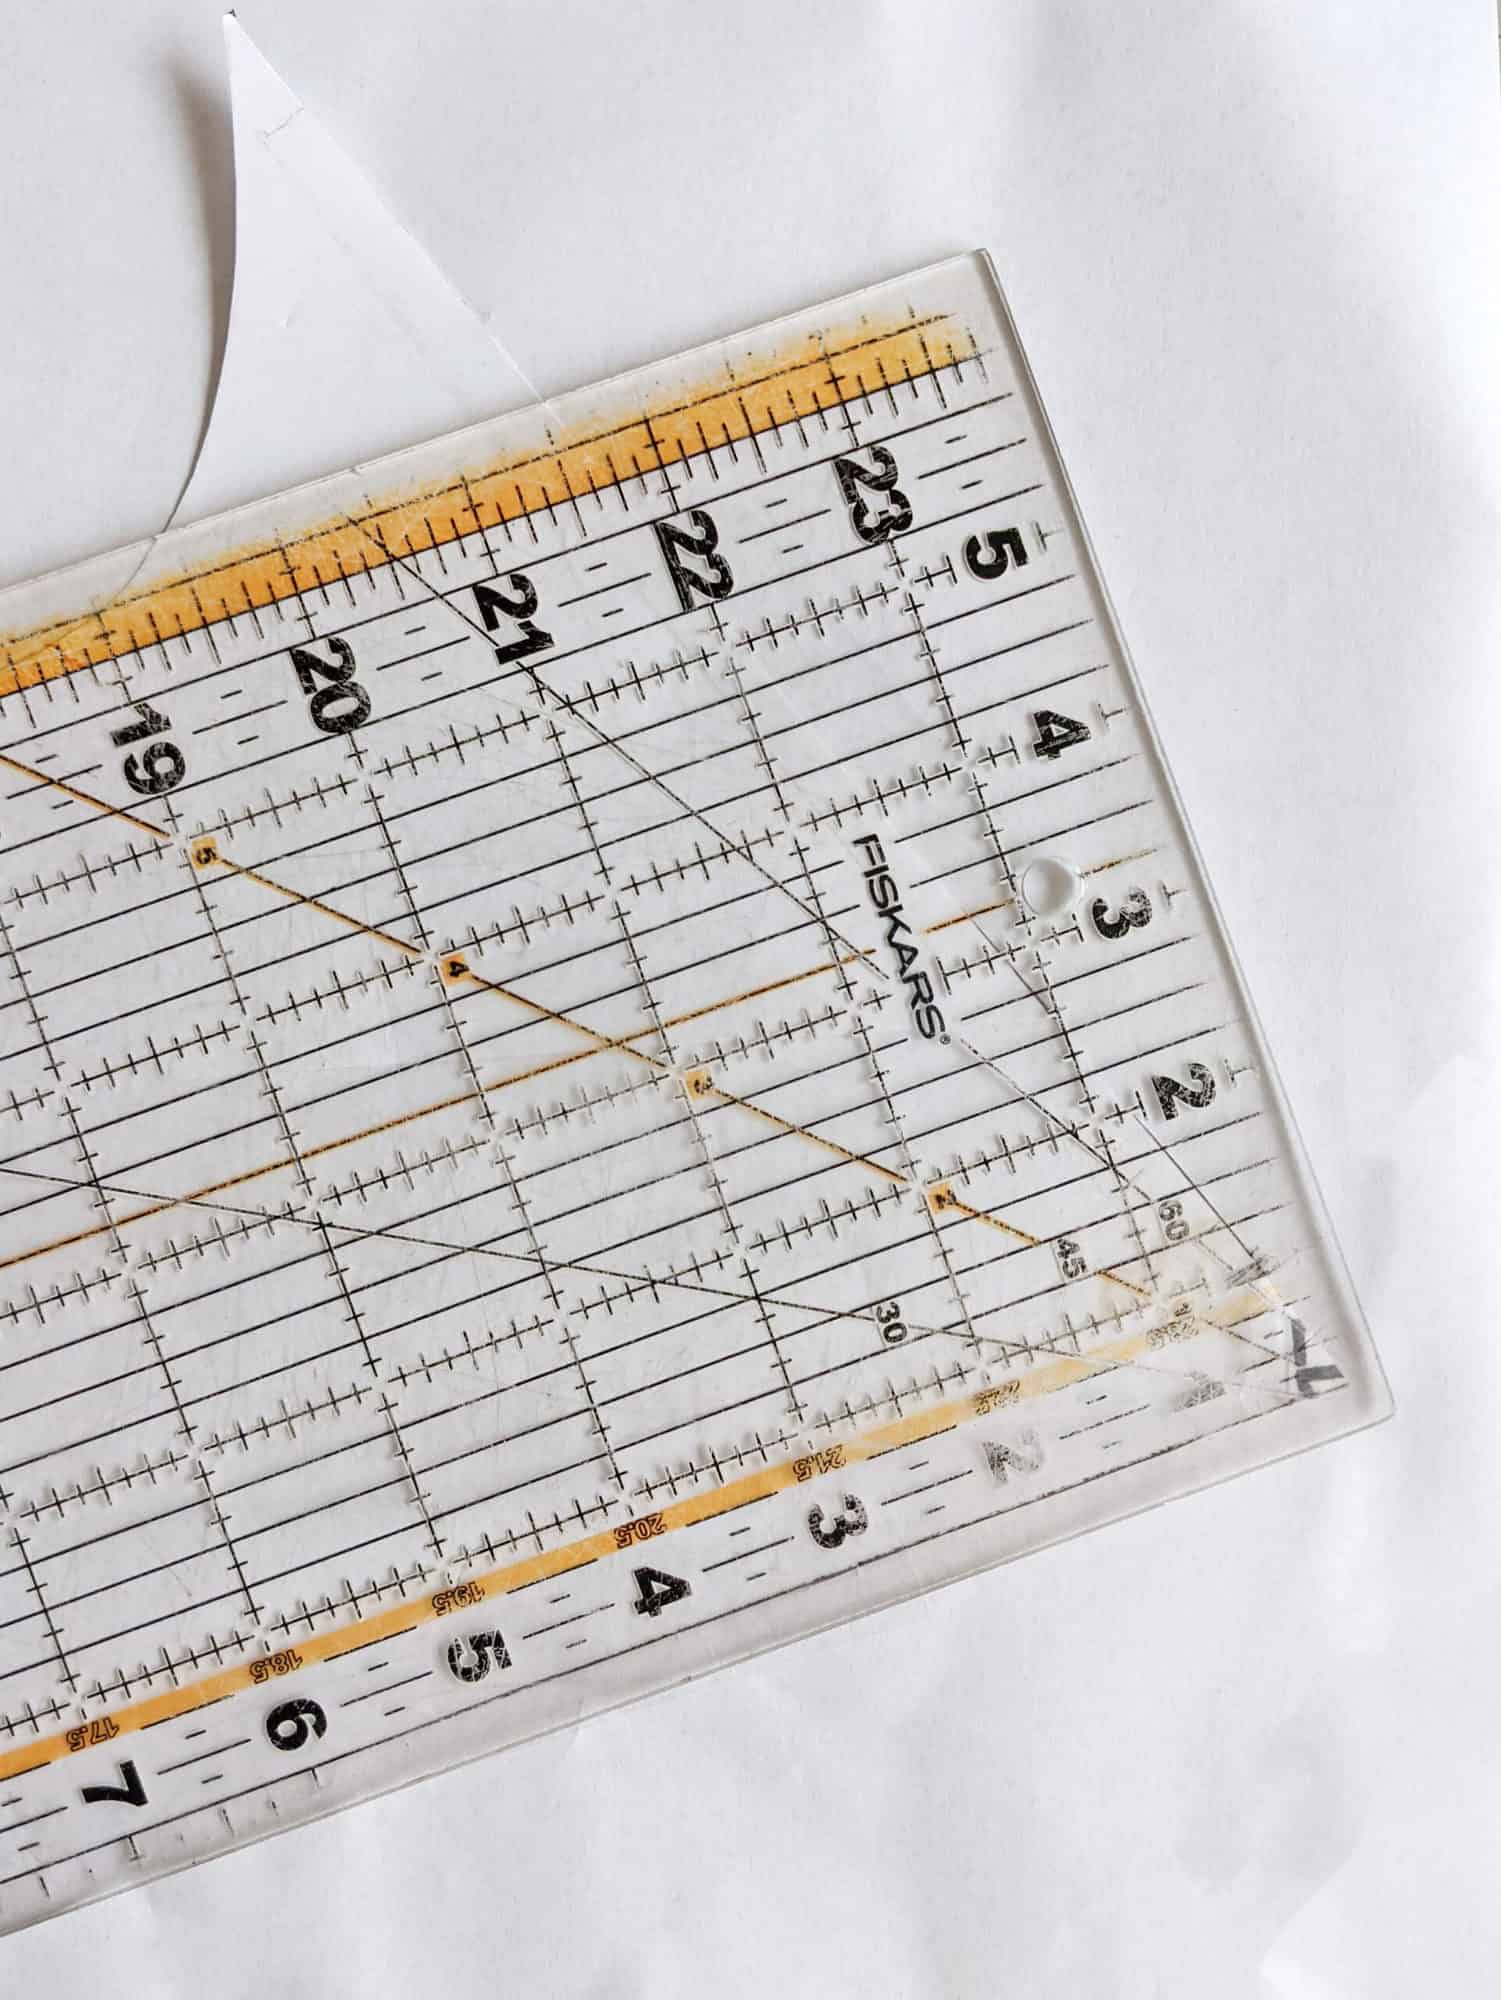
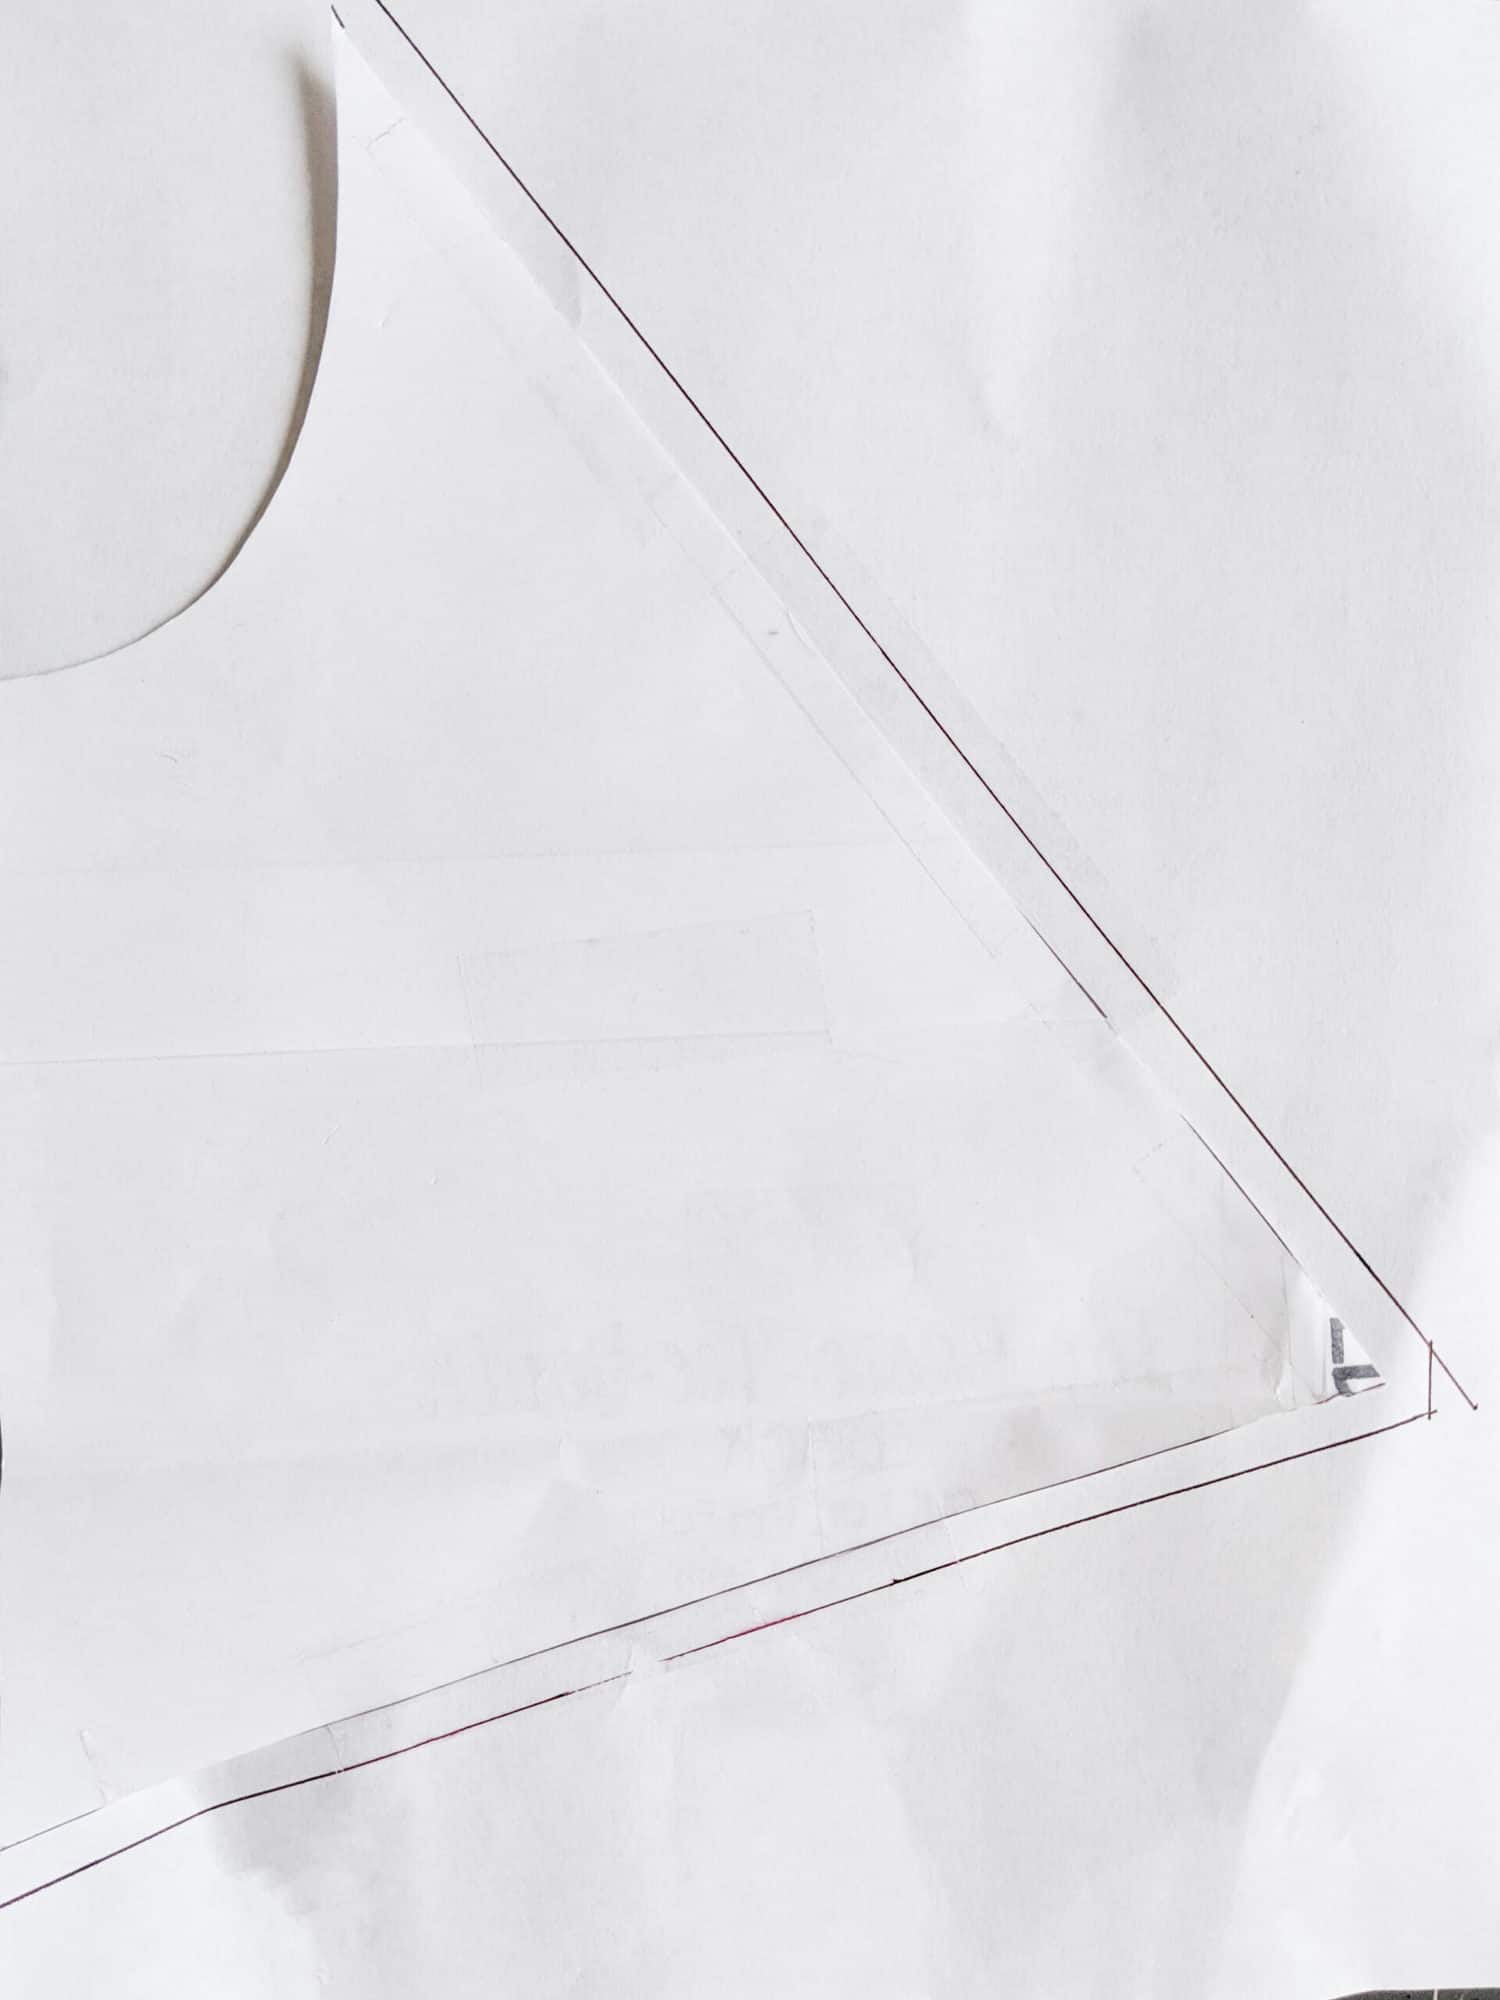
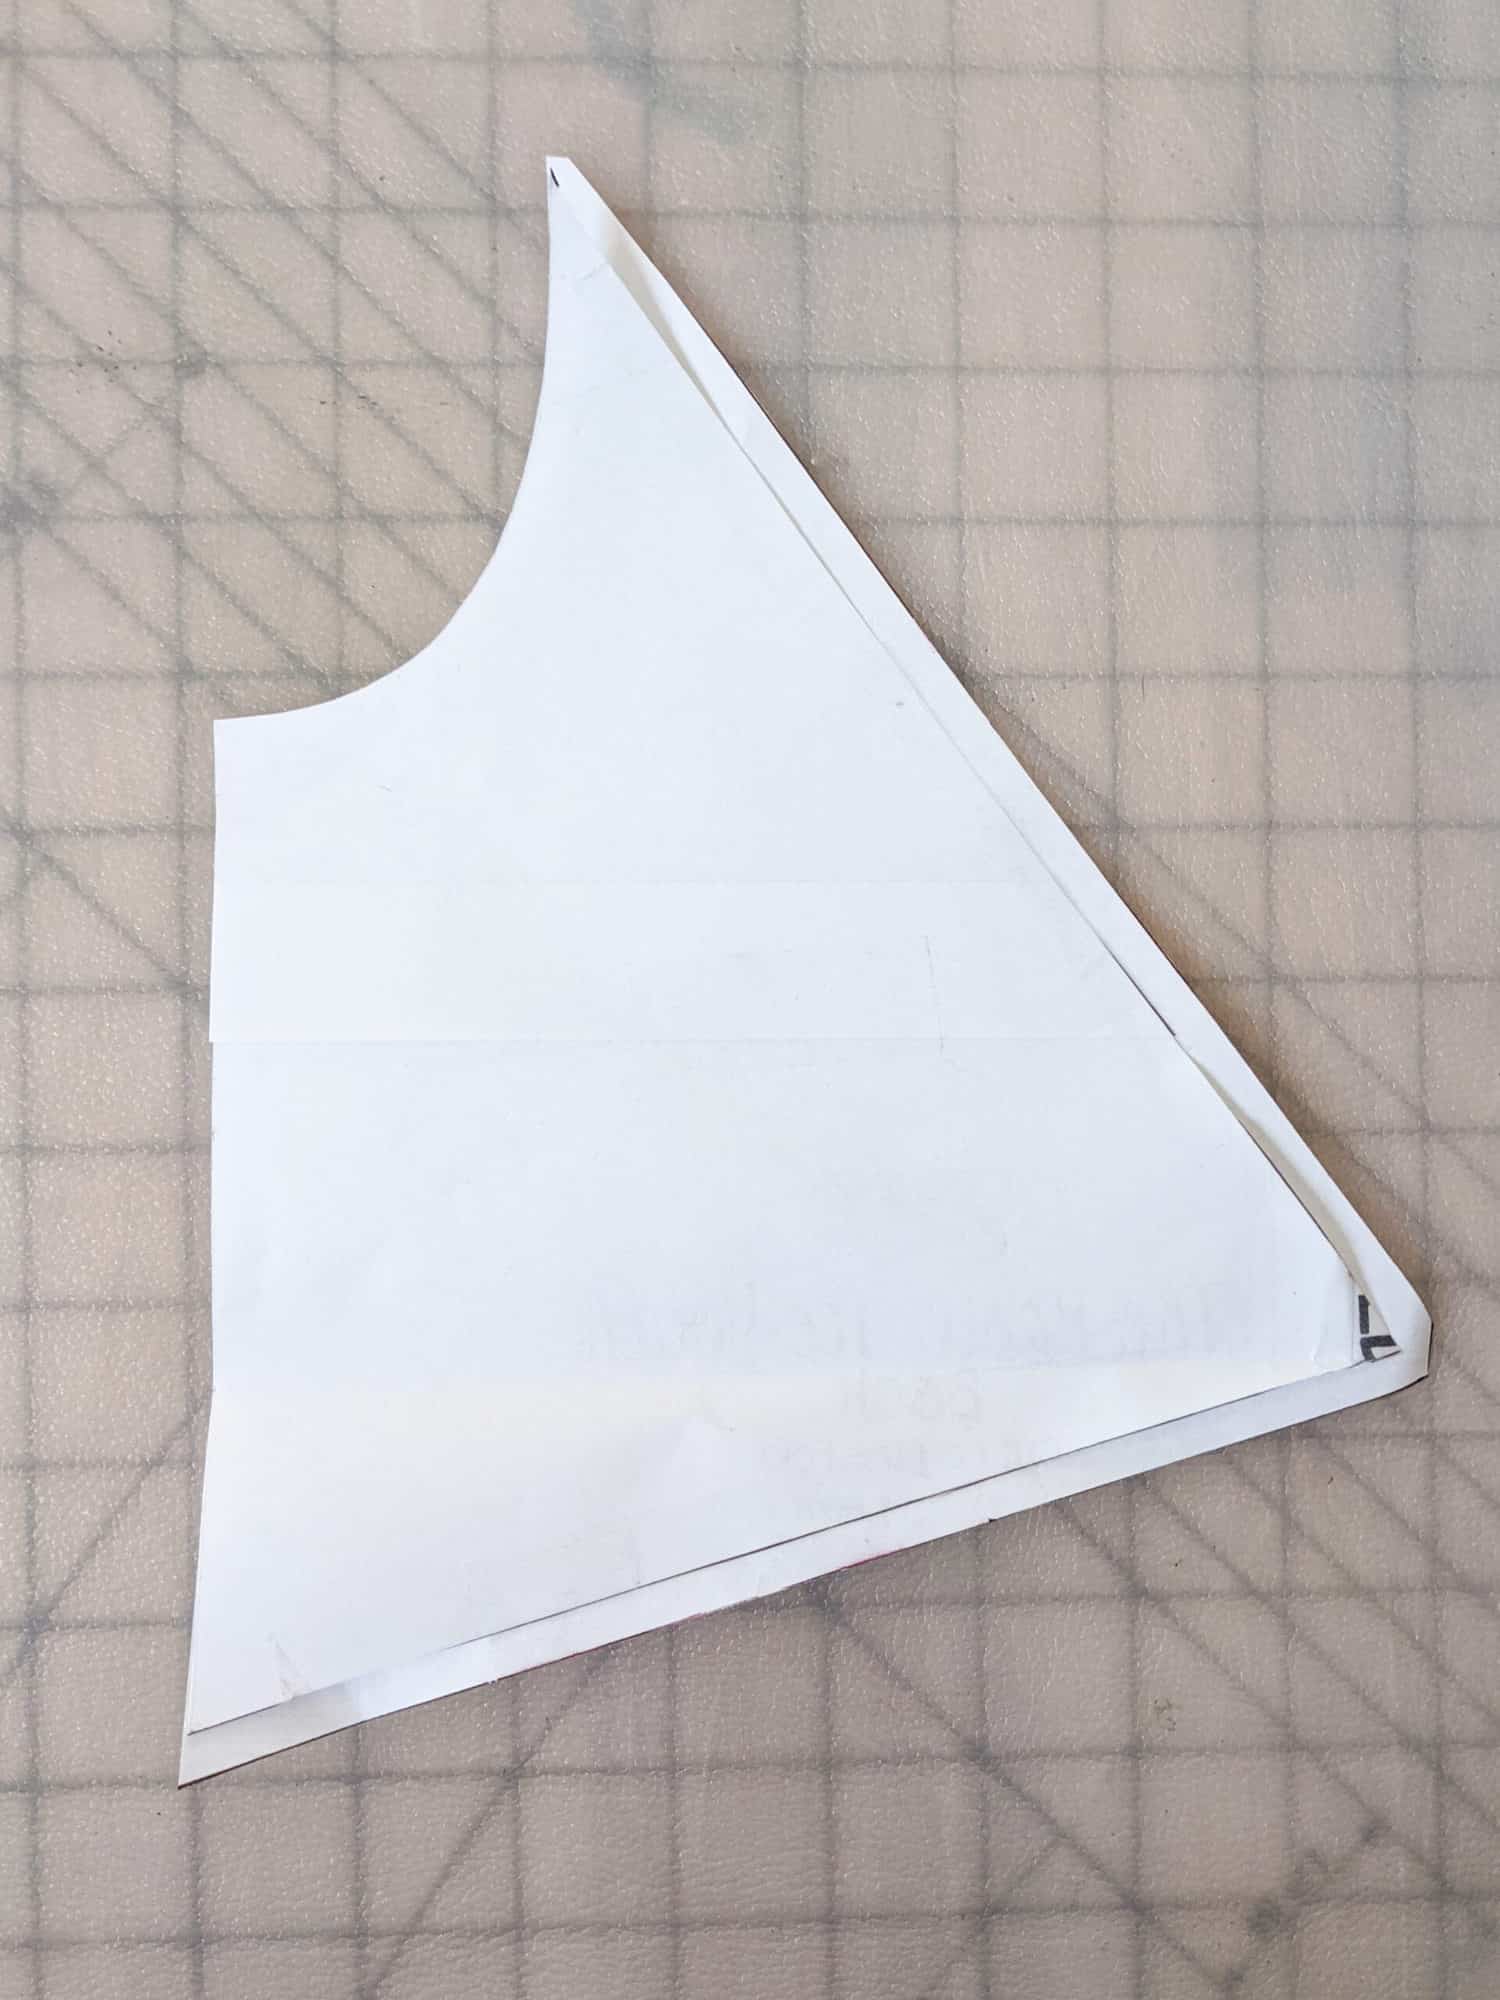
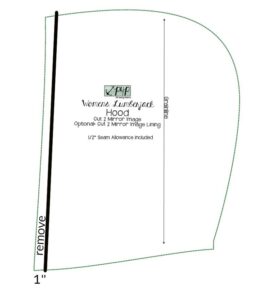
NOTE: the hood I used for this hack is 1″ smaller on the front that the final pattern. If you want to achieve this exact look, remove 1″ from the hood pieces as show below. If you use the pattern hood as is, make sure to read below what small adjustments you need to make.


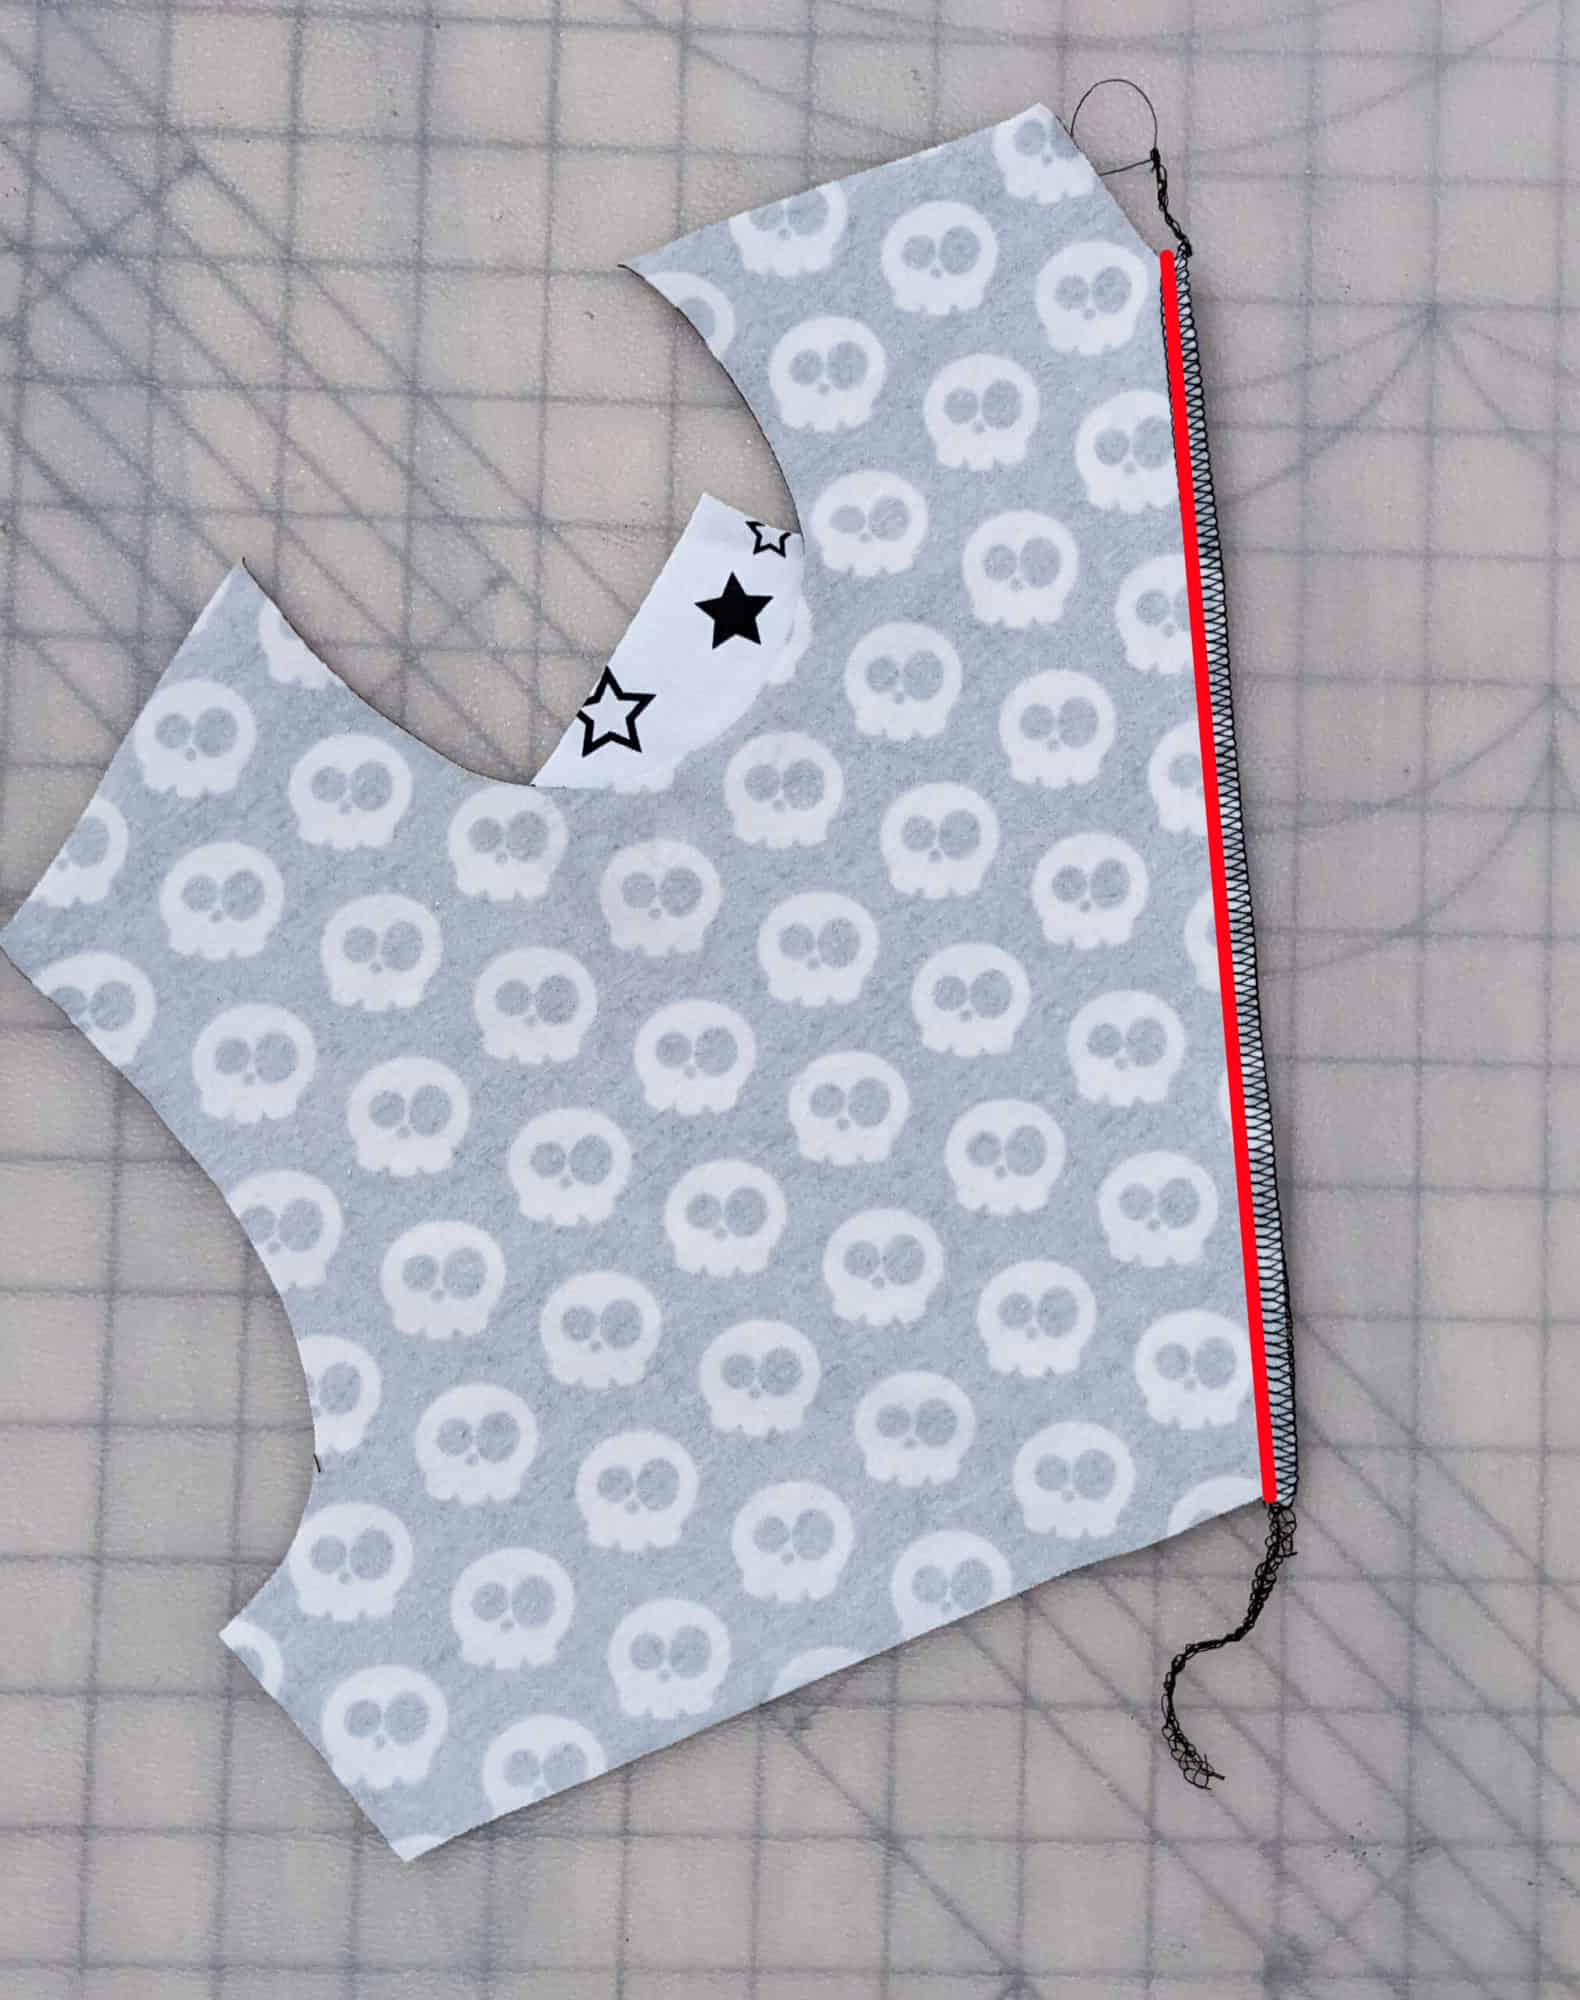
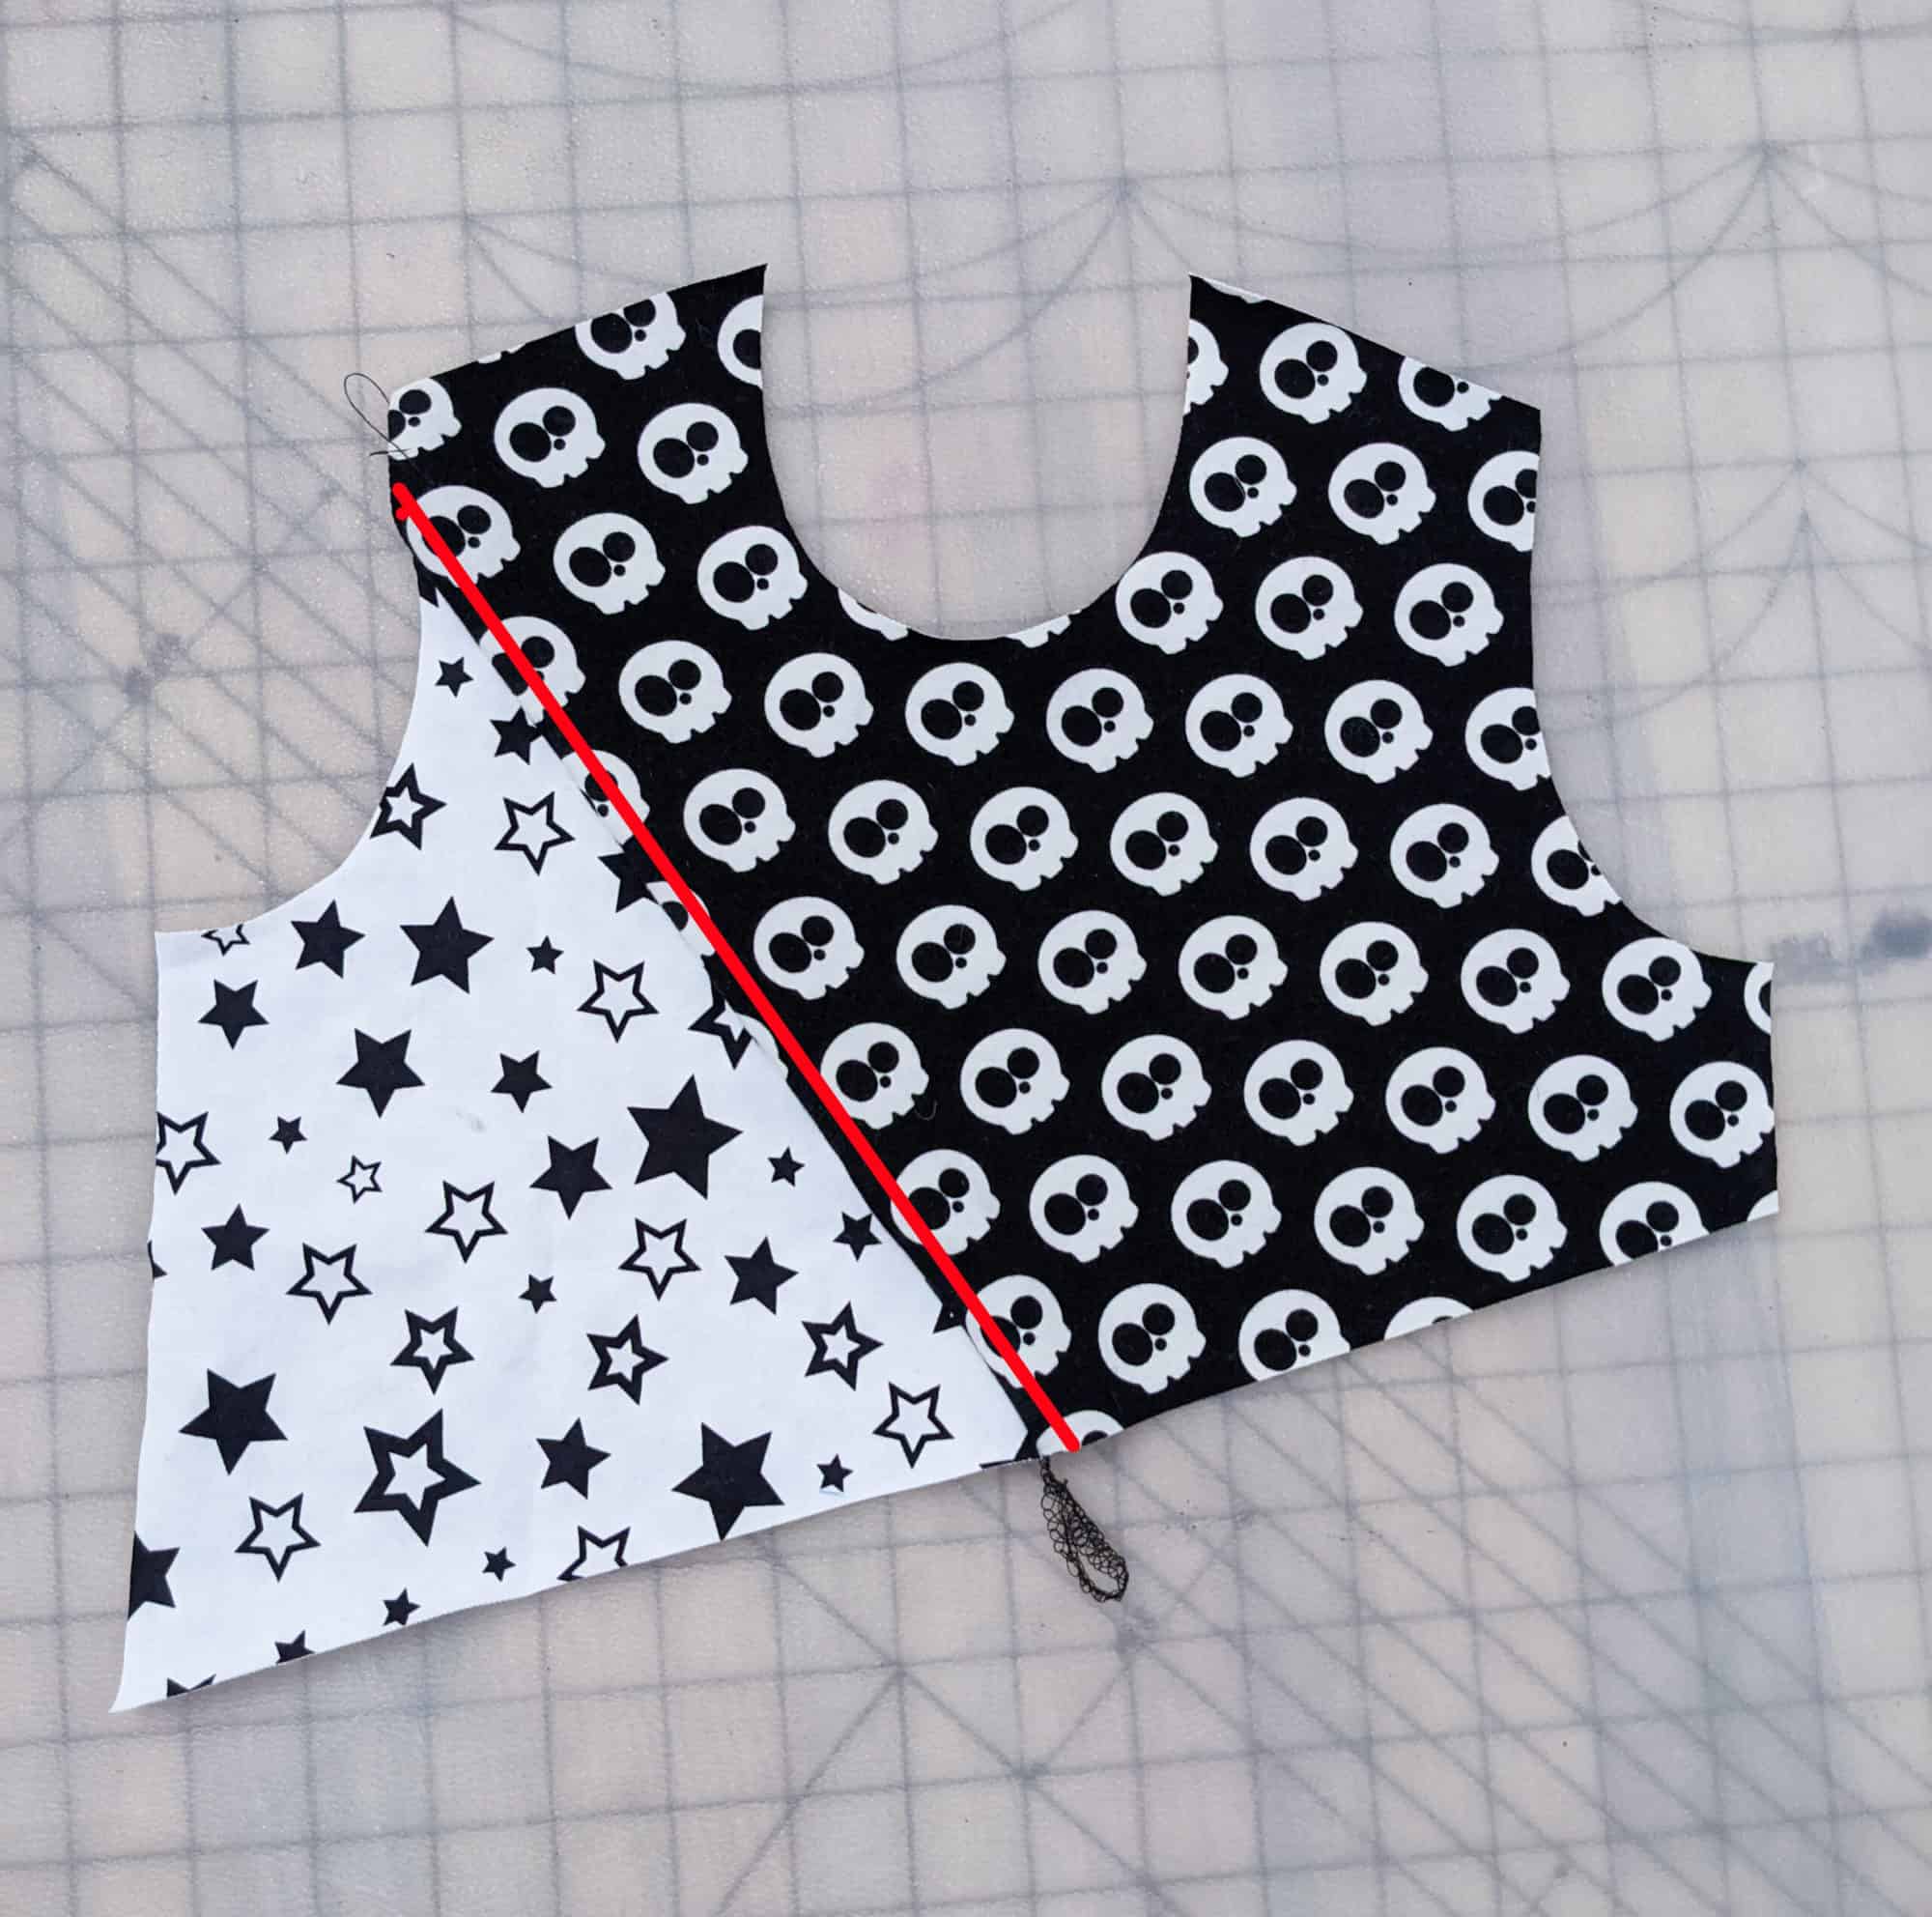
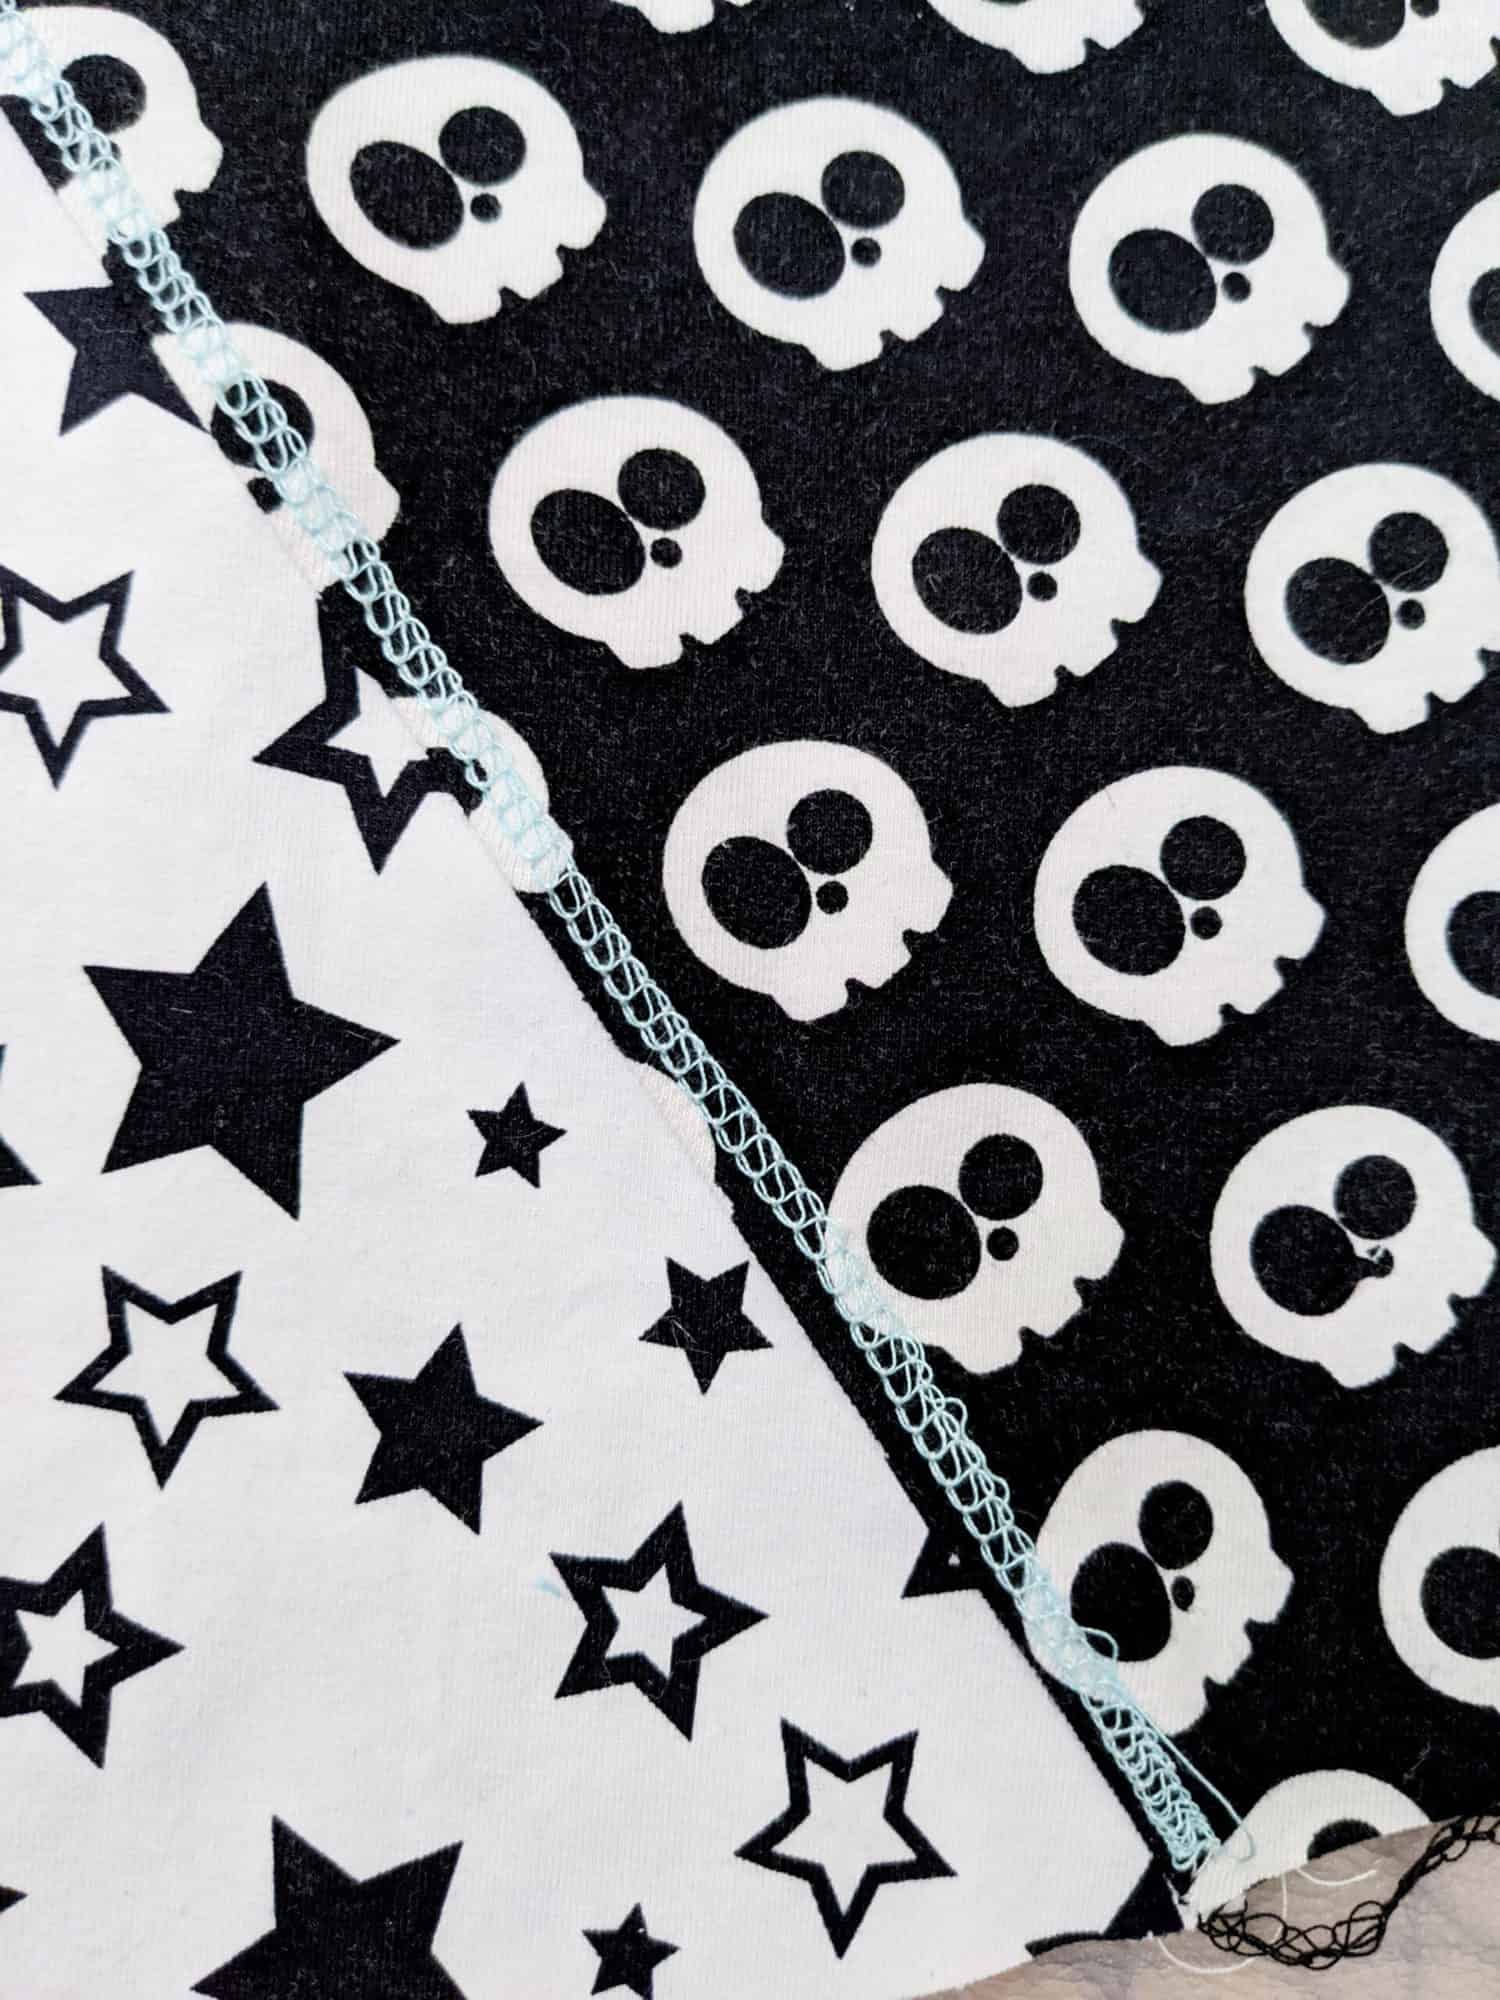
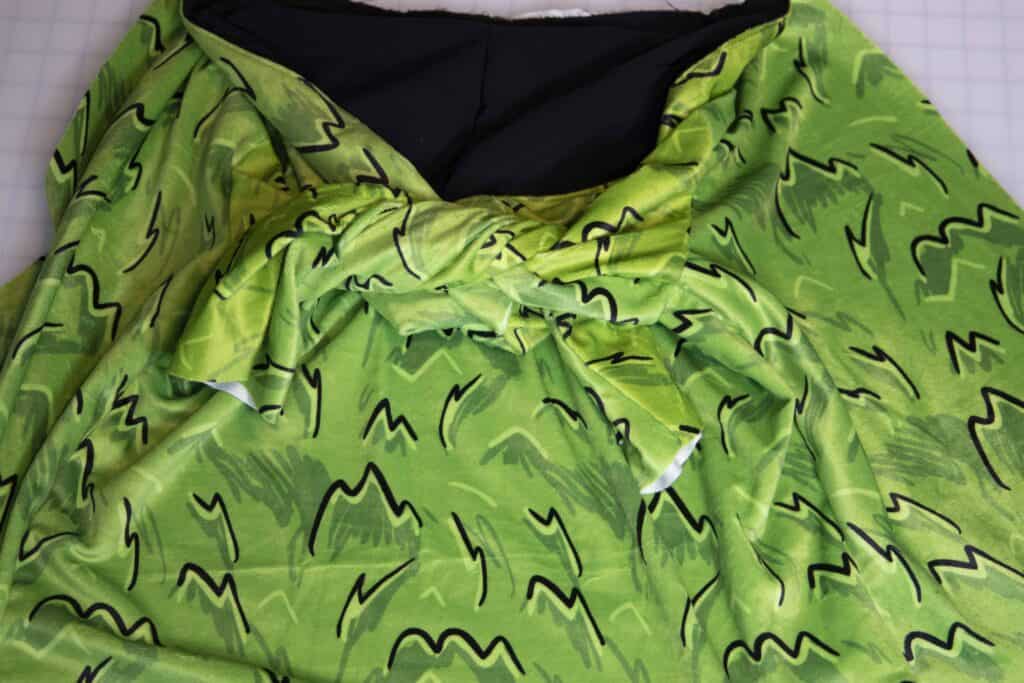
Once all pattern pieces are cut sew the main bodice and add sleeves and pockets as instructed in the tutorial. Repeat with the lining. Set the bodices aside for now. Sew the hood as per the lined tutorial. Place the hood (lining out) right sides together on the lining neckline. The hood will be about 1/2″ shorter than the lining neckline. 


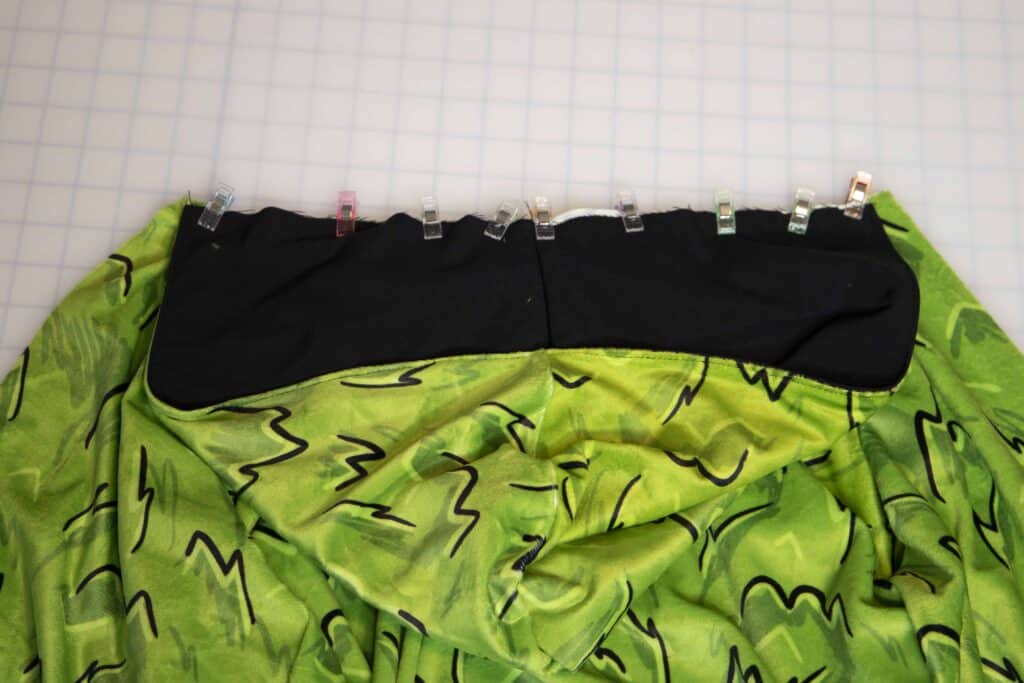
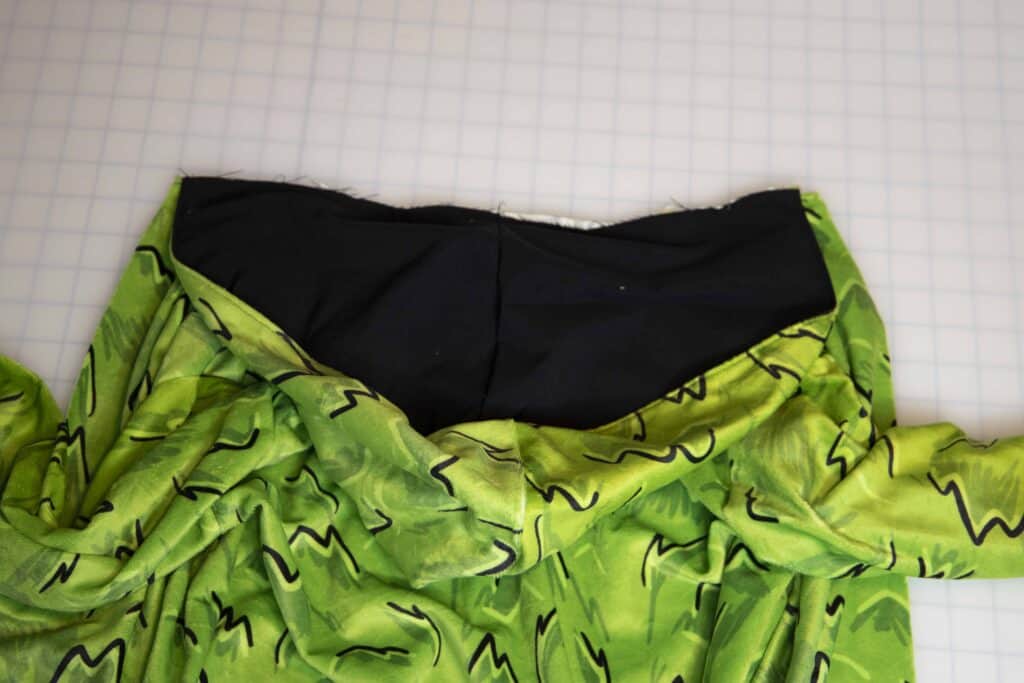
Sew the hood in place with a 1/2″ seam allowance, making sure to stitch through all 3 layers. 

If you use the pattern hood, you will place the lined hood right sides together with the MAIN, not lining. The center back will match the neckline back and the front point will reach the fold line of the inner fold line. Sew it in place. Lay the lining over, right sides together and stitch along the neckline. The hood will be sandwiched between the right sides of the bodices. 

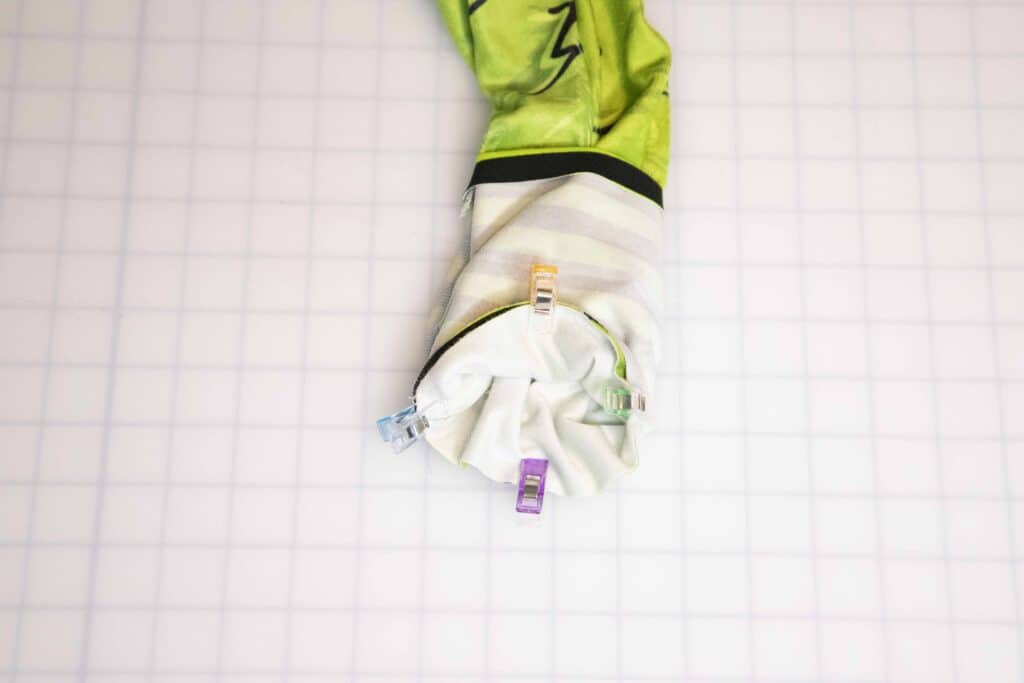
Tip: Tie the two sleeves in a knot for both main and lining so they are out of the way when you sew. 


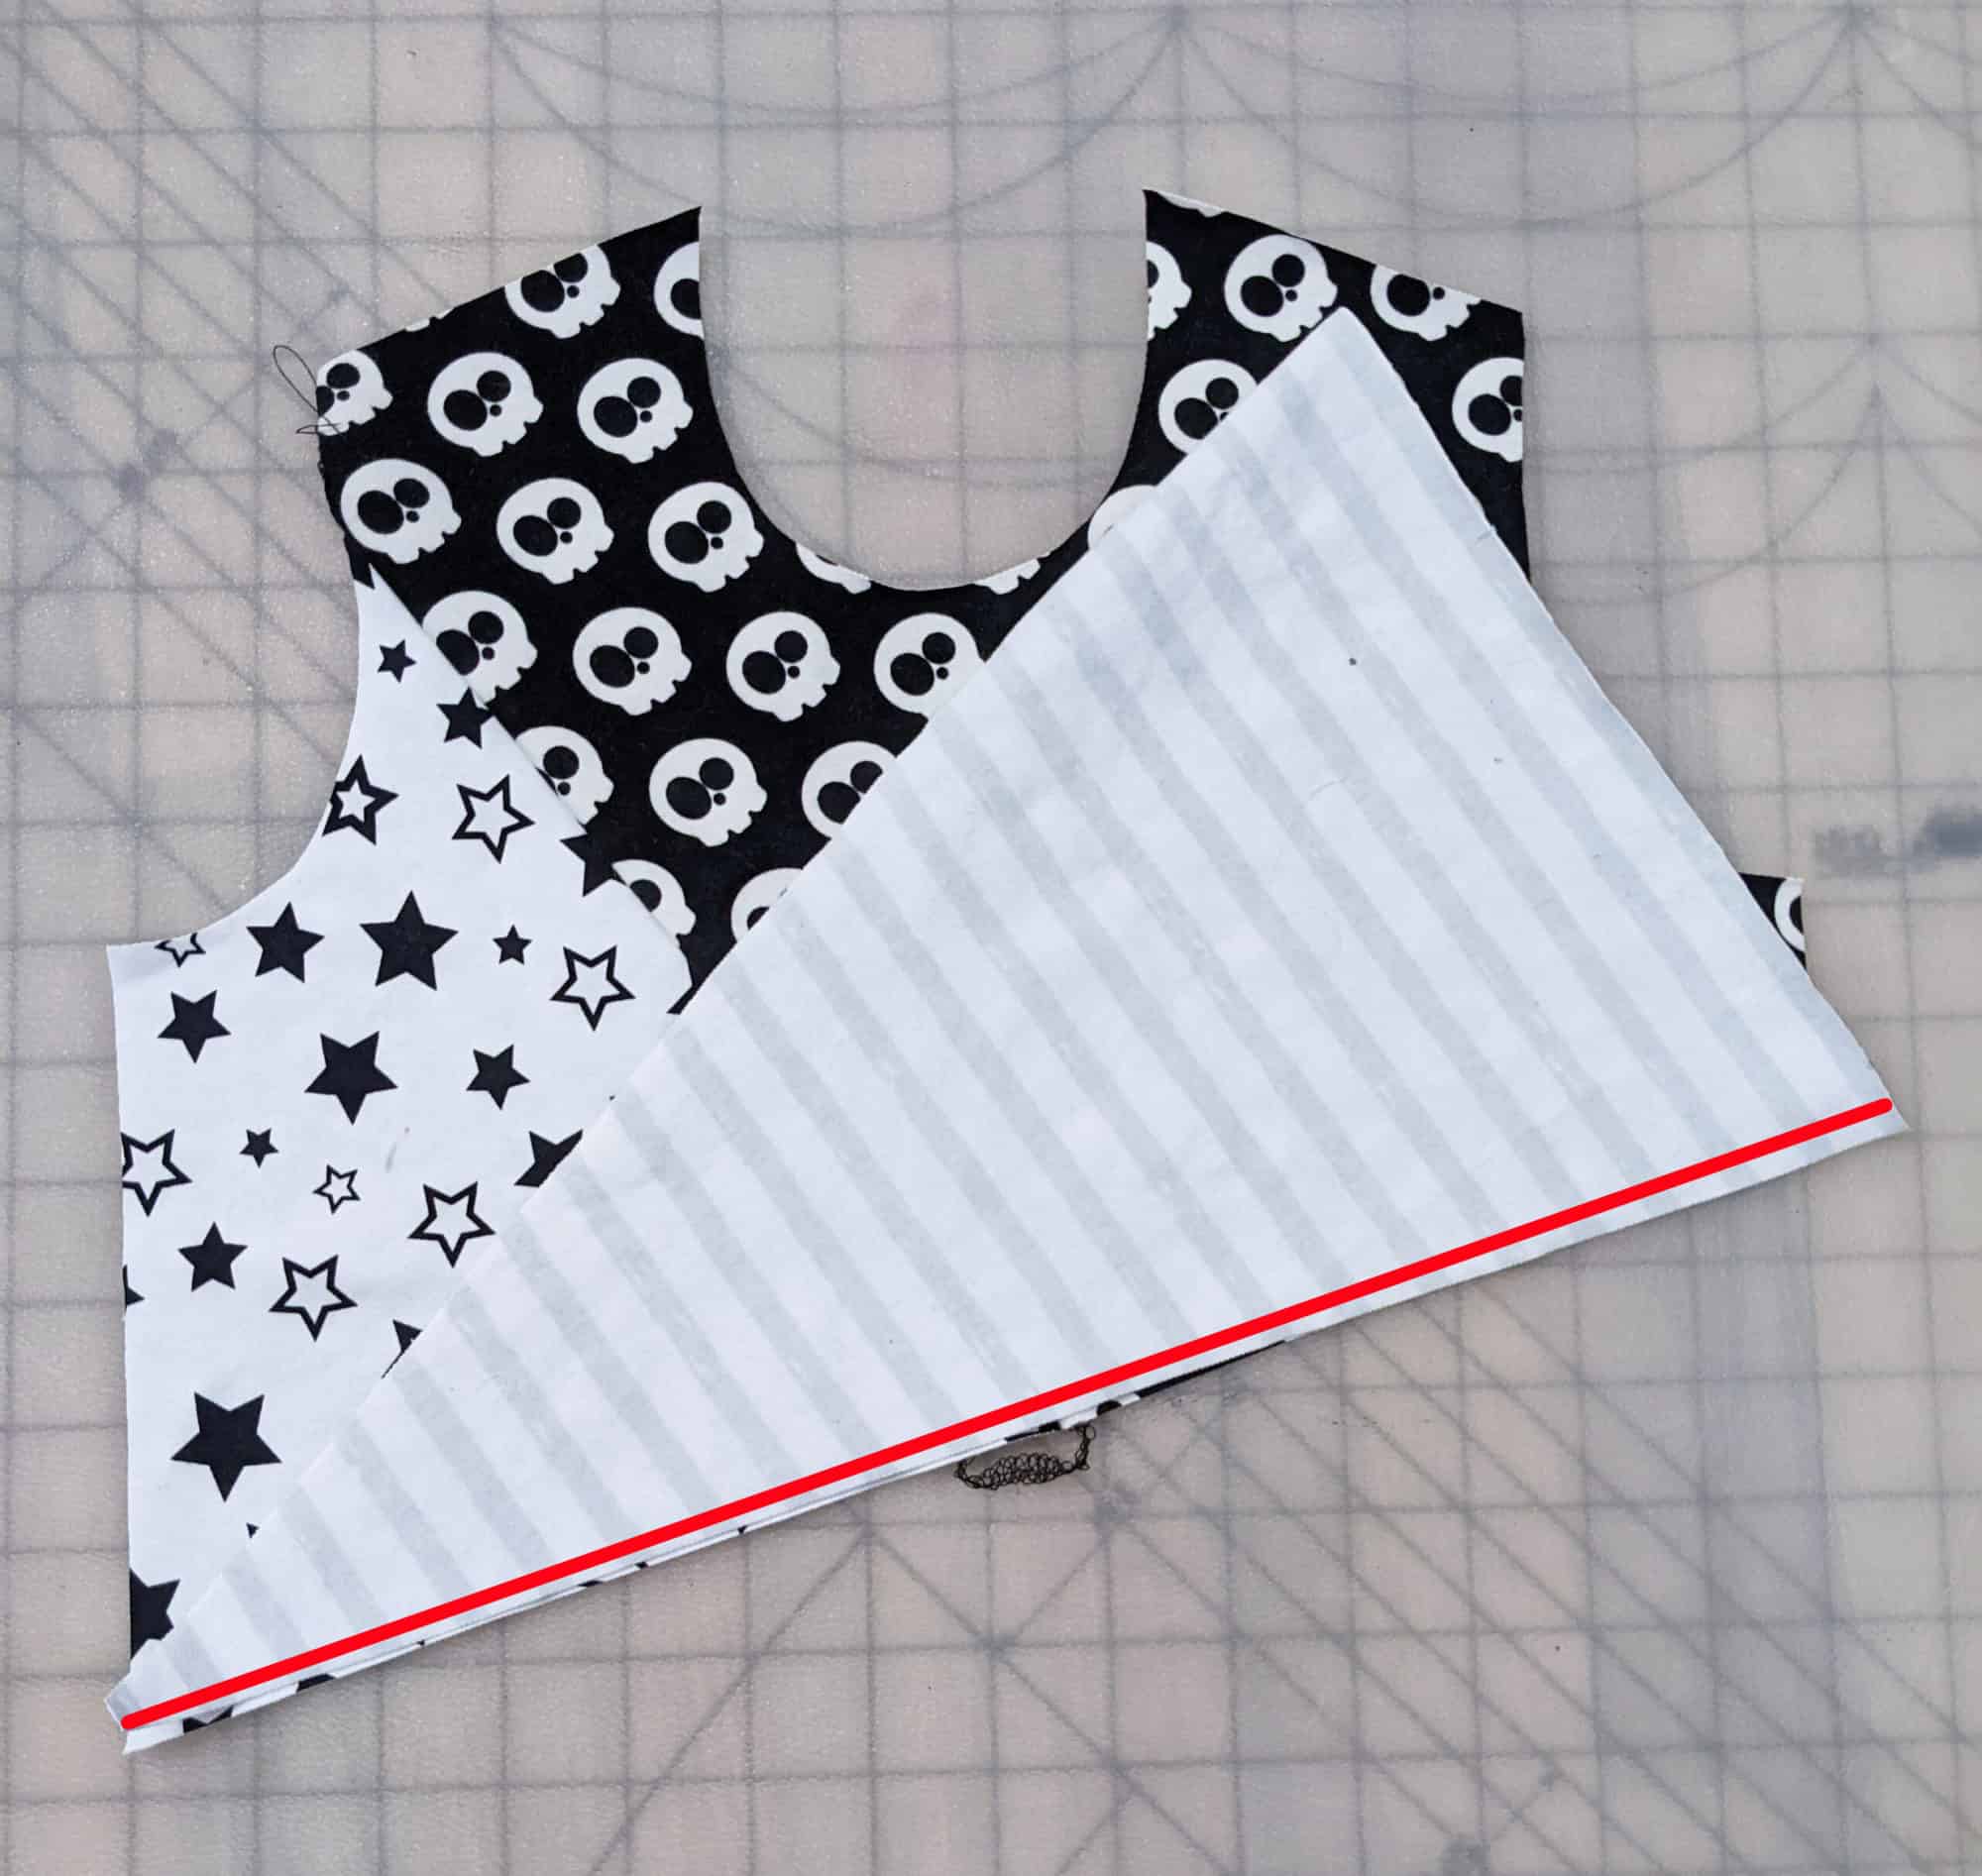
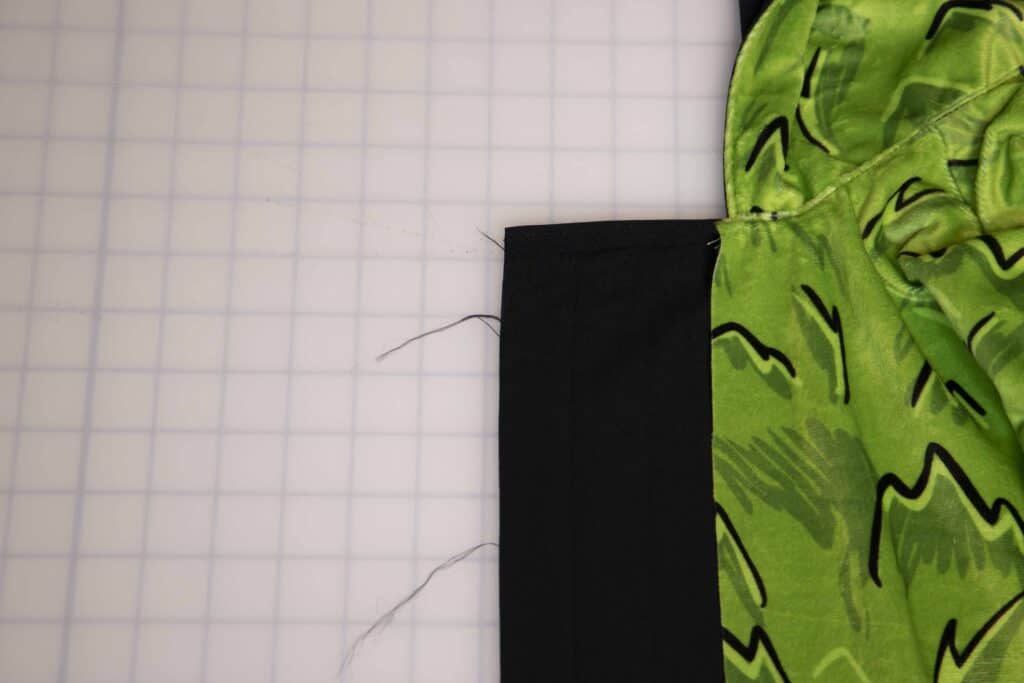
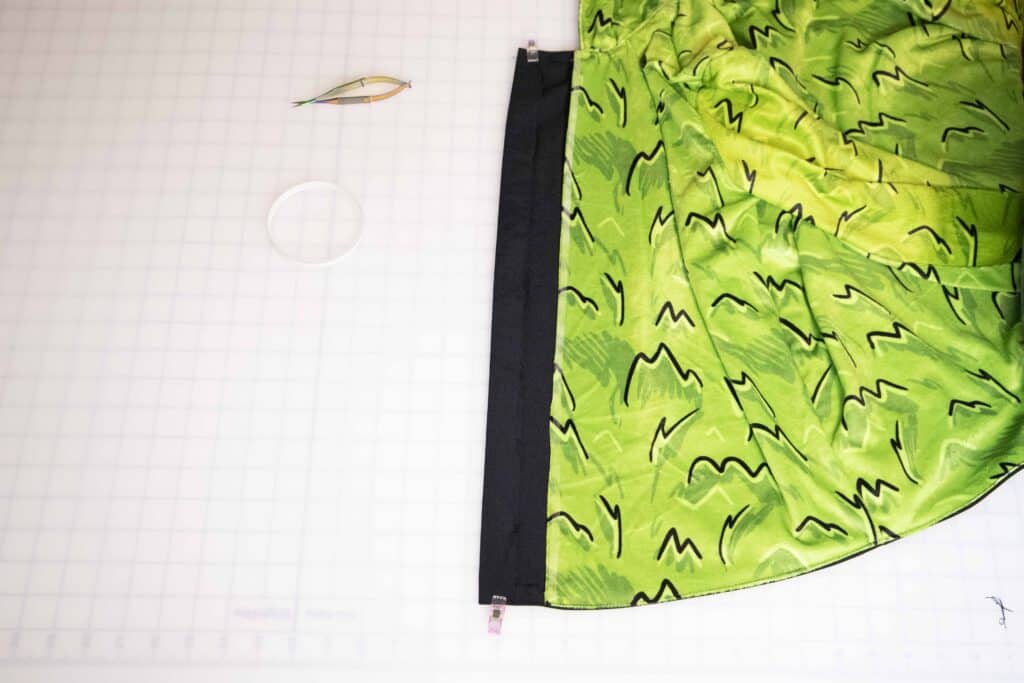
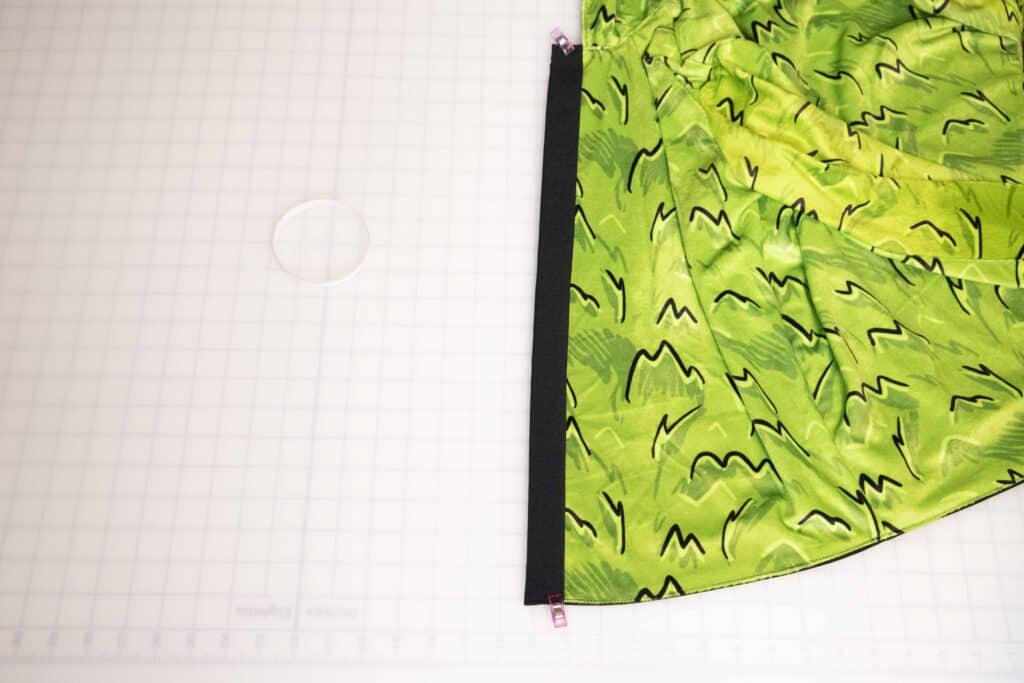
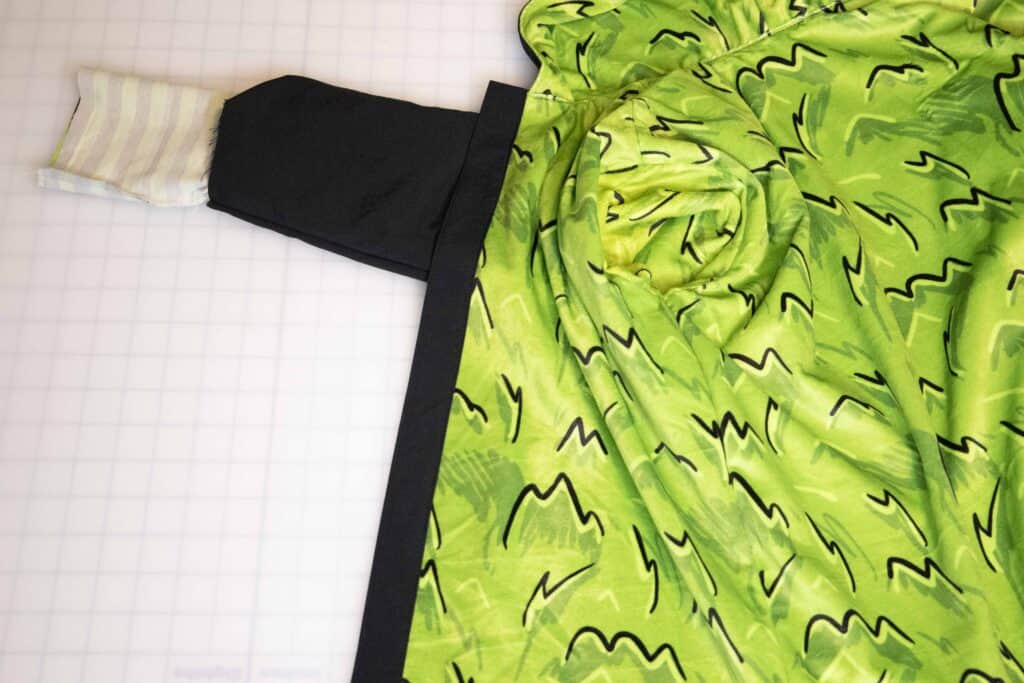
Place your main and lining right sides together matching the raw edges of the neckline and bottom. Pin them in place.


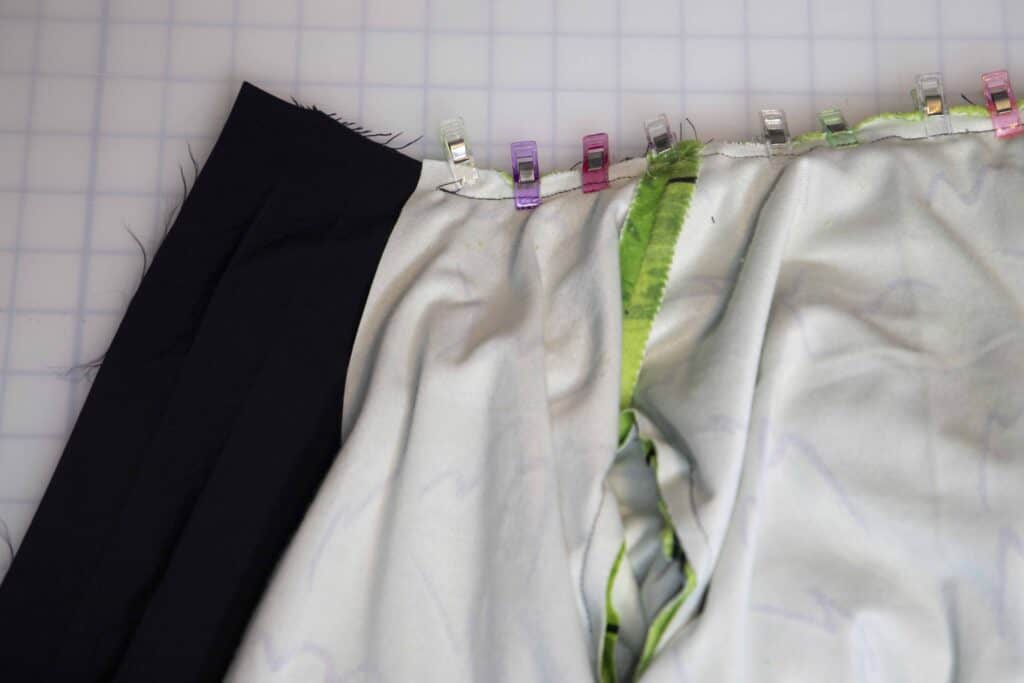
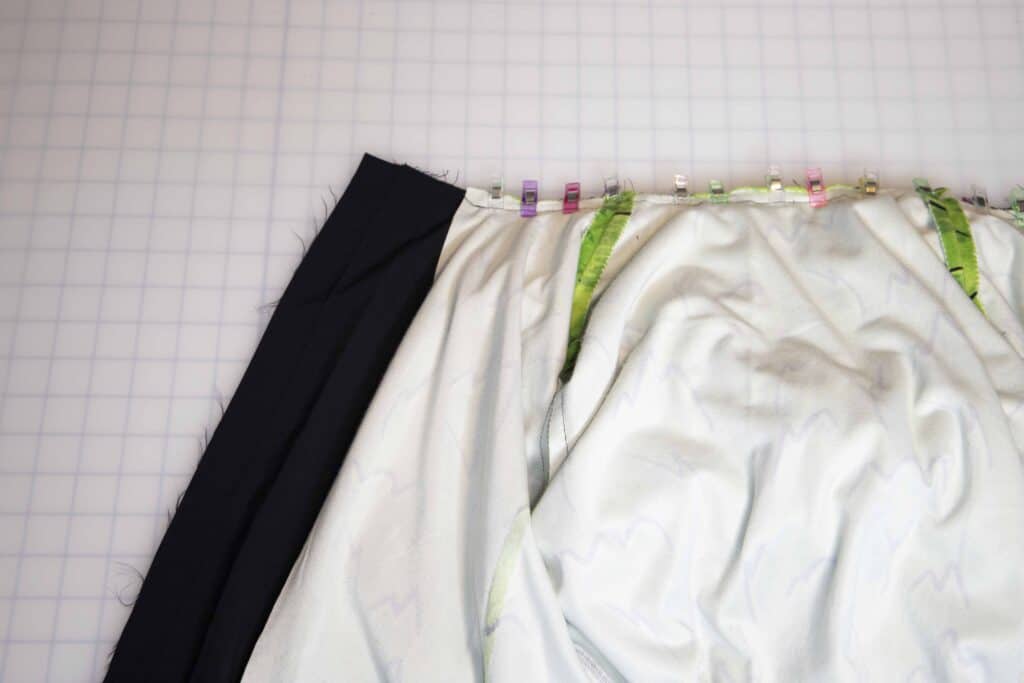
The main will be longer, that’s the way it is supposed to be.


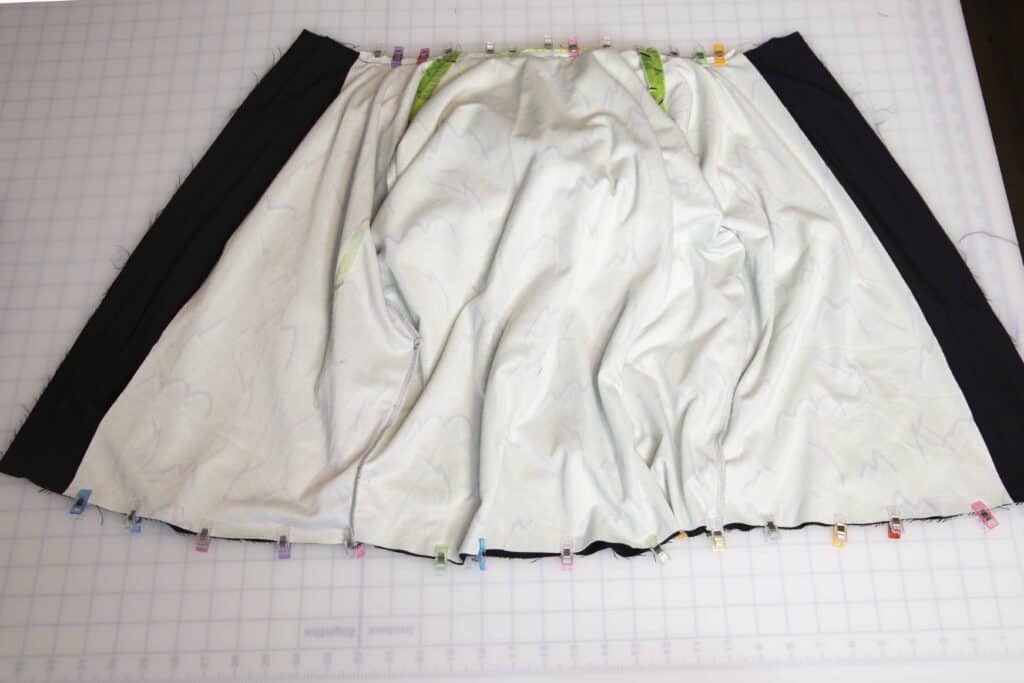
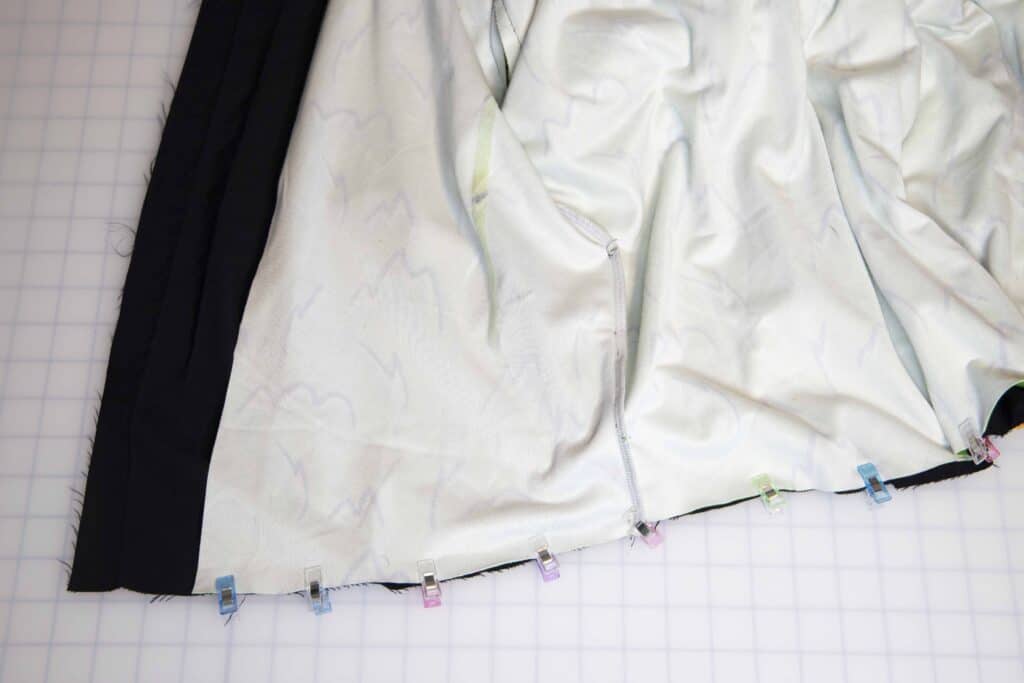
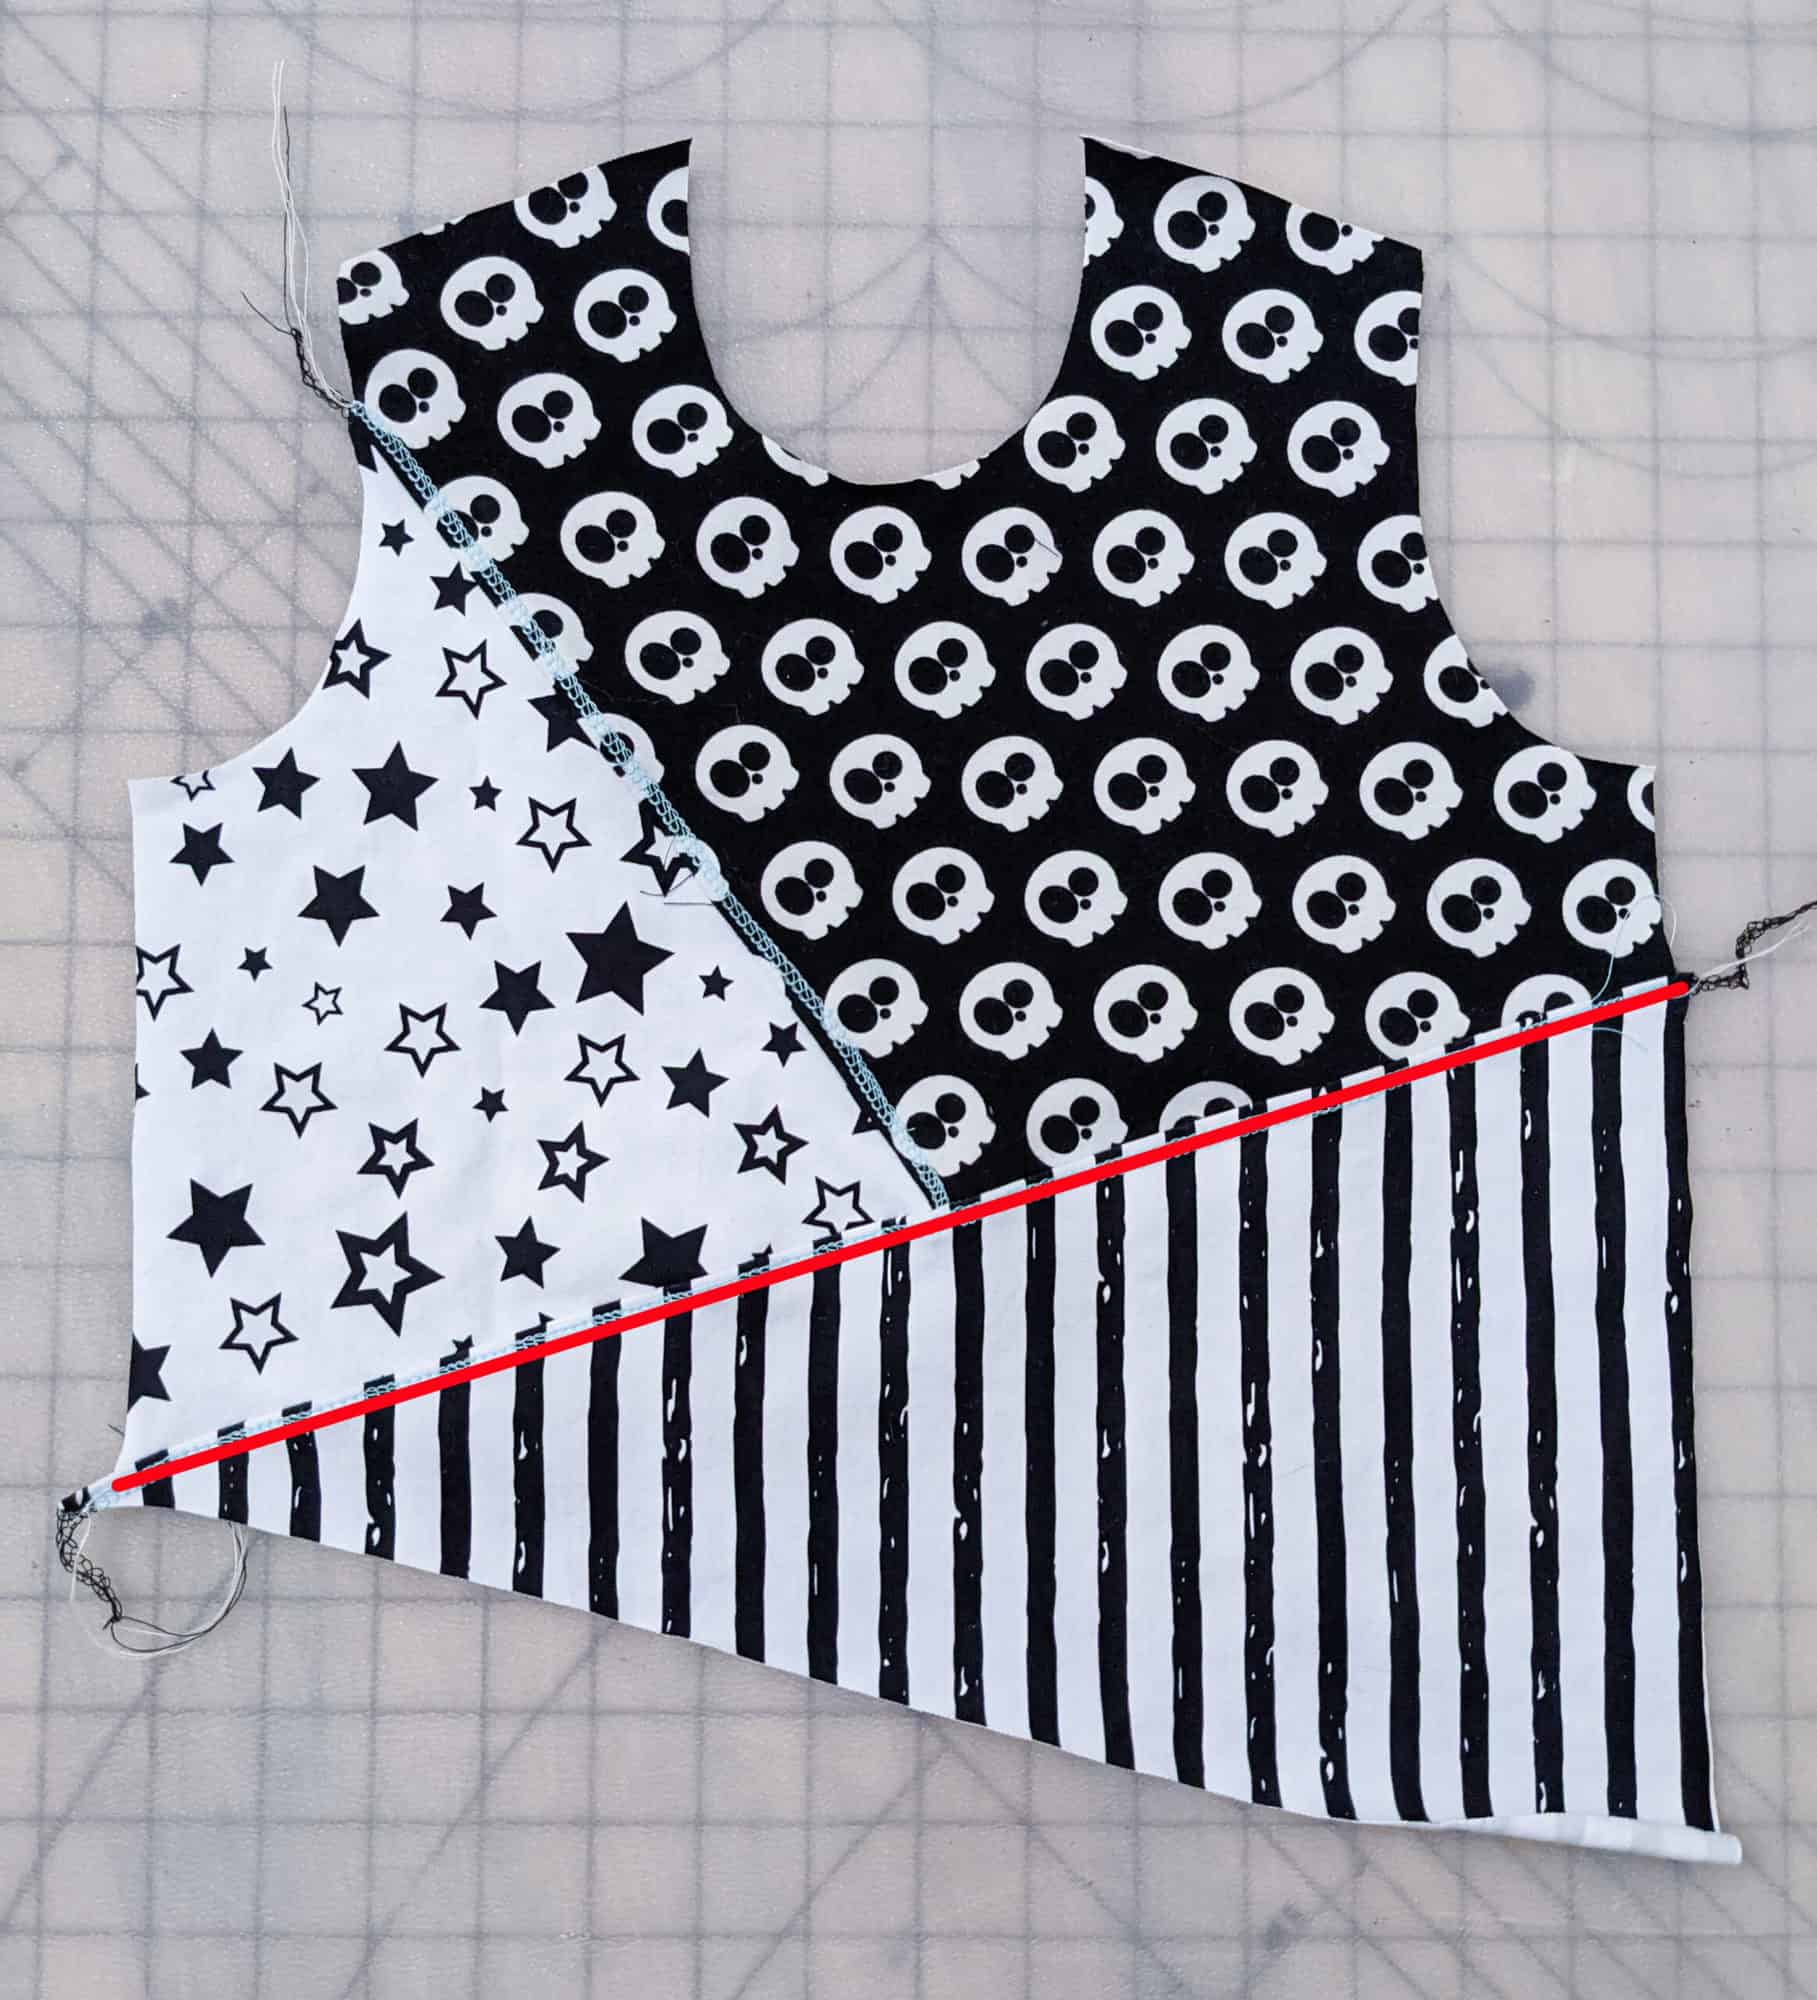
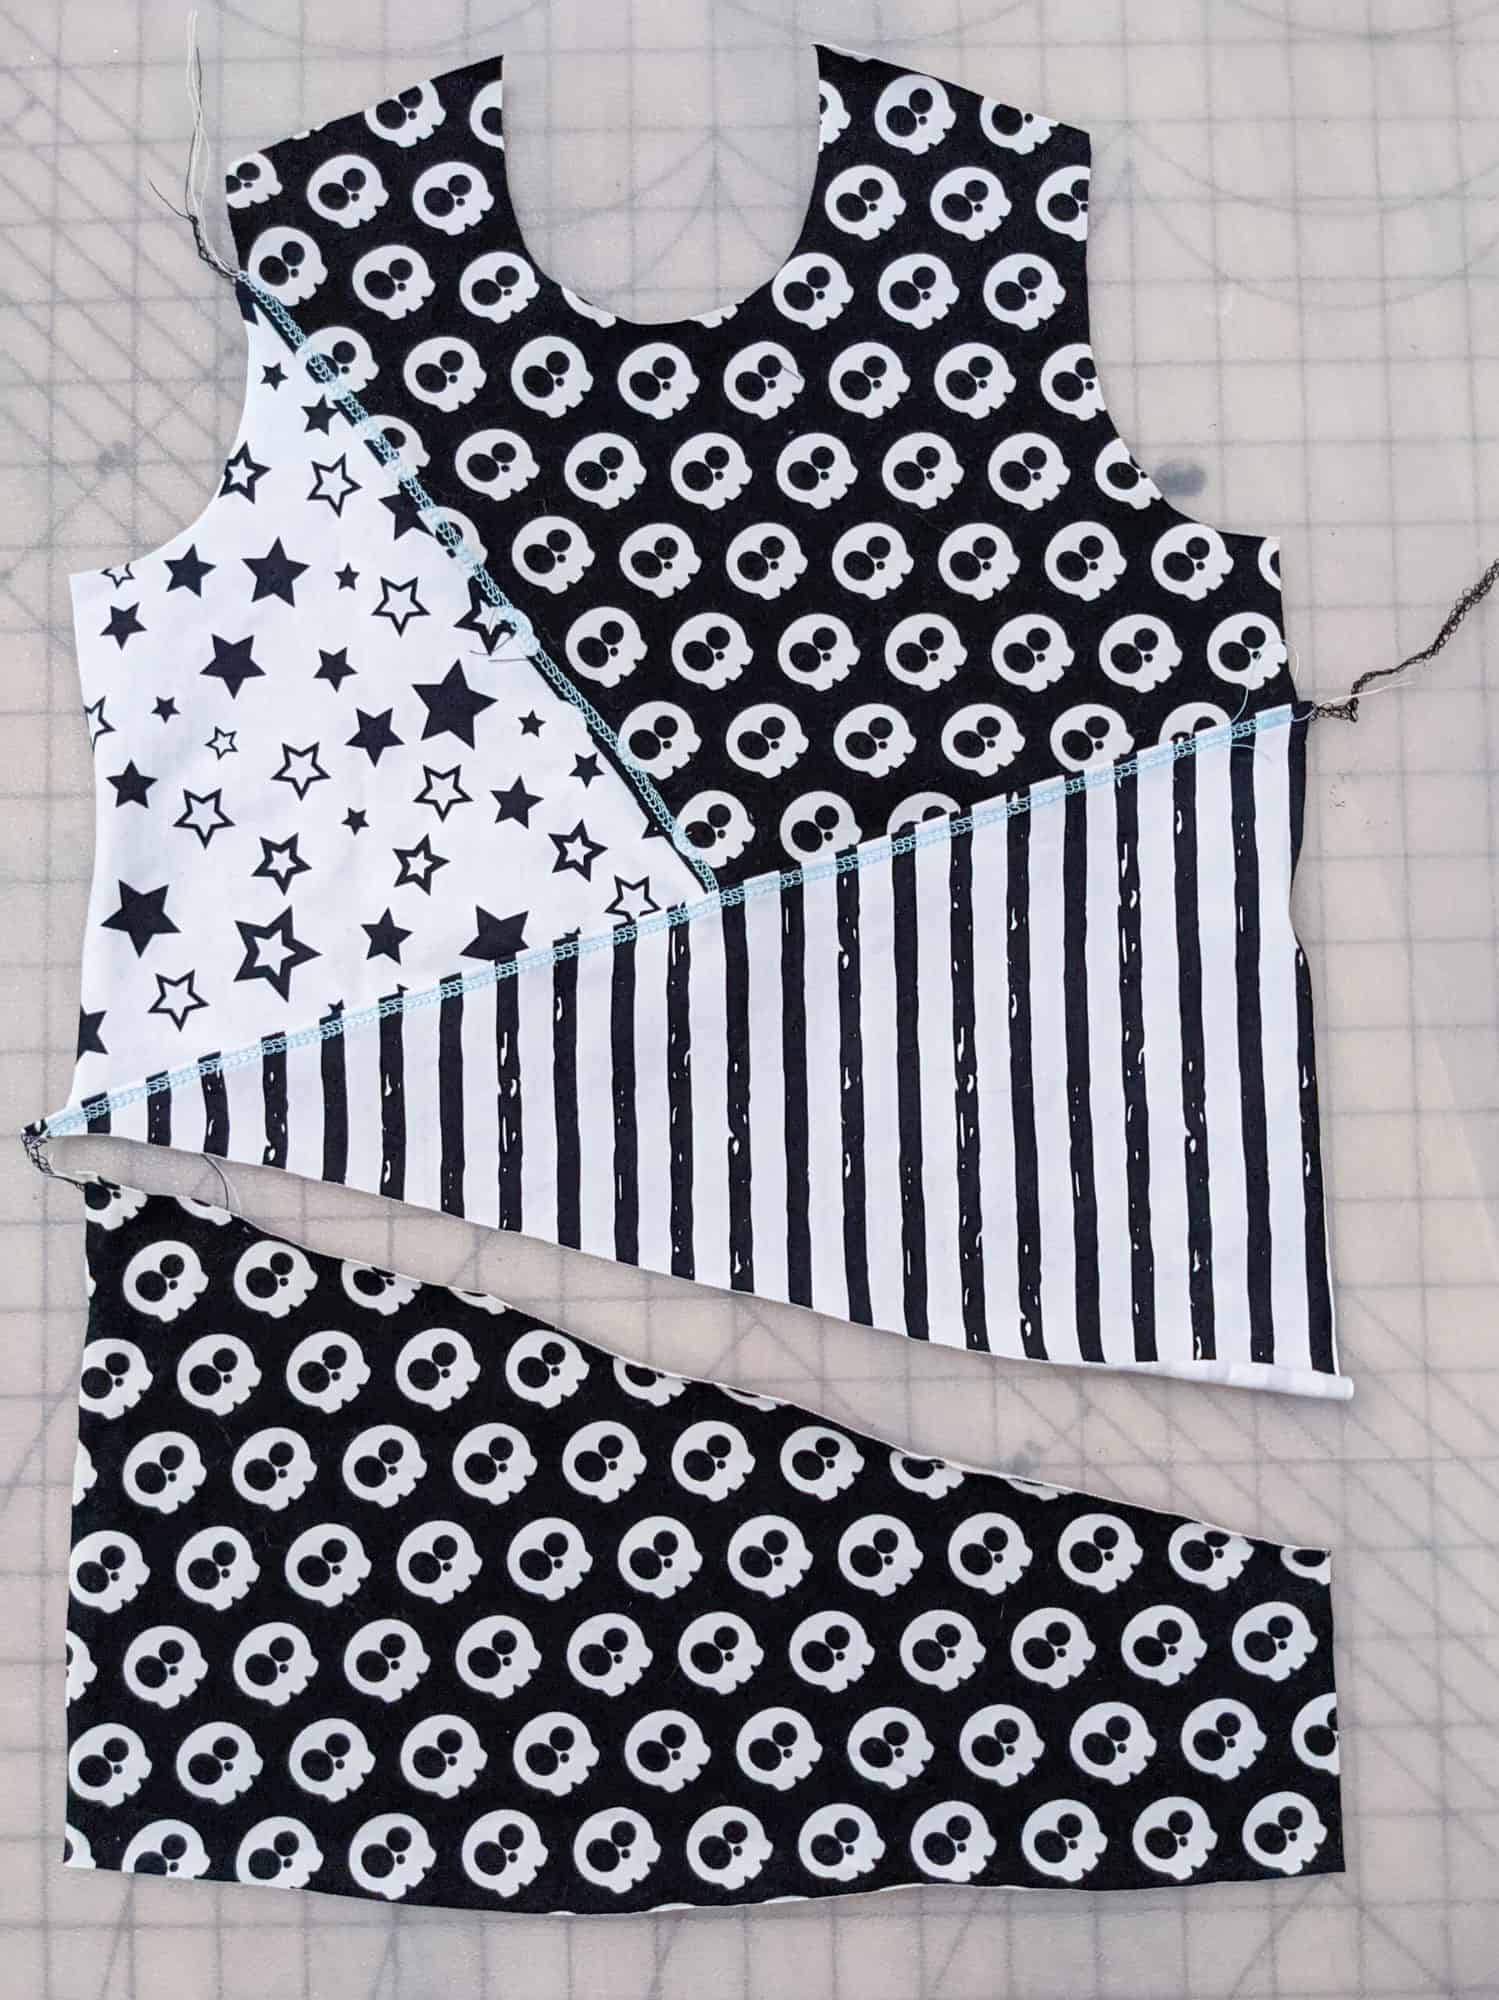
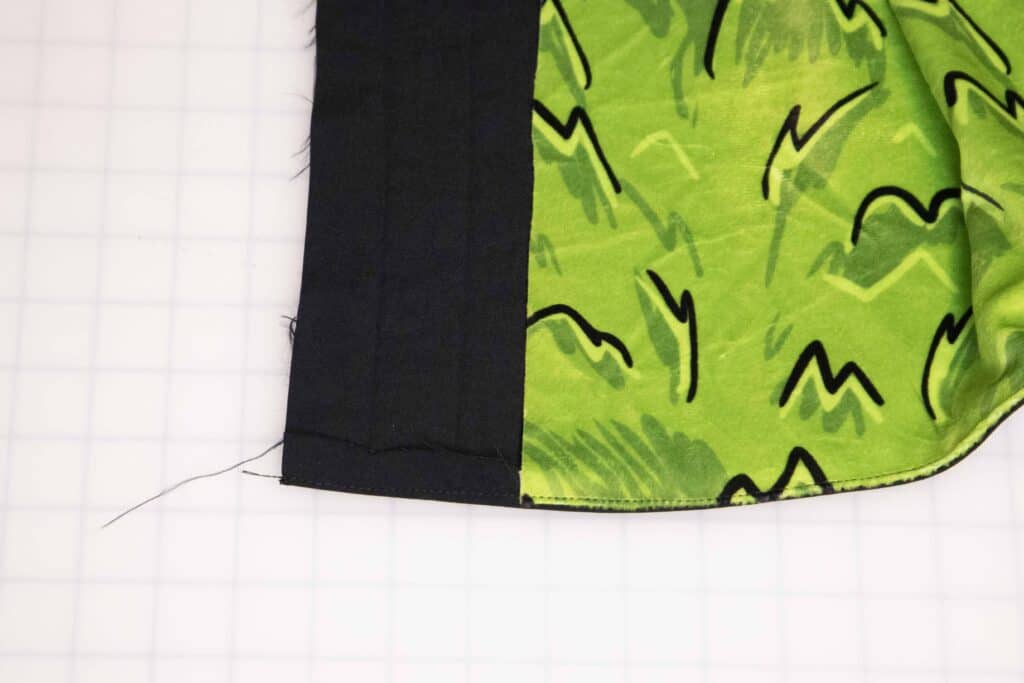
Sew along the neckline, the hood will be sandwiched in between the main and lining. Sew the bottom edge too. Seam allowance for these steps is 1/2 inch. 

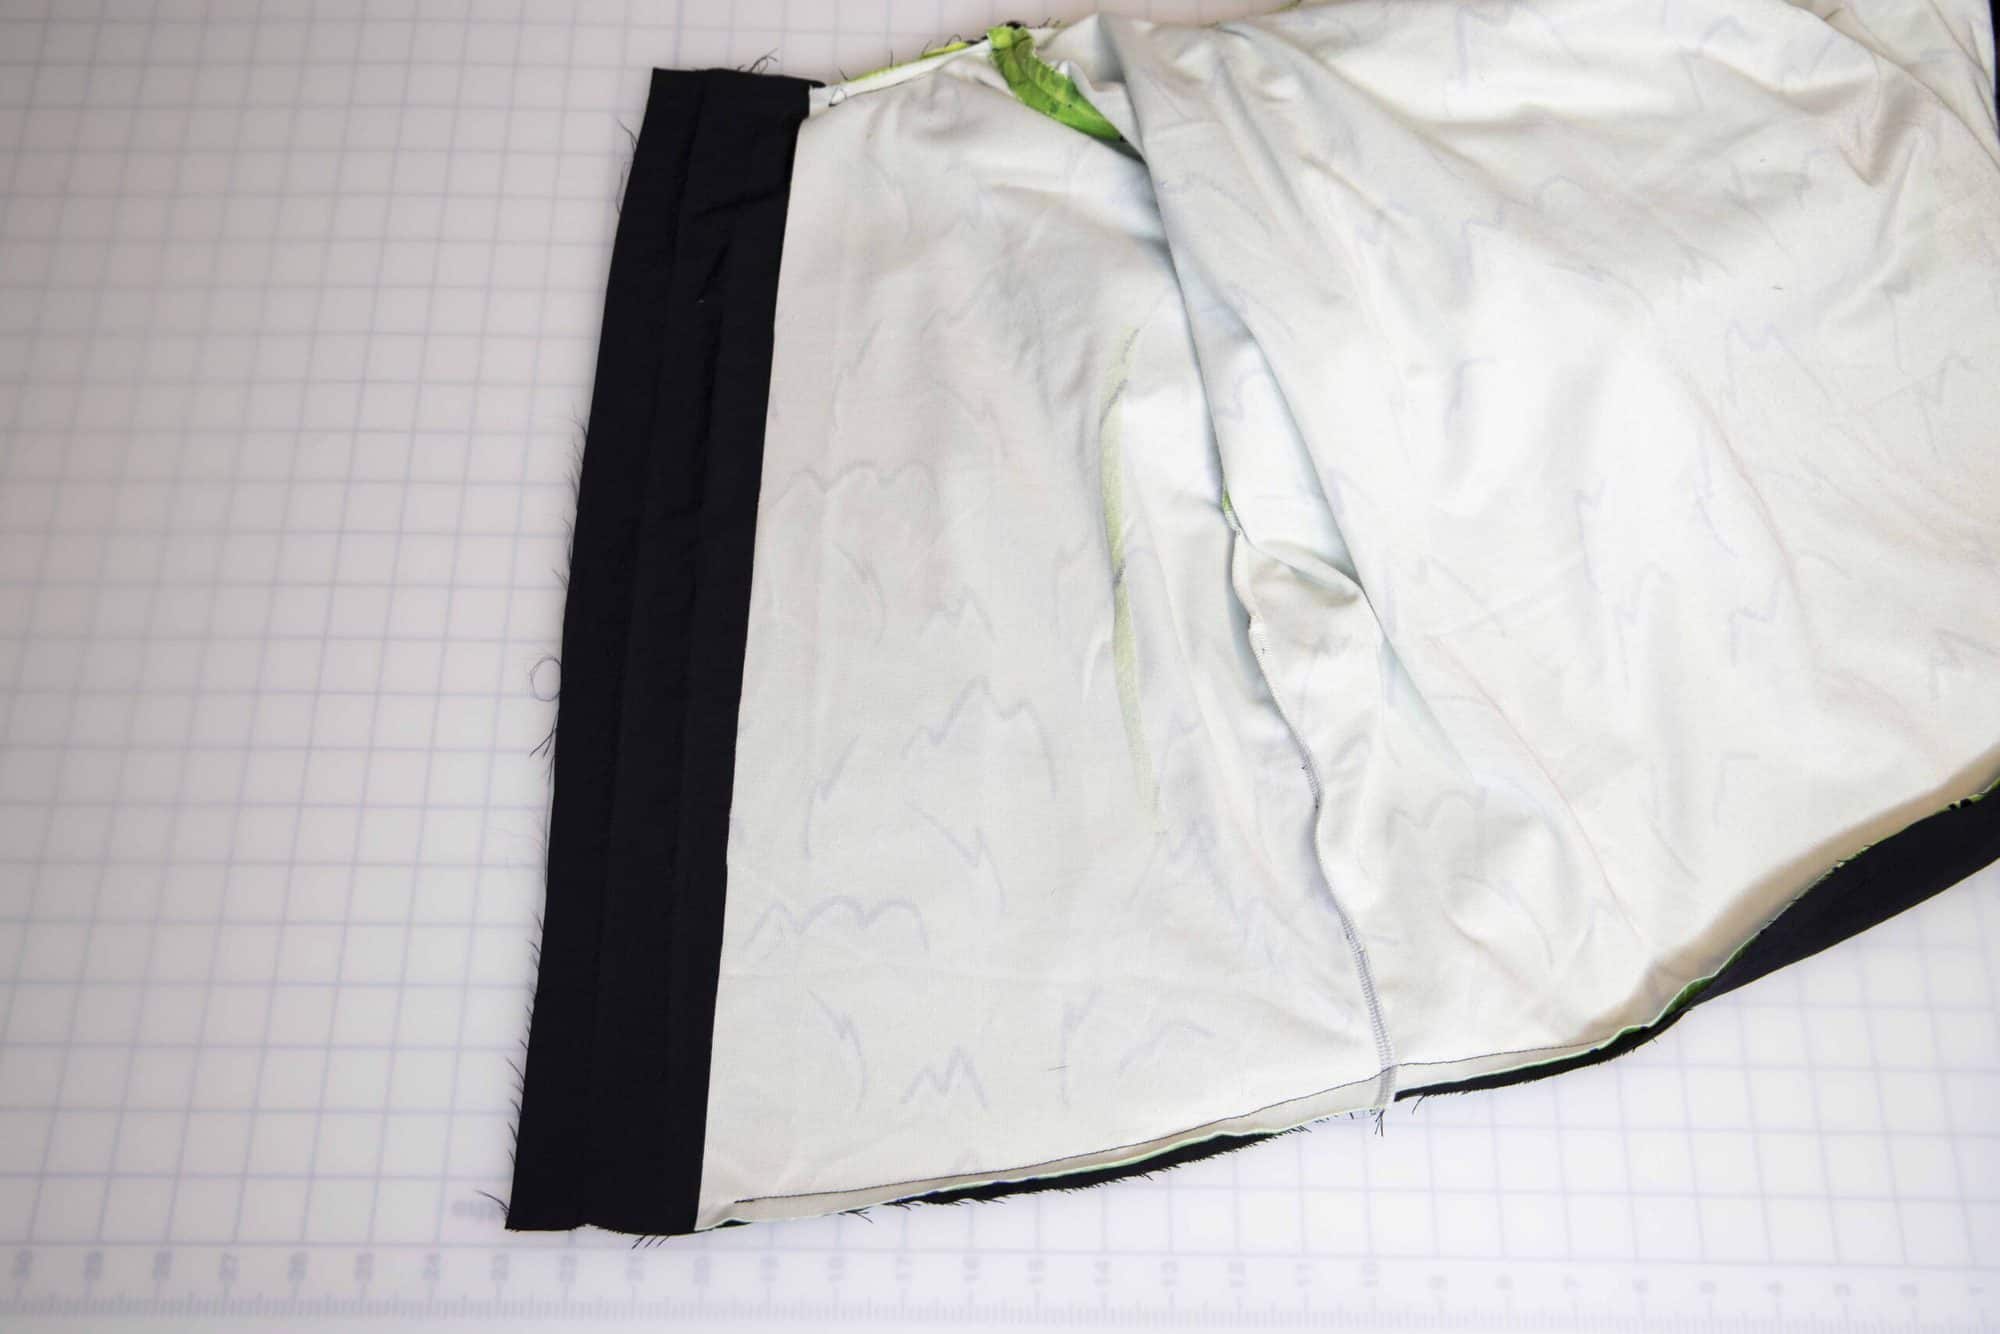
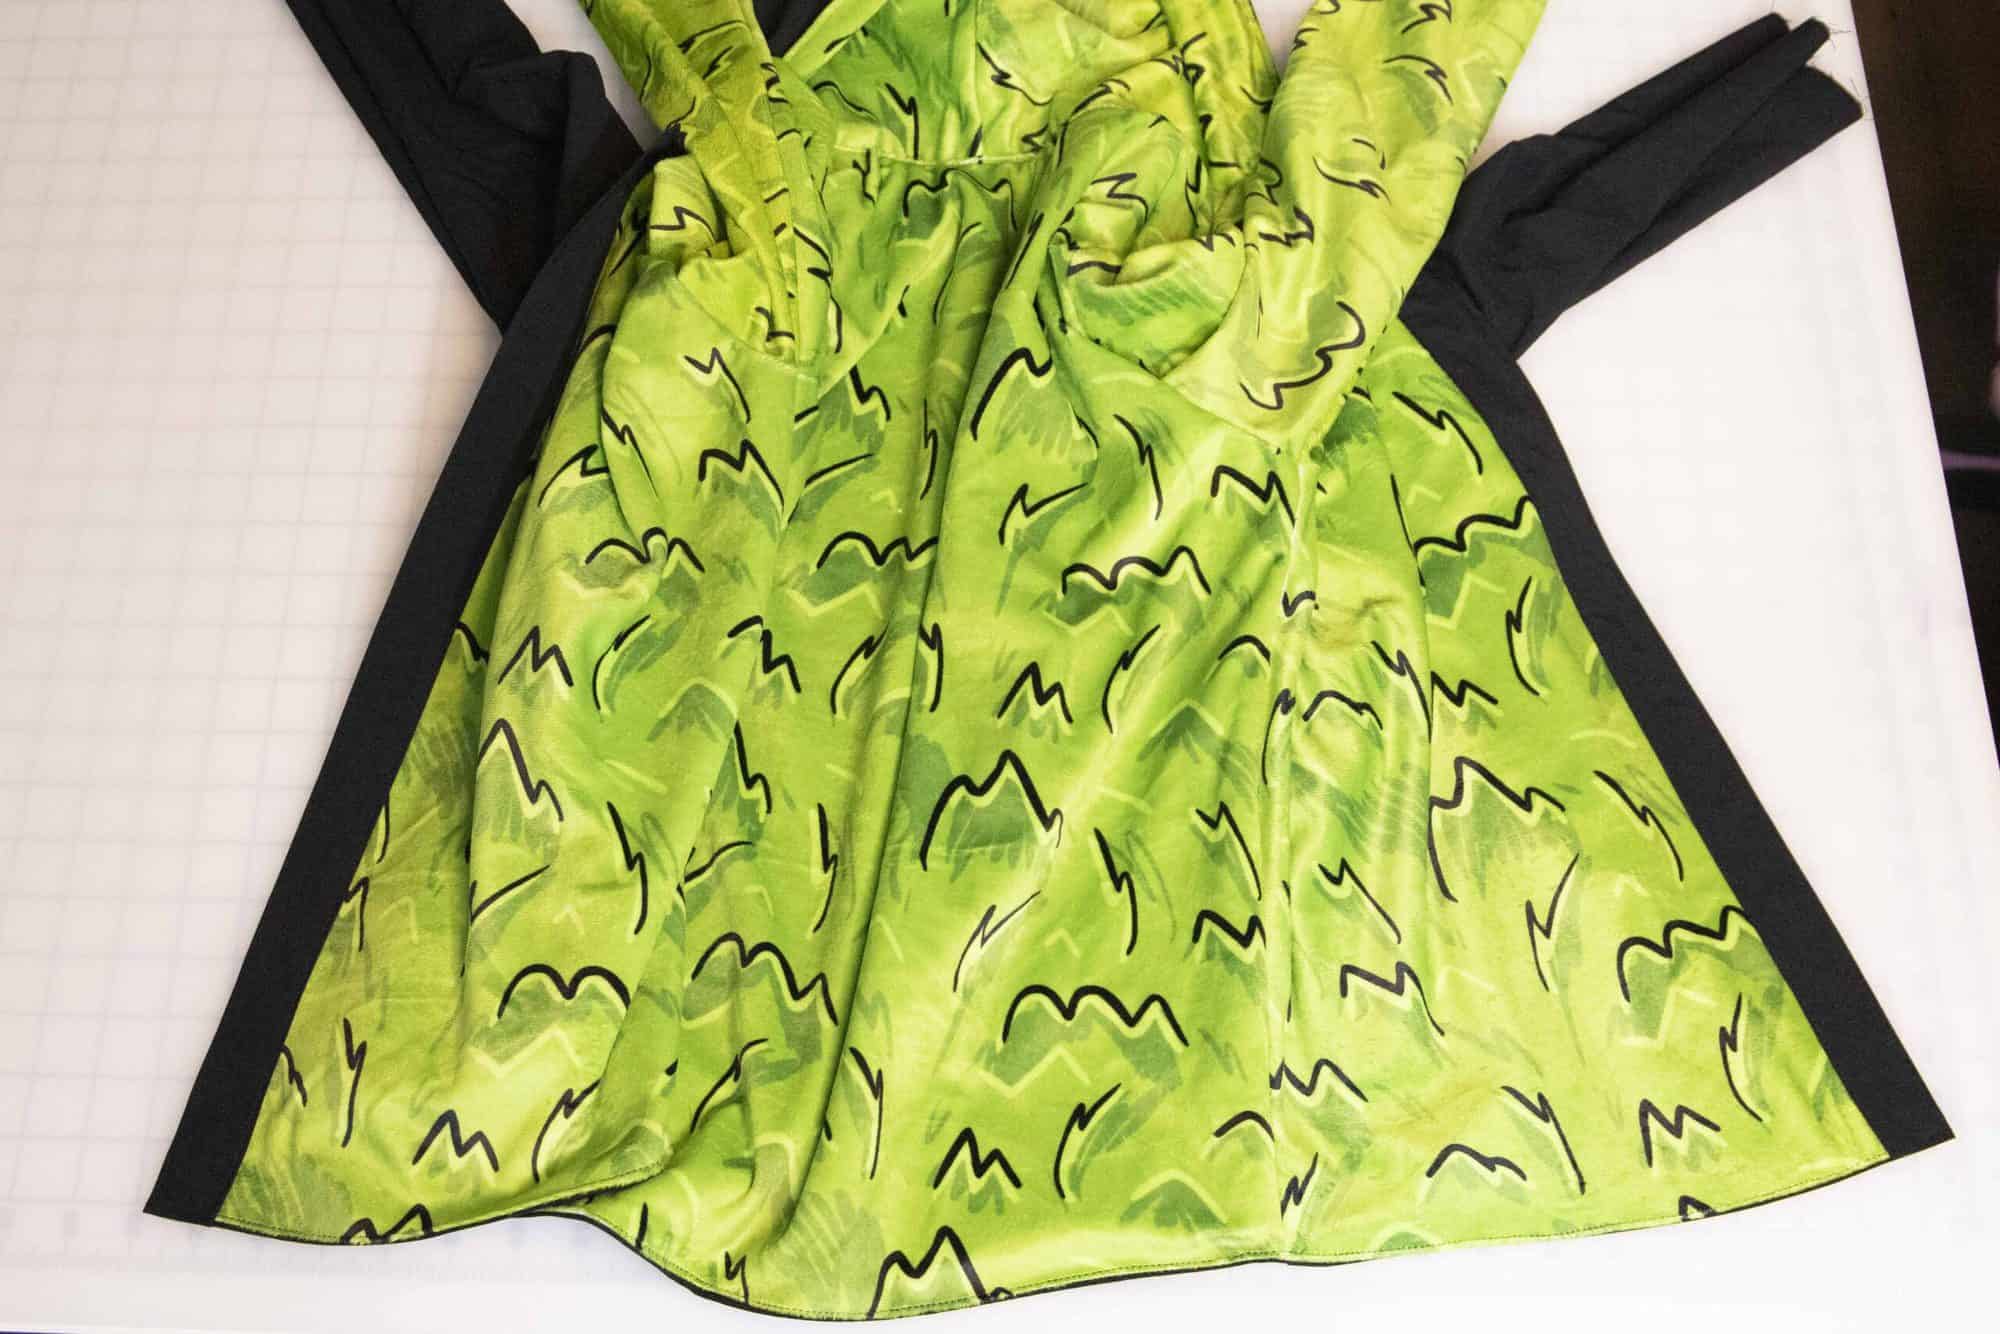
Turn the jacket right side out. We will now top stitch the neckline and bottom hem.


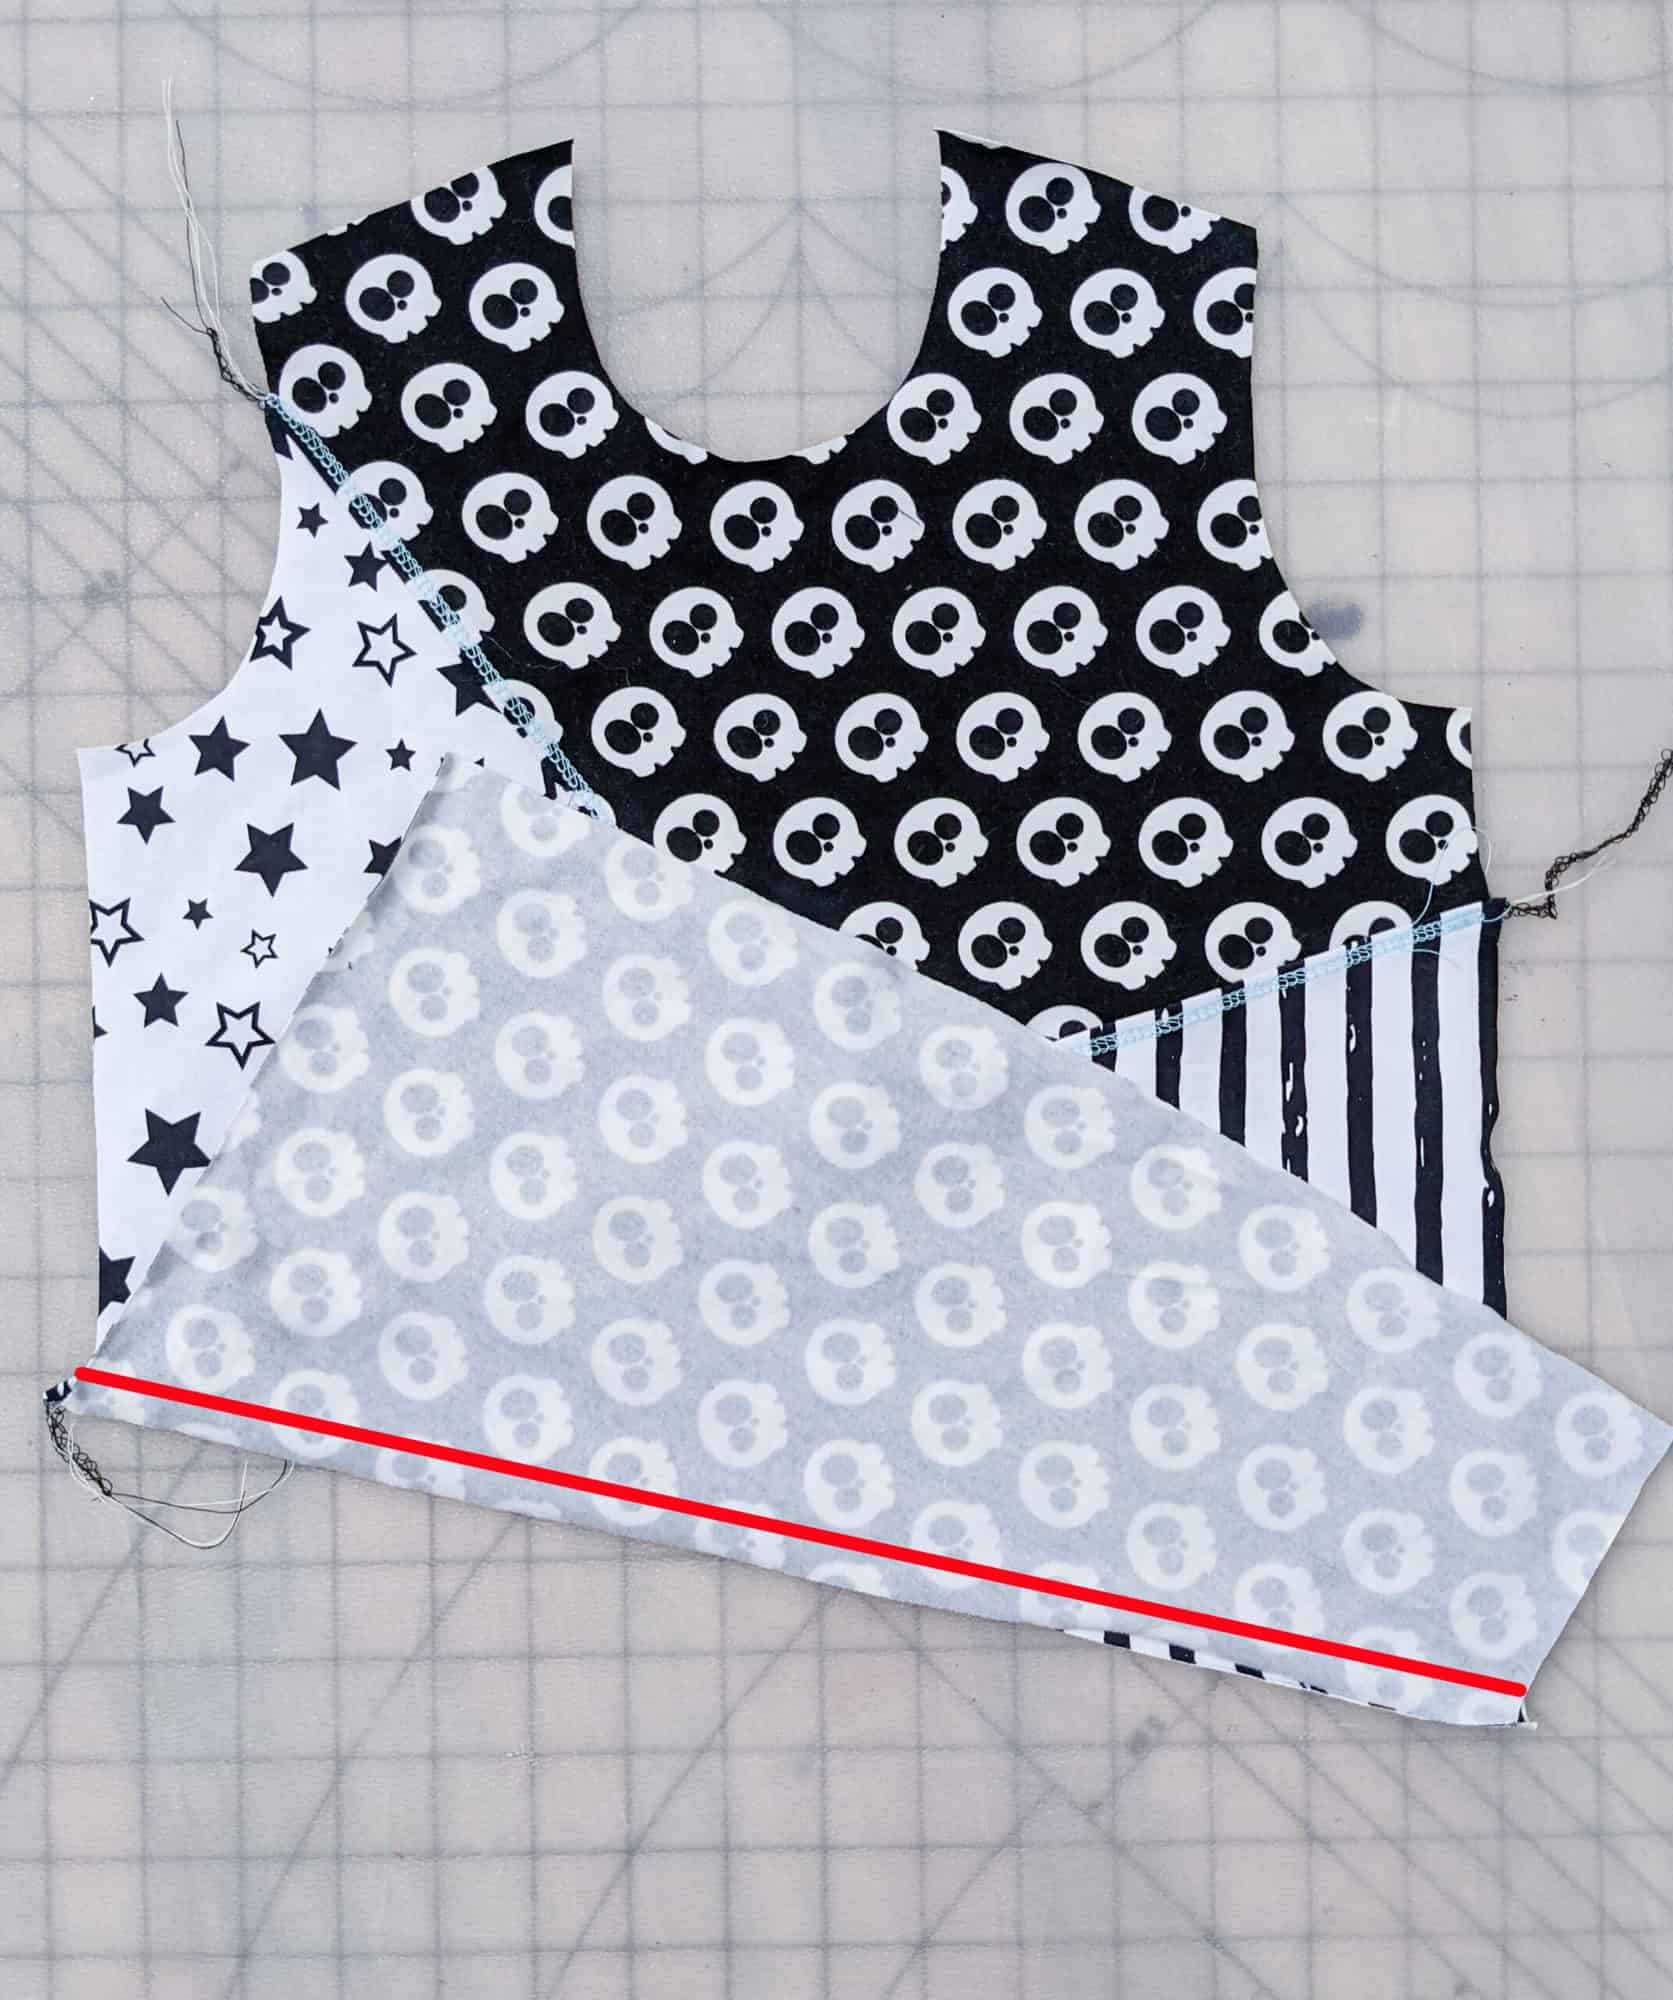
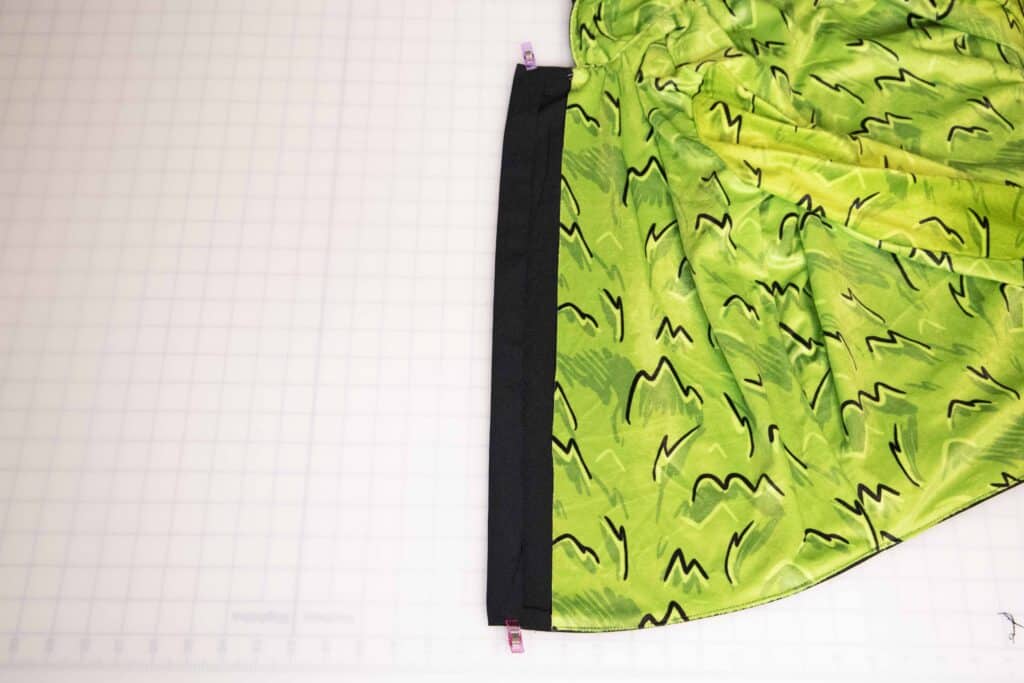
When top stitching, fold the excess fabric down (or up) 1/2″ on the placket part. See picture below for how it will look both at the neckline and bottom hem. 


Following the first fold marking, press the front placket once on both sides. Pin in place. I like to add a strip of water soluble double sided tape to the raw edge of the lining. It will help tremendously when sewing.


Note: if you used the bigger hood, it will go all the way to the fold on both sides. 

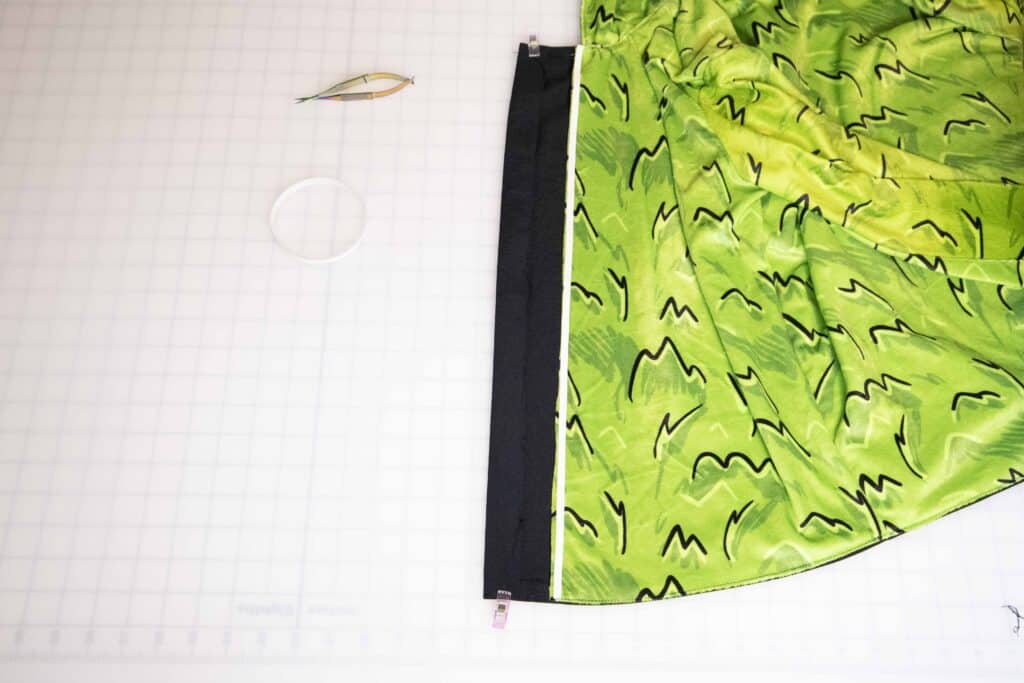
Fold the placket one more time along the second fold line. This will no overlap over the raw edge of the lining, right where the double sided tape is. Press it down with your fingers. If you don’t have any DST handy for this step, you can always pin it in place. Sew the placket down.


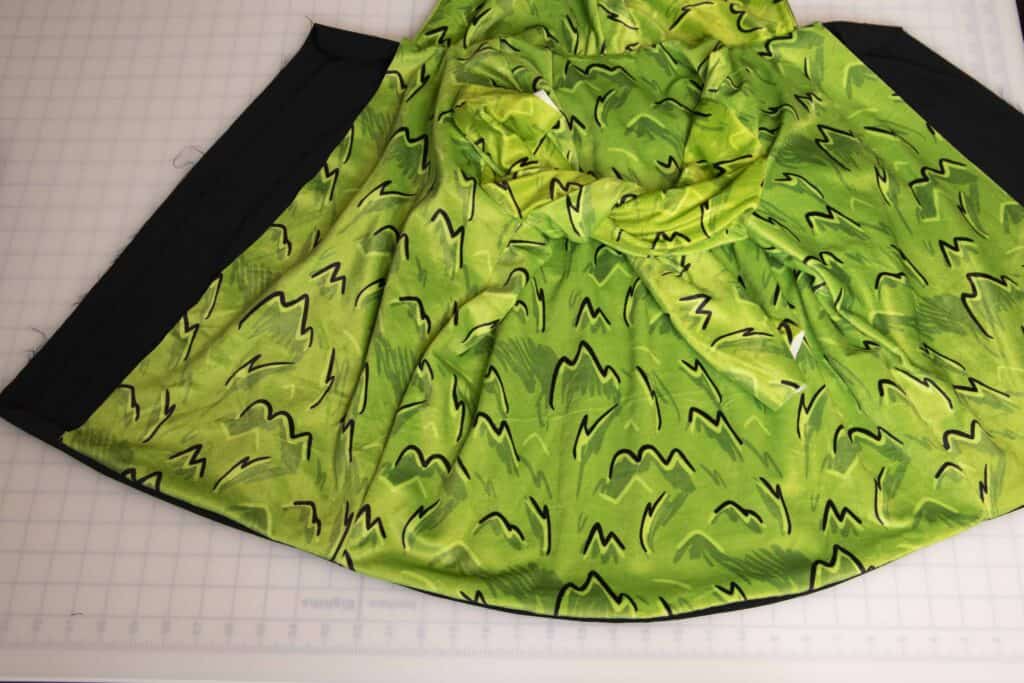
I also like to top stitch all around the placket, on all 4 sides. Once you finish these steps (and your jacket looks like the pic below) set it aside. 
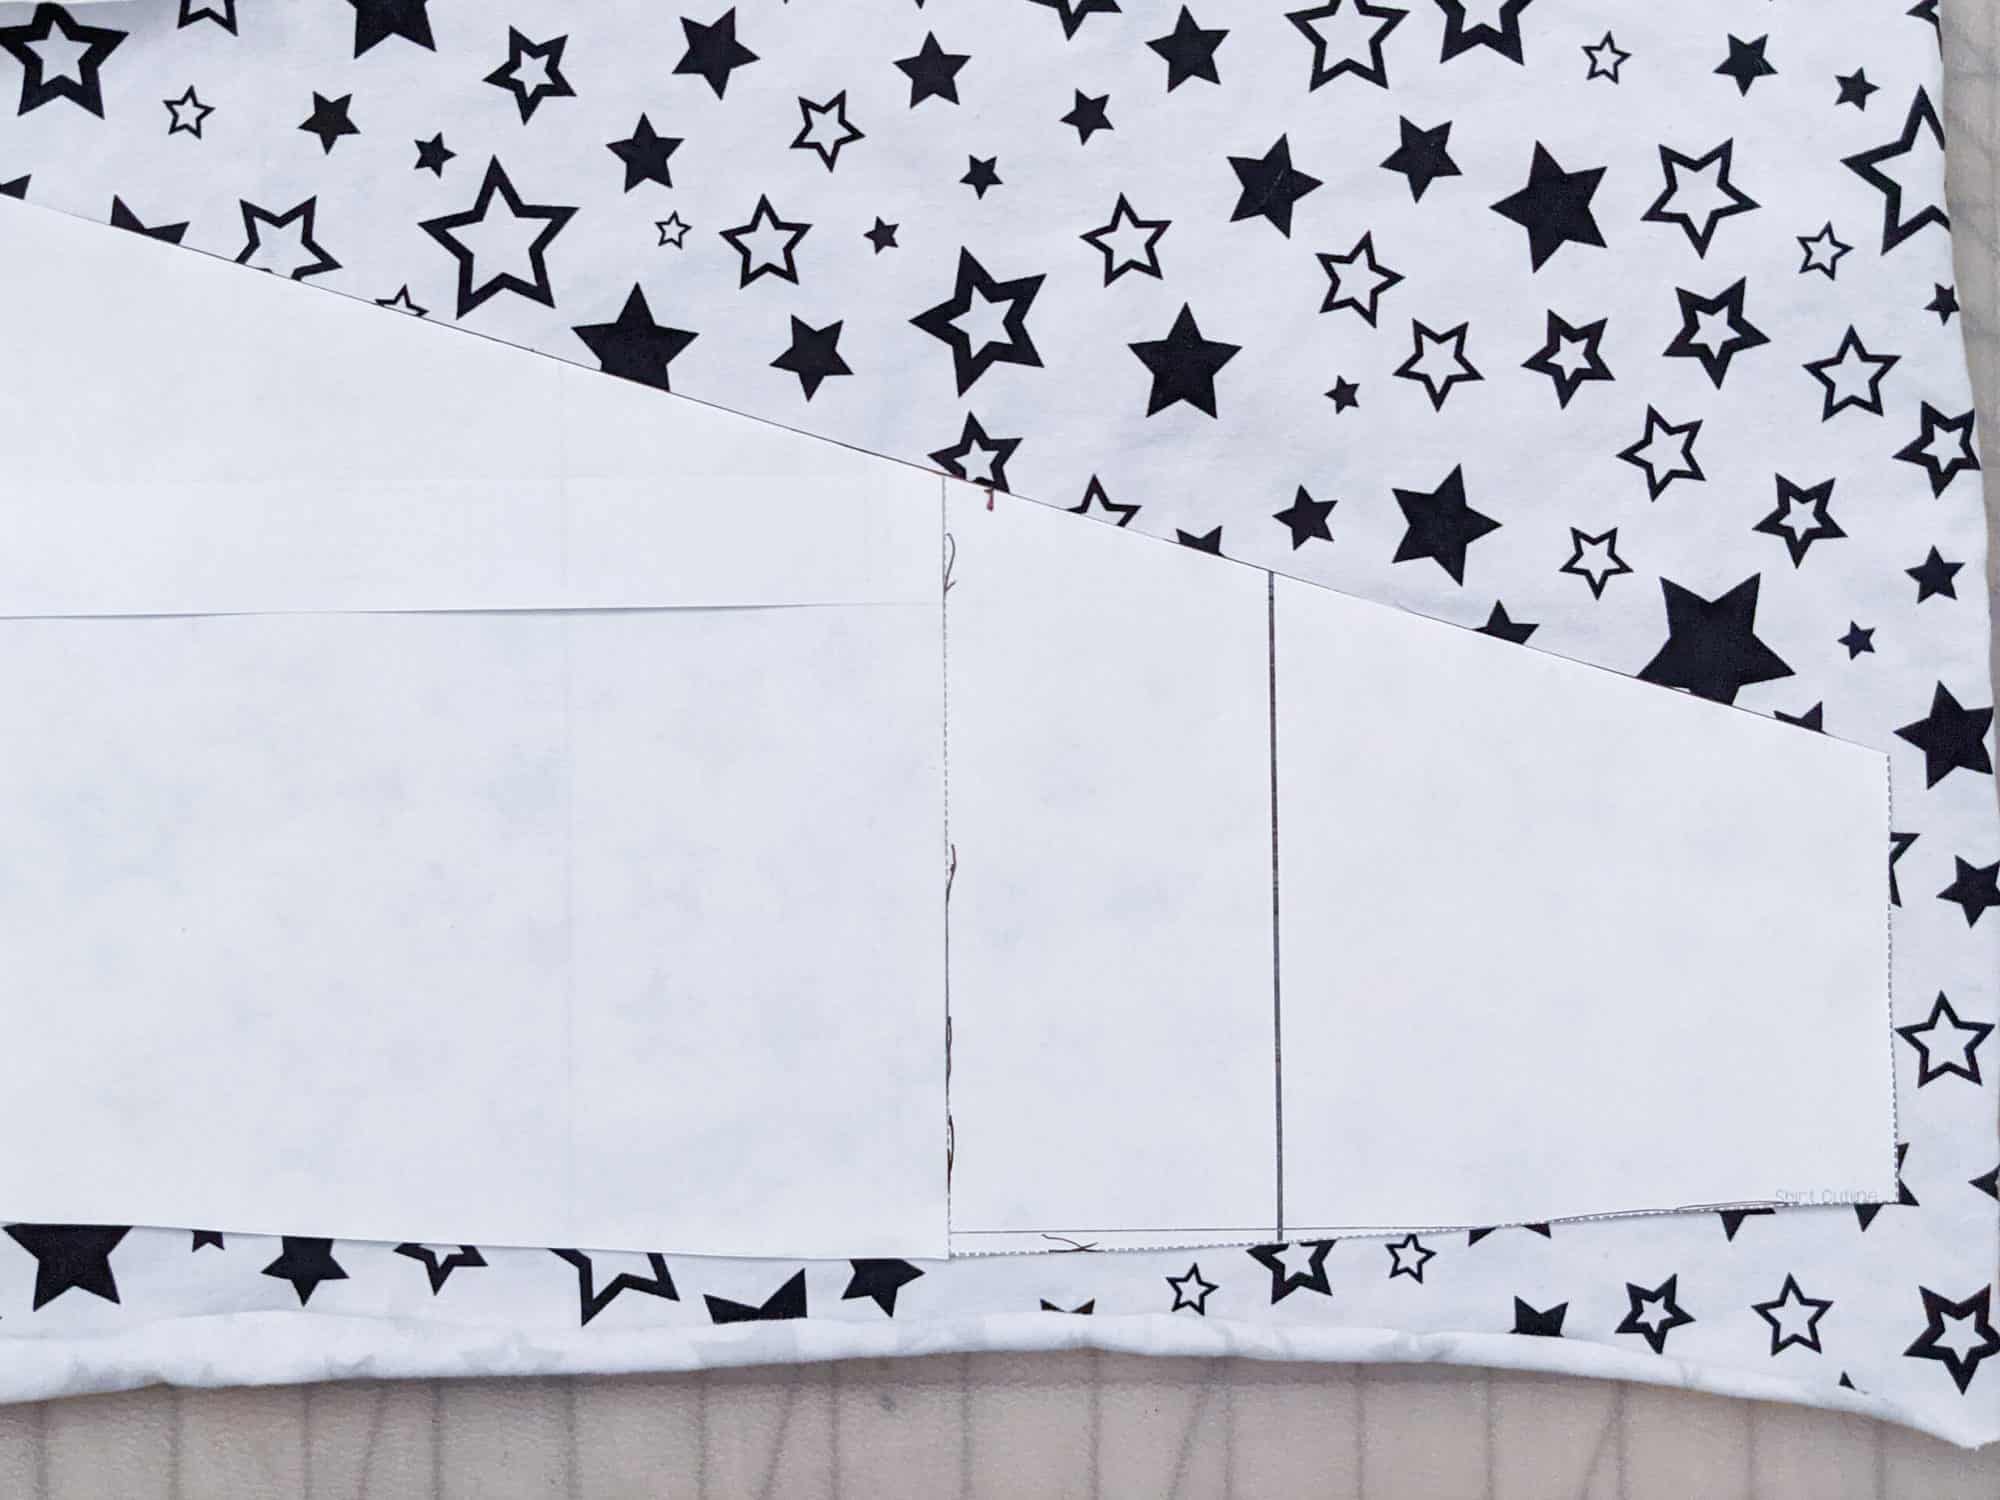
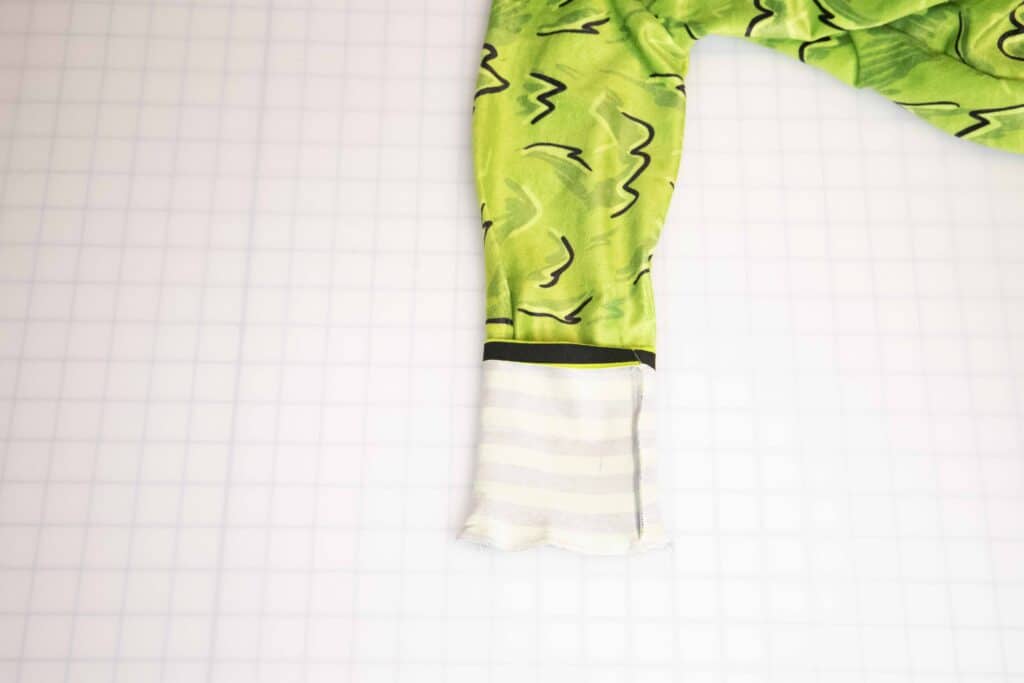
CUFFS

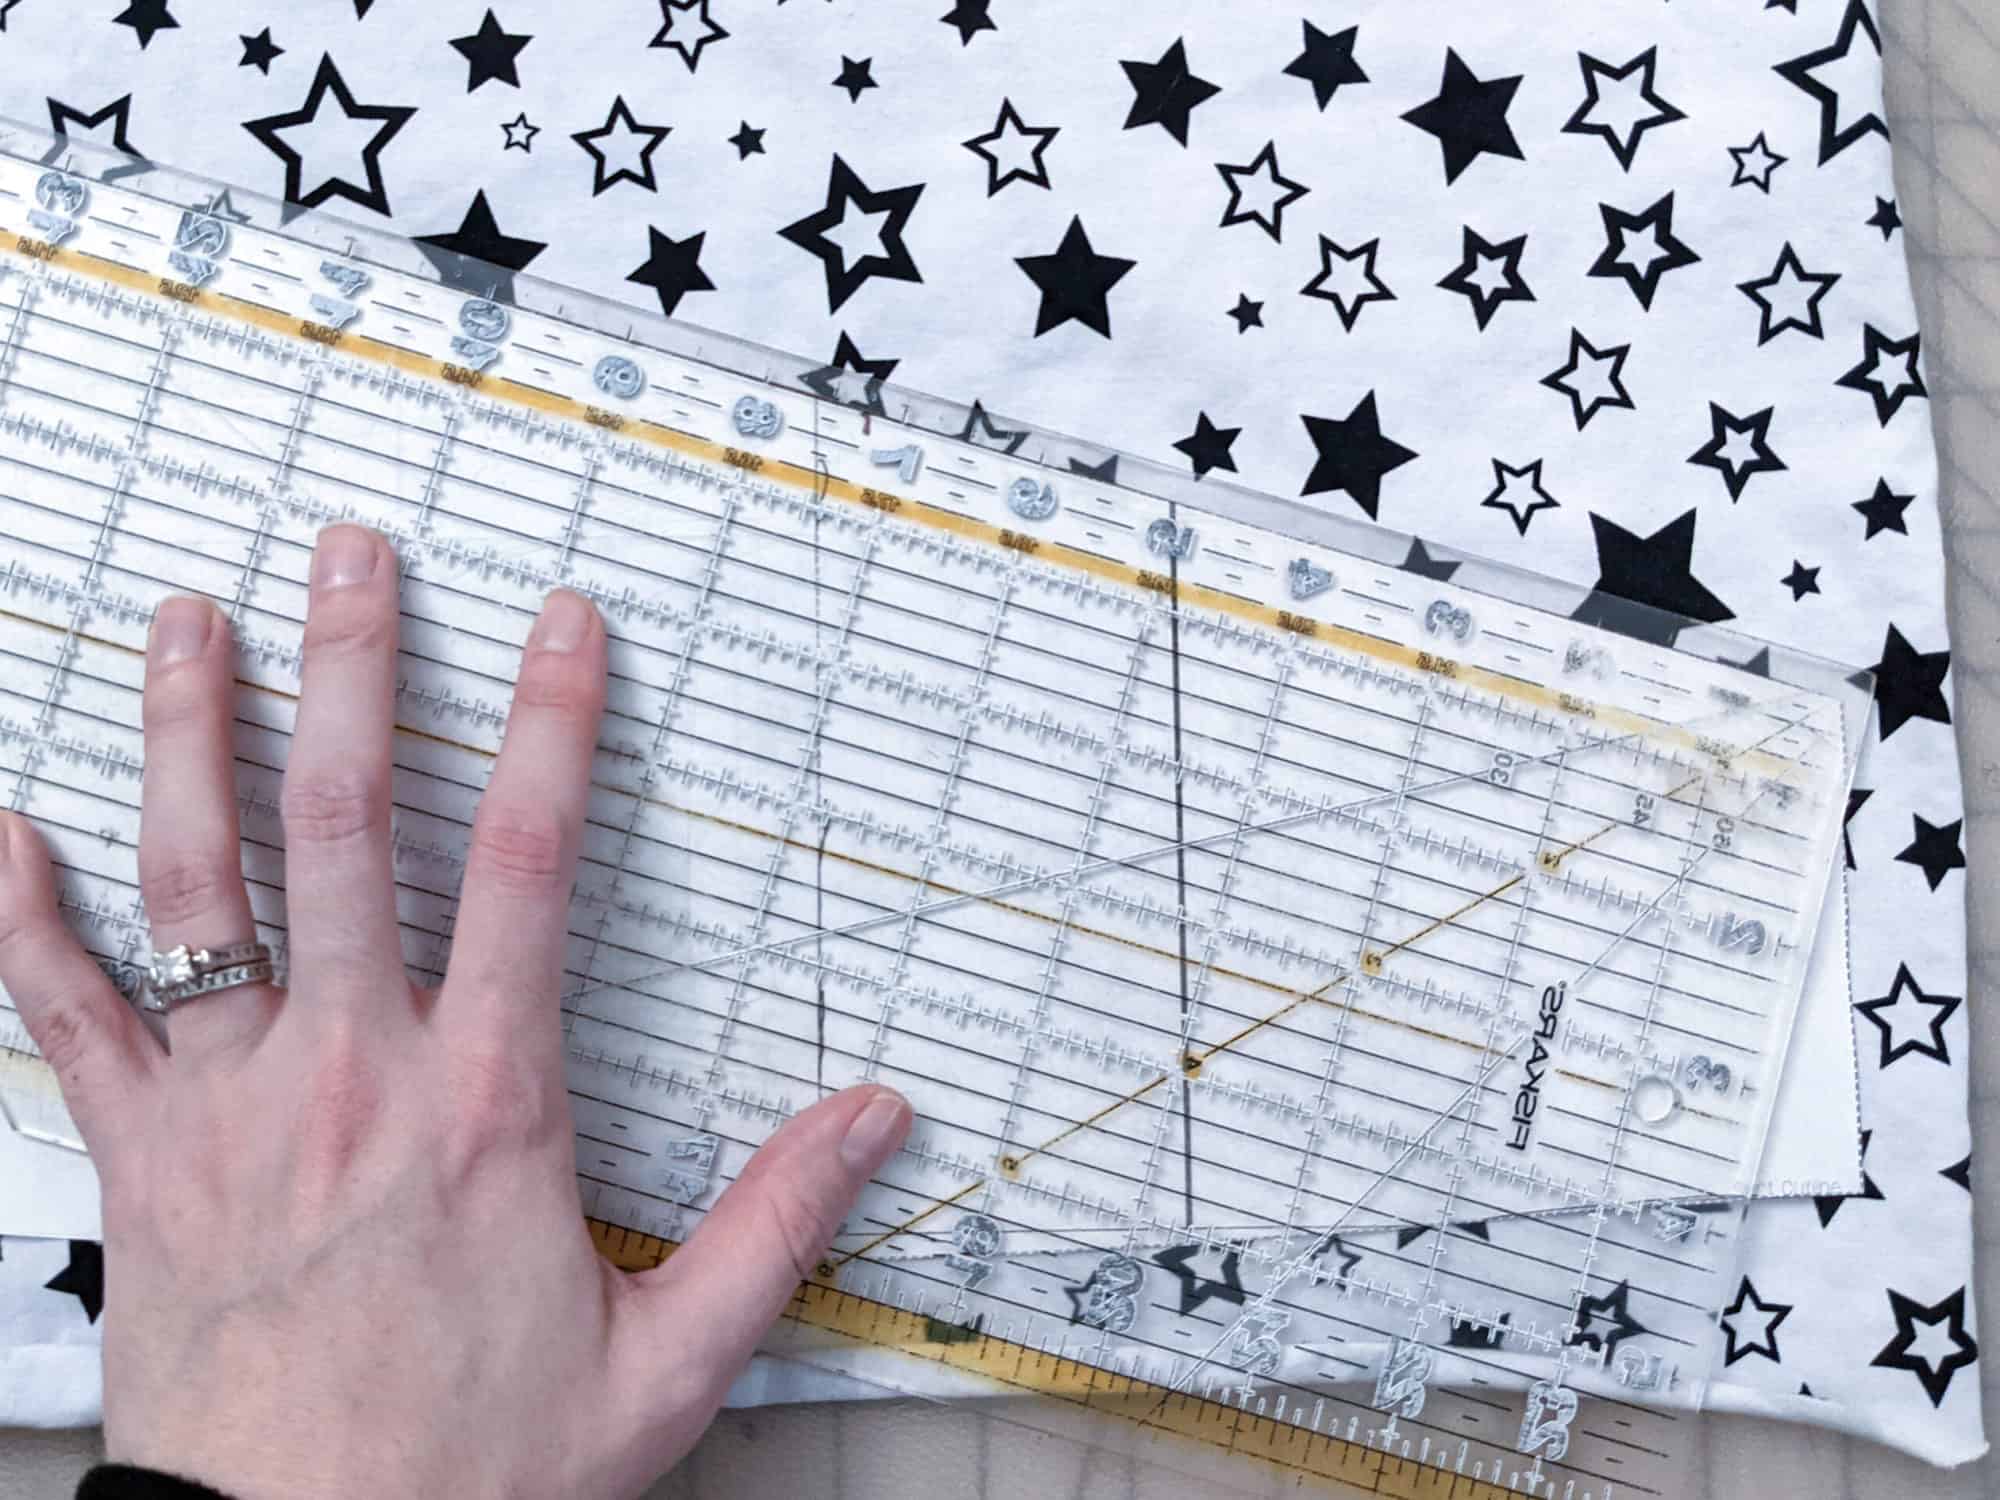
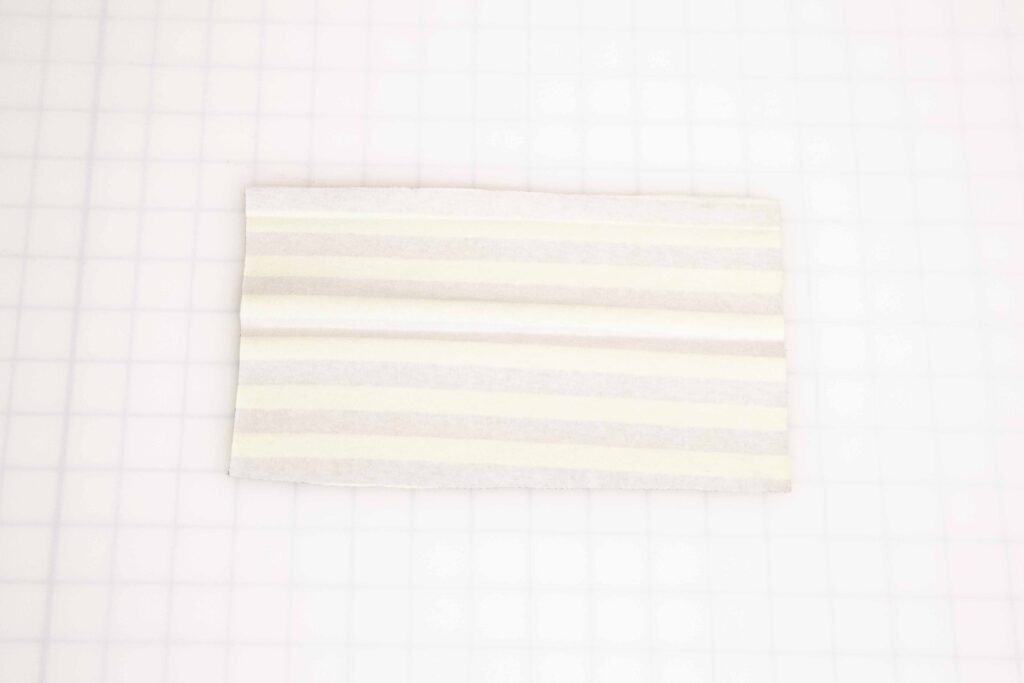
Let’s work on the cuffs. Press both cuffs, length wise. Open them up and press the top of each cuff 1/2″. Thus will create a memory hem. With the cuffs opened up, sew each at the short end to create a loop. 


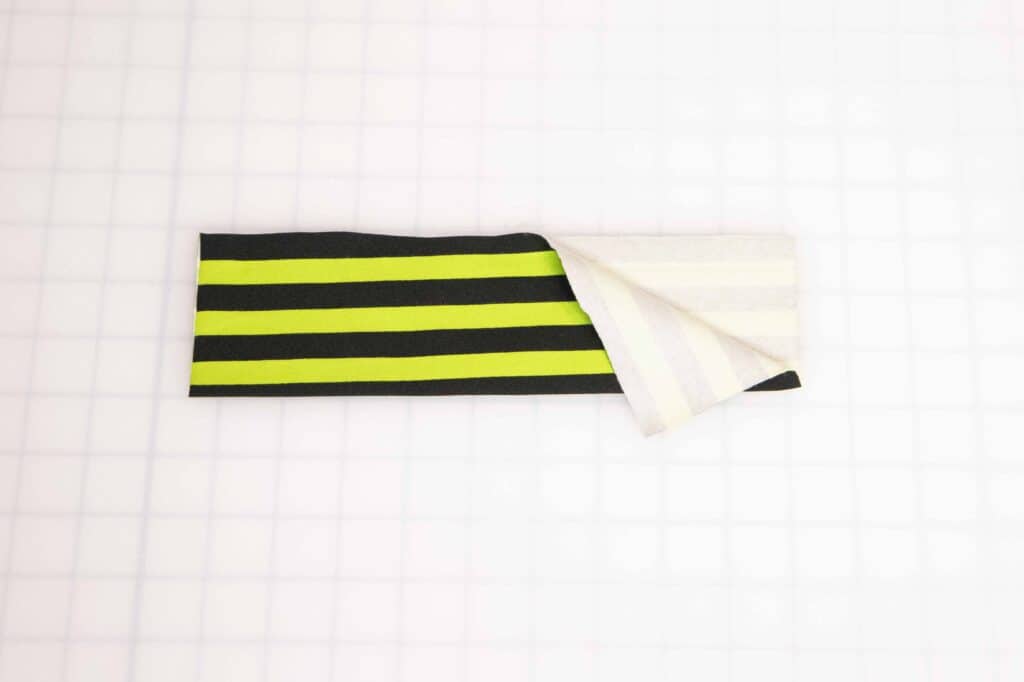
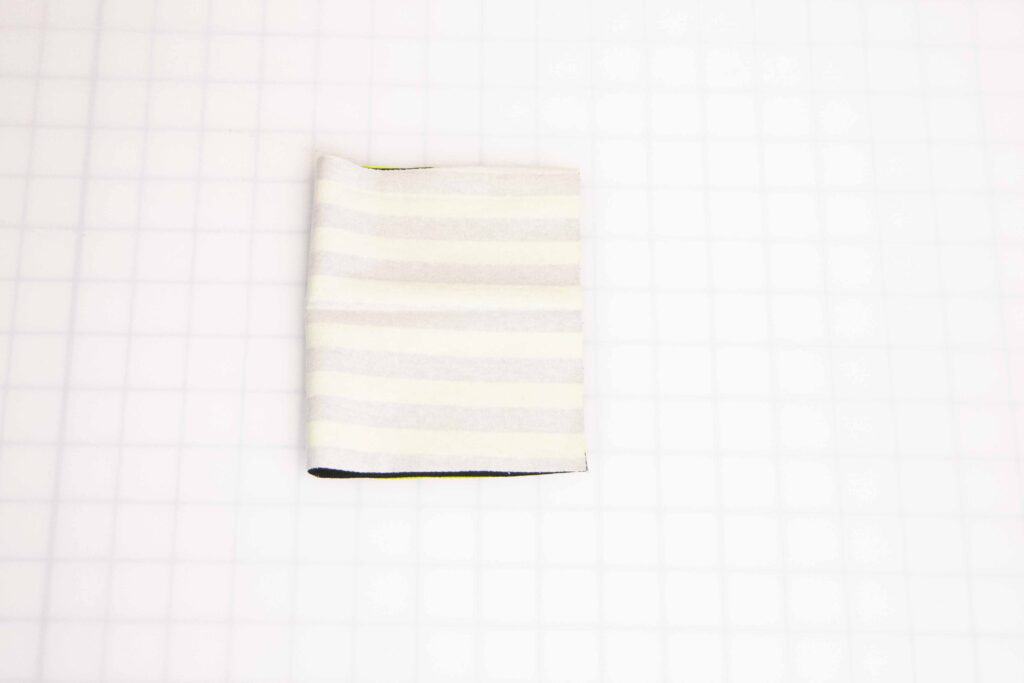
Refold the top memory hem over the loop. 

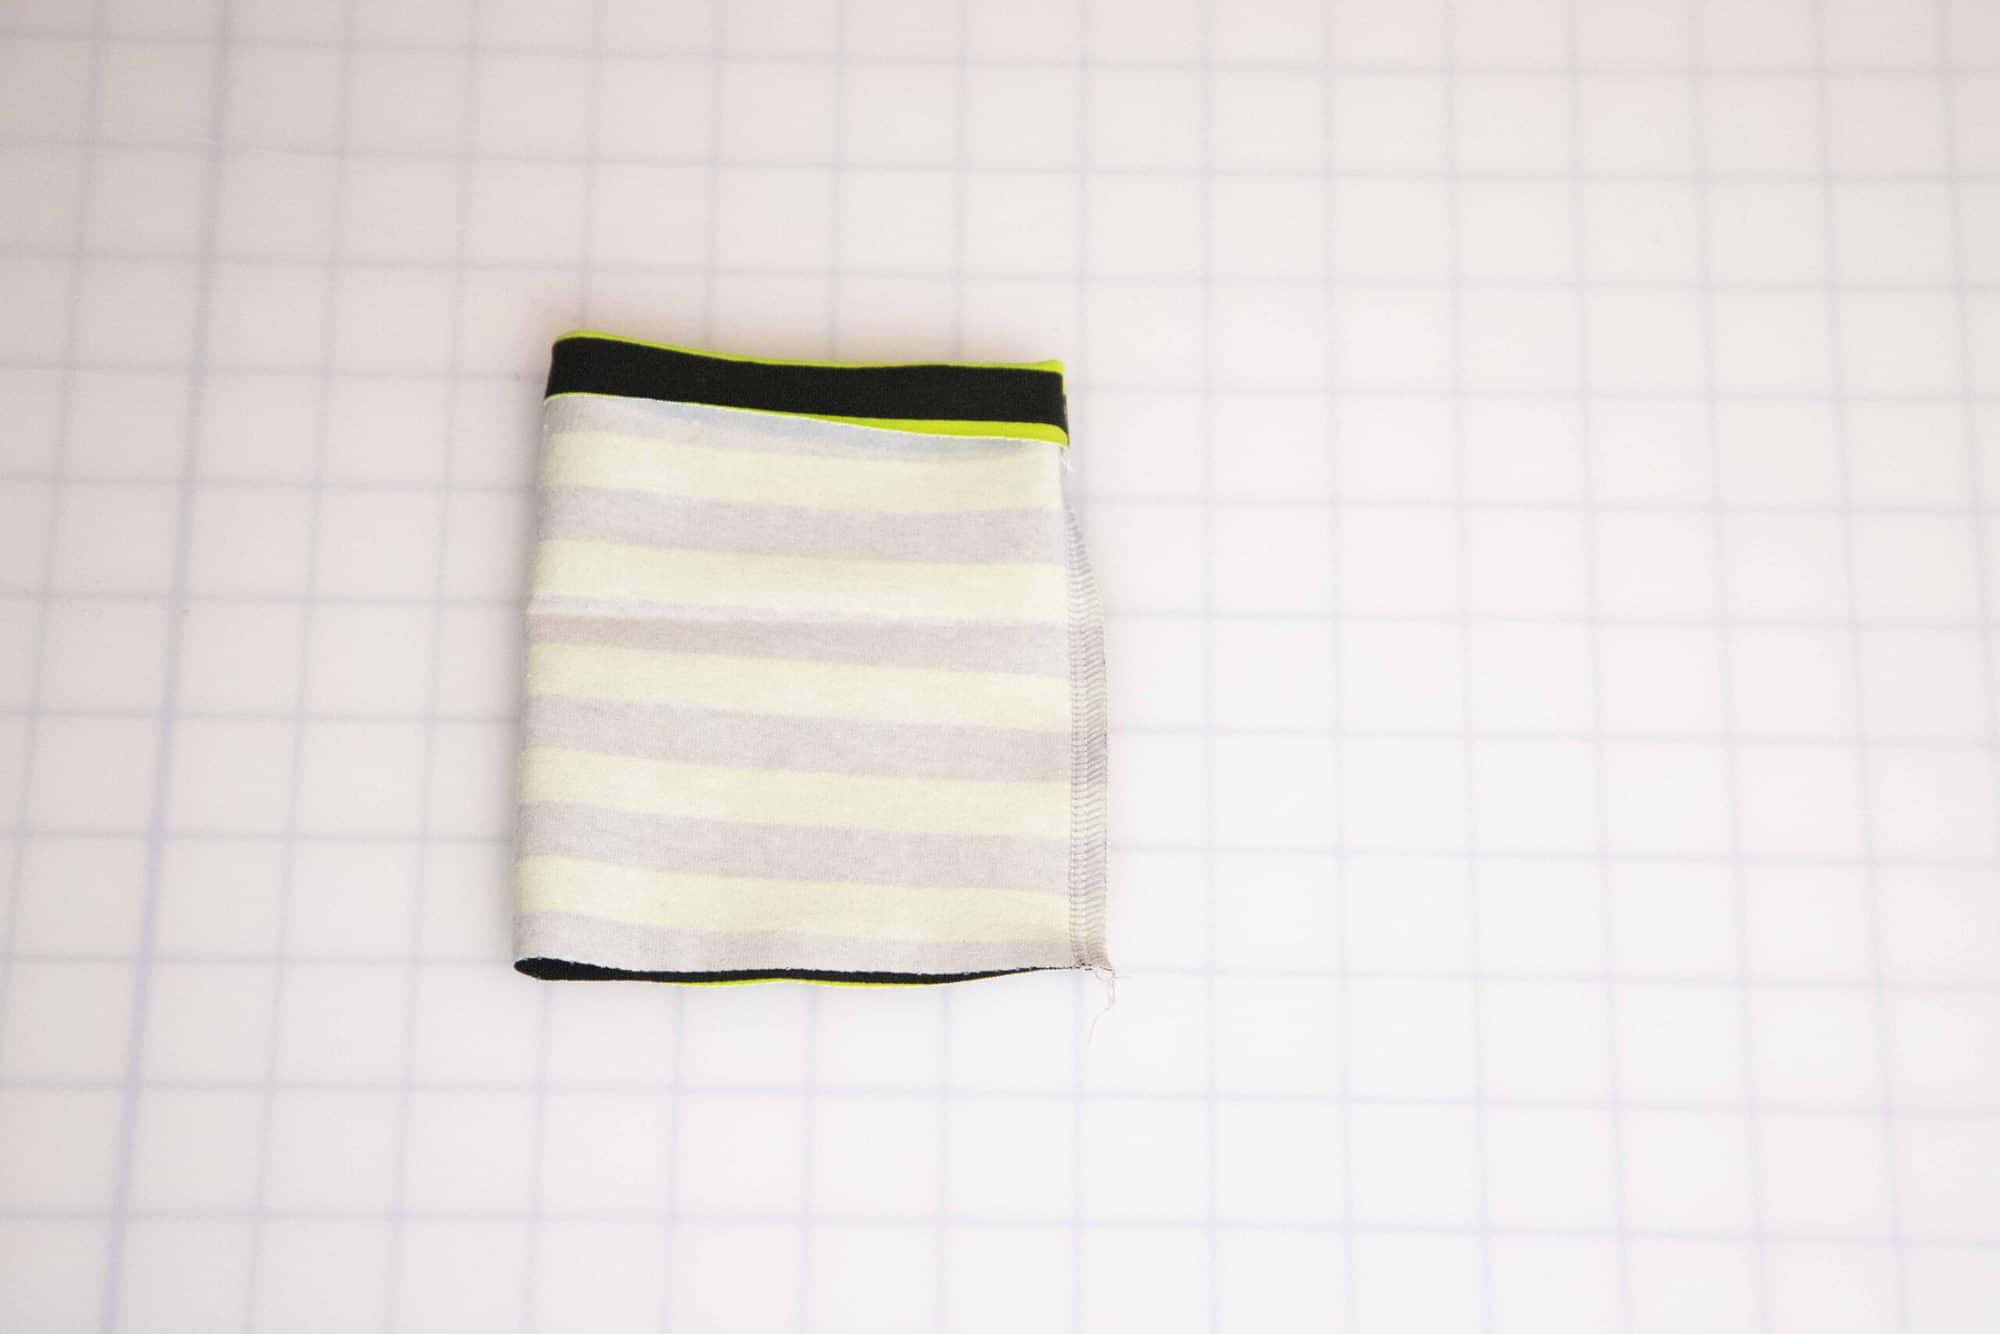
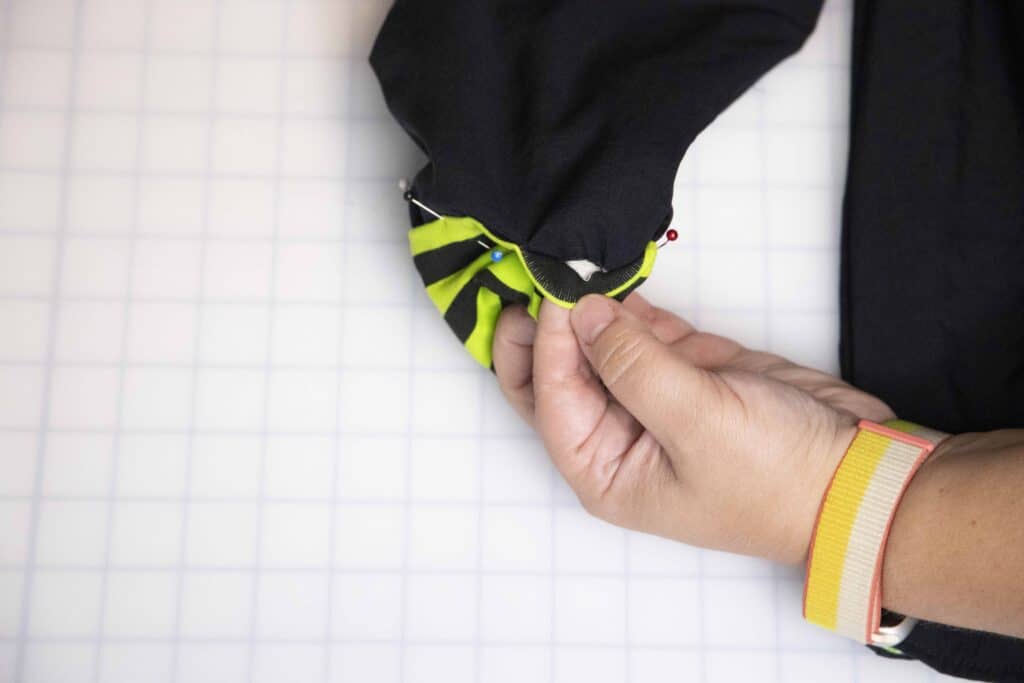
Place the unfolded raw edge of the cuff on the lining sleeve opening. You will stretch the cuff to fit the opening. Match the sleeve seam with the cuff seam. Sew in place with a 1/2″ seam allowance. Repeat this step with the other cuff and lining sleeve.


Time to make it look like a shirt! Push the lining sleeve through the main sleeve so they are wrong sides together. 


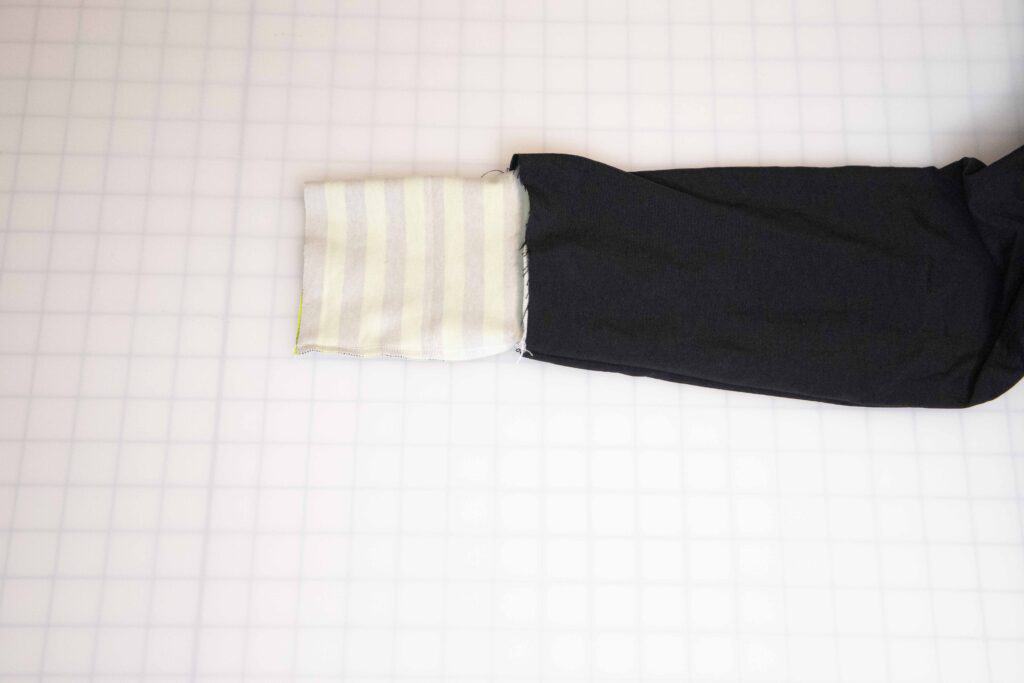
Fold the cuff along the middle crease that we pressed earlier. The edge is still folded 1/2′. Once you bring the cuff over, the sleeve raw edge will be inclosed in the cuff. Pin the edge of the cuff on the sleeve all around. 


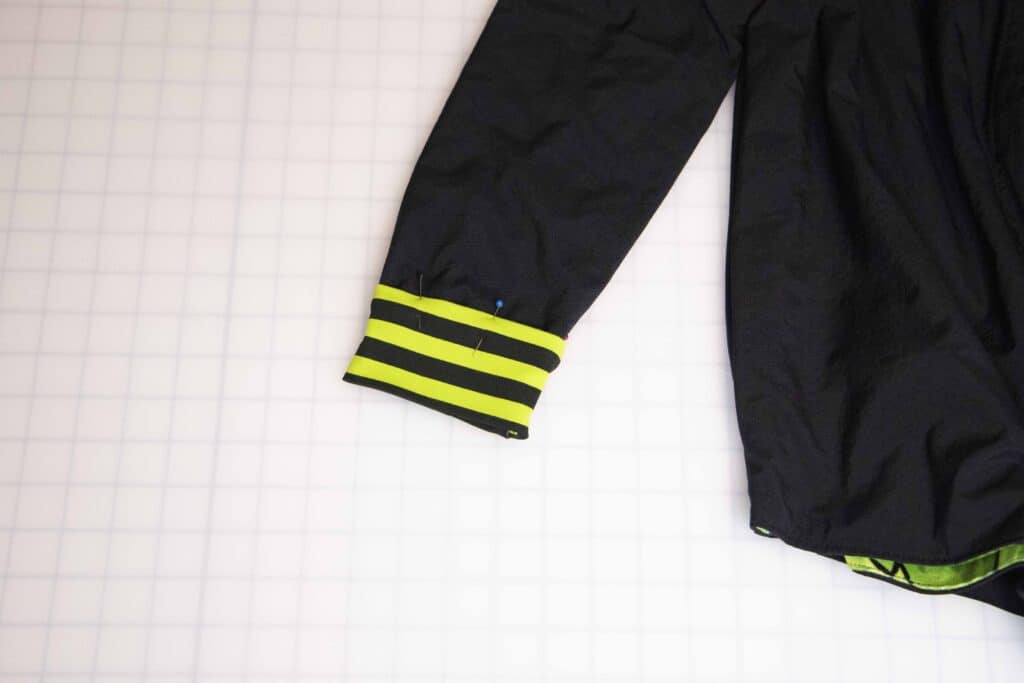
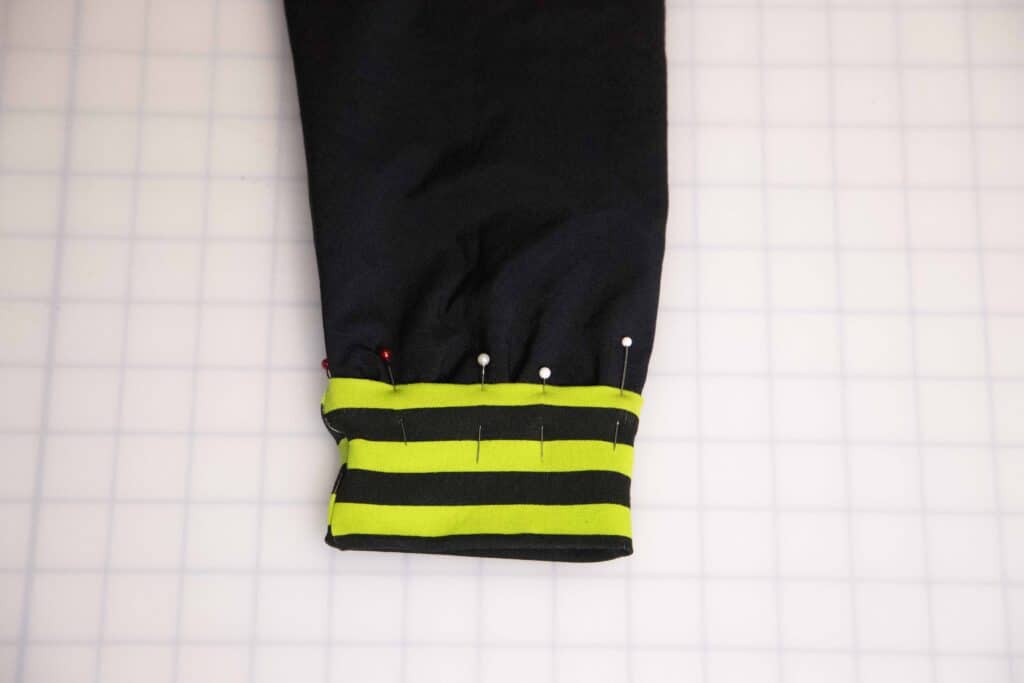
Stitch the cuff down. Look how beautiful is the cuff with no raw edges on the lining! Take a second to admire your work!
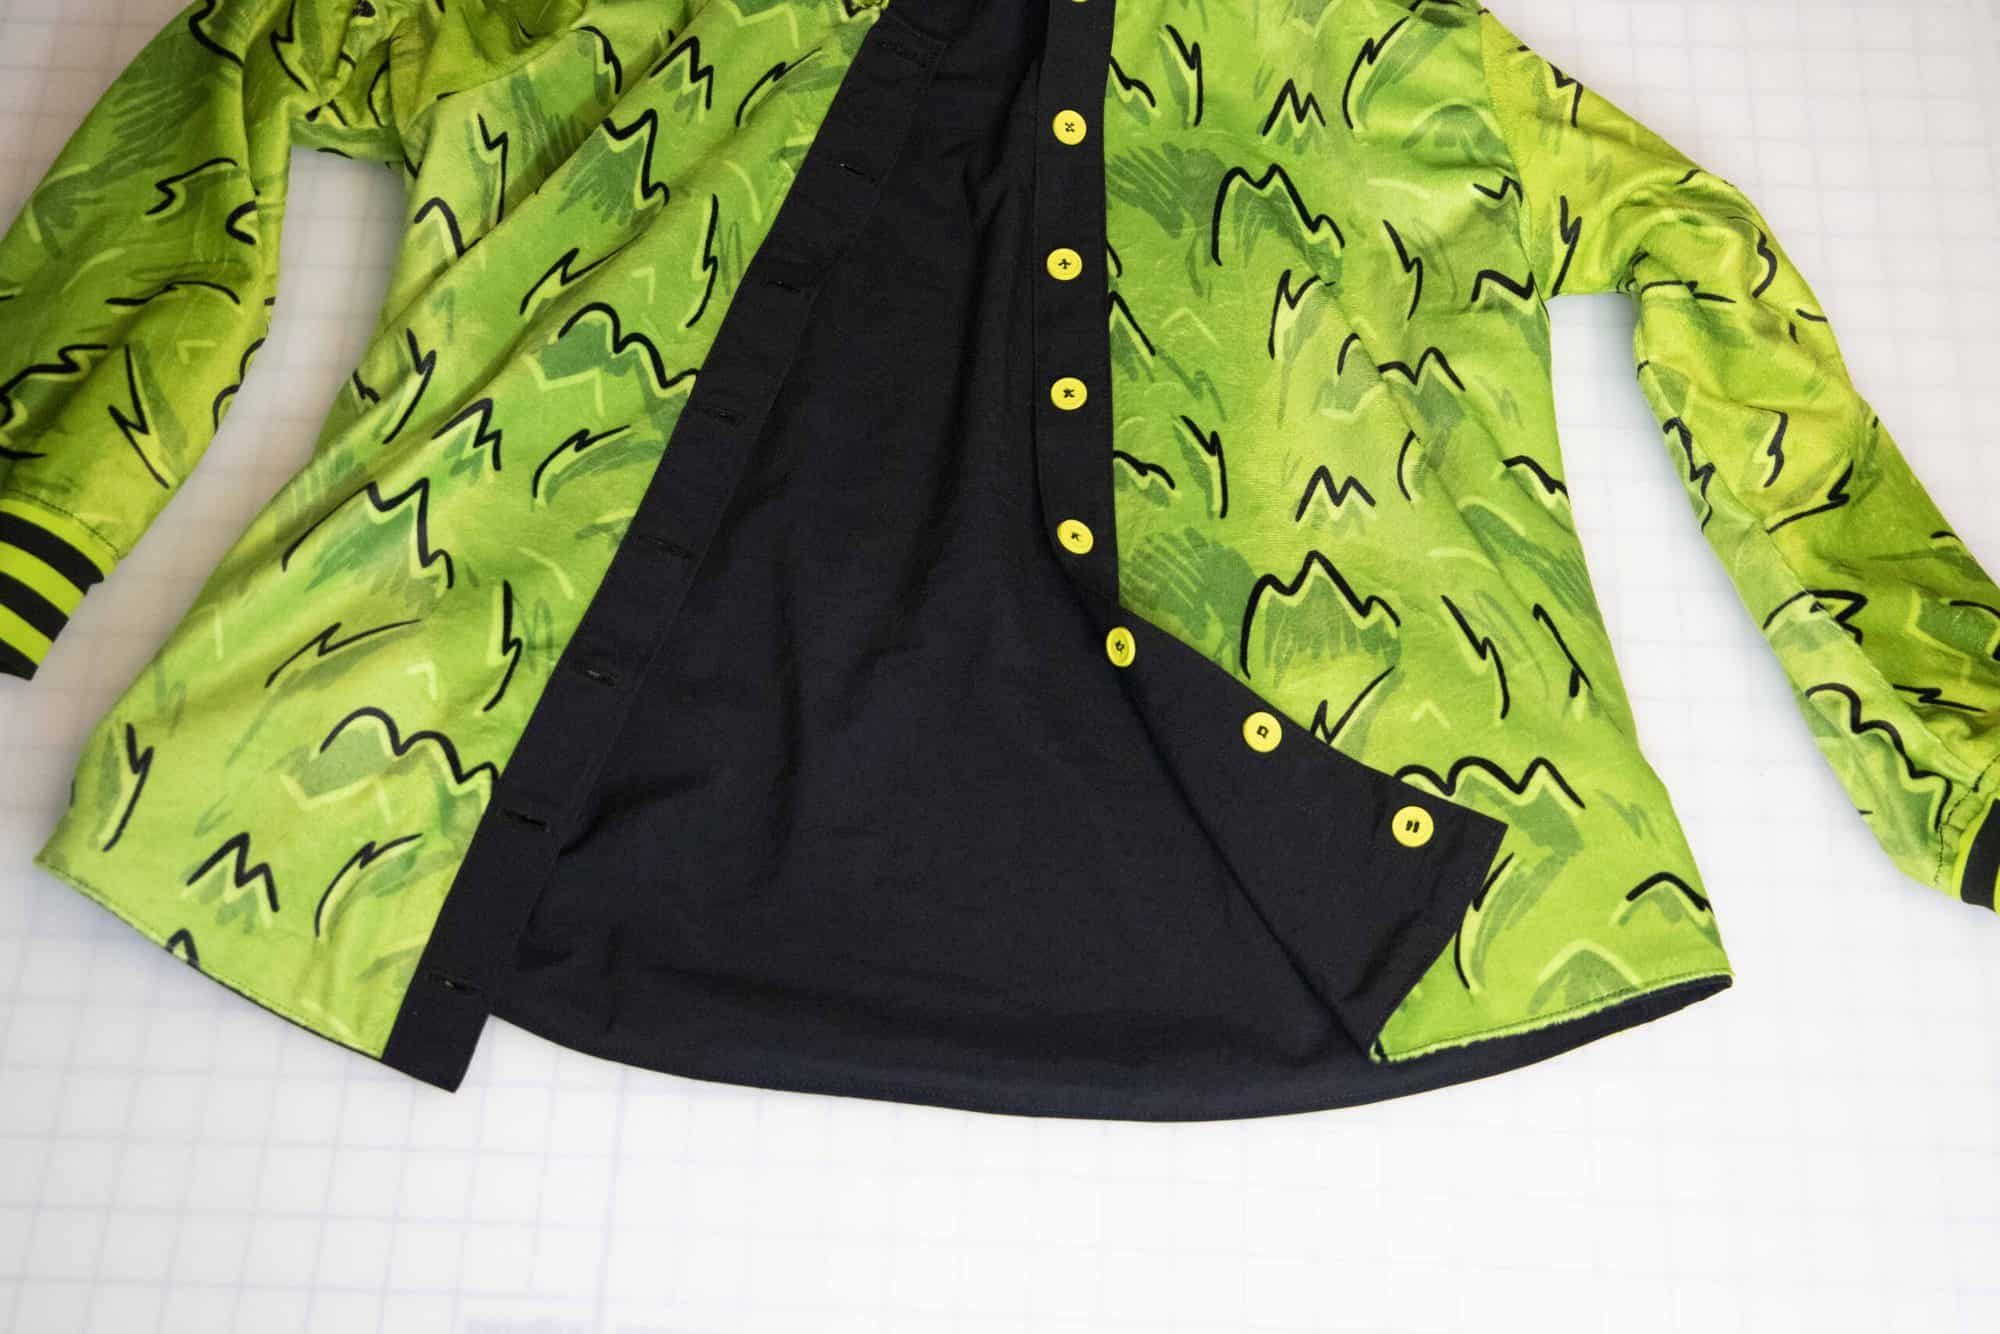

BUTTONS

Sew the button holes on one of the plackets. Let’s add the buttons now! To make this Lumberjack fully reversible I added buttons on both sides of the placket. I hate to say it but the easiest way to do this is to hand 🖐 stitch 🖐  the buttons on both sides simultaneously. Make sure that you don’t pull the thread extremely tight. You need wiggle room for the buttons to be able to be fastened. 

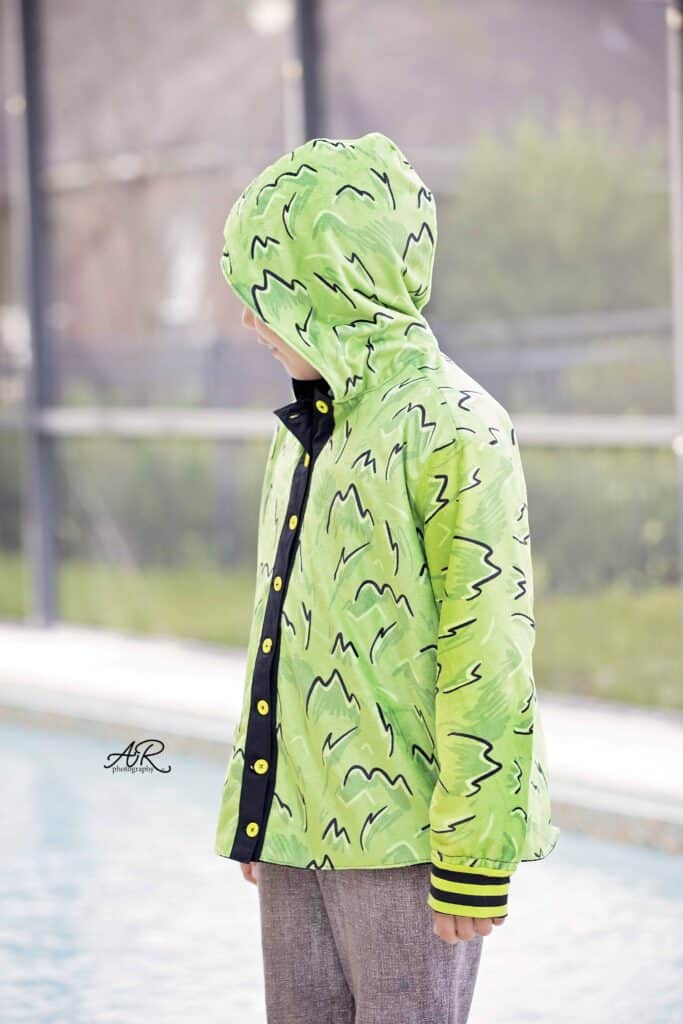
All done! This is how to take the newest Lumberjack pattern and turn it into a fully reversible shacket. 


I am very excited to see if you take on this project! Don’t forget to share it in our Facebook group and on Insta! 


Filed Under: Pattern Hacks, Pattern Release, Uncategorized Leave a Comment

P4P University Color Blocking Tips and Tricks

February 1, 2021

Hello, fellow sewing friends! I’m super excited to talk to you today about color blocking.  As long as I’ve been in the sewing world color blocking has always been really popular.   A lot of patterns even include it!   But what if your favorite p4p pattern doesn’t have any color blocking options?   Well, today I’m going to teach how to easily do it yourself!    If you aren’t familiar with color blocking, it’s basically just adding interesting unique blocks of different fabrics to your pattern without altering the fit.  It’s a great way to spice up a regular t-shirt, use up some scraps, and make for some fun visual art.  You can color block anything from sleeves, front bodice, back bodice, legs, hoods, if it has a pattern piece- you can color block it. Now, let’s get started!

First, you’ll want to pick your pattern and print out your chosen size.   (If you are using a projector you can do it but I highly recommend printing whatever piece you want to color block.  For my example, I color-blocked just the front bodice so I printed that and then used my projector to cut the rest of my pieces. )  Now if you plan on doing any “angled” color blocks and your pattern piece is on a fold- I recommend tracing the mirror image and attaching it to your piece so you have the “full piece”.   I used The Basic tee for my son and chose to only block the front of the shirt.

Now the fun part-  Choosing your color block!  Honestly, you can really do anything so just start drawing!  I use a straight edge to make sure my lines are nice and tidy (easier to sew that way).  The only thing I would avoid is really complicated shapes or anything like a floating “v-point” that doesn’t reach an end (you can see my example below in the red no box). If you are new to this technique I’d start simple to get the hang of it and then you can expand from there. This is what I drew out and what will be the final “look” of my shirt.

Once you’ve drawn your color-blocked lines you’ll want to cut them all out and these are your new pieces. Decide which fabric you want for what piece and it’s time to start cutting.

Now here’s the most important part-   You’ll need to add seam allowance to those pieces. You can choose whatever amount but I usually go with 1/4 inch.  Now you can either do this by laying your new pieces on a piece of paper and adding it to that piece so it becomes part of your pattern piece.


Or what I do is simply use my quilting ruler while cutting to add it to my piece. So for the cut part of my piece that needs seam allowance, I just line my quilting ruler 1/4 over my cut paper line and then use my rotary blade to cut that line instead of my paper line.

Make sure you add seam allowance to every place that you cut out a color block line on your pattern piece.

Now it’s time to sew!   If you decided to do any intersecting lines like this one I did.  You’ll want to sew those pieces together first.   So line up your piece edges right sides together and sew with the seam allowance you chose.  You’ll then want to topstitch your seam allowance down.

(Tip- if you are using a coverstitch I like to do a reverse coverstitch on the seam allowances with a fun color to add some extra “pop” to my color blocking).

Now repeat this with your other pieces until they all come back together.  It should finish at the same size as your initial pattern piece before you added color blocking.

Finally, you can sew your garment together as recommended by the pattern. The only difference is you have a cool color-blocked piece instead of a plain piece!


Yay!  All done!!  Can’t wait to see what you all create!

Happy Sewing,

Michelle


Filed Under: P4P University, Uncategorized Leave a Comment

Hepburn Top and Dress : : New Pattern Release!!

August 13, 2019

We’re so excited to share the newest patterns in the P4P collection… the Hepburn Top and Dress will take you from summer crop to winter turtleneck dress and everything in between! All the options will have you creating a huge variety of timeless wardrobe staples.

Hepburn- Youth

These patterns are a slim fit silhouette great for flattering your figure and also amazing for versatility because you can tuck them in or layer easily during colder weather.  The classic details will never go out of trend including the side seam split and turtleneck options.  The simplicity of the garment means it’s a quick and easy sew while the look is very polished!  By using different fabrics and options you can come out with an athletic looking crop or a holiday party dress! The possibilities are endless <3

Drafted for a high stretch knit fabric some of our favorites were rayon ribbed knits, rayon spandex blends, poly rayon spandex blends, double brushed poly, single brushed poly, cotton lycra, athlethic spandex knits (we even used swim for a rashguard top!), and of course sweater knits!

Options include: hemmed neckline, mock turtleneck, fold over turtleneck, tank, short sleeve, 3/4 sleeve, long sleeve hemmed, long sleeve with cuff (both regular and fold over style), crop, shirt, above knee dress, and below knee/ midi dress lengths.


**Want to learn more about how to measure yourself for this pattern?  We’ve got you covered with an in-depth blog HERE.  And in case you’re new to Patterns for Pirates and PDF patterns in general, we have a great blog full of new-user tips HERE to help you get started!  As with all of our current releases and updates, the pdfs now include our layers feature and can be found in Letter, A4 and A0 sizes.  And for even more helpful fun, we have a *free* printable that you can use to help record your measurements as you take them.

Let’s take a quick look at the different options!

HEMMED NECKLINE / MOCK TURTLENECK / FOLD OVER TURTLENECK

Hemmed Neckline
Mock Turtleneck
Fold Over Turtleneck

YOUTH— HEMMED NECKLINE / MOCK TURTLENECK / FOLD OVER TURTLENECK

Hemmed Neckline
Mock Turtleneck
Fold Over Turtleneck

CROP / SHIRT / ABOVE KNEE / MIDI LENGTH


Crop
Shirt
Above Knee
Below Knee/ Midi

YOUTH—CROP / SHIRT / ABOVE KNEE / MIDI LENGTH

Crop
Shirt
Above Knee Dress
Below Knee/ Midi Dress

TANK / SHORT SLEEVE / 3/4 SLEEVE / LONG SLEEVE (HEMMED, CUFF, FOLD OVER CUFF)

Tank
Short Sleeve
3/4 Sleeve
Long Sleeve Hemmed
Long Sleeve Cuffed

YOUTH— TANK / SHORT SLEEVE / 3/4 SLEEVE / LONG SLEEVE (HEMMED, CUFF, FOLD OVER CUFF)

Tank
Short Sleeve
3/4 Sleeve
Long Sleeve Hemmed
Long Sleeve Cuffed

SIDE SEAM SPLIT DETAIL

Shirt
Above Knee
Below Knee/ Midi

YOUTH— SIDE SEAM SPLIT DETAIL

Shirt
Above Knee
Below Knee


What about a little fabric choice inspiration??  One of the most common questions when we release a new pattern is what we suggest as the best fabrics. So, here are some of our favorites during testing:

ATHLETIC KNIT AND COTTON SPANDEX

Performance Knit
Performance Knit
Cotton Spandex
Cotton Spandex

FRENCH TERRY AND JERSEY


Rayon French Terry
Rayon French Terry
Poly Rayon Jersey
Bamboo Rayon Spandex
Viscose Jersey

RIBBED KNITS

Ribbed Knit
Ribbed Knit
Ribbed Knit
Ribbed Knit

DOUBLE BRUSHED POLY

DBP
DBP
DBP
DBP

SWEATER KNITS / WAFFLE KNITS

Sweater Knit
Sweater Knit
Waffle Knit
Waffle Knit


VELVET AND LACE

Crushed Velvet
Velvet
Velvet
Velvet
Stretch Lace/ Rayon Spandex Lining

I can’t wait to see what varieties everyone makes!  Go grab your pattern(s) now!

HEPBURN | HEPBURN – YOUTH | HEPBURN BUNDLE

Need more convincing?  Just take a look at this pattern on all of the amazing shapes and sizes of our testers, and get a look at more examples of all the options in our albums in the P4P Facebook group!

Hepburn Album | Hepburn -Youth Album

And if that didn’t give you enough options, make sure to check out the hacks post to help take your patterns even further.

The release sale (no code needed) will be through Monday, August 19, 2019 (11:59PM US Central Time Zone).

Happy Sewing, pirates!


Filed Under: Pattern Release 3 Comments

75k Member Sale-a-Bration and FREE Baby Set <3

January 24, 2018

I’m so excited to announce we’ve hit 75k members in our awesome P4P Facebook Group! <3 I love seeing all the inspiration, questions answered, fitting help, and proud first time shares in there! If you’re not a member yet, come join us 🙂

To celebrate we’re having a big sale- 30% off the total site for 10 days! January 24-Feb 2 2018 (US Central Time Zone).  There is a coupon code- 75ksale – but don’t worry it will pop up for you in your checkout! So you don’t need to worry about remembering it or writing it down!

We thought we’d do even more than just a sale though and have worked hard behind the scenes to create a whole Baby Set of Free patterns for you!!! I LOVE getting invited to a baby shower and making some unique handmade items for the mama and baby! Since my patterns start at 3 months there are a few great ones I go to for baby shower gifts…BUT, I’ve always thought there were a few teeny tiny newborn size things I’d love to have a pattern for as well!

I KNEW we needed a Wee Lap Tee, the envelope style neckline makes dressing newborns easier, and OF COURSE we needed Petite Pegs 🙂 We’ve been asked so many times for baby sizes of our Free Peg Legs pattern it was a no brainer! We added the Teeny Beanie to keep those little head and ears warm and a quick and easy burp cloth too. I also couldn’t help myself to a few cute cut files to add on to the gifts as well!

So, next time you find yourself expecting to be a mama, grandma, auntie, or just invited to a baby shower you will be set with this Free Baby Set of Patterns! You can mix and match them with the other favorite P4P patterns you have that start at 3M as well! I love the Baby Bear Joggers for babies!


I love adding an adorable design to the Wee Lap Tee! I hope you enjoy them and make your baby’s wardrobe or baby gifts that much more special!


Thank you for supporting P4P Sewing PDF Patterns! <3

Filed Under: Announcement, Free Pattern, Pattern Release 7 Comments

Timeless Tunic and Tiny Timeless-Pattern Release!!

September 13, 2016

I’m asked for more patterns drafted for non-stretch woven fabrics all the time! And although my heart will always sing for those quick knits 😉 I do love a nice woven top or dress too!

So without further ado, let me introduce the Timeless Tunic and the youth version the Tiny Timeless (because Baby Girl needs to match Mama sometimes)!  We also have them bundled together for a discount in the Timeless Bundle!   All will be on sale through Sunday 9/18/2016 US Central Time Zone.

new-release

listing-pictures-bundle

I love a softer drape for my own tops.  I feel like the drape gives a more flattering silhouette.  Personal favorites are rayon challis, crepe, peachskin, poly chiffon and voile.  But, I drafted it so that you can get away with using a stiffer woven like a chambray or flannel without loosing too much of the glamour!  Now you will have a great, timeless pattern that allows you to use up that gorgeous woven fabric you’ve been hoarding for that “perfect pattern”!  (ah ah ahhhhhhhhhh…)

14324626_10157531259405599_1898415430425264769_o

Both include the same options:

Tank– Perfect for warmer weather or for a nice layering piece. I loved to wear a nice silky tank under a cardigan!

14242301_10210716022718957_378574312330514505_o14241659_10100199813559177_5606052251135658841_o14125490_10207570896533783_6302897511345138404_o

Short Sleeve– A bit more coverage, but still great for warmer weather and layering!

14184470_10206952209069922_8833346384594323059_n14241581_10102547913260398_7254487766094641562_o14242208_10210571073896937_805838614165298697_o

3/4 Sleeve– A great transition length that you can wear year round.

14249950_10154503698239666_7646869345079131584_o14352546_10210567848103560_4851958667013892215_o14206059_10157281958945562_7297118569733716242_o

Long Sleeve- Take this length into the colder months no problem! A lot of our testers loved the longer sleeve paired with a cozy flannel!

14242334_10104325619441019_6908037680625653308_o14125531_10157496754100599_3483788795218596629_oimg_3072

Top/Shirt Length- Cute, comfy, and easy to wear!

14324611_10153780722145841_3662509677212397532_o14238084_10153700243027016_1014006267670653907_n

Curved Tunic Length- My personal favorite 🙂 It’s flattering and has some coverage but still looks trendy and put together. Younger girls love that curved tunic for pairing with skinnies or leggings!

img_279114231138_10153769419810841_3613078633363806887_o14290074_10153768368870841_553585620824454842_o

Dress Length- Meant to hit about 2″ above knee (a super flattering length on all shapes) you can make it casual everyday or sew it up in a nicer fabric and pair with heels to dress it up!

14258341_10207132892821807_6136906350317382751_o14207652_10157496740100599_2033111073842957631_oimg_2624

So, just how versatile is this pattern? It can really be styled up or down so many ways you could wear this anywhere!

This is such a classic look you can make it a casual, everyday/play look:

14249963_10154503755929666_9129185631609573782_o14231413_10207876129193547_6674605127882798680_o14205954_10210512674724260_4397482894494798683_o

Maybe a casual date, girls meet up, or shopping day:

14207814_10154300057696539_8237162624284821183_o14203258_10208929354683616_2720049744373384192_n14207750_10210551066636768_7037204826372407243_o

Use something a bit nicer and you have a great office or work wear attire staple. Send your littles in it for school ceremonies or picture day:

14231234_10153612253591735_8839325507524326519_o14232033_10208995061987559_5269068041149513619_o14188314_721772925249_1691406524578386645_o

It’s the perfect style for a shower or party! Perfect for those adorable border prints as well!

14196081_10153869020893317_5082474374666622486_o14291746_10100703800196229_1962536080284580740_n14249724_1066496020113465_6724777699018234887_o

You can even do a great silky fabric and make a more formal version:

14222301_10154394234975185_4863718361316041852_n14206175_10103253572656169_8892717186004317338_o14207838_10154332104716539_4627475586566883372_o

Warning though, doing this dress in a fabulous silky leopard print can really make you feel glamourous!! This little one had some great modeling poses in her fancy dress!! Don’t we all love to feel beautiful! <3 <3 <3

14311451_10154332105296539_2865024478159272751_o

I hope you enjoy this new pattern as much as we all do!

The Timeless Tunic and Tiny Timeless will be a great weapon to pull out when you or your little one find that perfect woven fabric!

img_9056

Filed Under: Pattern Release, Uncategorized 2 Comments

Raglan Colorblock Tutorial (Guest Post)

December 15, 2015

Today’s post is a fun one!
We are giving you all a special guest post from a Patterns for Pirates fan, who sewed up this adorable colorblocked version of the Women’s Raglan.  Ashley posted this on the P4P facebook group and we couldn’t help but want her to share it on here.

raglan-colorblock-tutorial-cover

Ashley’s tutorial is specifically for the women’s raglan, to achieve the look that she has masterfully come up with.  BUT, you can take information from this and colorblock anything with these techniques!  (For instance, P4P’s Katy shows you how to do a curved colorblock with the women’s henley on her blog HERE.)

Without further ado, take it away Ashley!

Front Colorblock

a. Start with the Front of the Raglan Pattern. Mine is cut for the Small size. I then take a sheet of wax pattern and unroll it until it’s just about the size of the pattern piece. Trace the existing pattern onto the wax paper and decide what length and neckline you would like. In this example, you’ll see the curved hem and a modified V Neck (see step 2 for instructions on doing the V-­‐Neck prior to going onto step b).

b. From the end of the arm hole measure 2.5 inches Draw a line straight across the pattern piece (shown as the green line in Figure 1). . Then measure ¼ of an inch down from that line and draw another line. ( Shown as the blue line on Figure 1. Here you are adding on ¼ seam allowance for when you add your stripe pieces).

c. Cut on the pattern on the 2 ¾ line (blue). Continue with cutting the rest of the pattern. Make sure you make all of the original marks like fold lines and notches so that you can line up the pattern correctly. I also label what each piece is so that I don’t get confused later on. d. FT = Front Top, FB= Front bottom.

V-­‐Neck adjustment

a. I personally don’t like a deep V-­‐neck. So what I did on the Front is where the flat part (small pink line) is on the top of the pattern, where the front scoop (green line) and the armhole meet, I extended it to the left, approximately 1/4inch. I then eye balled it where I wanted the V to end on the middle front of the shirt and drew a diagonal line from that point to beginning of the new flat part (long pink line).

Microsoft Word - P4P Raglan Colorblock Shirt with Striped Arms.d

Sleeve alterations

a. Start by taking the sleeve piece and unroll two pieces of wax paper. You’ll have to tape them together in order for it to be wide enough.

b. Trace the outline of the existing sleeve.

c. Measure 2.5 inches down from the left shoulder seam that will eventually meet the front seam ( green line). In my example it’s the short sleeve line for the red dots line on the original pattern.

d. Measure ¼ inch from the green line and draw a straight line across the pattern (blue line). Again here we are just adding a seam allowance. In my example it’s the short sleeve line for the red dot dash on the original pattern.

e. RT= Right Top

Microsoft Word - P4P Raglan Colorblock Shirt with Striped Arms.d

f. I then used the existing solid red short sleeve line for where I wanted my stripe to end. I drew a line across there (green) and also ¼ of an inch down from there (blue). The middle piece with the seam allowances added is equal to 2.5 inches wide, which when sewn, will give you an ending piece of 2 inches.

Microsoft Word - P4P Raglan Colorblock Shirt with Striped Arms.d

g. Now that we have the top and bottom sections of the arm we need to do the middle part with the stripe. What I did to make things easier was draw lines across in the middle of the middle sections and shaded it in so that I could see how wide the stripe was going to end up being on the finished product. (See photo)

Microsoft Word - P4P Raglan Colorblock Shirt with Striped Arms.d

h. After I was happy with it I cut the pattern on the GREEN line of the RT and the BLUE line of the RB. Now here’s the tricky part. If you were to just cut out that piece you would end up with a middle piece that’s too small and therefore our sleeve length will be short. I took the RM in the wax paper and taped it onto two pieces of computer paper. I then measured ¼ inch on the top and ¼ inch from the bottom. I extended the lines out in order to make the total width of the RM 2.5 inches.

Microsoft Word - P4P Raglan Colorblock Shirt with Striped Arms.d

i. For the stripe in the middle of RM I measured the shaded in part of it and then traced the measurements onto a piece of computer paper so that I had a hard copy and not just the wax paper.

Microsoft Word - P4P Raglan Colorblock Shirt with Striped Arms.d

Cutting

a. Whew! The hard part is over. Now would be a good time to eat a donut or whatever your favorite snack is because you just made it through the hardest part of the hack (in my opinion.)

b. Now that you have all of your pieces you need to decide what color you want the top and bottom parts of the front. In my example the top is plaid and the bottom is black. I then took all the parts for plaid, FT, RT, RB, & stripe and made those into a pile. Then FB, RM, and Back in another pile for black.

c. When you lay out your pattern pieces make sure that if it needs to be on a fold, like the FT, FB, or back that you put it on a fold. For all of the sleeve pieces I just doubled up my fabric so that I end up with a Right and a Left once cut instead of mirroring (too much work).

Microsoft Word - P4P Raglan Colorblock Shirt with Striped Arms.d

d. I added about 1.5 inches to the bottom of RB also so that I could hem the sleeves. You do not need to add as much as I do it’s your preference. You can do anywhere from .5 inch to 1.5 here because we aren’t attaching cuffs.

Microsoft Word - P4P Raglan Colorblock Shirt with Striped Arms.d

e. The only thing you need to remember with cutting FB is that you need to measure up ¼ inch in order to account for the seam allowance when you sew them together. All of my seam allowances are ¼ inch until you sew the side seams and sleeve seams. Those you would do your normal ½ inch.

f. You also want to cut out your RM pieces. Those do not require a fold.

Microsoft Word - P4P Raglan Colorblock Shirt with Striped Arms.d

g. Once you have everything cut out, keep the pattern pieces for the sleeves pinned so that it’s easier to put all the left and right pieces together.

Sewing machine/Serger time!!!

a. Time to put this shirt together. The first thing I always do is my hems, so that they are out of the way. You can do them however you want but I find it easiest to iron first, then use hem tape, and finish with a straight top stitch. I avoid zigzag stitches at all costs just because that’s the easiest way for me to tell between a store bought and homemade shirt. Personal preference only.

b. Now that the shirt hems and sleeve hems are finished let’s start with the easier pieces. Take TF and BF with right sides together and sew at the seam. Always remember rights to rights.

c. I serge everything when it comes to apparel so when that is finished I press the seam and top stitch so that it lays nicely when you wear it. This is optional.

d. Now it’s time to do the sleeves. I took a strip of Heat N’ Bond Lite (or Wonder Under) and with the wrong side of the stripe on the sticky side, iron on the Heat N’ Bond. Let cool and then peel off paper backing. Then line up in the middle of MR and press to adhere to MR. Top stitch or zigzag around edges in order to secure (optional).

e. Line up TR bottom edge with MR top edges, rights to rights, and sew. Open seam, press, and top stitch

f. Line up MR bottom and BR top edges, rights to rights, and sew. Open seam, press, and top stitch. Repeat with Left sleeve pieces.

You are in the home stretch.
Now all that’s left is to follow the same steps you would take with any other raglan. Attach the sleeves to the front and back panels and then sew sleeve seams and side seams.

The VNeck I treated similar to any other neckband except I didn’t start with a loop nor did I measure it out beforehand. I just cut a strip about 1.5 inches wide, folded in half, and press, then starting at the V in the front attach like you would binding on a quilt or other necklines.

I hope everyone enjoys this new colorblock design and if anyone has any questions I’d be happy to help out or explain something!

Microsoft Word - P4P Raglan Colorblock Shirt with Striped Arms.dMicrosoft Word - P4P Raglan Colorblock Shirt with Striped Arms.d

***Next time I think I’ll just make the MR and Stripe one piece similar to the elbow patch instead of spending so much time sewing each piece of the sleeve together and topstitching. That way you could cut full sleeve pieces and then attach the MR/ML with Heat N’Bond and zigzag stitch down.

Filed Under: Pattern Hacks Leave a Comment

Layer Me Up Nursing Hack

November 23, 2015

I love wearing my Layer Me Up tanks under cardigans during the fall and long sleeve option during the winter.  I can pull down the neckline to nurse, but I love to have something up and down for nursing in public.  So, this hack was born!

It is quick and easy too, which is a plus if you’re nursing and taking care of baby!

I cut out one layer me up exactly as the pattern calls for.  I added one piece using the front piece.  I measured from my armpit to below my bust and transferred that to the pattern piece.  This will become my lift up piece hidden under my normal pieces.

SAMSUNG CAMERA PICTURES

Since the layer me up is a tight fit shirt that requires a 50% stretch spandex blend fabric, you don’t necessarily need to add any elastic to keep it from stretching out with wear/pulling throughout the day.  But, you might want to add it to the bottom raw edge of the hidden lift up piece just to add a little weight and to keep it from shifting around at all during wear.  I serged it on, then hemmed under.

SAMSUNG CAMERA PICTURES


SAMSUNG CAMERA PICTURES

I wanted the under piece hidden, so I trimmed about 1/2″ from the neckline.  You could hem it under if you wanted it to be pretty :).

SAMSUNG CAMERA PICTURES

Pin your under layer to the wrong side of the front piece and sew up your shirt normal–the only other modification is at the neckline.  You will attach the neckband only to the main shirt and leave your hidden piece loose.  This way it is free to come up when nursing.

SAMSUNG CAMERA PICTURES


SAMSUNG CAMERA PICTURES

Now you have a shirt that looks perfectly “normal” and can pull down the neckline and hidden piece up to nurse!  You can wear it after just as is, or cut out your hidden piece and wear :).

SAMSUNG CAMERA PICTURES


SAMSUNG CAMERA PICTURES

I grabbed a lovely colored ribbed knit without thinking (remember I have a tiny newborn 😉 ) and it had HORRIBLE recovery.  No spandex— it grew and grew and grew! So, I will be trying this hack again in the correct material!

SAMSUNG CAMERA PICTURES

And of course, one with Little Guy photobombing 🙂

Filed Under: Pattern Hacks, Uncategorized Leave a Comment

Newest Patterns

  • Uptown Joggers - Youth $10.00 $8.50
  • Uptown Joggers $12.00 $10.50
  • Uptown Joggers - Bundle $20.00 $18.00
  • Notch Top & Dress $12.00
  • Notch Top & Dress - Youth $10.00
  • Privacy Policy
  • Refund Policy
  • Affliliate Program
  • Contact Us
  • About

Copyright © 2023 Patterns for Pirates

Copyright © 2023 · Genesis Framework · WordPress · Log in