Patterns for Pirates

P4P stylish, modern, wearable patterns

  • Home
  • Blog
    • Frequently Asked Questions
    • Pattern Releases
      • Free Patterns
    • P4P University
      • Fitting
      • Sewing with Stretch, Knit Fabrics
      • Sewing with Woven Fabrics
      • Sewing Machines
    • Sew-A-Longs
    • Fabric for Pirates
    • Pattern Hacks
    • Announcement
      • Blog Tours
      • Contest/Giveaway
  • Shop
  • Bundle Discounts
  • Flash Friday
  • Gift Cards
  • My Account
  • Cart

Sugar Maple Skirt :: Easy Hacks

April 12, 2022

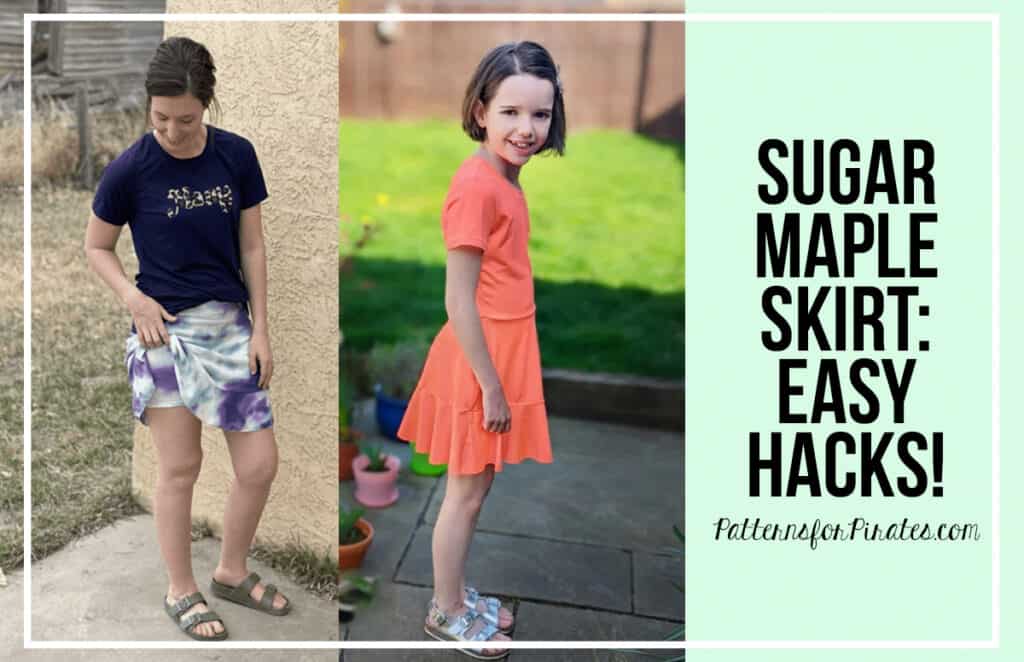
Have you heard the news?  P4P just dropped our latest pattern and it’s the swishiest, twirliest thing we’ve put out in a while!

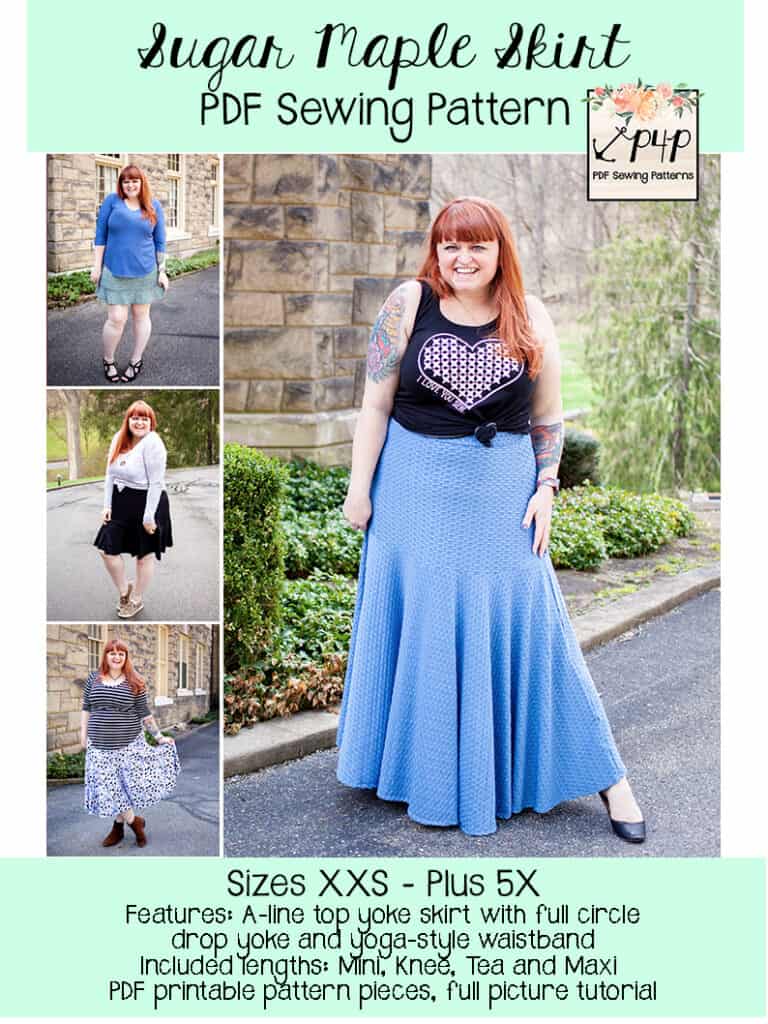
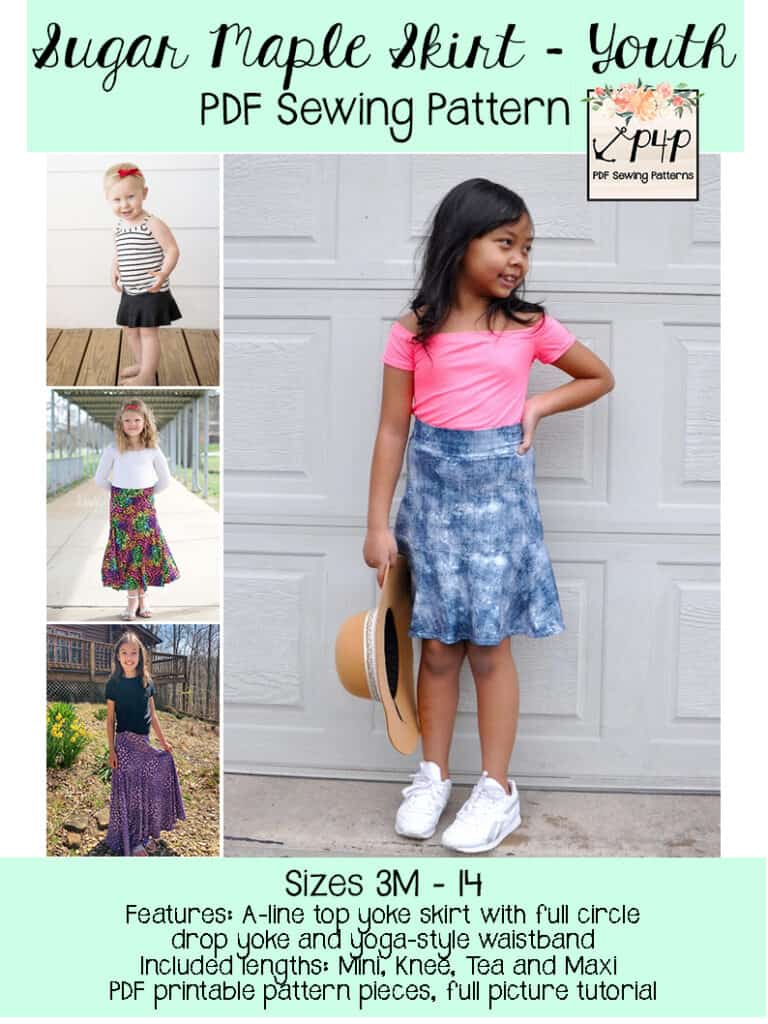
The Sugar Maple Skirt is an a-line skirt with a full circle drop yoke.  It is designed to be worn at the natural waist and comes in four lengths: mini, knee, tea and maxi.  The top yoke has a flattering, body skimming silhouette, while the fuller part of the skirt joins just below the booty.

Whichever length you choose, each provides for ALL the swishy, twirly goodness that you could hope for in a skirt. The Sugar Maple is a great basic skirt pattern to have, an excellent sewing project for beginners, and it comes together so quickly that you’ll end up making multiple before you even know what happened!


Before you do anything else, go read all about the newest pattern: the Sugar Maple Skirt!  It’s available in Adult – Hourglass and Youth sizes and is just the sweetest.

But guess what we went and did?  We made it even sweeter by giving you some super easy, super fun pattern hacks to take the pattern a little further!

Dress Hack

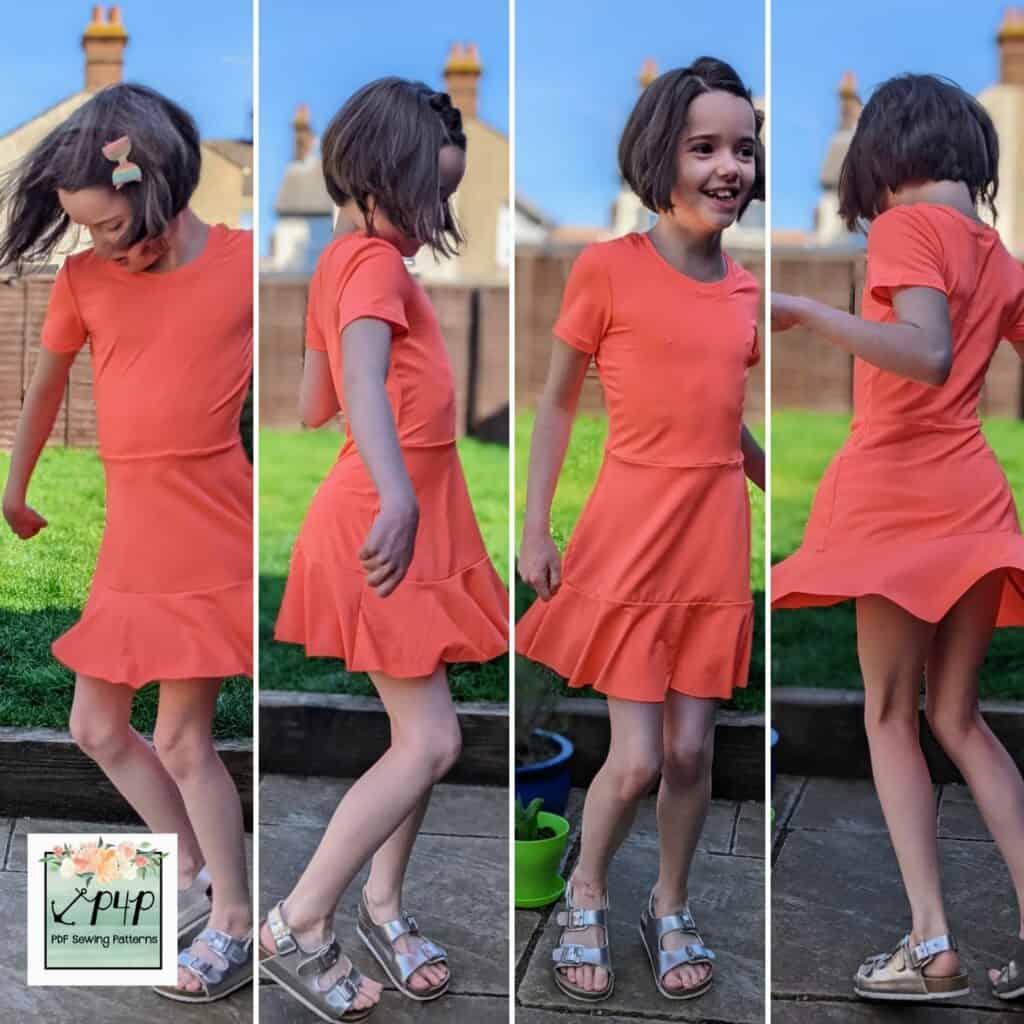
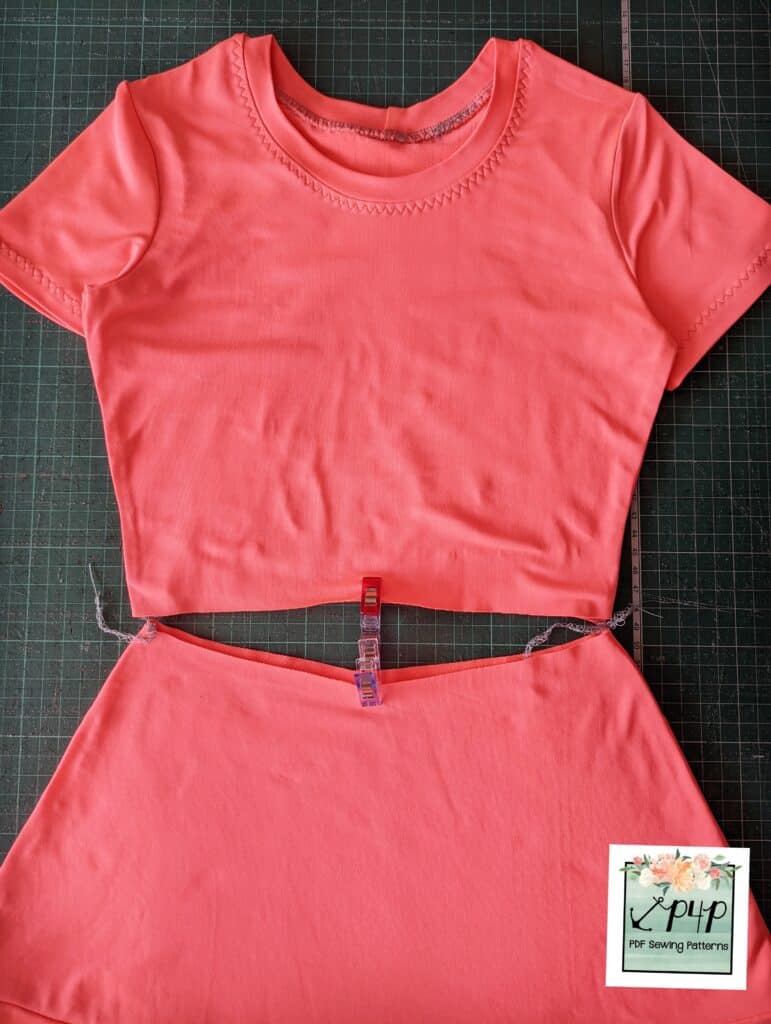
The best way to get a little bit of twirl into your life is with the new Sugar Maple Skirt, I think we can all agree on that! If you love the twirly, whirly skirt but like the ease of a dress then this hack is for you. My daughter is now 8 and insists on picking her own outfits, but some of her choices can be pretty adventurous and she loves a colour clash. For me, a dress is the easiest option every time. I matched the Sugar Maple Skirt with the bodice of the Rainbow Dress Youth
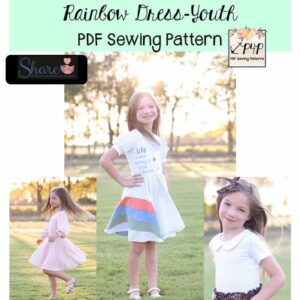
They meshed together perfectly!

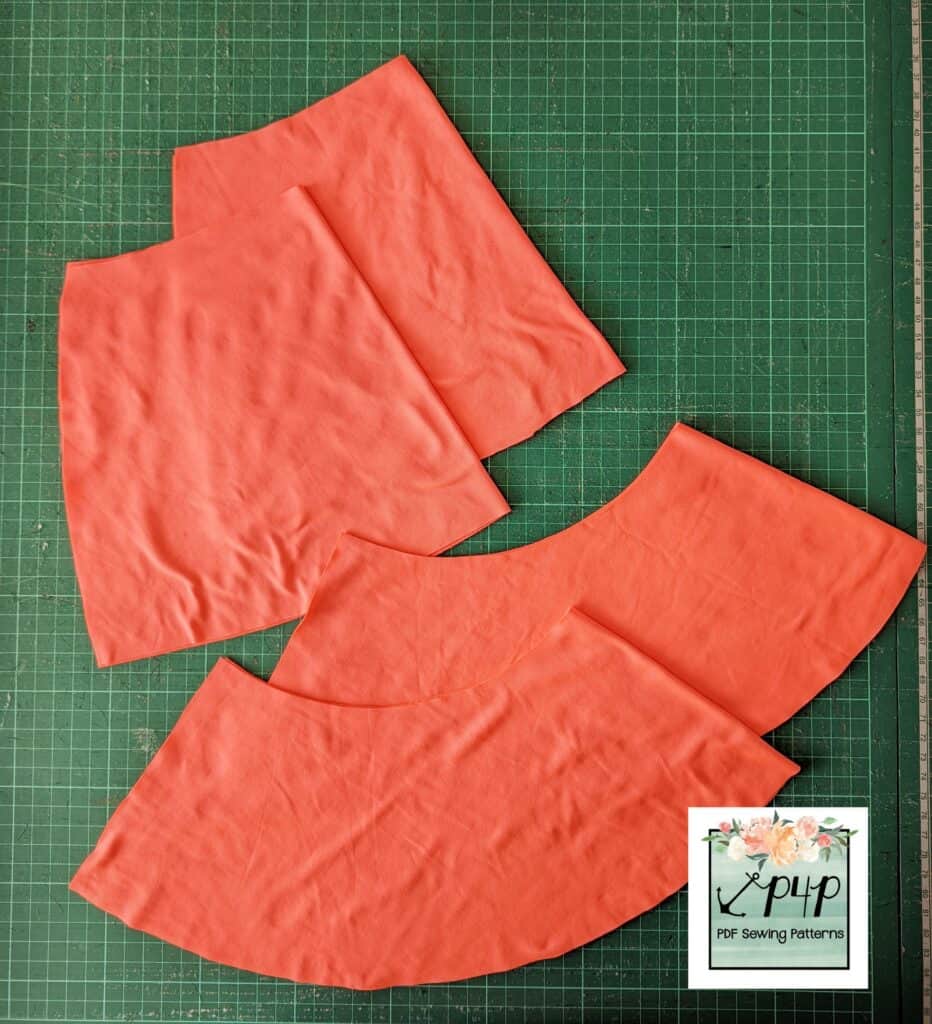
Sugar Maple Skirt
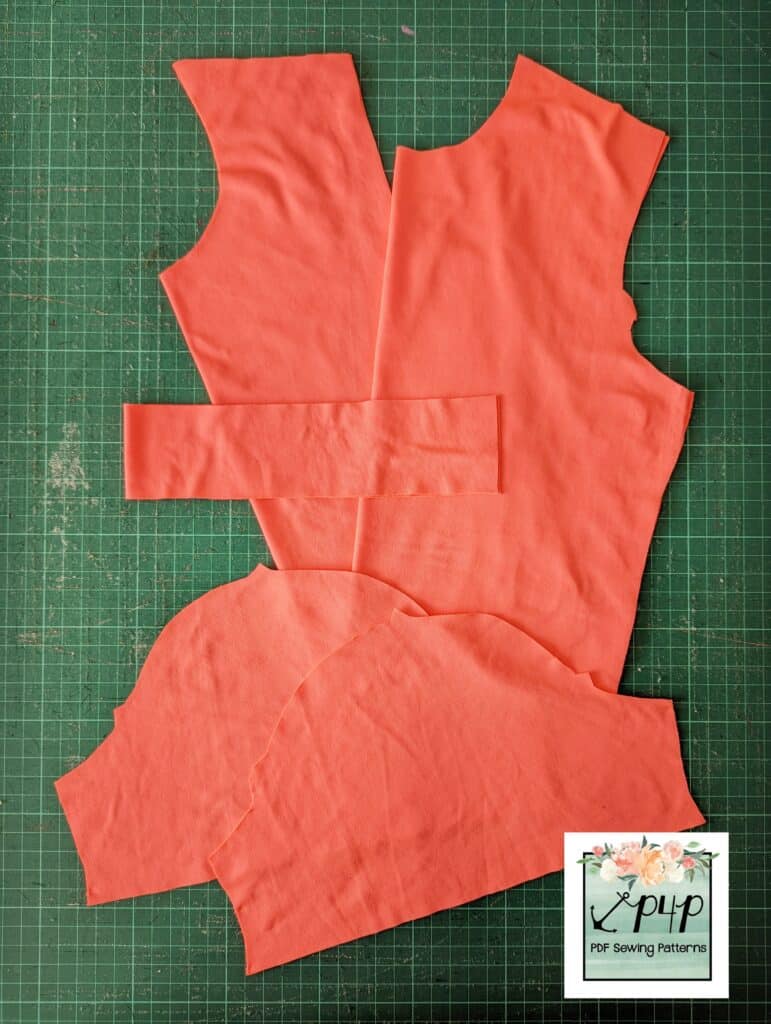
Rainbow Dress bodice

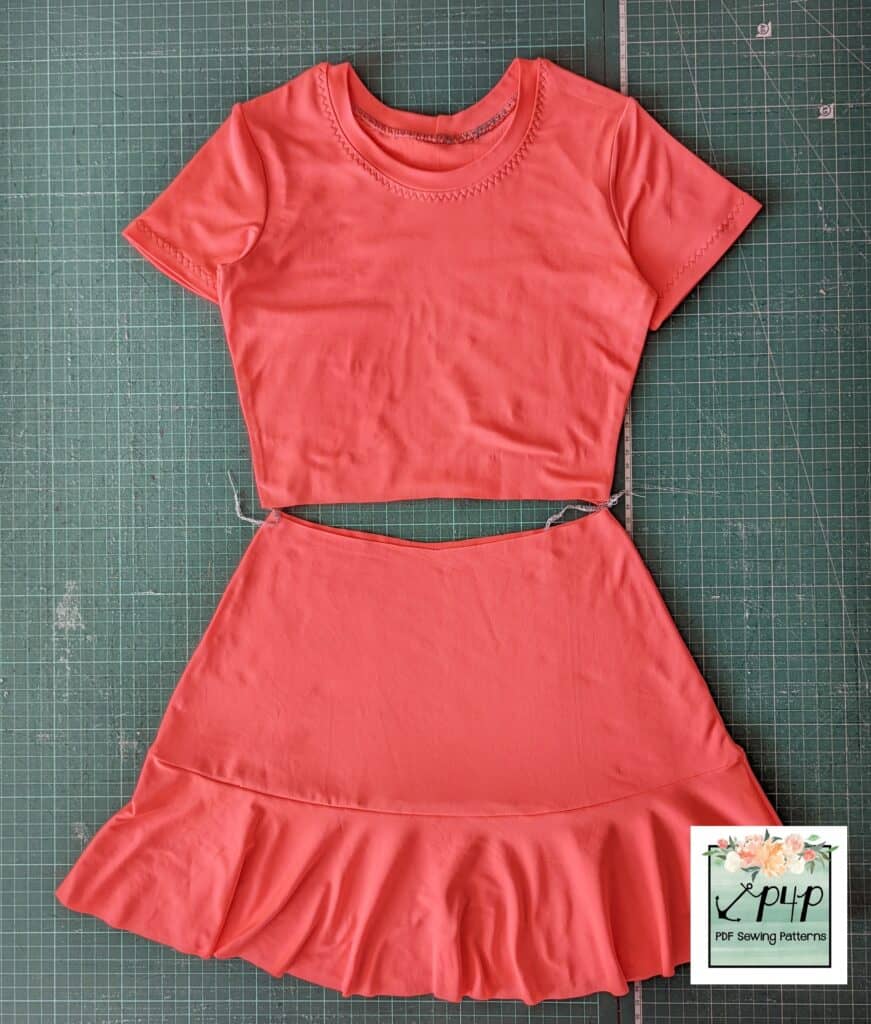
All I had to do was cut out the bodice of the Rainbow Dress and Sugar Maple Skirt as normal and just omit the waistband for the skirt.  I sewed them each up individually as per their instructions and then laid them down next to each other to check they would fit together nicely at the waist.

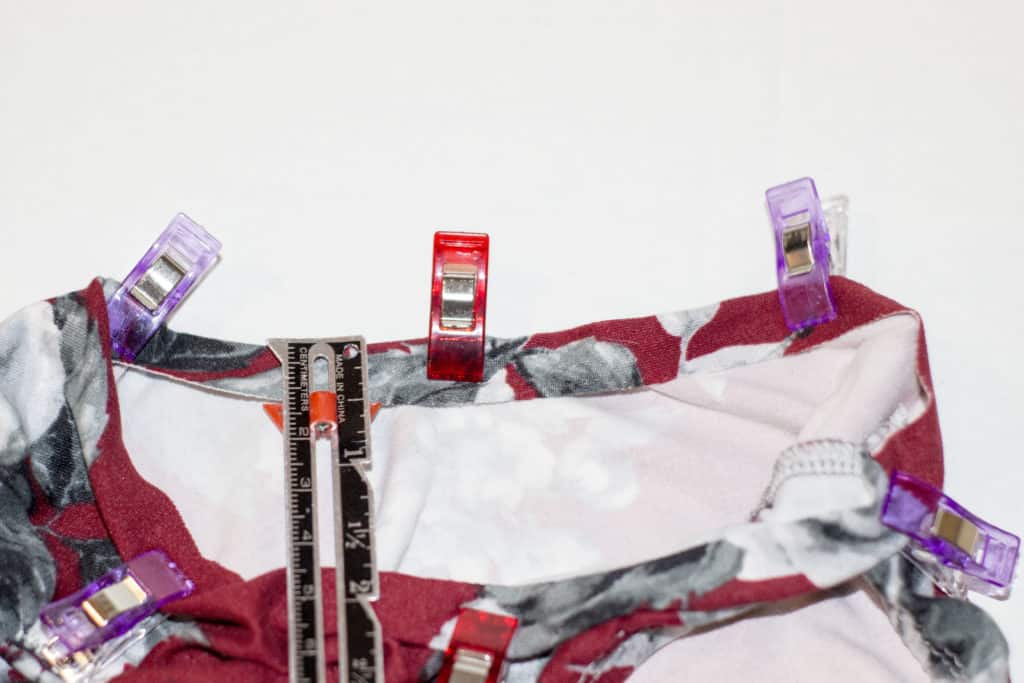
I had to shave a smidge off the side seams at the waist of the bodice to get a perfect fit, but it was only 1/4″ either side.  Then quarter your bodice and skirt pieces at the waist, using clips or pins.

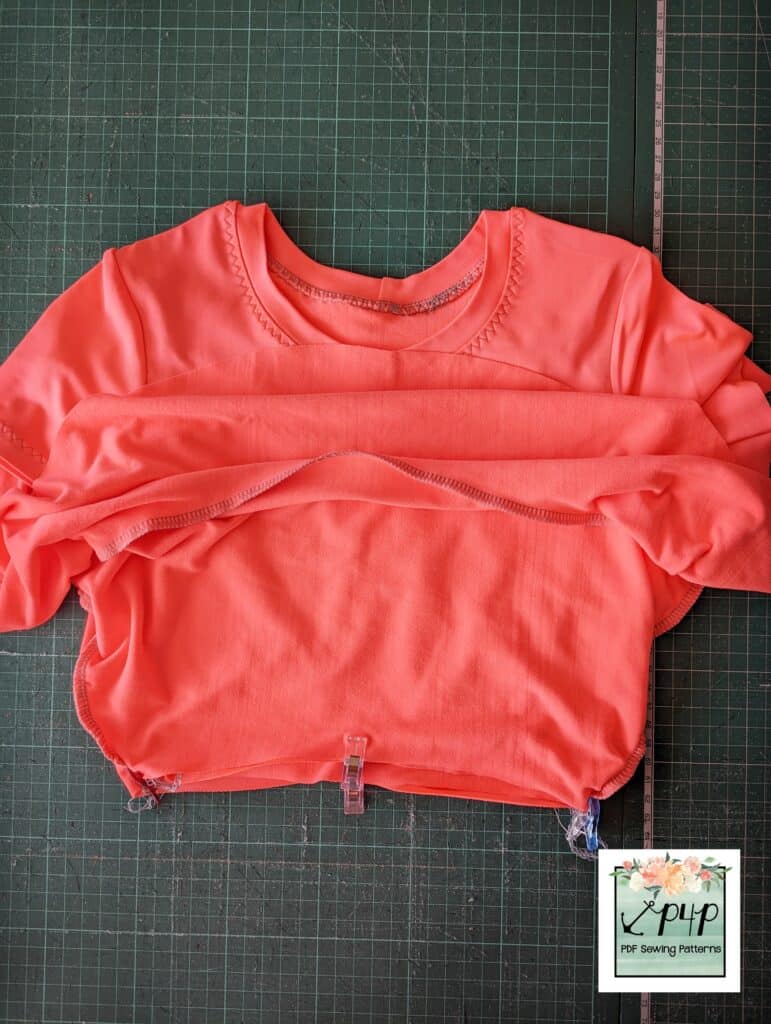
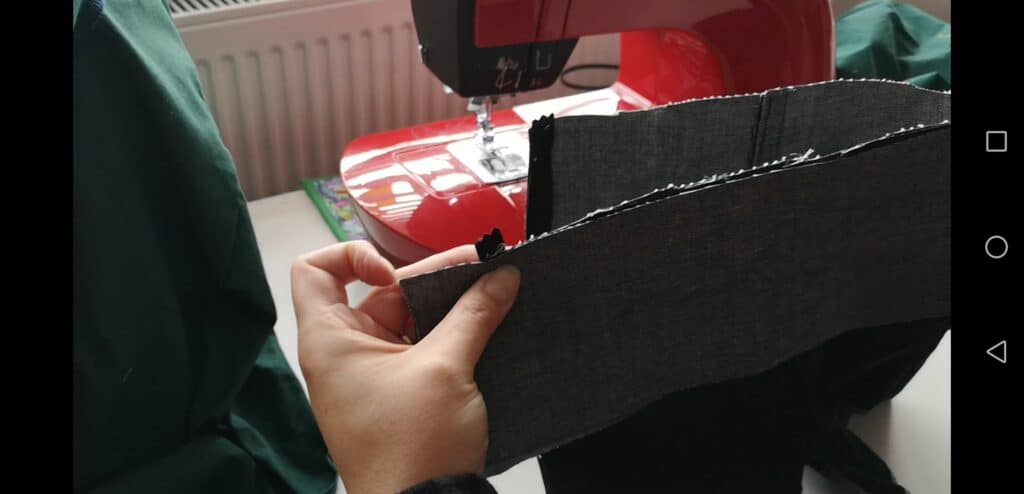
Flip the skirt up and over the bodice so they are right sides together, and clip them together.

Finally, just sew the skirt to the bodice and you’re done.  It’s as easy as that!

Twirl away to your heart’s content.  I hope you love your new dress as much as we do. Happy Sewing! Dana xx

Skort Hack

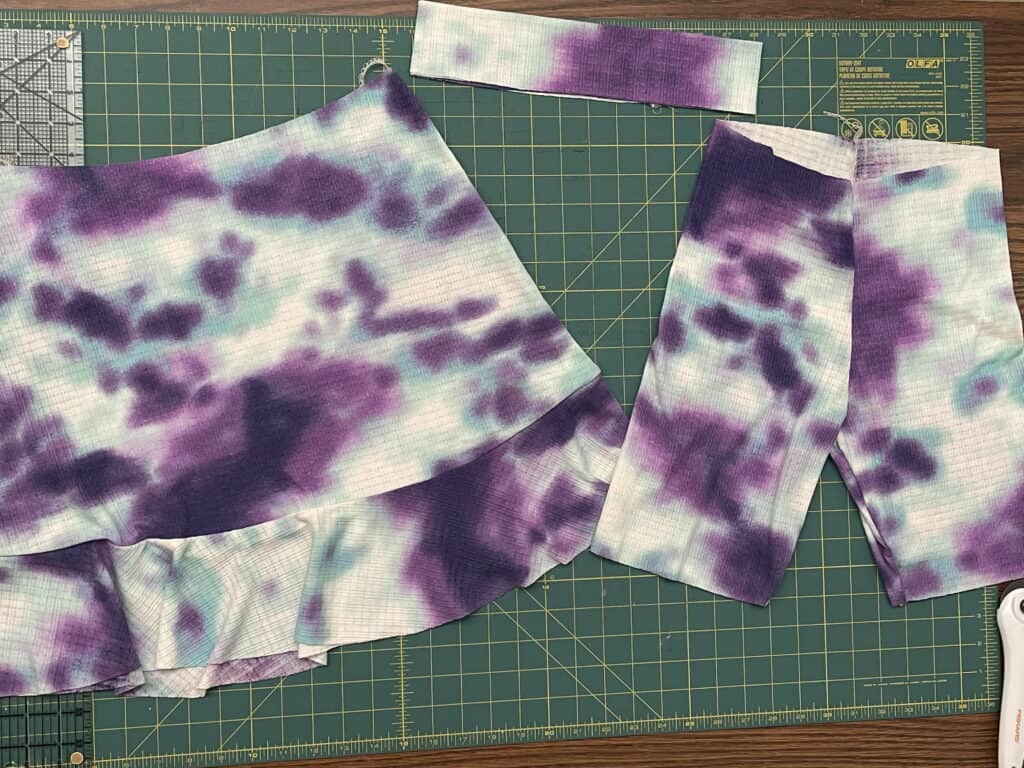
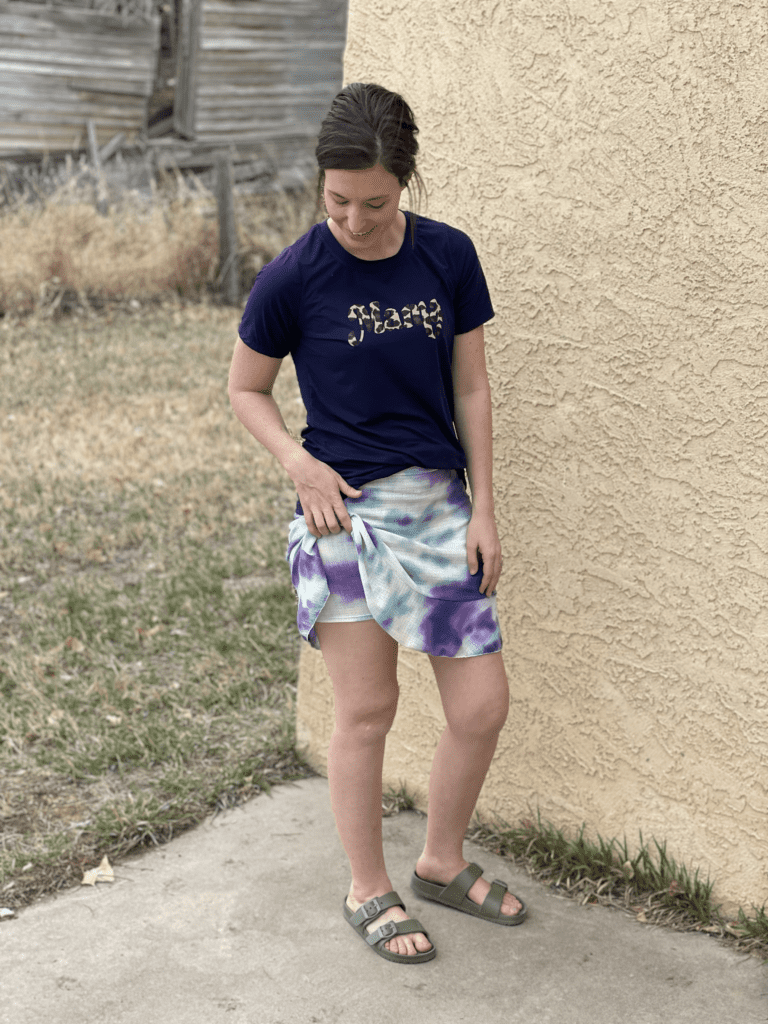
As soon as the testers started talking about their plans for the Sugar Maple Skirt, many of them decided that it’d be the perfect skirt to turn into a skort — and we have the perfect pattern to help create that with the Peg Leg Leggings!  Many thanks to Kalene Bartlett, our tester extraordinare, who photographed her steps of making the ::perfect:: skort! My sisters-in-law are big runners and I think they’d adore a running skirt like this!  But I’ve also heard that plenty of mommas would love to have some added coverage for chasing littles around during the warmer months….not to mention it’s a perfect solution for fighting off that dreaded thigh chafing experience while rocking skirts. Because the Sugar Maple Skirt is meant to sit at the high waist, you’ll want to cut the Peg Legs pattern at the high-waisted cut line. You’ll need:

  • Peg Legs Leggings, in shortie / biker length…depending on the length of your skirt (assembled per the pattern instructions)
  • Sugar Maple Waistband
  • Sugar Maple Skirt top + drop yokes (assembled per the pattern instructions)

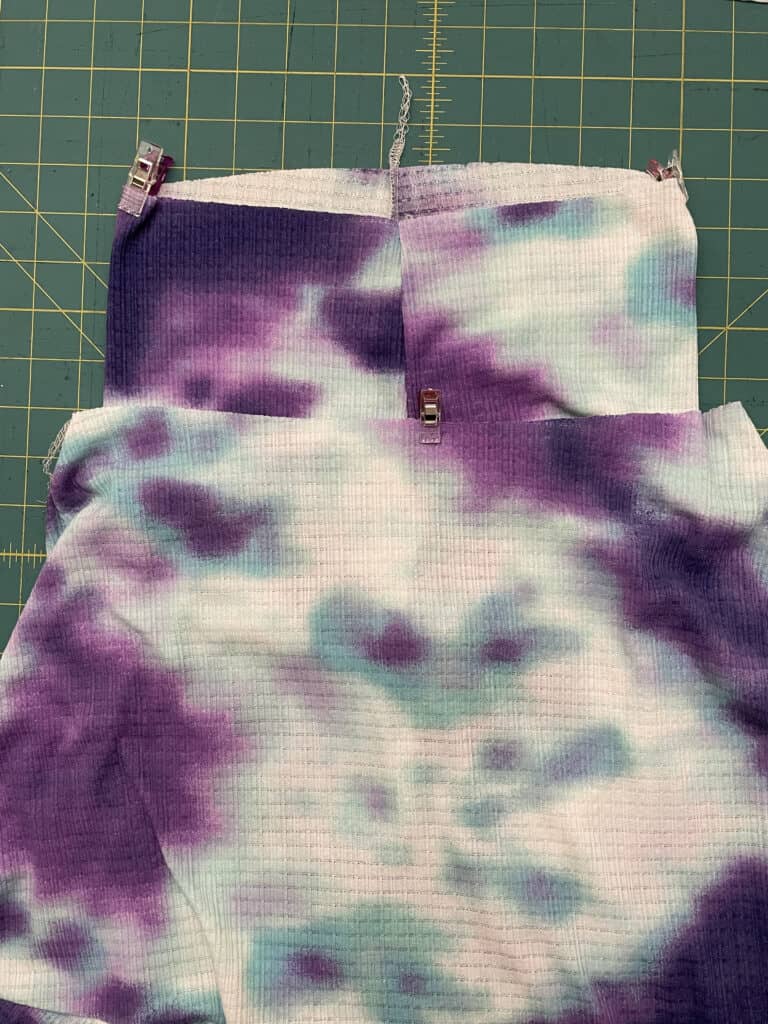
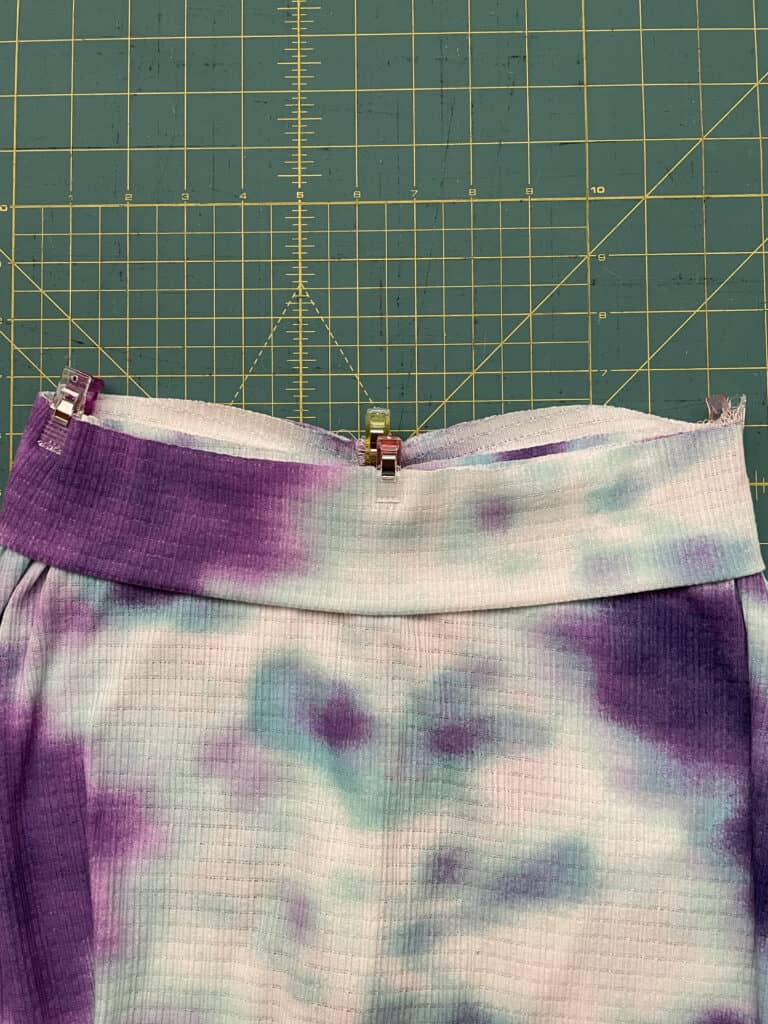
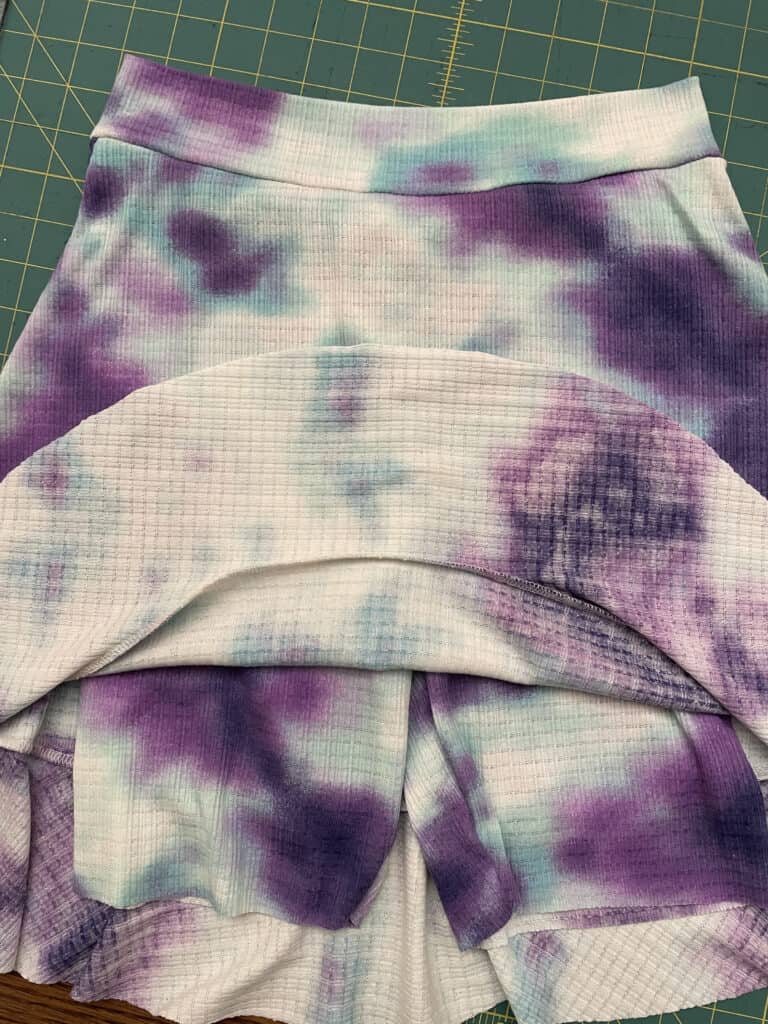
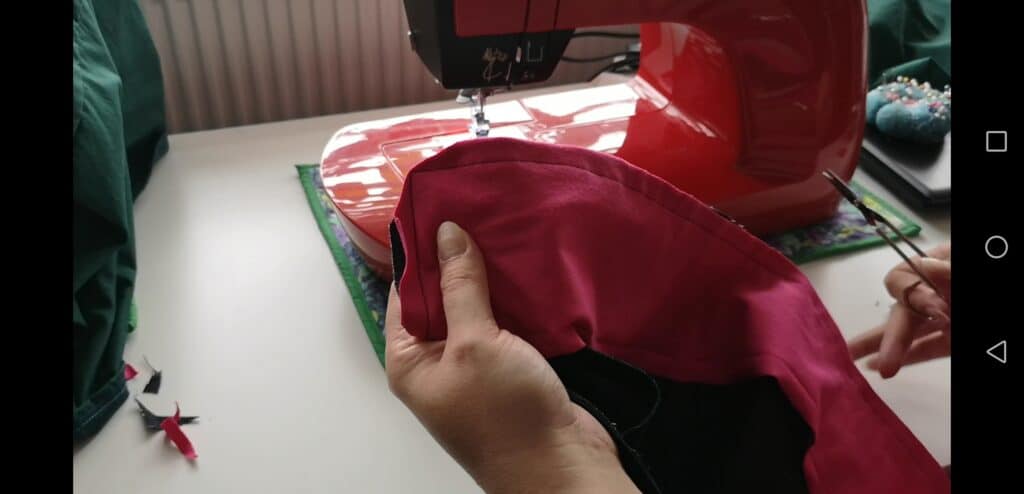
Mark the quarter points on both the Peg Legs and Sugar Maple skirt.  Slide the Peg Legs inside of the skirt, right side of the Pegs facing the wrong side of the Sugar Maple.  Pin/clip in place.

Find the quarter points of the waistband, and slide over the Sugar Maple / Peg Legs pieces…matching previously marked quarter points.
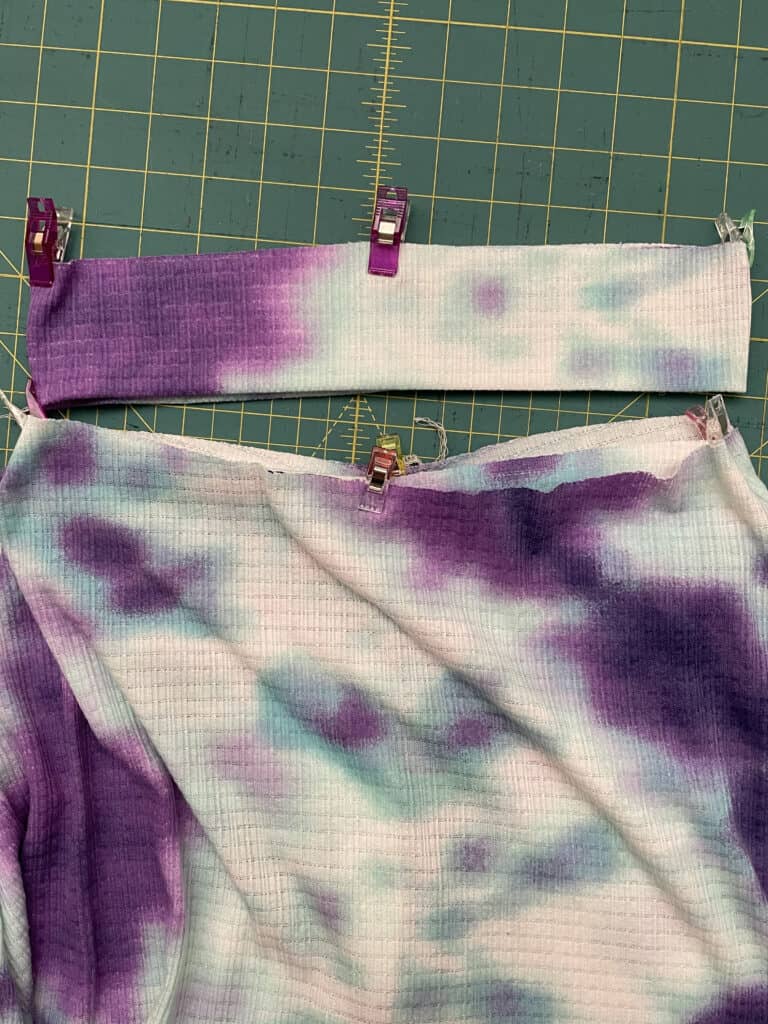
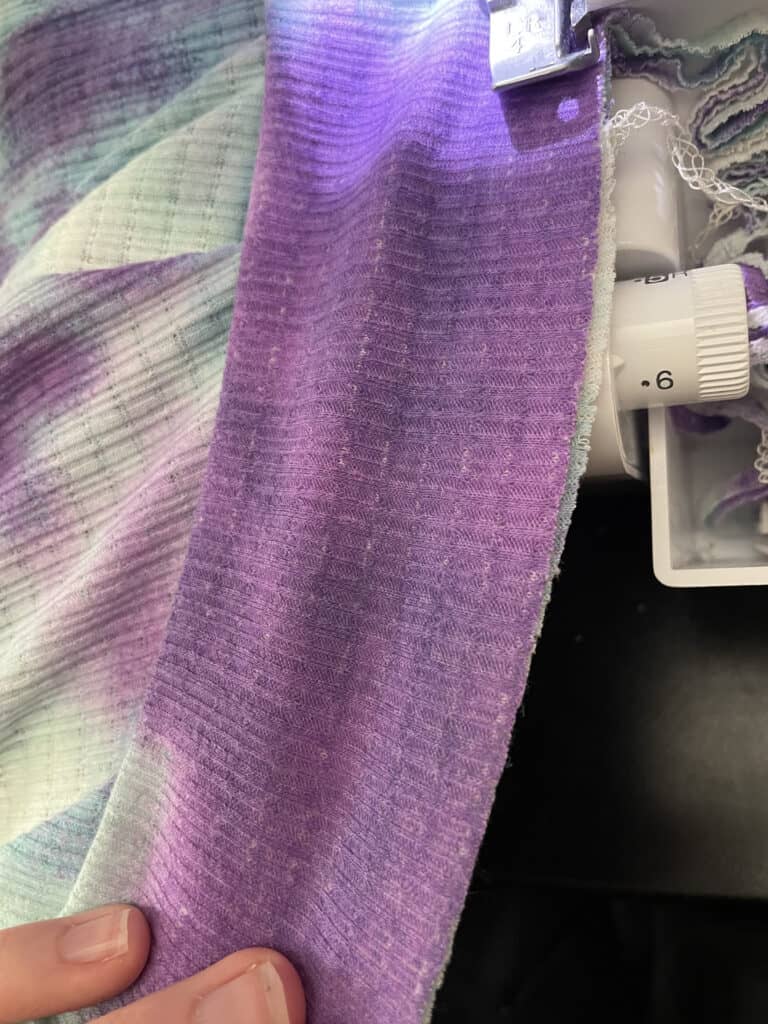
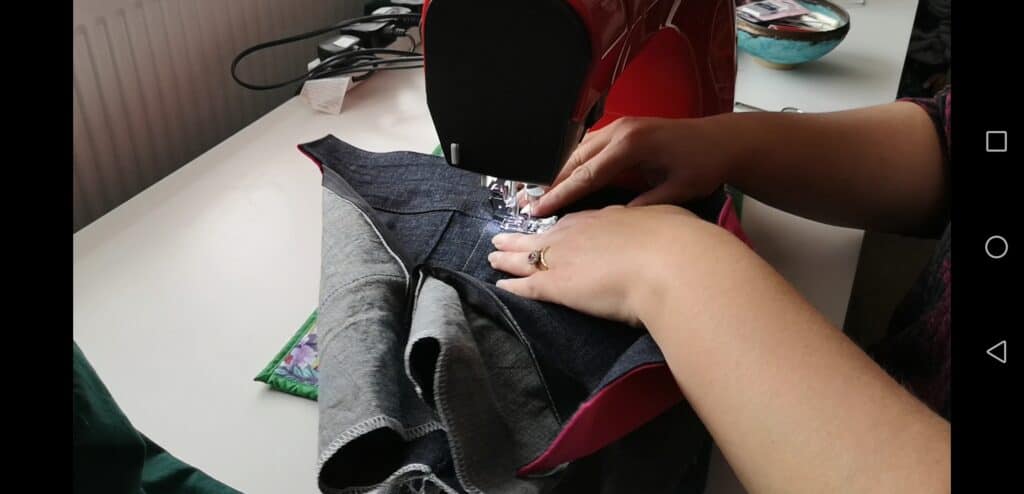
Sew all 3 pieces together, stretching the waistband and Peg Legs slightly to match — careful not to stretch the skirt opening.

Flip waistband up.  Hem skirt and shorts.

You’re finished!  Now go be like Kalene and be cut, comfortable AND covered in your new Peg Legs / Sugar Maple Skort!

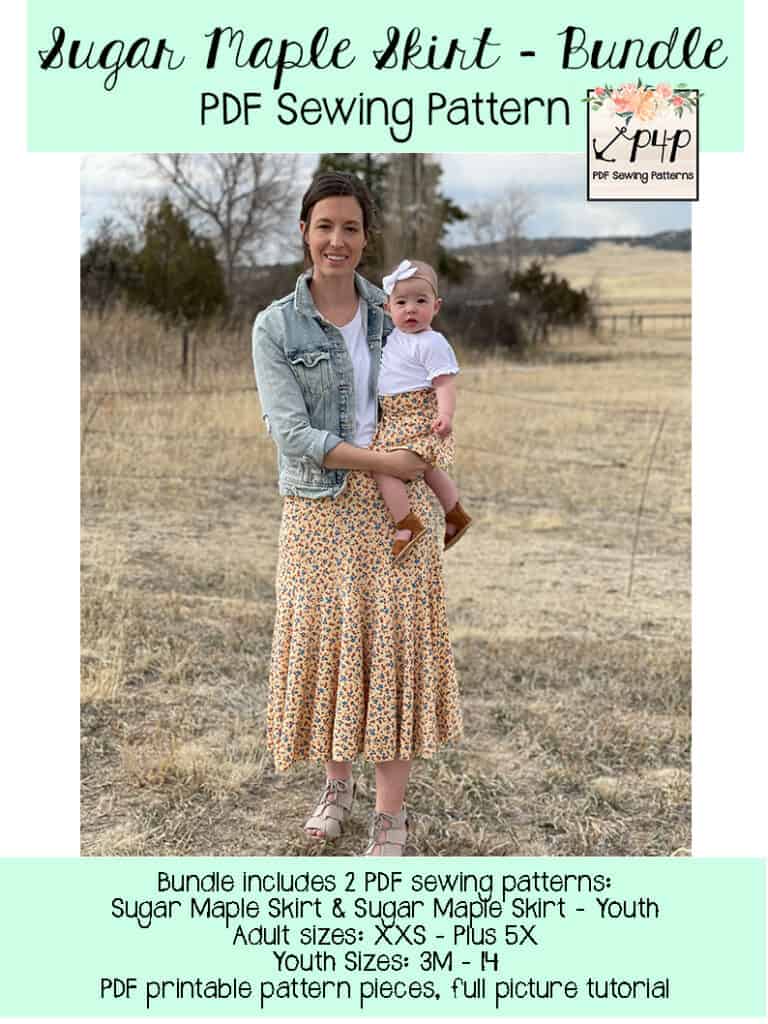
I am beyond excited to see the Sugar Maple Skirts that you make!  Head on over to the shop and grab yourself a copy of these new patterns!  They are available on sale (no code needed) through 11:59pm CST, April 17, 2022.

Sugar Maple Skirt – Adult | Sugar Maple Skirt – Youth | Sugar Maple Skirt BUNDLE

Hoping for a little inspiration before diving into some Sugar Maple sewing?  Head over to our Facebook group where you can see tester albums full of amazing images!

Sugar Maple Skirt: Adult Album | Sugar Maple Skirt: Youth Album

Filed Under: Pattern Hacks, Pattern Release 2 Comments

Vintage Jumper – Easy Hacks

October 1, 2020

The Vintage Romper is here and we couldn’t be more excited to share with you the blog team’s take on some easy hacks. Grab your patterns and let’s get started!

…..

Pants/skirt

Do you love shorts like we love shorts?! Then you’re in the right place. I’m going to spend a little time today showing you how to hack the new Vintage Romper into a shorts or skirt only piece. It couldn’t be easier and I have even filmed a little tutorial showing you how to adapt the waistband pattern piece and then put the waistband together too, which you can find here:
However, if you like it old skool here is the written blog post. 


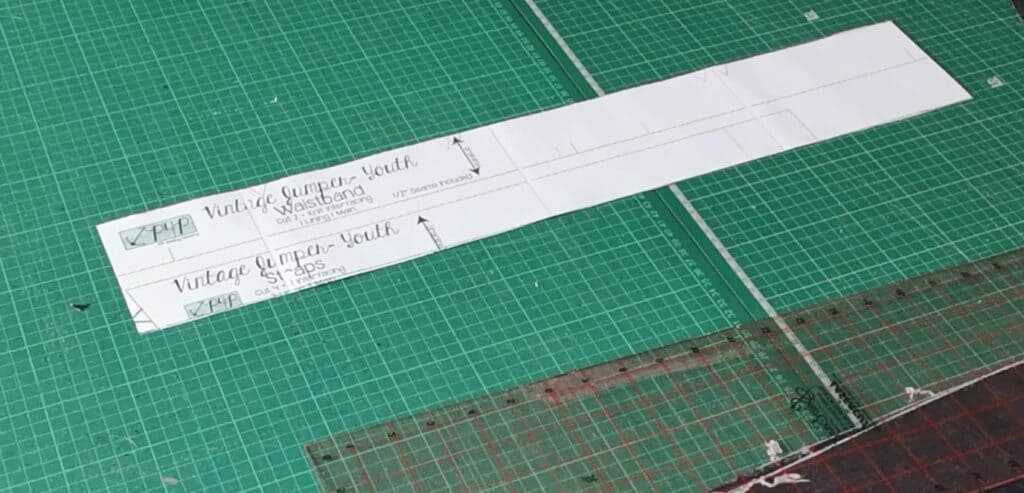
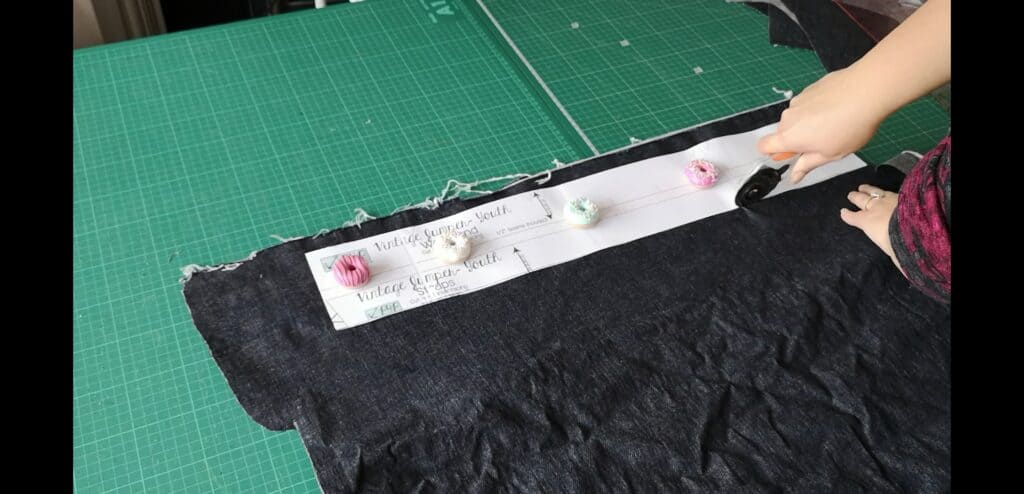
First you will want to cut out your skirt or pants pieces as per the regular tutorial. Then take your waistband piece and double the height of it. I used the Youth pattern to make mine and this measured 2 inches in height so I doubled it to make it 4 inches tall and then cut the length out as usual. I wasn’t going to use the strap pieces so I extended the waistband height out over the strap piece here, just to save paper.  Cut your waistband lining piece out in the same way.


Waistband piece cut with the height doubled


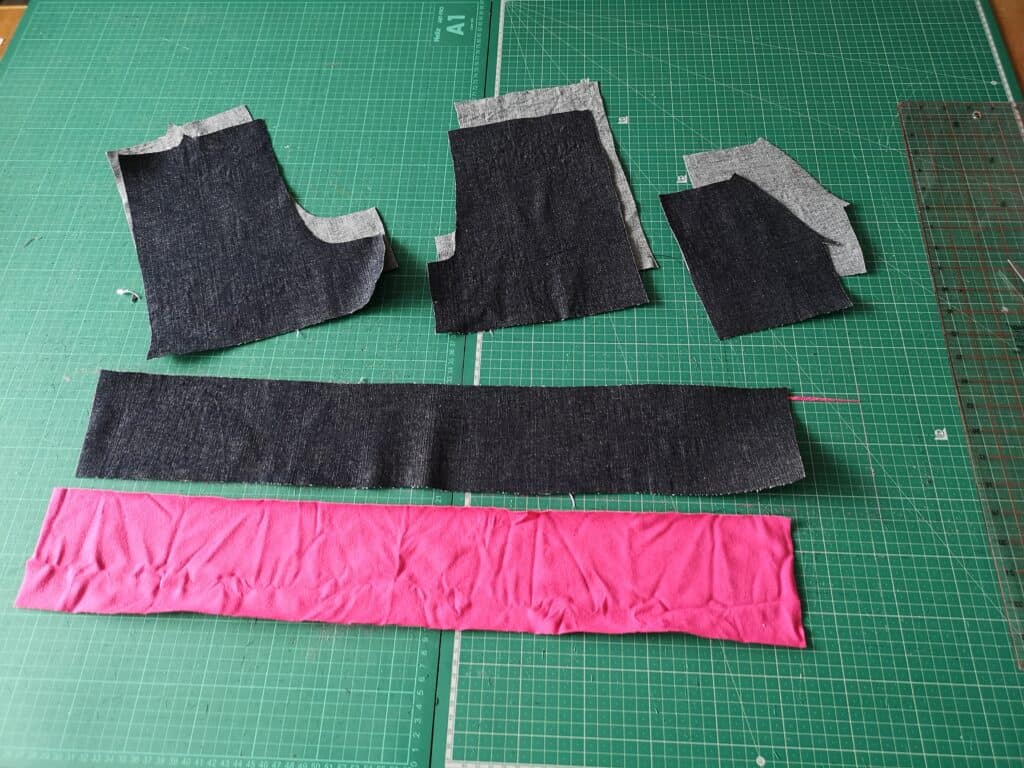
shorts pieces, pockets, waistband outer and lining.

You will then have your pants/shorts/skirt pieces; pockets if using; extended waistband pieces; interfacing if using.  Construct the rest of your garment as usual until you get to the section where you have to attach the waistband. You will attach the waistband as per the tutorial, the only difference being you don’t have the bib and straps to sandwich between the outer and lining of the waistband pieces. So you will attach the waistband outer right sides together with the pants/skirt.

Waistband with overhang

You will have an overhang of the waistband over the edge of the pants piece .  This is correct, it enables you to attach a fastening for the top of the waistband at the end, like a button and buttonhole or poppers. Then sew the lining right sides together with the outer, up one short edge, along the top and down the other short edge.

 Clip your corners, turn it through.


Topstitching after pressing

Press and topstitch around the entire waistband. 

Then finish off your garment as per the regular tutorial instructions and you’re done!

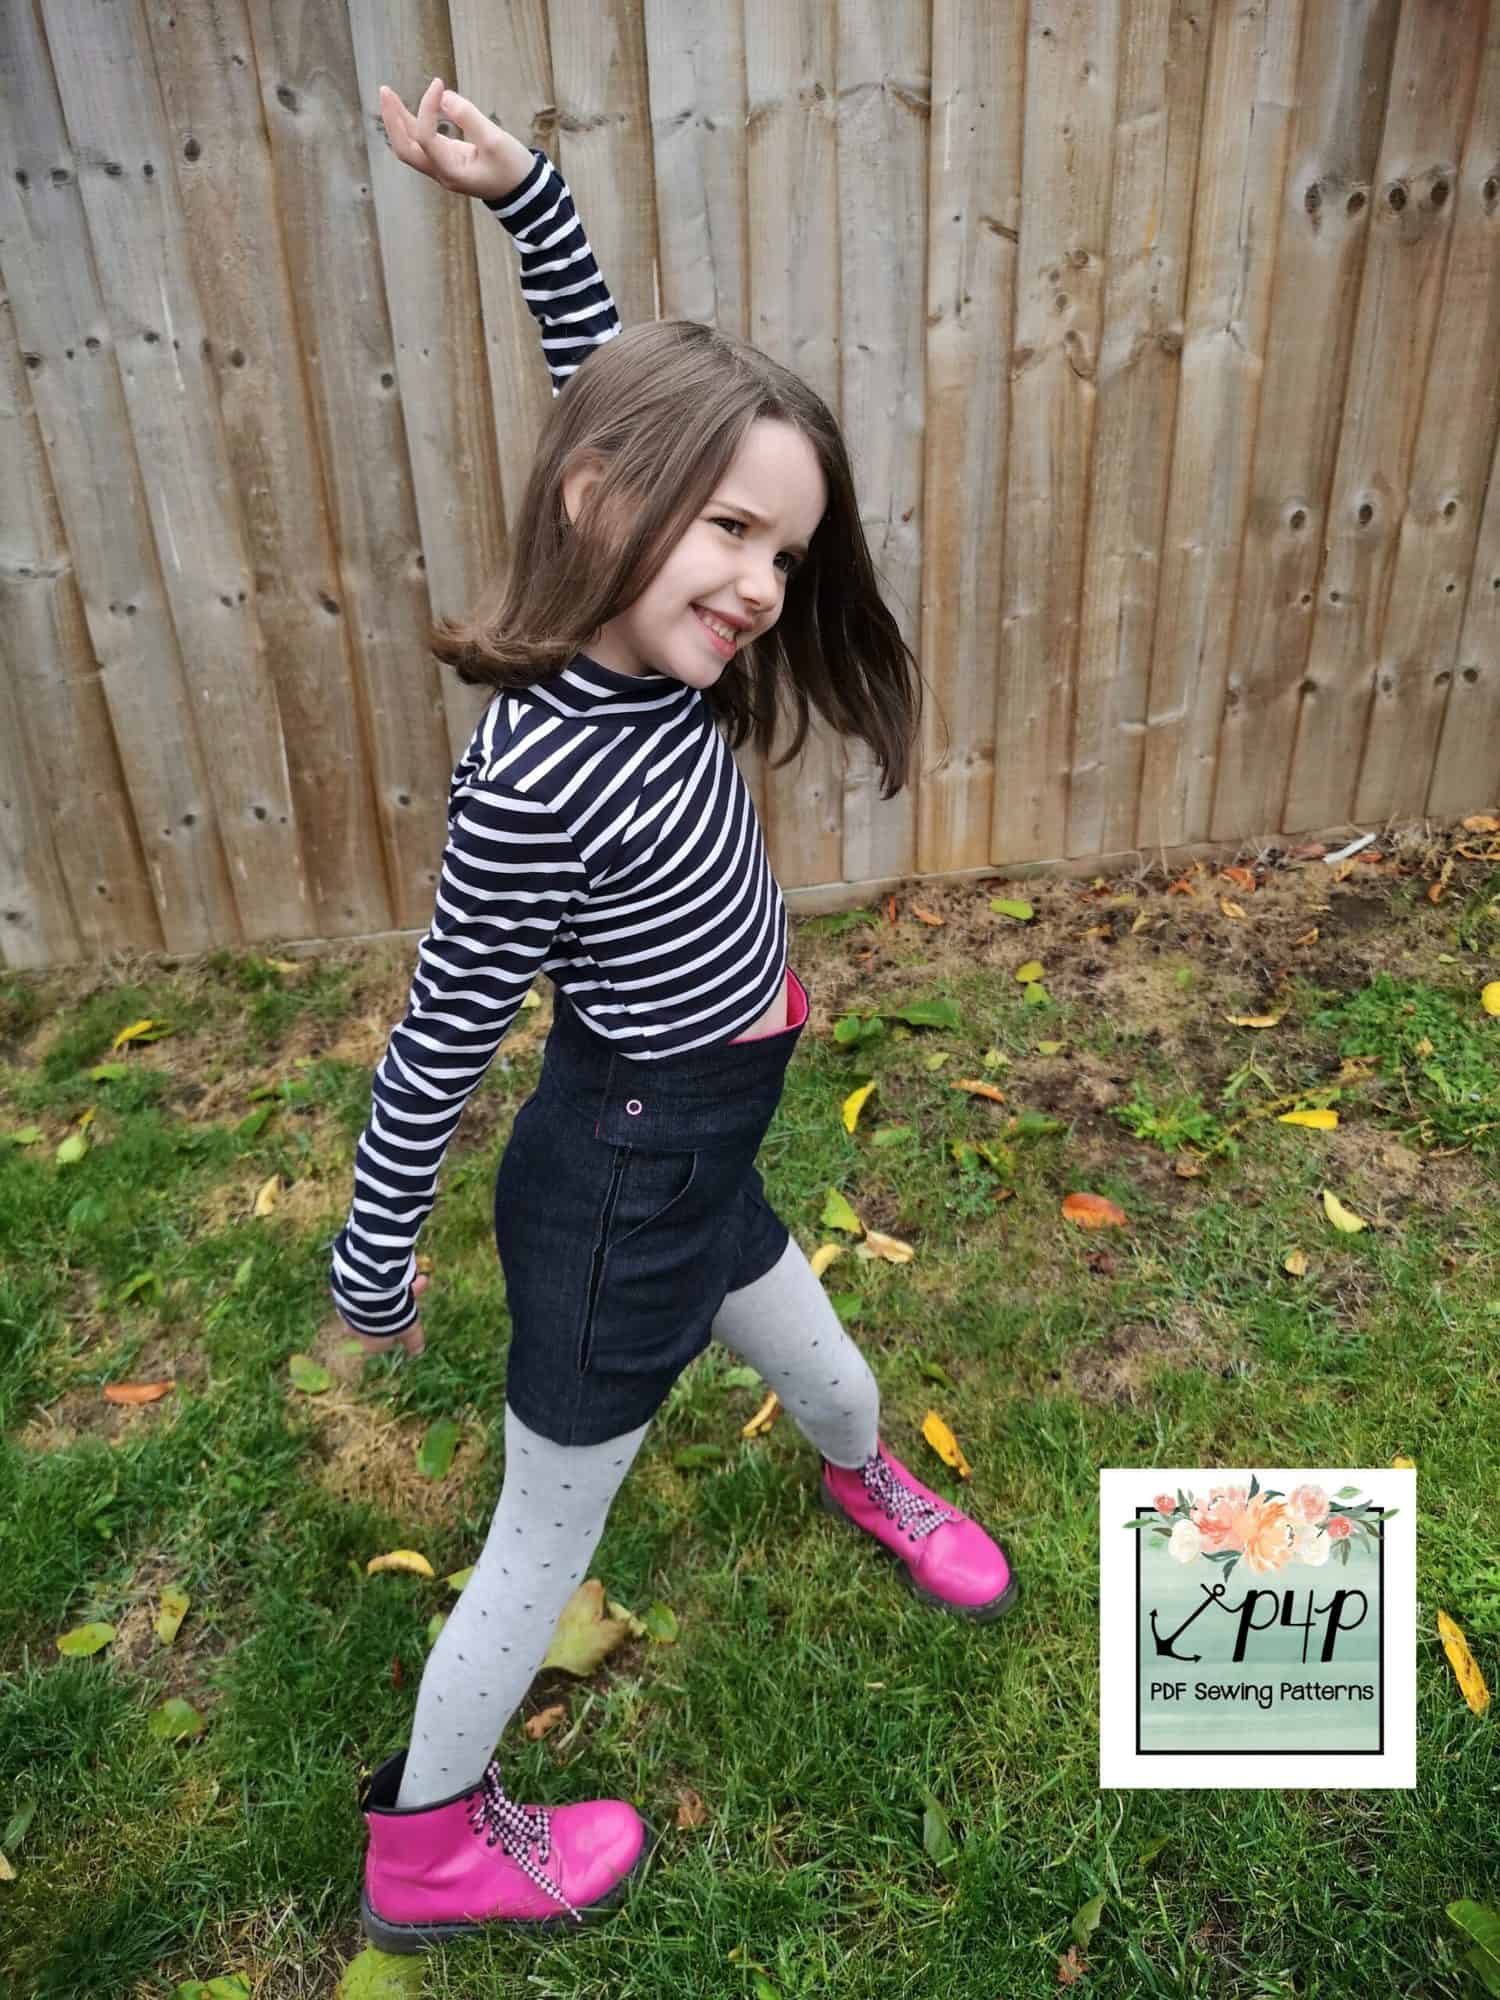
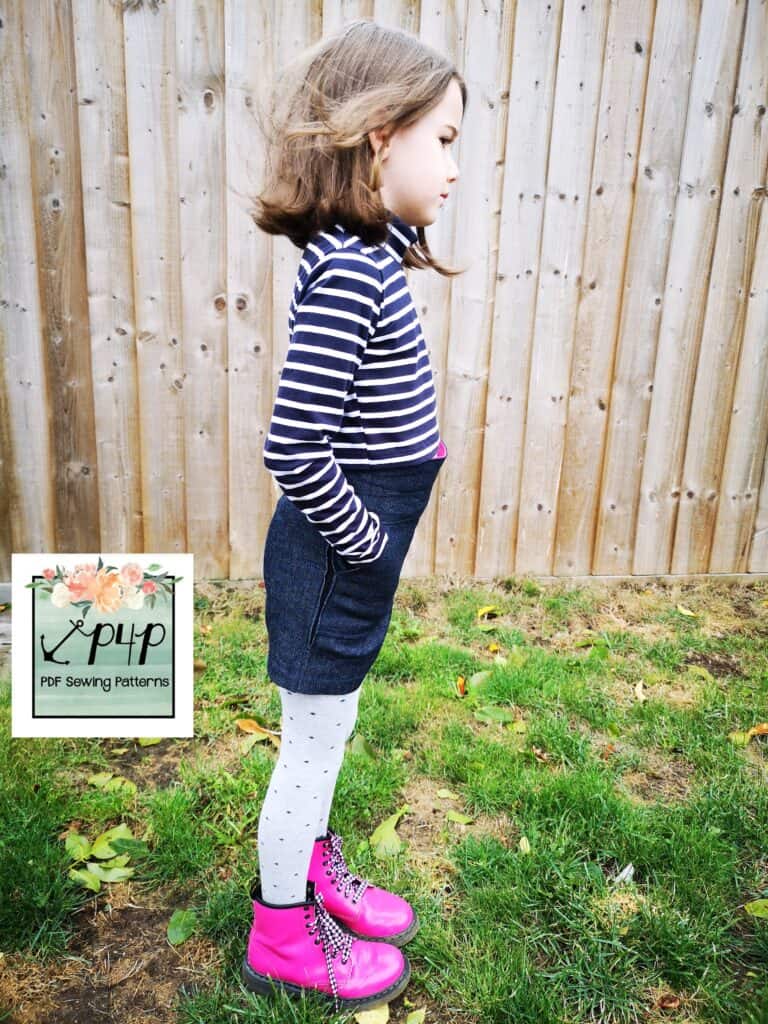
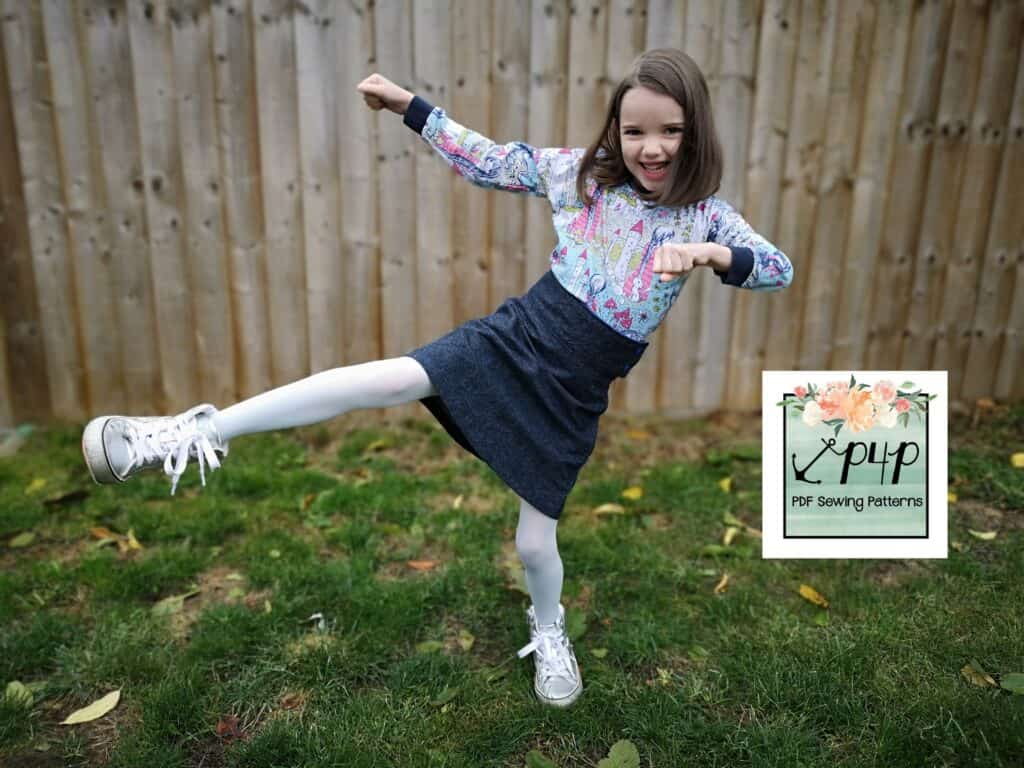
We style them with tights, Doc Martins and a crop length Hepburn. I loved it so much on the shorts I had to do it for the skirt too!  
Anyone else find that their child turns into a karate expert as soon as you turn on a camera?!

Obviously you can also just sew this up with the regular height of the original waistband too. The choice is all yours! 


Happy sewing! 


Dana x


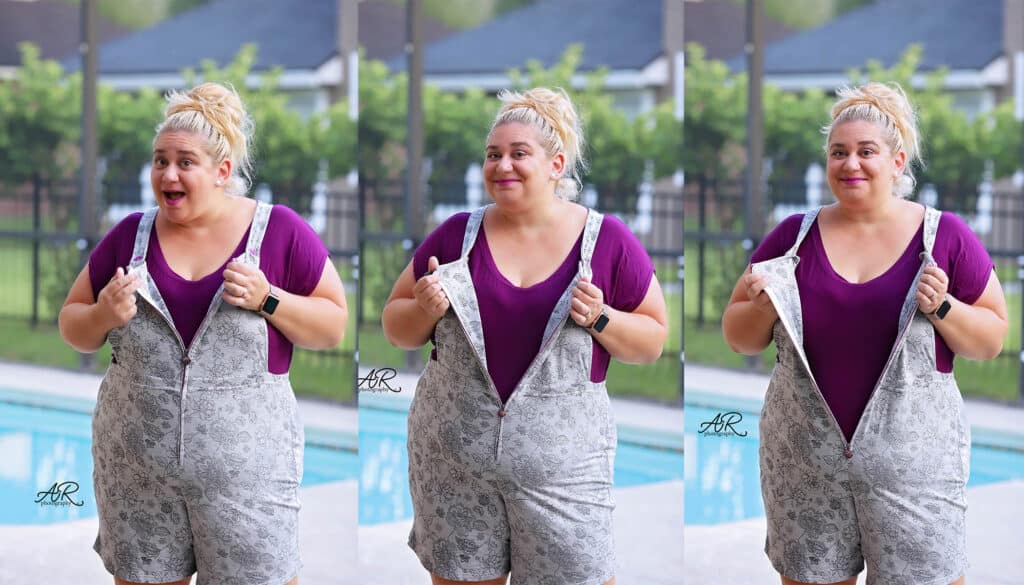
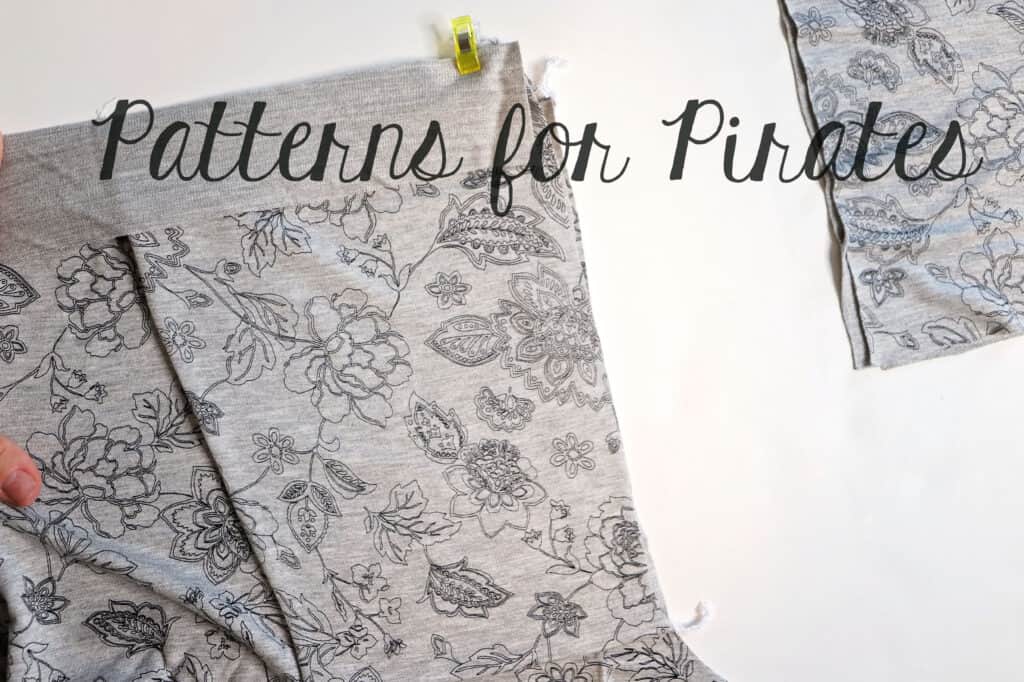
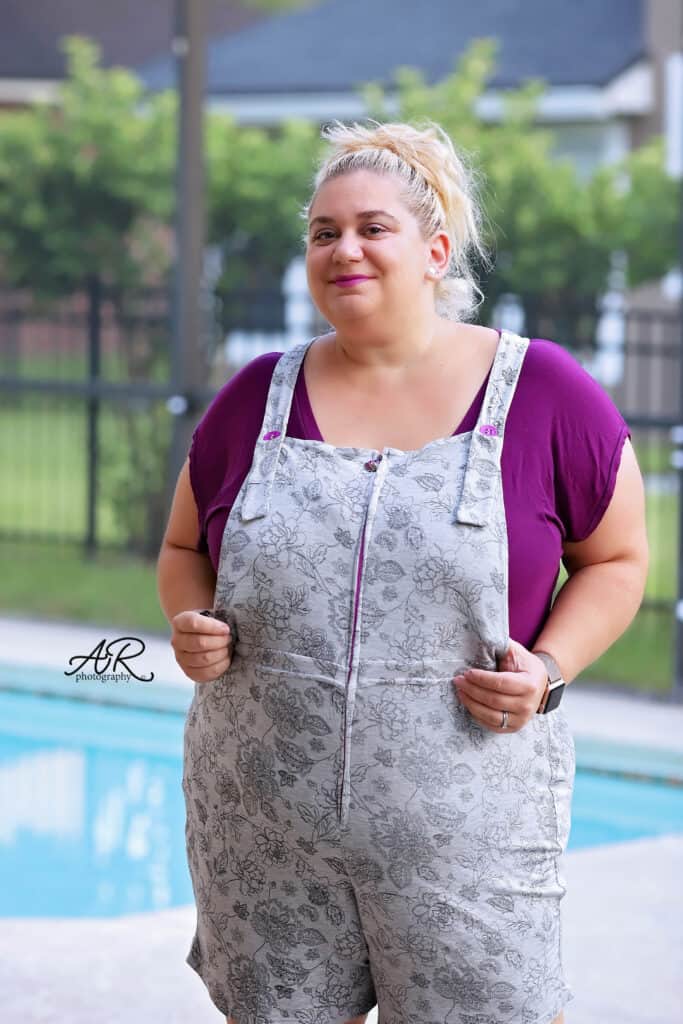
Front zipper

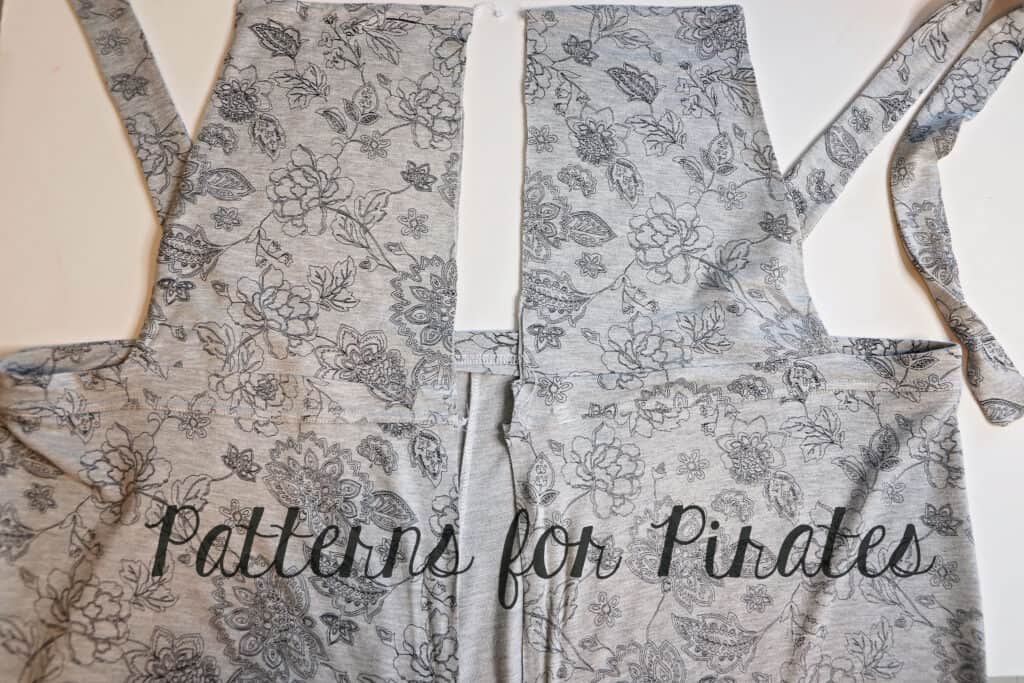
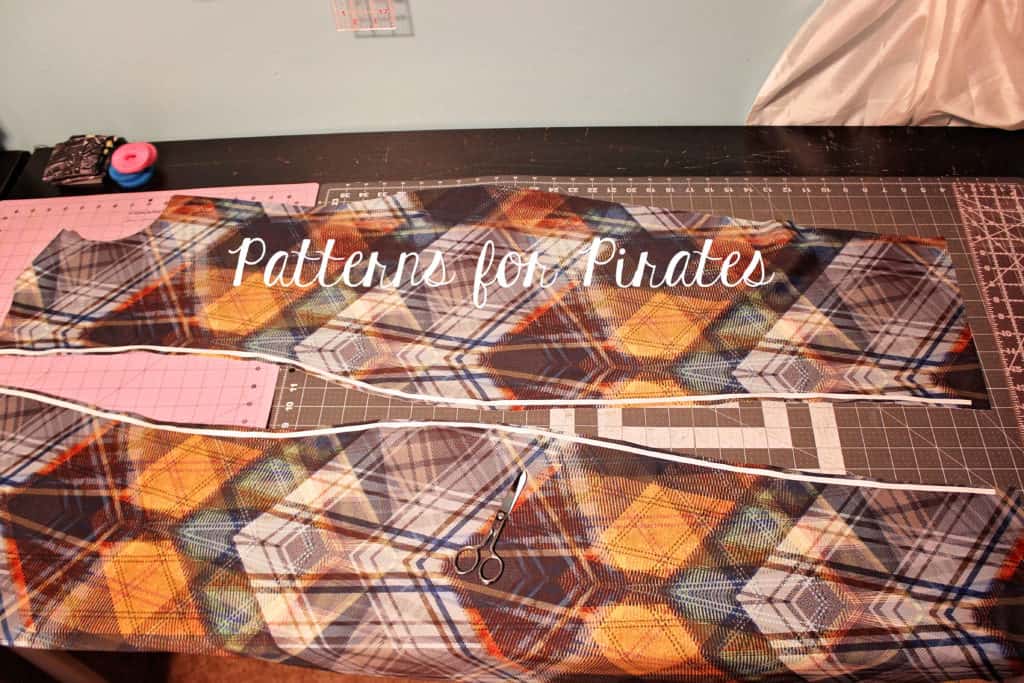
Up next we wanted to show you a different style jumper that can be achieved with the new Vintage pattern. Let’s add a zipper to the front instead of the side. This a s great opportunity to show off your favorite zippers and pulls. For my example I am using zipper by the yard with a fun rainbow finish zipper pull. I also went with a Doodles French Terry instead of stretch woven. Cut your pattern as instructed in the tutorial. You will make two changes. Remove the part of the waistband beyond the notch on both ends. Repeat for the waistband lining. The other modification would be for the bib. Cut two 2 mirror images instead of 1 set mirror pieces and the lining on fold.


After sewing the darts on the back pants pieces, sew the back crotch seam and the two side seams. The pants will not be sewn at the front crotch just yet.


Prepare the bib by sewing the left side main and lining piece right sides together along the top and slanted side raw edge. Repeat for the ride side bib. You will now have two bib piece that will have raw edges on the vertical center seam and bottom.


Attach the main print waistband to the pants right sides together by matching the center to the center back and the raw edged to the front raw front seam.


Pin the straps matching the strap placement notches. Place the bib on the top edge of the waistband, right sides together matching the raw edges. Repeat on the other side with the other half of the bib. Place the lining on top, right side down, sandwiching the bib in between the main and lining waistband. Stitch in place.


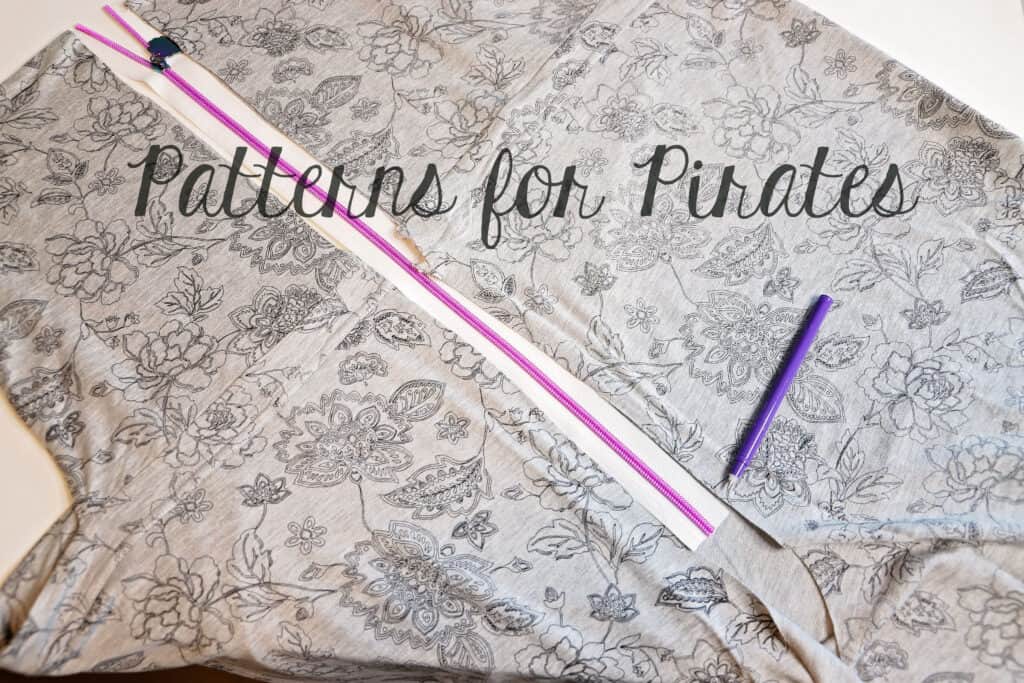
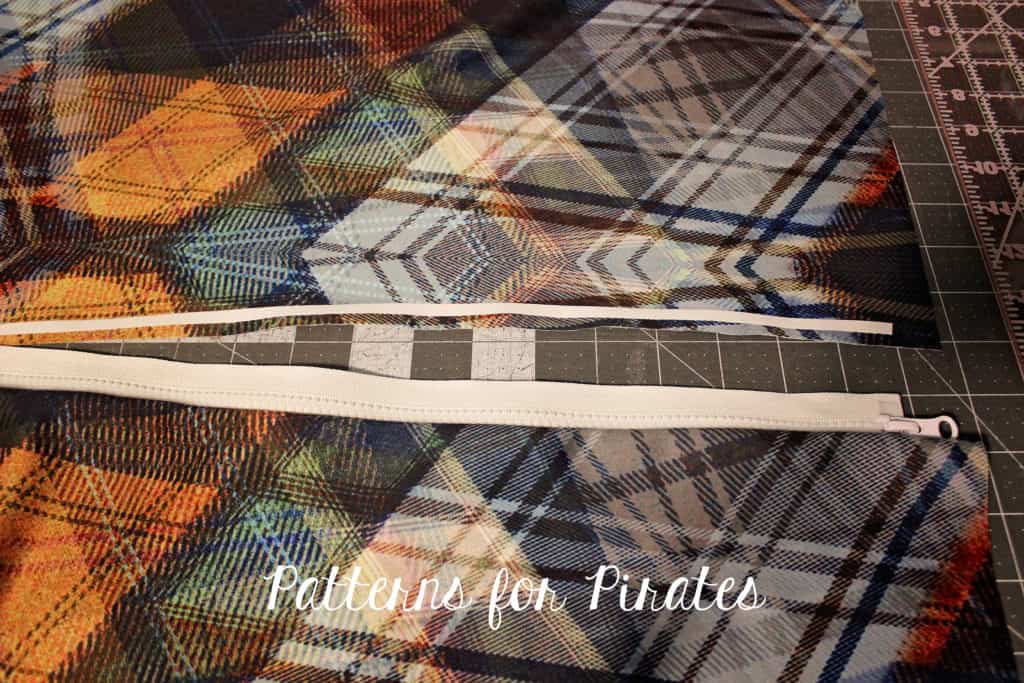
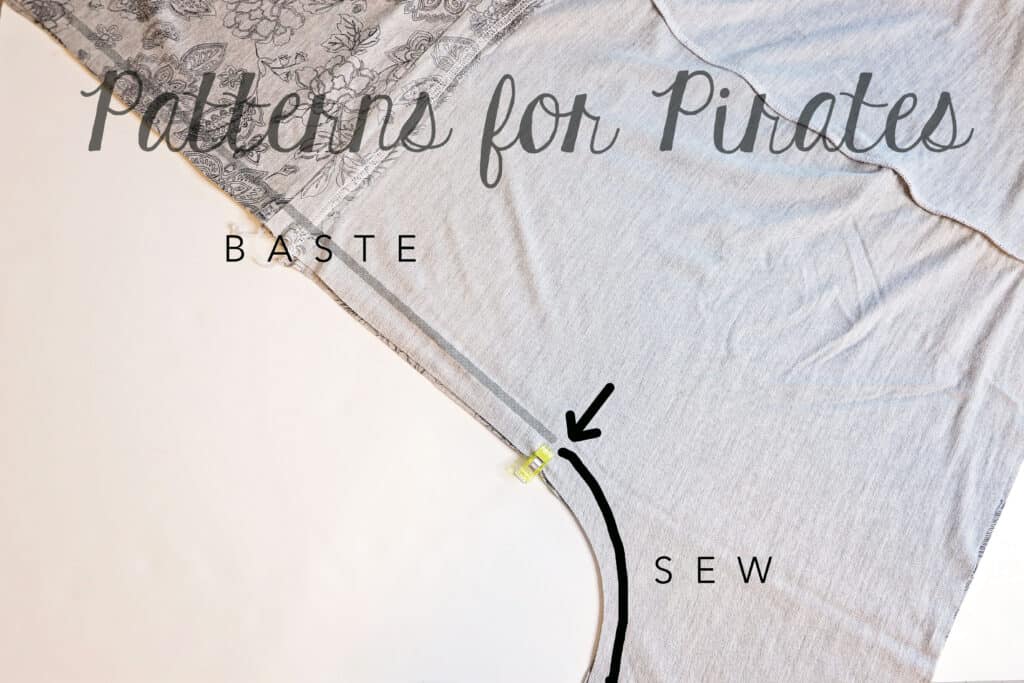
Mark the place of the zipper stop on the wrong sides of the fabric. Place the front of the jumper right sides together matching the front raw edge. Baste in place from the top to the marked point and sew in place down from that point along the front crotch seam. Attach the zipper using the same technique as in the Vintage Jumper tutorial.


Finish your jumper by attaching the straps to the front and hemming. All done! I can’t wait to see your take on this hack.


….

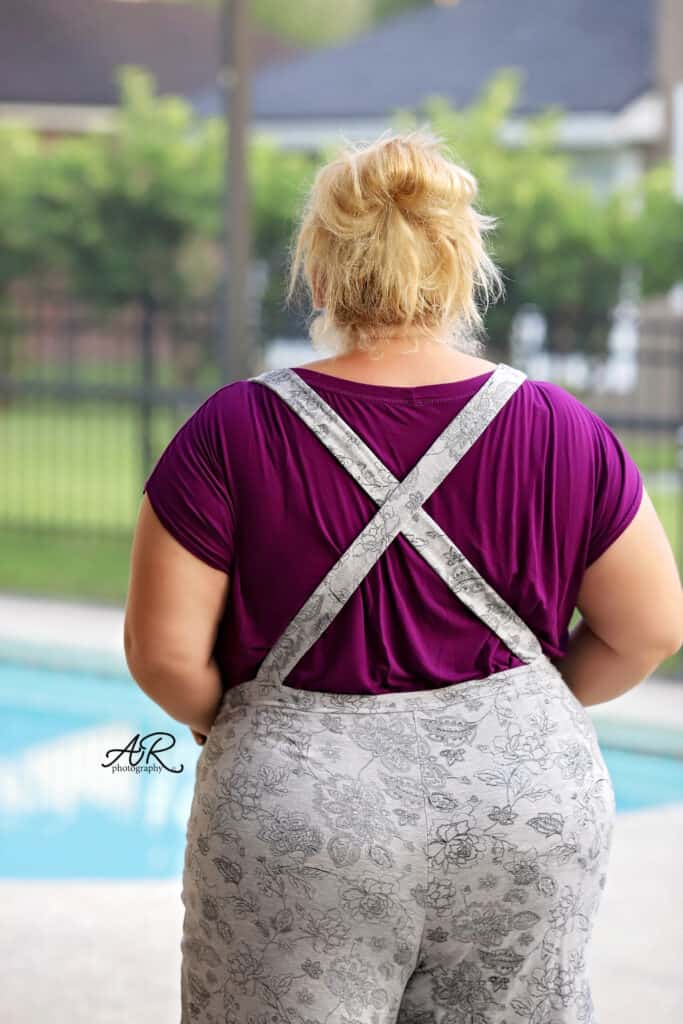
Overall buckles

Love the Vintage Jumper, but you’re terrified of button holes? Never fear! Buckles are here!

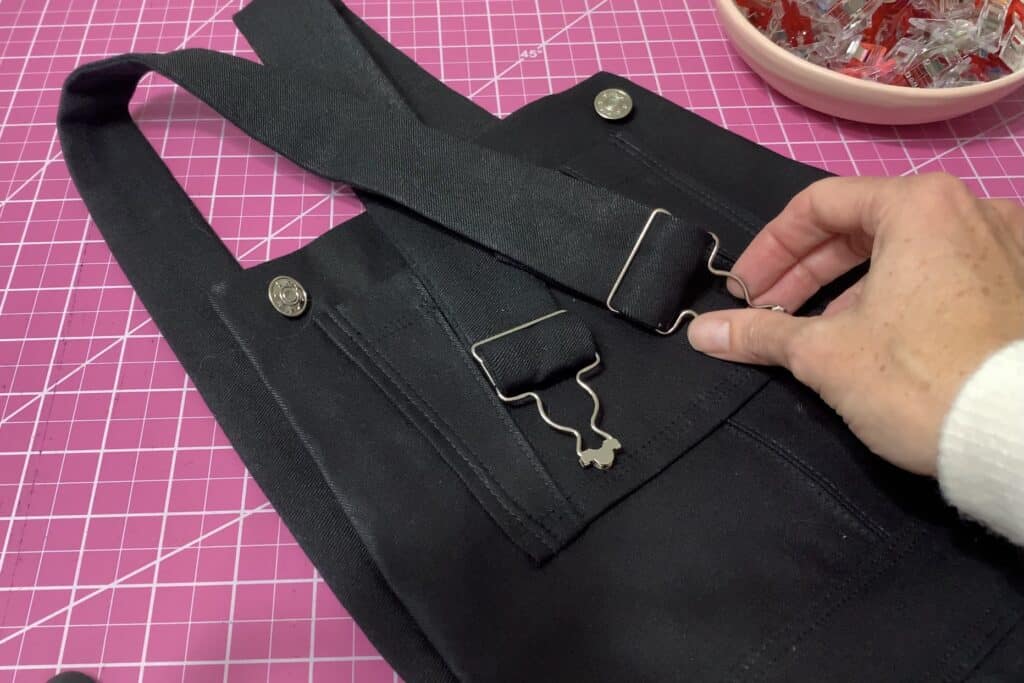
Adding buckles as a button replacement is an easy and super cute hack… no extra sewing involved!

For the Vintage Jumper, you’ll need 1 ¼” buckles. I ordered mine from WAWAK and they came within 2 days, but you can also order from Amazon or pick them up in your local fabric store.

I’ve put together a video tutorial, but if you prefer written instructions, just scroll a bit further!

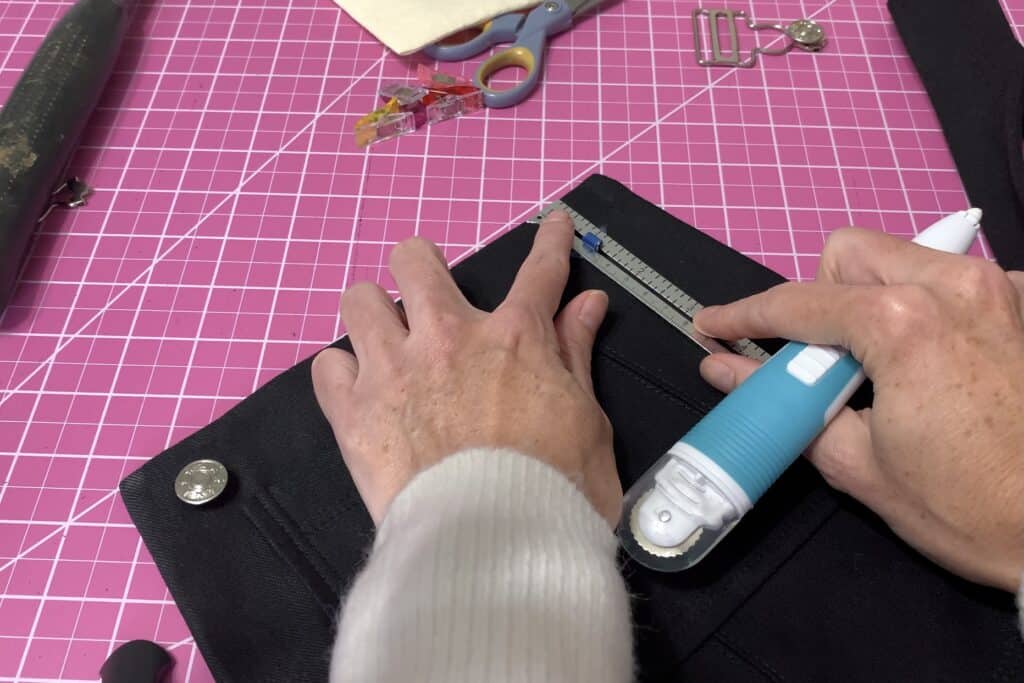
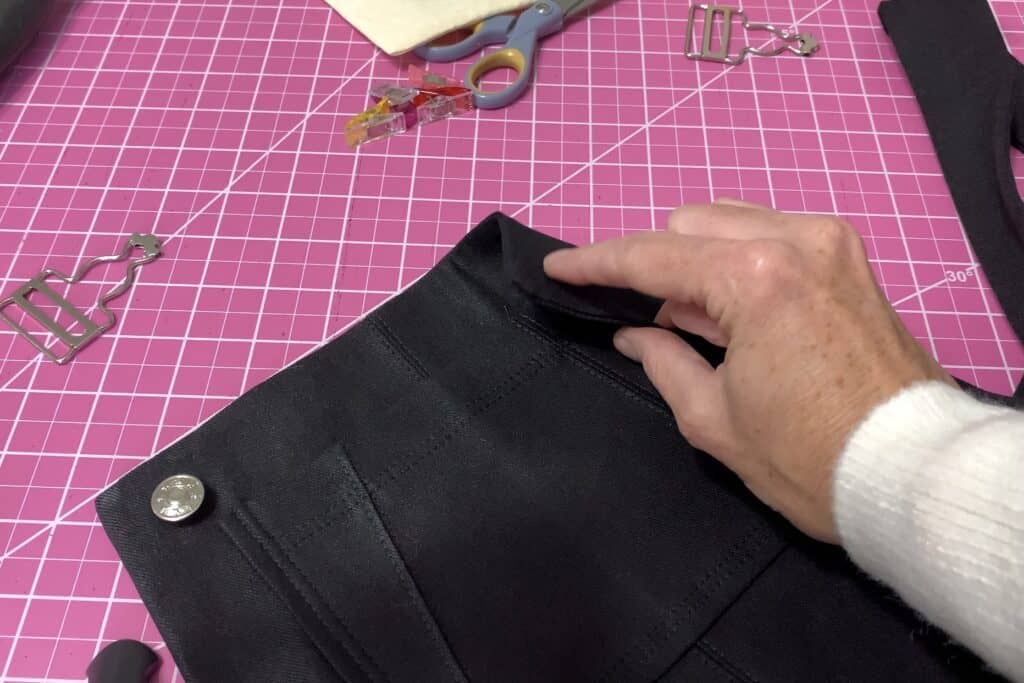
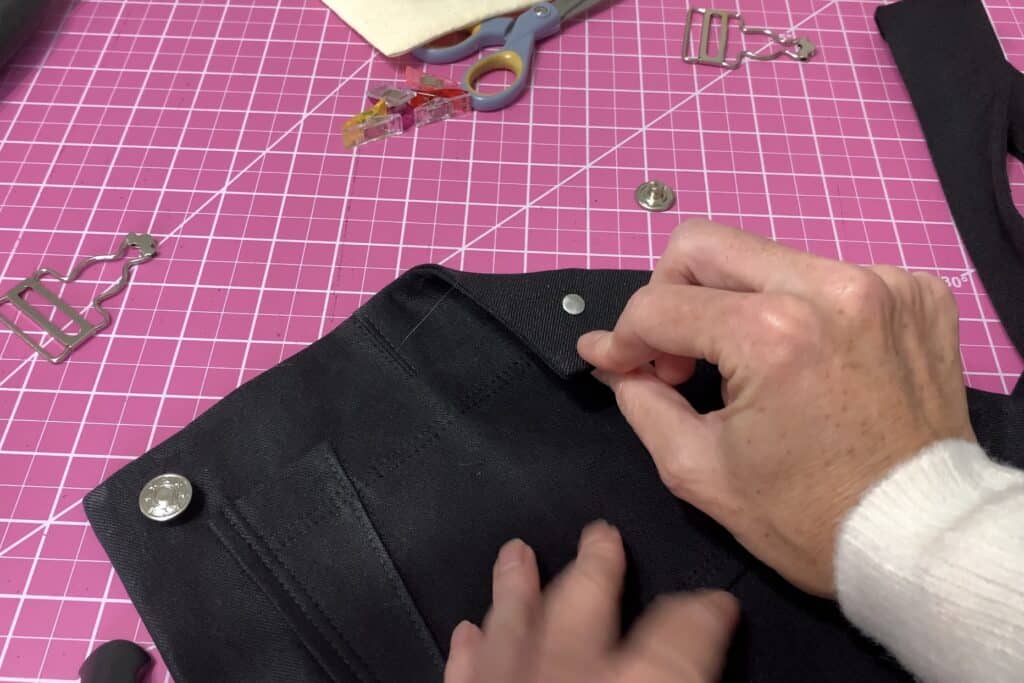
Mark your button placement on the bib with tailor’s chalk, 1” from the top and side edge of the bib.

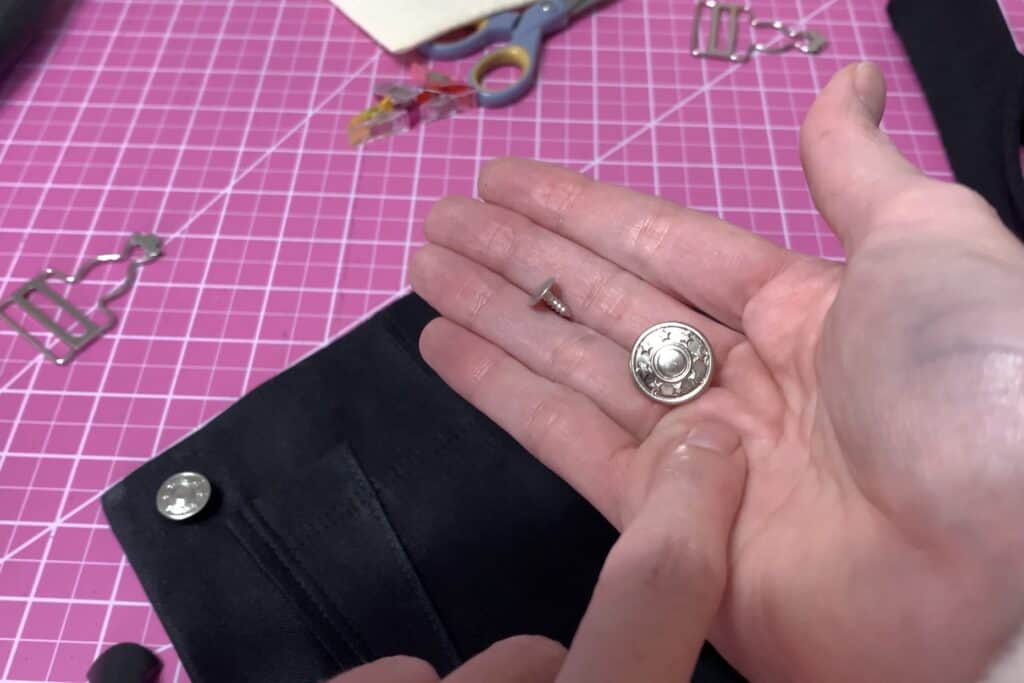
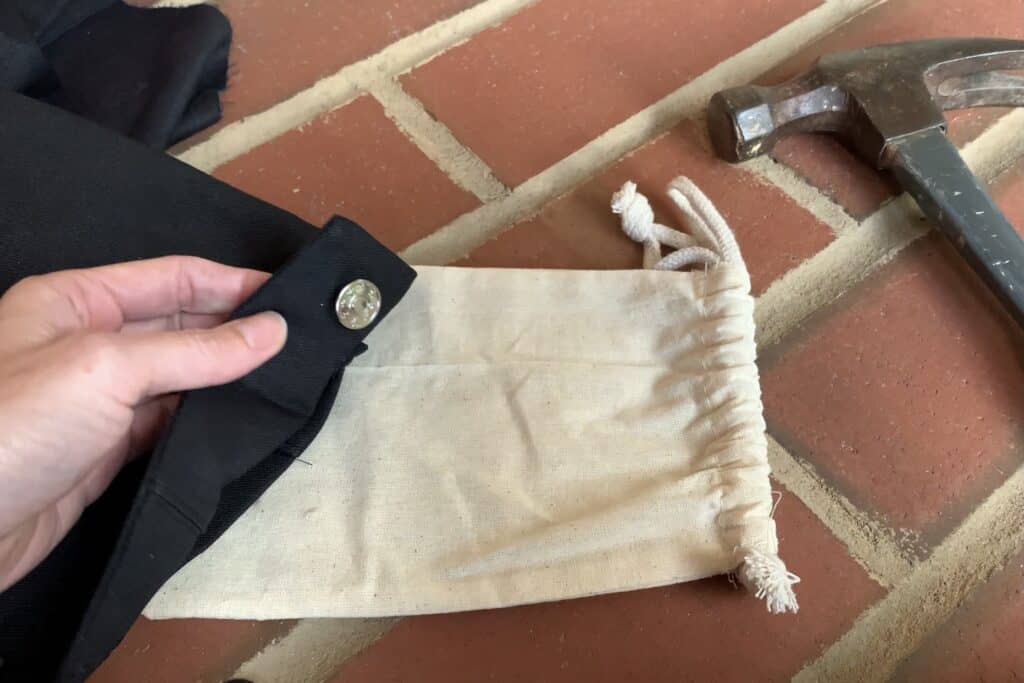
Take your button post and push it through the backside of your bib, at your chalk mark, going through all layers of your fabric.

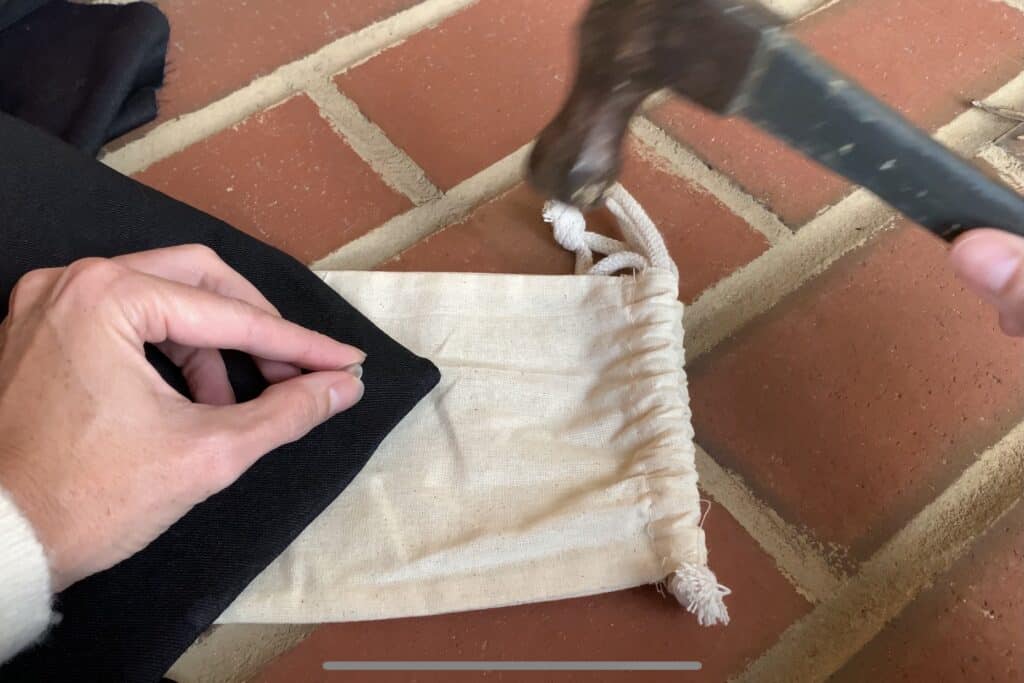
Protecting the front side of your button (as I’ve done here with a simple cloth bag), hammer the button post into the button.

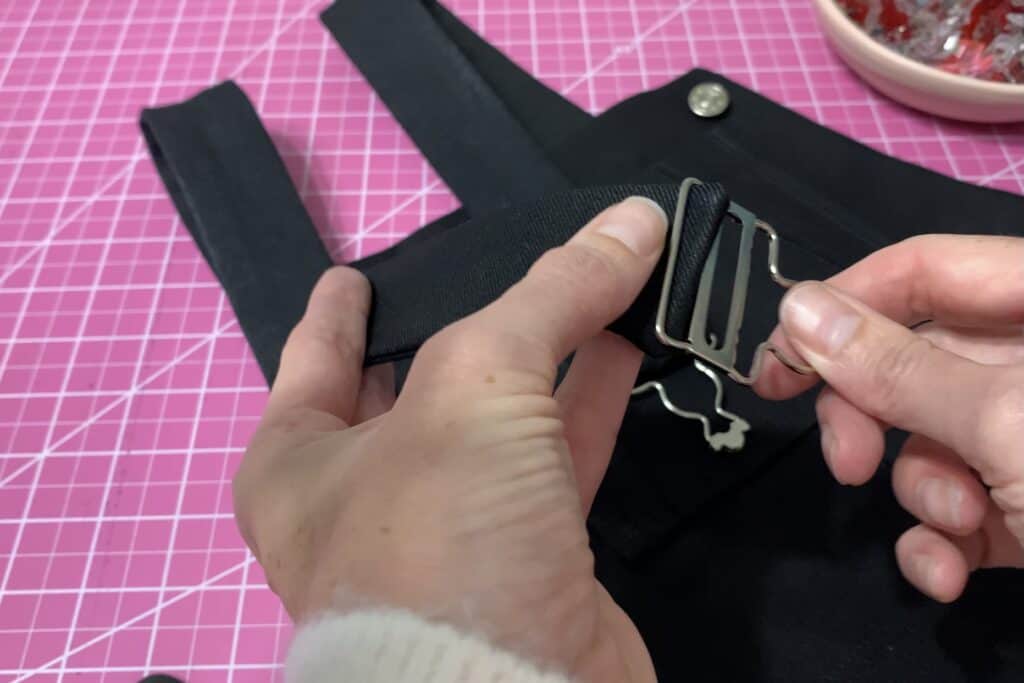
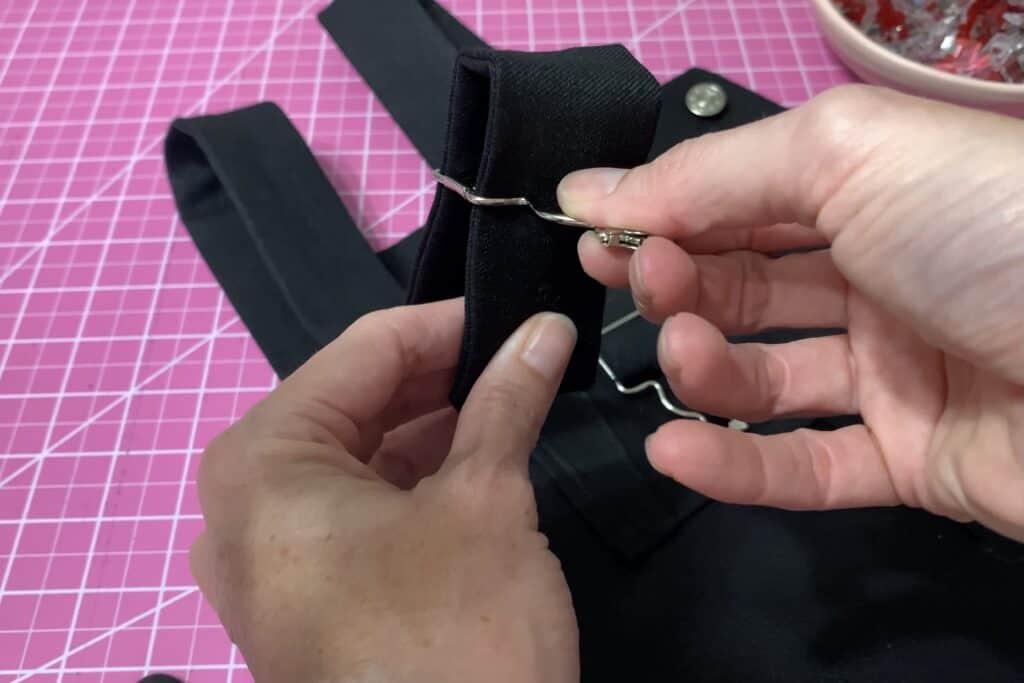
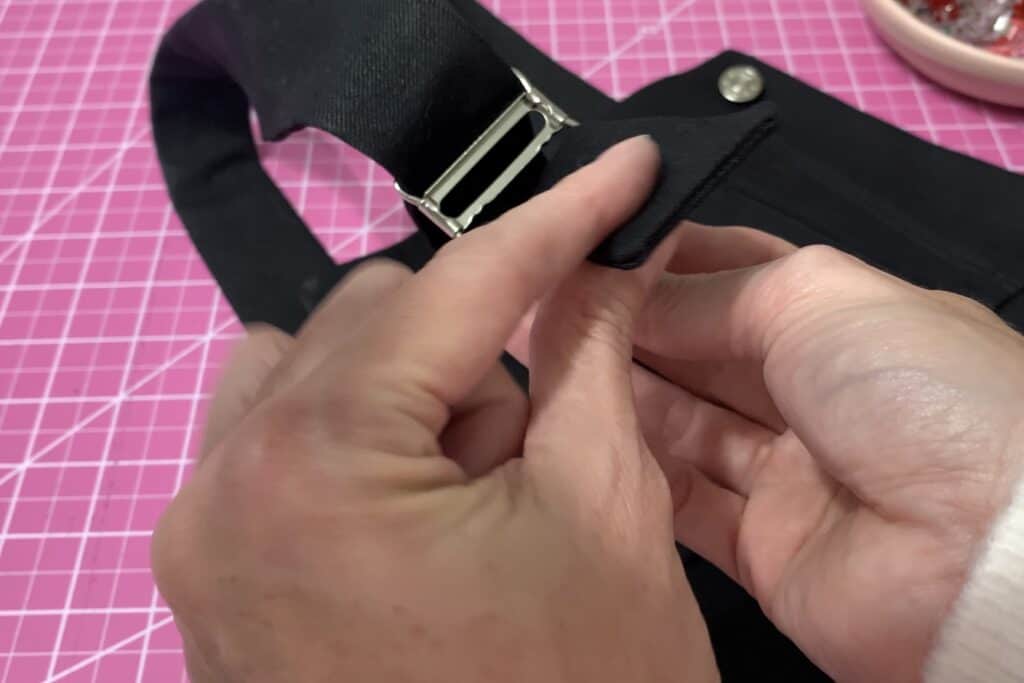
Thread your straps through the buckles, starting with the top…

Running through the bottom…

Back through the middle…

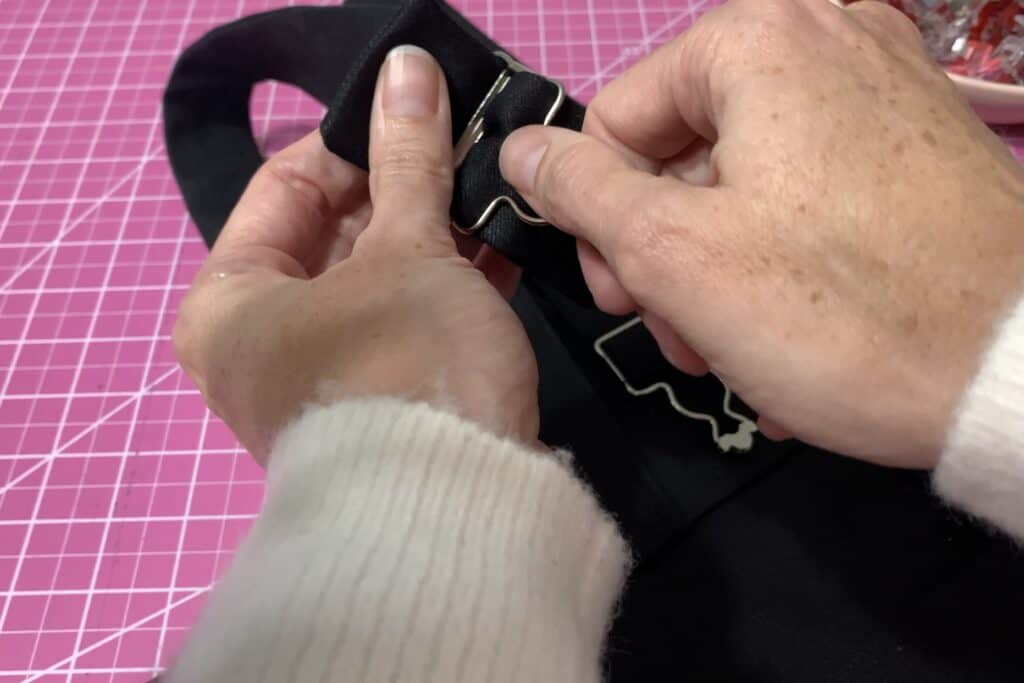
And behind the front of the strap, back through the top loop.

Give yourself plenty of play in your straps to make fit adjustments

5.     Adjust the straps to your preference and you’re done!

I have always loved overalls! I am so glad to have this updated pair in my wardrobe. As with all Patterns for Pirates makes, you can’t stop with one. I already have the fabric ready to make another pair soon.

I hope you enjoy your new jumper!!

Rachel

….
Skip the Zip

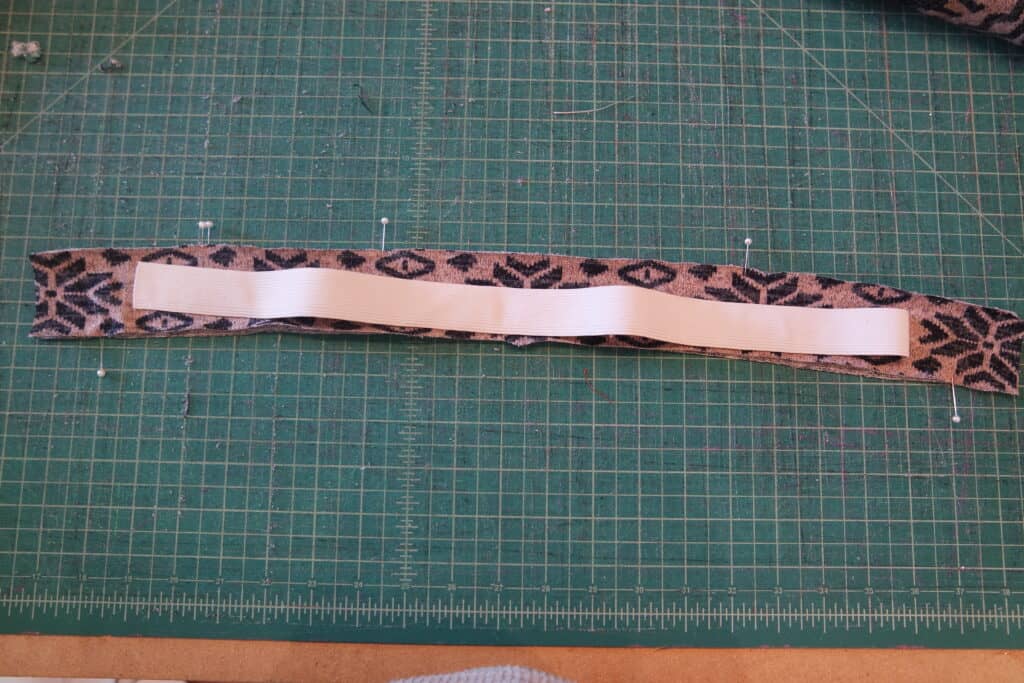
If you’d rather skip the zip you can choose a fabric with high stretch and recovery and slip it on/off. It’s a very simple modification, just make sure your fabric is stretchy enough to slip on and off with the snug waistband at natural waist. You will want a fabric that is more stable and can “hold” that waistband shape nicely. Or you can add some 1″ elastic into the waistband to help keep the shape.

Cut out all your pieces the same, except the waistband. You will need to trim off the extra 1″ on each end since we will not have them overlapping for a button. If you’re adding elastic I cut mine just slightly shorter then my new waistband piece so it would be snug to her waist.

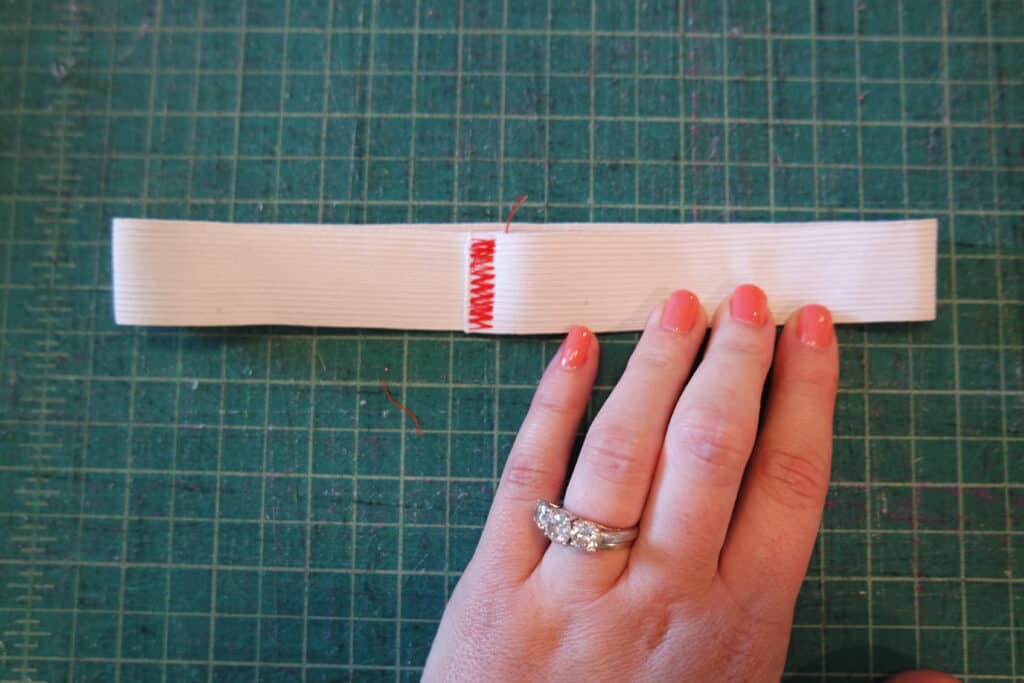
Instead of sewing your zip into your side seam you’ll just stitch it up. Stitch your waistband pieces into a circle. If you are adding elastic sew it into a circle as well.

You will follow the same steps as the tutorial attaching the main waistband piece, sandwiching the straps and bib between the main and lining waistband, and top-stitching band. You will just be sewing in a complete circle rather then having the ends that overlap for a button.

All done, now you can just slip it on/off with no zip!

….

Zipper Guard

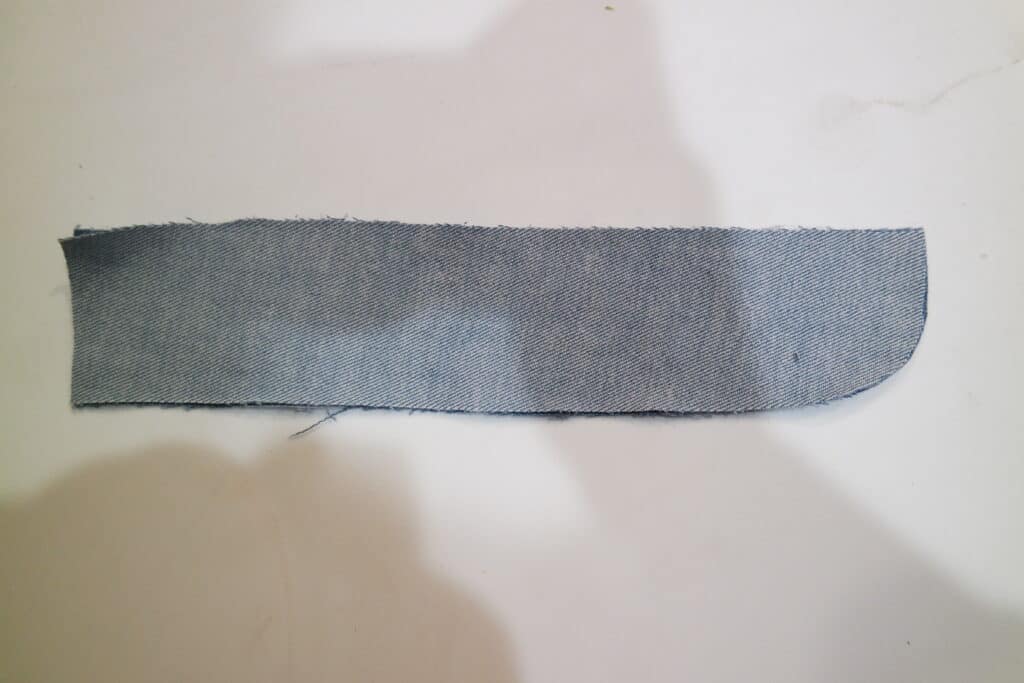
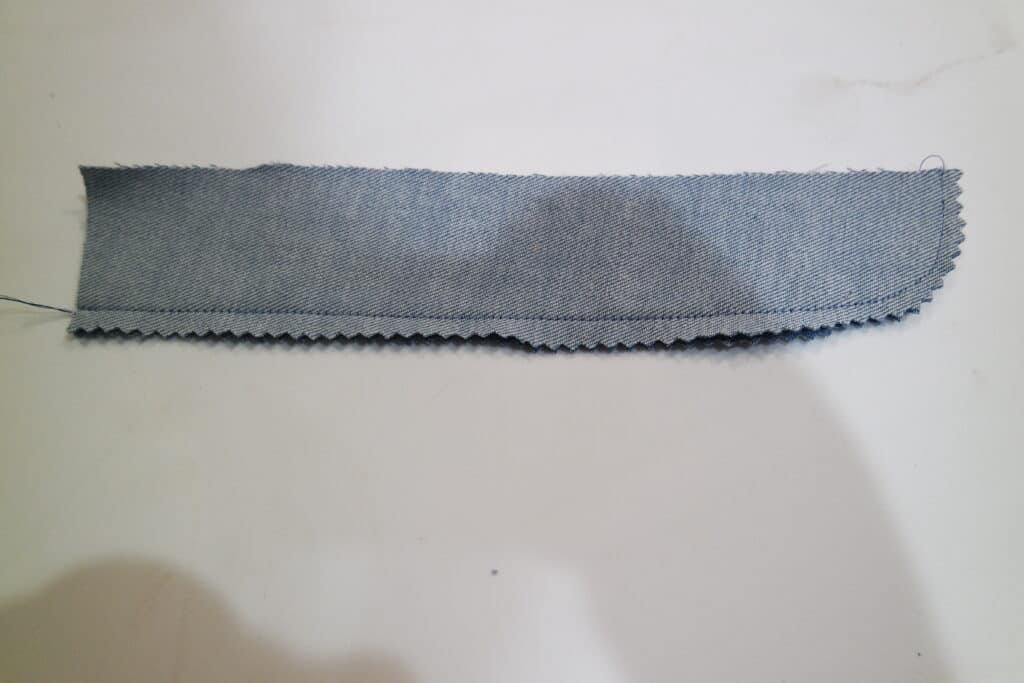
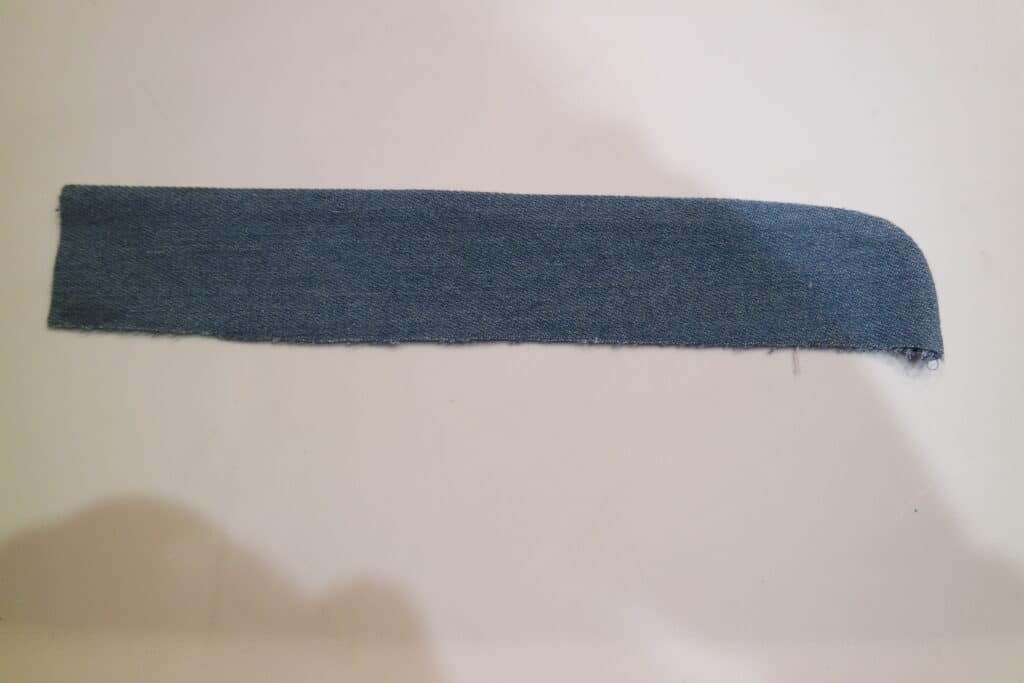
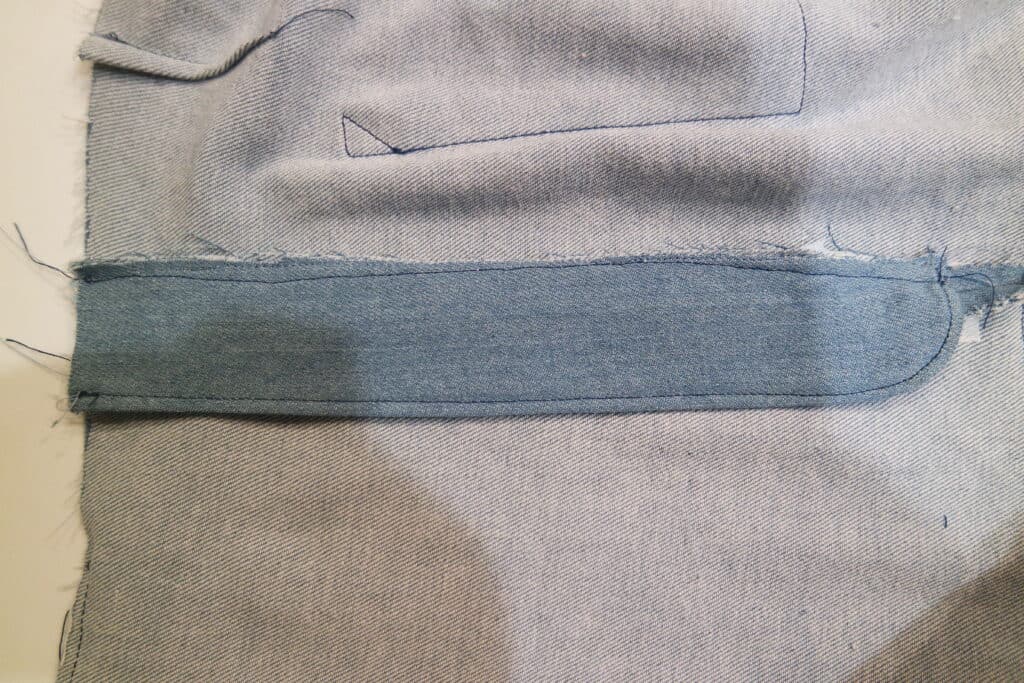
If the feeling of the zipper on your skin bothers you- you can add a simple zipper guard quickly and easily. You will cut out 2 rectangles (you can curve the bottom edge if you’d like I did or leave it a rectangle) a little longer (1-2″) then your zipper and about 2″ wide.

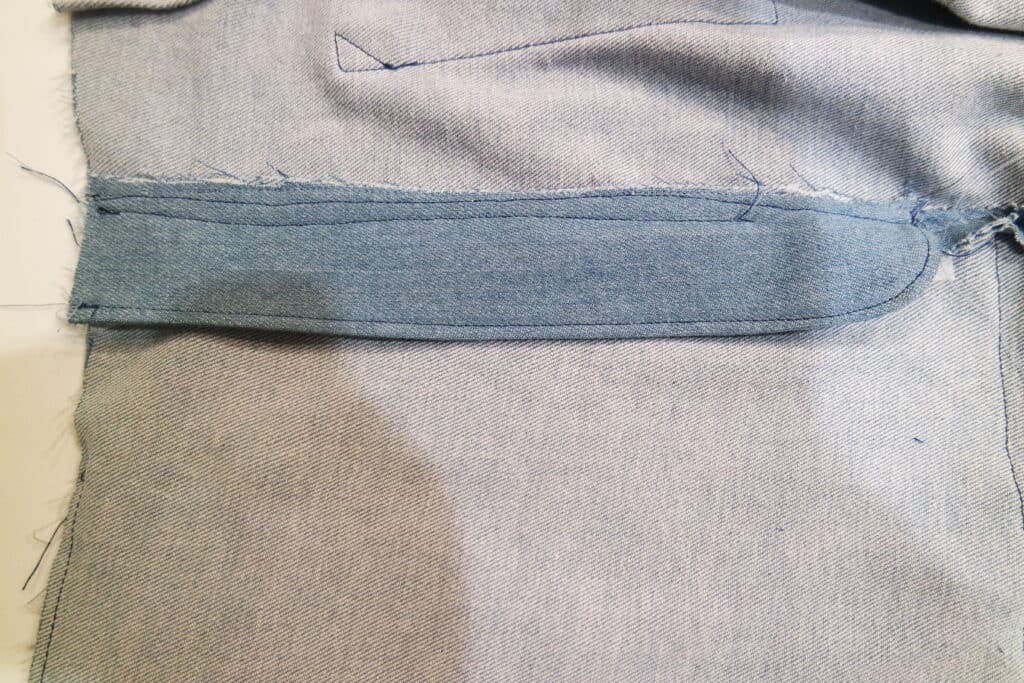
Stitch your pieces right sides together along one long and short edge like a L (J if you curved your corner like me) shape. Trim seam allowance and flip right sides out. Press and stitch.

Place your zipper guard along the side seam with zipper with the raw edges aligned to the seam allowance of the front pant/skirt. Stitch guard to seam allowance (do not stitch through pant/skirt).

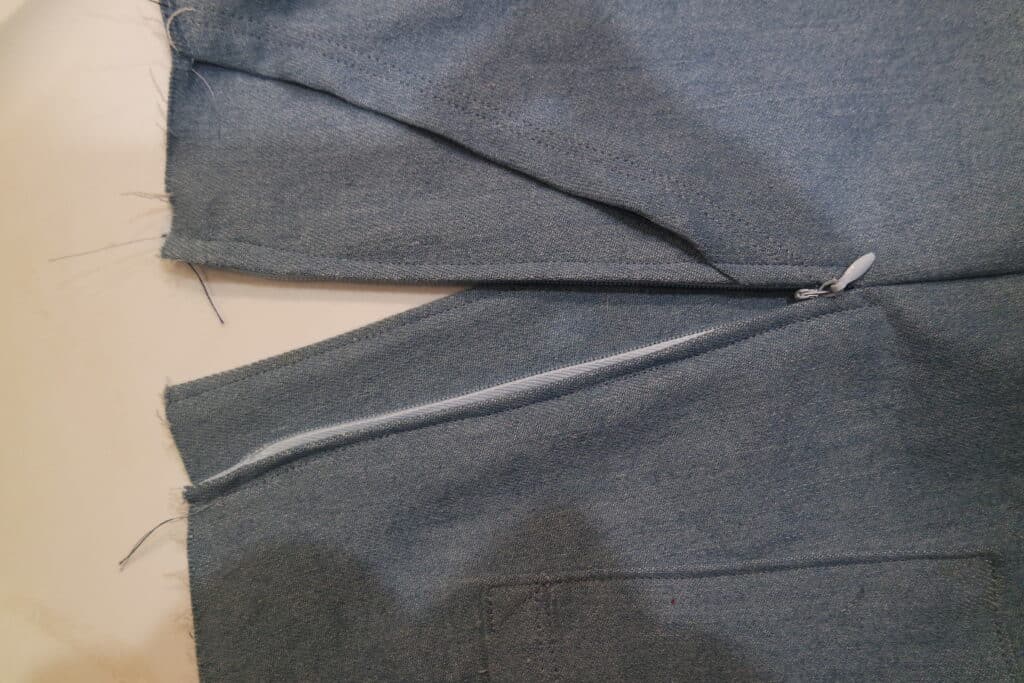
Pin in place from front. Stitch in the ditch along your zipper seam on the front pant/skirt through the zipper guard.

You can also continue to stitch in the ditch across the bottom and up just a little to help keep the guard in place when taking on/off. This is what it will look like after with the zipper guard keeping the zip from touching your skin:

….

Add some Ears

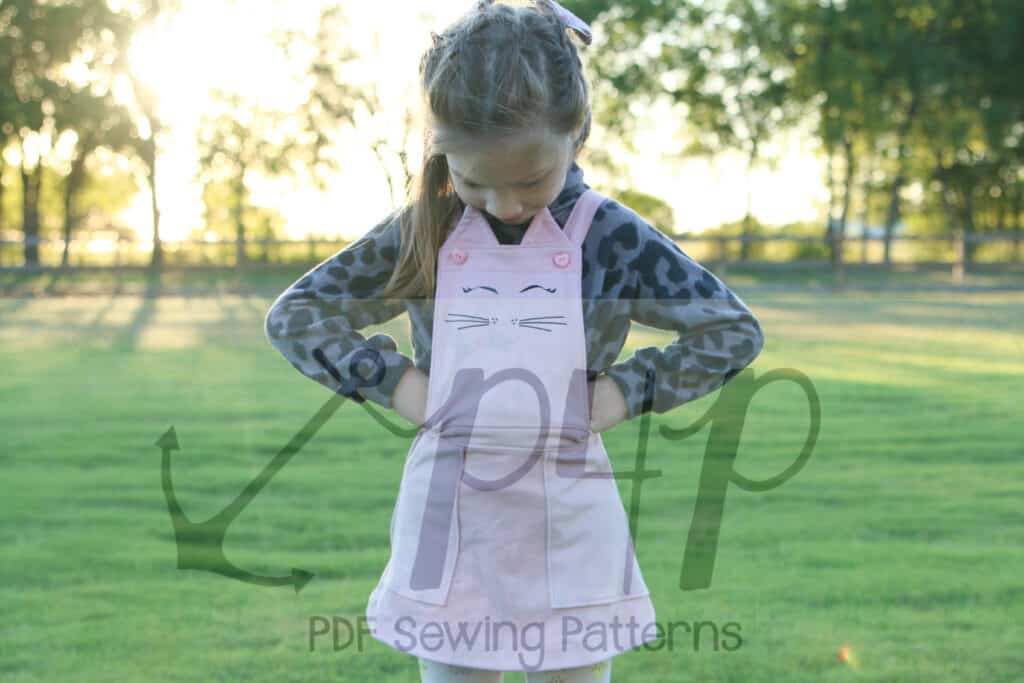
Adding a little face and ears is always a way to make my daughter super happy with something I sew her. She requested a kitty for this one after seeing one similar at a store. It was such an easy little modification. I simple free-handed the ears… but we do have some ears in the Oversized Sweater-Youth pattern and I used the faces from our free Animal Faces for our Jolly Roger Raglan. I only freehanded the ears to make sure they fit perfectly and…. well… I didn’t want to print anything 😉

Stitch the ears up and sandwich them between the main and lining bib. Ta-da… that’s it! So cute and simple!

What an amazing line up! We look forward to seeing  your own “”hacked” Vintage Jumper  creations on Facebook and Insta.

Filed Under: Frequently Asked Questions, Pattern Hacks, Pattern Release Leave a Comment

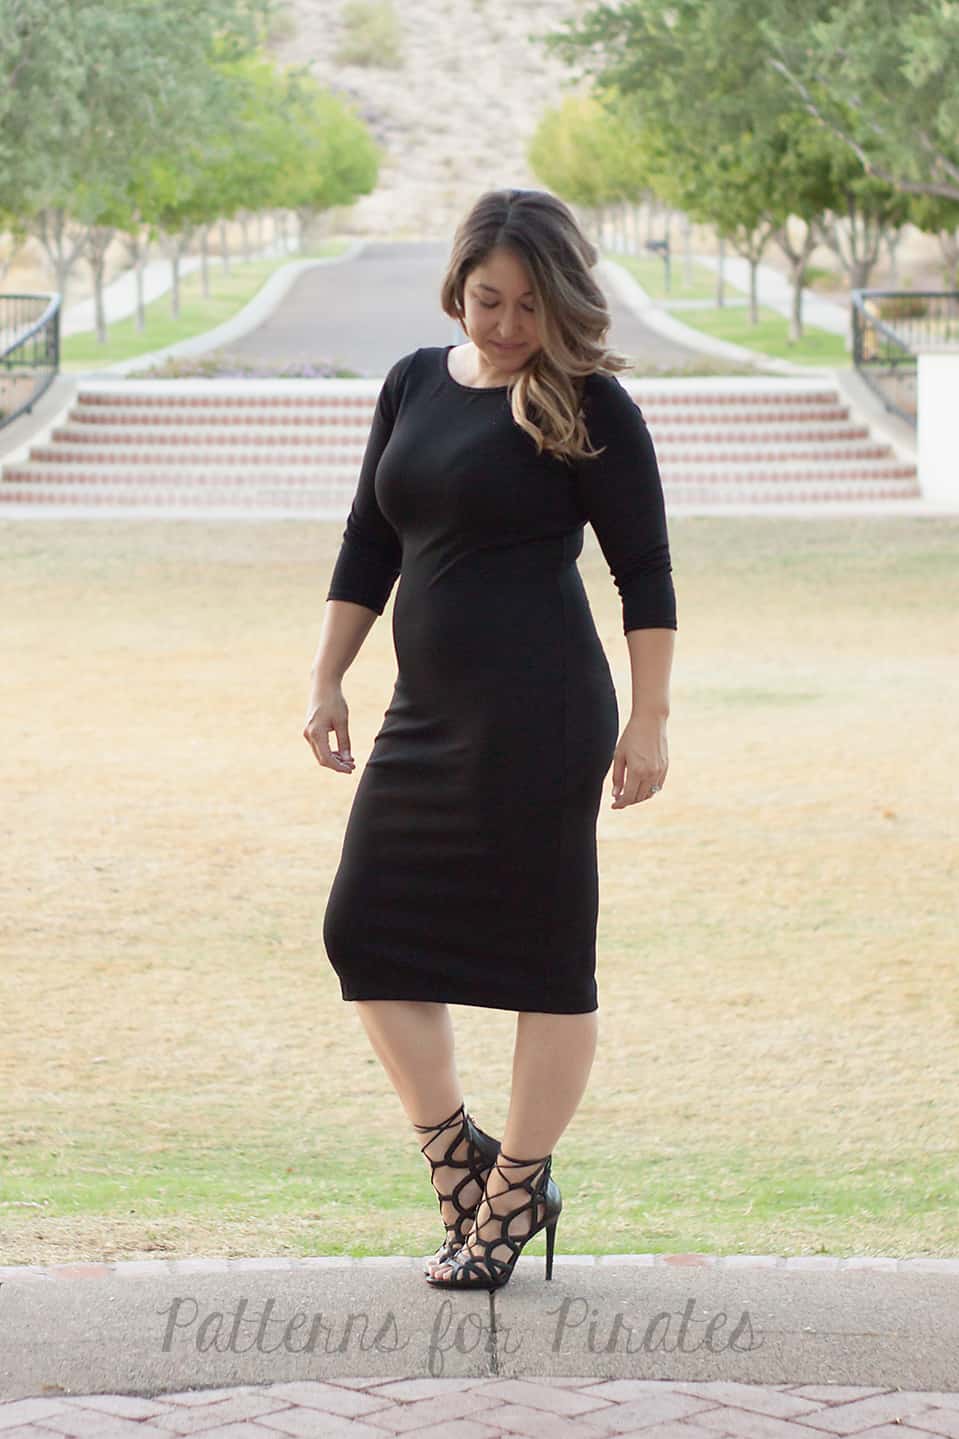
Wiggle Dress – easy hacks

October 24, 2017

…..

Separates

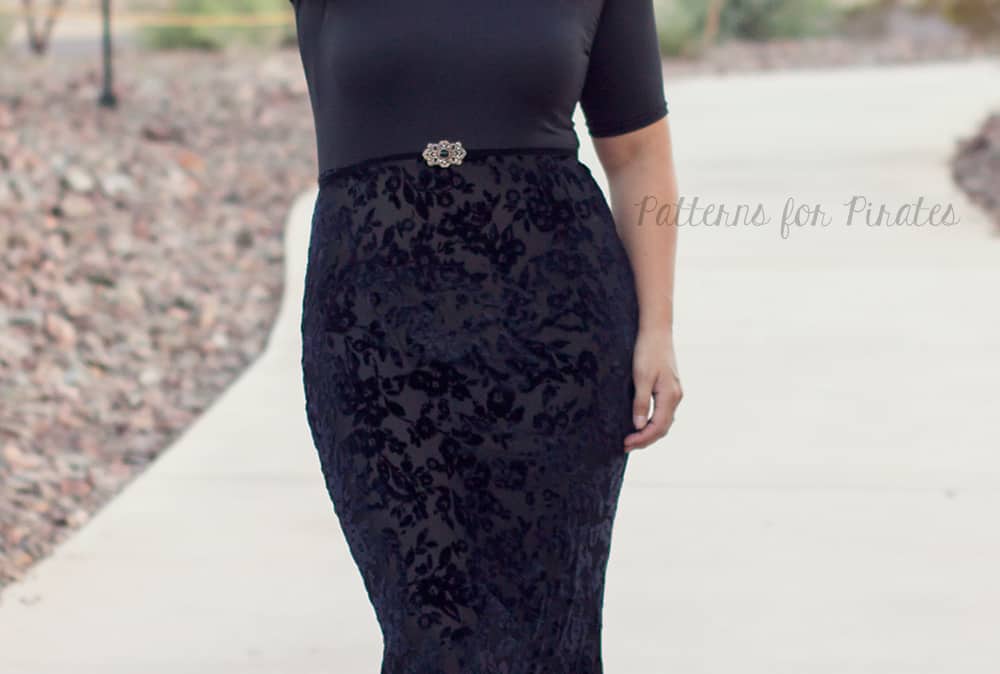
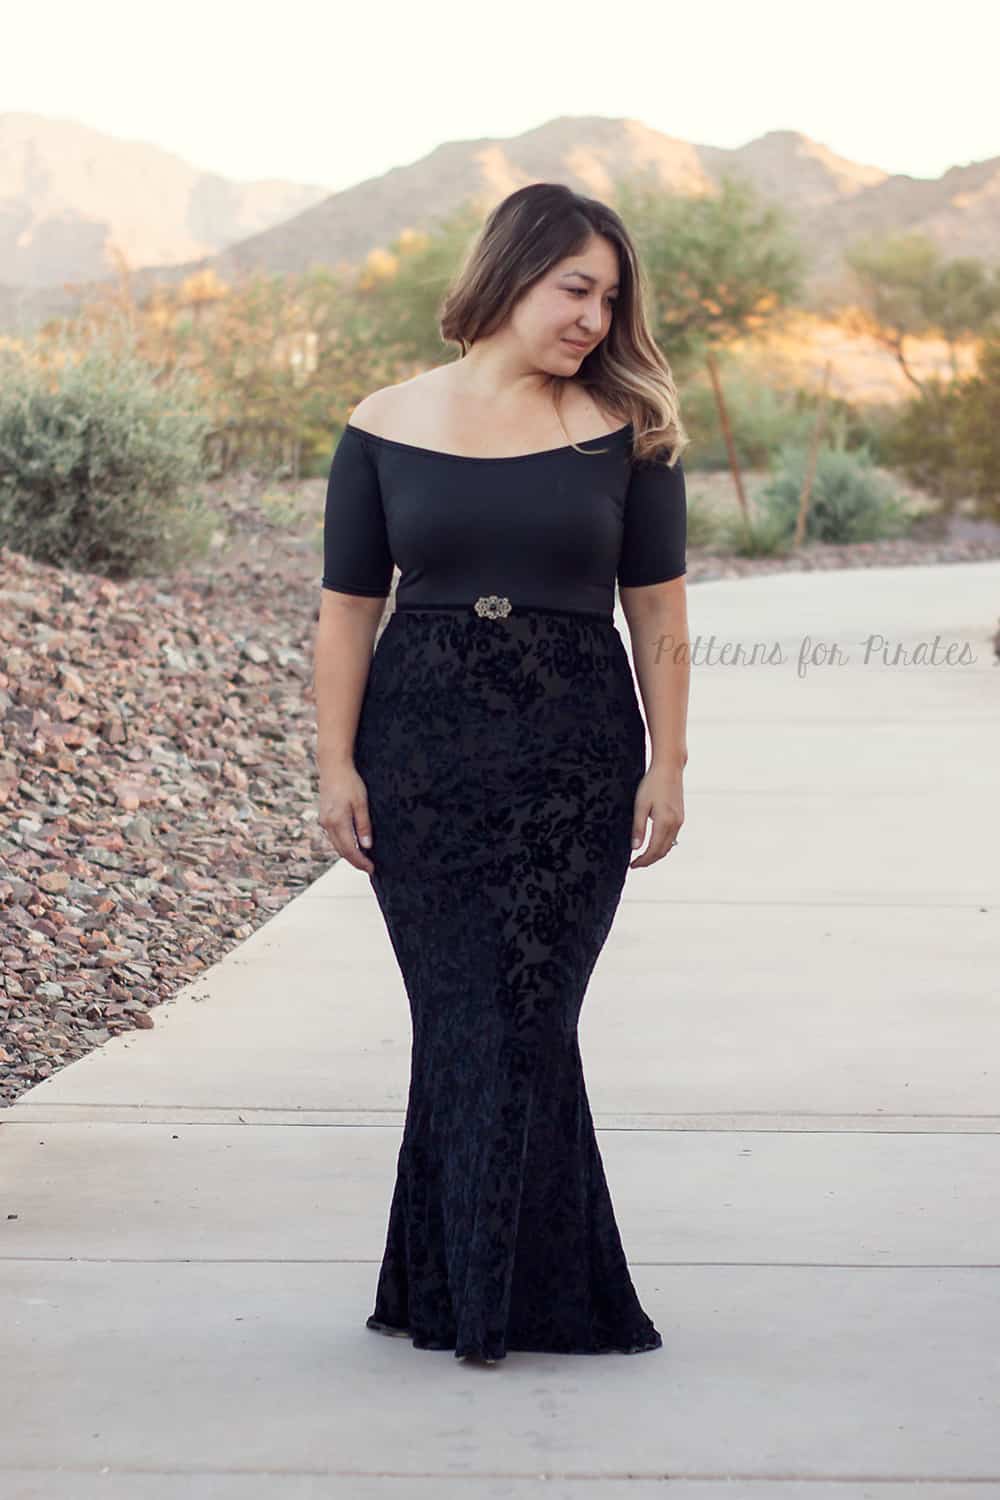
The full-length mermaid-esque dress is gorgeous, but maybe you want to pair it with a different top or choose different fabrics?  With this simple hack, you can create a gorgeous set and wear them as separates.  For the skirt, cut along the crop cutline.  Stitch the center back seam and each side seam.  Using the cropped band measurement and instructions, attach to the top edge of the skirt.  Easy peasy!

How cute is Katy in this Ariel inspired Haloween outfit!


And seriously, how amazing is this sequin skirt!!


…..

Color-Block Bodice

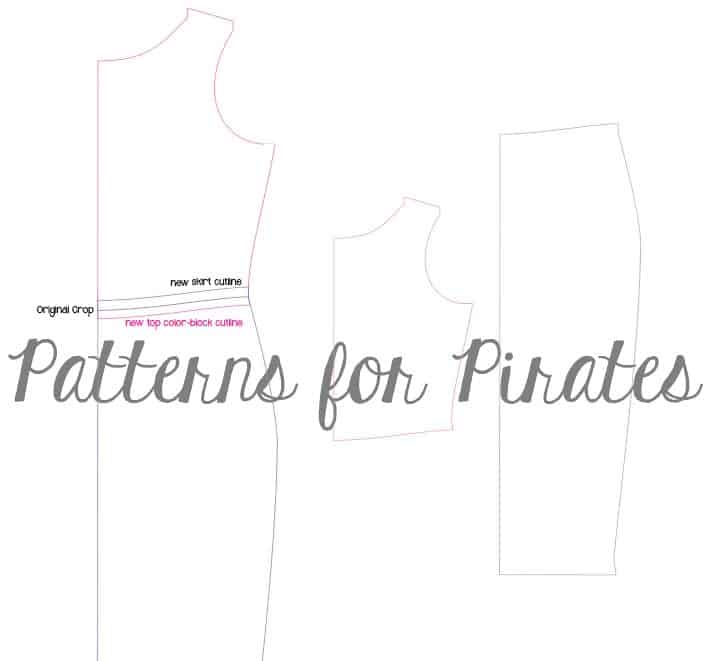
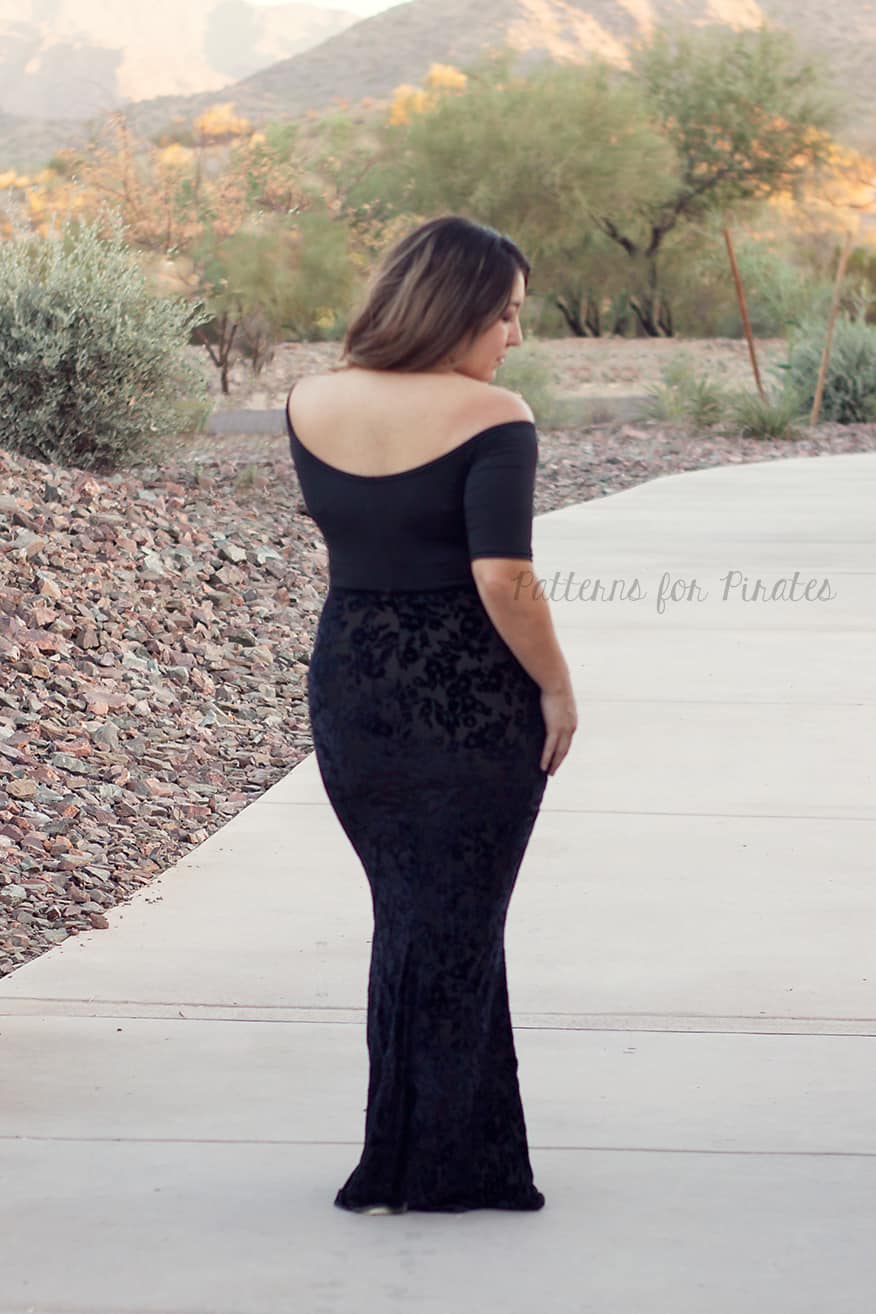
Keeping with the concept of separates, but perhaps you still wanted a dress. Doing a color-block bodice gives you a chance to mix up your fabrics. Since there is already a crop cutline on the pattern pieces that hits at the natural waist, we will be using that as a guideline. Re-trace the crop cutline 1/2″ above and below it to create your seam allowance on both the front and back pattern pieces.  Cut your new top bodice and bottom skirt from both front and back.  For the back, you will have 2 back top bodices (mirror image) and 2 back bottom skirt (mirror image) pieces.  For assembly, with right sides together, stitch with a 1/2″ seam allowance the front bodice to the front skirt. Repeat for both back bodice and skirt pieces.  Continue construction as provided int he pattern. 🙂


…..

Decorative Button Back

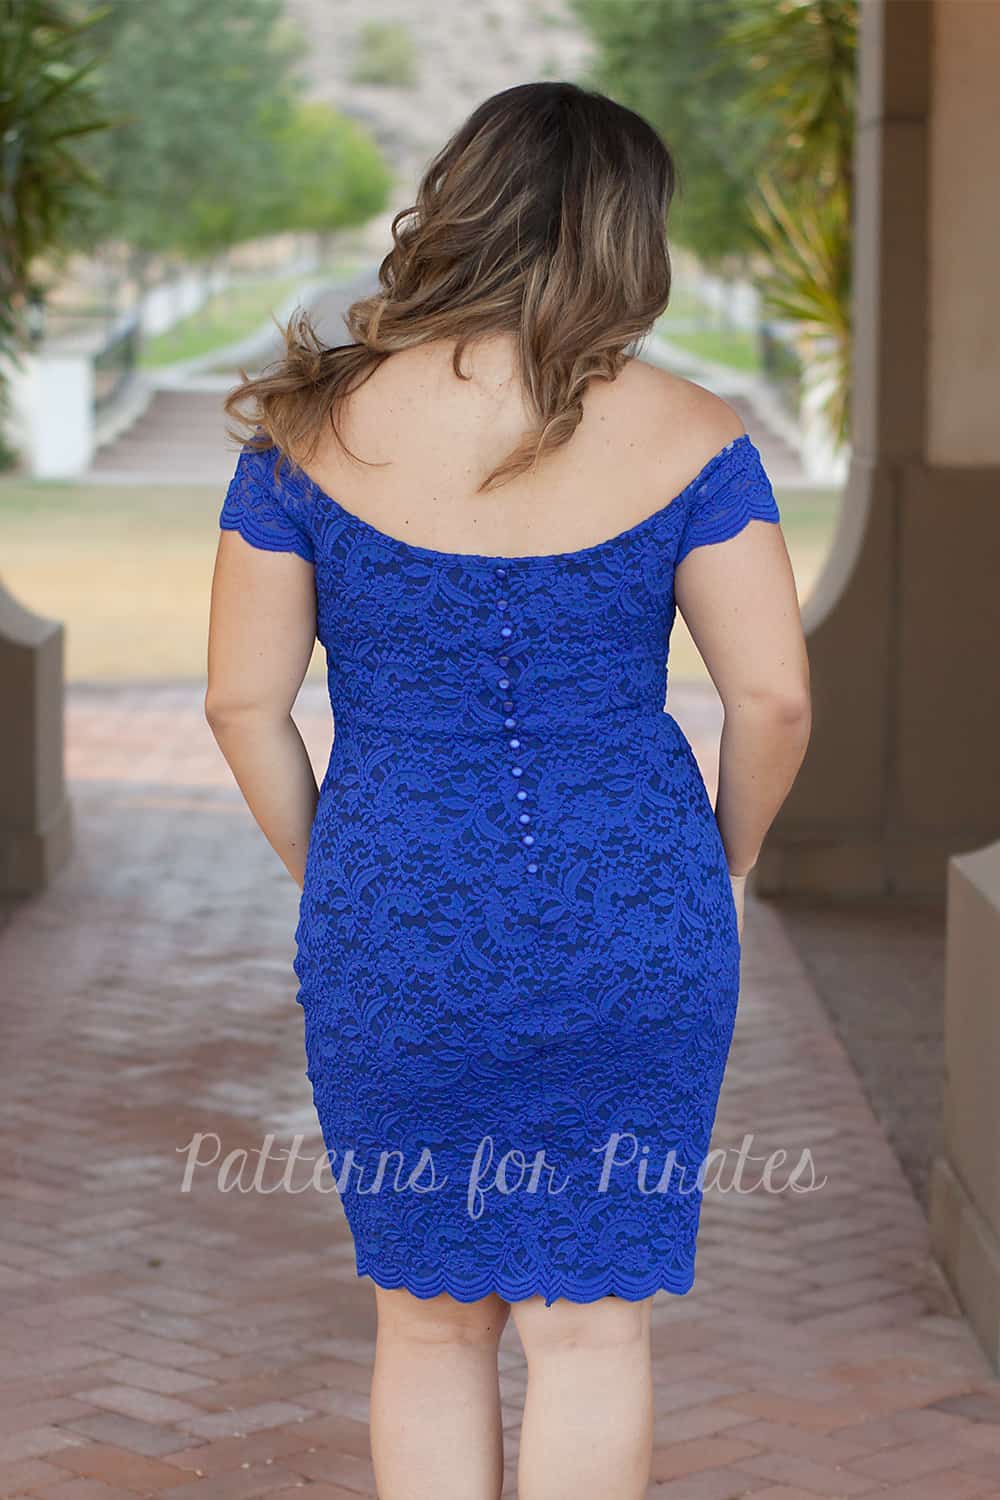
Adding embellishments to your dress can give it some extra special details that will set it apart from the next.  Since the pattern is drafted for stable knits, you do not need a zipper or functional buttons to put it on, so these buttons are purely for decorative reasons.  I love the finishing touch it gives the back. Using the center back seam as a guideline, I hand stitched pearl buttons every 1/2″.  I used the zipper lengths as mentioned in the tutorial as a guide where to end my button placement.  For this version, I used a total of 13 buttons. ”


…..

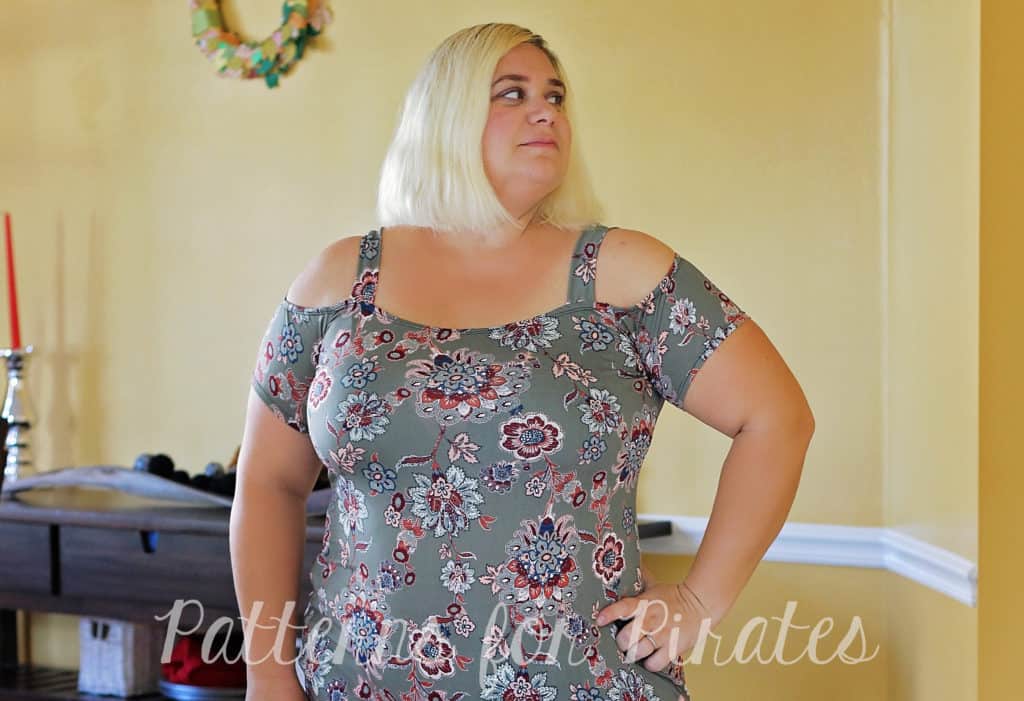
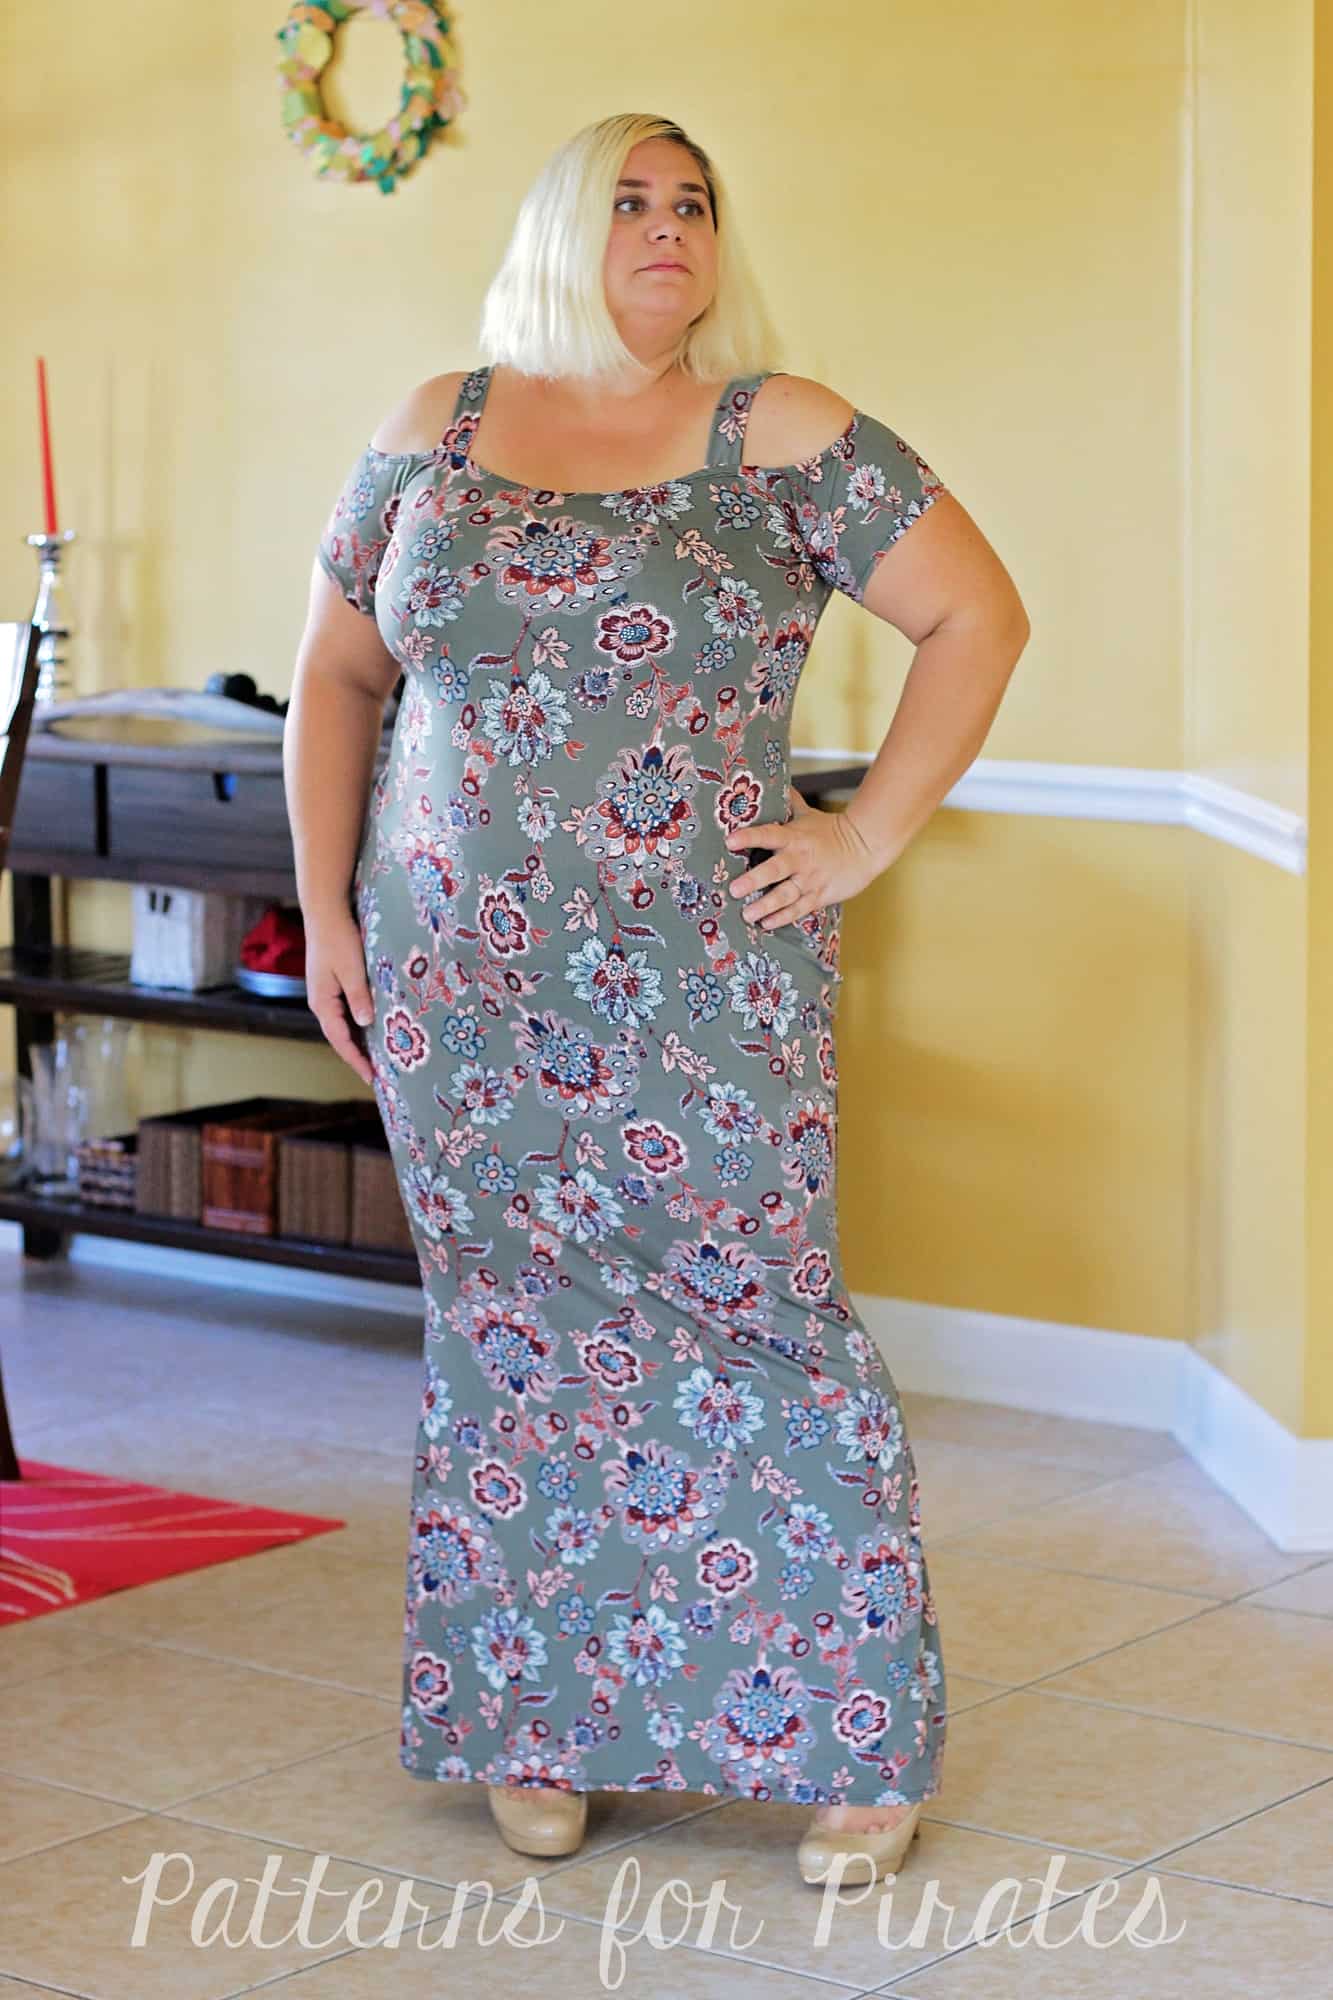
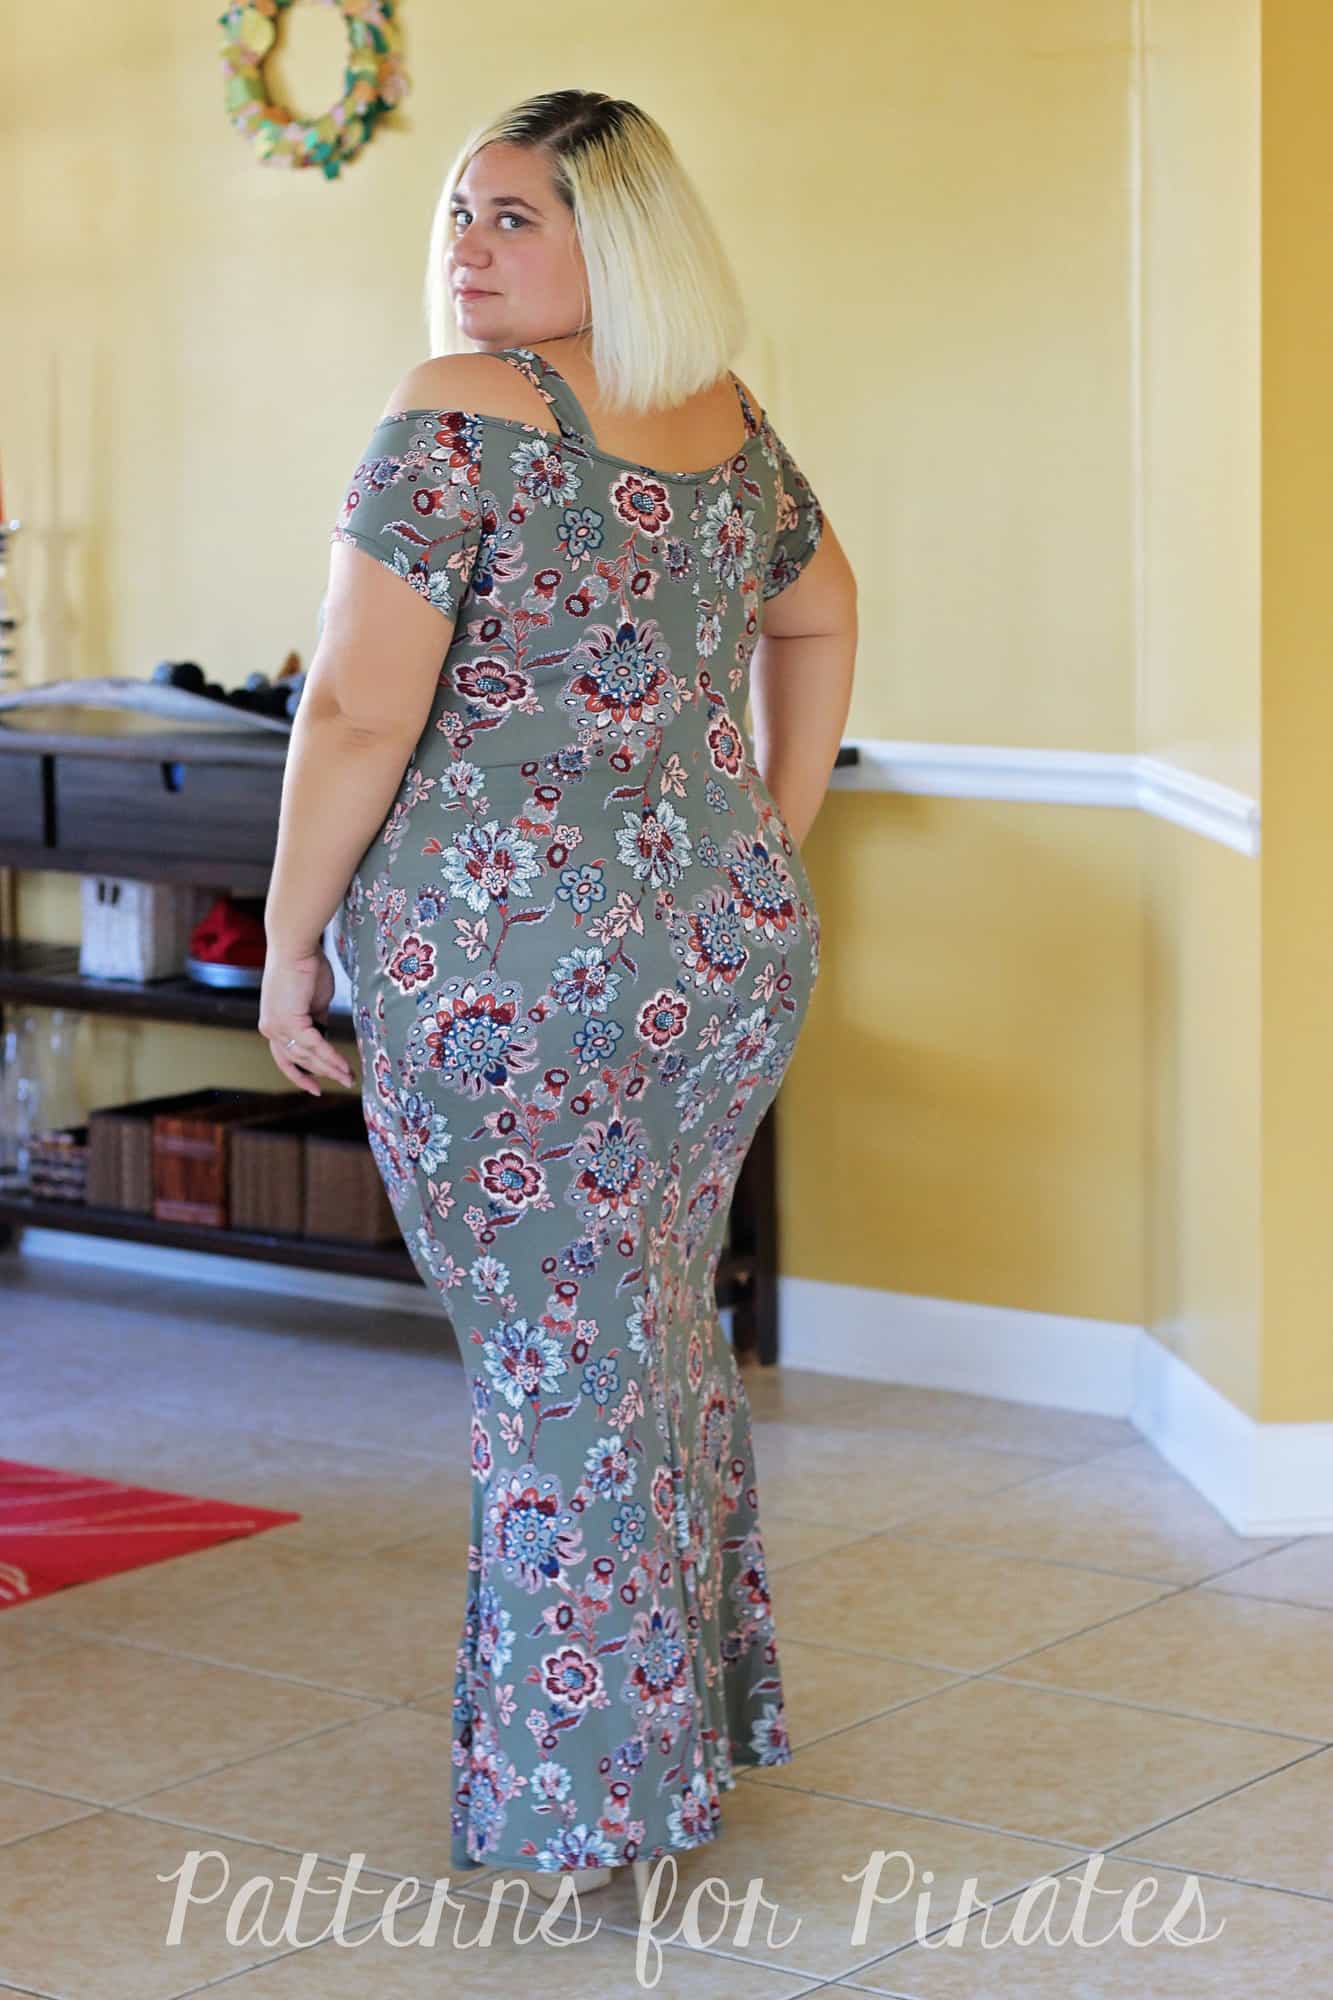
Straps for off the shoulder

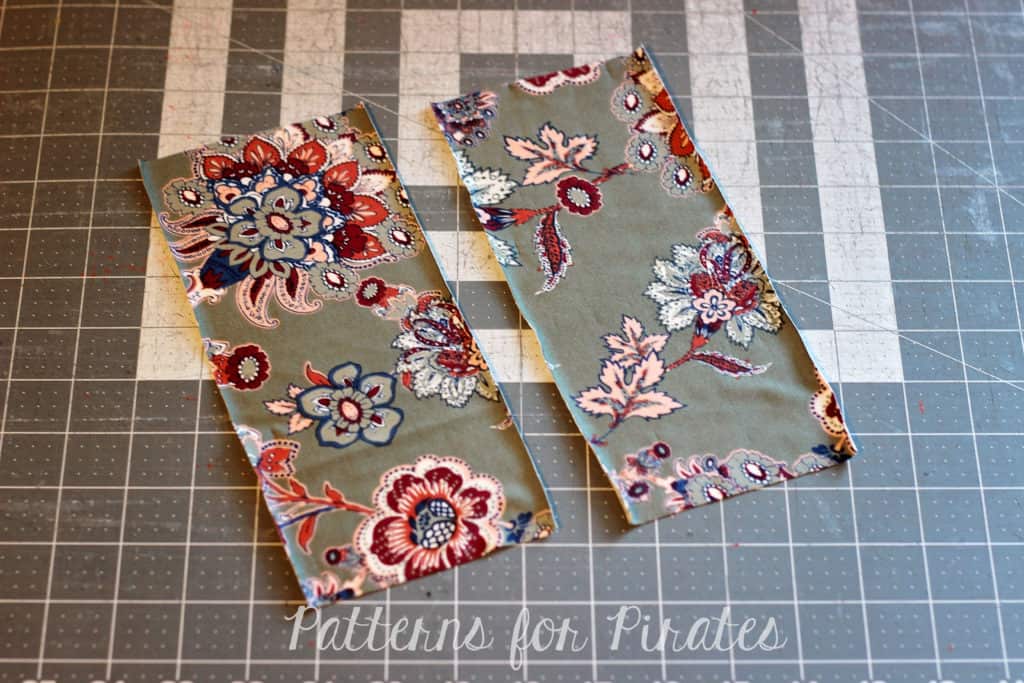
Love the off the shoulder but hate wearing strapless bras? No problem! Let’s add some cute straps to the Wiggle off the shoulder dress that will cover your bra straps. Print the off the shoulder option of the pattern and sew it up as per the pattern tutorial. Stop at the neckline finishing steps. Cut two pieces of fabric 4″x 9.5″. These will be your straps. The length of your straps may vary slightly based on the size you make.

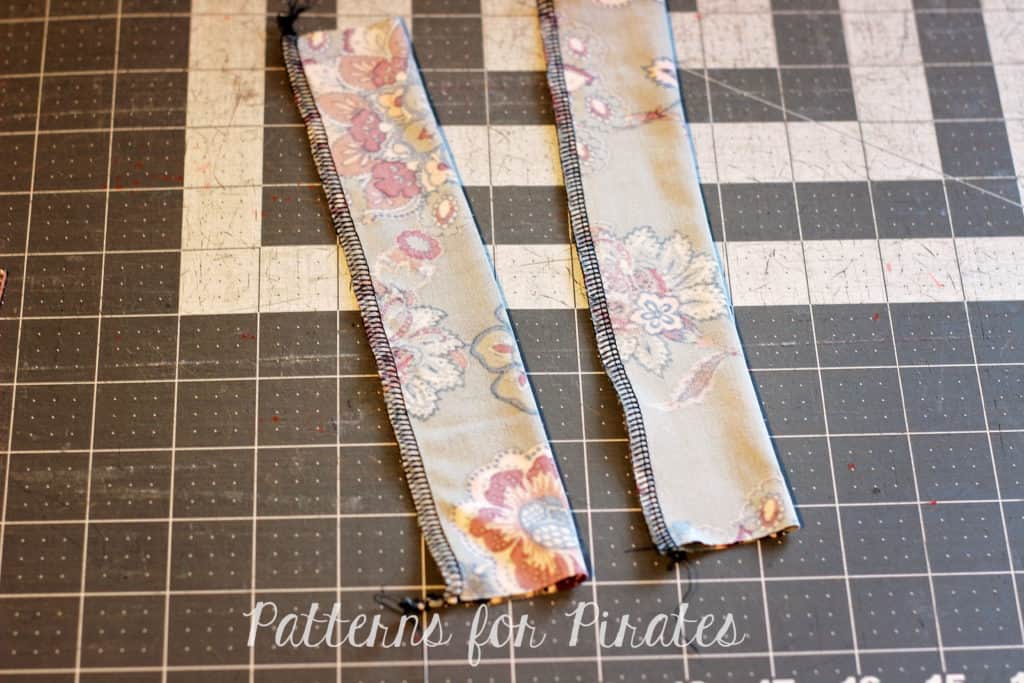
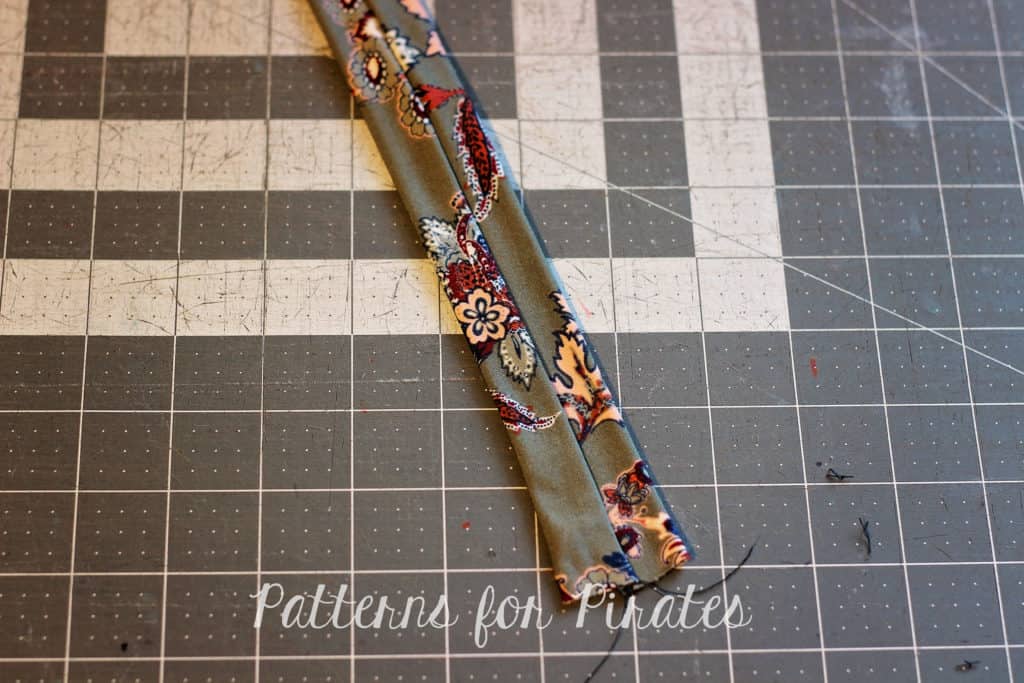
Fold the straps lengthwise and sew them side with a 1/2″ seam allowance.

Turn the straps inside out and press them with the seam in the center.

For perfect straps placement, try the dress on with your favorite bra. Mark with a pin or a clip where the bra straps will be.

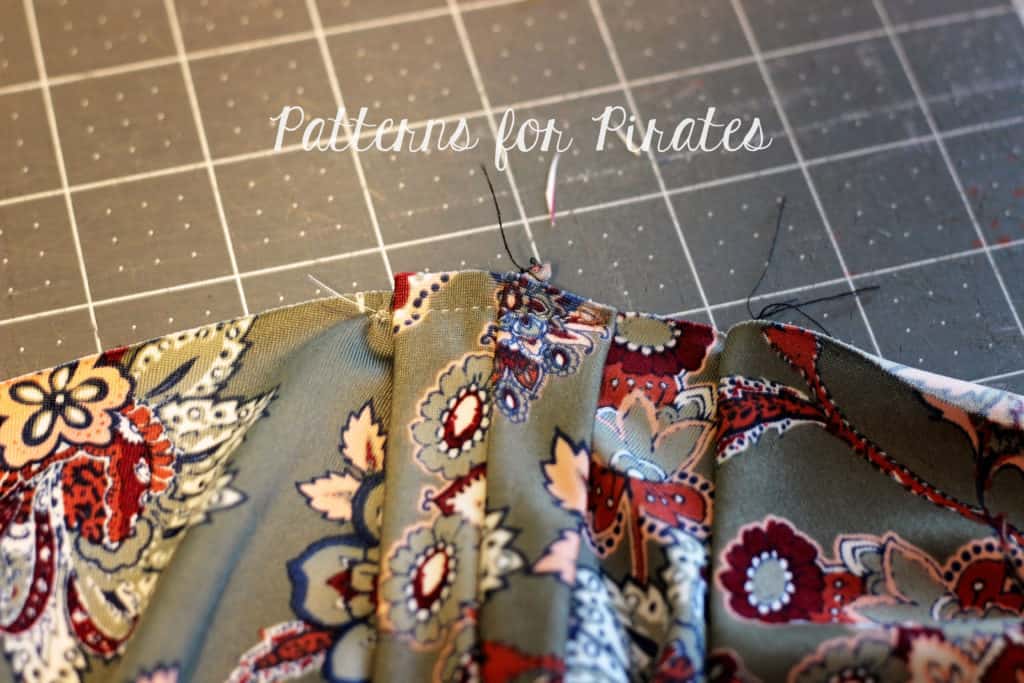
Sew the straps to the dress with the right sides together. Finish the neckline as per the pattern tutorial.

That’s all! You now have yet a new style of the new Wiggle dress!


…..

Sleeveless

The Wiggle Dress is already packed with soo many options and great for every season but I don’t know about anyone else but summer here is HOT!! I can not handle any type of sleeves at all so a sleeveless version of the Wiggle dress would be what I would want for summer and lucky for me it is a really quick and easy hack.  Let’s get started.

First, you are going to cut all your pieces except for your sleeves.  You do not need to modify the armscye at all for this hack so just cut your front and back as usual.  Sew the shoulder seams and side seams as directed in the pattern, but skip the section for adding a sleeve.   Next, you will iron and pin your armscye to the wrong side 1/2″ inch as shown below. Topstitch using your favorite stretch stitch.


Now just finish up the dress or top as instructed in the pattern and you’re done. Quick, right!?


…..

Full Zipper Back

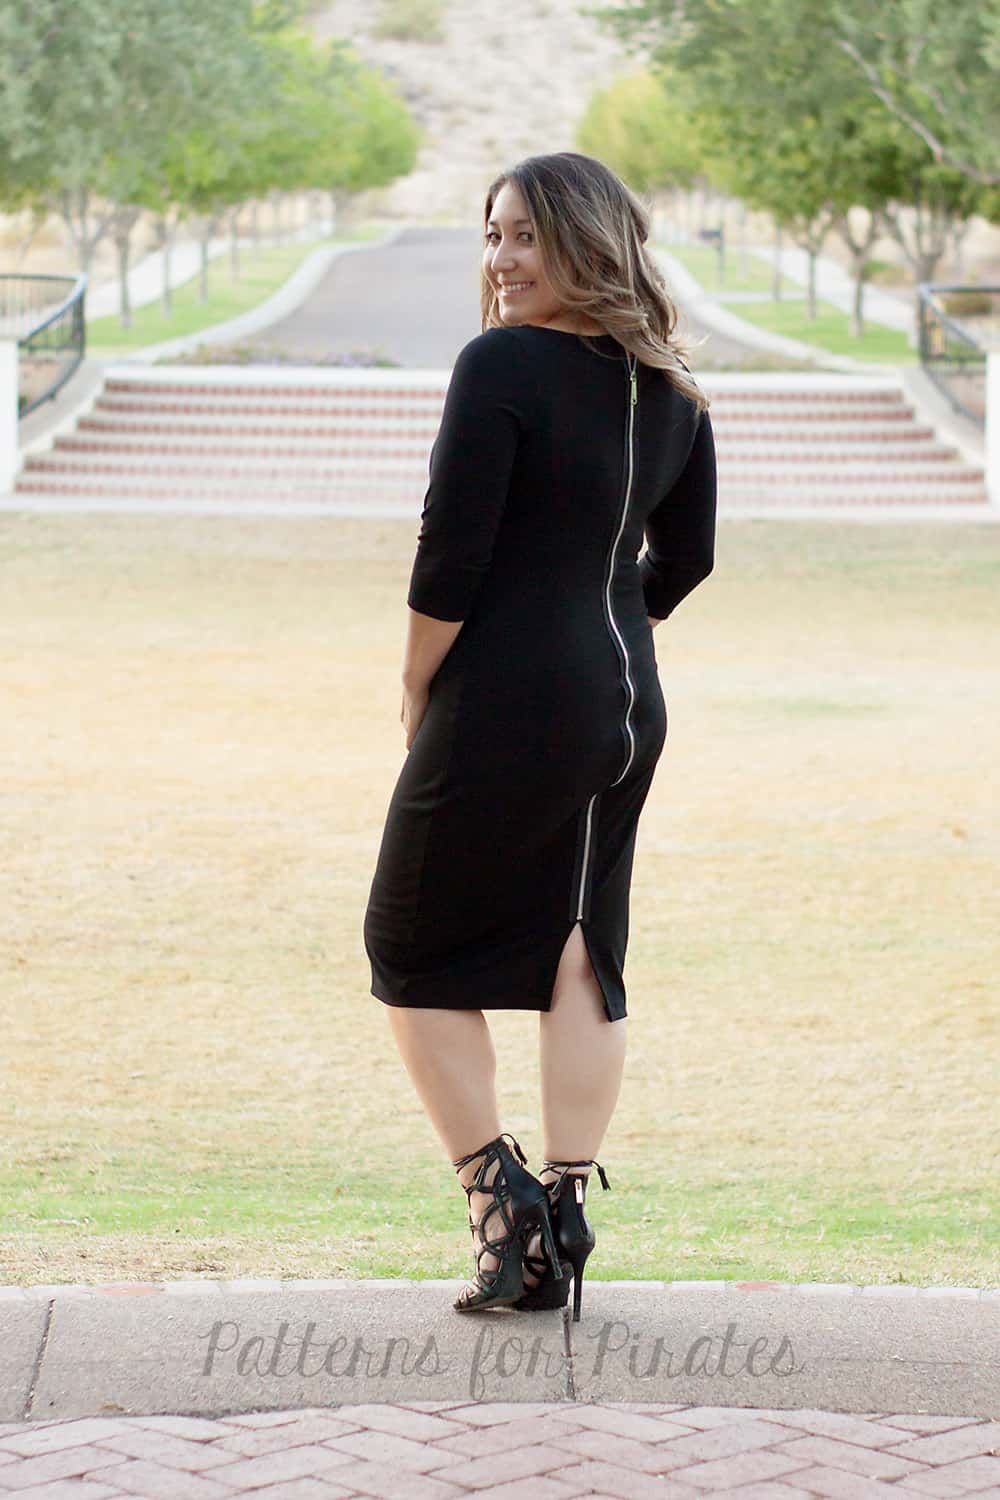
As soon as I saw the Wiggle dress I knew I had to make a full zipper back! So I took it up a notch and bought a dual zipper. This style zipper opens at the top and bottom. You can add this zipper to the high back, low back or even the off the shoulder option as well as the above, bellow or midi length. Just make sure the zipper you use is long enough! As a point of reference, I used a 48″ zipper for the high back, midi length style.

Start by marking the hem on the center back seam.

Add a strip of 1/4″ Wonder Tape to the center back seam, 1.4″ away from the edge. Start at the point you marked above and stop 1/2″ away from the top.

Repeat with the other back piece.

Remove the paper backing of the Wonder tape and adhere the zipper right sides together. Sew in place with a 1/2″ seam allowance.

Zip up the zipper and place the other side of the back piece, right sides together, making sure that the bottom and top match.

Sew in place and top stitch.

Now that you have your back piece ready, sew the dress as per the tutorial. You will be enclosing the zipper in the bottom hem as shown below.

All done! Now all you have to decide is where the next date night will be! 🙂


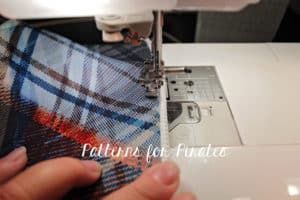
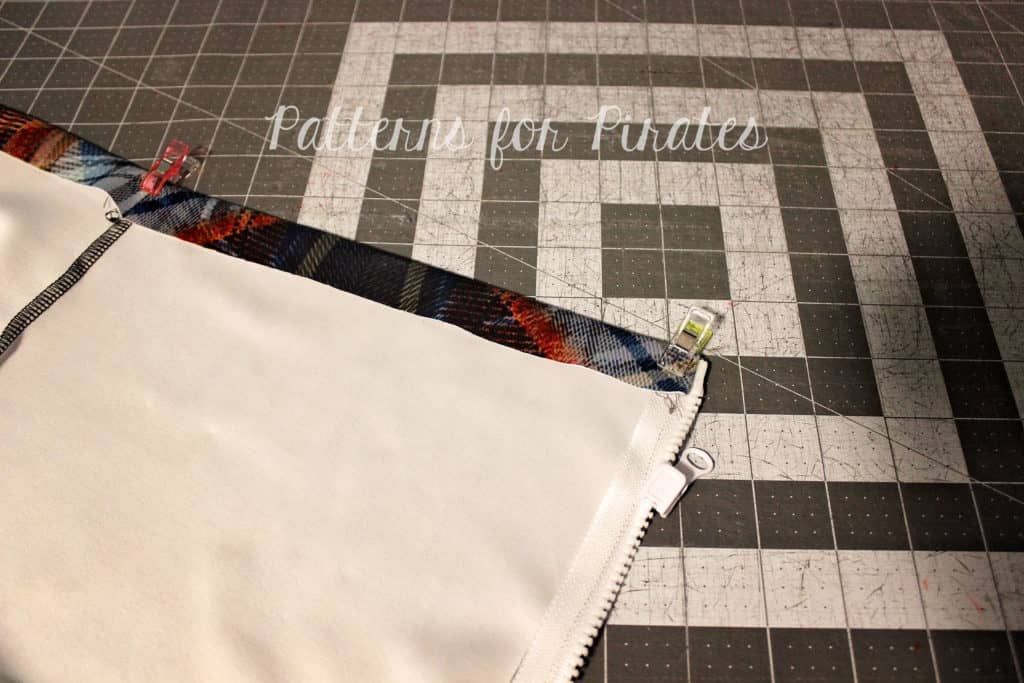
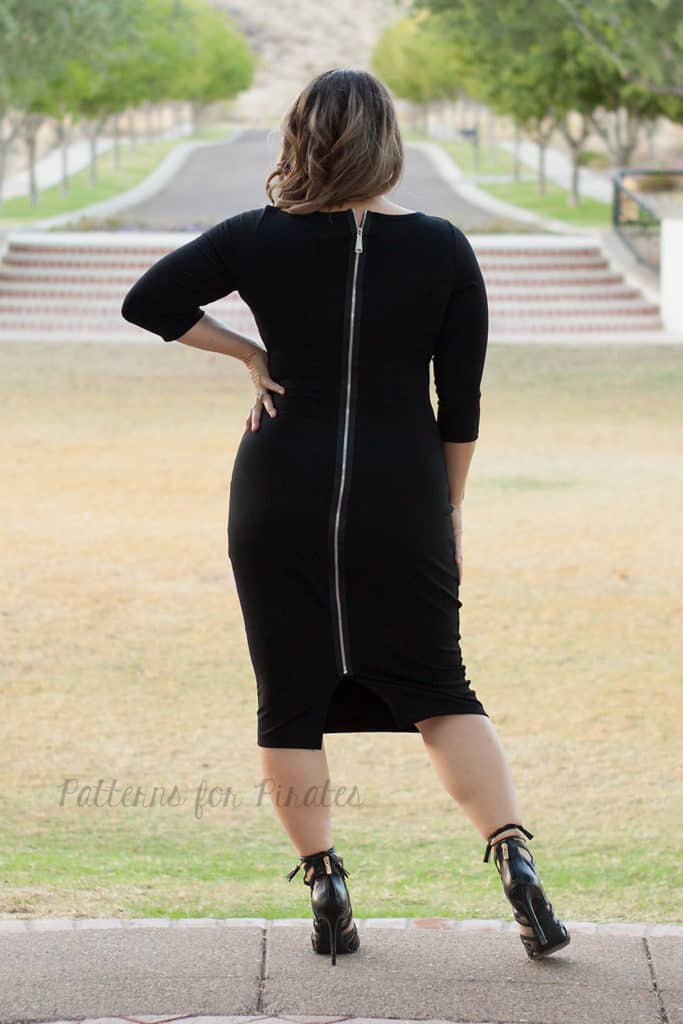
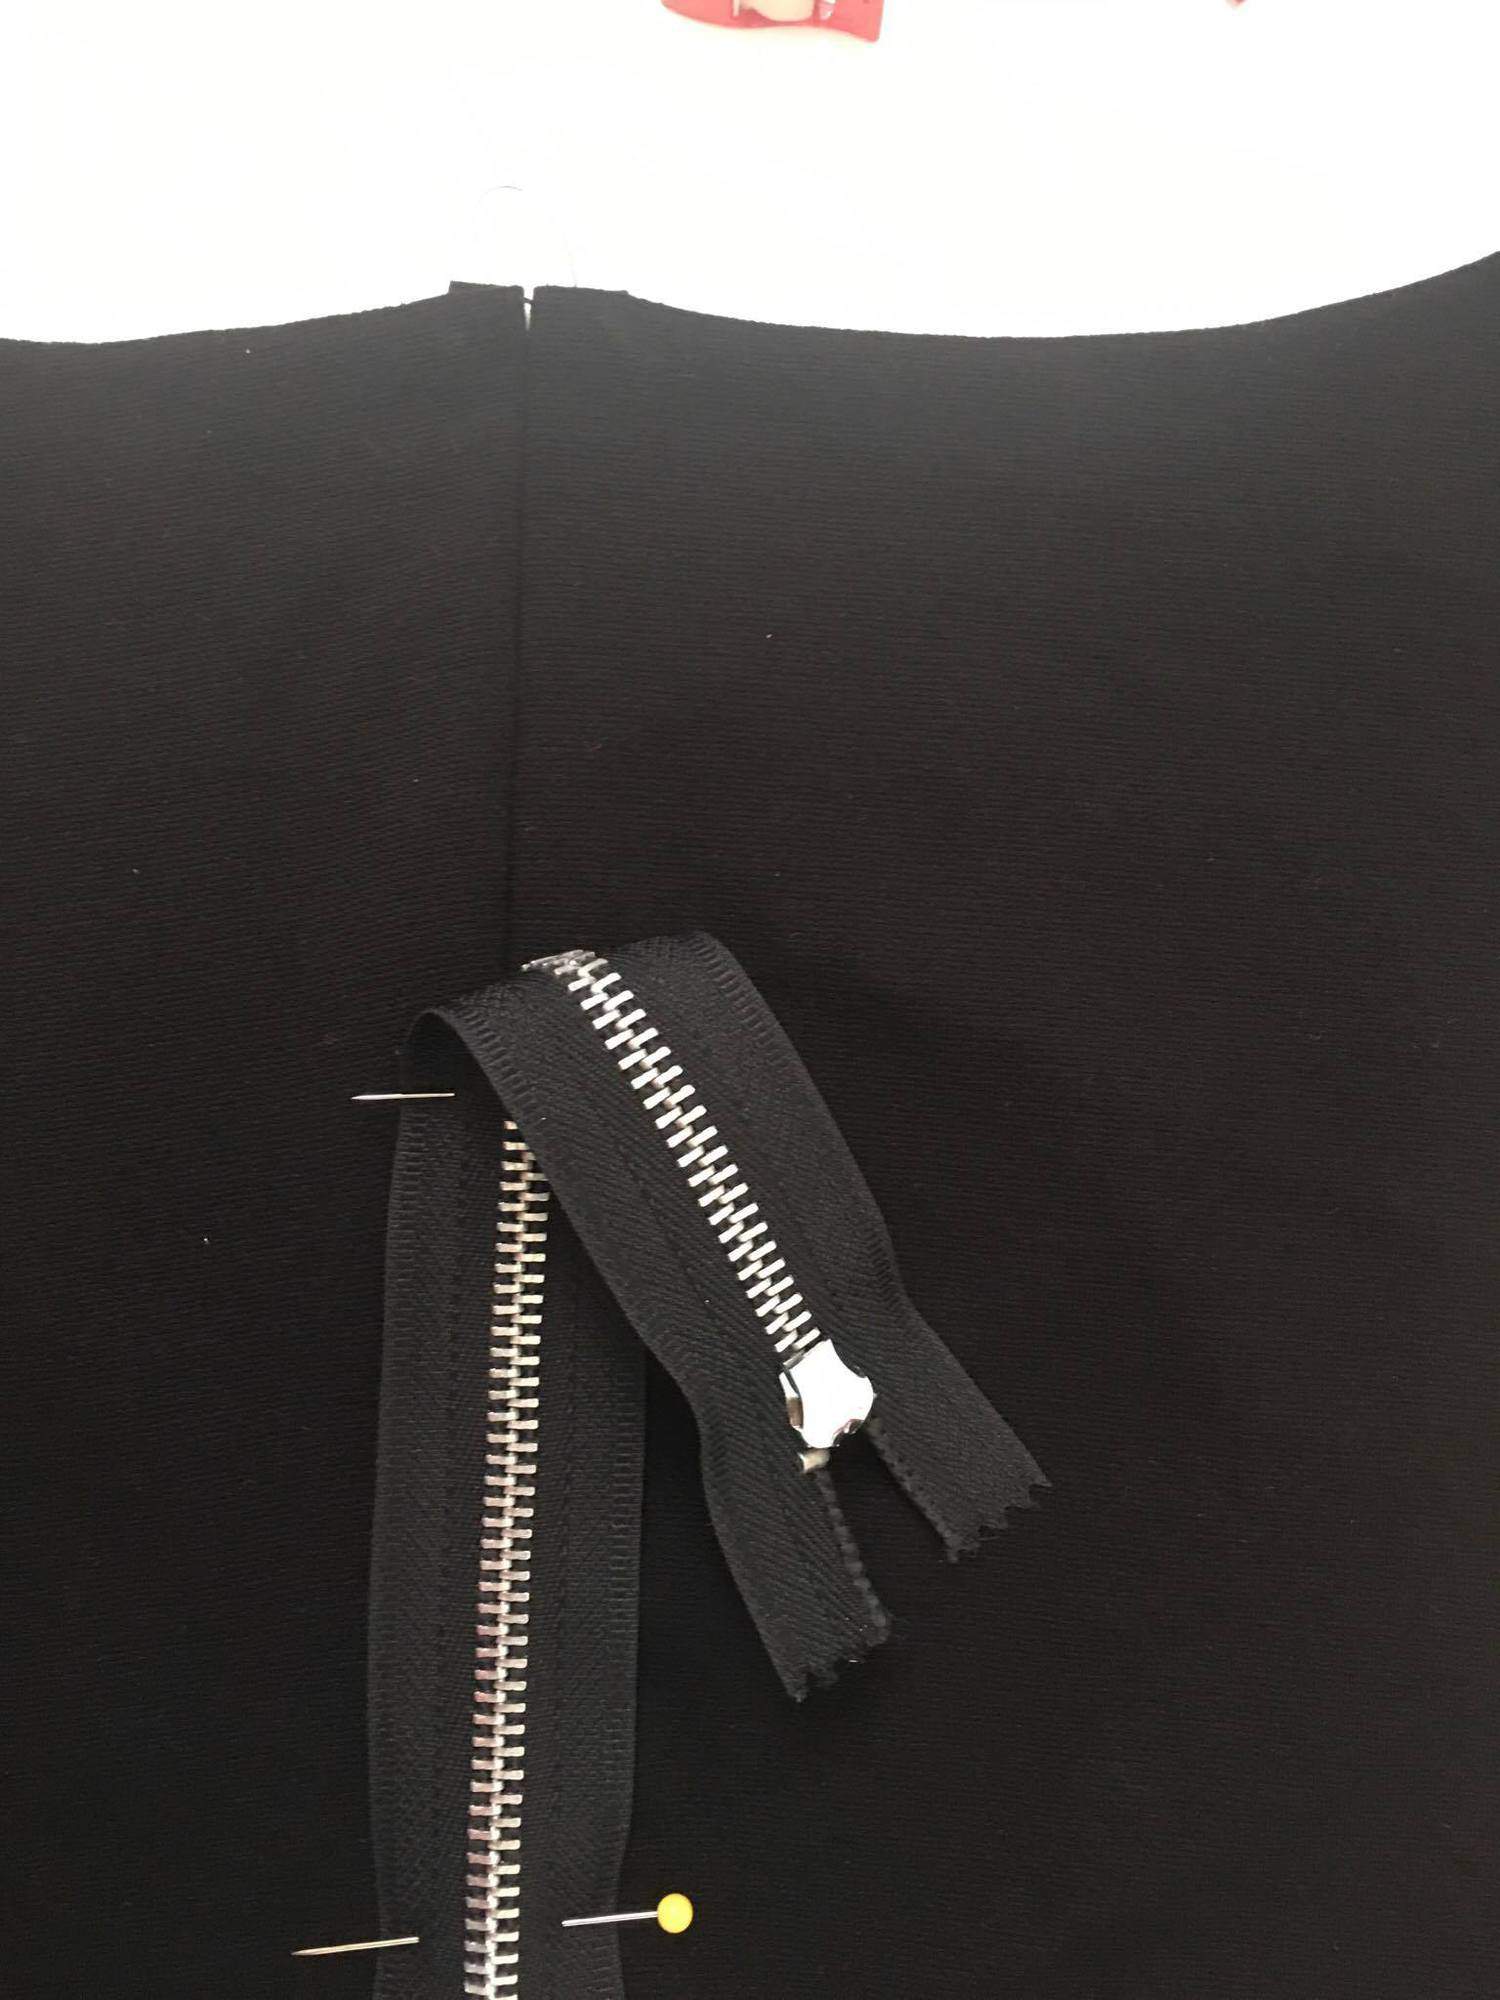
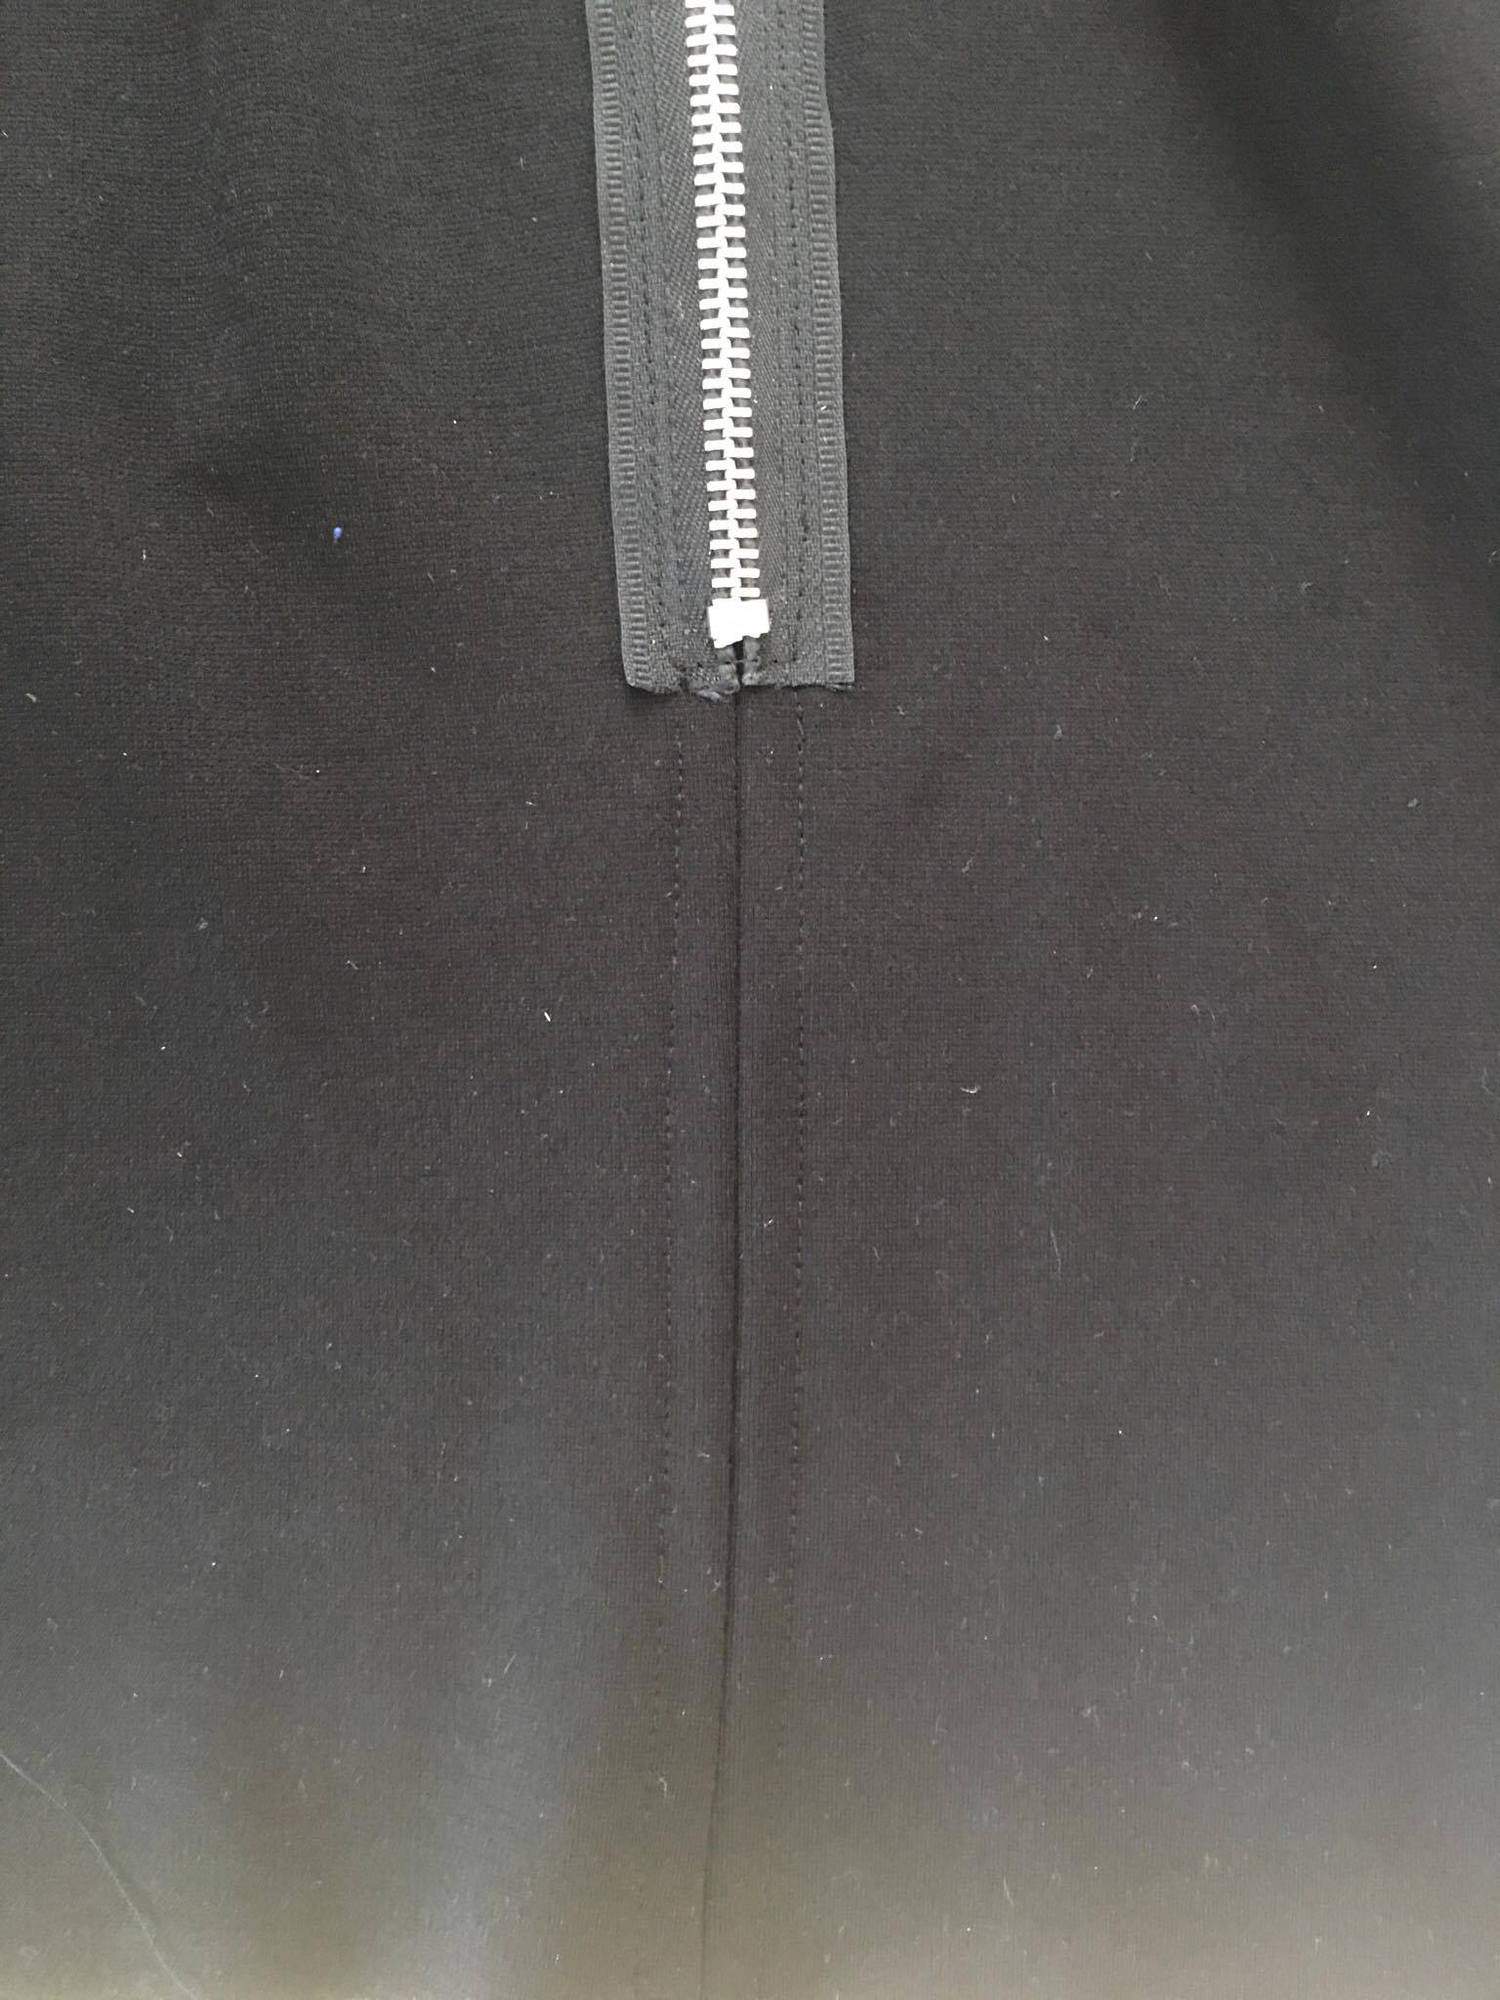
I loved the idea of a full-length zipper like Alex showed us above, but when it came to finding one locally, I wasn’t able to get one the length I needed.  I did find a chunky zipper that would be perfect to use as an exposed zipper and just so happened to work out that it’s finished length was about knee length.  I opted to go with the midi length and do a split hem at the center back.  You will install your zipper the same as you would in the tutorial, except place it on the RIGHT side of the fabric with the wrong side of the zipper centered along the back seam.

Place zipper on top of the center back seam.
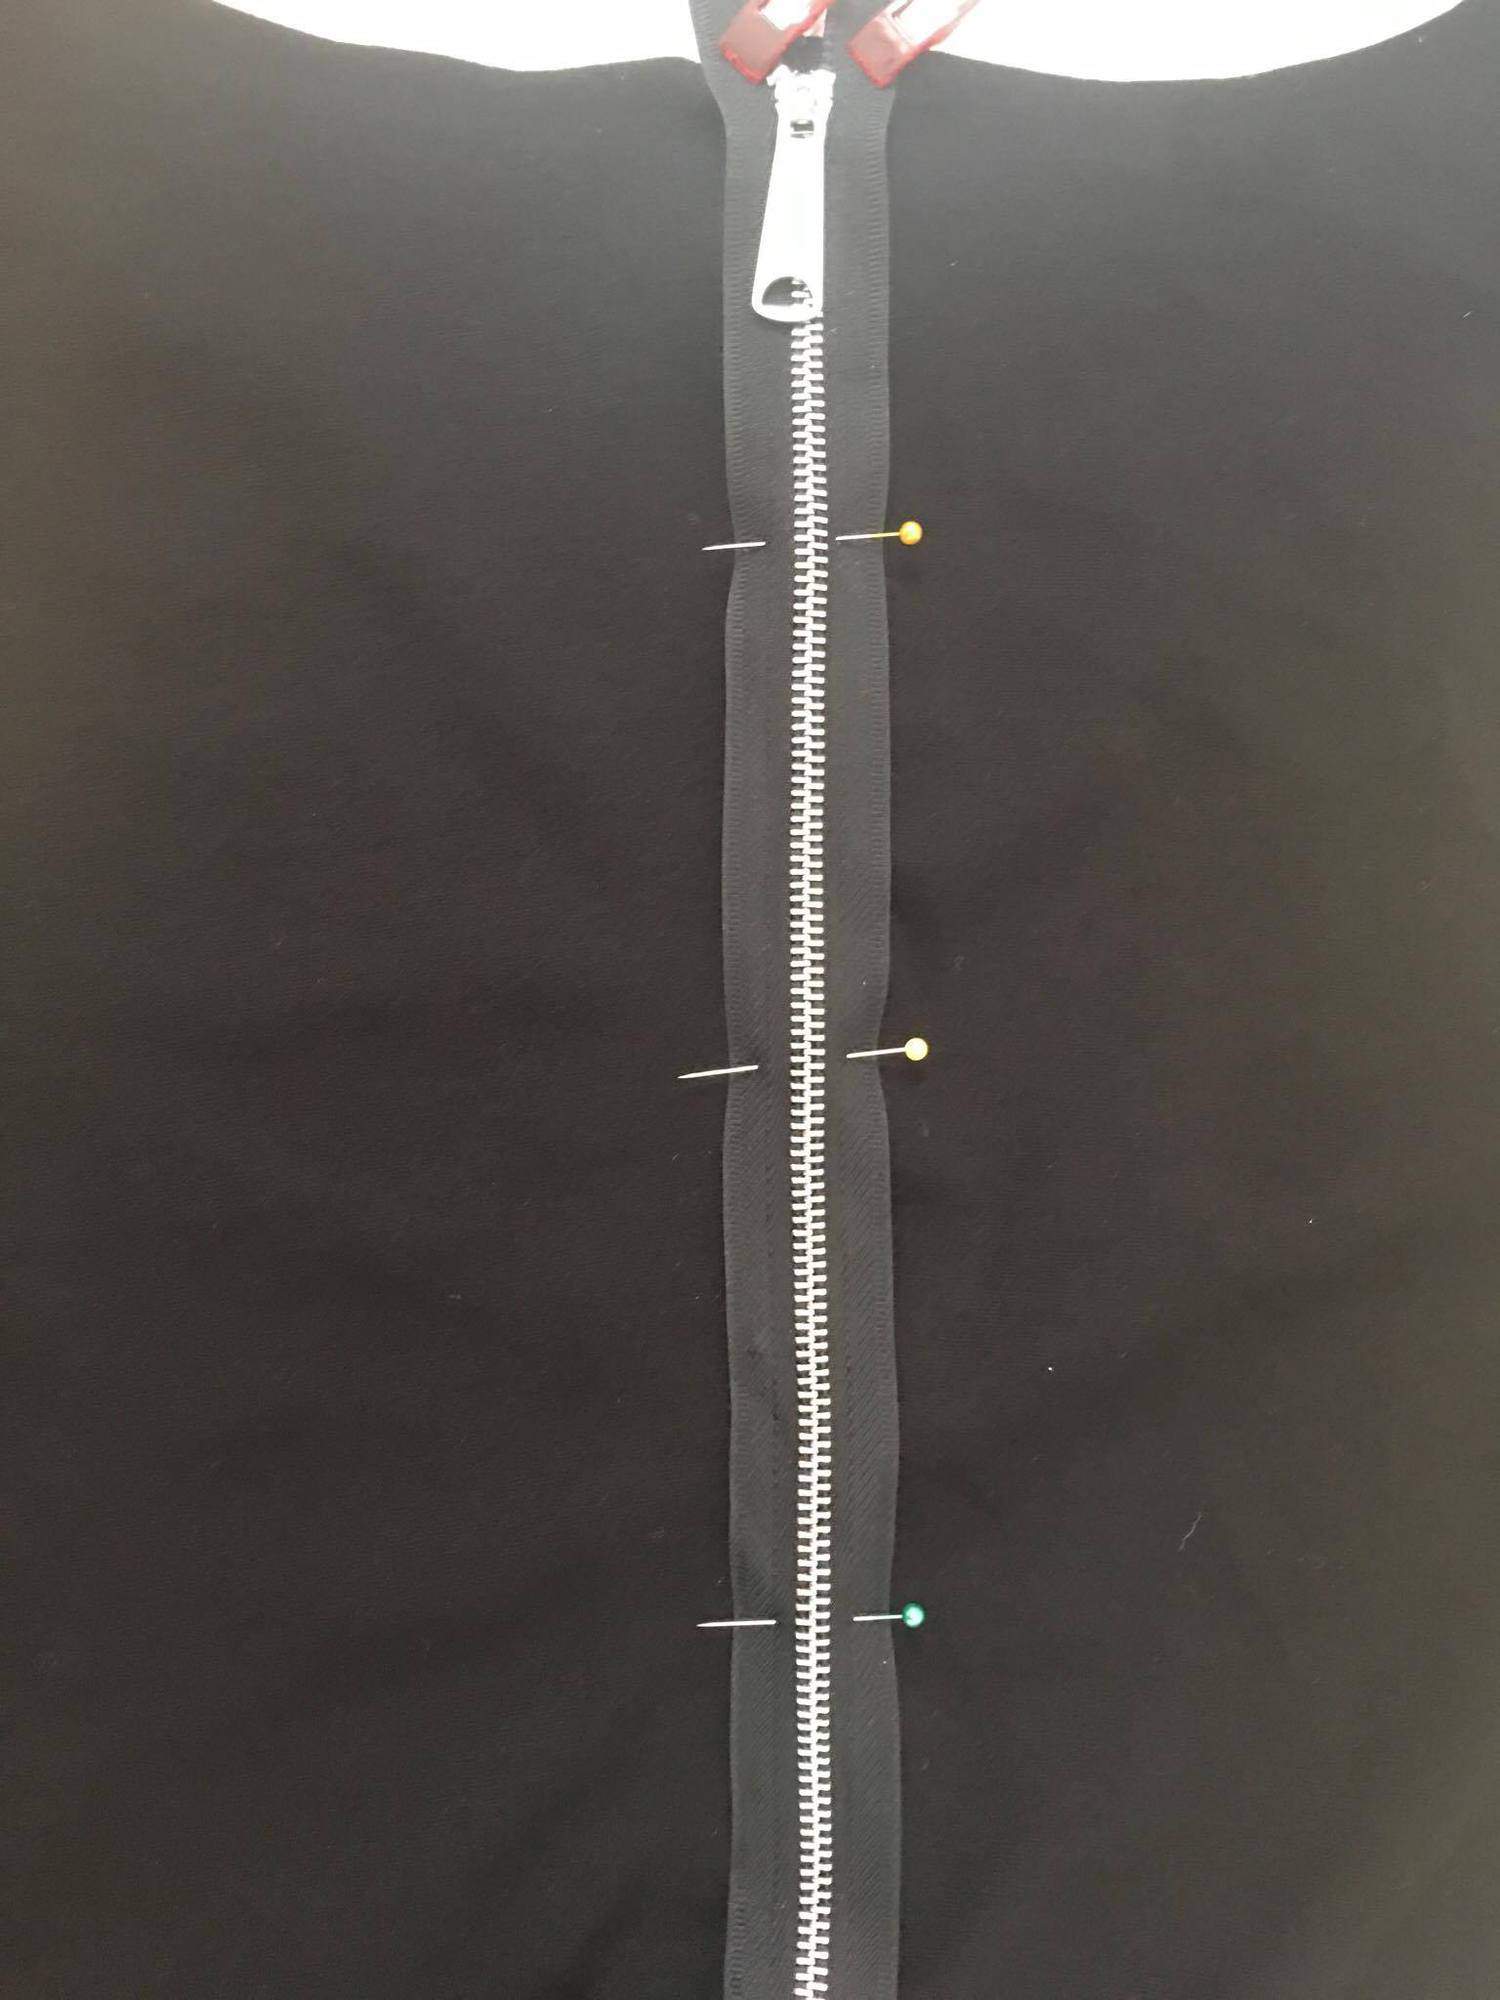
Pin in place and topstitch.
View from Back
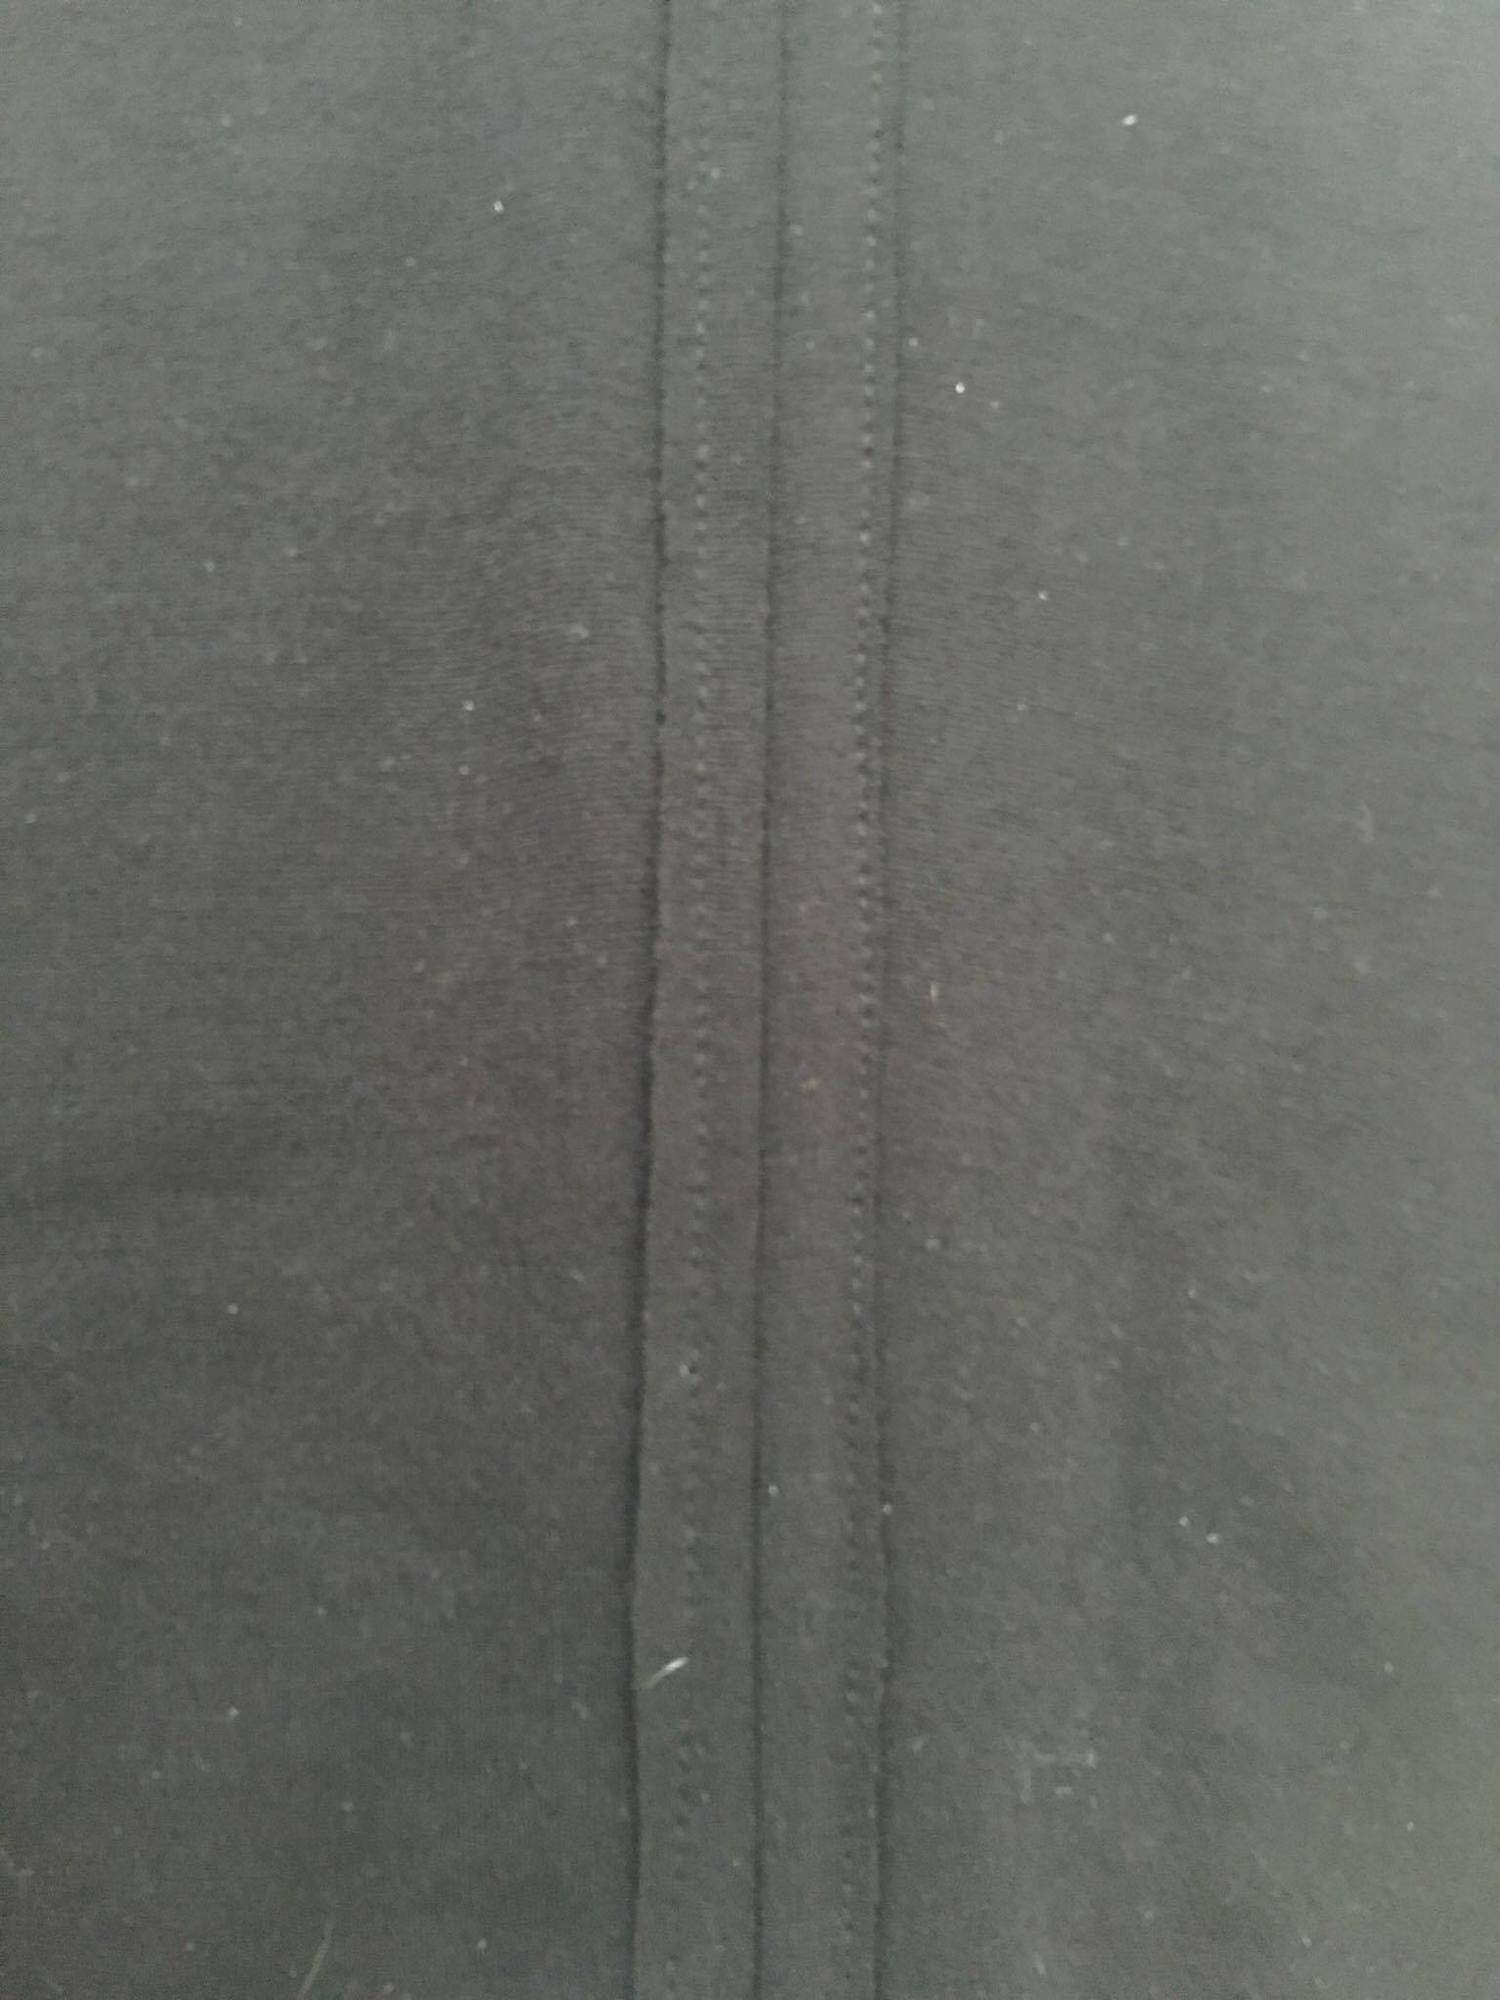
Fold the remaining center back seam to the wrong side and topstitch.


…..

Lace Applique

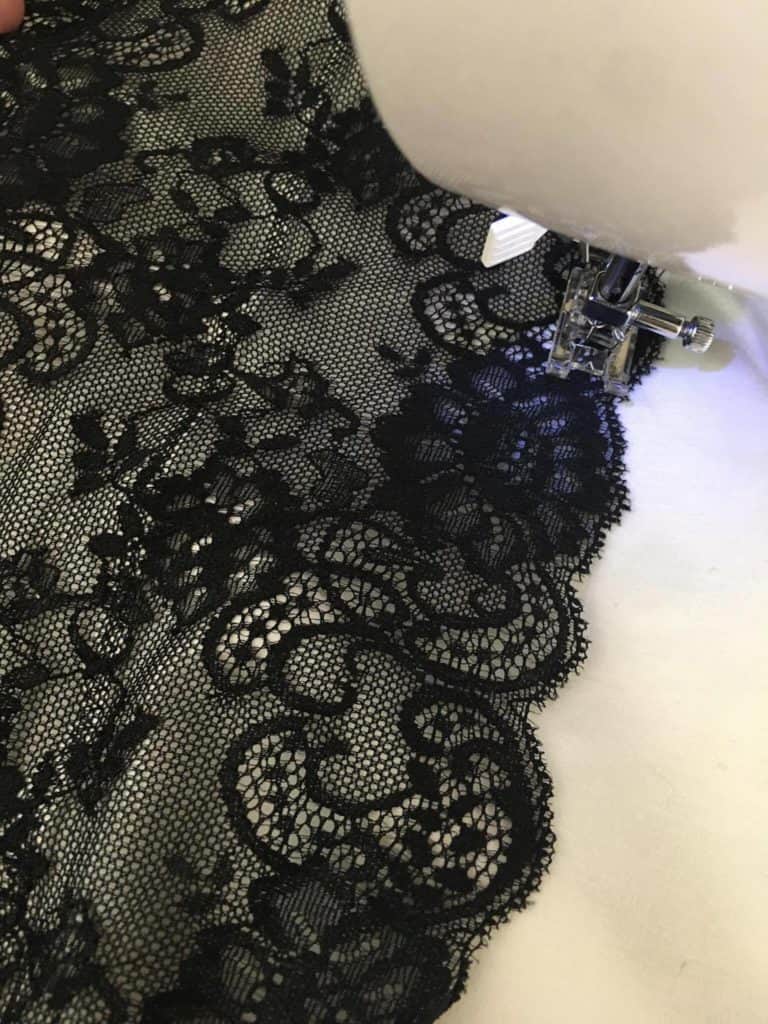
I’ll be honest, Judy created this dress while we were pre-testing and I had to replicate it.  Adding a lace applique is super easy but adds a super sexy and classic flair.  For this particular version, the lace extends along the entire side seam, so I constructed my bodice first, added the lace to the top, then sewed my sleeves on so that the lace was enclosed in the armscye.  You can, of course, add lace wherever you’d prefer, such as the neckline or bottom hem but I love the silhouette the wide stripe gave from the front and back.   I used a fairly narrow zig-zag stitch down the center seam and along each edge of the stretch lace trim.  Be sure to keep your lace taut as you sew along the waist and hip curves.


…..

Front Leg Slit

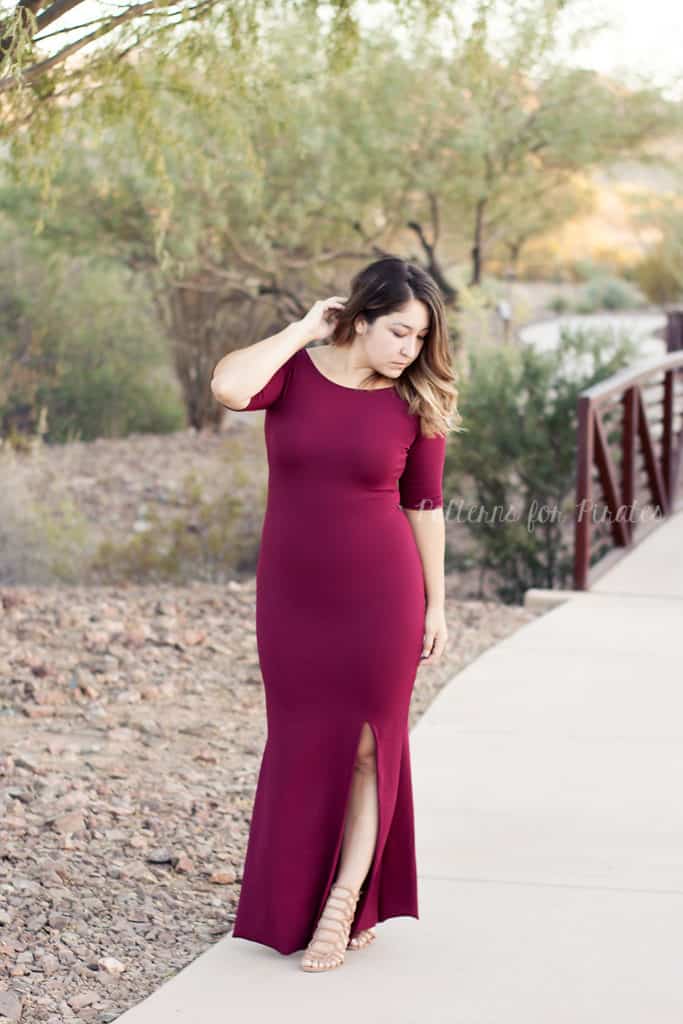
What sexy dress doesn’t include a slit!  Show off those legs and add a front slit to your wiggle.

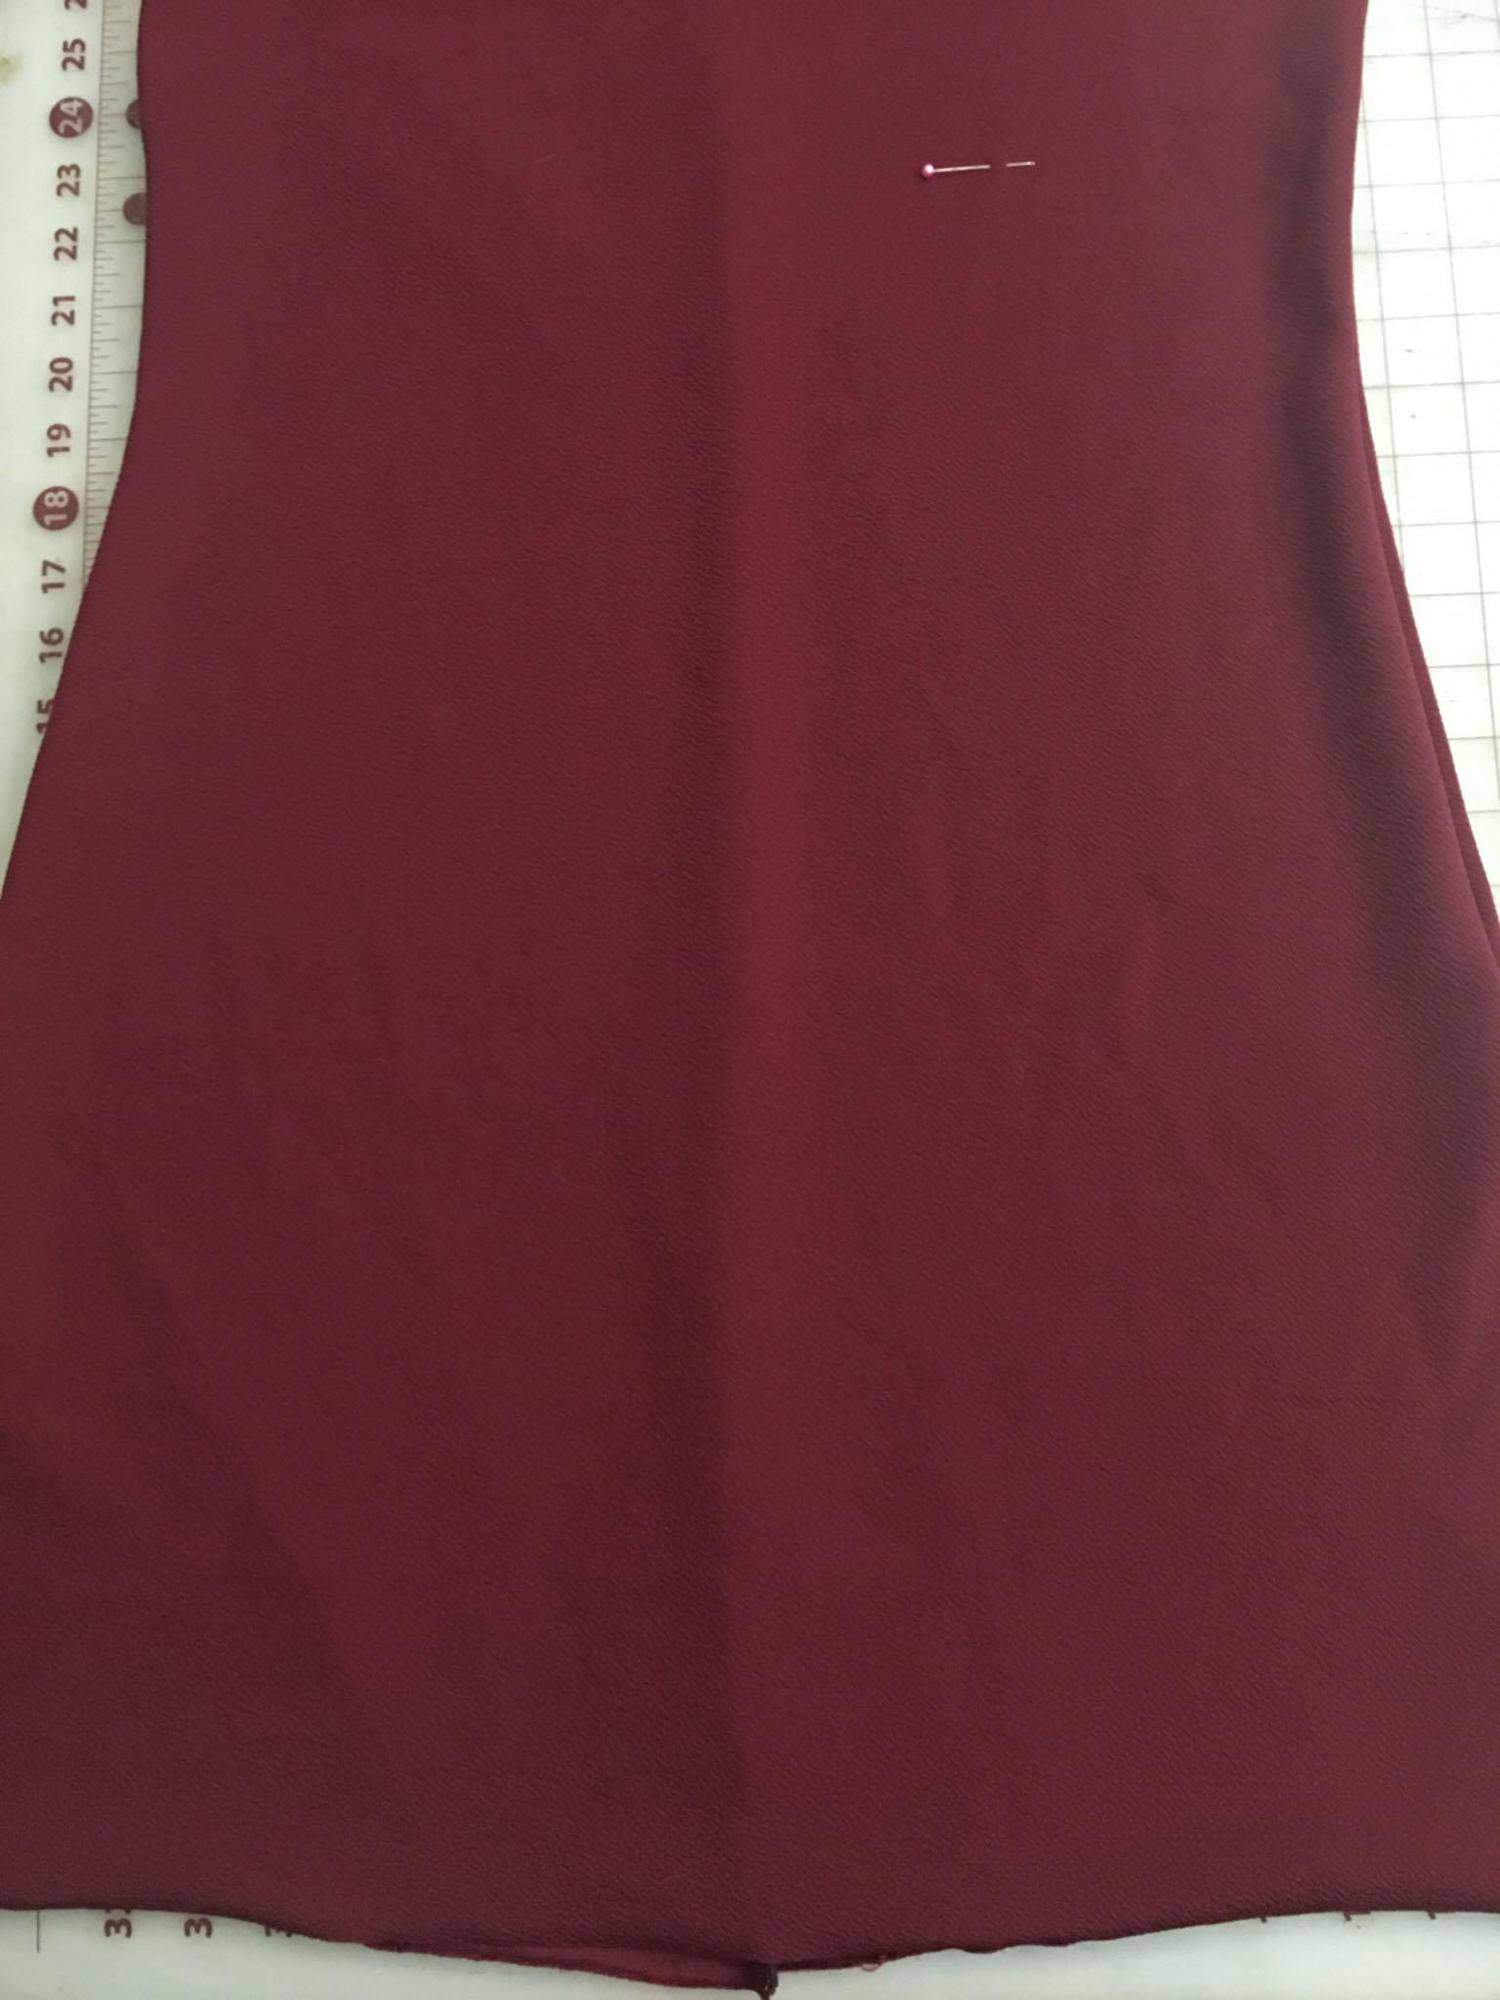
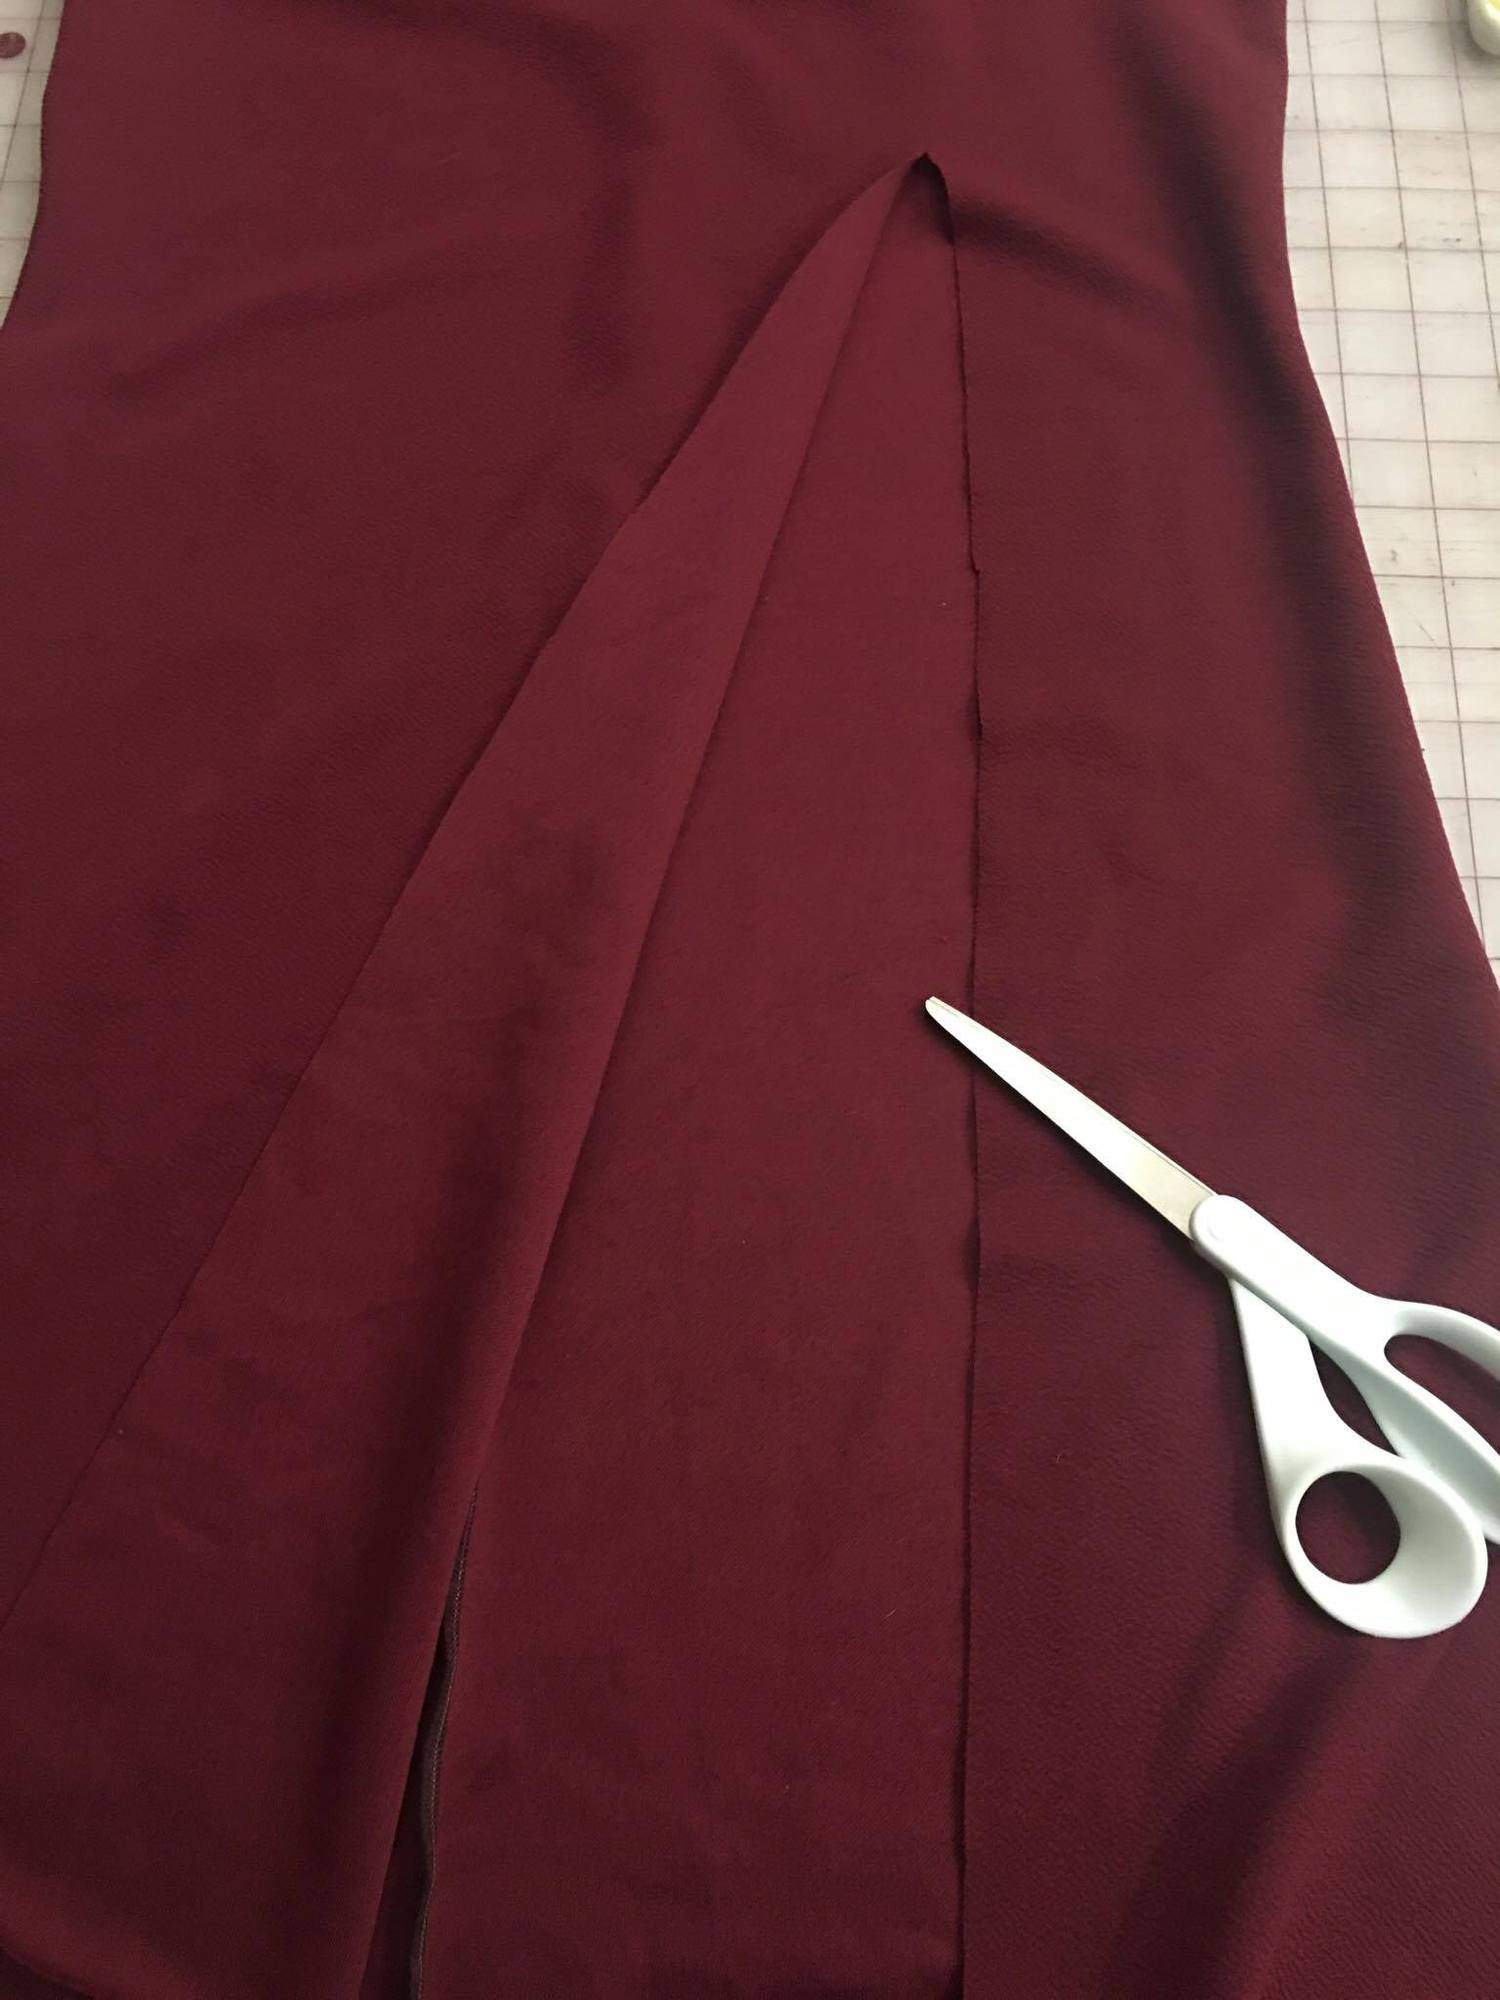
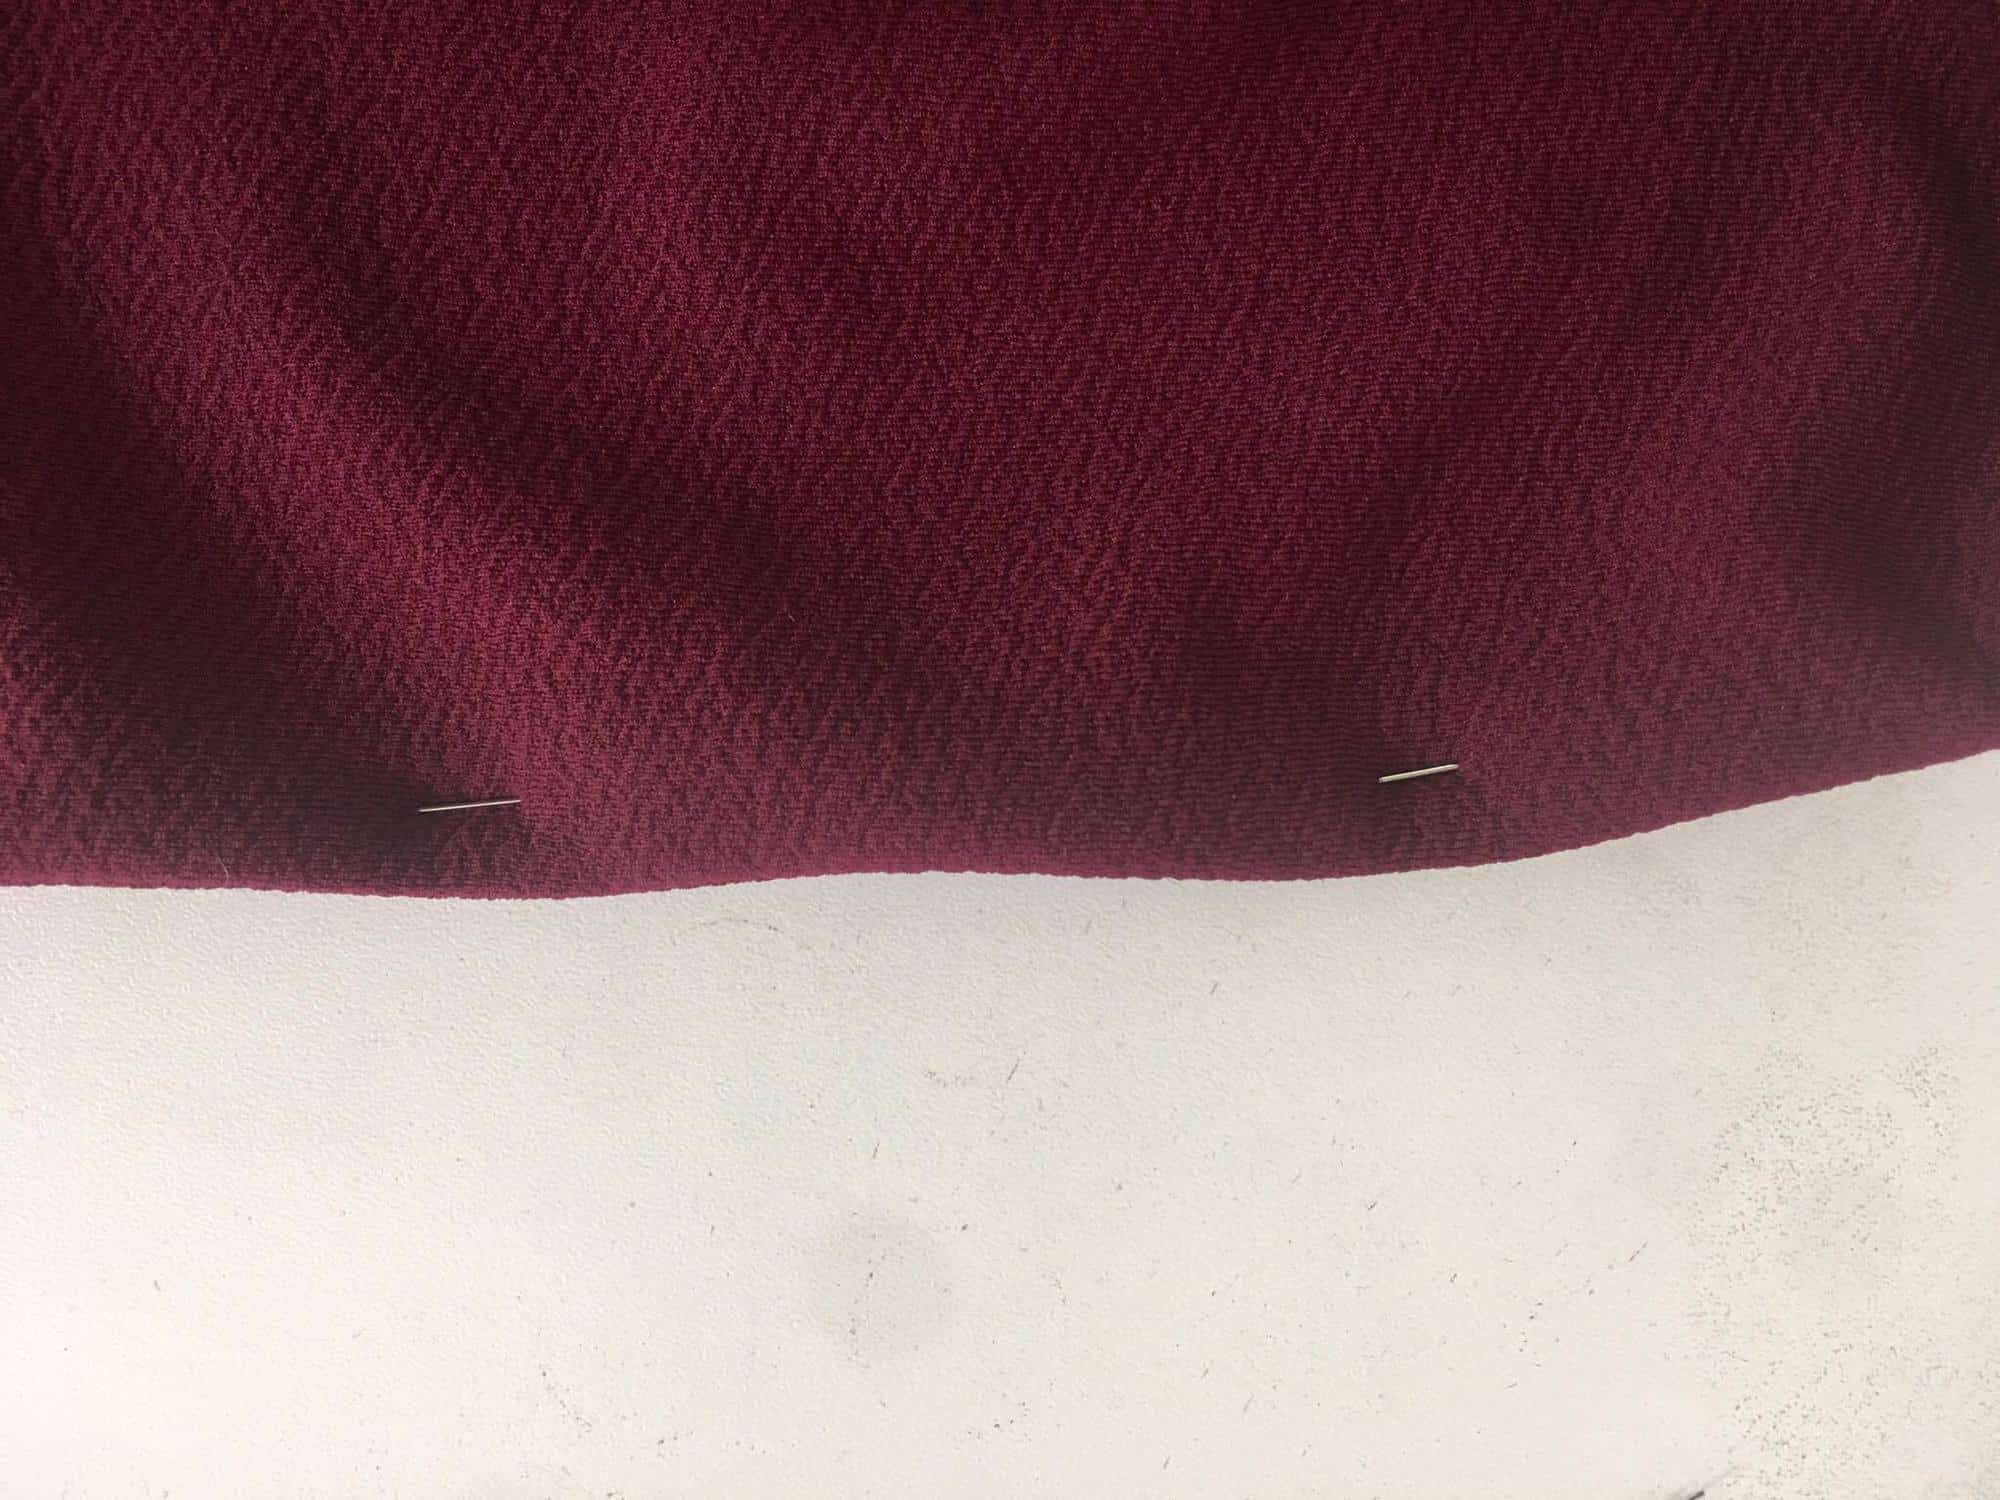
Try on your dress and mark where and how high you would like your slit. For reference, mine is 24″ from bottom hem (just above the knee) and is about half the distance from the center (1/4 point).
Cut the slit.
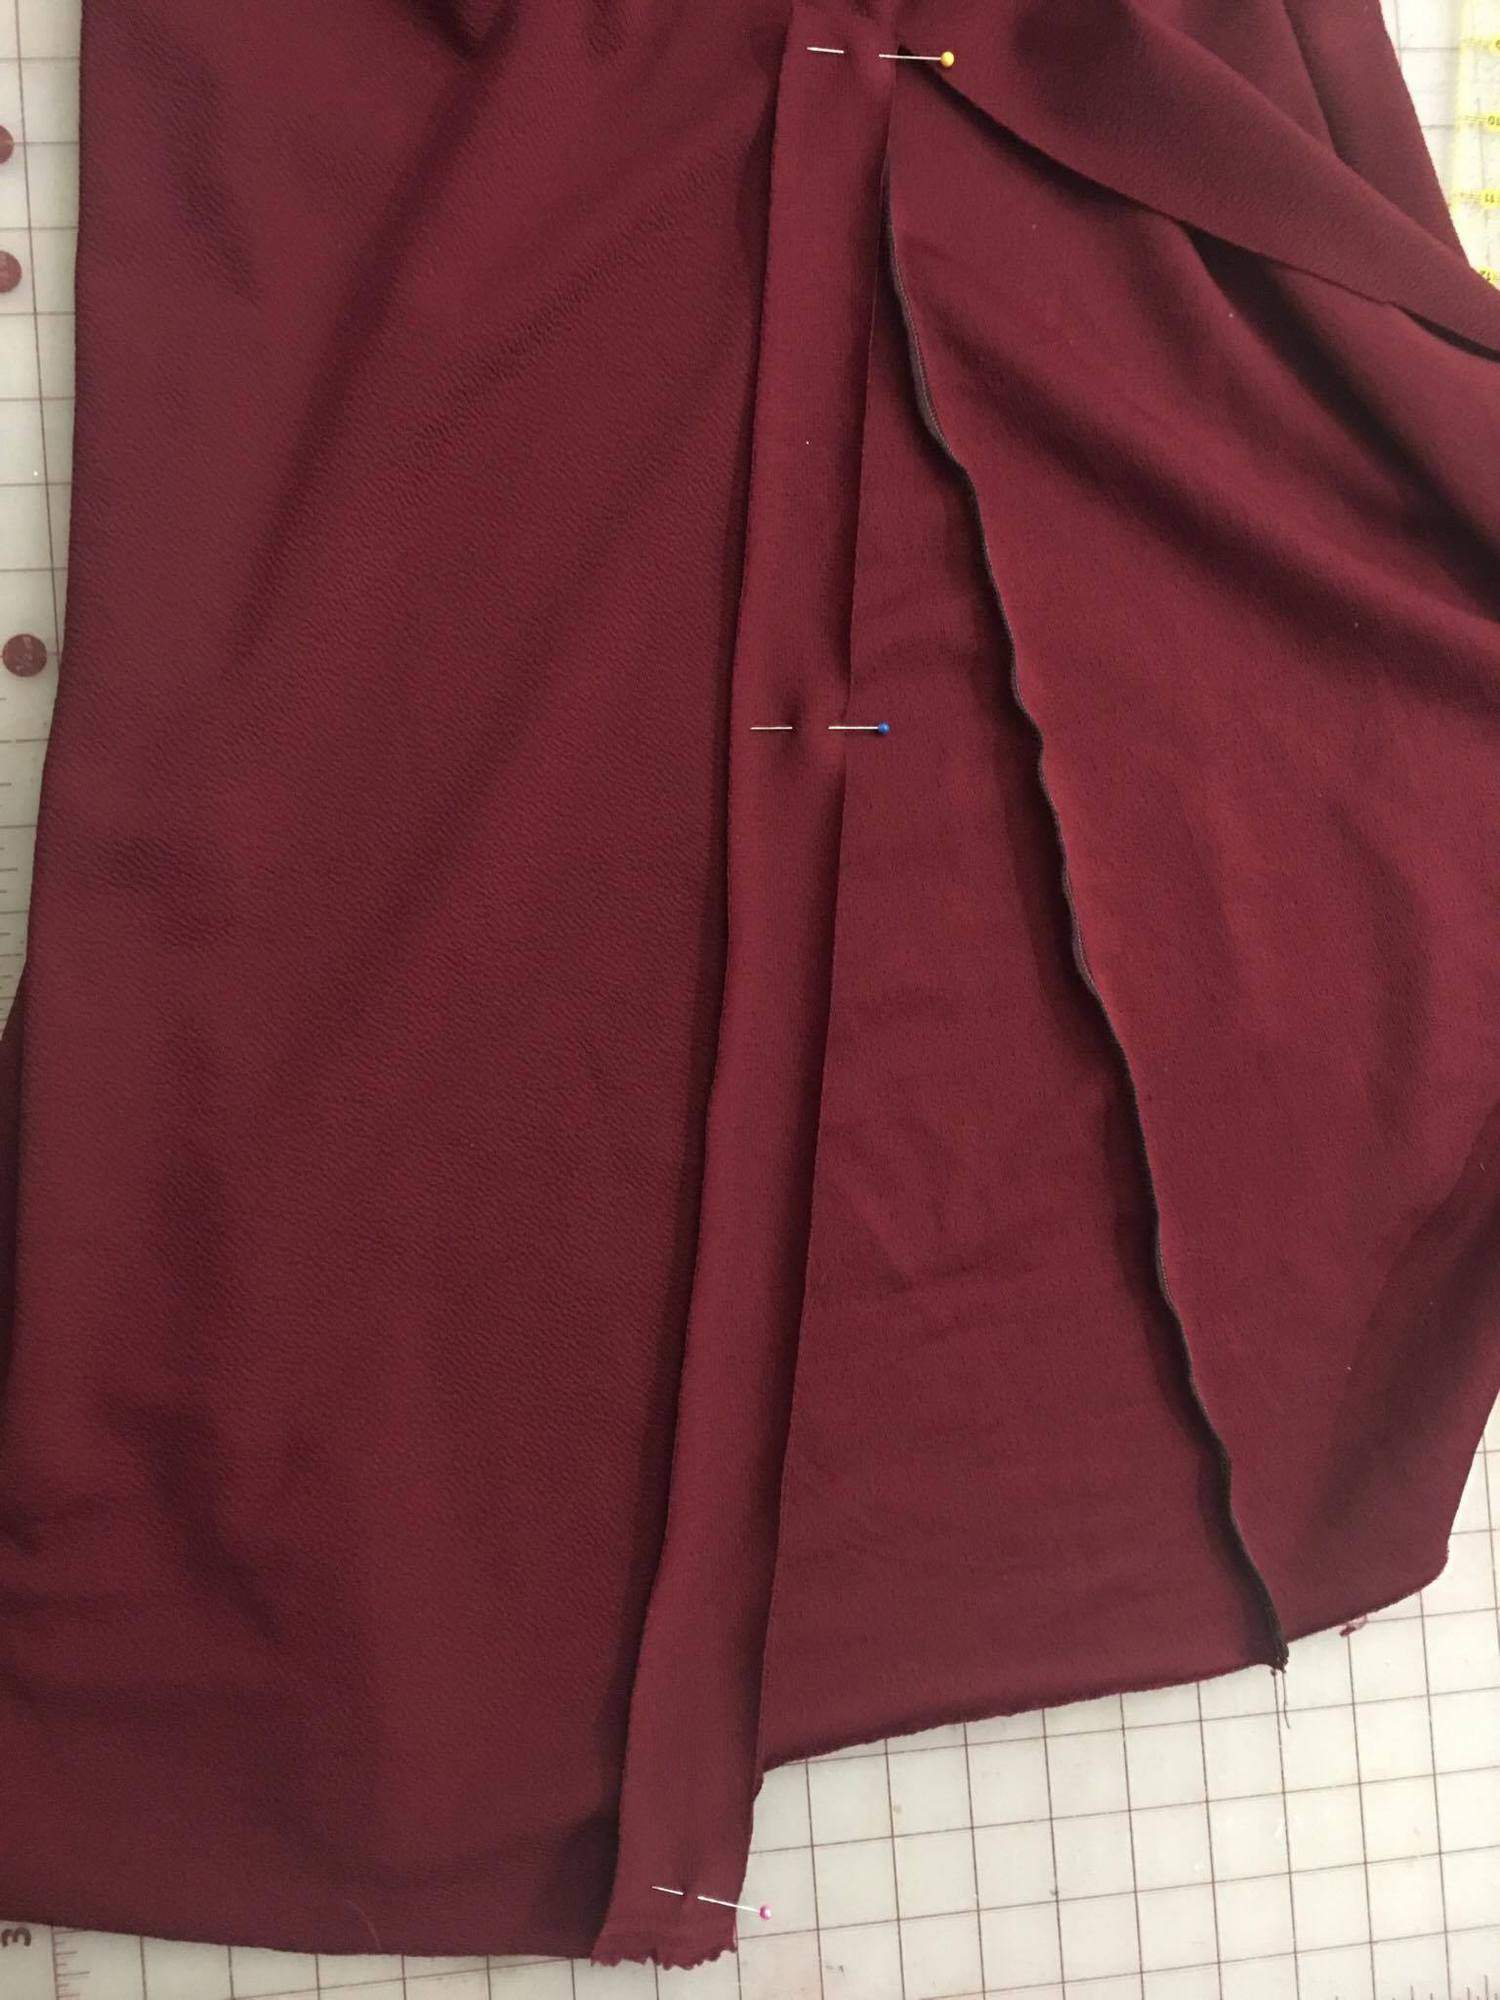
Cut 2 binding strips 1 1/4″ by the length of your slit.
With right sides together and using a 1/4″ seam allowance, stitch binding to each side of the slit.

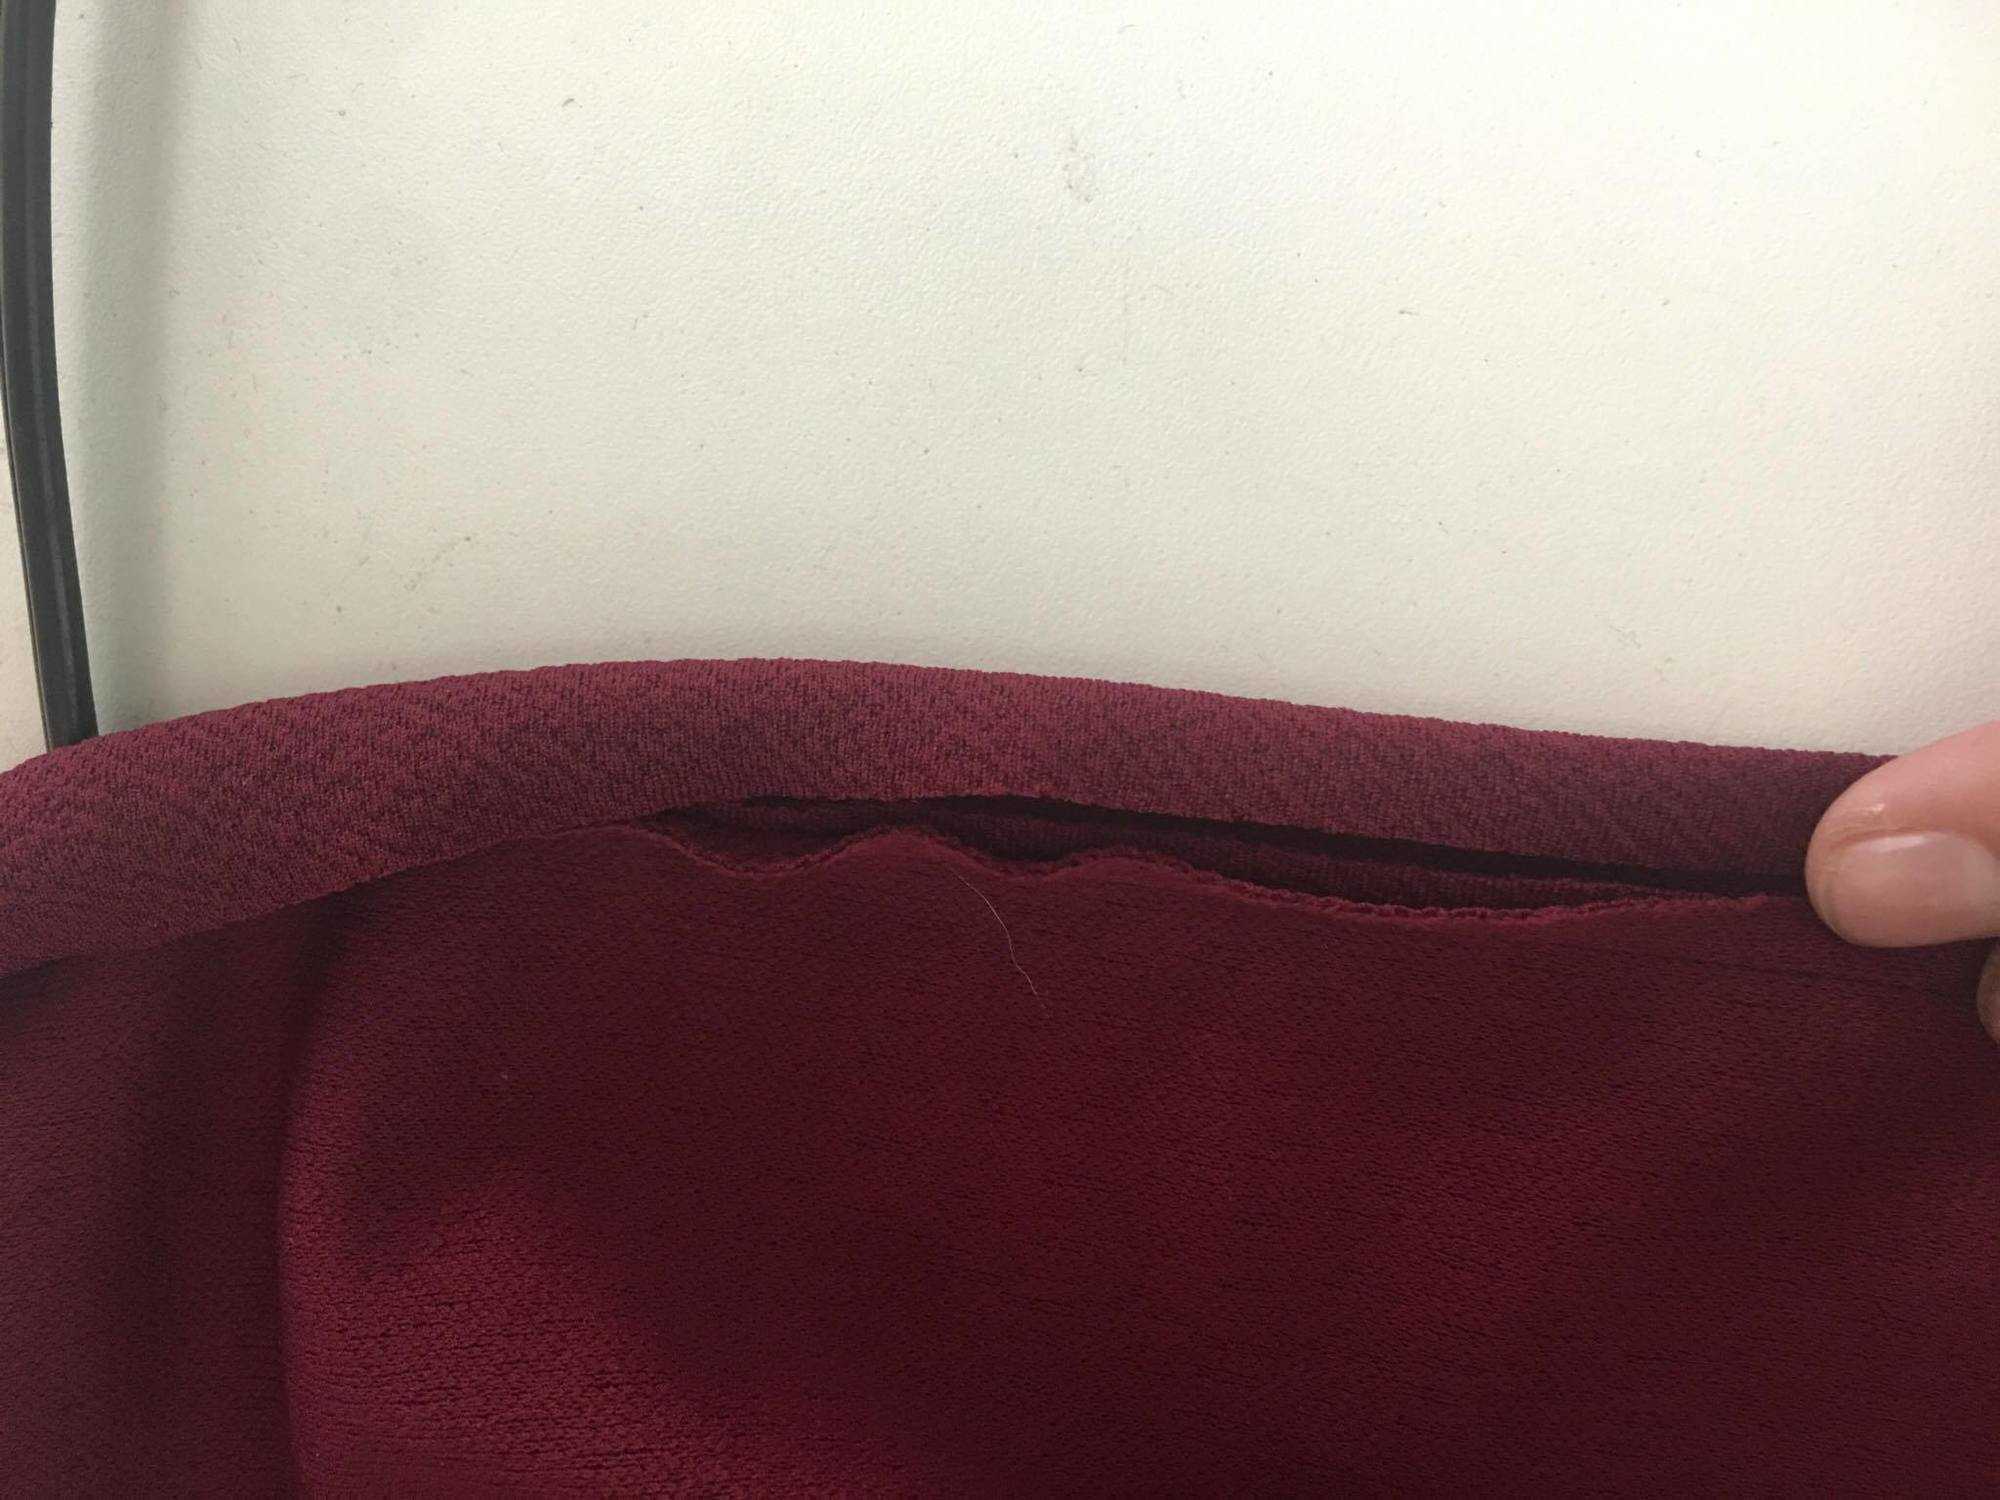
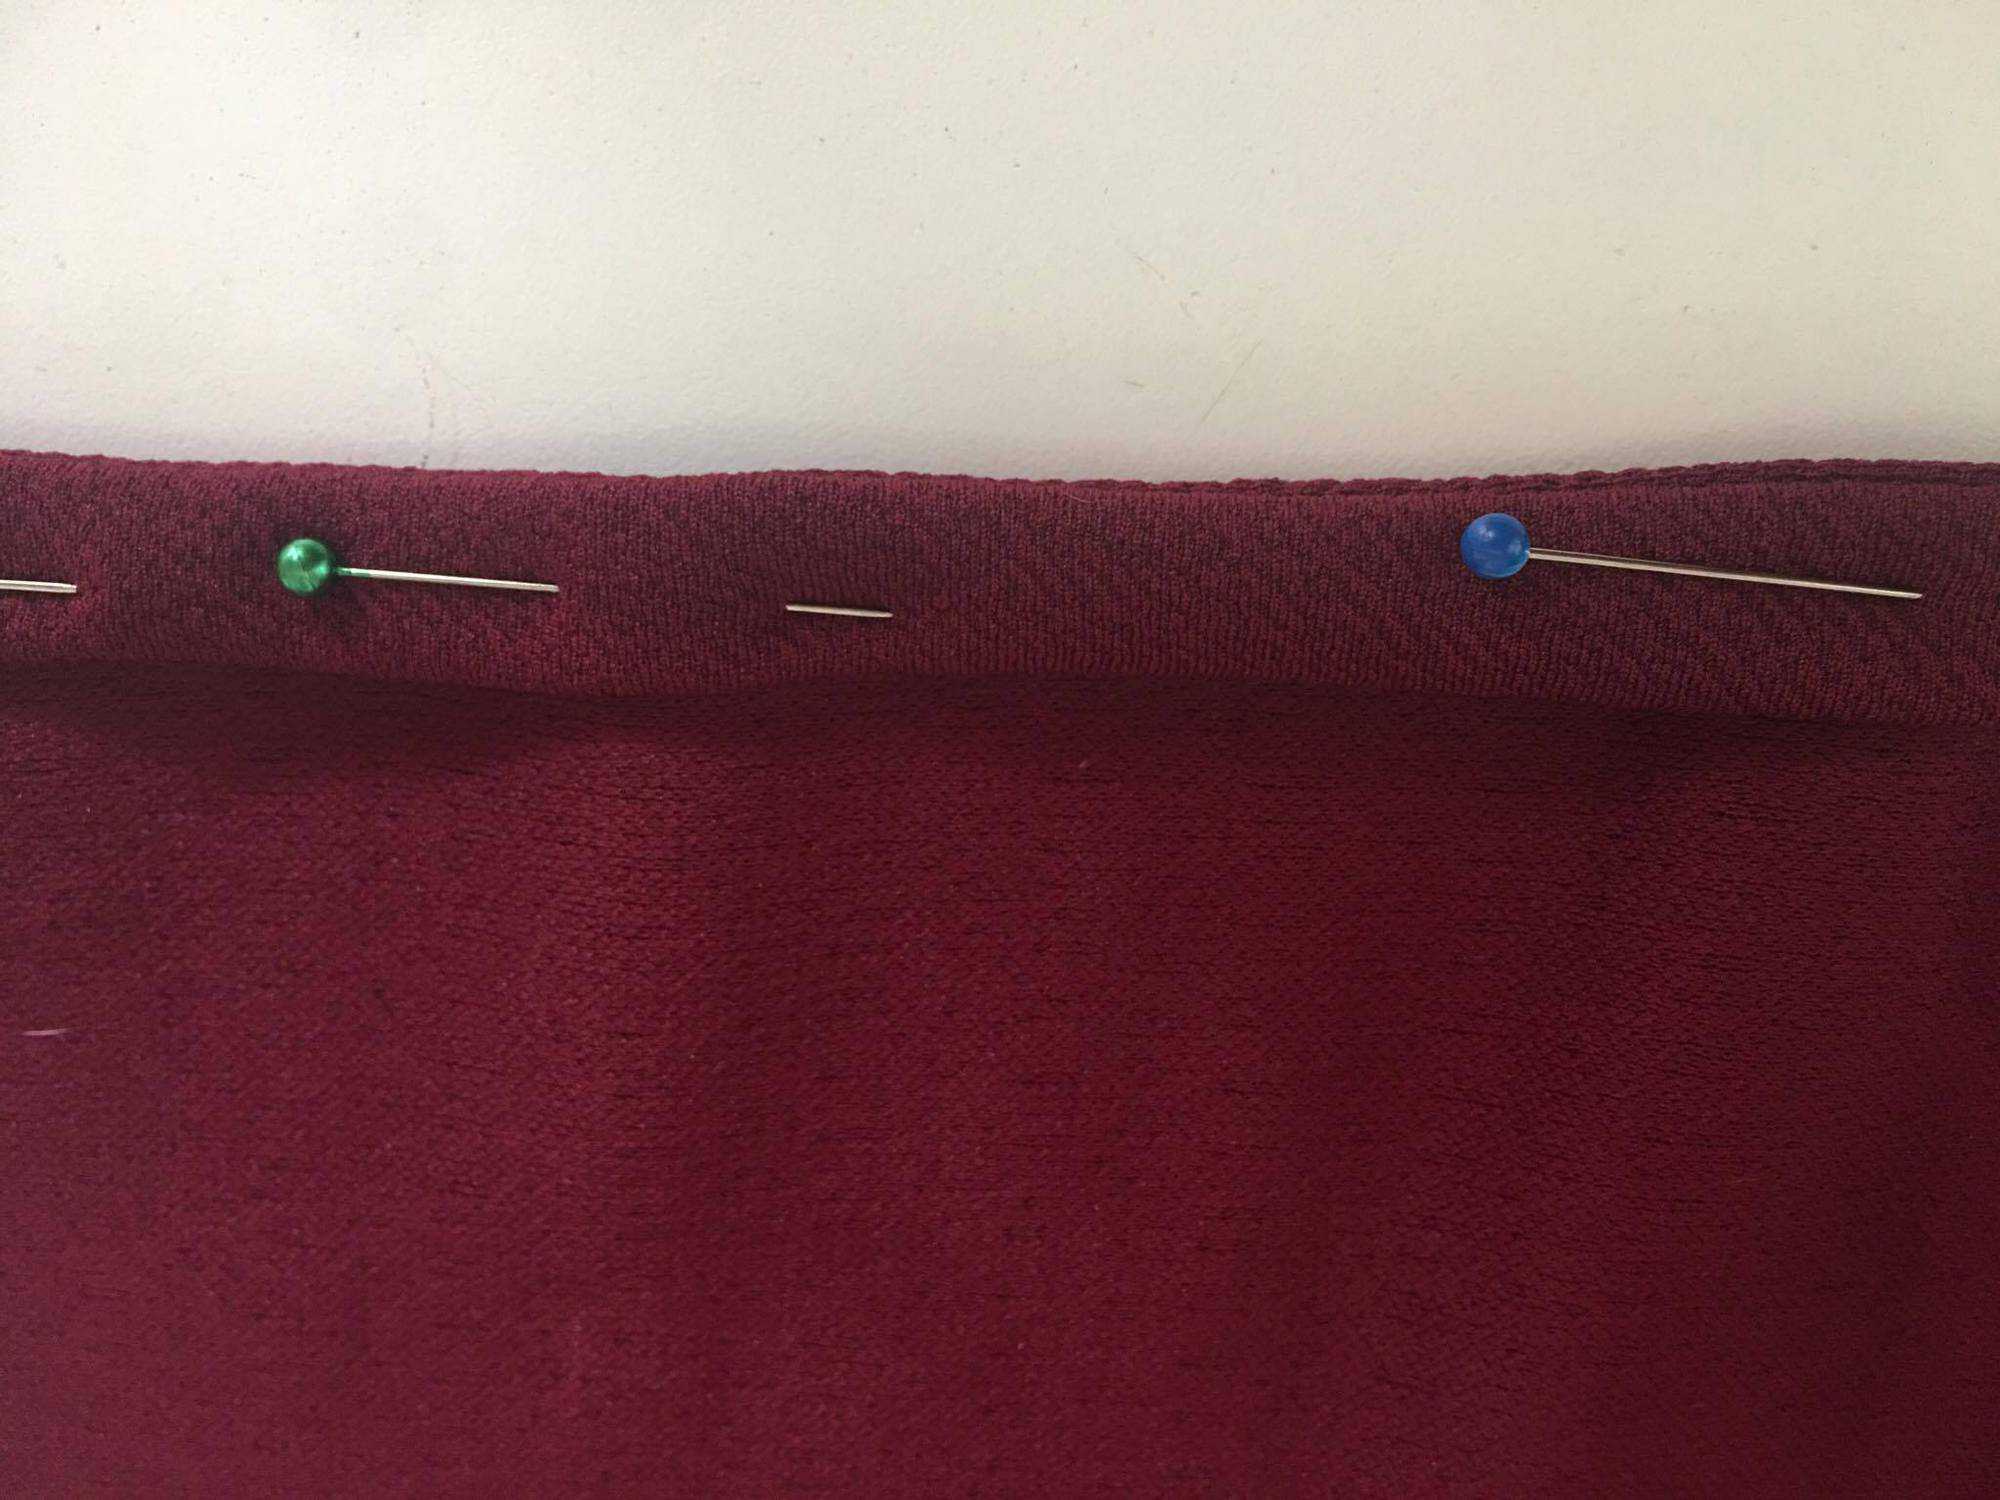
Fold the binding to the wrong side.
Fold the raw edge down to the previously sewn stitch line.
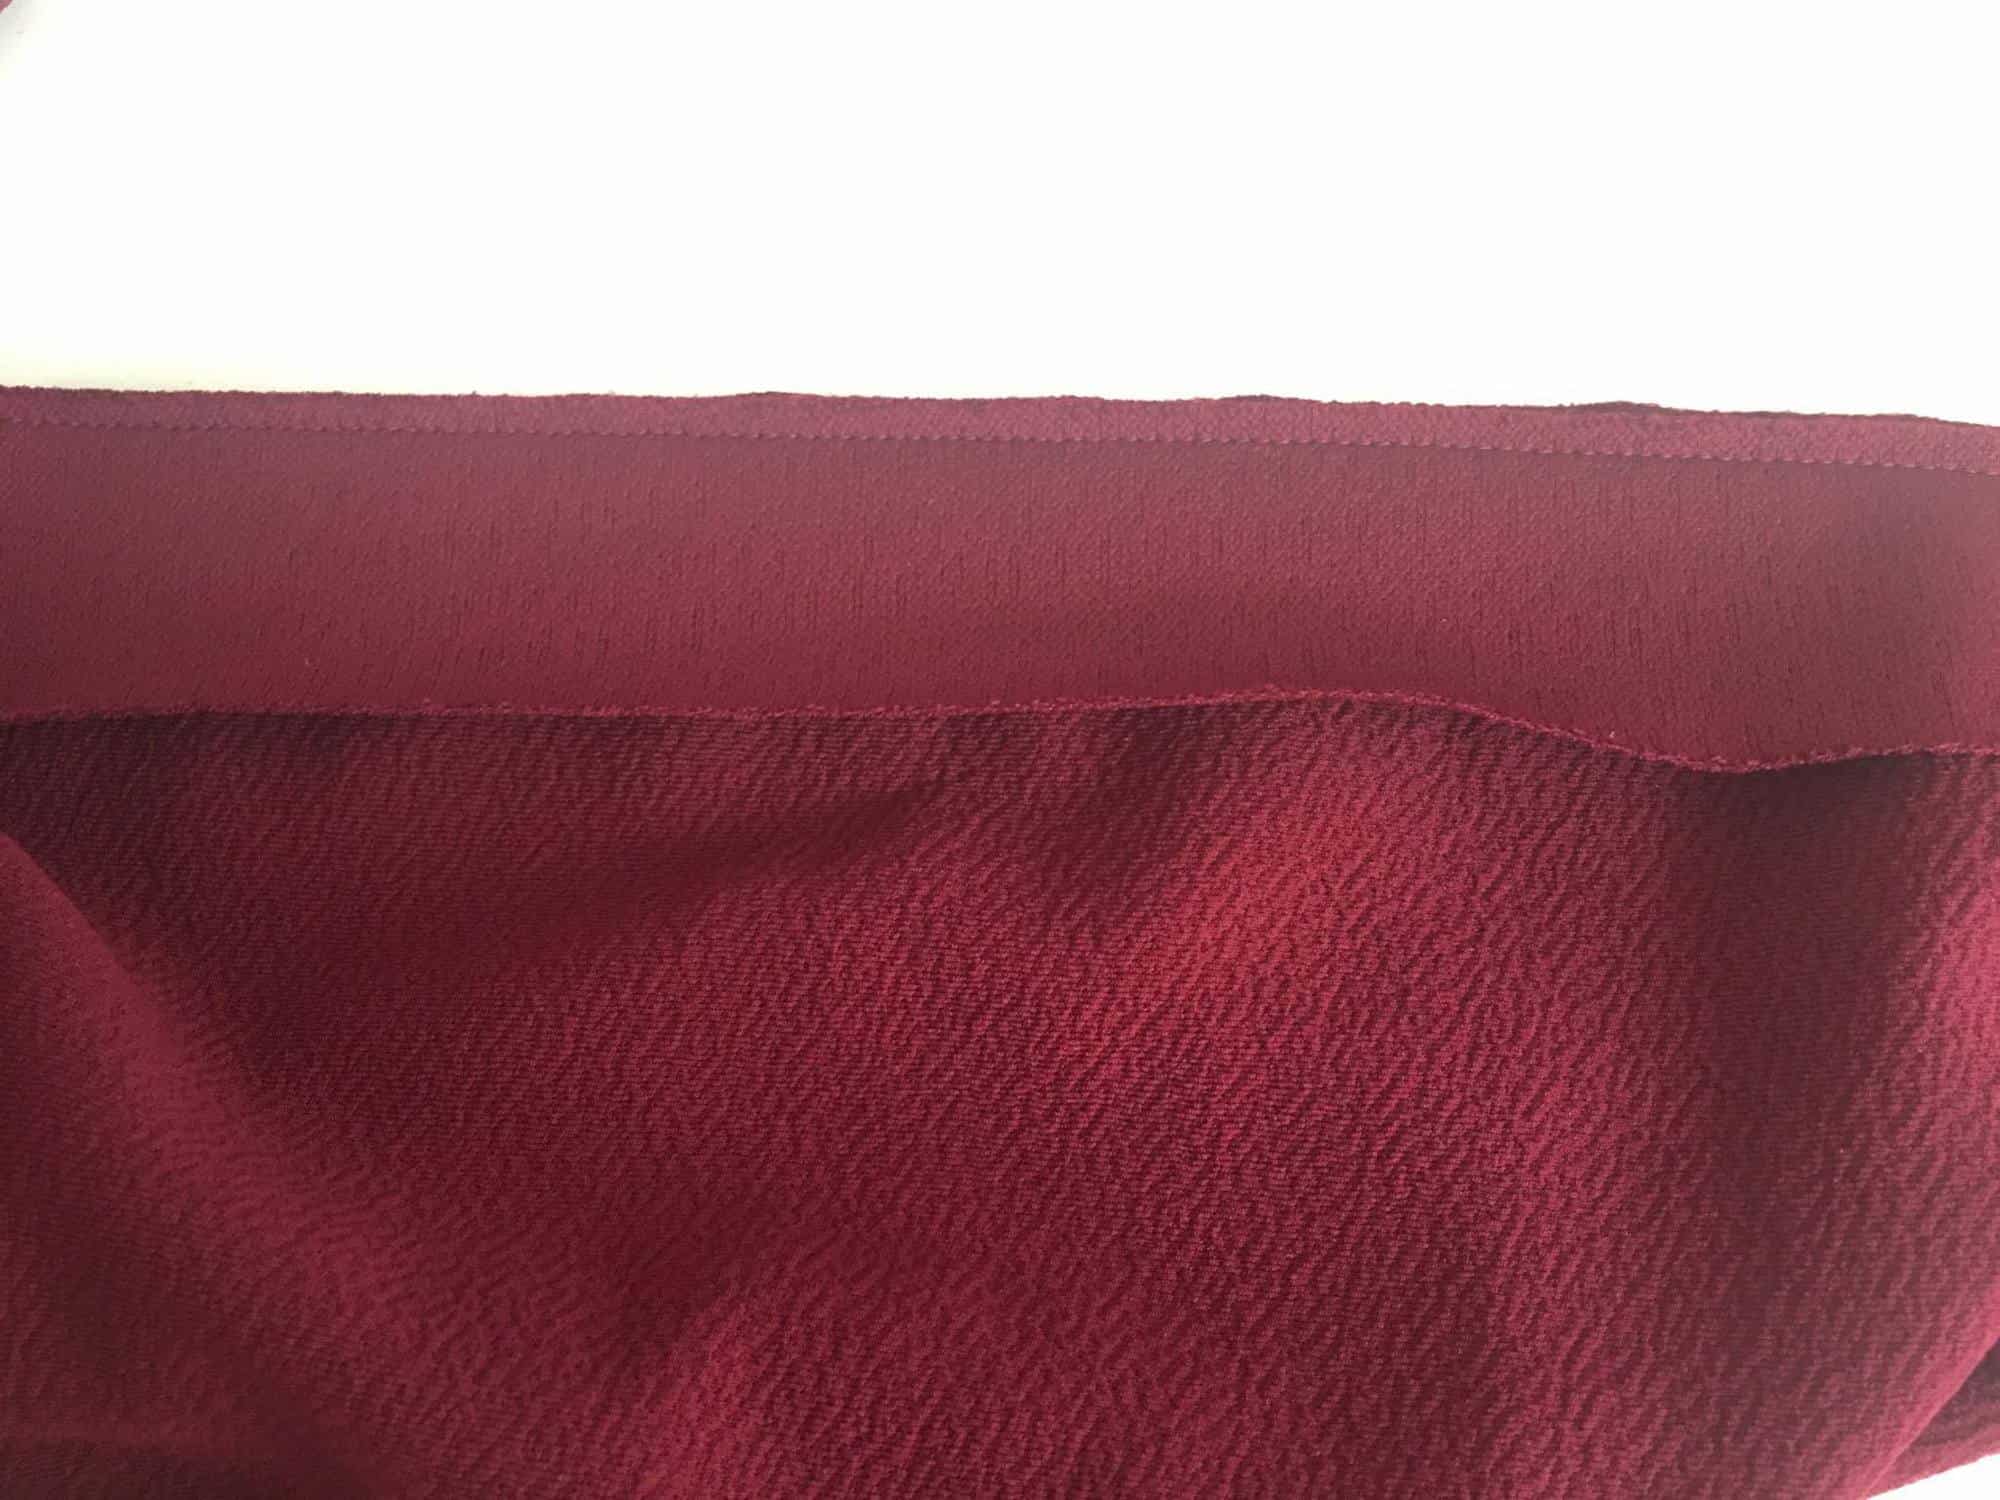
Fold over to the wrong side again, and pin in place.
Topstitch.

…..

Sweetheart/Wiggle Mash

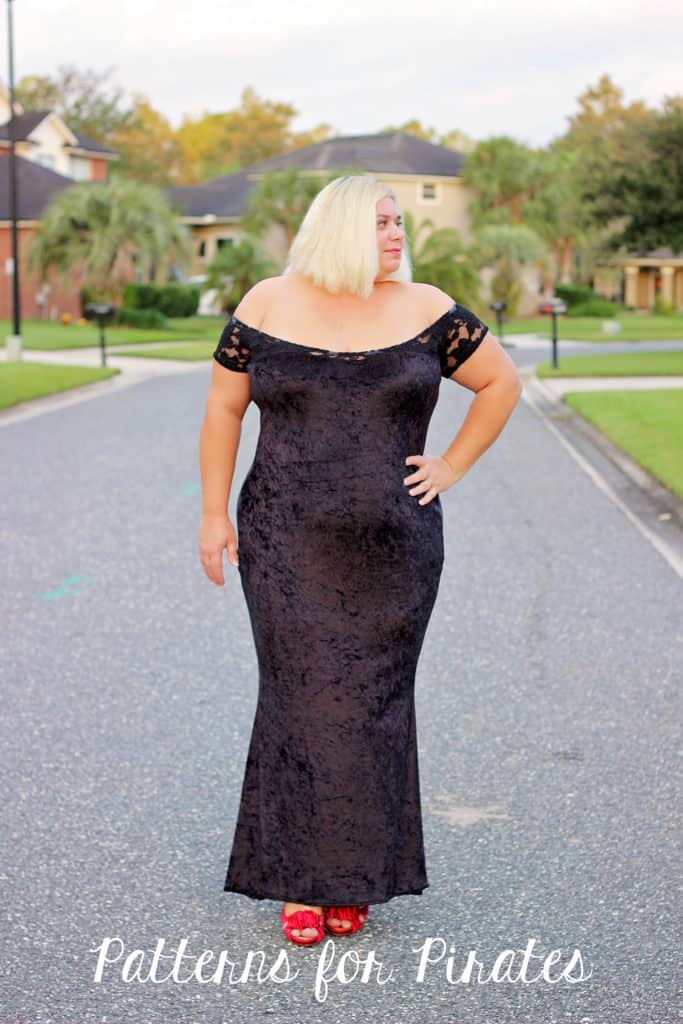
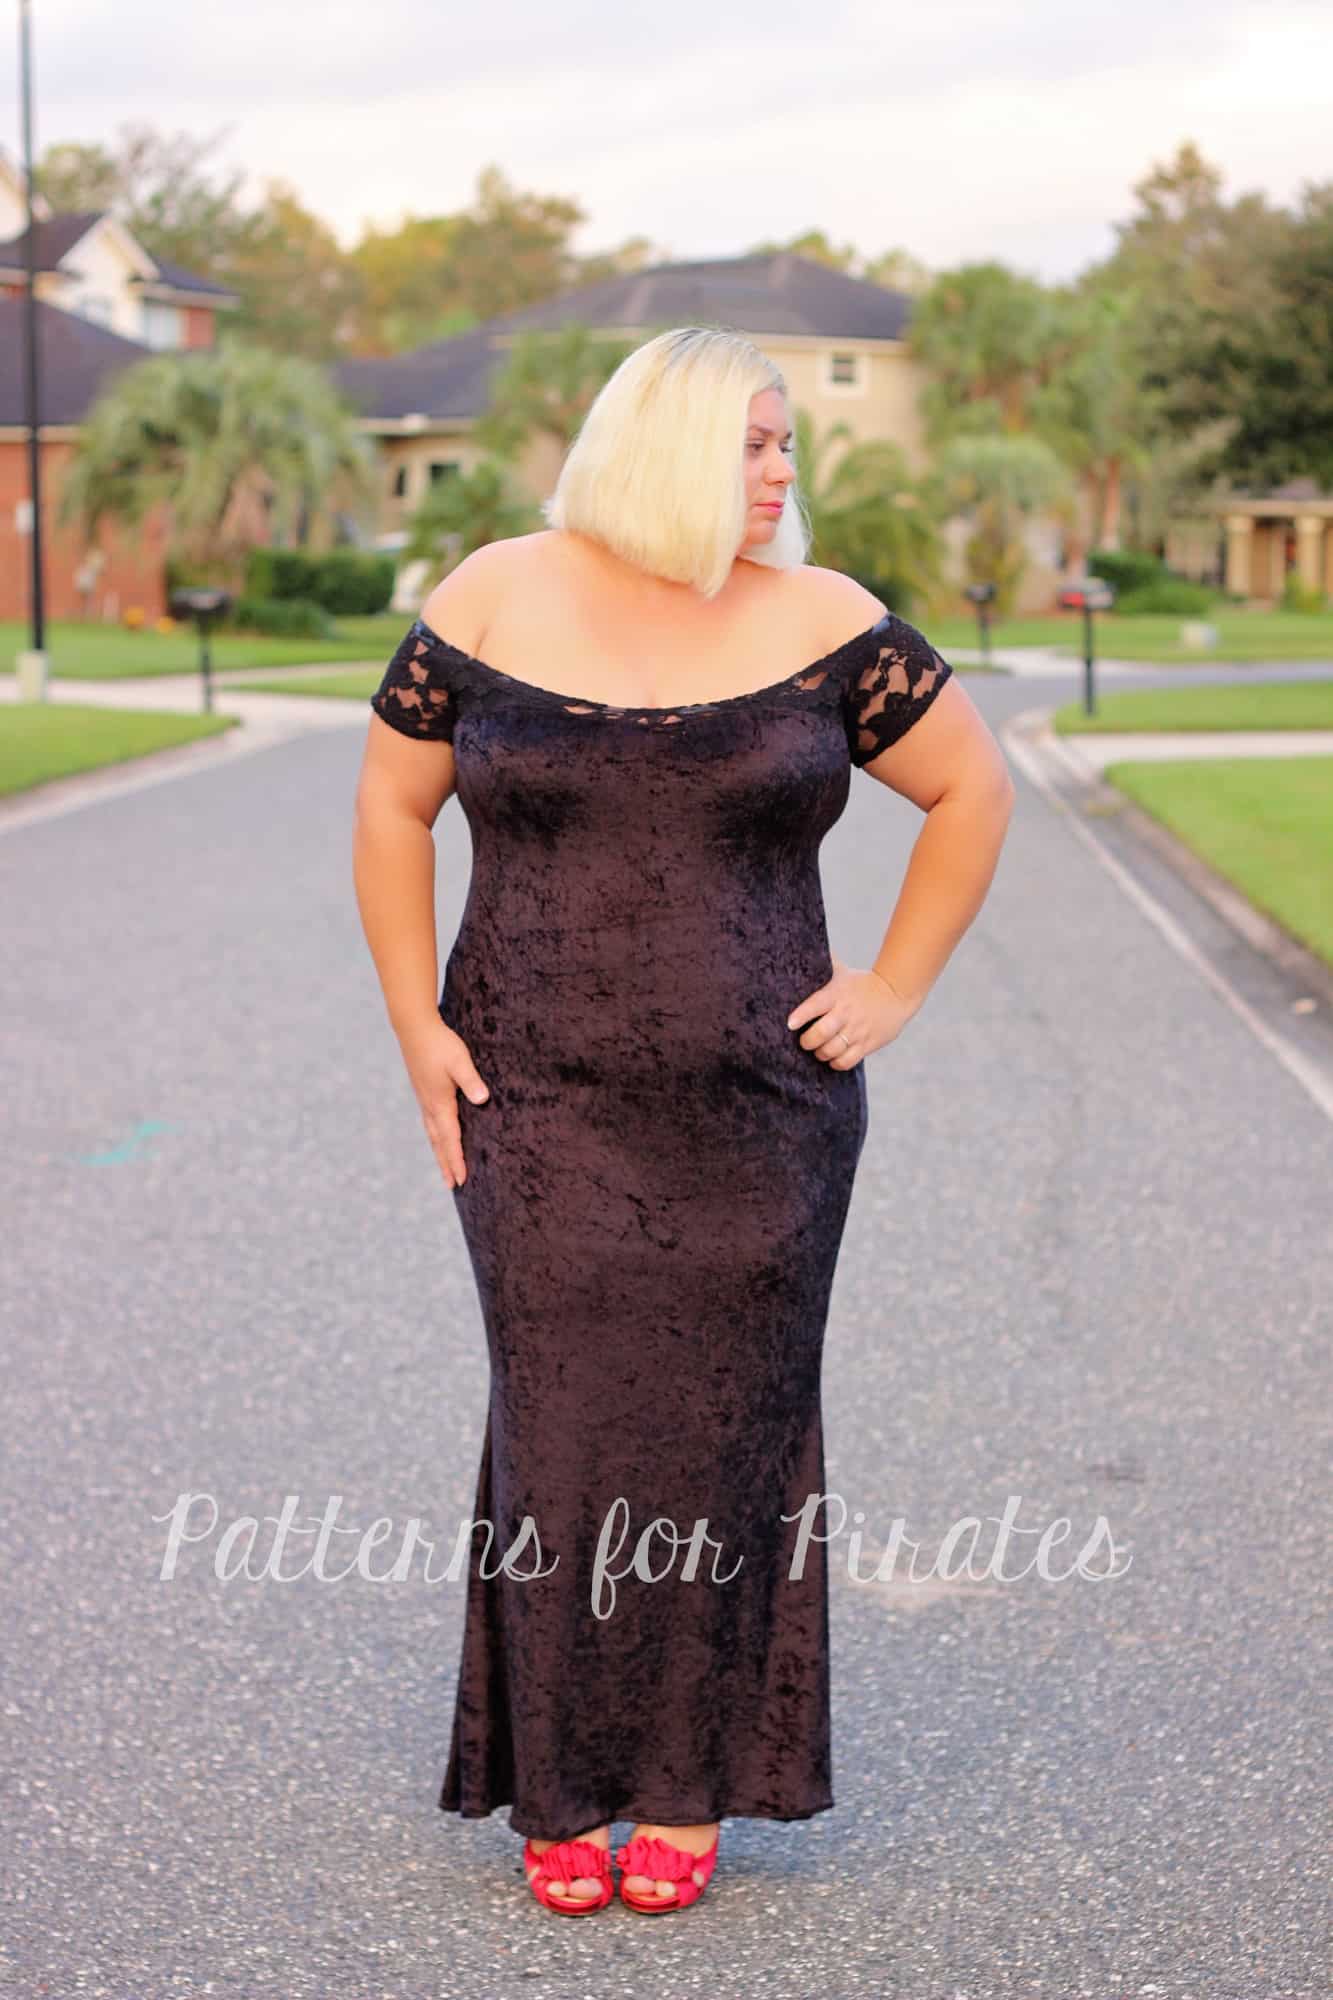
We couldn’t end this epic hacks series without a Wiggle dress/Sweetheart mash up. I just had to make myself a black velvet and lace long dress. We all need one in our closets, right?

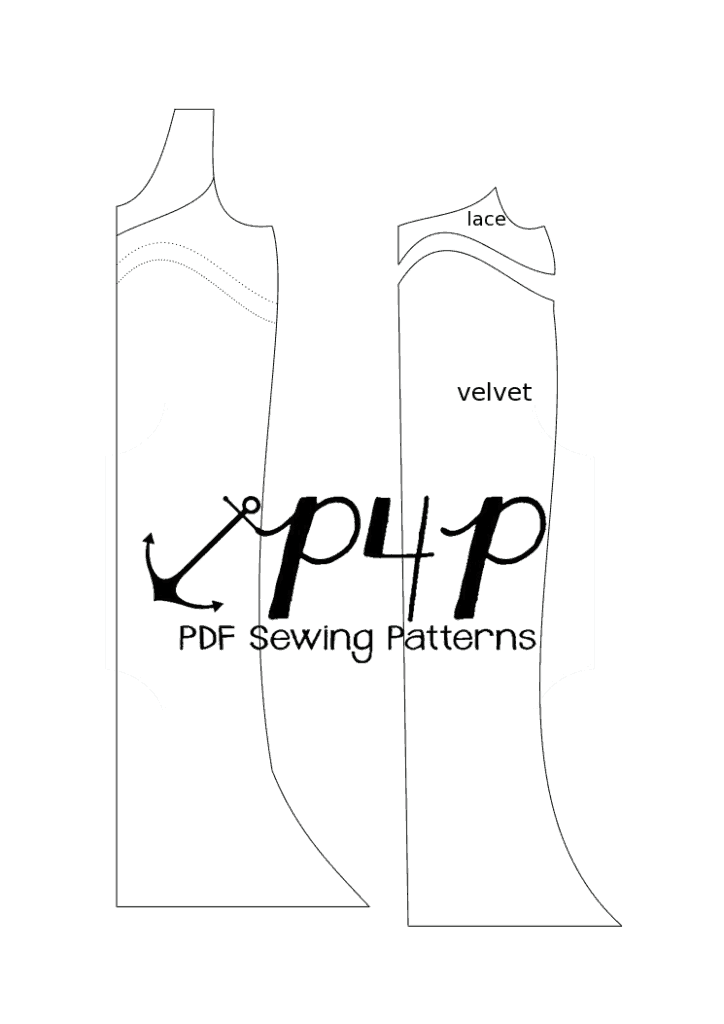
This mash is super easy. Simply take the front patterns of the wiggle dress and mark the sweetheart color-block lines using the Sweetheart dress top pattern piece. Don’t forget to add the seam allowance!

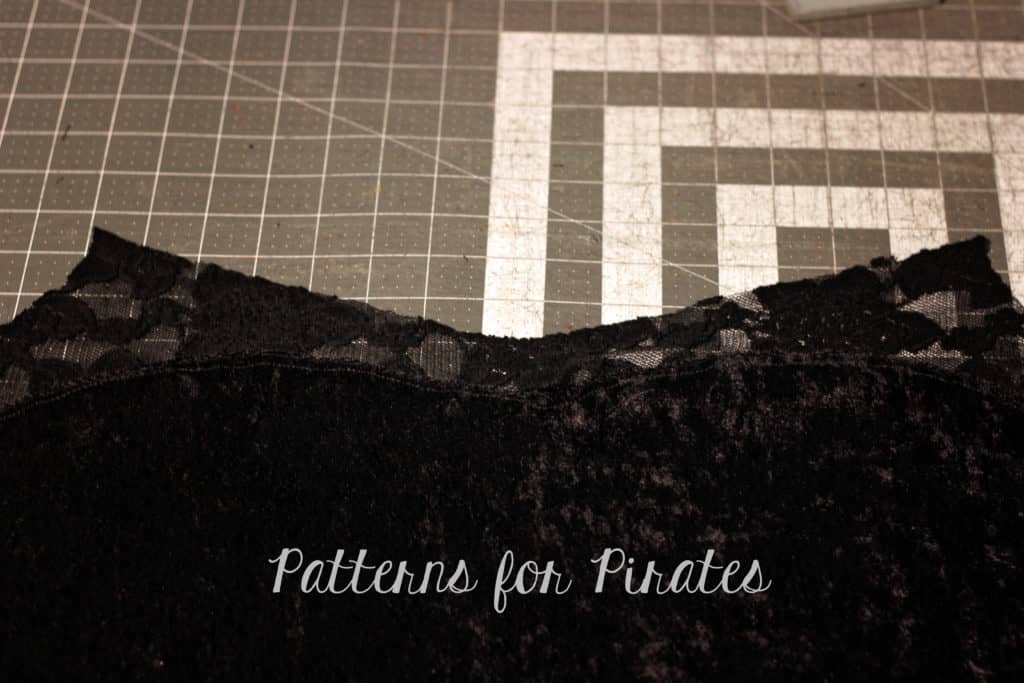
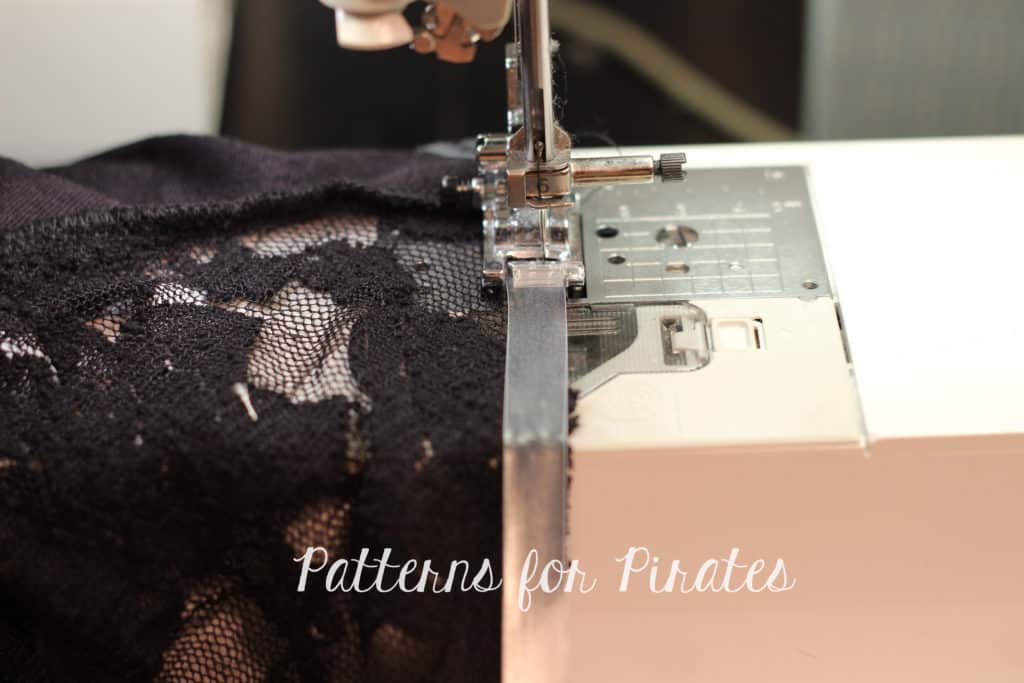
Sew the two front pieces (lace and velvet) as suggested in the Sweetheart pattern.

Once you do that simply follow the directions in the Wiggle Dress pattern to finish your dress. I used lace for my sleeves too. Since I didn’t have any black elastic and I certainly couldn’t use white elastic for the neckline, I used clear elastic instead. It worked like a charm!

Tadah! Just by adding a sexy sweetheart color block front, you took your Wiggle dress up a notch!


Holy Moly…. I think we covered just about every hack we could come up with to take The Wiggle Dress to the next level (if it wasn’t already on its own)!  Make a Wiggle? Hop on over to the Facebook Group, and share your makes, we’d love to see it!

Filed Under: Frequently Asked Questions, Pattern Hacks, Pattern Release, Uncategorized 15 Comments

Featured Patterns

  • Loosey Goosey Loosey Goosey $12.00
  • Loosey Goosey- Youth Loosey Goosey- Youth $10.00
  • Loosey Goosey - Bundle Loosey Goosey - Bundle $20.00
  • Everyday Shirt Everyday Shirt $12.00
  • Everyday Shirt- Youth Everyday Shirt- Youth $10.00
  • Privacy Policy
  • Refund Policy
  • Affliliate Program
  • Contact Us
  • About

Copyright © 2025 Patterns for Pirates

Copyright © 2025 · Genesis Framework · WordPress · Log in