Amazing job these past 7 days! We were in awww of the beautiful creations we’ve seen and once again you have not made our job easy.
Without further ado….the first prize winner is:
Cathryn Larkin!

Congratulations, Cathryn! You won a $20 Patterns for Pirates gift card and a $75 Kammie Lou Lou retail fabrics store credit.
As always we have a second winner too:
Leah Bashover-Nichols
Leah , congratulations! You won a Made for Mermaids $20 store credit to treat yourself to some new patterns.
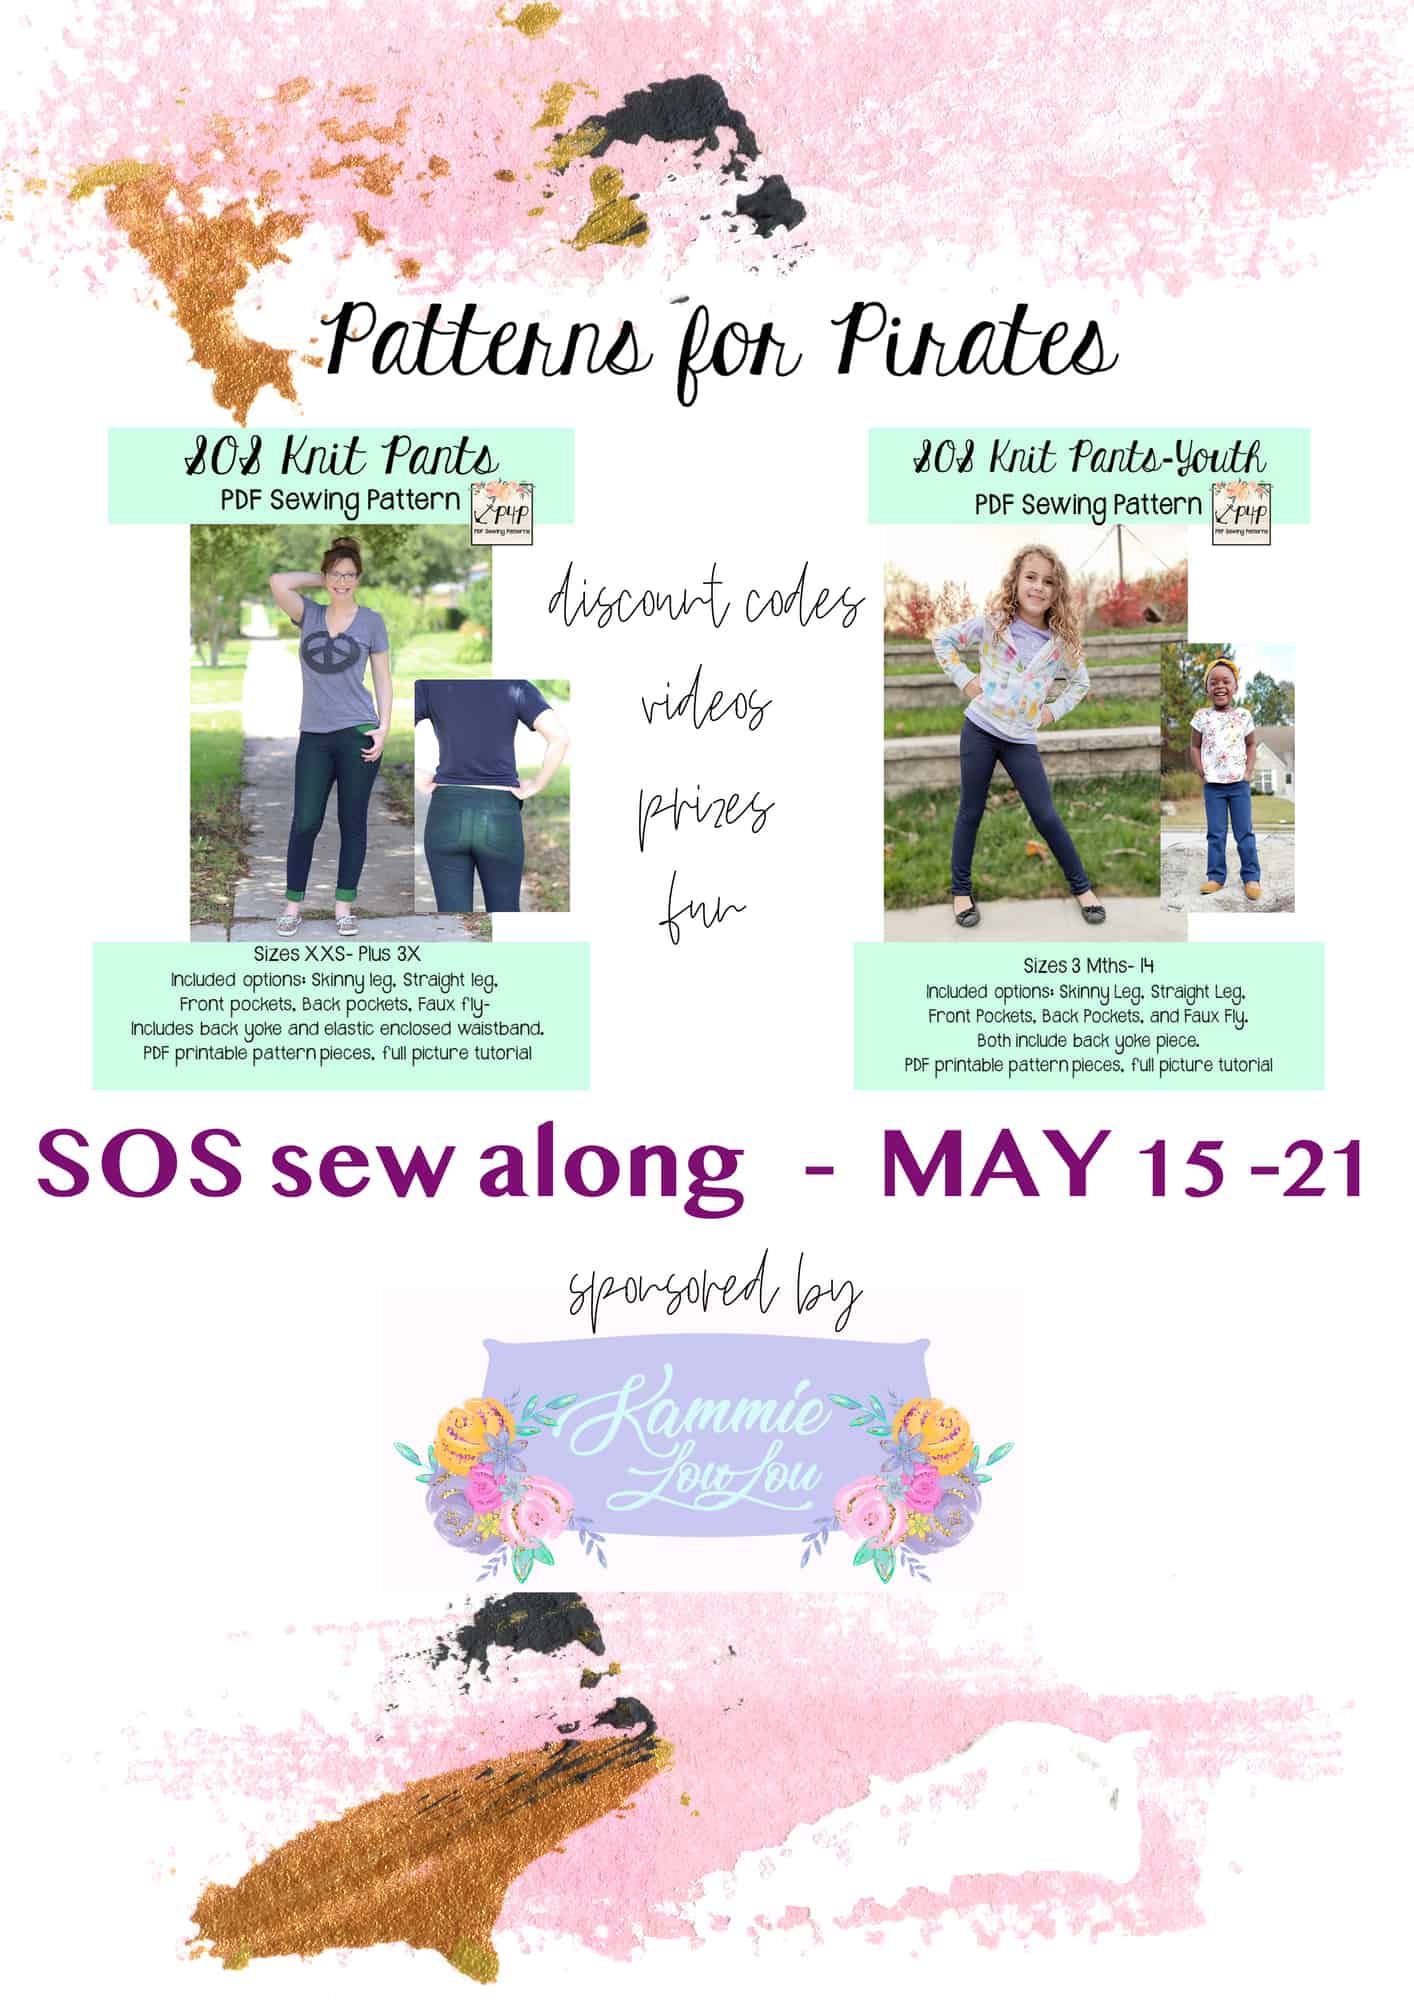
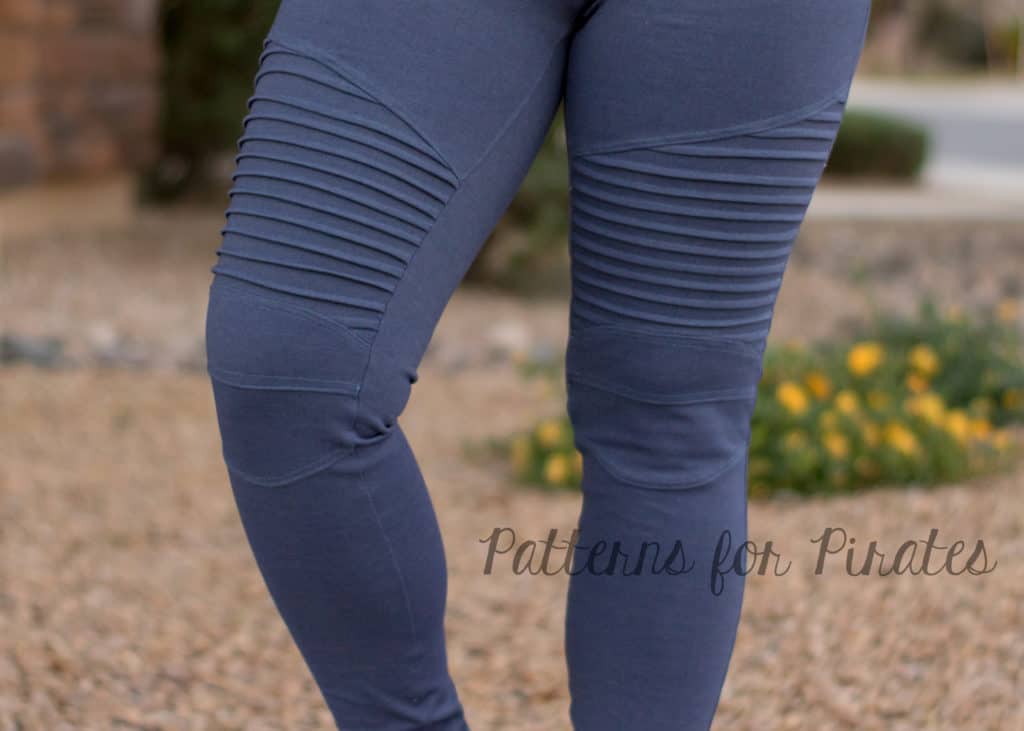
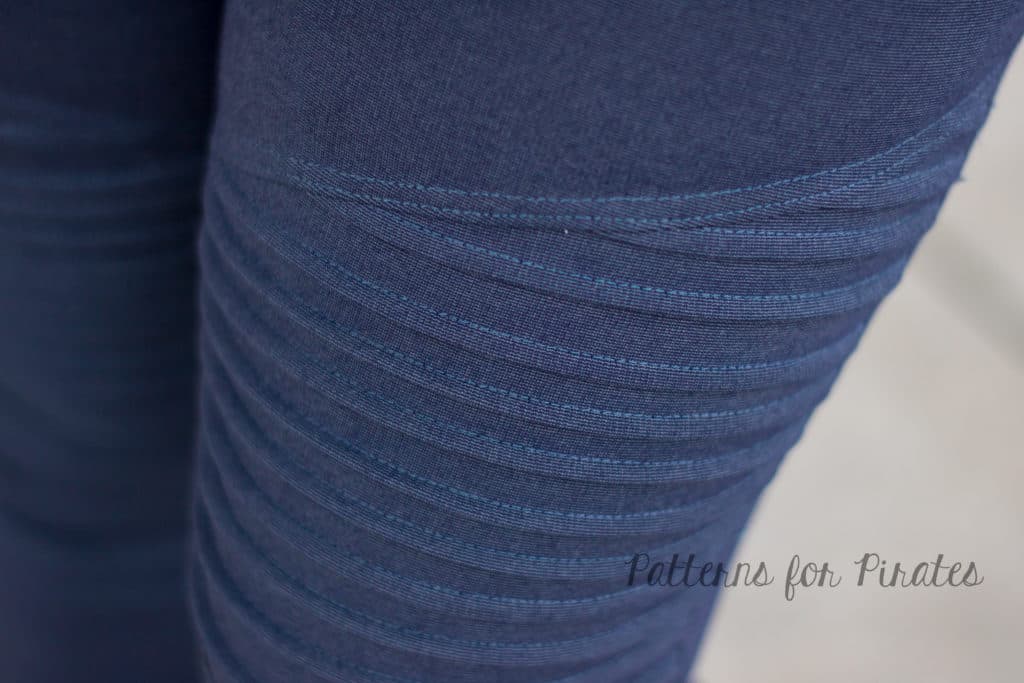
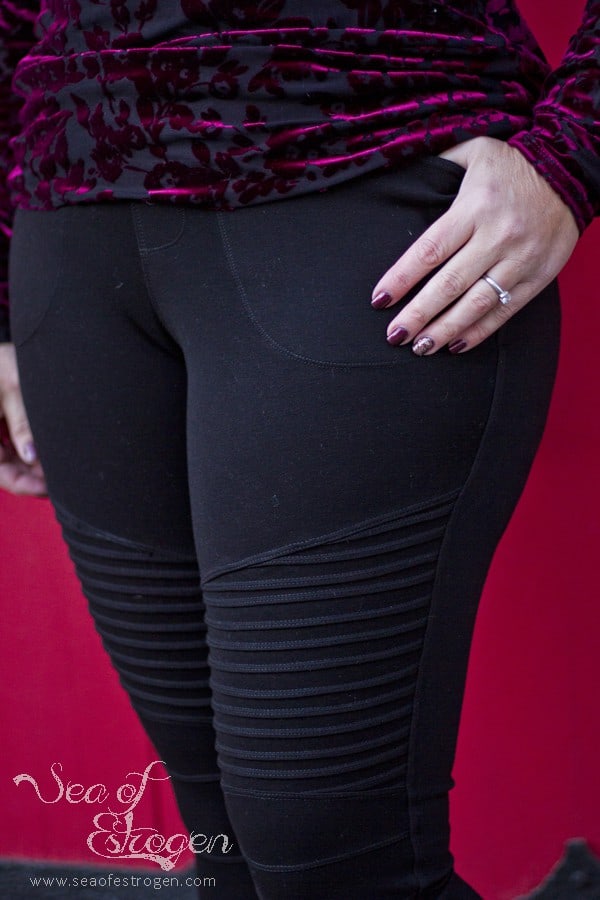
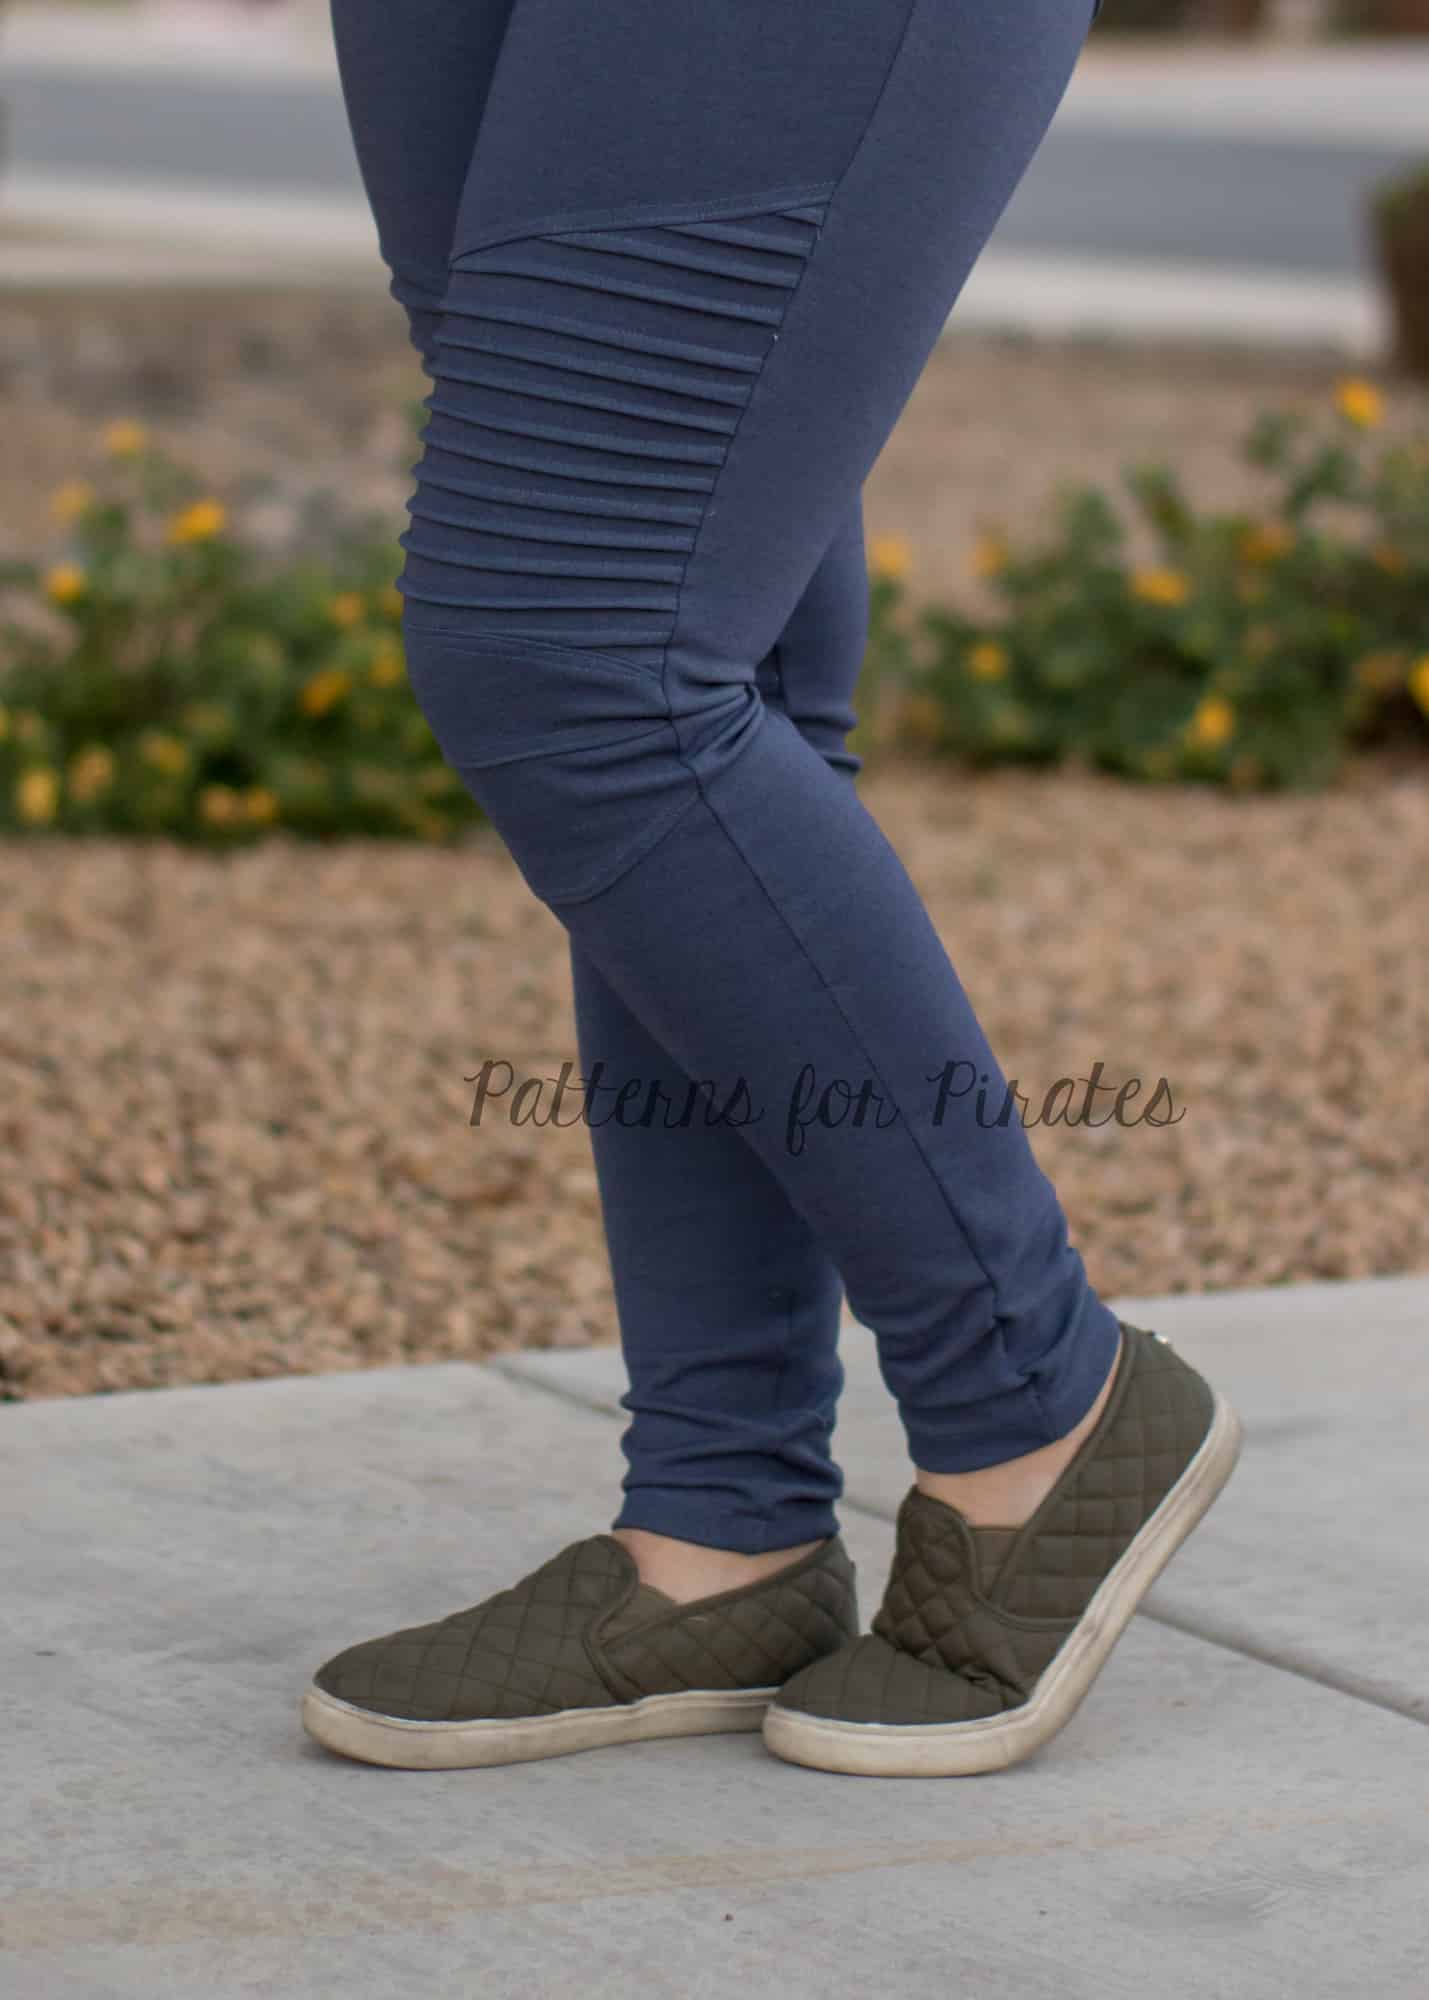
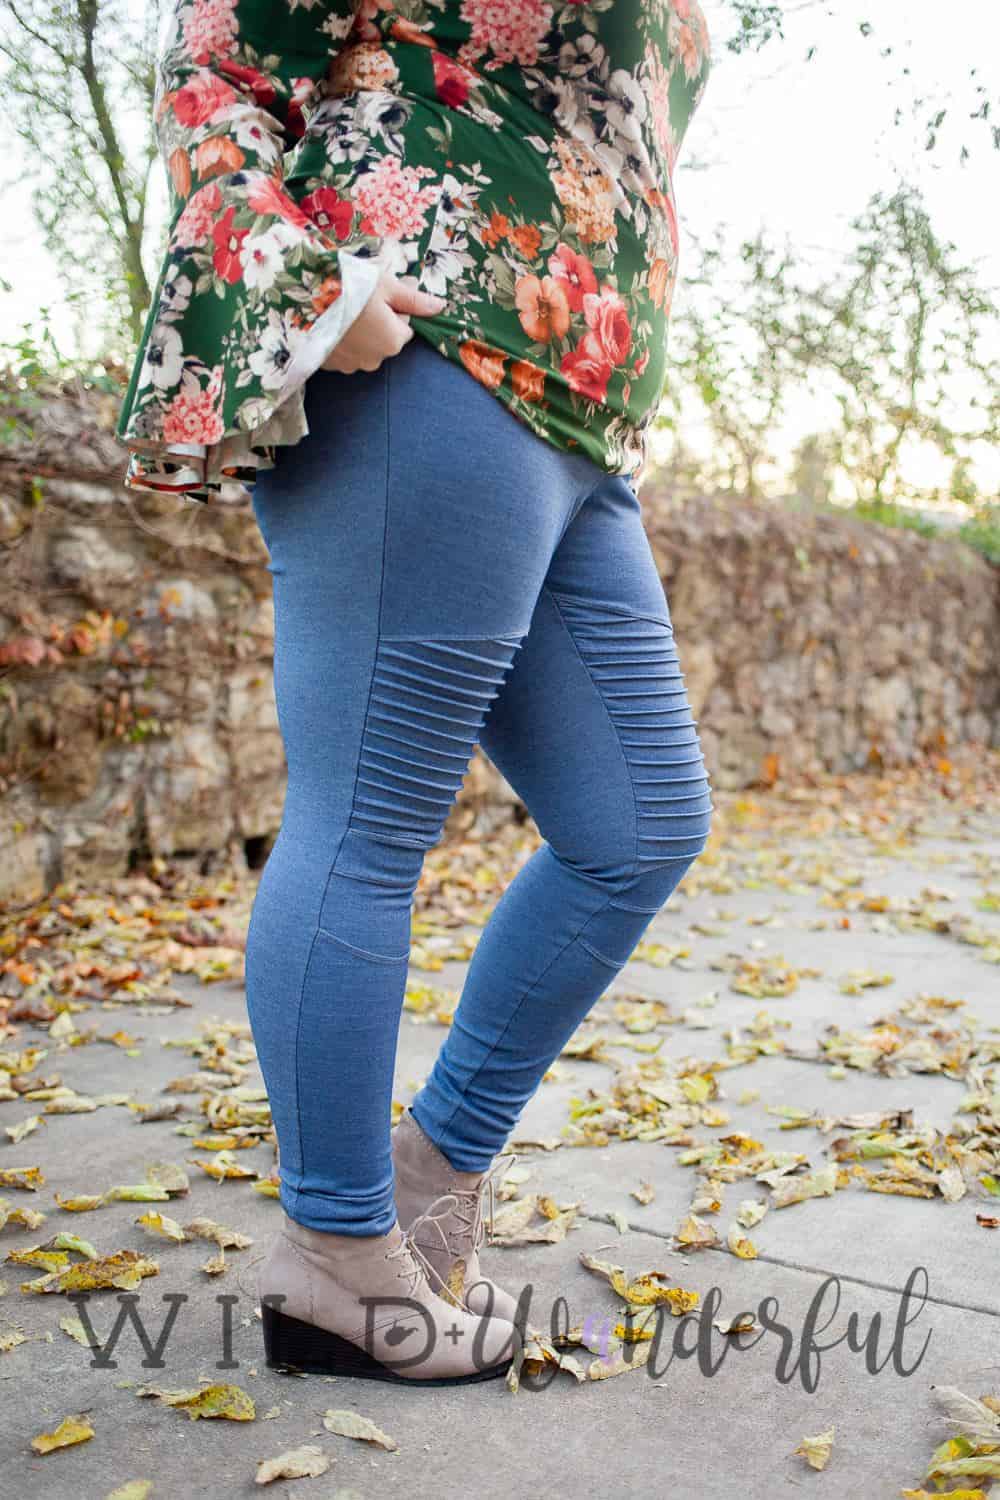
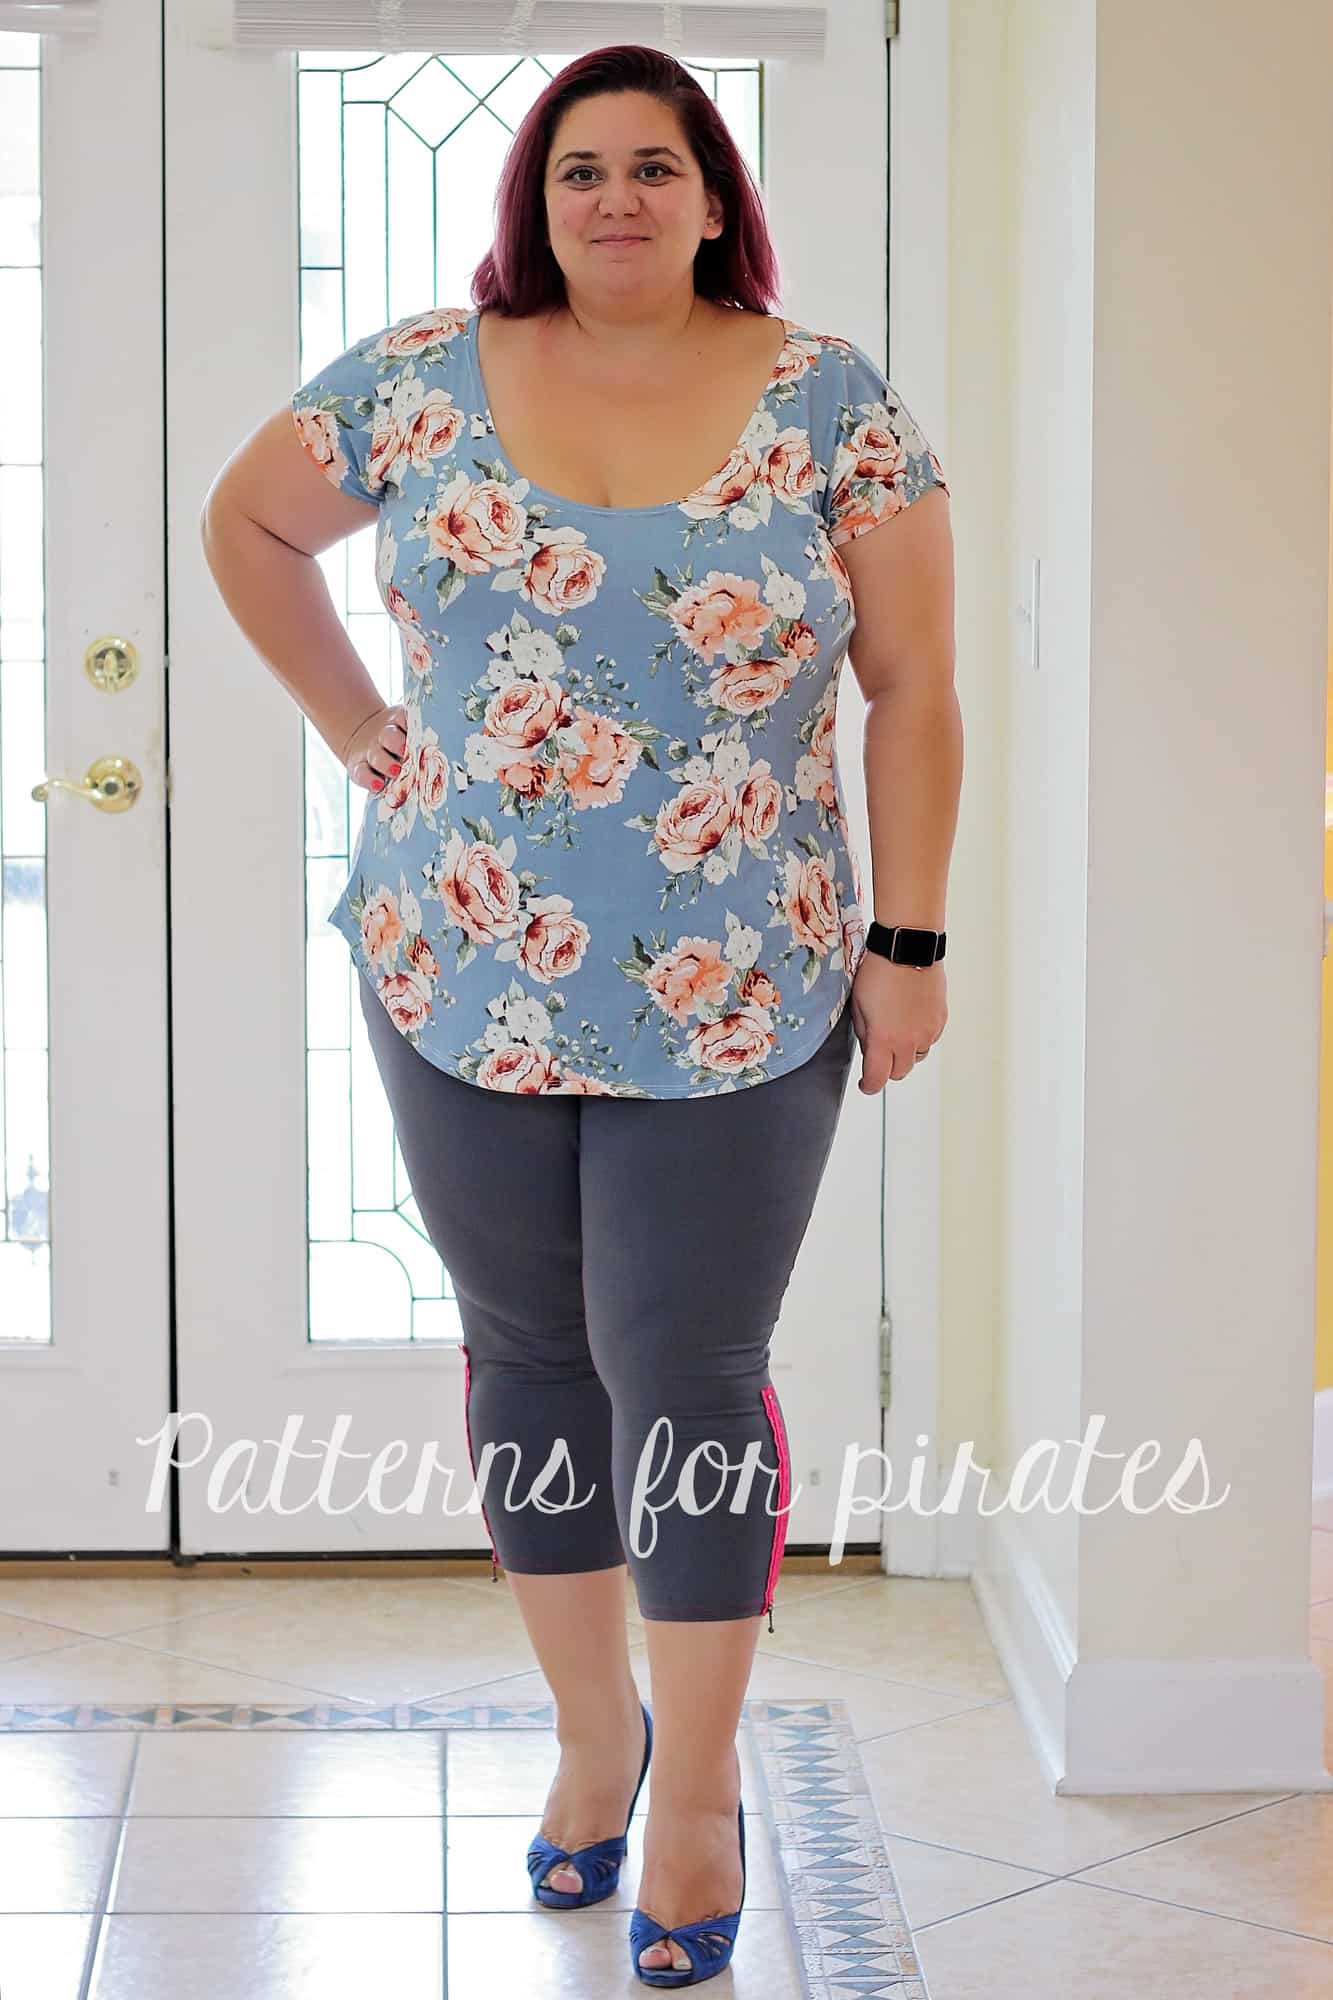
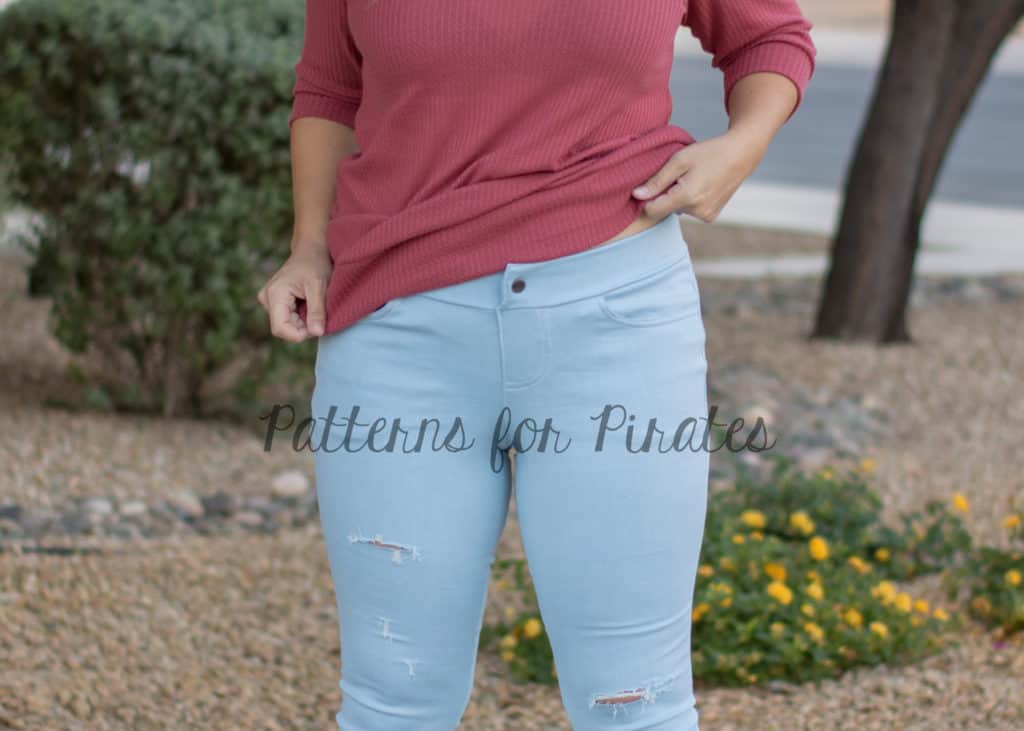
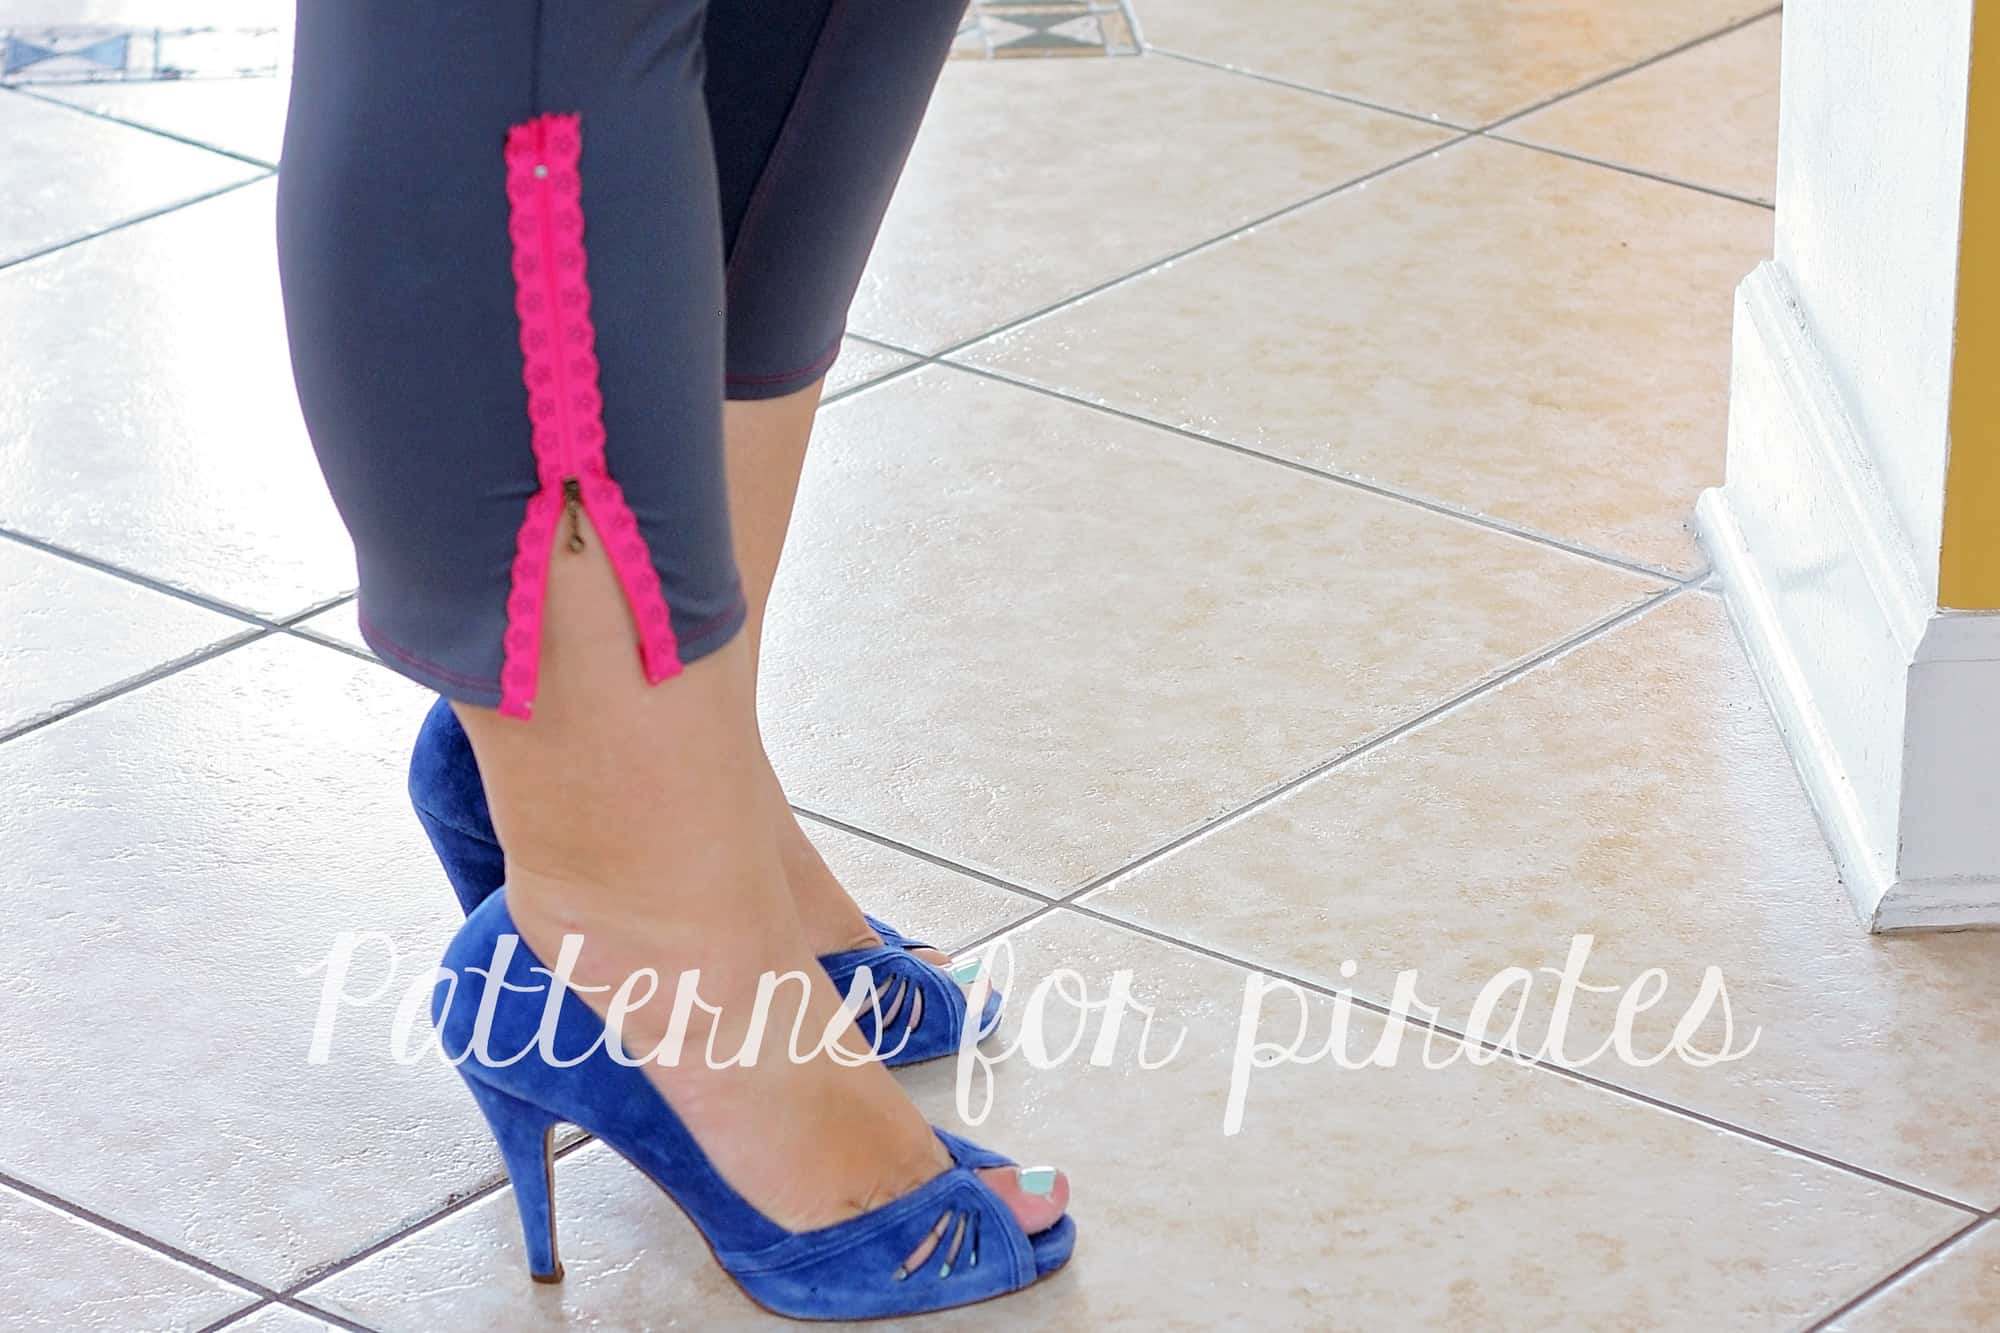
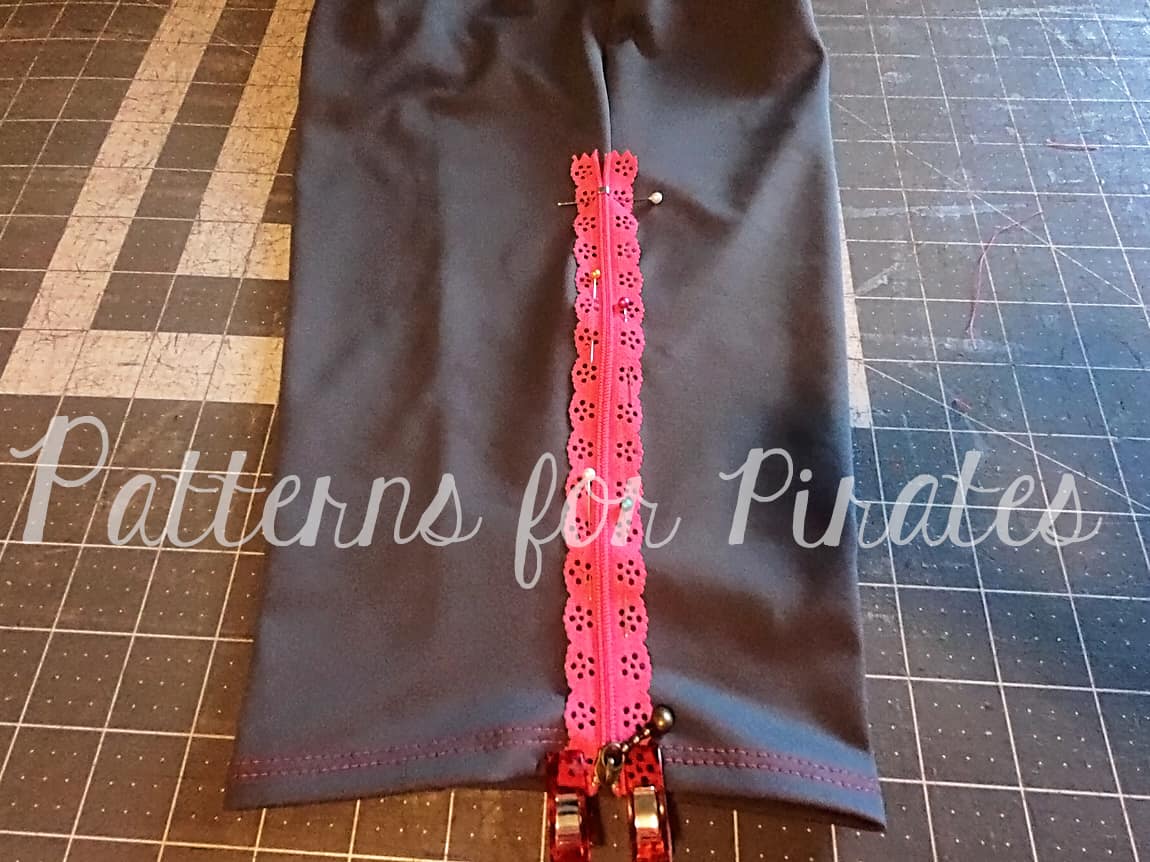
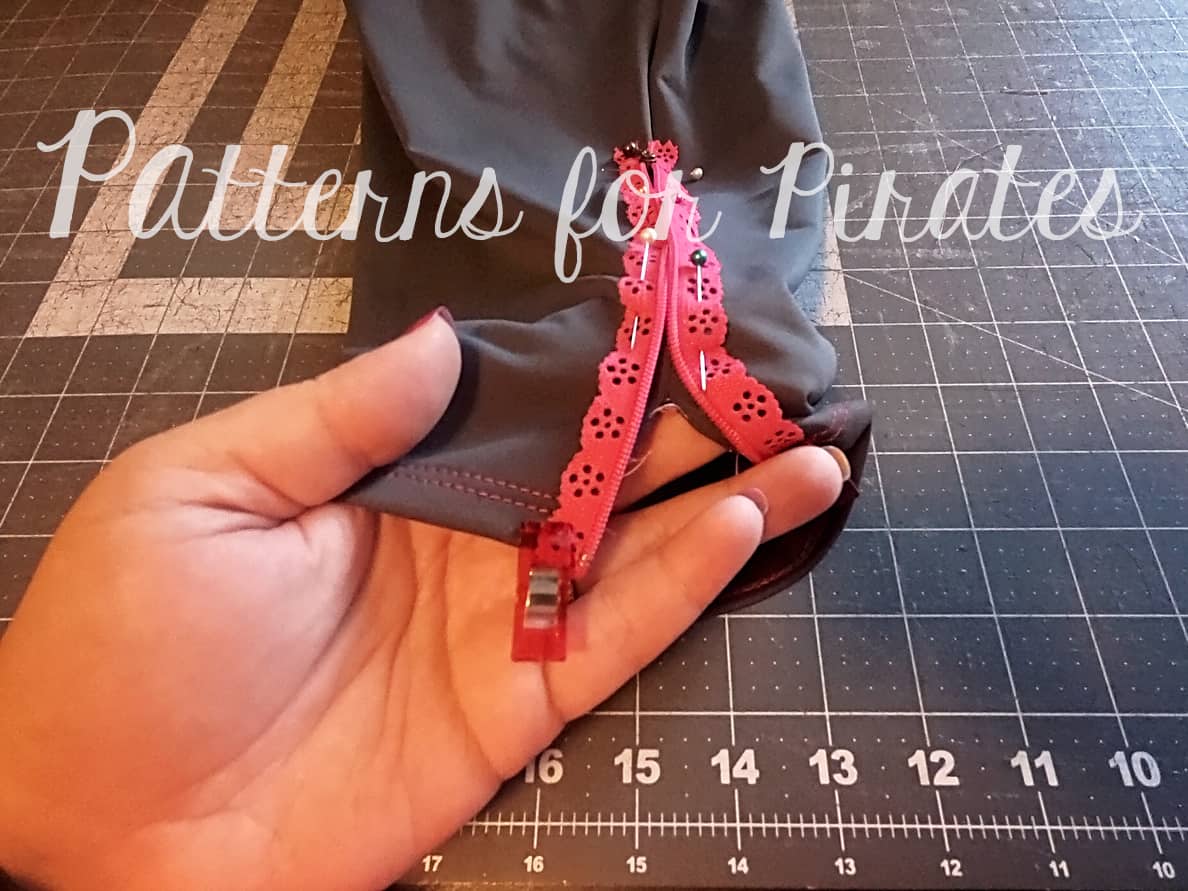
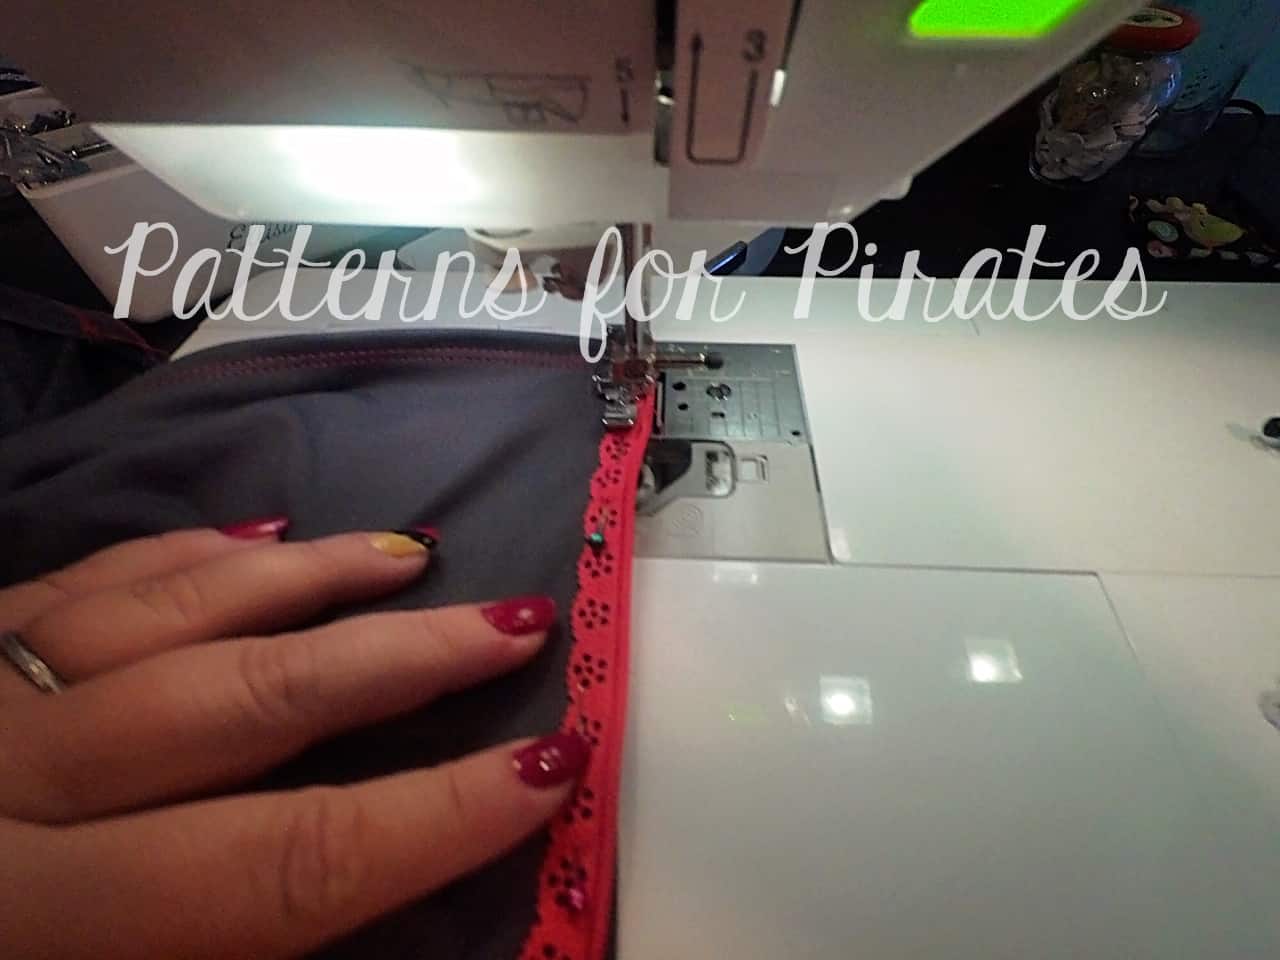
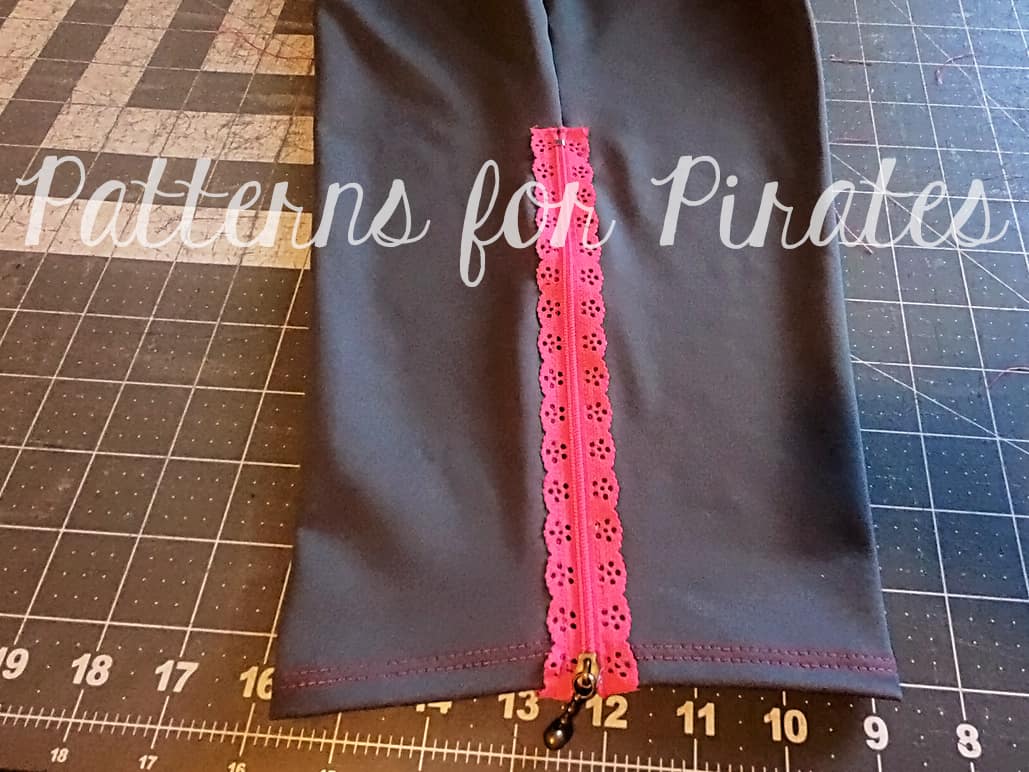
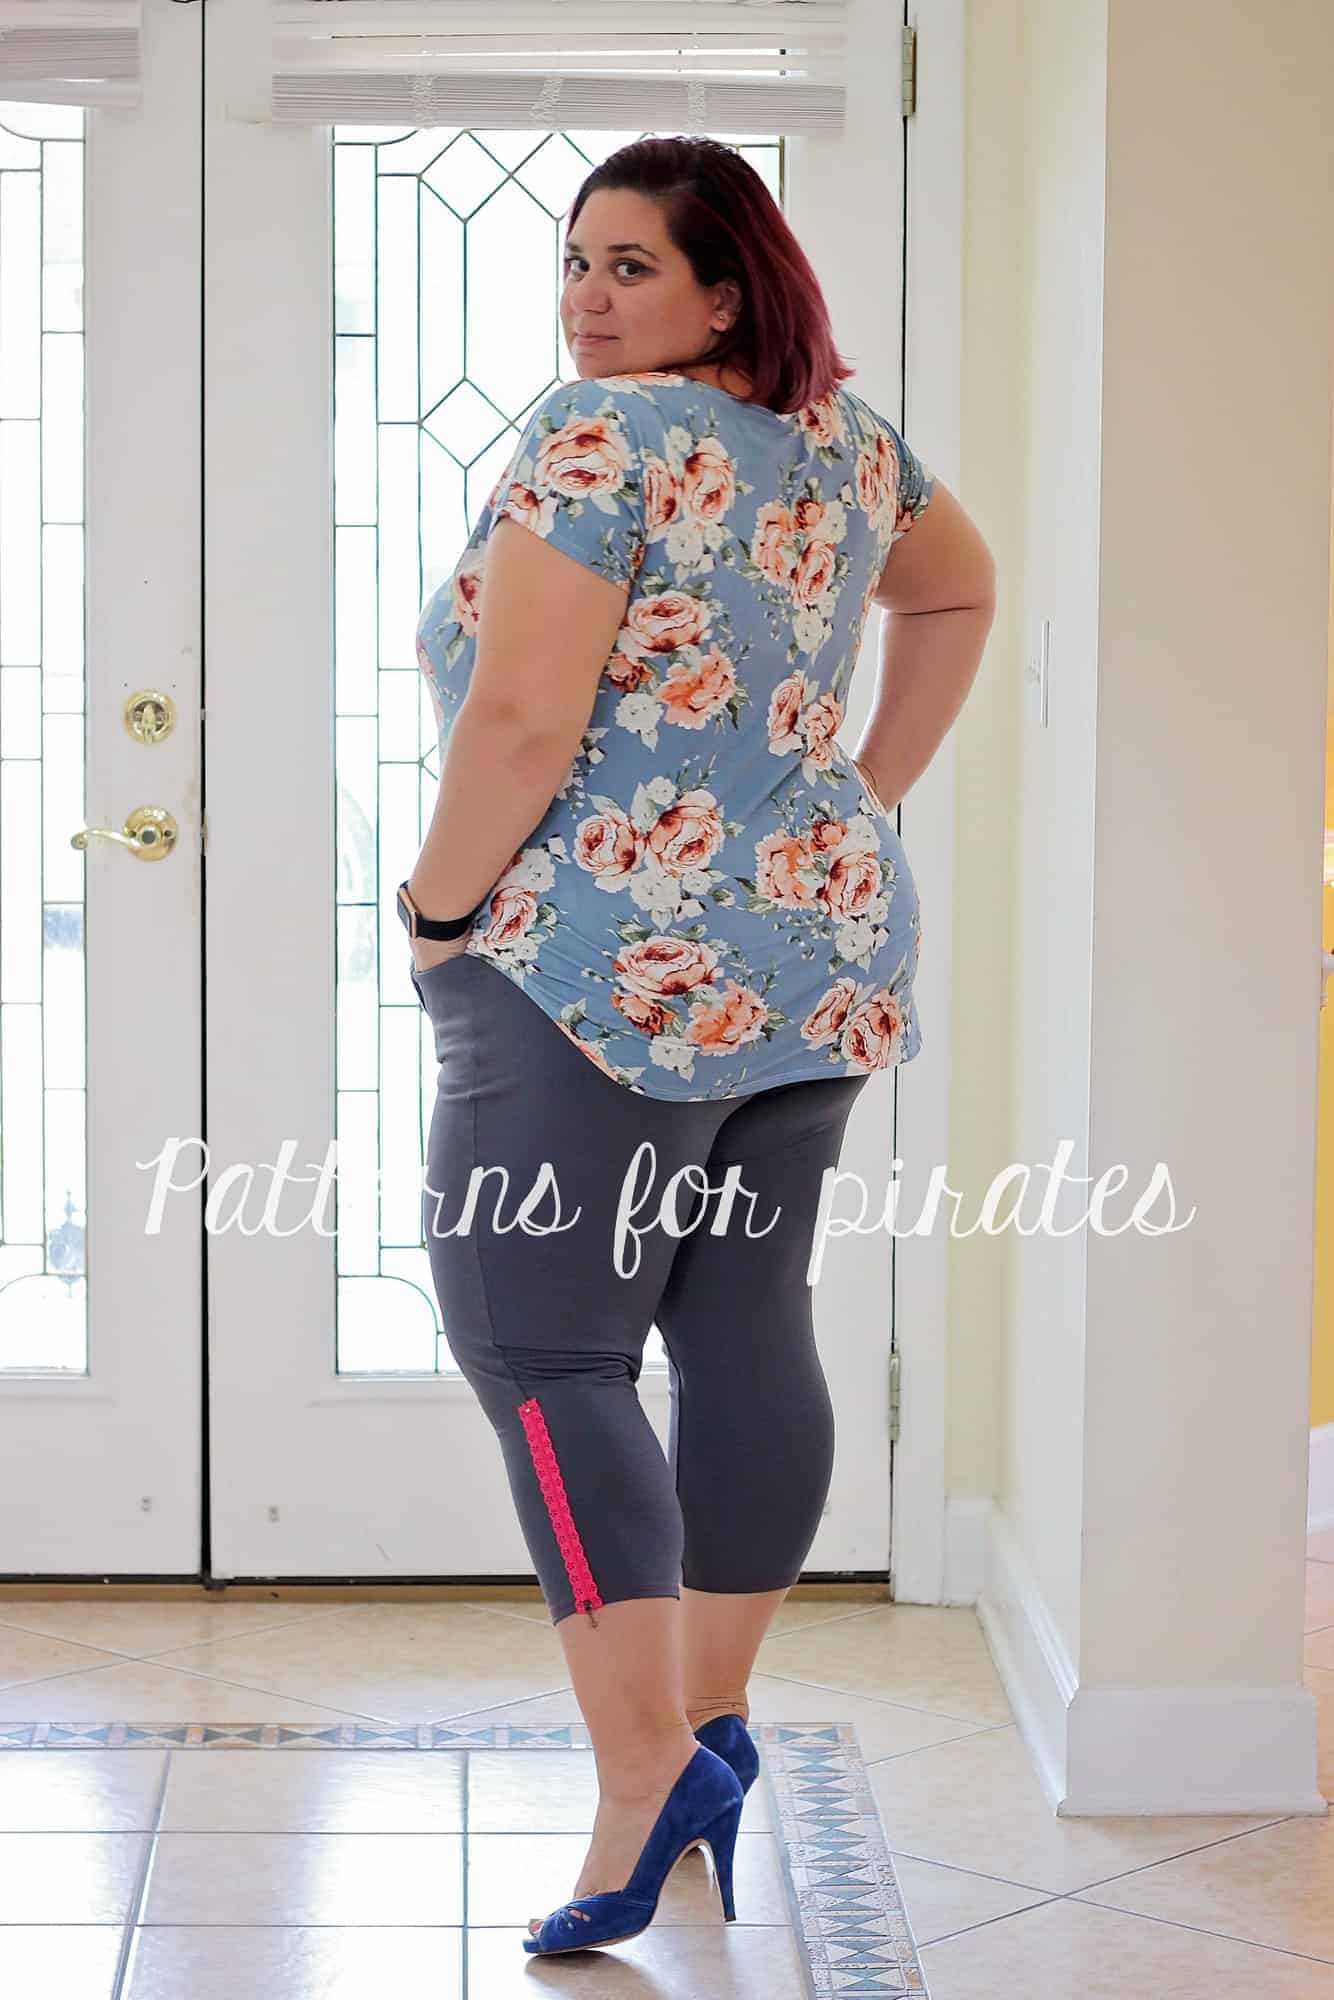
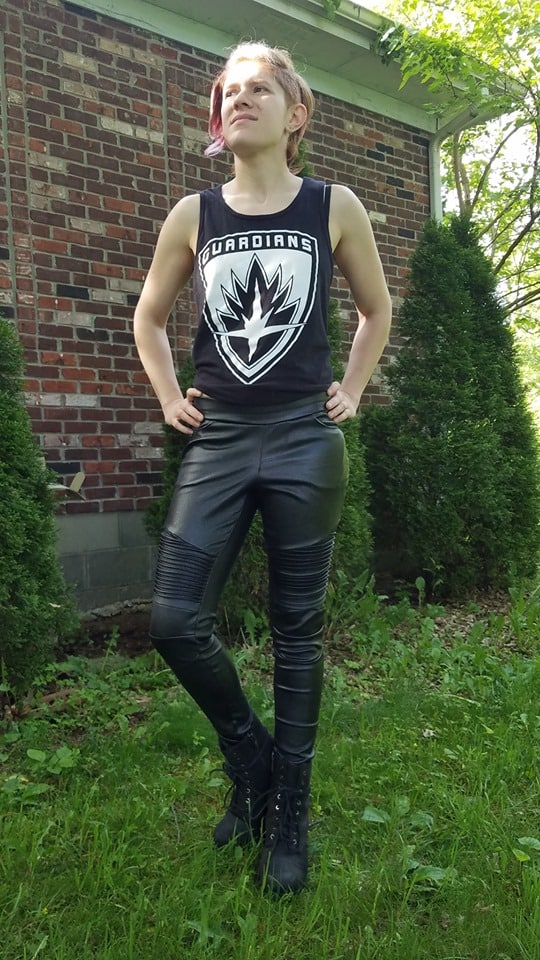
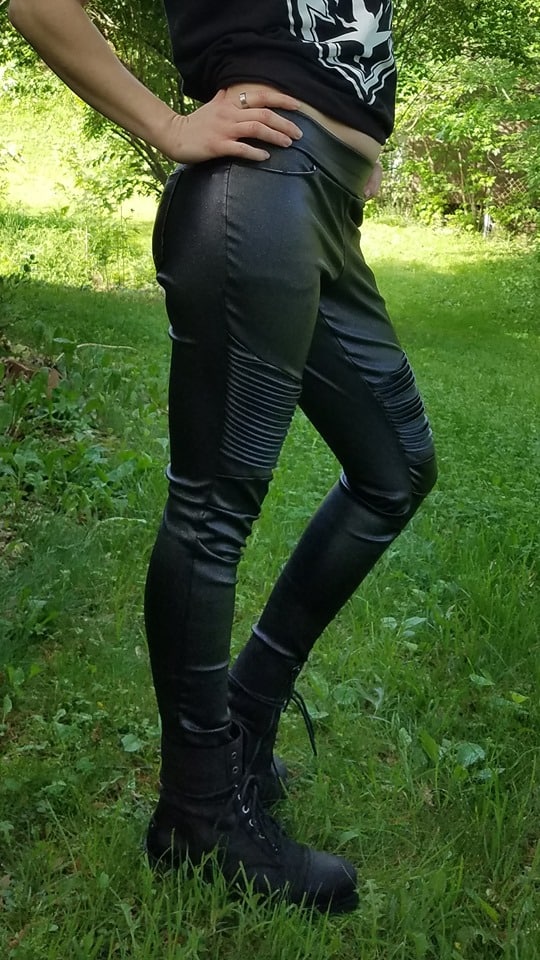
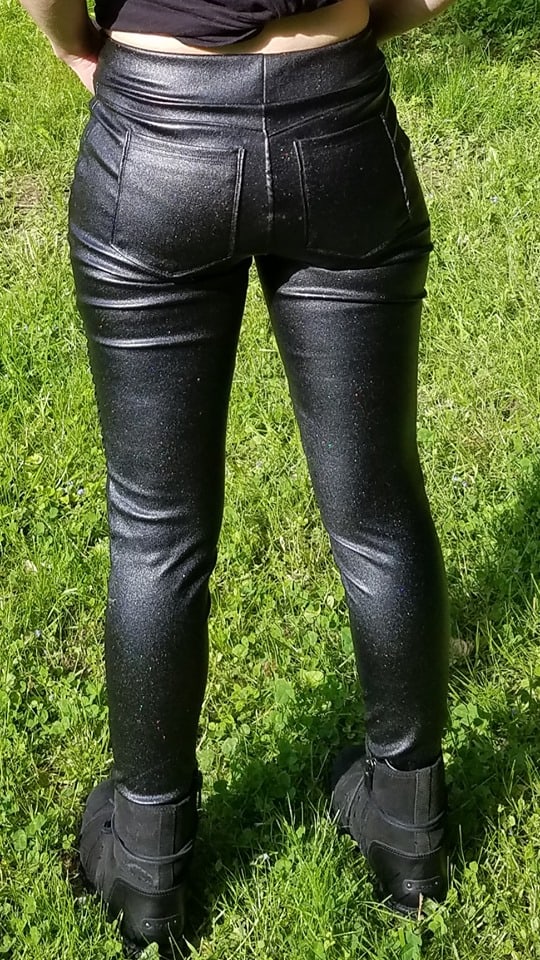
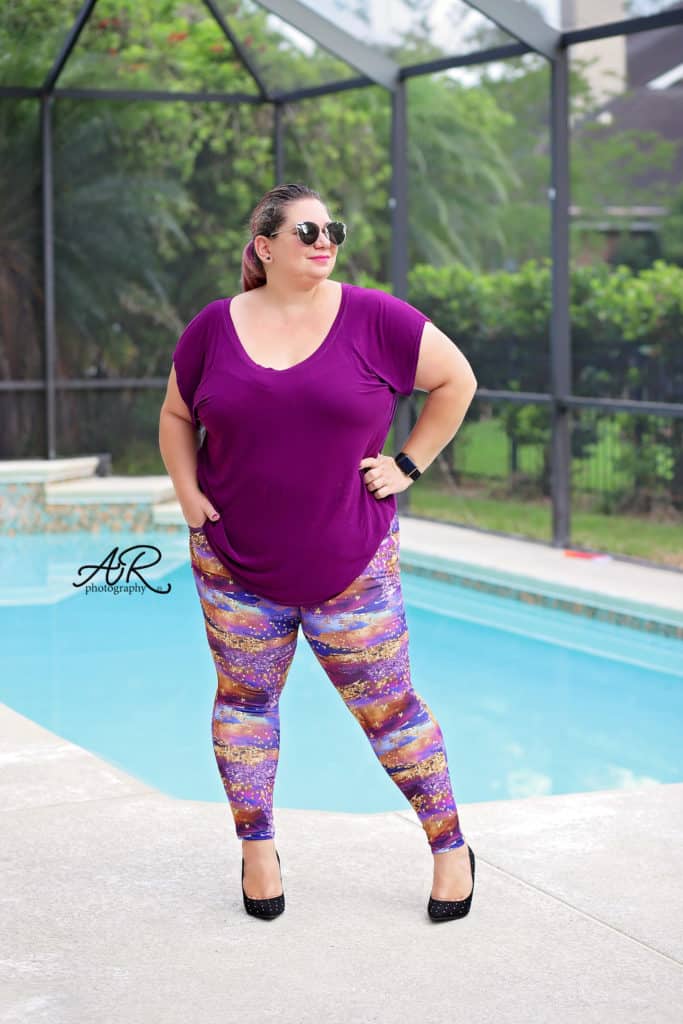
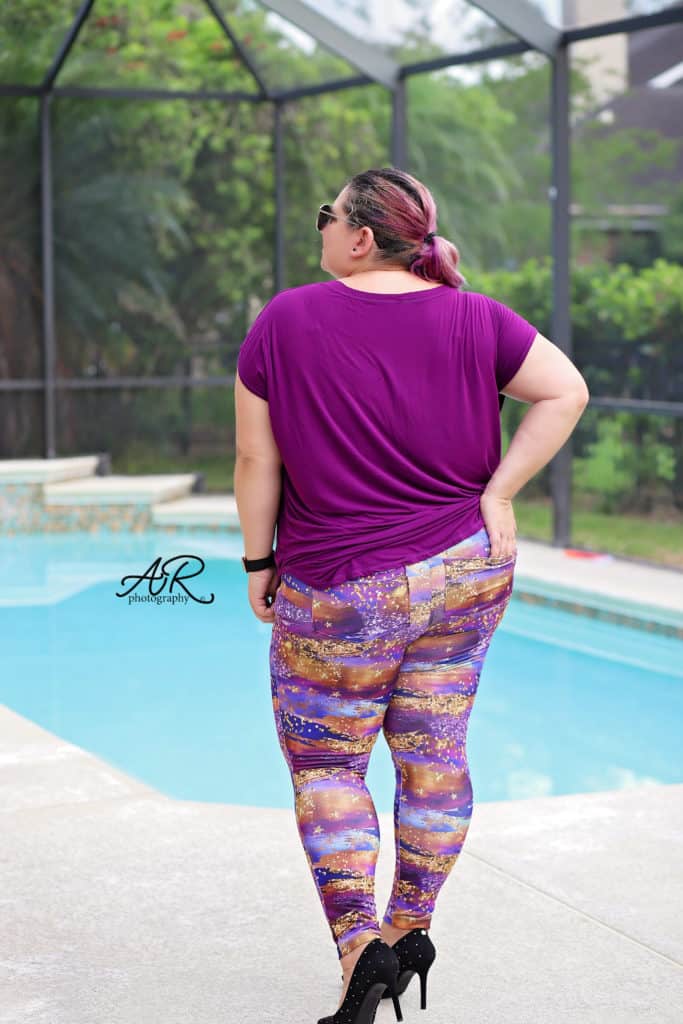
A big thank you to the SOS knit pants sew along sponsor, Kammie Lou Lou Custom Fabrics who also provided this beautiful brushstrokes athletic knit I used for my skinny pants.

Stay tuned for the mermaids’ June sew along announcement.
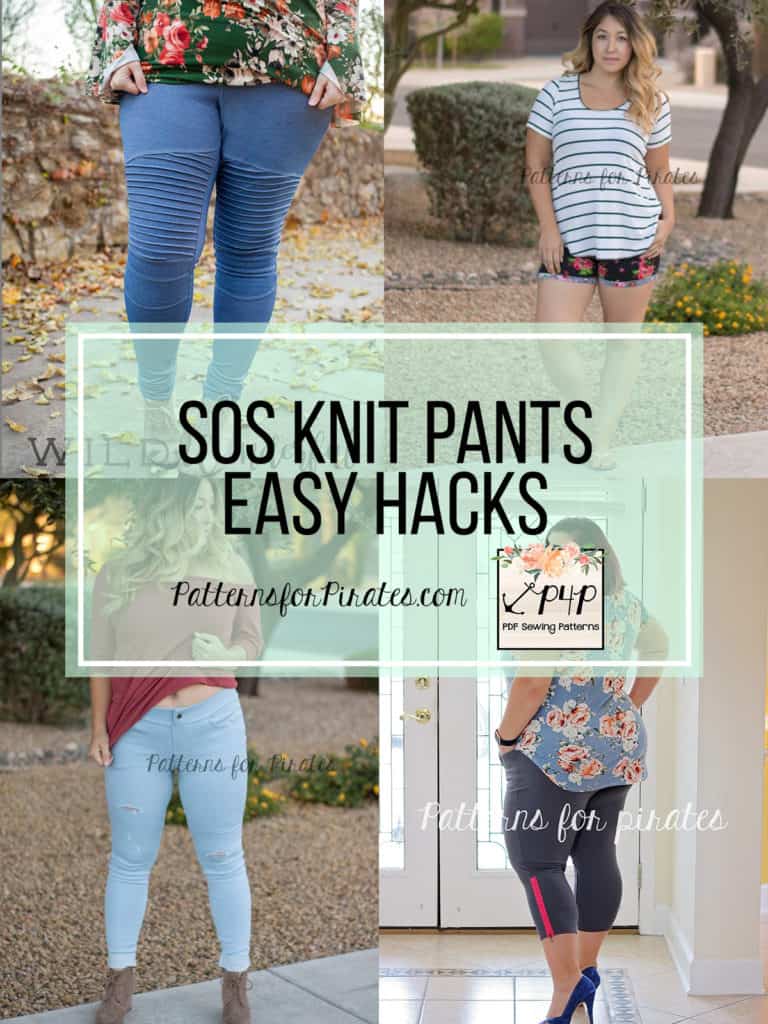
SOS sew along | Day 1 – Print and cut pattern
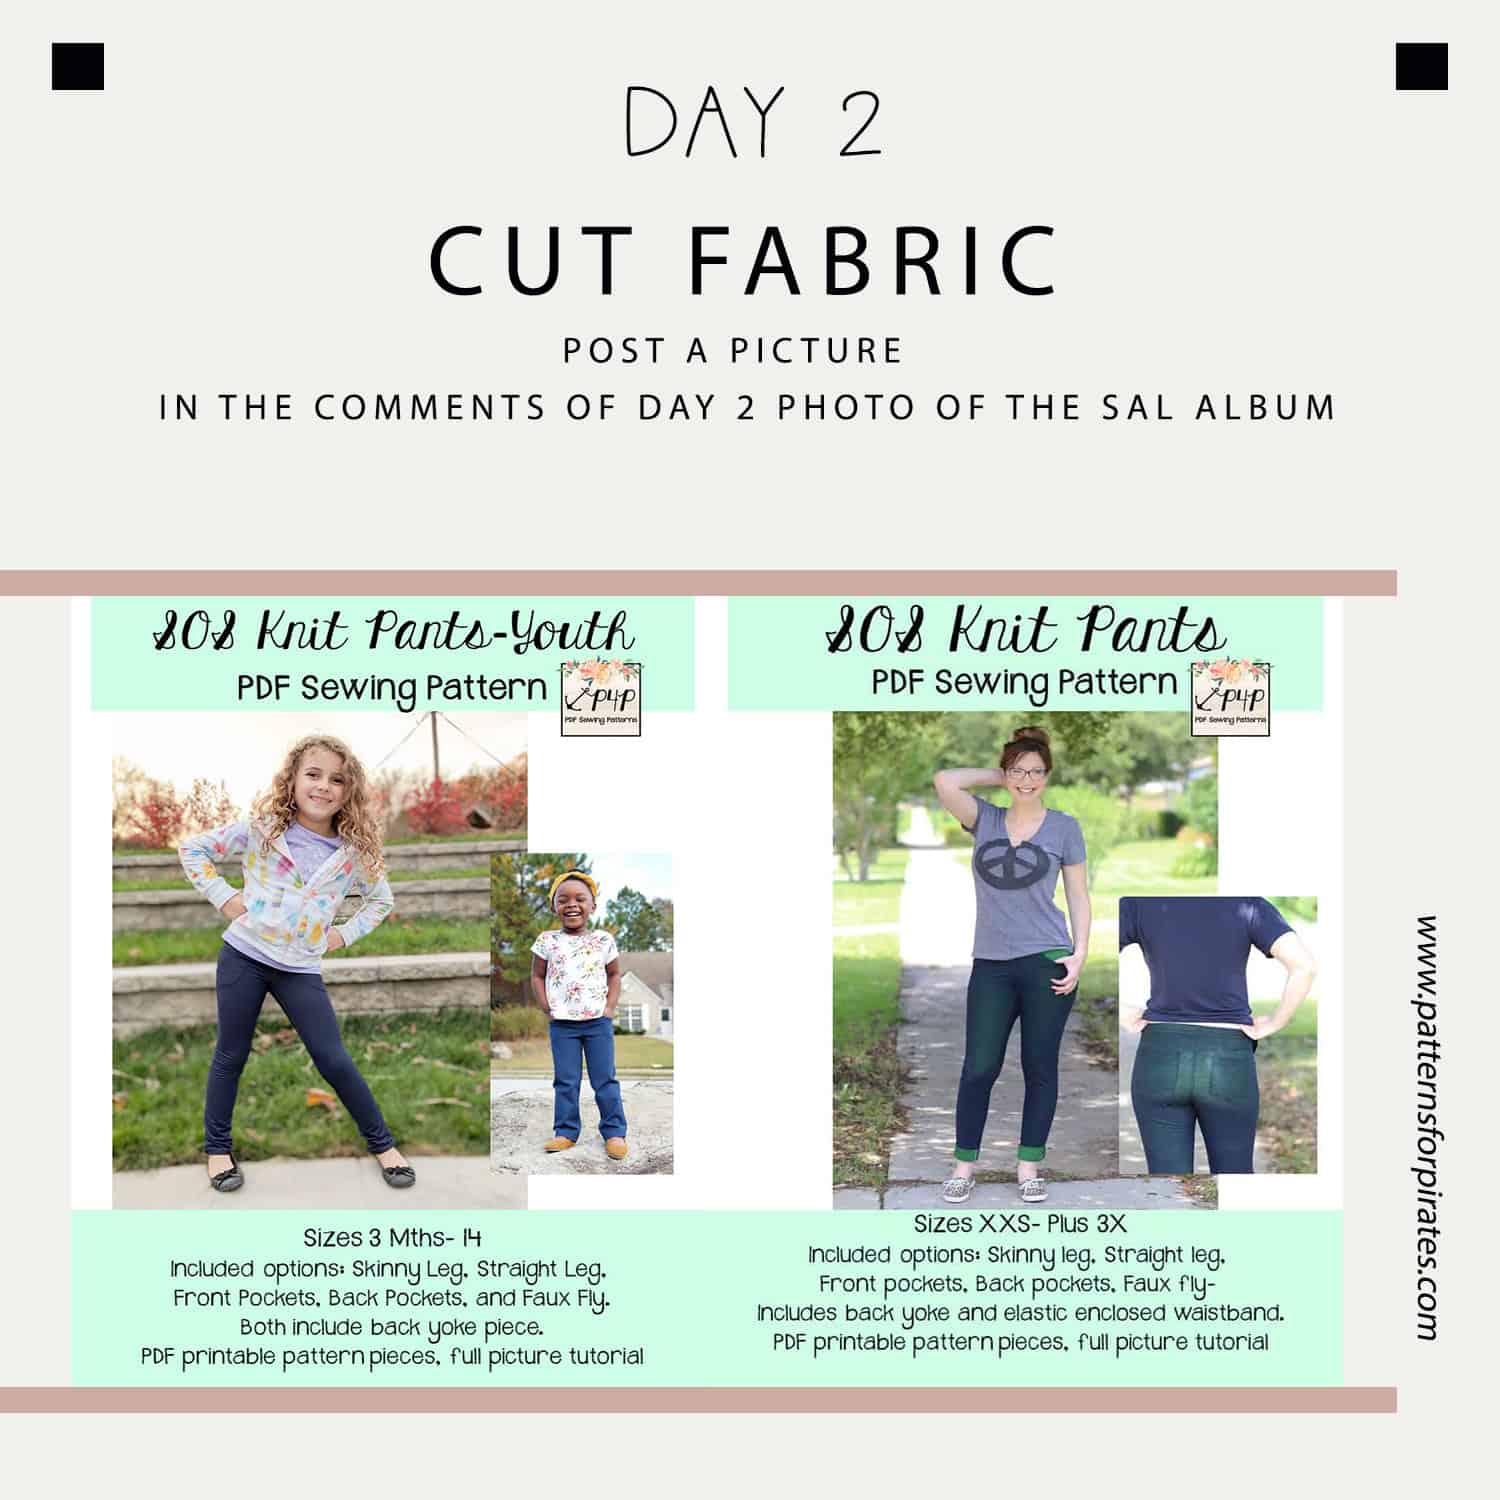
SOS sew along | Day 2 – Cut fabric
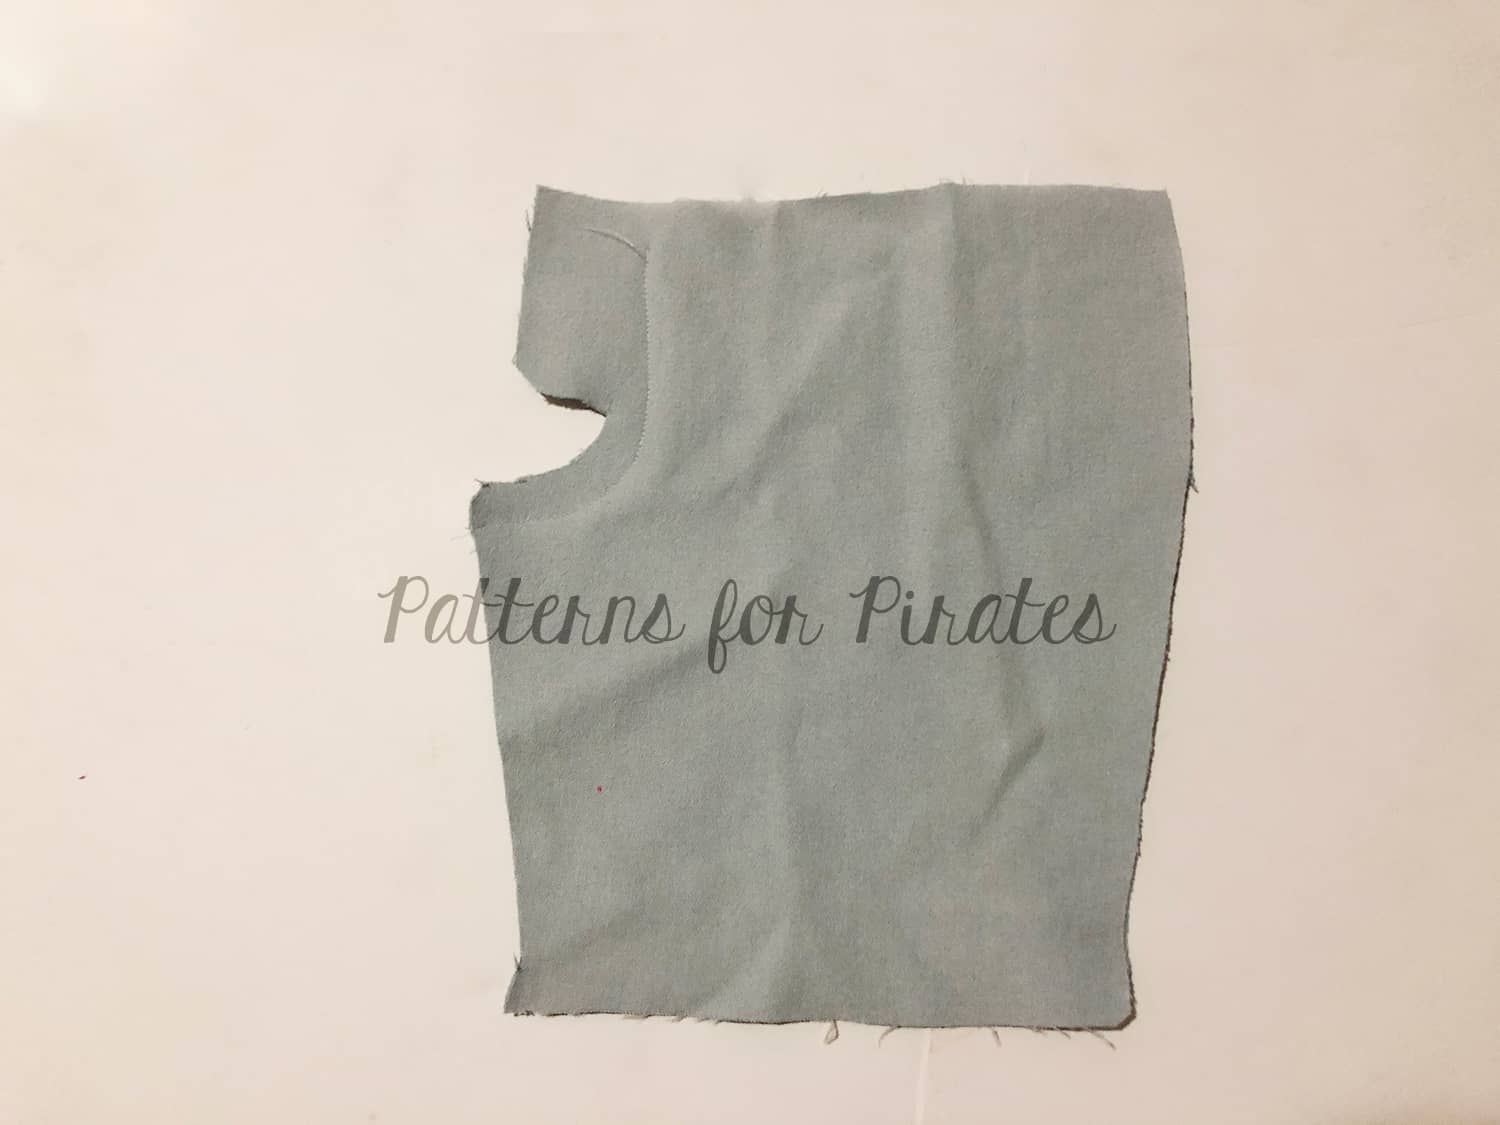
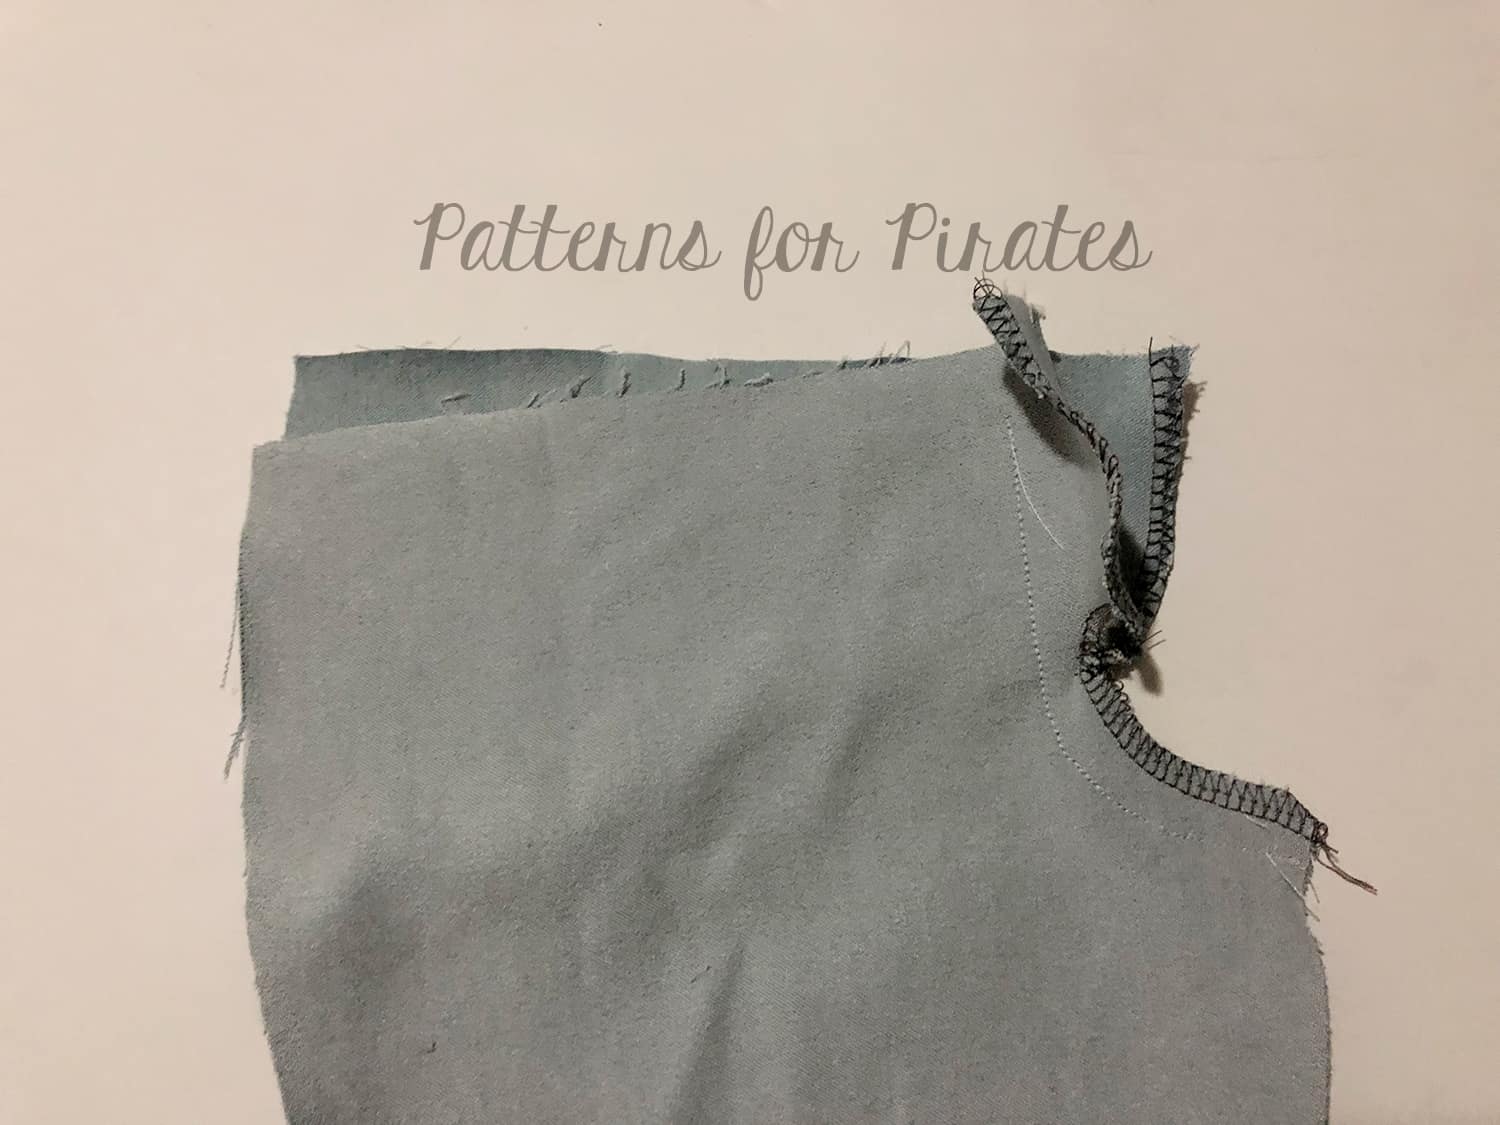
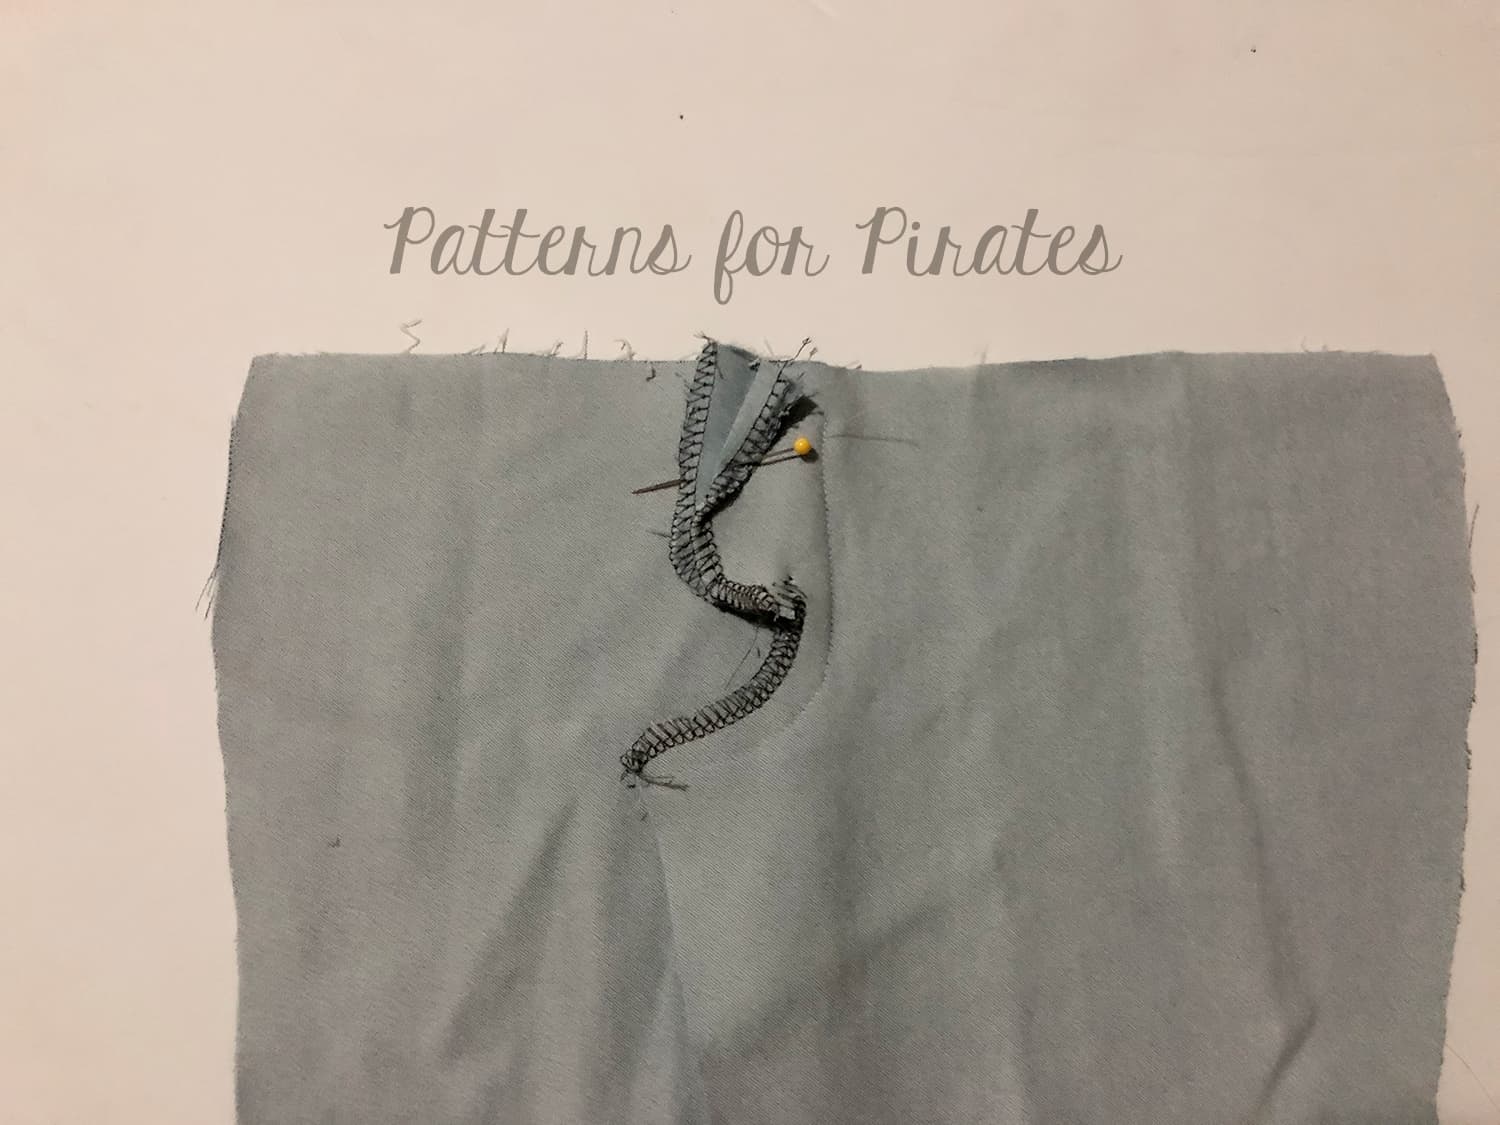
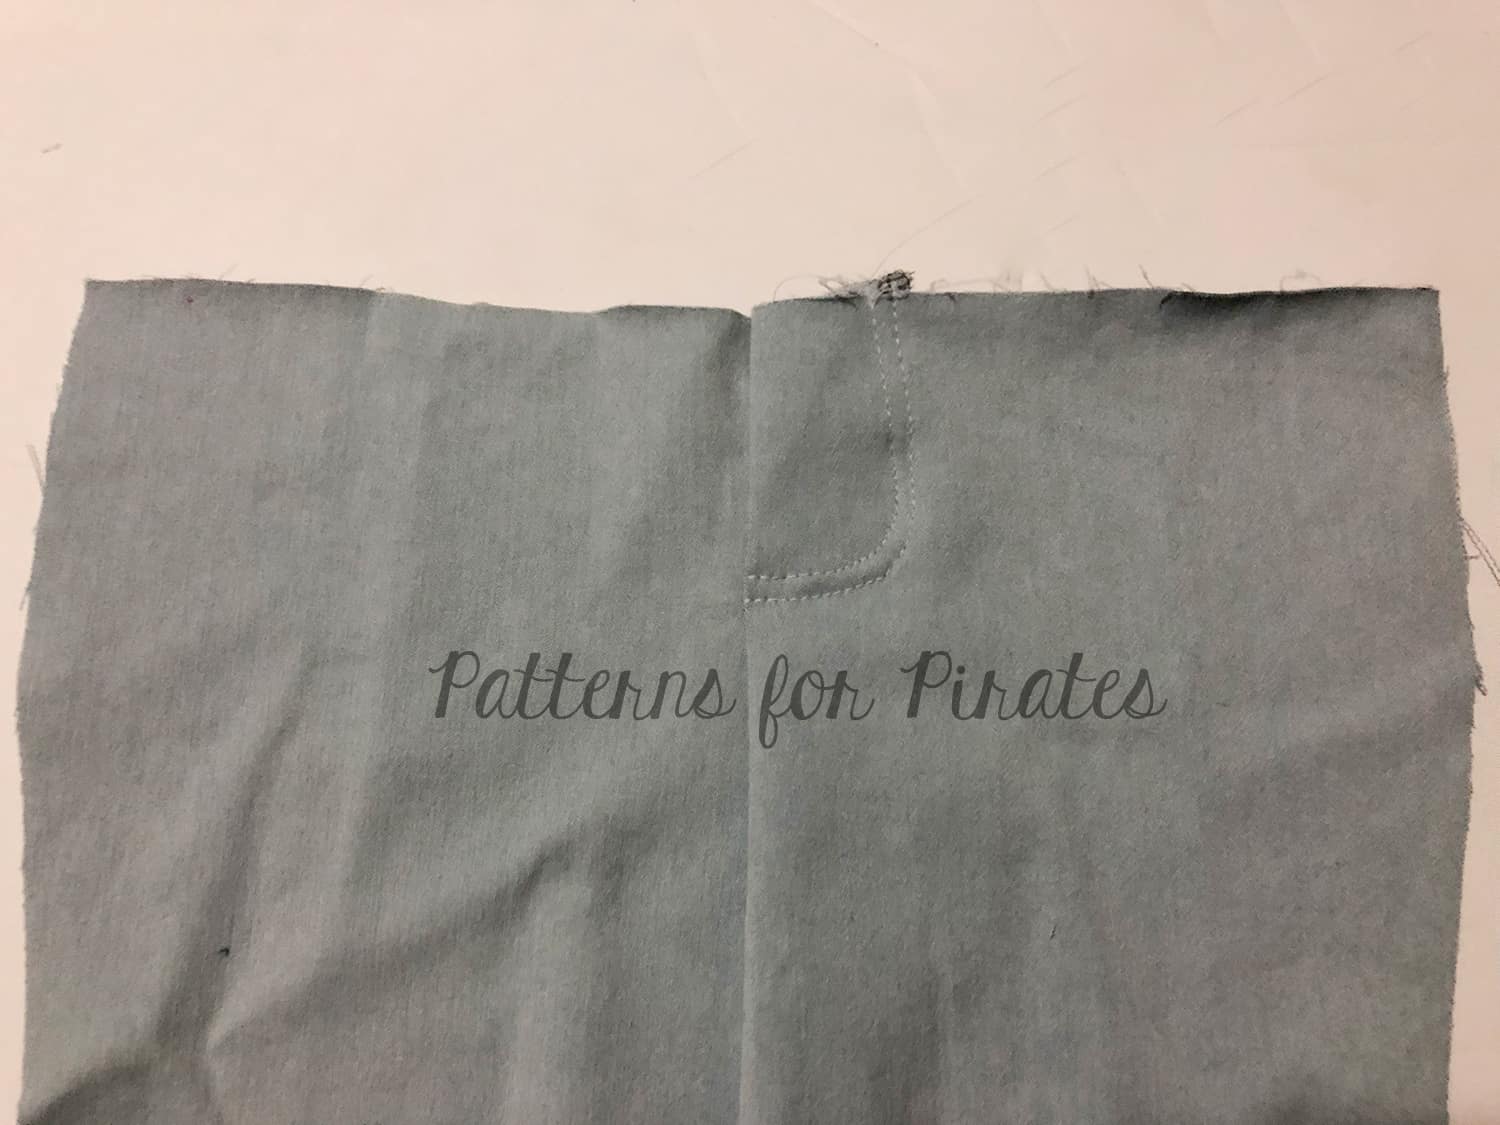
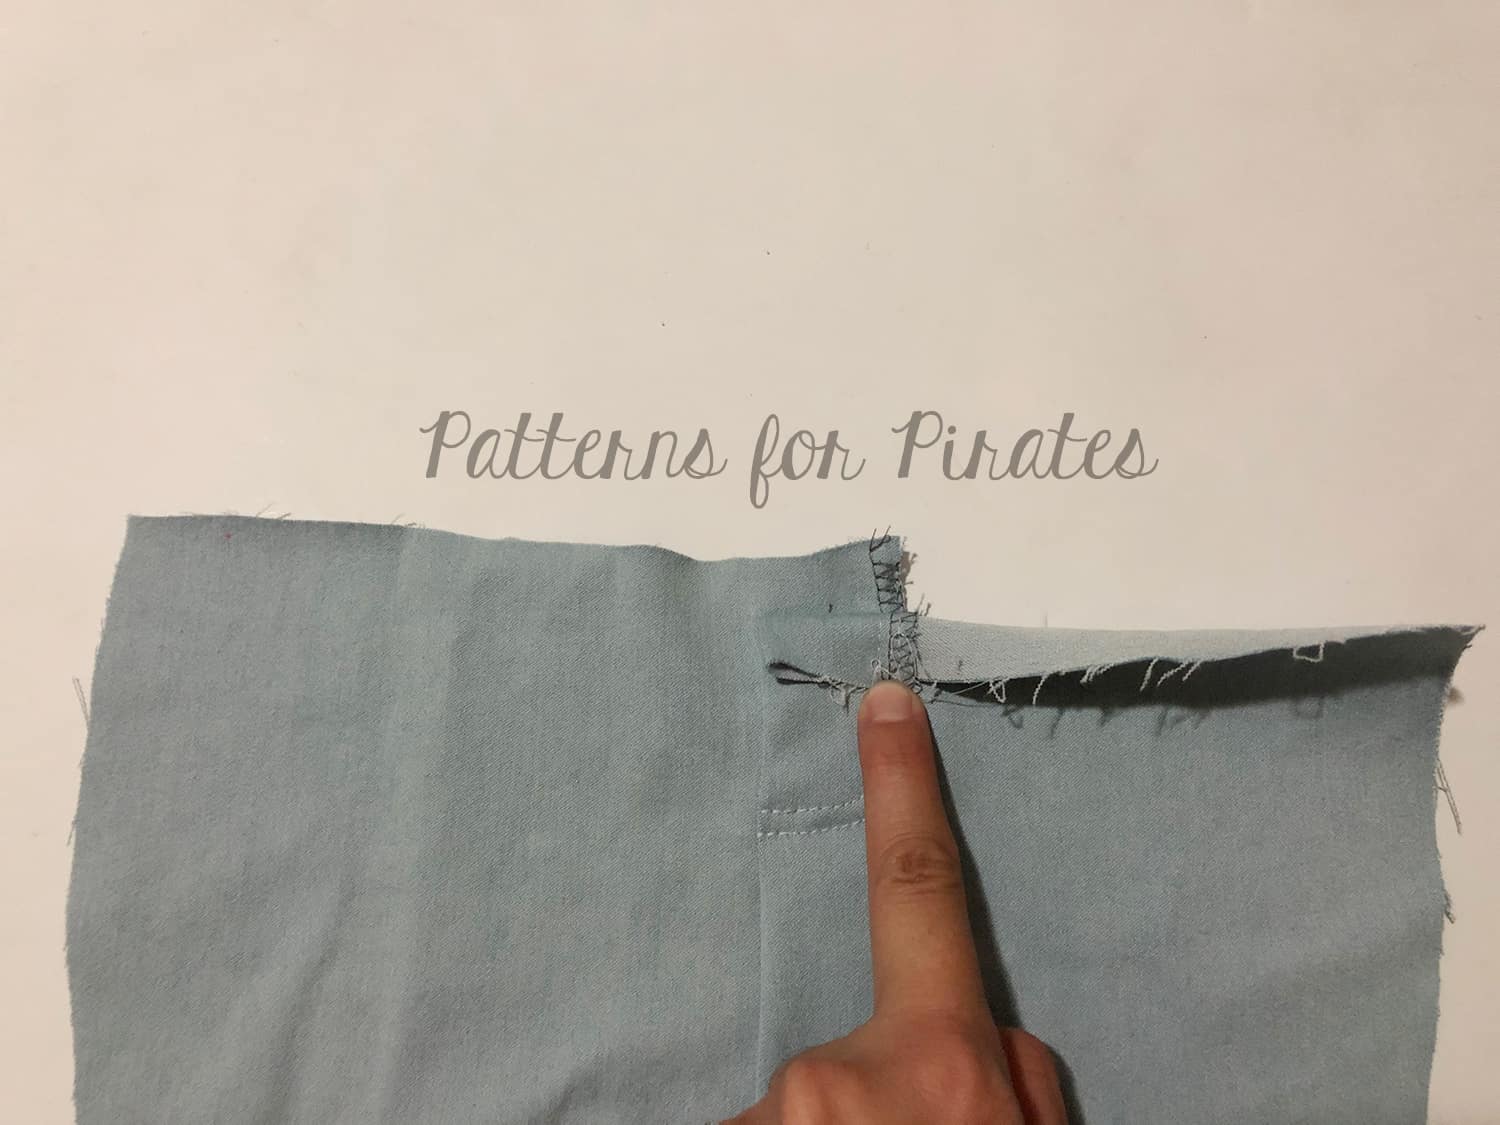
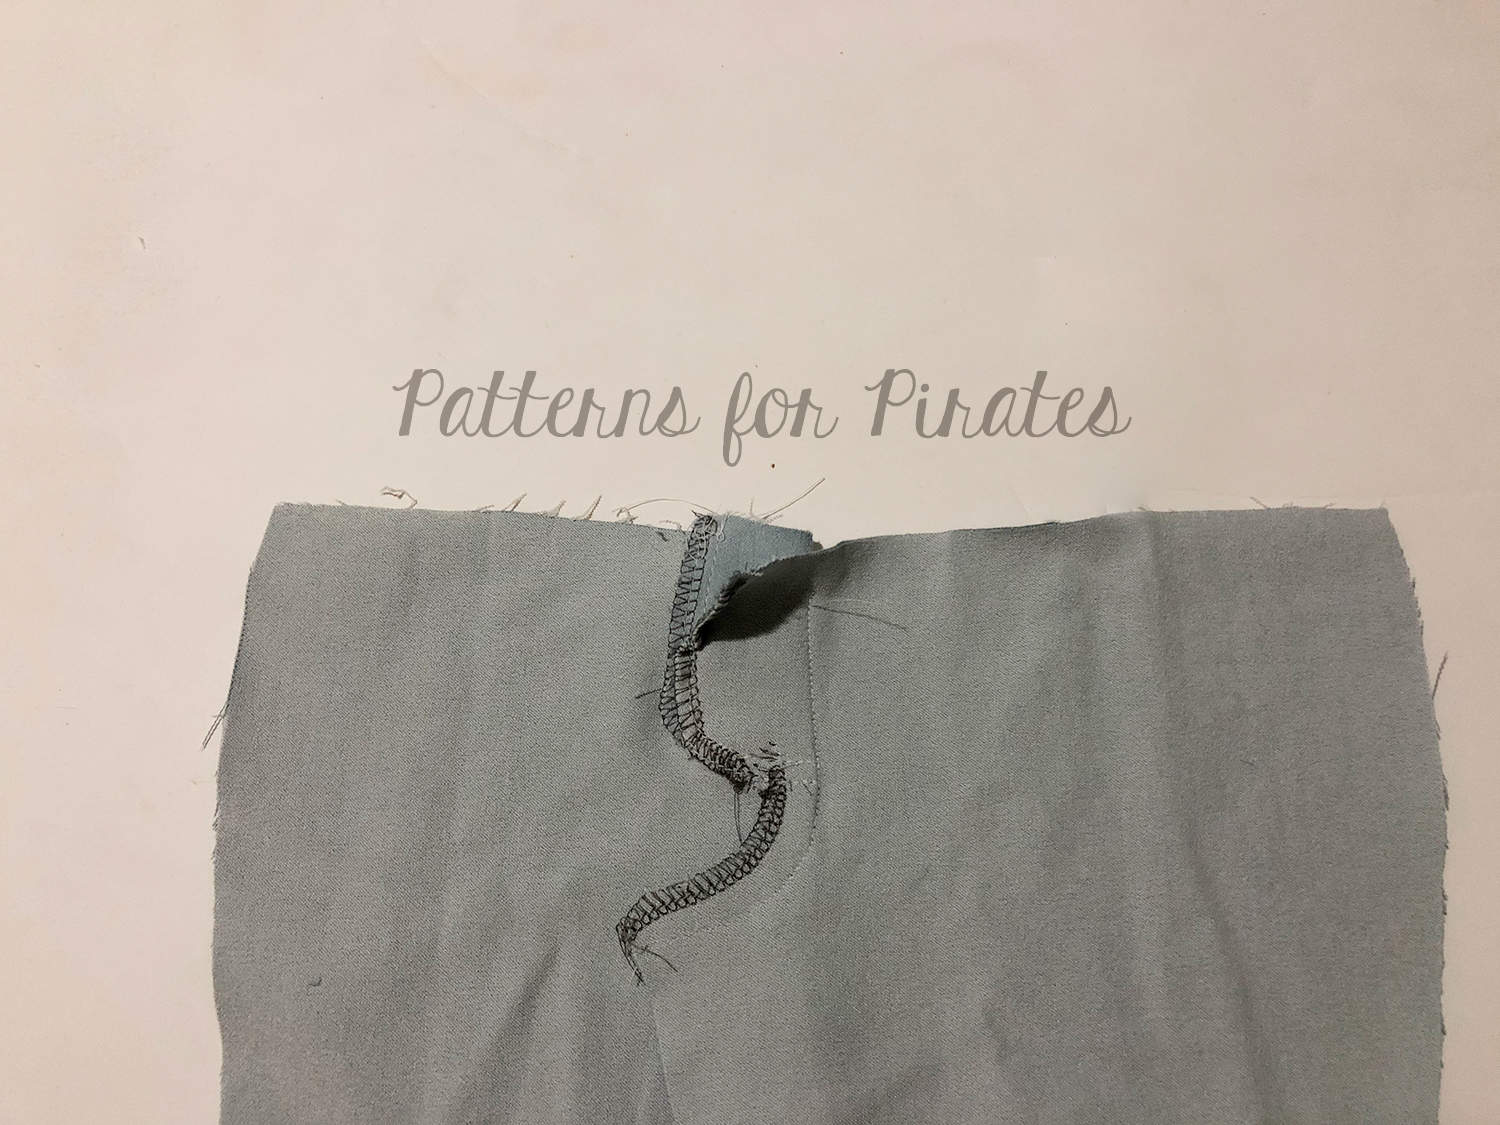
SOS sew along | Day 3 – Back: pocket, yoke, inseam
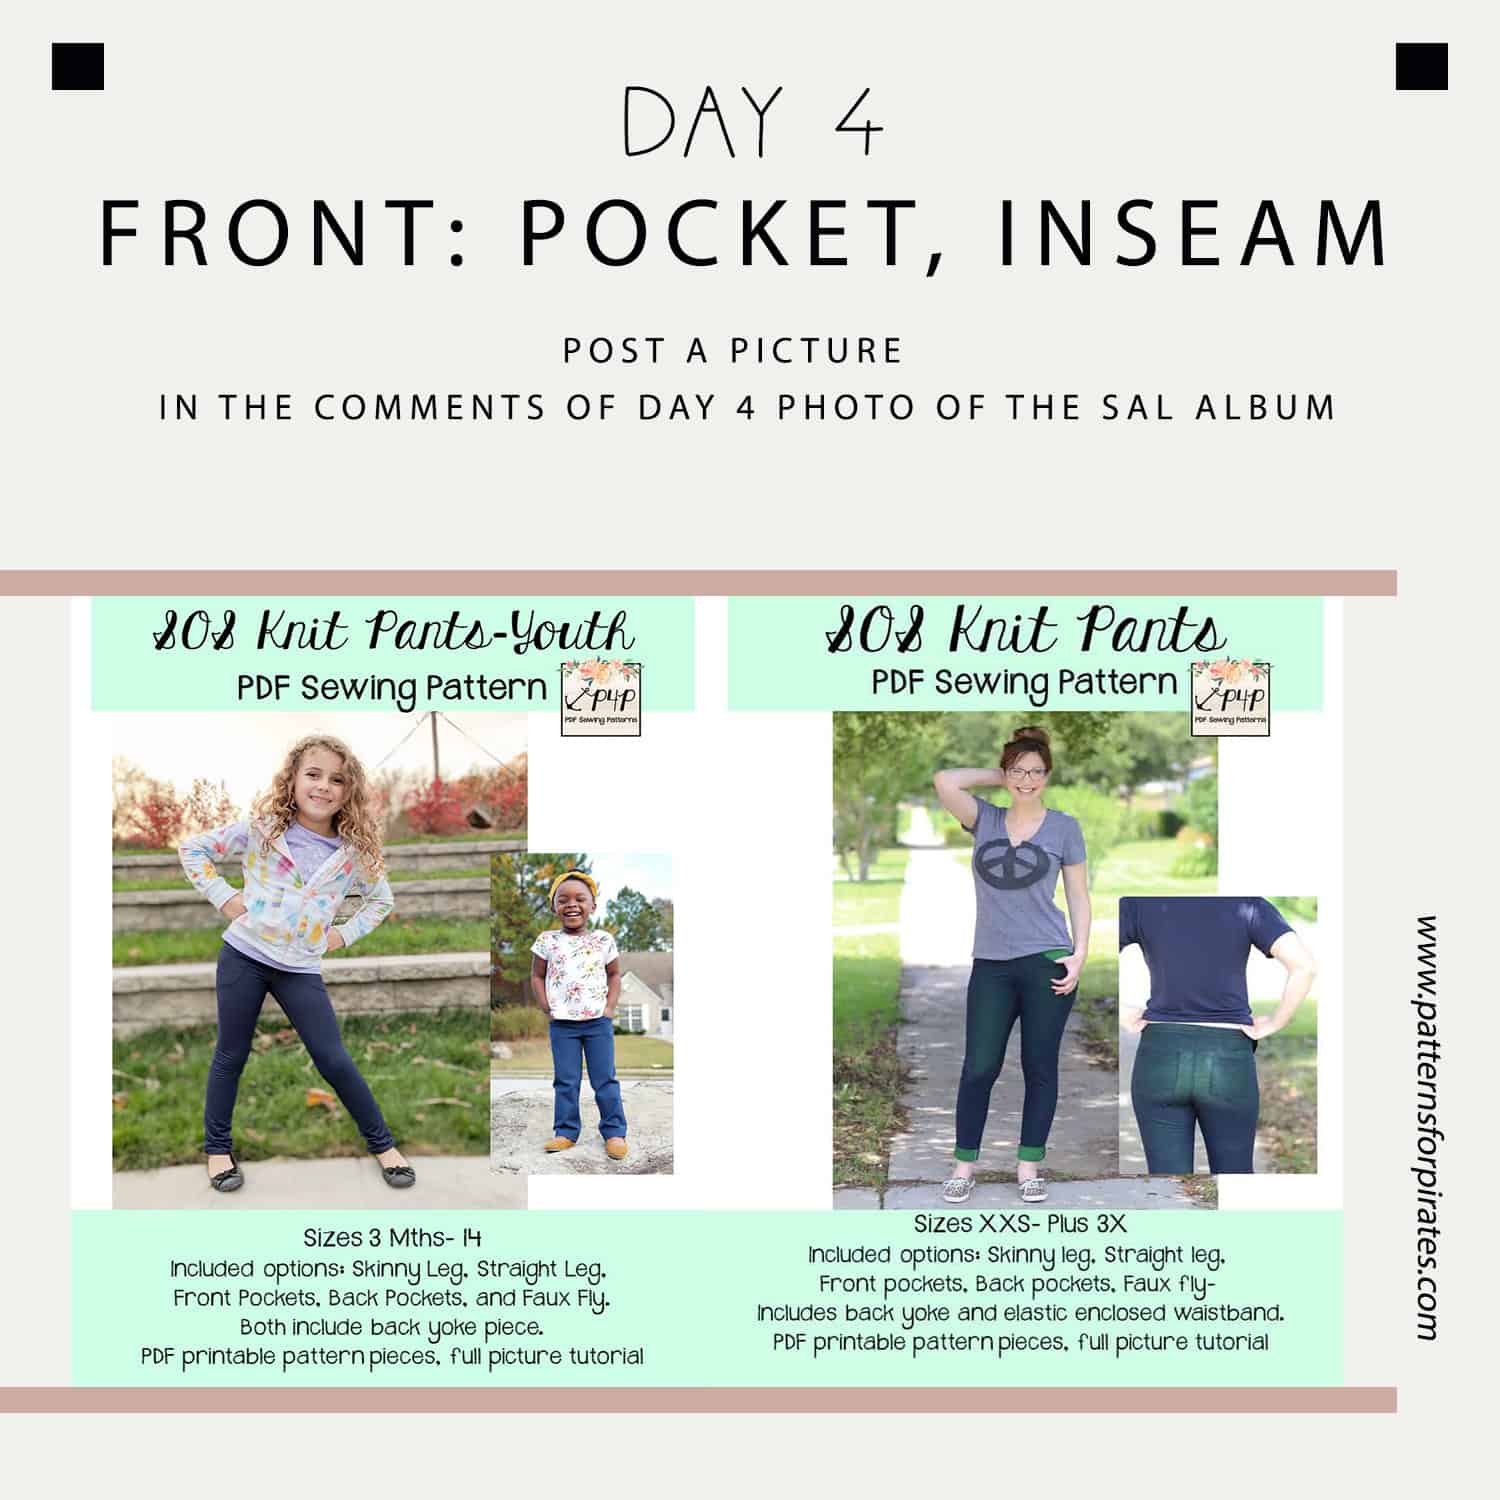
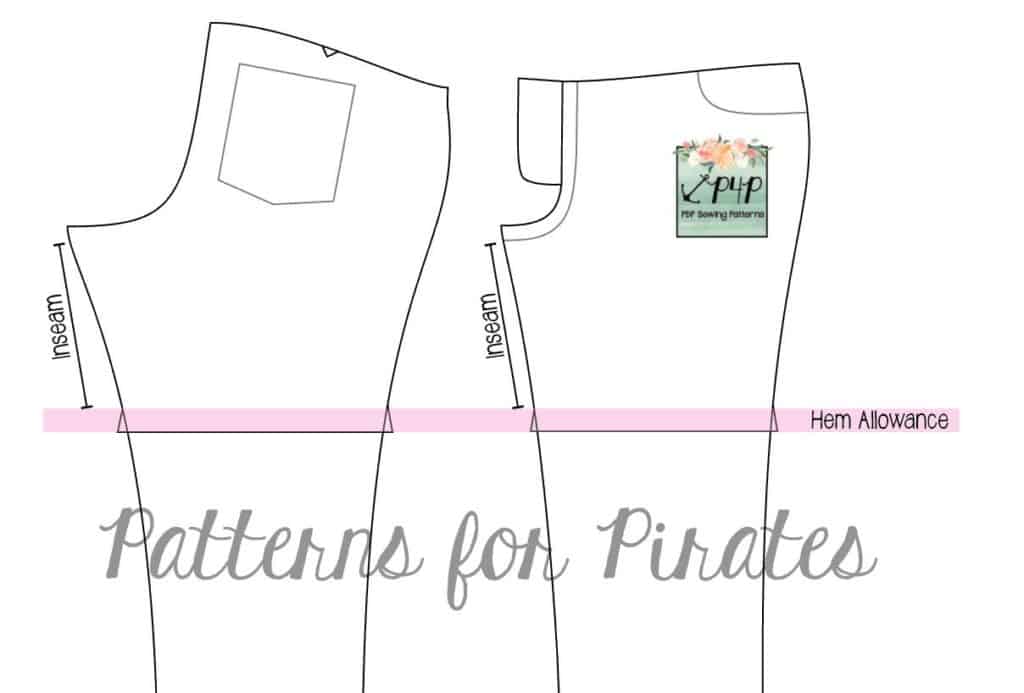
SOS sew along | Day 4 – Front: pocket, inseam
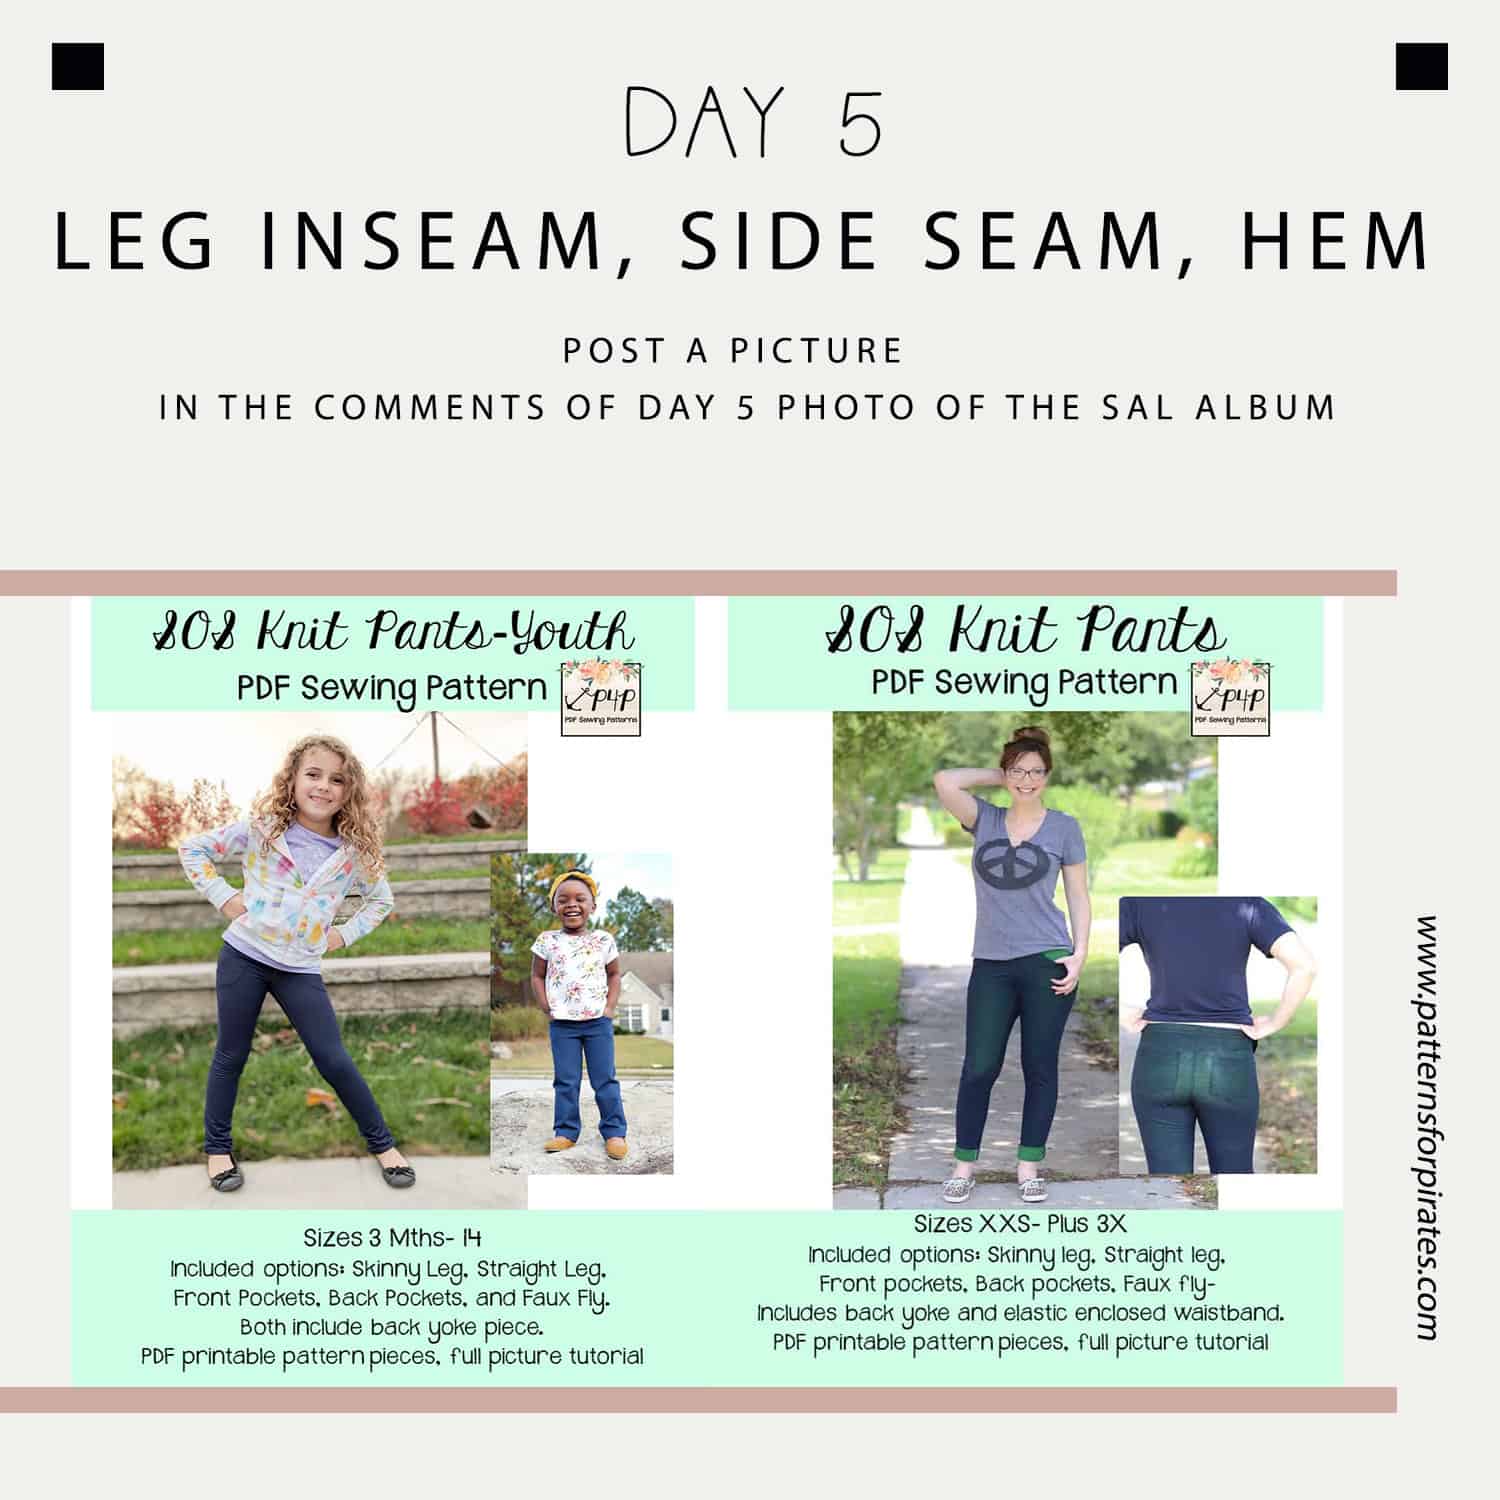
SOS sew along | Day 5 – Leg inseam, side seam, hem
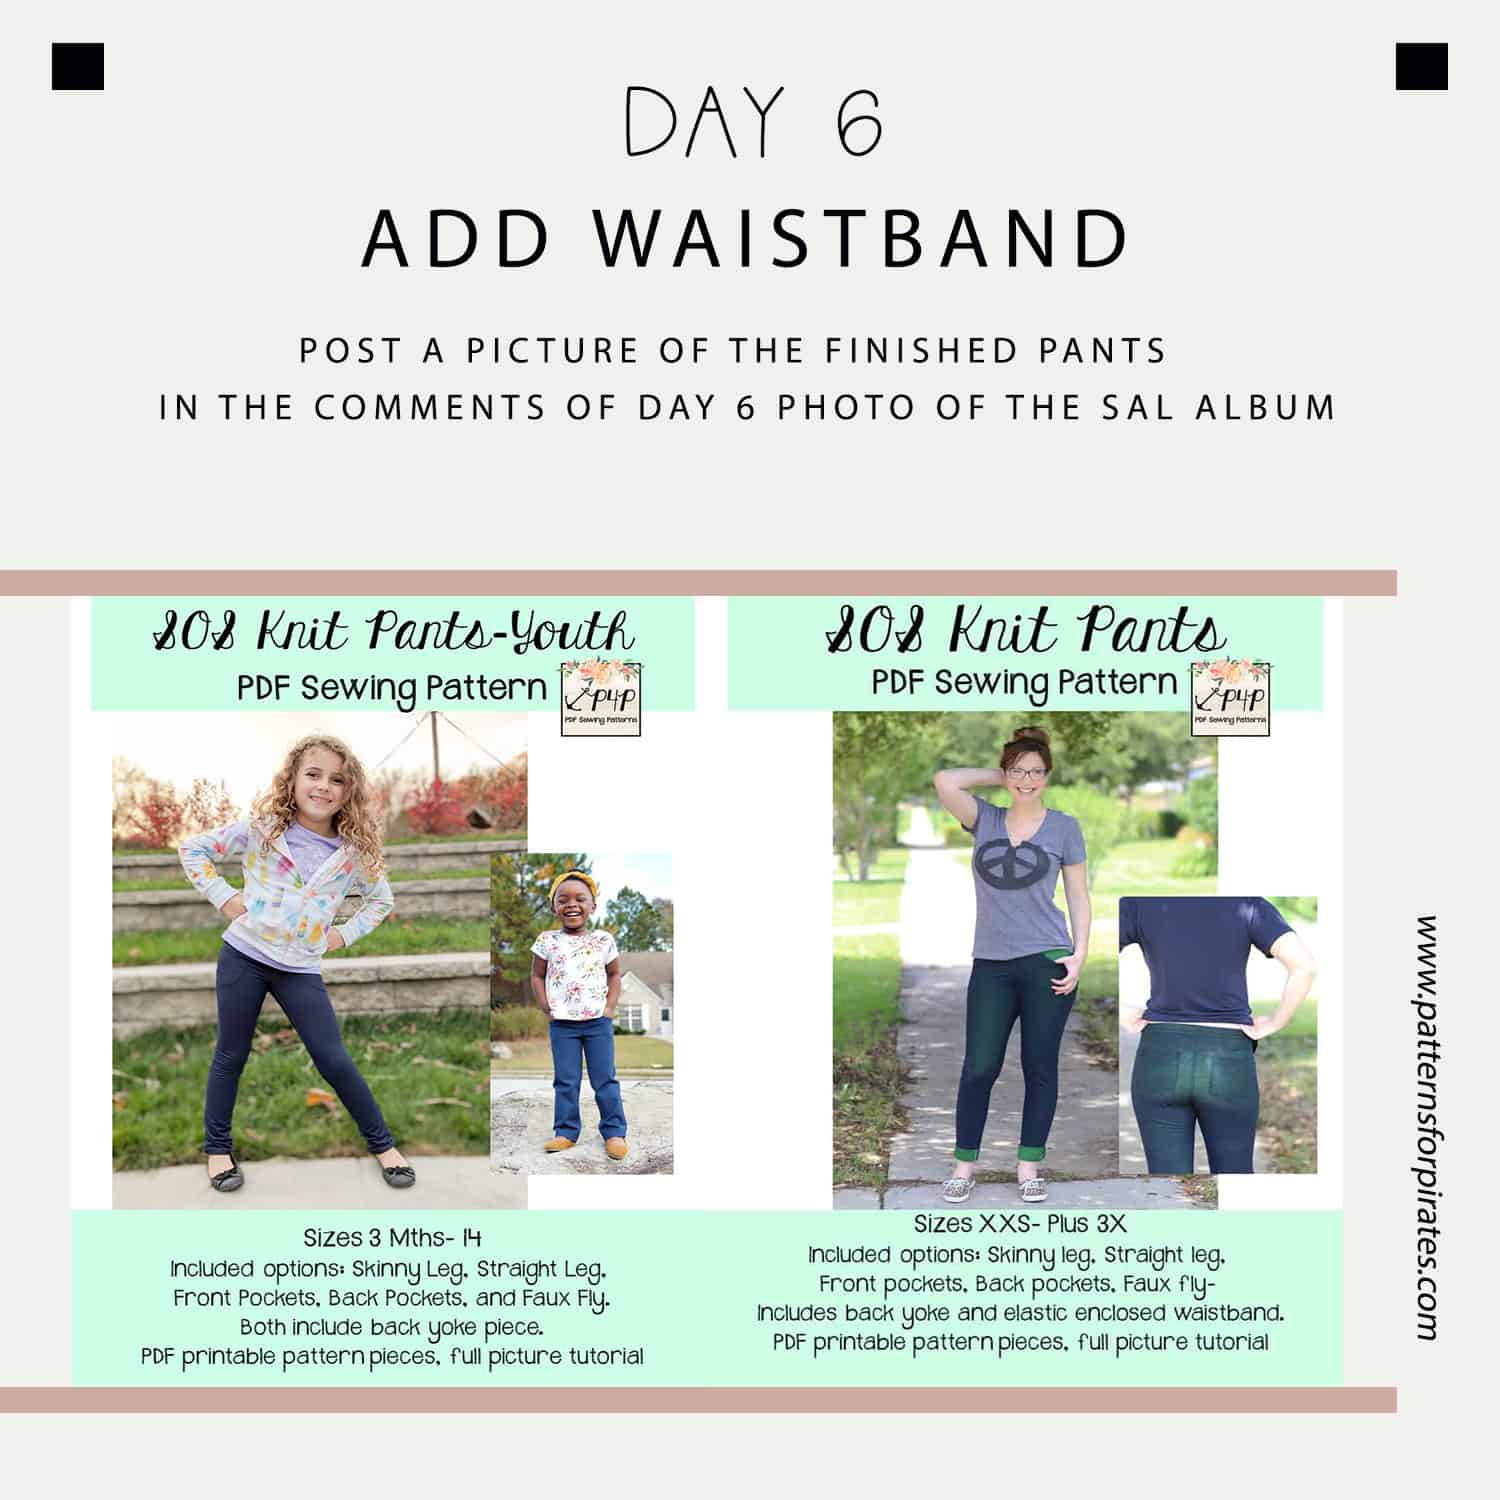
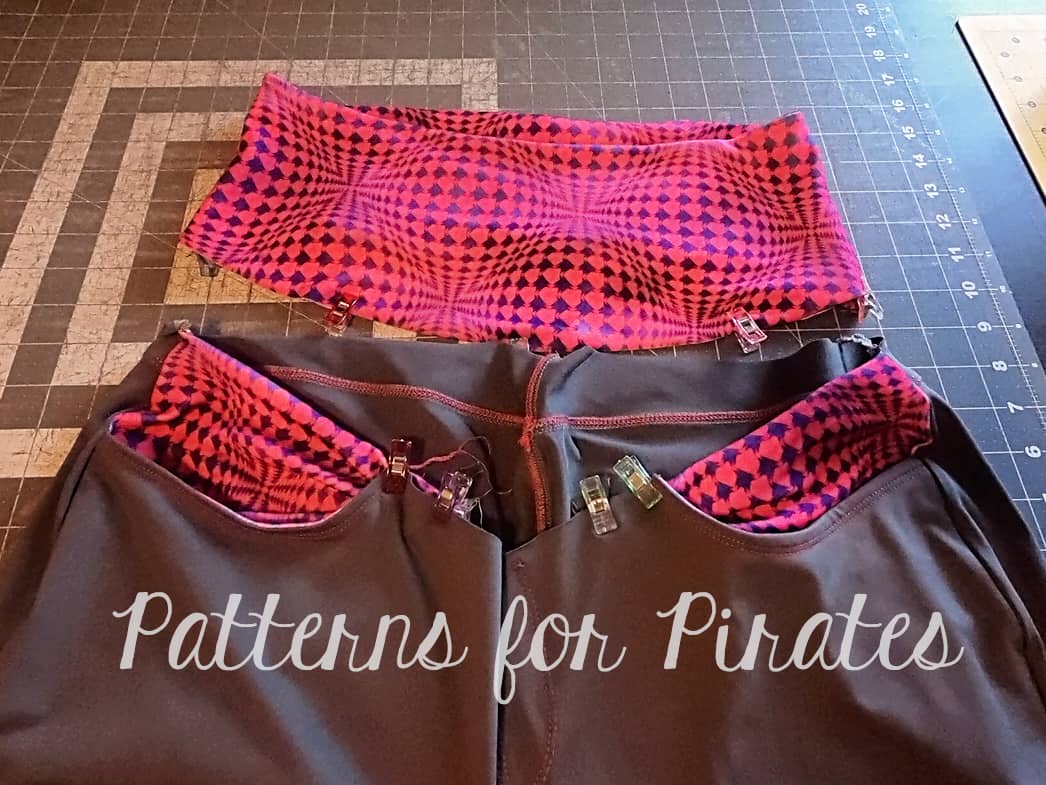
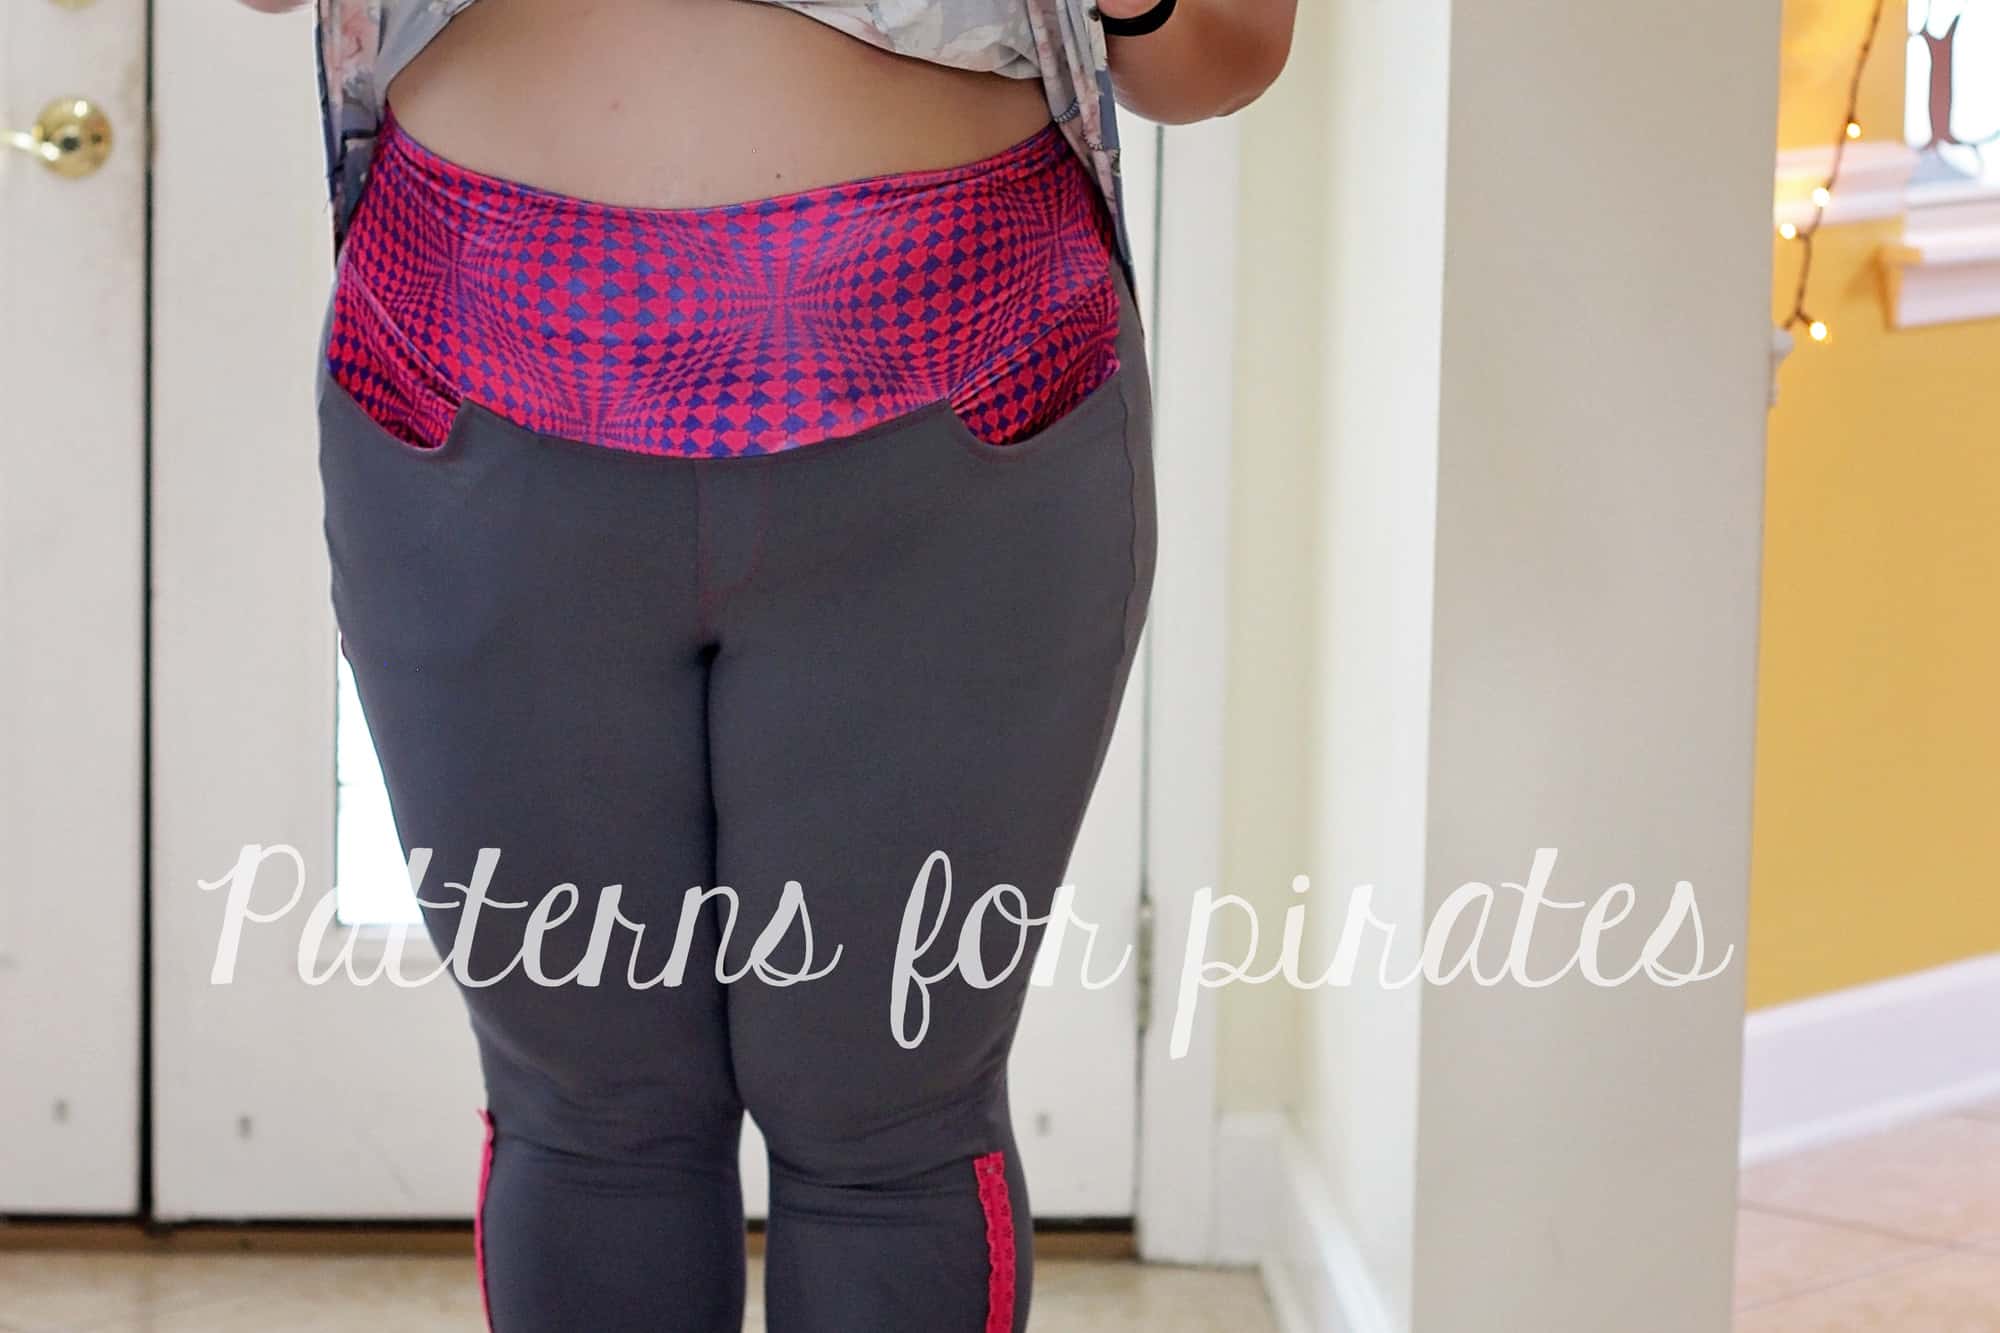
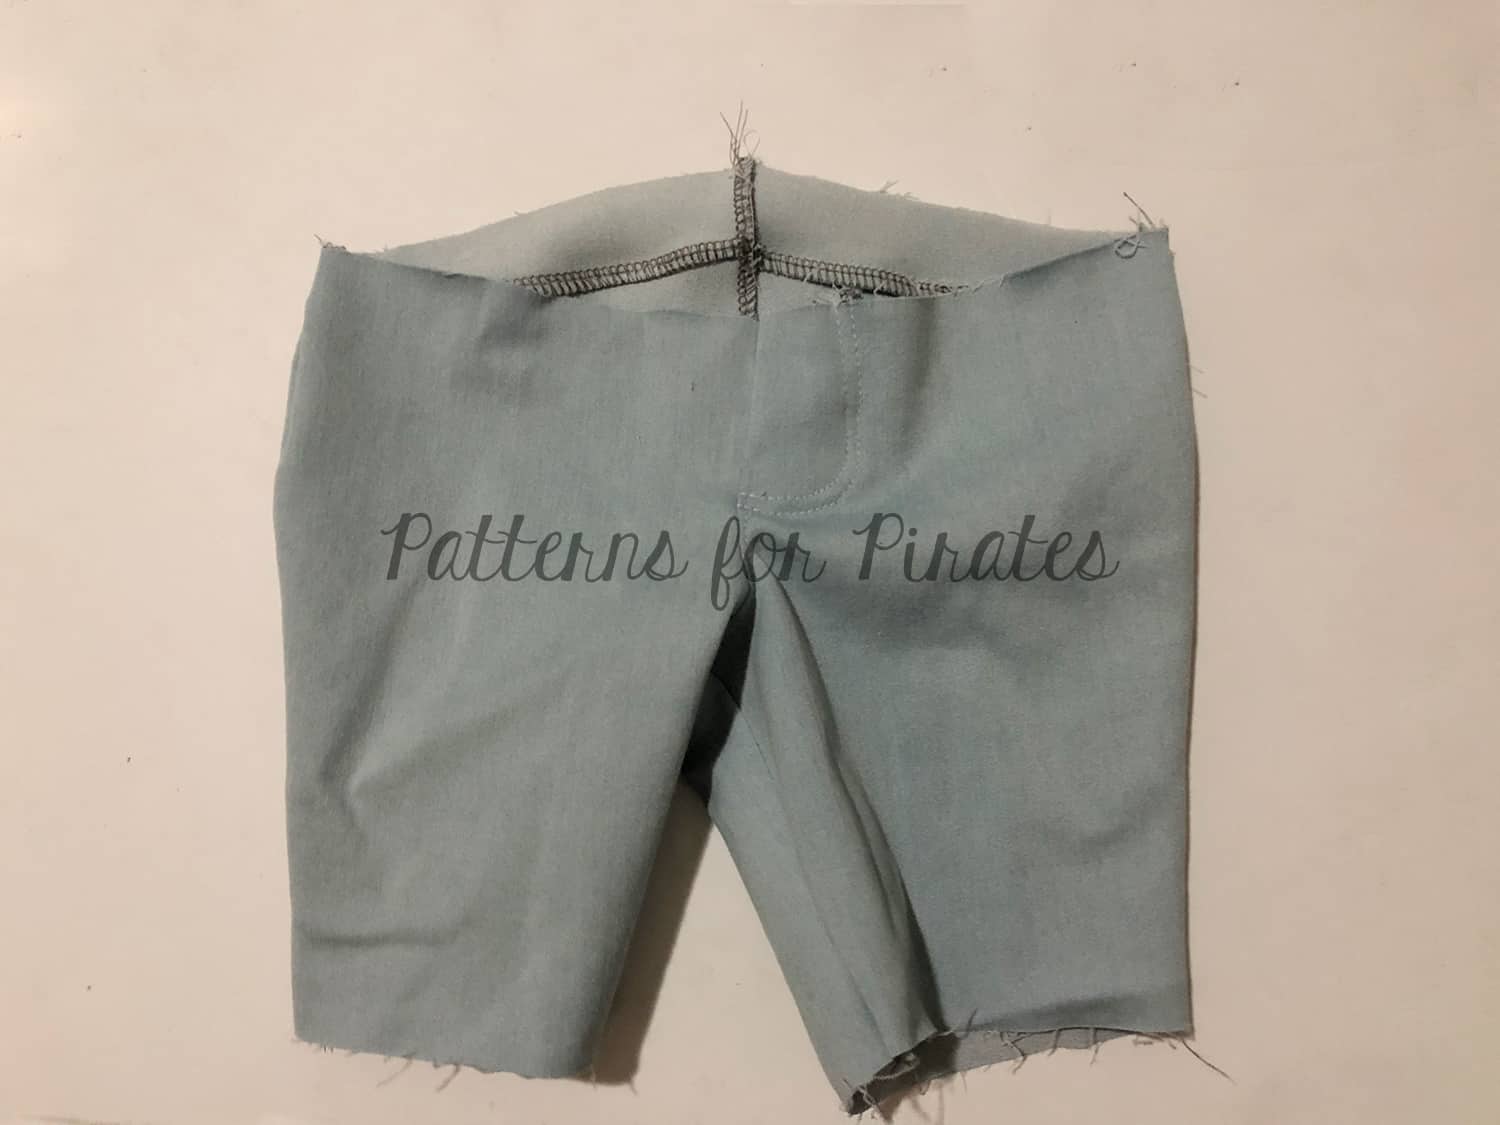
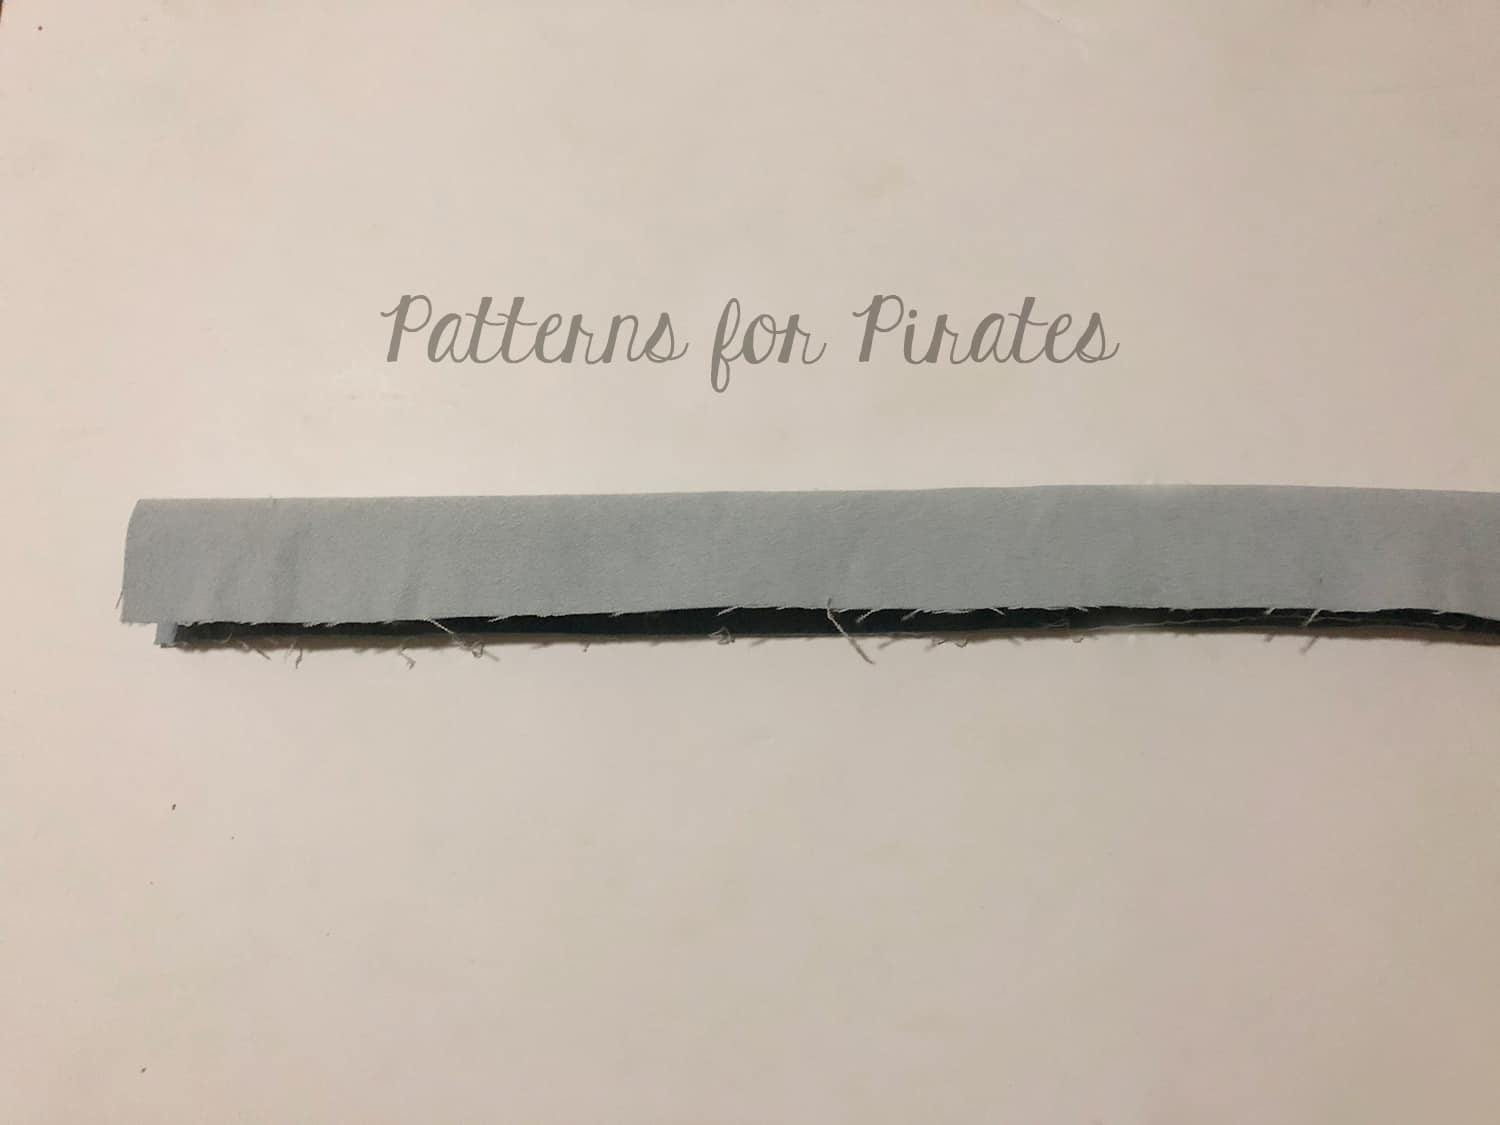
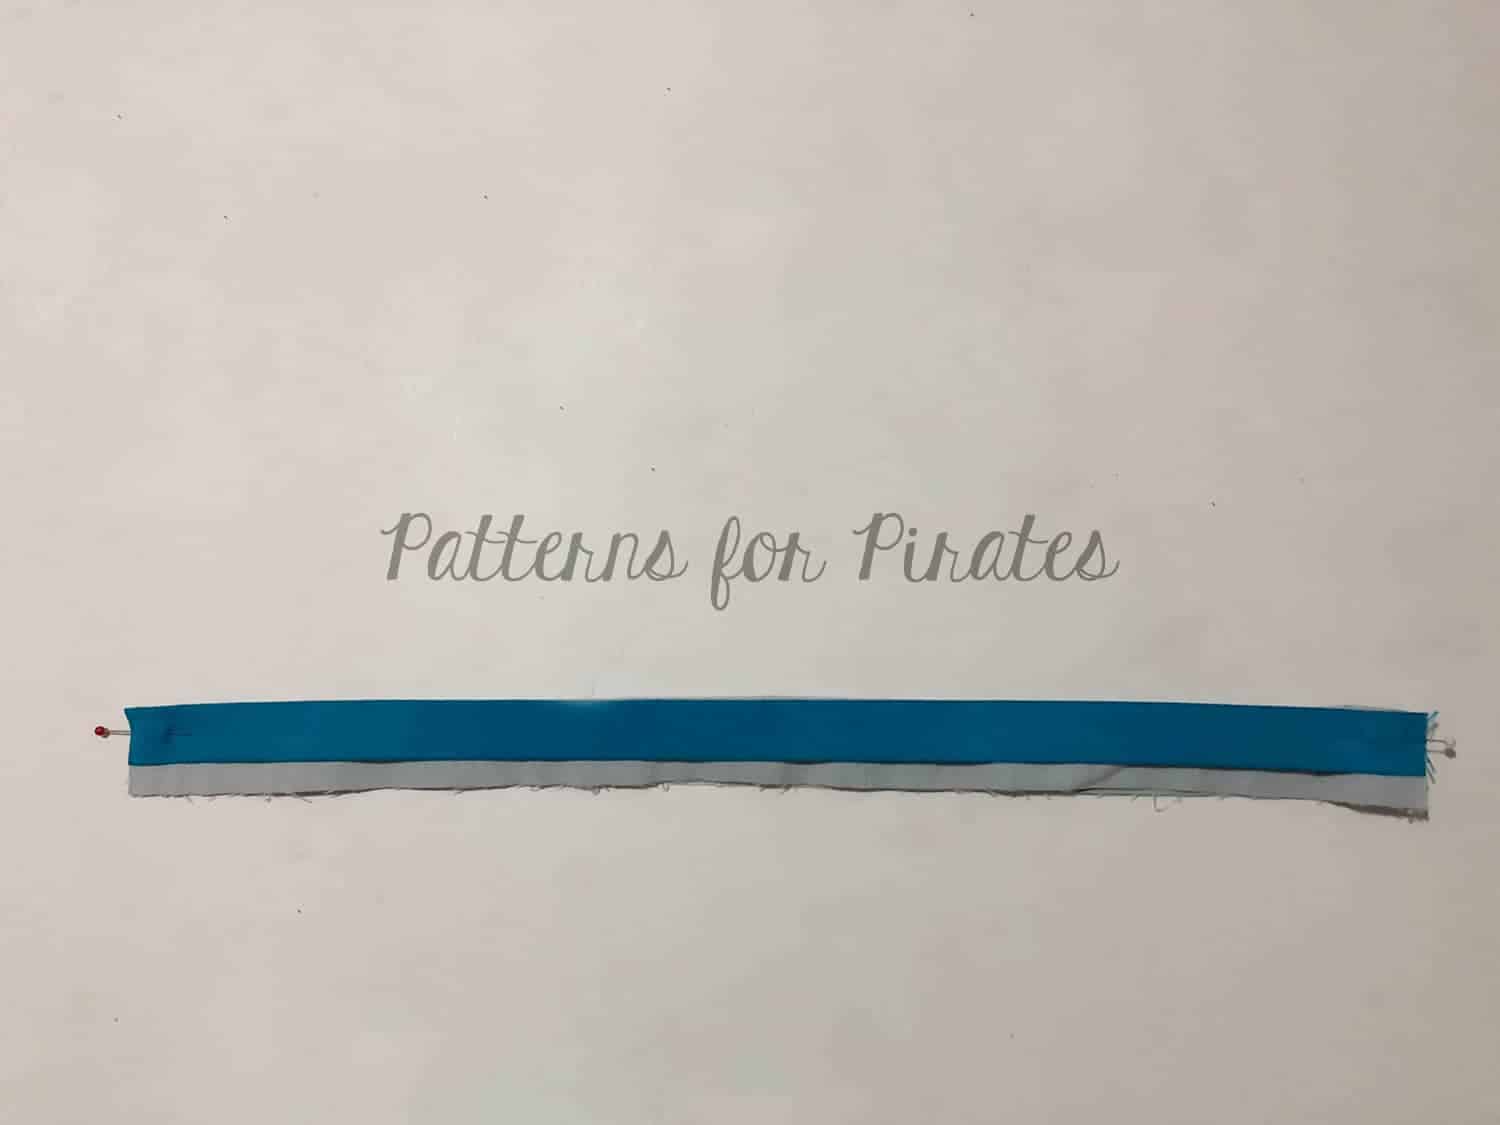
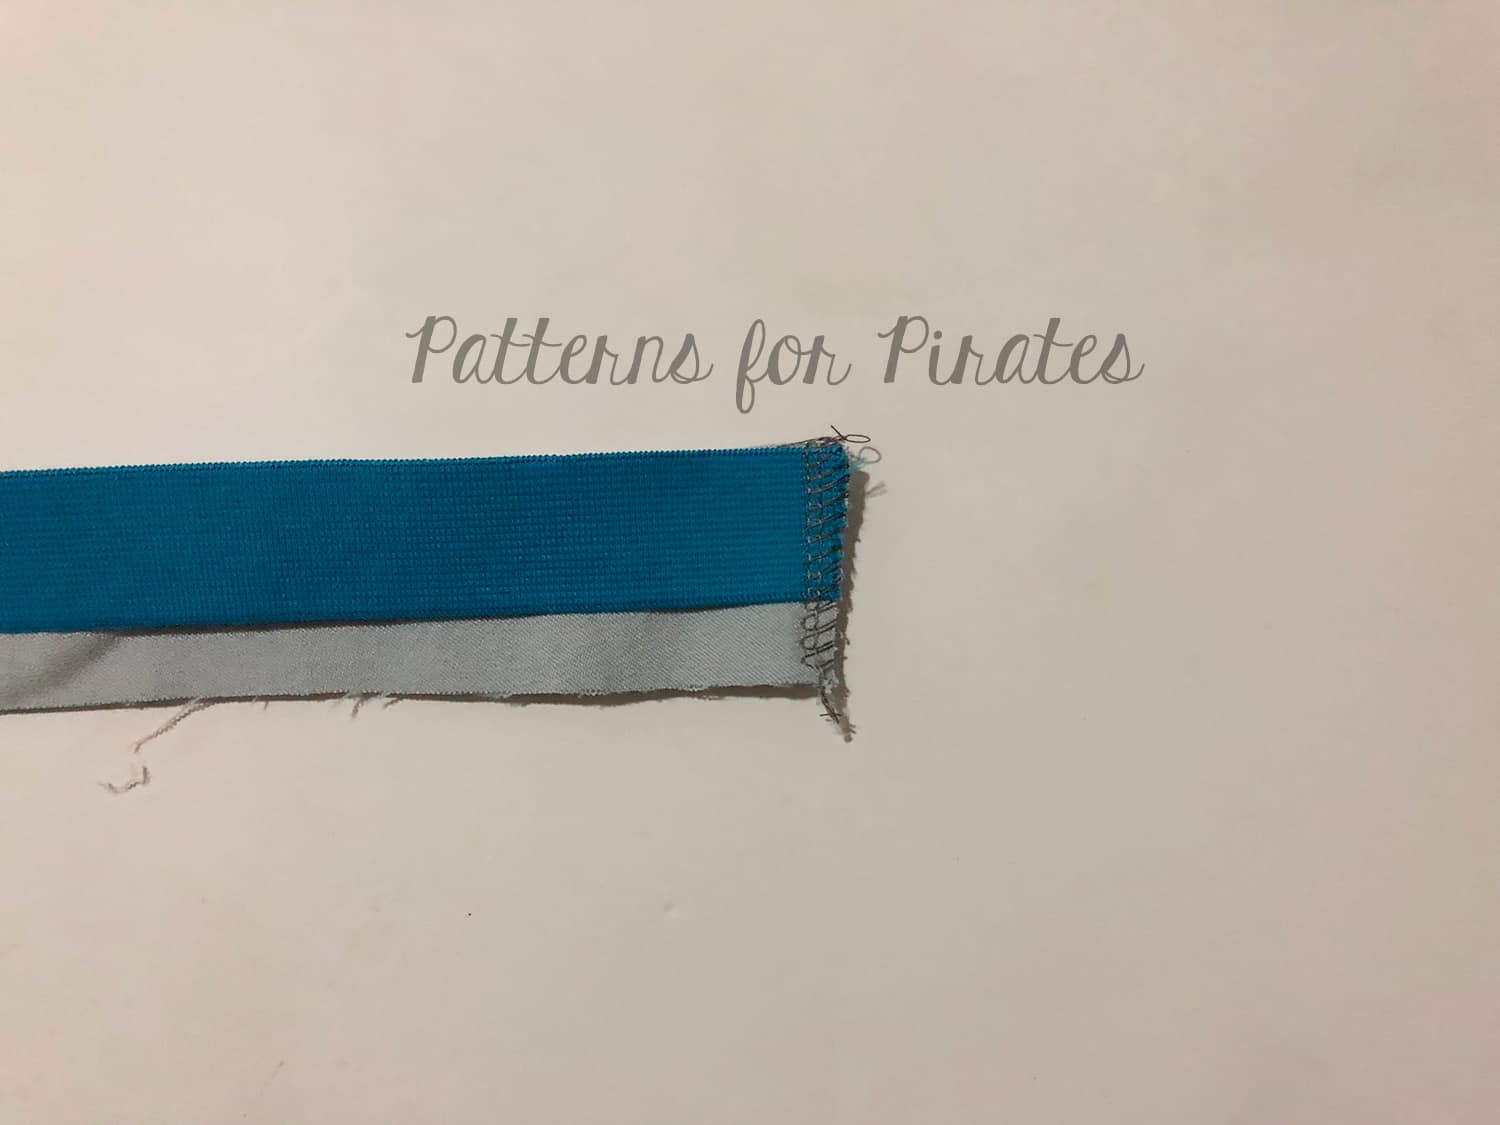
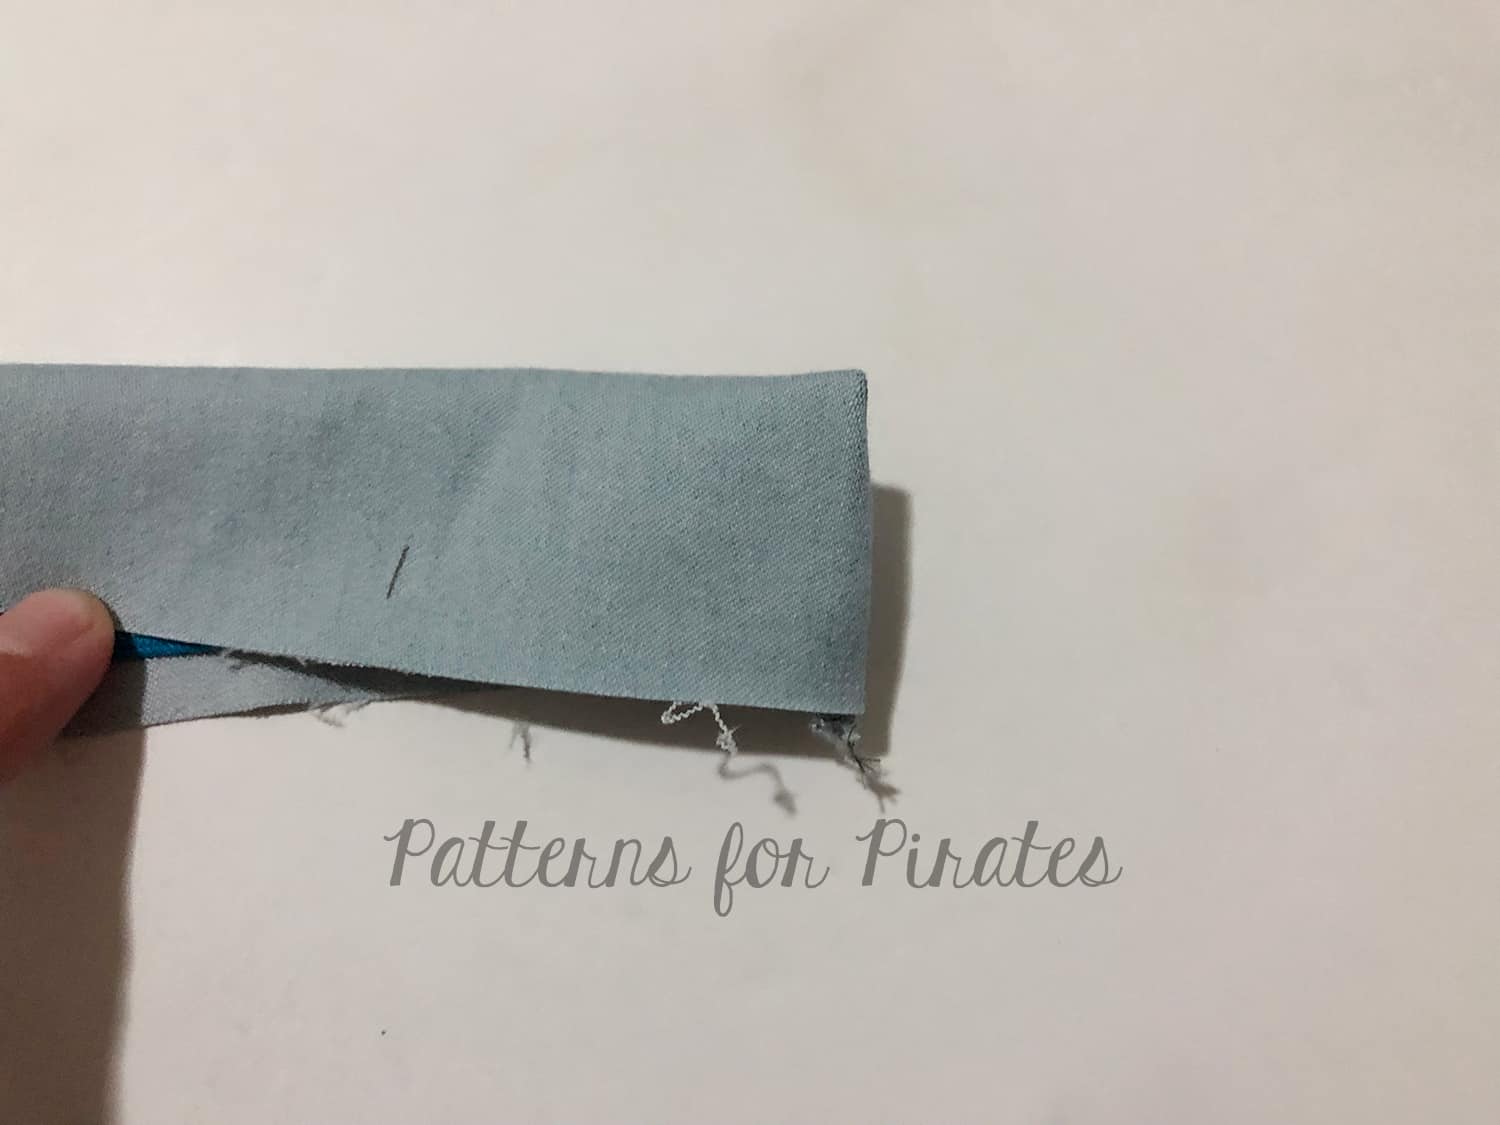
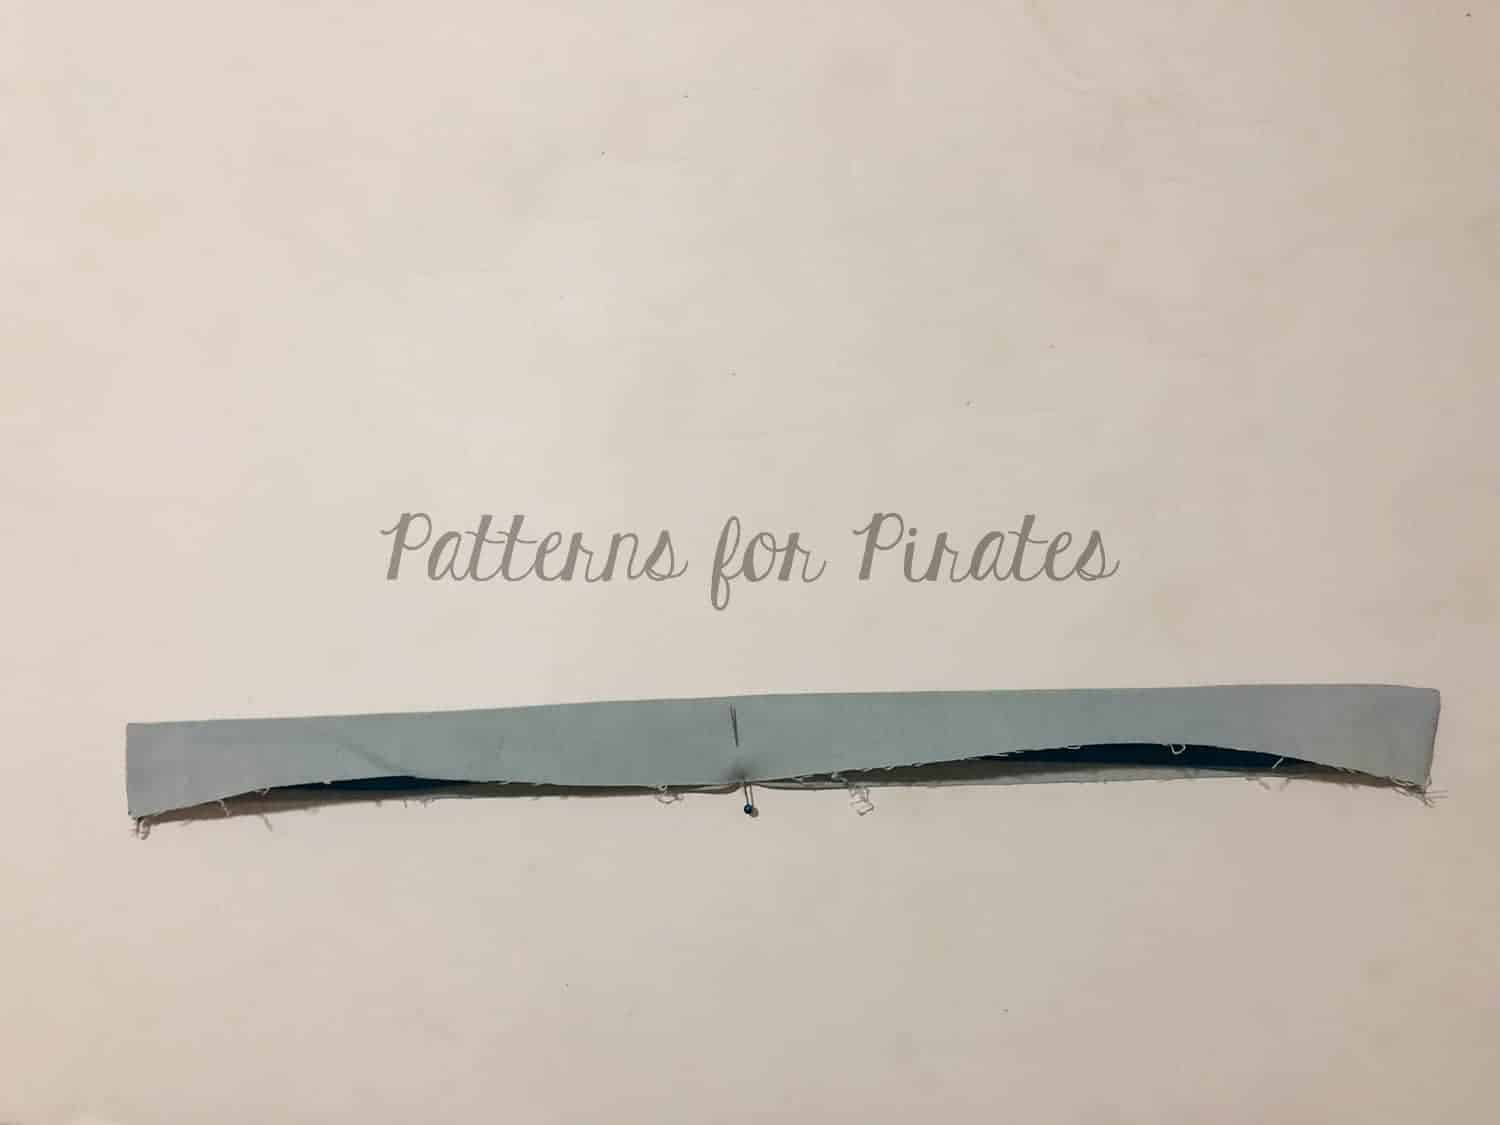
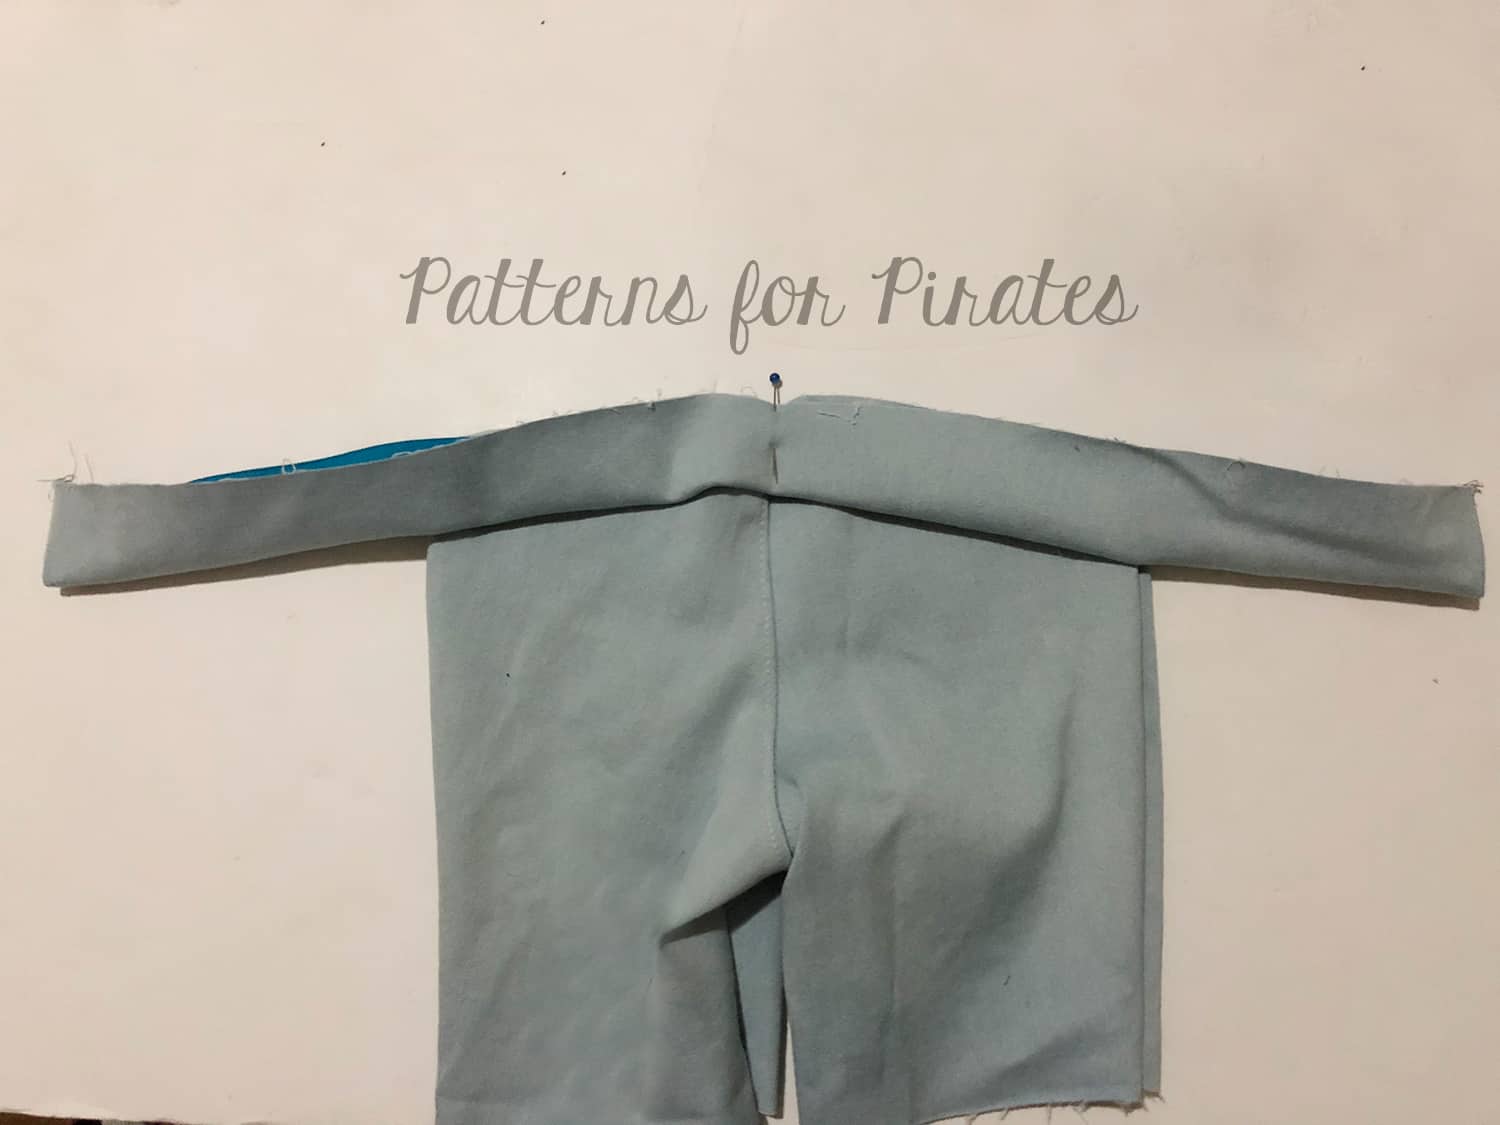
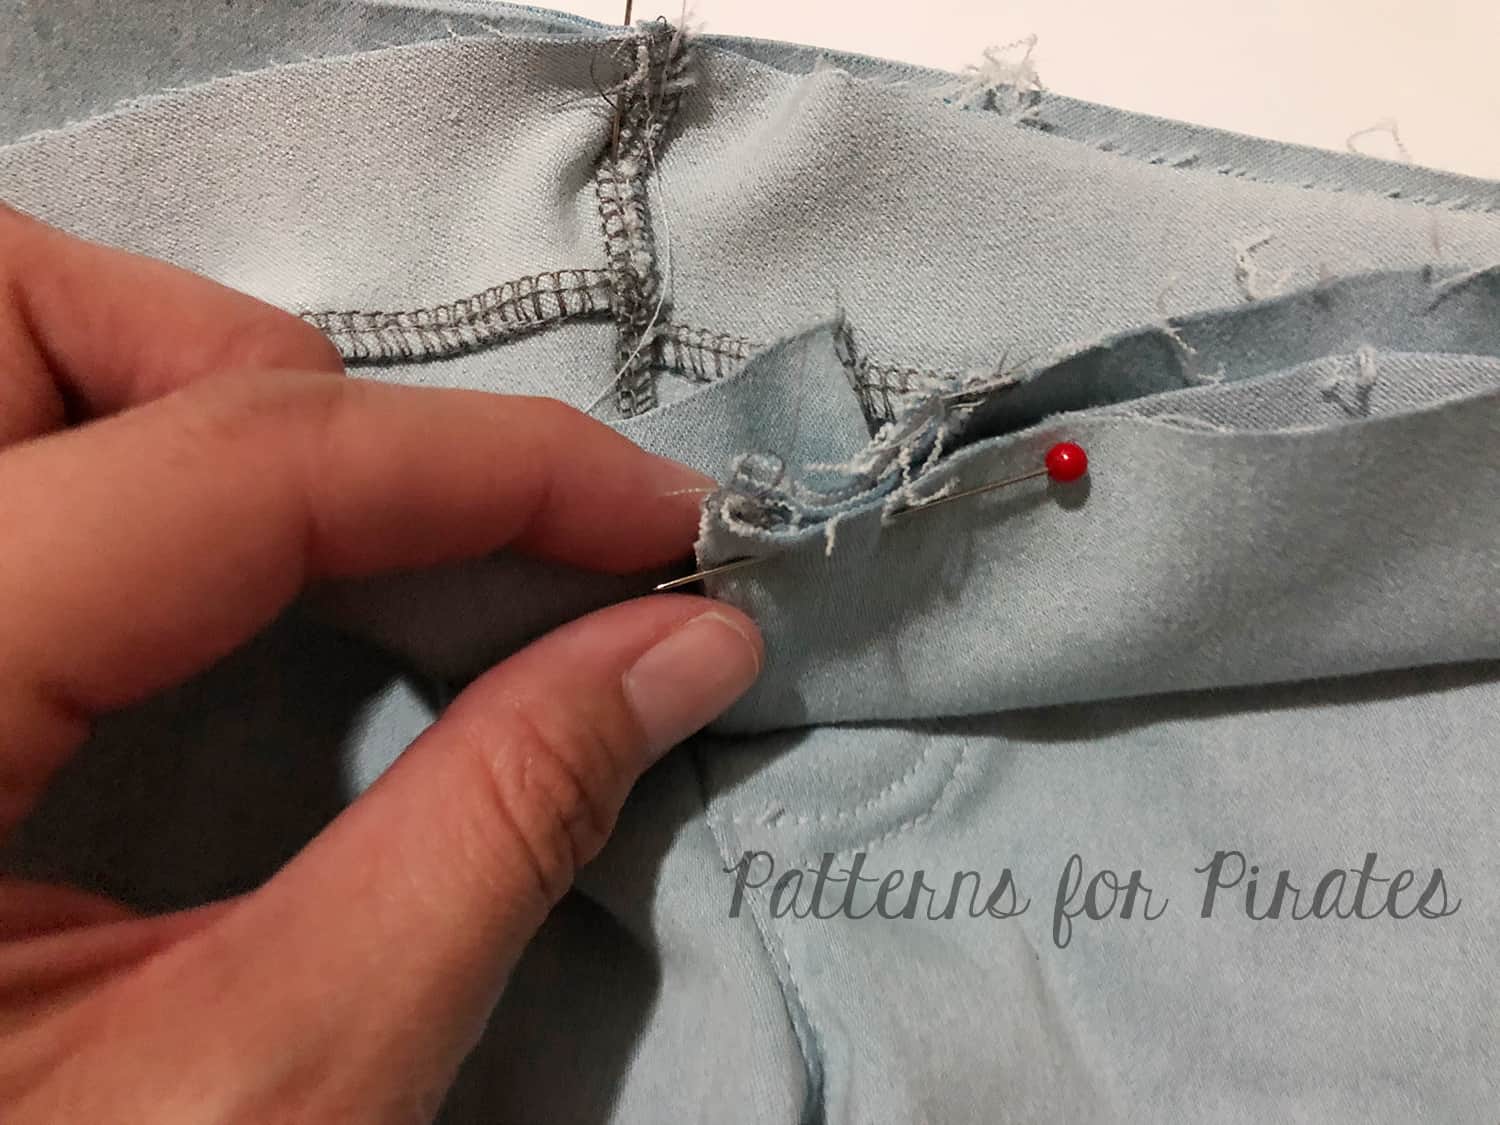
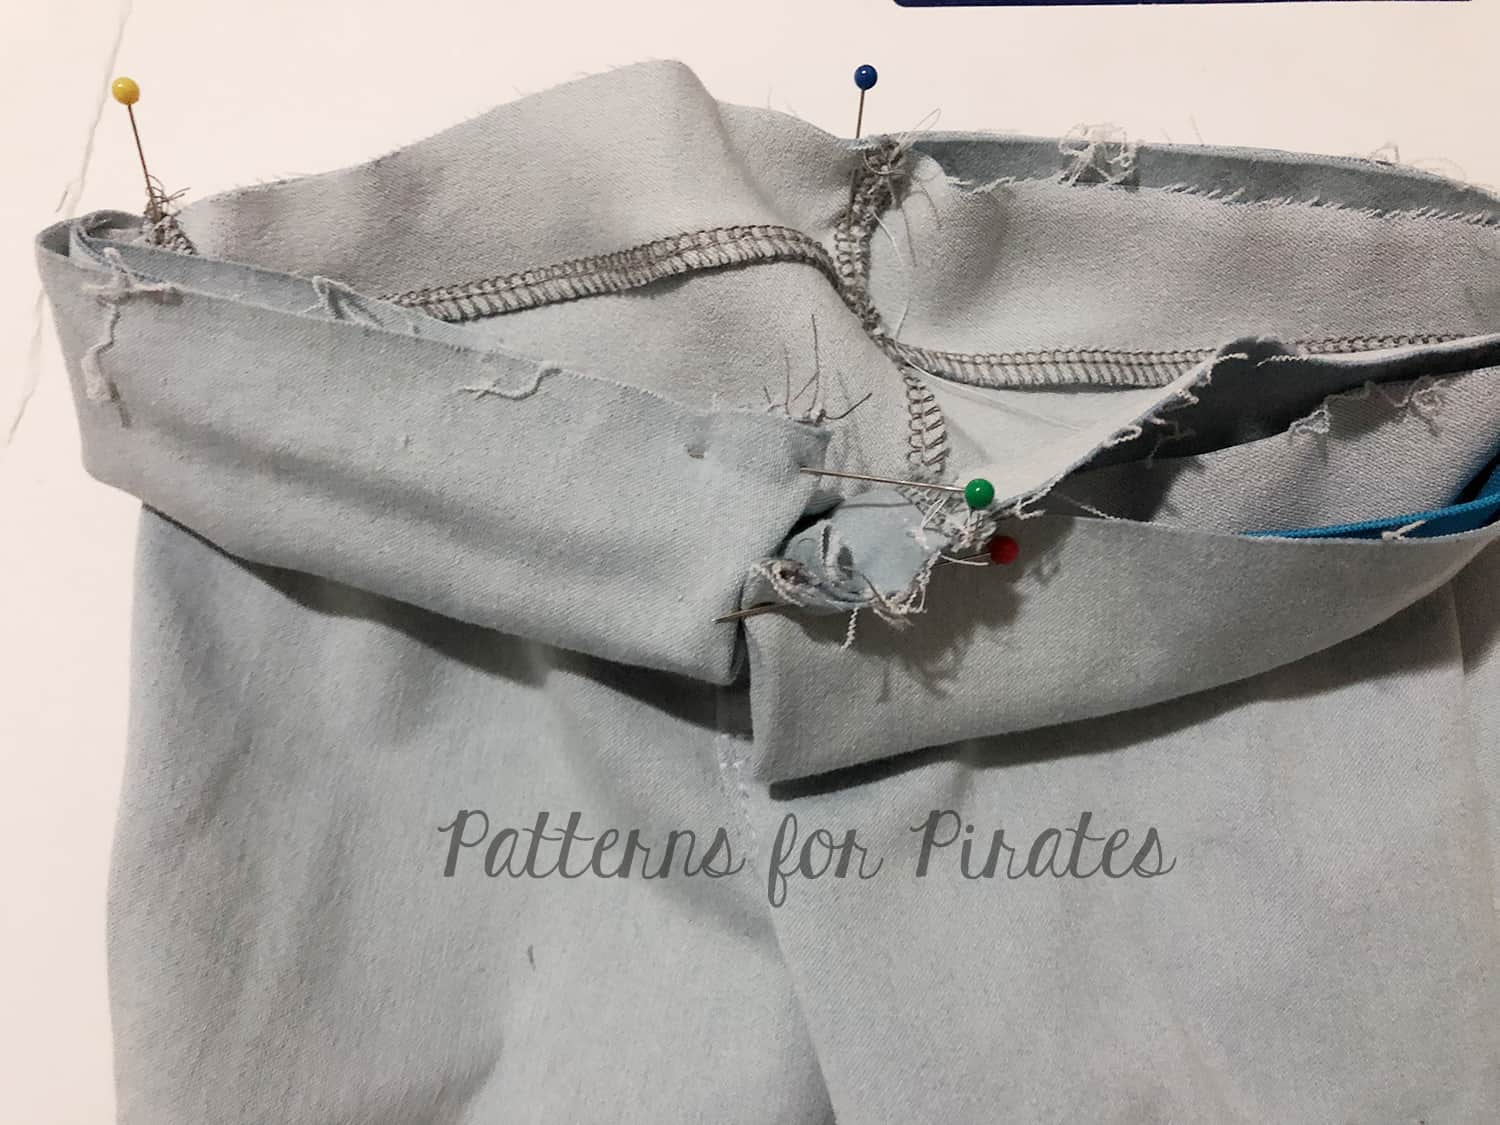
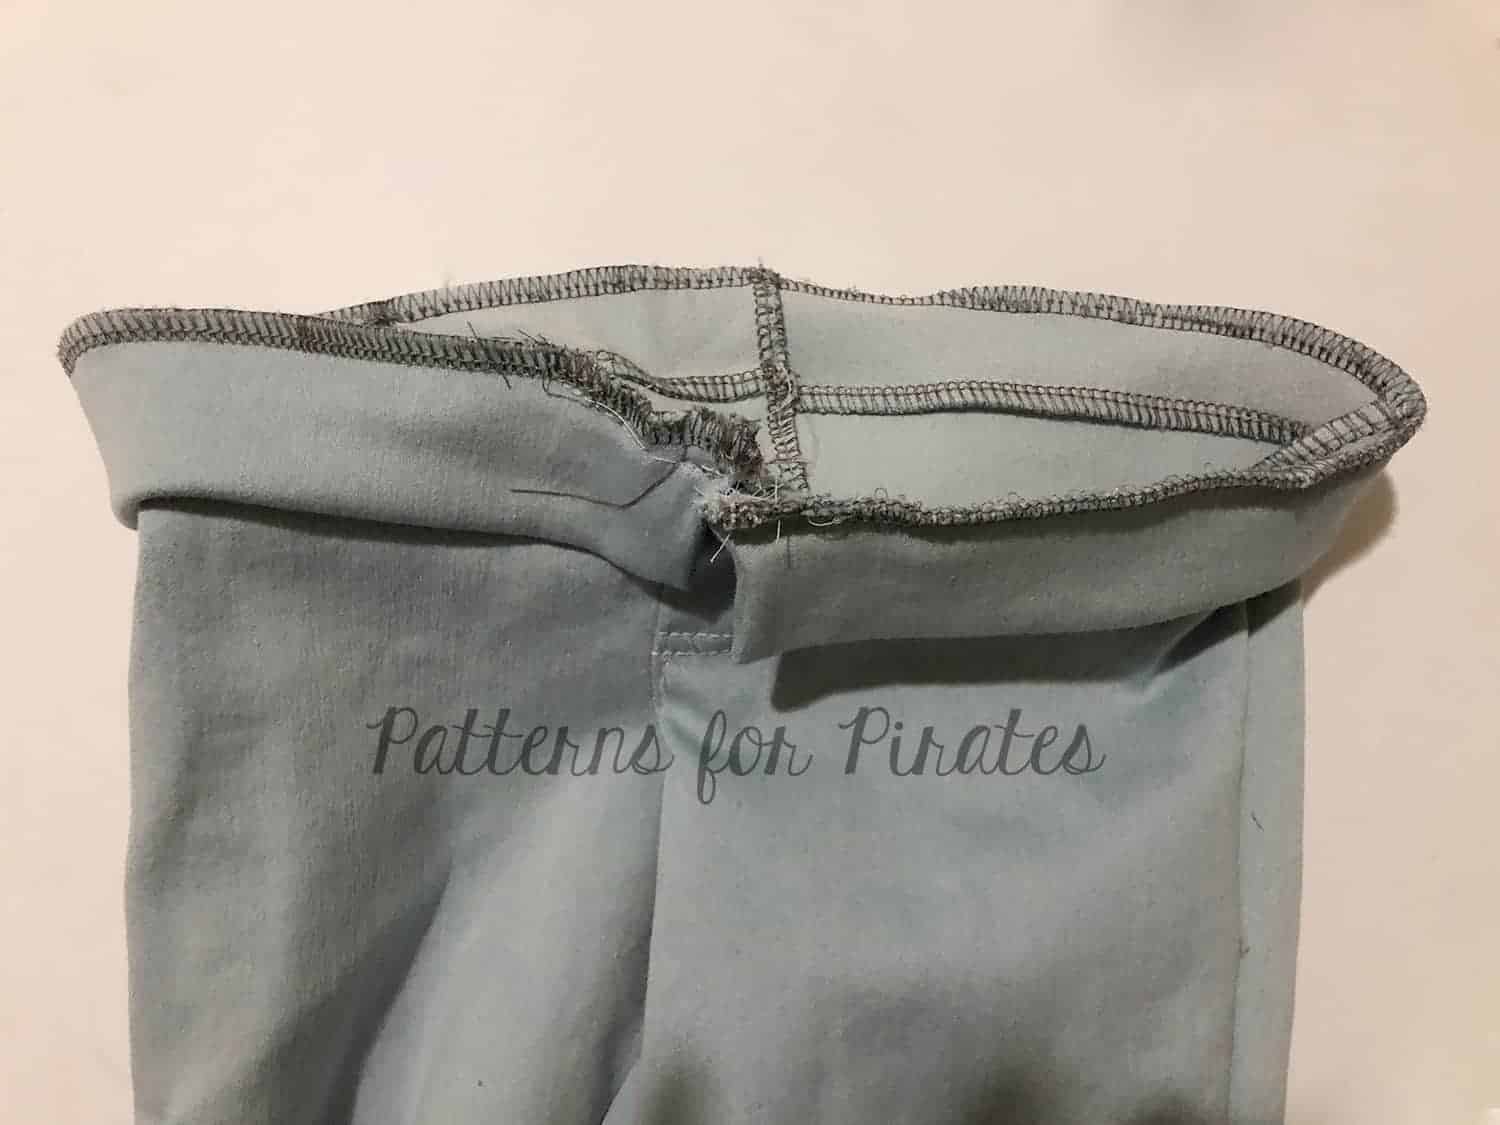
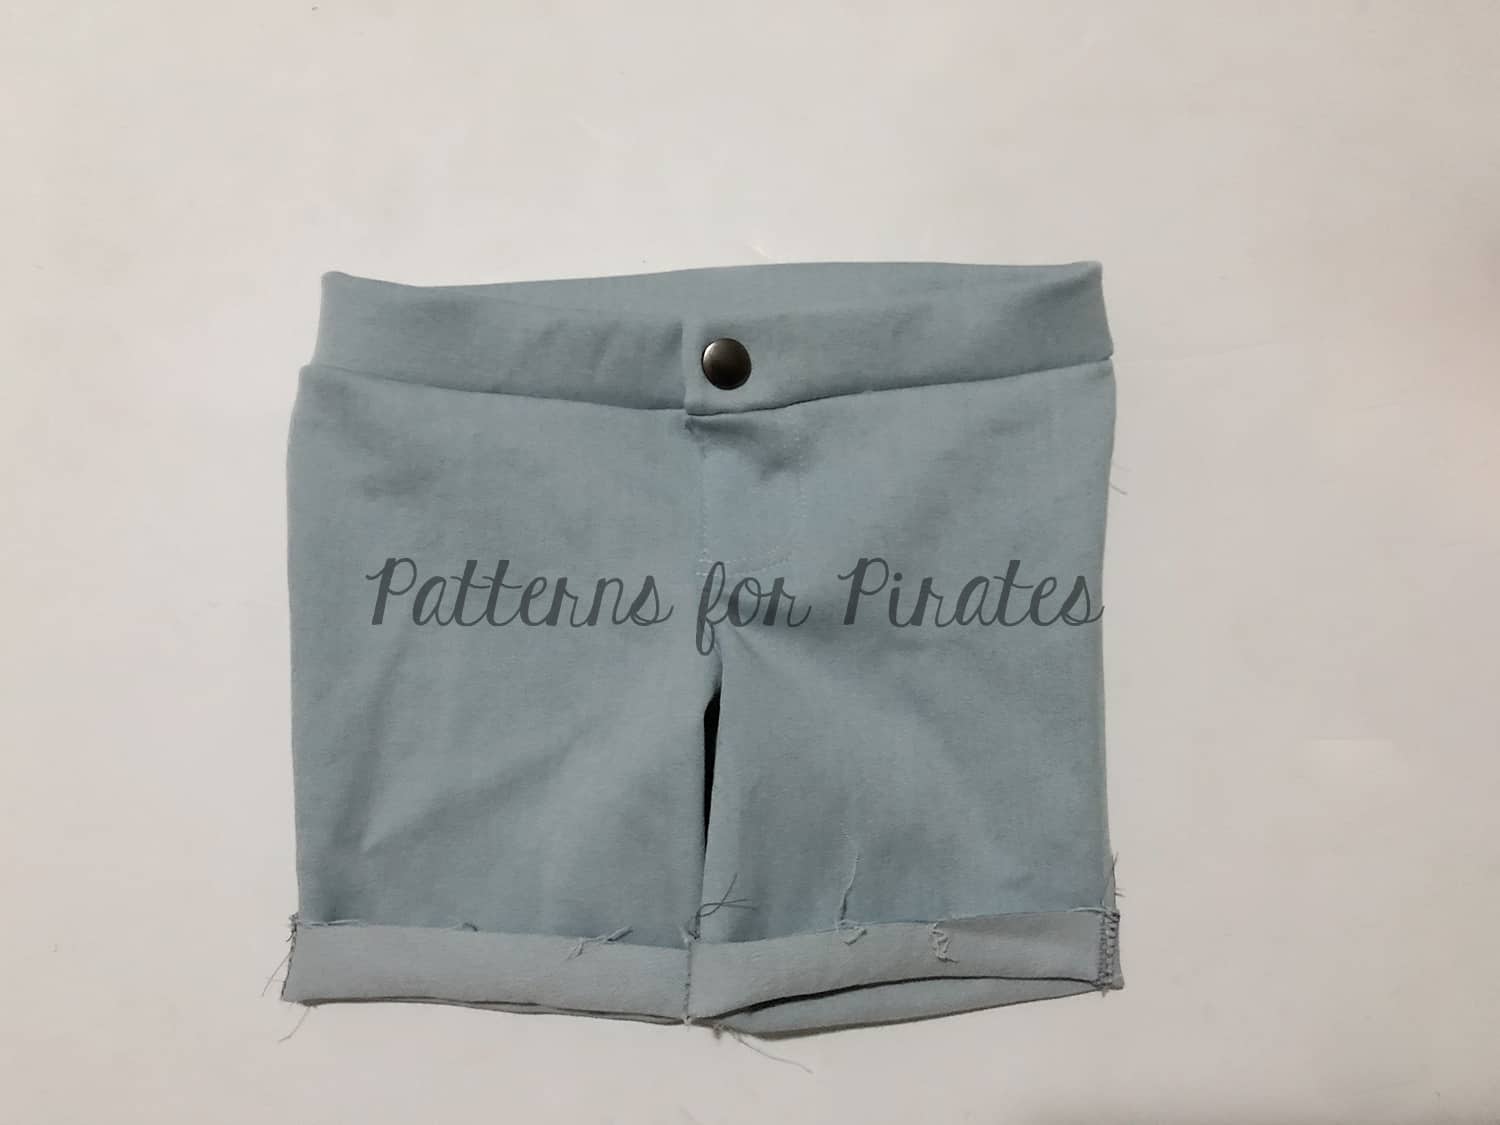
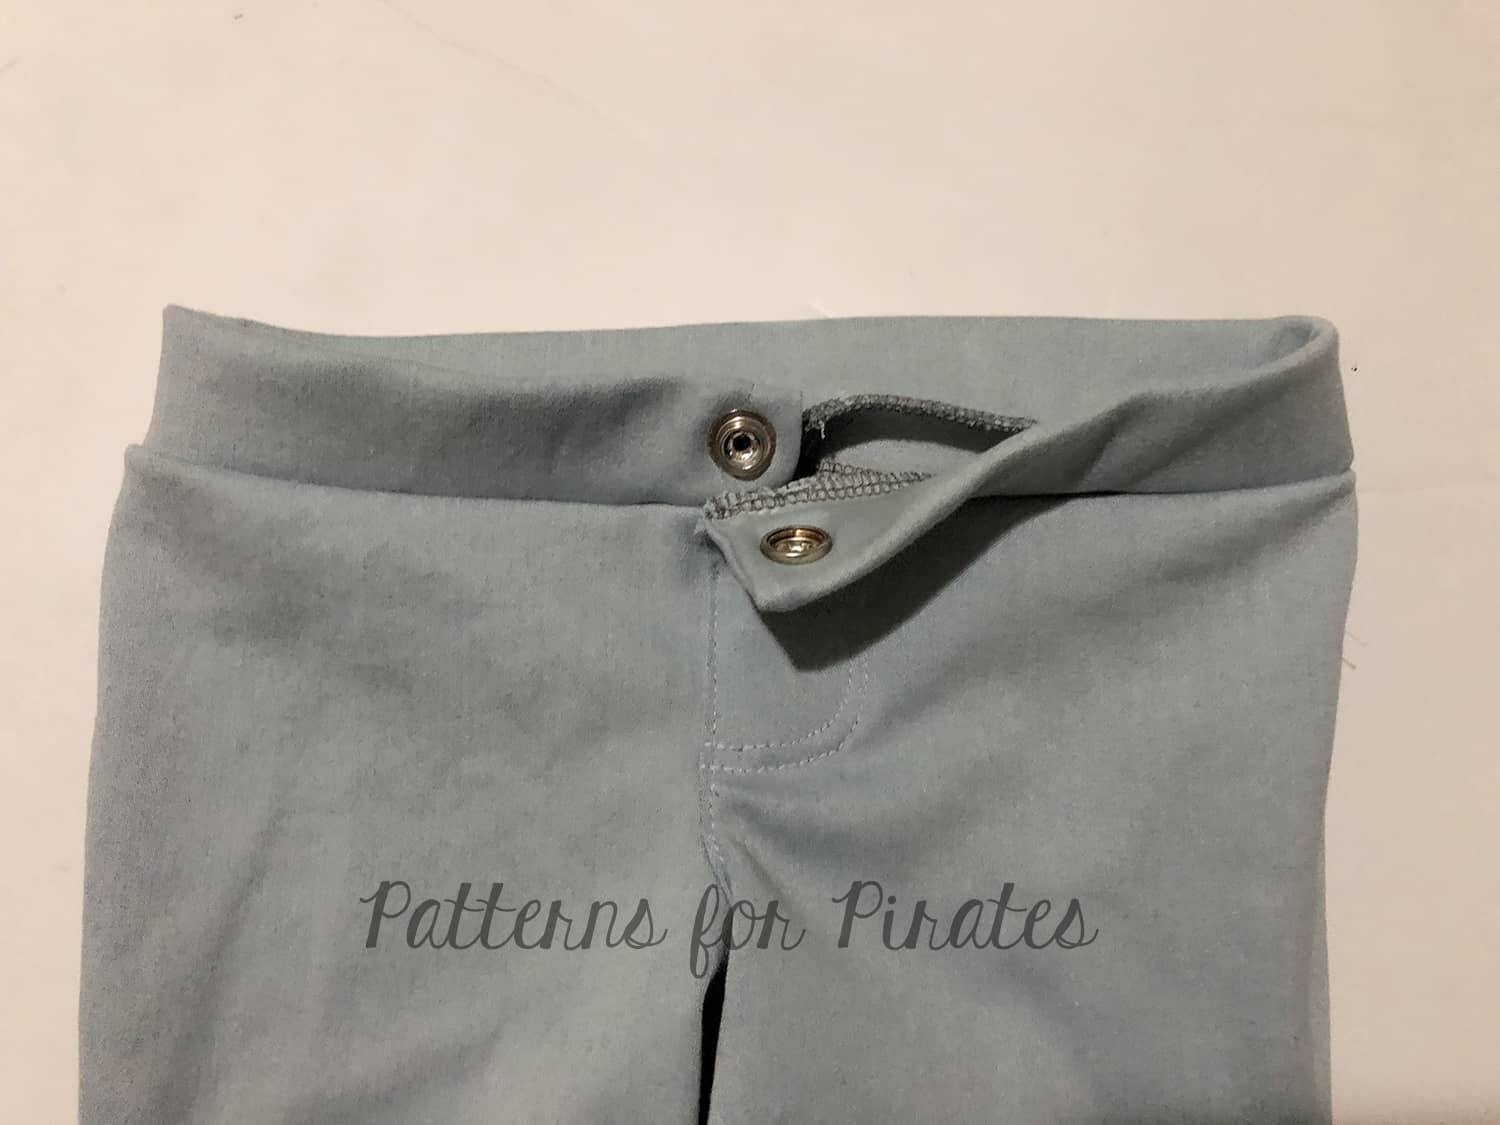
SOS sew along | Day 6 – Waistband
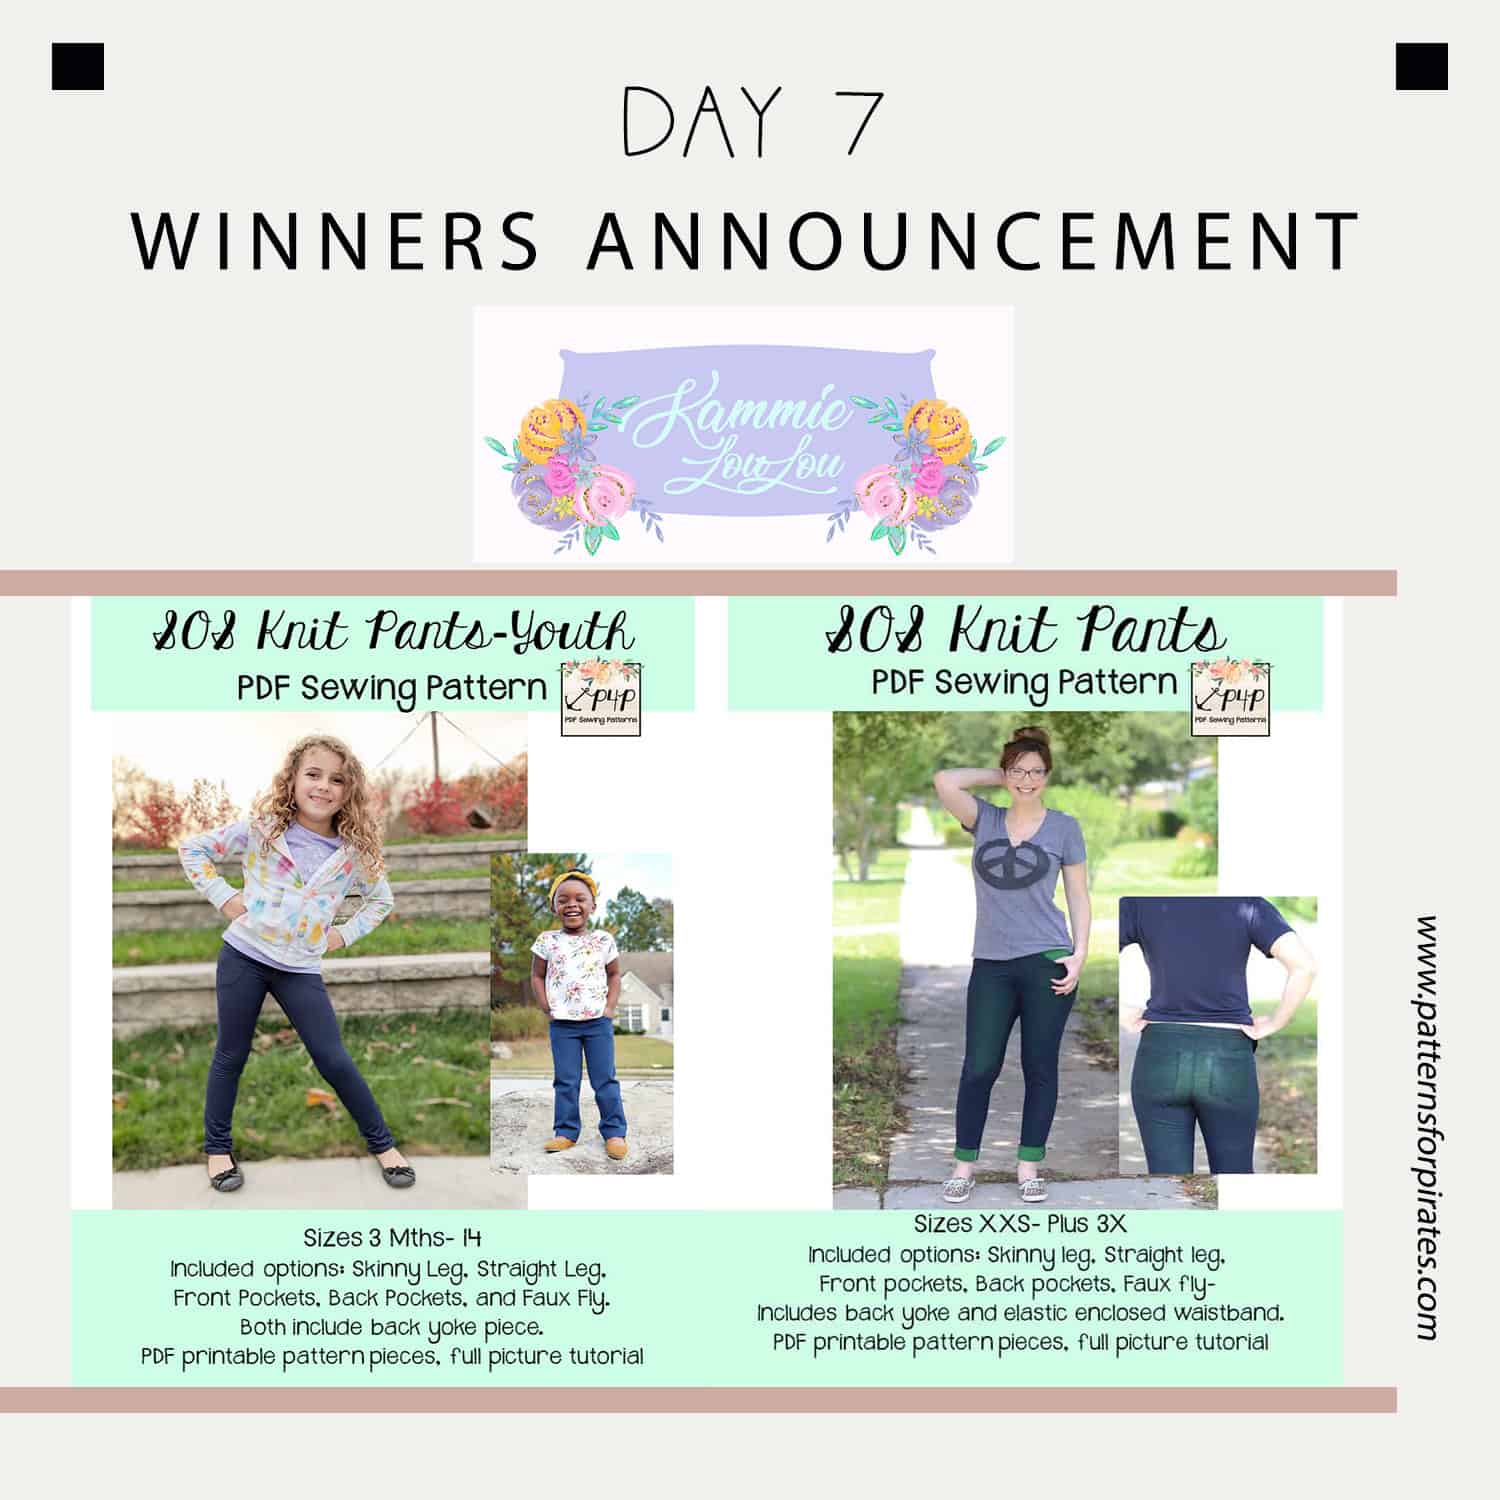
SOS sew along | Day 7 – Winners announcement