Patterns for Pirates

P4P stylish, modern, wearable patterns

  • Home
  • Blog
    • Frequently Asked Questions
    • Pattern Releases
      • Free Patterns
    • P4P University
      • Fitting
      • Sewing with Stretch, Knit Fabrics
      • Sewing with Woven Fabrics
      • Sewing Machines
    • Sew-A-Longs
    • Fabric for Pirates
    • Pattern Hacks
    • Announcement
      • Blog Tours
      • Contest/Giveaway
  • Shop
  • Bundle Discounts
  • Flash Friday
  • Gift Cards
  • My Account
  • Cart

Tips for adding a woven skirt to a knit bodice

August 17, 2017

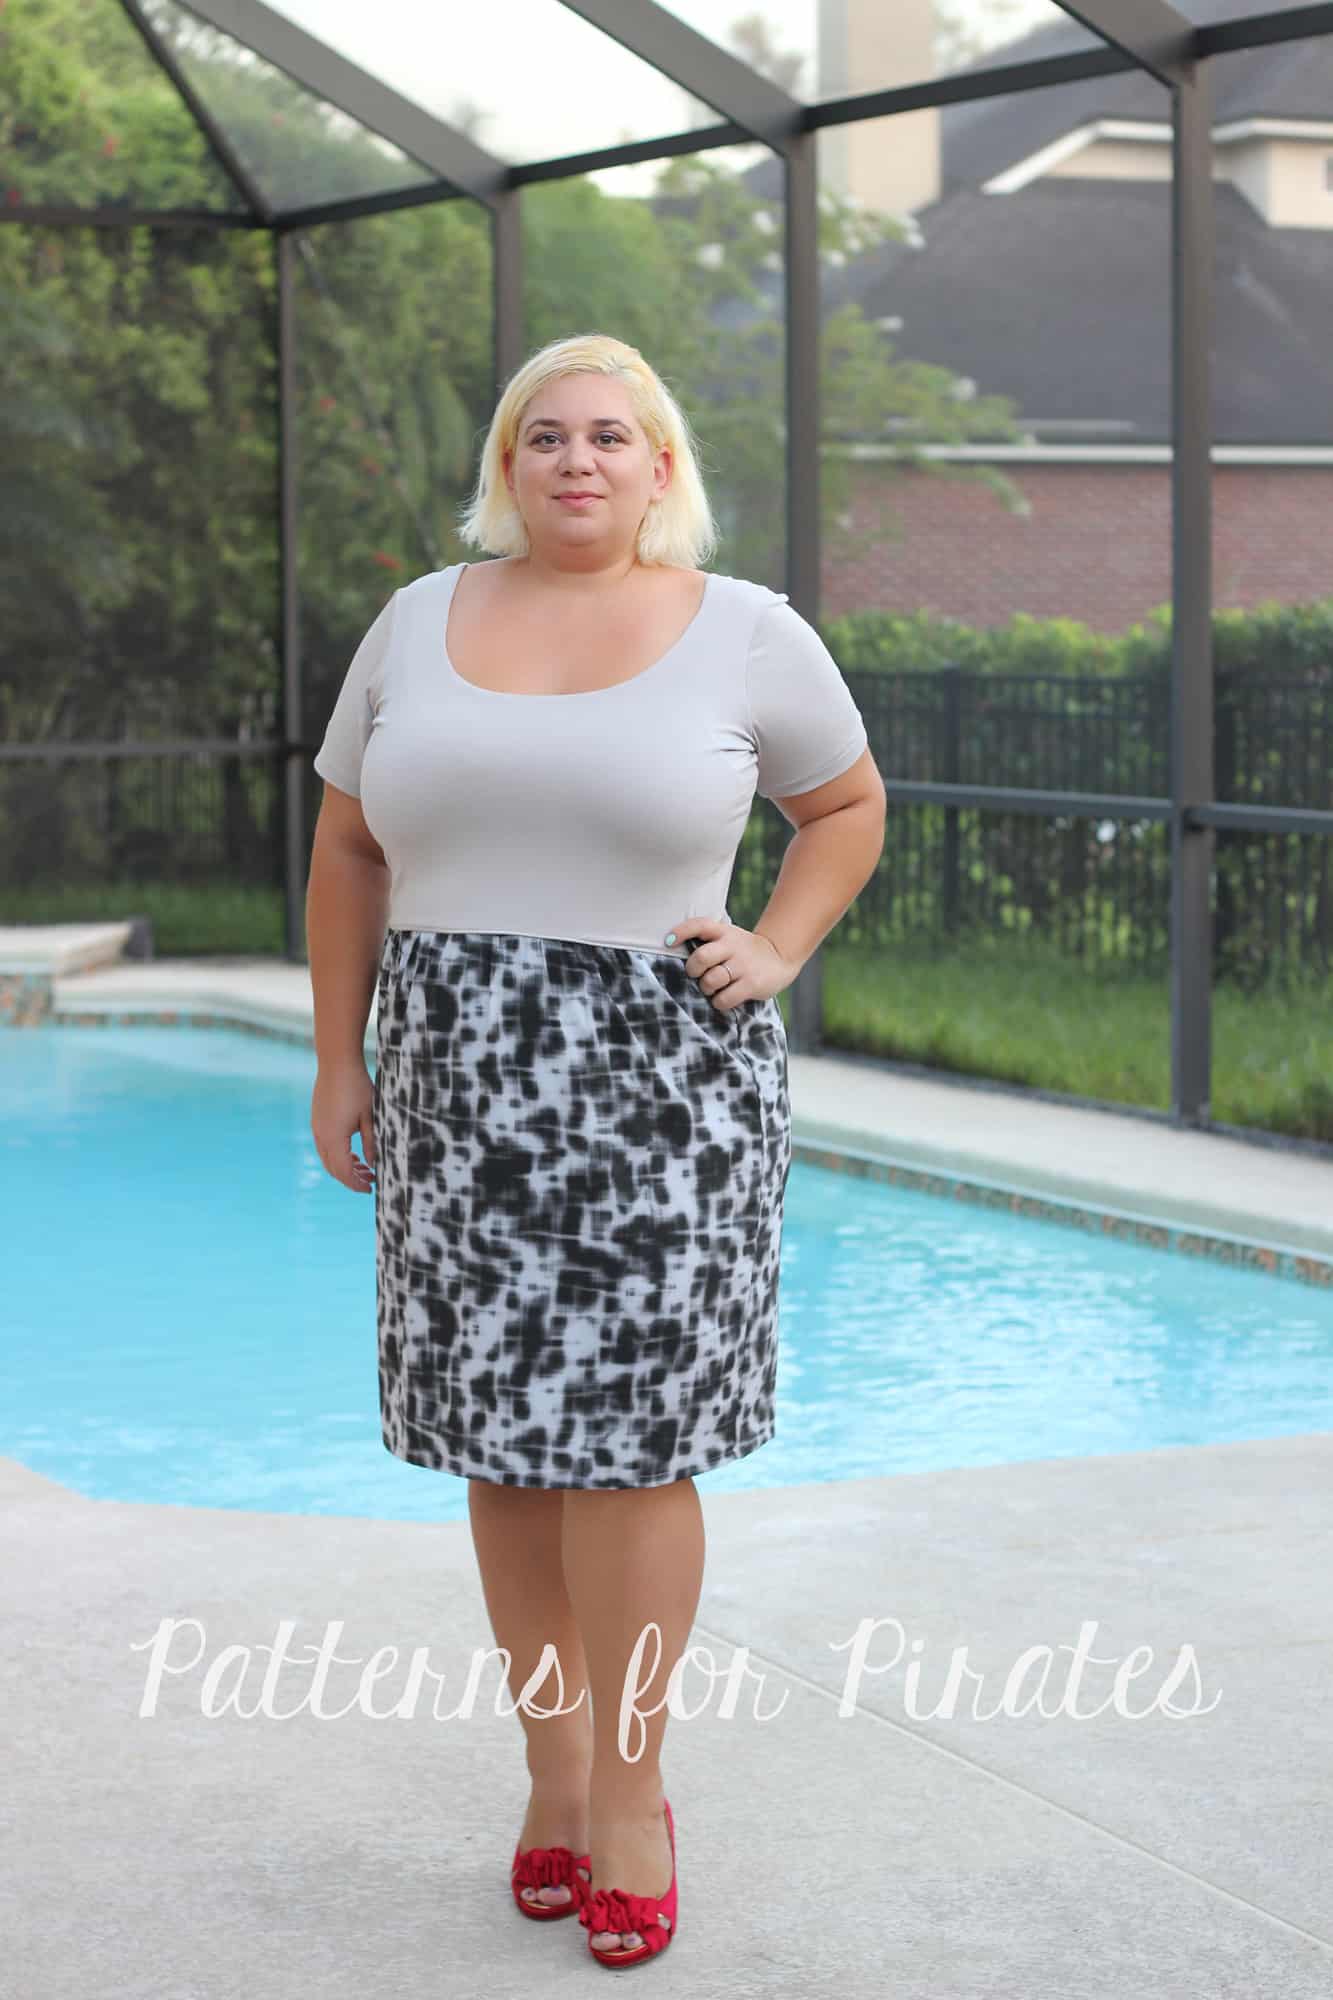
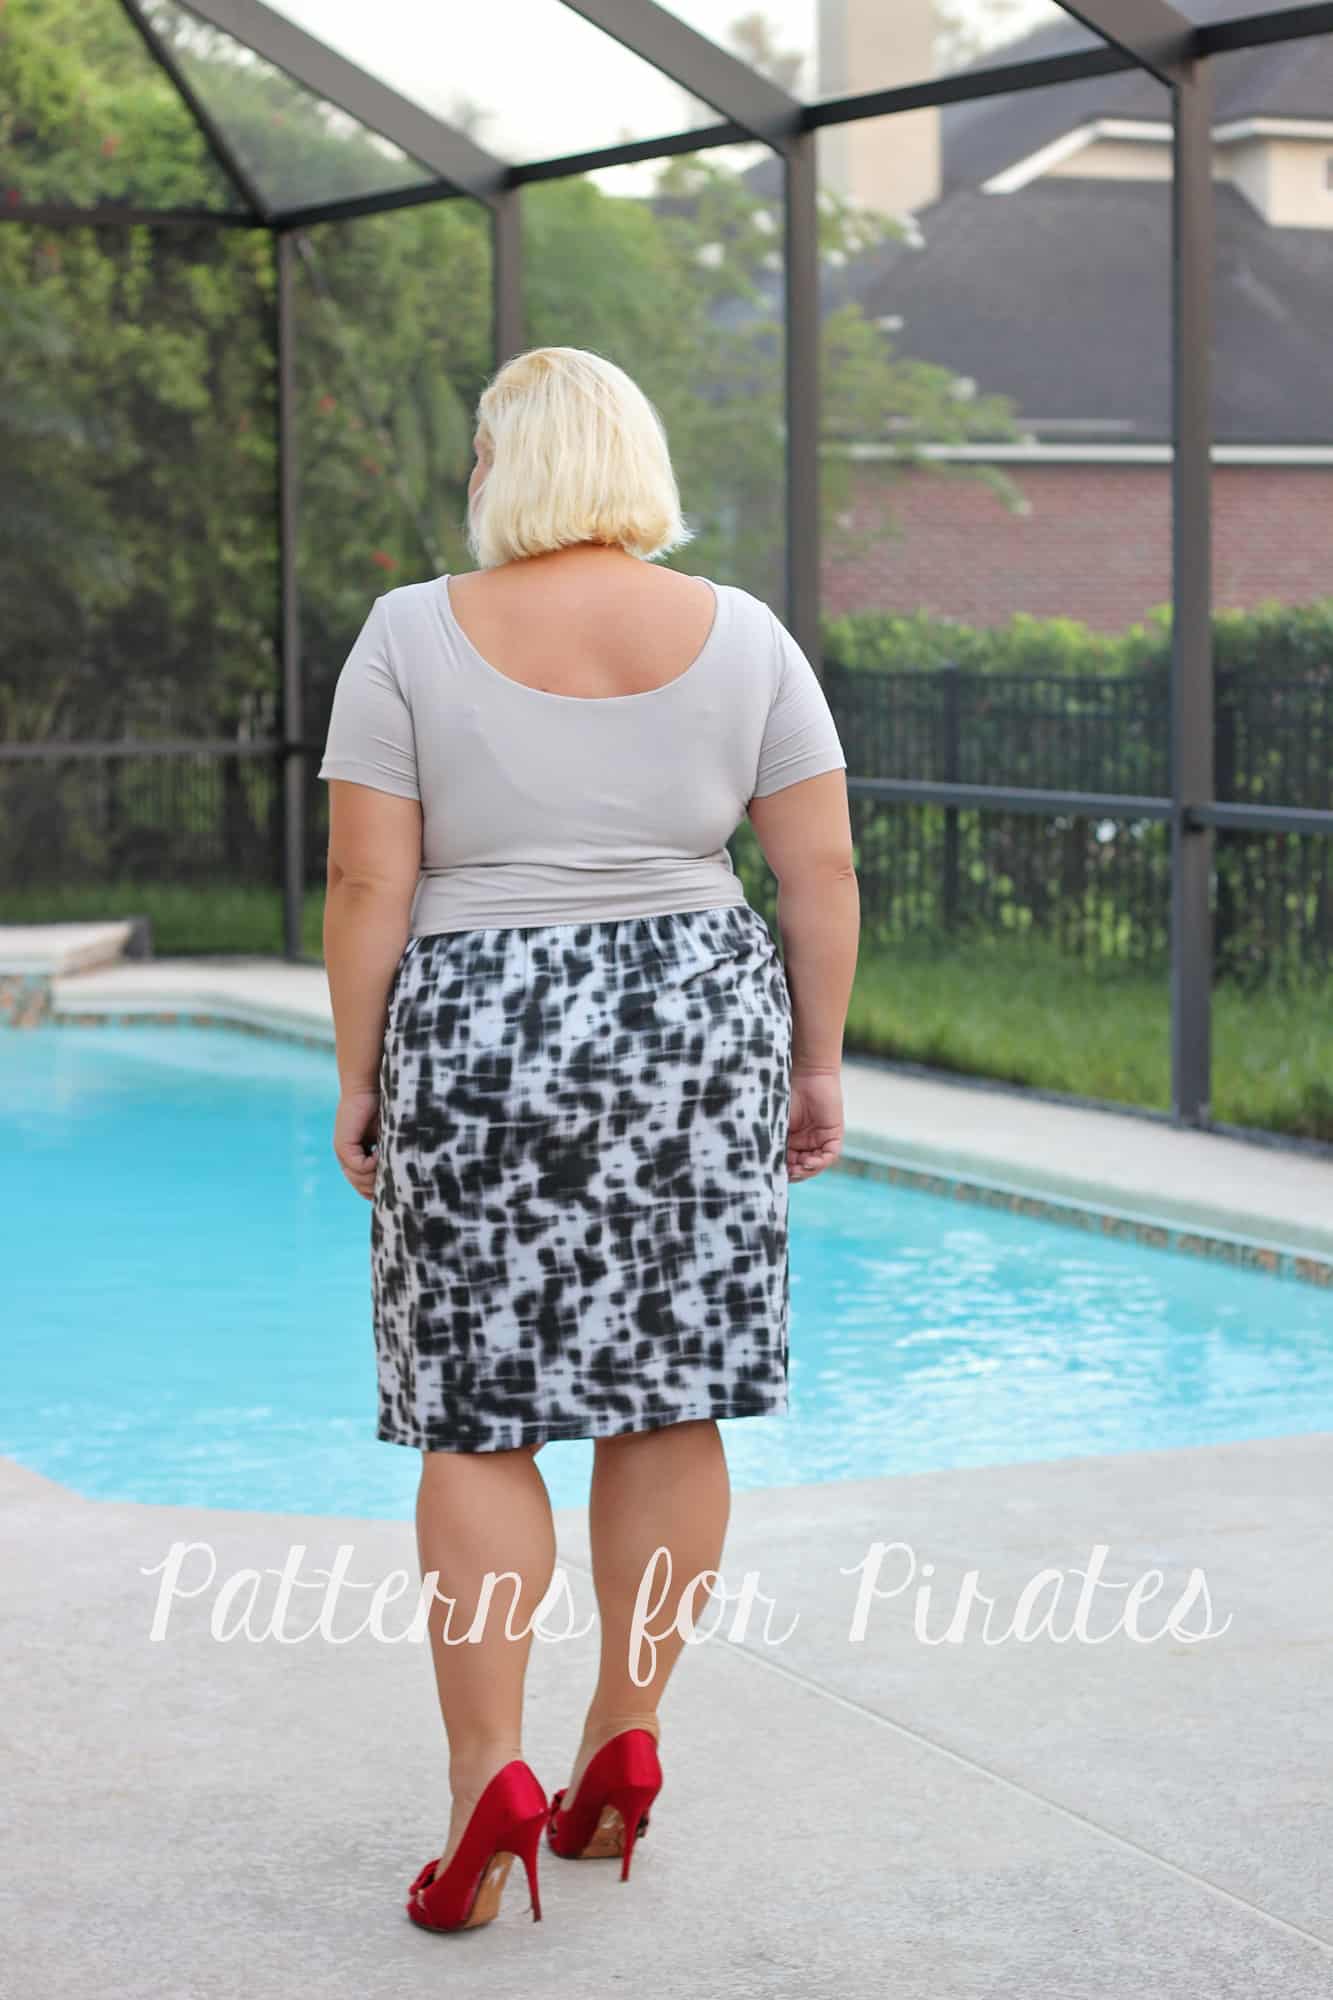
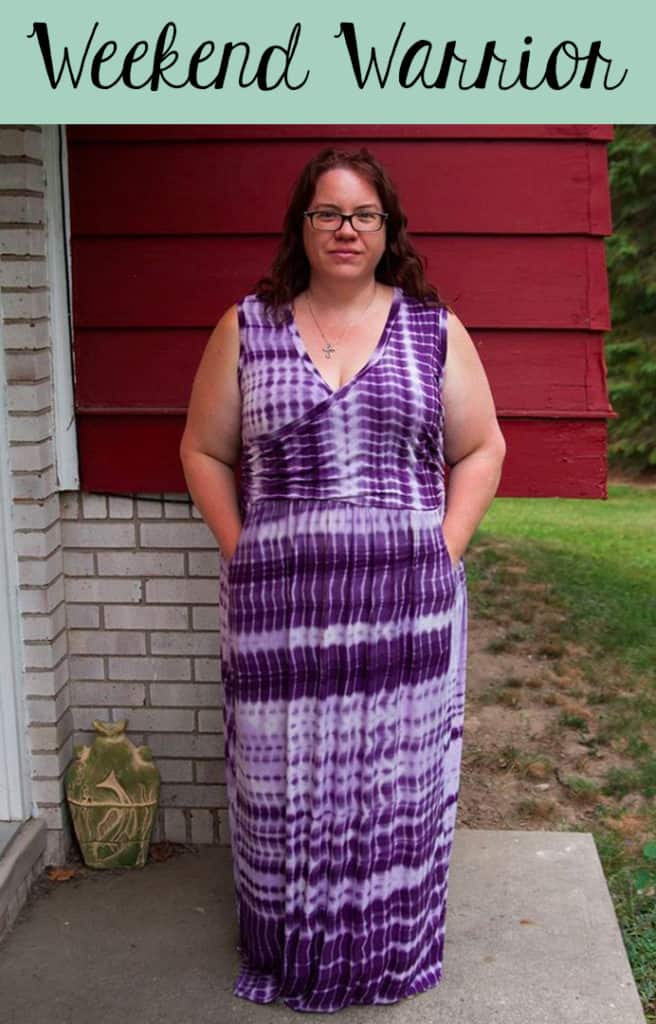
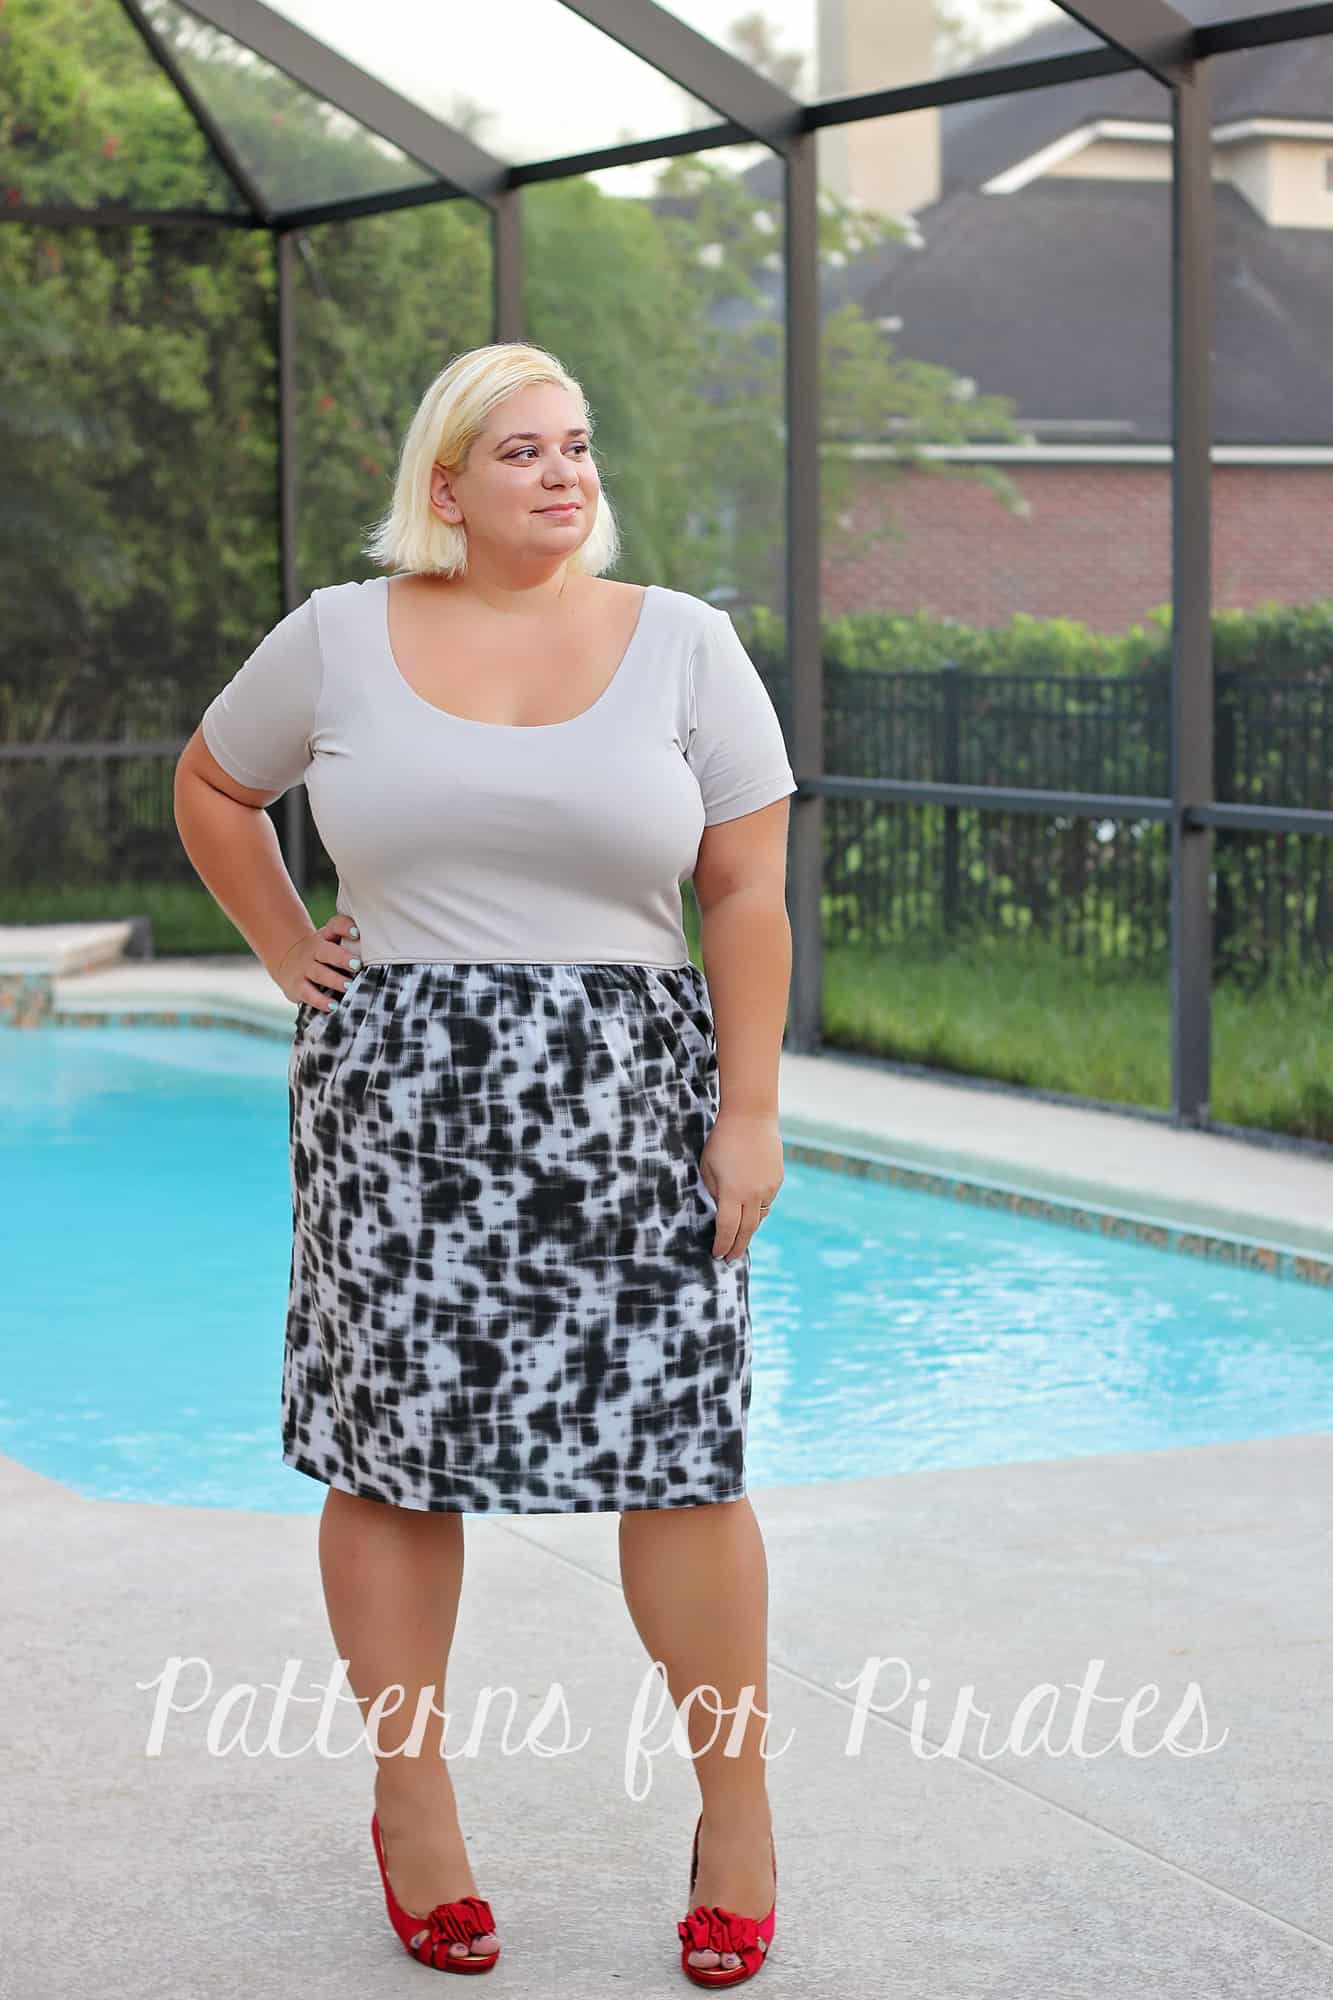
Ahoy, pirates! The Summer of Wovens is in full swing so I wanted to show you how easy it is to add a gathered woven skirt to a knit bodice. You can use this technique to the Boundless dress, like I have, or the Sunshine dress. If you love the bodice of the Sweetheart dress as much as I do you can use it and hack it with a woven gathered skirt too.

The most important thing to keep in mind when adding a woven skirt is CHOOSING THE RIGHT WOVEN fabric. Make sure to use a light weight fabric with great drape. I used a Nicole Miller chiffon and it worked beautifully. You can also use rayon, rayon challis  or crepe georgette. Avoid quilters cotton, it will look stiff and add visual width which we don’t want. Am I right, ladies? 😉

Cut the pieces as per the pattern. You do not need to size up or down, just be sure to measure yourself and choose the size based on that. I do recommend adding some width to the skirt for more comfortable wear. I did not add it to mine but you can certainly increase width by a couple of inches. You can see how to take your measurements here.

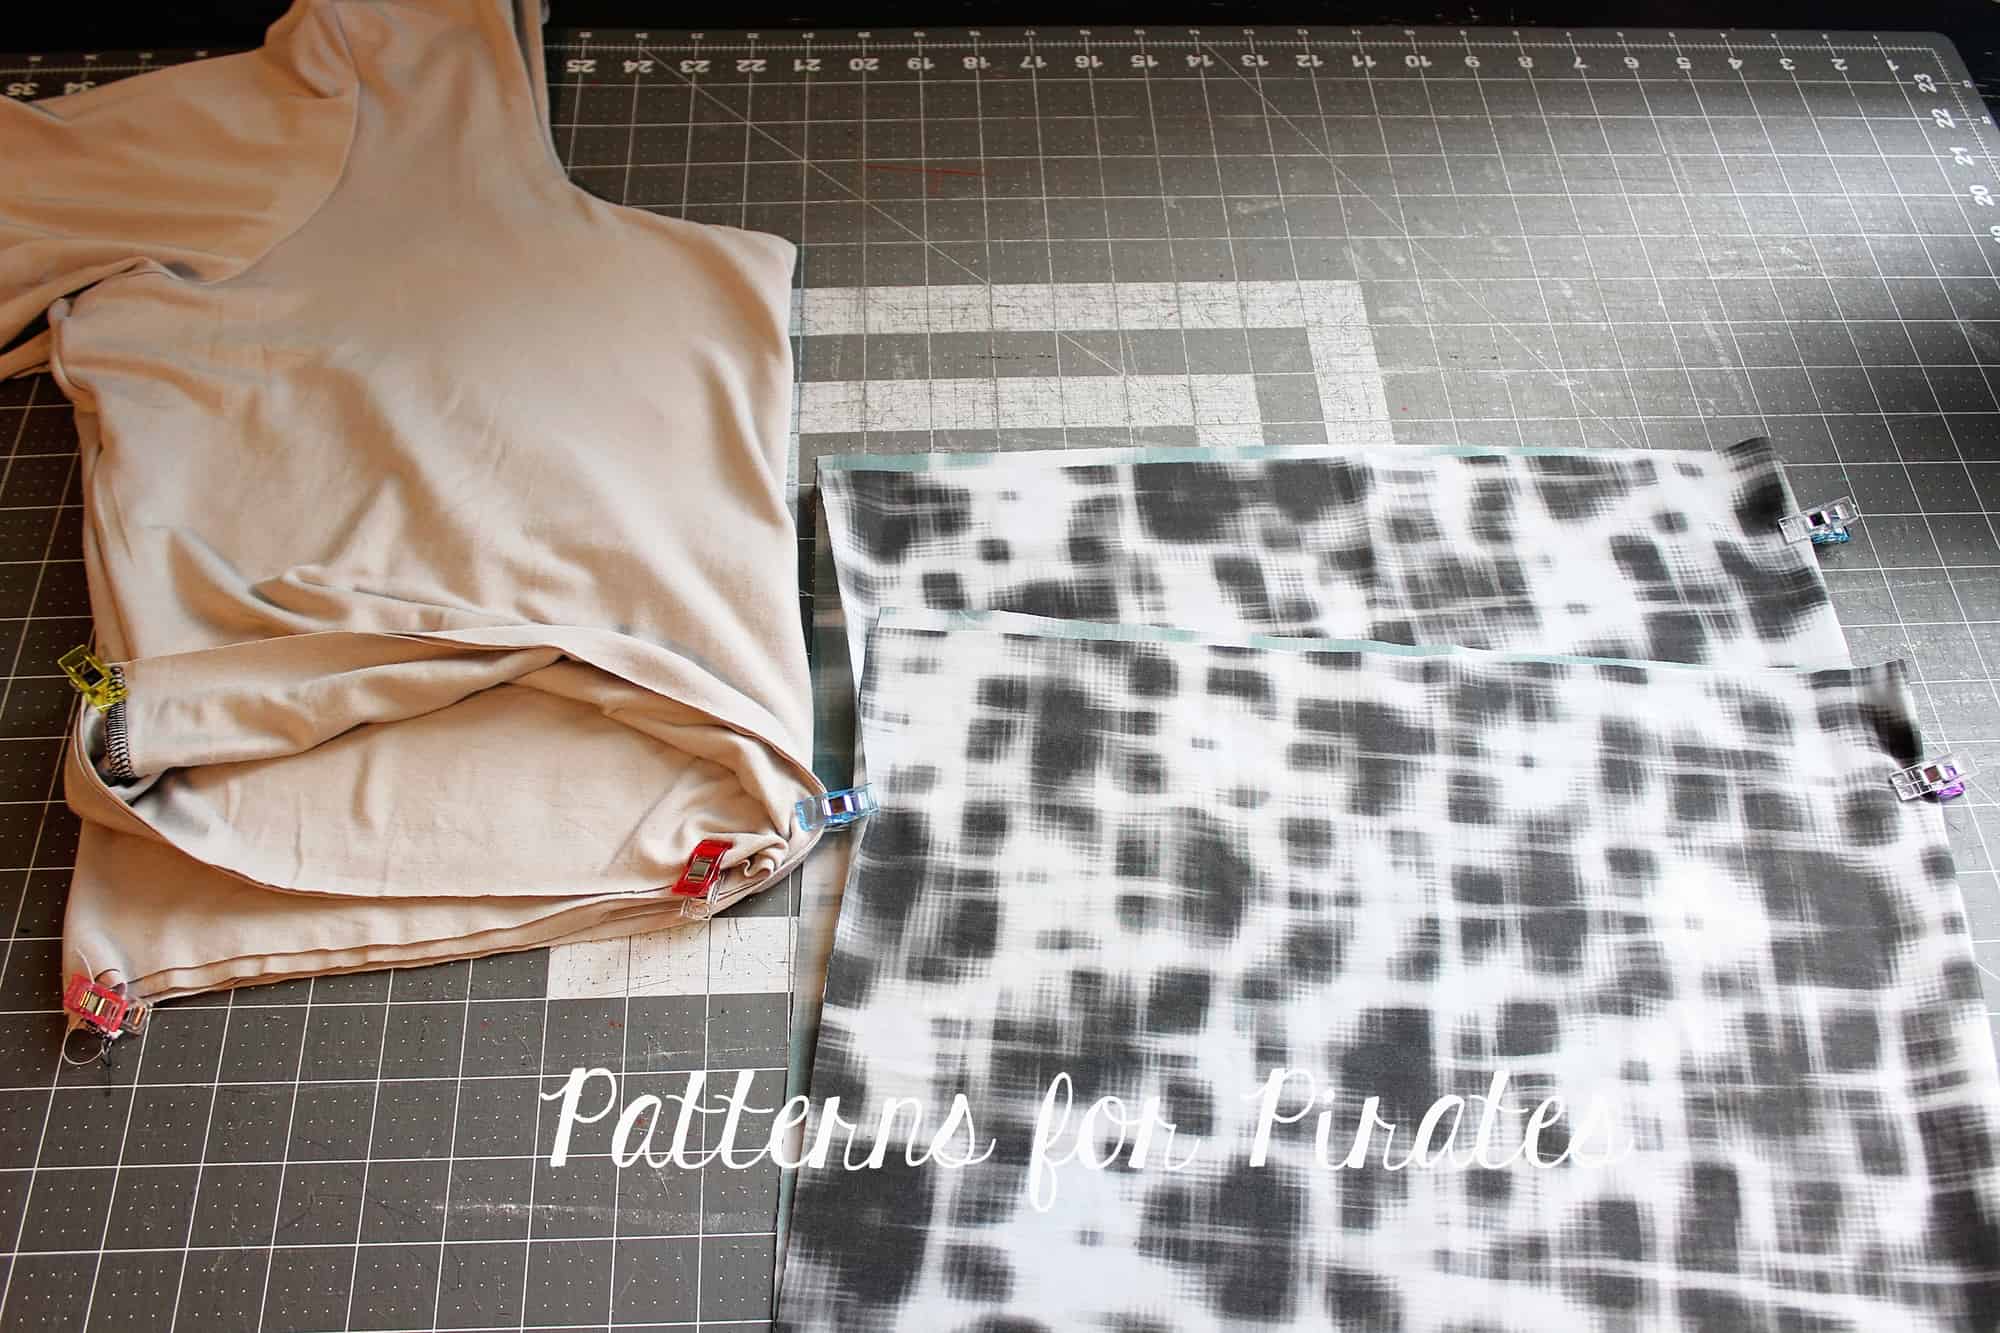
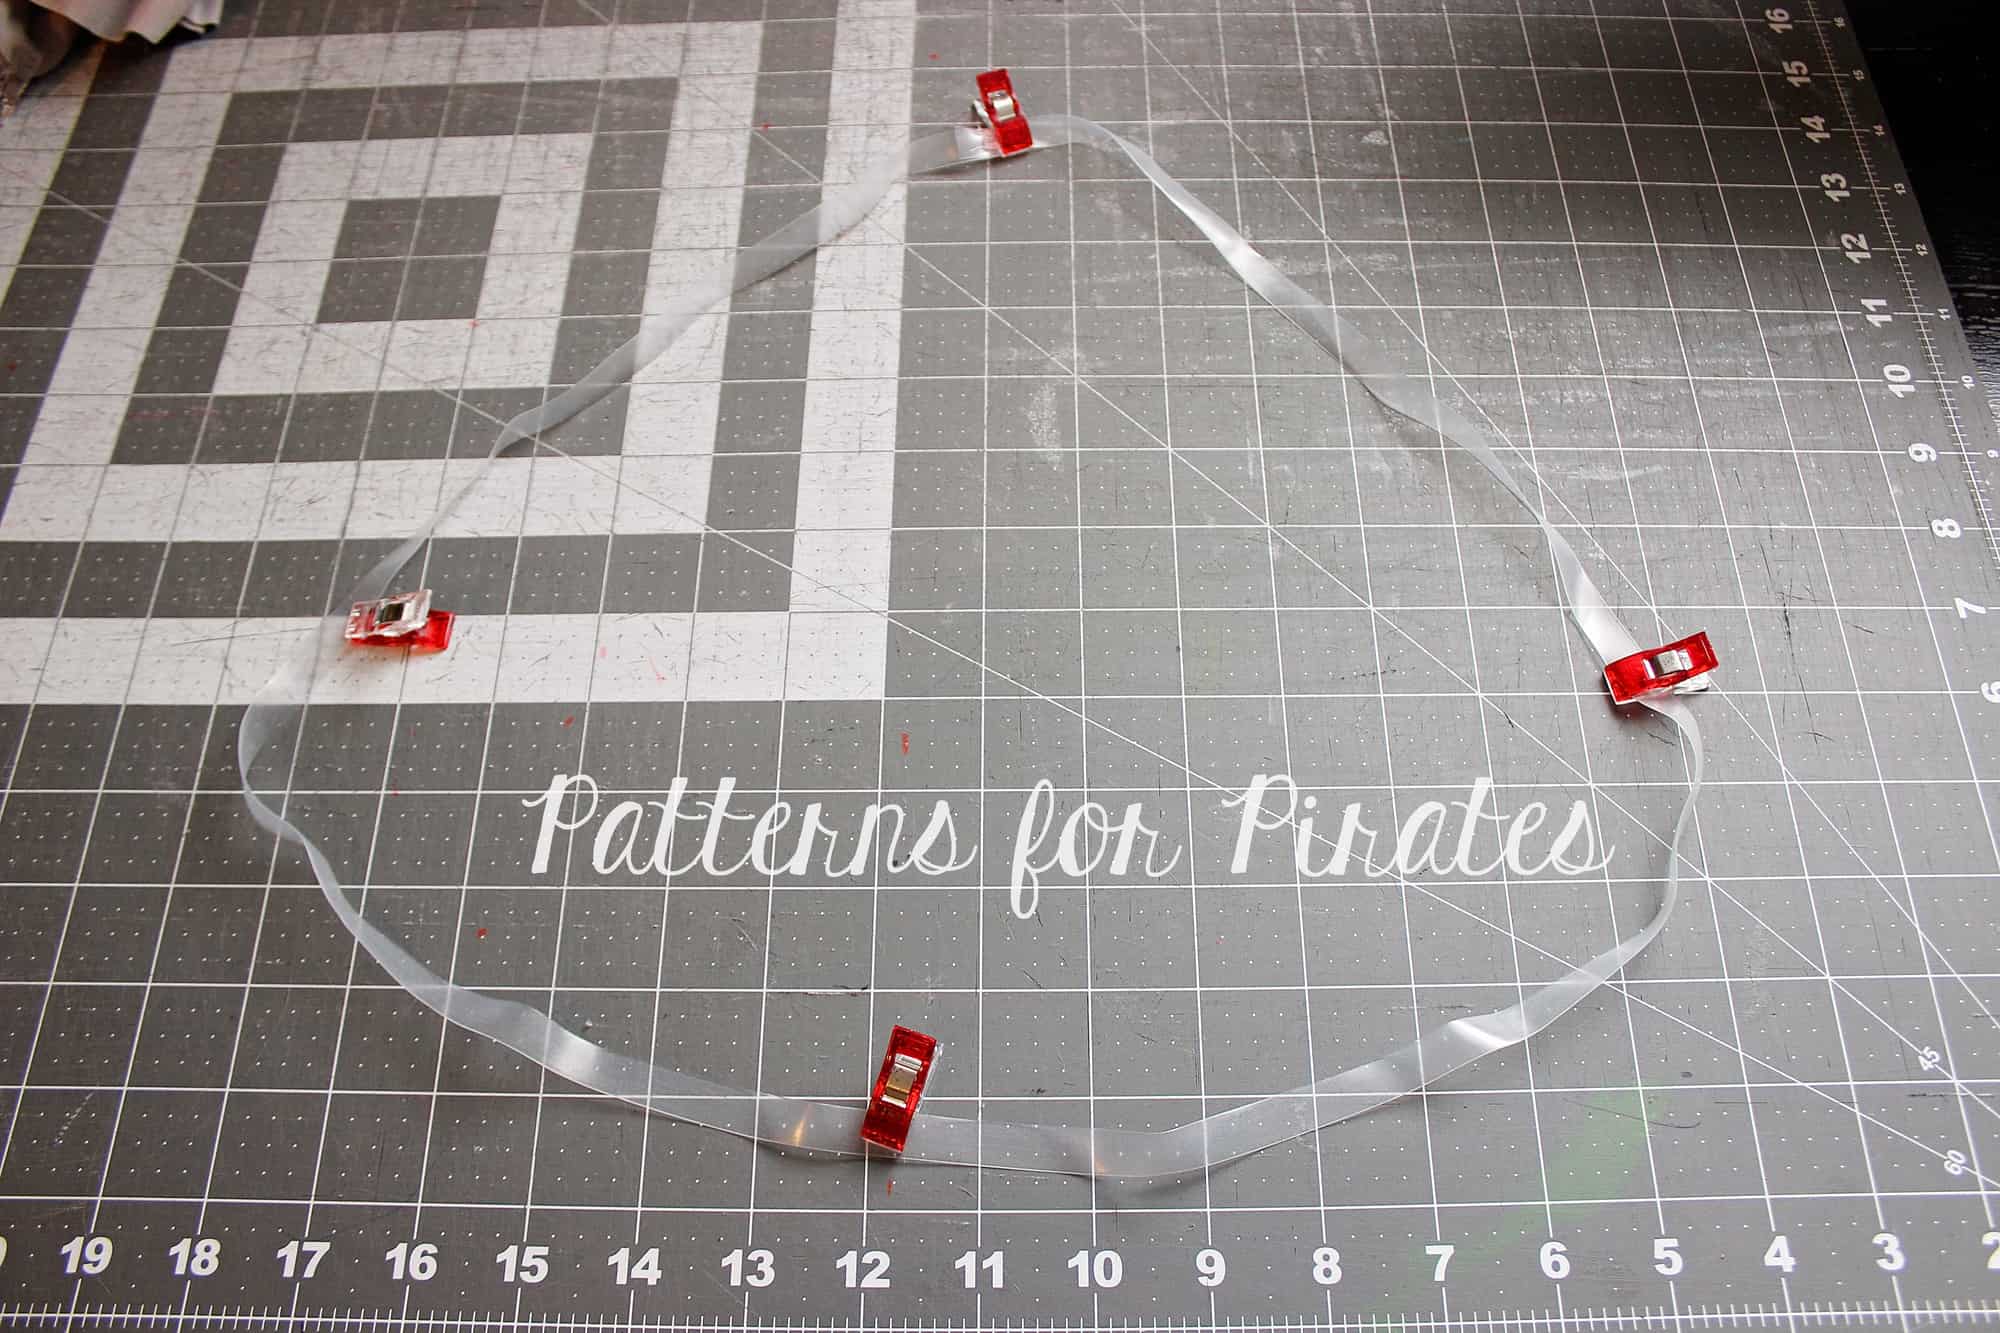
Sew the bodice as per the pattern tutorial. I marked the center of the front skirt piece and the back. I like to use clear elastic when I attach the skirt to the bodice. I do that for two reasons, the clear elastic will add stability to the seam and it will help you gather your skirt evenly. Simply cut a piece of elastic that matches the bodice bottom. Don’t forget to add seam allowance! I prefer to cut just one piece and match the elastic seam to the center back but if you prefer to cut two pieces and match the seams to the sides you’re welcome to do that as well.

Mark the quarters of the clear elastic. Mark the side seams and center back and front of the skirt. Remember to mark the to of the skirt if you’re using a fabric with a directional print 🙂

Match the quarters of the skirt to the quarters of the elastic.

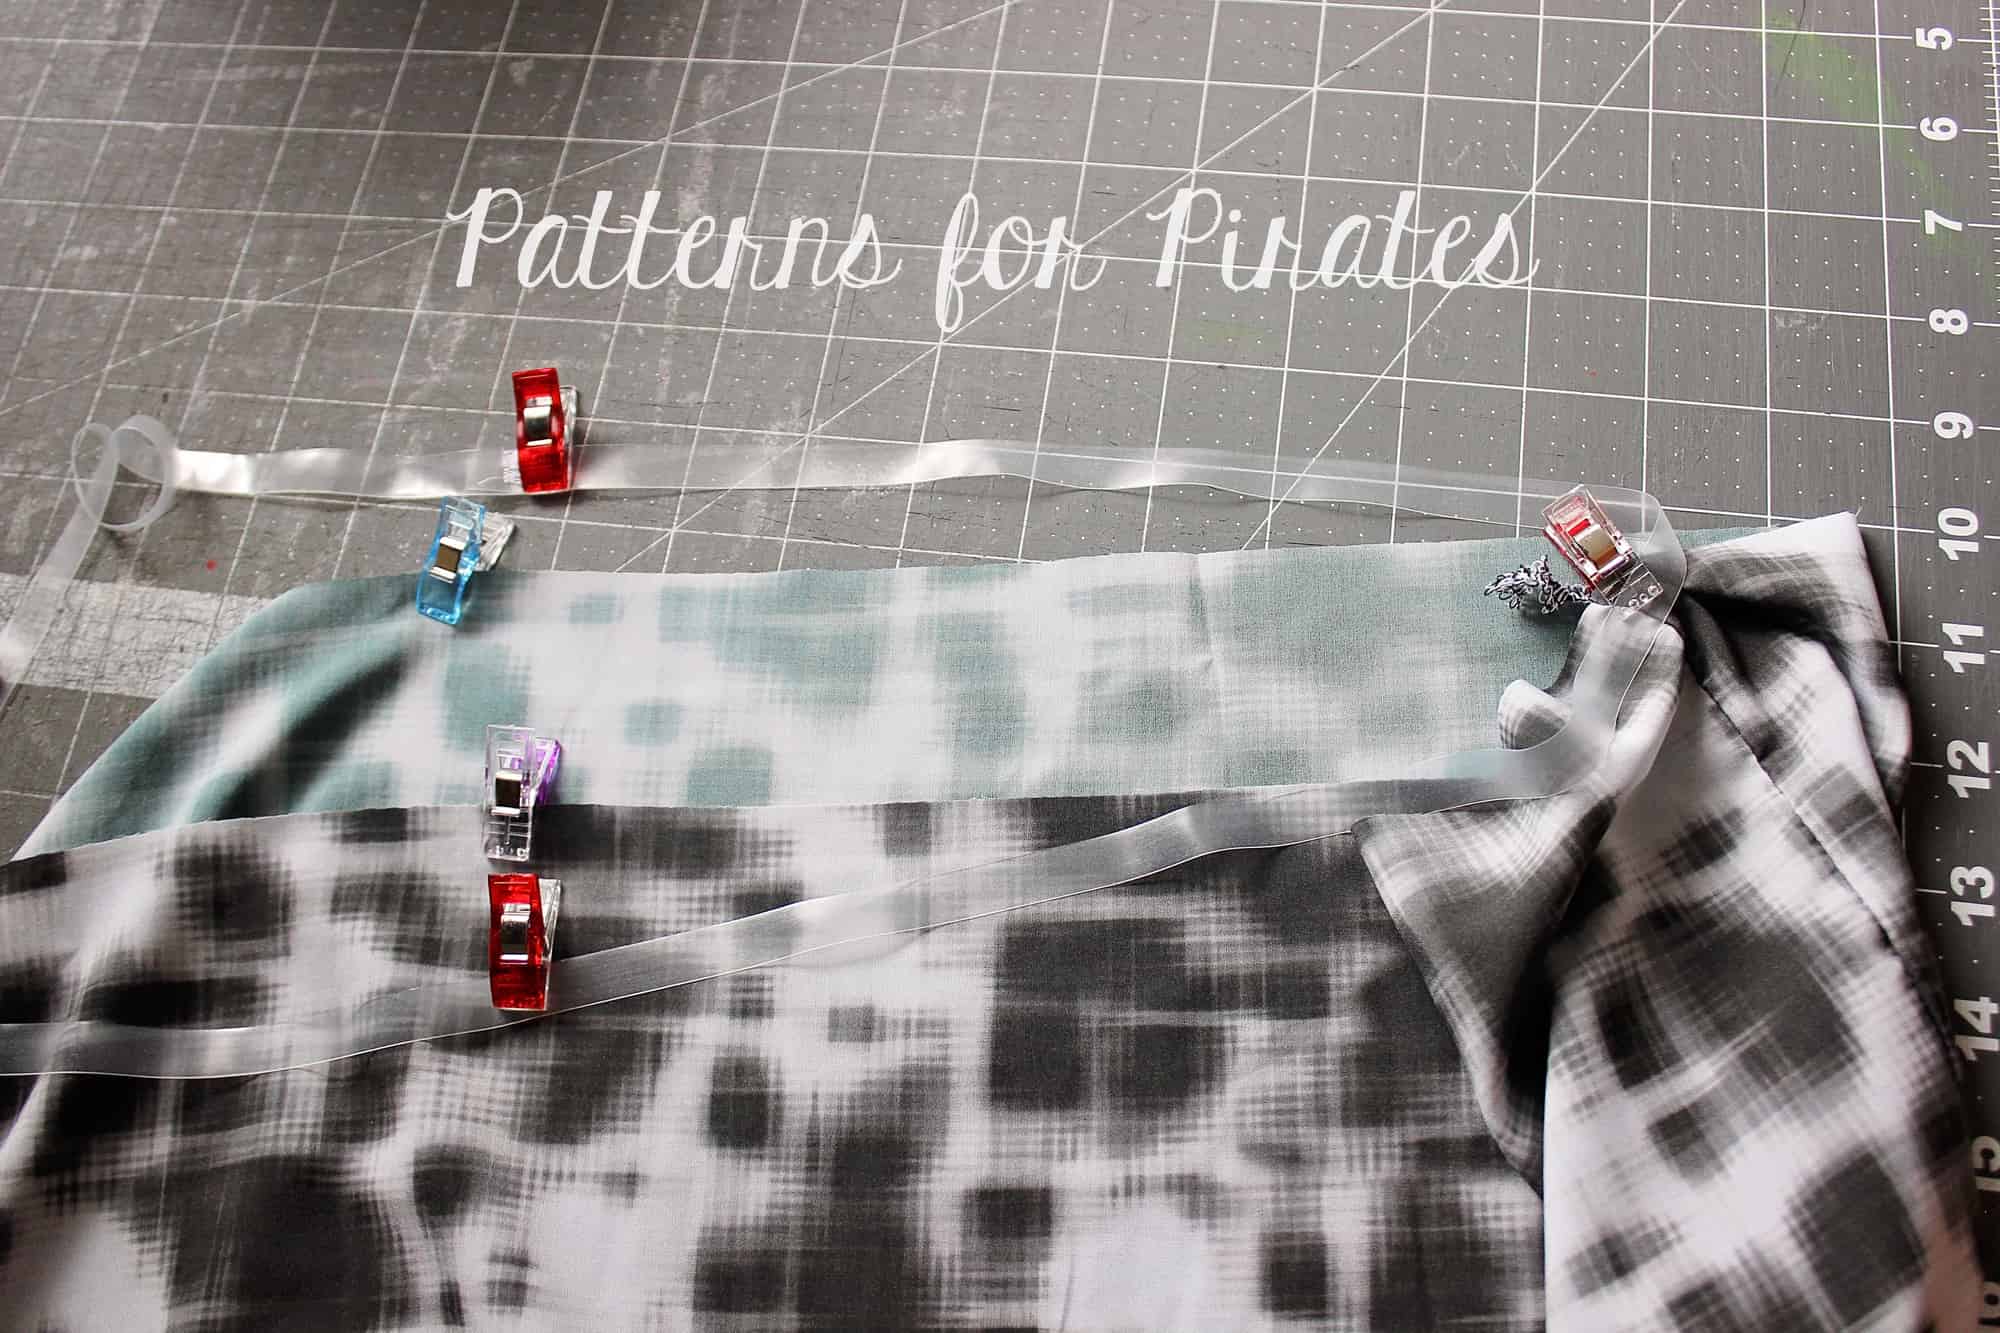
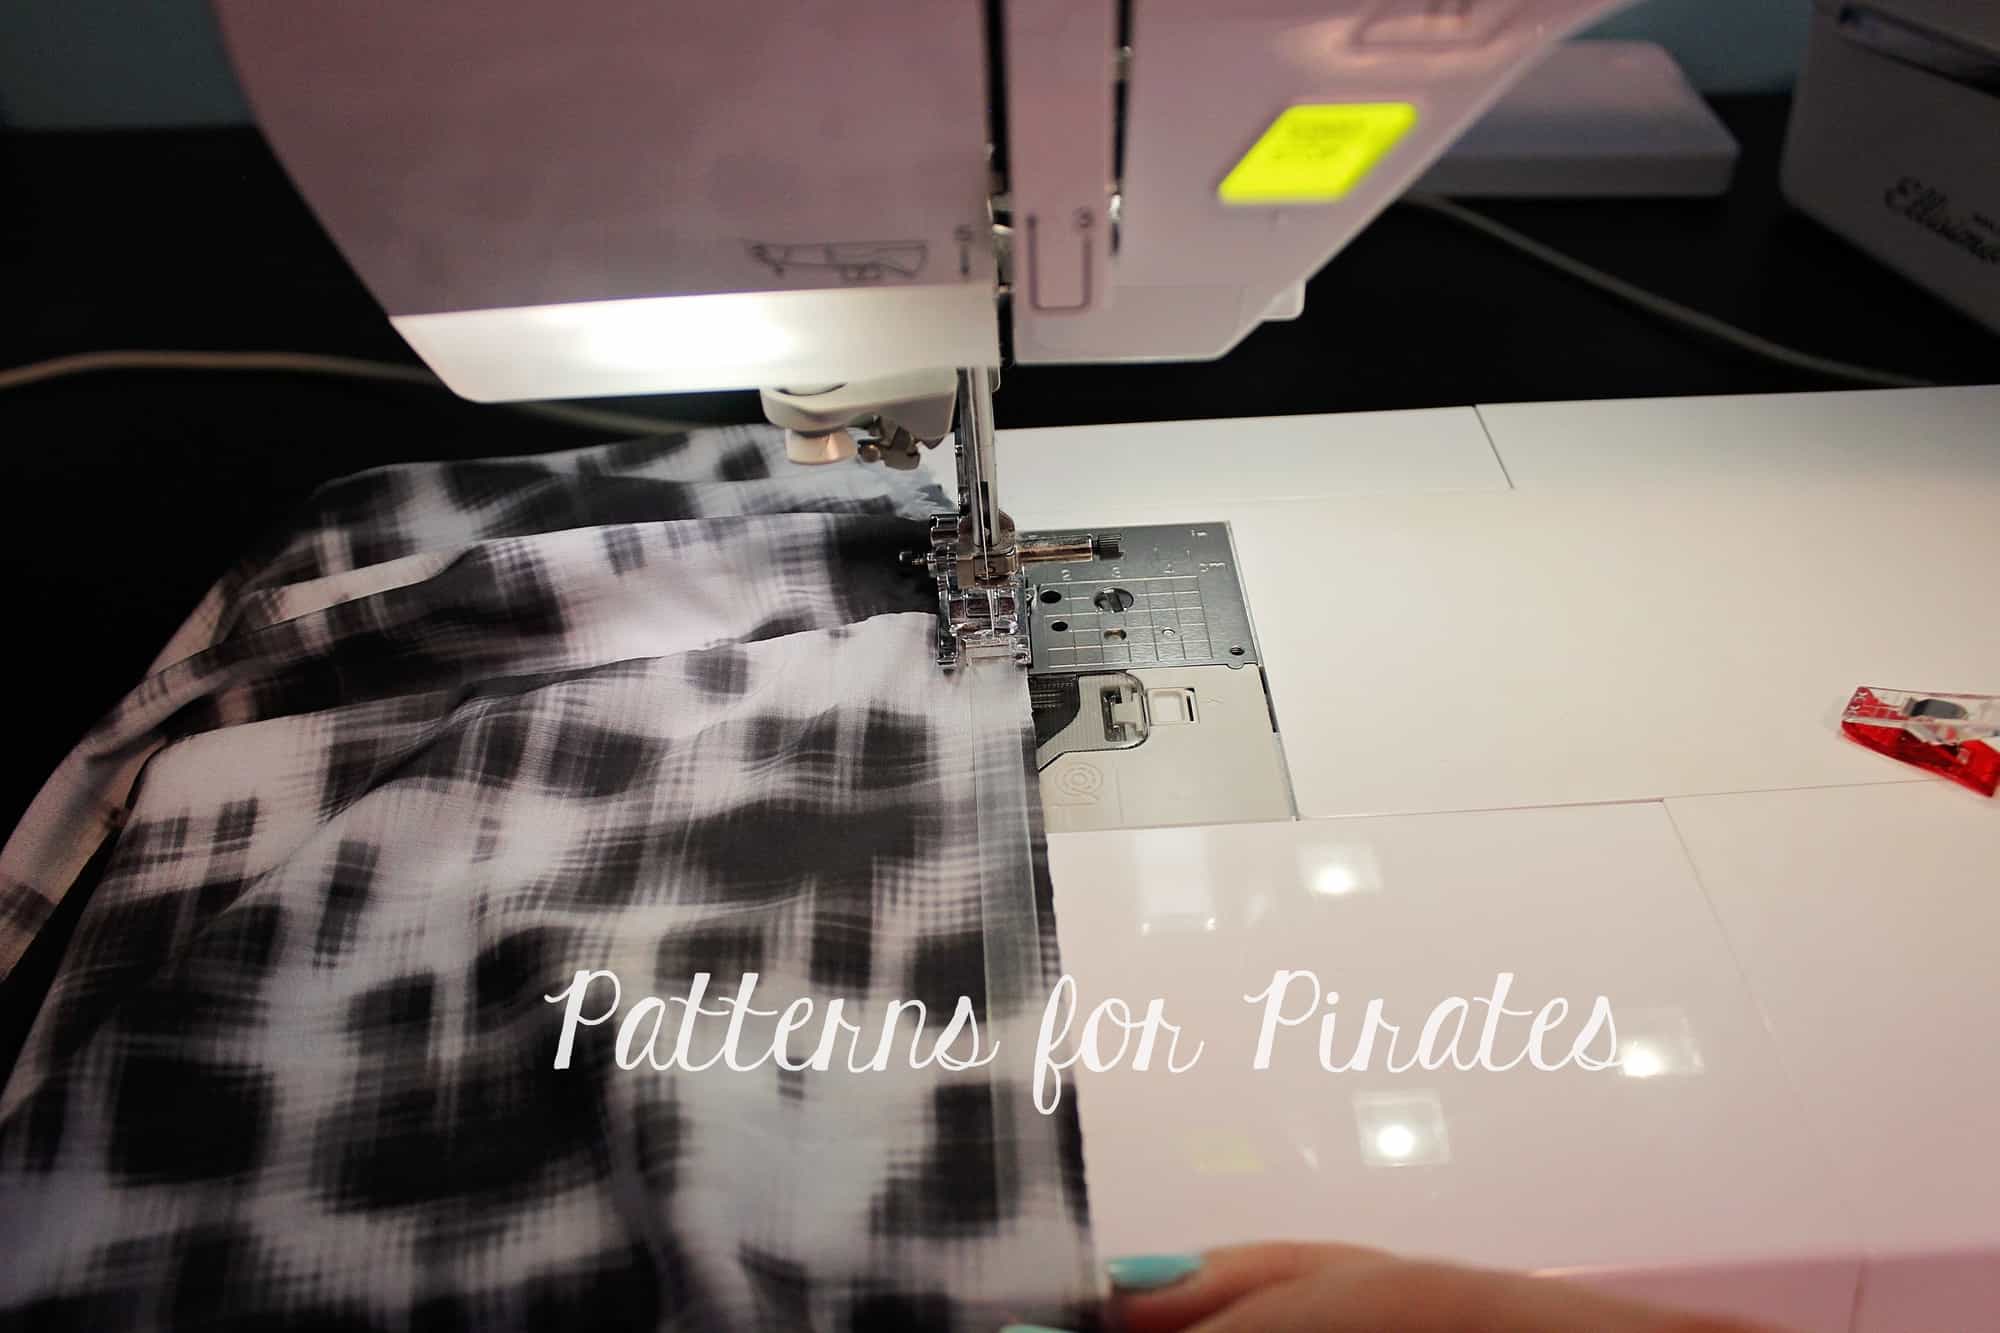
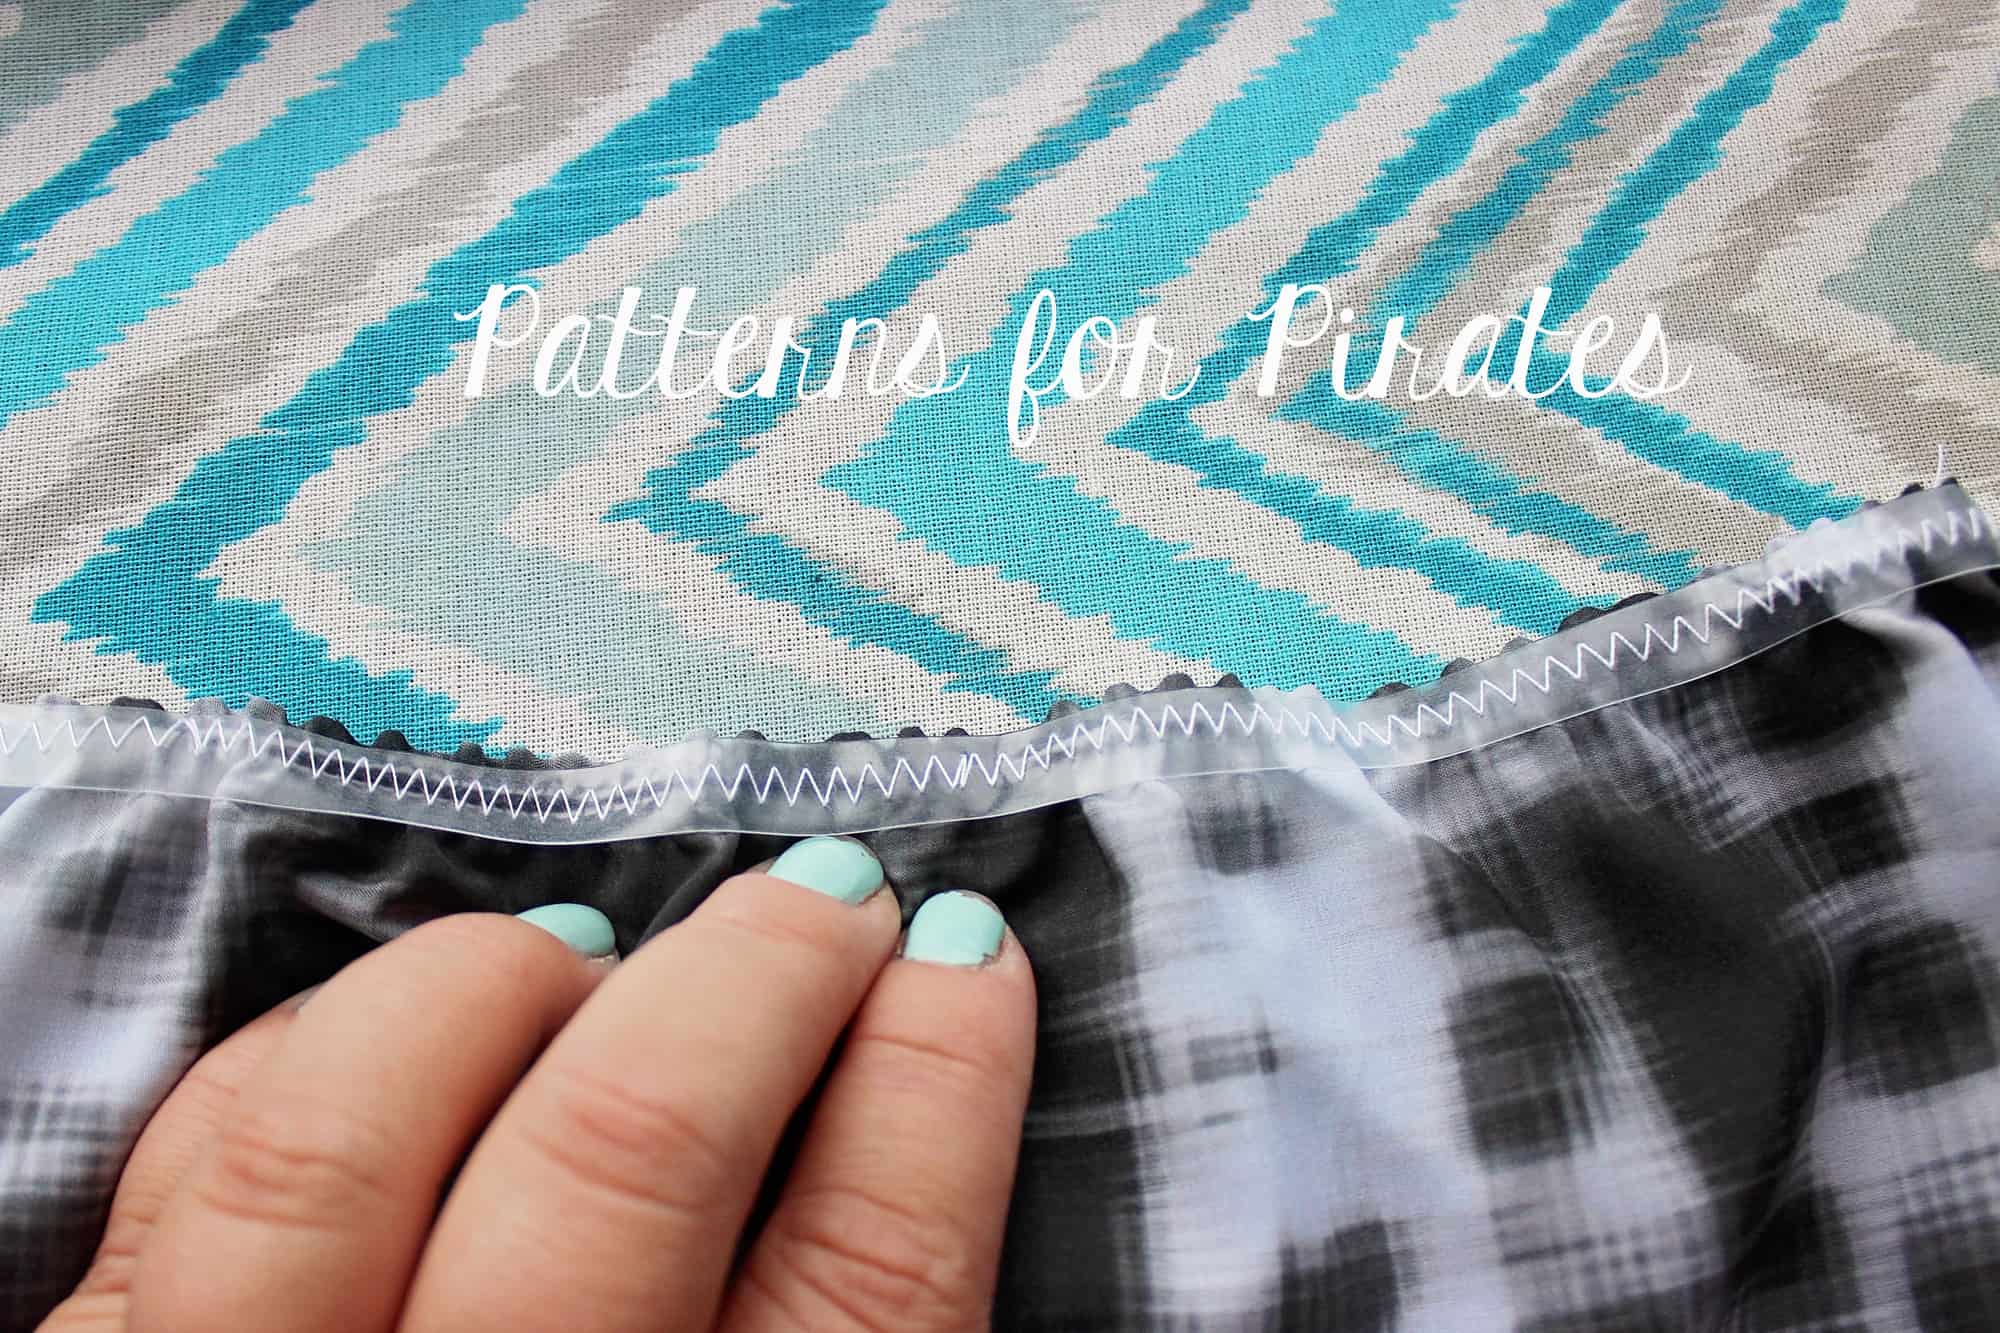
Sew the clear elastic to the top of the skirt. Use a zig zag stitch and adjust the tension and width to better fit the type of fabric you are using. Stretch the elastic as you sew. If you use a 1/2″ clear elastic simply align the edge of the elastic to the edge of the skirt. I use 3/8″ clear elastic so I put it a little lower than the edge to accommodate the 1/2″ seam allowance that is followed in this pattern.

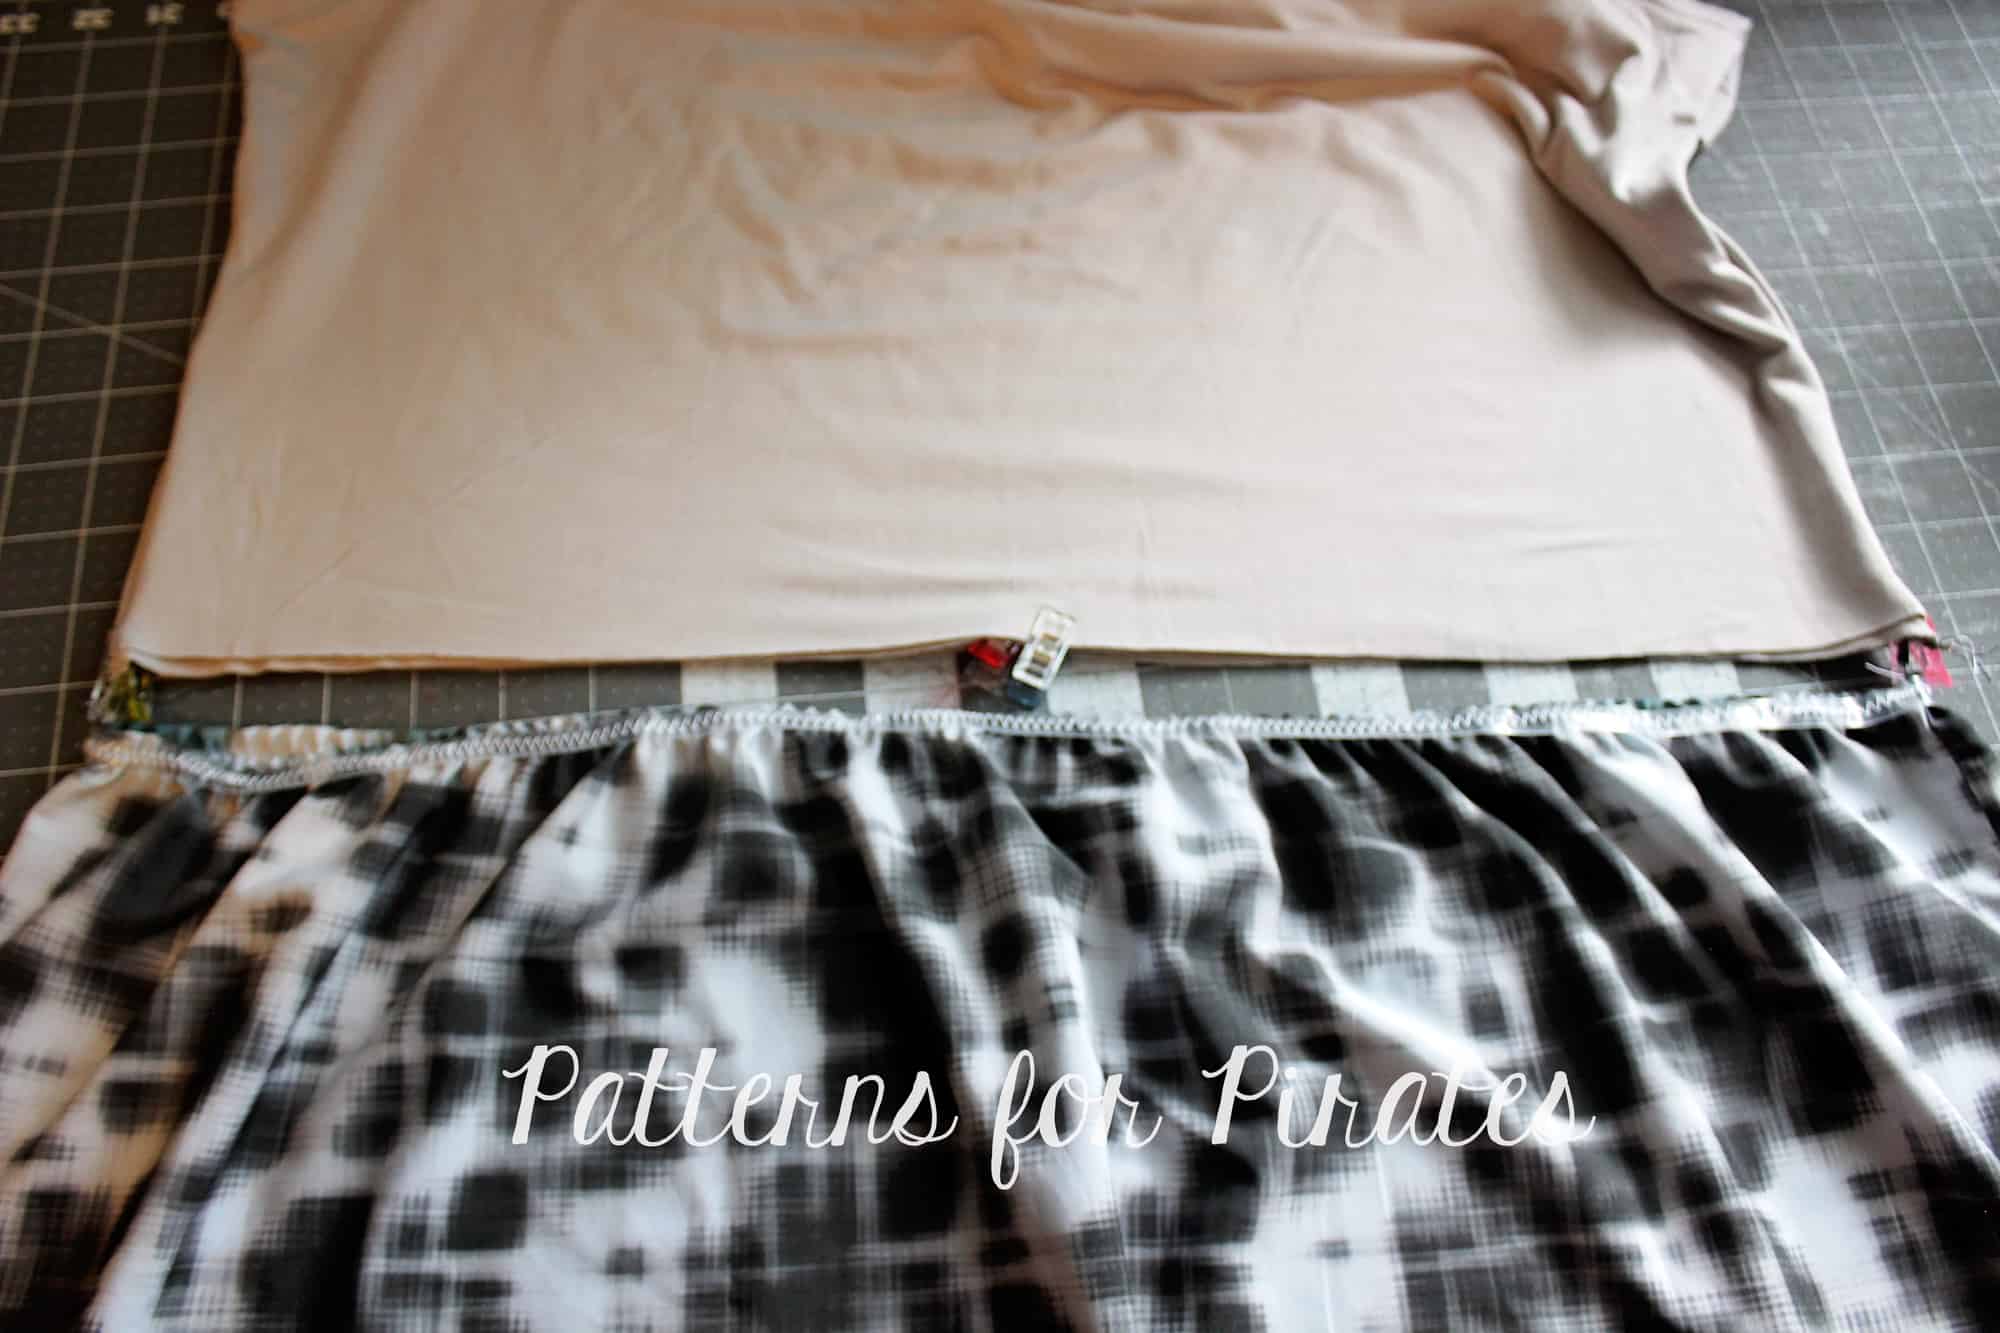
All you have to do now is attach the skirt to the bodice. The bottom of the bodice and the top of the skirt will be the same circumference. Match the side seams and the center backs and fronts, pin right sides together and sew.

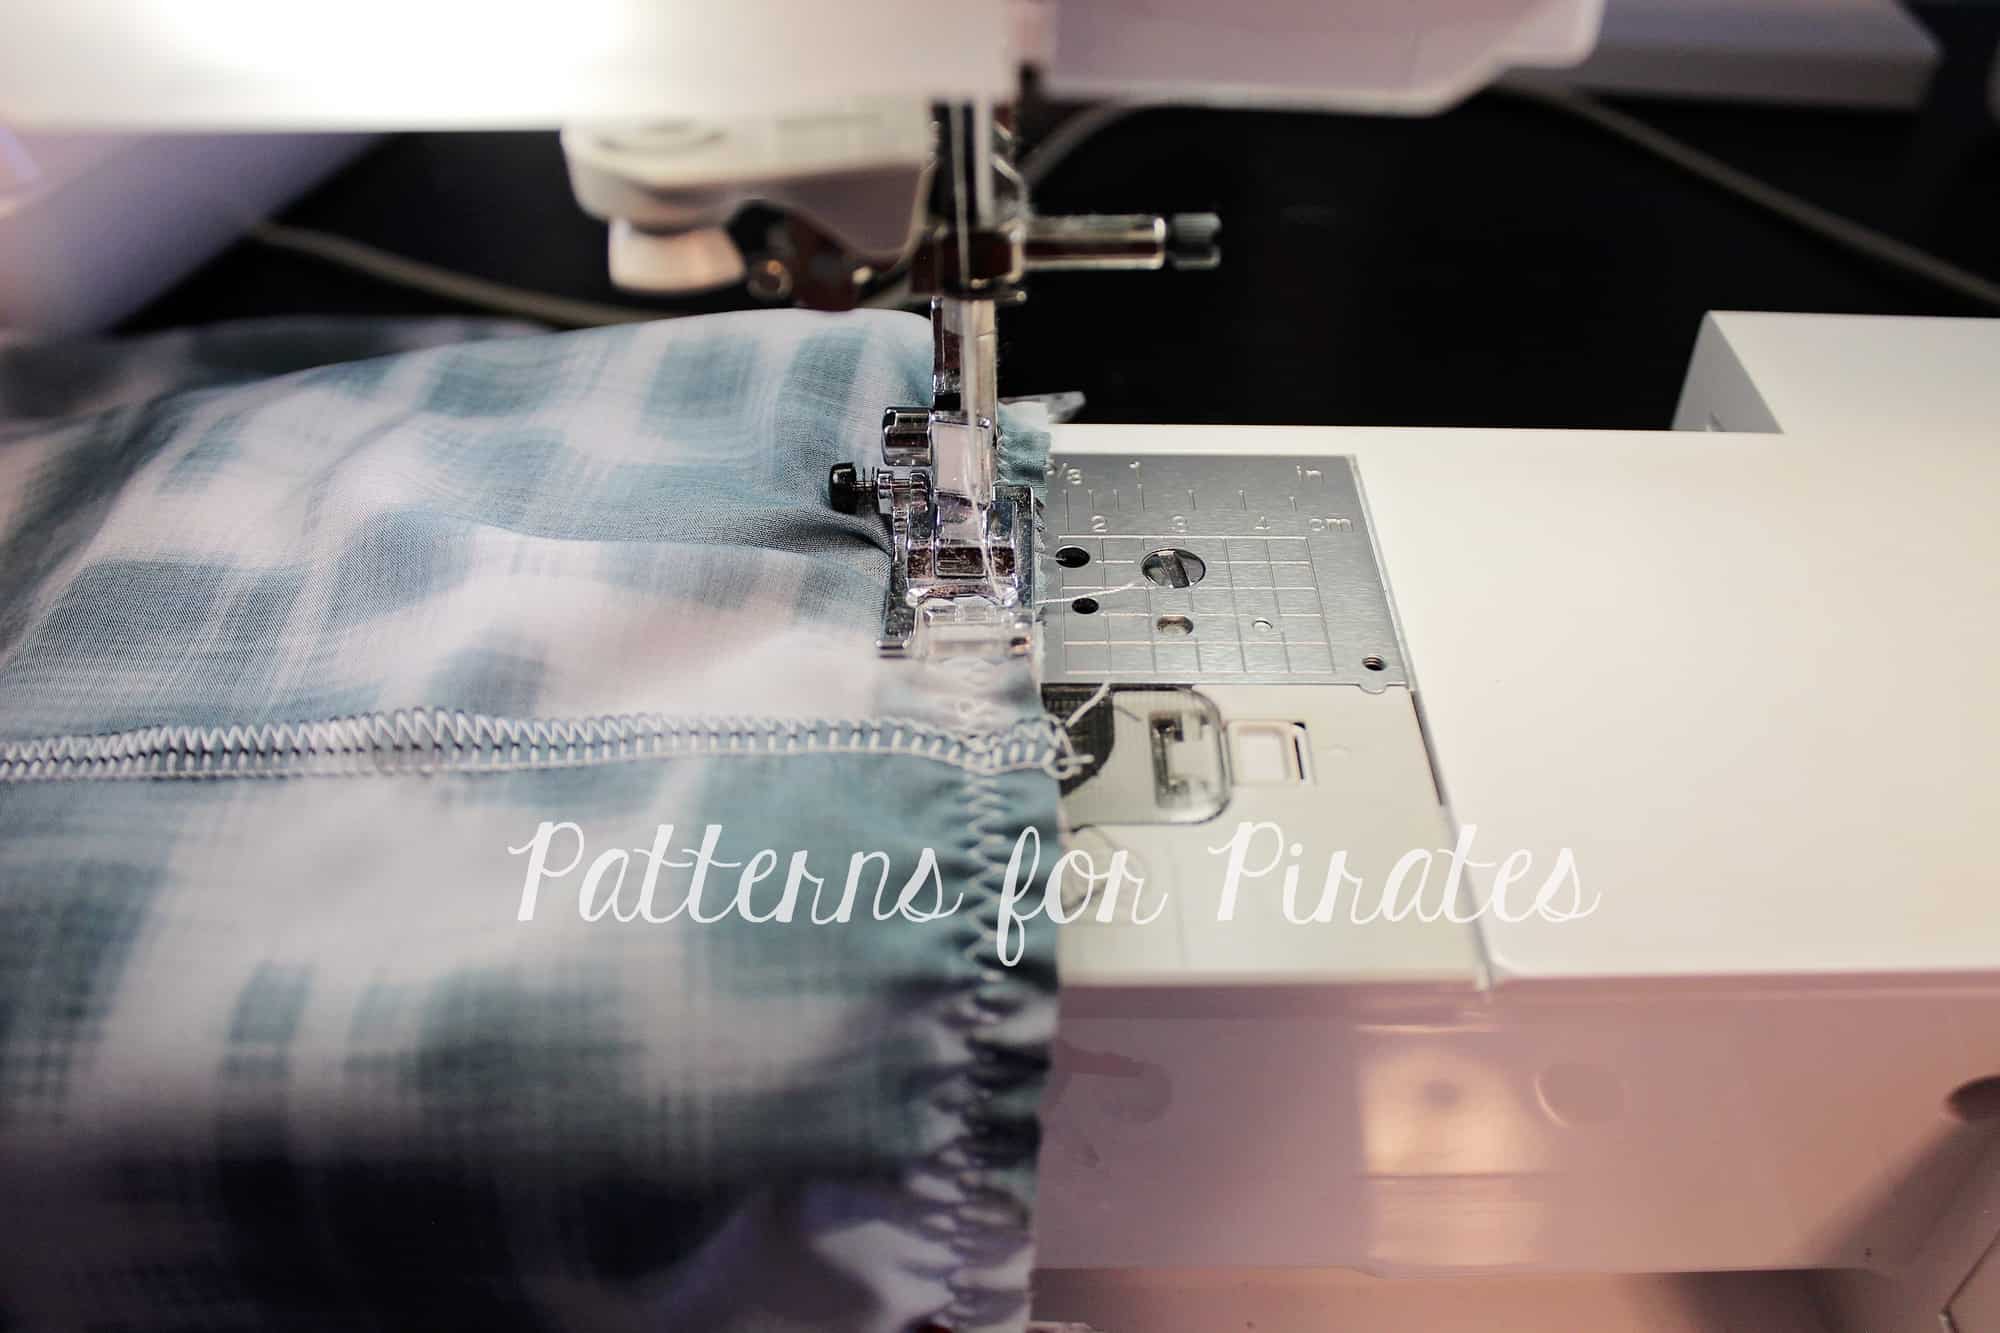
I like to attach the skirt to the bodice using a zig zag stitch but you can also use a triple stretch stitch.

Optional: top stitch the seam allowance up towards the bodice.

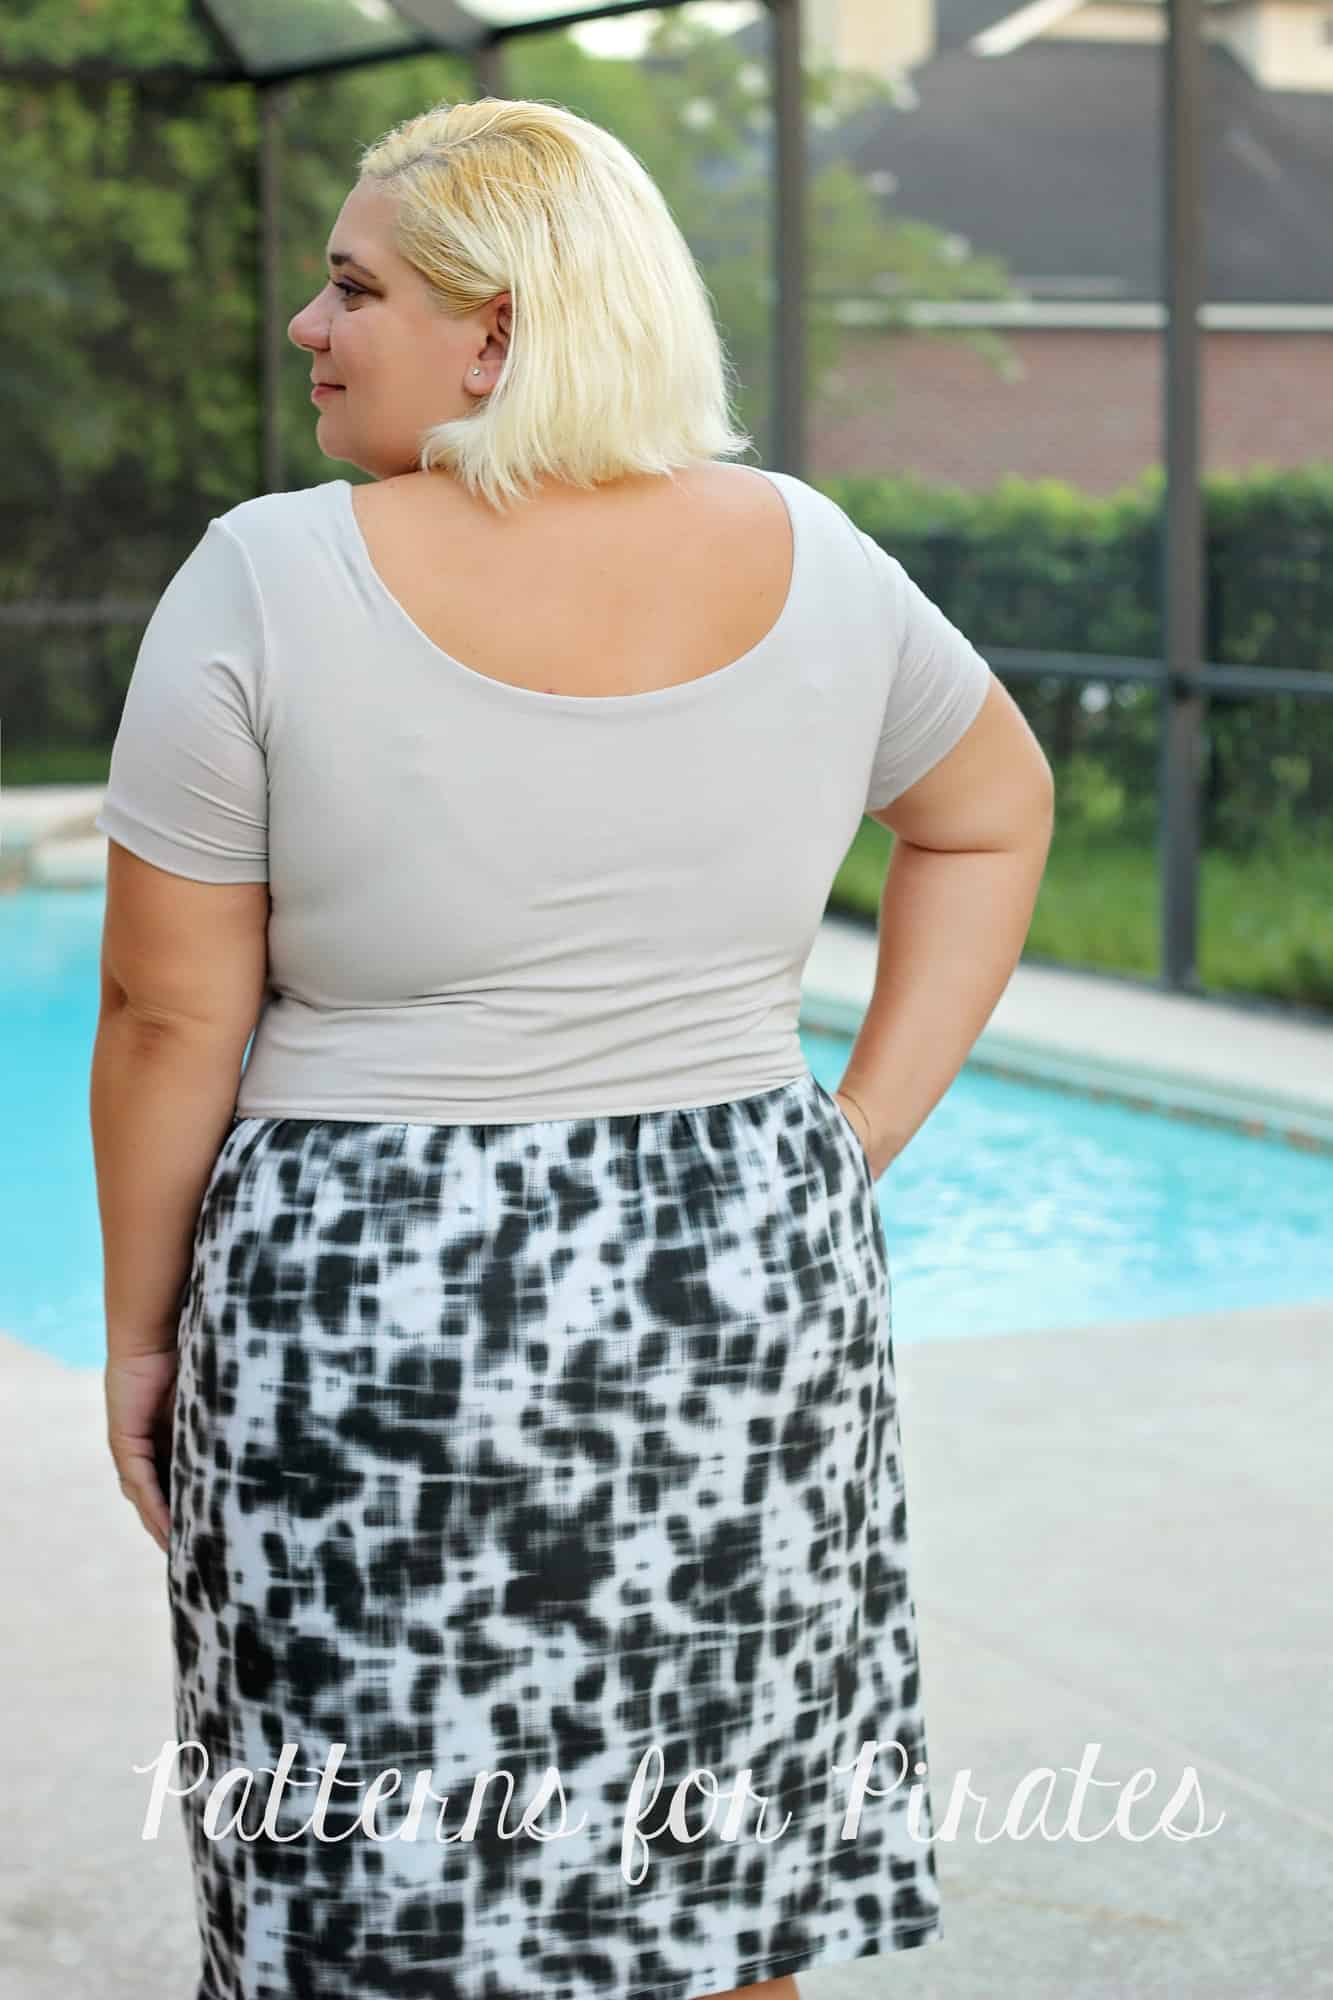
Tadah! You’re all set to rock your new woven skirt Boundless (or Sunshine) dress! I can’t wait to see your take on this easy hack so be sure to post it in the P4P group too!

Filed Under: Frequently Asked Questions, Pattern Hacks, Uncategorized 6 Comments

Sunshine Dress- Hacks

July 28, 2016

hacks

You know we love to show you how to take your P4P patterns that are filled with options and stretch them even further!

Here are a few easy hacks to the newest P4P pattern the Sunshine Dress!

IMG_36084

Hello there! For those who don’t know me, my name is Erinn and I have a confession to share with you… I love dresses! Ok, truth: I love them September through June when I have to wear “real clothes” for my job as a teacher and not live in my comfy summertime clothes! So when the Sunshine Dress came out, the first thing I thought of was, “How can I make this work for a teacher?”. I absolutely love the cross-over bodice, but knew I would need to wear a cami under it for work, which would just mean more laundry (another confession: I hate laundry!). So, I give to you my friends- the modesty panel! It provides you with the extra coverage of a cami, minus the bulk of layering (again, not to mention the extra laundry of one more shirt- isn’t that reason enough to make one?).

IMG_3571

What You’ll Need:

  • Partially finished cross-over bodice (Complete through attaching the neckband)
  • Pattern piece for Strapless liner (front only)
  • Coordinating fabric

Creating Modesty Panel

Modpattern2First up, you will need to create your modesty panel. To do this, you will need to make a few quick changes to the strapless liner piece. Cut along the armscye line that would have be used for the halter version. Next, remove 1” from the bottom of the pattern- there is already a lot of layers once the skirt is attached, so this will allow you to reduce some of “extra bulk”- nobody wants that!

Cut out your modesty panel using your new pattern piece as well as the binding for the top of panel. For the binding, you will want to cut a strip that is 2” wide and long enough to go across the top of panel.
panel3

Fold binding in half and iron, then attach to the top of the panel- make sure to stretch slightly as you attach. Trim the excess binding to align with your armscye.  Press seam down.

Attaching Modesty Panelattaching2

You should have your cross-over bodice finished through attaching the neckband. Layer pieces in order according to pattern, then place the modesty panel as the top layer. Pin in place (no one will judge how many you use- that’s a lot of layers to keep in place!). Run a basting stitch down both sides- be careful on armscye, making sure to not baste all three layers together. Check the fit/placement of your panel and once everything looks good, sew your side seams together.

IMG_3584Voila! You have now created your modesty panel. All that’s left to do is attach the armbands and skirt, then enjoy your Sunshine dress… with a little added coverage.


Bodice with No Ruching:


no ruchingThis is a SUPER simple hack! All you need is your Sunshine pattern, no measurements, no guessing and just one quick change! For halter and strapless instead of cutting 1 main fabric bodice (front and back) simply cut out 2 lining pieces front and back.

IMG_7743

Assemble exactly the same skipping the ruching steps in the tutorial. Done! For cross over bodice just cut out 2 under/not gathered front pieces, making sure to make them mirror image. Skip ruching steps and assemble normally. 🙂 Was that the easiest hack or what?!?! Now you have 3 more bodice choices with this already option packed pattern!

IMG_8683-2


Making a separate skirt from the Sunshine pattern: 

Maxi skirts are all the rage right now and with this simple hack, you can use the Sunshine Dress Skirt portion to create your own.  (of course it works great for the other lengths too!)


13717335_10154373393944666_3392408374222849681_o


Cut 1 waistband and 2 skirt panels. Construct the skirt in the same manner as the tutorial.  Instead of attaching to a bodice, you will attach to the waistband.  To create your waistband, sew short ends together, creating a circle then fold in half with wrong sides together.  Find the 1/4 points of both the waistband and skirt and match skirt side seams to the waistband.   I like to gather my skirt while it is pinned to the waistband to help ensure even gathers along each of the 1/4 points.   Your skirt will be gathered to the same width as the waistband.  Stitch with 1/2″ seam allowance.  Pull basting threads.  All finished!


Sunshine Skirt waistband P$PP4P Sunshine Skirt Hack

Filed Under: Pattern Hacks 2 Comments

Sunshine Dress | New Pattern Release!

July 28, 2016

Happy Release Day!  After teasing you relentlessly with sneaks of the Sunshine Dress, it’s finally here!  (Insert happy pirate dance here.)

Slide1

Don’t worry, the Patterns for Pirates crew would never leave you short on options.  The Sunshine Dress is an endless amount of style options, neatly packaged in one pdf pattern download.

The pattern is drafted for sizes XXS – Plus 3X.  There are THREE hem lengths (above knee, below knee, and maxi), THREE bodice types (halter, cross-over tank, and strapless), and optional pockets!  On top of all of that, we have also included a  PDF layers feature for printing.  Want to learn more about how to measure yourself for this pattern?  We’ve got you covered with an in-depth blog HERE.


Slide35sunshine-features

Are you sold on the Sunshine Dress pattern’s versatility yet?  Here are some ideas, showing that you can truly make this pattern fit so many different style needs:


Go grab yourself a copy of the Sunshine Dress.  It will be discounted through the end of the weekend, no coupon needed.

Hoping for more inspiration?  Head over to the Sunshine Dress Album on Facebook for more photos from our fabulous testers.  Happy sewing!

Filed Under: Pattern Release 7 Comments

Featured Patterns

  • Loosey Goosey Loosey Goosey $12.00
  • Loosey Goosey- Youth Loosey Goosey- Youth $10.00
  • Loosey Goosey - Bundle Loosey Goosey - Bundle $20.00
  • Everyday Shirt Everyday Shirt $12.00
  • Everyday Shirt- Youth Everyday Shirt- Youth $10.00
  • Privacy Policy
  • Refund Policy
  • Affliliate Program
  • Contact Us
  • About

Copyright © 2025 Patterns for Pirates

Copyright © 2025 · Genesis Framework · WordPress · Log in