Patterns for Pirates

P4P stylish, modern, wearable patterns

  • Home
  • Blog
    • Frequently Asked Questions
    • Pattern Releases
      • Free Patterns
    • P4P University
      • Fitting
      • Sewing with Stretch, Knit Fabrics
      • Sewing with Woven Fabrics
      • Sewing Machines
    • Sew-A-Longs
    • Fabric for Pirates
    • Pattern Hacks
    • Announcement
      • Blog Tours
      • Contest/Giveaway
  • Shop
  • Bundle Discounts
  • Gift Cards
  • My Account
  • Cart

FREE Mom/Girl Power Cut Files + 100k Sale-A-Bration Day 3!

September 12, 2018

Who is ready for the third day of celebrating?!  Welcome back to another round of our 100K Sale-A-Bration, pirates!

In case you missed the first day (which has an INSANE giveaway attached to it) or our second day (which includes a FREE sewing pattern), here are the links:
100K Sale-A-Bration + Grand Prize Giveaway | Free Convertible Cover Pattern

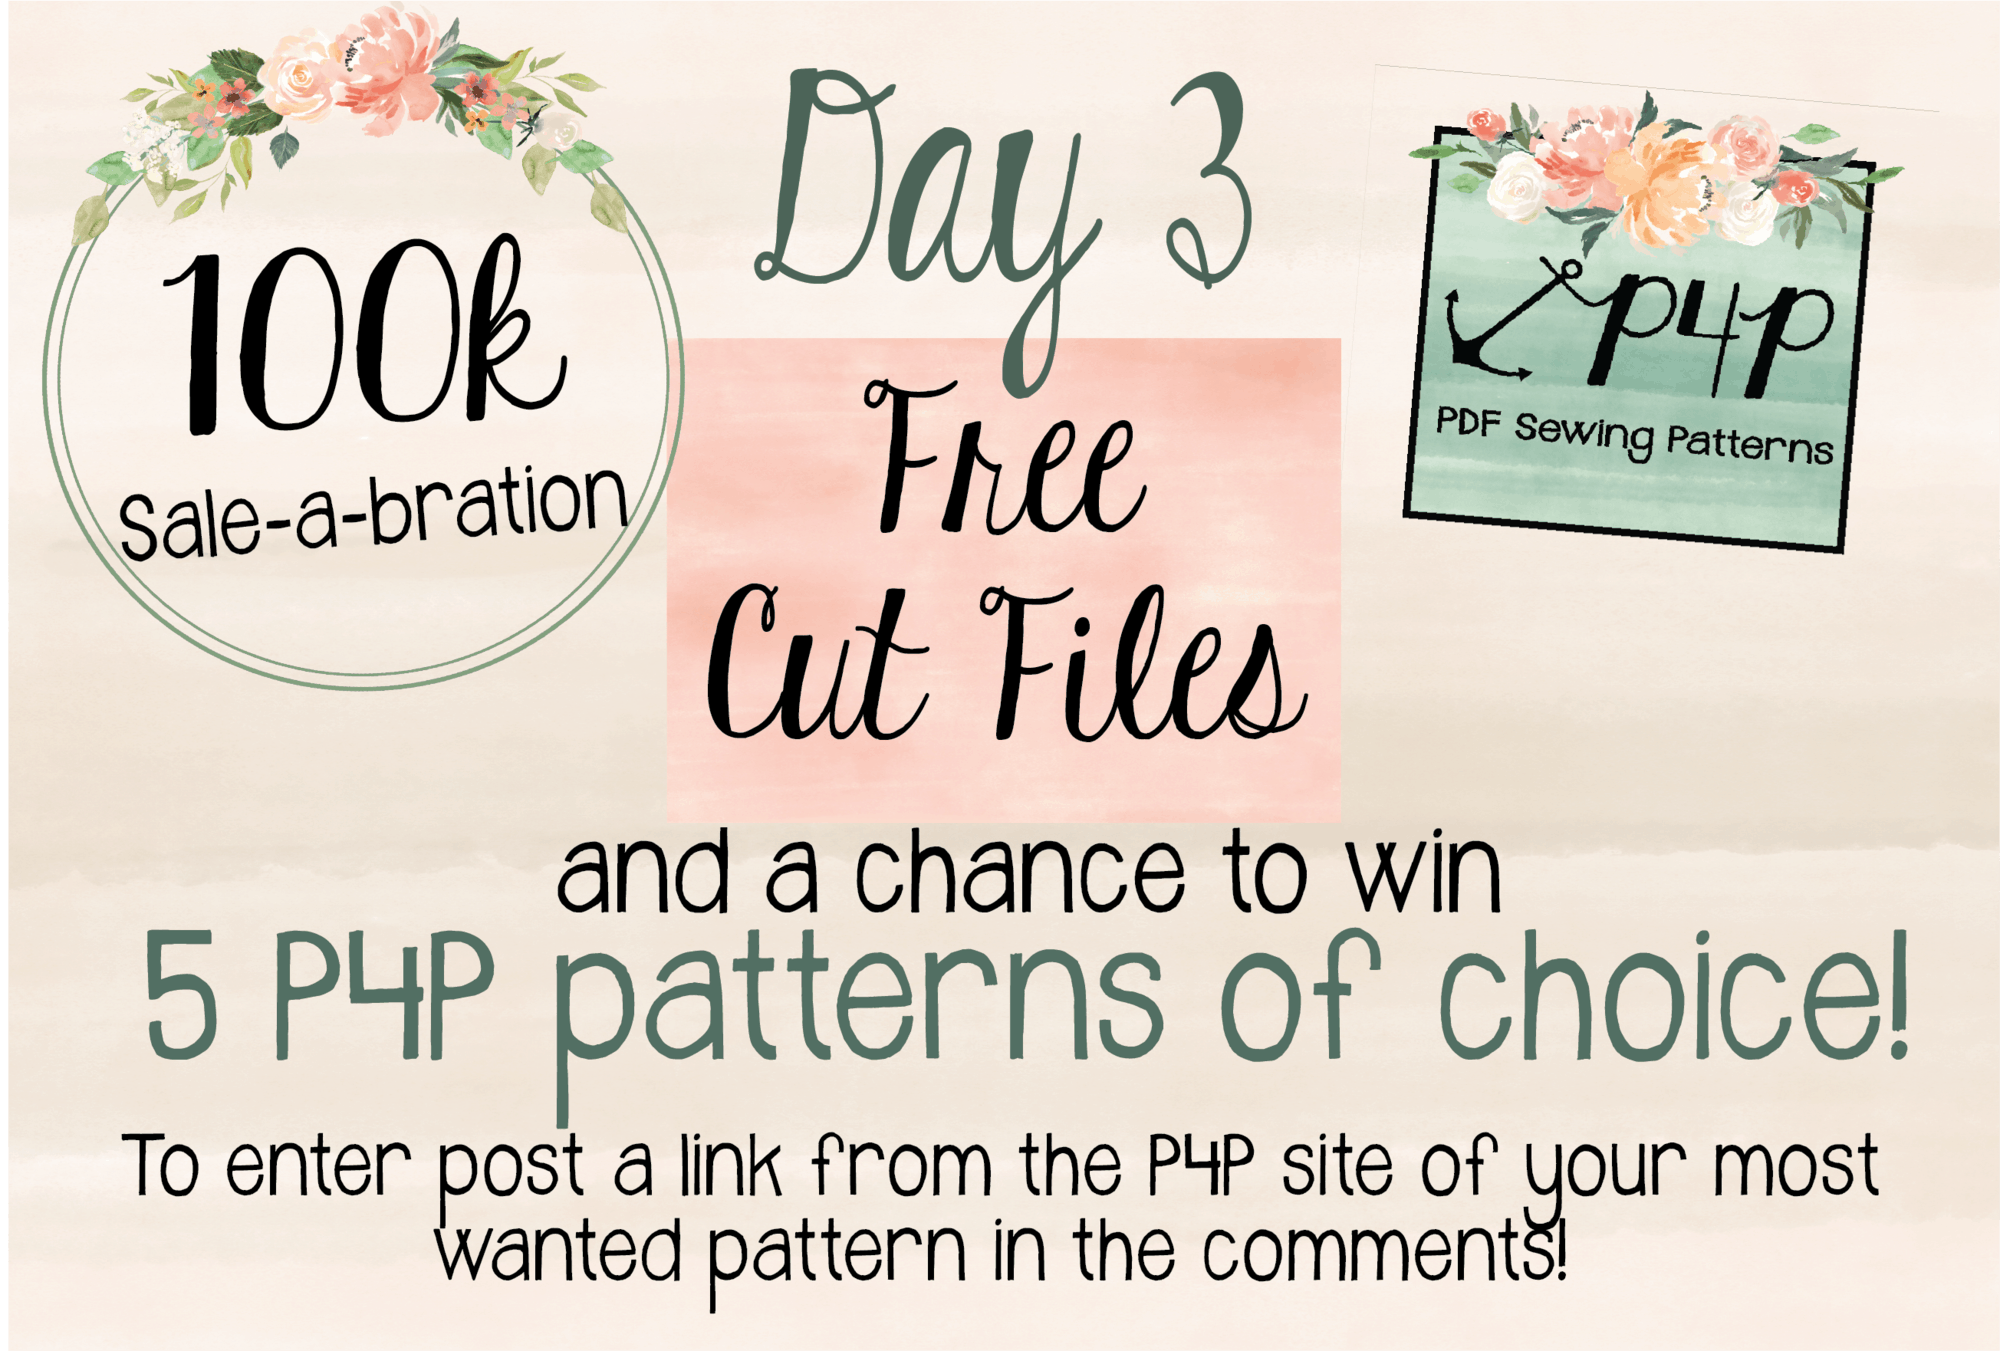
Today is another round of freebies, this time in the form of some digital cut files!

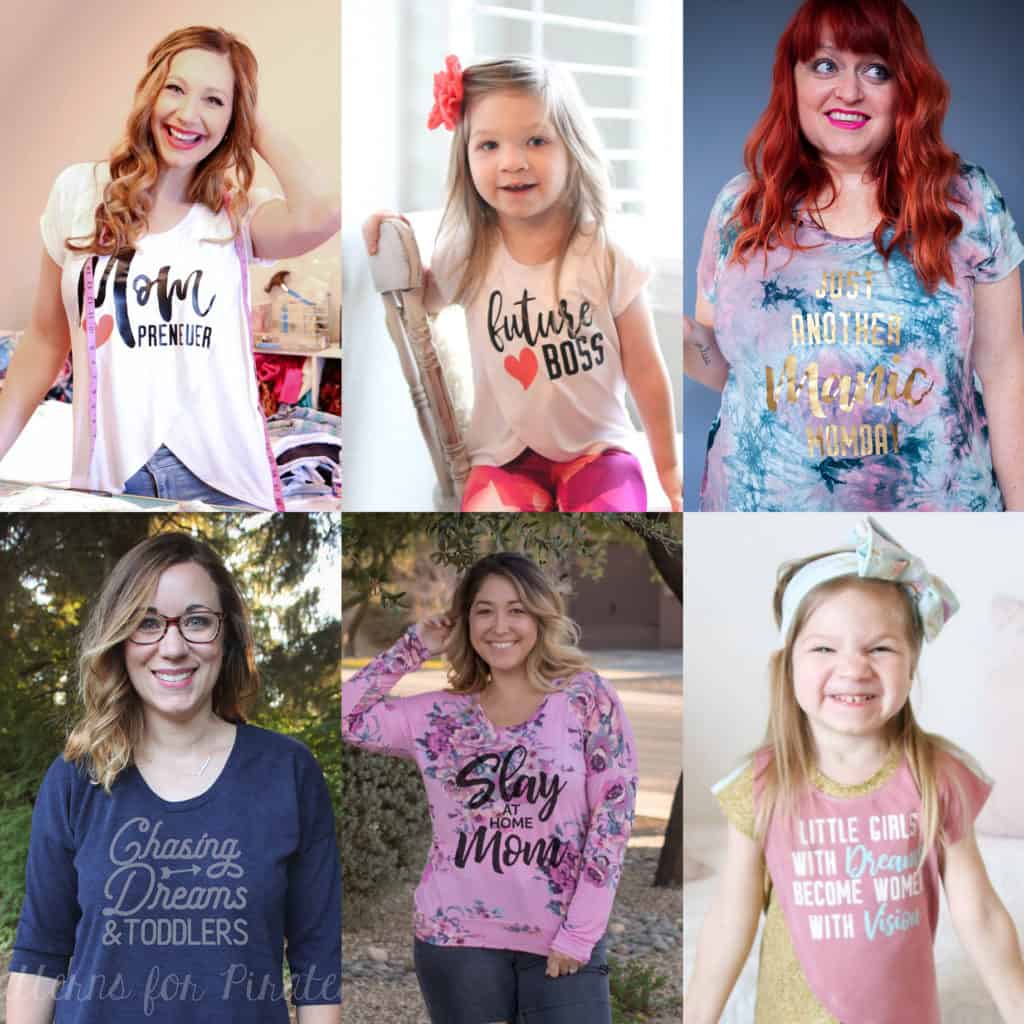
We really wanted to focus on one of our favorite topics: Strong Women.  But since we are lightly theming this week of celebrations around moms, we thought it might be fun to make the designs all about strong mommas and their little girls.  (Don’t worry, we have plans for designs geared toward boys / men at a later date!)

The designs are all packaged together with four different file types: SVG, PNG, DXF, and PDF.  They should work with most digital die cutting machines.

Don’t own a machine like a Silhouette or Cricut?  No sweat!  We have included extra file types that will allow you to work with the designs however you’d like.

— Go old school and use an iron on transfer paper and your at-home printer.
— Use Heat Transfer Vinyl and your die cutter.
— Try your hand at Freezer Paper Stenciling.

Or, head right over to our First Mate Katy’s store (she’s the designer of these and most of our cut files), and have her cut the design for you and send it your way!  You can find all of our pirate designs available in here store HERE.

Wait no longer!

Go grab your copy of the FREE Mom/Girl Power Cut Files now!

Also be sure to head over the Patterns for Pirates Facebook Group and enter yourself into today’s daily drawing for the 100K Sale-A-Bration

Happy Sewing, Pirates!

Filed Under: Contest/Giveaway, Free Pattern 16 Comments

2017 Holiday Freebies :: Size Tags

December 6, 2017

We are back for more fun with day three of our 2017 Holiday Freebies!  (In case you missed the last two…check out our Slouchy Headwarmer + Emoji Pillows and then come right back!)

One of the only complaints I get in my household about the handmade clothes I make for my husband and son are that there aren’t tags.  Apparently it’s not as easy for everyone as it is for us to find the back of your shirt!  We are helping to change that with these cute clothing size tags, so now the only complaint should be that they don’t have enough of your handiwork hanging in their closets!

I made the “THIS IS THE BACK” tags for my own family’s use a while back and thought I might share it with my P4P friends!  And then we couldn’t leave you with just one (kinda snarky) design, so I whipped up two more styles to go along with it.  I think a favorite with our holiday help were the “Size: Unique” set.  Now you can label your clothing properly with things like: beautiful, sassy, strong, healthy, etc.  Kinda fun, right?

You can go pick up your copy of these designs right HERE.

Don’t own a die cutting machine like a Silhouette or Cricut?  No sweat!  We have included an extra file type (PNG) that will allow you to work with the designs however you’d like.  We even had someone print on fabric using their at-home printer and sewed the labels in that way.  Pretty clever, huh?

Here are some other ideas:

— Go old school and use an iron on transfer paper and your at-home printer.
— Use Heat Transfer Vinyl and your die cutter.
— Try your hand at Freezer Paper Stenciling.  (Dana from Made Everyday has a great tutorial HERE.)

And just as a handy little tip from someone who has been using tags like these for a while now, I like to cut a bunch of tags on my Silhouette, weed them, lay them on a piece of parchment paper and then cut them out. That way, they’re ready to go when I need them. No fuss!

As always, we love to see what you make from our goodies!  Please feel free to share with us over in the Patterns for Pirates Facebook Group!  And make sure to come back tomorrow to see what else we’ve cooked up this week for you!  Happy Holidays, Friends!

Filed Under: Free Pattern 14 Comments

P4P Raglan Week: Animal Faces

September 21, 2016

raglan-week-day3

I don’t know about anyone else, but my daughter is completely obsessed with animals. Lucky for me, she also loves the Jolly Roger Raglan- so it was a natural choice to put an animal face on a raglan for her. Raglans are an essential piece of her fall wardrobe and such a great style on girls or boys and now with the Add-on pack you have so many more options but it’s still fun to add some character to the front. The shape of the raglan sleeve are perfect for fun details like animal ears so we have created 2 different ear options and 5 animal faces for you- a kitty, panda, fox or deer, and pirate puppy! You can find the face file and ear pieces here.

Here is a quick tutorial on what to do!

First we are going to cut 4 of whatever ear option you are choosing (2 pieces for each ear). You can mix and match as you choose, we had quite the discussion on what ear belongs to which animal and we are still undecided on if a raccoon has rounded or pointed ears so we are going to leave it to you to decide!  I used a fairly heavy weight cotton lycra on my ears but if you are using a thinner knit you may want also want to use interfacing on your ears (if so, cut your interfacing and iron it on now).  Next we are going to take our ears and place right sides together, then sew with a 1/4 inch seam allowance around our ear leaving the bottom straight edge open.  I like to trim my seam allowance down with my pinking shears but you can also make tiny clips around your curve.  Turn your ears right side out and press them well.  You can top stitch your ears if you would like, I chose not to top stitch mine.

img_55721img_55731

img_55741

Next we are going to take our front piece and line up our ears.  I placed the edge of the kitty ear 1.5 inches down from the top of the shoulder on a size 5.  With the rounded ear I would move it farther down just a tad, I placed my panda ear at 1.75.  You may want to move your ear up a bit on the smaller sizes or down a bit on the larger sizes, do whatever you like but be mindful of the 0.5 inch seam allowance on the neckband as you don’t want to place your ear too close to the top and sew it into your neckband.  Once you have your ear placed on your front add your sleeve pin or clip in place and repeat on the other side.  Sew your sleeves into your front piece and continue construction as normal.  TIP: before your attach your neck band iron all your seams, you want your seams where your ears are placed to point towards the shirt and not the sleeve, it makes a huge difference on keeping your ears standing up!  Once you’ve finished your shirt, if your ears are wanting to fall forward just tack them in place on the top of each ear.  I just pinned them in place and did a couple stitches on my machine. Or you could stitch them all the way around onto your sleeve, completely up to you.

img_55761img_55771

Now you just need to iron on your vinyl!  This again, is a personal choice. I like my face fairly high on the shirt but others like it lower. Don’t have a way to cut vinyl, that’s OK! You can cut the pieces out of fabric and applique them on, add buttons for eyes, rick rack for whiskers… just have fun with it!

Go sew a bunch of animal faced raglans and let your inner animal out! Happy sewing and as always post your creations in the Patterns for Pirates Group- we are excited to see what your create! Don’t forget to tag your posts #p4praglanweek

P.S. Another quick tip, the kitty face raglan below is more of a tunic length, but you will see that is not an included option in the pattern.  A quick way to achieve a tunic length for girls is by adding the band to the hemmed length! Quick, easy and gives you one more cute option.

img_56541

img_56491img_55811img_5579114424768_10210631319370302_8079611700312509247_o

14317592_10210631319450304_566160835777953597_n

14124316_10153844301153317_1921540397317453212_o

If you’ve created your very own adorable animal version of the  Jolly Roger during P4P Raglan week, we would love for you to share it with us!  Head over to the Facebook Group or share on Instagram.  And be sure to use the tag #P4PRaglanWeek so we can find you!

Curious about what else has been happening during our raglan-loving week of fun?

Just take a look at our schedule!

Monday, September 19: Jolly Roger Raglan Pattern Update + Jolly Roger Add-On Pack Pattern Release

Tuesday, September 20: JRR Woven Fabric Hack

Wednesday, September 21: JRR Animal Faces Add-On

Thursday, September 22: Contrast Band Hack for Kangaroo Pockets

Friday, September 23: Women’s Keyhole / Scoopback Raglan Hack

Saturday, September 24: Off-The-Shoulder Raglan Hack

Sunday, September 25: Adding Stripes to Your Raglan Sleeves

Filed Under: Free Pattern, Pattern Hacks, Uncategorized 2 Comments

Newest Patterns

  • Uptown Joggers - Youth $10.00
  • Uptown Joggers $12.00
  • Uptown Joggers - Bundle $20.00
  • Notch Top & Dress $12.00
  • Notch Top & Dress - Youth $10.00
  • Privacy Policy
  • Refund Policy
  • Affliliate Program
  • Contact Us
  • About

Copyright © 2023 Patterns for Pirates

Copyright © 2023 · Genesis Framework · WordPress · Log in