Patterns for Pirates

P4P stylish, modern, wearable patterns

  • Home
  • Blog
    • Frequently Asked Questions
    • Pattern Releases
      • Free Patterns
    • P4P University
      • Fitting
      • Sewing with Stretch, Knit Fabrics
      • Sewing with Woven Fabrics
      • Sewing Machines
    • Sew-A-Longs
    • Fabric for Pirates
    • Pattern Hacks
    • Announcement
      • Blog Tours
      • Contest/Giveaway
  • Shop
  • Bundle Discounts
  • Gift Cards
  • My Account
  • Cart

All Buttoned-Up | Easy Hacks

September 9, 2021

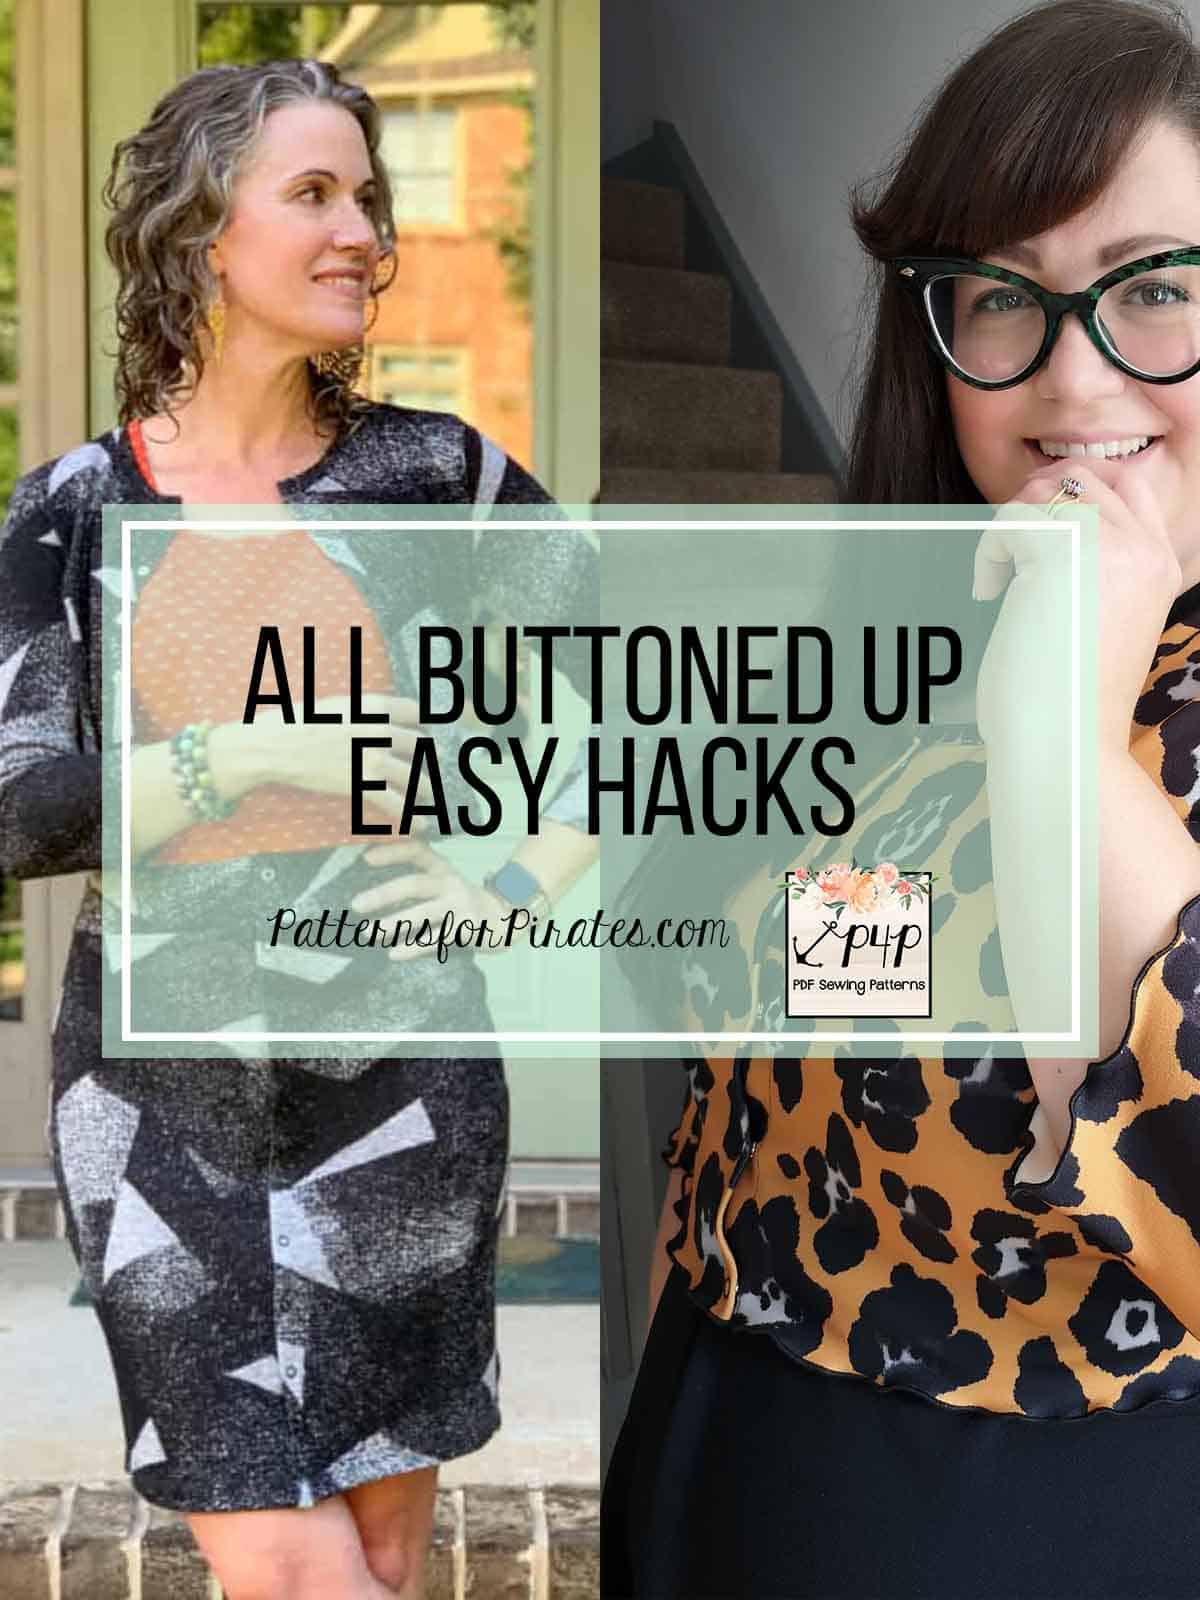
Grab those buttons and snaps…the All Buttoned Up pattern is here!! What a beautiful staple for year round sewing. We am so excited to bring you two easy hacks for the All Buttoned Up pattern that will give you even more options. First off, the gorgeous Dana is showing how to achieve the – ohh so popular – lettuce hem look. In the second half of the blog, our talented Rachel is creating separates with the ABU pattern. Yes!

…..

LETTUCE HEM HACK


If you are looking to give a cute and flirty finish to your new cardigan, a lettuce hem is a great way to go. It’s quick and easy and looks fantastic.  Here’s how to do it!

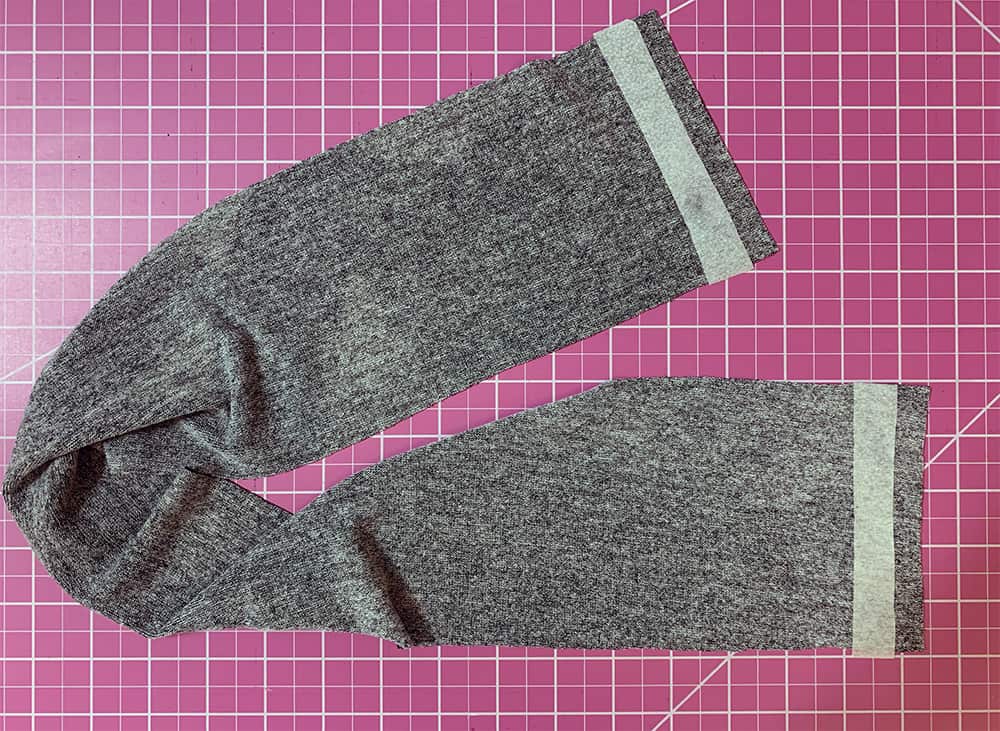
First you will want to remove your hem allowance.  Shorten the bottom edge of your bodice piece by 1”, and the bottom edge of your sleeves by ½”.  Cut out the rest of your pieces as normal.

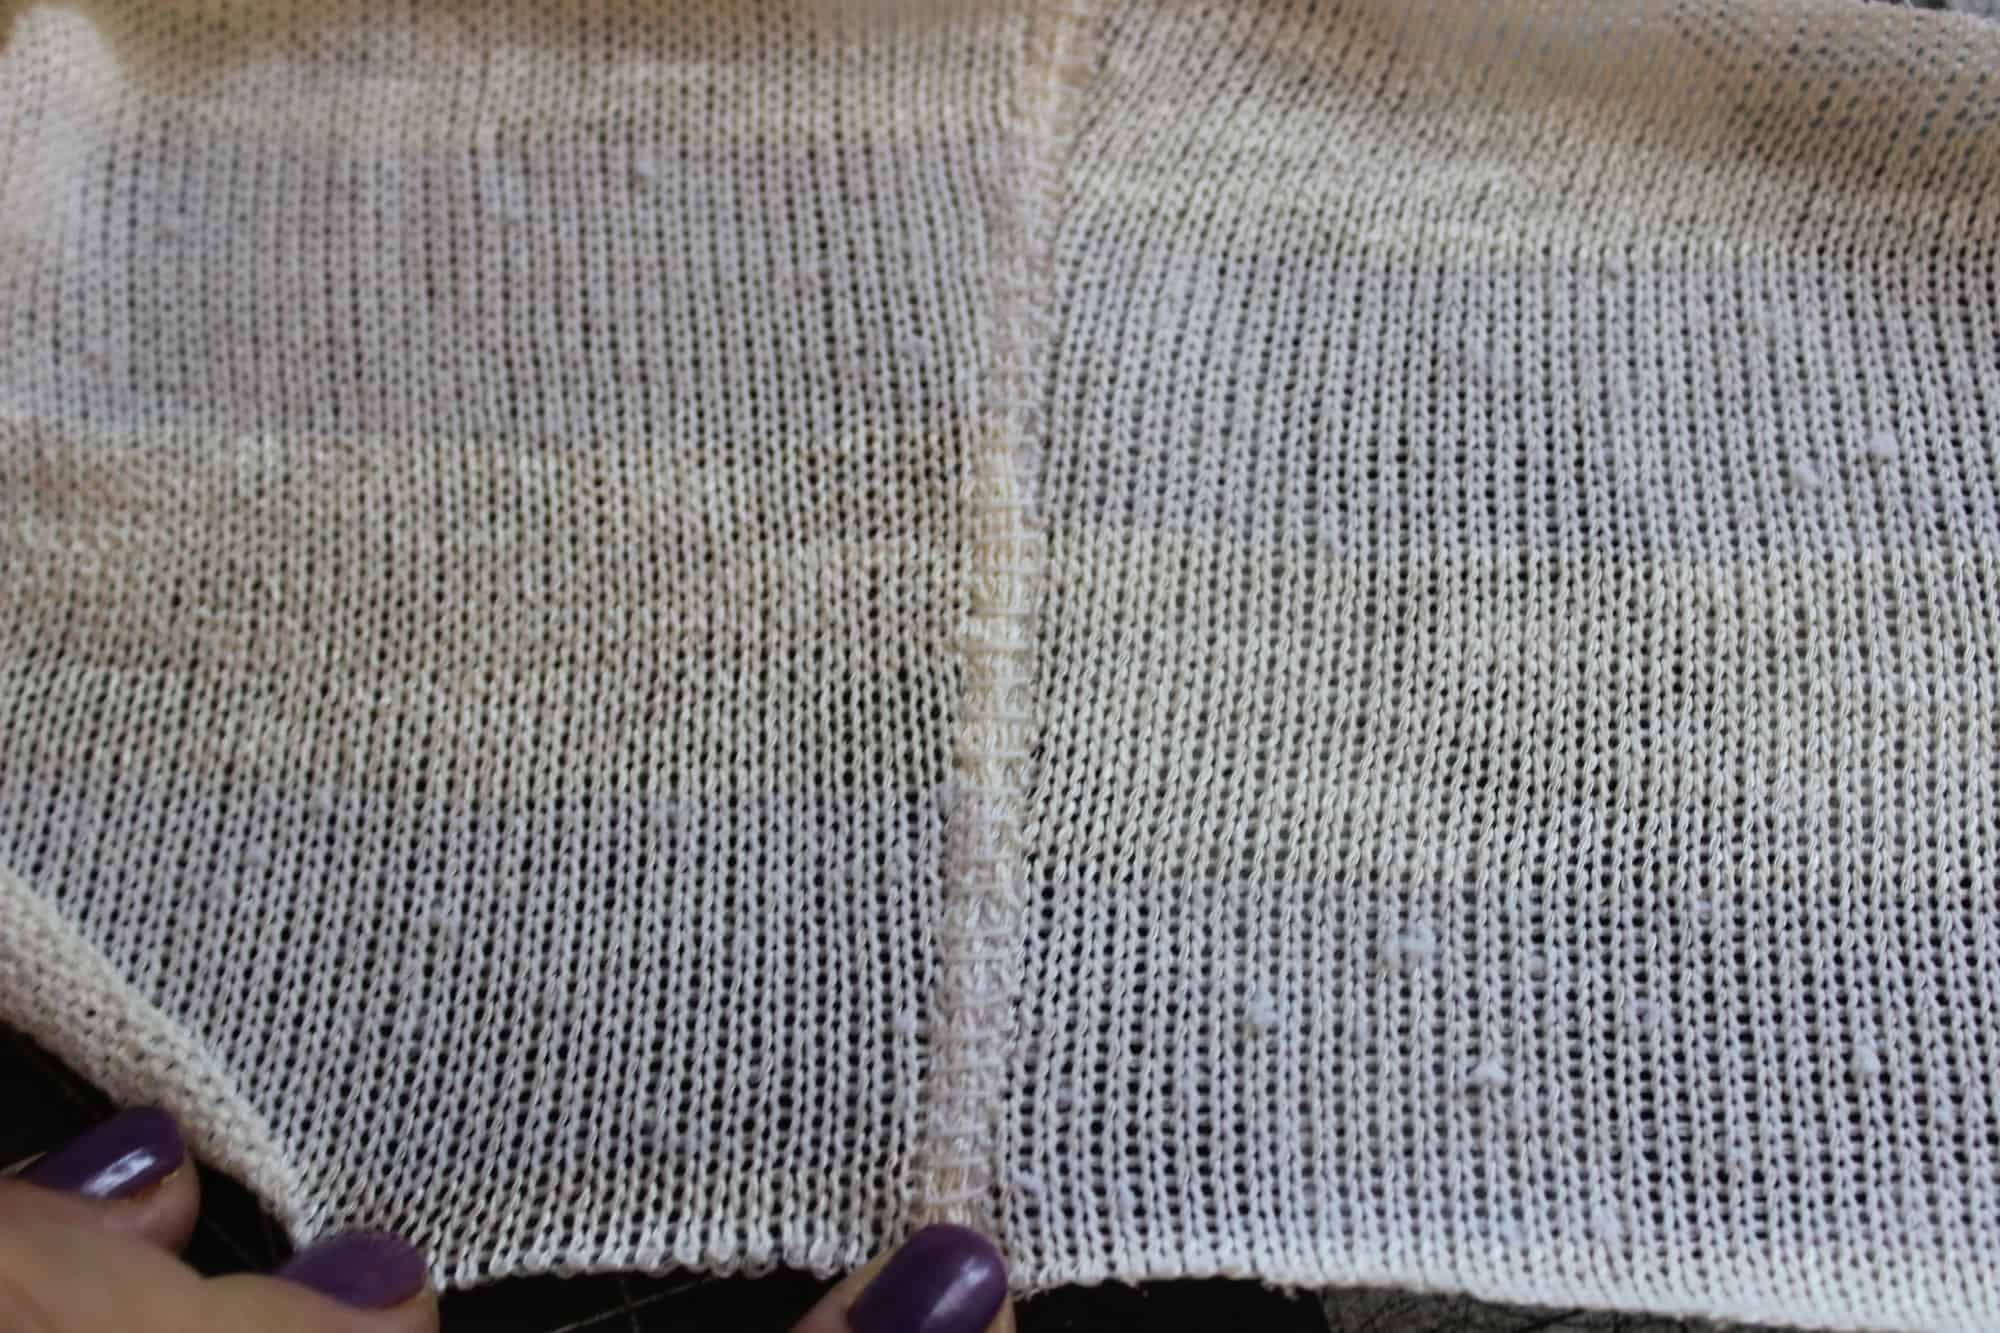
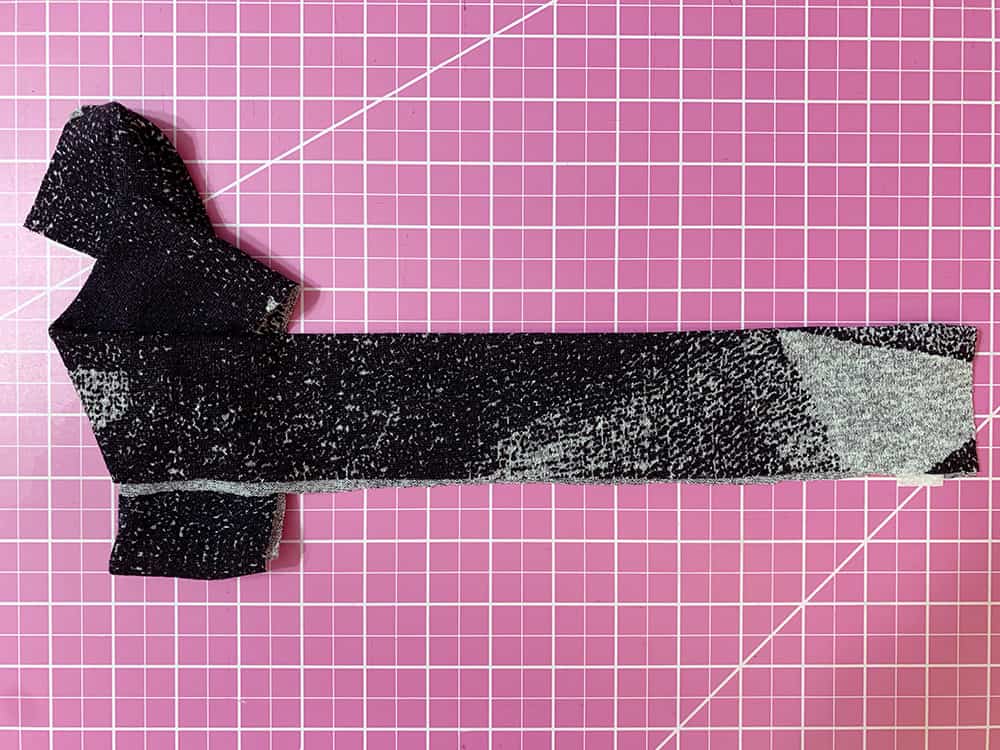
Then continue with the tutorial instructions until you reach the part where you are told to memory press the hems.  We don’t have hems so instead you will sew the bottom half of the side seams together.  This will enable you to hem the whole of the bottom edge in one go.  (You can’t sew the whole of the side seam, otherwise you will have to hem your sleeves in the round, which is a little tricky with a rolled hem).

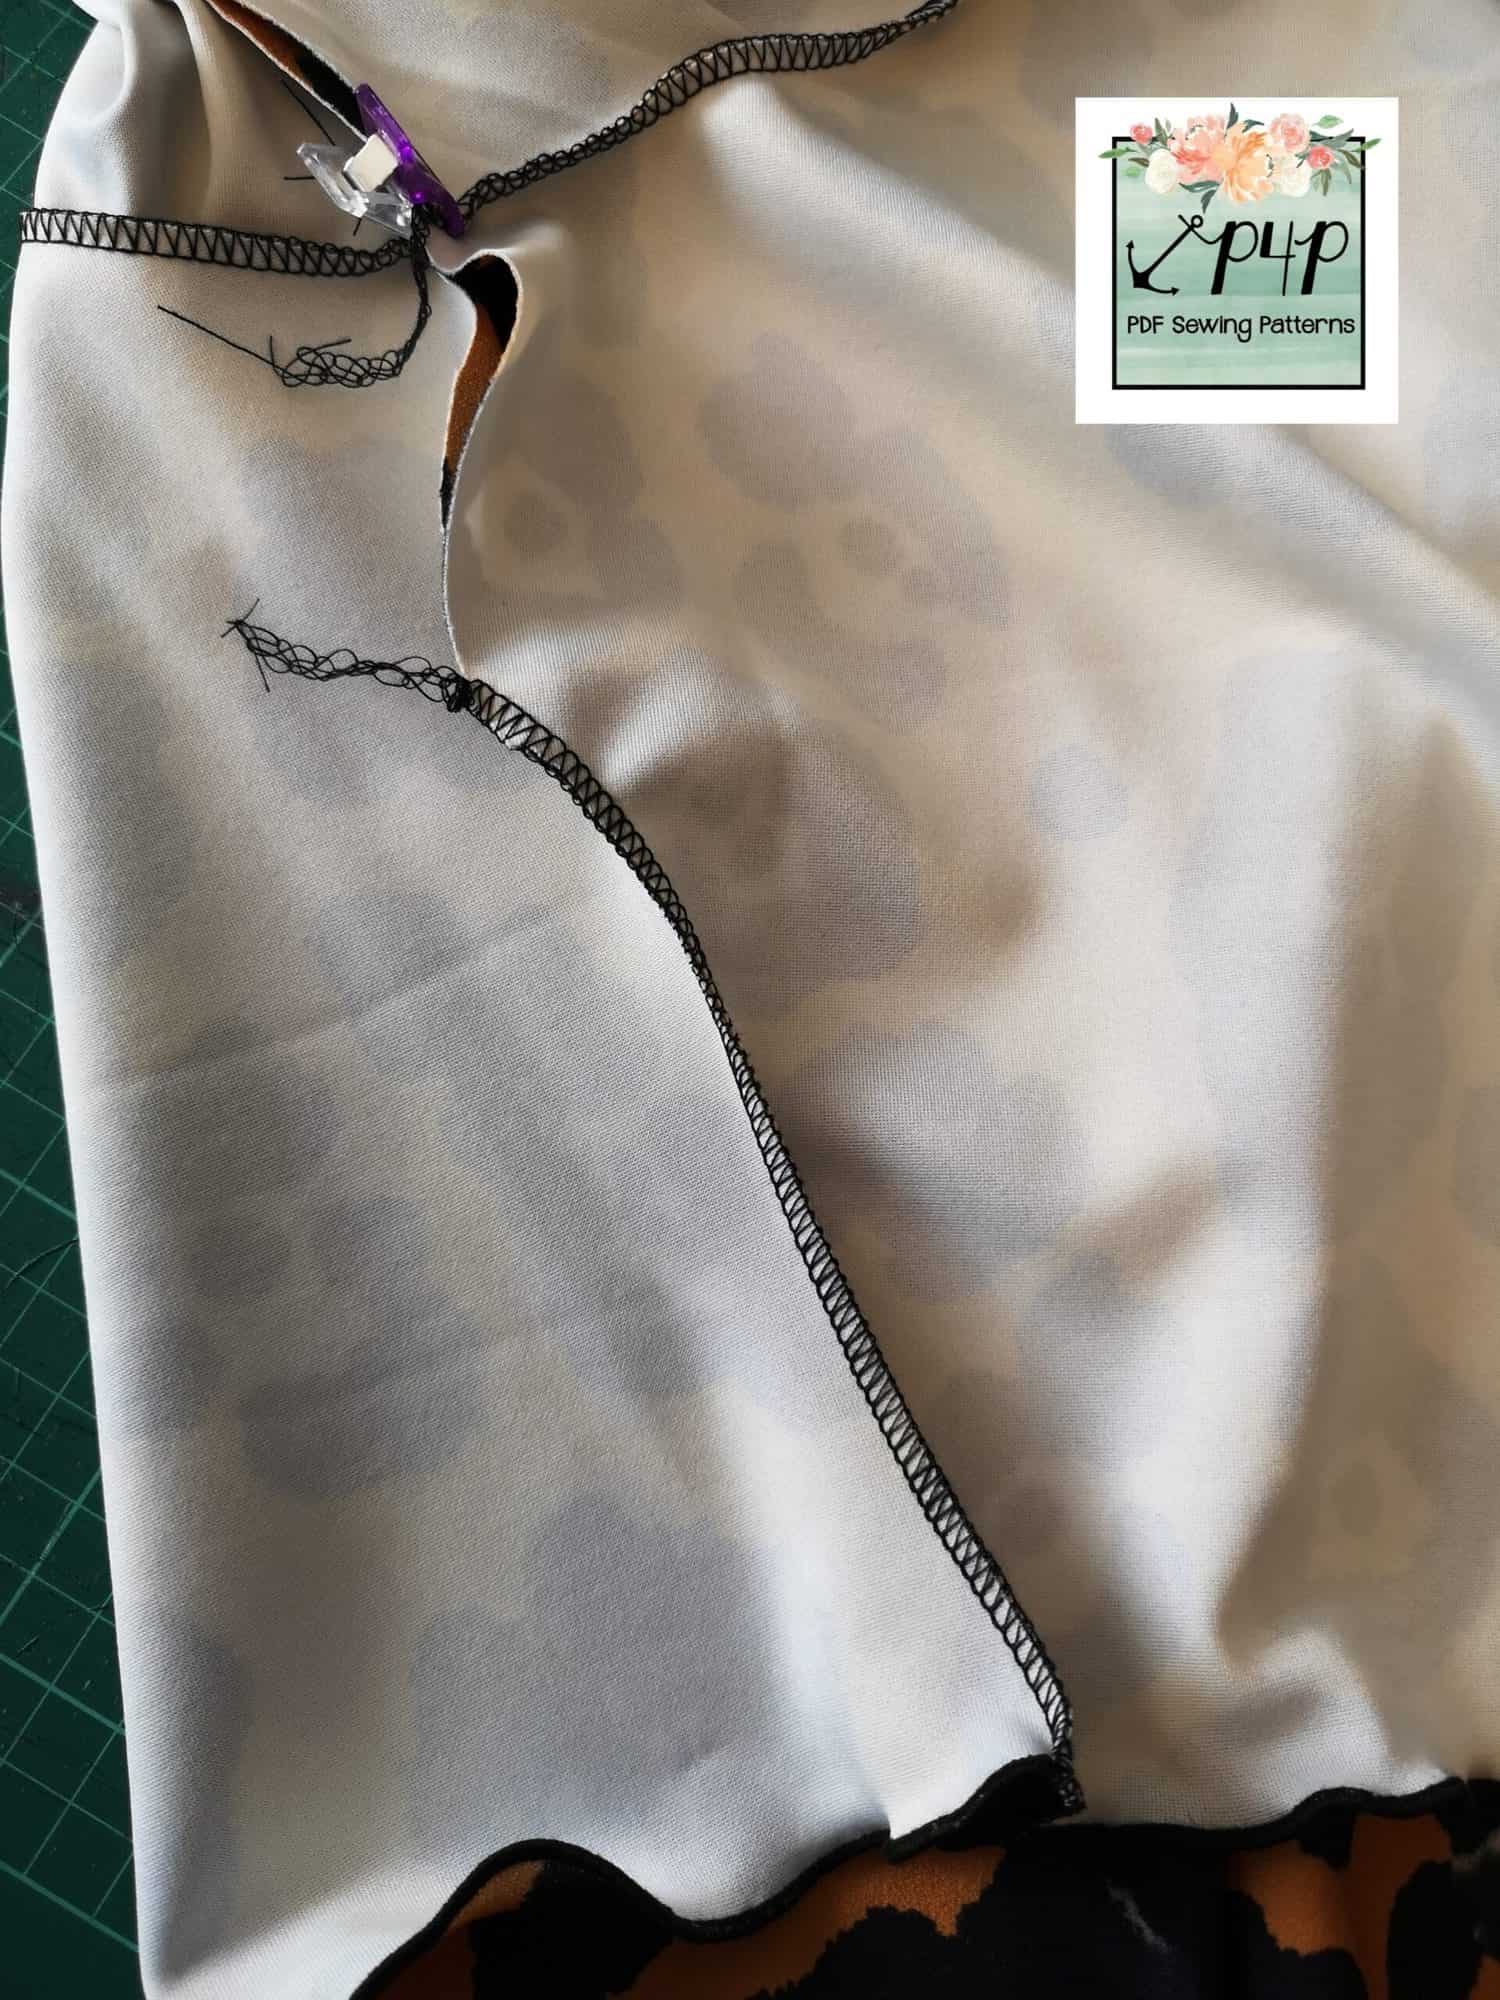
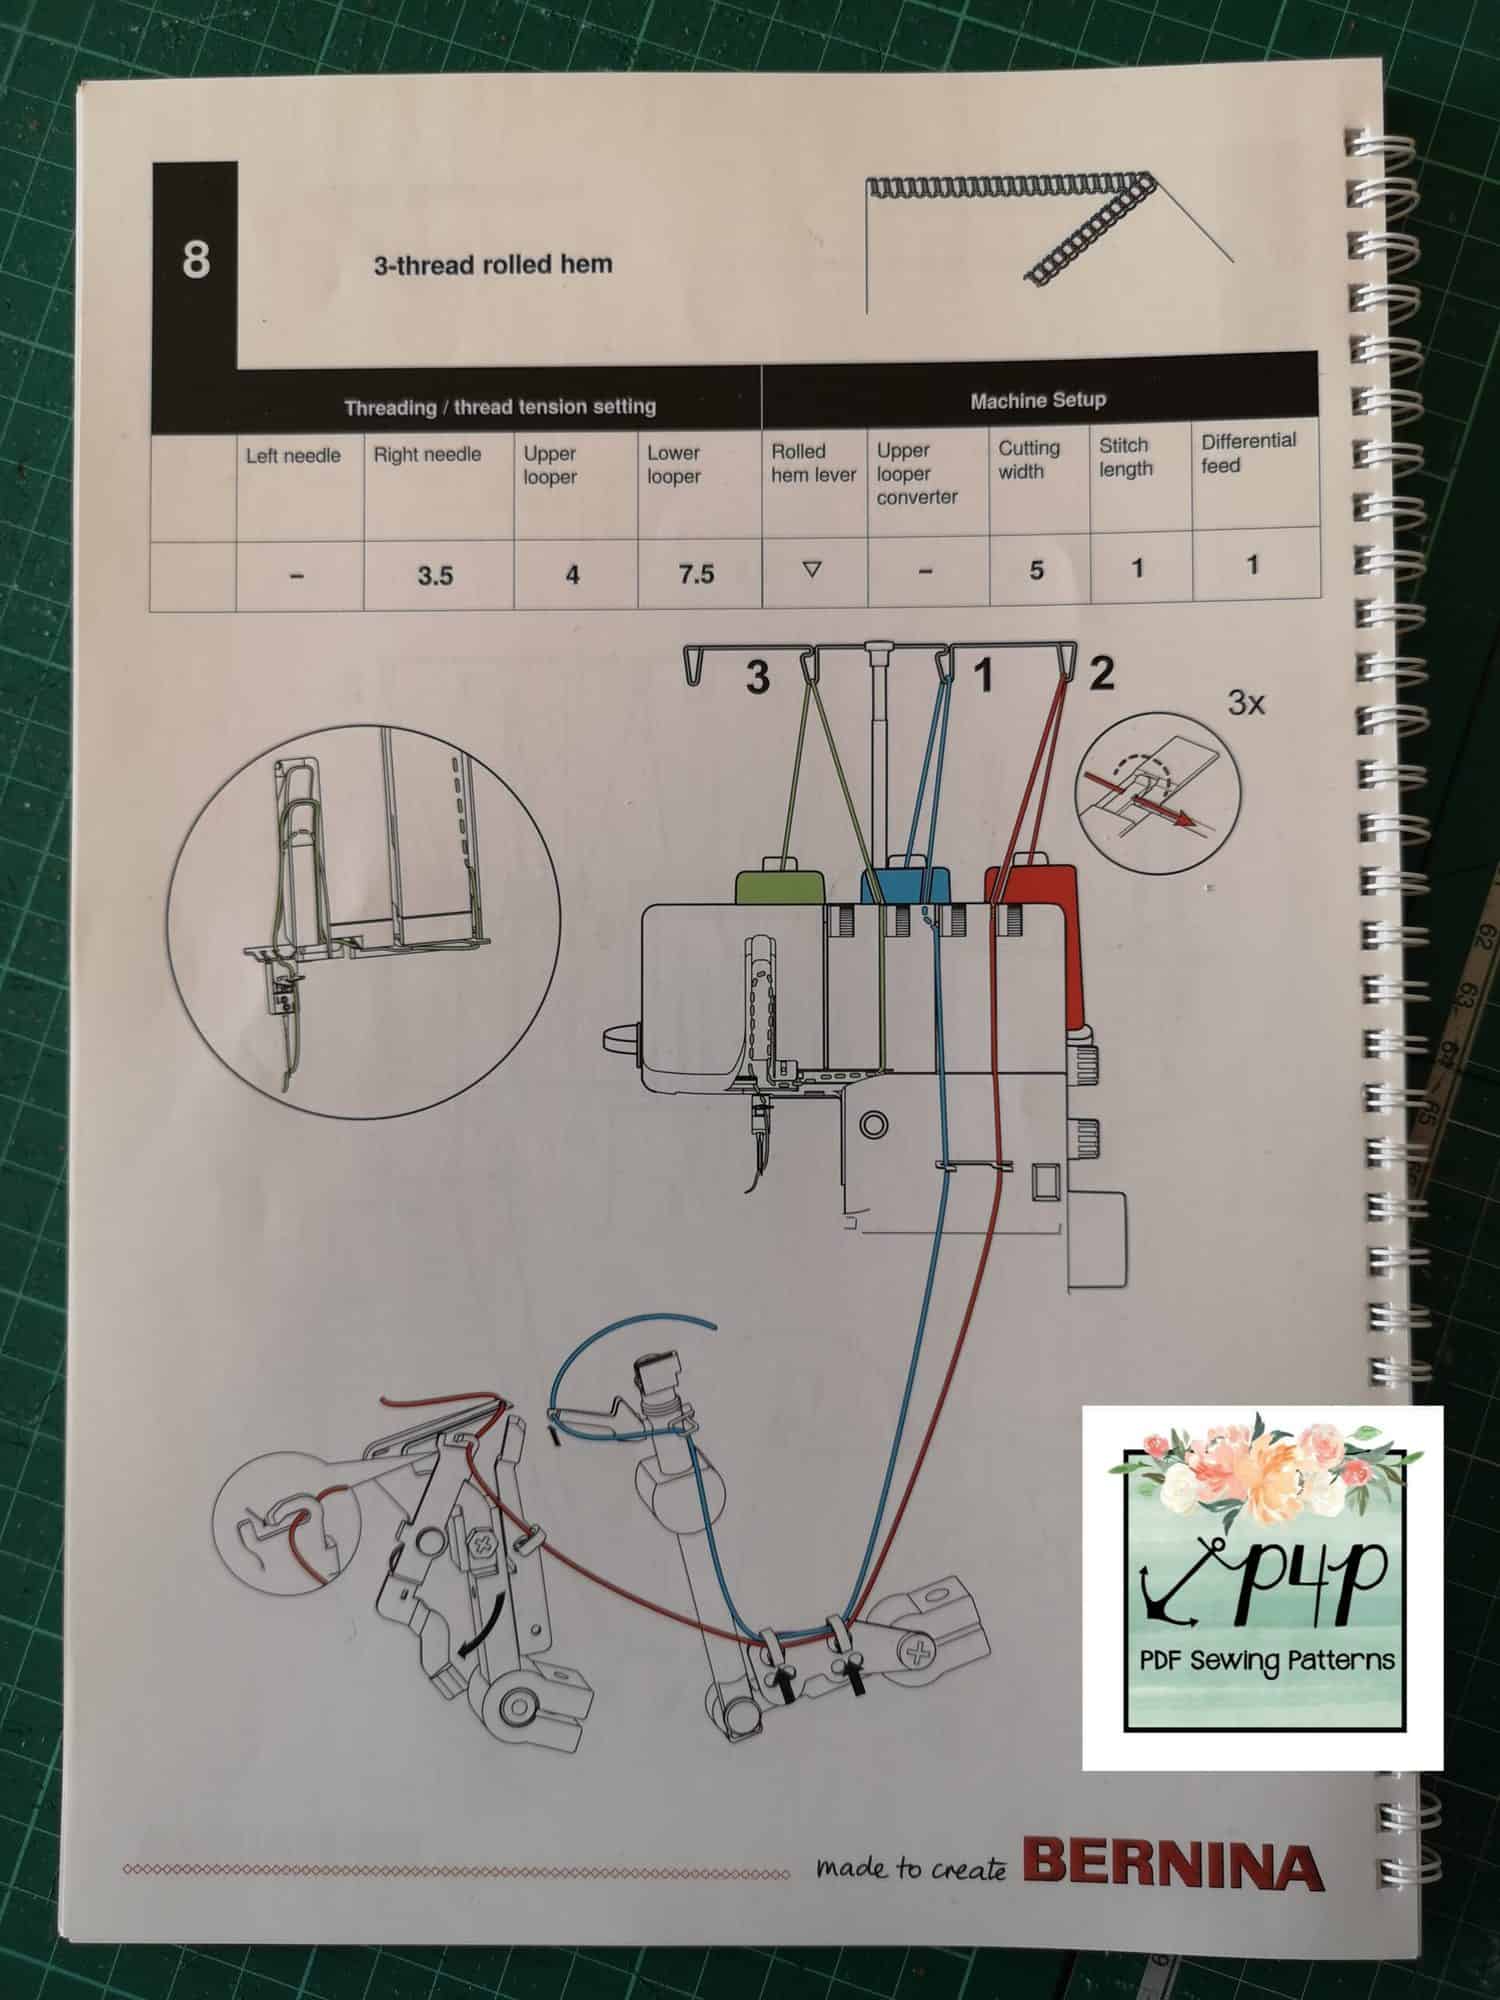
Next we will change our overlocker/serger onto its settings for a 3 thread, narrow rolled hem.  You will need to remove your left needle and then change your tensions, stitch length, width and differential feed. Your manual will show you how to do this.  This is the page from my manual for reference but different machines will have slightly different settings.

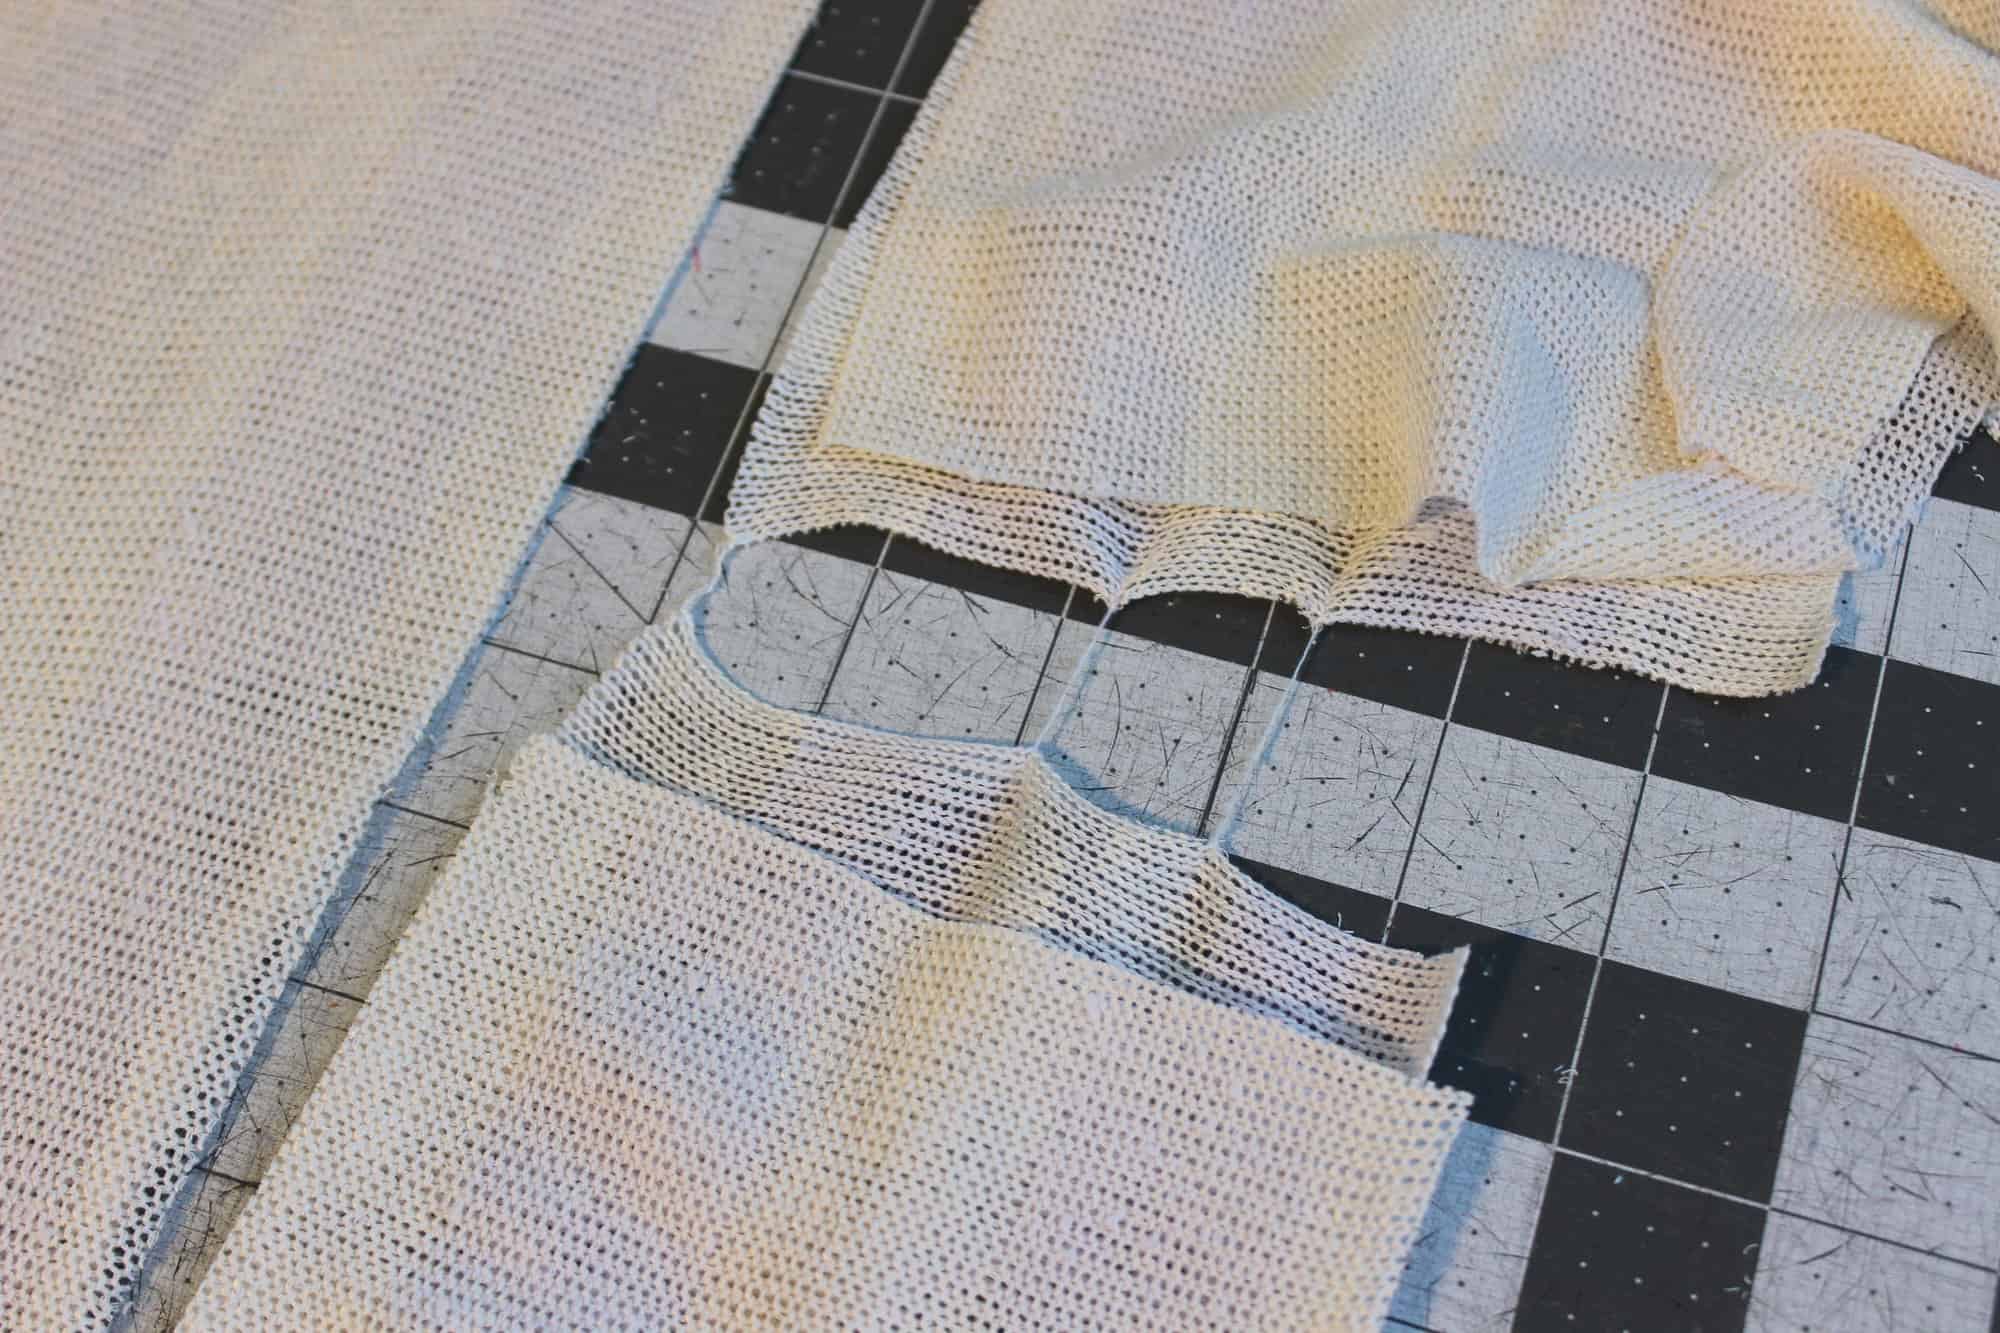
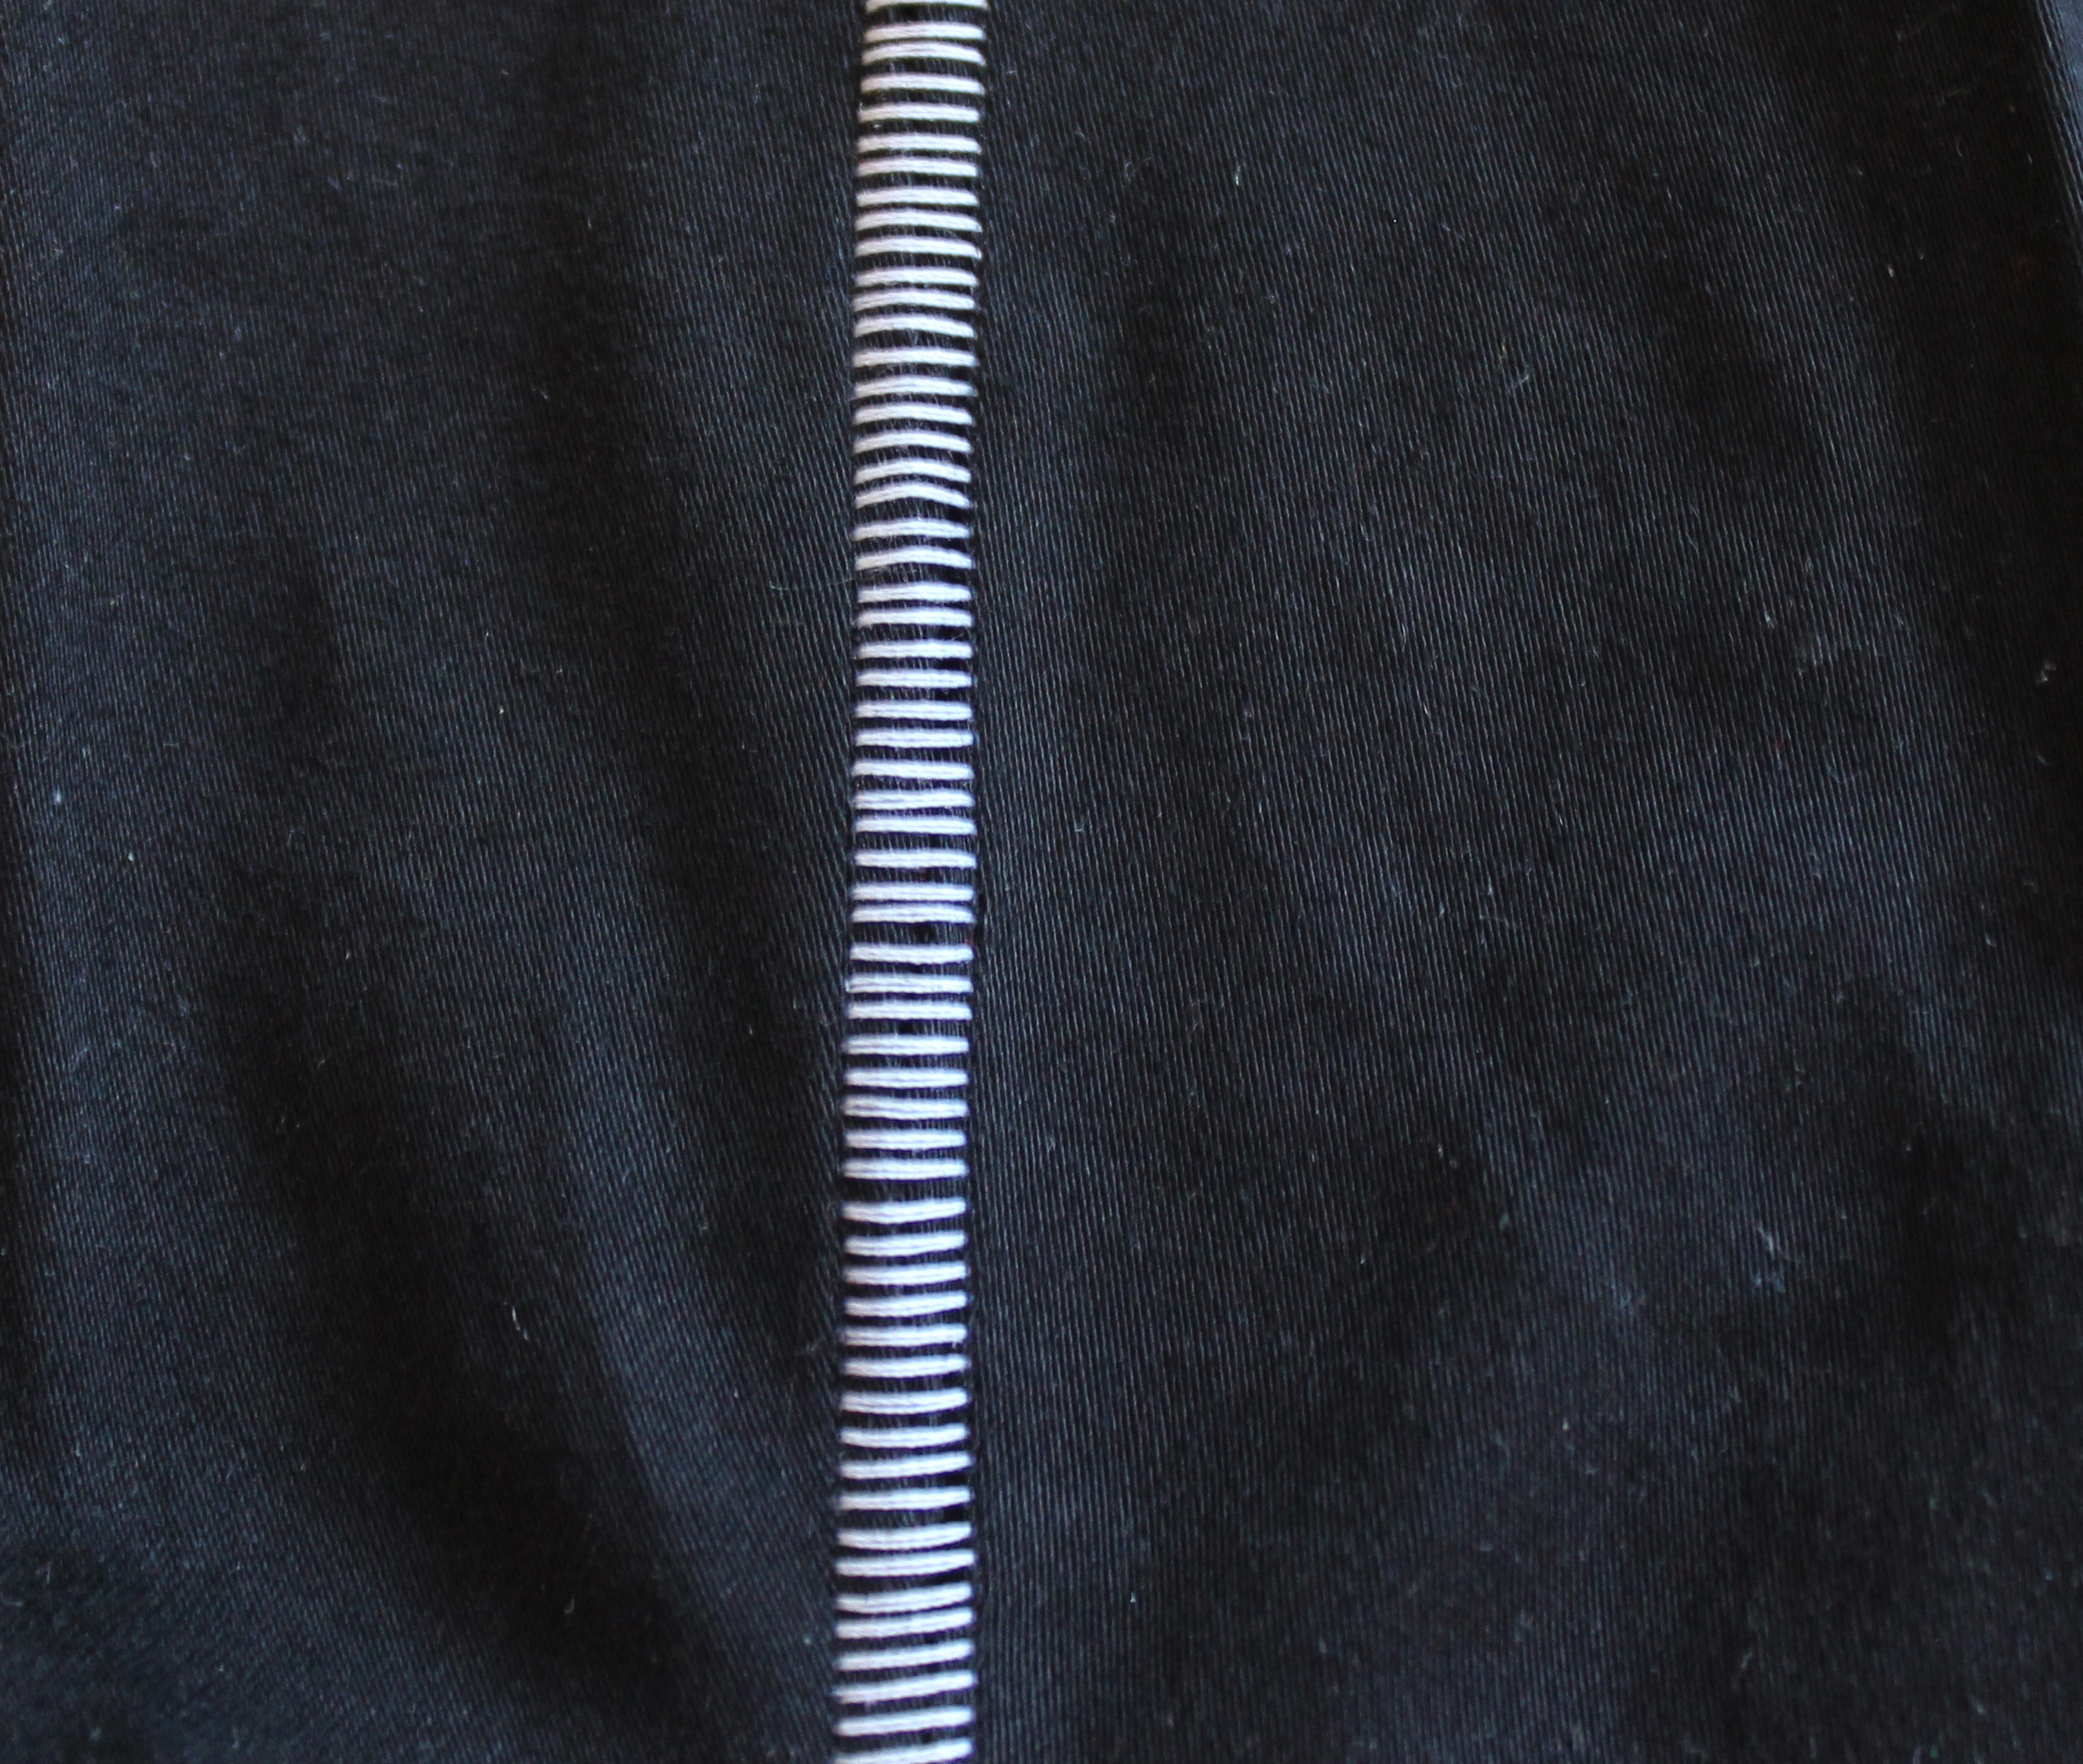
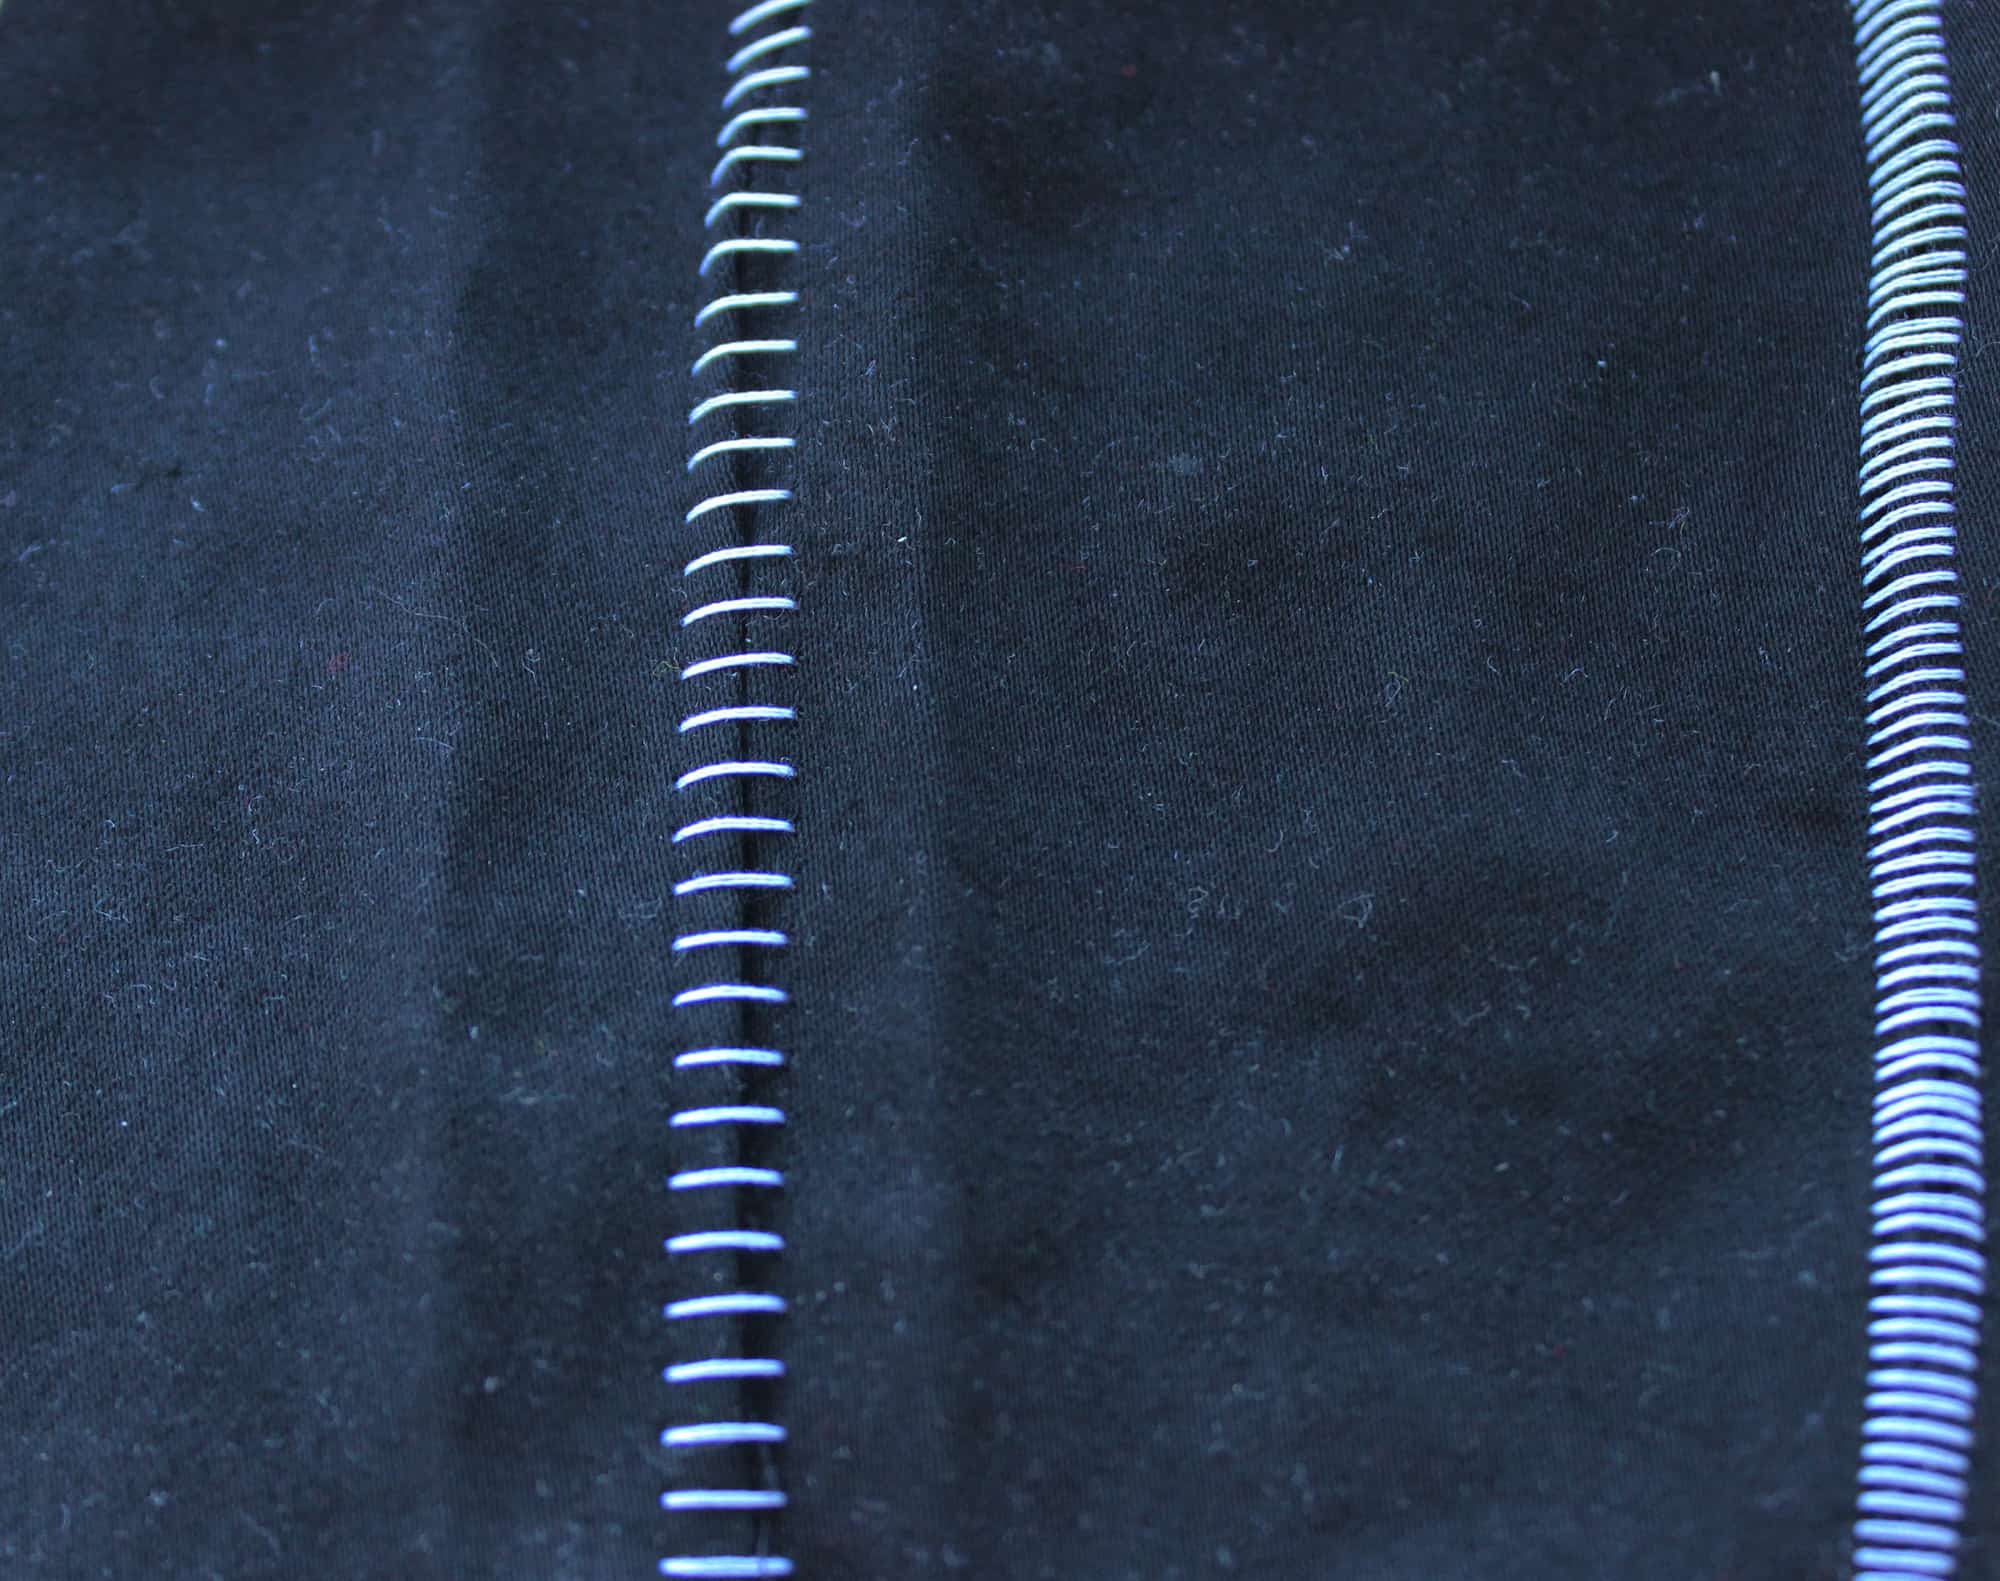
 The only difference between a lettuce hem and a regular narrow rolled hem is to decrease the differential feed down as far as it goes, and to gently pull the fabric to stretch it as you feed it into the presser foot.  Both of these actions will stretch the fabric as it is sewn, and helps give the wobbly lettuce edge.

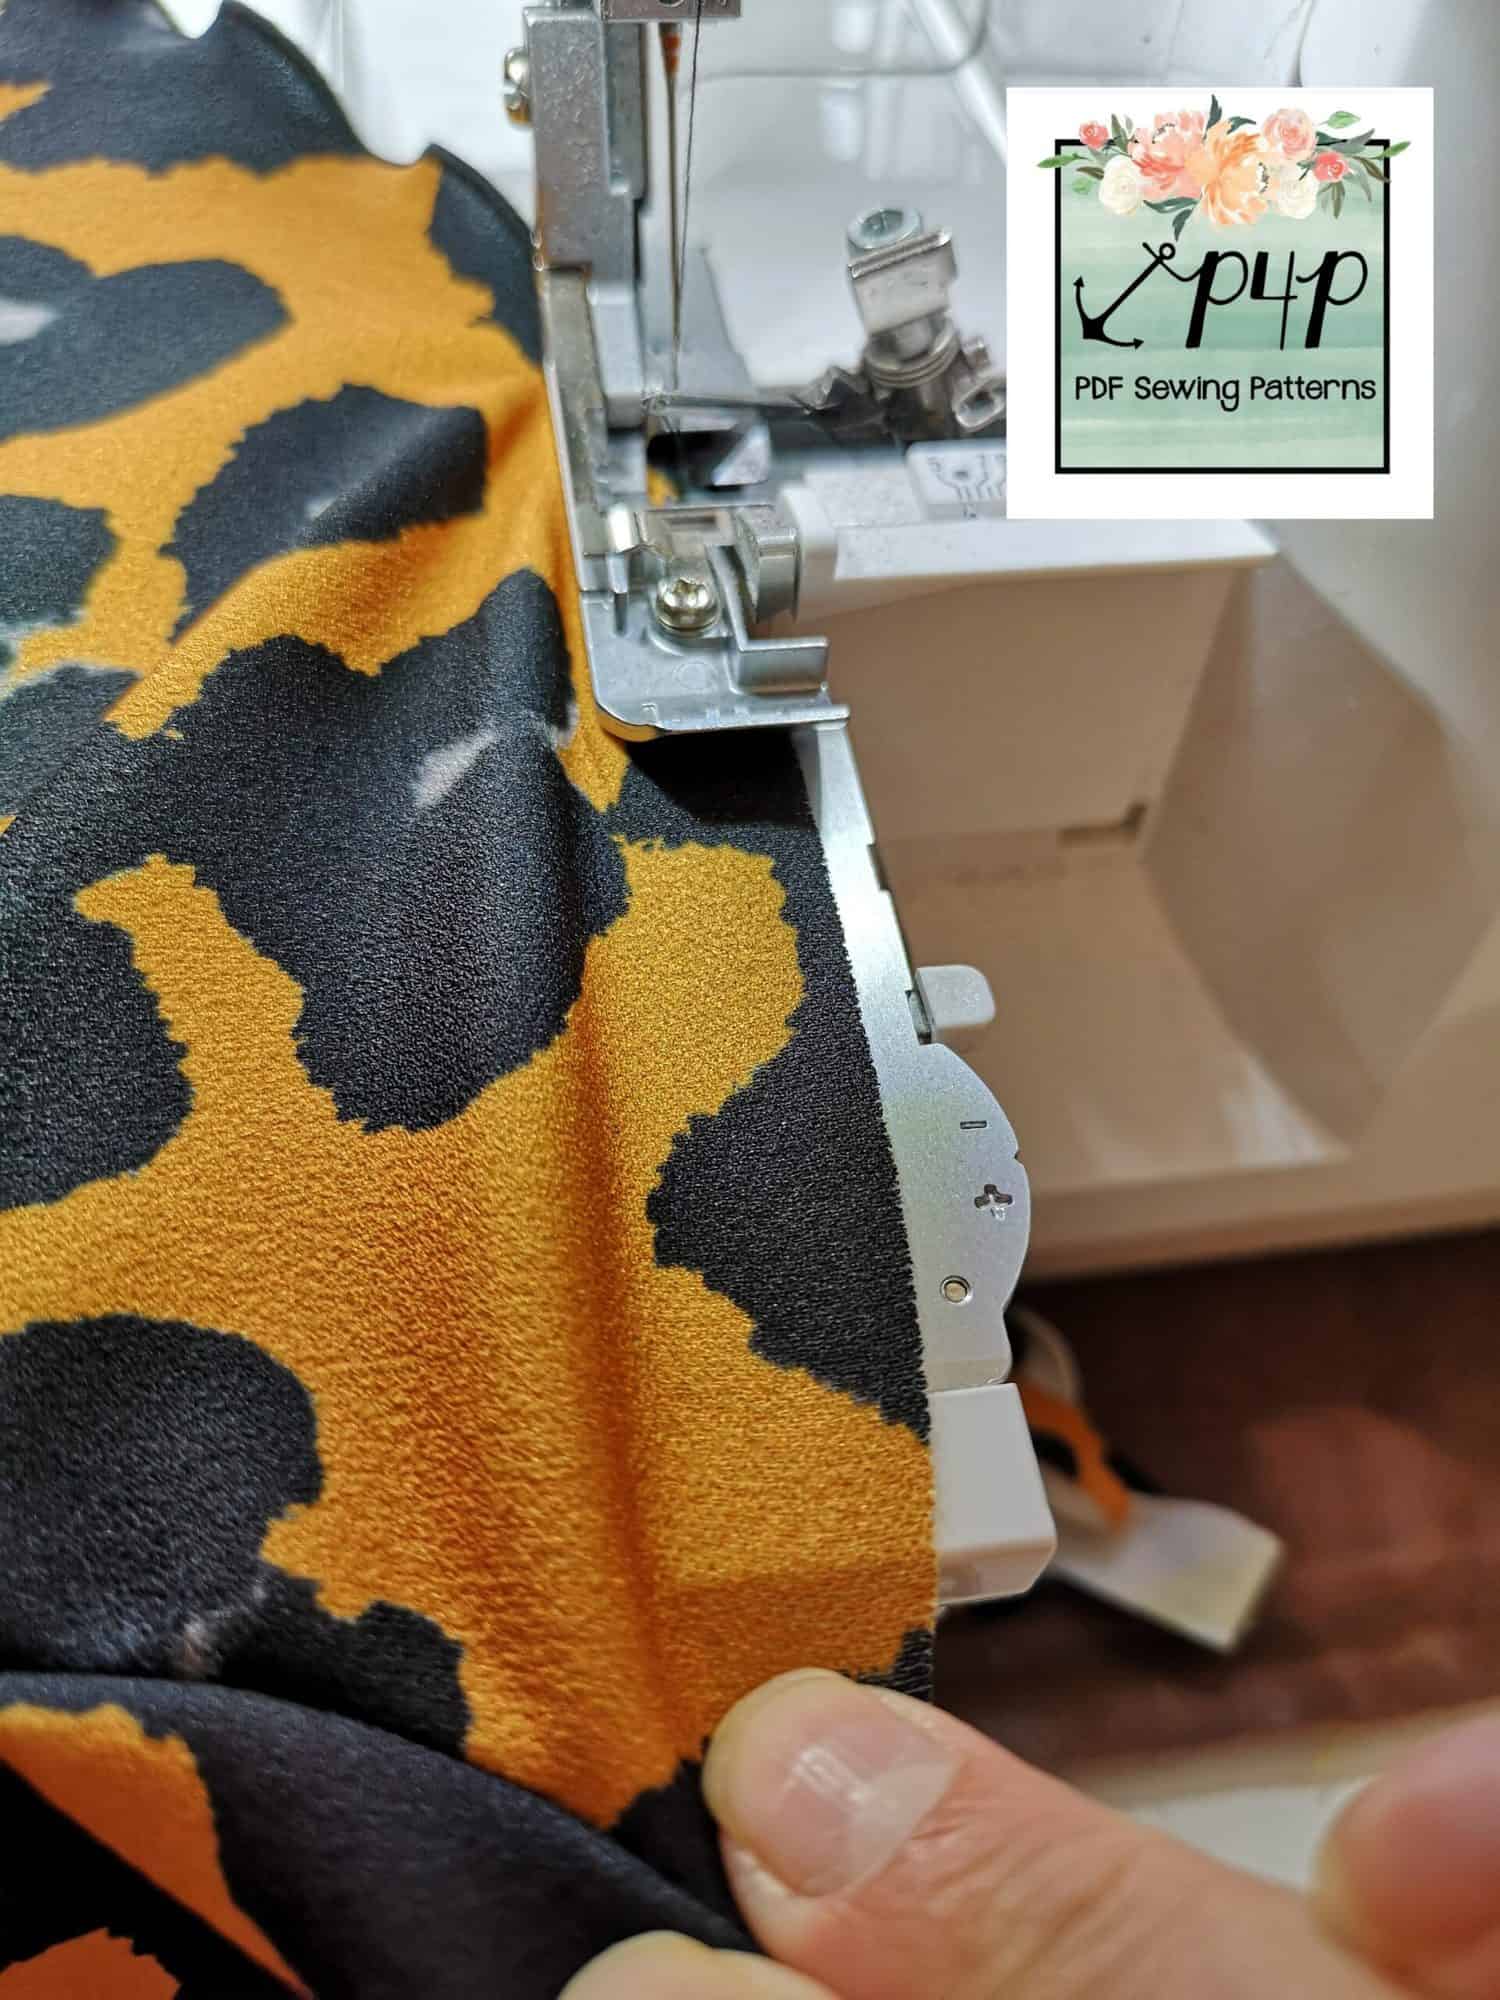
You can also slow the fabric as it comes out of the back of the feed dogs, and gently stretch the hem once it is sewn, as this increases the ruffled look.

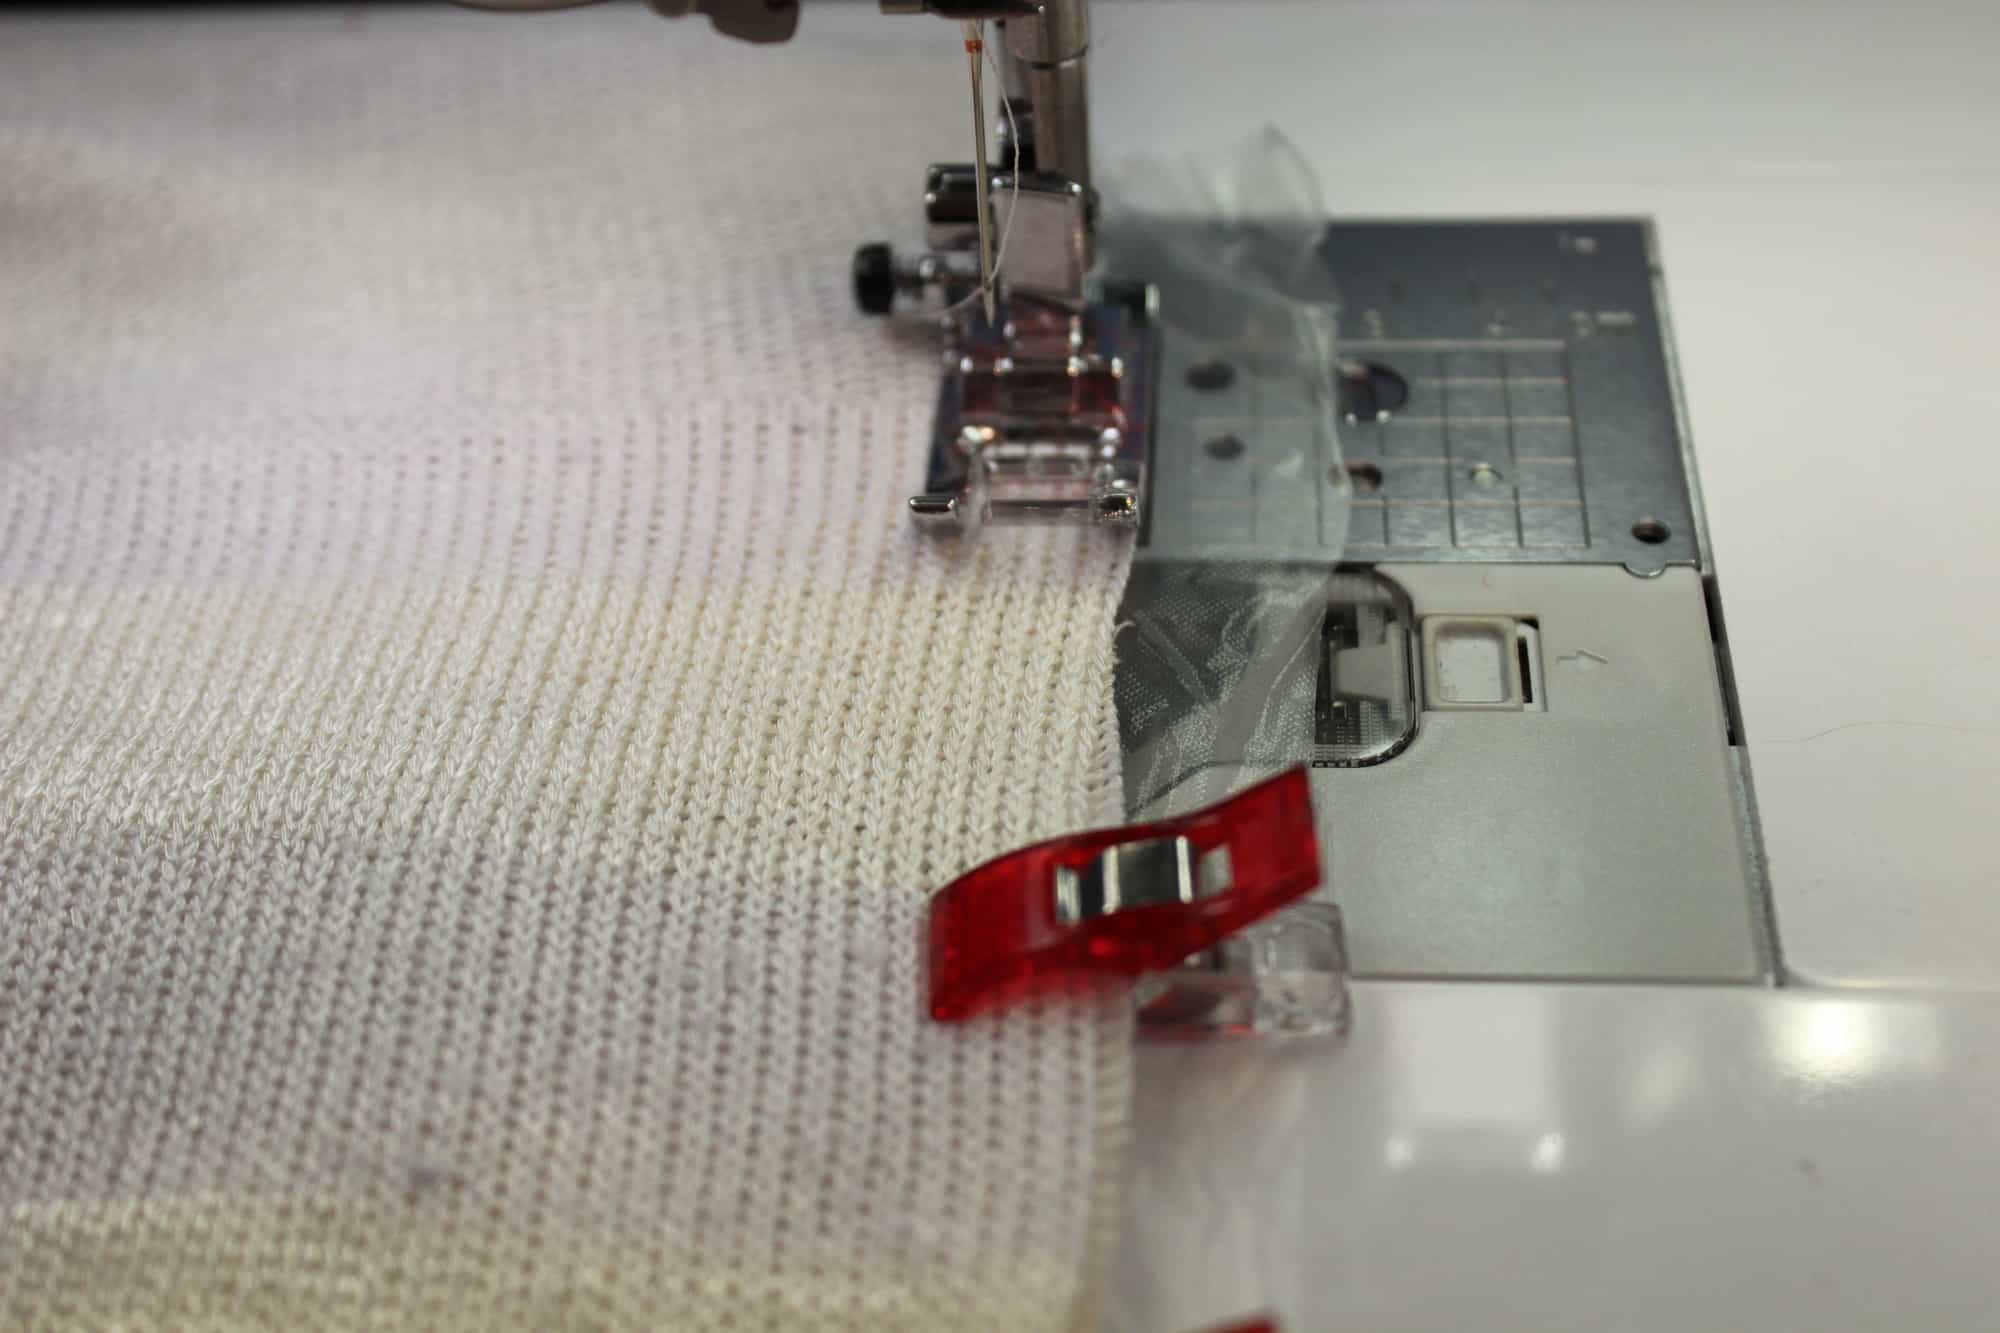
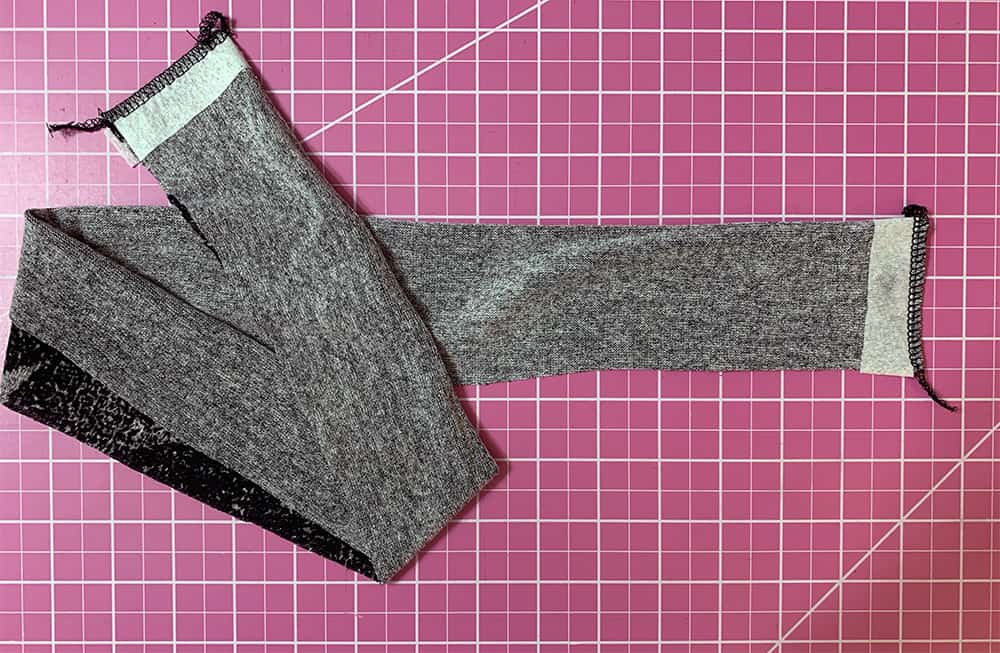
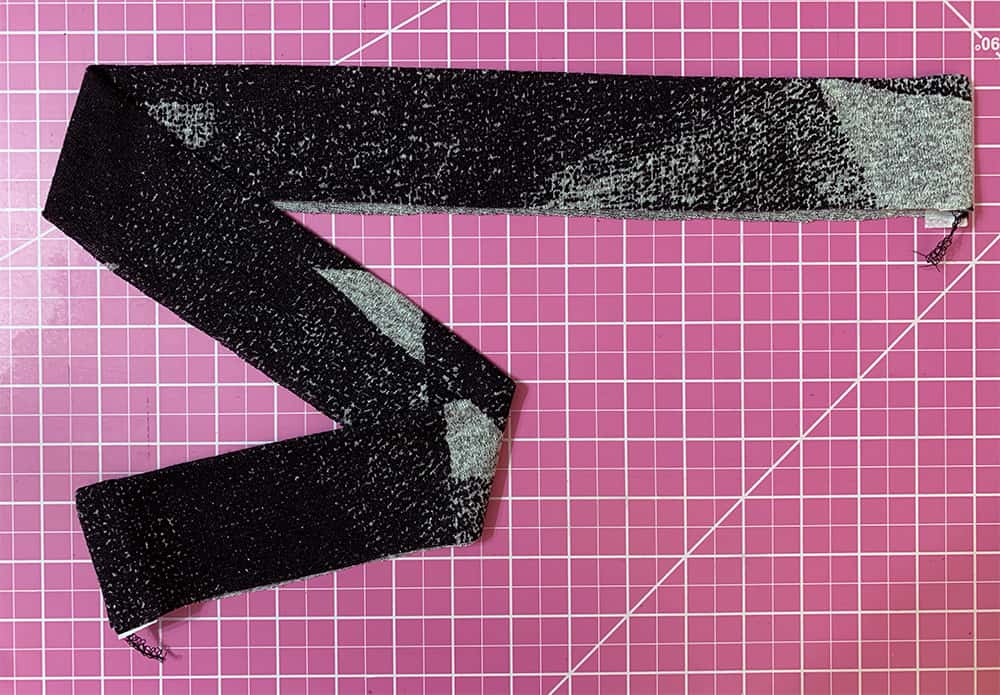
Then, once you have perfected your narrow rolled hem on scrap fabric you can hem both sleeves and the bottom edge of the cardigan.


Reset your machine to its previous settings and finish sewing the side seams, from the hem edge of the sleeve up to the underarm, and down to join the top of the previous side seam stitching. Weave in your tails, or trim and finish with fray stop.

Construct the rest of your garment as per the pattern tutorial.

You’re done! Enjoy your fun new cardigan.


Happy Sewing

Dana x


…..

SEPARATES

Versatility is a requirement in my wardrobe so I always put my patterns to work for me. As soon as I saw the All Buttoned Up Cardigan, I knew I wanted to create separates, too!

For this make, I worked up a cropped cardigan and a pencil skirt, with the crew neck and self-facing placket options. You can follow the same method for the v-neck with banded placket.

Start with the dress length cardigan and cut the full length piece in half at the “Crop” length line. You will now have your cardigan and skirt pieces separated.

Construct your cardigan per the pattern directions.

Assemble your skirt by stitching together at the back and sides.

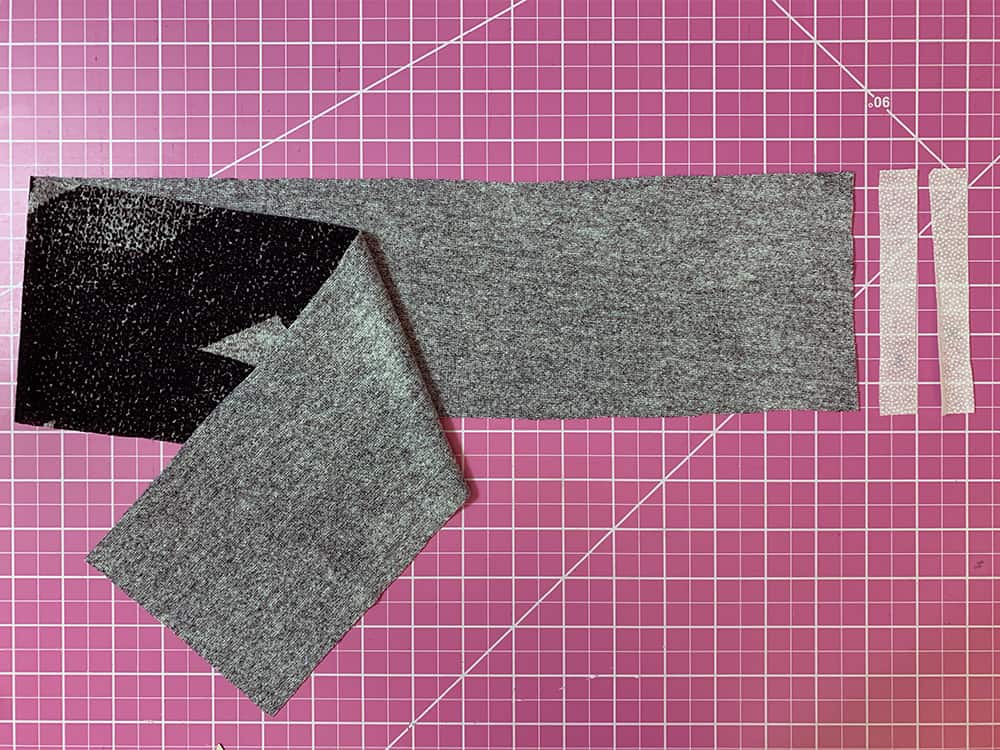
Cut fusible interfacing strips that are 1.5” wide by the length of your skirt. Iron on the interfacing to the wrong side of the fabric, aligning with the front edges of your skirt. Just as you did with the cardigan, press the front edge ¾” towards the inside and press.

Cut your waistband 5” tall by the length of the top of your skirt, minus ½”. For example, the top of my skirt is 31” wide so I cut my band 30.5” long.

From here you have 2 options. If your fabric has great stretch and recovery, you can cut 2 strips of interfacing ¾” wide by 5” tall. Fuse them to your fabric ½” from the edge.


If your fabric has poor recovery, you will want to cut a piece of 2” elastic to sew into your band. No interfacing is required because your elastic will provide stability to your waistband.

Assemble your waistband using the same instructions that you completed for the neckband.

Stitch your waistband to the top of your skirt, ¾” away from the front edge of your skirt.

Complete your skirt placket, buttons, and hem using same instructions for the cardigan.


Wear your pieces together for a coordinated look or separately with jeans or a sweater… your options are unlimited!

Happy sewing!

Rachel

We hope you enjoyed these simple modifications to the All Buttoned Up pattern. Don’t forget to share your creations in the P4P Facebook group and on Instagram so we can all admire them!

Filed Under: Pattern Hacks, Pattern Release Leave a Comment

New Pattern Releases :: Sweater Weather

January 23, 2021

Coming off of the year that we all had last year, we wanted to start you off right in 2021 with something comfy, cozy and perfect for the winter season.  And so, our newest patterns were born.  Allow me to introduce you to: Sweater Weather.


Sweater Weather is the perfect pattern to grab when it’s chilly.  You can create a classic sweater that will stay in your wardrobe for years to come or a super trendy look that hits the sweet spot this season perfectly.  You can go from off the shoulder when it’s just a bit cool, to crew, to turtleneck when you really need something warm.   The off the shoulder neckline is meant to be super wide so you can pull it off one side or wear it to the edge of your shoulders-  not so wide you need to mess with it all day with wear.  The crew neckline isn’t too tight that the crew or turtleneck feel restrictive even in thicker fabrics.  All sleeves options are long for those cooler months.  The belled sleeves are a super fun and trendy option that are so fun to wear.  The traditional sleeves will always be in style paired with any neckline.  And the gathered sleeves are such a fun a different detail to give yourself something fun to wear.  All options have a great split side seam with a longer back bodice.

Drafted for knits like sweater knits, double brushed poly, spandex french terry blends. waffle knits, ribbed knits, brushed waffle knits, brushed ribbed knits, and more.

The youth sizes range from 3m – 14 and the adult sizes are for the full, newer size chart, extending from XXS – Plus 5X!  If you haven’t sewn with us in a while, please make sure to check the size charts, as there were slight adjustments made to accommodate the new size range for adults.


*Want to learn more about how to measure yourself for these pattern?  We’ve got you covered with an in-depth blog HERE.  And in case you’re new to Patterns for Pirates and PDF patterns in general, we have a great blog full of new-user tips HERE to help you get started!  As with all of our current releases and updates, the pdfs now include our layers feature and can be found in Letter, A4, A0 and projector sizes.  And for even more helpful fun, we have a free* printable that you can use to help record your measurements as you take them.

The options include:  3 hem lengths (crop / shirt / tunic), 3 sleeve options (traditional / gathered / belled) and 3 necklines (crew / turtleneck / off-the-shoulder).

We’ve also included several videos throughout the tutorial…including fabric suggestions, sewing up the side split hem, sewing the gathered sleeves and a complete sew up.

Let’s take a look at the different options, shall we?

HEM LENGTHS

SLEEVE OPTIONS

NECKLINES

What are you waiting for?  Head on over and grab yourself a copy of the perfect Sweater Weather patterns!  They are available on sale (no code needed) through 11:59pm CST, January 30, 2021.

SWEATER WEATHER | SWEATER WEATHER – YOUTH | SWEATER WEATHER – BUNDLE

Maybe hoping for a little more inspiration before you make the purchase?  Head over to our Facebook group where you can see tester albums full of amazing images!

Sweater Weather | Sweater Weather – Youth

If you’re looking for even more options, we show you a few more ways you can use this pattern in our Sweater Weather Easy Hacks post.

Filed Under: Pattern Release Leave a Comment

Tips for working with sweater knits

November 25, 2016

img_3505

Have you seen the sneak peek Judy posted on Instagram? Check it out if you haven’t already. If you did you might have noticed that soon you will be sewing those pretty sweater knits you’ve been saving. In the blog today I will give you some of my tips and tricks to work with this kind of fabric.

1.Grab the lint roller! No, I have not lost my mind…believe me, you will want the lint roller close by when you cut sweater knit. Whether it’s a open weave or a dense one, sweater knits tend to leave a lot of residue when being cut.

img_3488

TIP: Use the lint roller to not only clean your cutting mat but also the edges of the fabric pieces you just cut. That will help keep your sewing machine cleaner.

img_3491

2. If cutting with a rotary cutter, use a new or very sharp blade. I find sweater knits to be more prone to getting a run in the fabric if  the cutter or scissors is not very sharp.

img_3489

3. Water soluble stabilizer is not just for embroidery! When working with sweater knits on your sewing machine I highly recommend placing a piece of WSS under your fabric. This will not only make sewing it easier but it will also prevent puckering and even more important it will stop your machine from “eating” your fabric. Sweater knits, especially open weave ones have a lot of “holes” so your machine is basically sewing through air.

img_3493

Tear away the excess, the remaining water soluble stabilizer will disappear when you first wash the garment. I prefer transparent WSS but opaque ones work just as well.

img_3494

4. You can sew sweater knit entirely with your sewing machine however a serger will make the process faster and easier. You might need to adjust your settings a bit to accommodate this type of fabric. My favorite serger stitch when sewing sweater knits is the FLATLOCK stitch. Check your serger user manual to make the proper settings for a flatlock stitch, they will vary from model to model. Here is an example of how a white thread flatlock stitch looks like on a black piece of fabric.

img_3498

A narrower flat lock stitch

img_3501

A wider flat lock stitch

I use this type of serger stitch when I make sweater knit bands and hems. Use a matching thread so the stitch will blend in with the fabric.

img_3504

5. Just as with all knits, always use a ball point needle in your sewing machine and serger. You’ll also need to lower the pressure foot tension of your sewing machine.

6. The markings on open weave sweater knits will need to be added with chalk/ a tailor pen or by adding tailor tacks. Notches are impossible to see on sweater knits.

I hope you find these tips helpful when you will be sewing the new Cocoon pattern releases soon. I will leave you with another sneak peek of this amazing cardigan. Now get the sweater knits stash out and as always post your creations in the group so we can all ohh and ahhh over them.

img_3638img_3518

Alex


Filed Under: P4P University, Sewing with Stretch, Knit Fabrics, Uncategorized 1 Comment

Newest Patterns

  • Uptown Joggers - Youth $10.00
  • Uptown Joggers $12.00
  • Uptown Joggers - Bundle $20.00
  • Notch Top & Dress $12.00
  • Notch Top & Dress - Youth $10.00
  • Privacy Policy
  • Refund Policy
  • Affliliate Program
  • Contact Us
  • About

Copyright © 2023 Patterns for Pirates

Copyright © 2023 · Genesis Framework · WordPress · Log in