Patterns for Pirates

P4P stylish, modern, wearable patterns

  • Home
  • Blog
    • Frequently Asked Questions
    • Pattern Releases
      • Free Patterns
    • P4P University
      • Fitting
      • Sewing with Stretch, Knit Fabrics
      • Sewing with Woven Fabrics
      • Sewing Machines
    • Sew-A-Longs
    • Fabric for Pirates
    • Pattern Hacks
    • Announcement
      • Blog Tours
      • Contest/Giveaway
  • Shop
  • Bundle Discounts
  • Gift Cards
  • My Account
  • Cart

Tips for working with sweater knits

November 25, 2016

img_3505

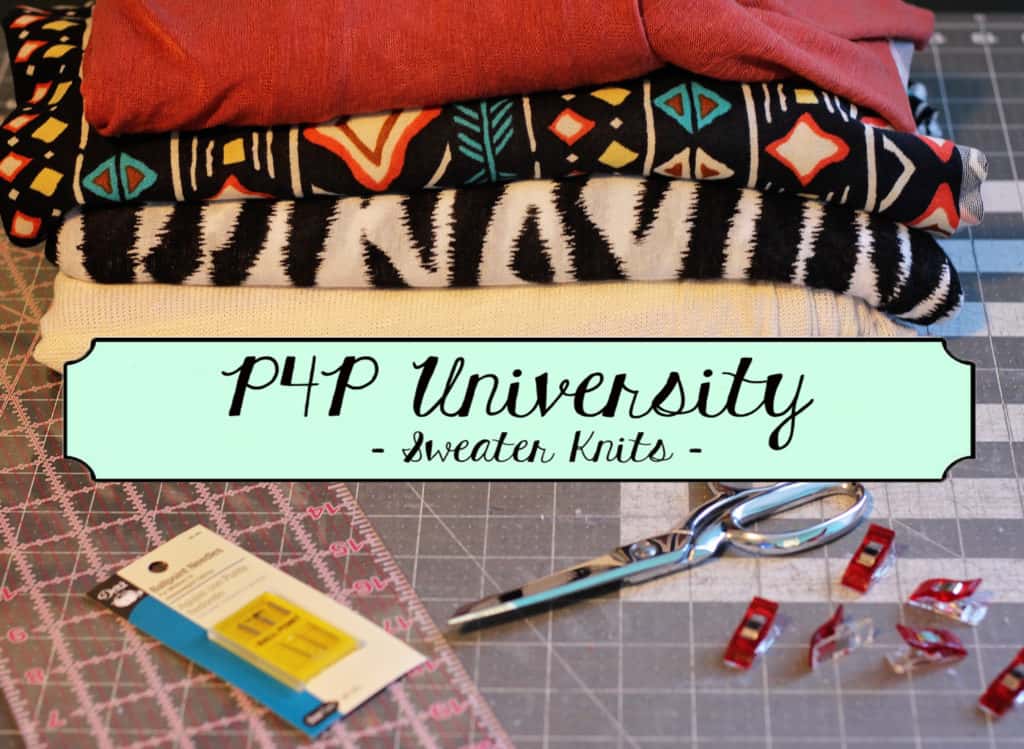
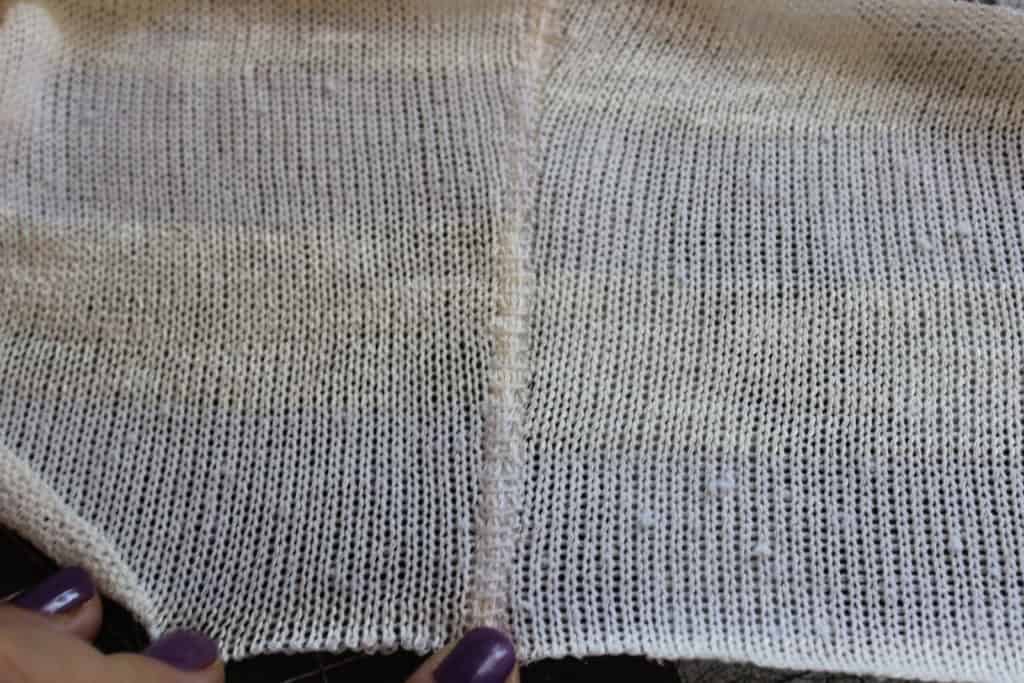
Have you seen the sneak peek Judy posted on Instagram? Check it out if you haven’t already. If you did you might have noticed that soon you will be sewing those pretty sweater knits you’ve been saving. In the blog today I will give you some of my tips and tricks to work with this kind of fabric.

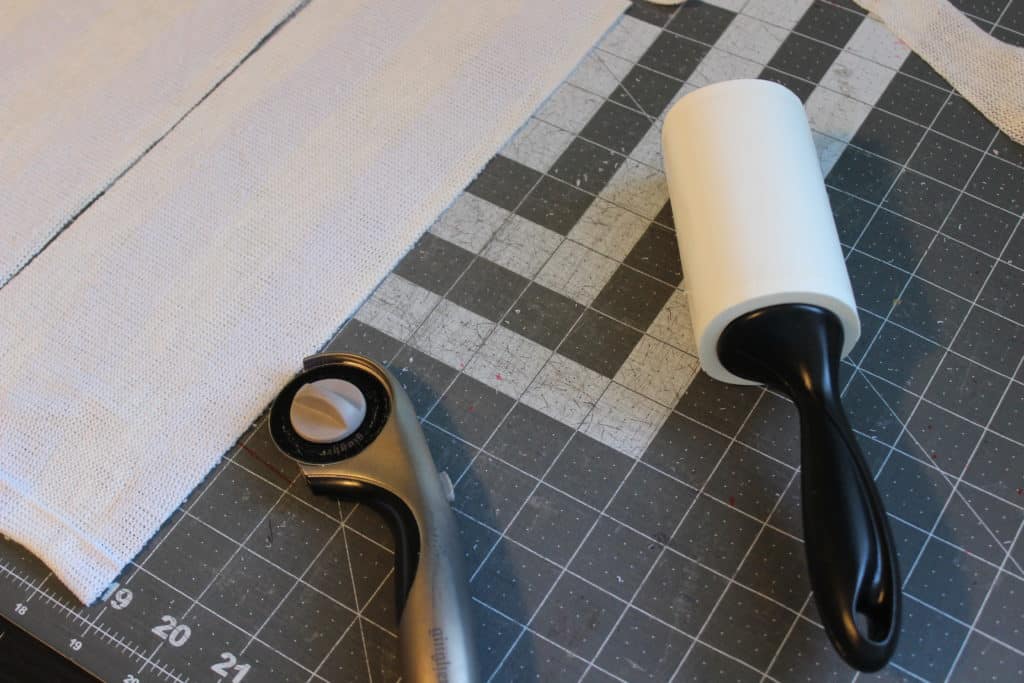
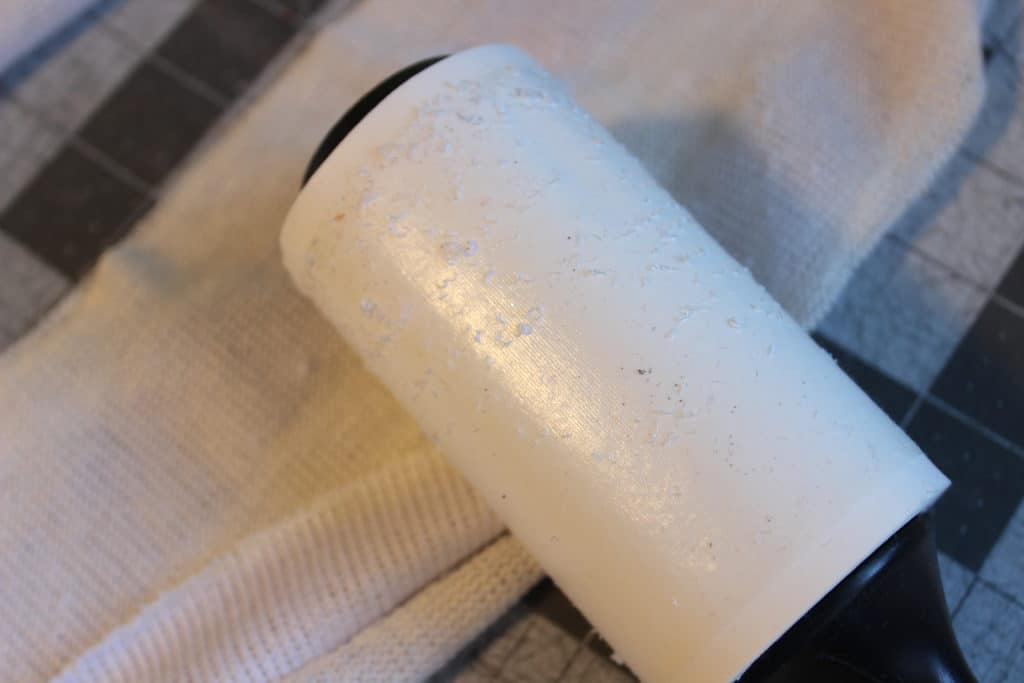
1.Grab the lint roller! No, I have not lost my mind…believe me, you will want the lint roller close by when you cut sweater knit. Whether it’s a open weave or a dense one, sweater knits tend to leave a lot of residue when being cut.

img_3488

TIP: Use the lint roller to not only clean your cutting mat but also the edges of the fabric pieces you just cut. That will help keep your sewing machine cleaner.

img_3491

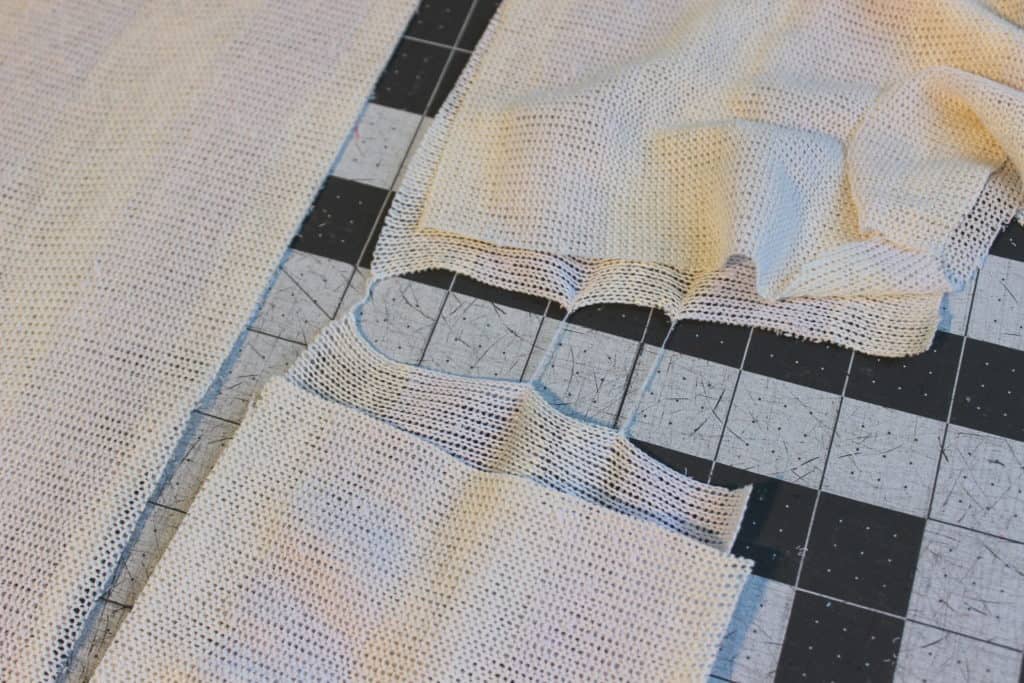
2. If cutting with a rotary cutter, use a new or very sharp blade. I find sweater knits to be more prone to getting a run in the fabric if  the cutter or scissors is not very sharp.

img_3489

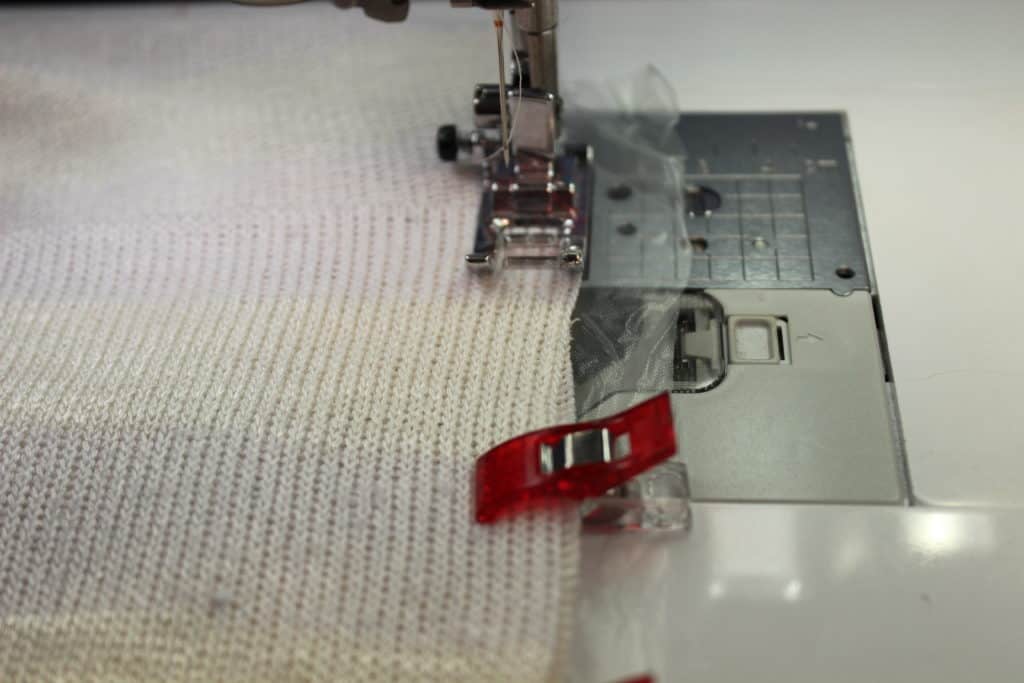
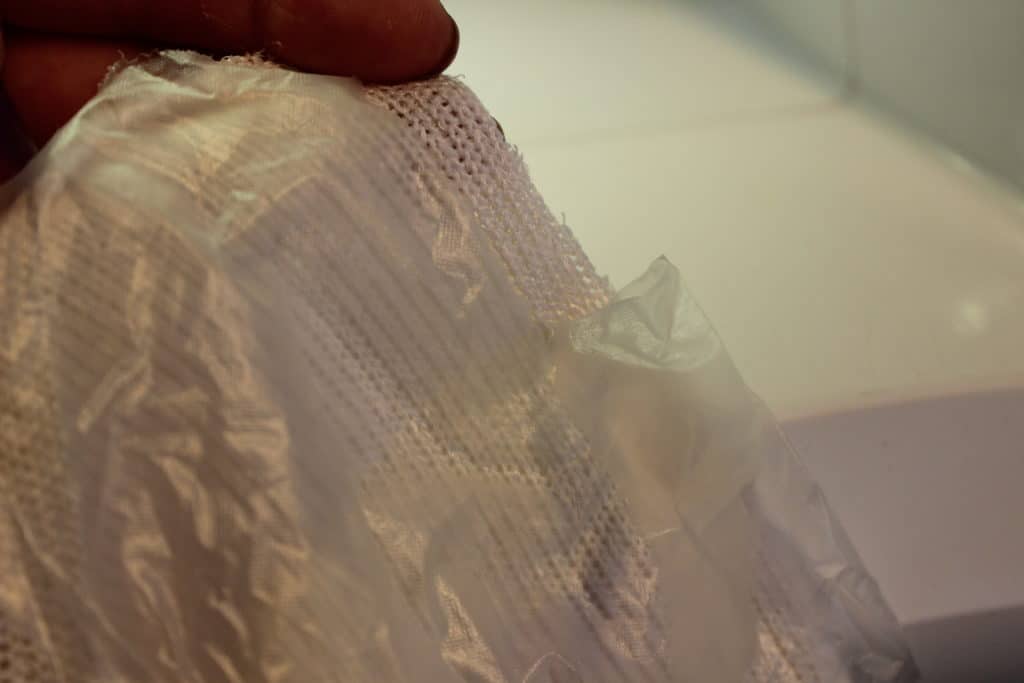
3. Water soluble stabilizer is not just for embroidery! When working with sweater knits on your sewing machine I highly recommend placing a piece of WSS under your fabric. This will not only make sewing it easier but it will also prevent puckering and even more important it will stop your machine from “eating” your fabric. Sweater knits, especially open weave ones have a lot of “holes” so your machine is basically sewing through air.

img_3493

Tear away the excess, the remaining water soluble stabilizer will disappear when you first wash the garment. I prefer transparent WSS but opaque ones work just as well.

img_3494

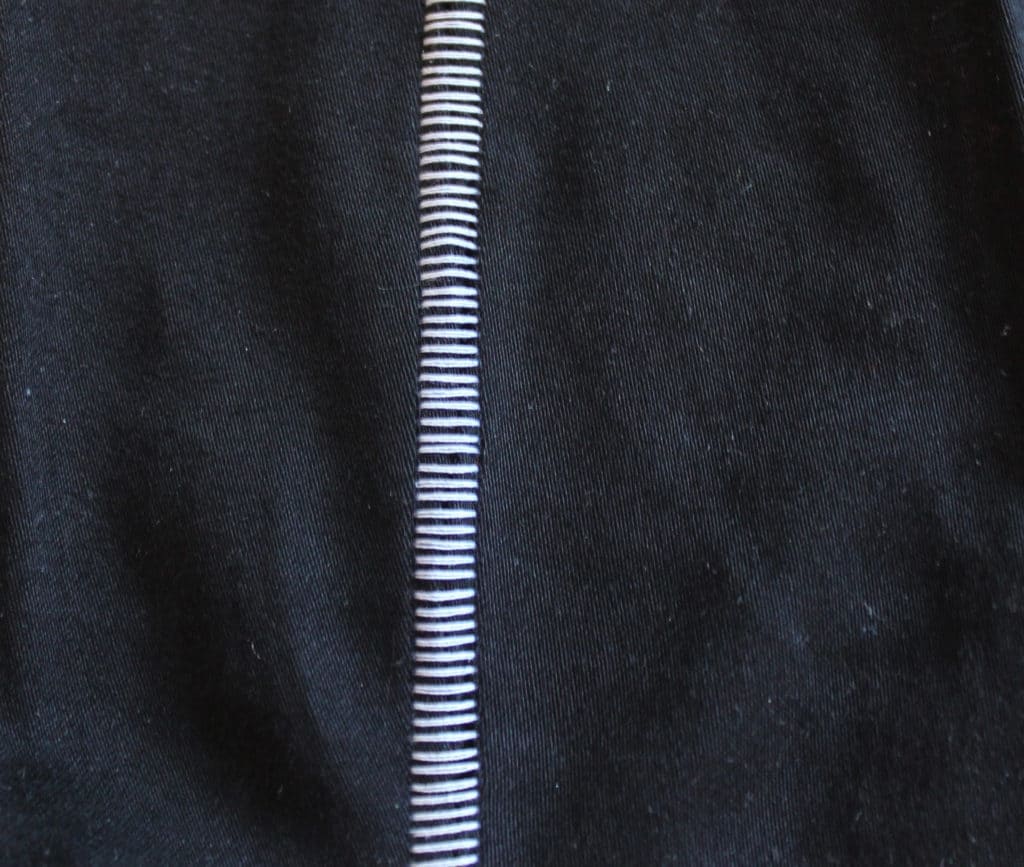
4. You can sew sweater knit entirely with your sewing machine however a serger will make the process faster and easier. You might need to adjust your settings a bit to accommodate this type of fabric. My favorite serger stitch when sewing sweater knits is the FLATLOCK stitch. Check your serger user manual to make the proper settings for a flatlock stitch, they will vary from model to model. Here is an example of how a white thread flatlock stitch looks like on a black piece of fabric.

img_3498

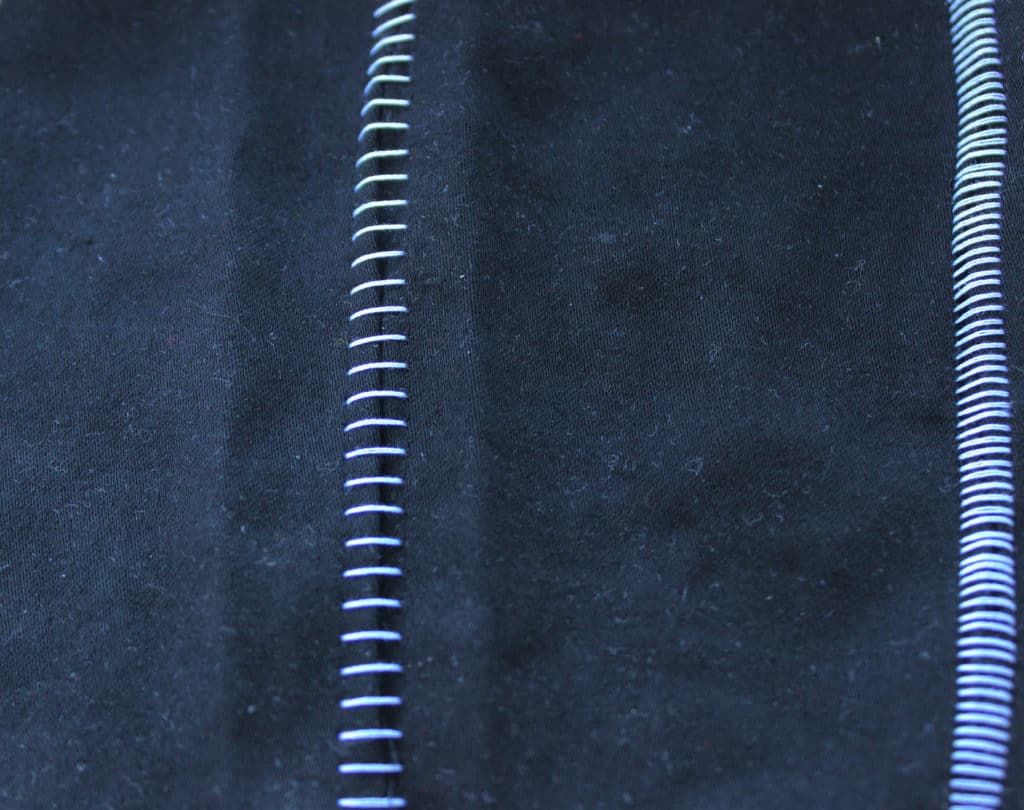
A narrower flat lock stitch

img_3501

A wider flat lock stitch

I use this type of serger stitch when I make sweater knit bands and hems. Use a matching thread so the stitch will blend in with the fabric.

img_3504

5. Just as with all knits, always use a ball point needle in your sewing machine and serger. You’ll also need to lower the pressure foot tension of your sewing machine.

6. The markings on open weave sweater knits will need to be added with chalk/ a tailor pen or by adding tailor tacks. Notches are impossible to see on sweater knits.

I hope you find these tips helpful when you will be sewing the new Cocoon pattern releases soon. I will leave you with another sneak peek of this amazing cardigan. Now get the sweater knits stash out and as always post your creations in the group so we can all ohh and ahhh over them.

img_3638img_3518

Alex


Filed Under: P4P University, Sewing with Stretch, Knit Fabrics, Uncategorized 1 Comment

Carefree with added Button

December 22, 2015

I’ve seen a lot of draped front cardigans with the big wooden buttons on Pinterest and in the Boutiques…and of course I thought, “I can do that!” So the Carefree Cardigan Big Button Modification was born!

carefree cardigan add big button tutorial

The Carefree Cardigan is perfect for the look.

carefree cardigan patterns for pirates drape front cardigan tutorial

I choose the neckband only option, cuffed long sleeve, and choose to leave the front and bottom raw.

I’ve been making a ton of Carefrees after Baby Girl made her arrival… it is such a nice baby wearing cardigan that I feel cute in and can wrap us both up in when it’s windy or cold.  I can also use it nursing her so easily without worrying about bringing another cover or getting anything on or ready when she’s ready to nurse! So, I thought I’d make TWO buttonhole placements… one for normal wear that just pulls the cardigan closed at the neckline… and a second for when I’m wearing Baby Girl and need the neckline open much more.

carefree-cardigan-button2carefree-cardigan-button1I sewed up my entire cardigan exactly as normal. Then tried it on both with Baby Girl on me and without and marked where I would like the cardigan to close.  Of course, Little Guy had to come photobomb a few shots ;).

SAMSUNG CAMERA PICTURES

I placed my button down a bit away from my neck, because I happen to be one of those people who can’t stand anything tight up against their neck (you will never see a turtle neck from this designer ;)).

carefree cardigan patterns for pirates drape front cardigan tutorial

So now I needed to create the buttonholes, which is a bit different then usual because I wanted the GIANT buttons that are so popular right now and my sewing machine can’t fit a button near that big on my automatic buttonhole foot.  SOOOO, I made my own buttonhole with 2 different size zigzag stitches.

First I marked my button placement and how big I need the buttonhole to be.

SAMSUNG CAMERA PICTURES

Then I sewed a very narrow rectangle that would be my buttonhole.  I turned my zigzag length down very low to 1, so that it was a tight stitch.

For the top and bottom of my rectangle I used a wide 5 zigzag and for the sides I used a narrow 2.  I simple freehanded it.

SAMSUNG CAMERA PICTURES

SAMSUNG CAMERA PICTURES

I used matching navy thread, so I knew if it wasn’t exactly perfect that no one would be able to see.  Actually, the thread matched so close it was REALLY difficult to get a picture of the buttonhole!

SAMSUNG CAMERA PICTURES

Then I used my seam ripper to very carefully rip a line inside the narrow rectangle/buttonhole.

SAMSUNG CAMERA PICTURES

I created a second buttonhole for my baby wearing, looser option.

Wa-lah! Now I have a great on trend cardigan that was quick and easy that I can button up with or without Baby Girl! 🙂

carefree cardigan patterns for pirates drape front cardigan tutorialcarefree cardigan patterns for pirates drape front cardigan tutorial


Filed Under: Pattern Hacks 7 Comments

Newest Patterns

  • Uptown Joggers - Youth $10.00 $8.50
  • Uptown Joggers $12.00 $10.50
  • Uptown Joggers - Bundle $20.00 $18.00
  • Notch Top & Dress $12.00
  • Notch Top & Dress - Youth $10.00
  • Privacy Policy
  • Refund Policy
  • Affliliate Program
  • Contact Us
  • About

Copyright © 2023 Patterns for Pirates

Copyright © 2023 · Genesis Framework · WordPress · Log in