Just about this time last year, we released our first ever swim patterns. The Siren Swim Top and Hello Sailor Bottoms have received a lot of love, but we still had a lot of requests for a one-piece suit. Your wishes are being fulfilled today, with the brand spankin’ new release of the Take the Plunge Swimsuit!
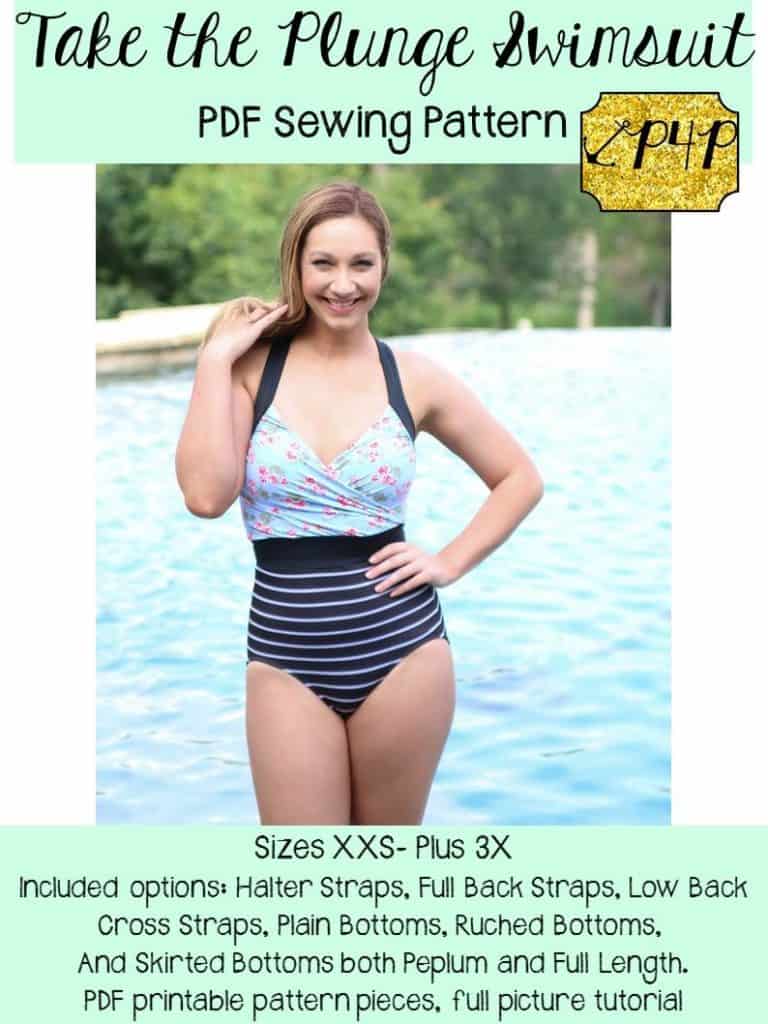

Take the Plunge will make you want to swim all summer long. We’ve done all we can to pack it full of options and to make it flattering for ALL body types, sizes XXS – Plus 3X.
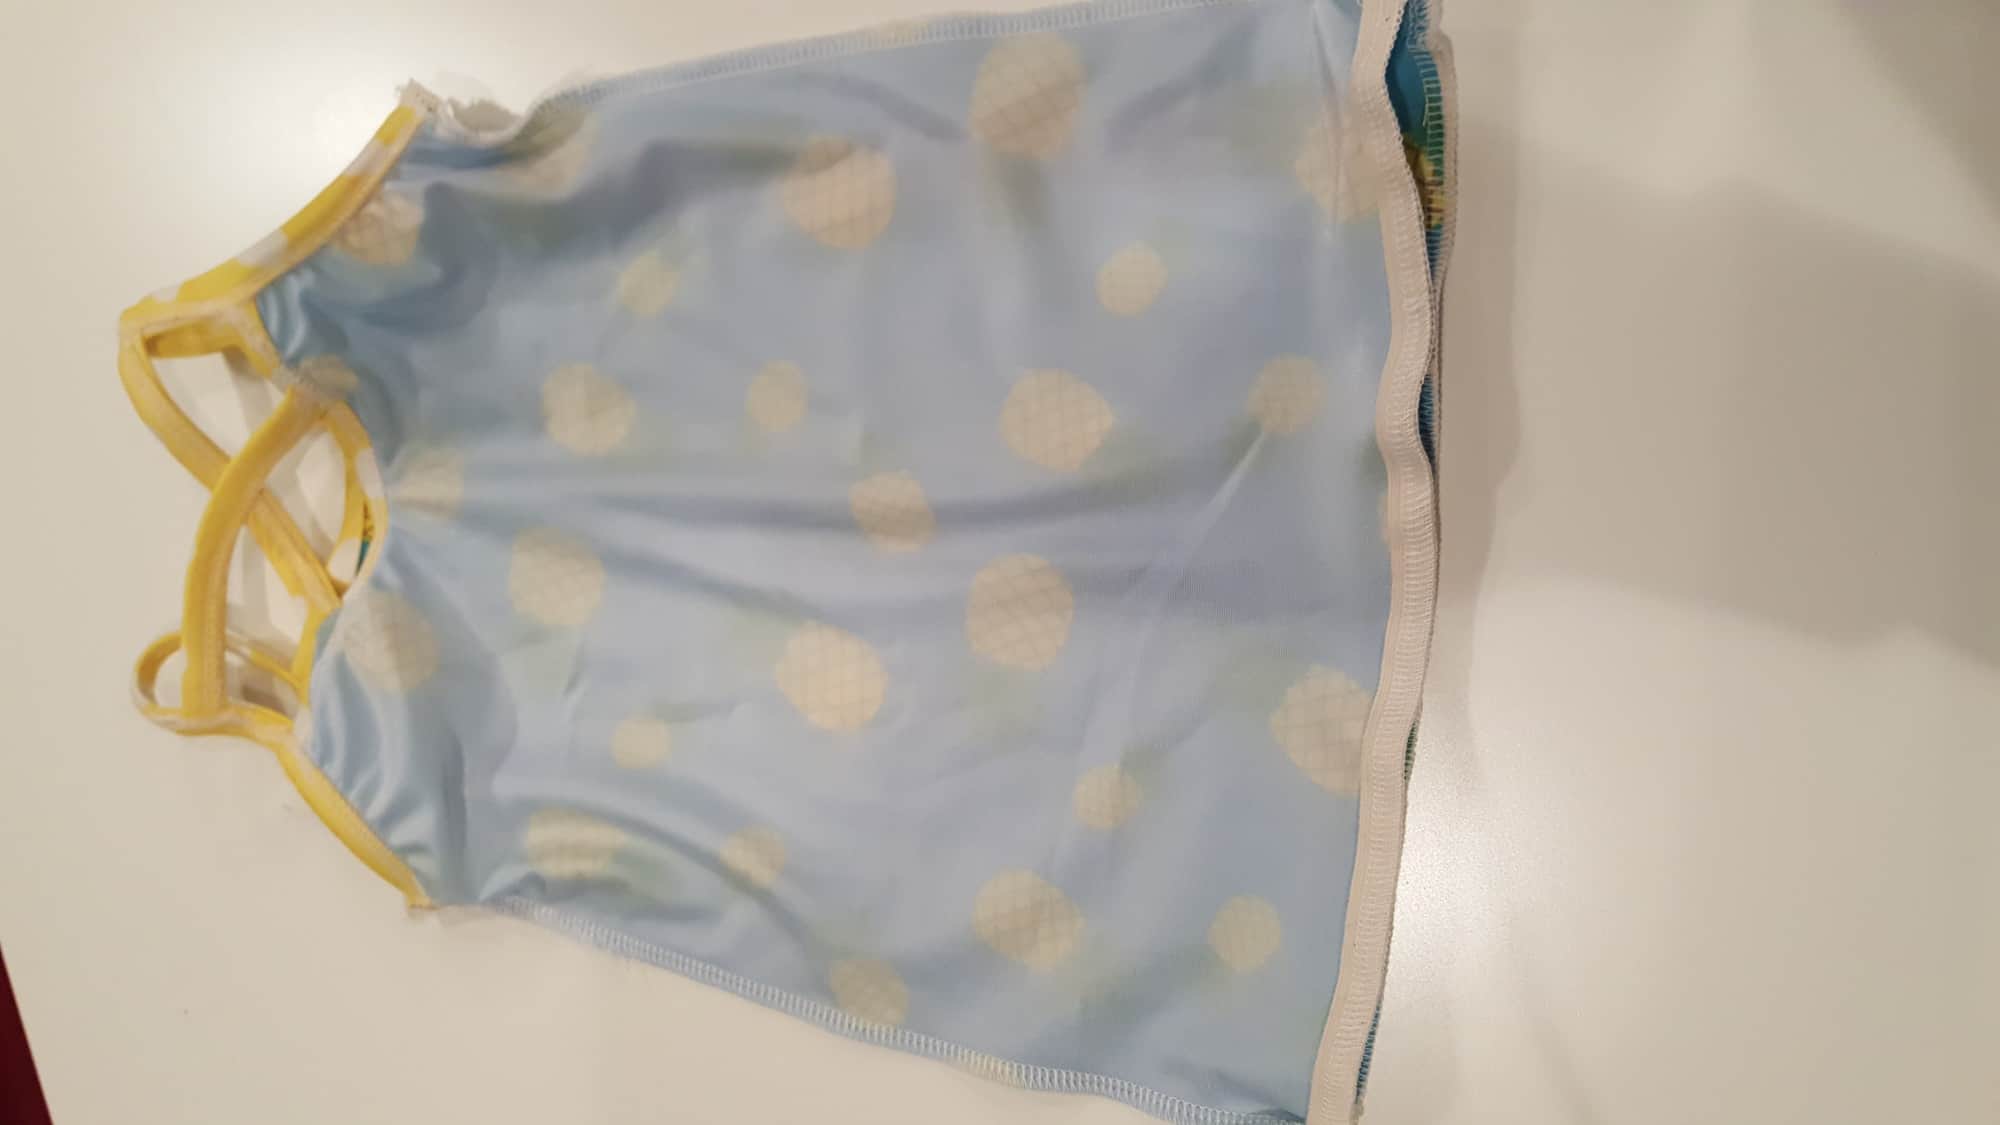
This is an intermediate knit pattern, and fits in a traditional, body hugging, one-piece swimwear style. The suit is fully lined and includes directions to add bust support (swim cups / power mesh / under bust elastic). All of your seams are enclosed for that professional finish, and the edges are all finished with elastic so you will be completely secure in your suit while taking a dip in the pool.
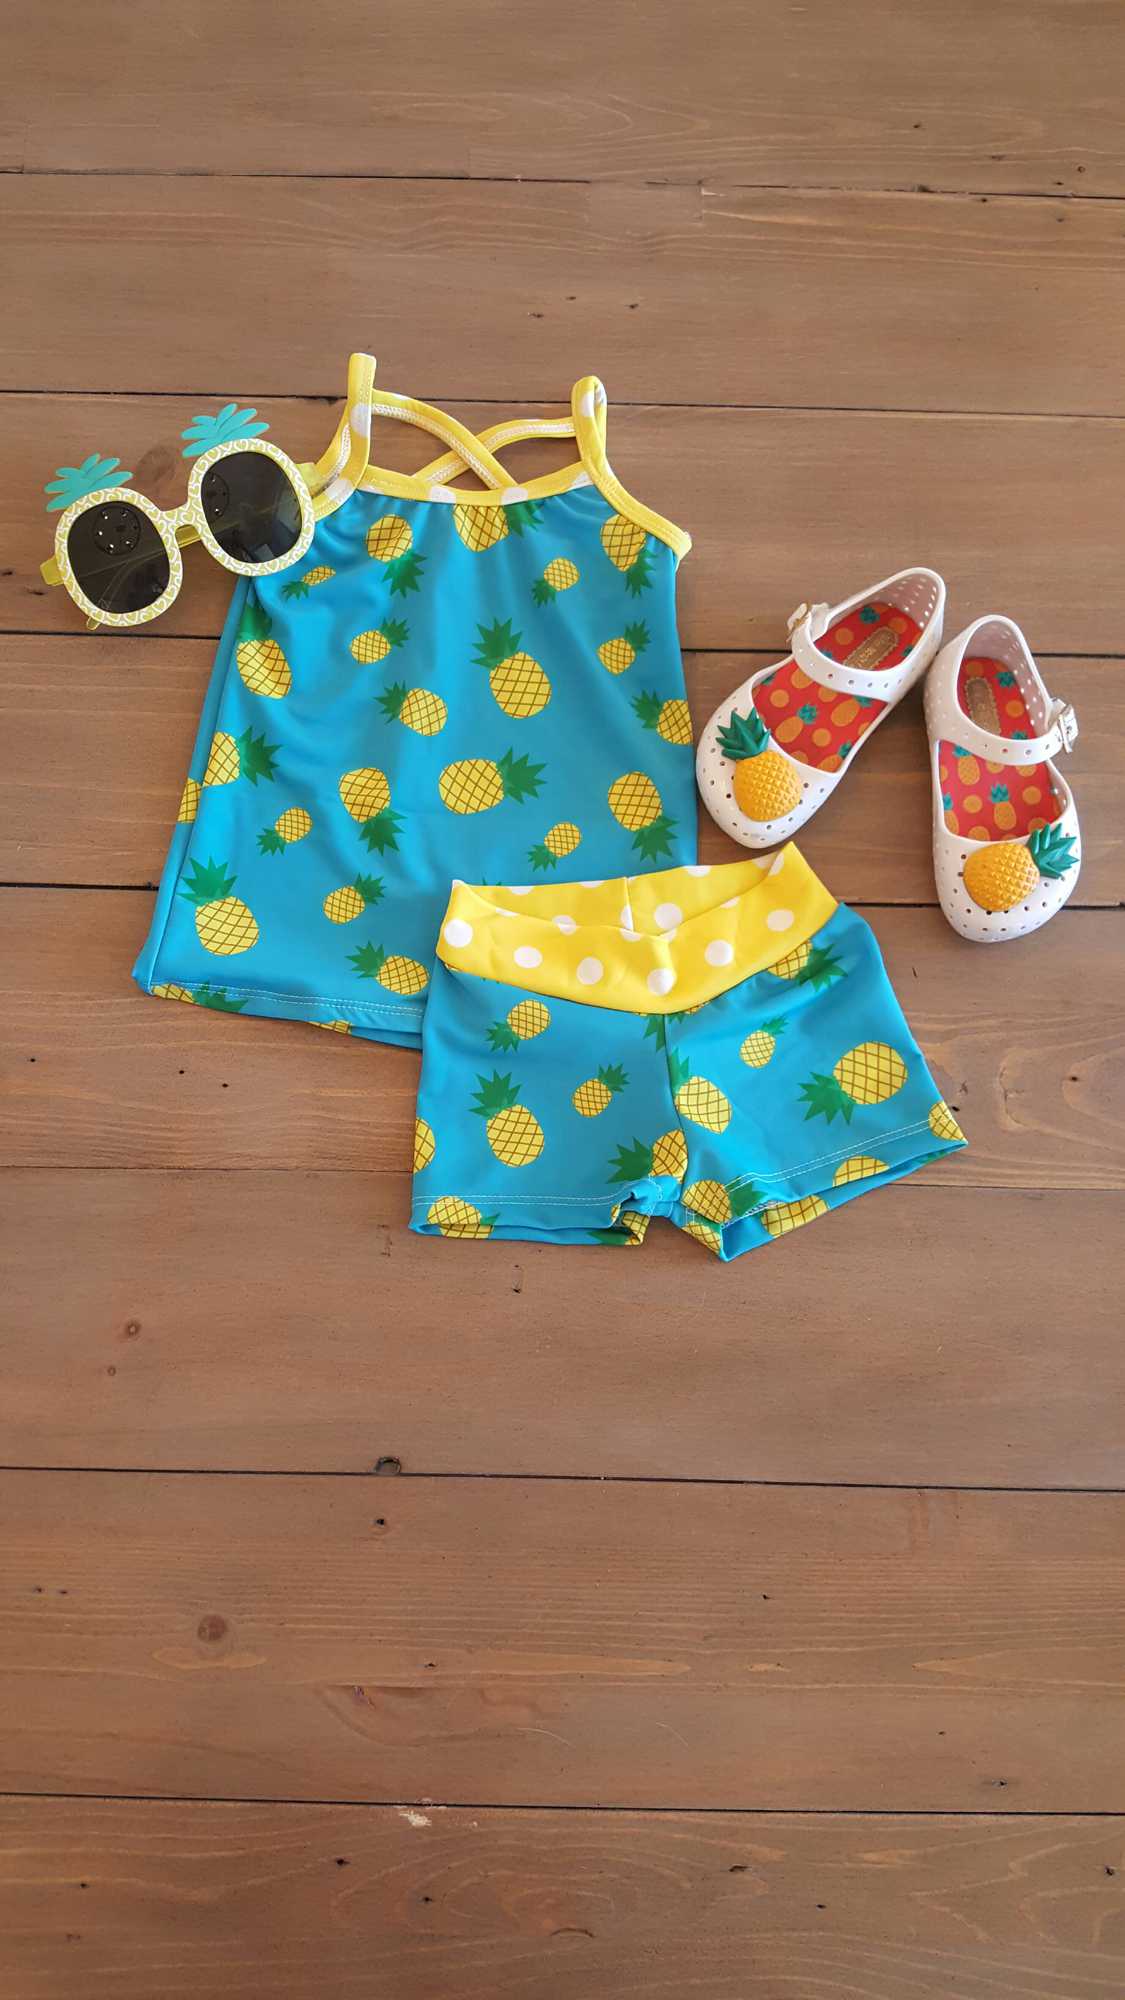
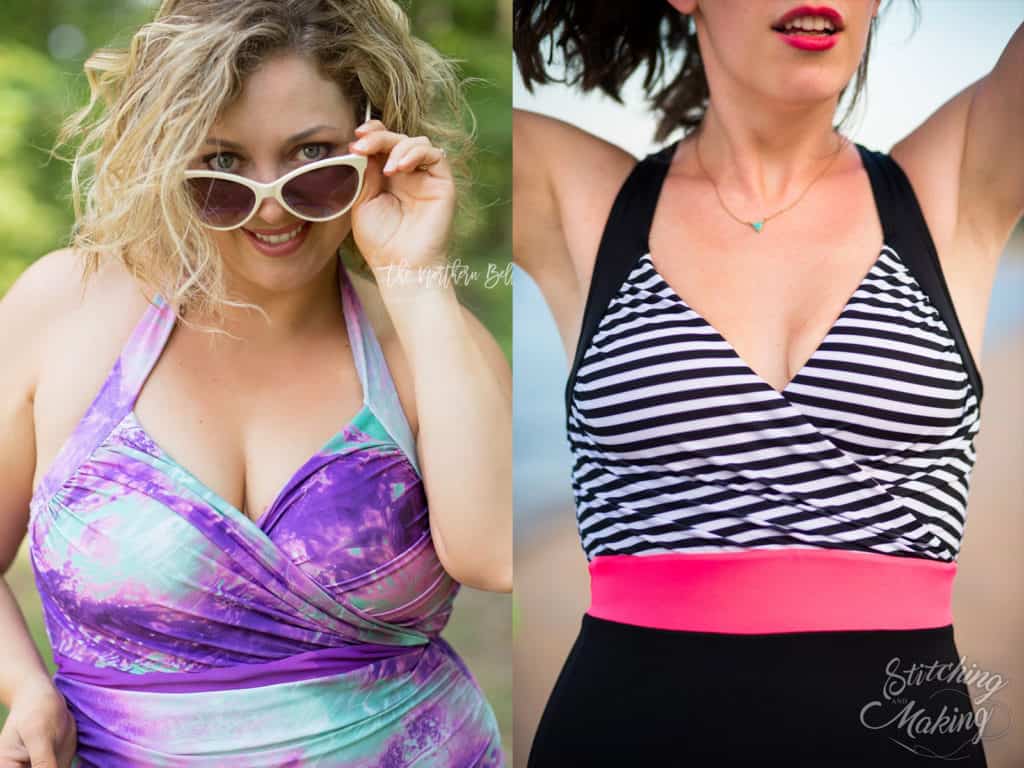
The pattern features a cross-over front bodice that plunges a little lower for a sexy look, while still keeping you contained, covered, and secure. The waistband hits at and slightly above the natural waistline, to create an extra slimming silhouette, and is also great for color blocking. And the leg openings come up a little higher in the front for a longer, leaner look. There are three band-back options (high back with straight straps / low back with cross straps / halter back), two bottom types (plain / ruched) and an additional option for a skirted bottom in two lengths (peplum / full).
The retro vibe of the Take the Plunge Swimsuit will be a classic for years to come and can be paired with so many different fabric prints for unlimited looks!
**Want to learn more about how to measure yourself for this pattern? We’ve got you covered with an in-depth blog HERE.
And now let’s see some suits!
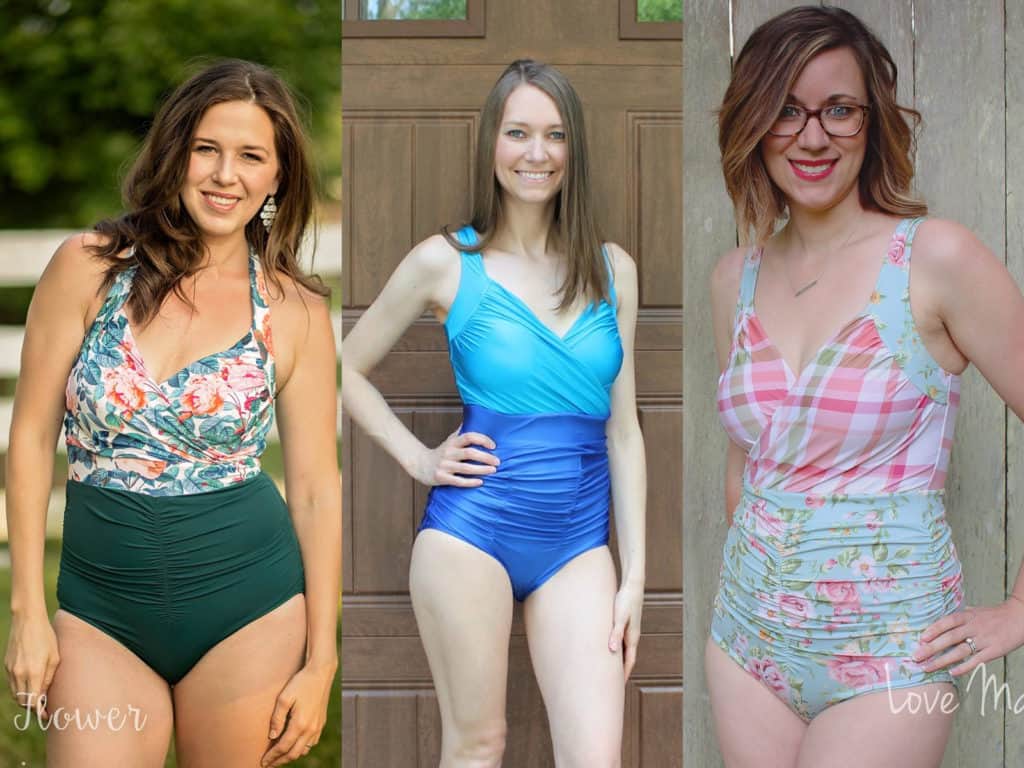
FRONT CROSS-OVER BODICE
HIGH BACK, with straight straps
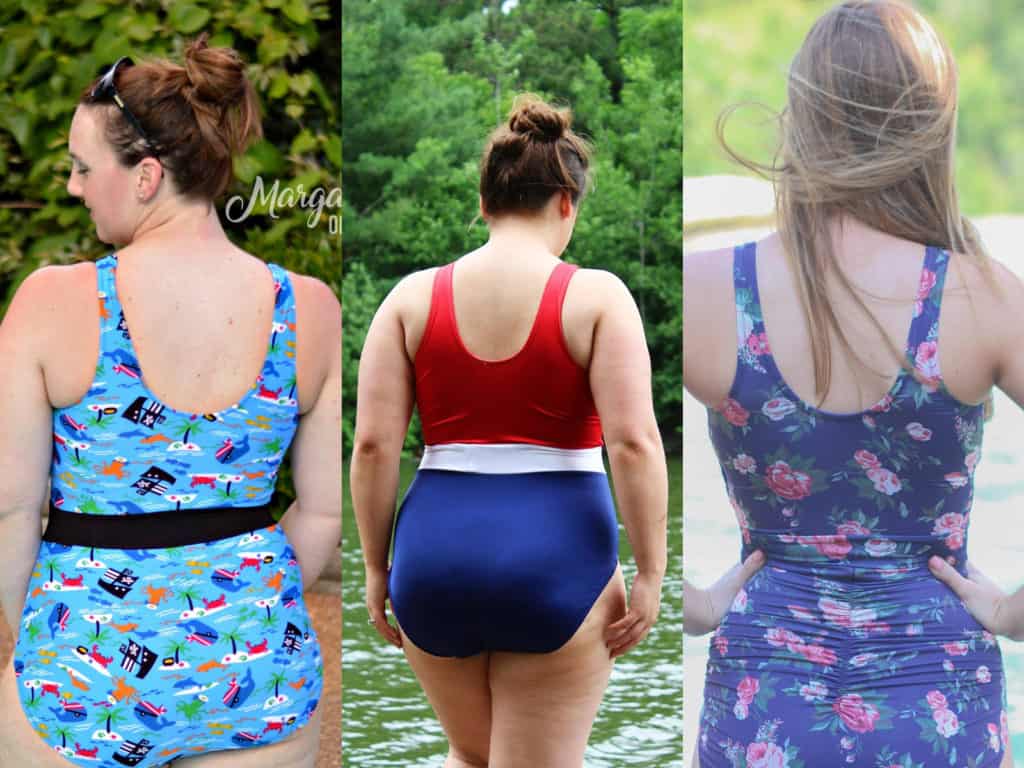
LOW BACK, with cross straps

HALTER BACK

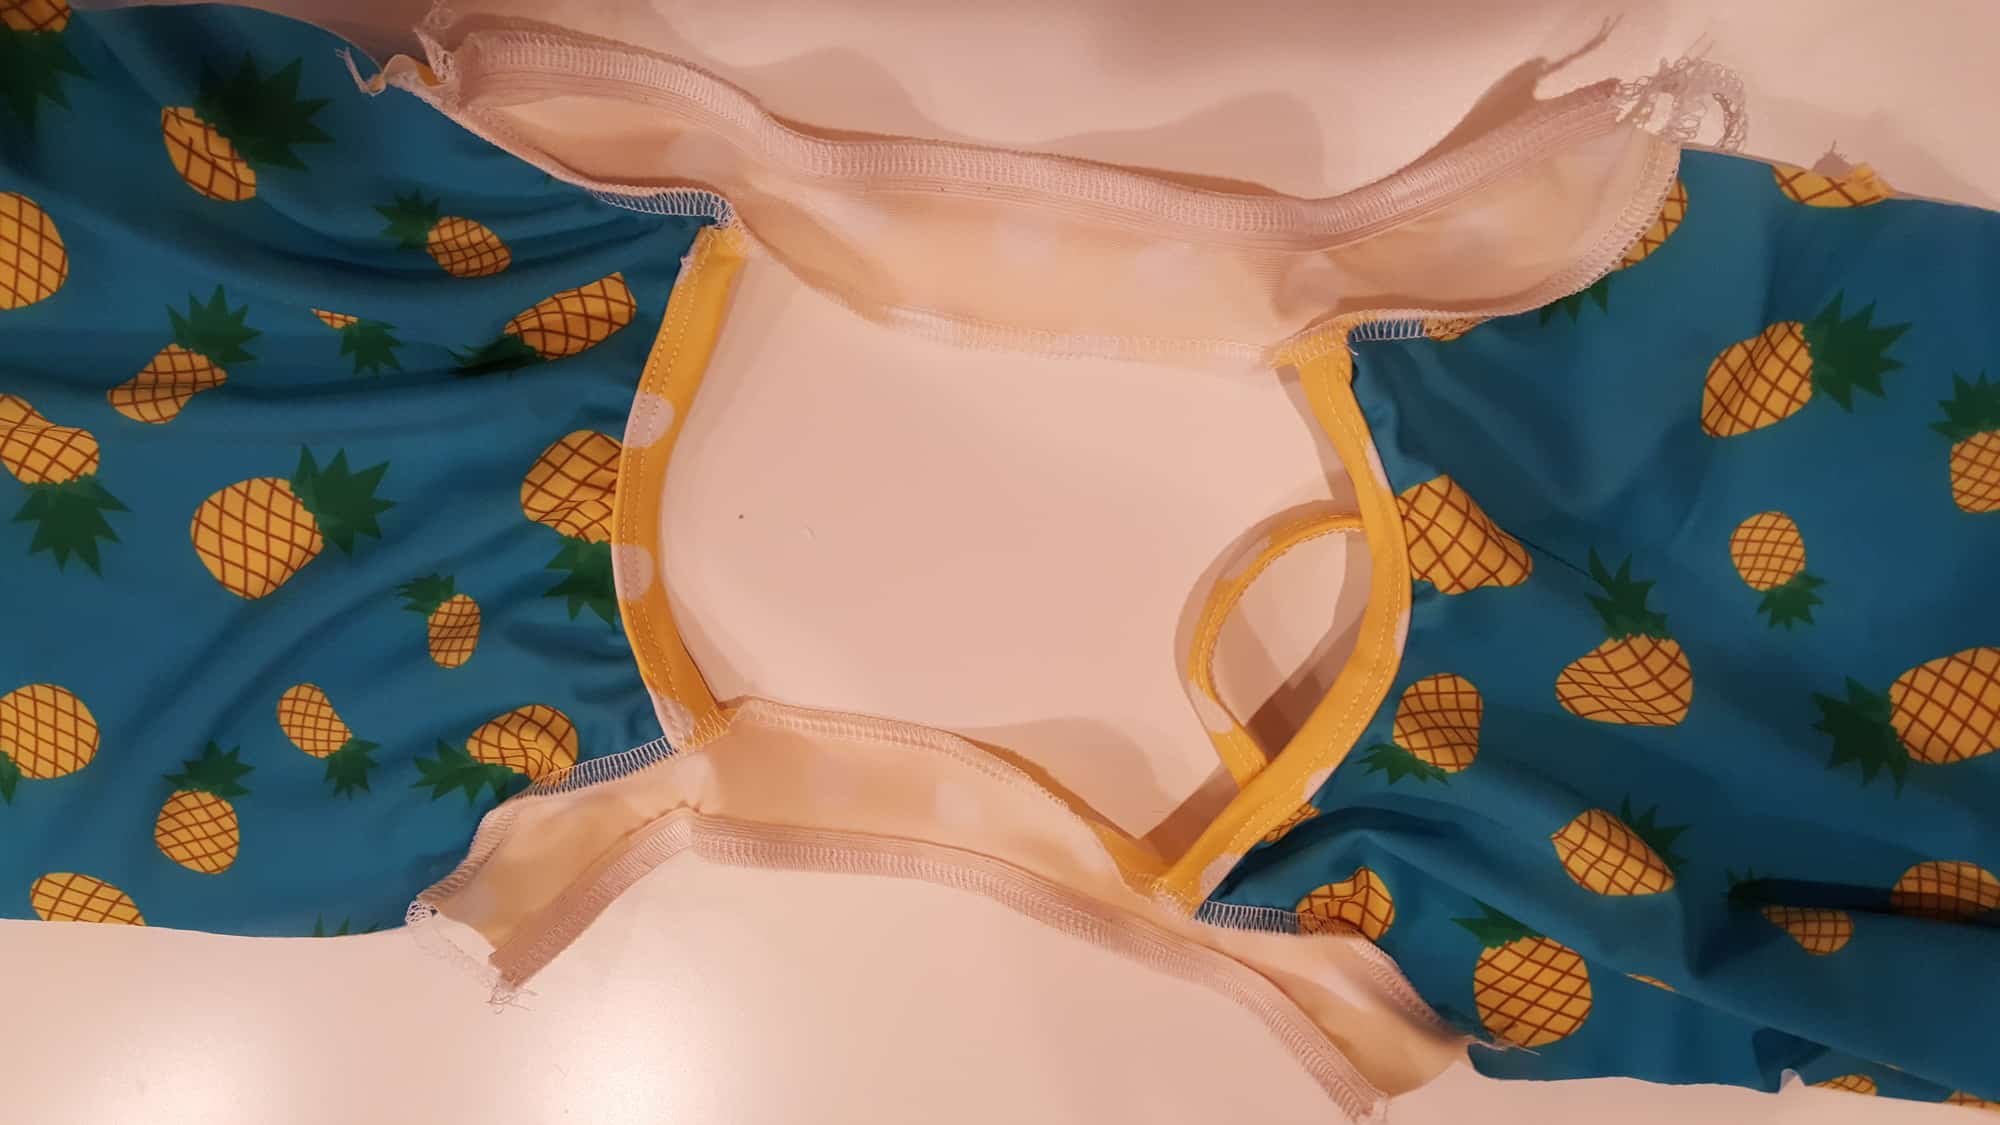
PLAIN BOTTOMS
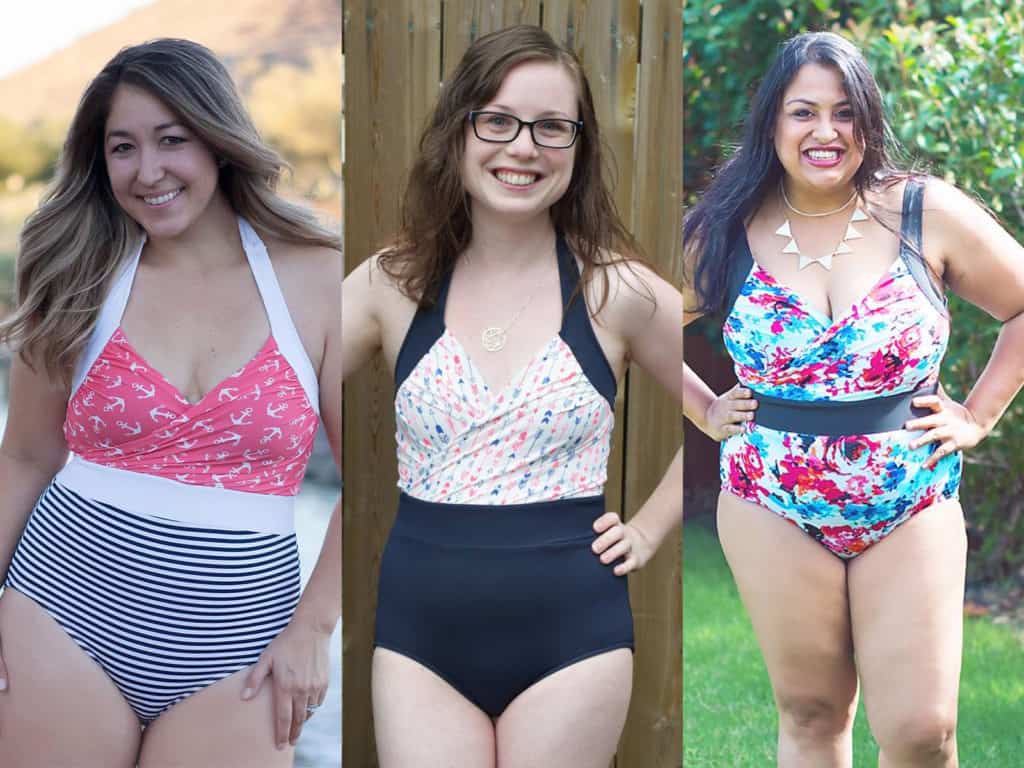
RUCHED BOTTOMS
OPTIONAL SKIRTED BOTTOMS

Feeling inspired to go buy all the swim knits now and sew a million suits for yourself? Before you do, don’t forget to snag the Take the Plunge Swimsuit pattern HERE.
And don’t think we’d leave you with only the original pattern. We’ve explored the extra potential of Take the Plunge and have an entire set of pattern SWIM HACKS and even a DRESS + PEPLUM HACK.
Needing more inspiration? Head over to our Facebook Group Album, where are gorgeous testers of every shape and size have shared their versions! Happy Sewing, friends!