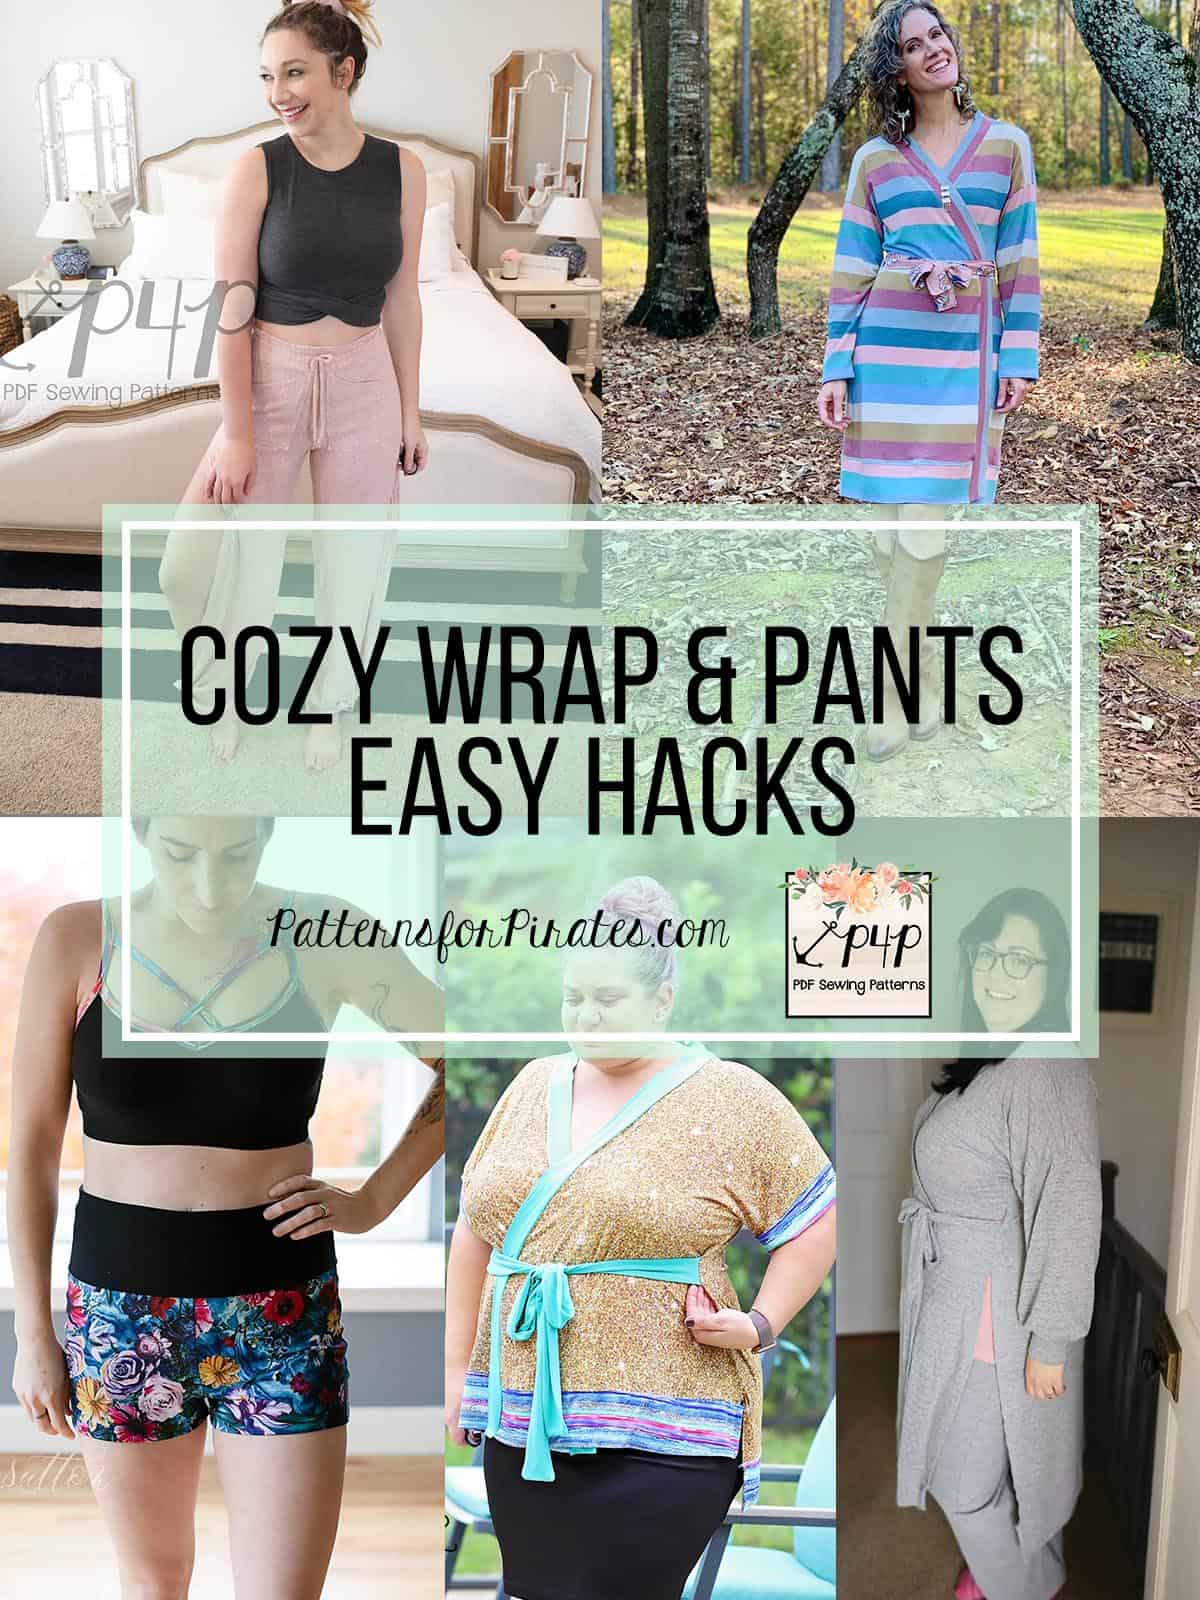
Ready to wrap yourself in cozy goodness and cuddle up with those holiday movies and a hot cocoa? I know I am! The Cozy Wrap and Pants are just the perfect addition to your wardrobe. In this Easy Hacks post the P4P blog team is showing you how to achieve more looks using the newly released patterns. Michelle will walk you through adding a yoga waistband to the pants; Dana and Judy are taking the side split “up a notch”…or two. Rachel is bringing her Cozy Wrap up on the fancy chart by making it a dress and Alex is transforming the belt into two sewn-in ties. Let’s get started!
…..
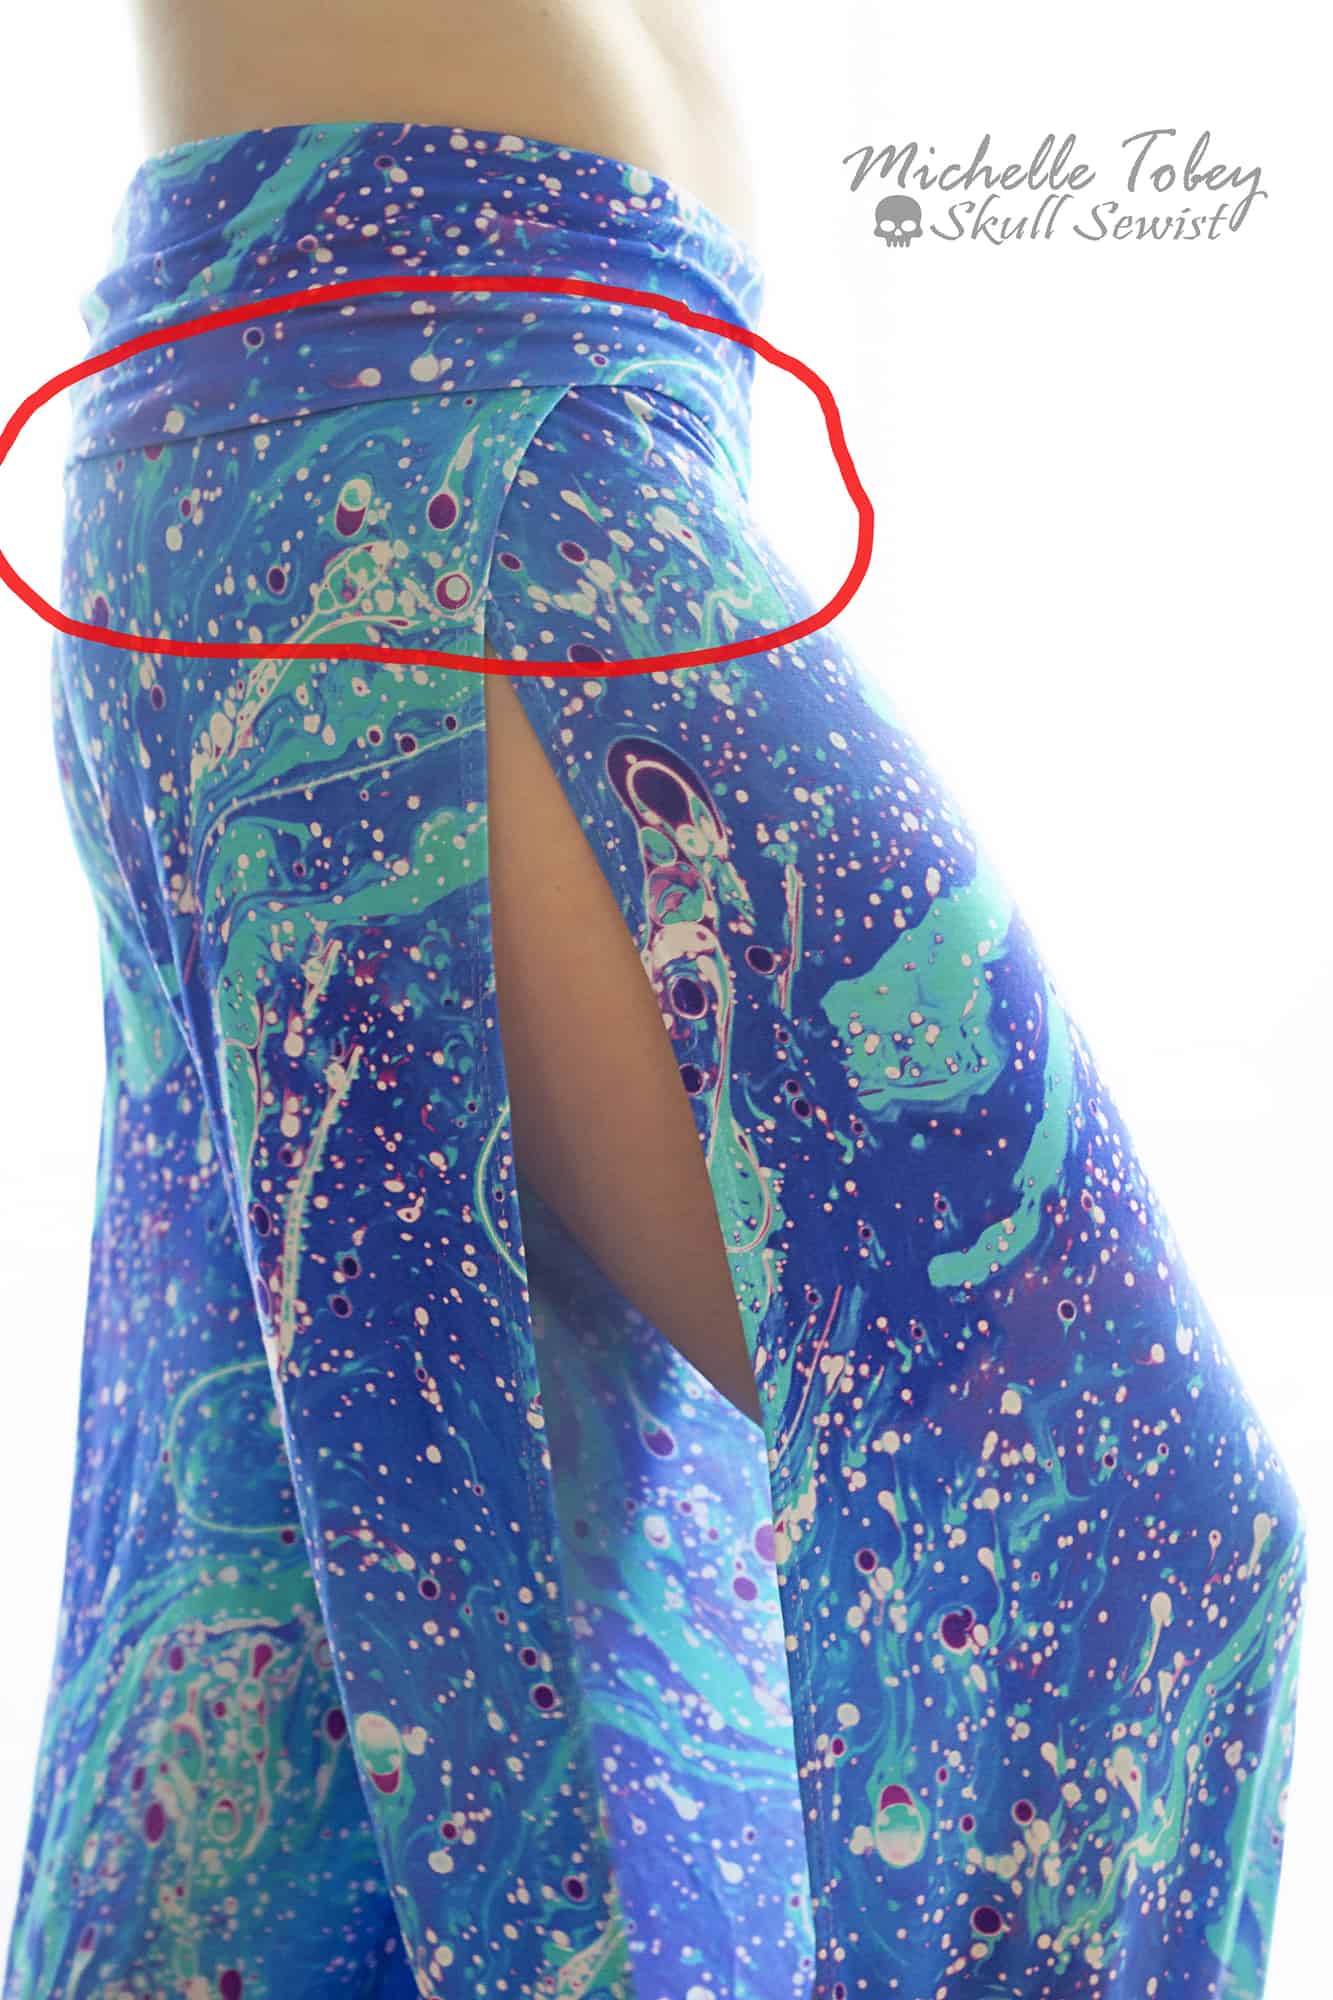
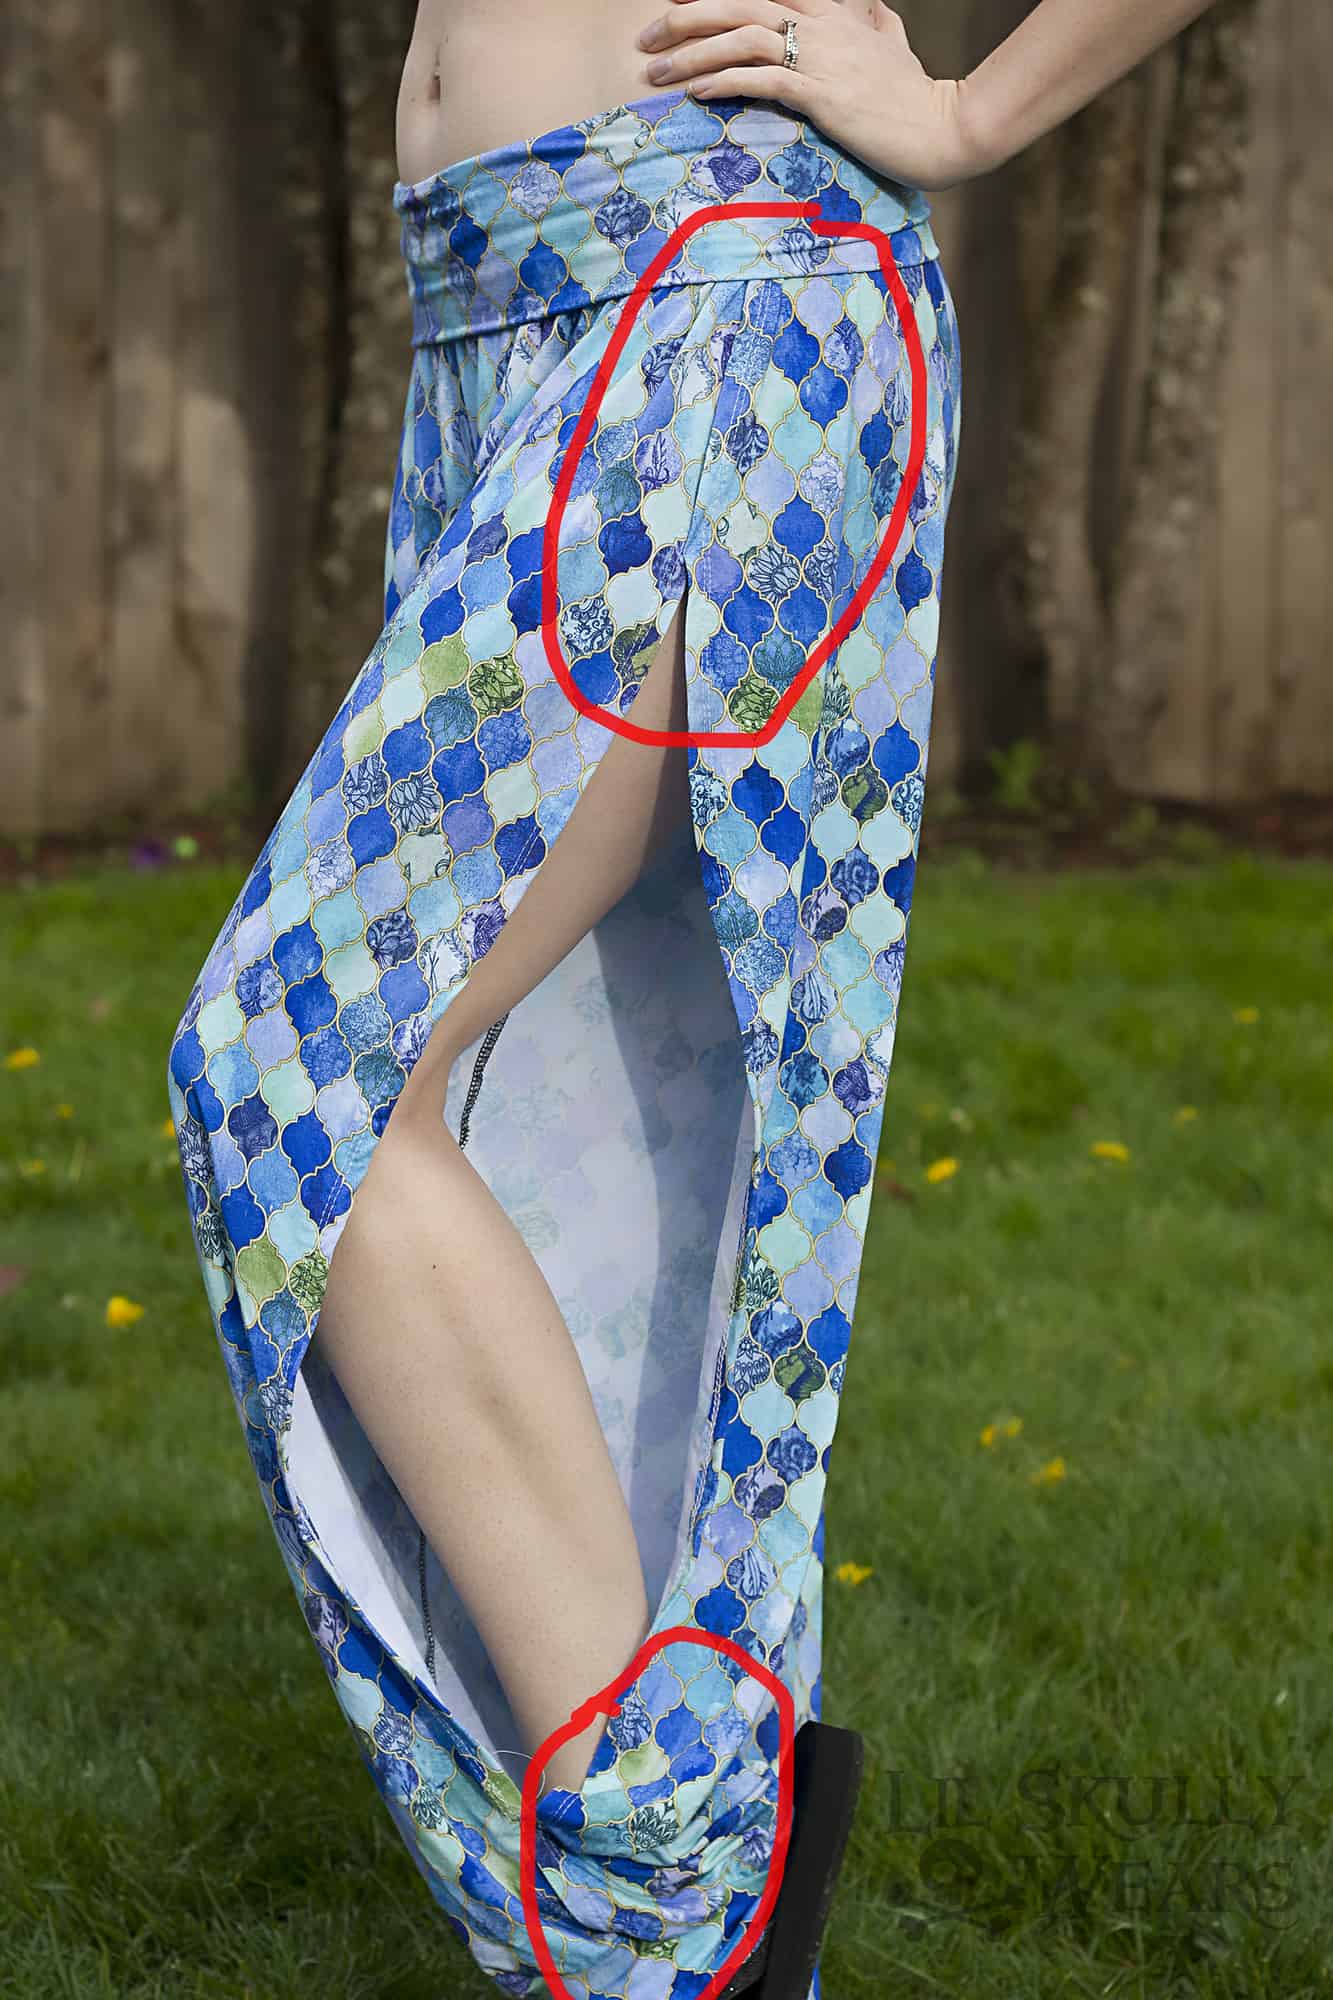
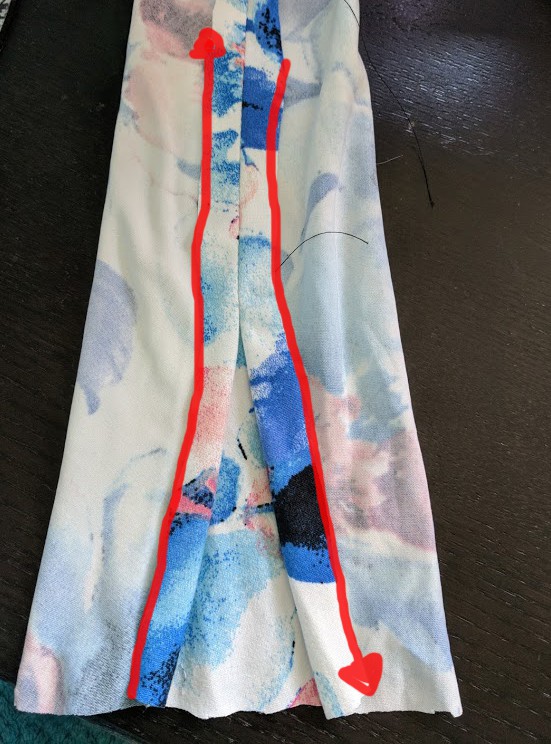
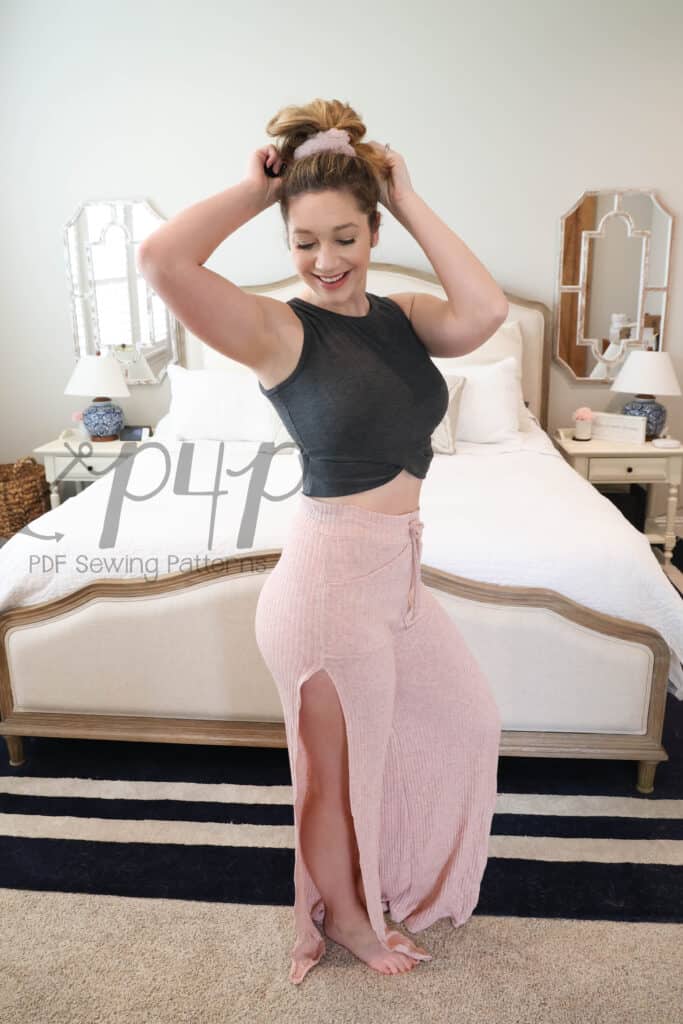
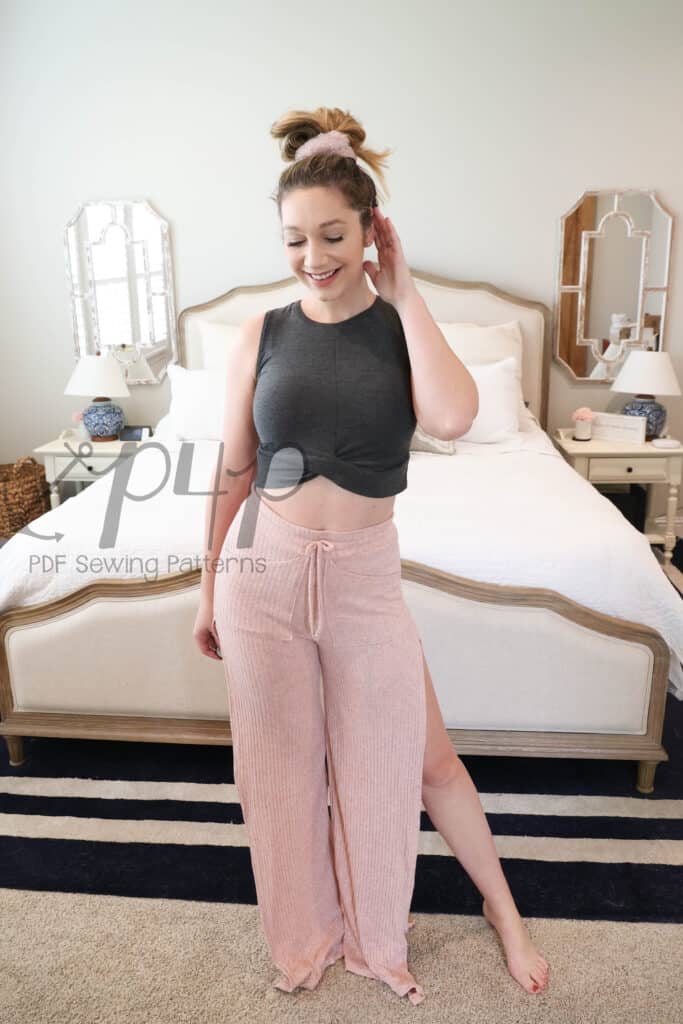
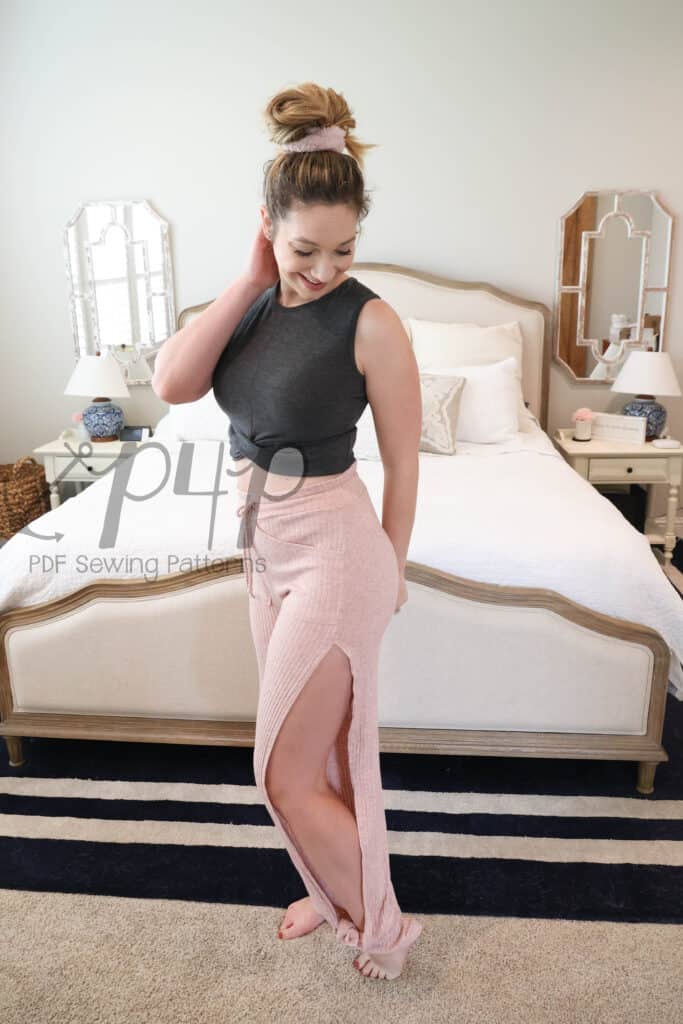
High pants split
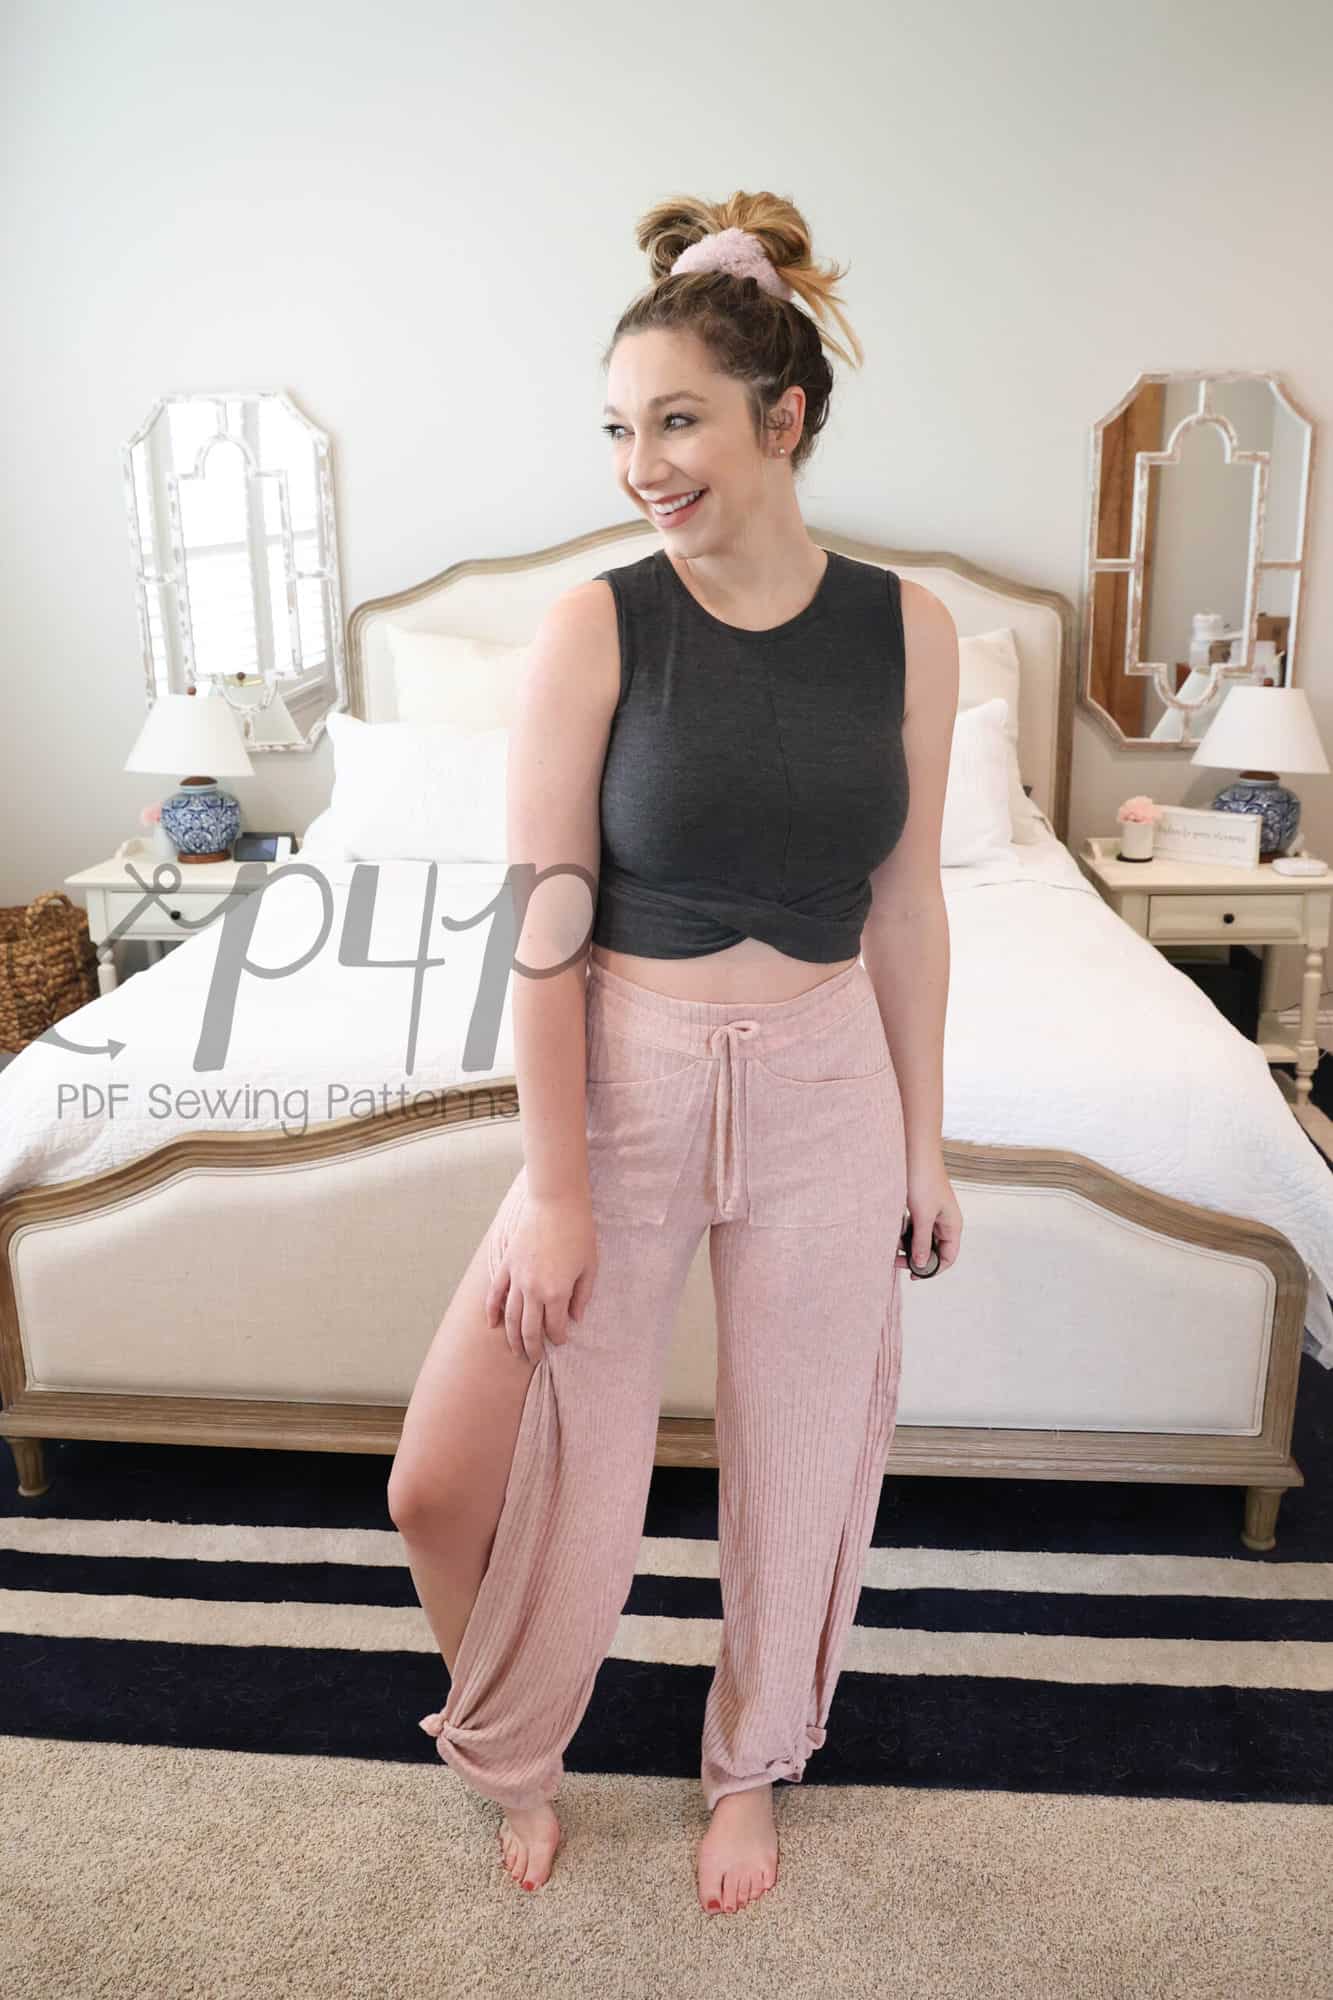
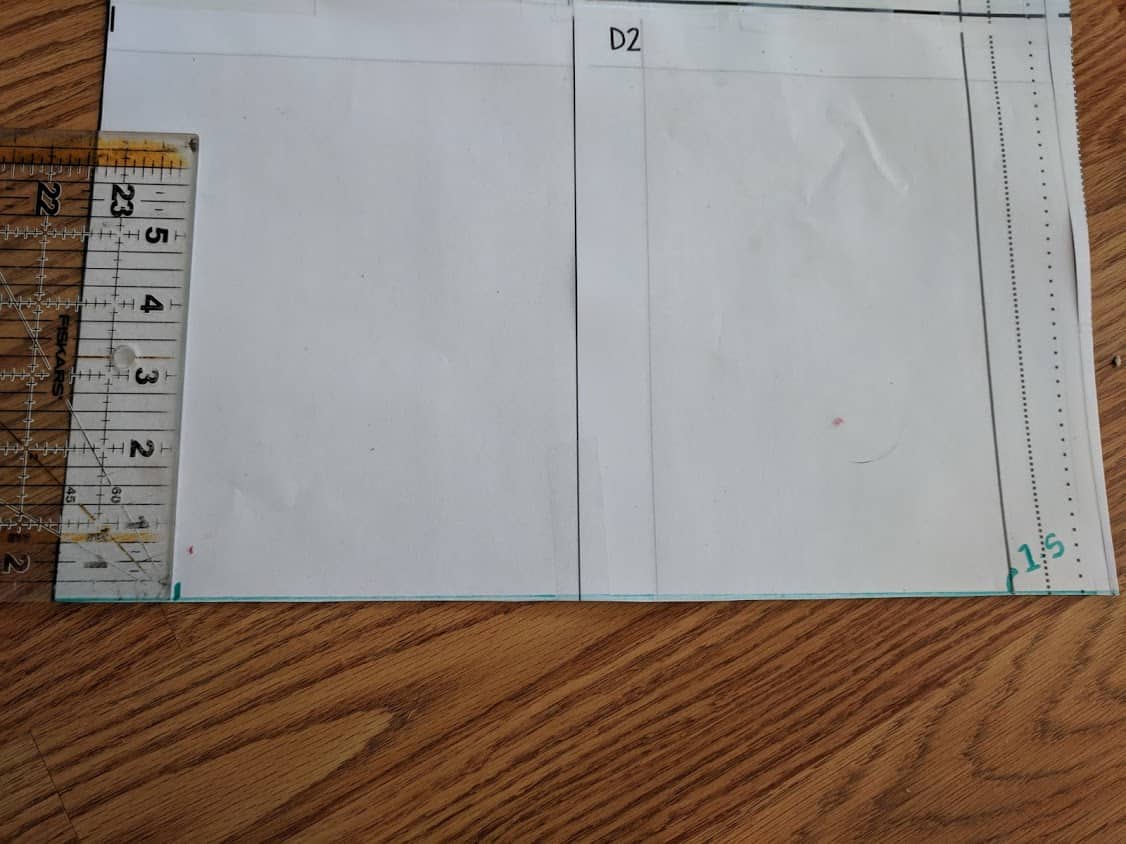
First up, a super easy hack that doesn’t even need any adjustments to the pattern pieces. Have you seen those cool high side split pants all over Pinterest? You can achieve the look with the Cozy Pants. The pattern includes two side notches, one for shorts and one for pants length. All you have to do is use the shorts side split marking for the pants option. Sew the pants just as in the tutorial.
These style looks beautiful in lighter weight fabric and tied at the ankles. See how easy it was? 😊
…..
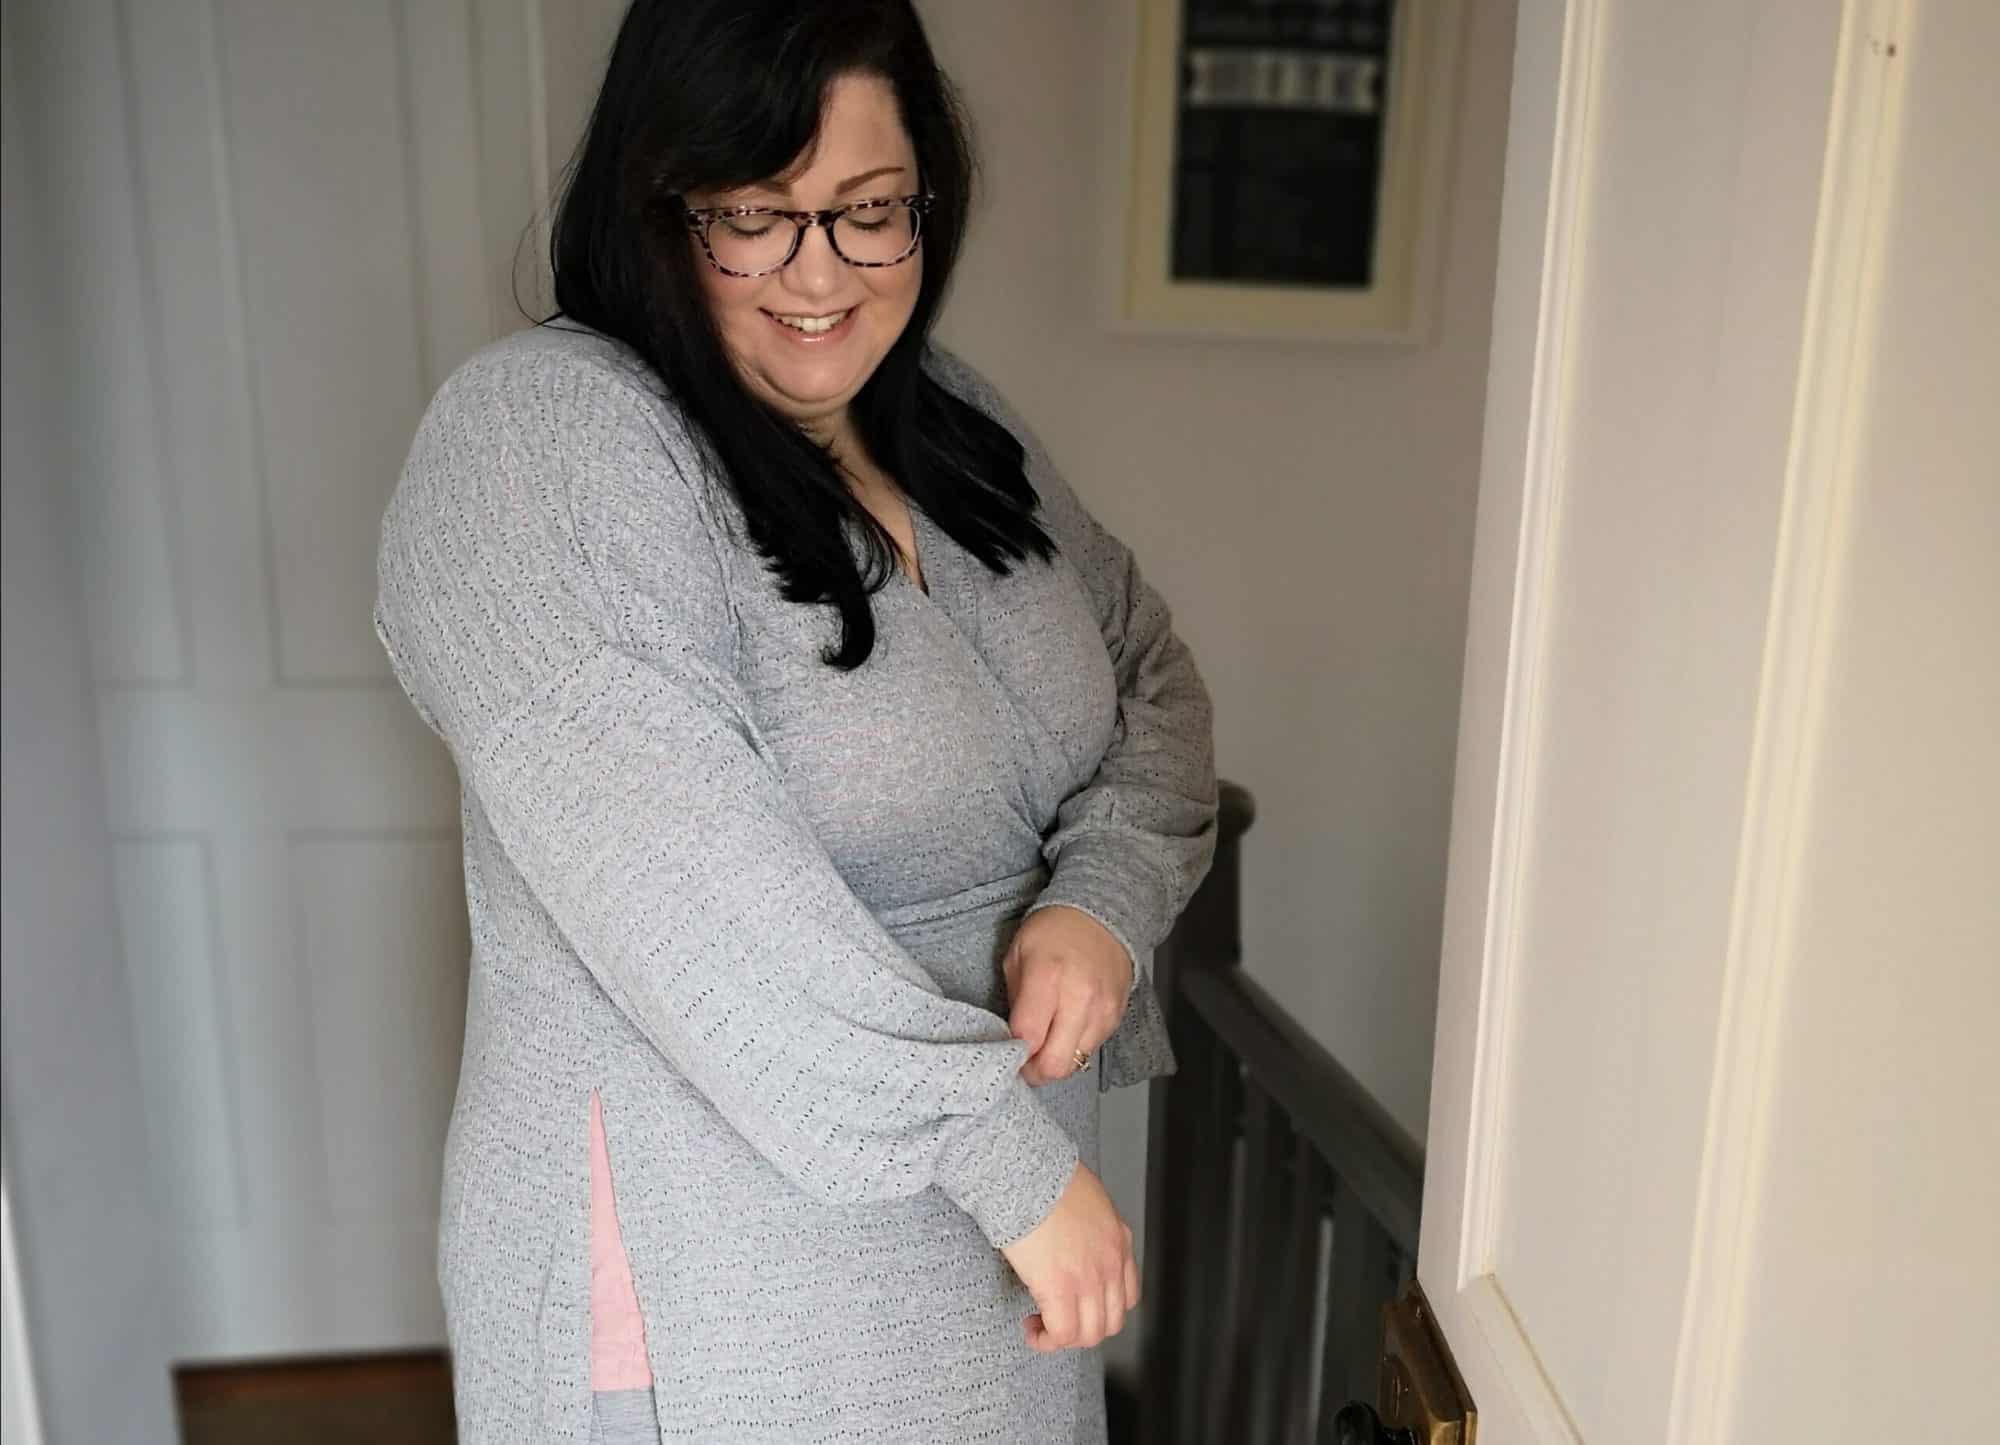
Duster wrap with high split
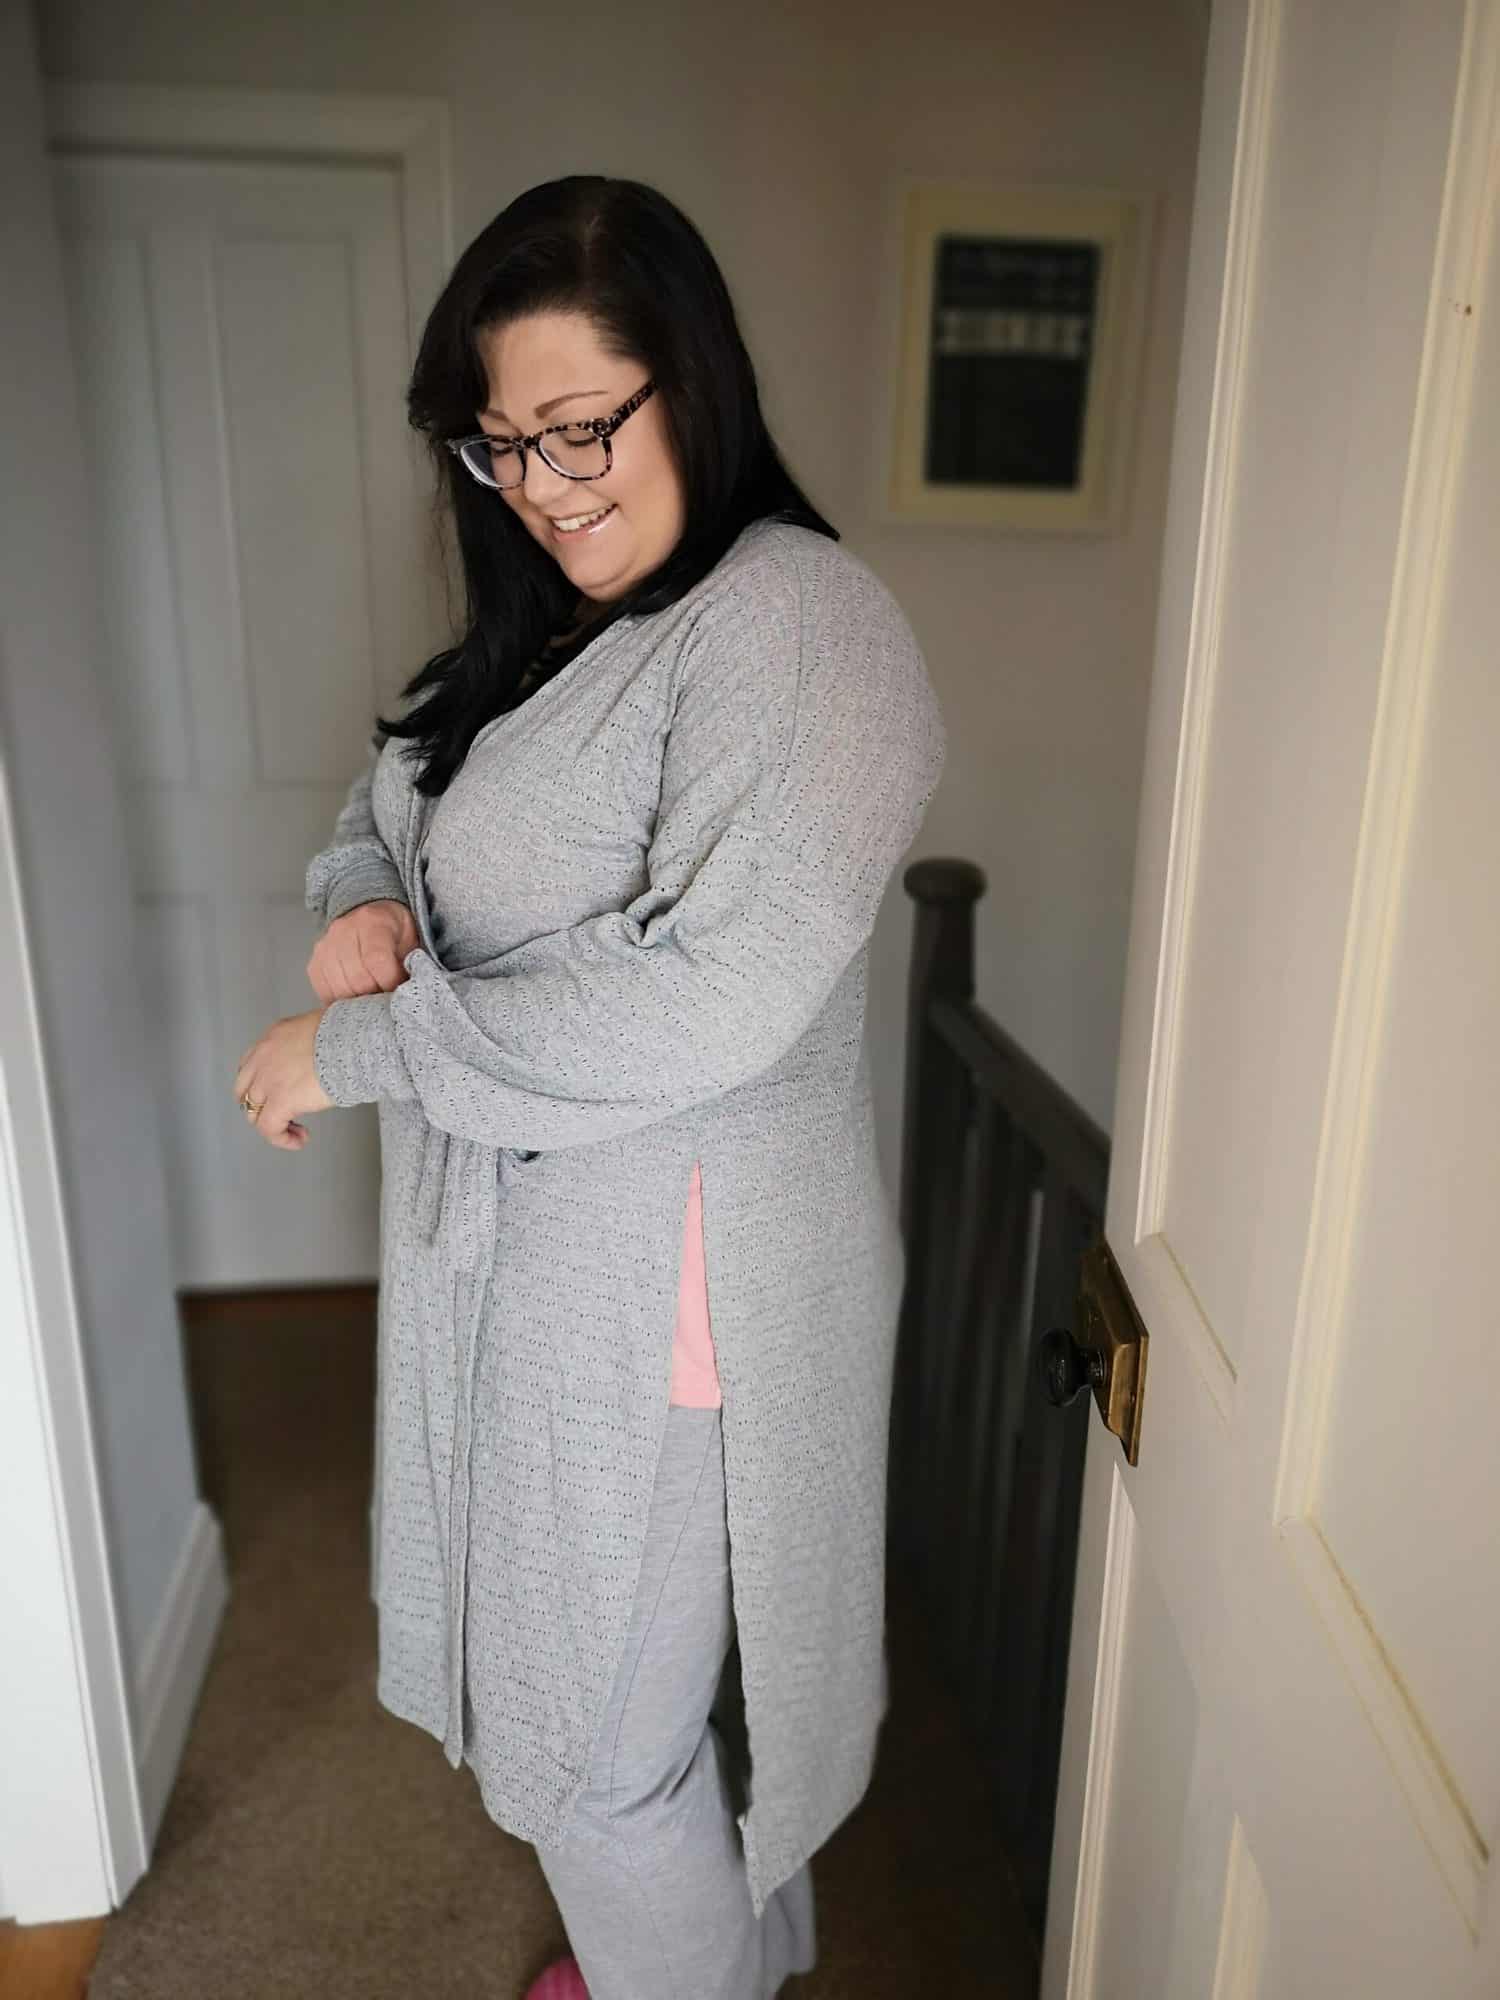
I have had a duster cardigan with a high side split like this pinned on my Pinspiration board for a while, now. I knew I could make it happen with this really easy hack of the new Cozy Cardi and I love how it turned out!
I have a written blog post below, or if you prefer a video I did one of those, too. You can find it here:
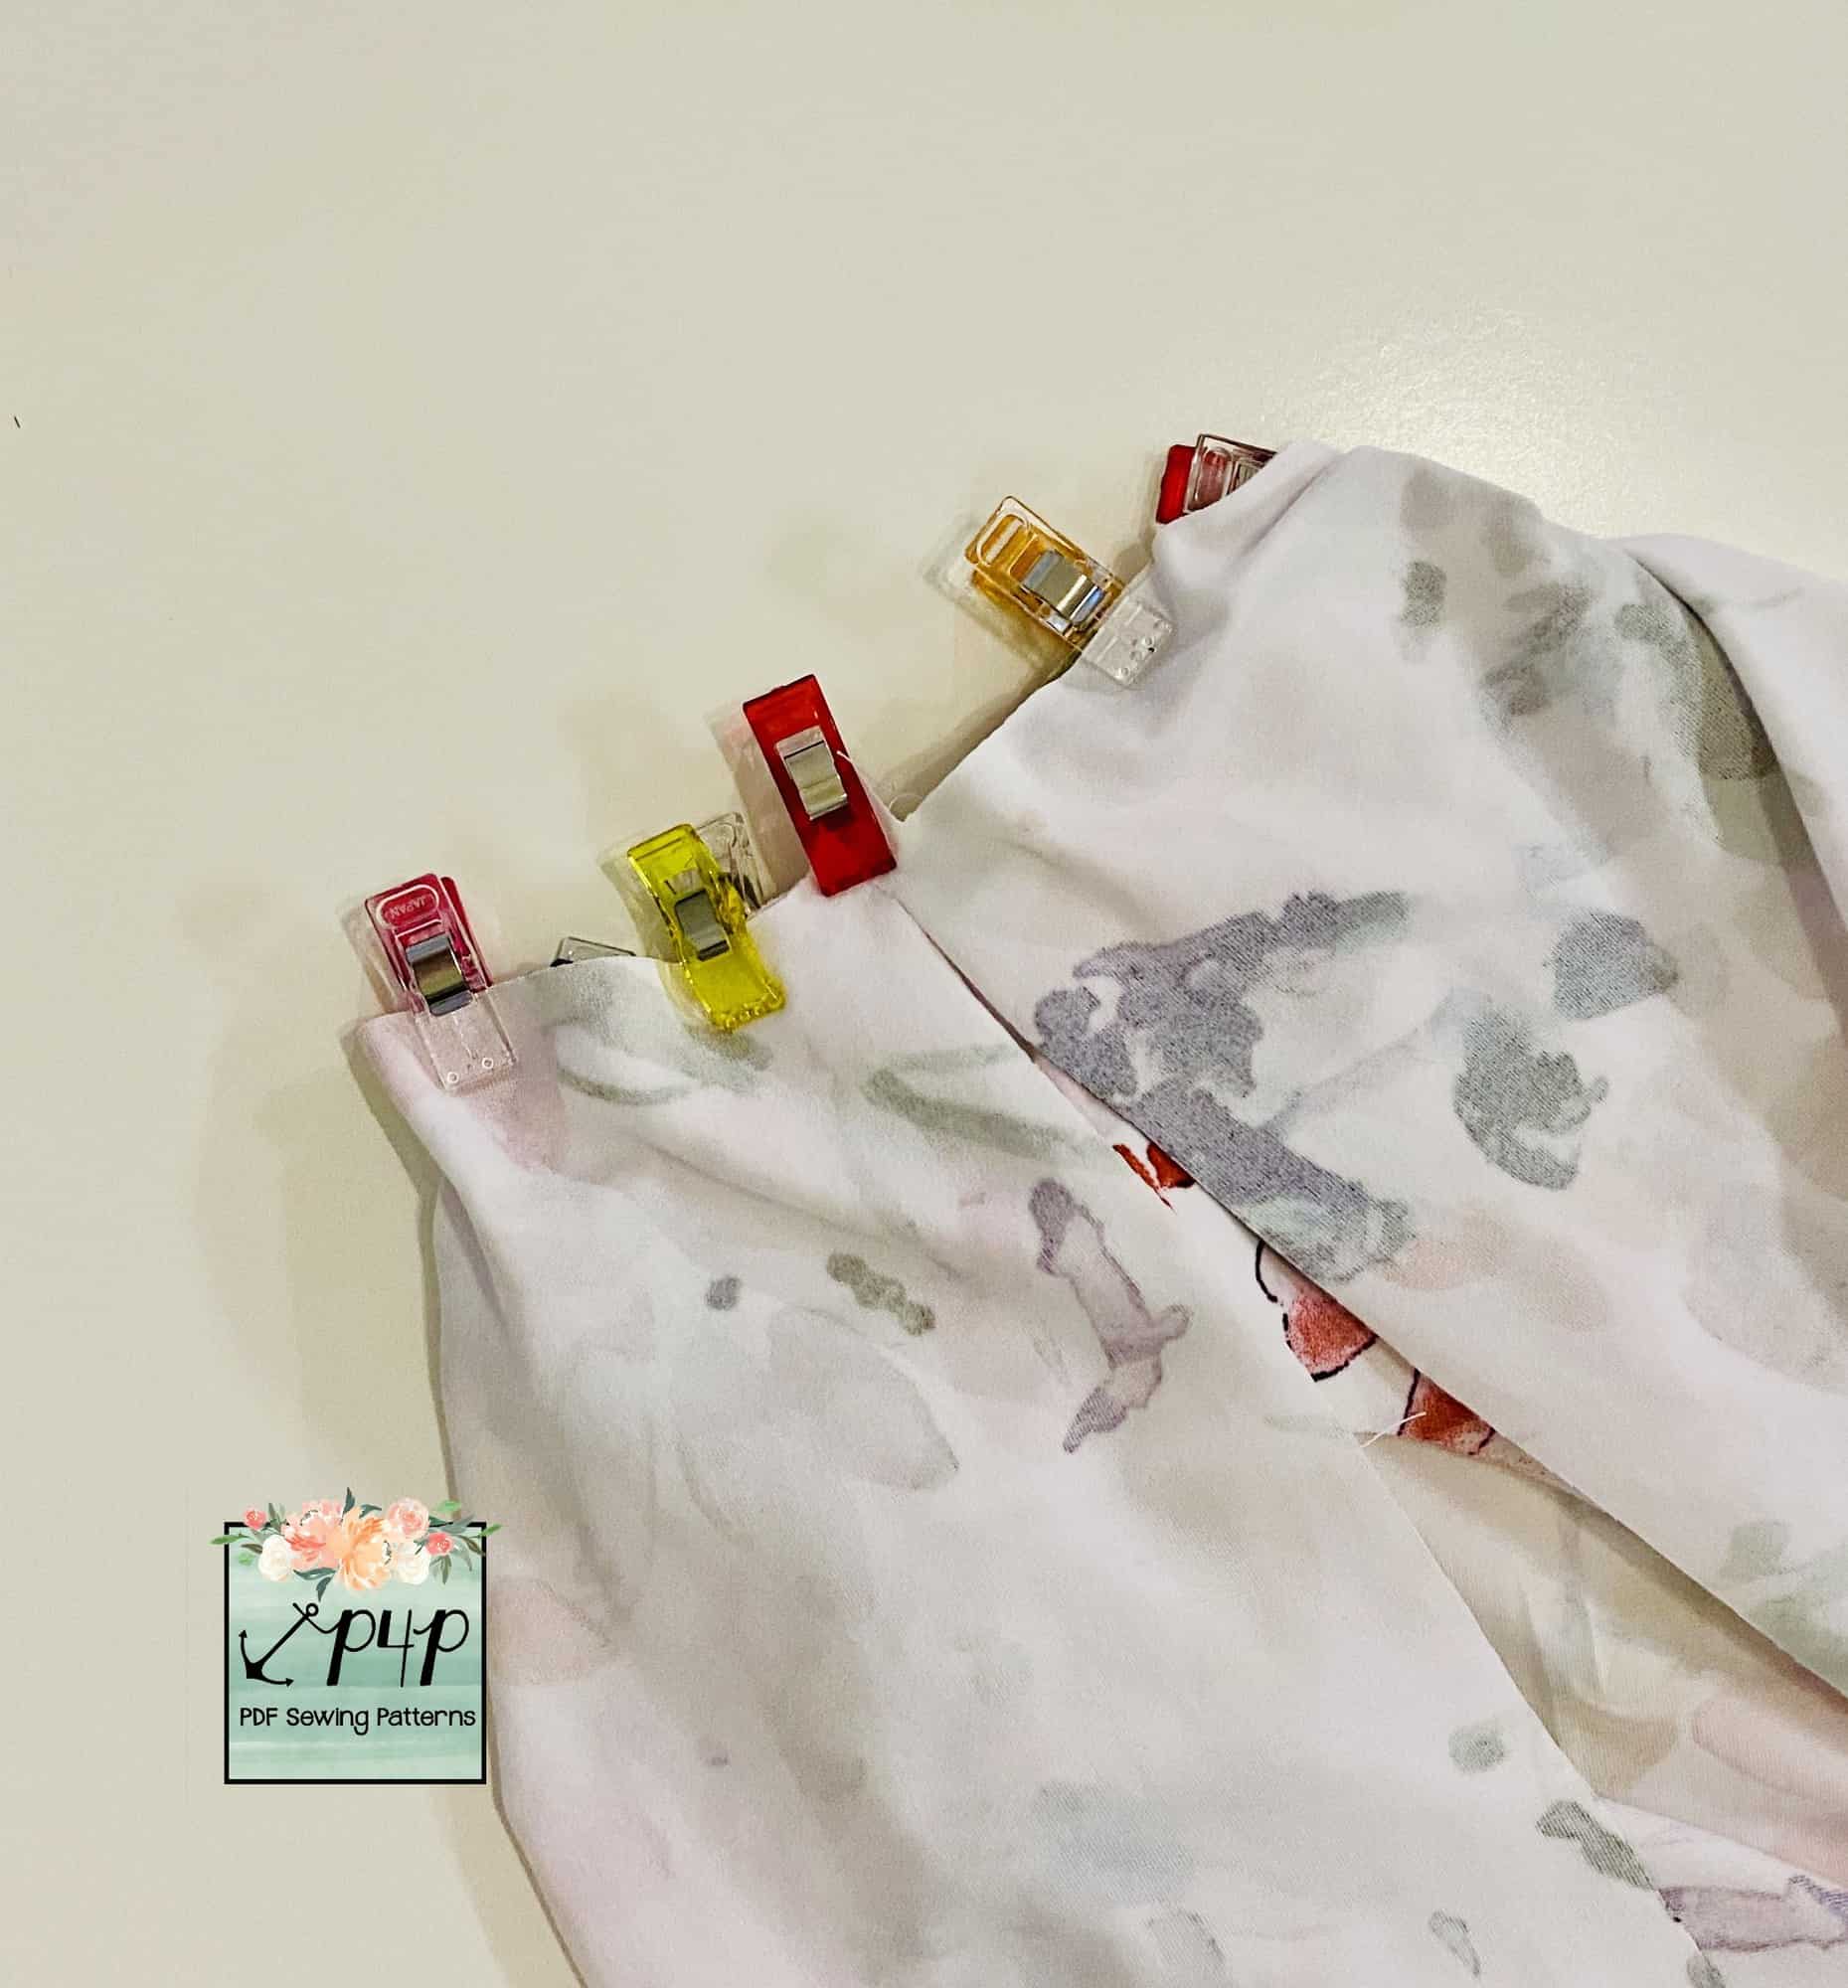
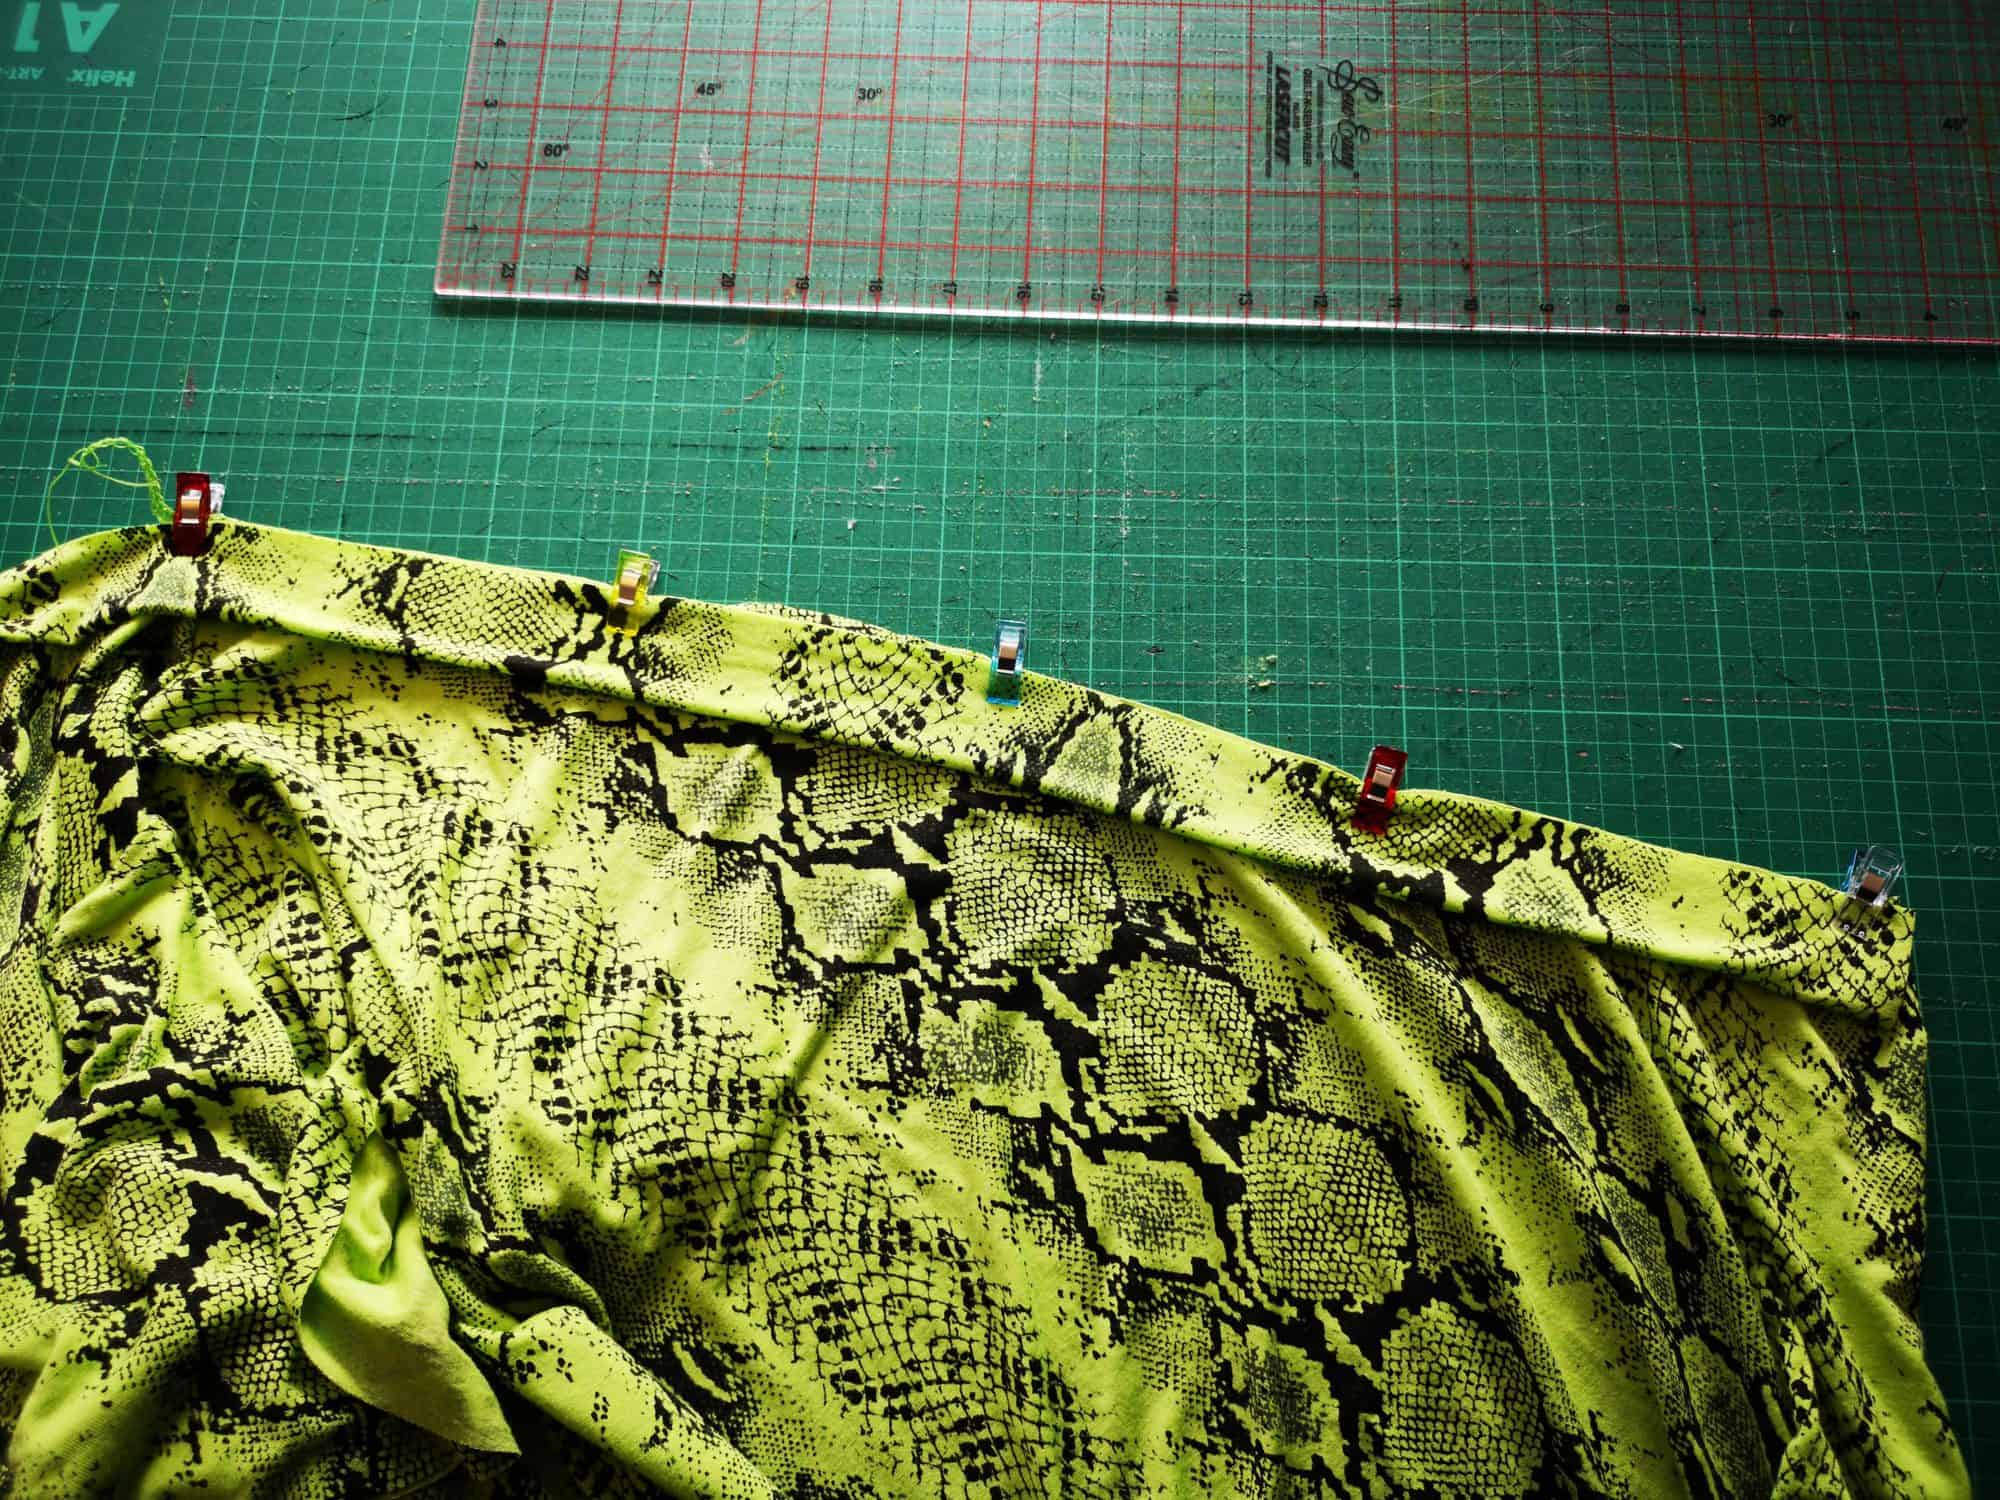
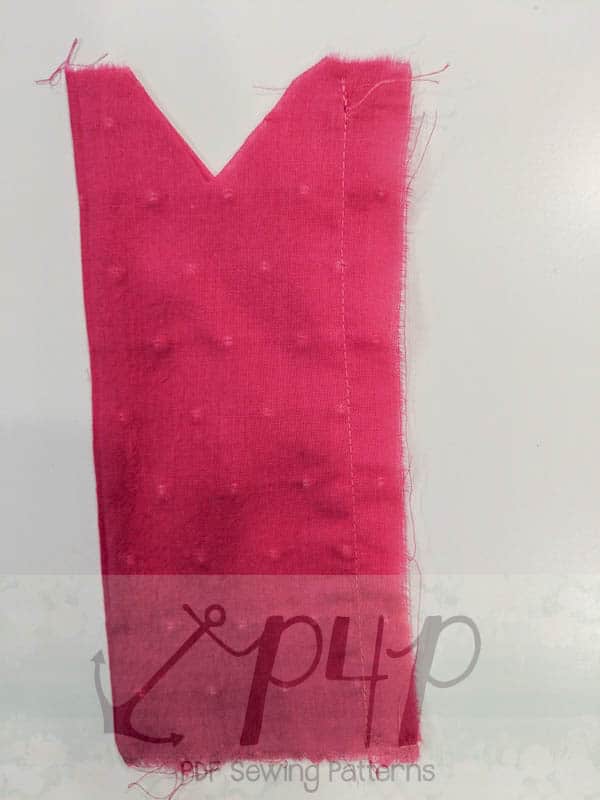
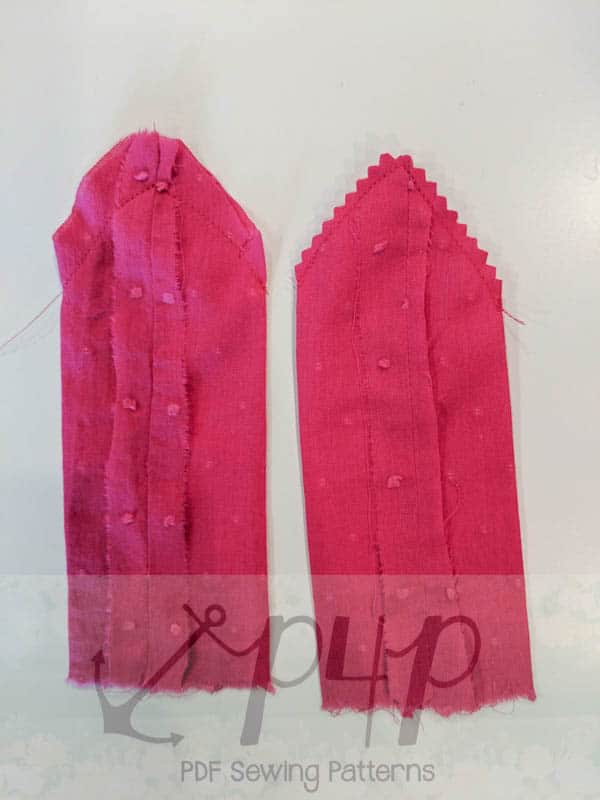
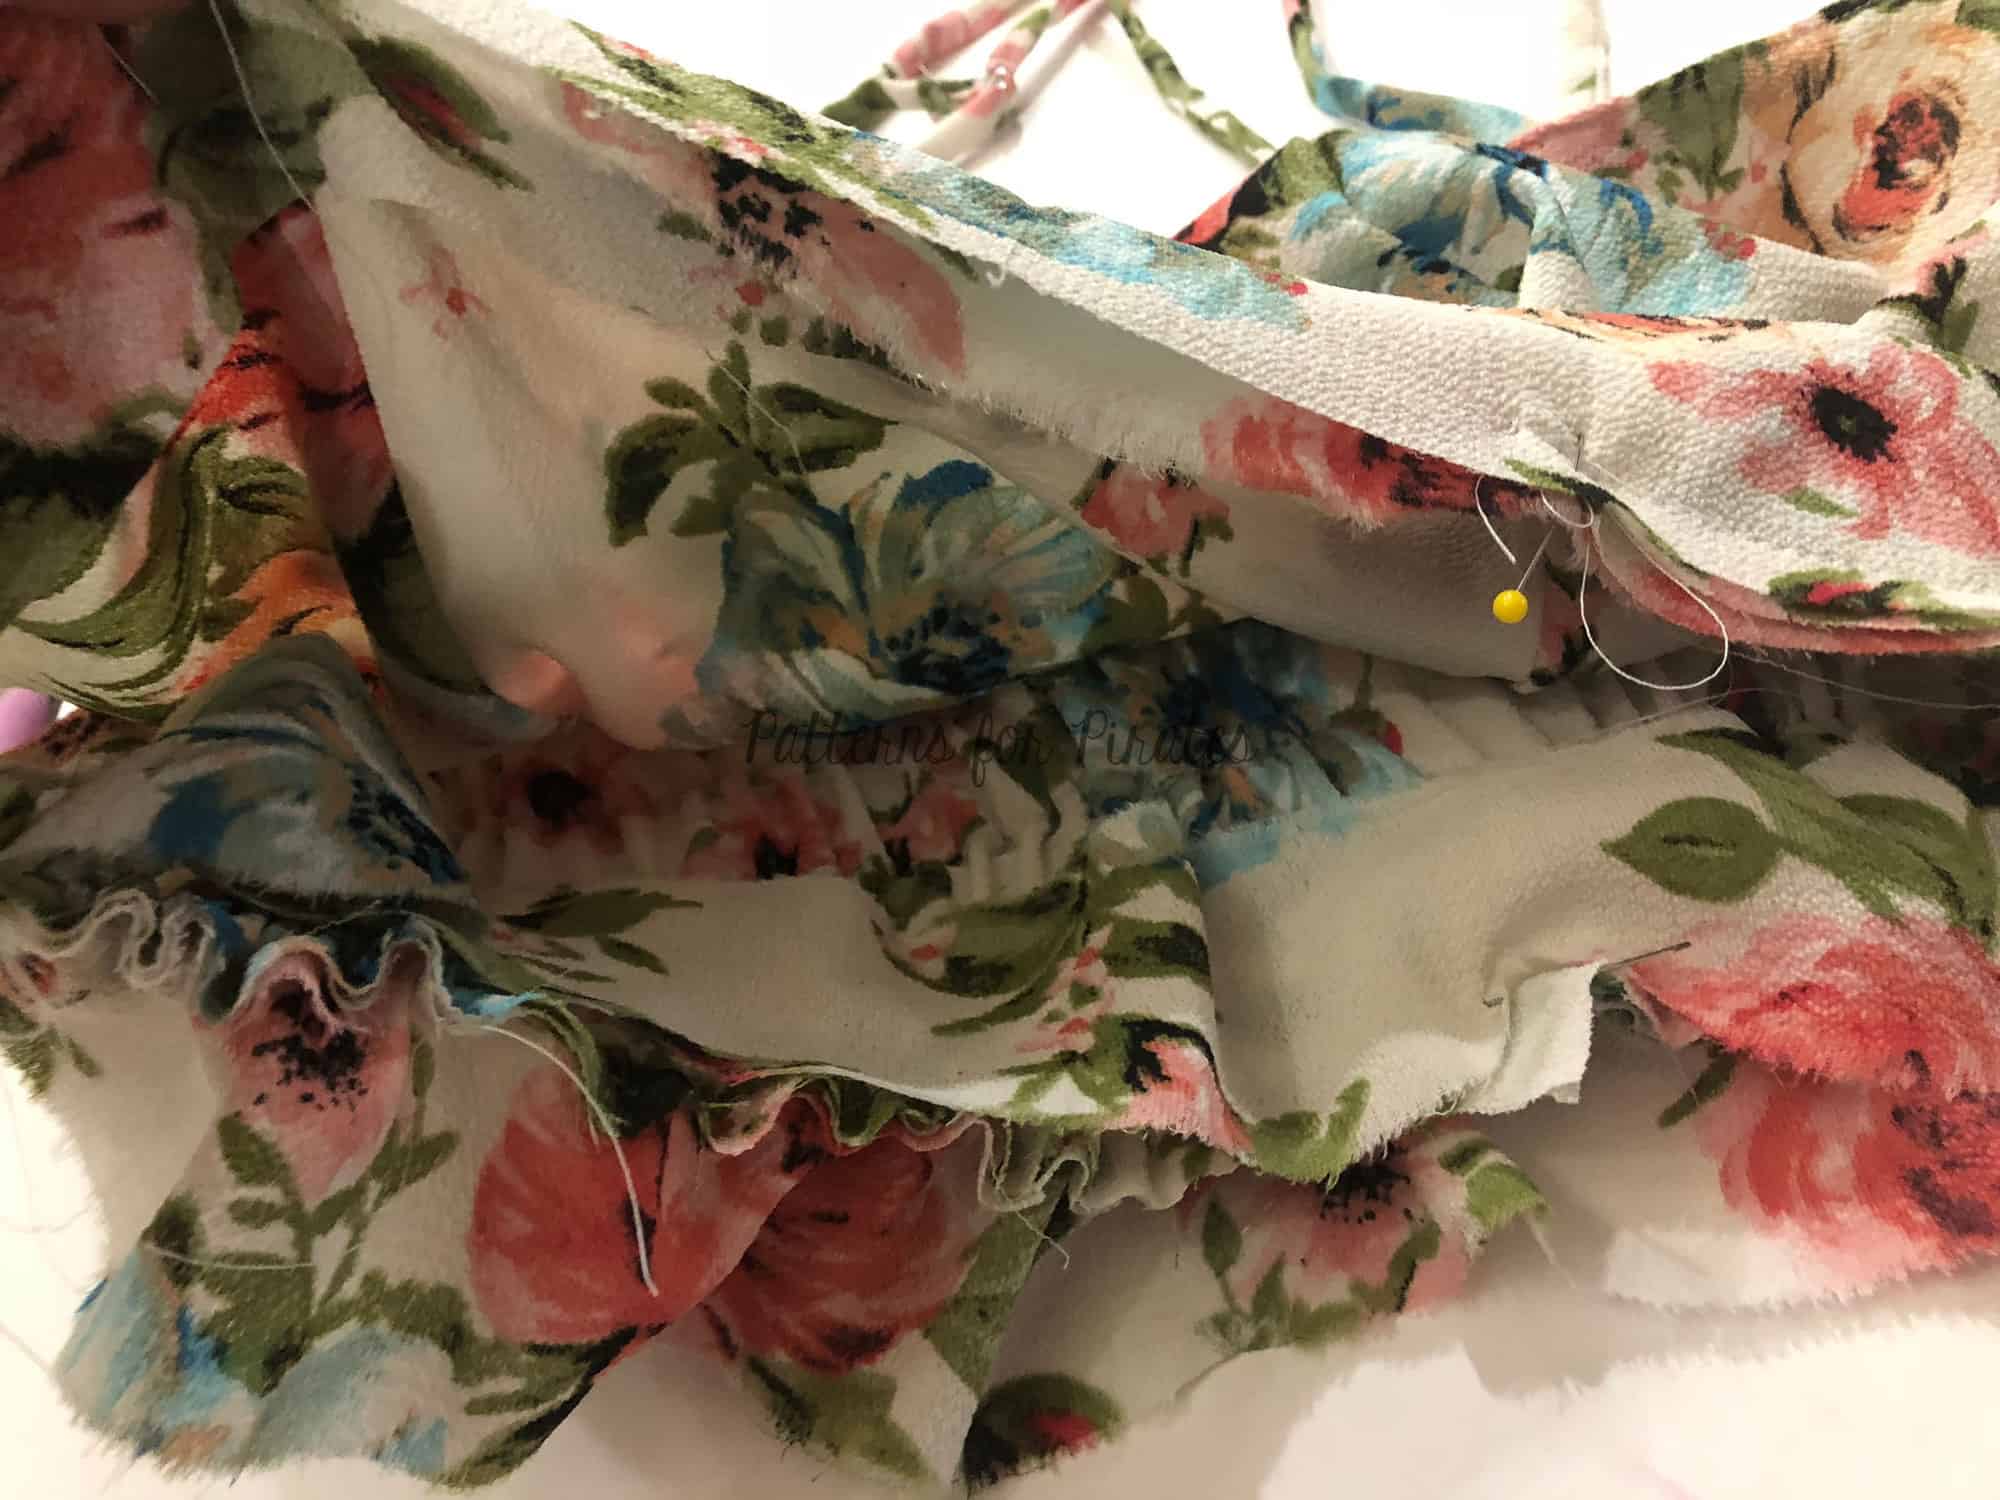
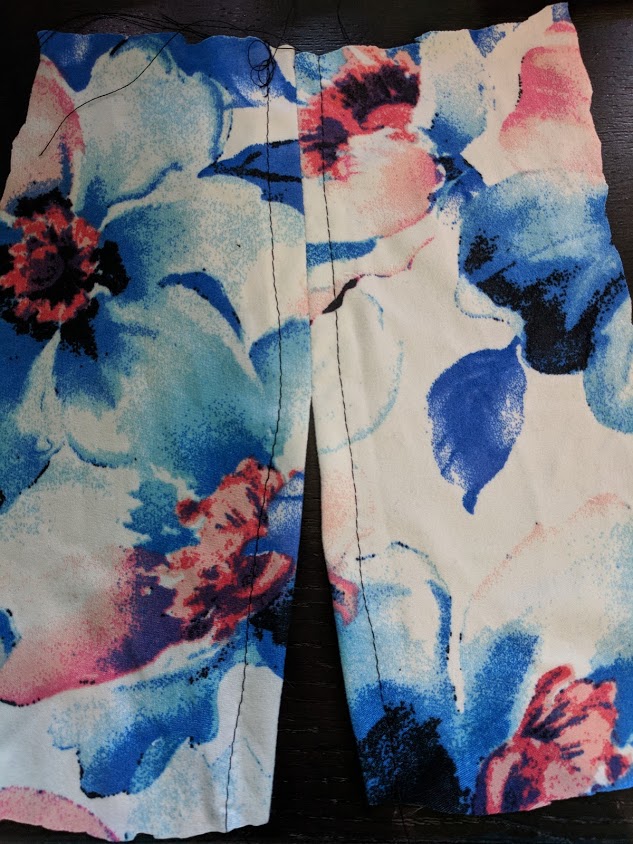
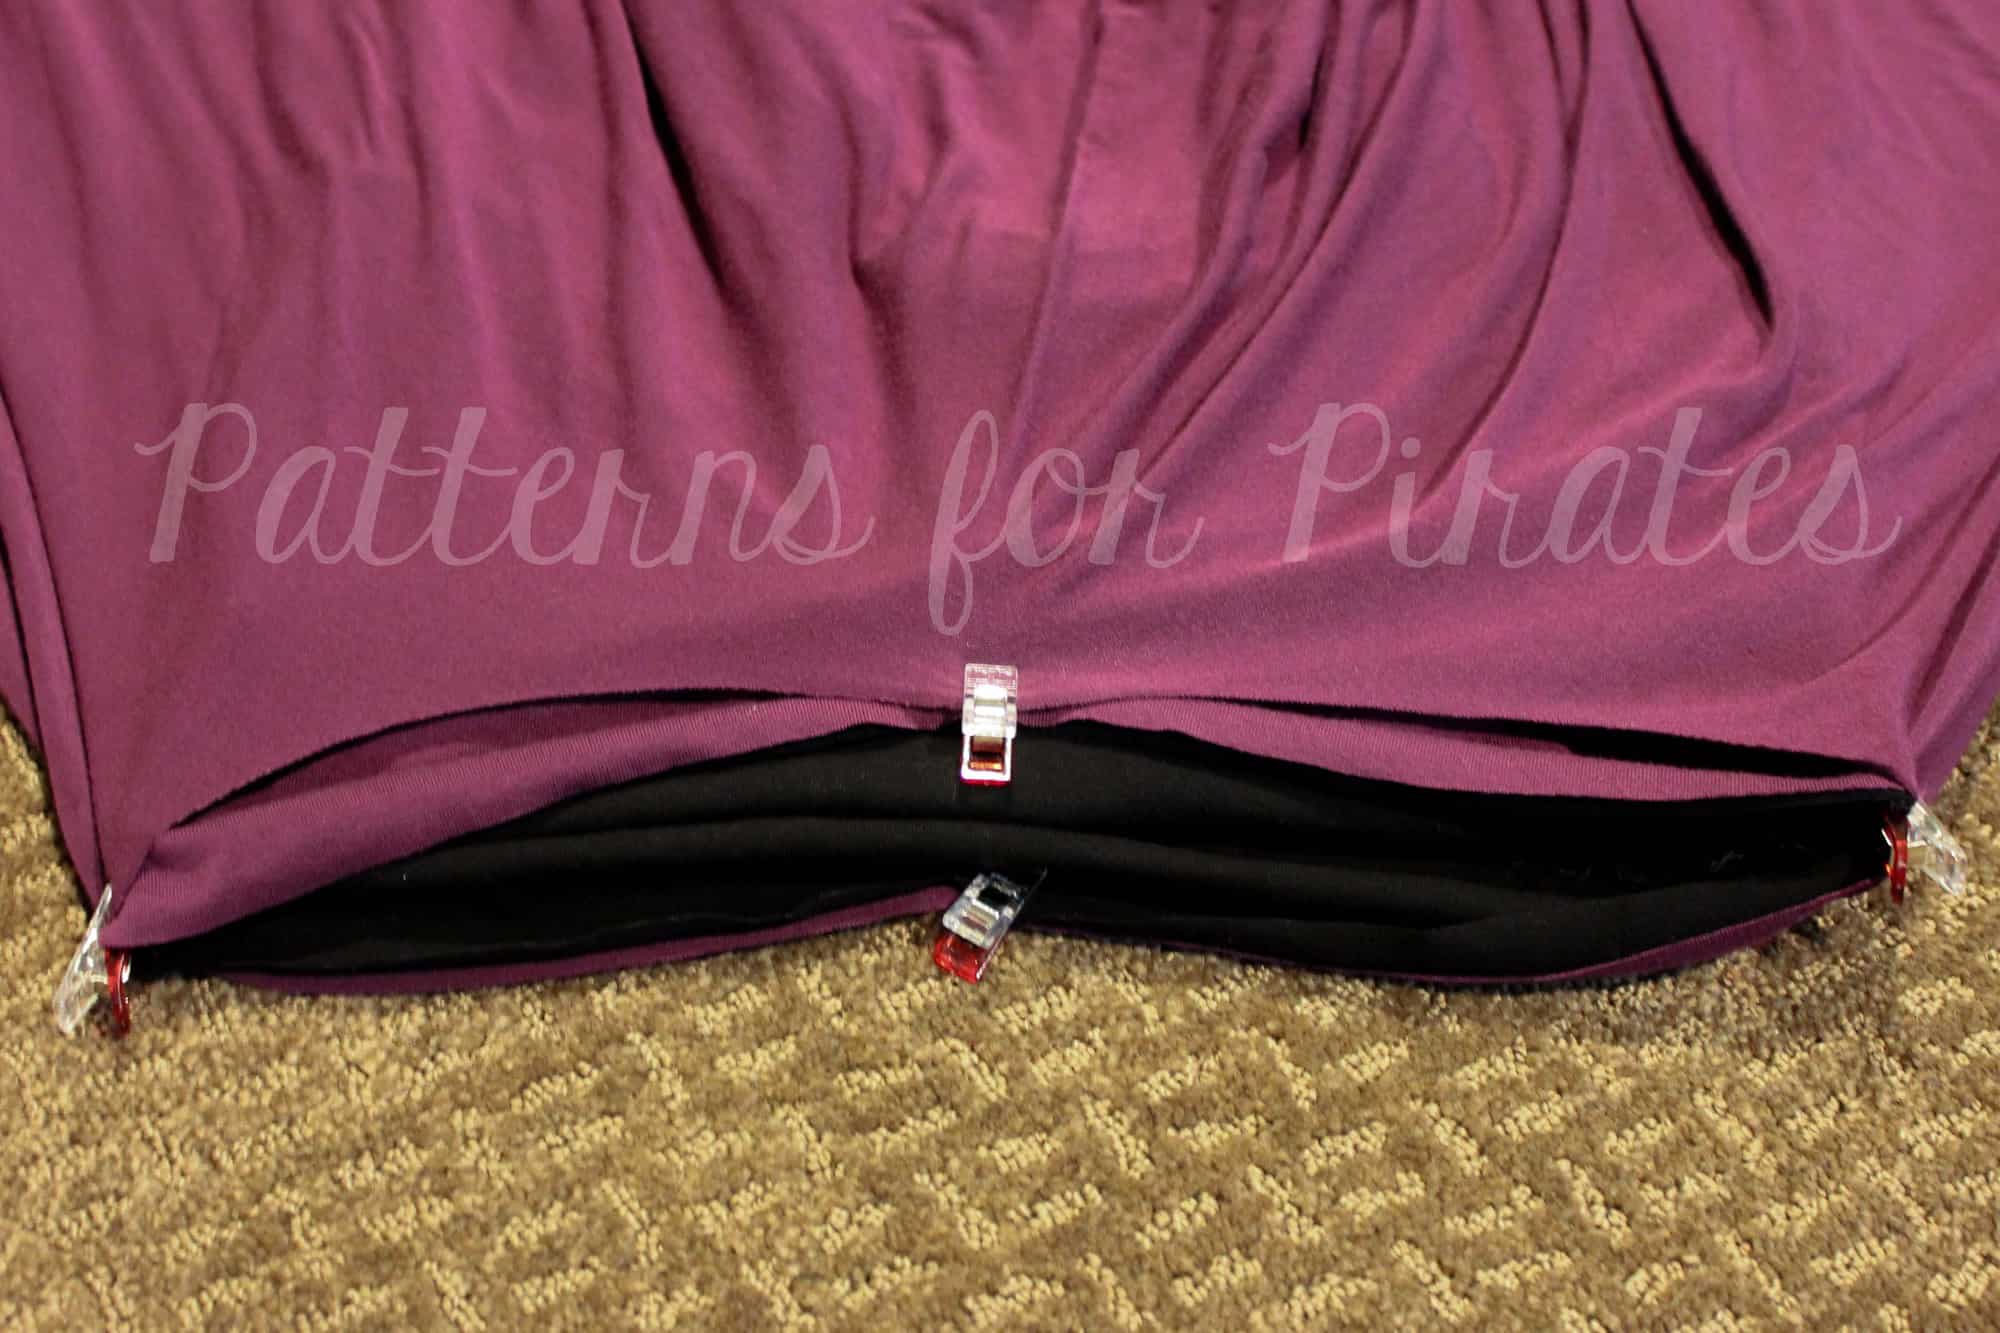
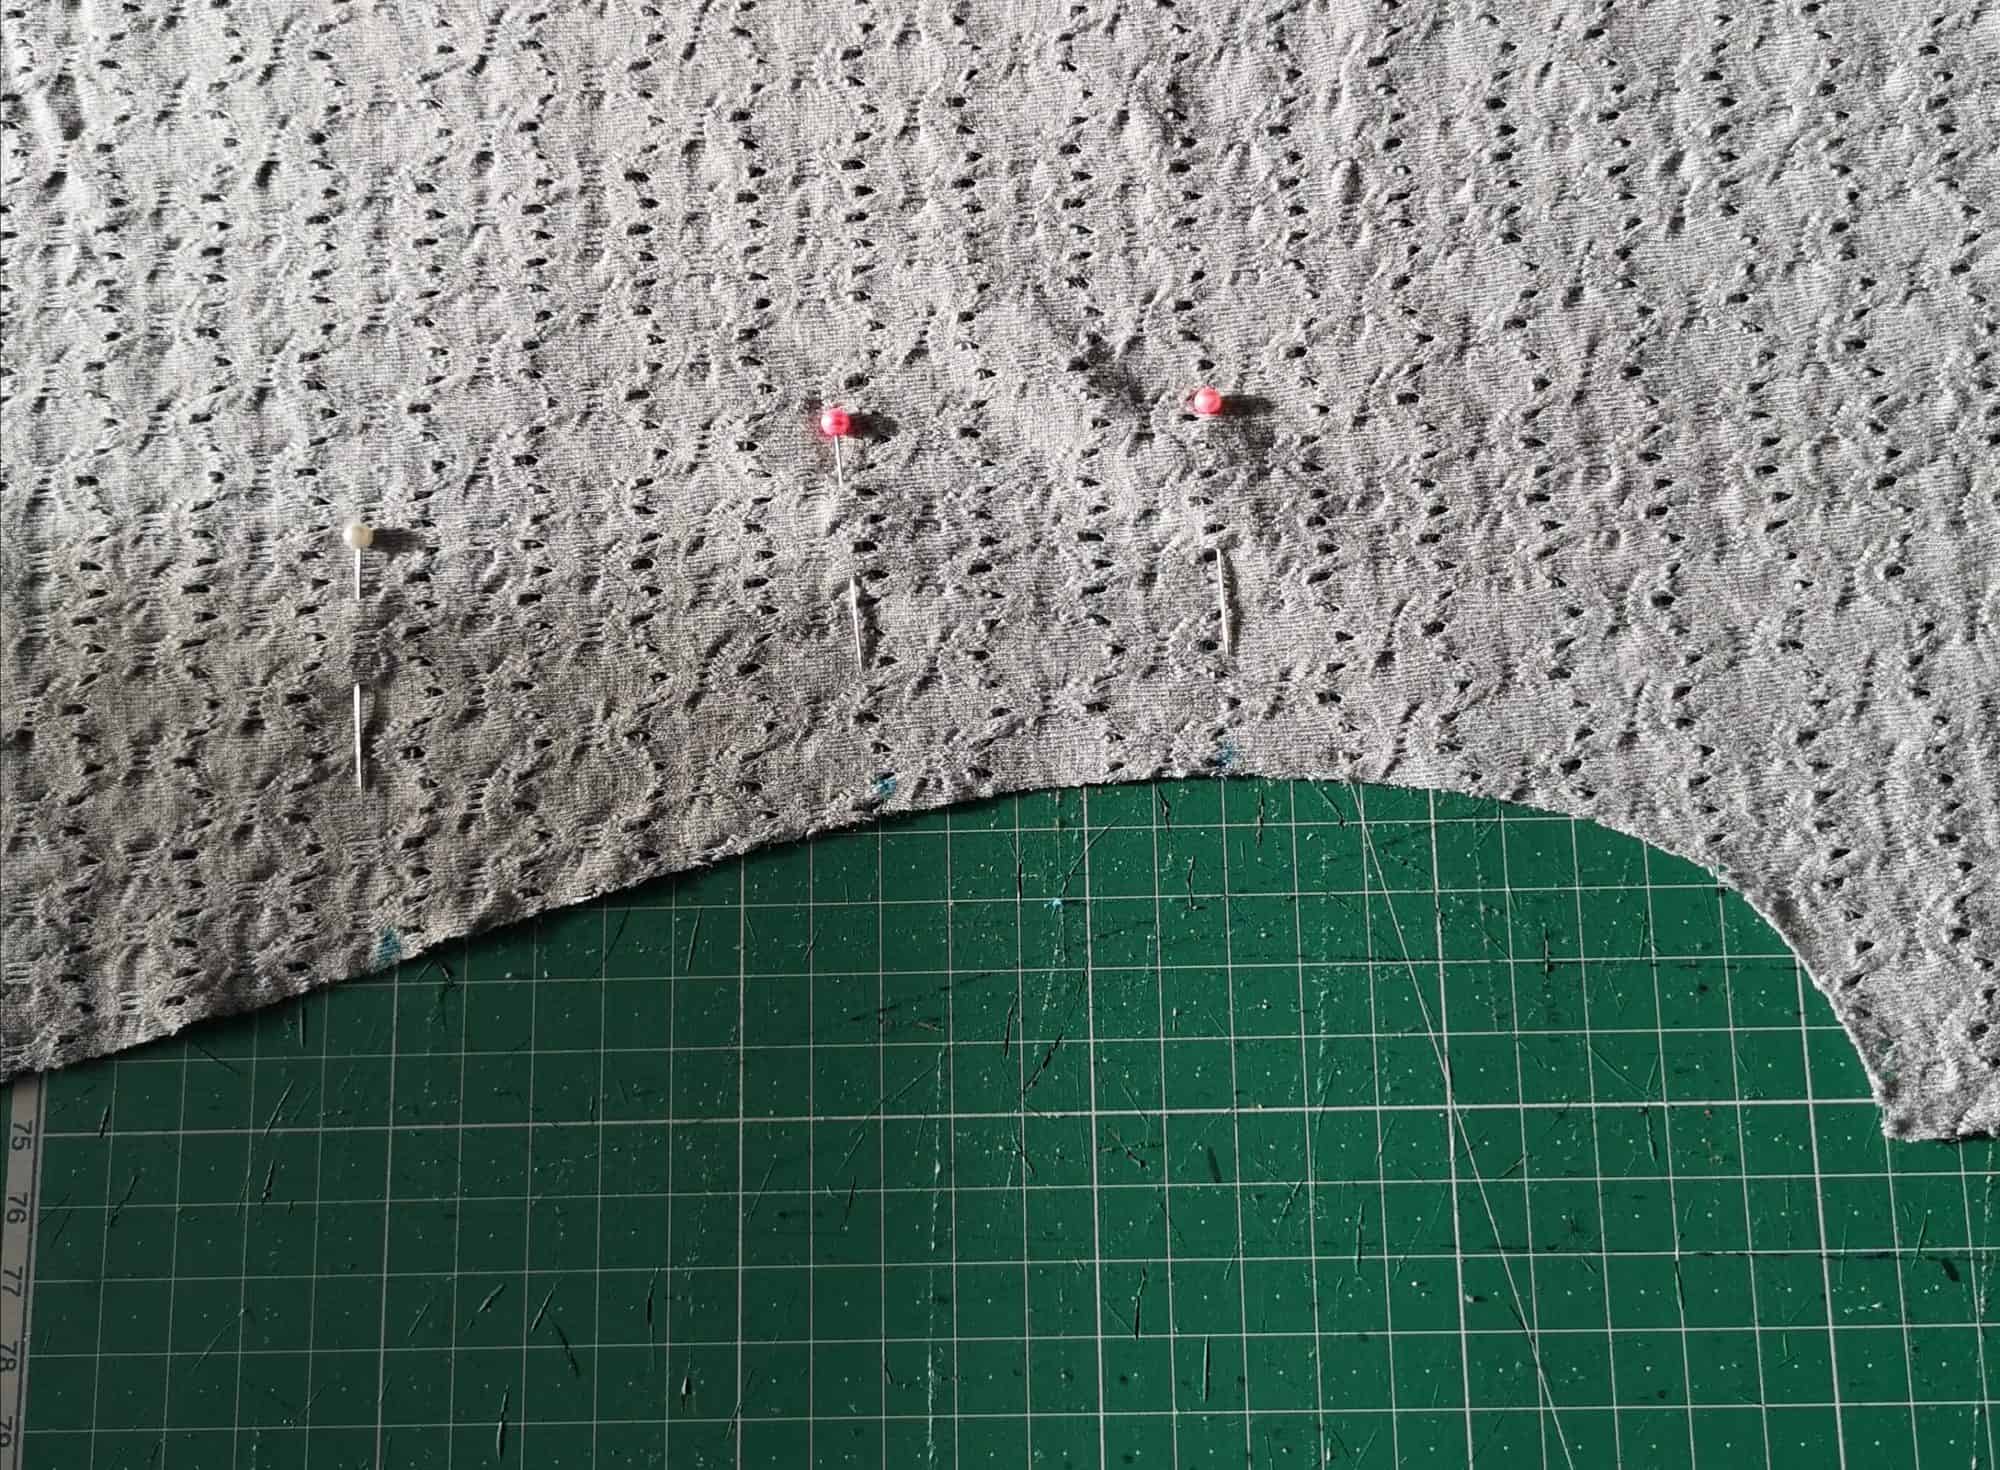
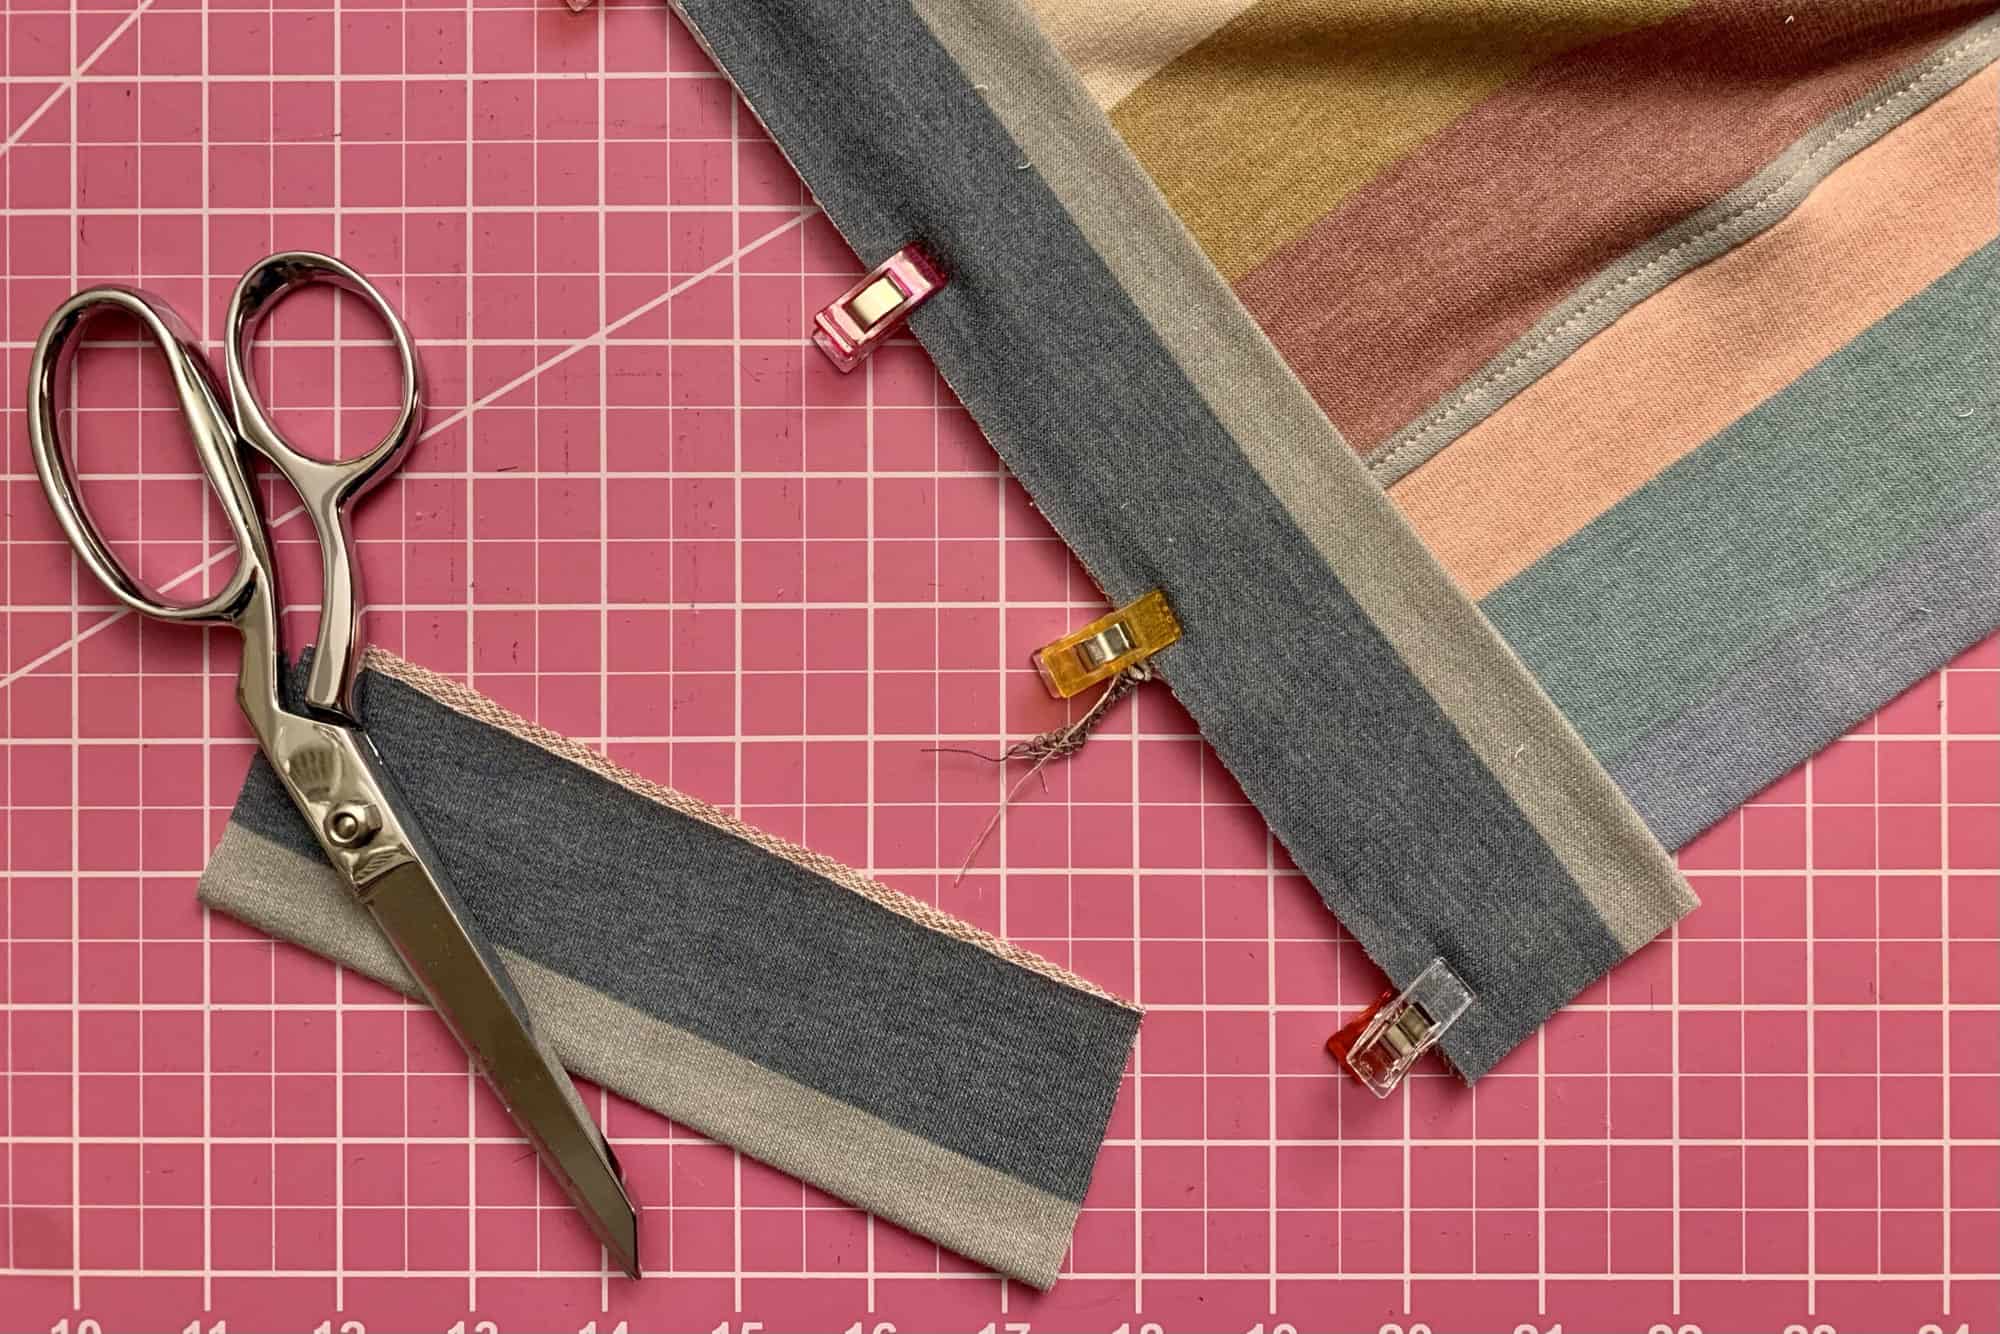
Cut your pieces out and mark your notches. In this instance you can see the two pins at the top which mark the notches for the waist tie, and then the pin underneath them is the notch for the shirt length side slit, which we’ll be using here with the midi/duster length cardi to get the look we want.
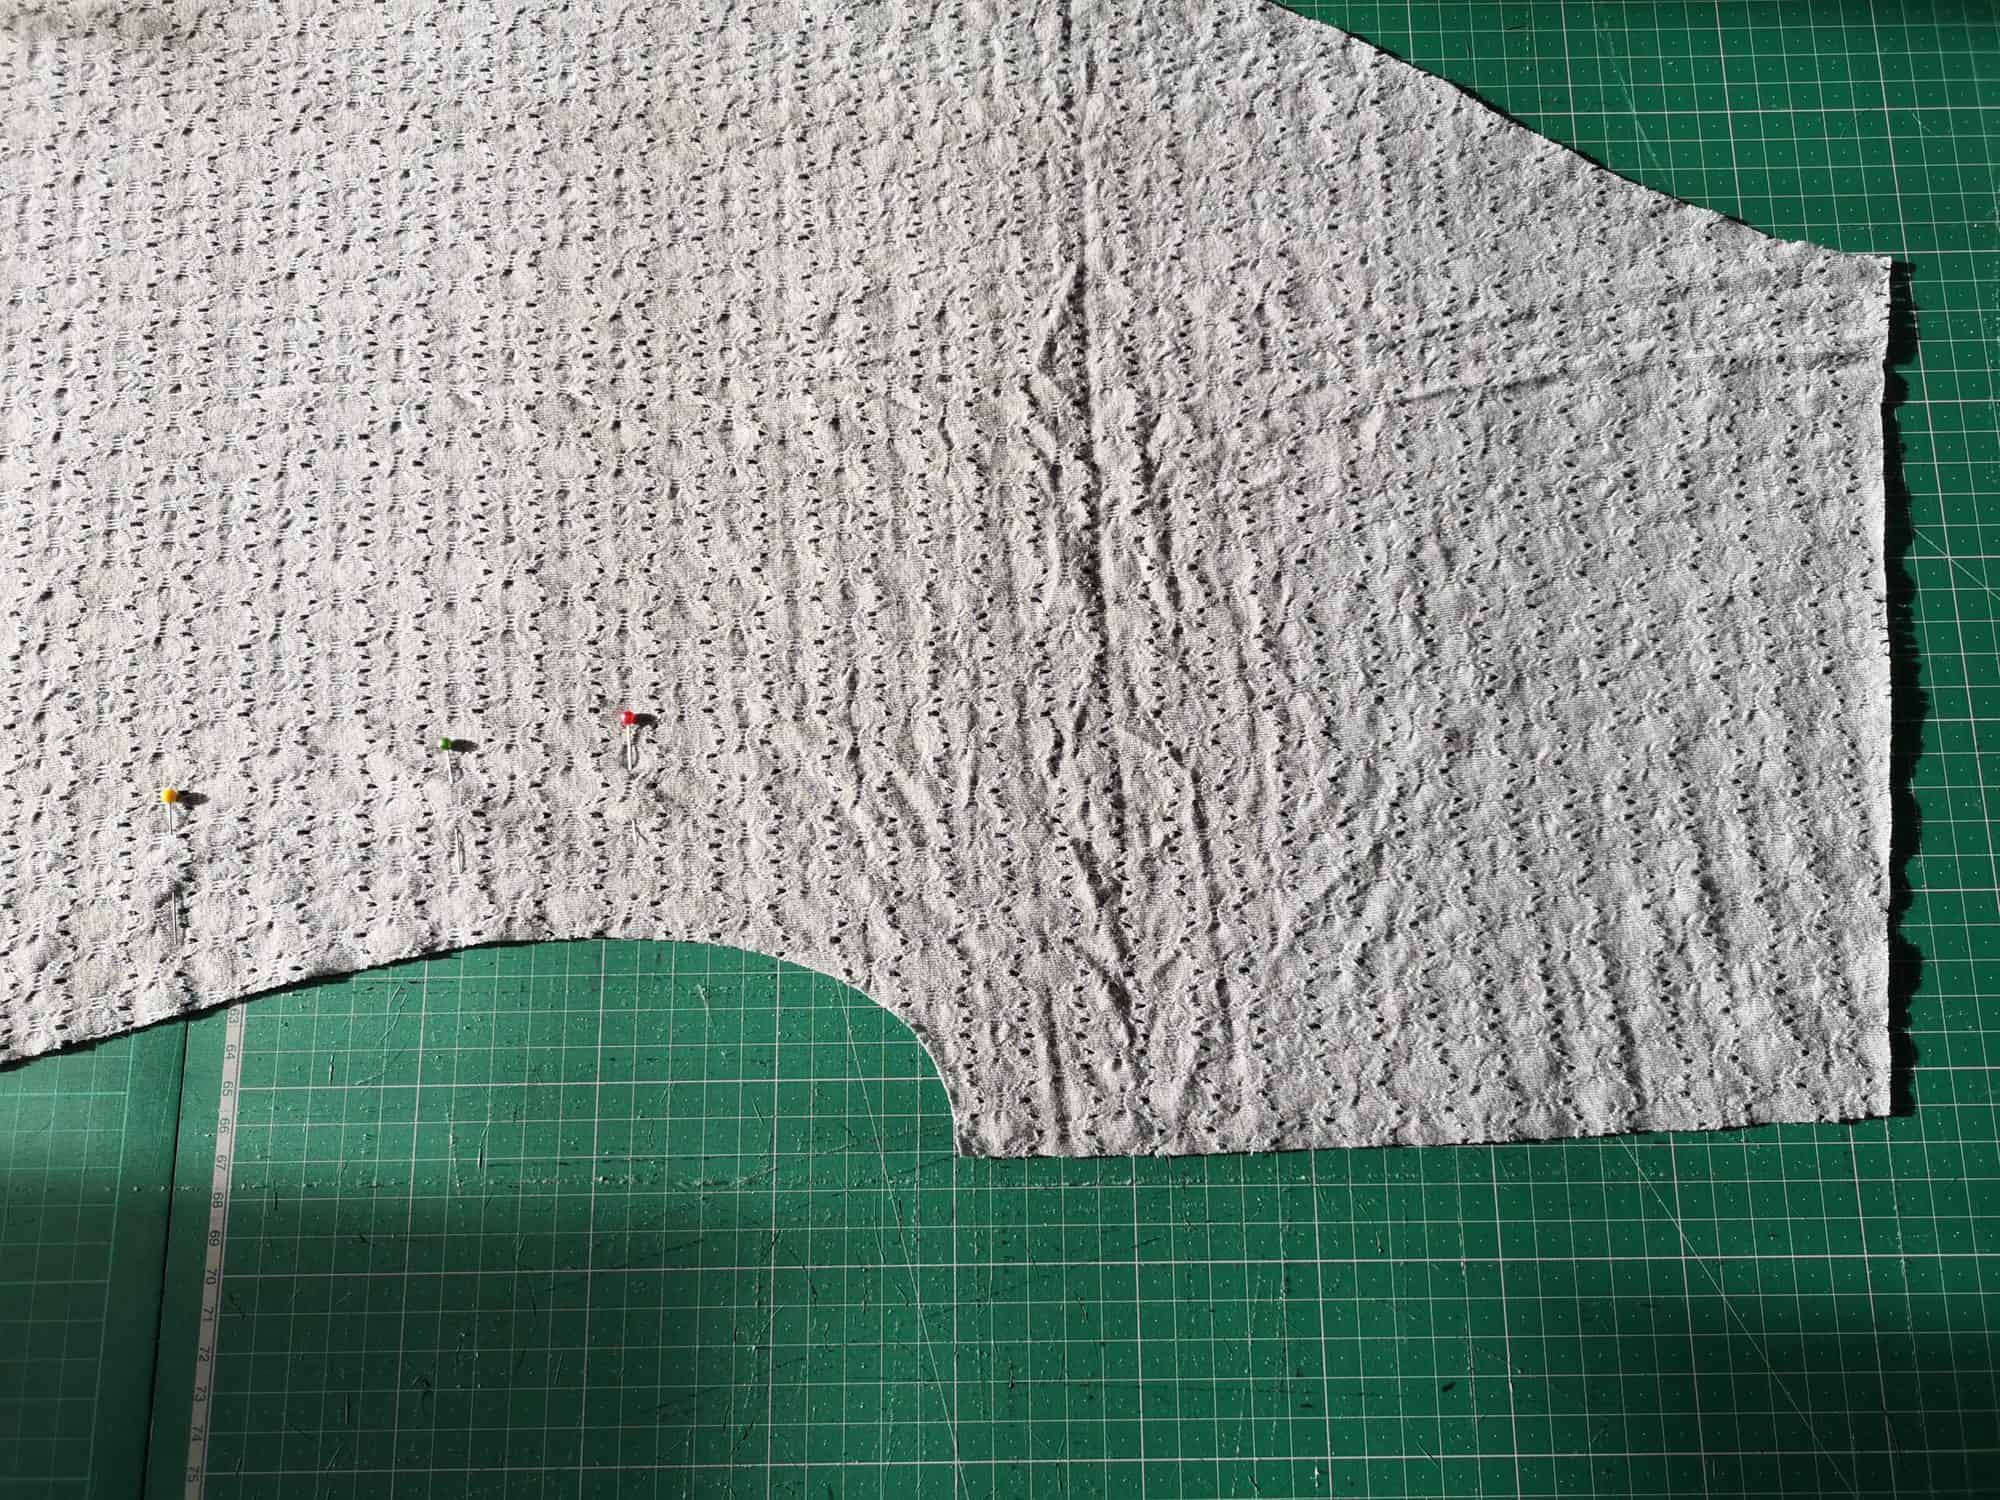
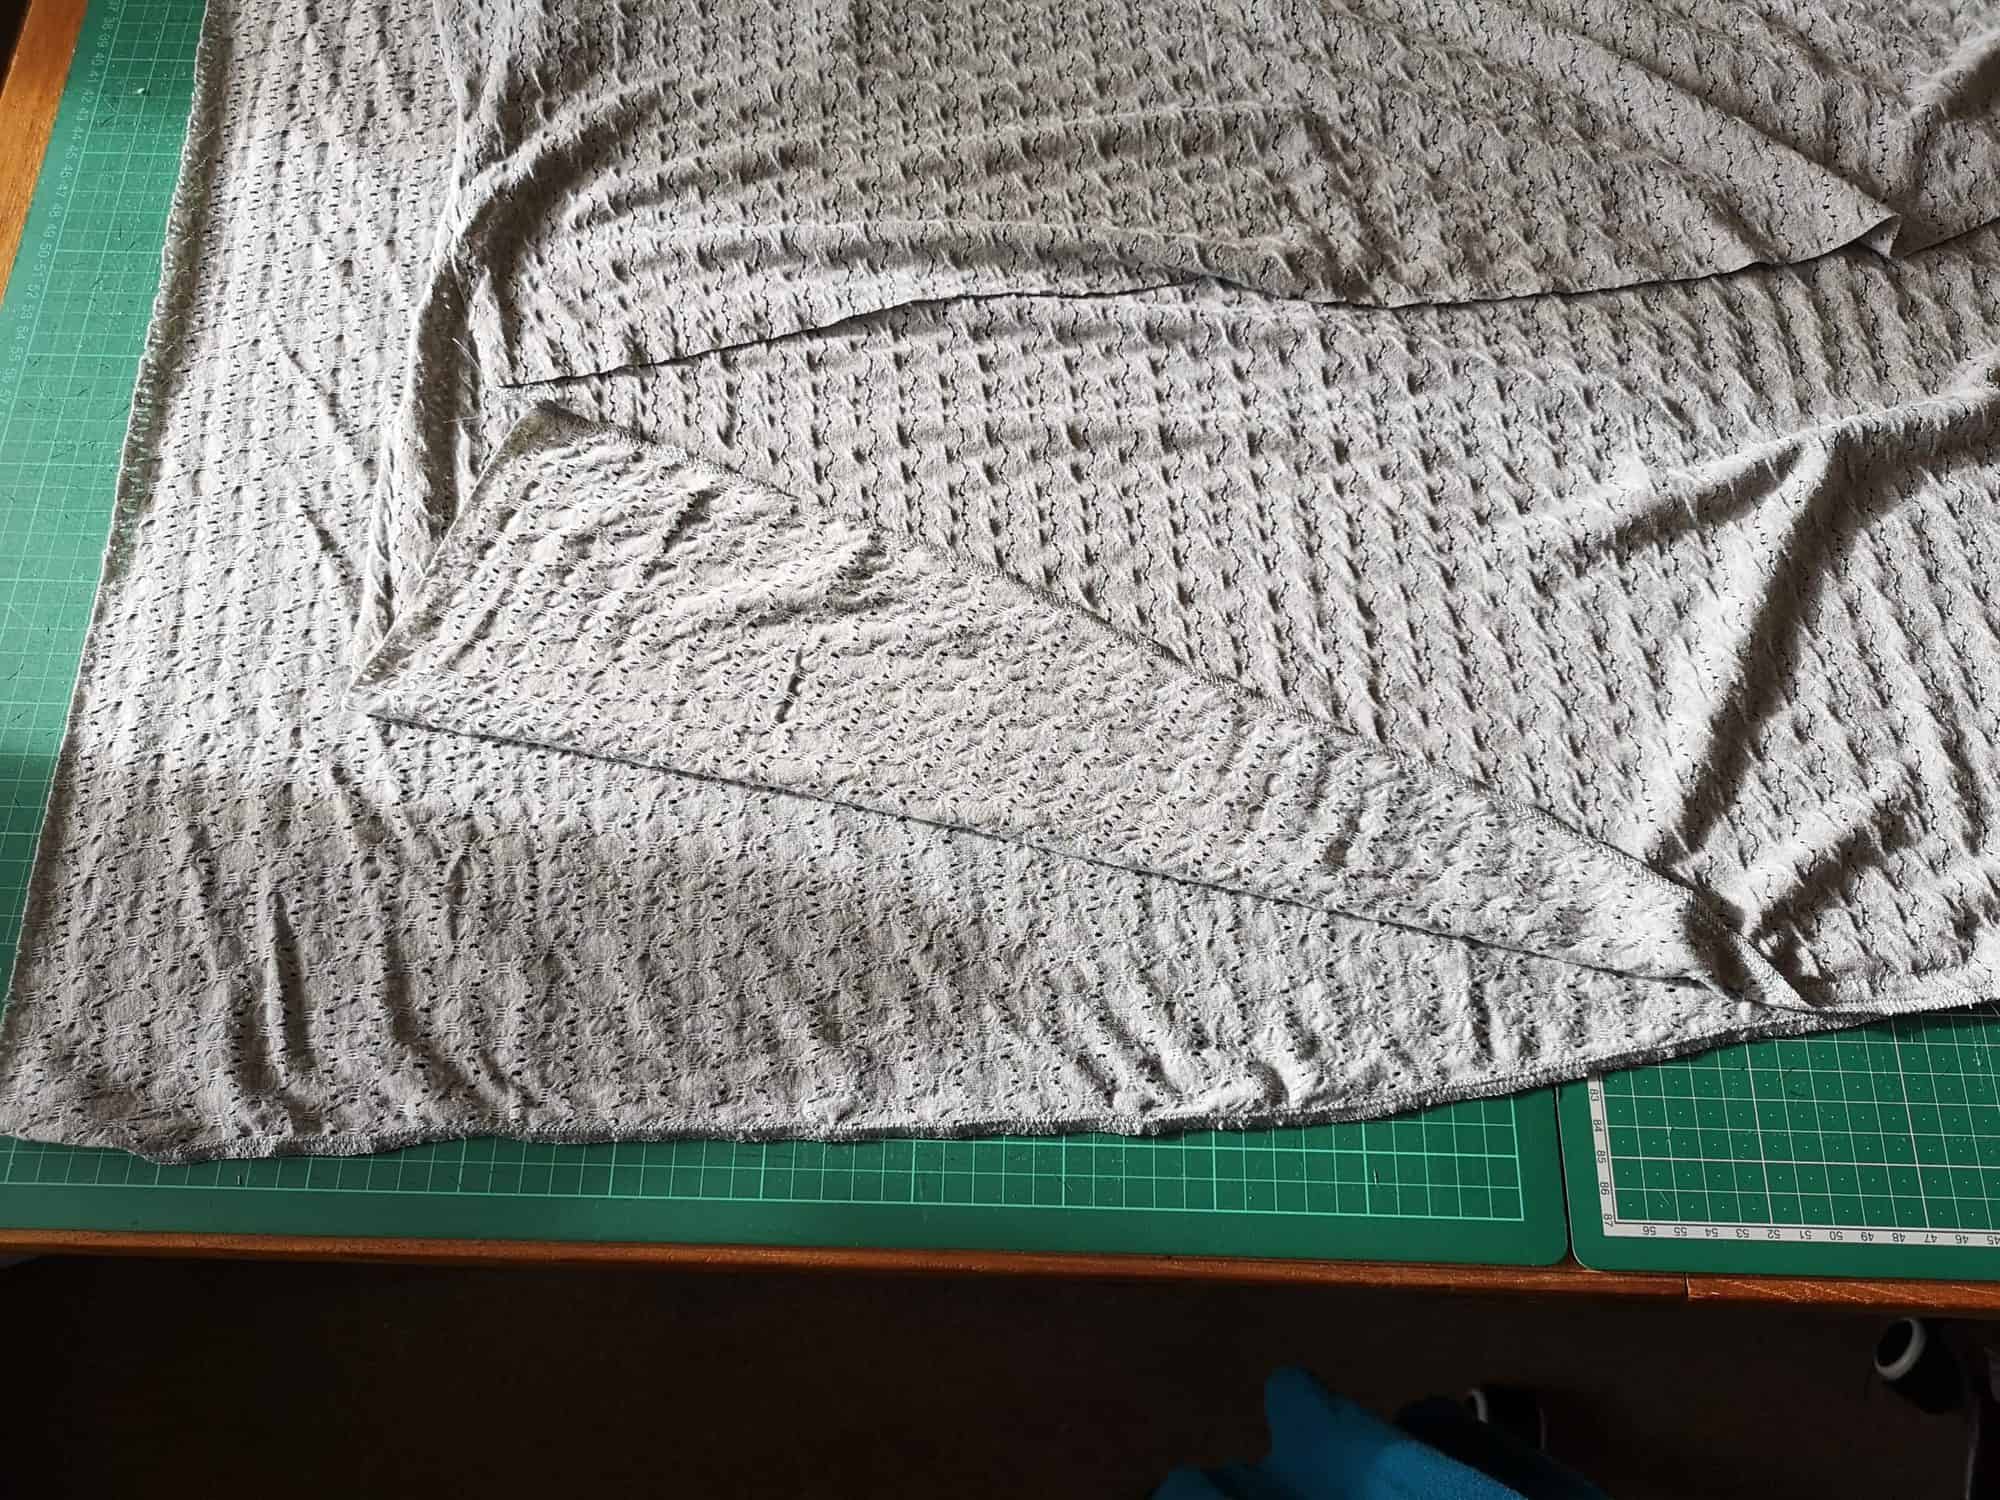
Then assemble your pattern as per the tutorial. The only difference being the side seam will have a much longer hem up to the side split notch than the tutorial photos show.
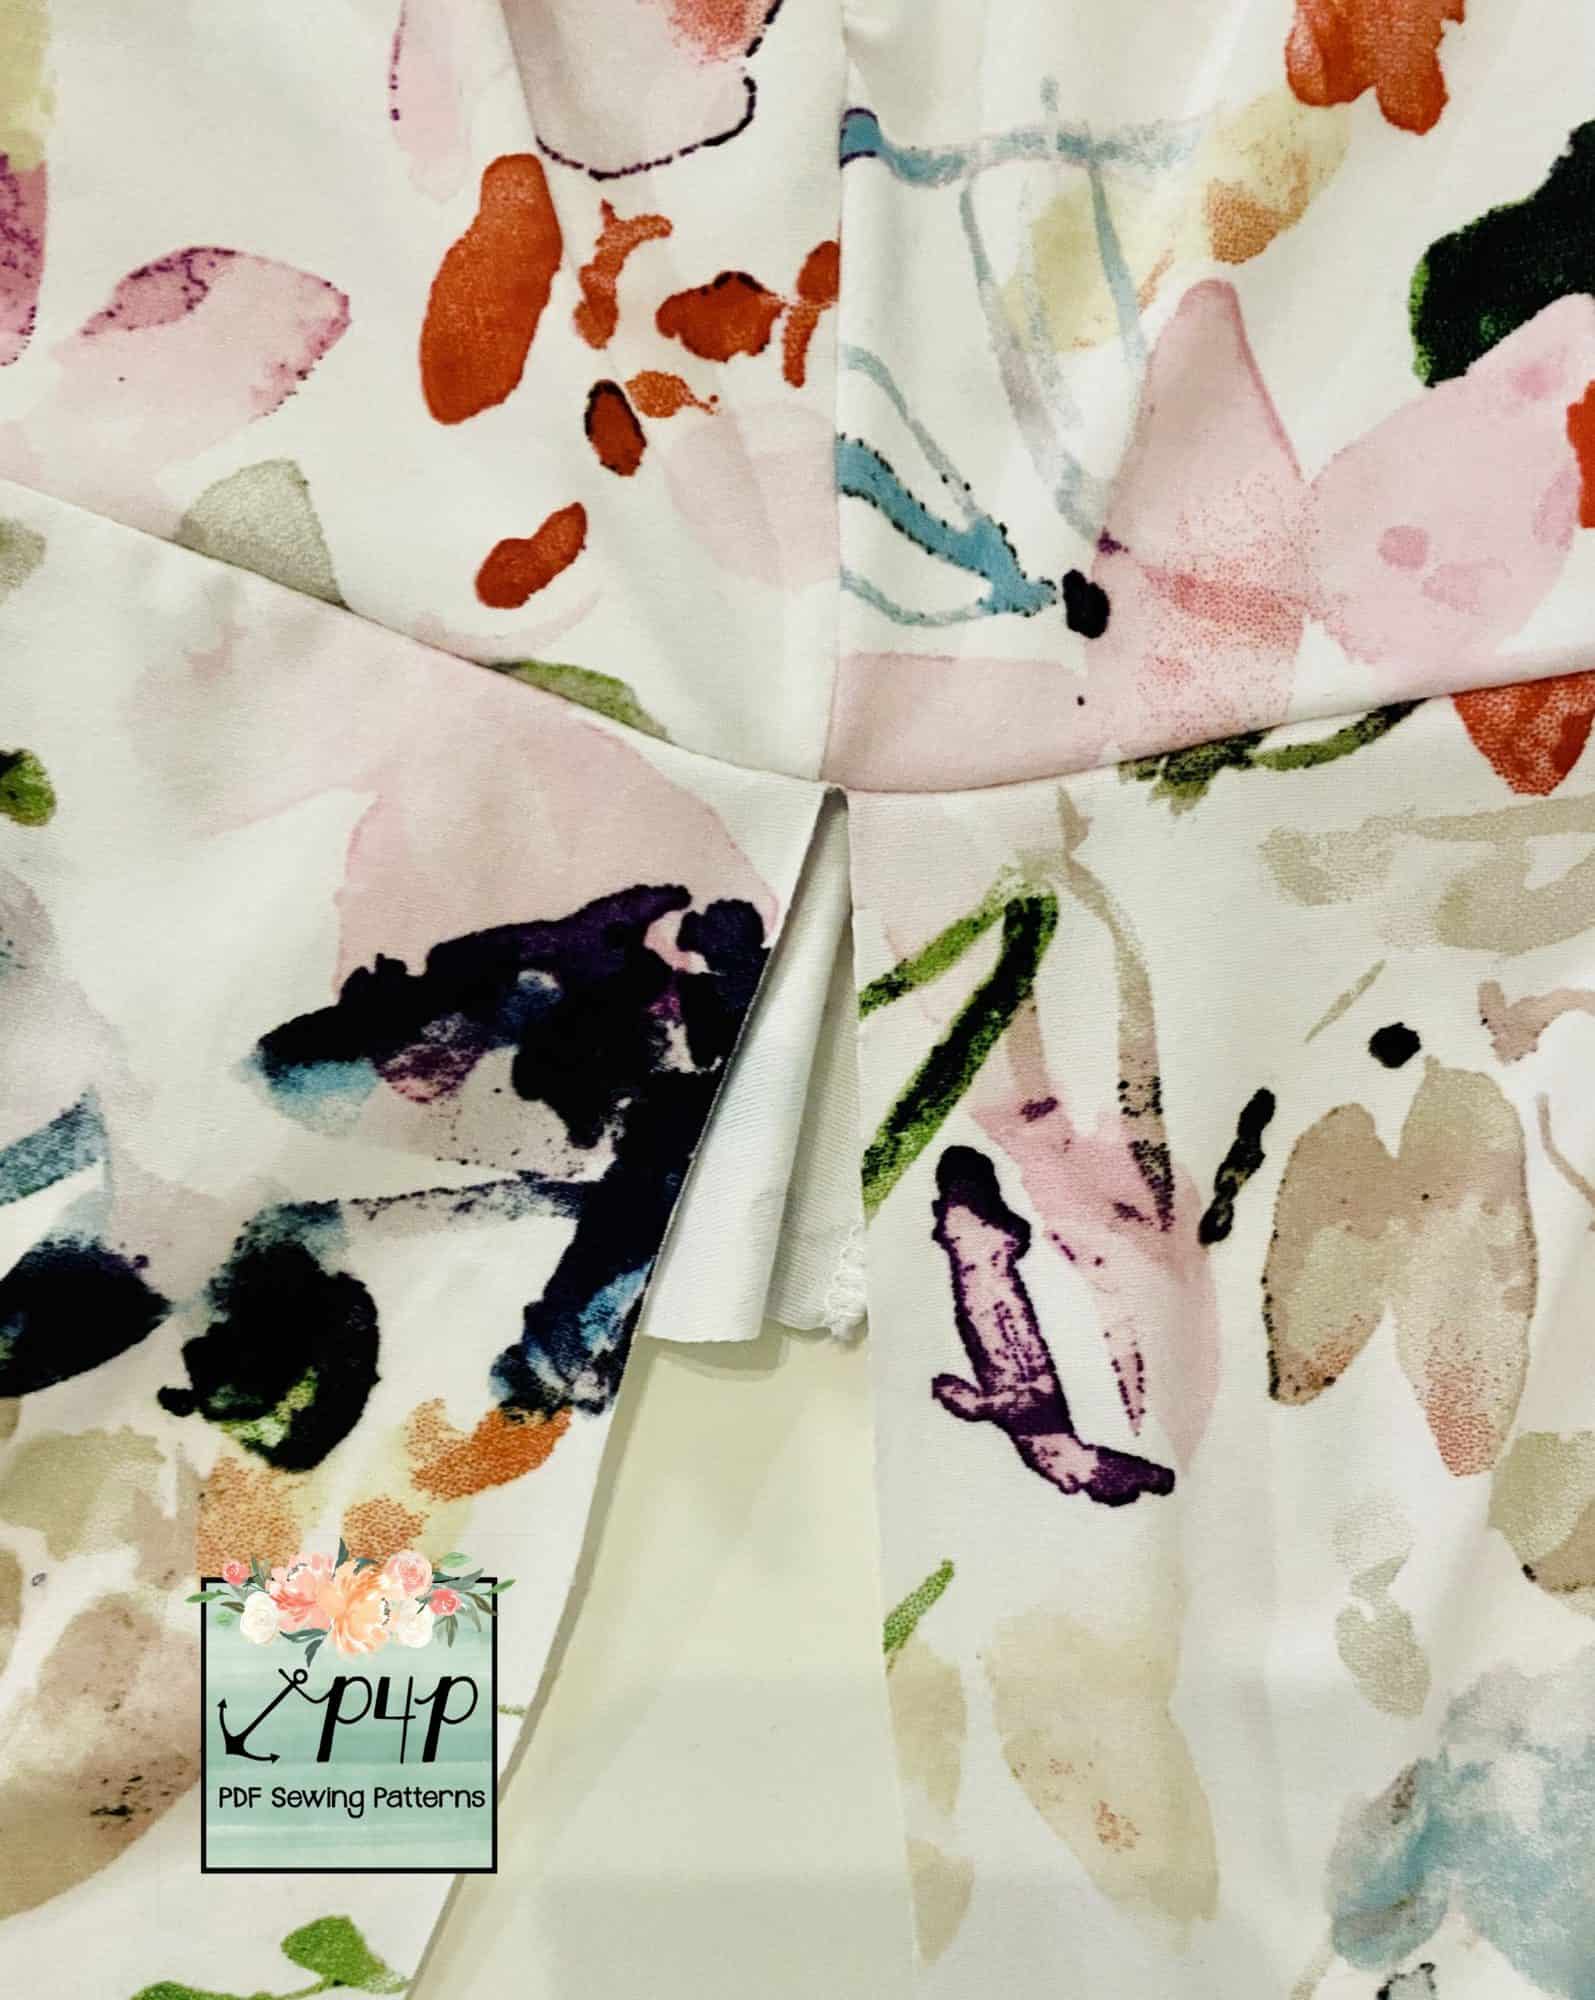
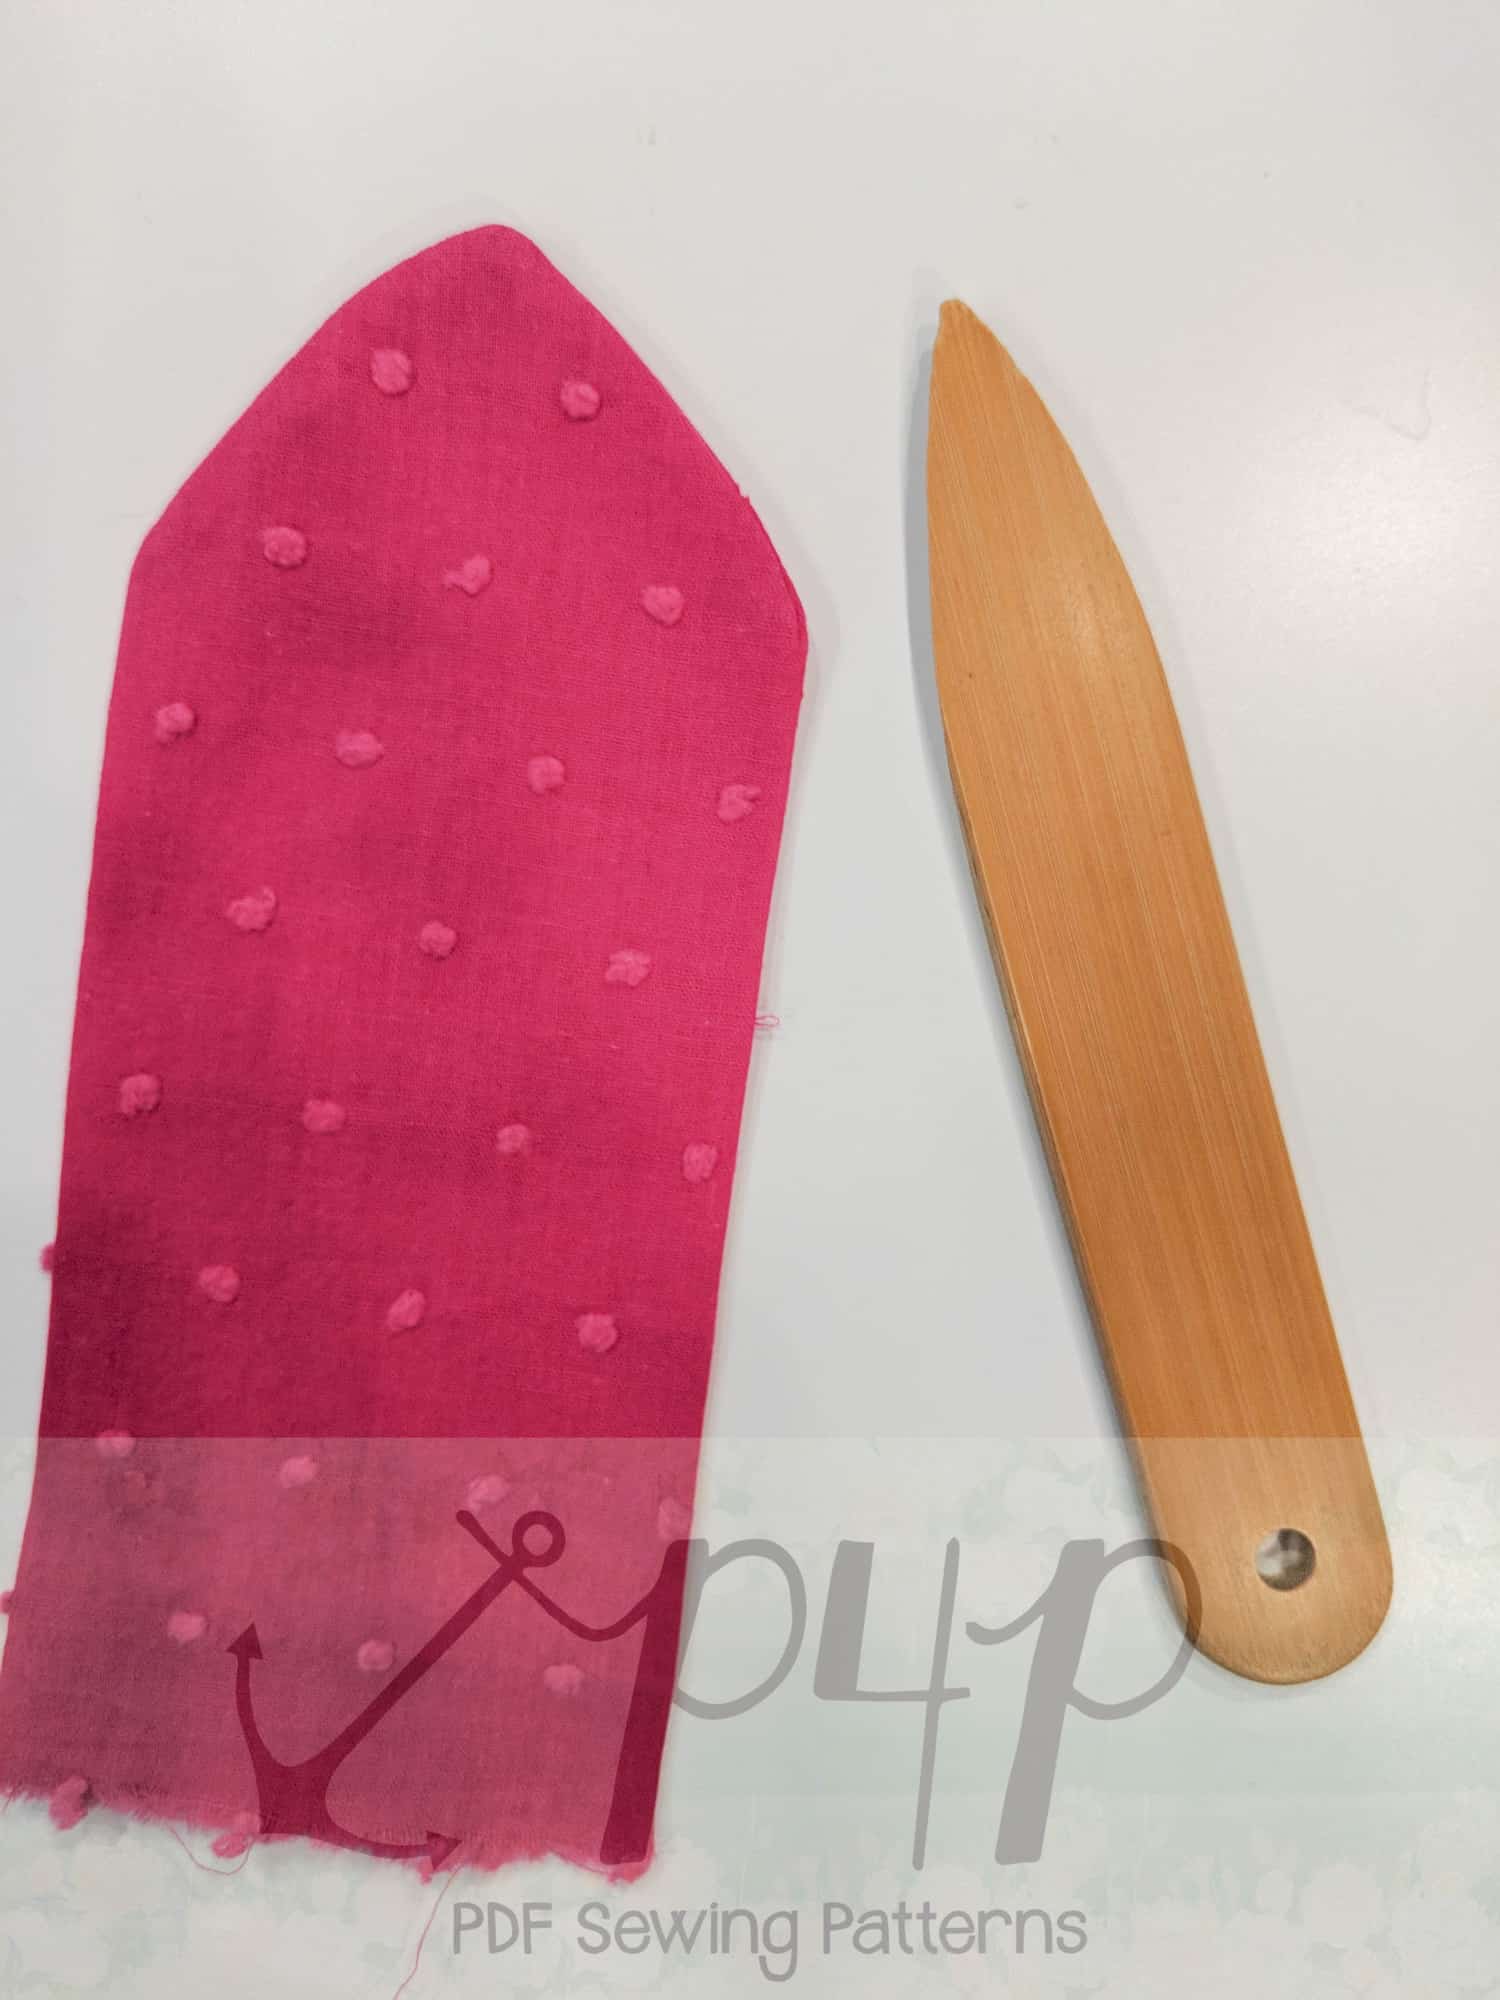
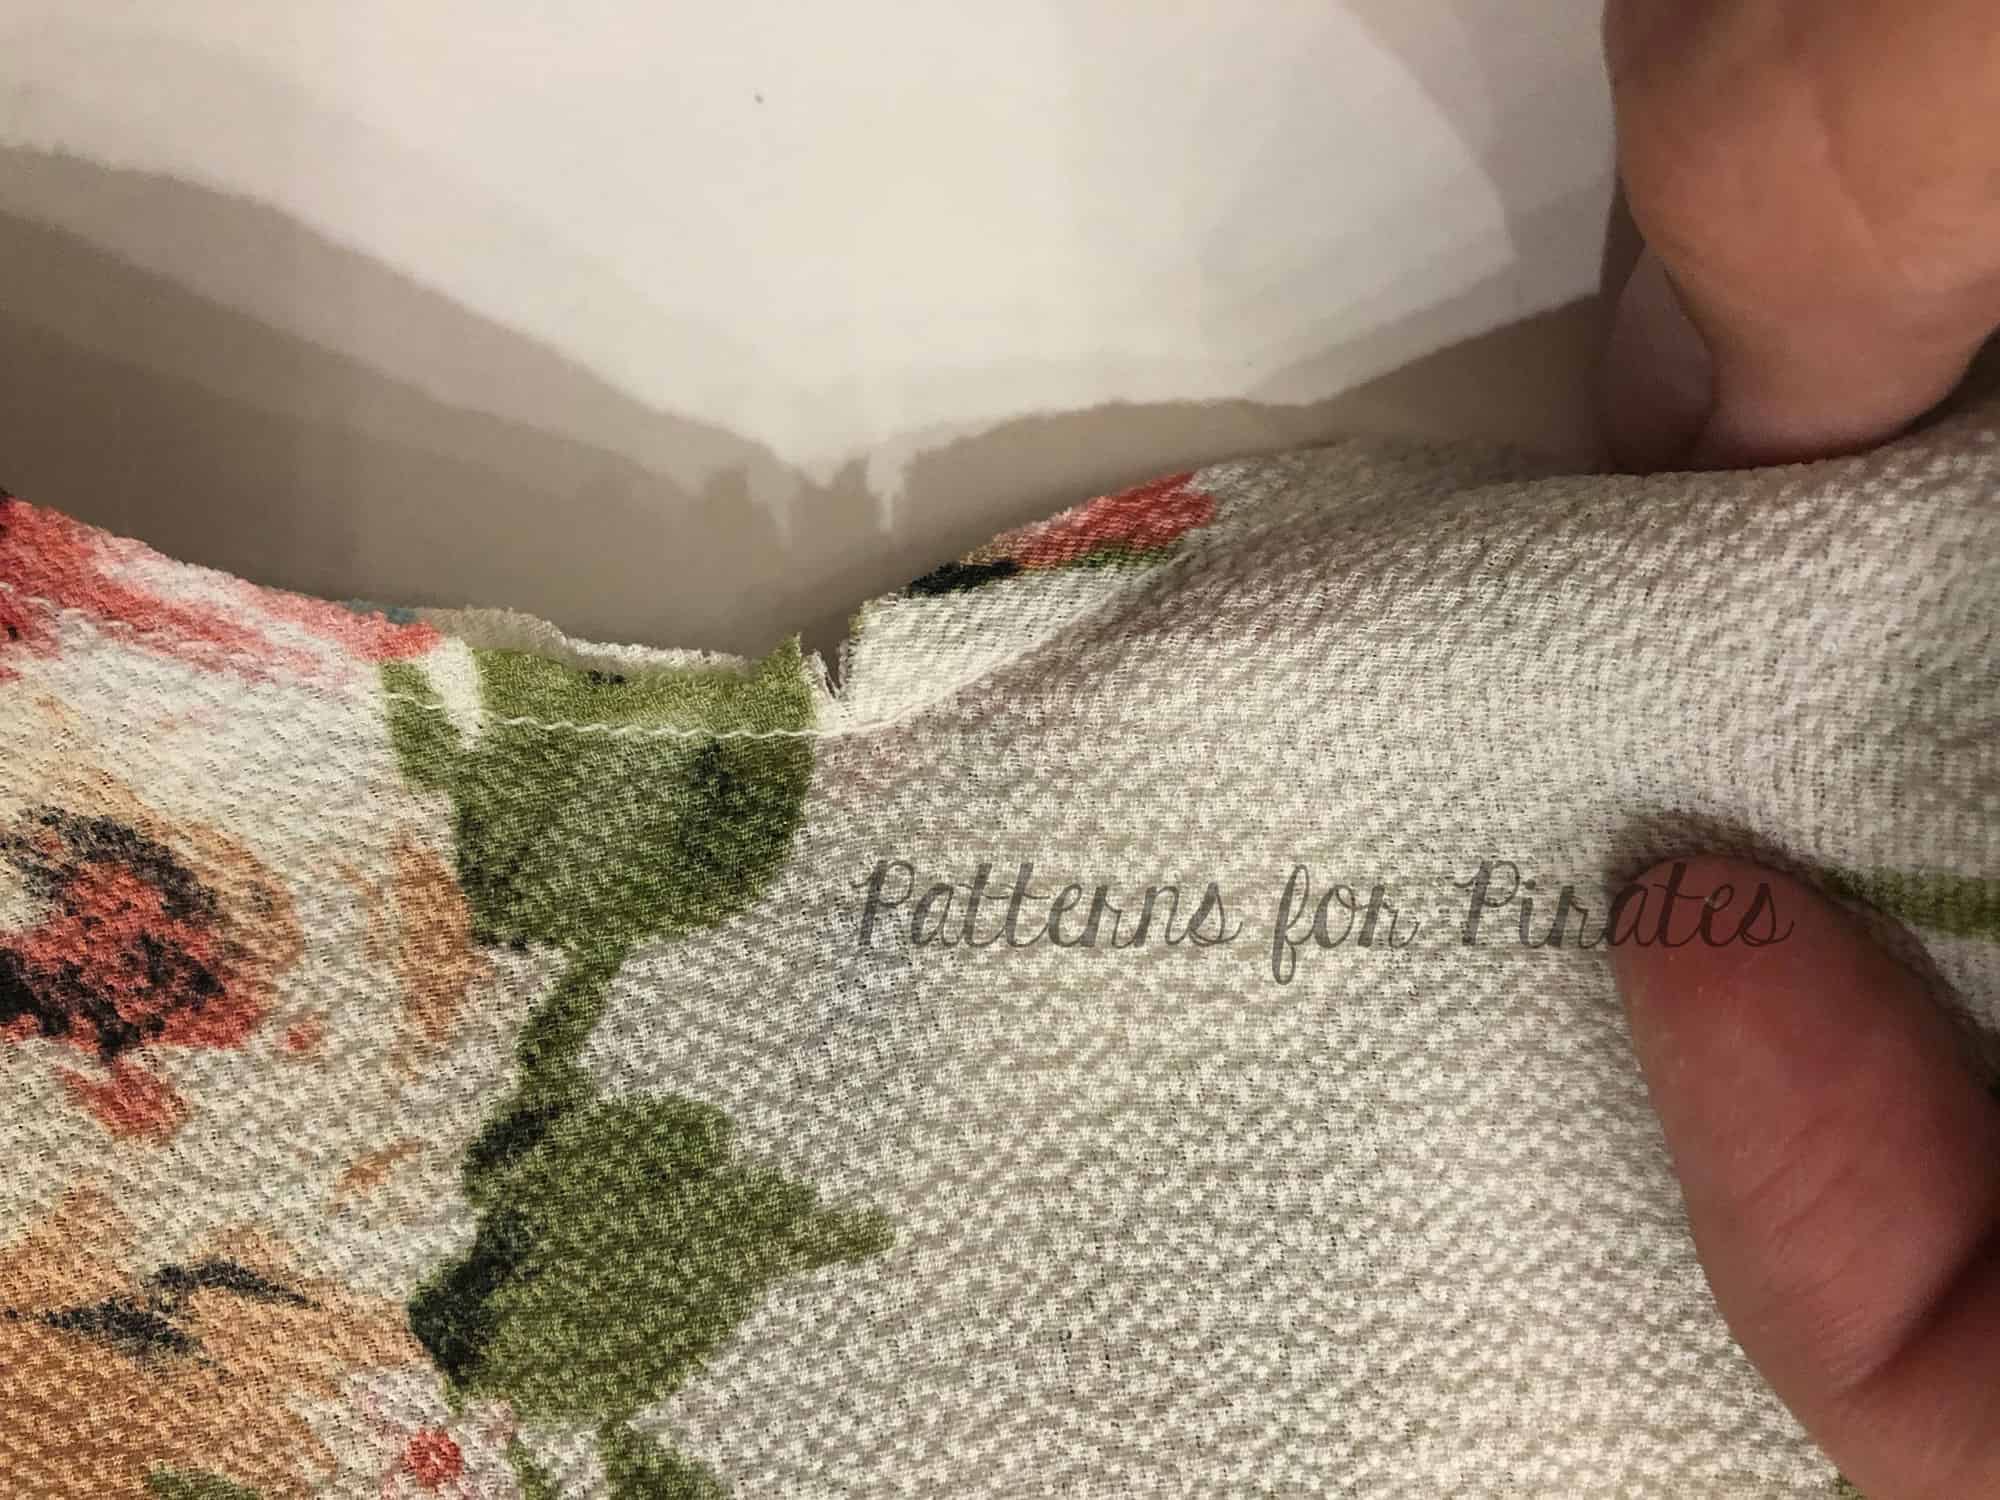
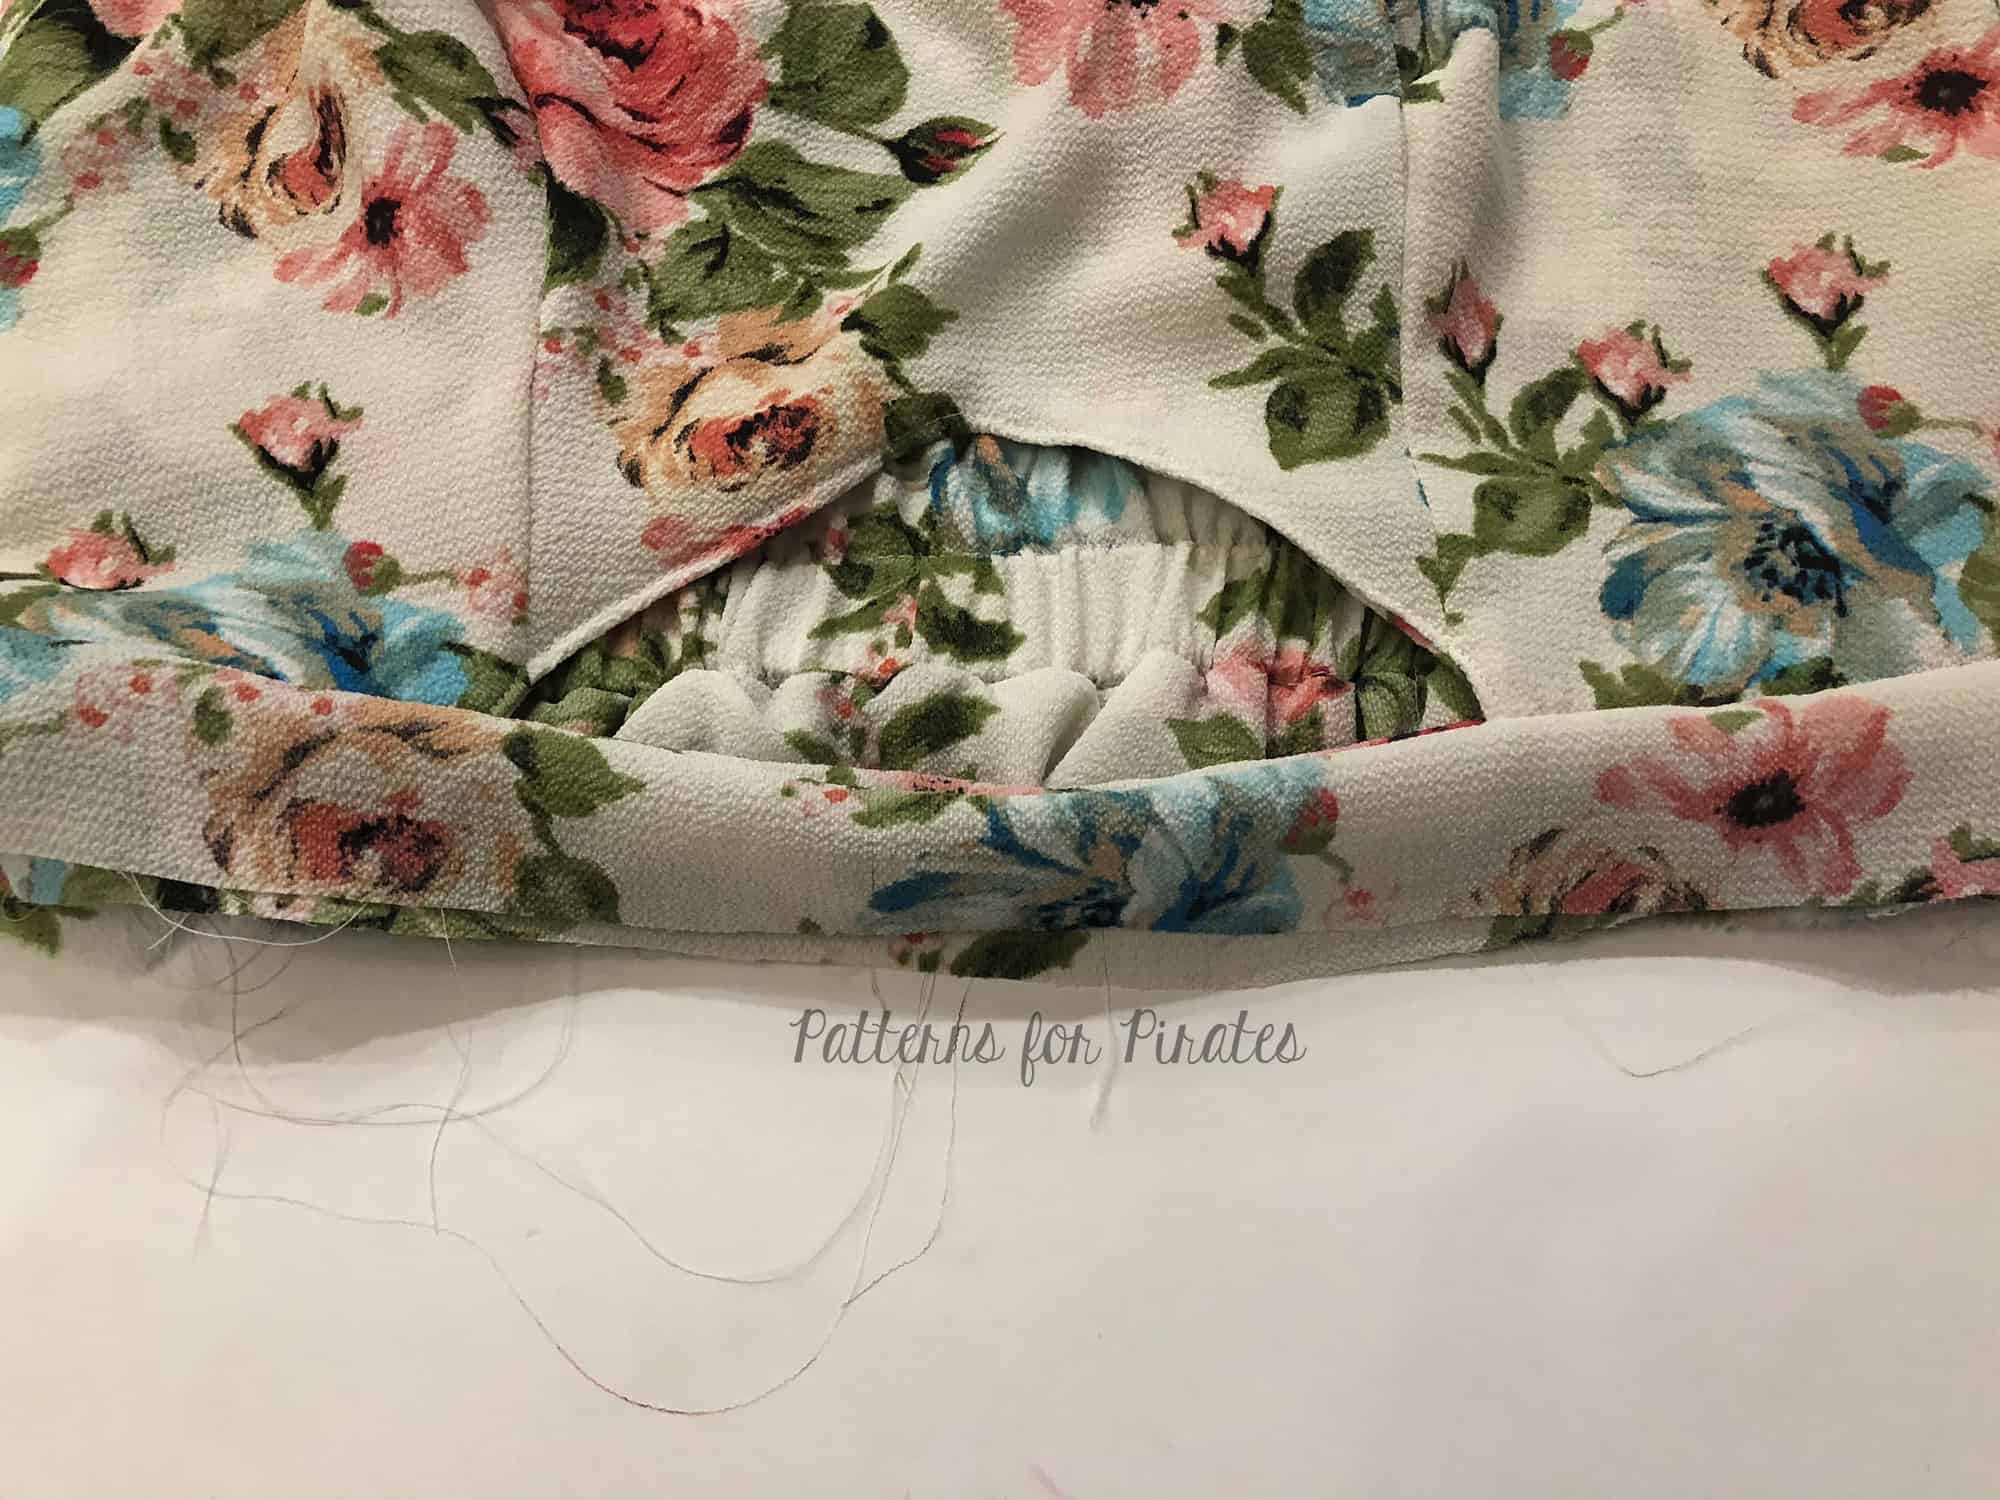
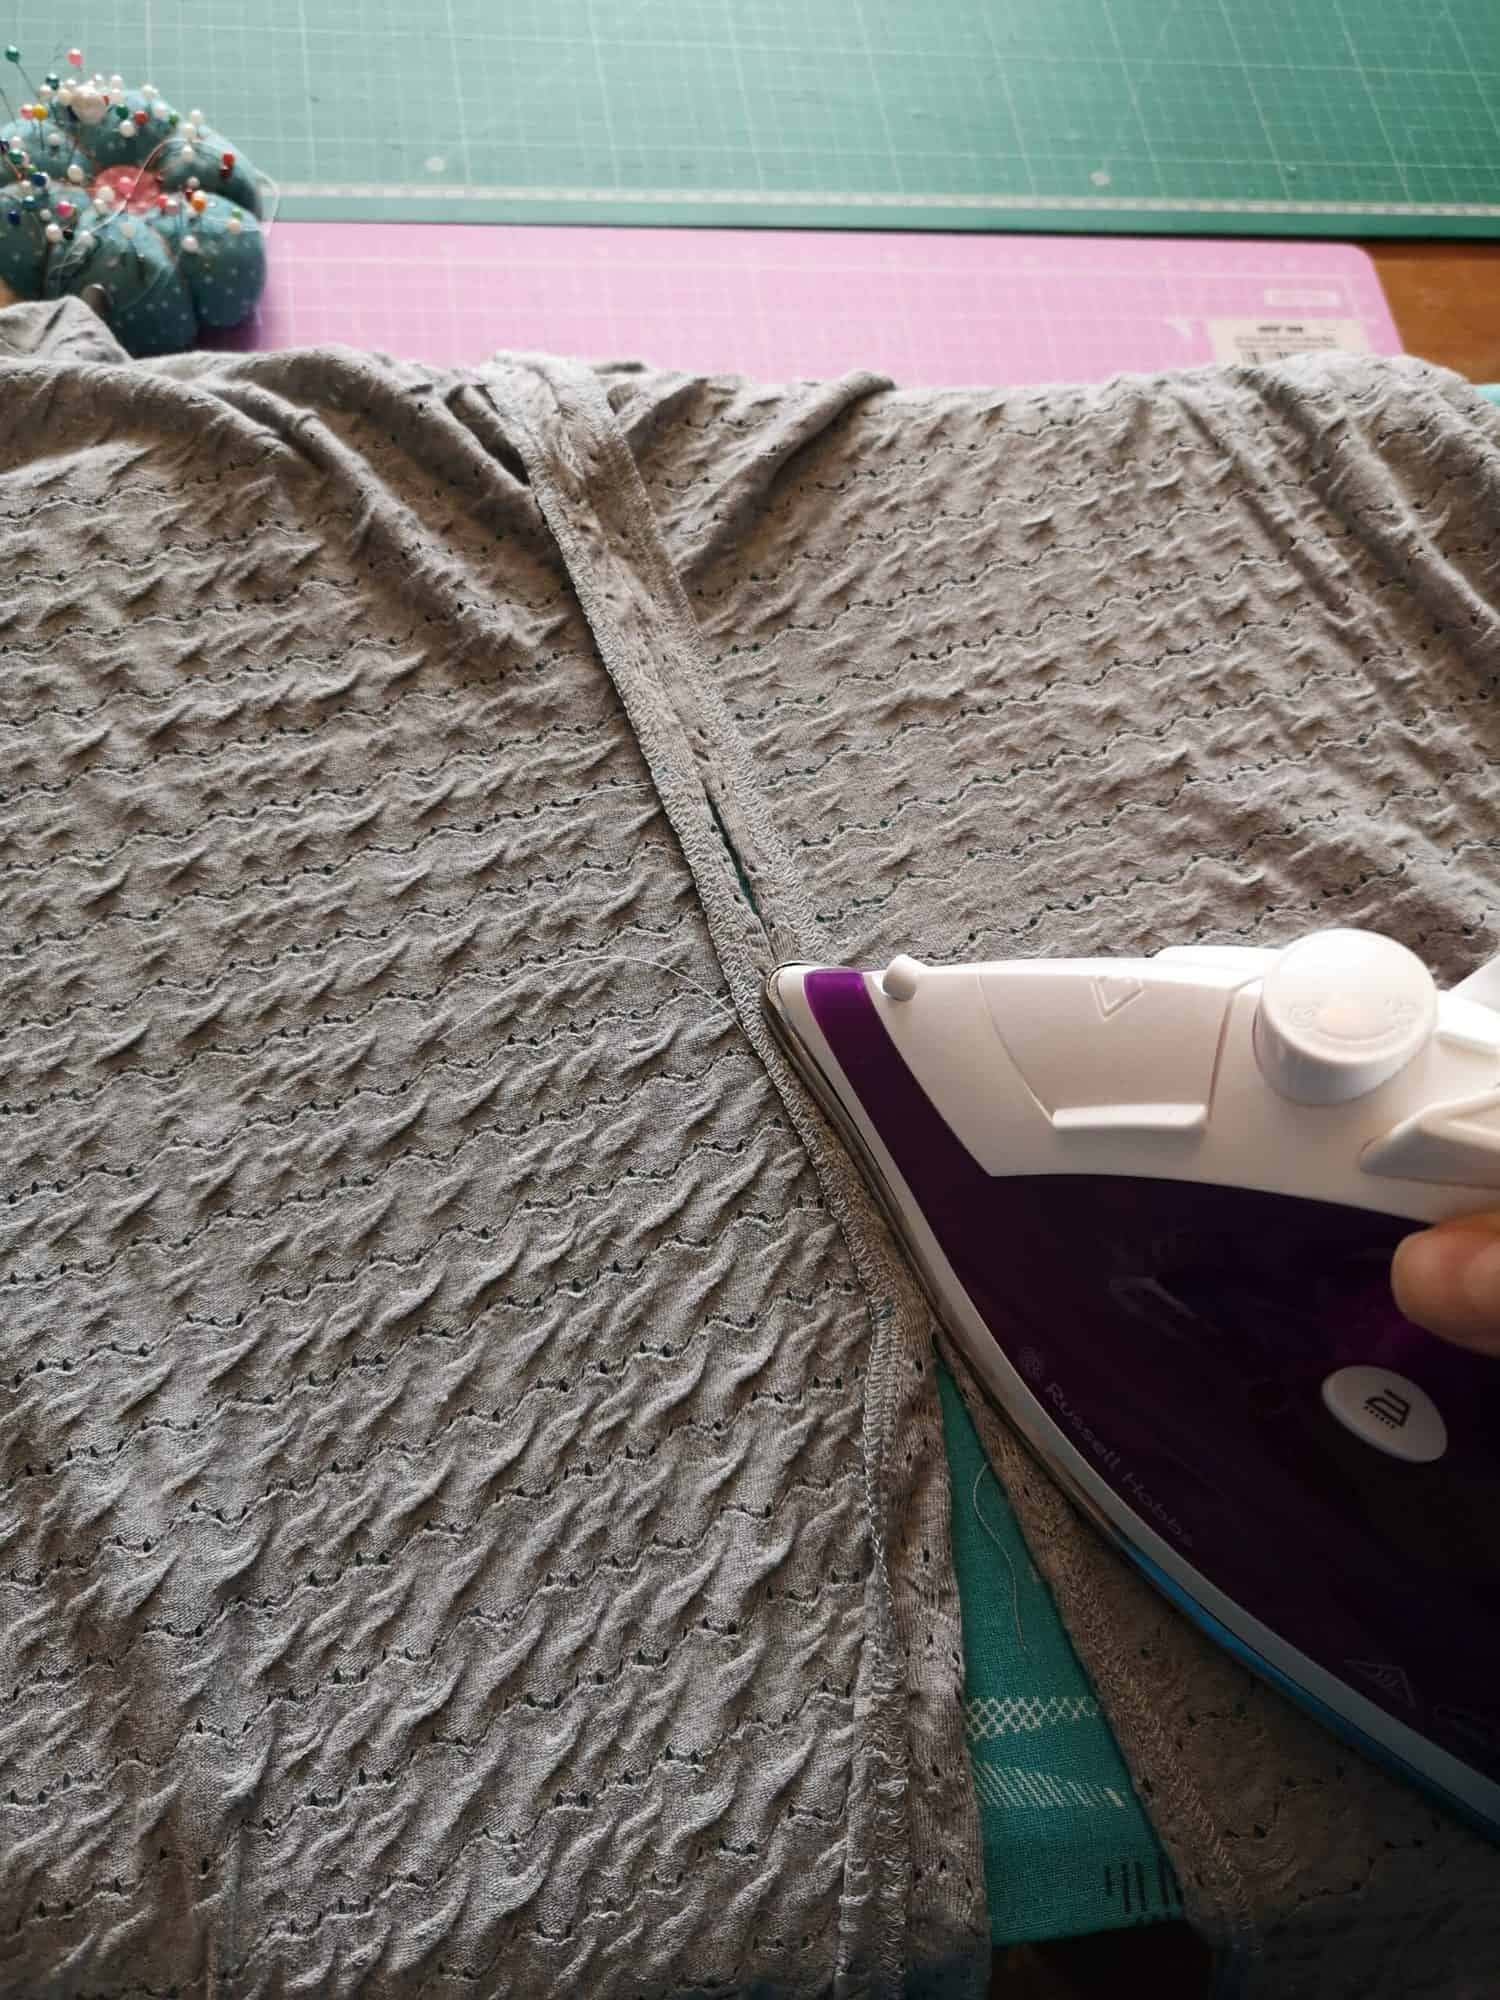
Don’t forget to give those side seams a good press to open them up. It really helps you get a good finish and helps the hem lay nicely ready for sewing. You can see the opening for the waist tie here, just above the tip of my iron.
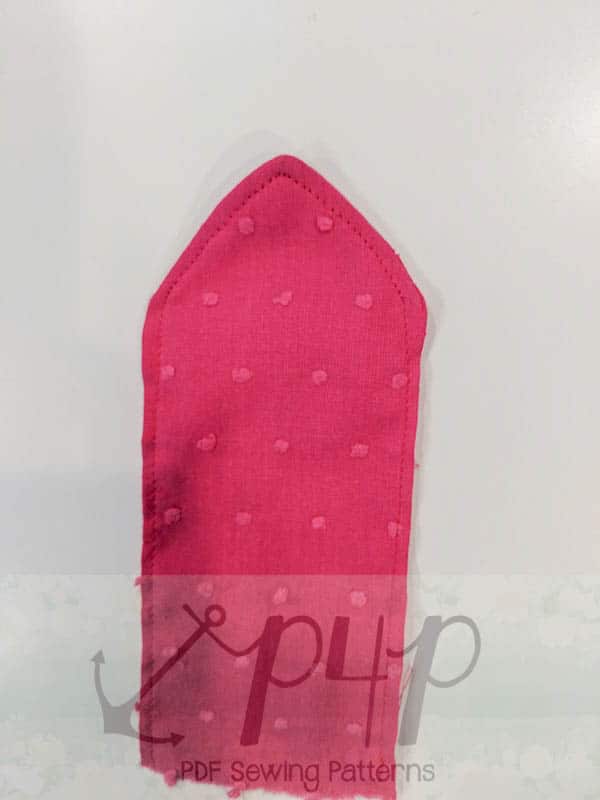
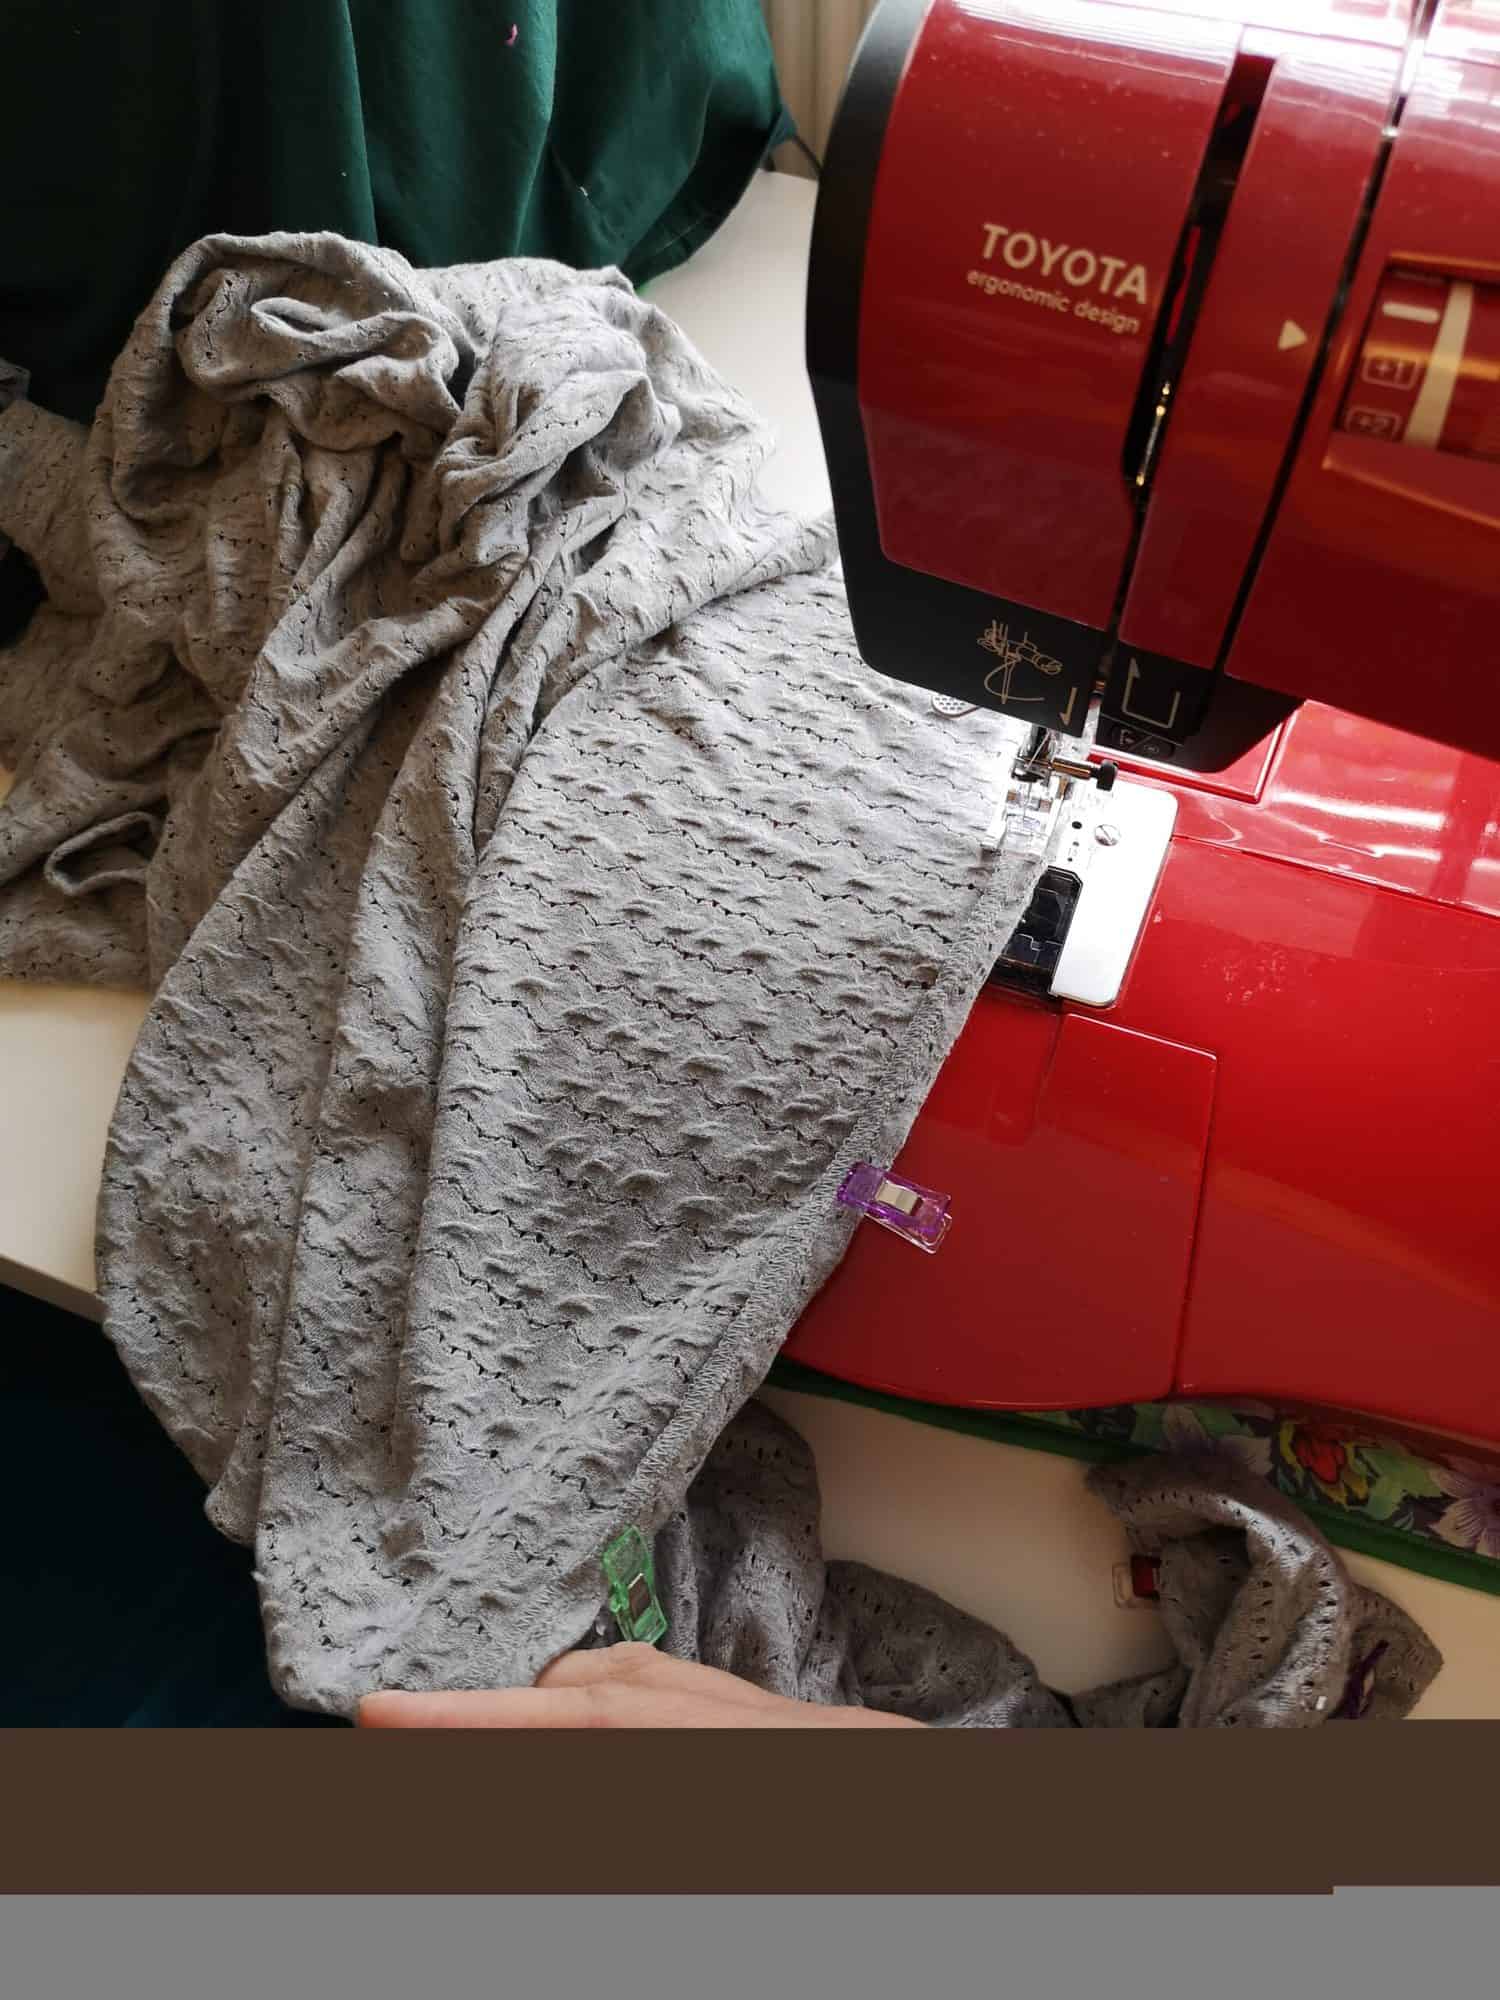
Sew up that side seam hem (don’t forget the waist tie opening) and the hack is done.
It really is that easy! Now it’s done I have to make a little pair of shorts to wear with it for the spring/summer. These winter months will fly by, right? Here’s hoping.
Happy sewing!
Dana x
….
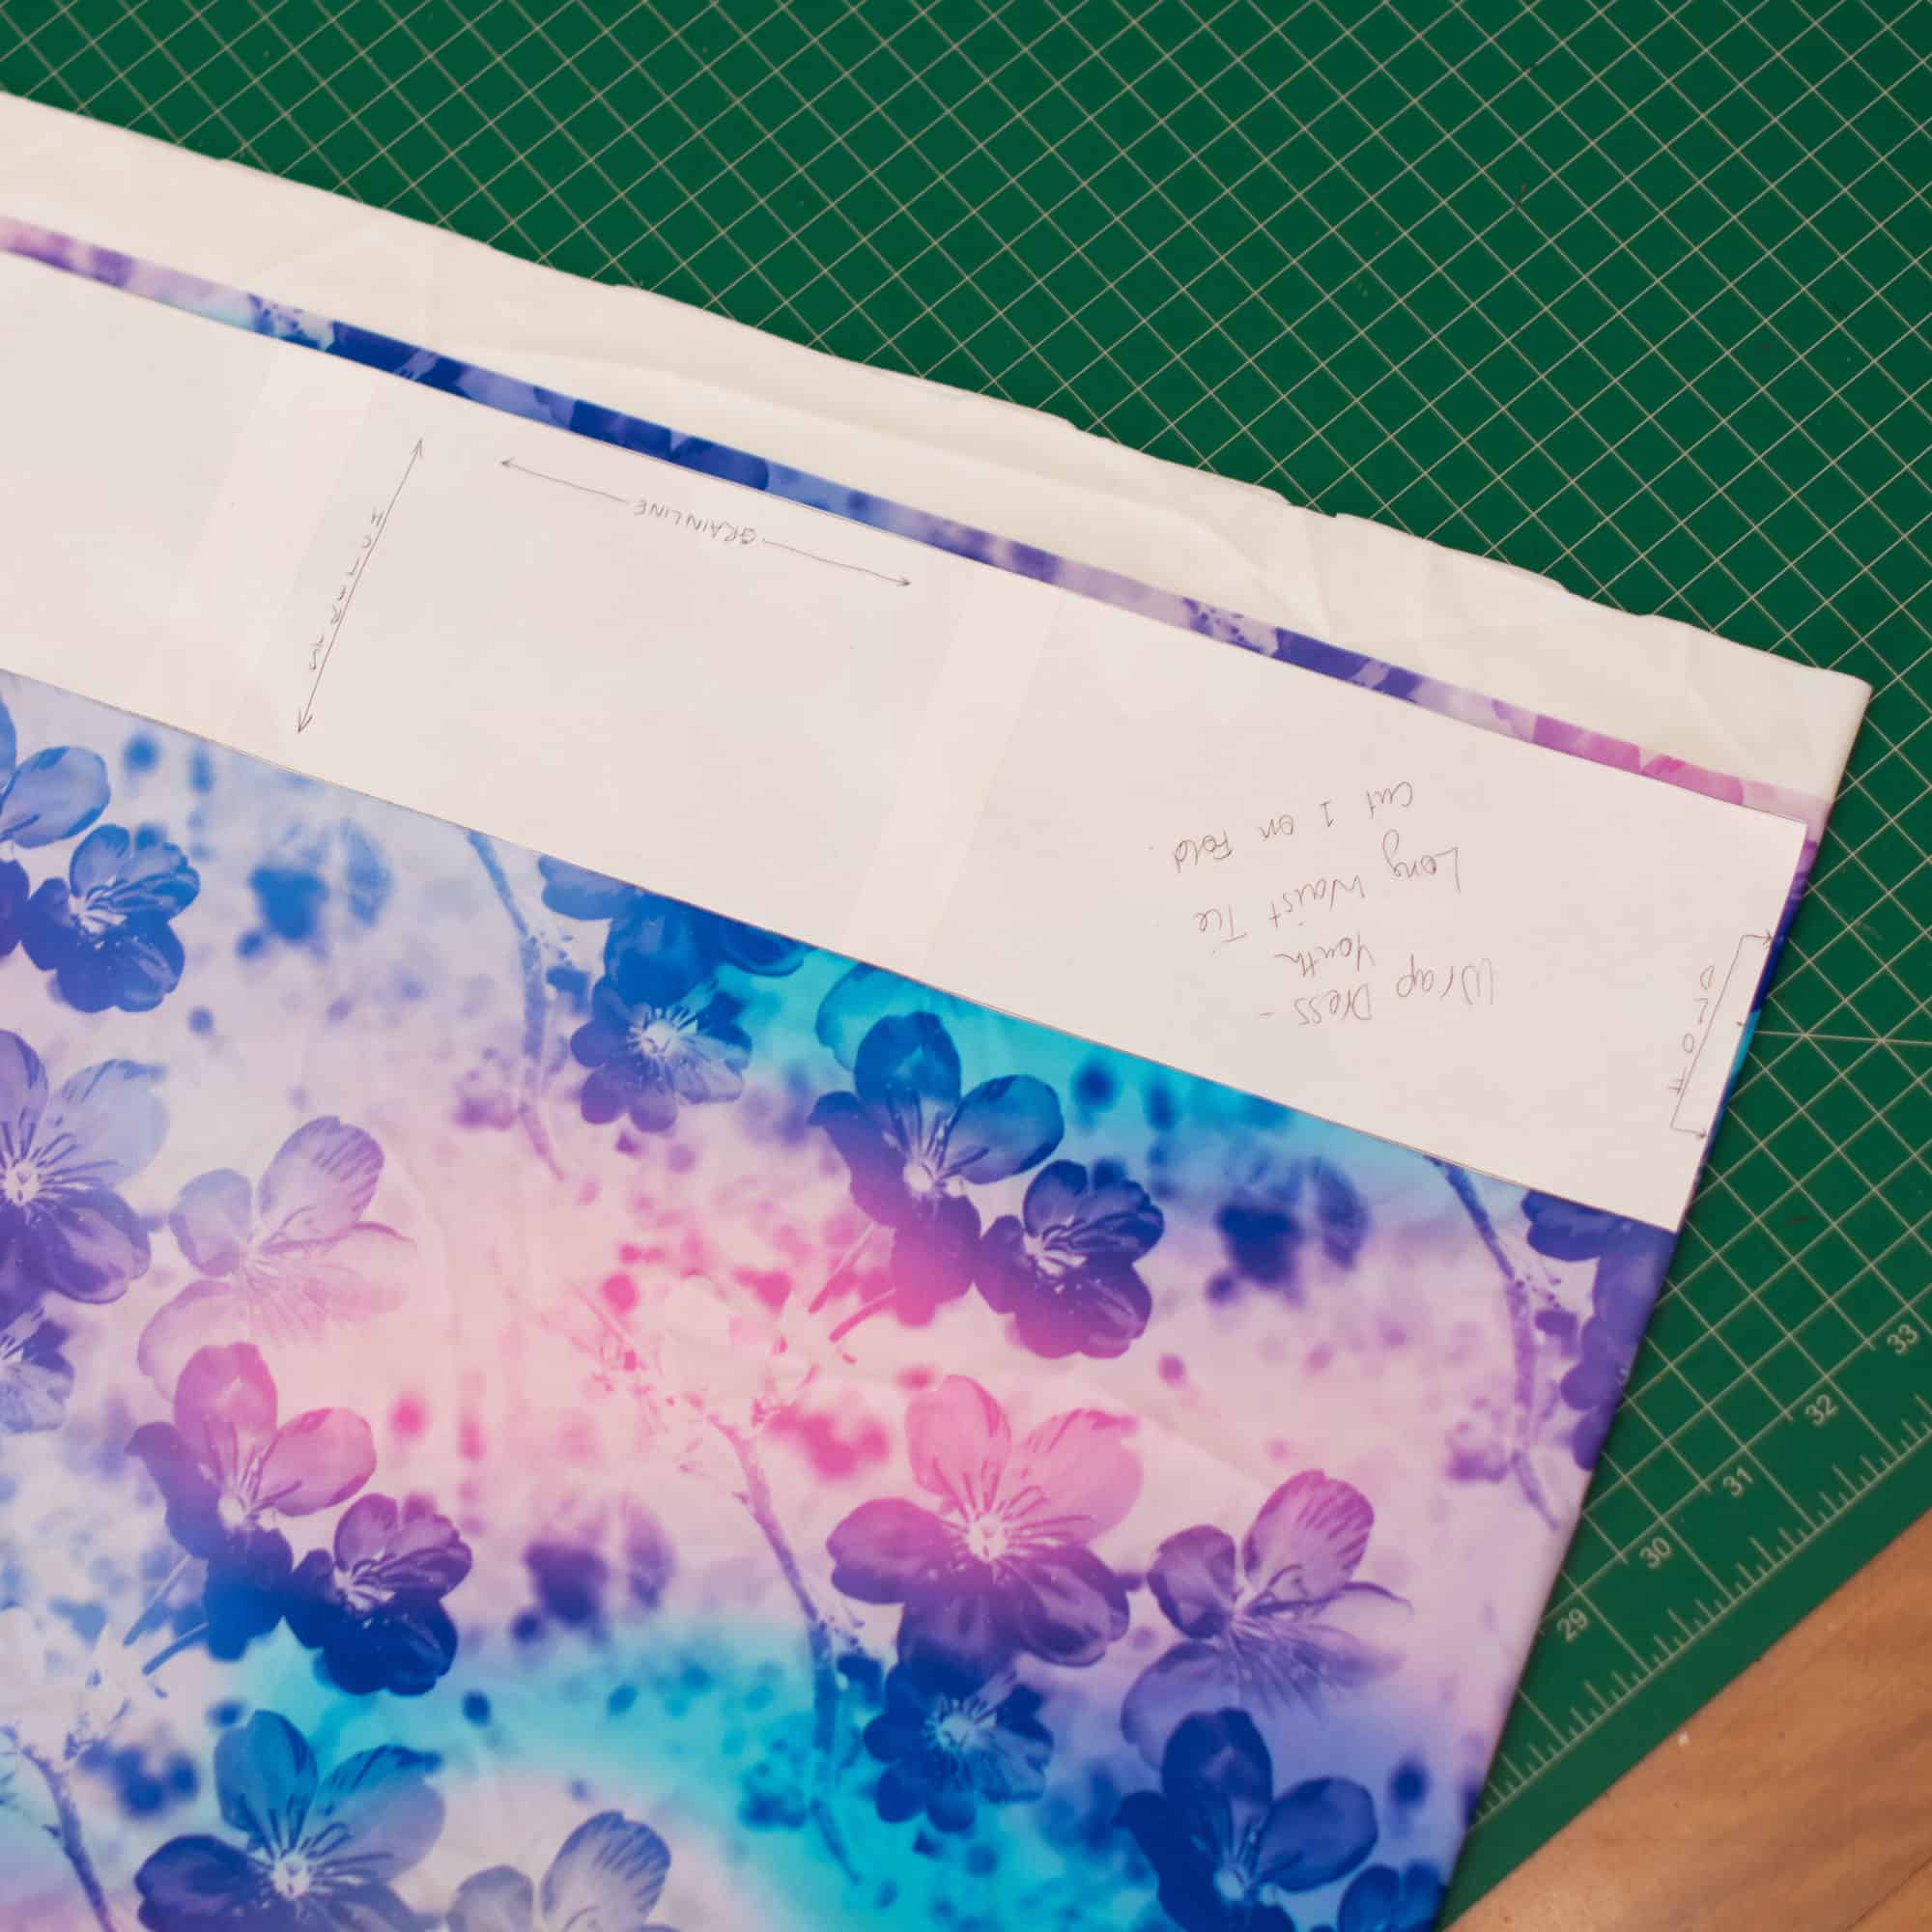
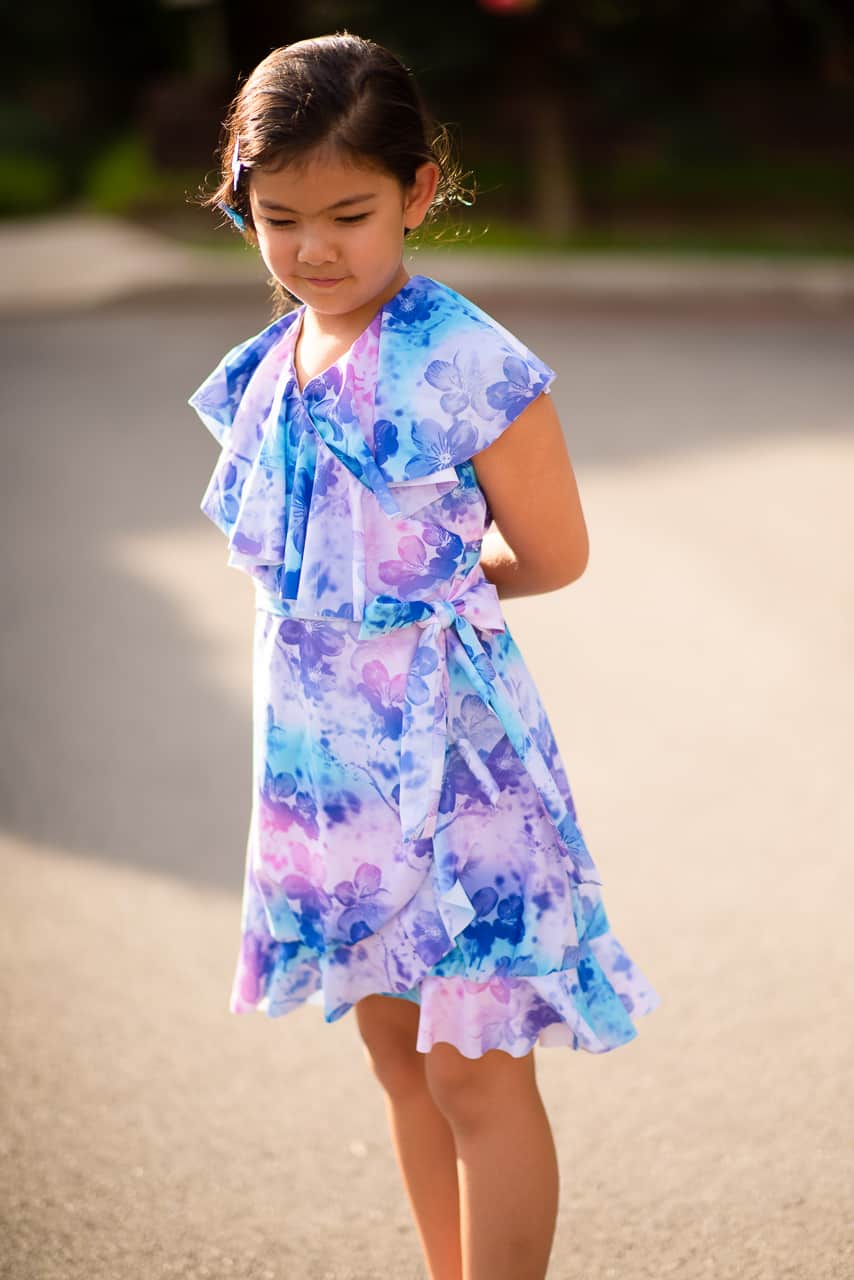
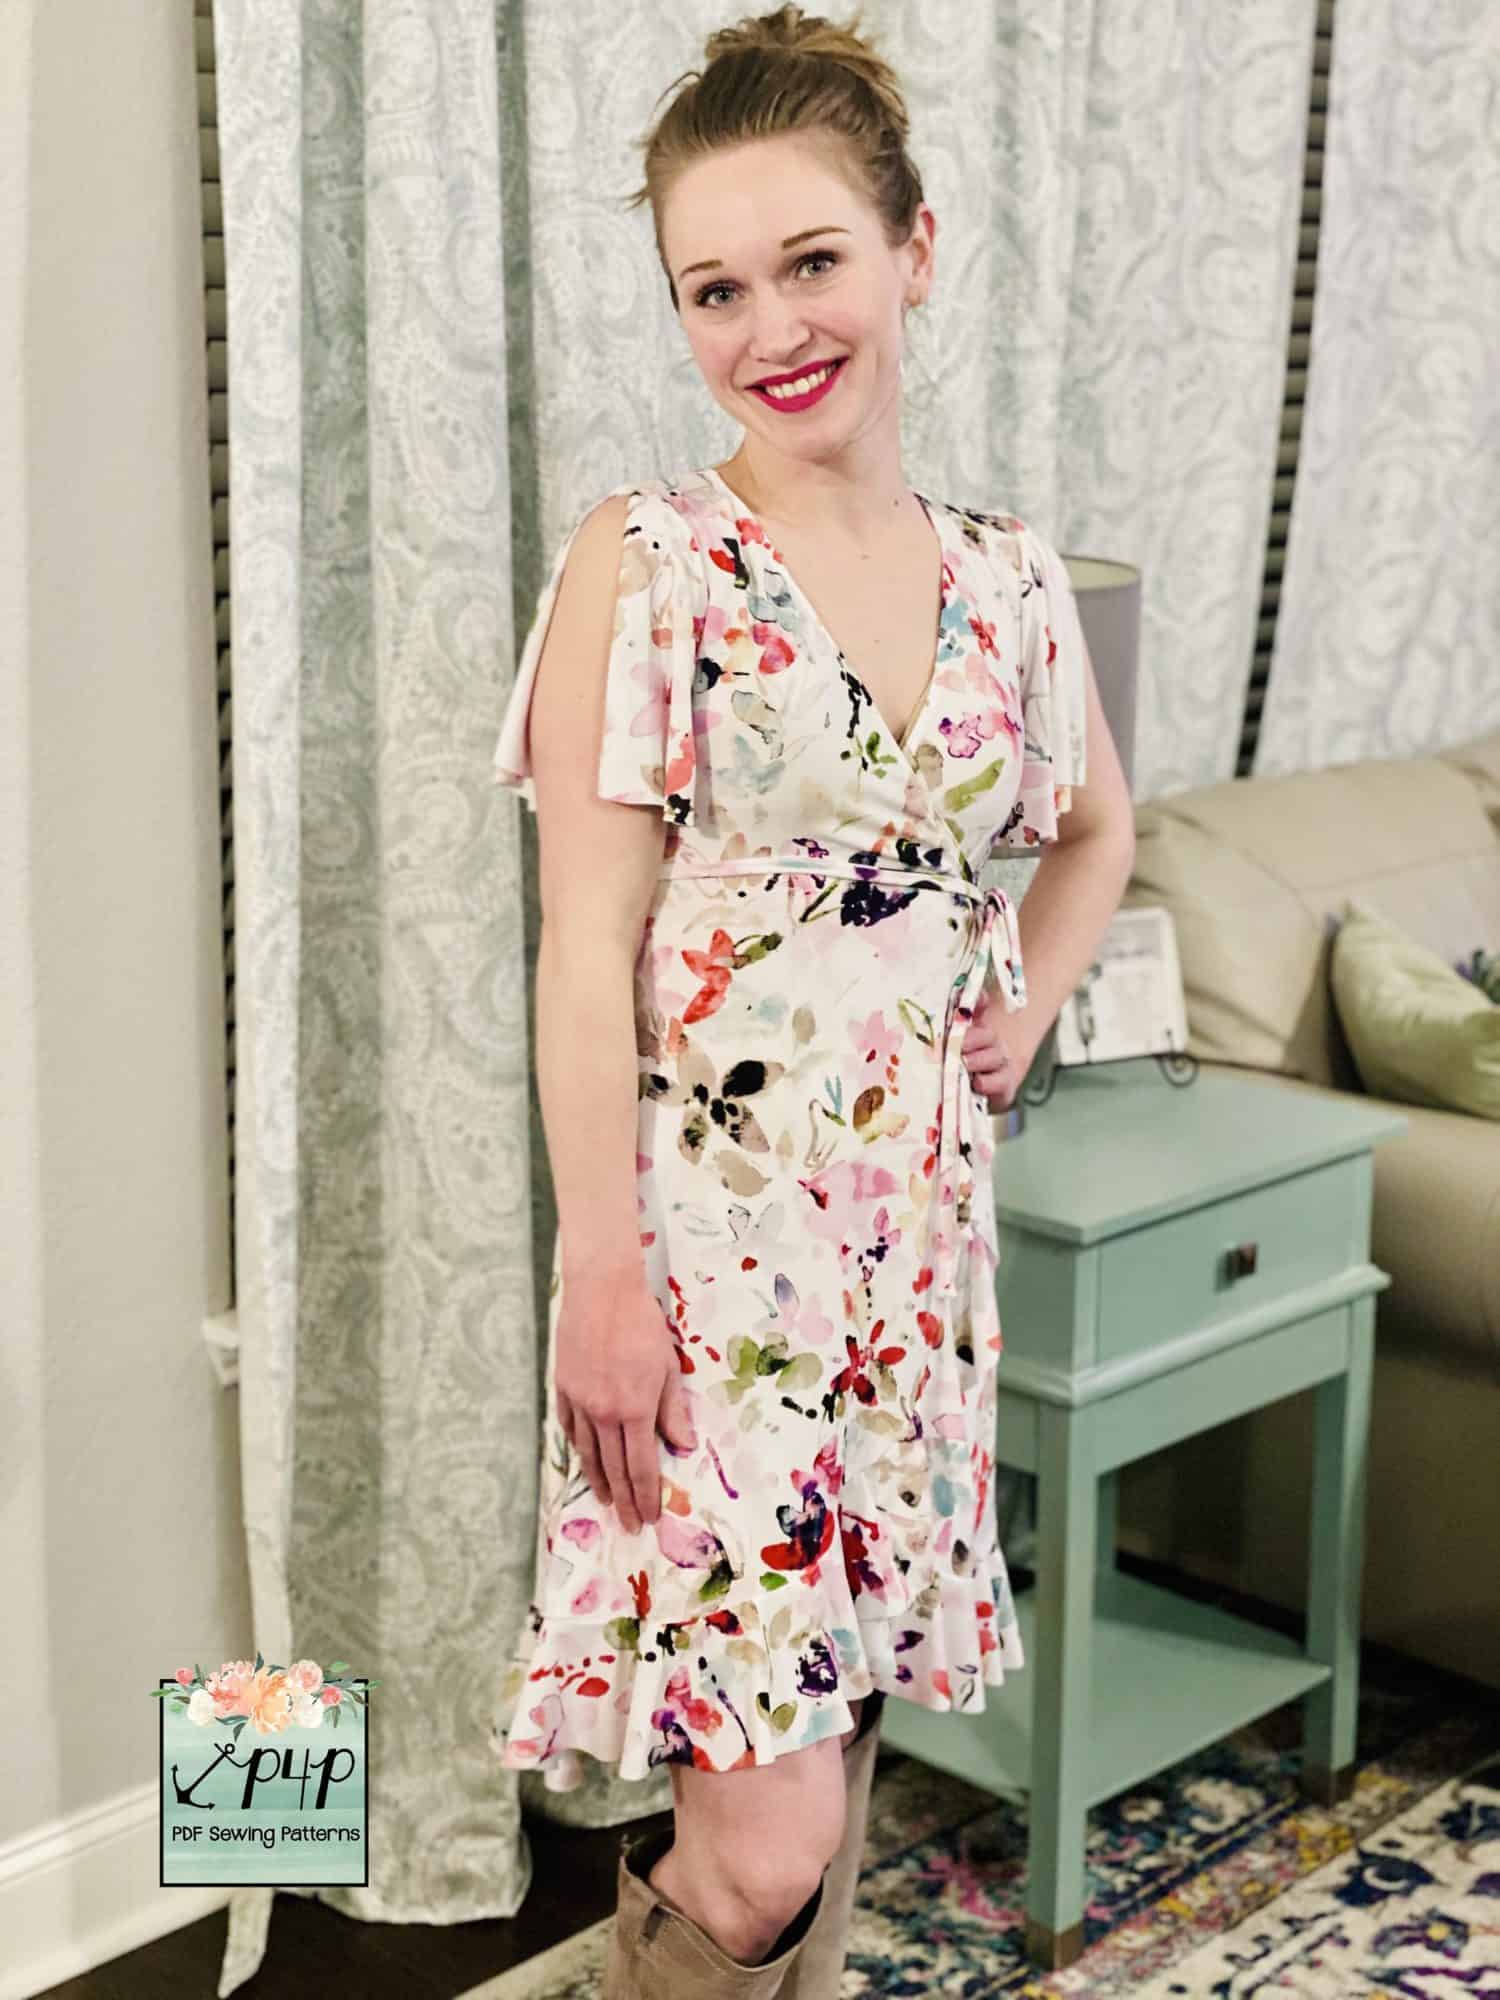
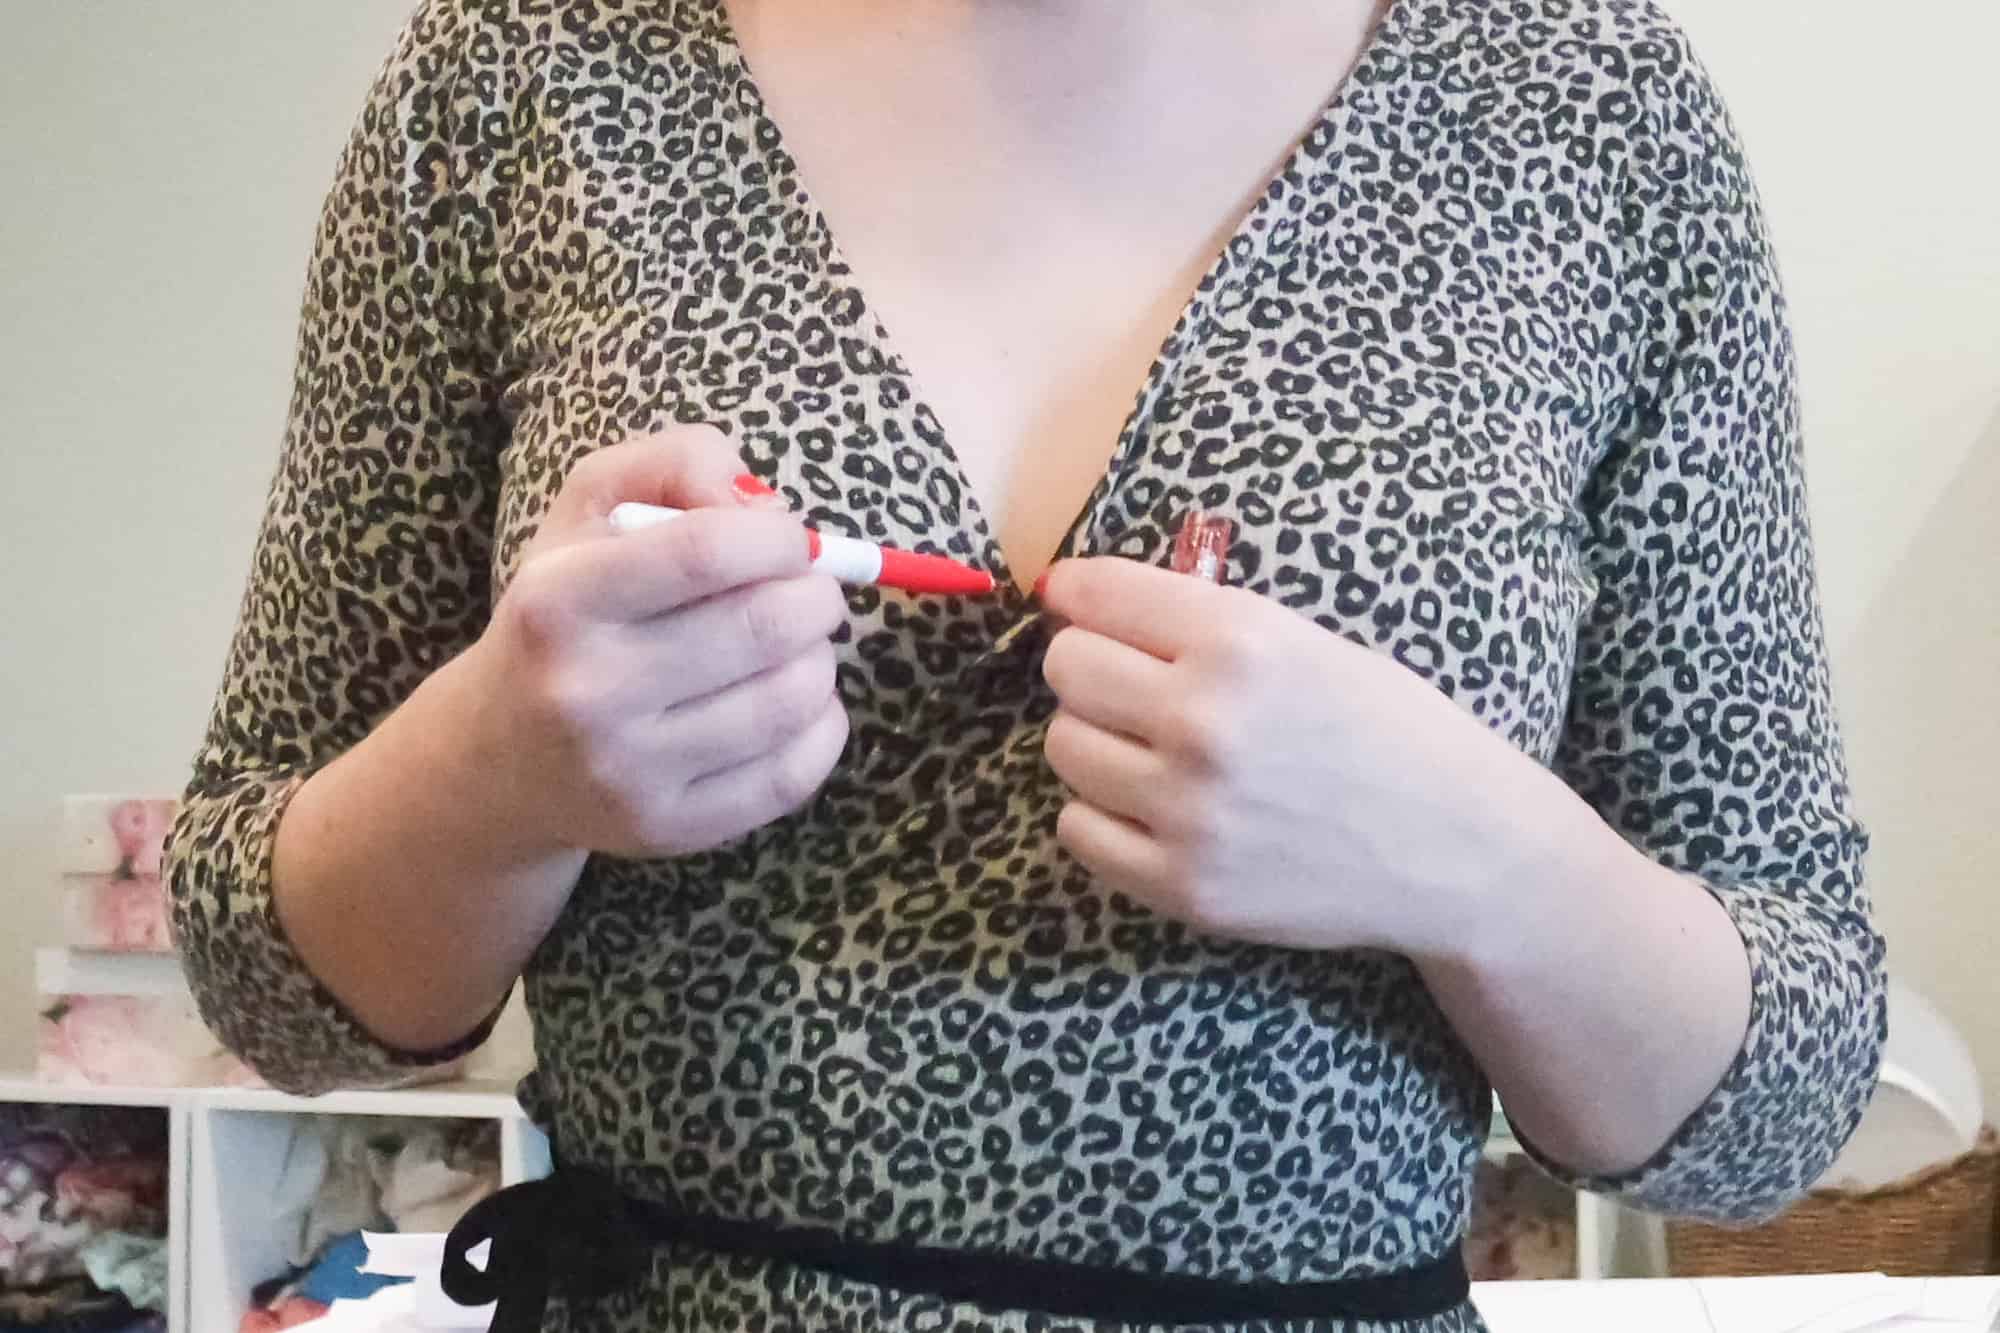
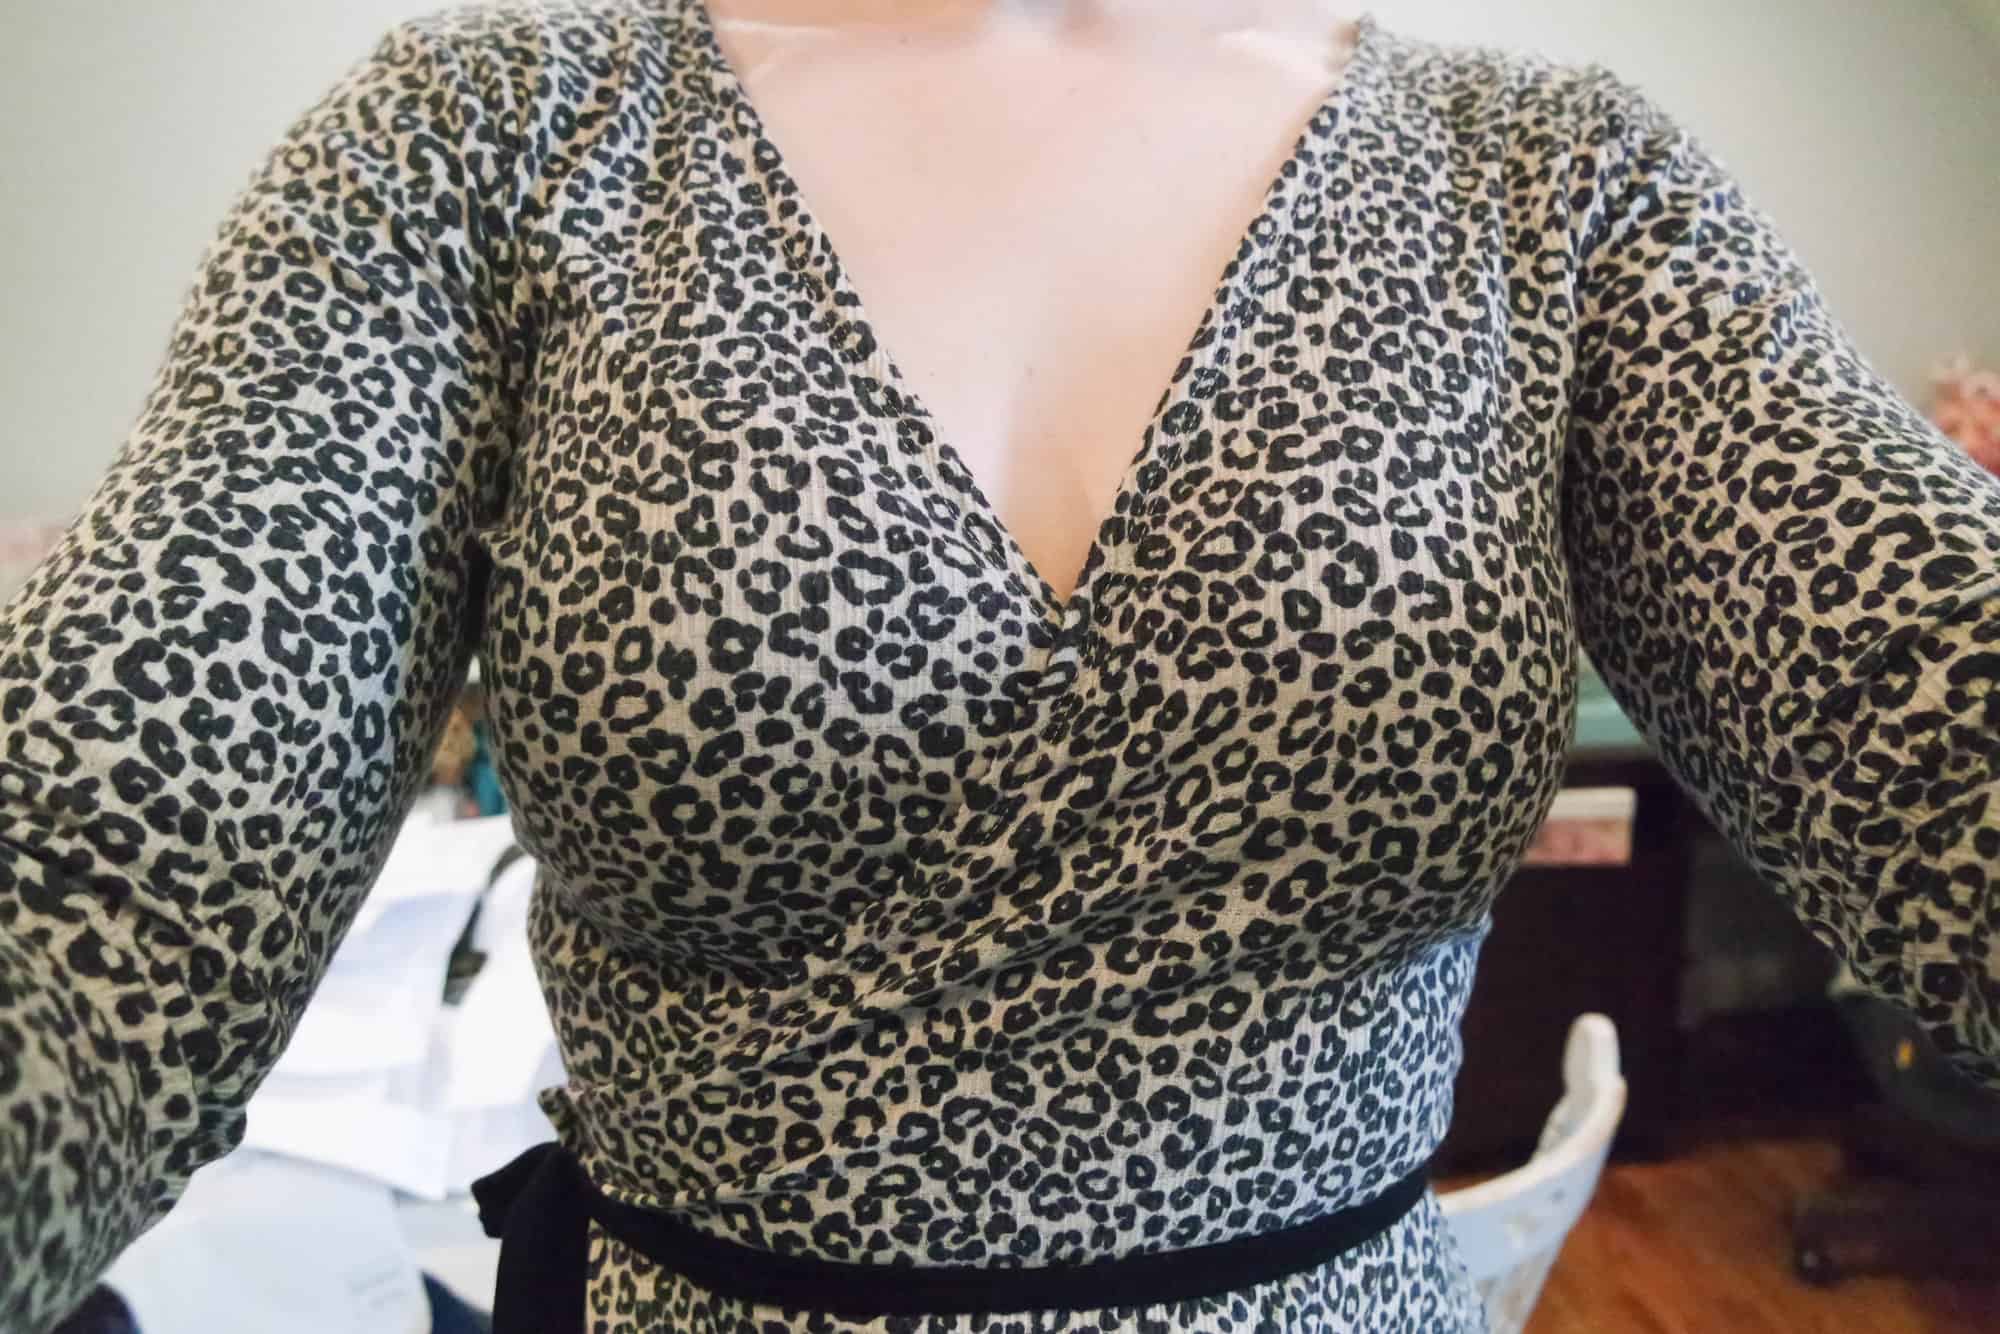
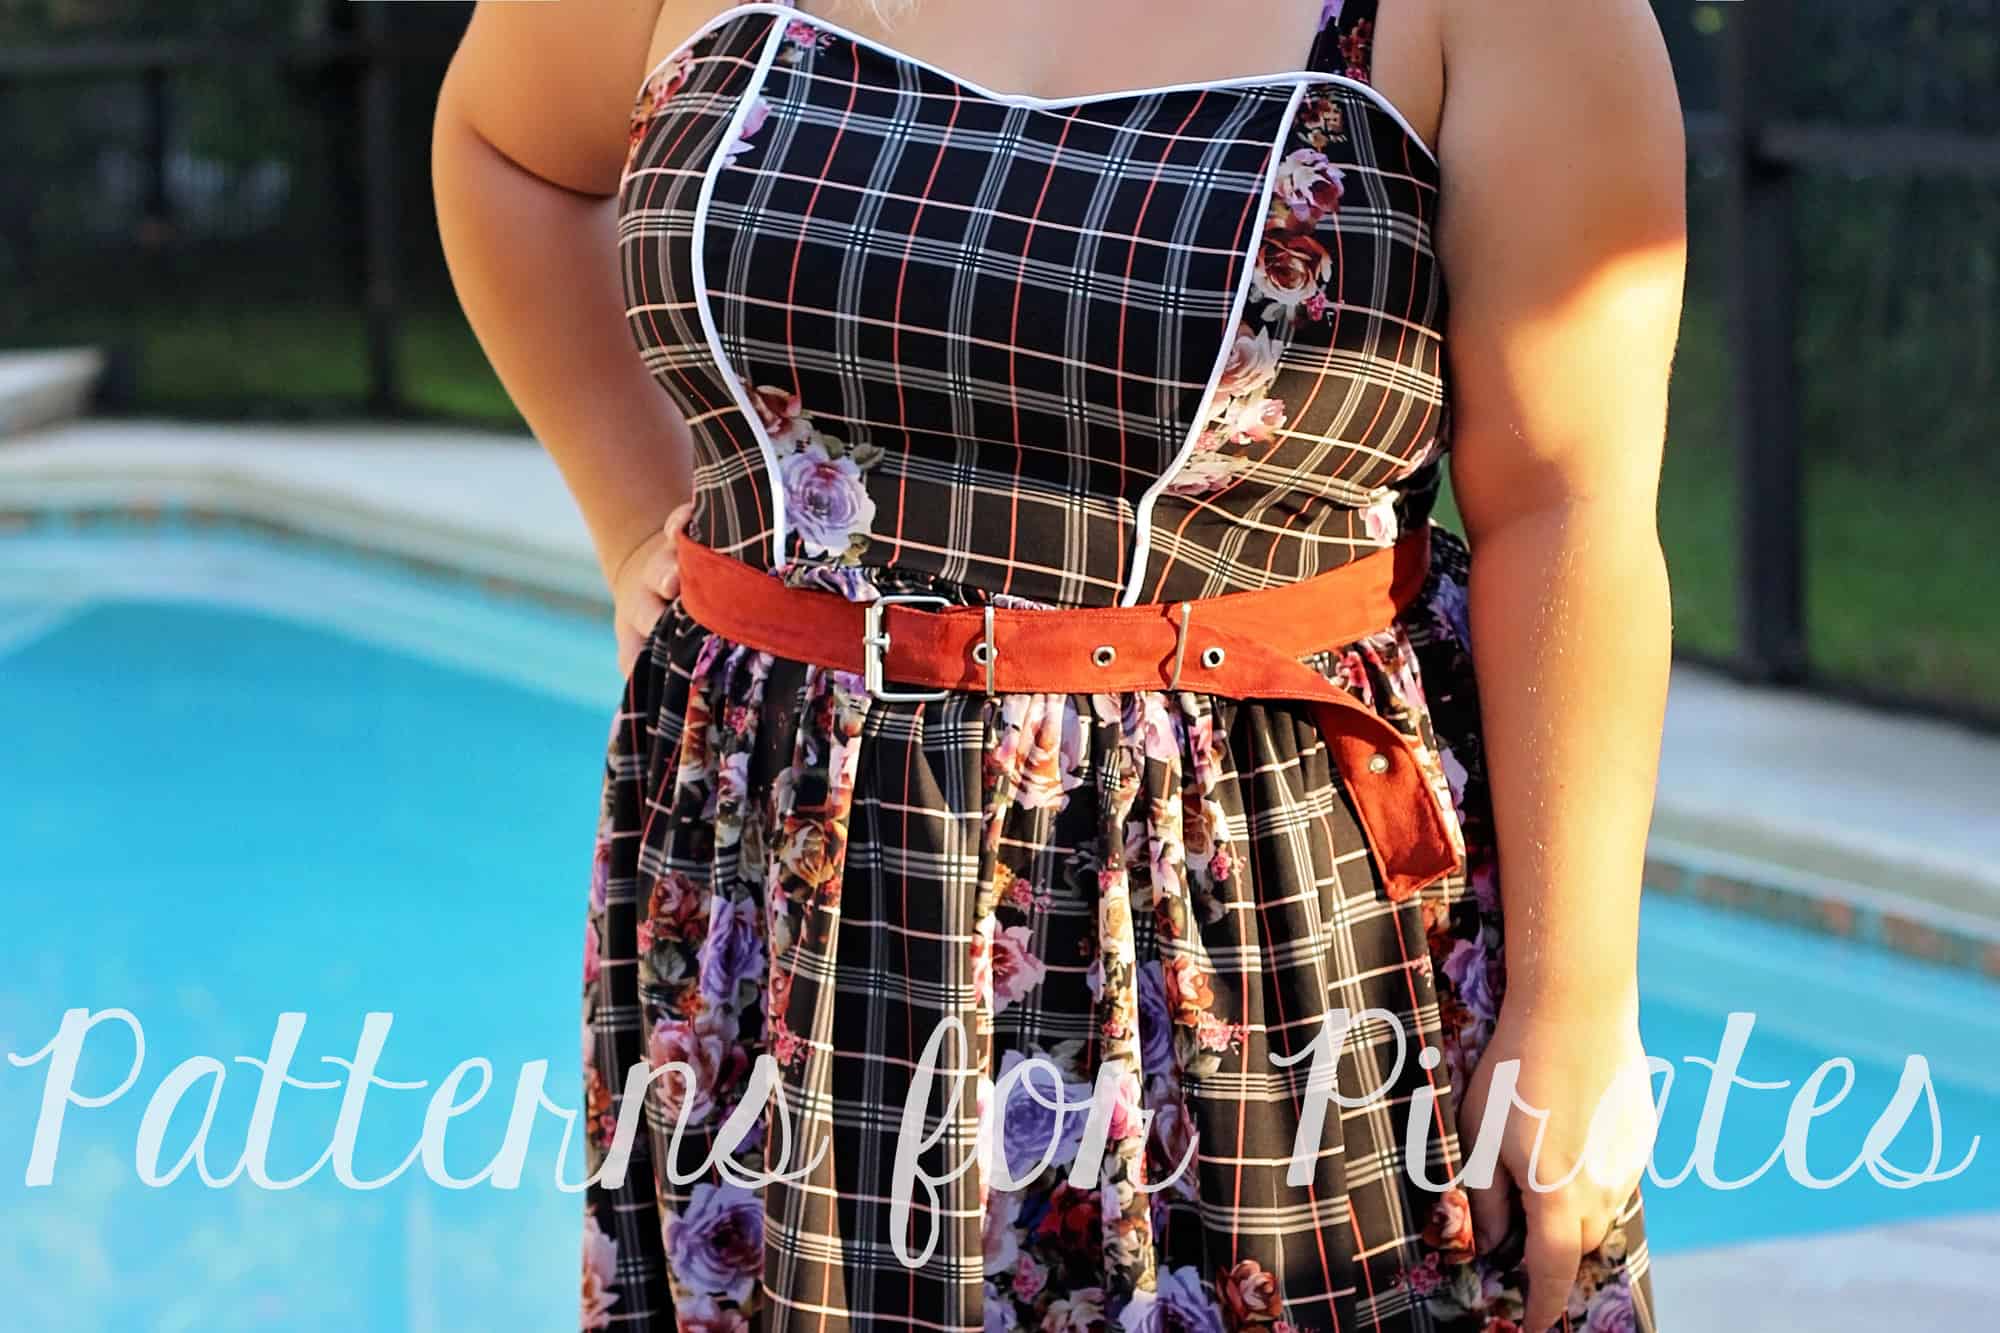
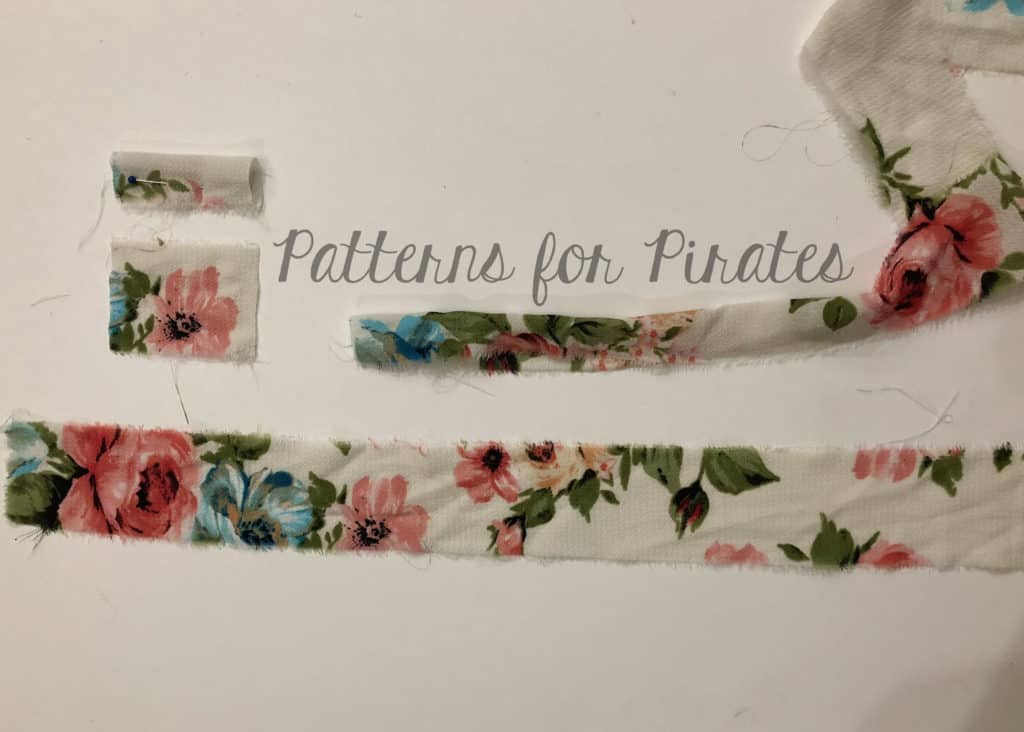
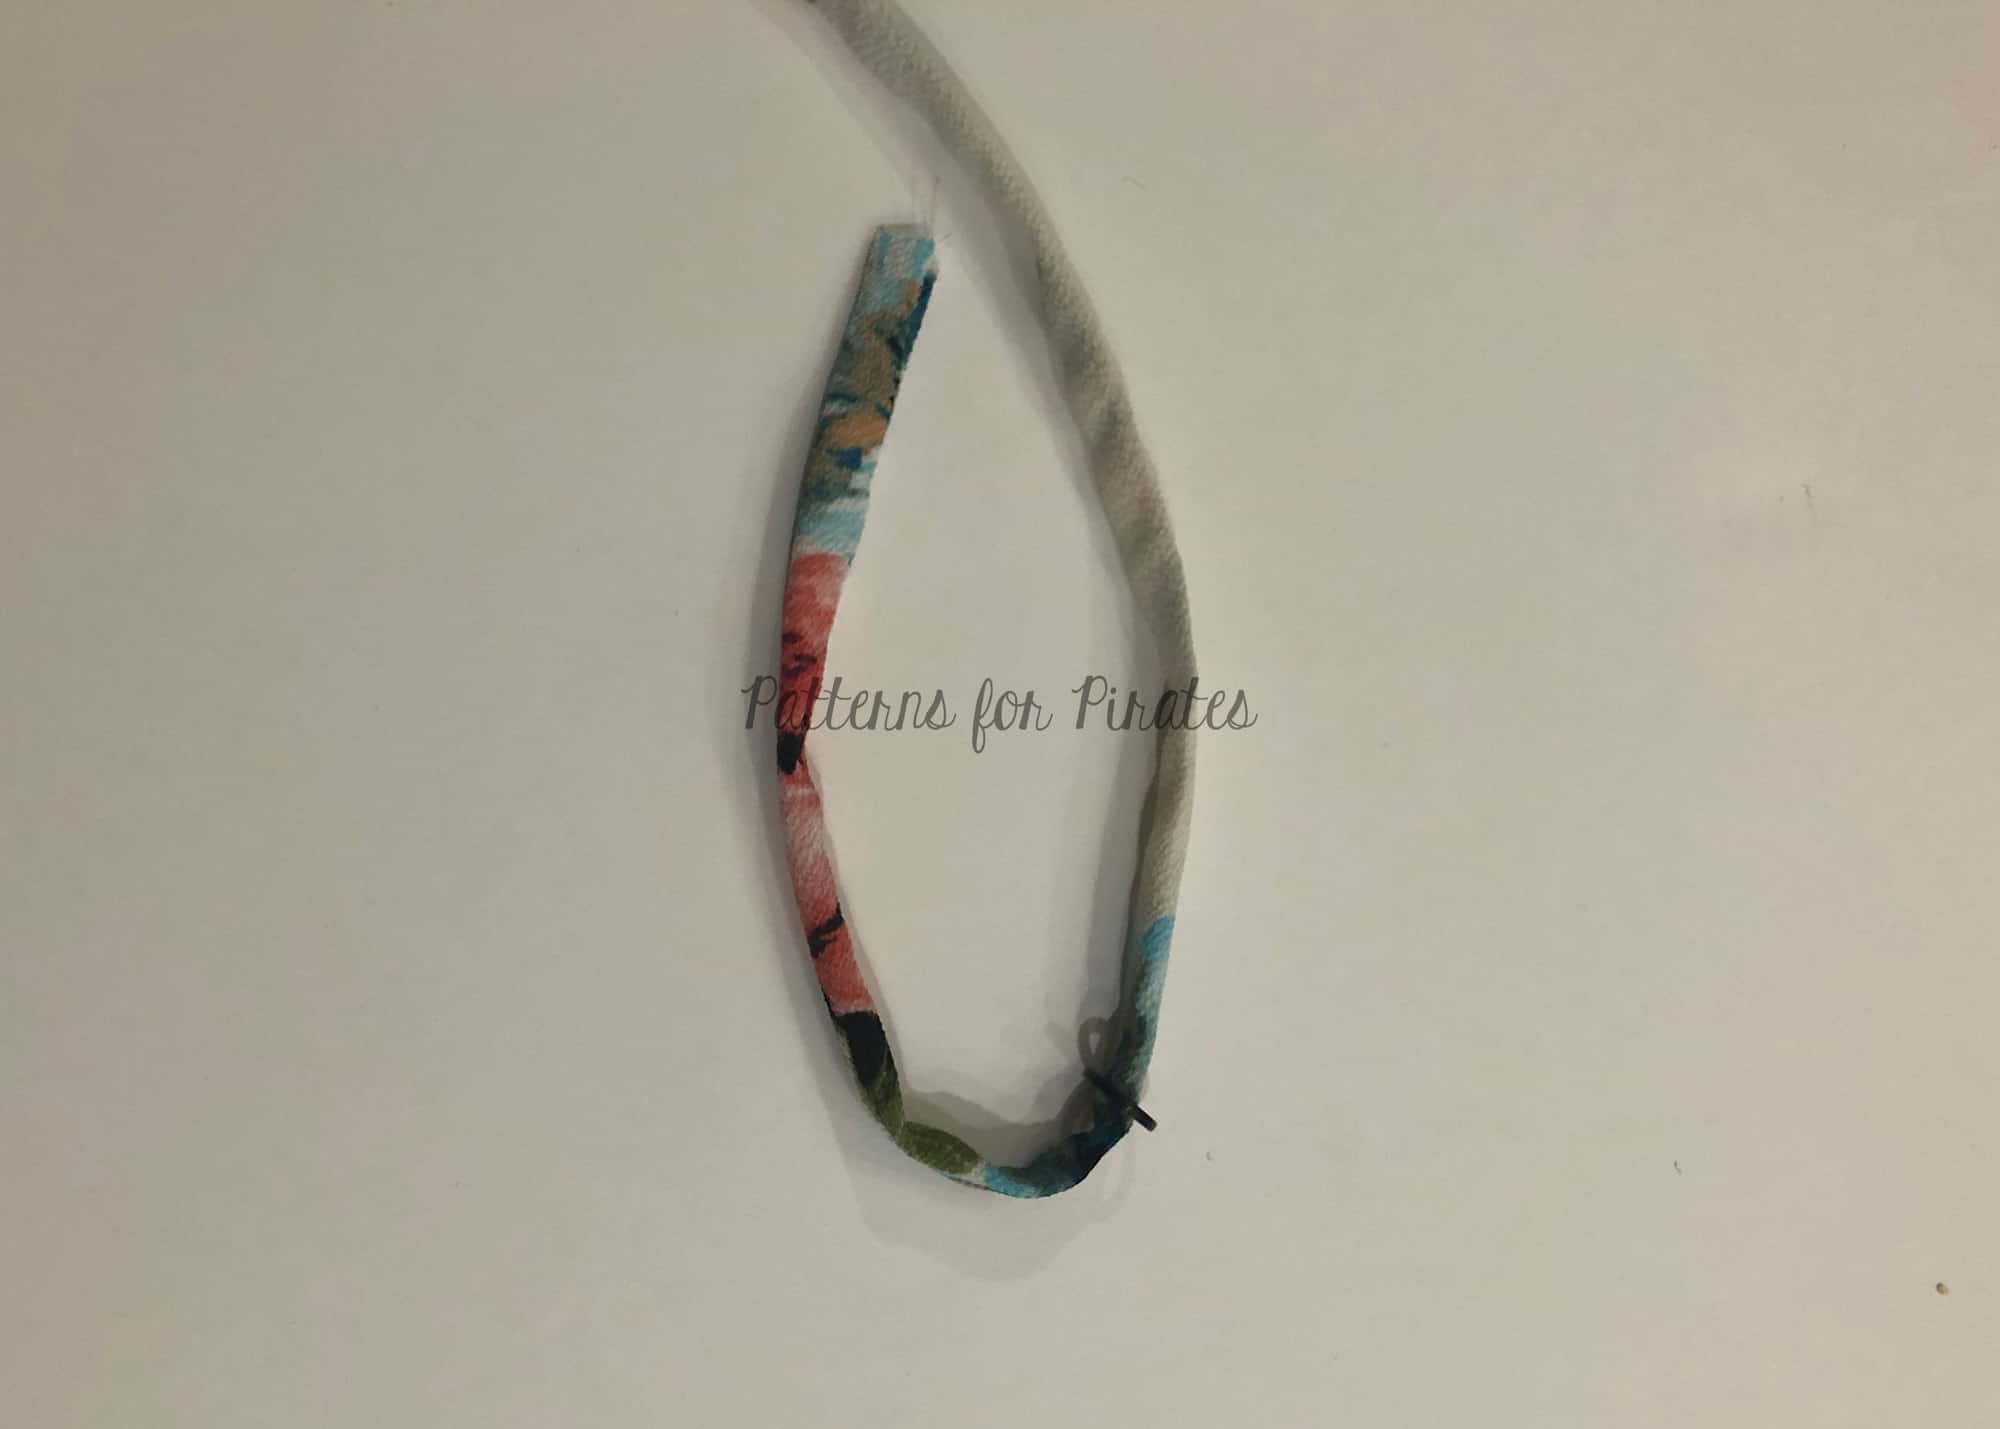
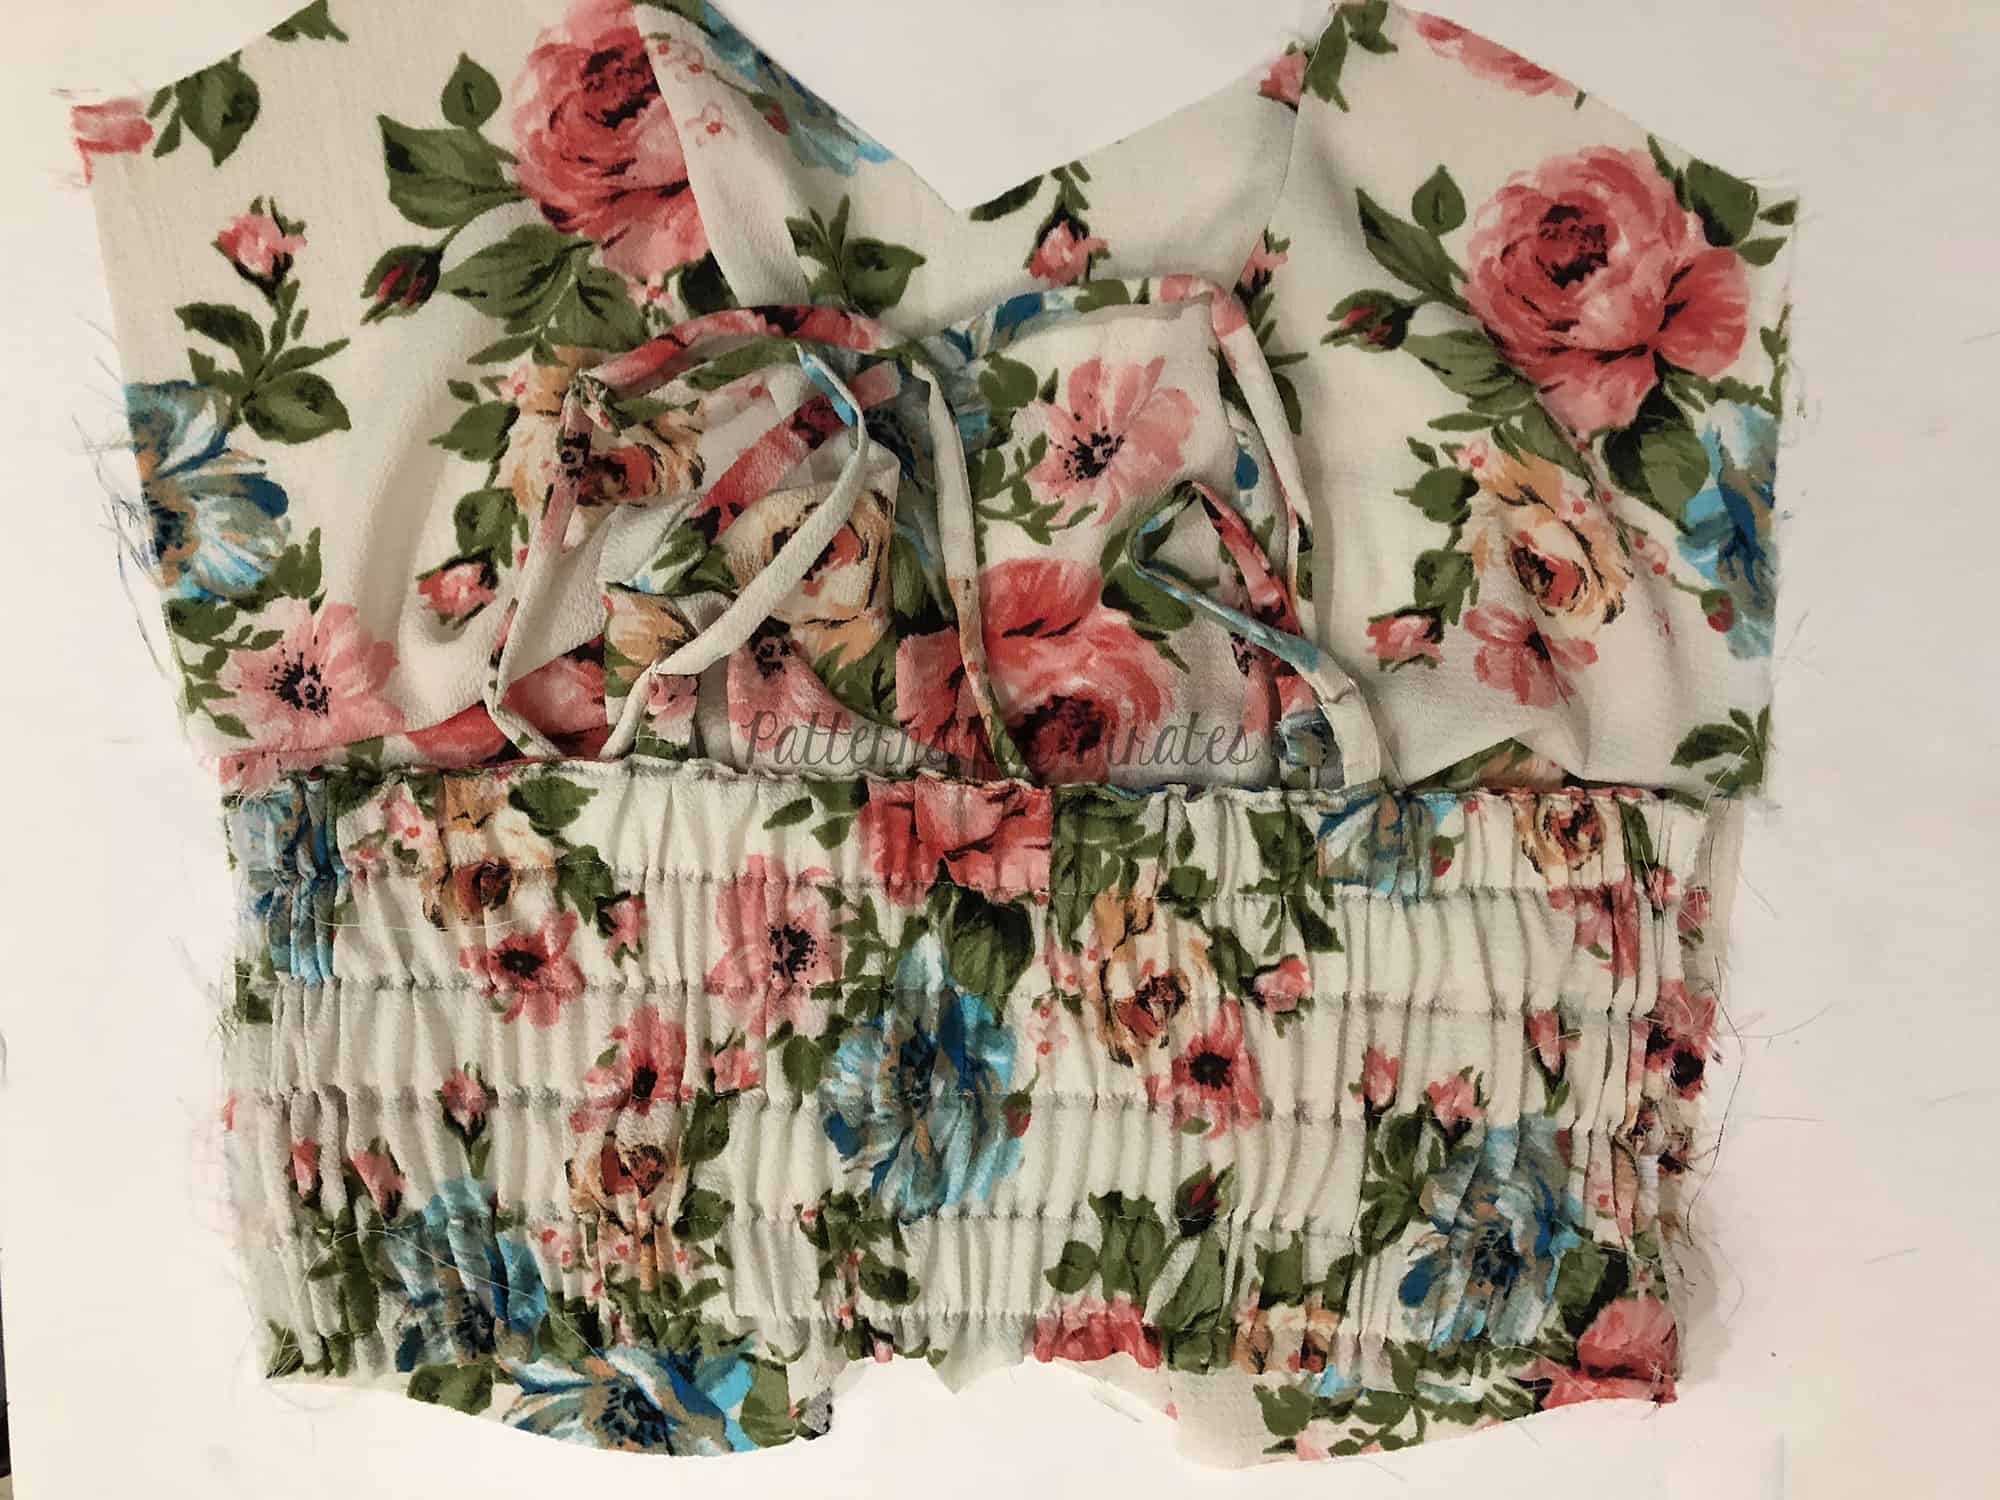
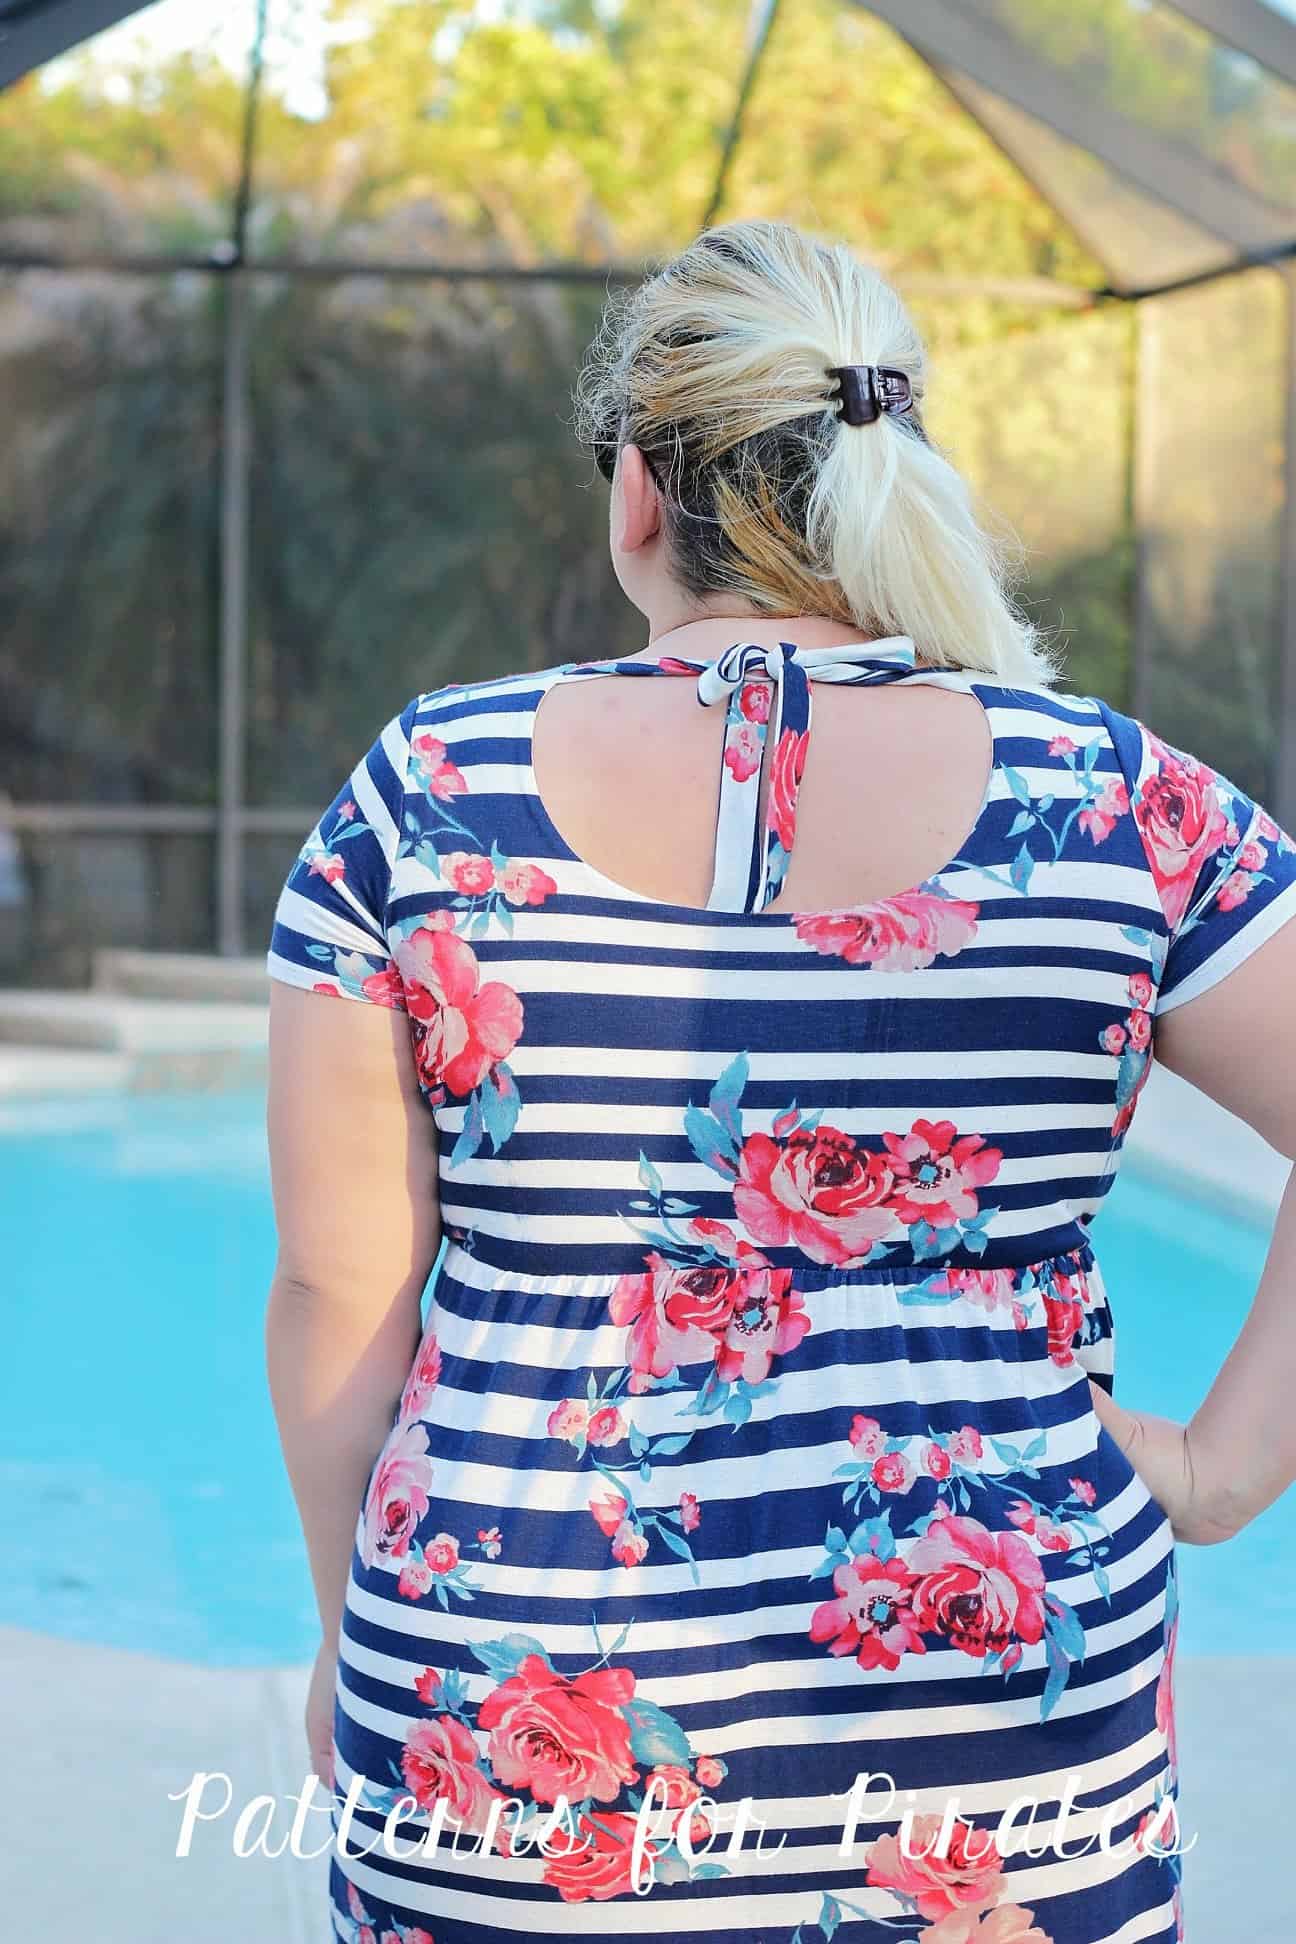
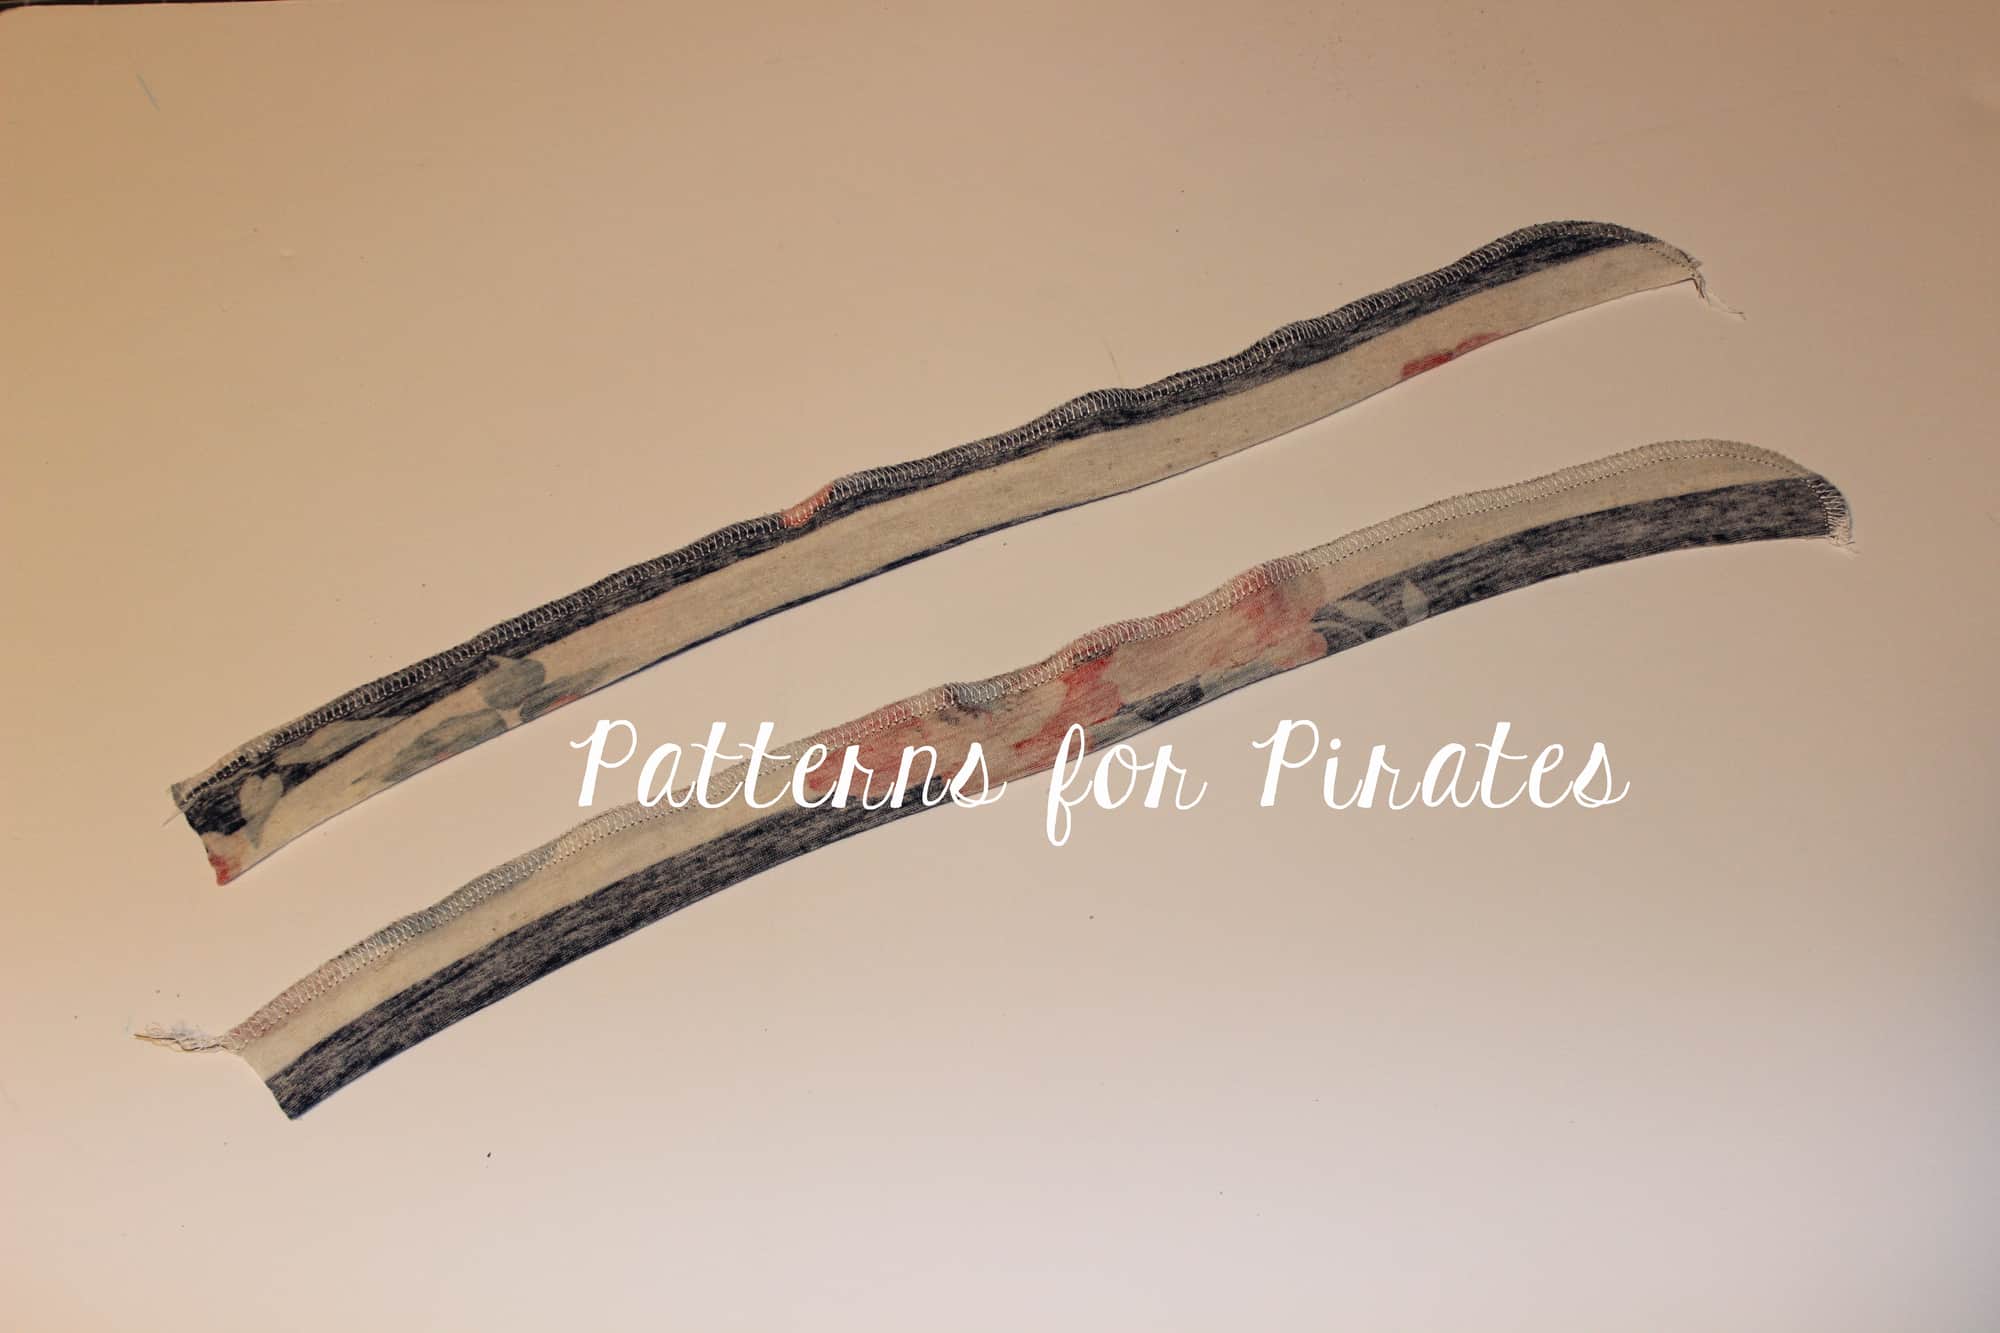
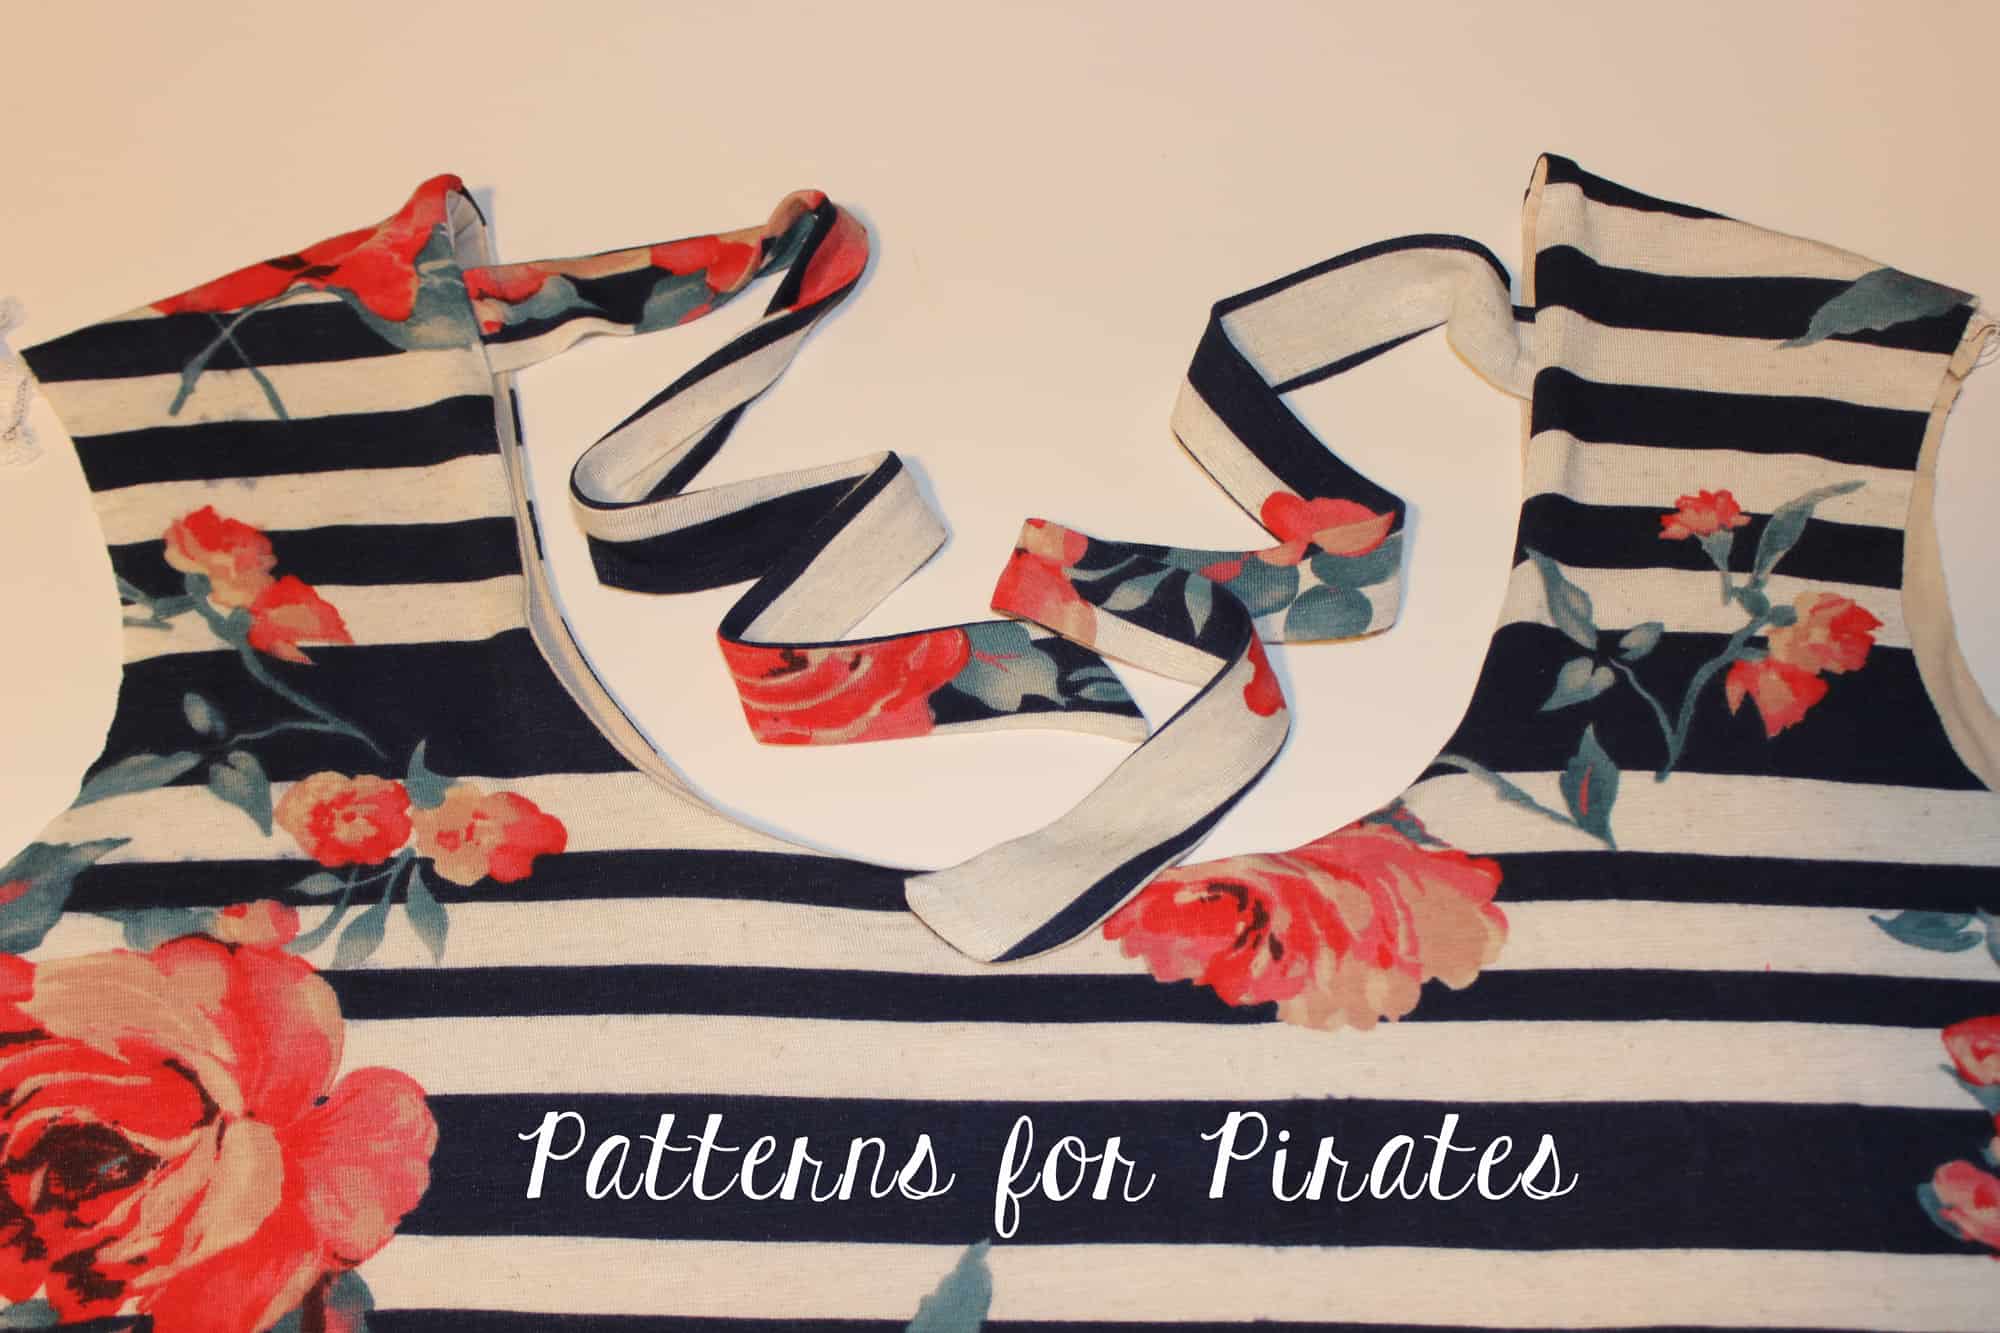
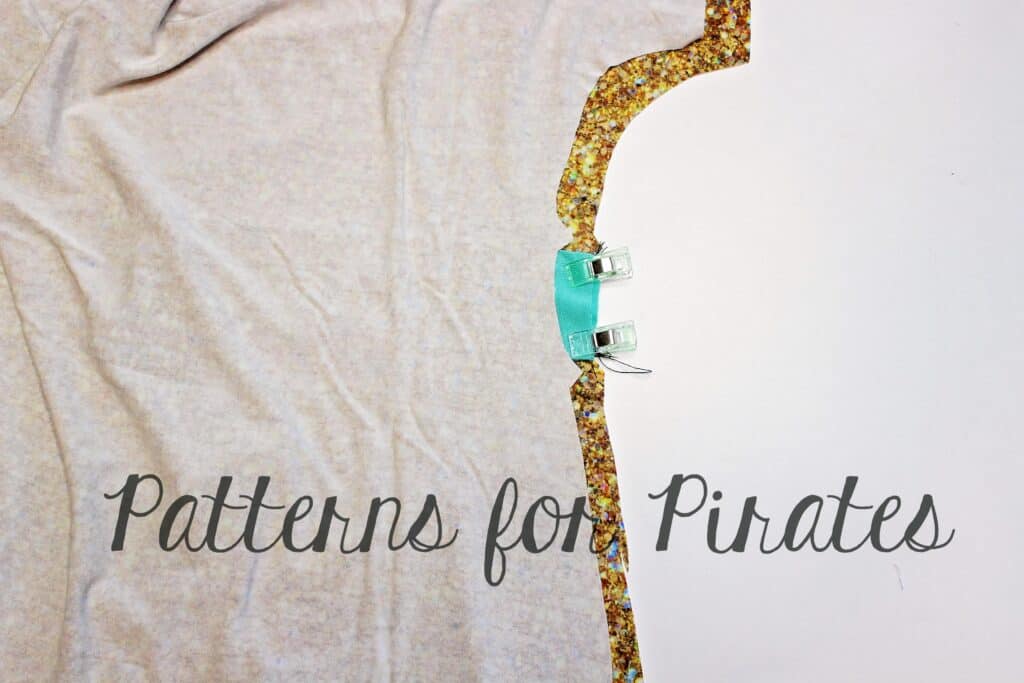
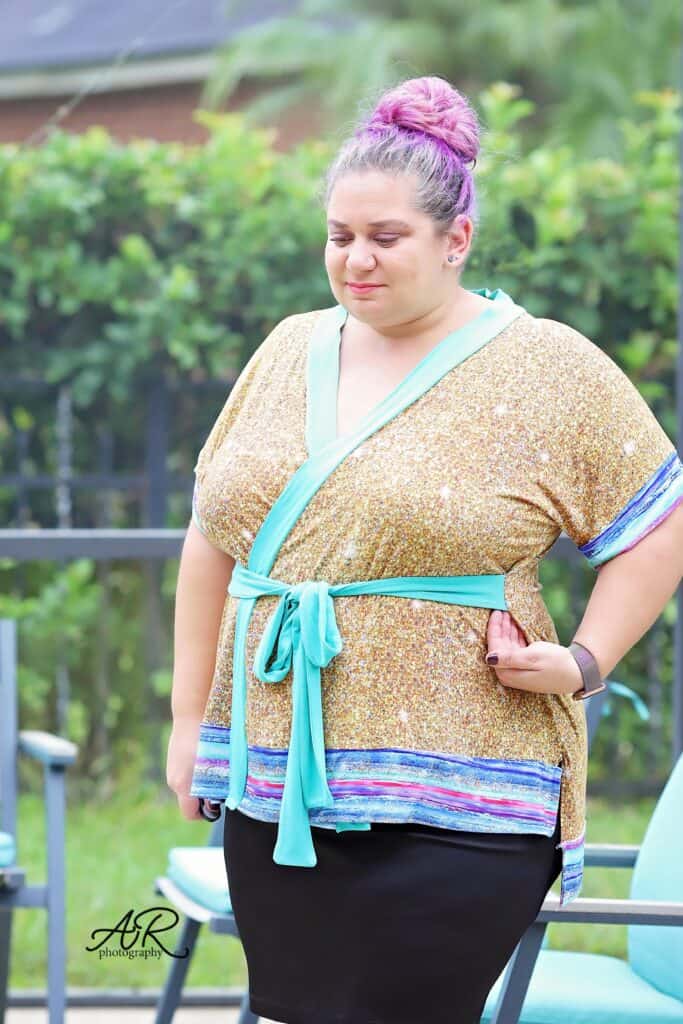
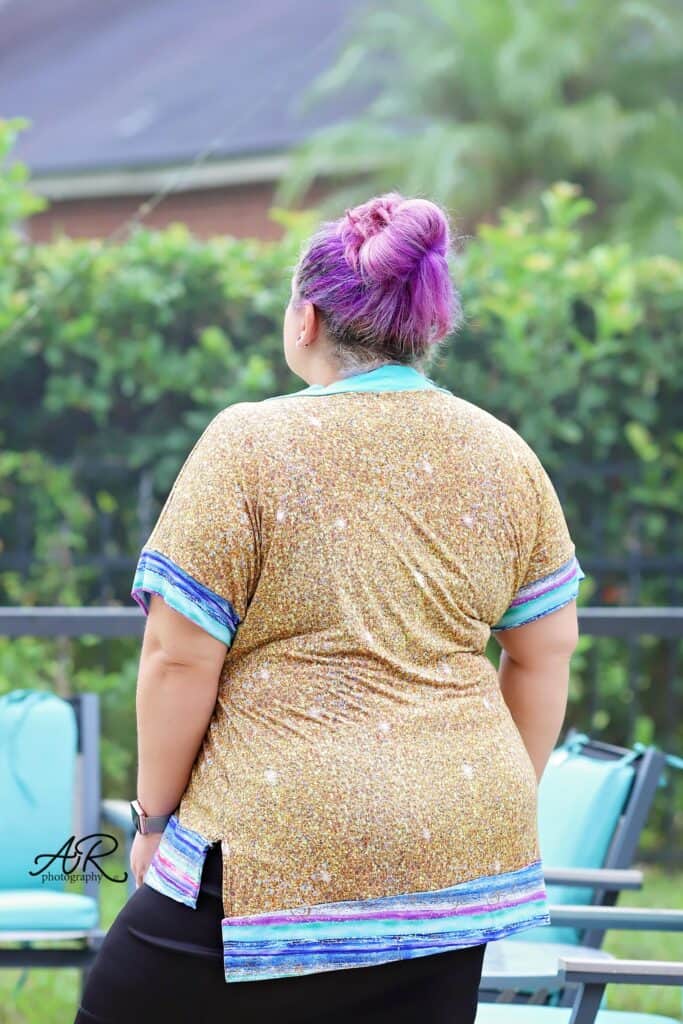
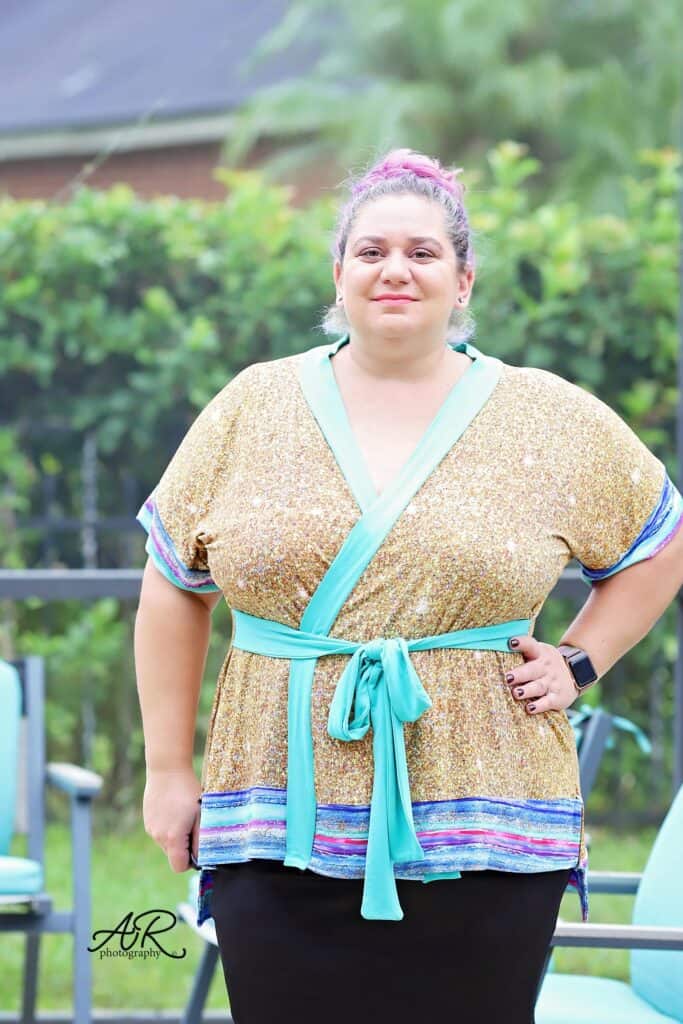
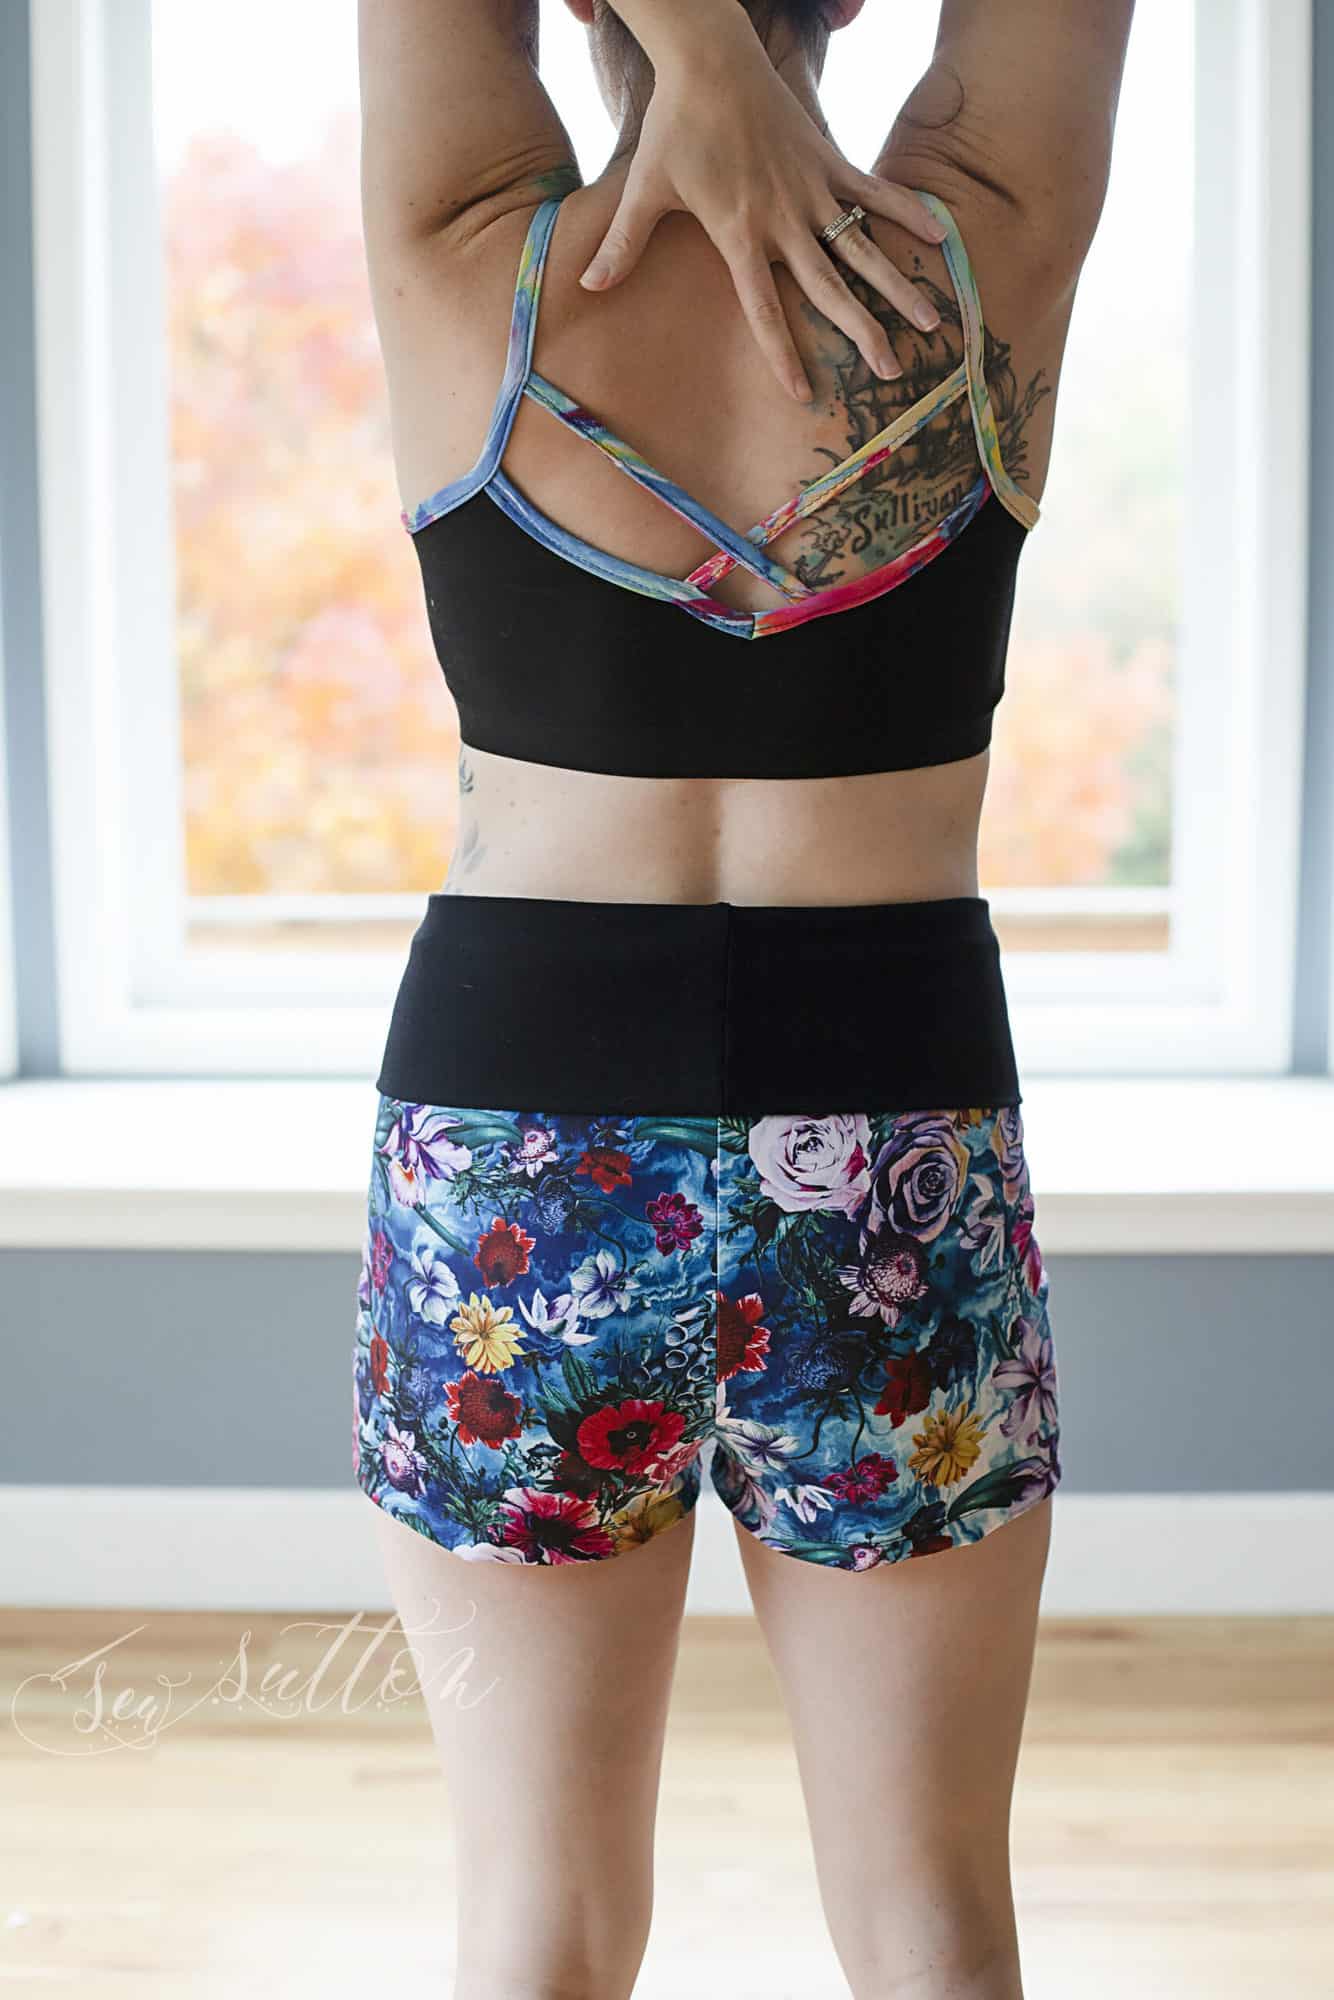
Sewn in ties
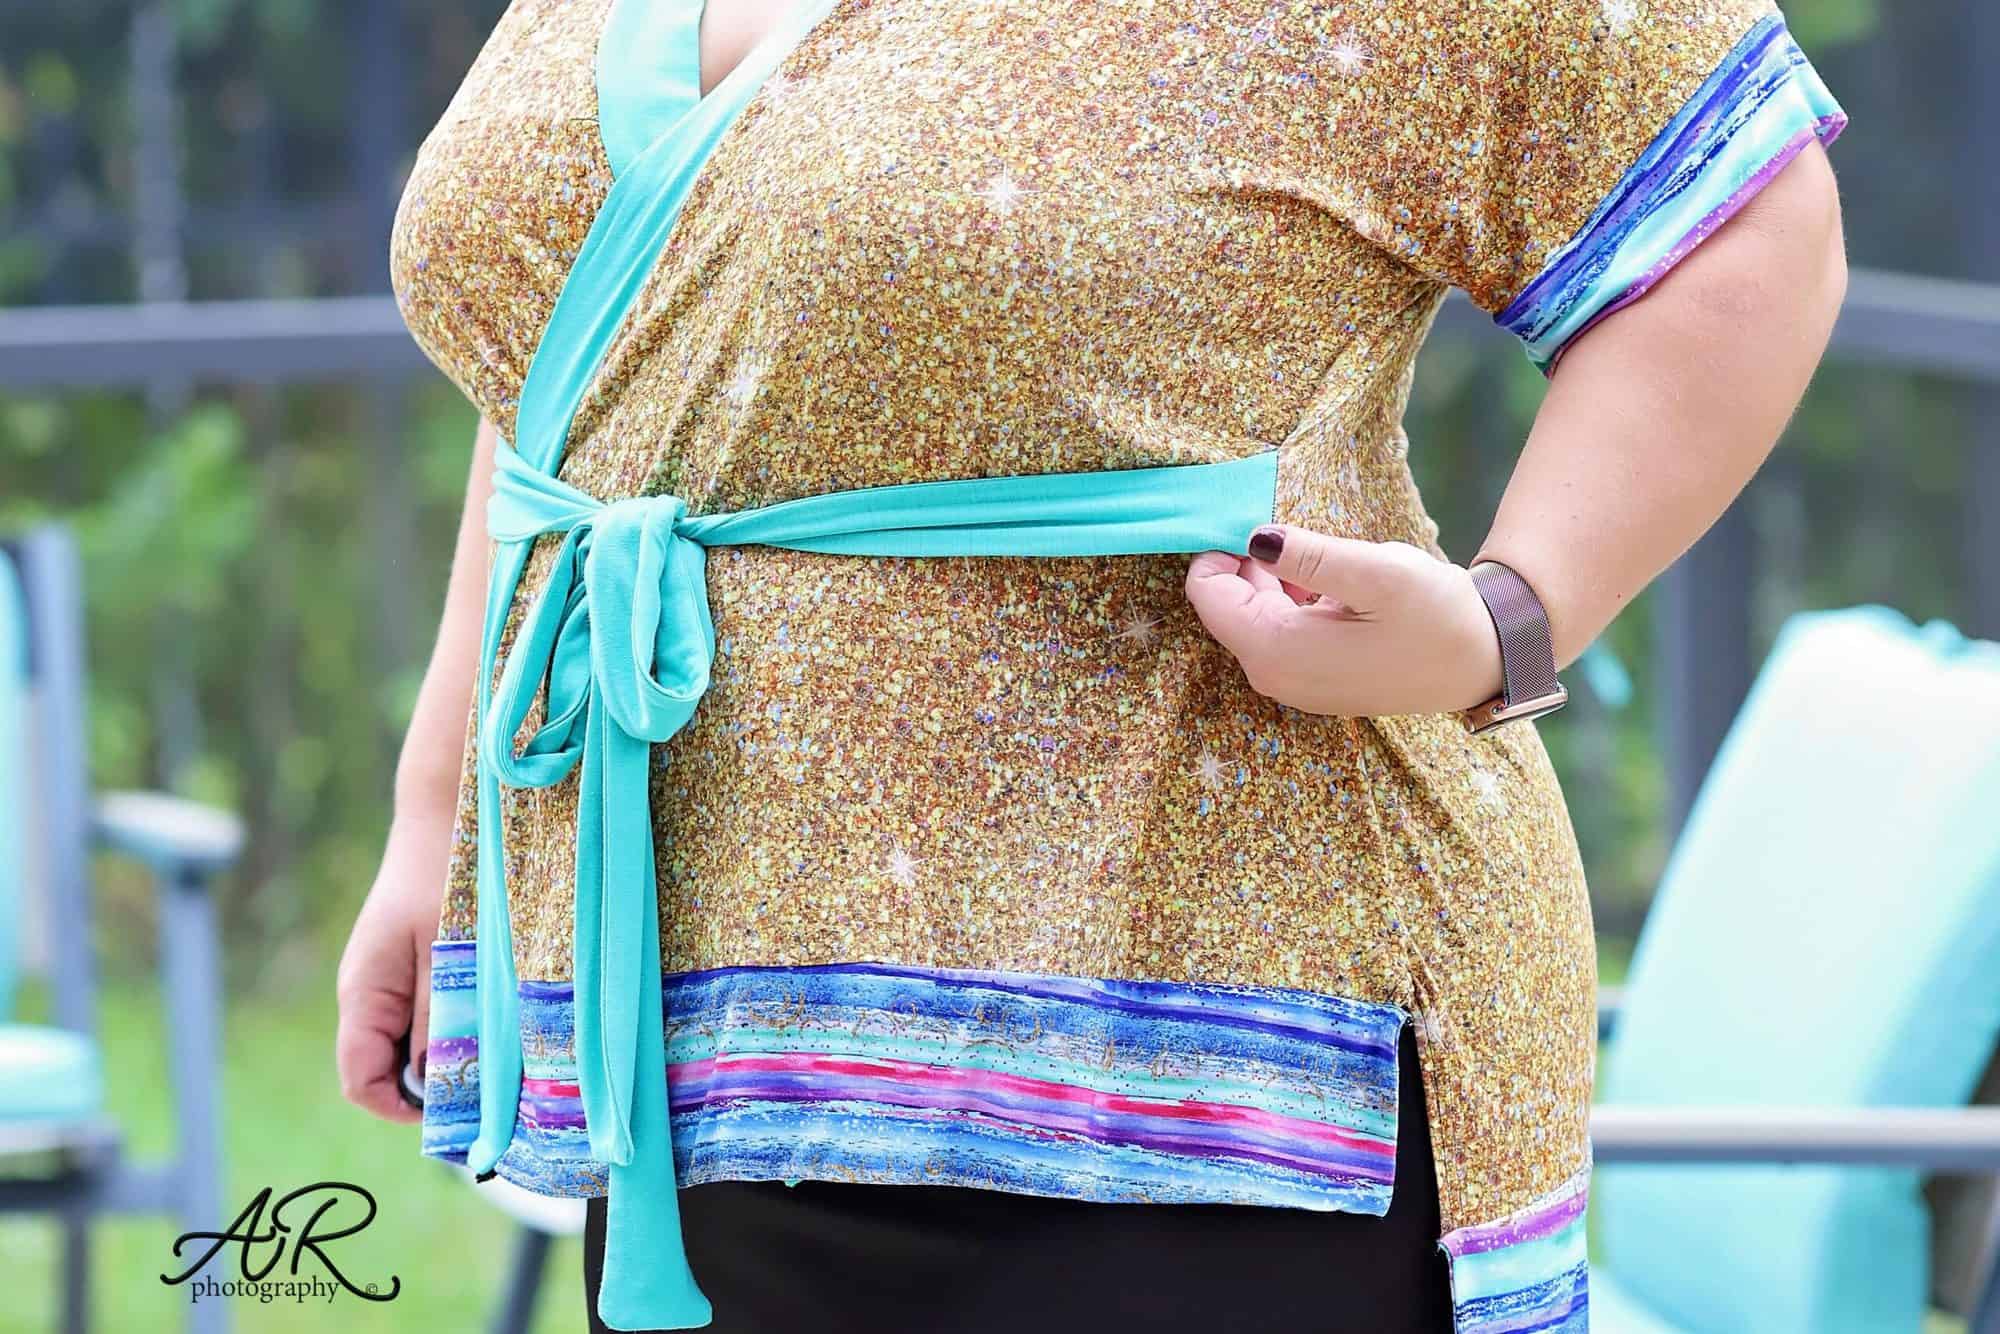
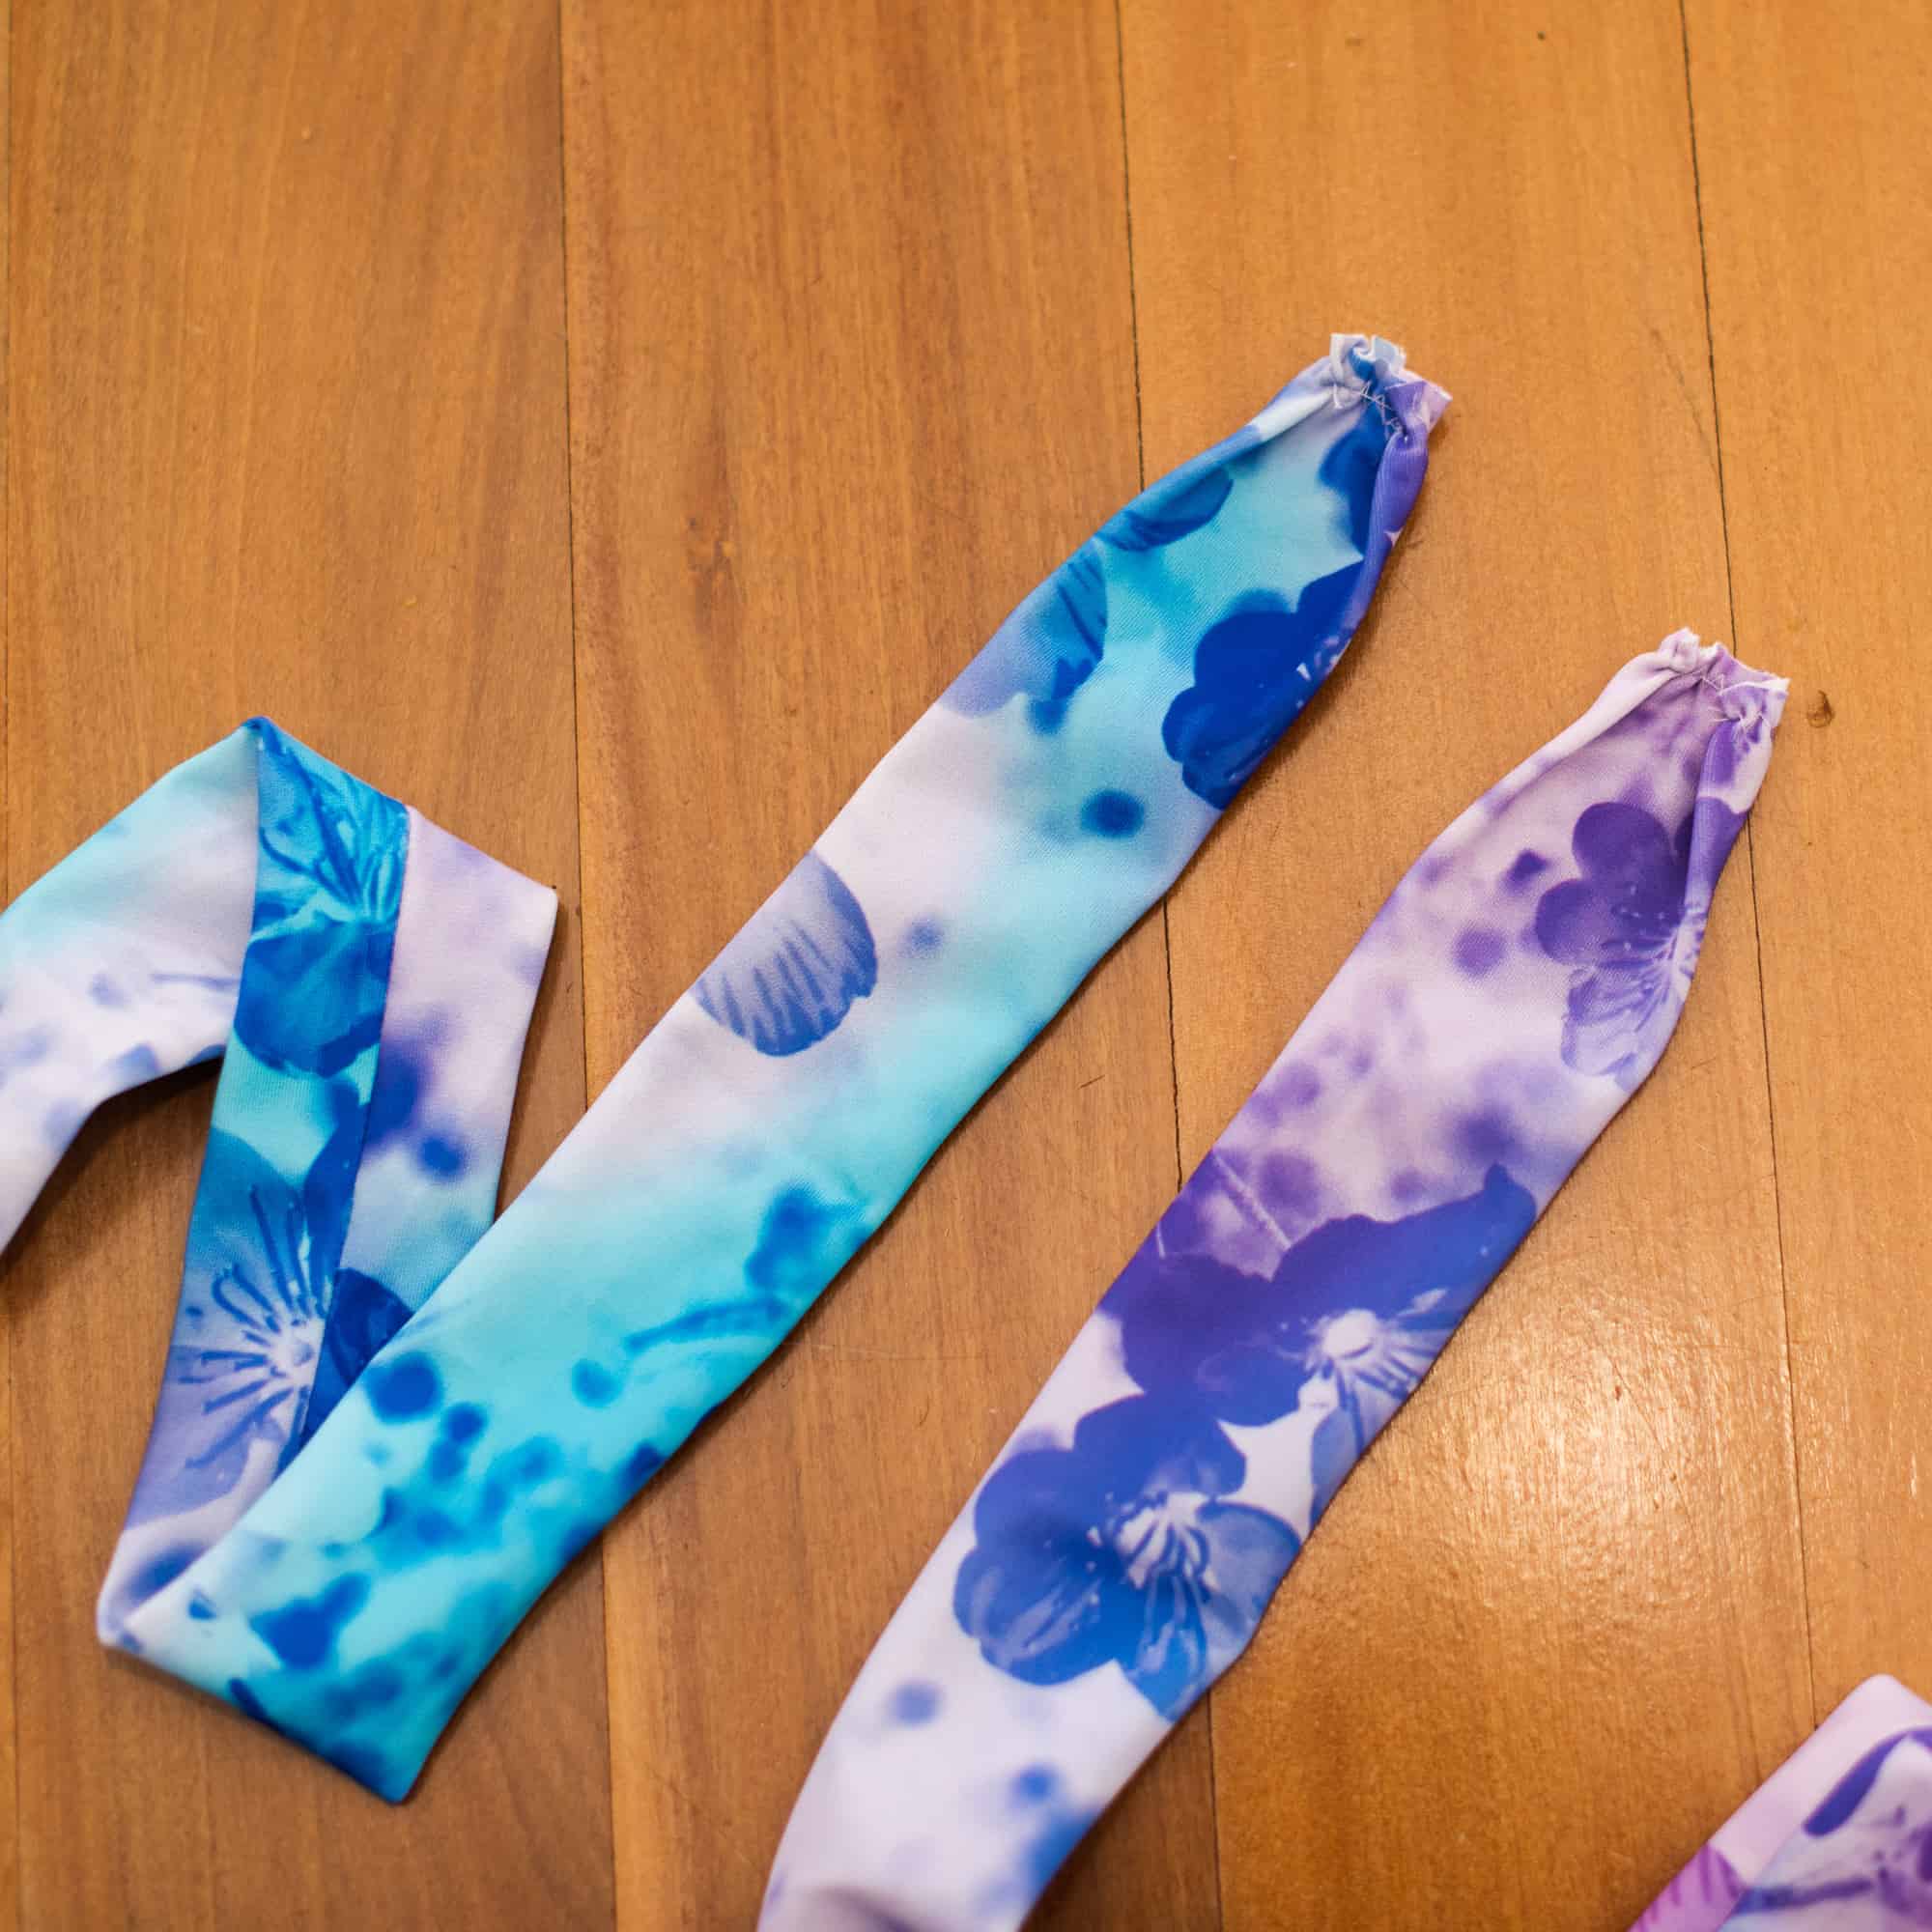
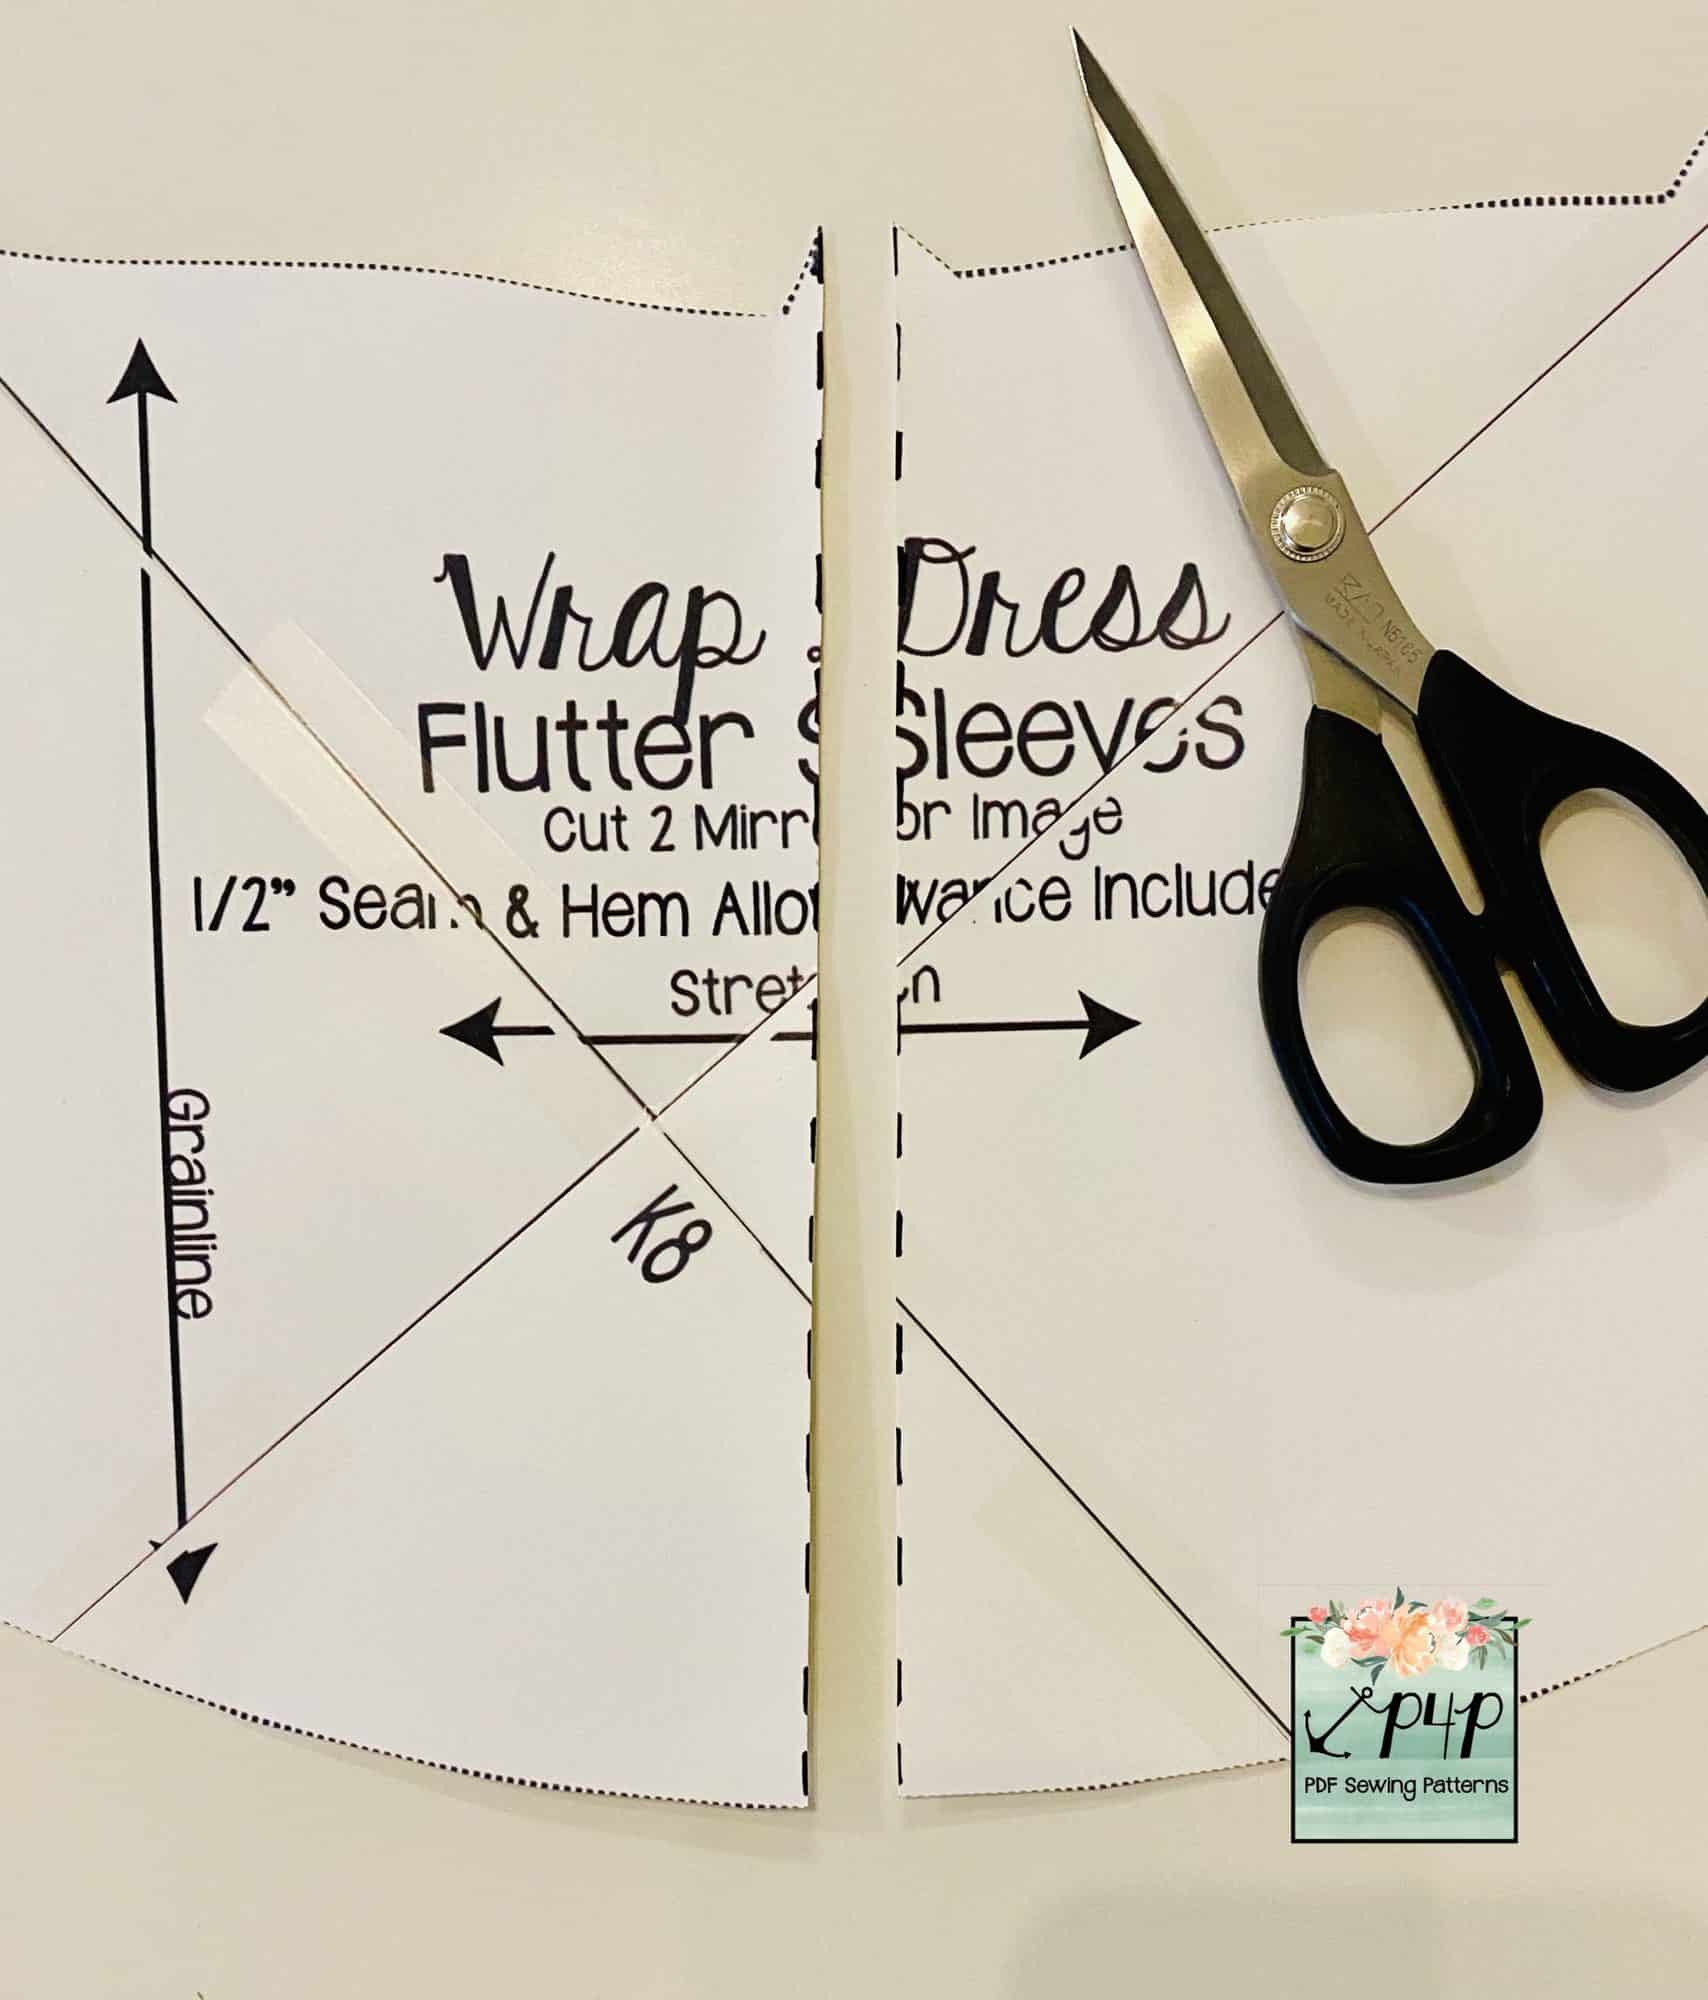
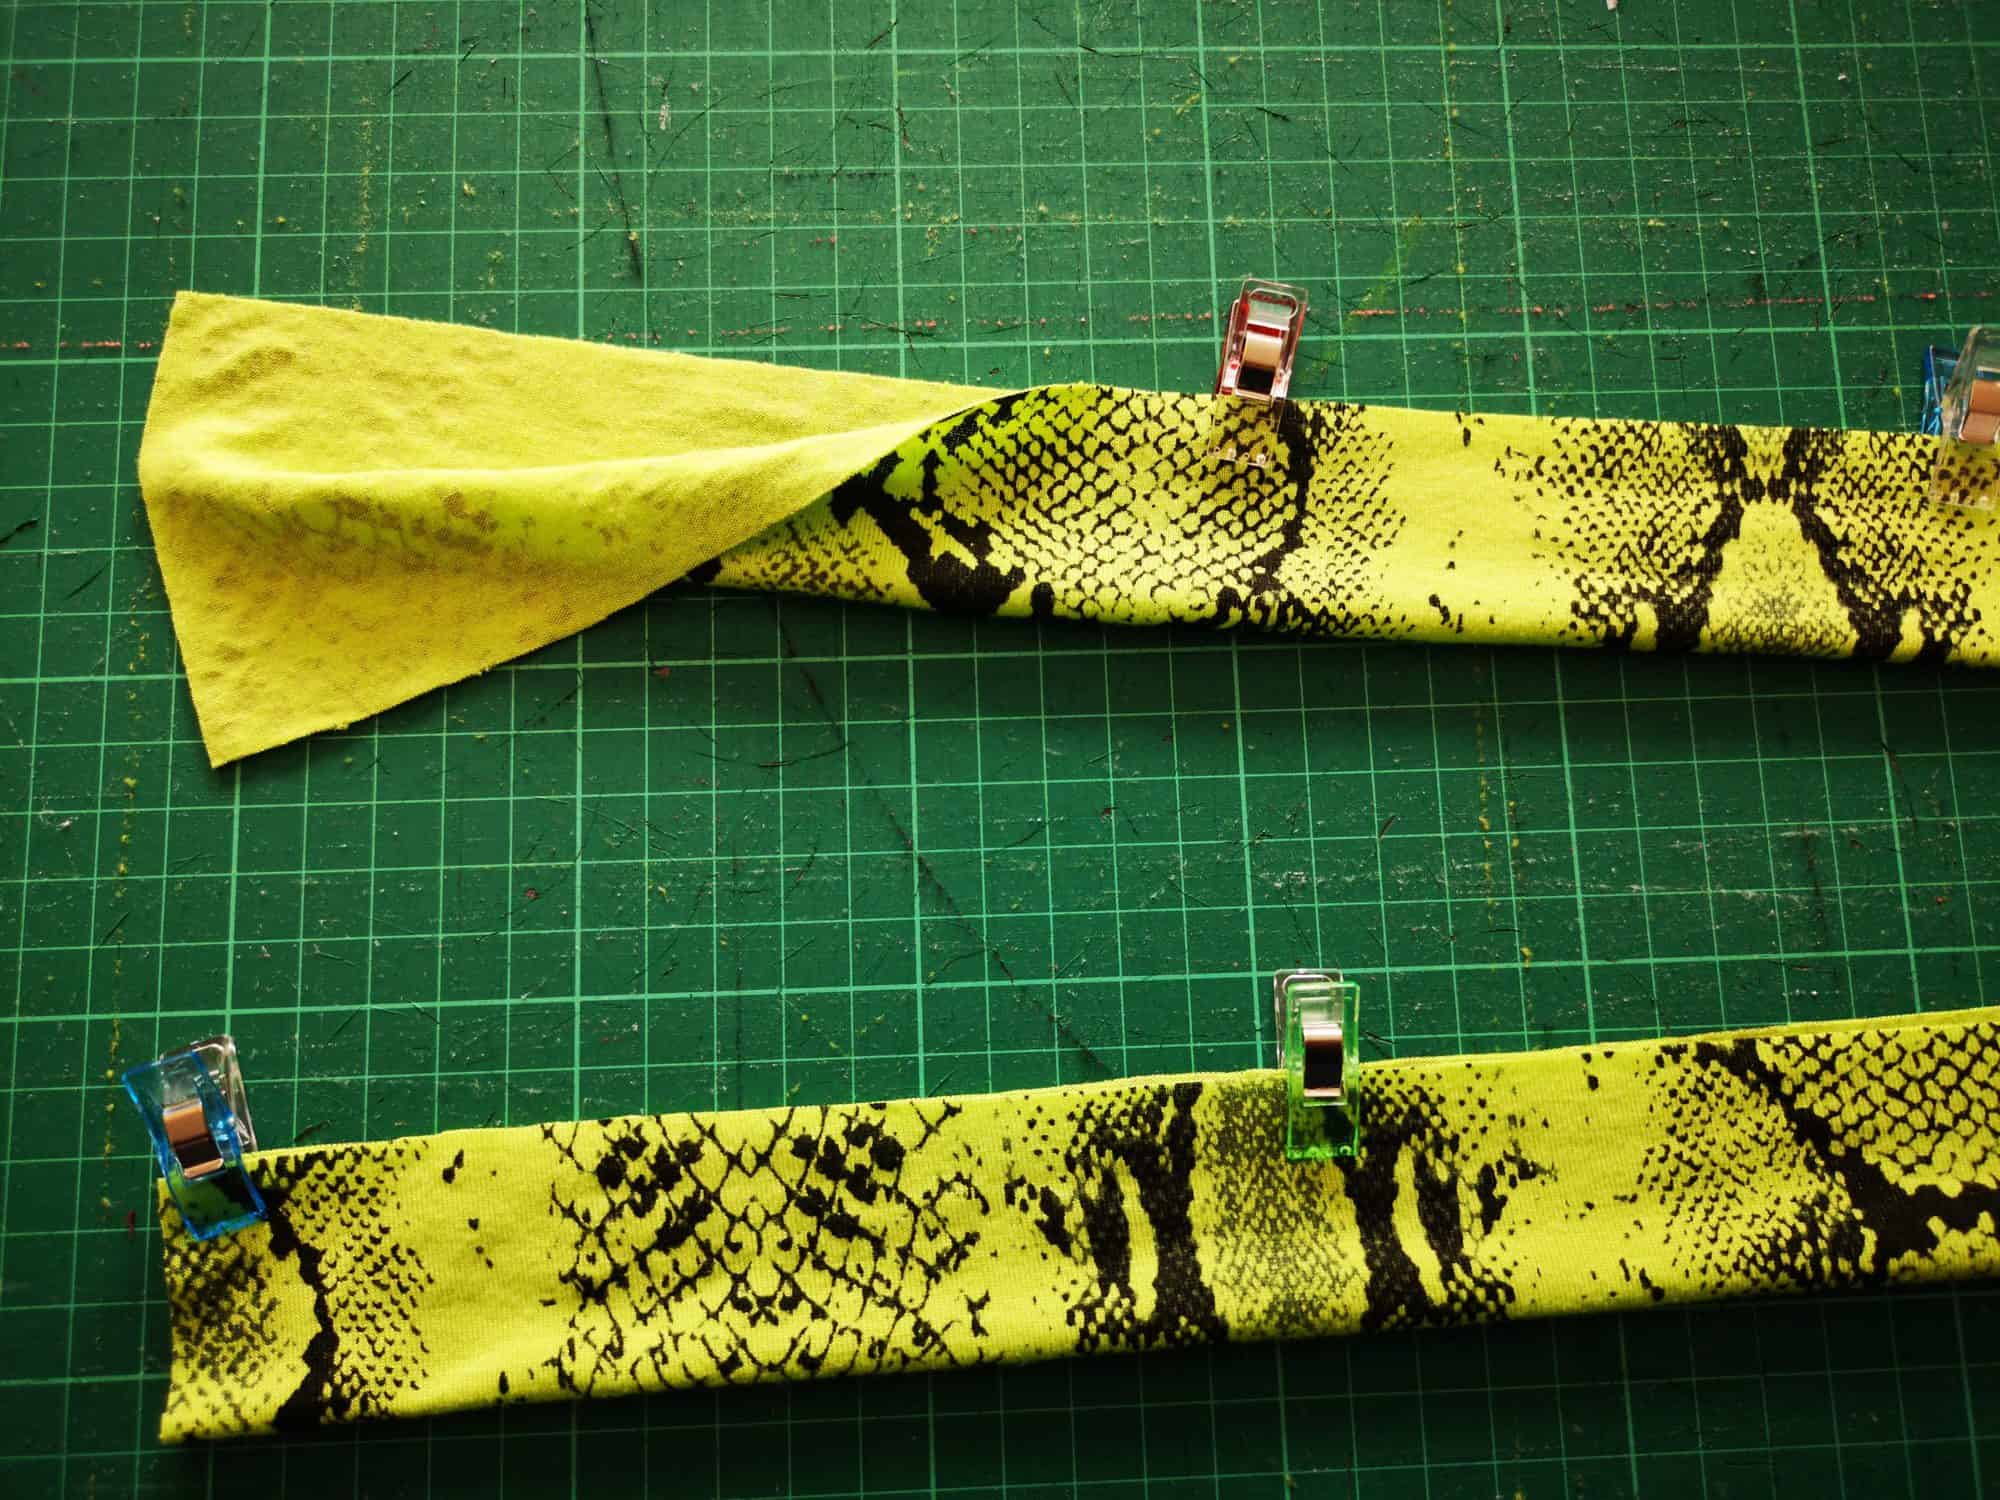
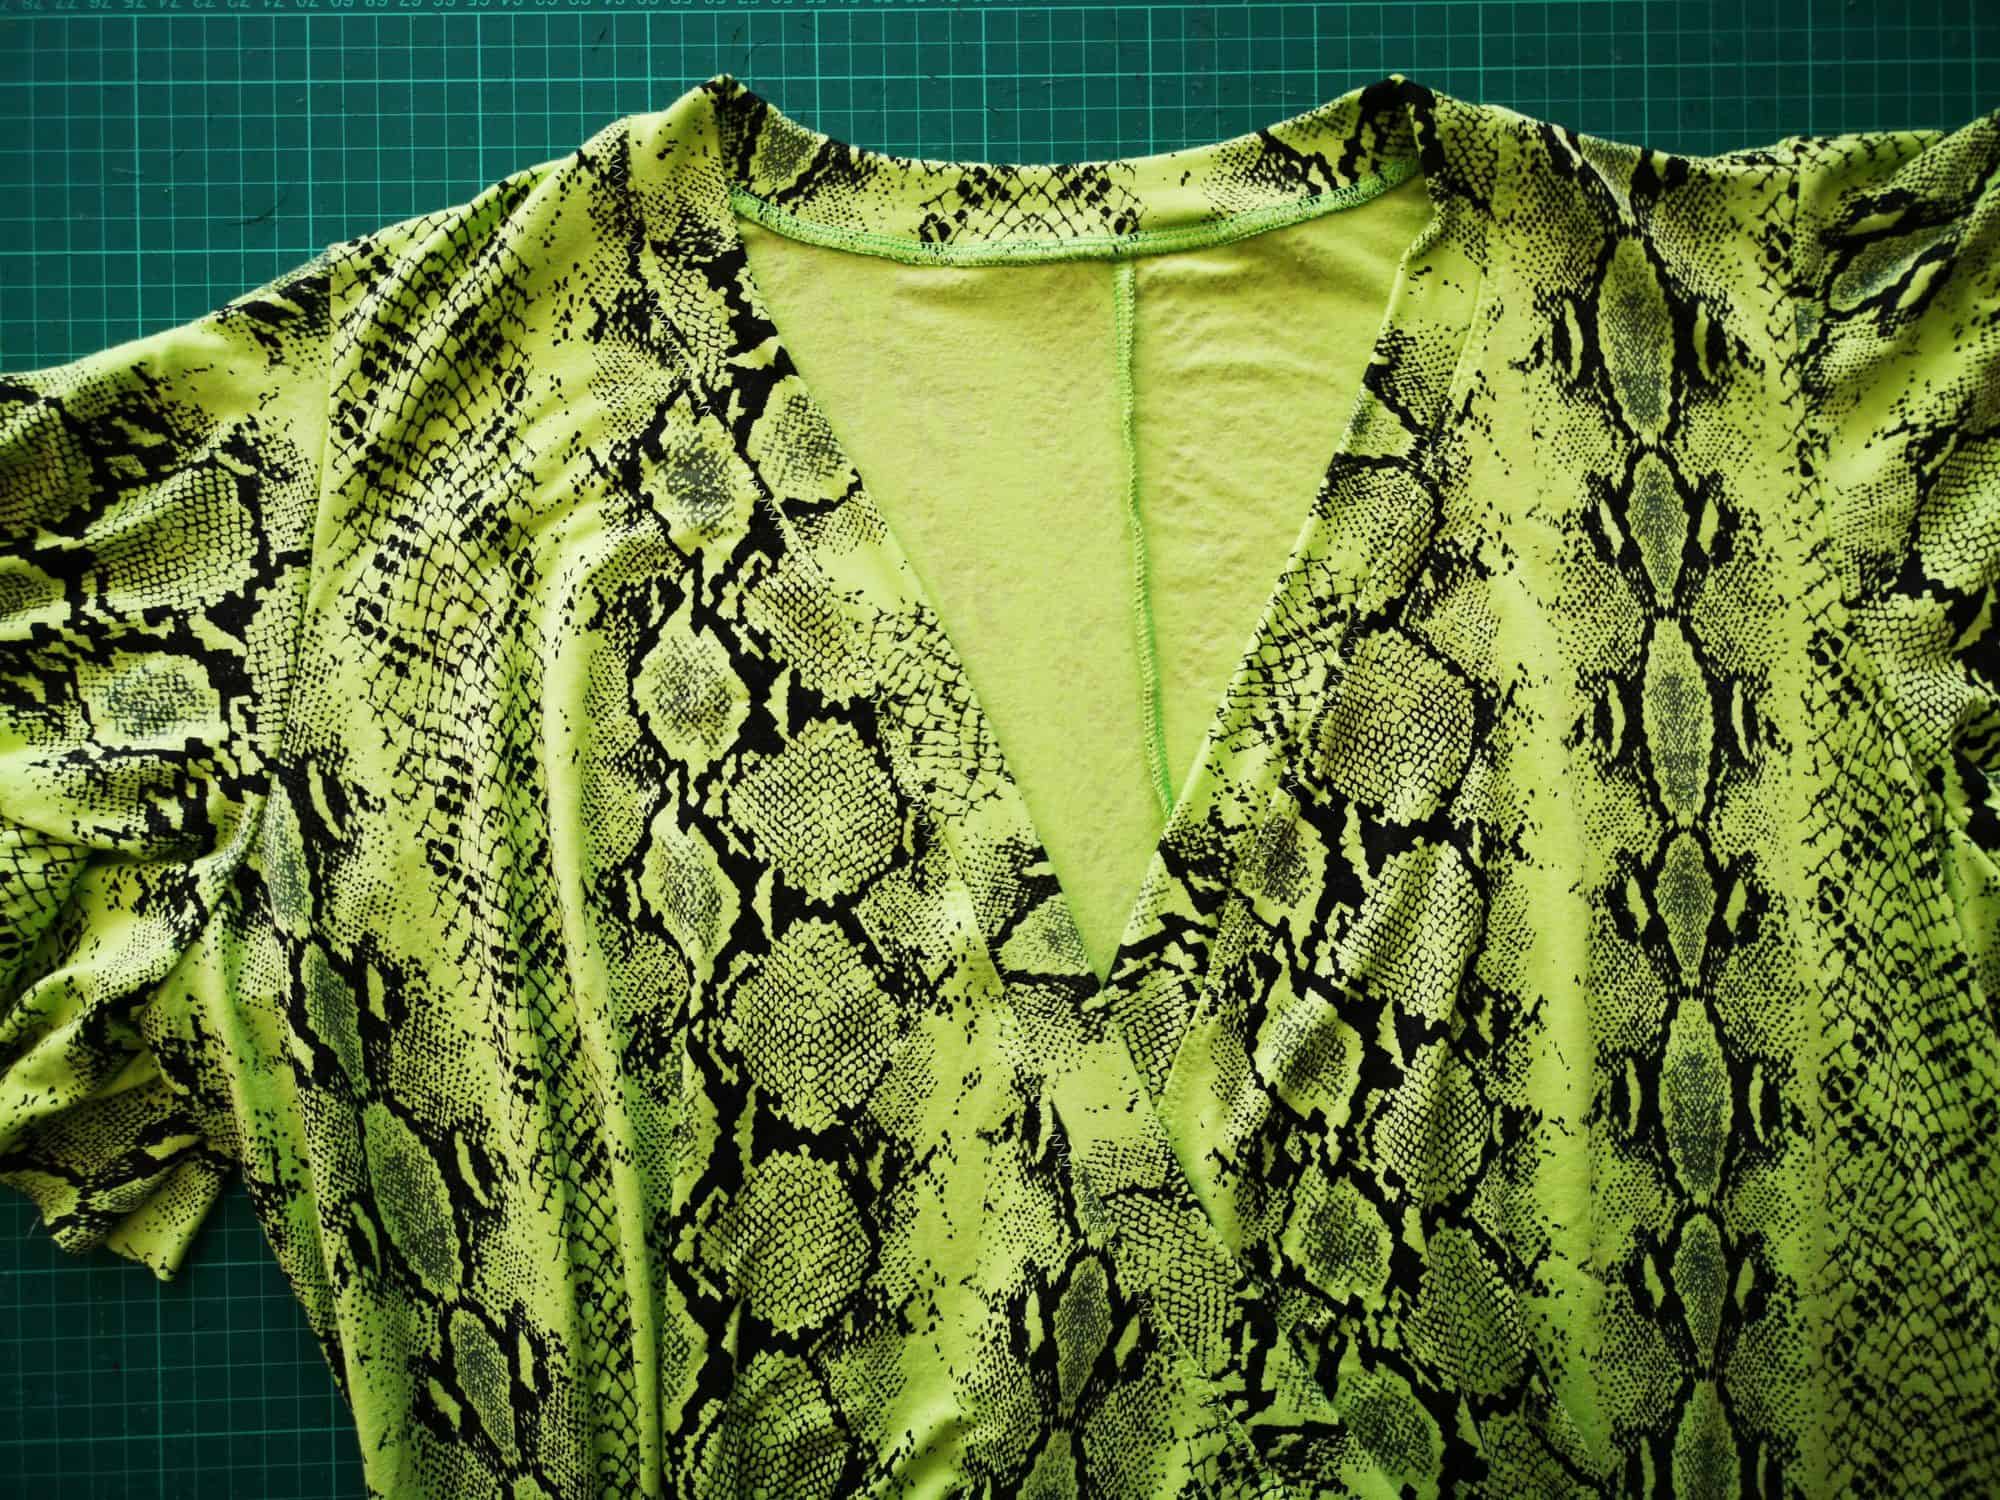
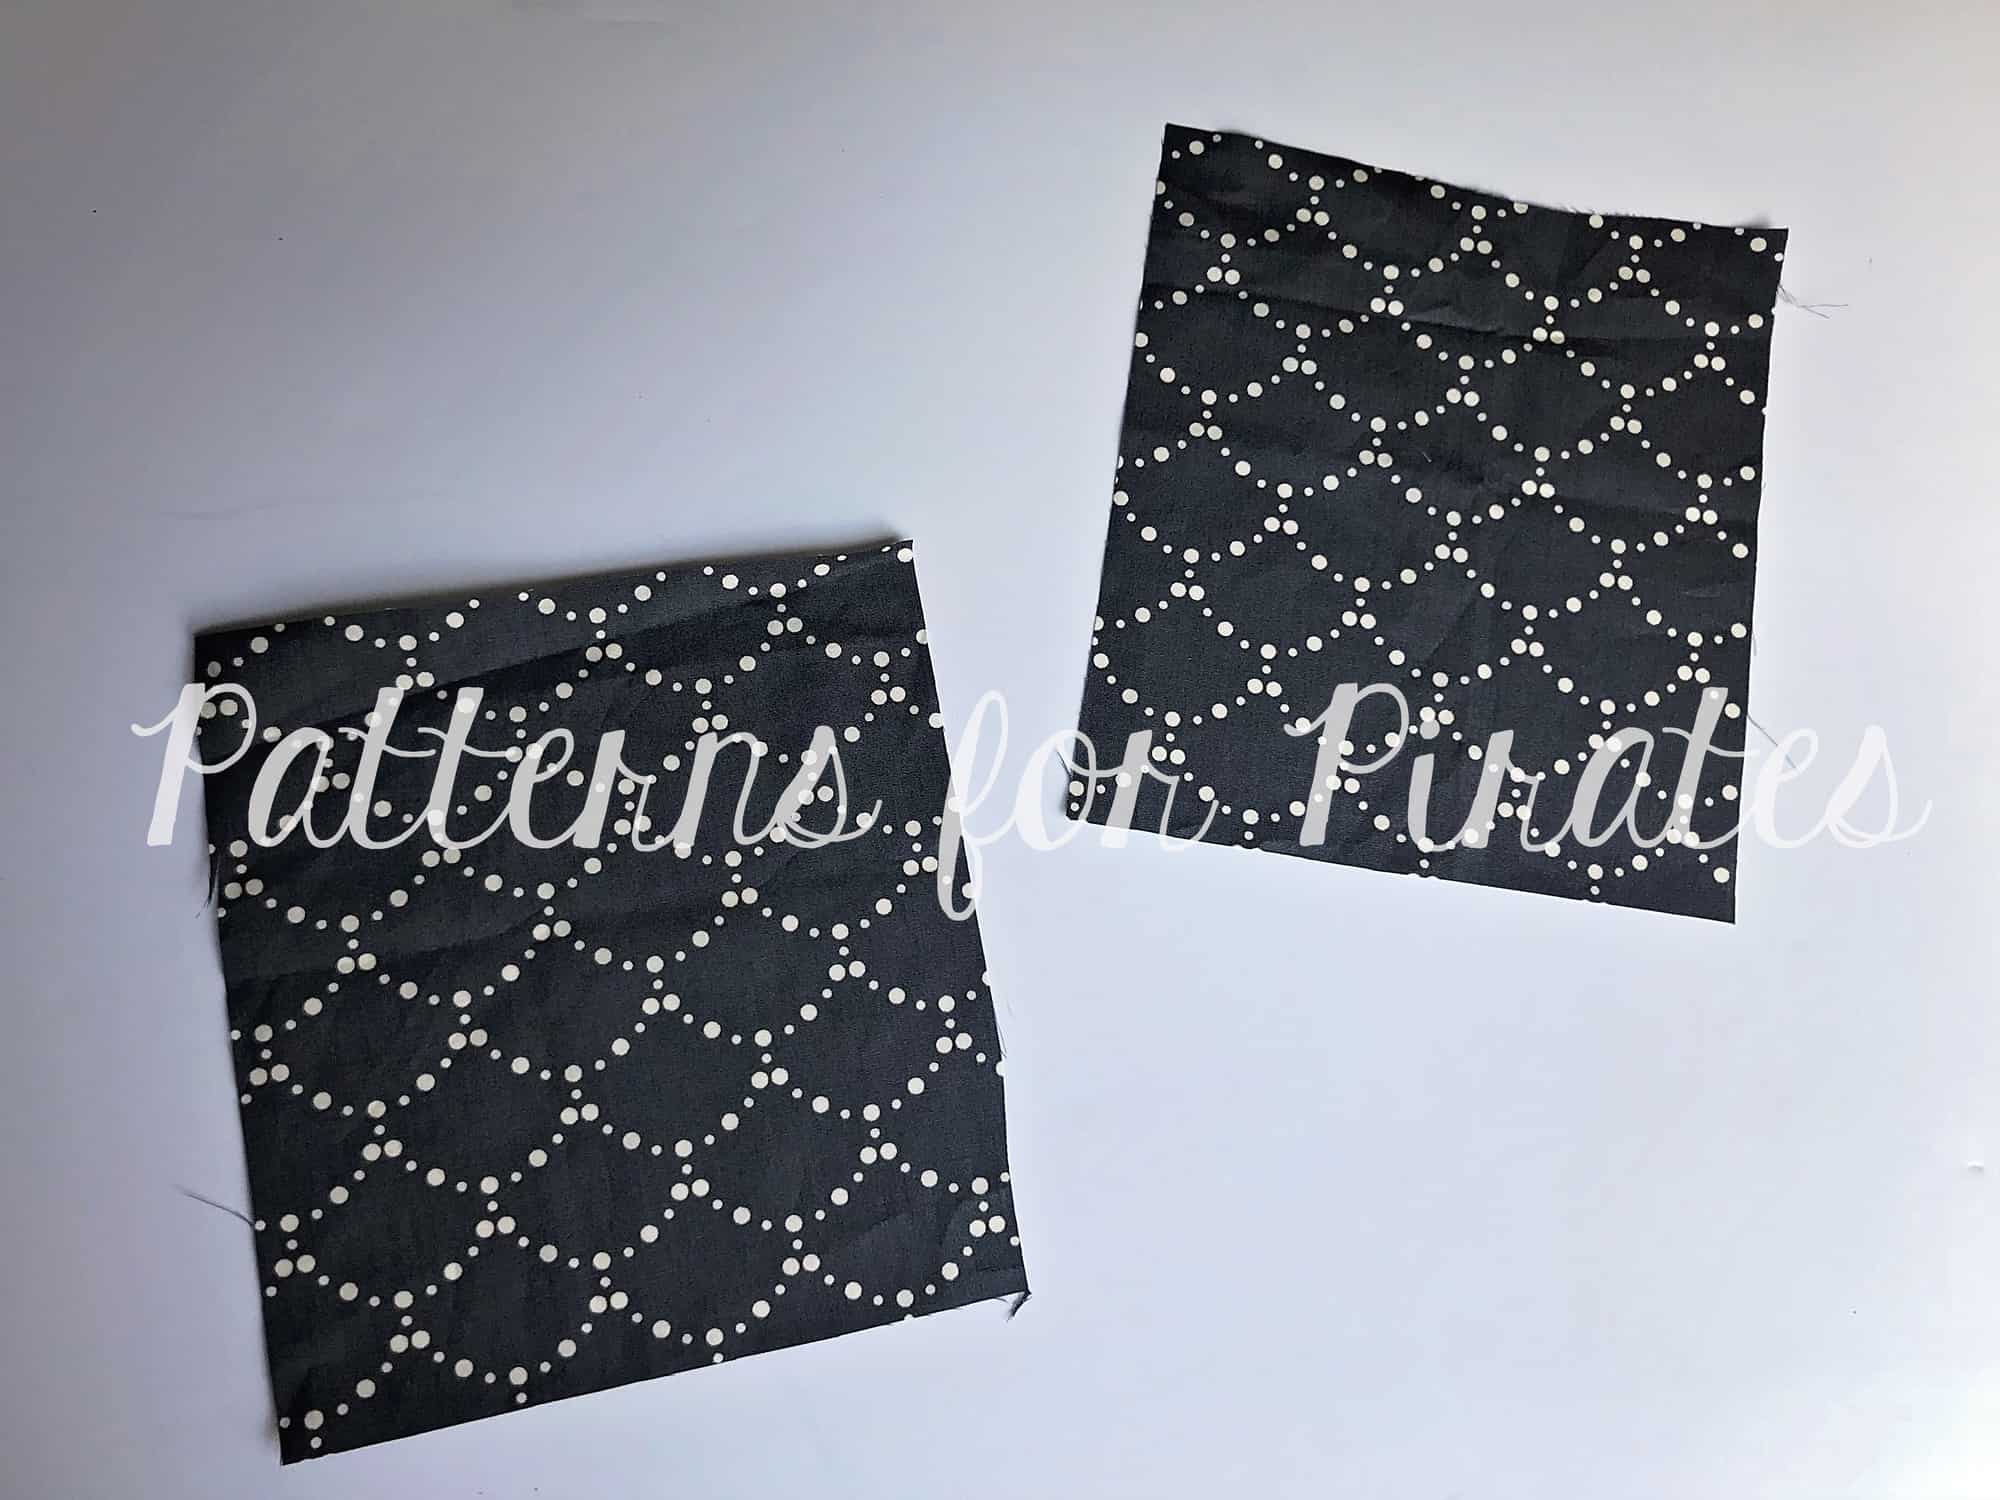
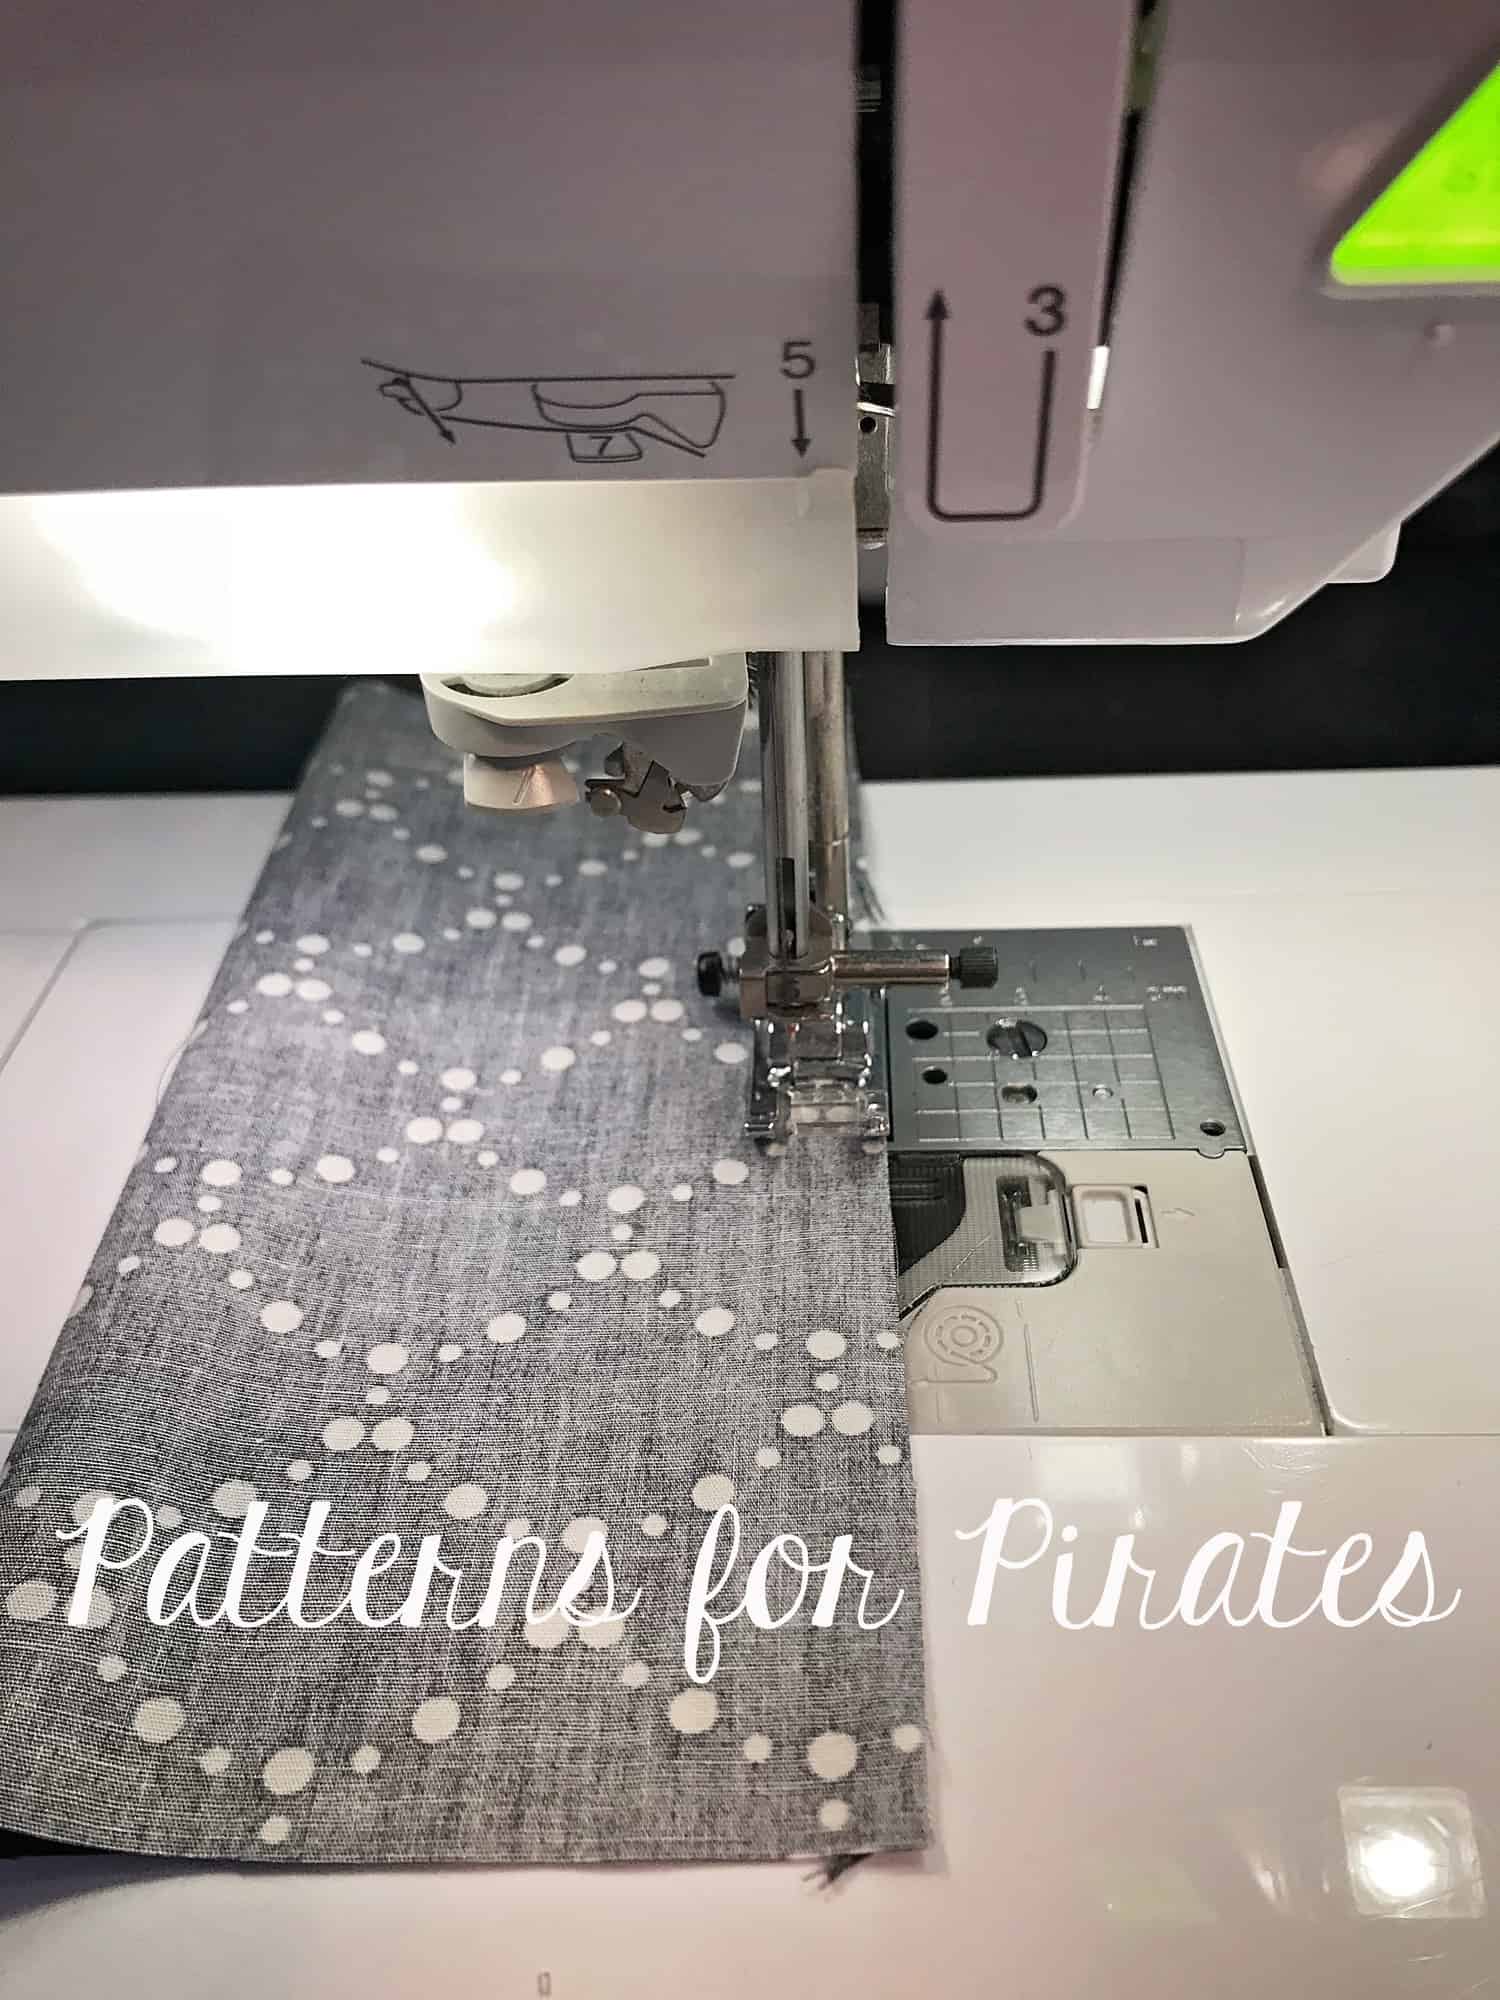
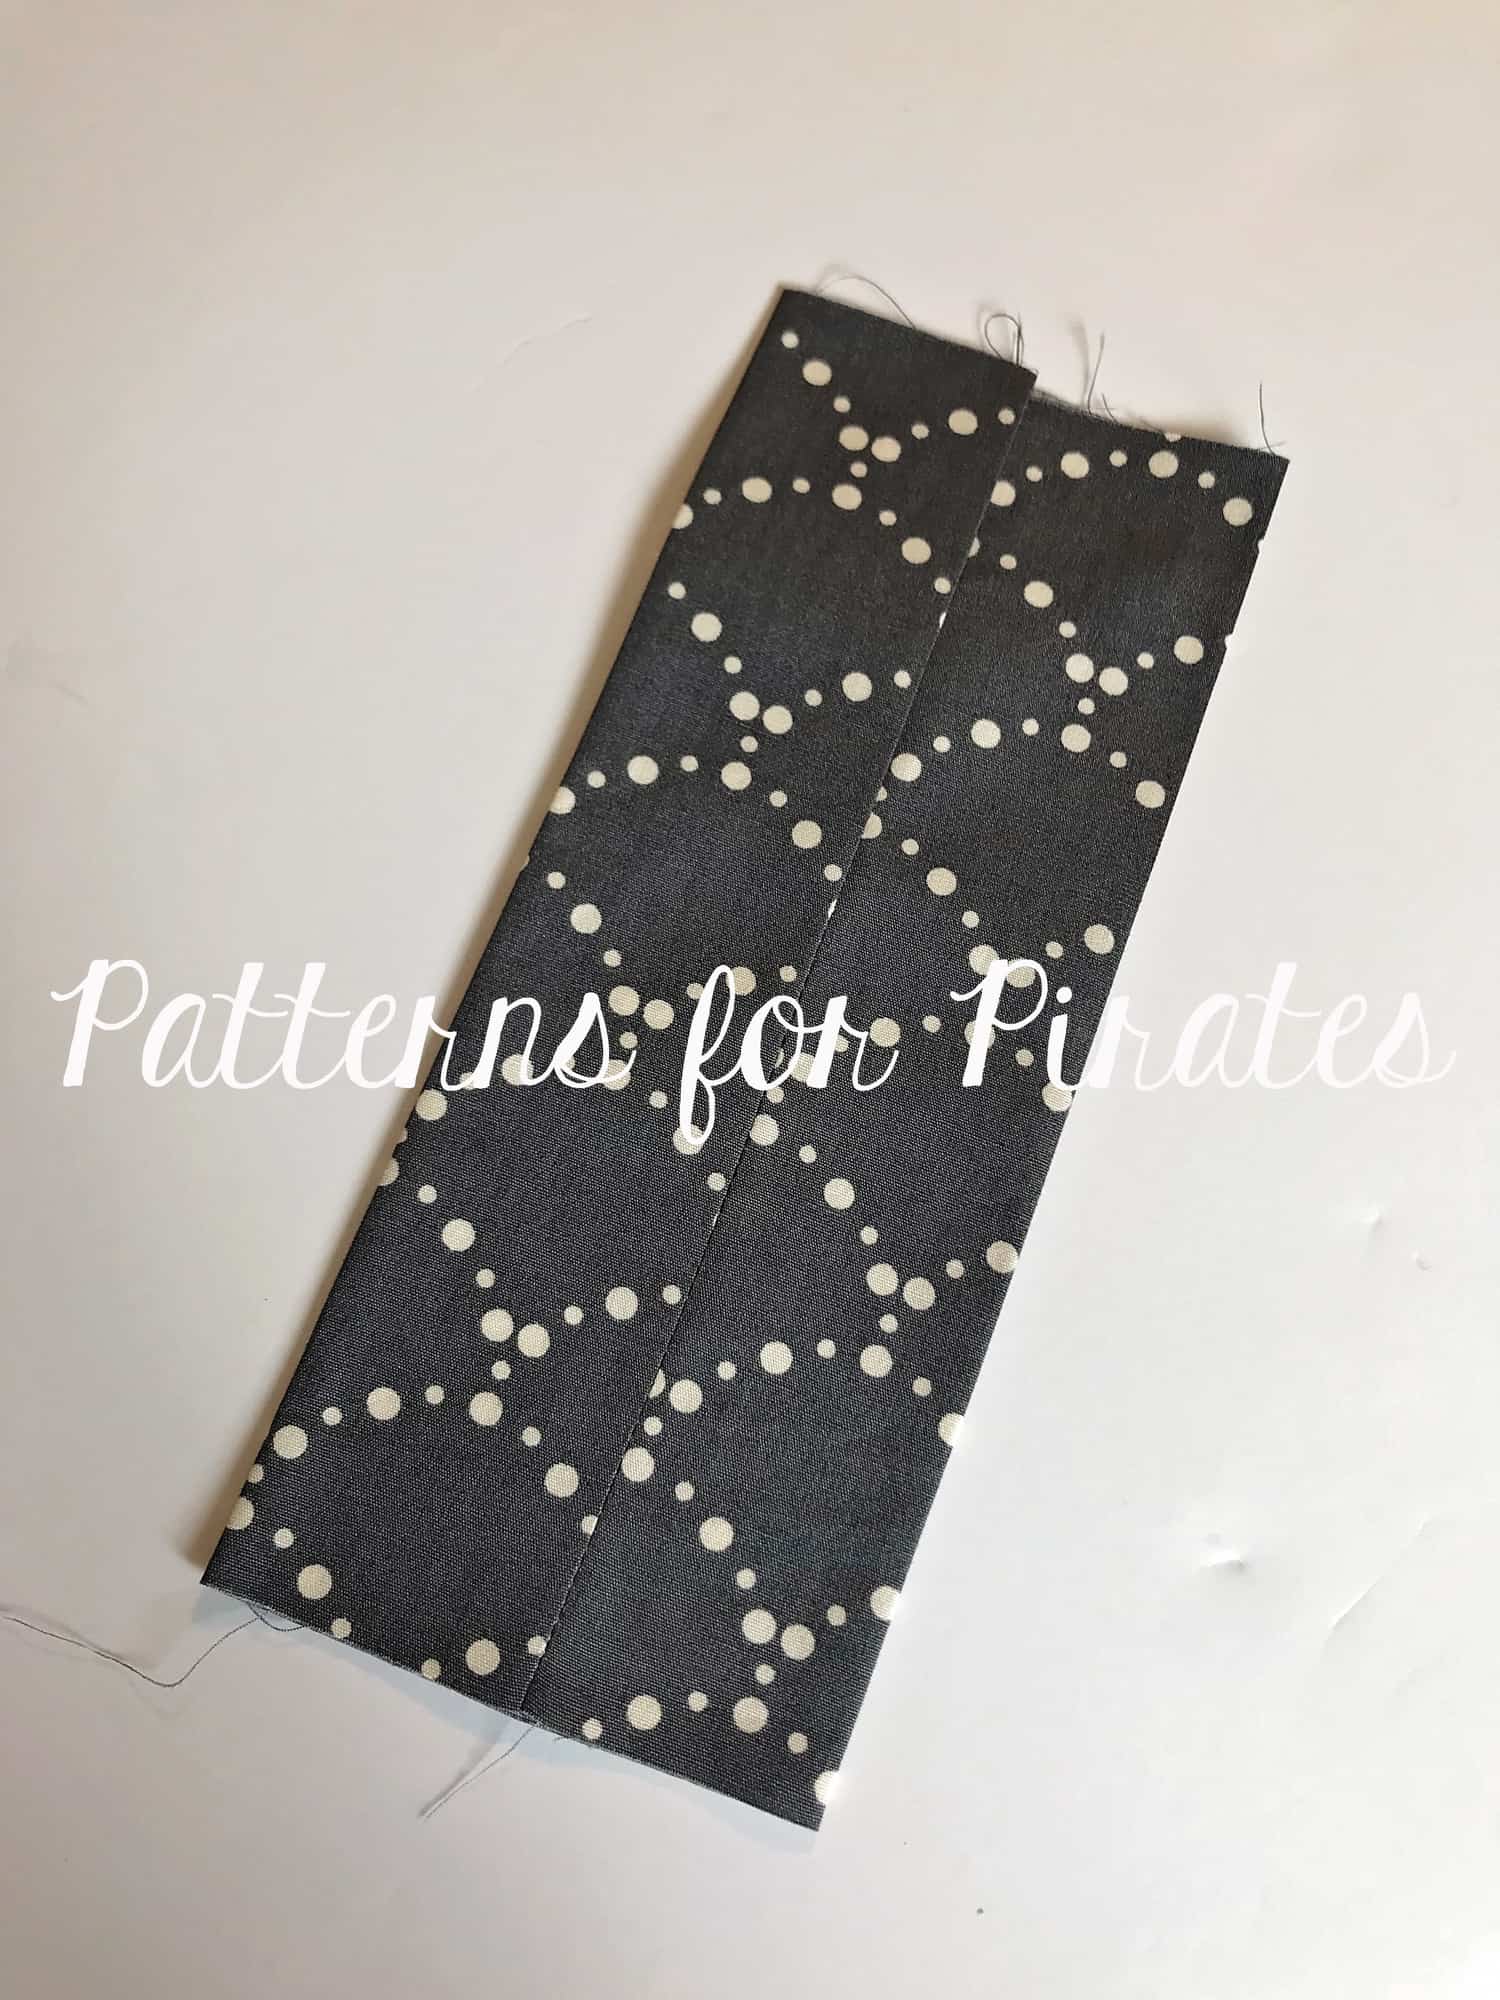
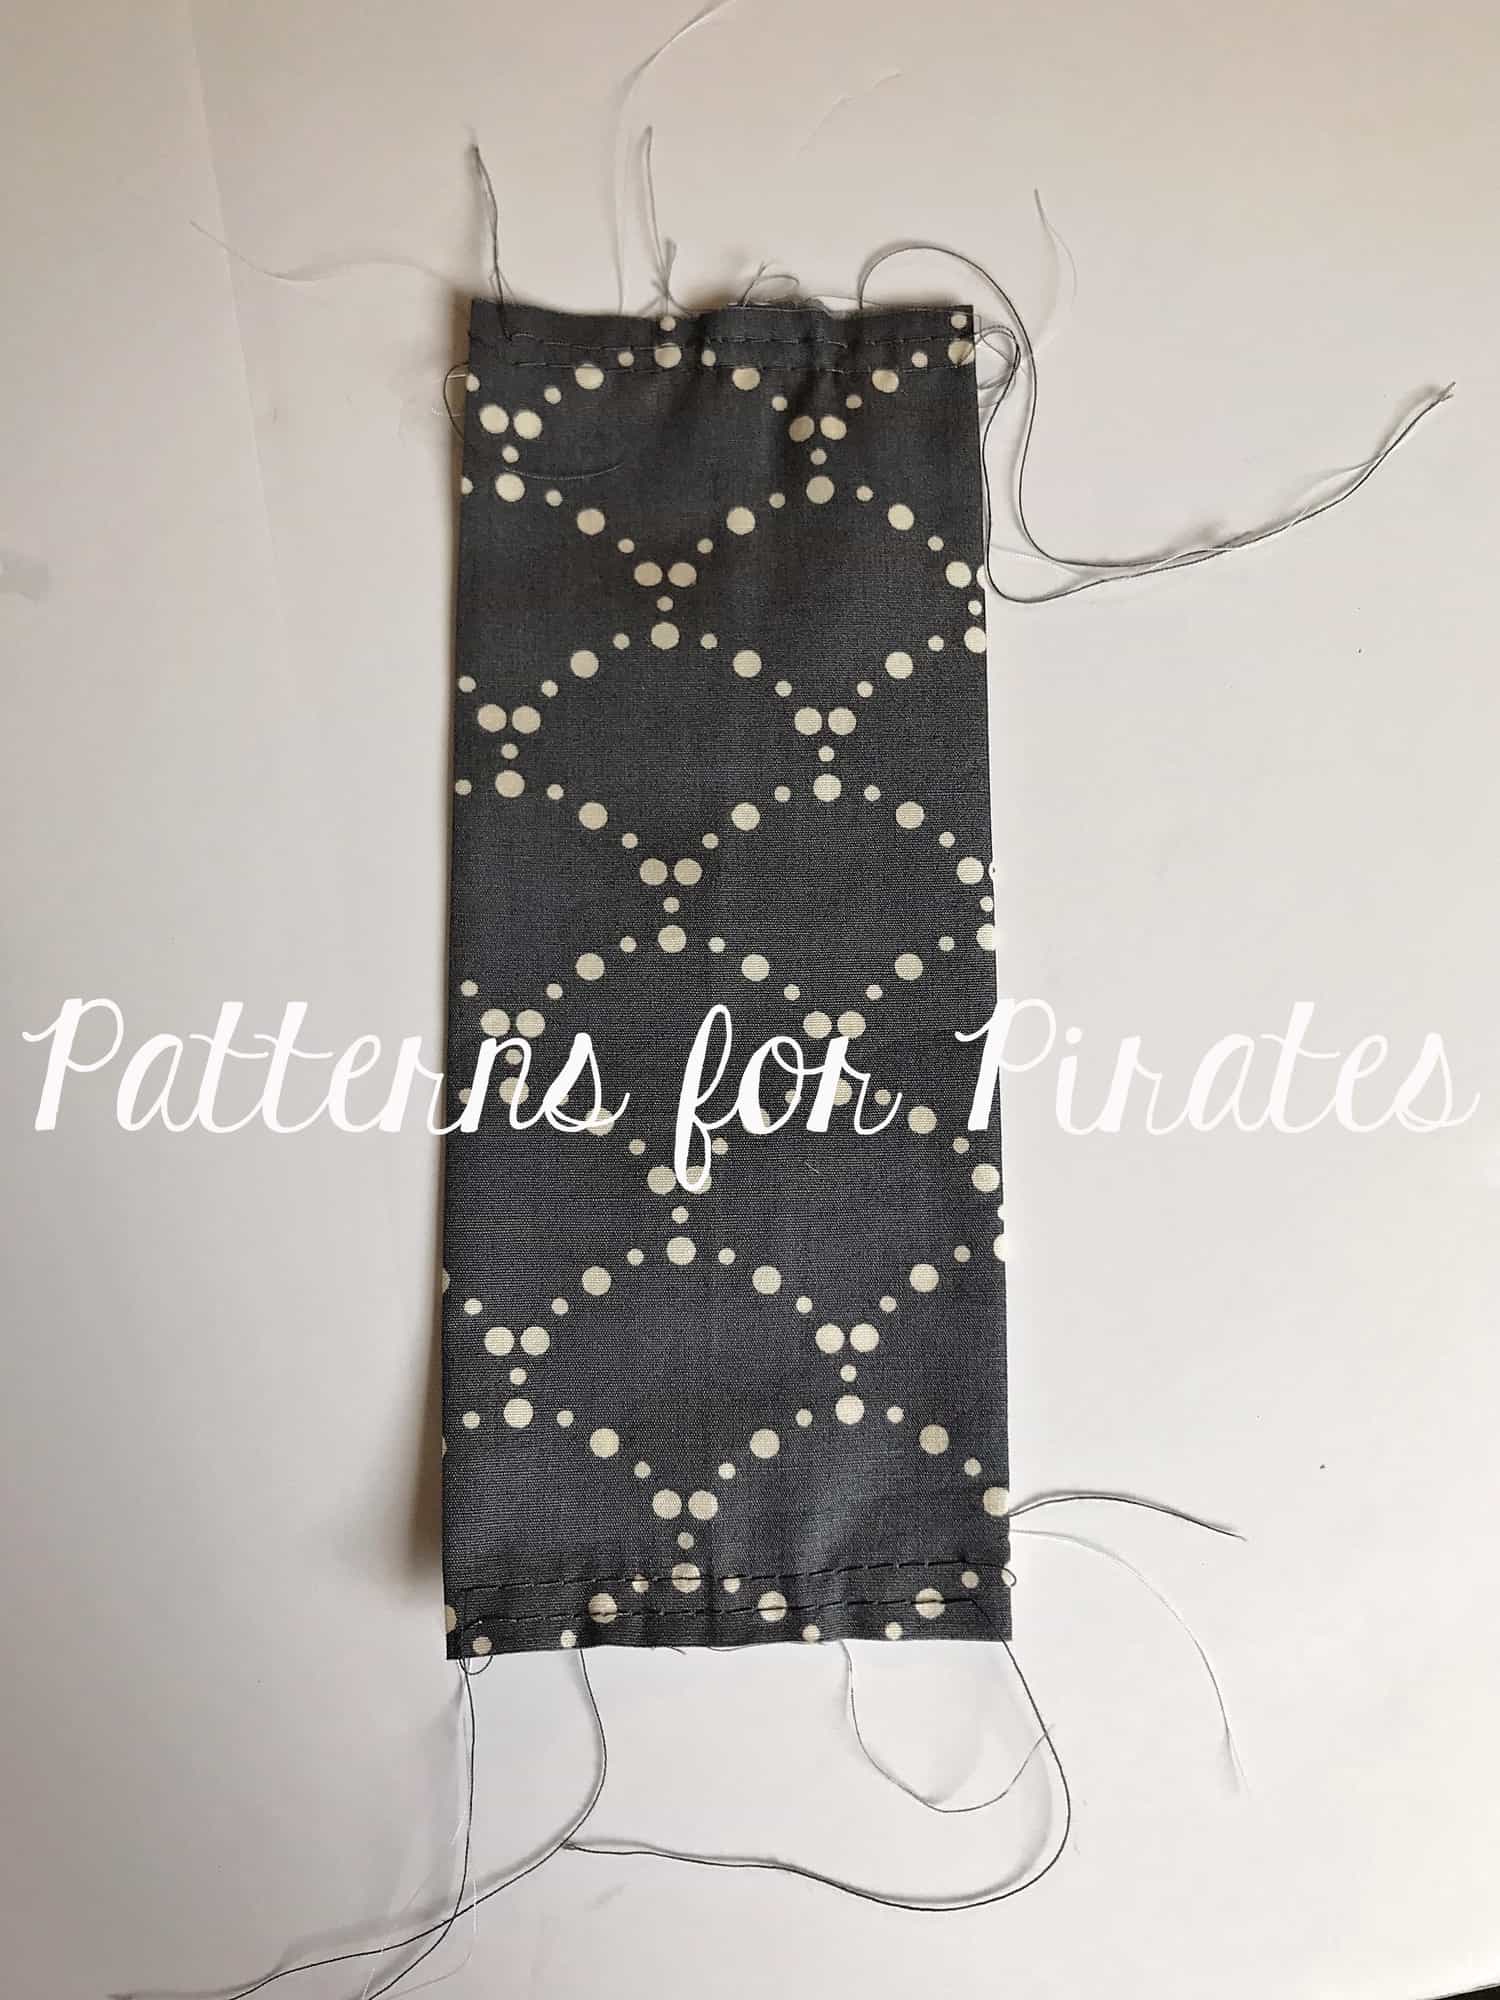
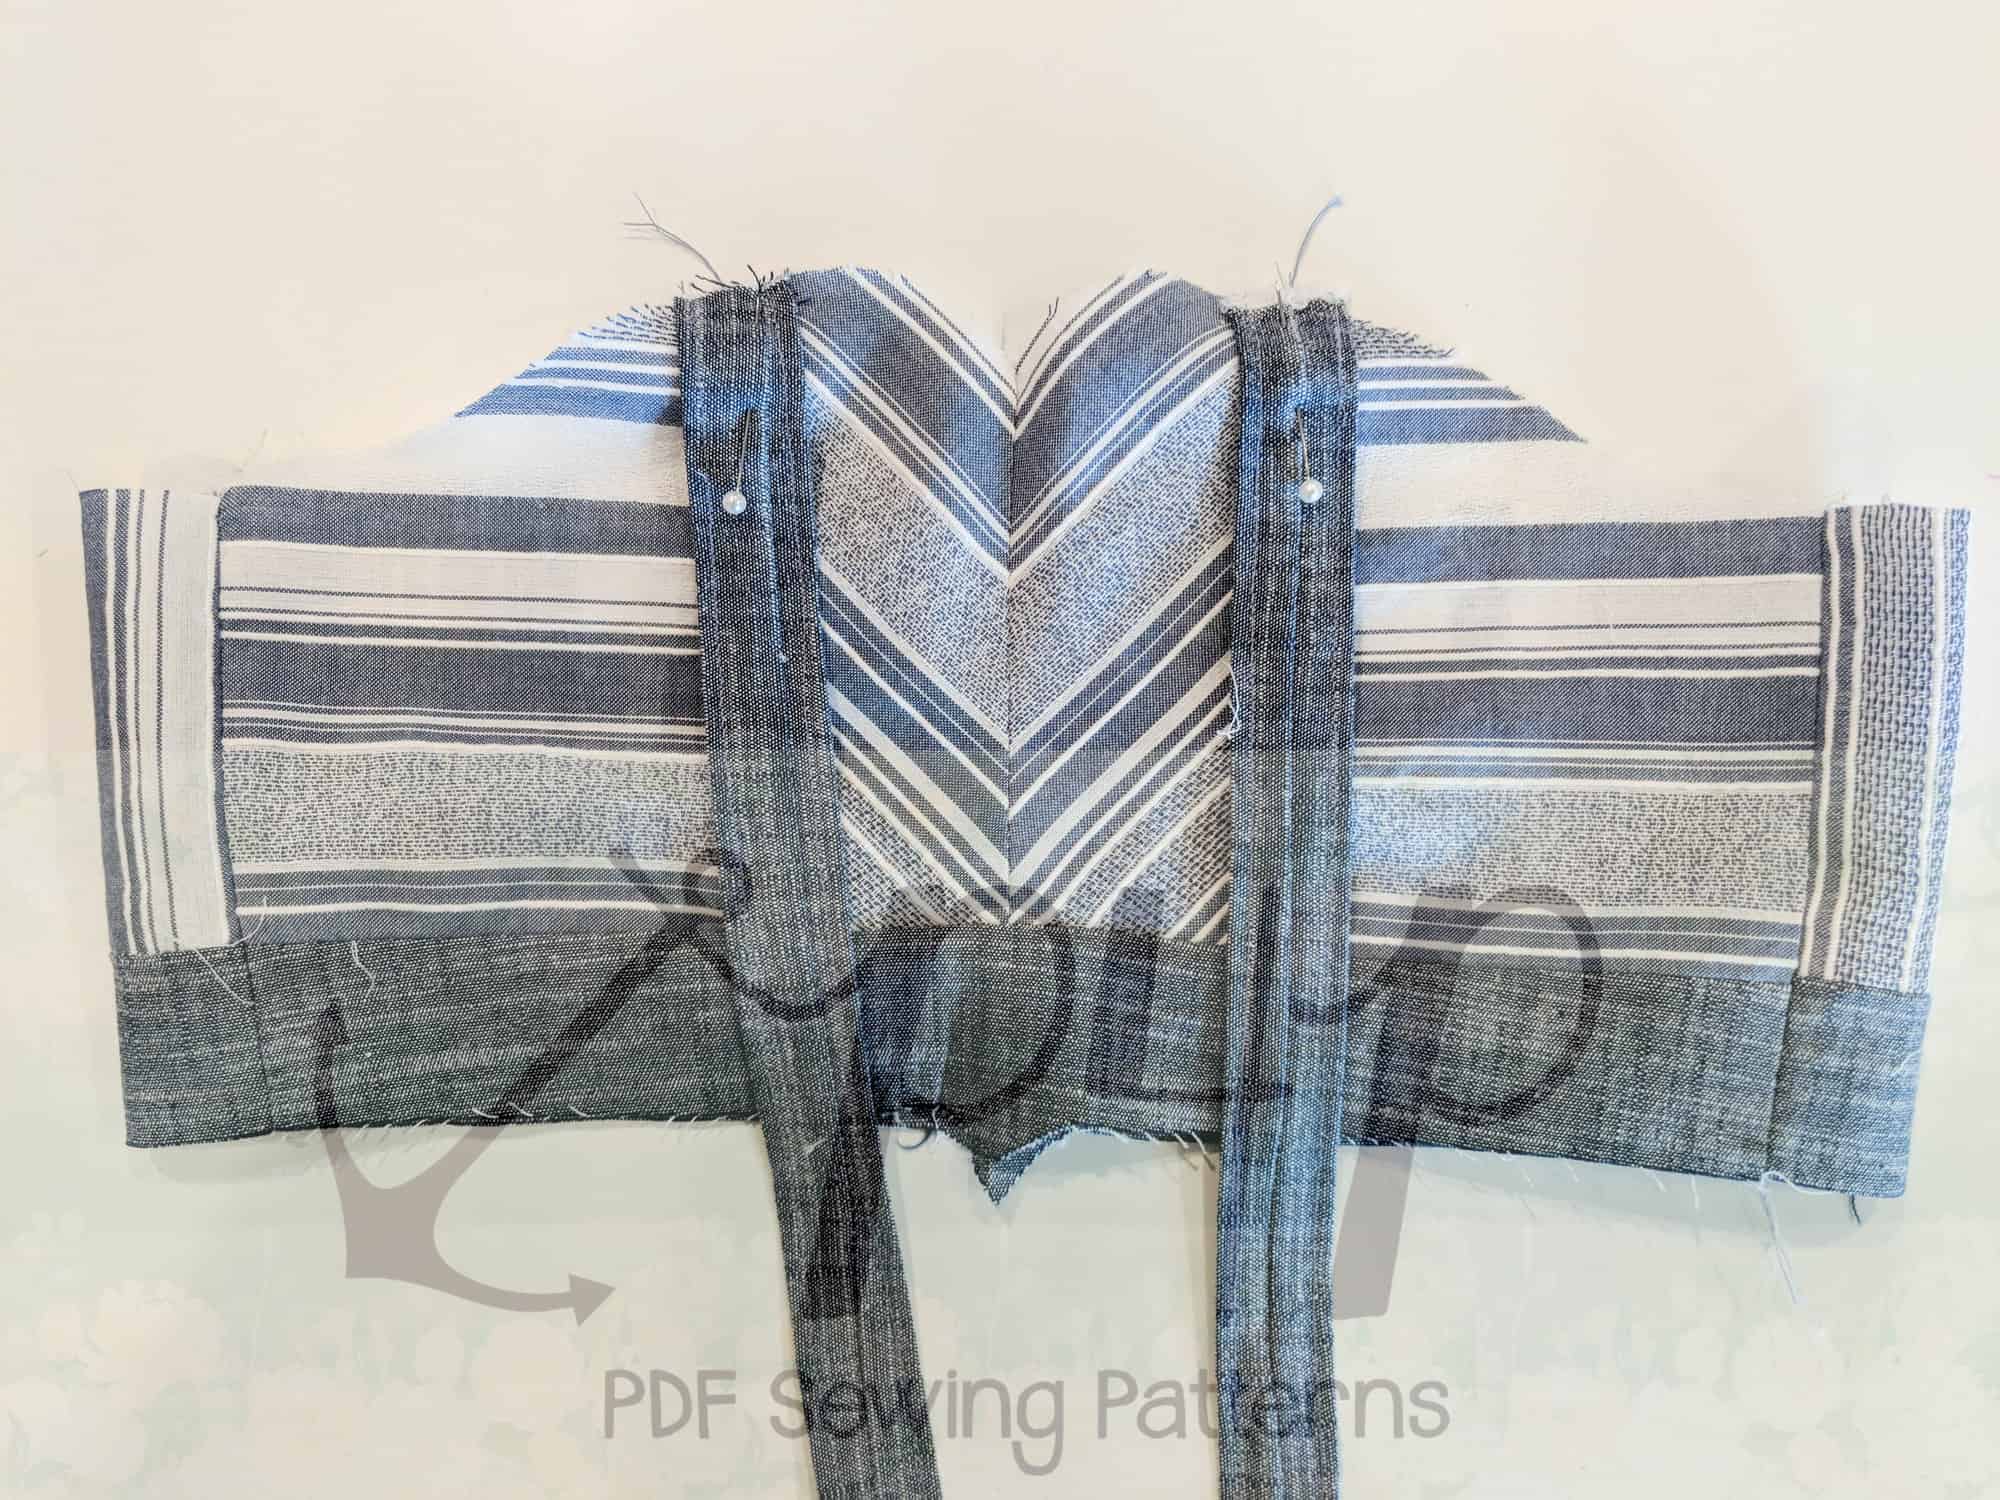
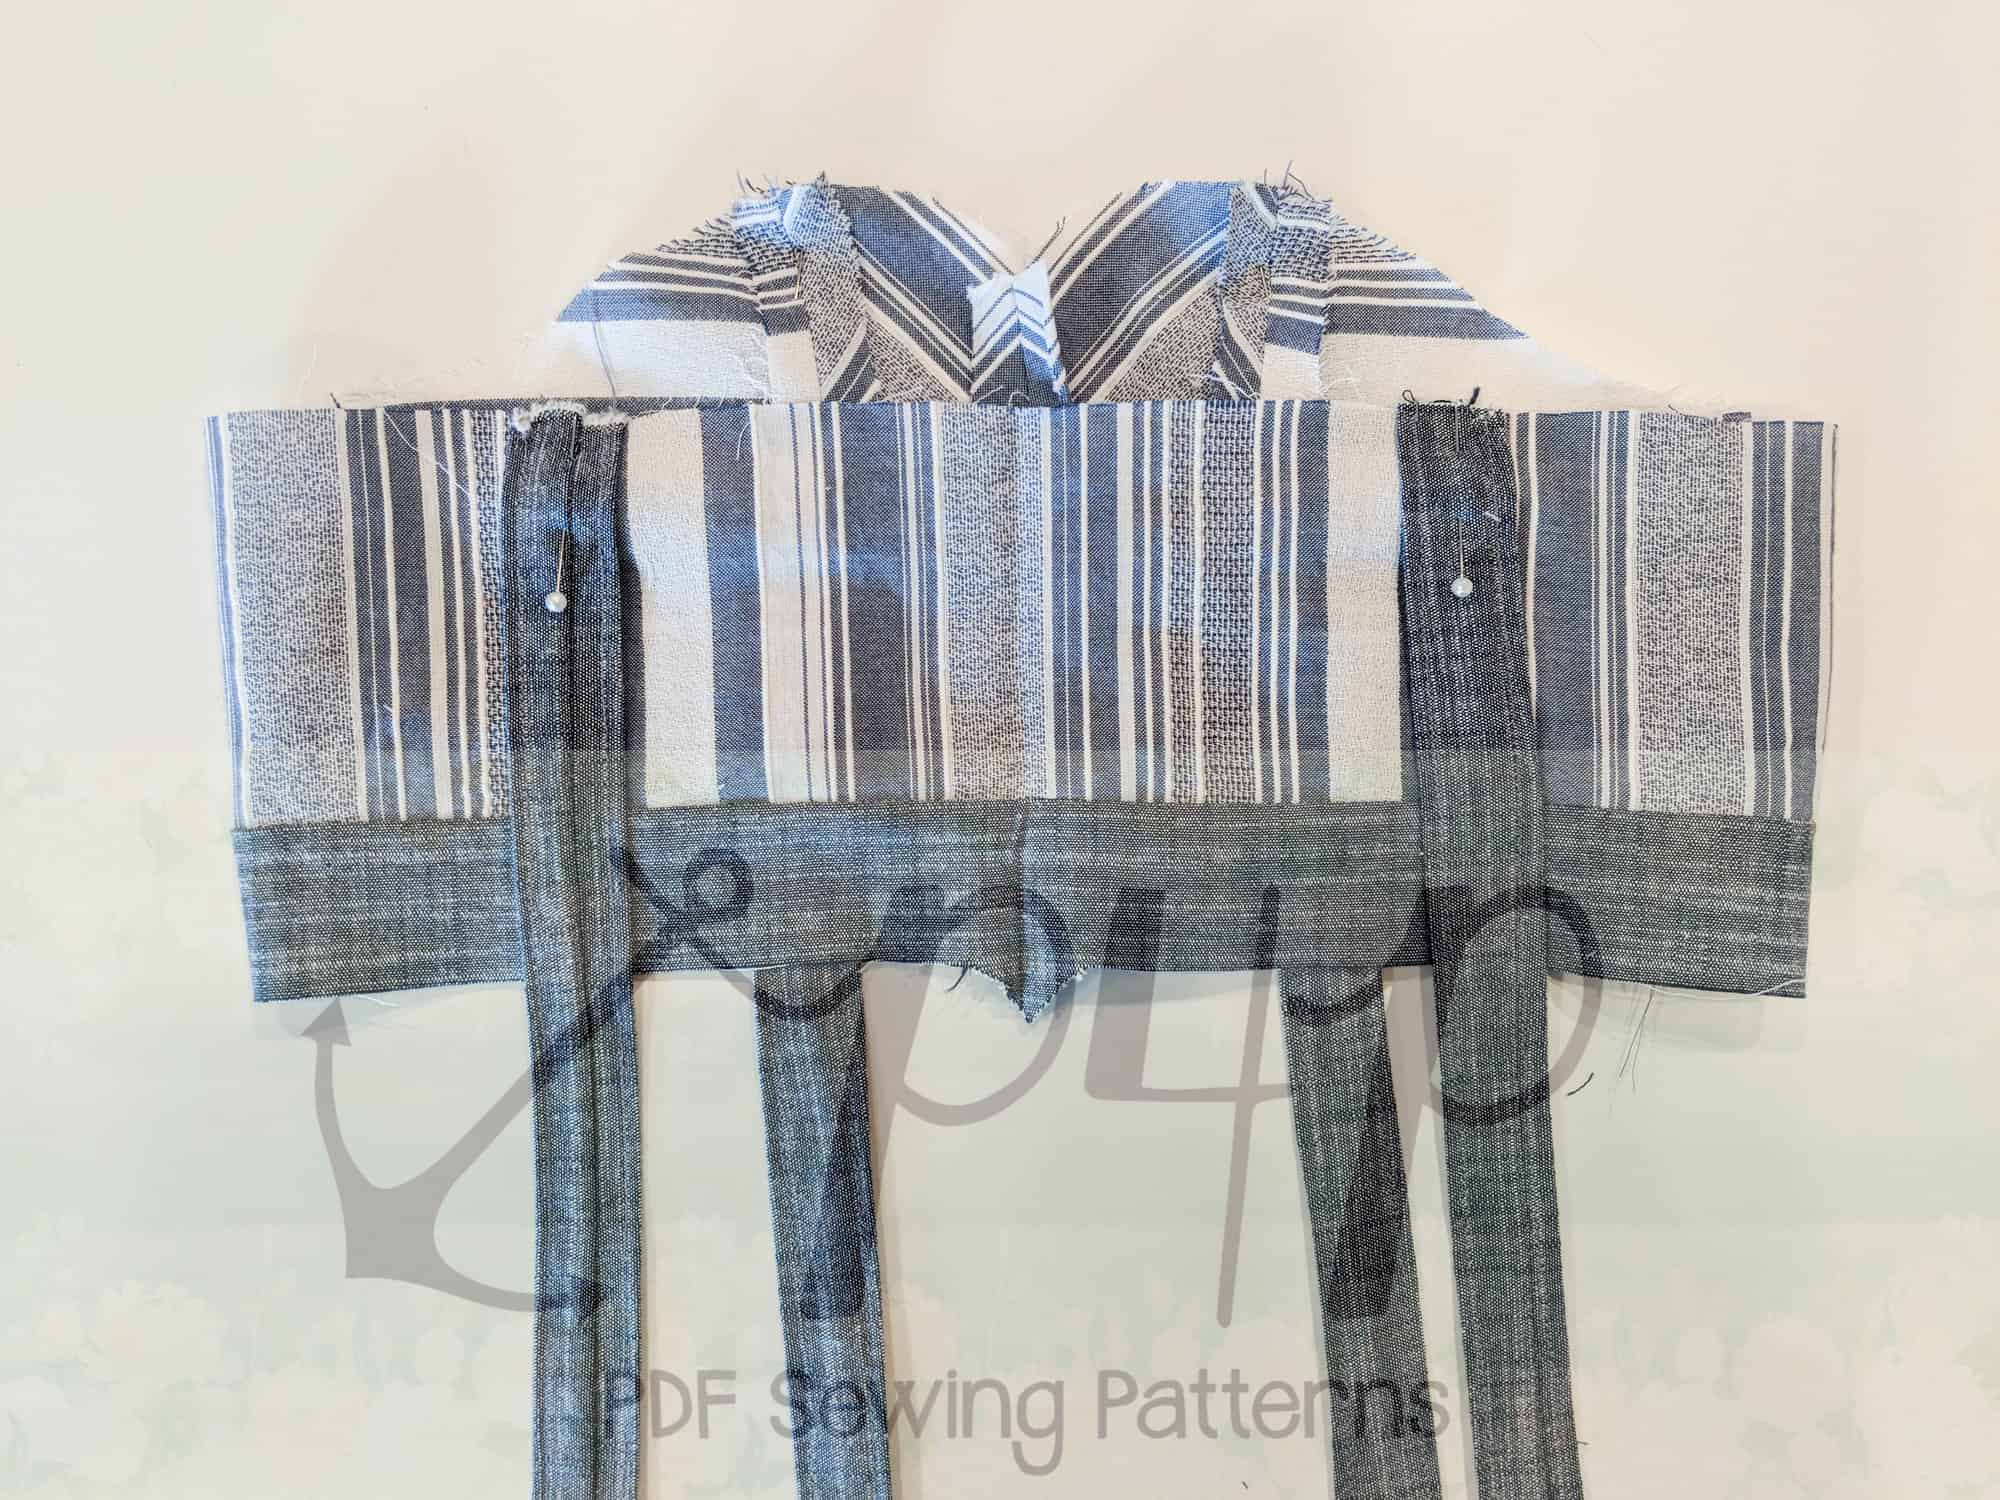
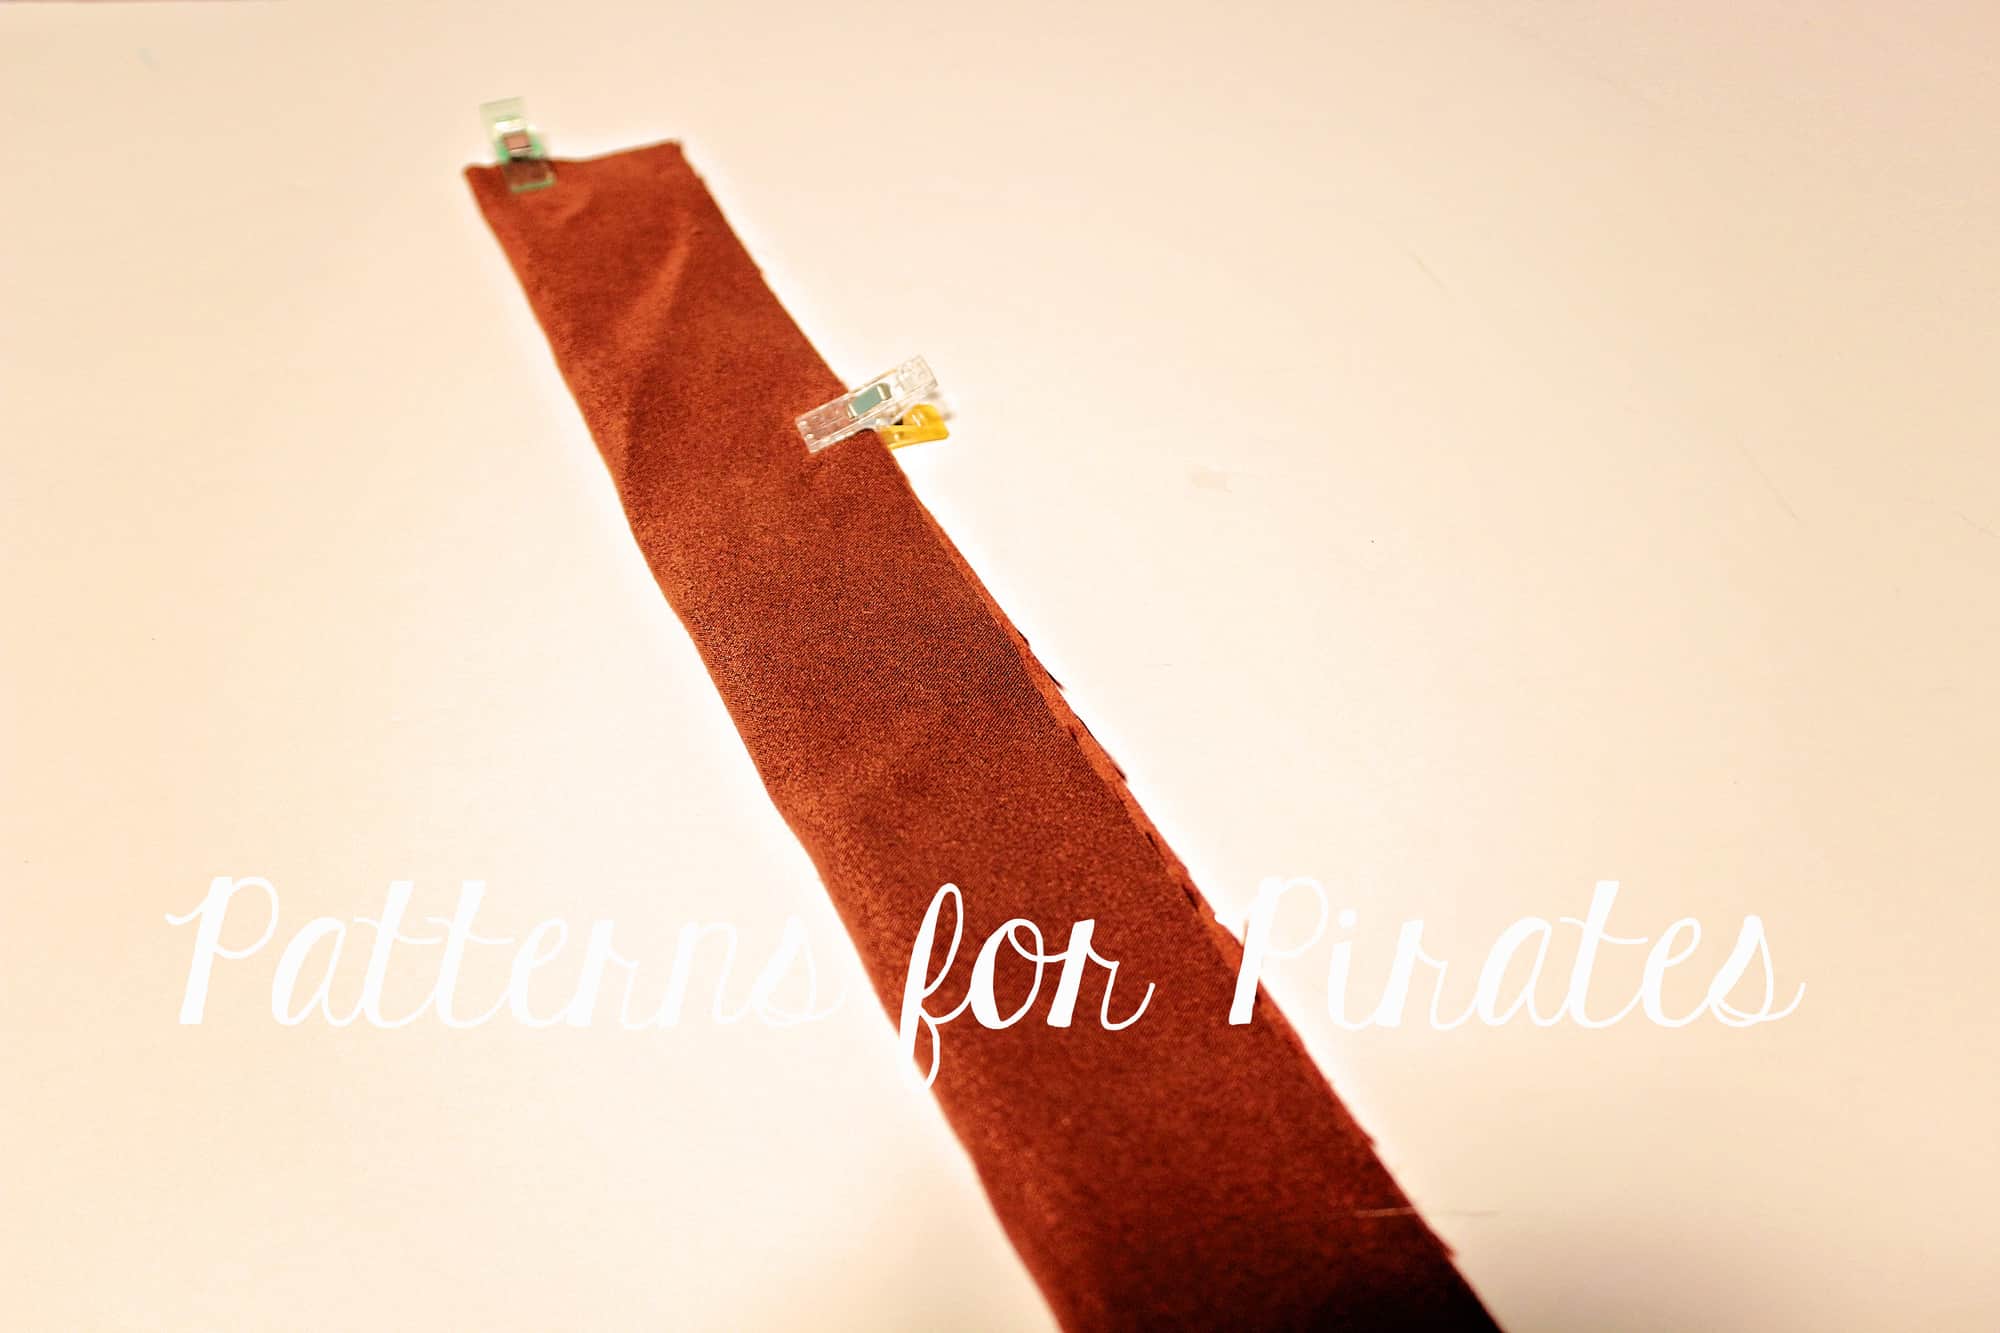
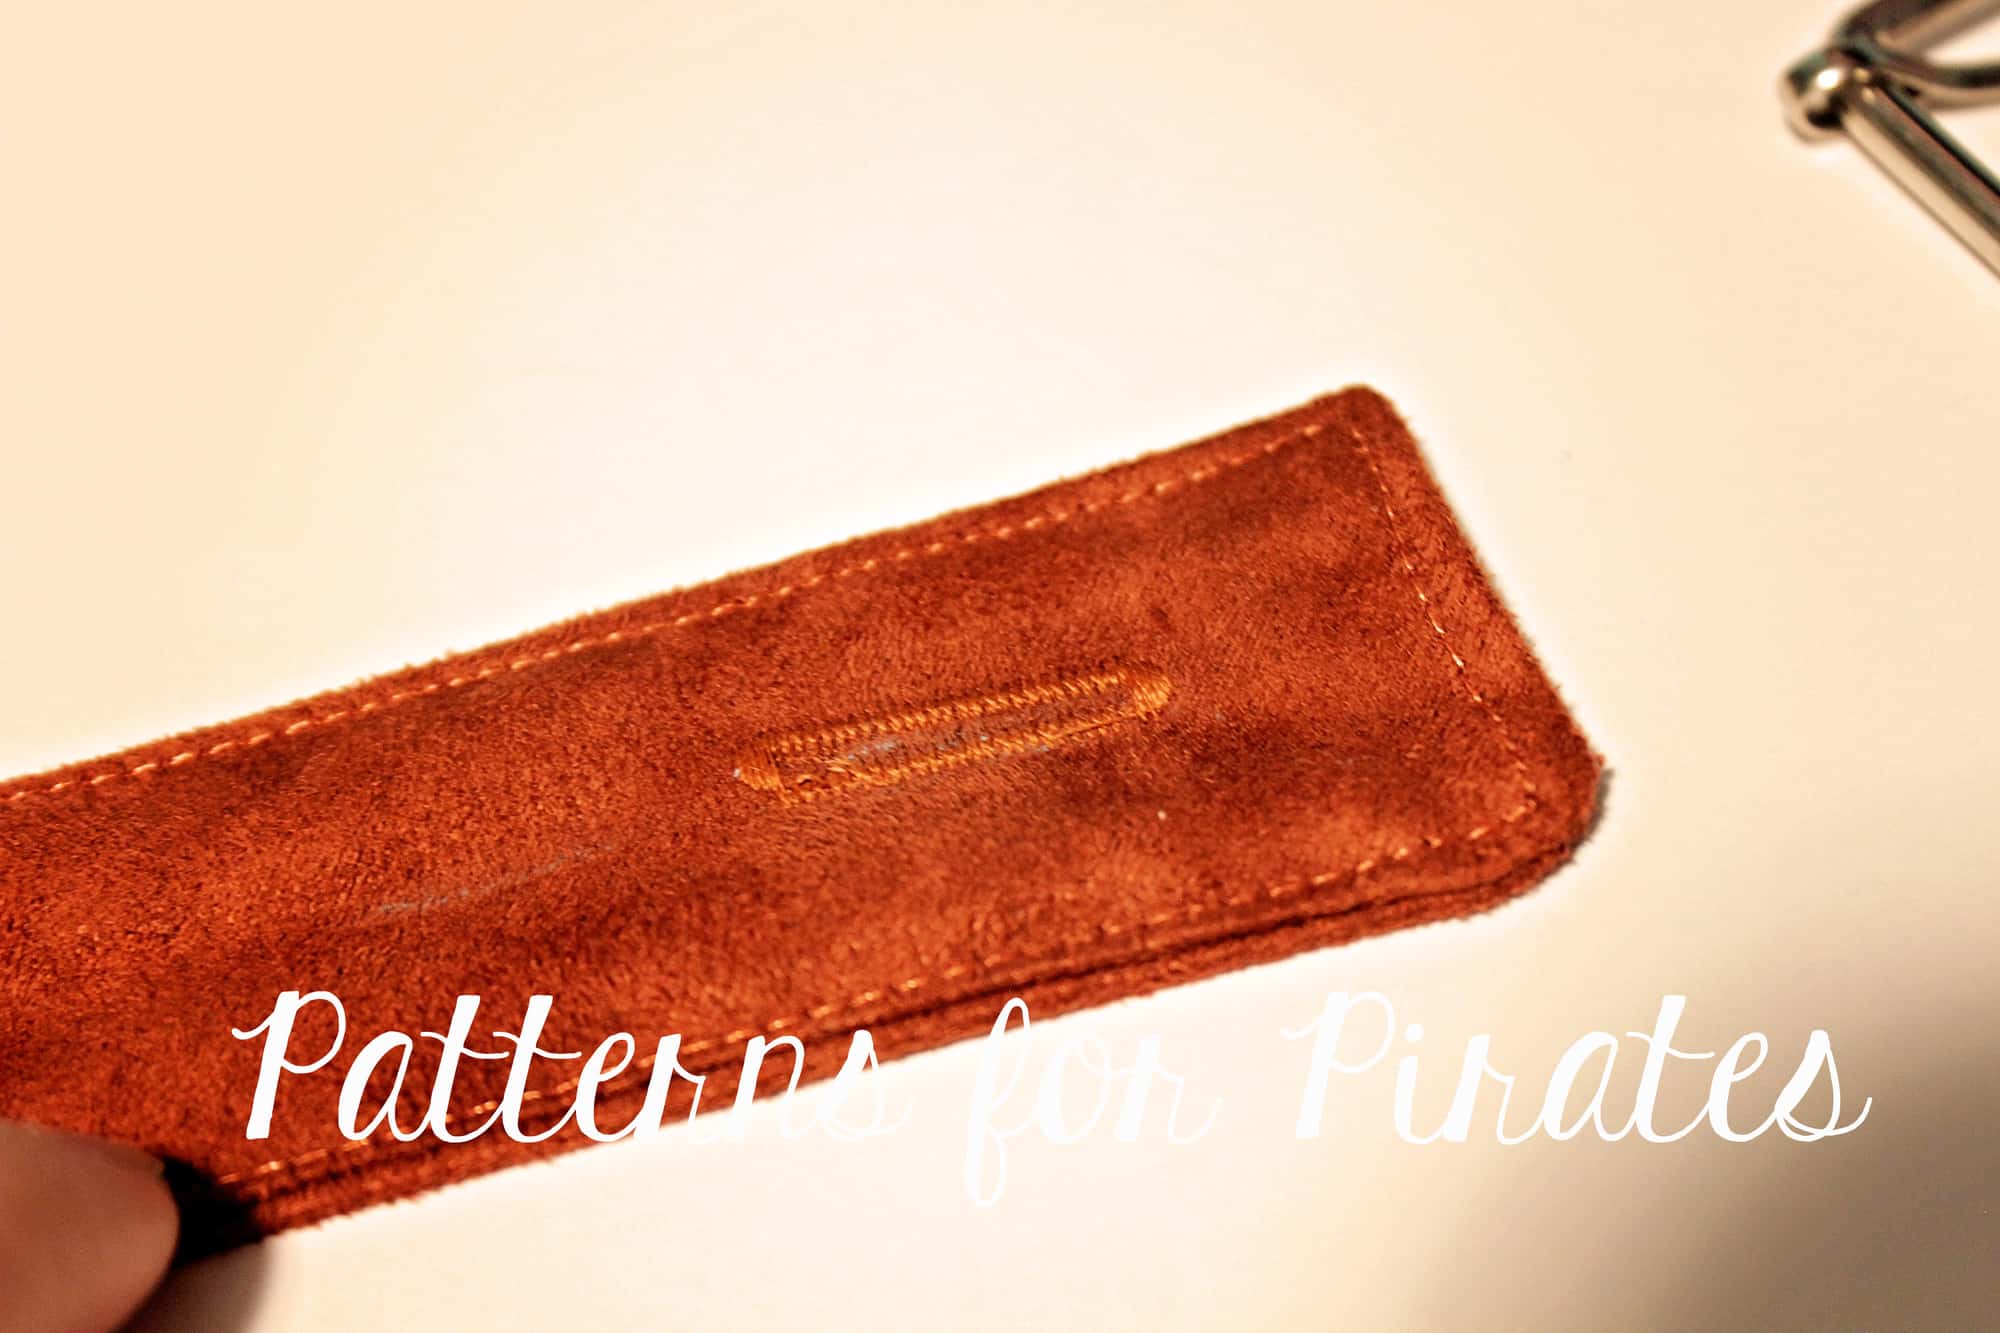
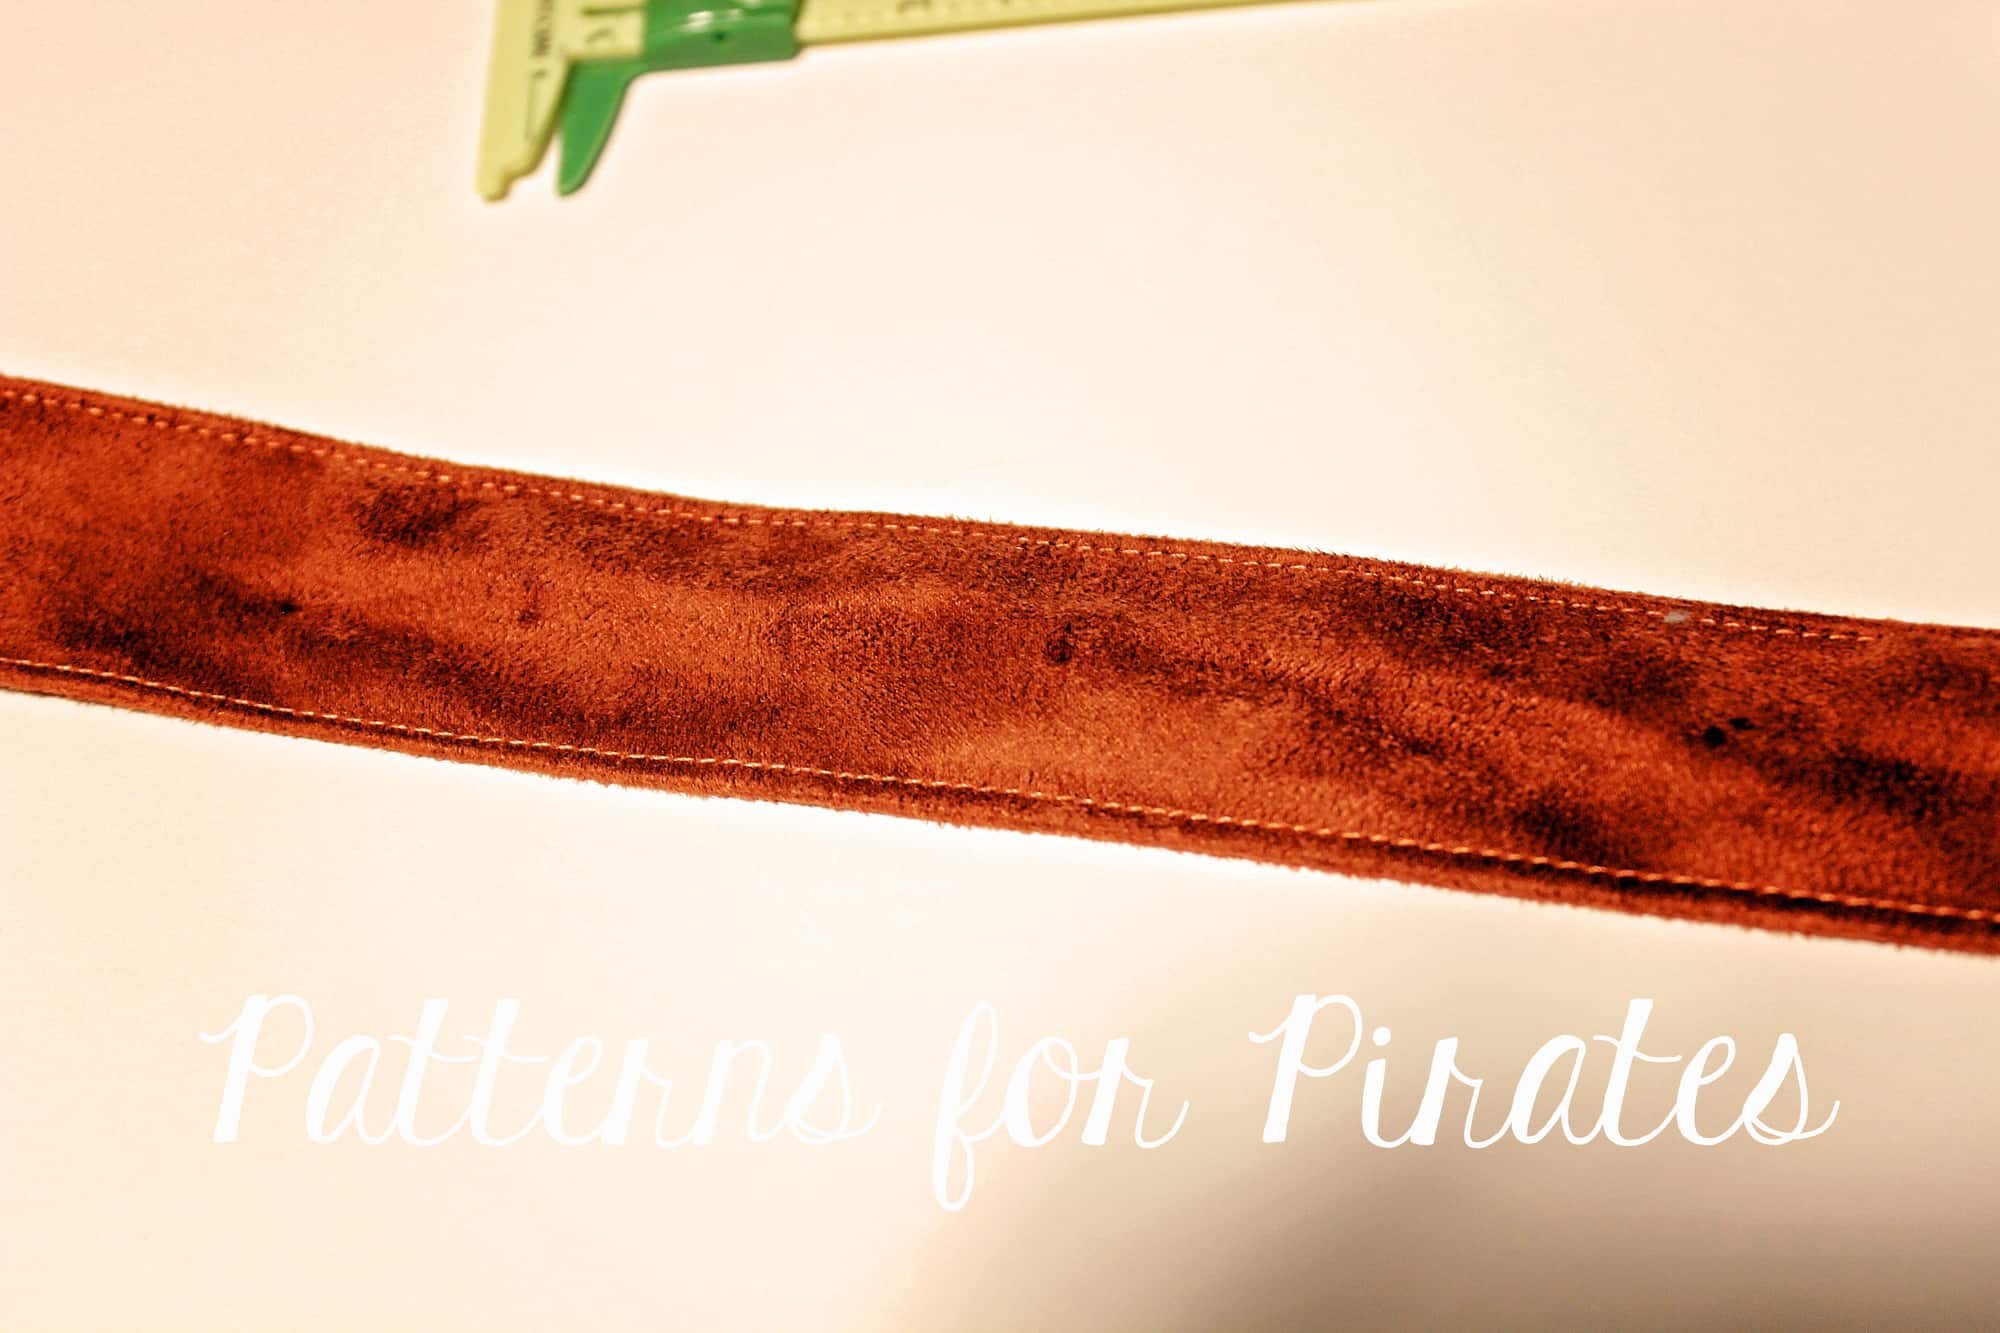
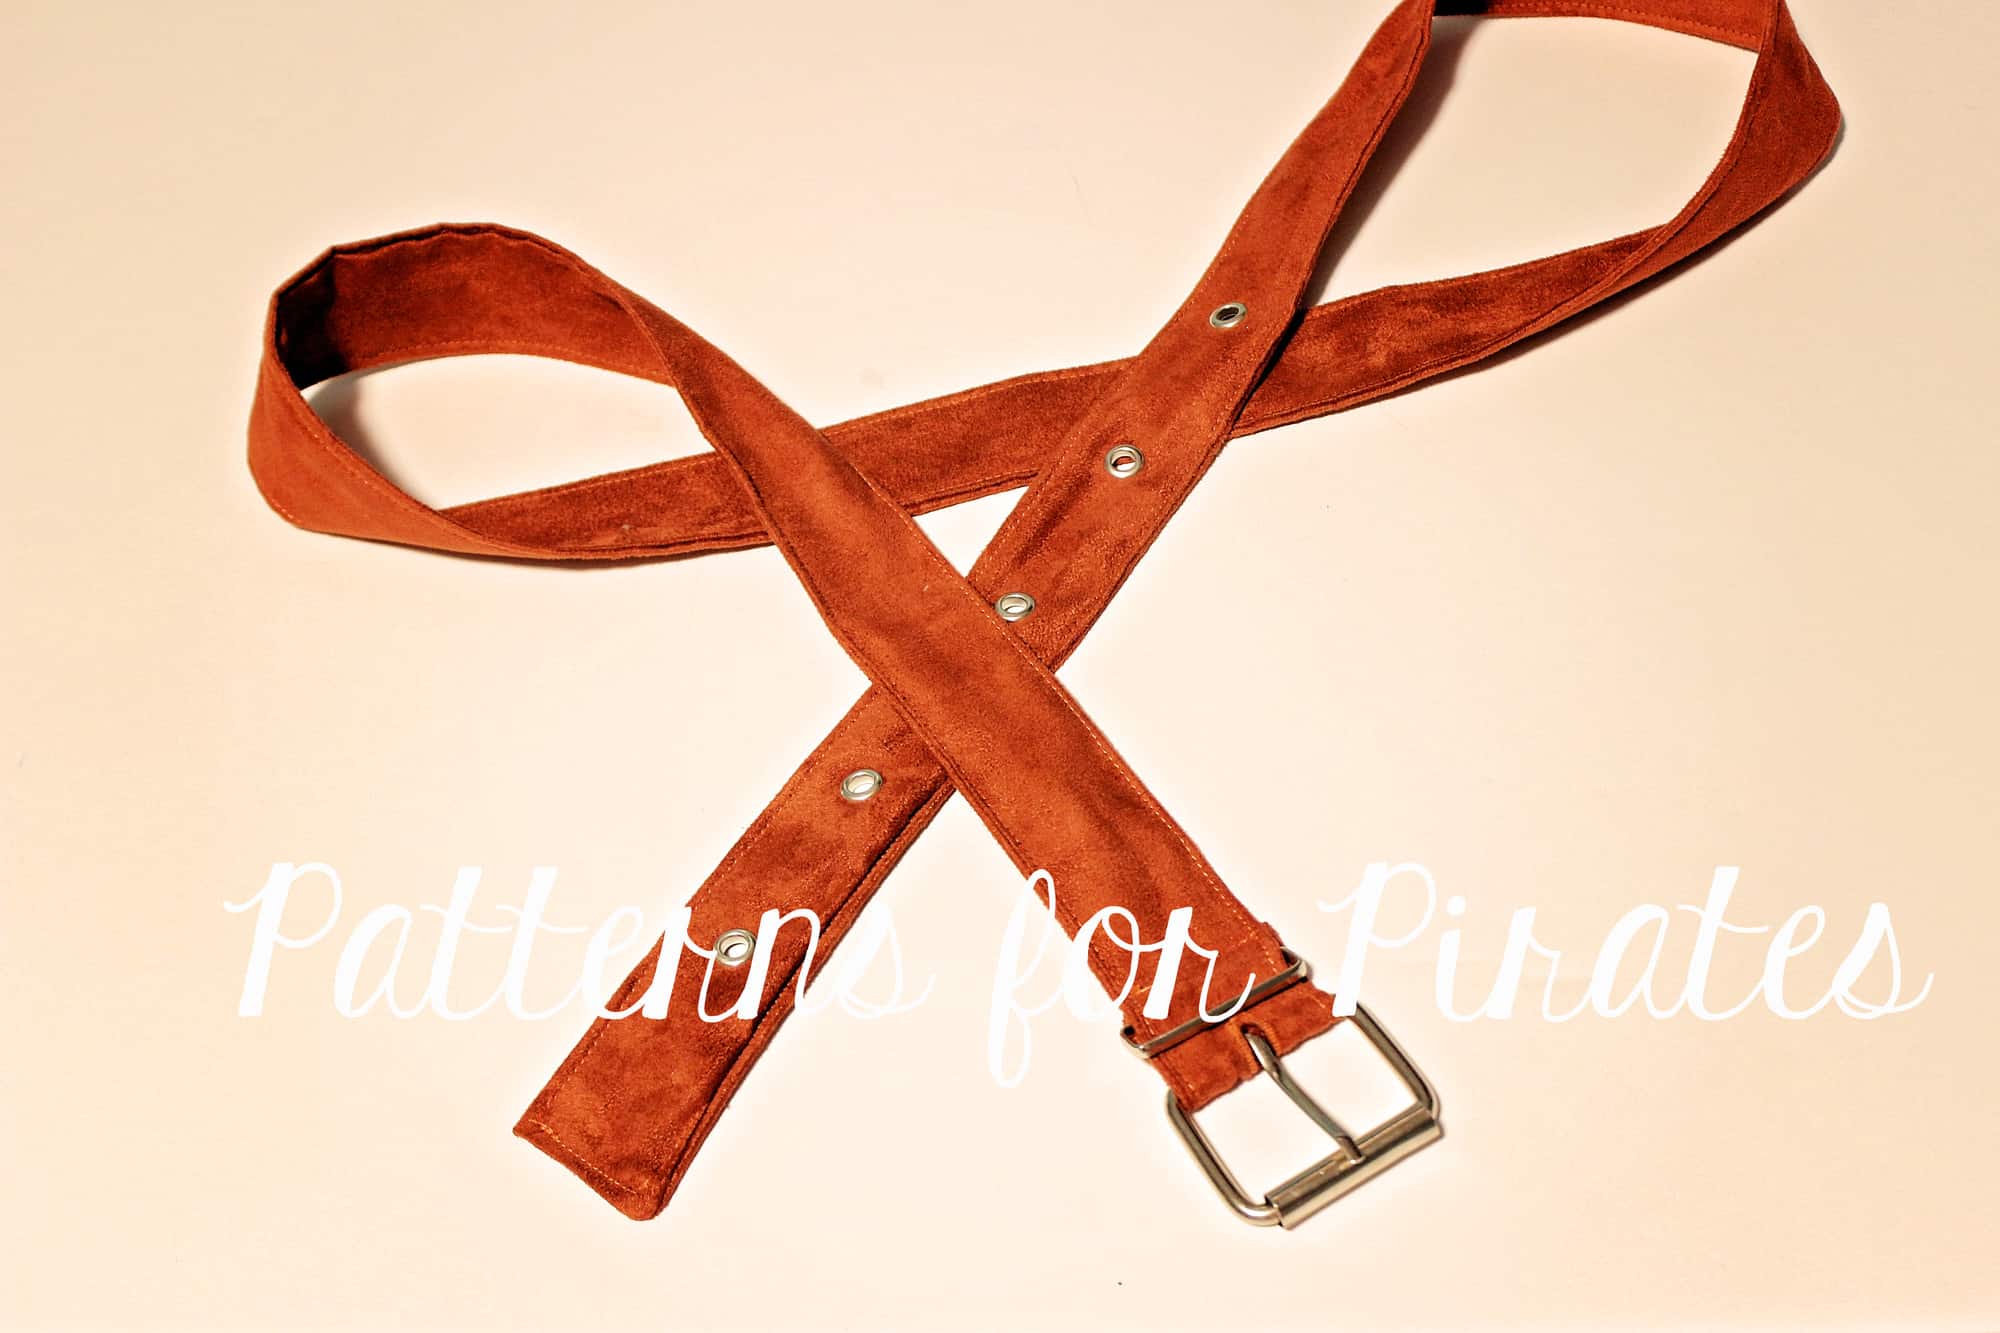
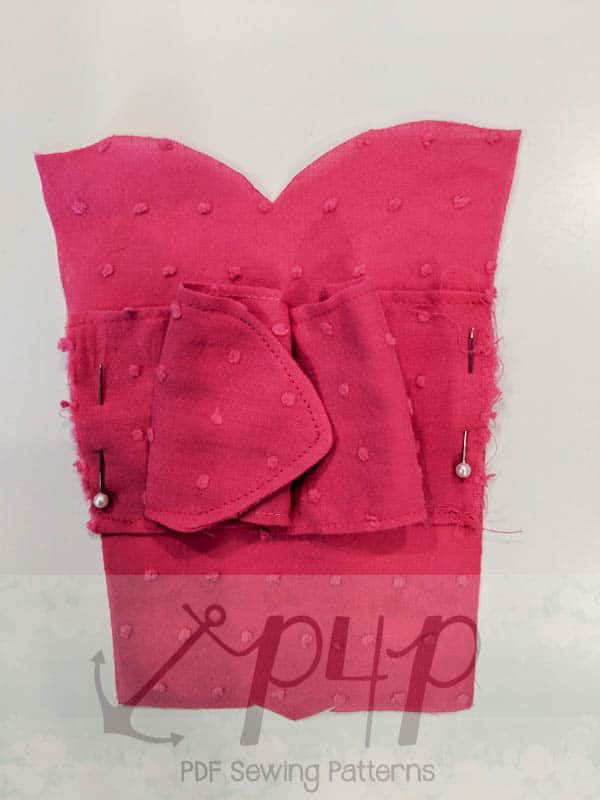
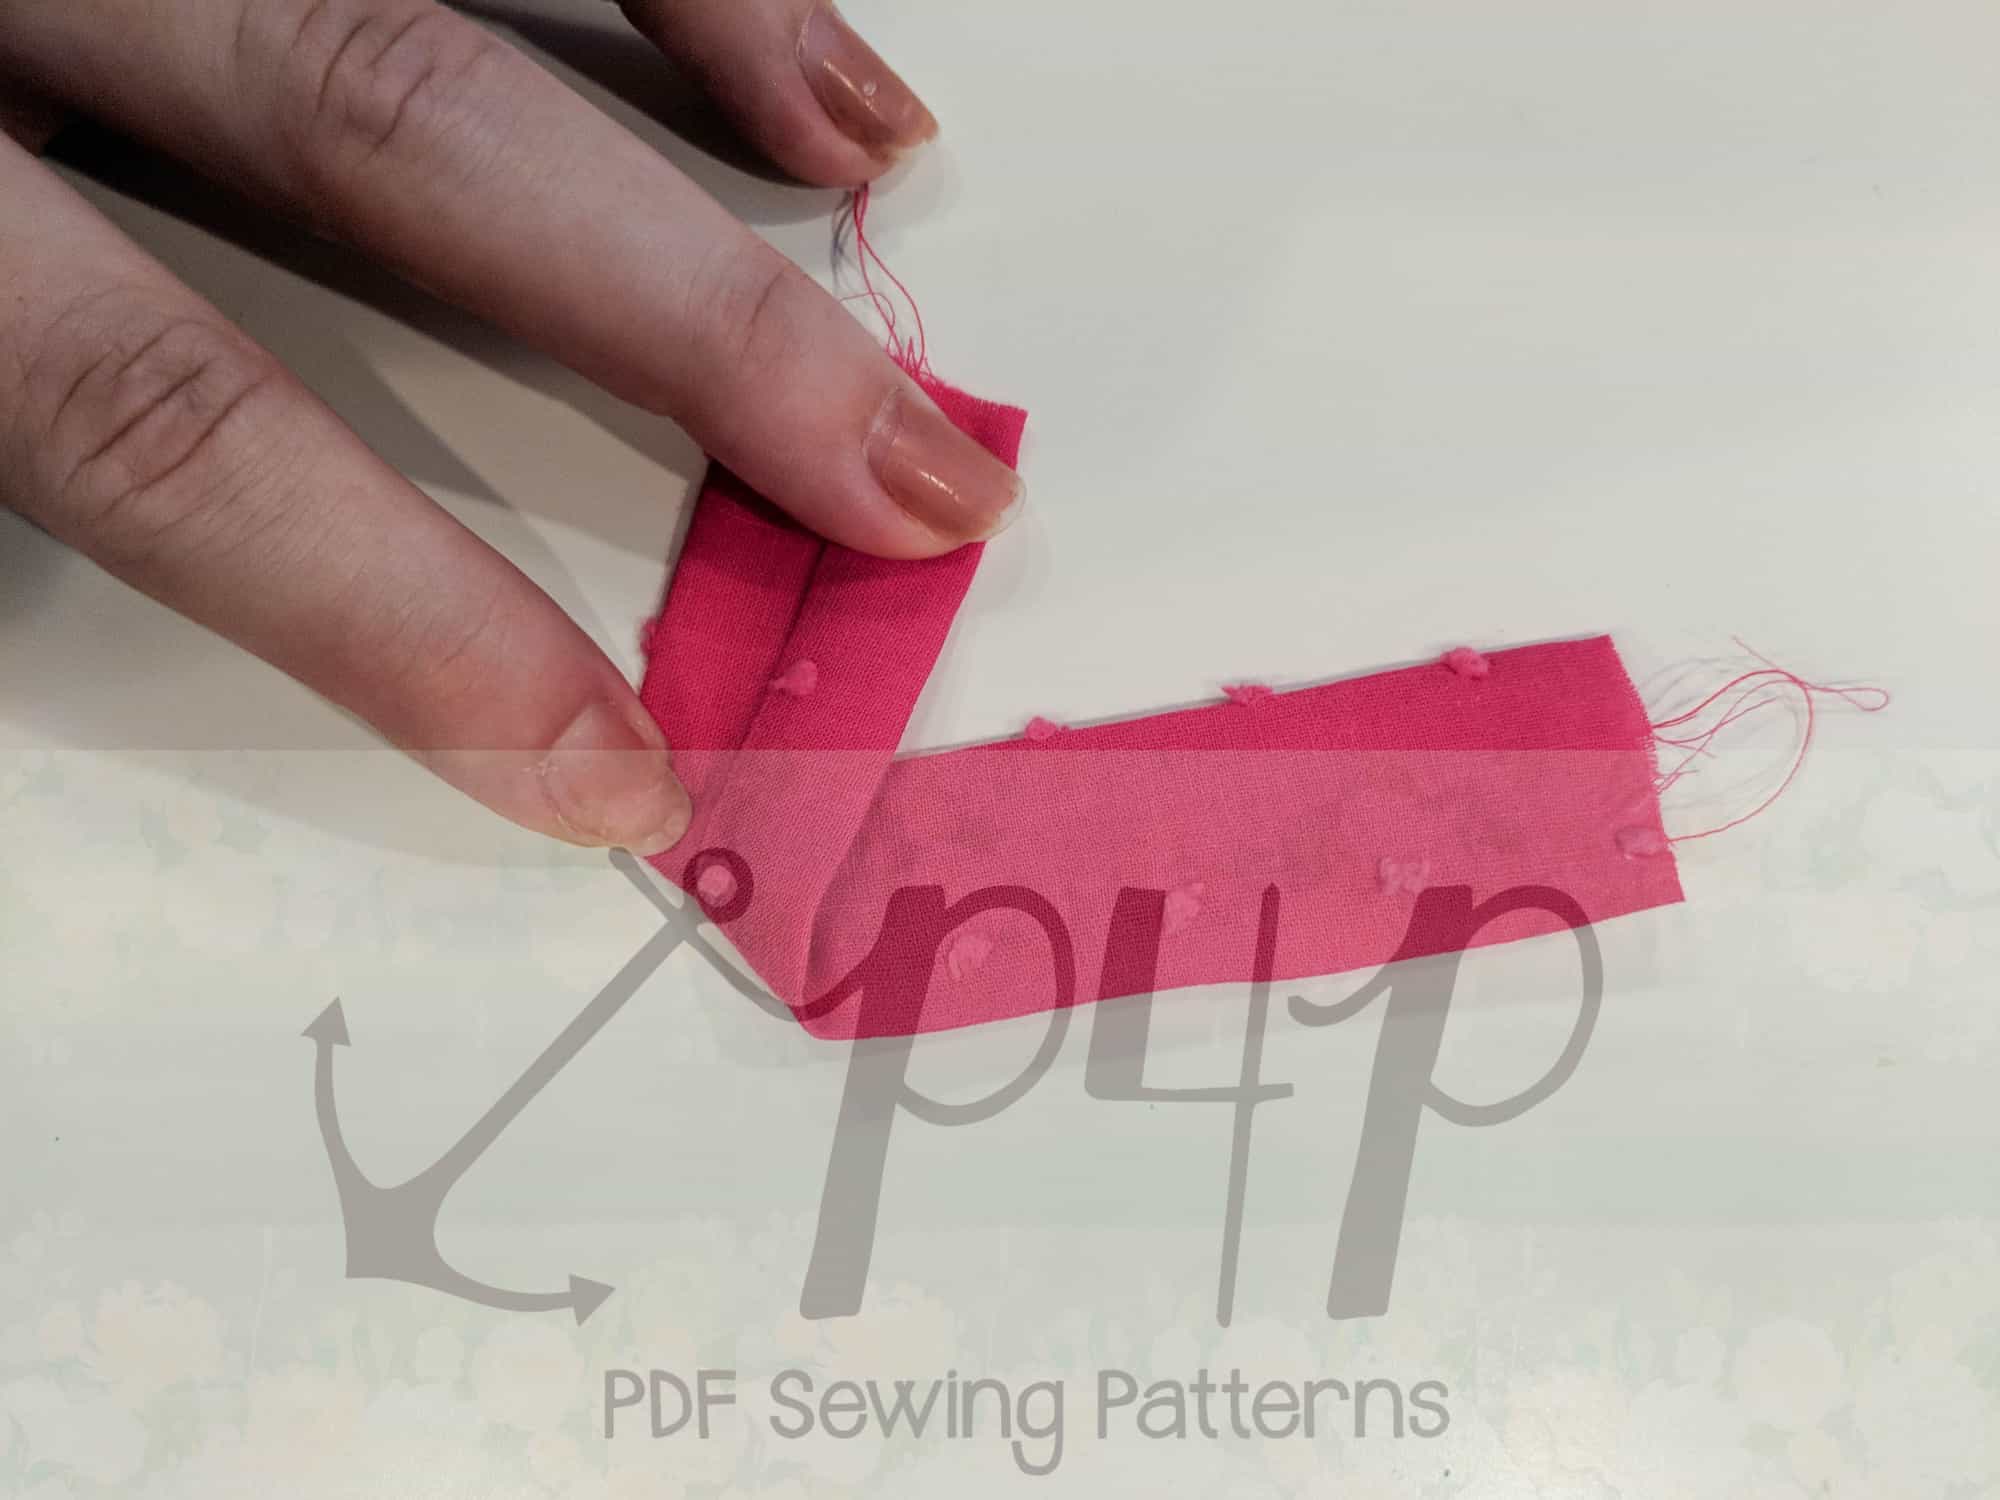
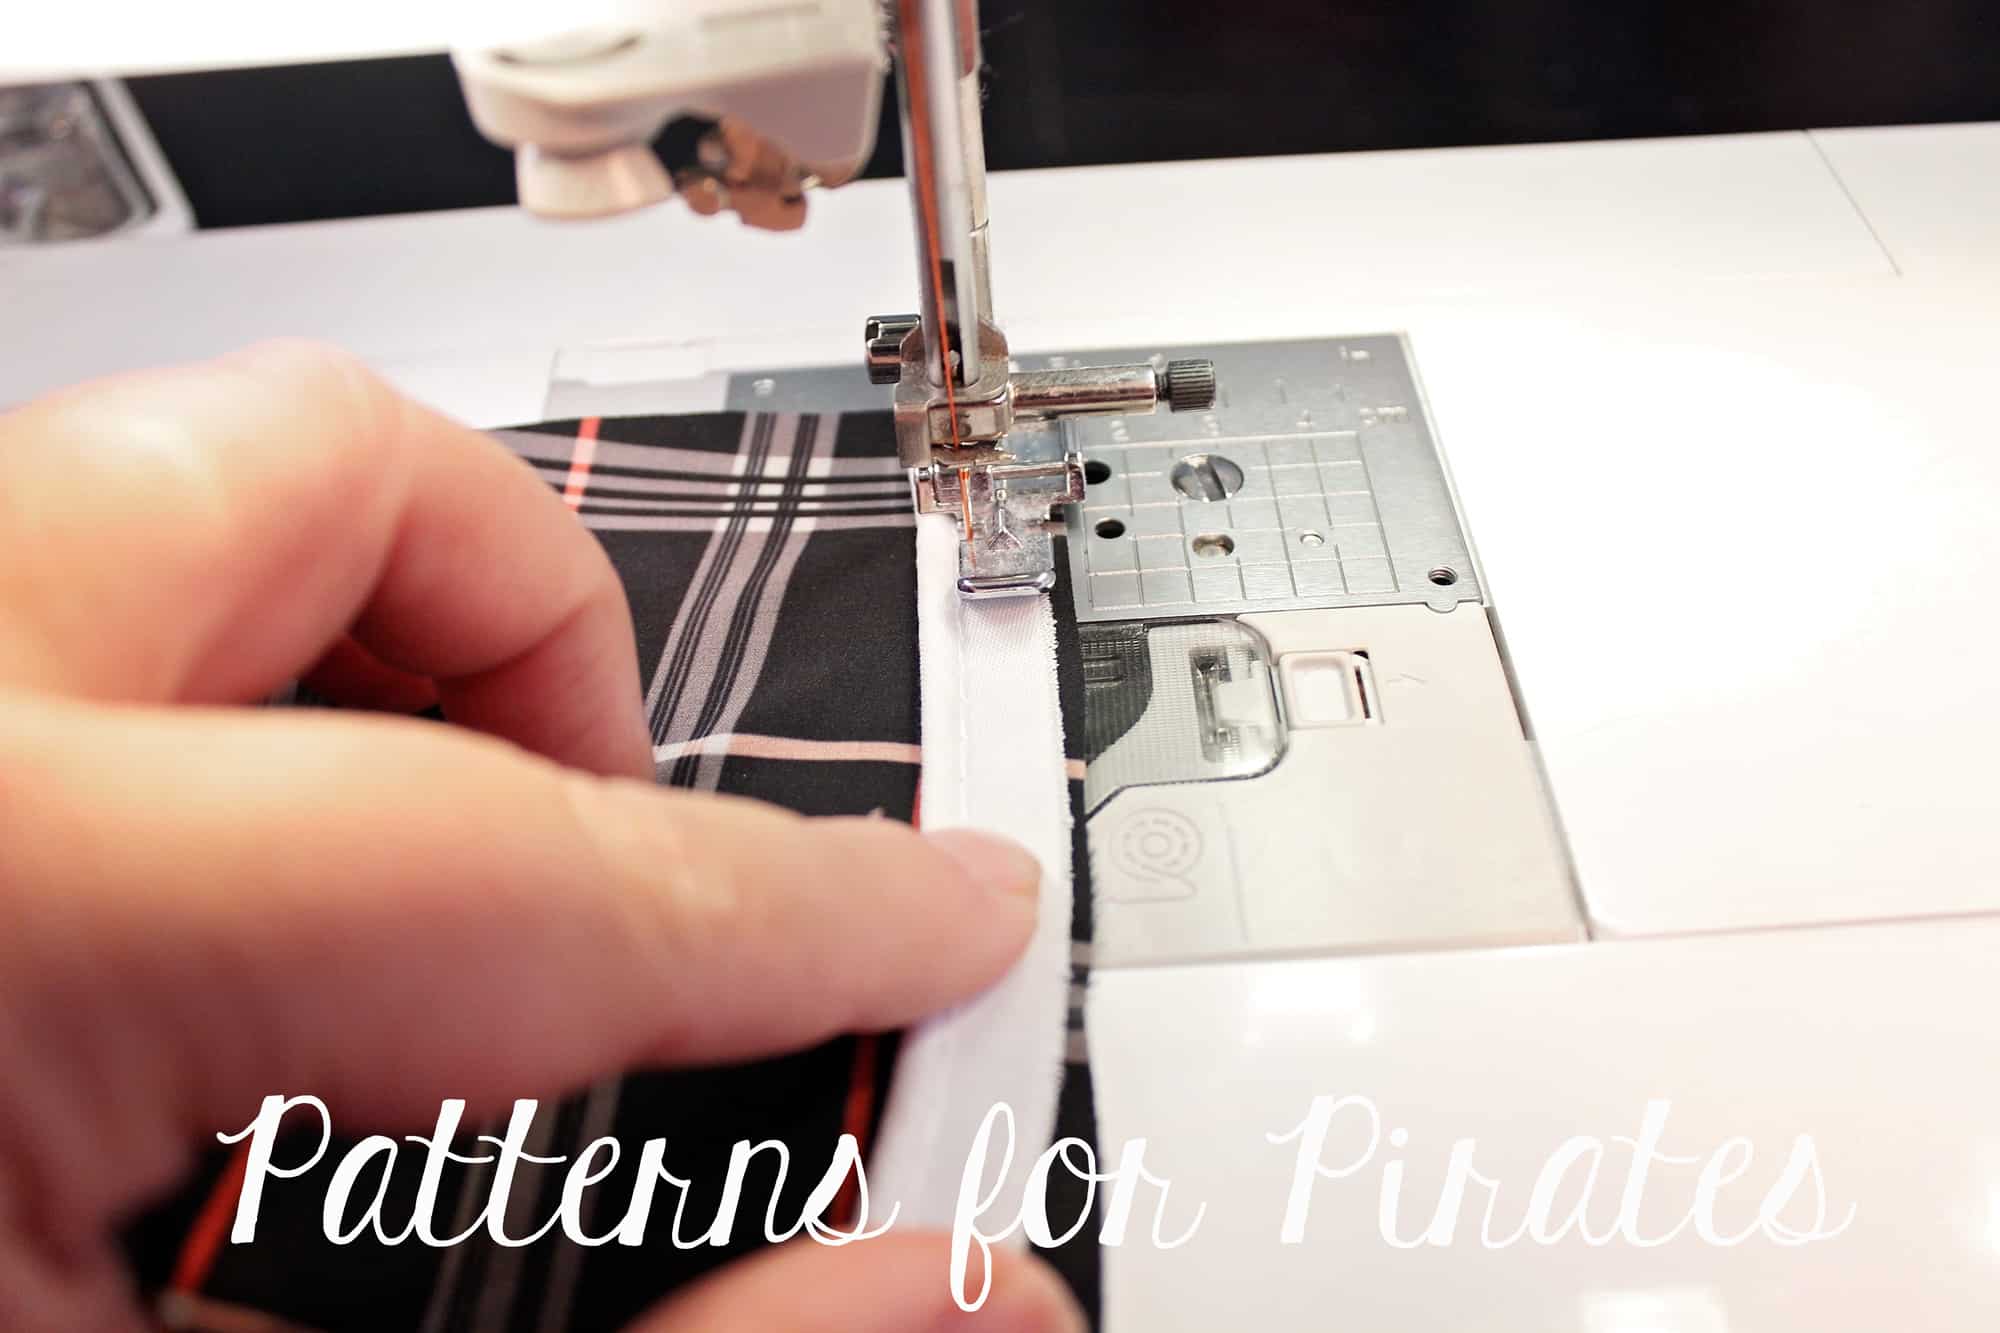
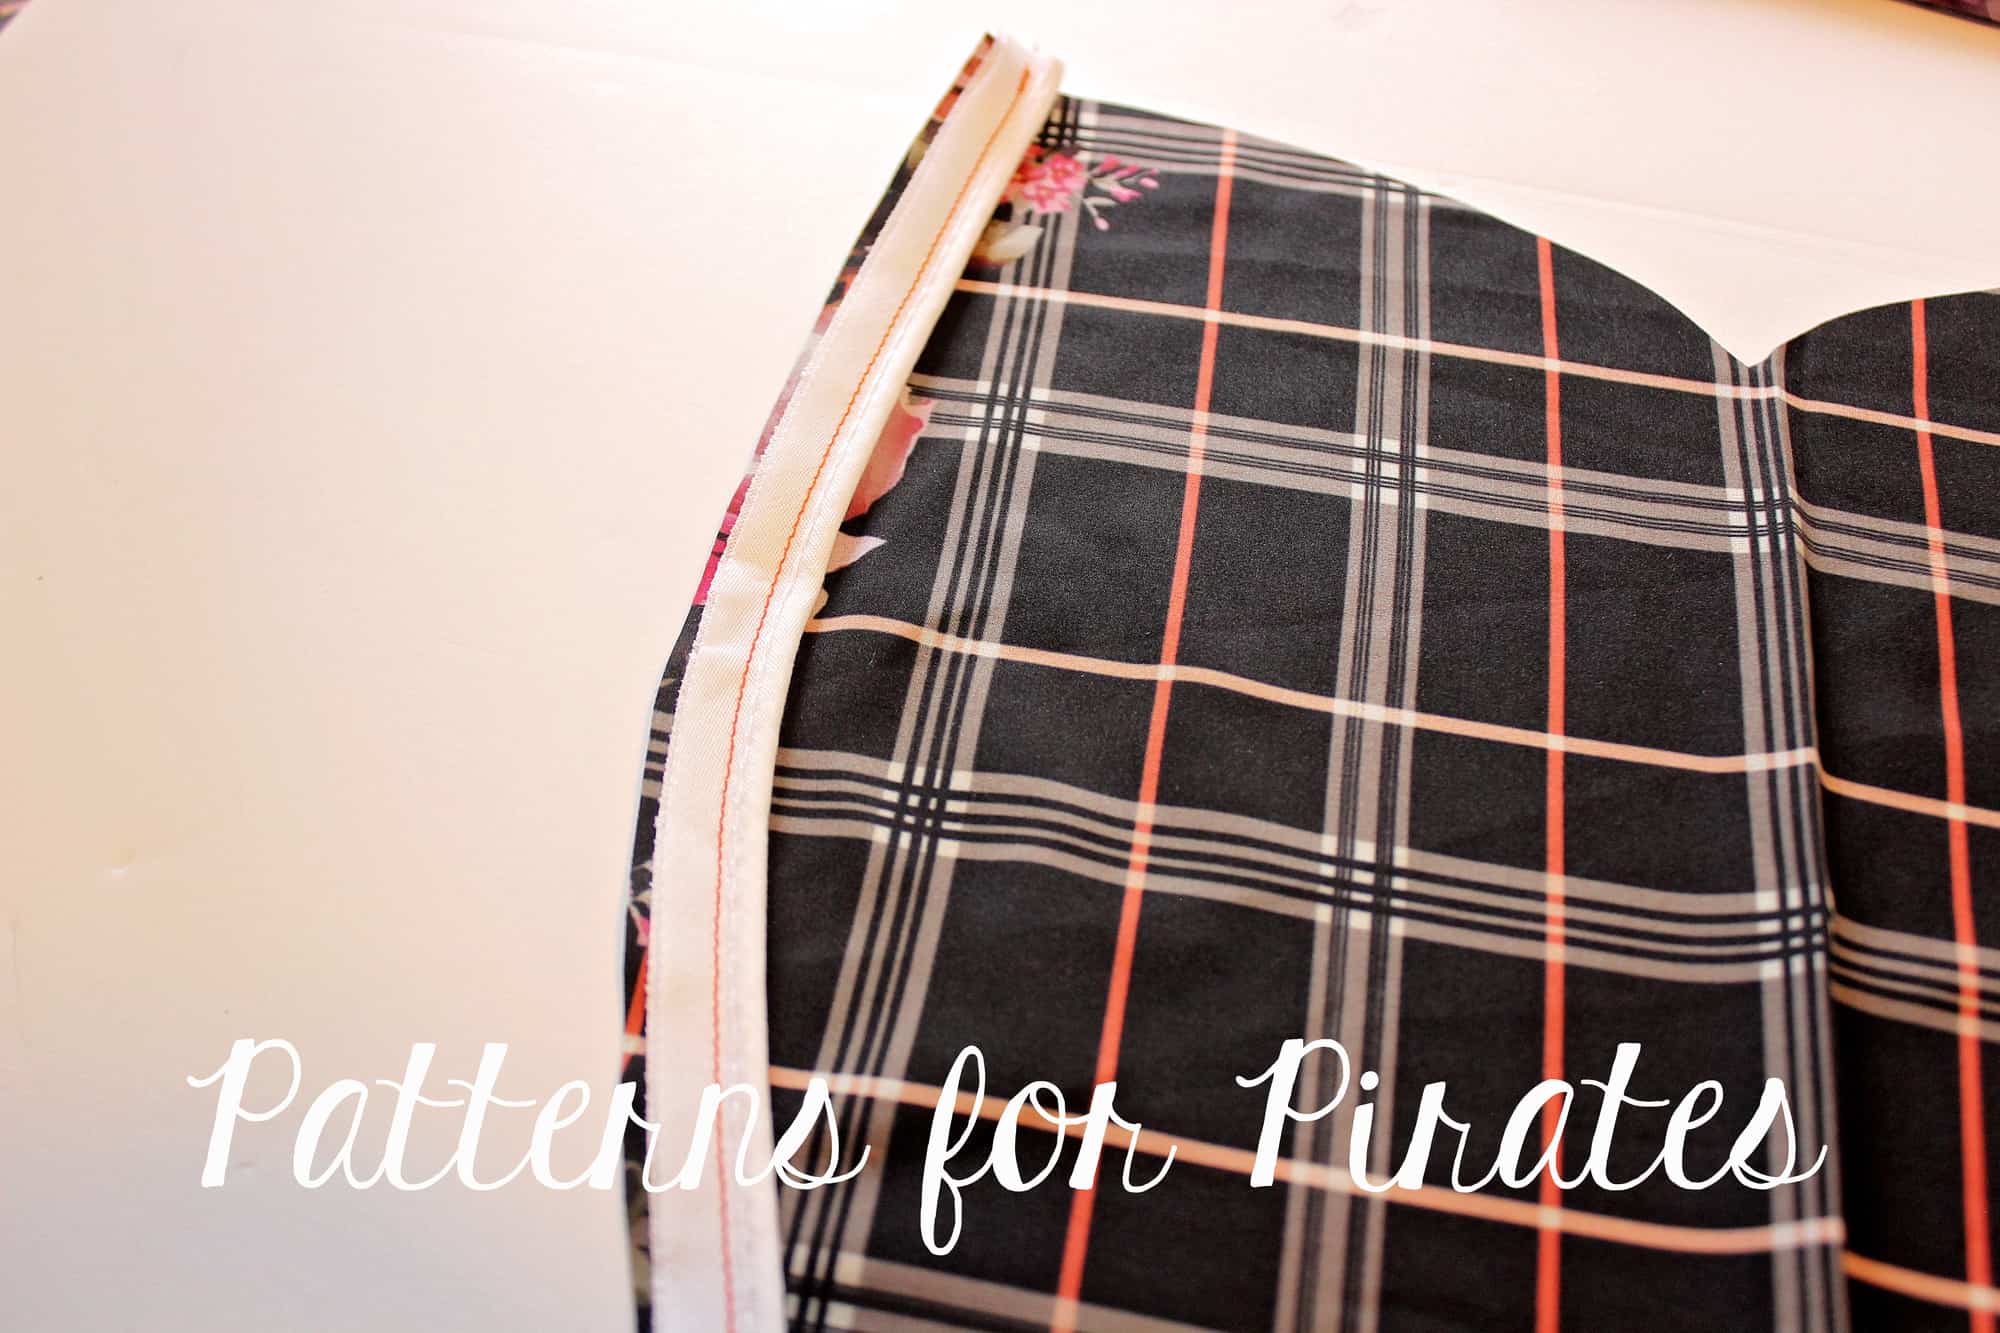
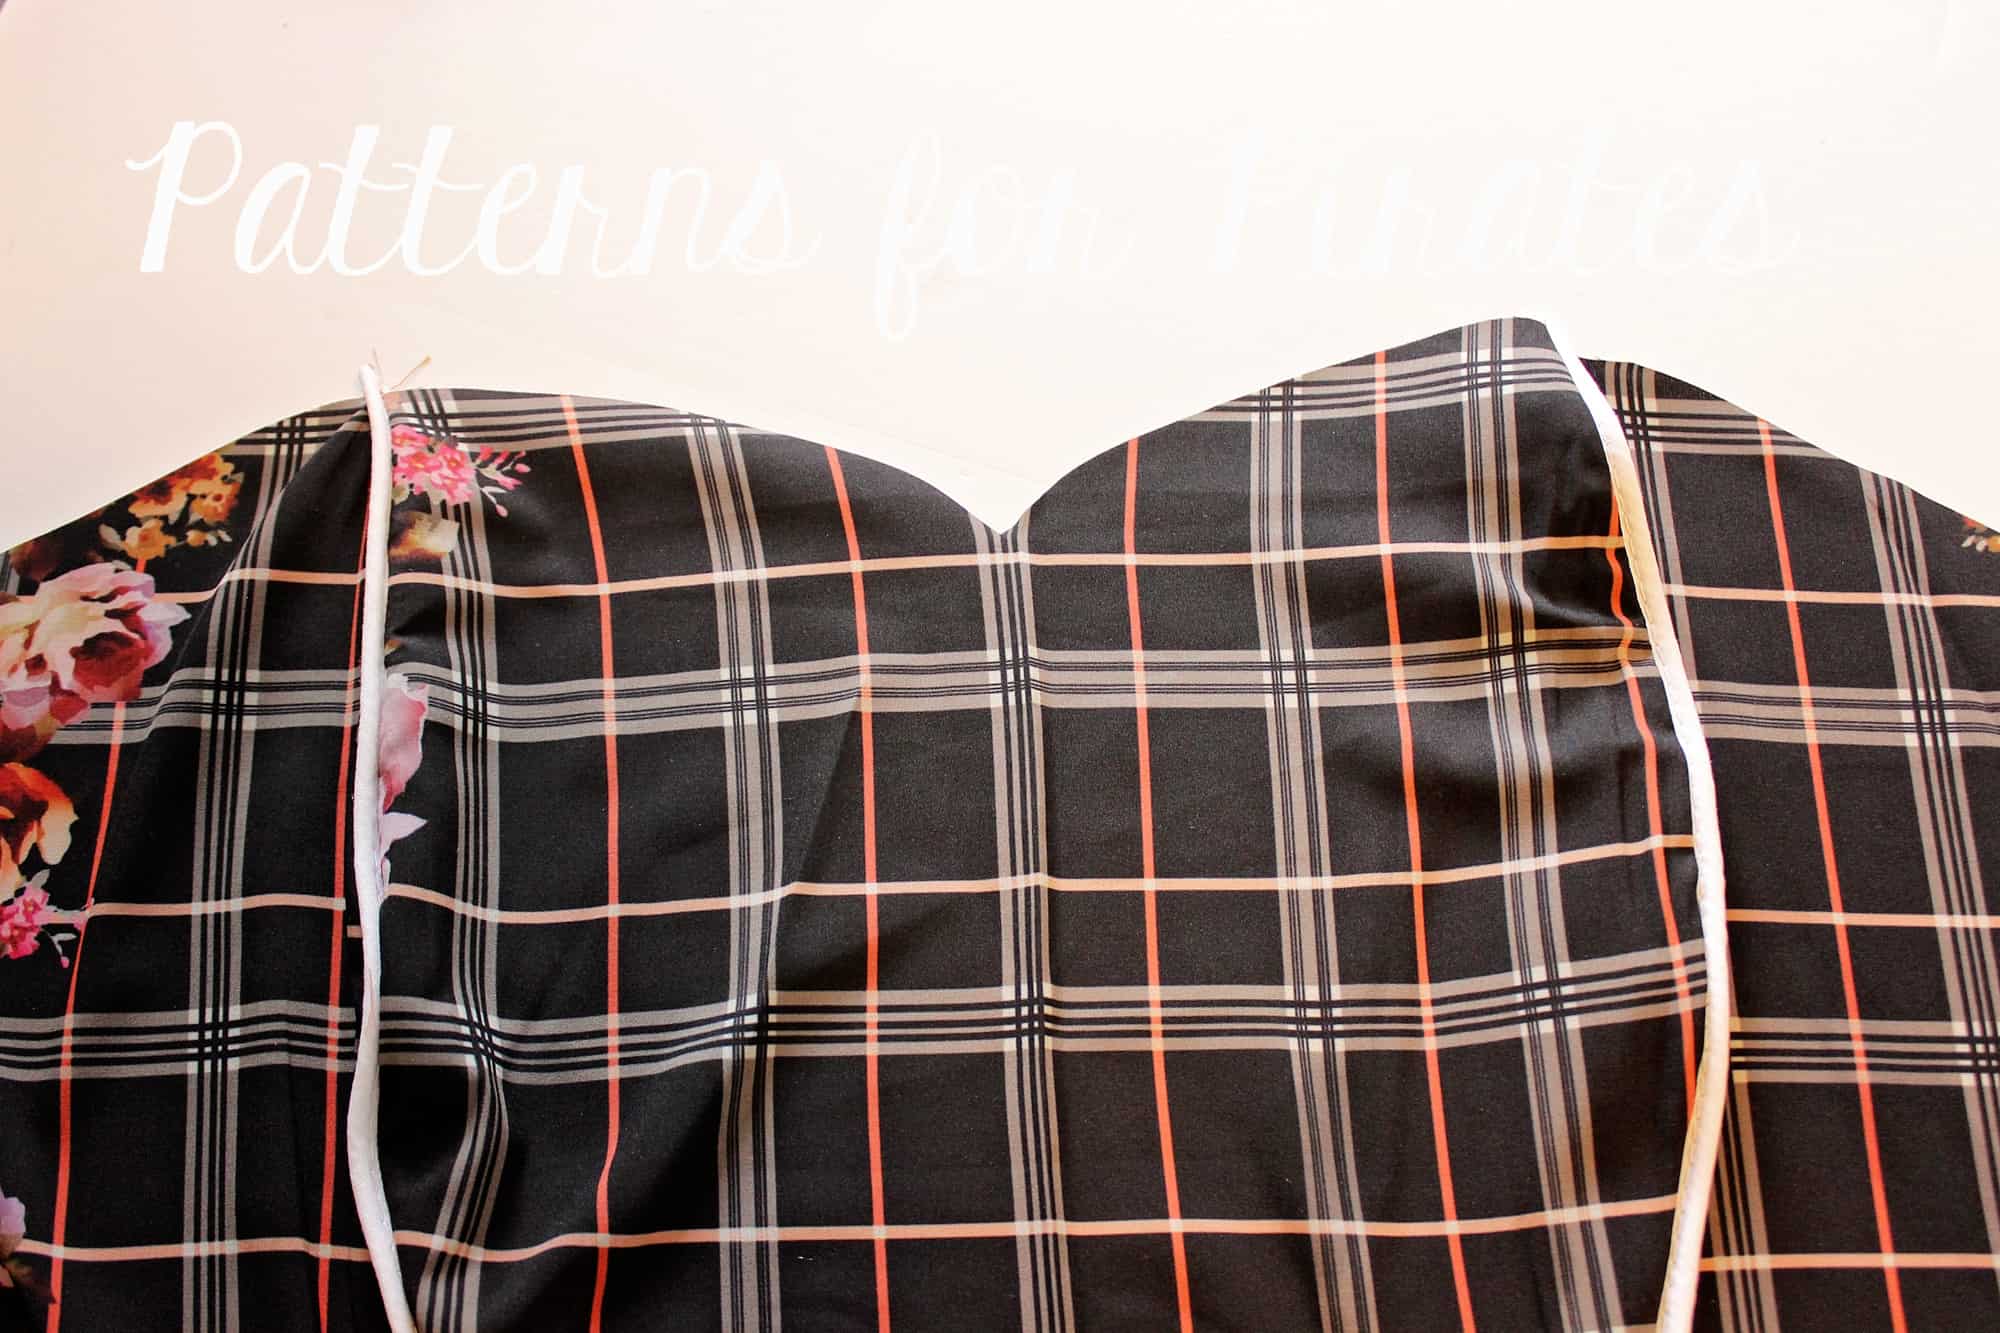
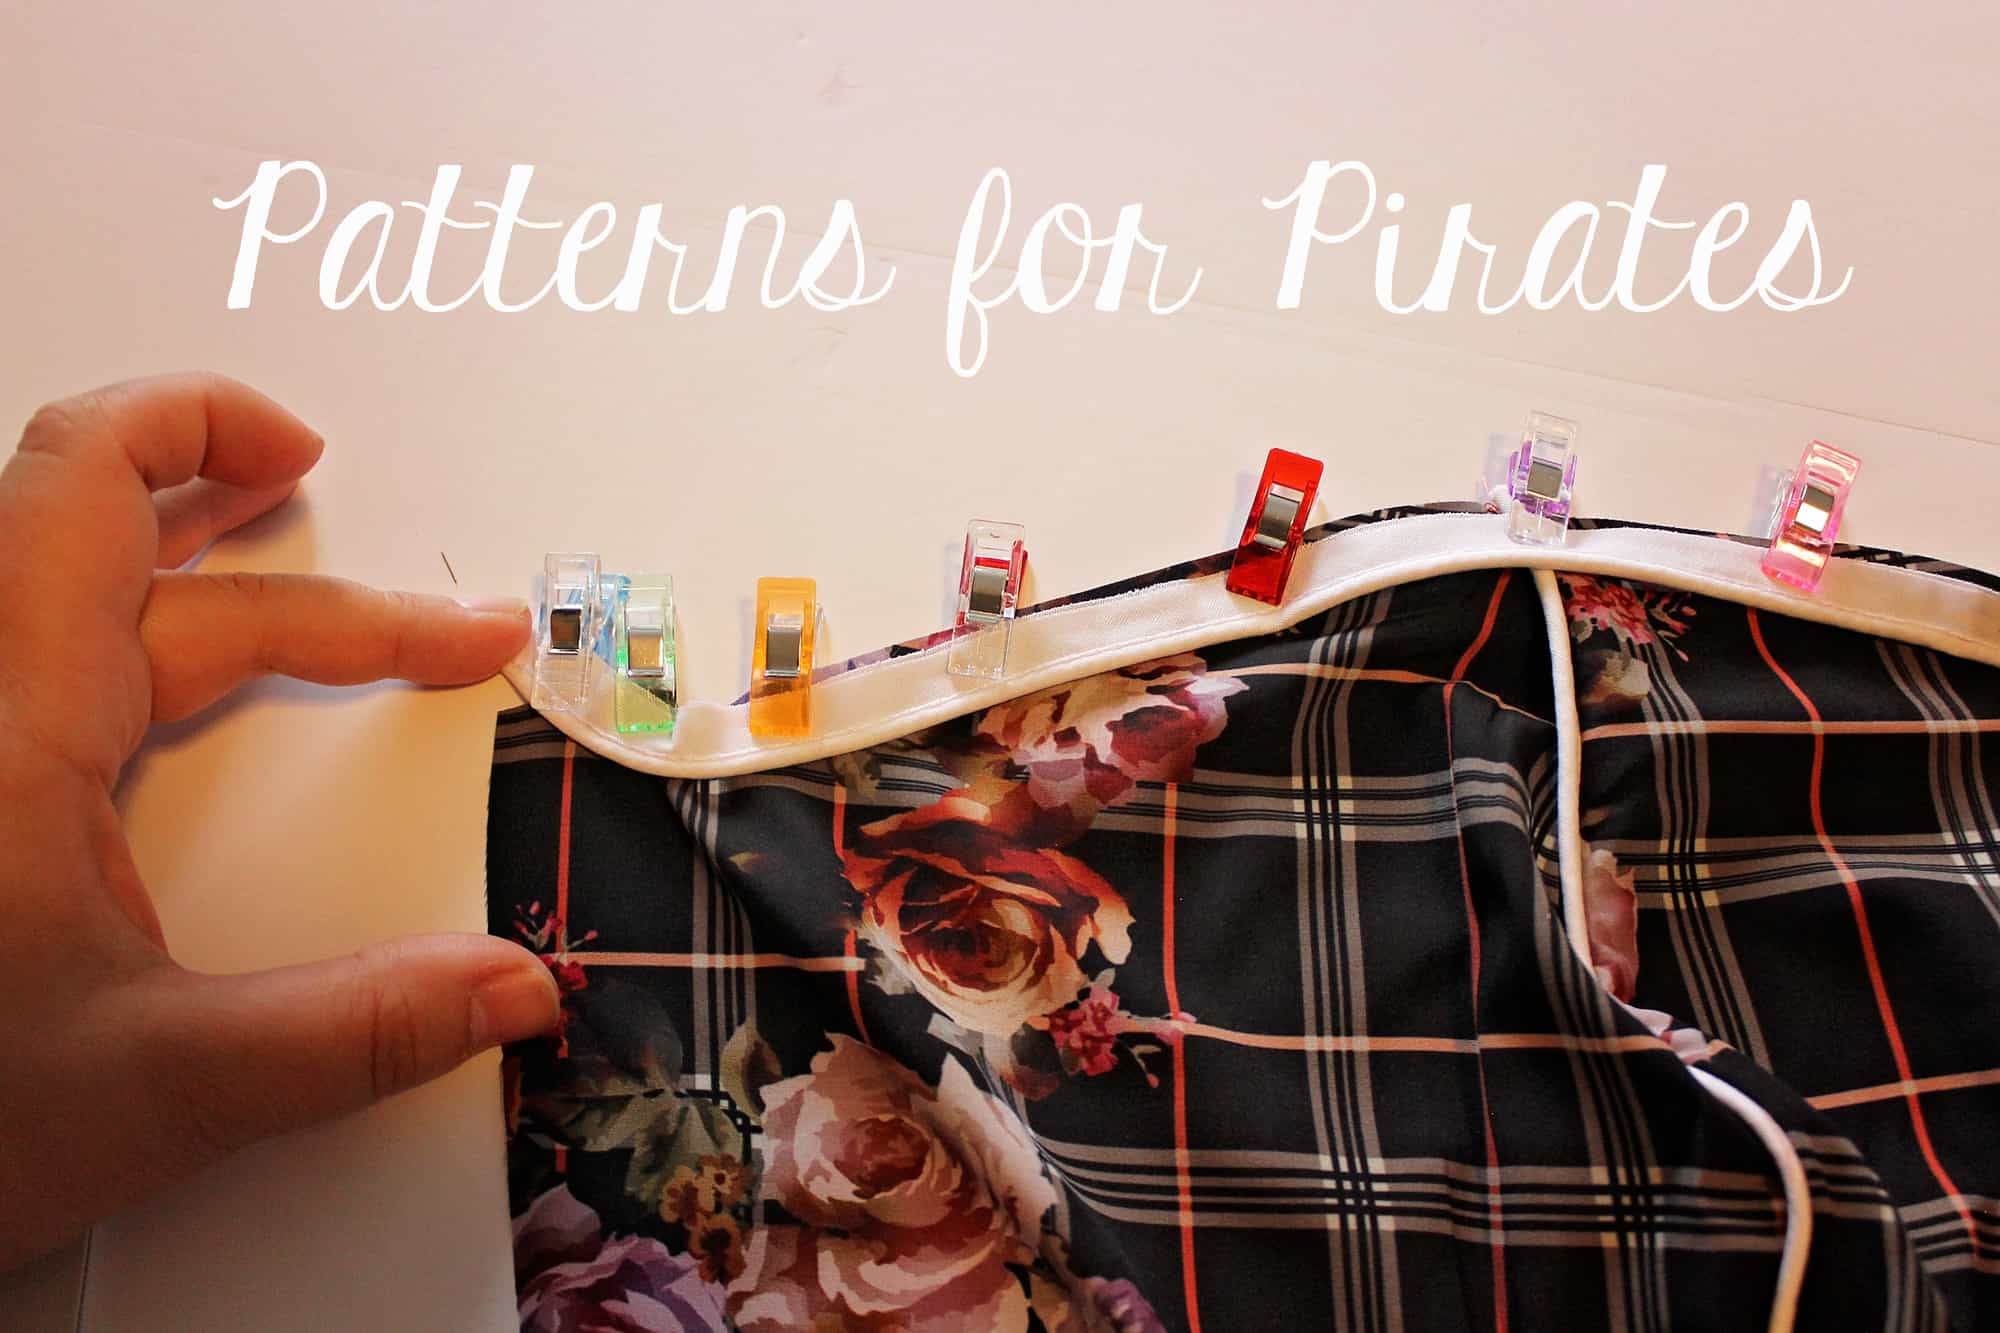
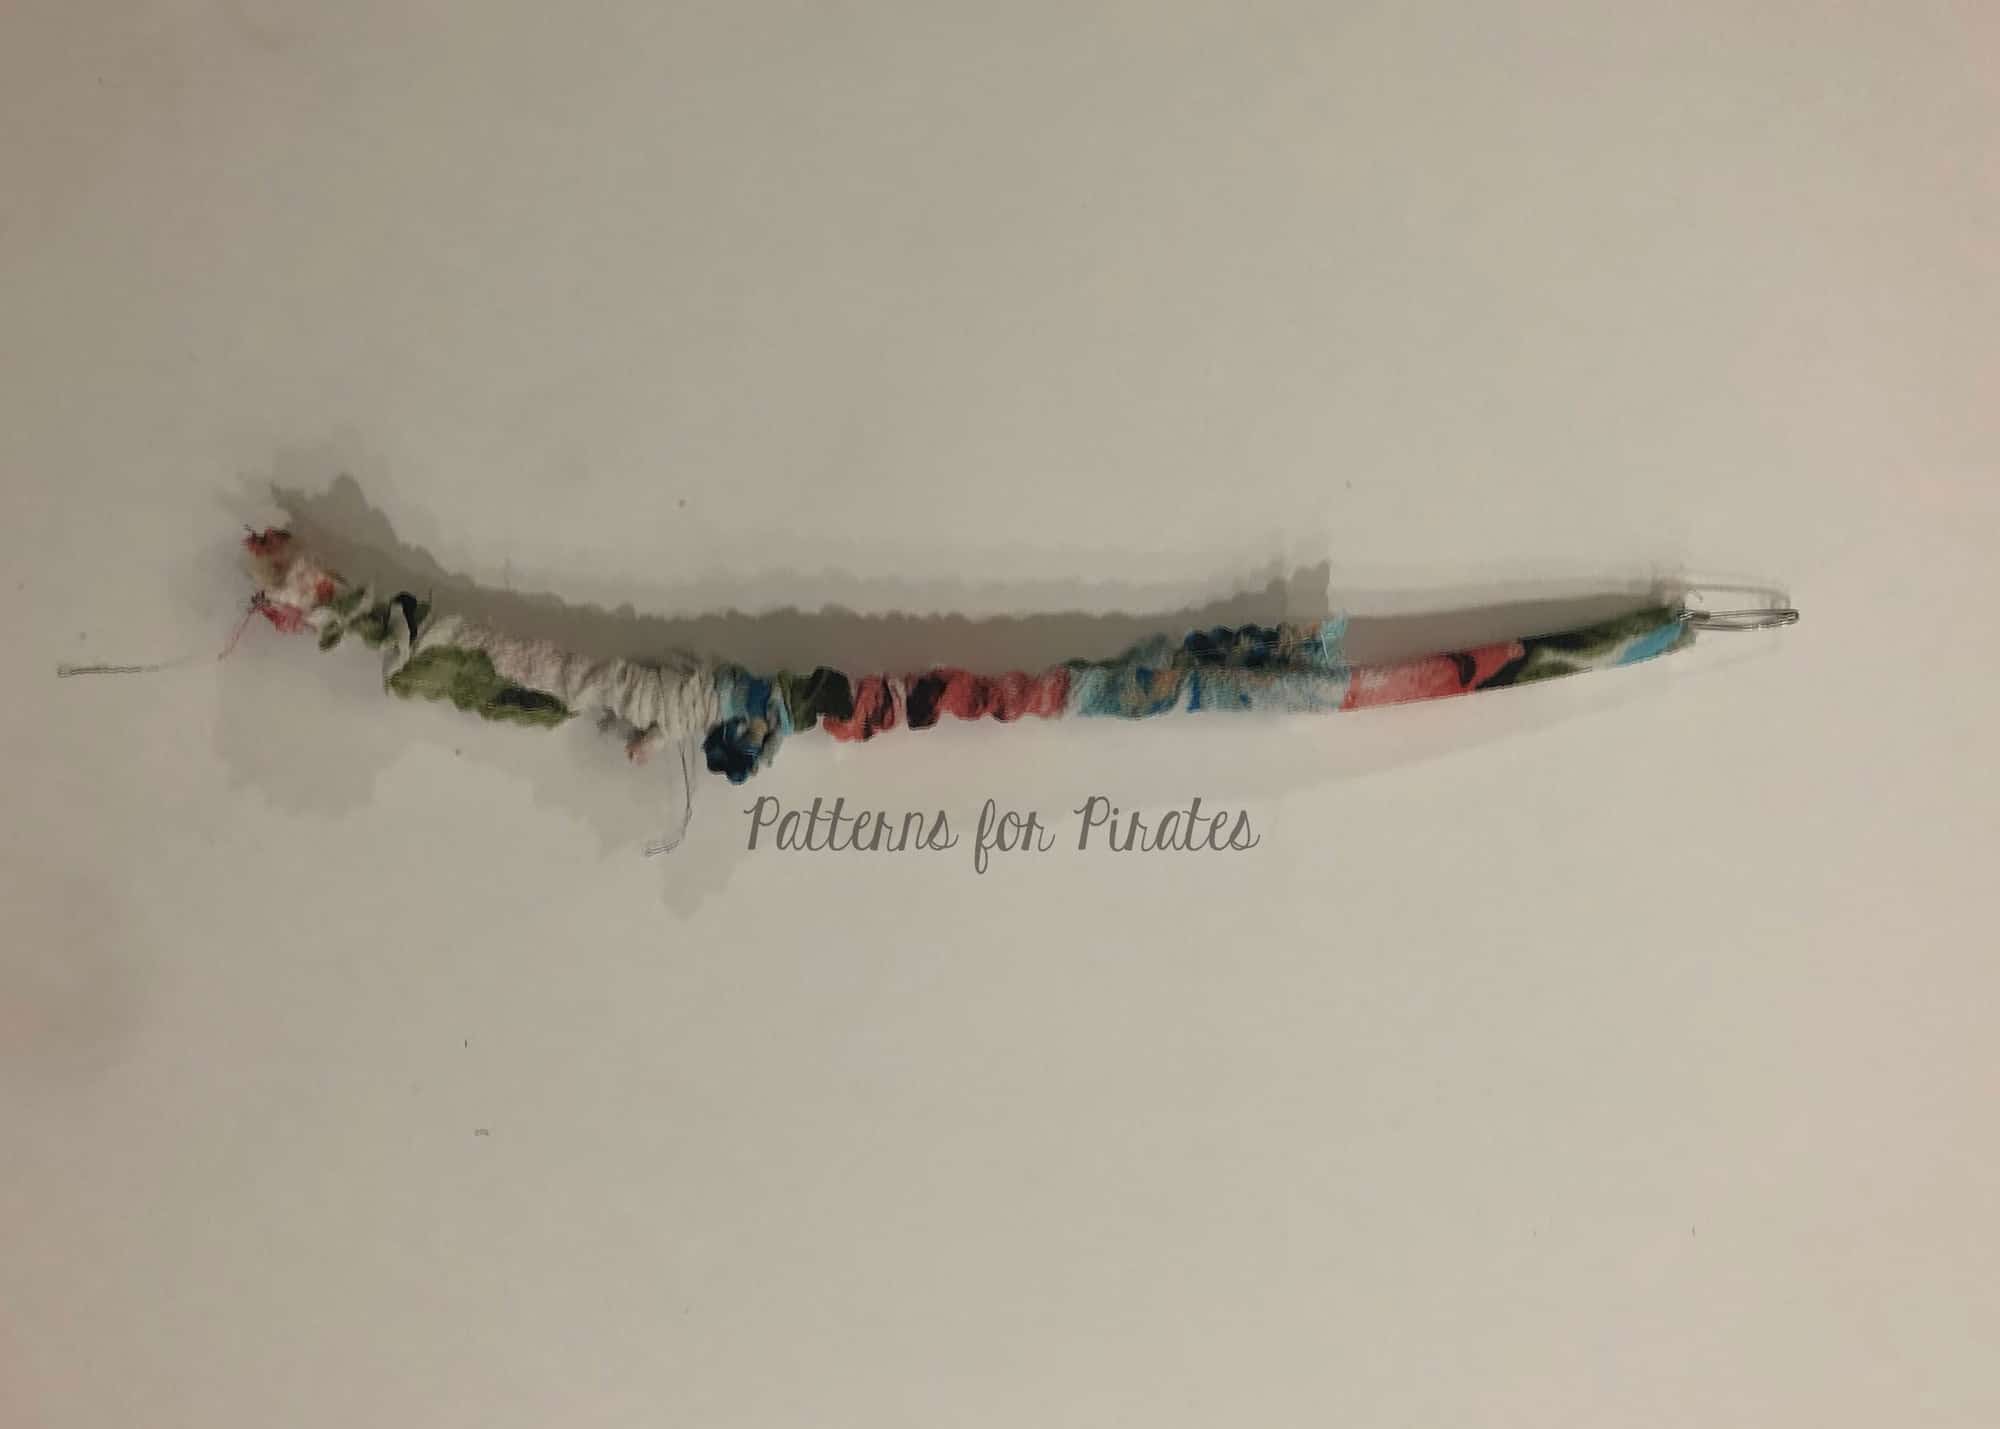
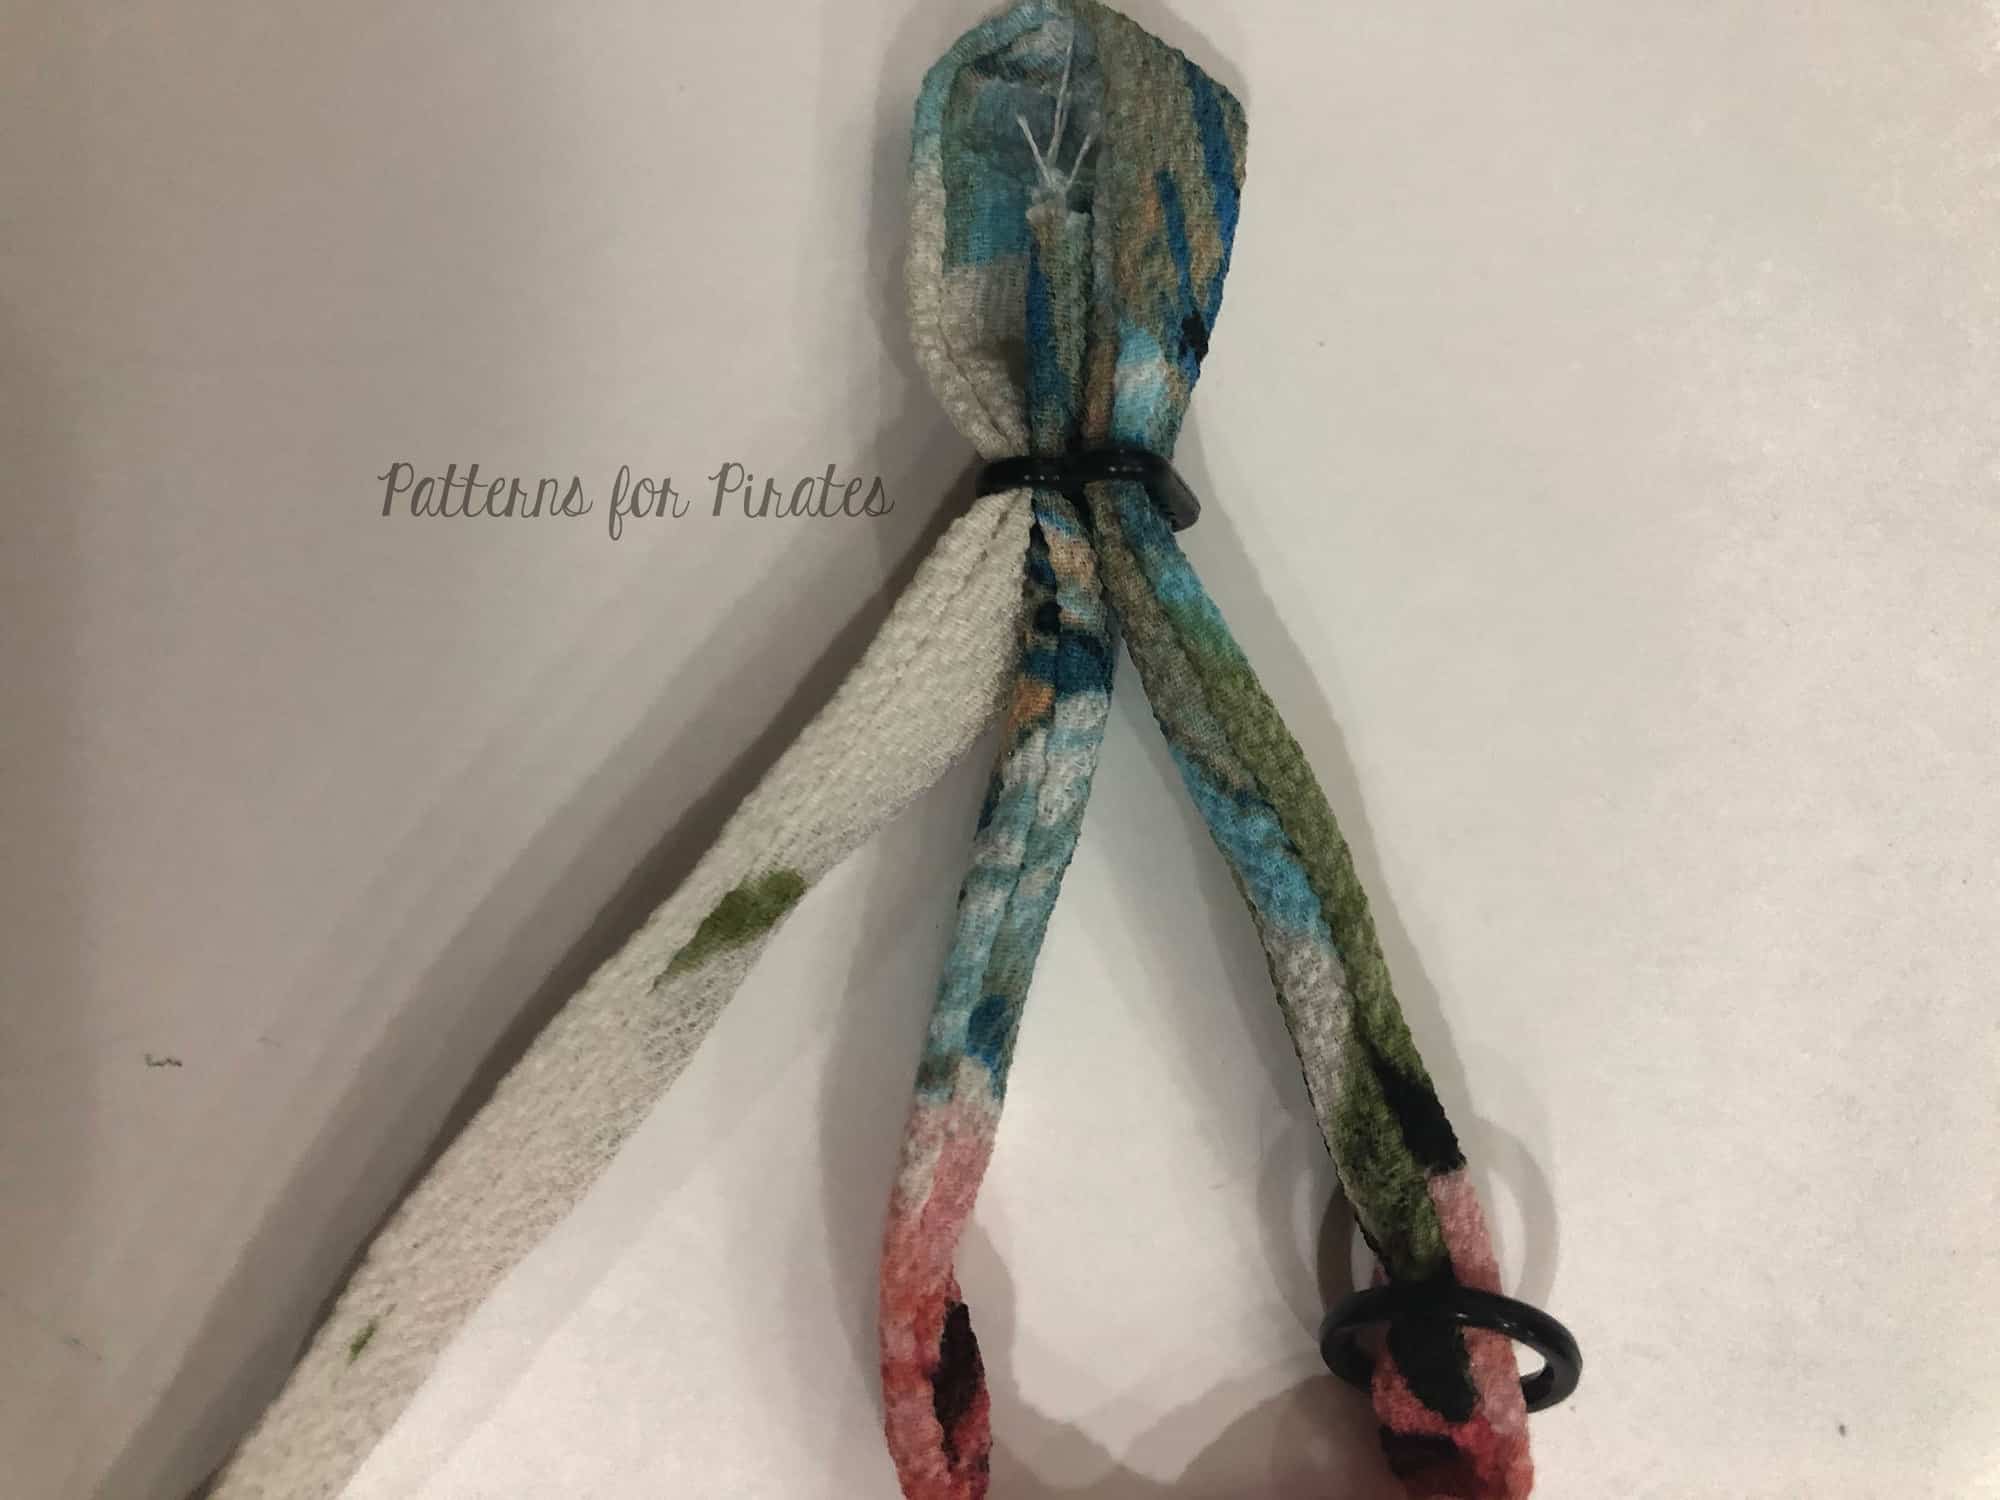
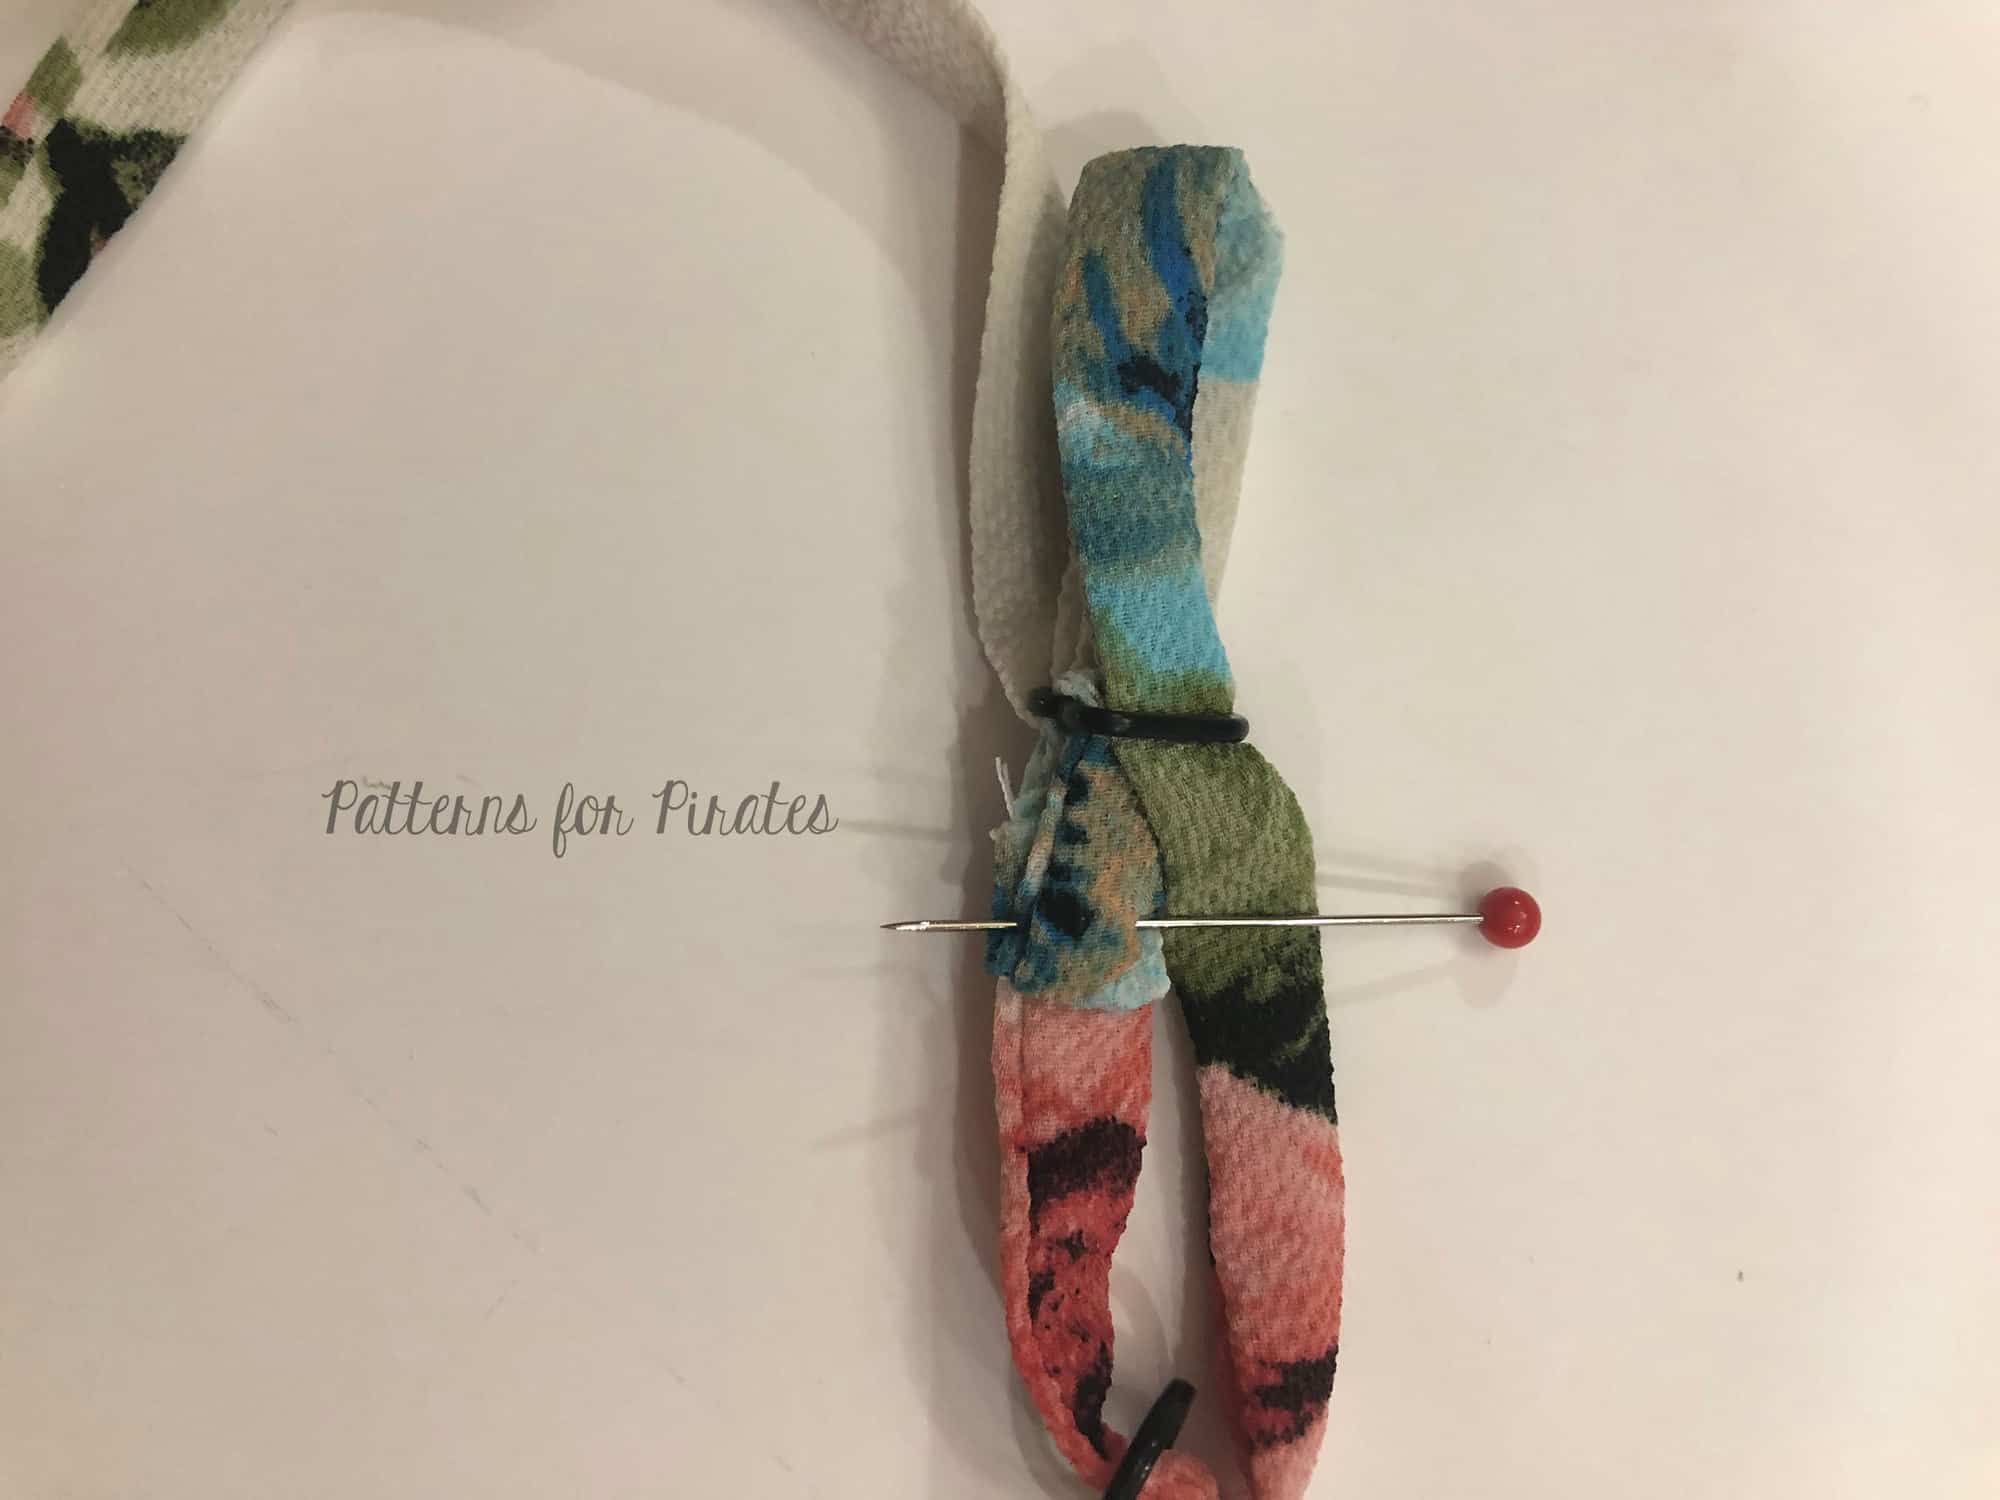
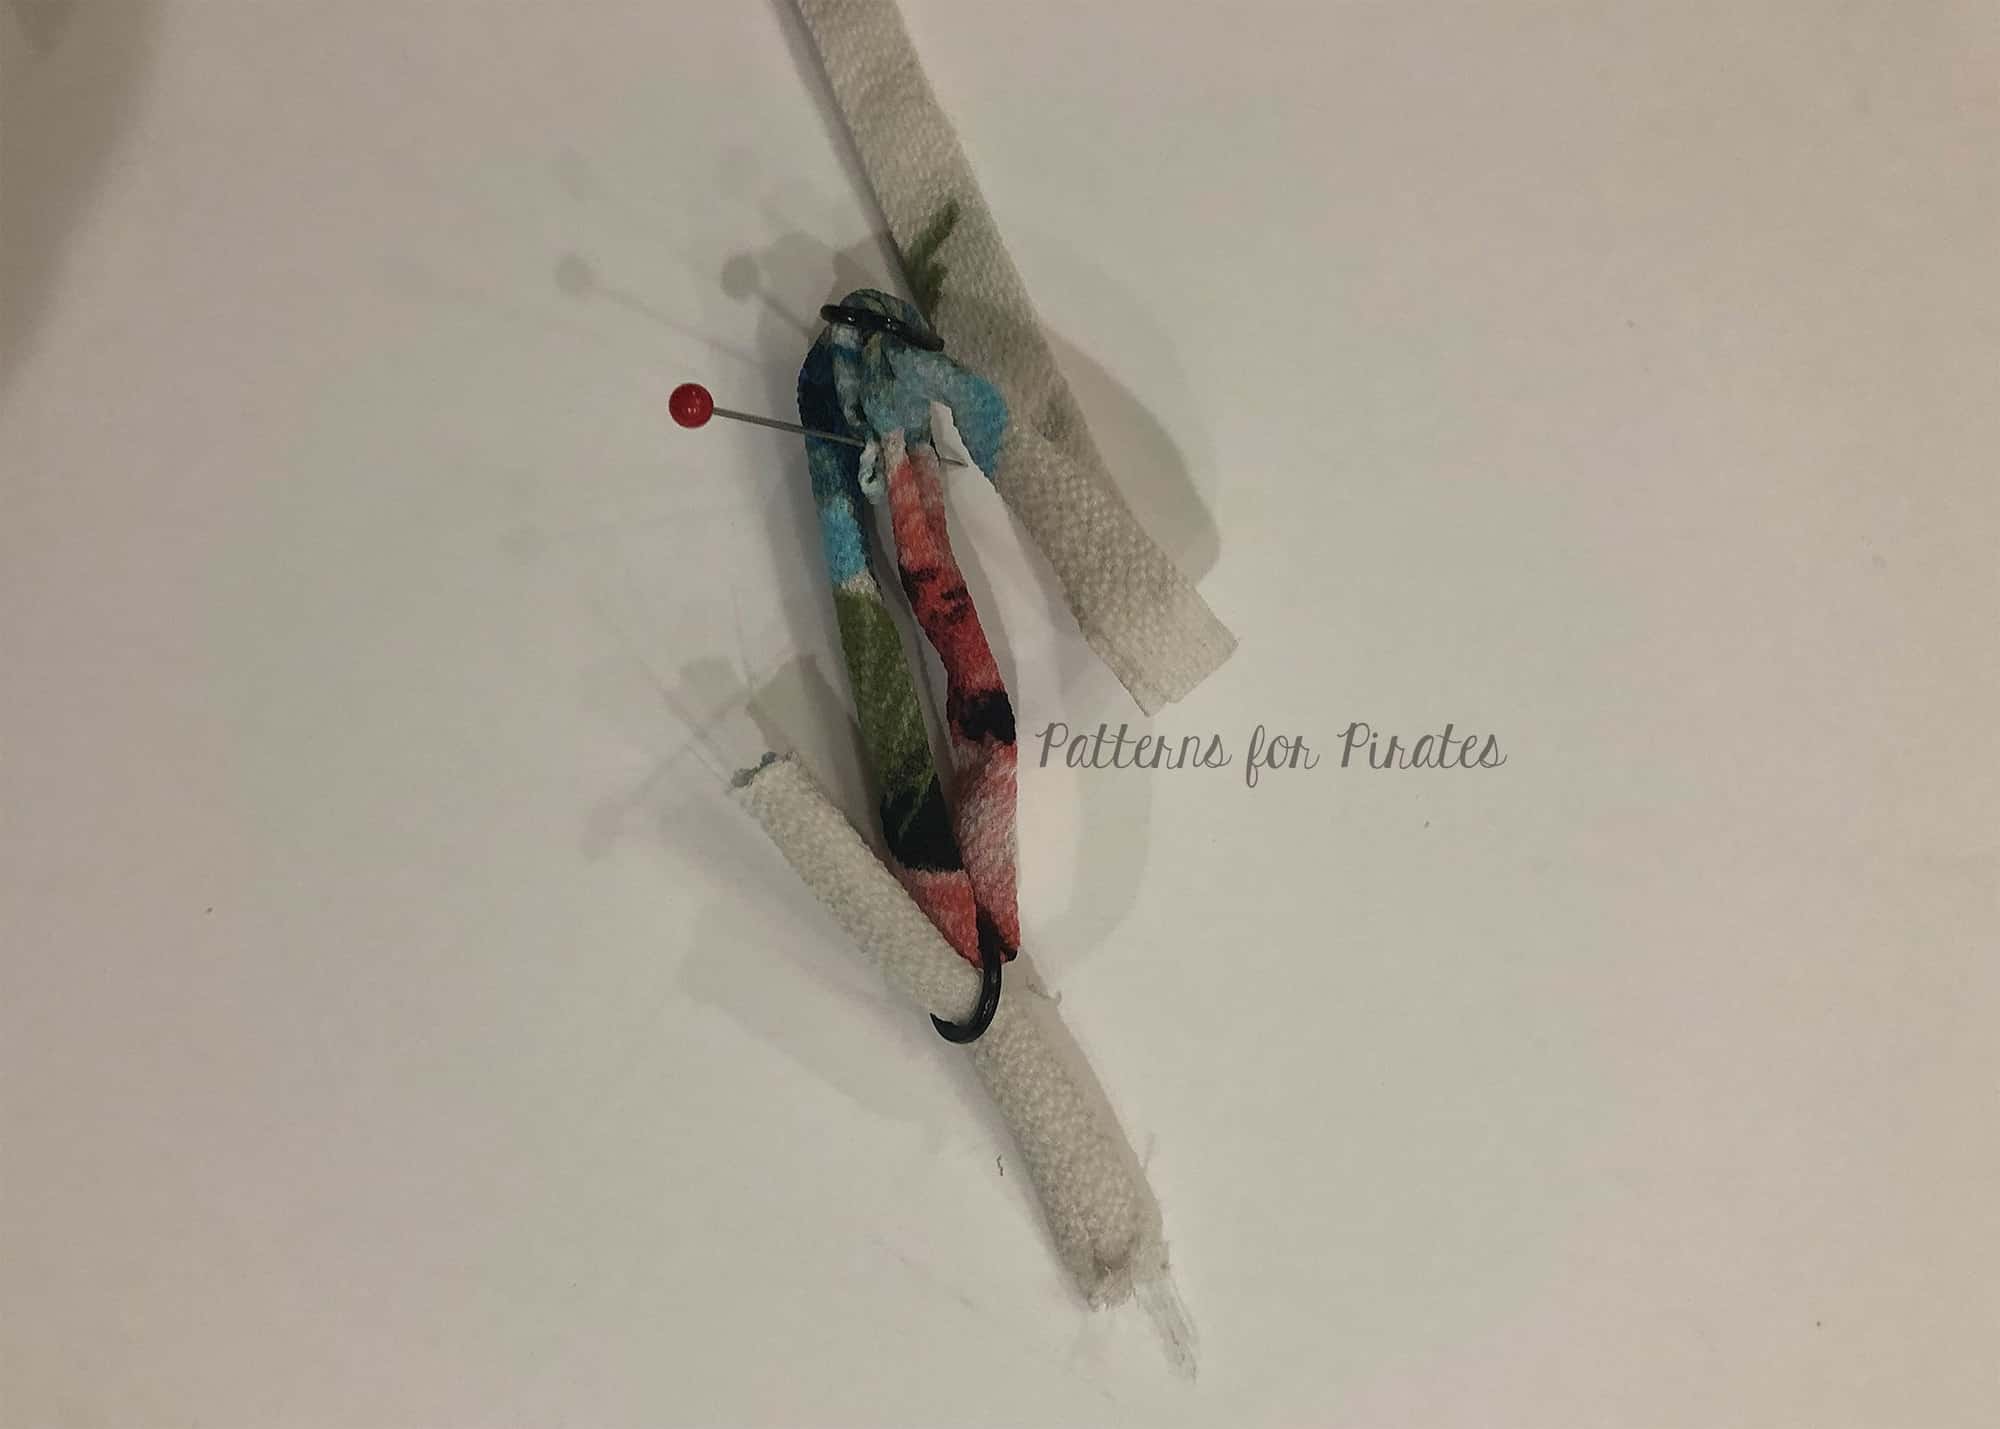
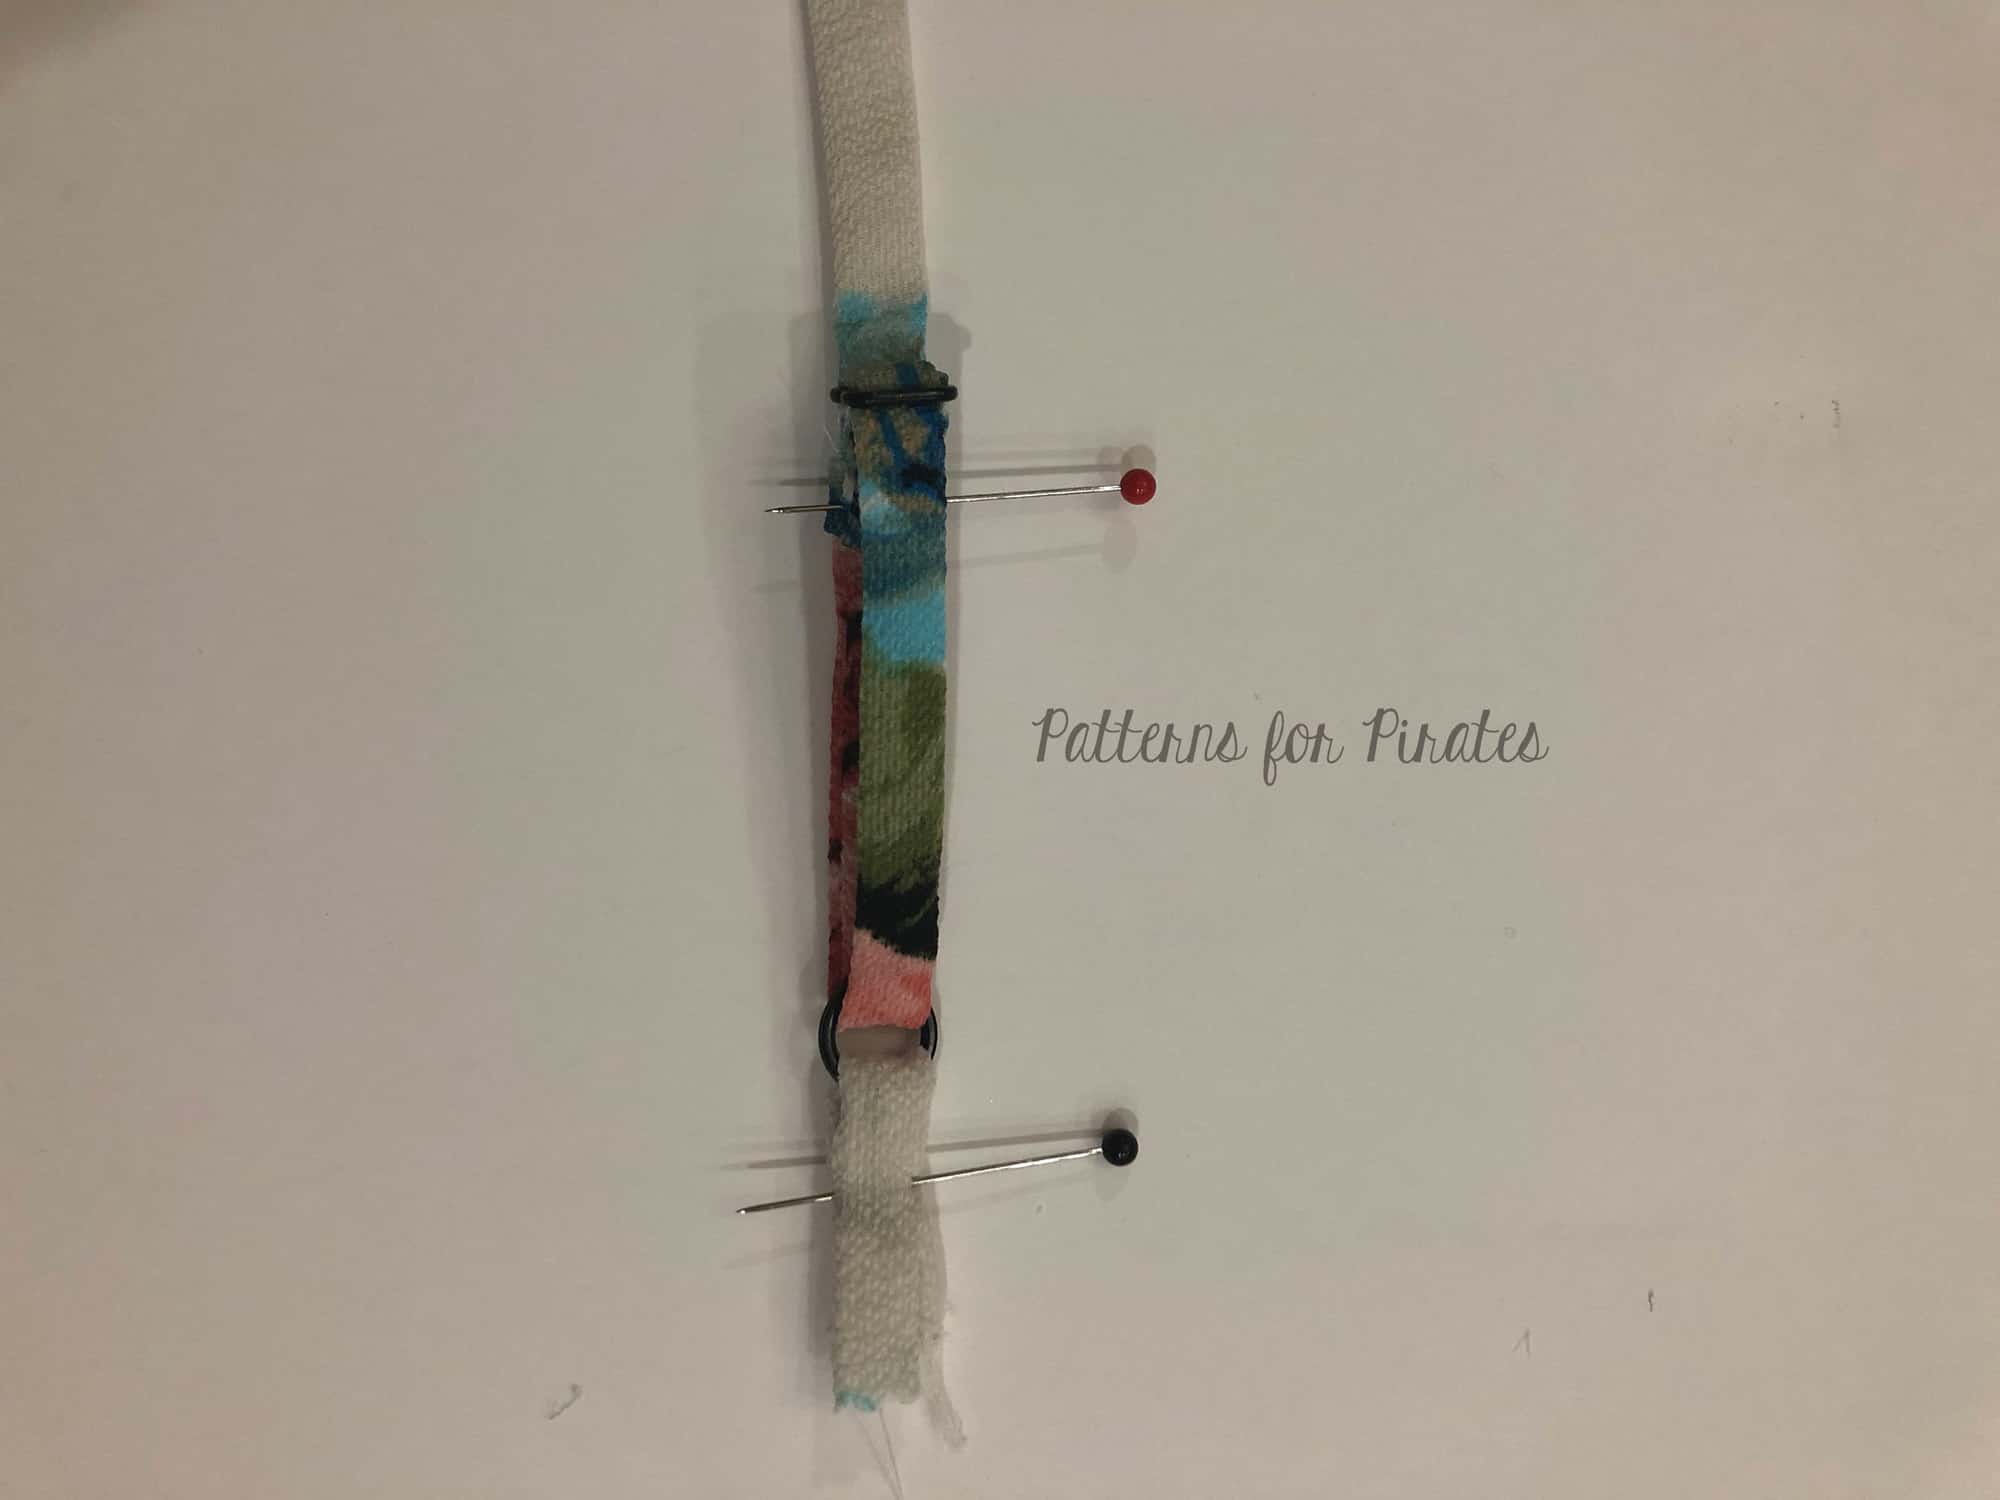
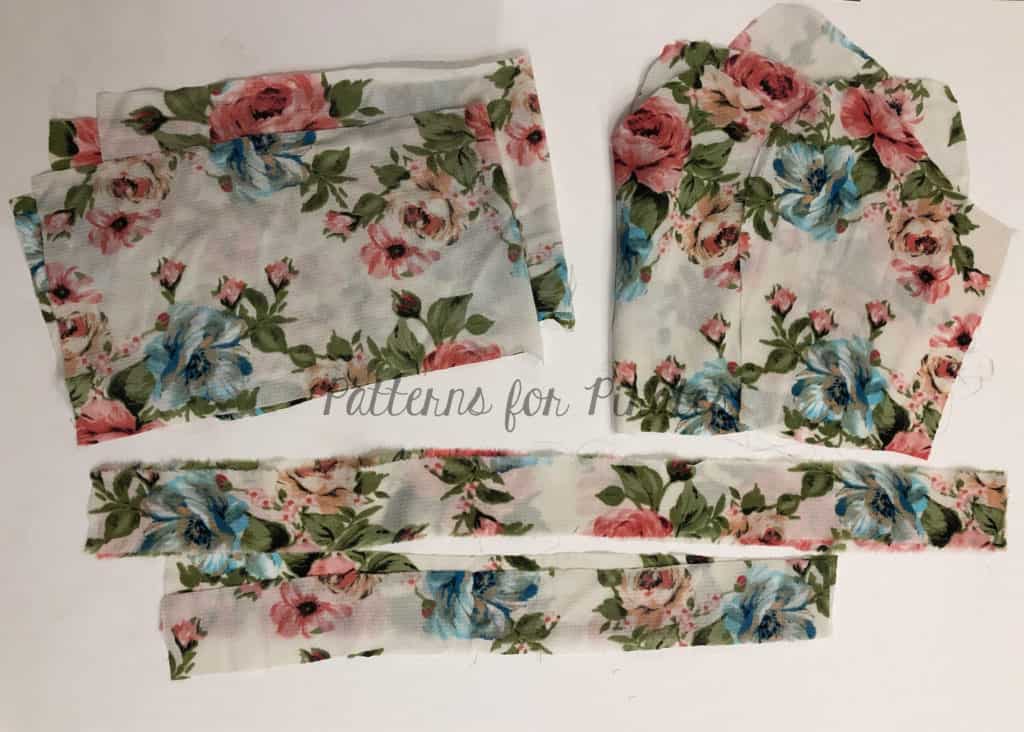
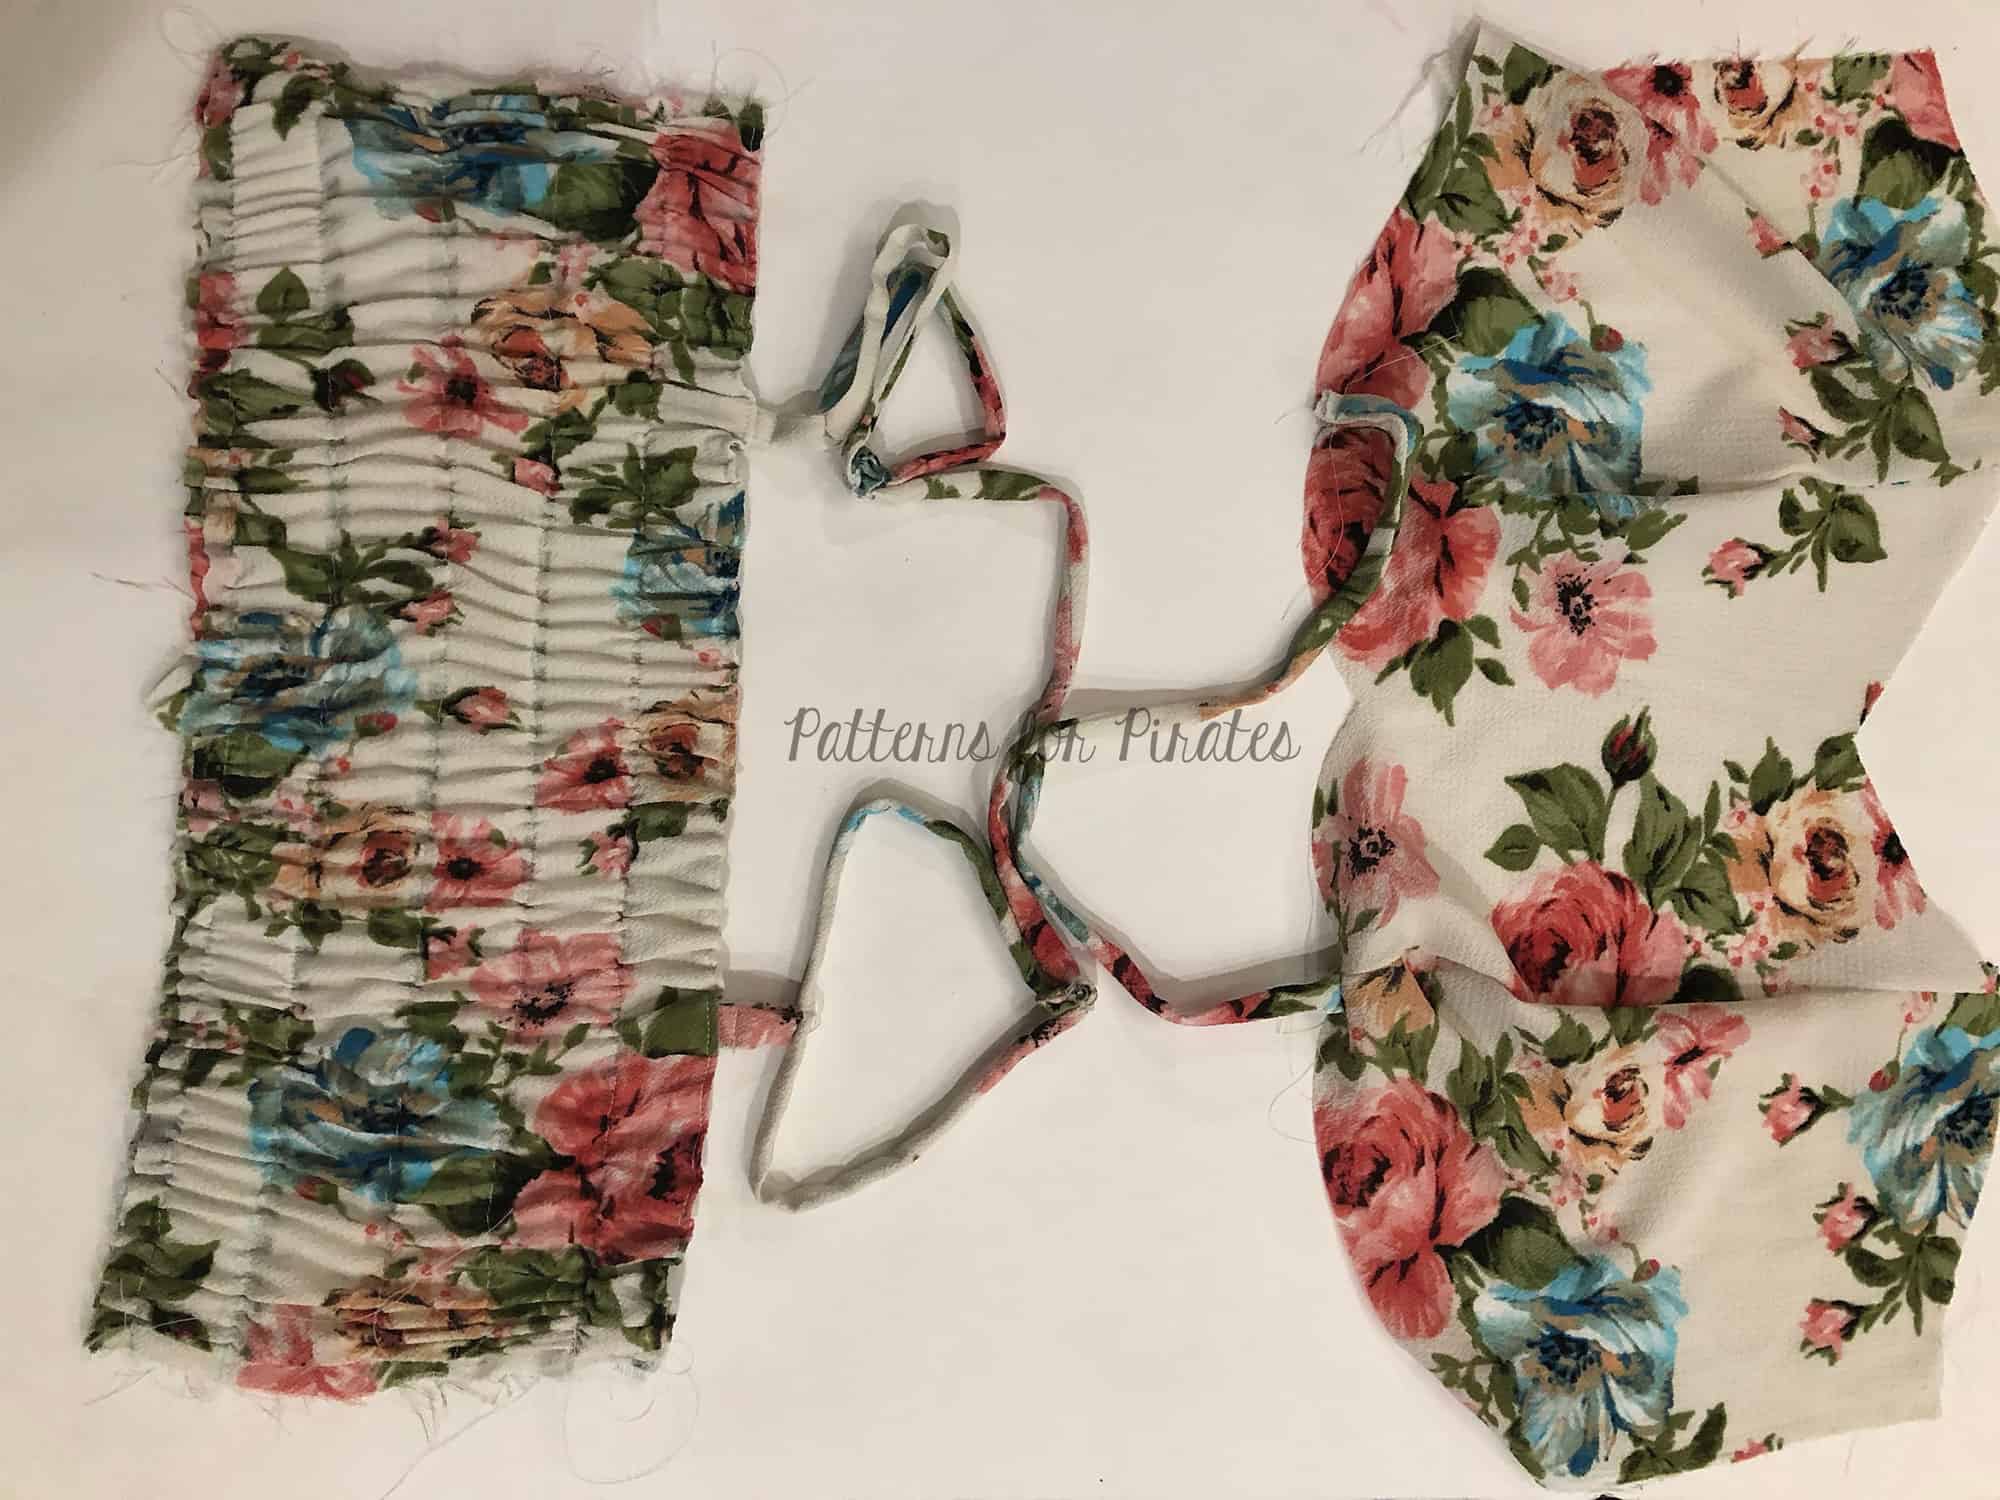
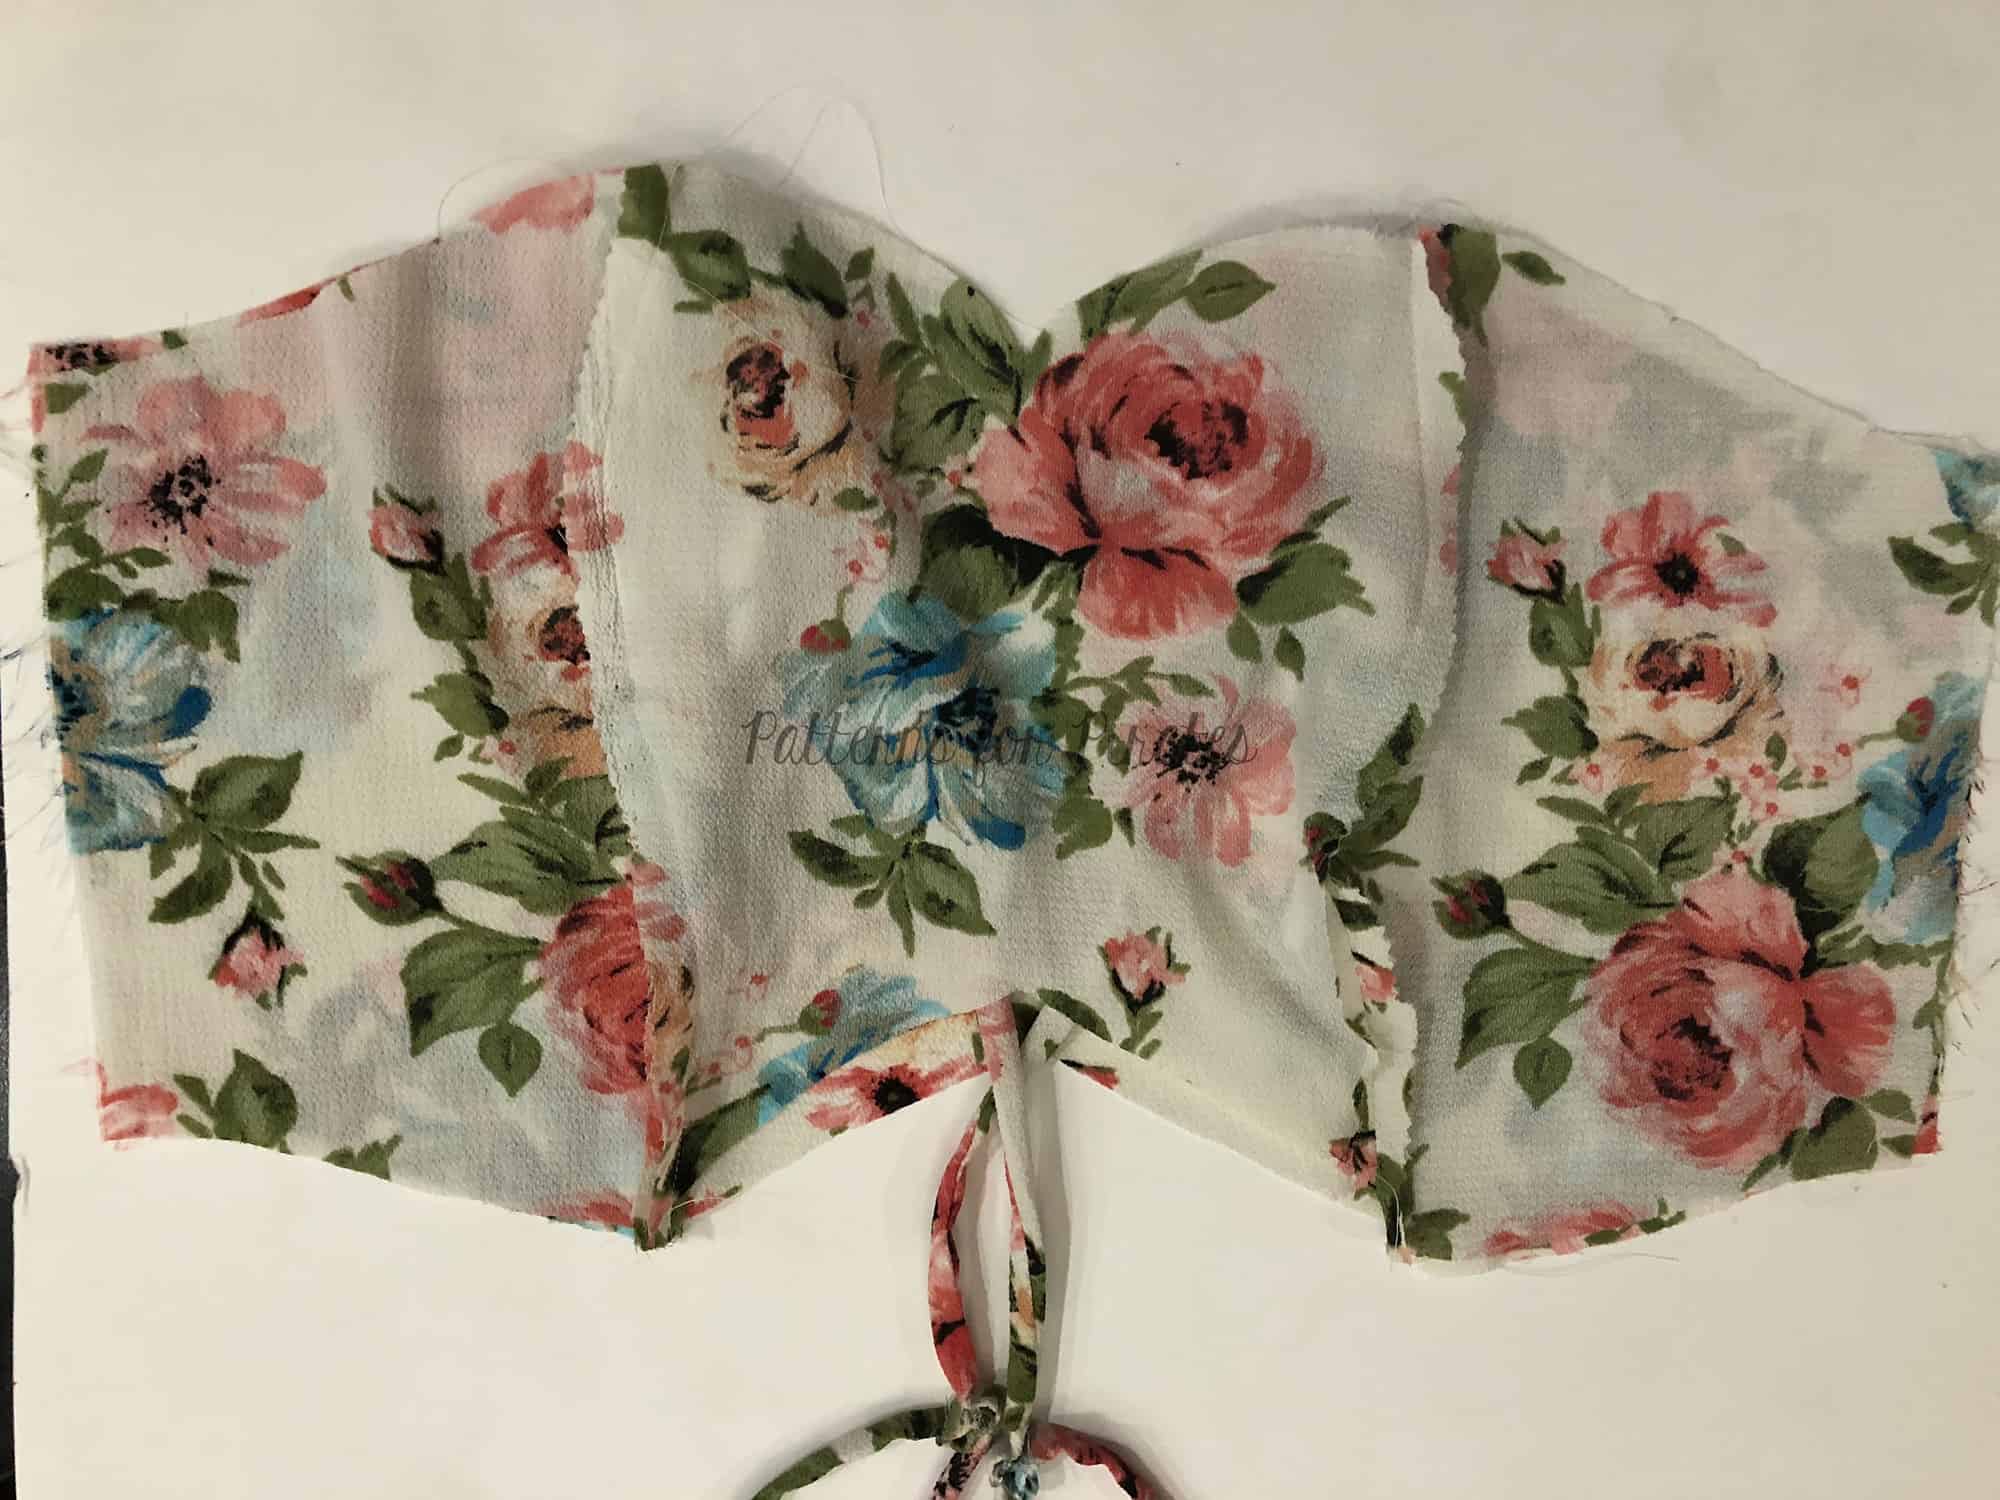
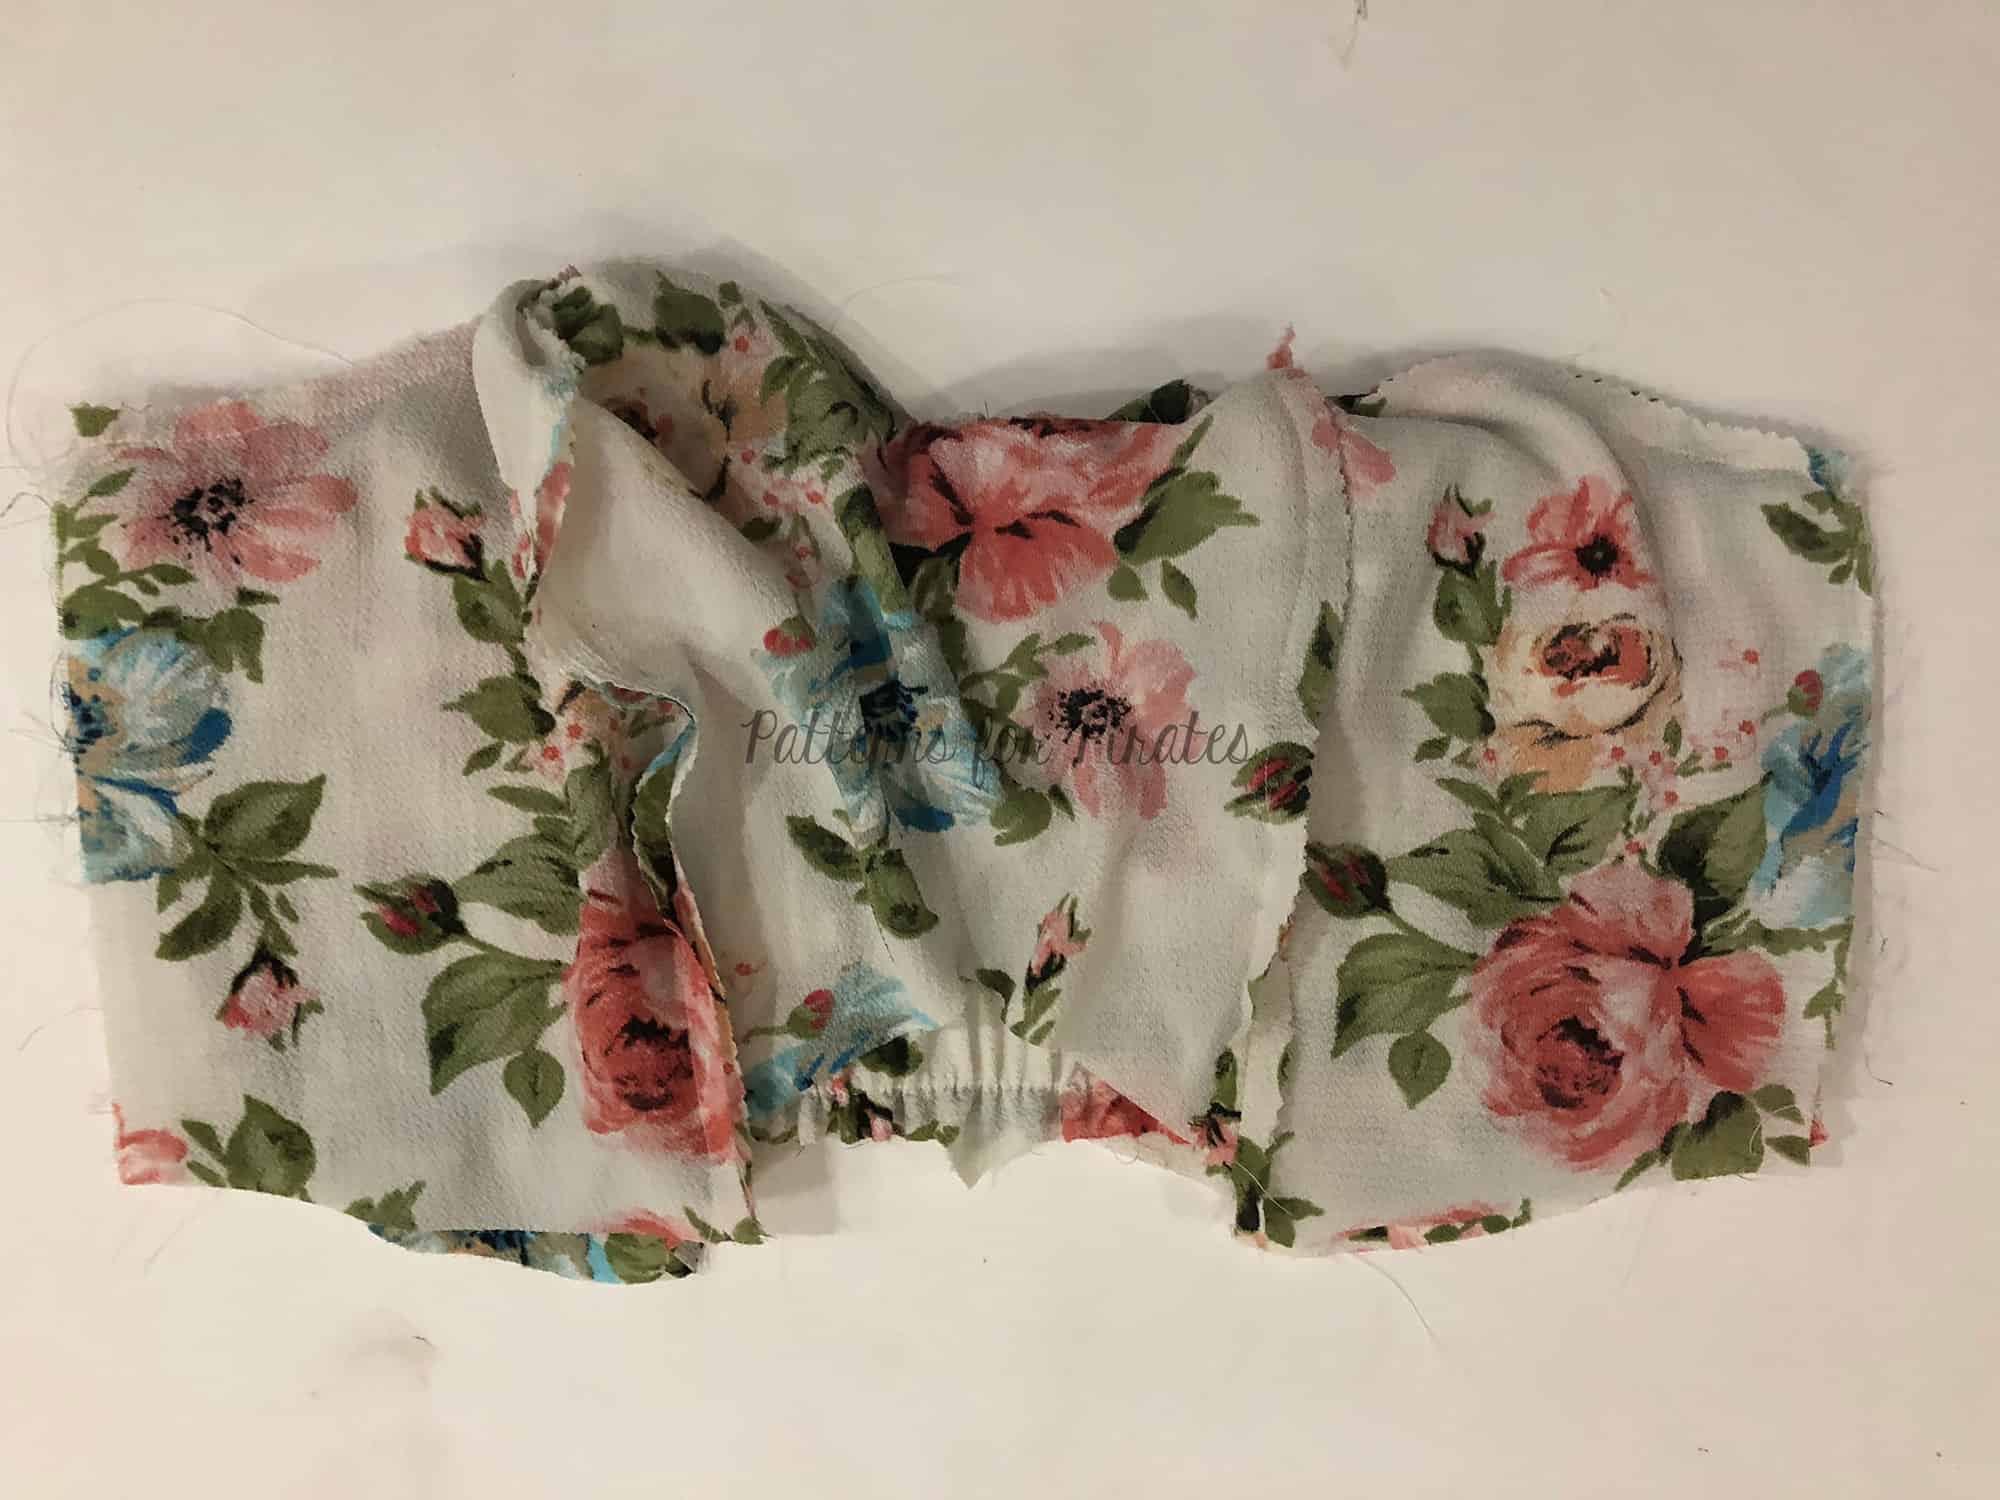
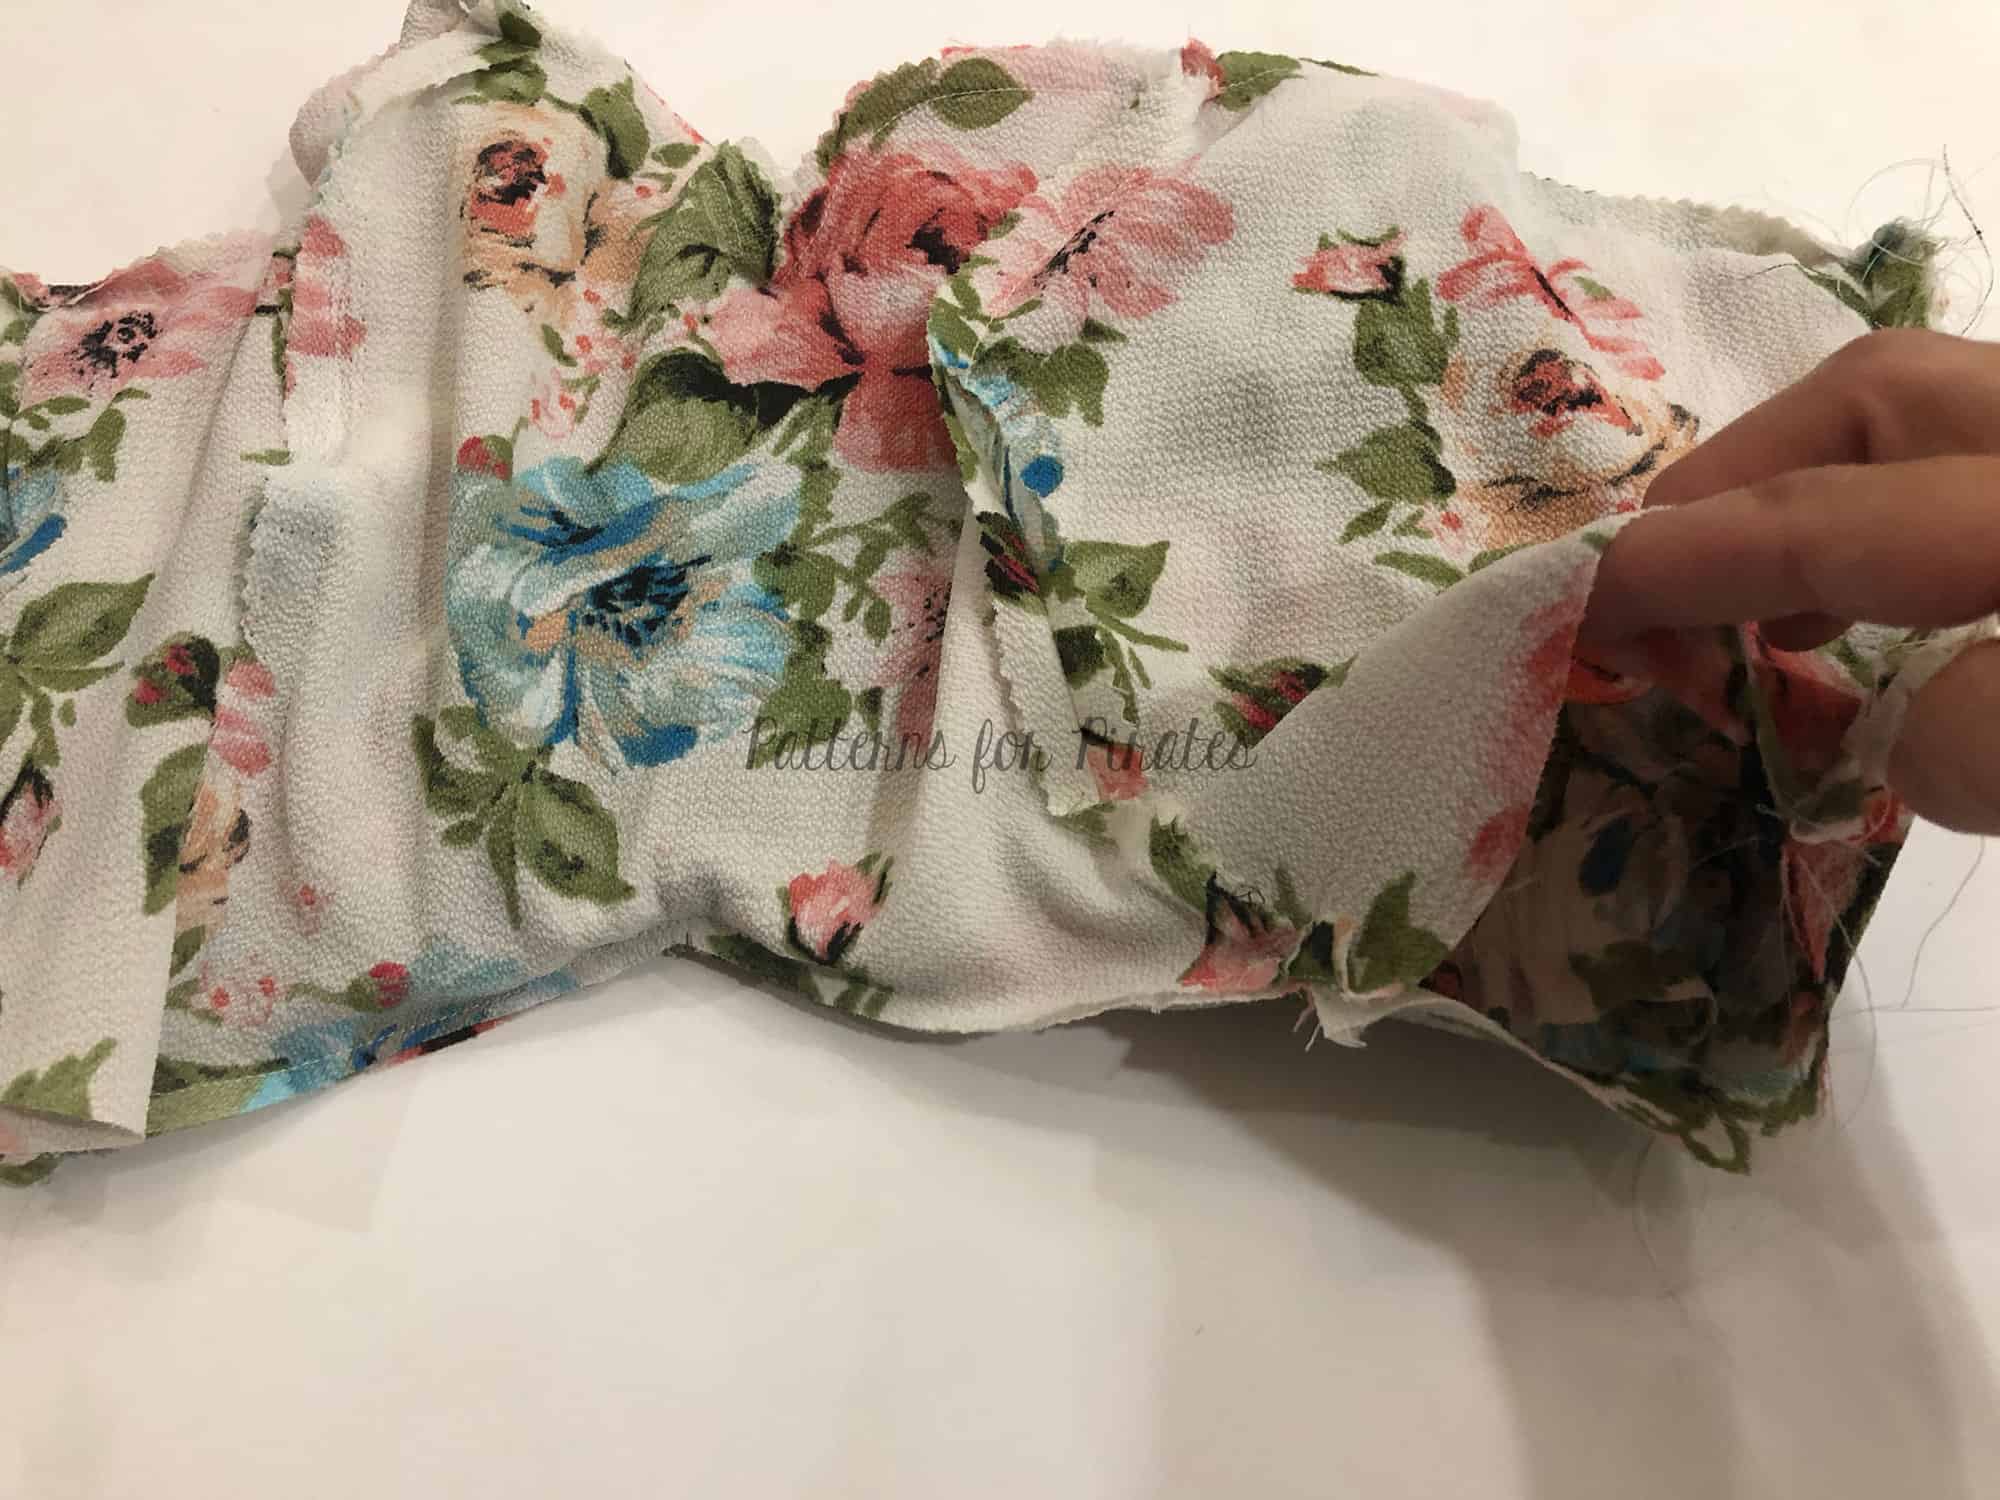
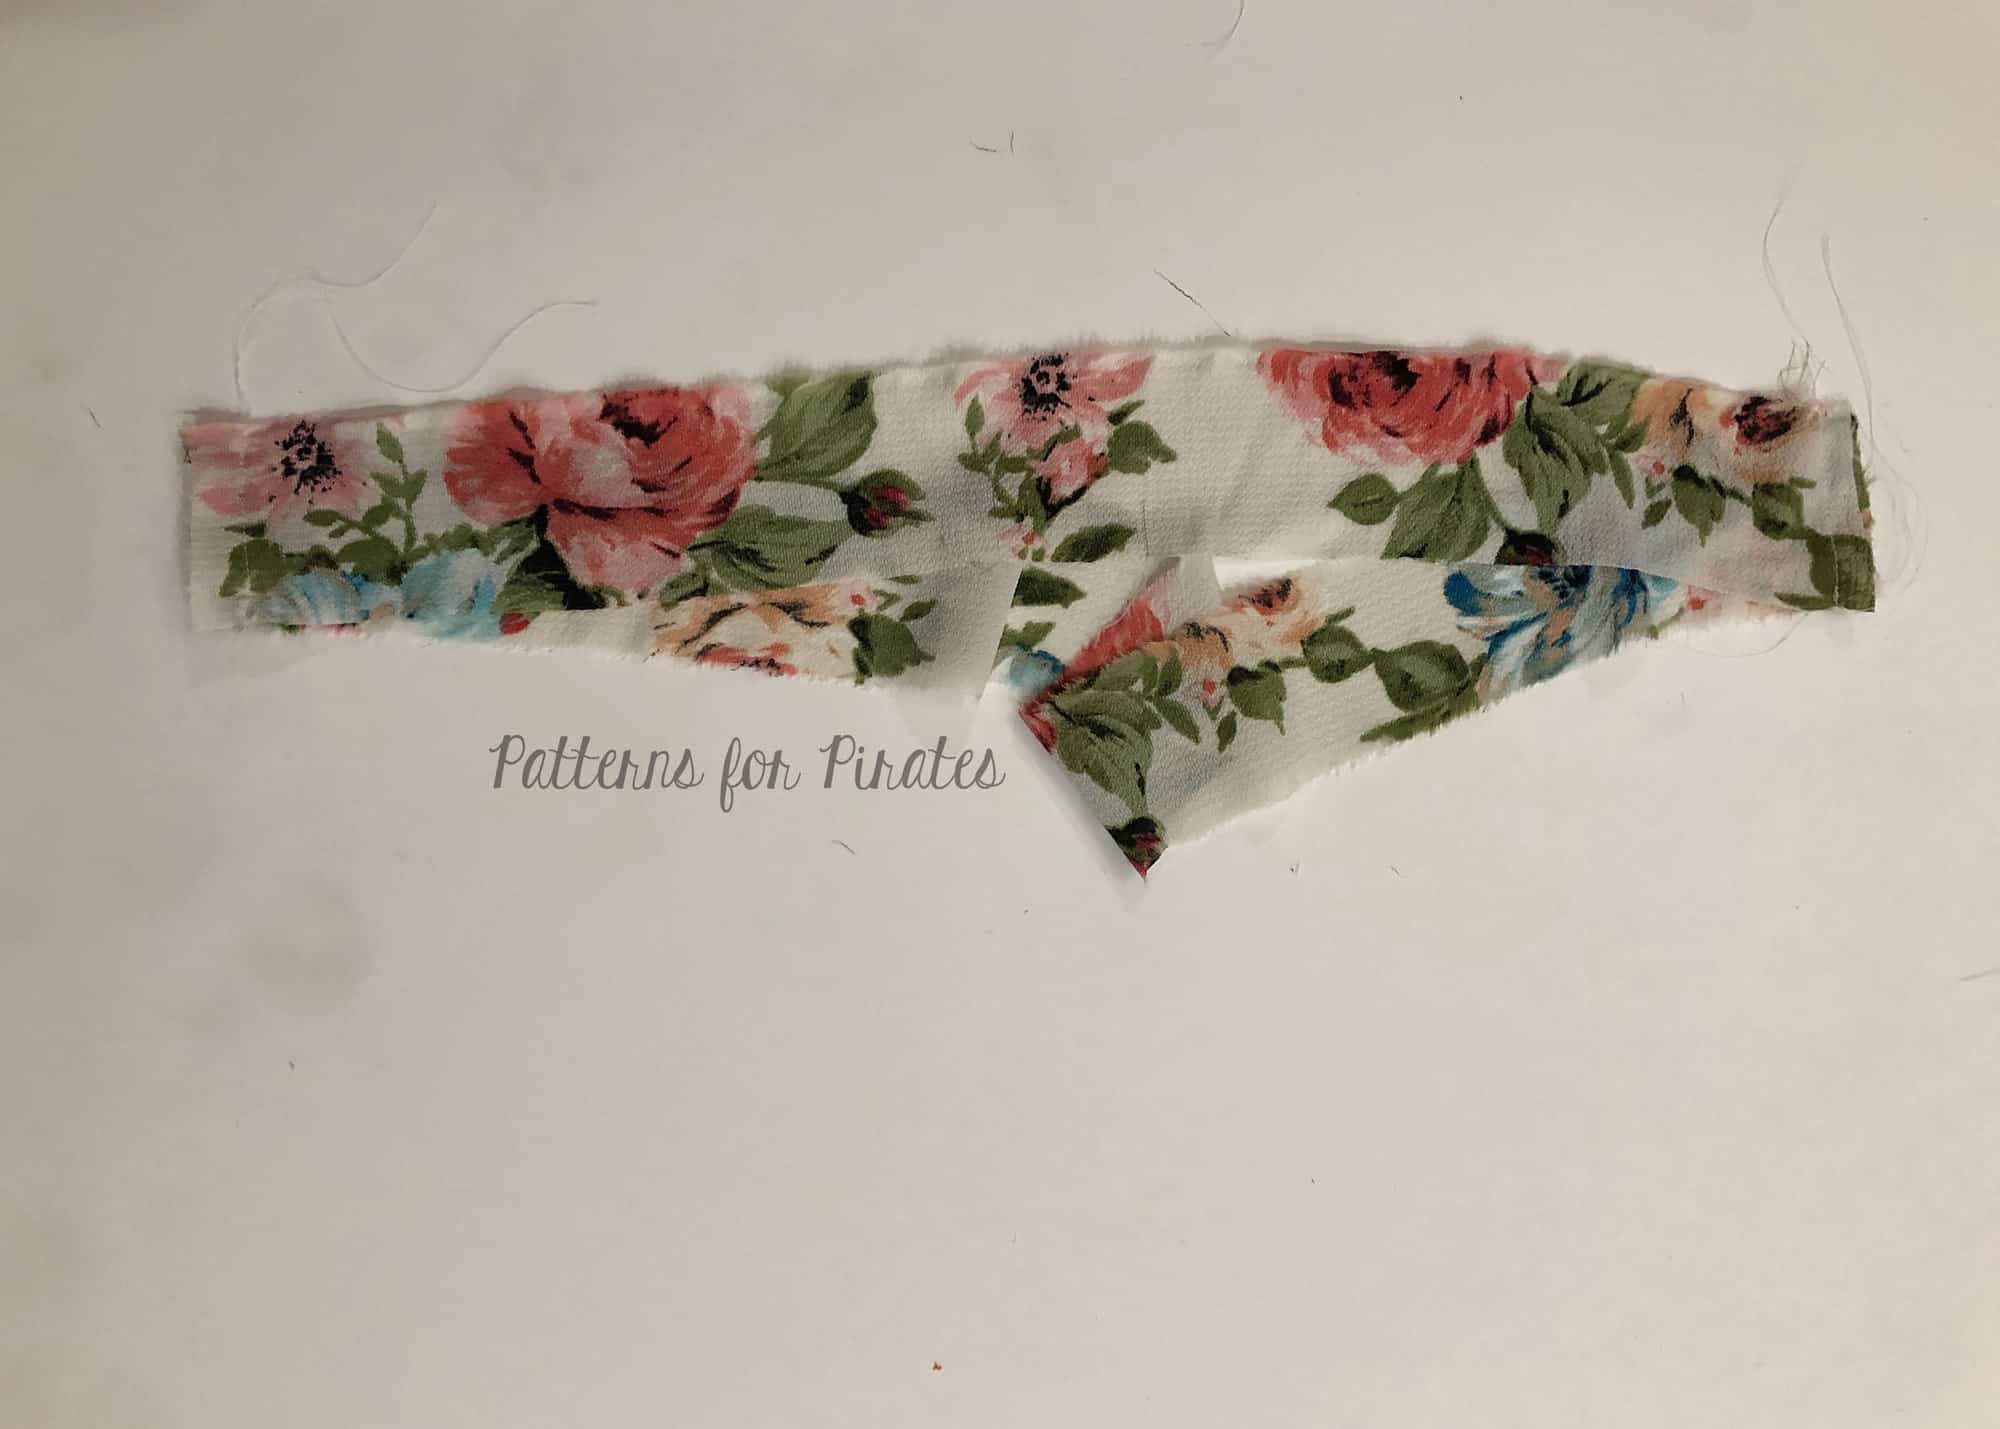
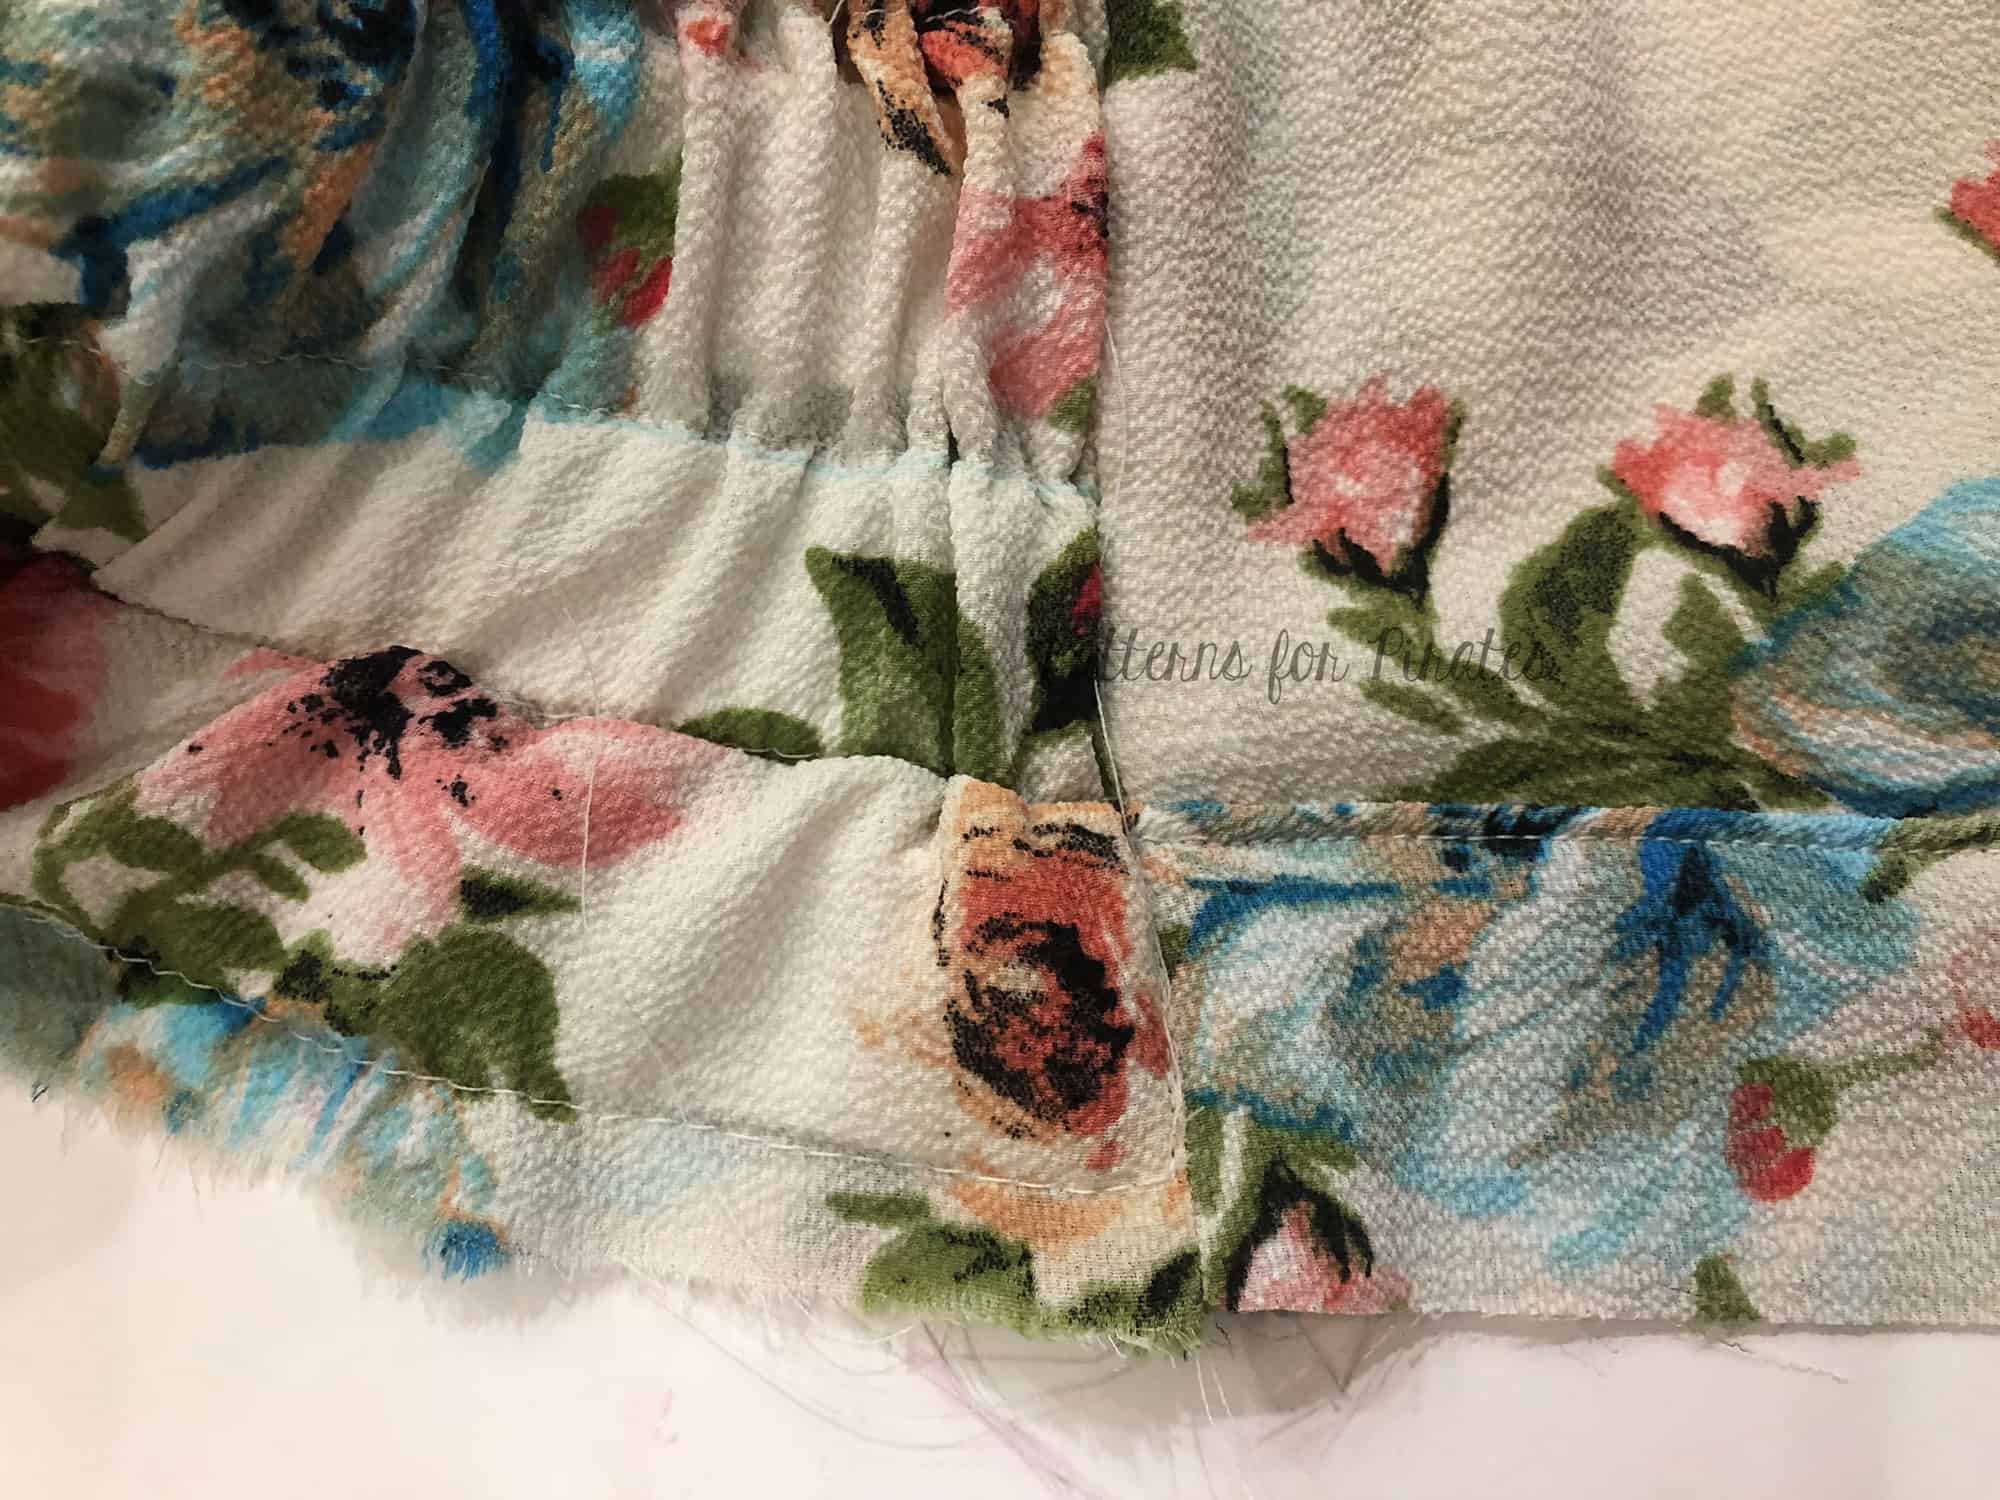
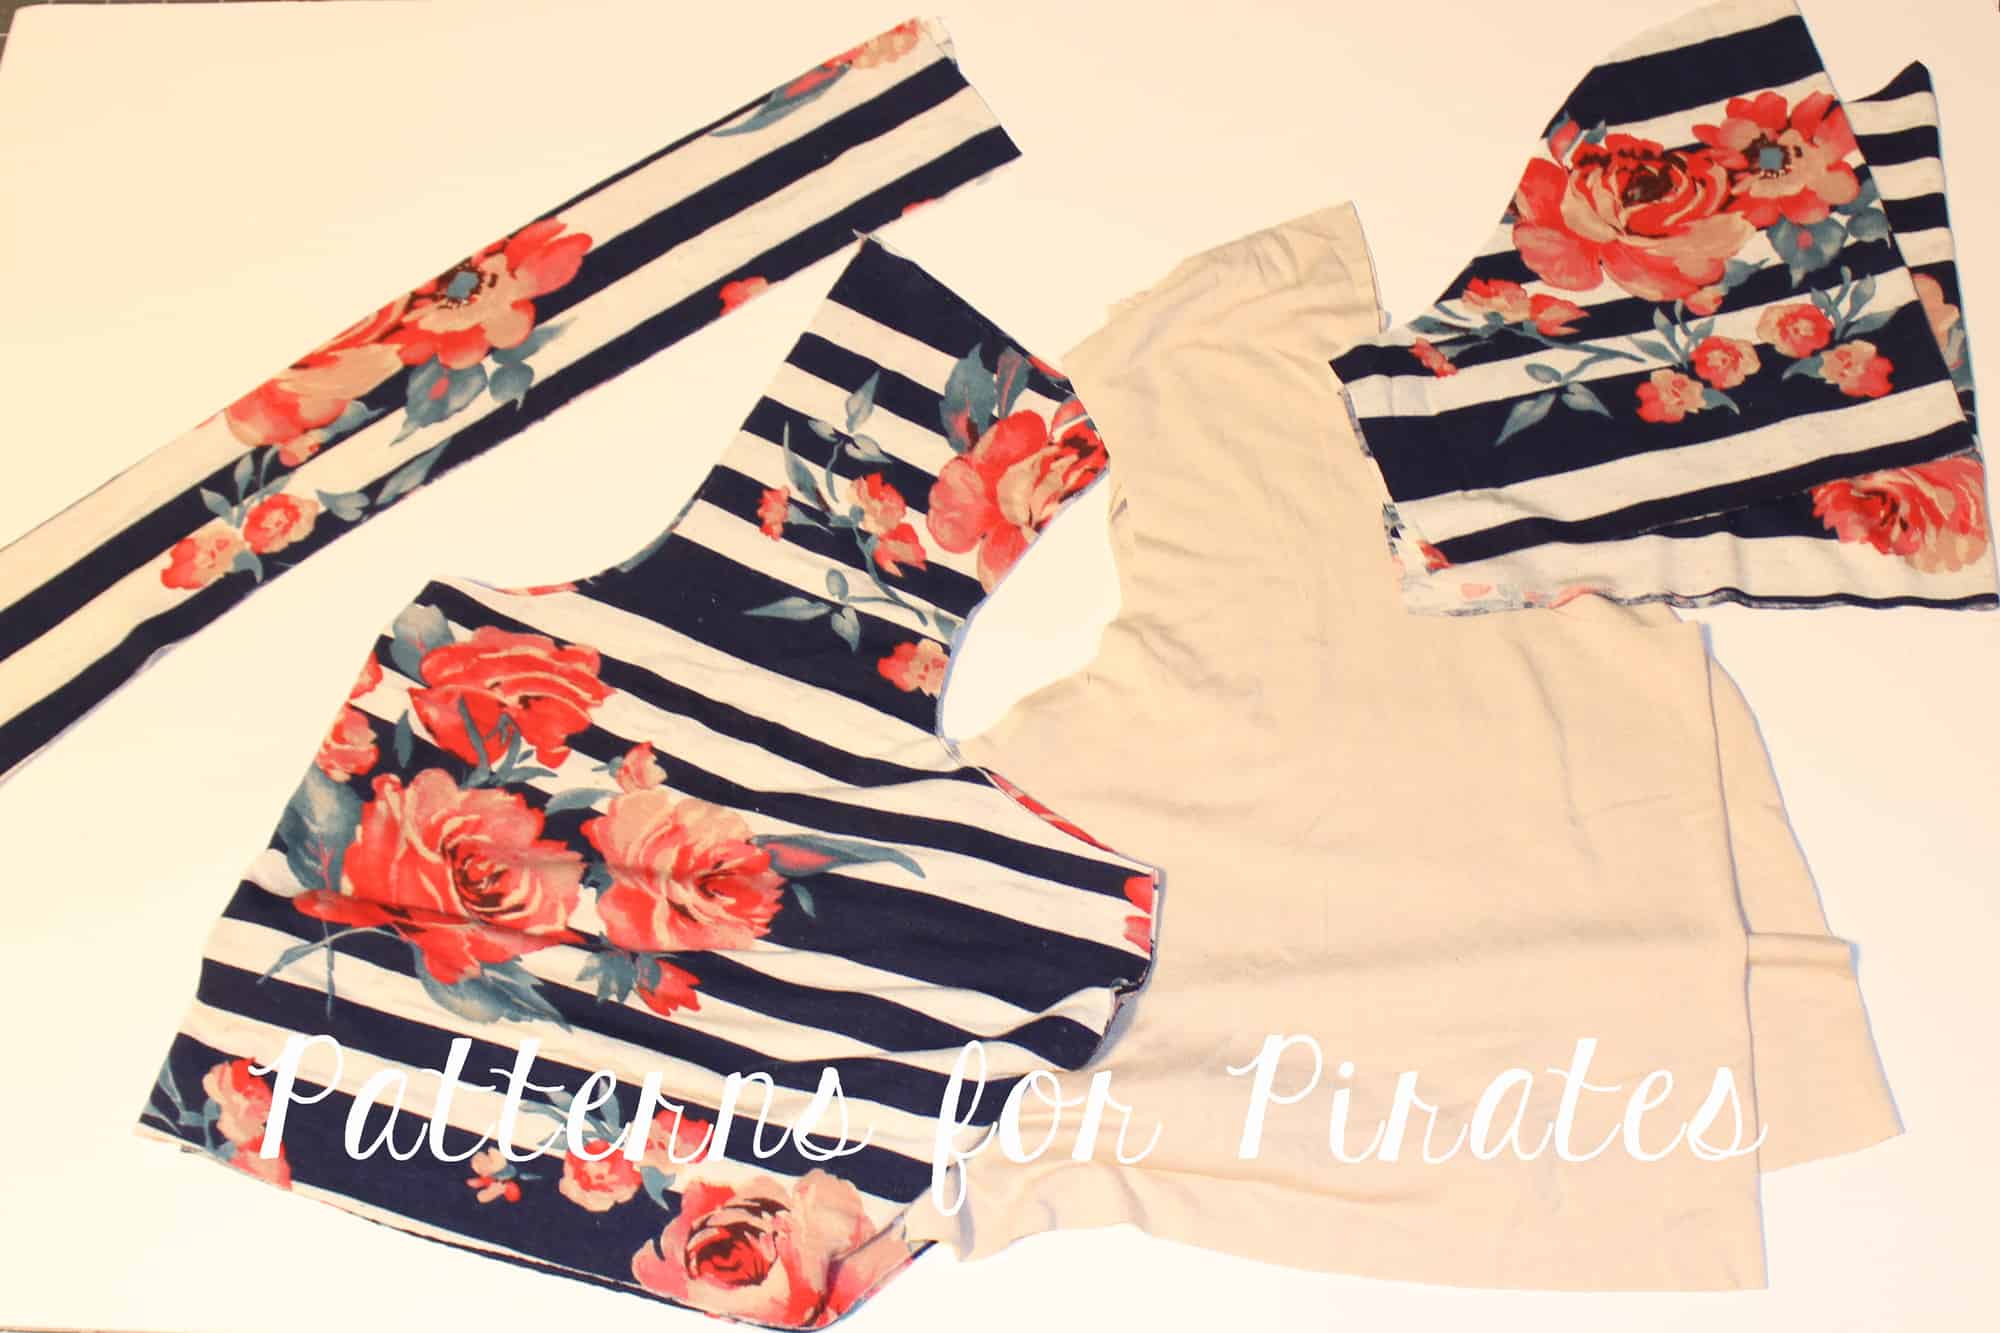
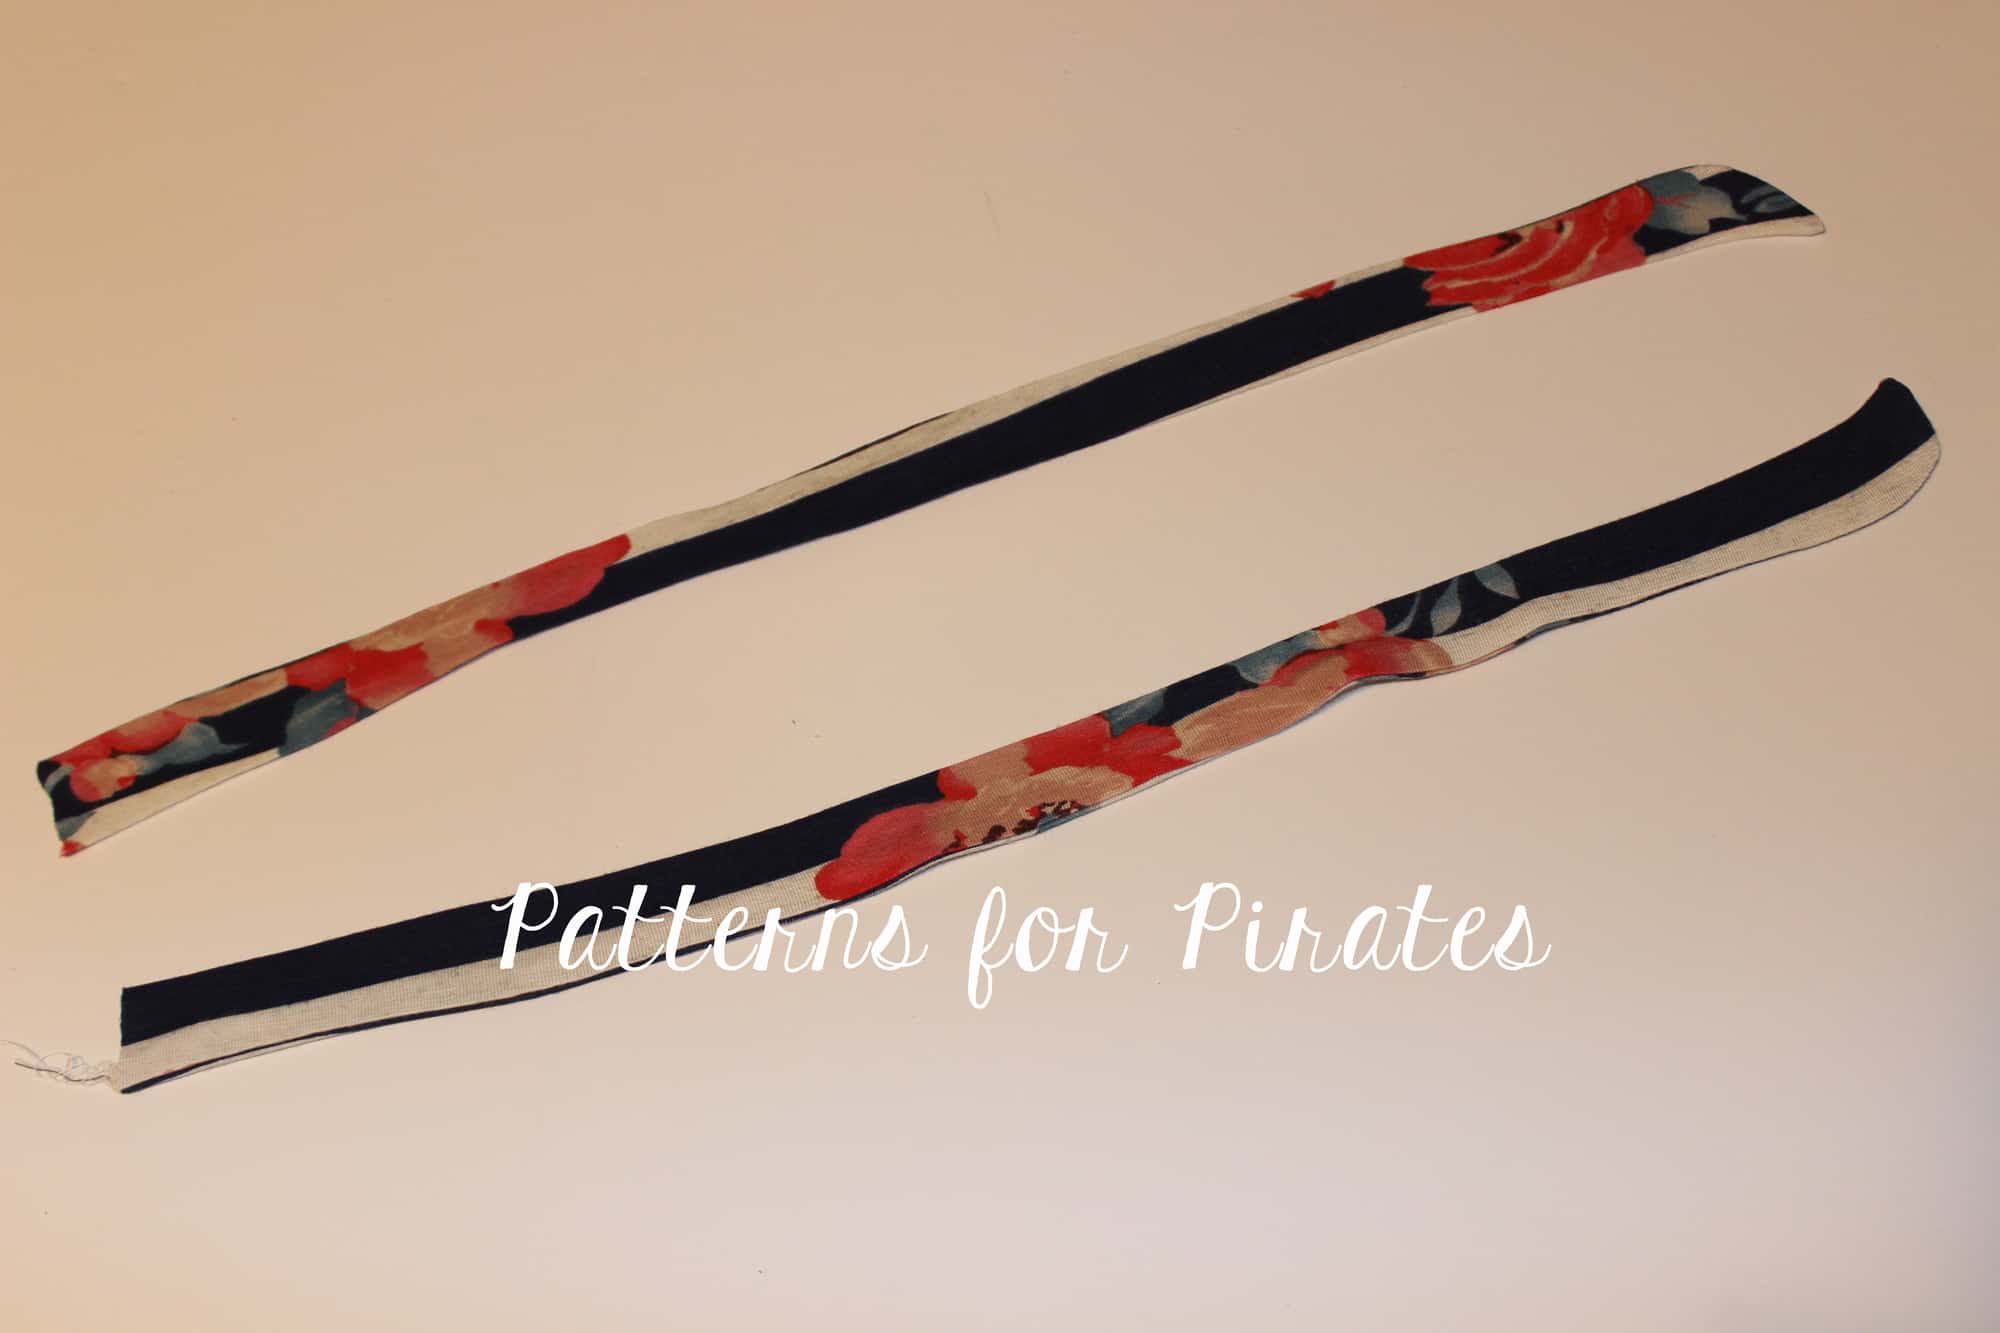
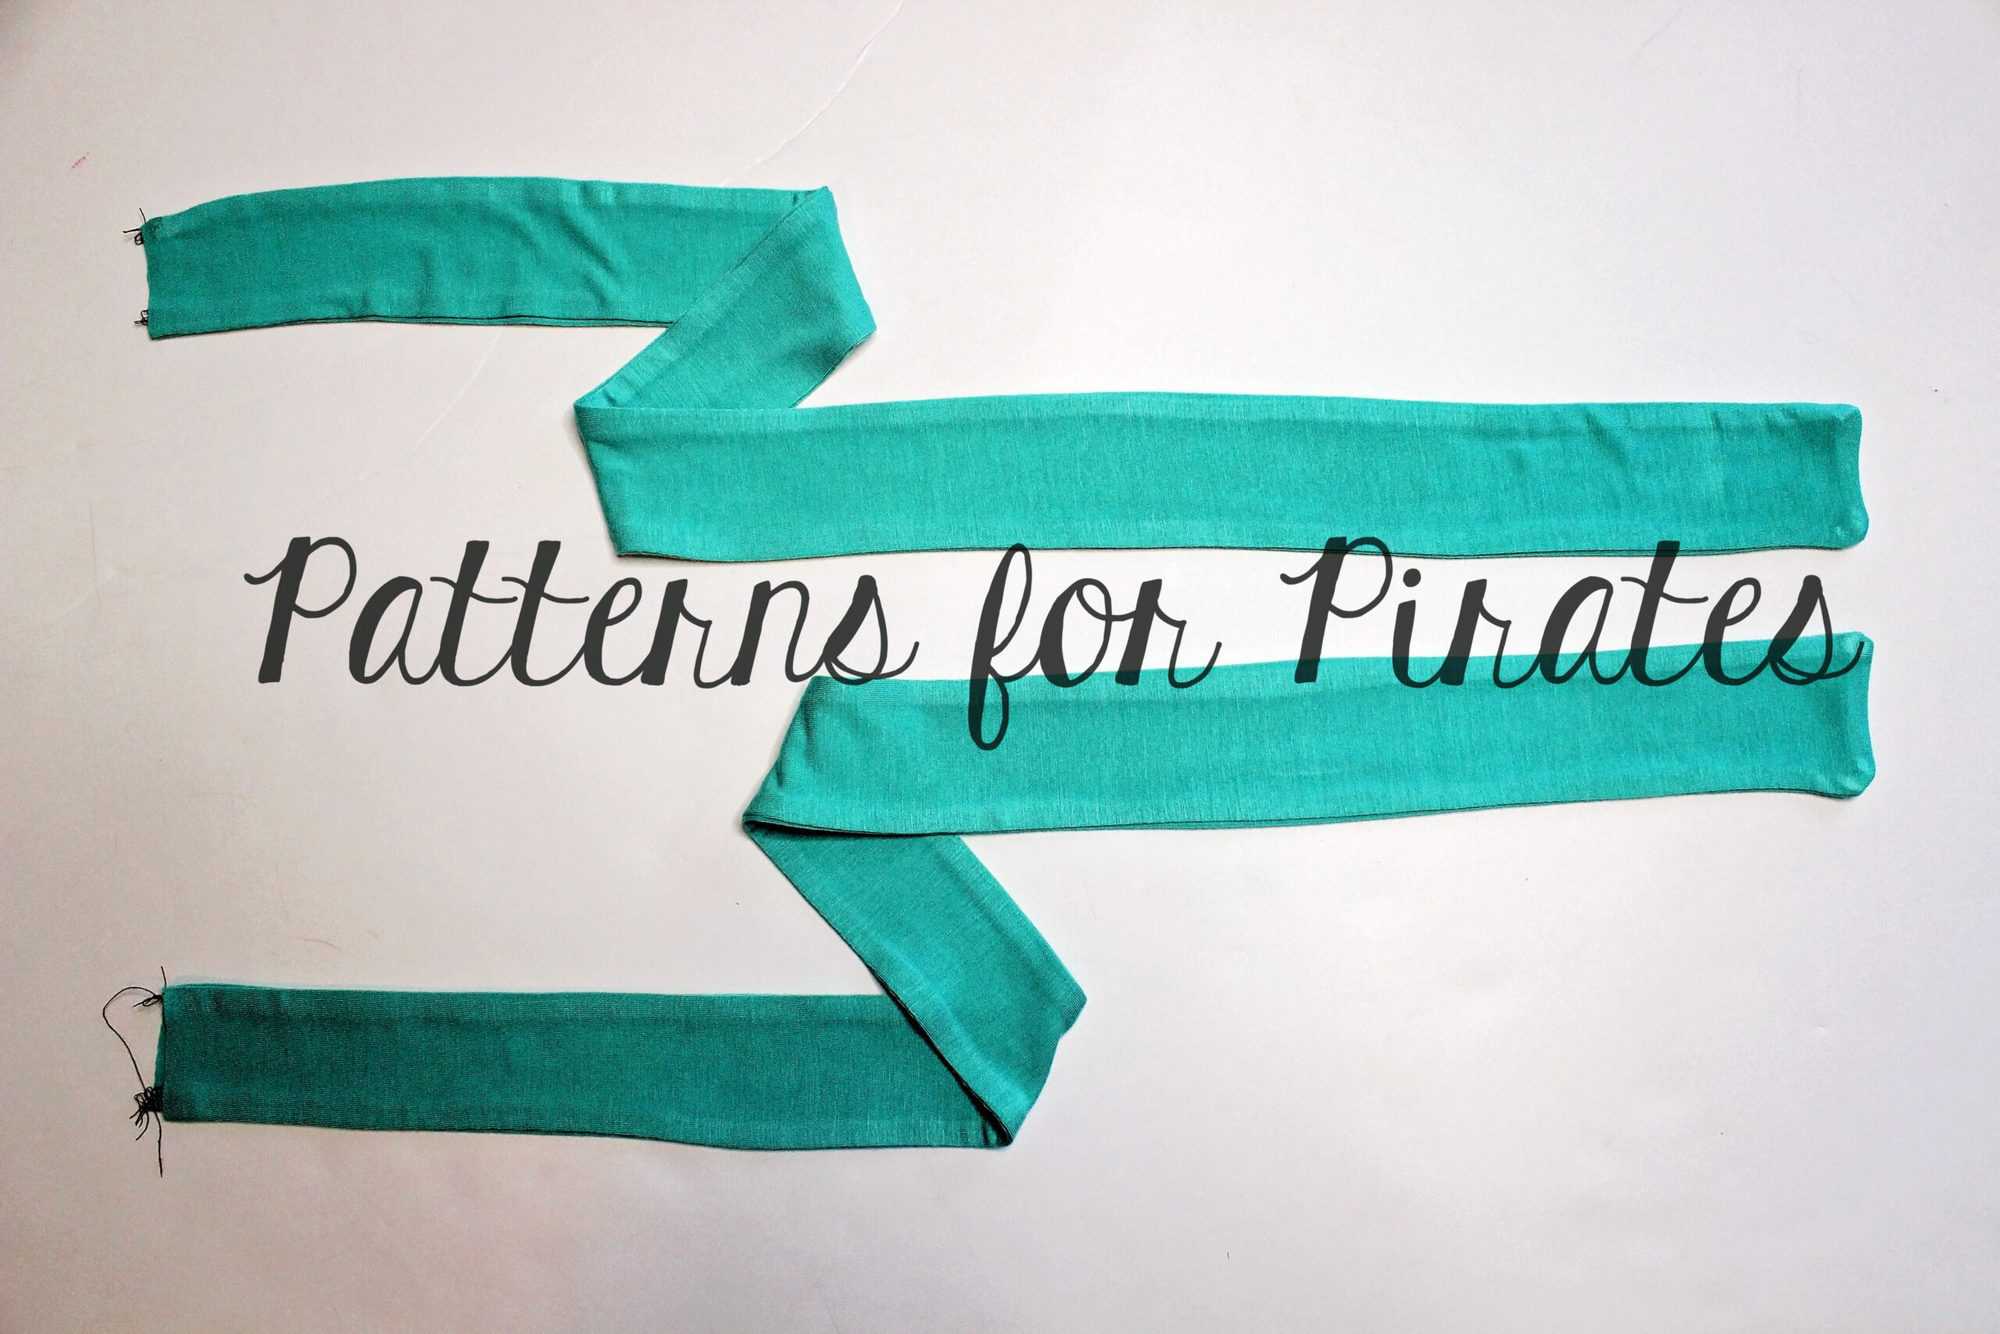
Up next I wanted to show you how to make sure you don’t lose your Wrap belt 😉 I decided for my short sleeve option to actually sew the ties in the side seams instead of creating the belt. Start by cutting the 4 pieces for the belt. instead of making one long belt we will create two ties. Sew 2 of the 4 pieces right sides together along the long edges and one of the short ones. Turn the tie right side out through the raw edge. PRESS! Repeat the steps for the other tie.
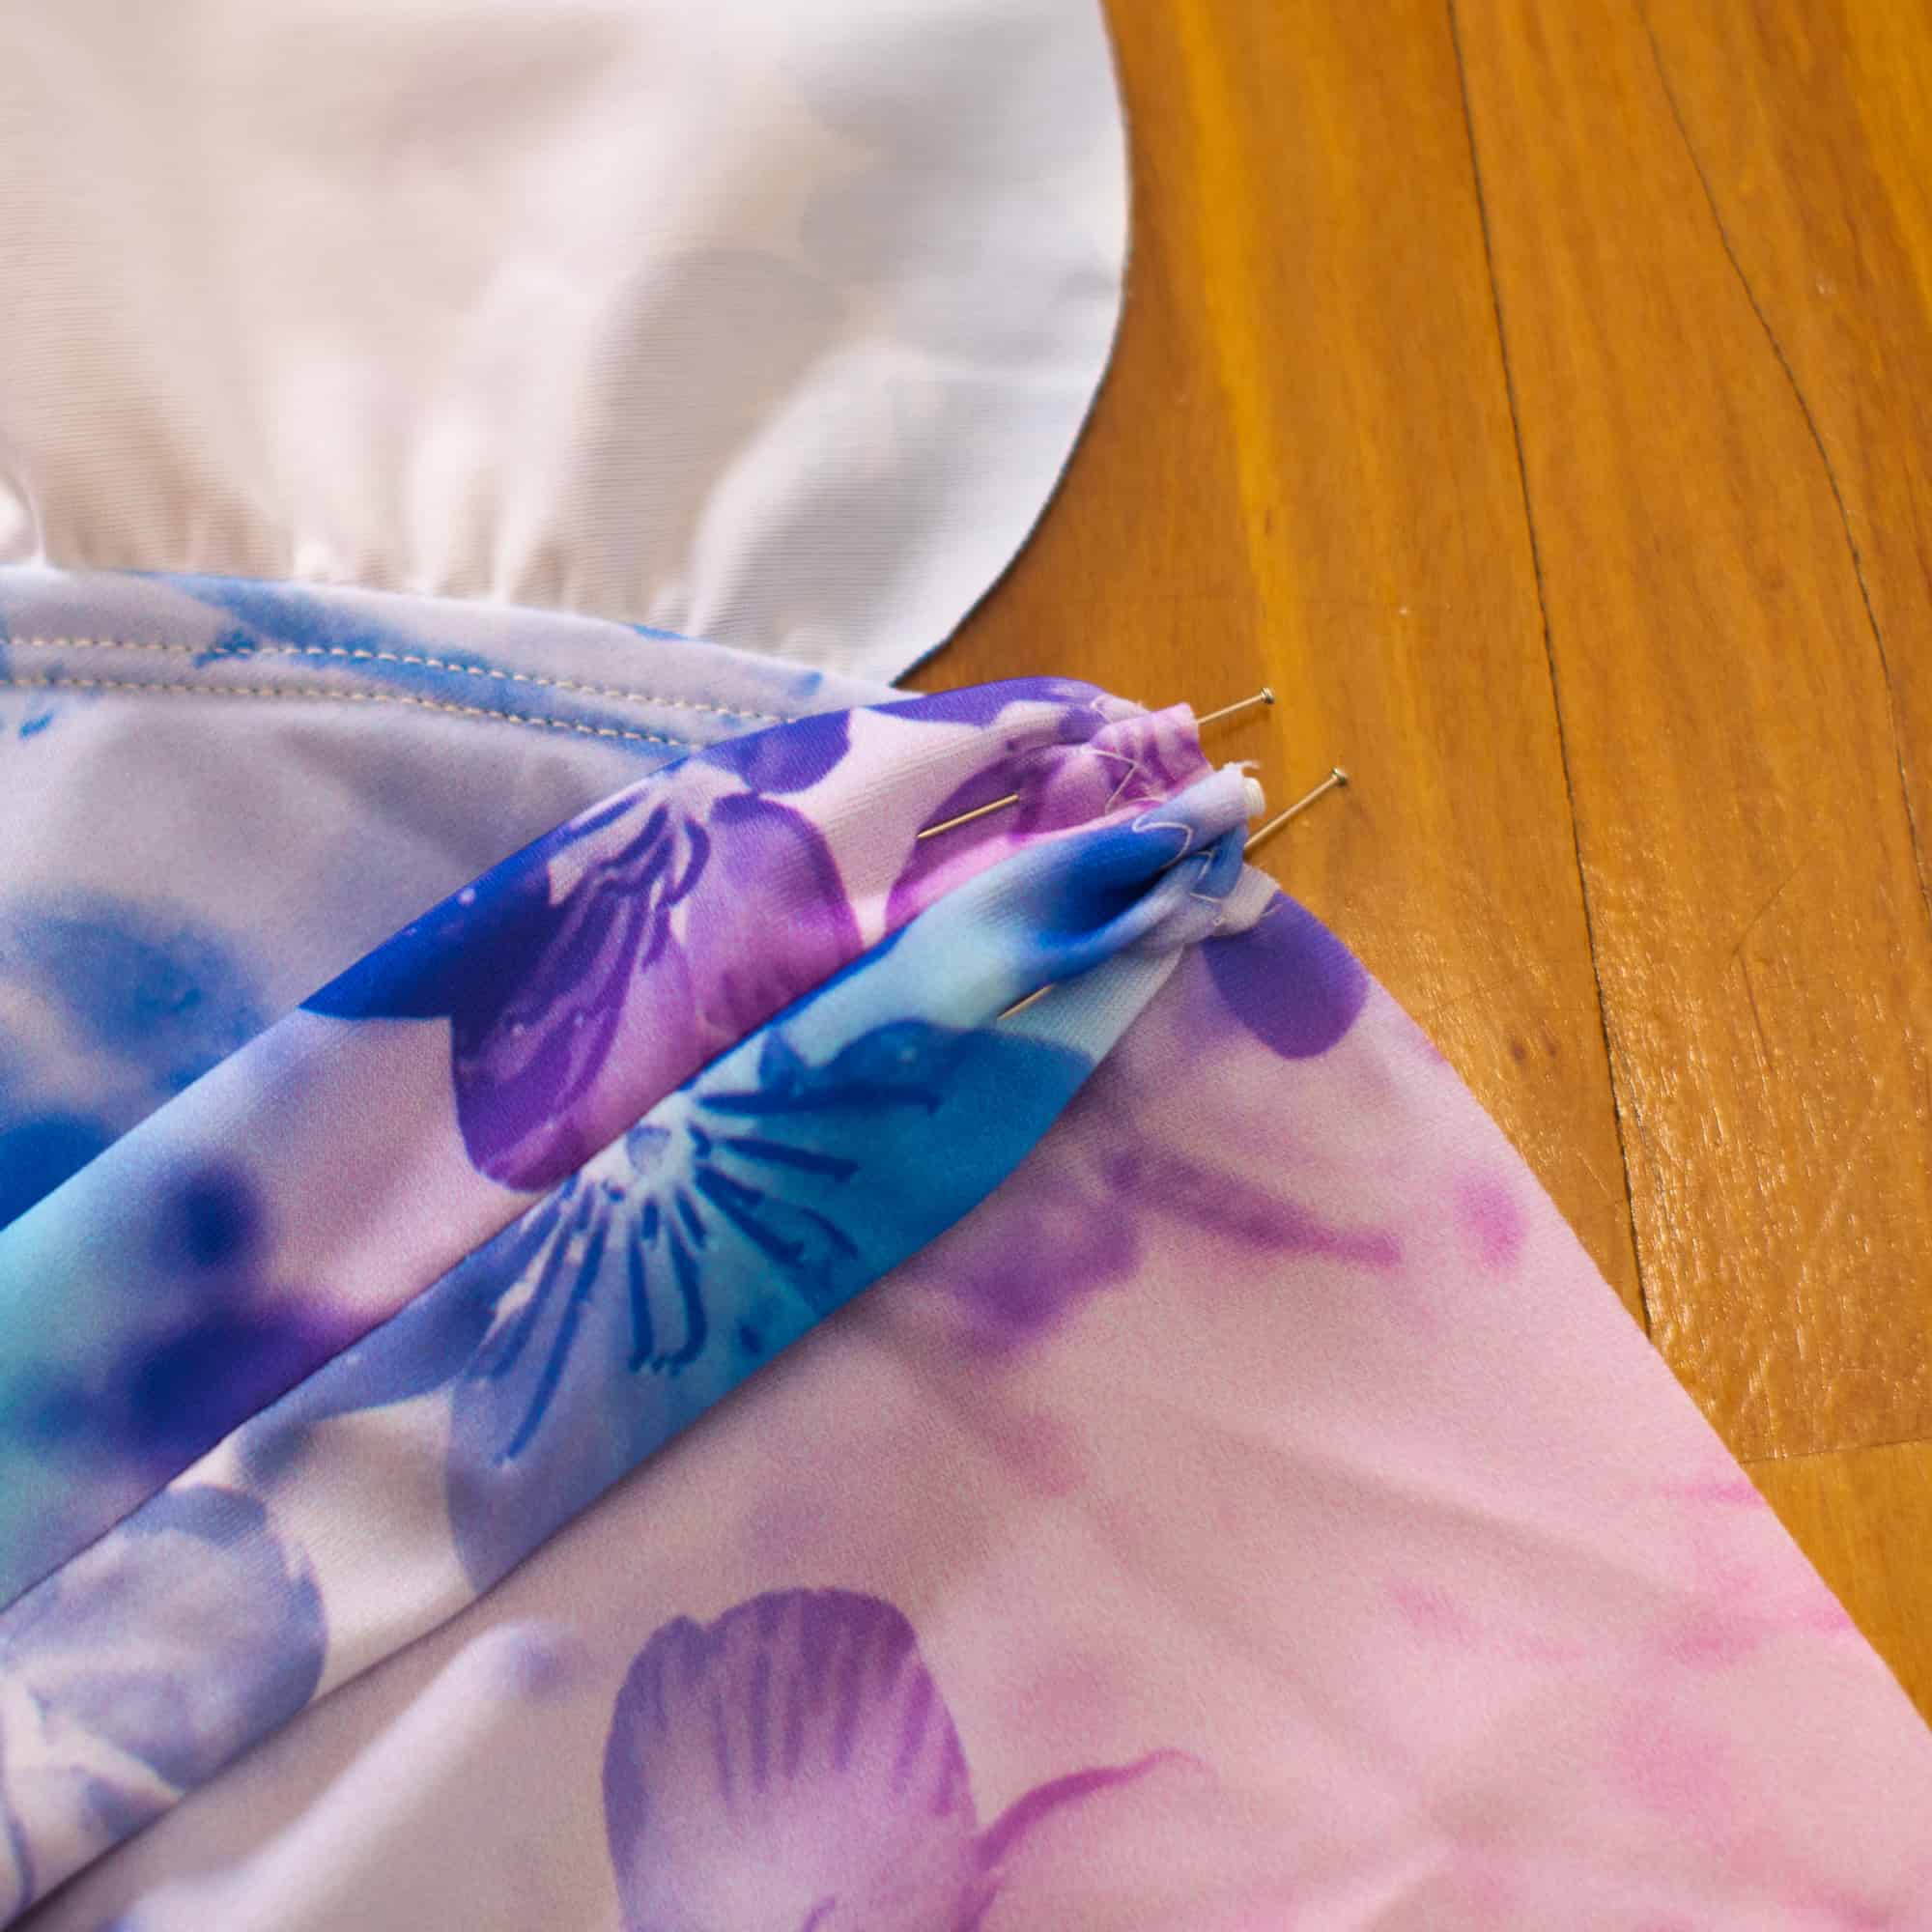
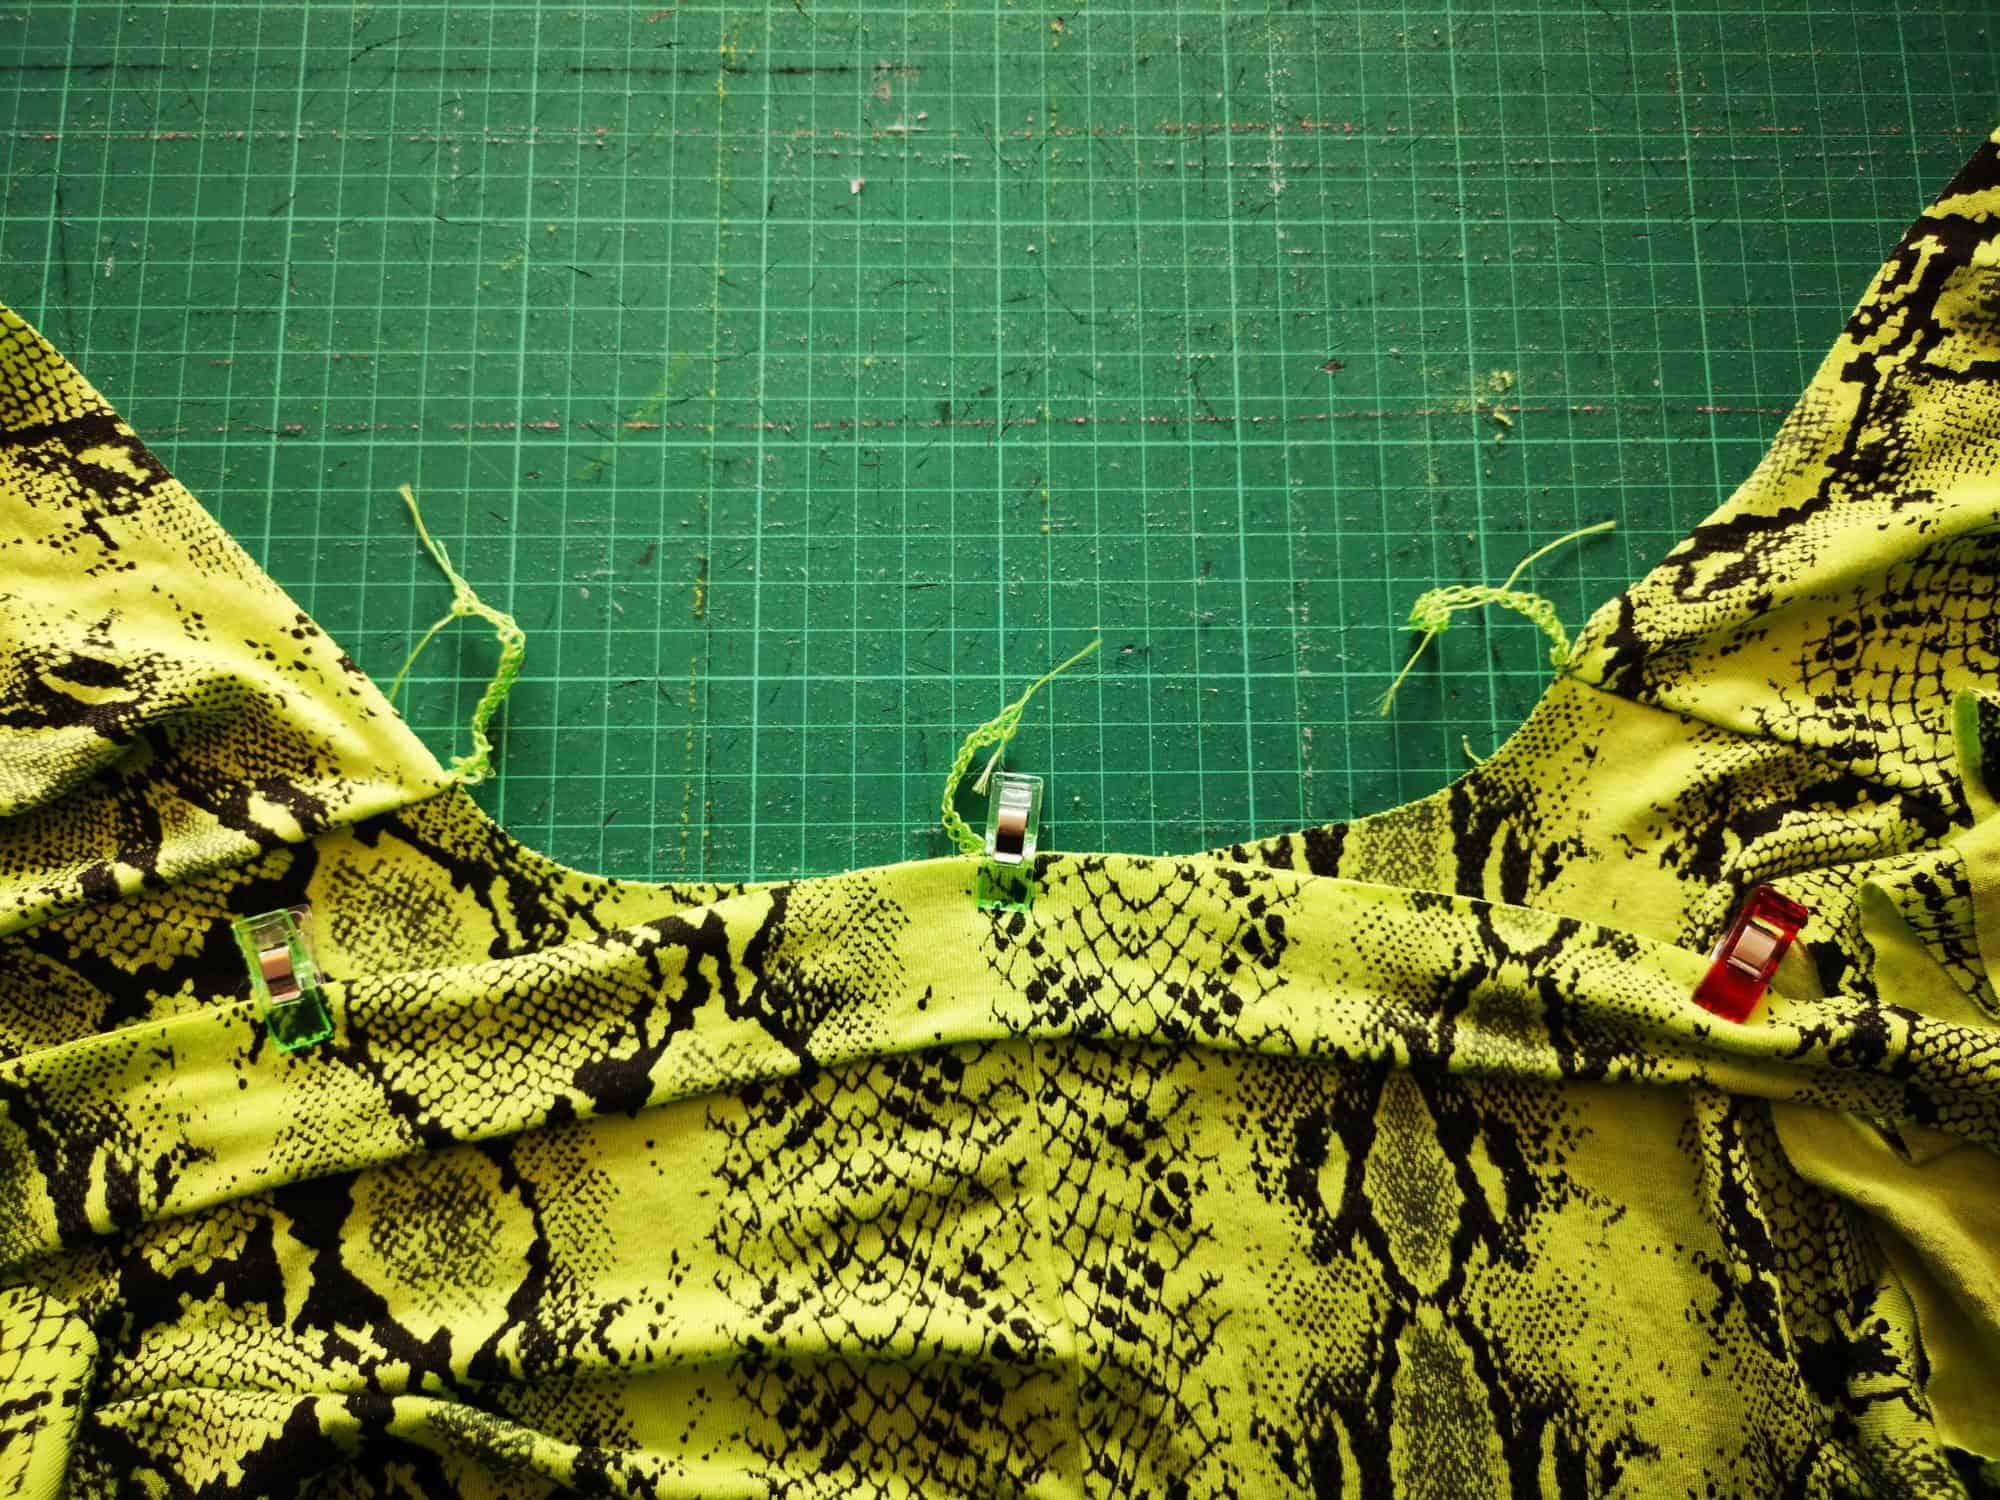
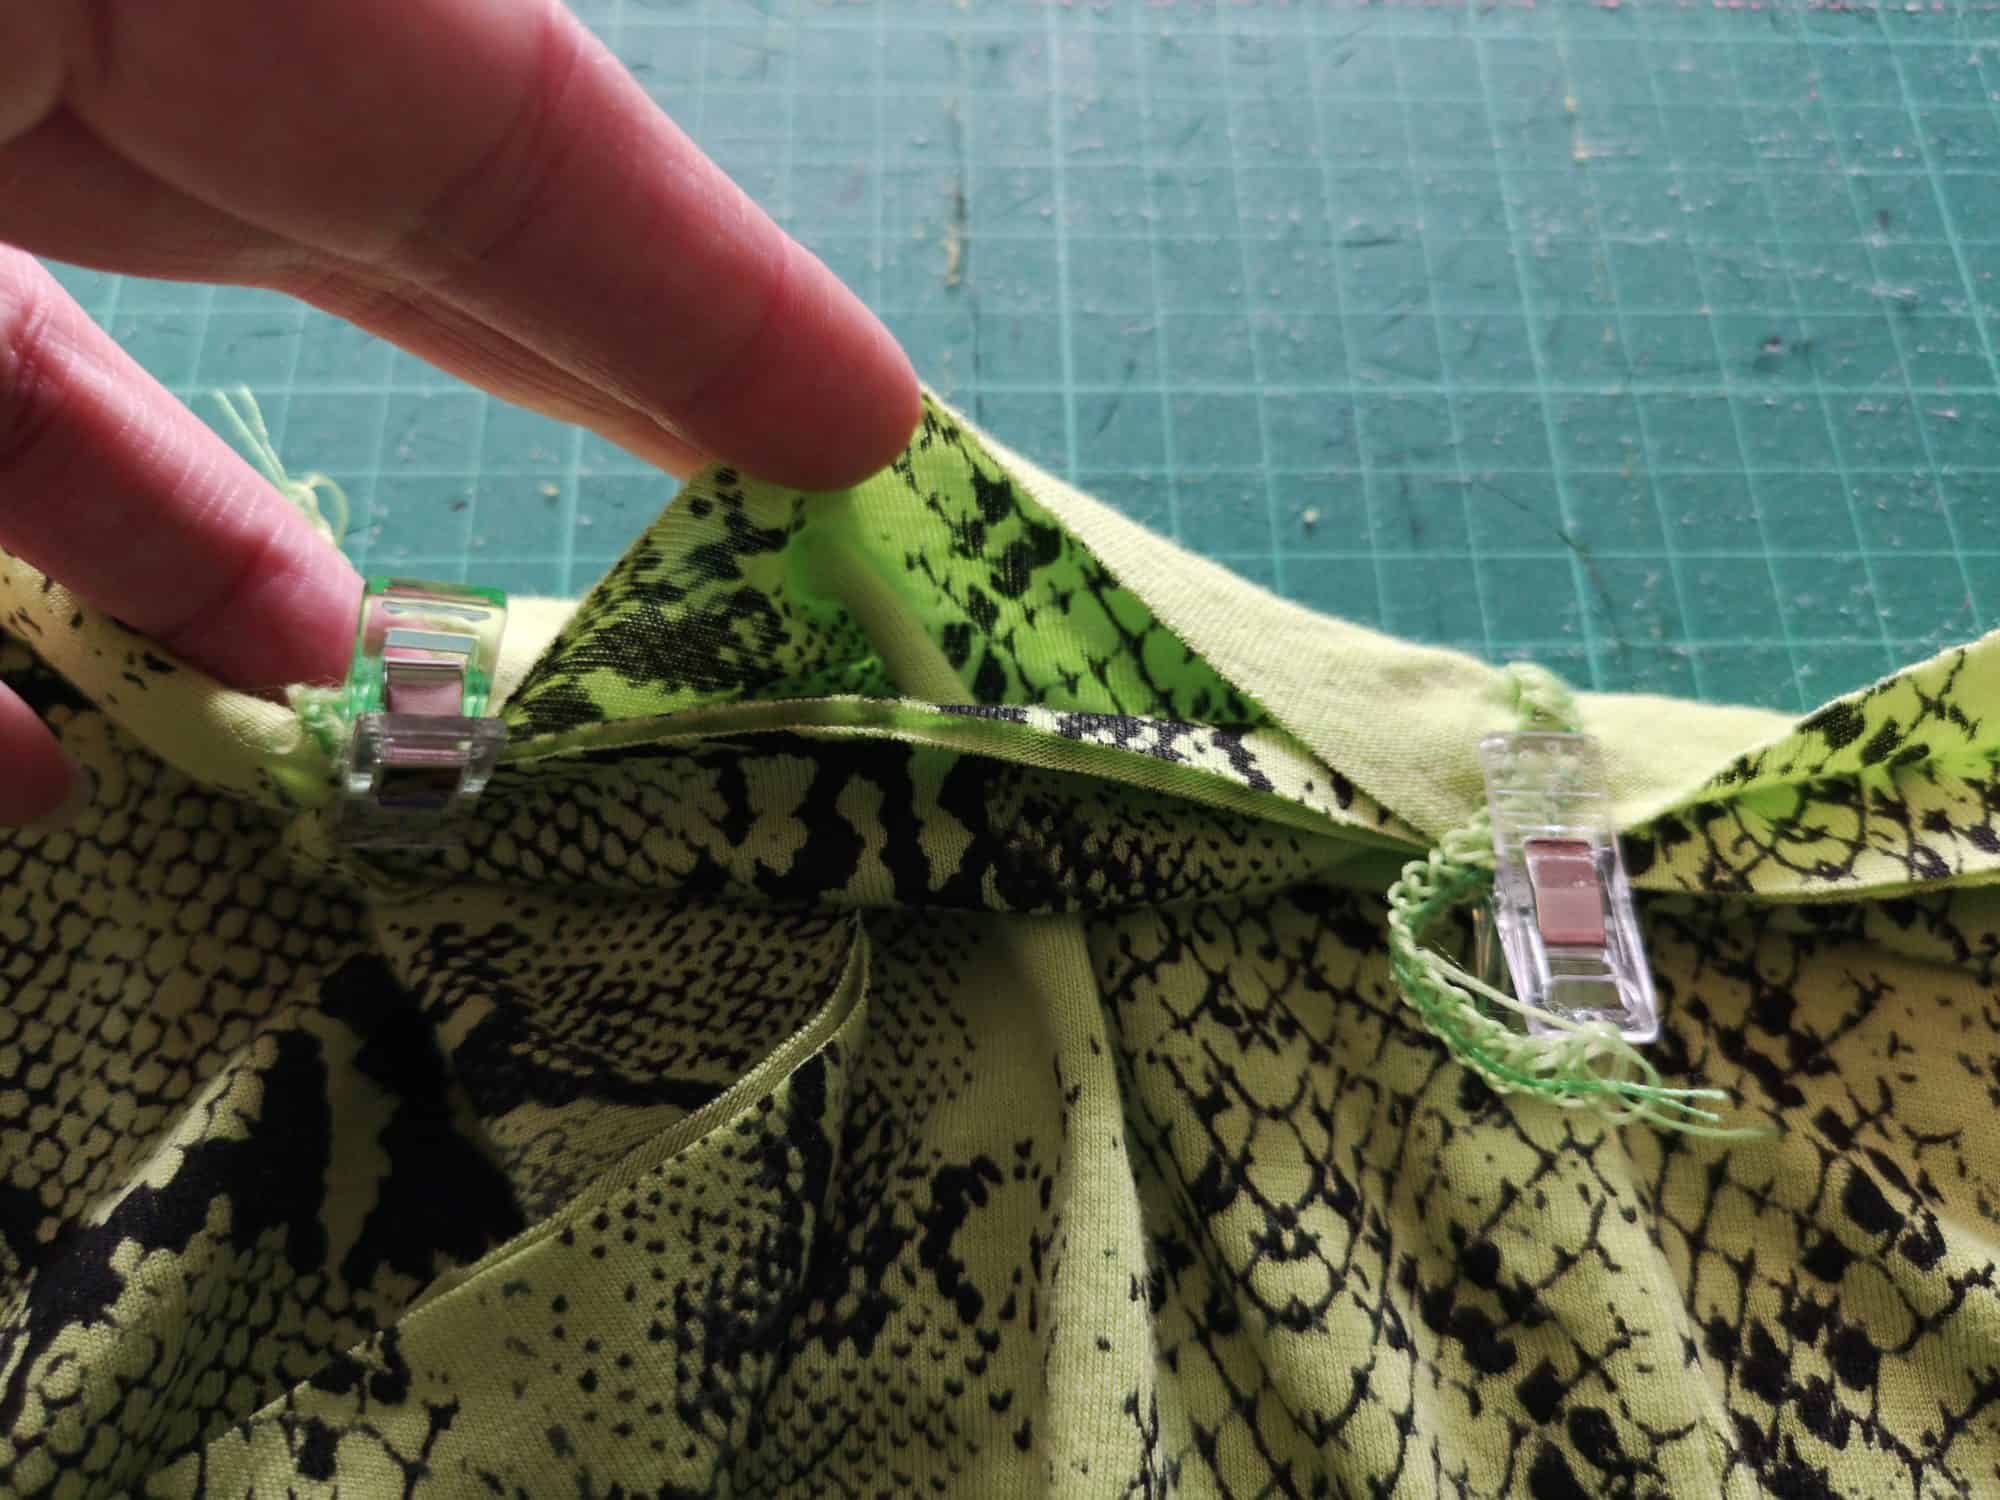
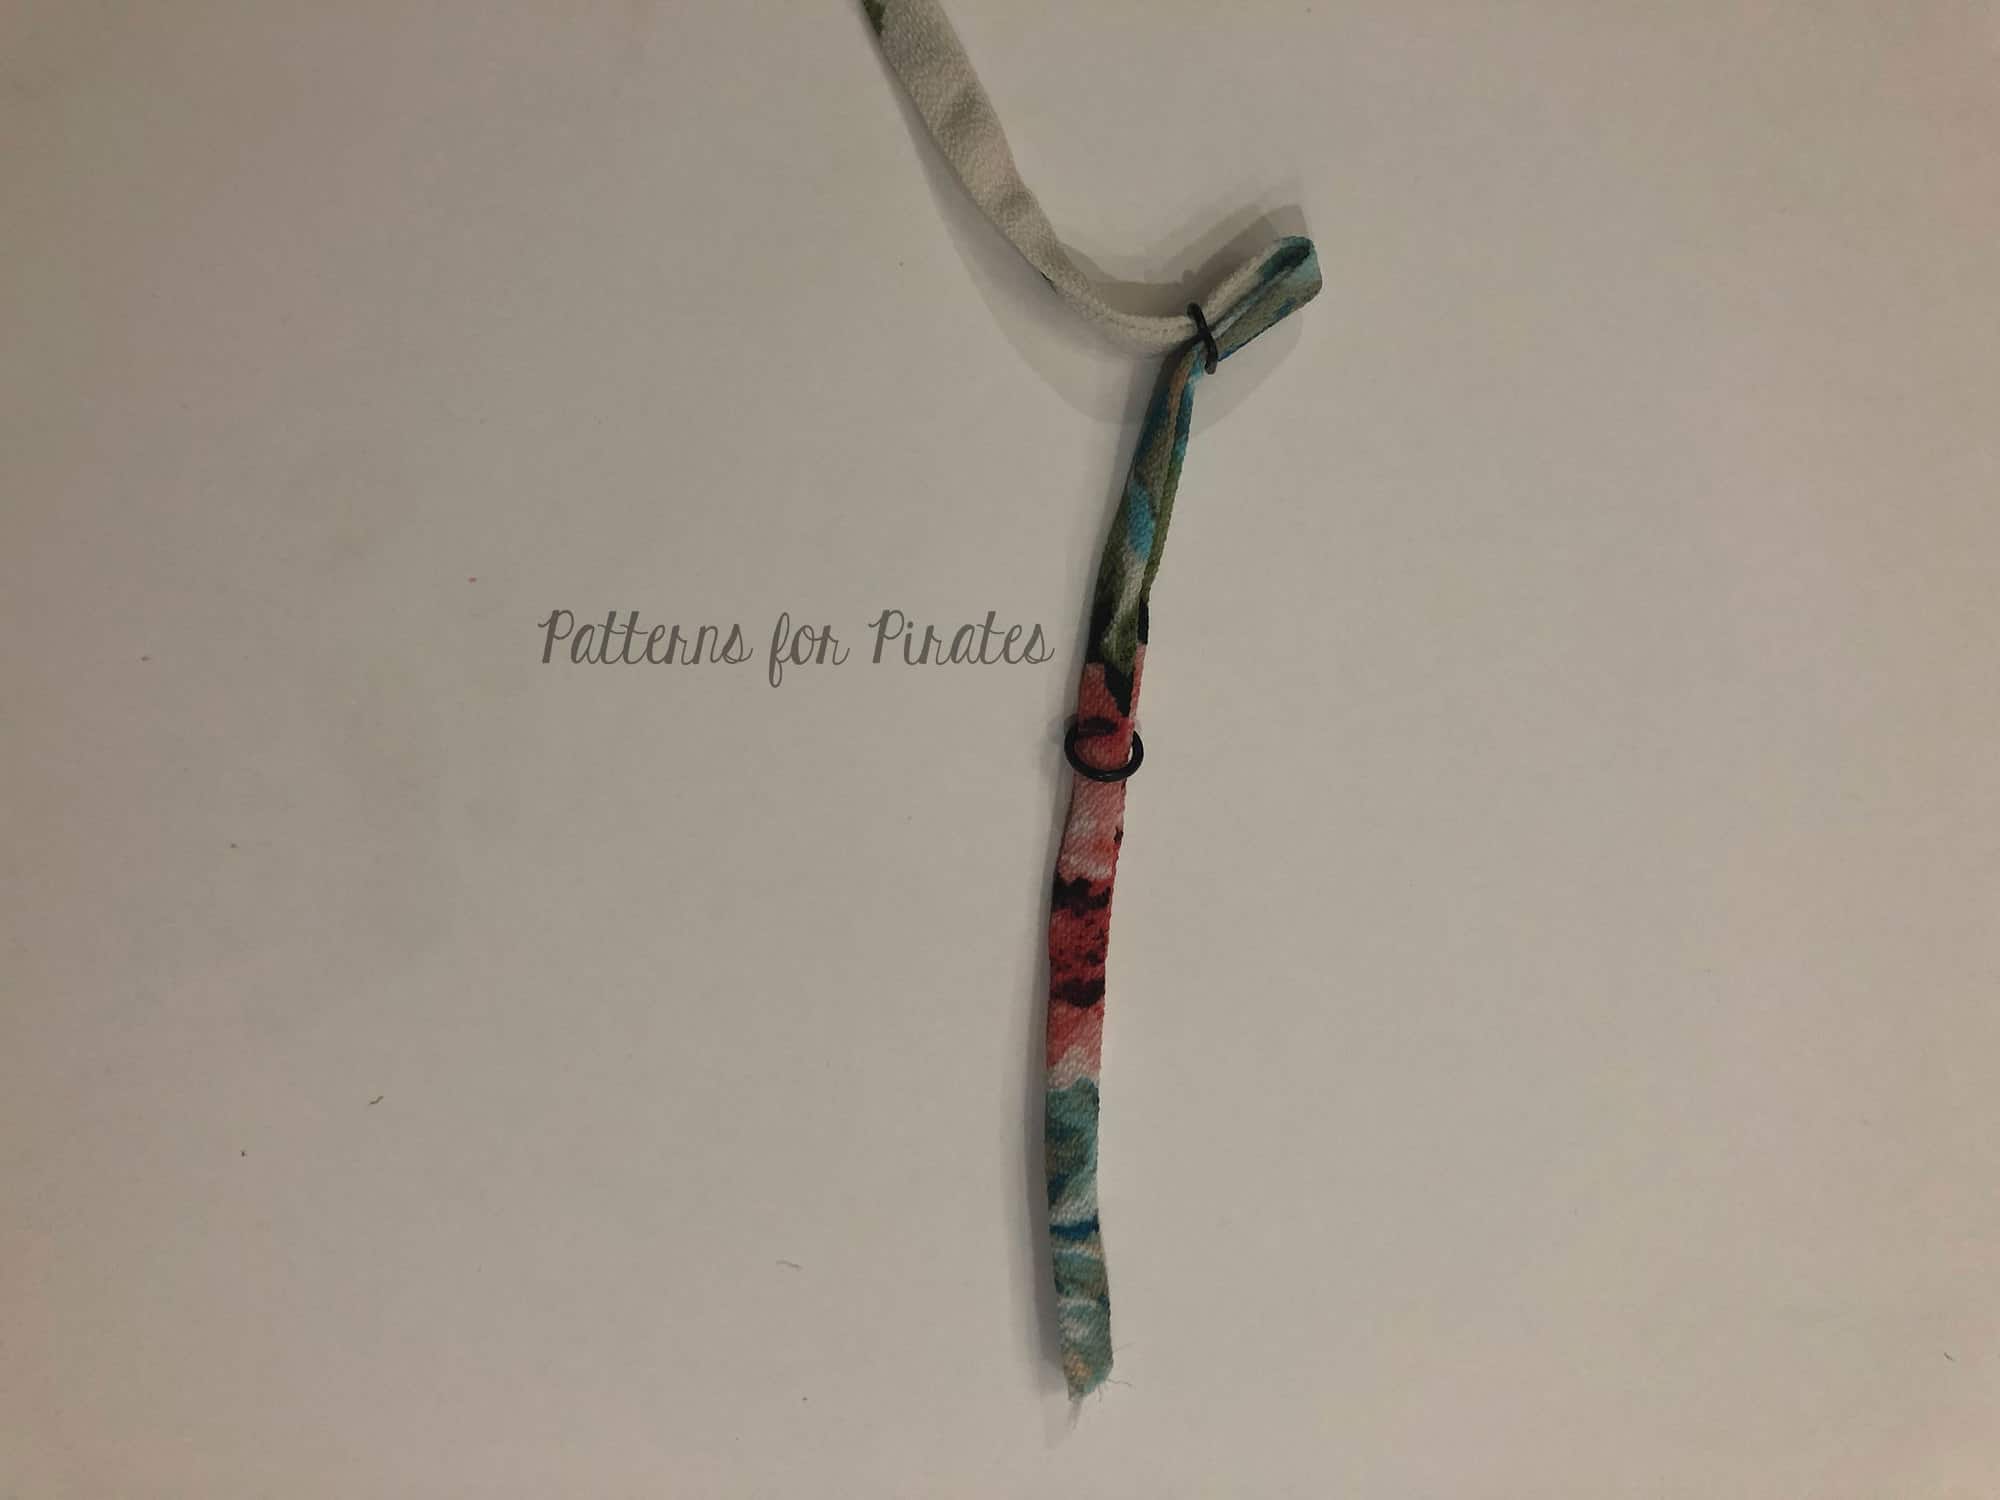
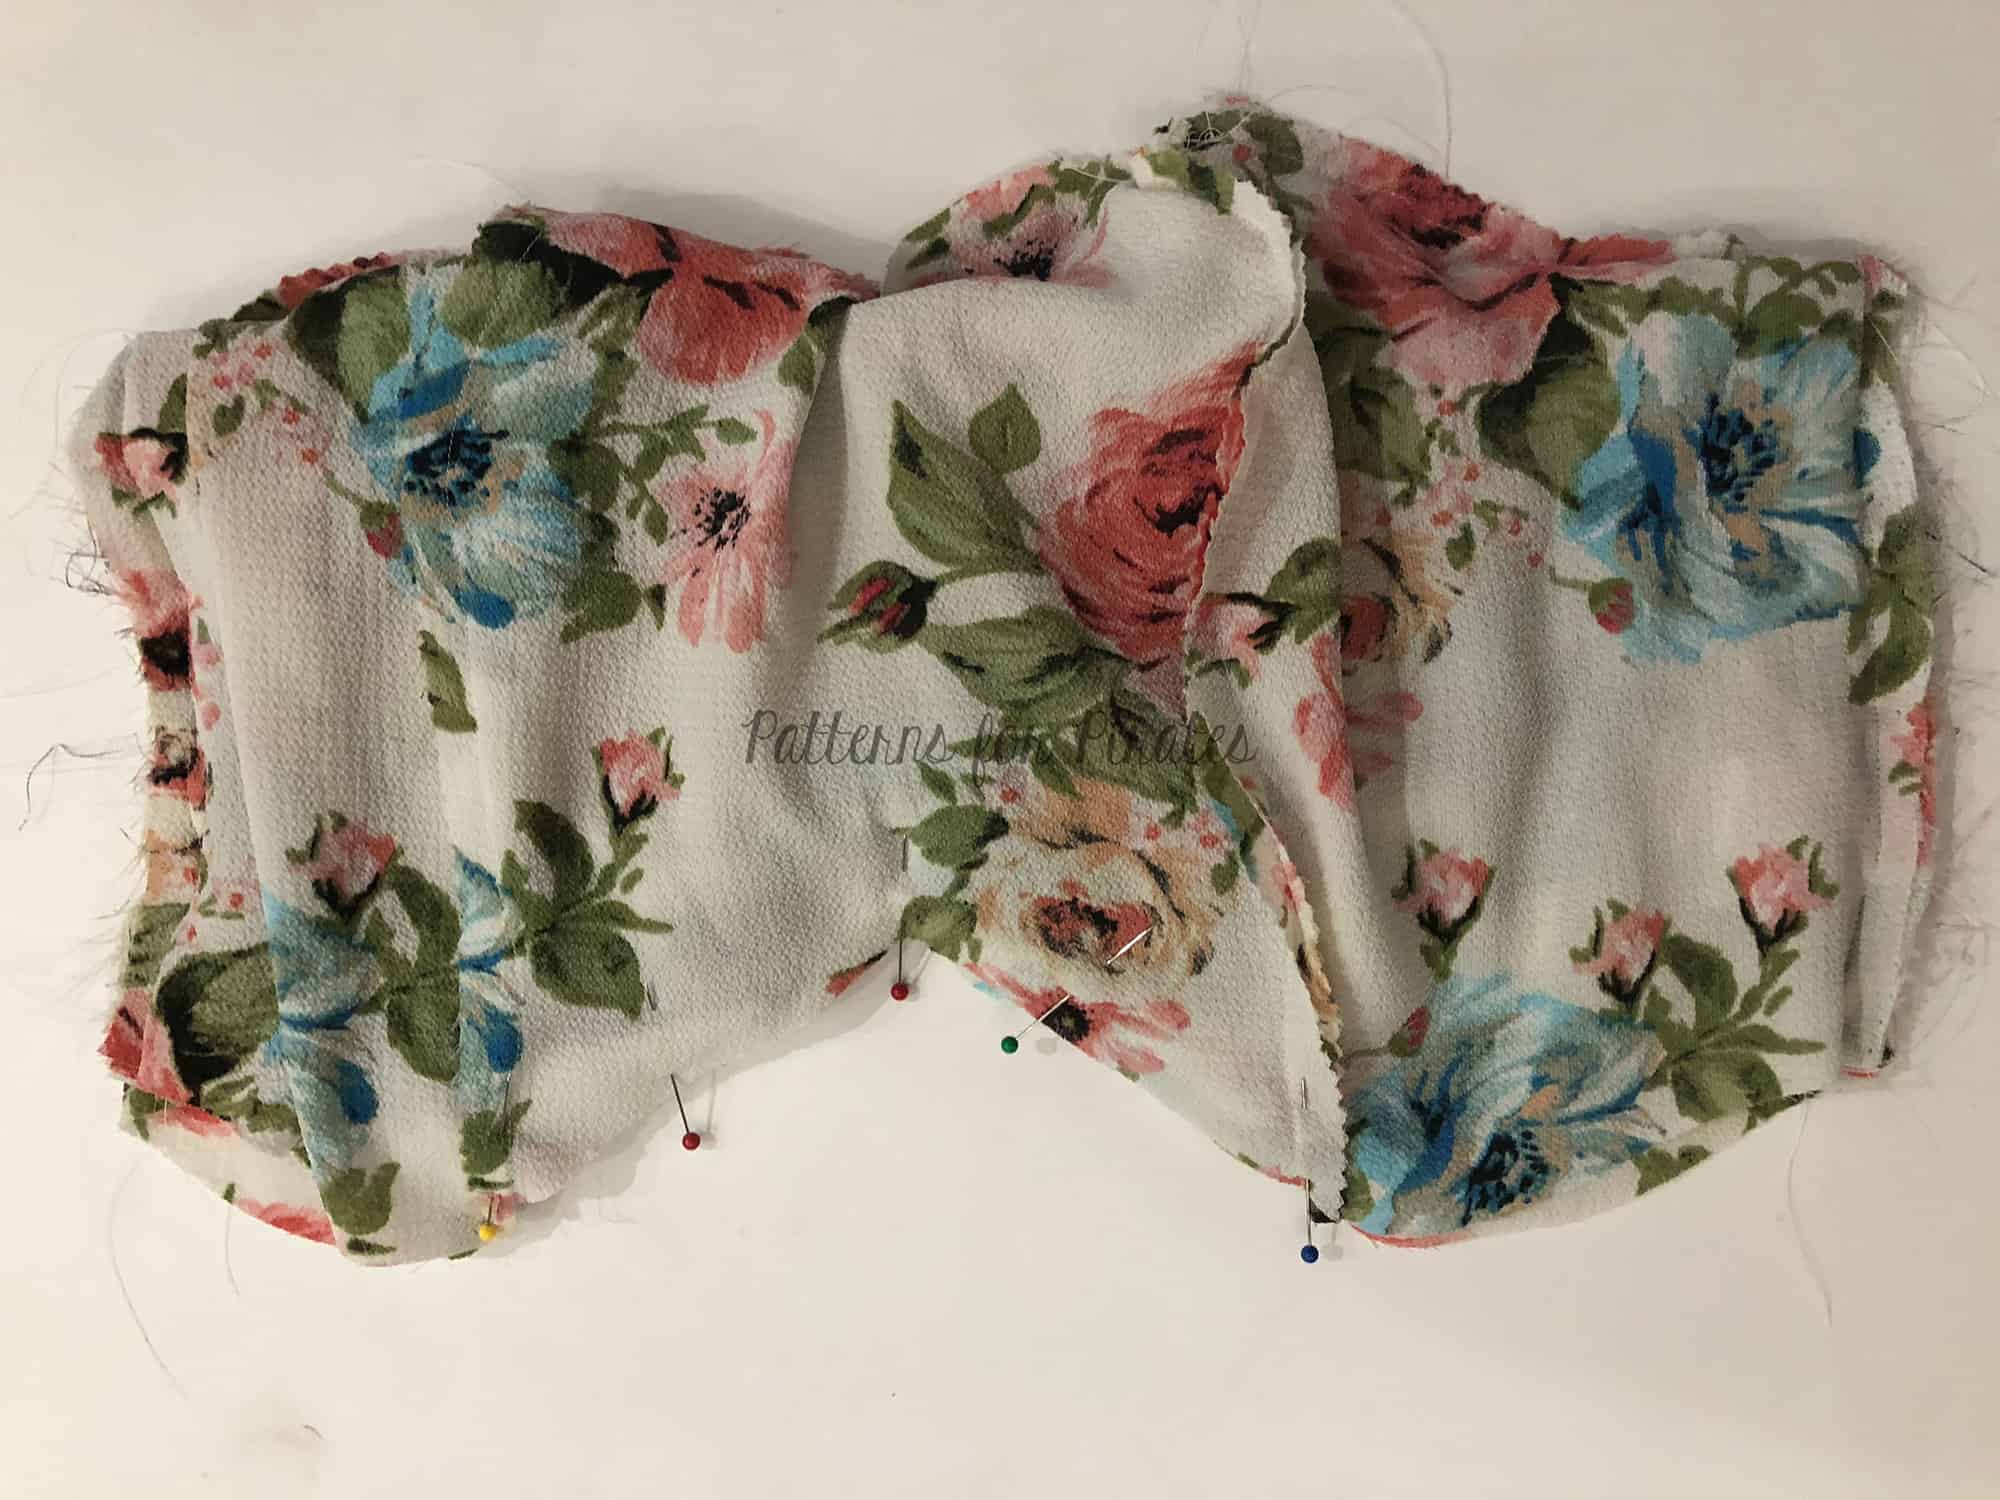
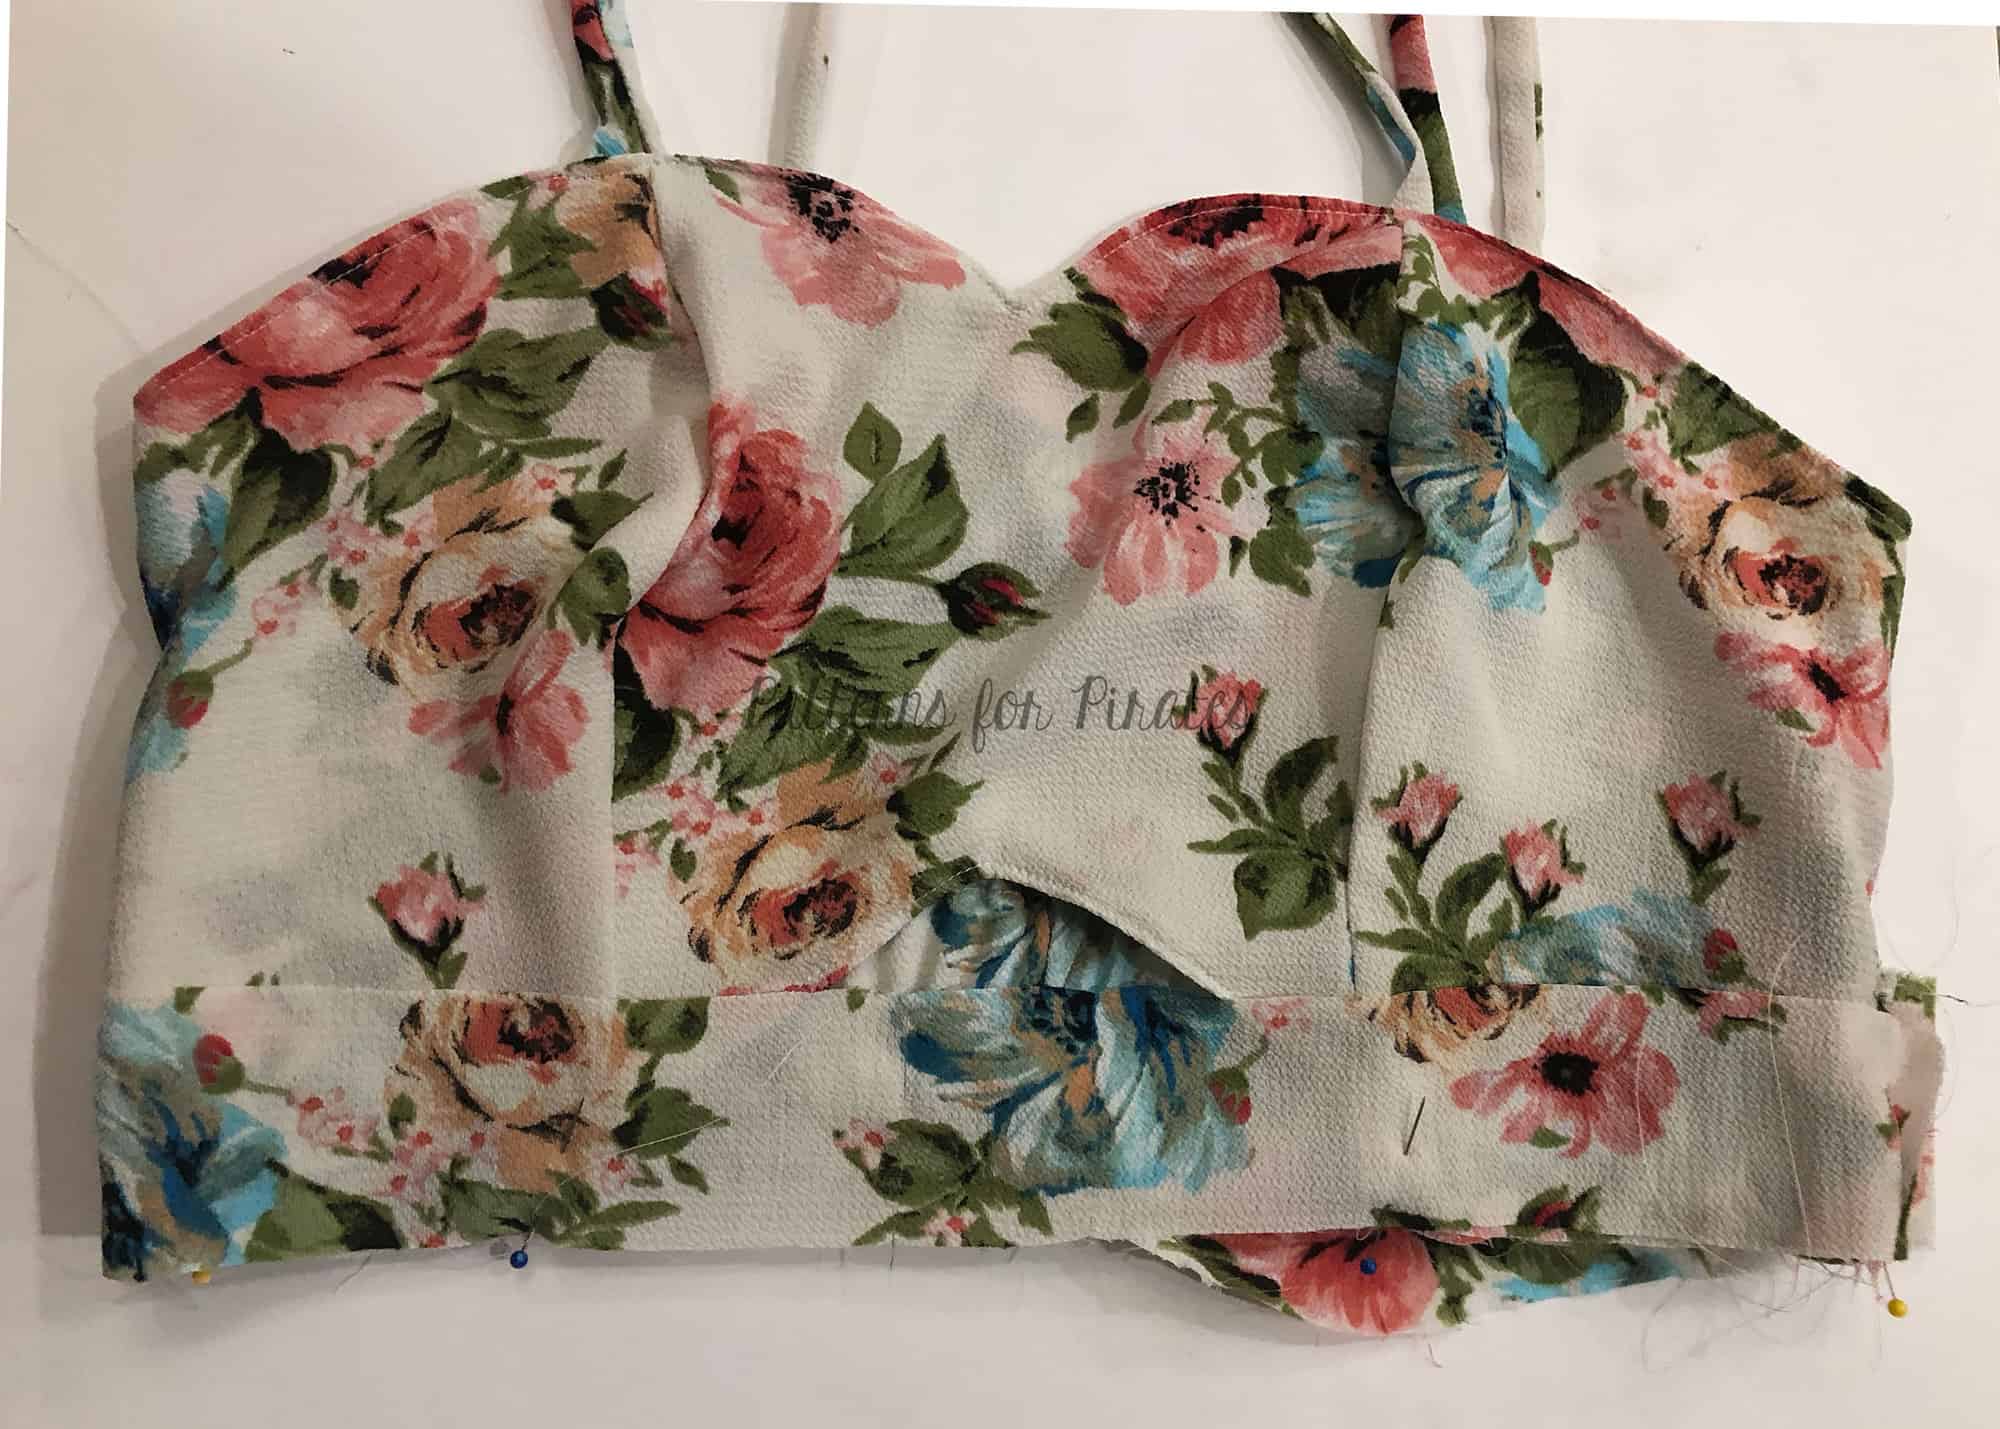
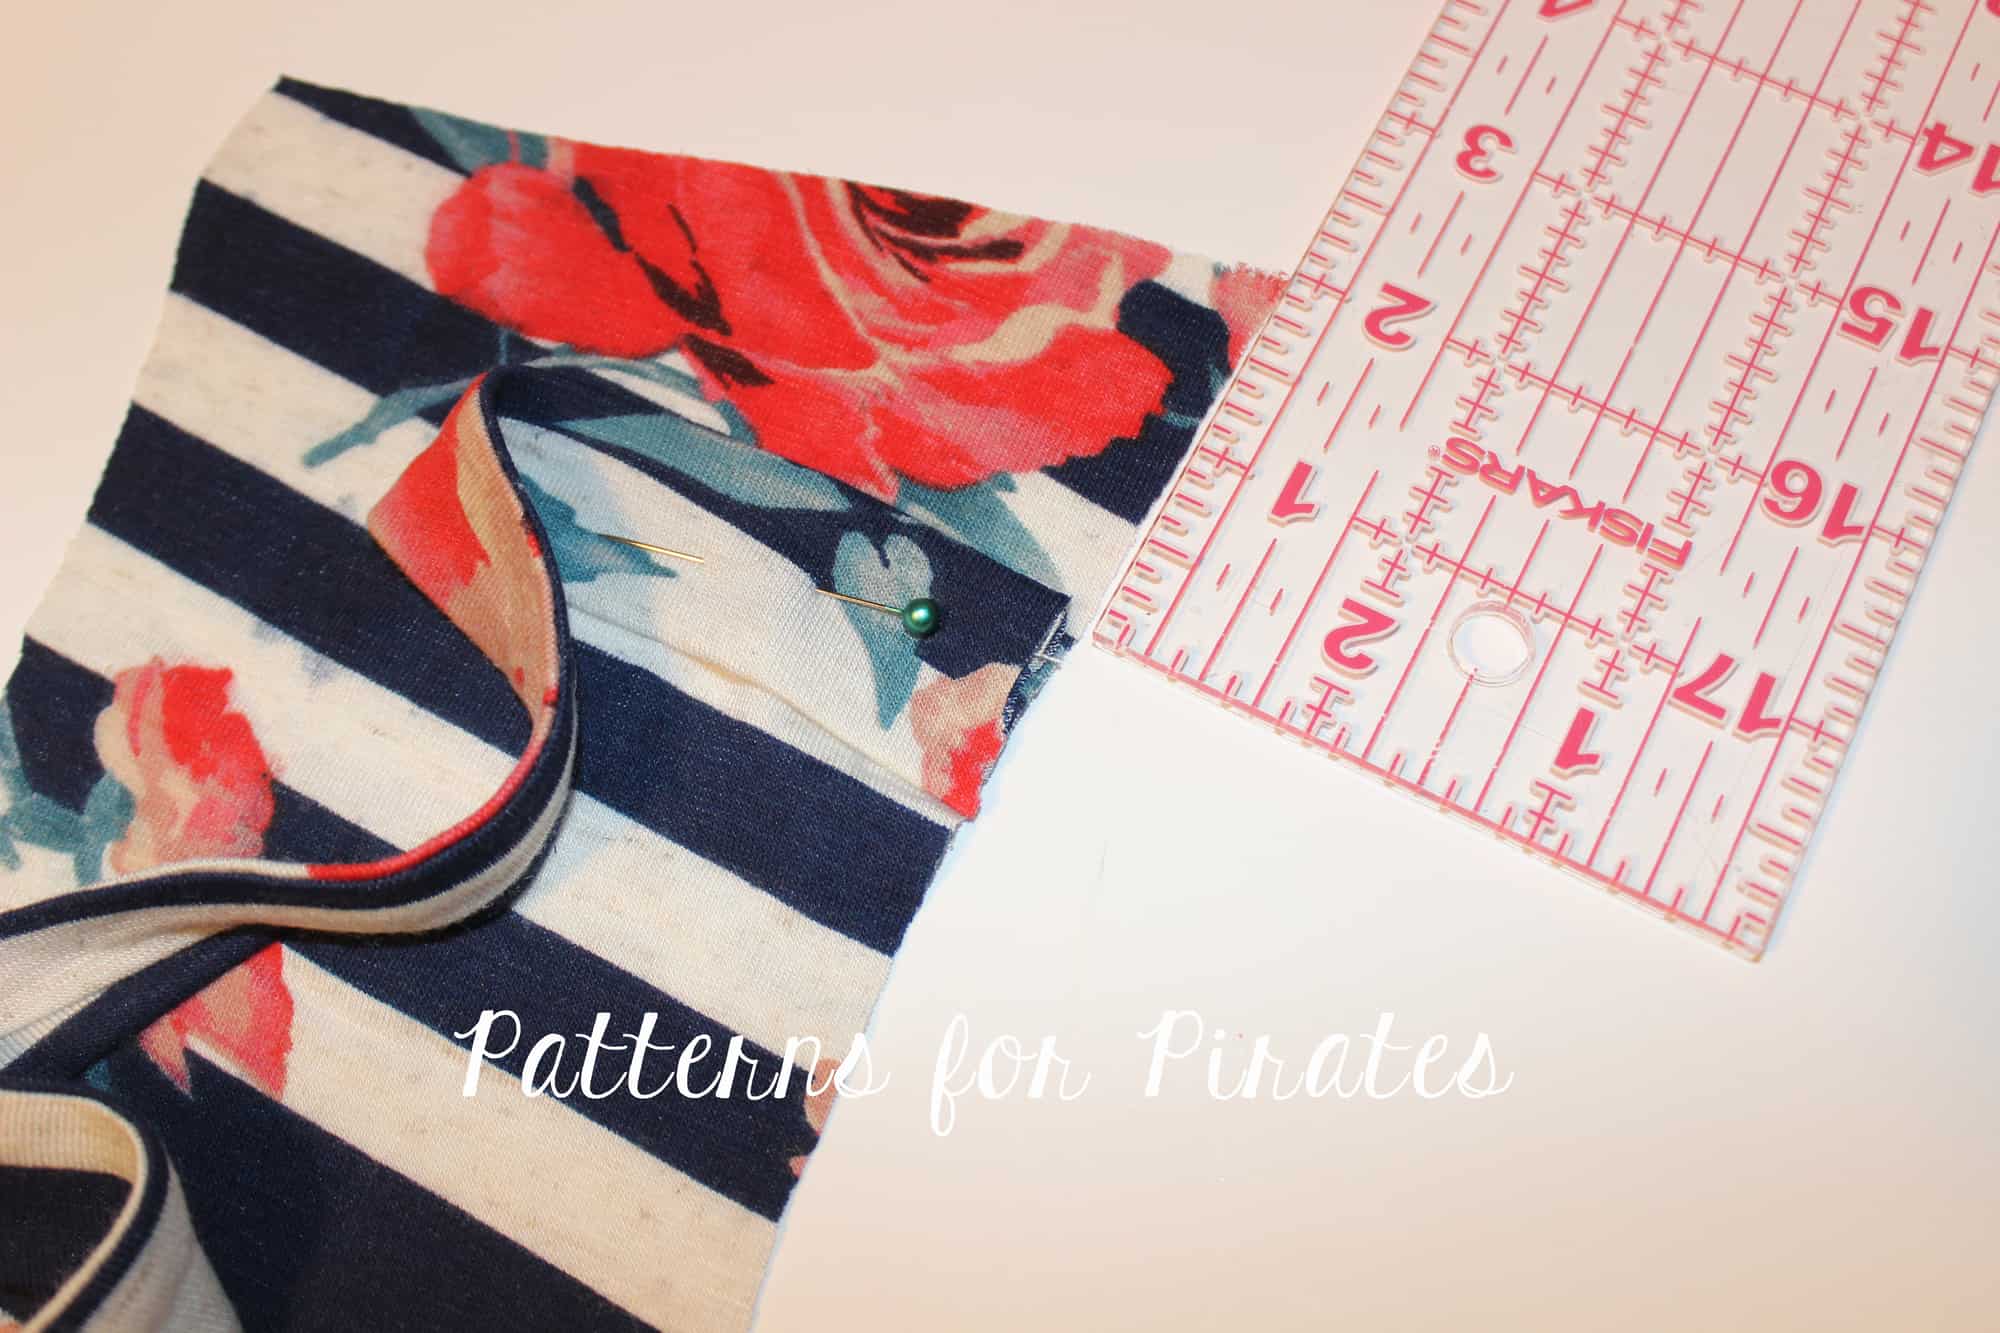
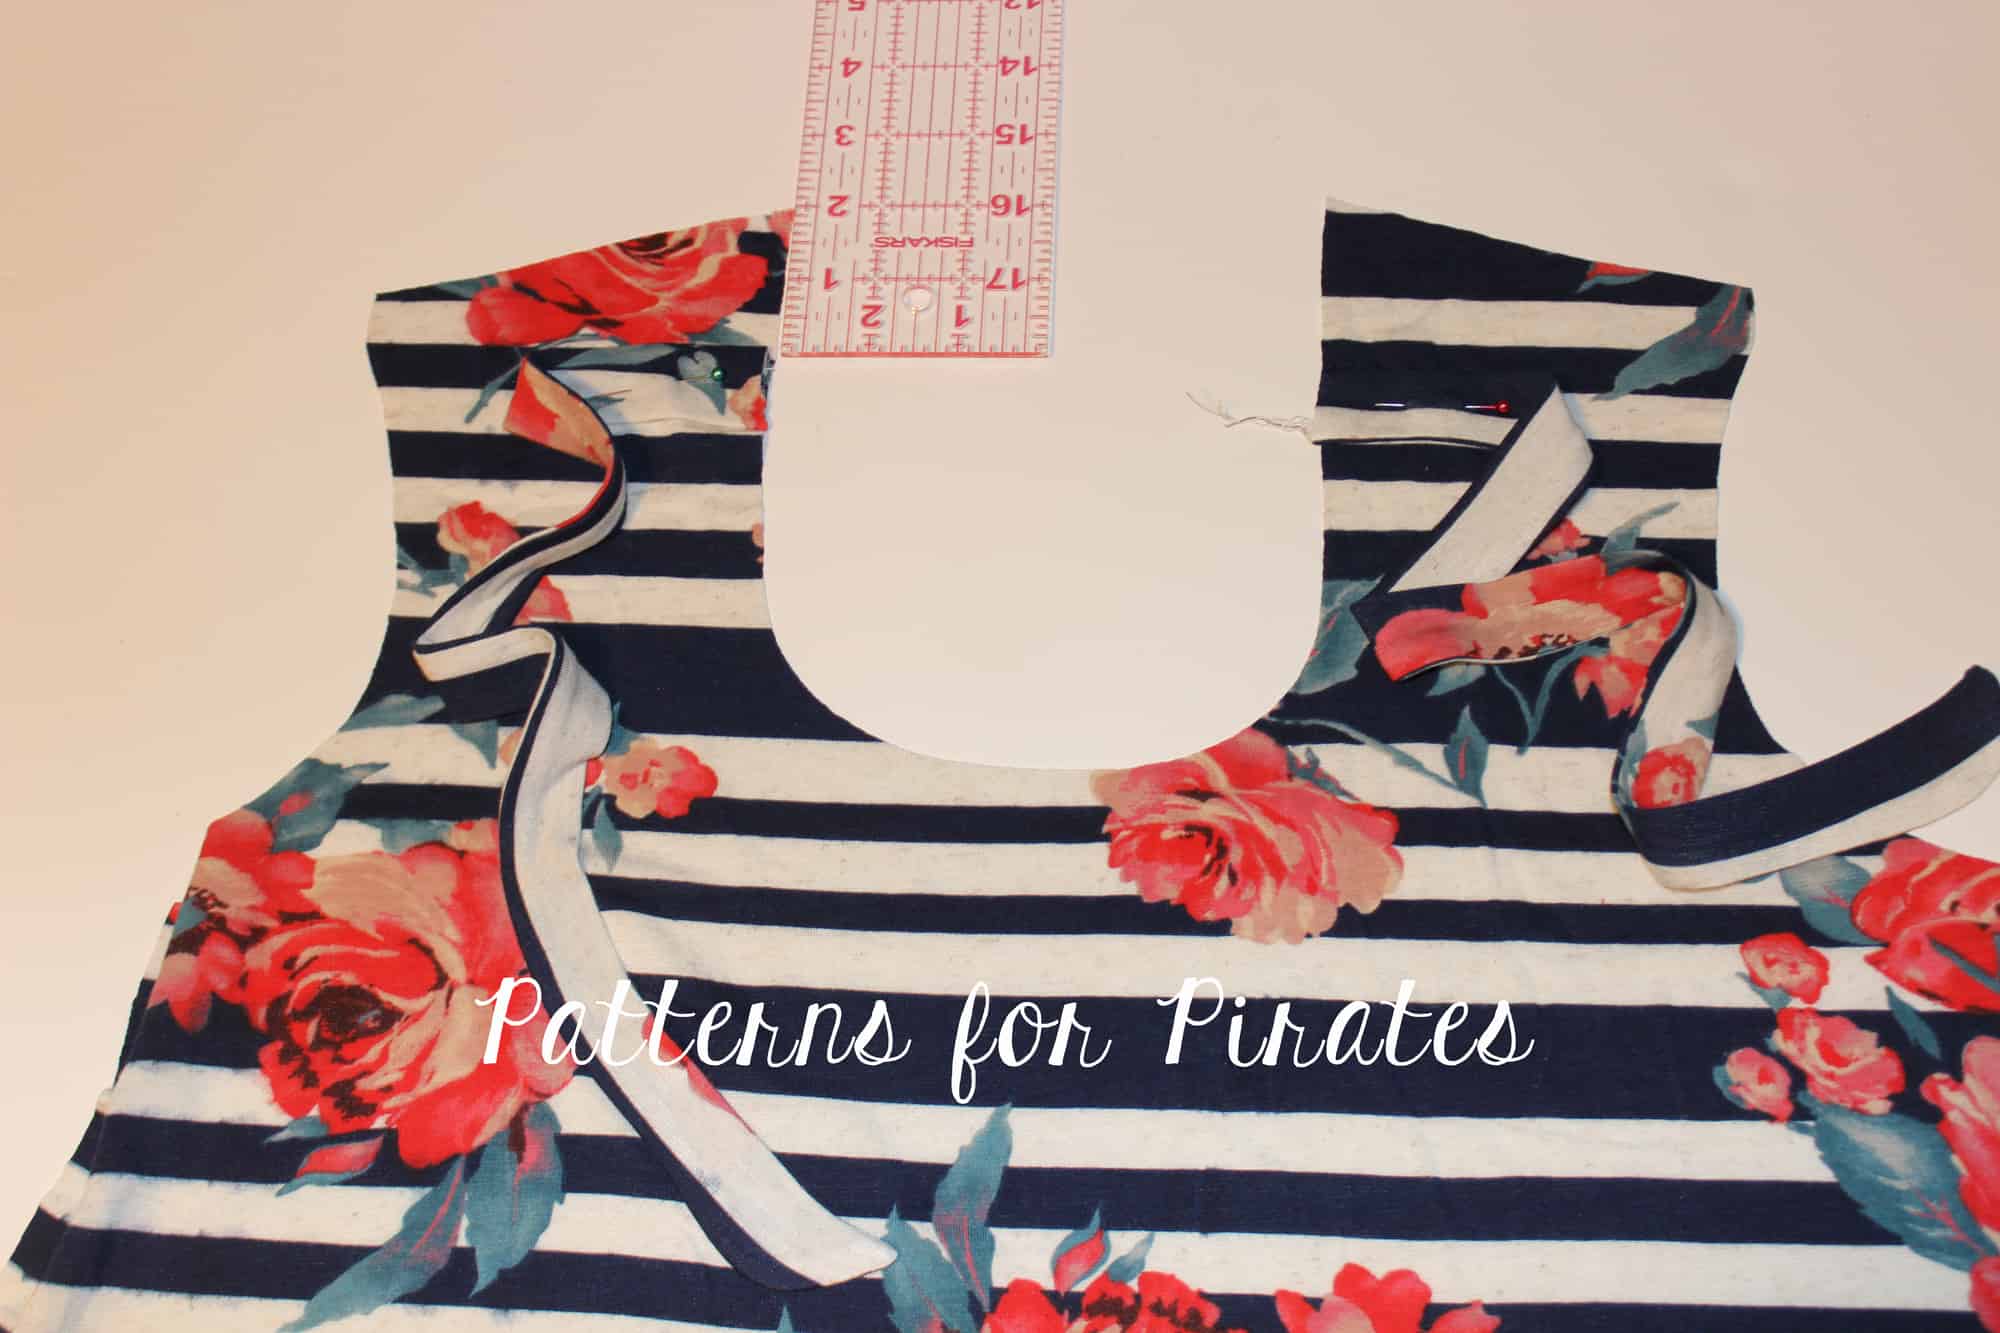
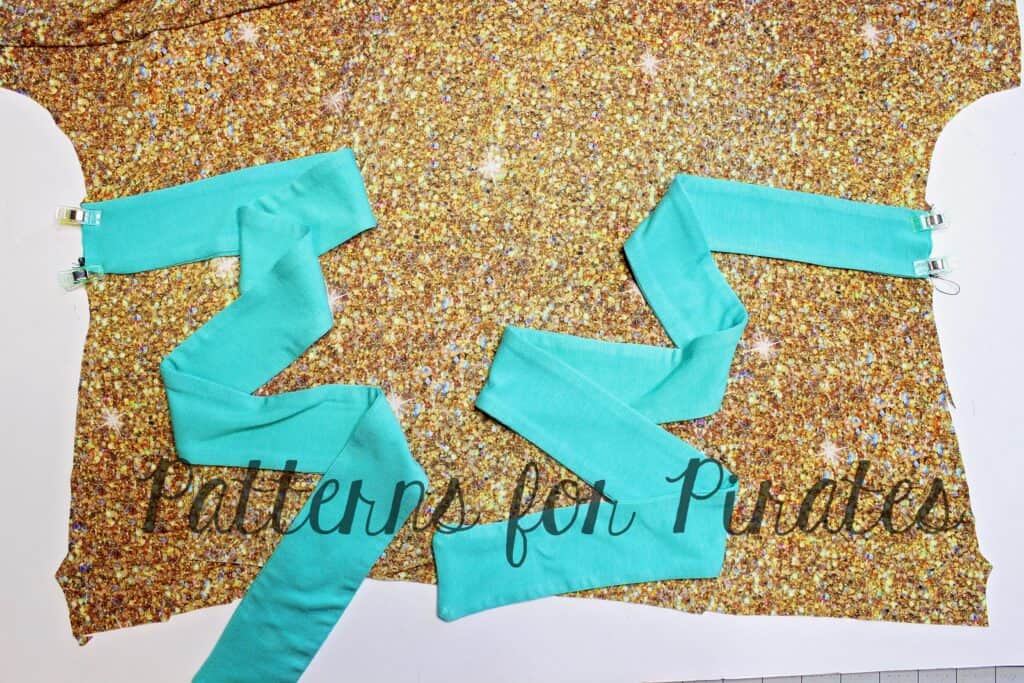
Use the belt hole marking on the pattern to place the ties on each side of the back of the Wrap Top as shown below. Align the raw edges. Sandwich the ties in between the right sides of the back and front pieces. Sew in place with your favorite stretch stitch.
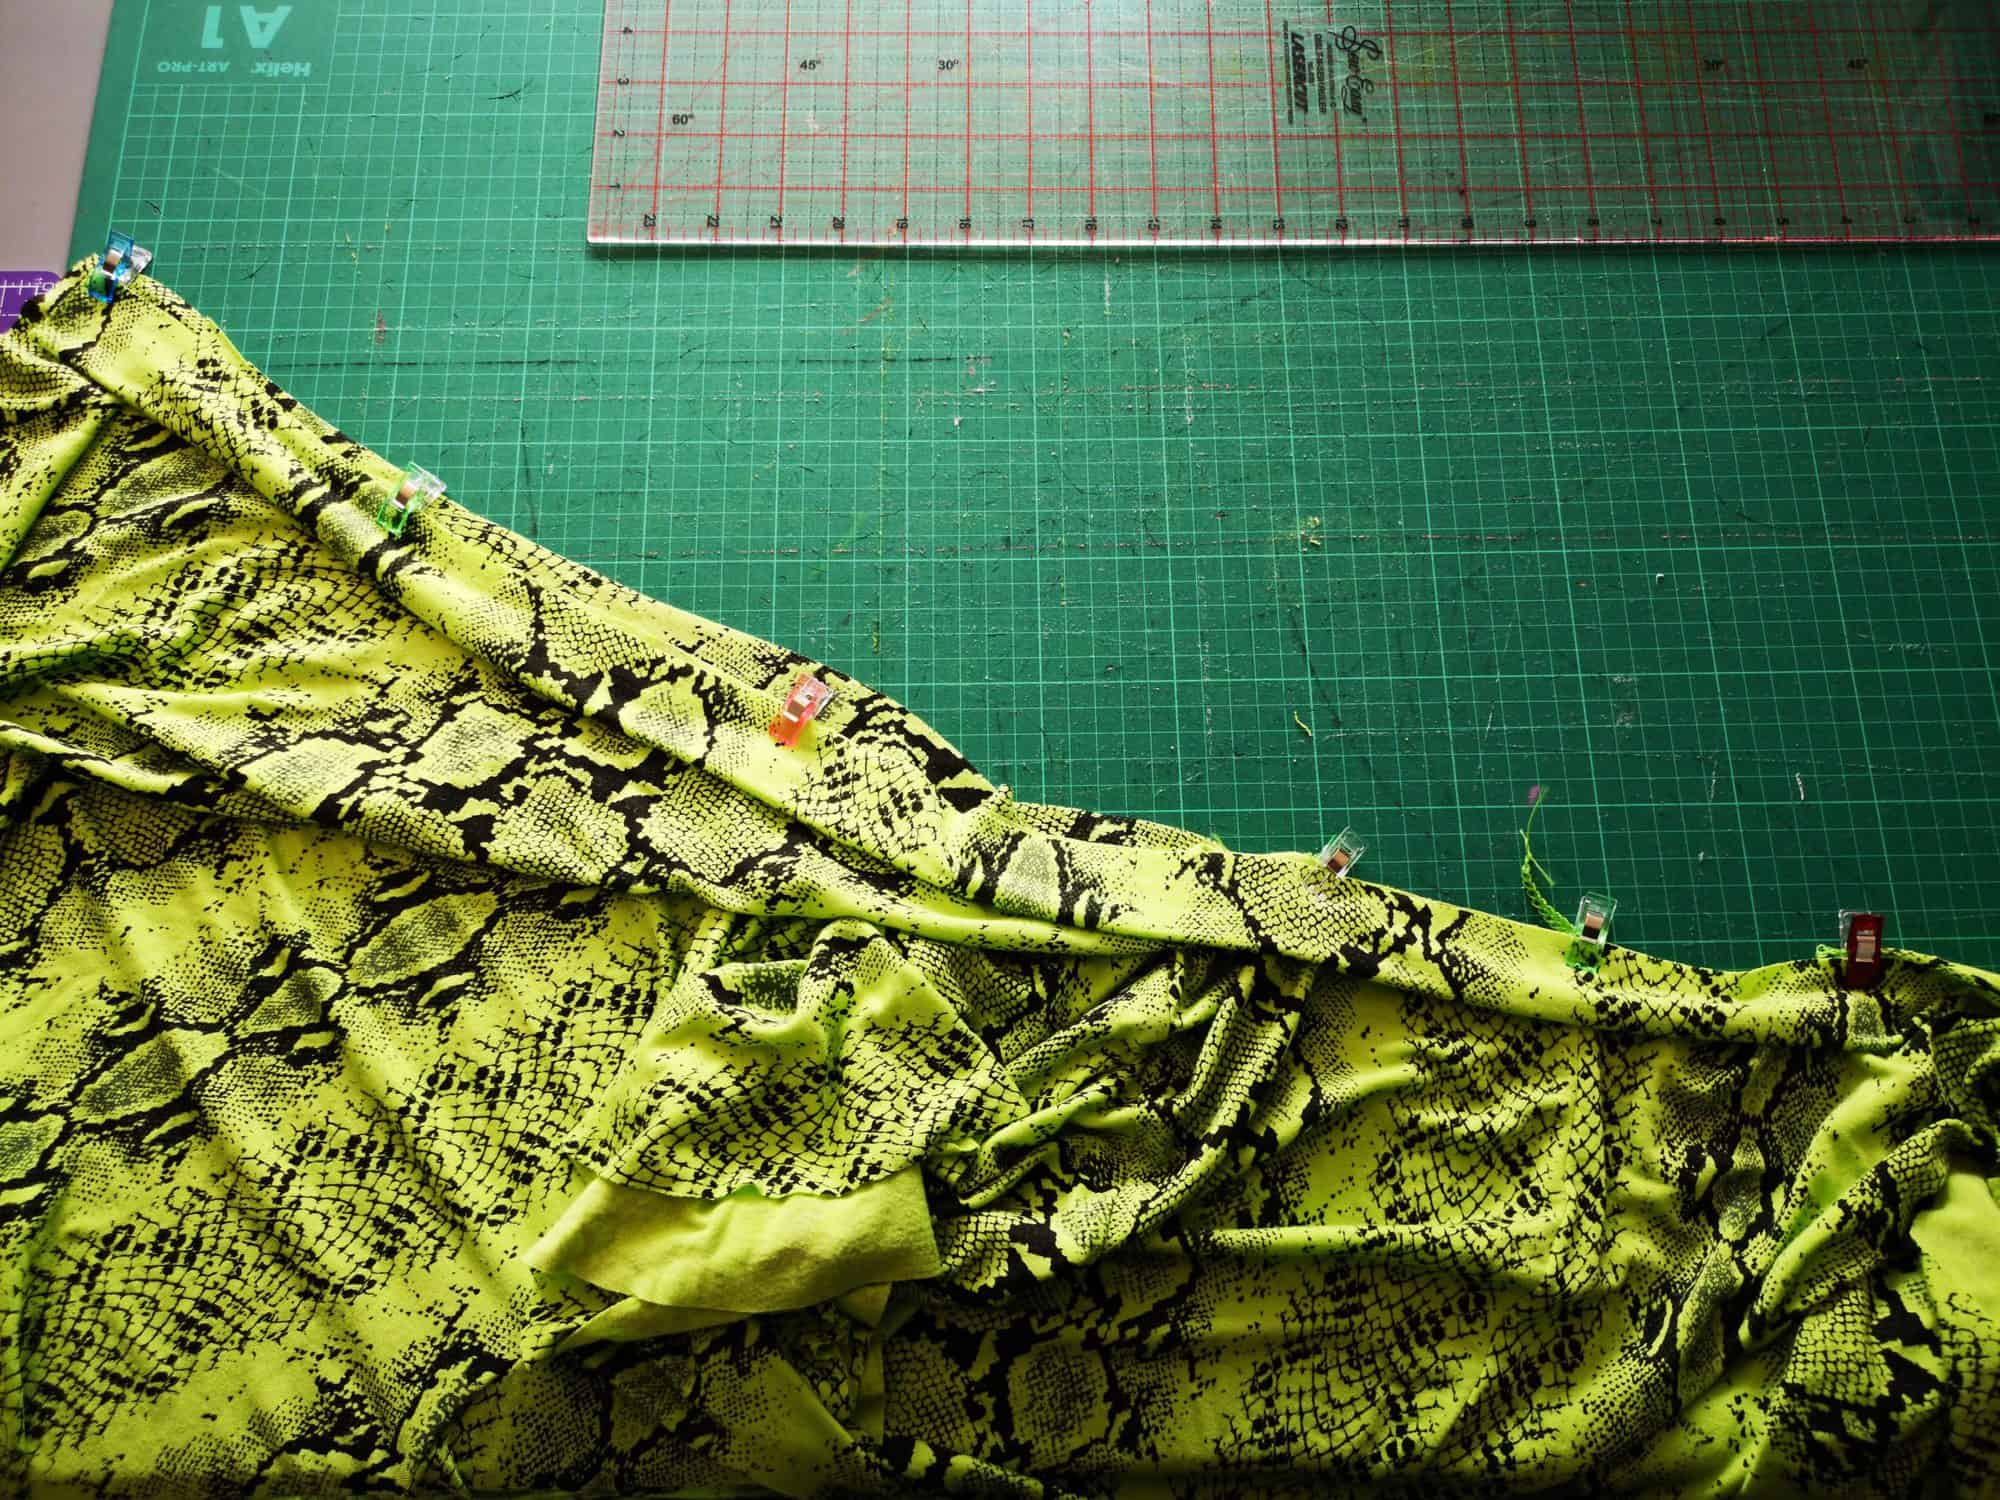
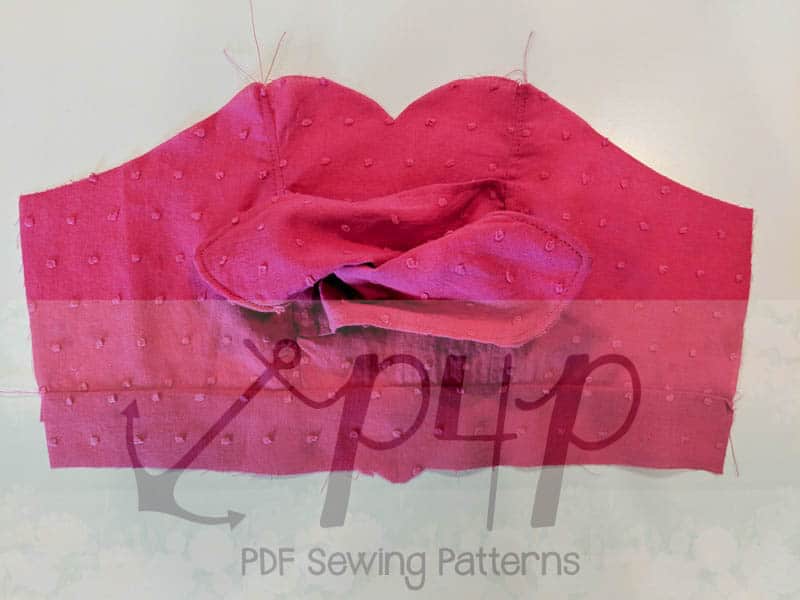
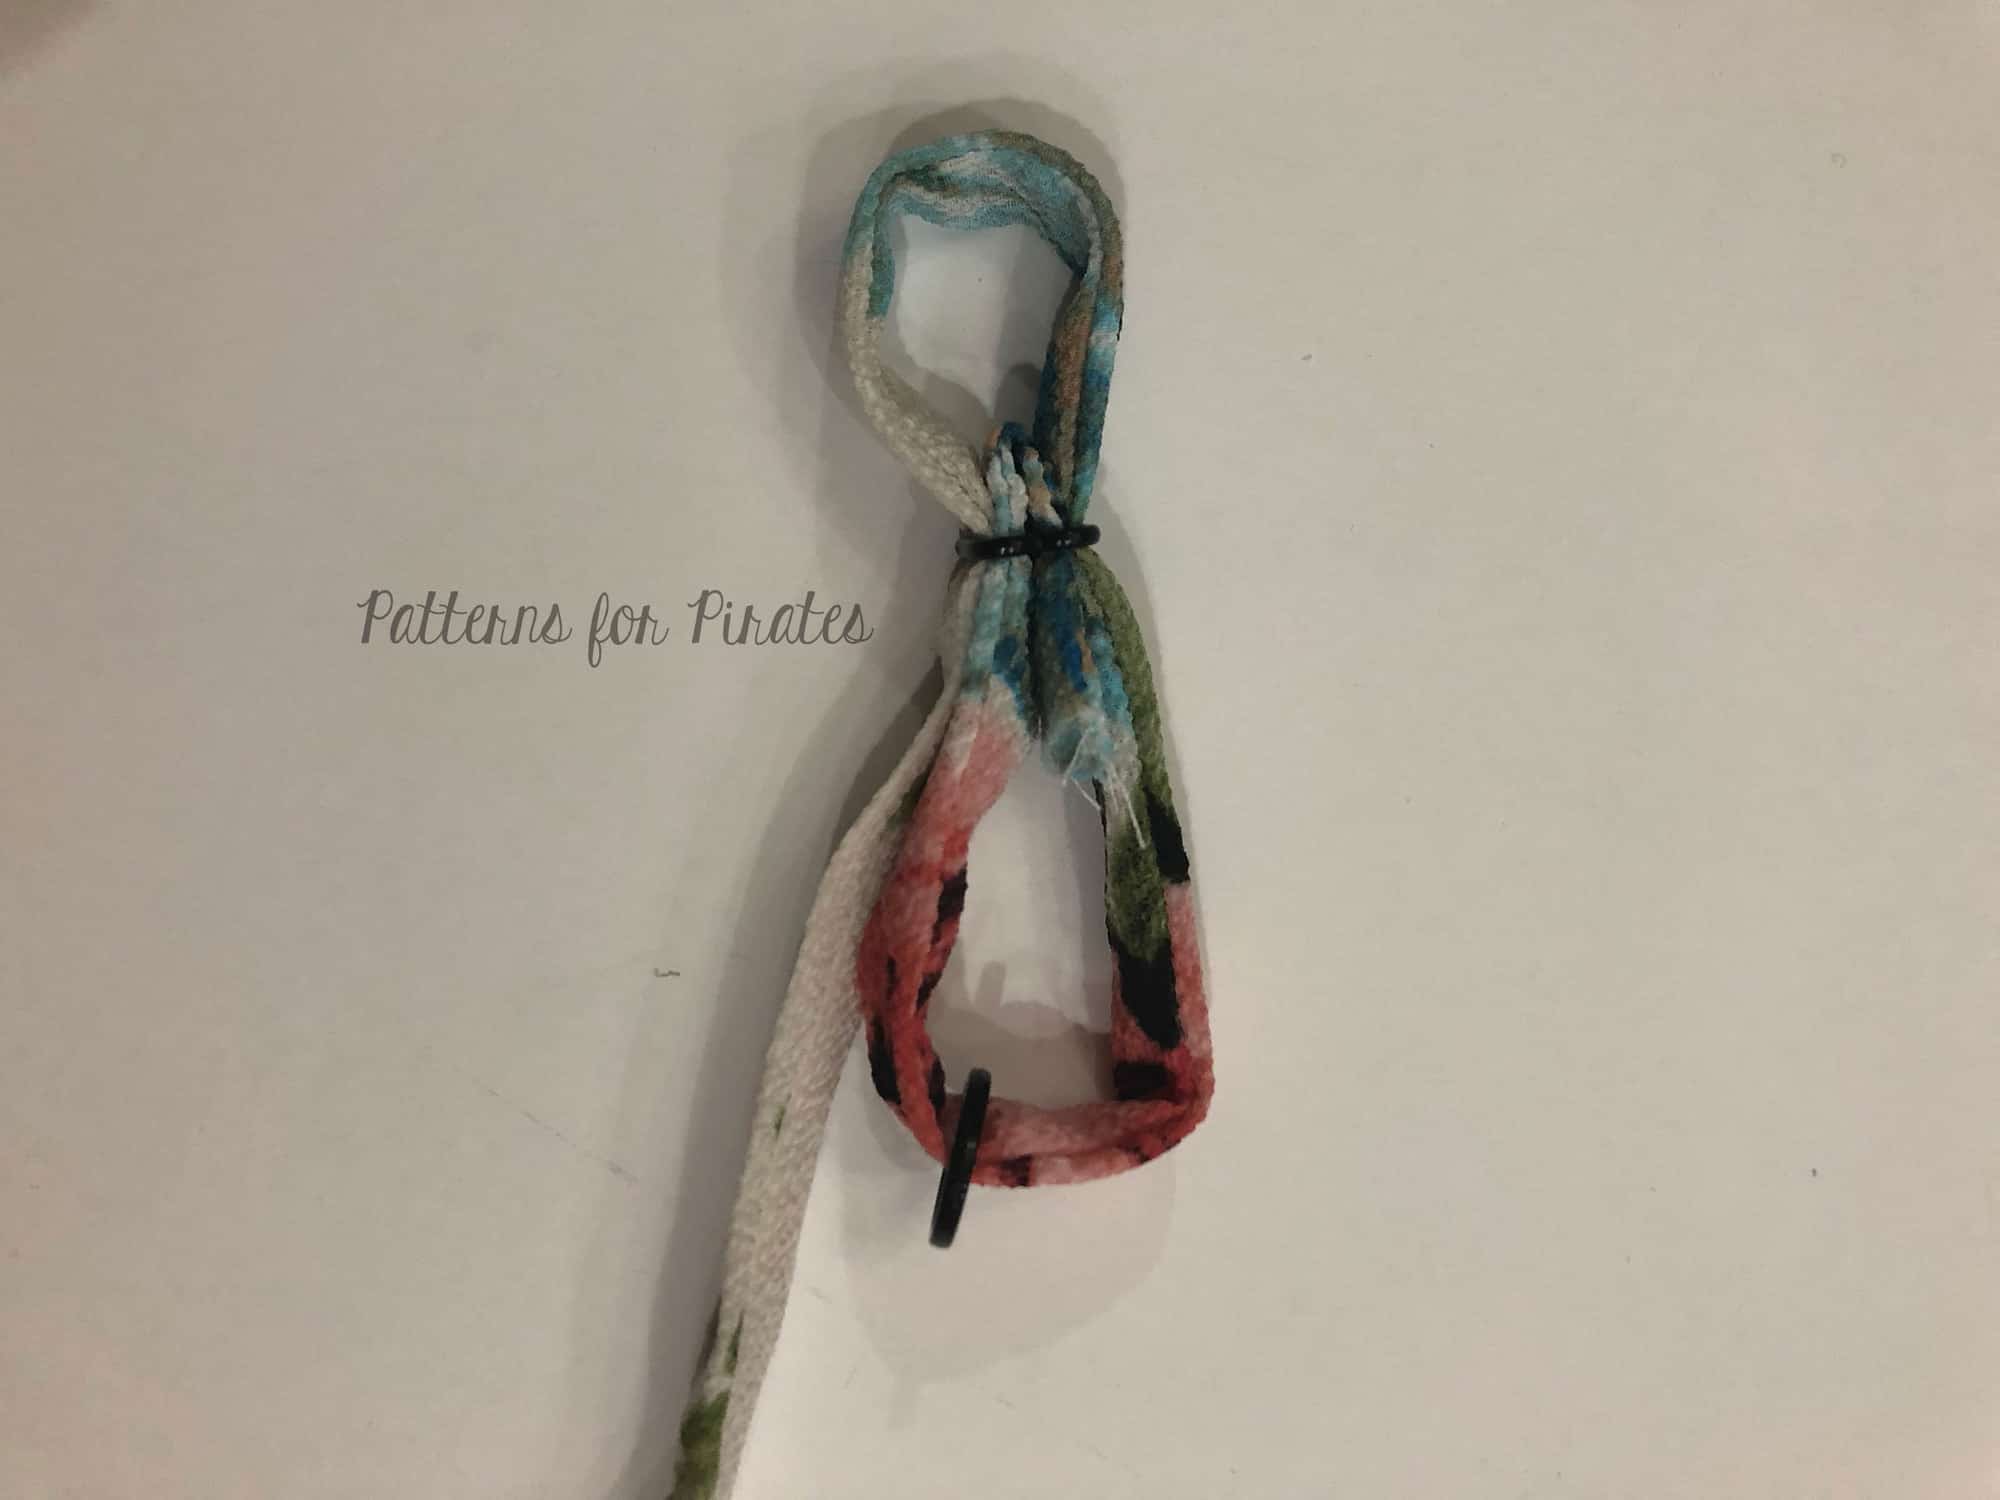
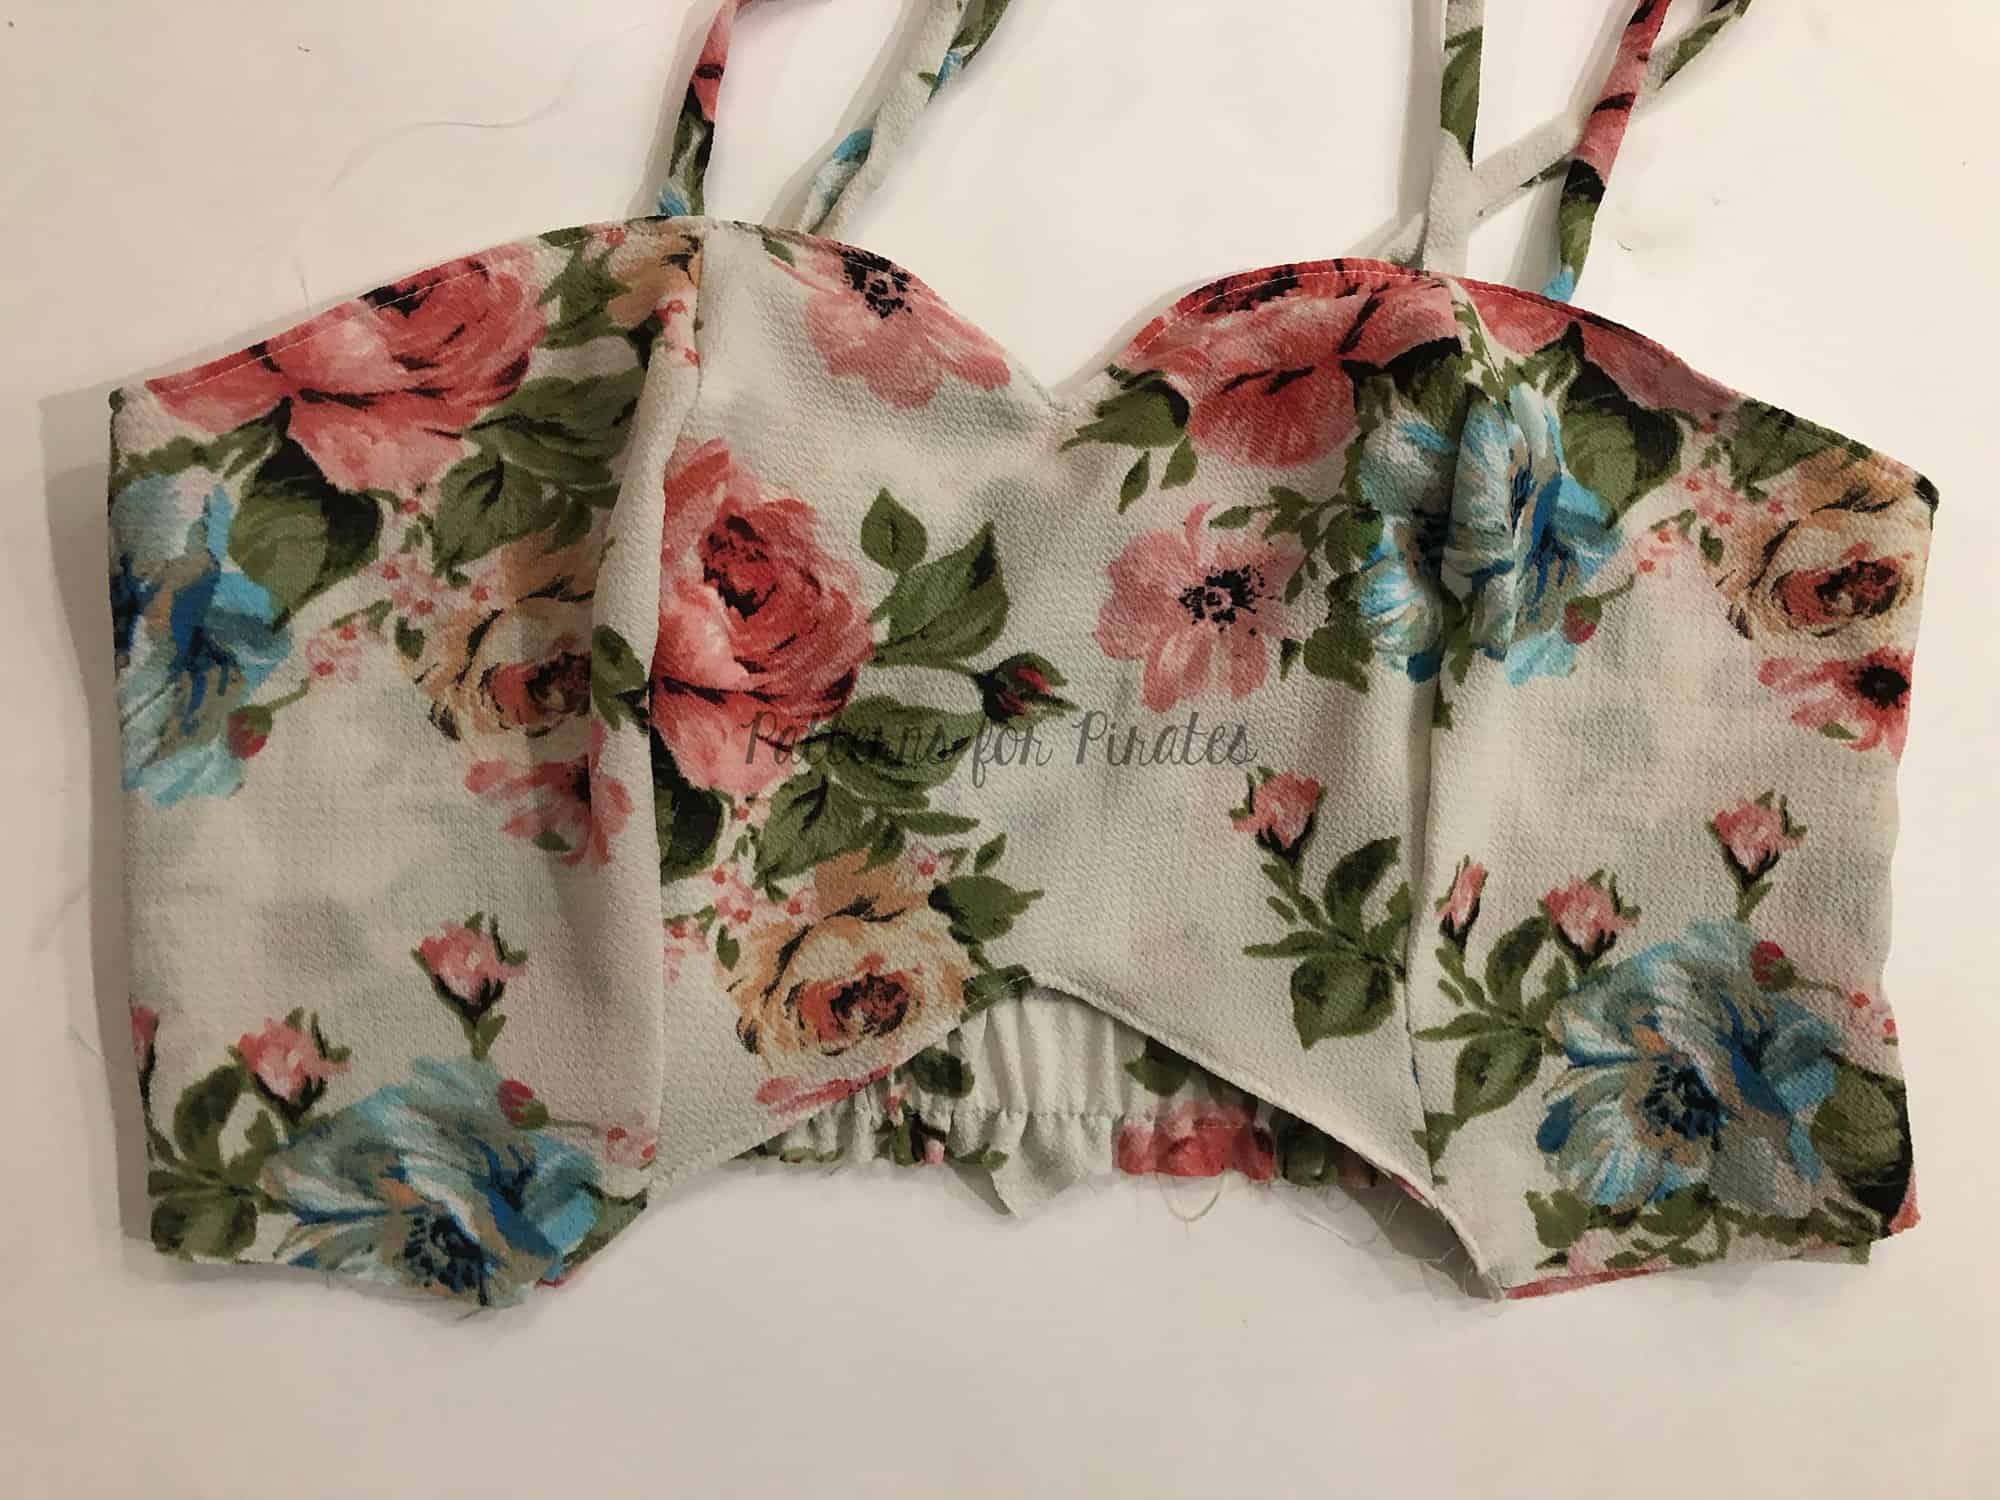
That’s it! Continue sewing the top as instructed in the pattern. Be cautious of the long ties when stitching, you want to make sure you don’t catch them when you sew the other steps.
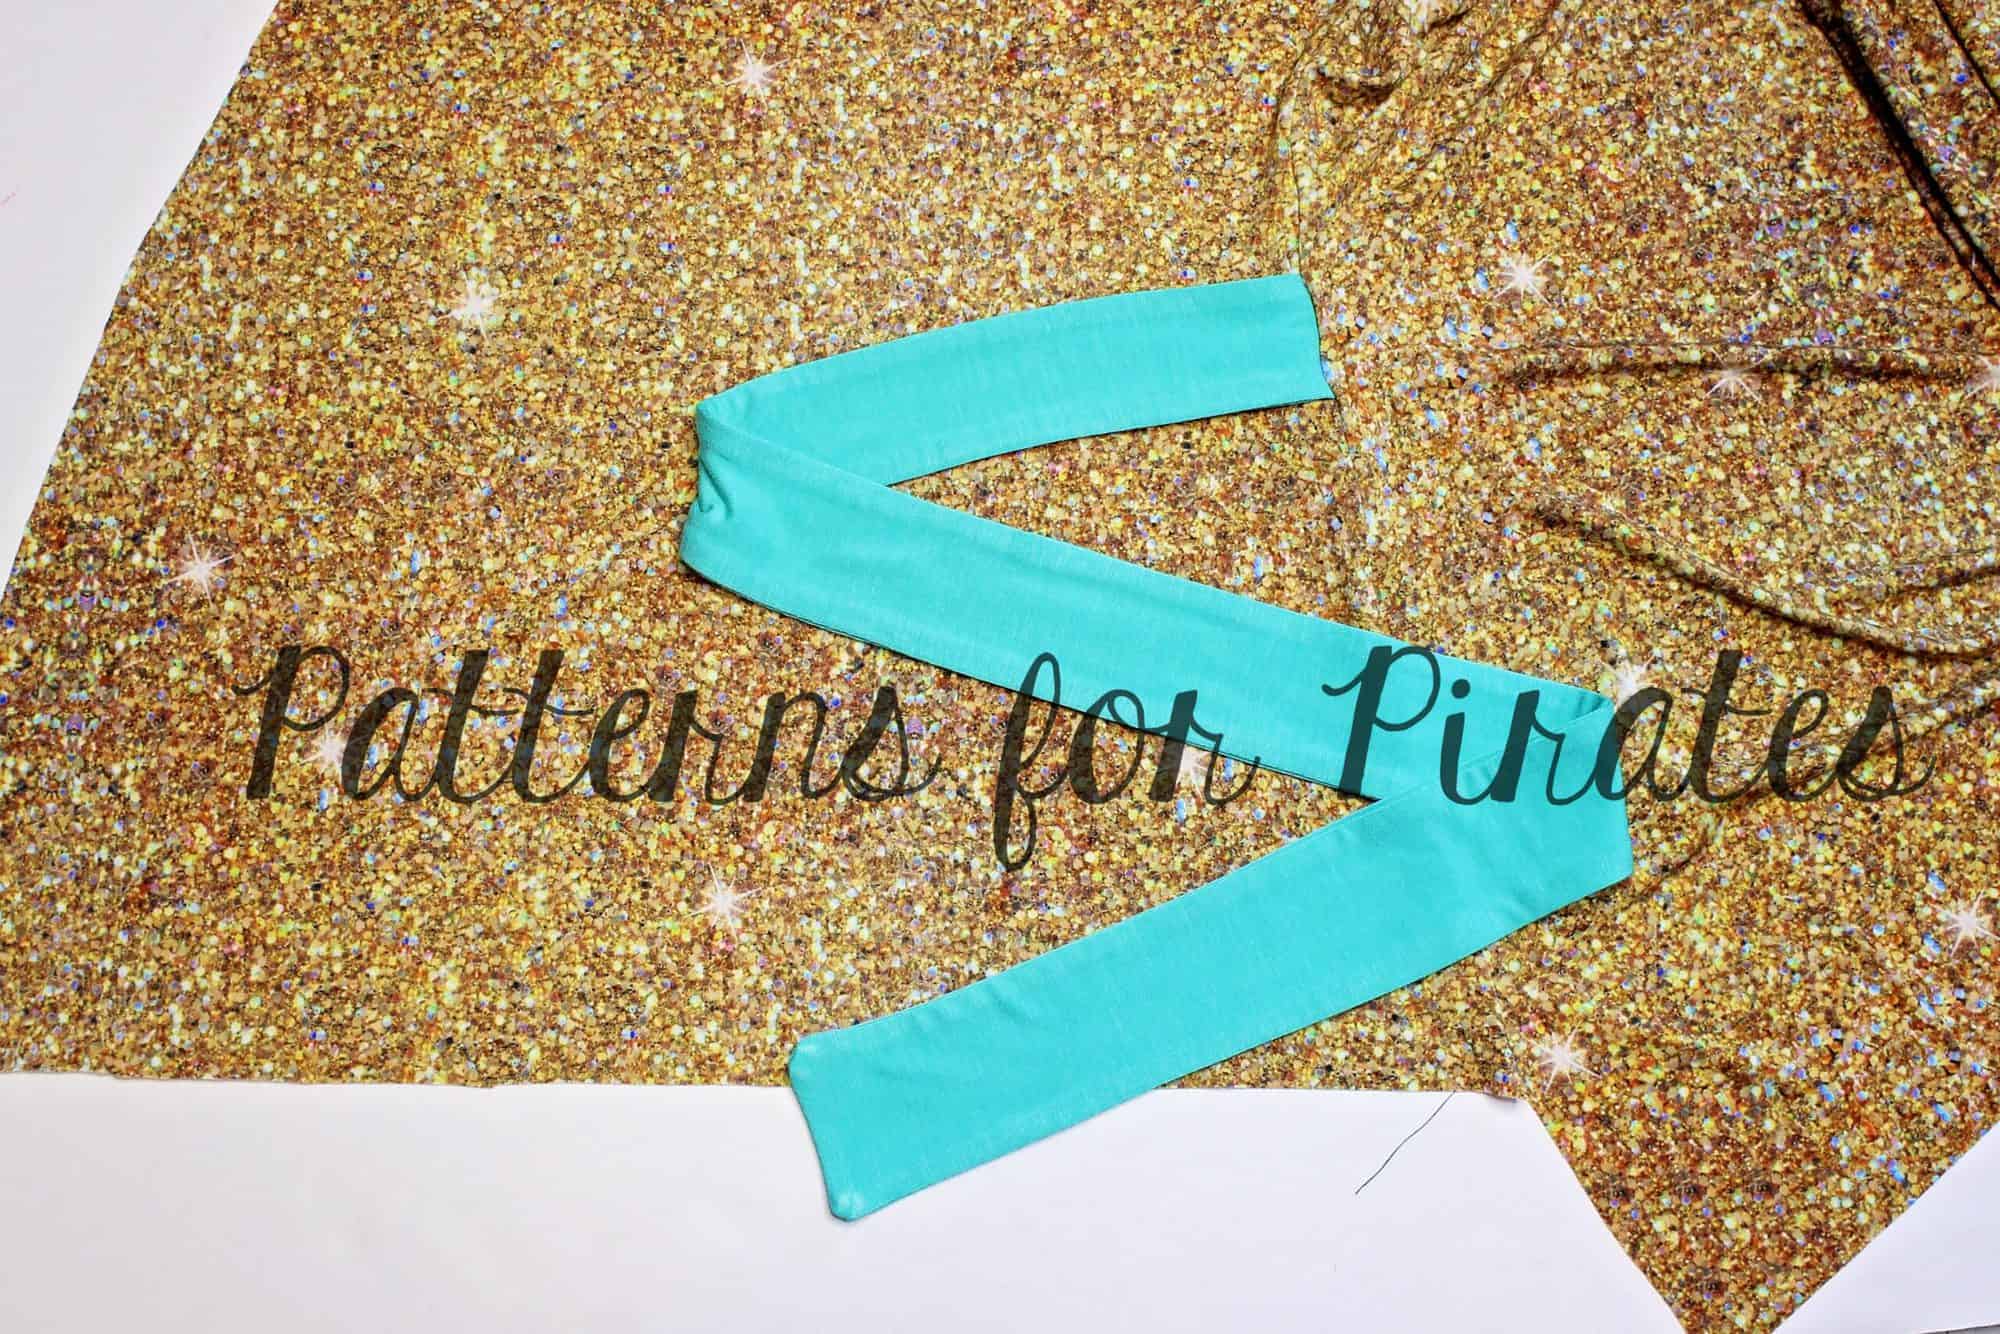
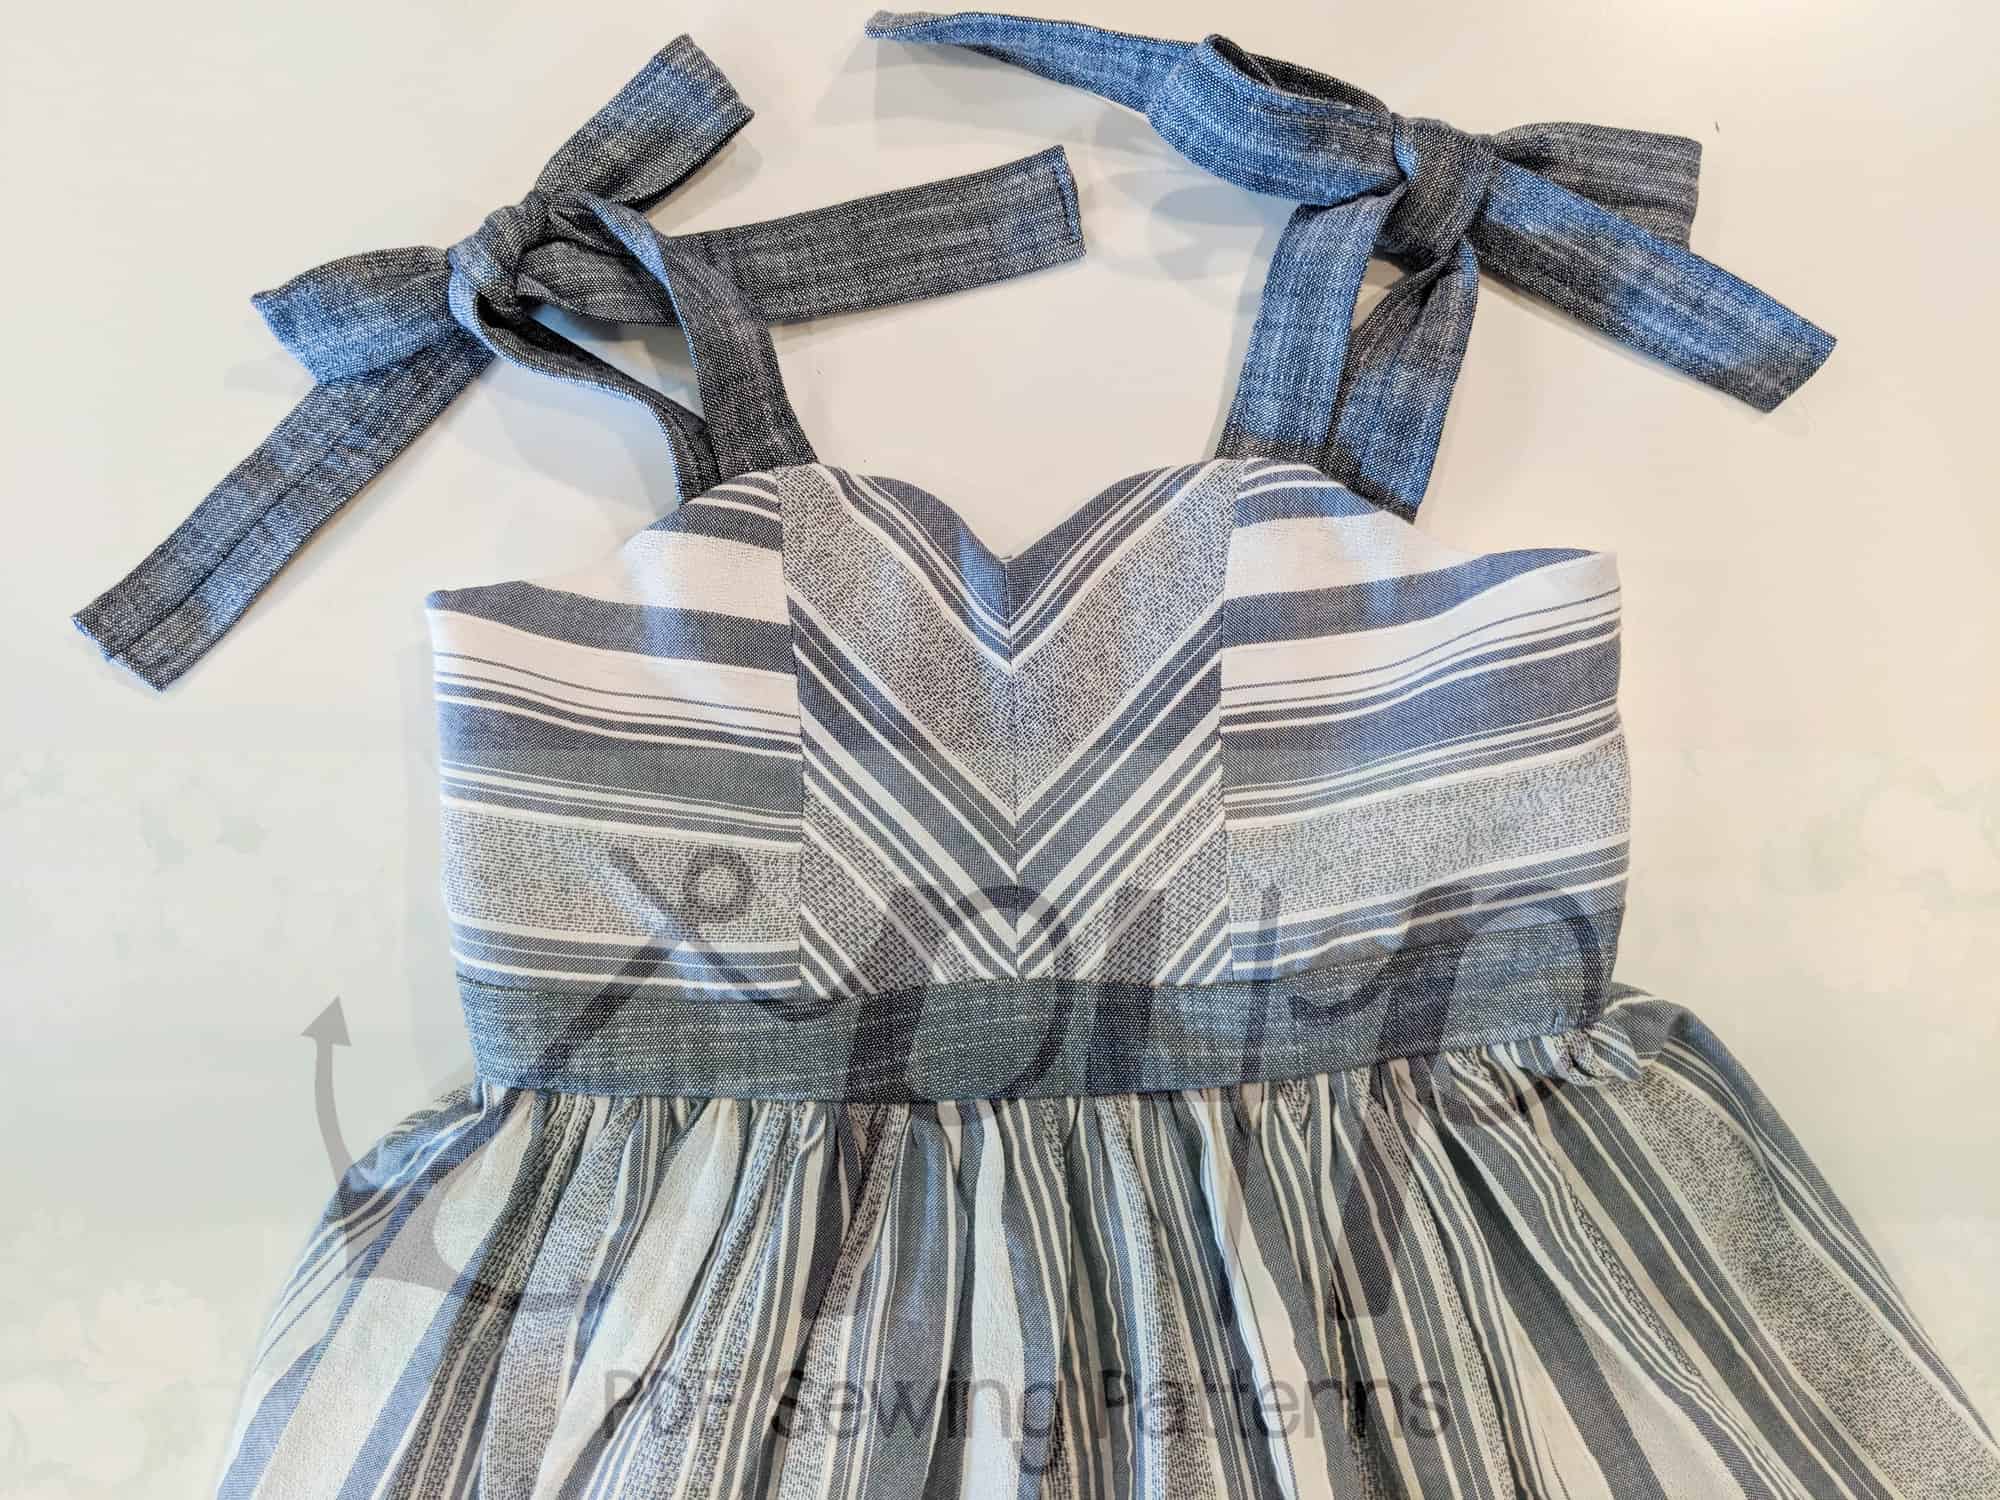
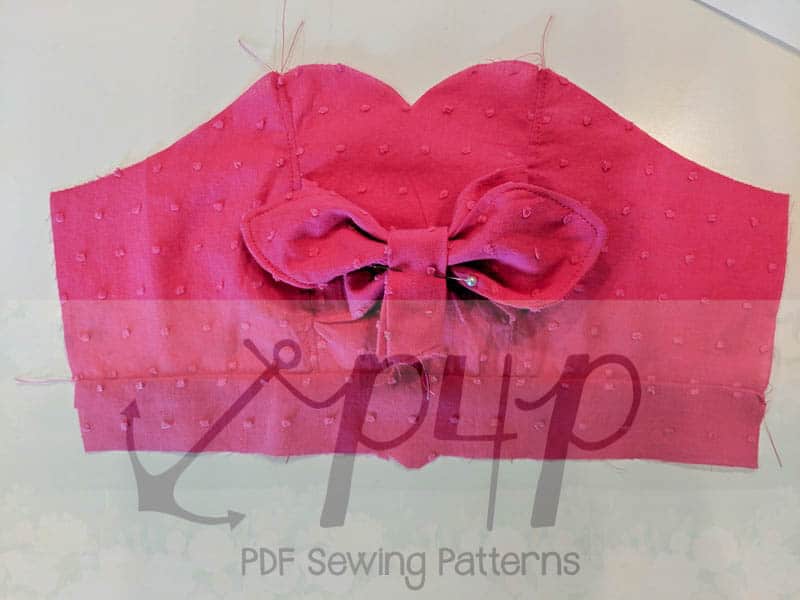
Here you go! The look of the Cozy Wrap without the risk or misplacing the belt. You can tie these in the front or the back of your shirt.
….
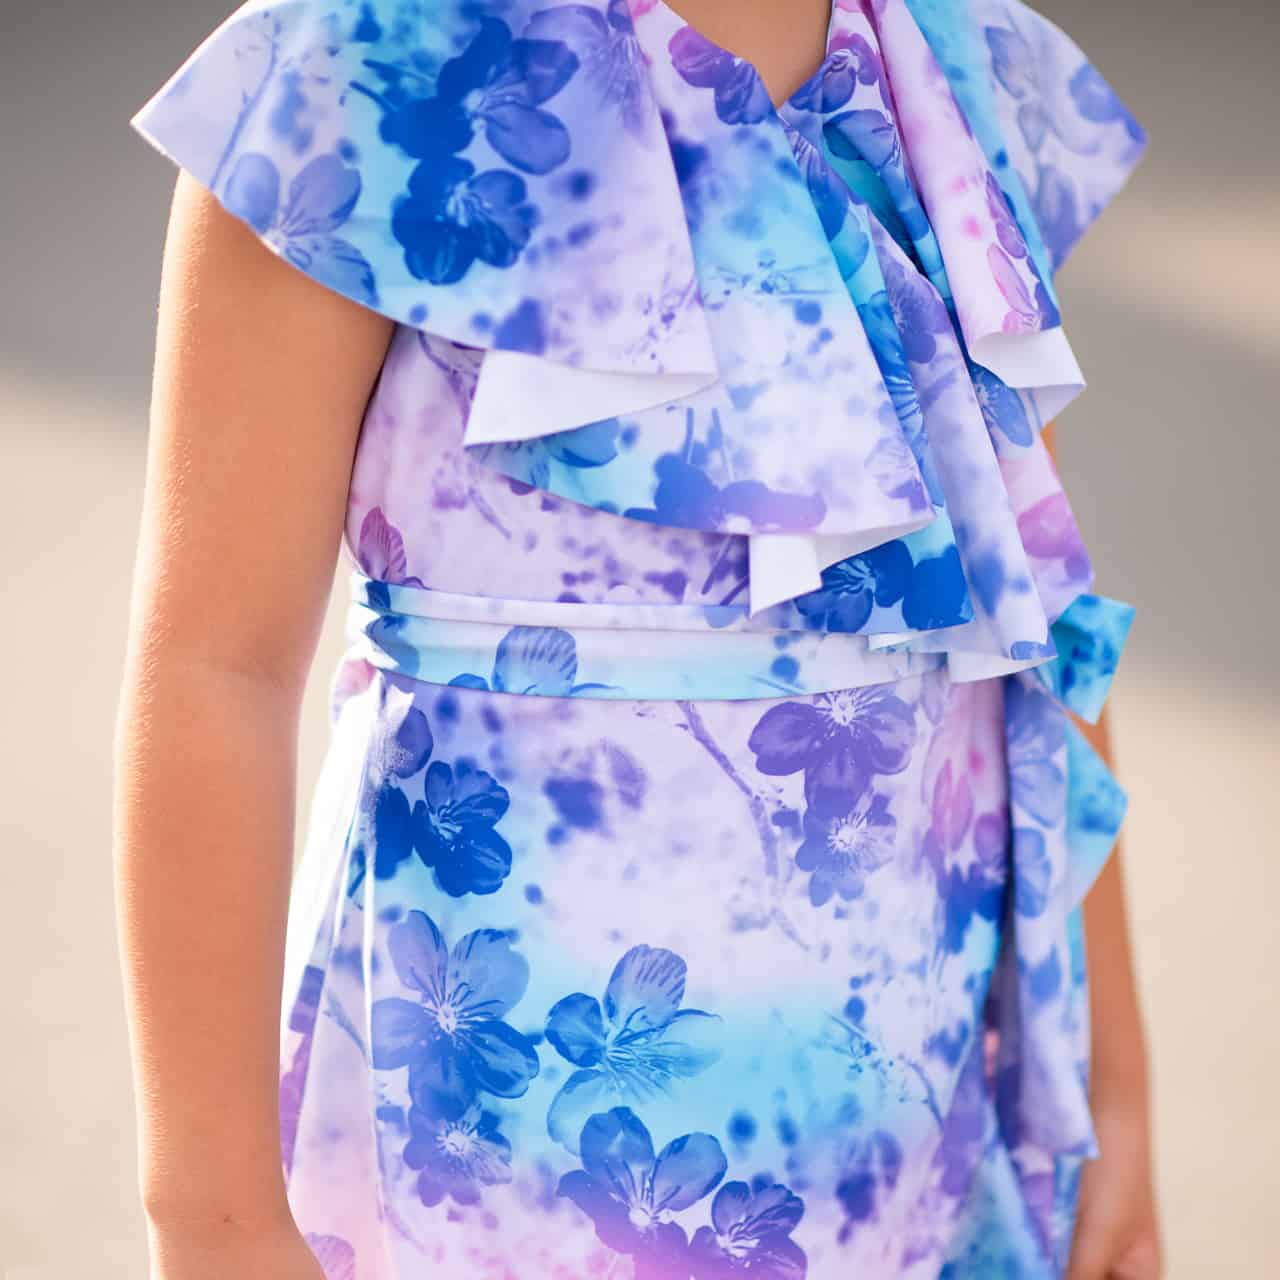
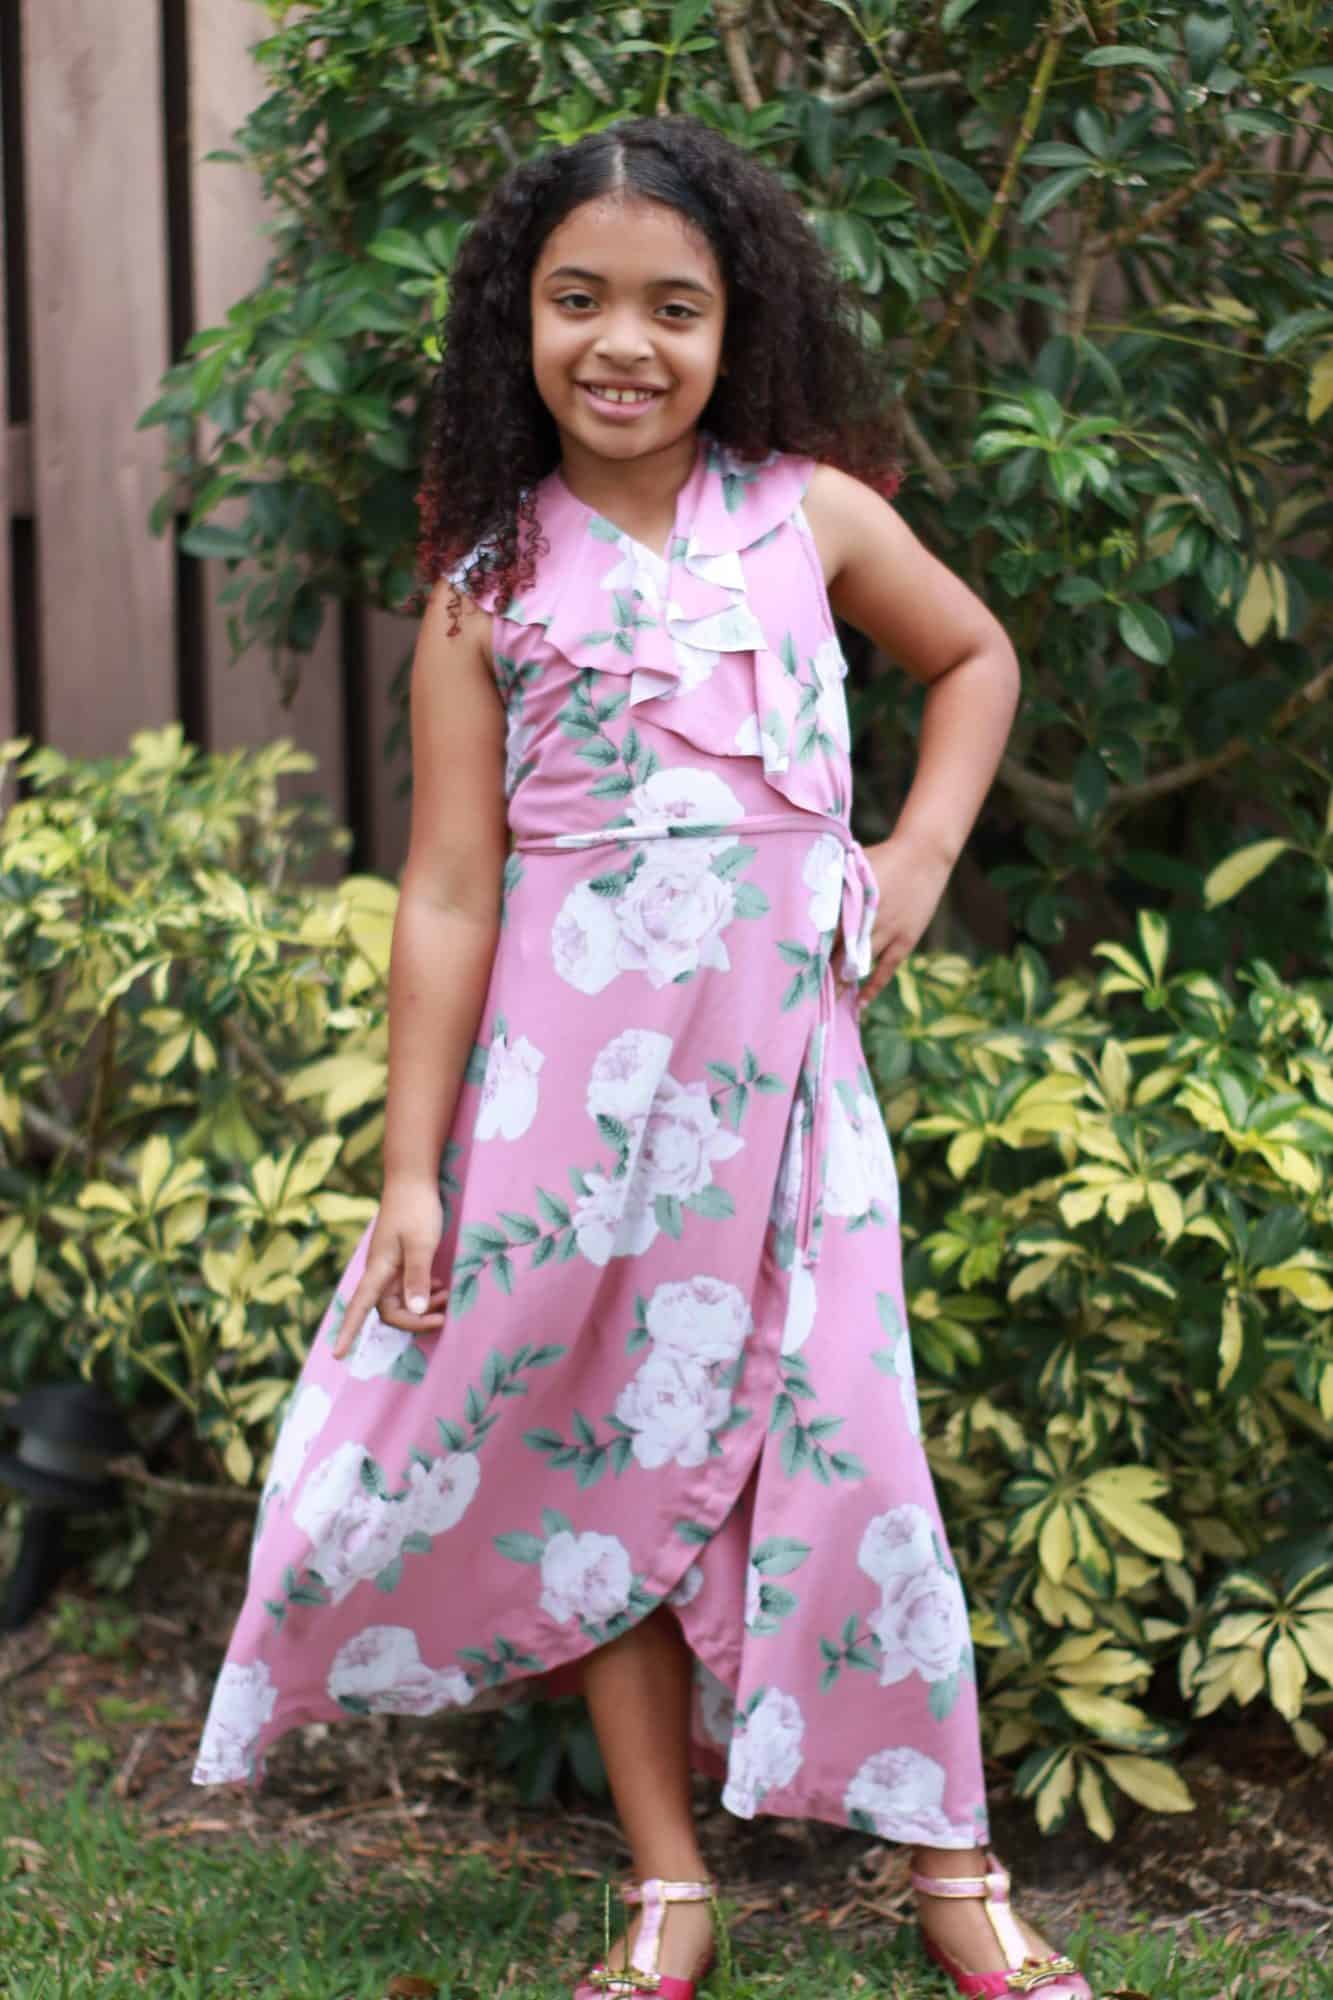
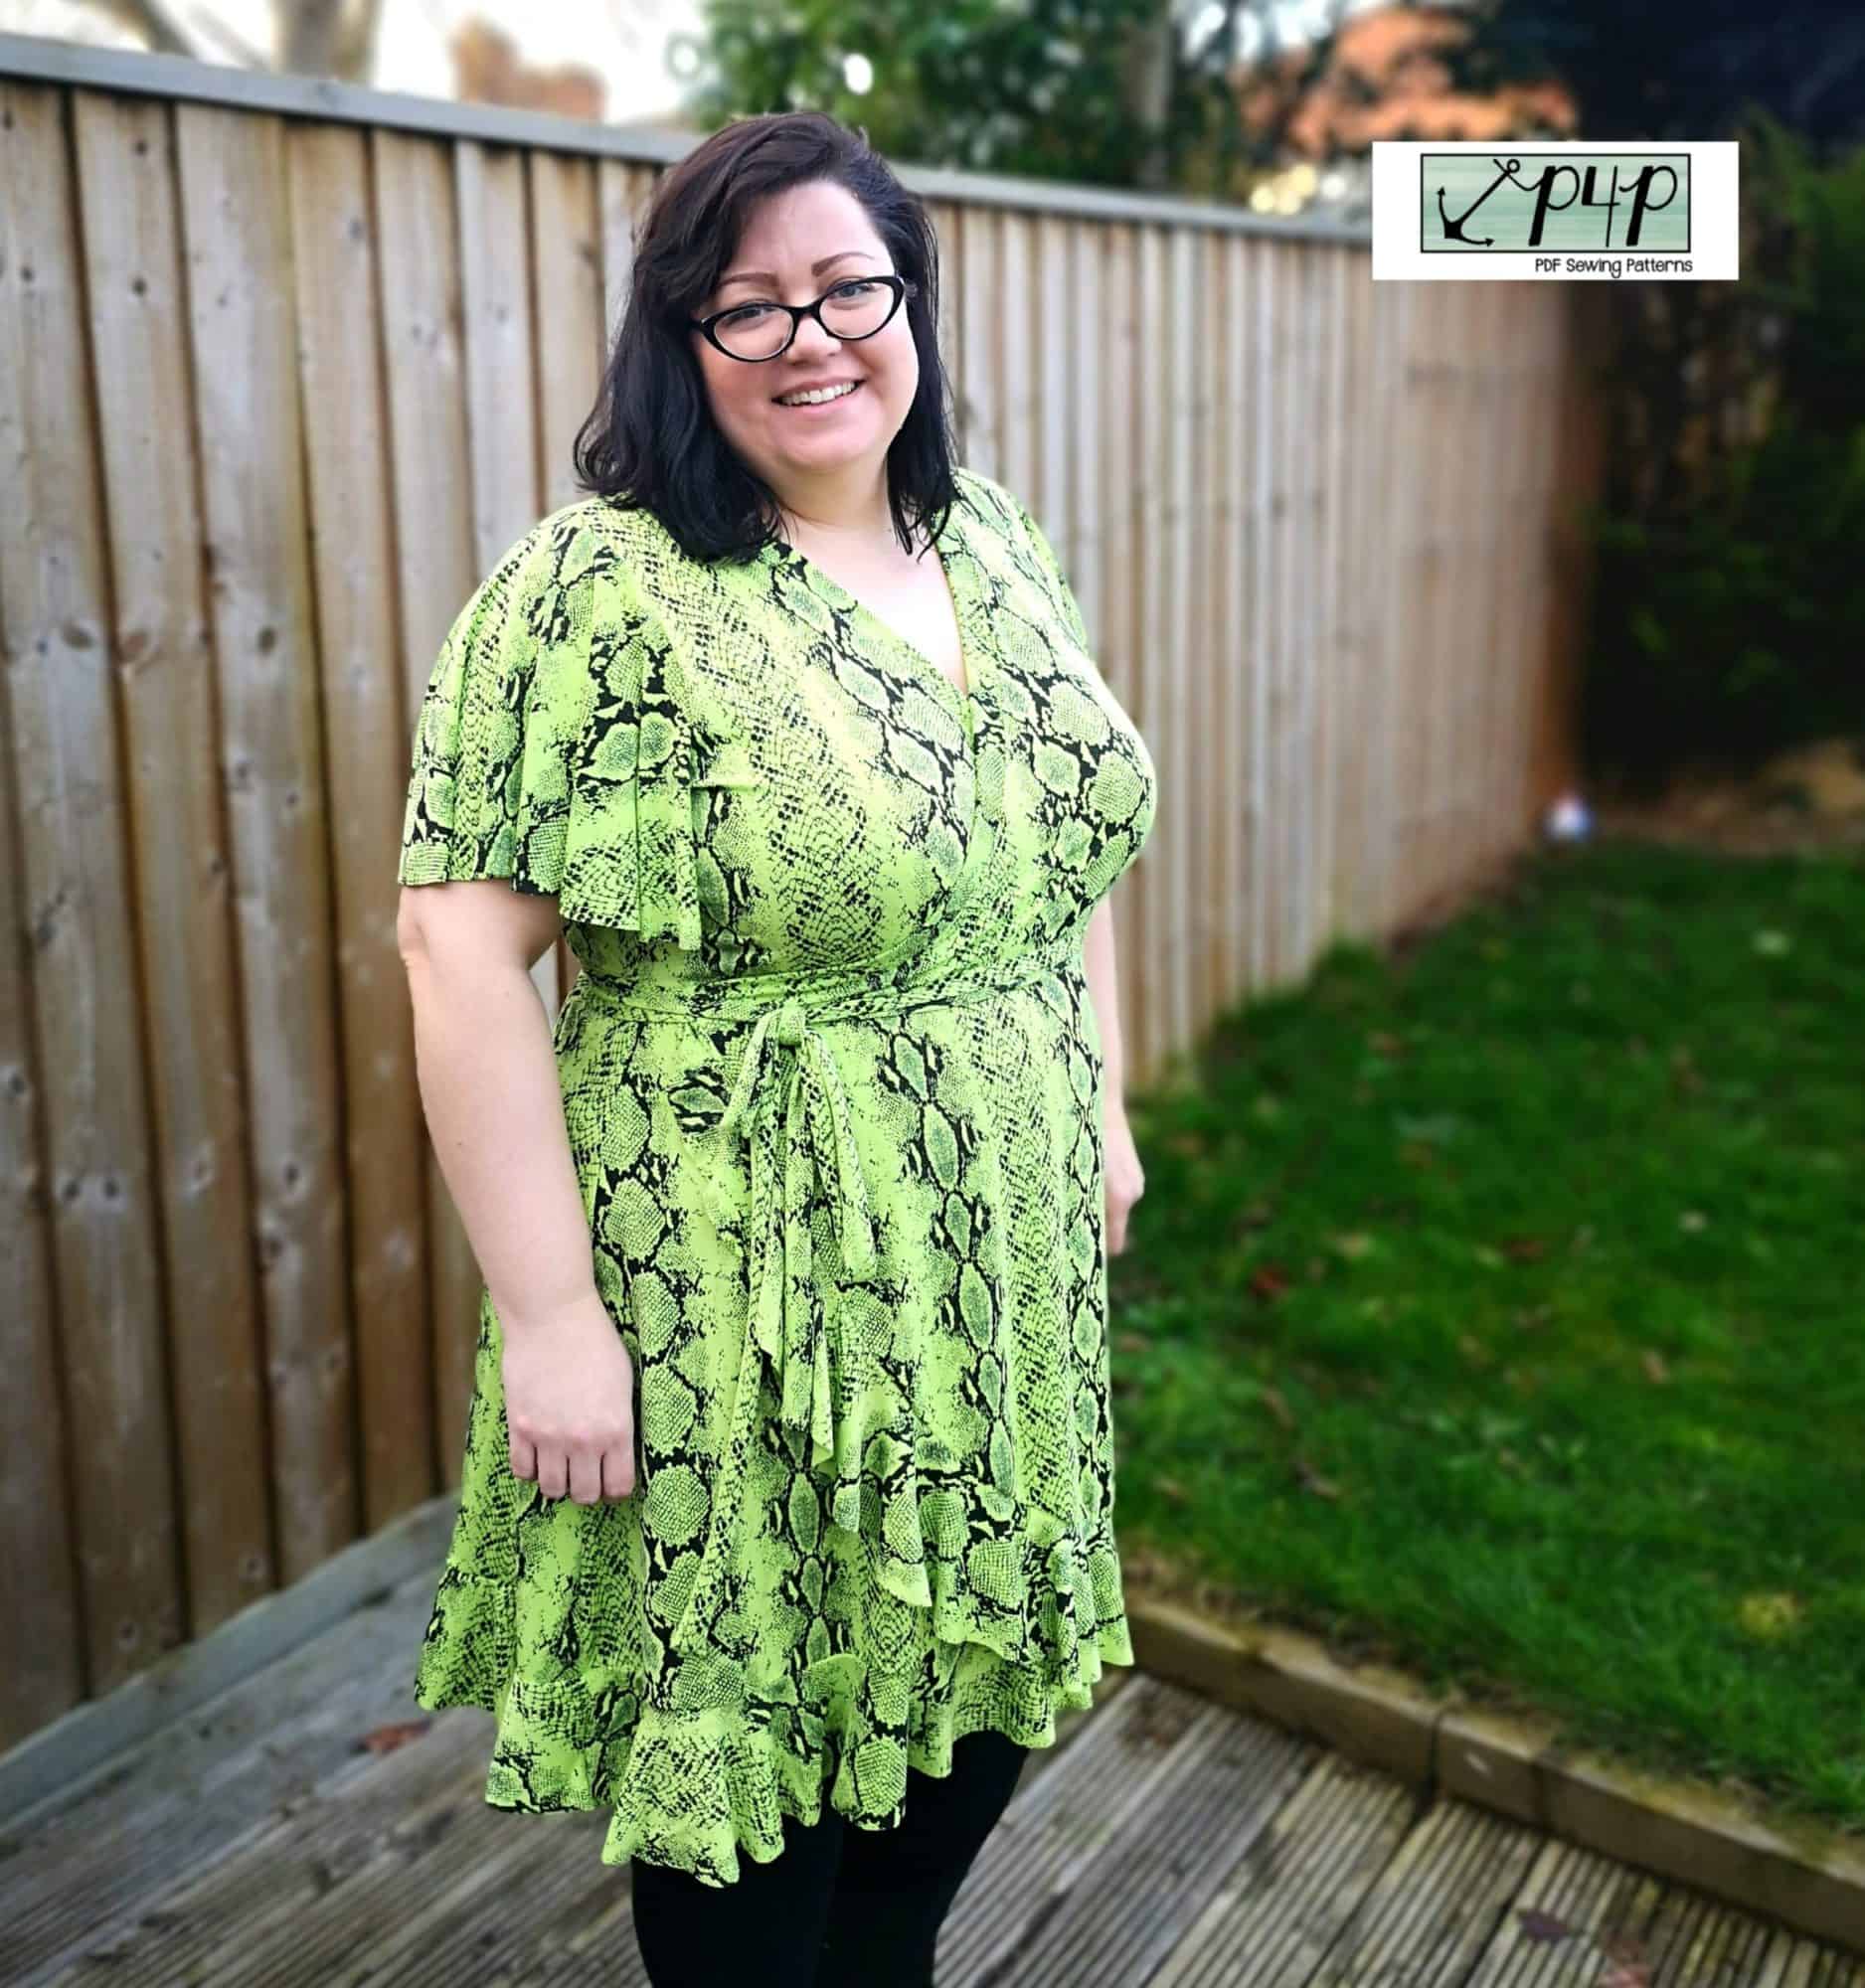
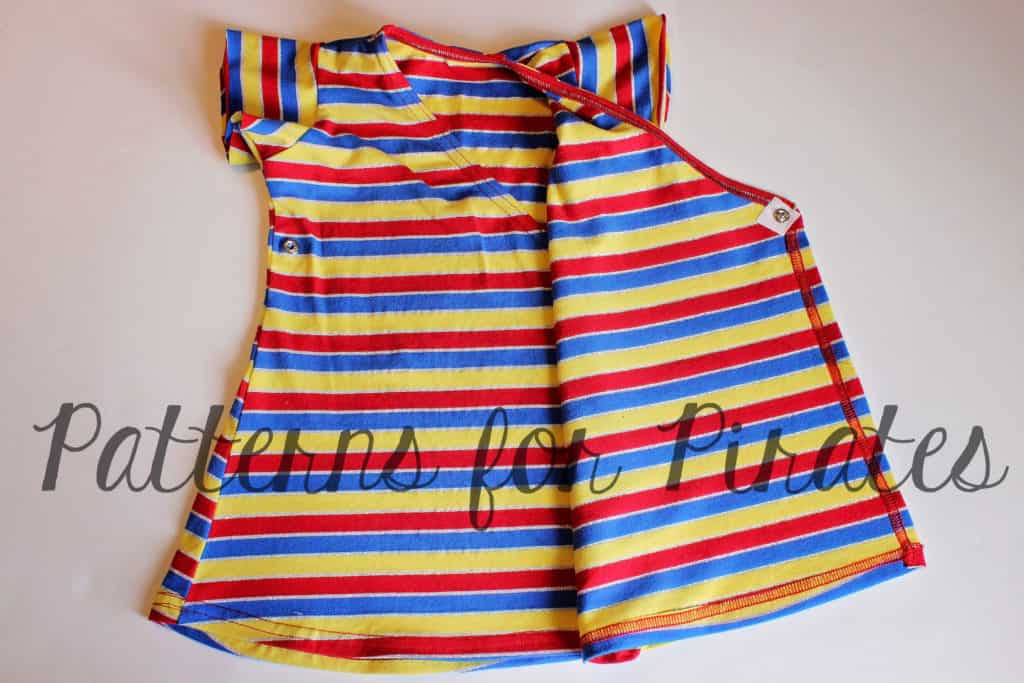
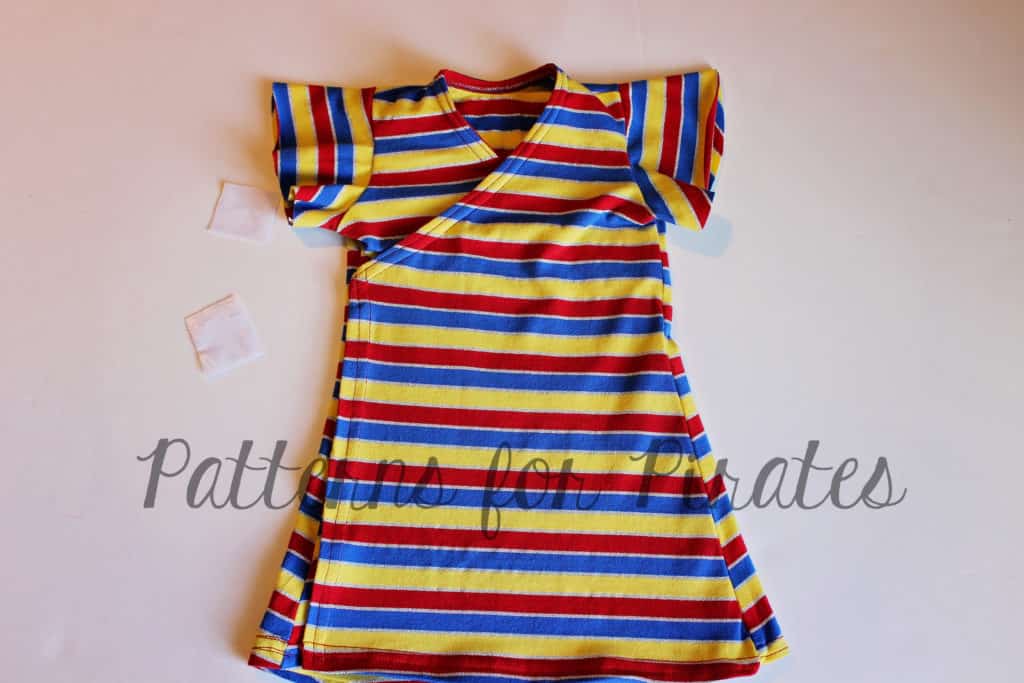
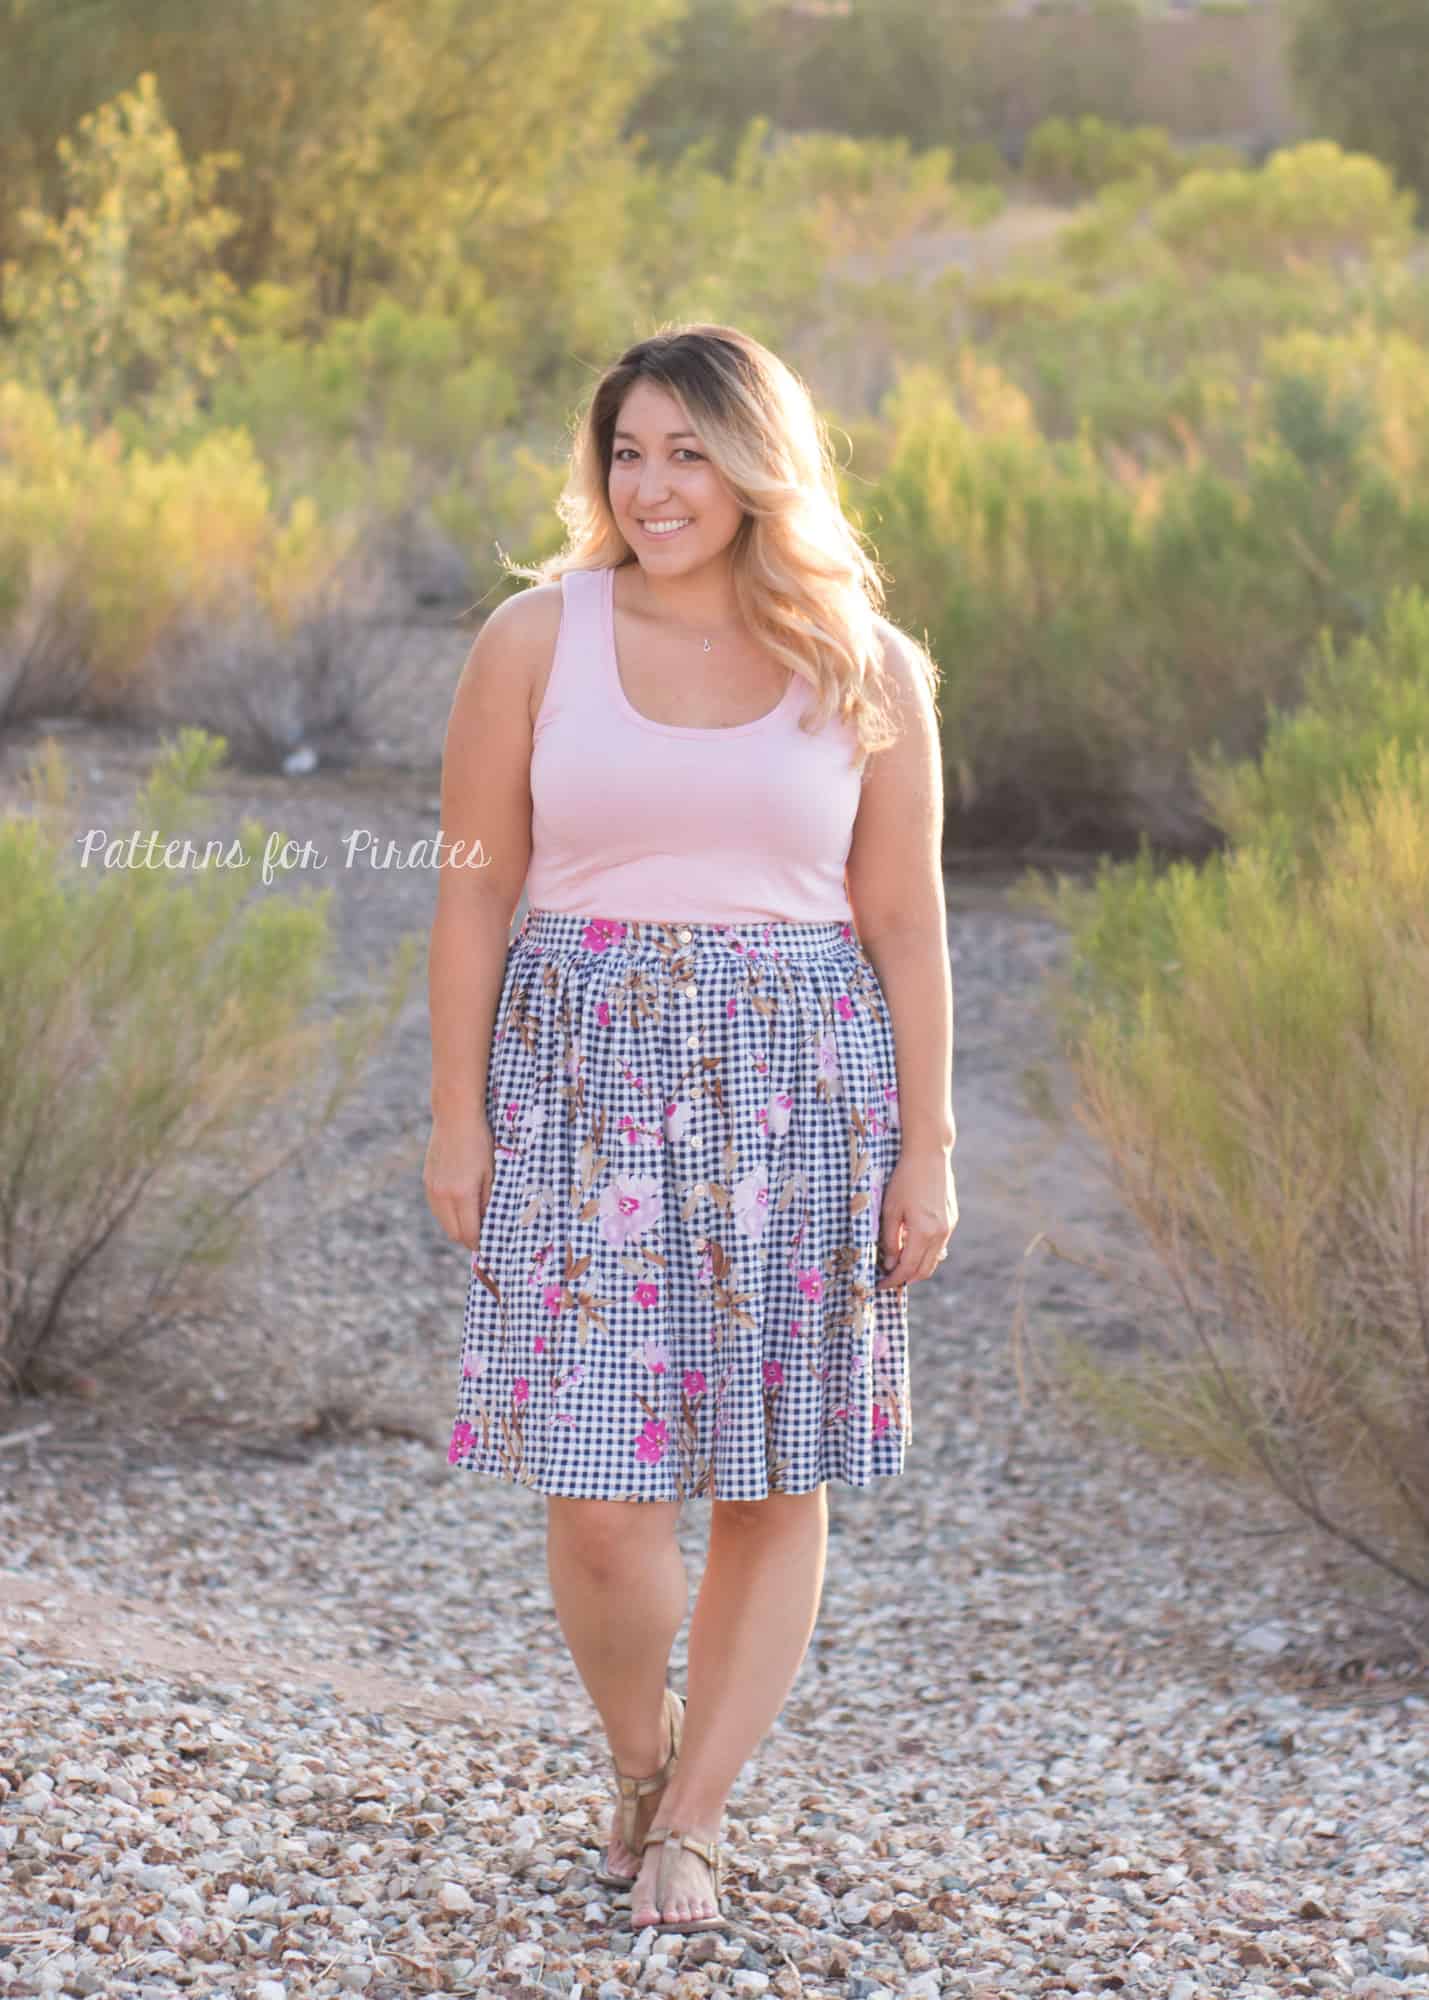
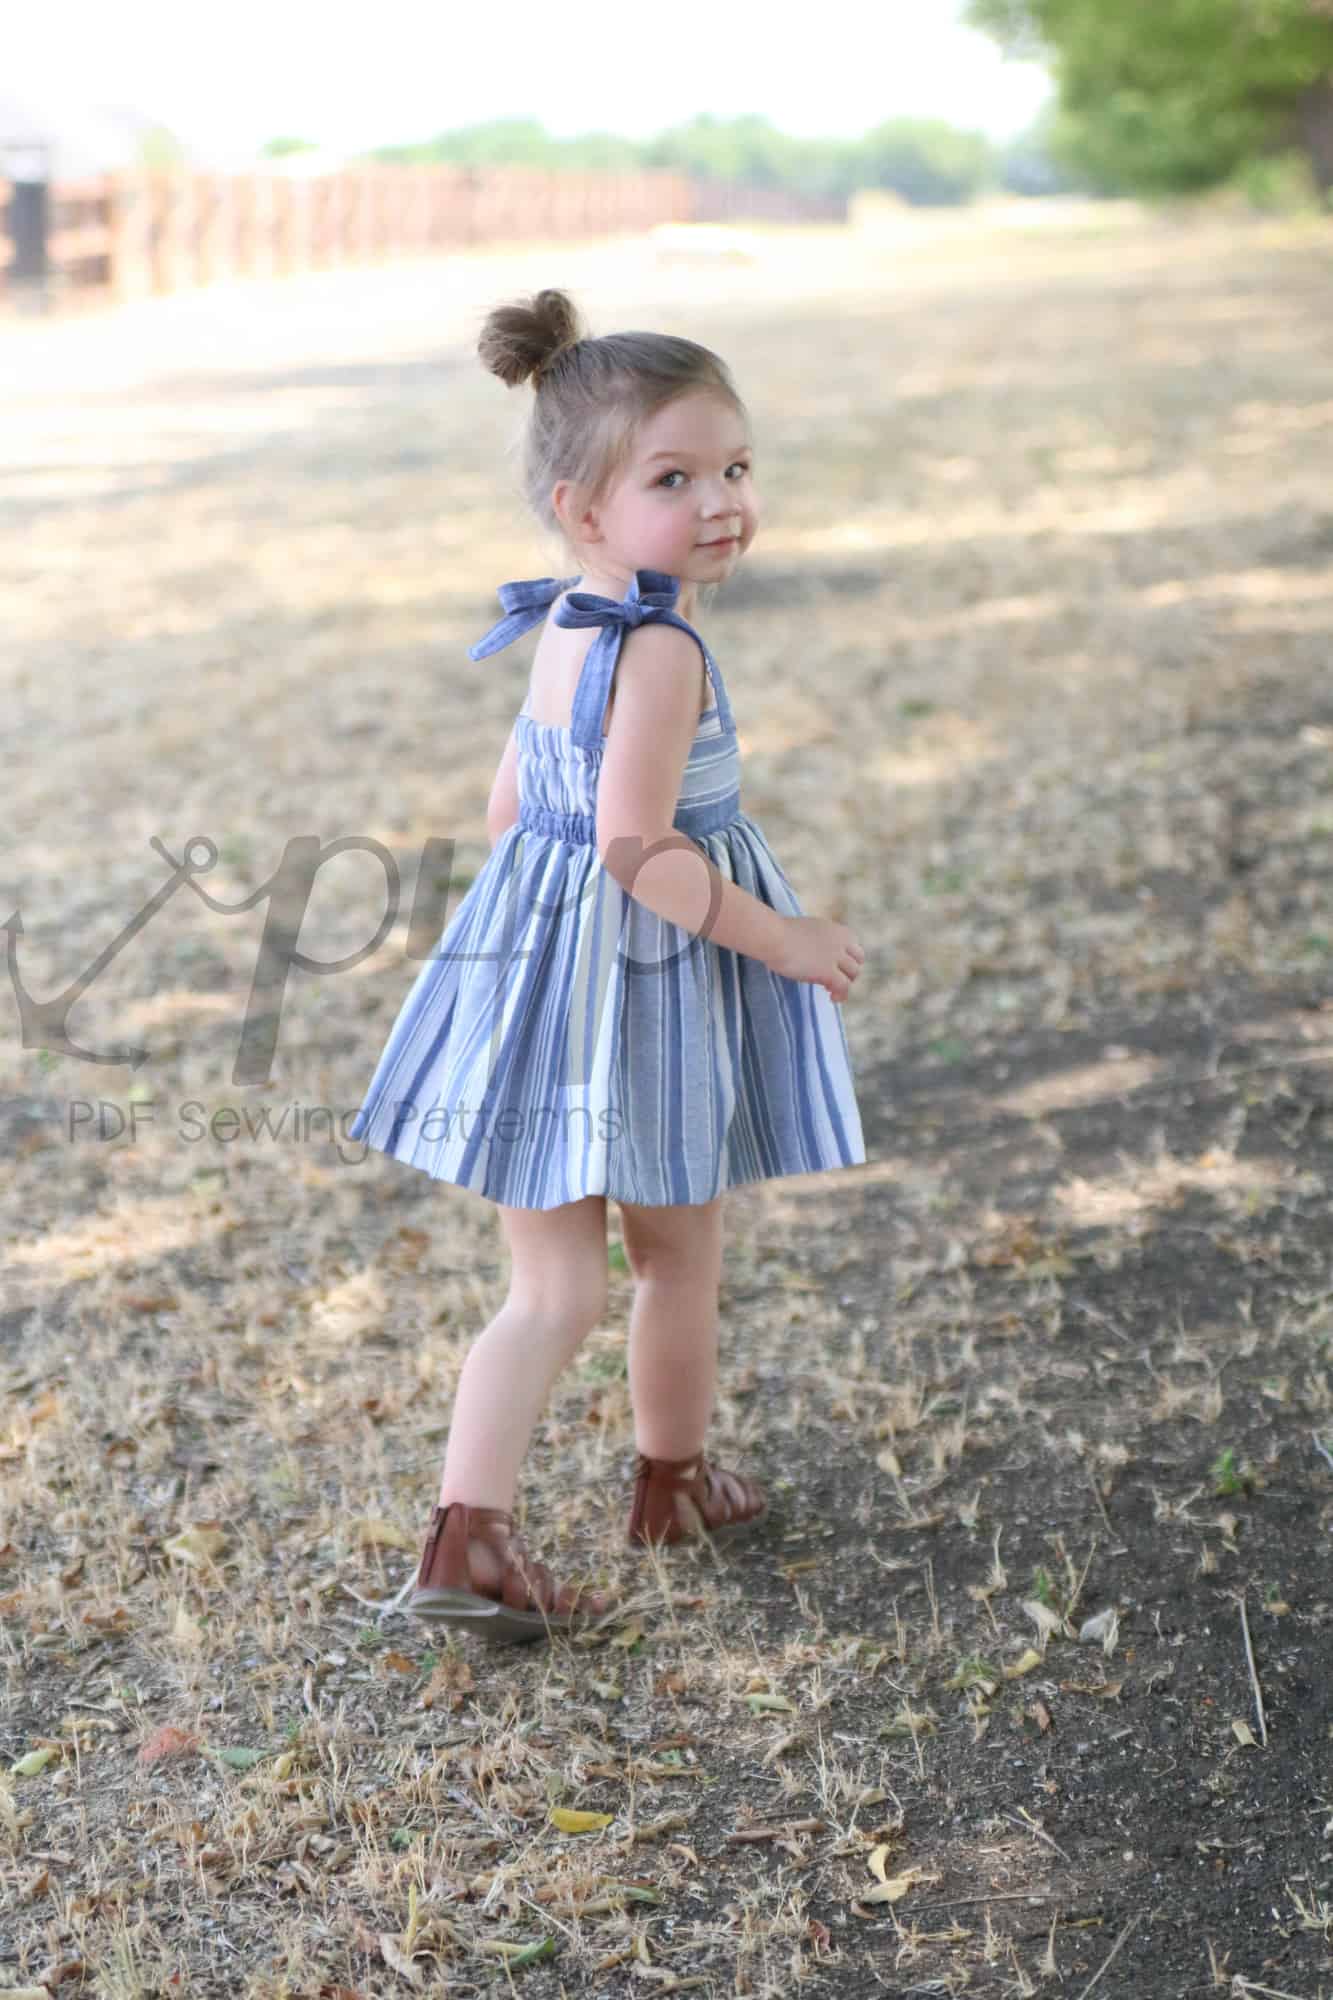
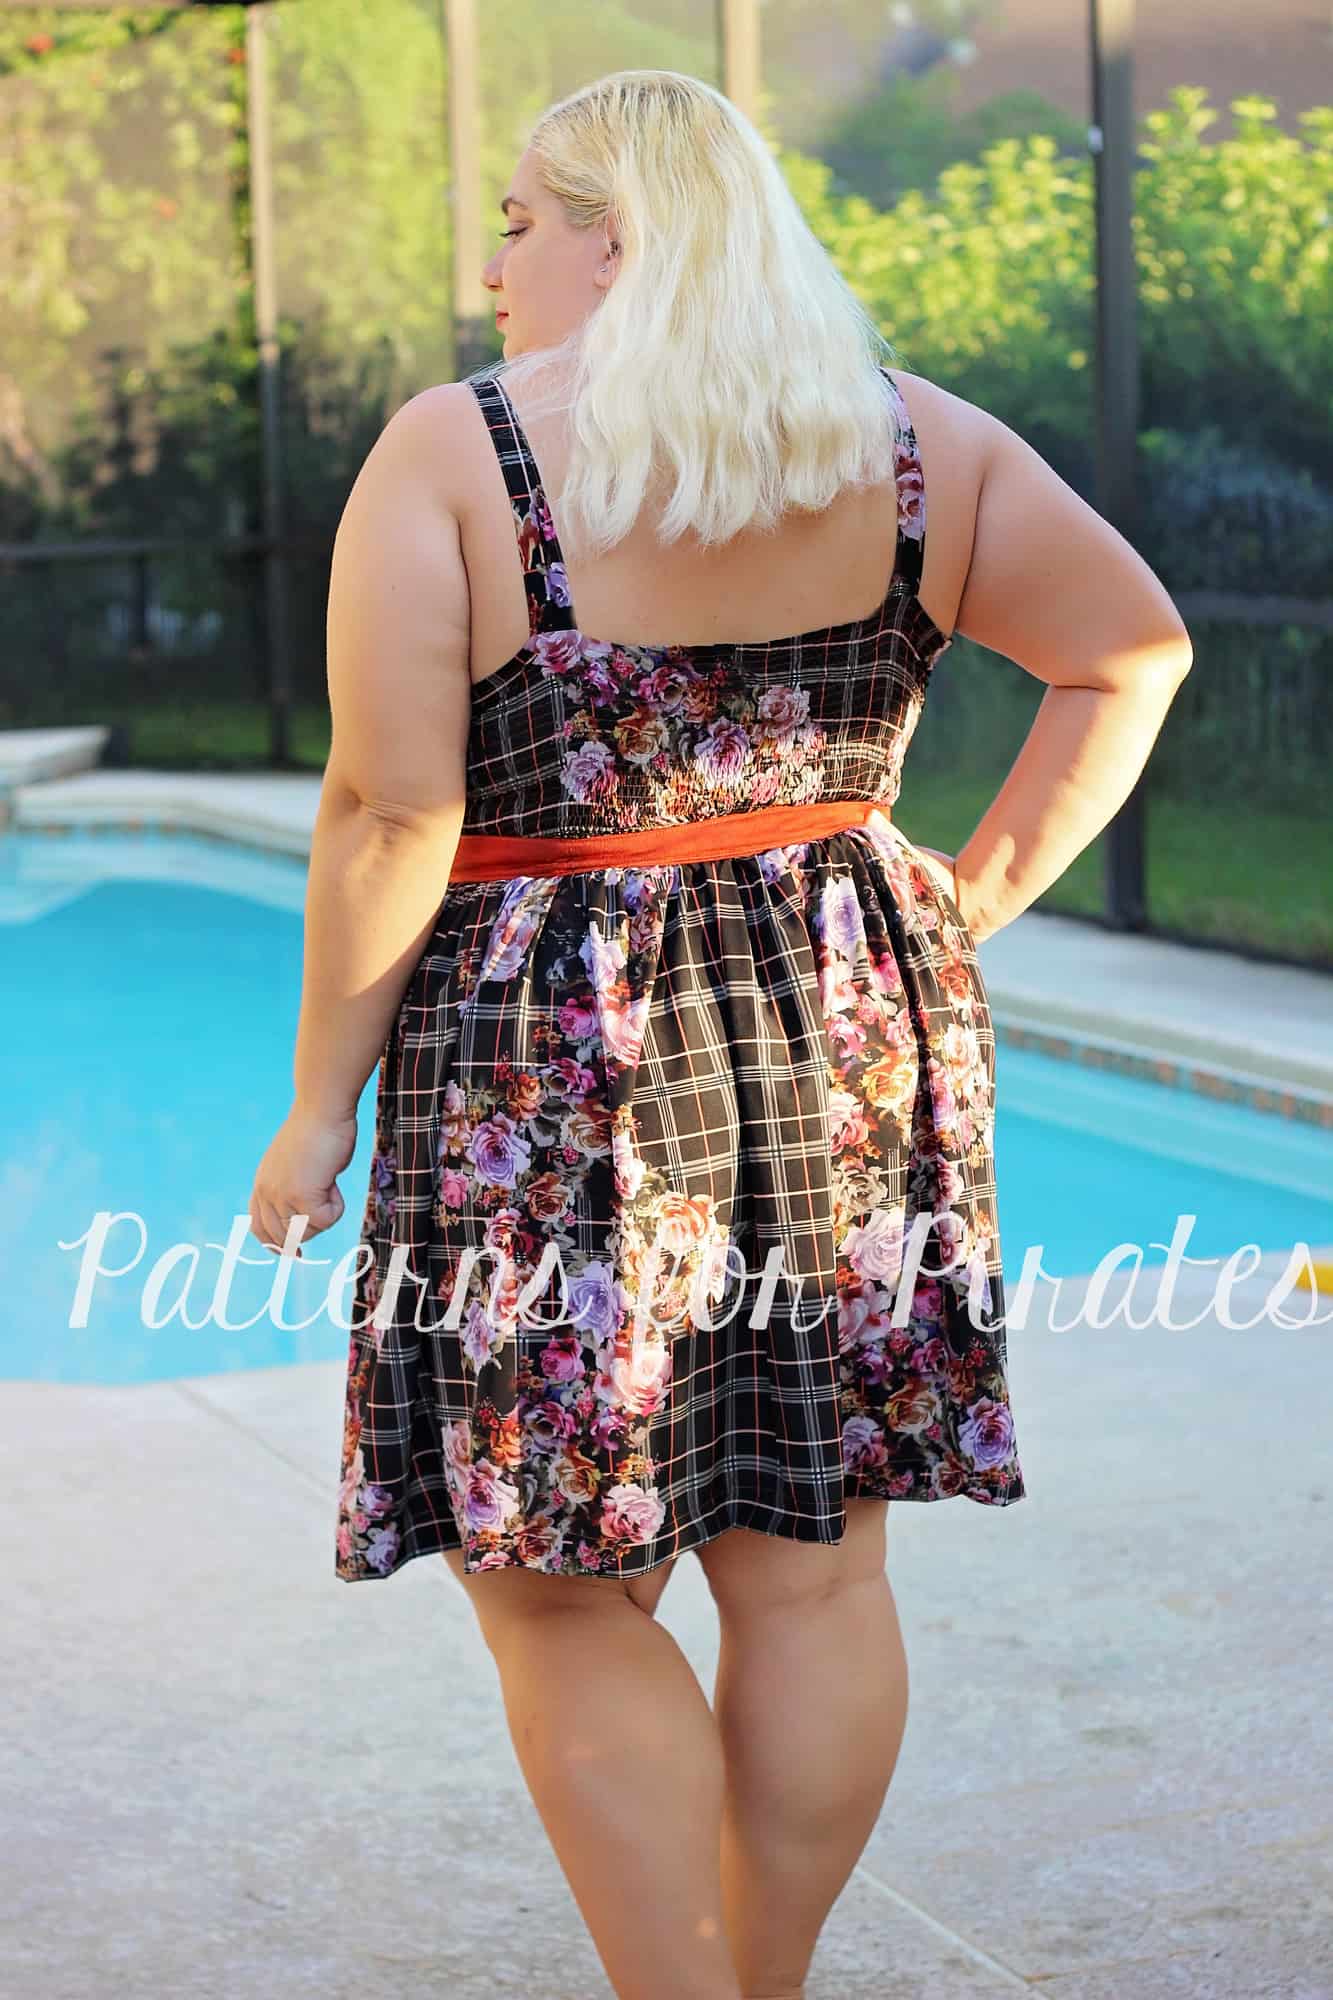
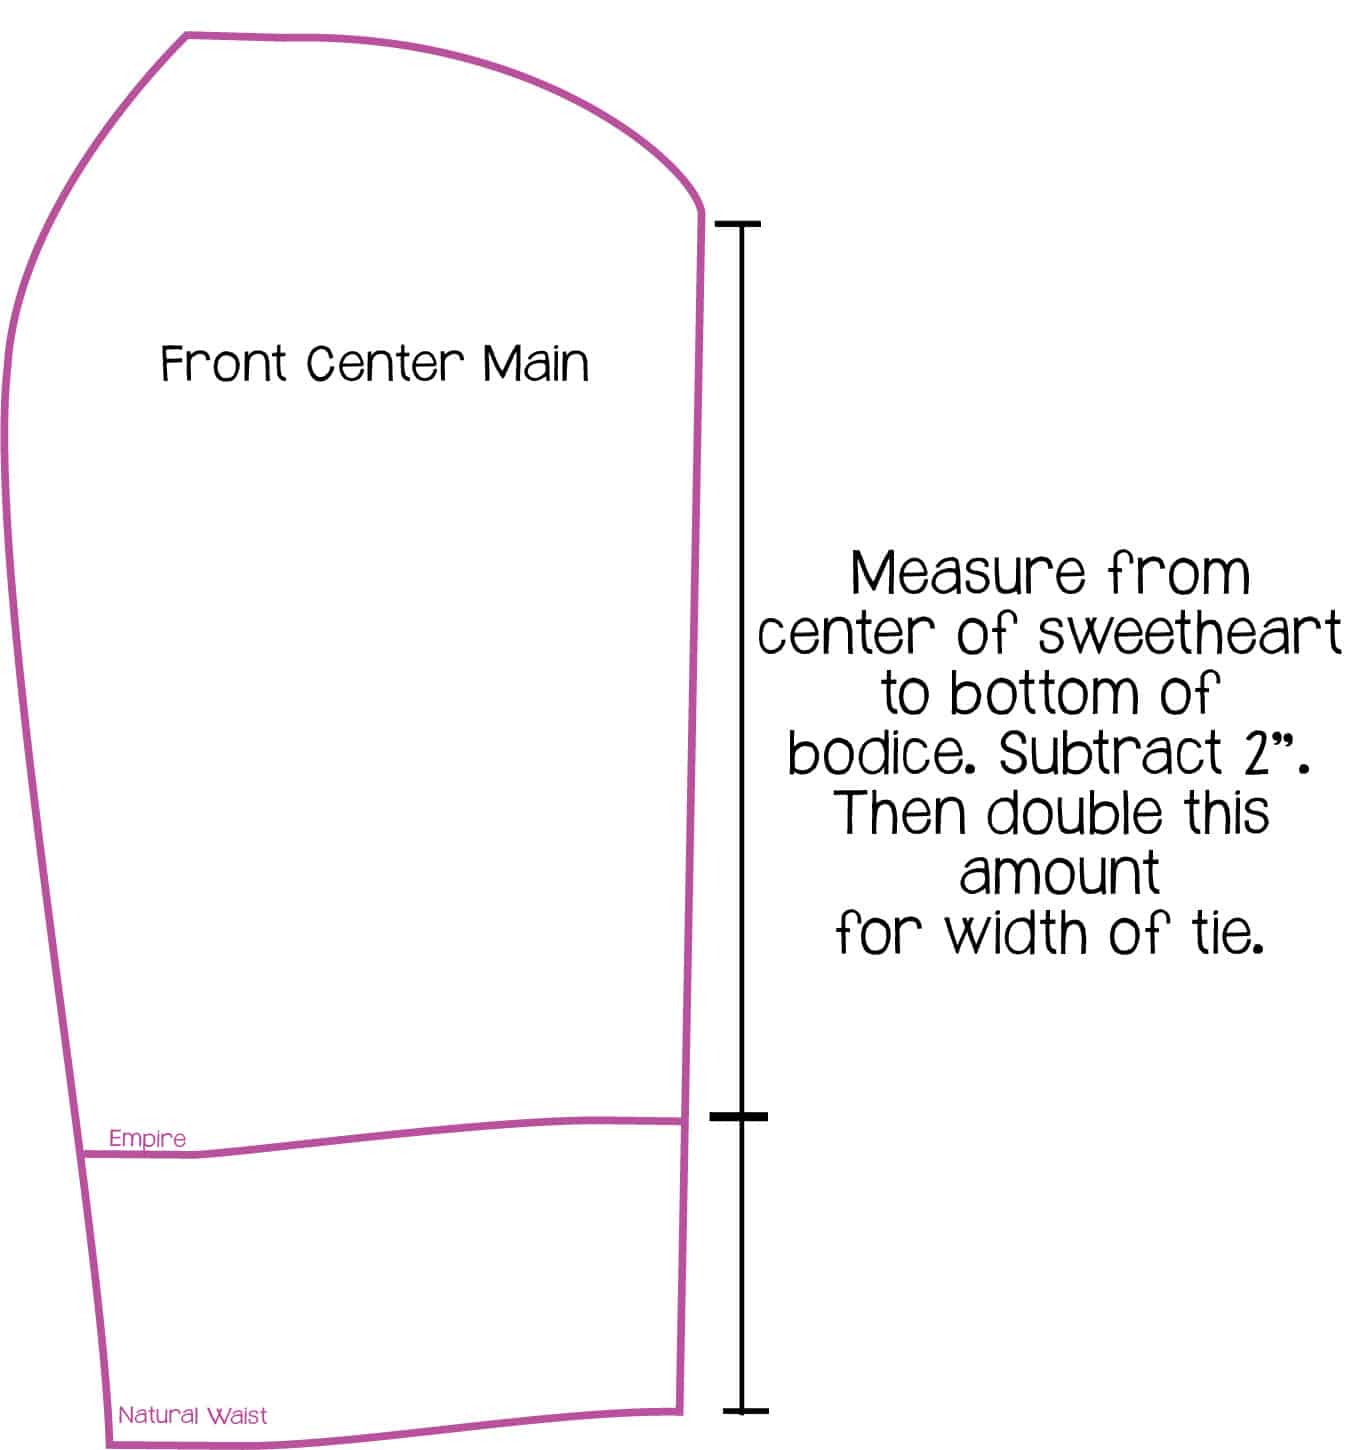
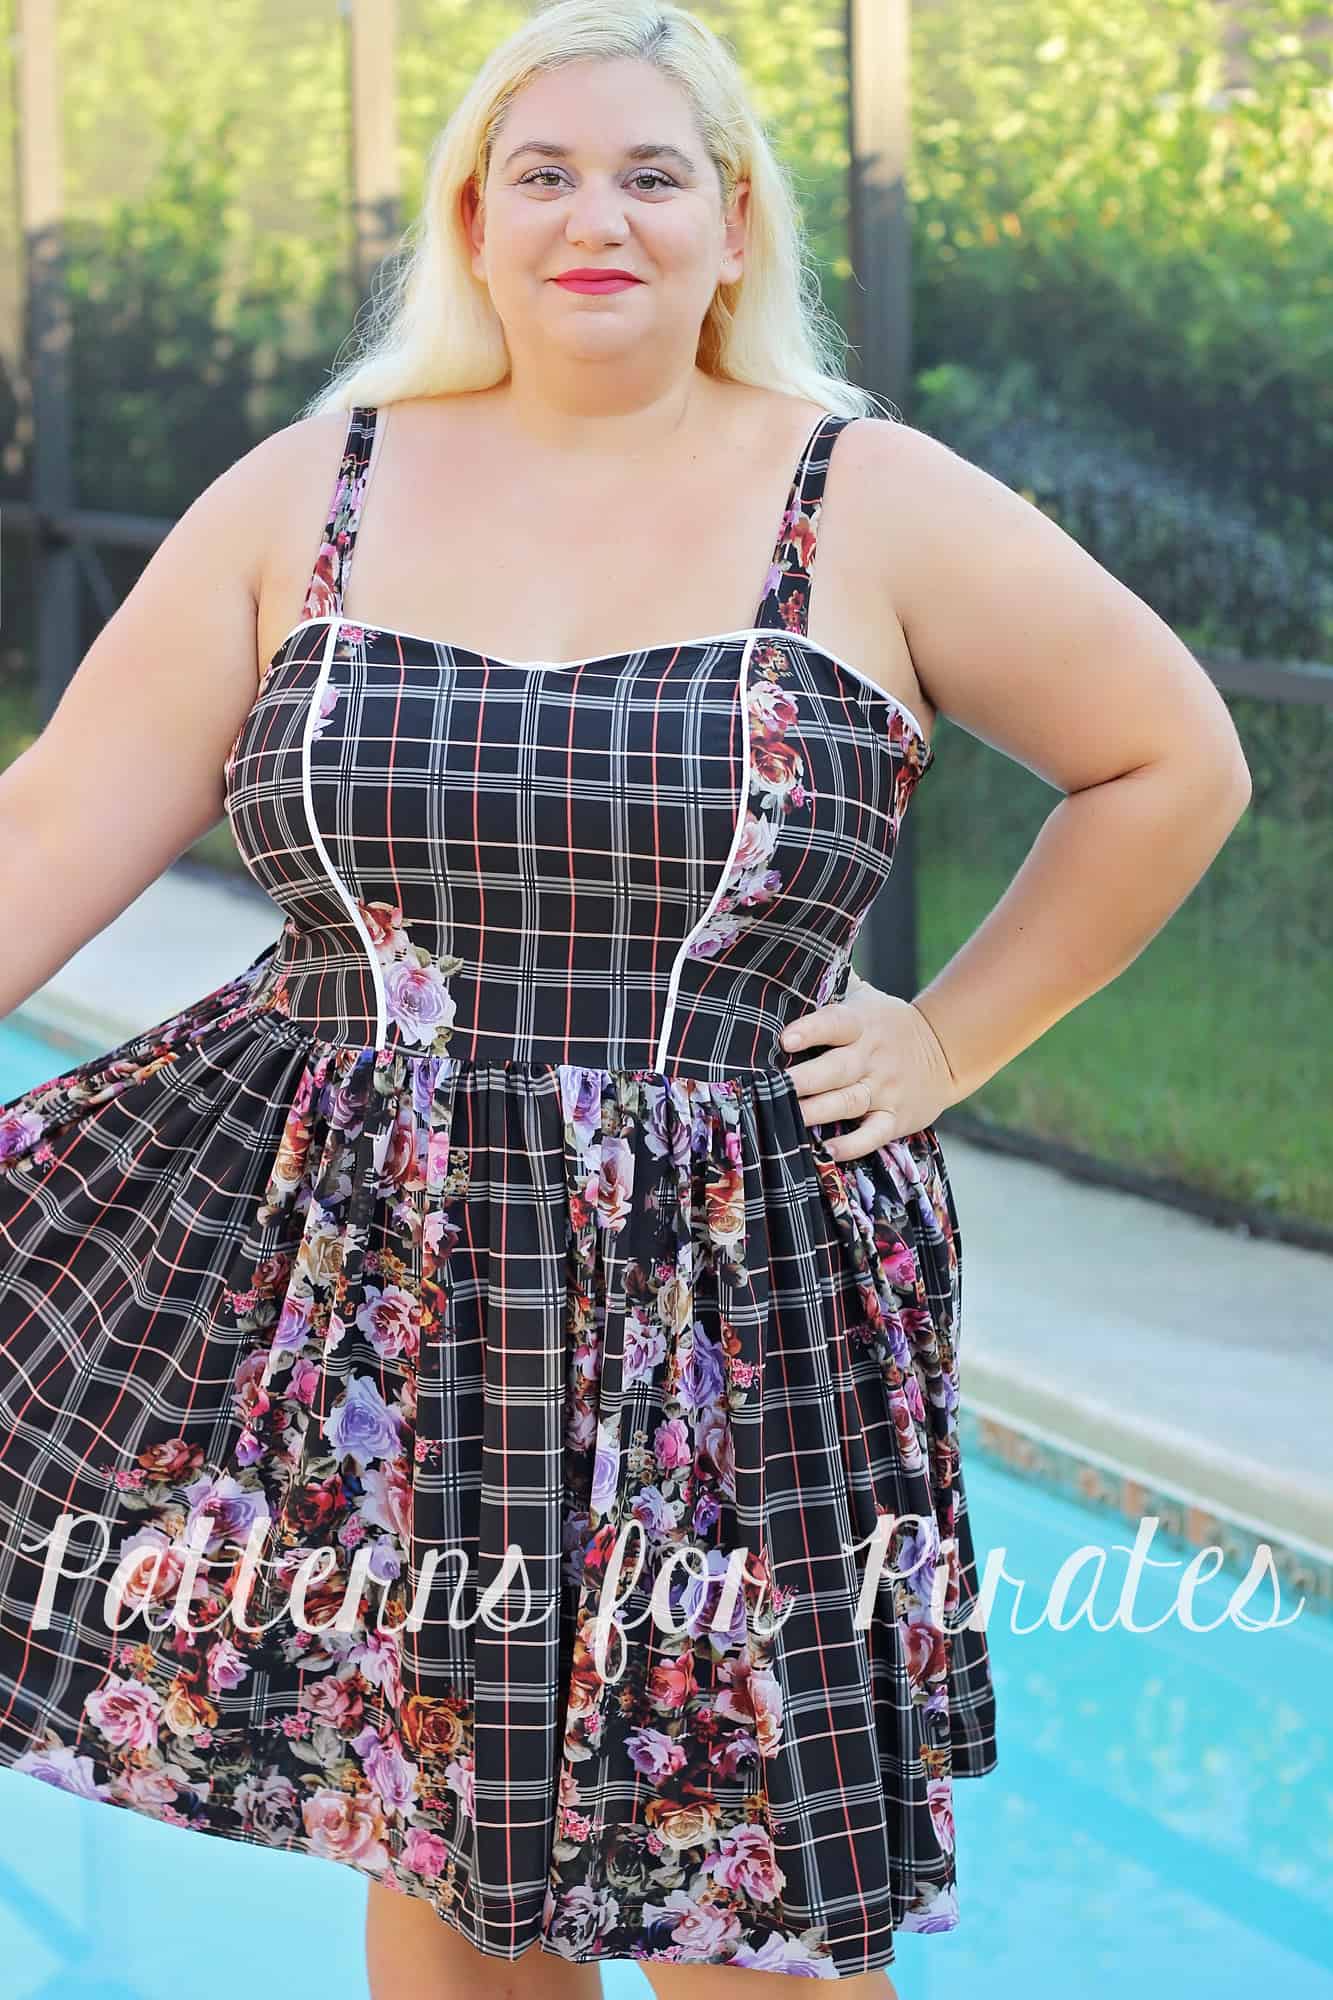
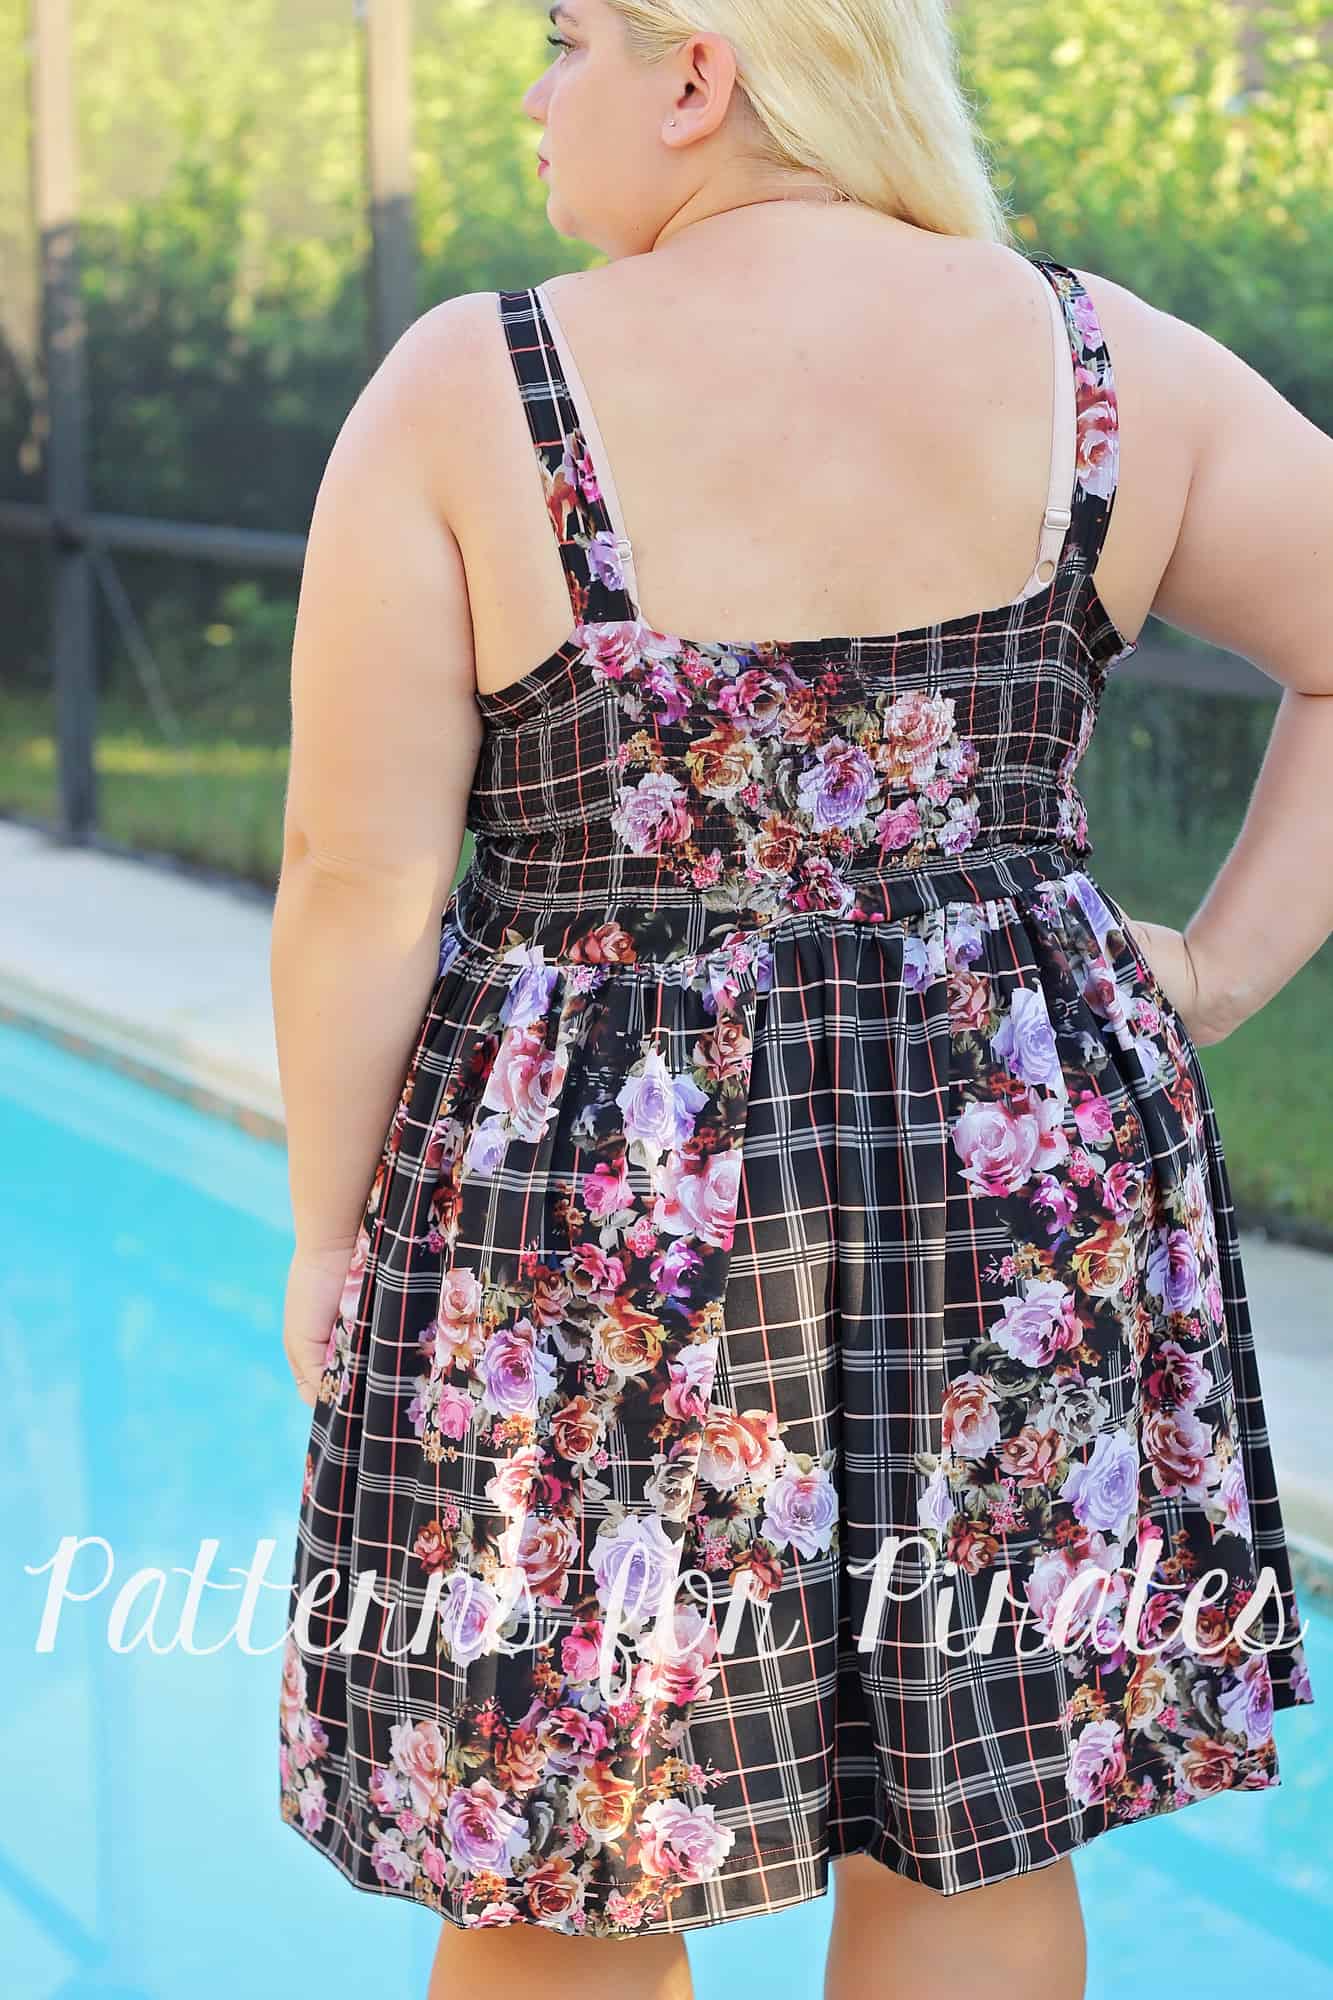
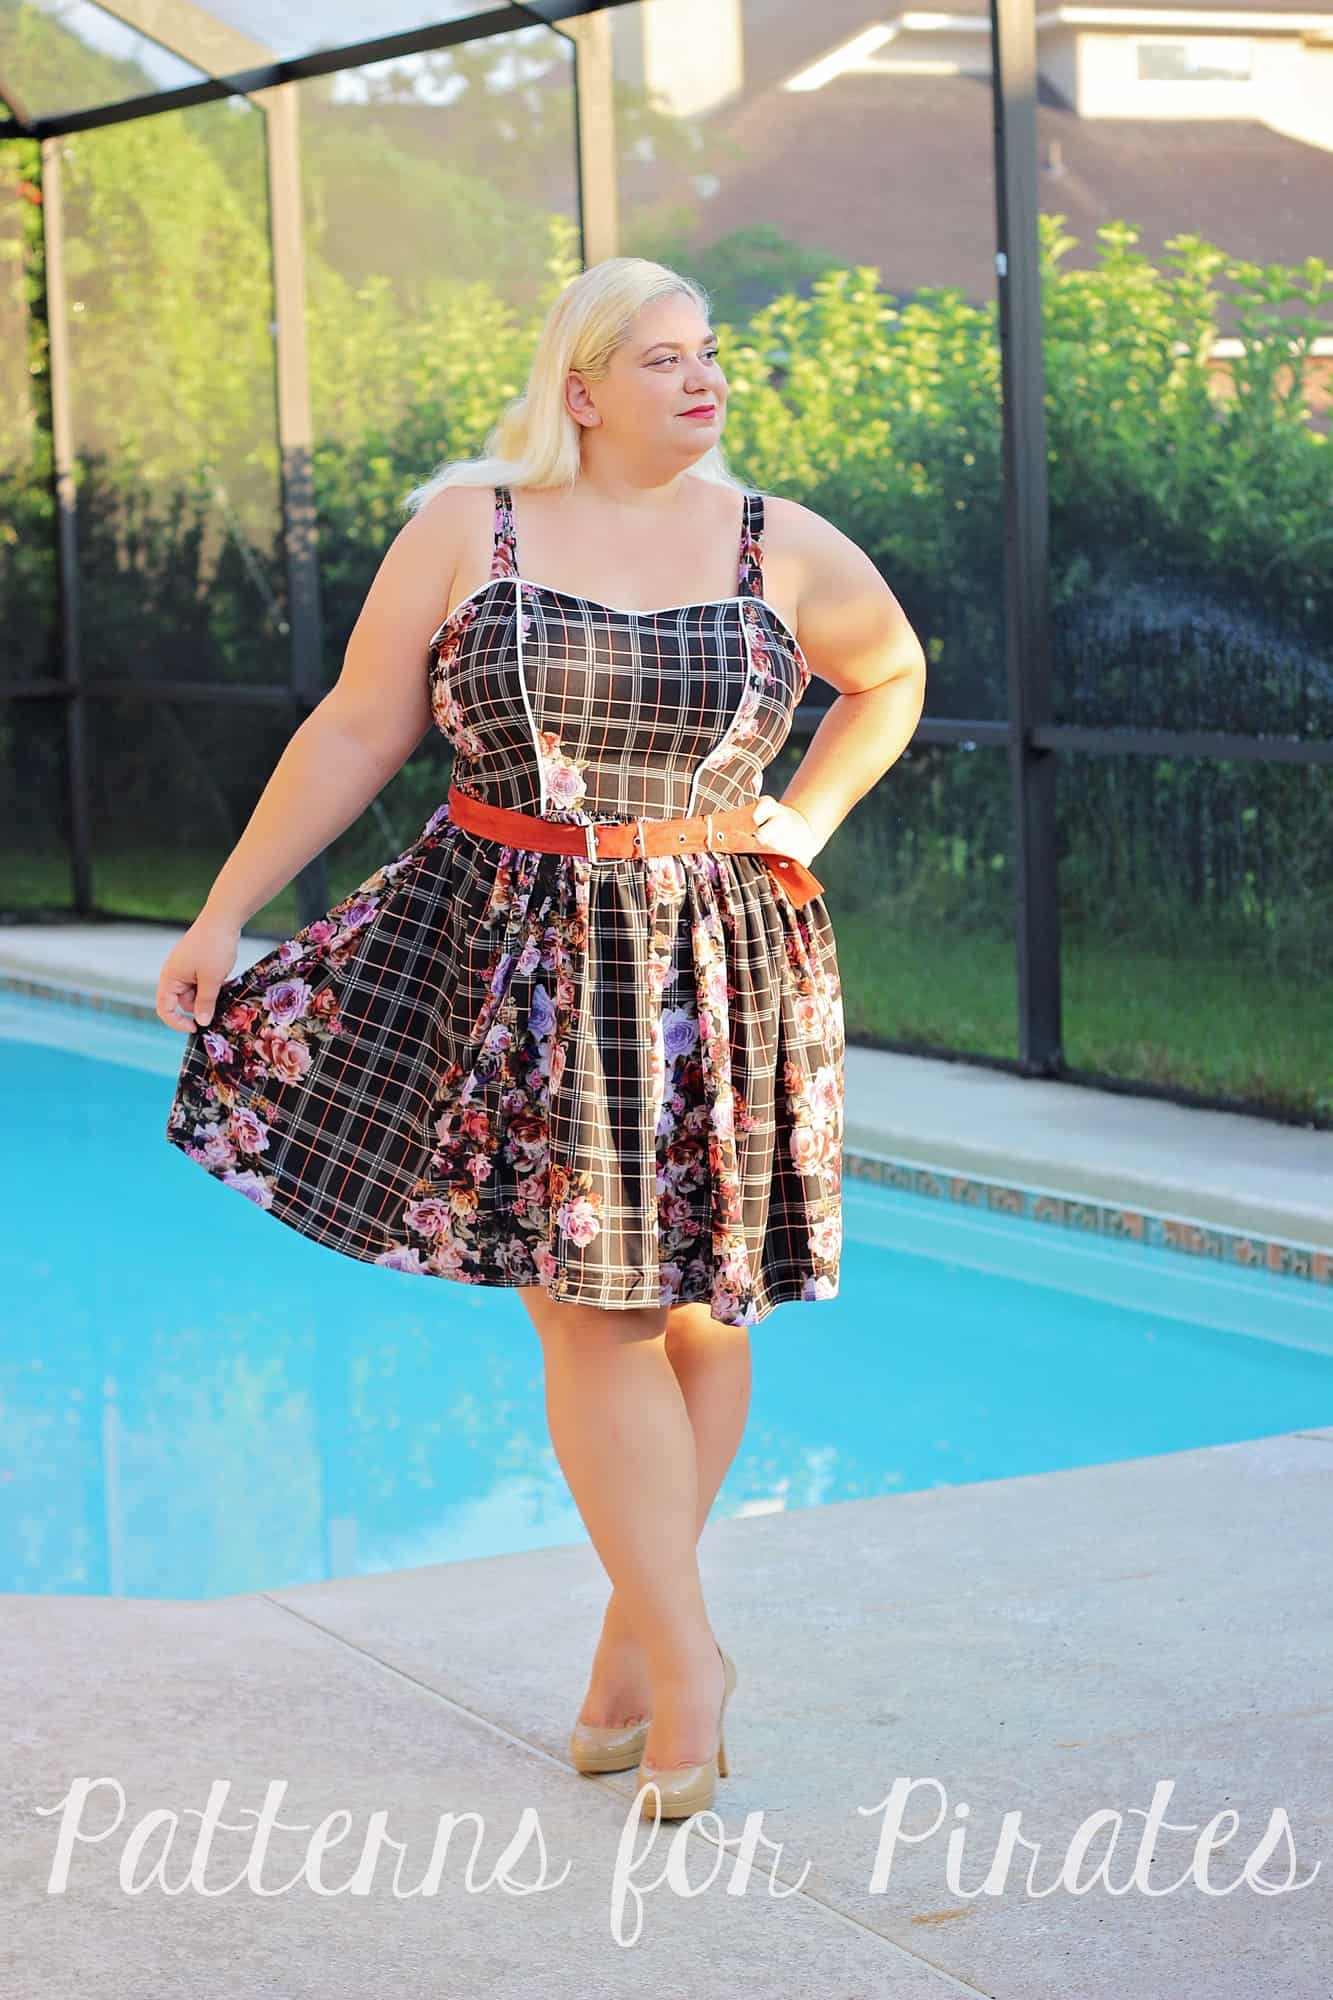
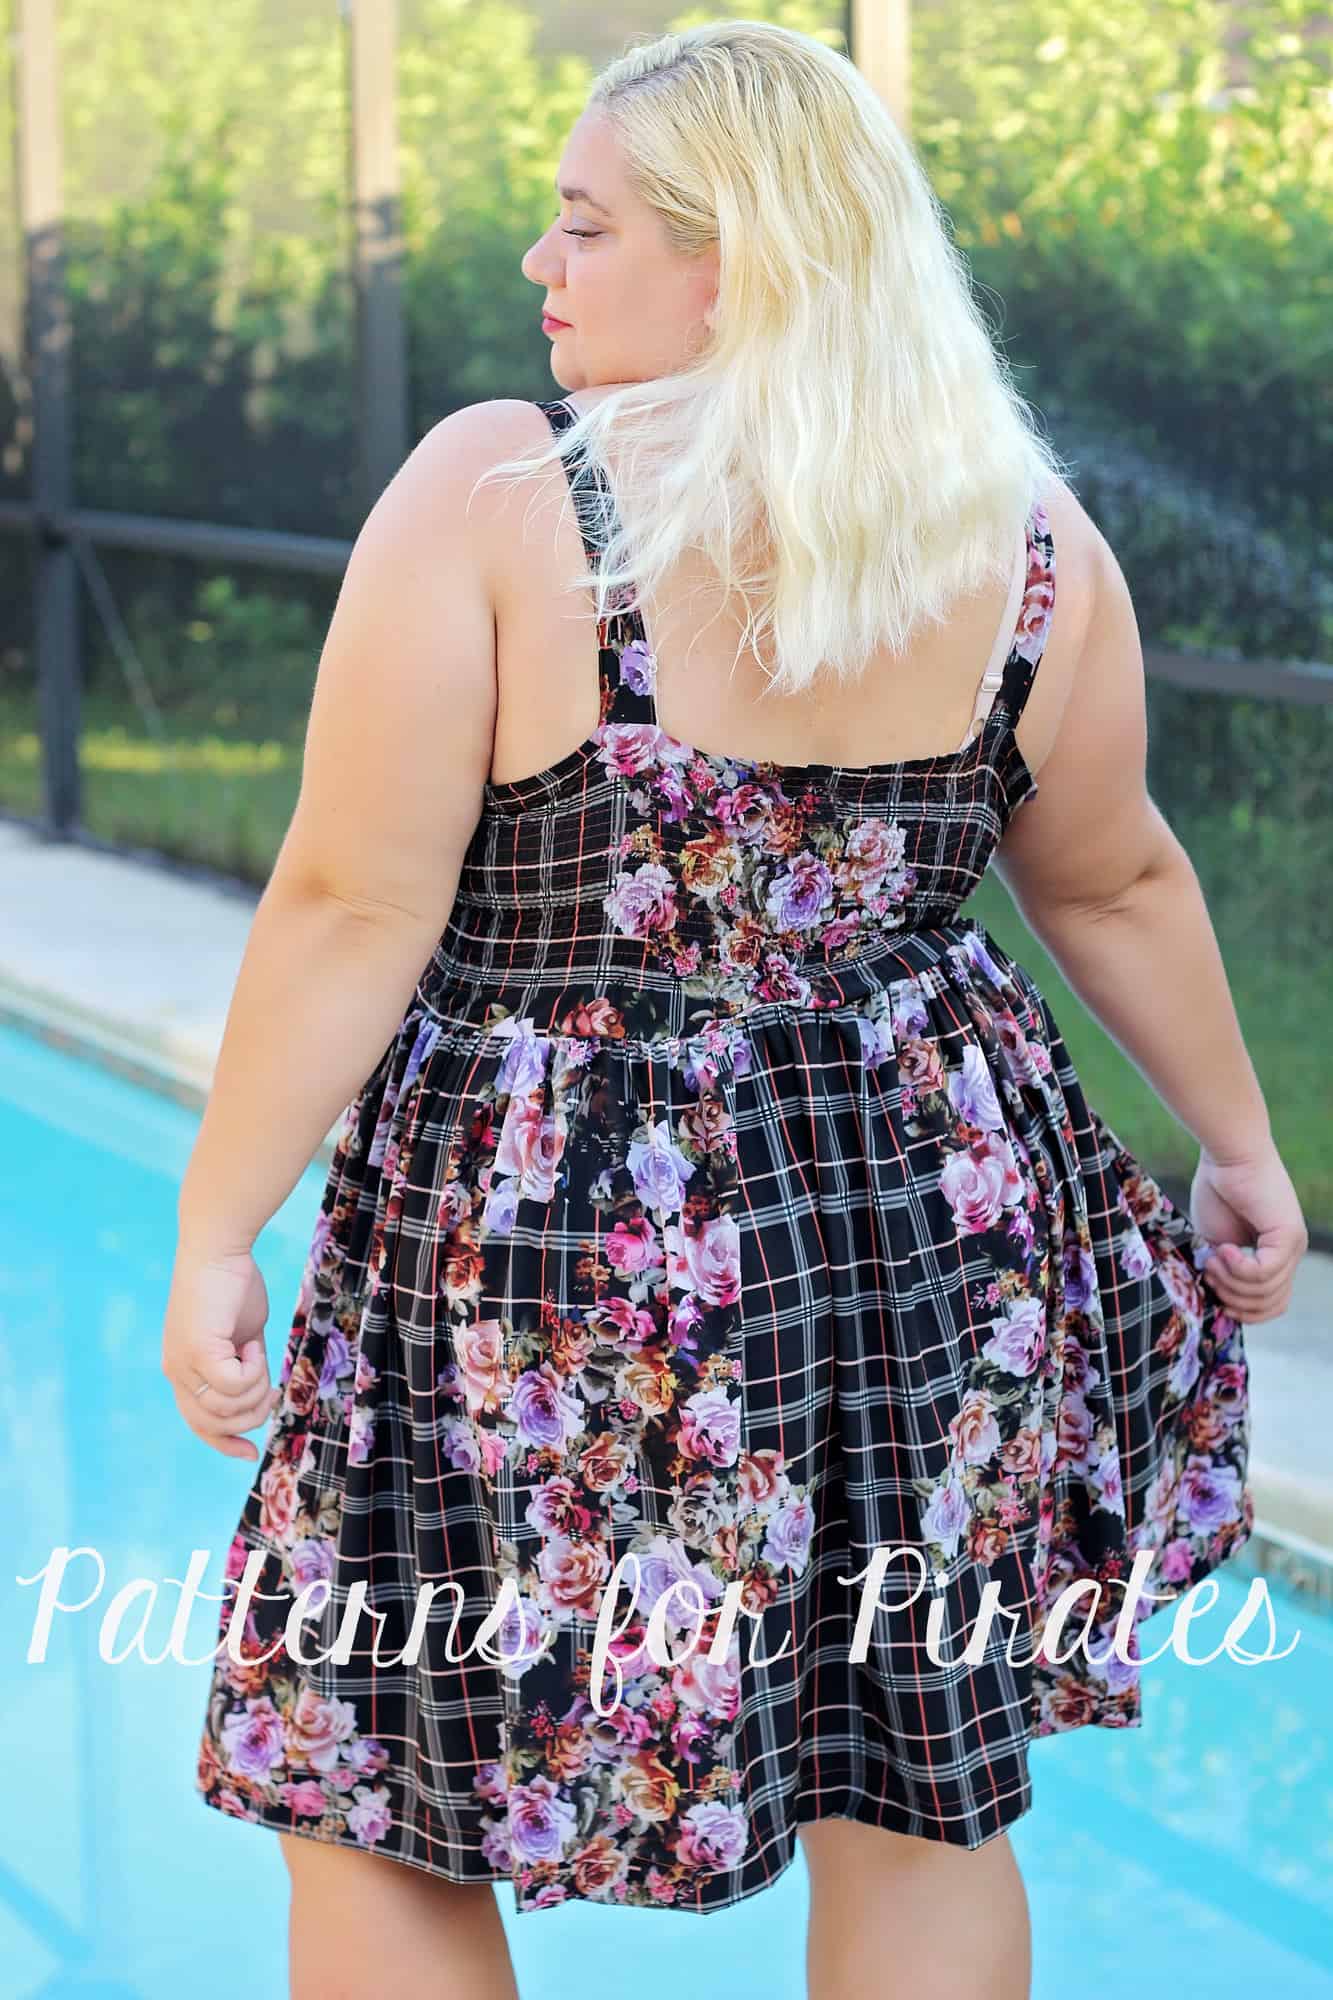
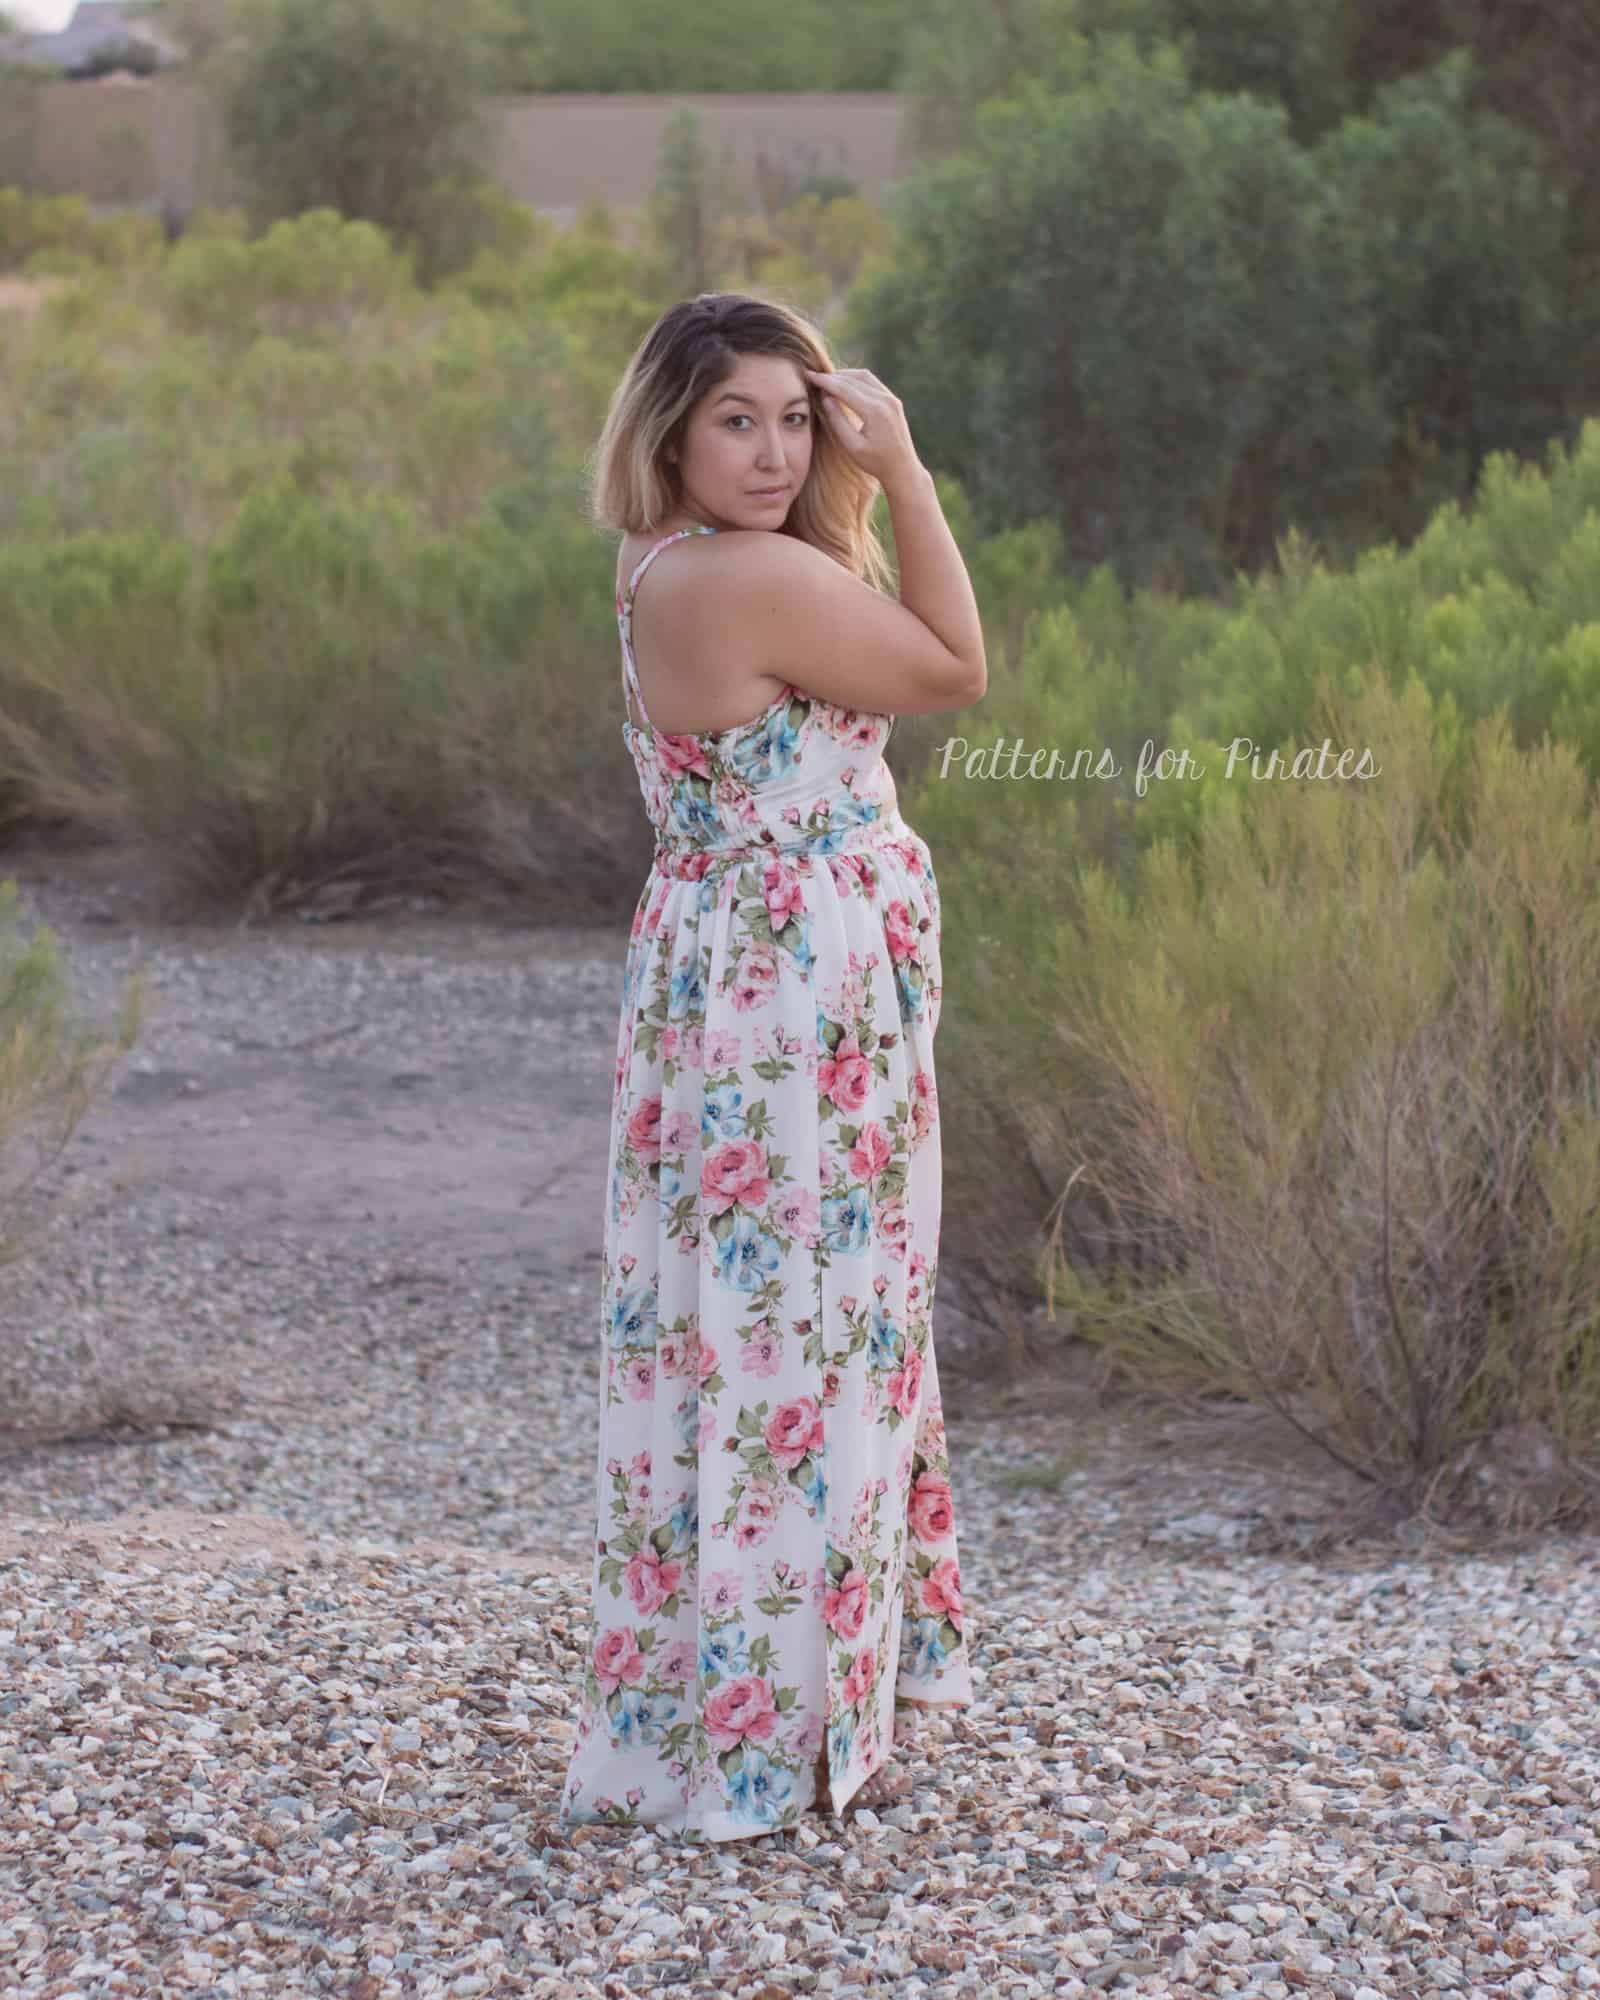
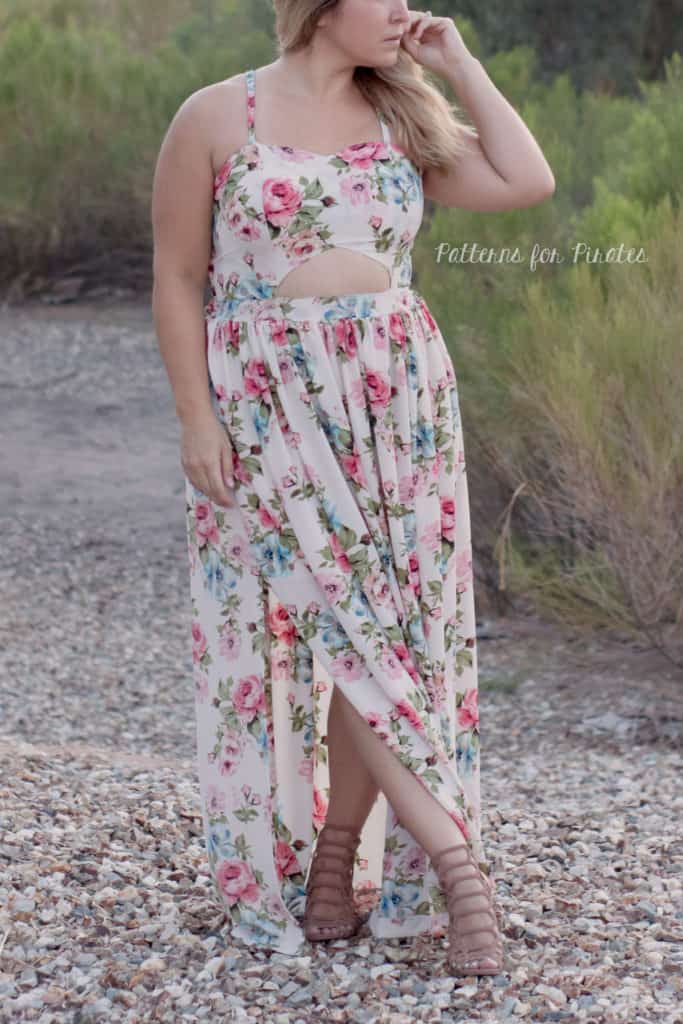
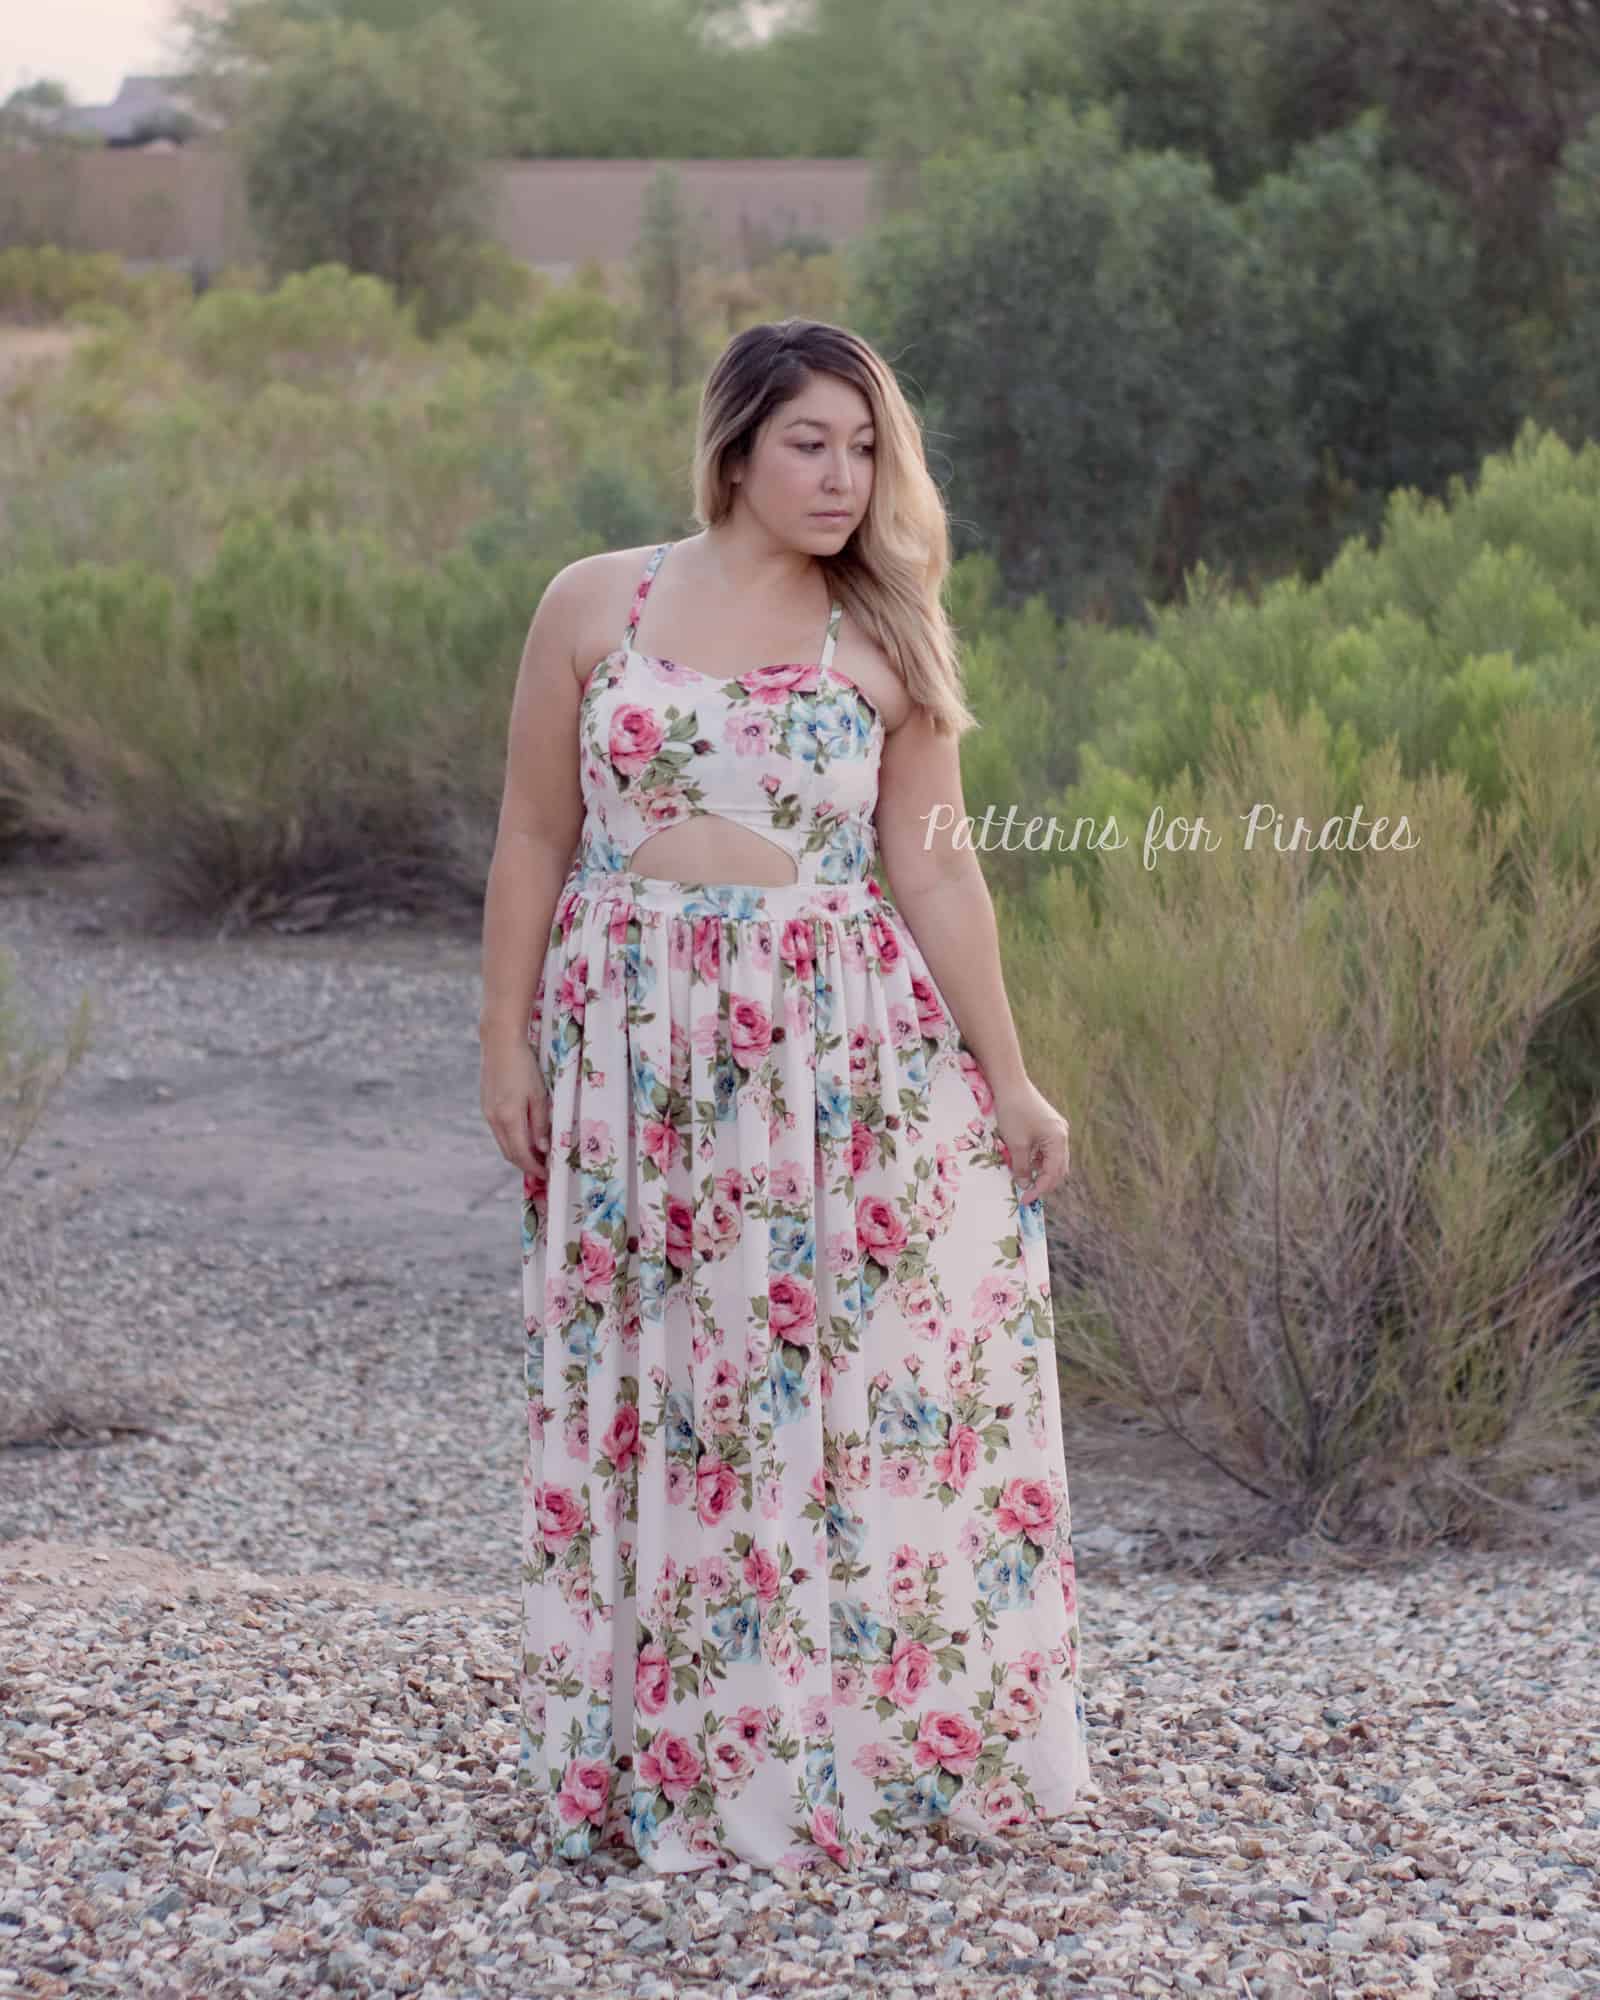
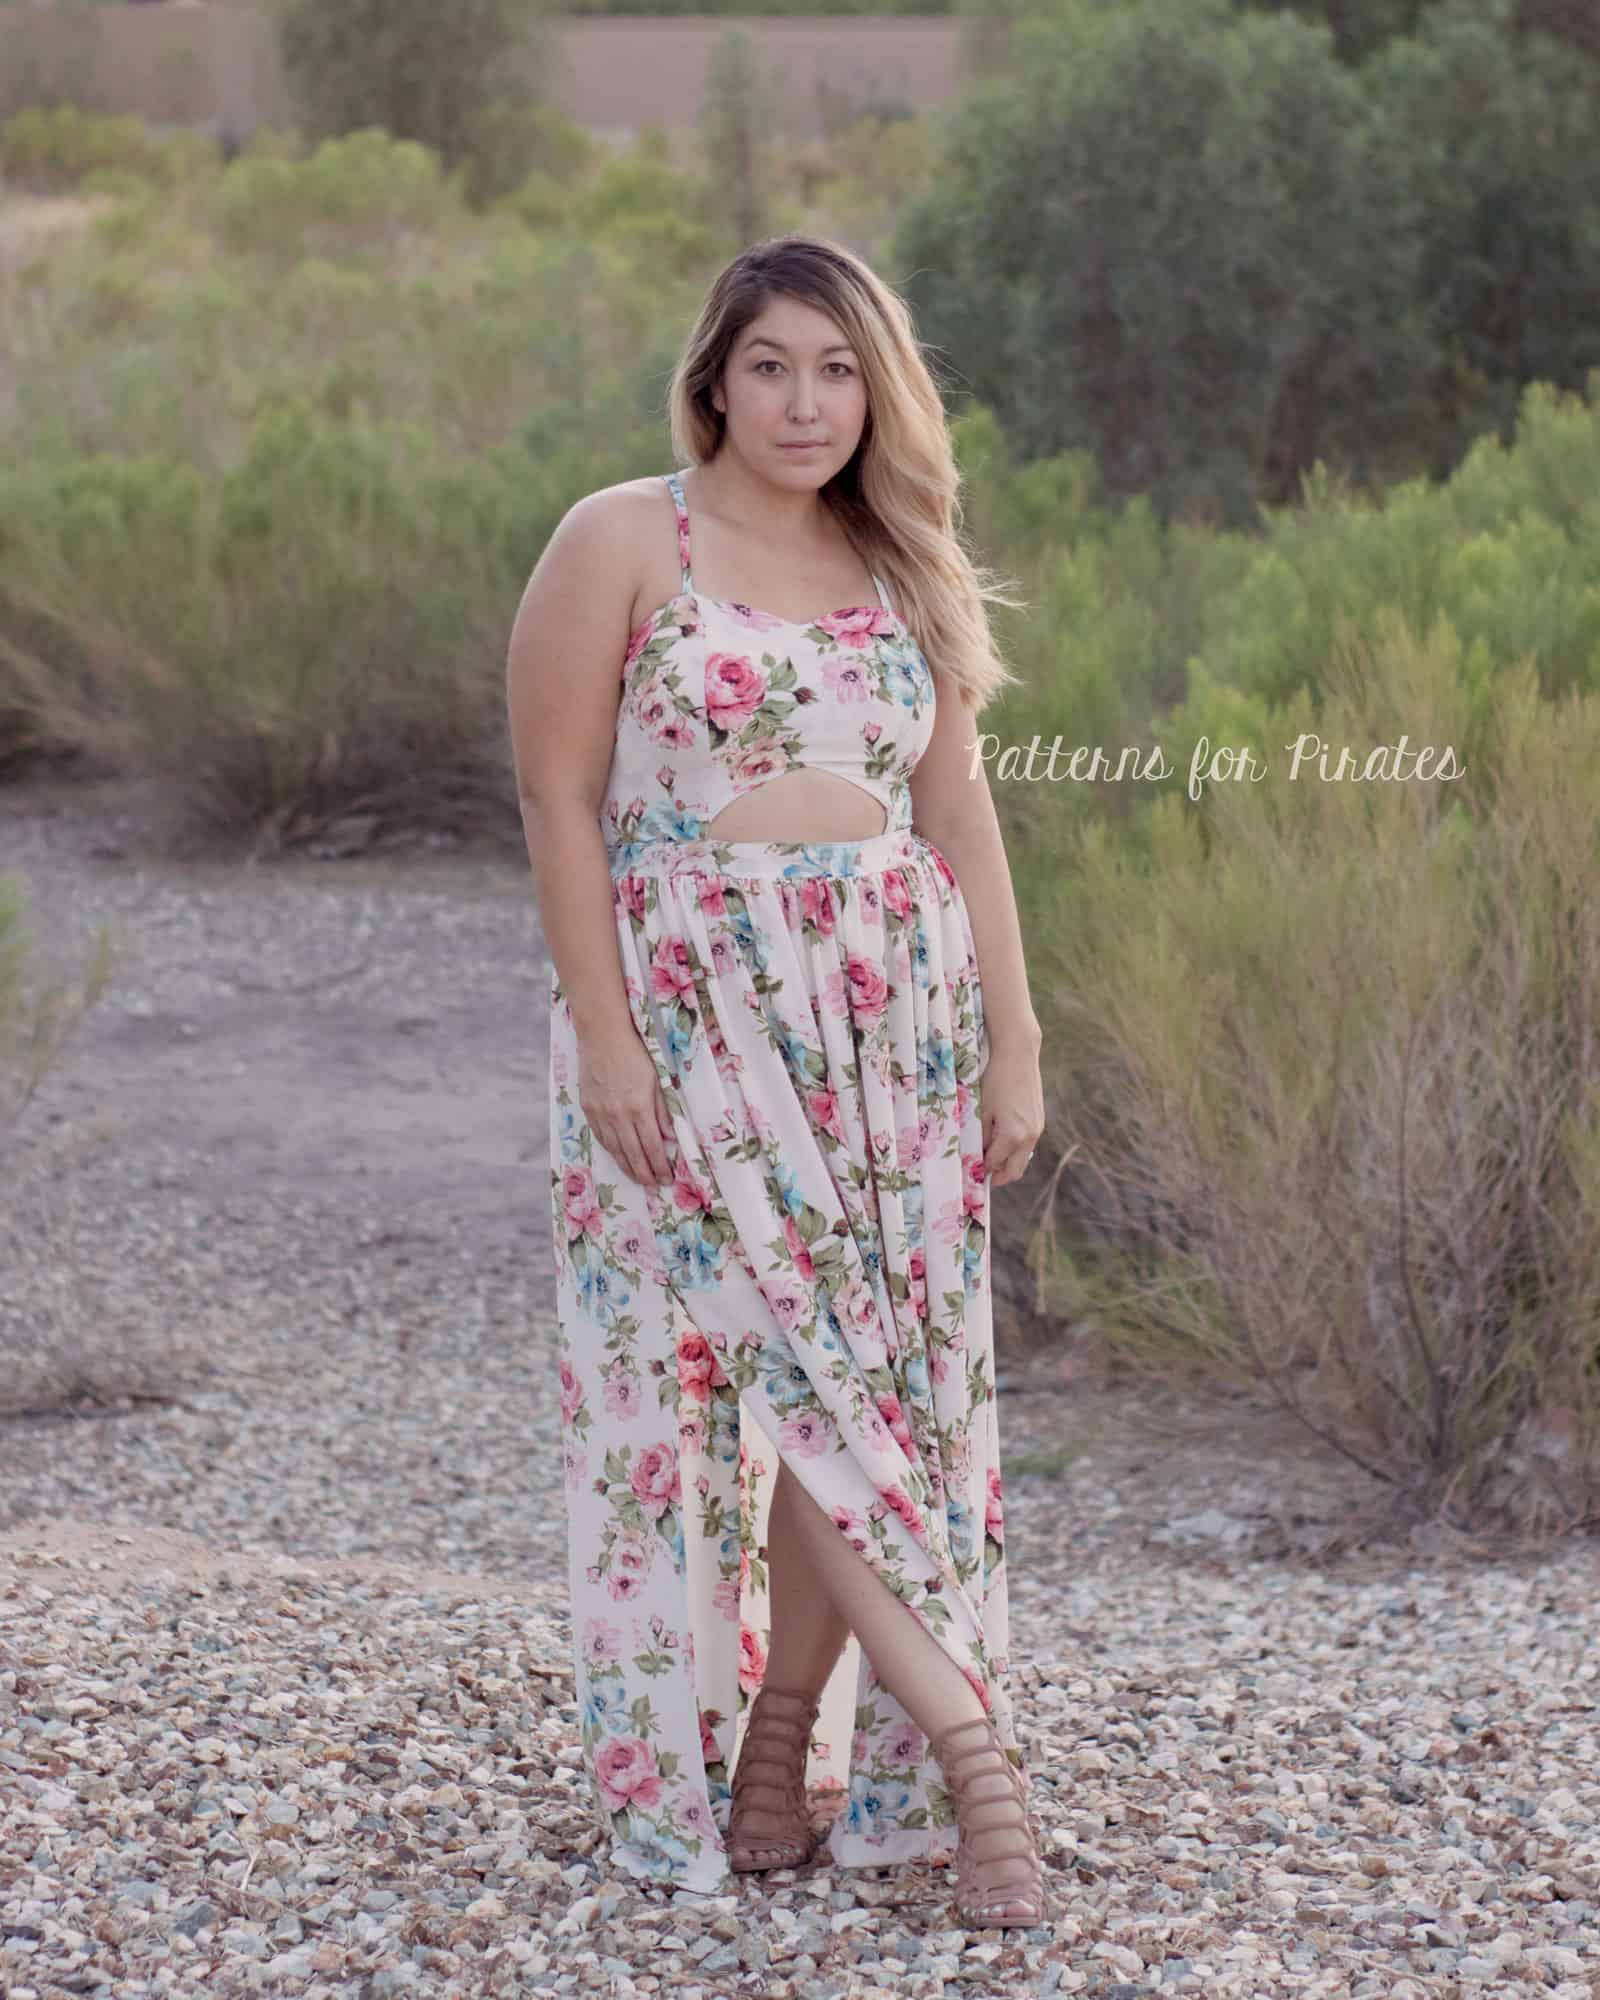
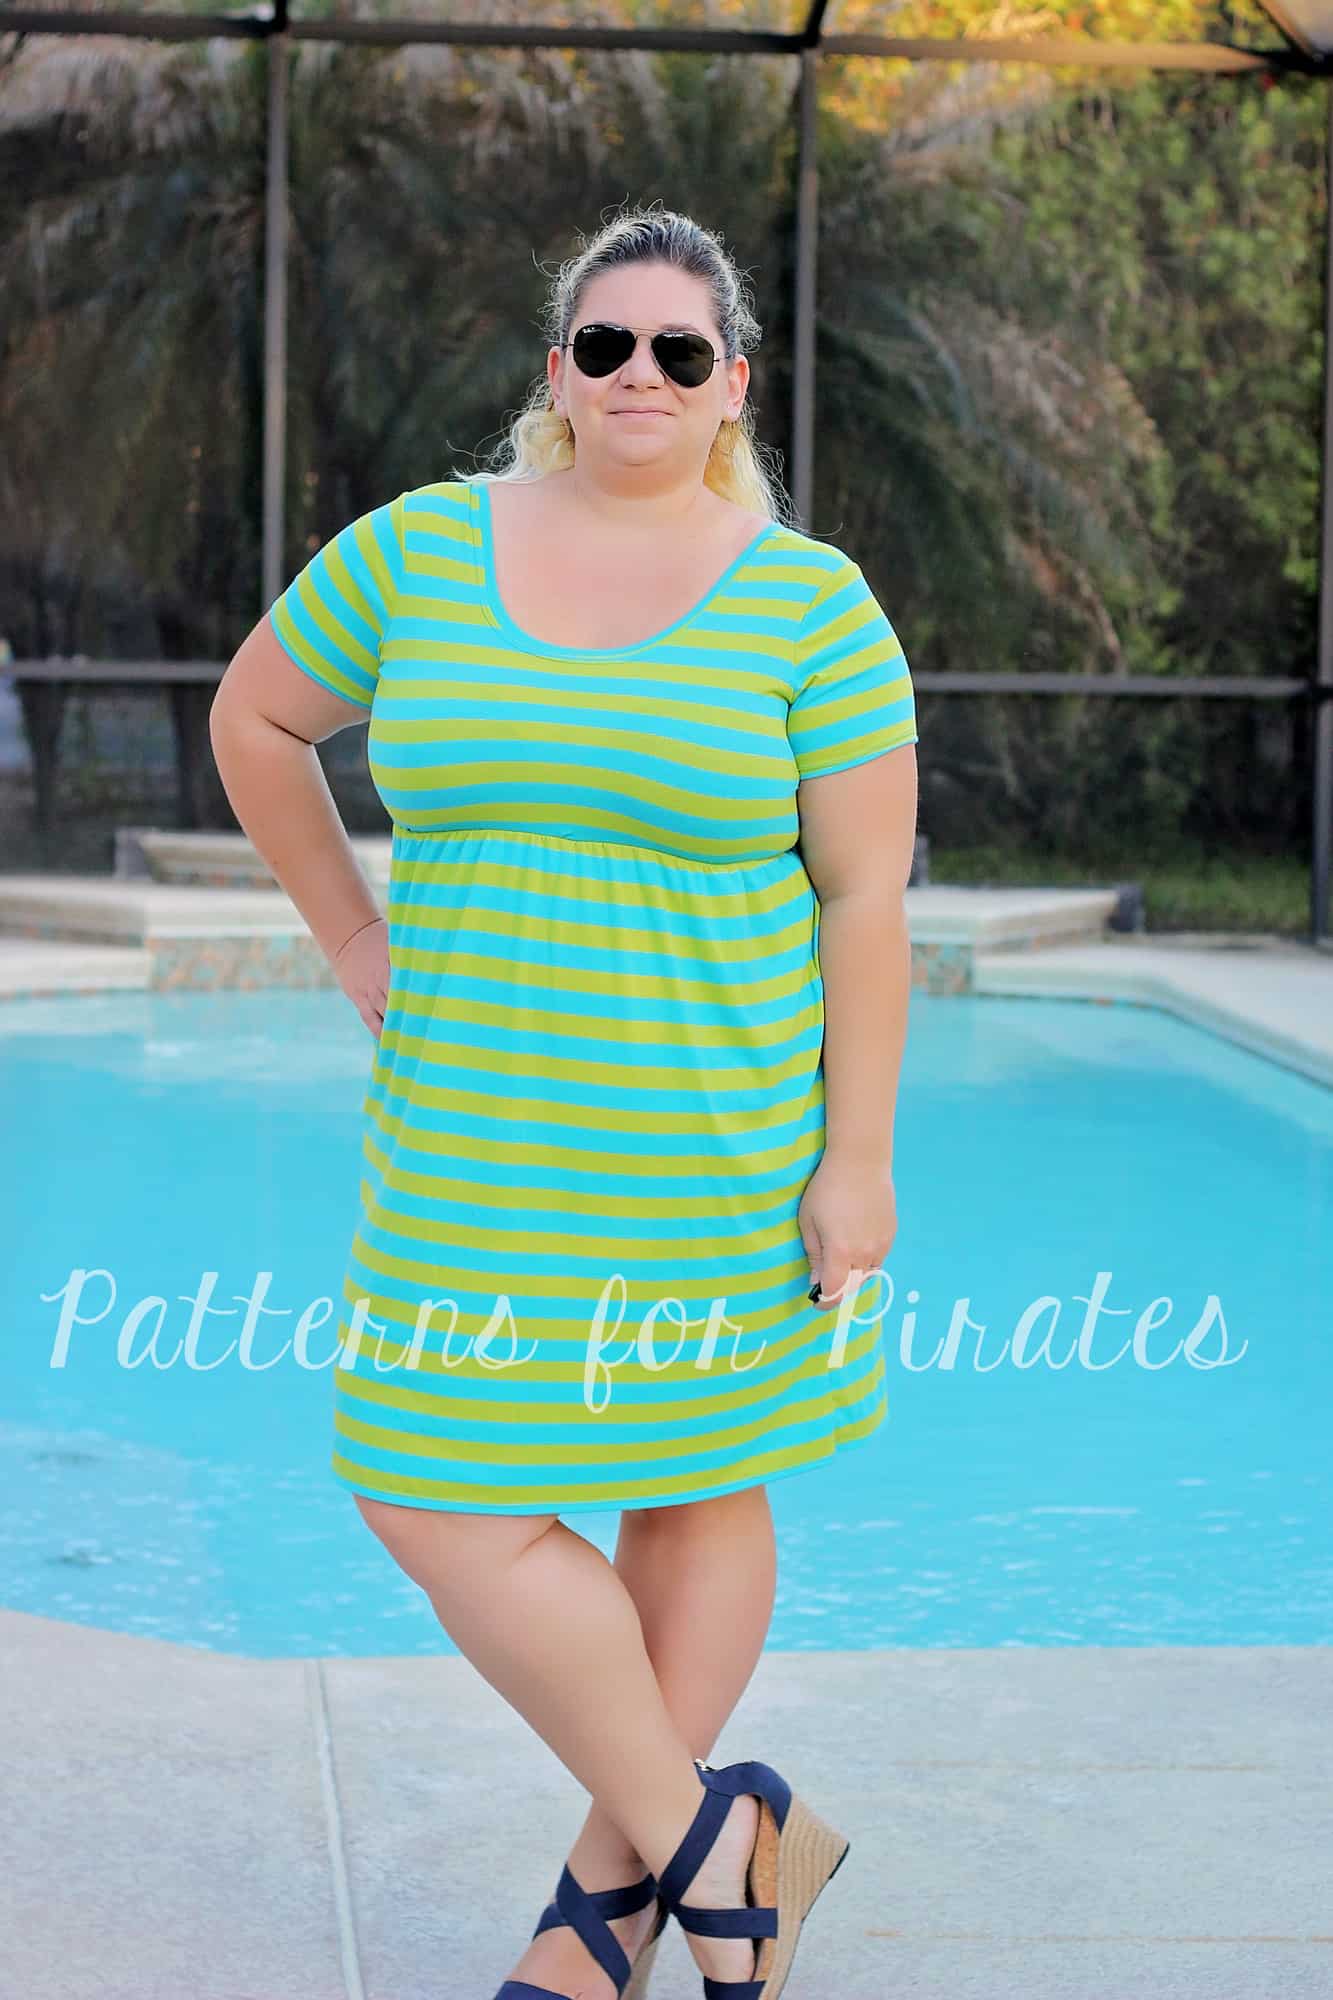
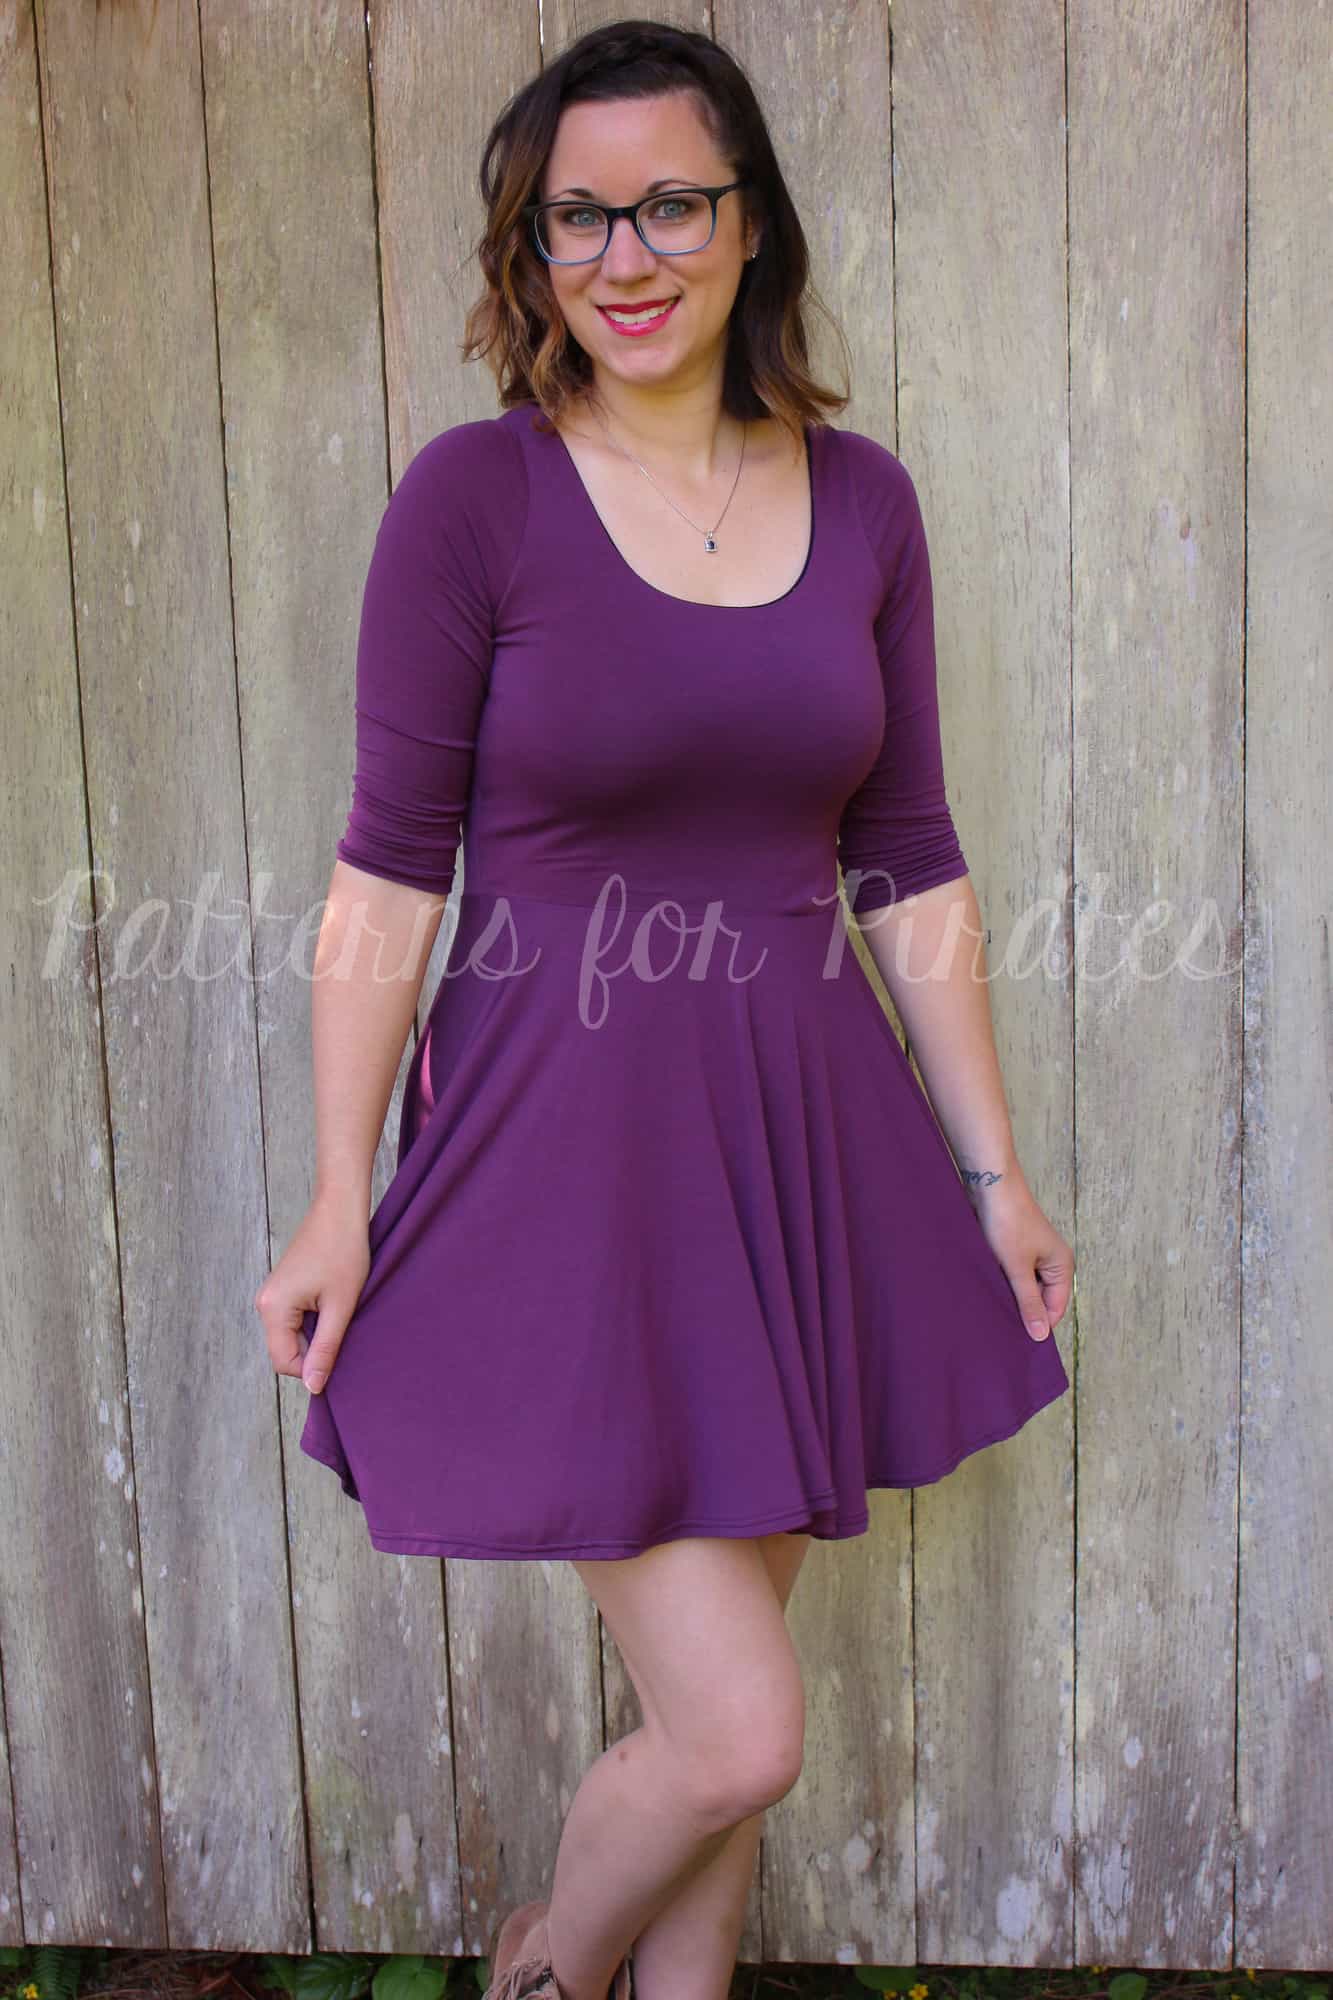
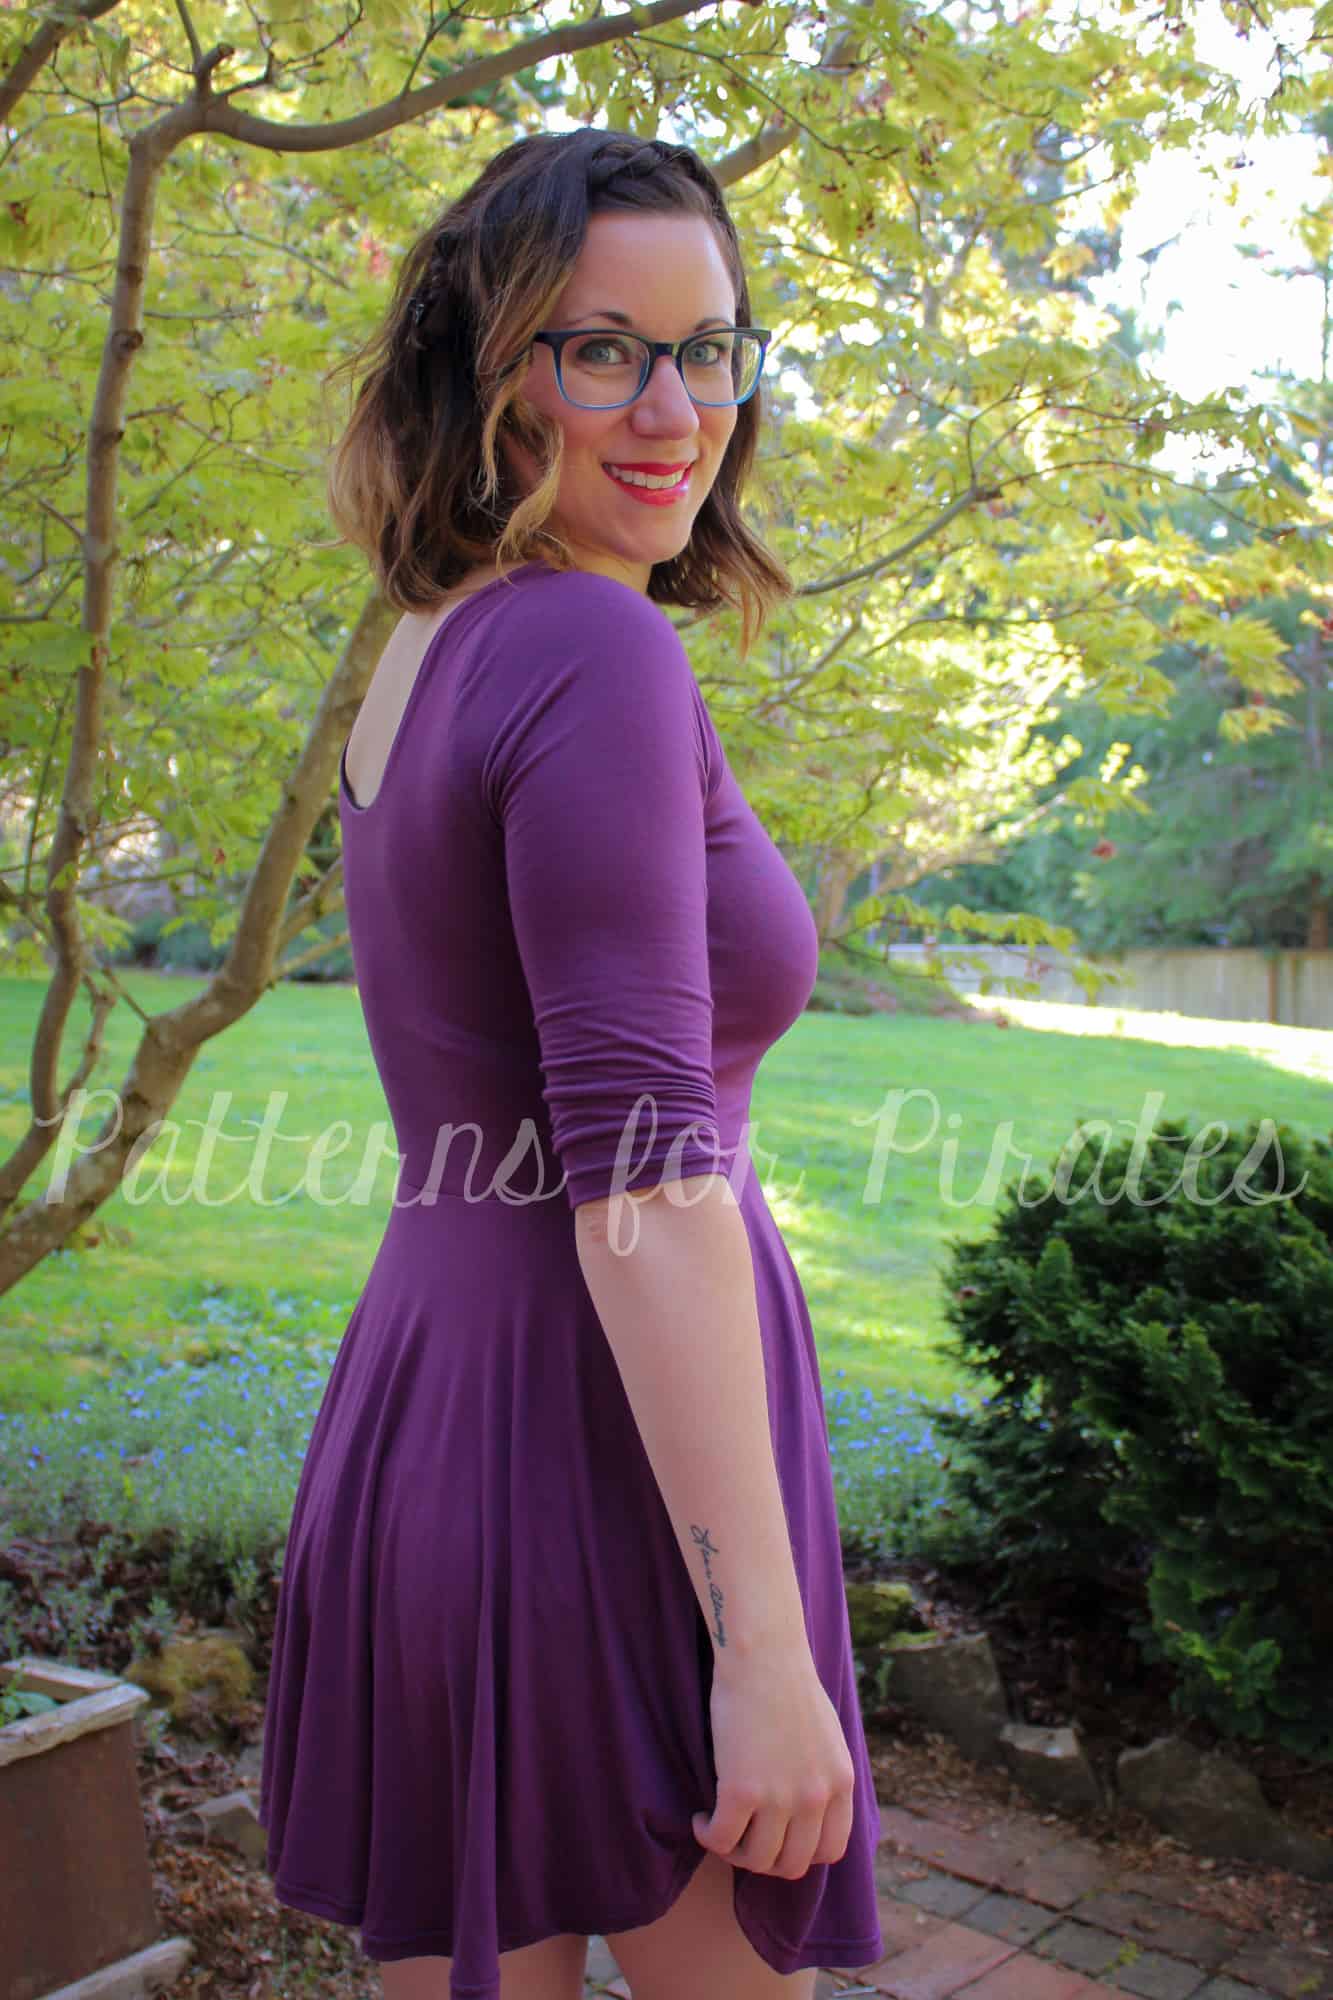
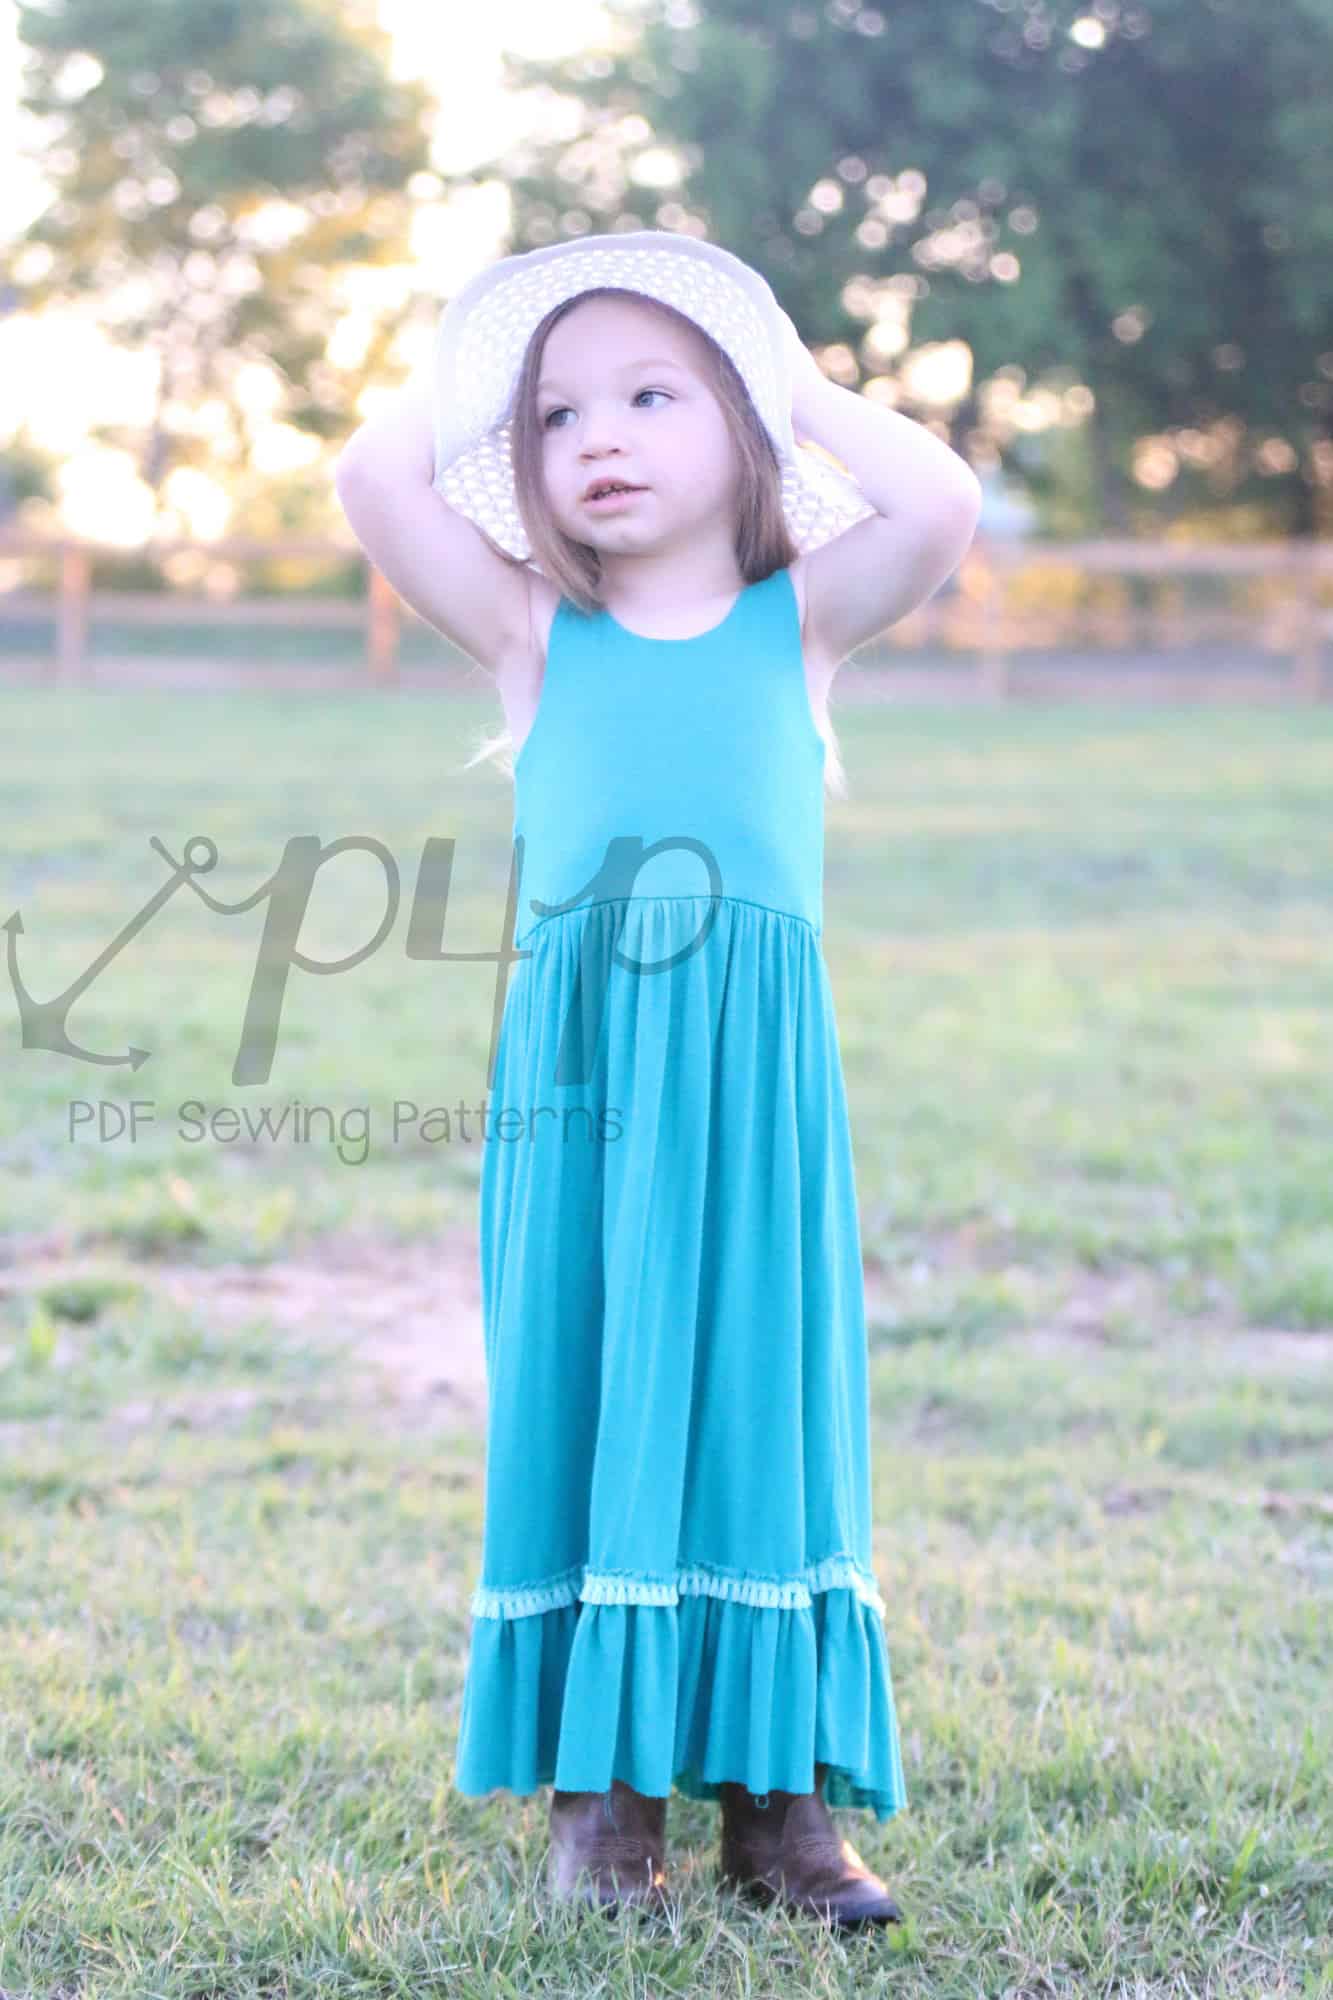
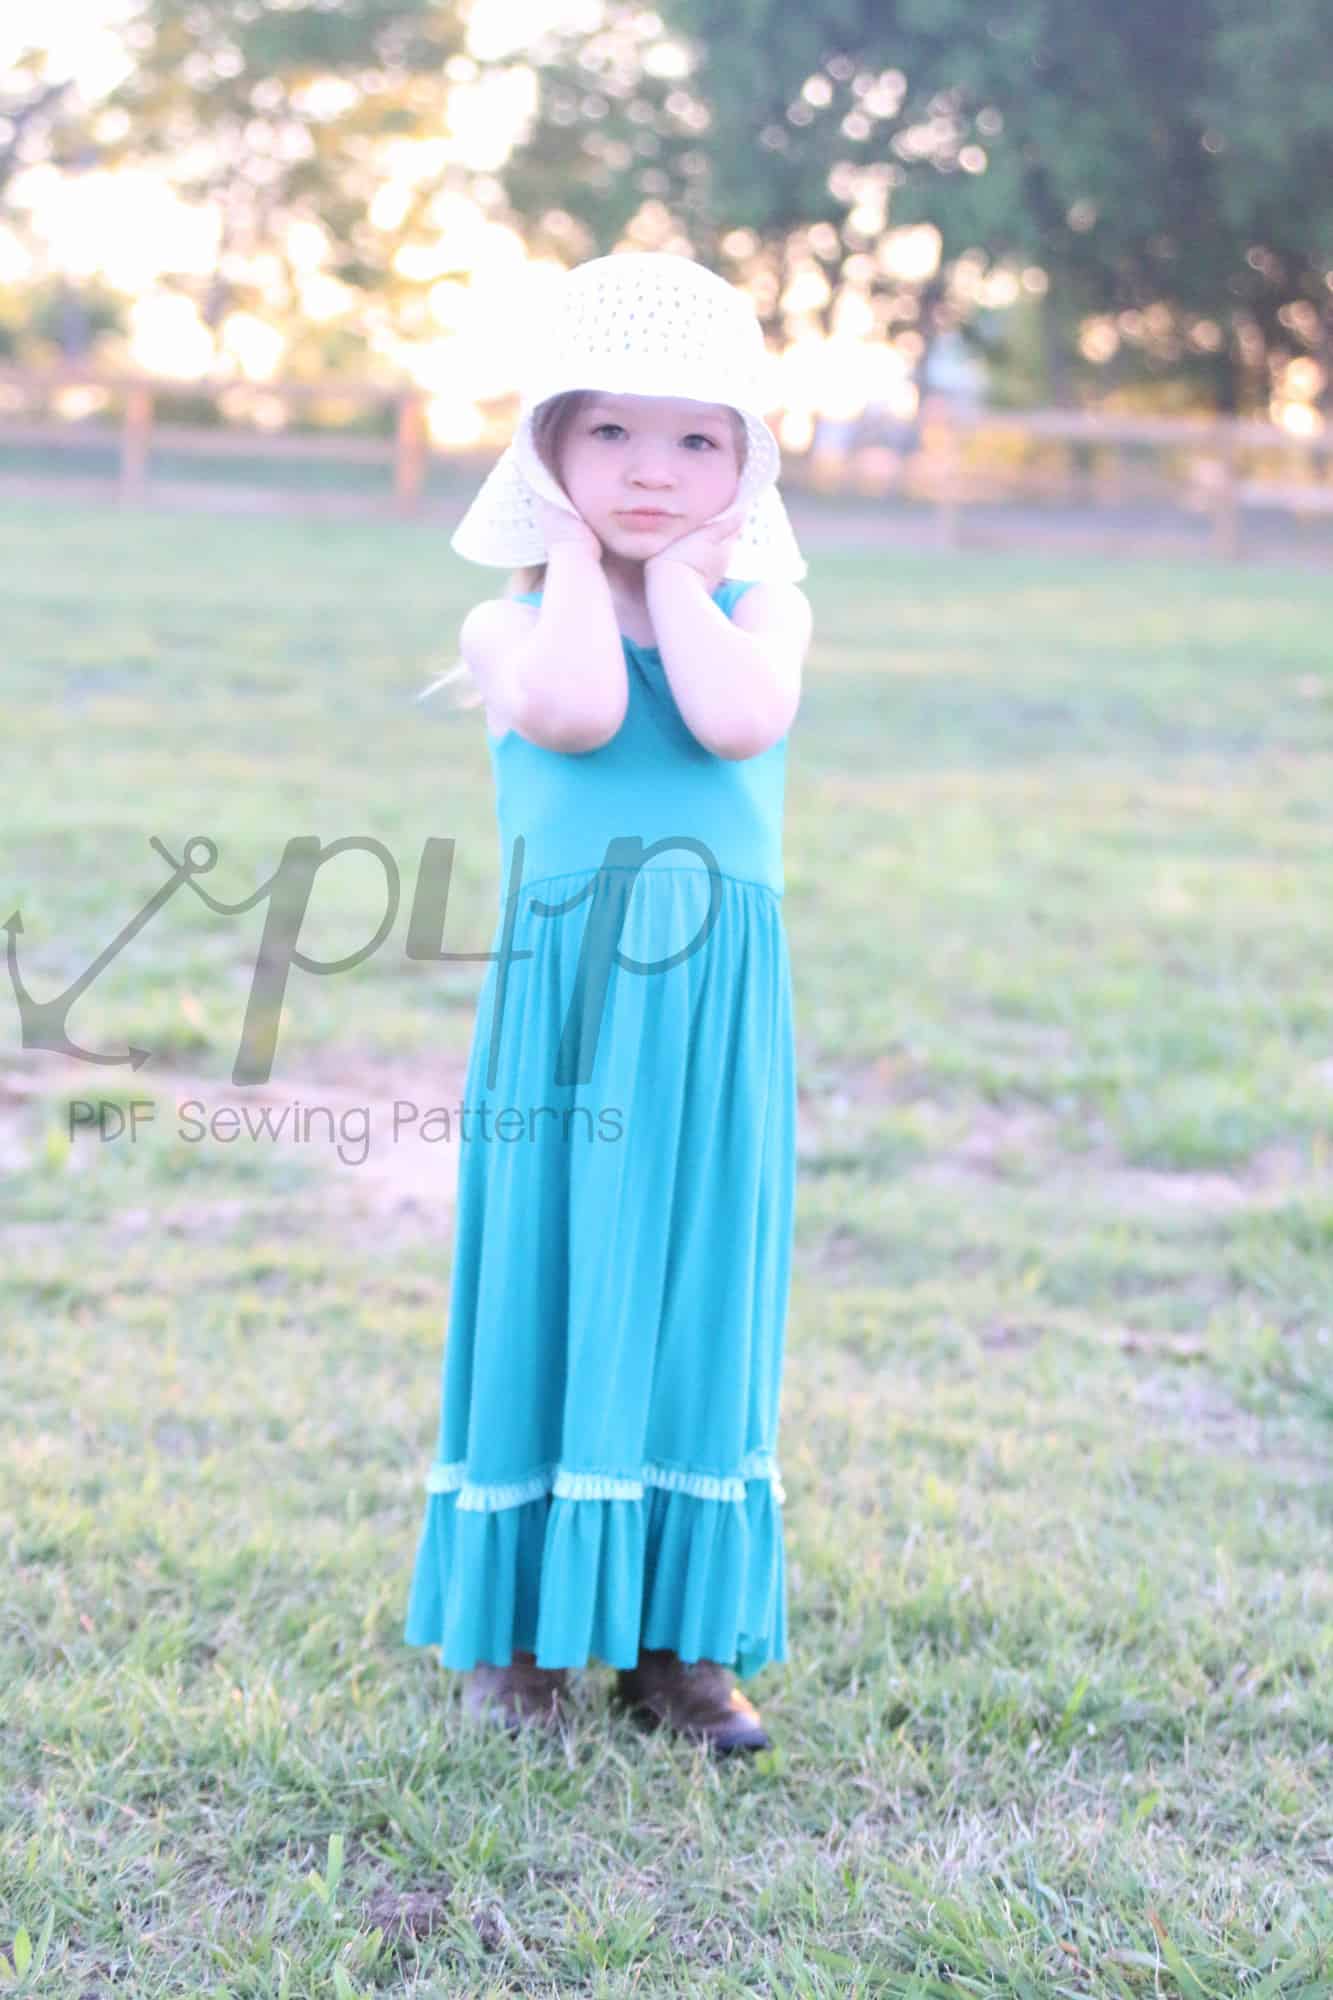
Wrap Dress
With a few simple pattern modifications. you can use the Cozy Wrap Top to make an adorable dress!


You will be modifying a few pattern pieces that require custom sizing, so please read through the tutorial before cutting your fabric. The modifications will be dependent upon the size that you are making so I can’t provide exact dimensions for this tutorial.
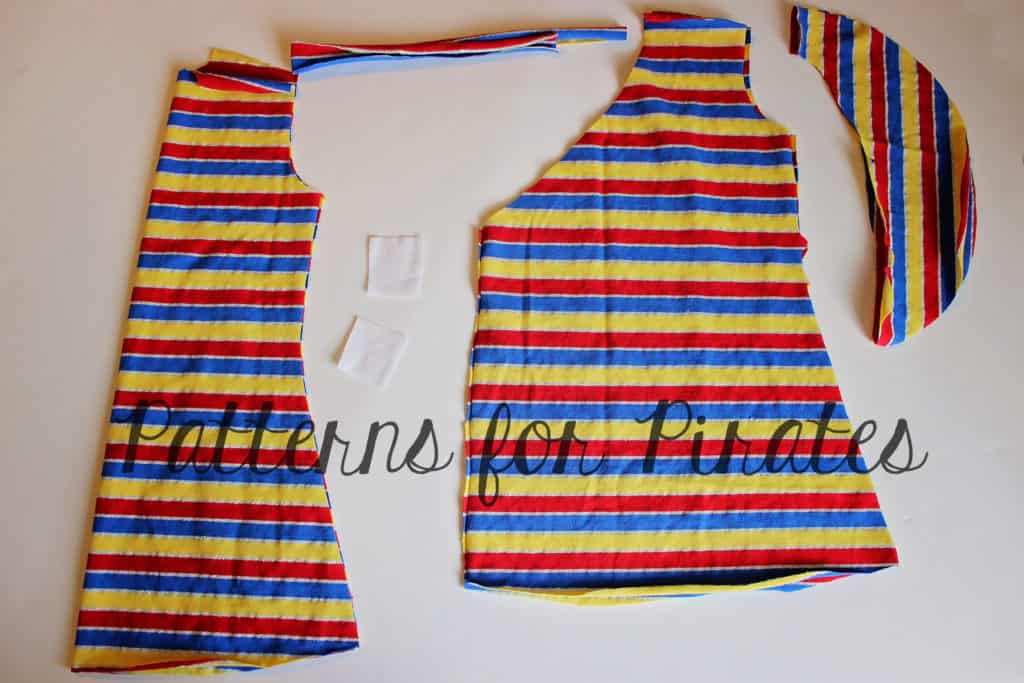
For this dress, I used the knee length pattern pieces as my starting point.
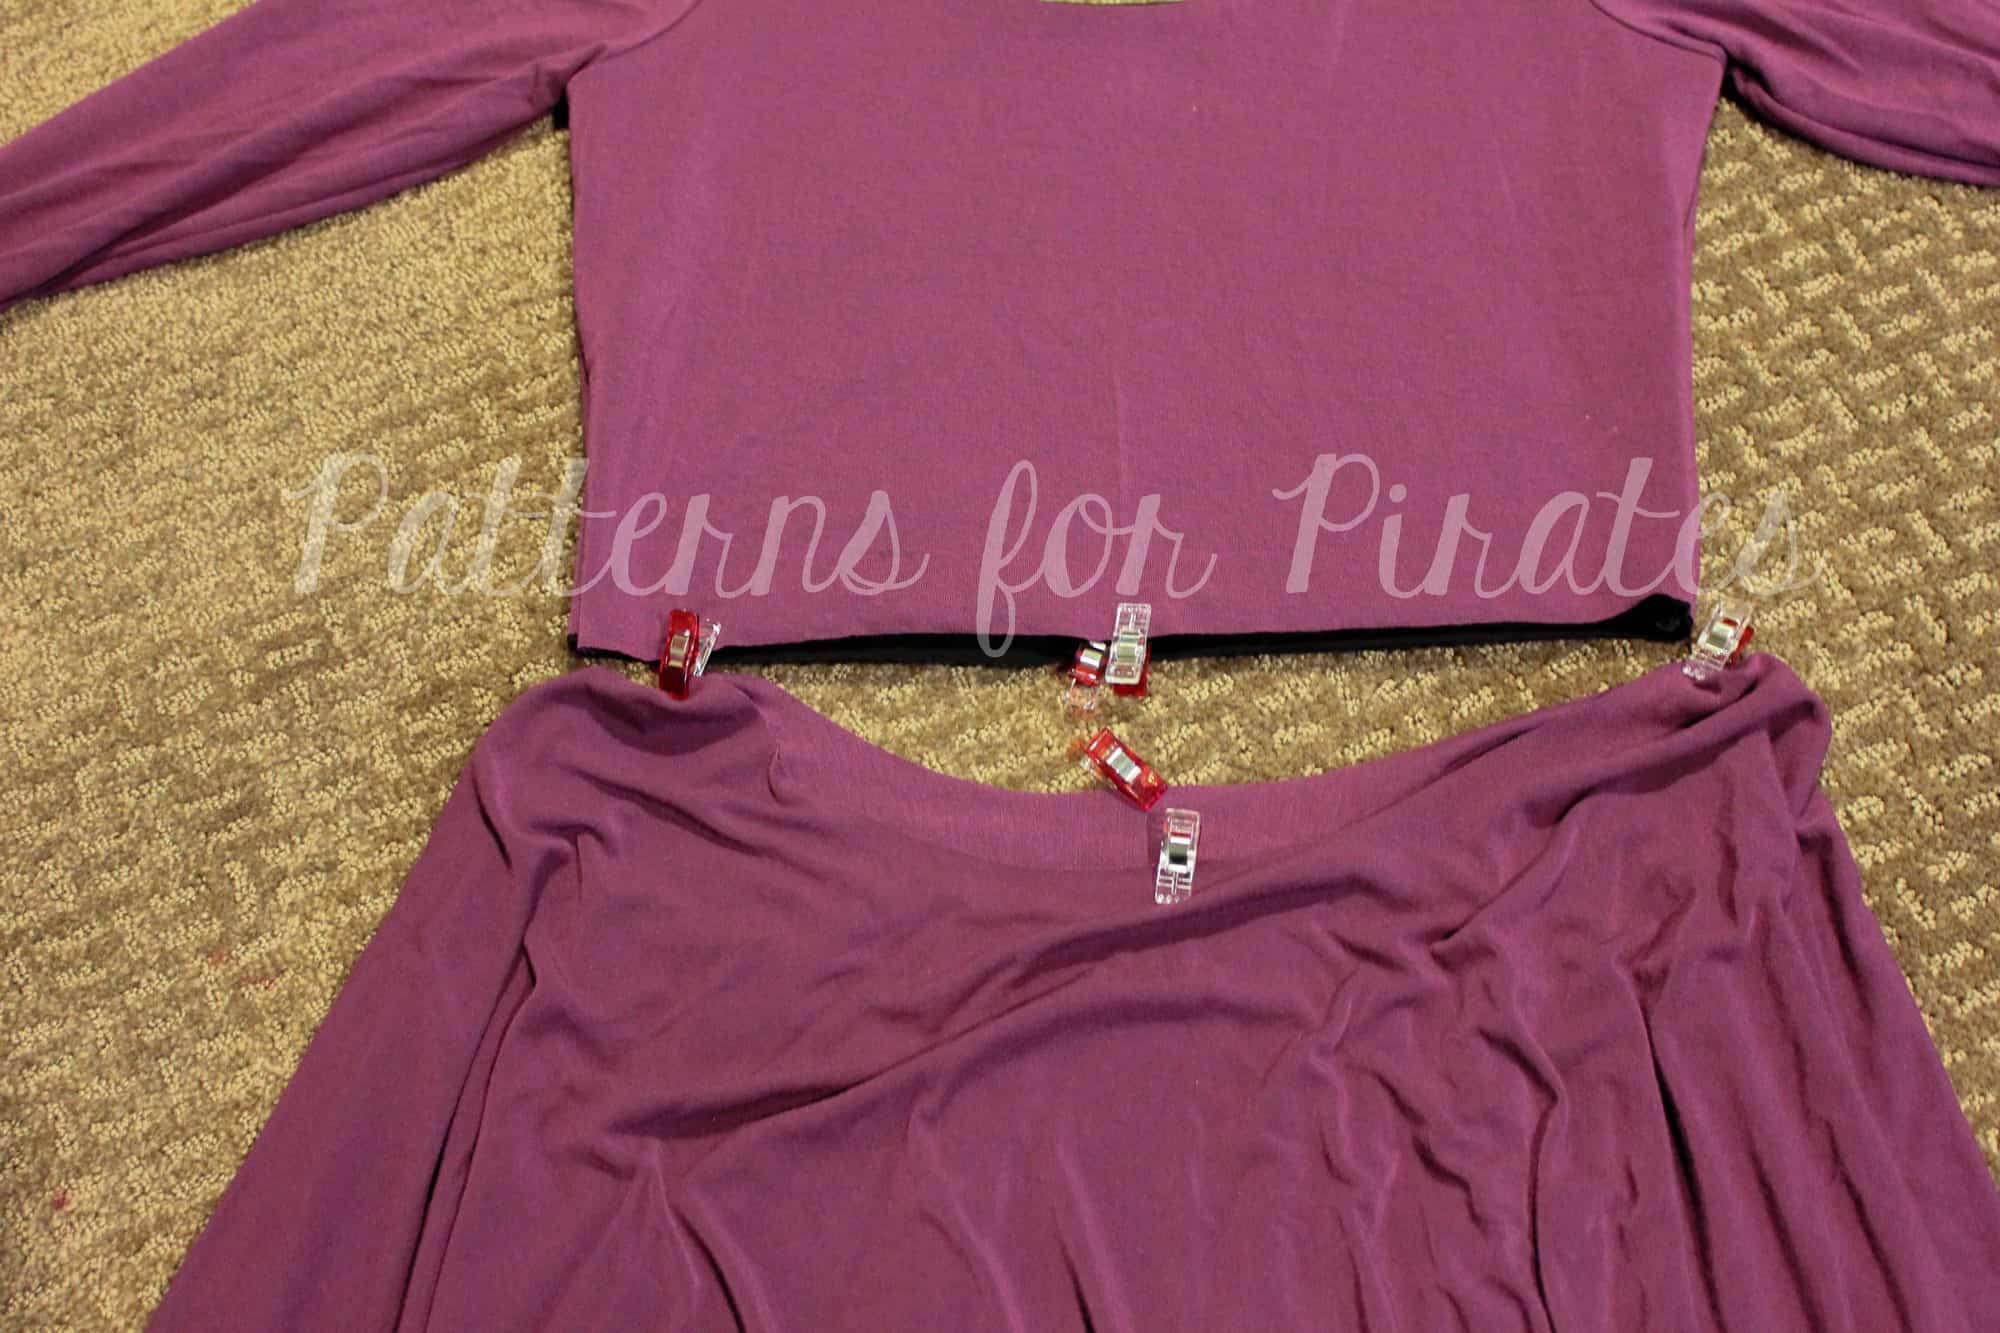
Lengthen your Front pattern pieces to be the same length as the Back. I lined up the armscyes for the Front and Back pieces to determine how much longer I should extend the Front.
From this point, you will follow assembly instructions for the Cozy Top, including belt openings, but omitting the side split. You will sew the side seams together through the bottom hem.
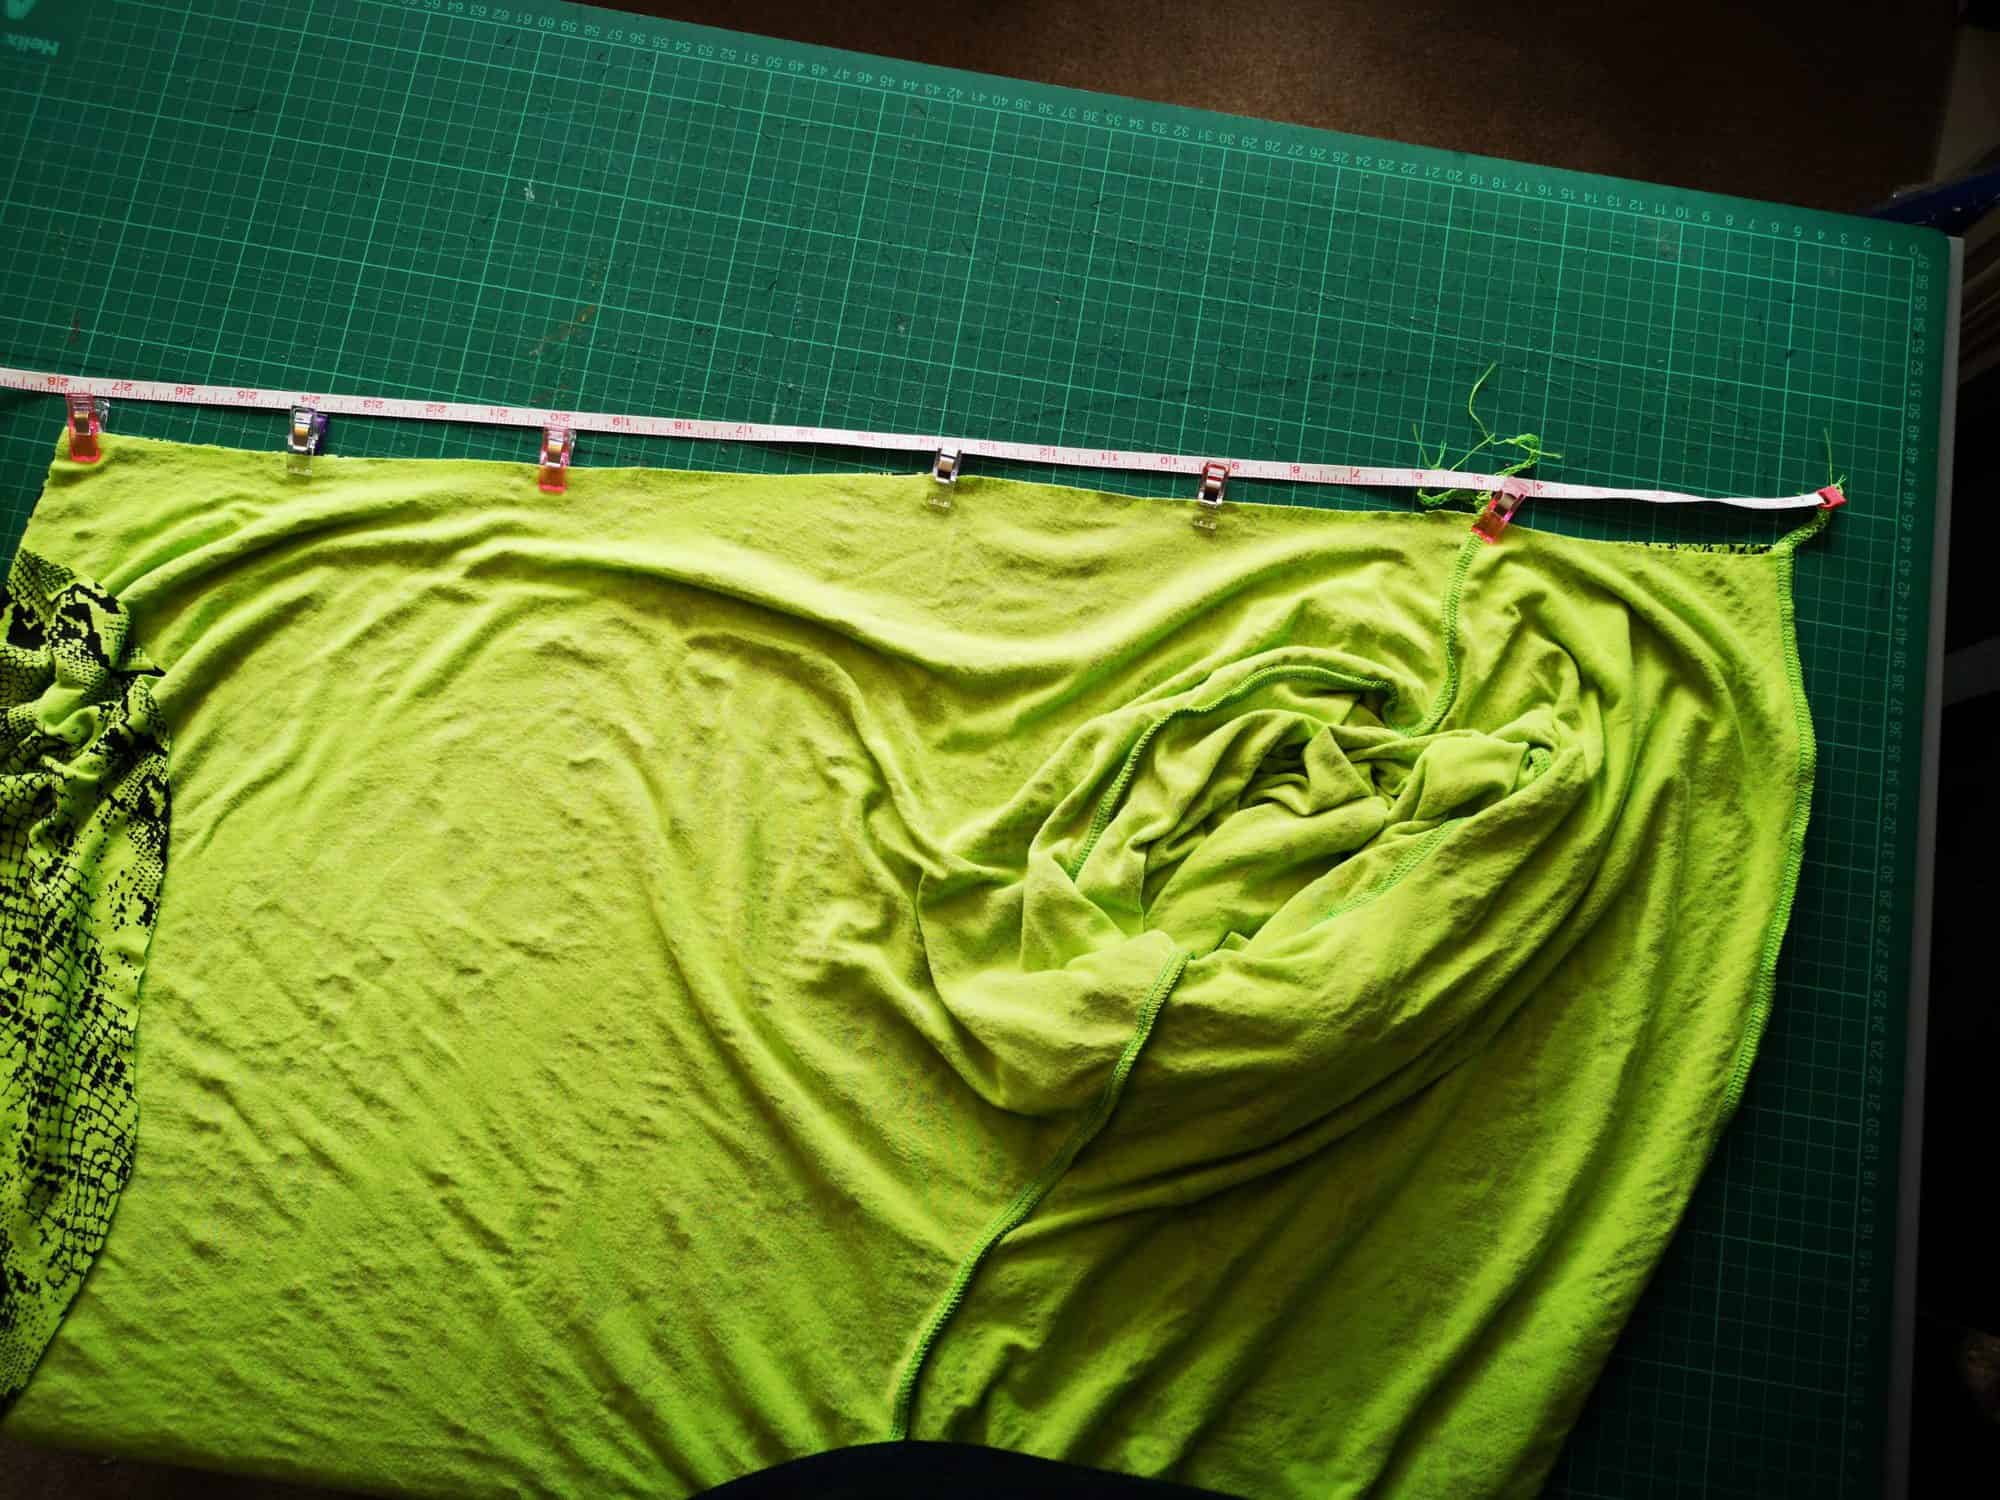
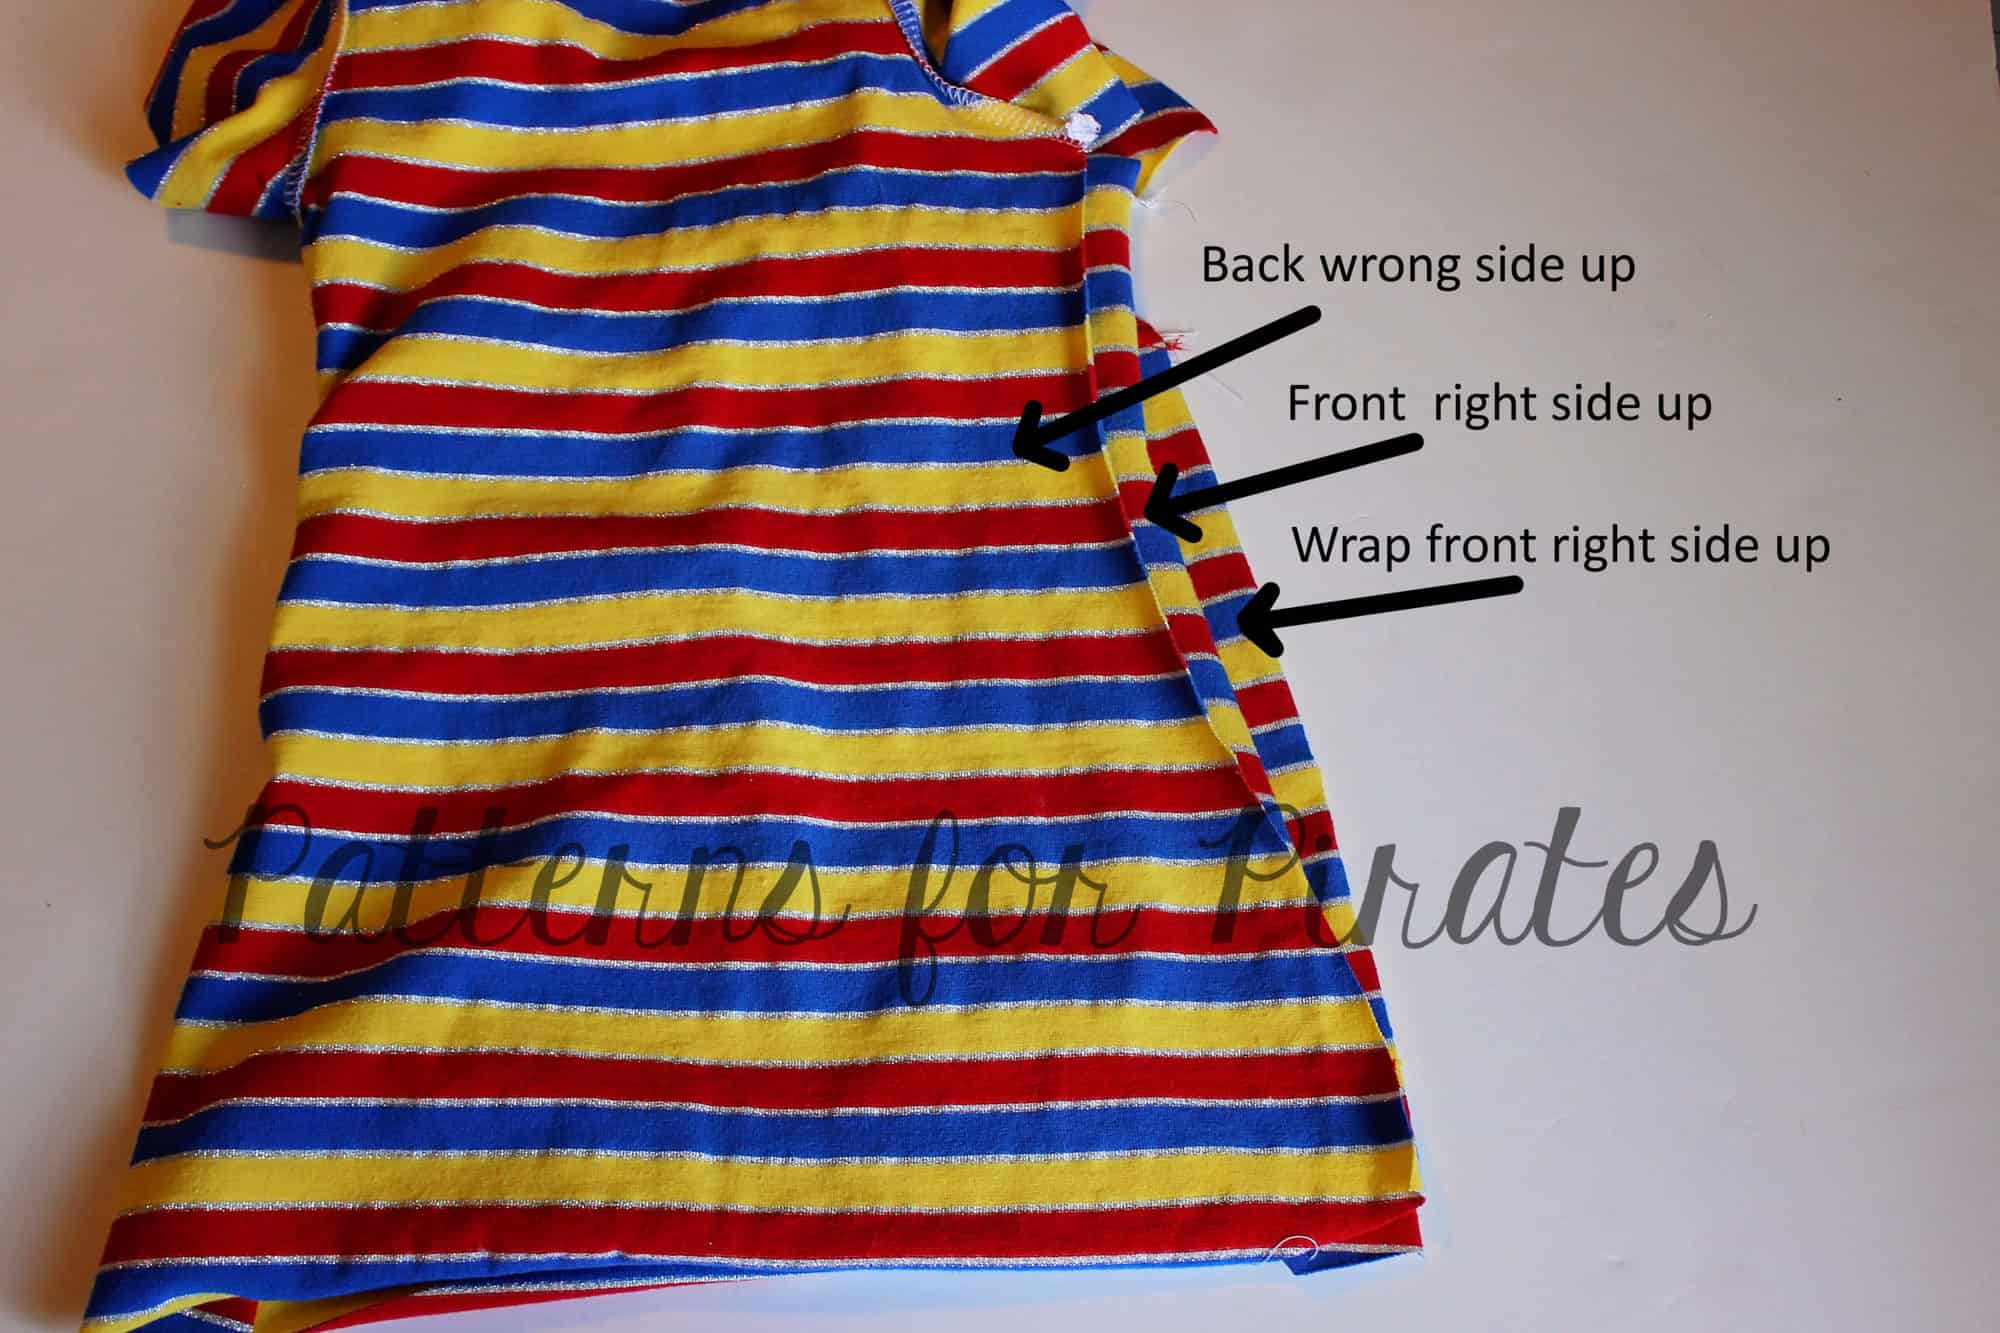
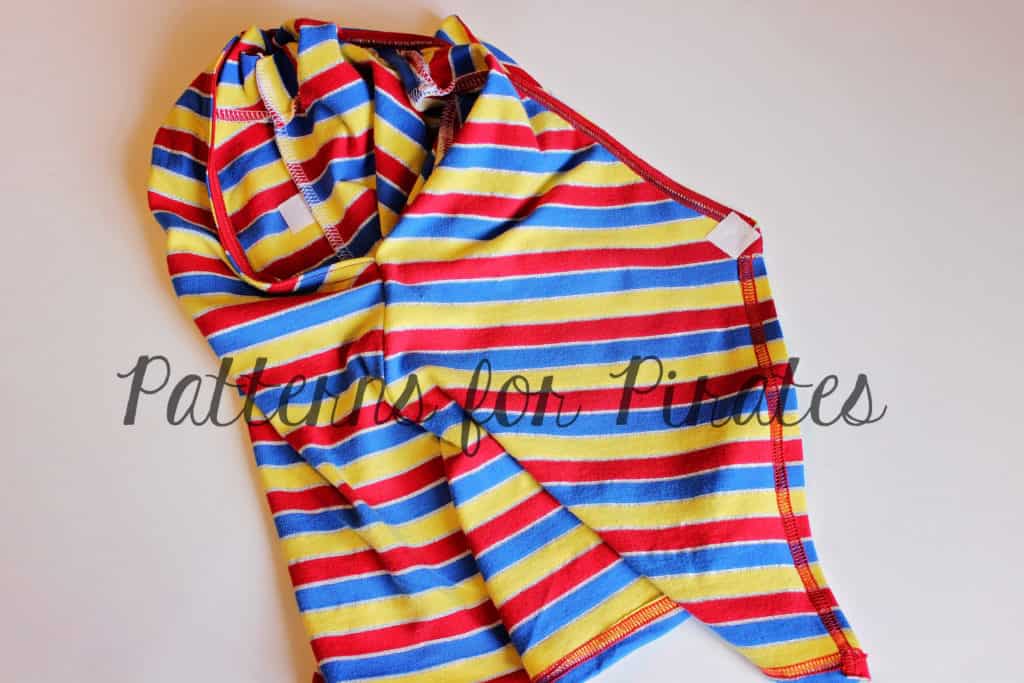
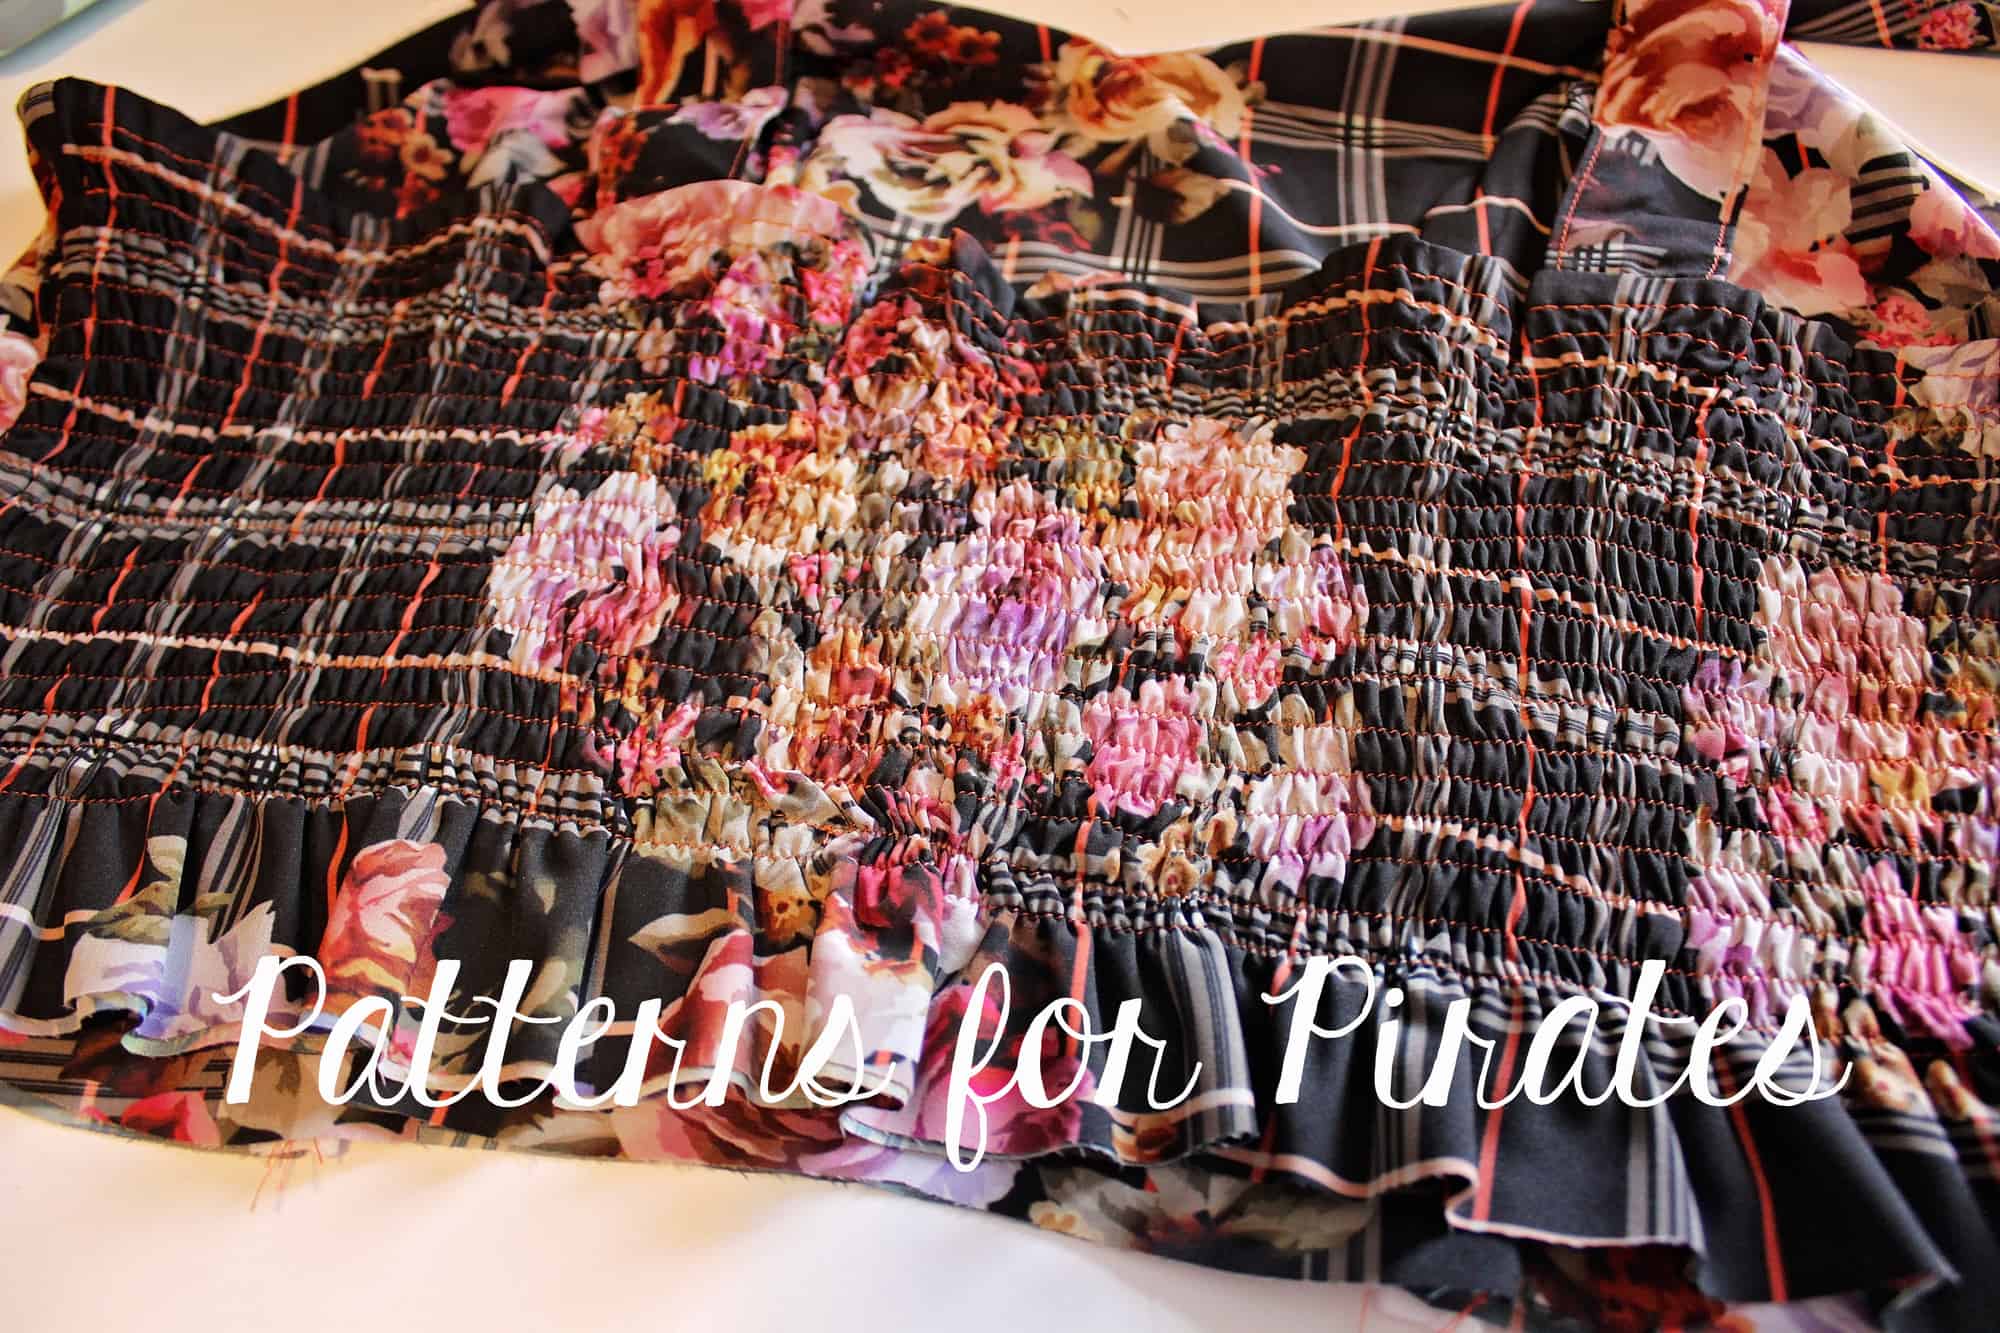
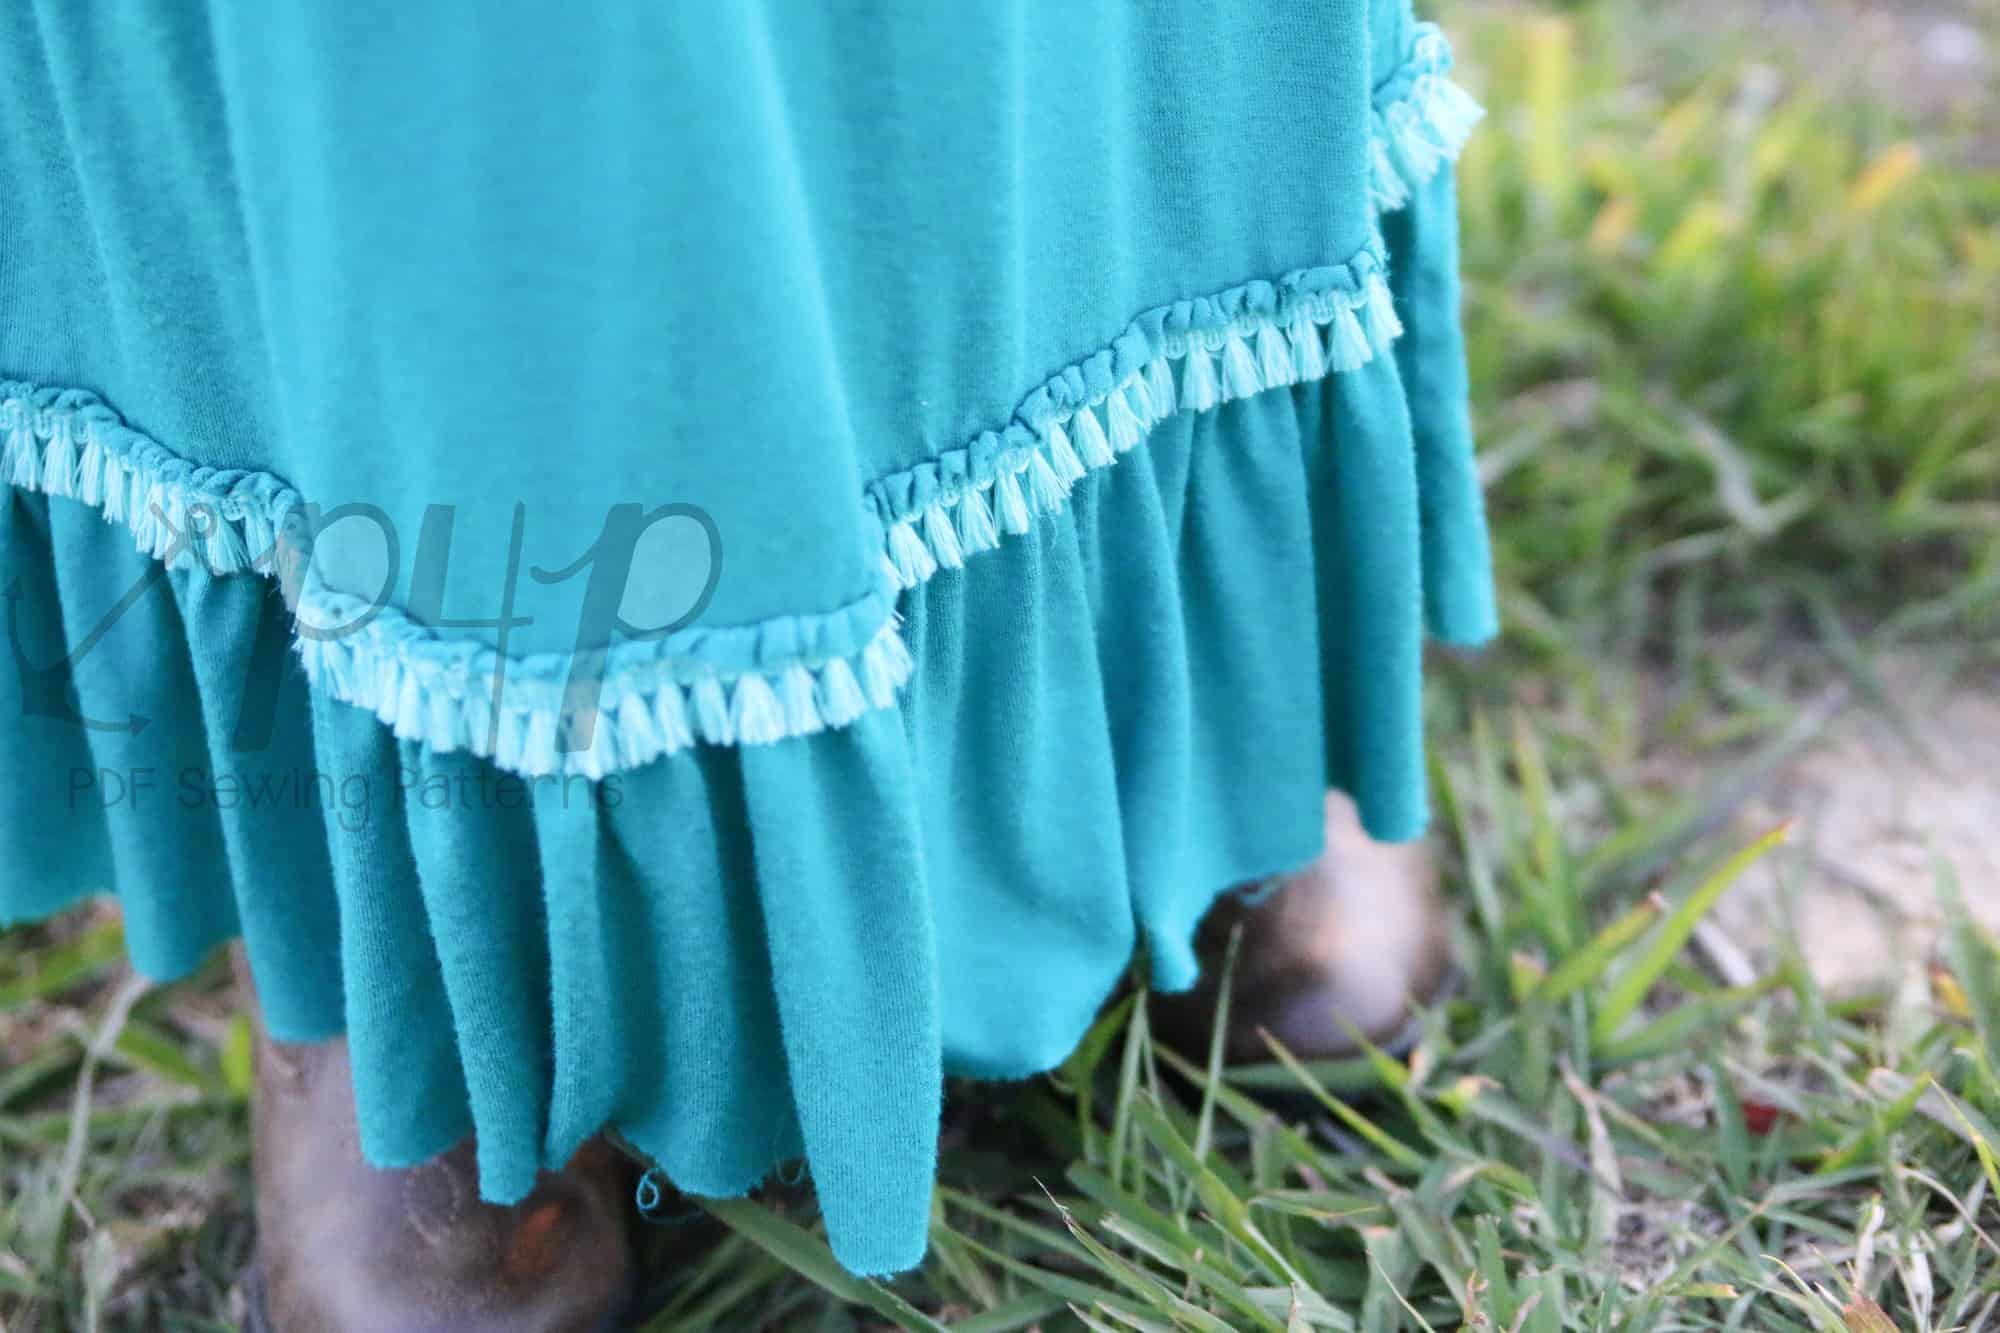
Once you have the front and back of your dress assembled, you will measure the full length of your bottom hem to determine how wide your Bottom Hem Band should be. You will cut a band that is 8” tall by the length of your measurement.
For reference, mine was 53 ½” by 8” tall. You will fold the band in half, with wrong sides together, and sew to the bottom of your dress without stretching, matching raw edges.
Because you’re lengthening the front of your dress, your neckband will be lengthened by the same amount, adding an additional 1” to accommodate the ½” hem on each end.
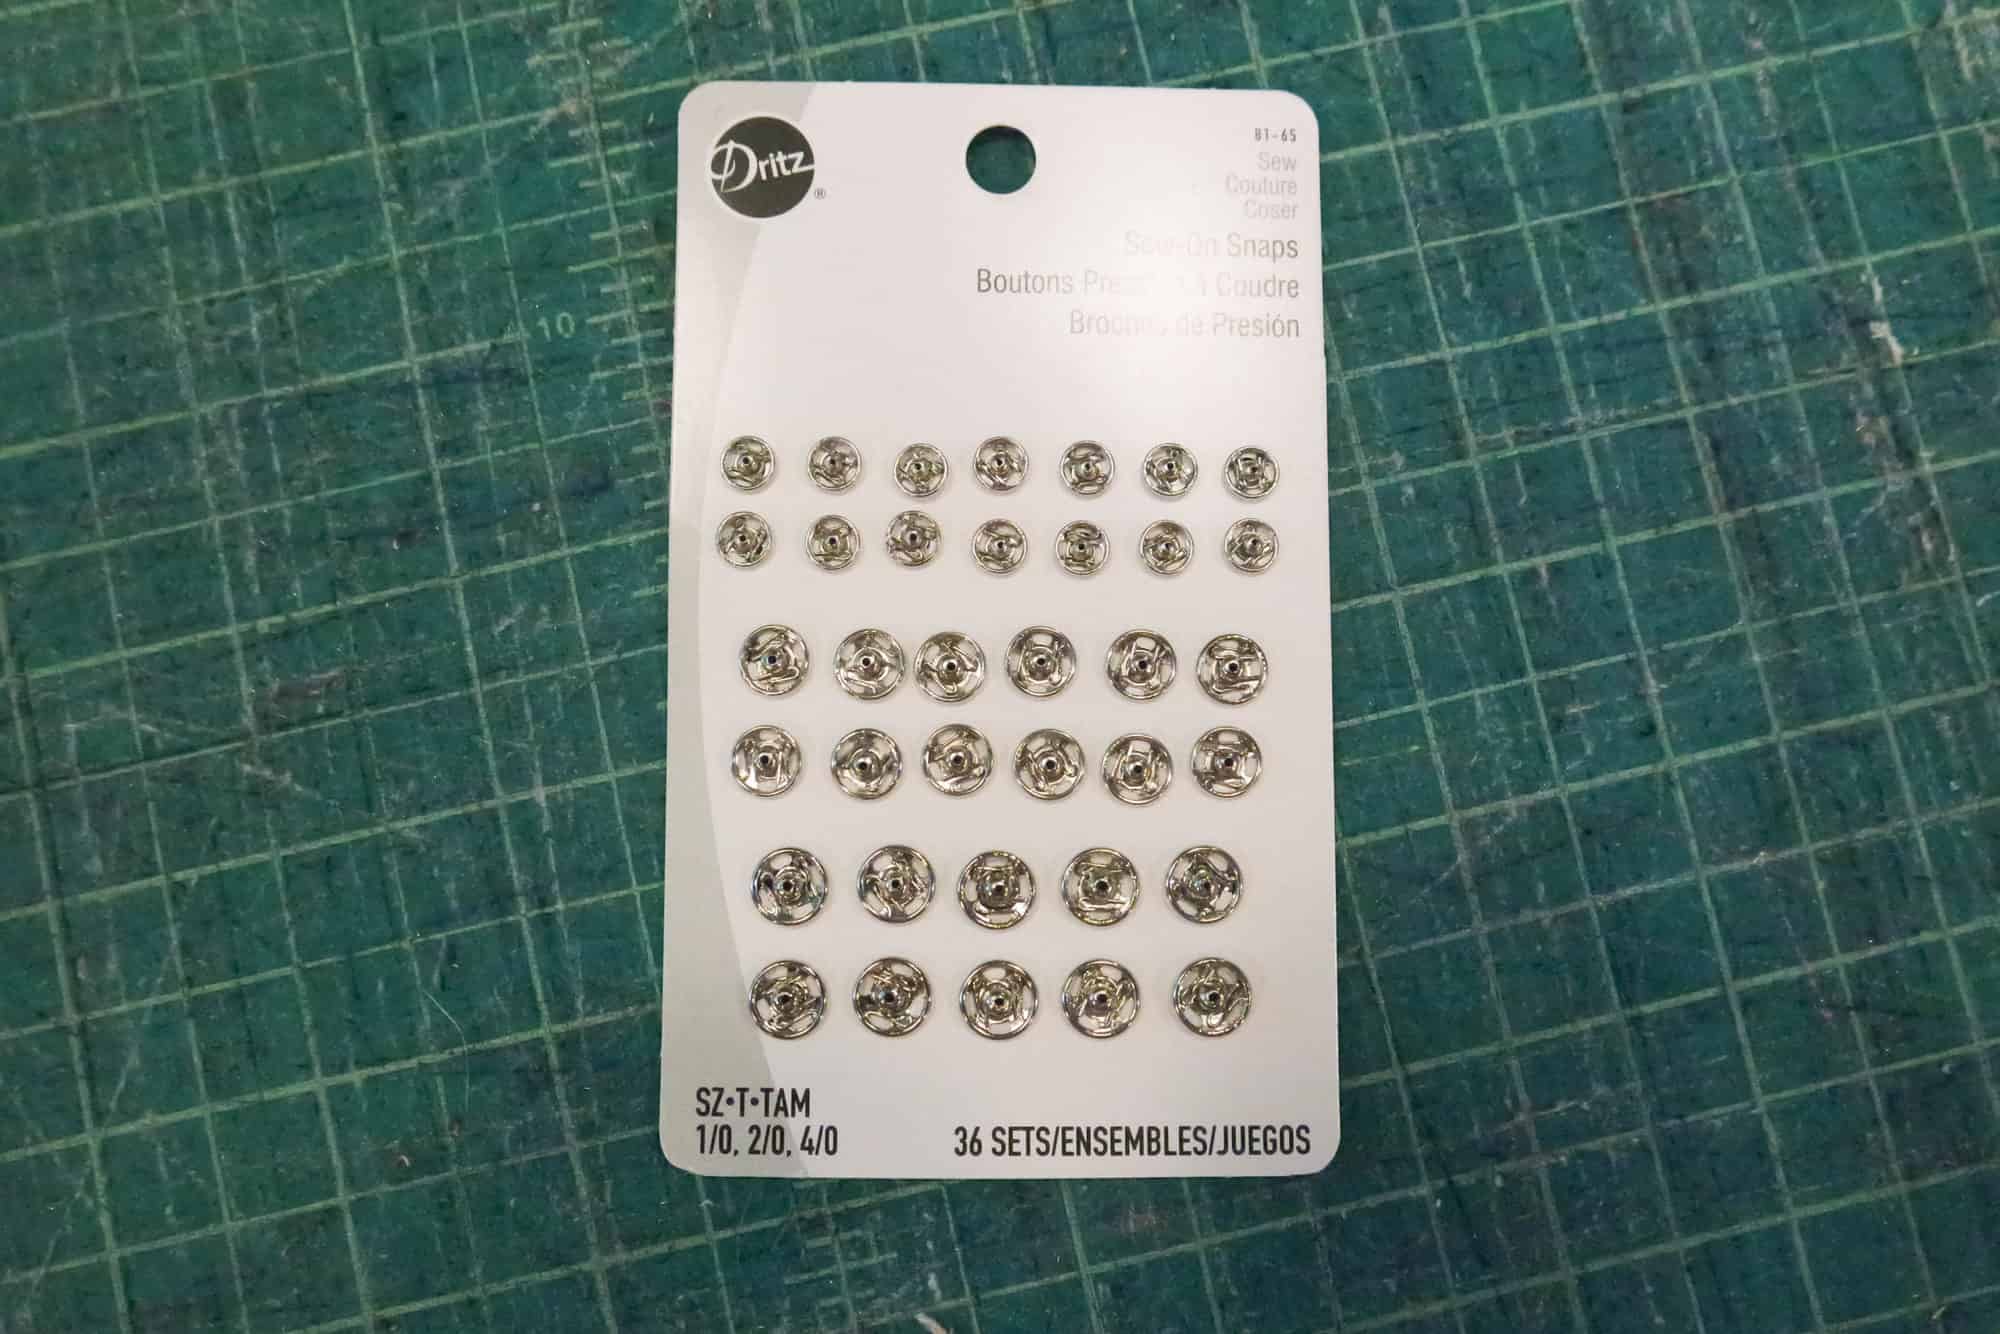
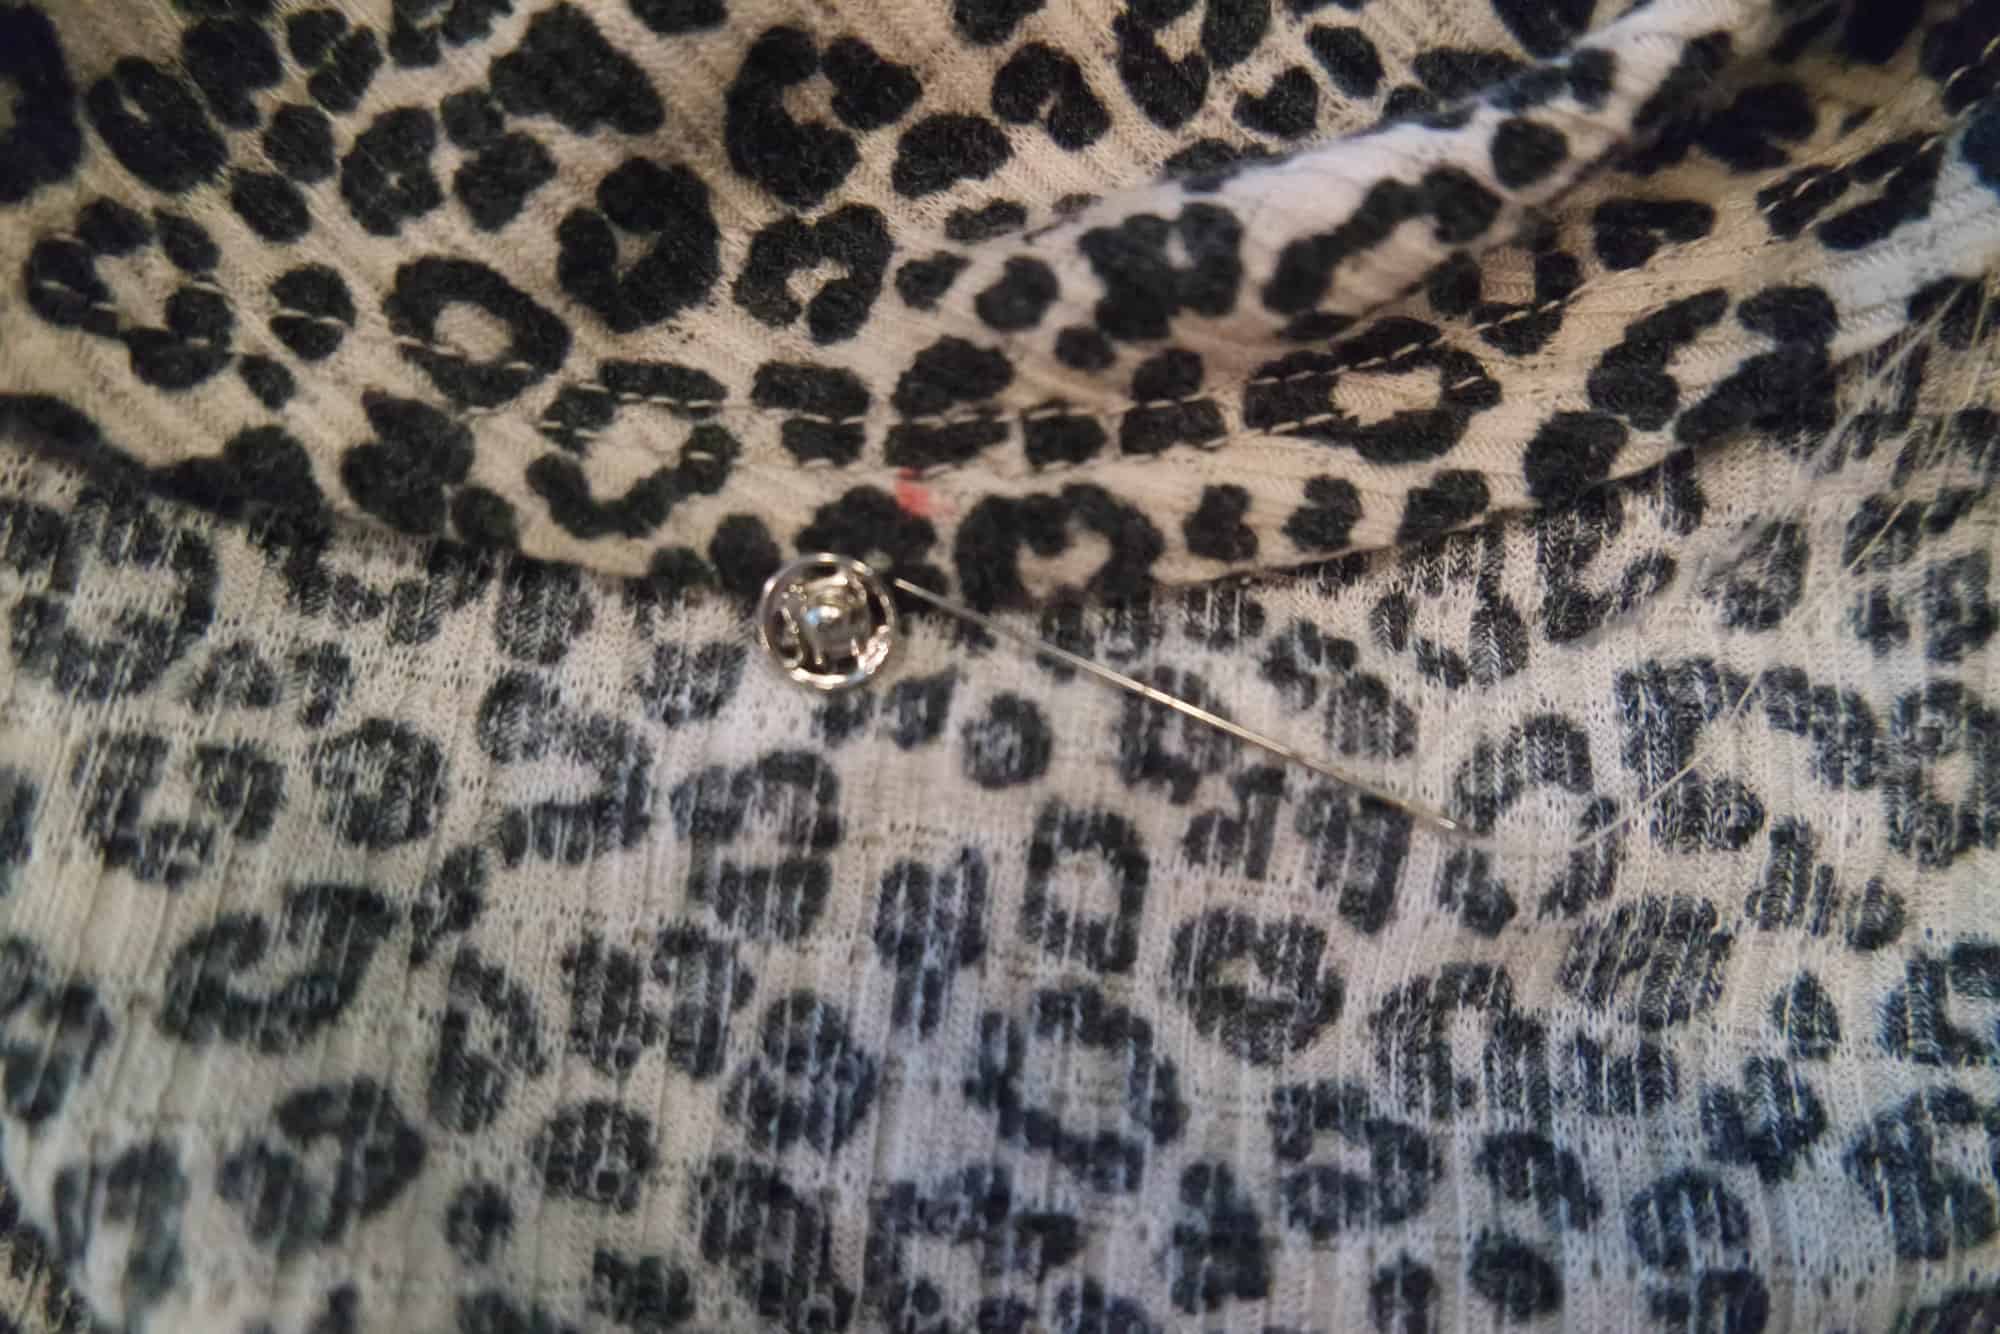
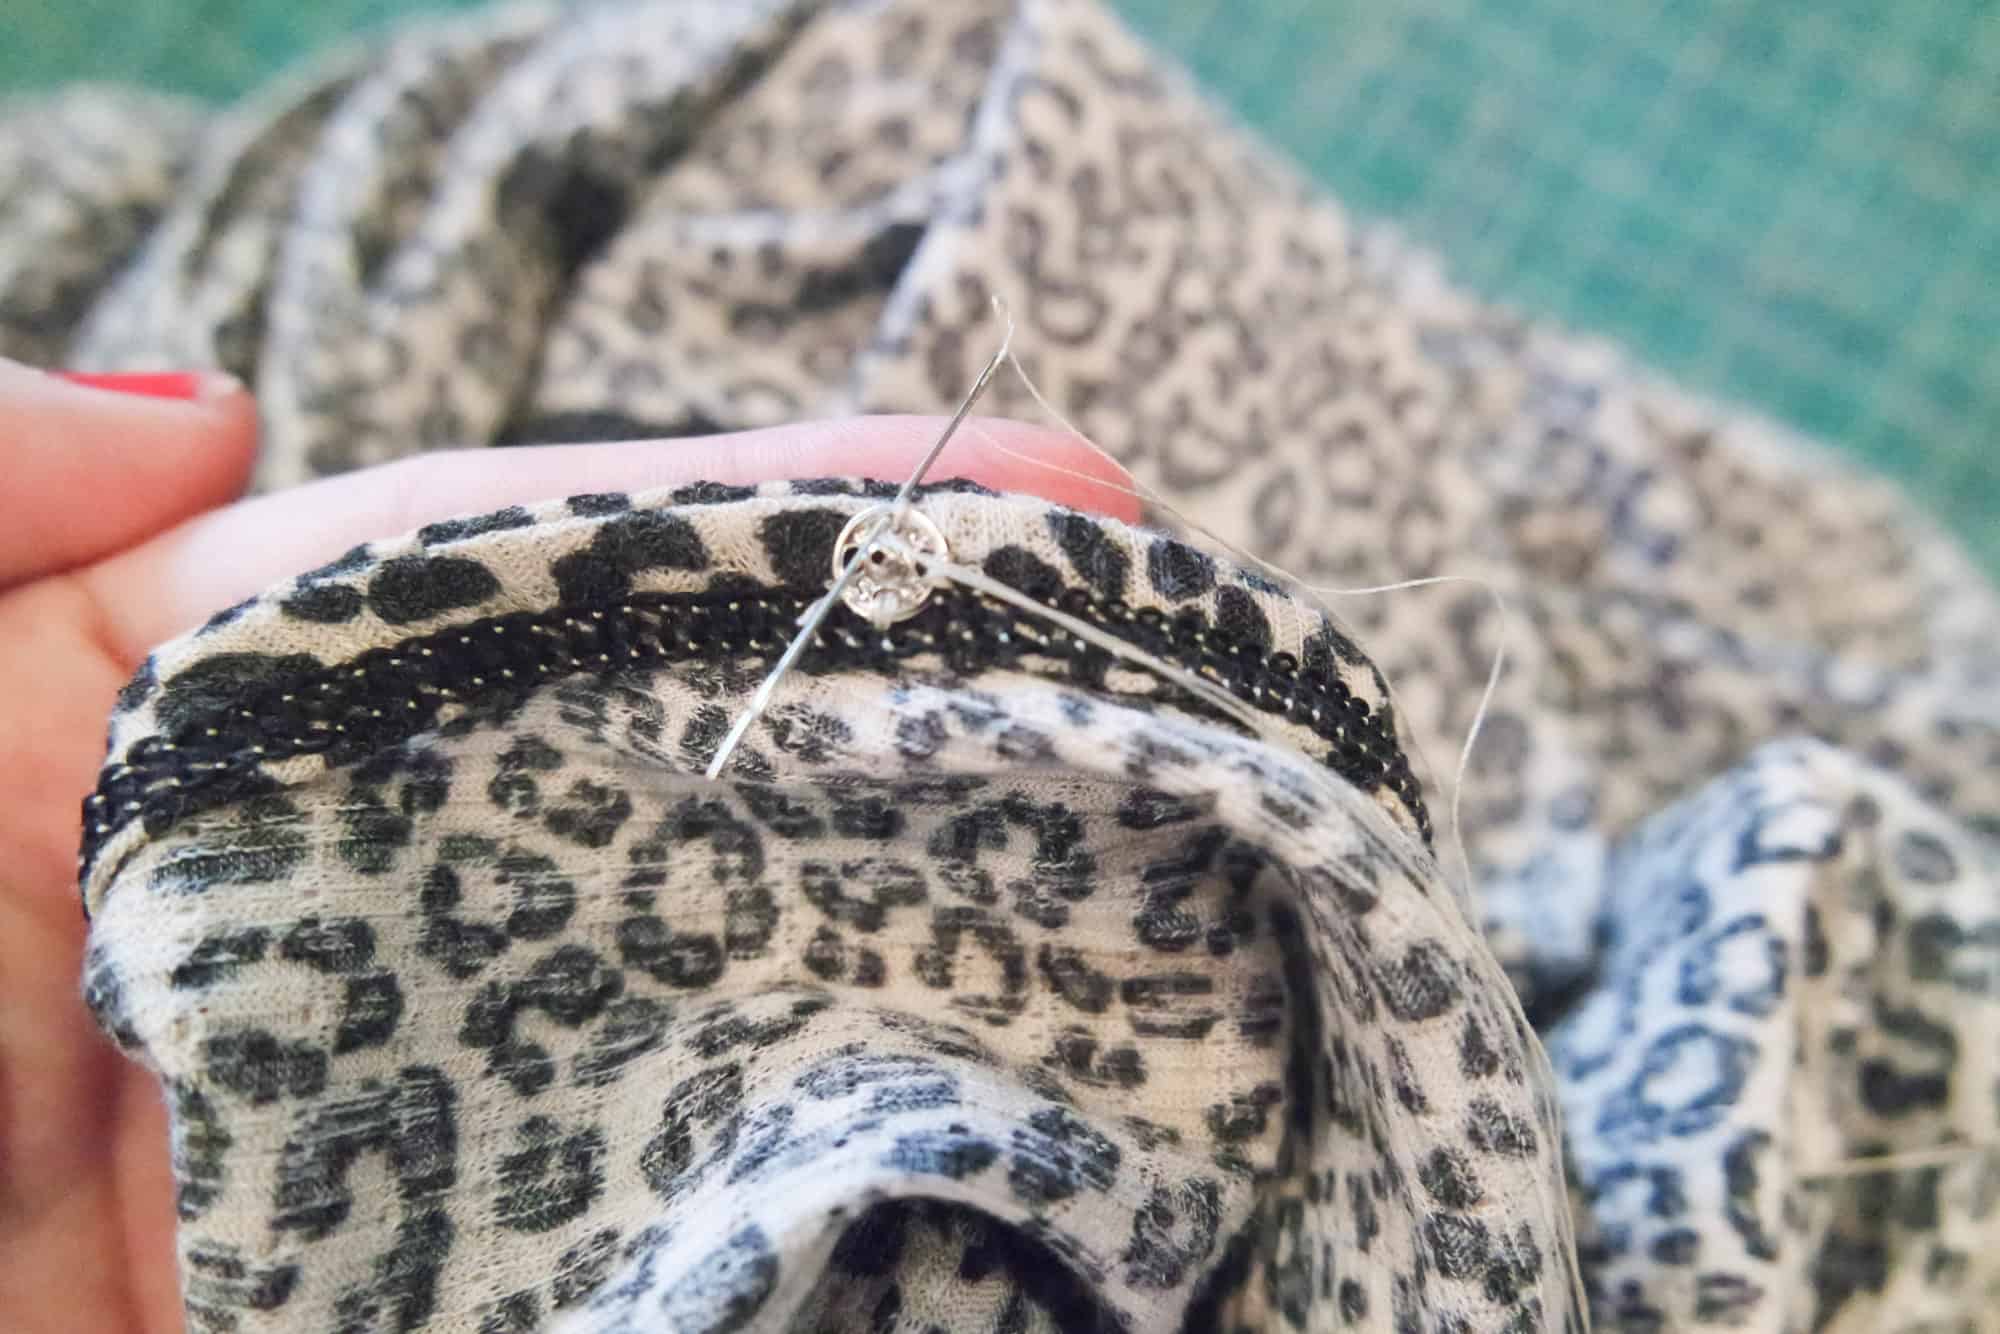
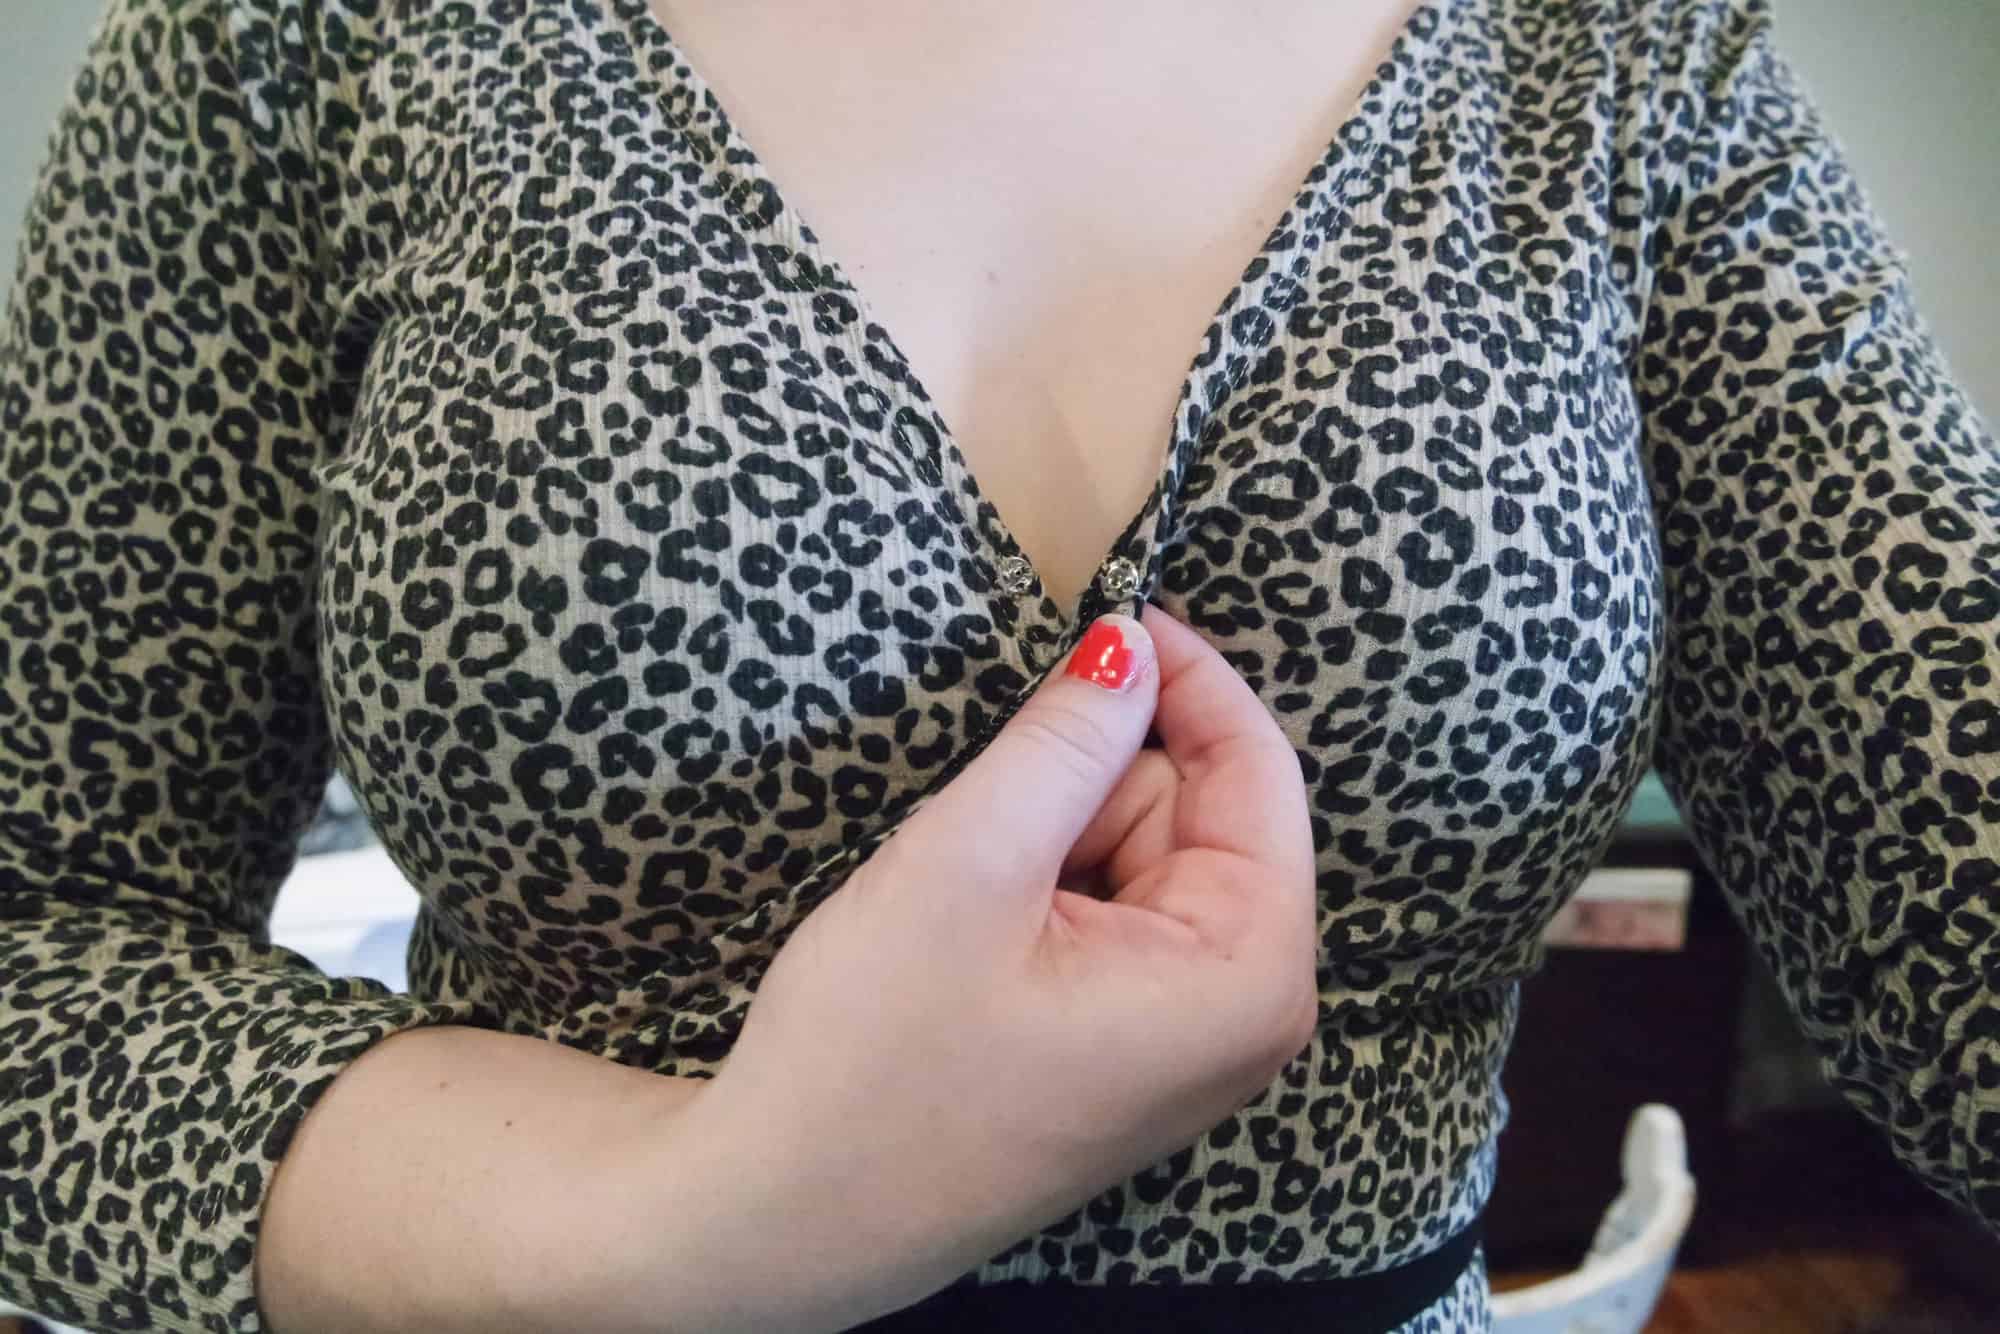
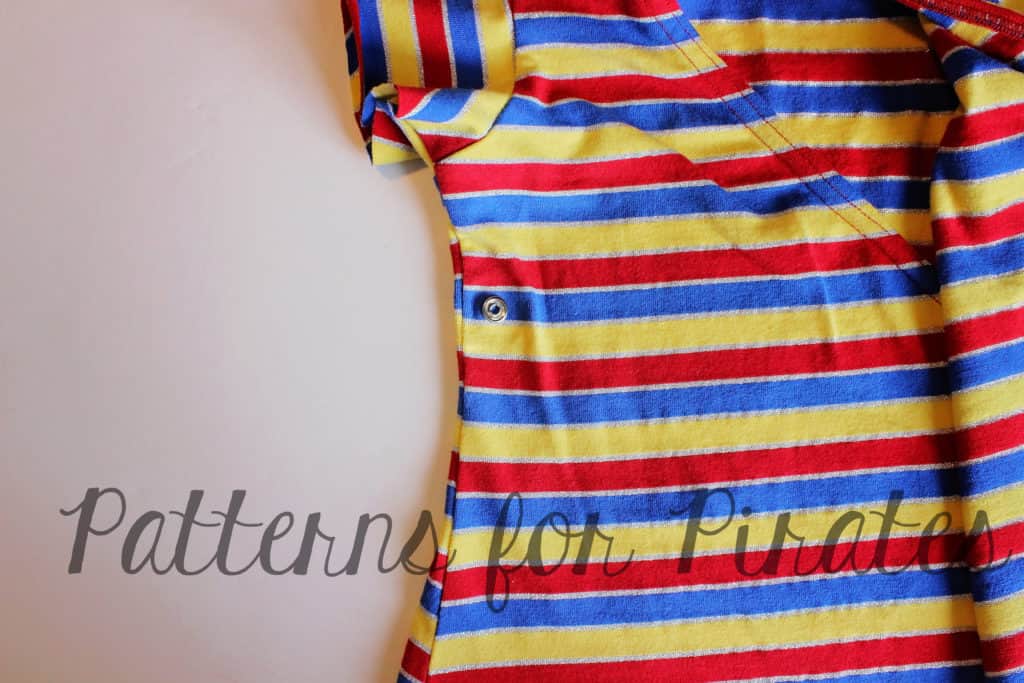
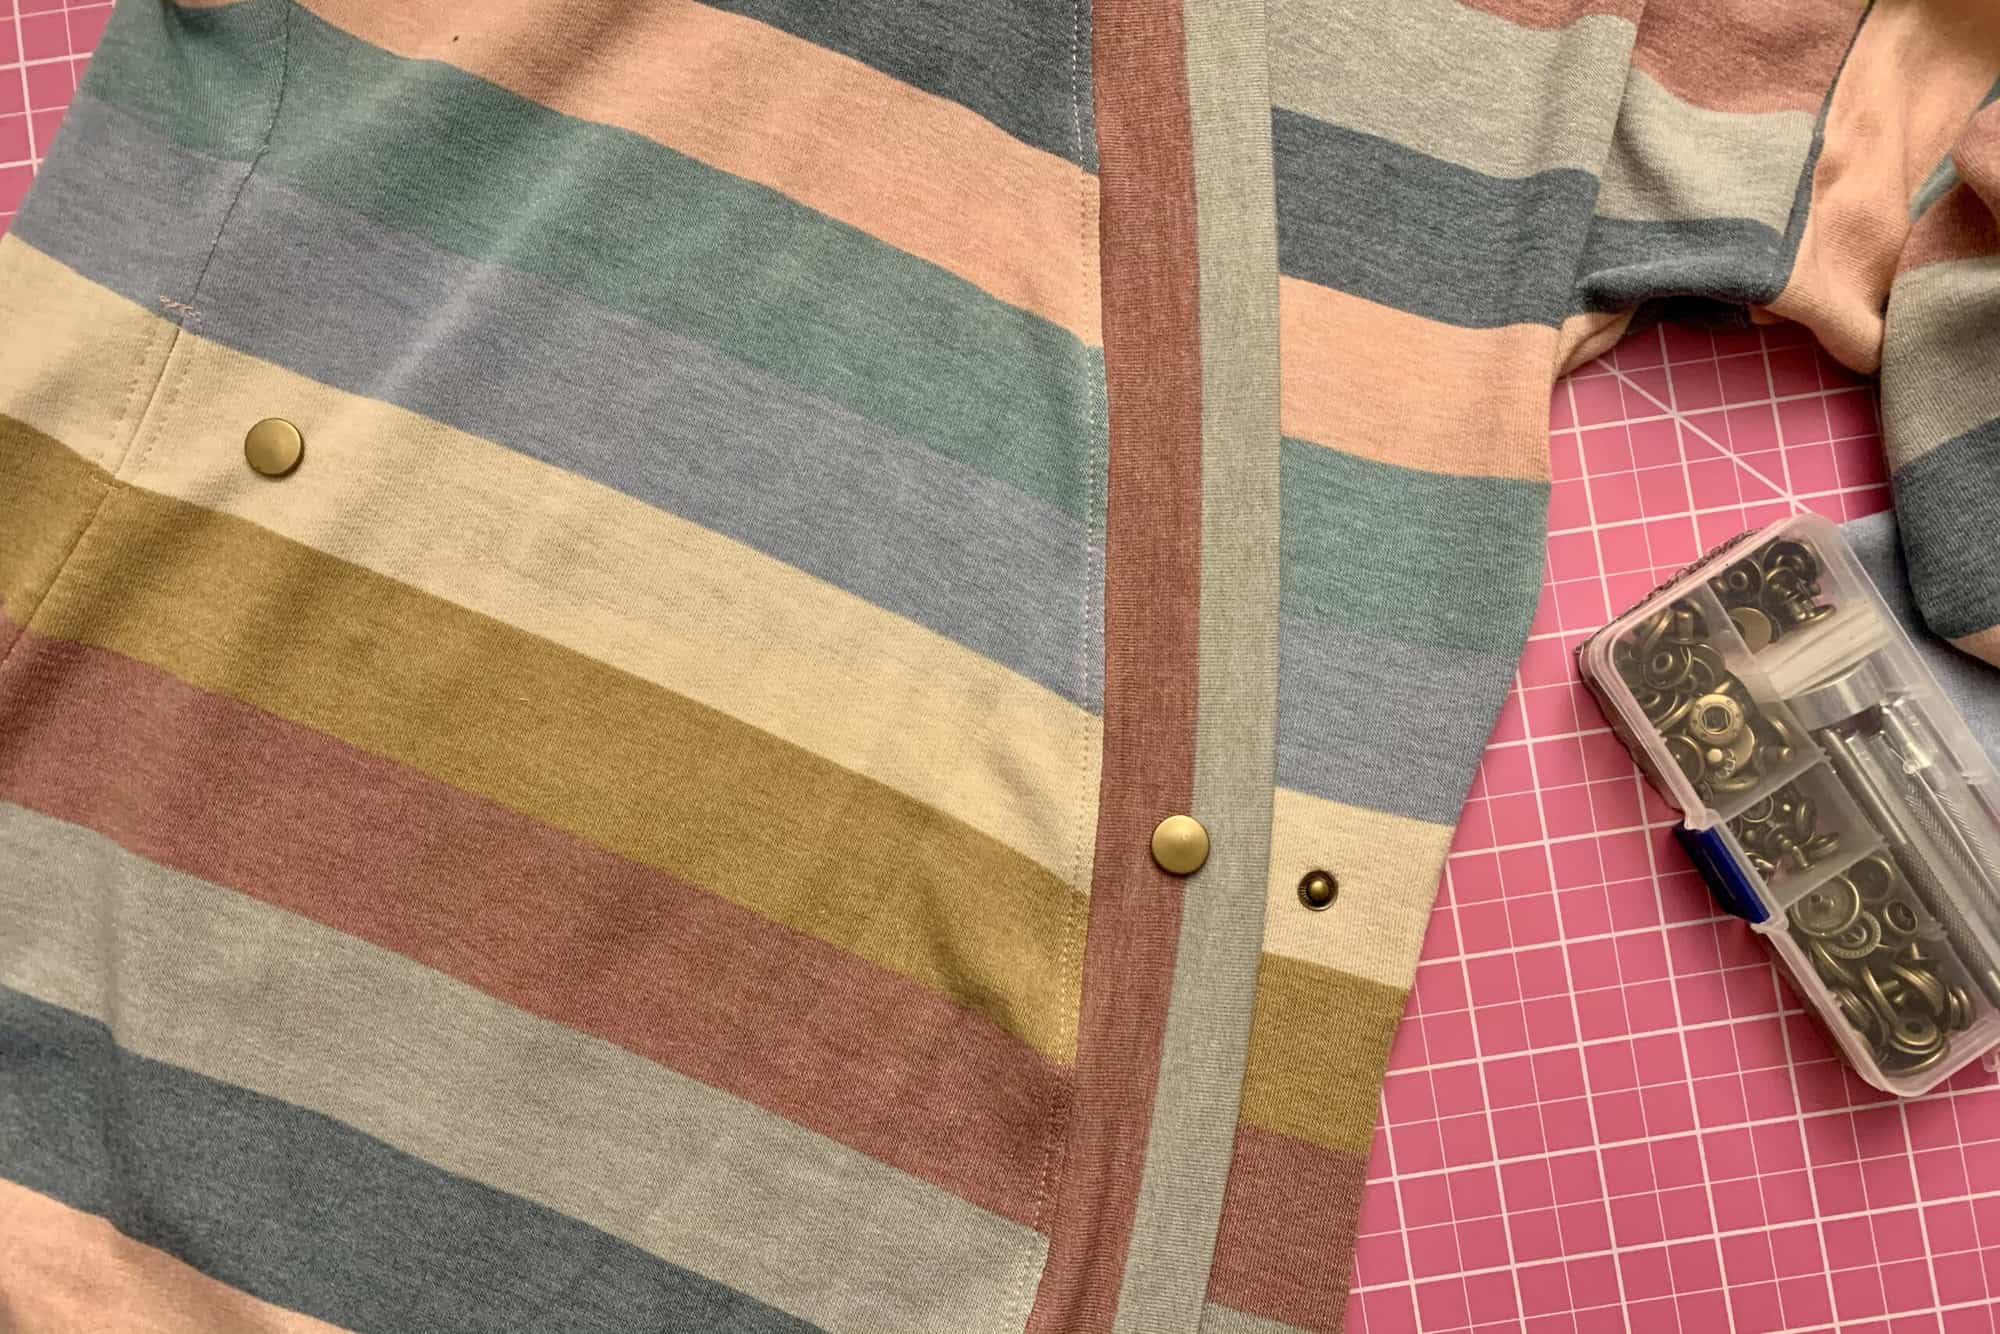
Add closures of your choice, like snaps, to the neckband and dress front where you feel most comfortable. I wanted my dress to wrap tightly so I placed my closures near the side seams, on both sides. You’ll need to try on your dress to determine where you want your closures to be.
Now you’re ready to go, with no fear of your dress slipping open!
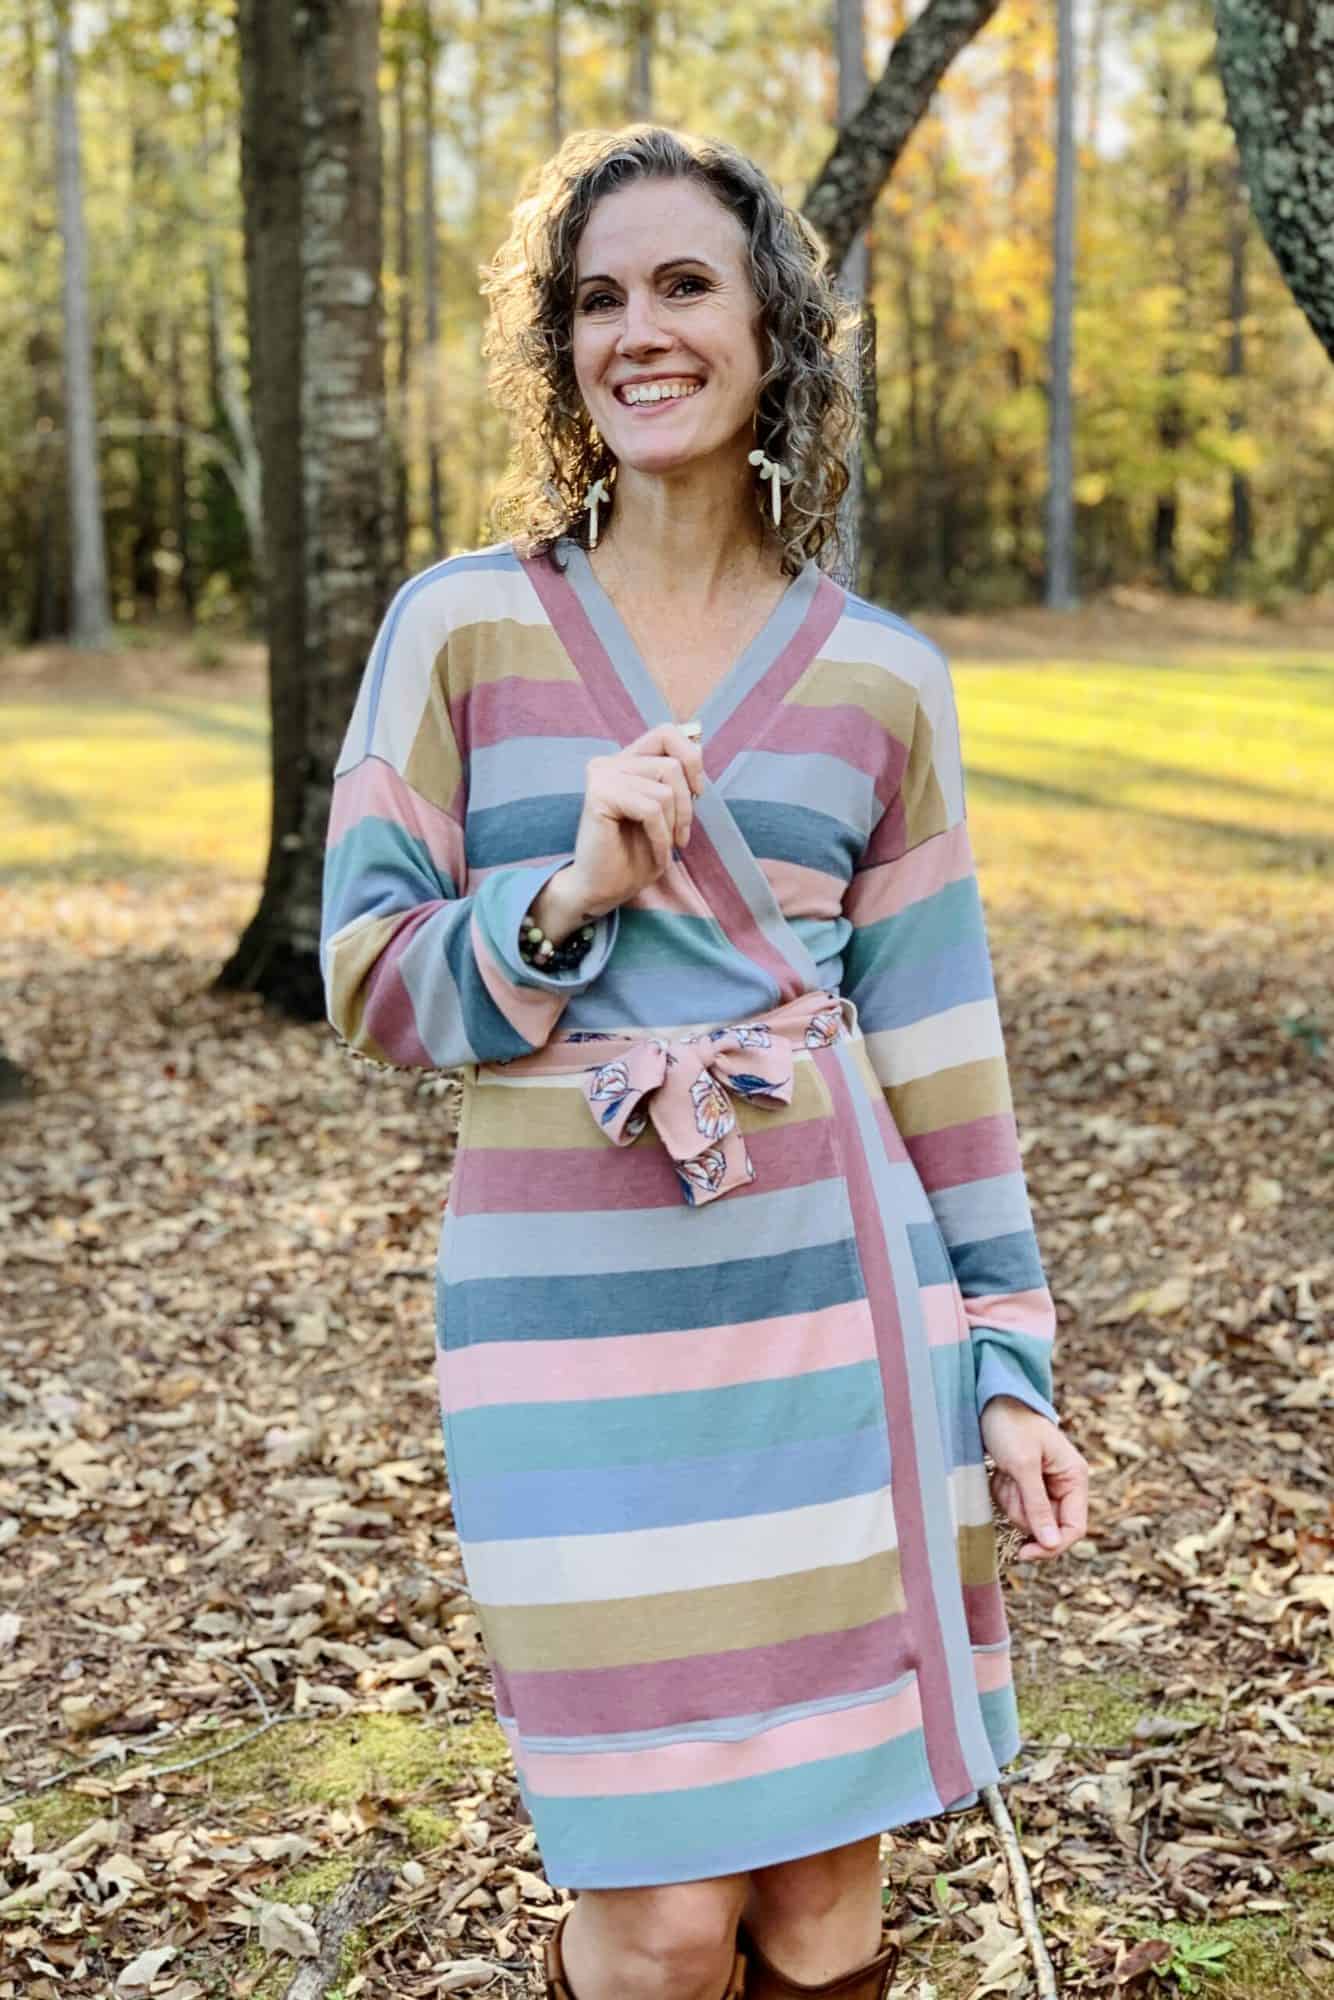
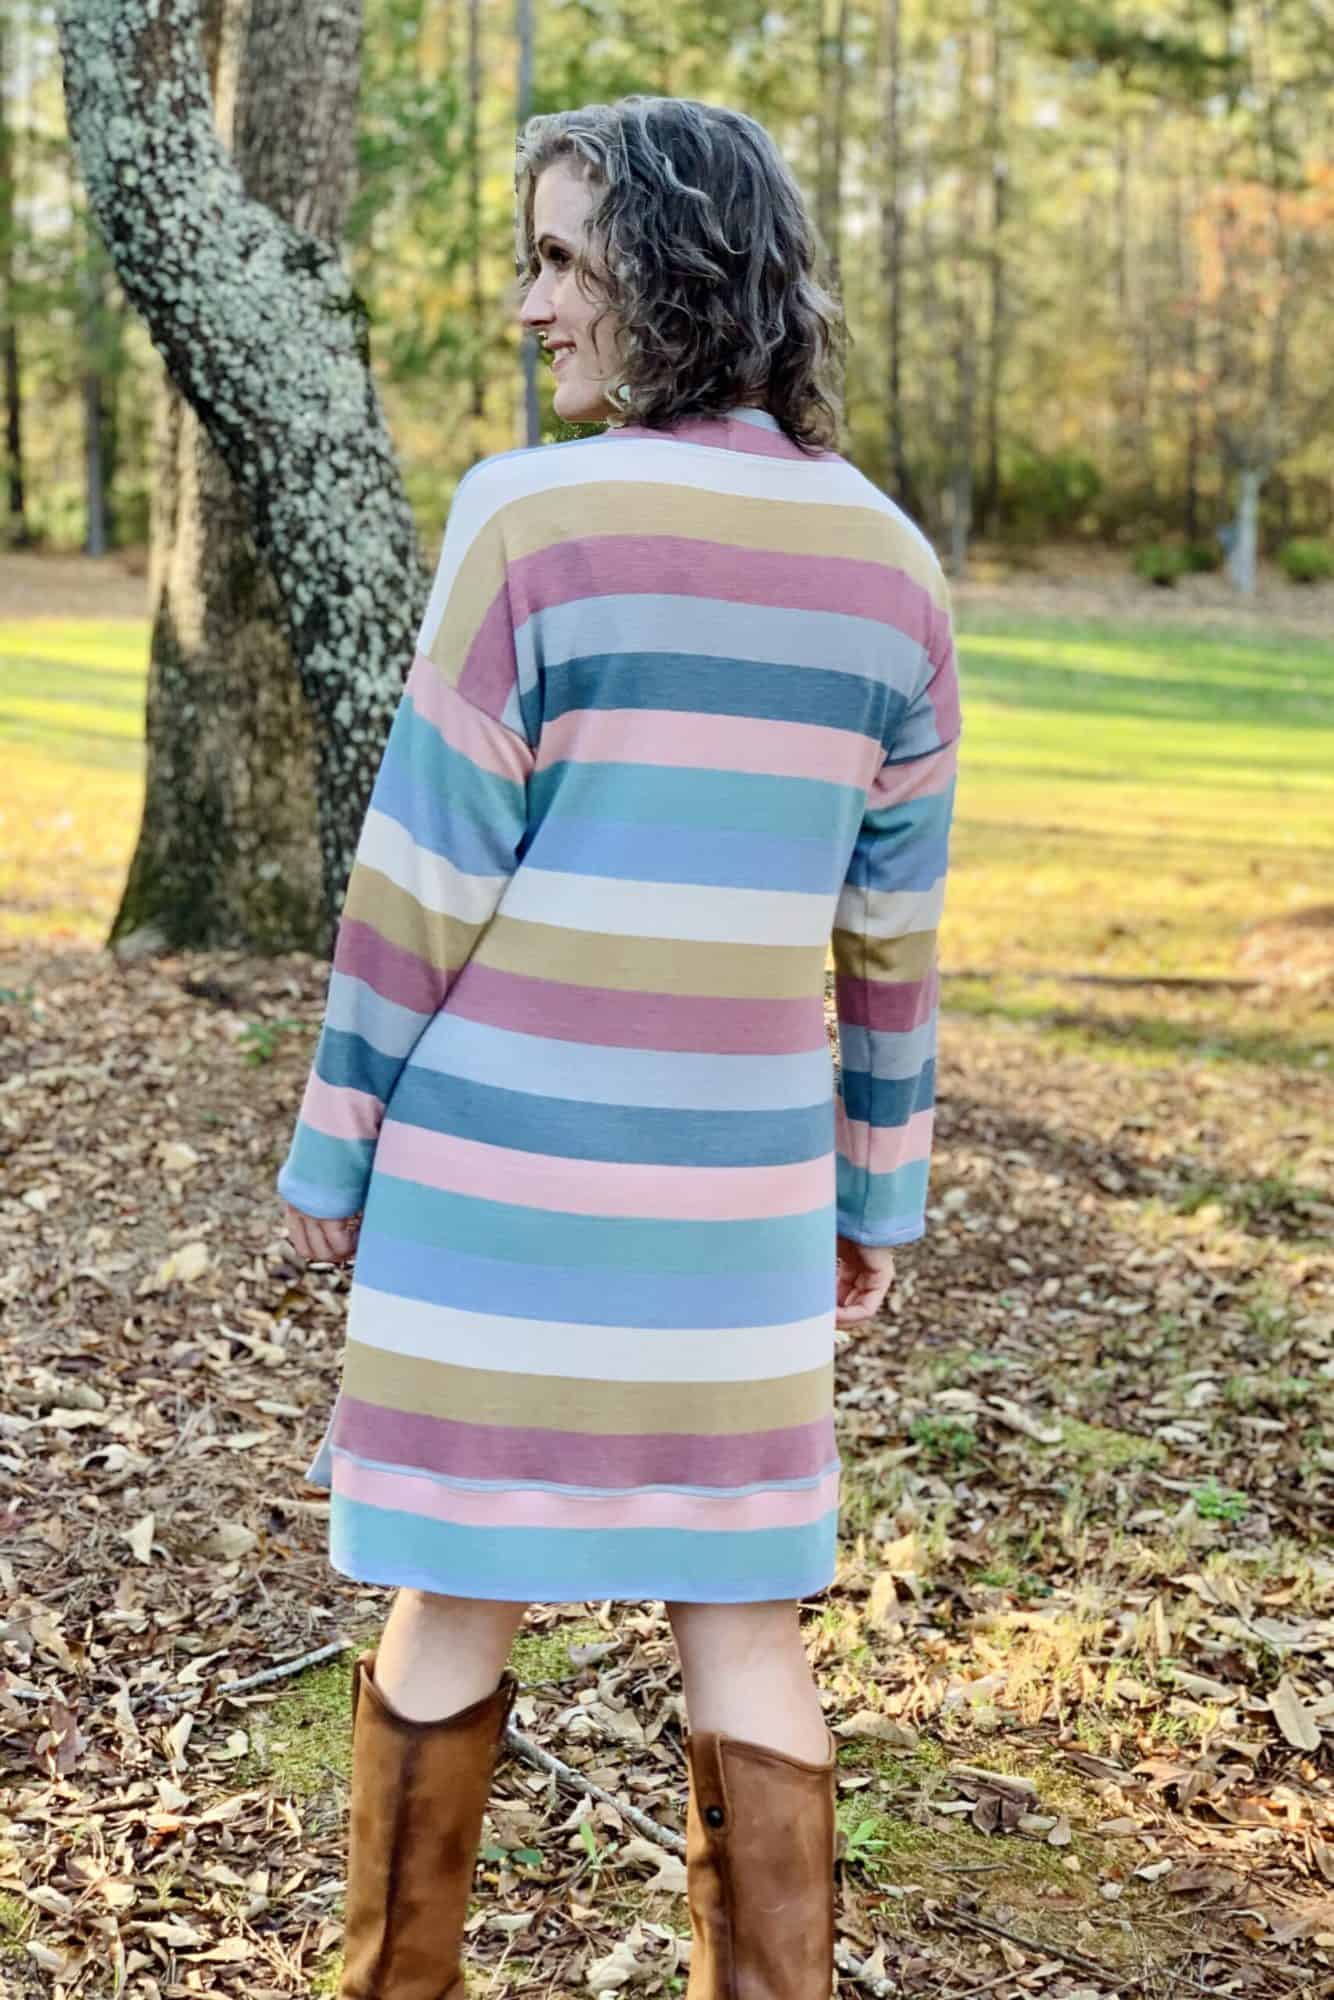
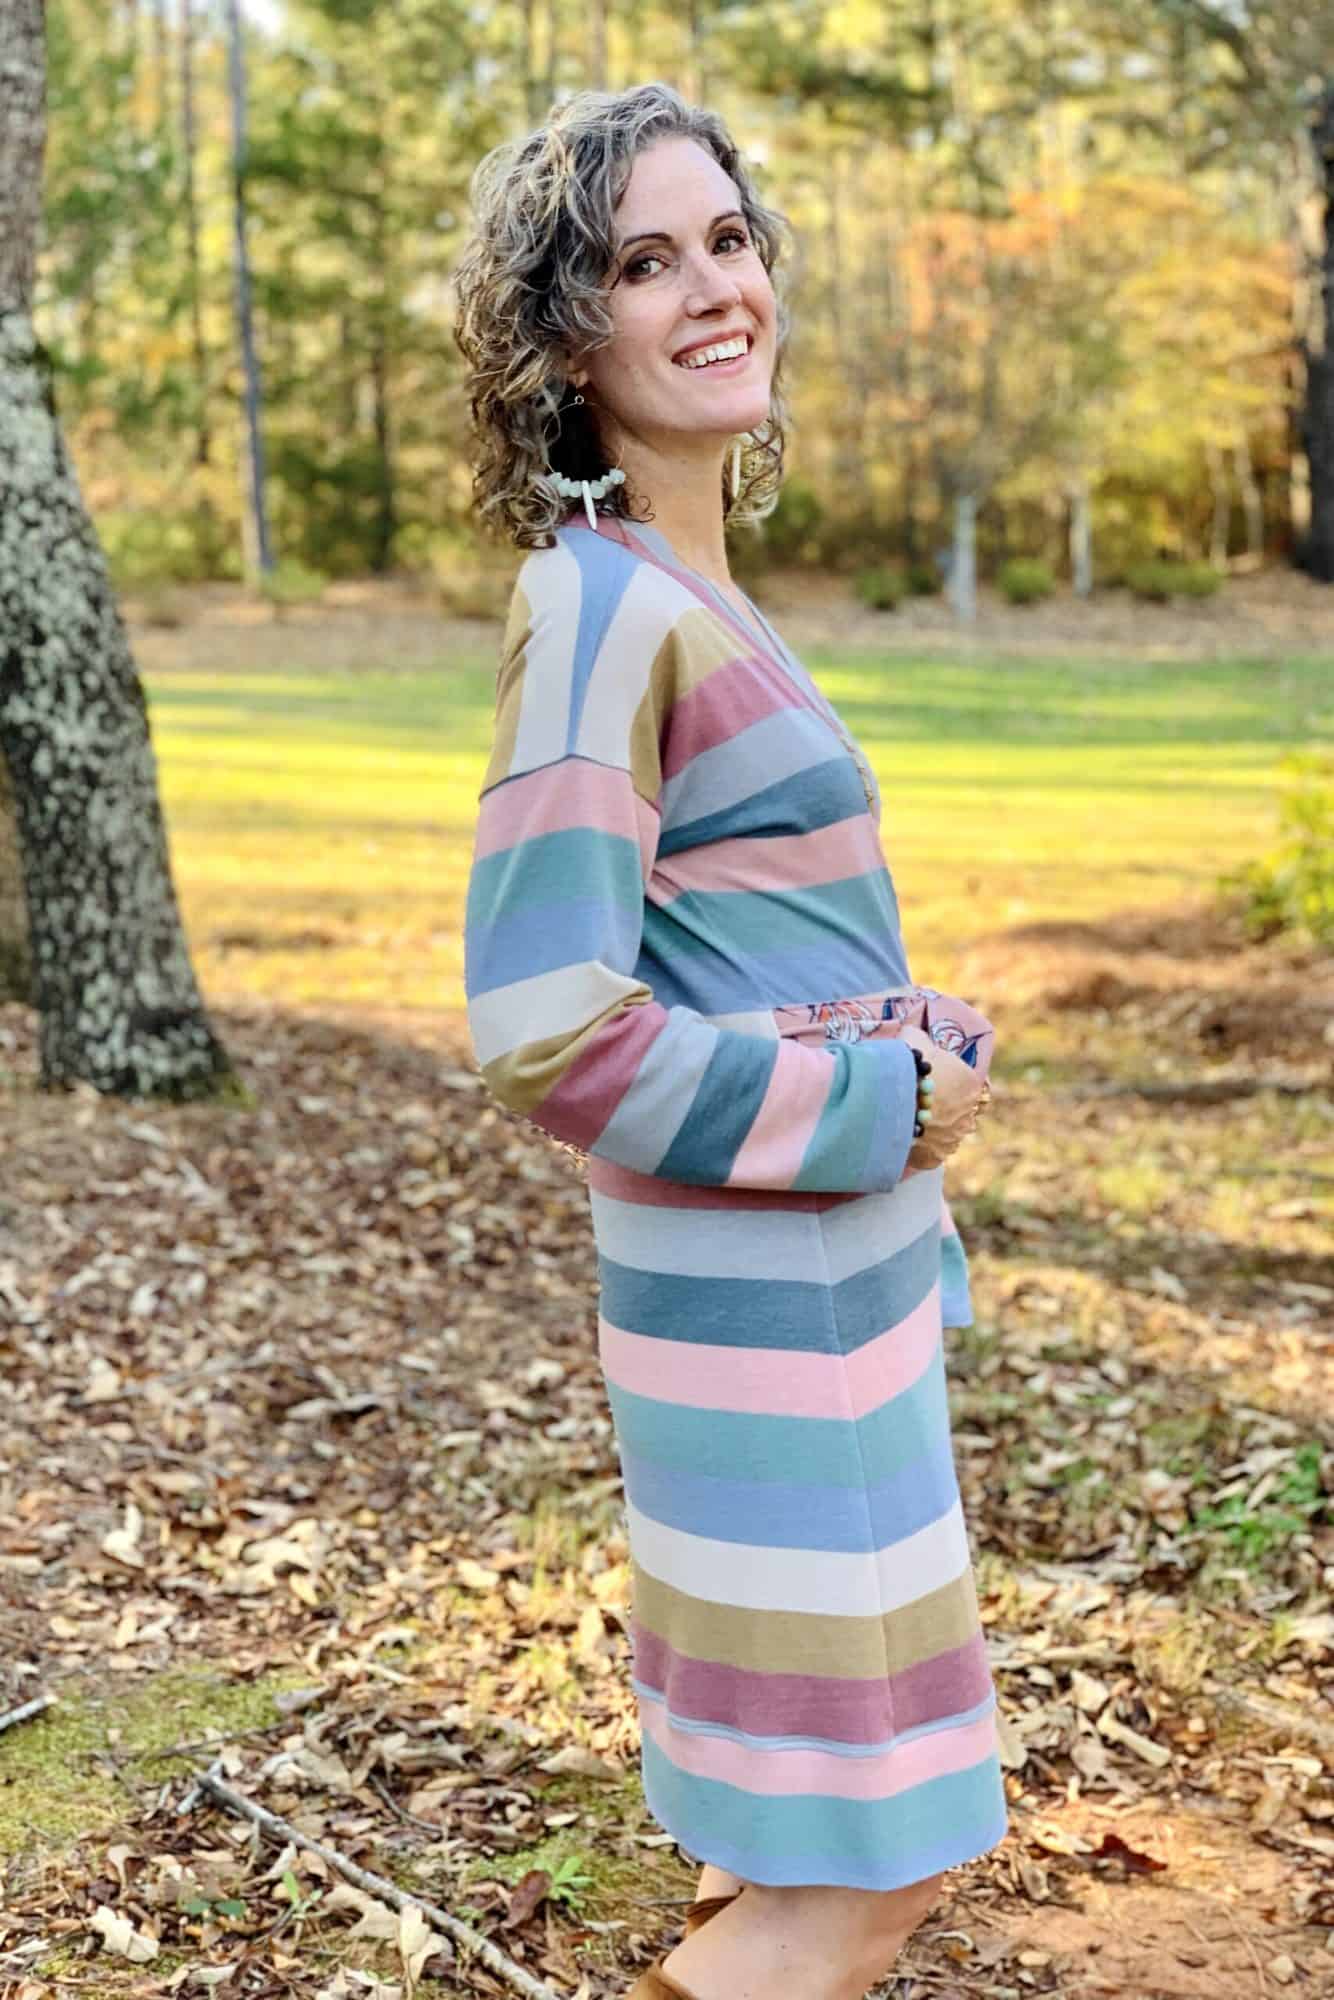
And the best part? You can still wear your dress as a cardigan. I’m crazy about versatile clothing!

Happy making!!
Rachel
….
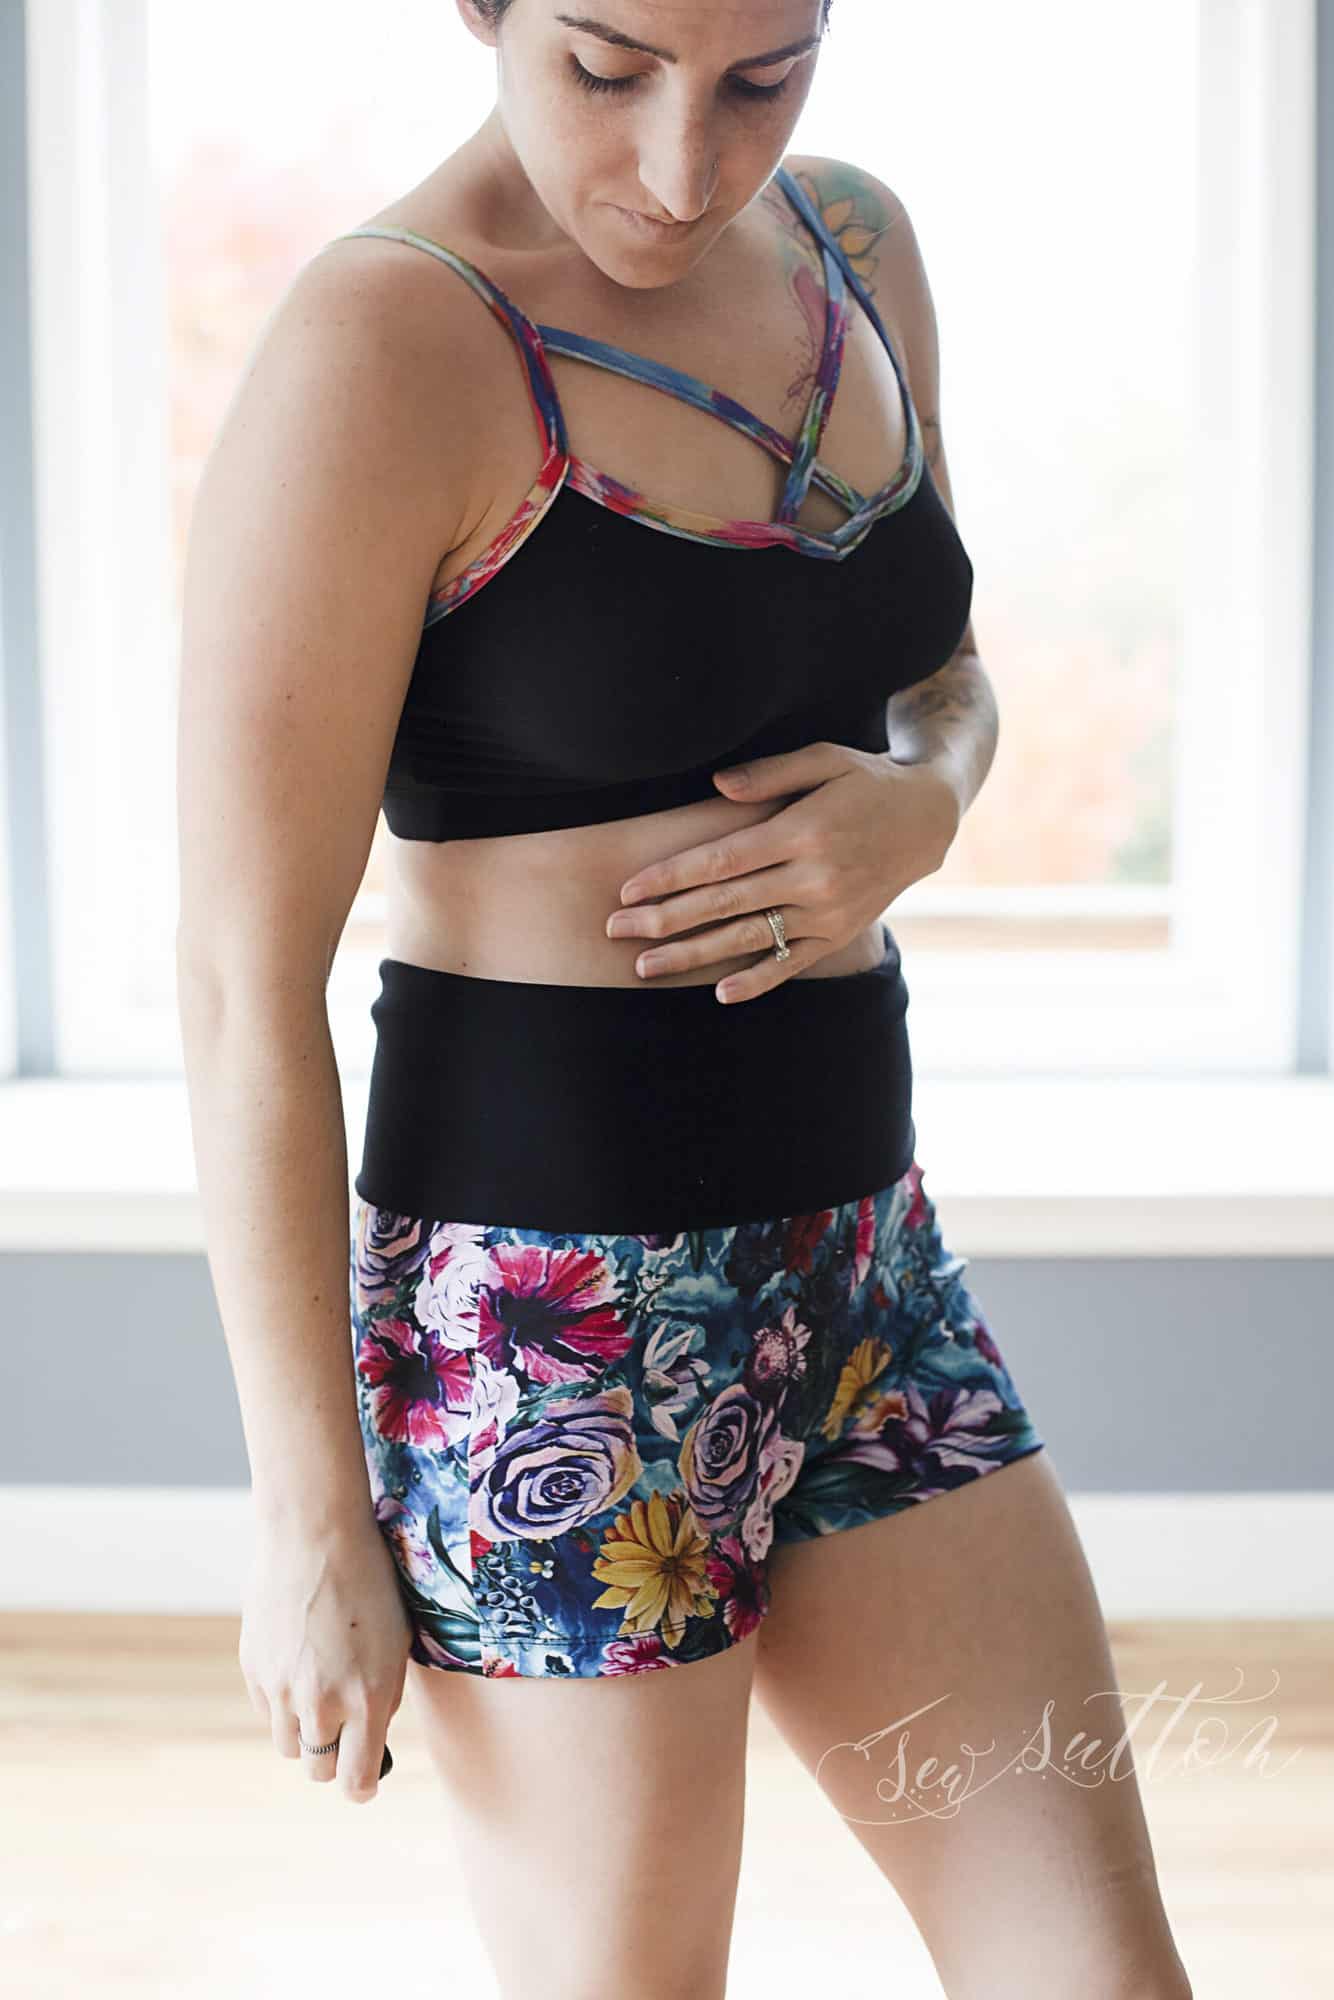
Yoga Waistband
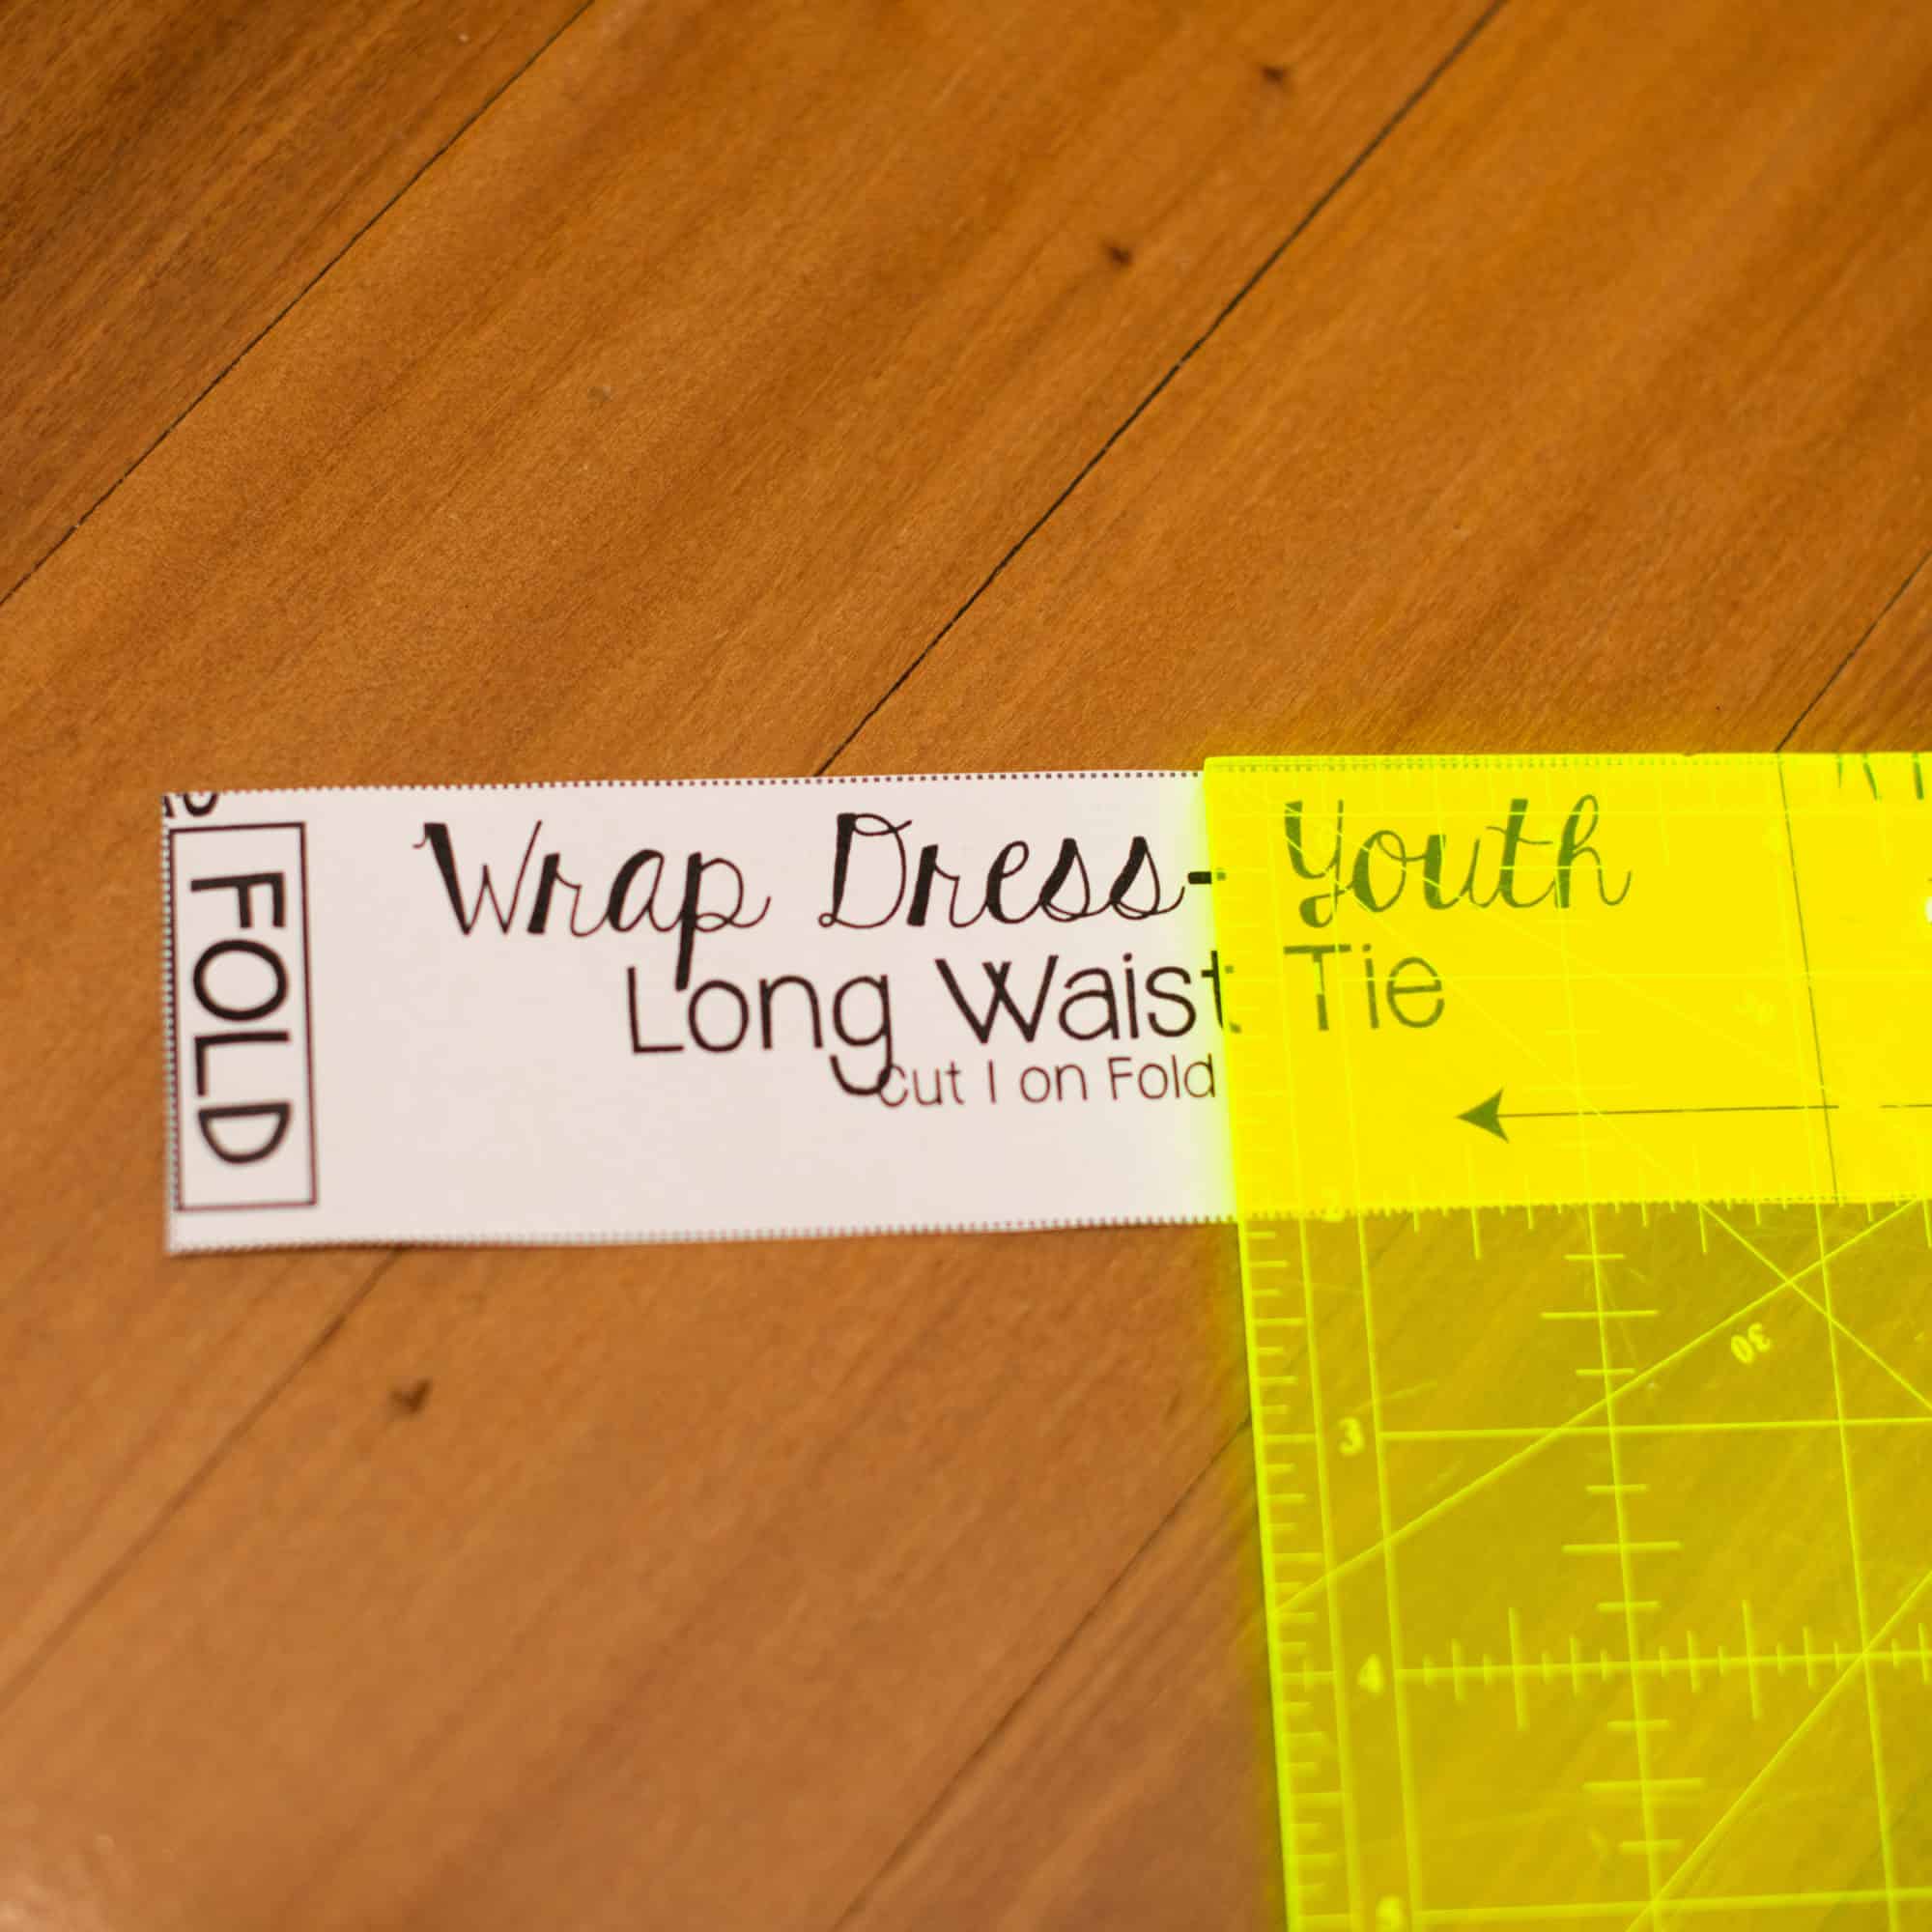
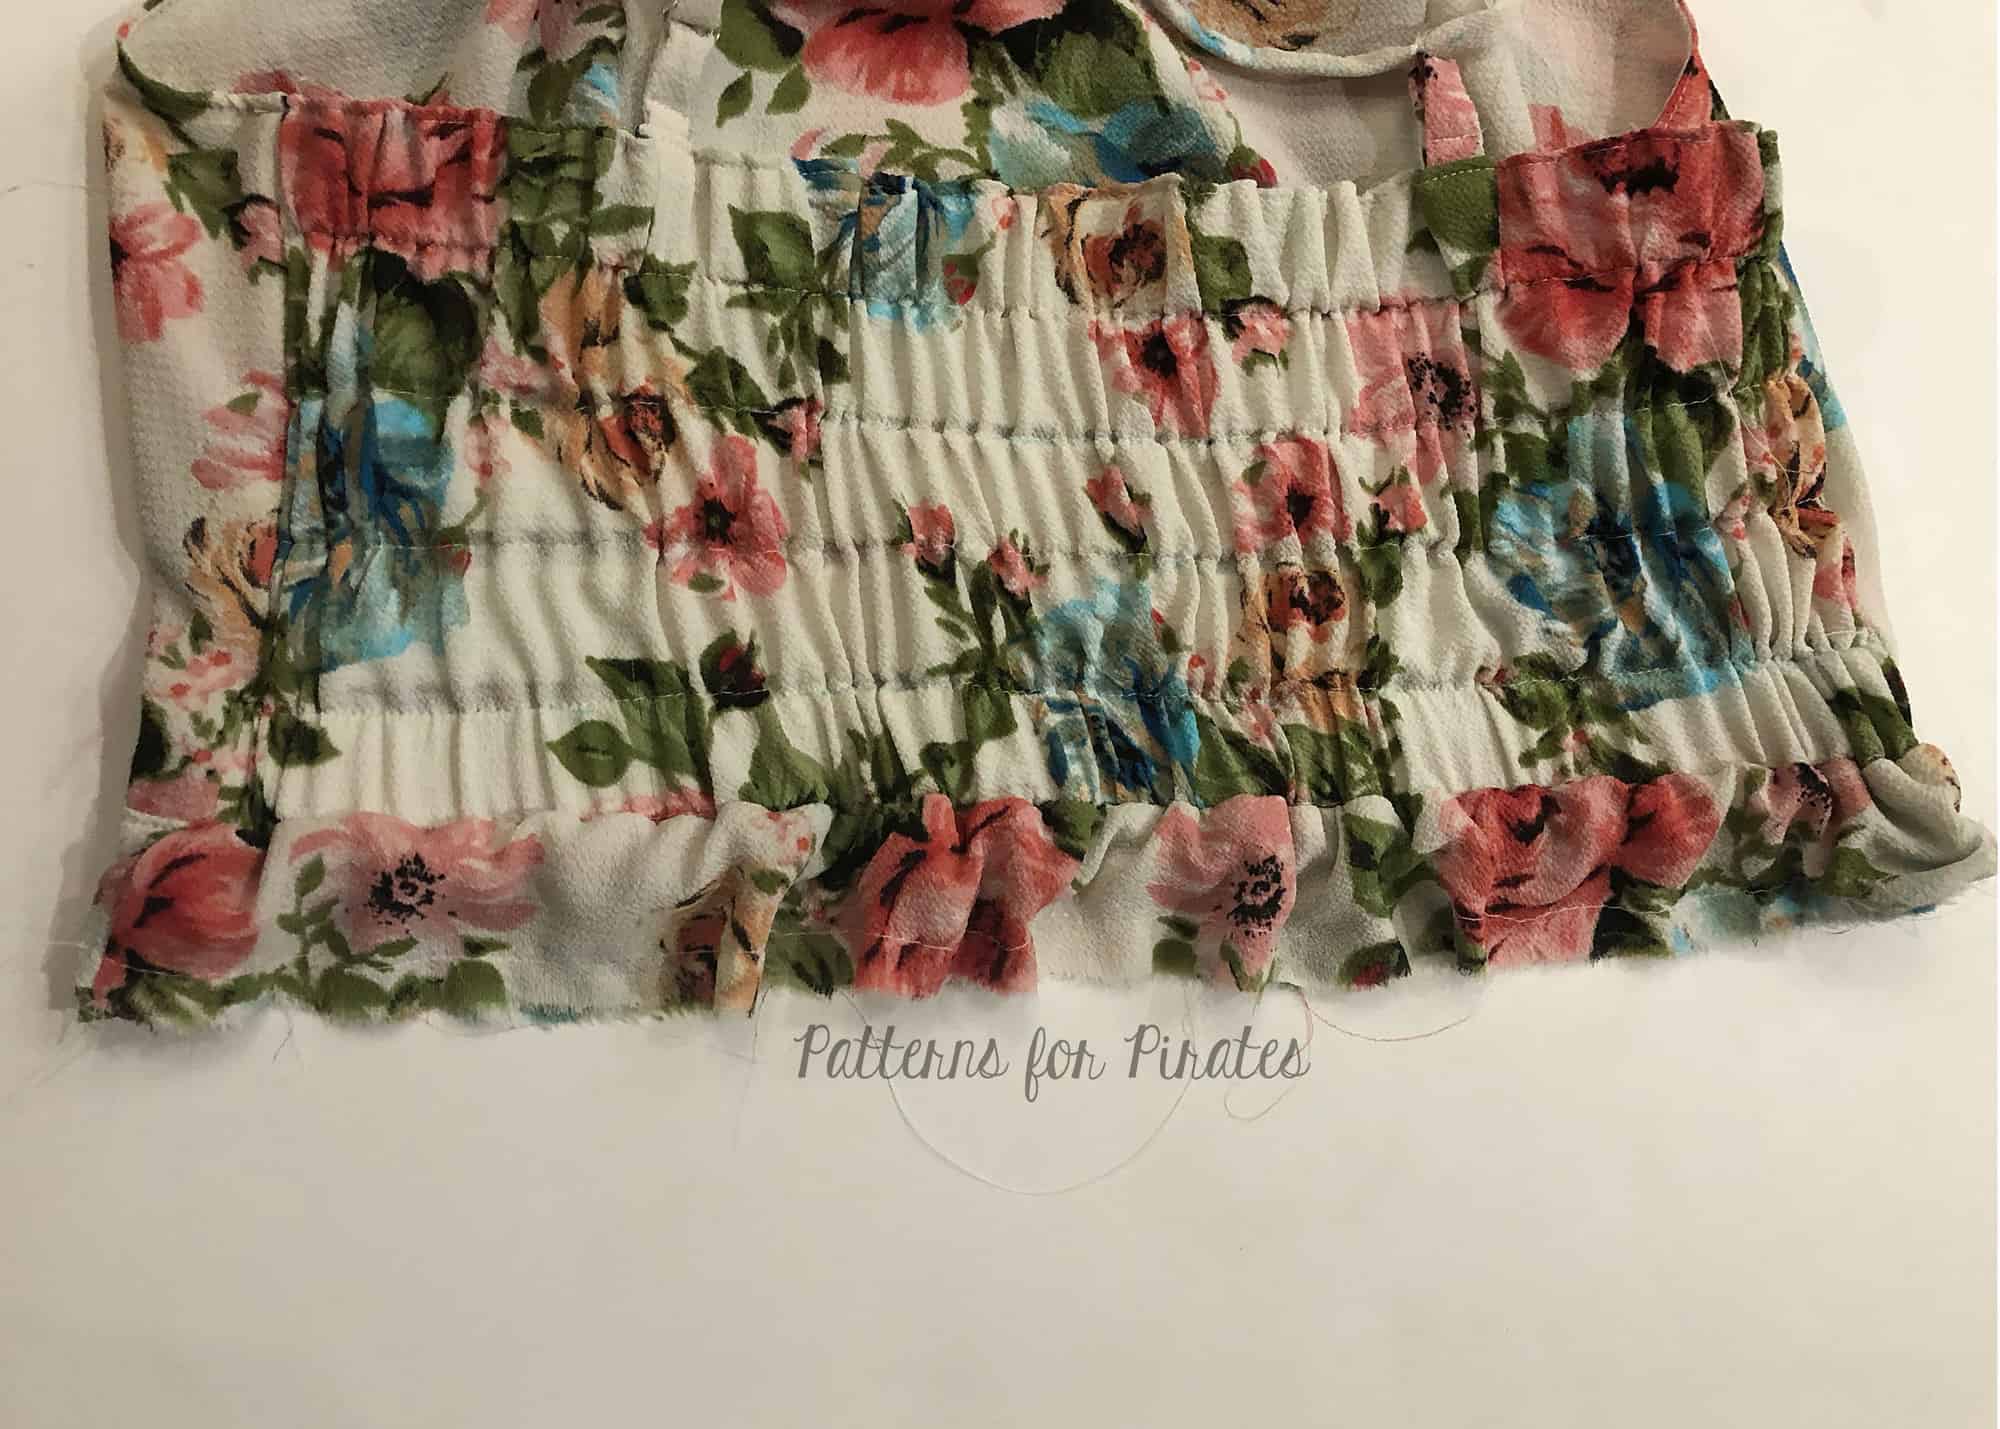
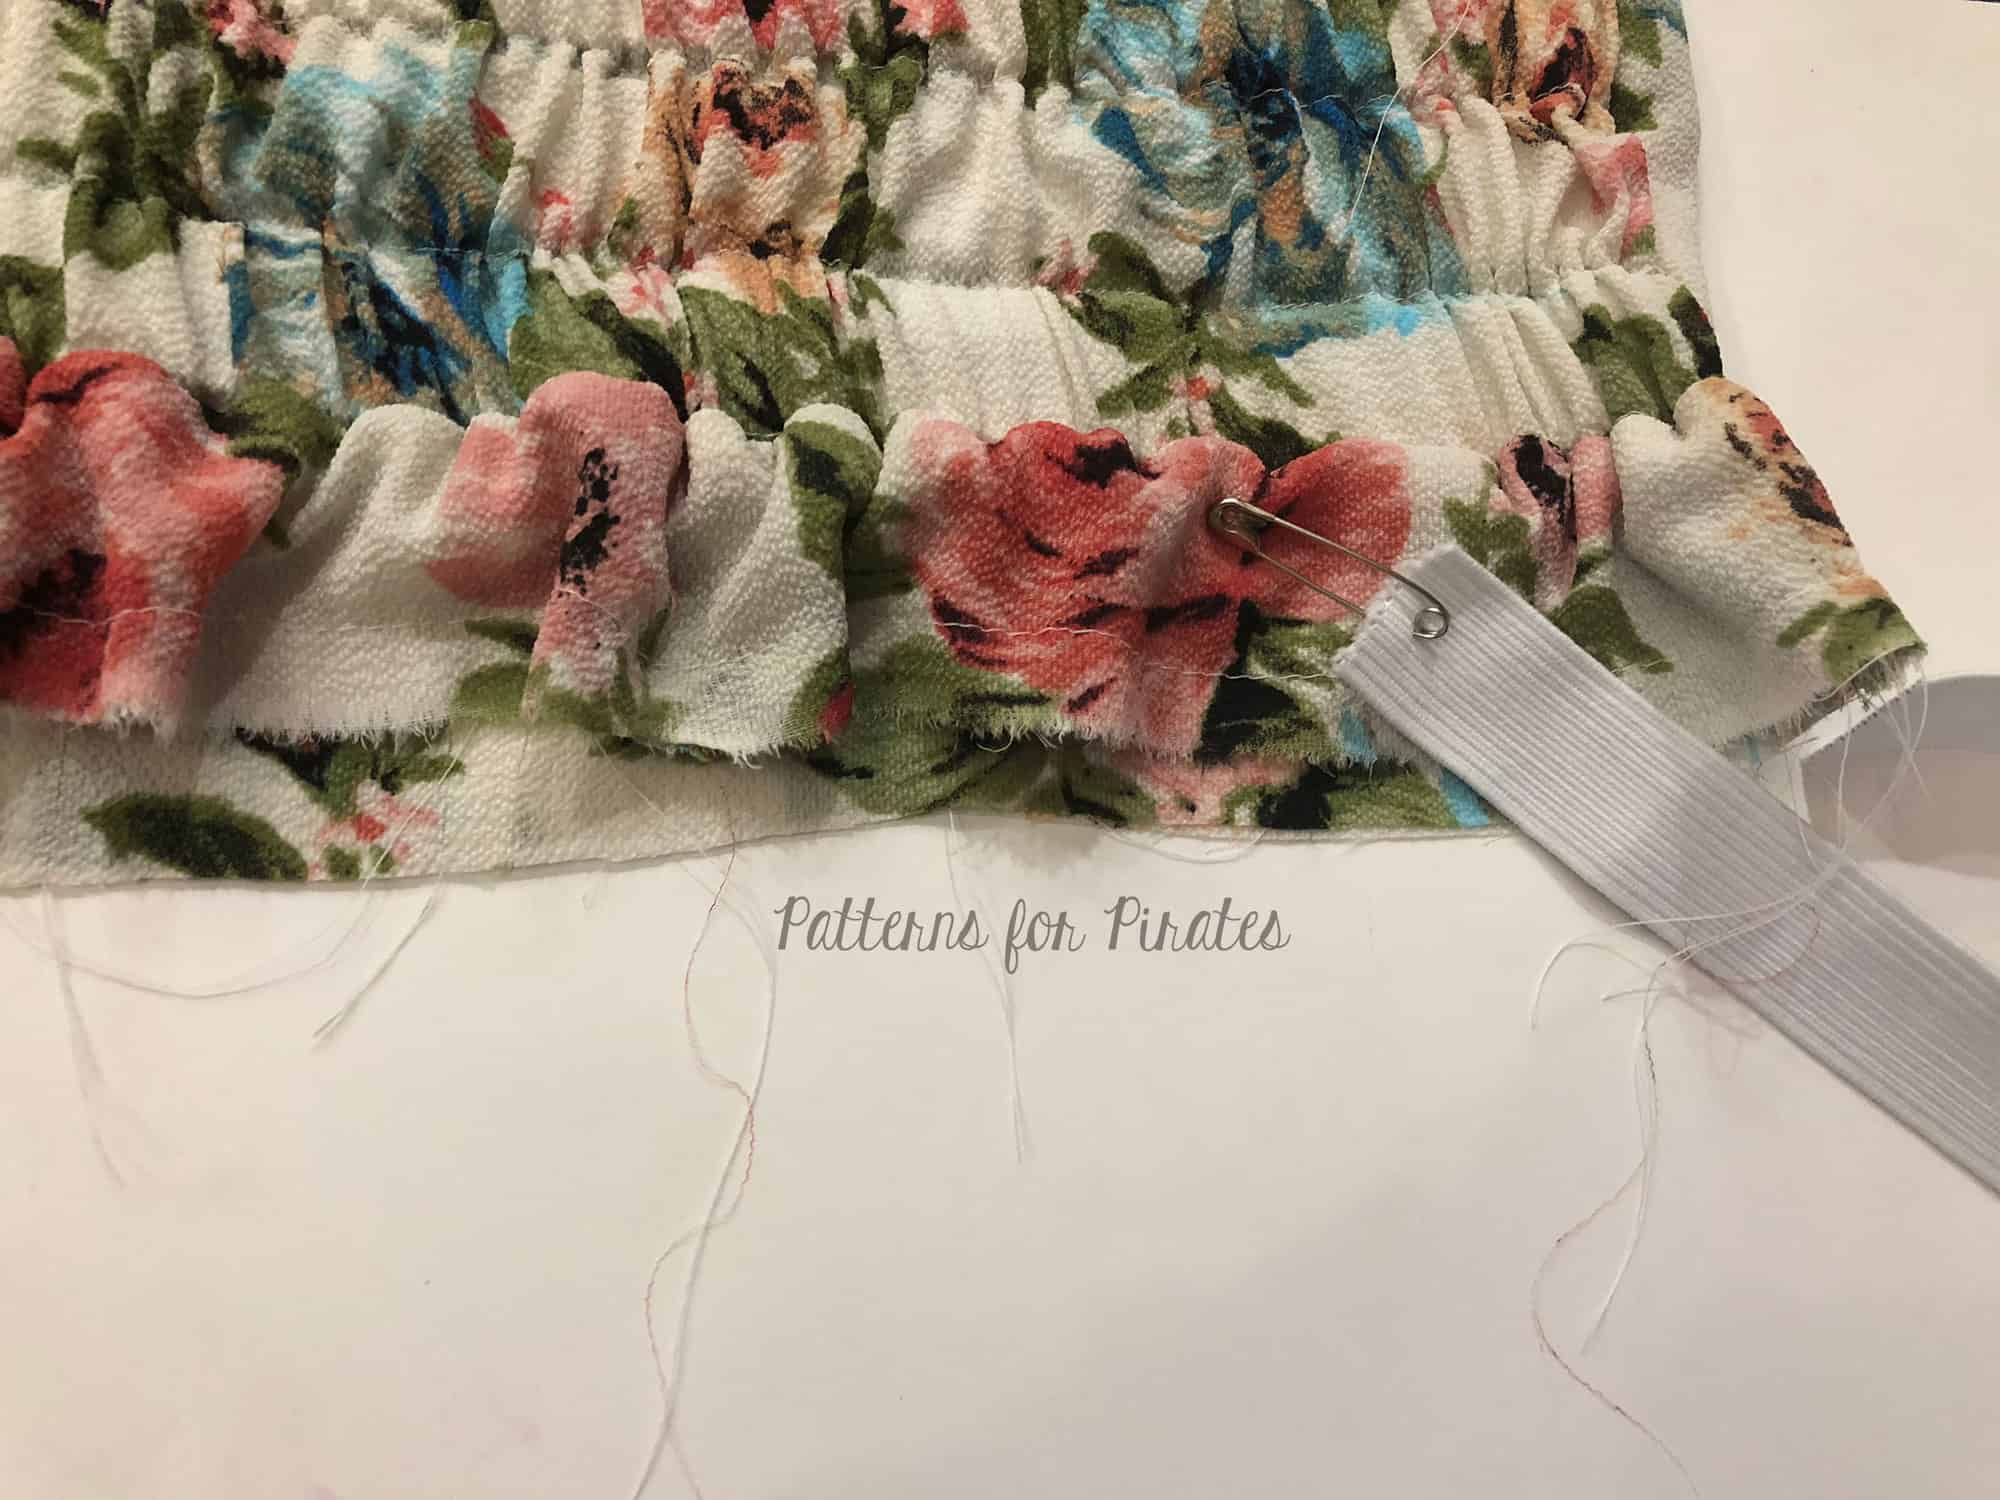
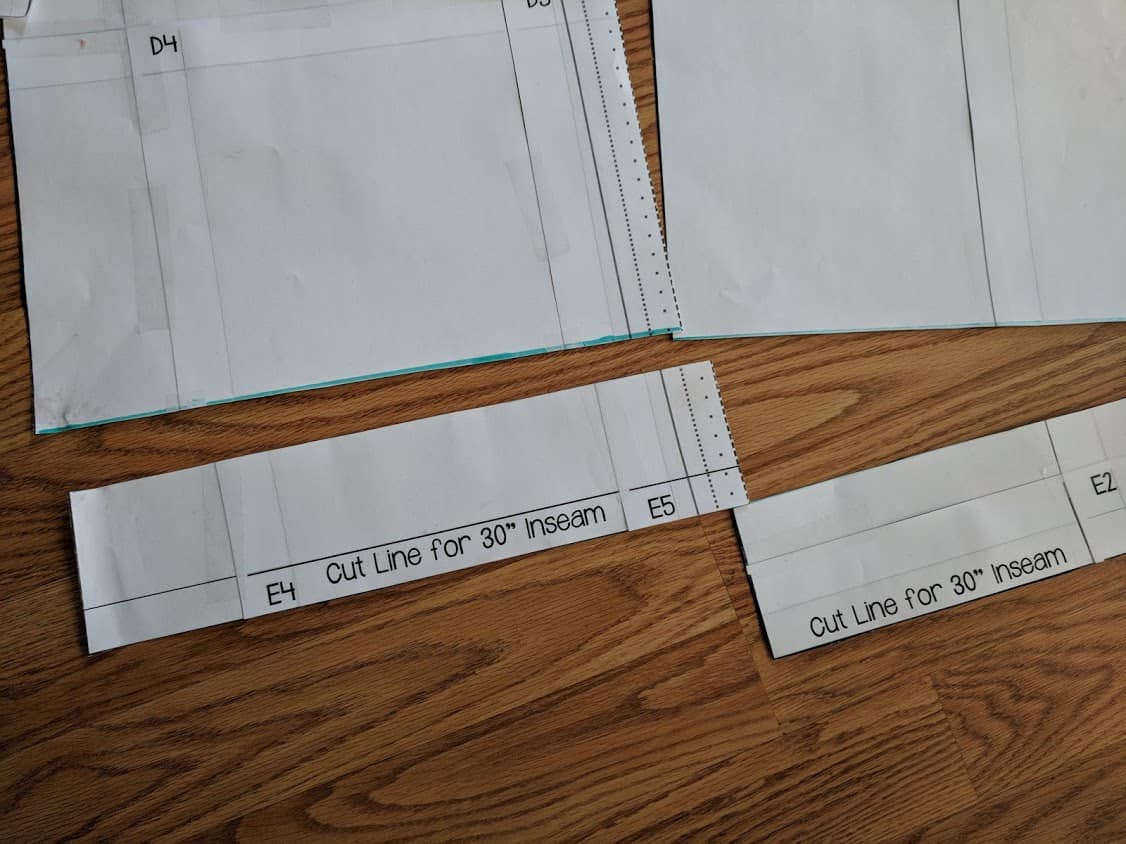
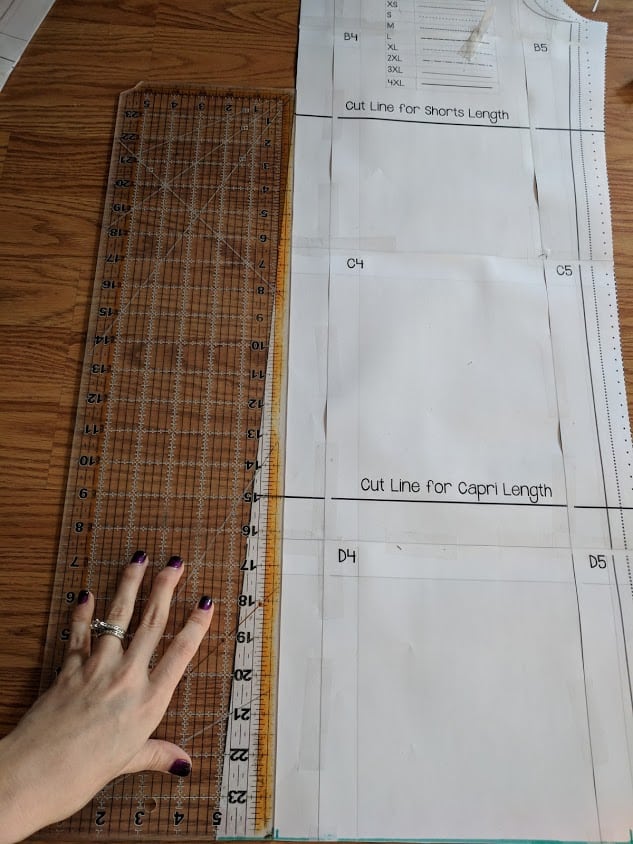
Anyone else can’t resist a good yoga waistband?? I’m not sure what it is about them but I just love them! The extra support when folded up or comfort and security when folded over. Either way, it’s a win in my book! It’s also a super easy hack to add to your cozy pants and I’m going to show you how. Essentially we are just doubling the height of your waistband. If you want to wear your band up and are making the high-rise option, I recommend doing a few inches less than half. If you plan to wear it folded down- doubling is perfect for either the high or low rise waist.
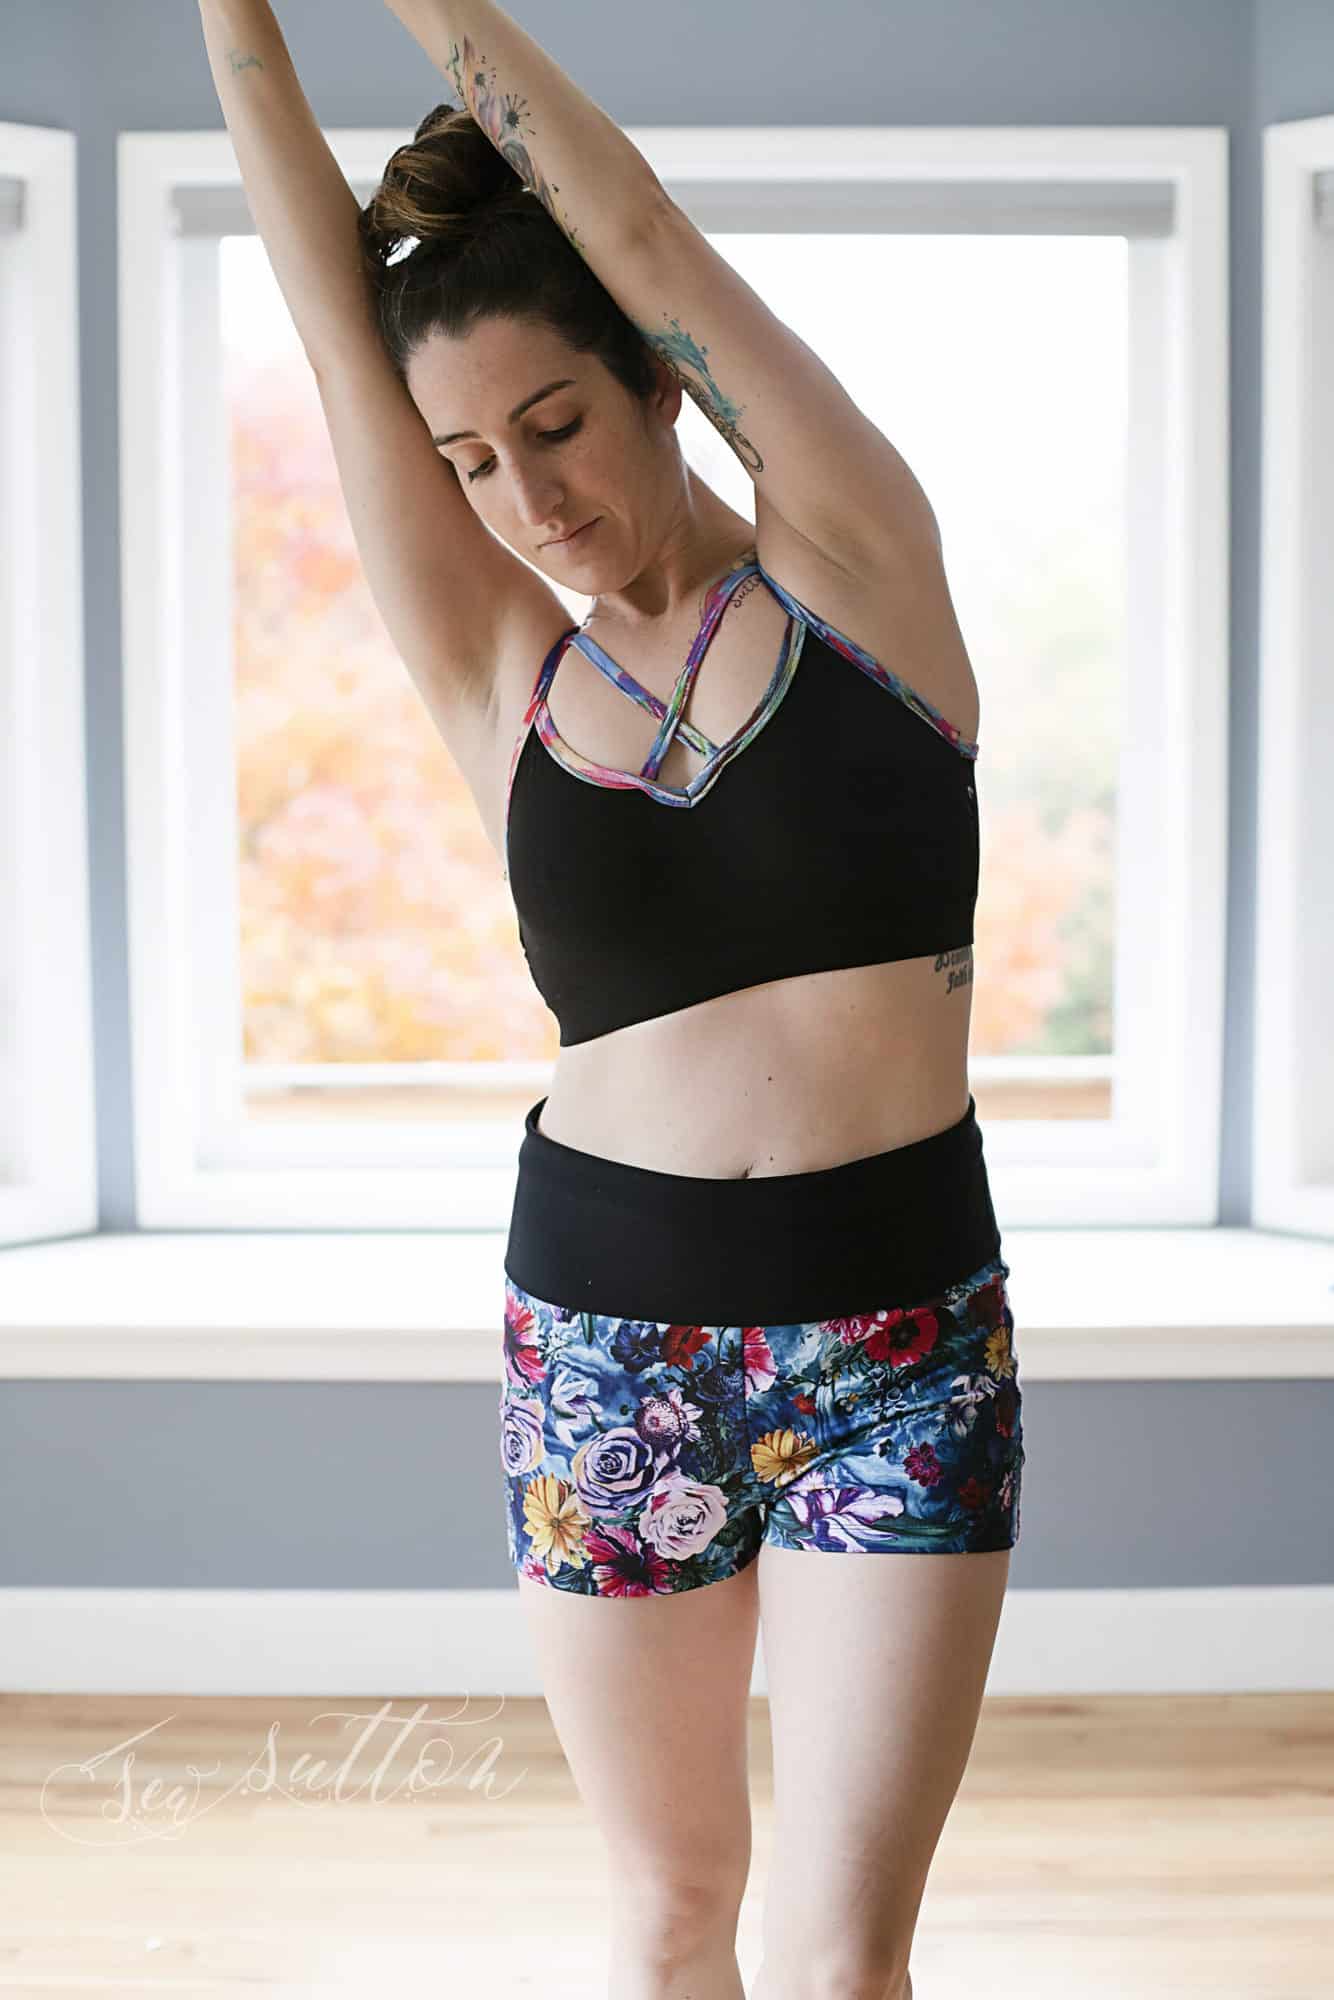
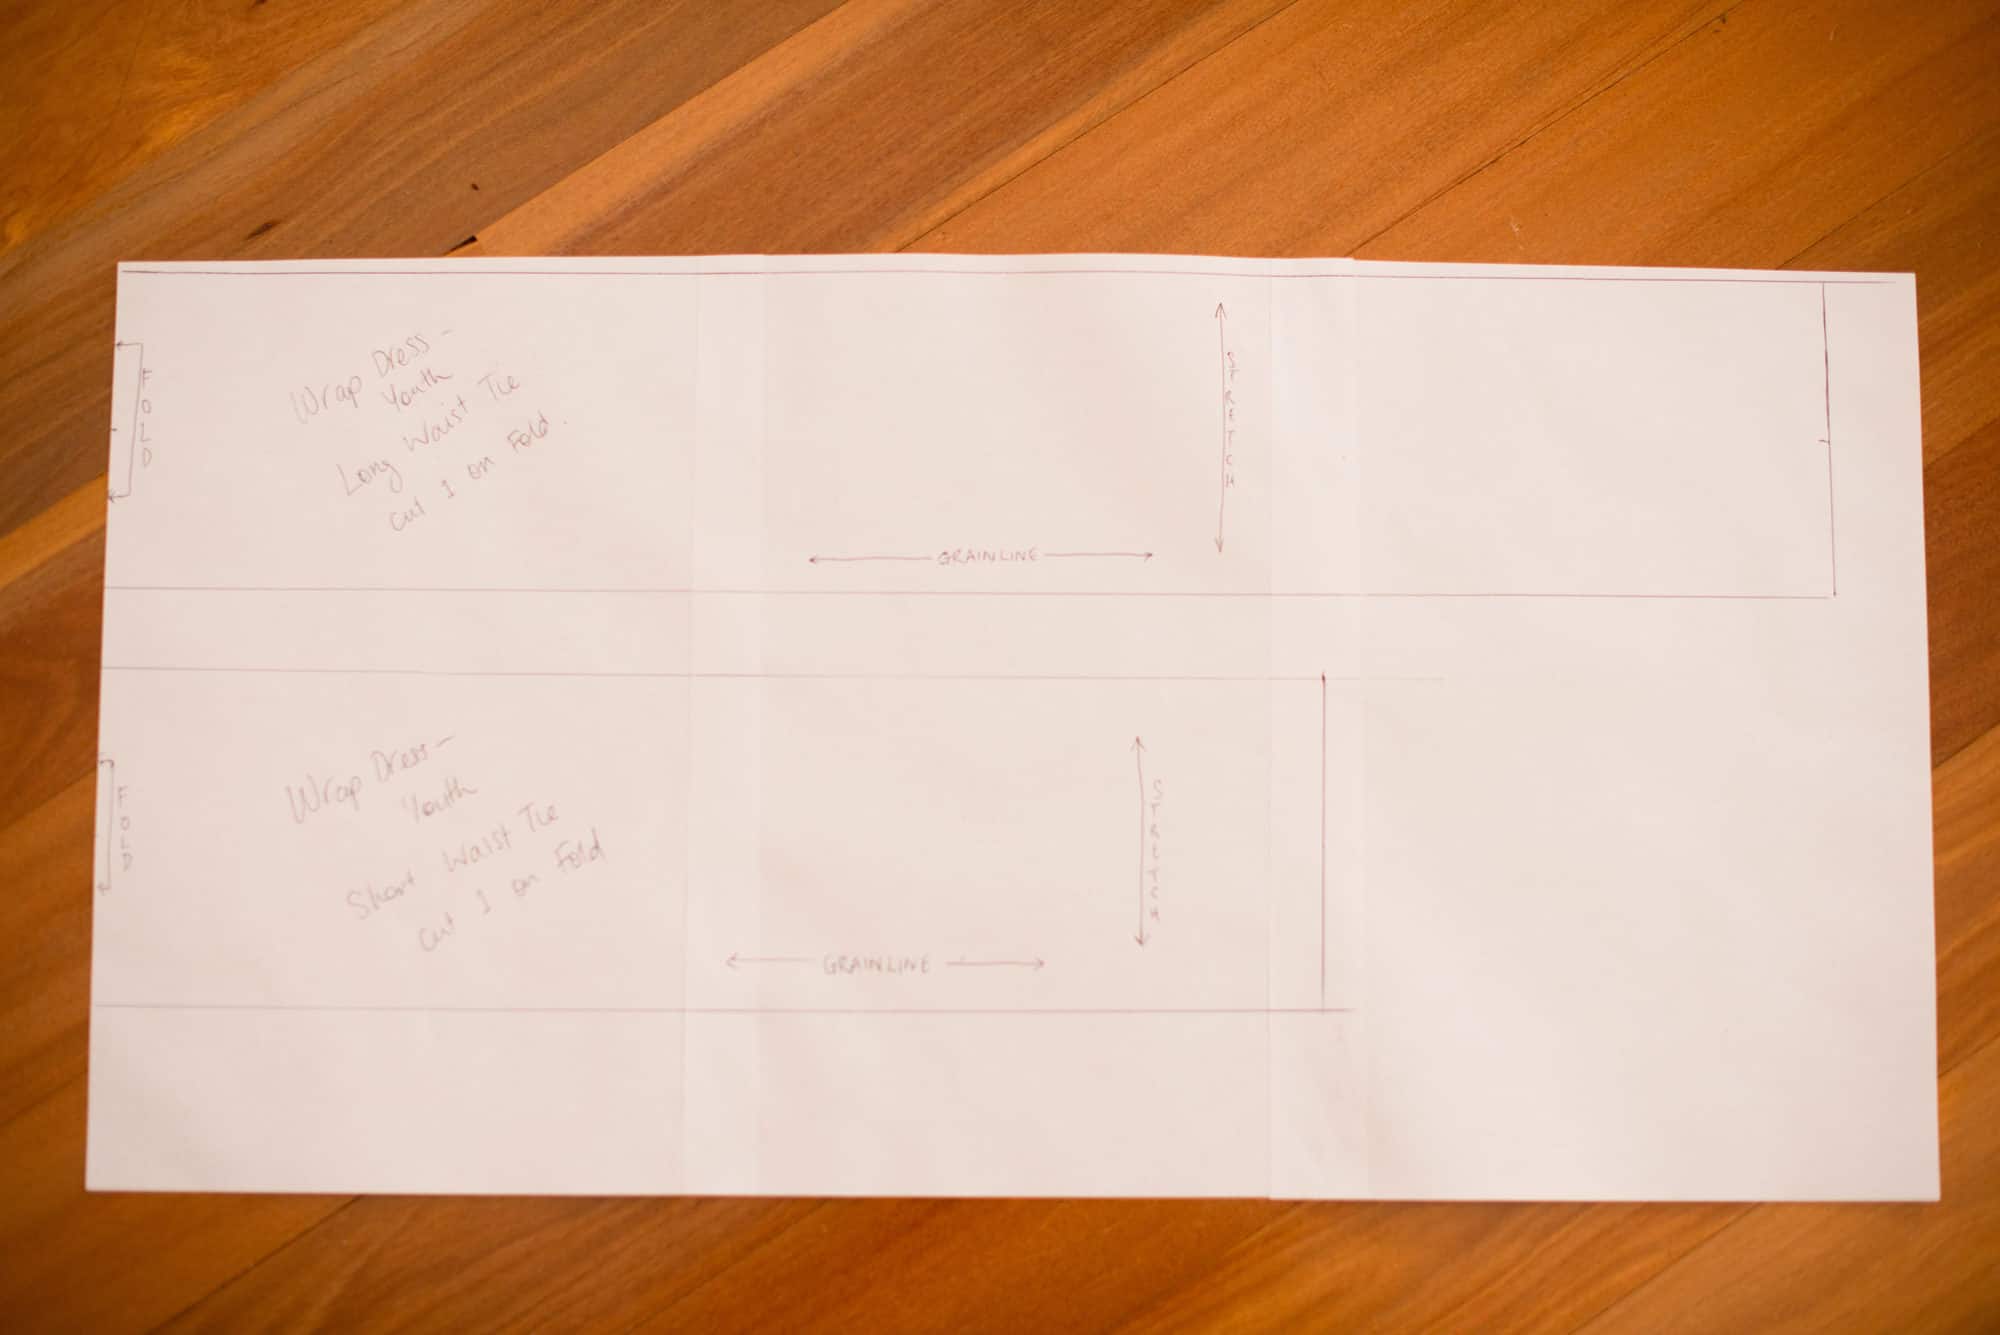
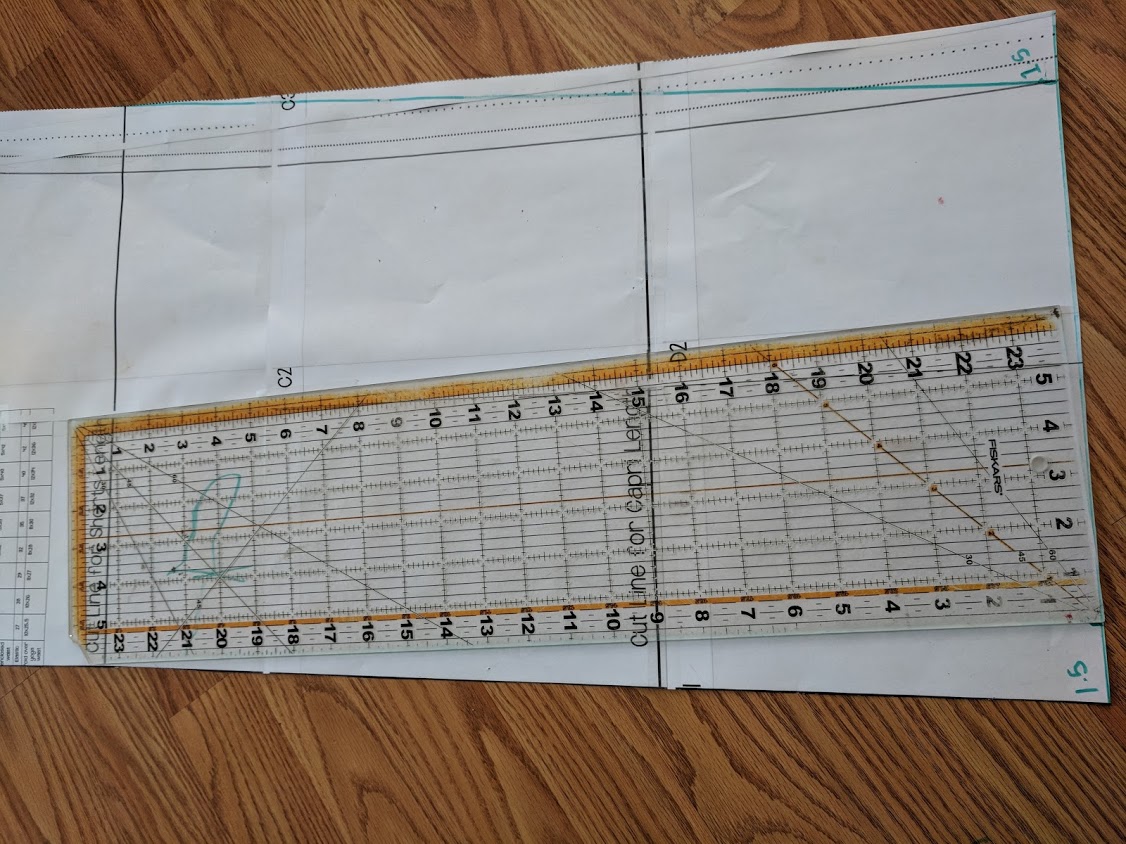
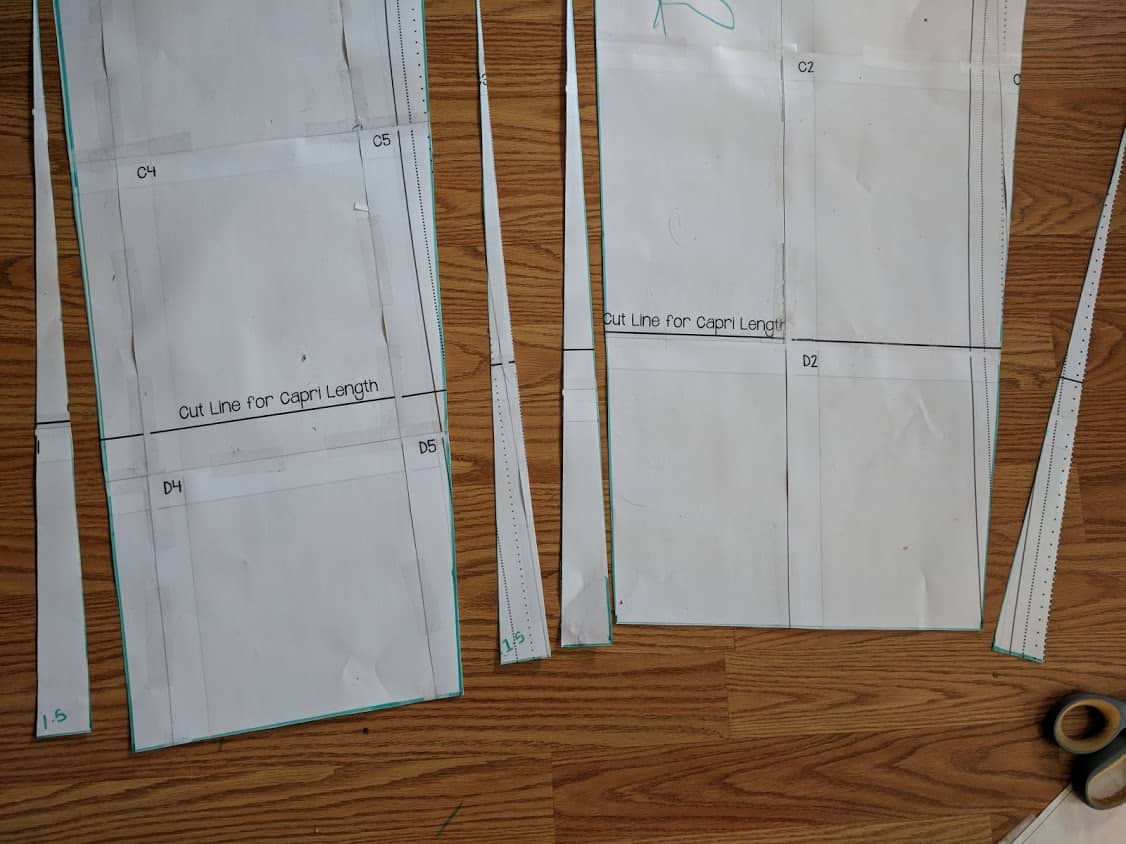
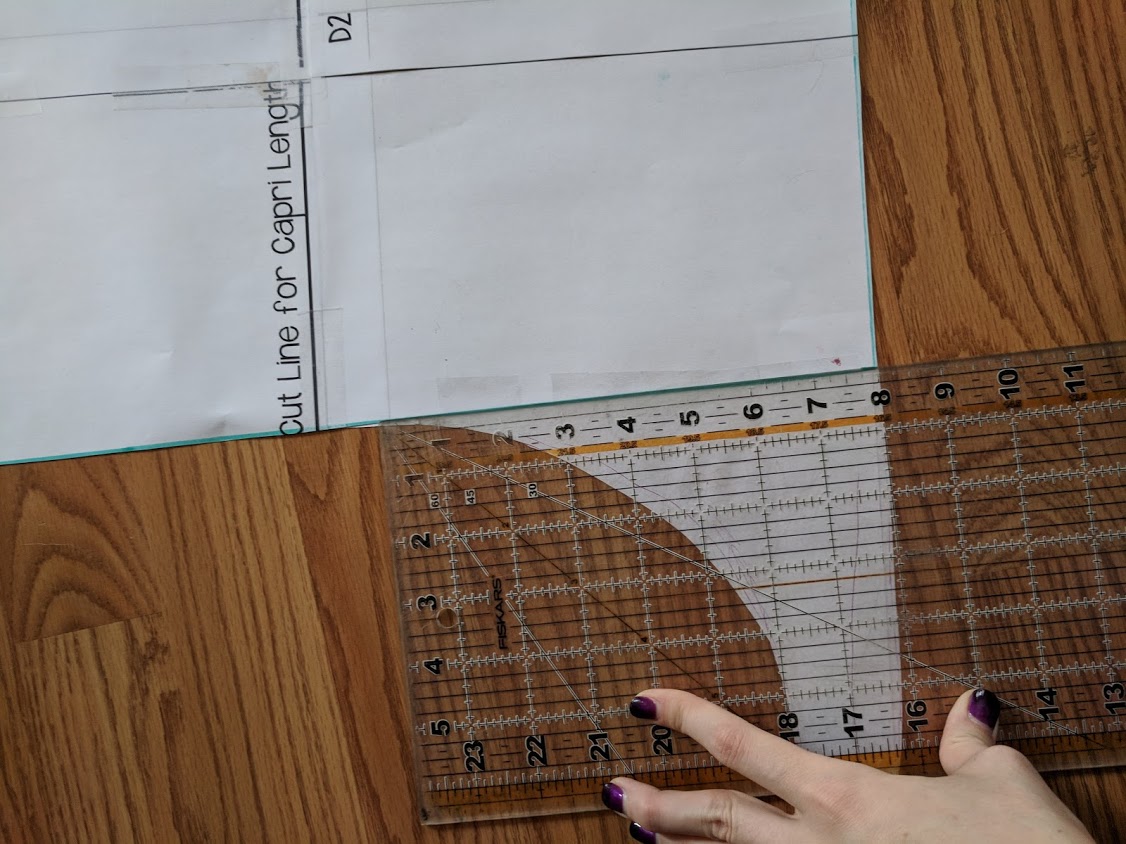
First, you’ll want to print and cut out your chosen waistband piece in your size.
Now grab a few extra pieces of paper and tape them together.
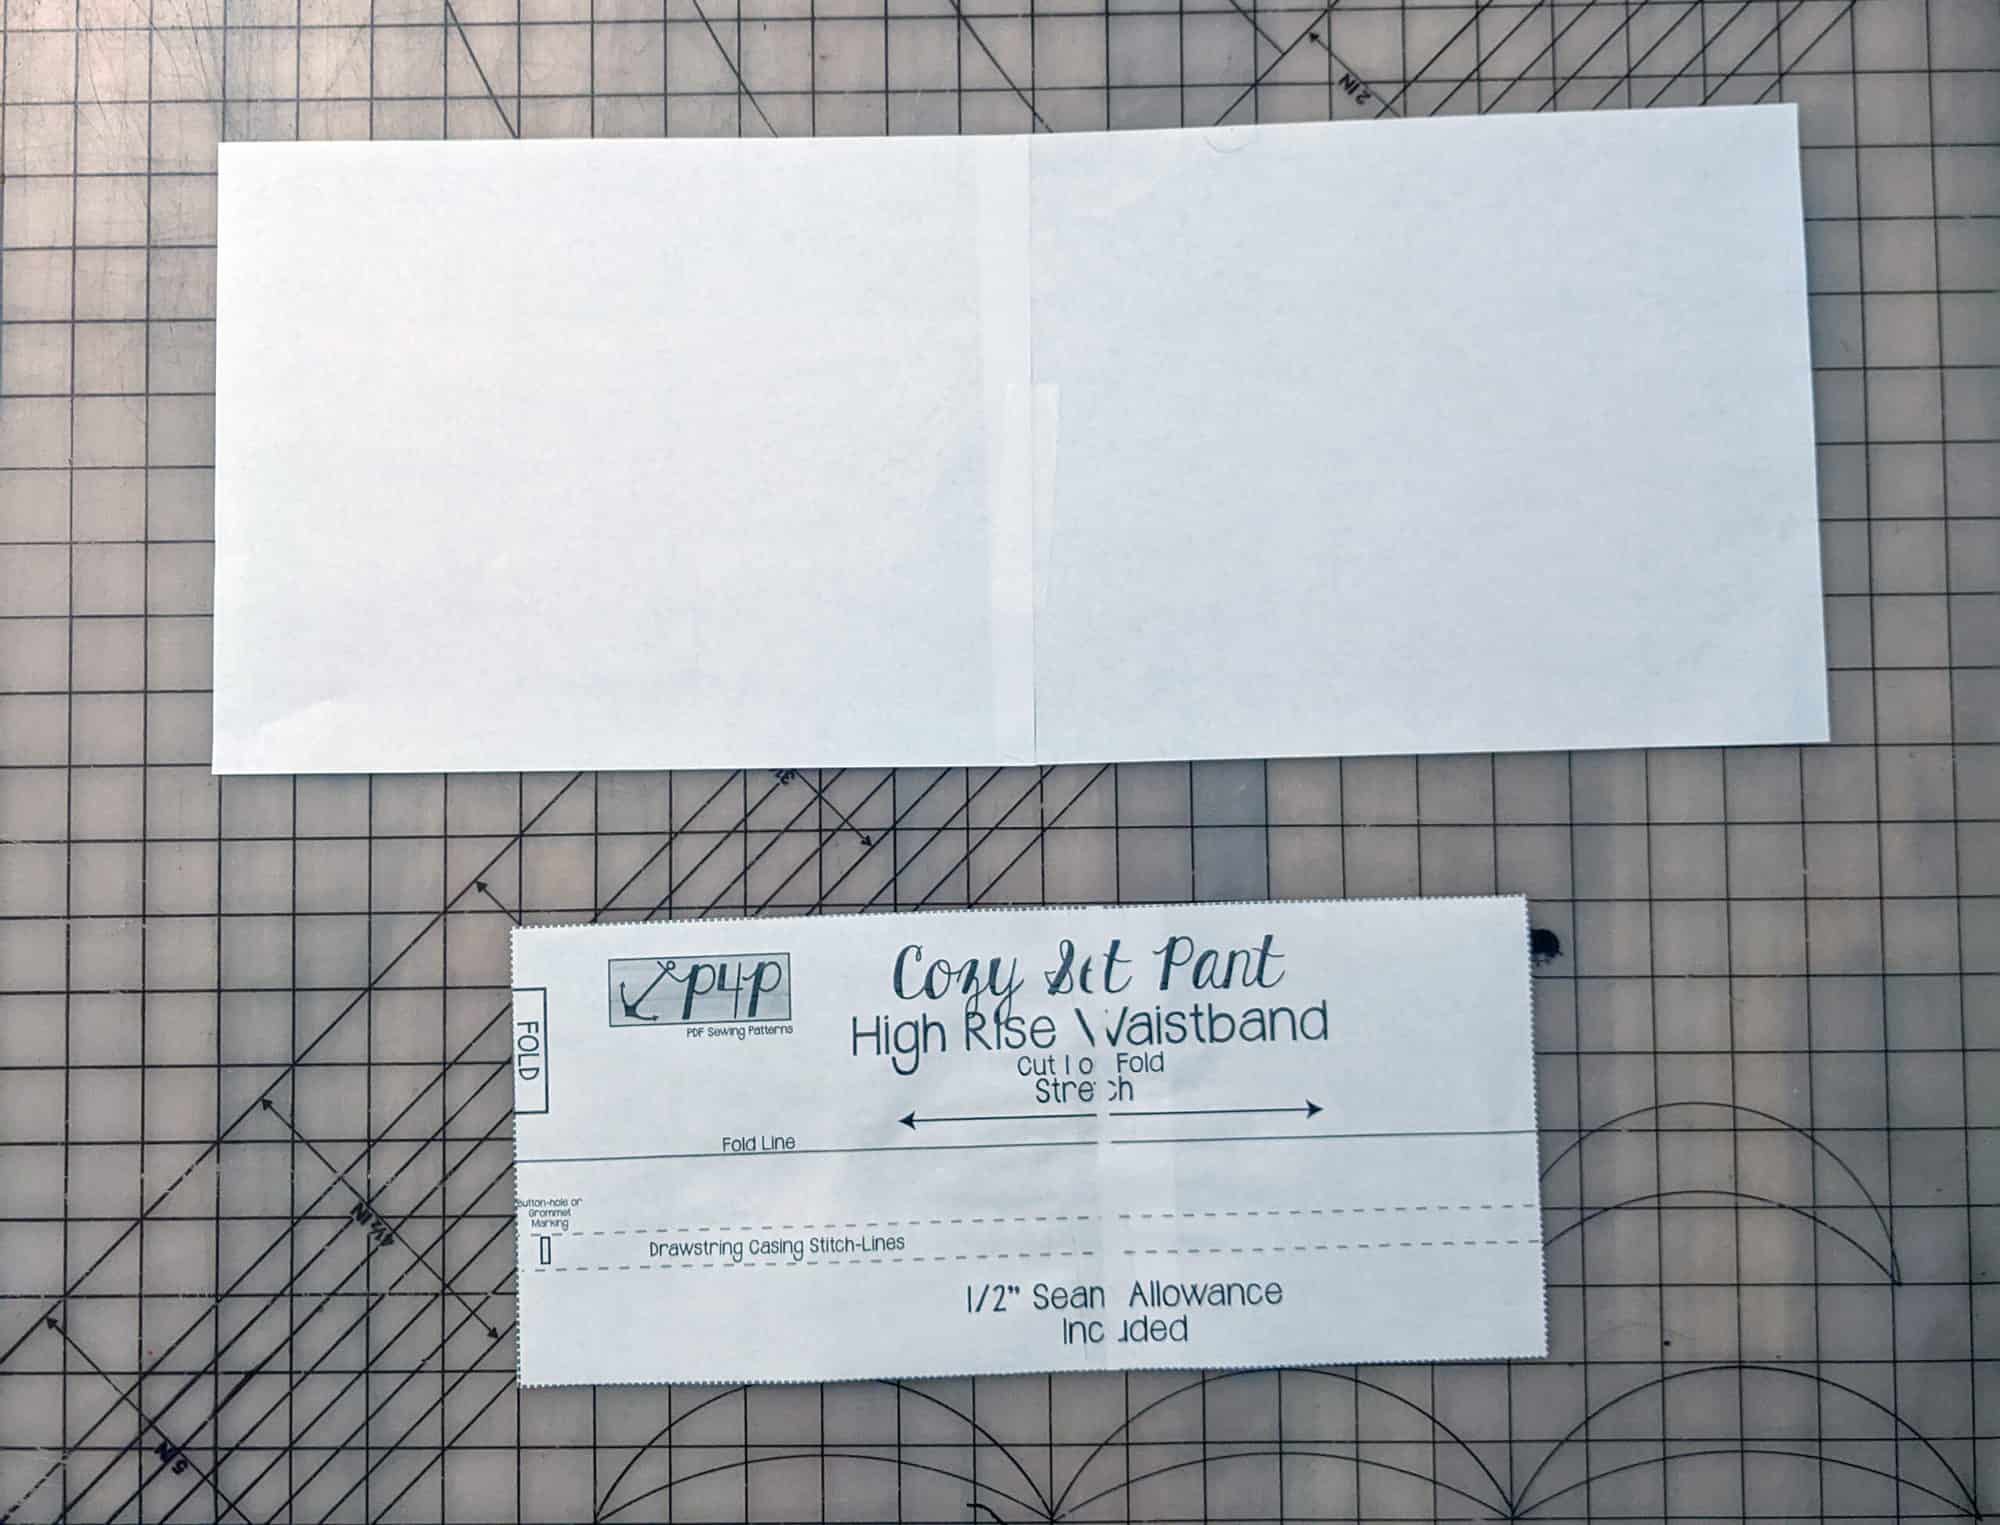
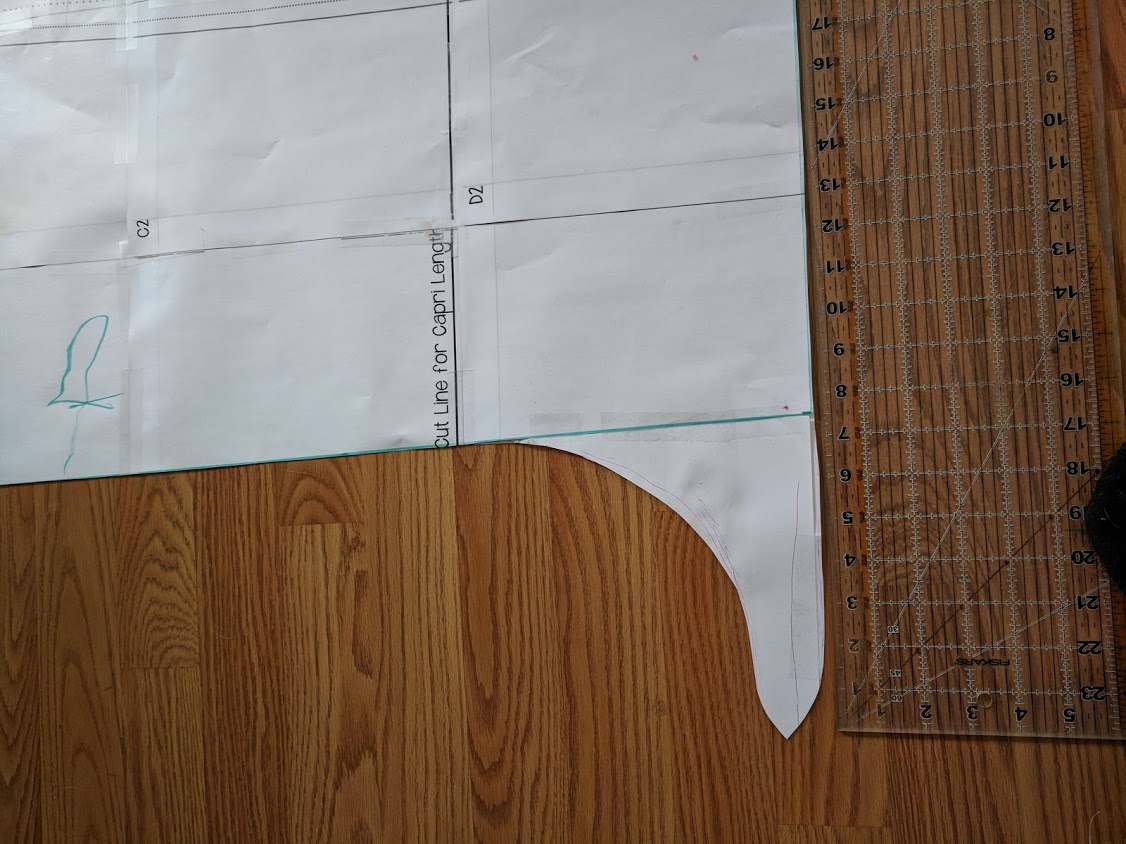
Next, you’ll want to trace your waistband piece onto your new papers (make sure to leave a little extra room at the bottom).
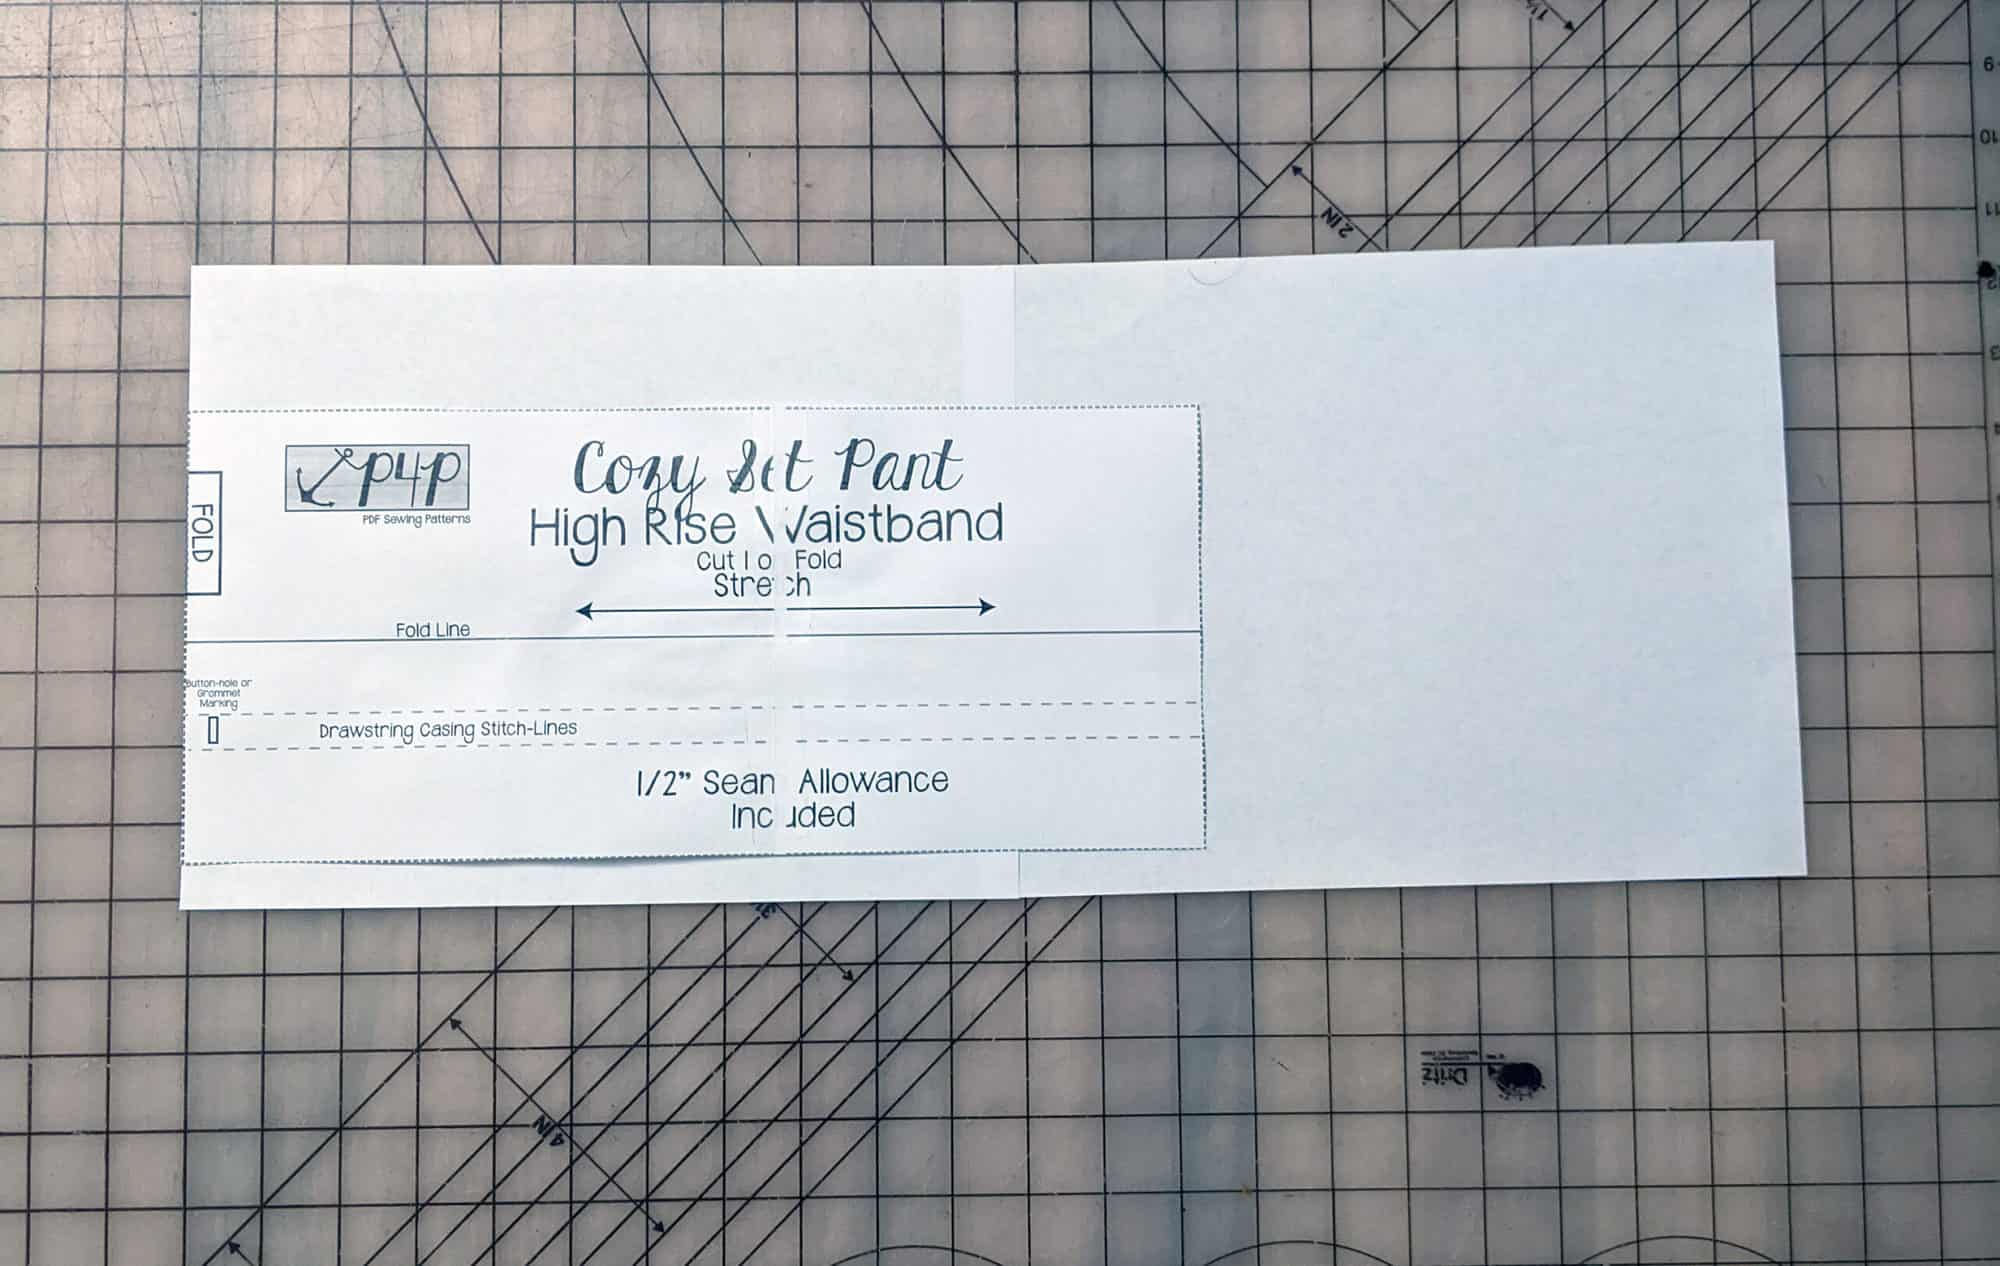
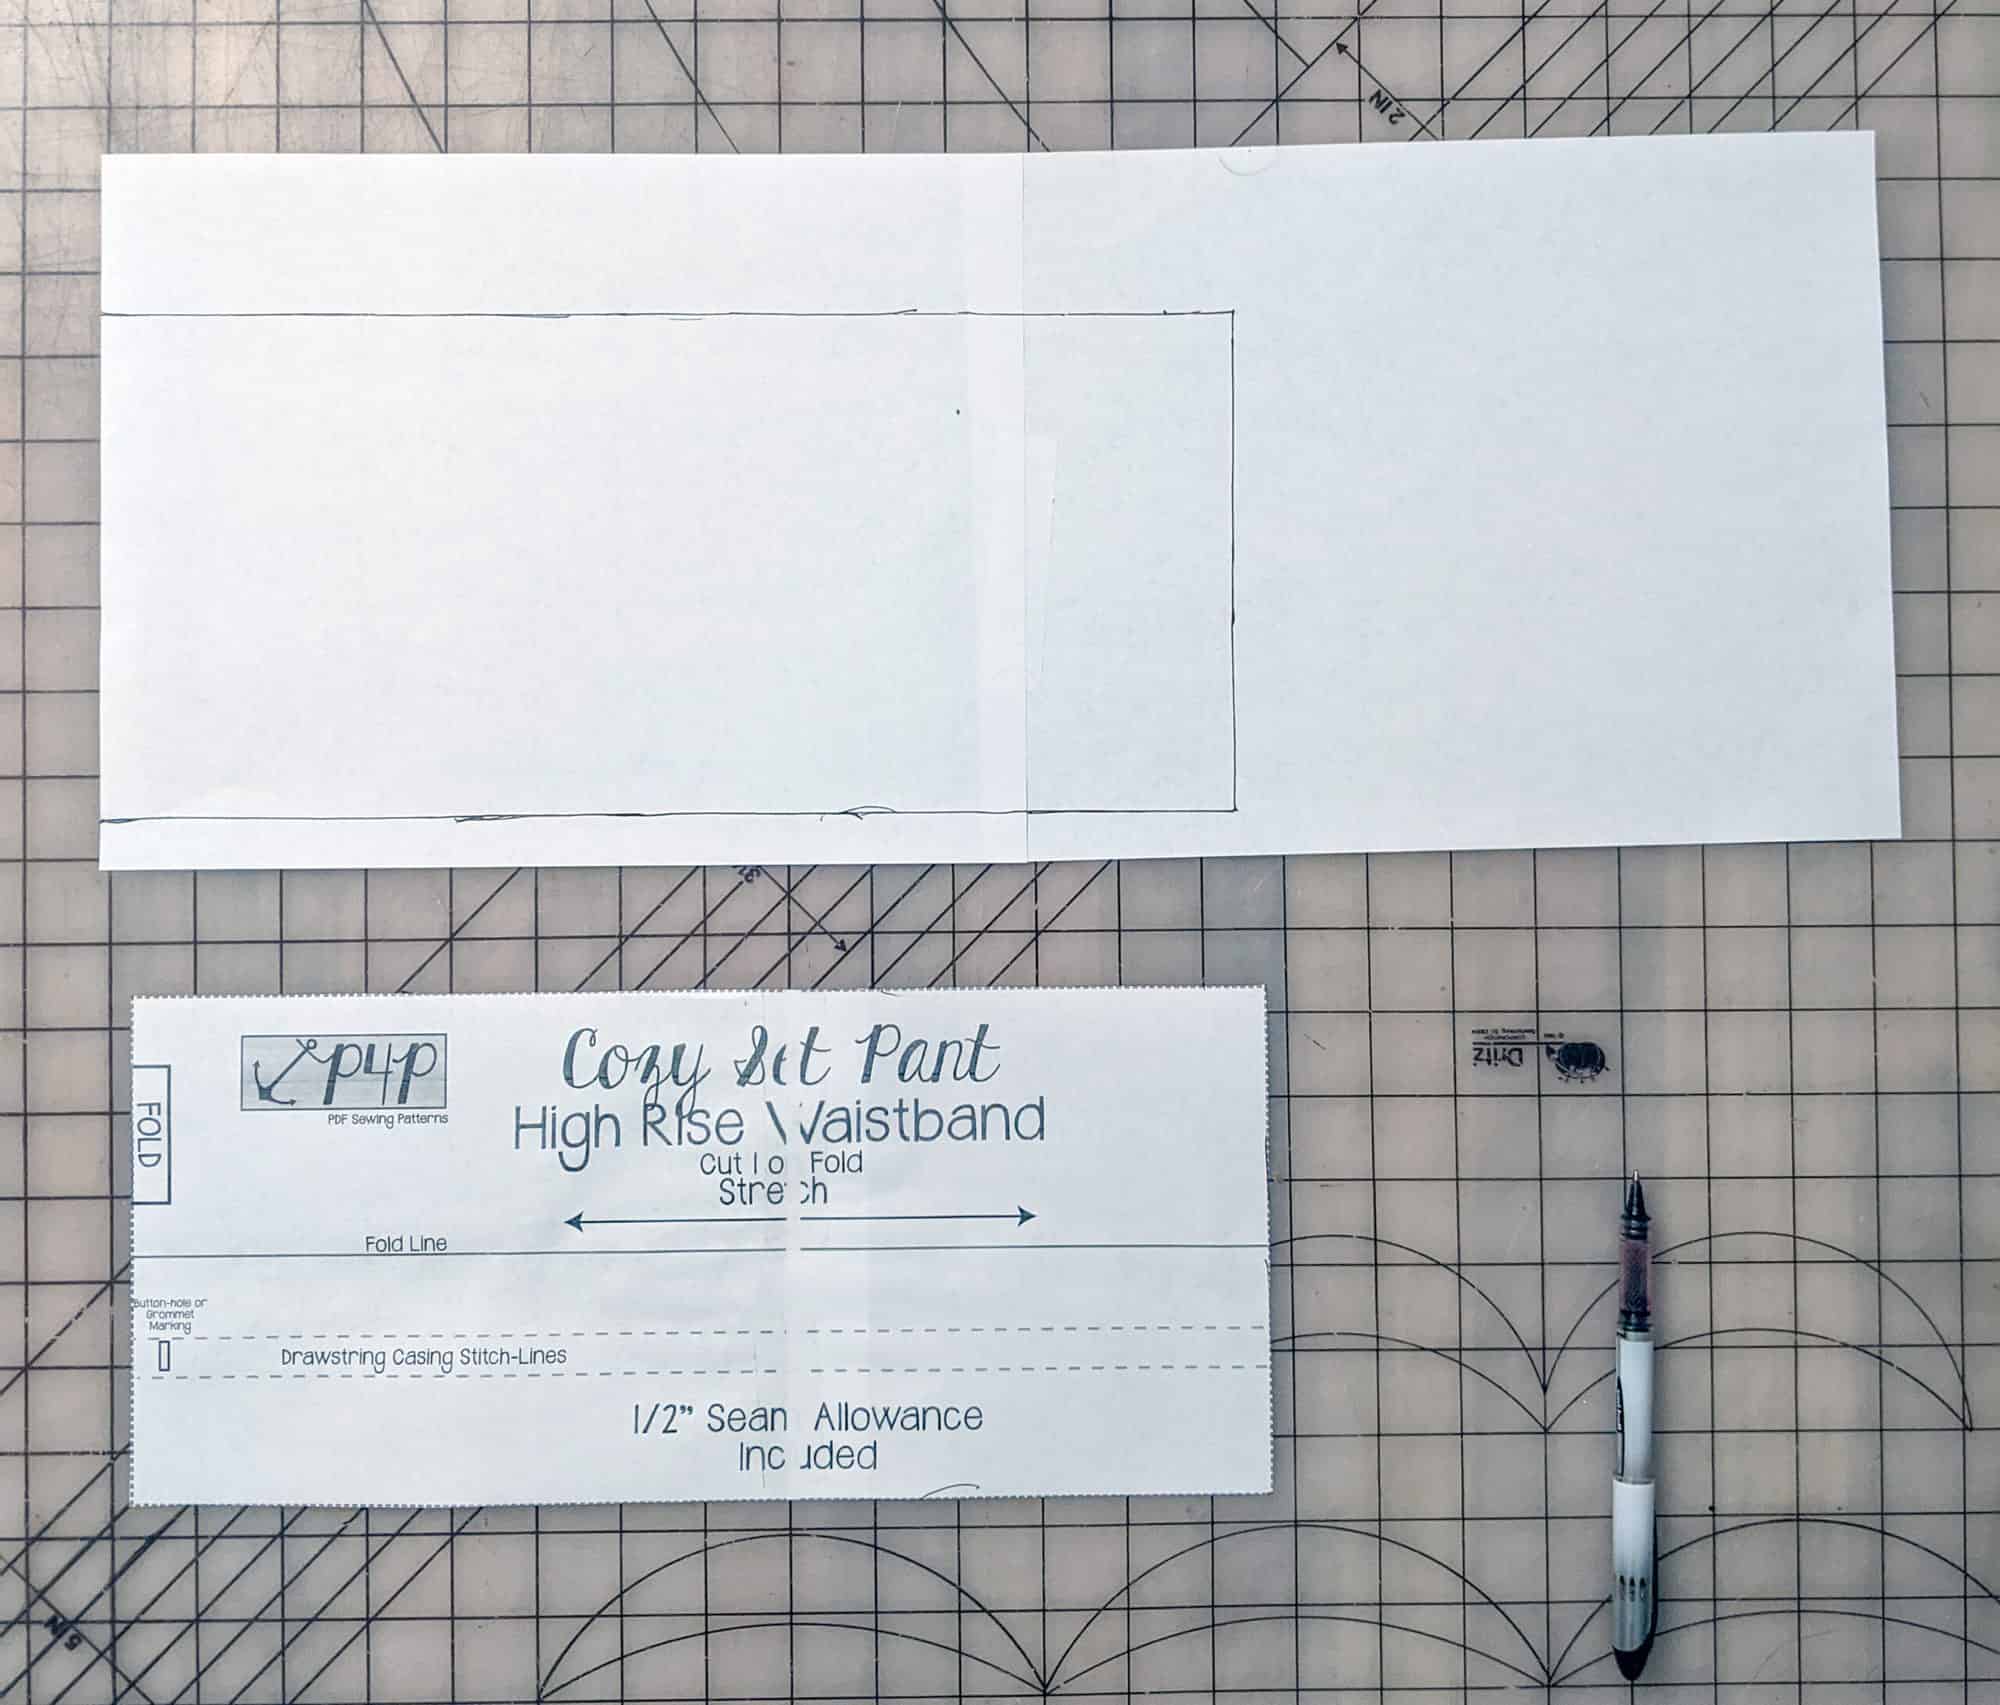
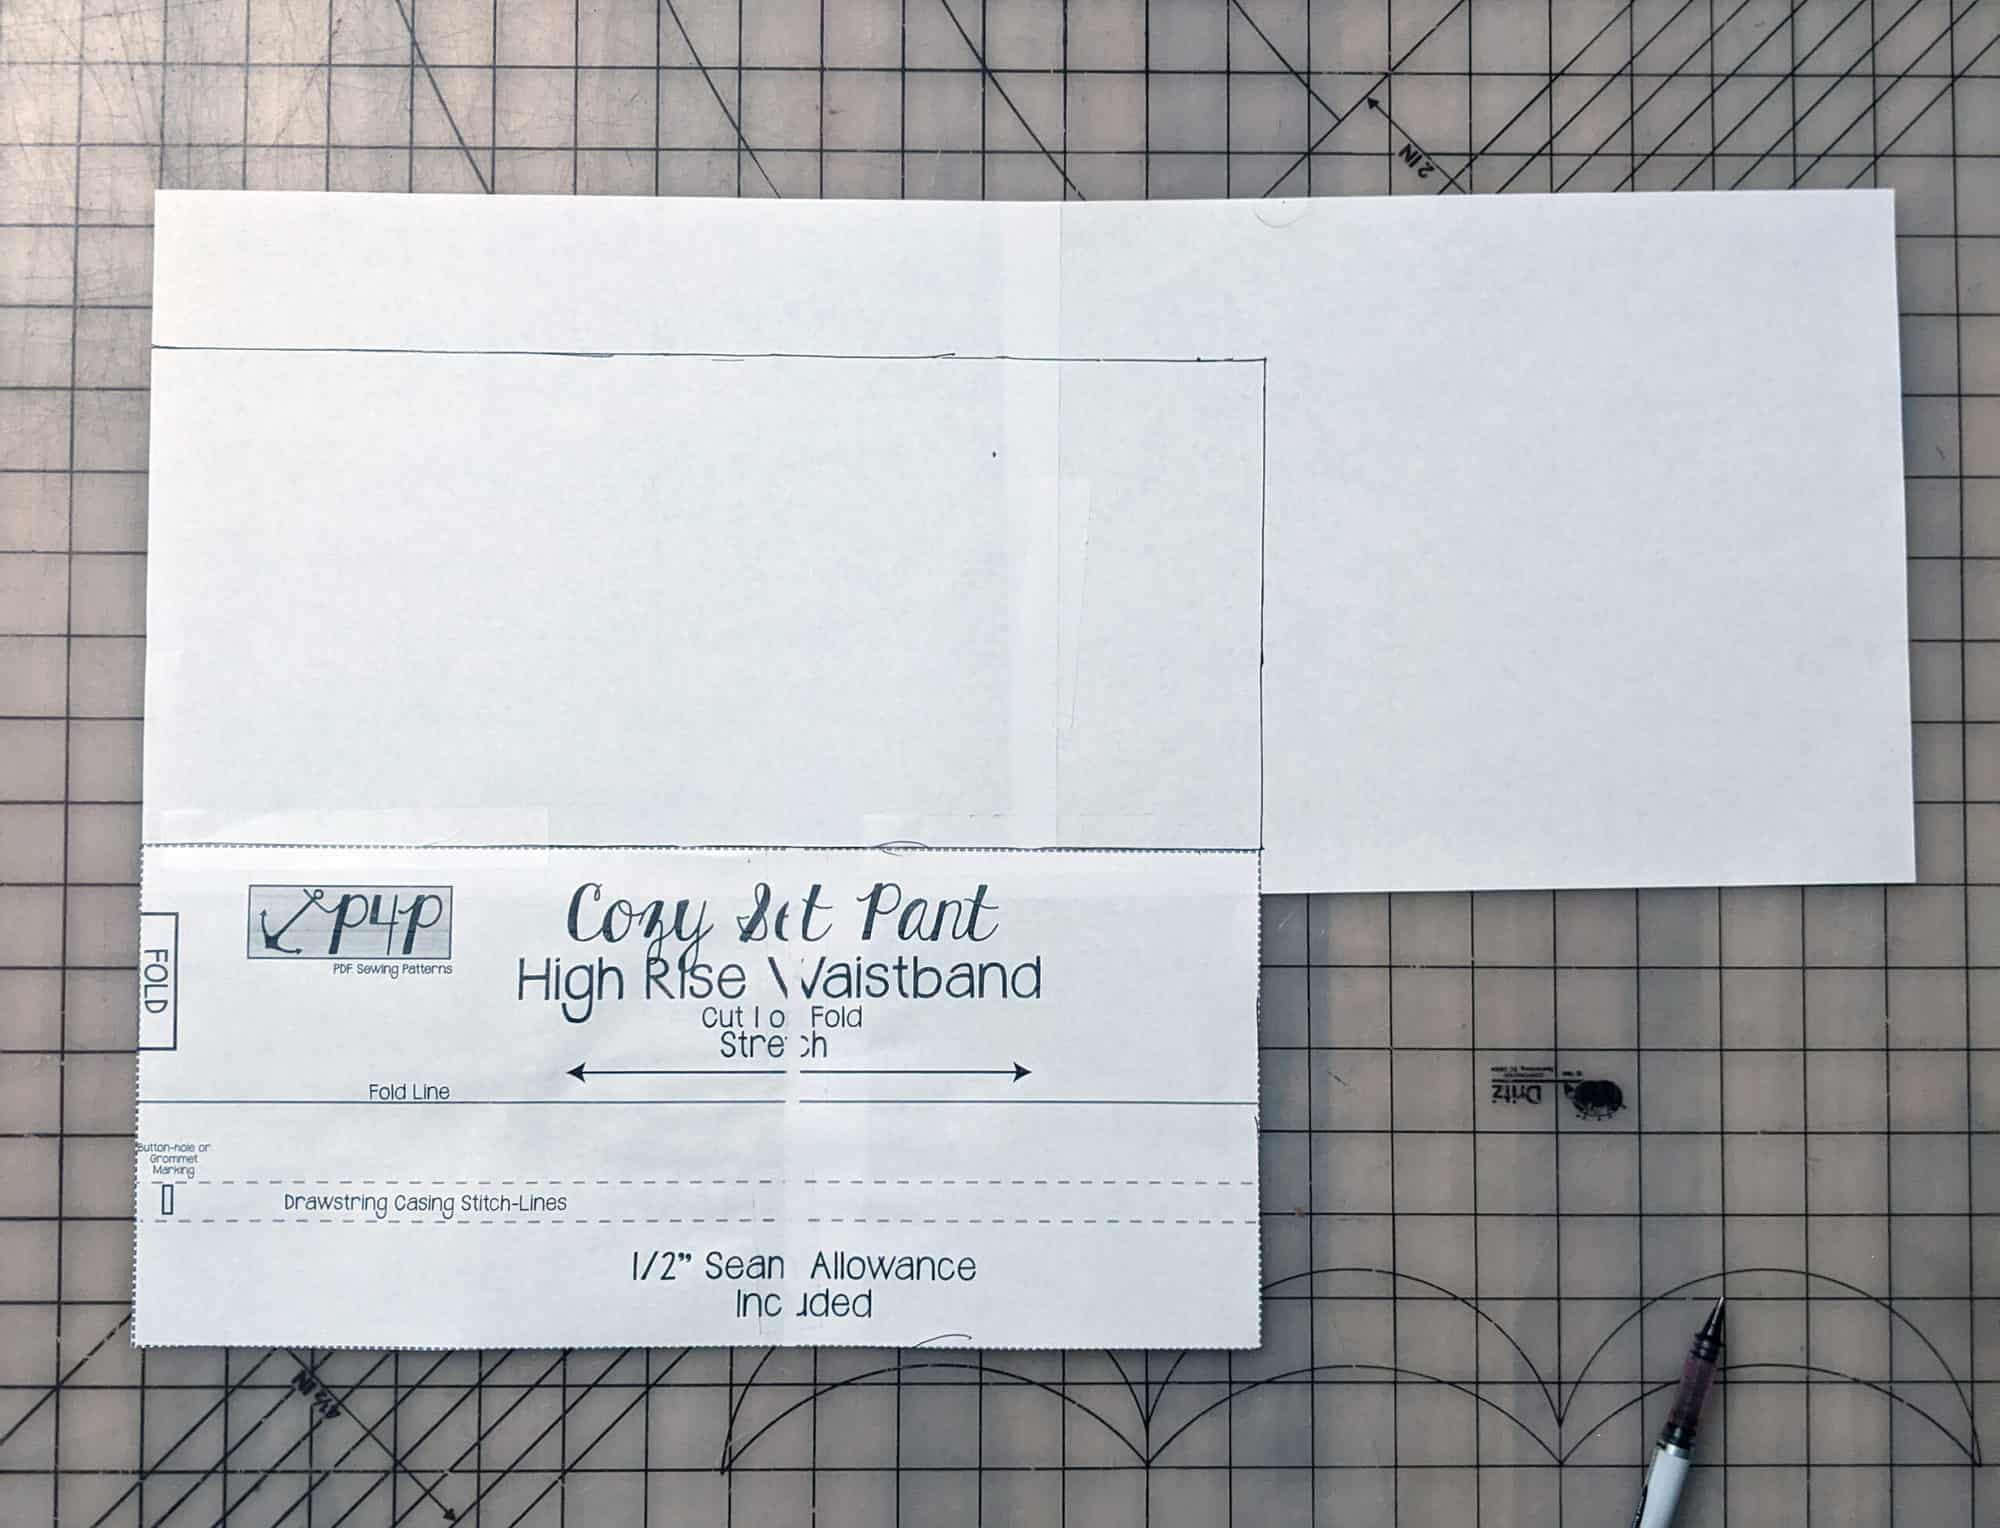
Then you will line up the edge of the waistband with your traced waistband and tape. Cut that out and it’ll be your new pattern piece.

Cut your fabric with this new pattern piece and attach as directed in the pattern. You won’t add any drawstrings to this at all. Then you are done!
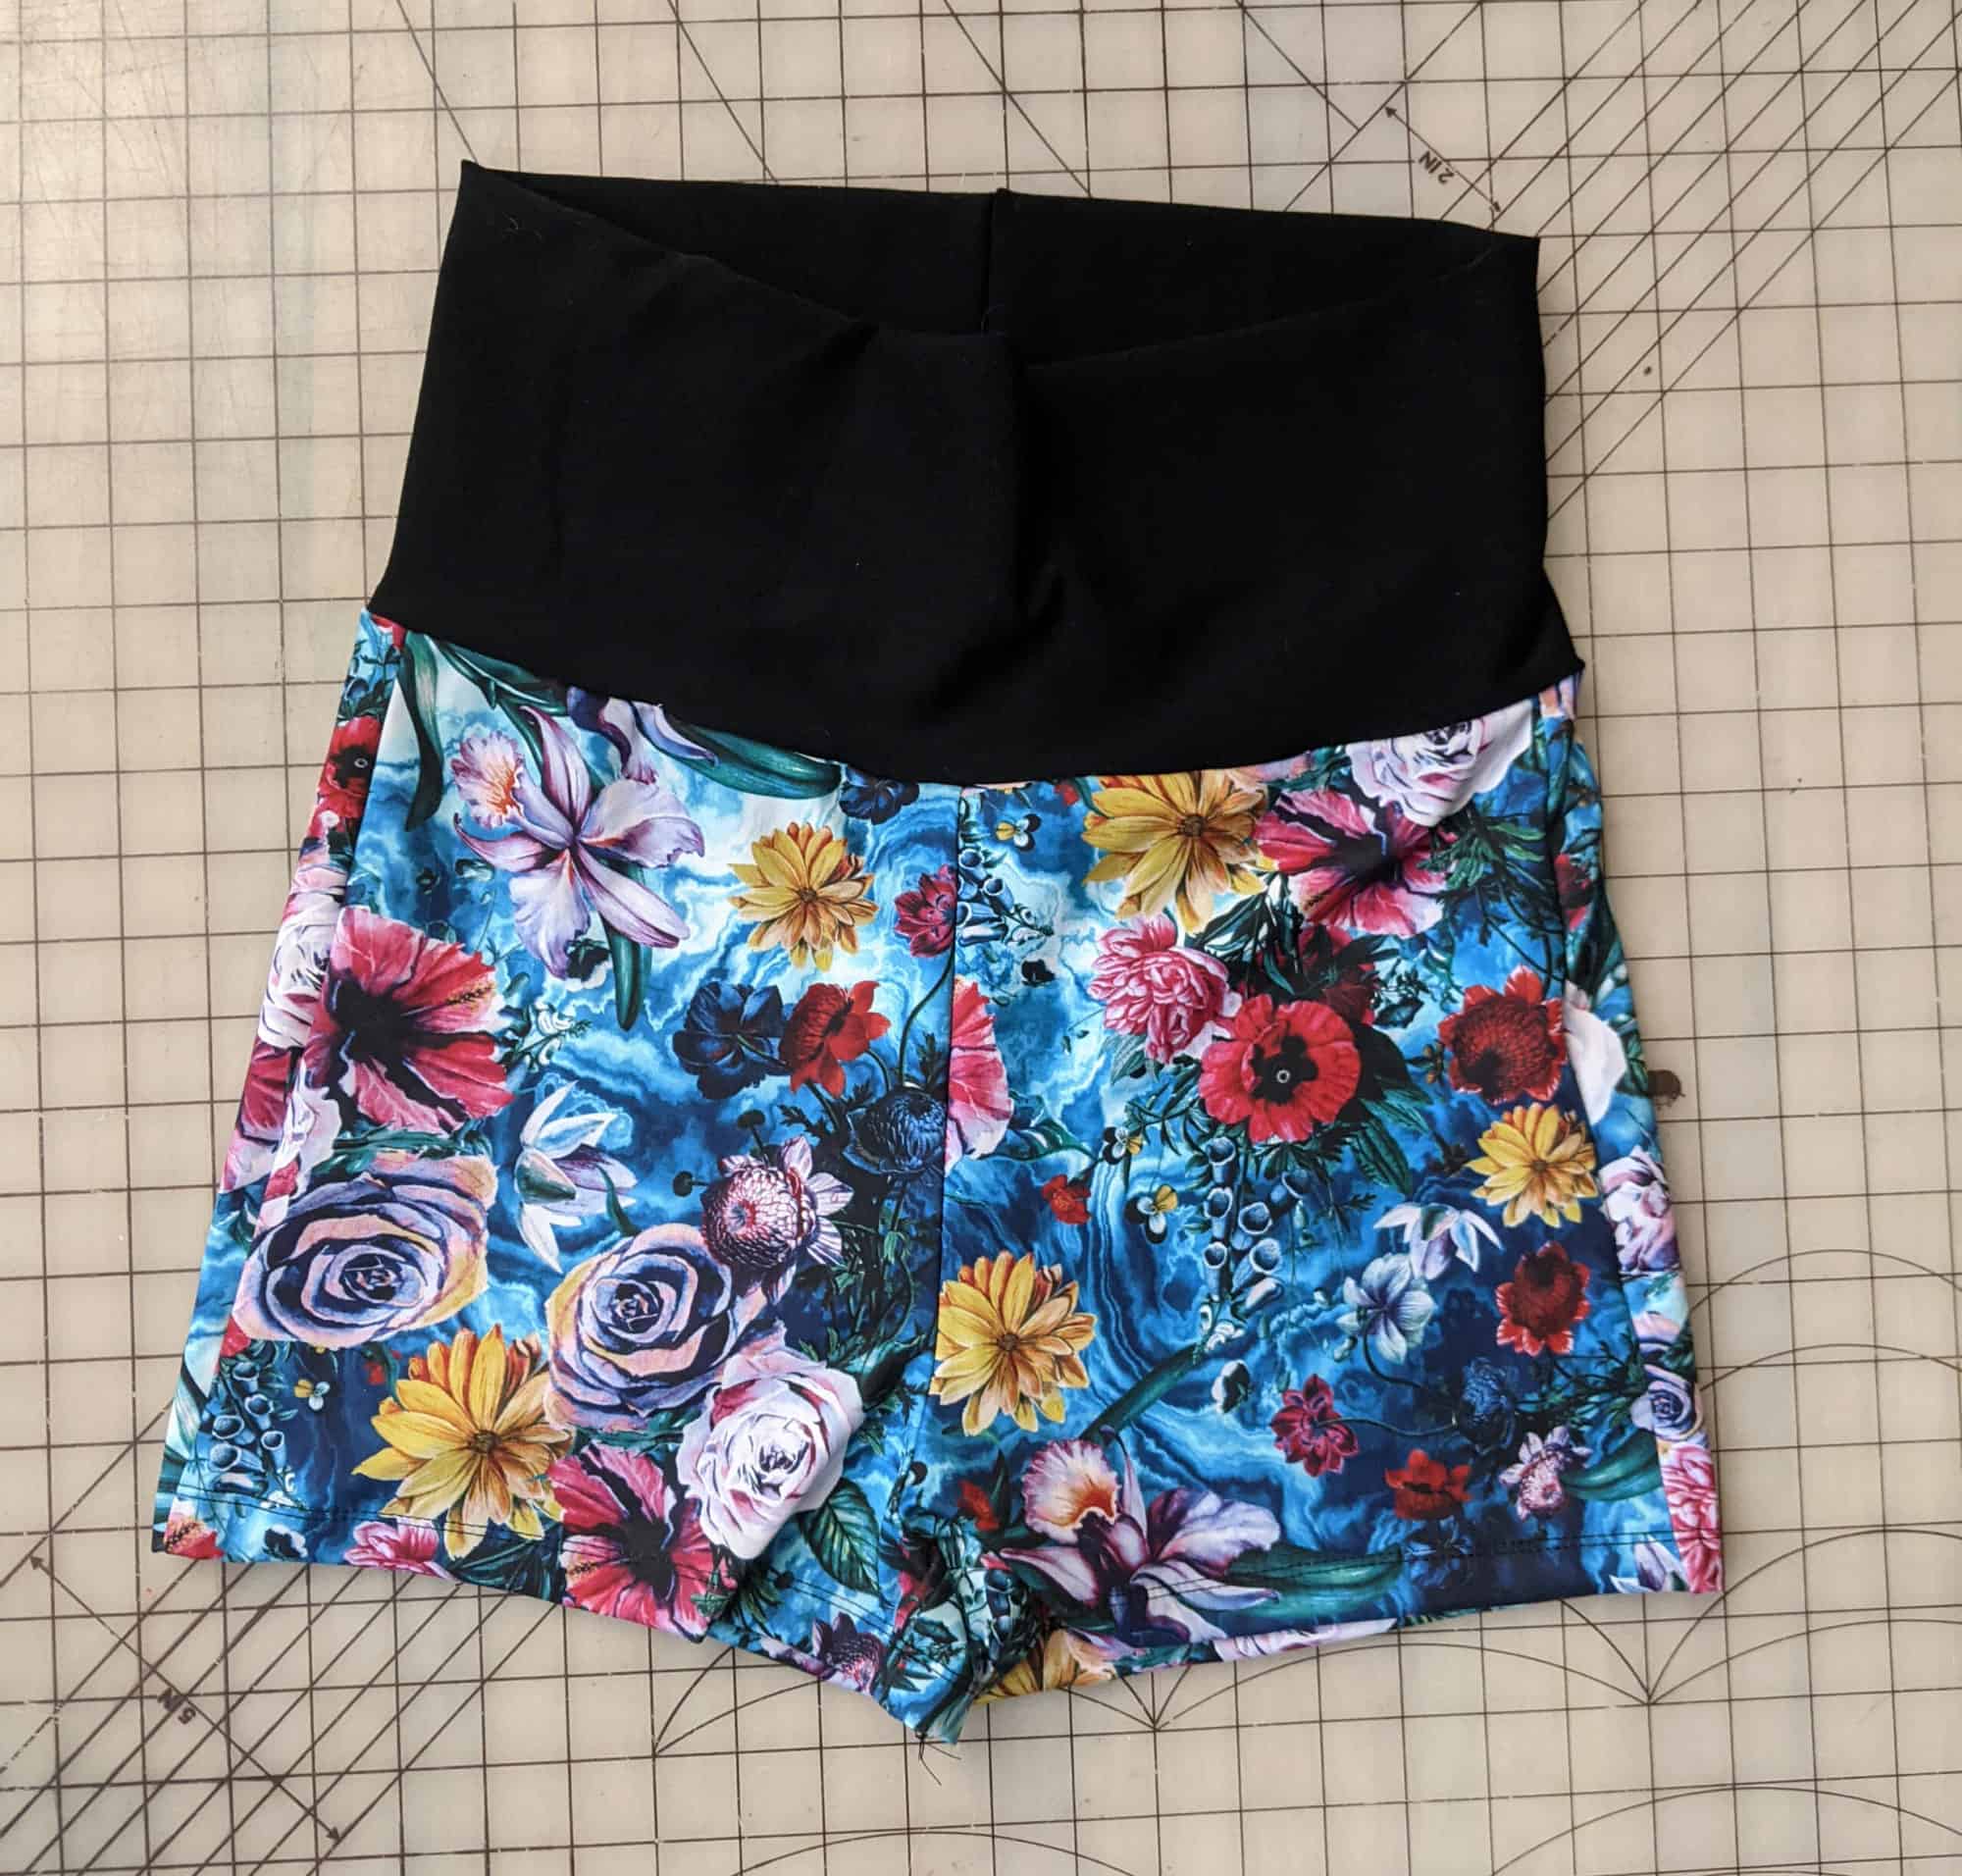

Easy peasy and a fun different look. Perfect for cozy pants or if you want them to lean towards an “athletic” style you can do that too!
Happy Sewing!
-Michelle