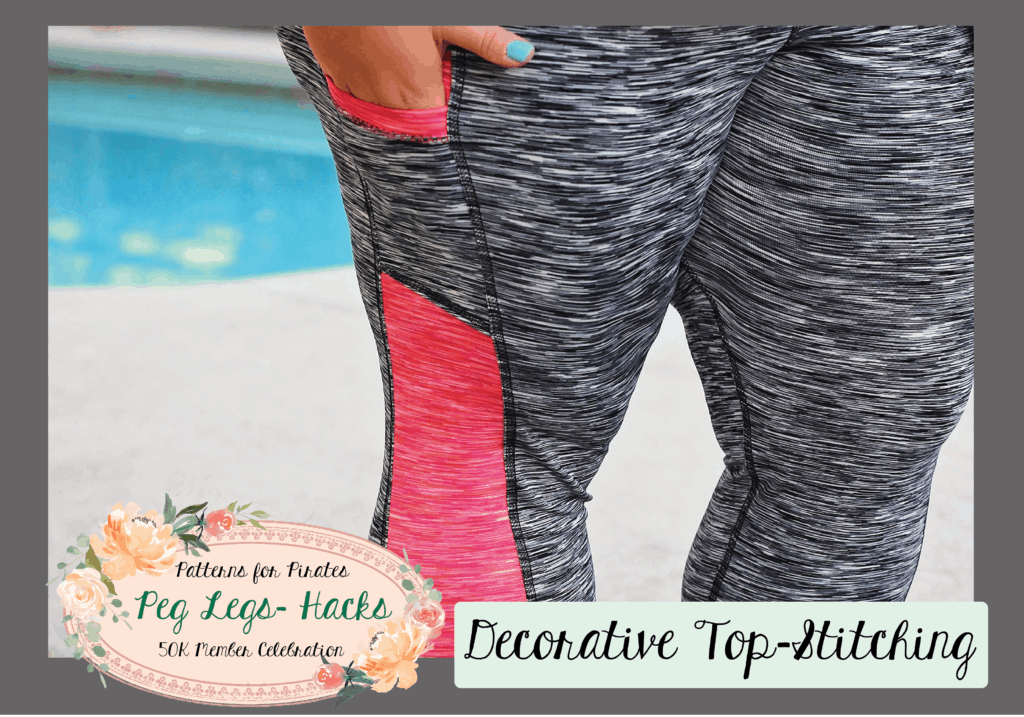
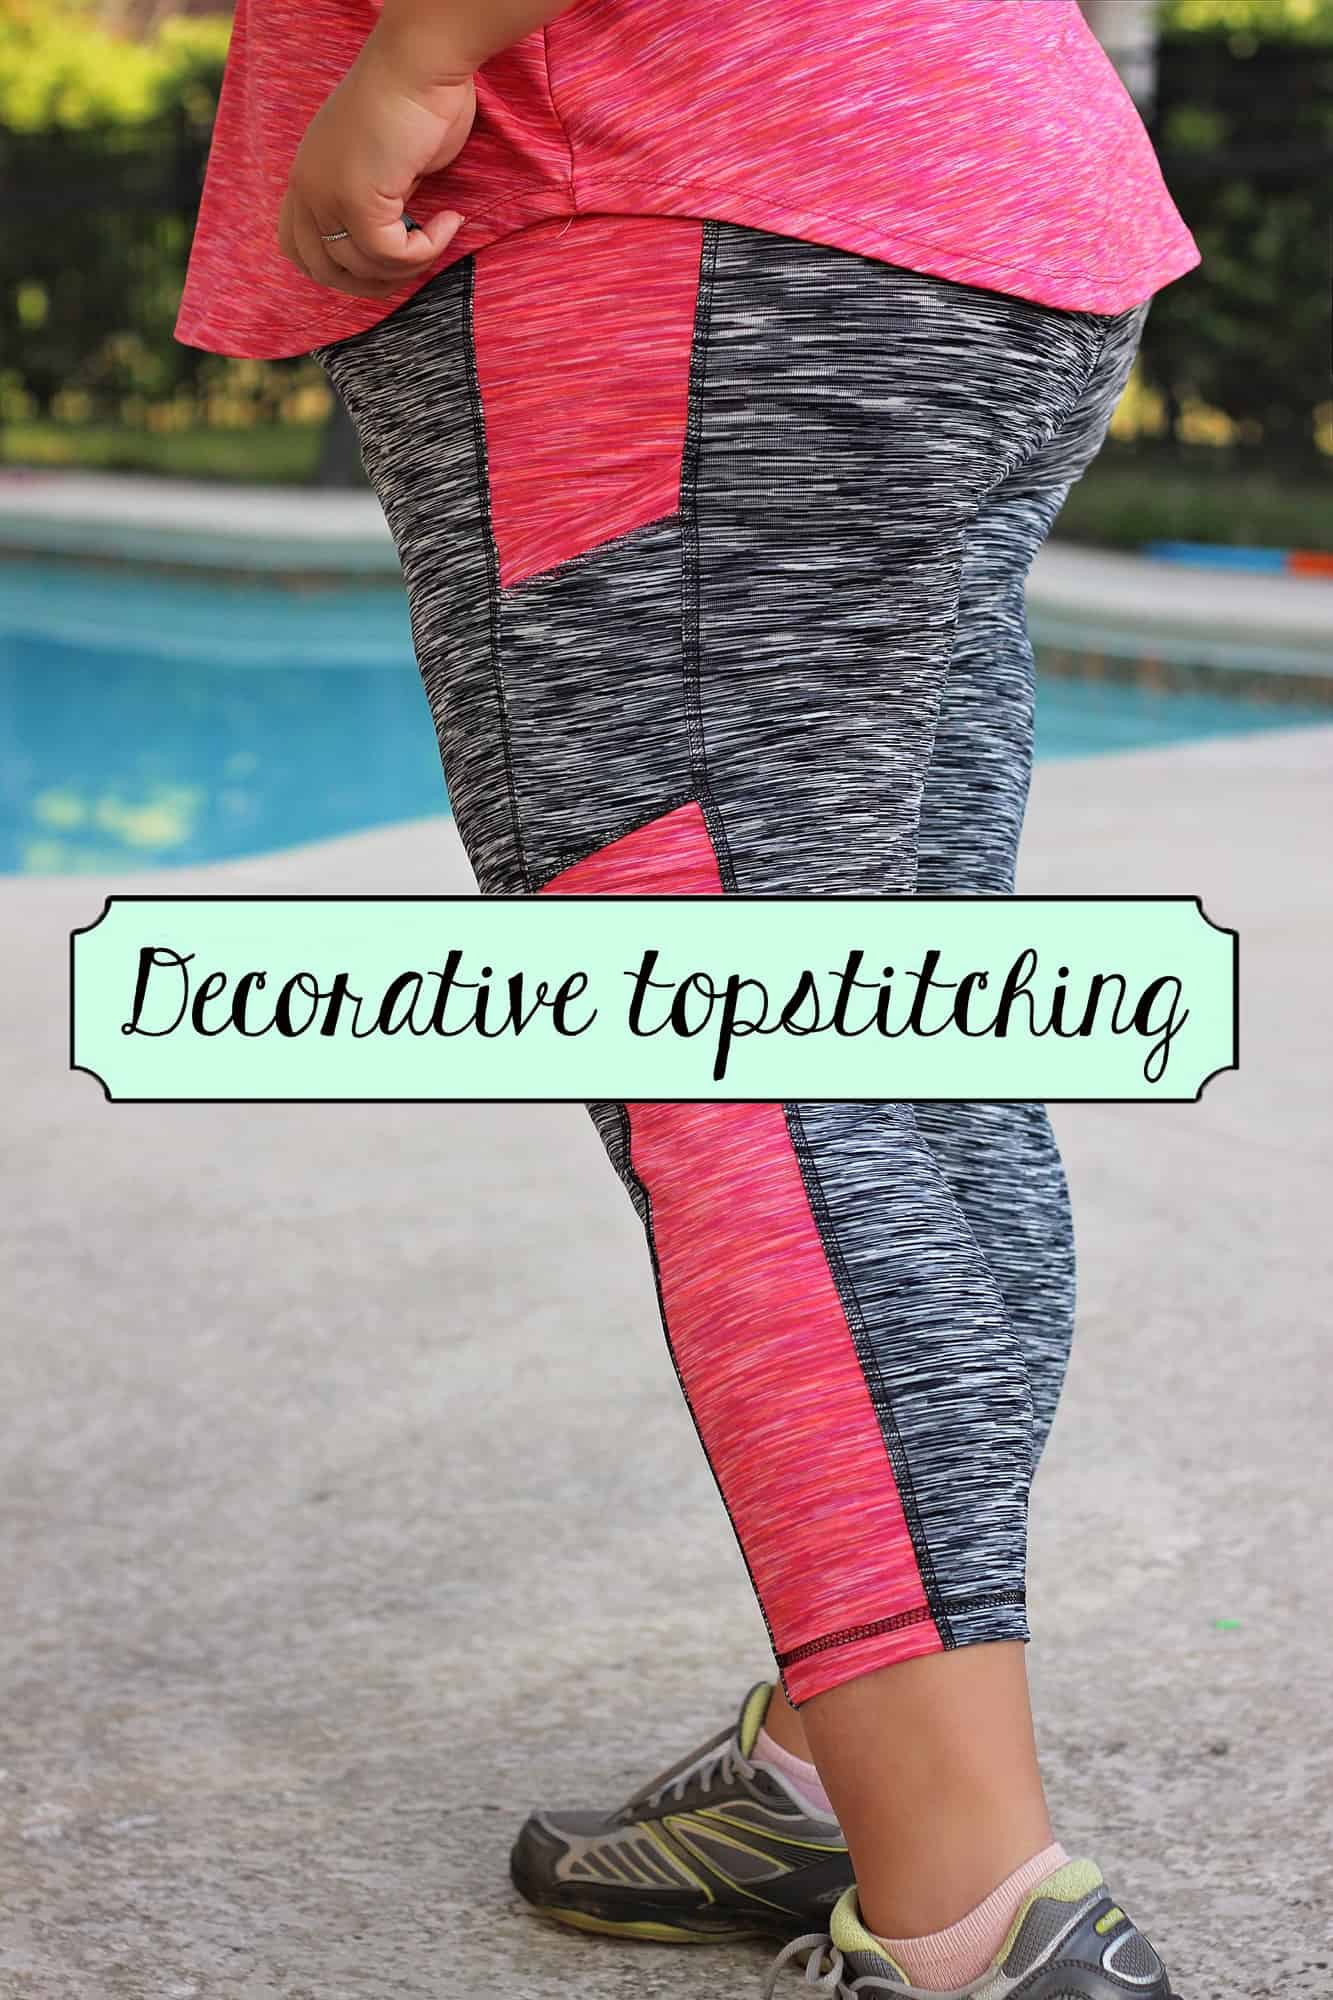
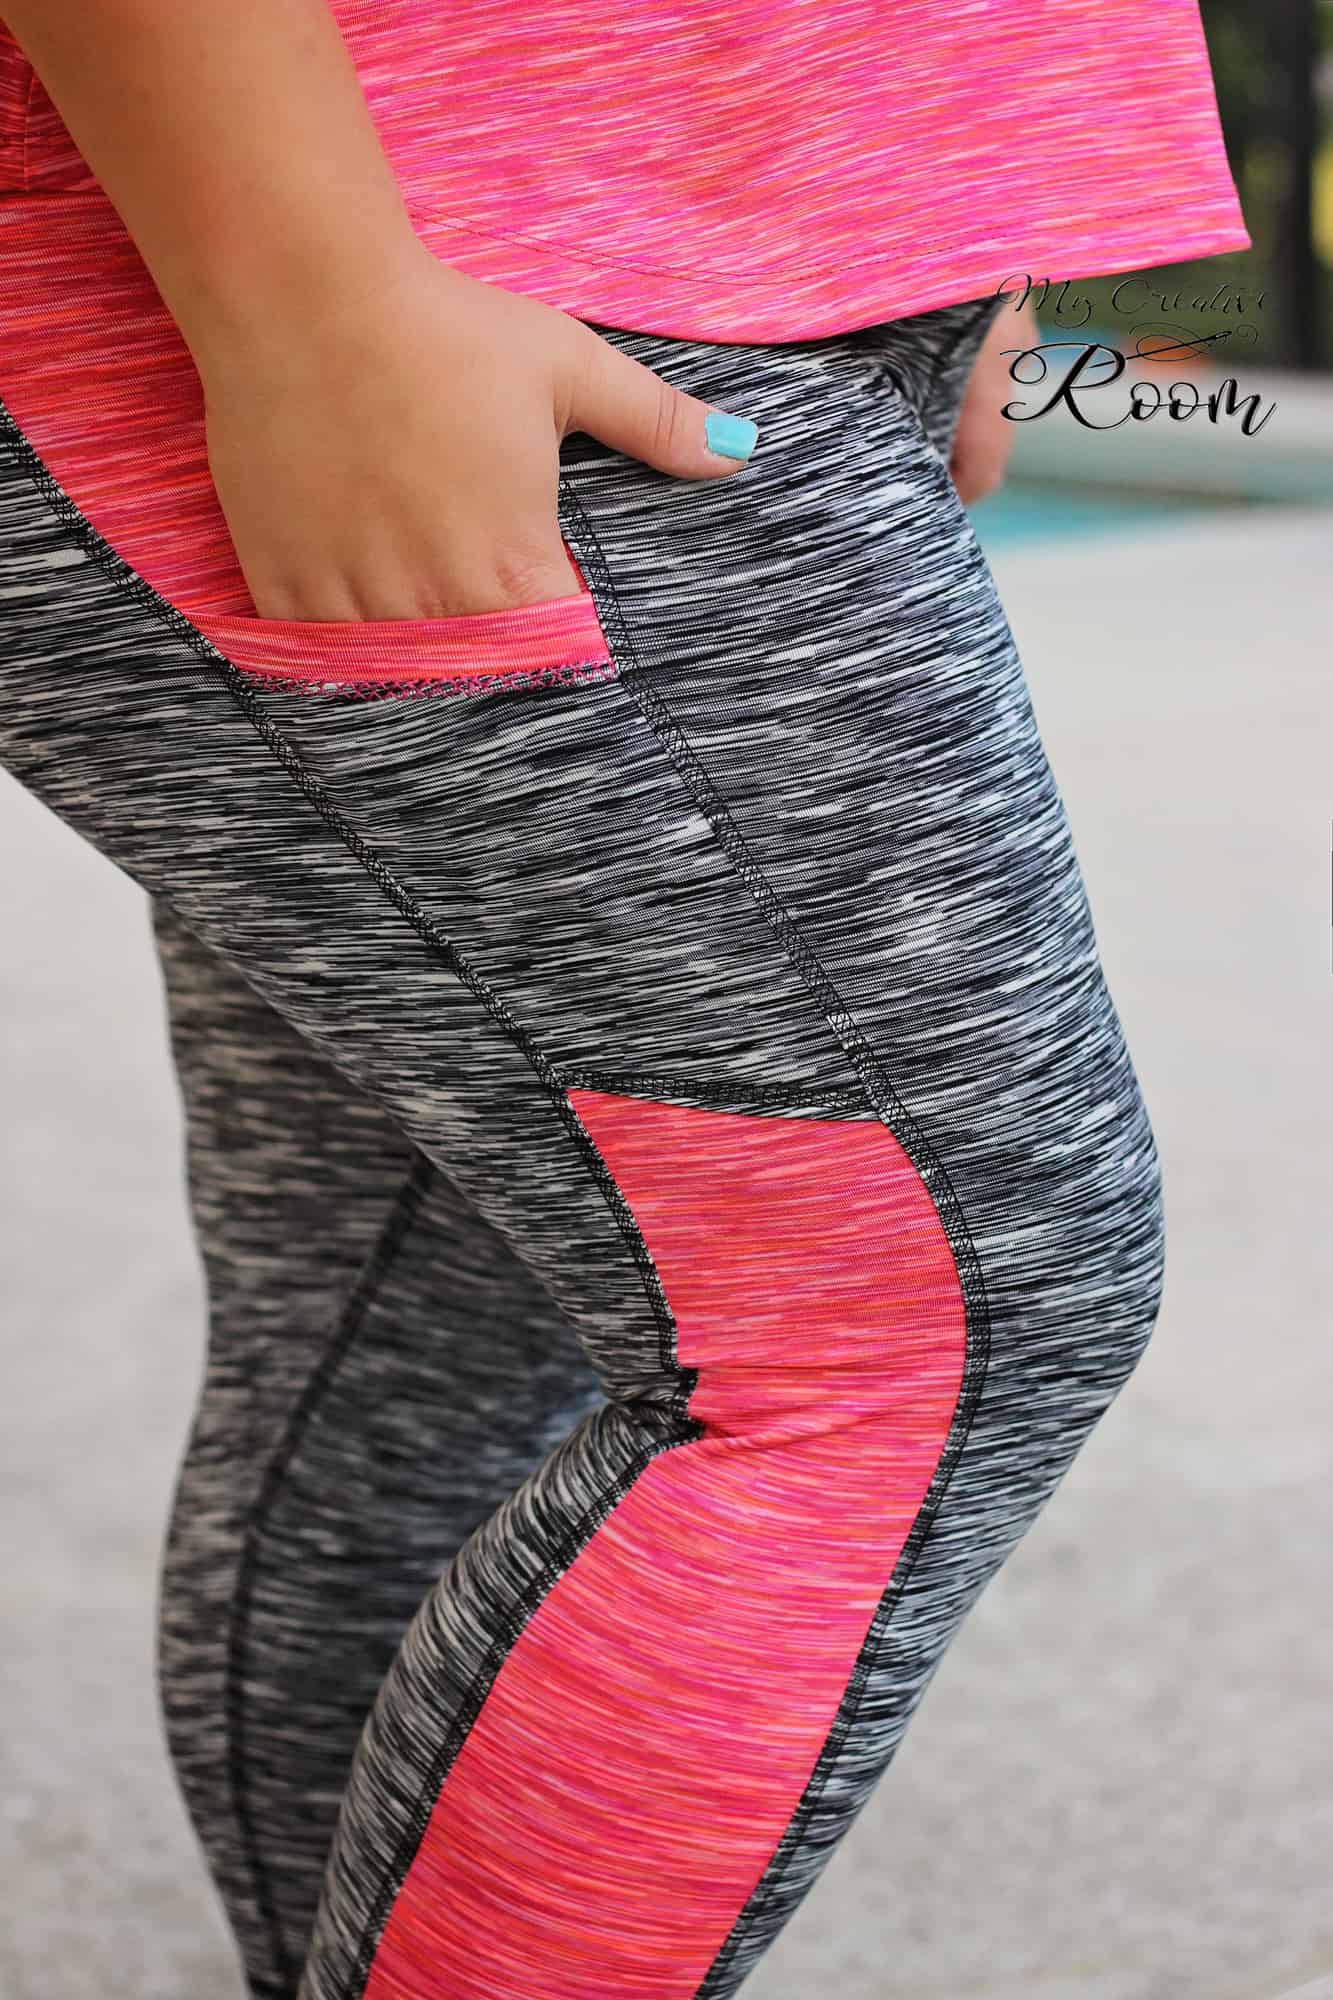
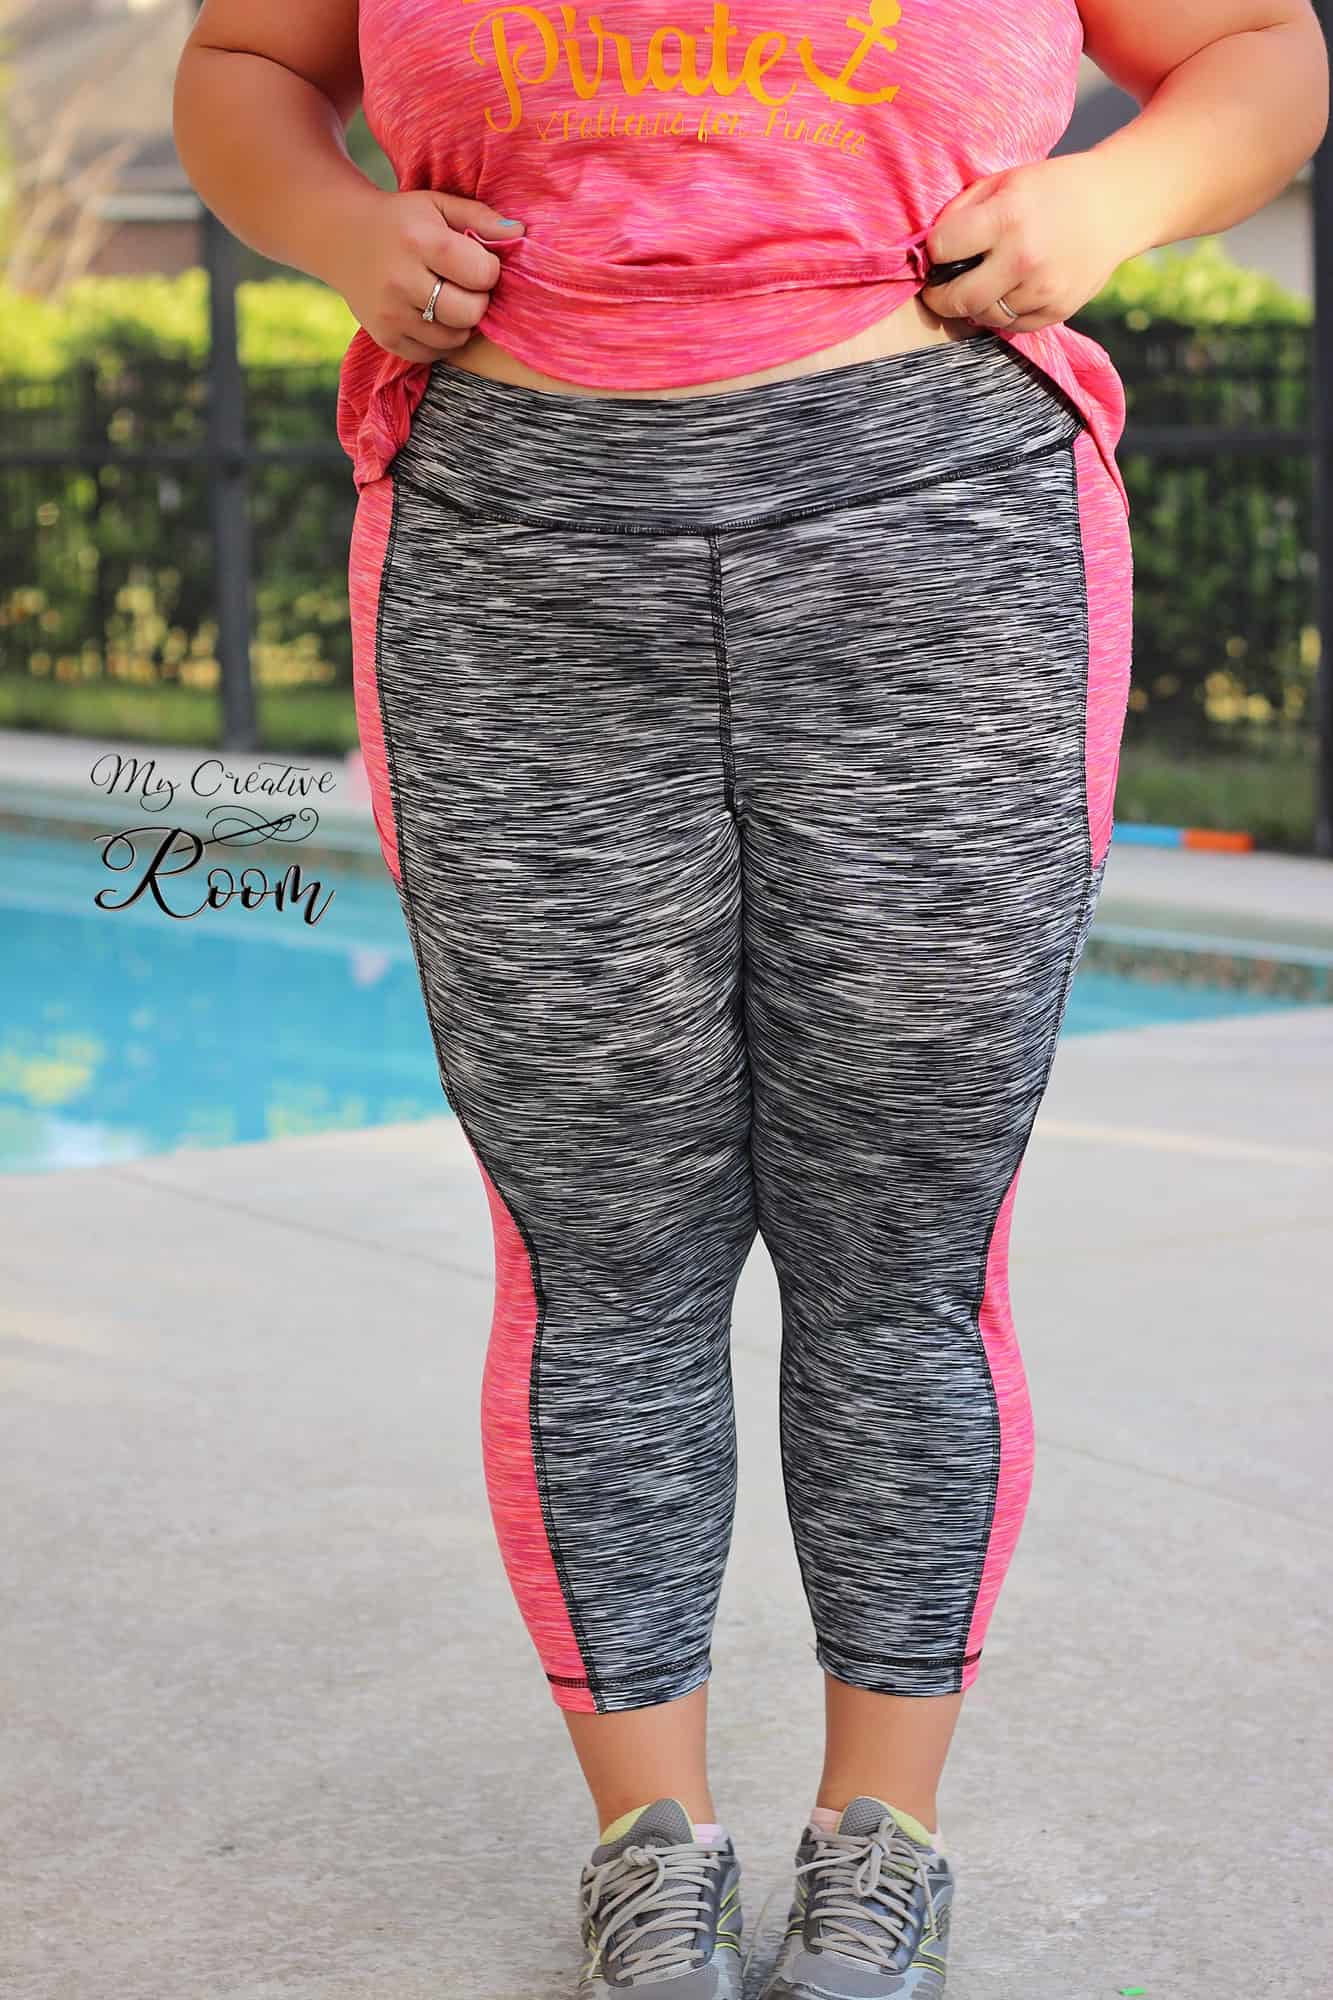
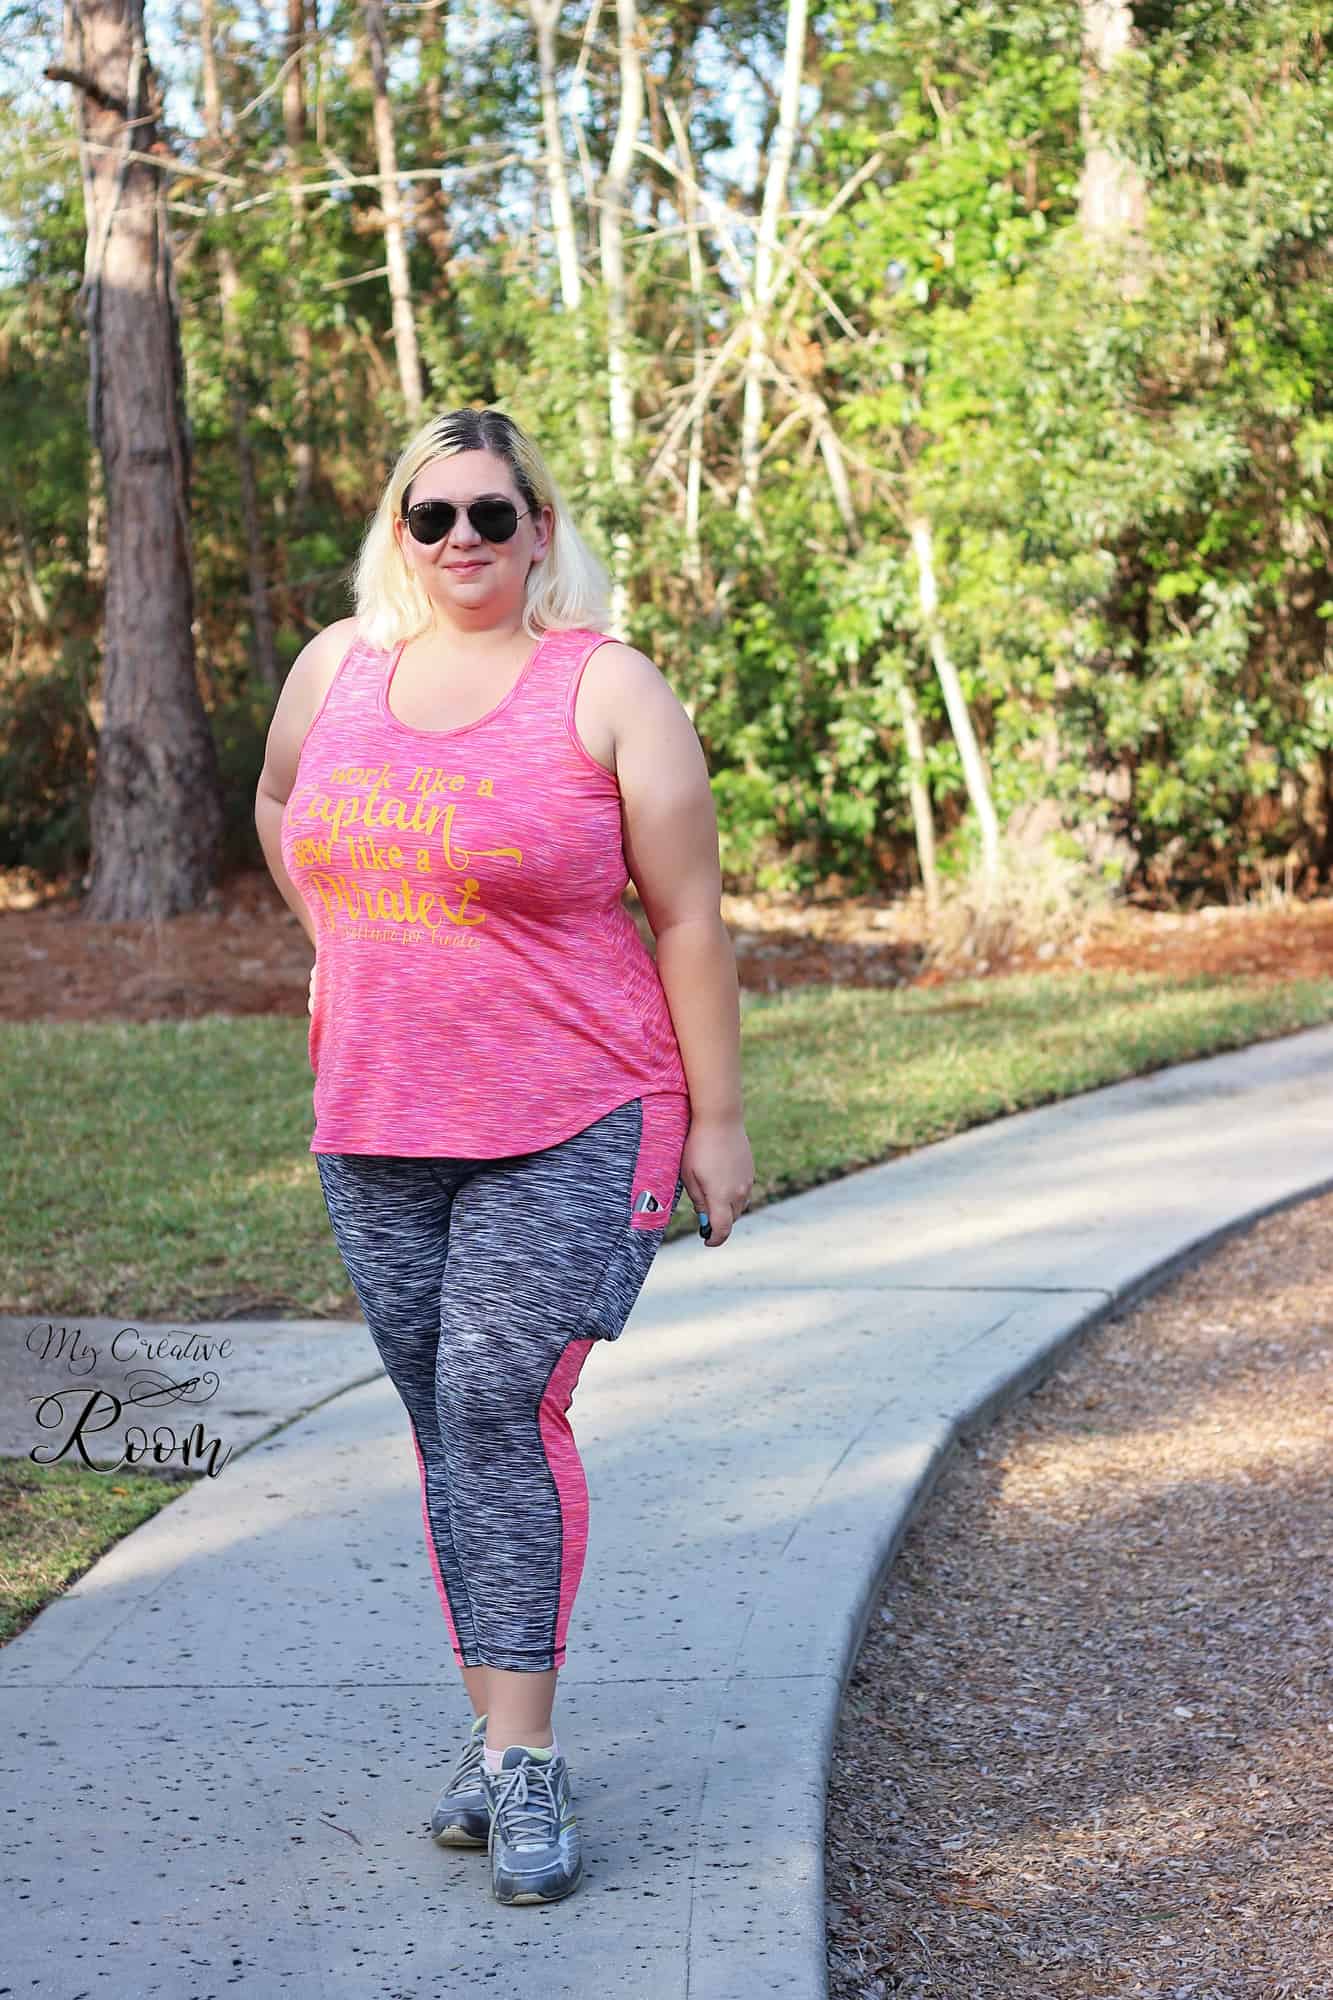
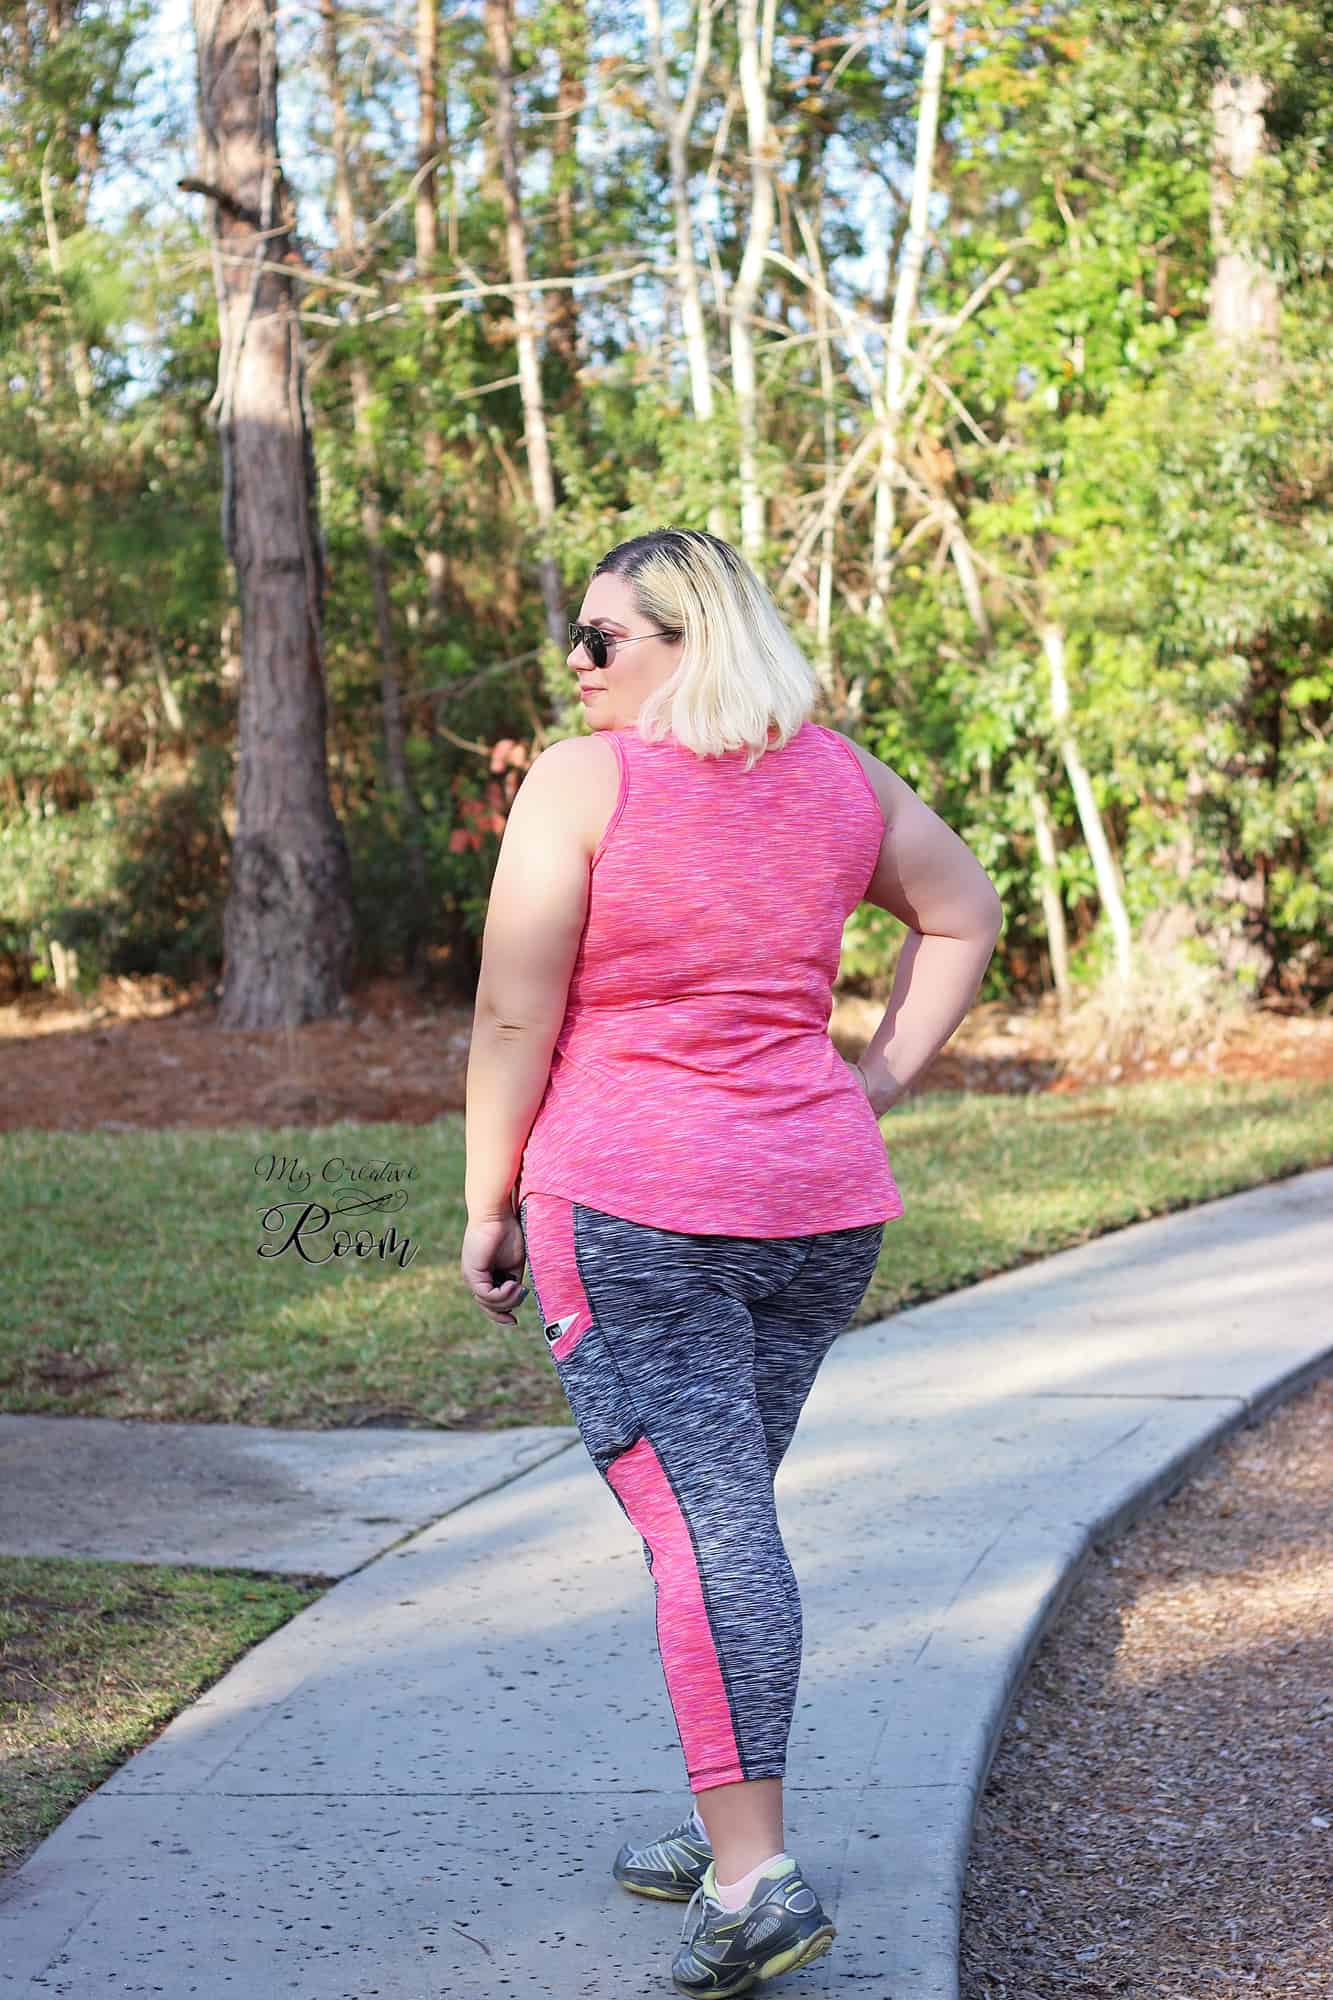
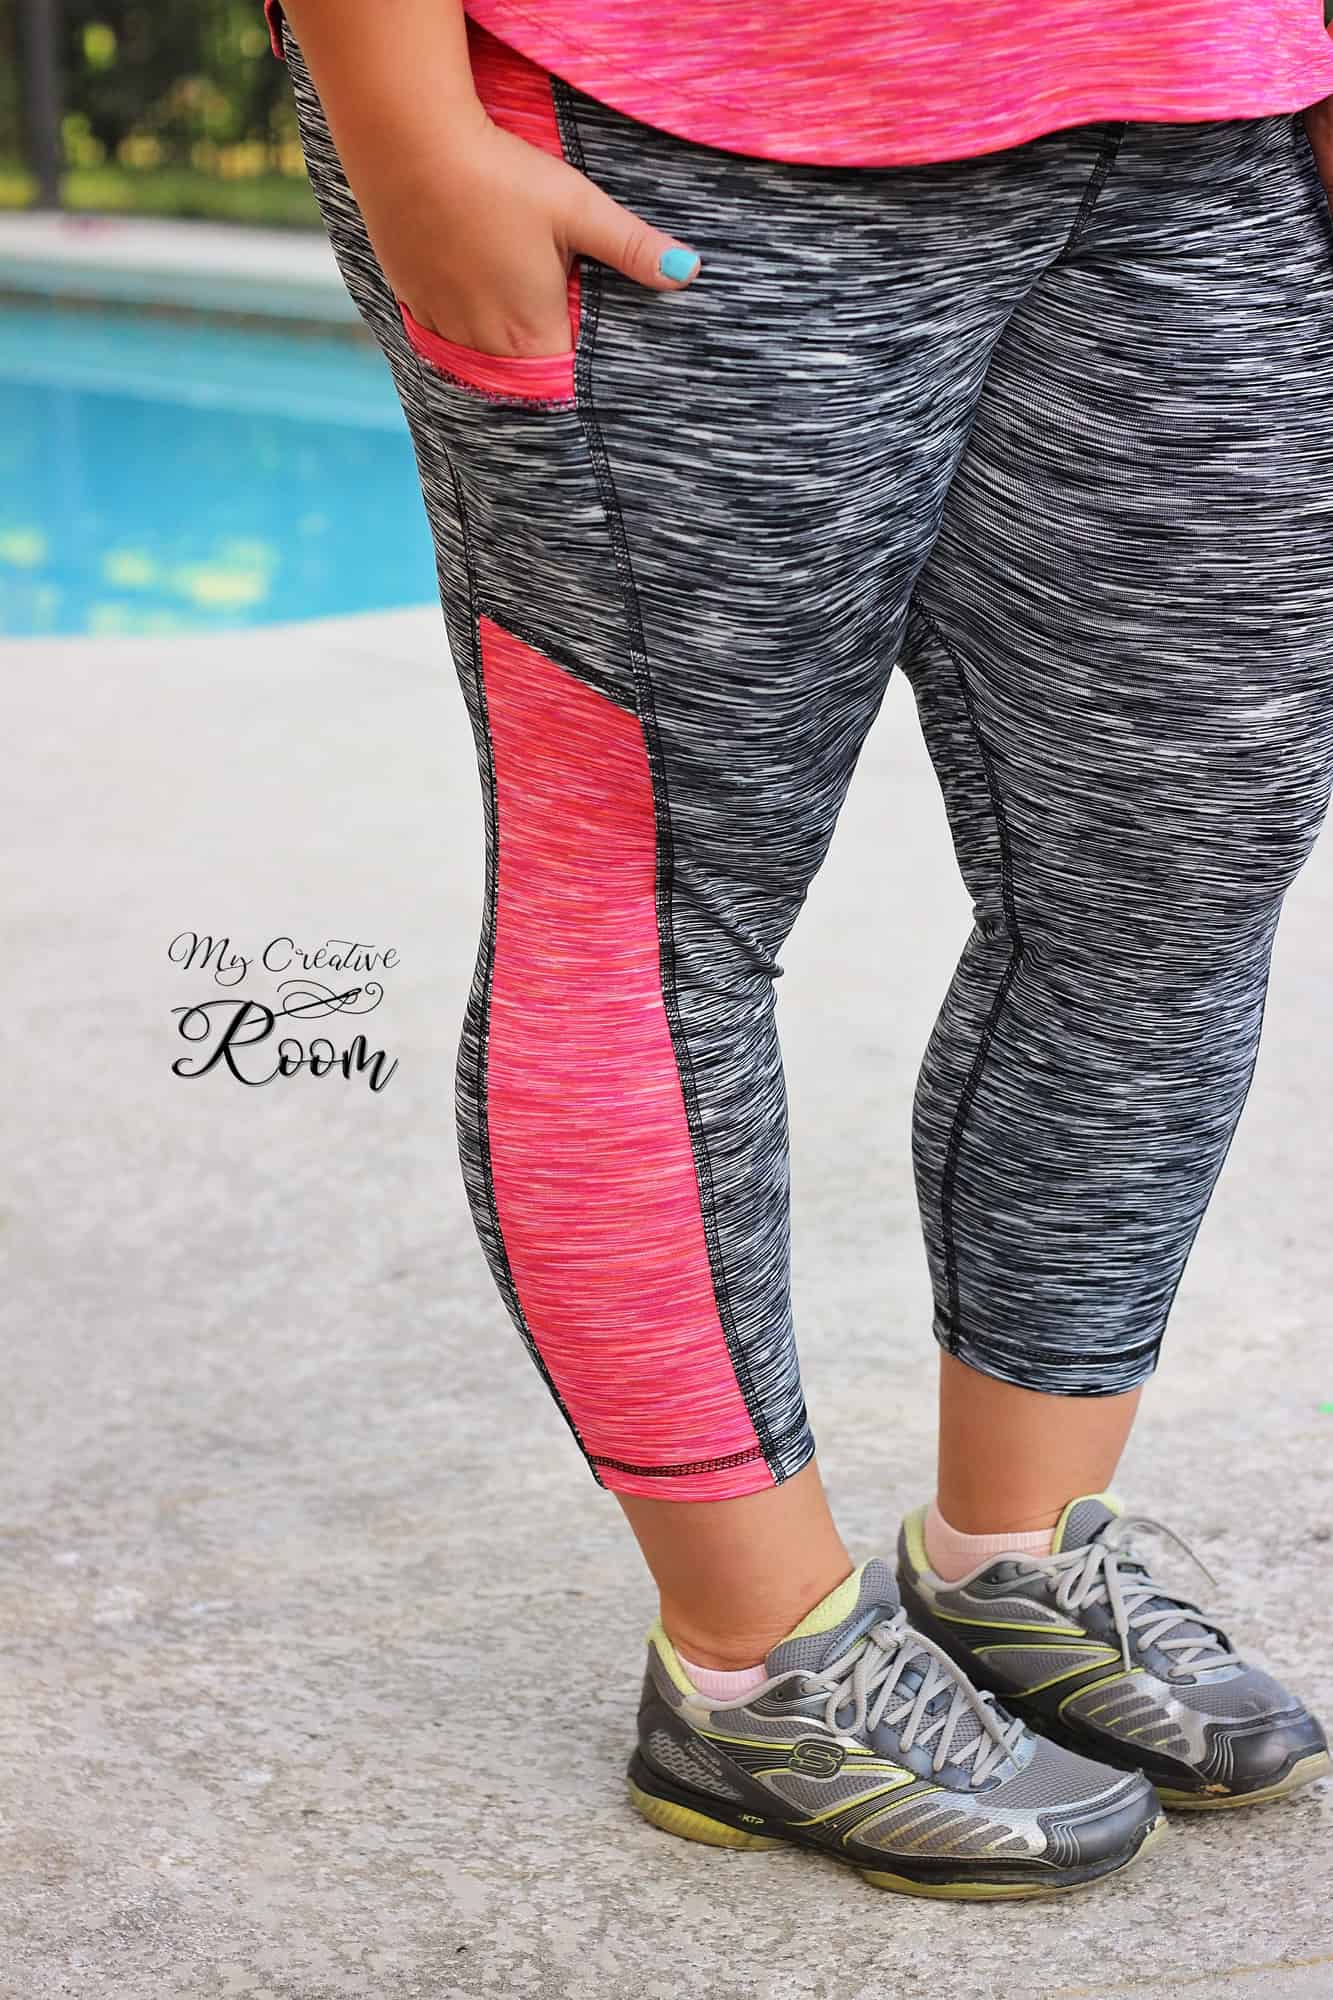
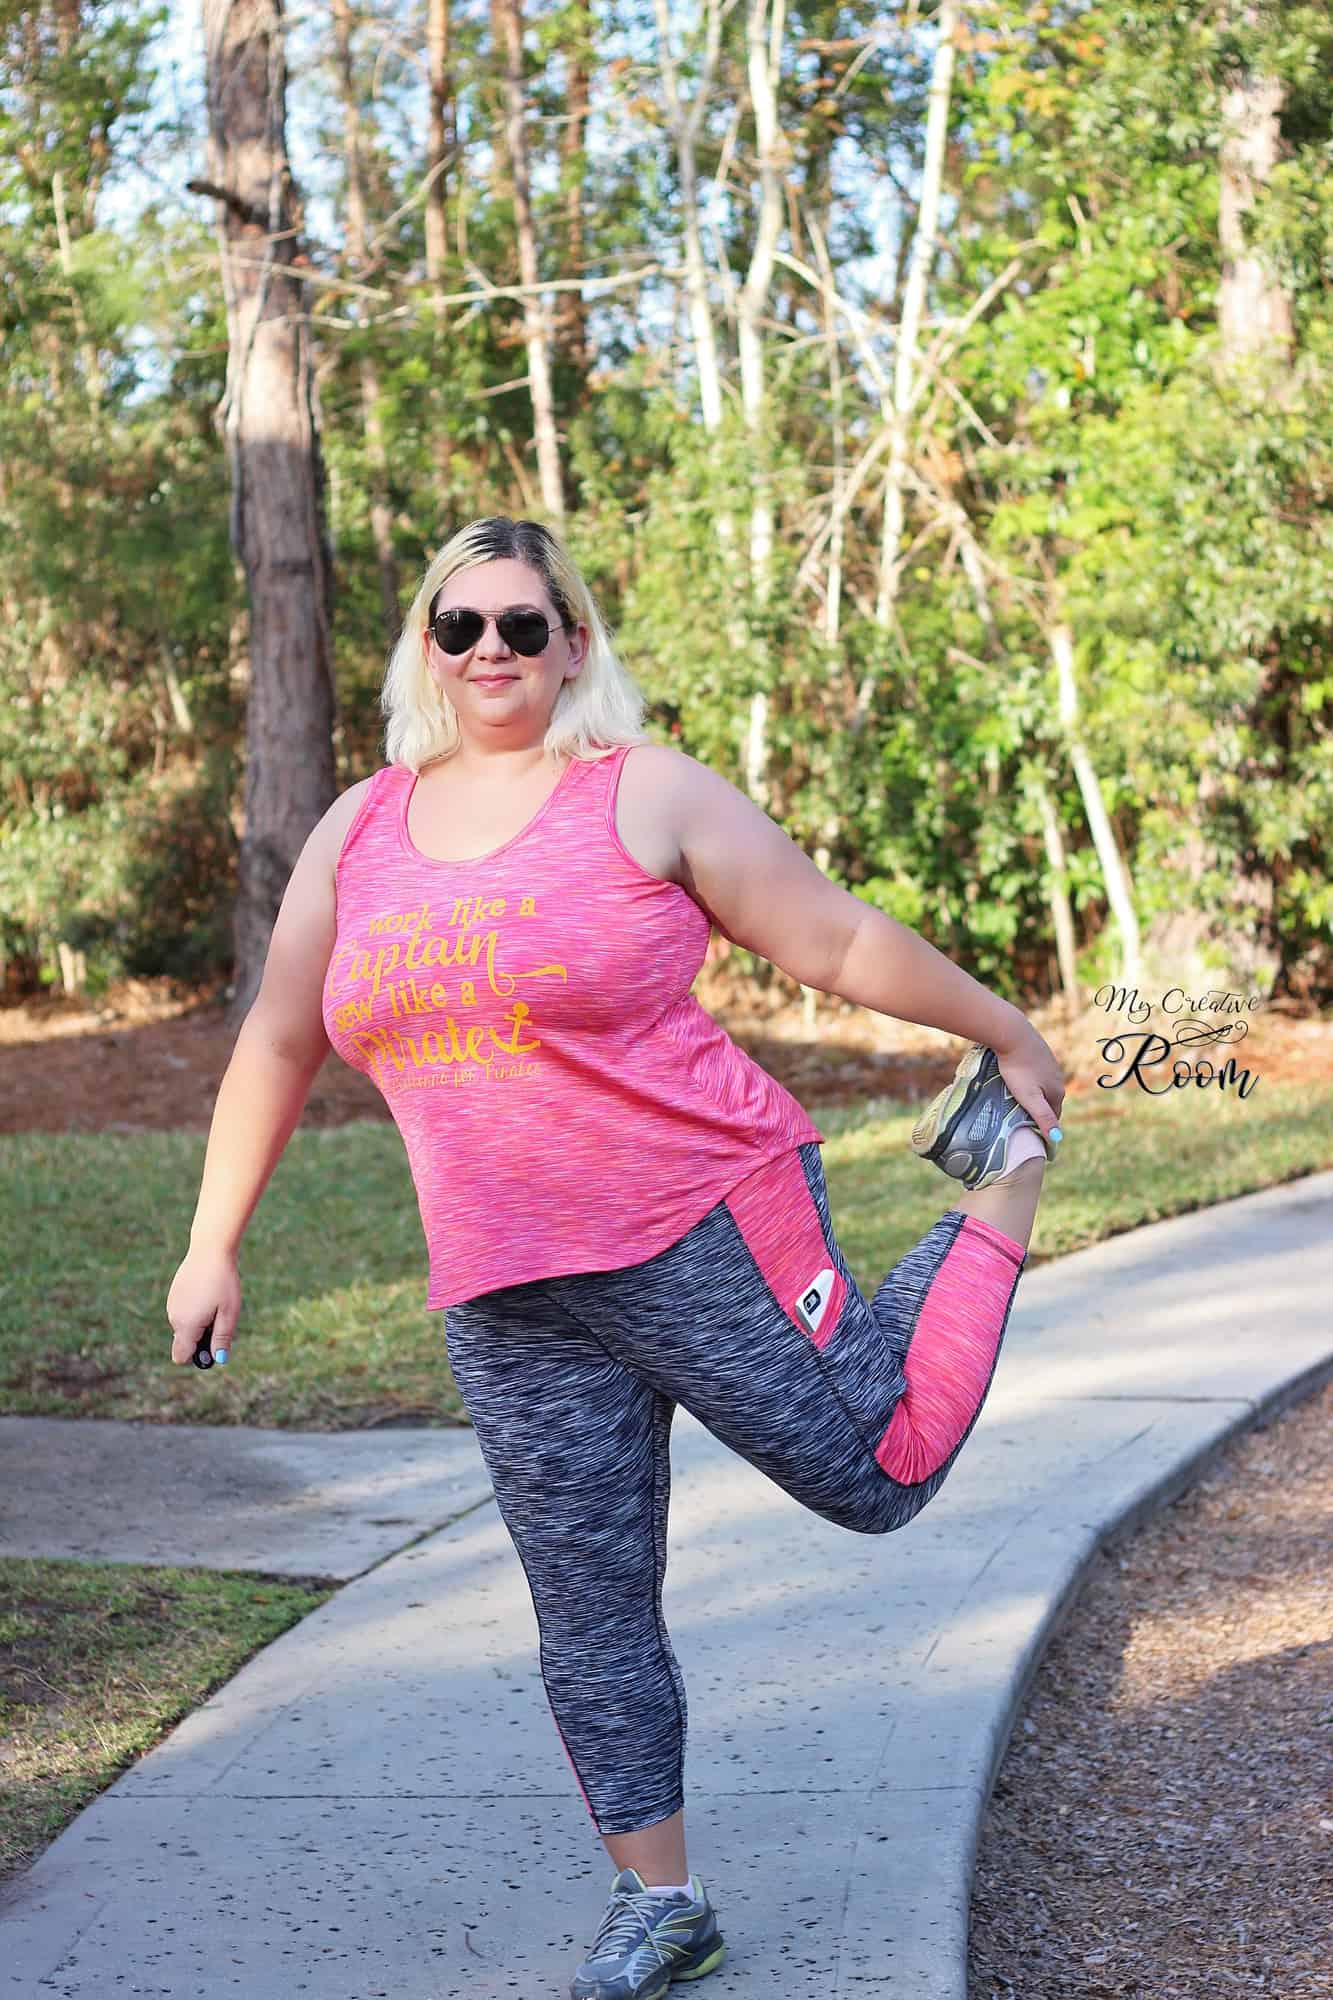
Are you guys loving this 50K celebration as much as we are? How many Peg Legs have you sewn already? Today on the blog I will show you how to take your Peg Legs up a notch with some decorative stitching. I will show you how to achieve the RTW look using your sewing machine, serger or coverstitch machine.
SEWING MACHINE
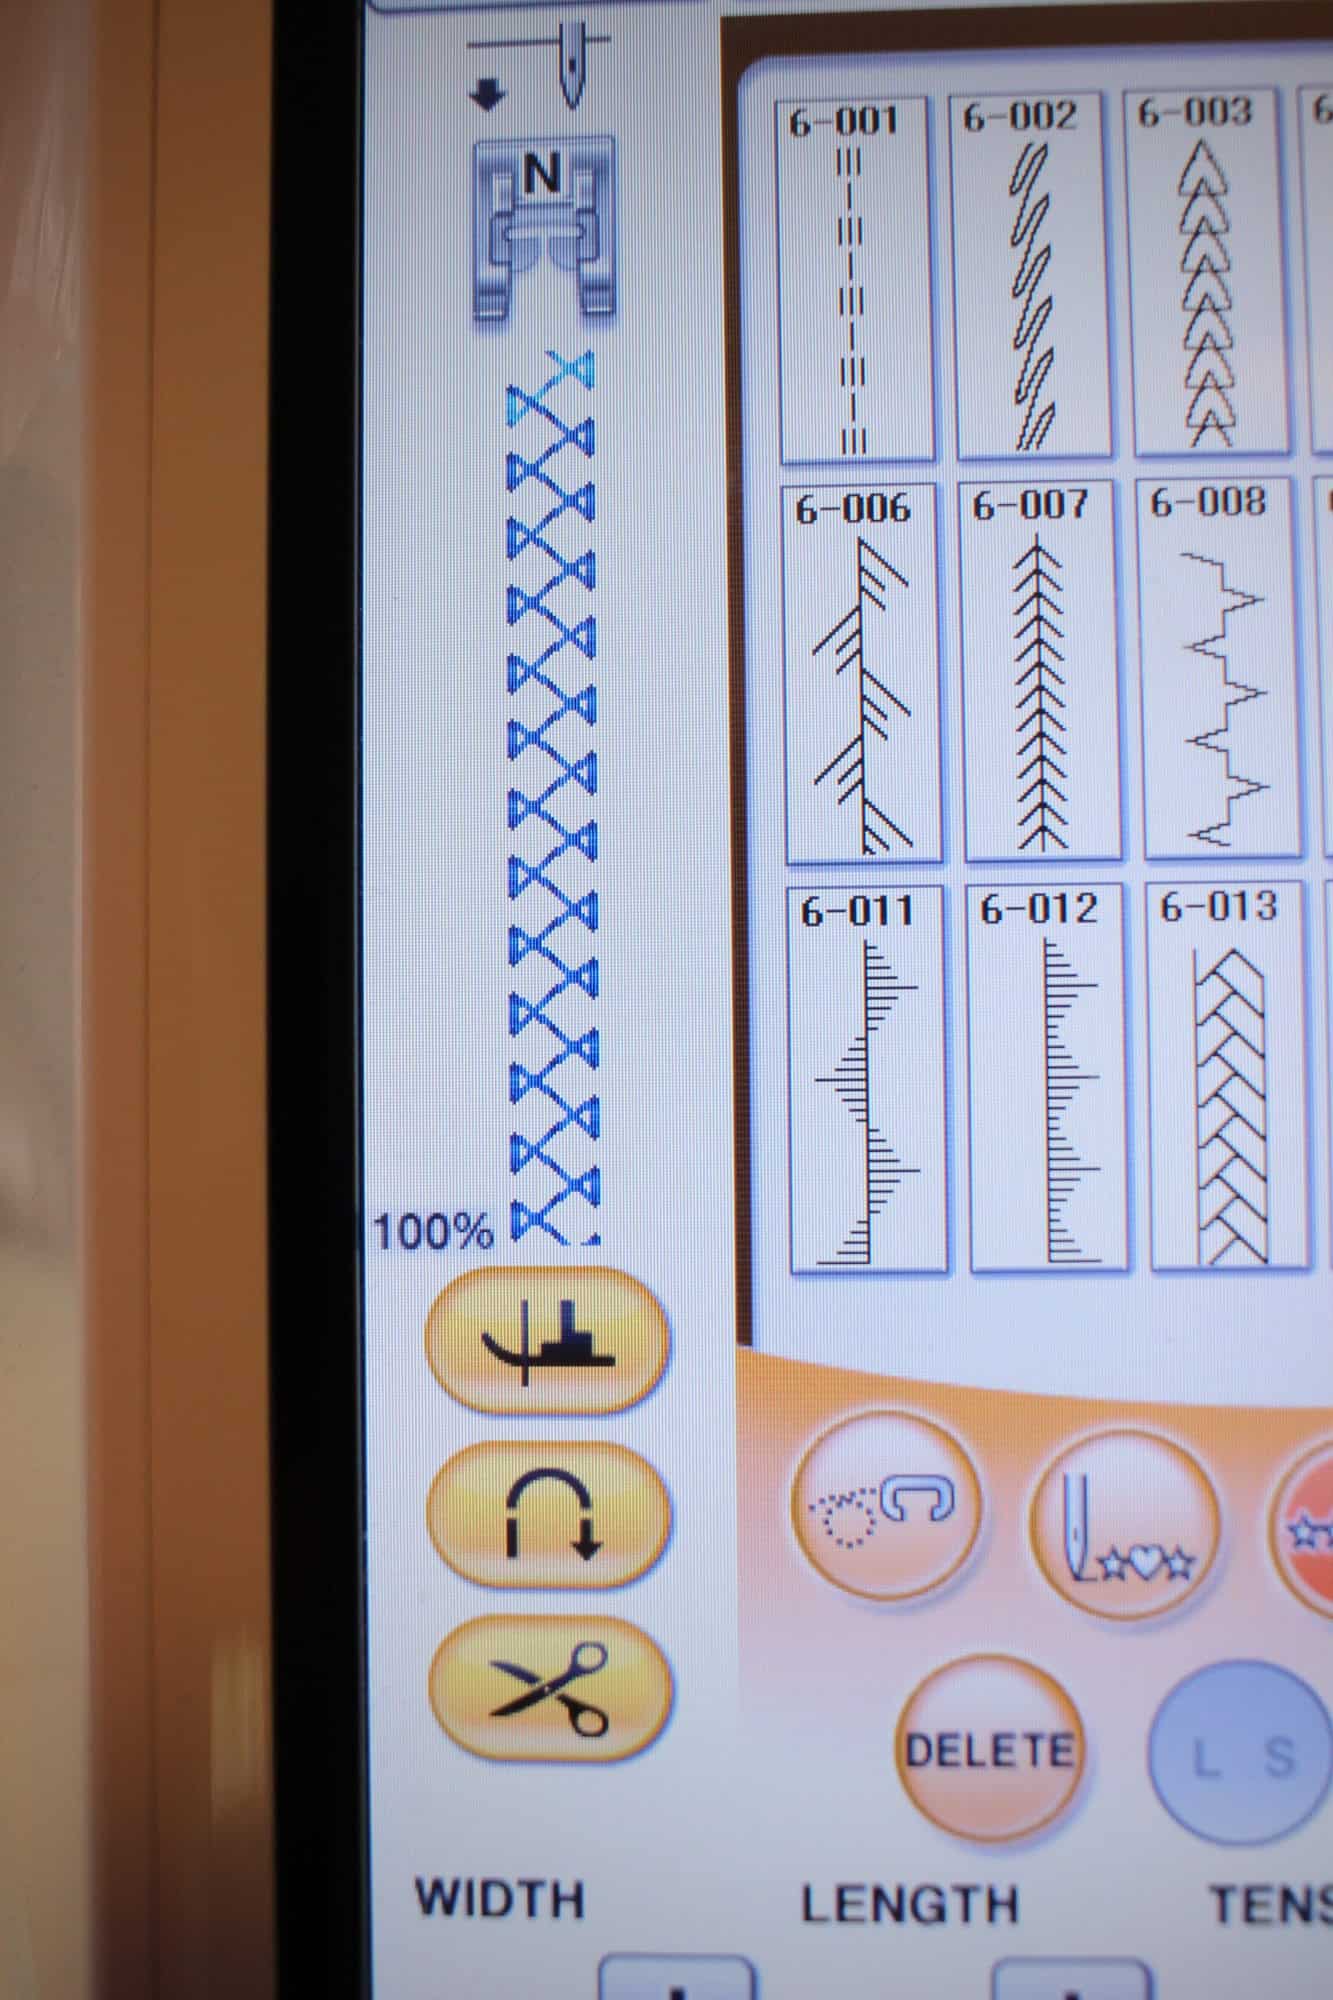
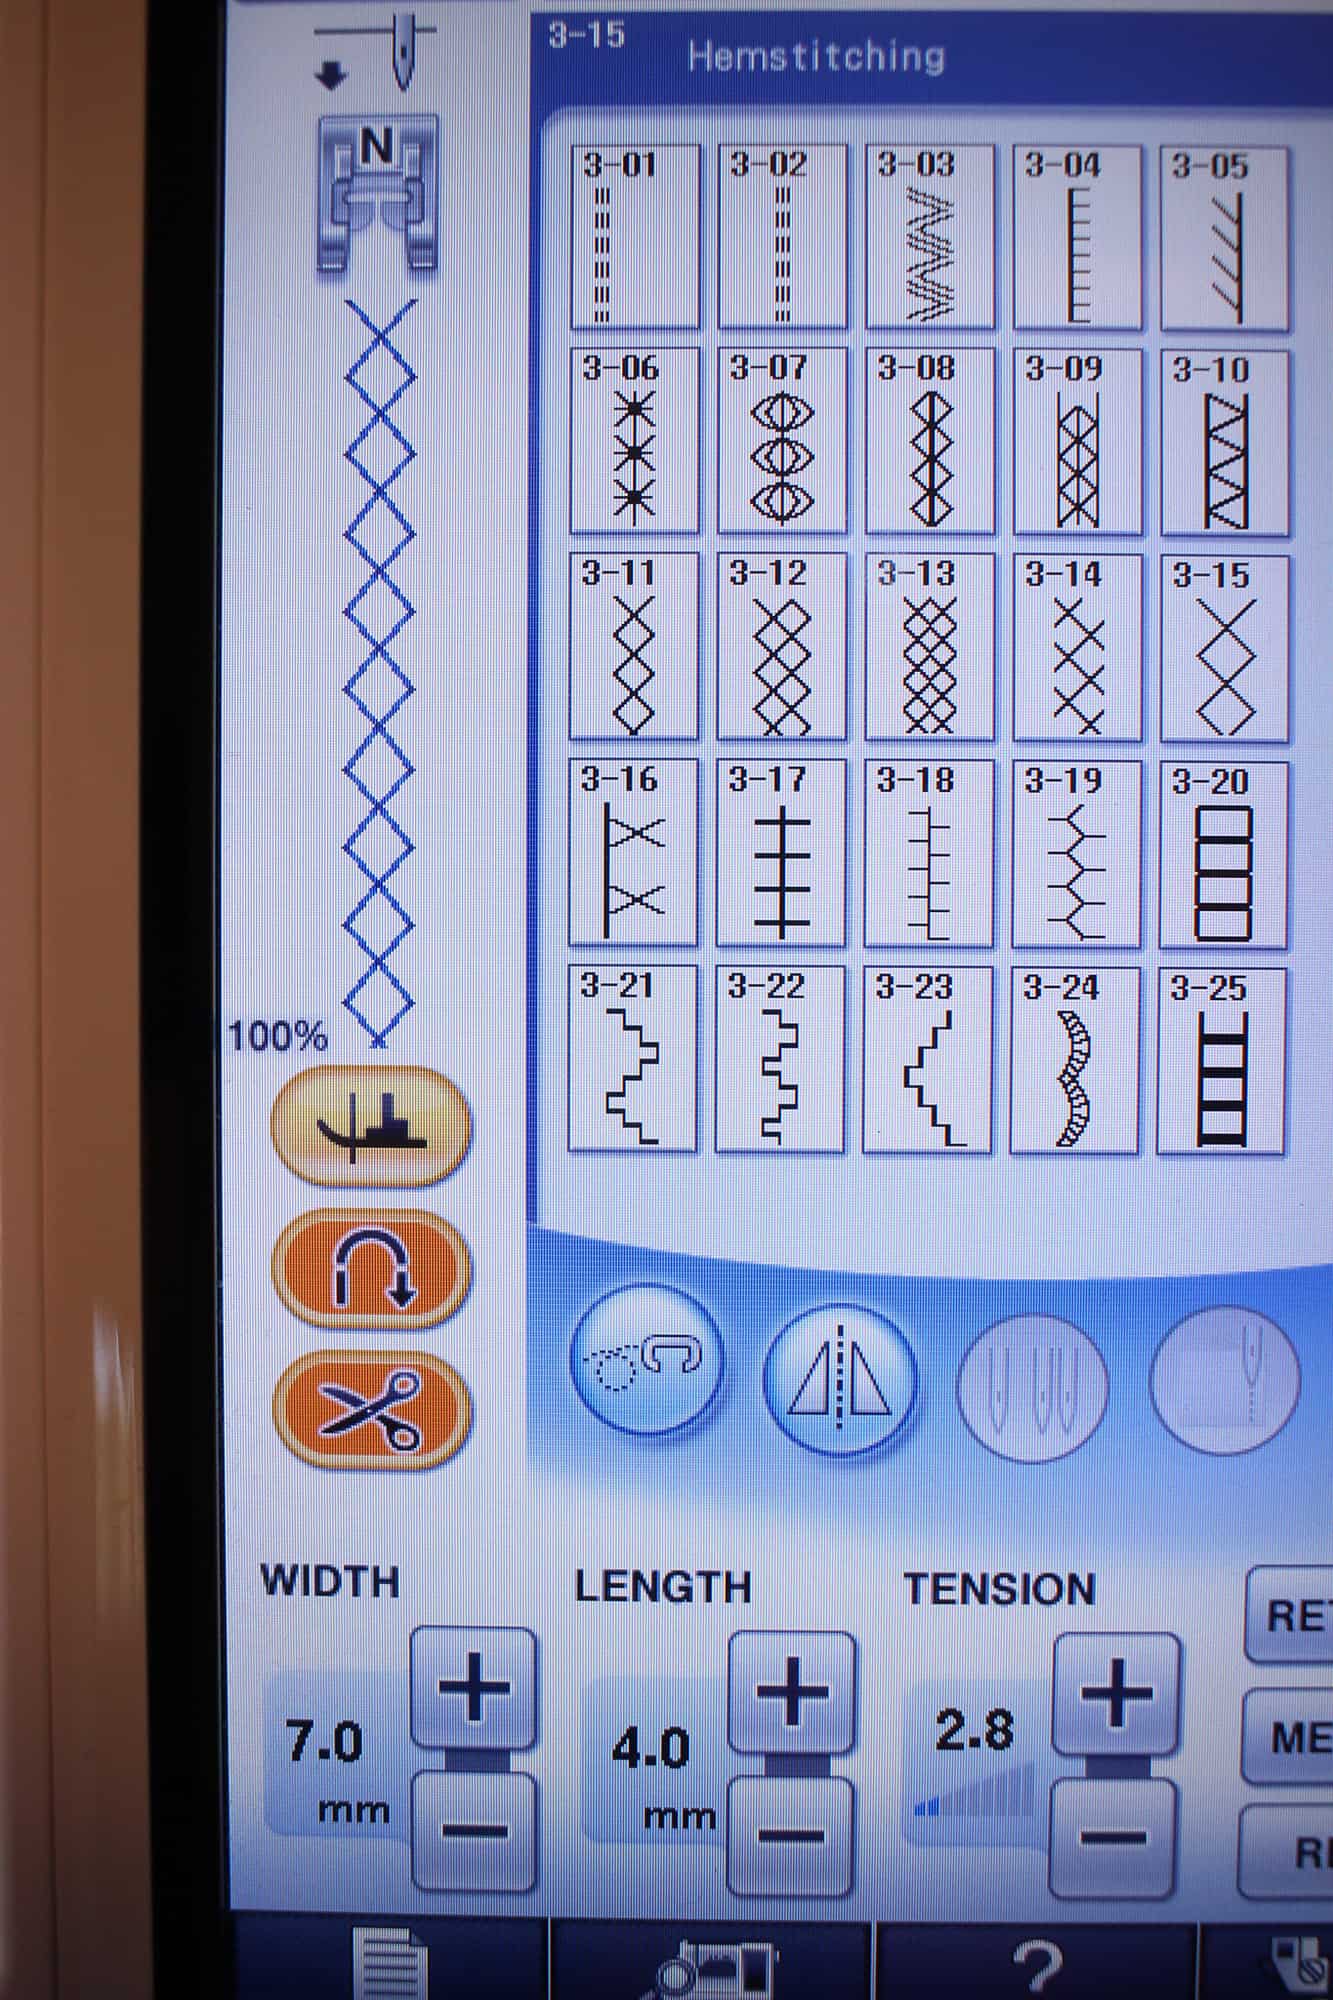
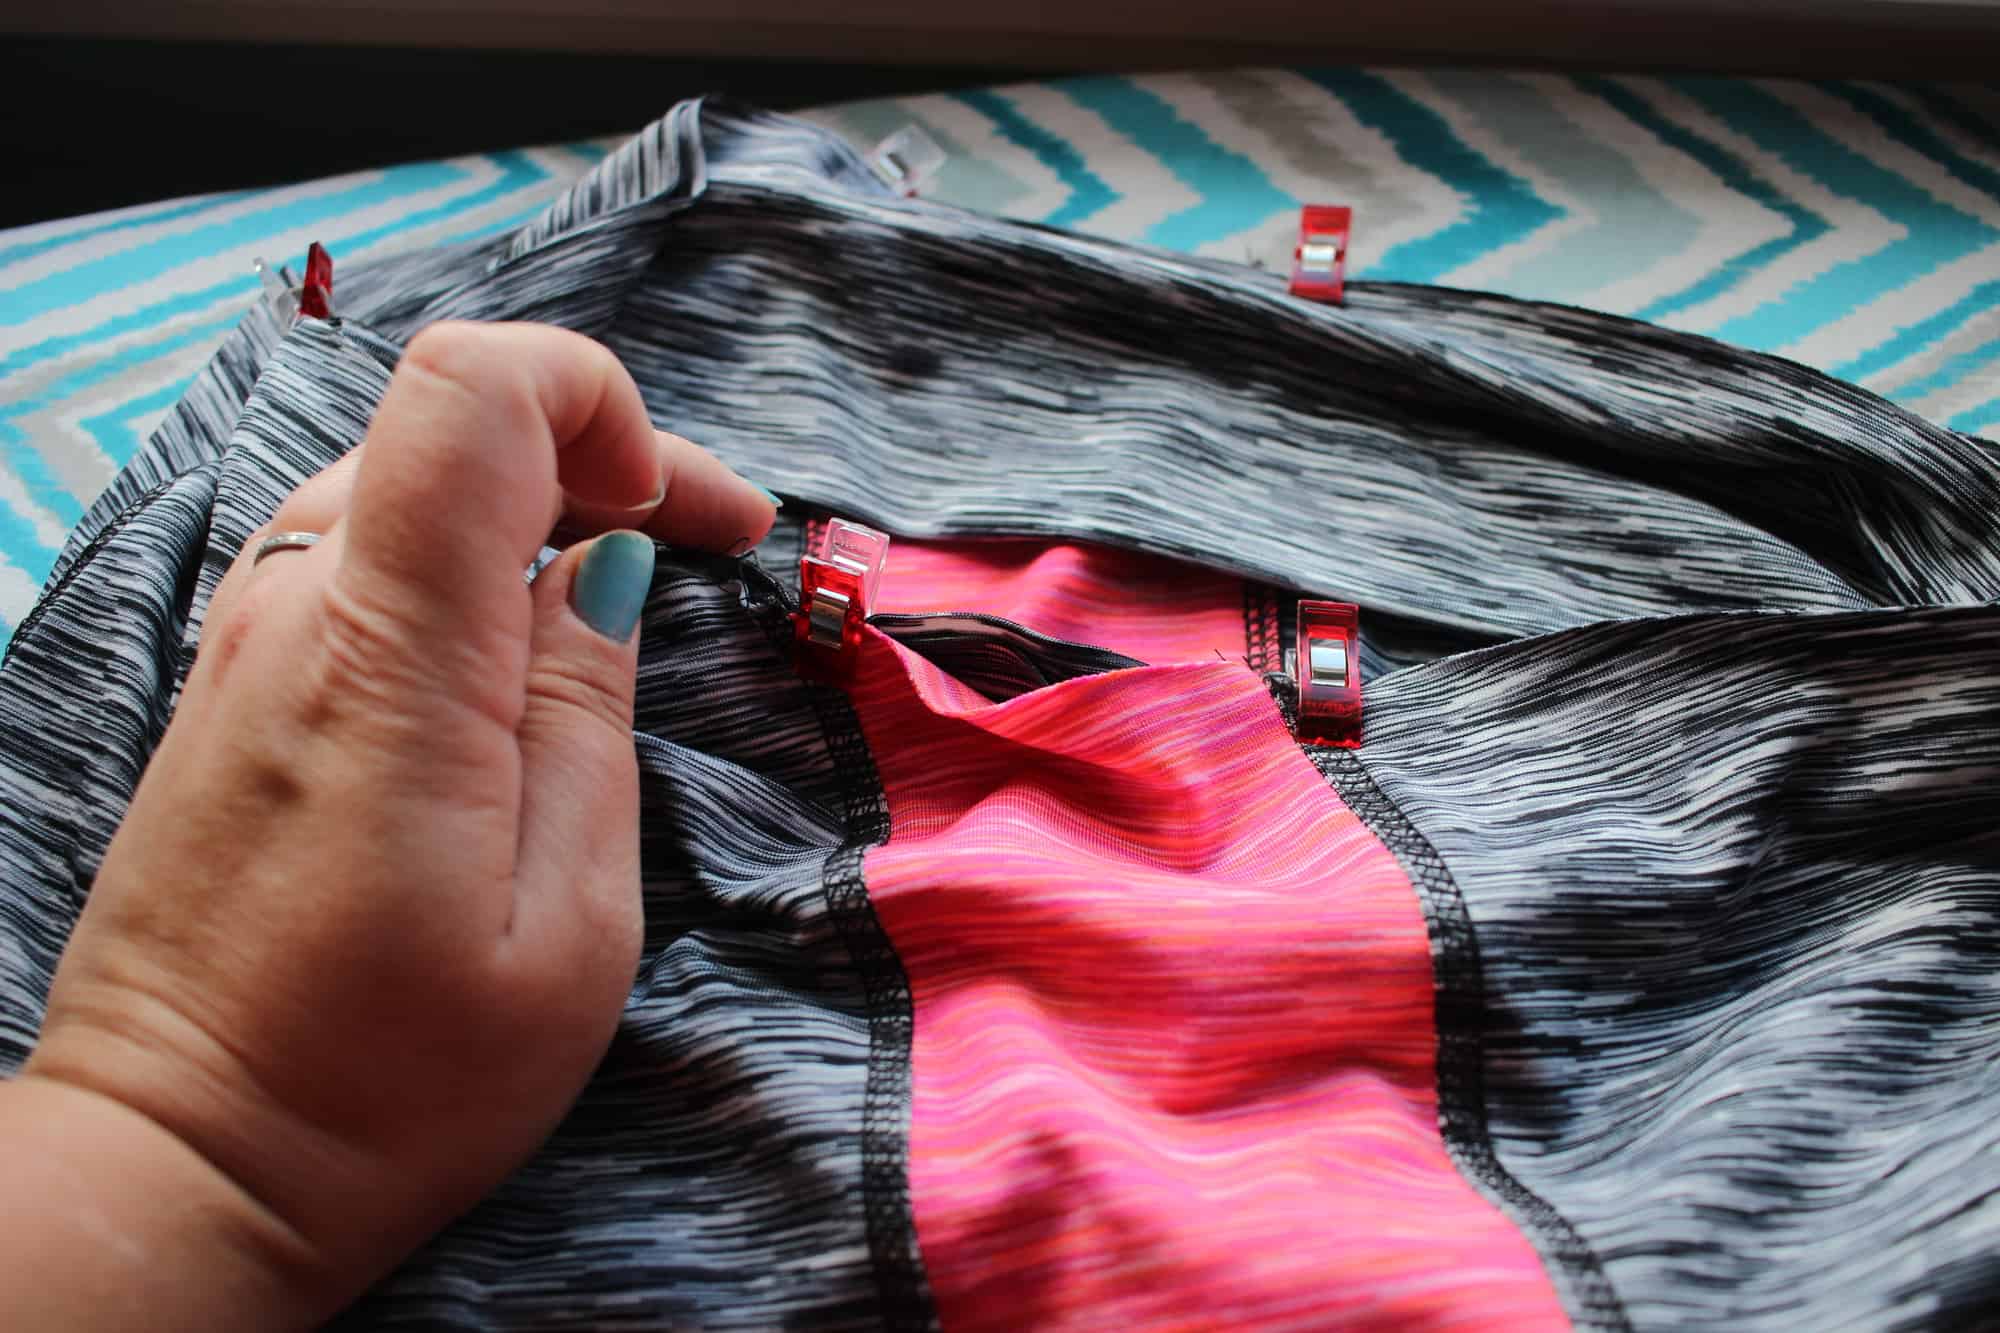
One way to add top stitching is by using your sewing machine and those stitches you never try 🙂 Most machines have at least a few decorative style stitches included. When you chose your favorite style, make sure that the density of the stitch is not too high and always lower the tension a bit. I used two different decorative stitches on the pockets so you can see how it would look.
I highly recommend placing a little bit of water soluble stabilizer between the back of the fabric and the dog feed. It will help prevent any fabric from being “eaten” by the machine.
Once you finished stitching simply tear away the stabilizer. Any residual will just disappear at the first contact with water.
COVERSTITCH MACHINE
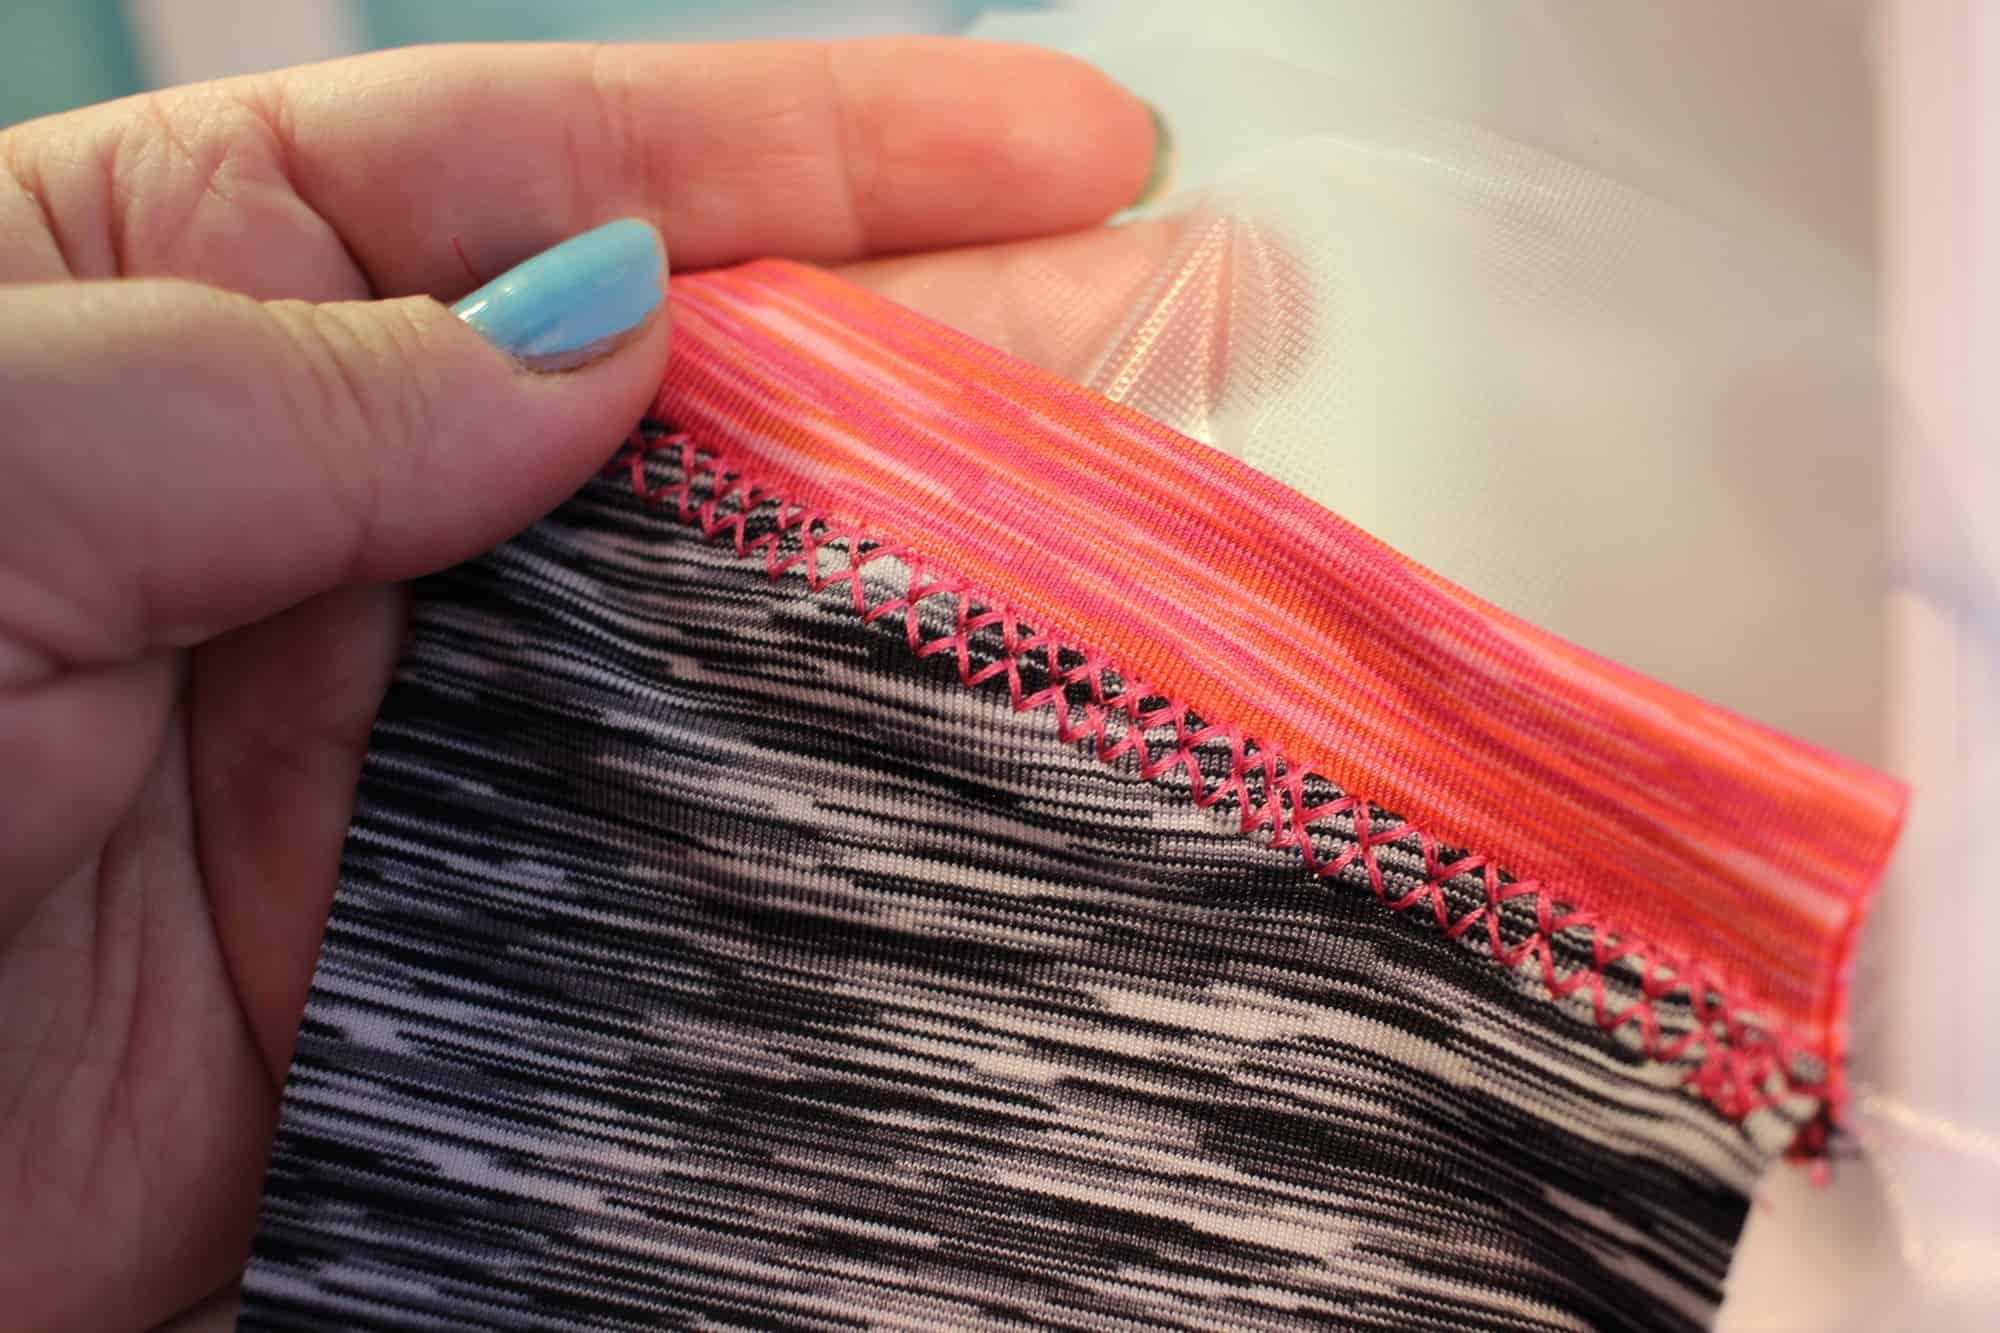
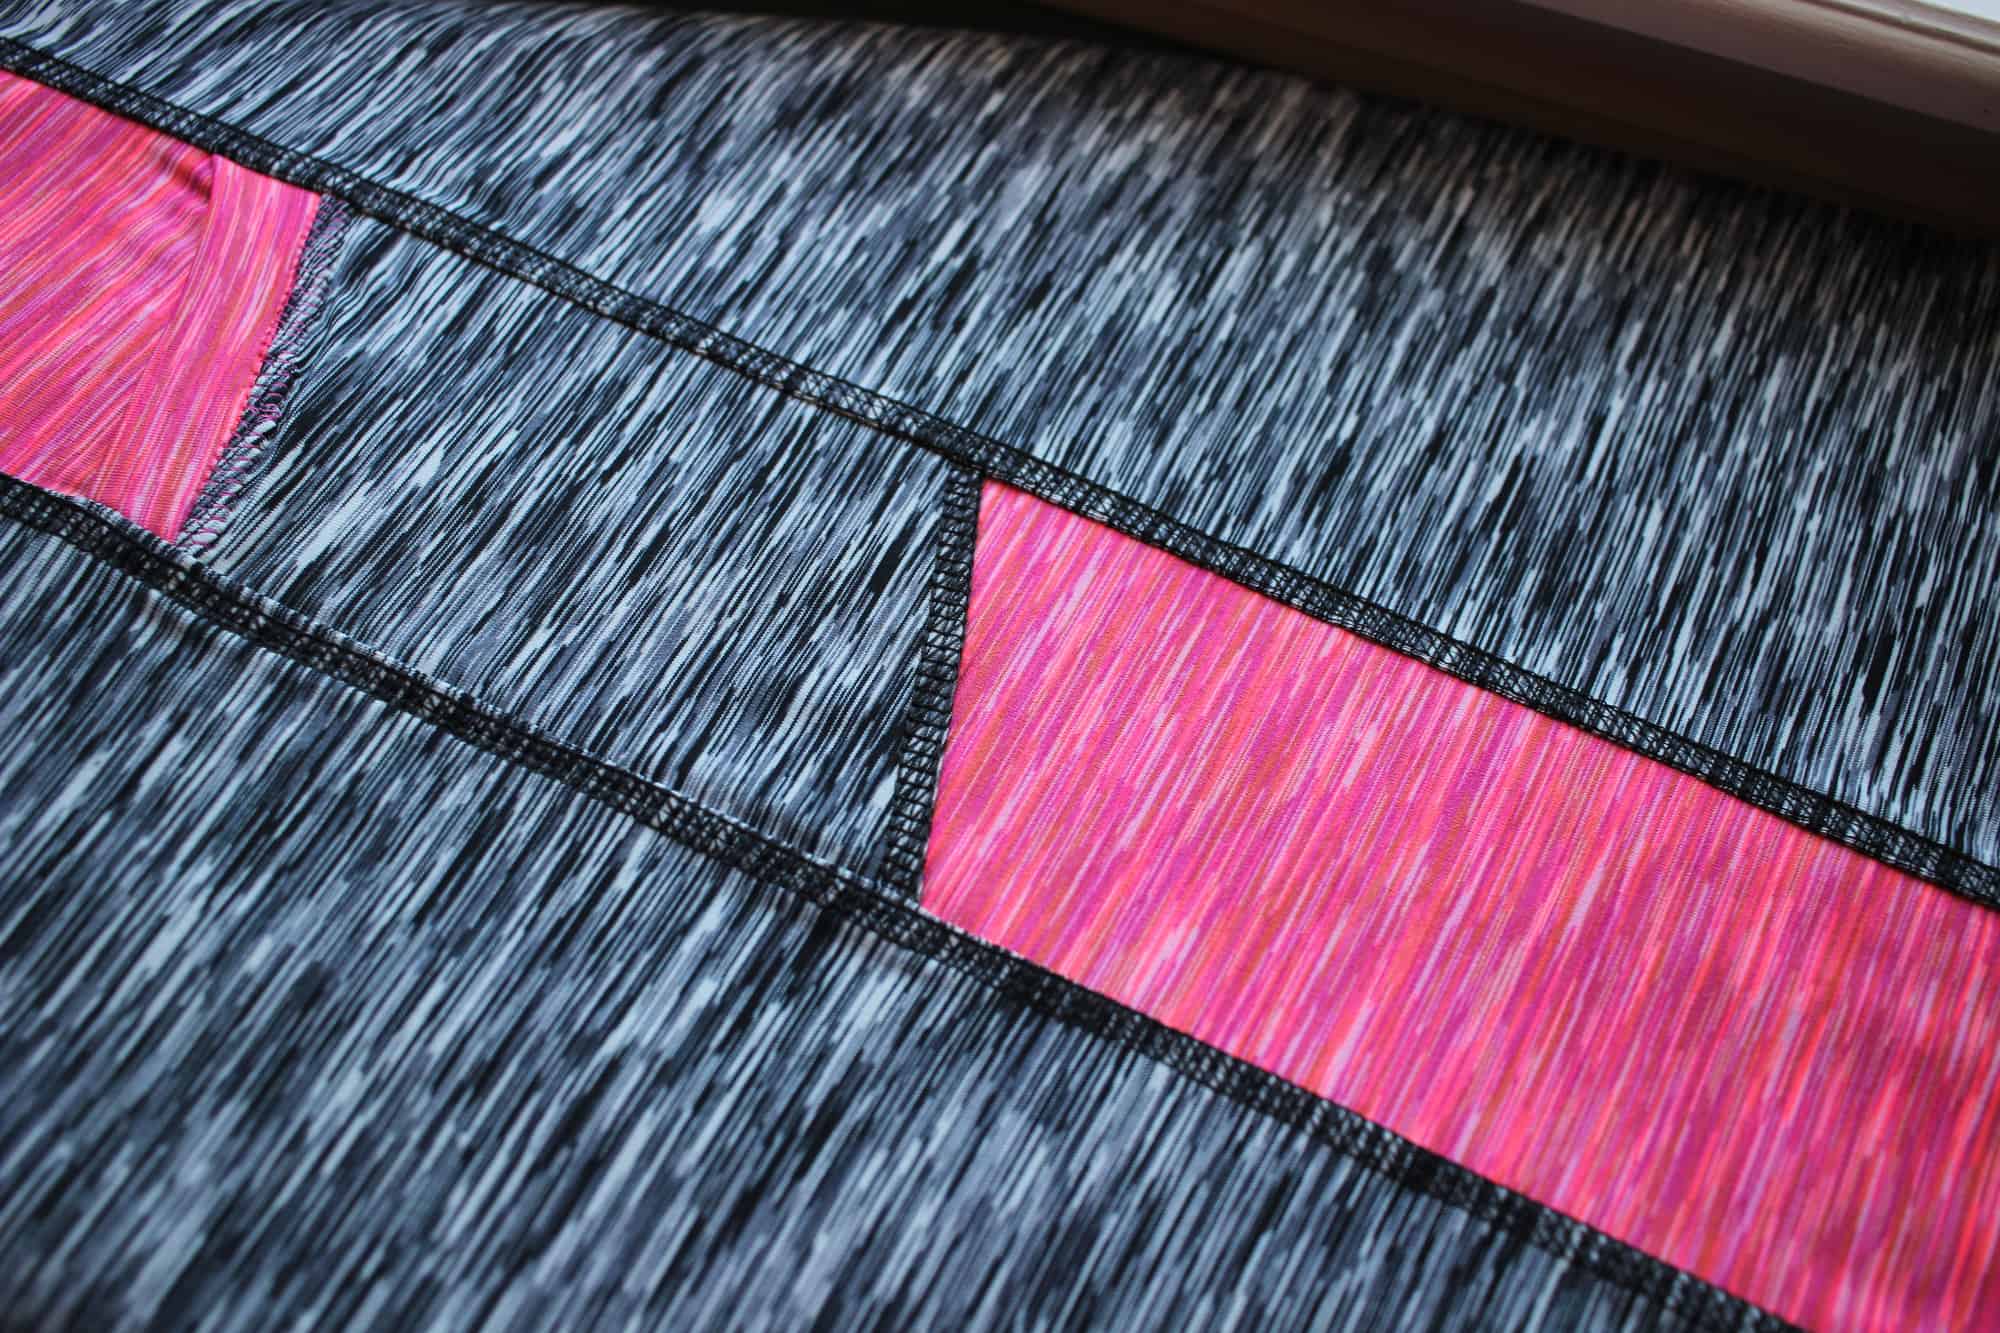
My favorite way to add decorative stitching to athletic wear is by using a 3 needle reverse coverstitch. If you have a coverstitch machine that only has 2 needles you can certainly do that too. If you have wooly nylon or bulky nylon thread, use it in your looper!
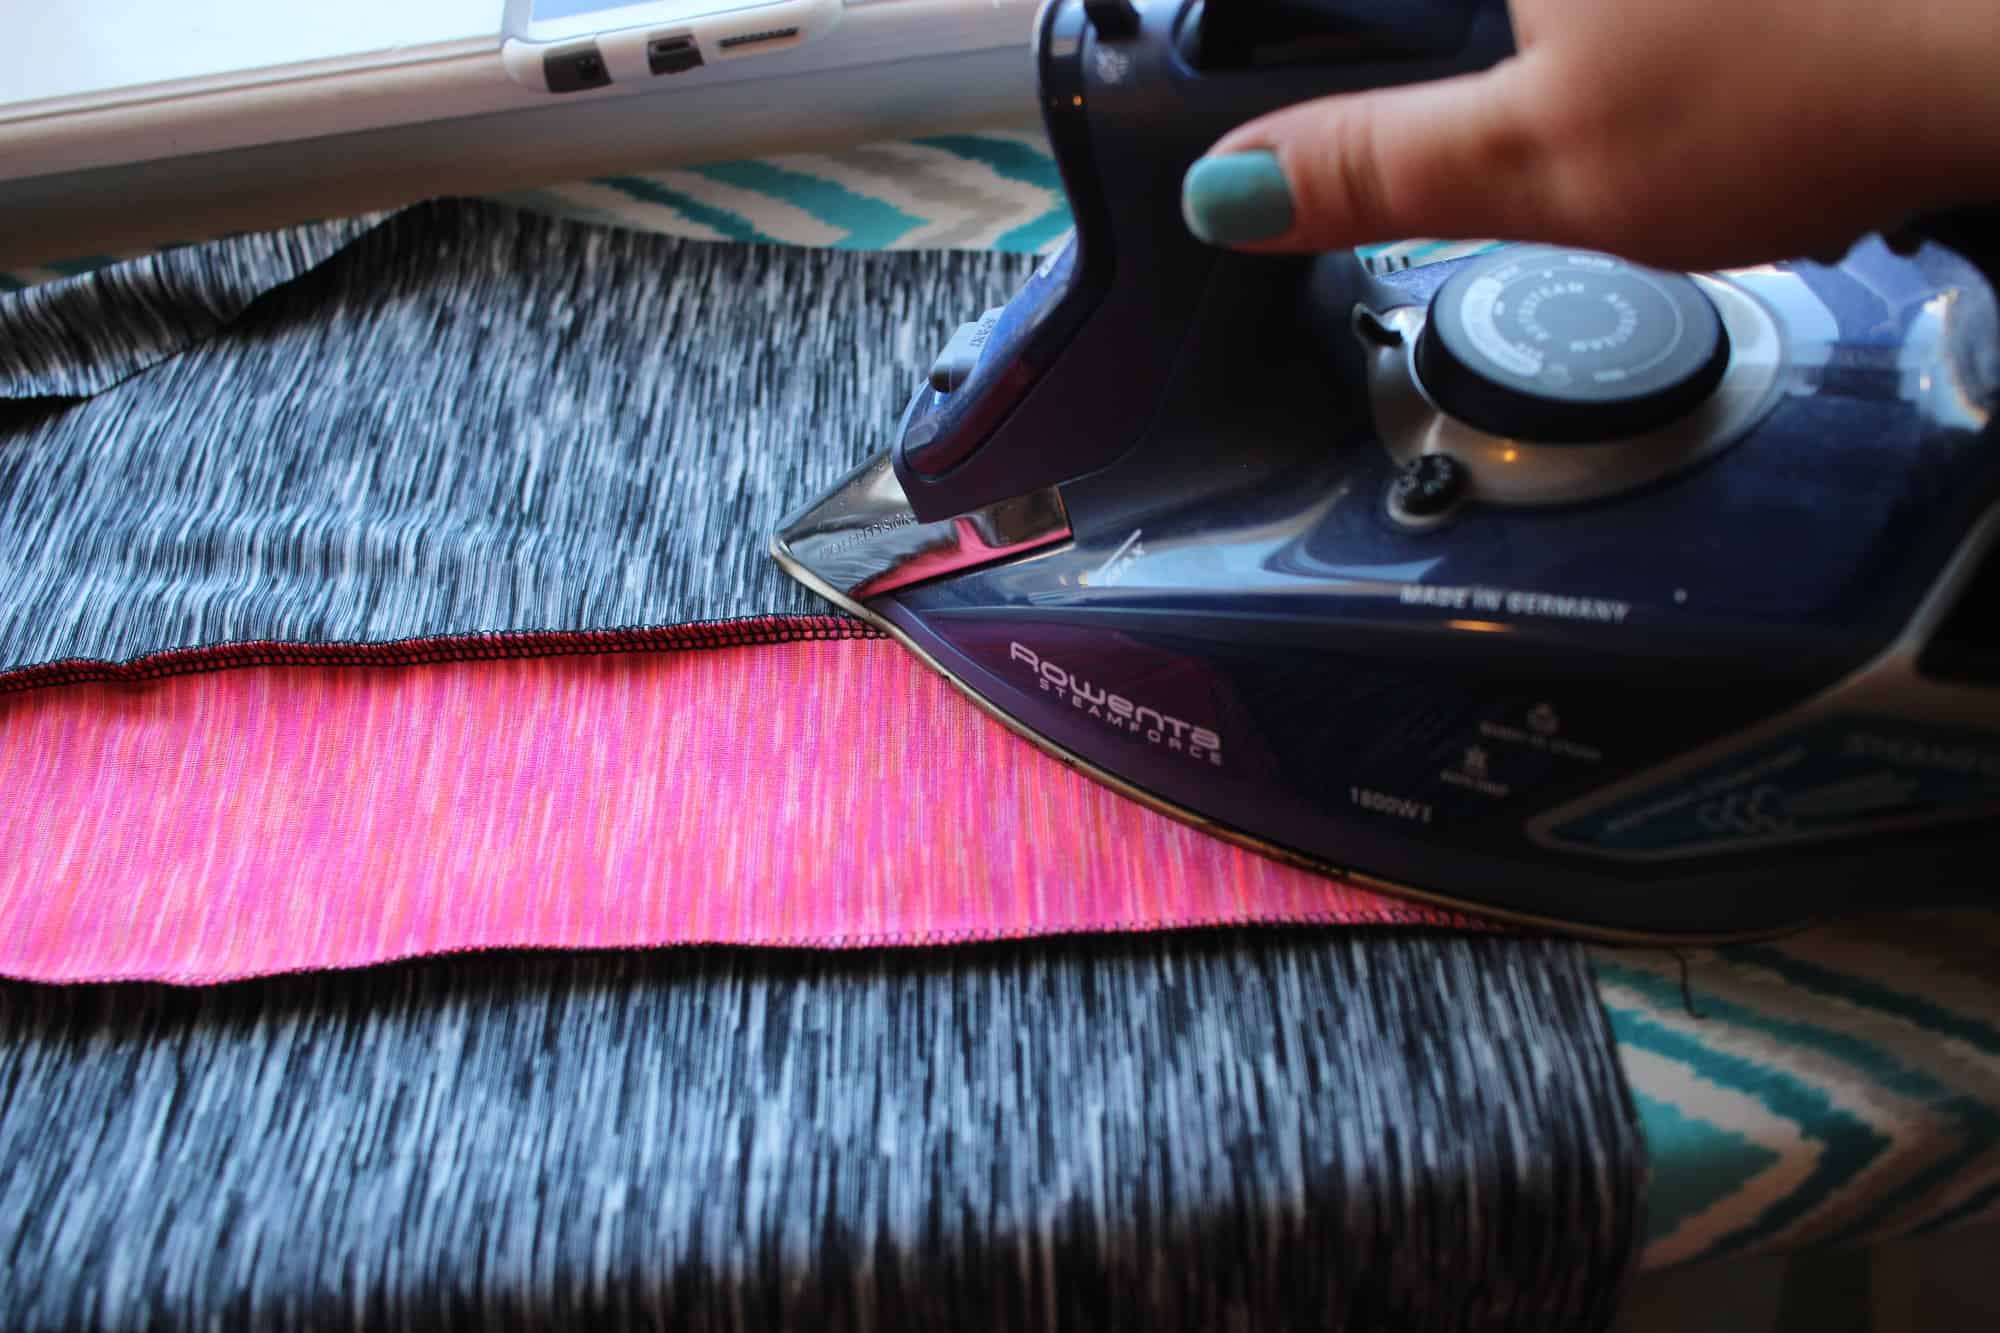
Start by pressing and steaming your seams towards the outside of your middle colorblock. DO NOT SKIP this step! Pressing the seam before coverstitching AND after will yield the best looking decorative stitch.
In order to achieve the athletic wear topstitching you’ve seen in stores, place your fabric in the coverstich with the wrong side up. The right needle should be right in the ditch. Stitch slowly! If your coverstitch machine has a speed dial now is the best time to use it.
When you finish stitching give all your seams a good steam! Yes, I’ve said it before 🙂 but look how pretty it looks when you do.
SERGER
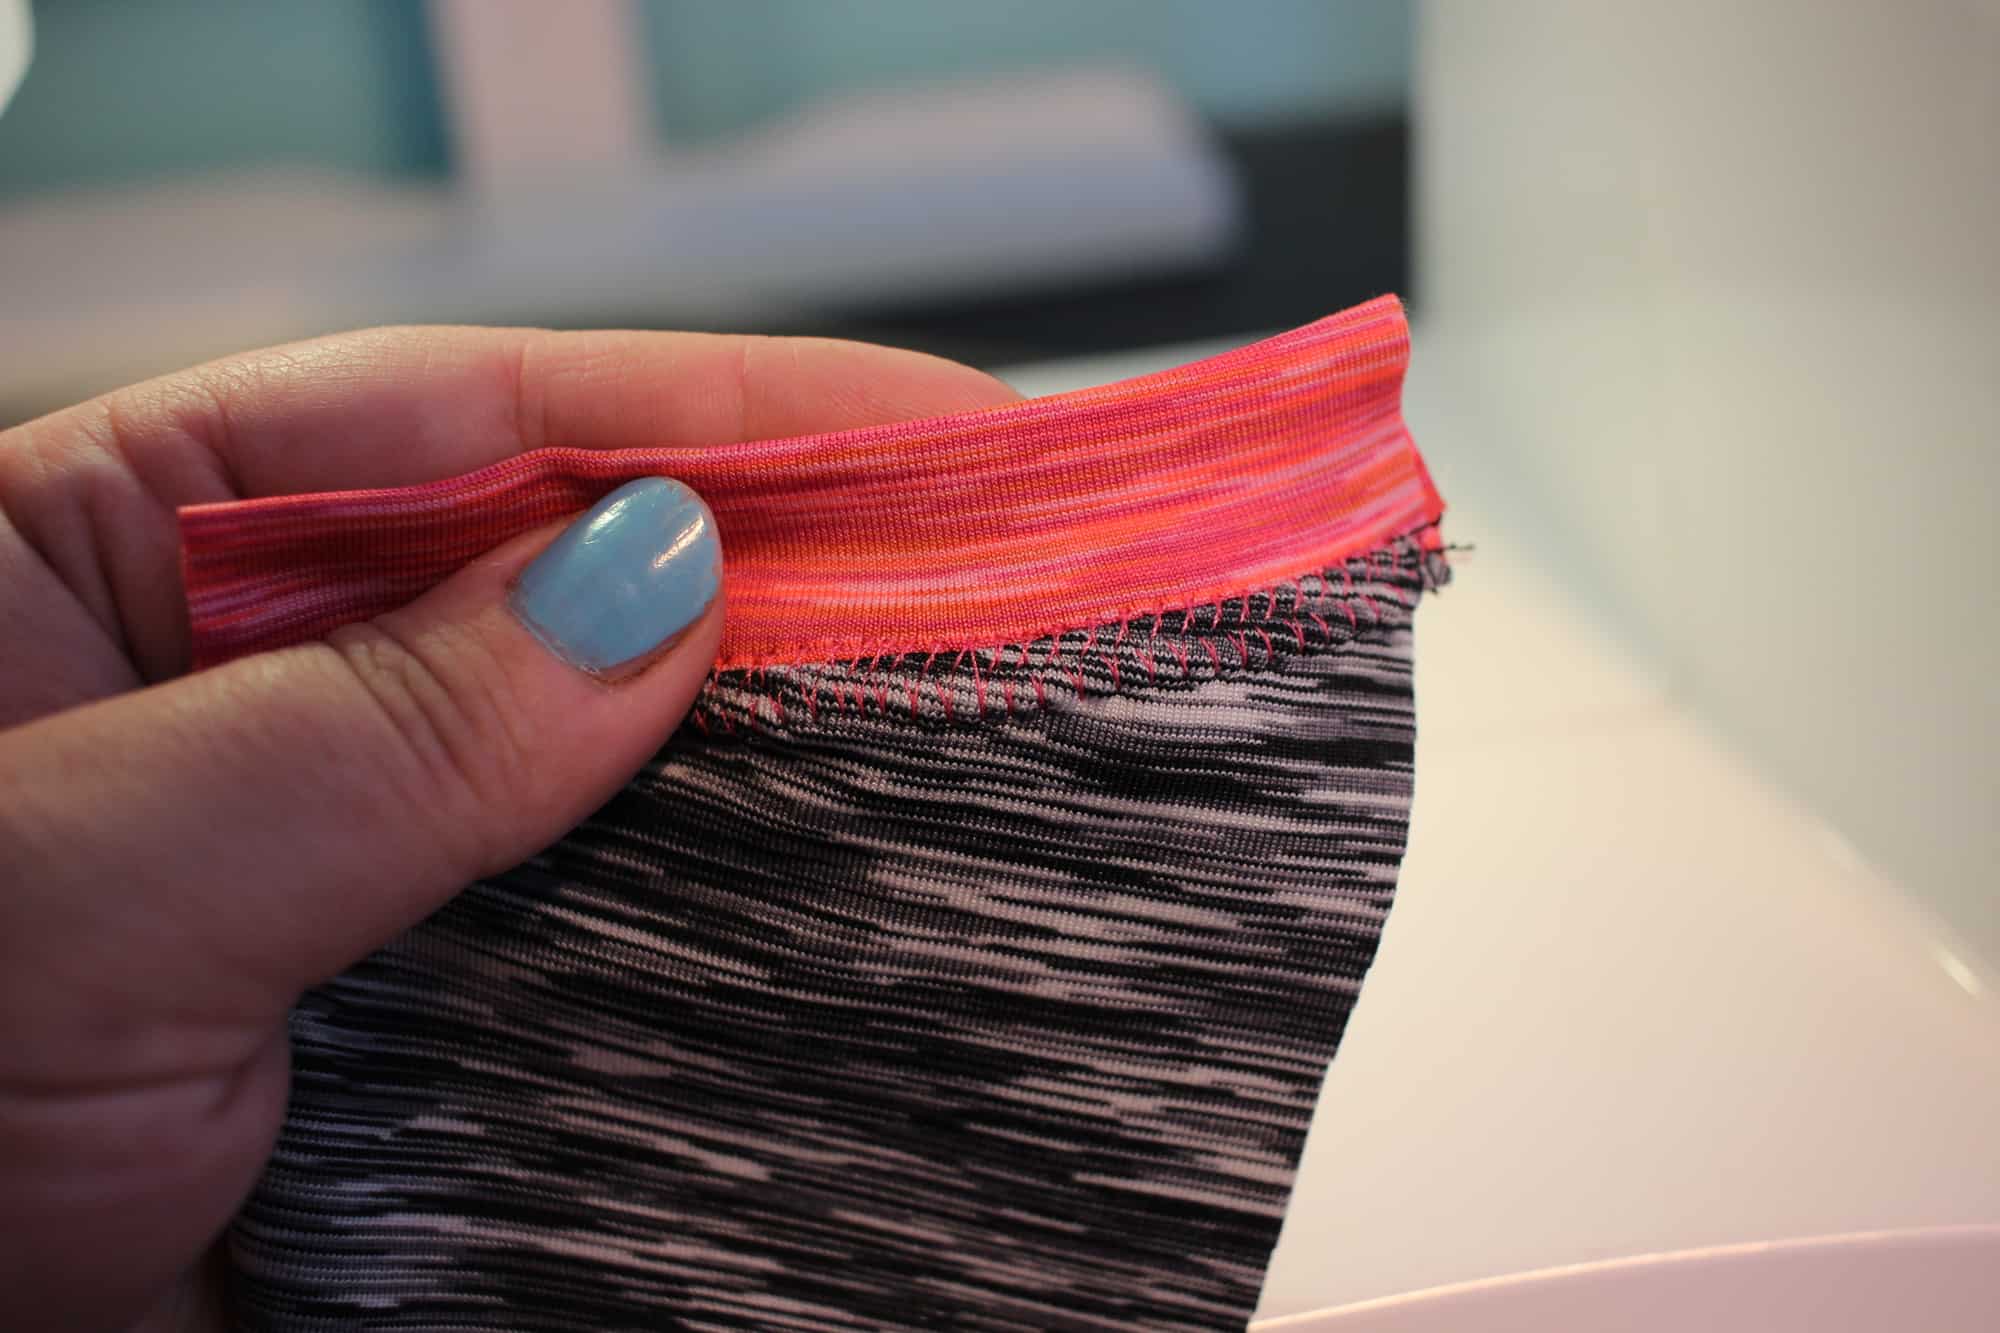
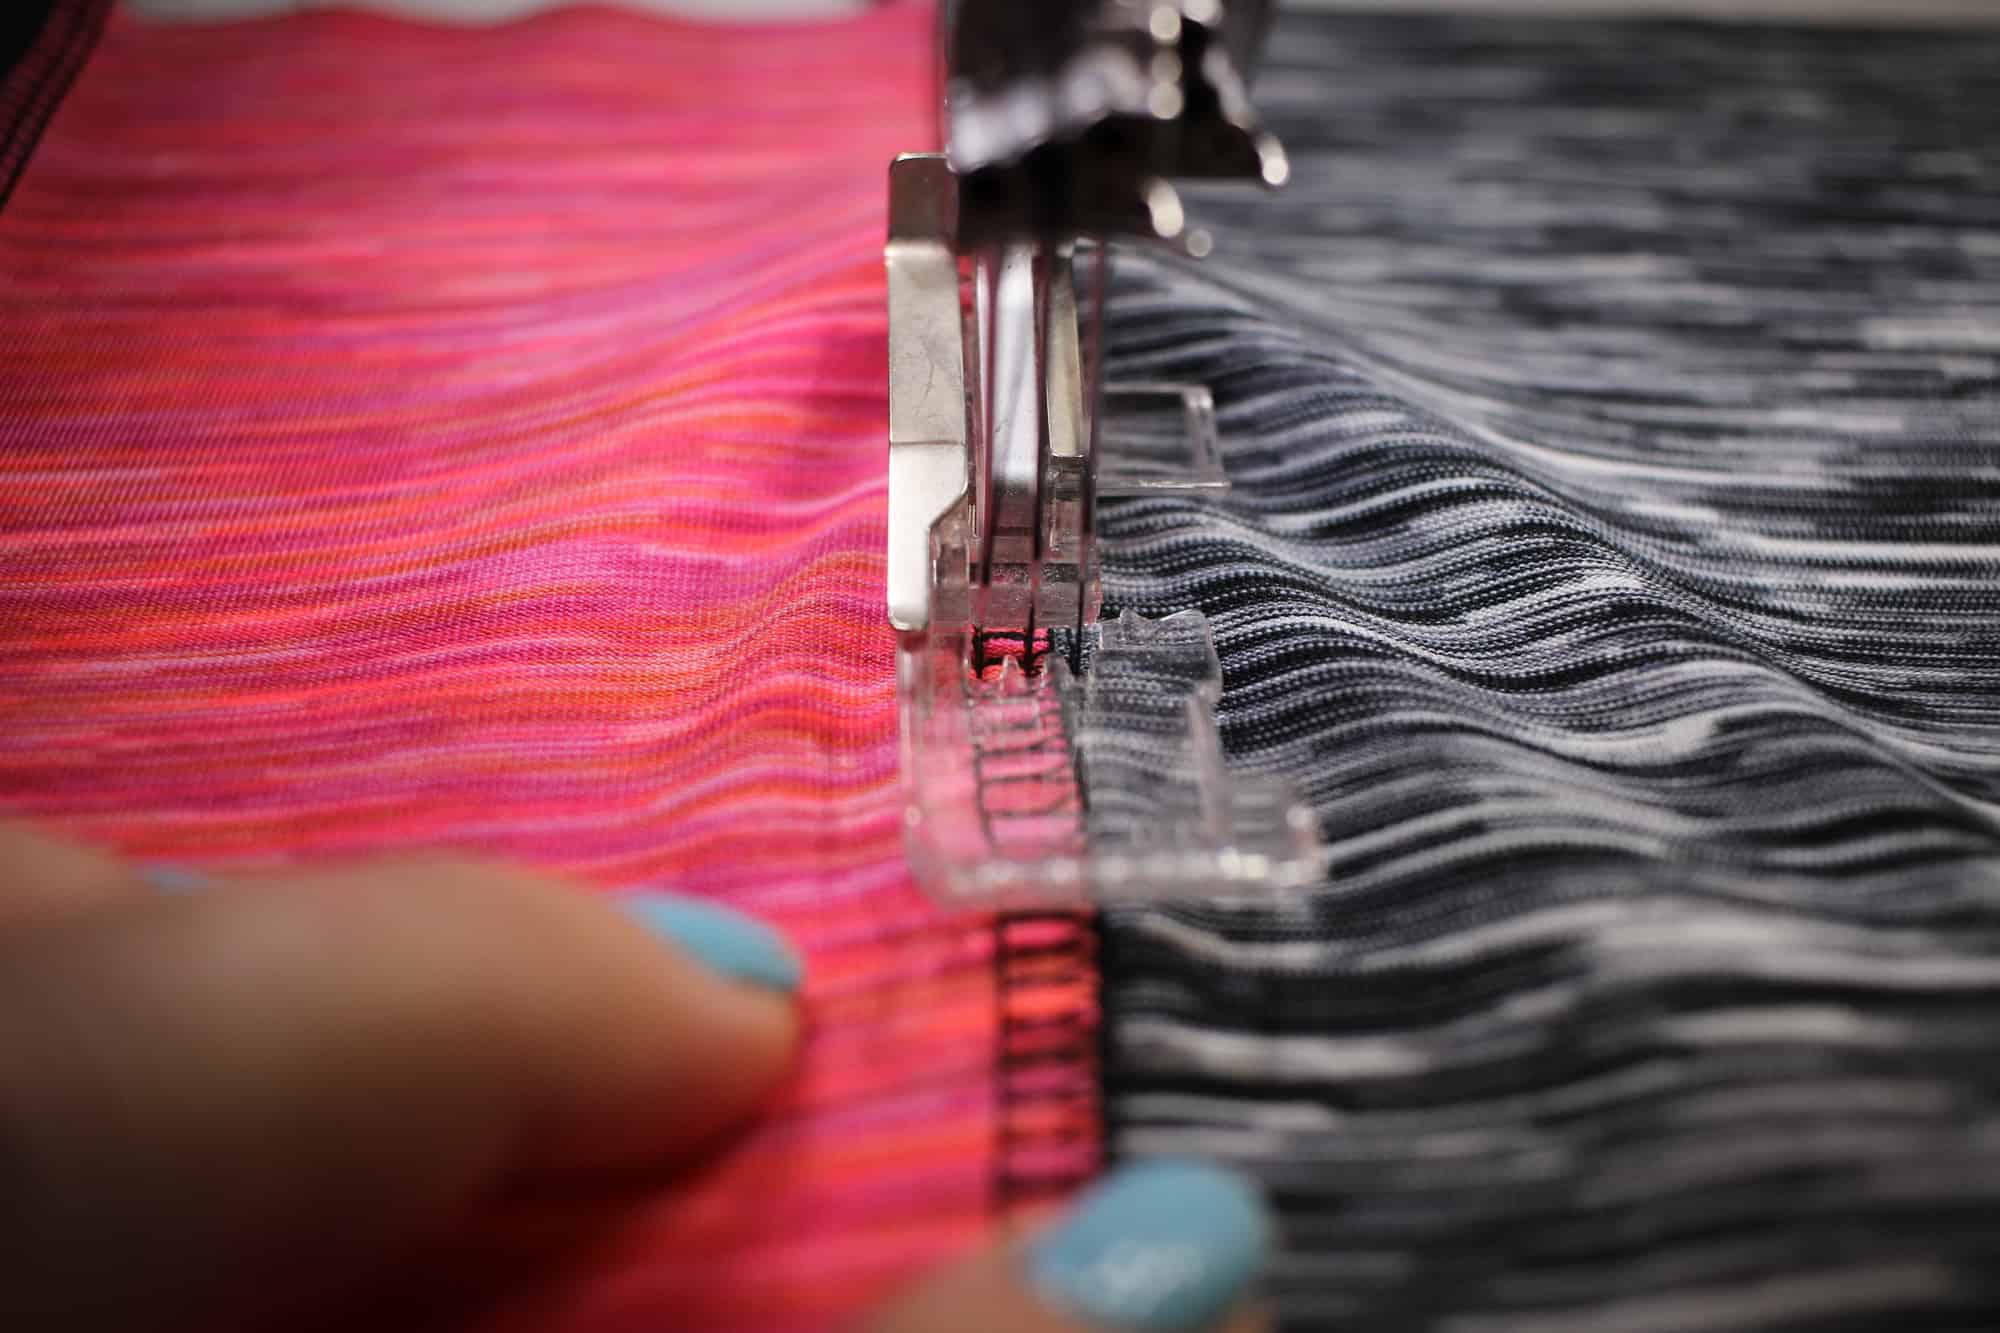
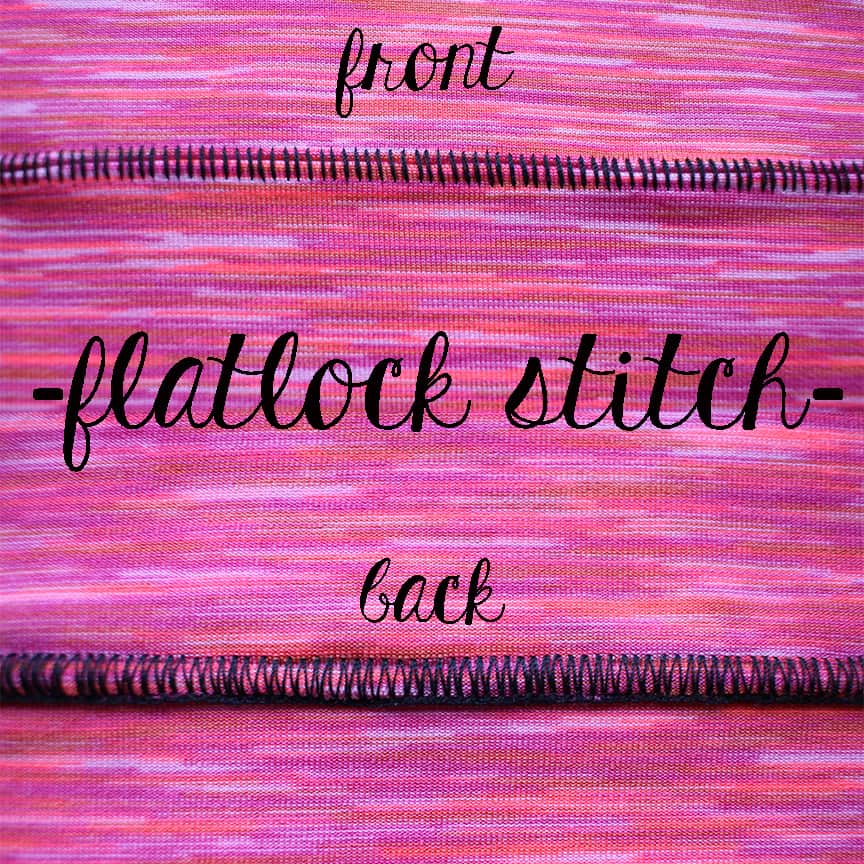
A third way to add decorative stitching is to use a flatlock stitch on your serger. I used a flat lock stitch to attach the waistband. Doing so not only makes the pegs look more like RTW ones but it also makes them feel nicer. As per its name the flat lock seam is flat so no bulky seam at the waistband.
Start by setting up your serger for a flat lock stitch. Make sure to read your manual because all machines are different. You will only be using your left needle. These are the settings I use but please make sure to always test out your machine with similar fabric as the one you’ll be using in your main project. The tension and stitch length will vary from fabric to fabric.
If you’d like to attach the waistband using this style stitch you can can put the waistband inside the pants this way the “back” will be showing or you can place the waistband outside the pants so the front will be showing.
I placed my waistband inside because I wanted the ladder stitch to show on the inside and the “zig zag” look on the outside.
There you have it..3 ways to add decorative stitching using your regular sewing machine or your serger or your coverstitch machine! I can’t wait to see your fabulous Peg Legs so be sure to post your creations in the group!
We are celebrating reaching 50K fans in our Facebook group! To make it a party, our beloved PegLegs pattern just got an update AND some new add-ons. Before you go running to your machine to sew up your own leggings, make sure to read our PegLegs 101 blog post. This way, you’ll have all the the information you’ll need to make the perfect pair before you even cut into your gorgeous fabric.
But wait, there’s more! After any good party is an after-party. We are taking it one step further and sharing some easy hacks that’ll bring even more flavor to your favorite leggings pattern! We hope you check them out, make your new favorite pair of leggings, and know that we appreciate every single one of you amazing sewing guys and gals!
Here are our hacks / tutorials / latest tricks:
Lace Waistband Alternative | Drawstring Waistband Tutorial
Exposed Elastic Waistband | Stirrup Pant Hack
Ruched Ankles Adjustment | Decorative Topstitching Tutorial
Ruched Side Panel Hack
