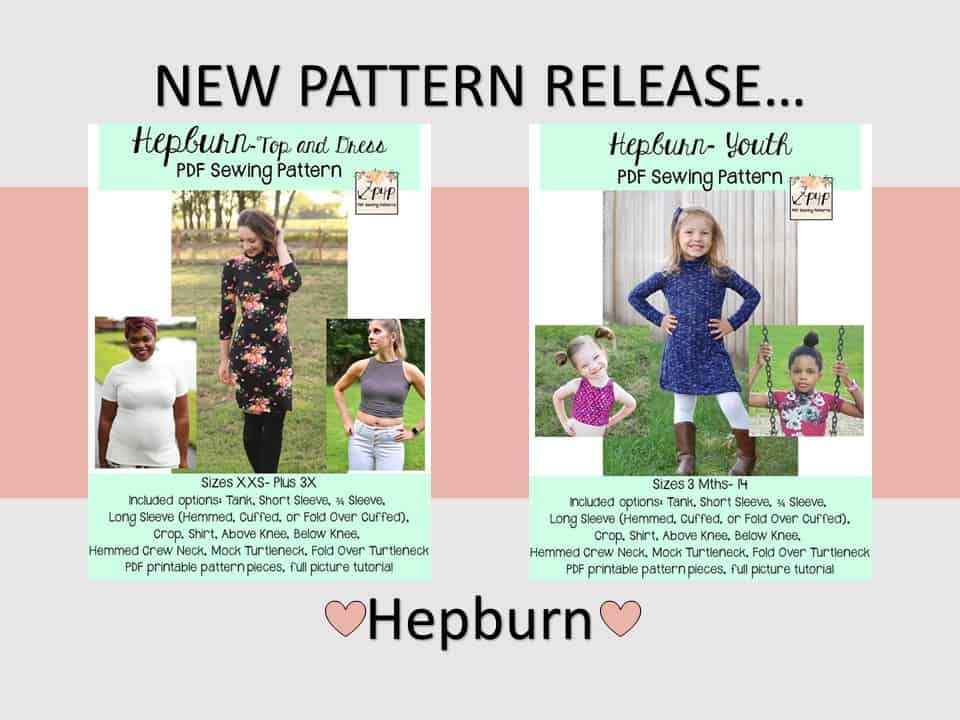
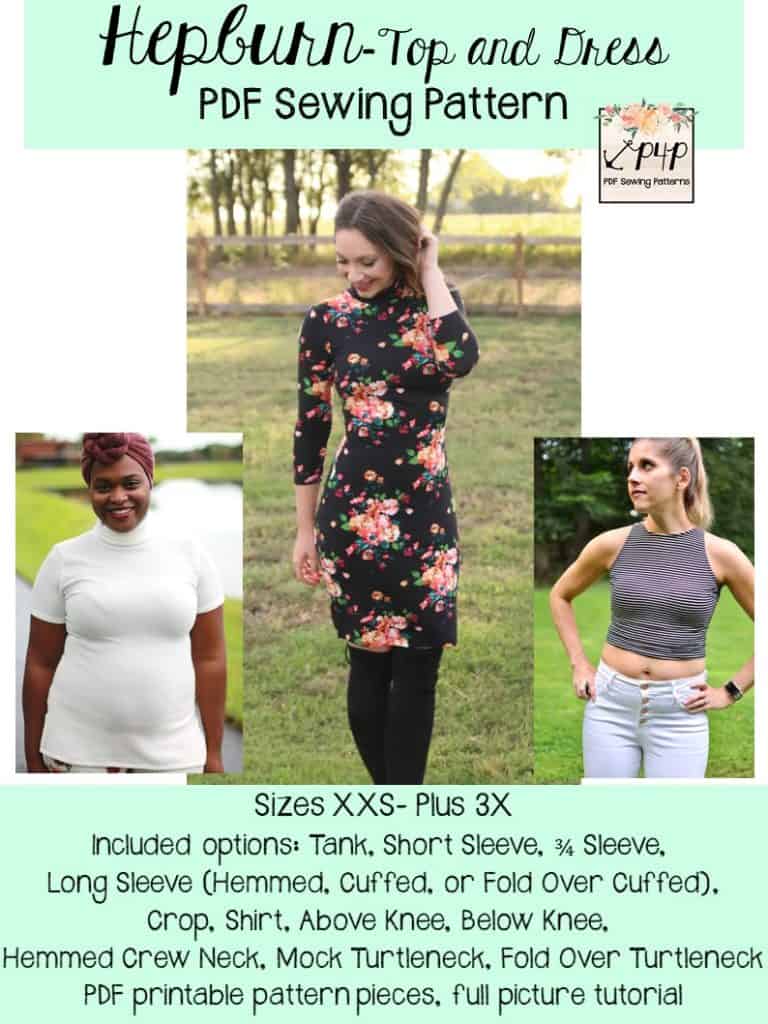
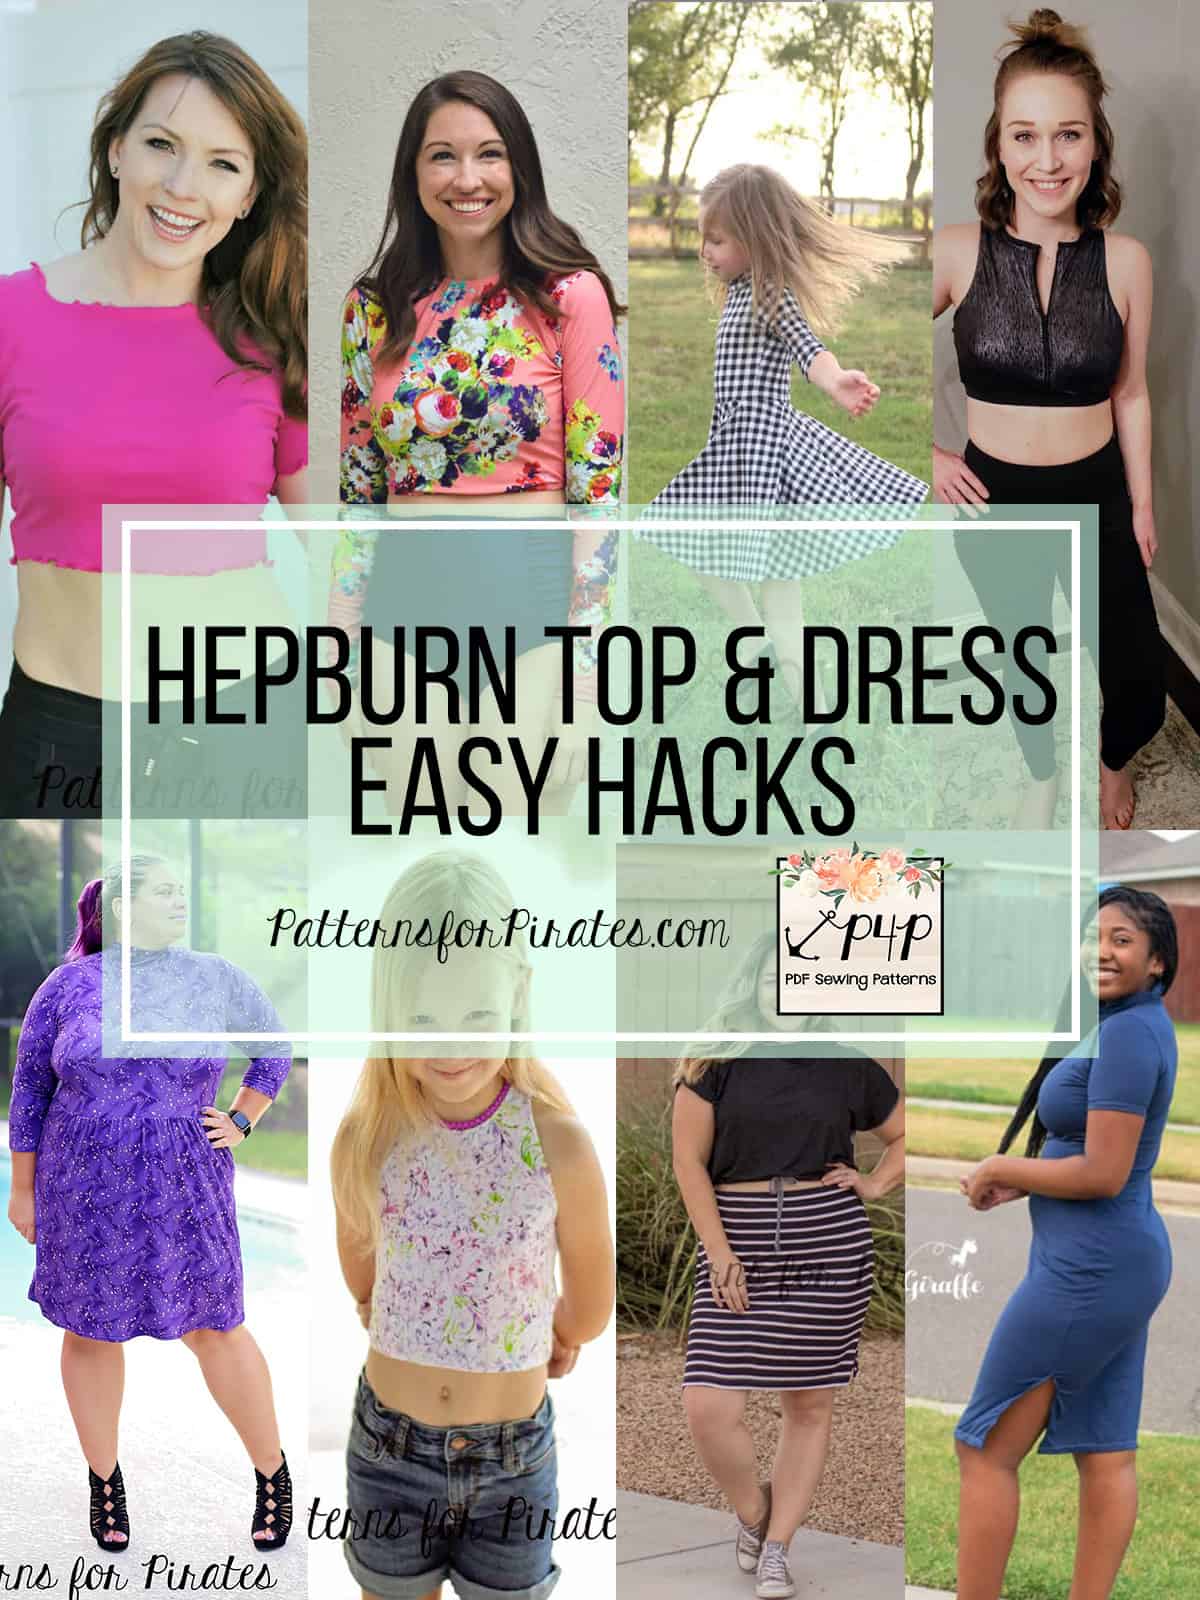
We’re so excited to share the newest patterns in the P4P collection… the Hepburn Top and Dress will take you from summer crop to winter turtleneck dress and everything in between! All the options will have you creating a huge variety of timeless wardrobe staples.
-

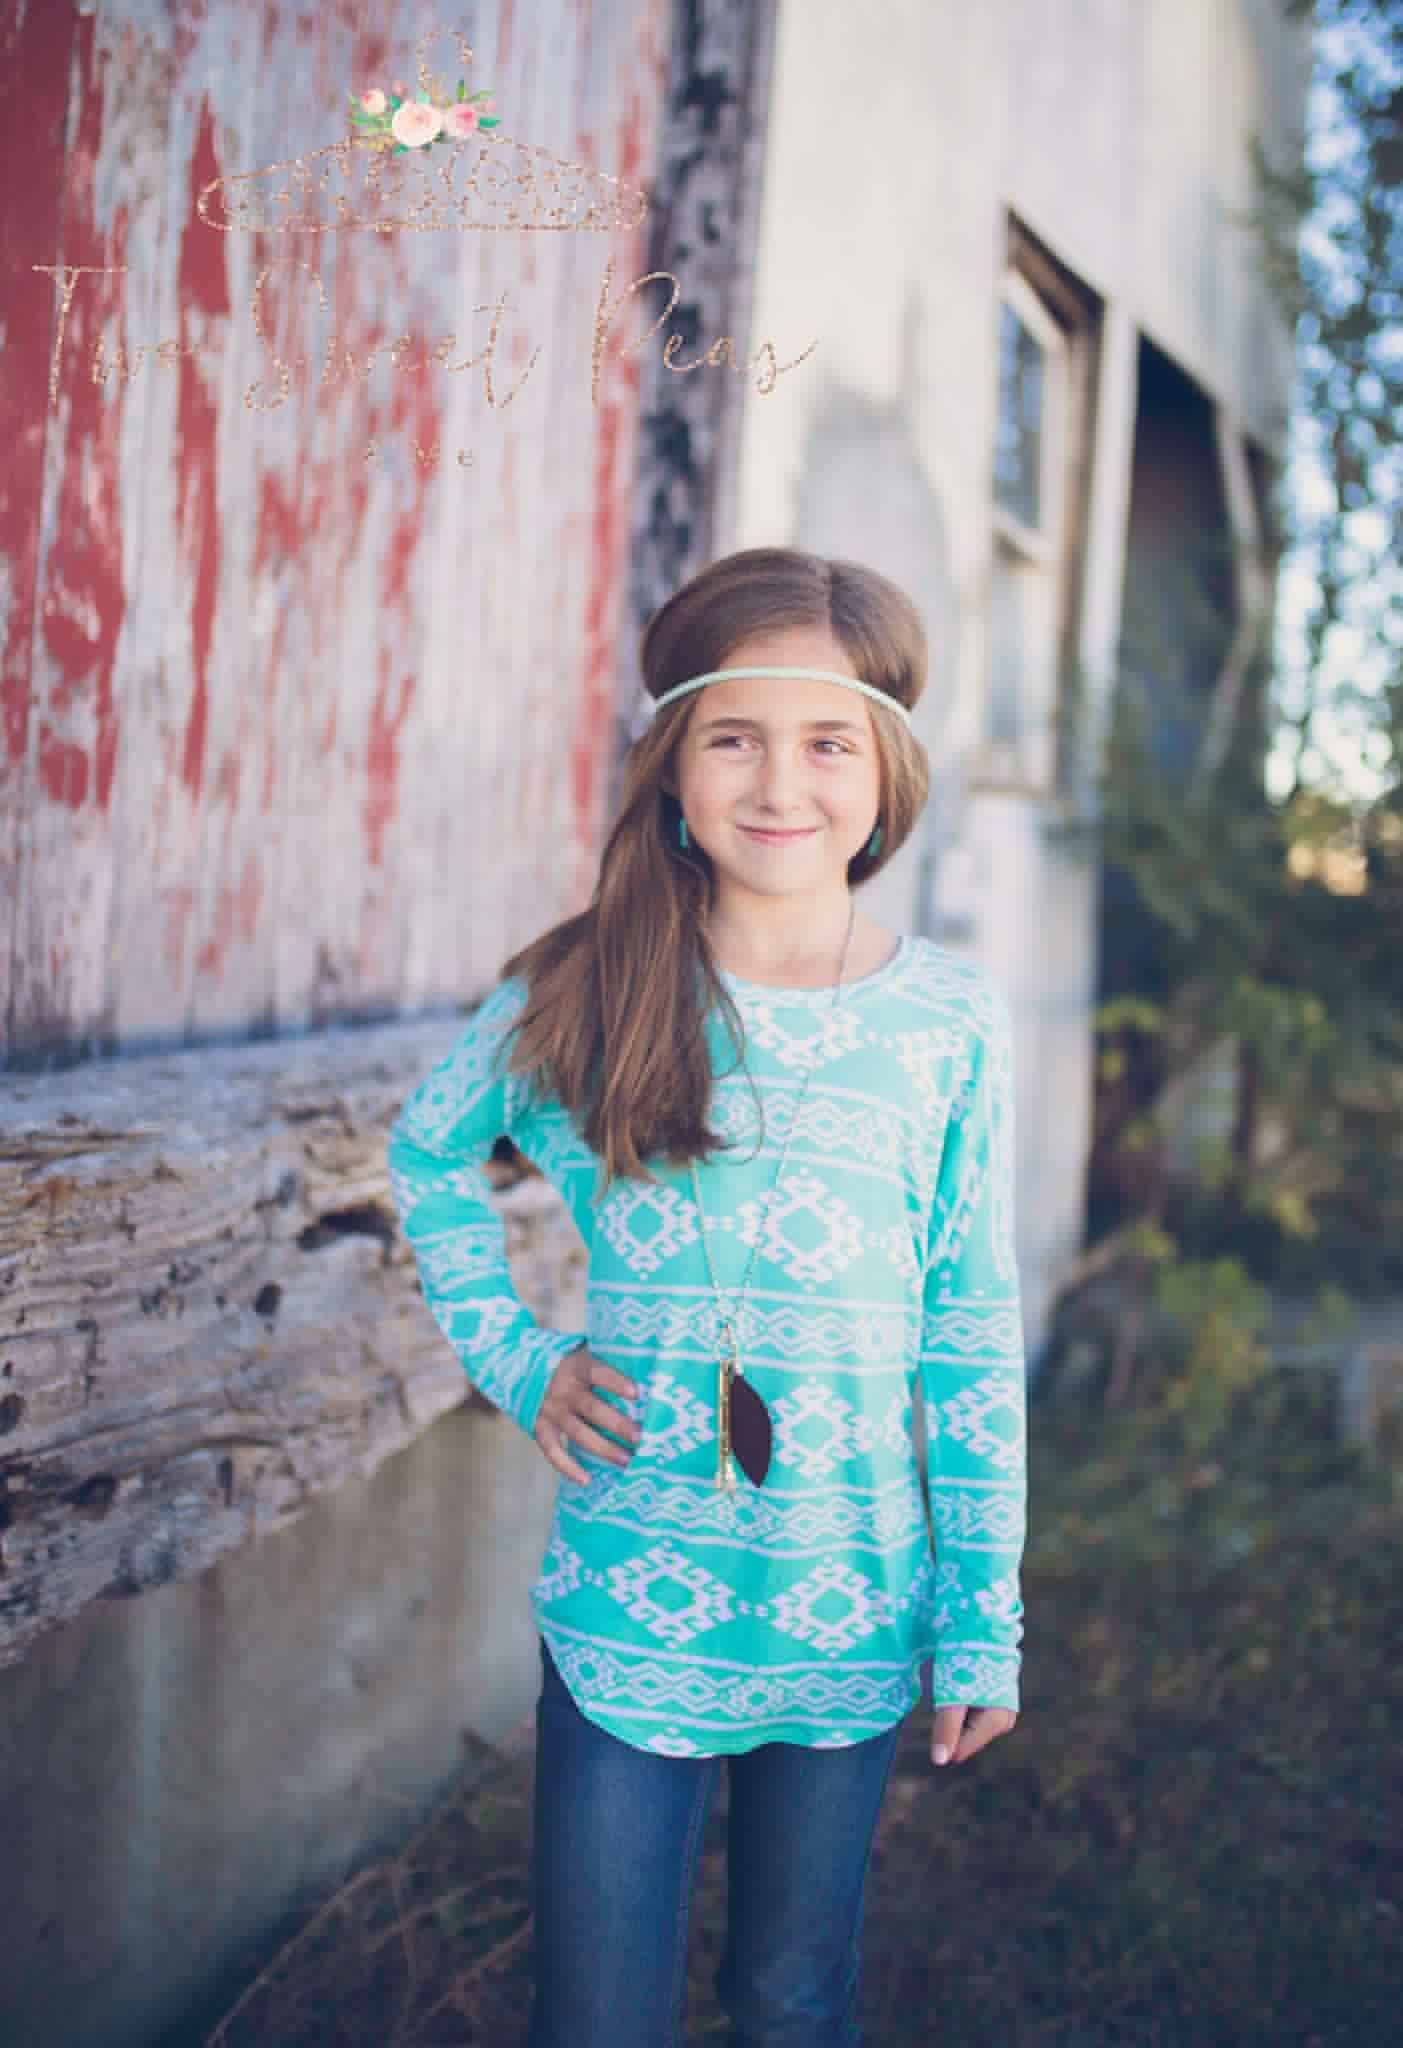
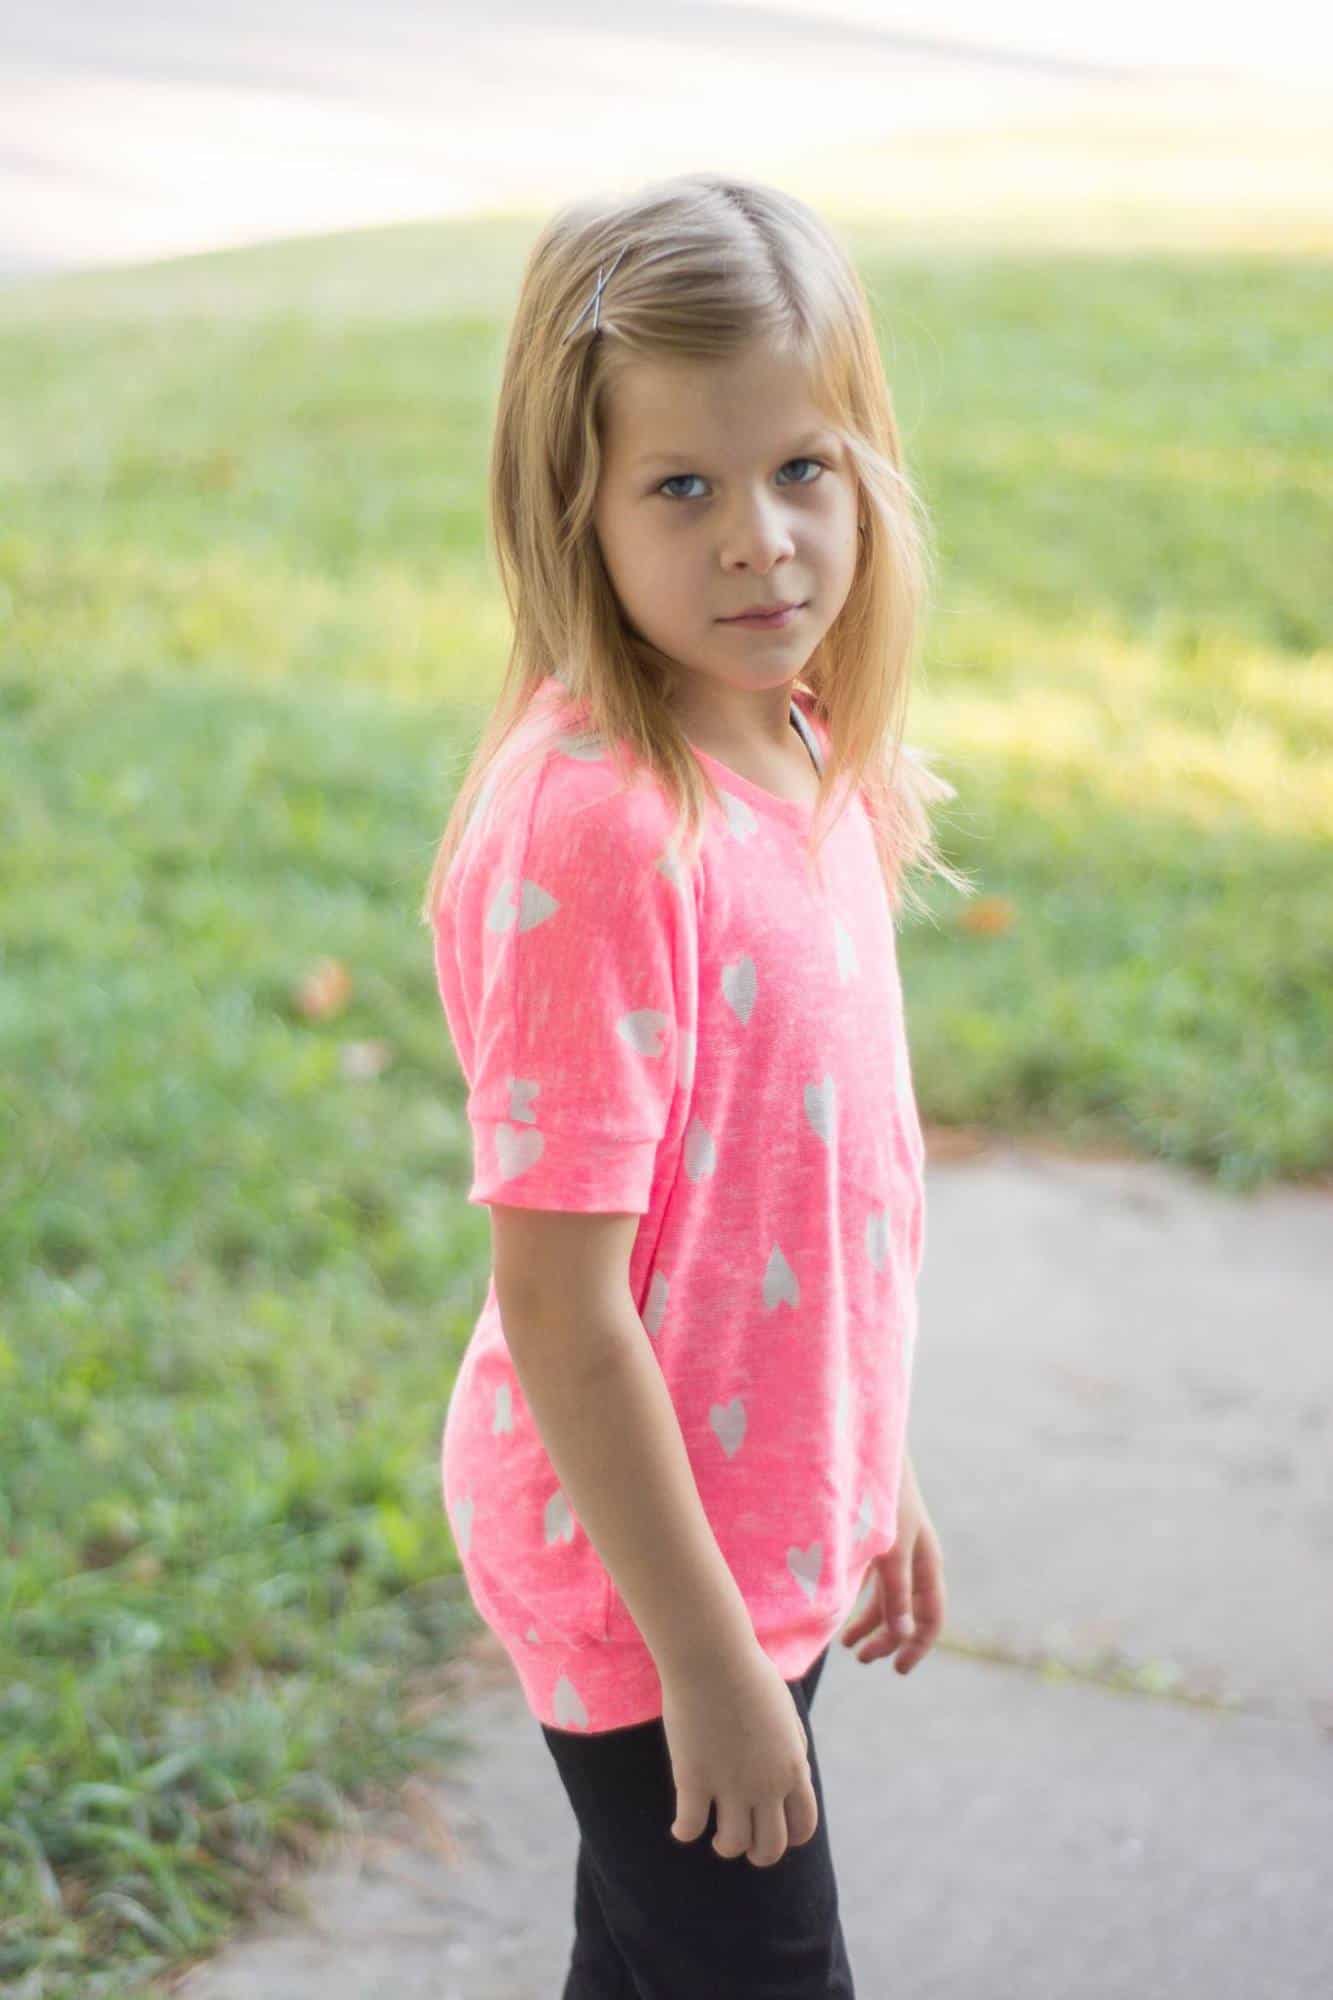
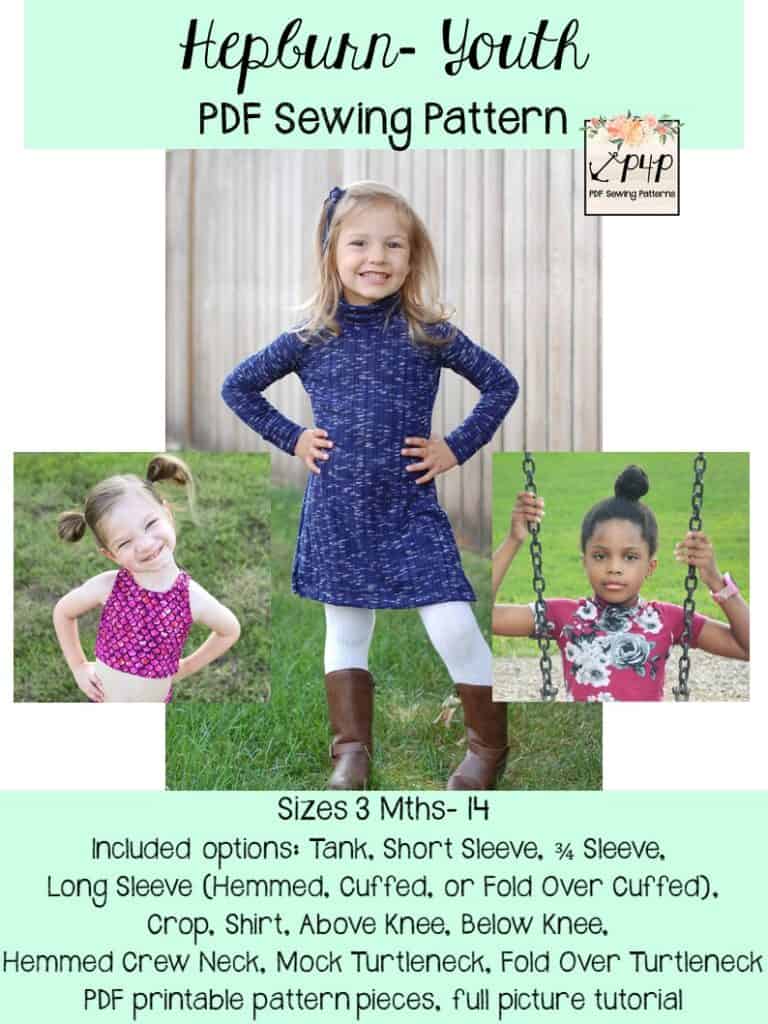
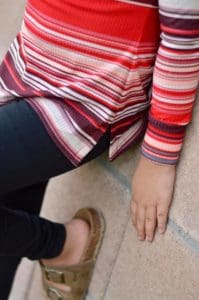
- Hepburn- Youth
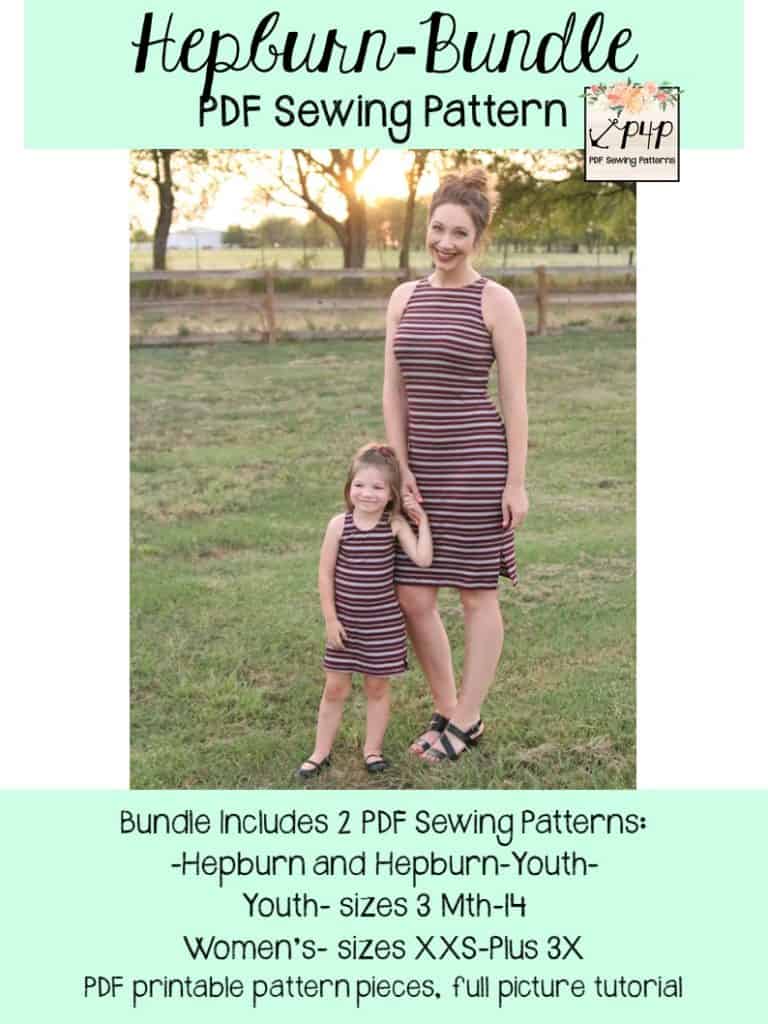
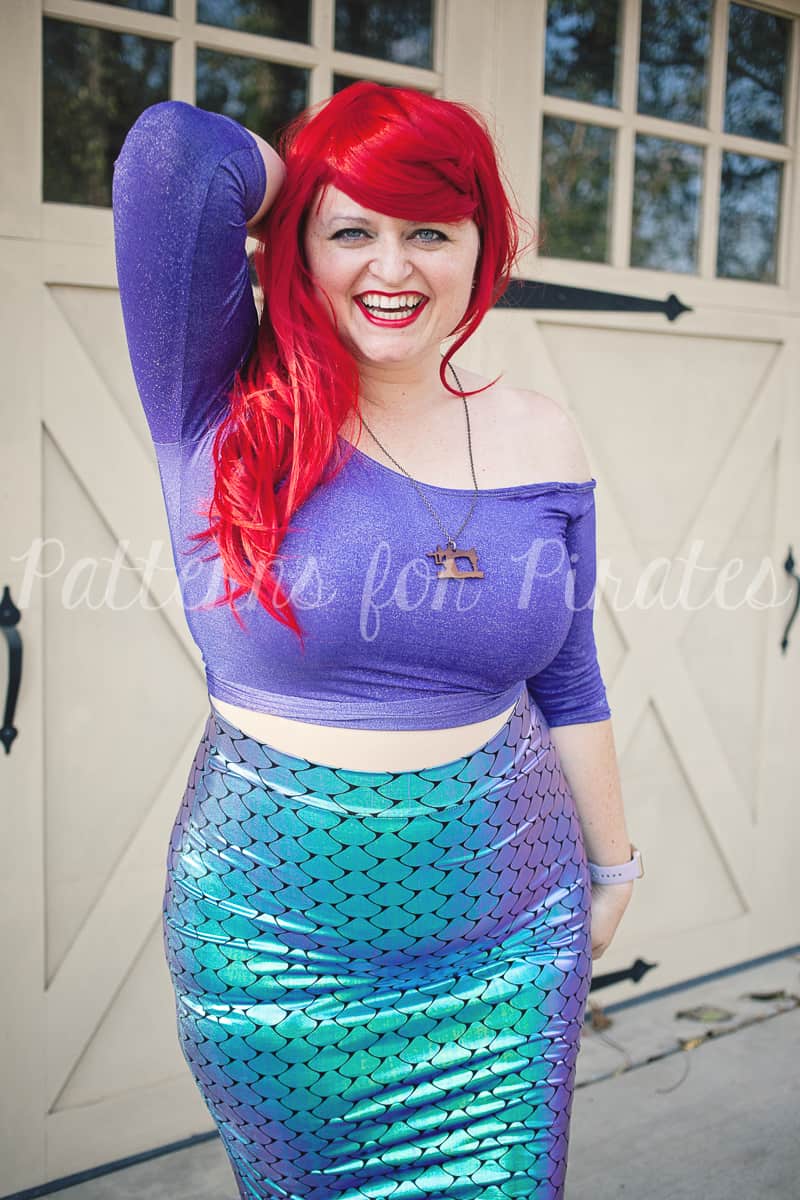
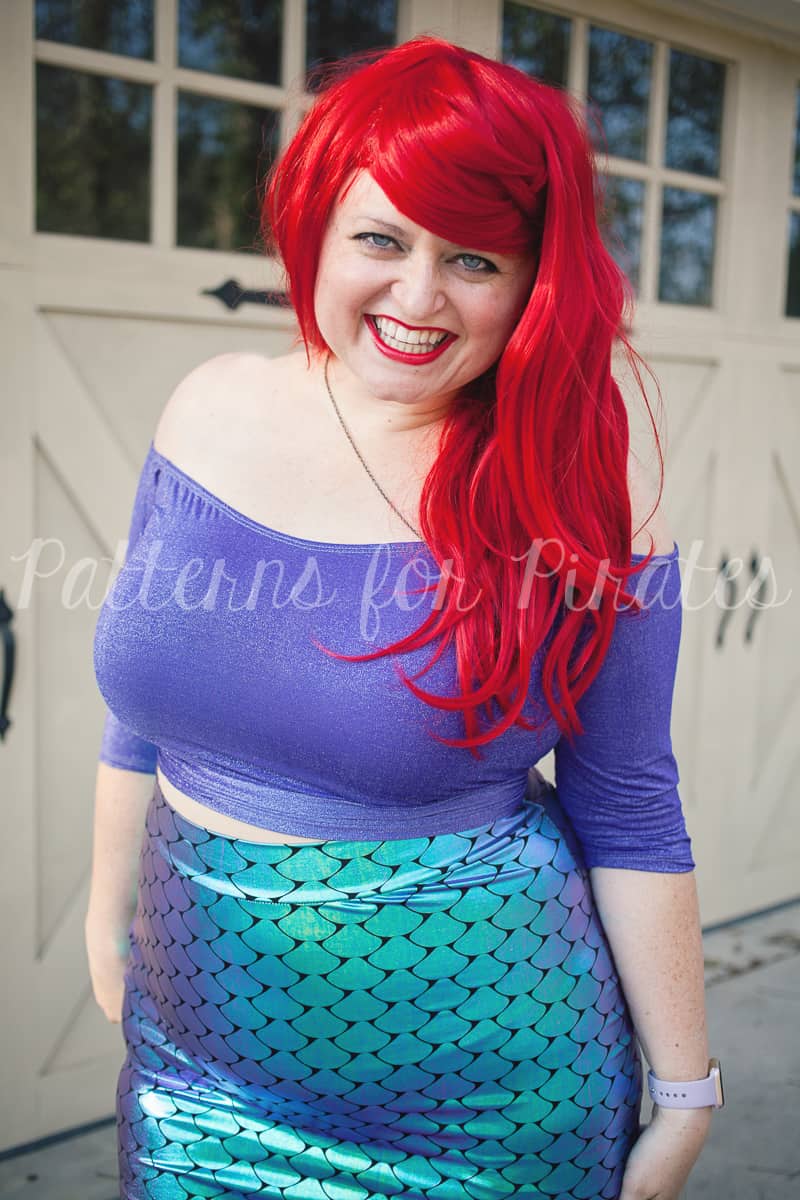
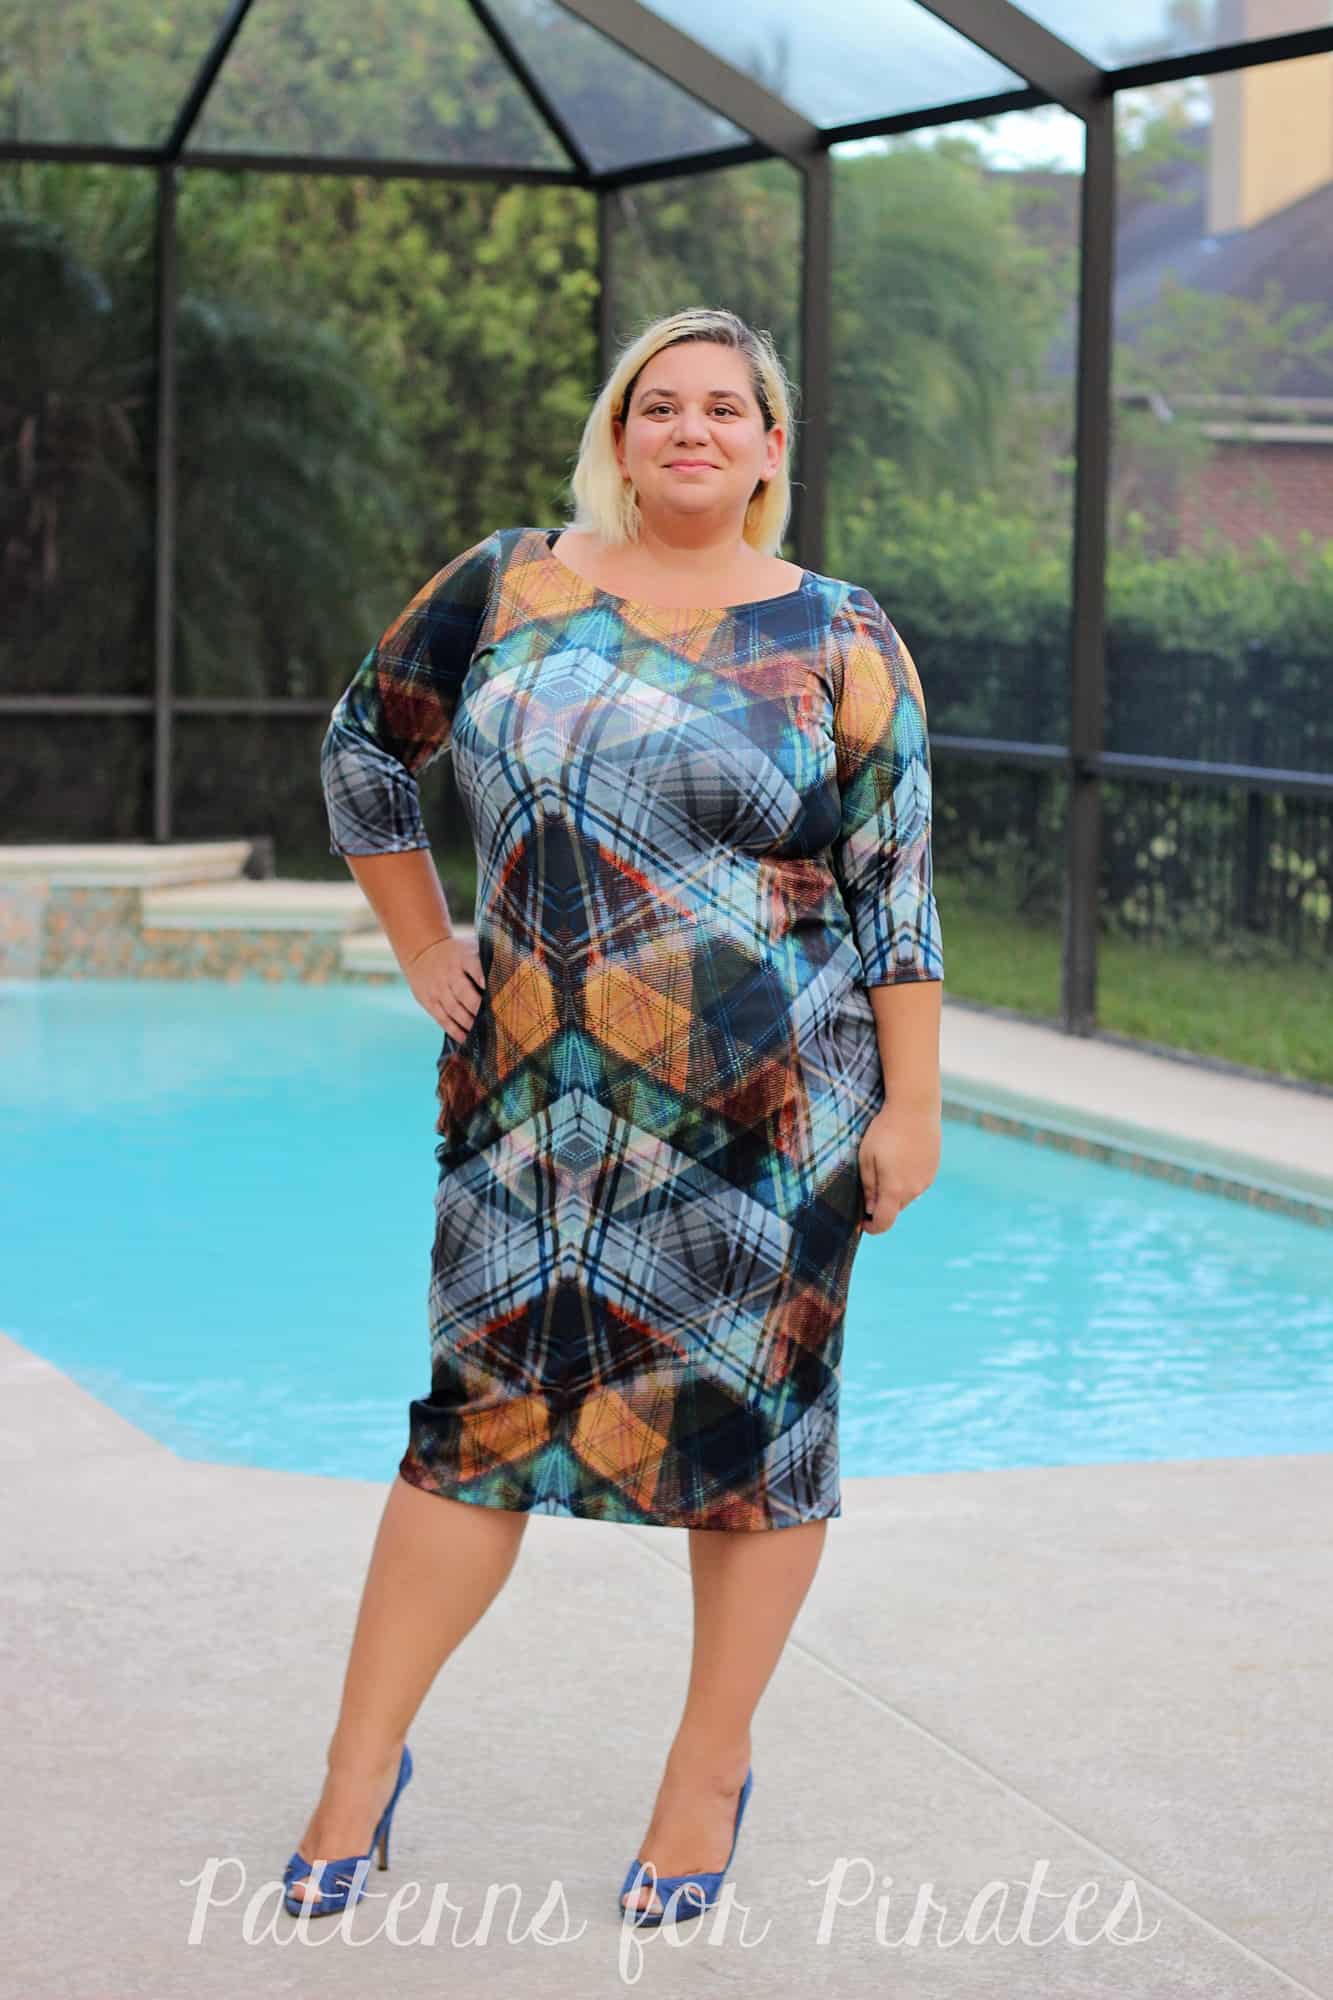
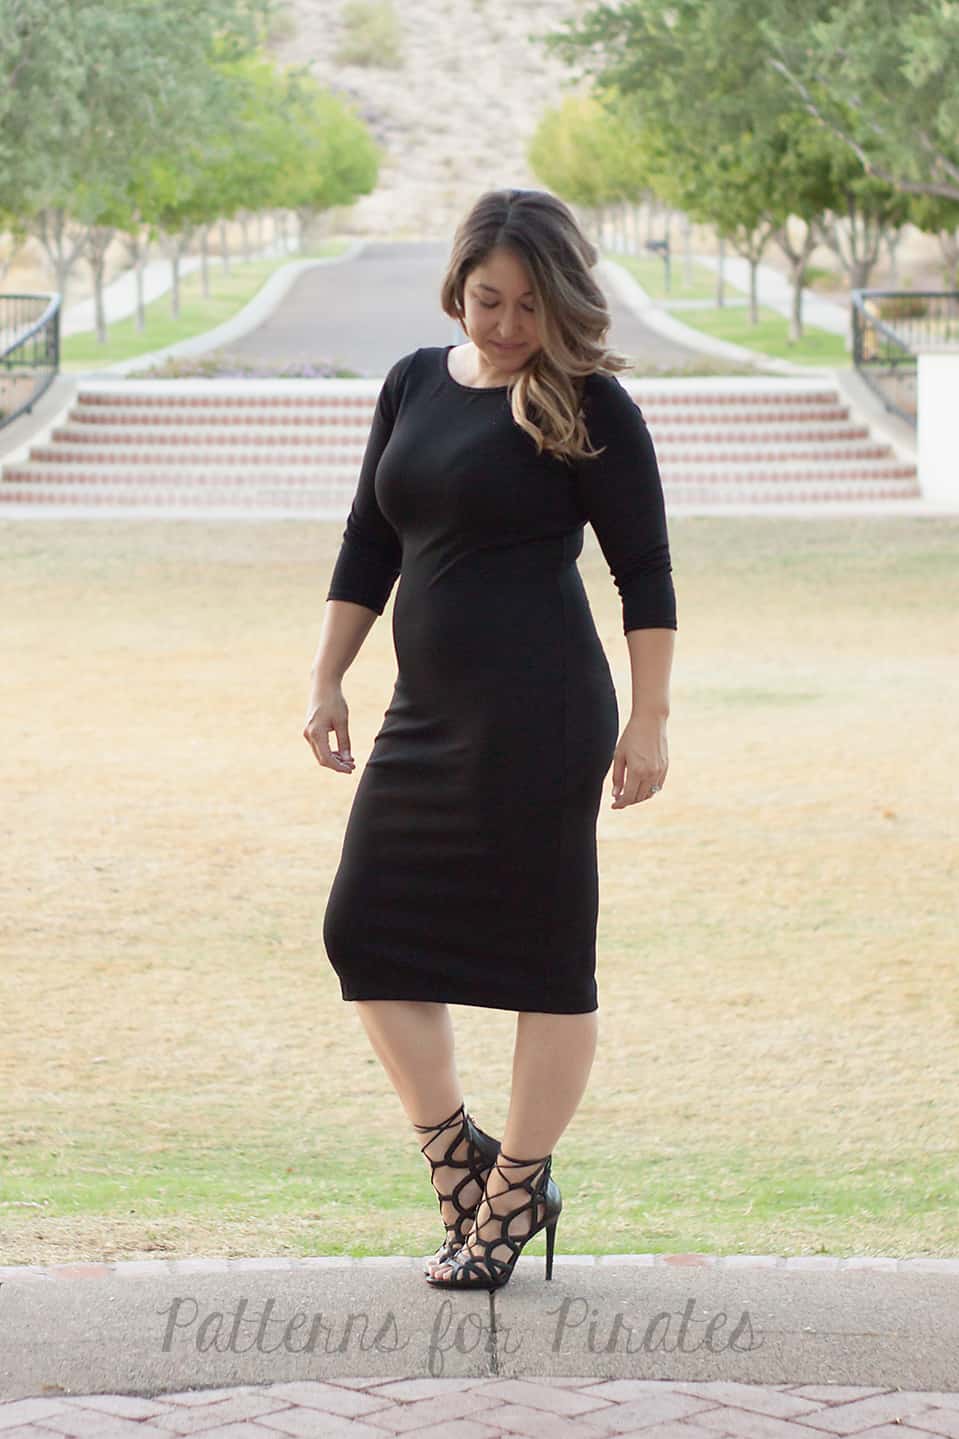
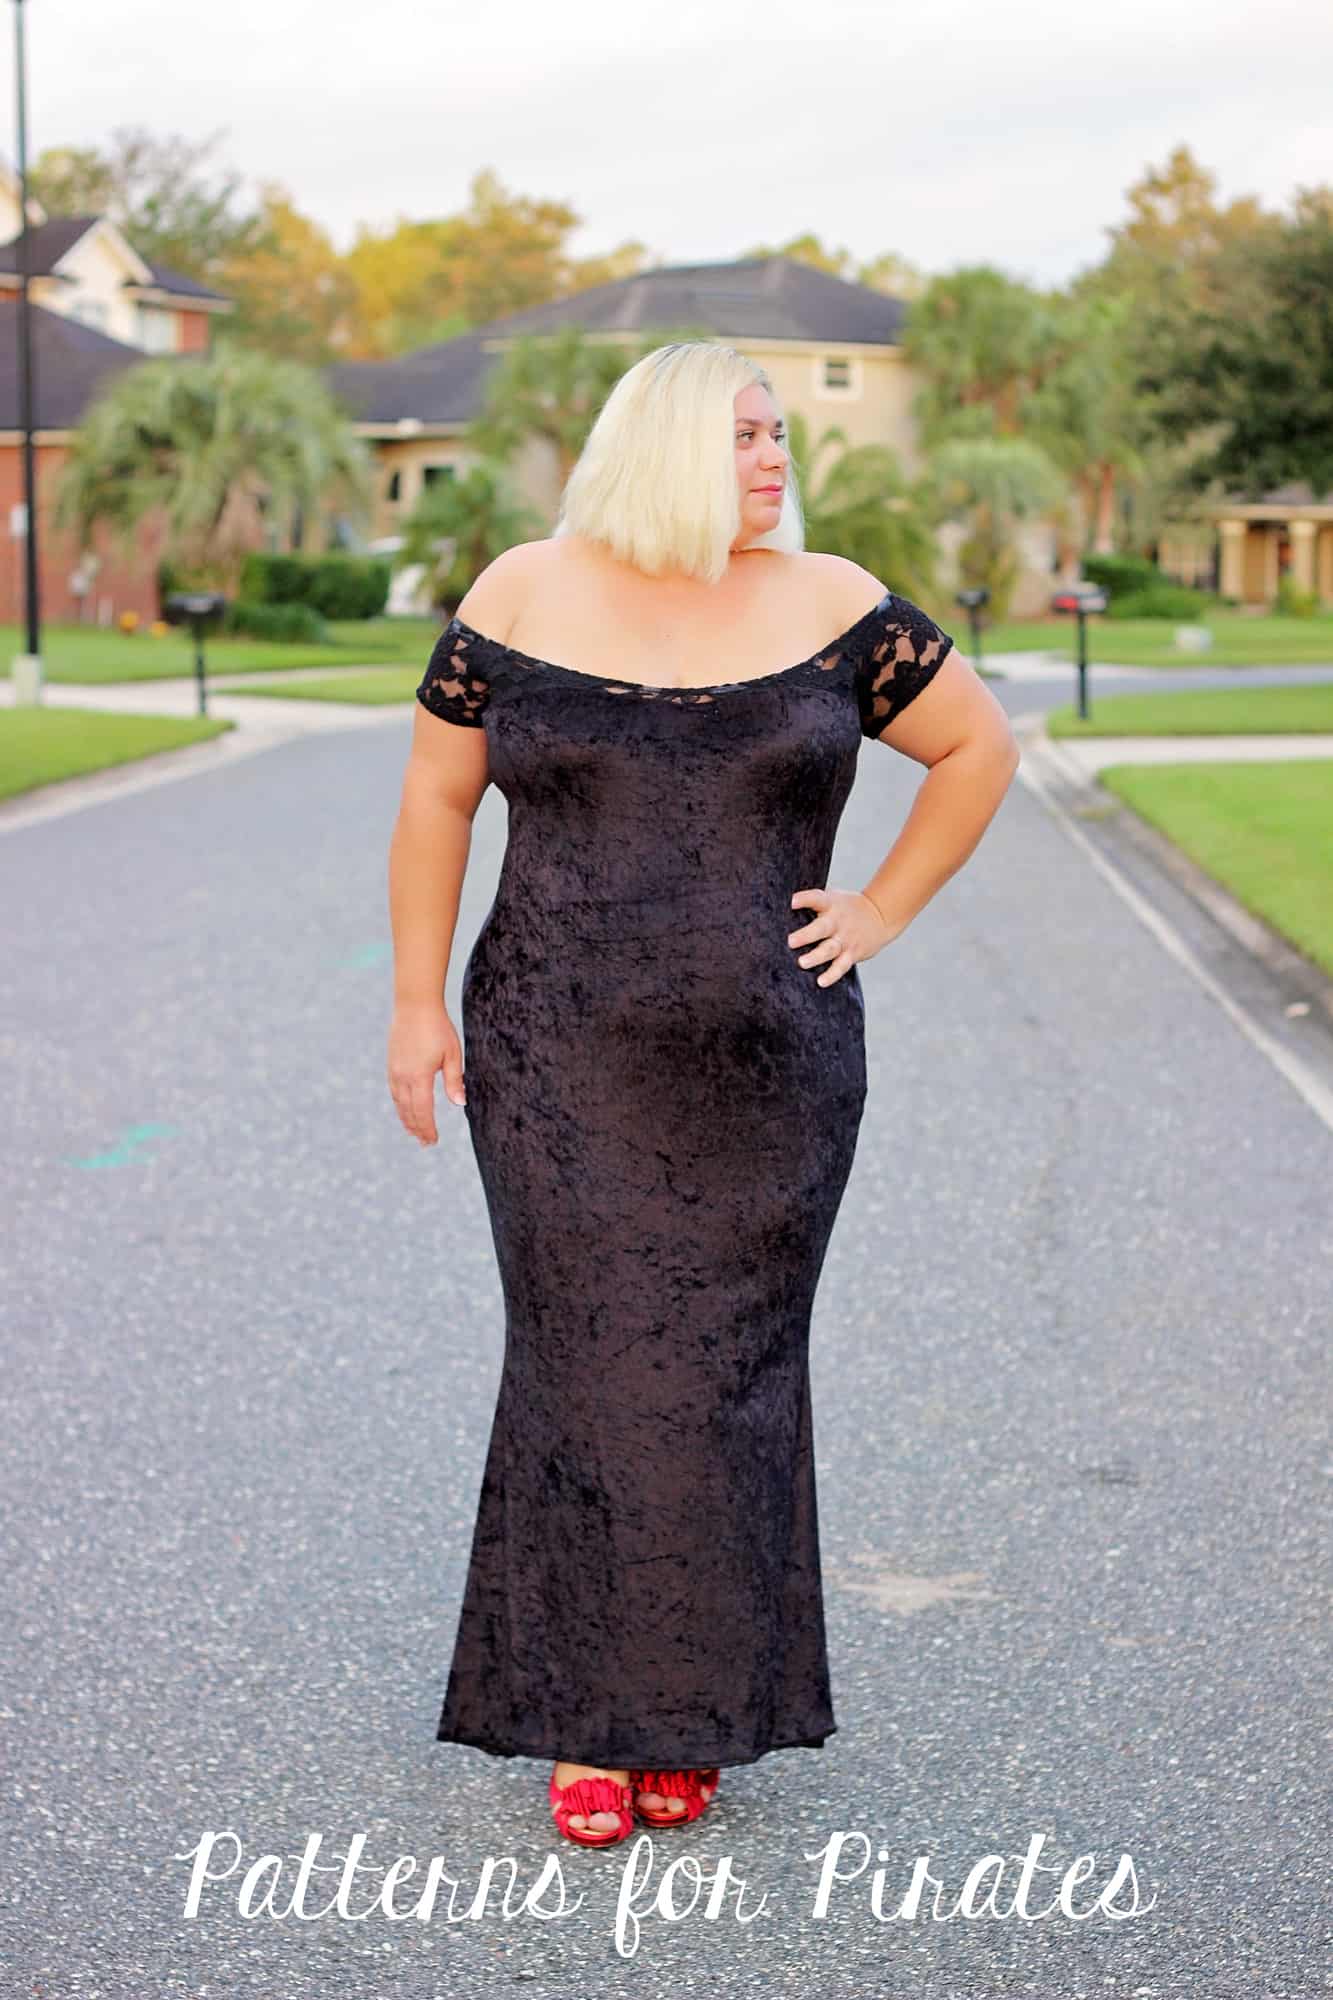
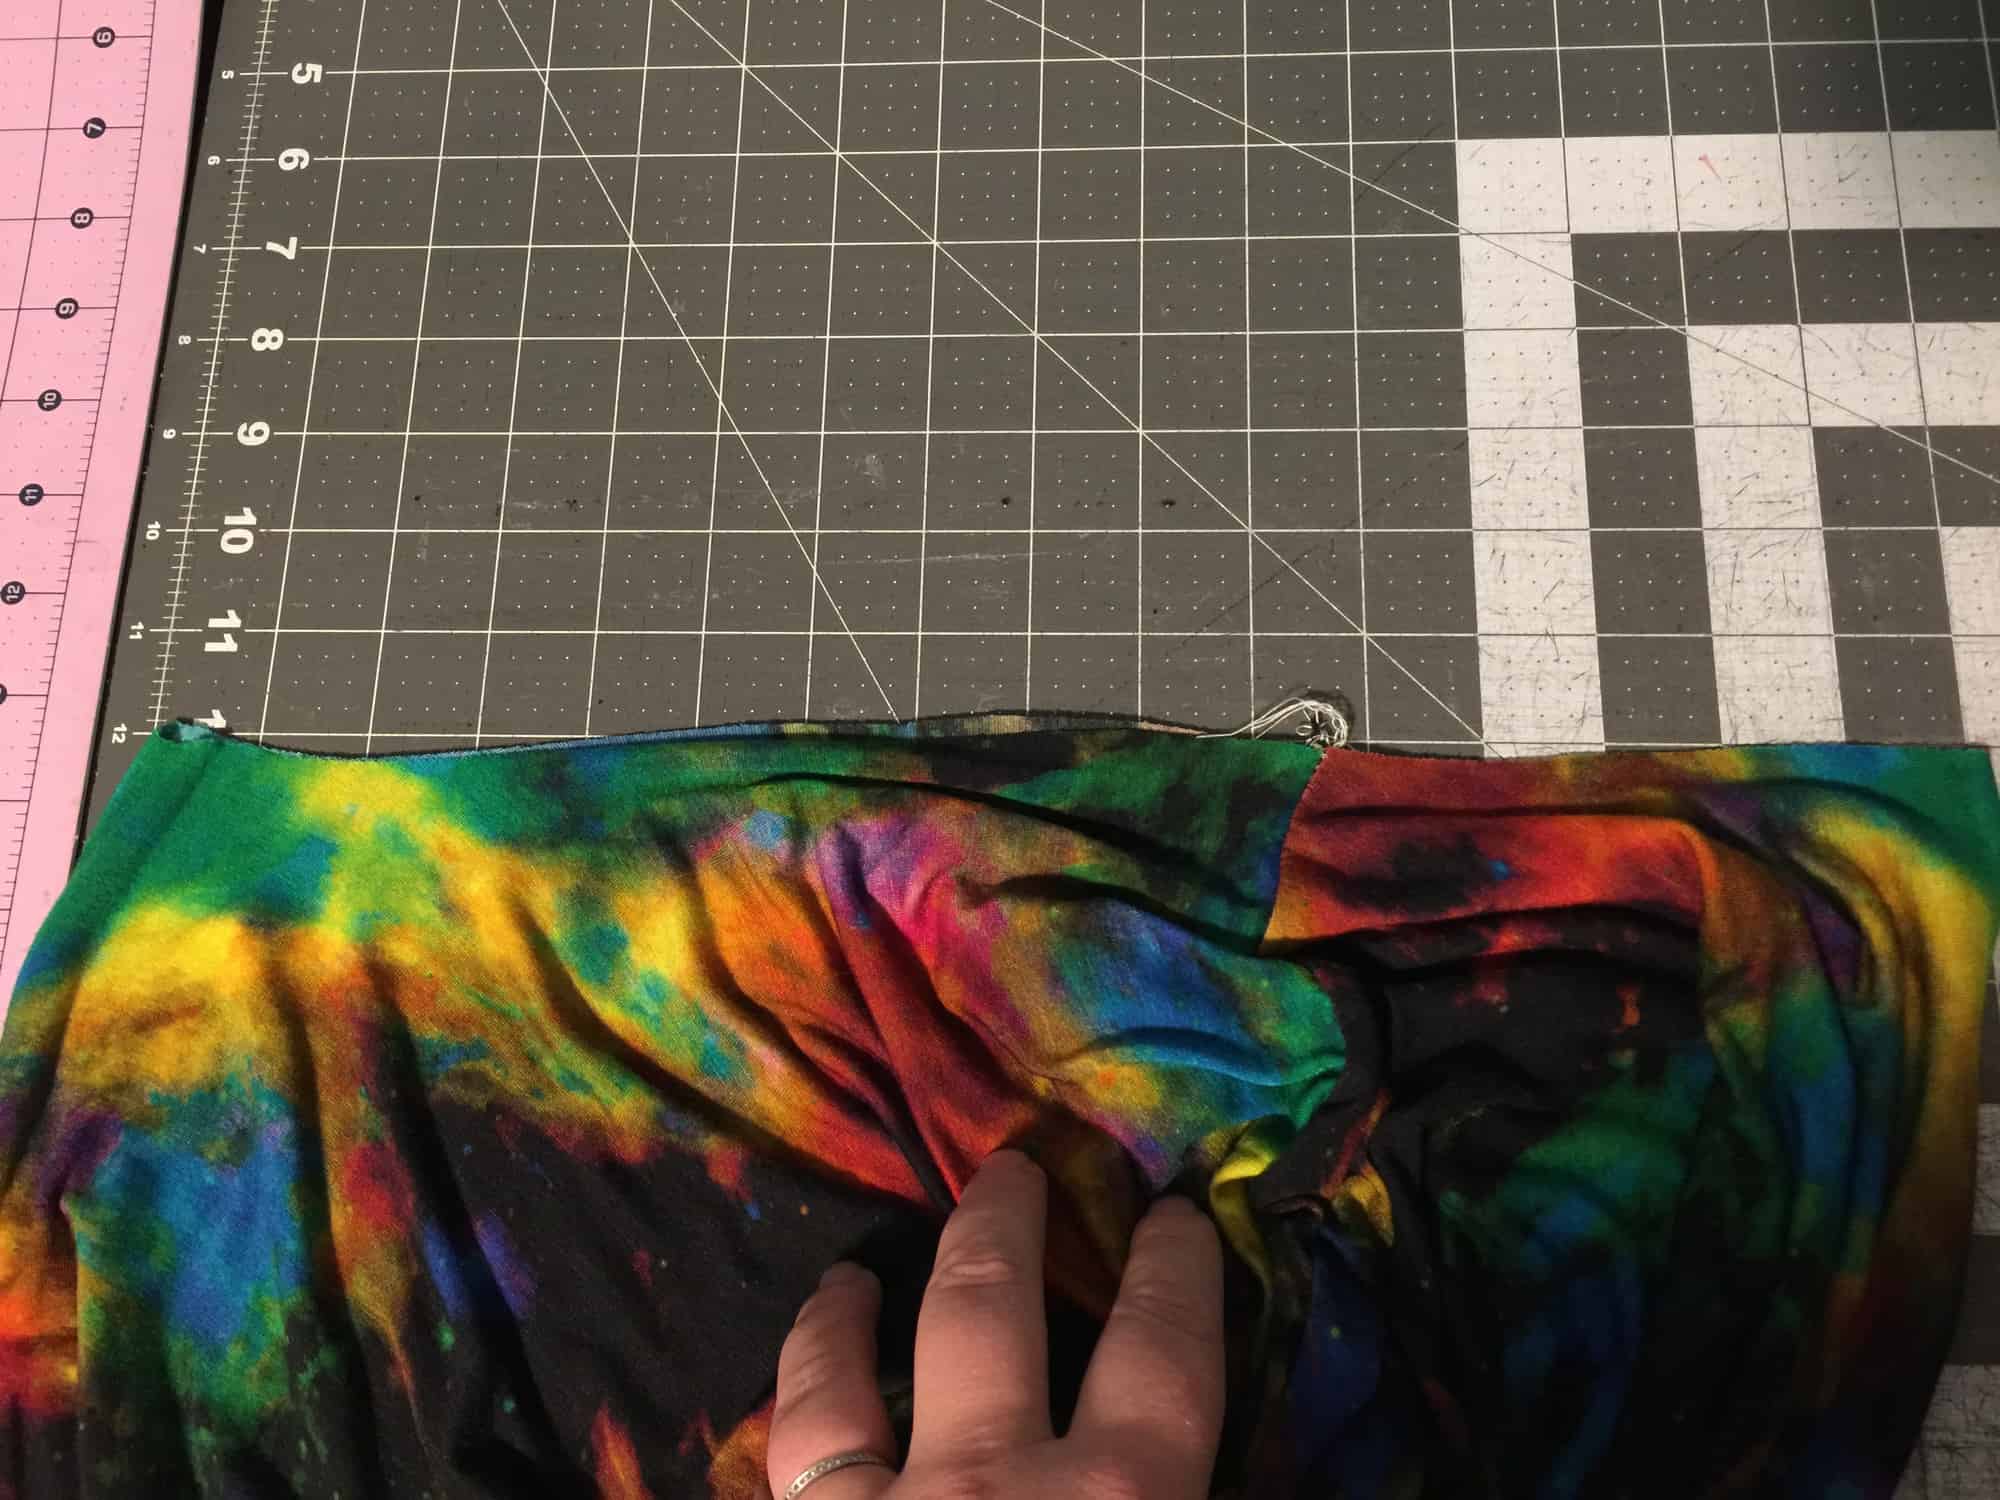
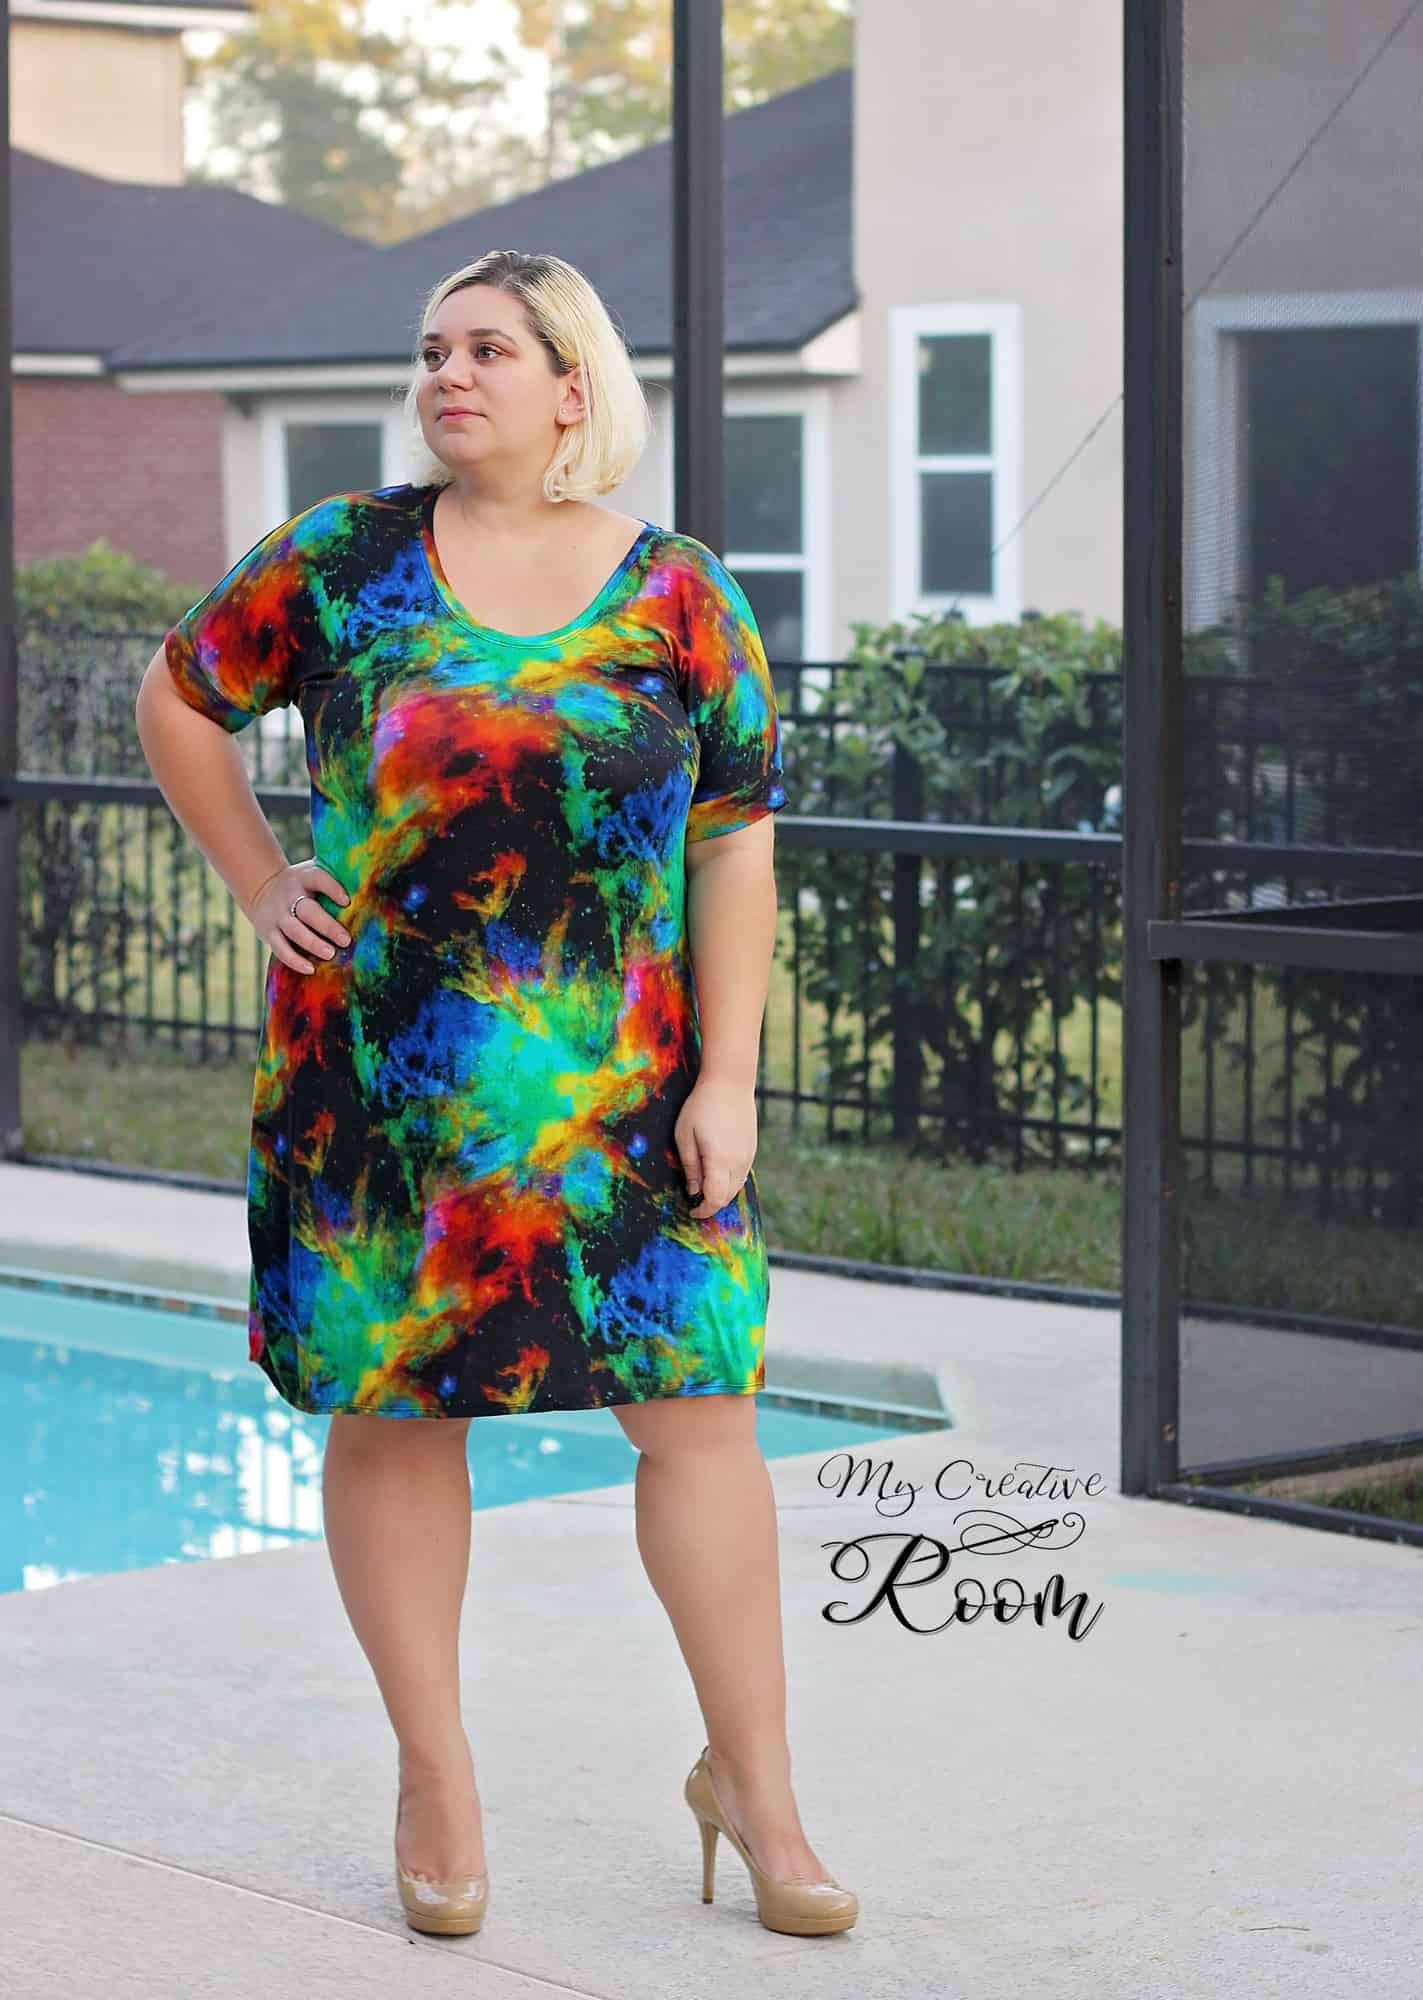
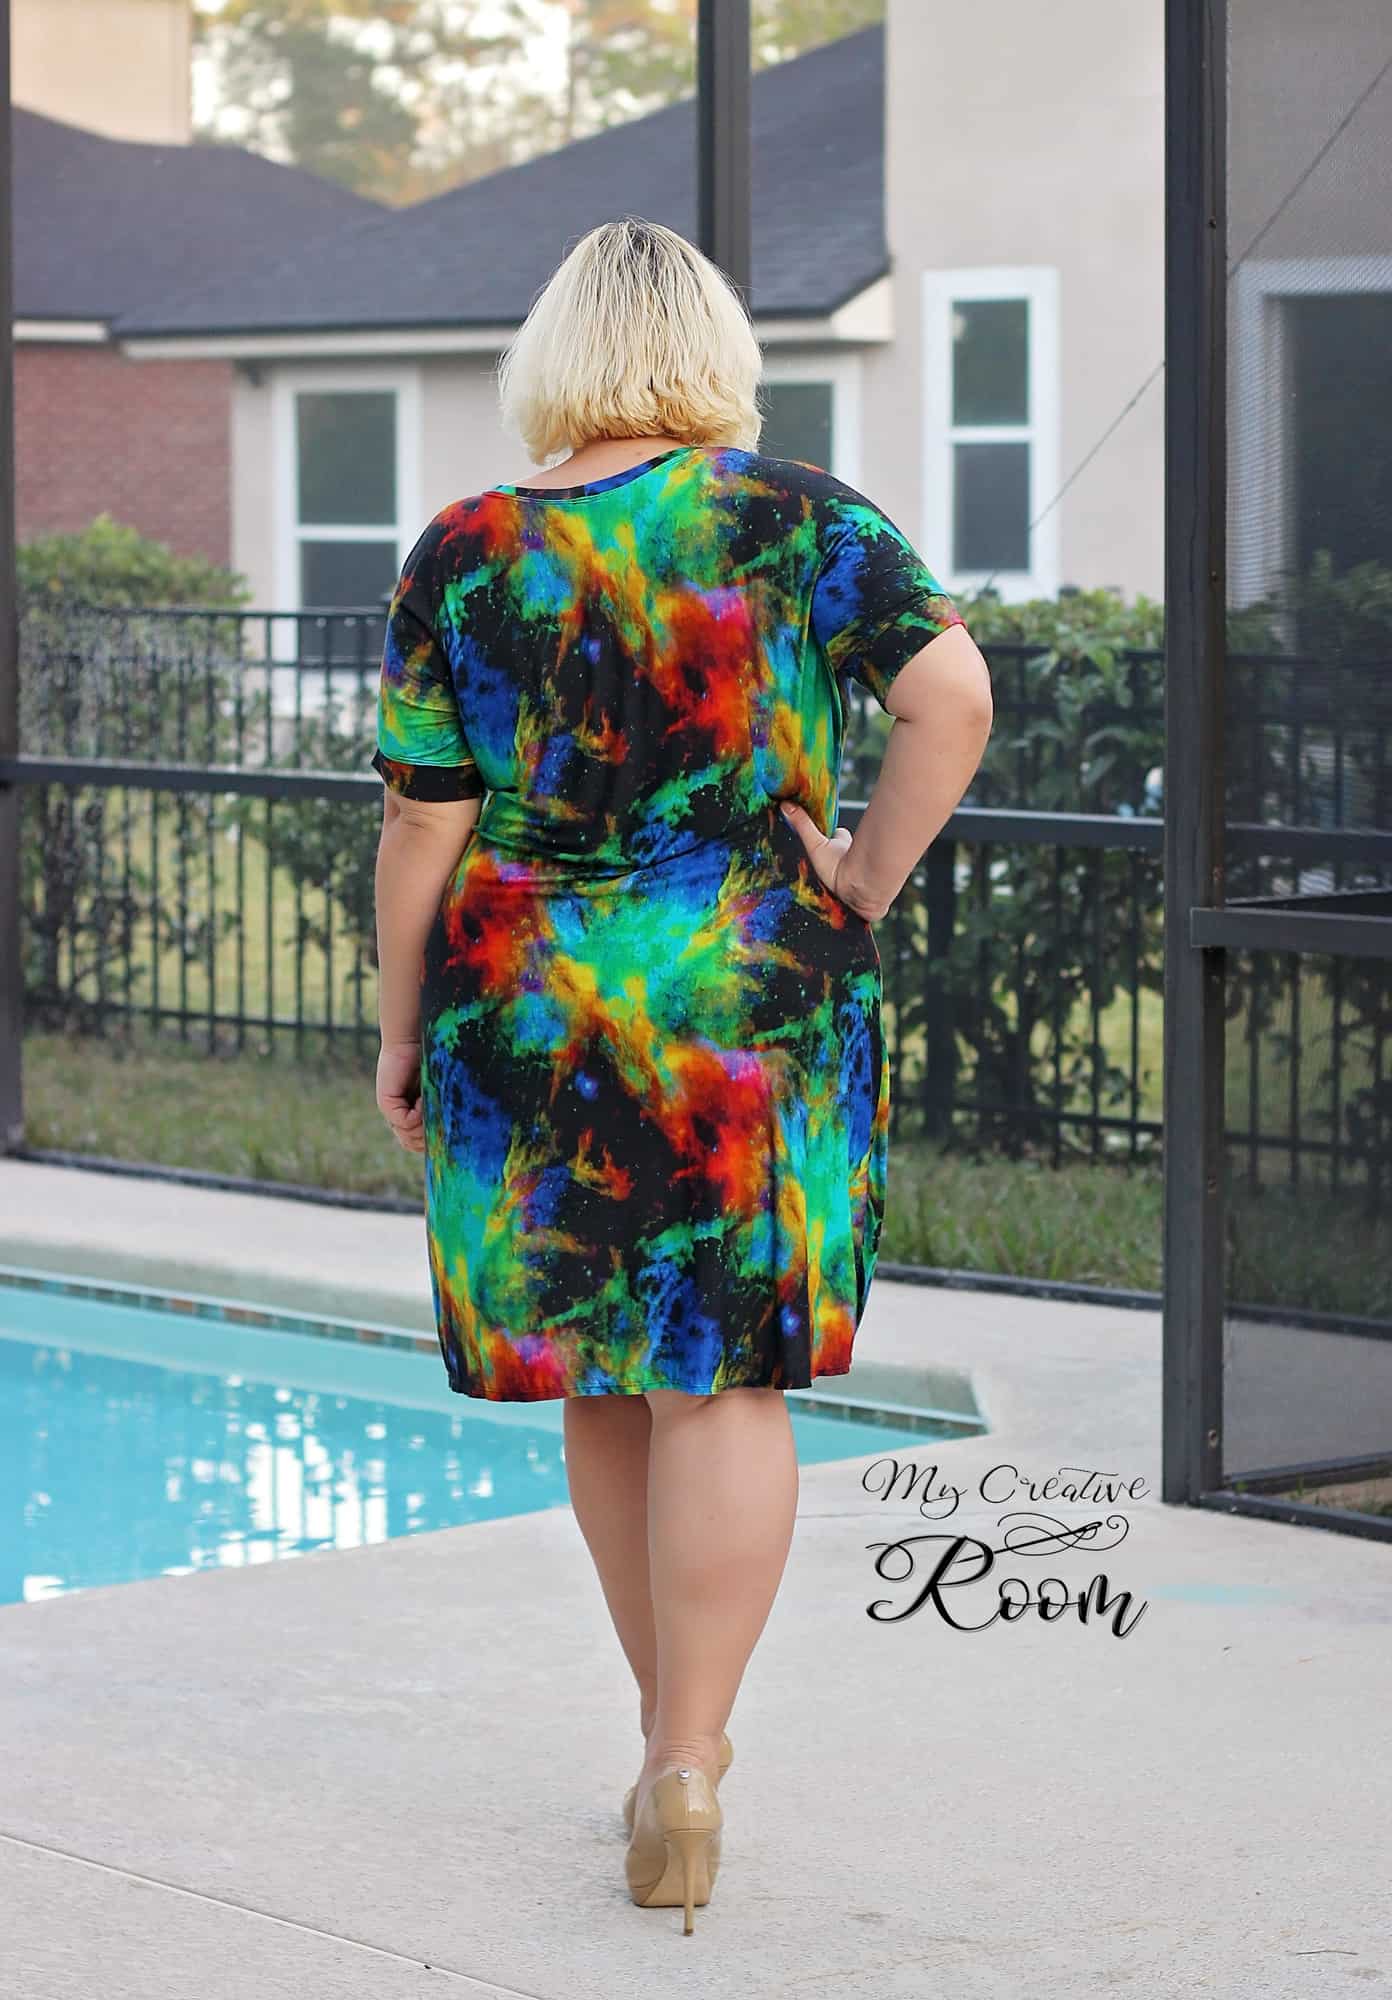
These patterns are a slim fit silhouette great for flattering your figure and also amazing for versatility because you can tuck them in or layer easily during colder weather. The classic details will never go out of trend including the side seam split and turtleneck options. The simplicity of the garment means it’s a quick and easy sew while the look is very polished! By using different fabrics and options you can come out with an athletic looking crop or a holiday party dress! The possibilities are endless <3
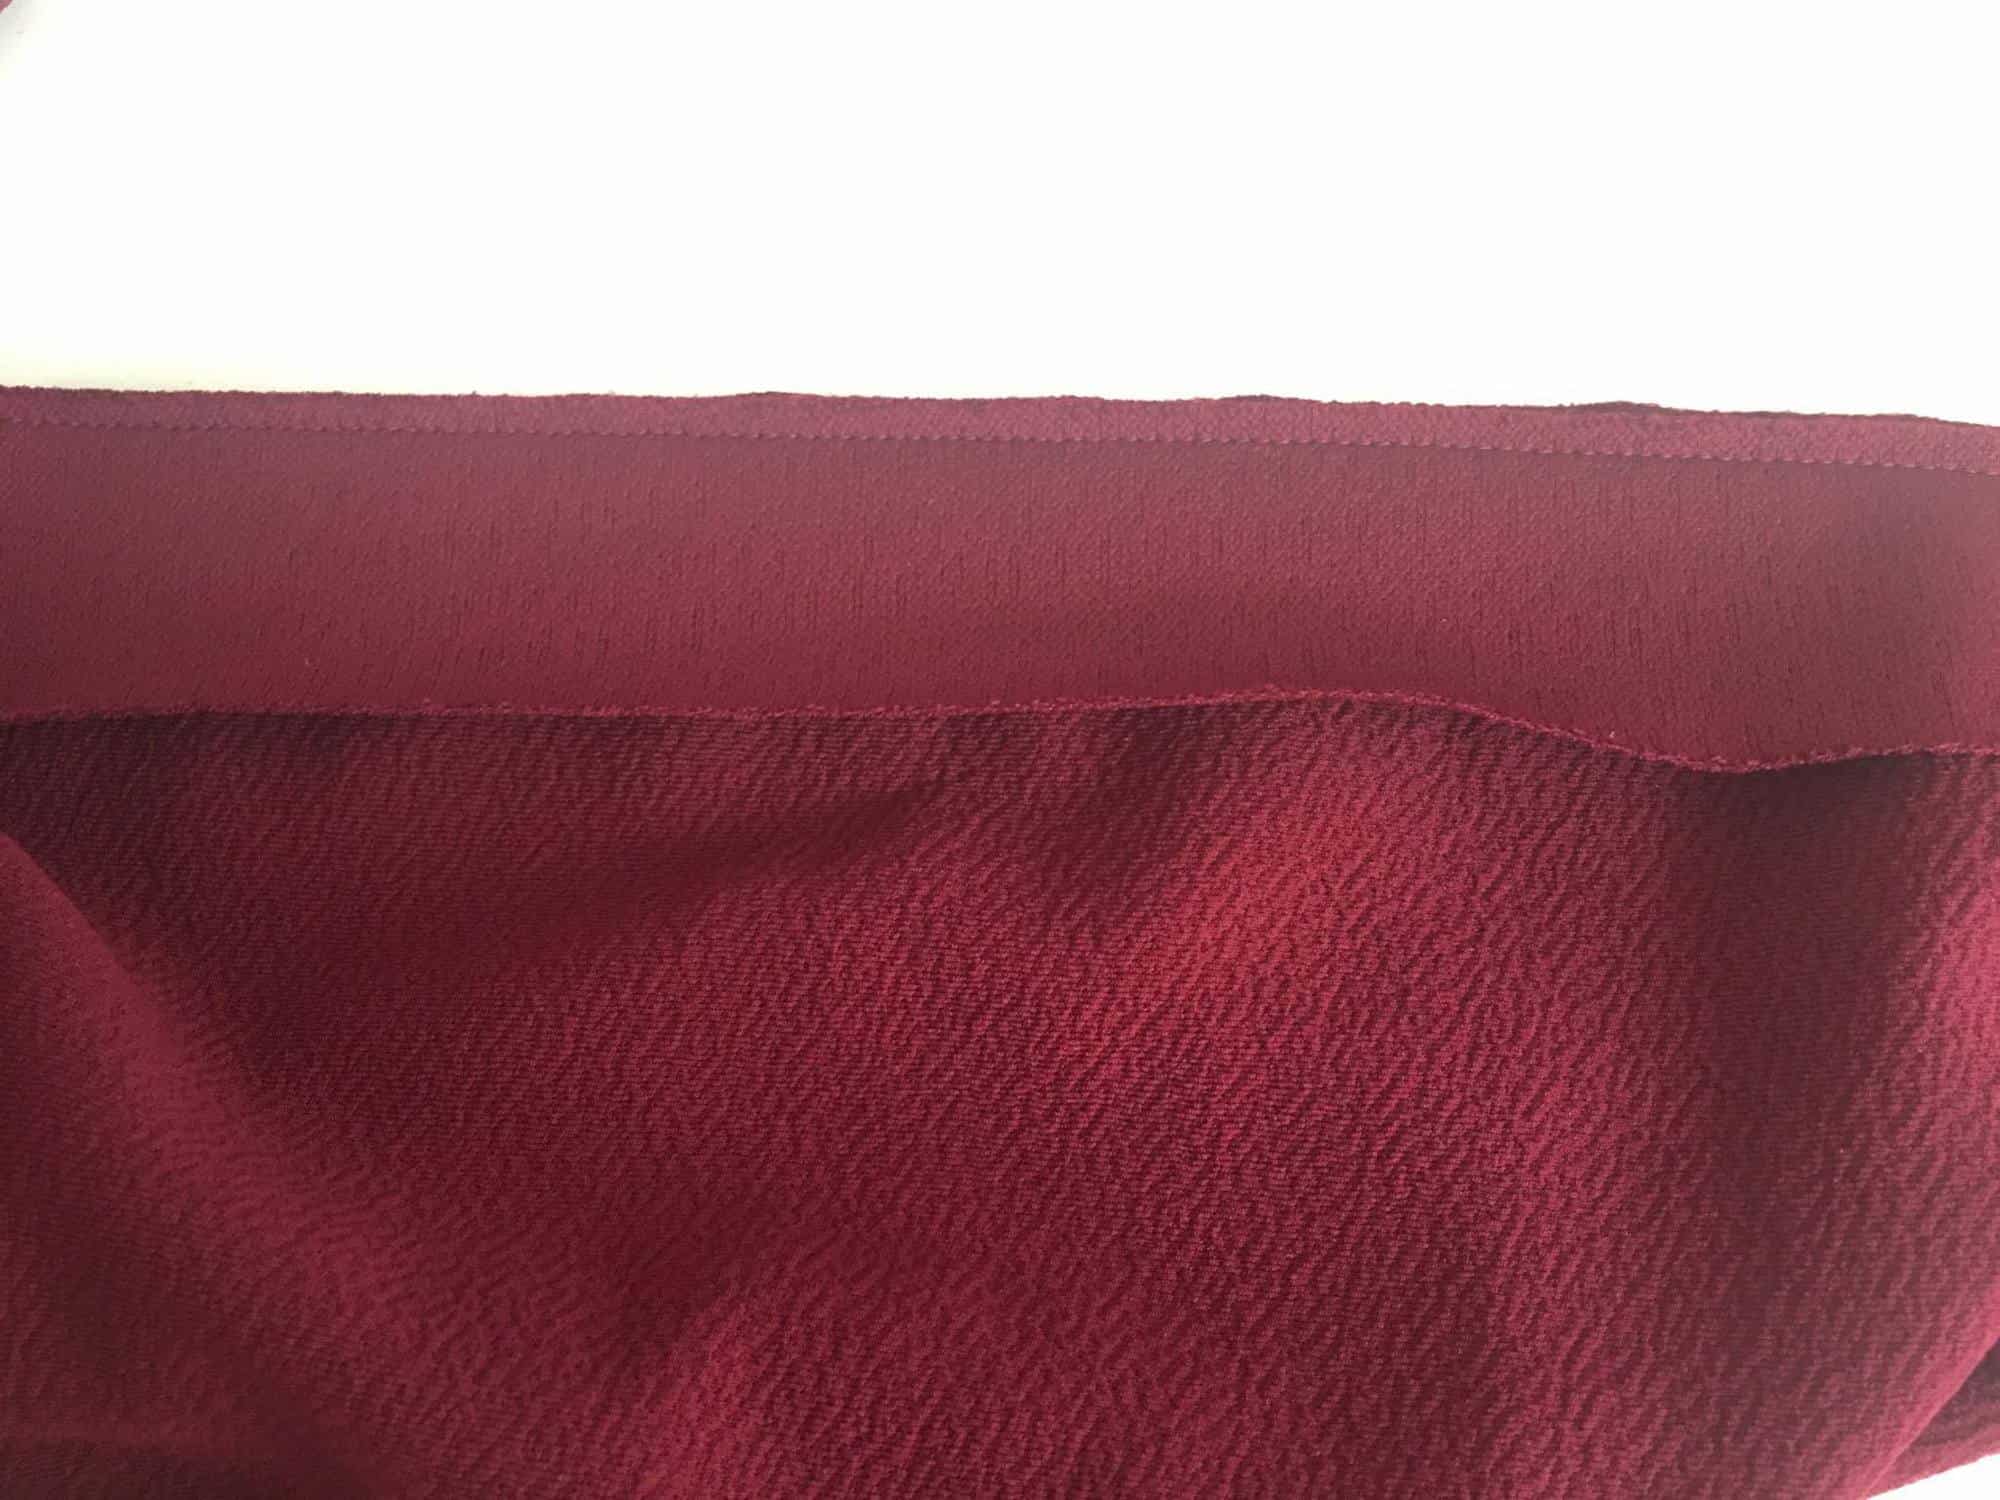
Drafted for a high stretch knit fabric some of our favorites were rayon ribbed knits, rayon spandex blends, poly rayon spandex blends, double brushed poly, single brushed poly, cotton lycra, athlethic spandex knits (we even used swim for a rashguard top!), and of course sweater knits!
Options include: hemmed neckline, mock turtleneck, fold over turtleneck, tank, short sleeve, 3/4 sleeve, long sleeve hemmed, long sleeve with cuff (both regular and fold over style), crop, shirt, above knee dress, and below knee/ midi dress lengths.
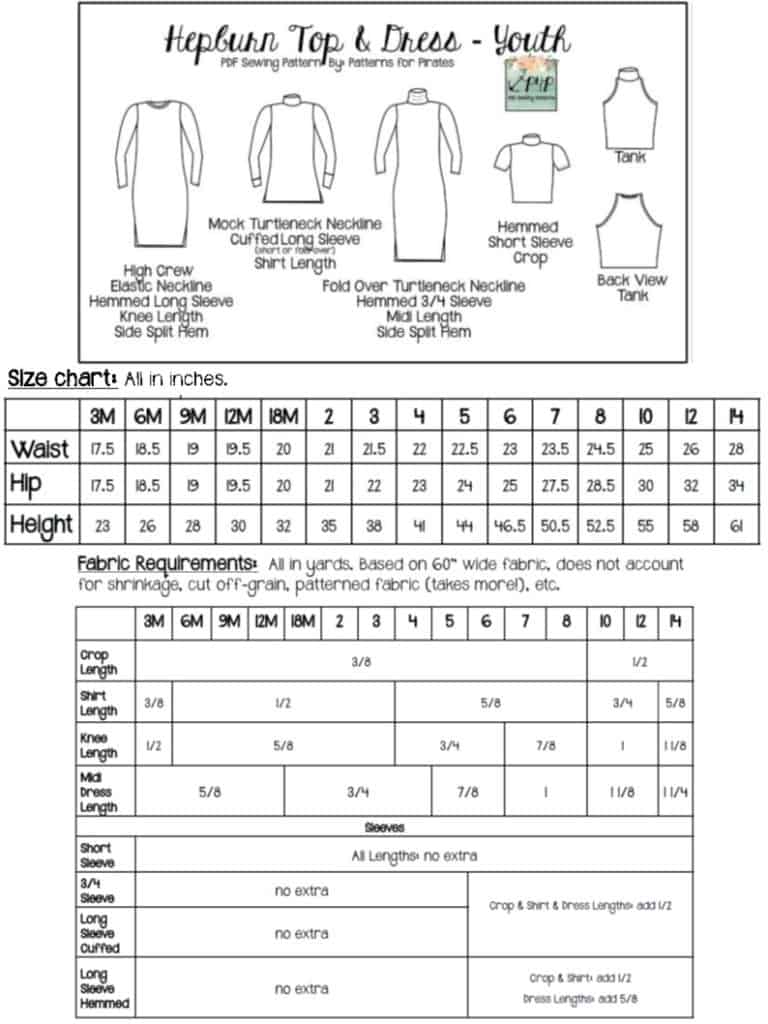
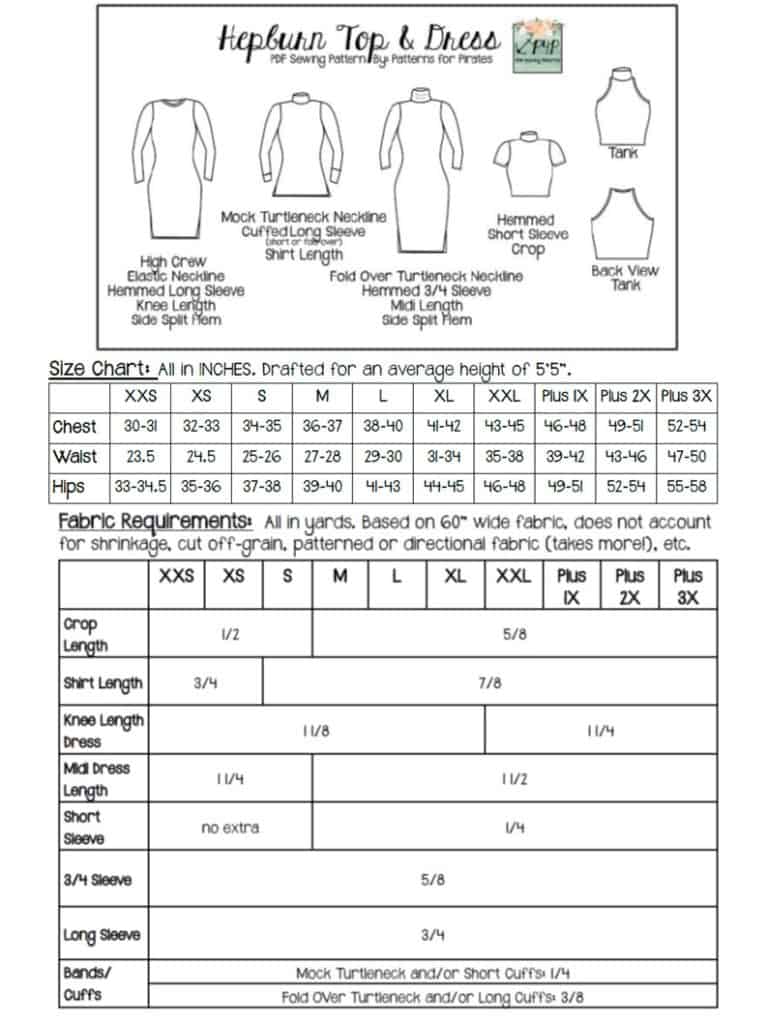
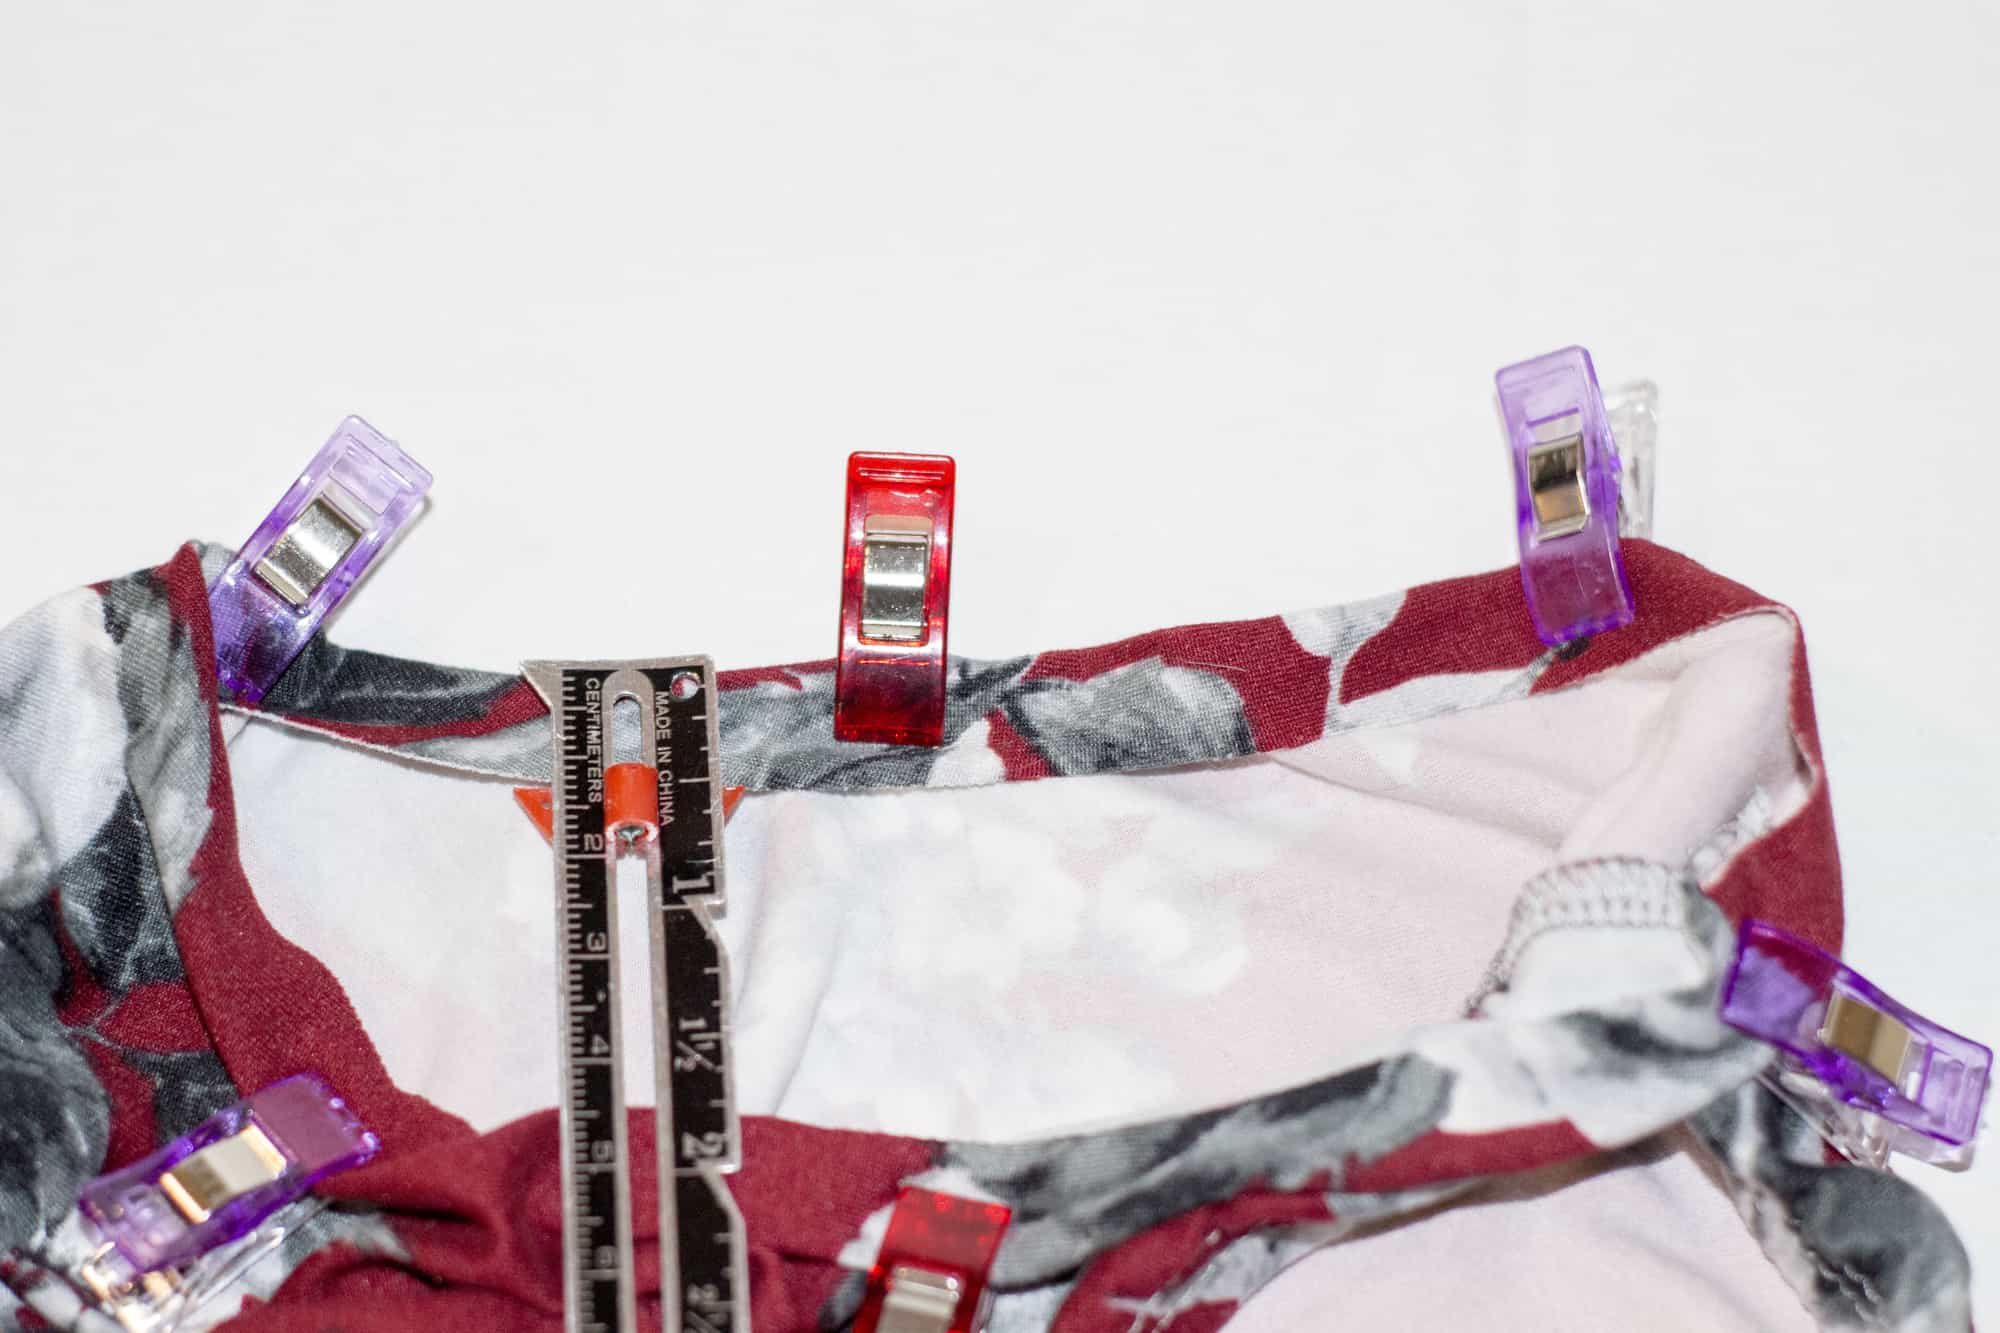
**Want to learn more about how to measure yourself for this pattern? We’ve got you covered with an in-depth blog HERE. And in case you’re new to Patterns for Pirates and PDF patterns in general, we have a great blog full of new-user tips HERE to help you get started! As with all of our current releases and updates, the pdfs now include our layers feature and can be found in Letter, A4 and A0 sizes. And for even more helpful fun, we have a *free* printable that you can use to help record your measurements as you take them.
Let’s take a quick look at the different options!
HEMMED NECKLINE / MOCK TURTLENECK / FOLD OVER TURTLENECK
-

- Hemmed Neckline

-

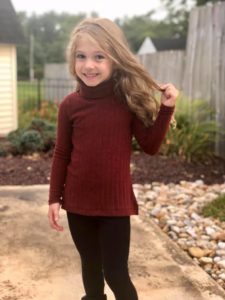
- Mock Turtleneck

-
- Fold Over Turtleneck

YOUTH— HEMMED NECKLINE / MOCK TURTLENECK / FOLD OVER TURTLENECK
-

- Hemmed Neckline

-
- Mock Turtleneck

-

- Fold Over Turtleneck

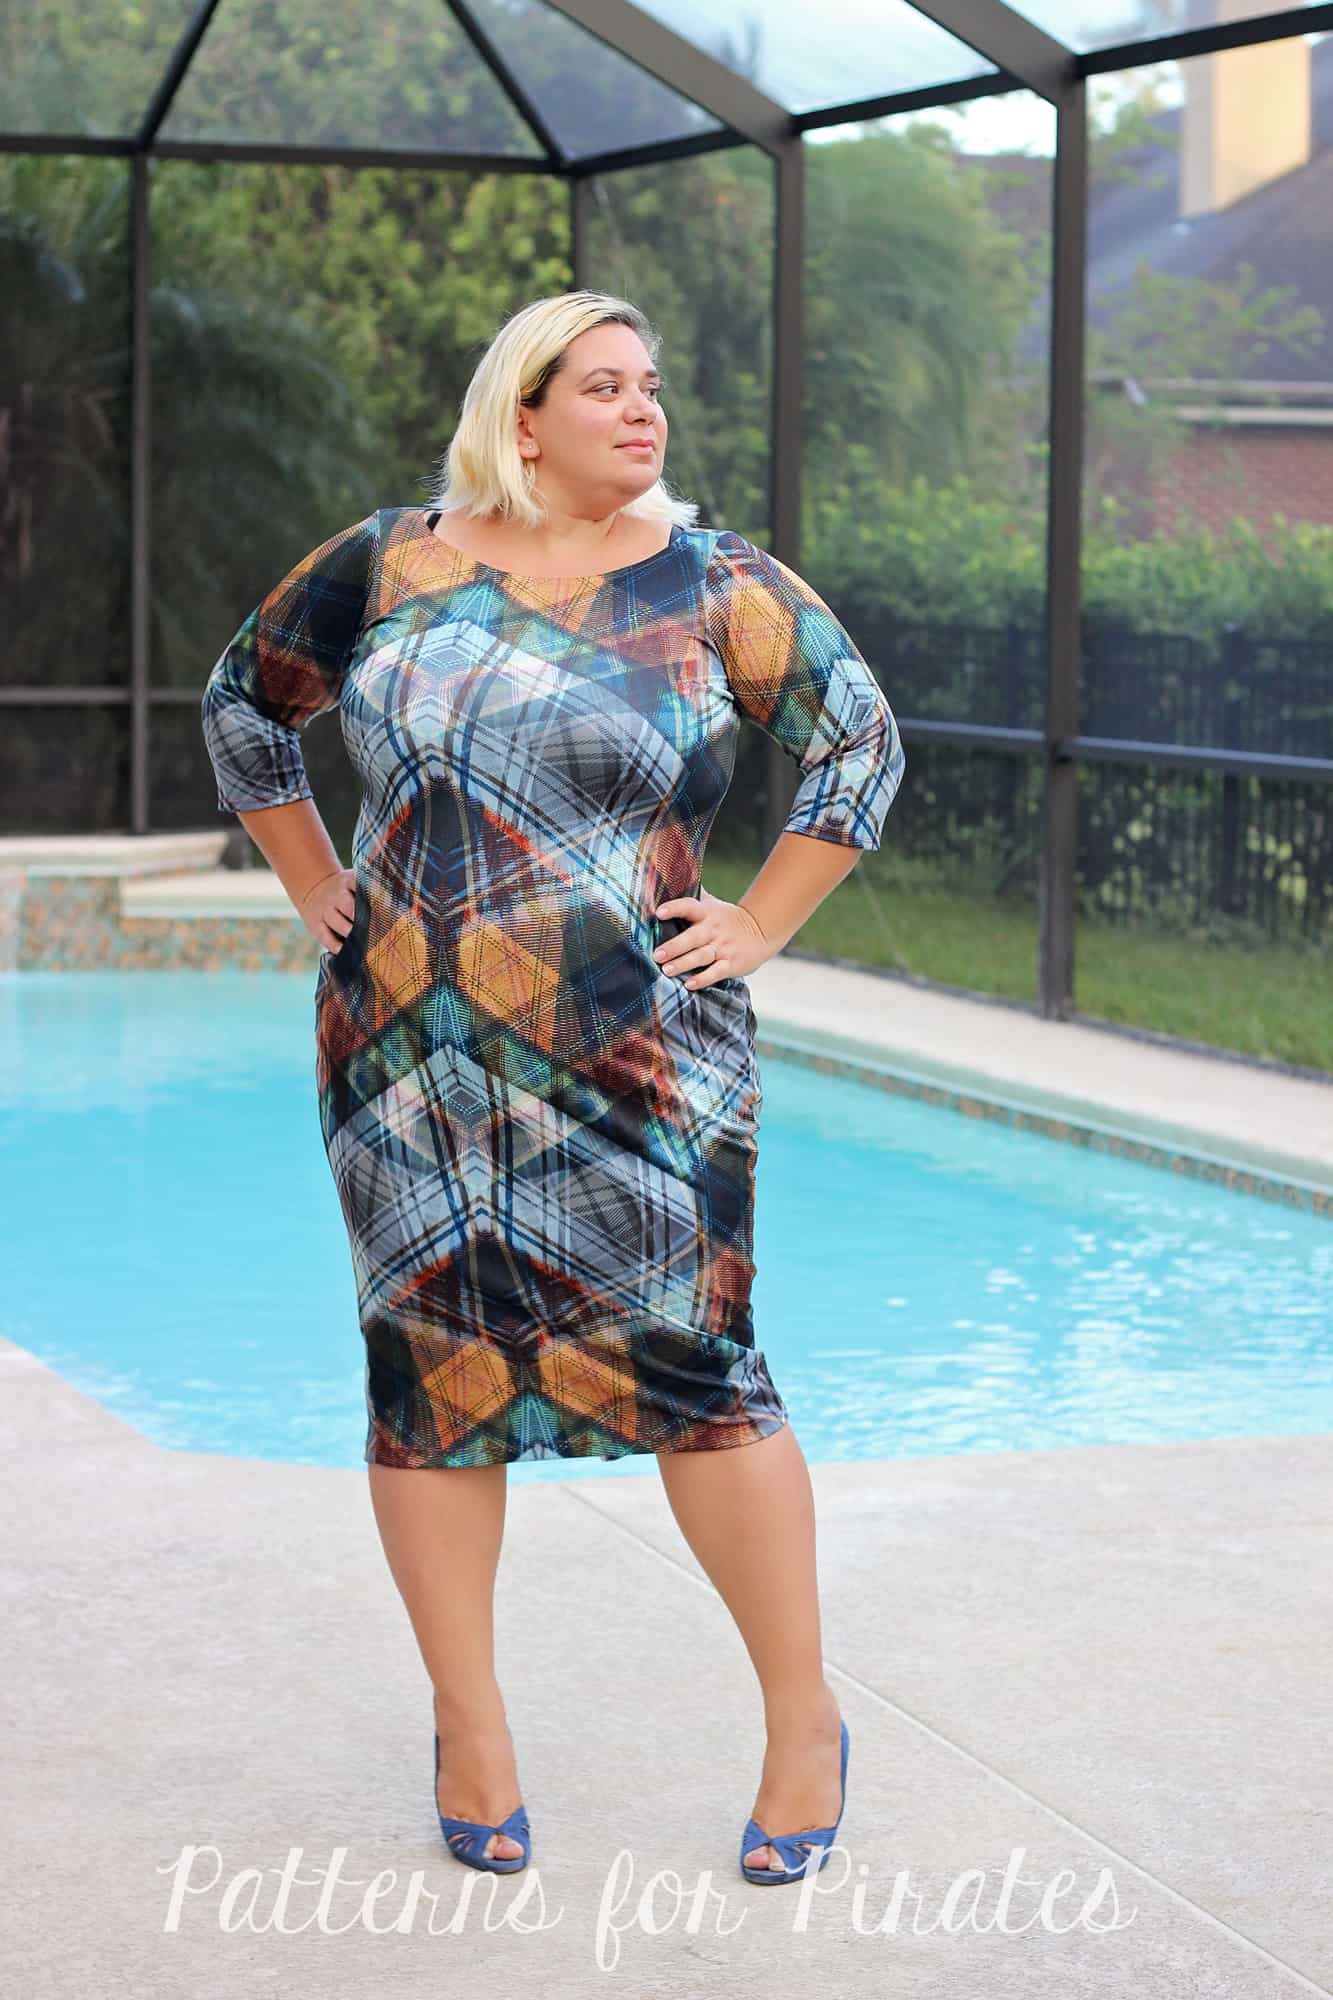
CROP / SHIRT / ABOVE KNEE / MIDI LENGTH
-

- Crop

-

- Shirt

-

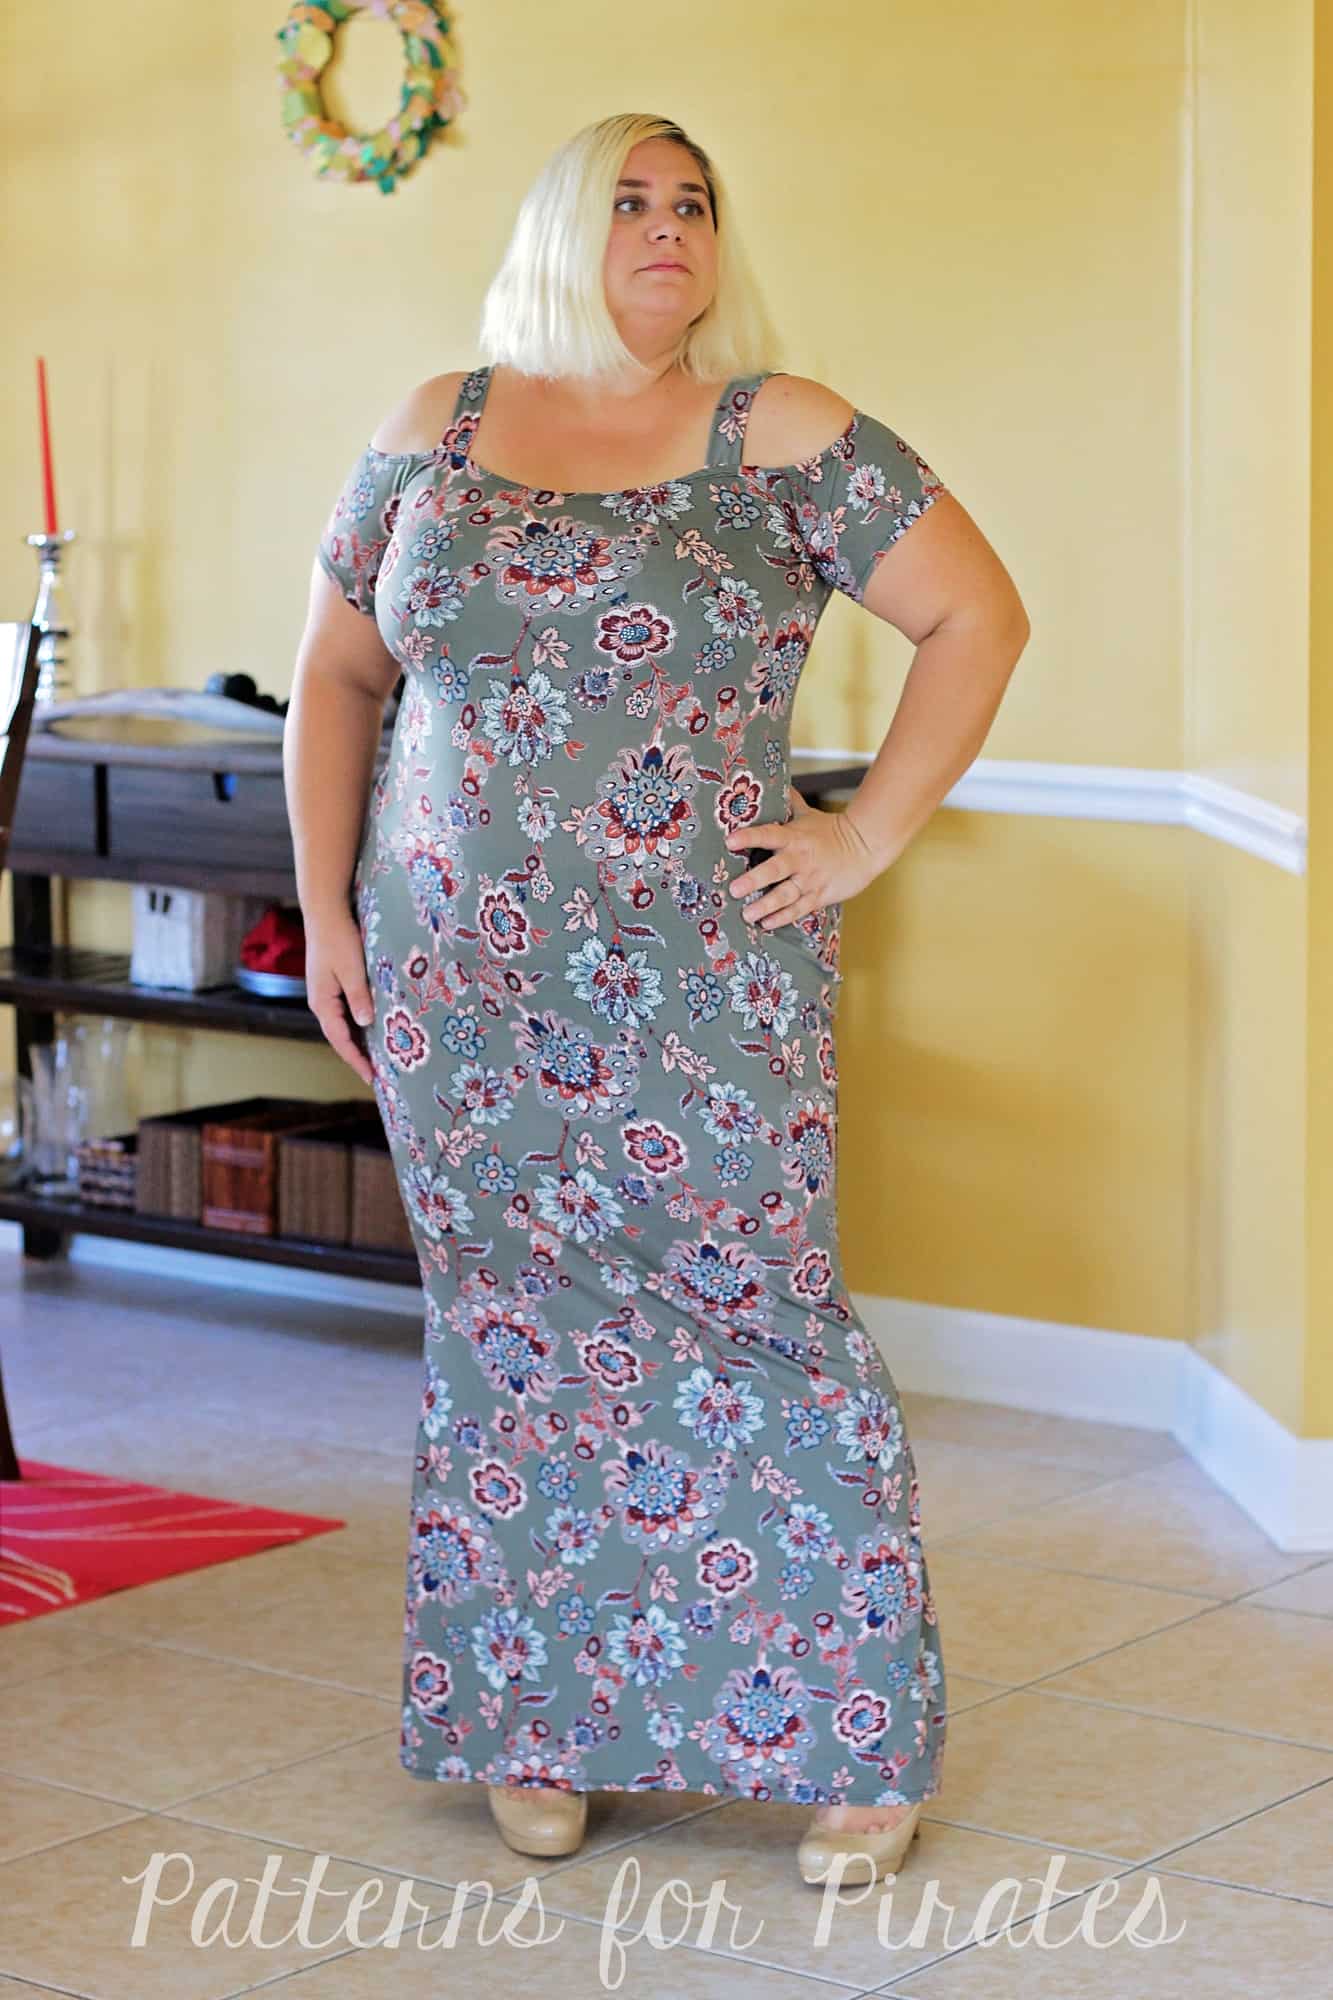
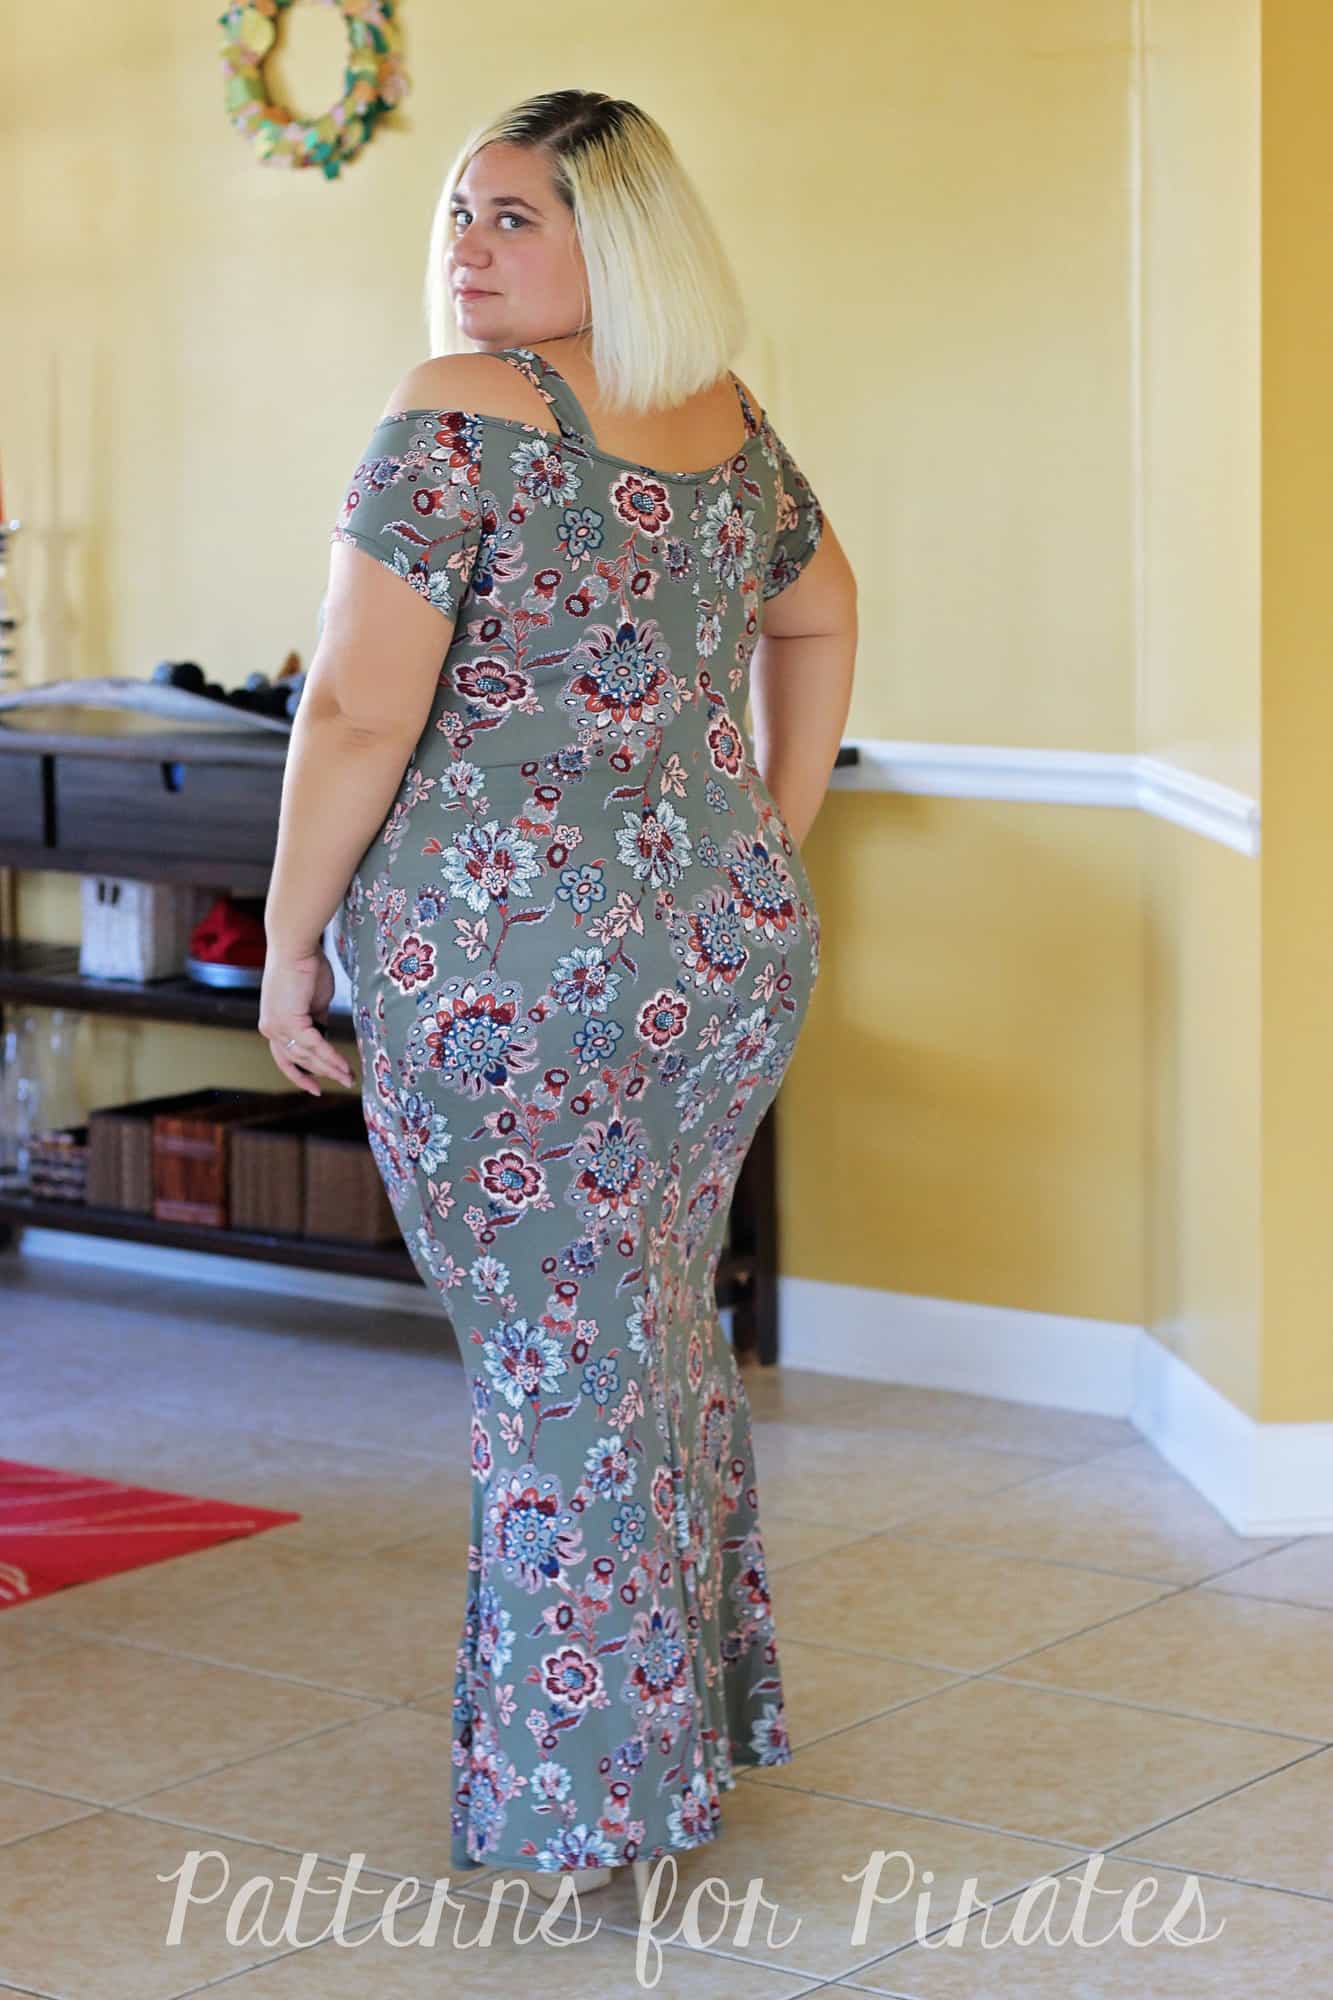
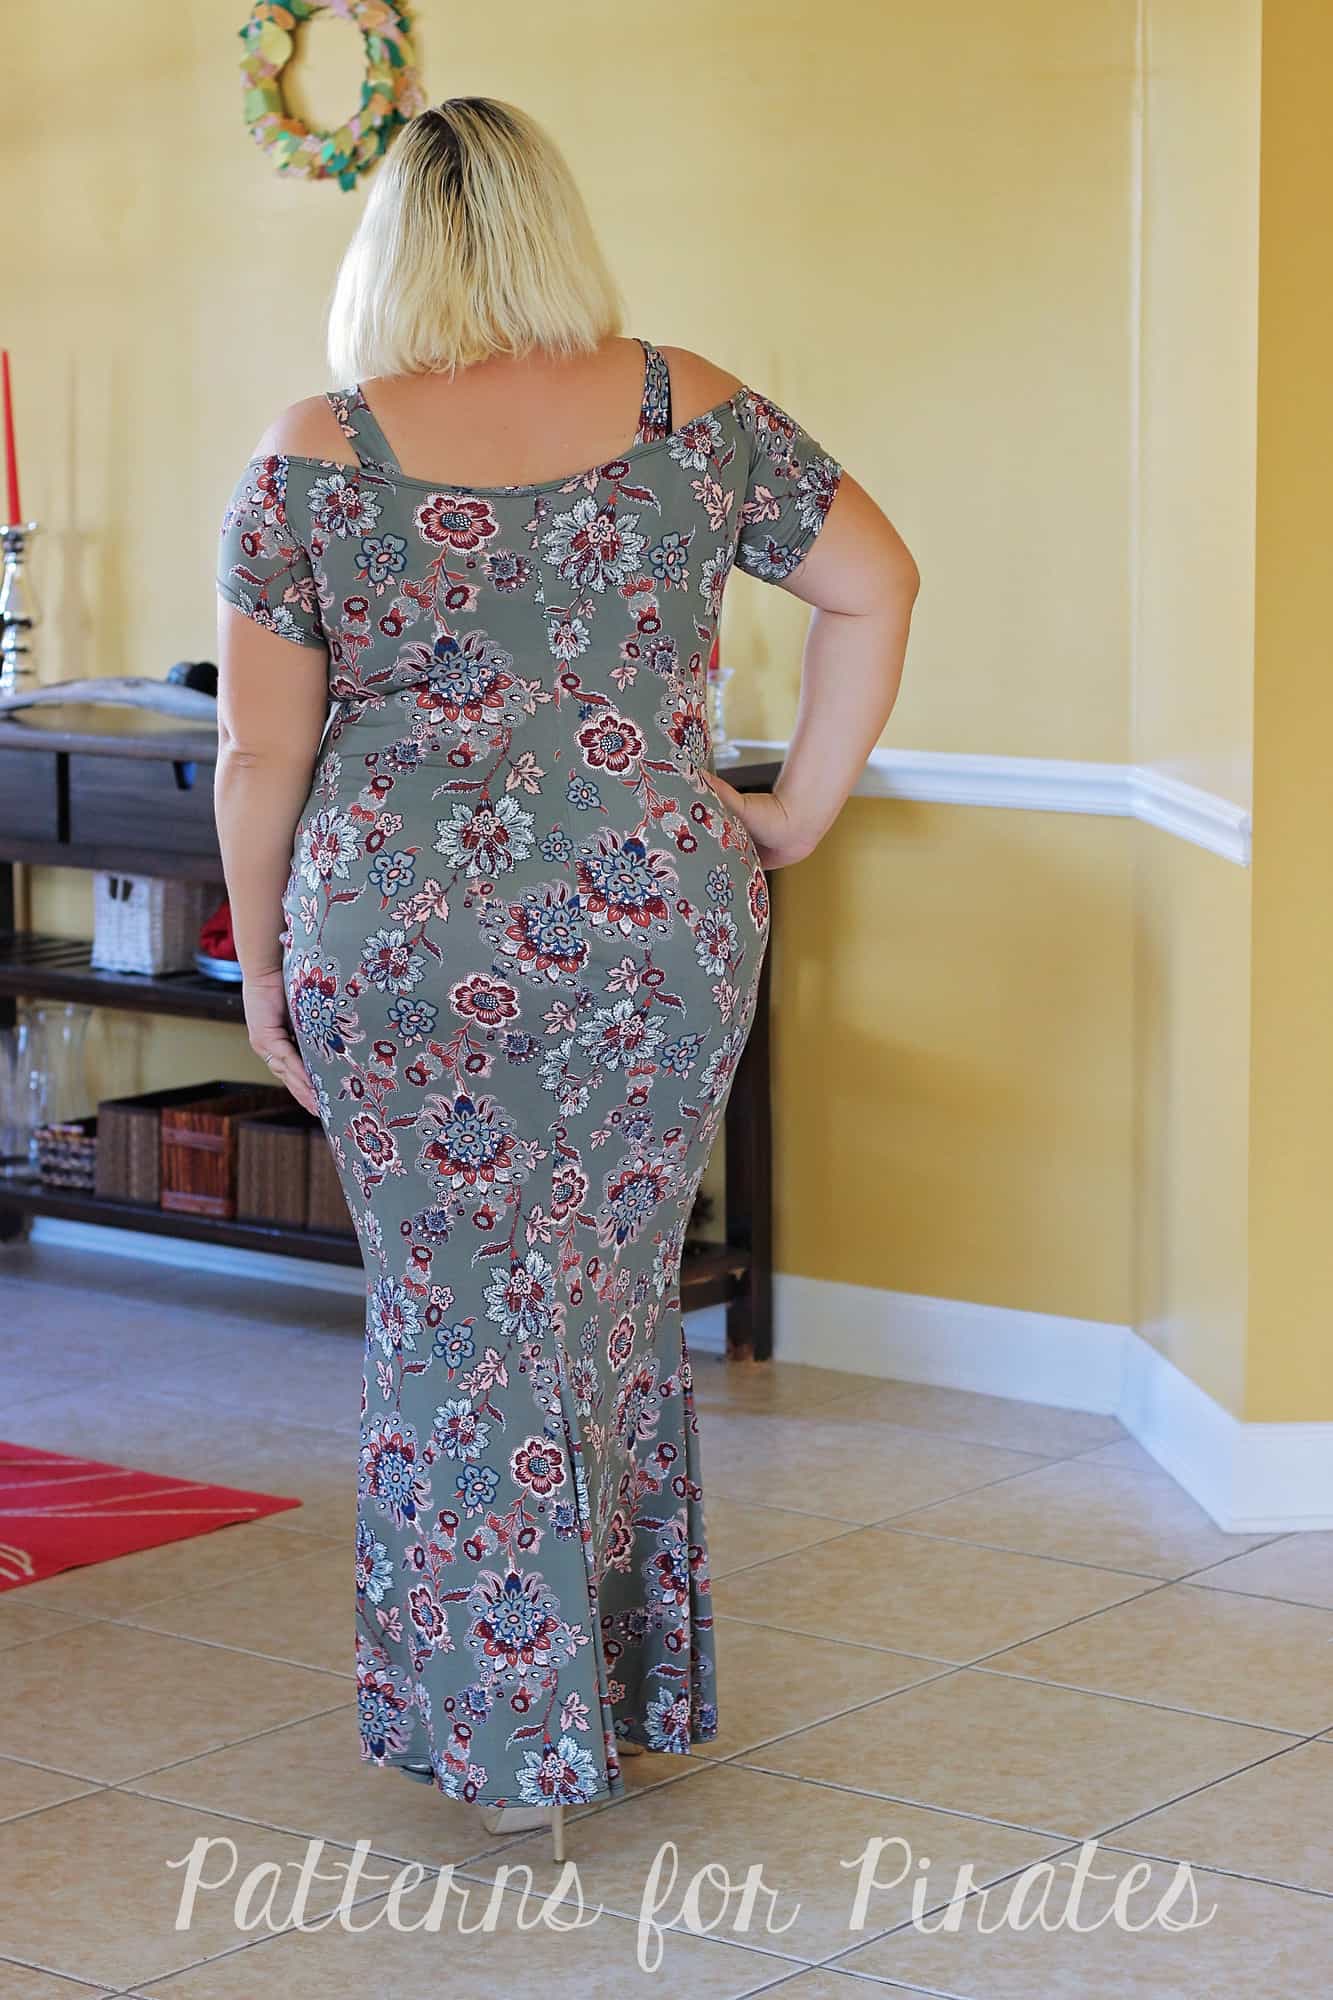
- Above Knee

-
- Below Knee/ Midi

YOUTH—CROP / SHIRT / ABOVE KNEE / MIDI LENGTH
-
- Crop

-
- Shirt

-
- Above Knee Dress

-

- Below Knee/ Midi Dress

TANK / SHORT SLEEVE / 3/4 SLEEVE / LONG SLEEVE (HEMMED, CUFF, FOLD OVER CUFF)
-
- Tank

-

- Short Sleeve

-

- 3/4 Sleeve

-
- Long Sleeve Hemmed

-
- Long Sleeve Cuffed

YOUTH— TANK / SHORT SLEEVE / 3/4 SLEEVE / LONG SLEEVE (HEMMED, CUFF, FOLD OVER CUFF)
-
- Tank

-
- Short Sleeve

-
- 3/4 Sleeve

-

- Long Sleeve Hemmed

-
- Long Sleeve Cuffed
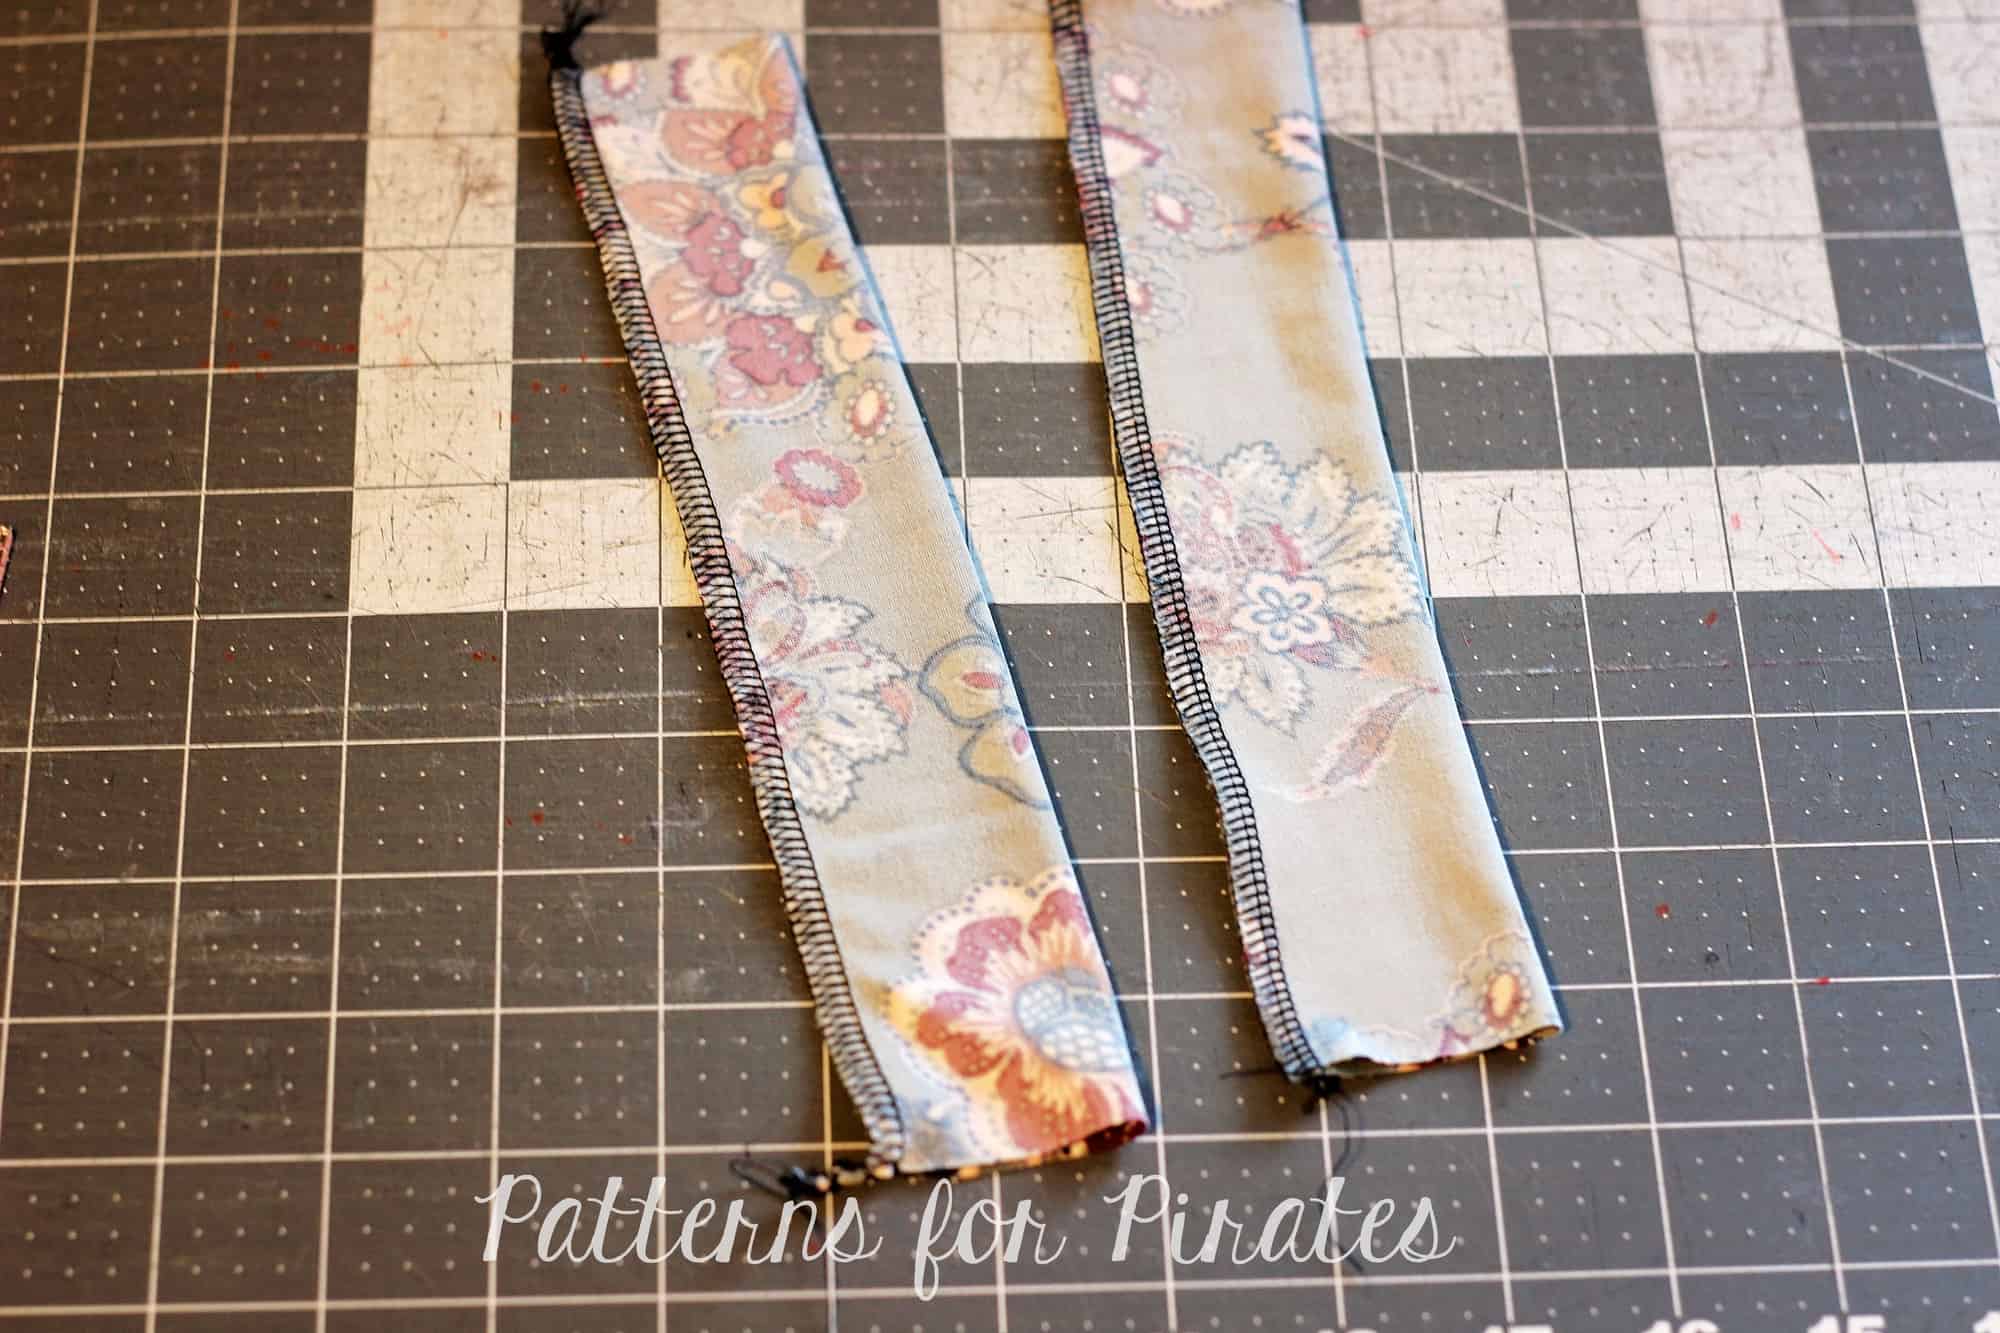
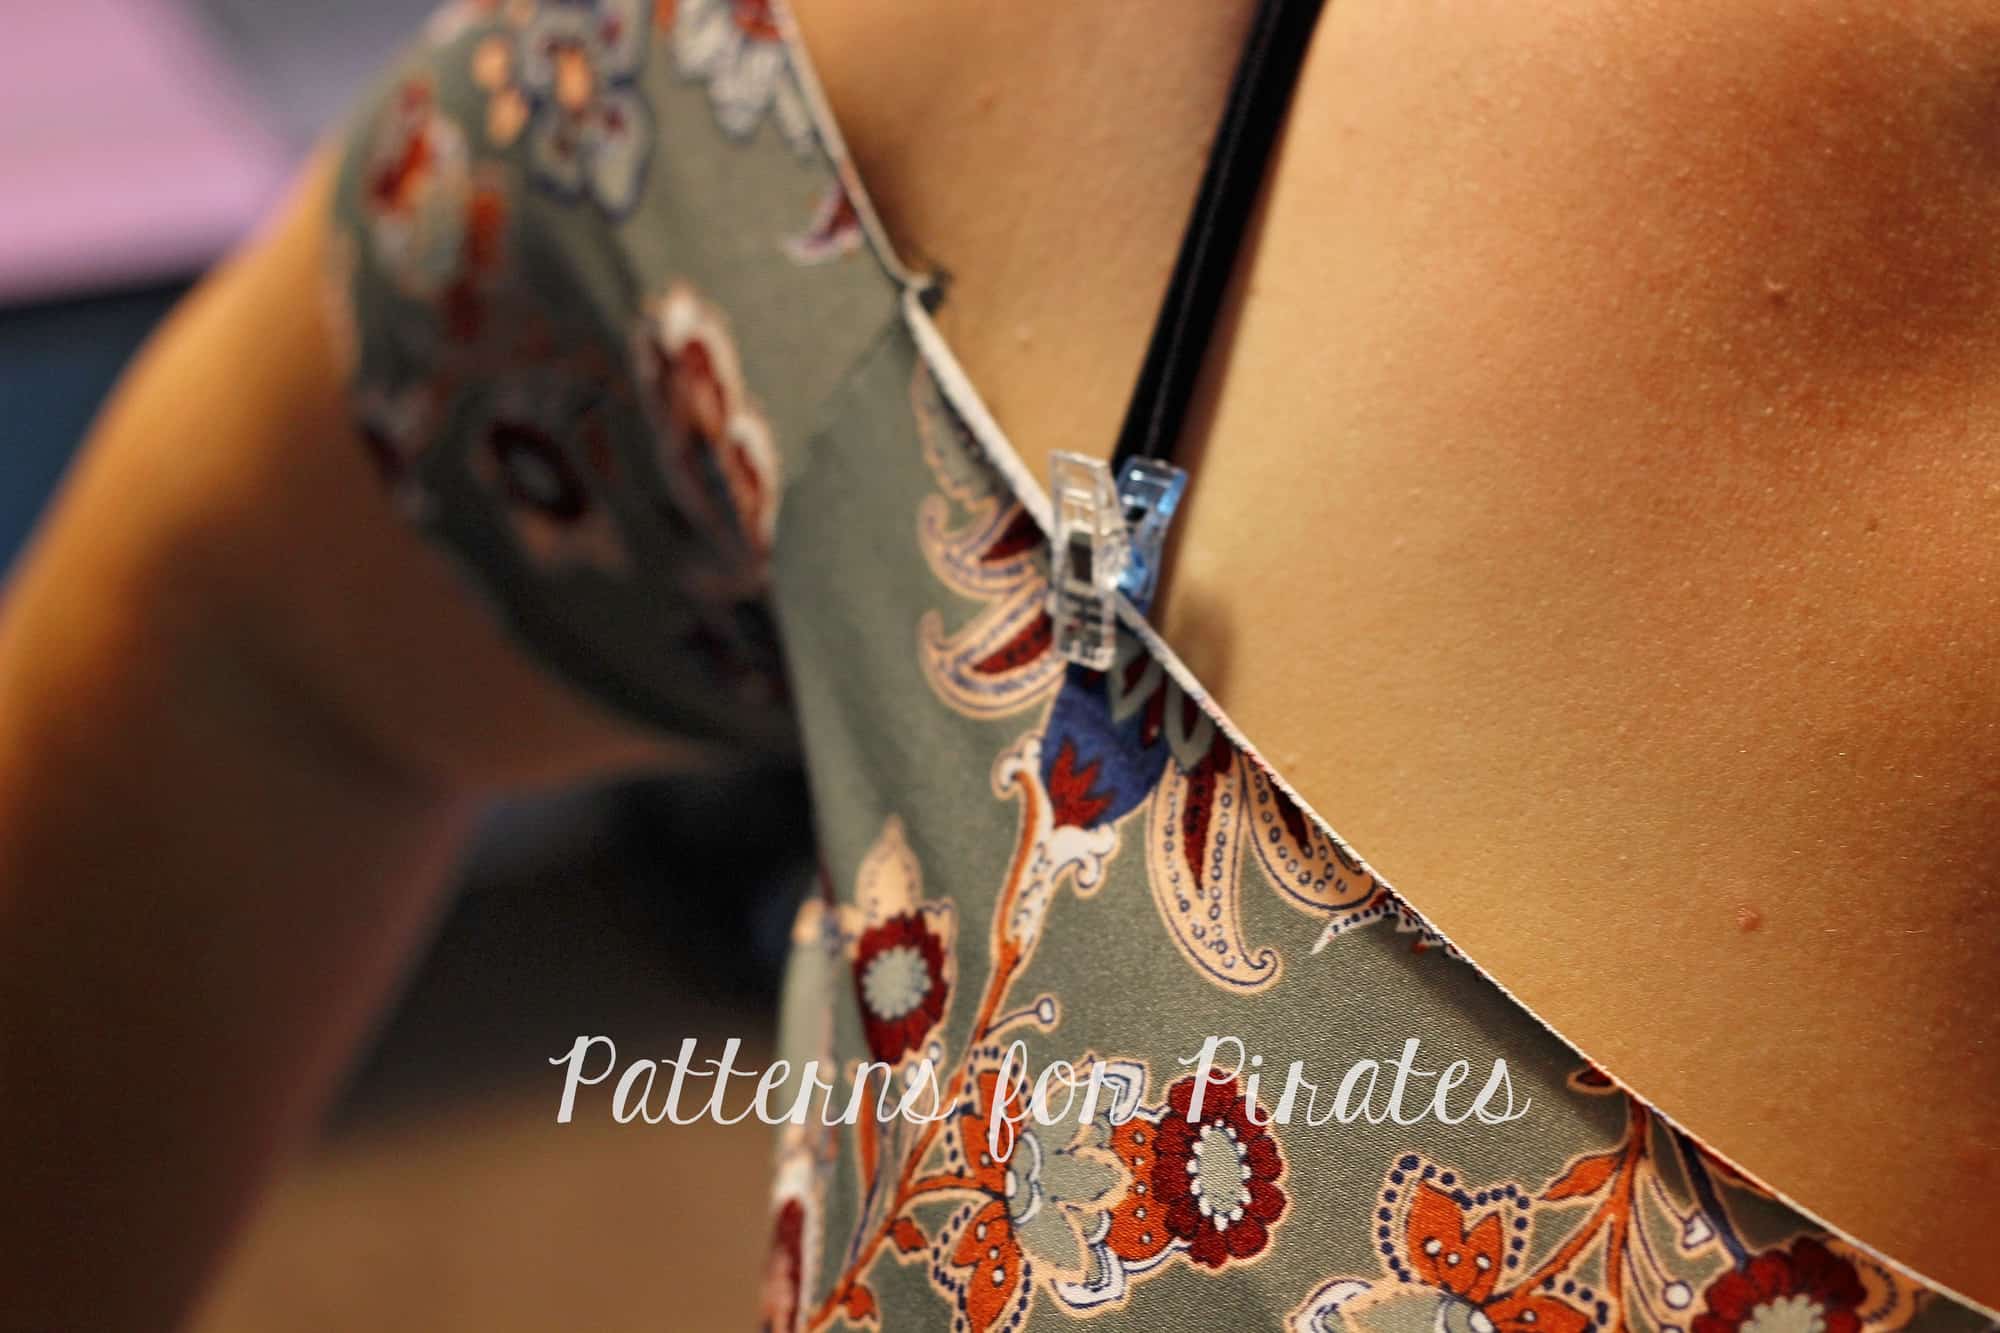
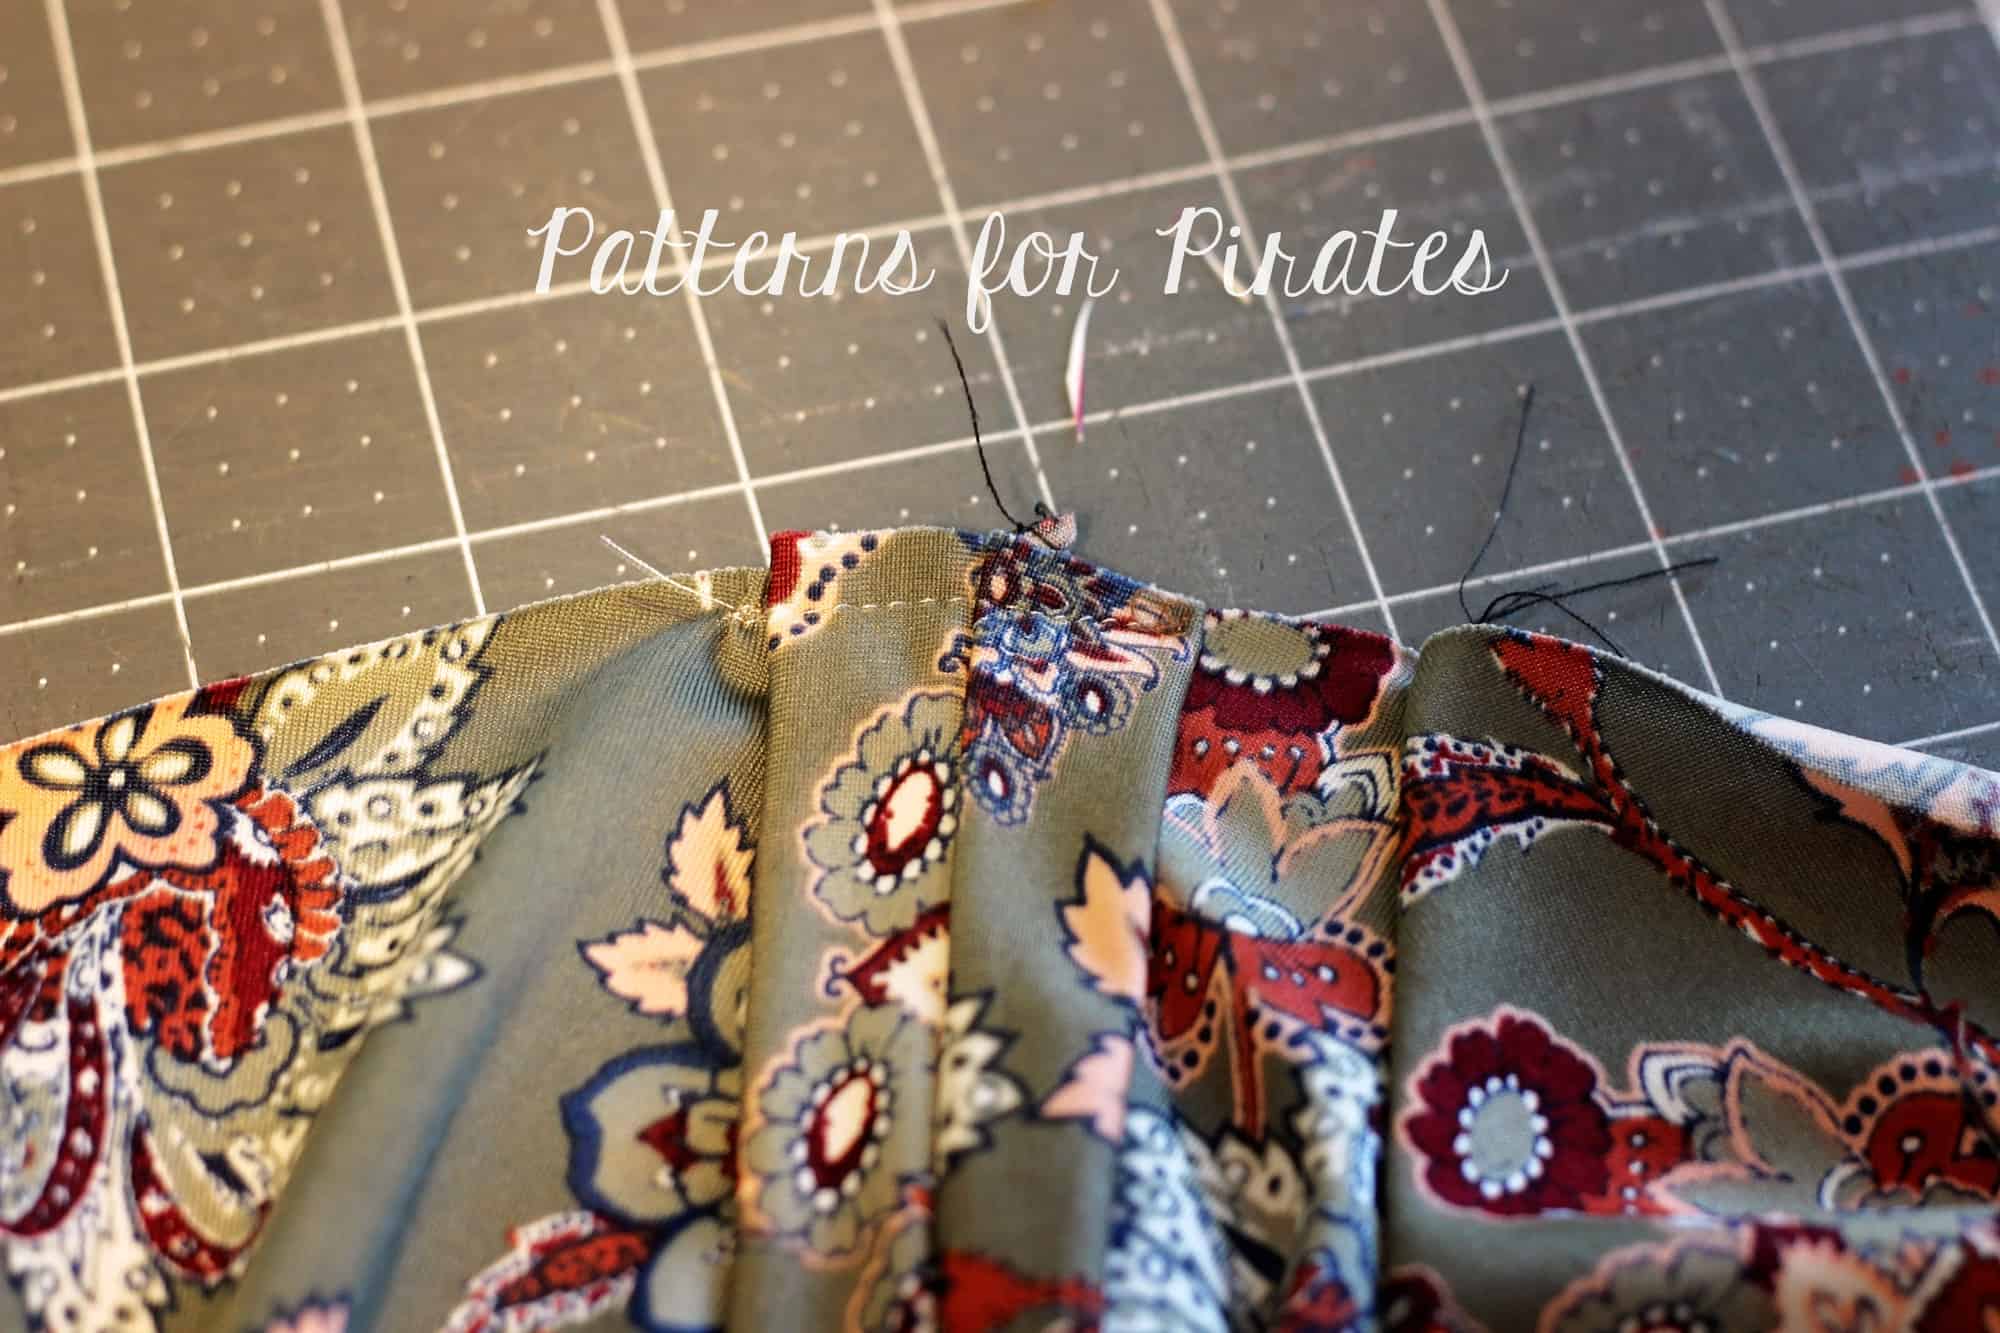
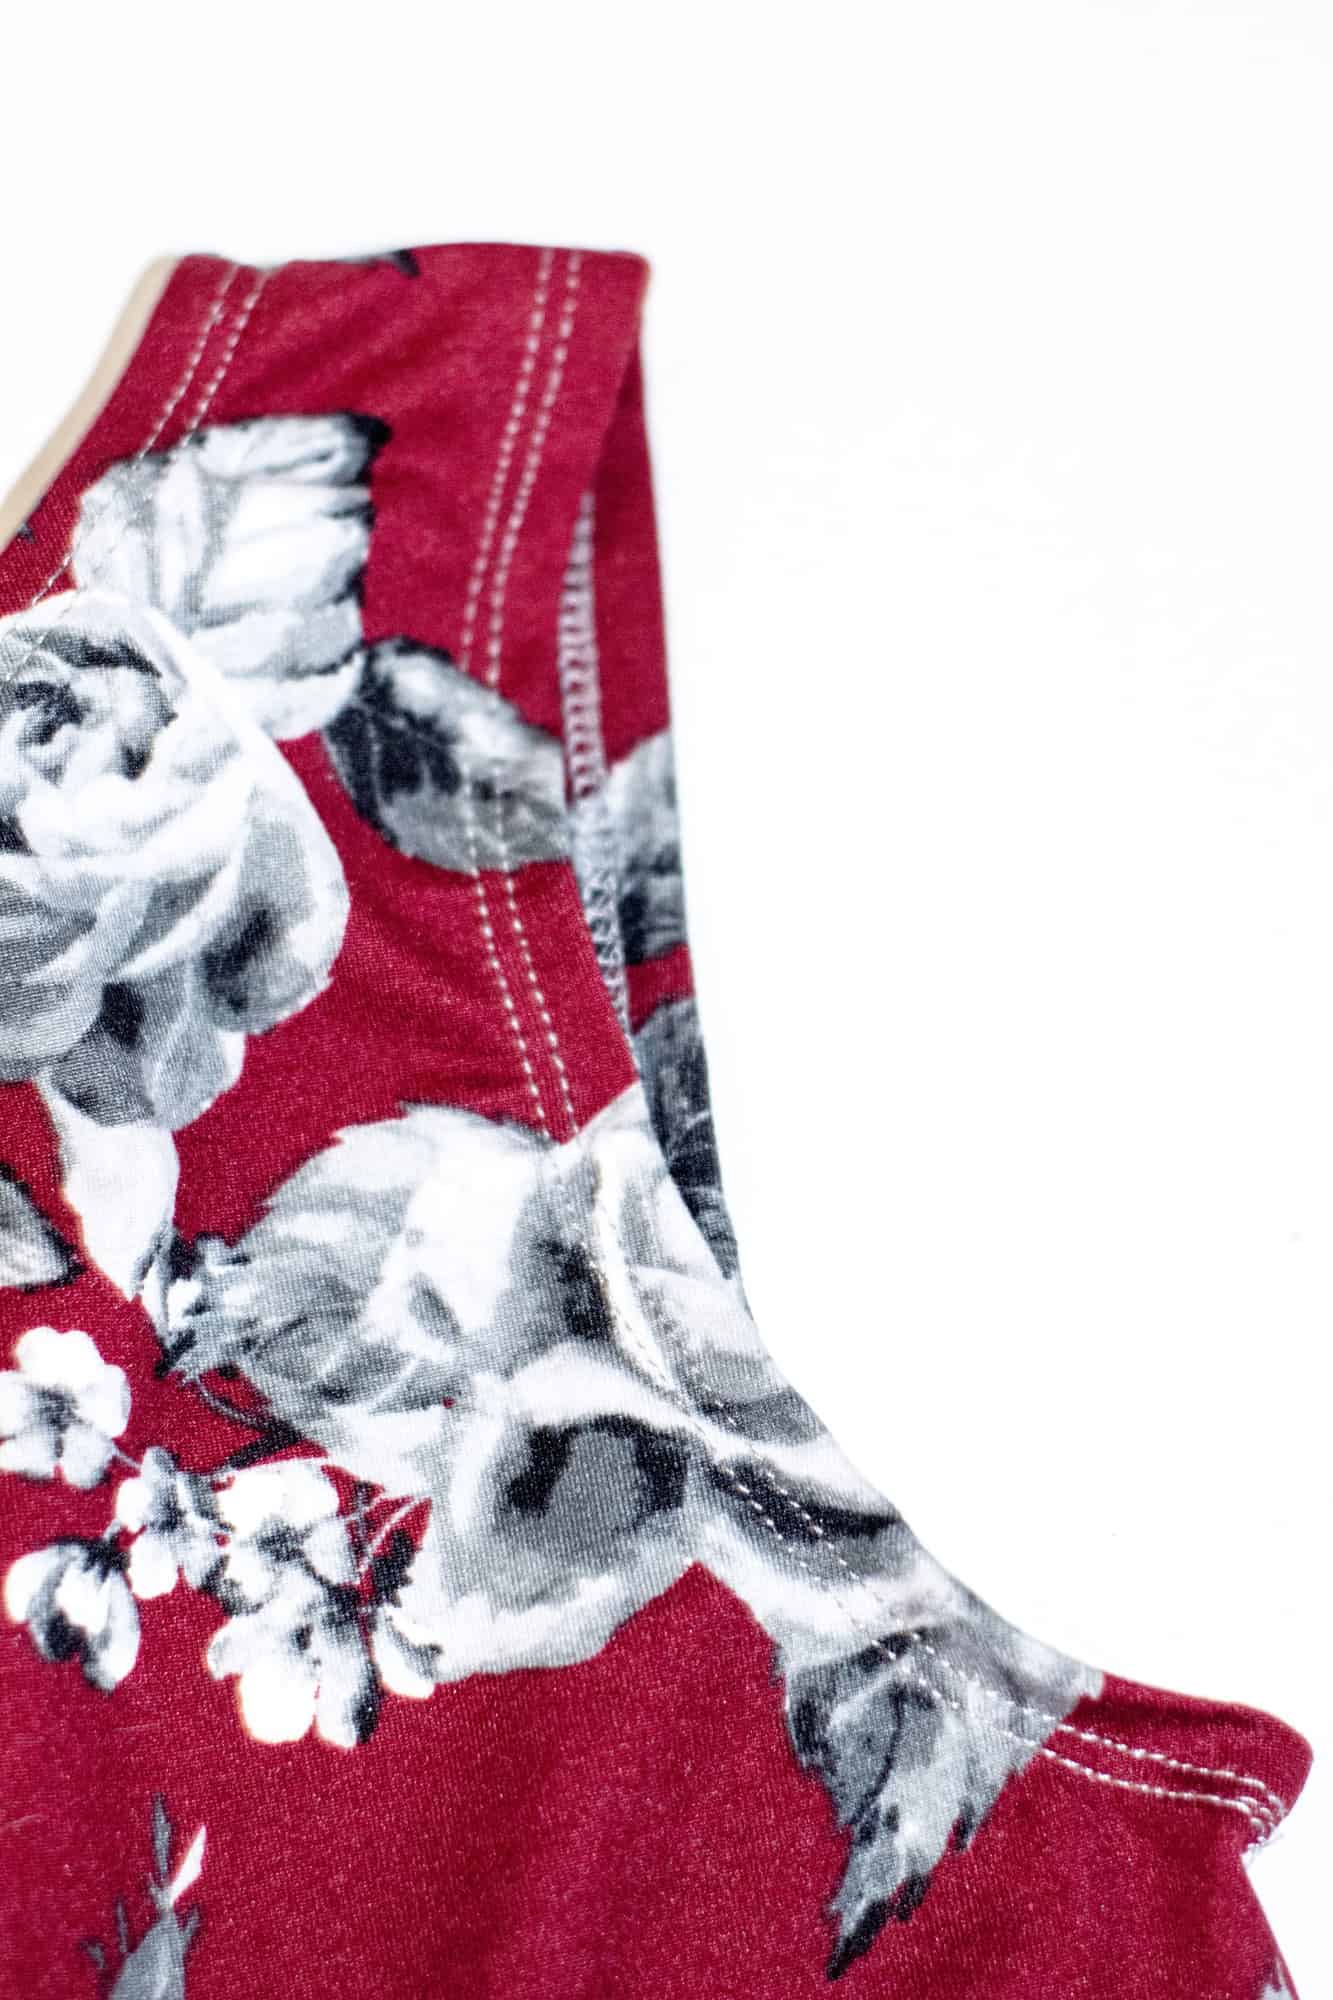
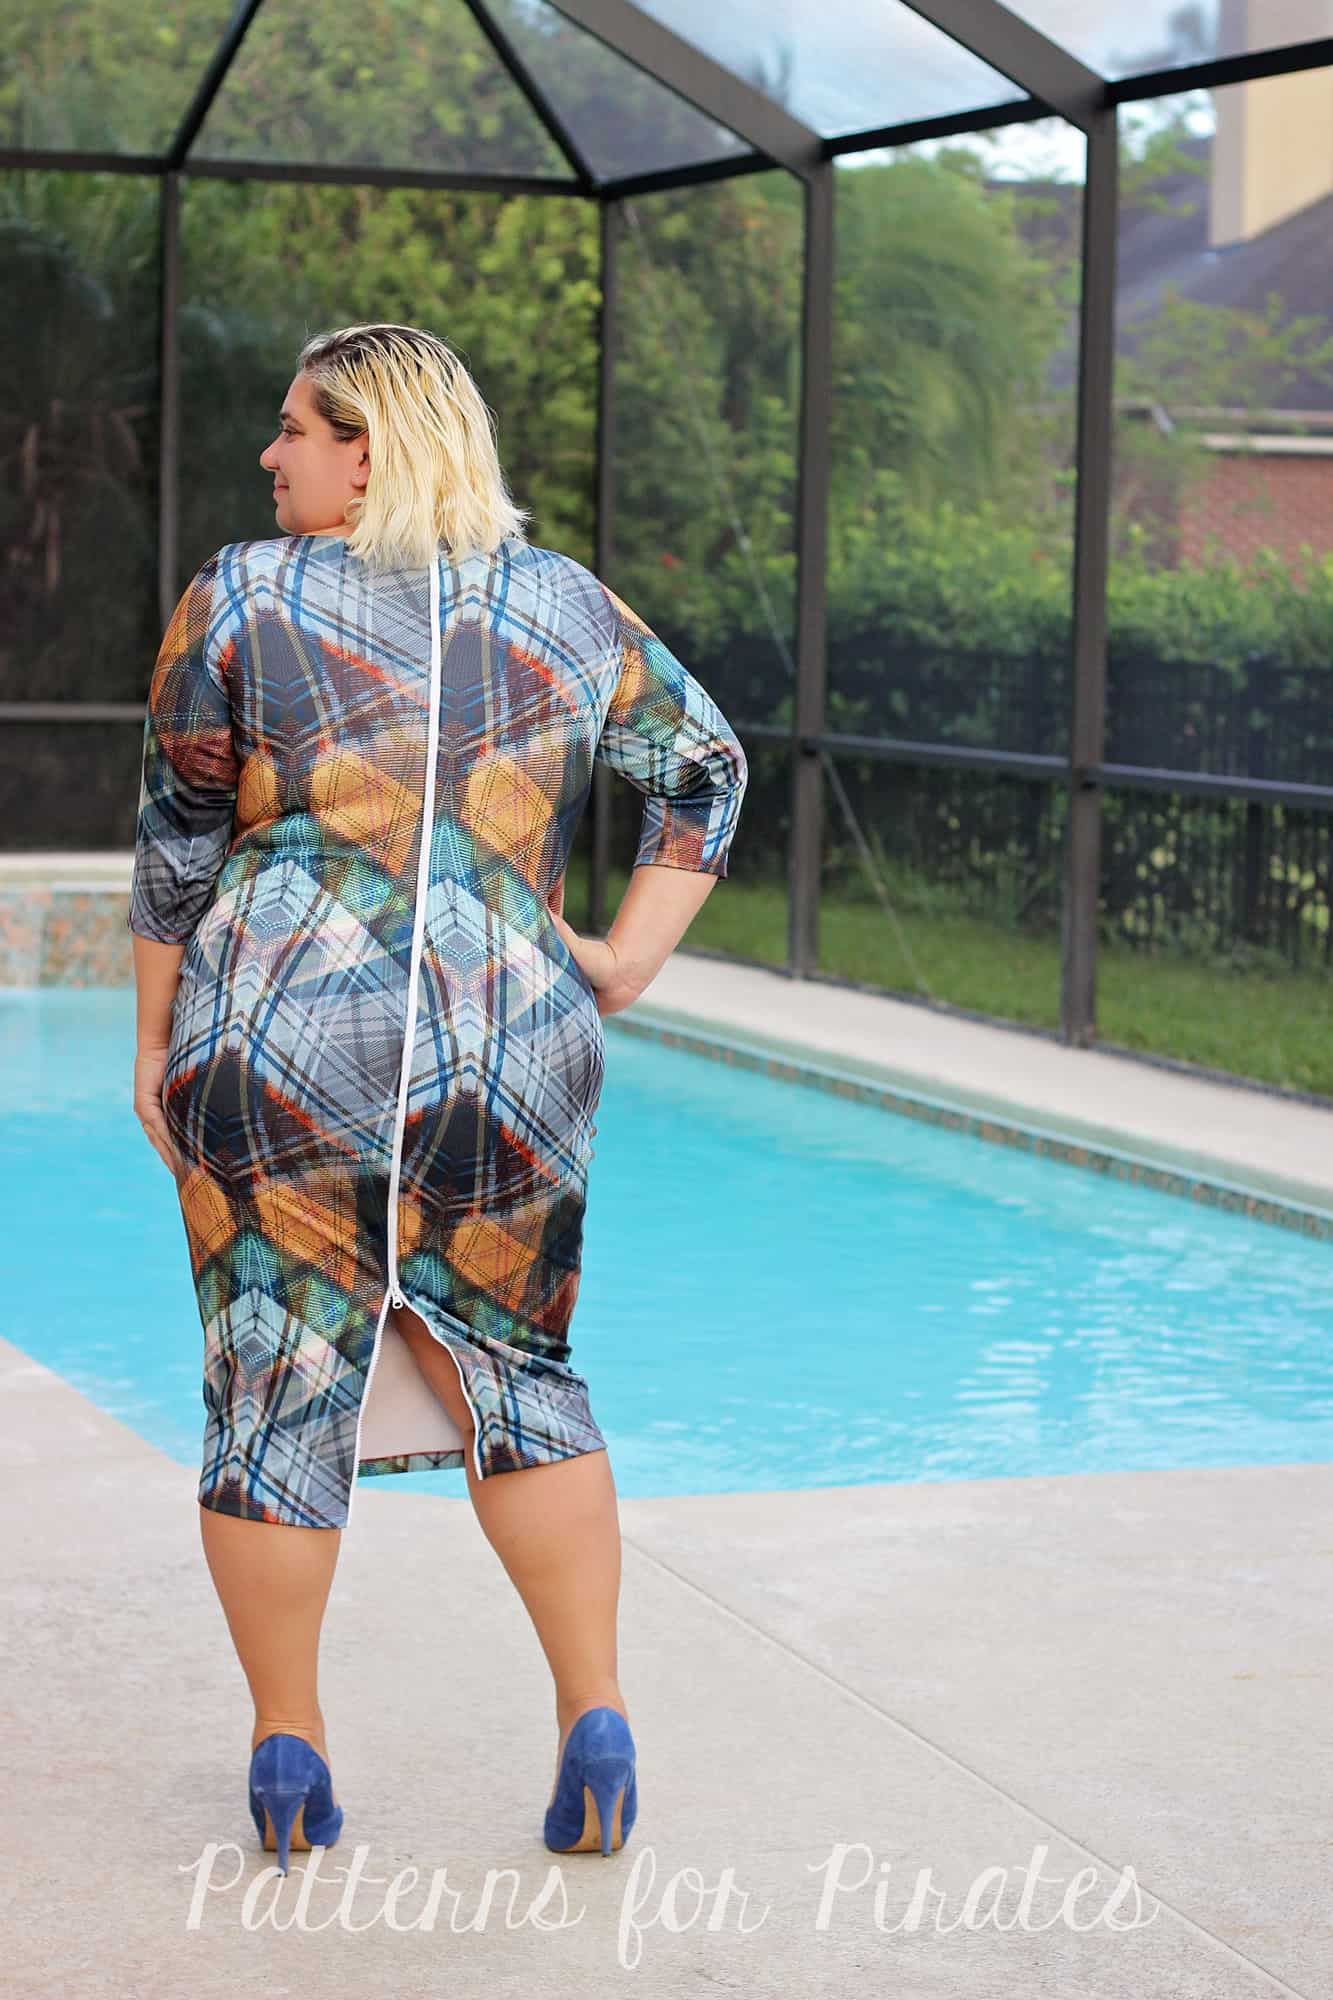
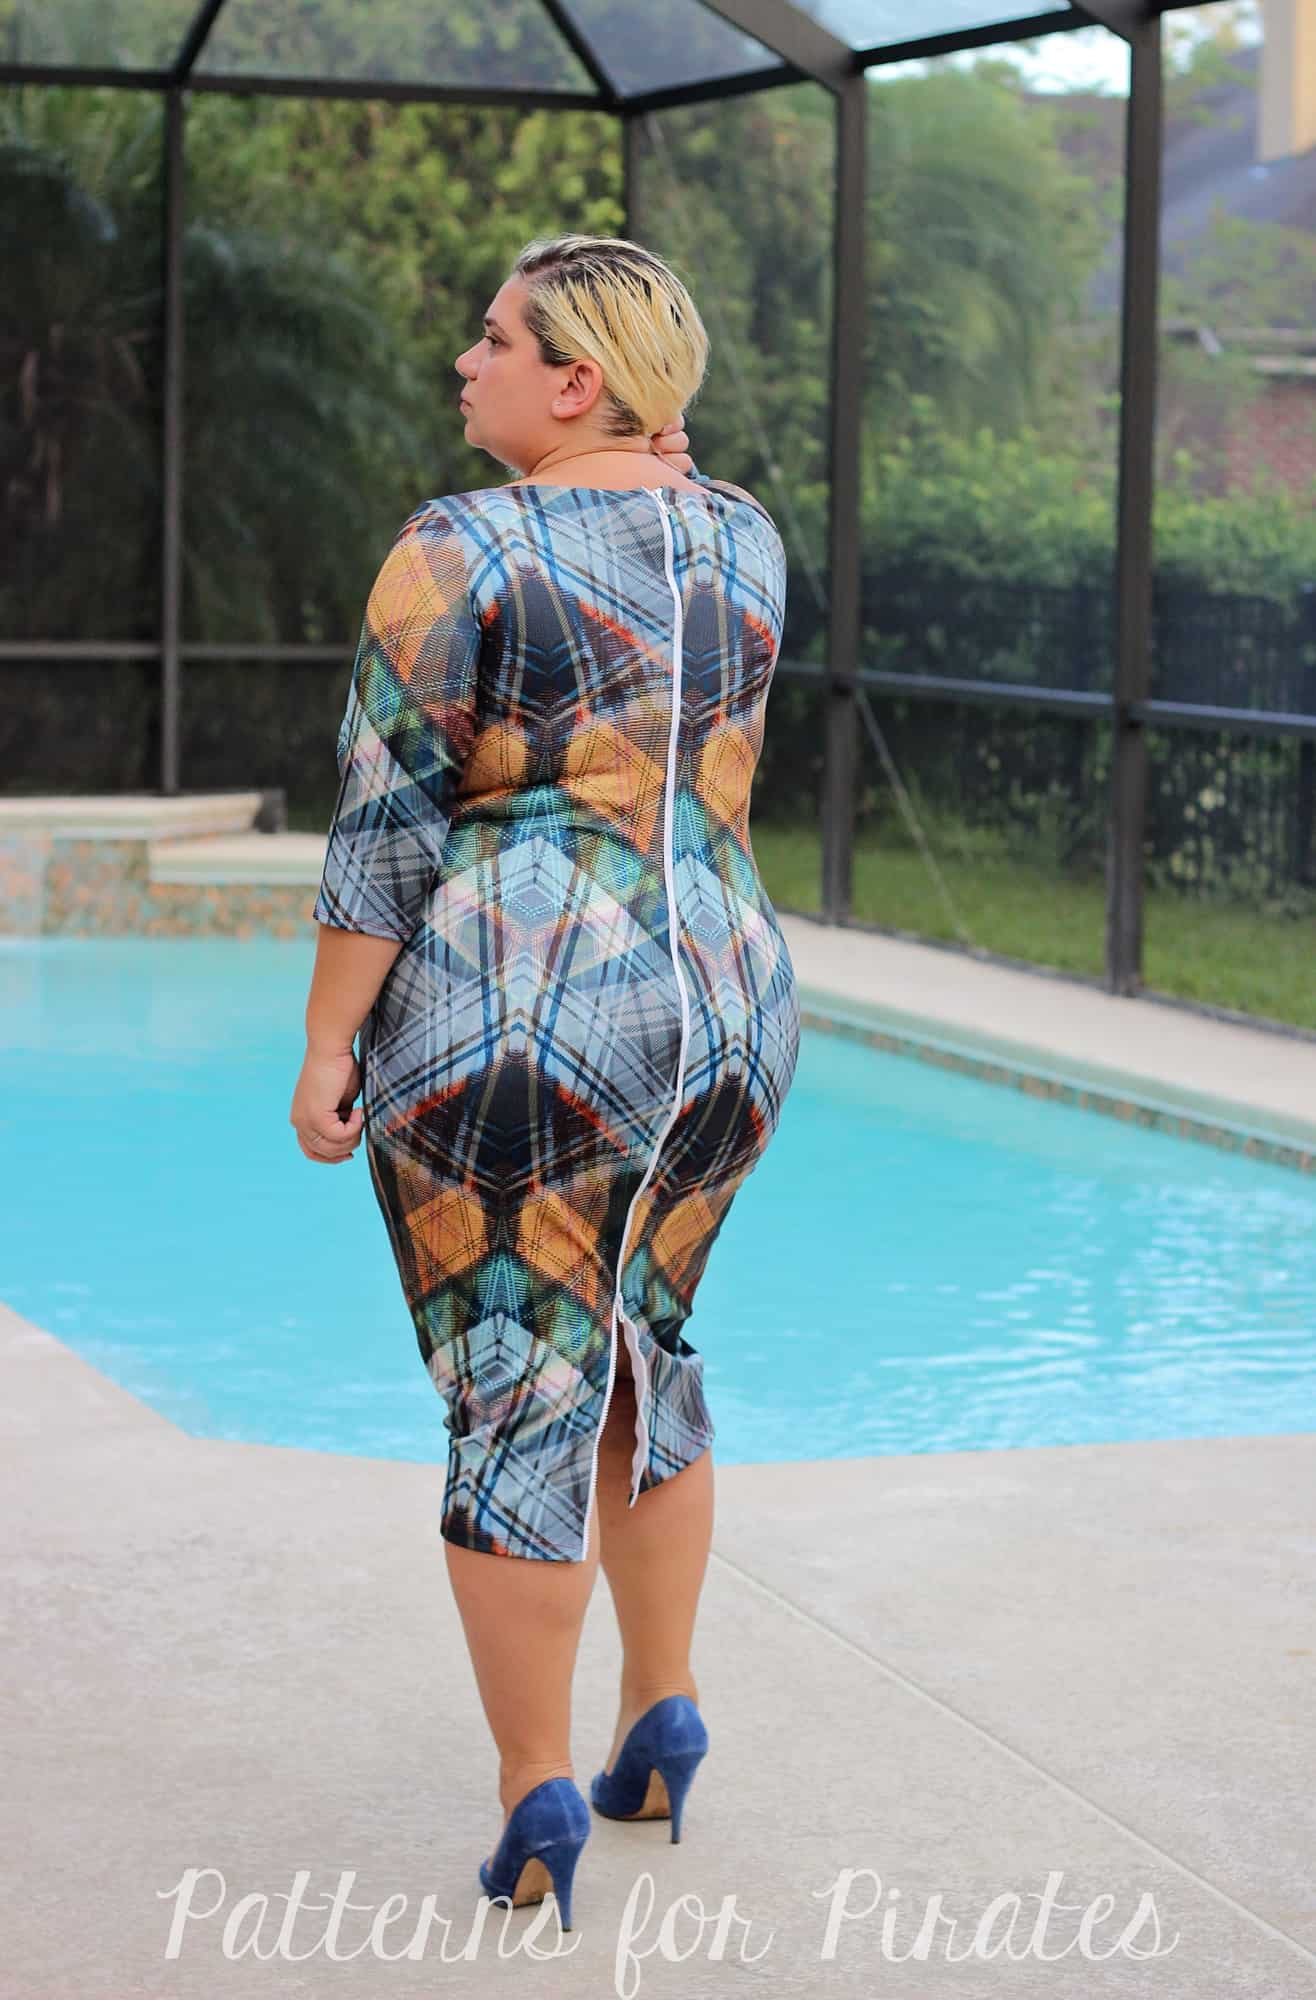
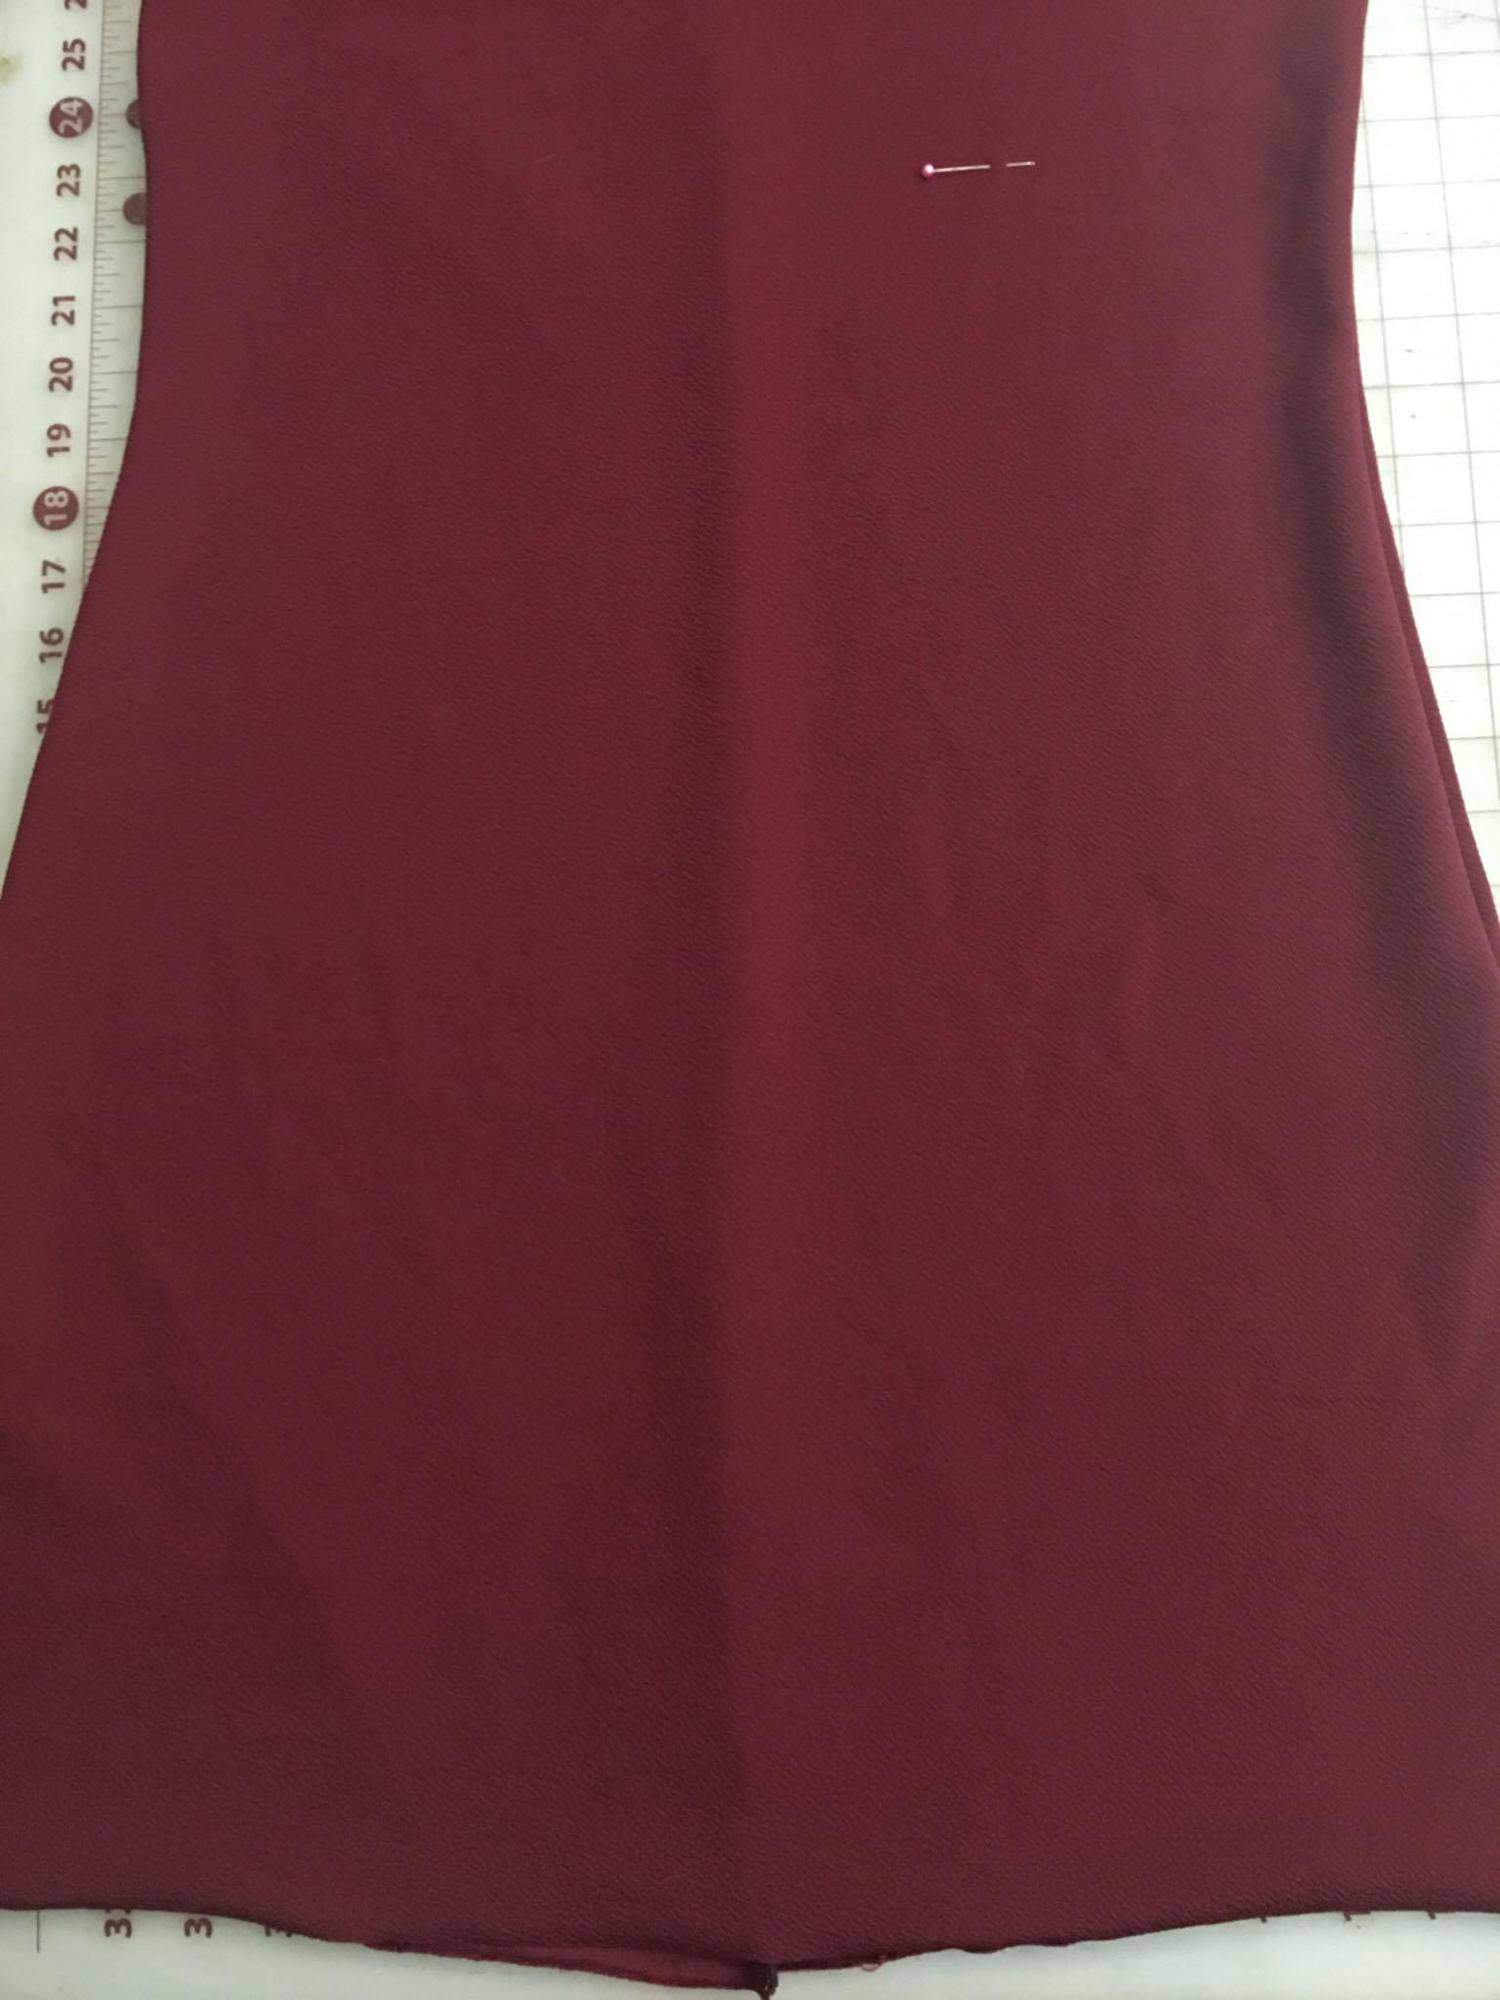
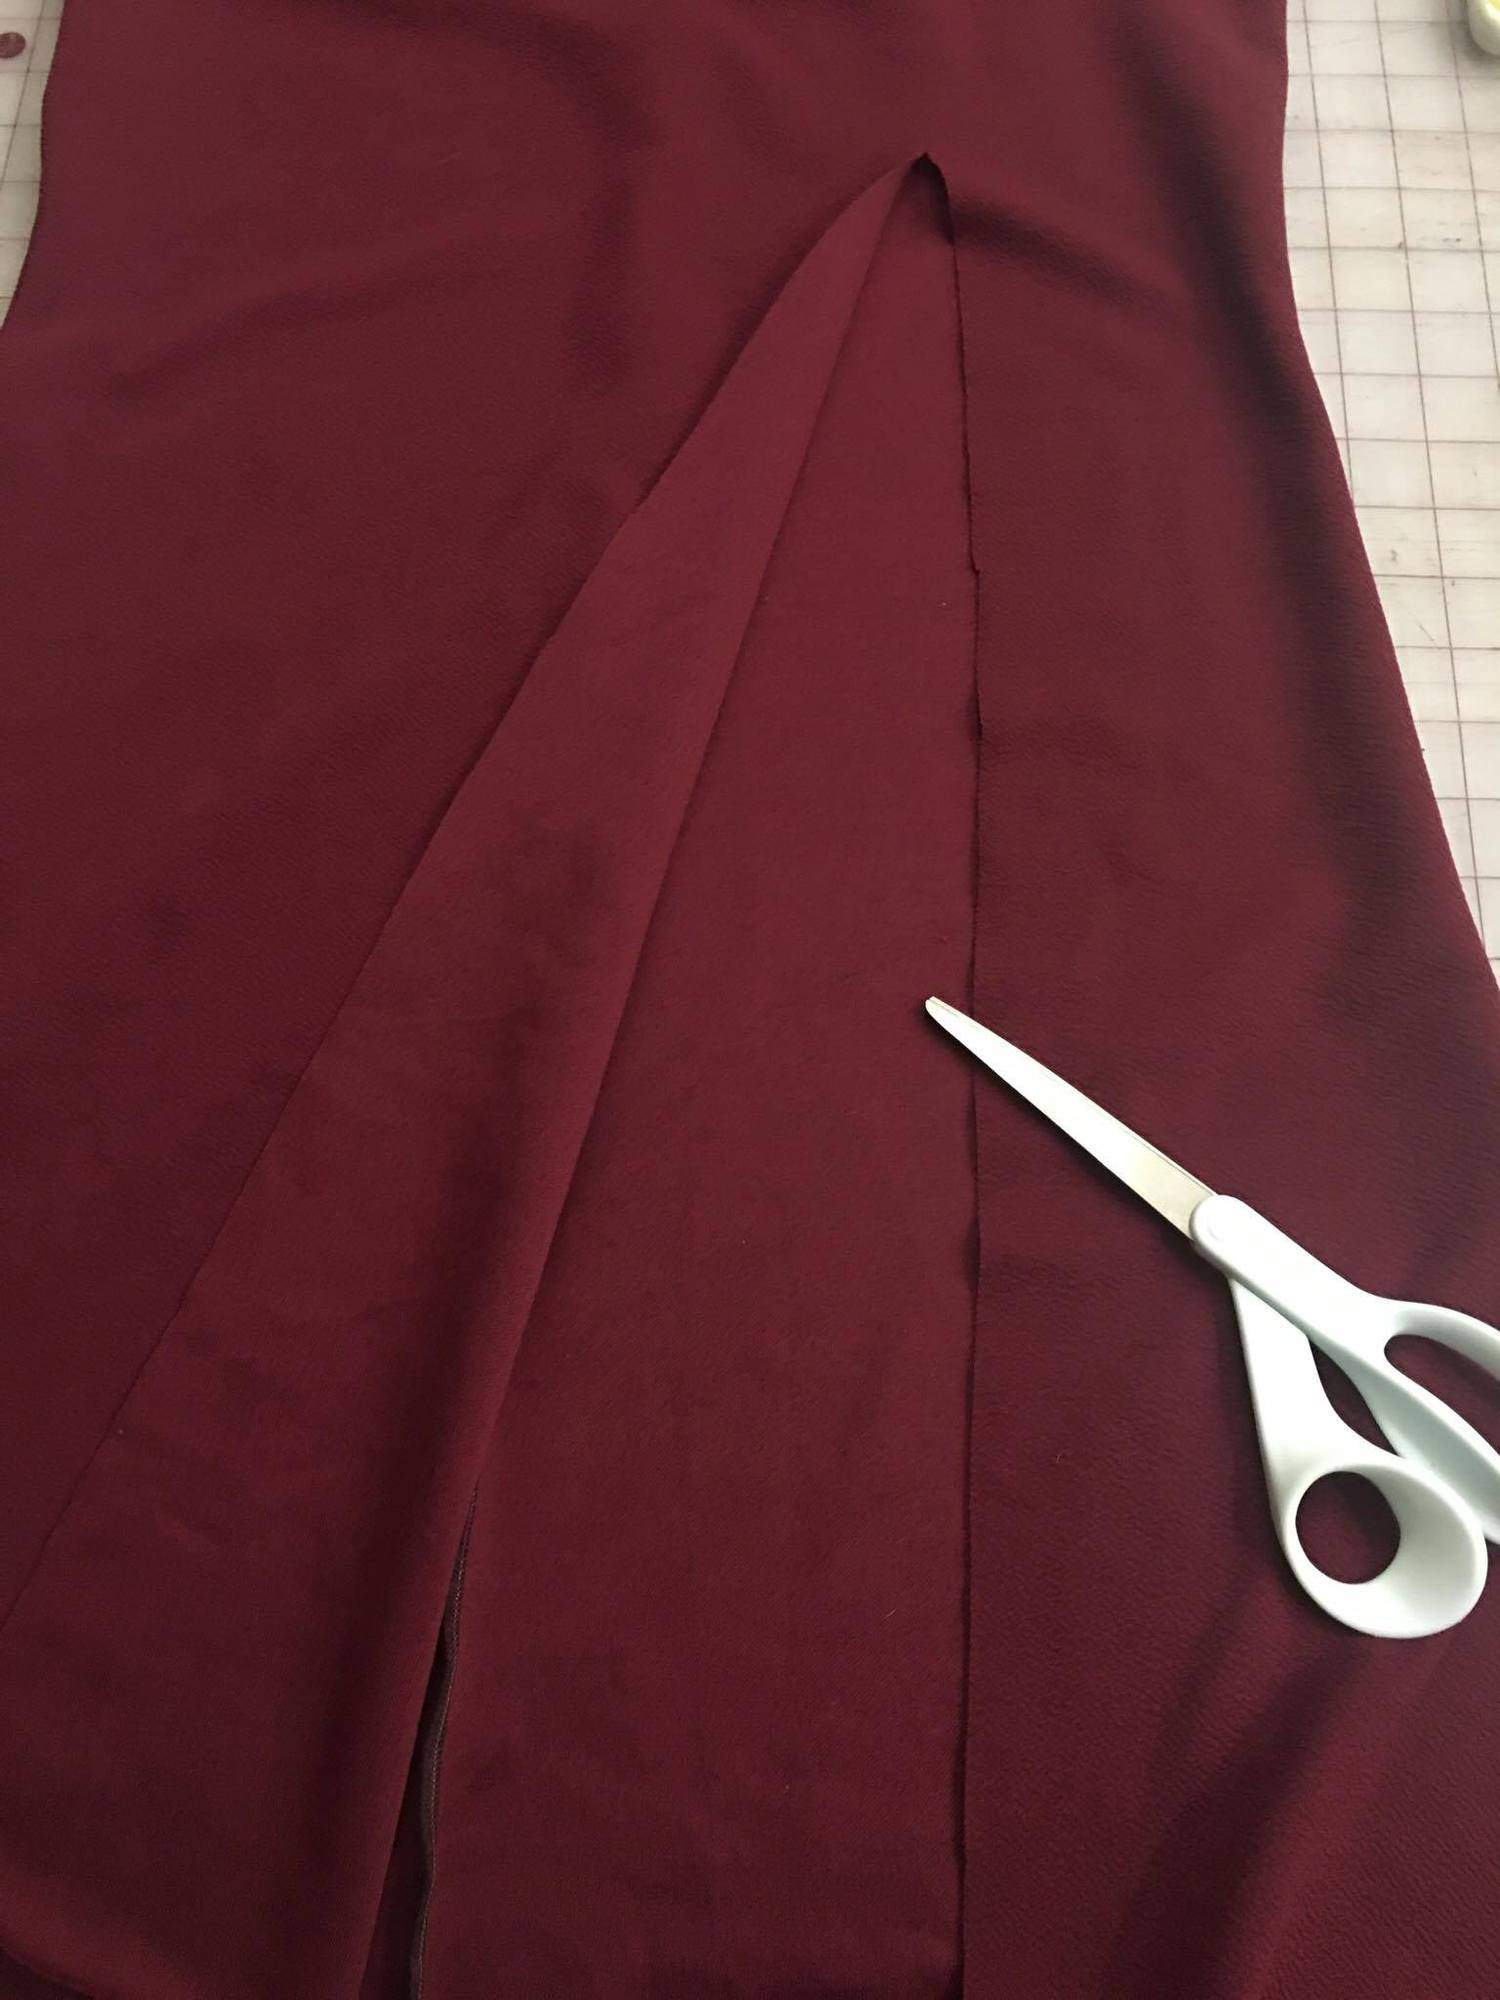
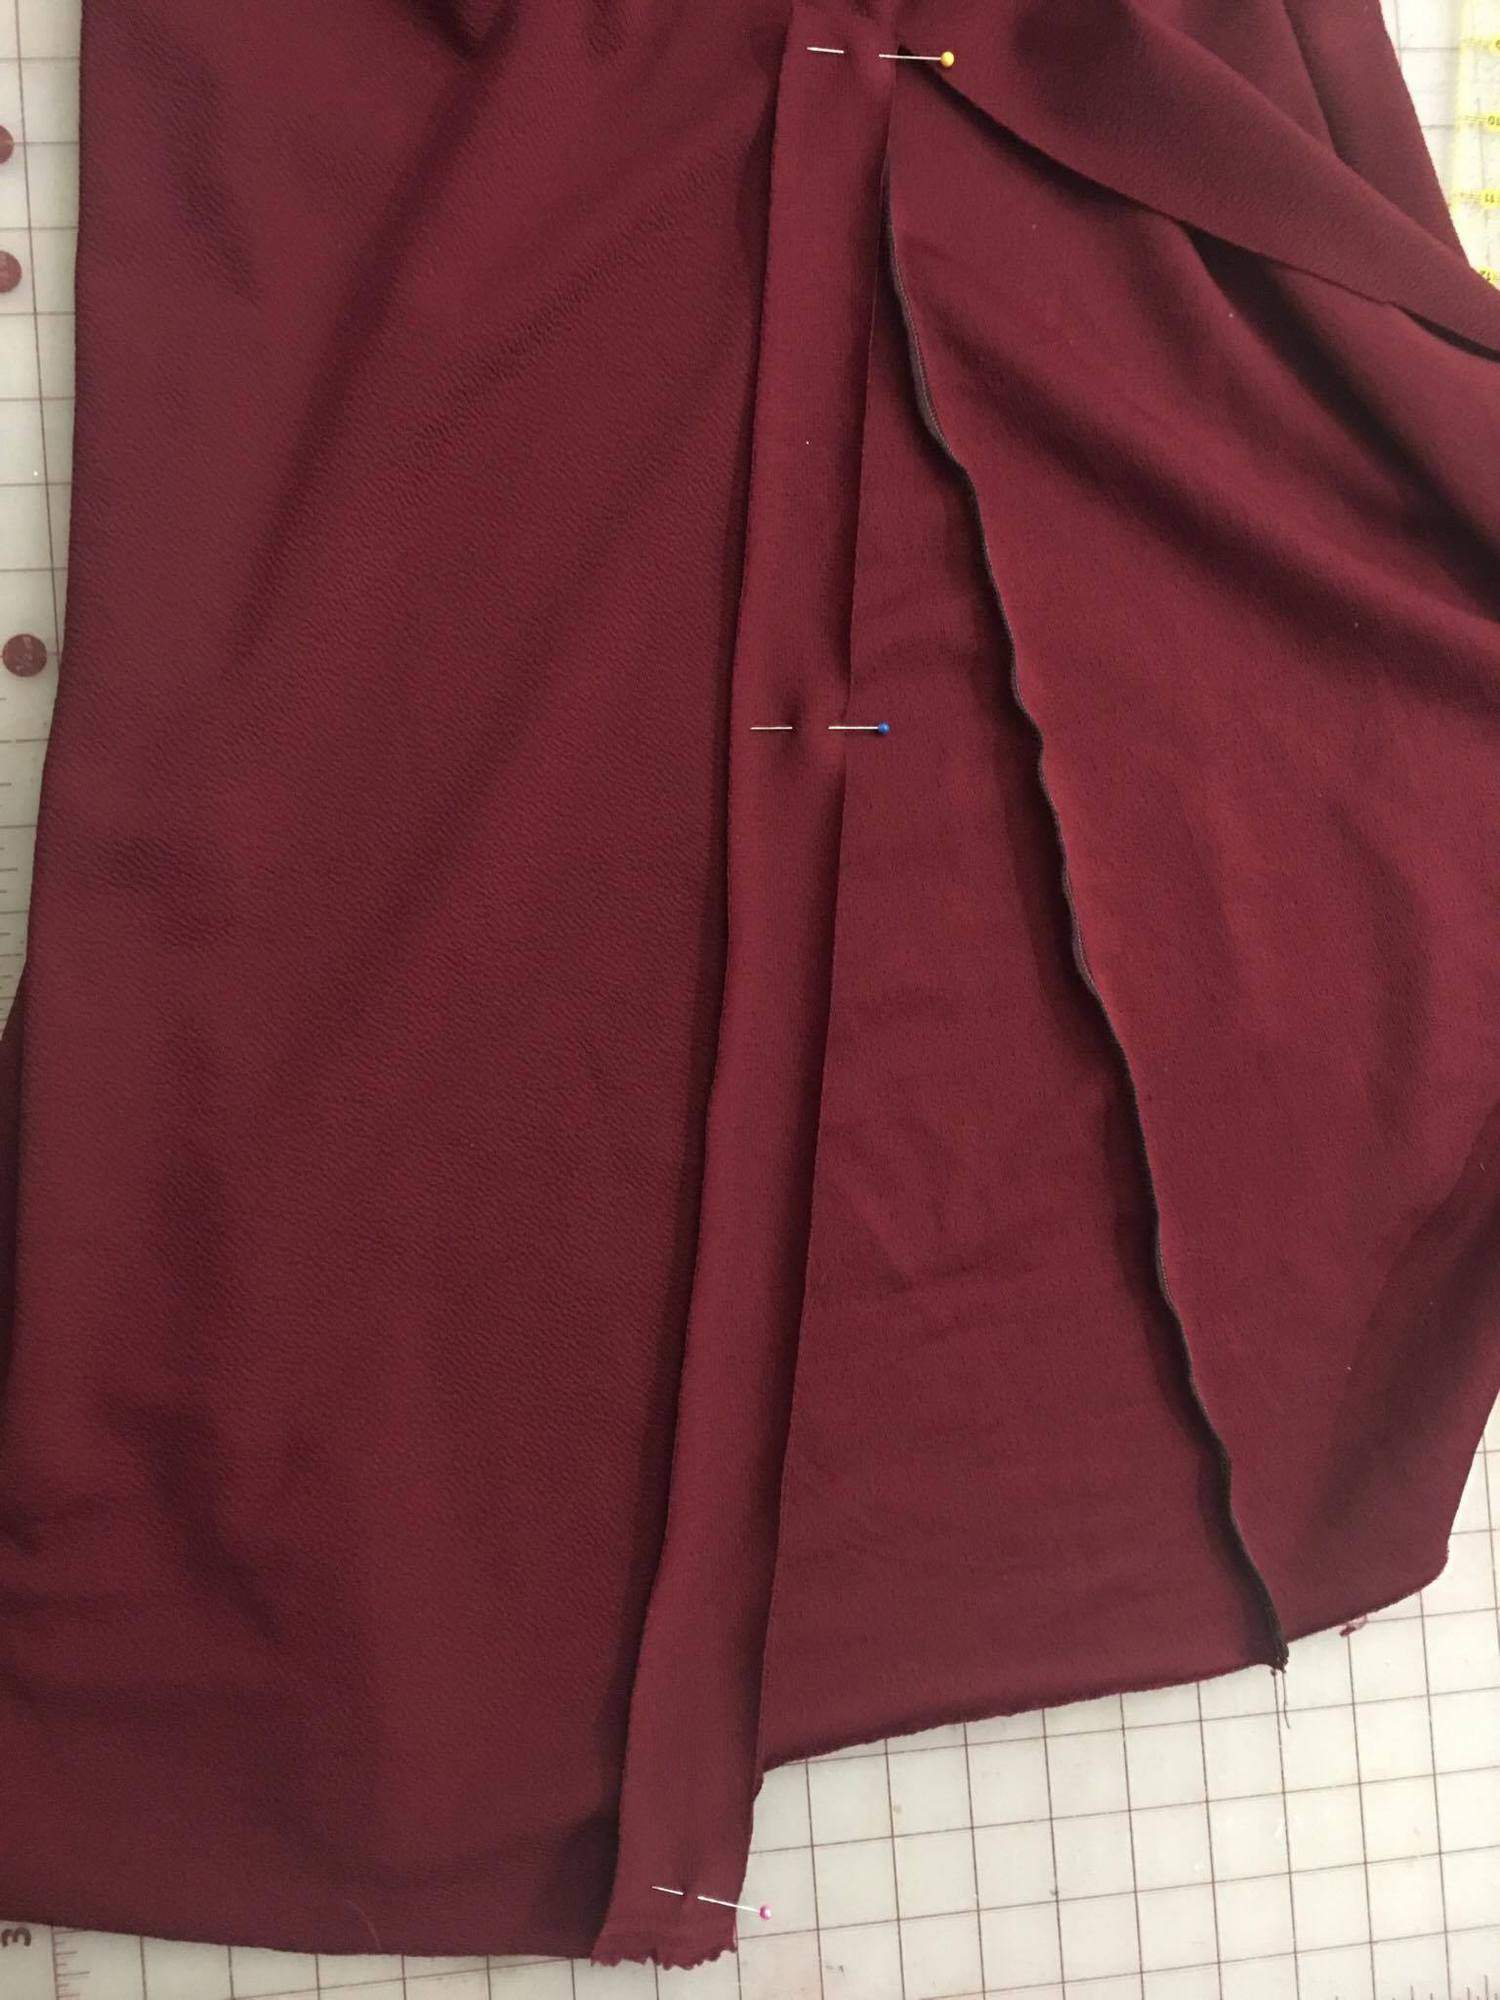
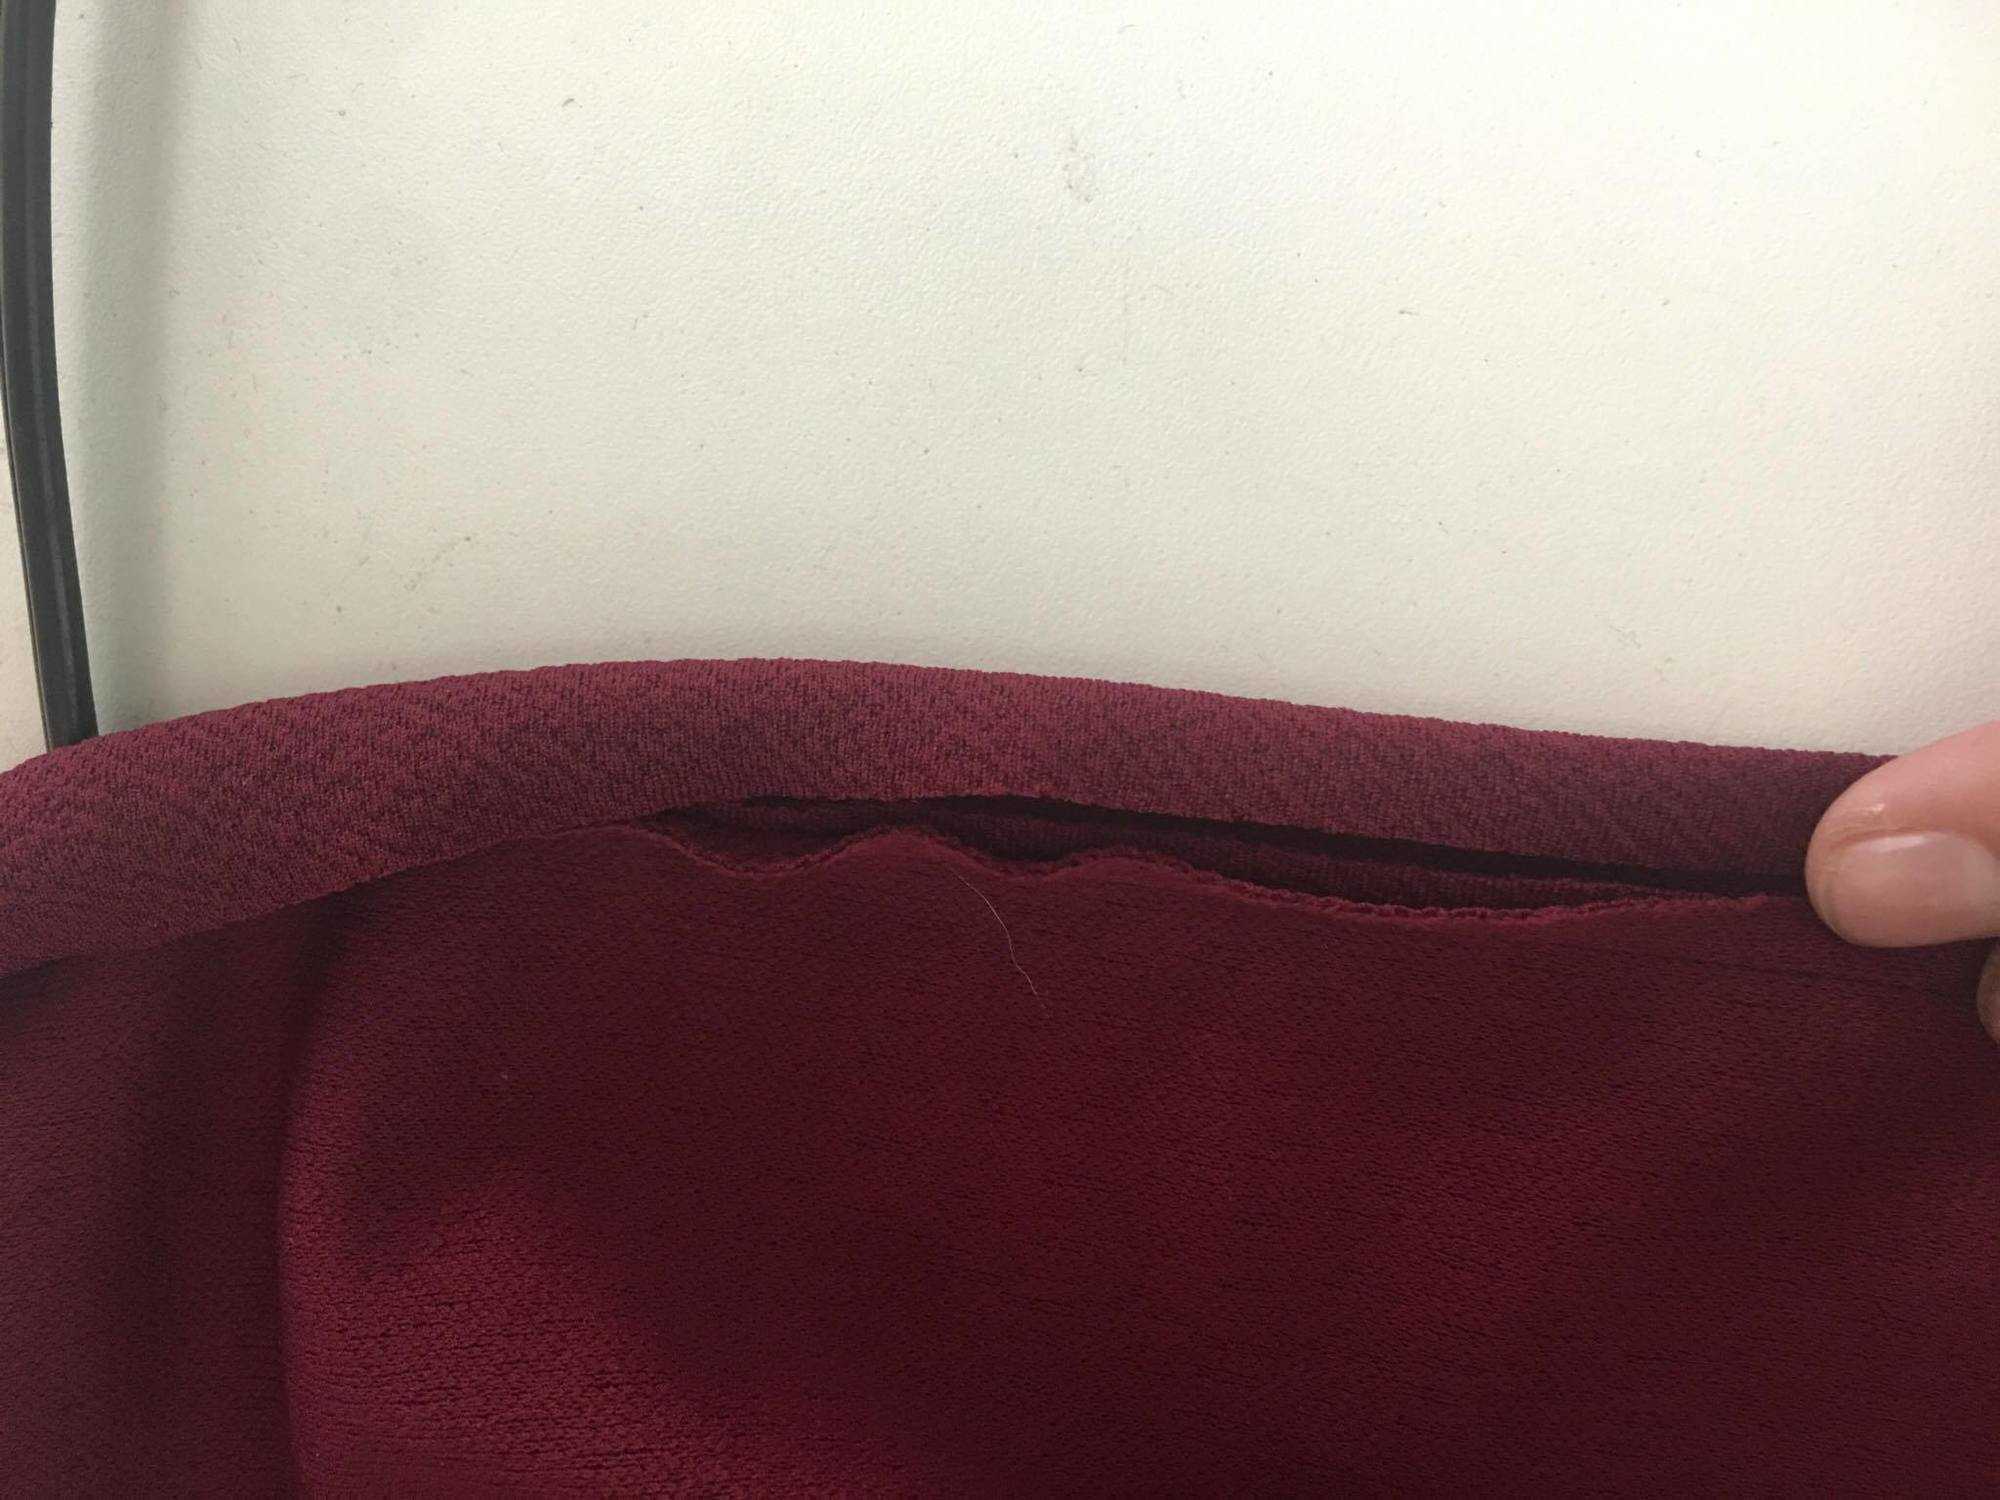
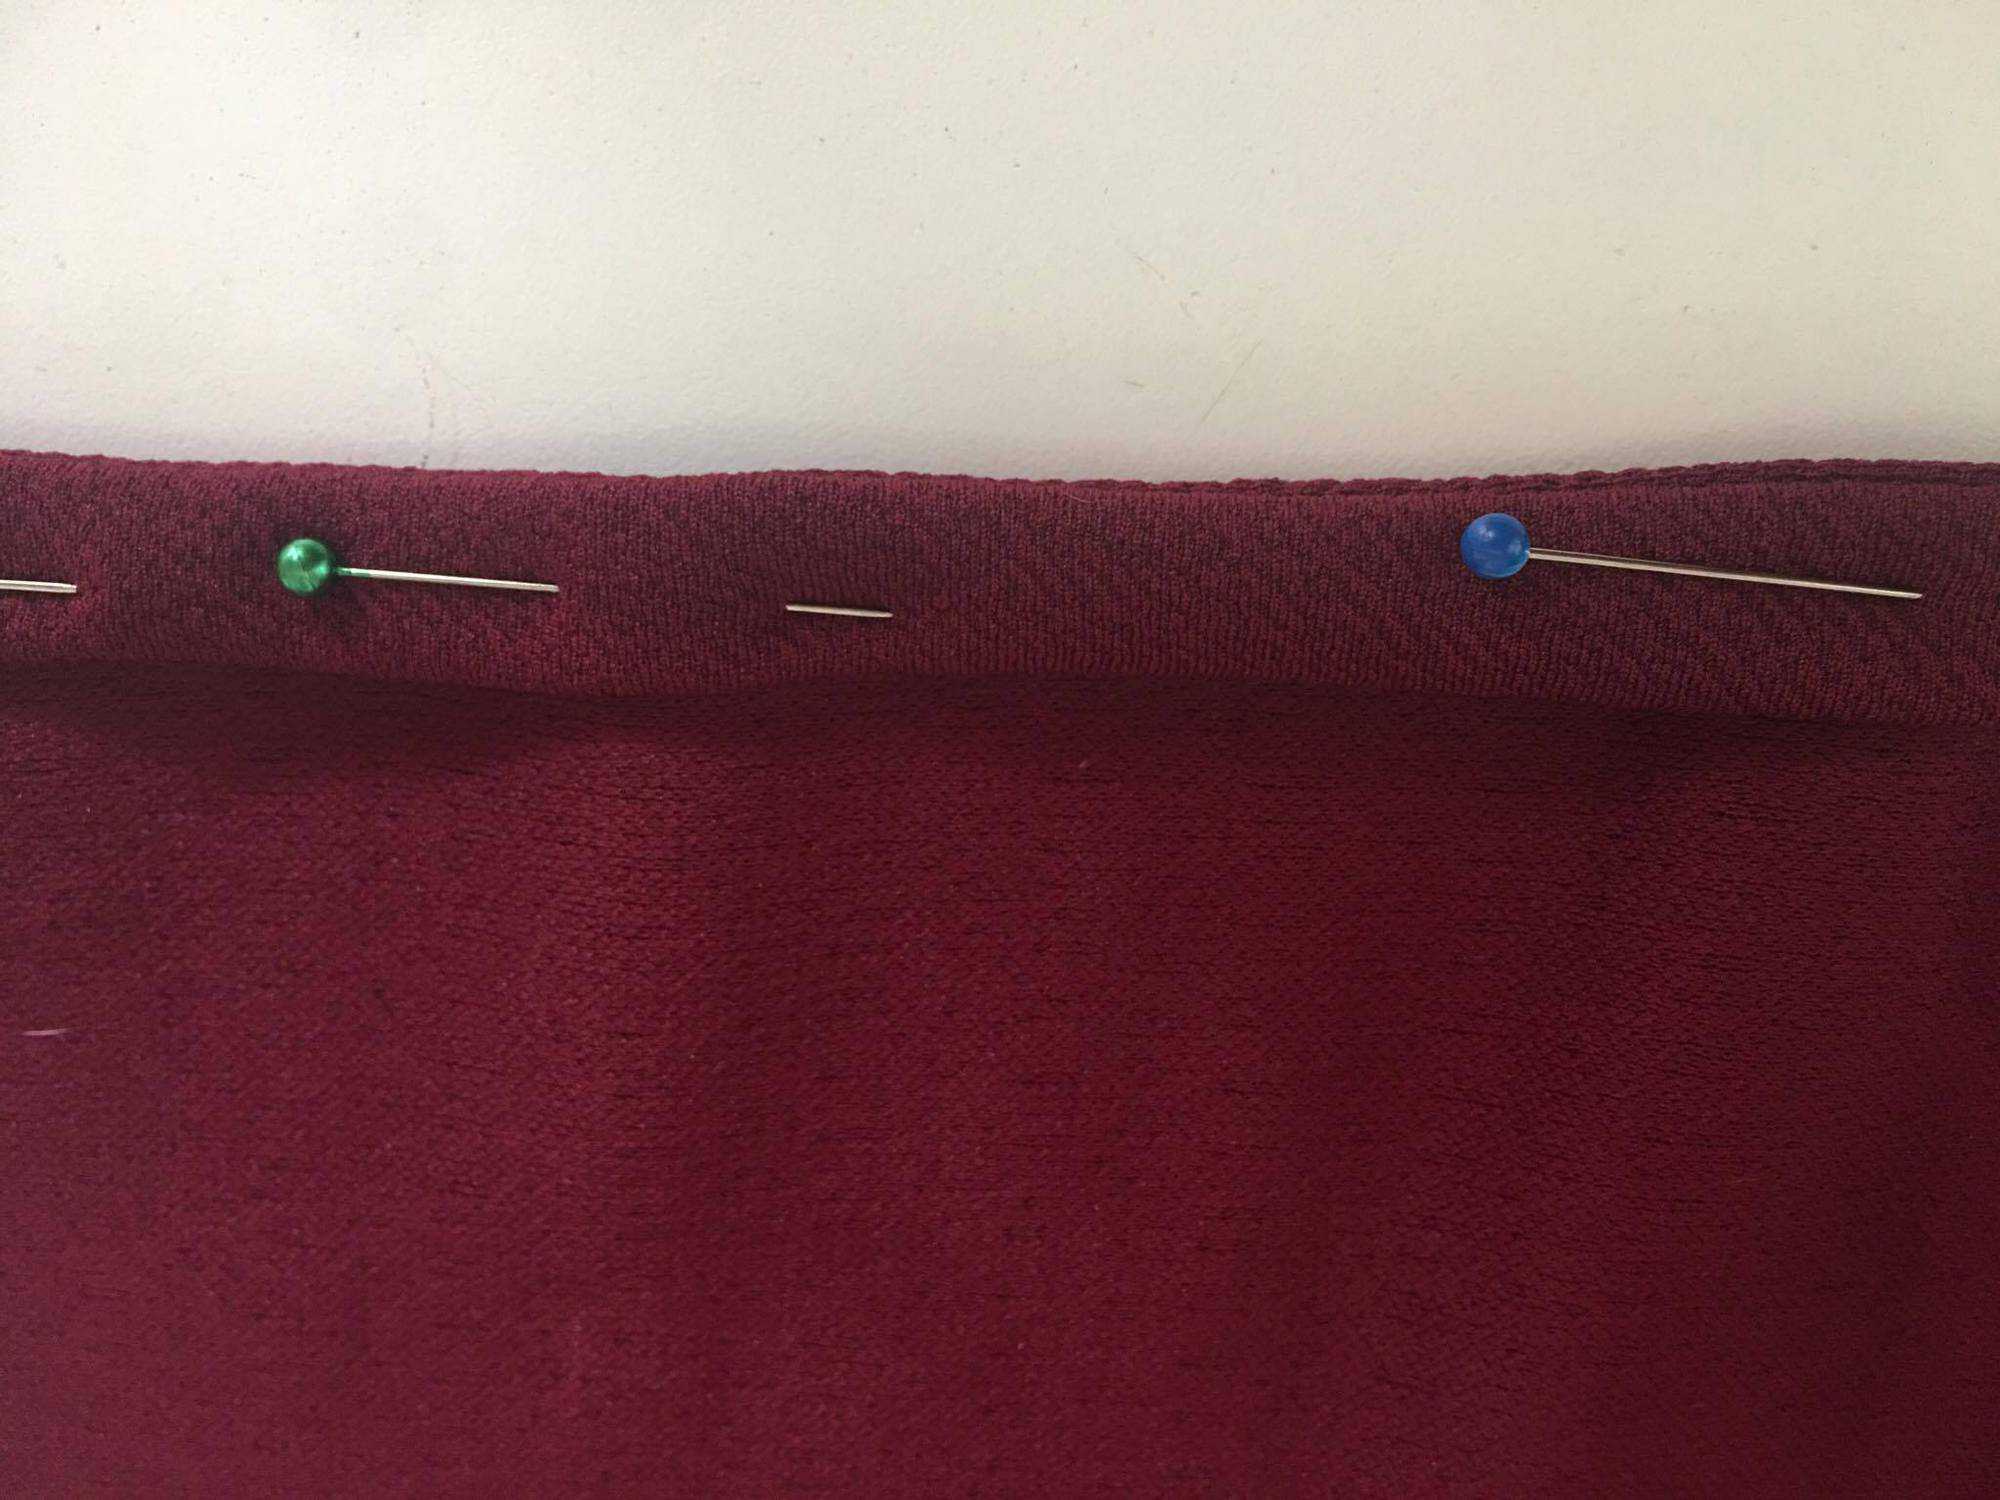
SIDE SEAM SPLIT DETAIL
-
- Shirt

-
- Above Knee

-
- Below Knee/ Midi

YOUTH— SIDE SEAM SPLIT DETAIL
-
- Shirt
-
- Above Knee

-
- Below Knee

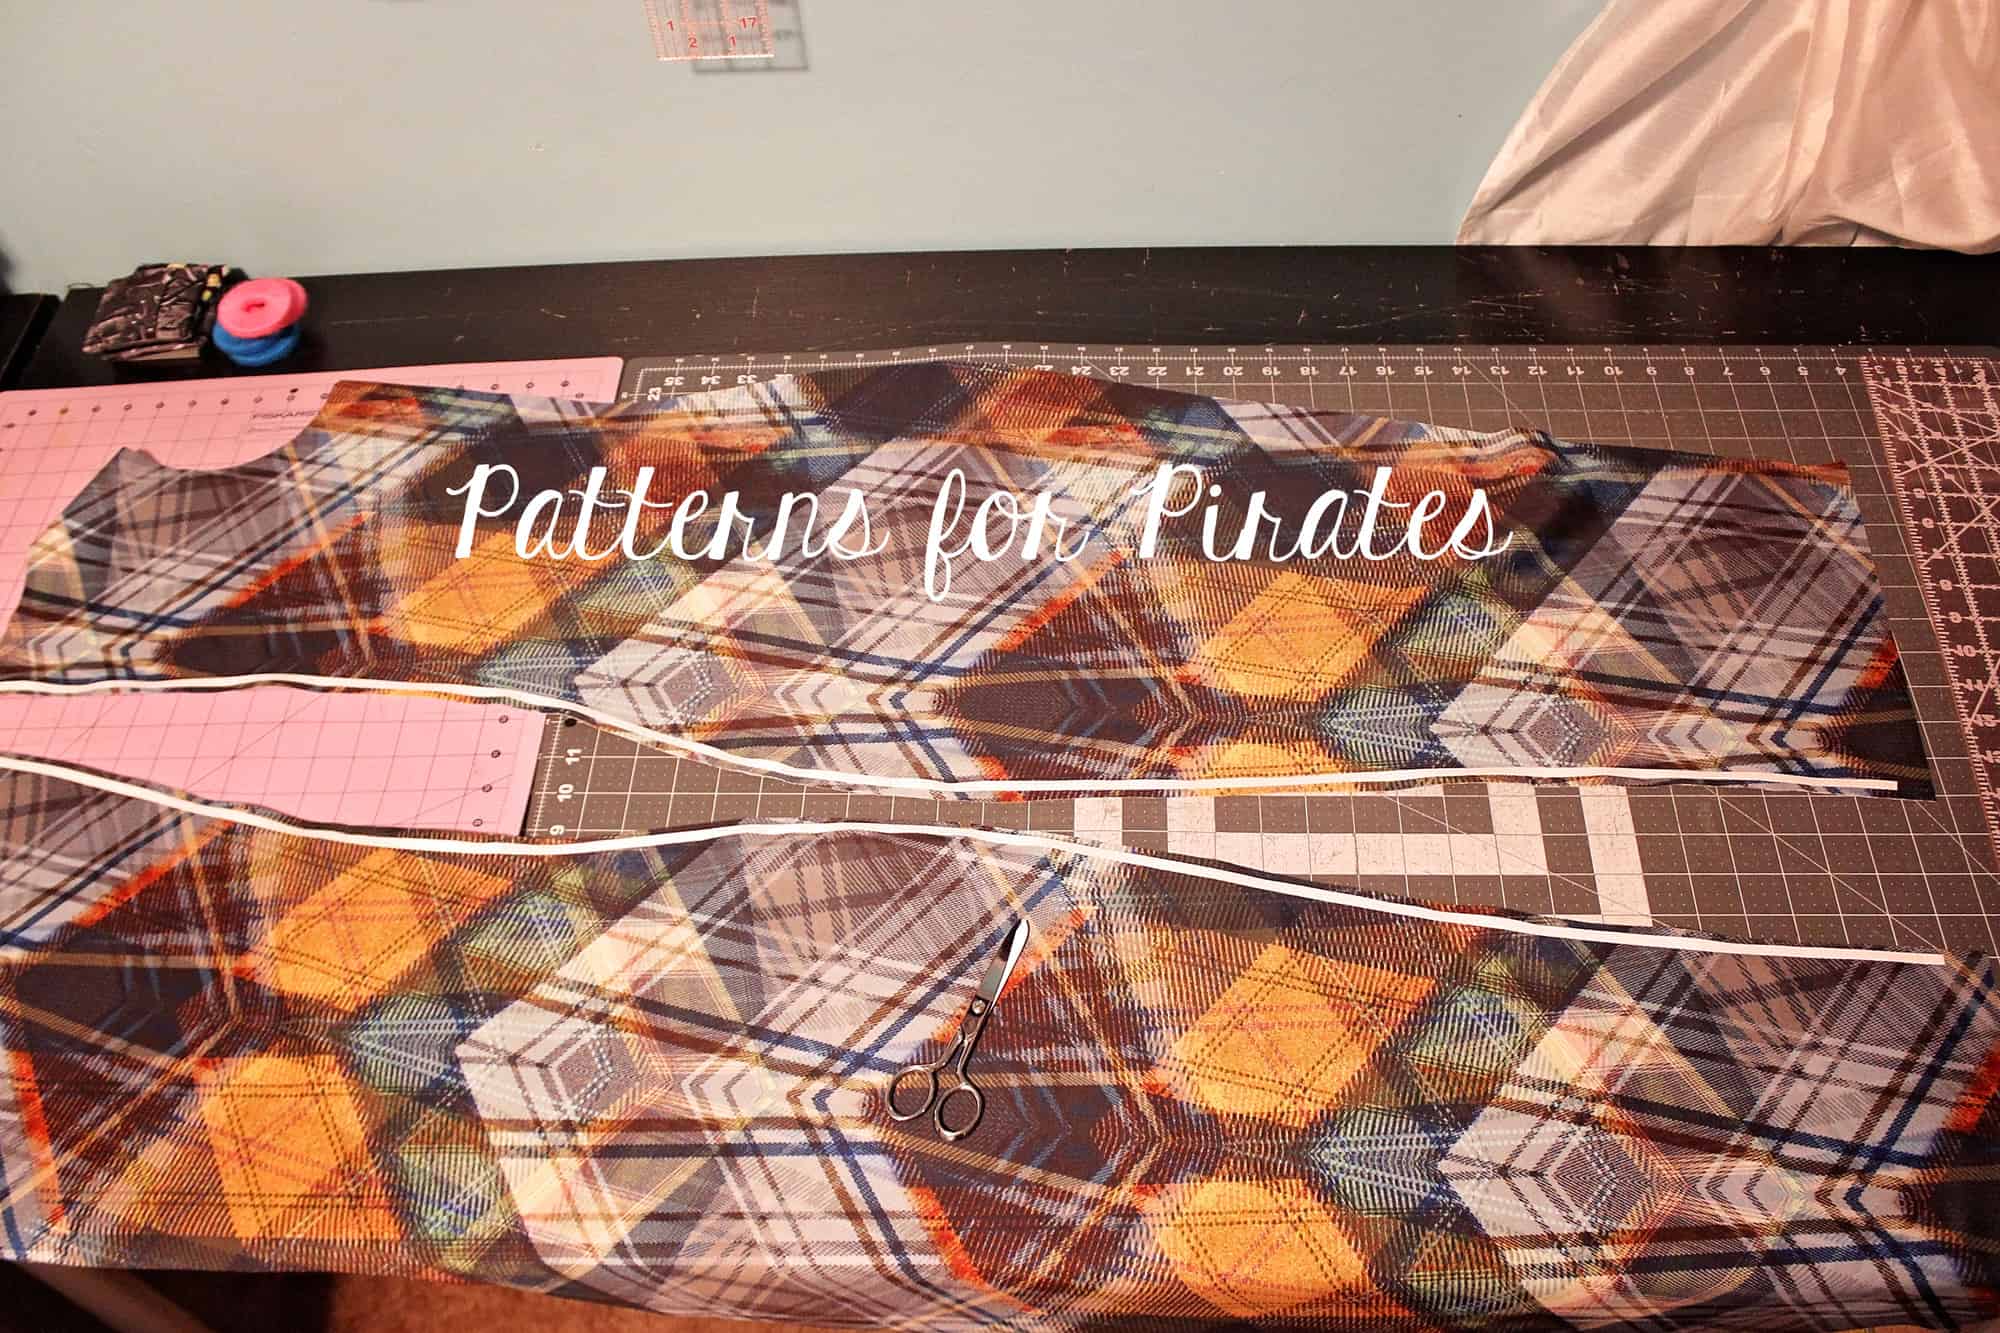
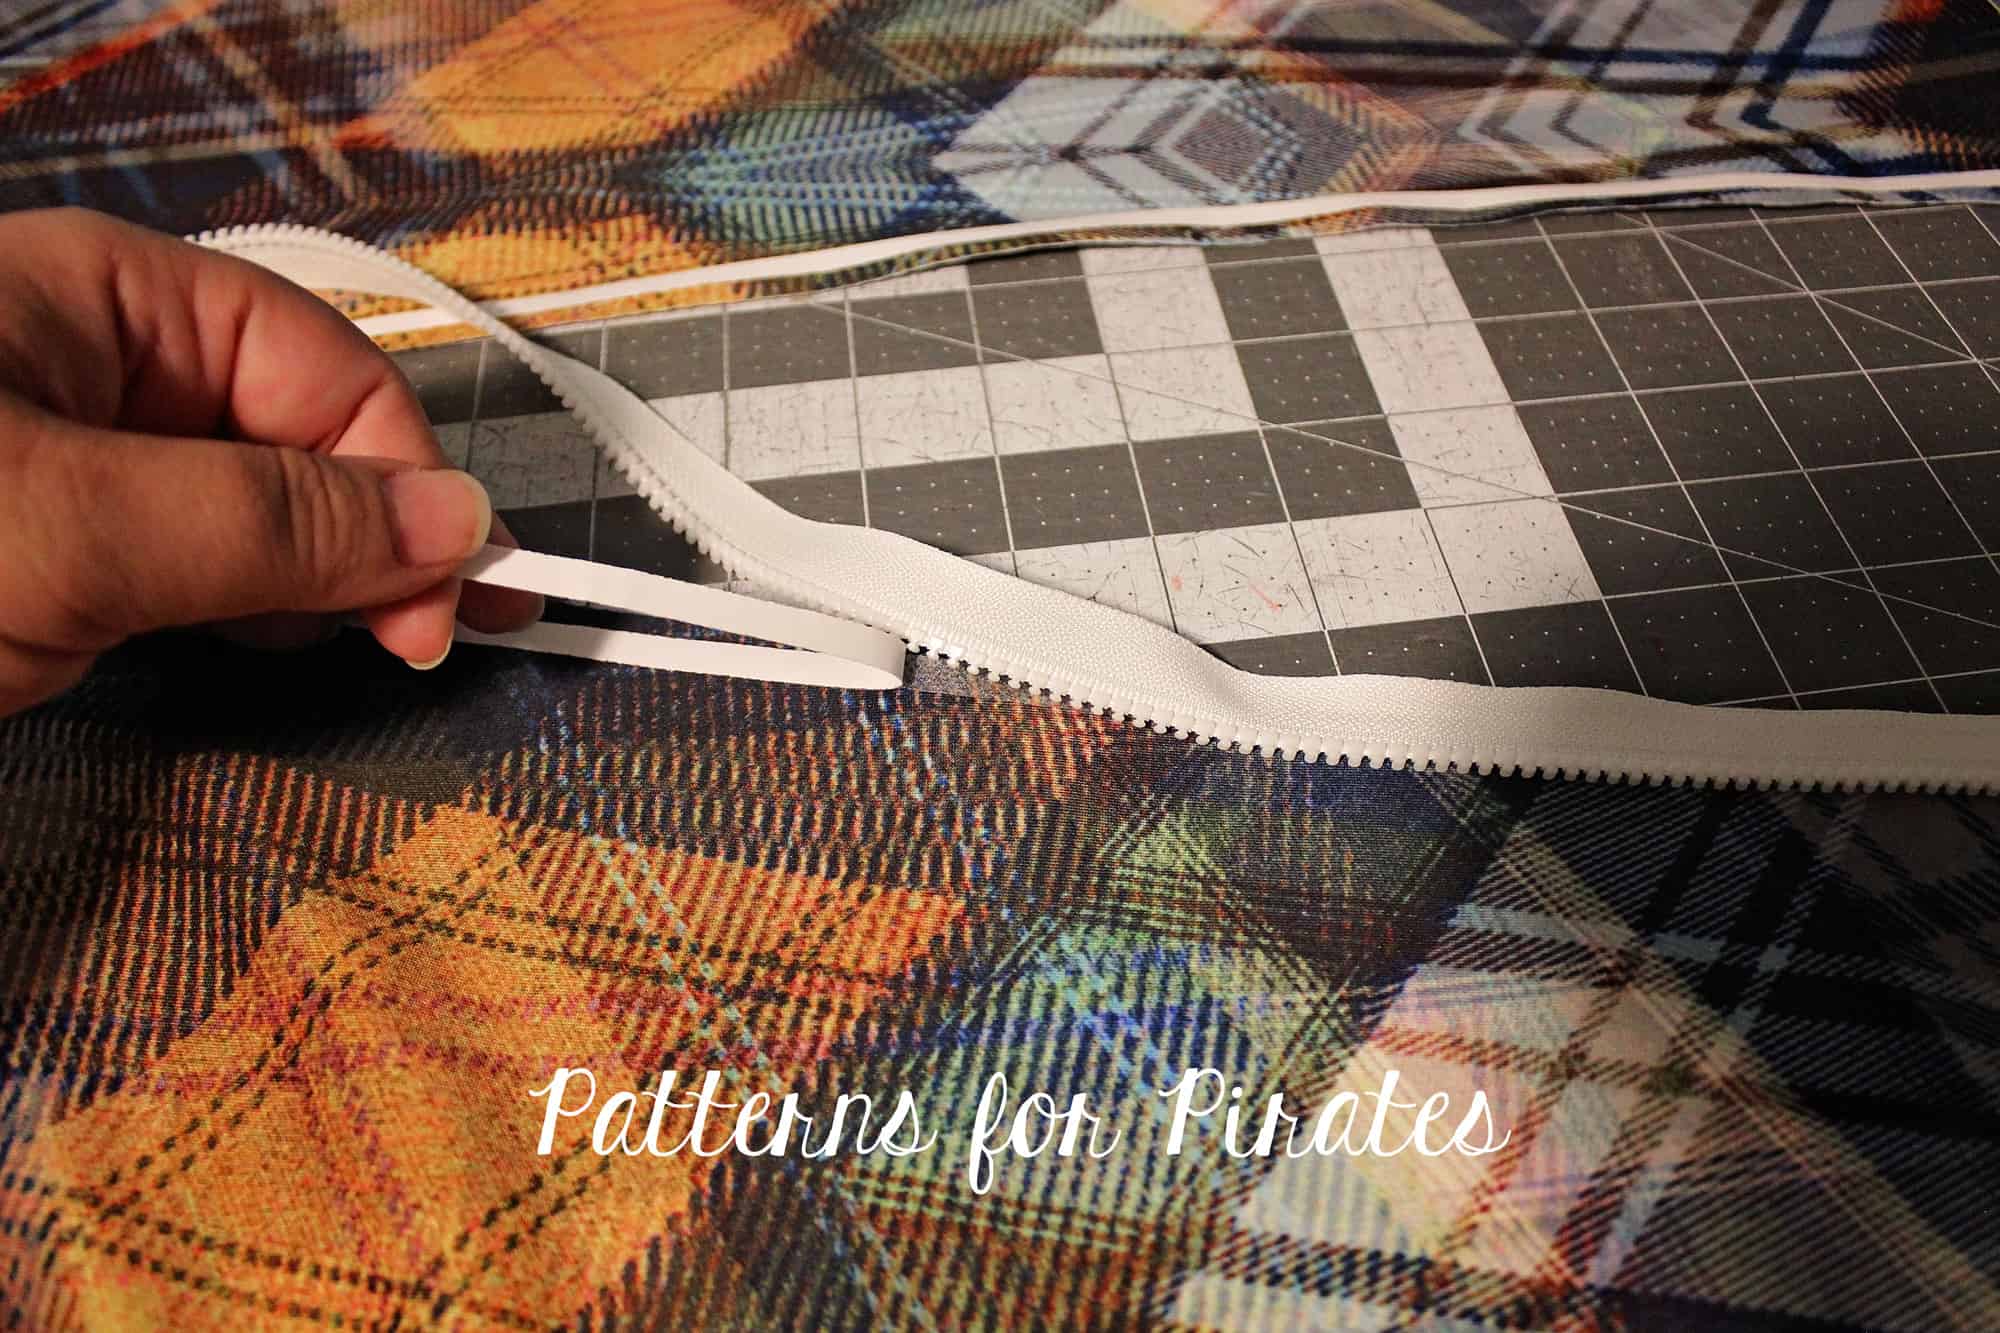
What about a little fabric choice inspiration?? One of the most common questions when we release a new pattern is what we suggest as the best fabrics. So, here are some of our favorites during testing:
ATHLETIC KNIT AND COTTON SPANDEX
-
- Performance Knit

-

- Performance Knit

-
- Cotton Spandex

-

- Cotton Spandex

FRENCH TERRY AND JERSEY
-

- Rayon French Terry

-
- Rayon French Terry

-
- Poly Rayon Jersey

-
- Bamboo Rayon Spandex

-
- Viscose Jersey

RIBBED KNITS
-
- Ribbed Knit

-
- Ribbed Knit

-
- Ribbed Knit

-
- Ribbed Knit

DOUBLE BRUSHED POLY
-
- DBP

-

- DBP

-
- DBP

-

- DBP

SWEATER KNITS / WAFFLE KNITS
-
- Sweater Knit

-
- Sweater Knit

-
- Waffle Knit

-
- Waffle Knit

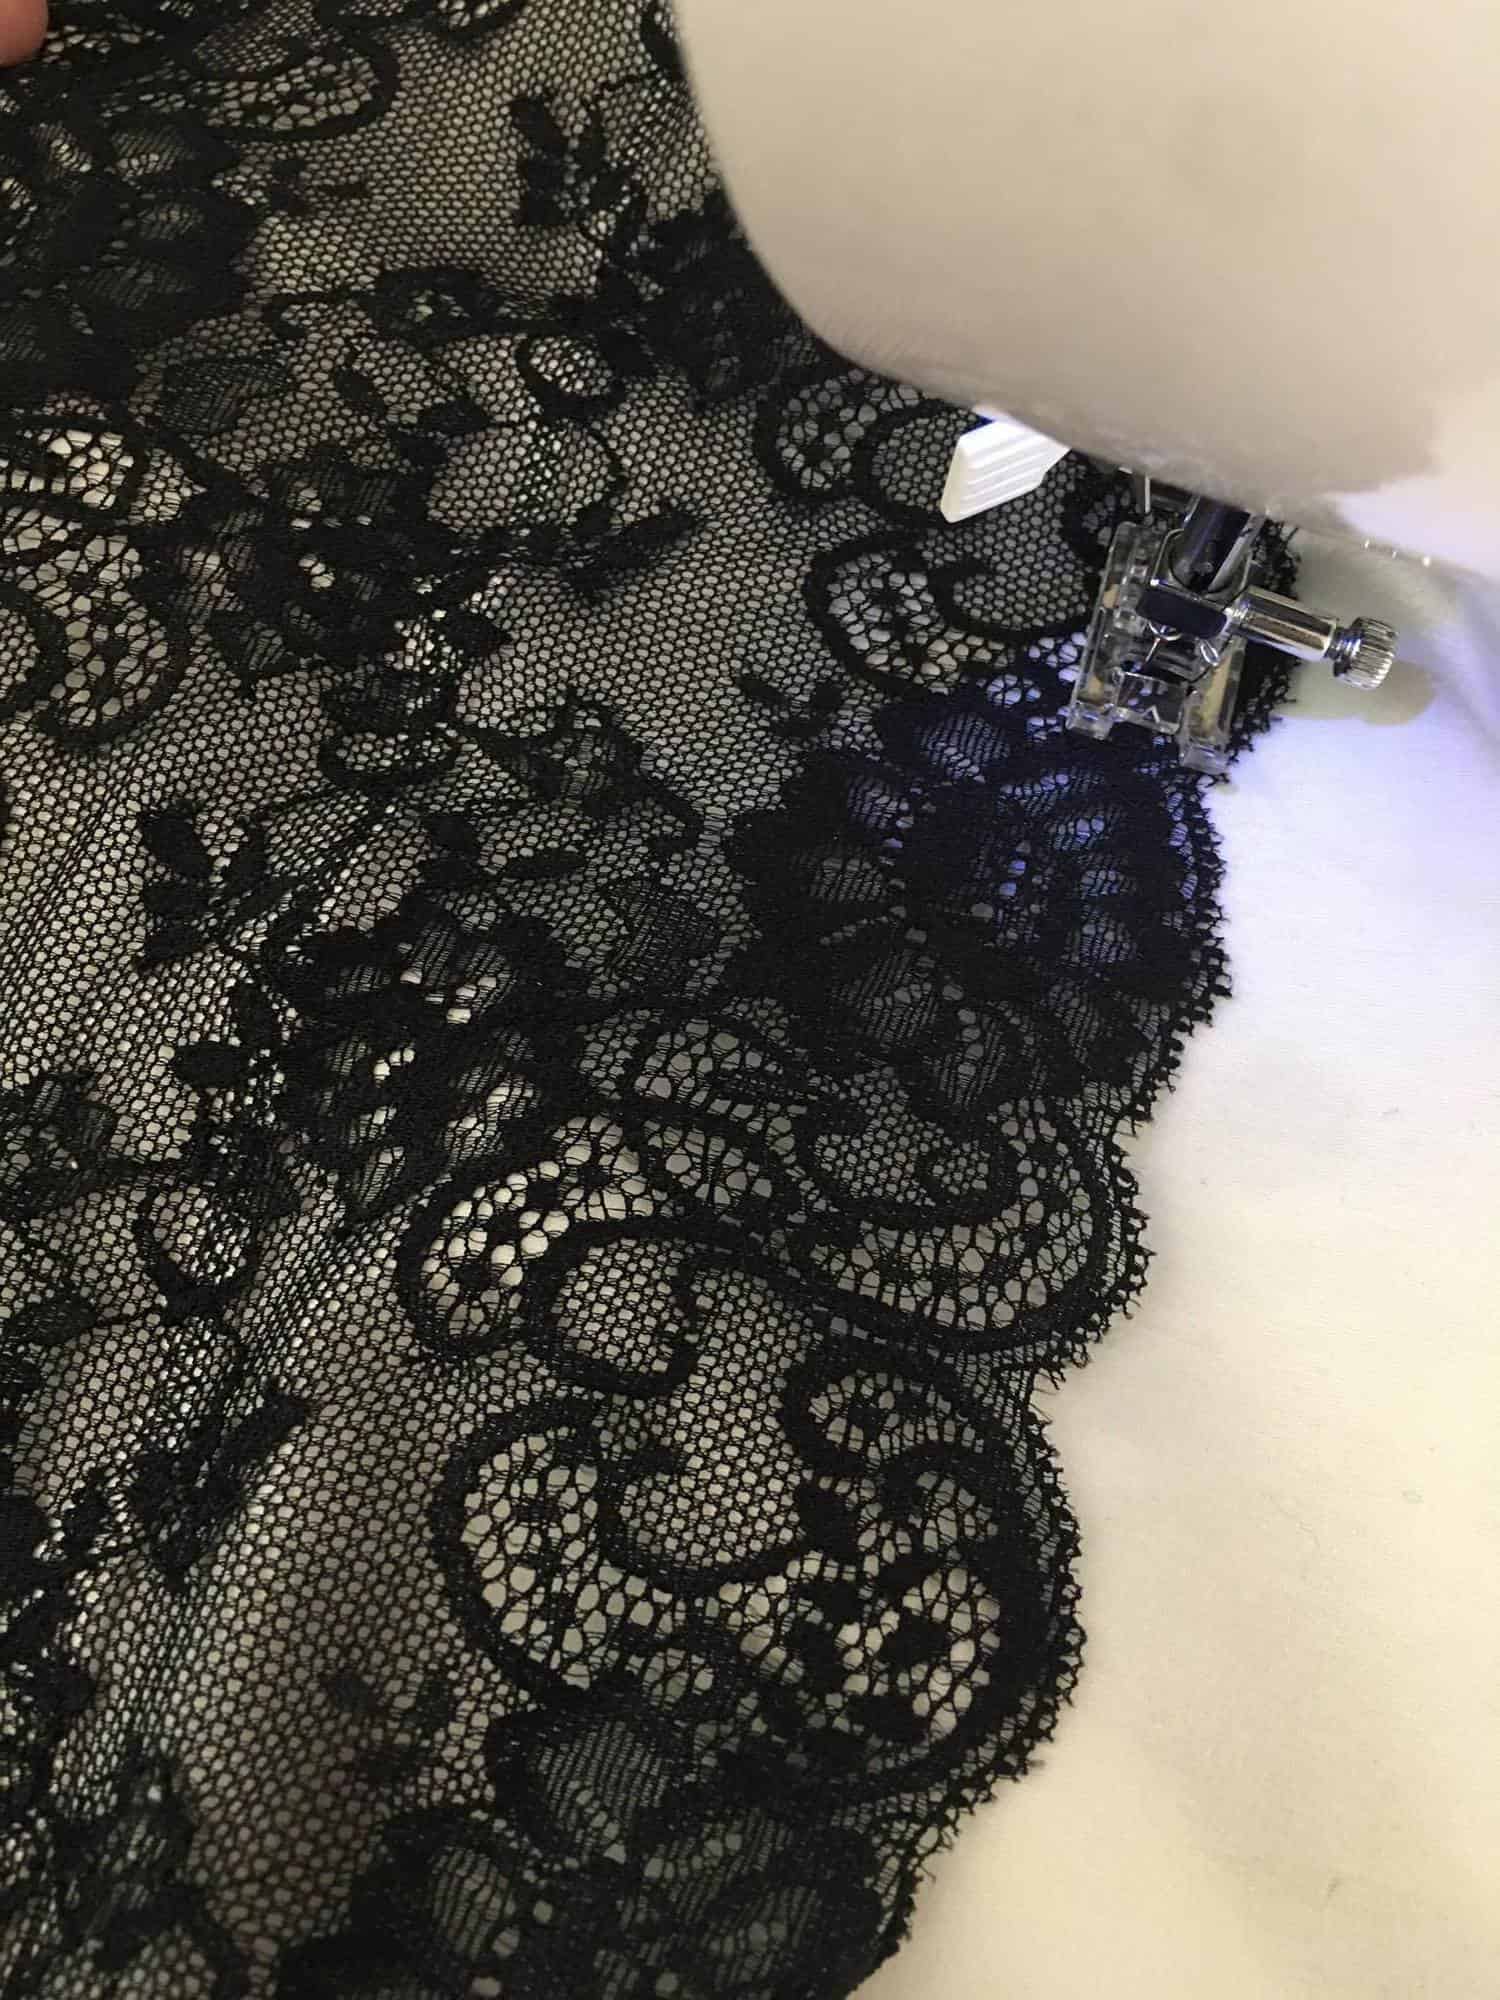
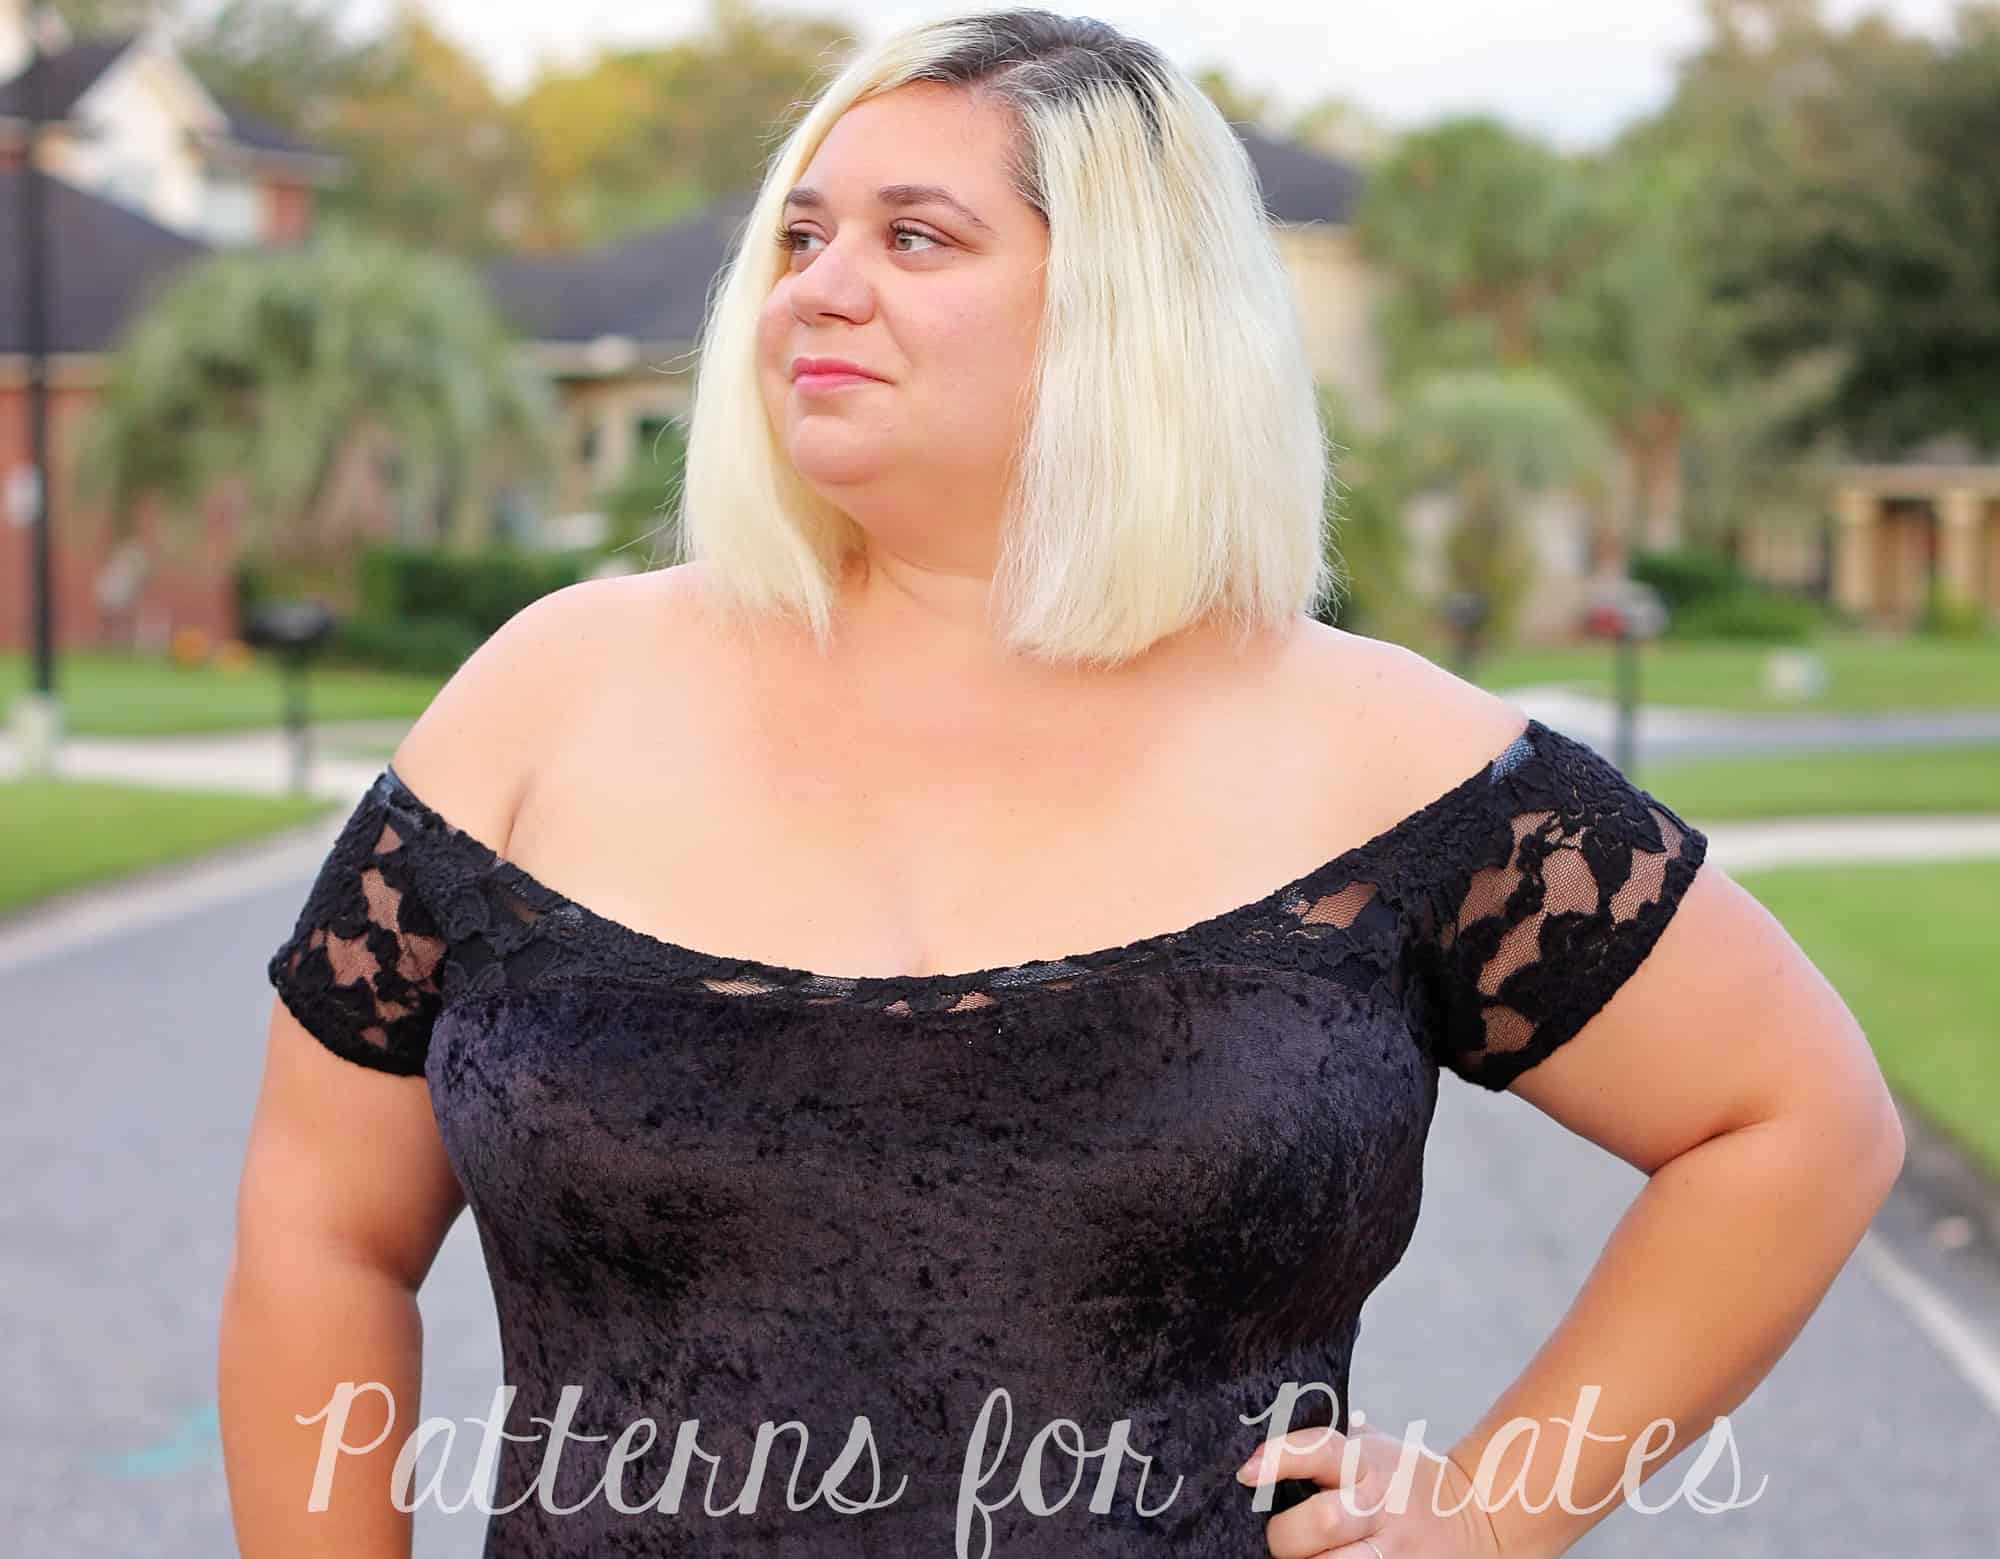
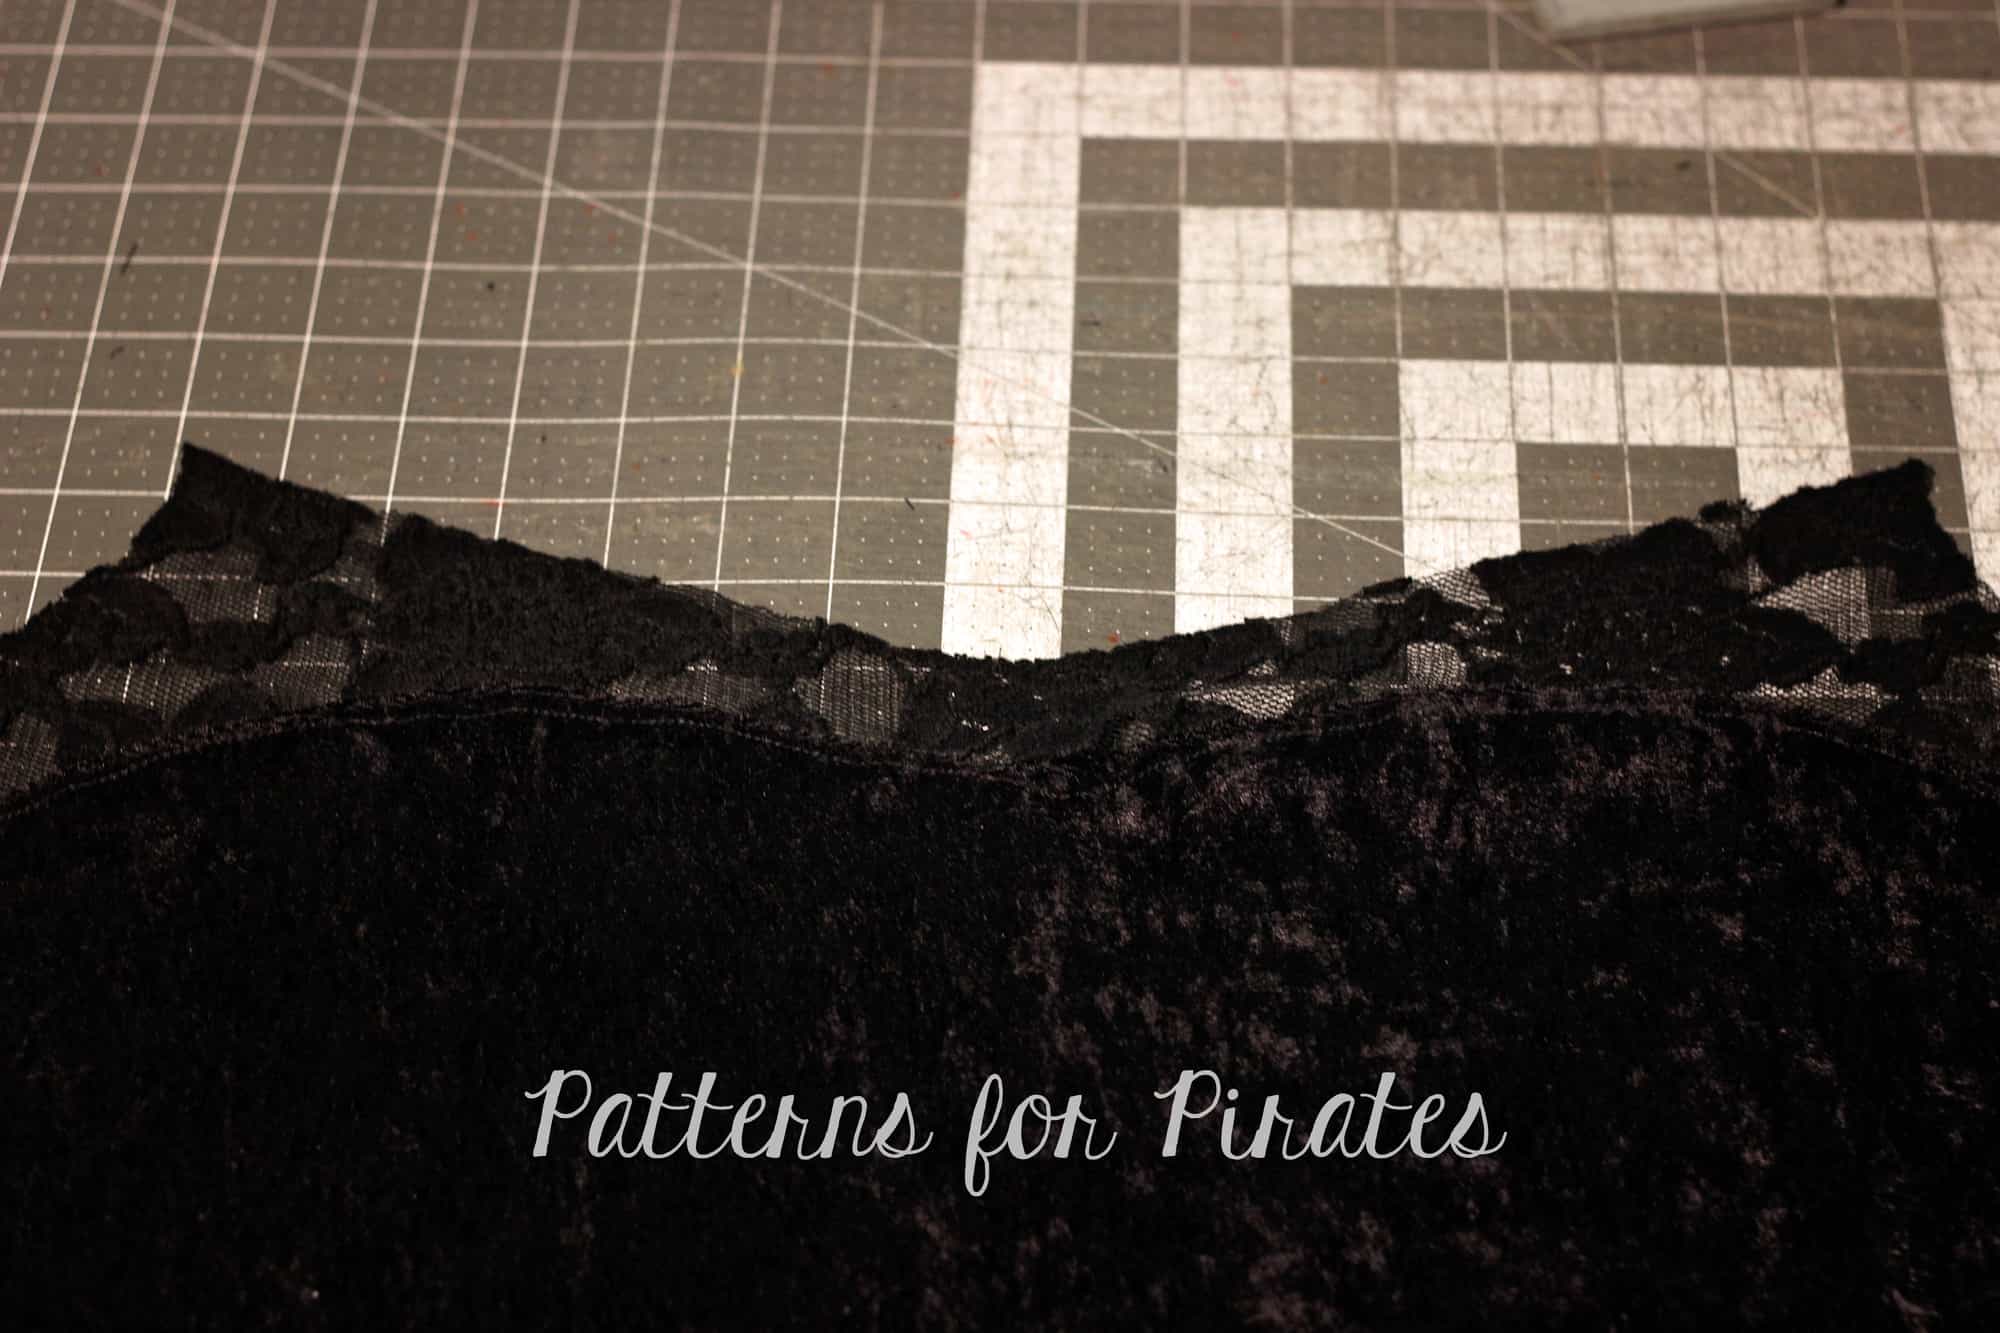
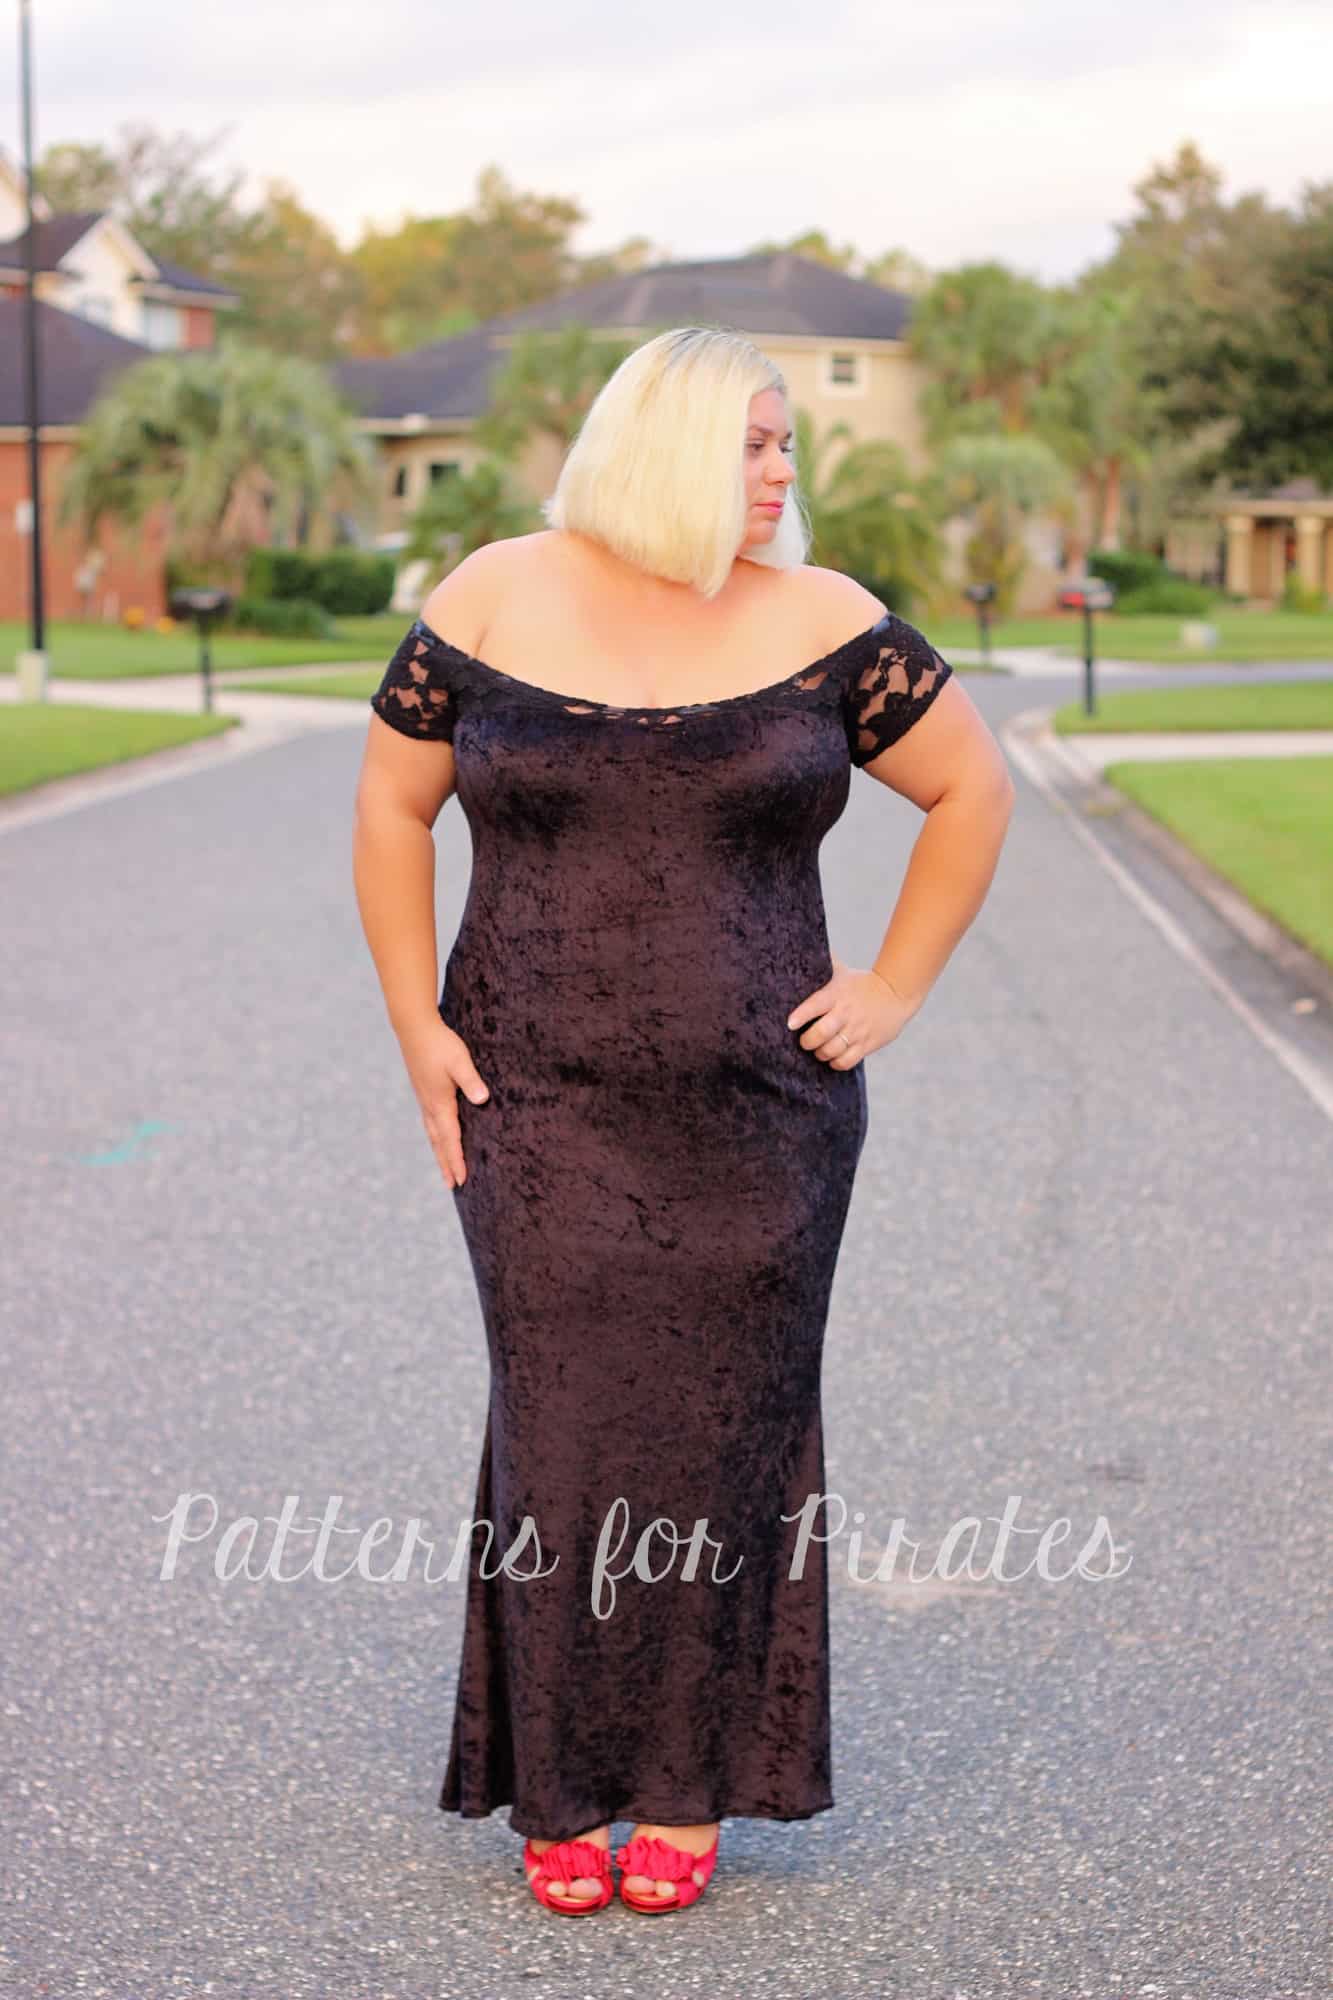
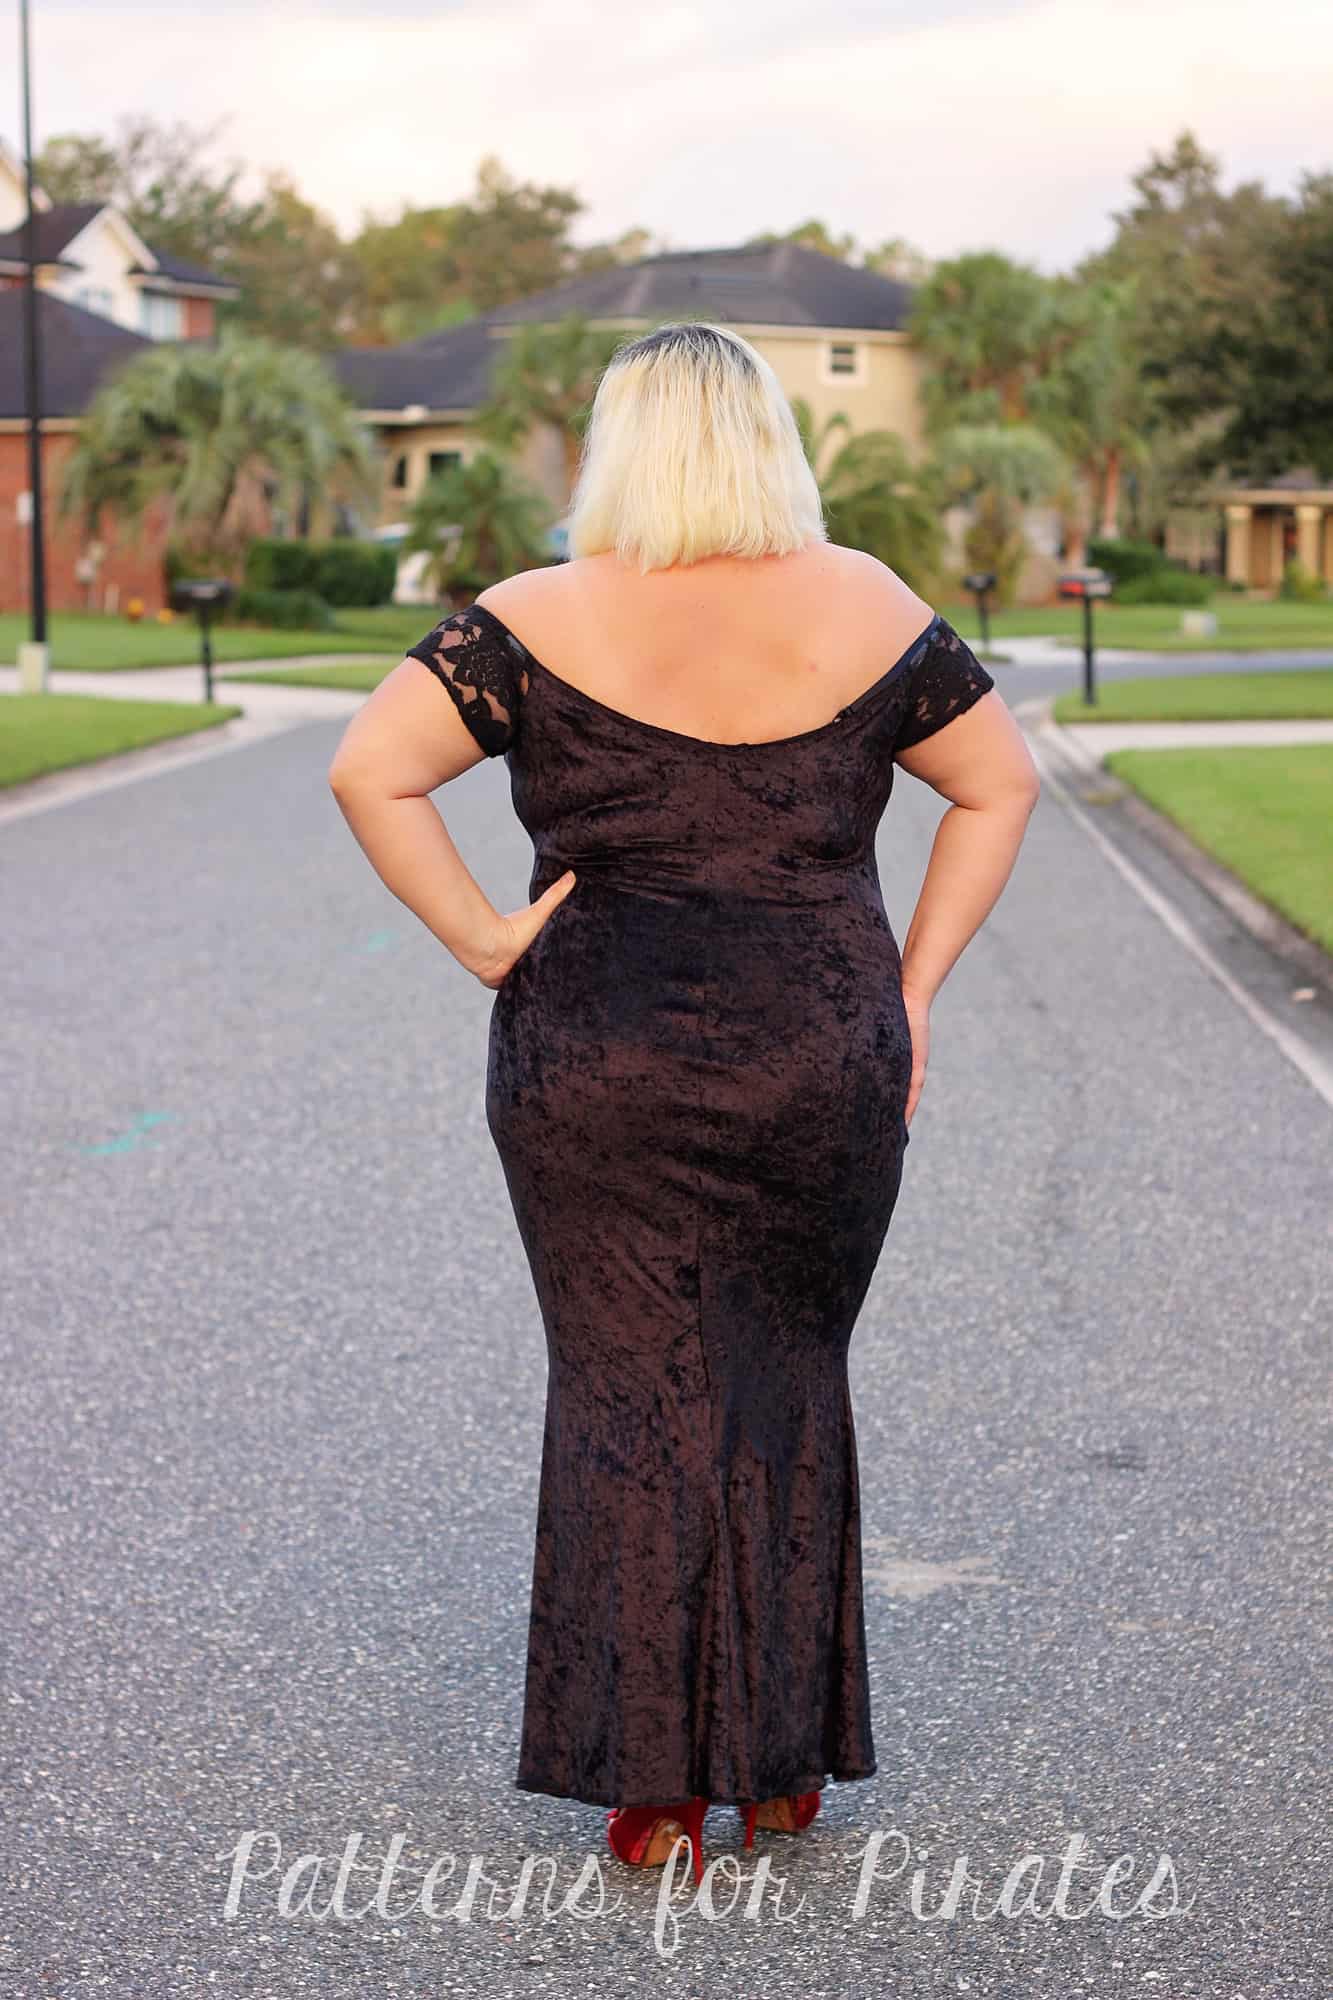
VELVET AND LACE
-

- Crushed Velvet

-

- Velvet

-
- Velvet

-
- Velvet

-
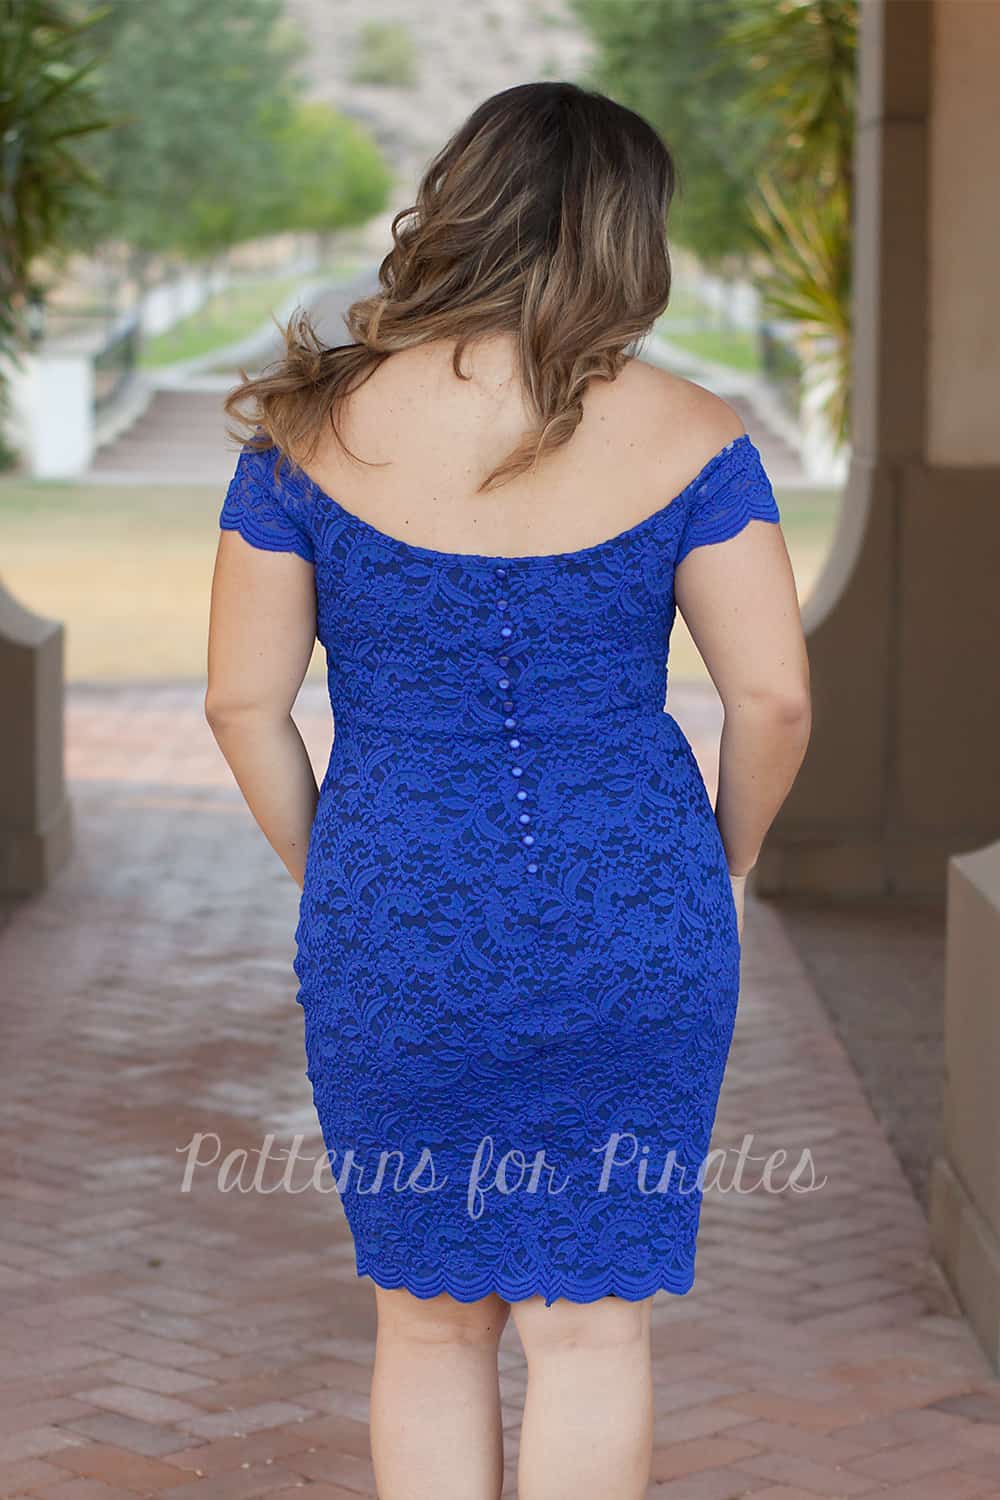
- Stretch Lace/ Rayon Spandex Lining

I can’t wait to see what varieties everyone makes! Go grab your pattern(s) now!
HEPBURN | HEPBURN – YOUTH | HEPBURN BUNDLE
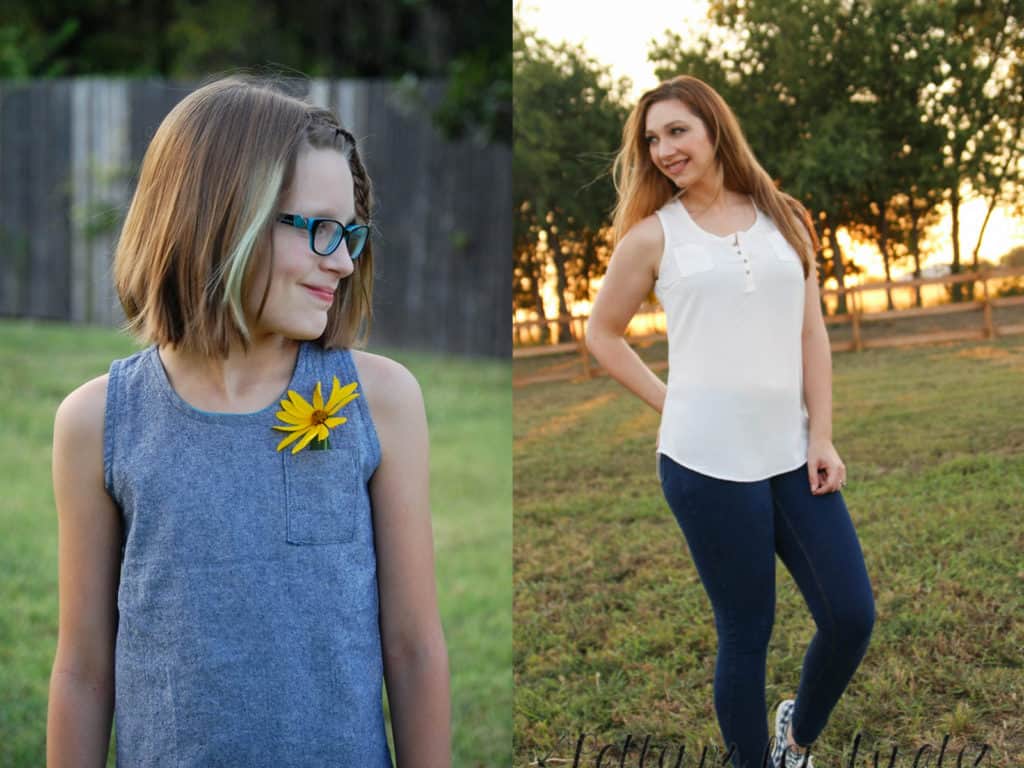
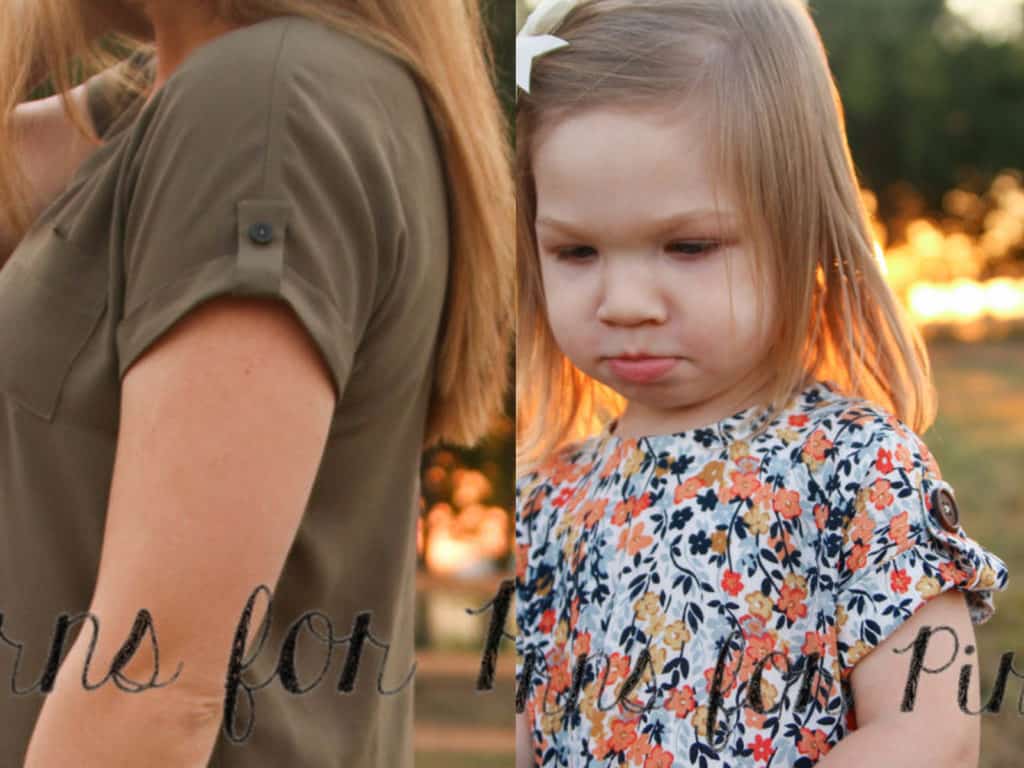
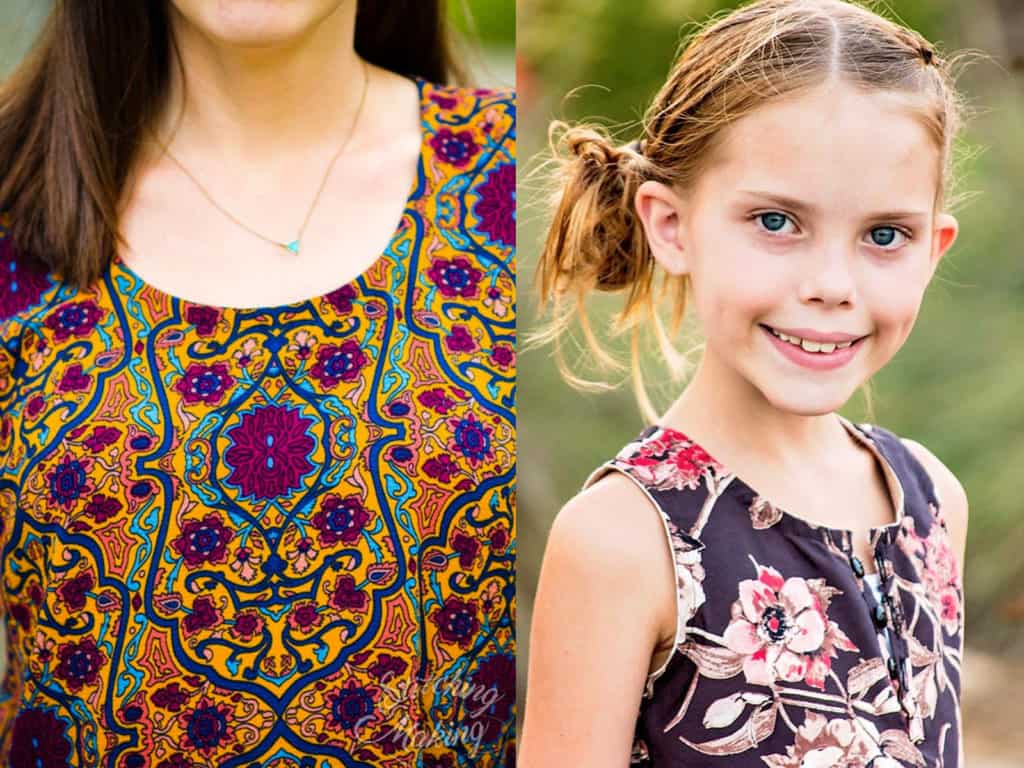
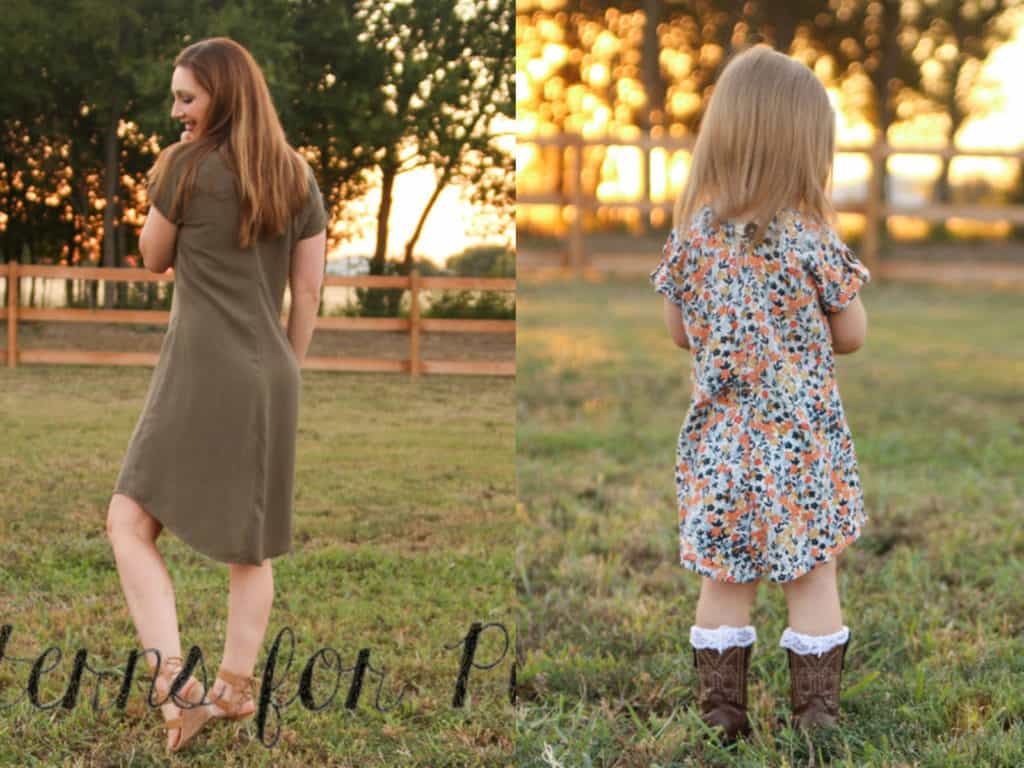
Need more convincing? Just take a look at this pattern on all of the amazing shapes and sizes of our testers, and get a look at more examples of all the options in our albums in the P4P Facebook group!
Hepburn Album | Hepburn -Youth Album
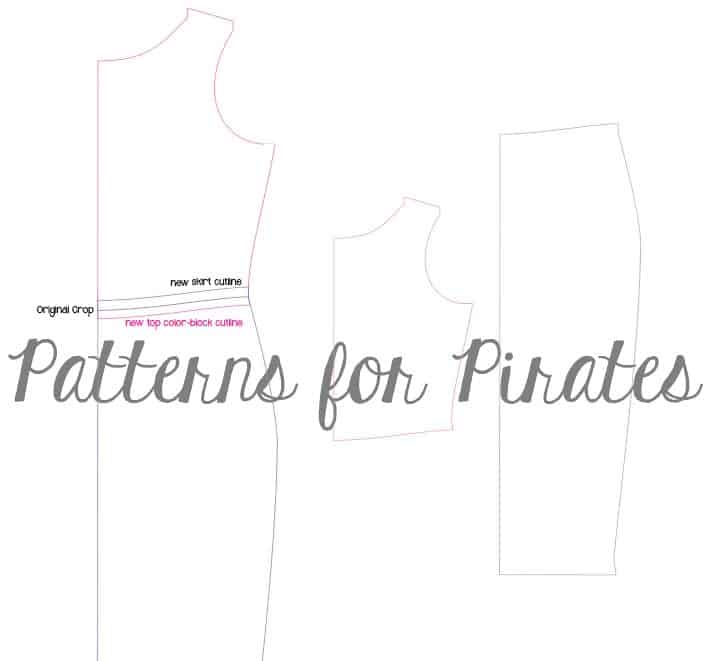
And if that didn’t give you enough options, make sure to check out the hacks post to help take your patterns even further.
The release sale (no code needed) will be through Monday, August 19, 2019 (11:59PM US Central Time Zone).
Happy Sewing, pirates!