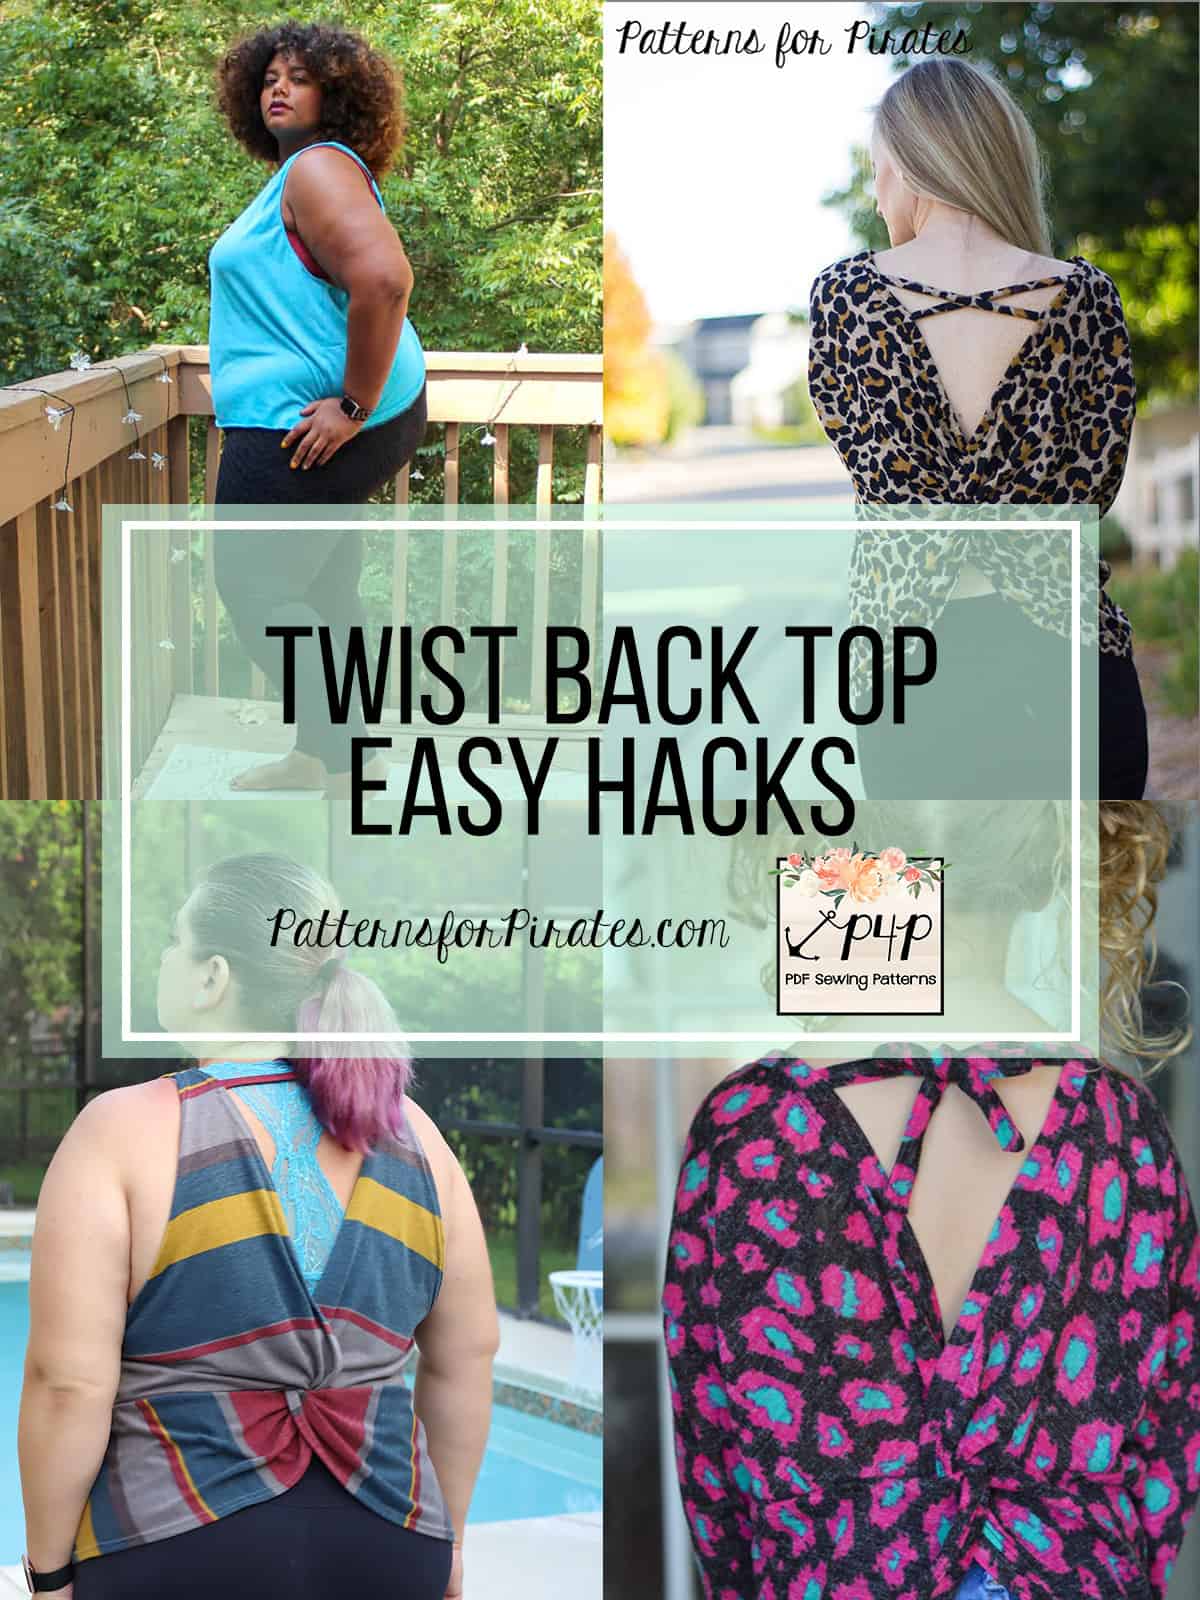
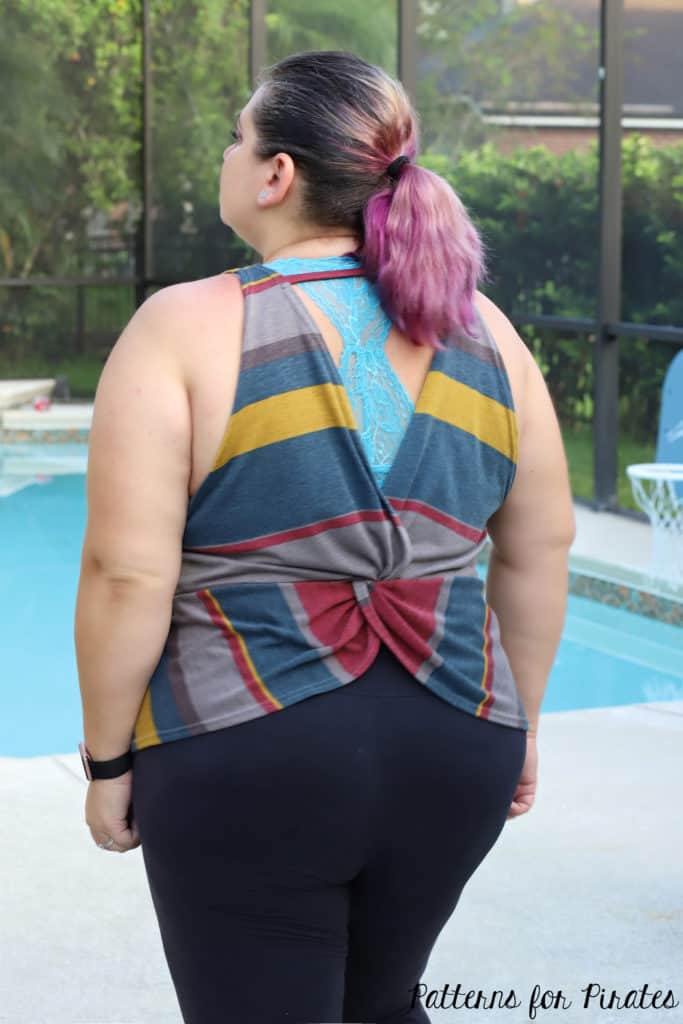
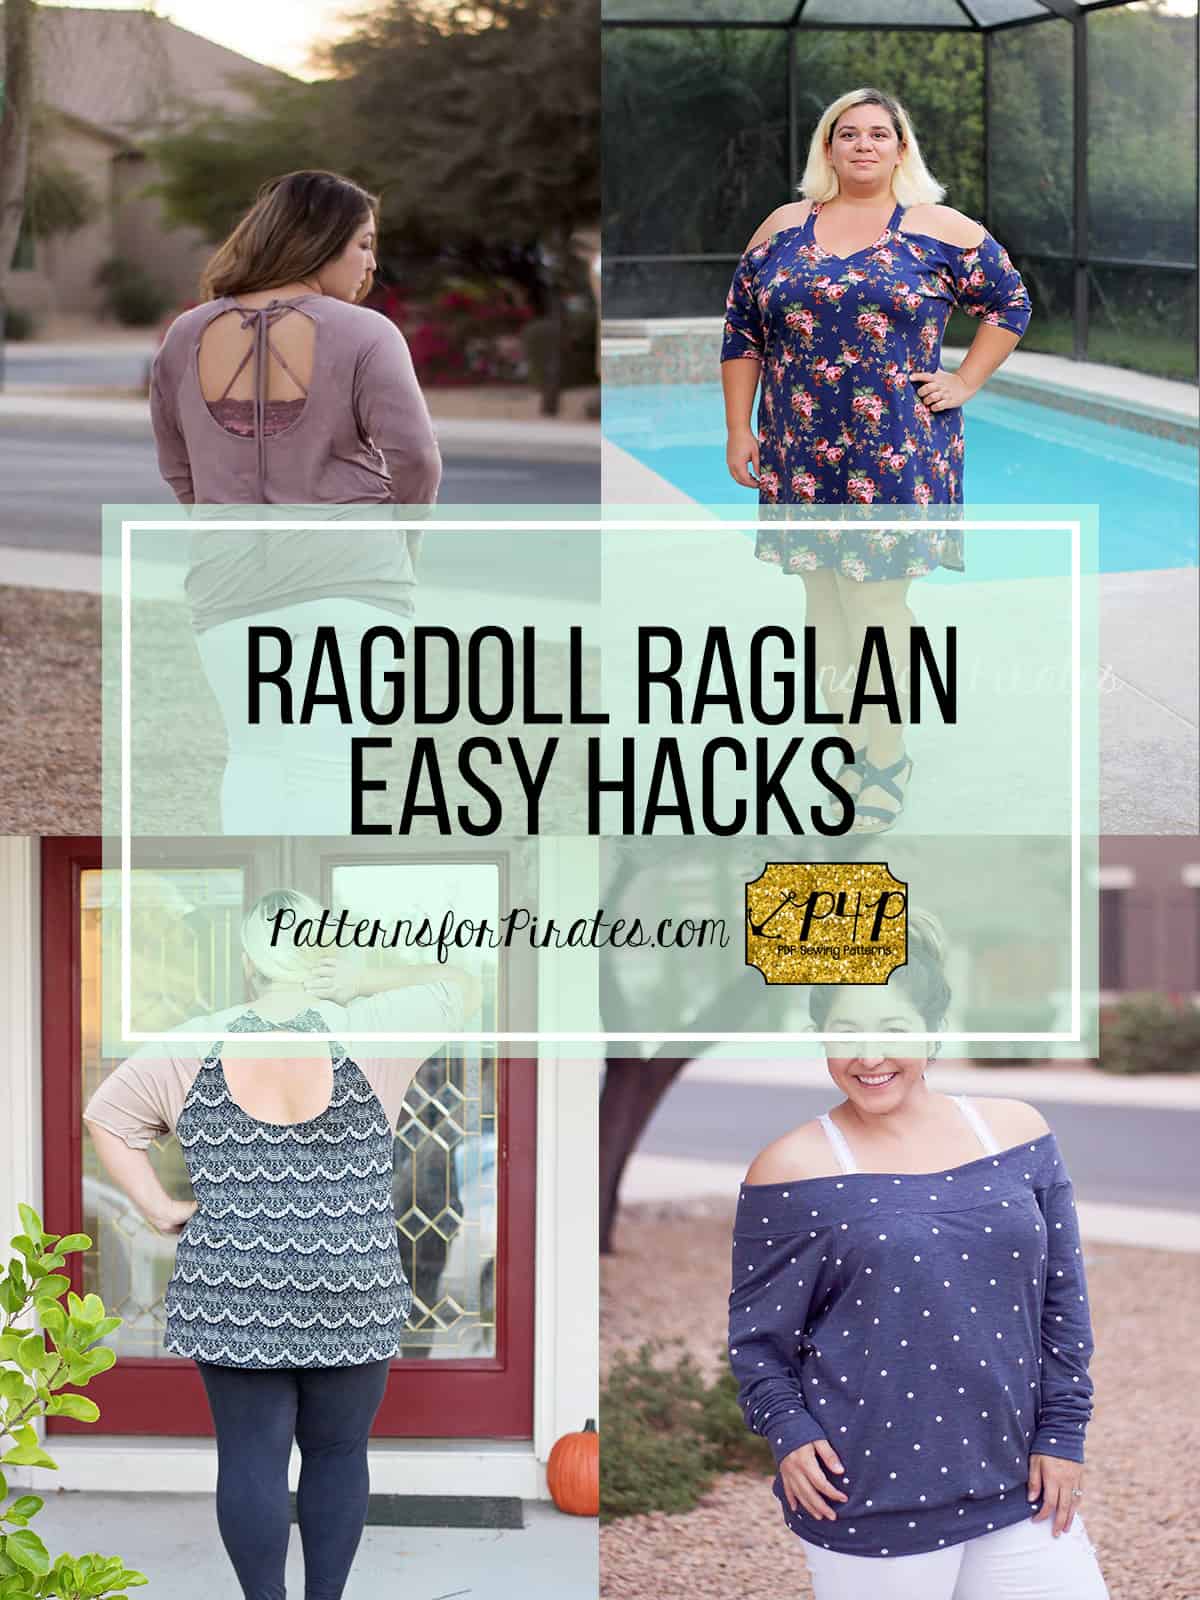
The Twist Back Top features a super fun back that inspired us to show you some easy hacks that will add some more options to the pattern. Let’ get started!
…..
Criss Cross Back Strap
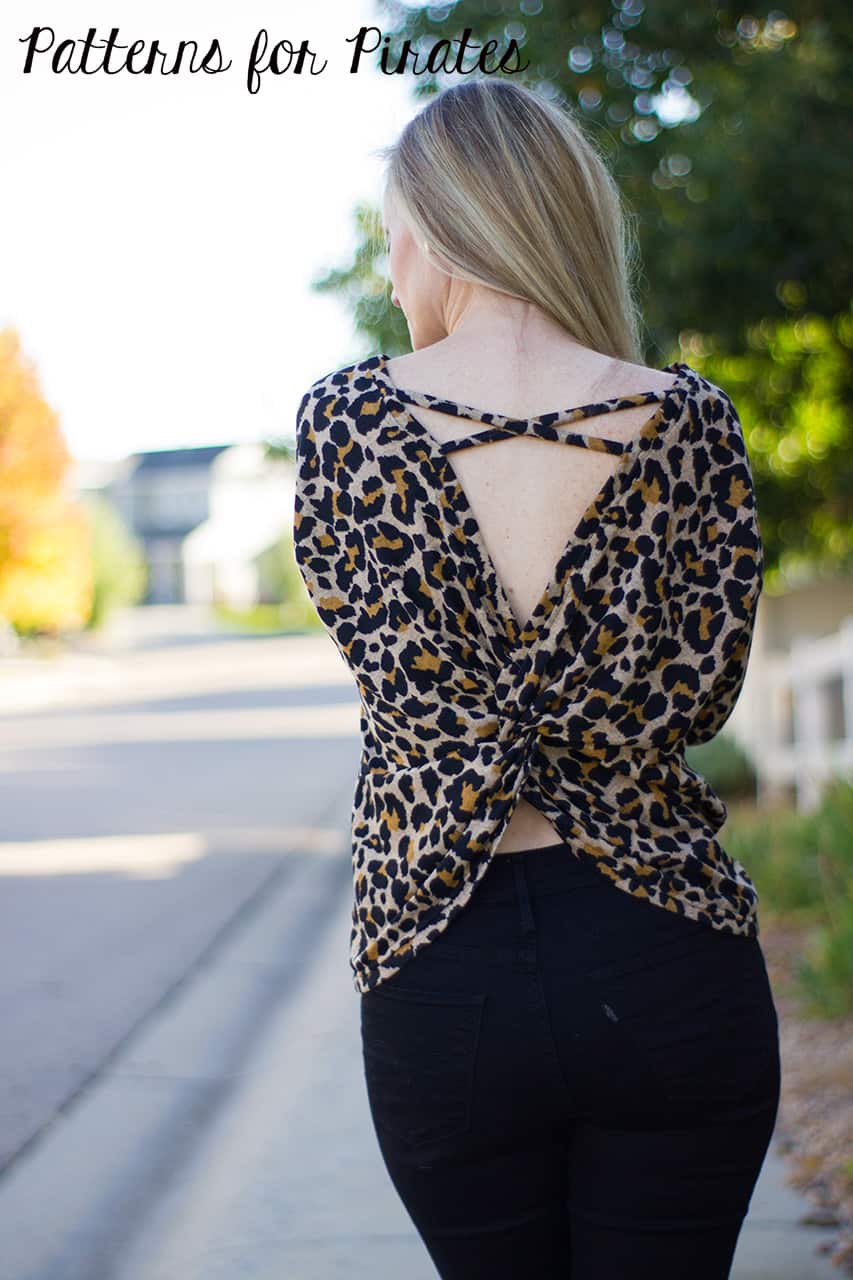
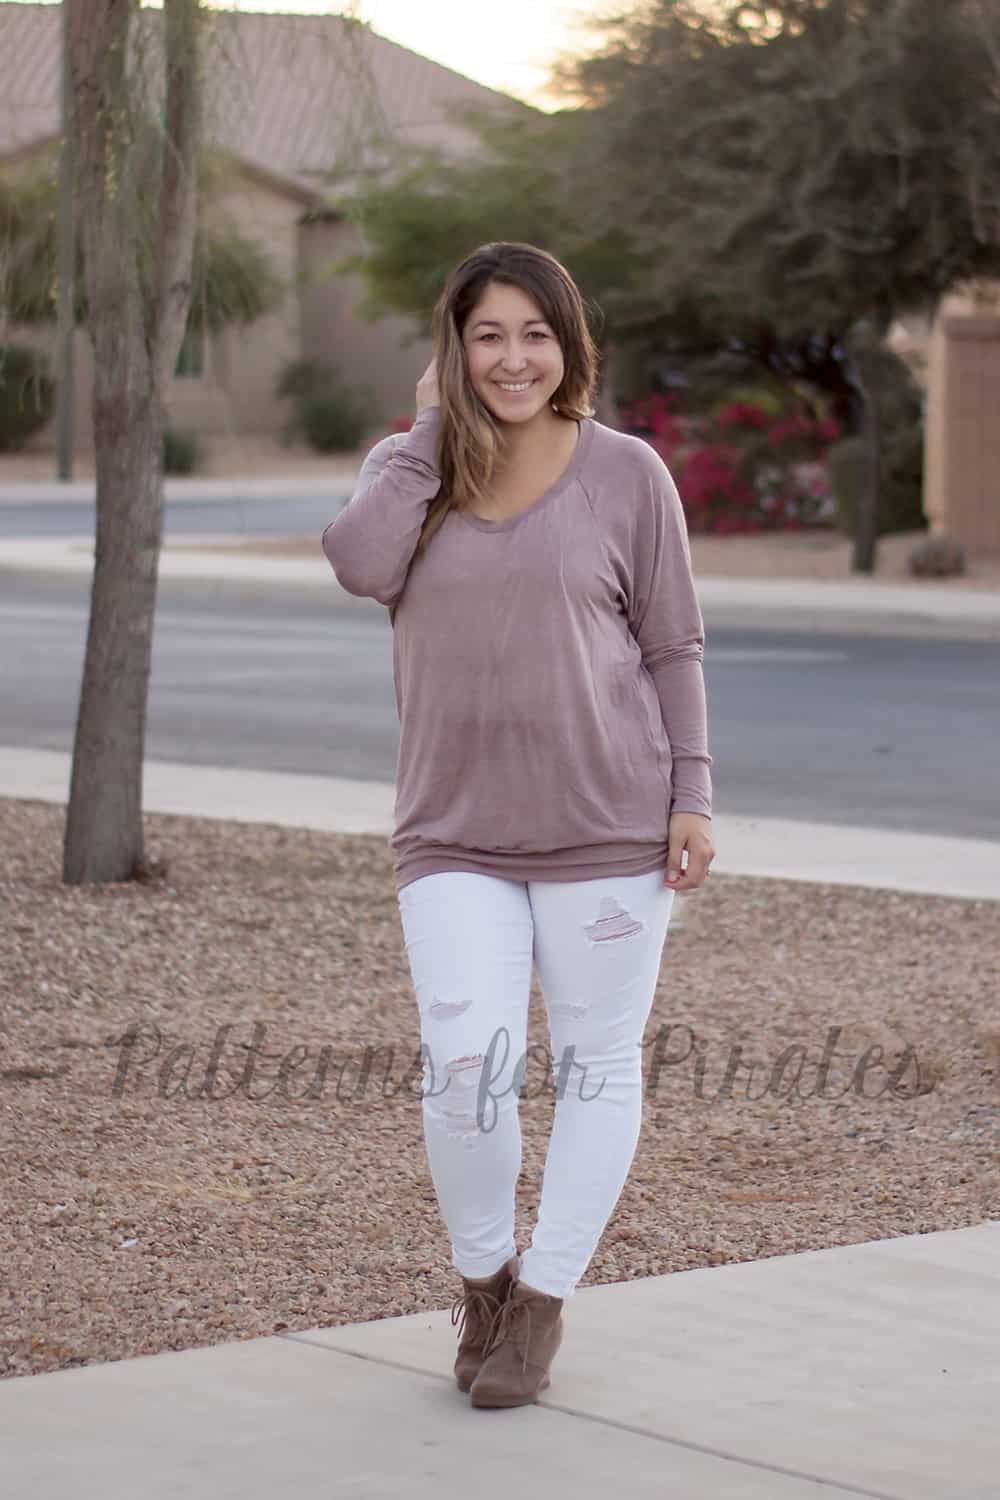
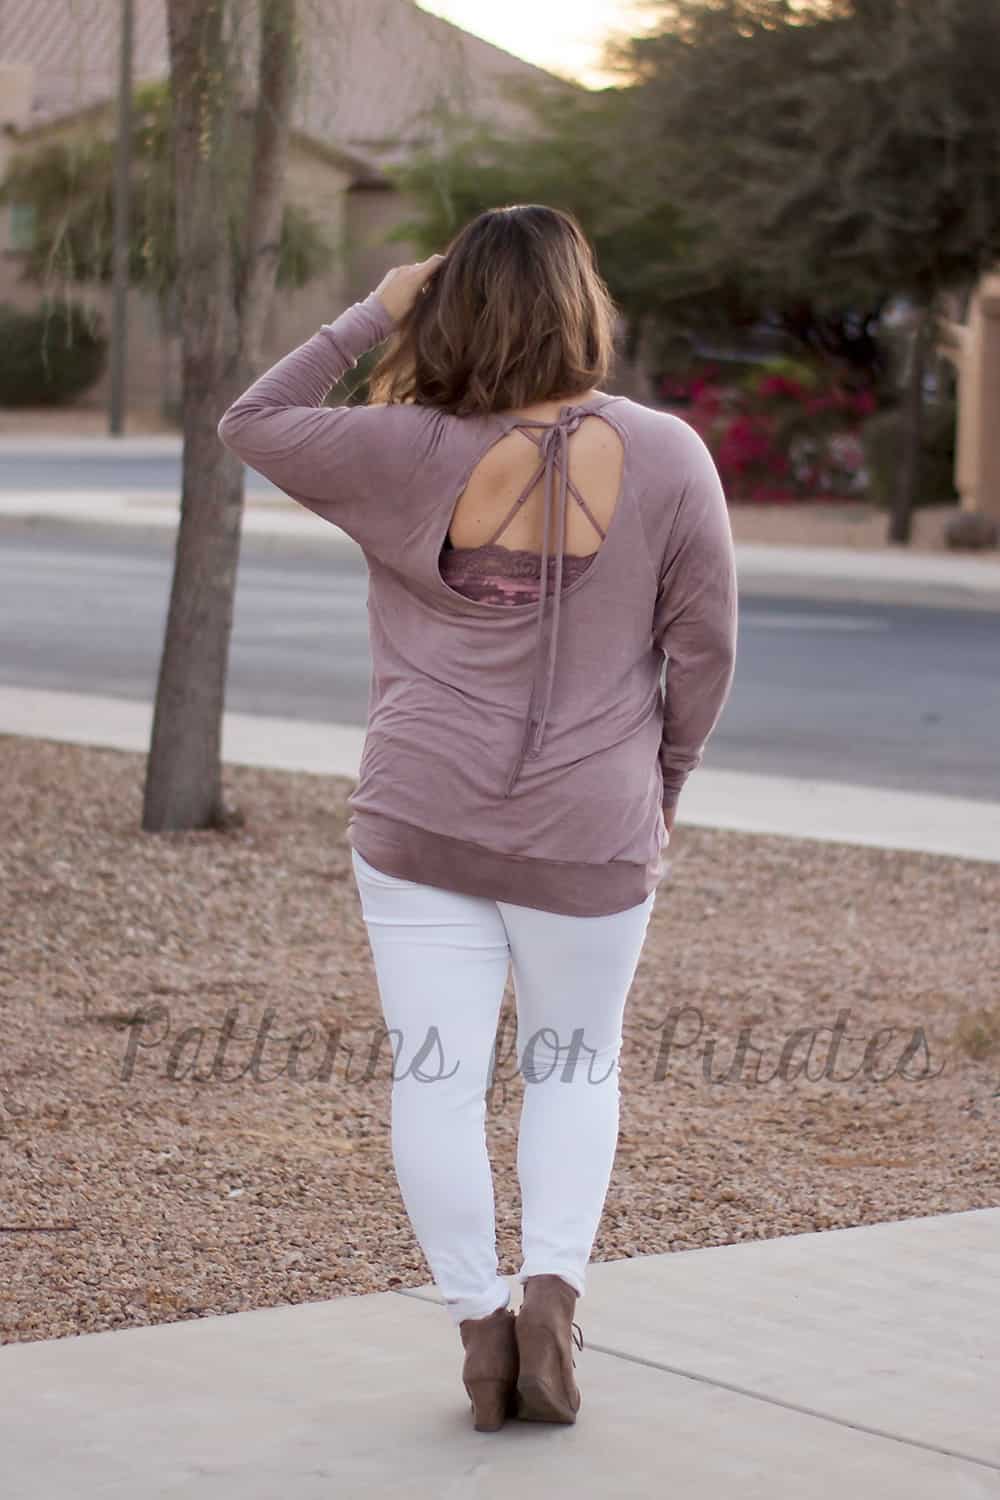
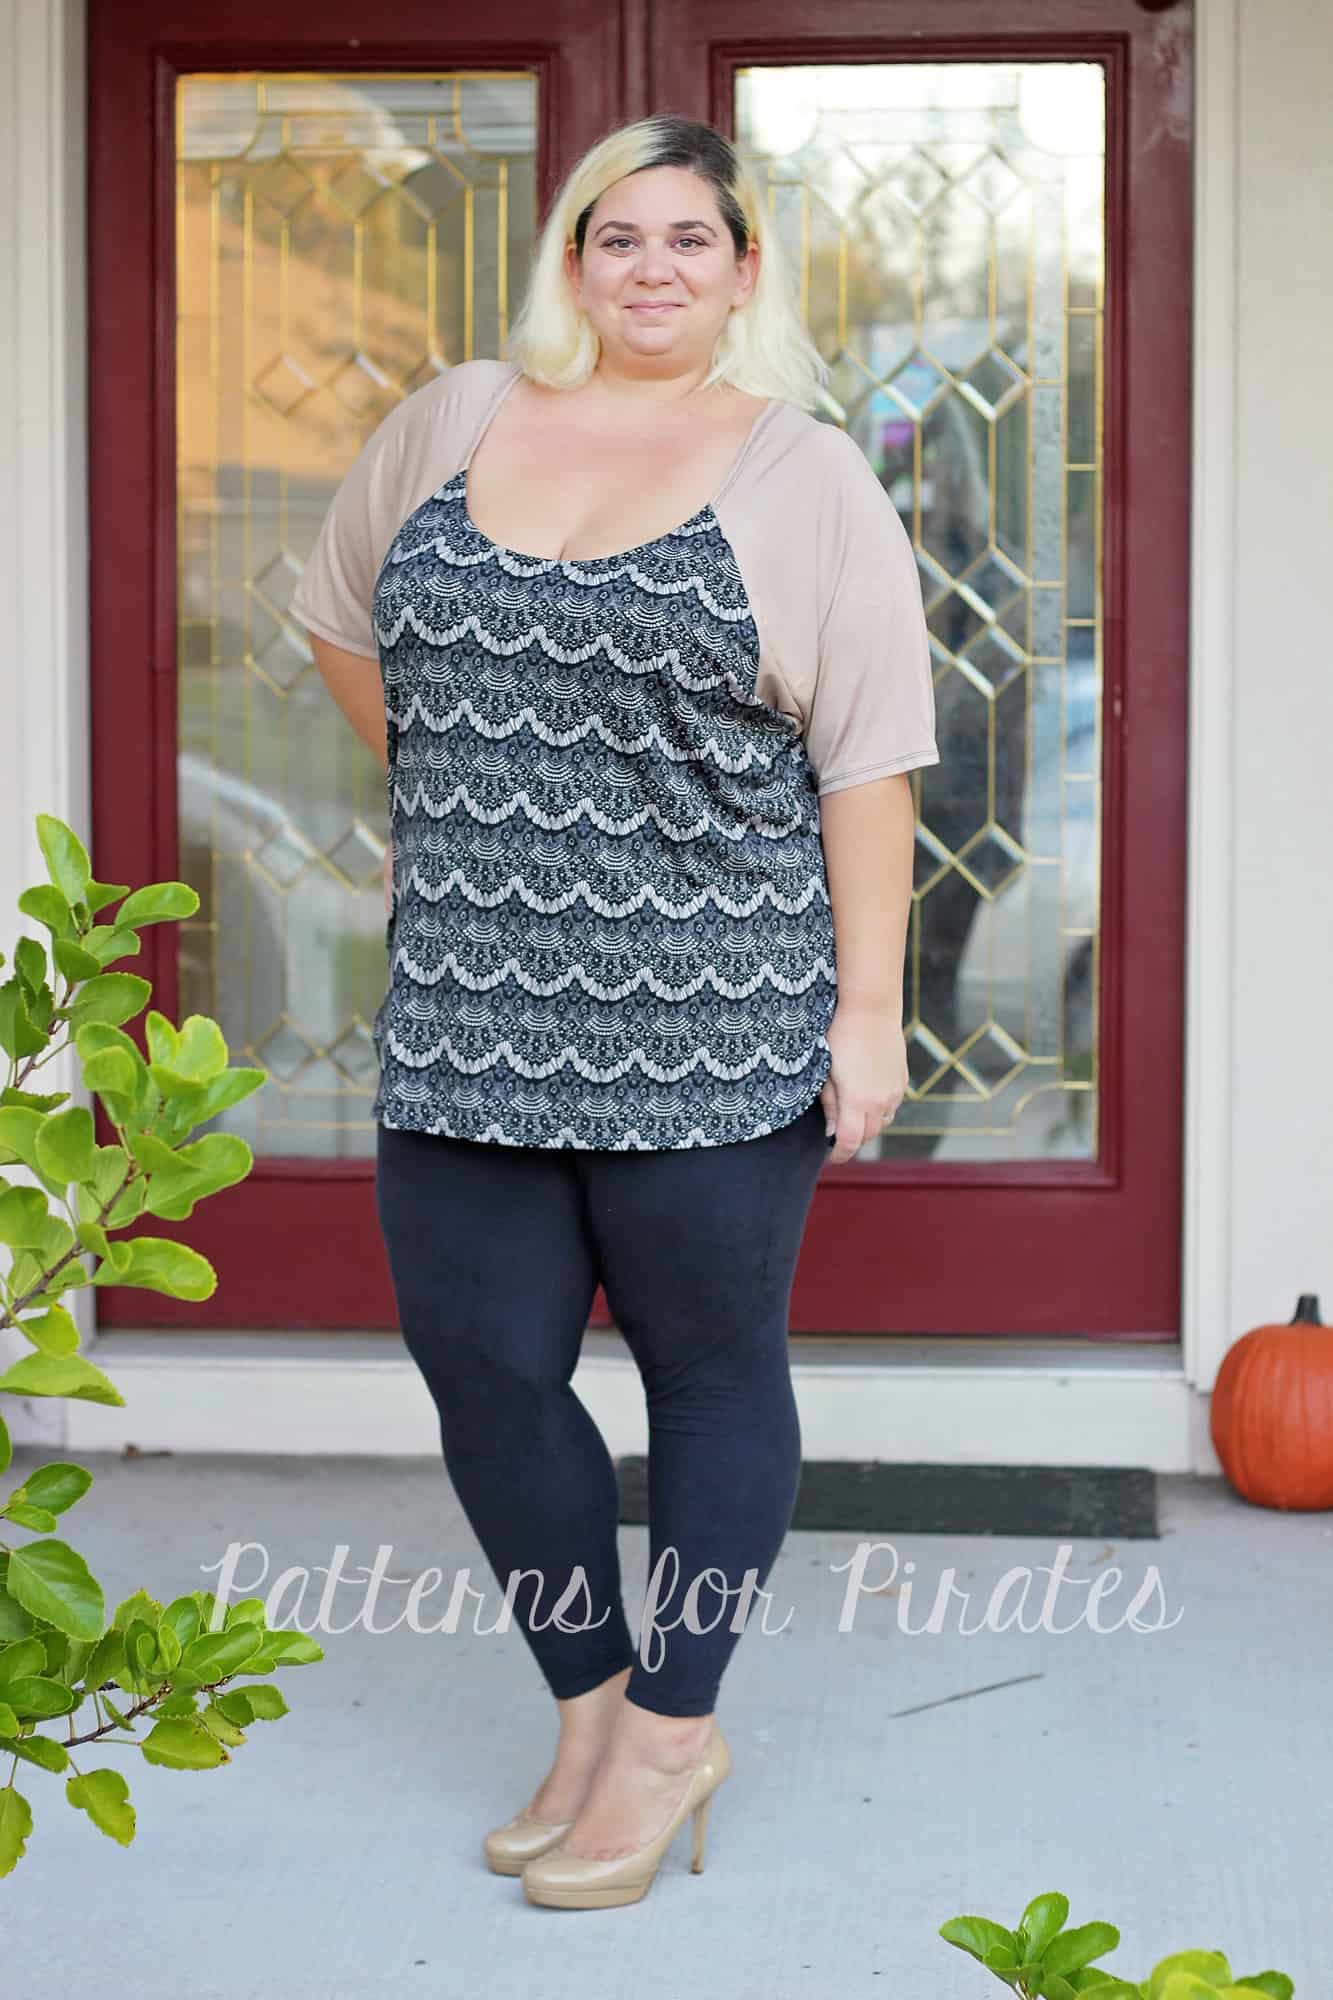
The new Twist Back top is so much fun to wear and style. While I love both the single strap and no strap options, adding a criss cross back strap is an easy and quick hack for another great look.
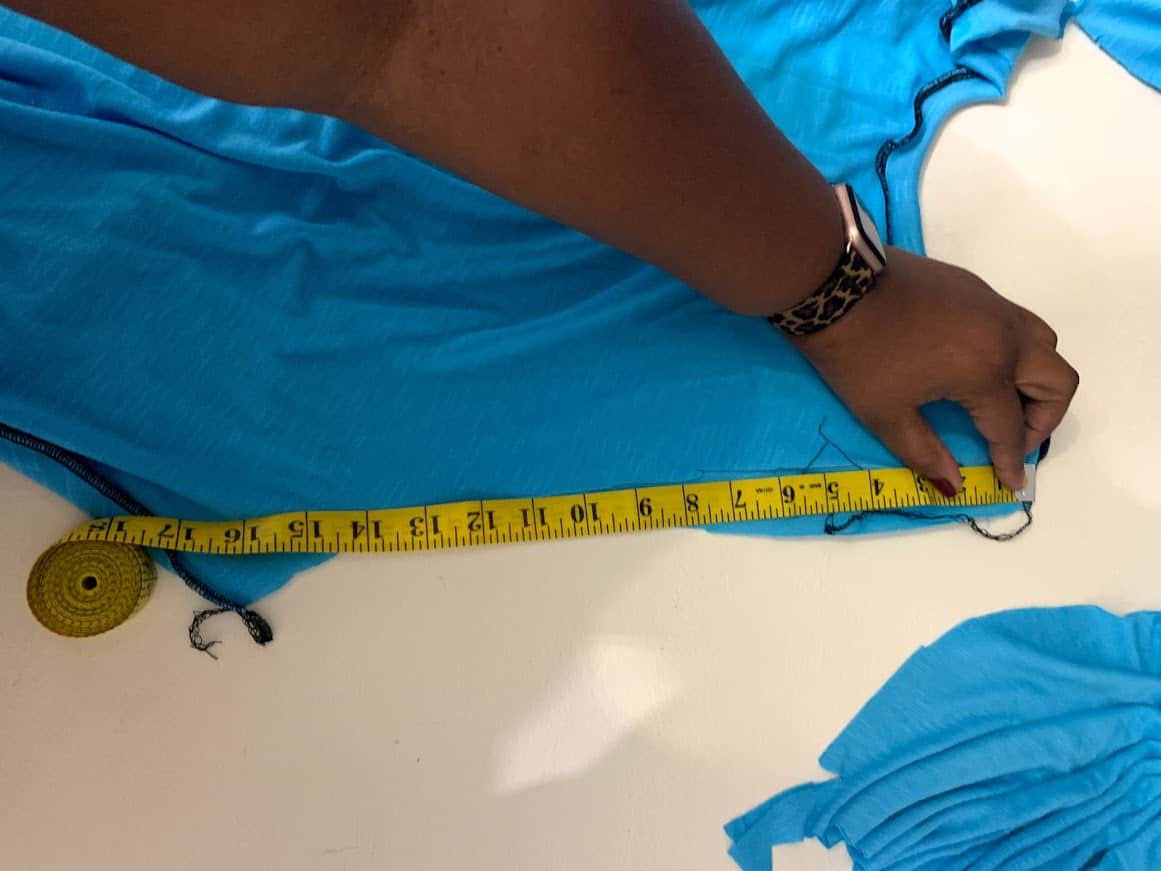
Begin by cutting and assembling your pattern according to the instructions for whichever sleeve length you choose. After your top is completely sewn together, take your Back Strap Pattern Piece and instead of cutting one, cut out two. I also like to add a little extra length here to play with while placing the straps. I added about an extra inch and a half to mine.

Sew the strap pieces and turn right sides out according to the pattern. Once you have two straps, begin placing them on your twist back top. I used the pattern’s back strap placement mark to place the top pieces of my criss-cross and moved around the straps until I liked how it looked. Be careful not to stretch your straps too much while placing, while also not having too much slack. You want the straps to lay flat while wearing. The best way to ensure the correct placement is to try on your top before sewing the straps in. I ended up moving mine around a little here and there before I was happy with the placement. In the end you can see my strap pieces are about 3 inches apart from each other.
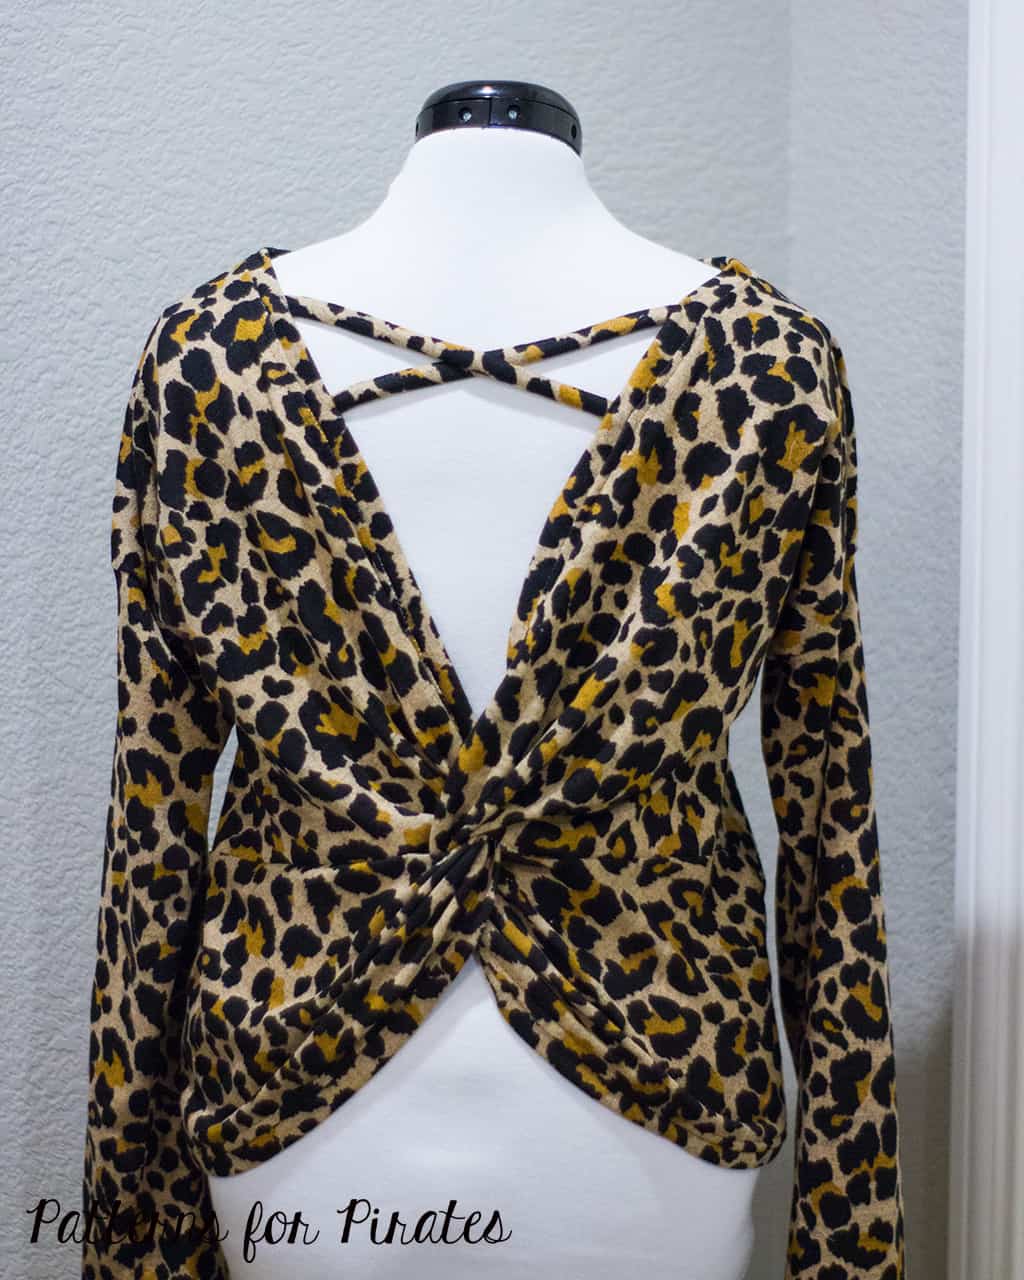
Sew your straps in place and trim off any excess fabric. You now have a fun new criss cross back strap.
Shannon
…..
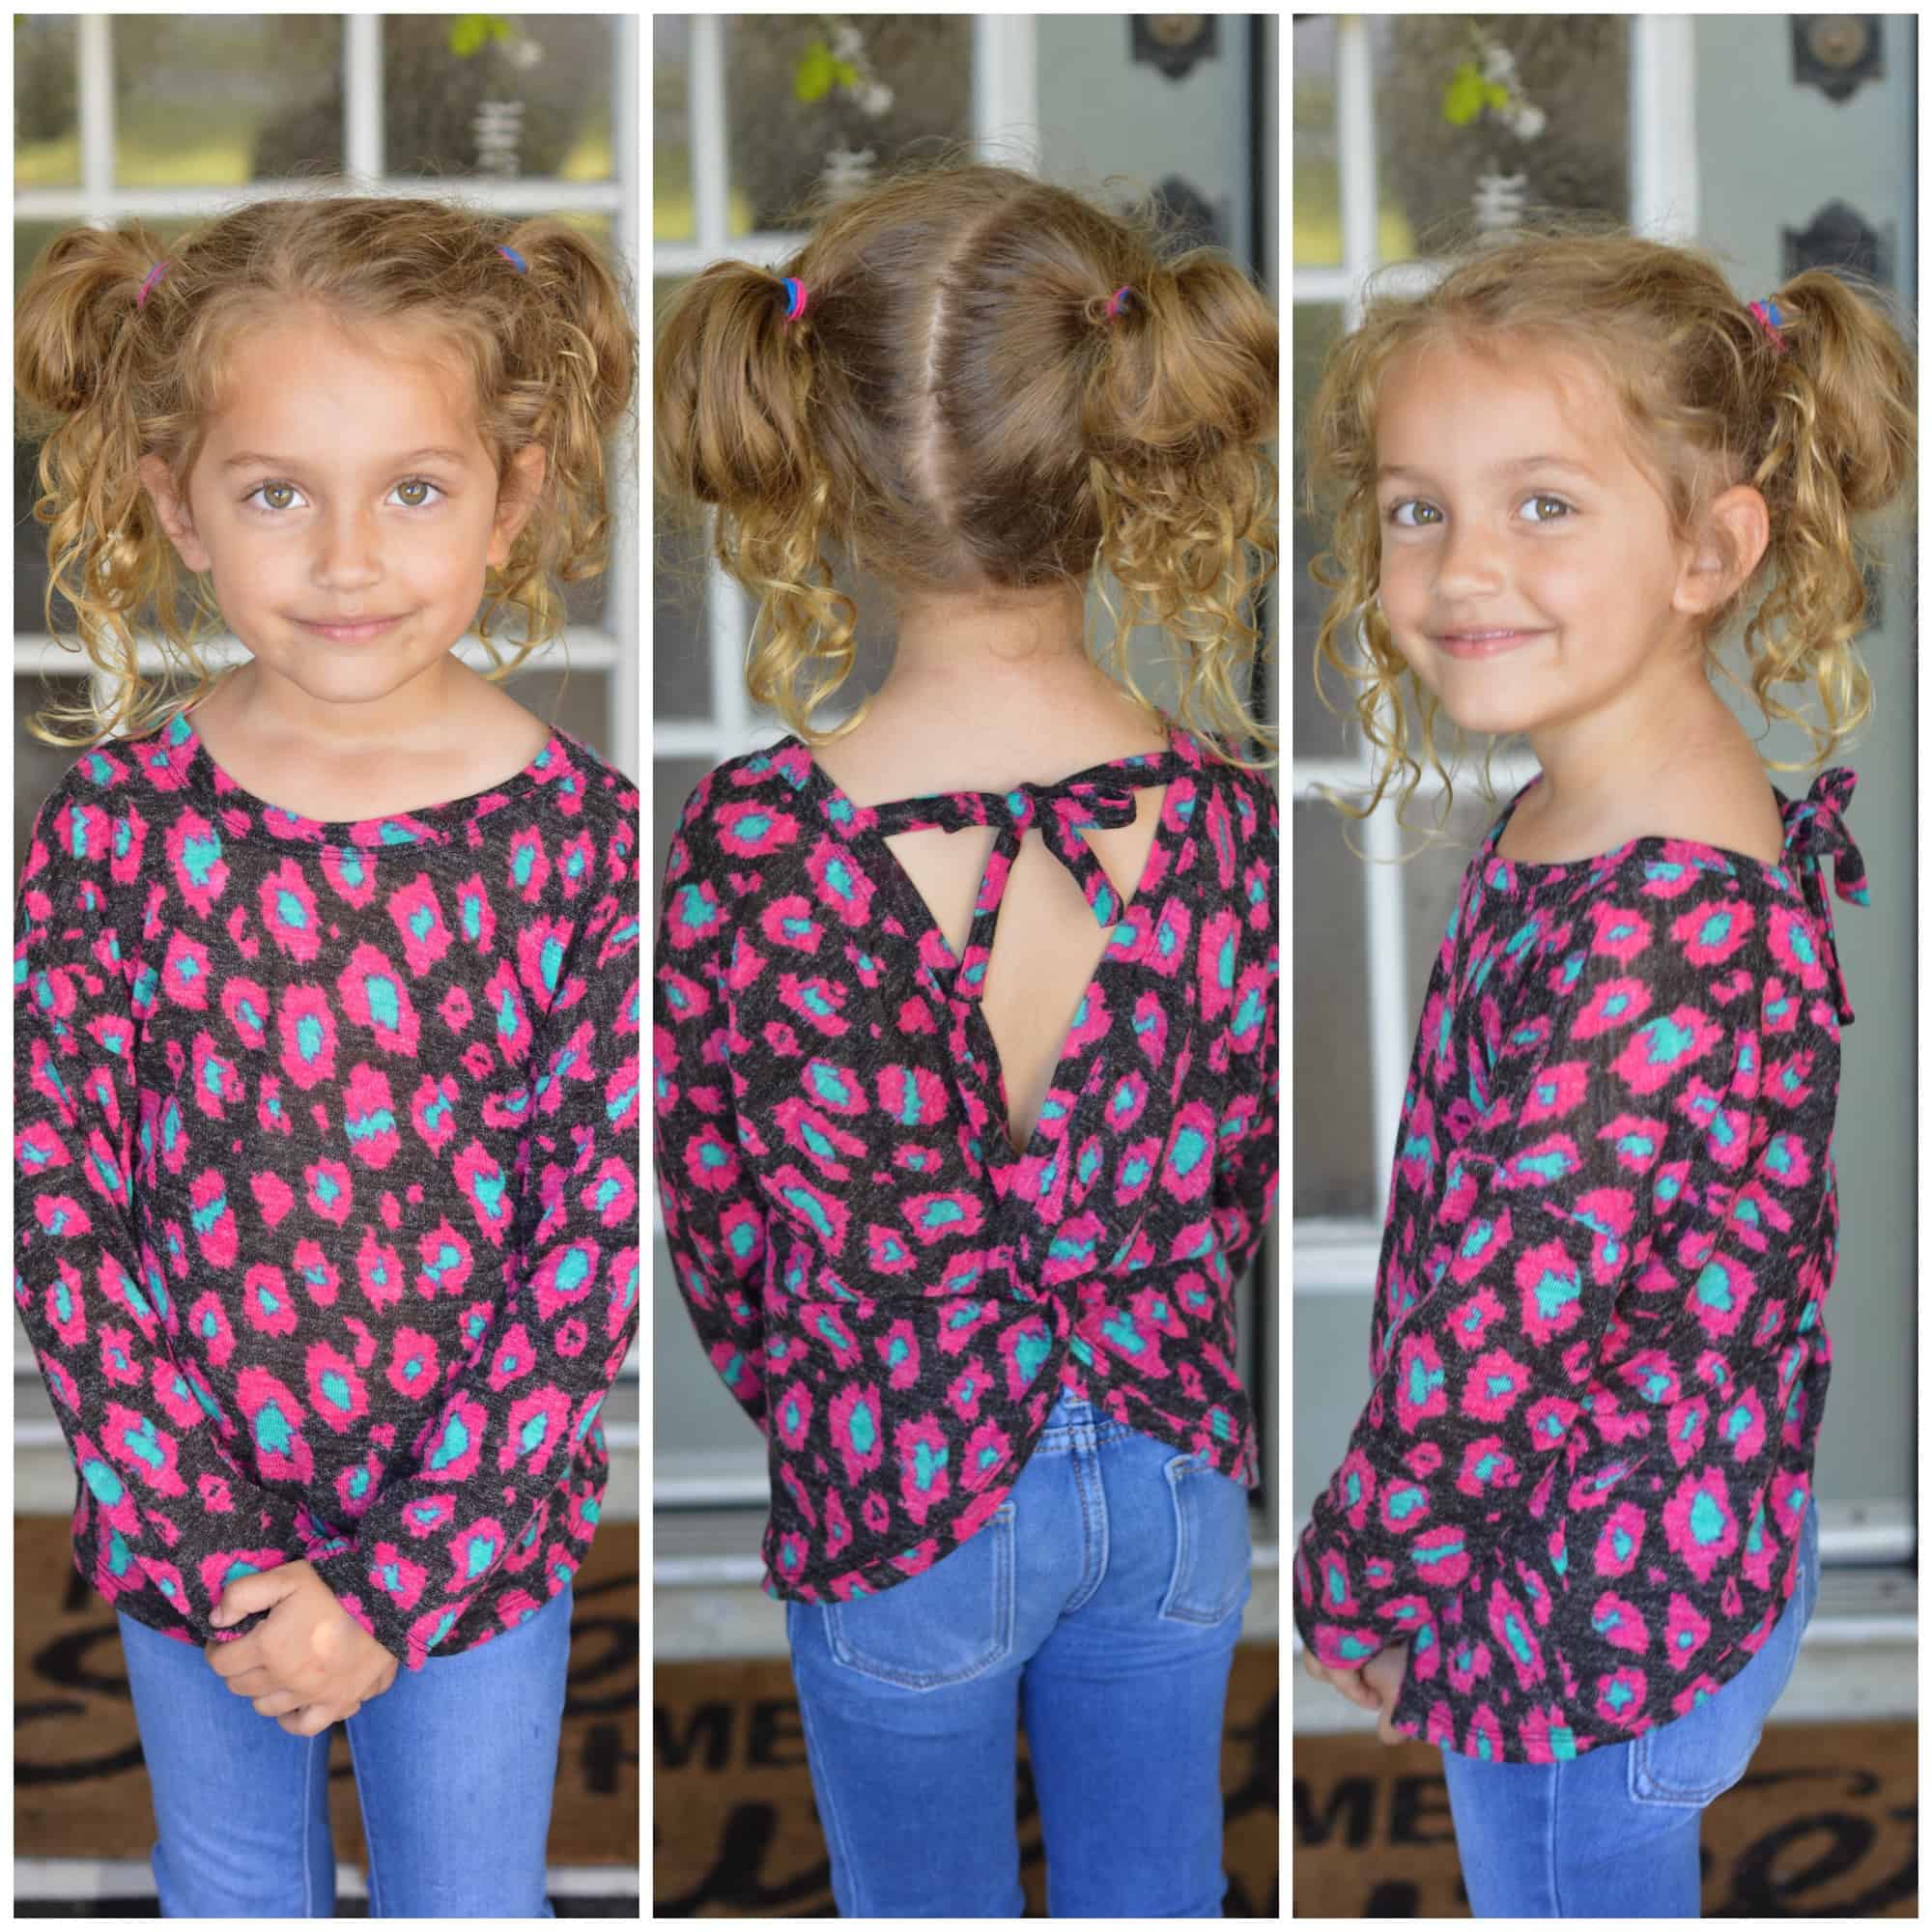
Bow Back
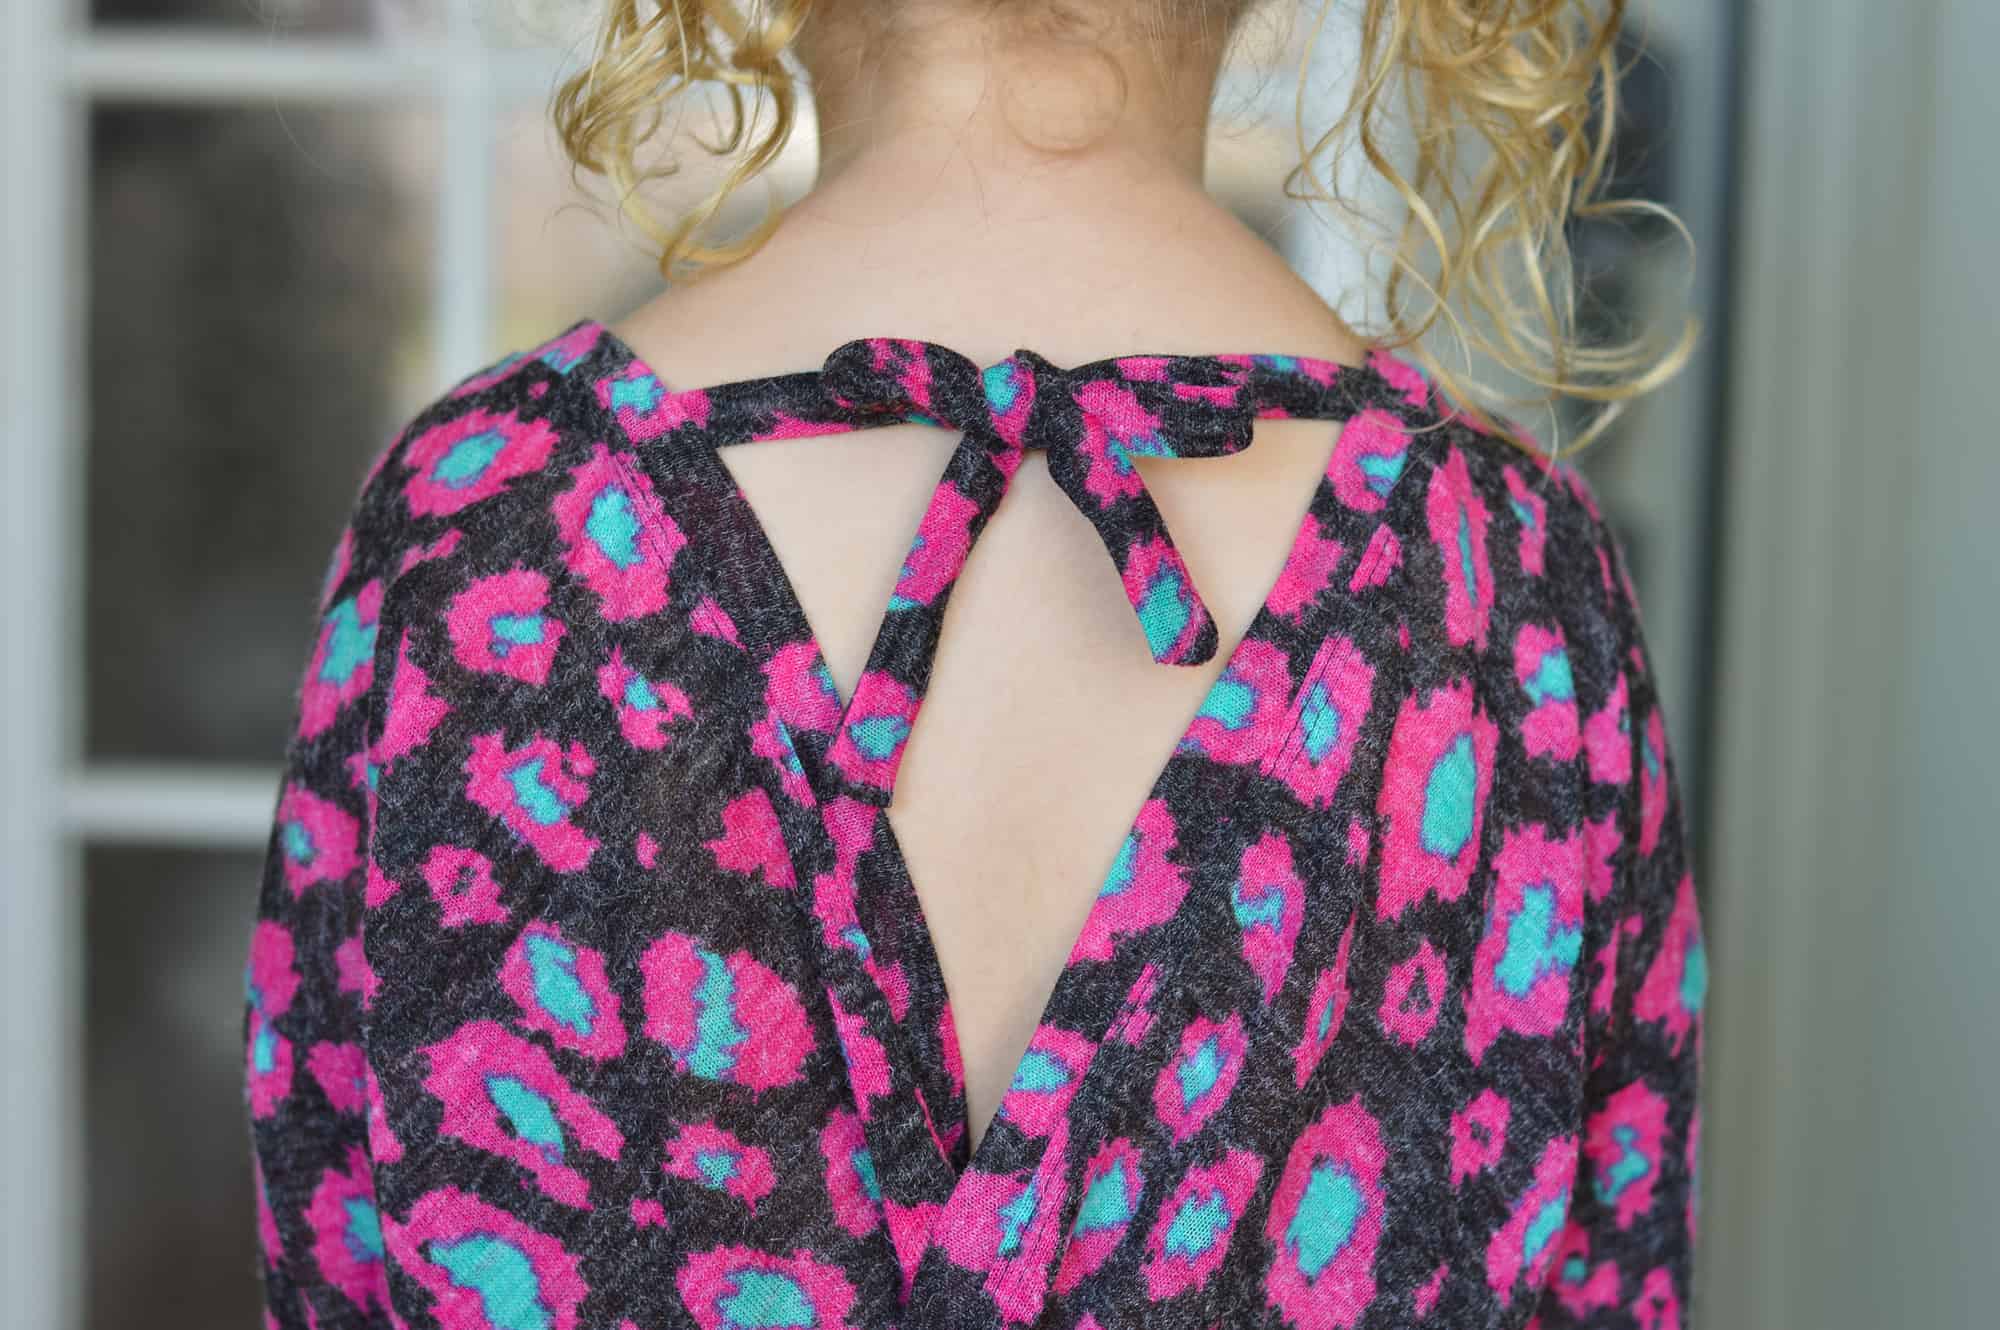
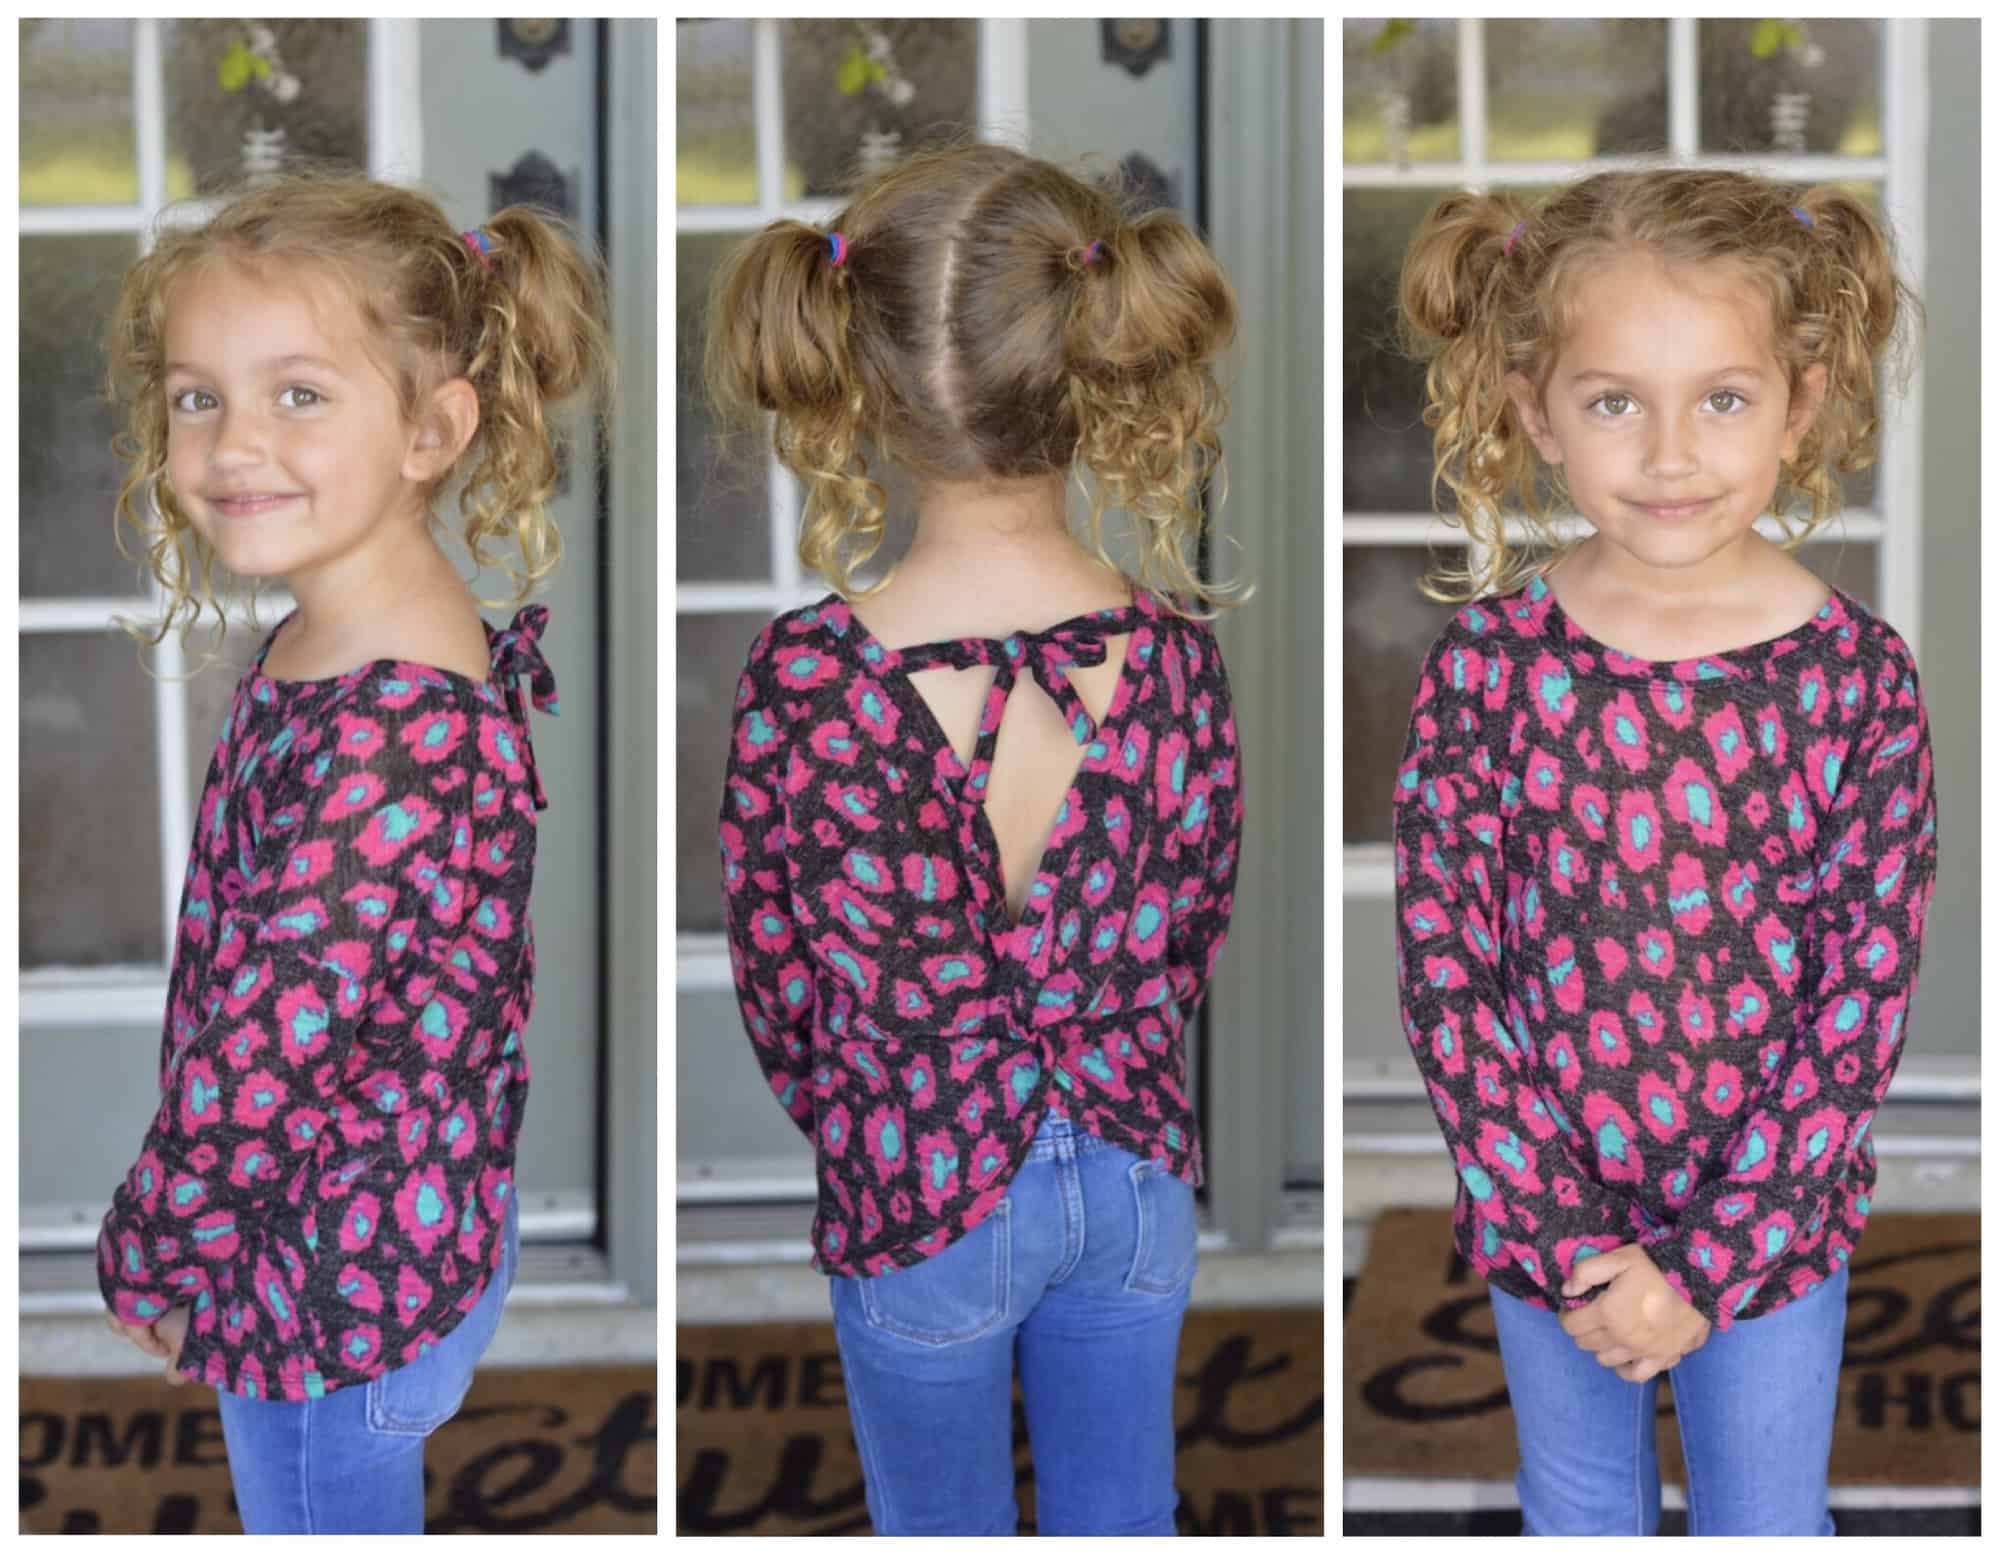
The Twist Back Top is already so much fun but if you want to add another little detail, I am here to show you how. Instead of the back shoulder strap, I added some ties to make a cute little bow and you can too with these simple steps!
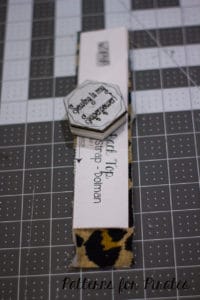
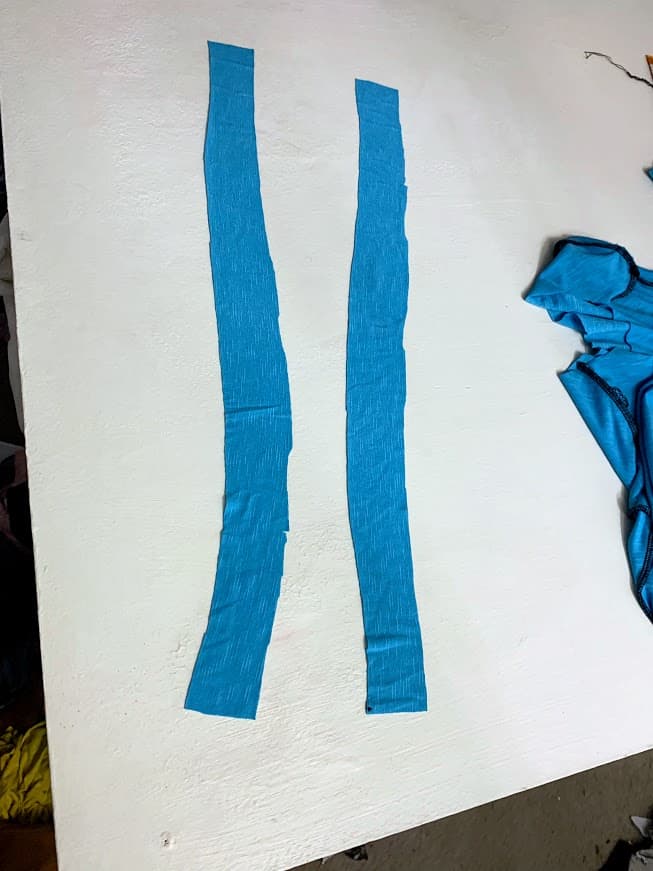
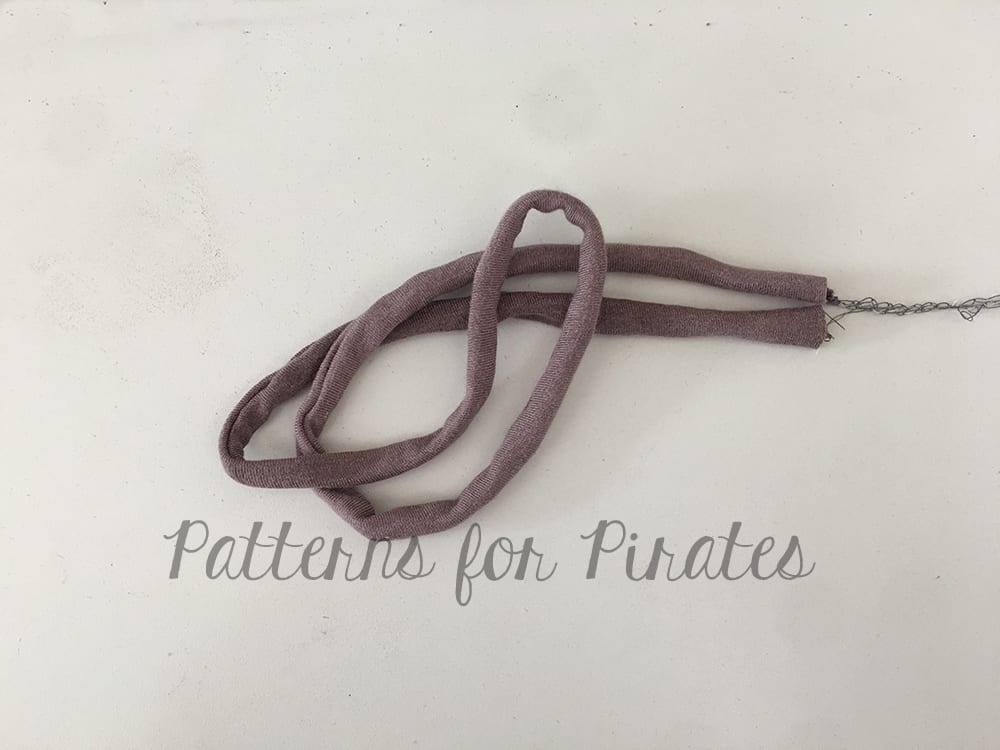
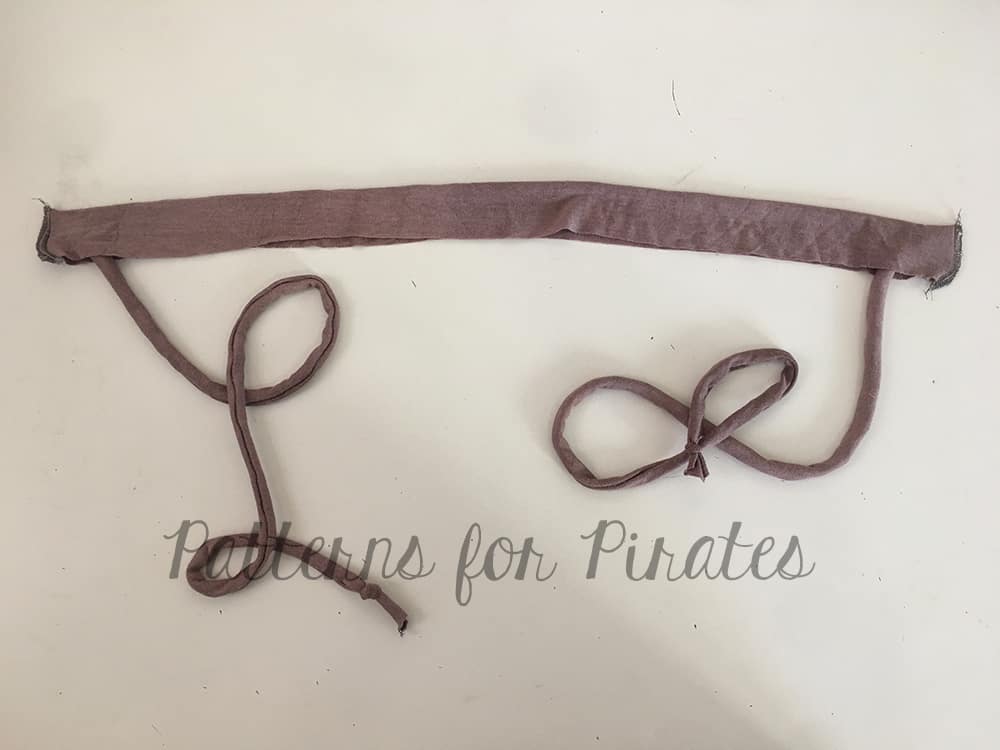
You will start off just as the pattern instructs, with cutting your pieces. The only difference will be when it’s time to cut that back shoulder strap. You can use any length desired to make them longer or shorter but I used the included pattern piece as a guide for the youth version and it worked out perfectly.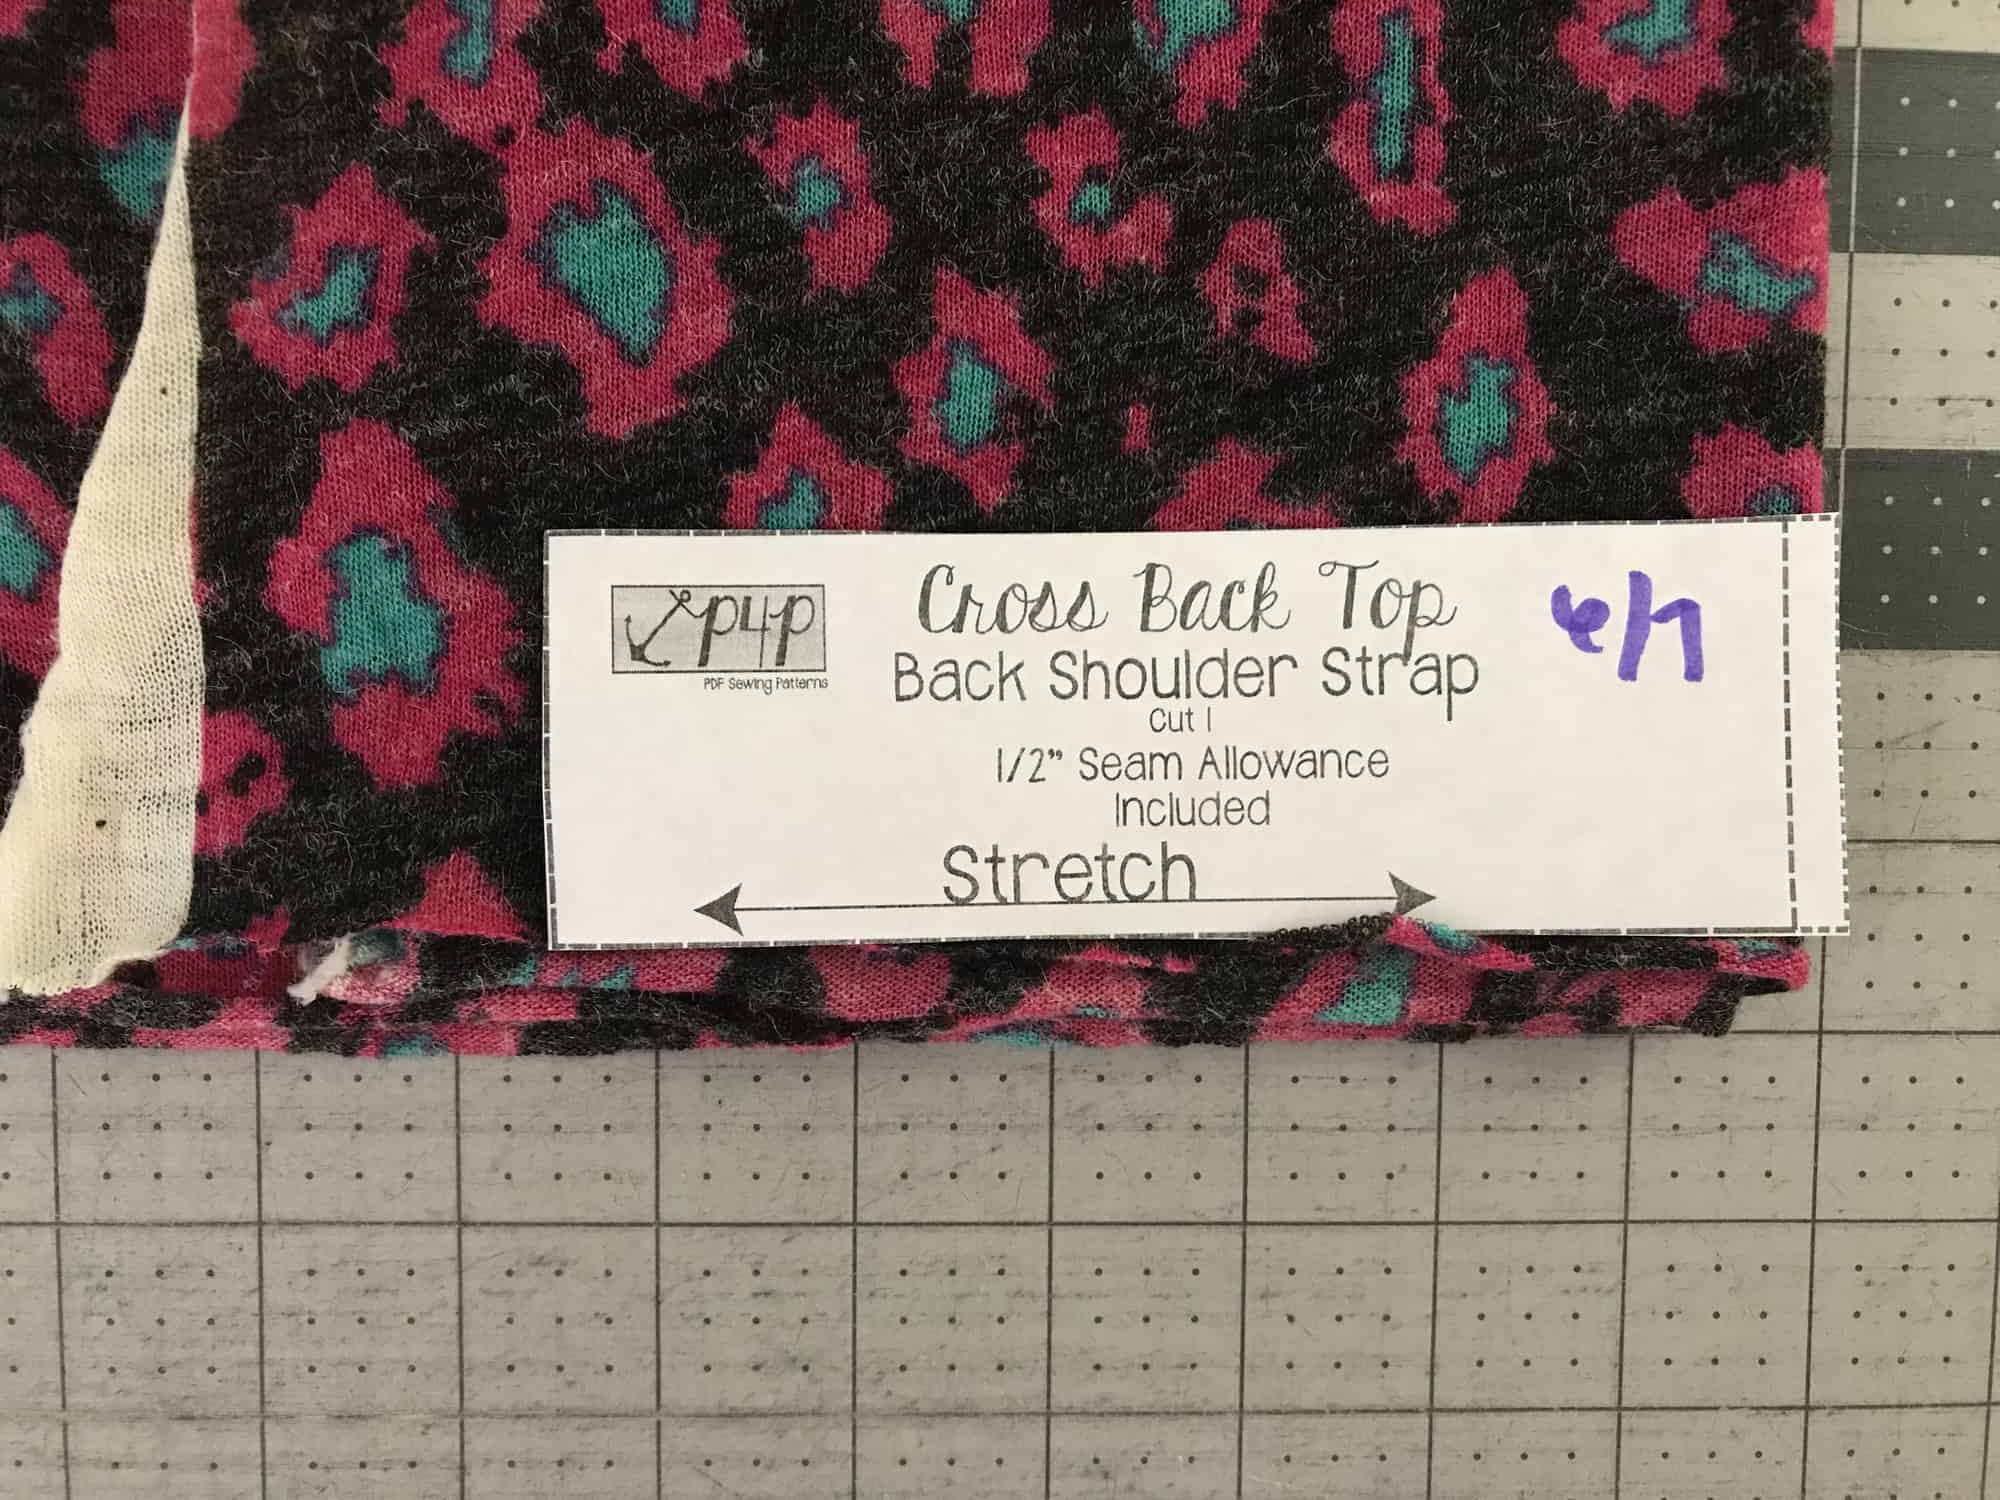 Instead of cutting one piece, I folded my fabric in half and cut two shoulder strap pieces on the fold. This gave me two pieces that were both double the size of the pattern piece. For the youth size 6, my ties ended up being 11.5″. (I shortened them from this photo)
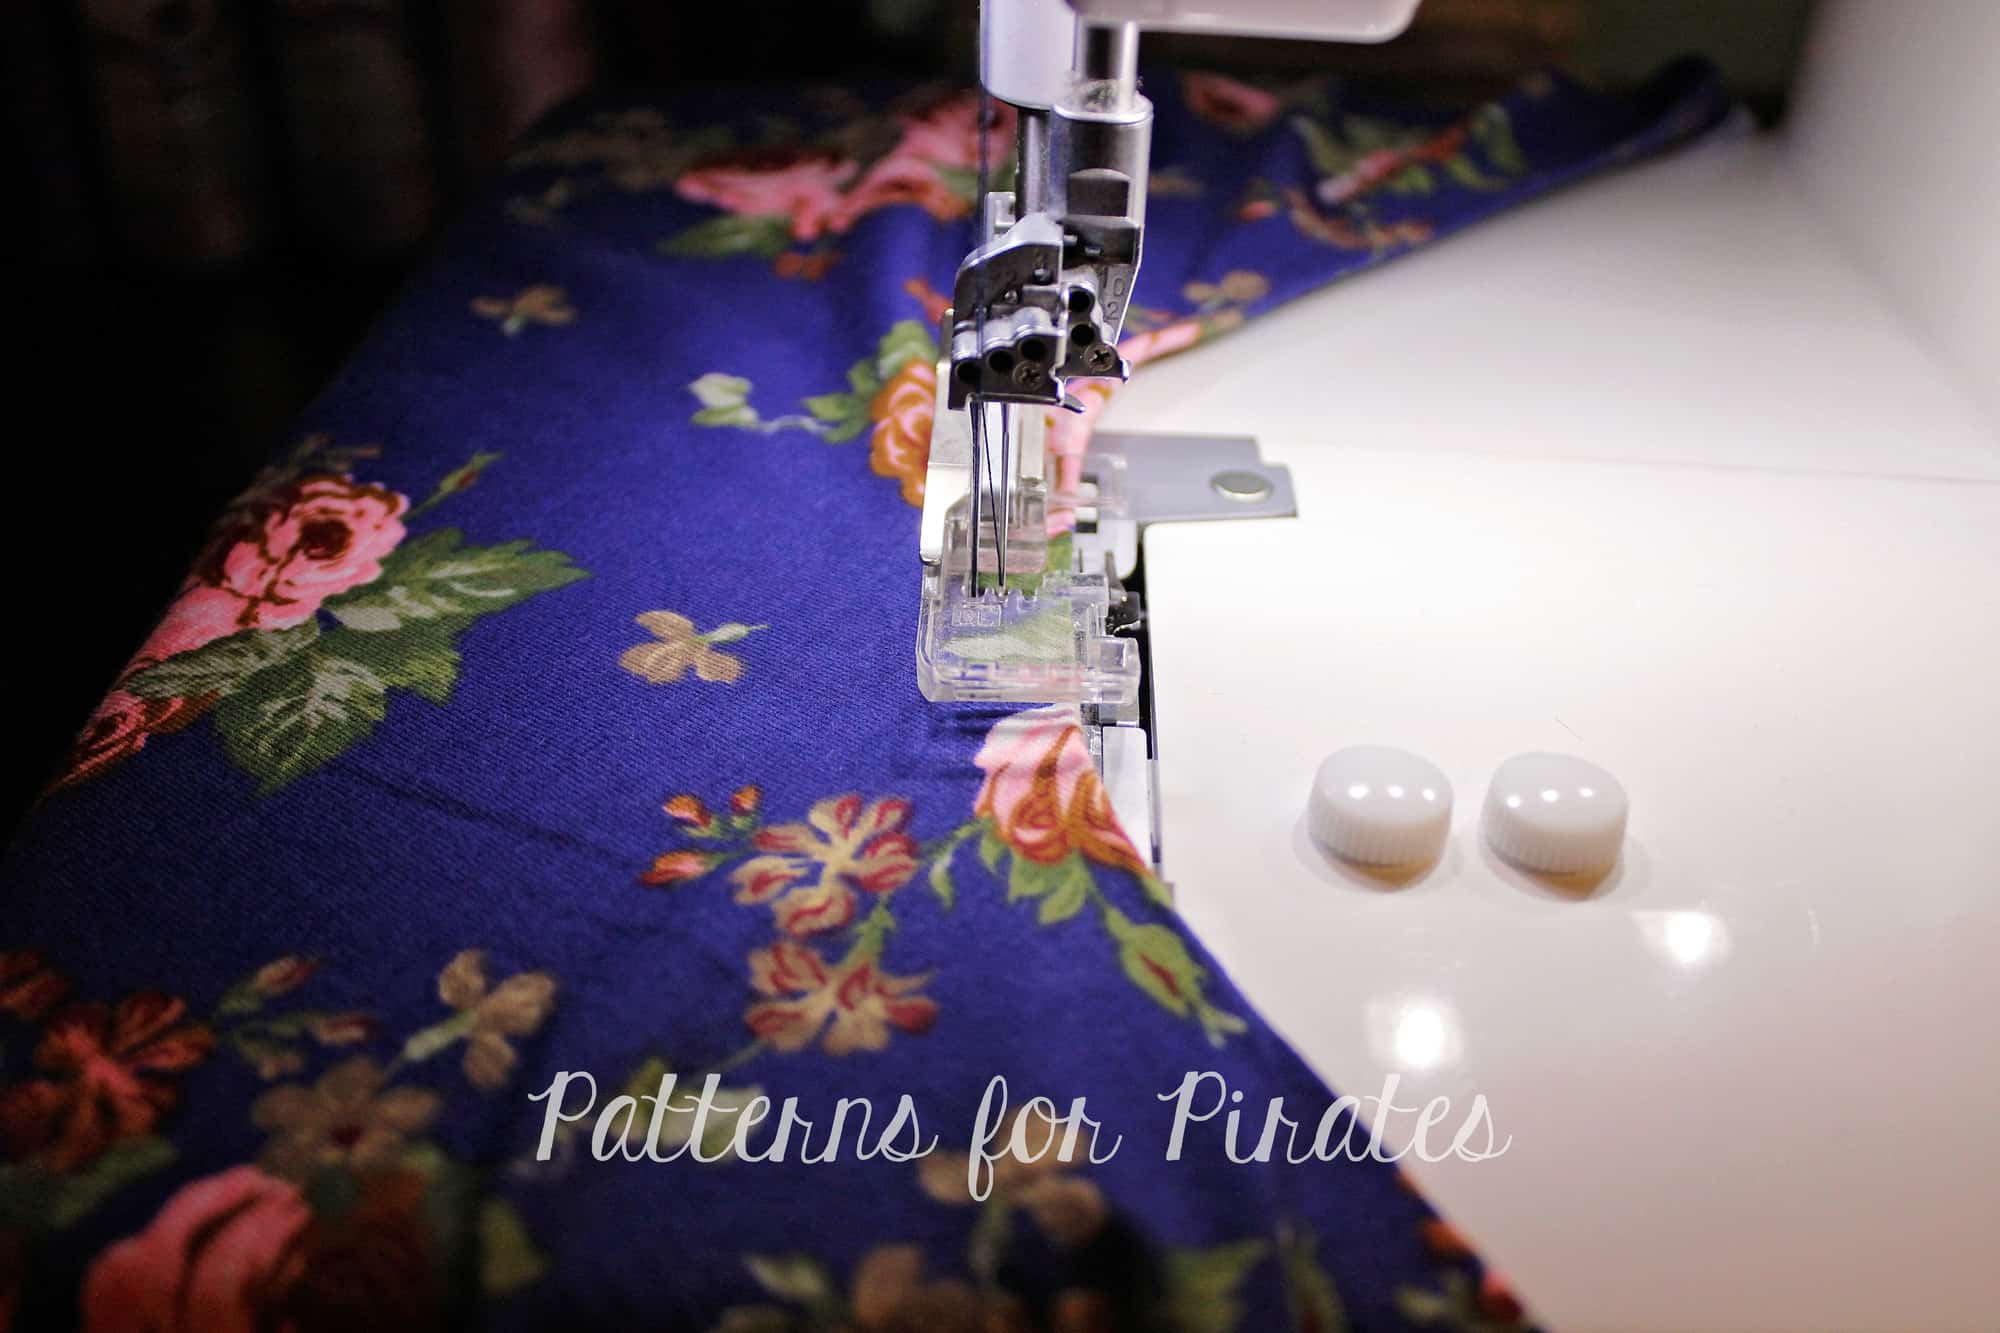
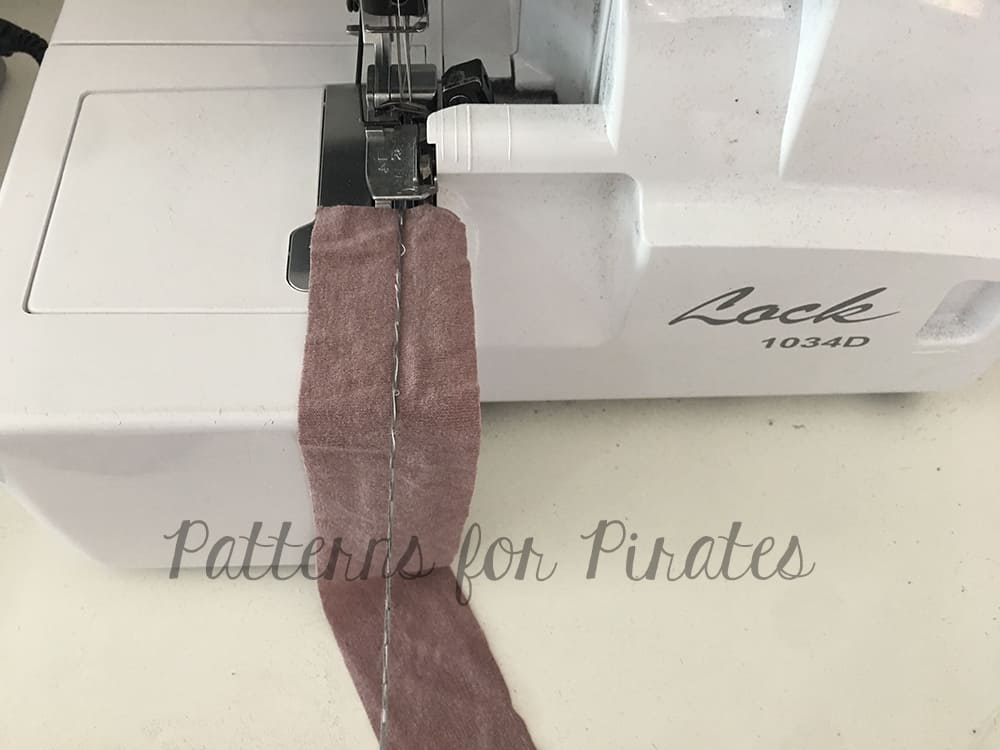
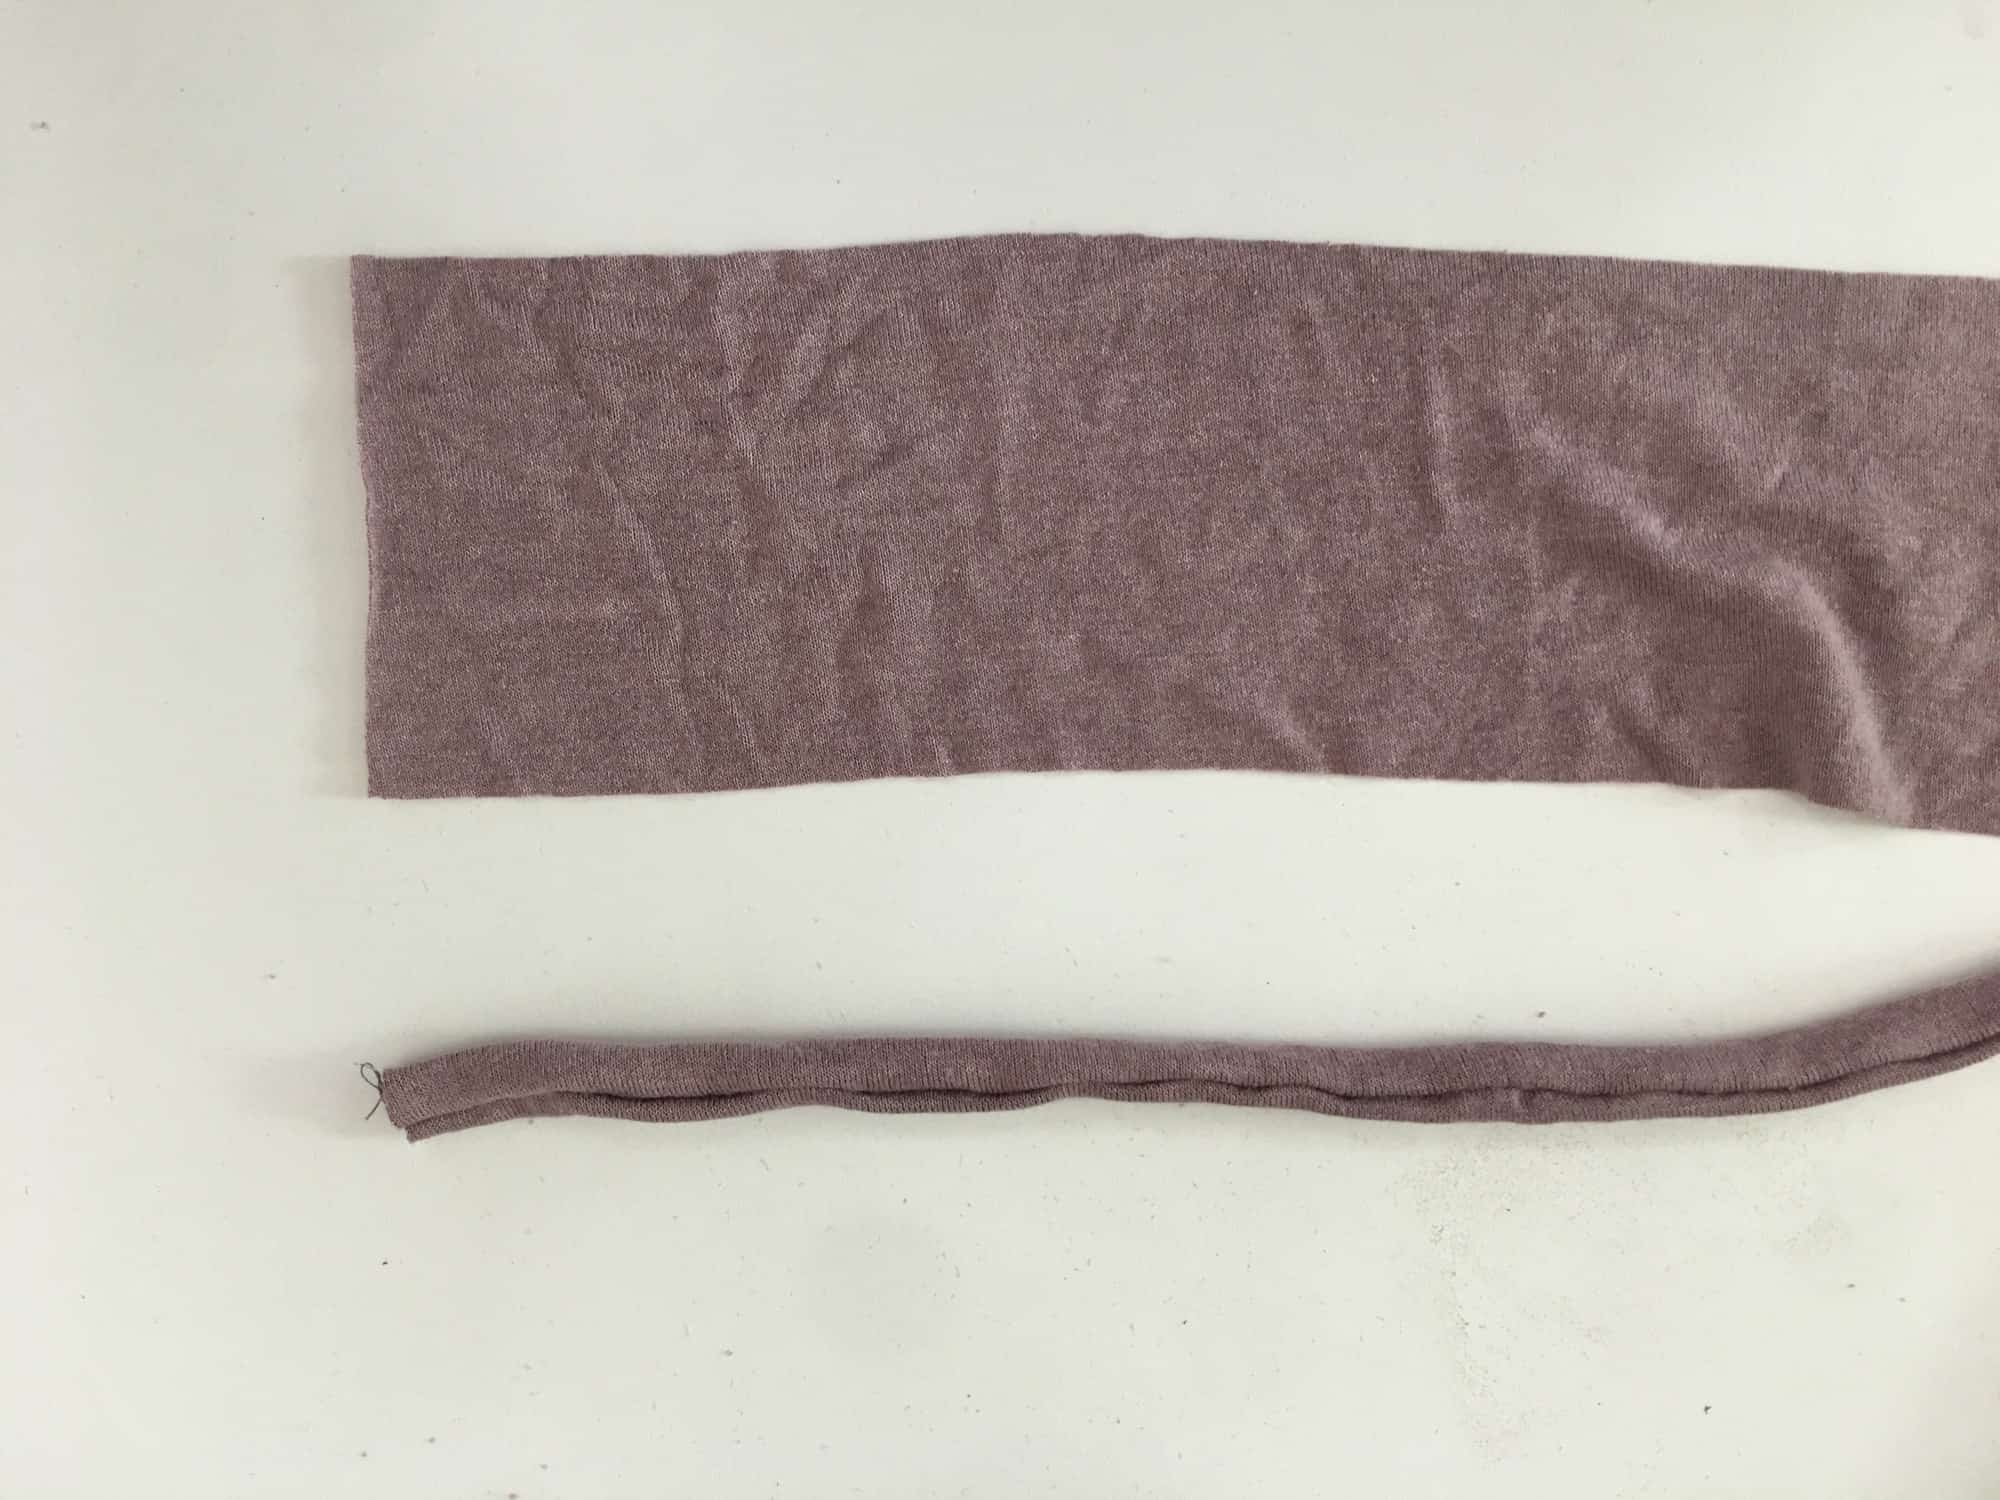
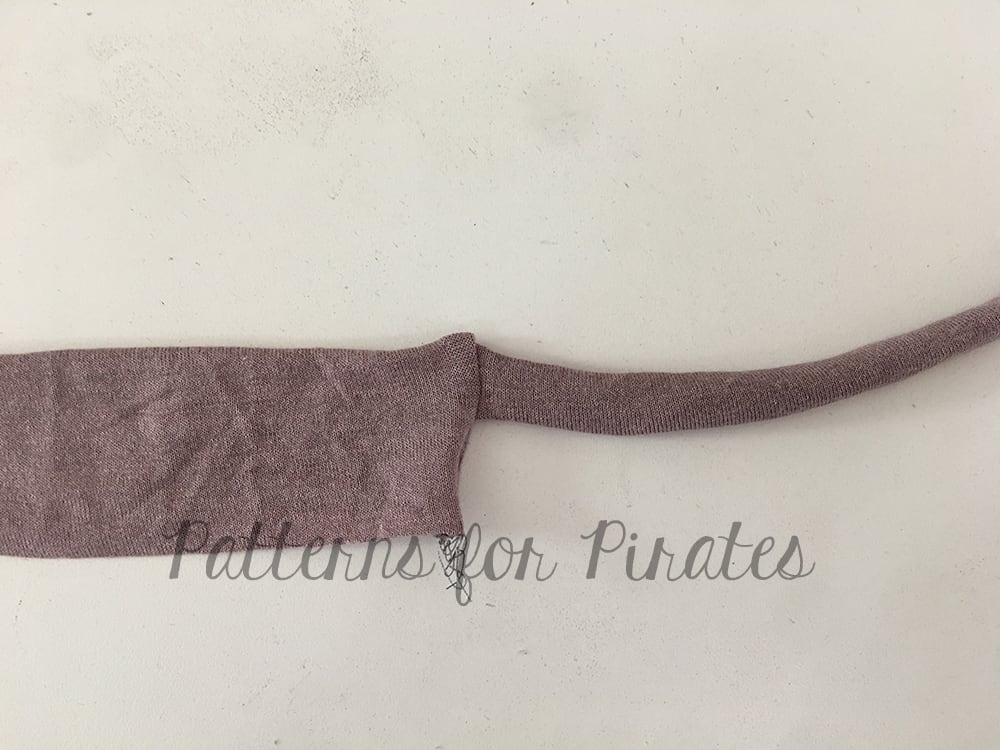
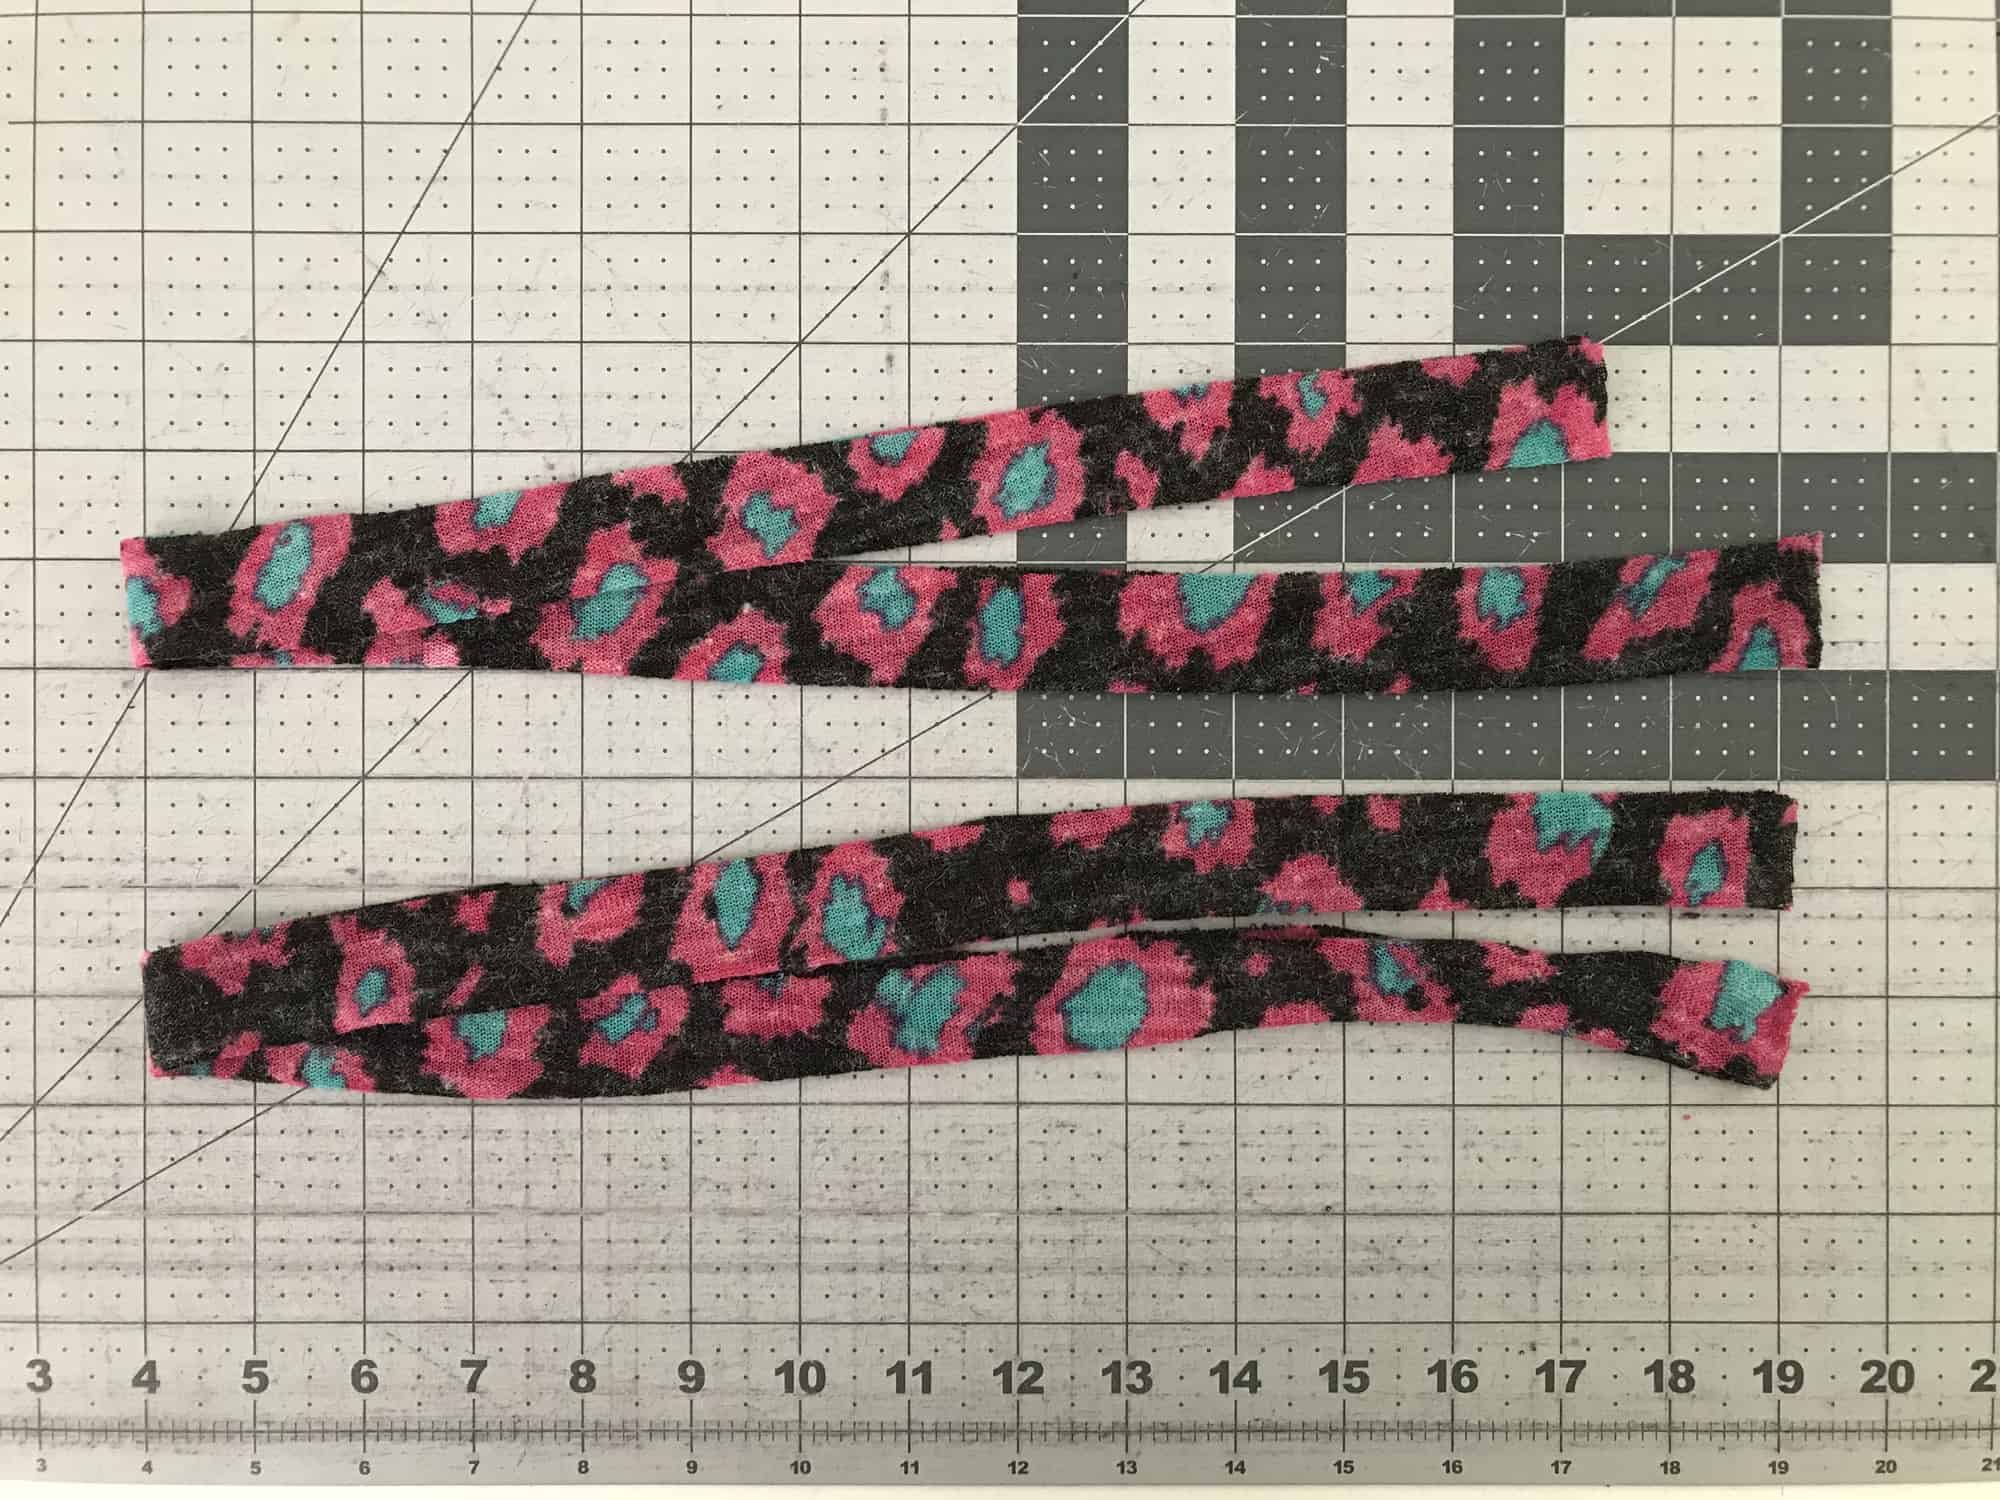 You then fold the straps in half, with right sides together, and sew along the long edge and ONE short edge.
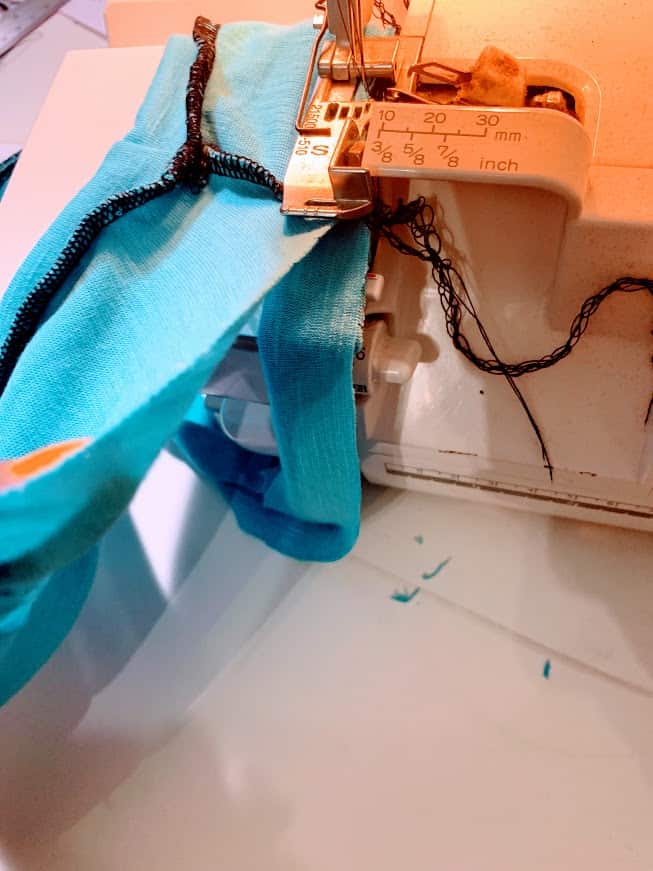
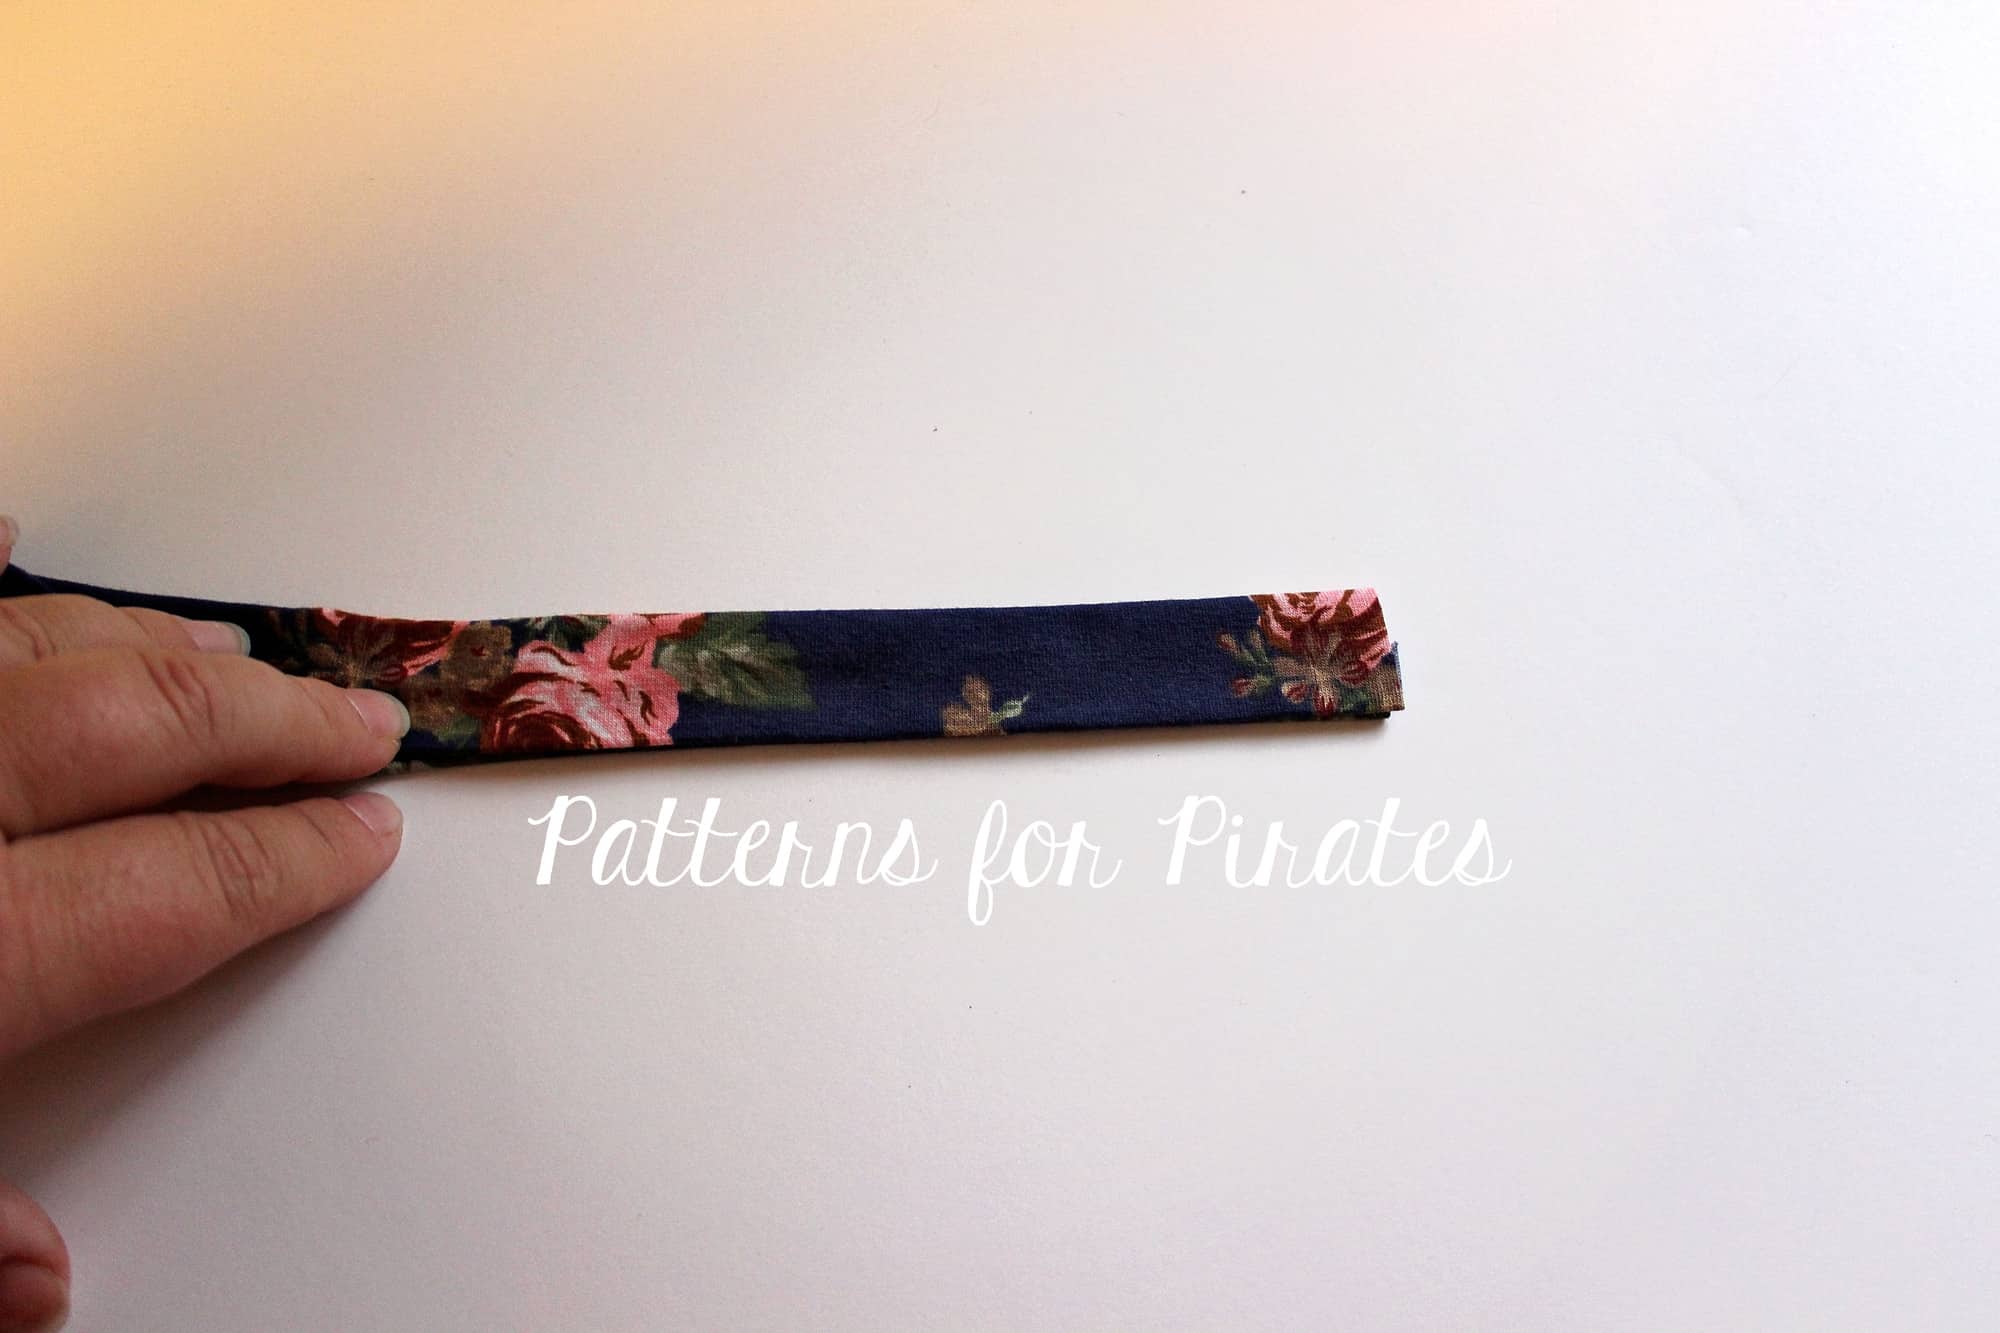
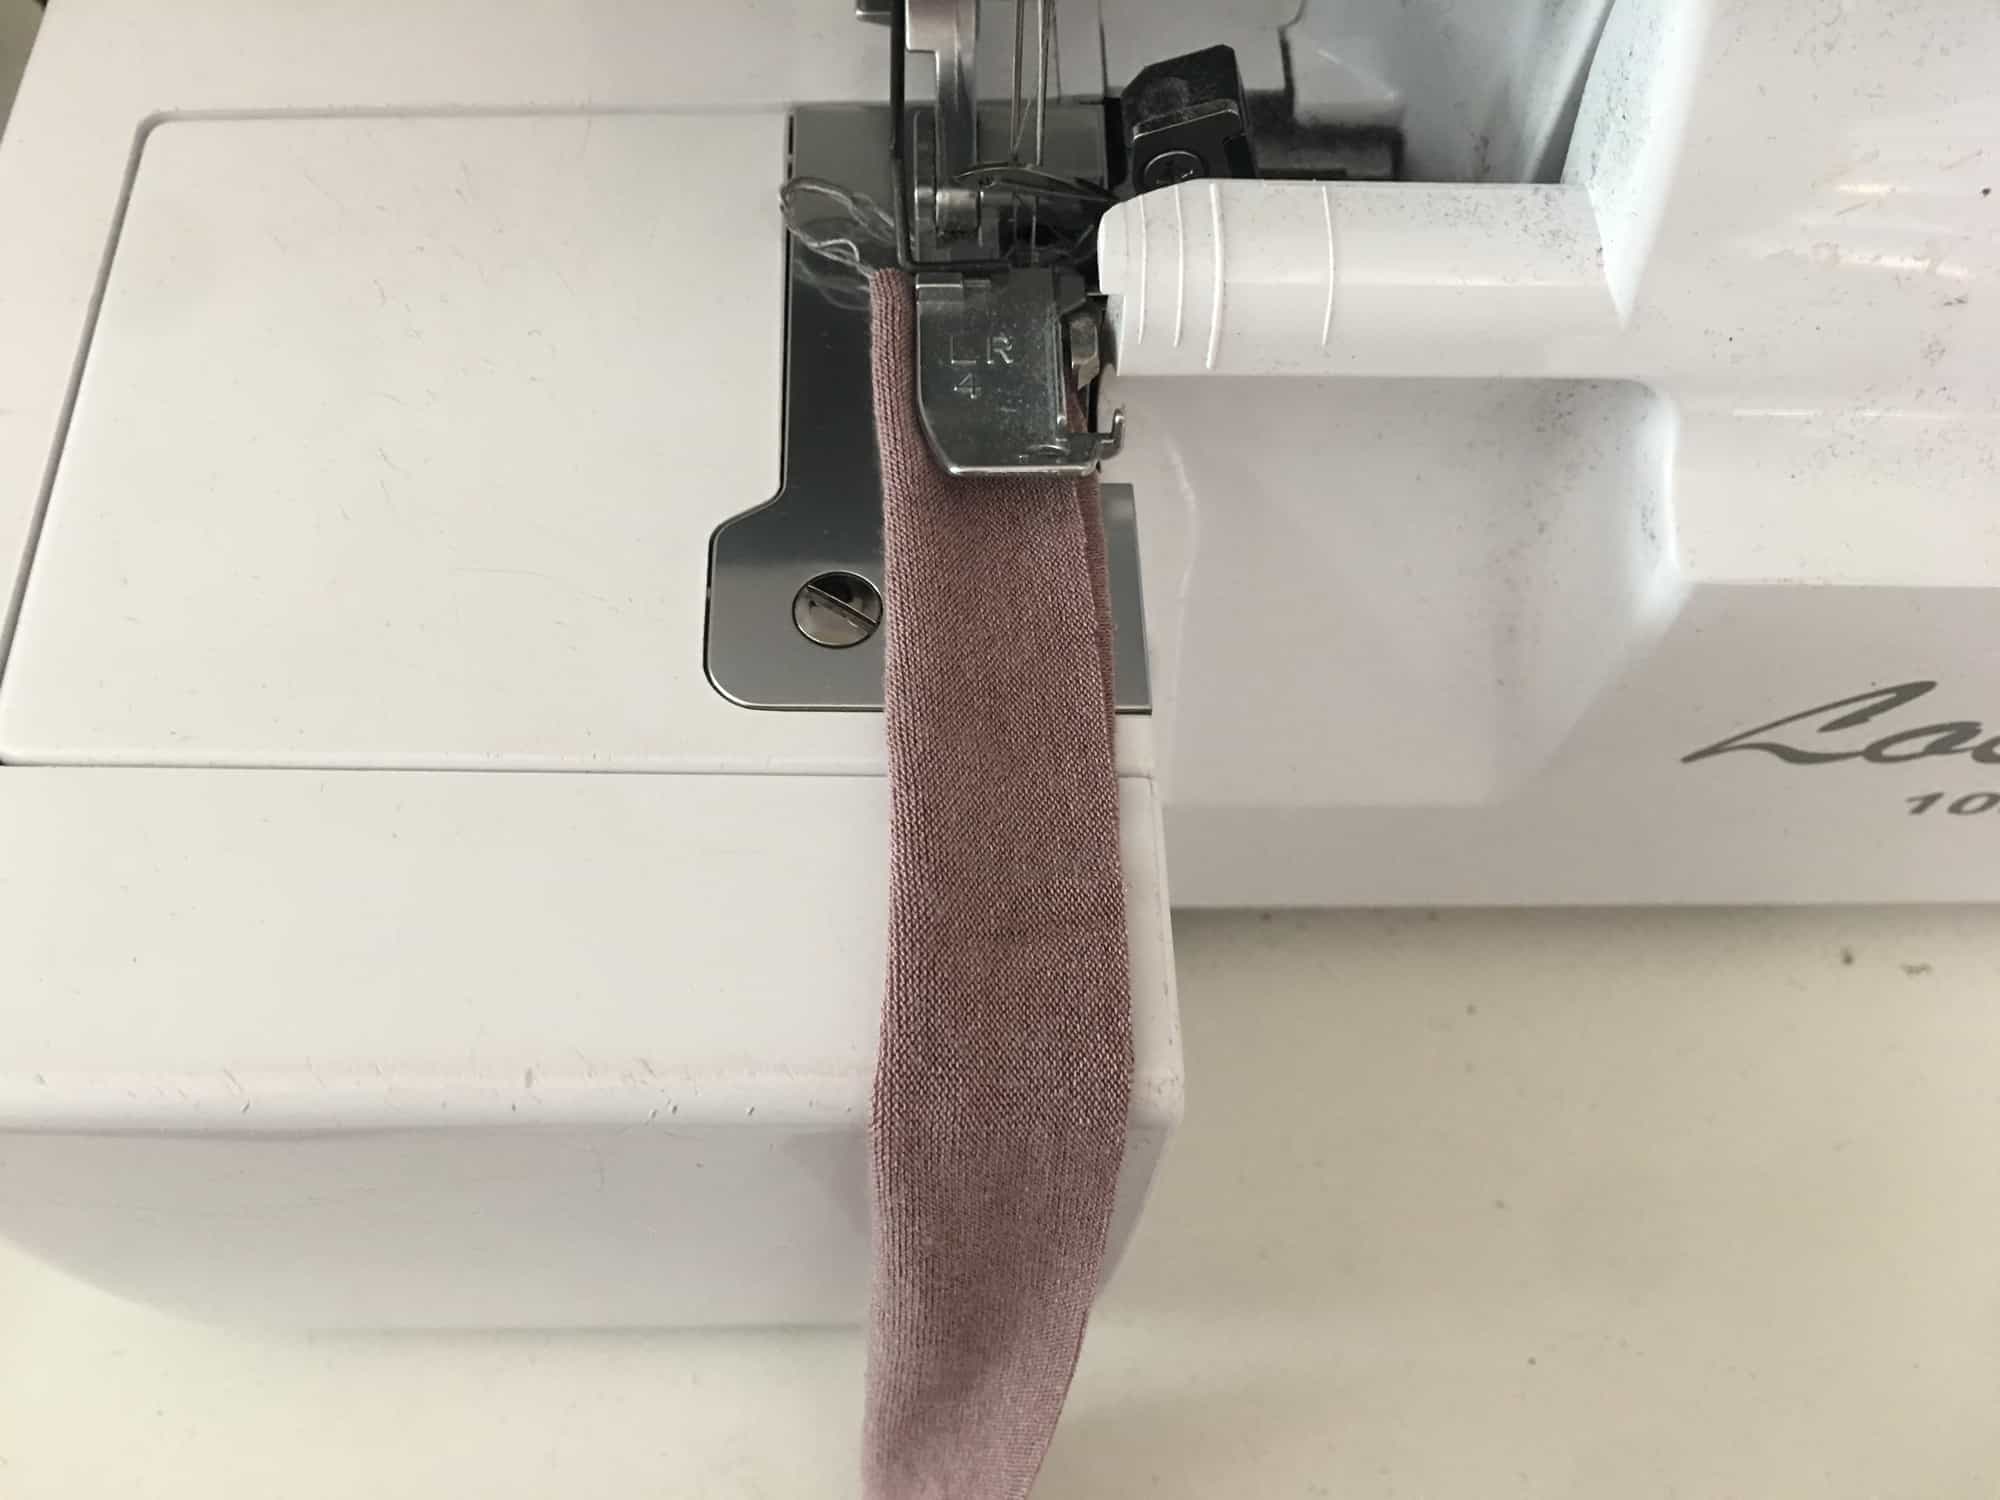
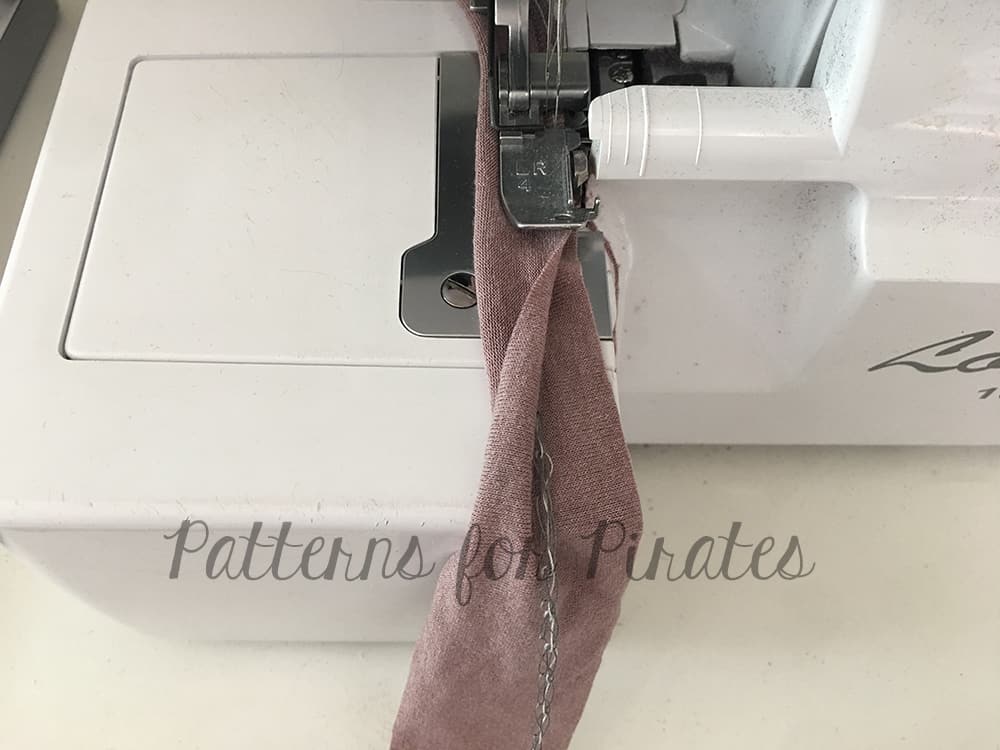
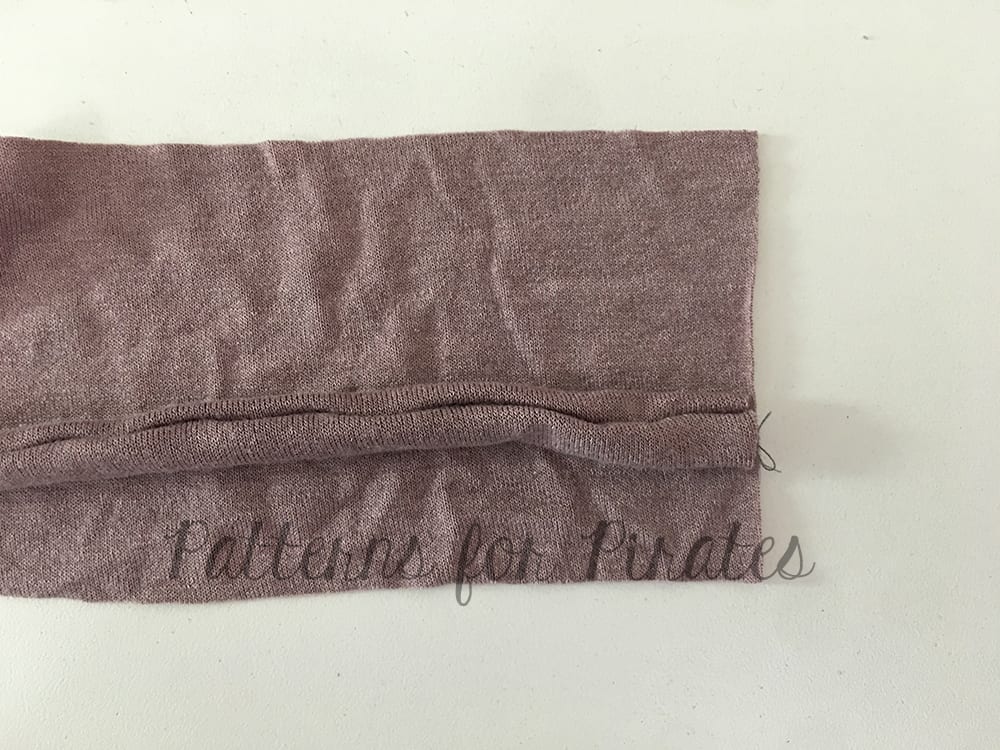
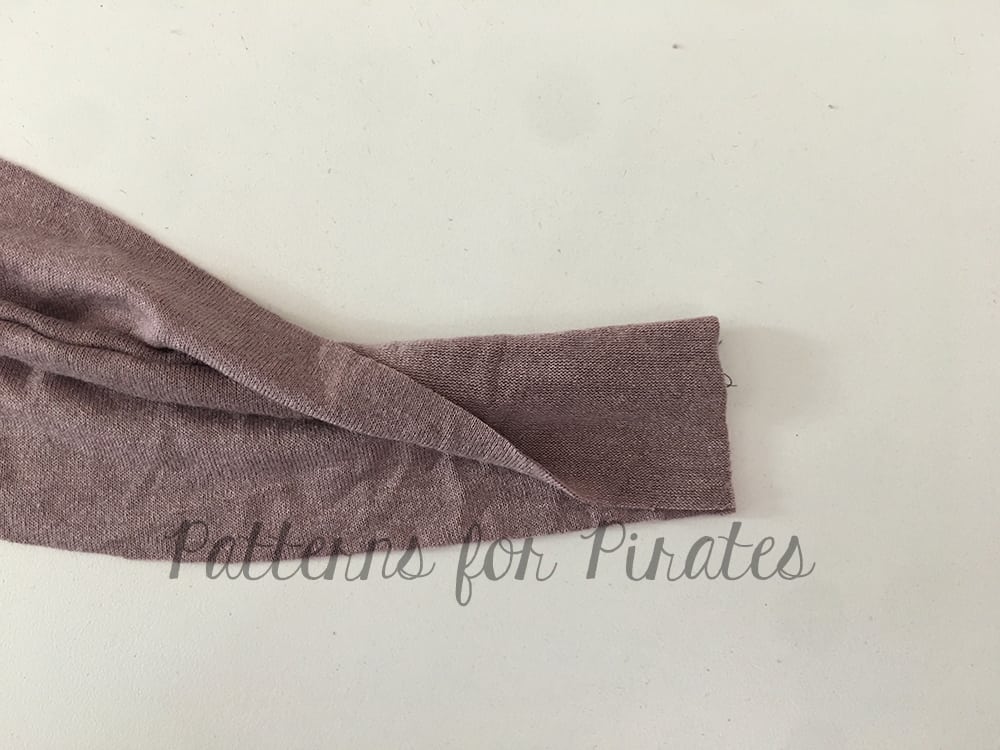
 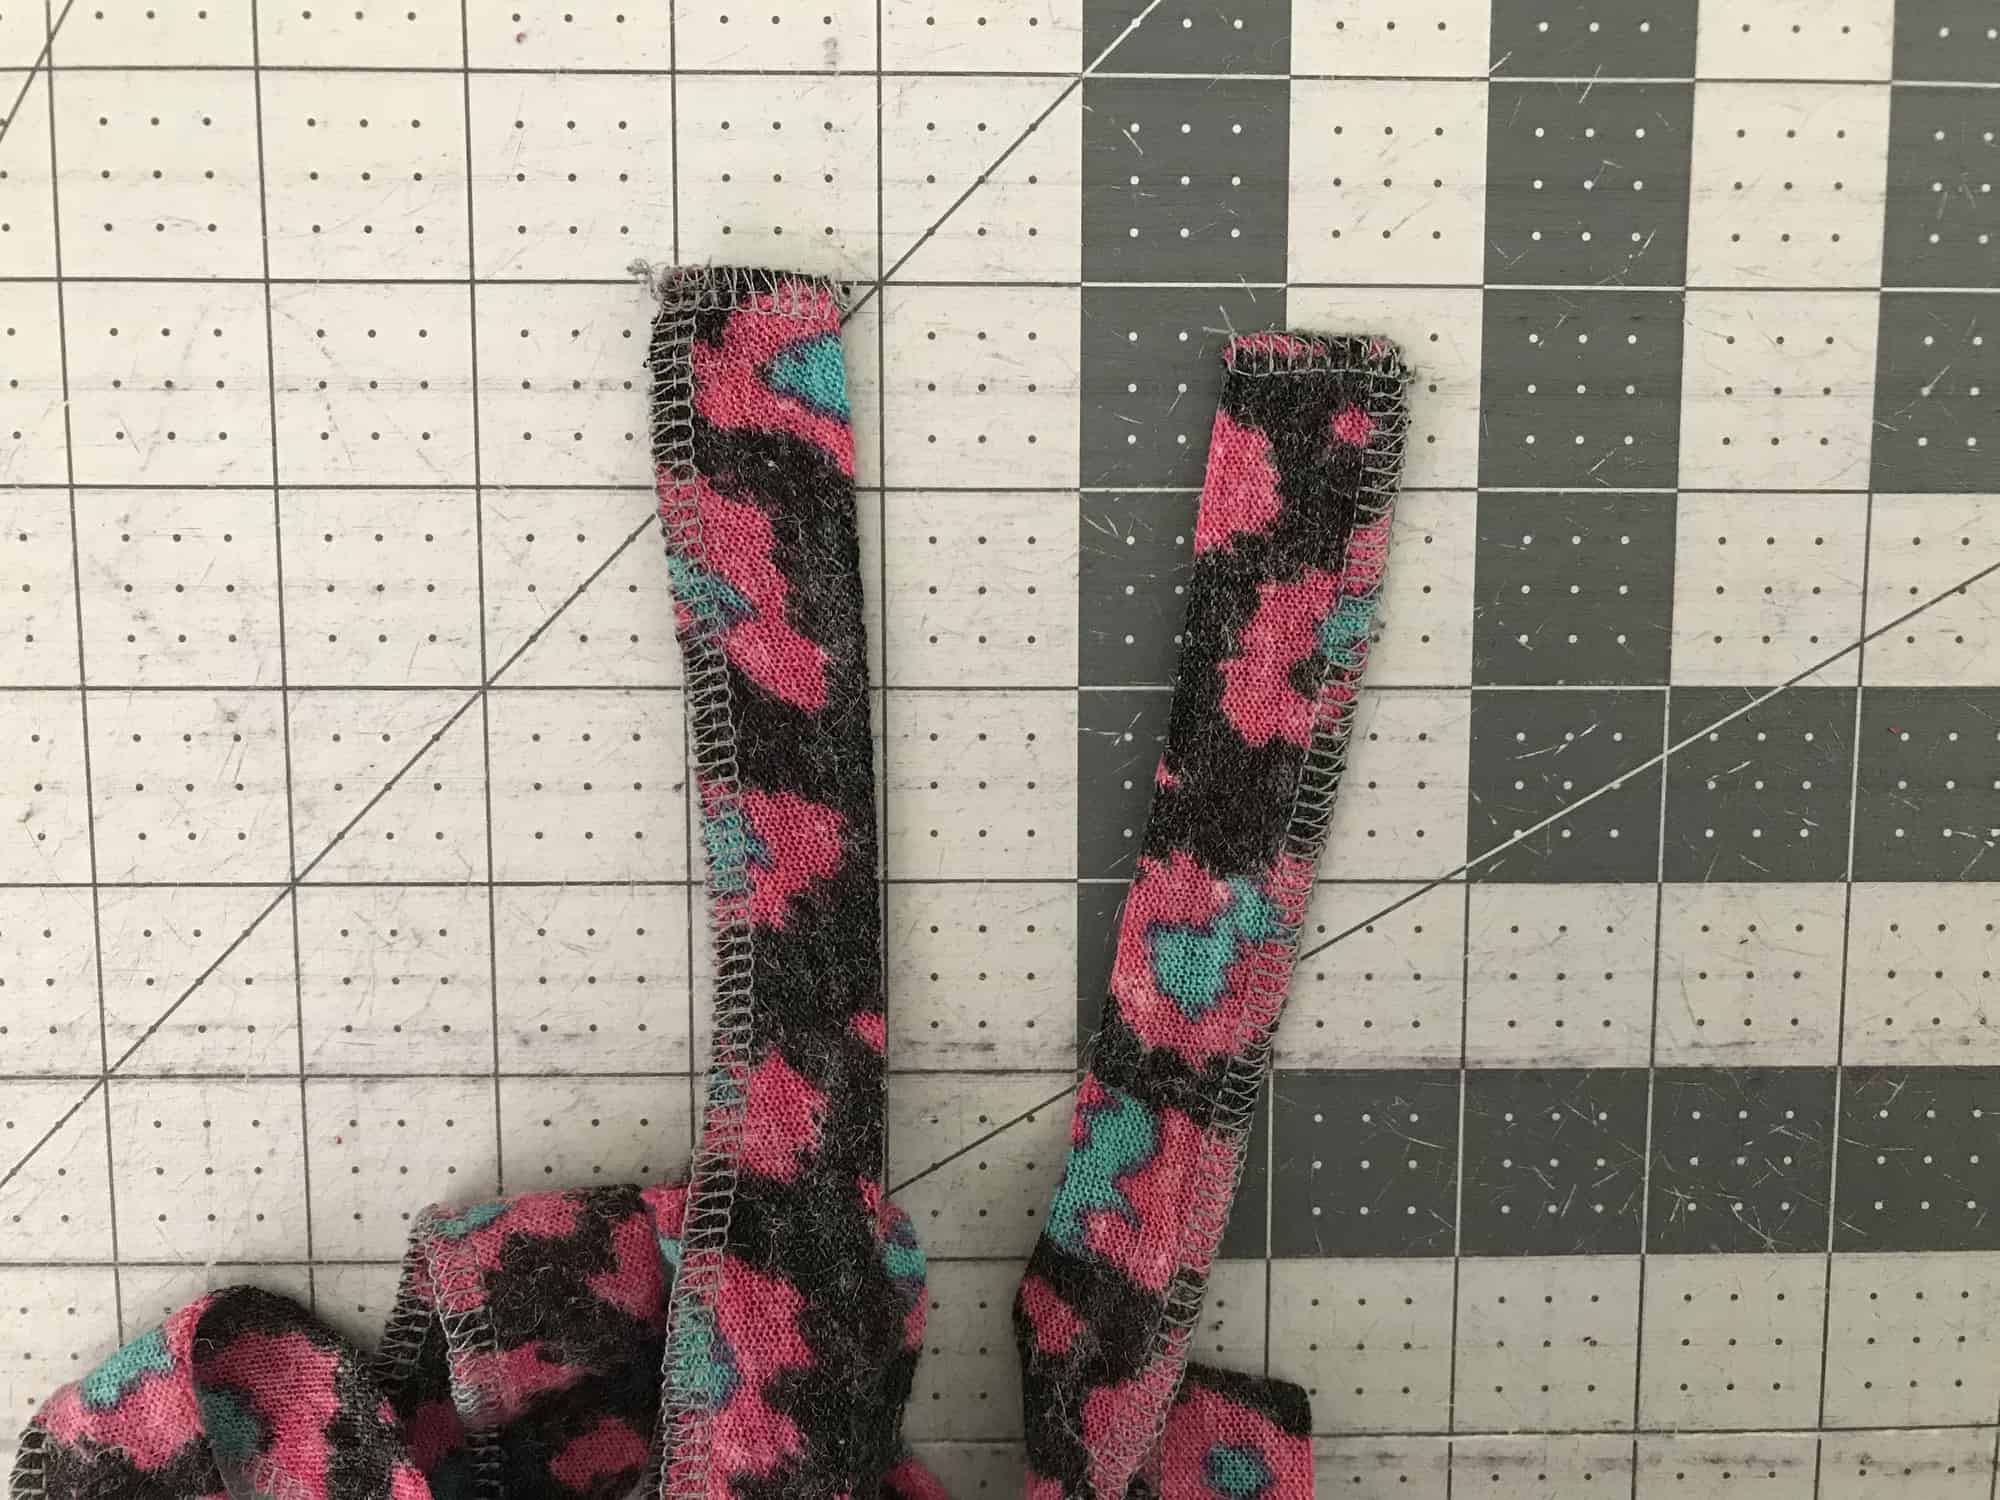 Turn your straps right side out and press. Note that using this method, your seam will be along one edge as opposed to the middle like the original back shoulder strap.
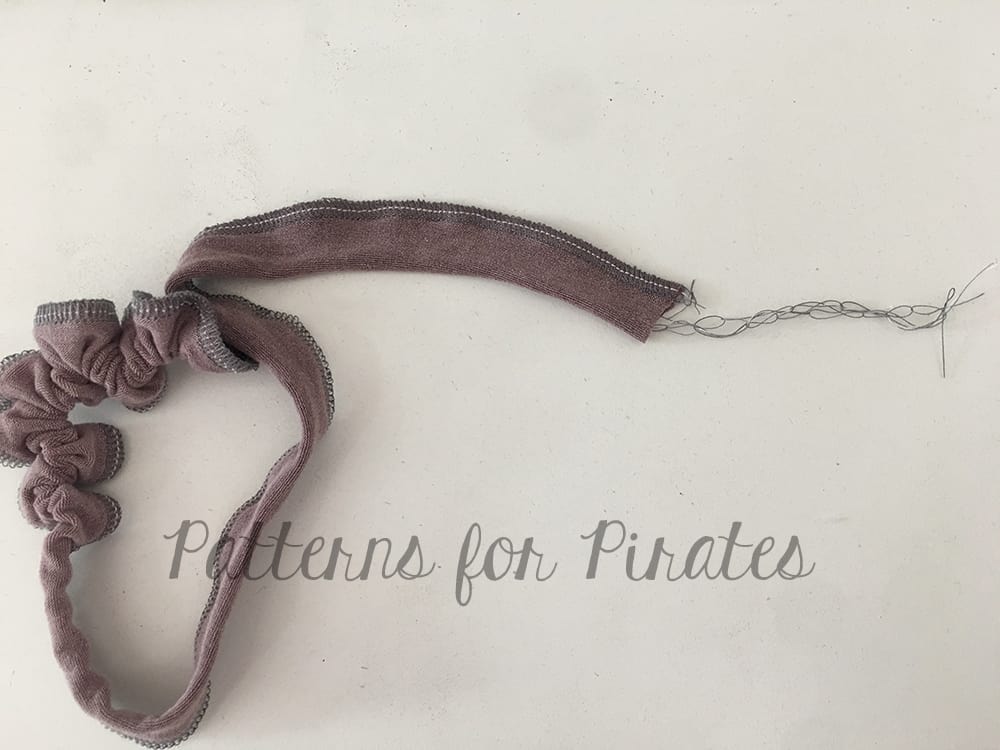
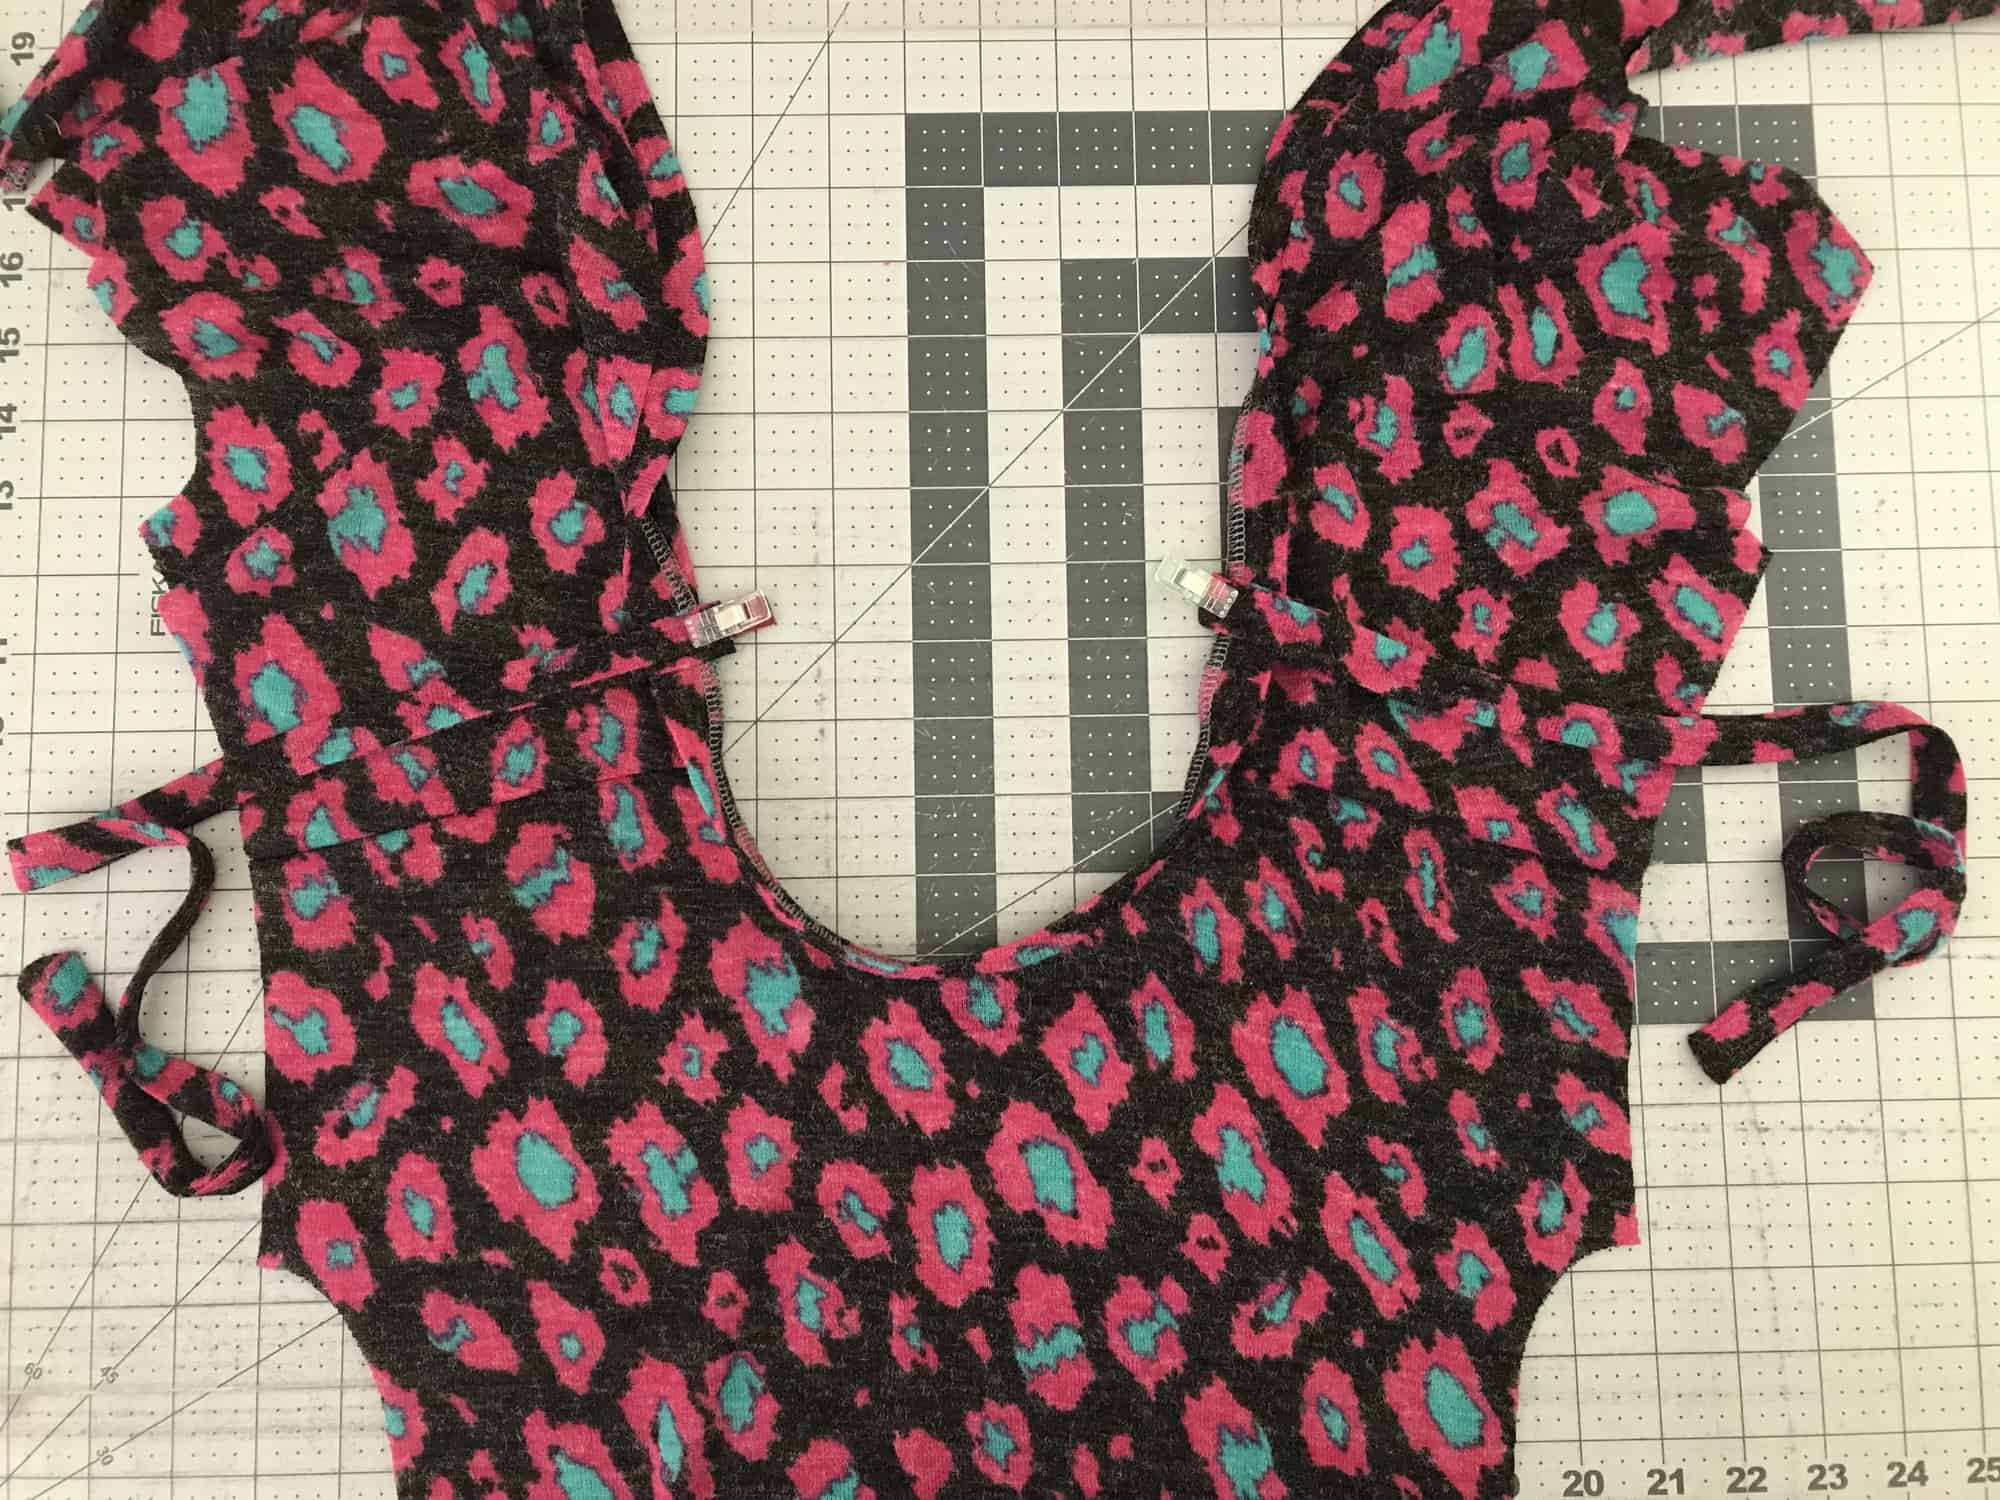
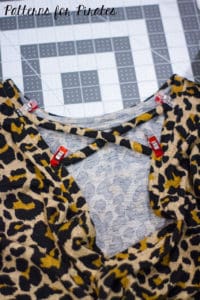
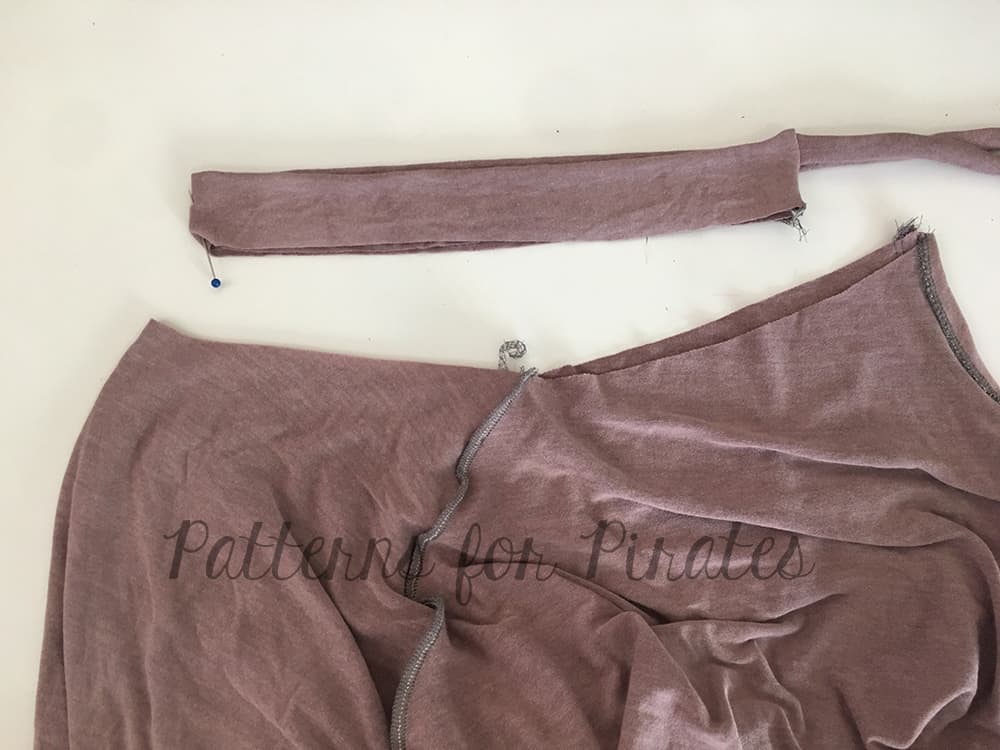
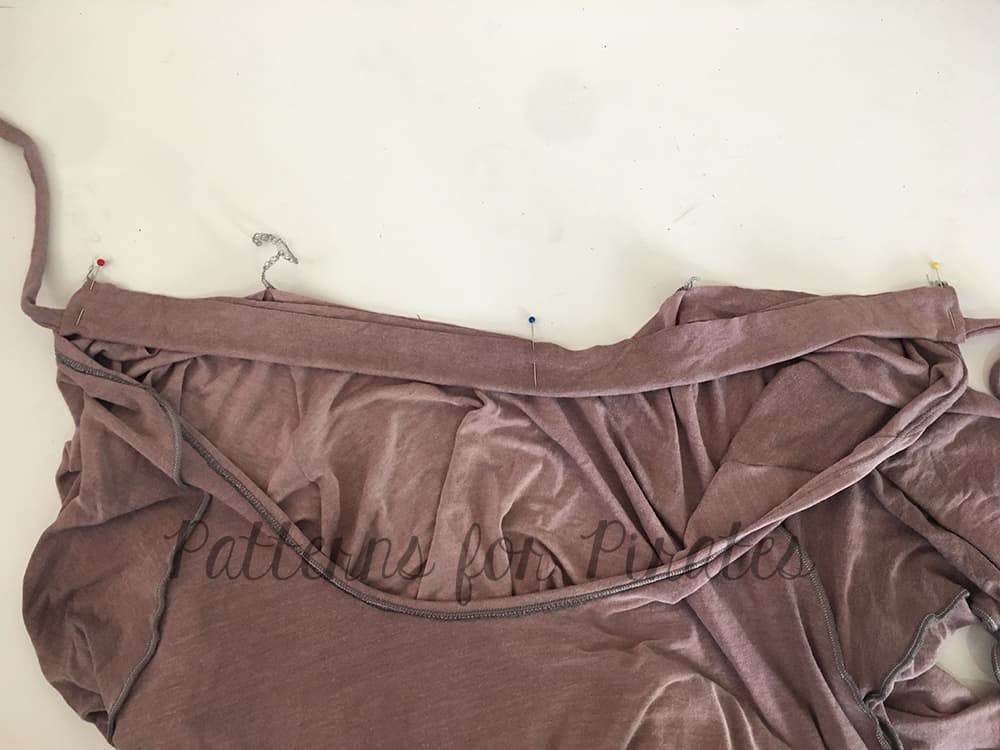
Find your shoulder strap marks and attach one tie to each side at the markings. Before you sew on, it is a good idea to clip or pin them in place, and check the length of your ties. Once they are sewn in place, continue on as the pattern instructs and then you will have your adorable new top!
…..
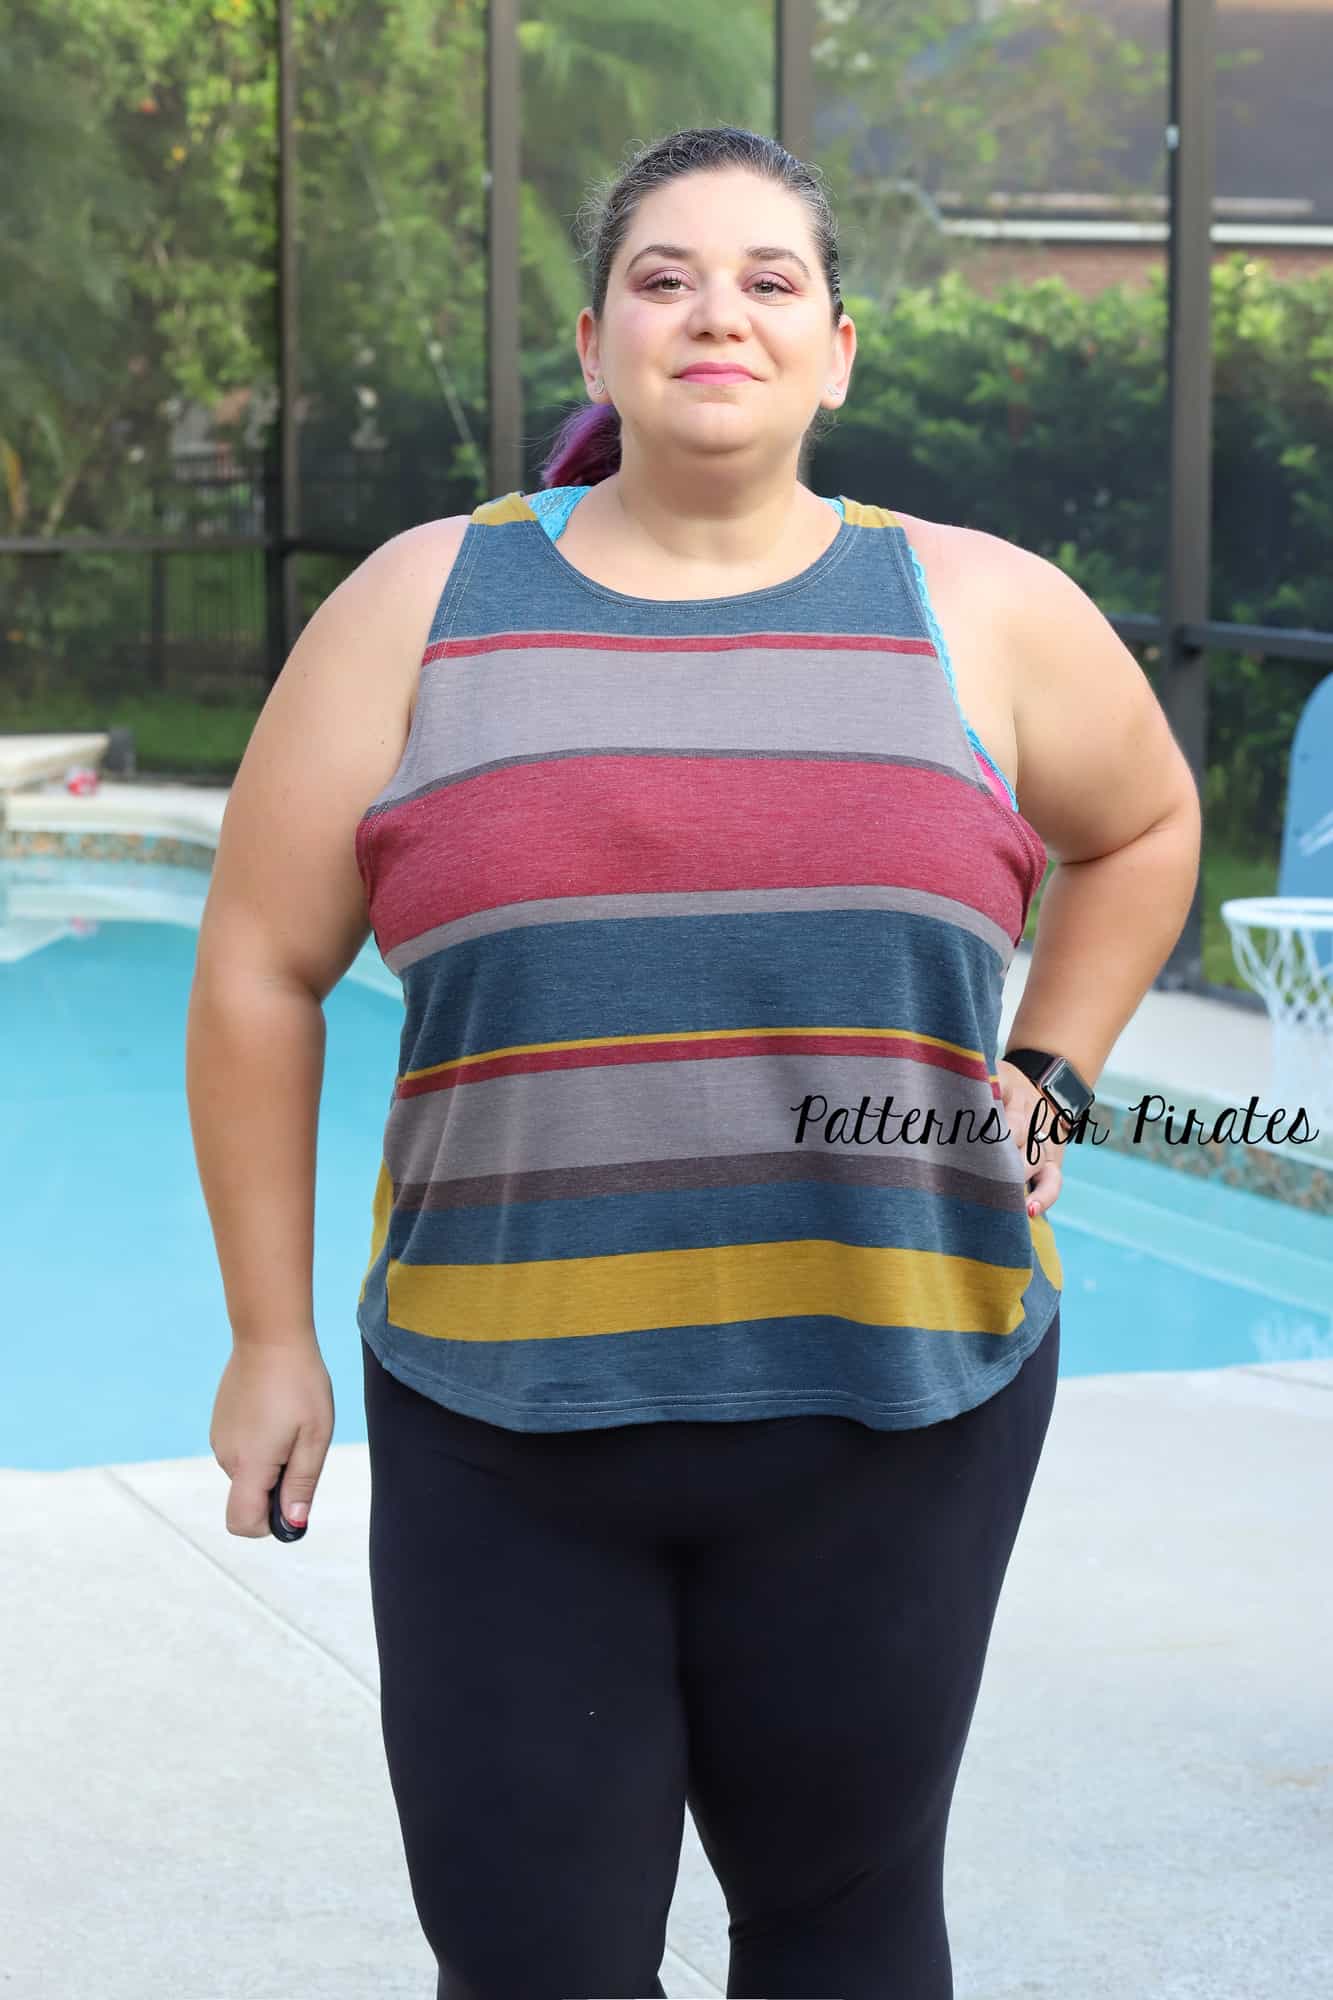
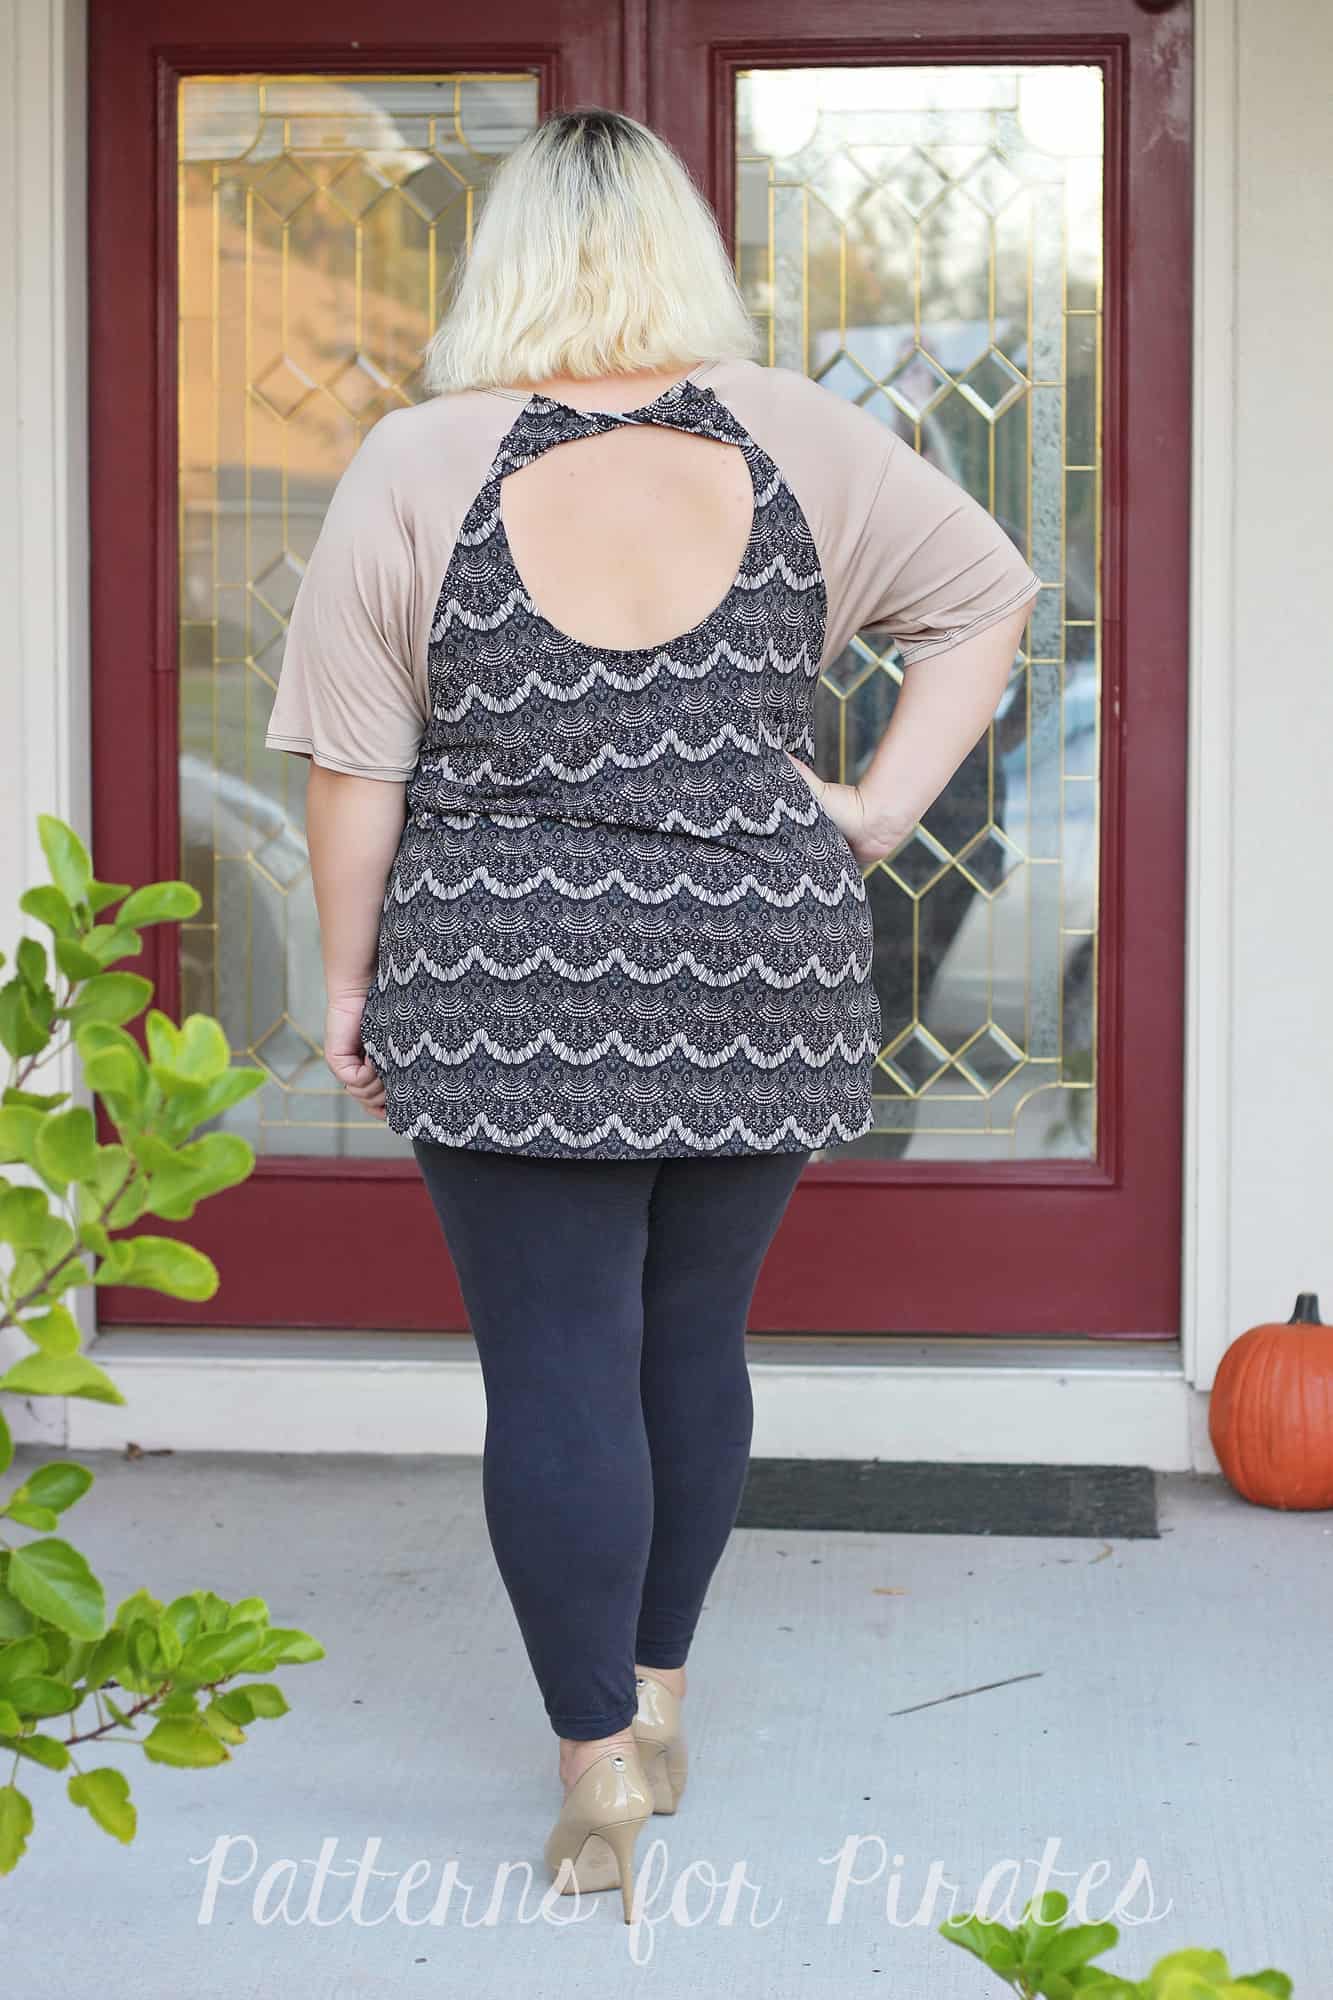
Banded Tank
The muscle tank look may not be for everyone and we get that so I’m going to show you how to do a super simple banded hack–it’s unbelievably easy!
Instructions:
Print, cut and assemble the pattern just like the directions advise to.
When you get to the part about hemming the armcyce, stop!
Measure the armcyce (front and back) and then multiply this number by 85%.
Cut bands from your fabric with a 2in height and whatever 85% of the armcyce is.
Add the bands to the arms and boom! You’re done!
Just that easy!
…..
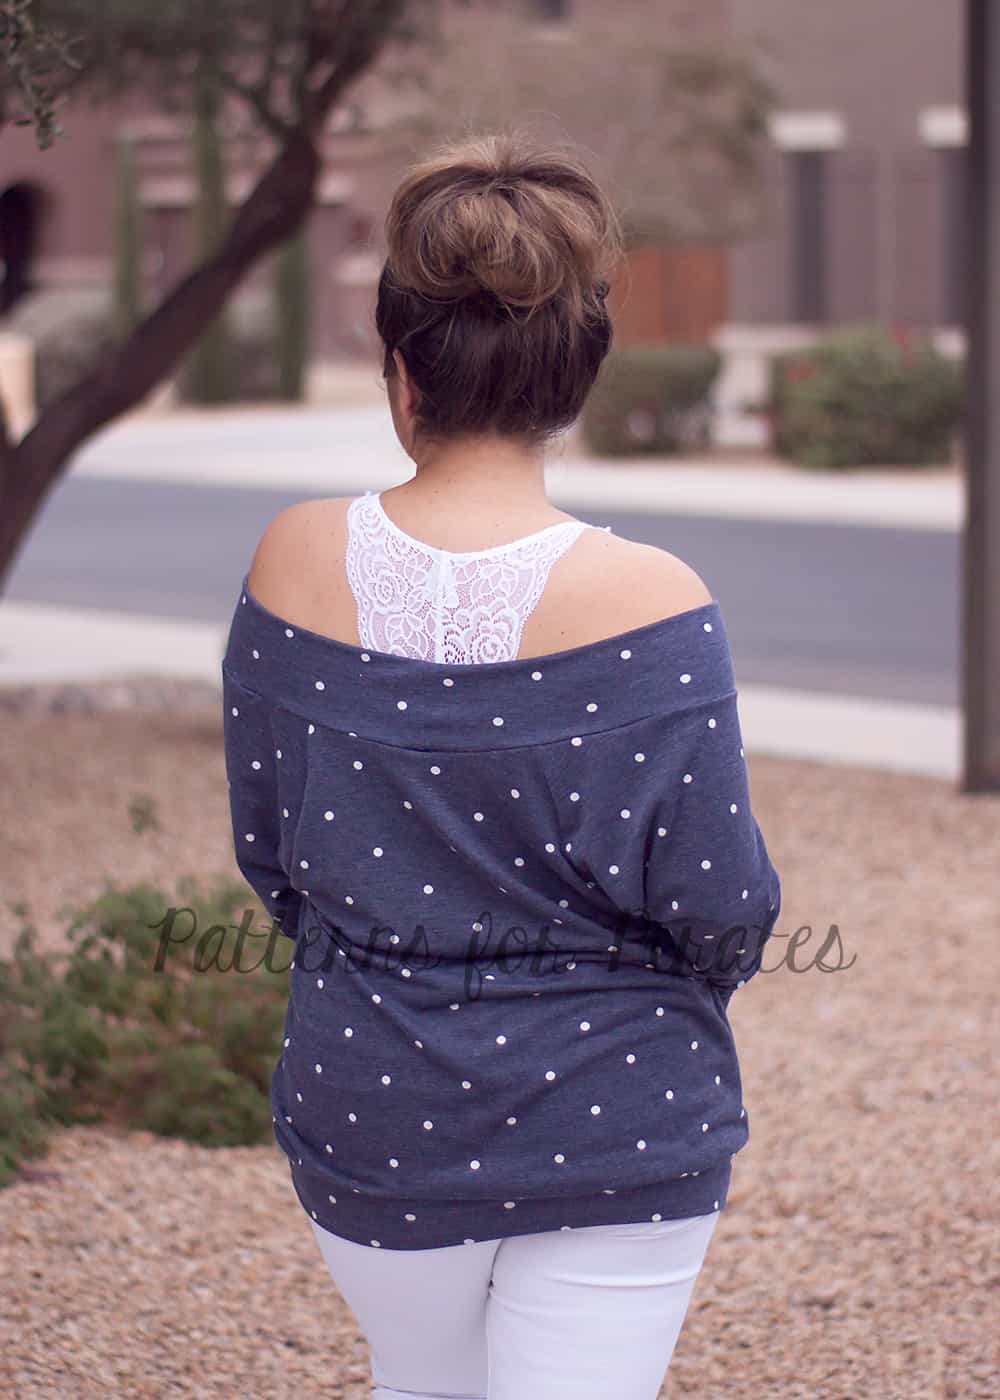
Hemmed instead of banded

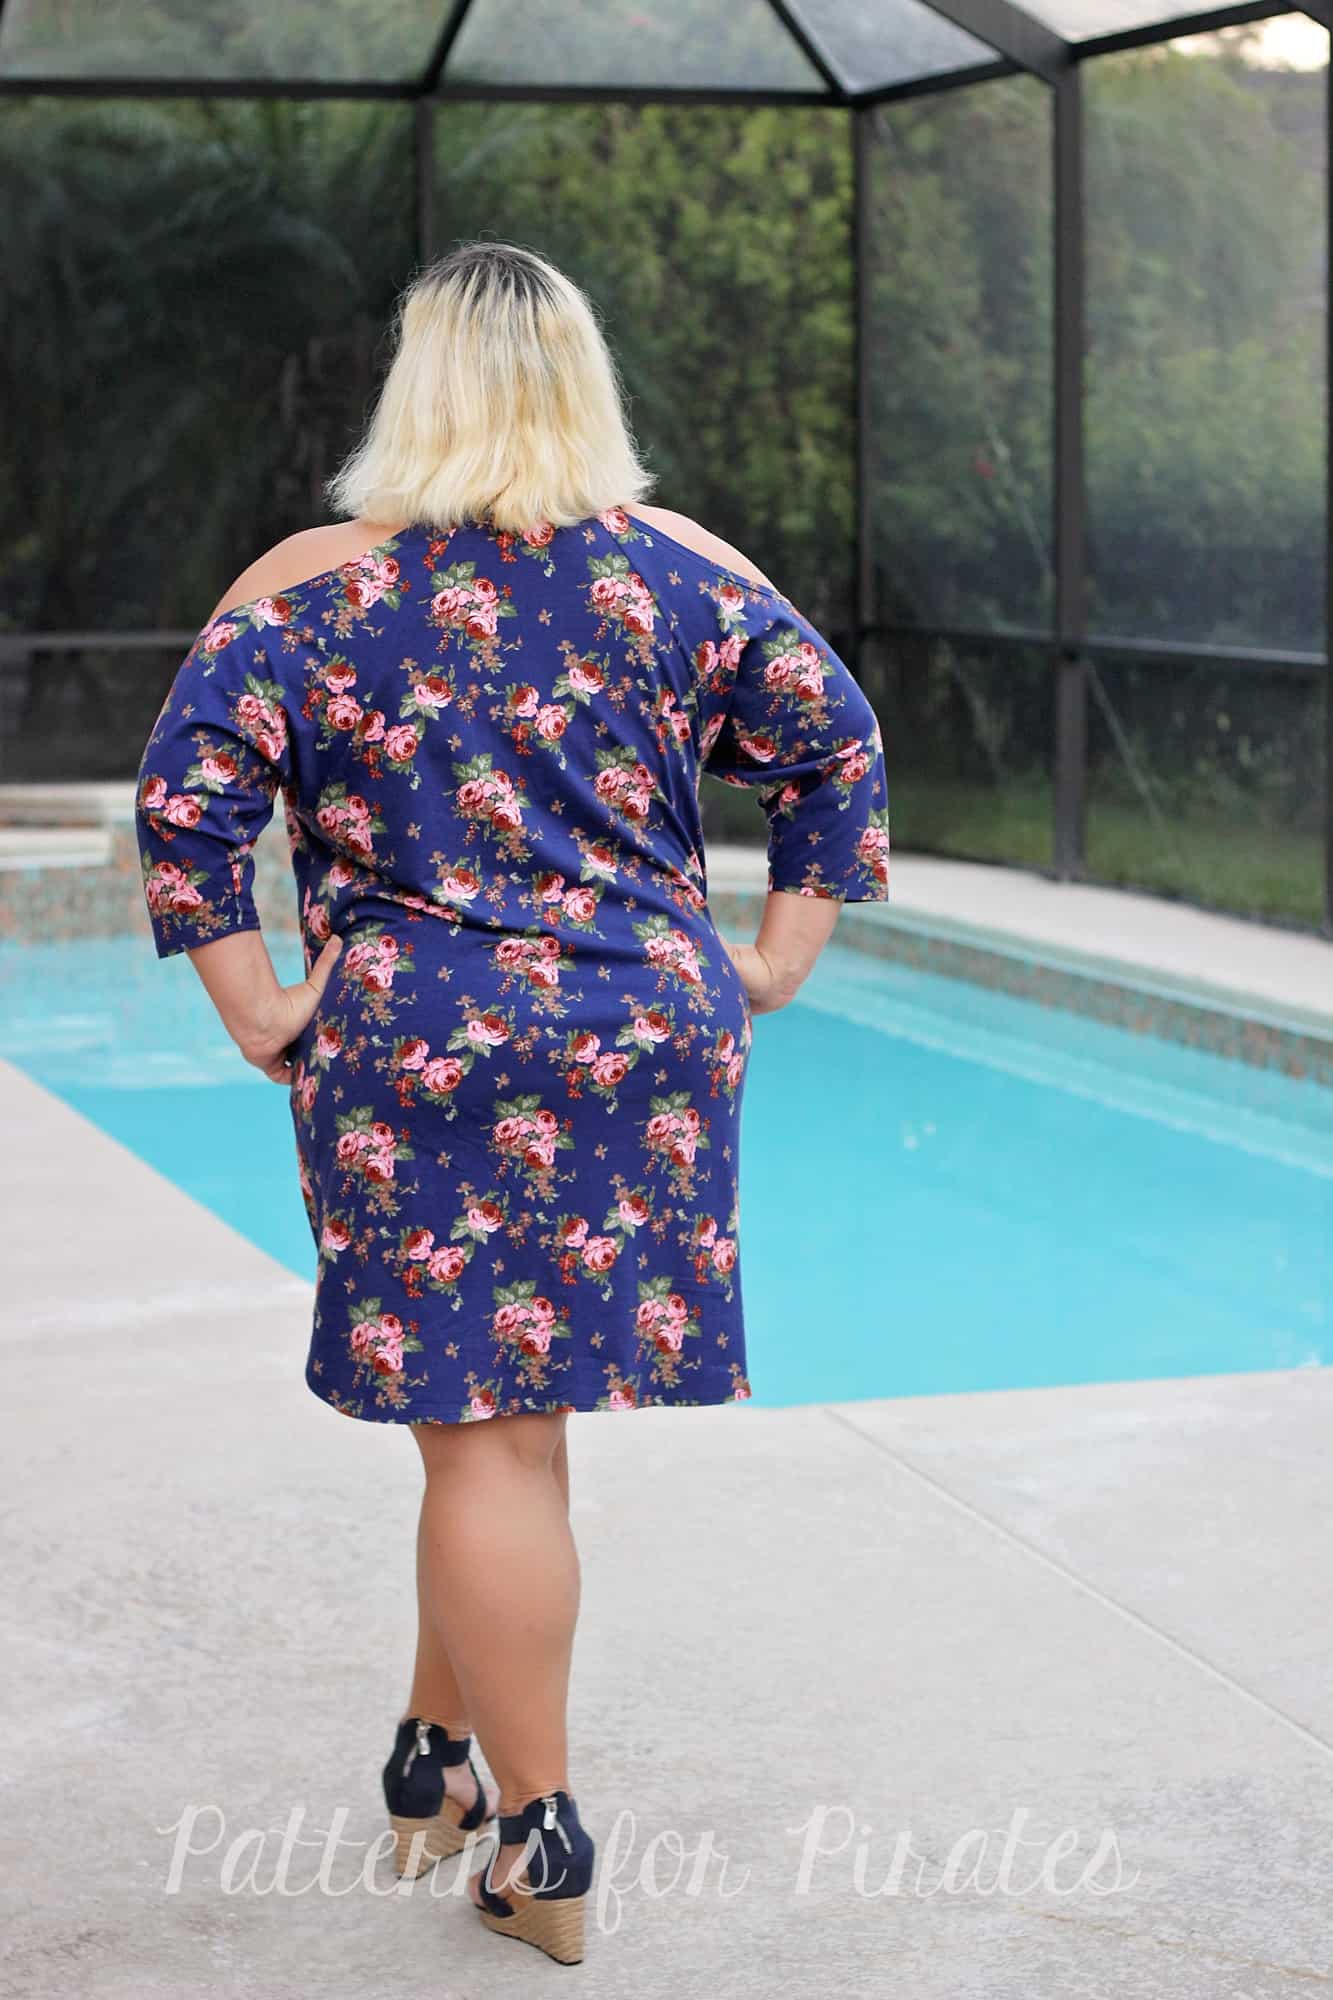
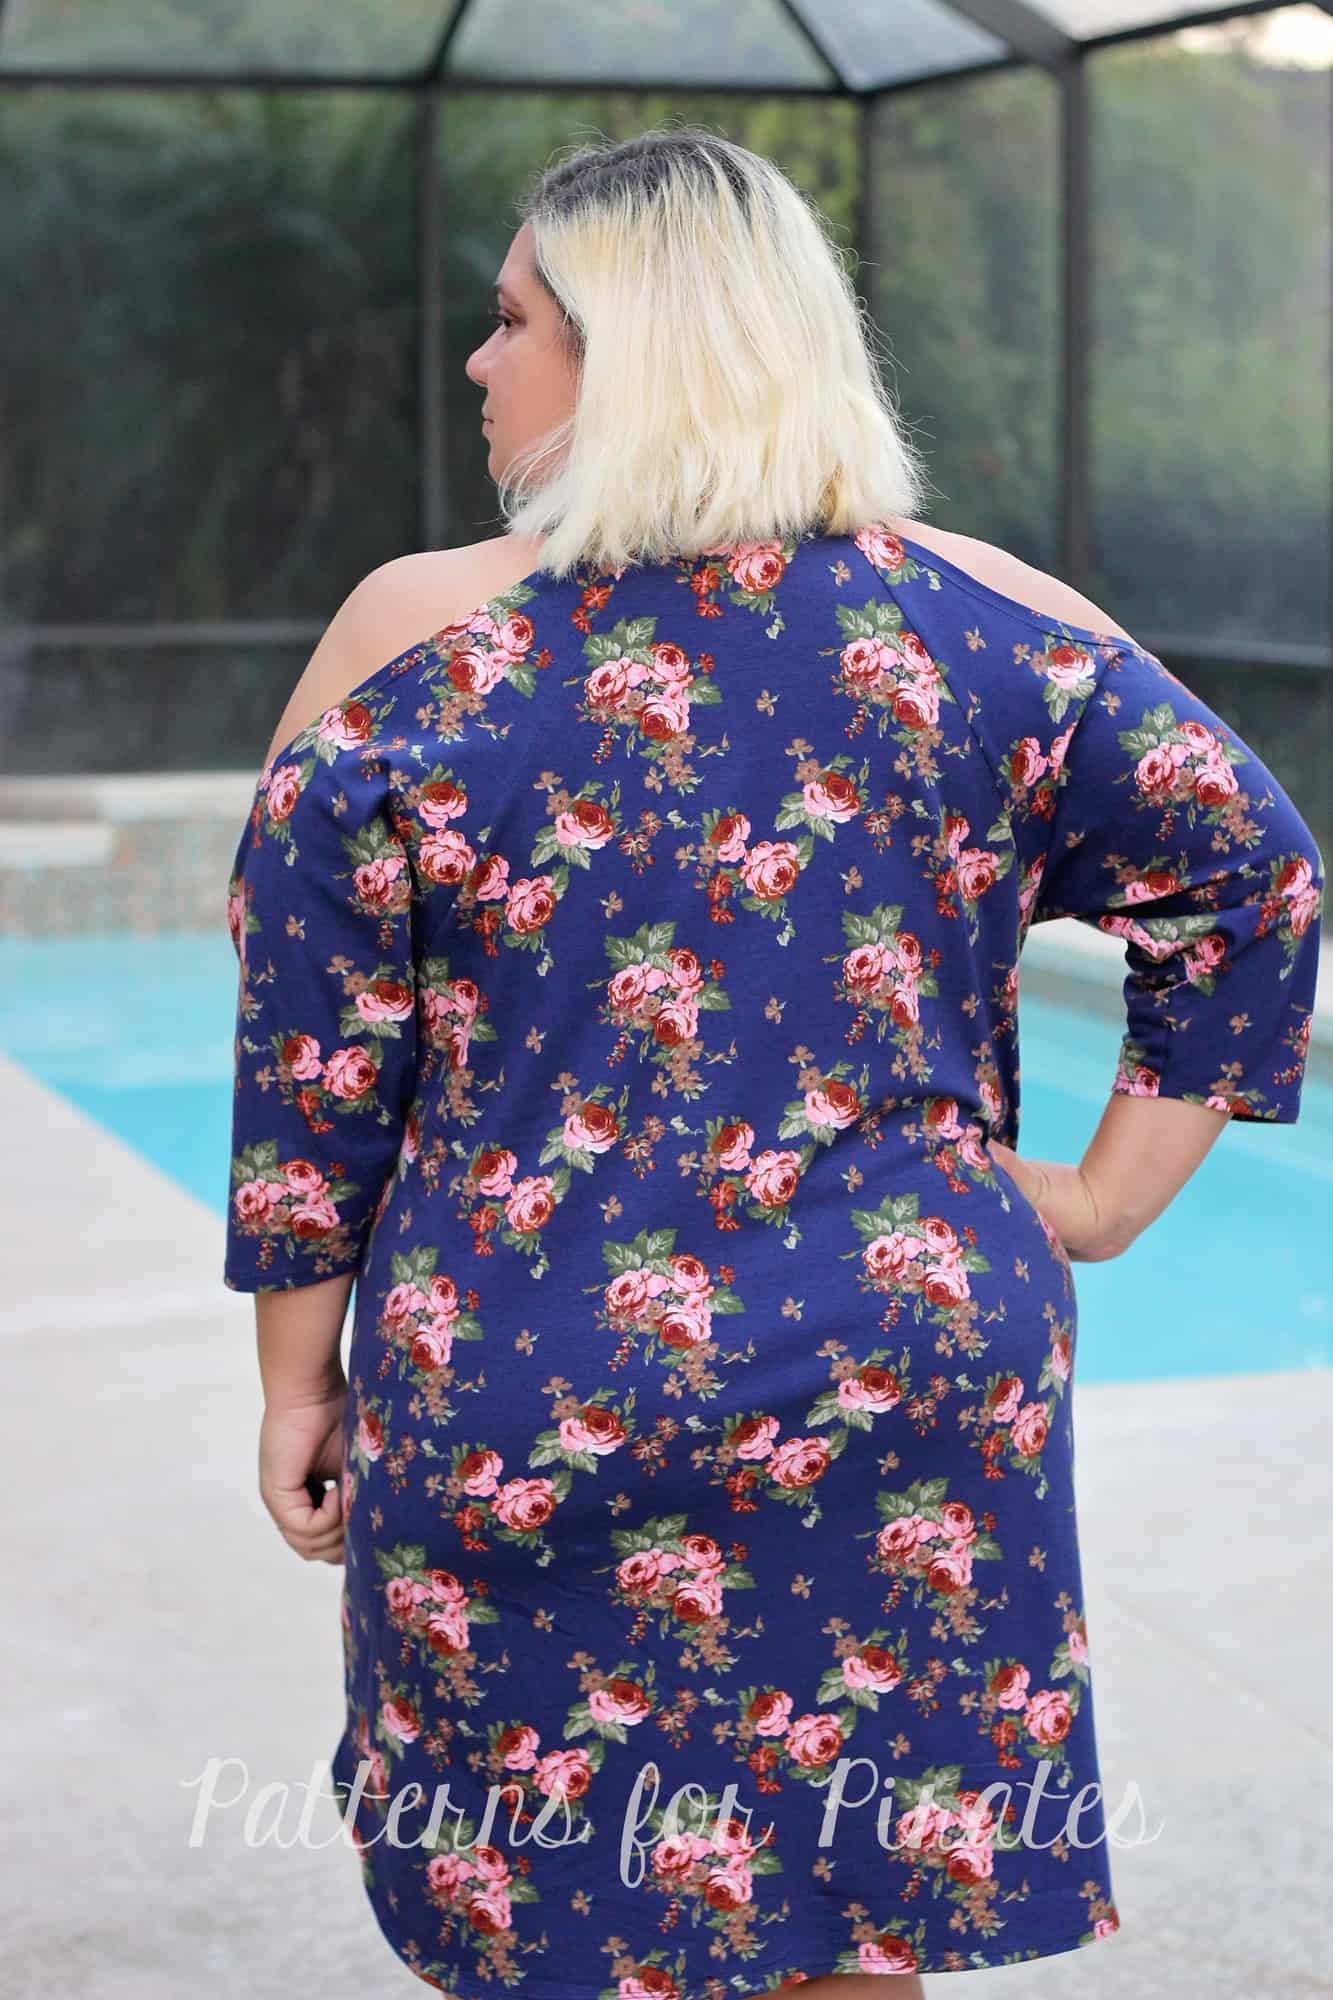
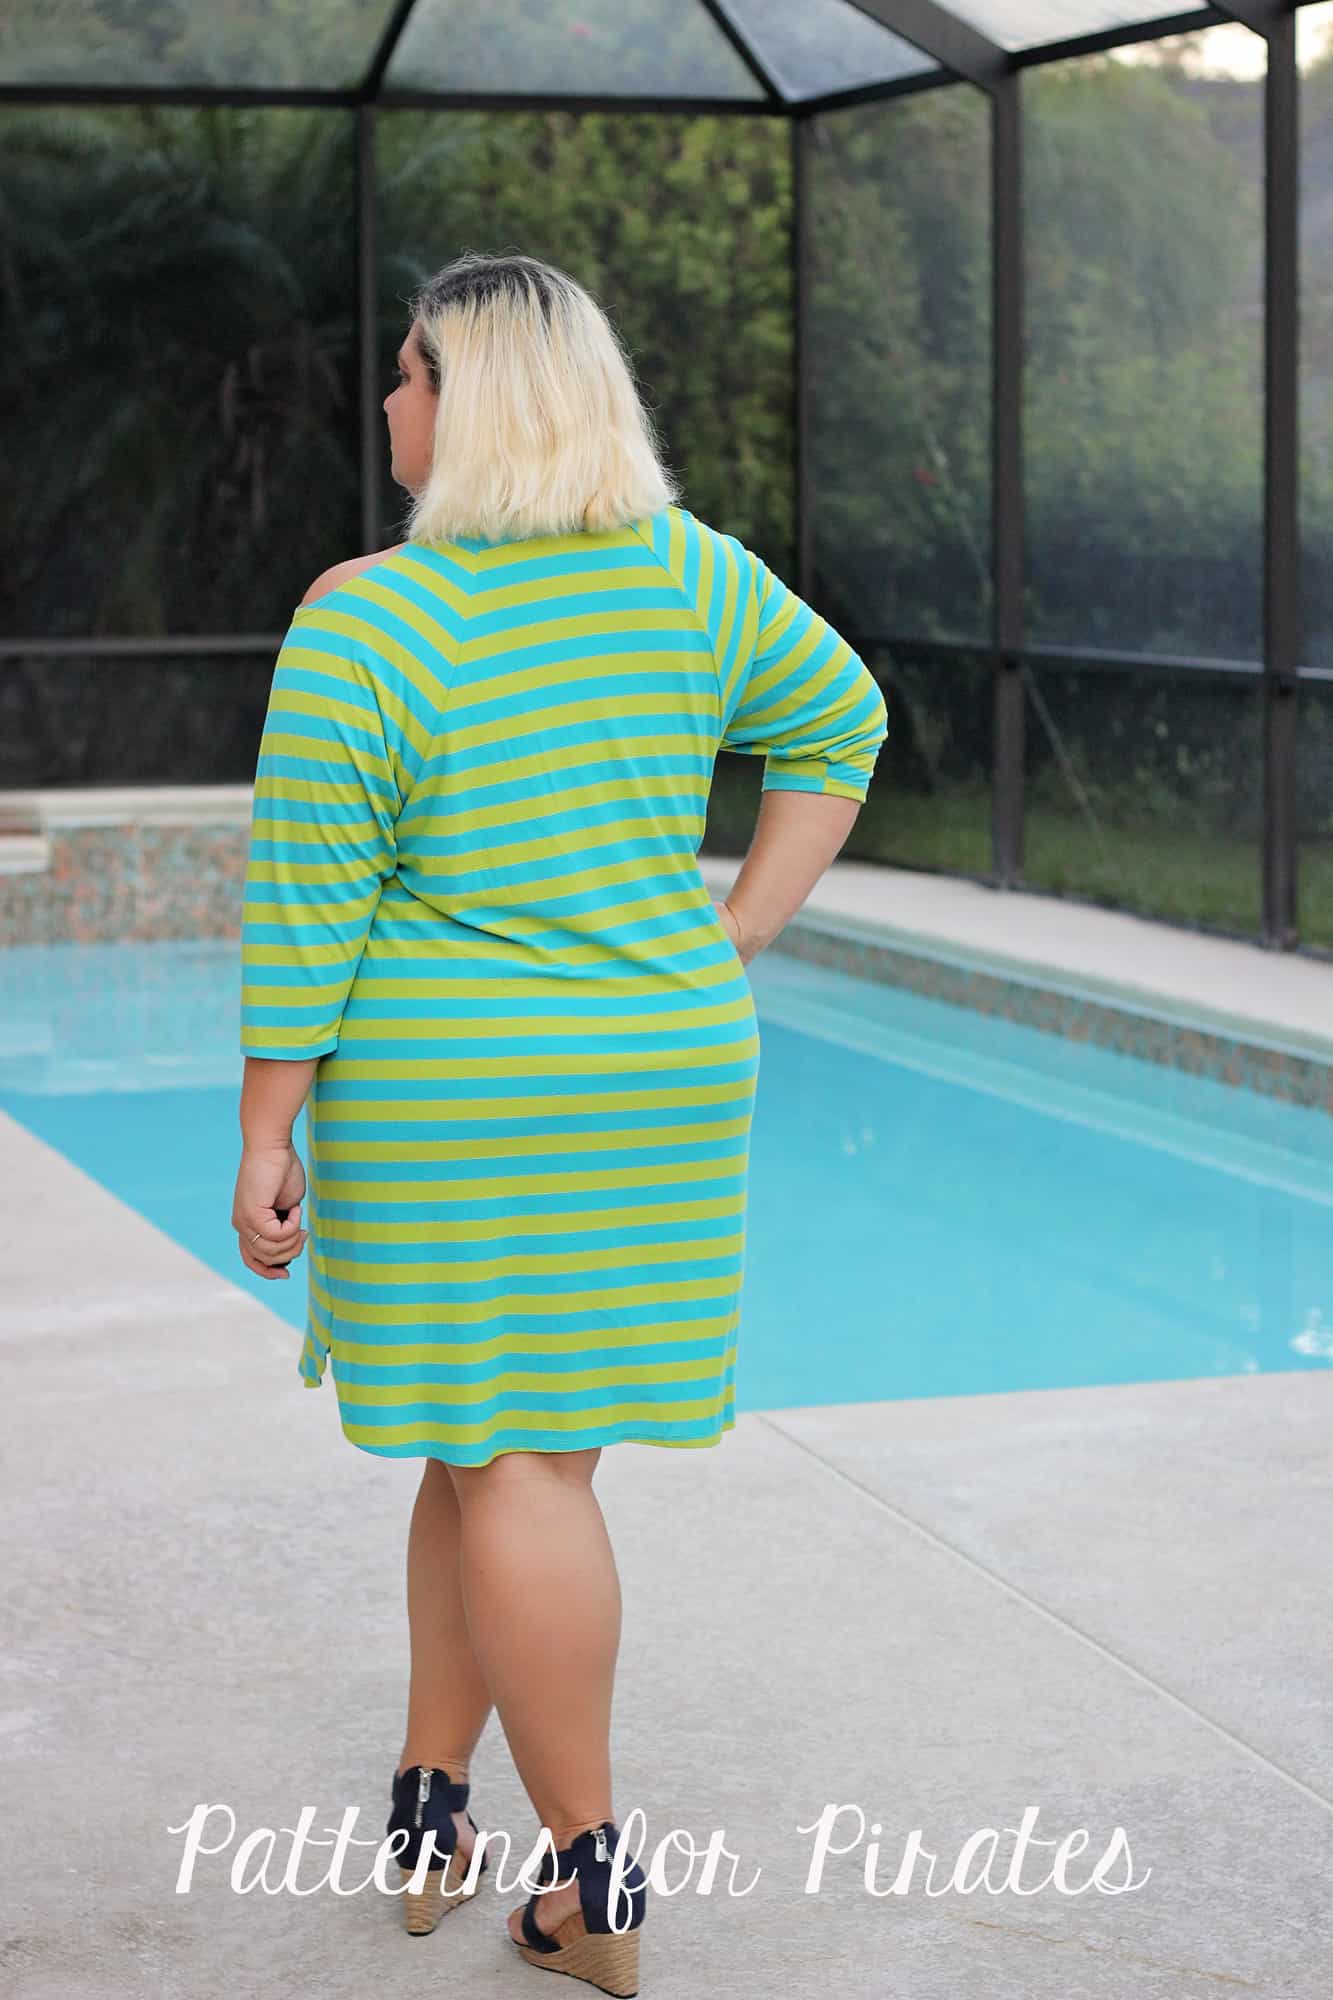
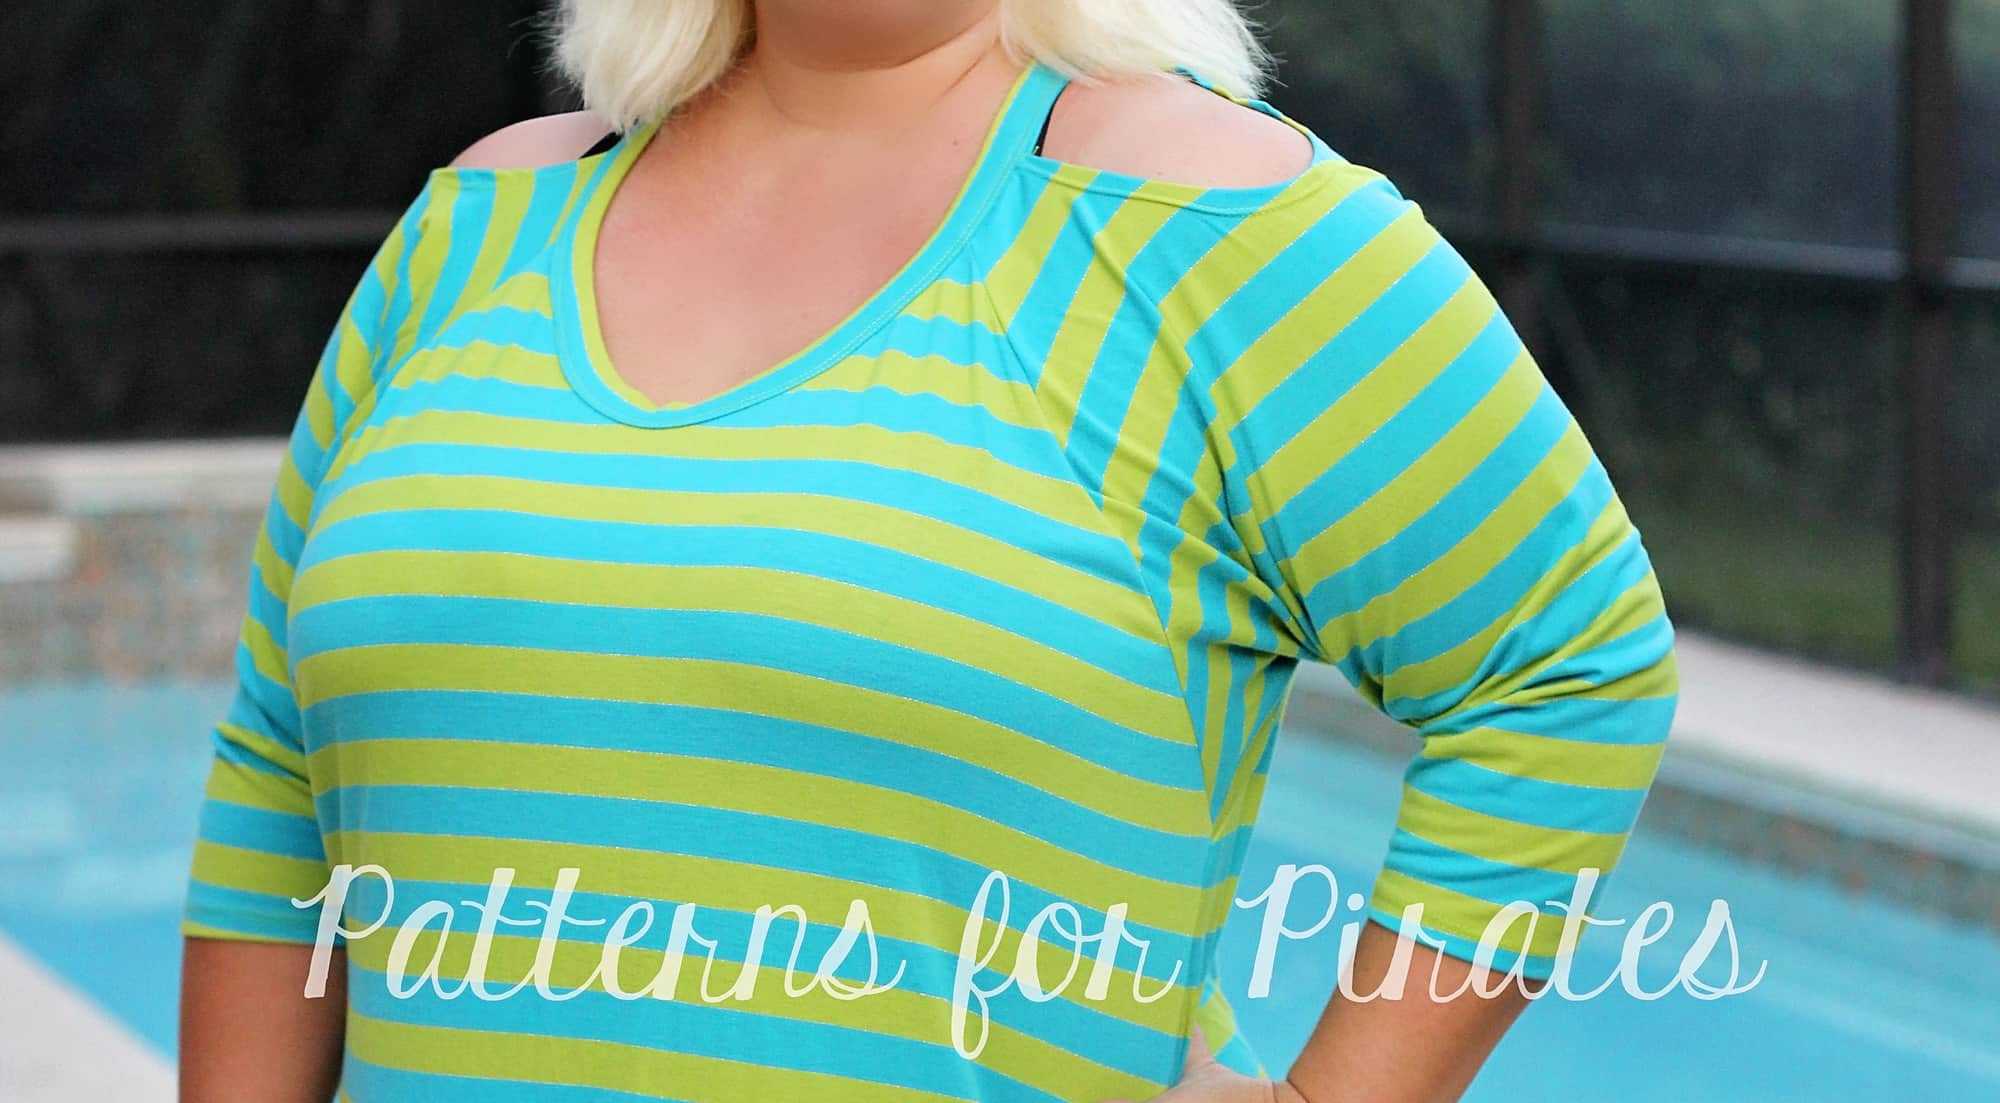
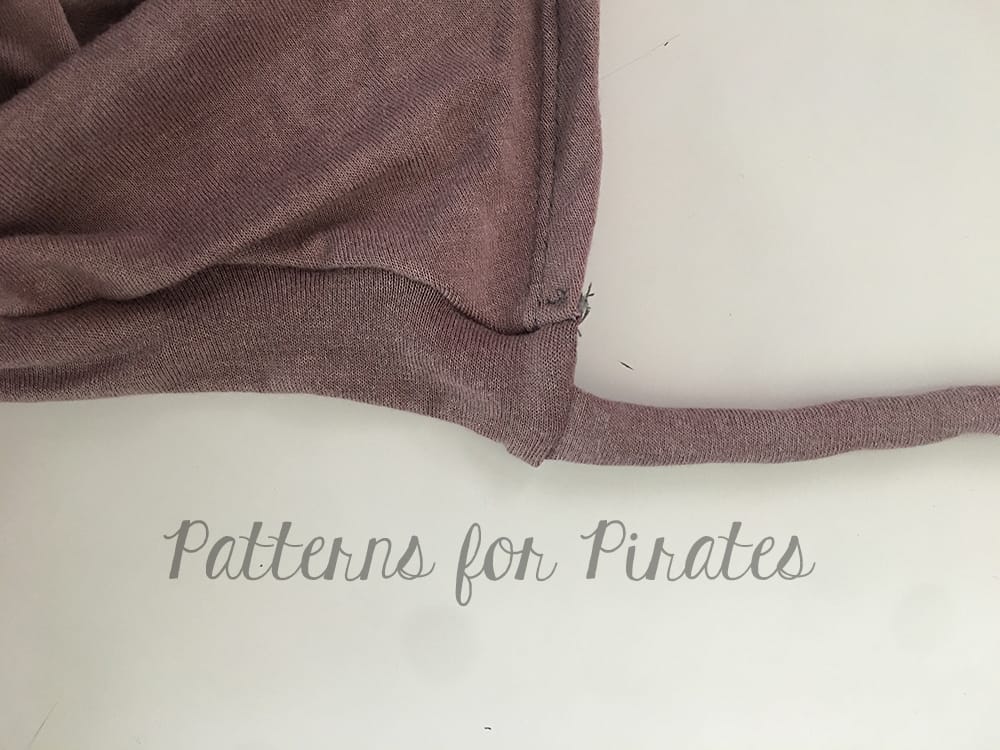
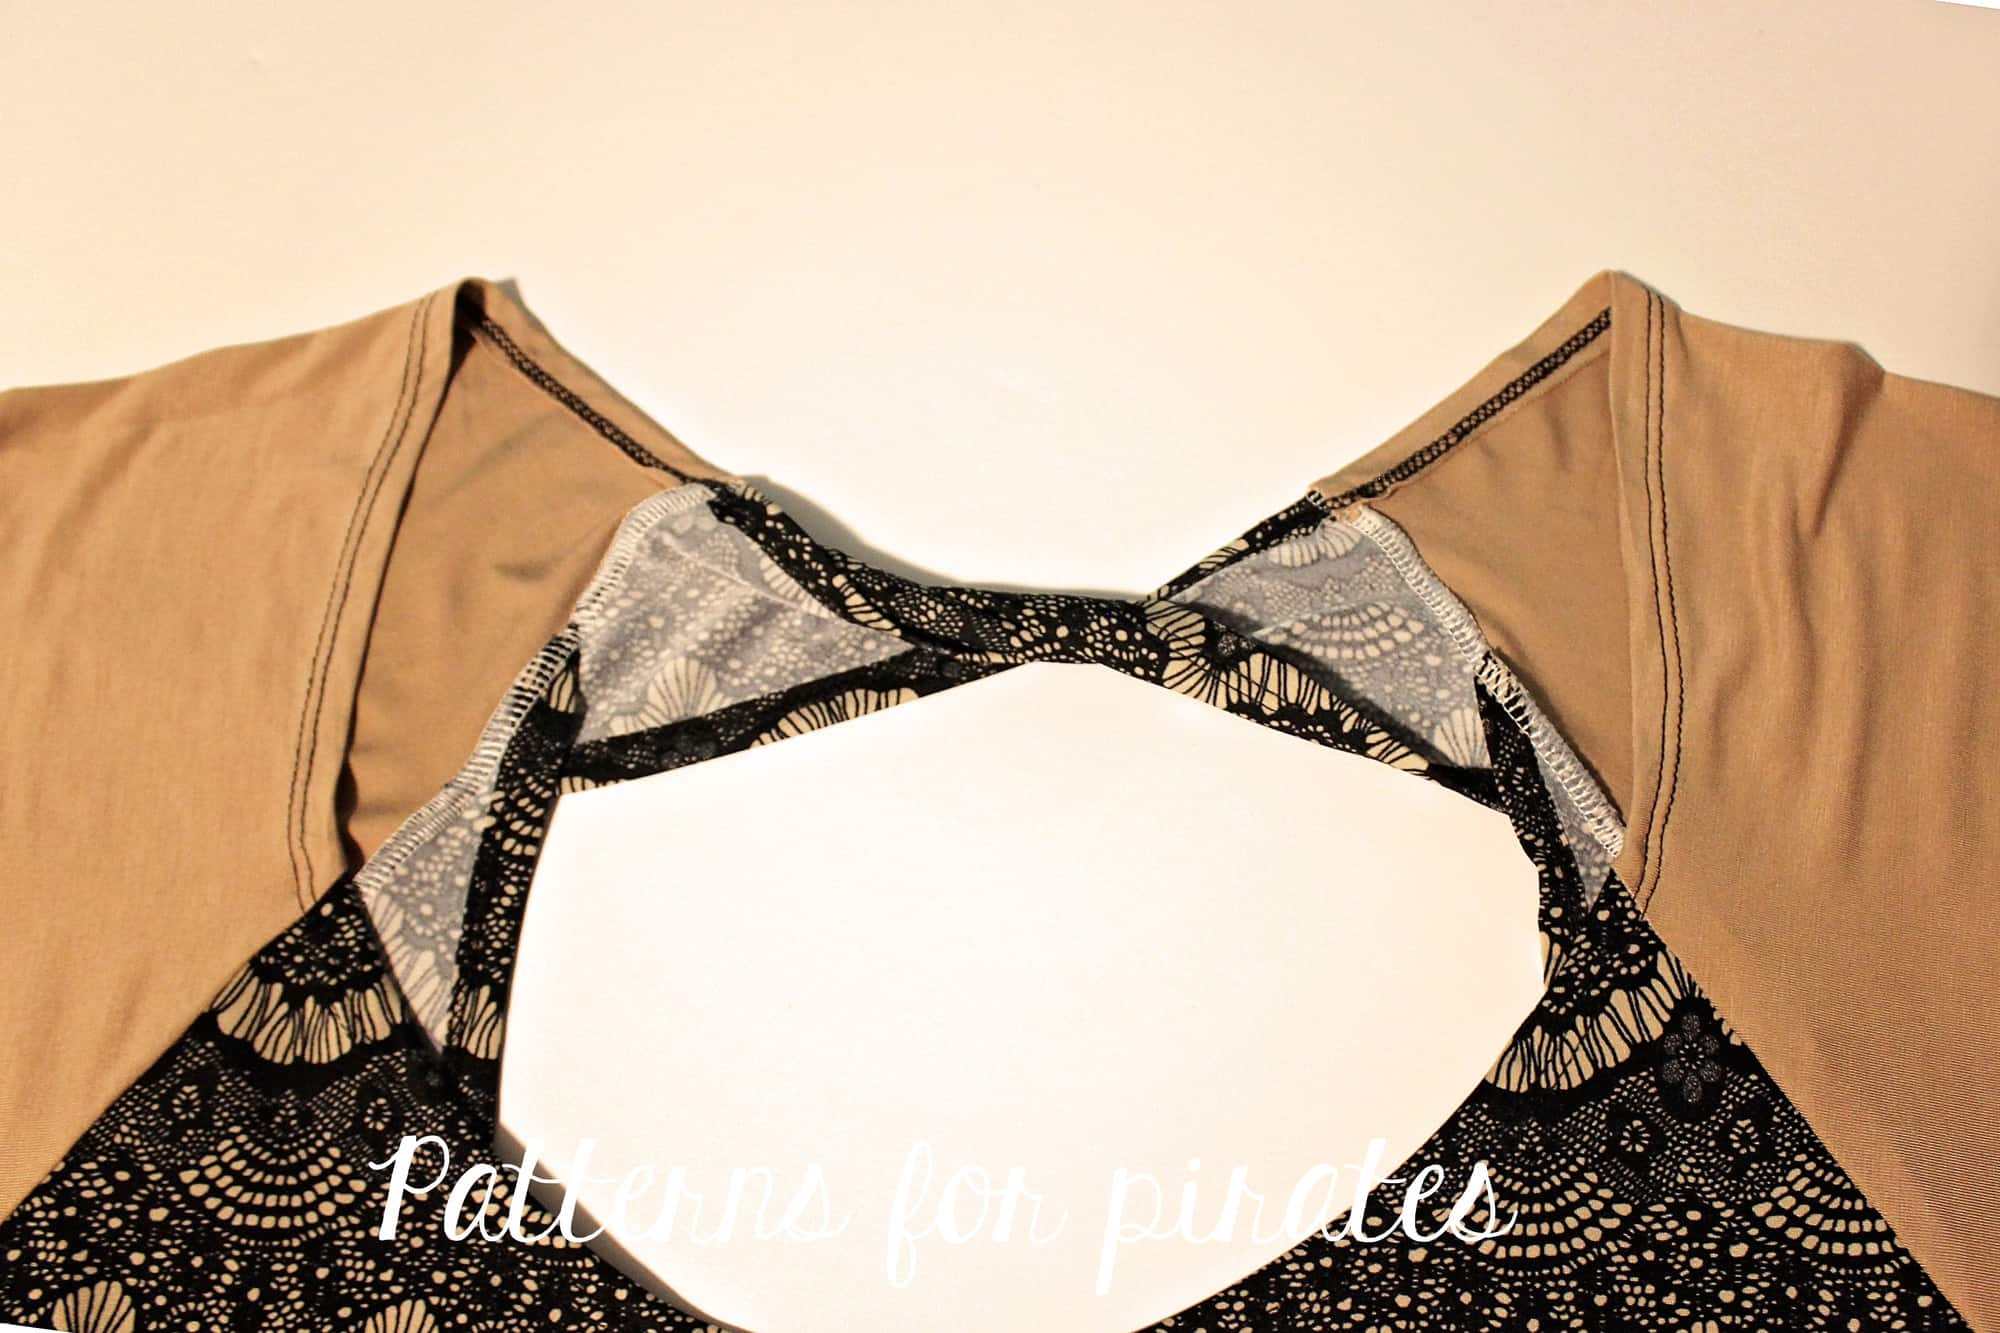
Last but not least I wanted to show how your Twist Back Top would look if you skipped the bands and simply hemmed the back and neckline. This is such an easy hack because it can be used for both tank and dolman and you do not need any new pieces.
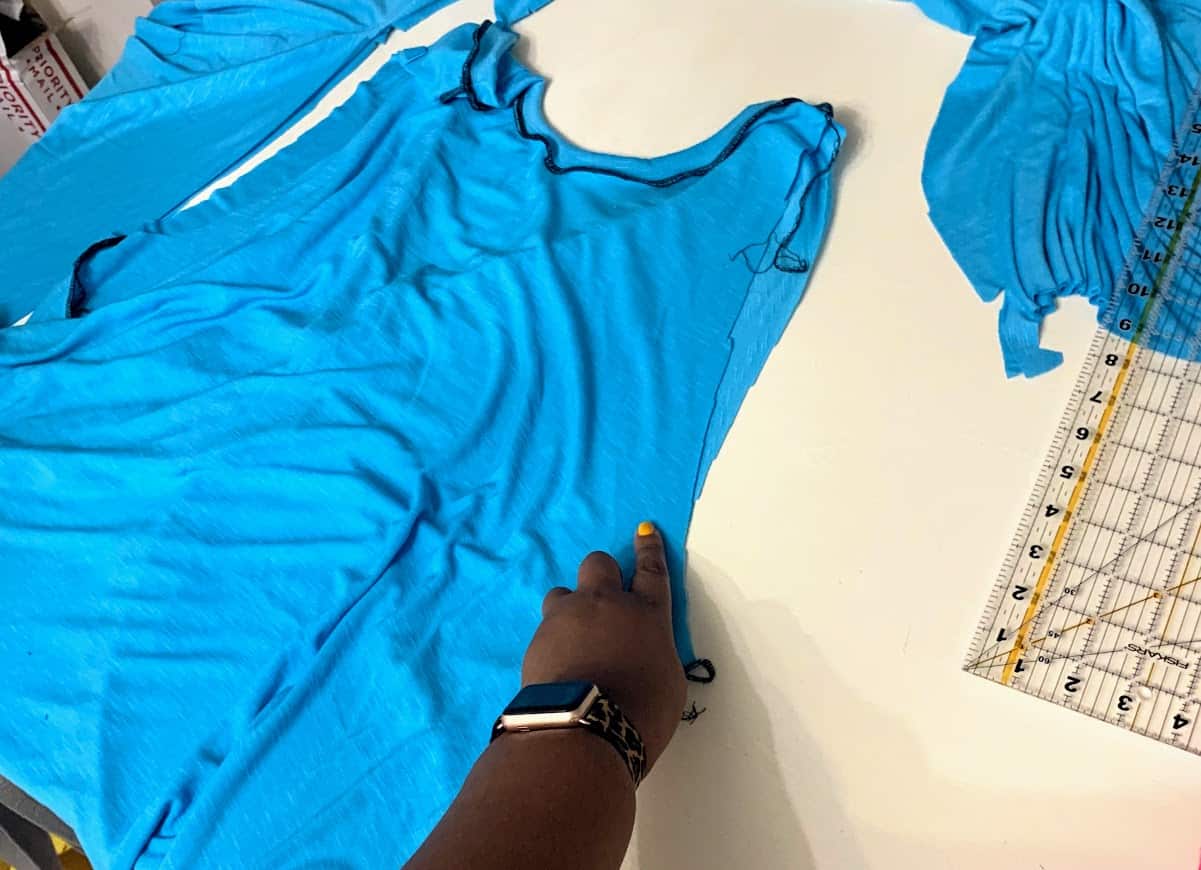
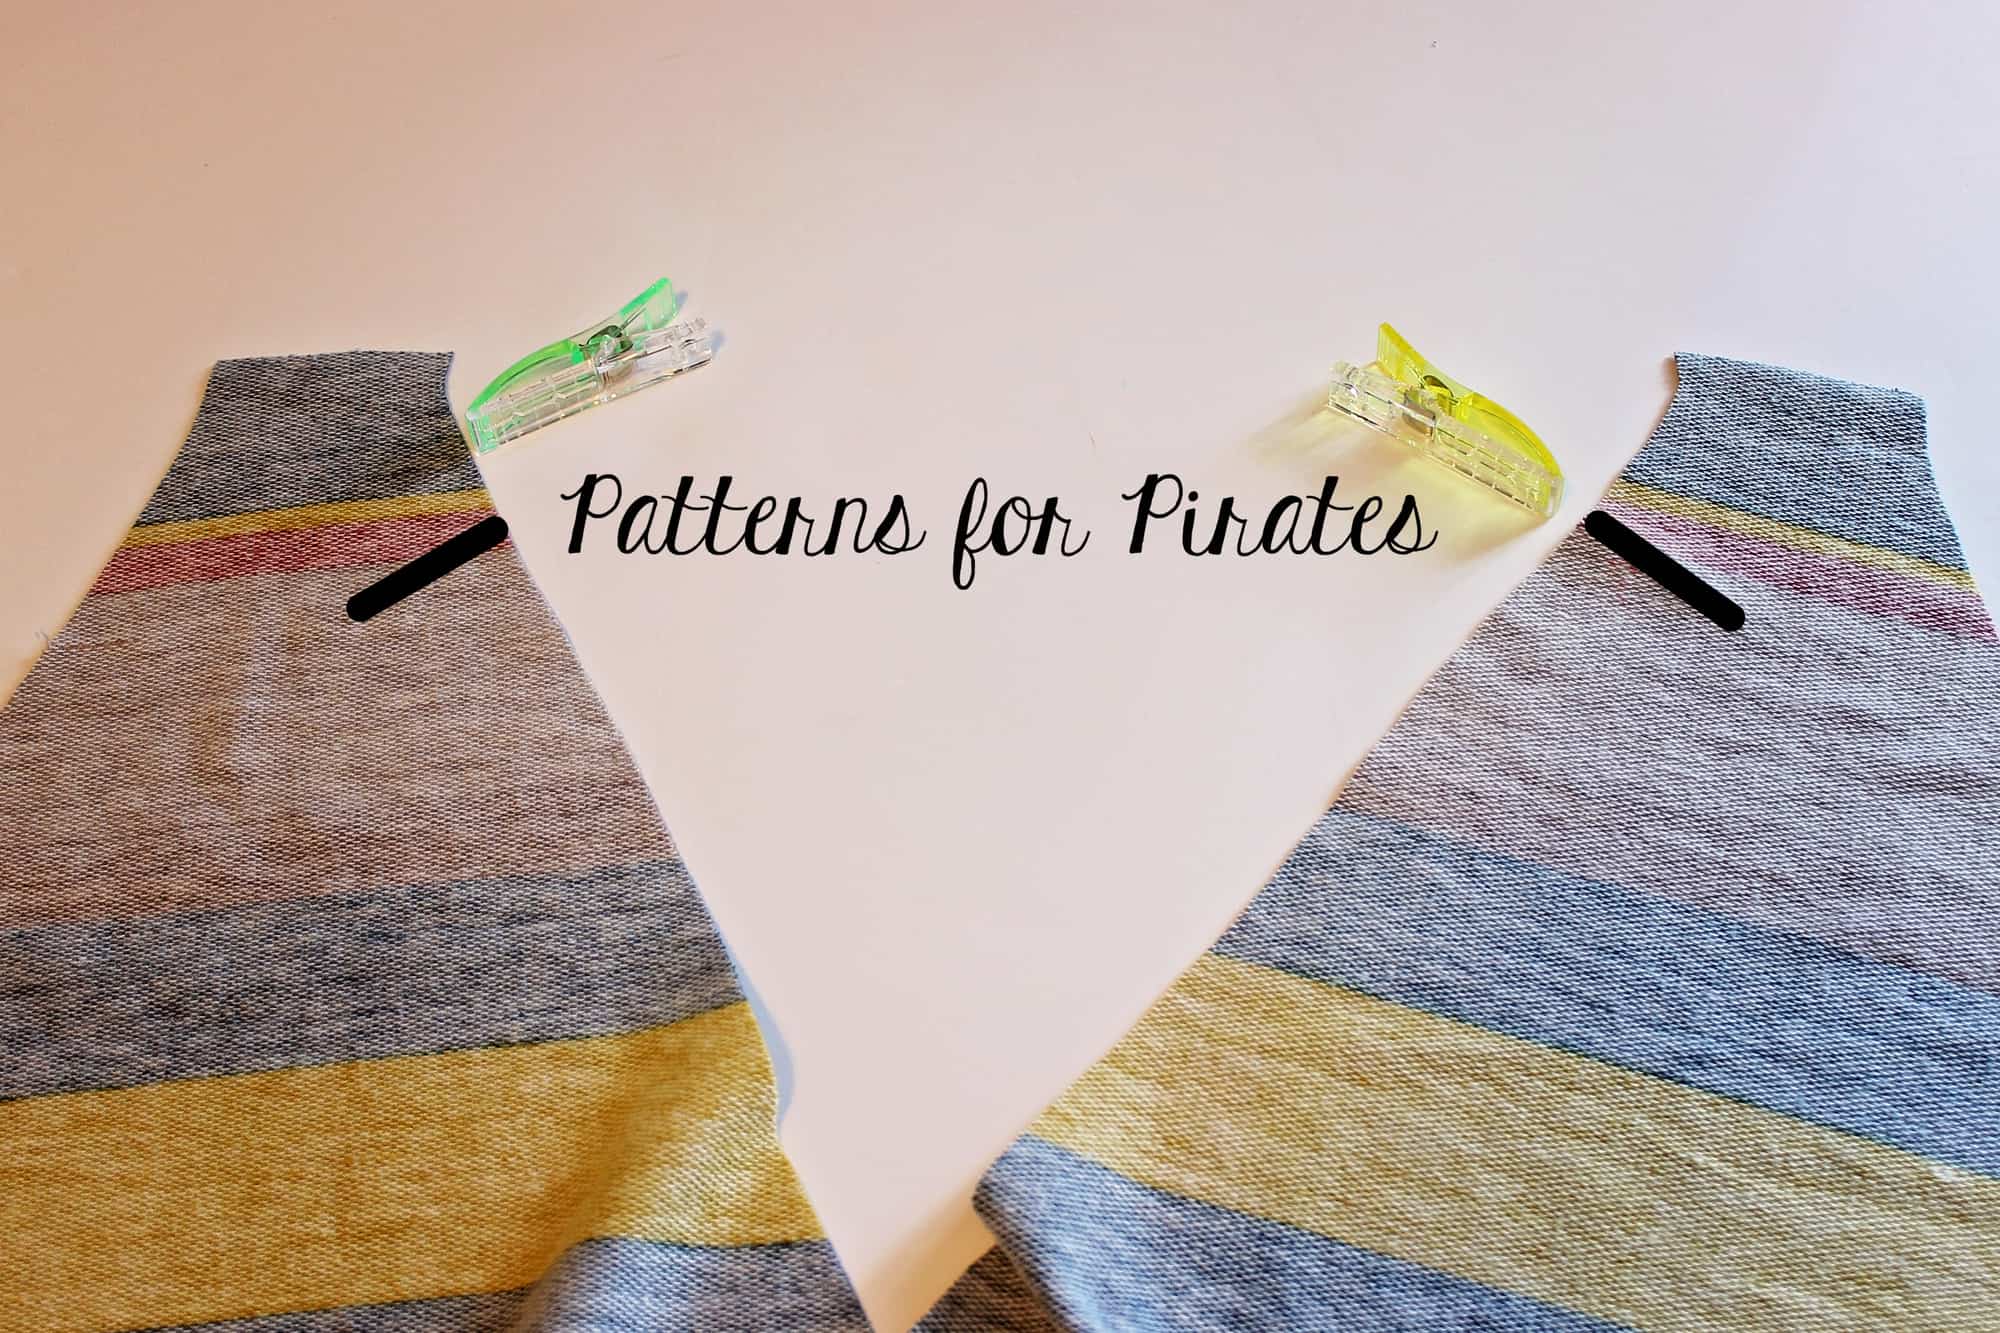
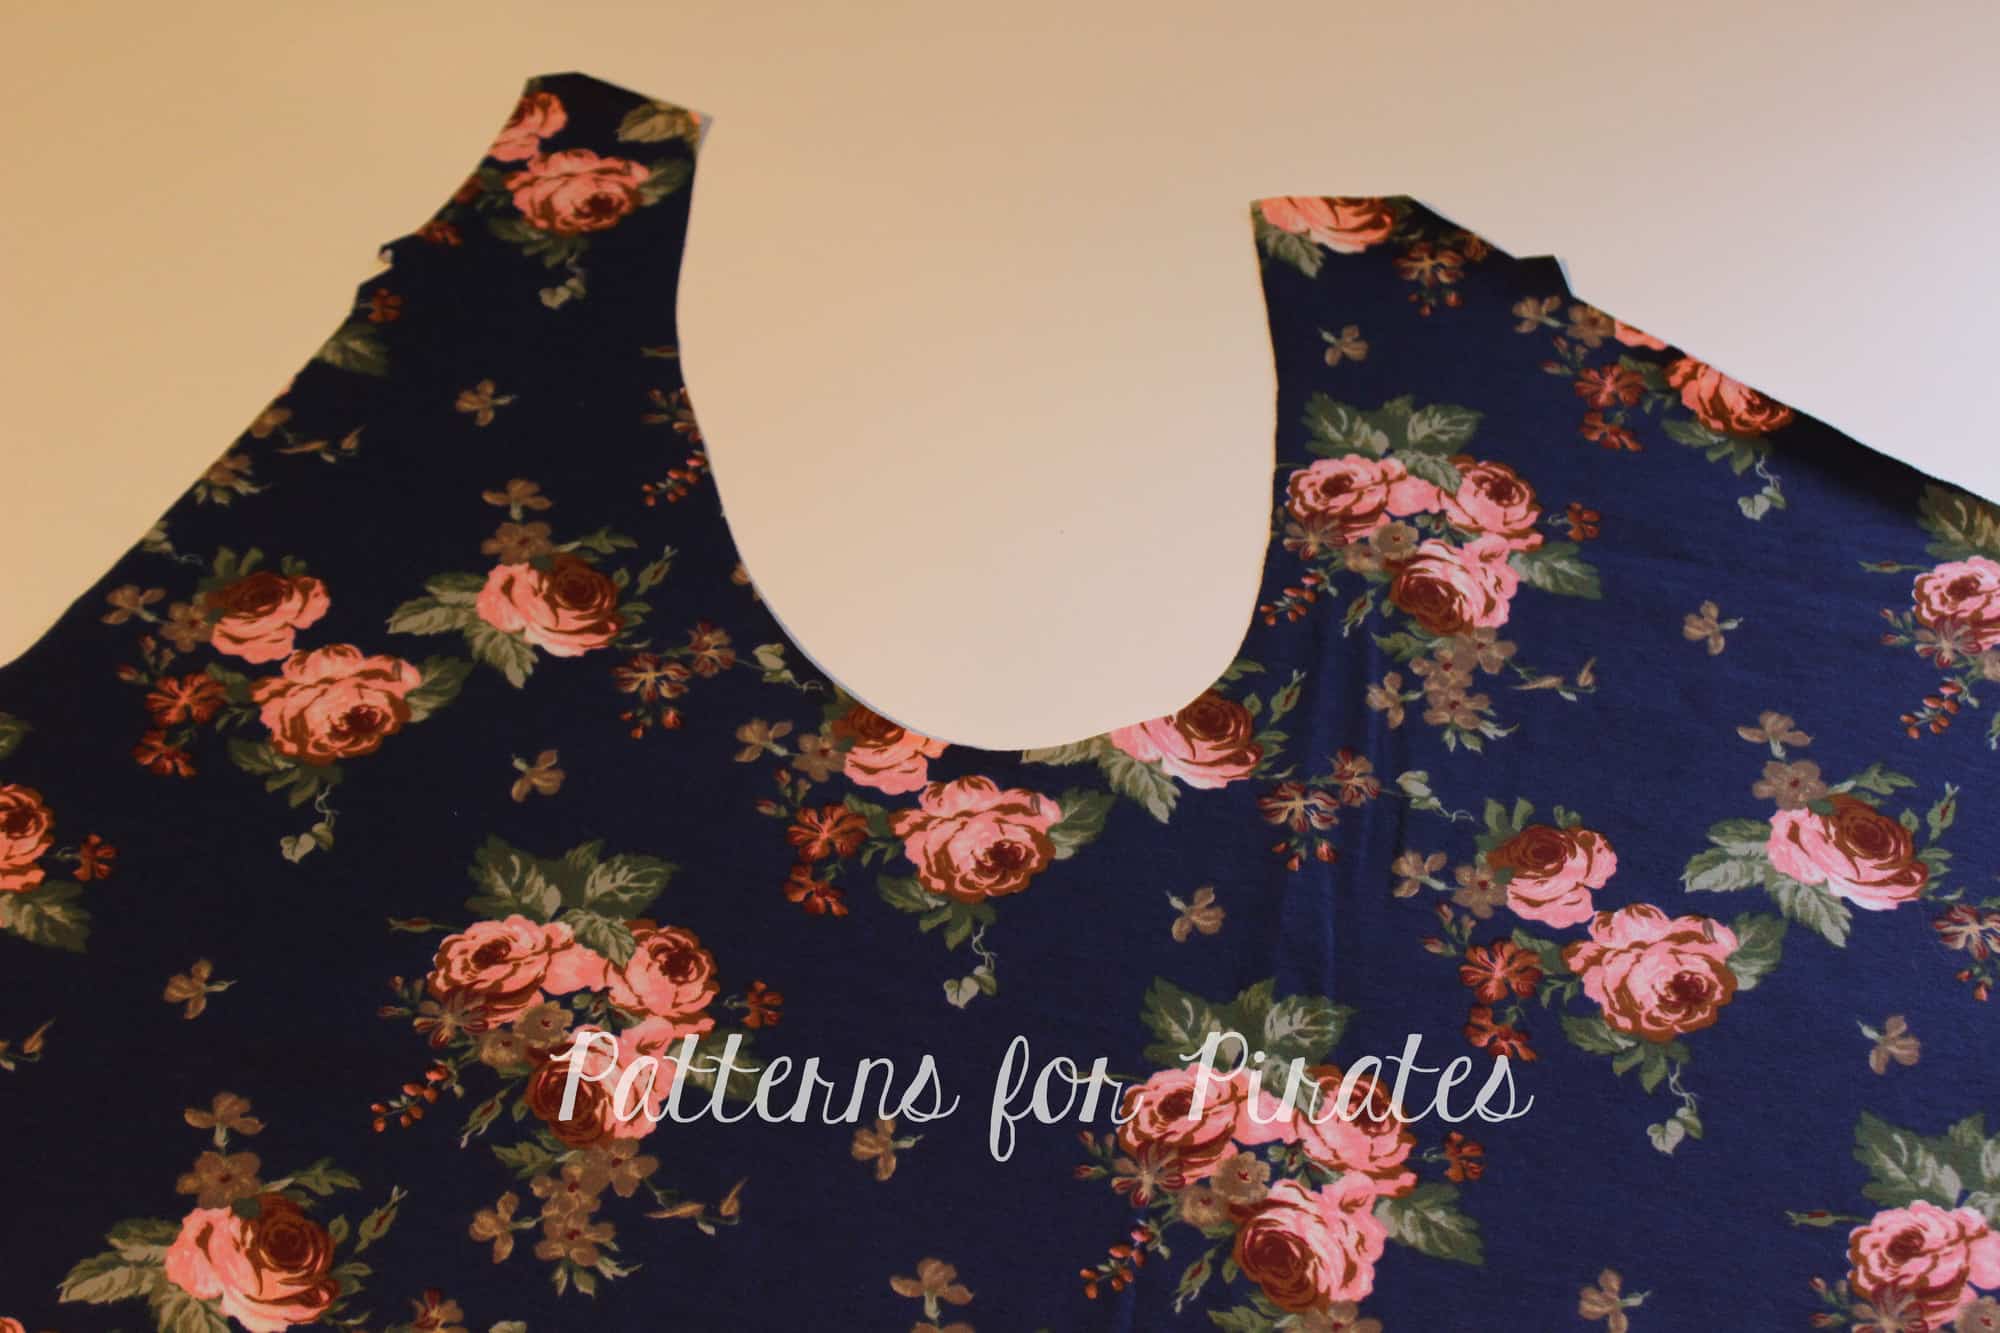
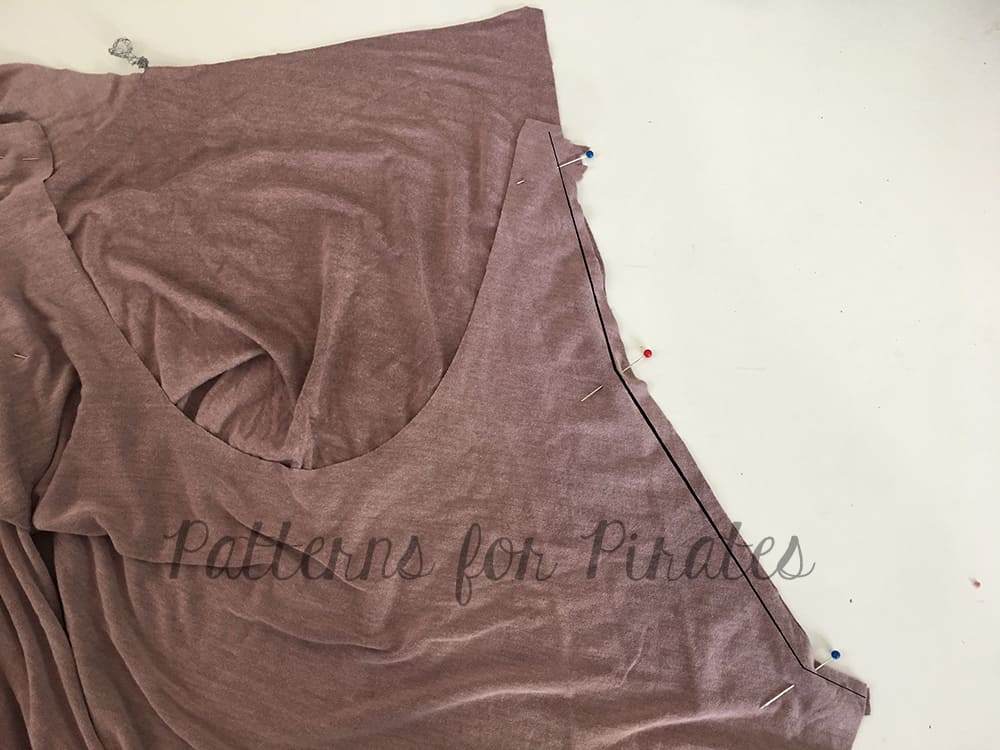
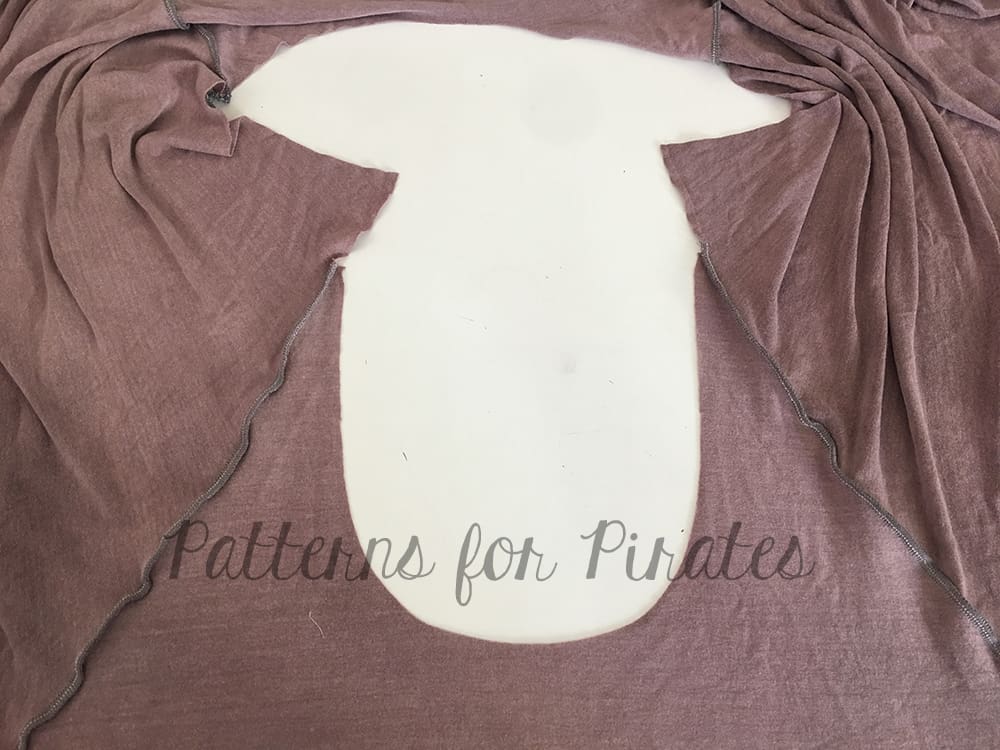
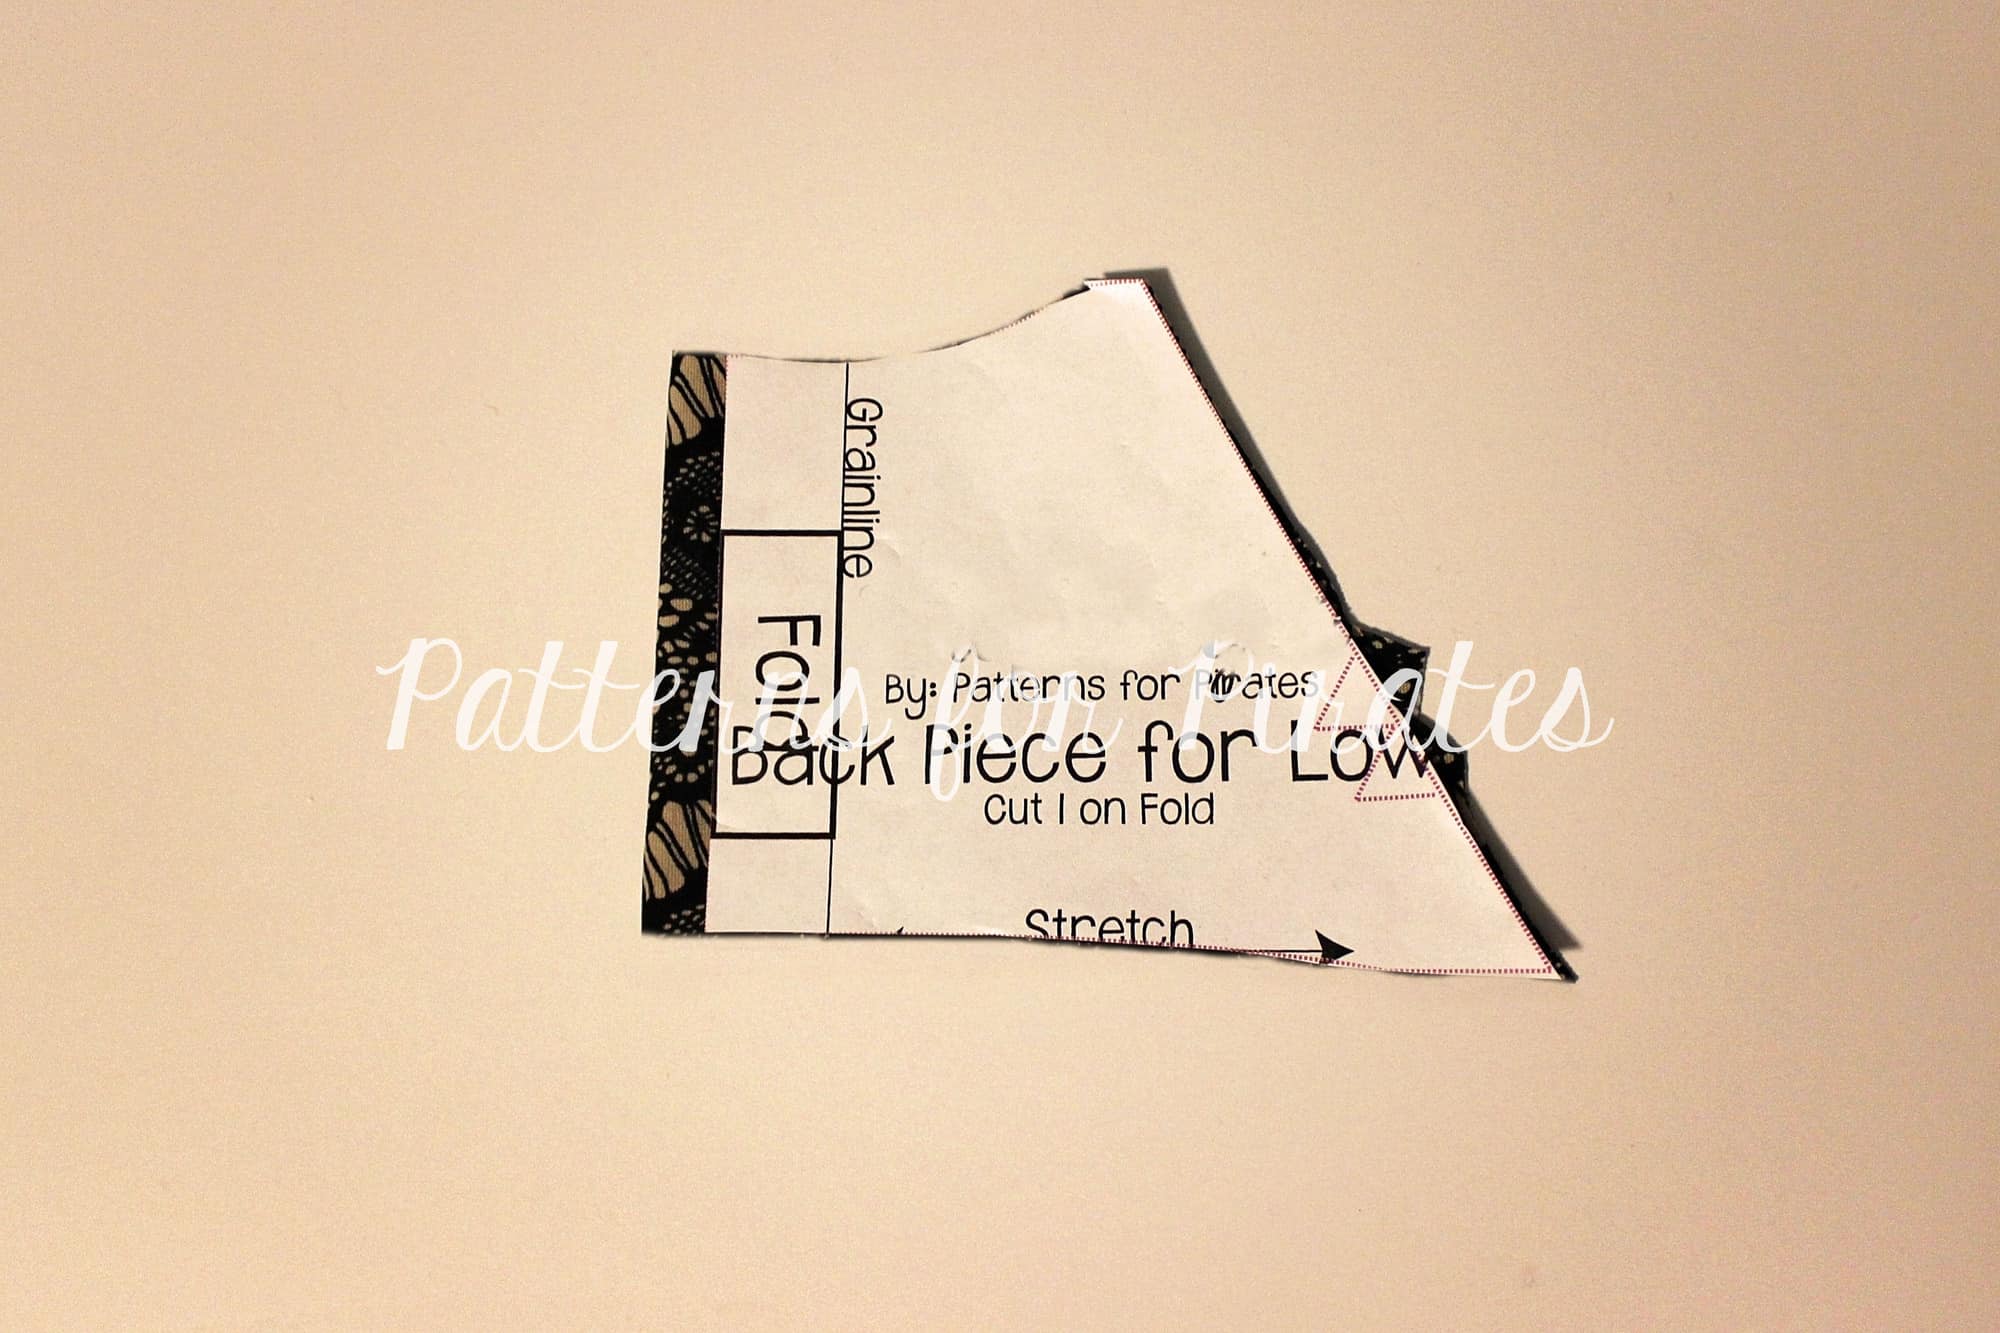
Start by printing and cutting the pattern according to the style preference and sizes. I went with the tank option in a rayon french terry. Do not cut the two back band or the front neckline one. Mark the strap placement according to the pattern. For the mark, draw a line that is at least 3/4″ long.
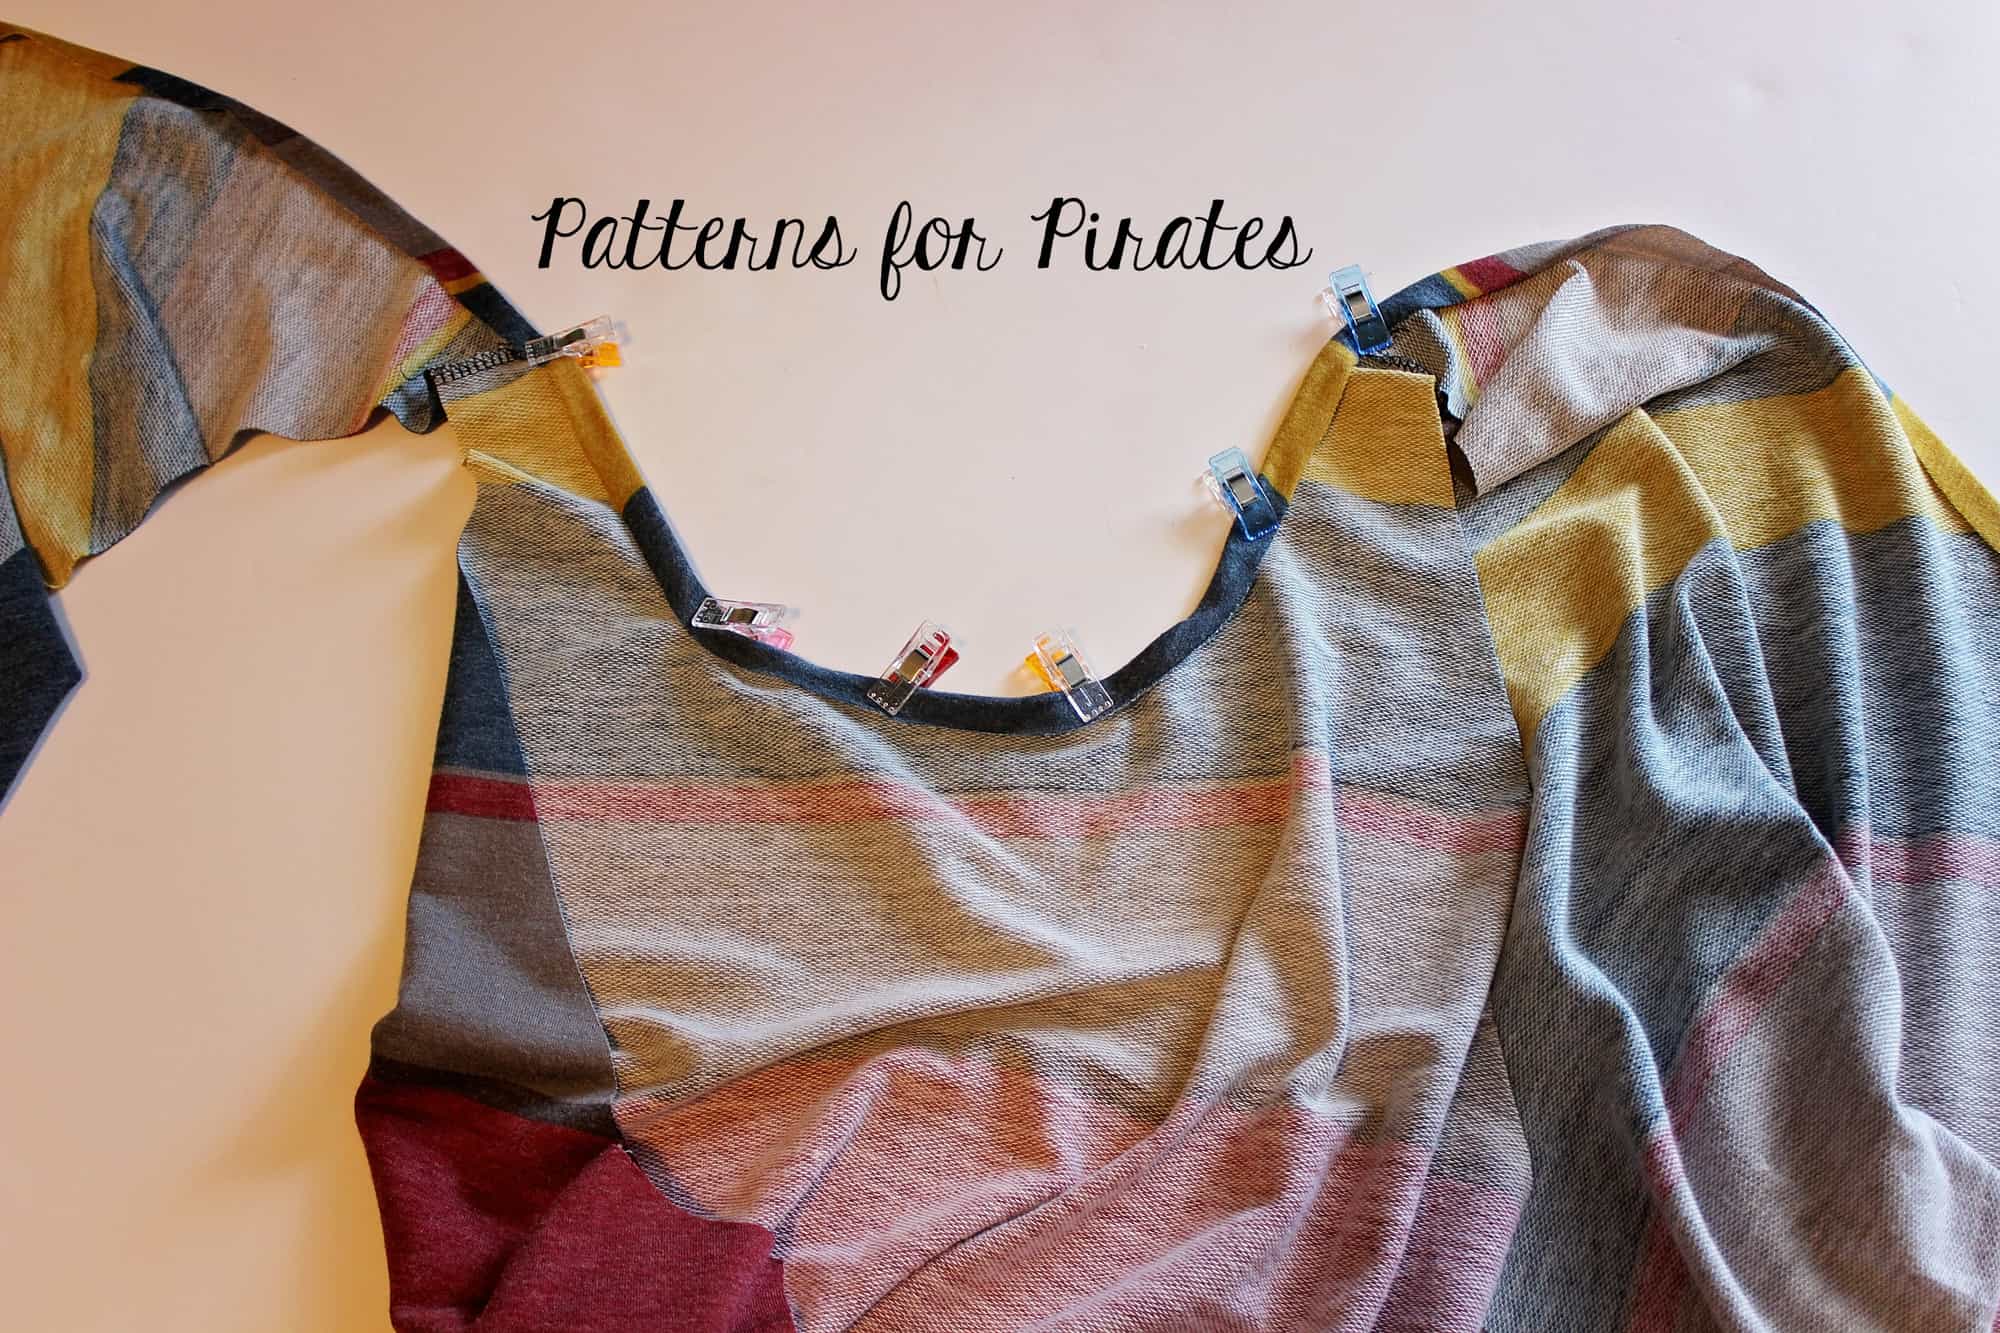
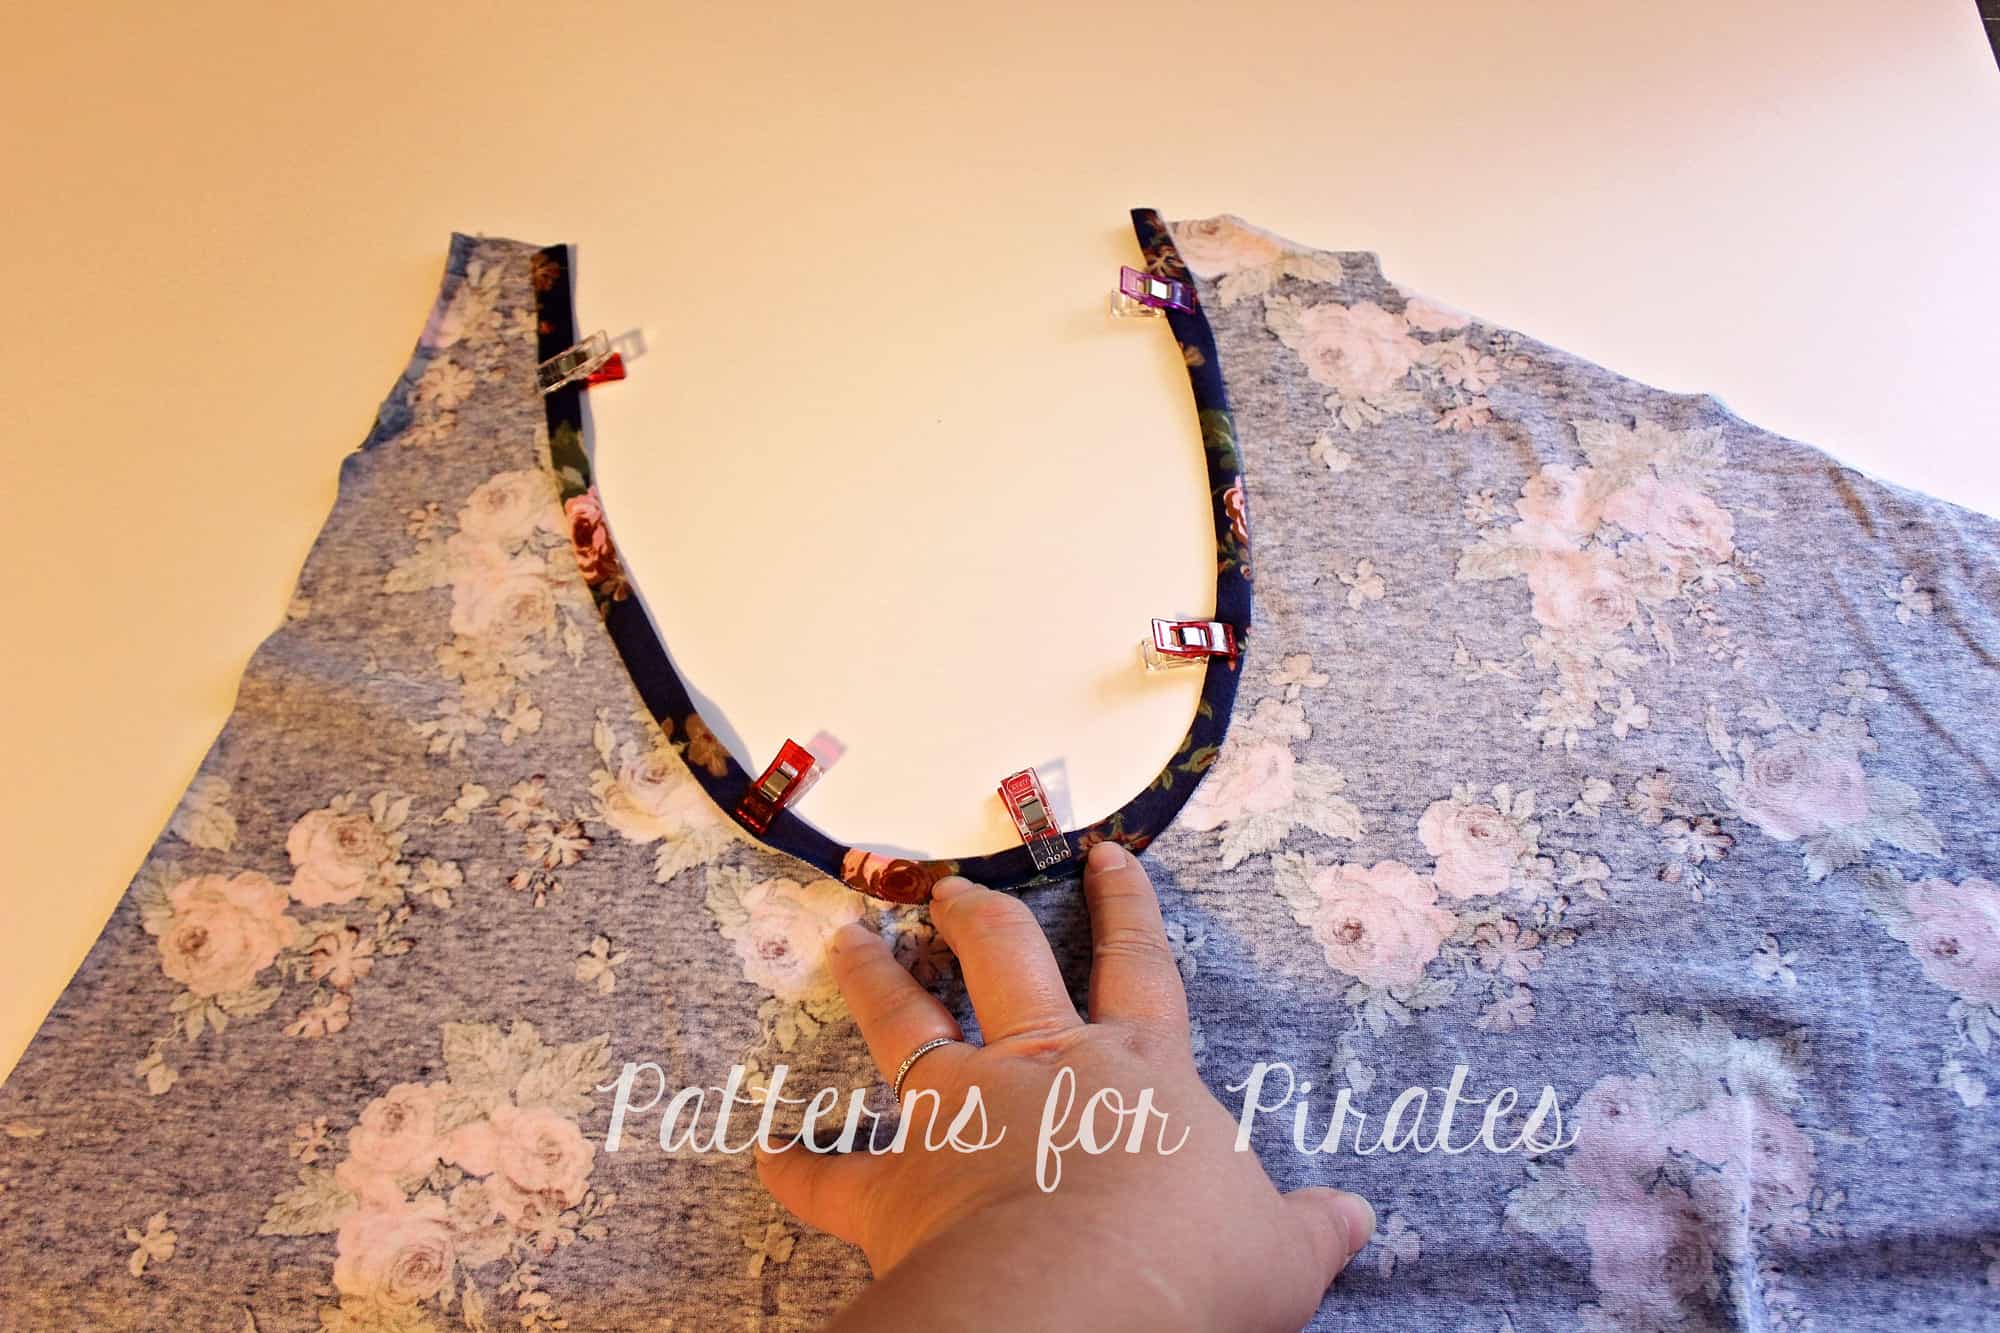
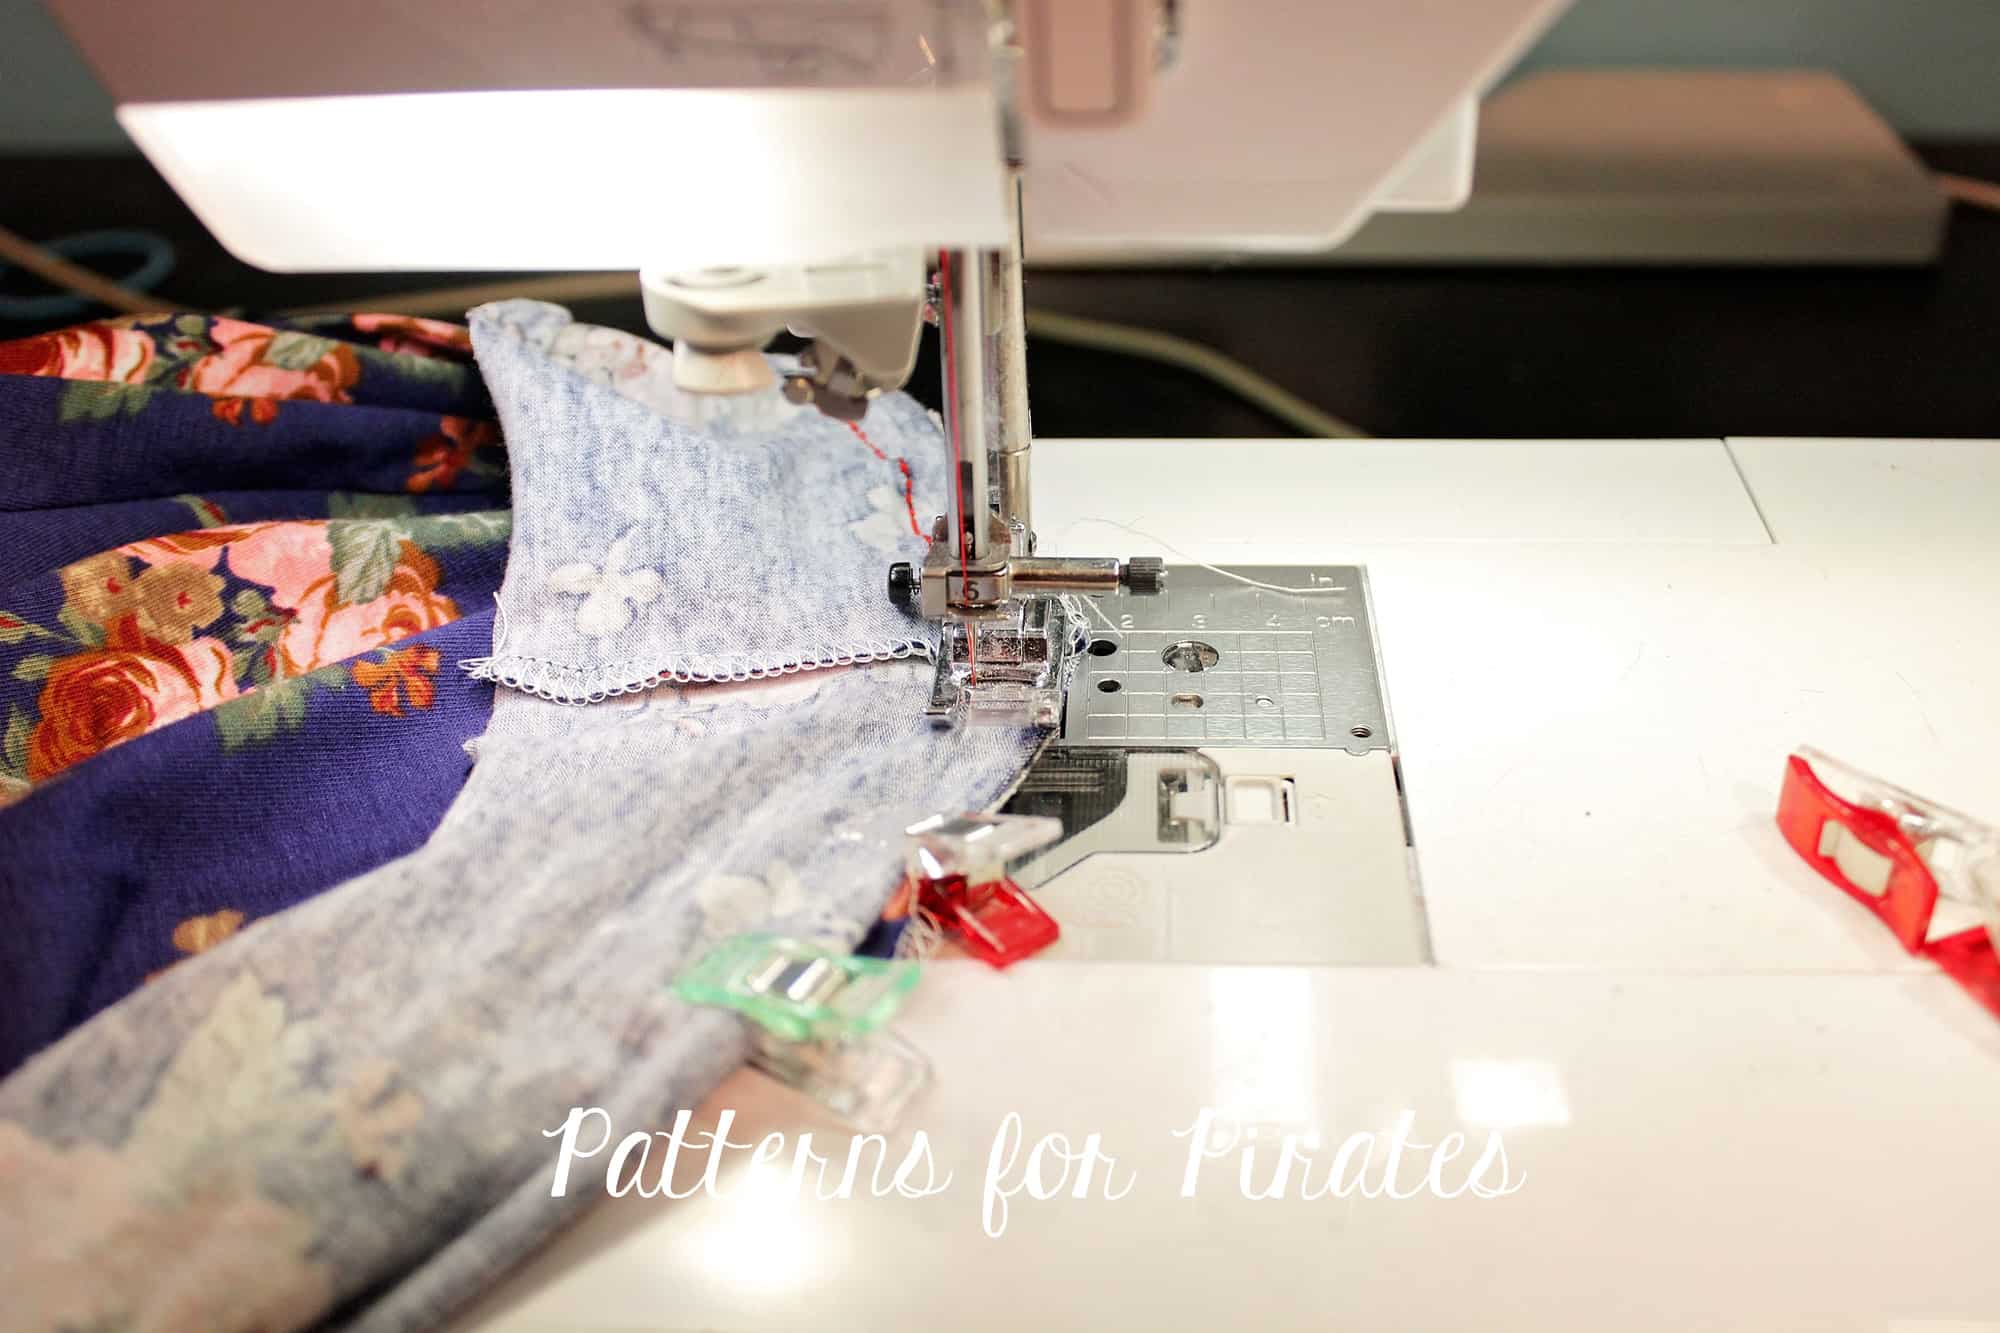
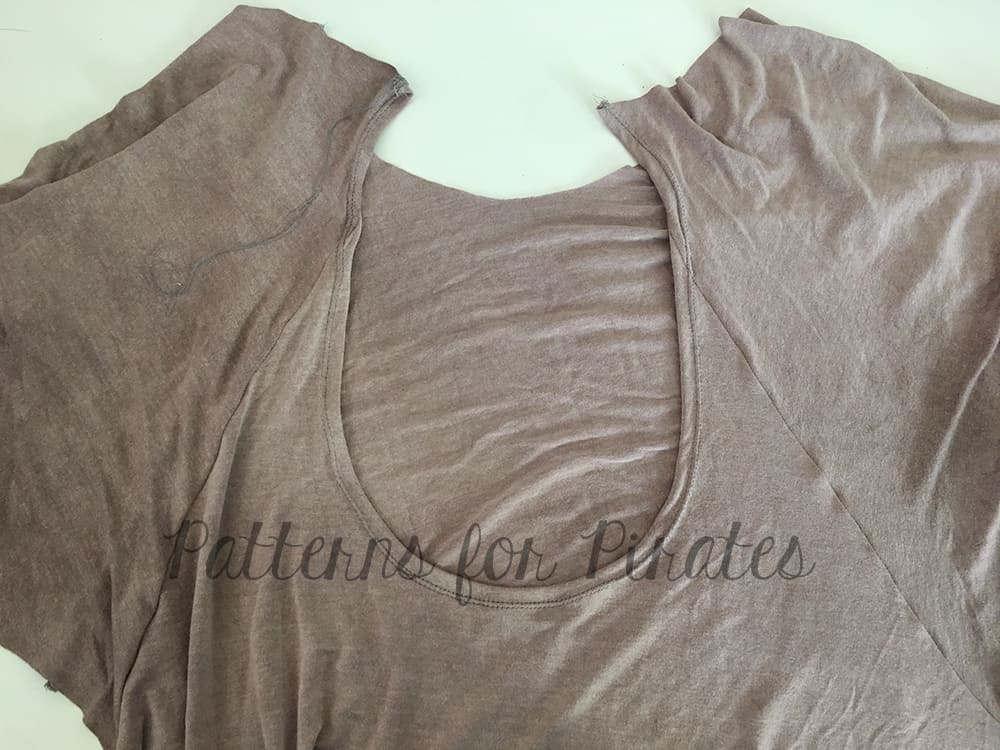
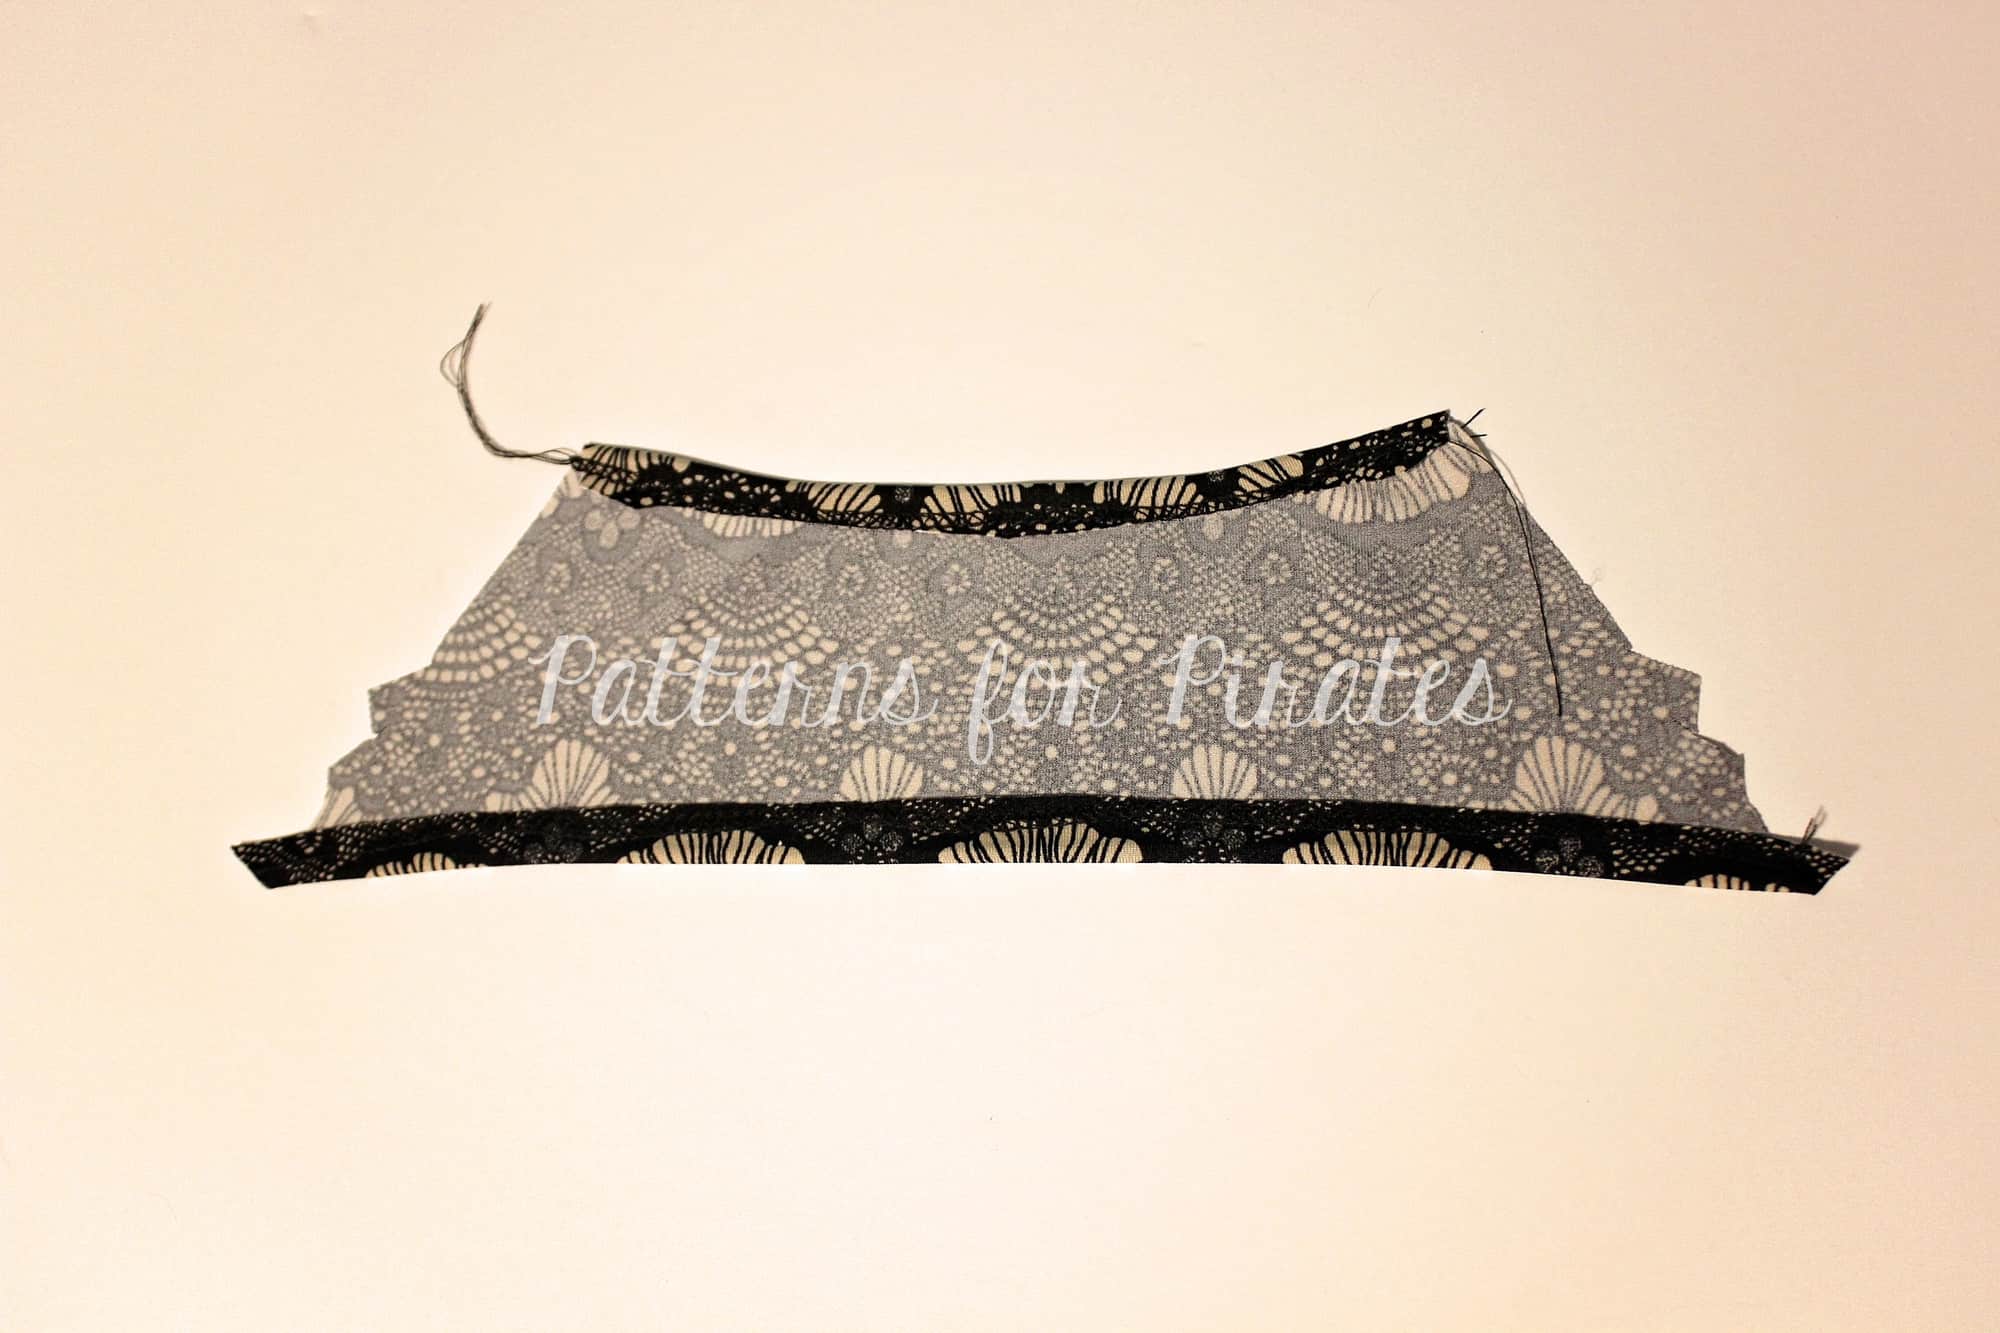
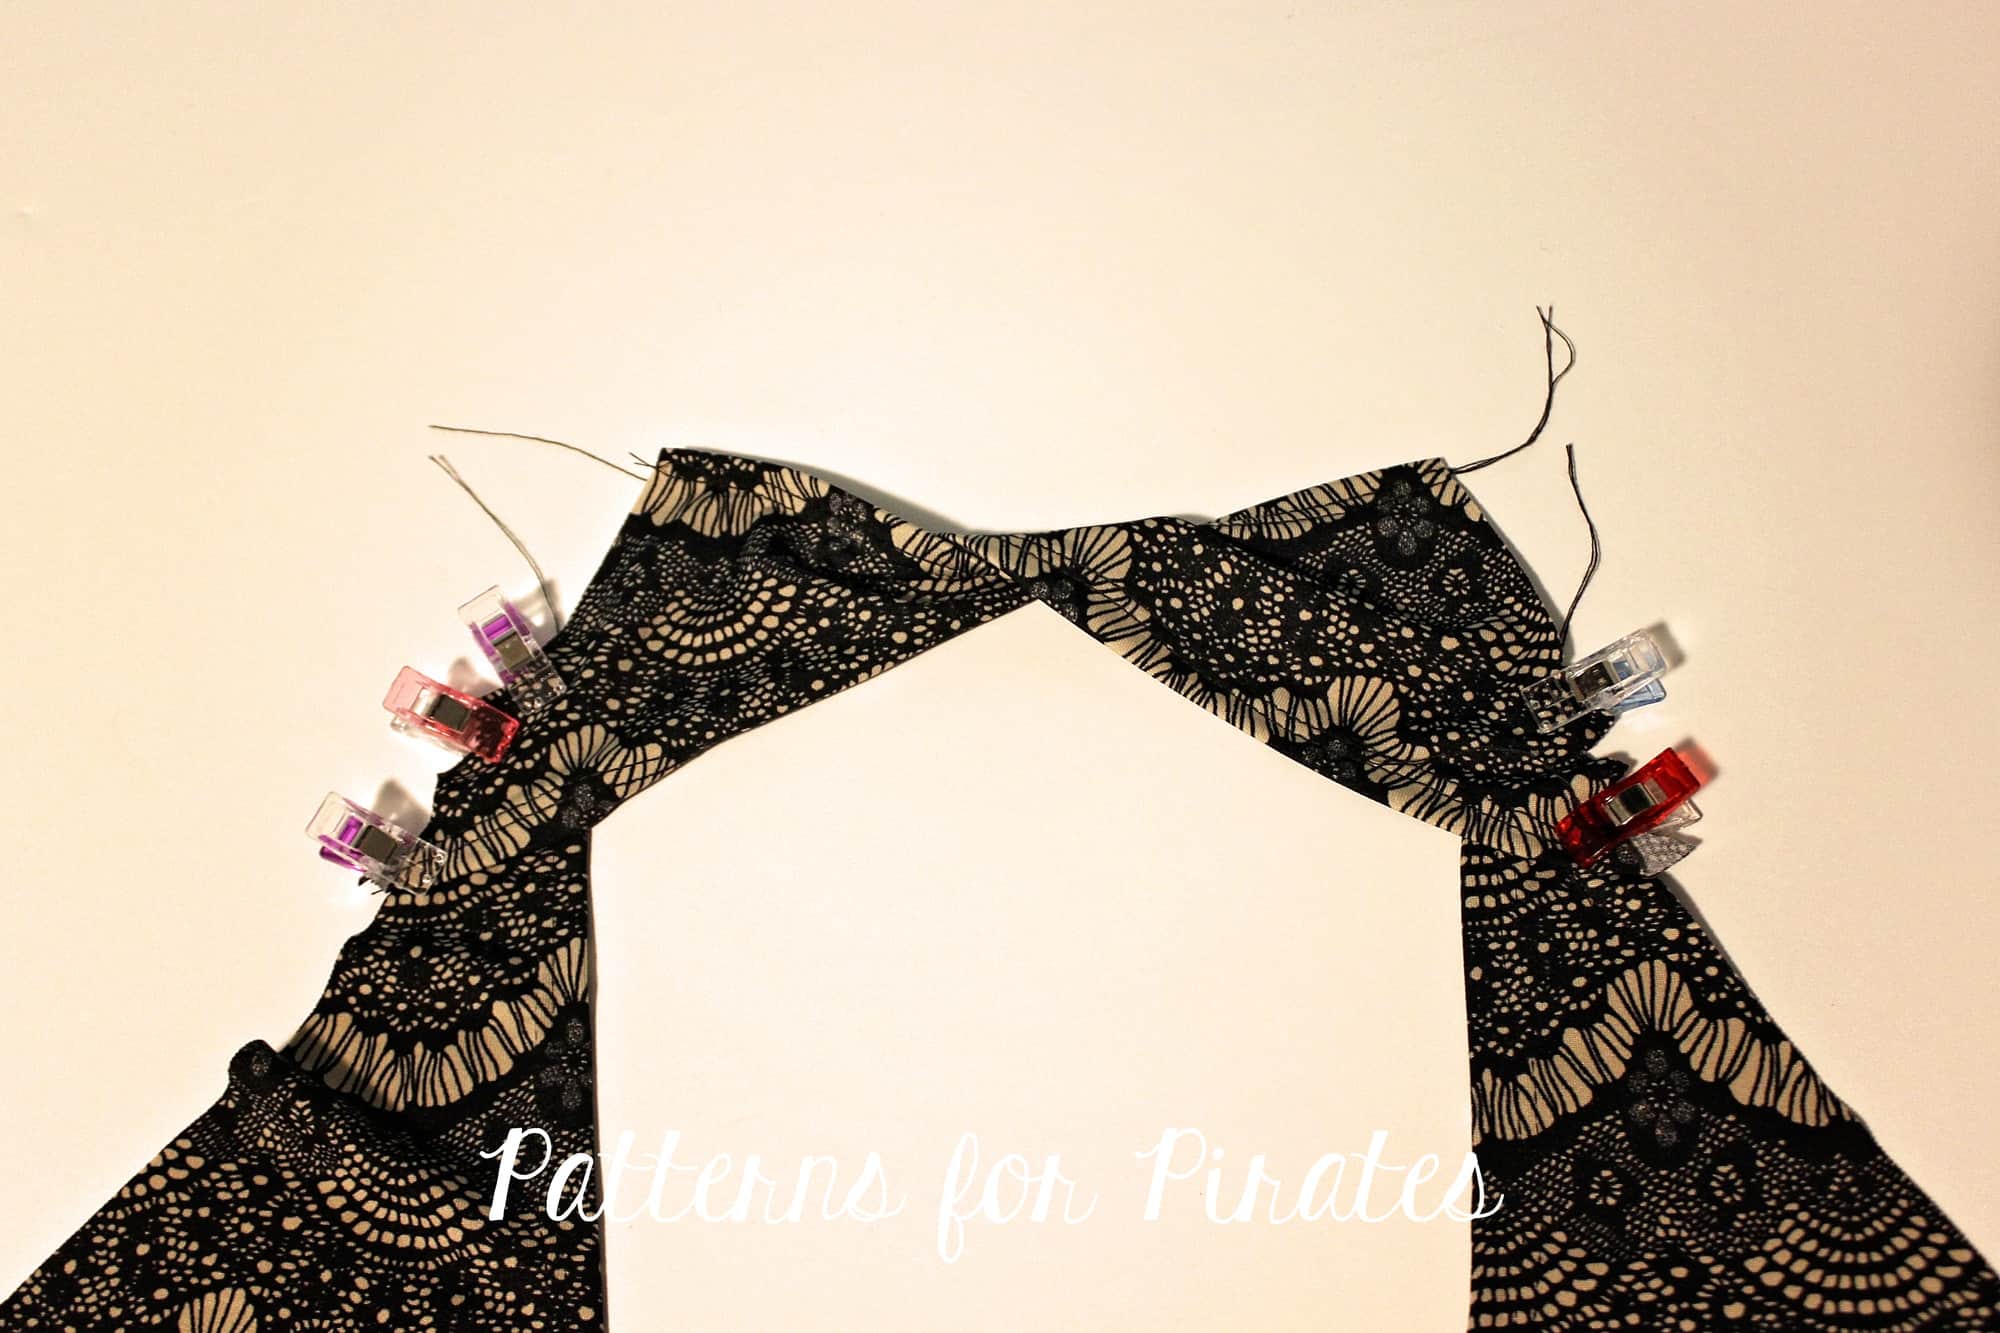
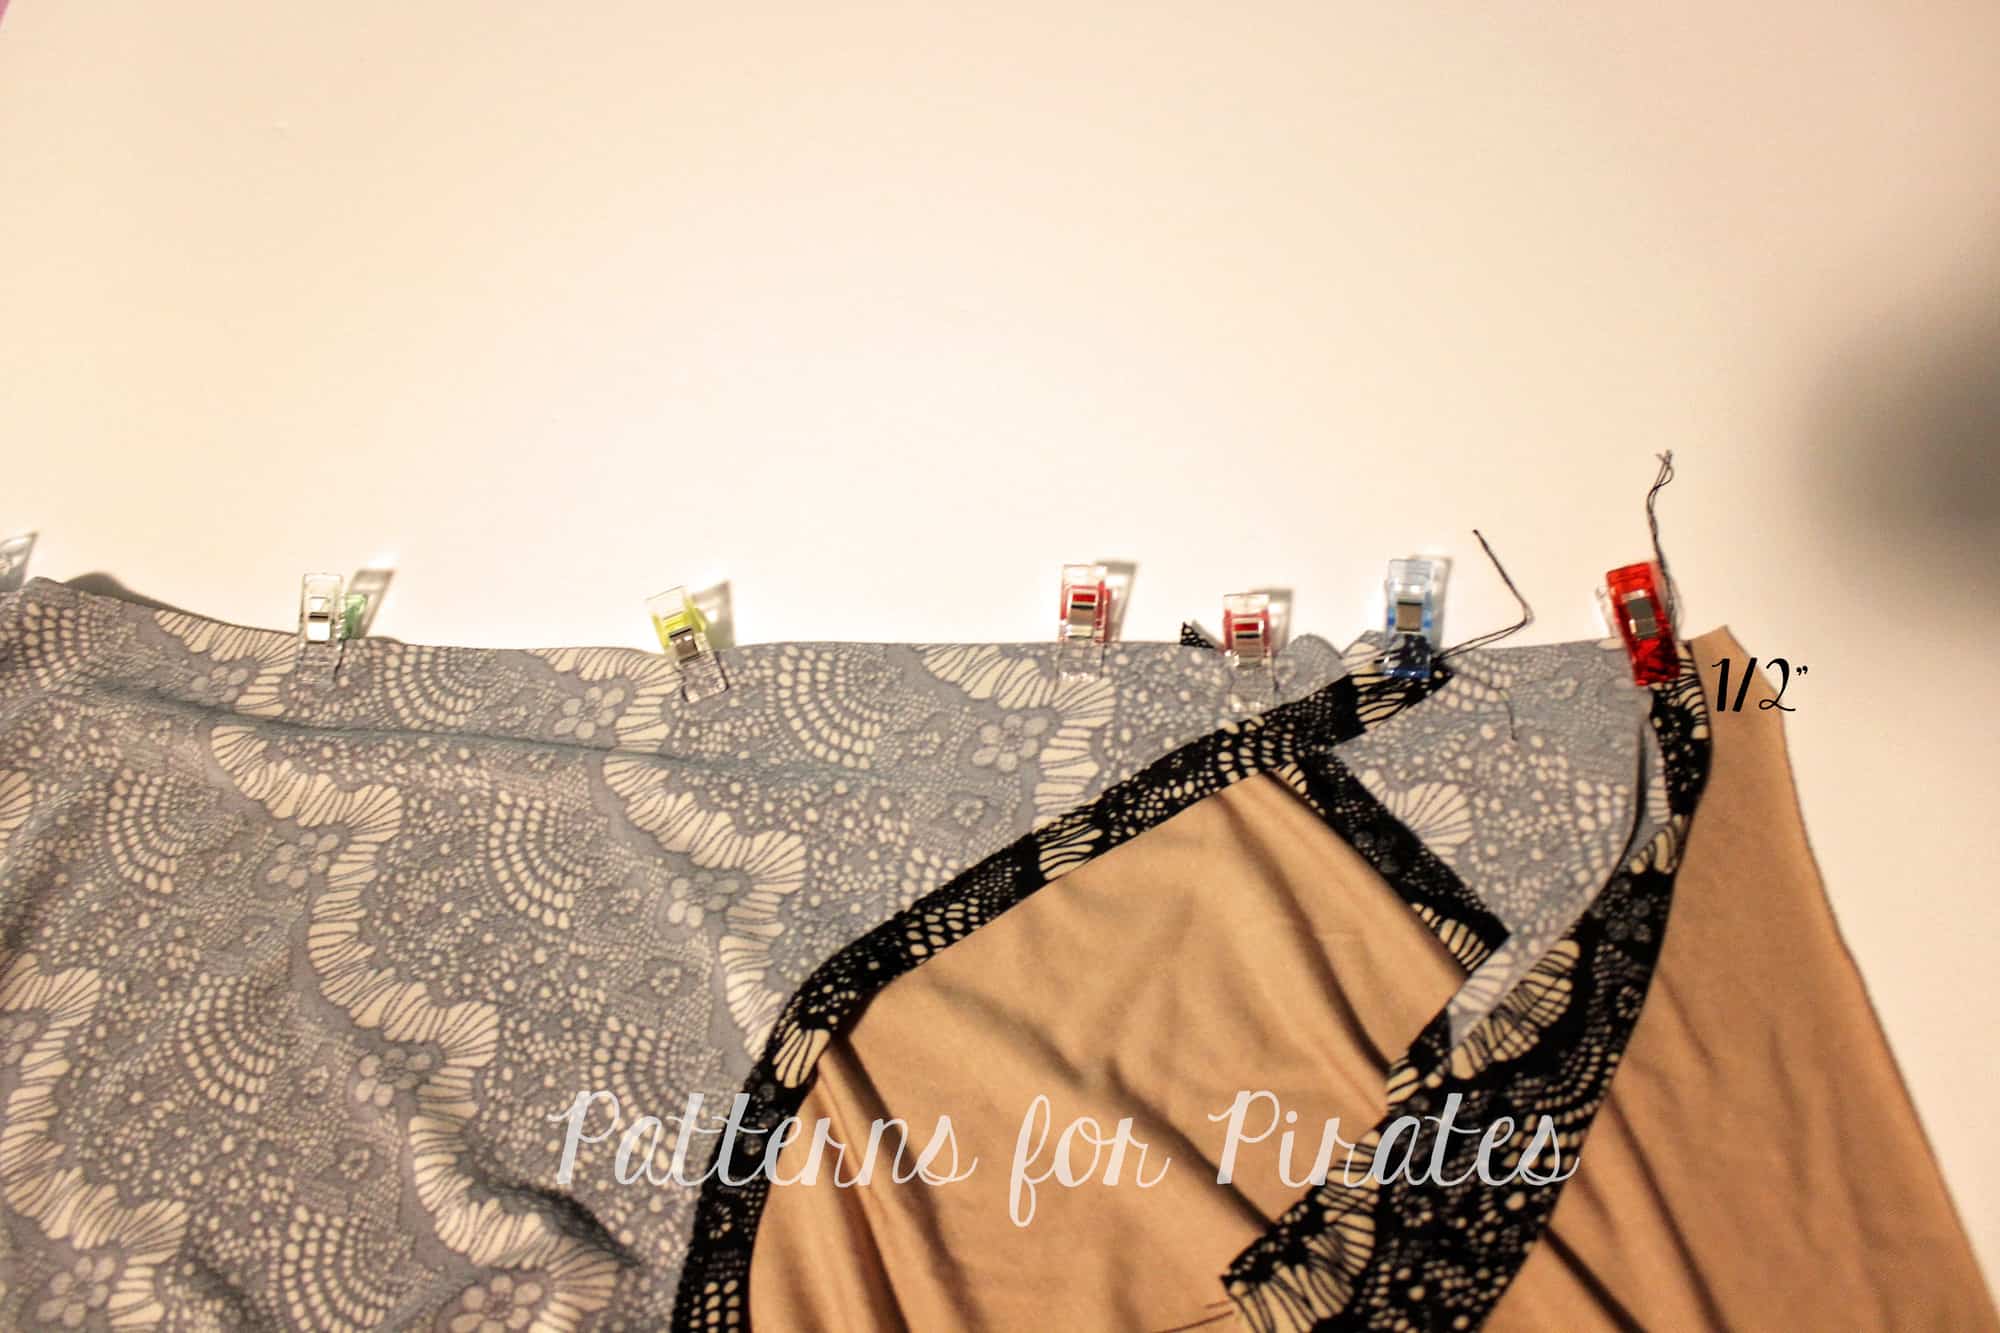
Sew the shoulder seams. Press the back and neckline 1/2″. Optionally you can use pins or clips to hold it in place. For rayon french terry I found that I do not need pins along the back once pressed and steamed.
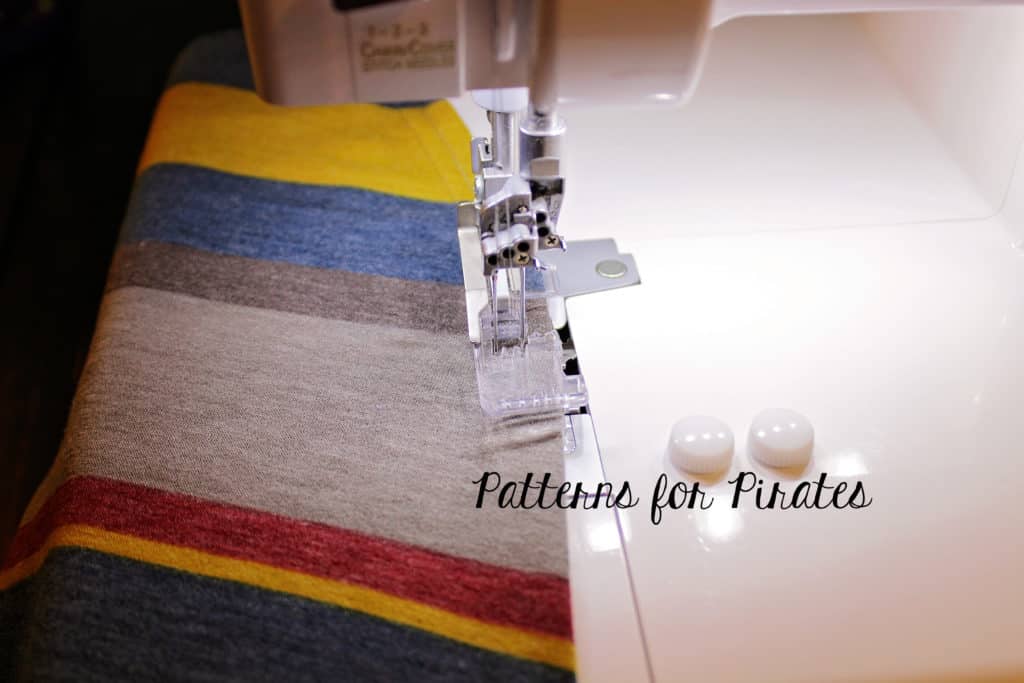
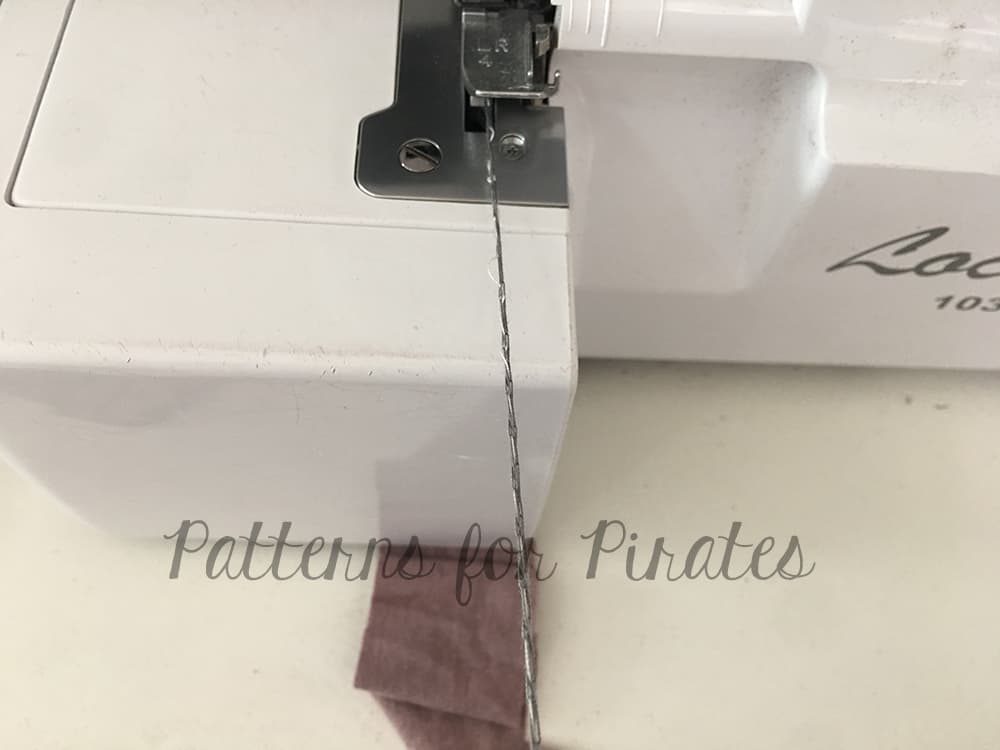
Using your coverstitch or a zig zag stitch (or twin needle) on your sewing machine hem along the pressed edge and iron it again.
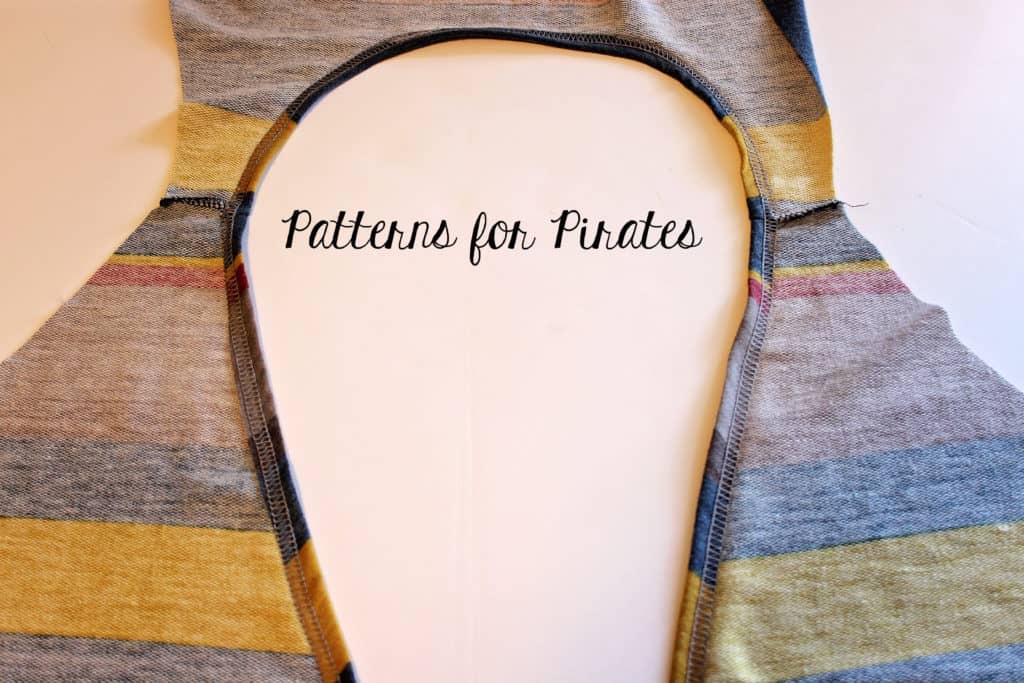
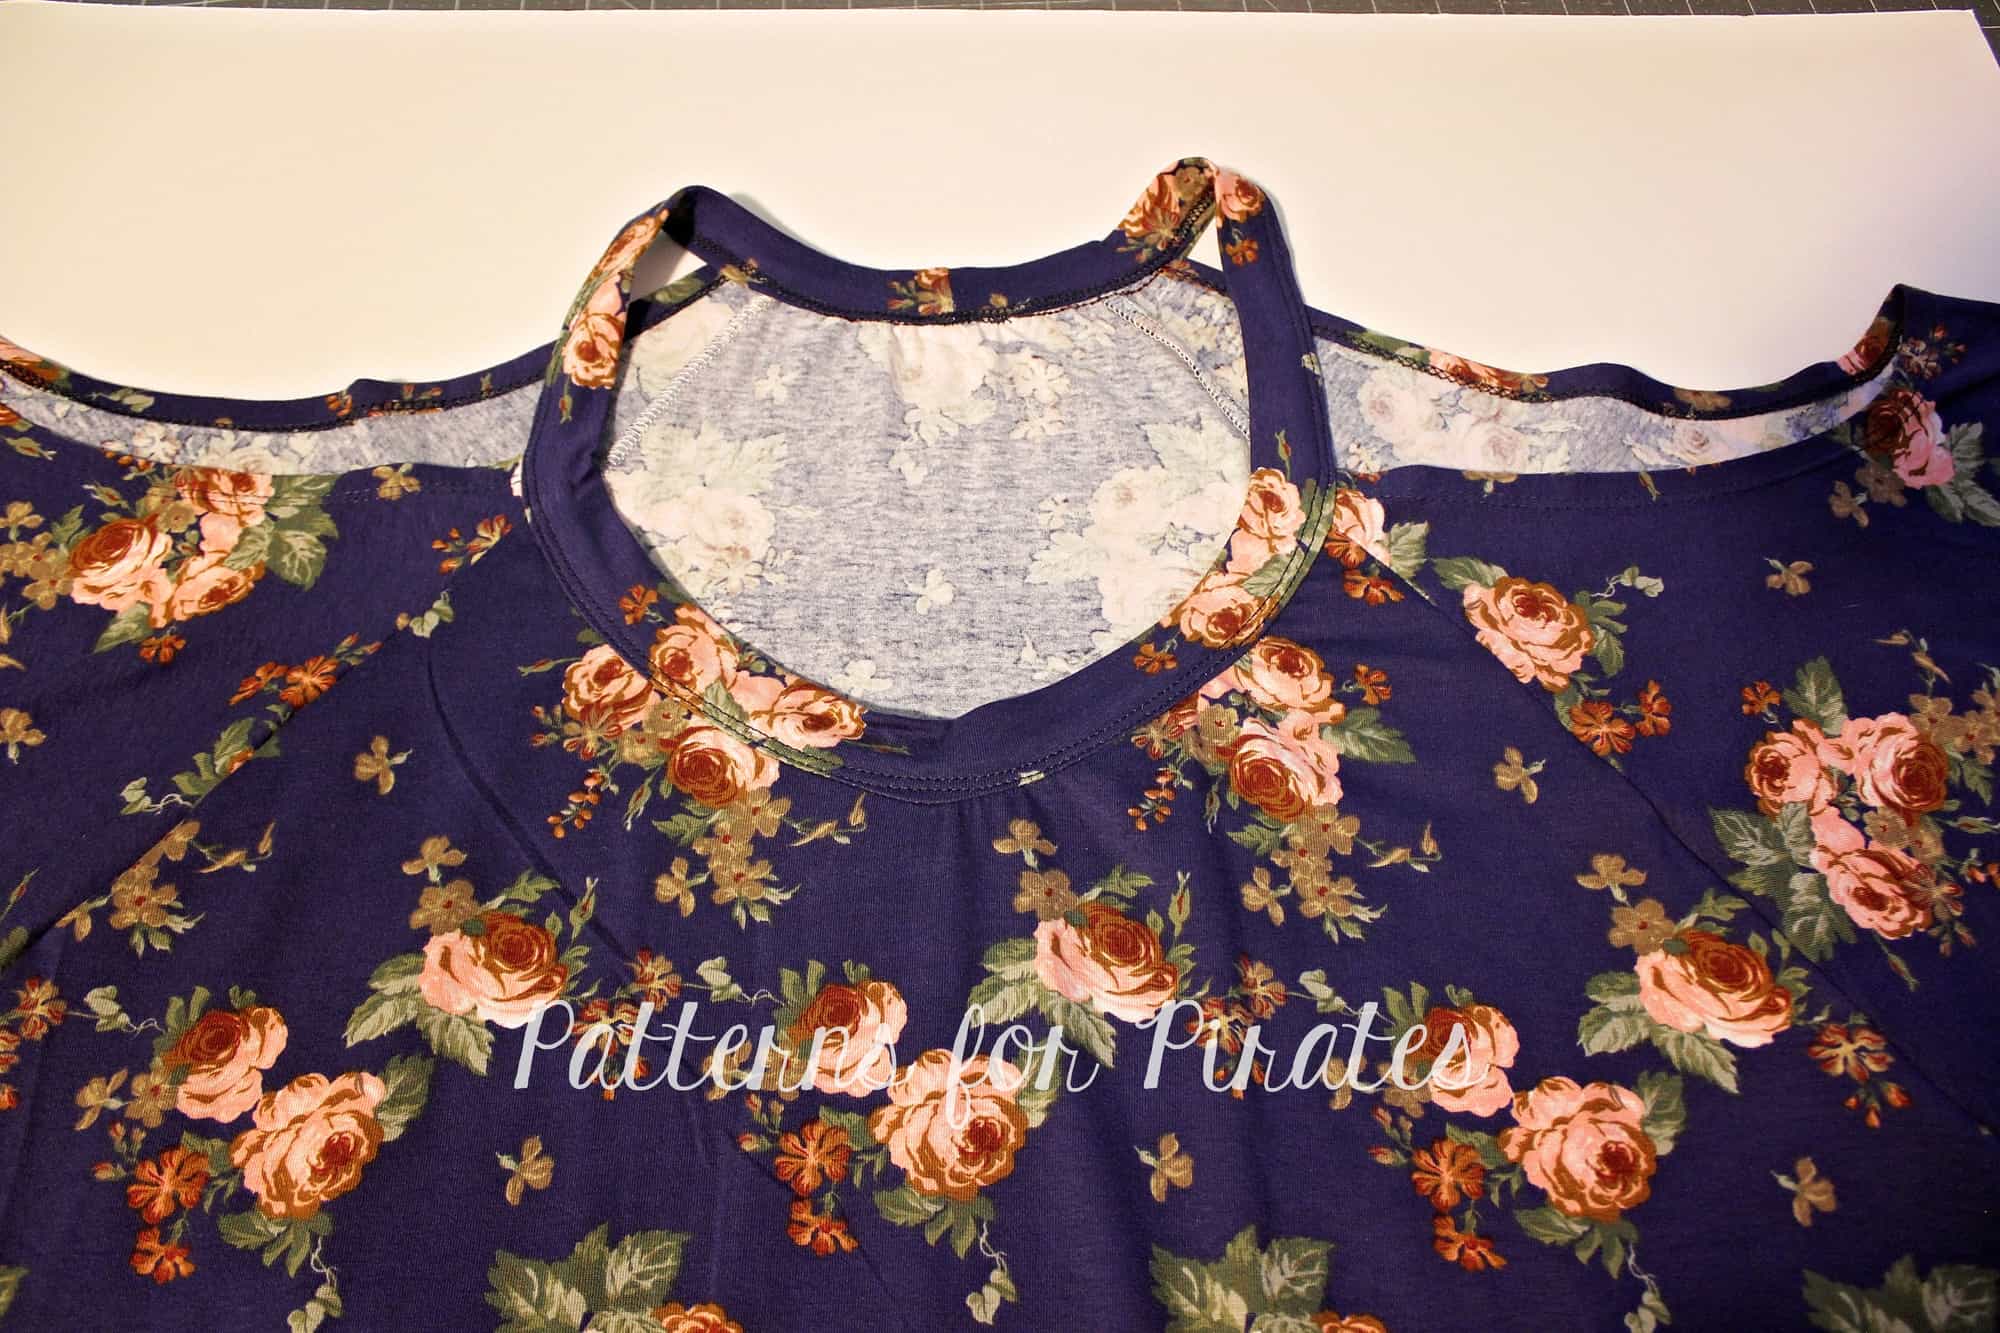
All you have left to do is sew down the back strap using the markings you made earlier. I used a zig zag stitch for this step.
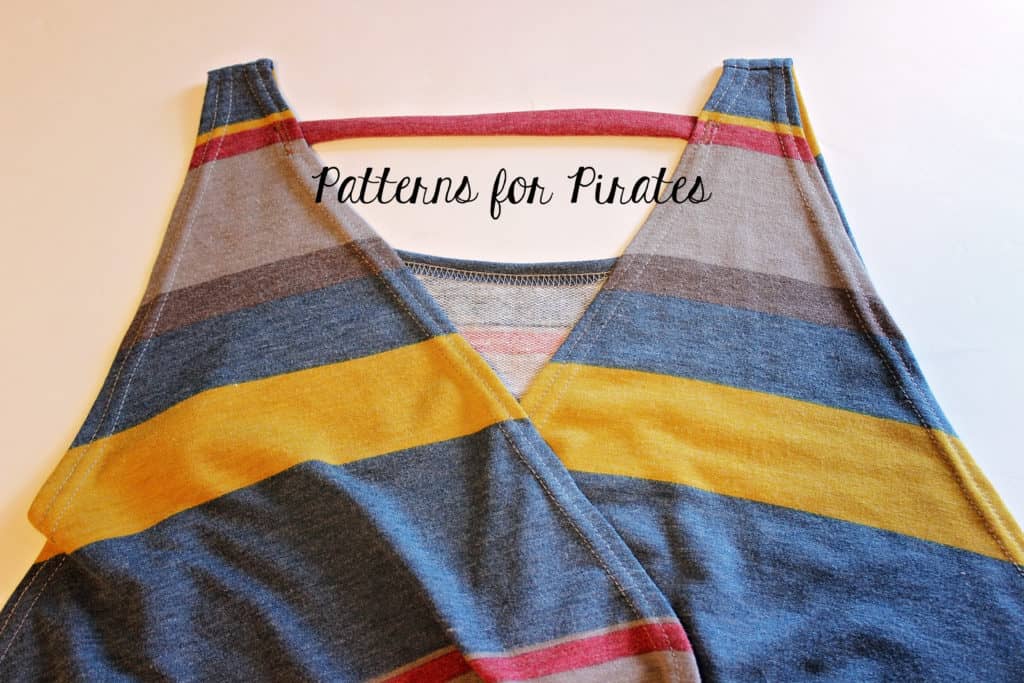
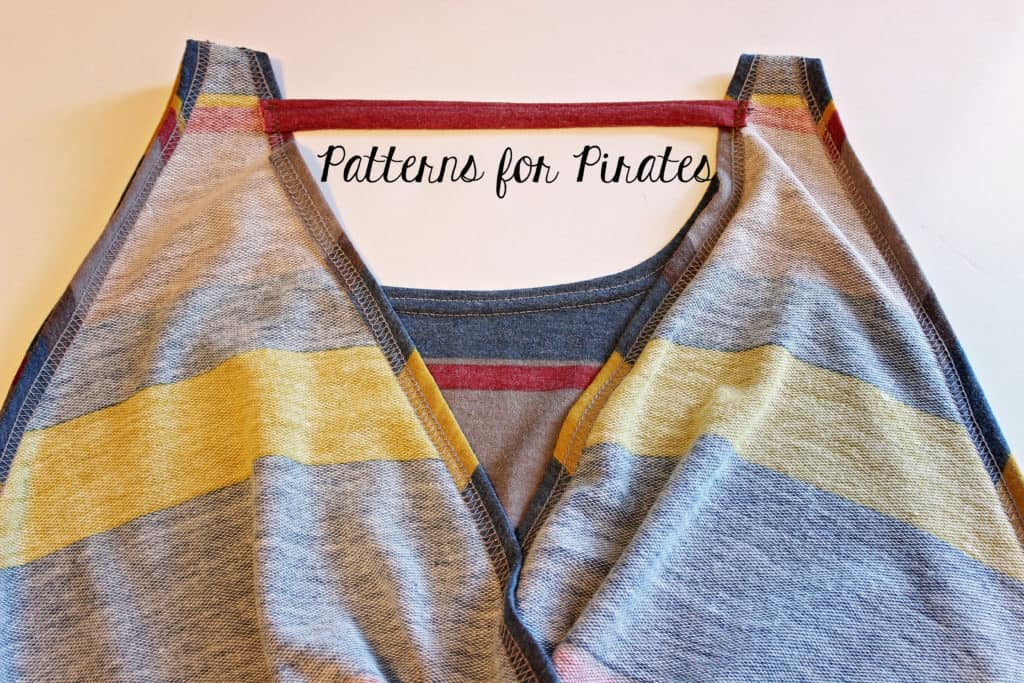
All done! All you have left to do is enjoy your new top and show it off.


Now that you have these additional options in your portofolio, start creating your unique Twist Back Top and make sure to share them in the P4P Facebook group.


