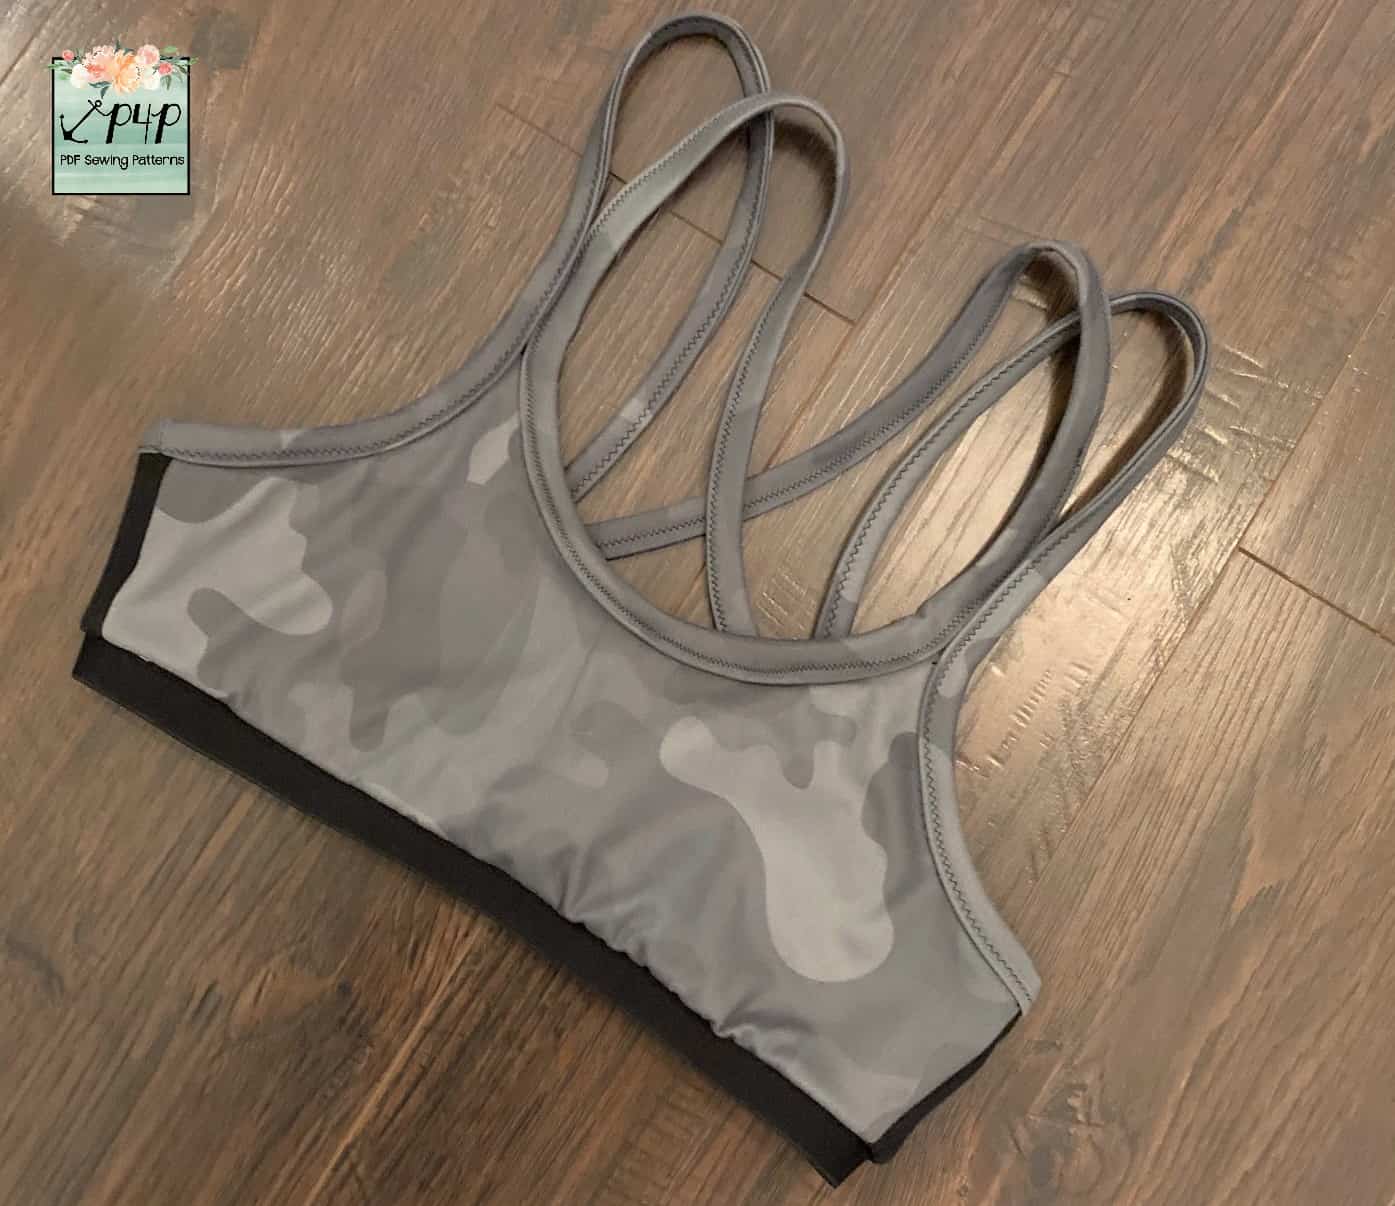
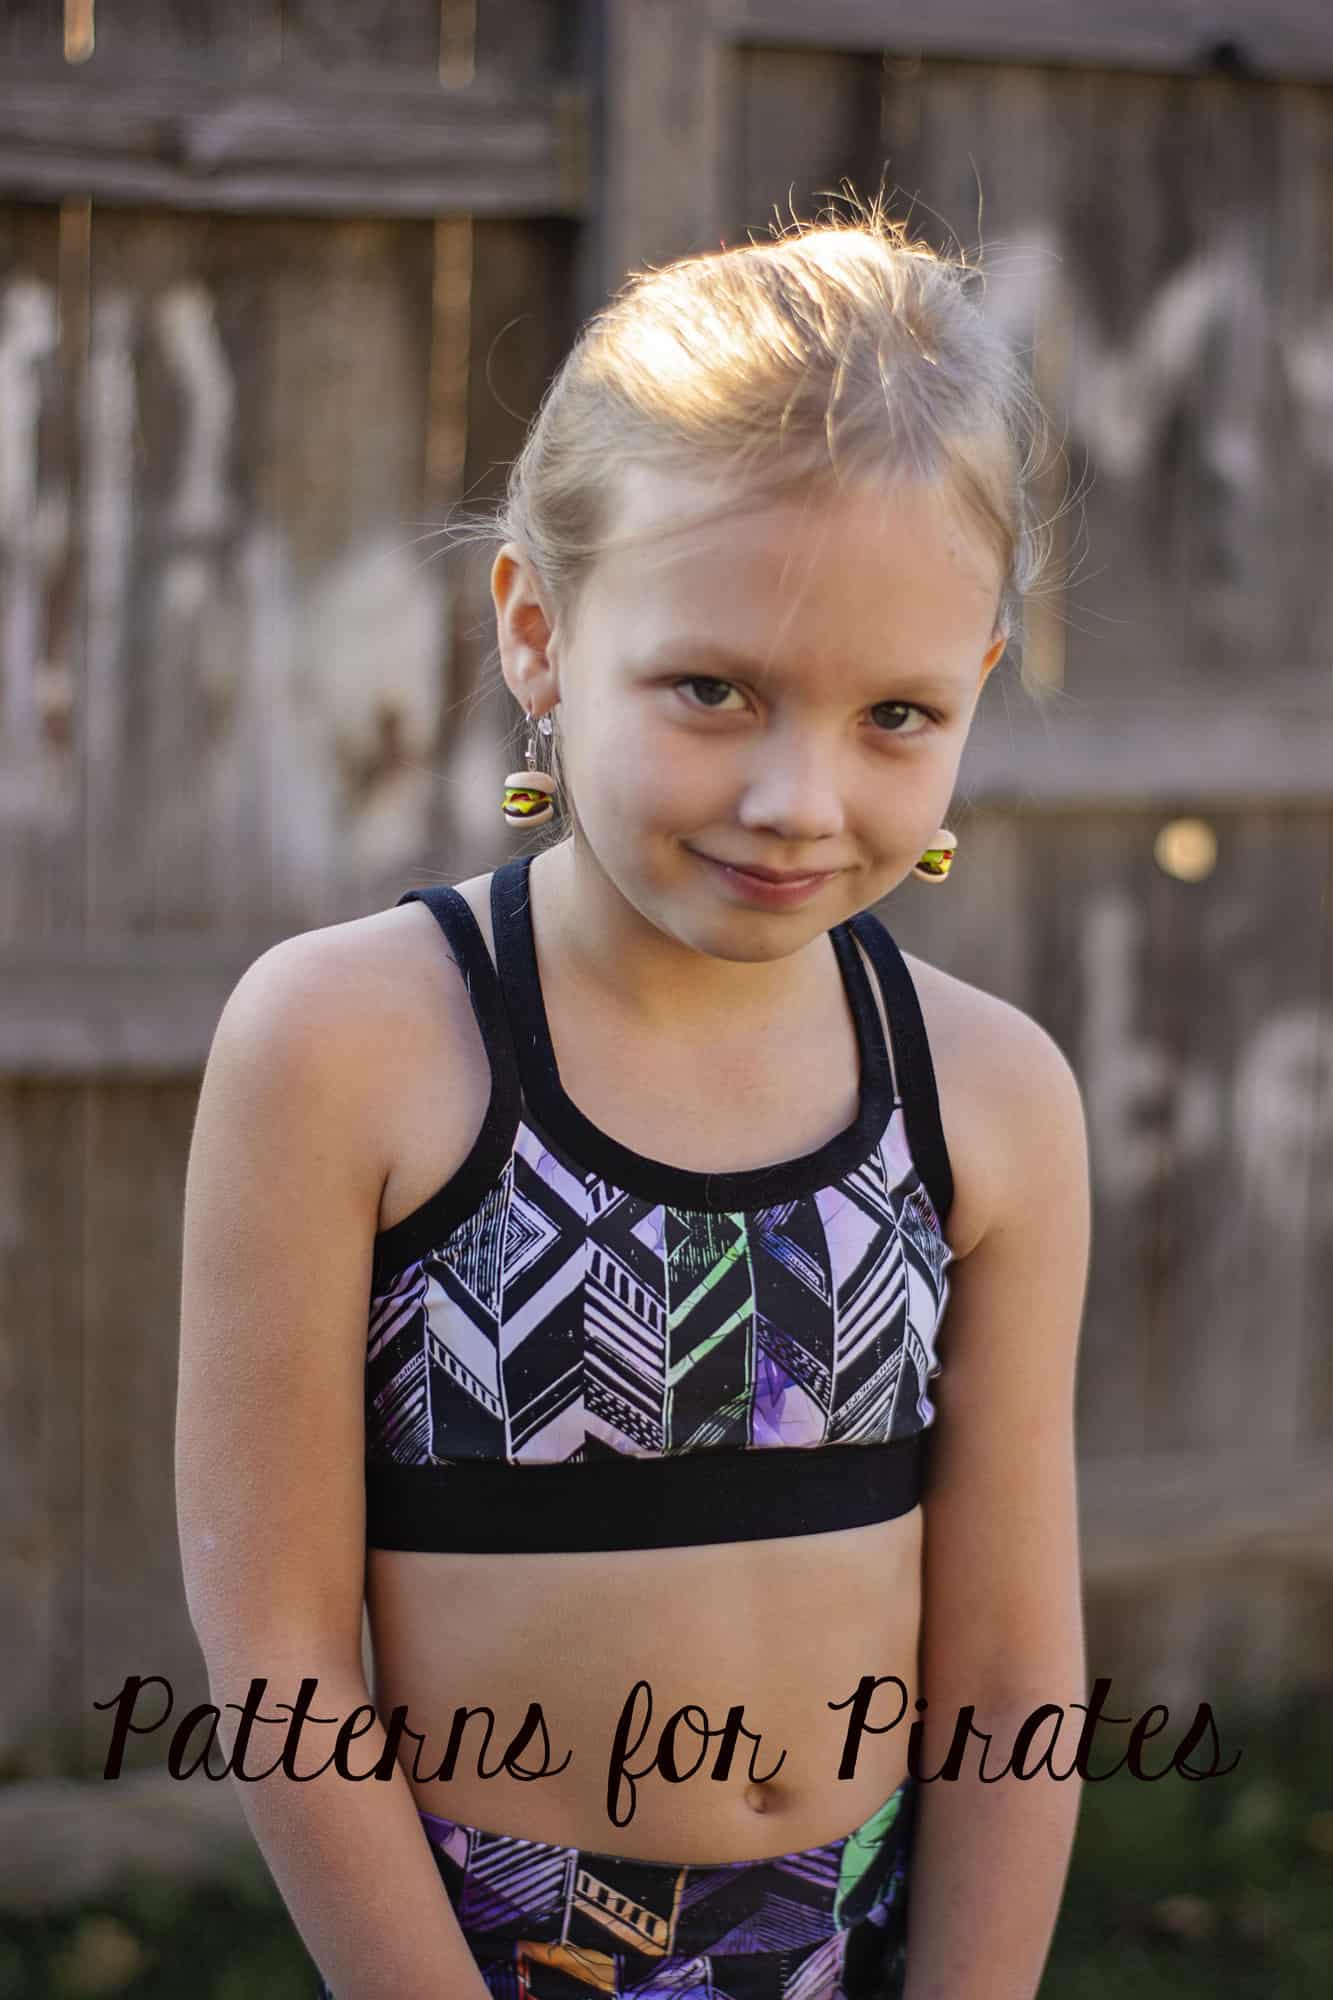
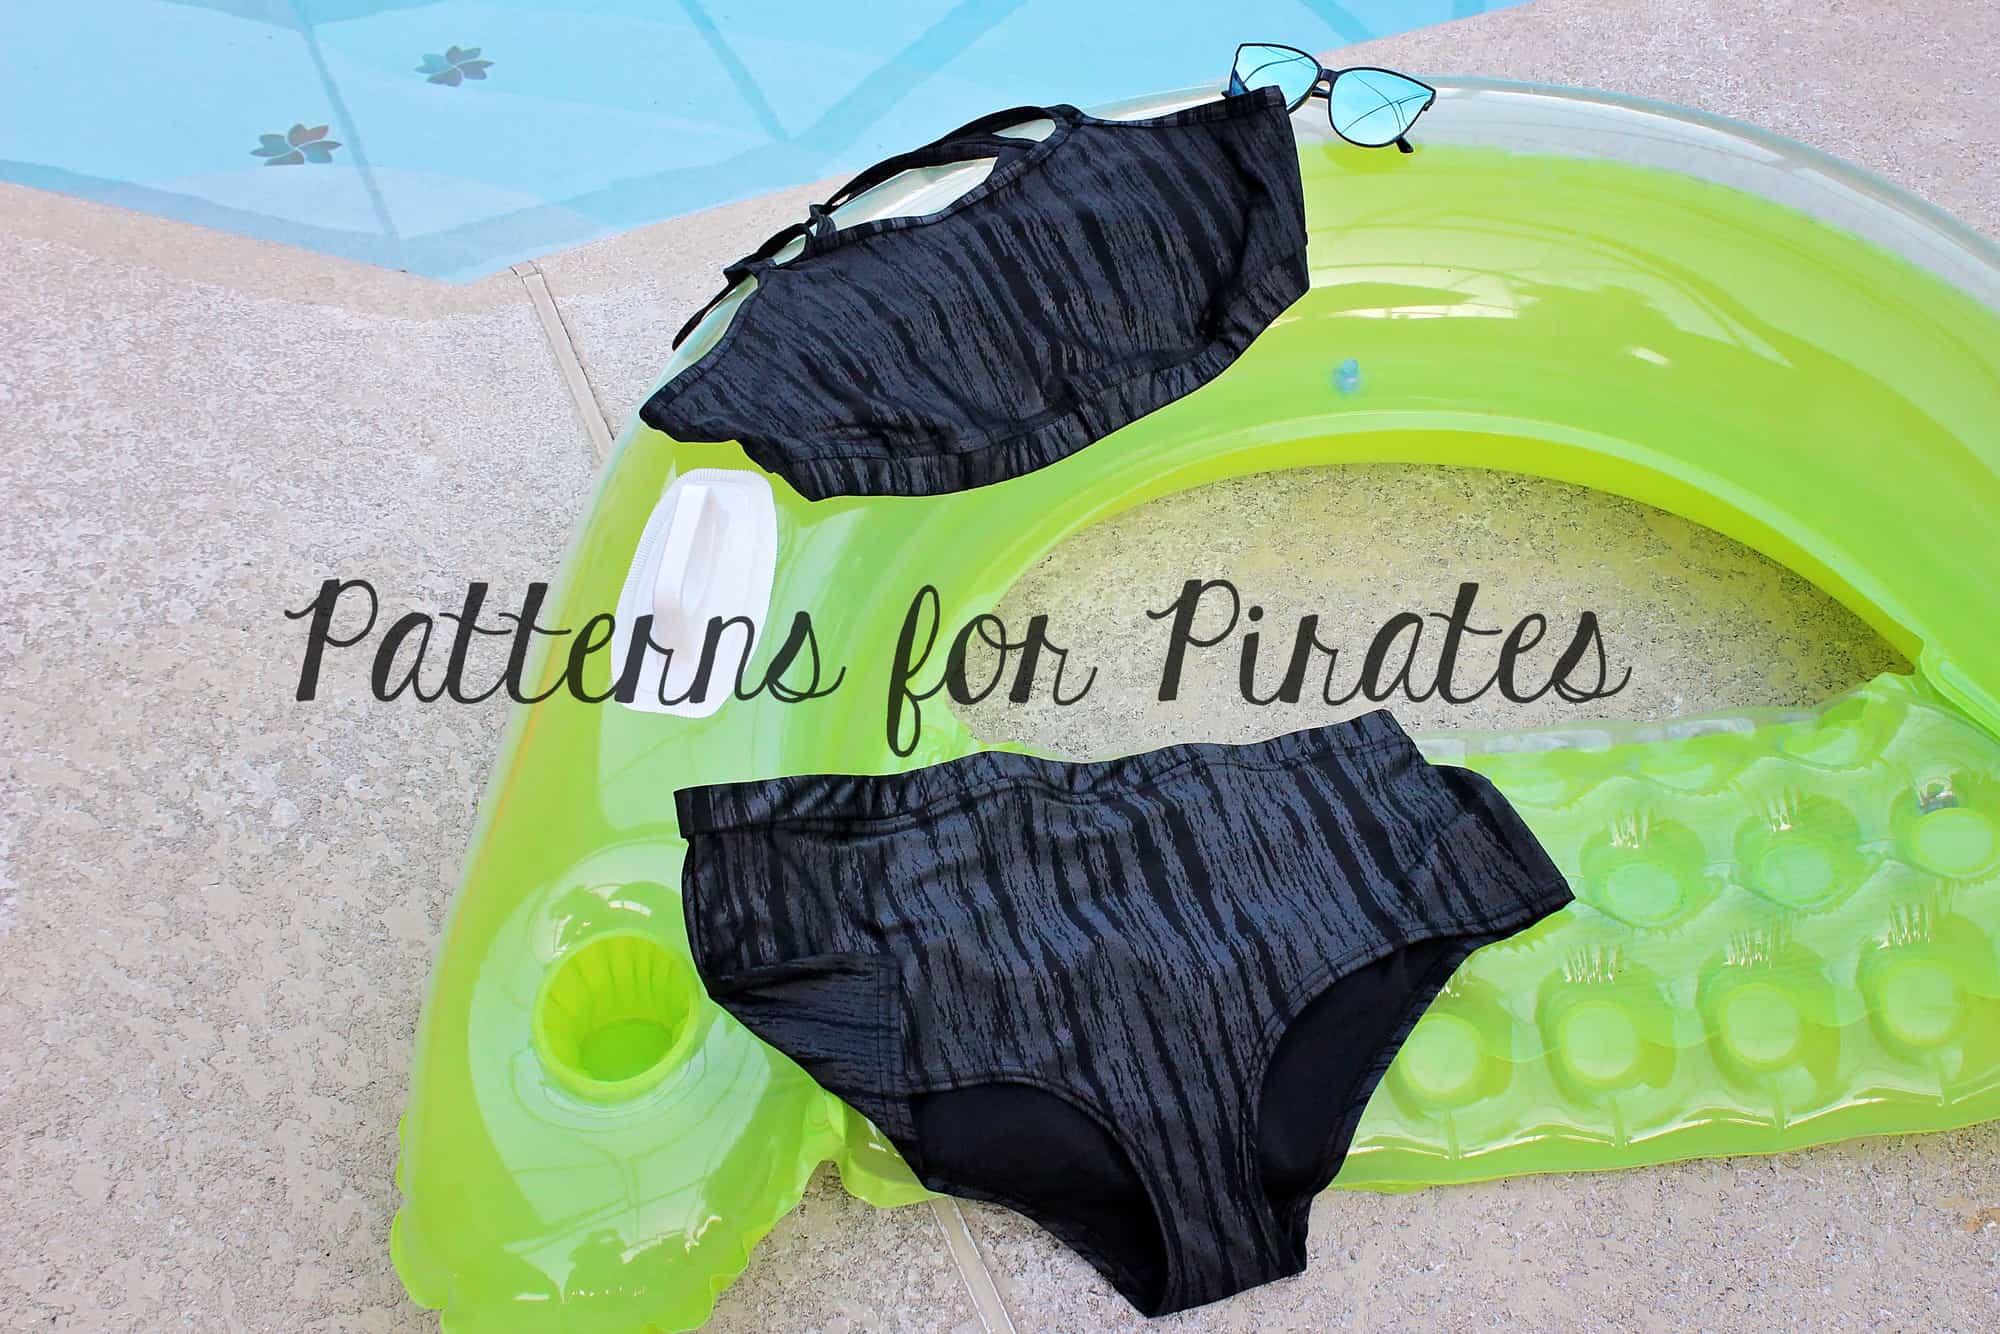
24/7 Tank Hack
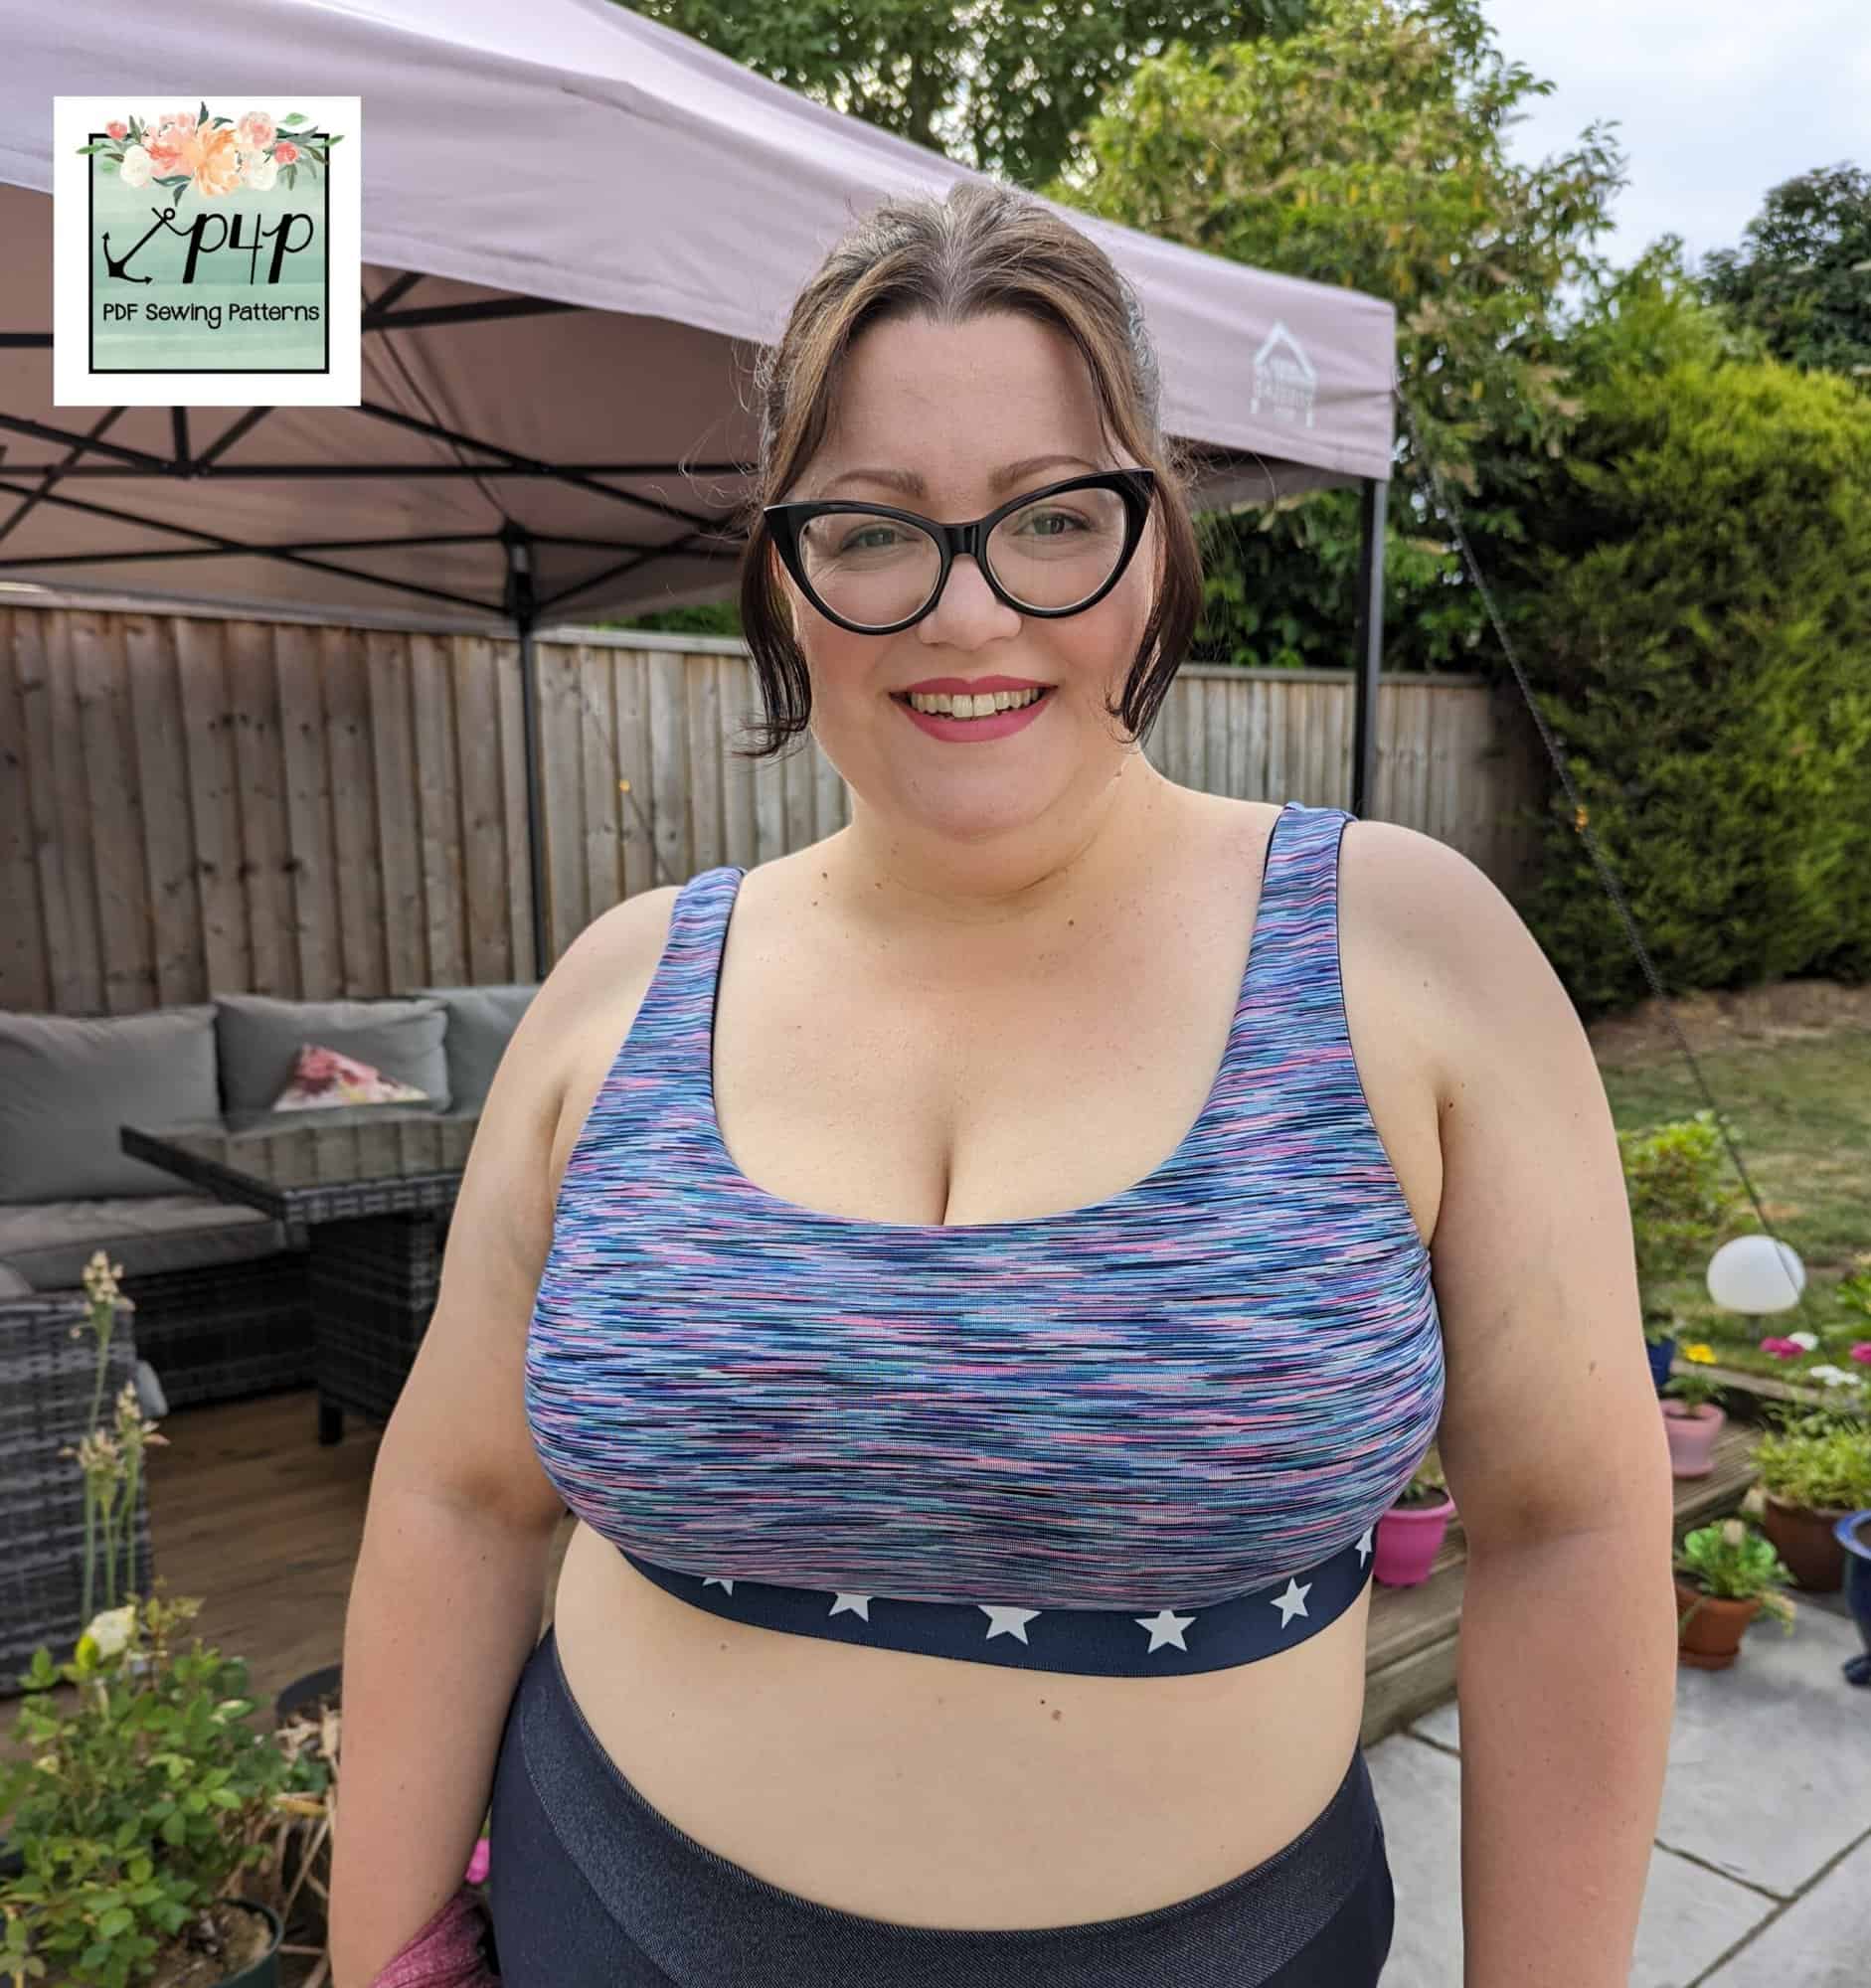
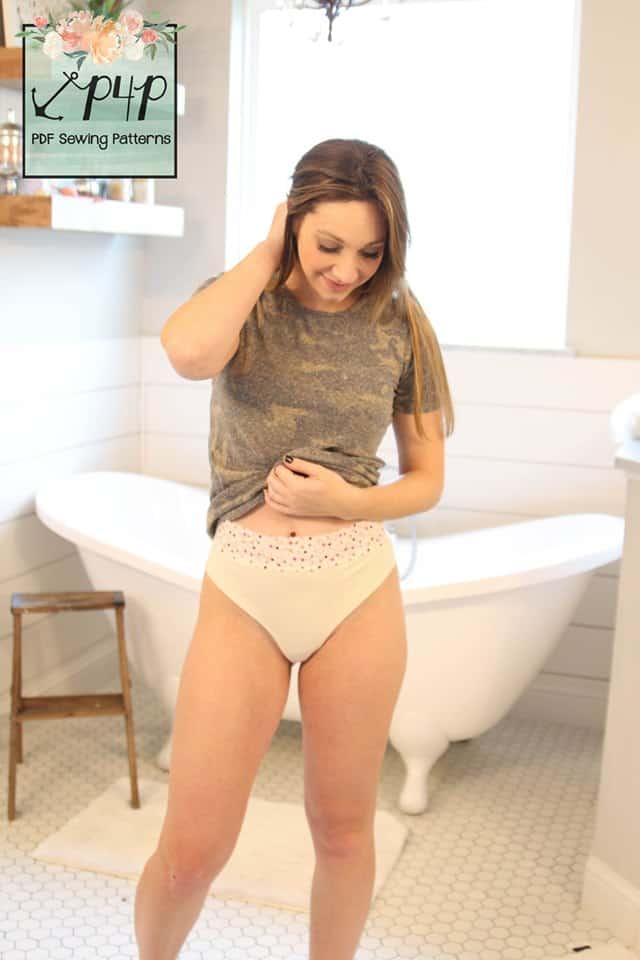
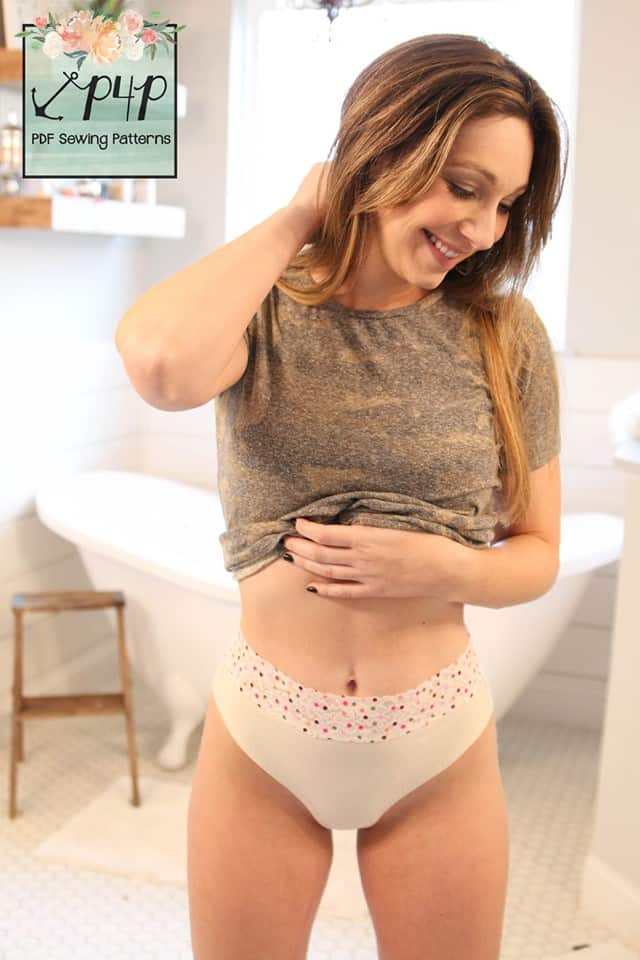
If there is something I am always looking for a little bit more of in life, it’s comfort! I started making all my own bras a few years ago, and a soft and comfortable knit bra pattern is something I just love. When we made the 24/7 Tank in testing I couldn’t get enough of the integral bra with it, and knew I had to hack it to make the perfect everyday undies for me too.
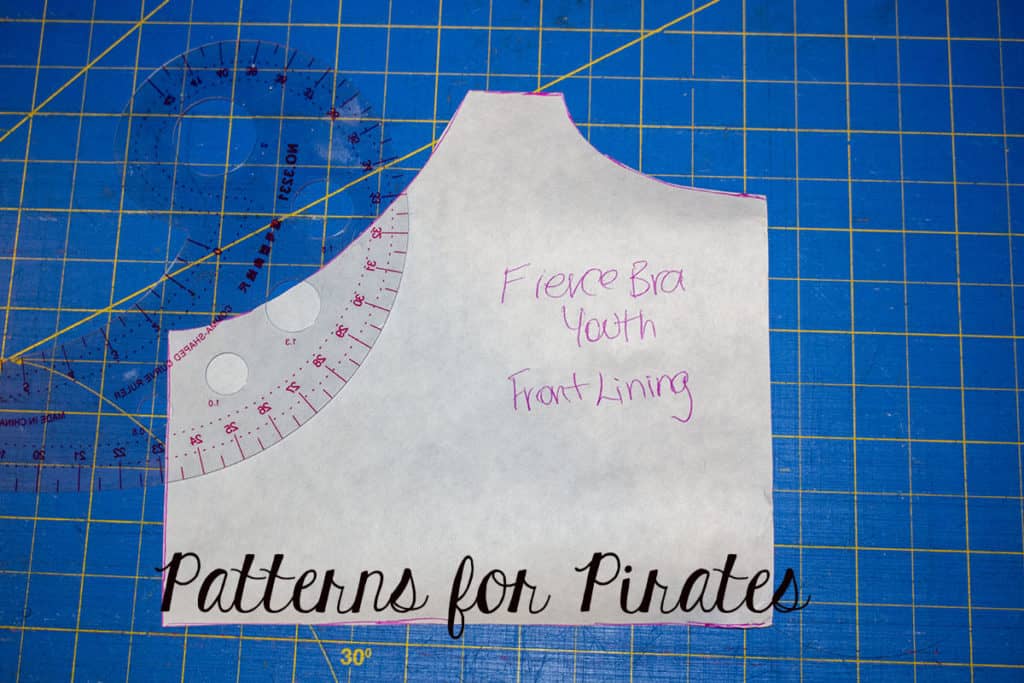
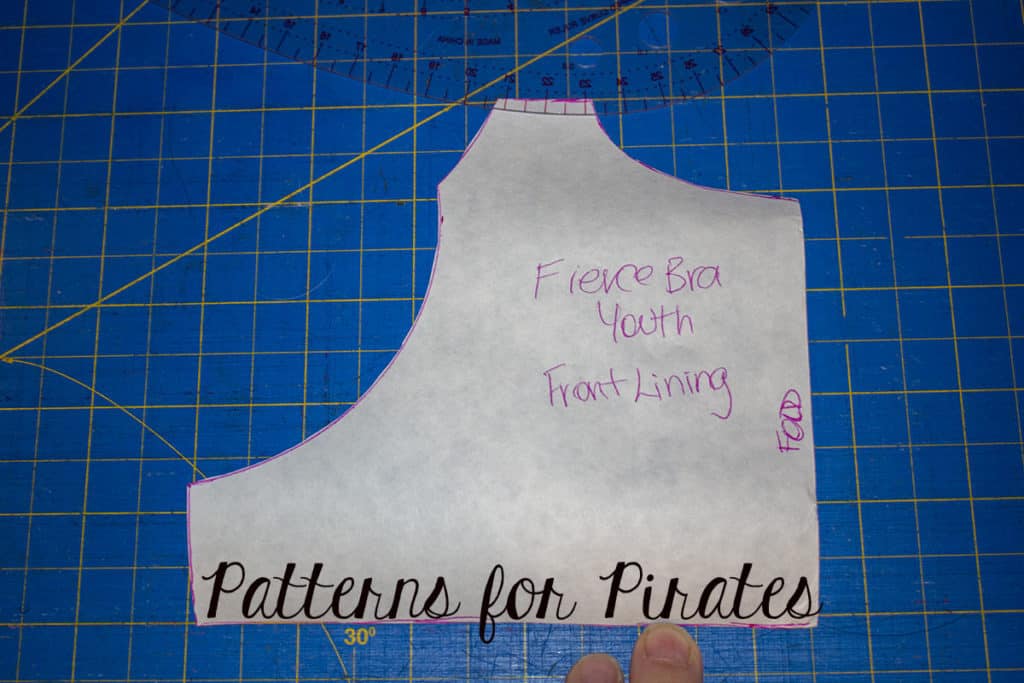
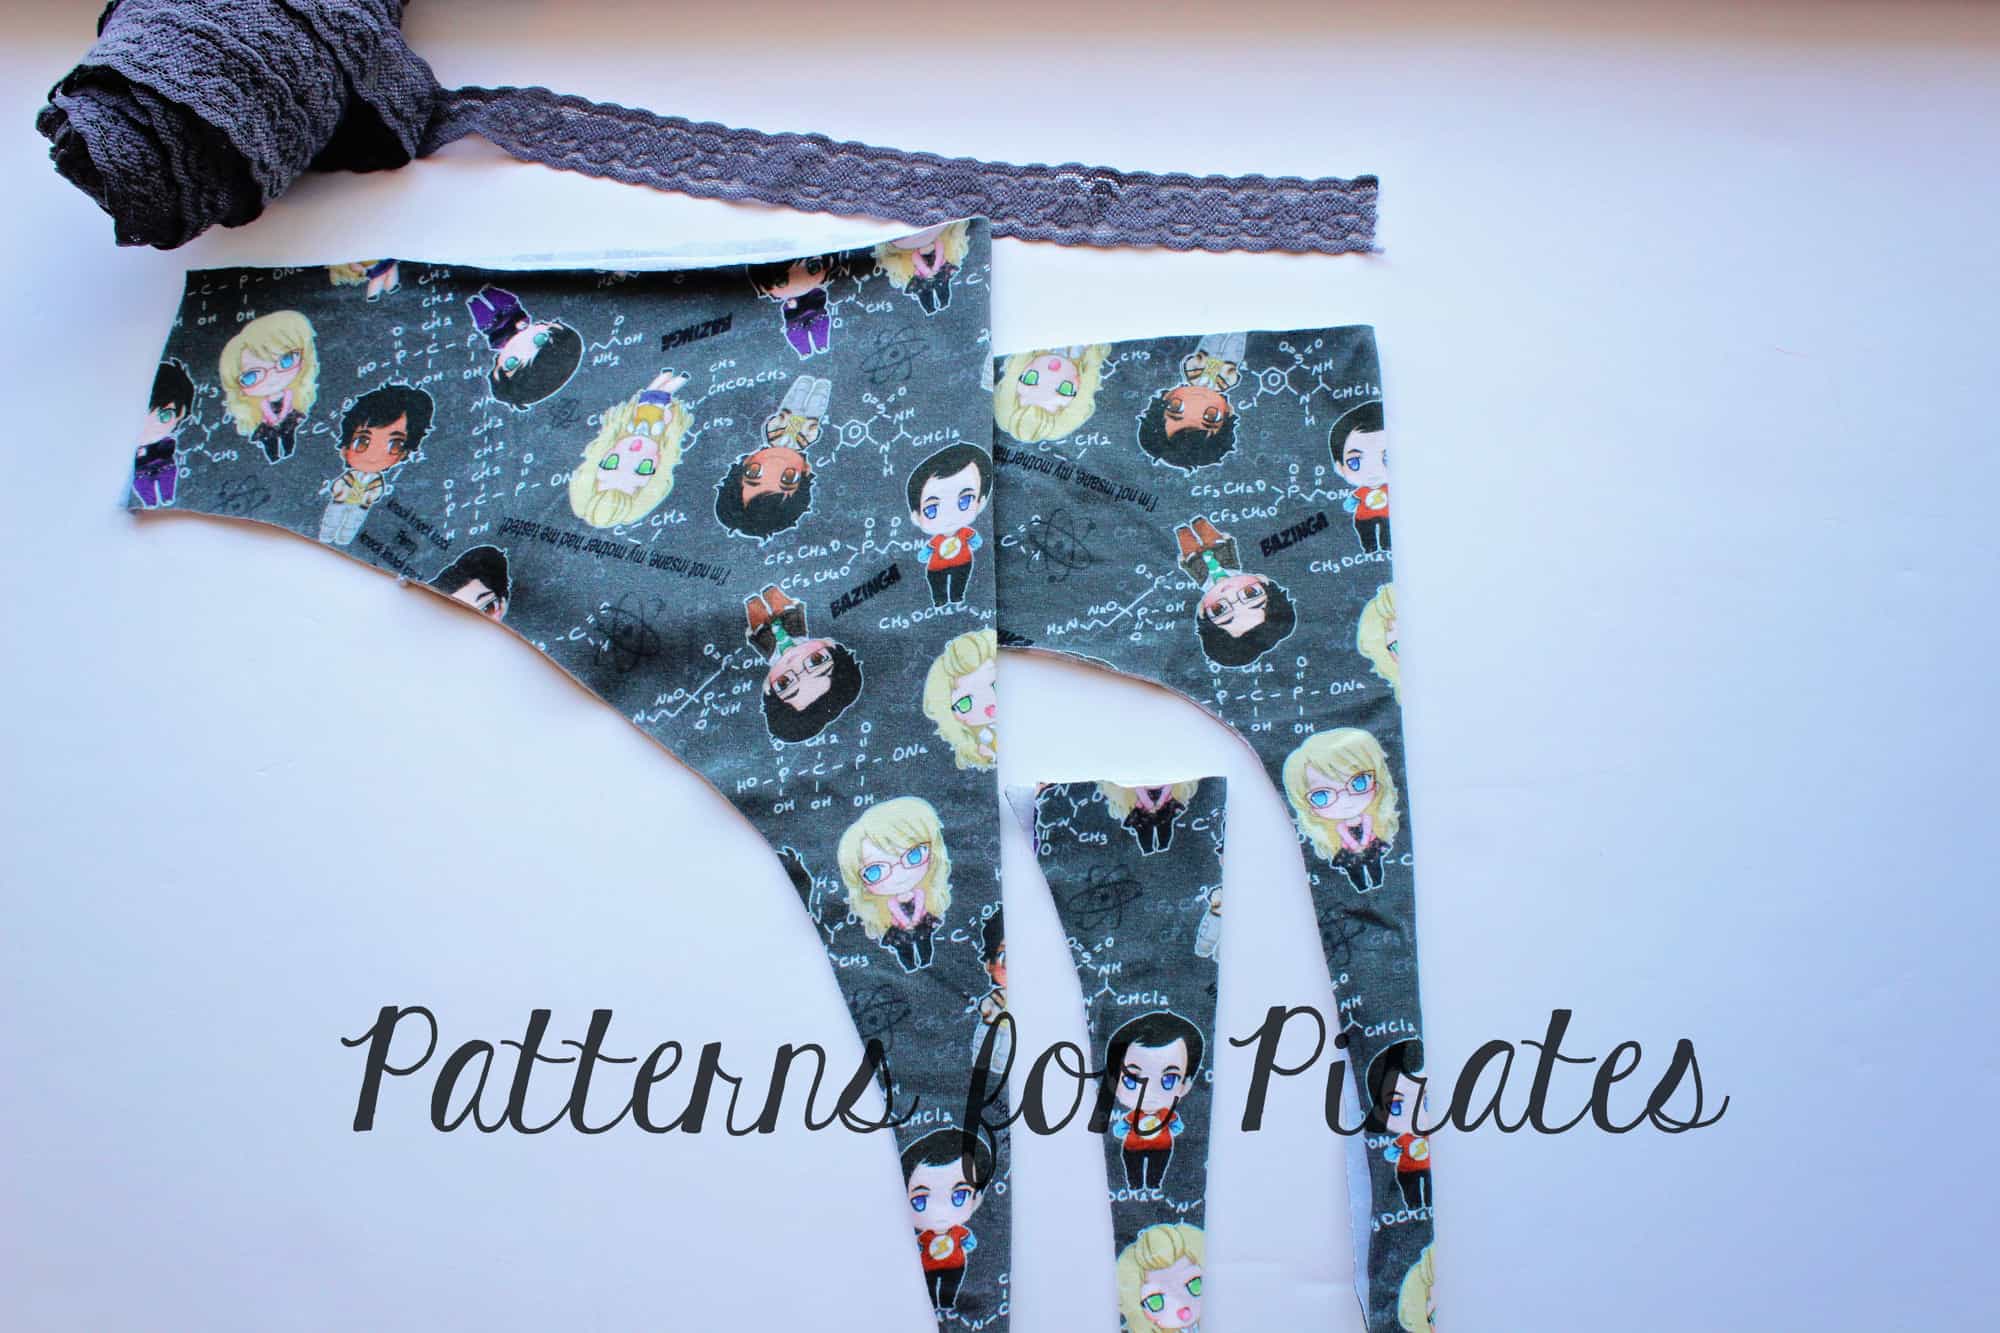
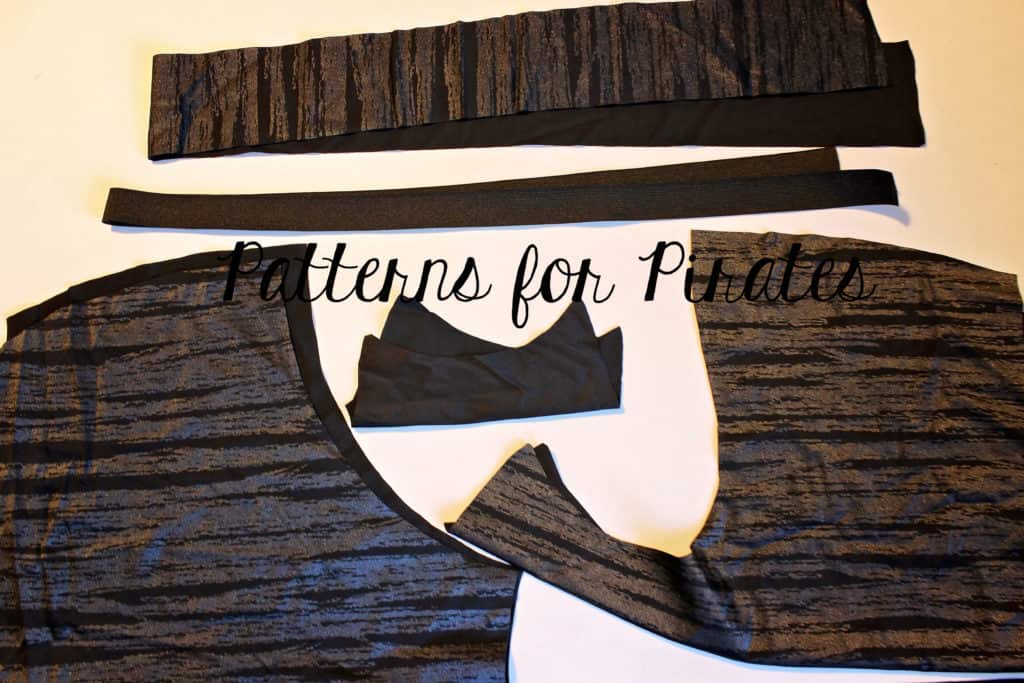
I used a lovely athletic jersey fabric from Crafty Baba, here in the UK, with a 95/5 cotton lycra from my lining. You need a stable fabric with good stretch and great recovery. This honestly couldn’t be much easier to do. I started by tracing the bra pieces from the 24/7 Tank pattern, and then added 1/4″ seam allowance onto the neckline and armscye curves of both the front and back bra pattern pieces. In my pictures below, the original pattern is traced in black biro and the extra 1/4″ seam allowance is drawn in a permanent marker, to make it a little easier to see.
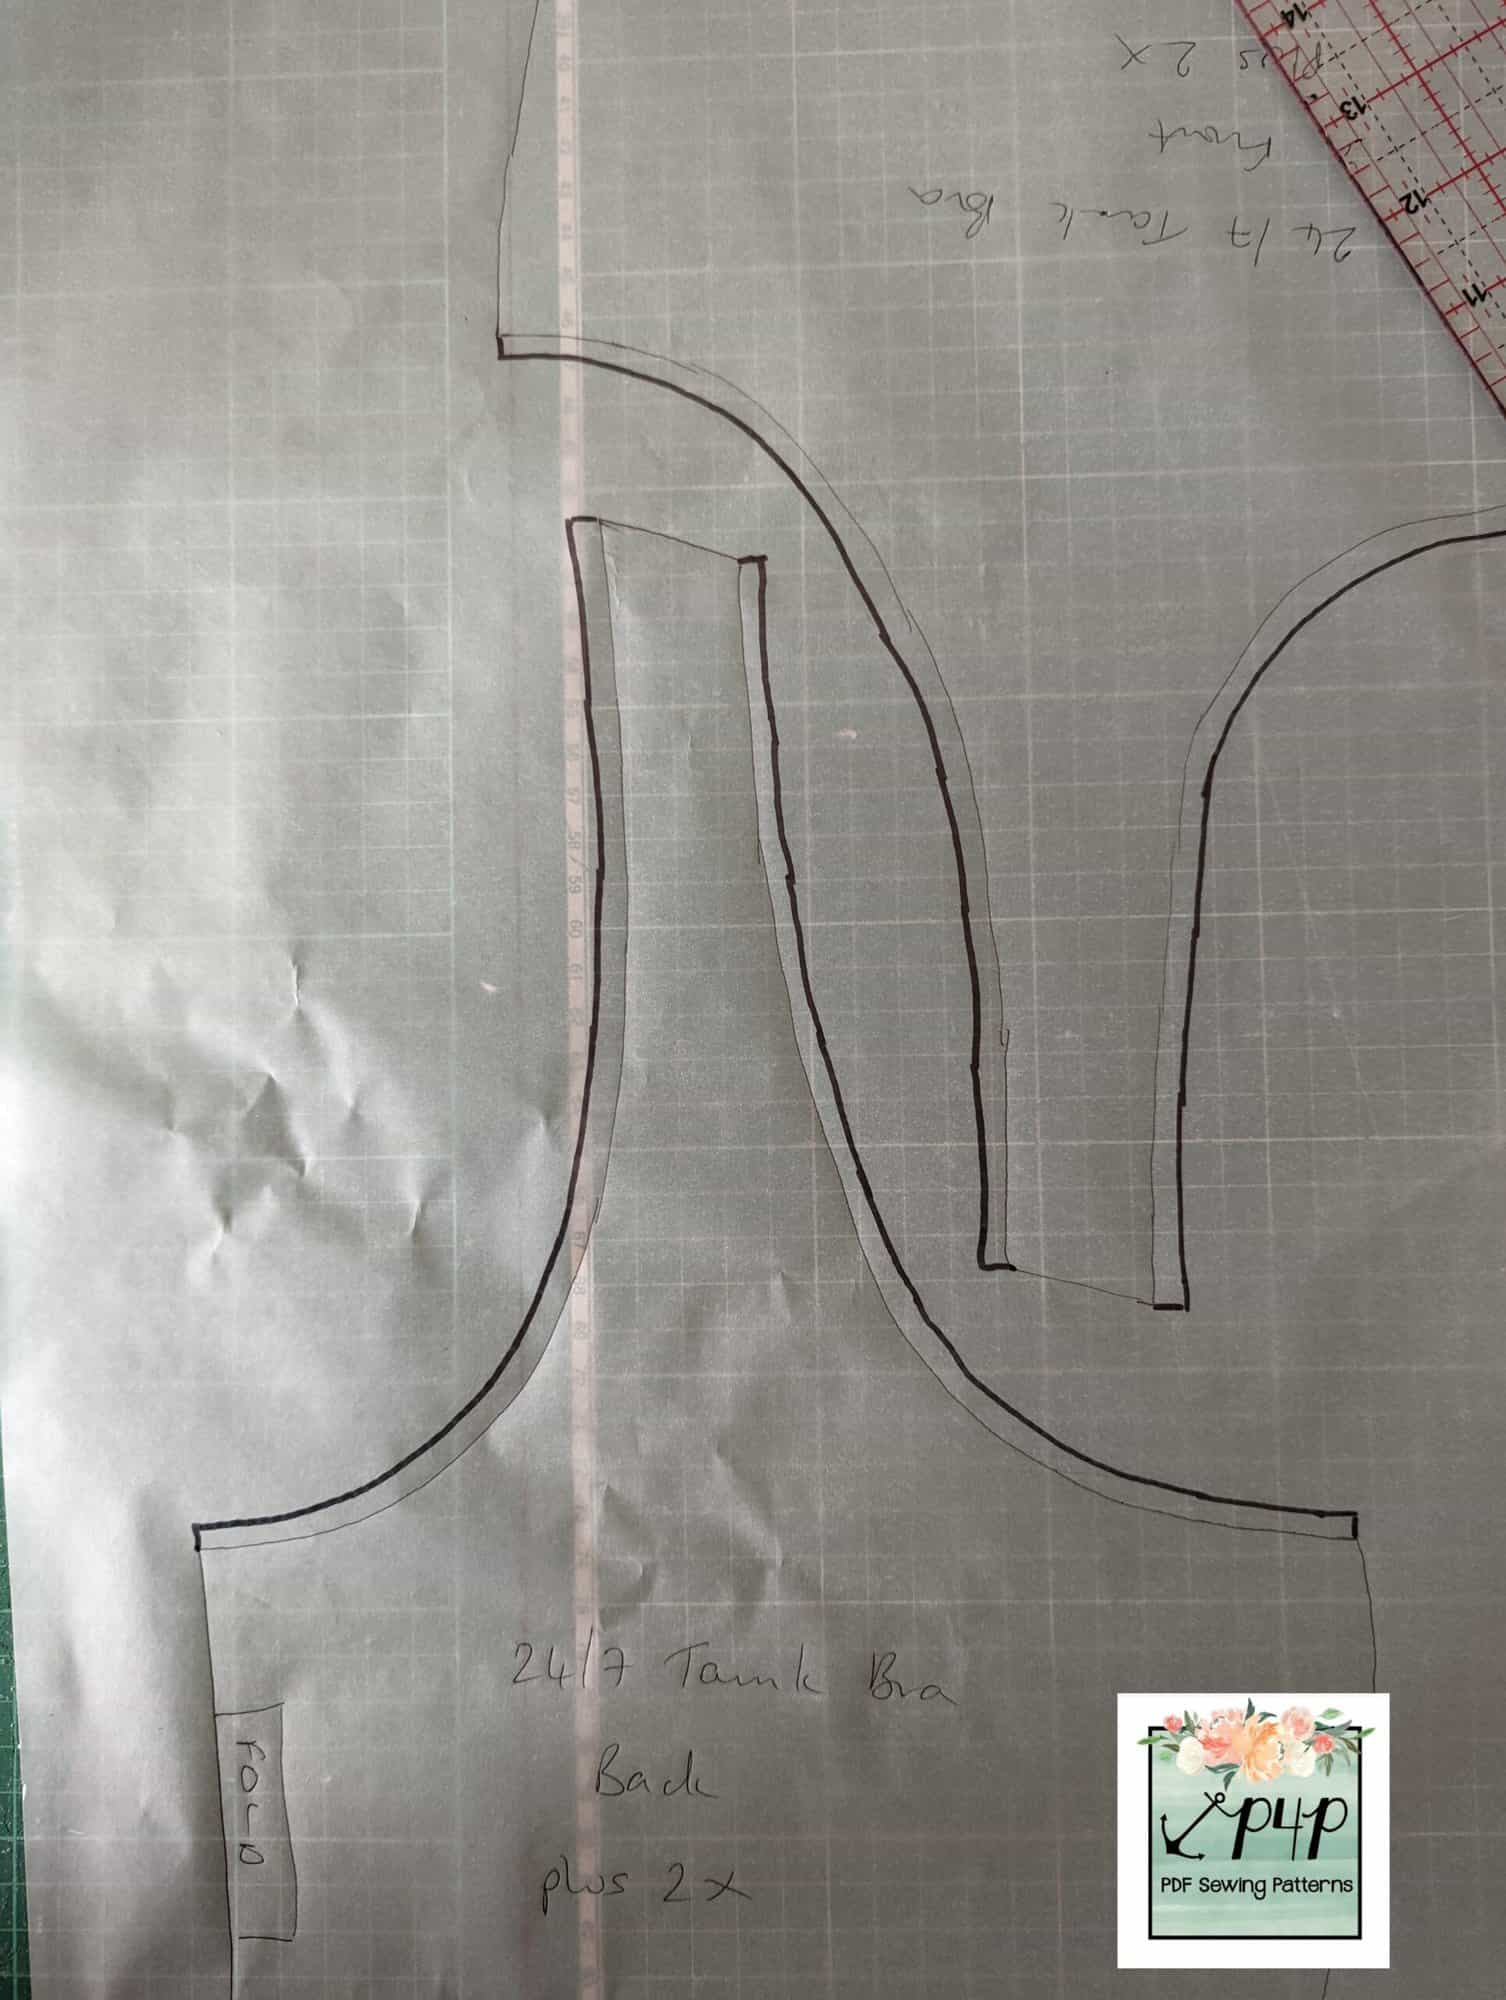
Then I cut out the following pieces:
FRONT
1 x Outer
1 x Lining
1 x Inner lining in powermesh (optional but gives better support)
BACK
1 x Outer
1 x Lining
1 x Inner lining in powermesh
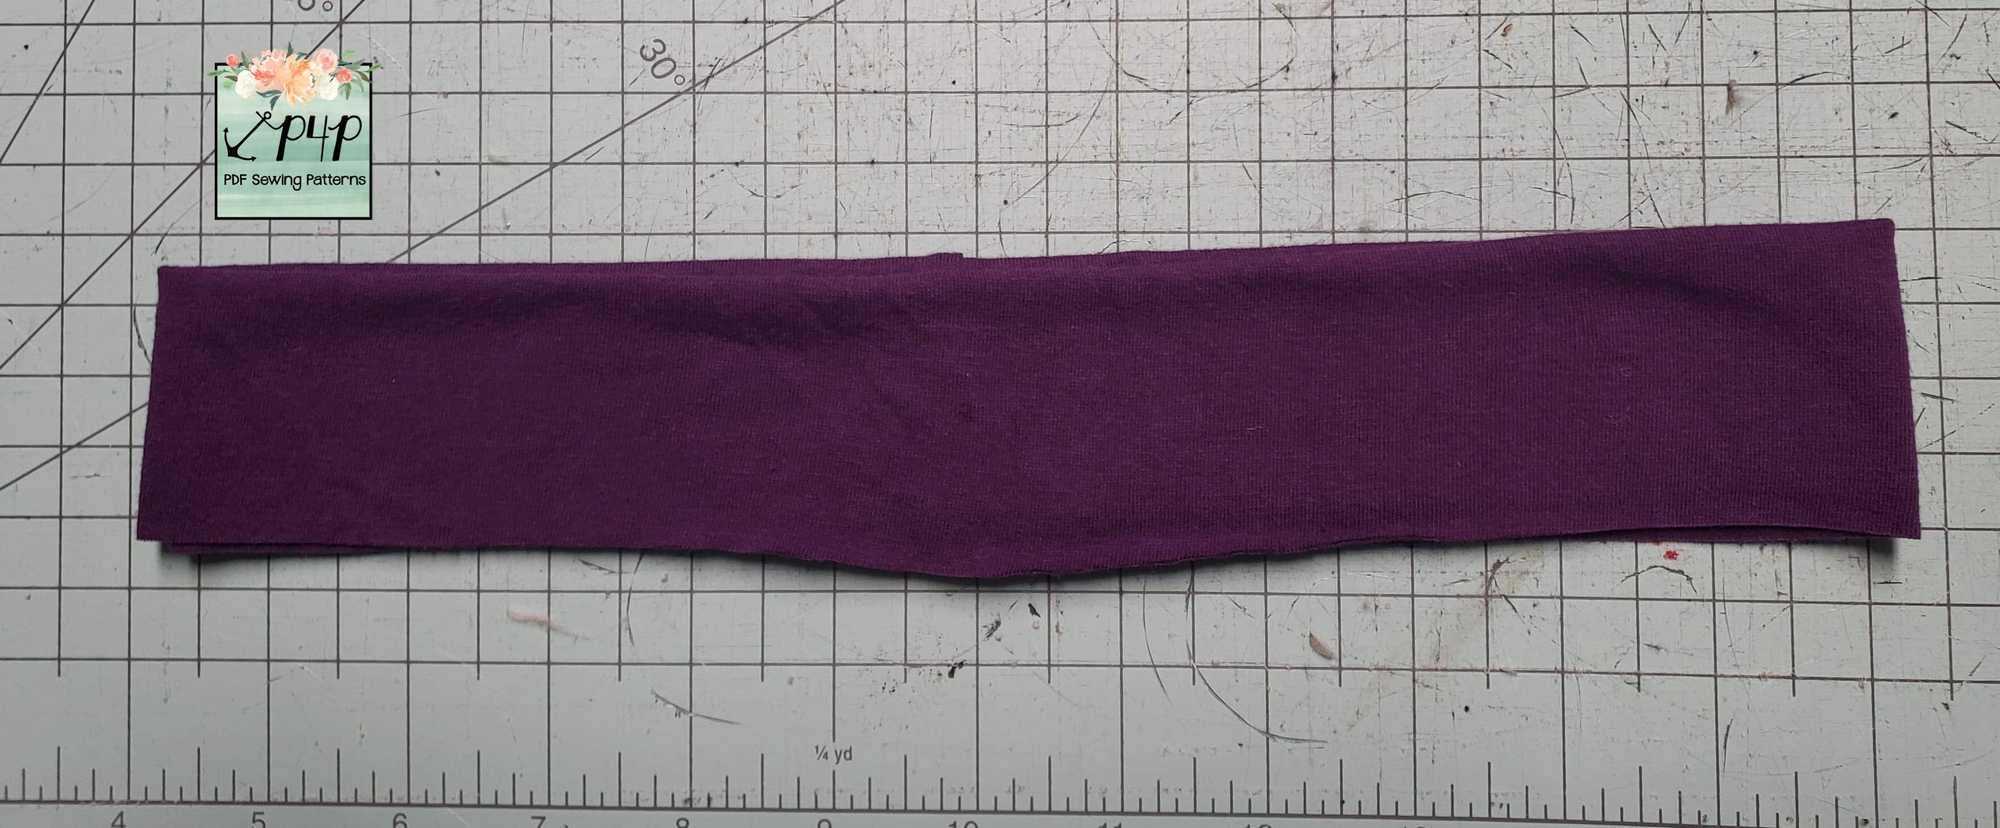
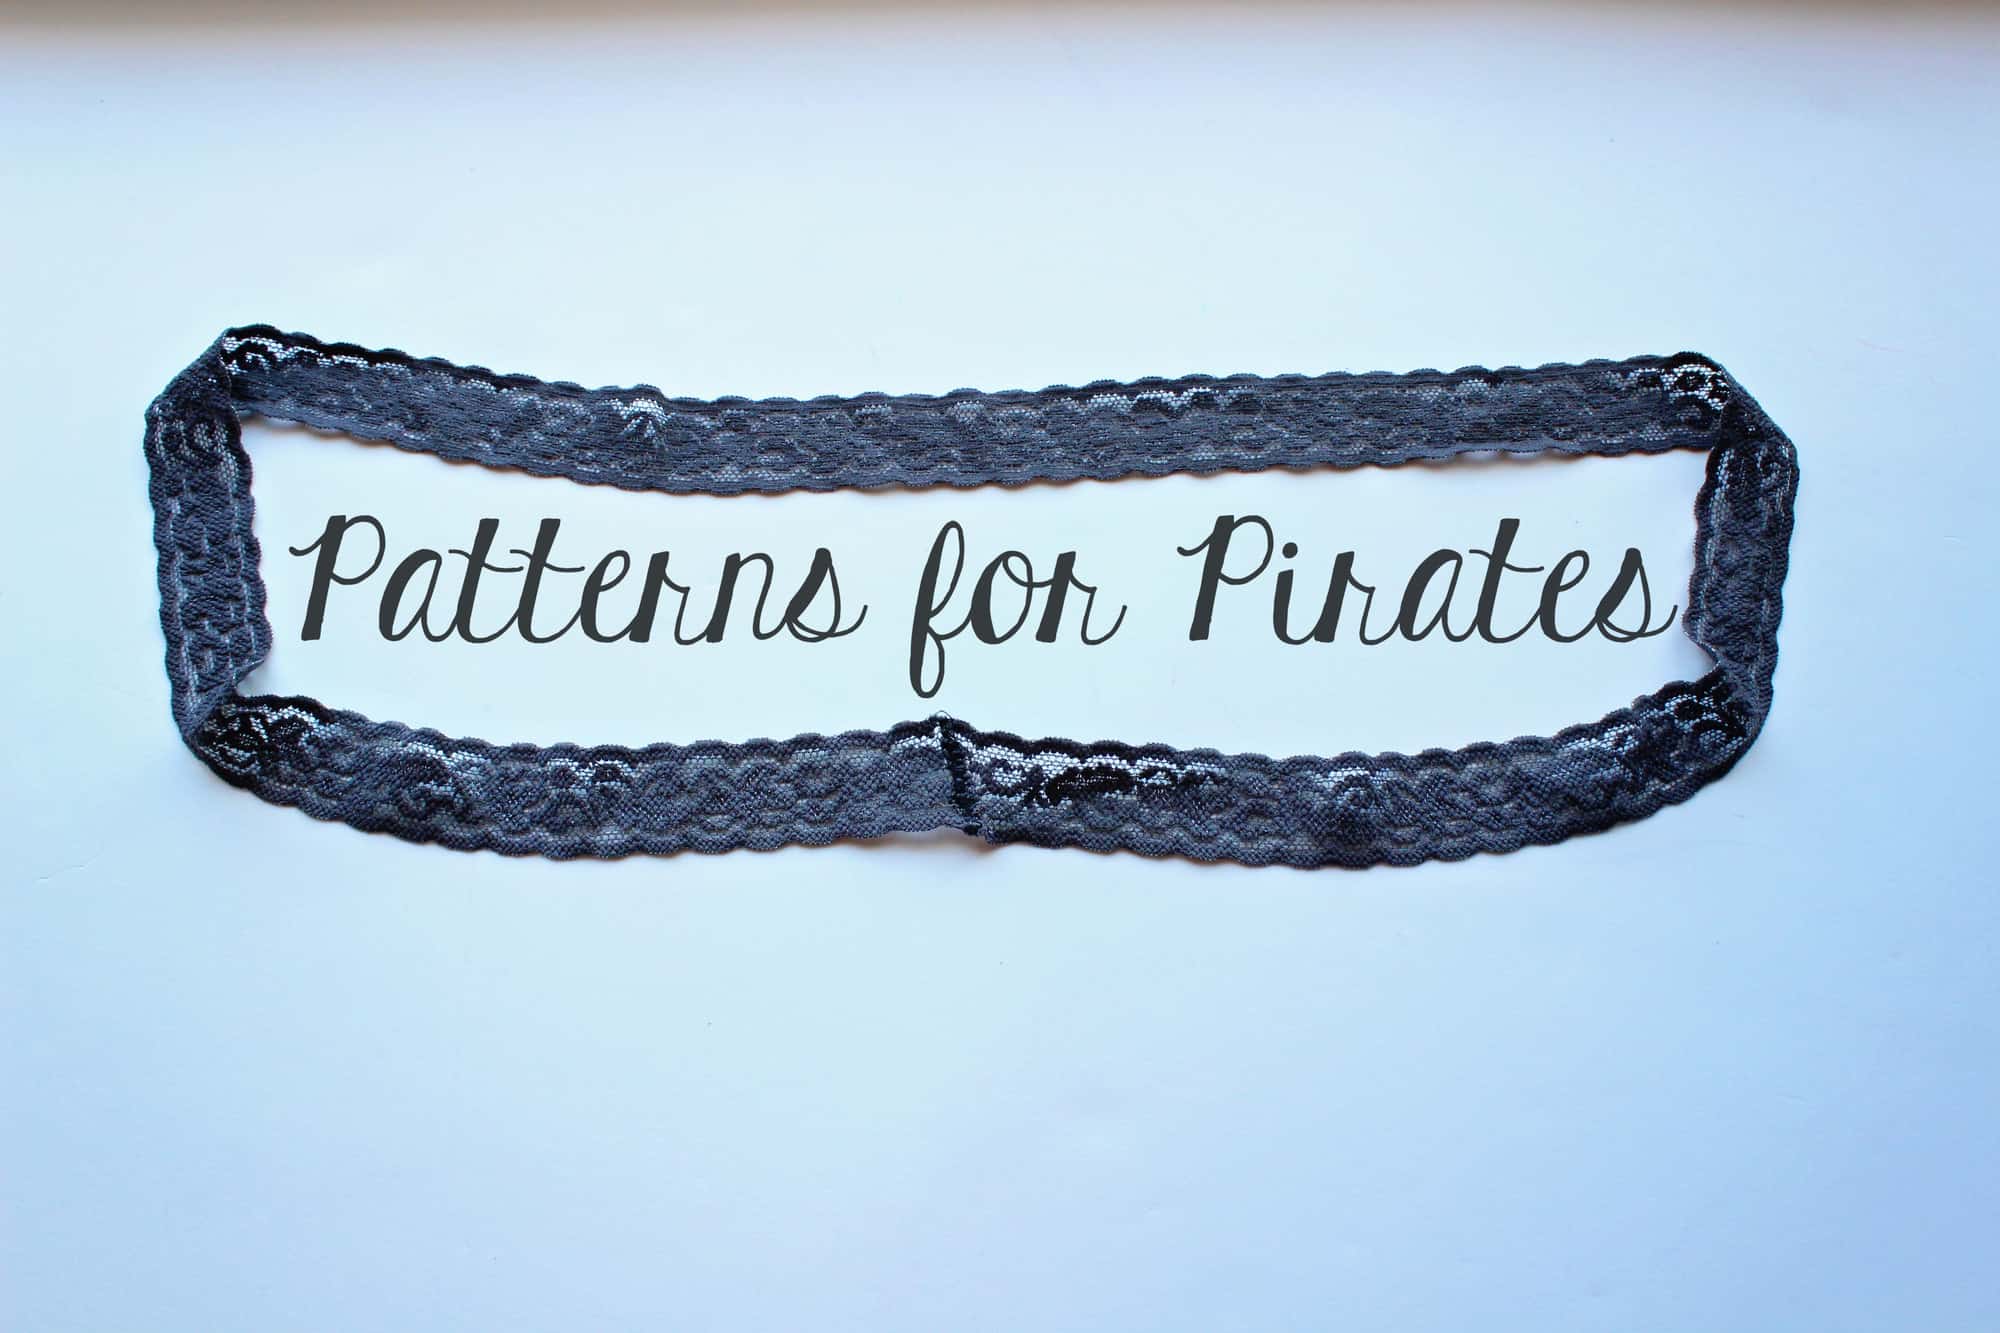
ELASTIC
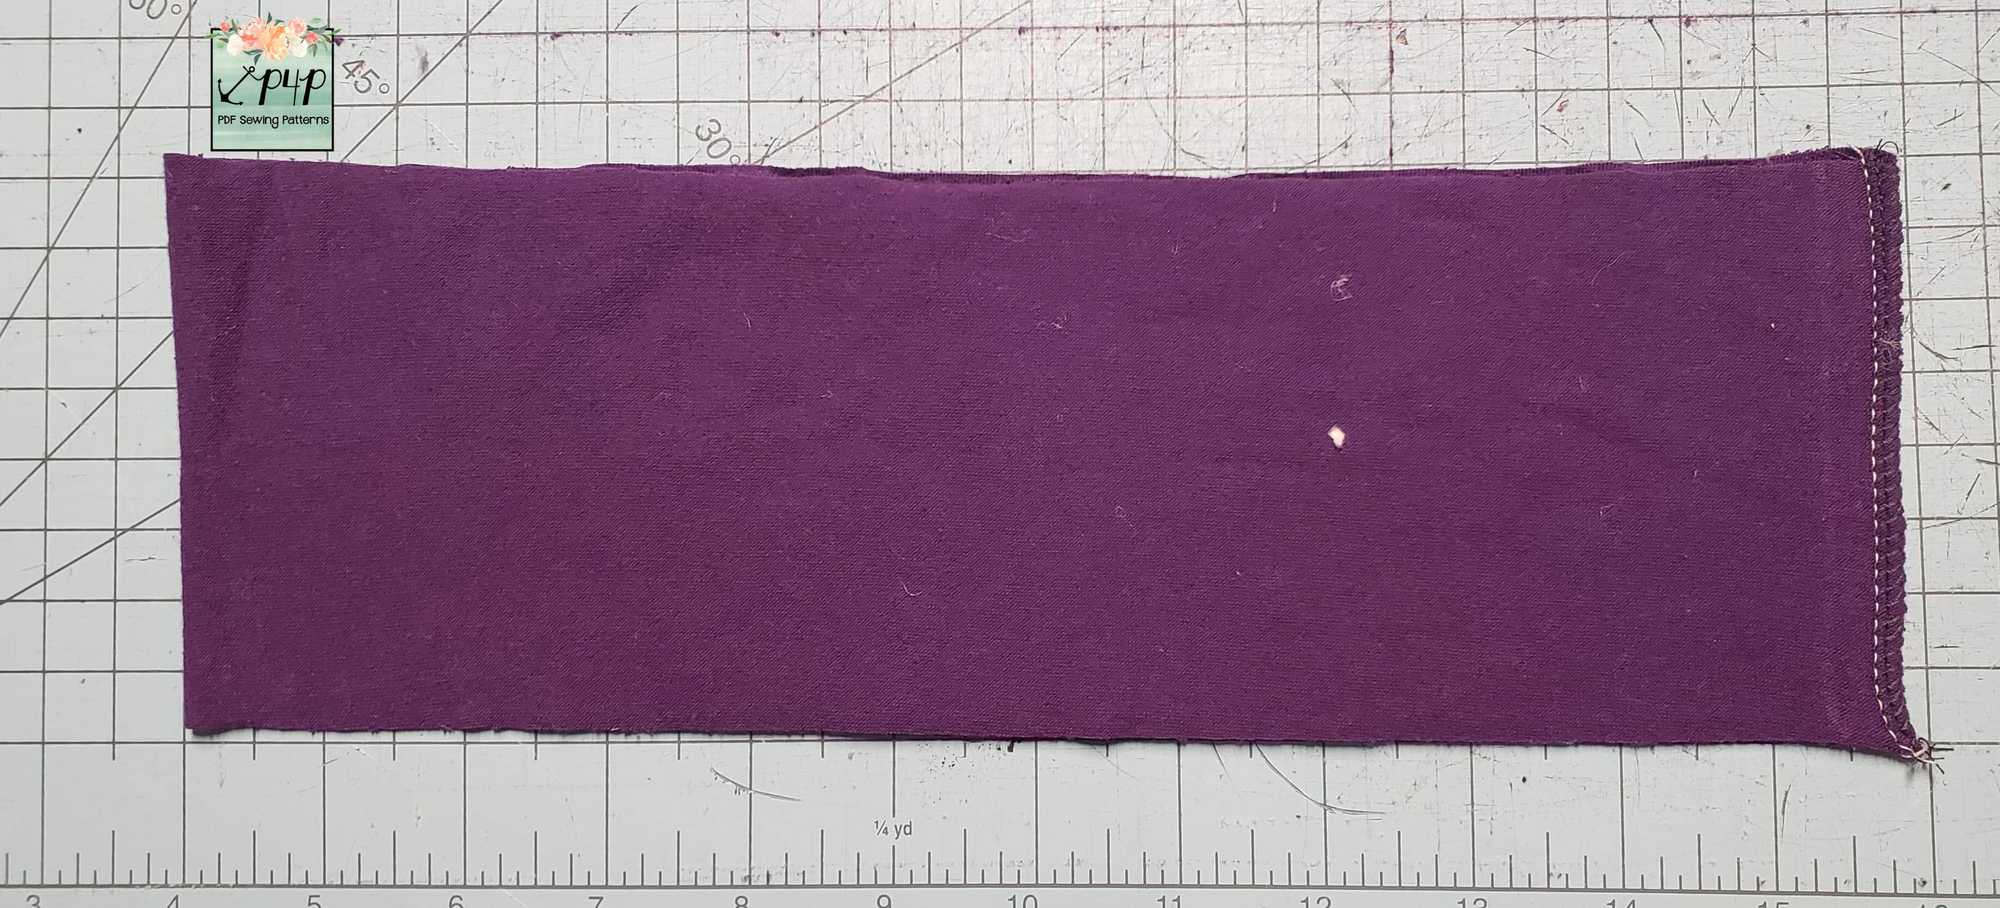
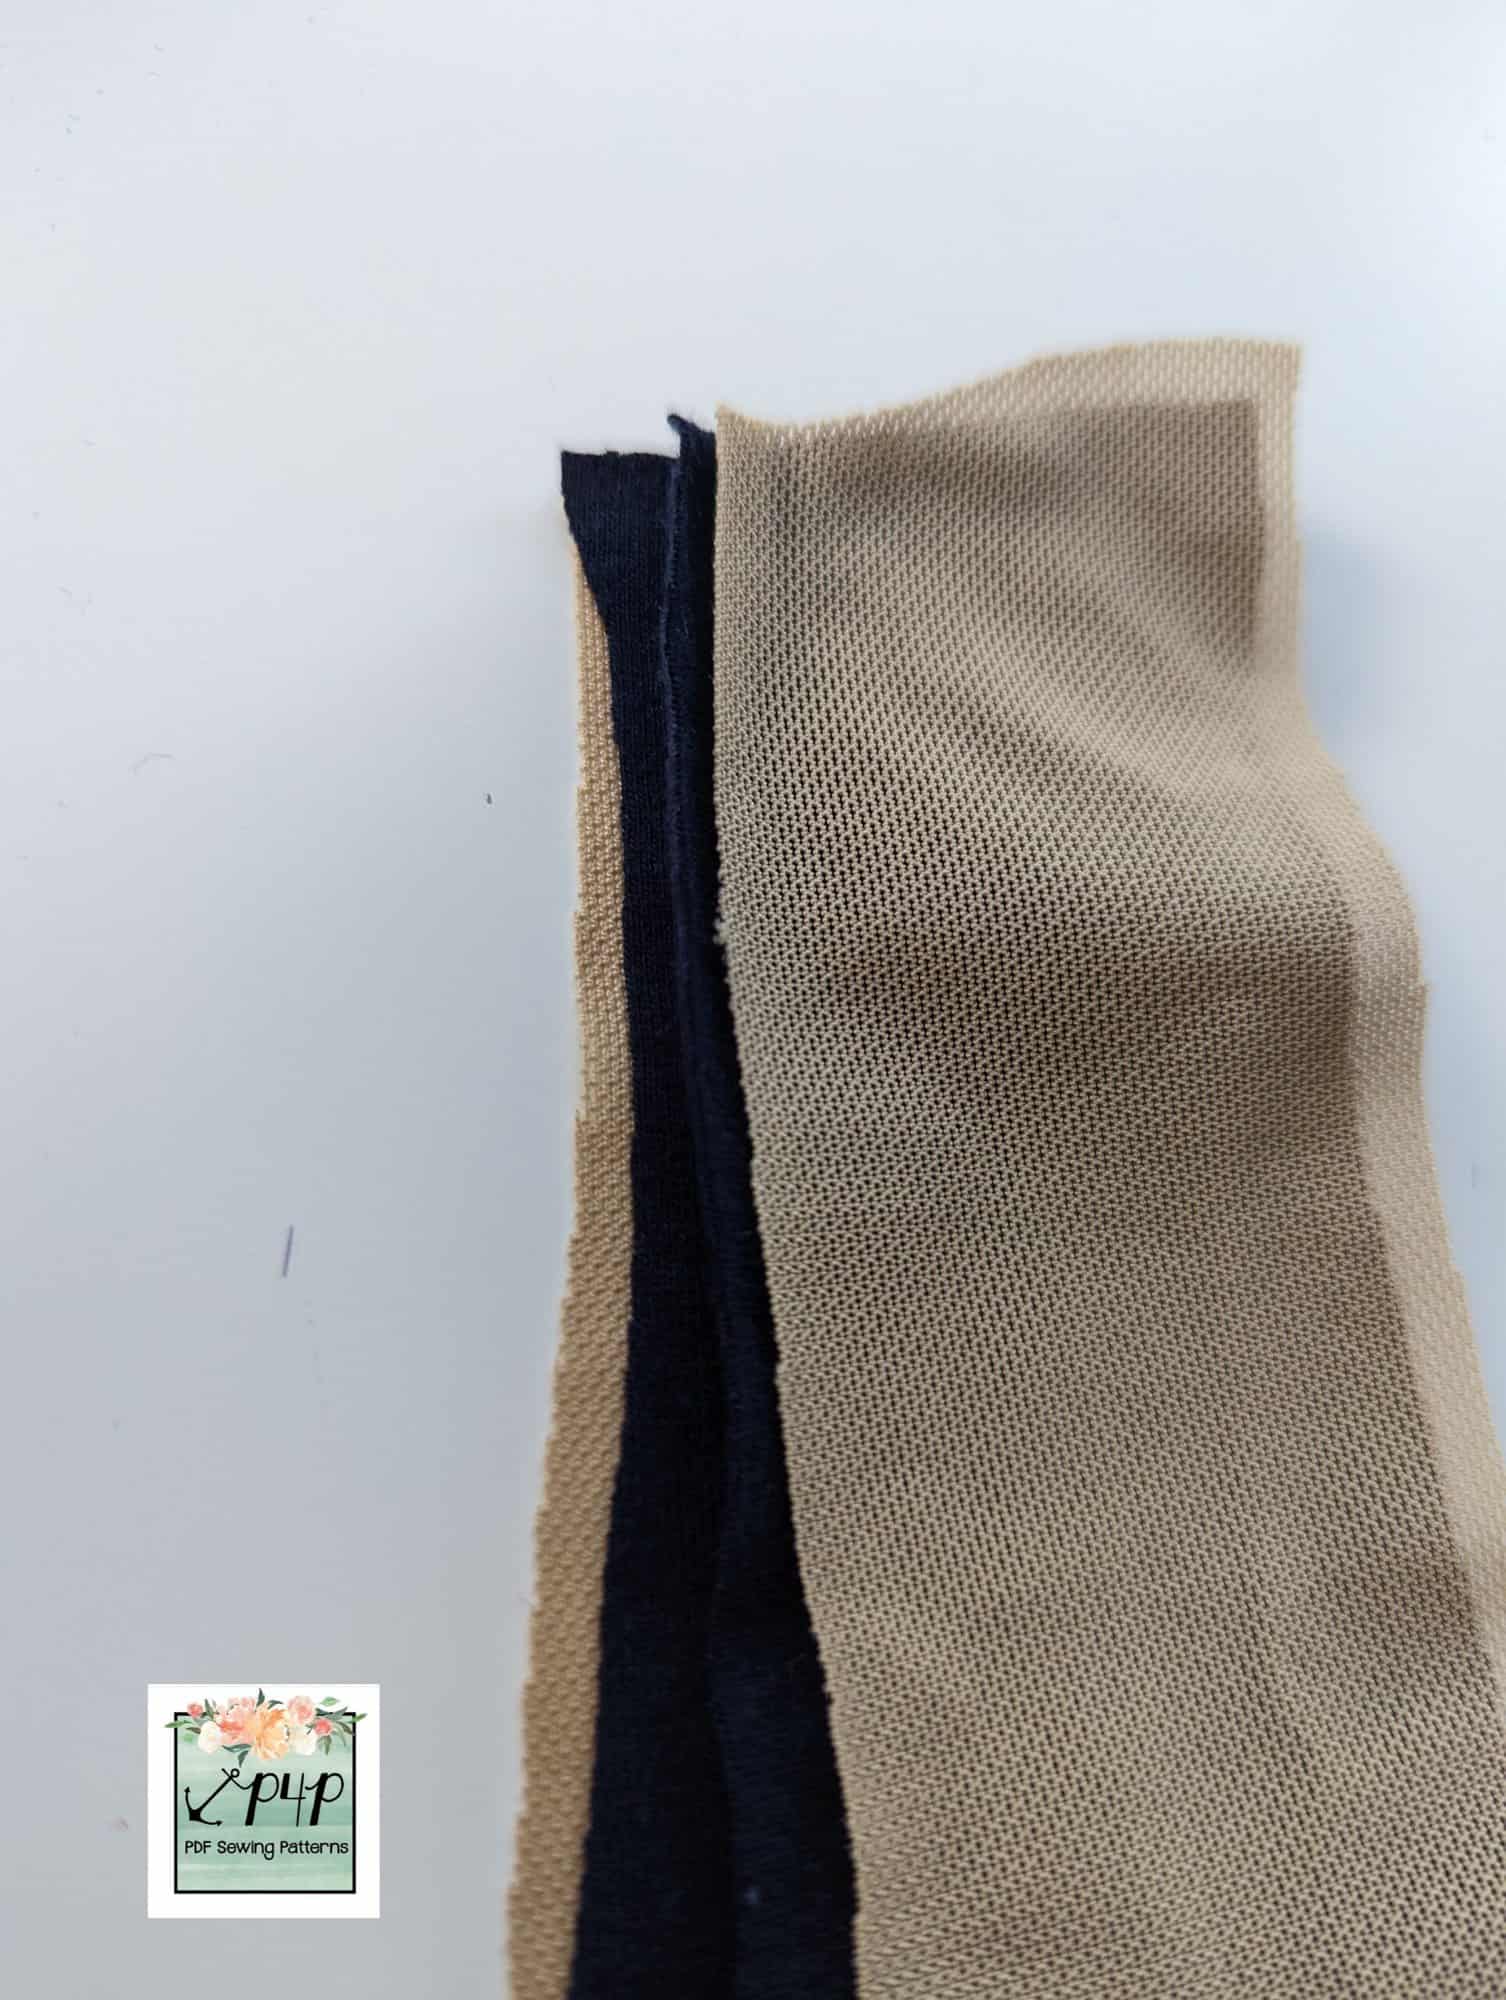
1 x under bust elastic cut to measurements provided in pattern.

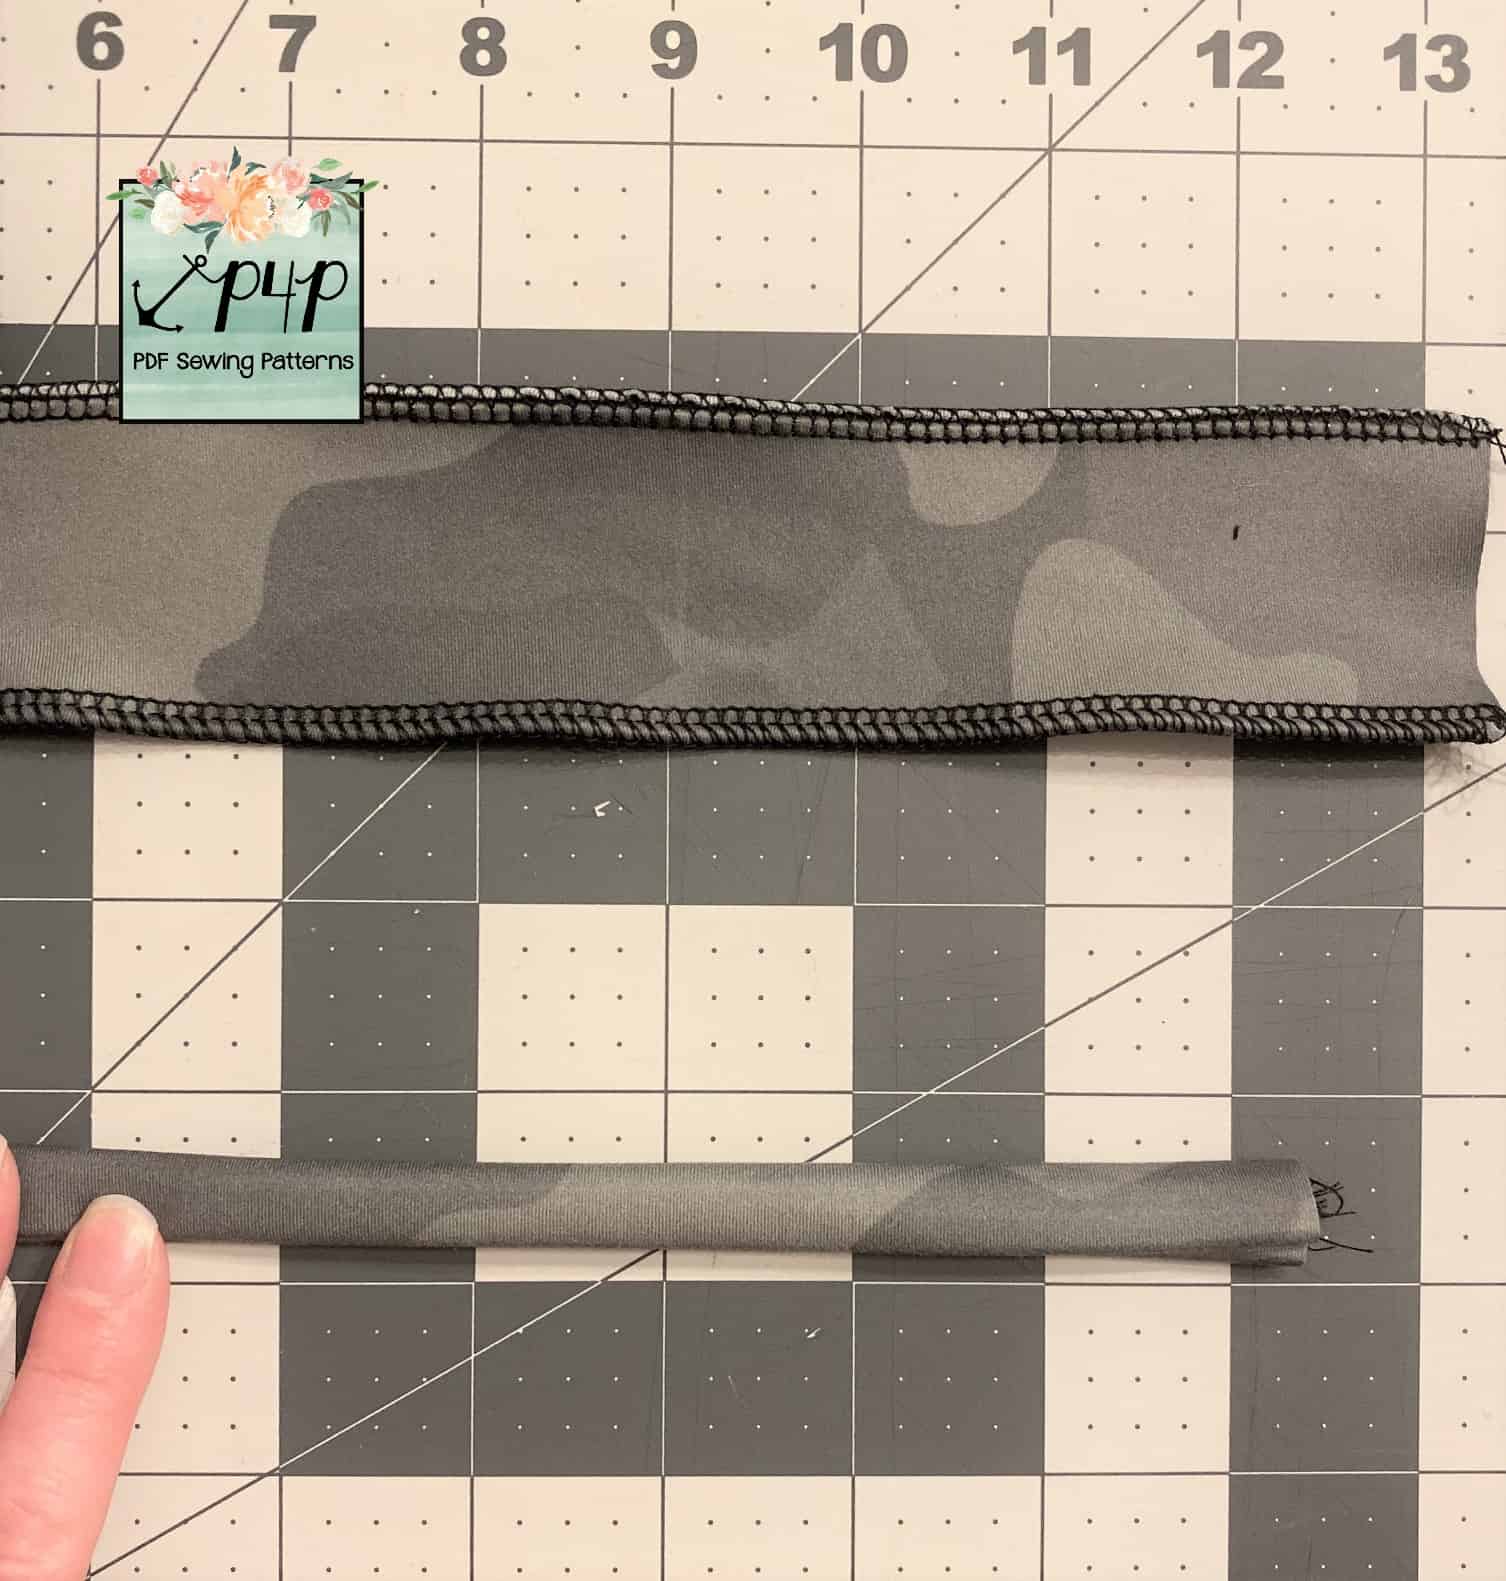
Sew your outer fabric together at the shoulder seams, right sides together using your regular 1/2″ seam allowance.
Optionally, for your lining you can baste the inner lining to the wrong sides of the lining fabric before you sew the shoulder seams together, this helps make sure everything gets layered together properly. I didn’t in this example as I was comfortable handling everything without but it’s easy to get confused.
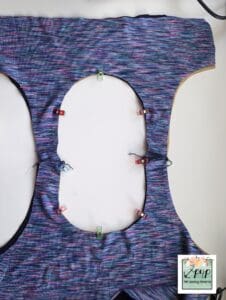
Then sew your lining together at the shoulder seams, right sides together. Your fabric should be layered as such: back inner lining power mesh, back lining right sides up, front lining right sides down, front inner lining power mesh.
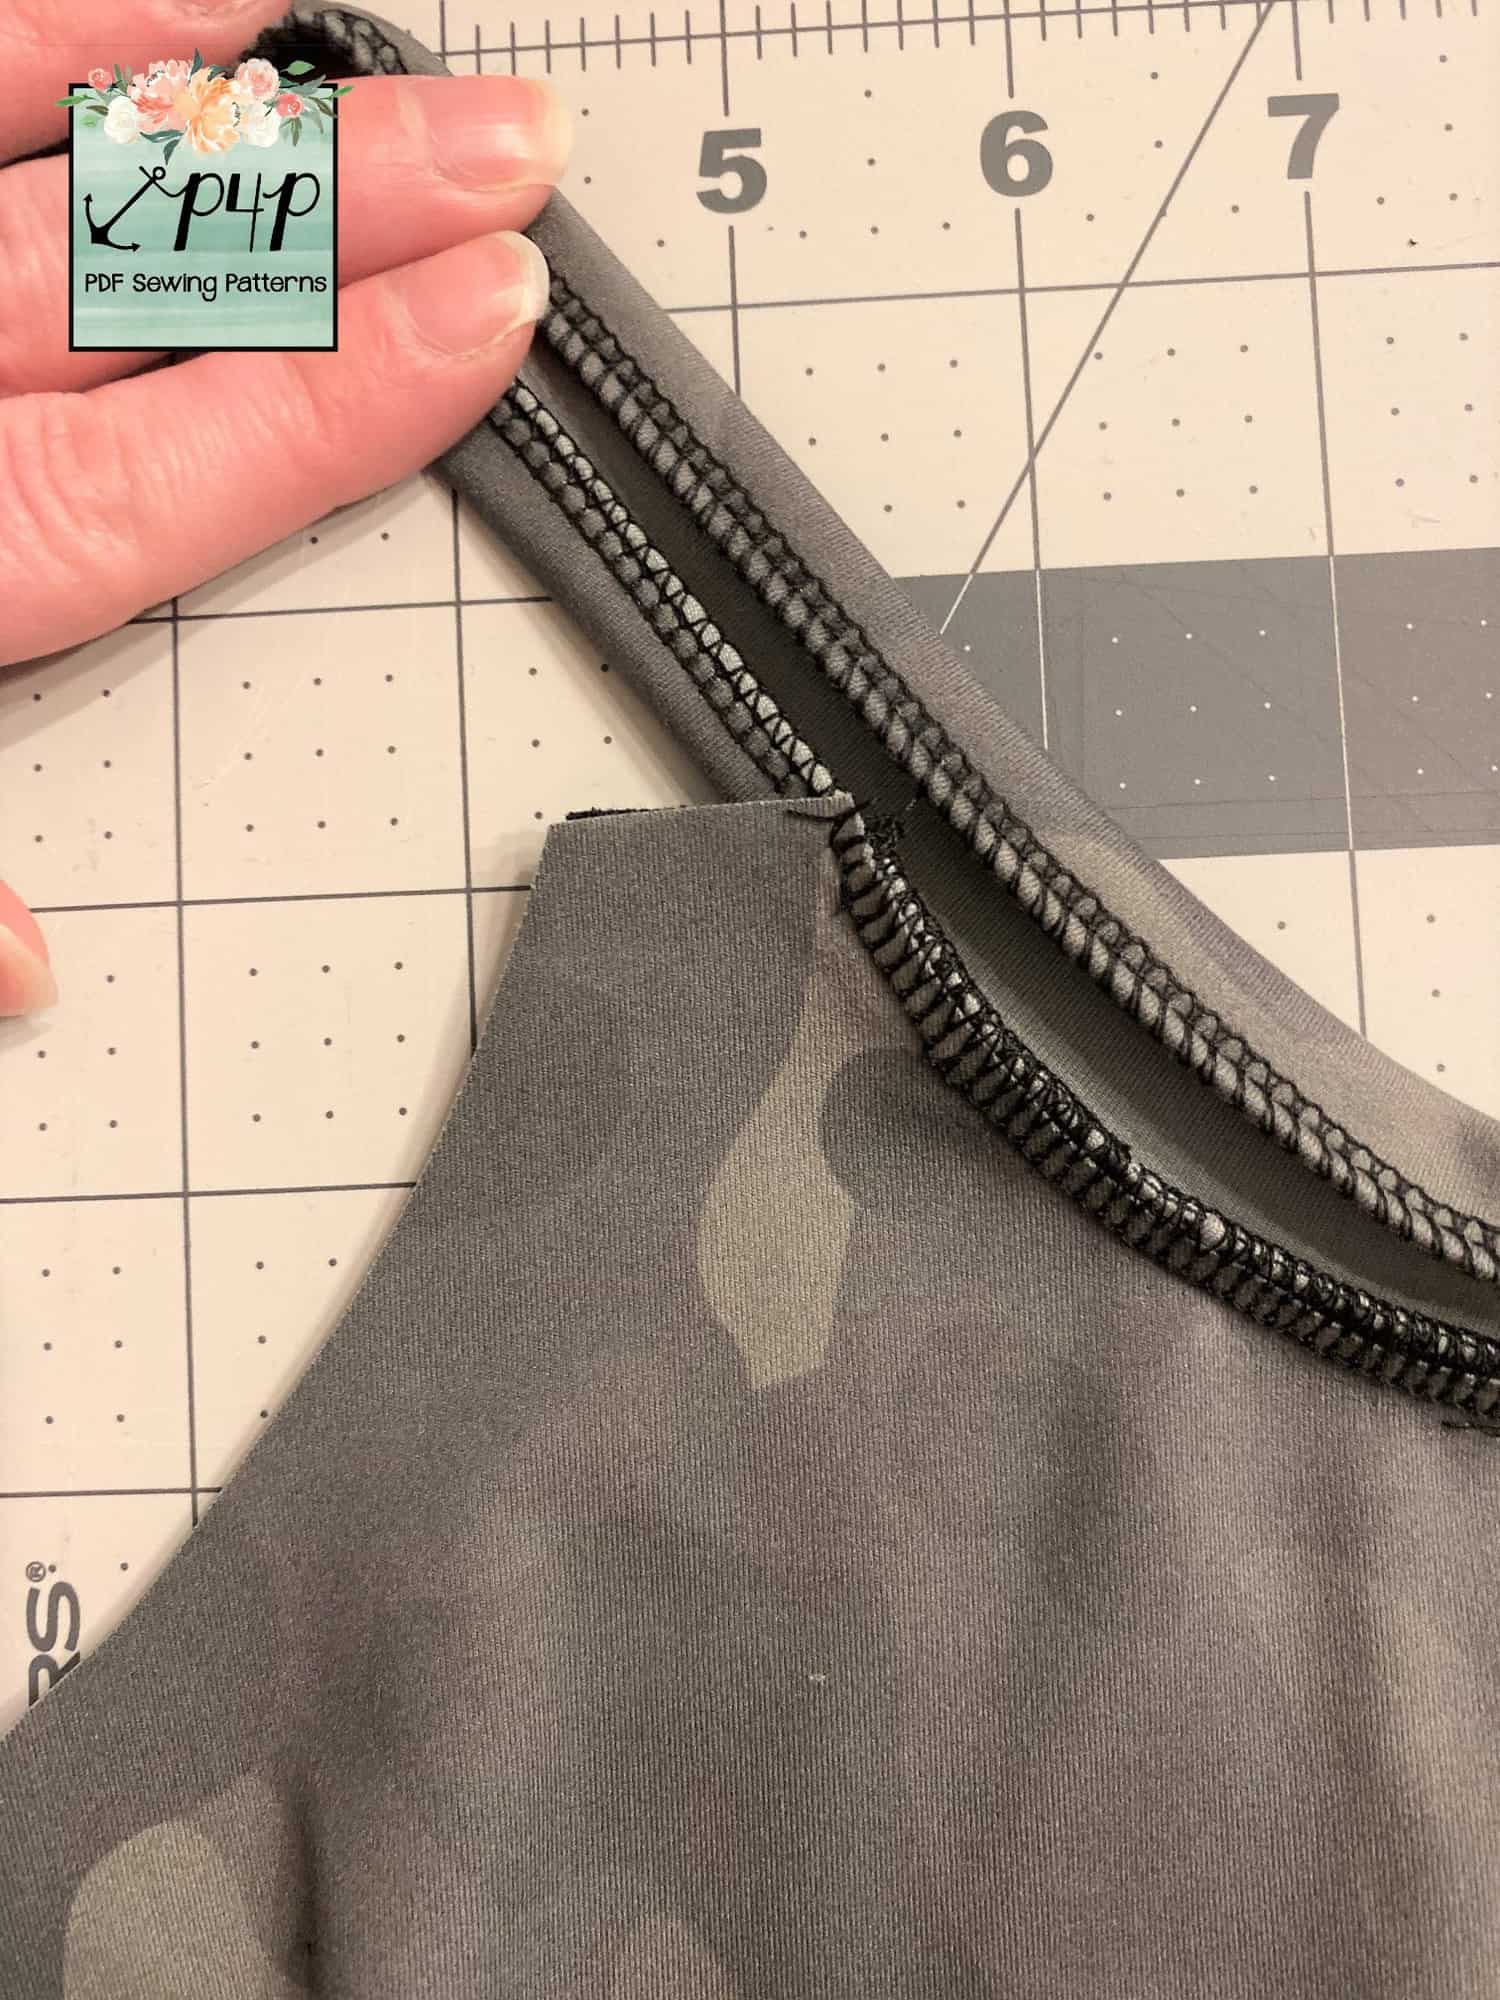
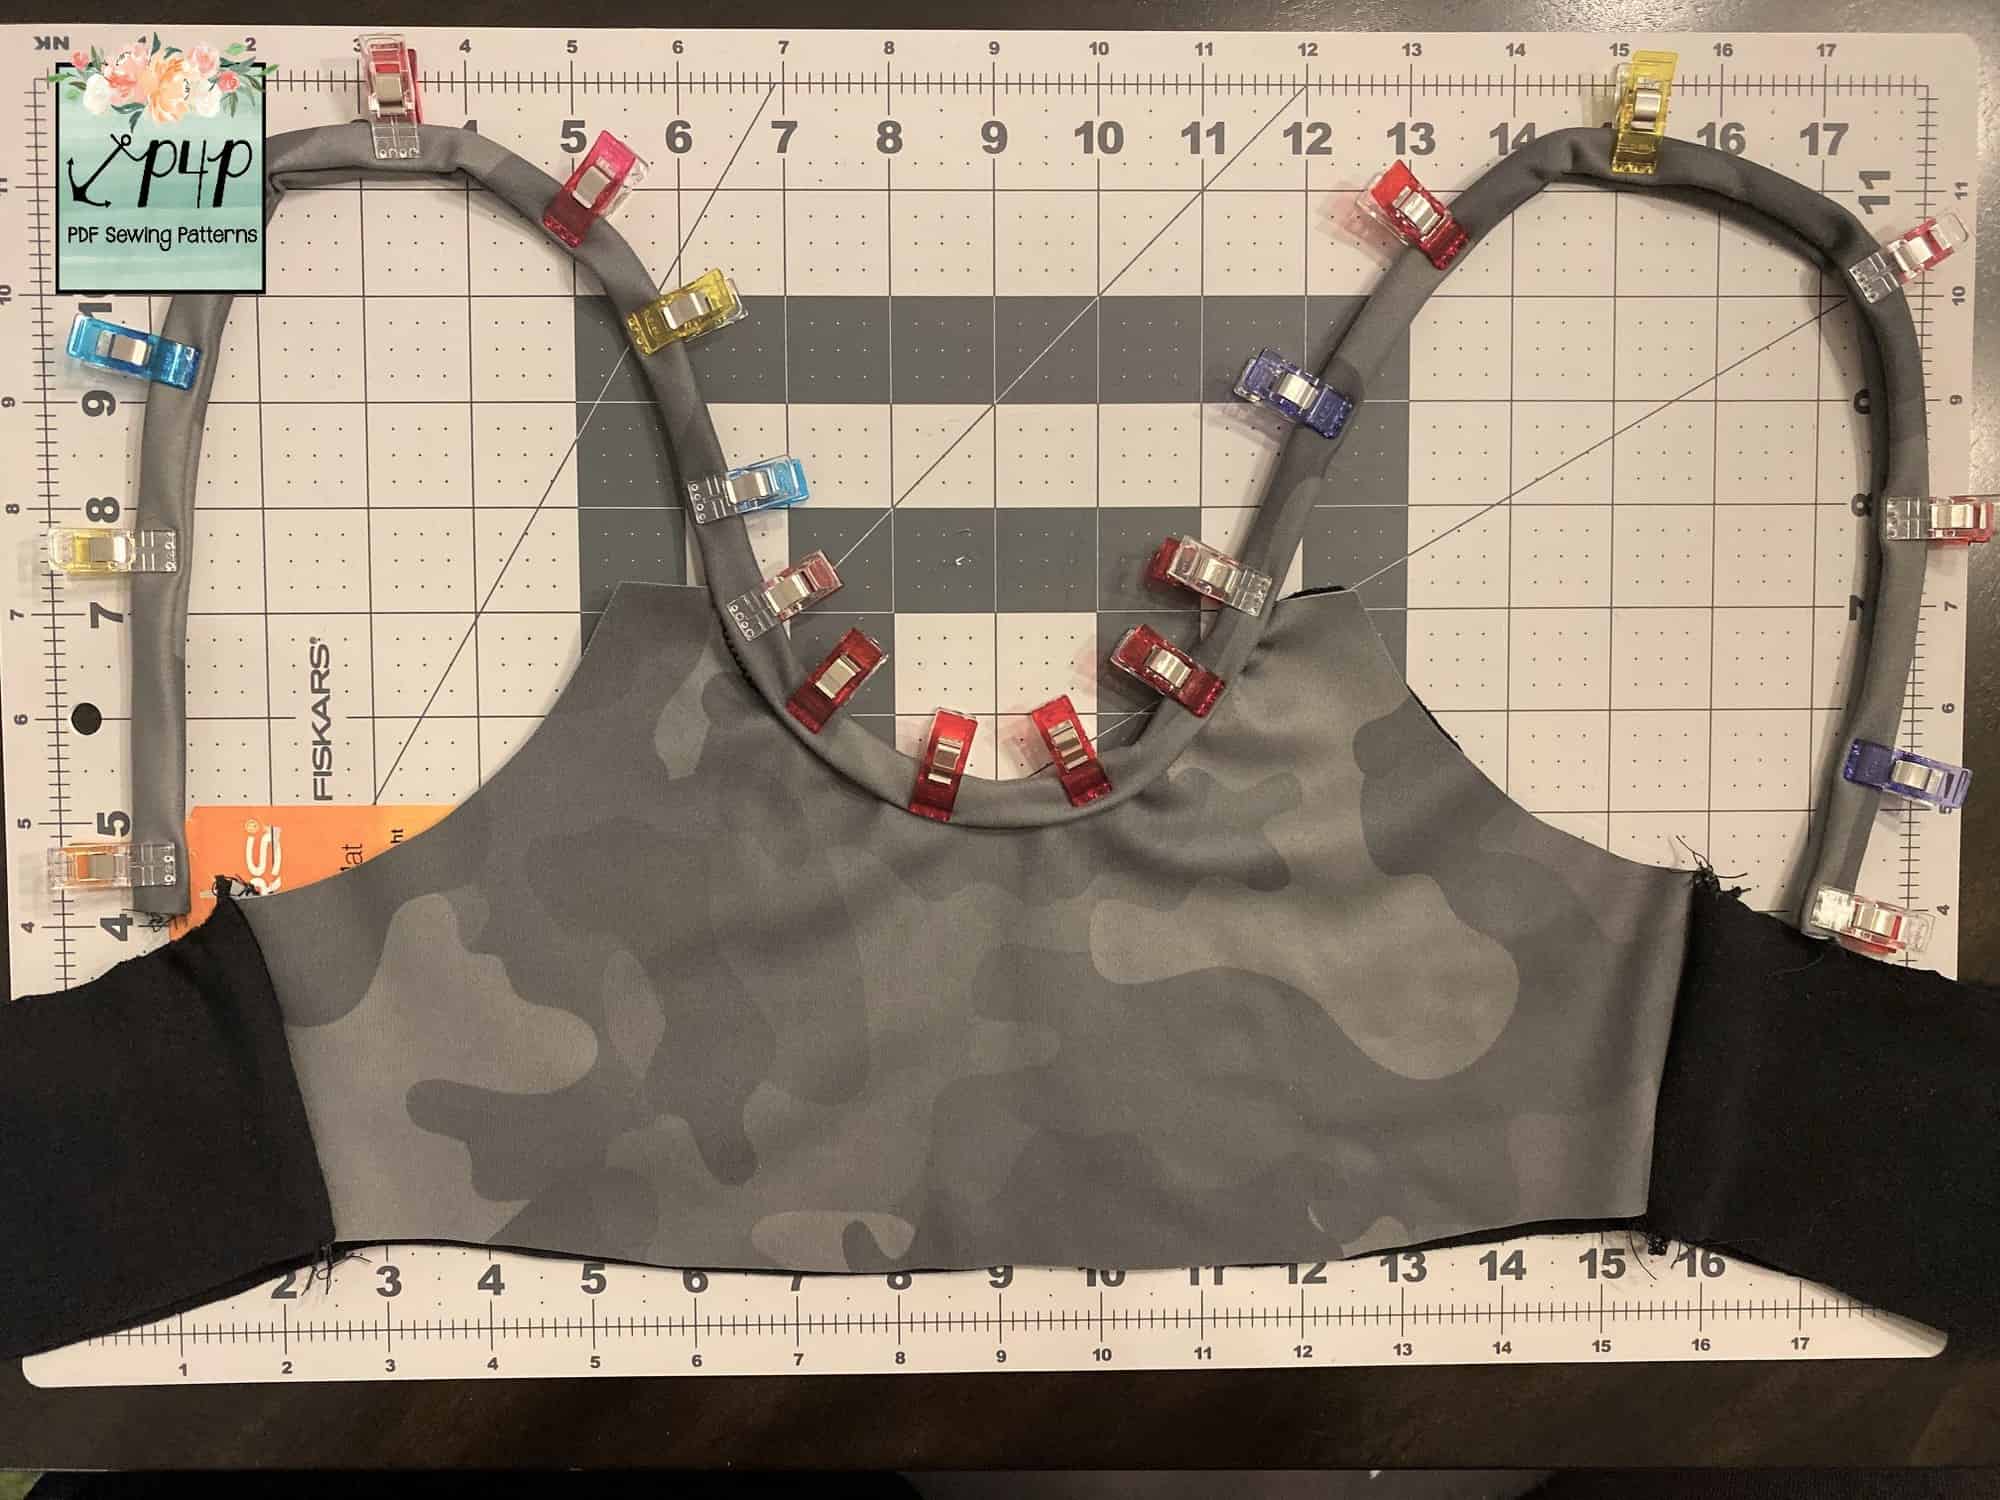
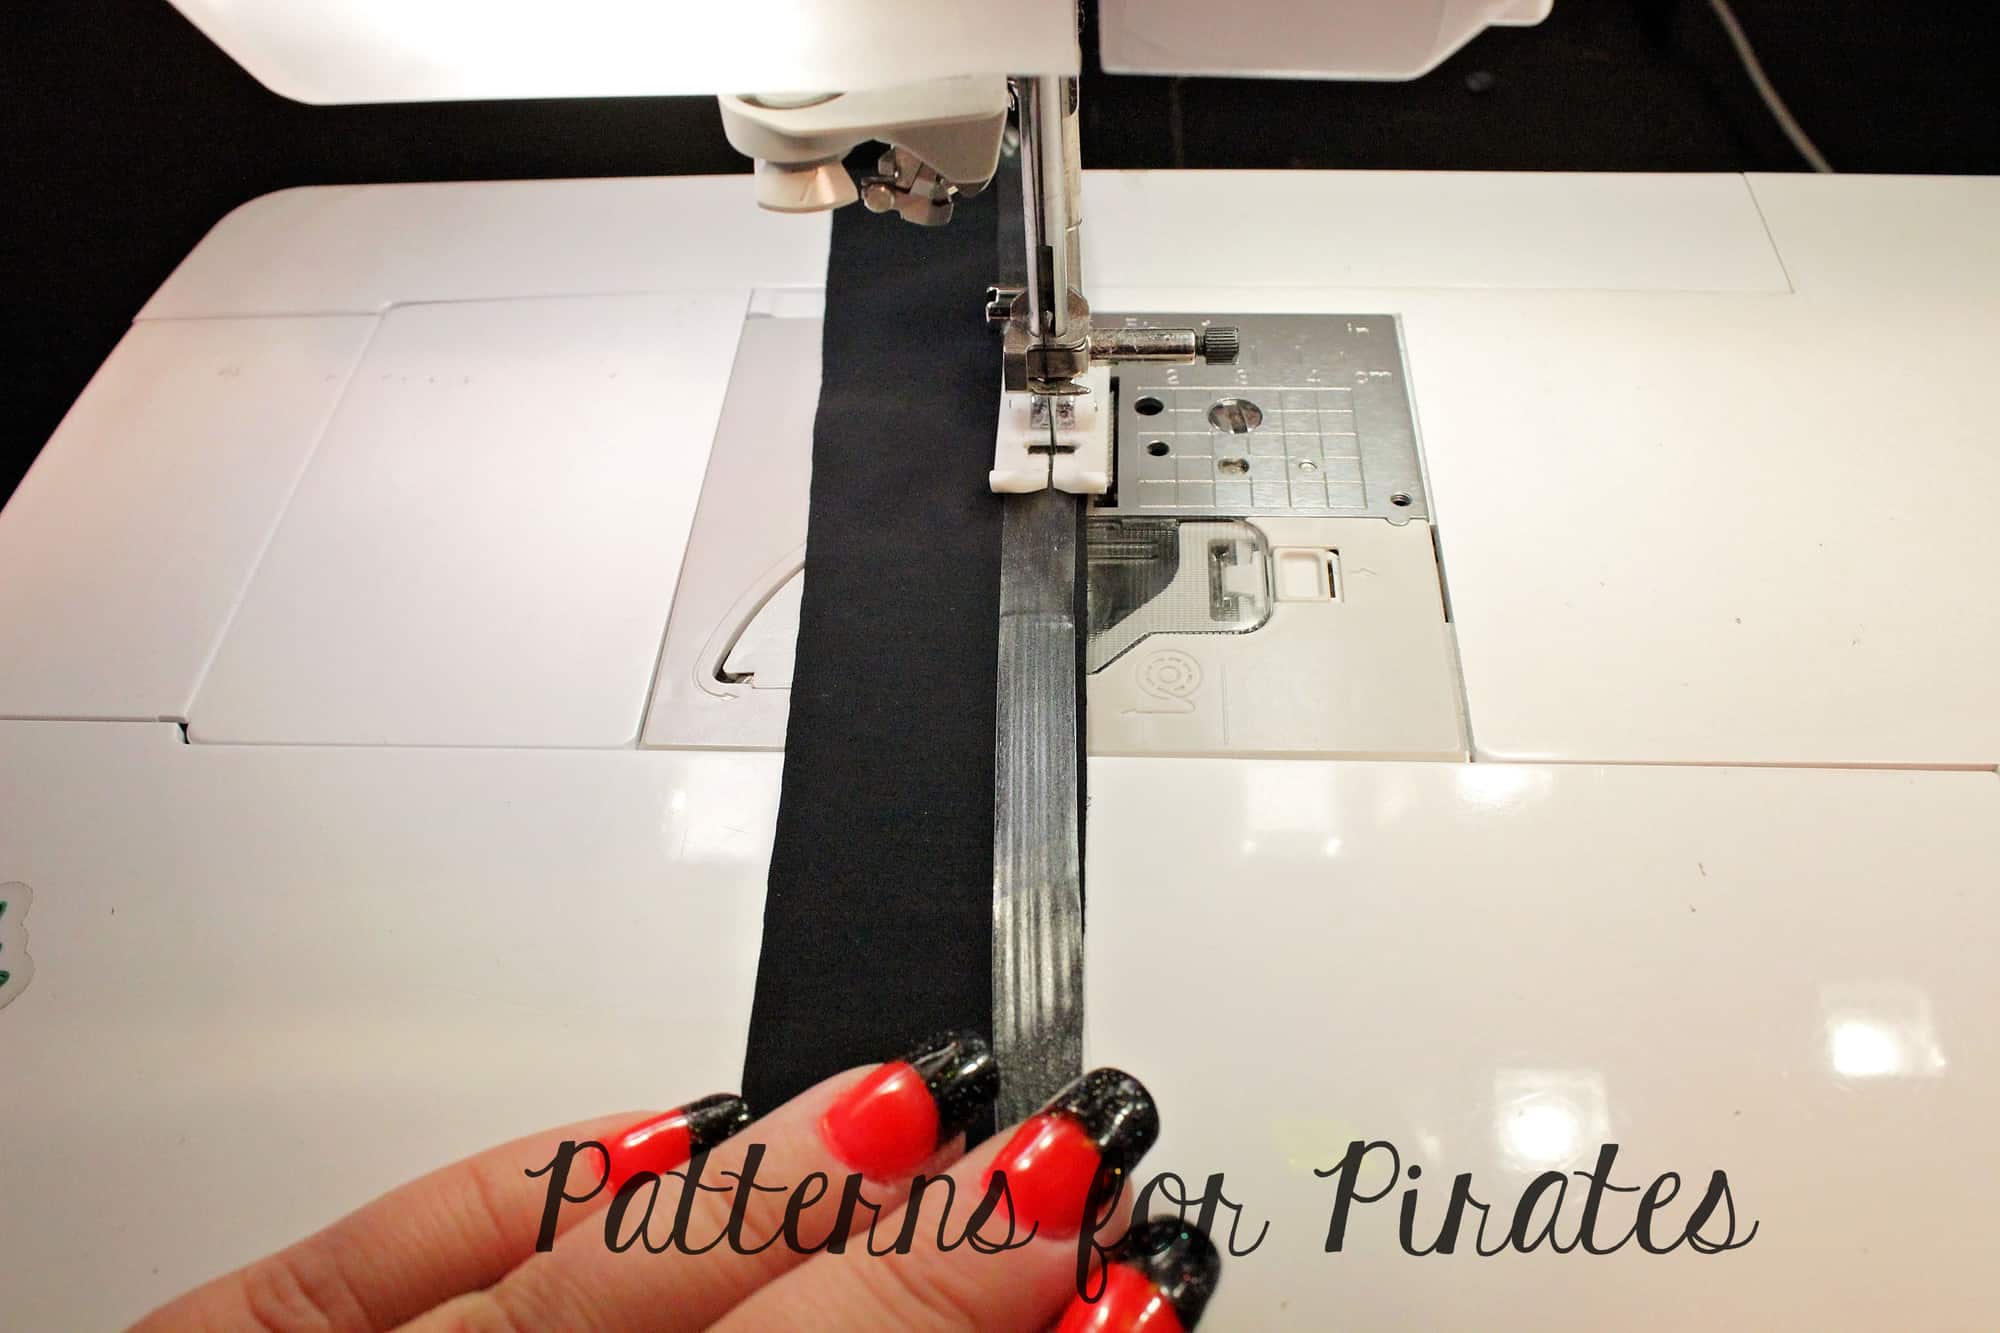
Next lay the lining fabric out flat, right sides up (the attached power mesh inner lining will be at the bottom). Lay the outer fabric right sides down on top. Pin or clip the fabric together around the neckline. Sew together using your favourite stretch stitch using a 1/4″ seam allowance. I sew 1/4″ clear elastic into the seam as I go using my overlocker/serger. This helps recovery of the seam and gives greater support for a larger bust.
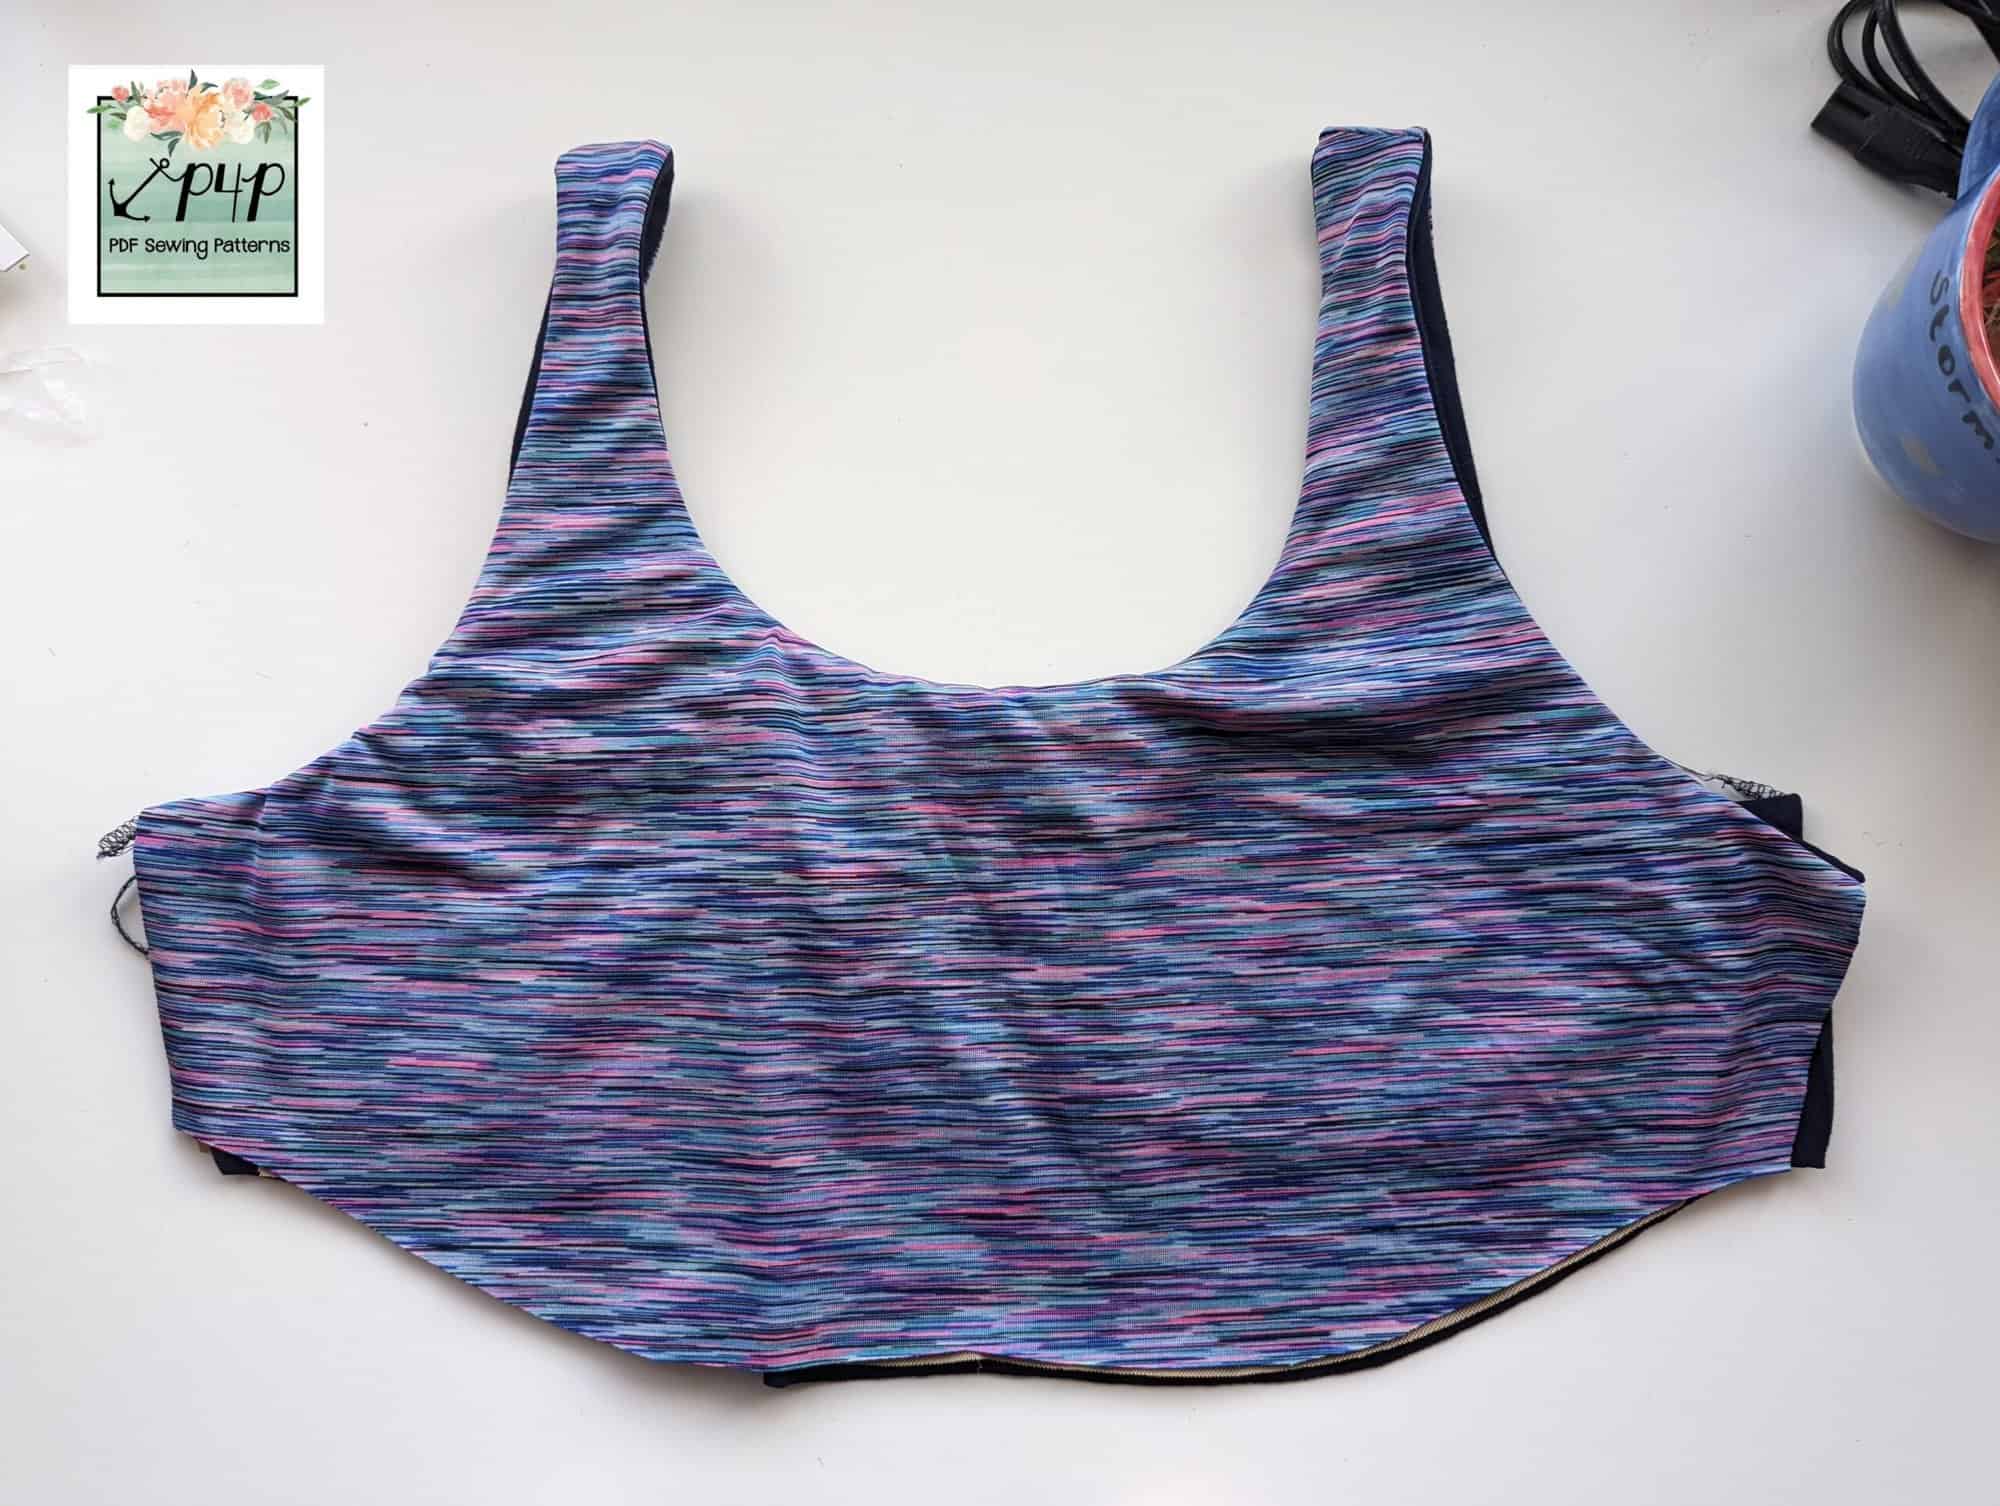
Next you will flip the garment right sides out again through the neckhole. Press carefully.
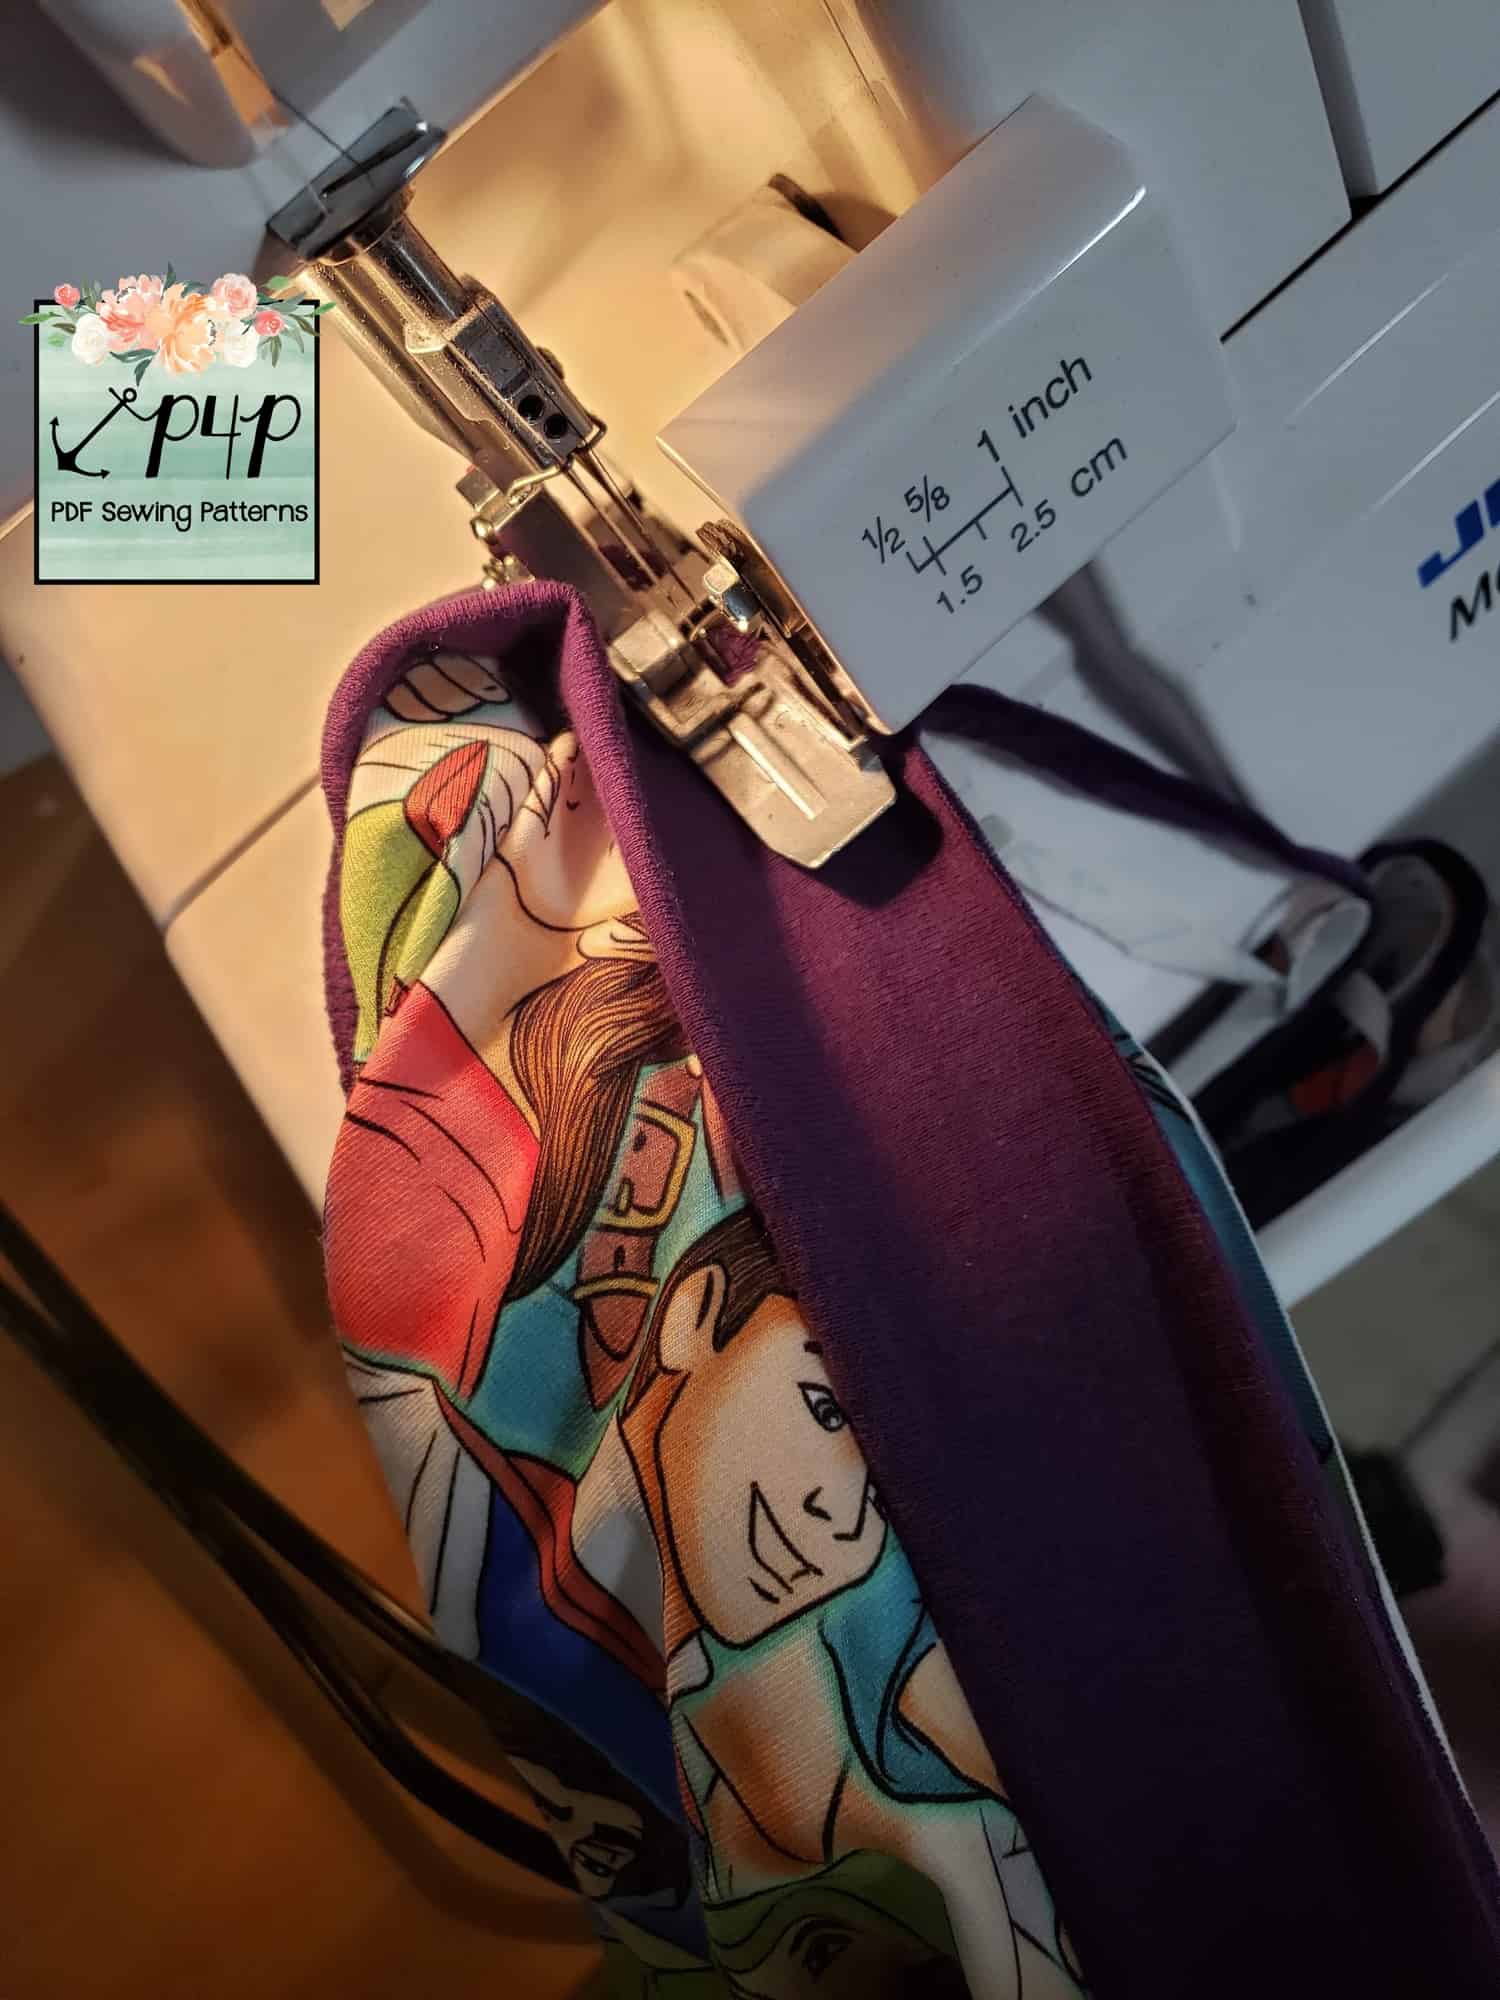
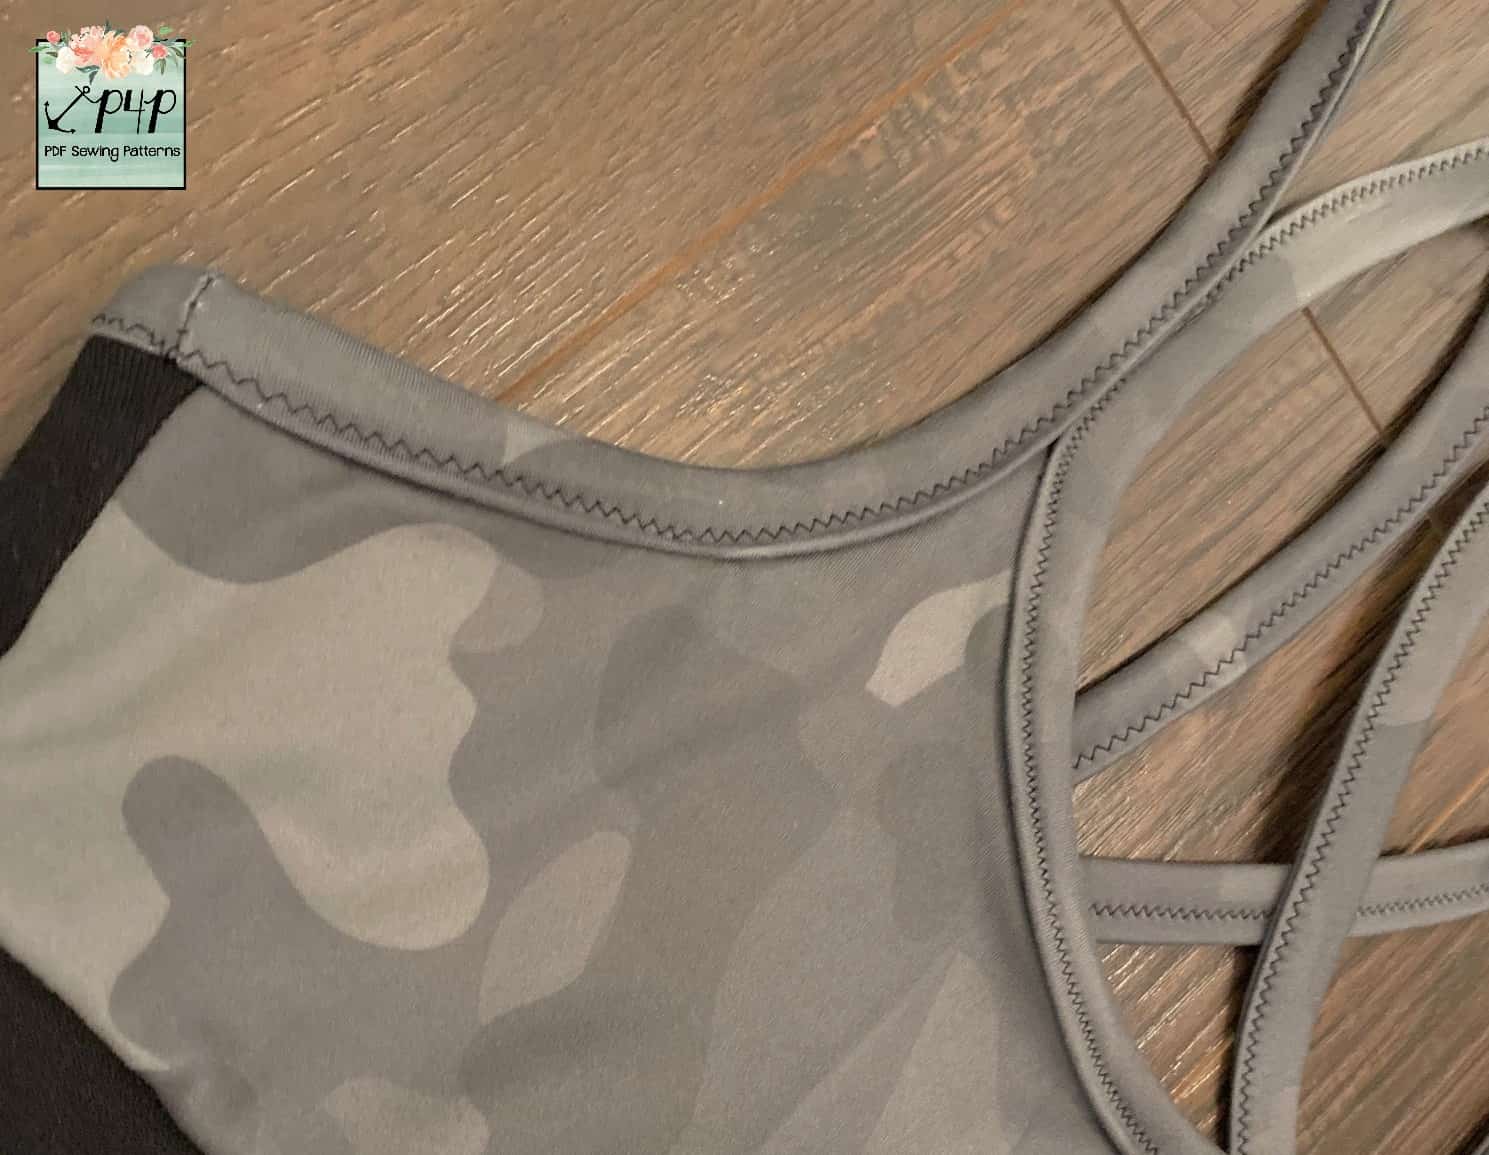
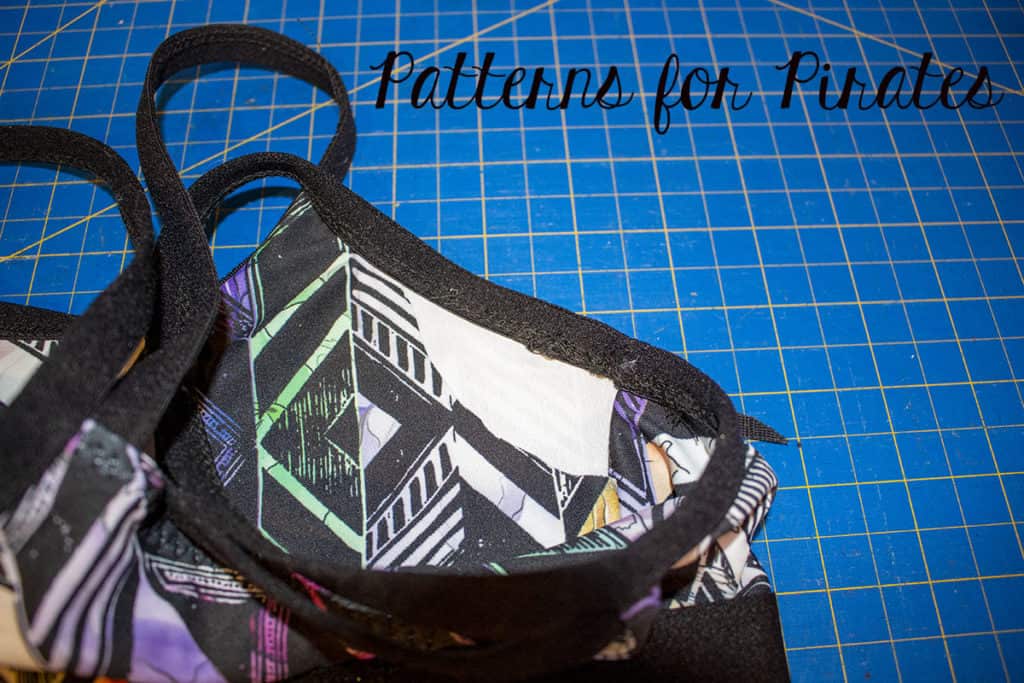
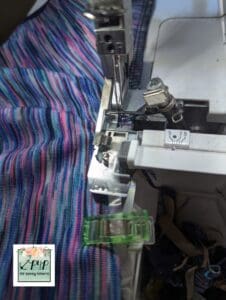
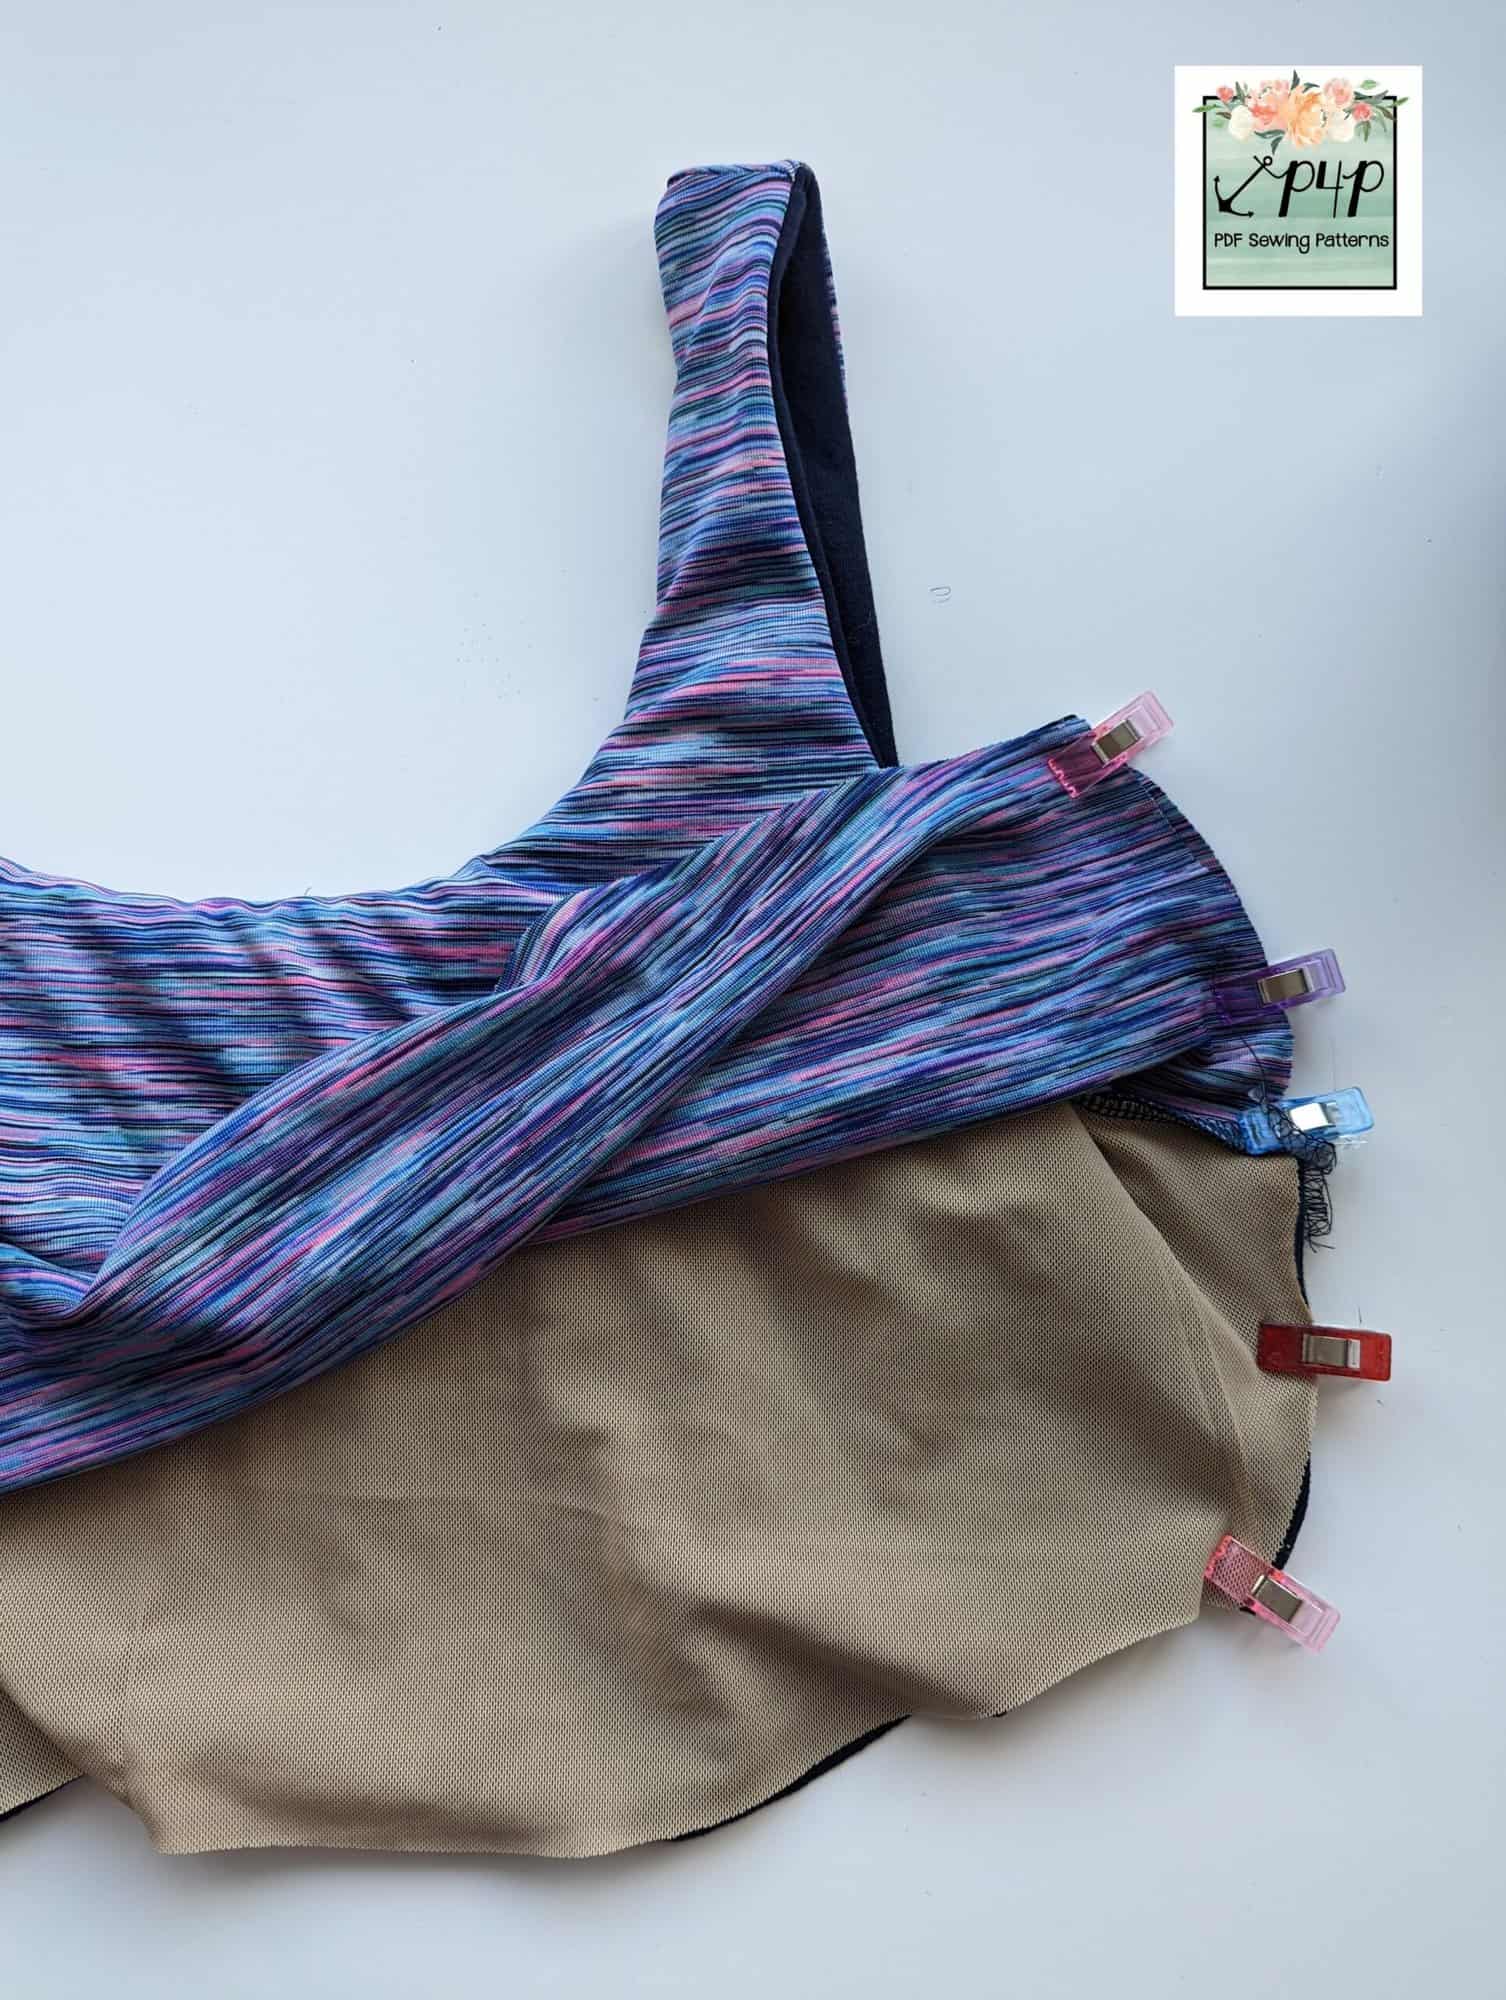
We will now finish the armscyes using a burrito roll method. You can follow this video tutorial for the Boundless dress which guides you through step by step, just remember we are only using a 1/4″ seam allowance for the armscyes. Burrito Roll Method – P4P You Tube
Or the written instructions are to lay the fabric out flat, rights sides out. Then roll one side of the bodice up towards the other side.
When you get near the top, flip the bottom of the open edges out under the roll and up over the top of it to encase the roll inside the open edge.
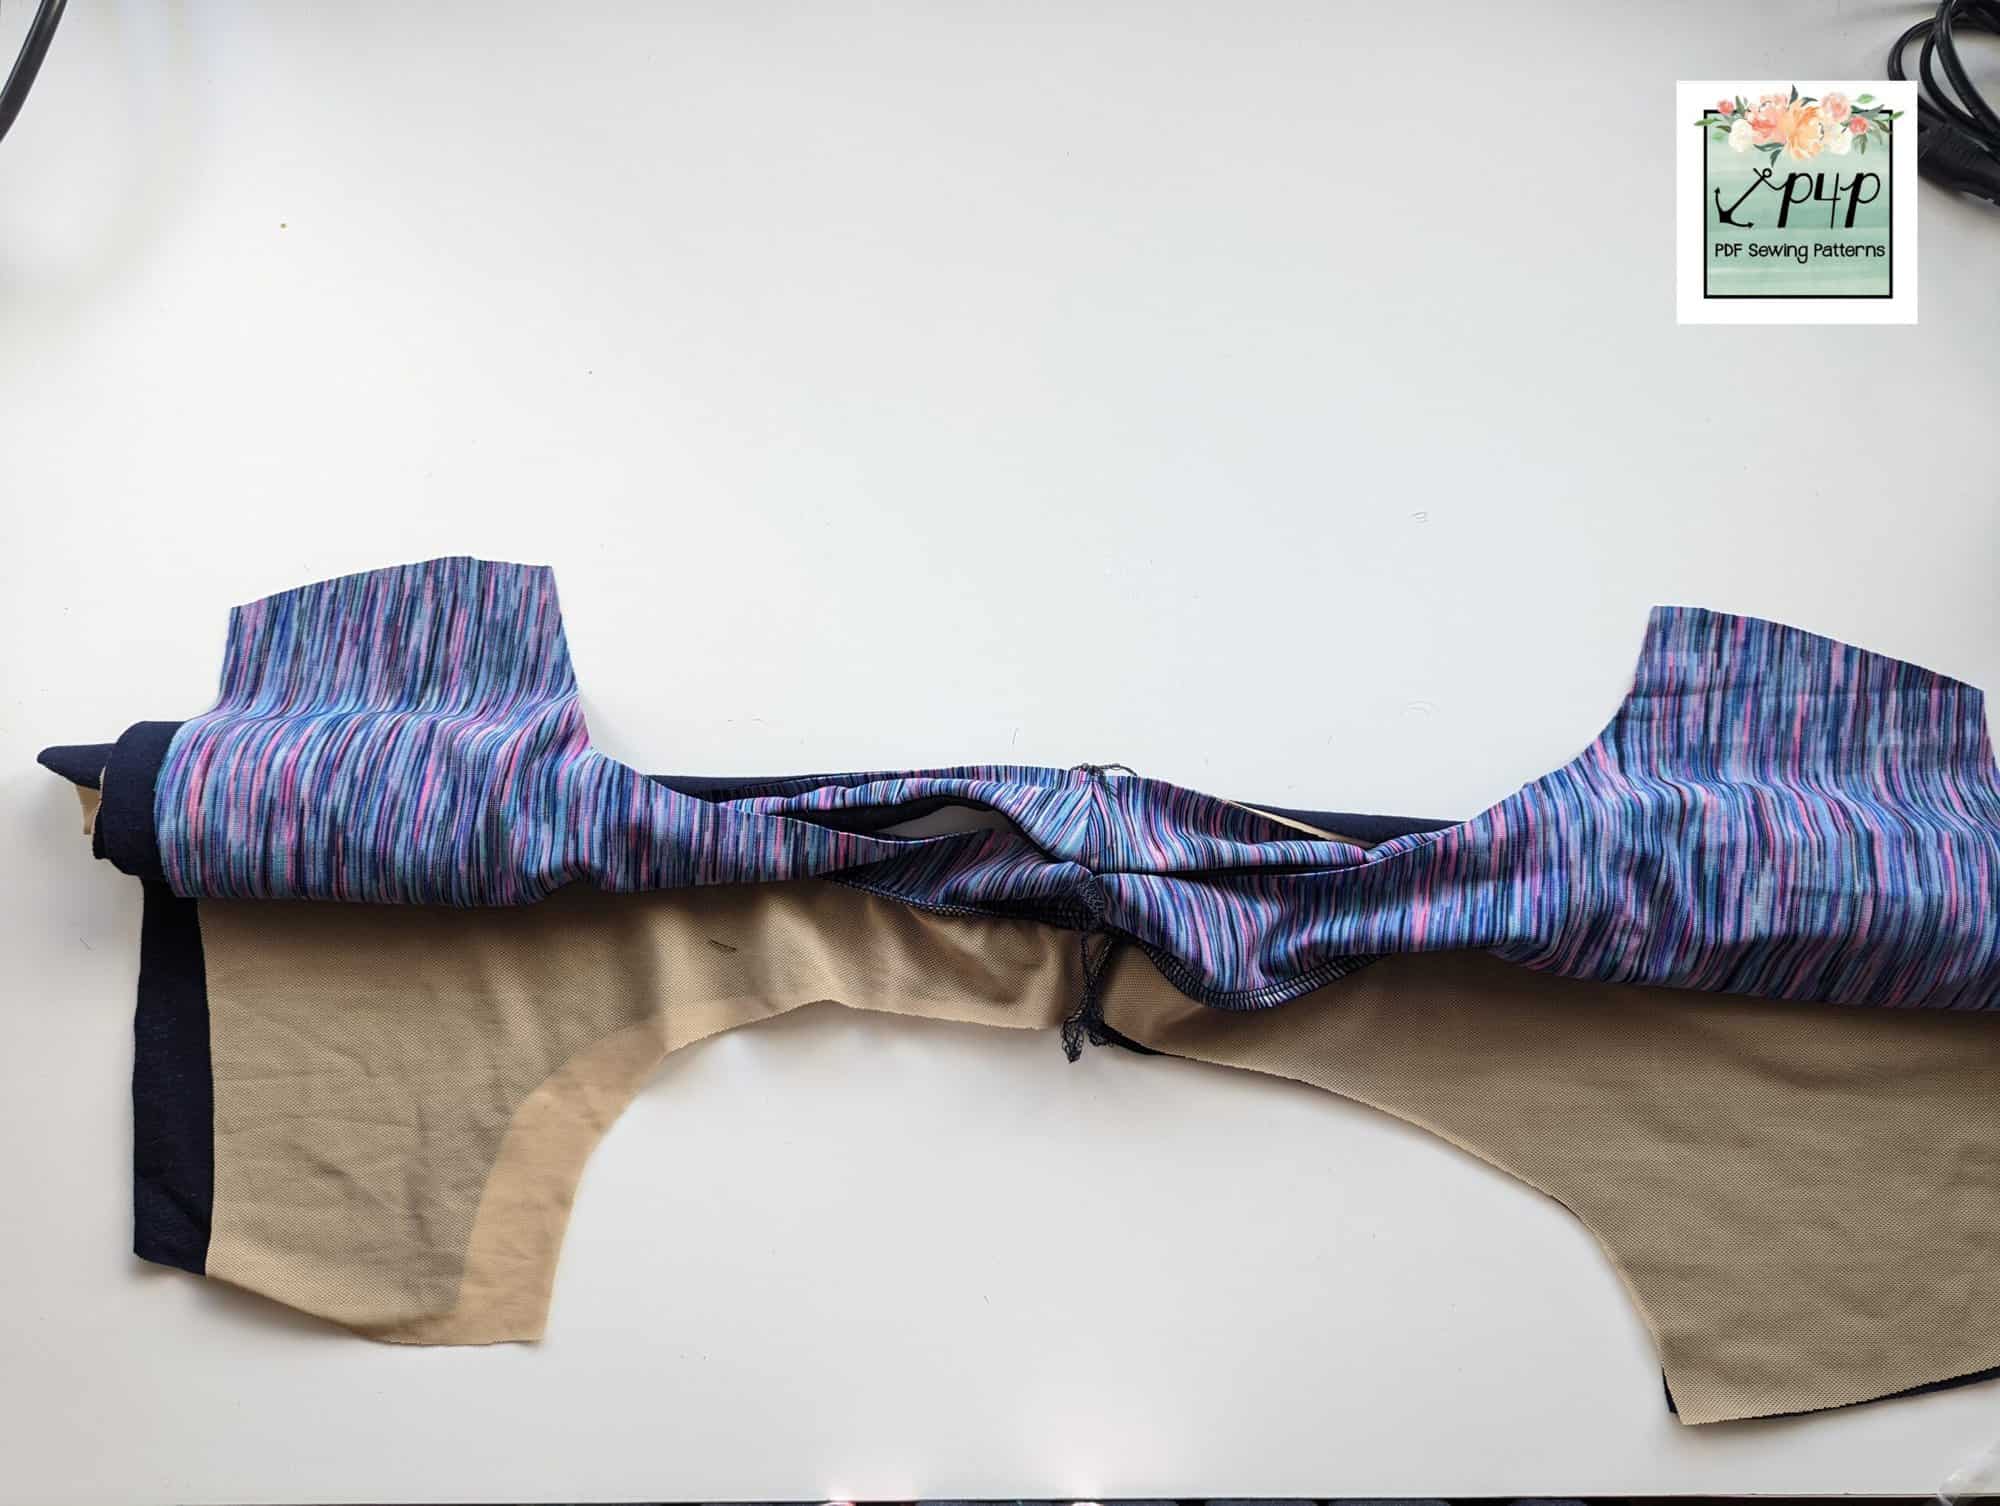
Then pin or clip along the length of the curved armscye. Stitch with a 1/4″ seam allowance being careful to keep the roll of fabric inside the shoulder strap well out of the way of the stitches.
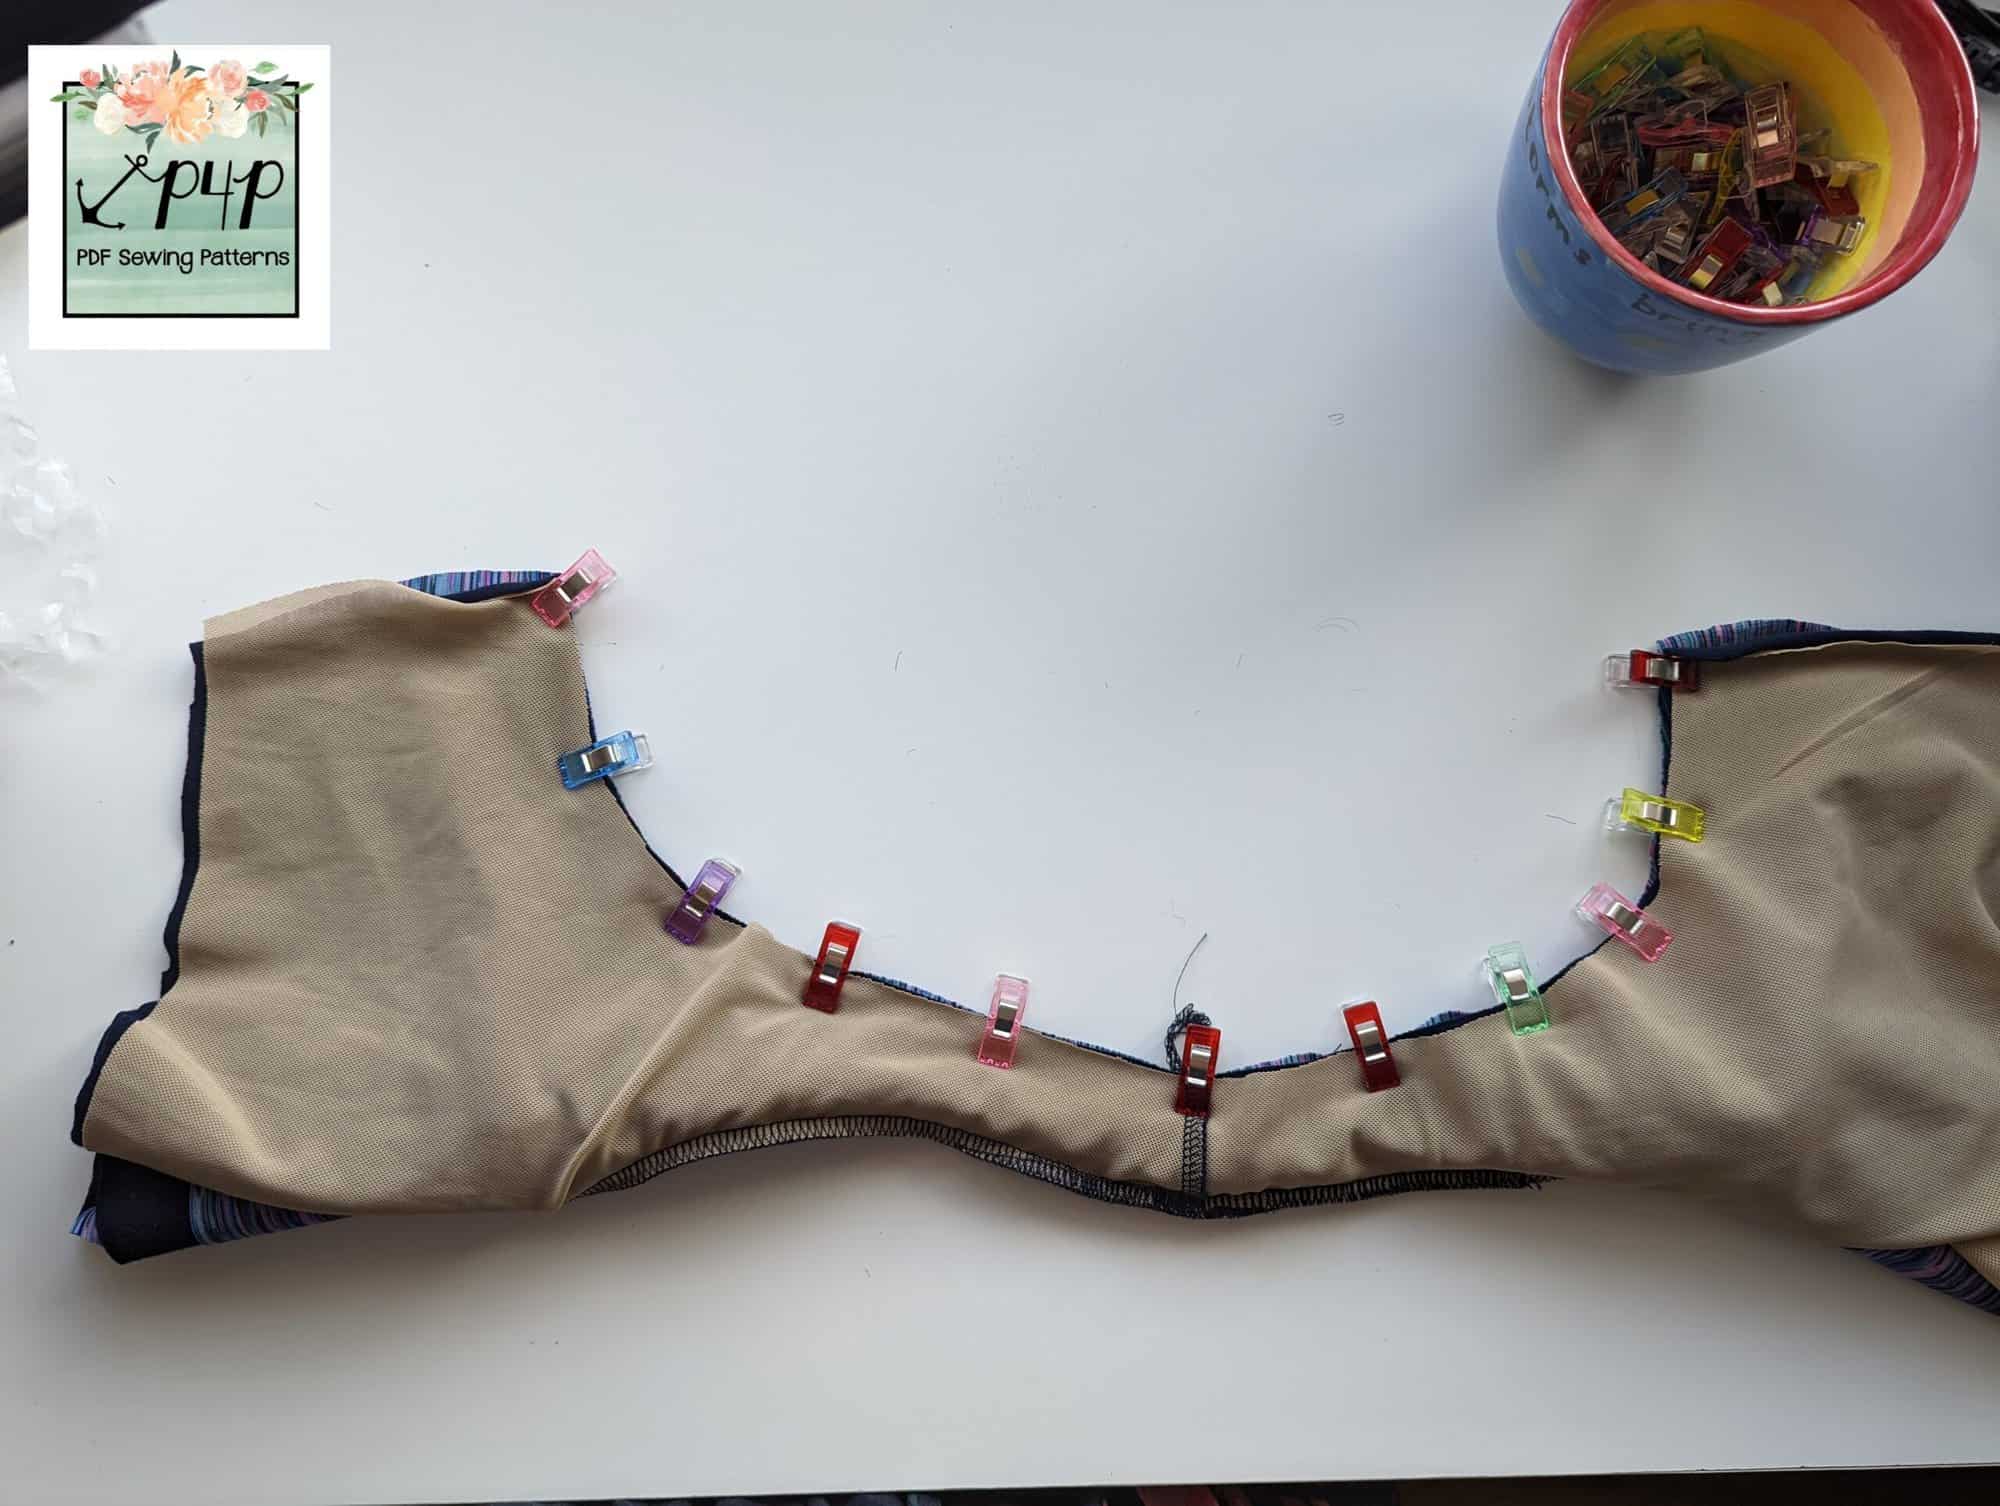
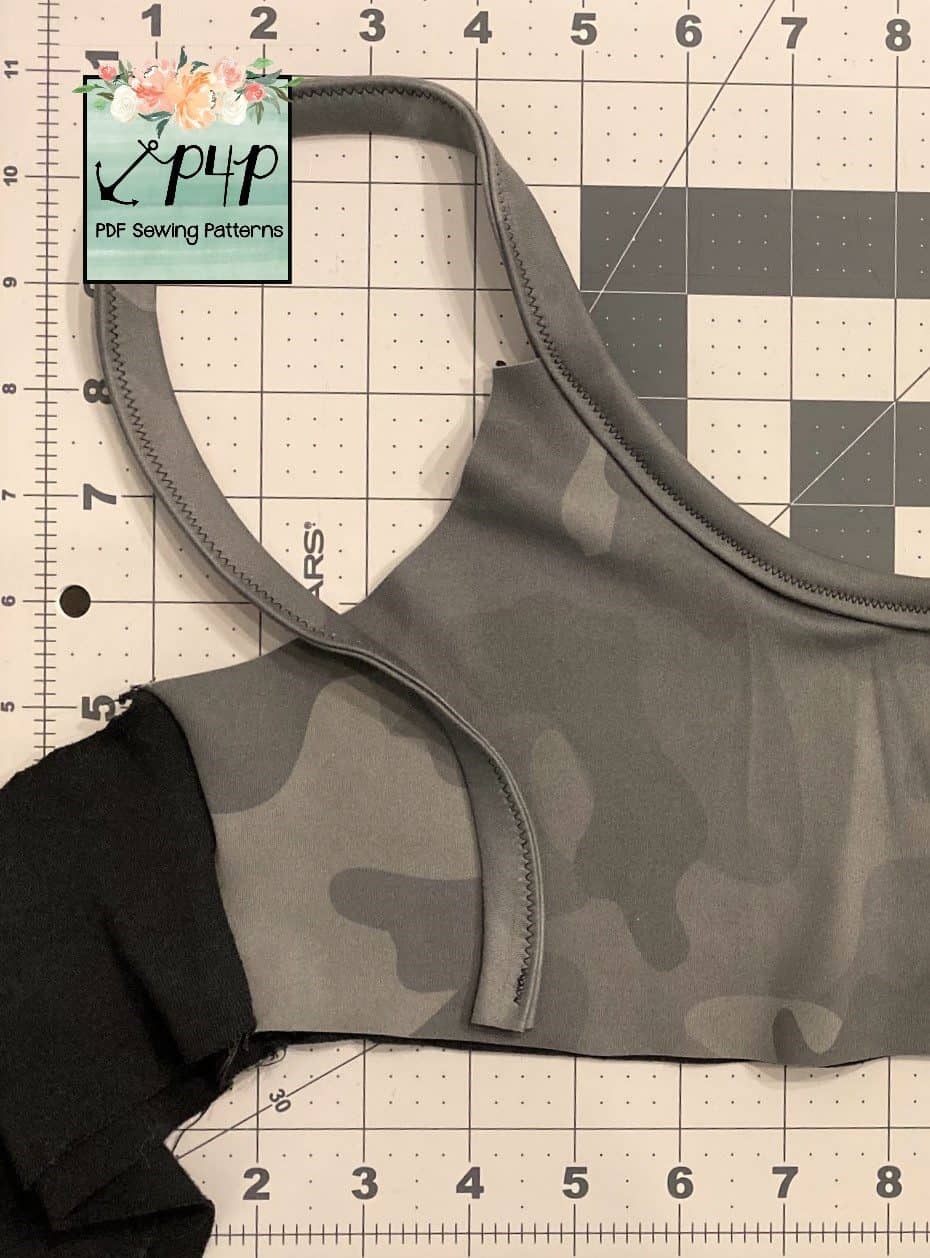
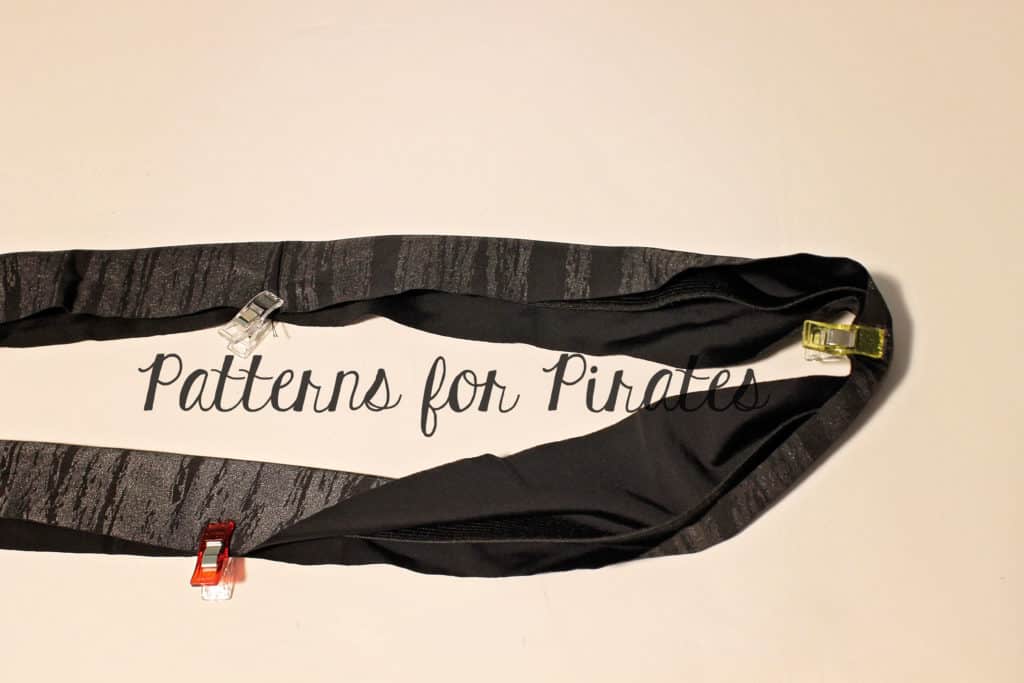
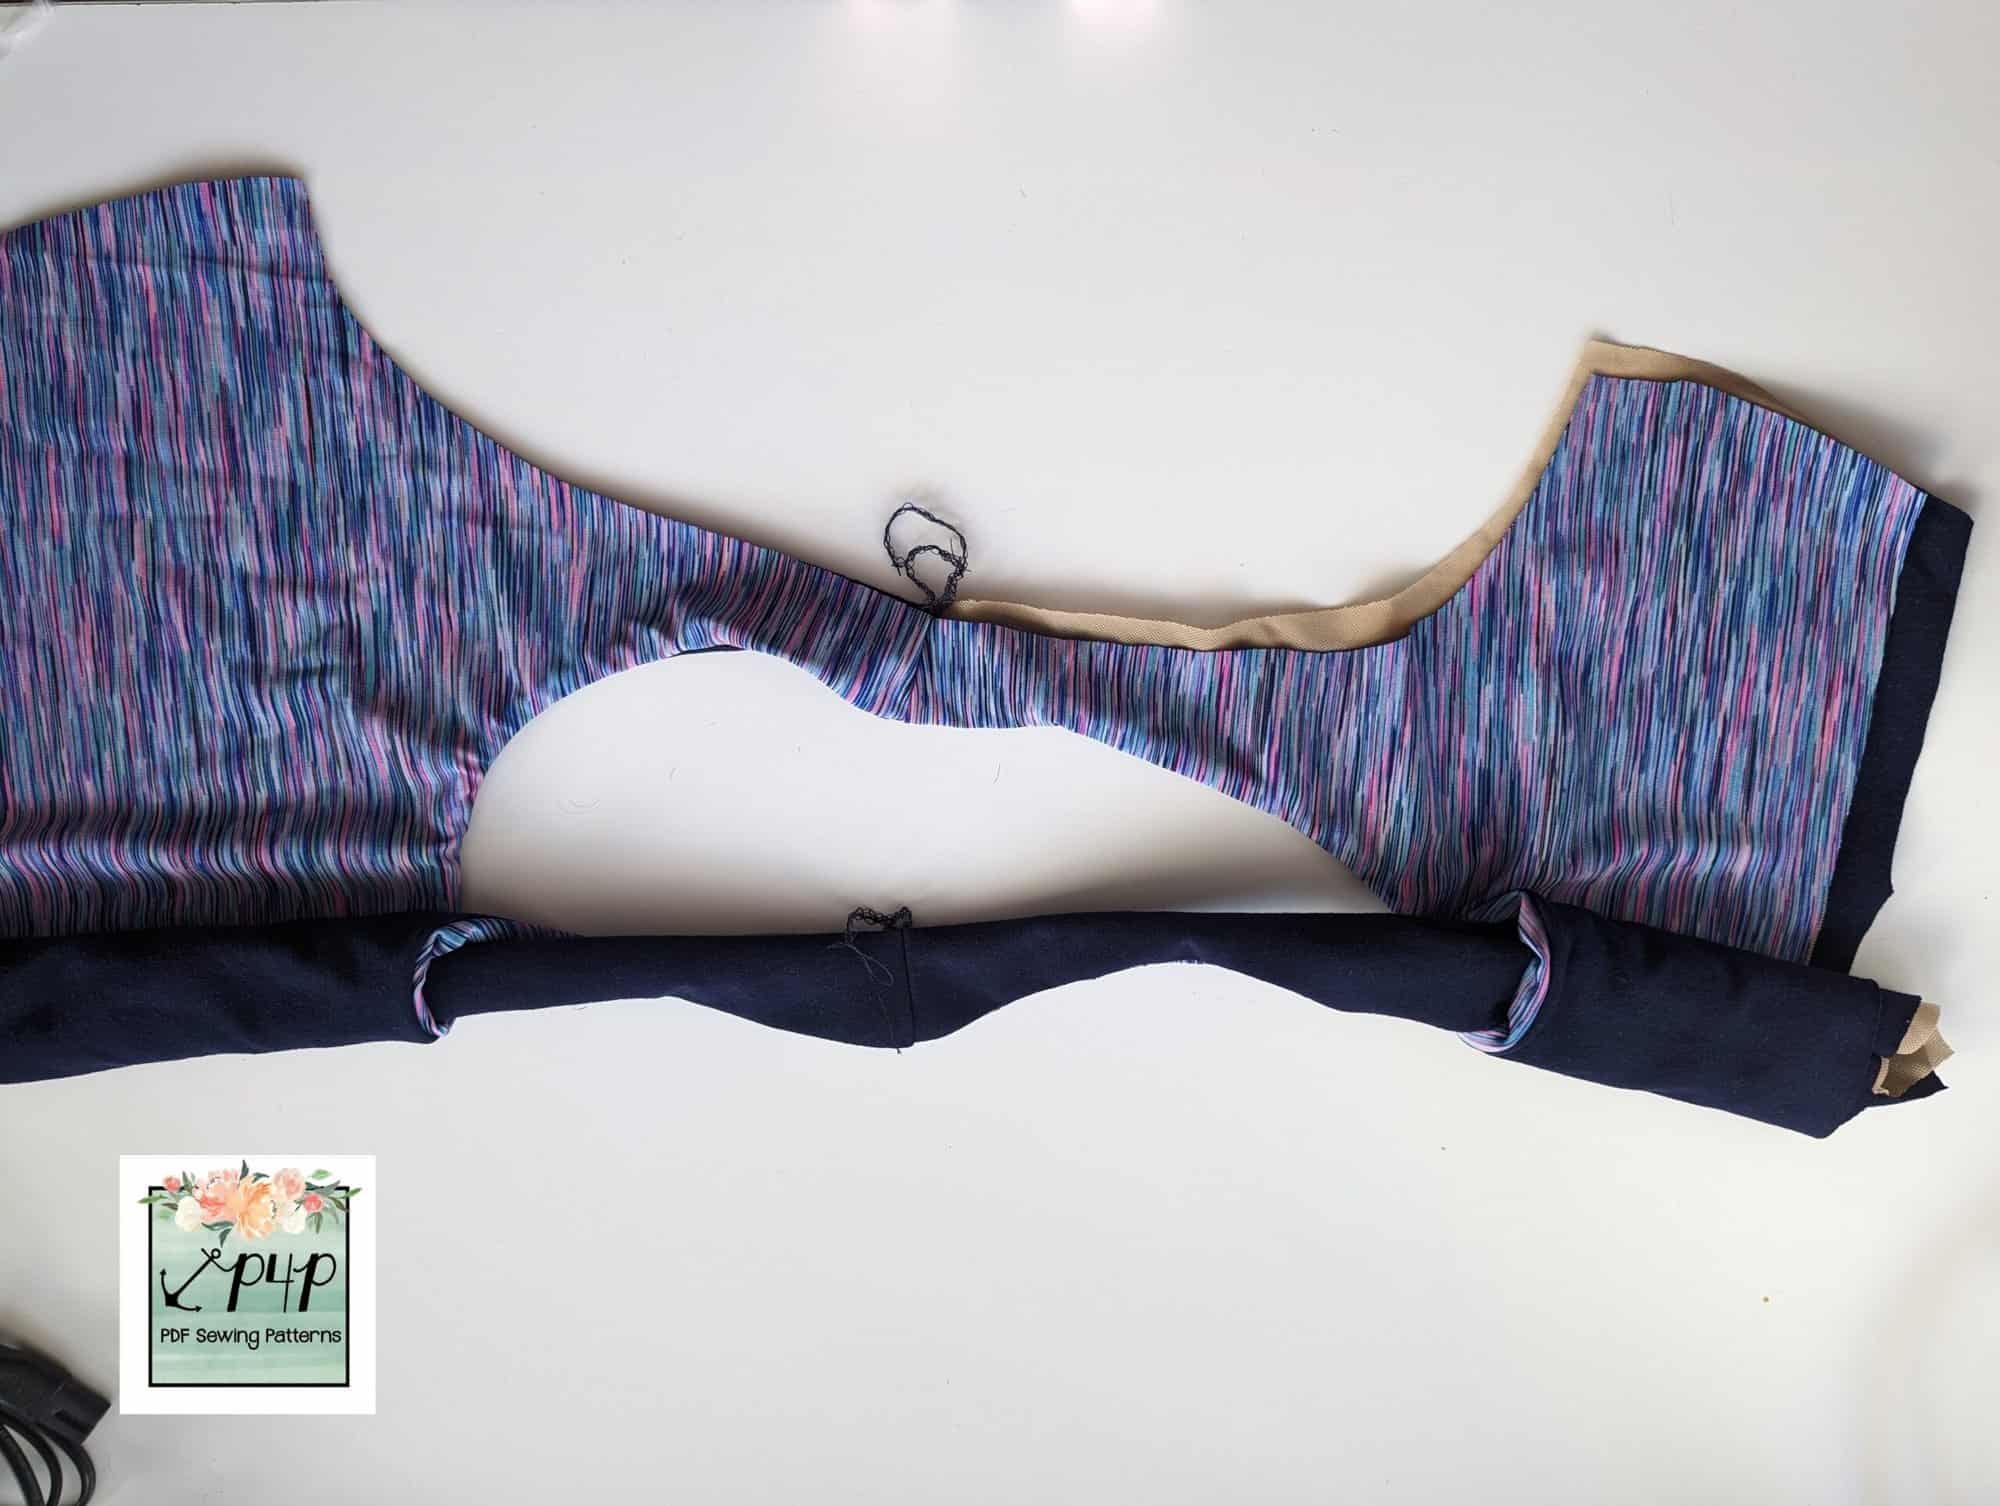
Pull your garment right sides out through the finished shoulder strap. Here you can see the left side is finished and the right is not.
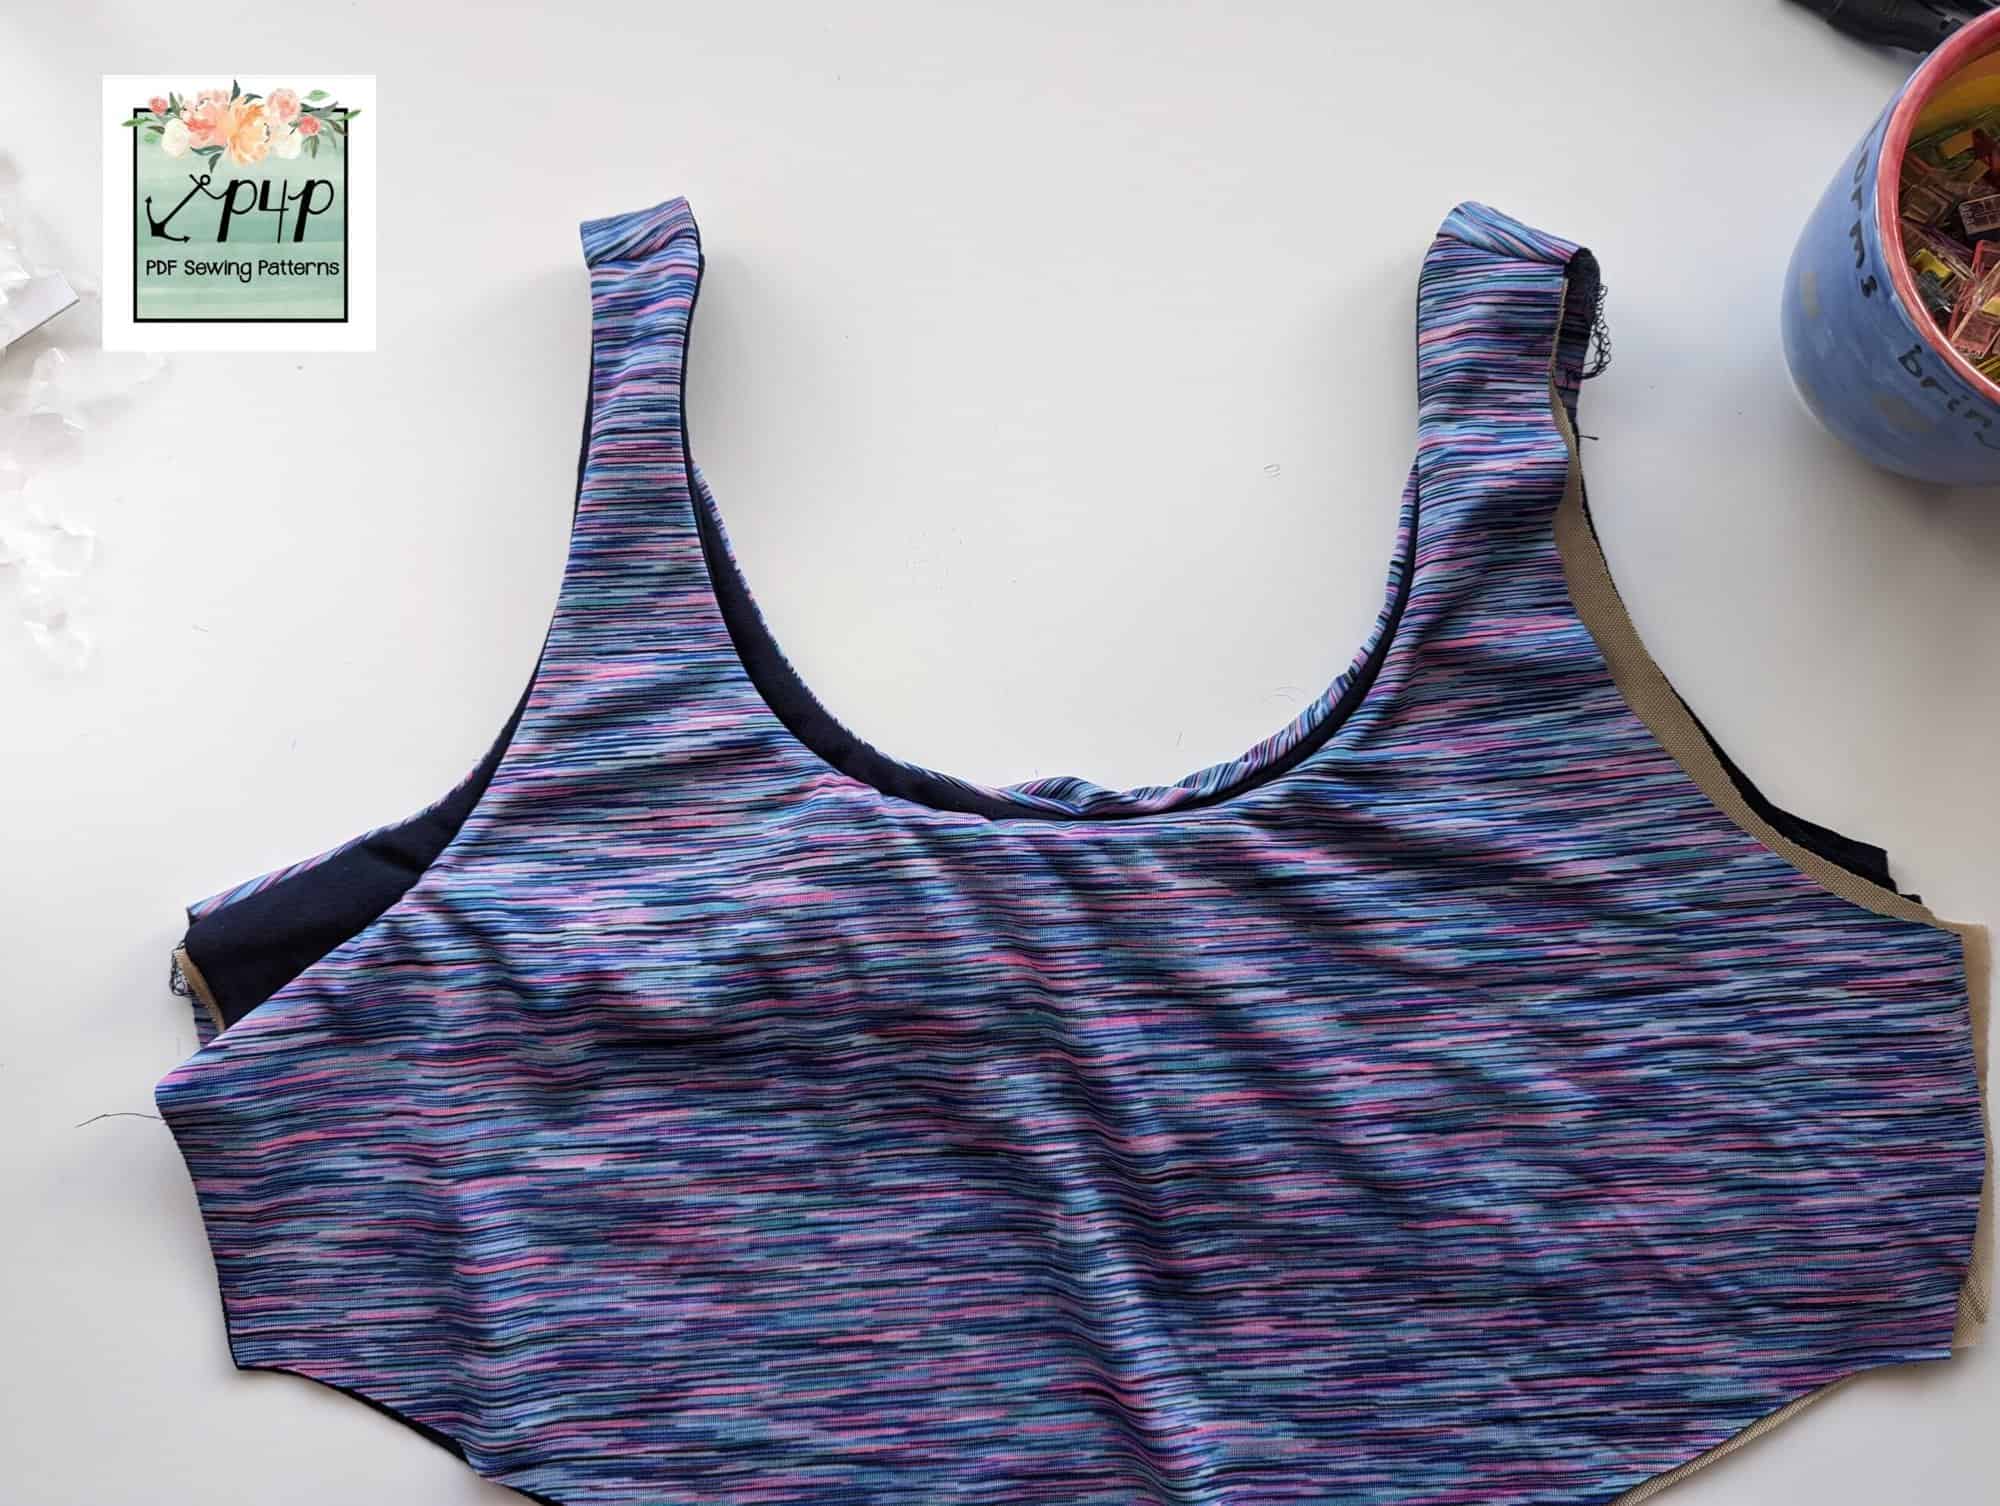
To finish the right side too, lay the garment out again and roll the finished side up towards the unfinished side. Then flip the bottom fabric on the unfinished side out under the roll, and up over the top to encase it again, like before. Stitch again.
Pull your garment right sides out through the shoulder strap once more and give it a press.
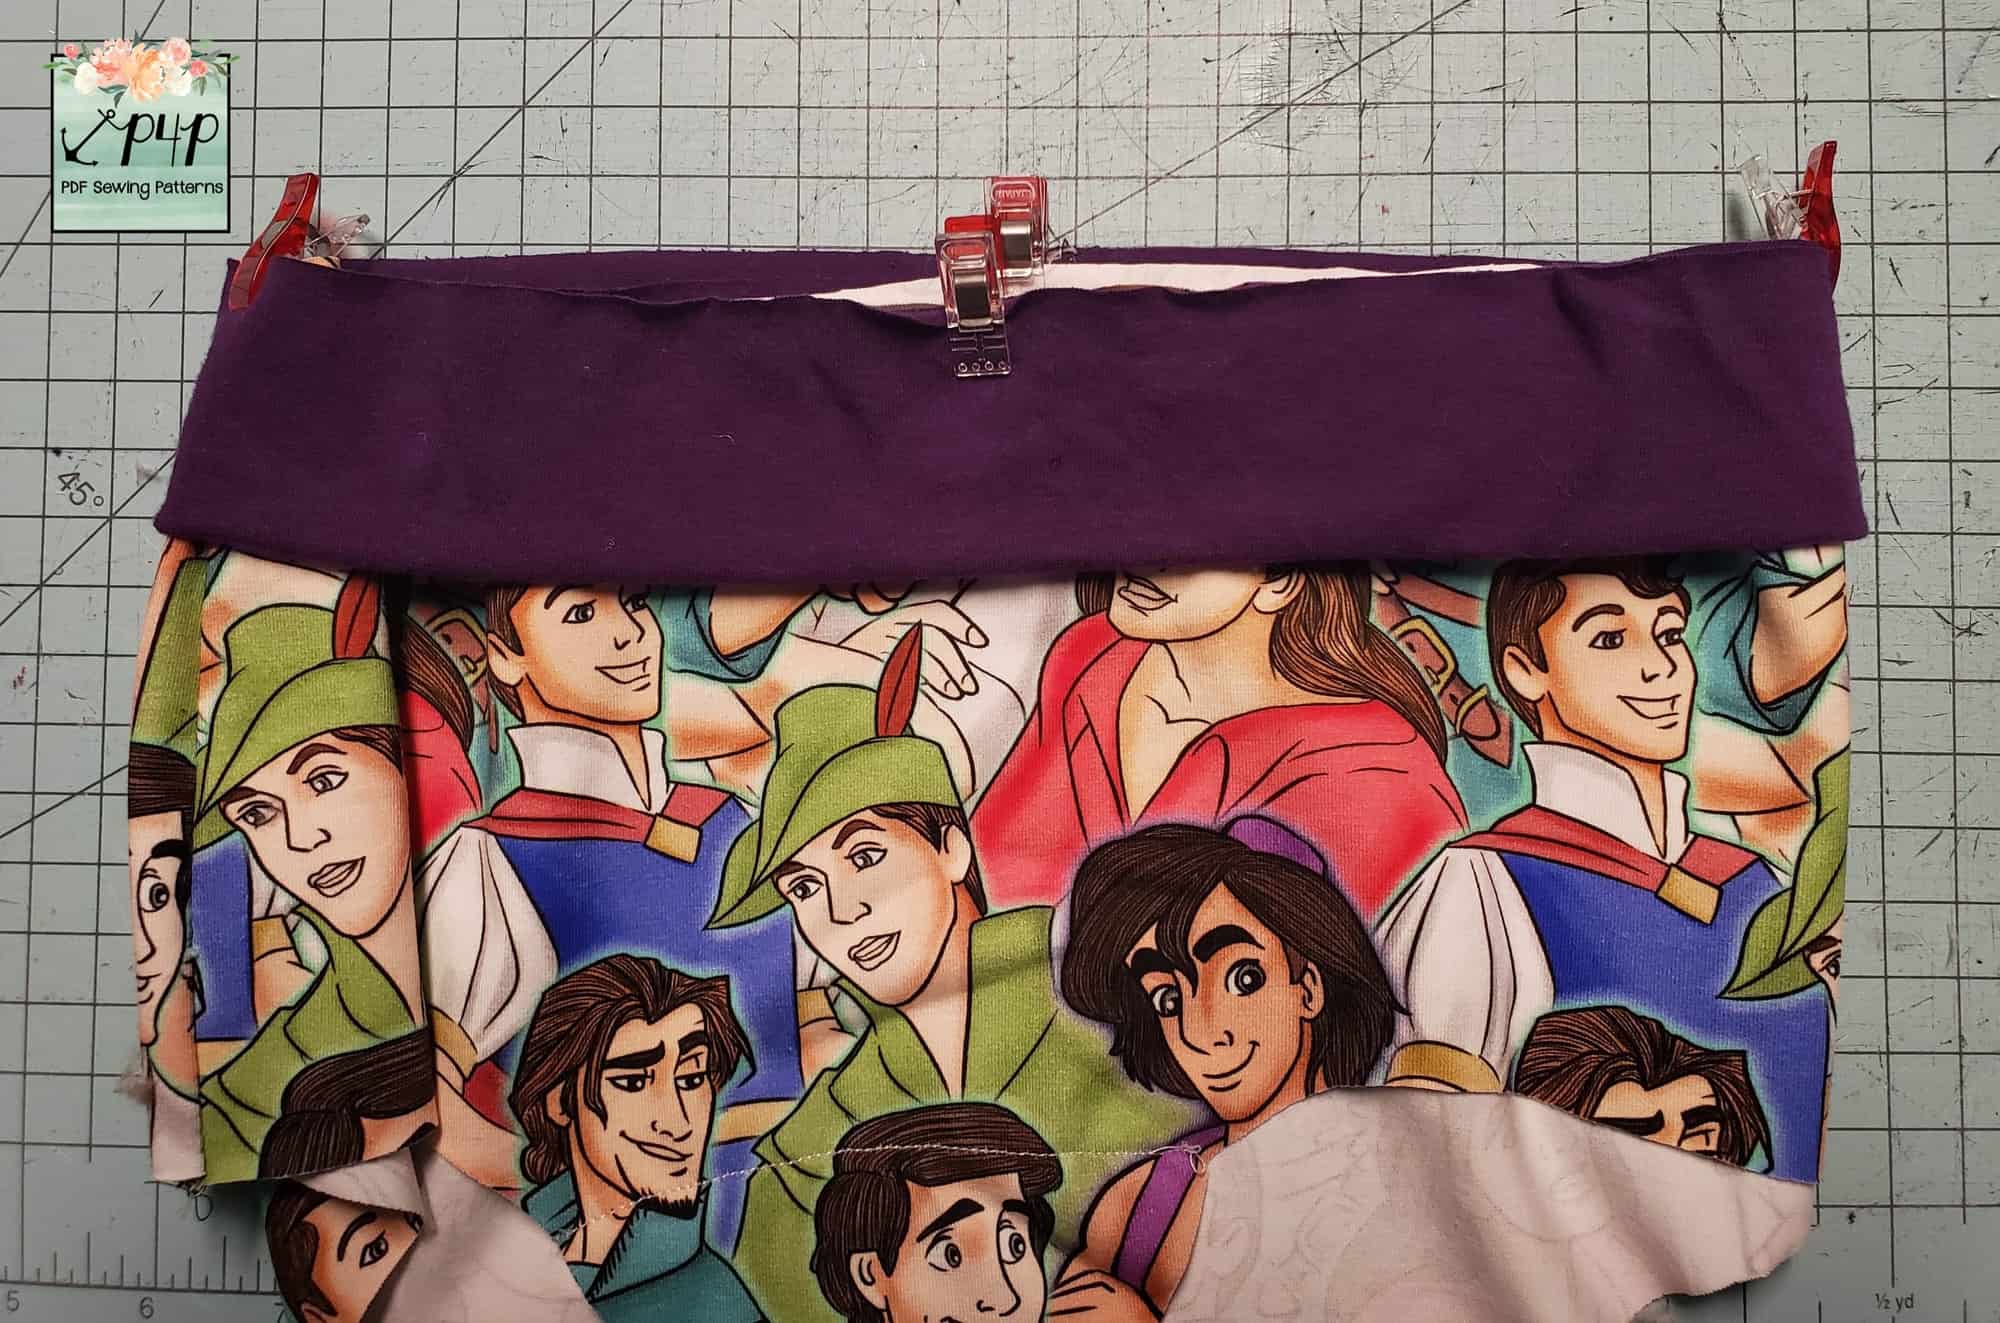
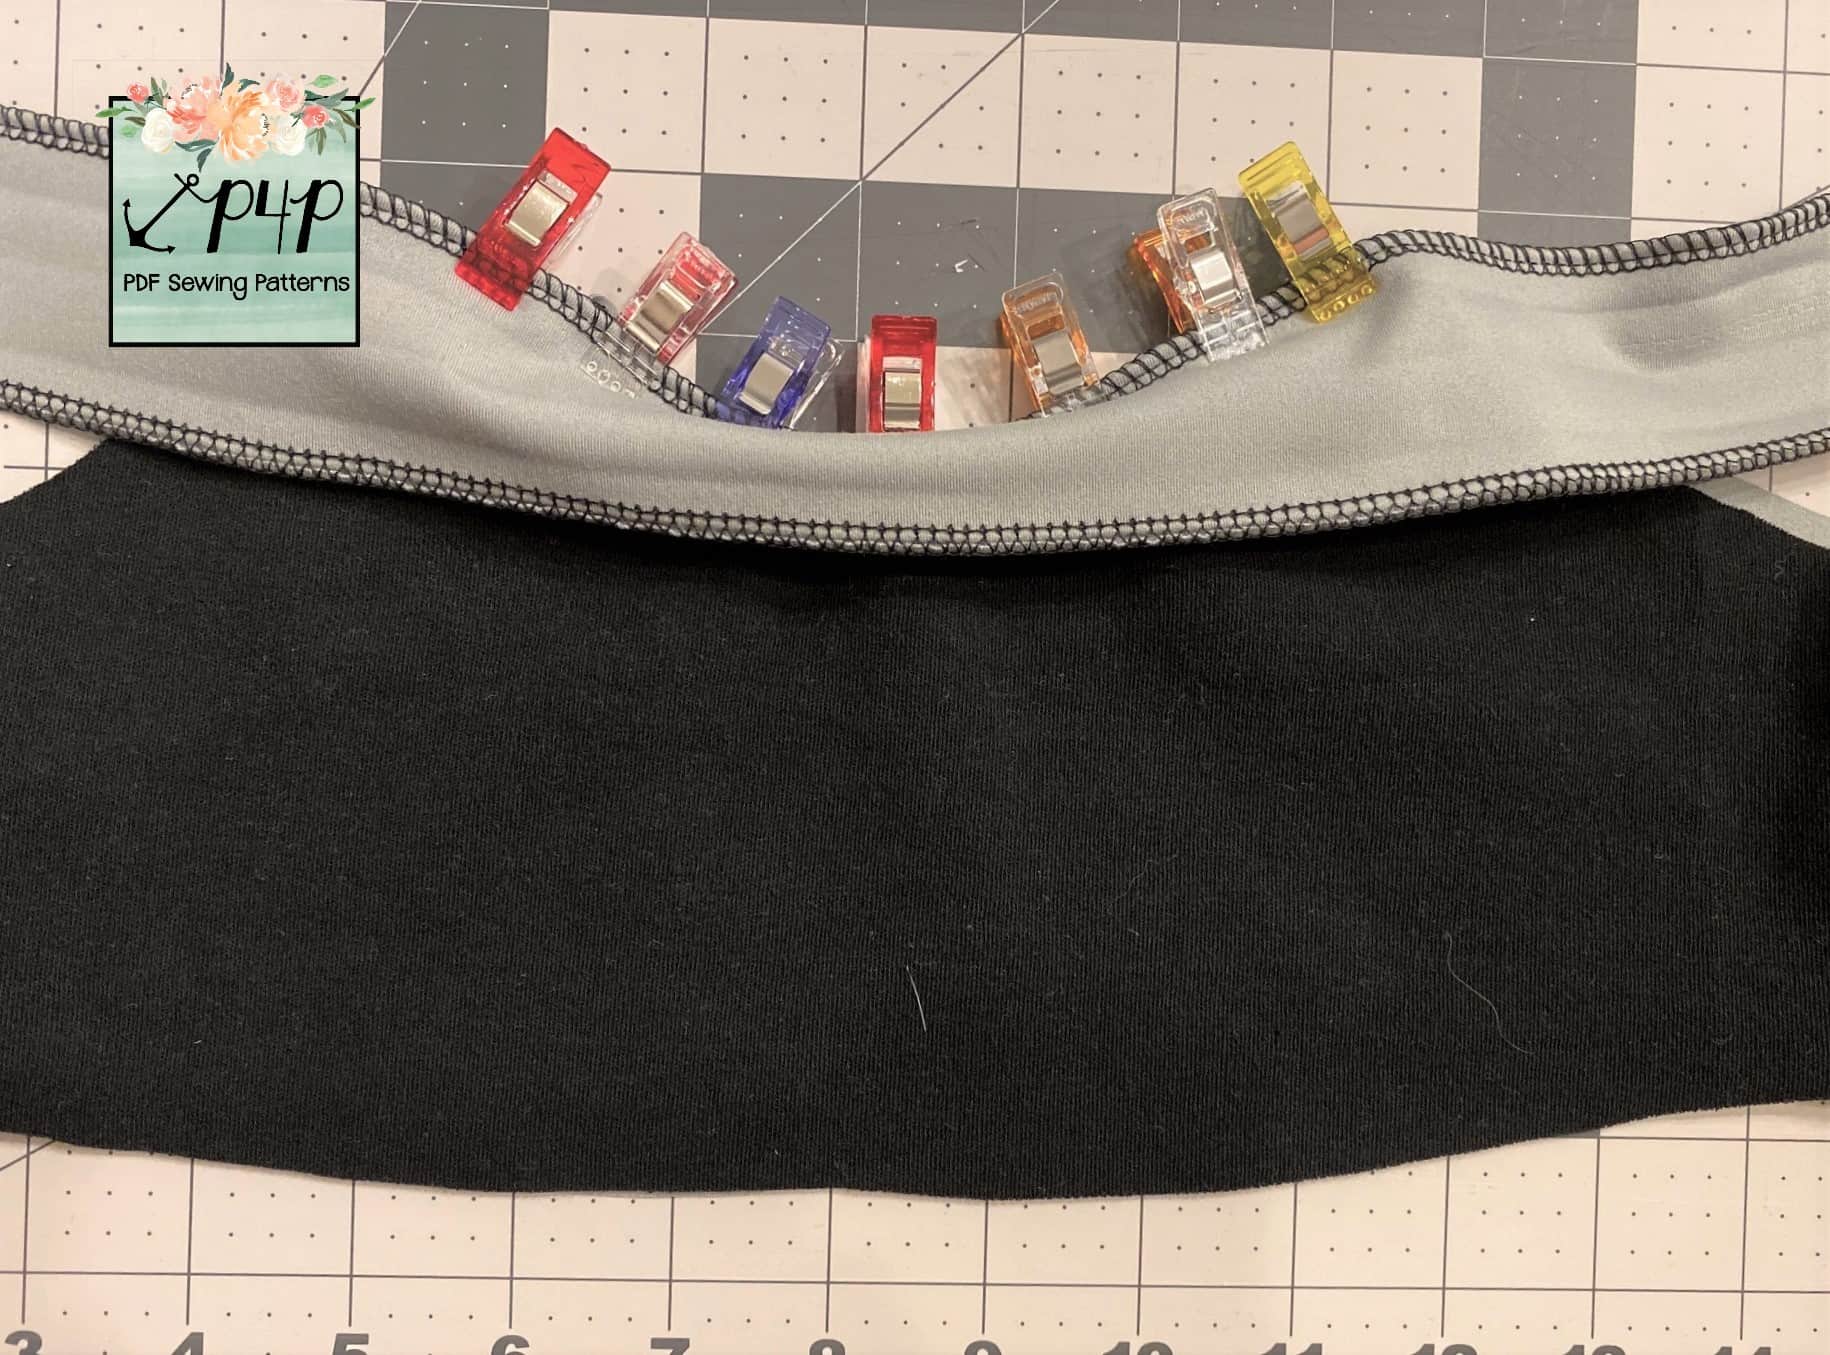
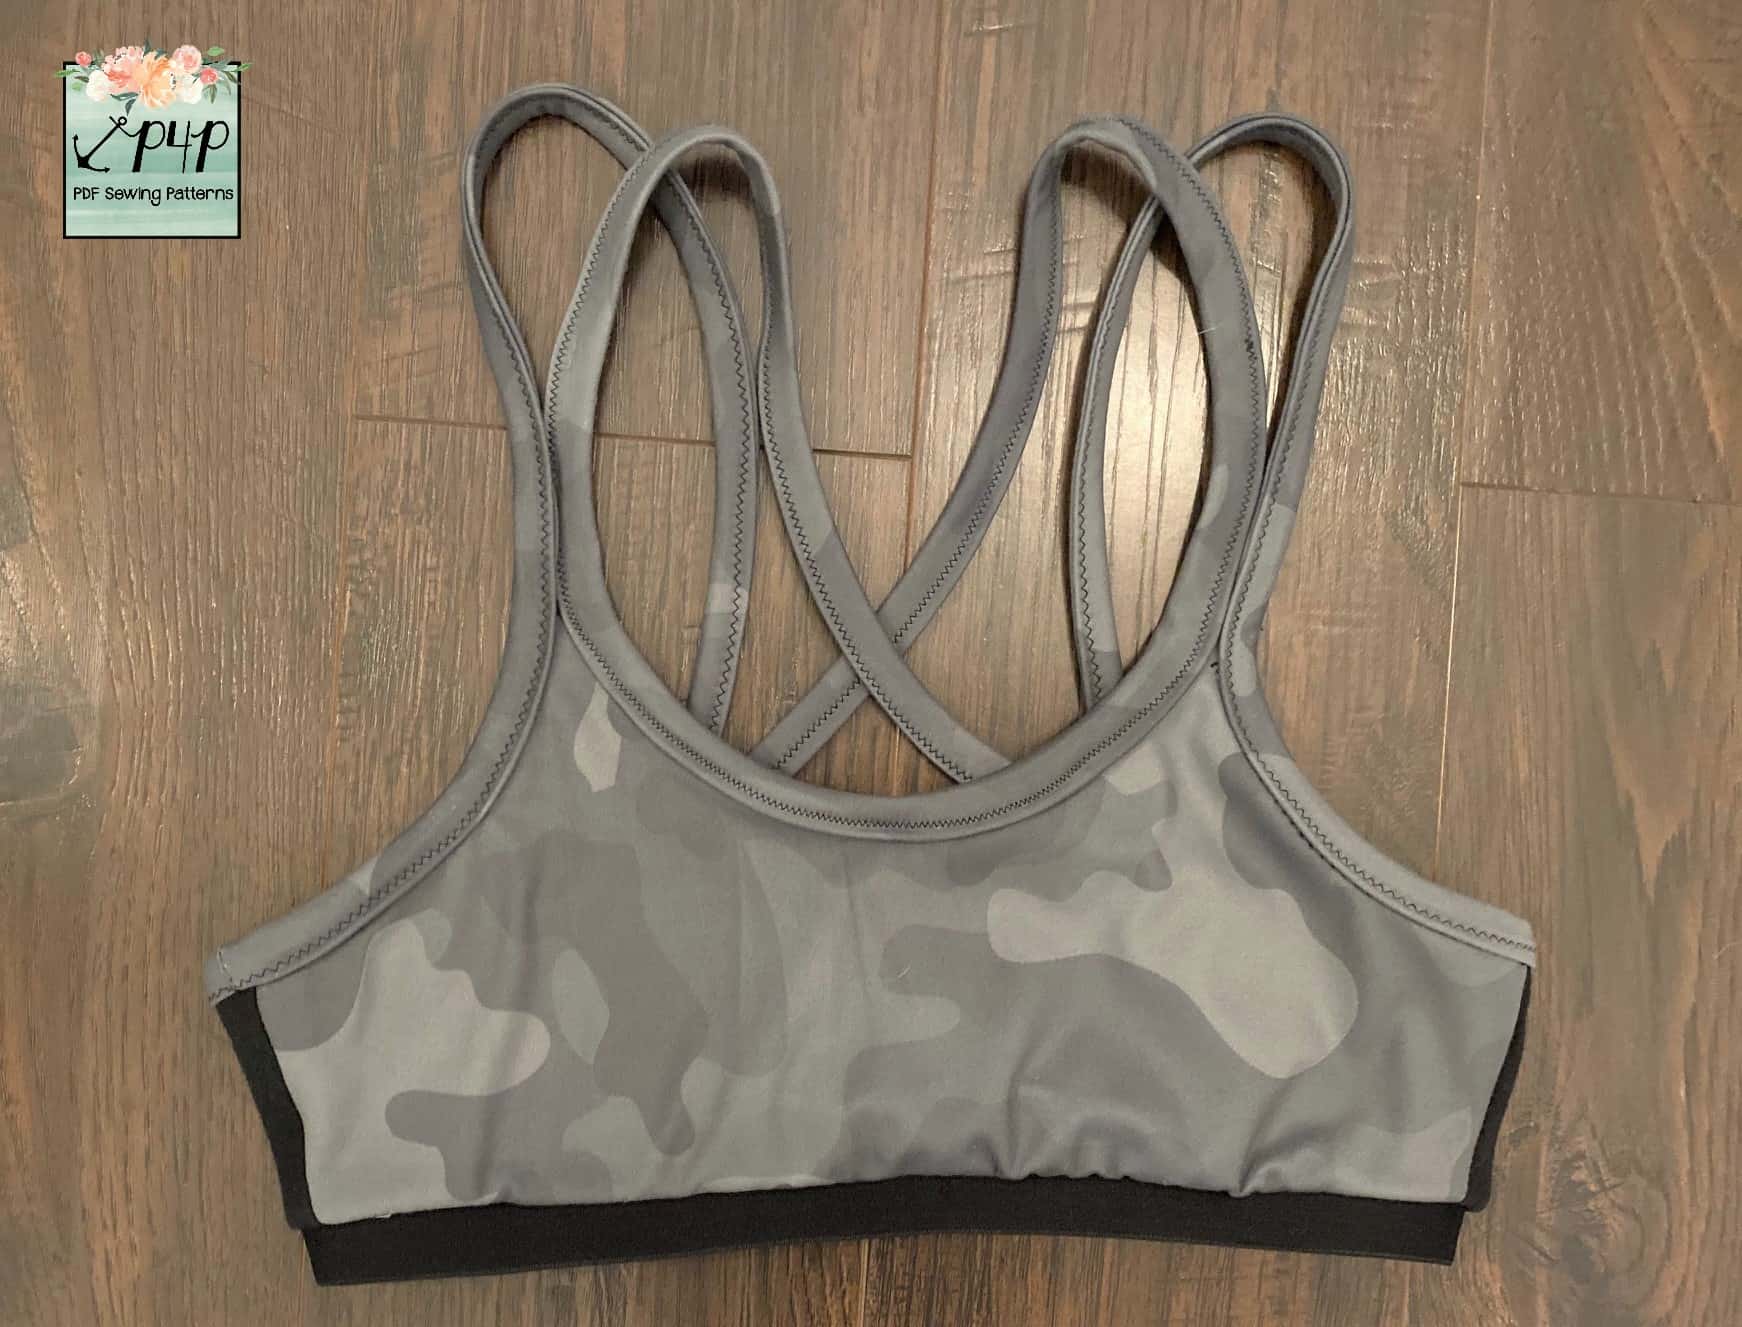
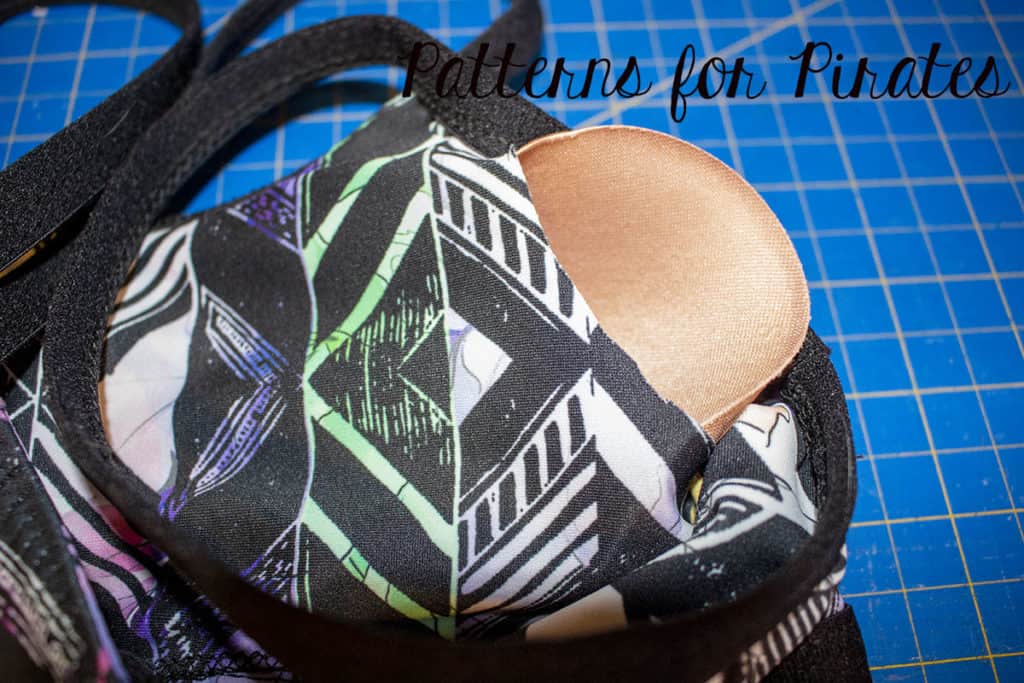
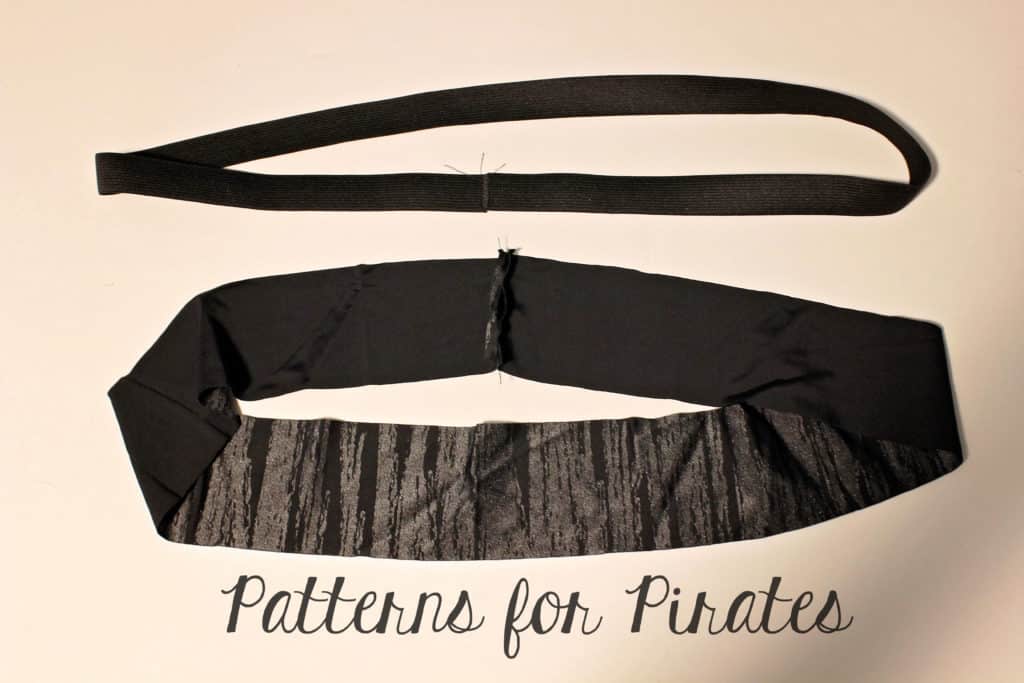
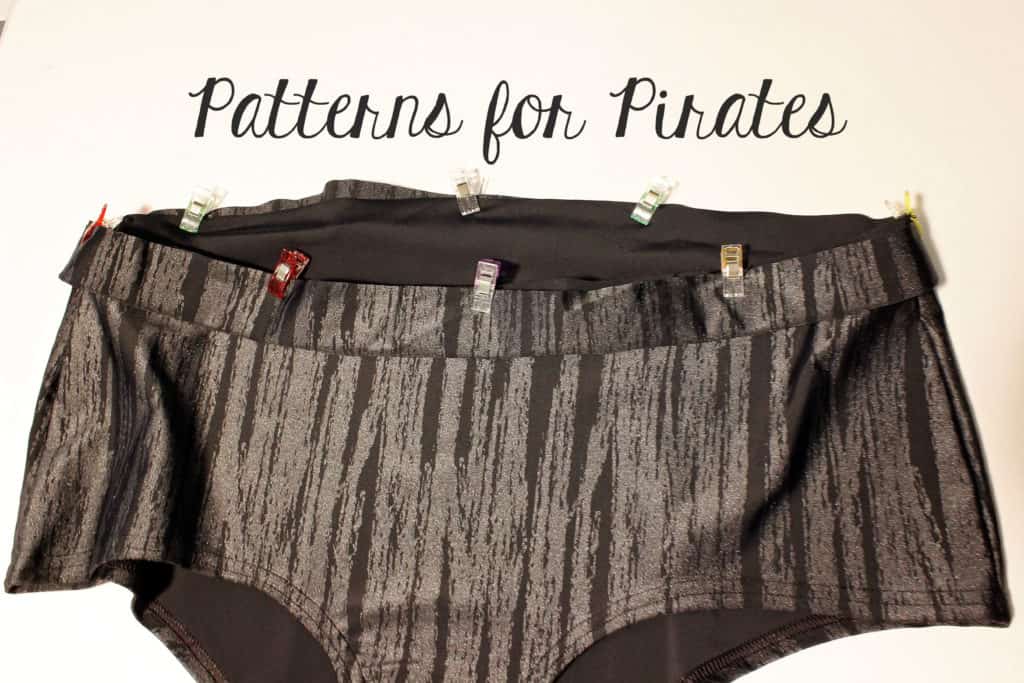
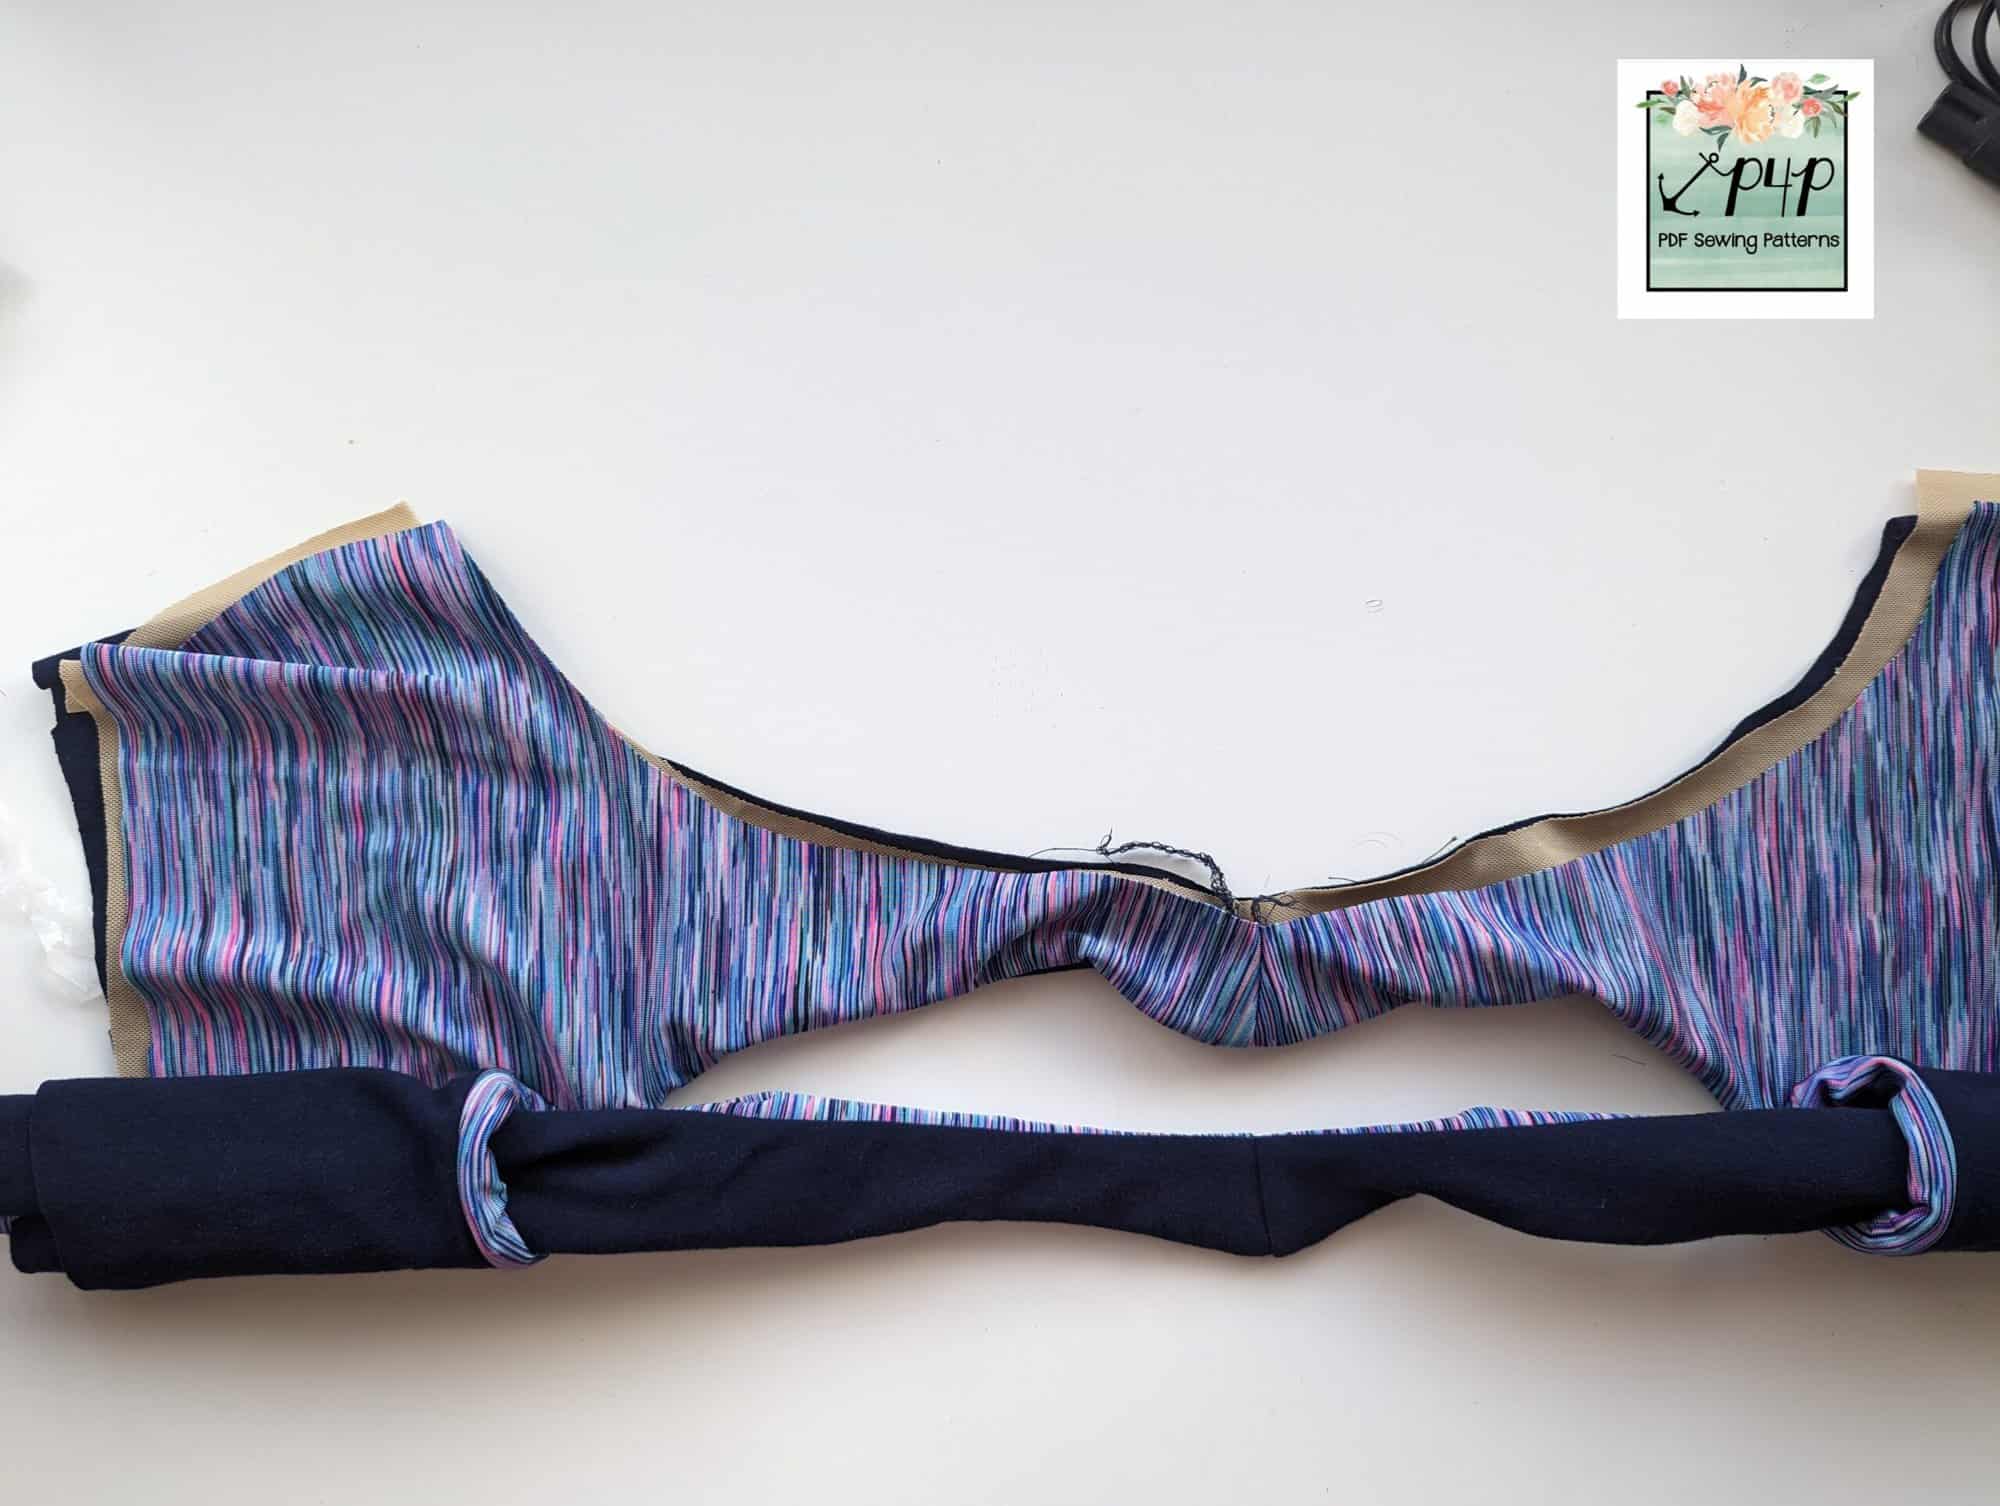
Now we just have to finish the side seams. To do this we open out the main from the lining on both the front and back, and clip them right sides together, matching main with main and lining with lining. Then sew the side seam with a 1/2″ seam allowance. Repeat on the other side.
Your bra is now almost finished, you just have to stitch the elastic to the bottom. Butt the edges of the elastic together and sew them together using a wide, short zig zag stitch. Then quarter the elastic and the bottom of the bra and sew the elastic on as per the instructions in the 24/7 Tank tutorial.
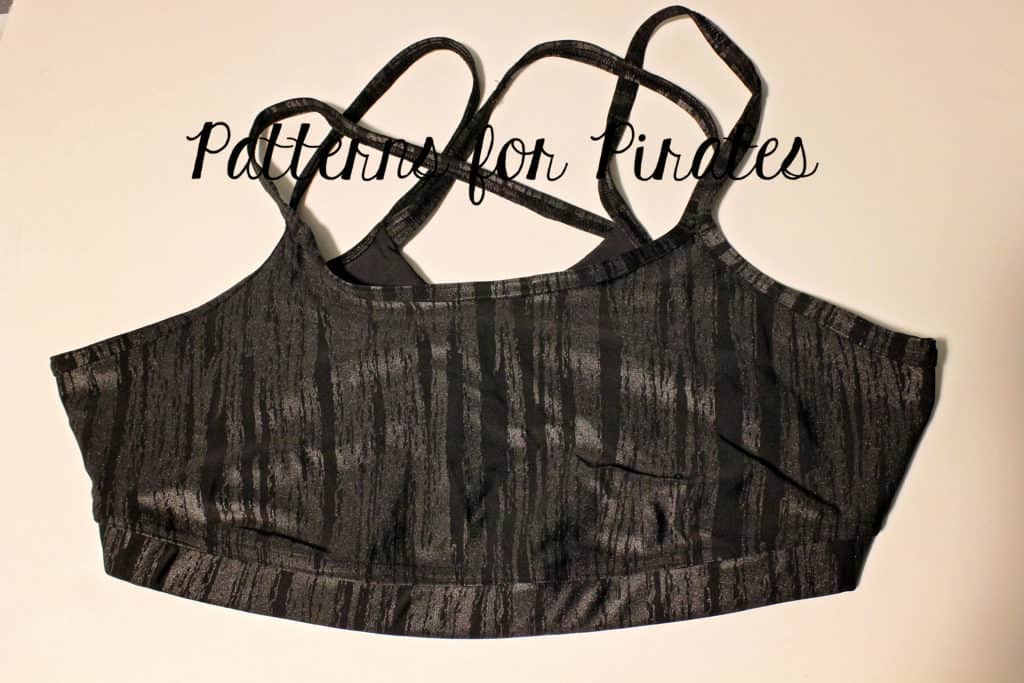
You’re all done! I hope you love your comfy new lounge bra. They’re so quick to make you can whip up another in next to no time.

Happy Sewing!
Dana xxx