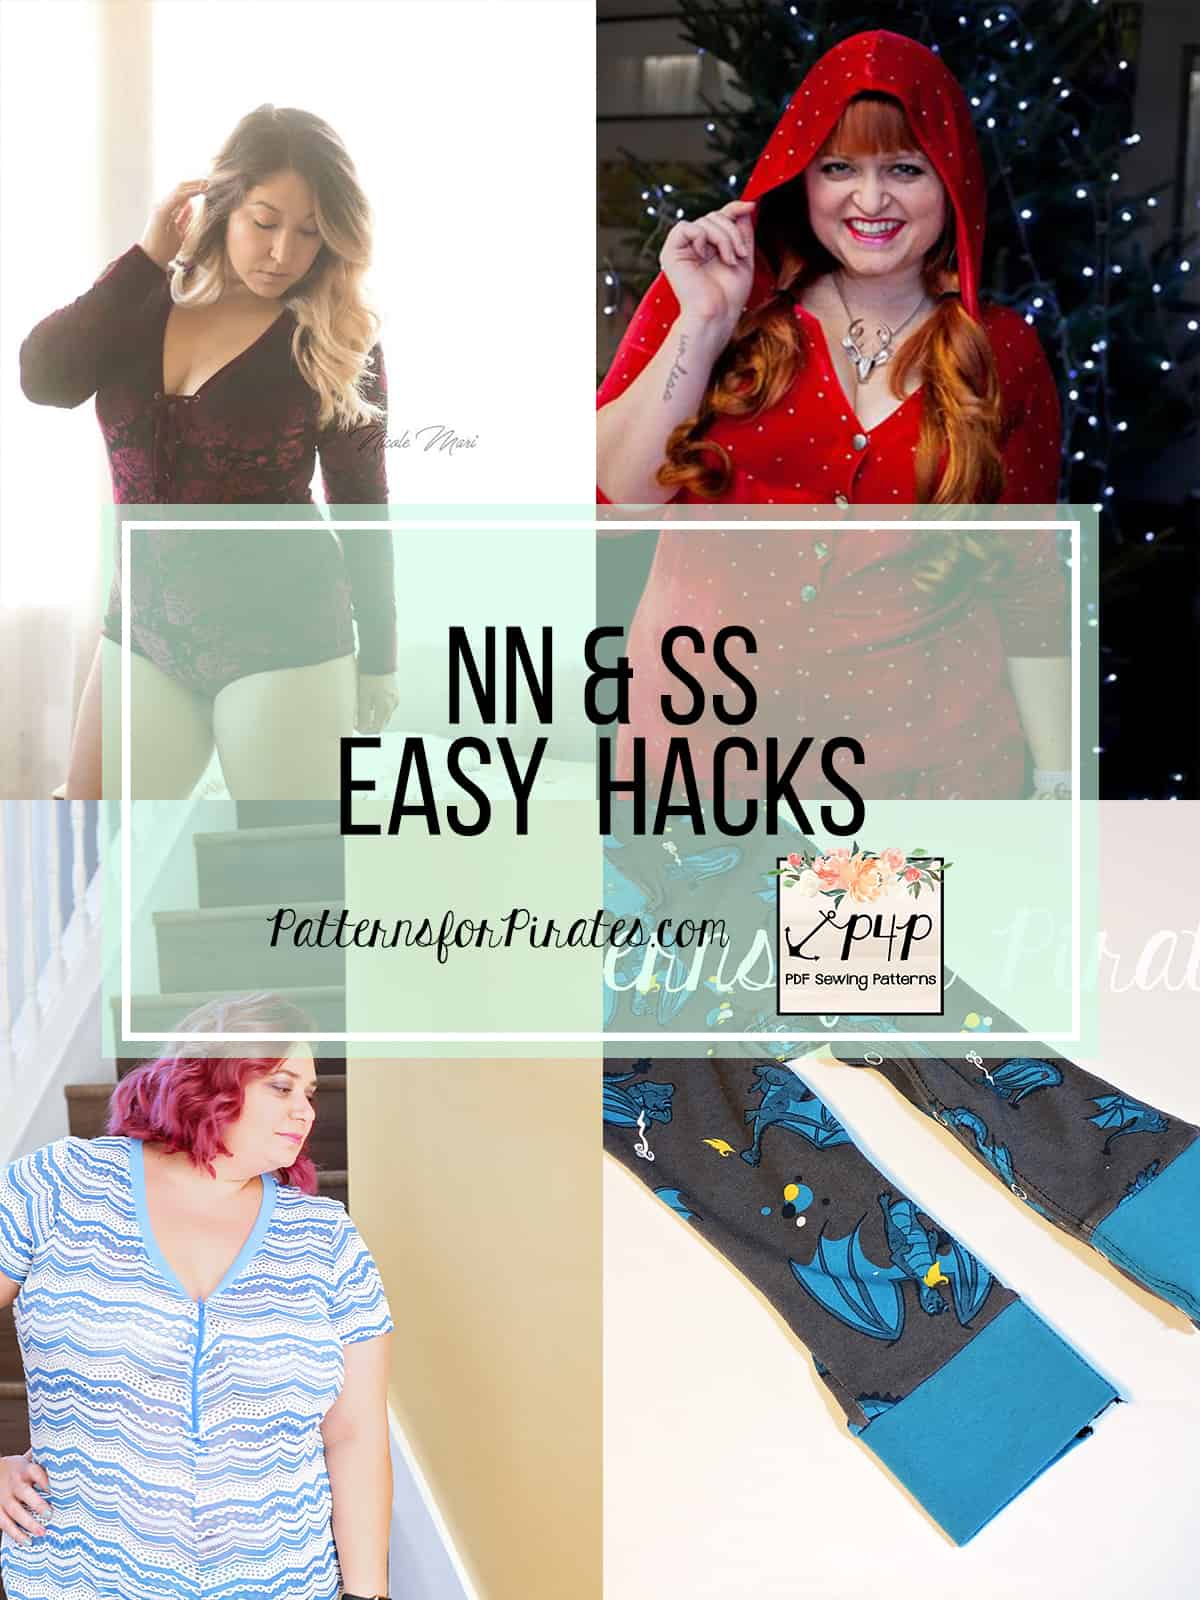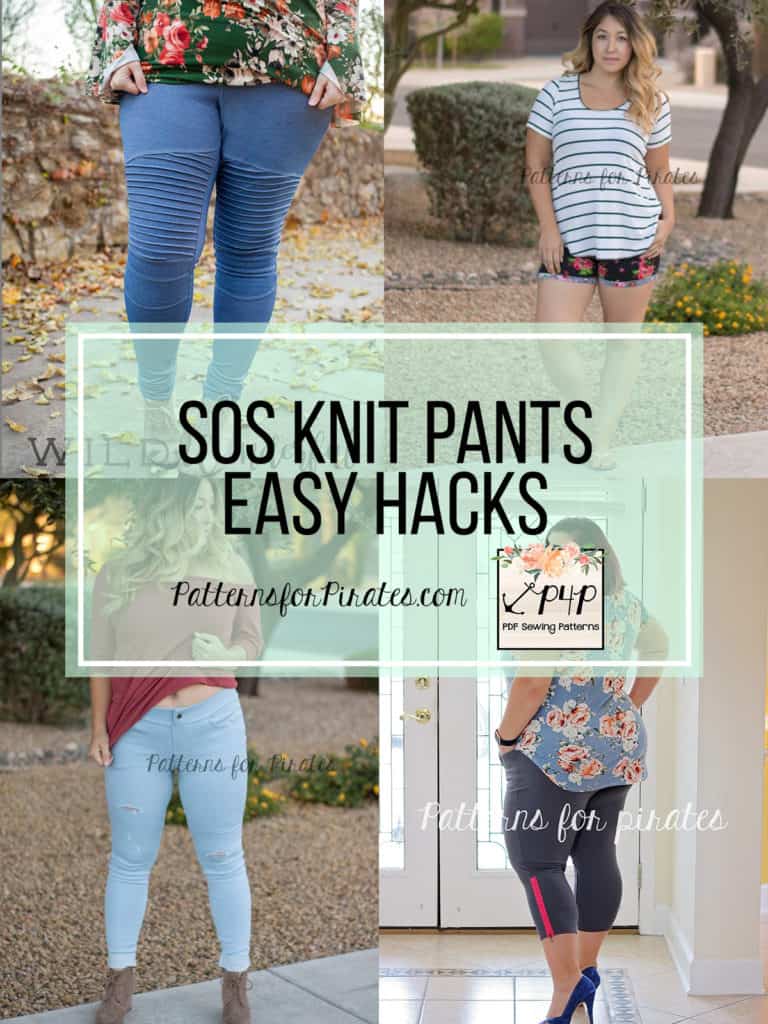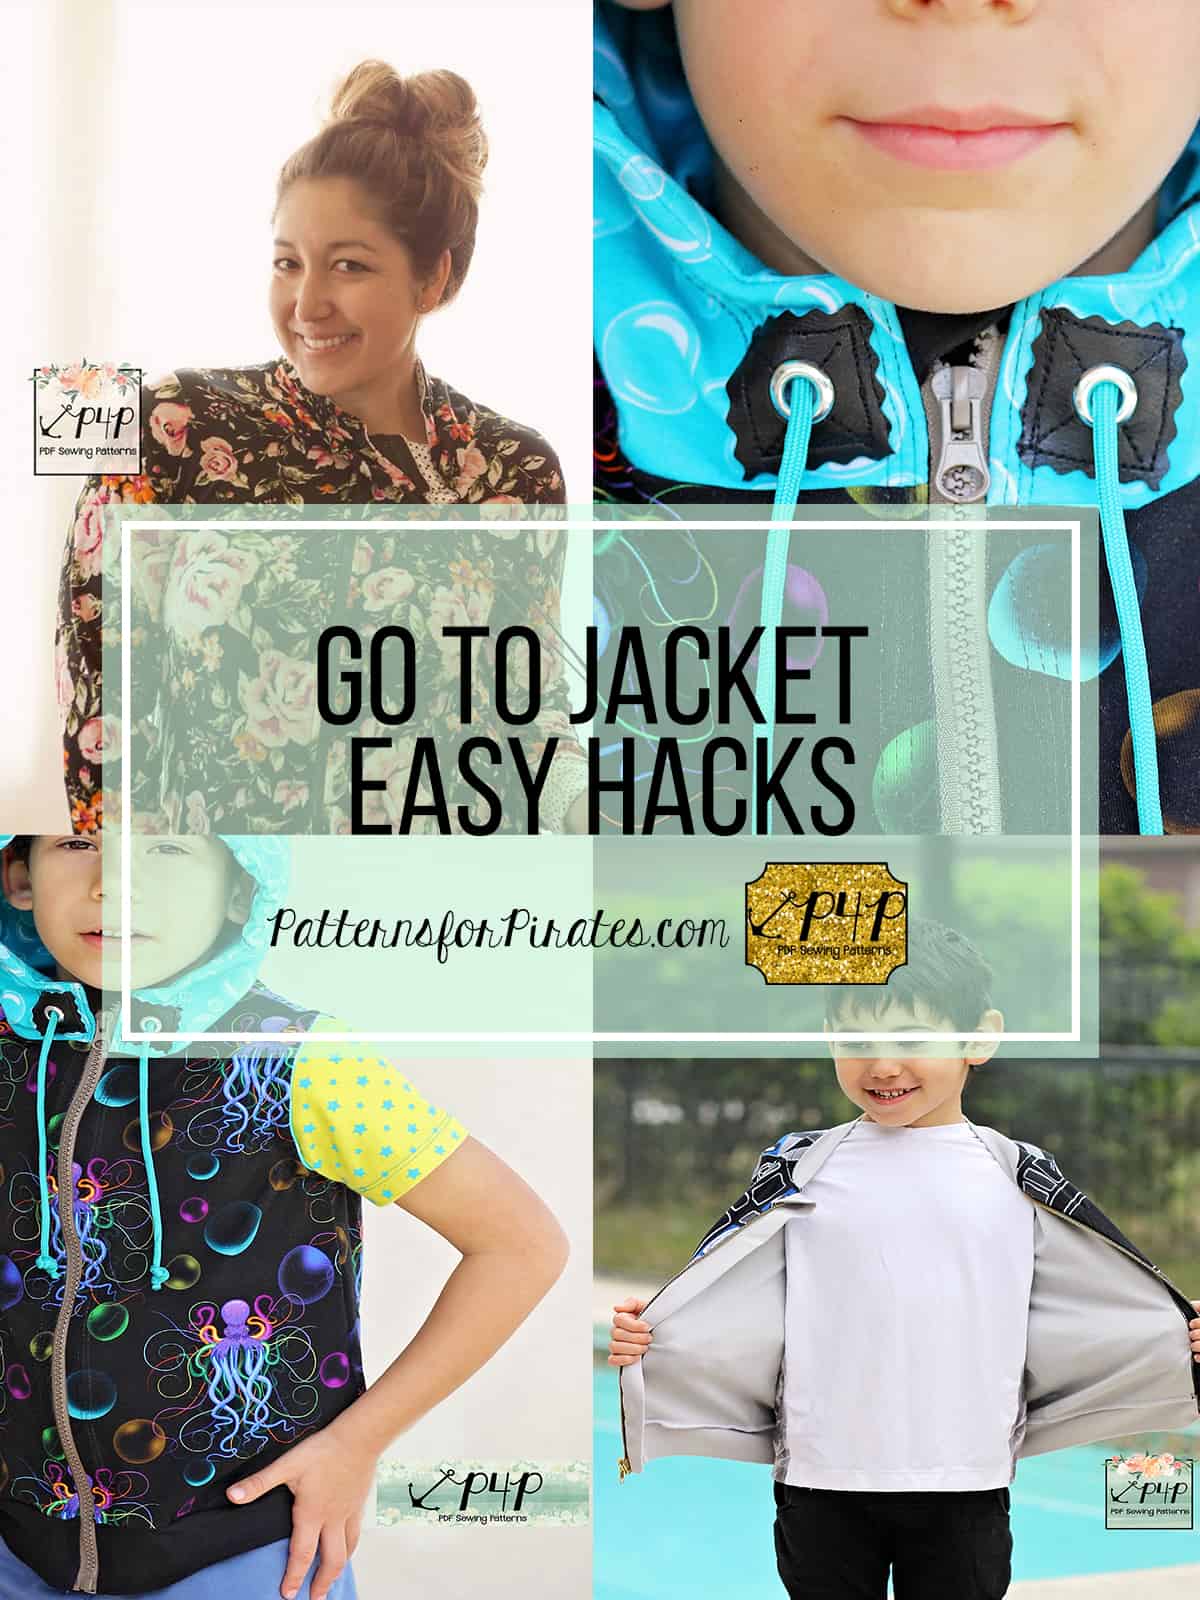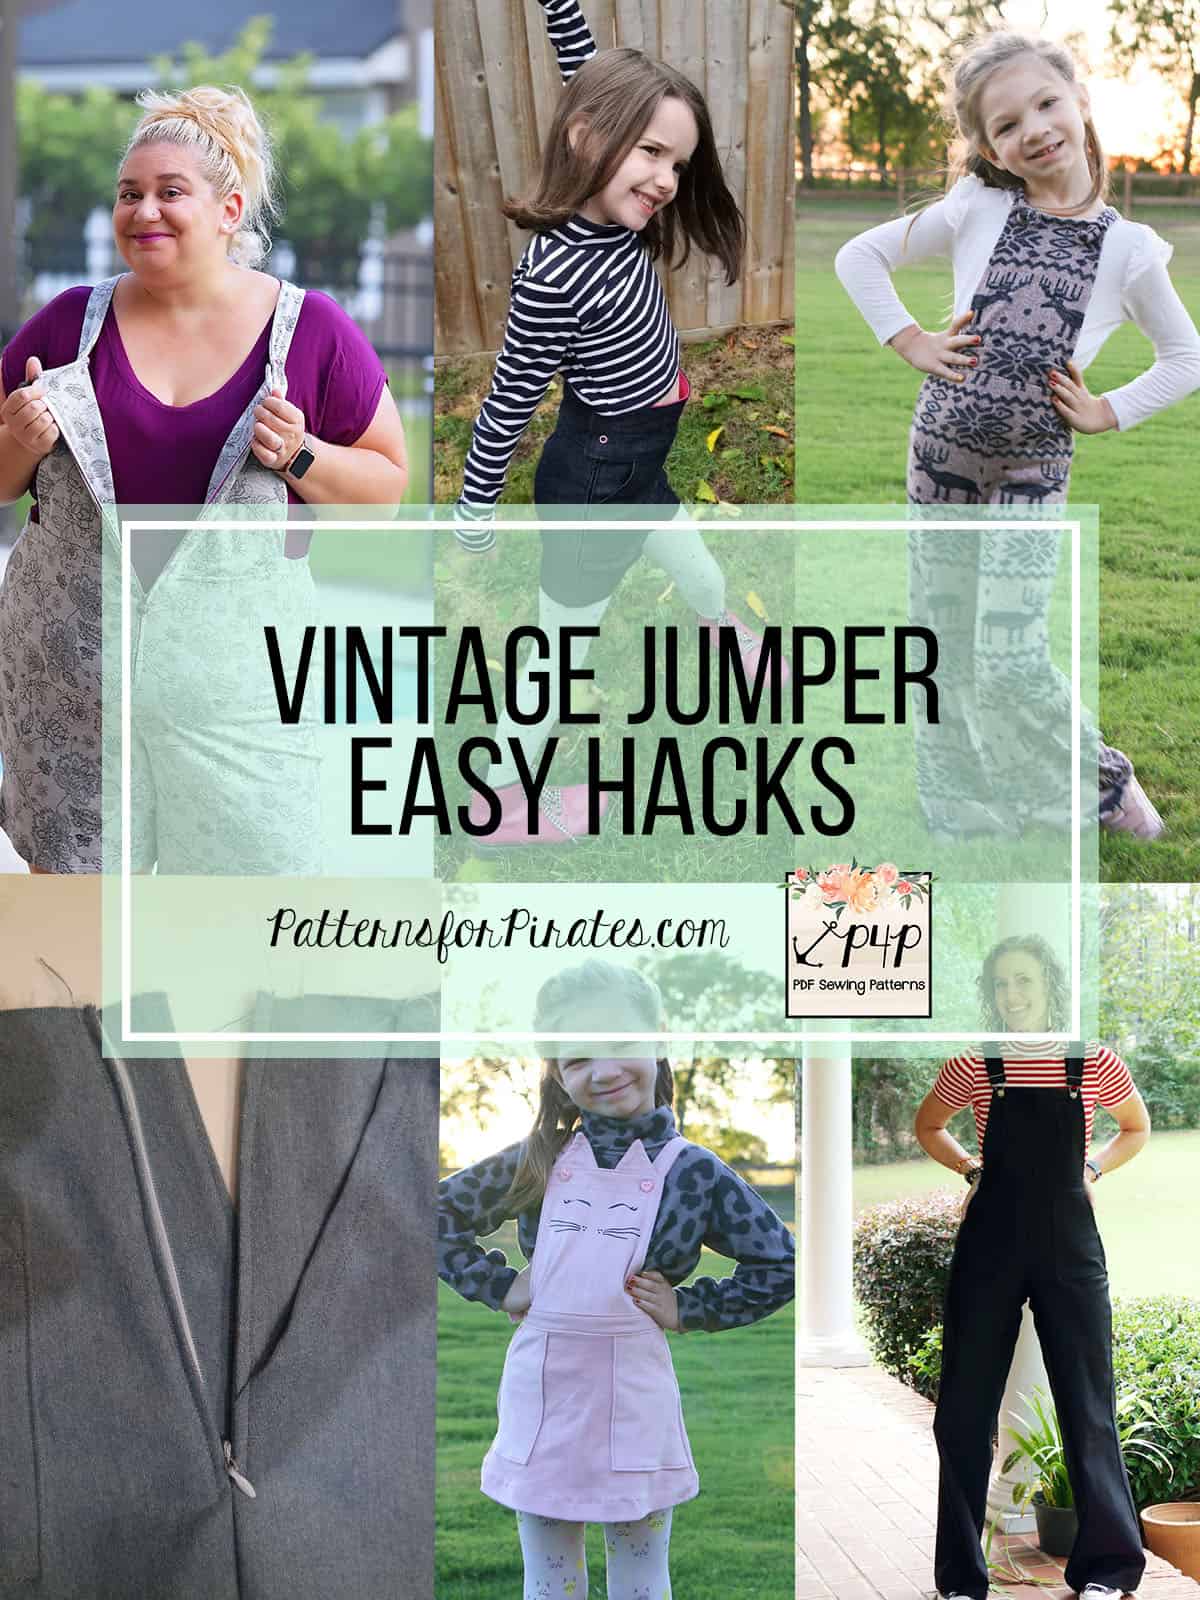
The Vintage Romper is here and we couldn’t be more excited to share with you the blog team’s take on some easy hacks. Grab your patterns and let’s get started!
…..
Pants/skirt
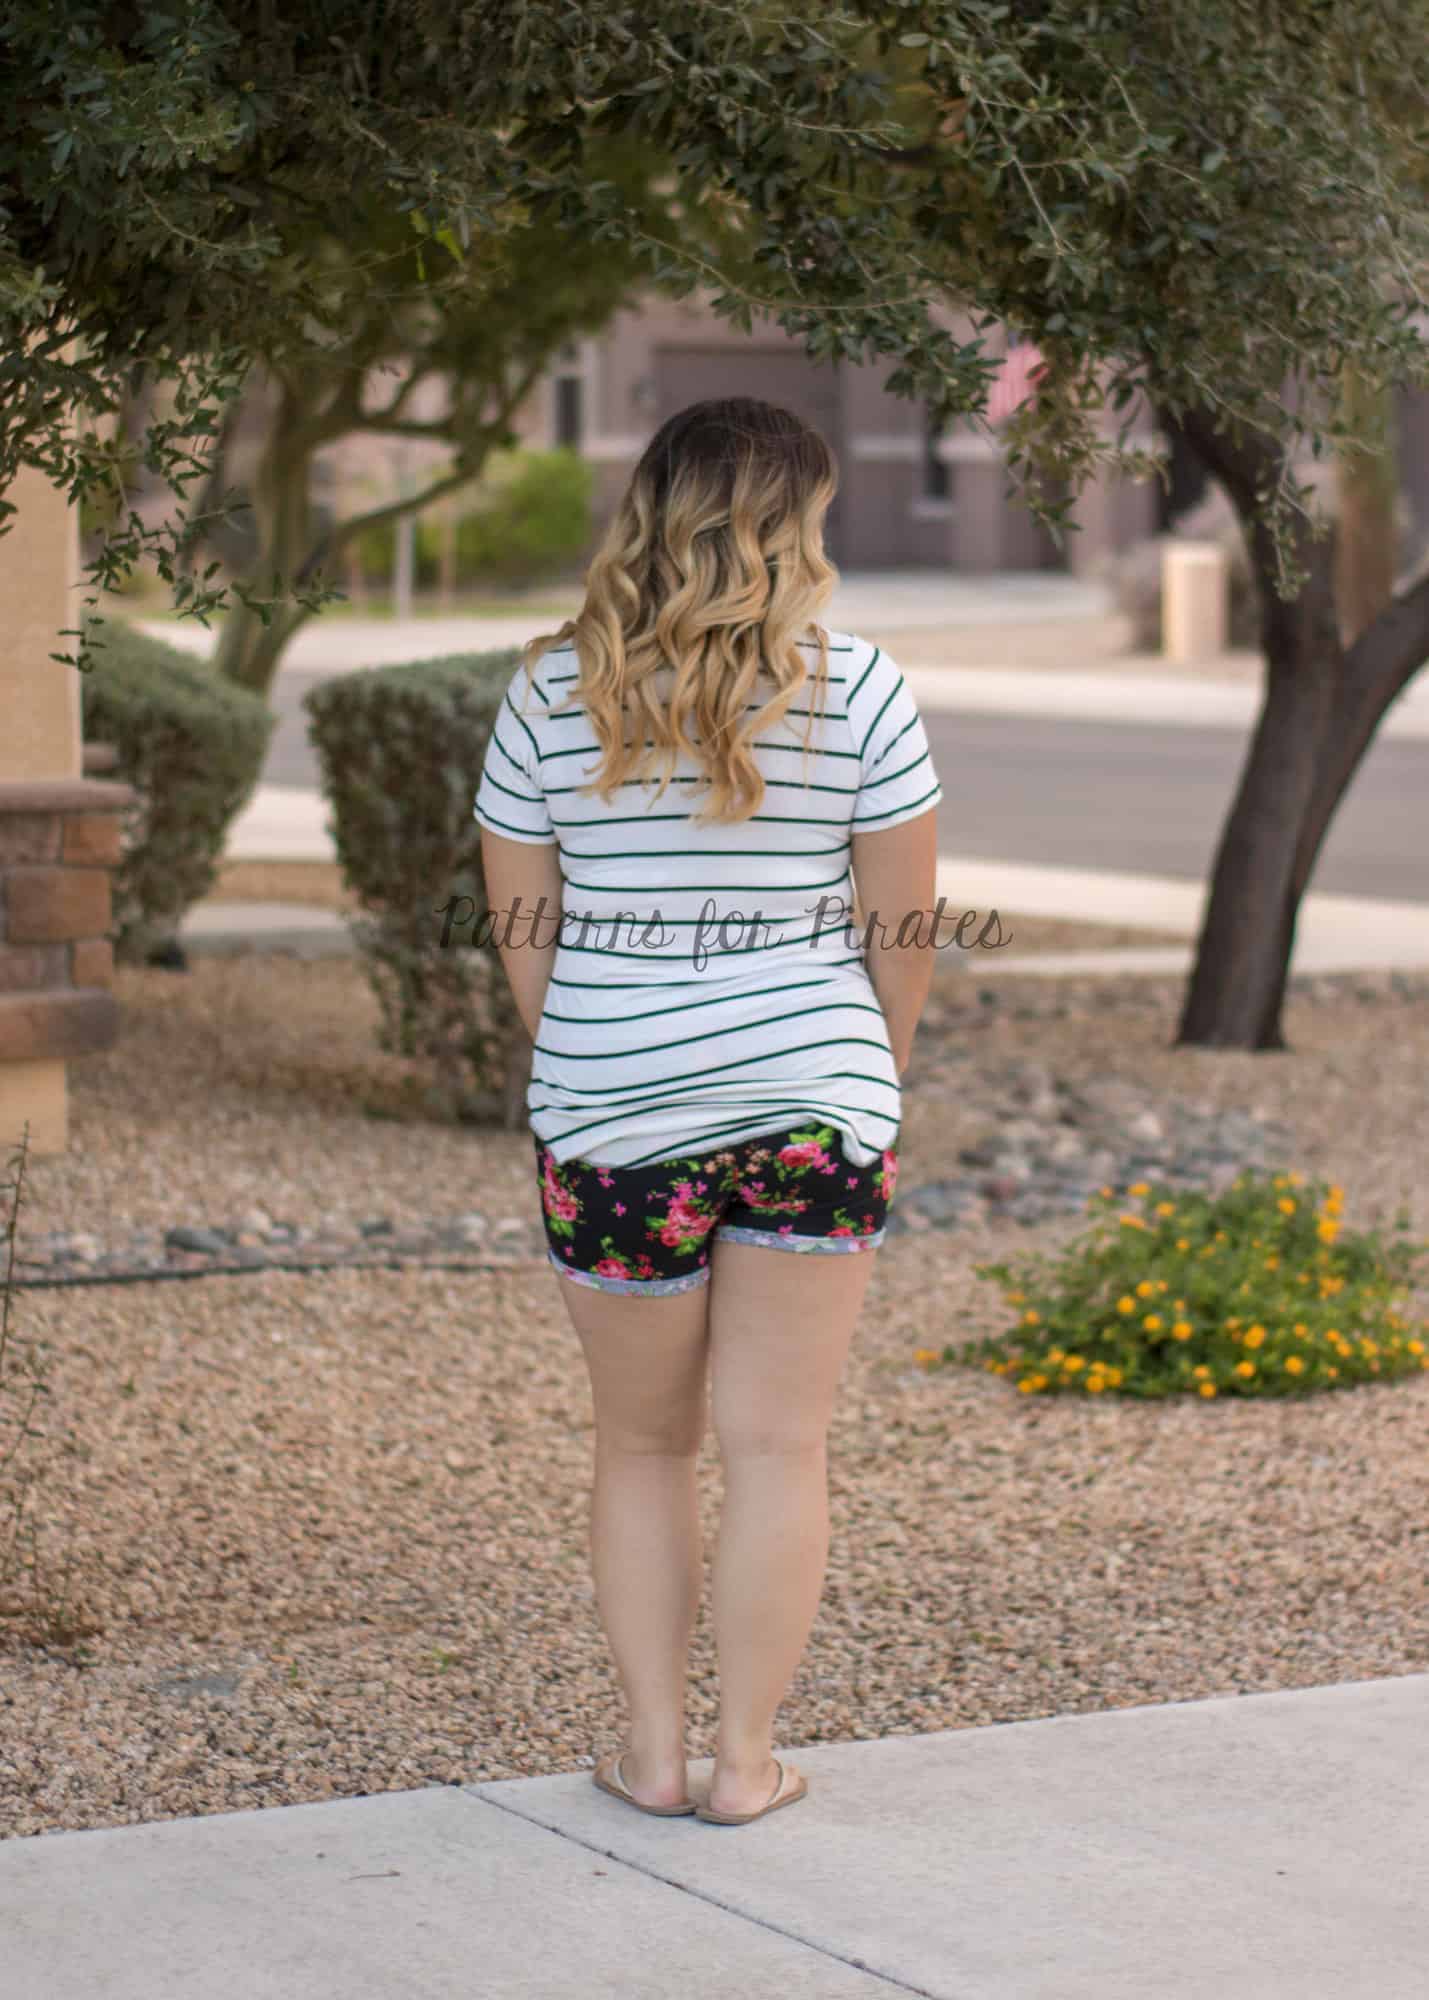
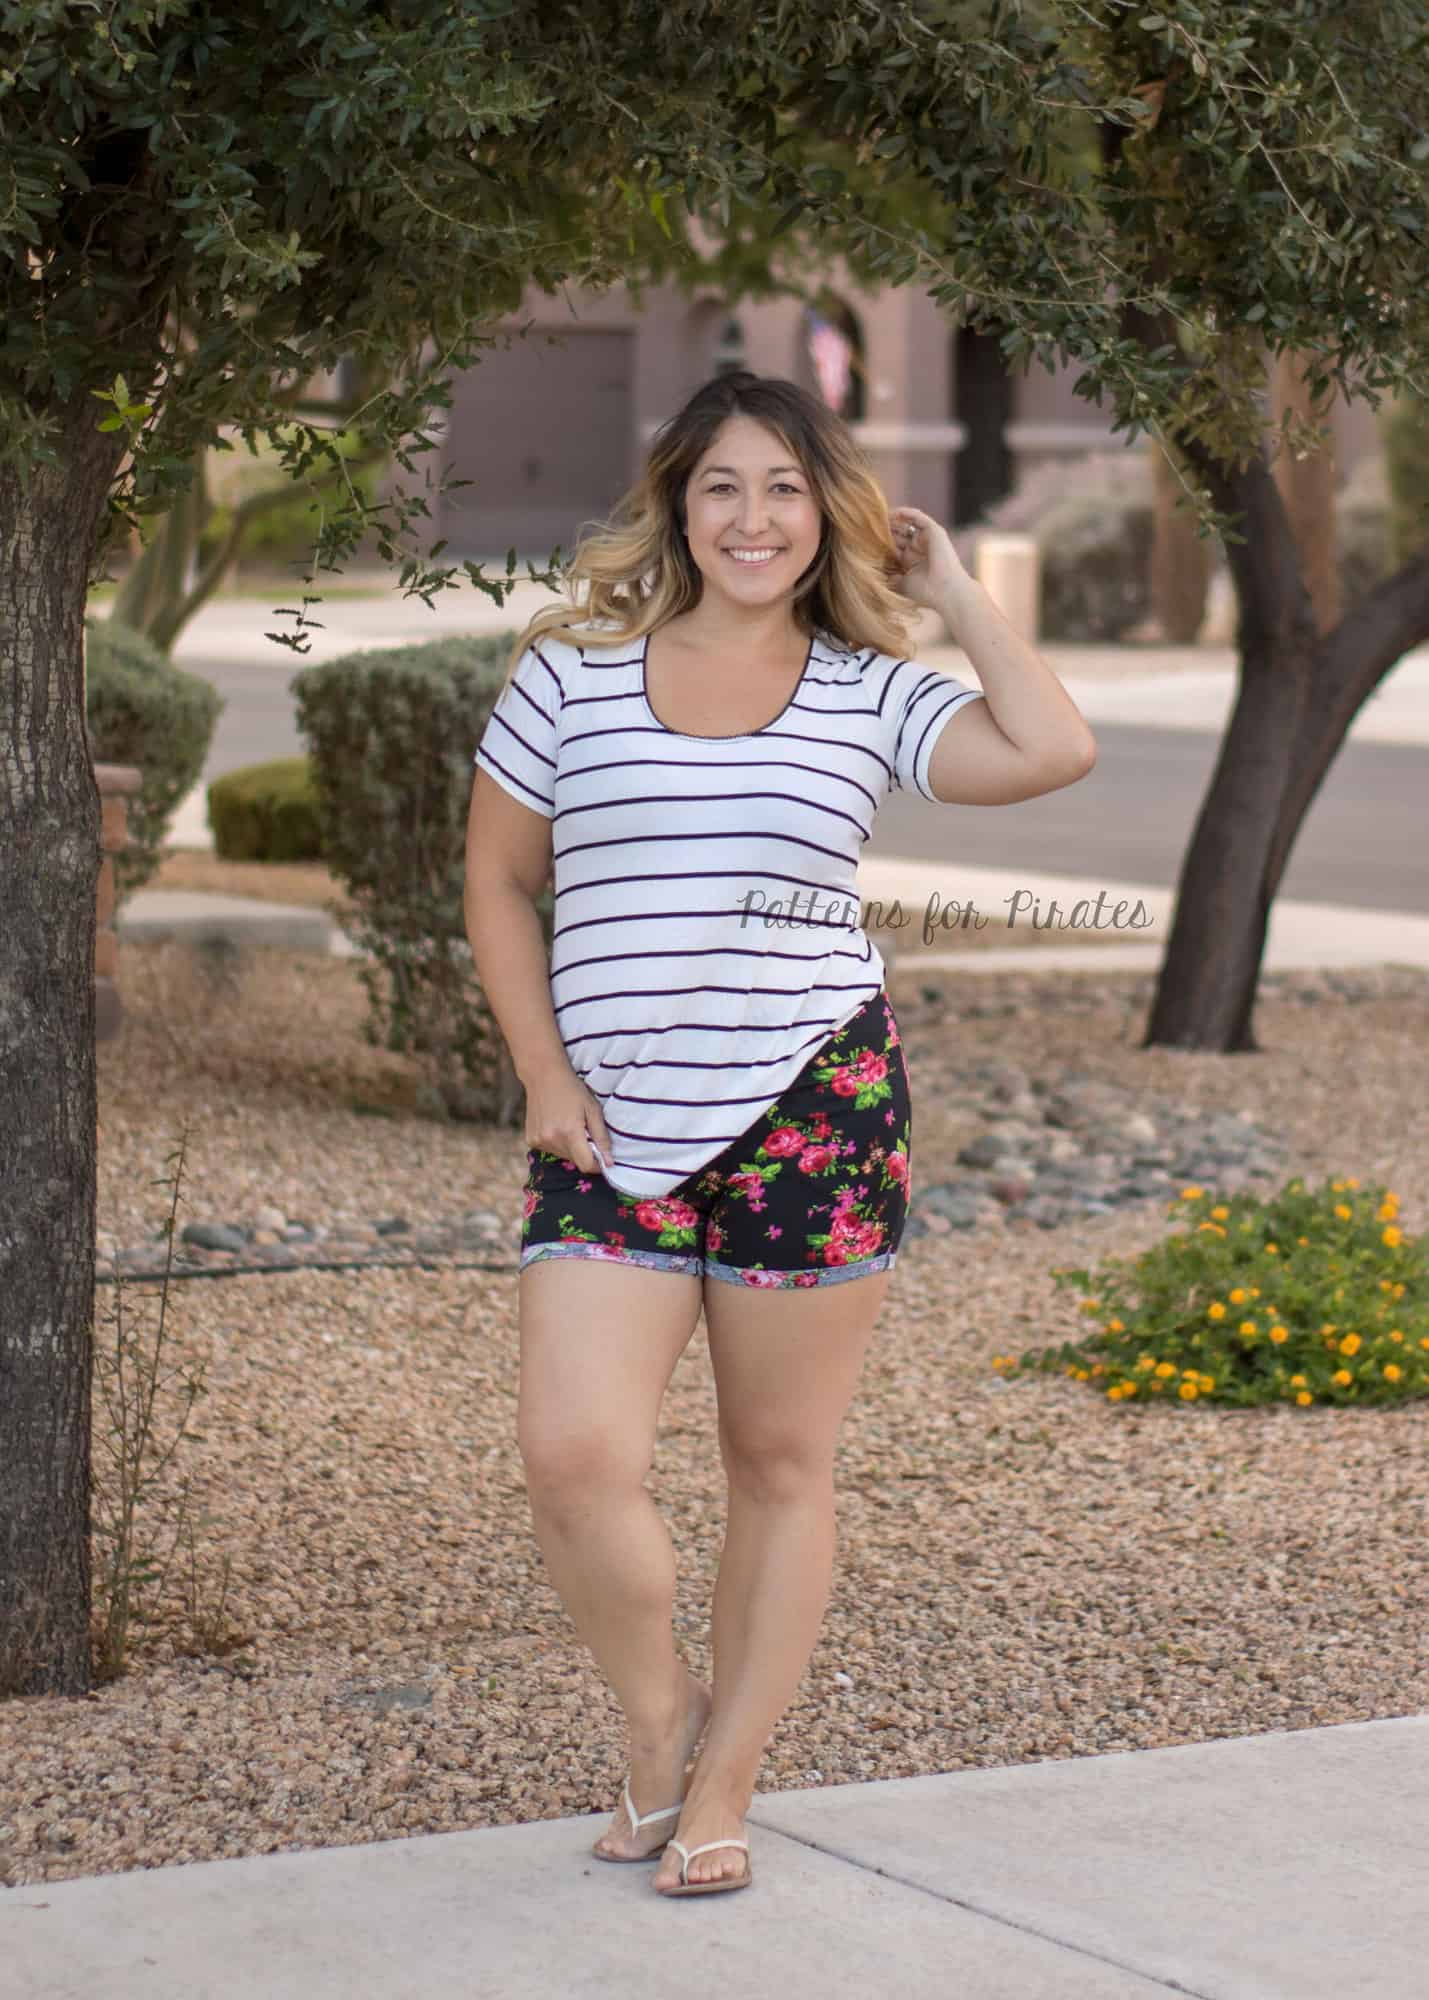
Do you love shorts like we love shorts?! Then you’re in the right place. I’m going to spend a little time today showing you how to hack the new Vintage Romper into a shorts or skirt only piece. It couldn’t be easier and I have even filmed a little tutorial showing you how to adapt the waistband pattern piece and then put the waistband together too, which you can find here:
However, if you like it old skool here is the written blog post.
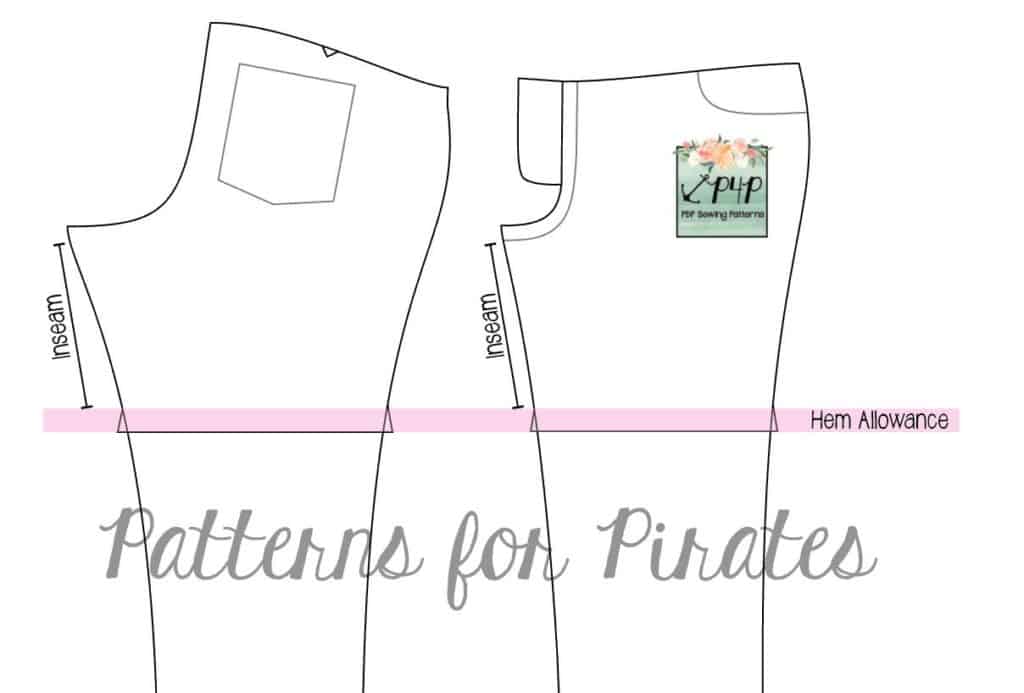
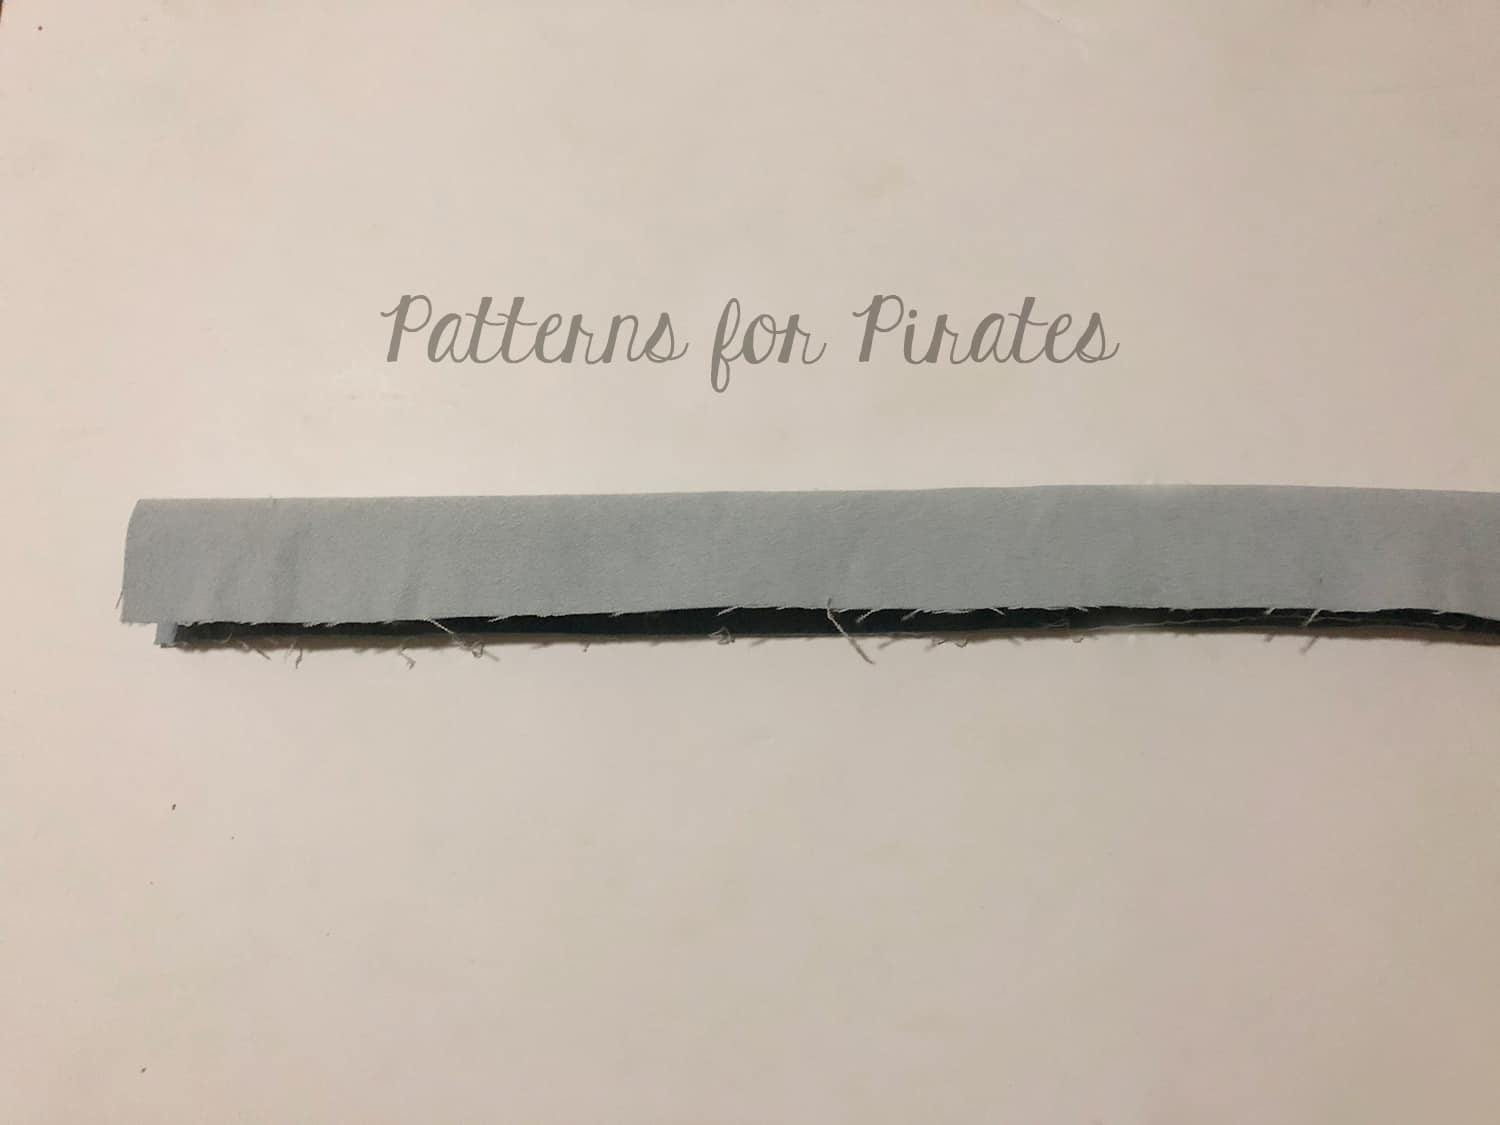
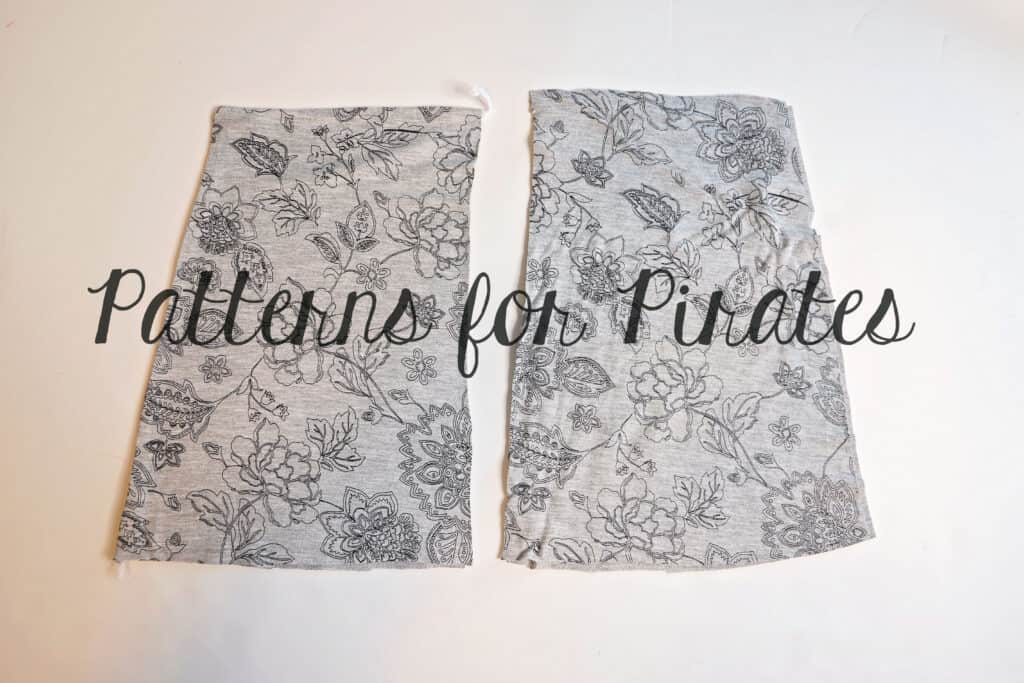
First you will want to cut out your skirt or pants pieces as per the regular tutorial. Then take your waistband piece and double the height of it. I used the Youth pattern to make mine and this measured 2 inches in height so I doubled it to make it 4 inches tall and then cut the length out as usual. I wasn’t going to use the strap pieces so I extended the waistband height out over the strap piece here, just to save paper. Cut your waistband lining piece out in the same way.
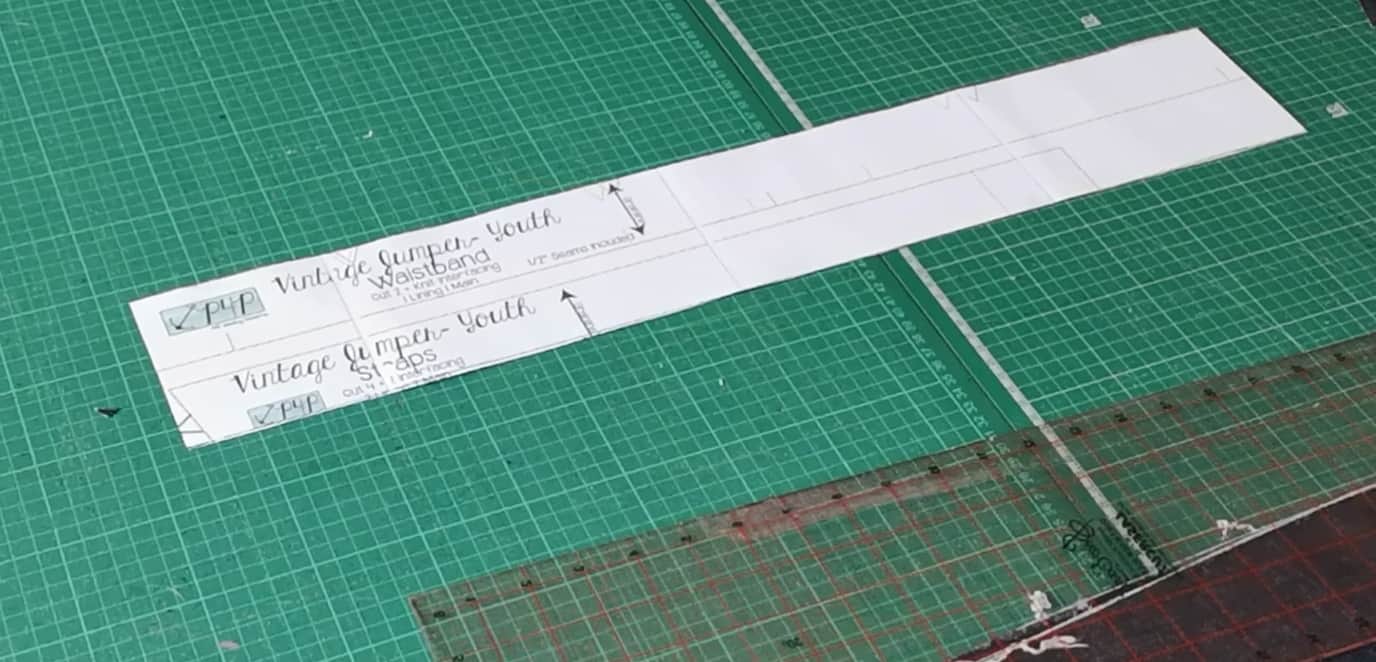
Waistband piece cut with the height doubled

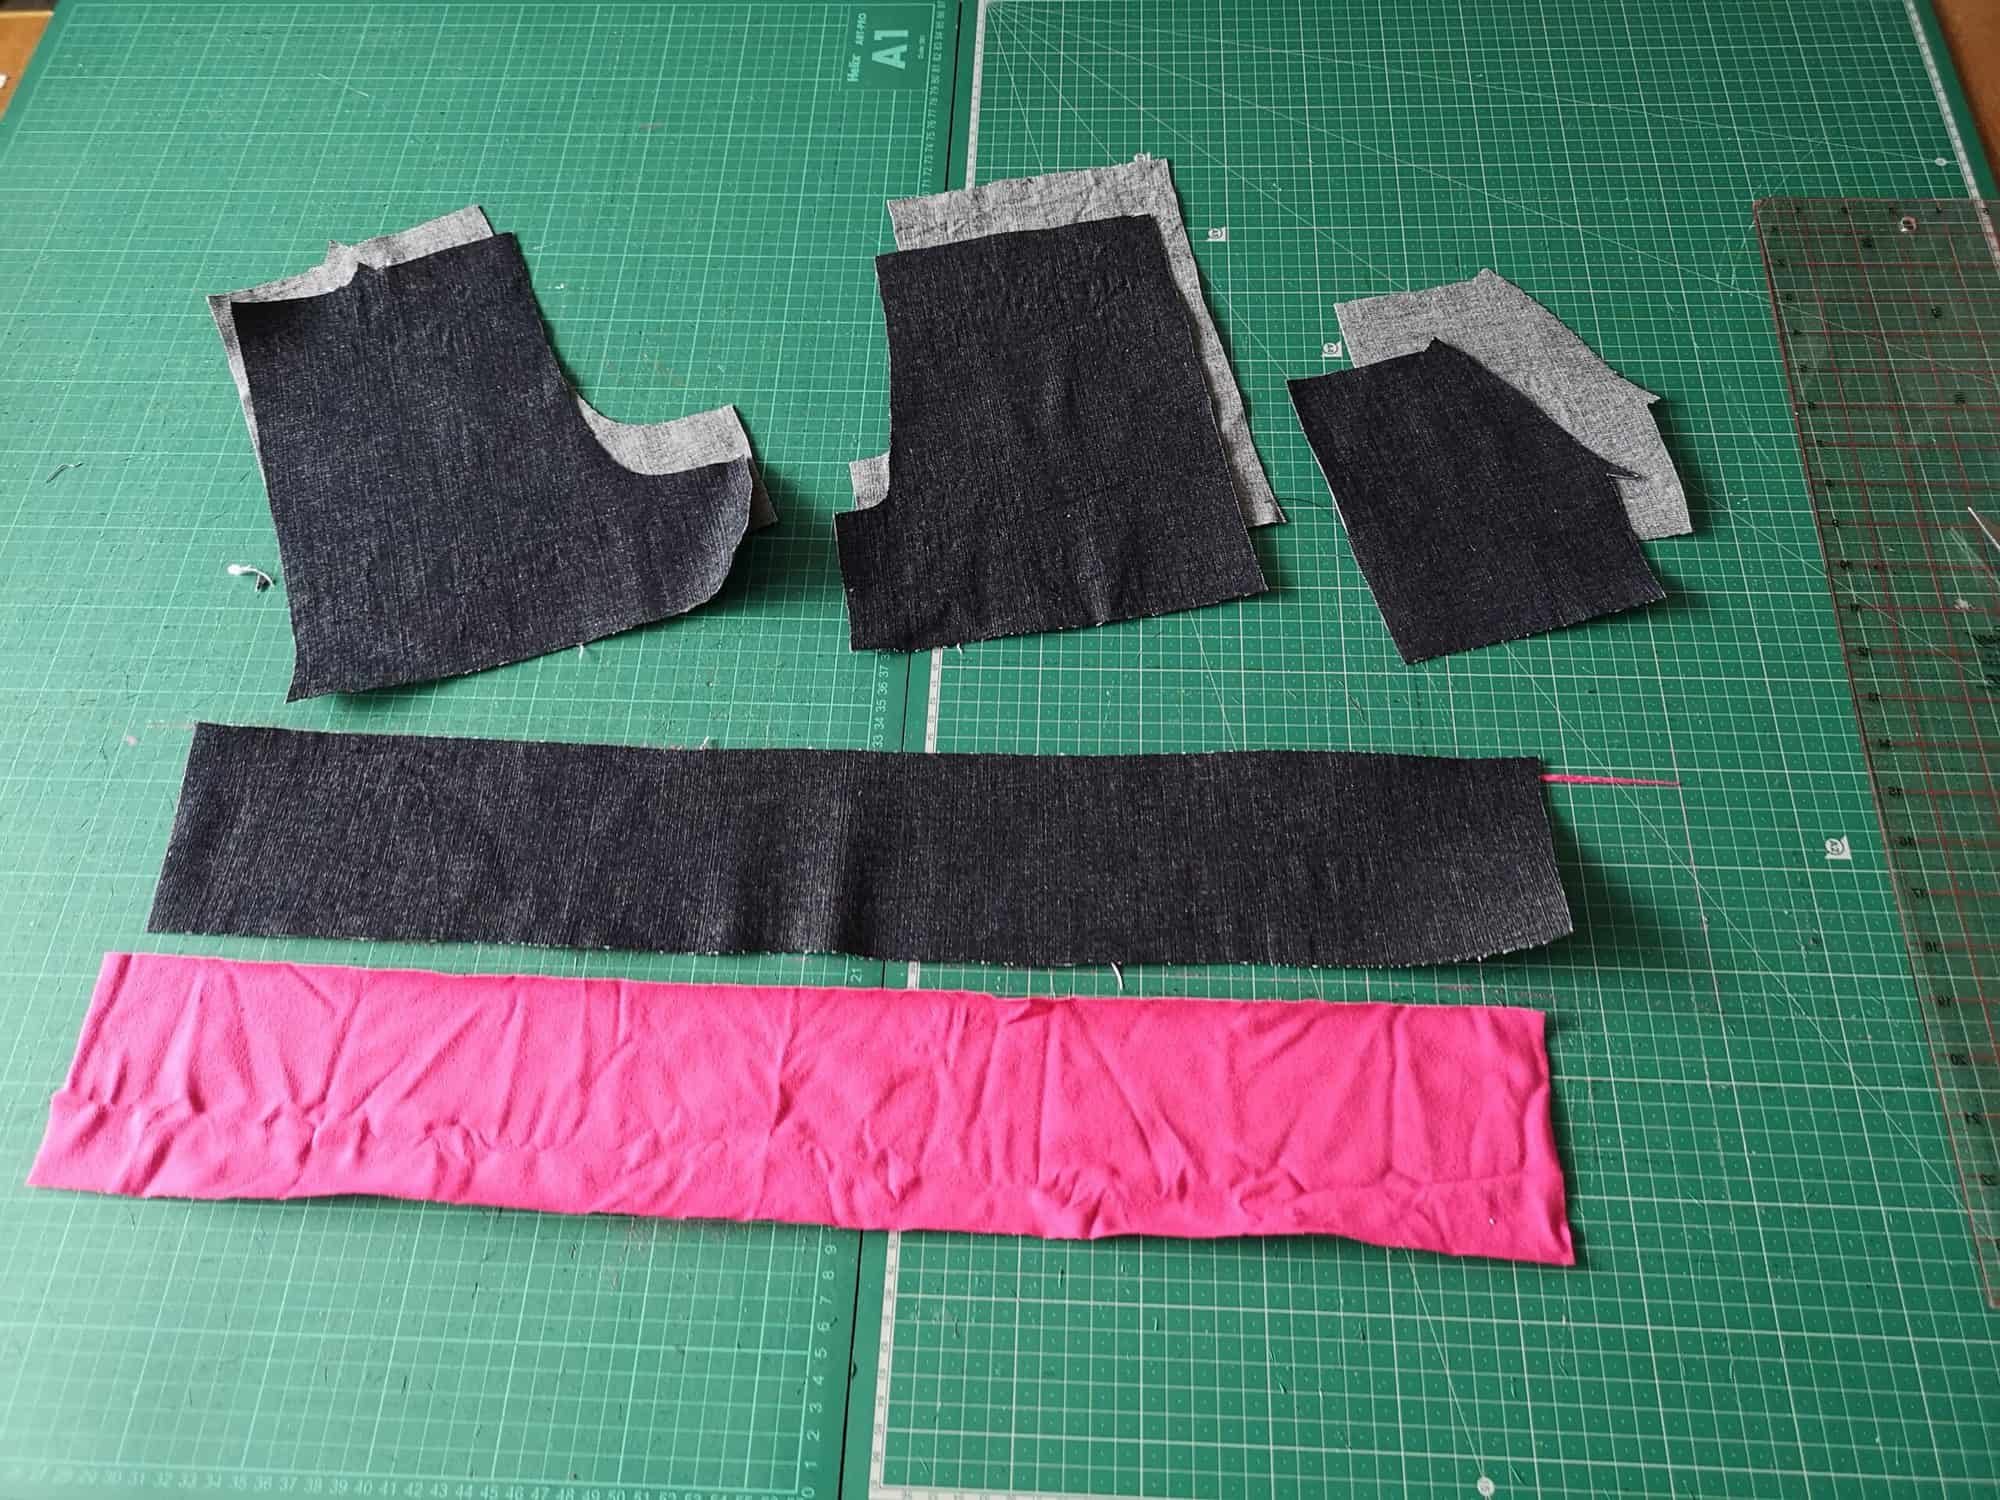
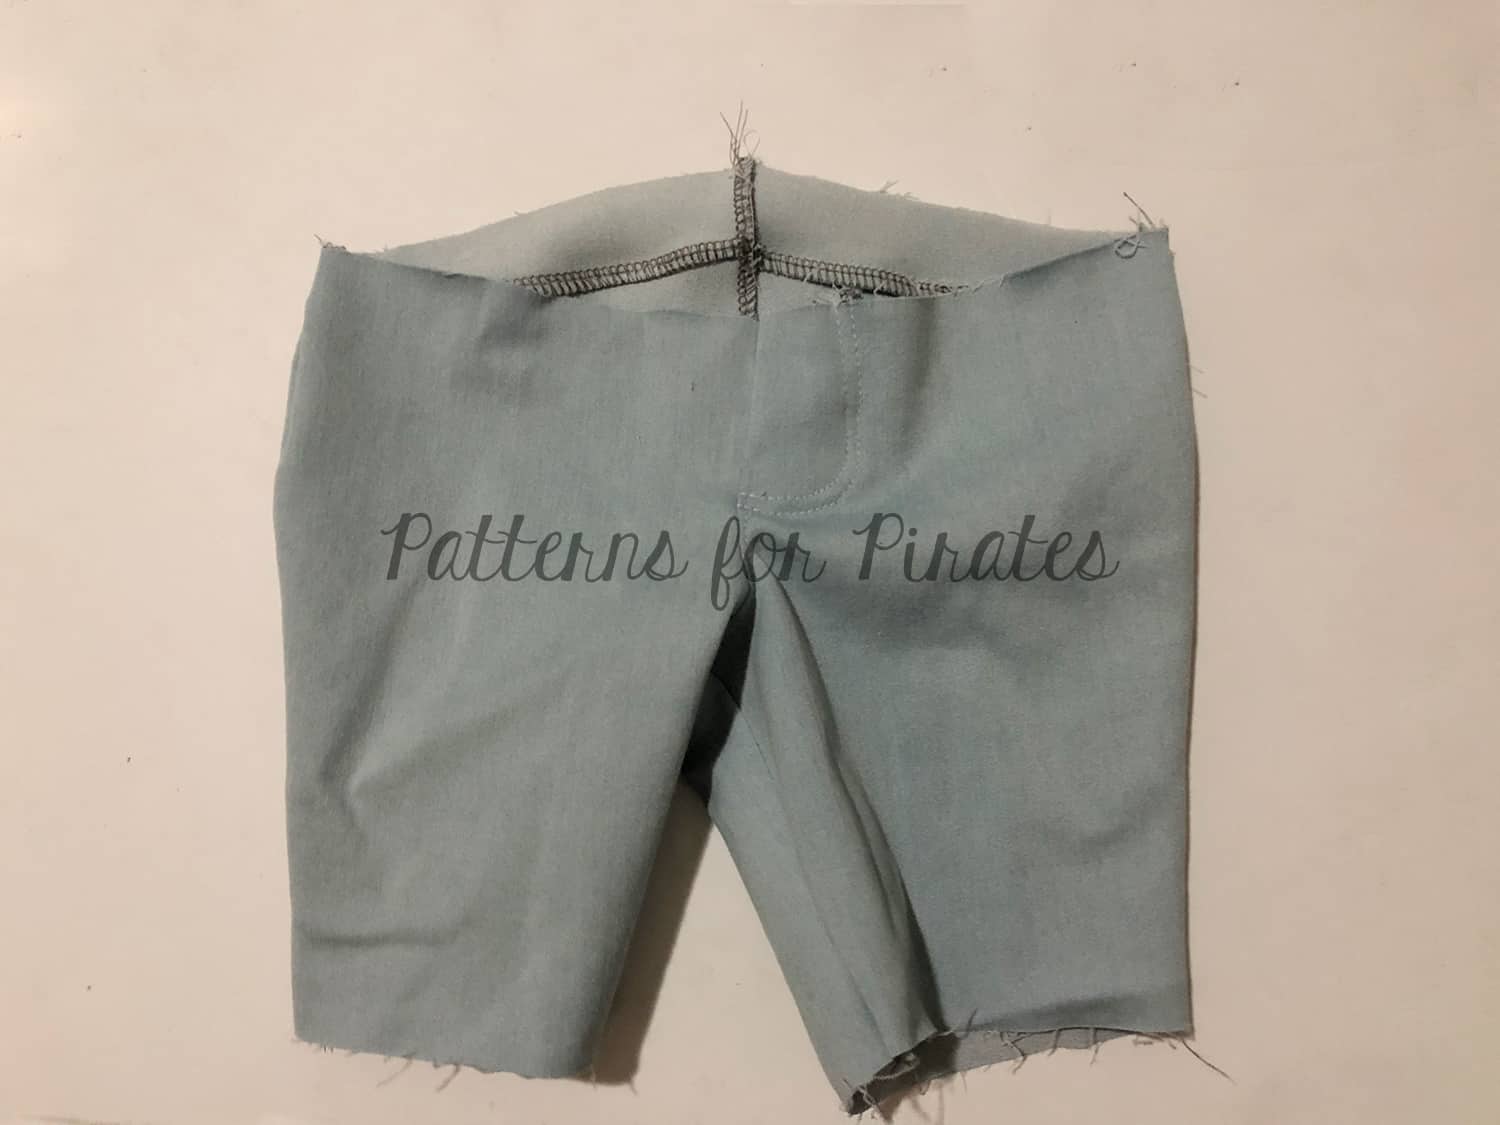
shorts pieces, pockets, waistband outer and lining.
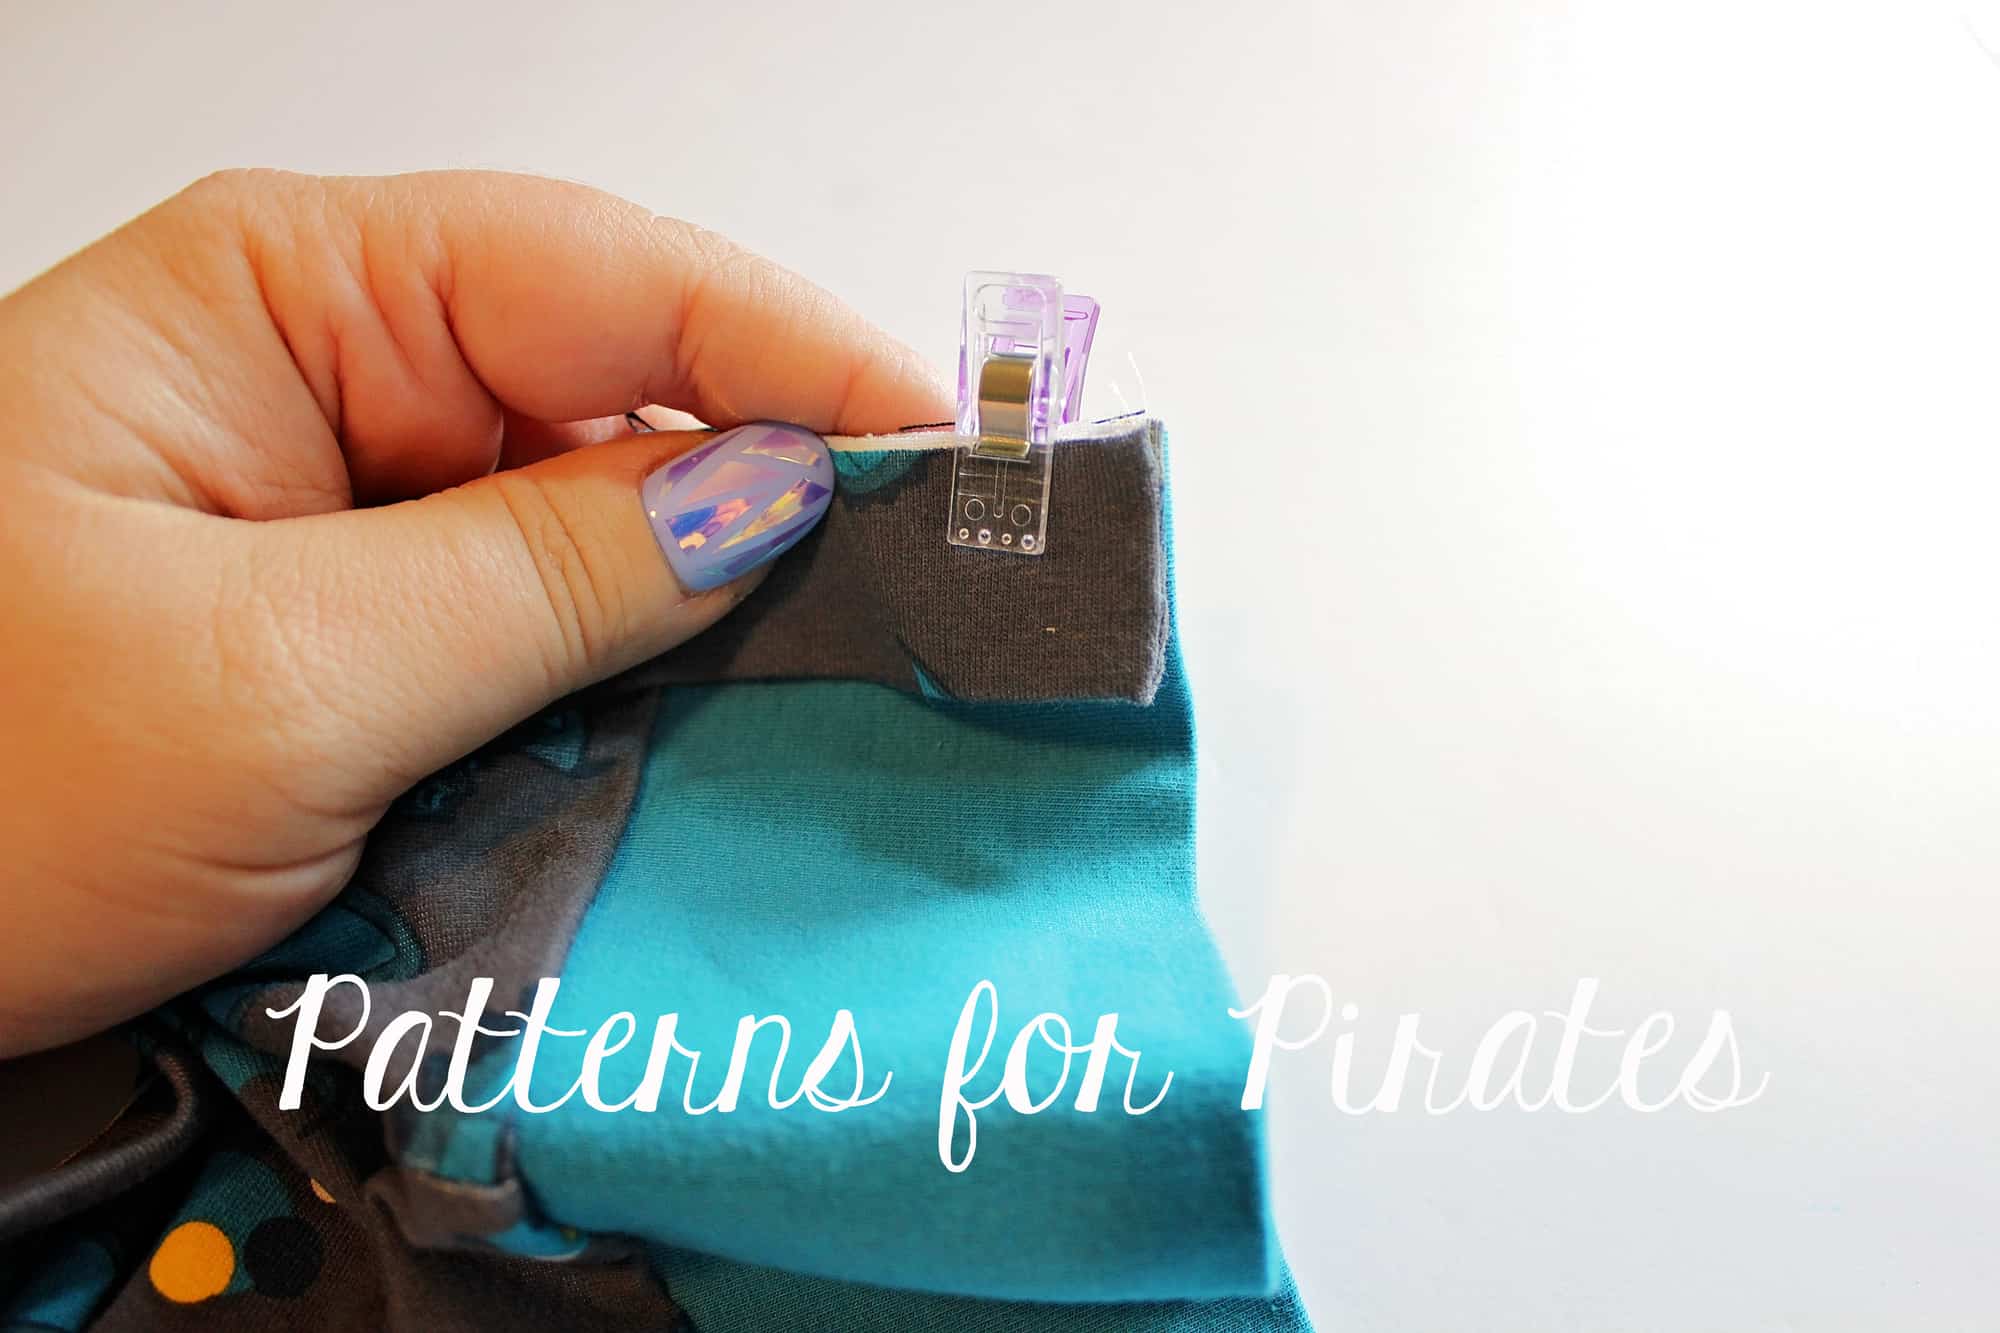
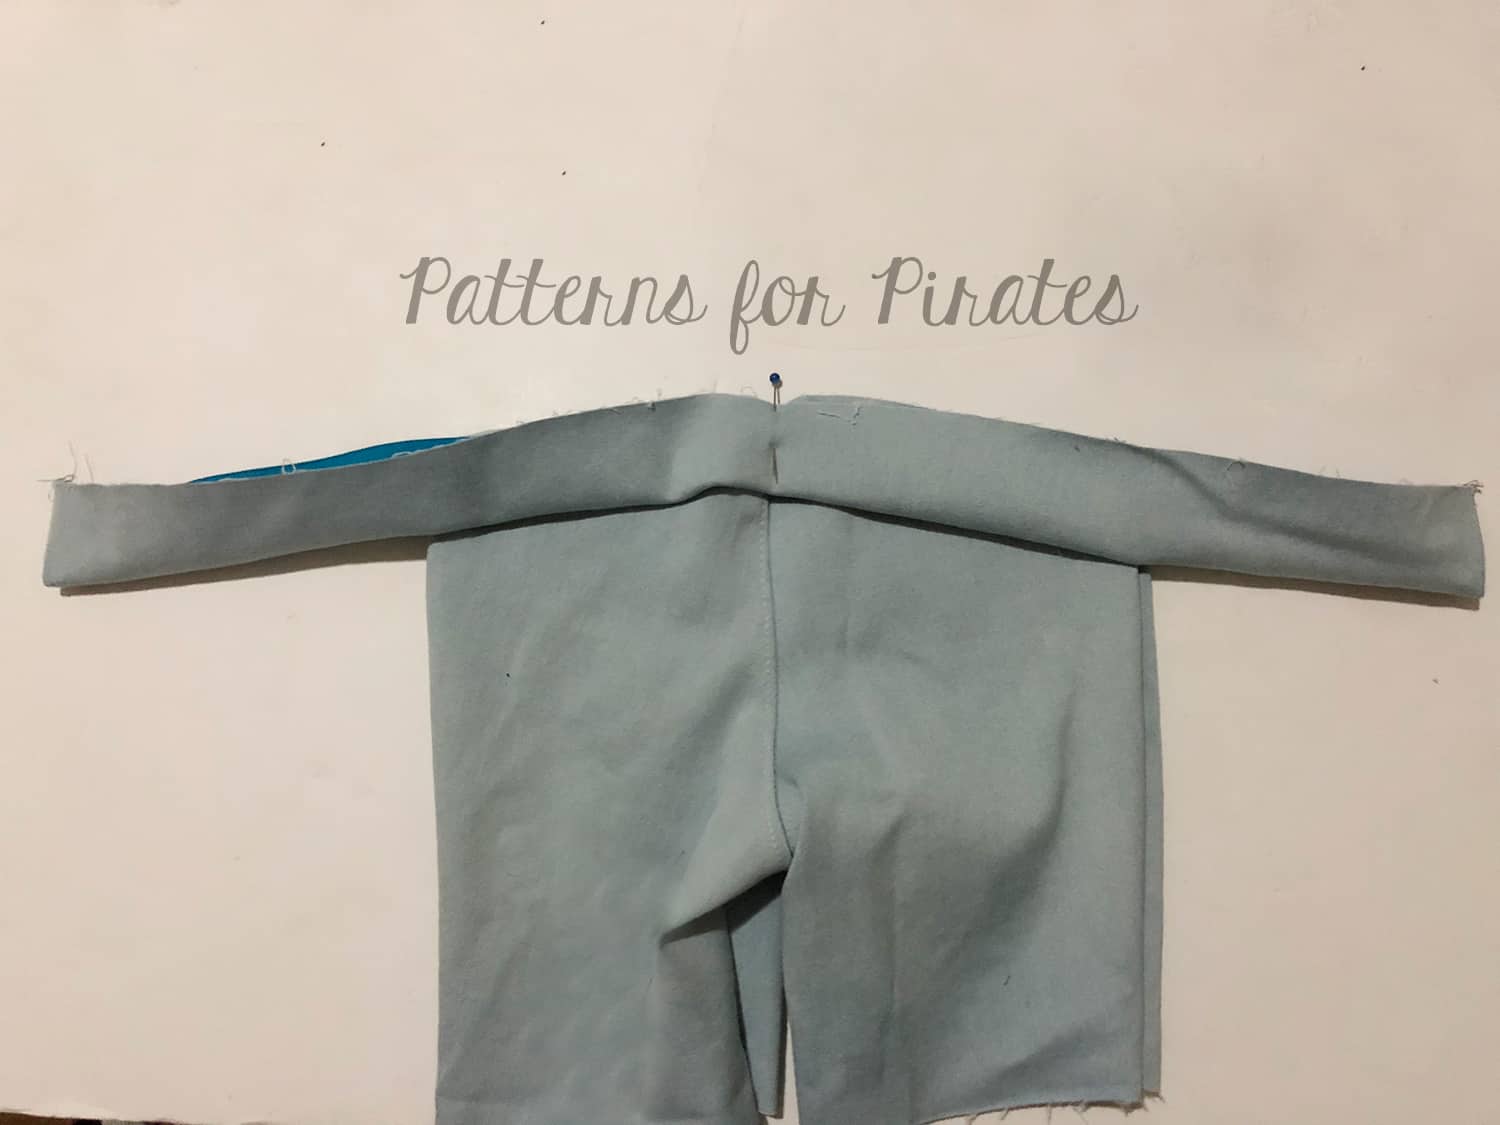
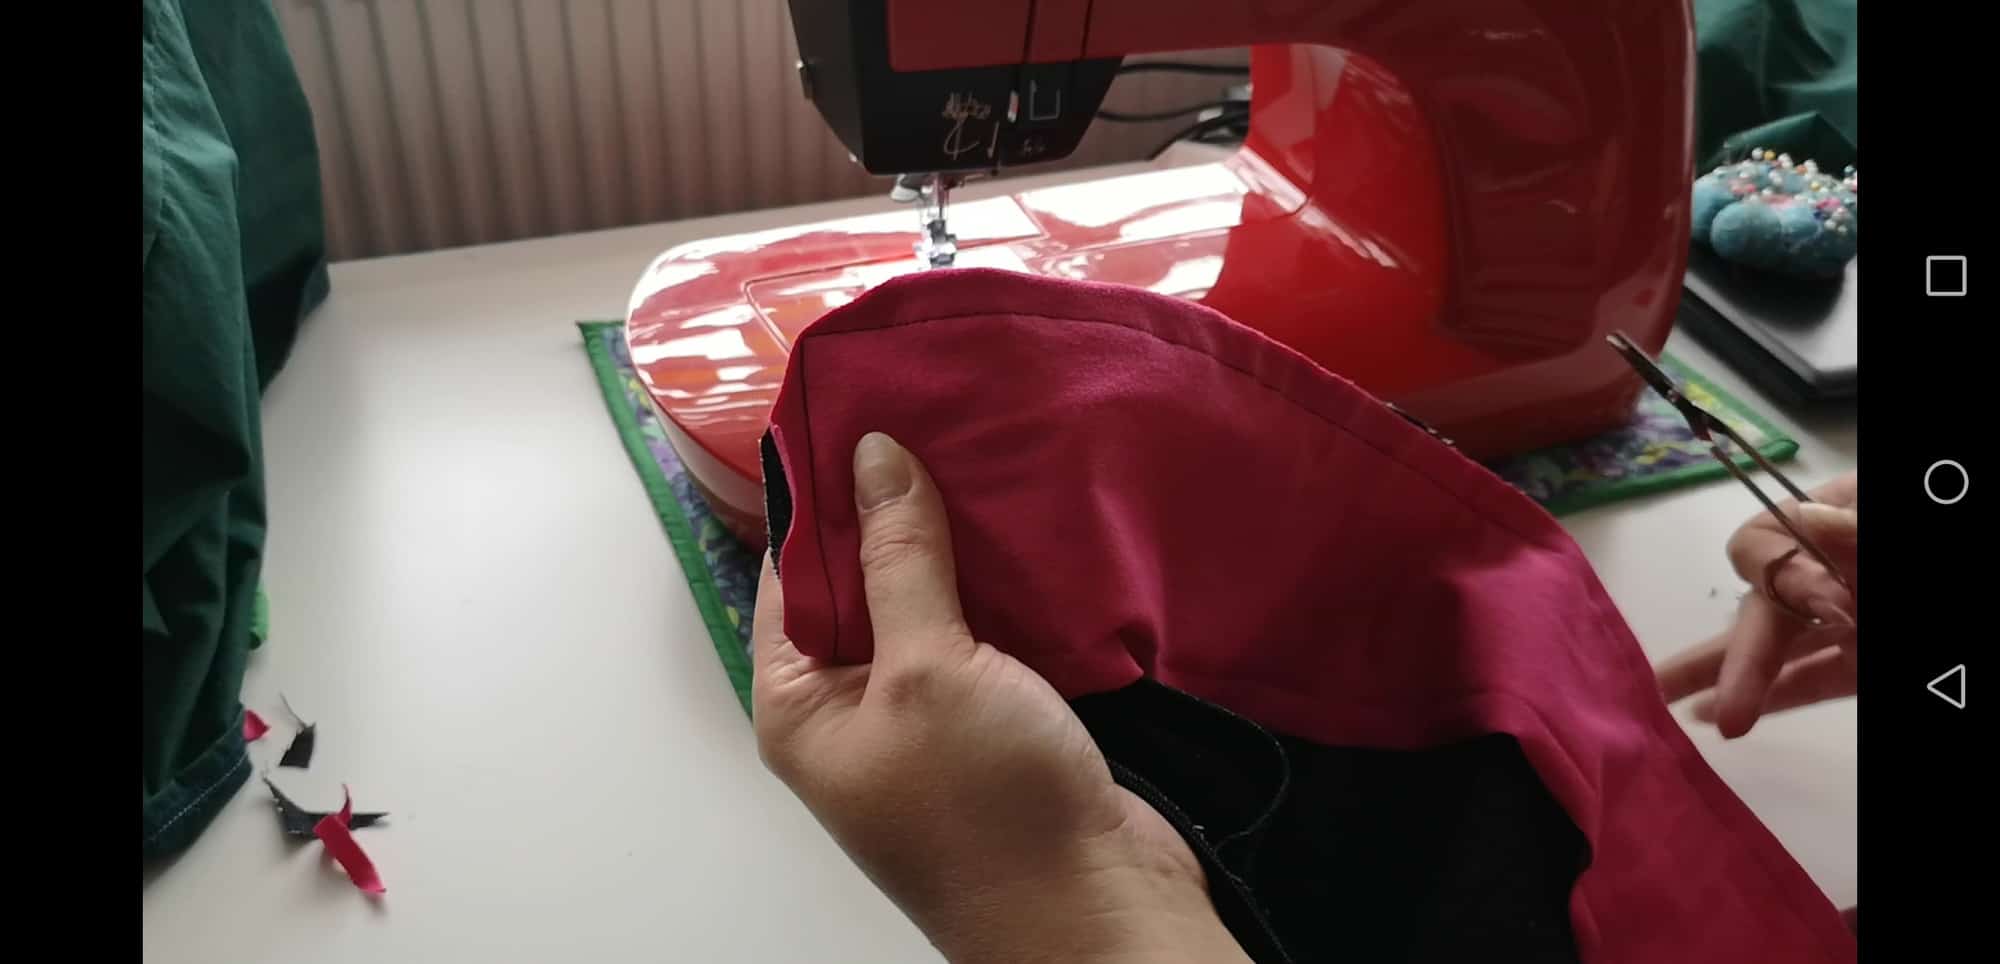
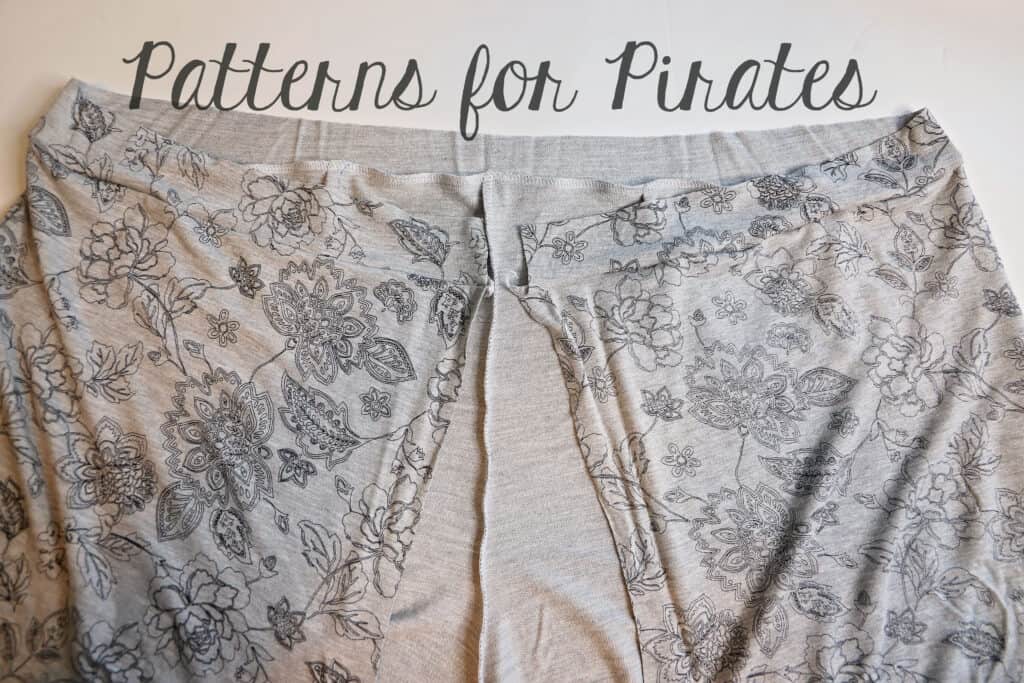
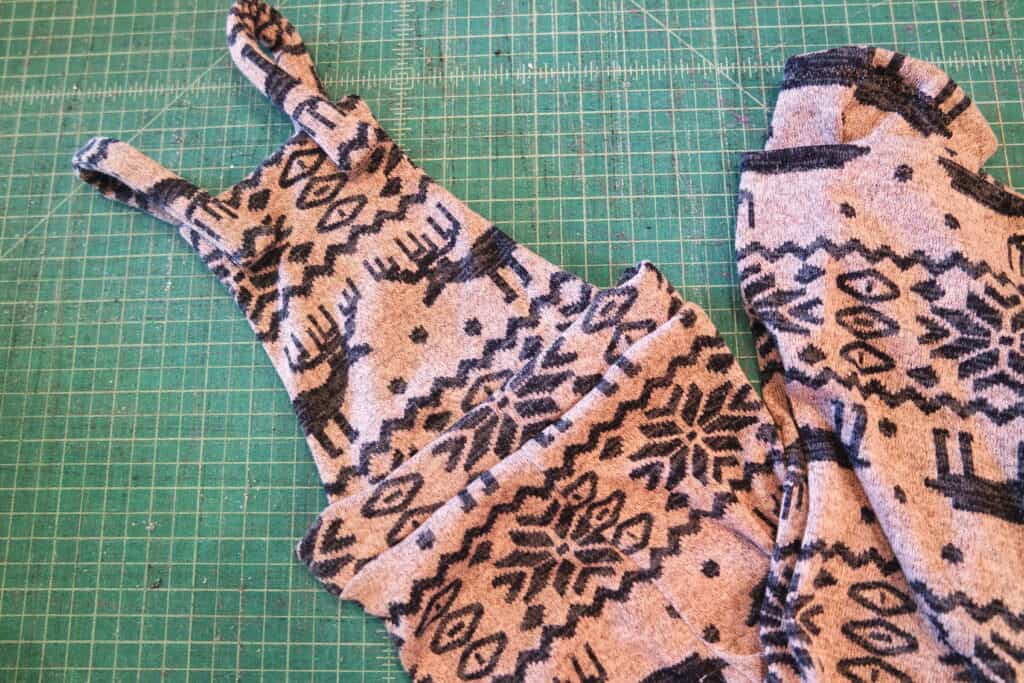
You will then have your pants/shorts/skirt pieces; pockets if using; extended waistband pieces; interfacing if using. Construct the rest of your garment as usual until you get to the section where you have to attach the waistband. You will attach the waistband as per the tutorial, the only difference being you don’t have the bib and straps to sandwich between the outer and lining of the waistband pieces. So you will attach the waistband outer right sides together with the pants/skirt.
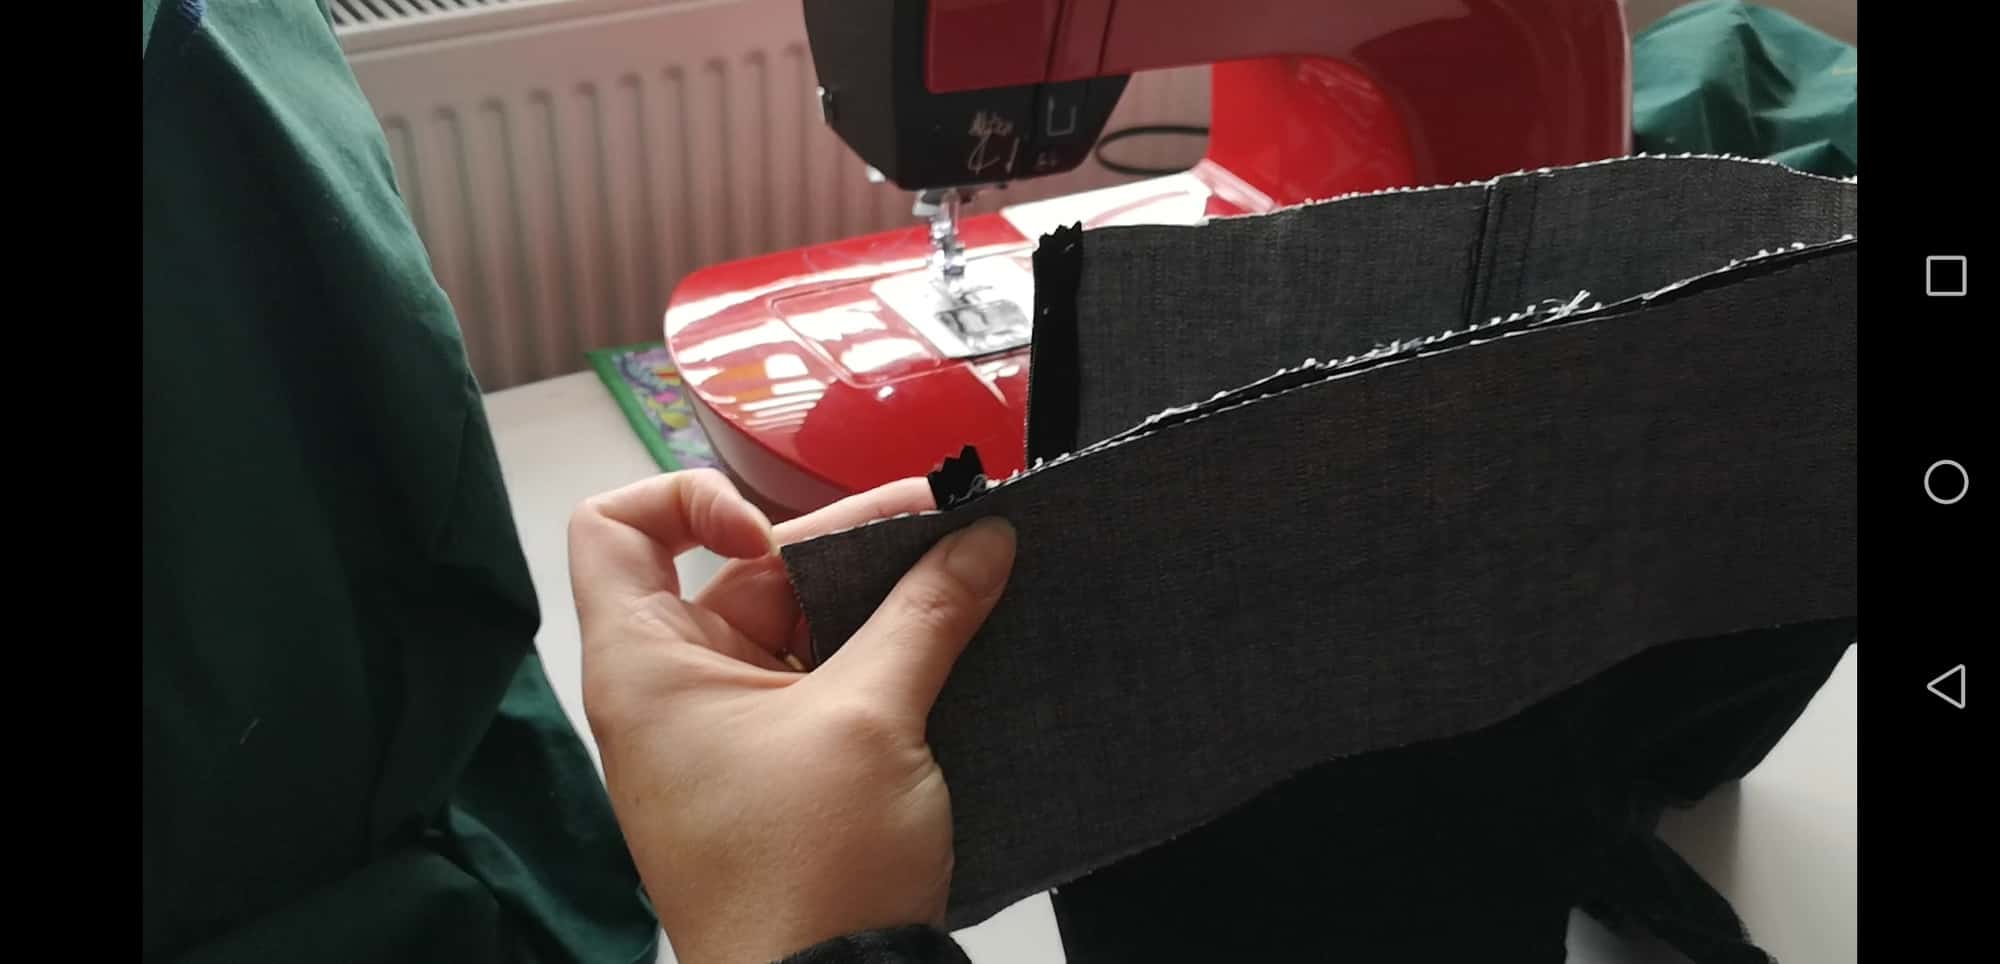
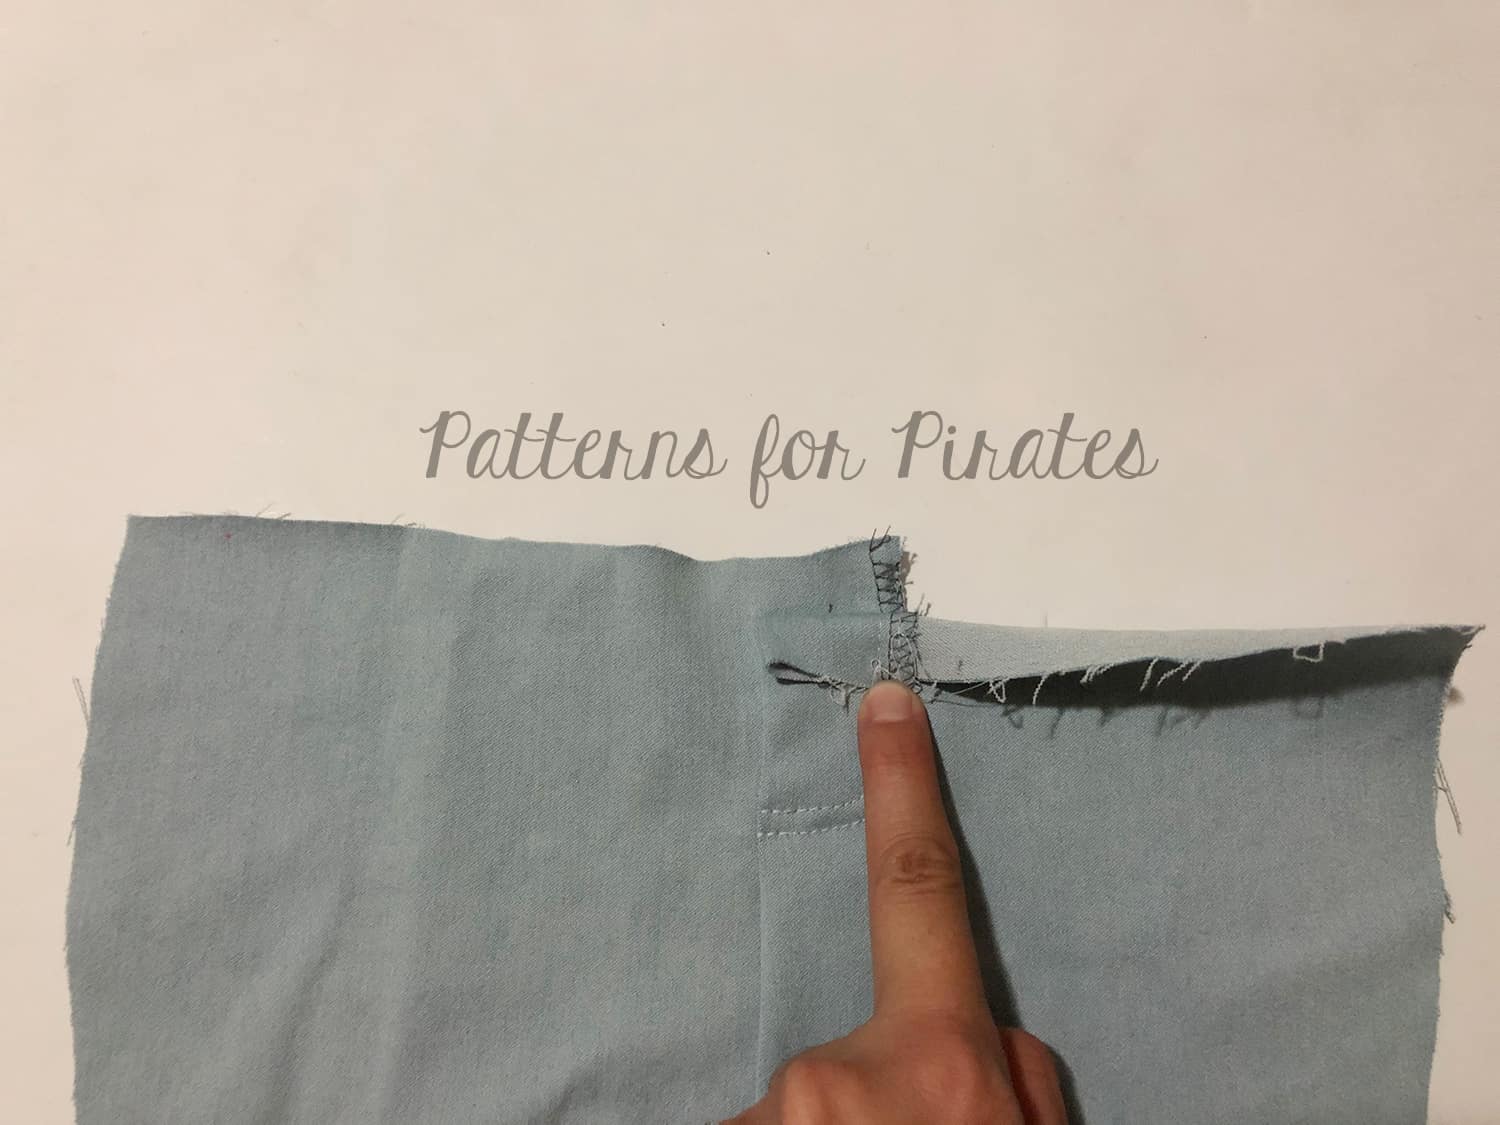
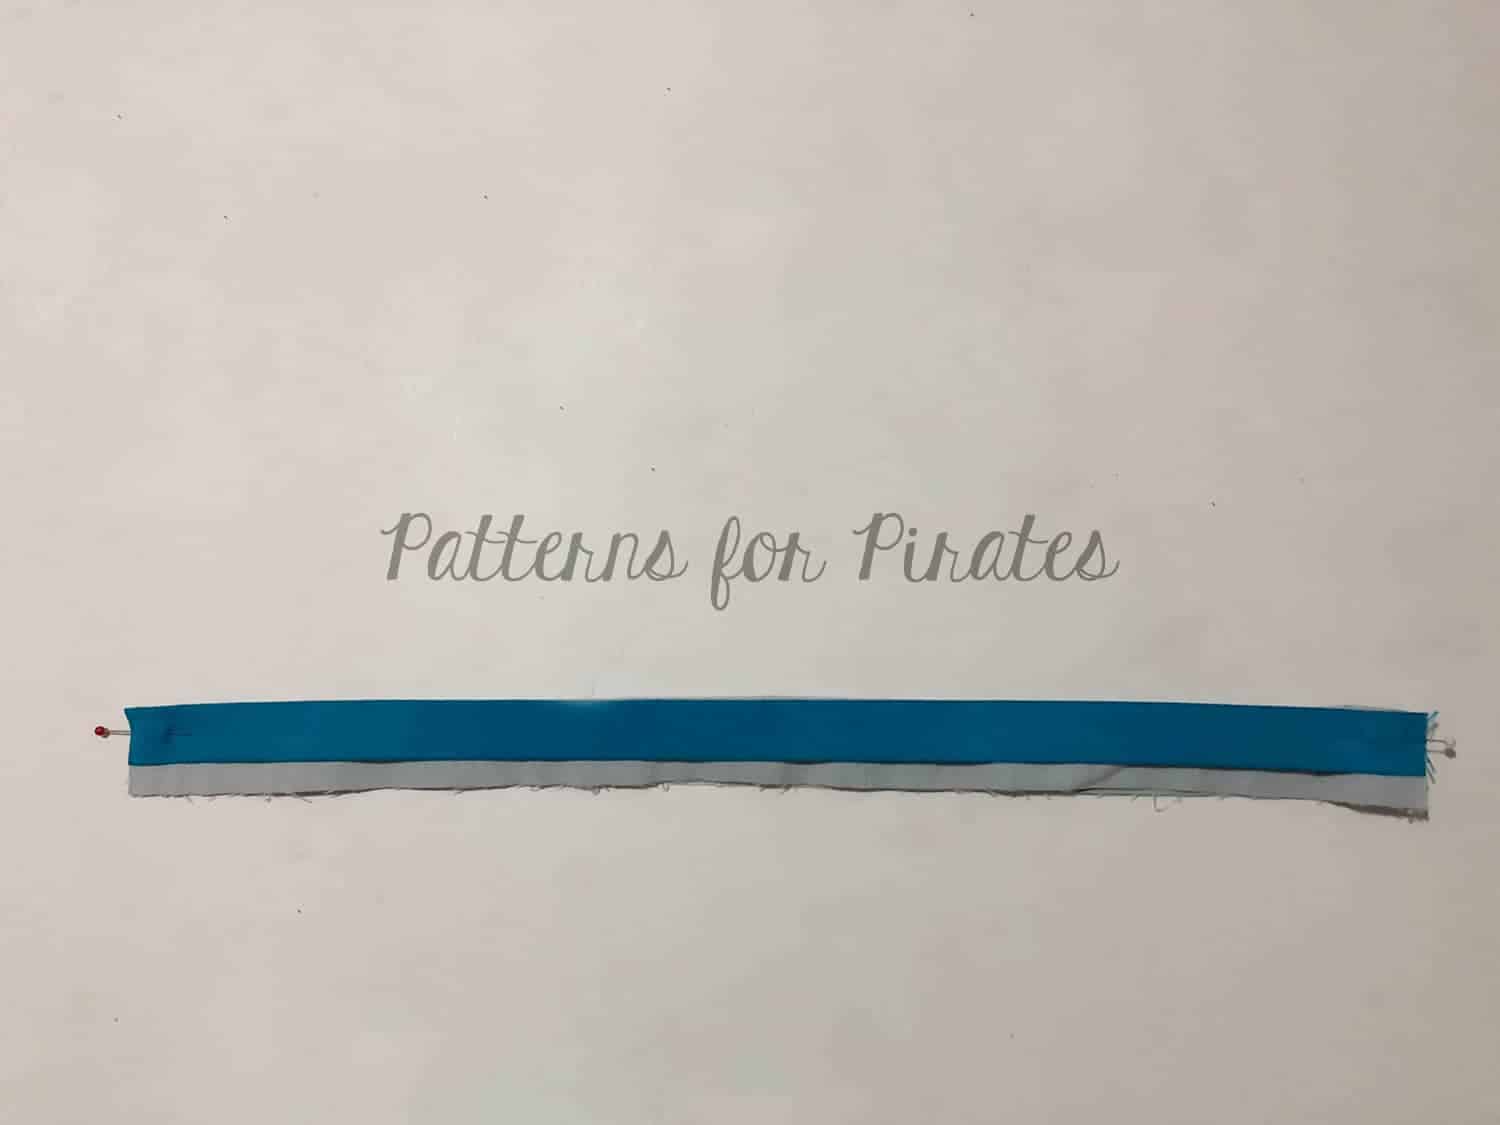
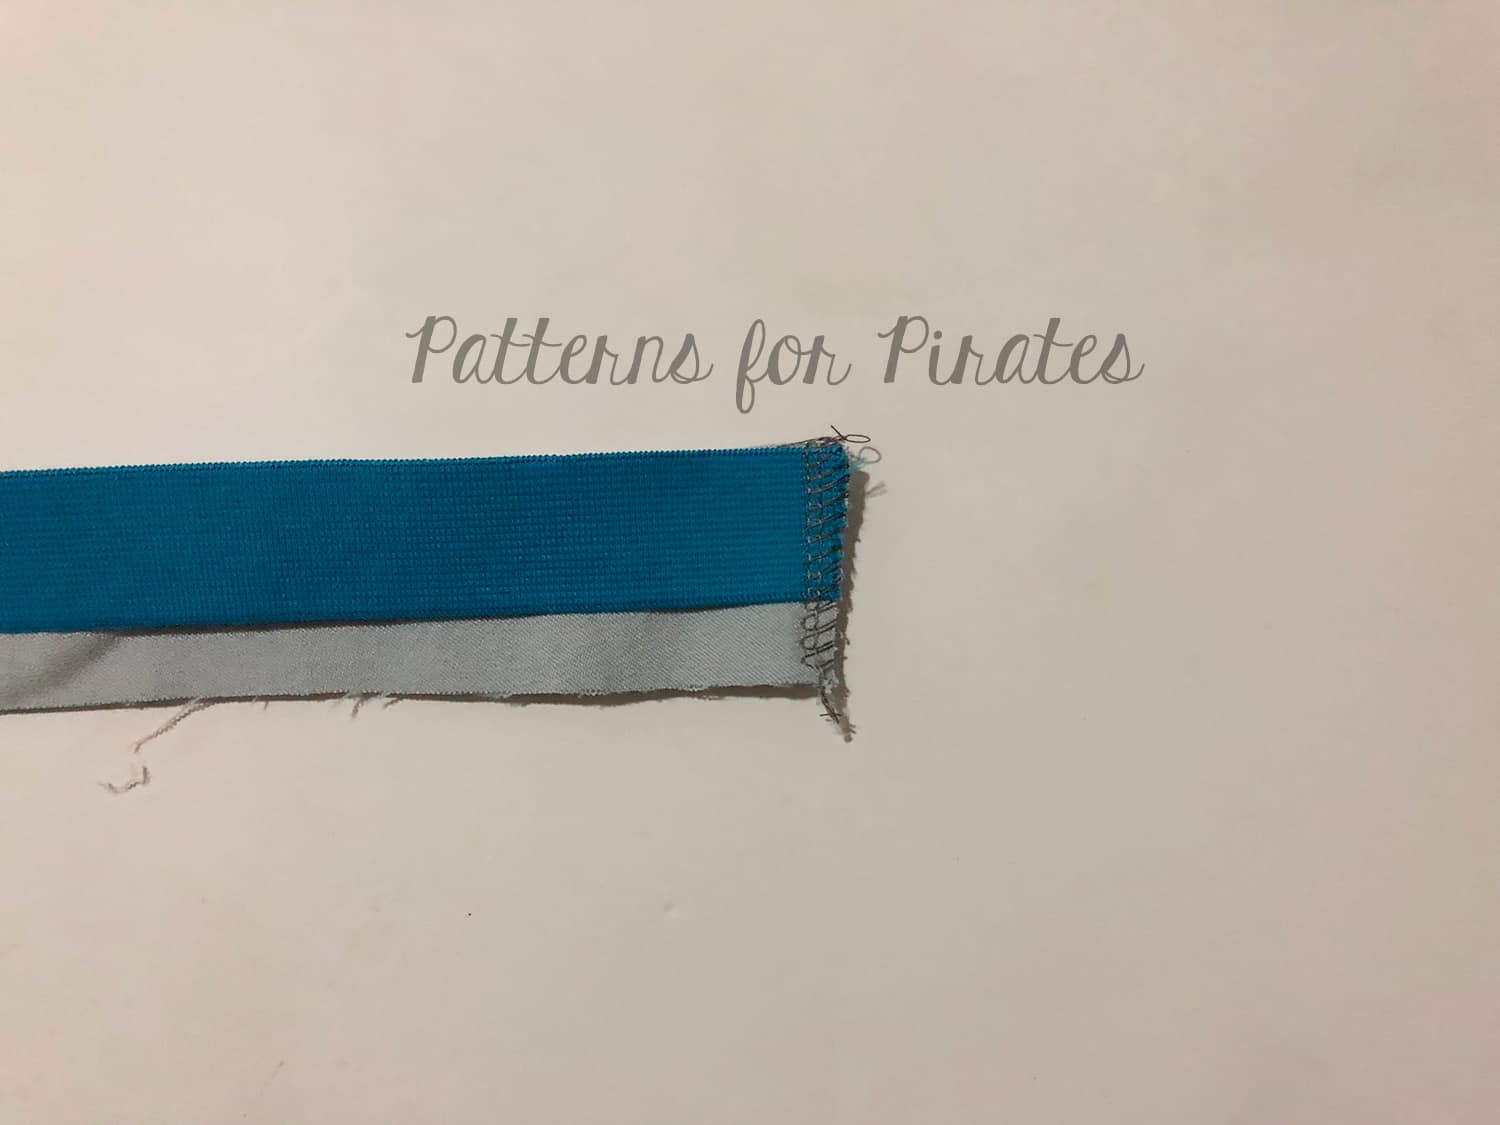
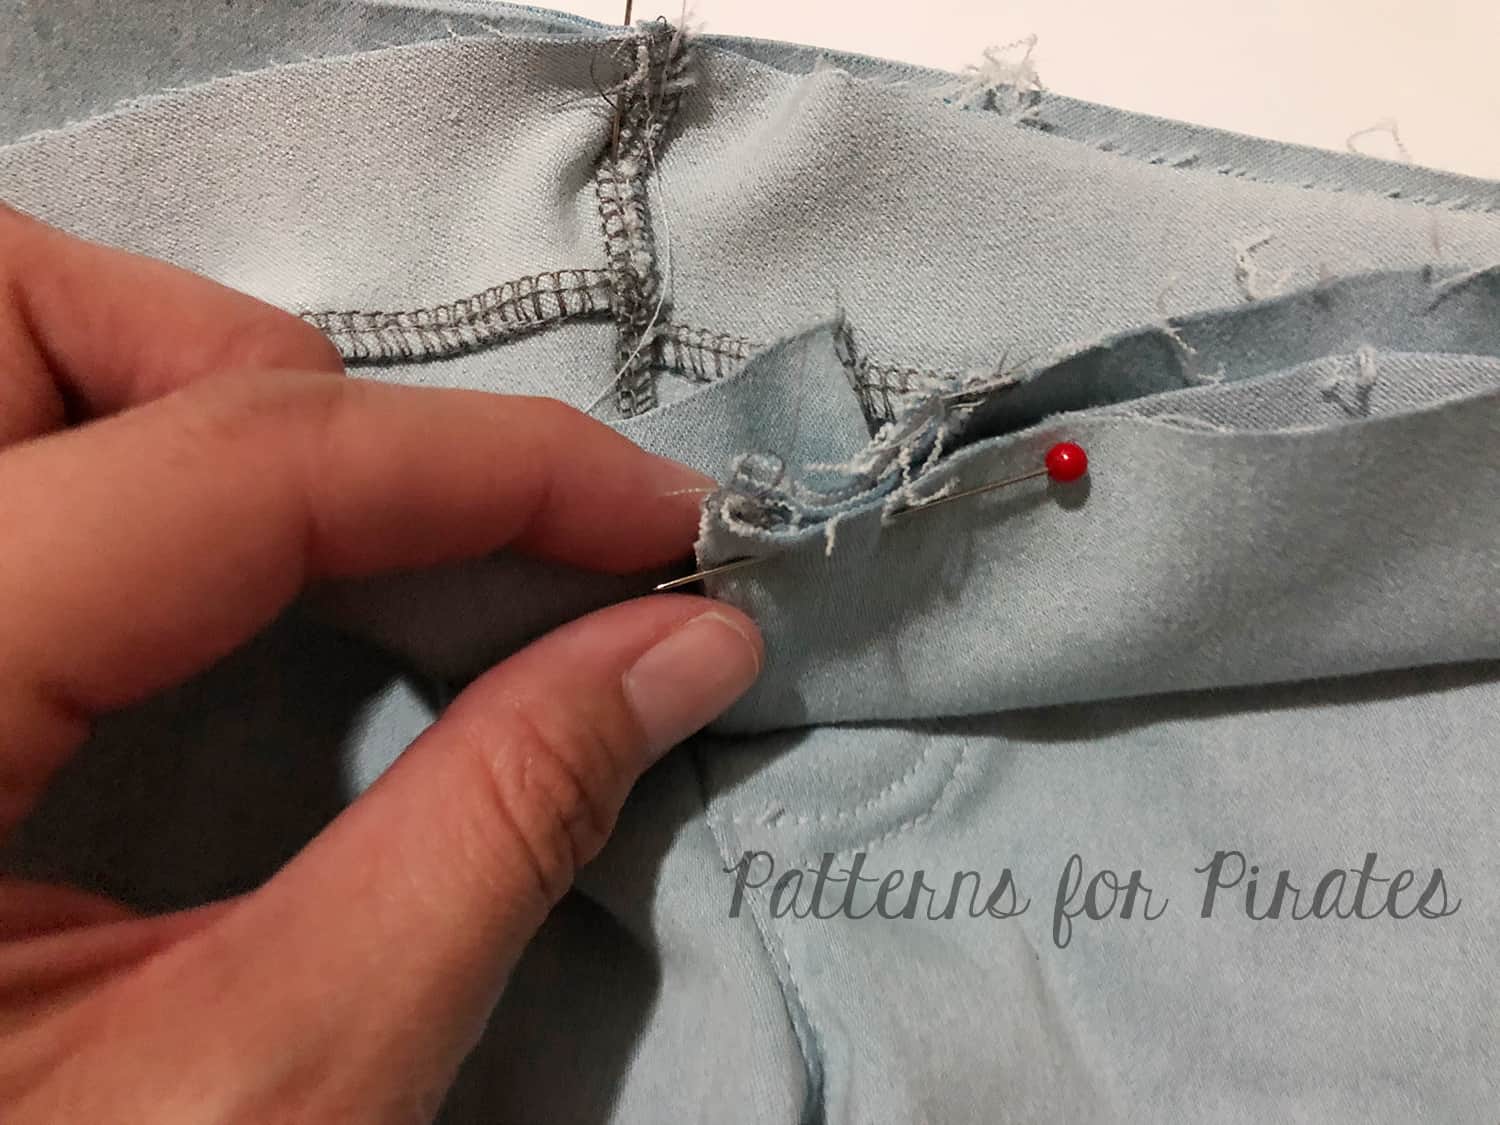
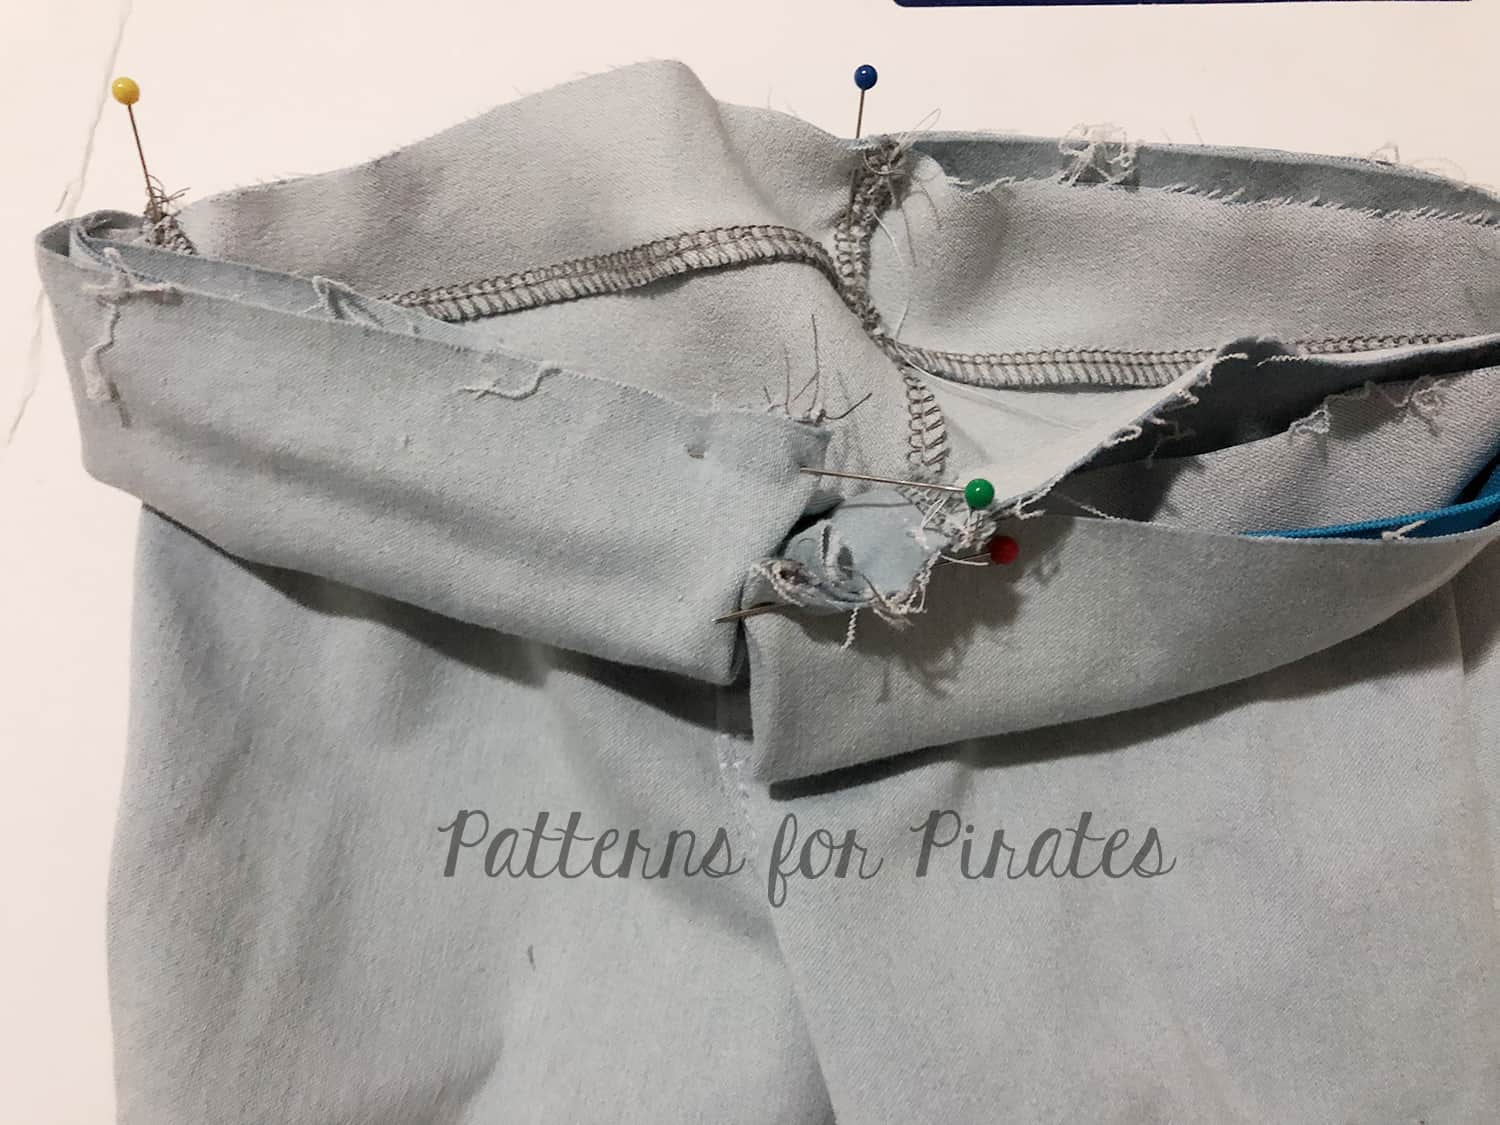
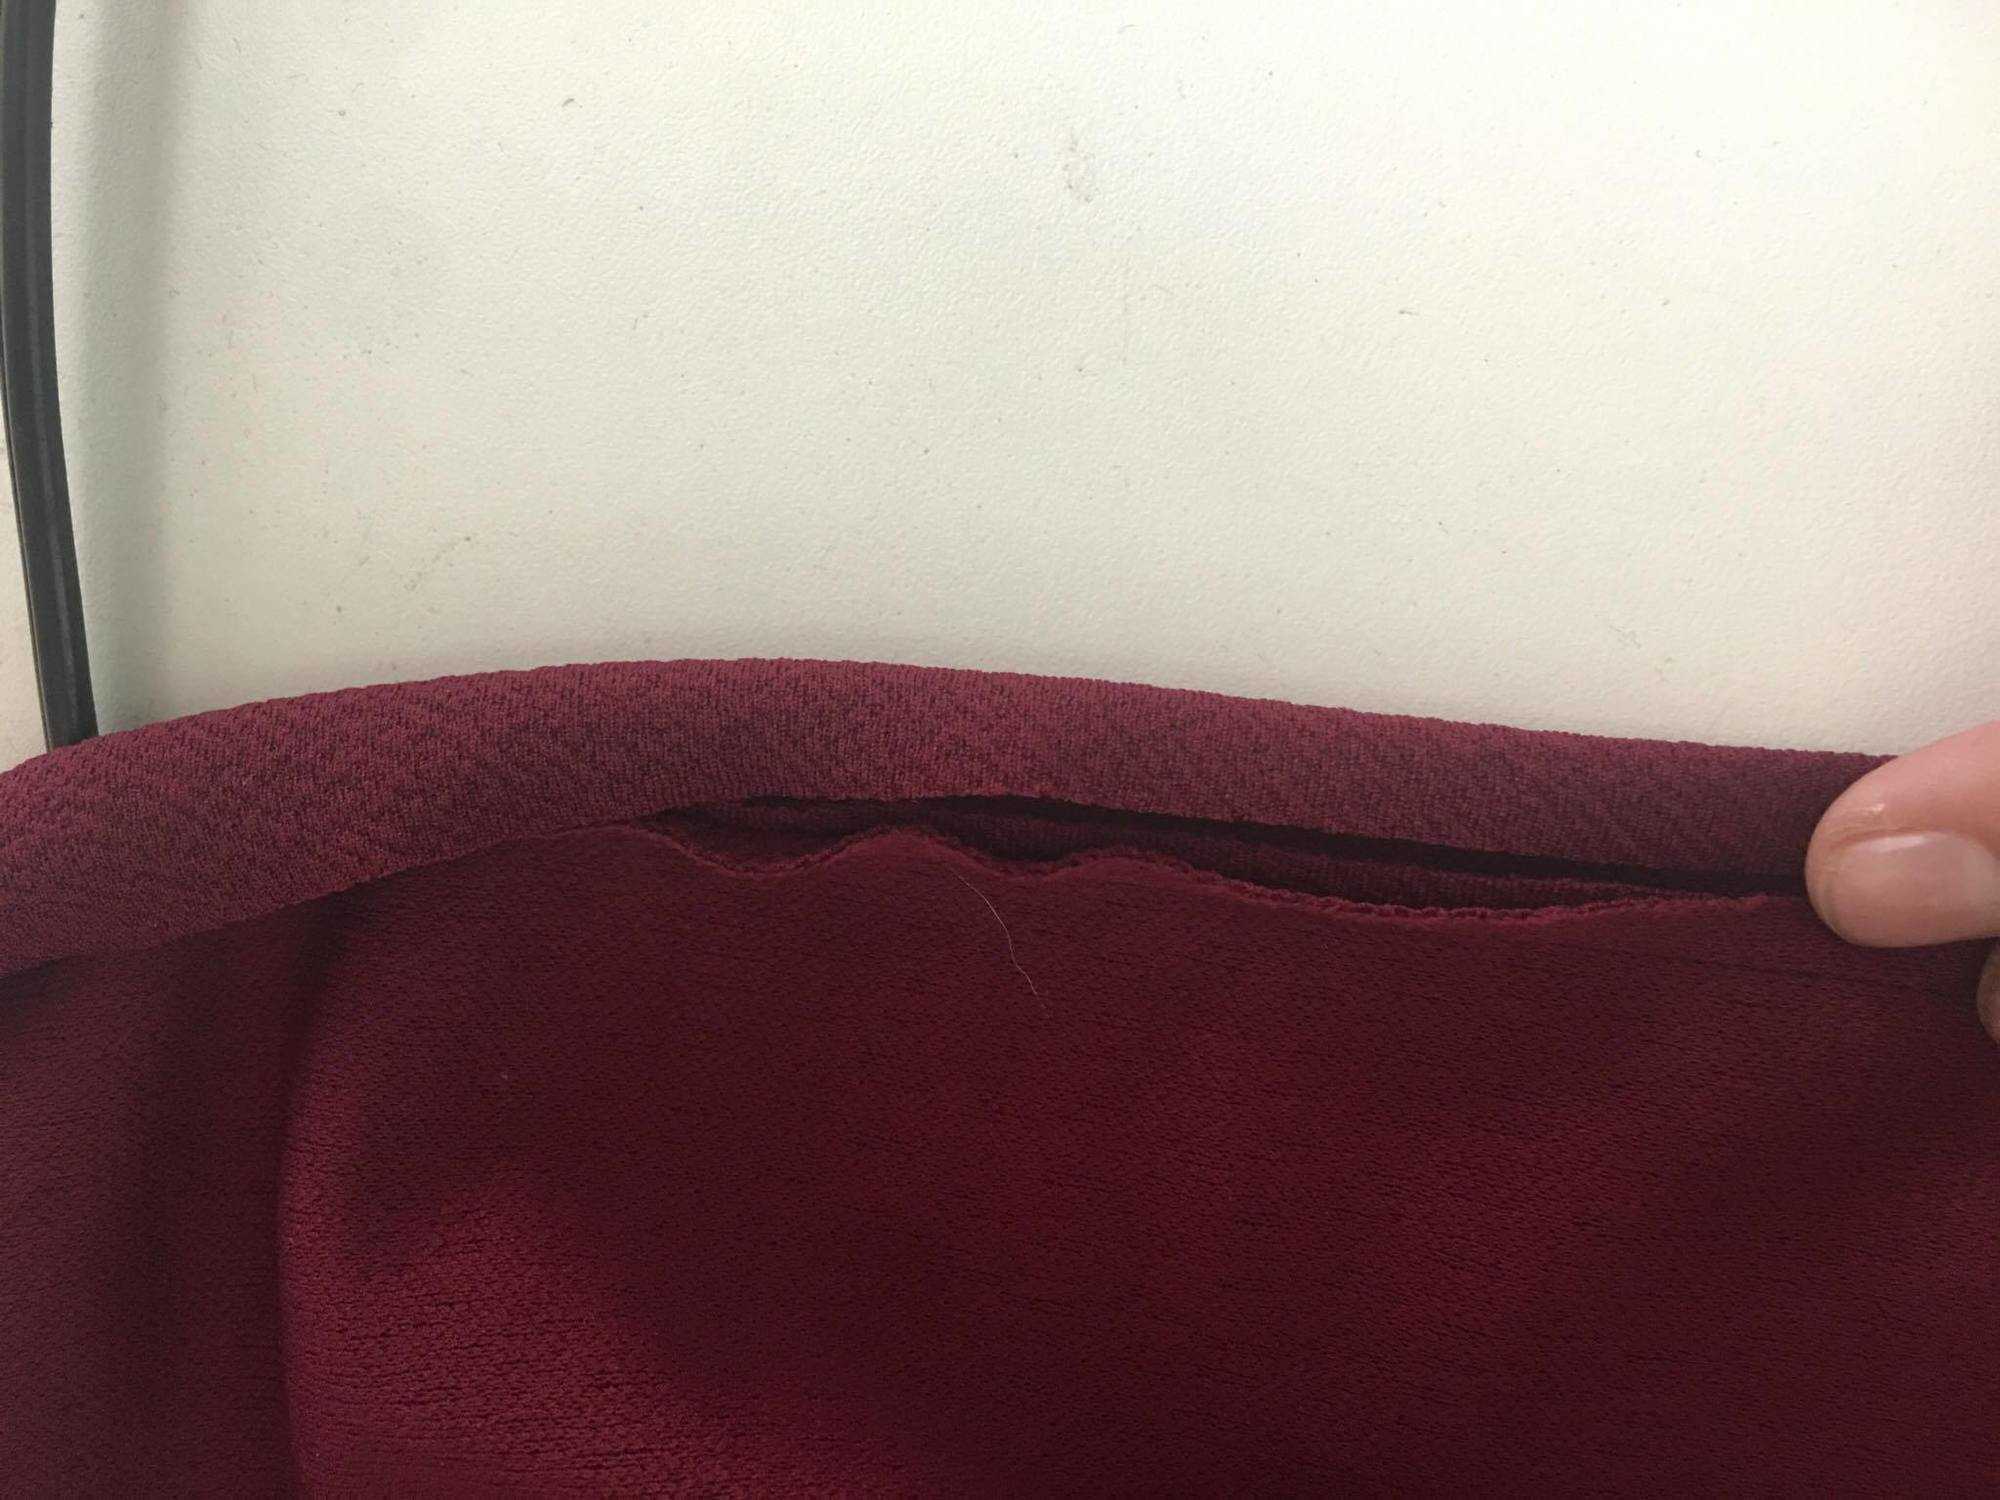
Waistband with overhang
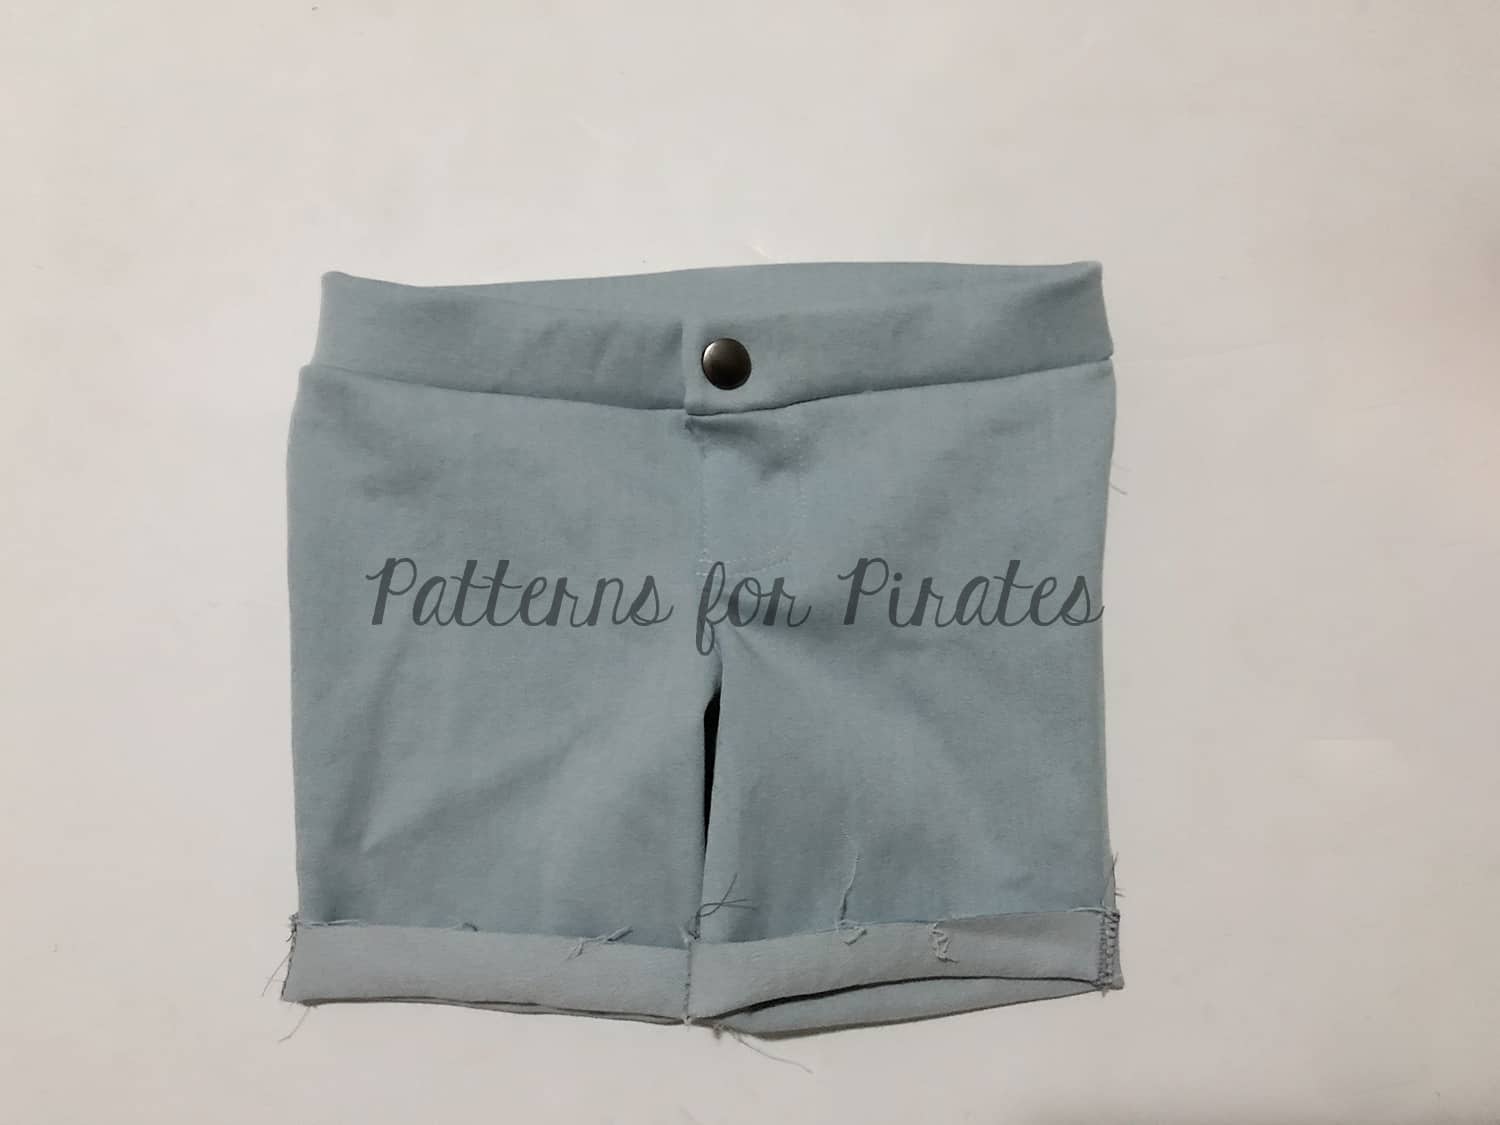
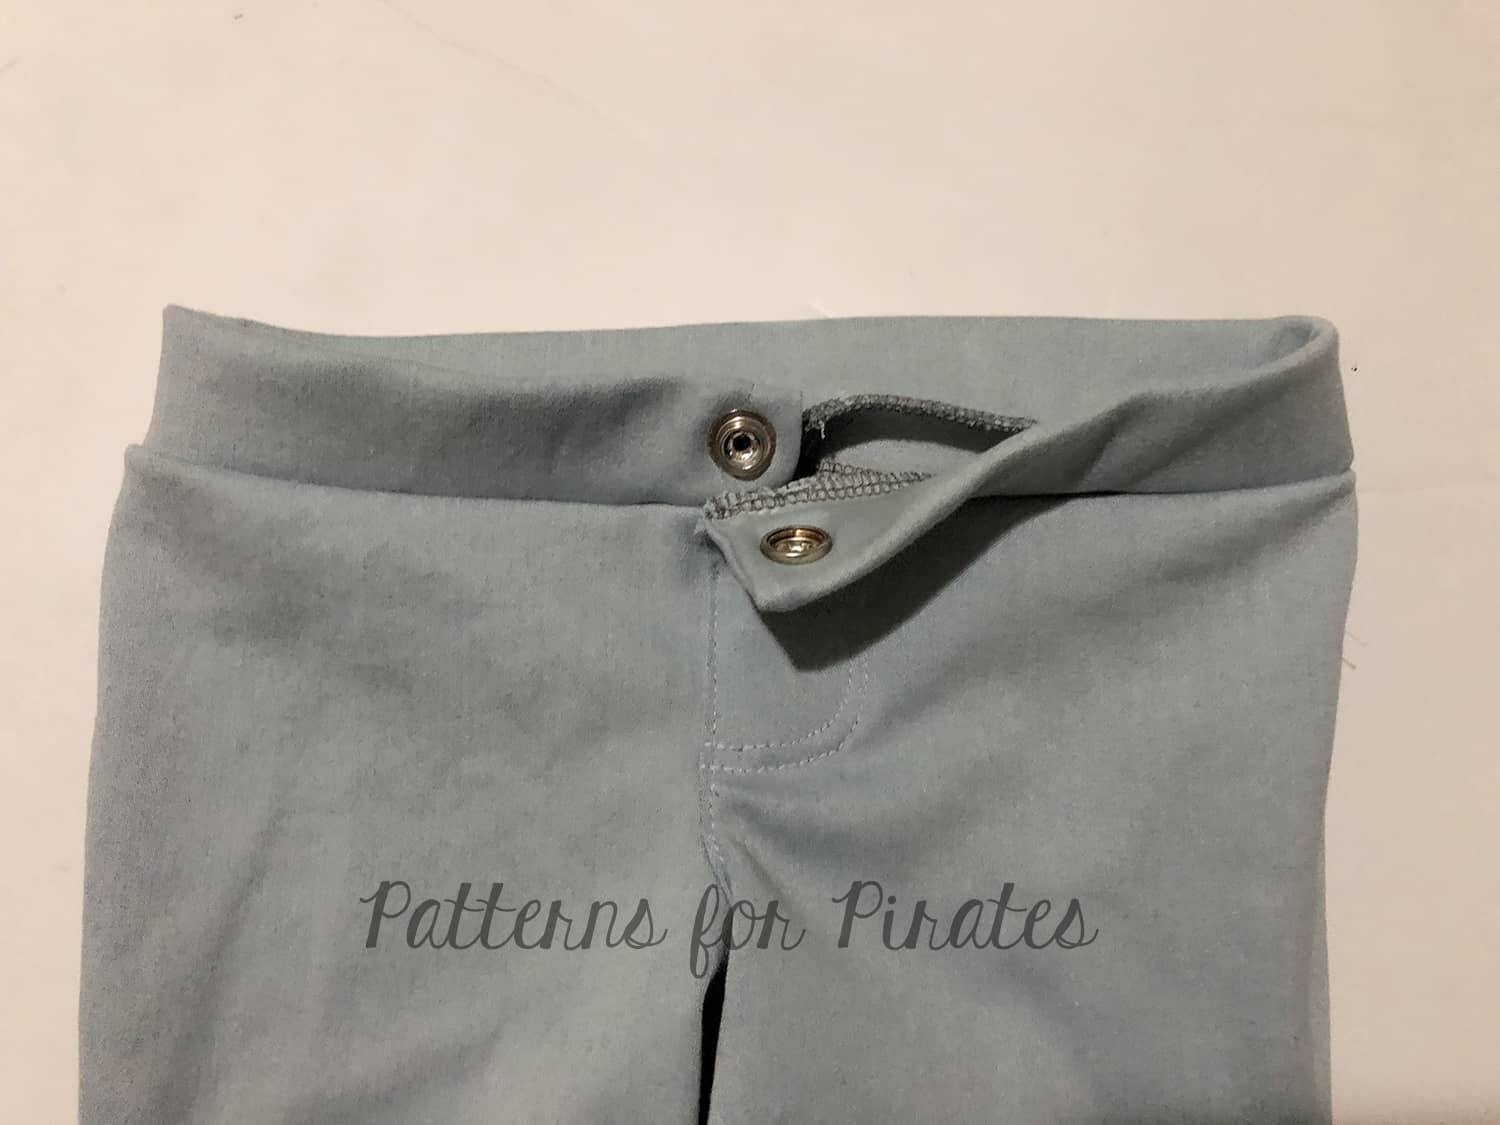
You will have an overhang of the waistband over the edge of the pants piece . This is correct, it enables you to attach a fastening for the top of the waistband at the end, like a button and buttonhole or poppers. Then sew the lining right sides together with the outer, up one short edge, along the top and down the other short edge.
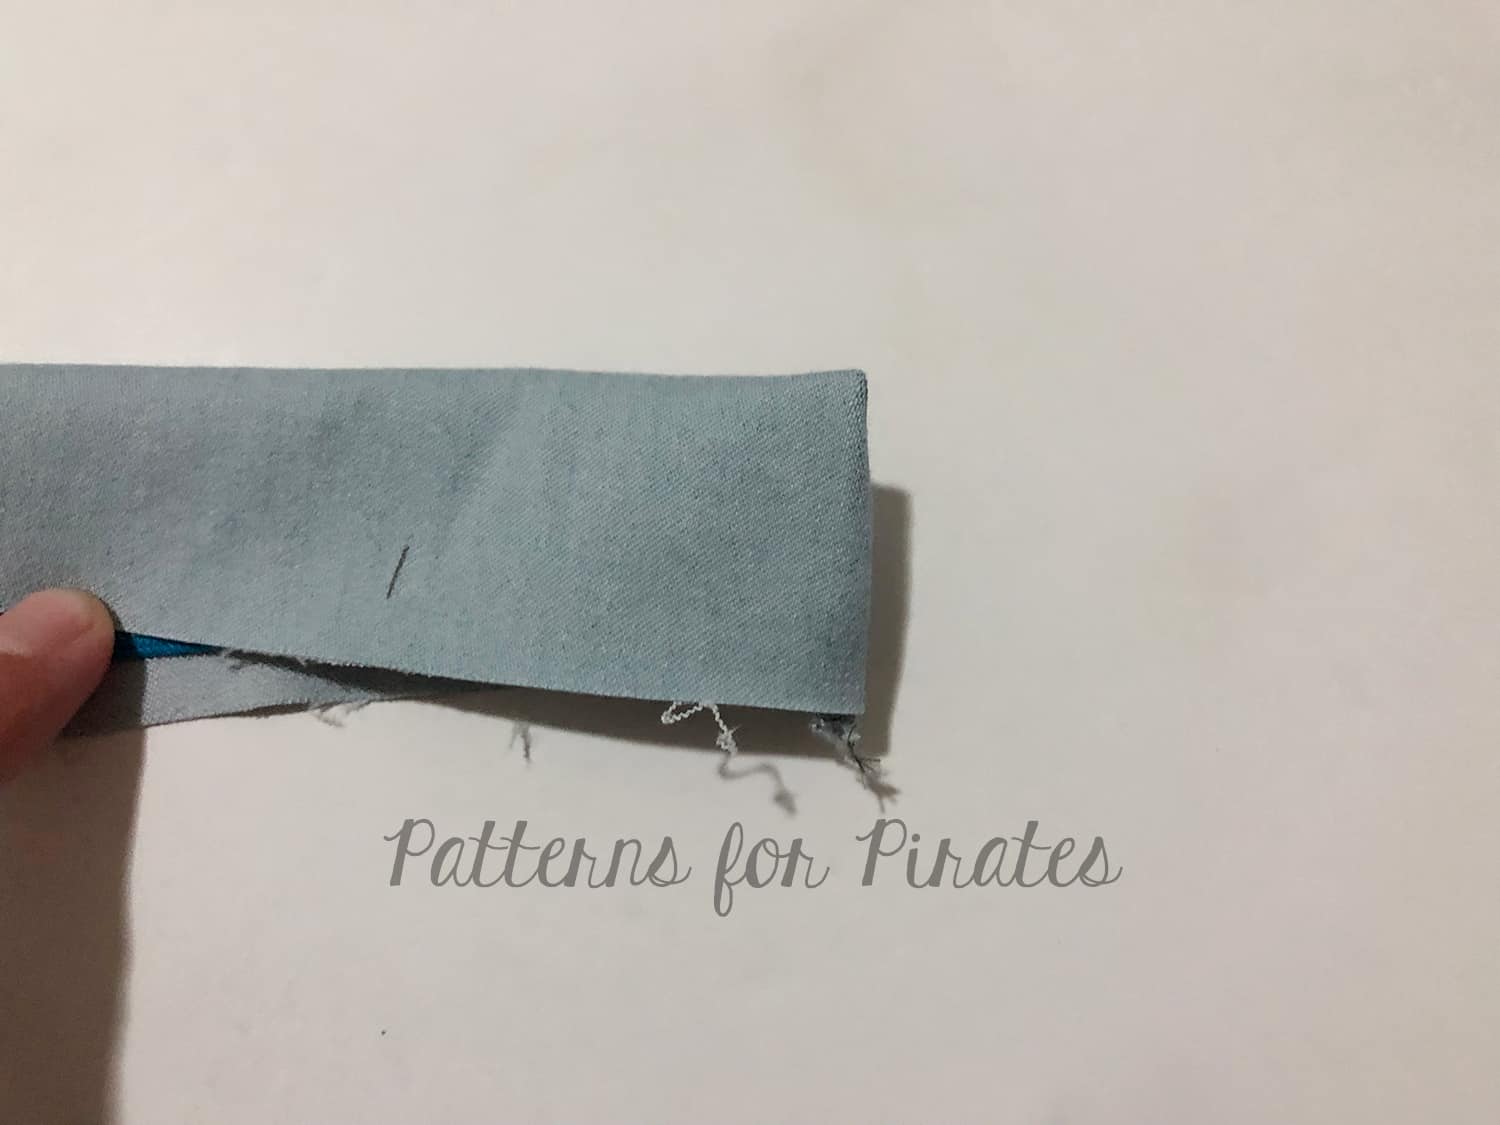
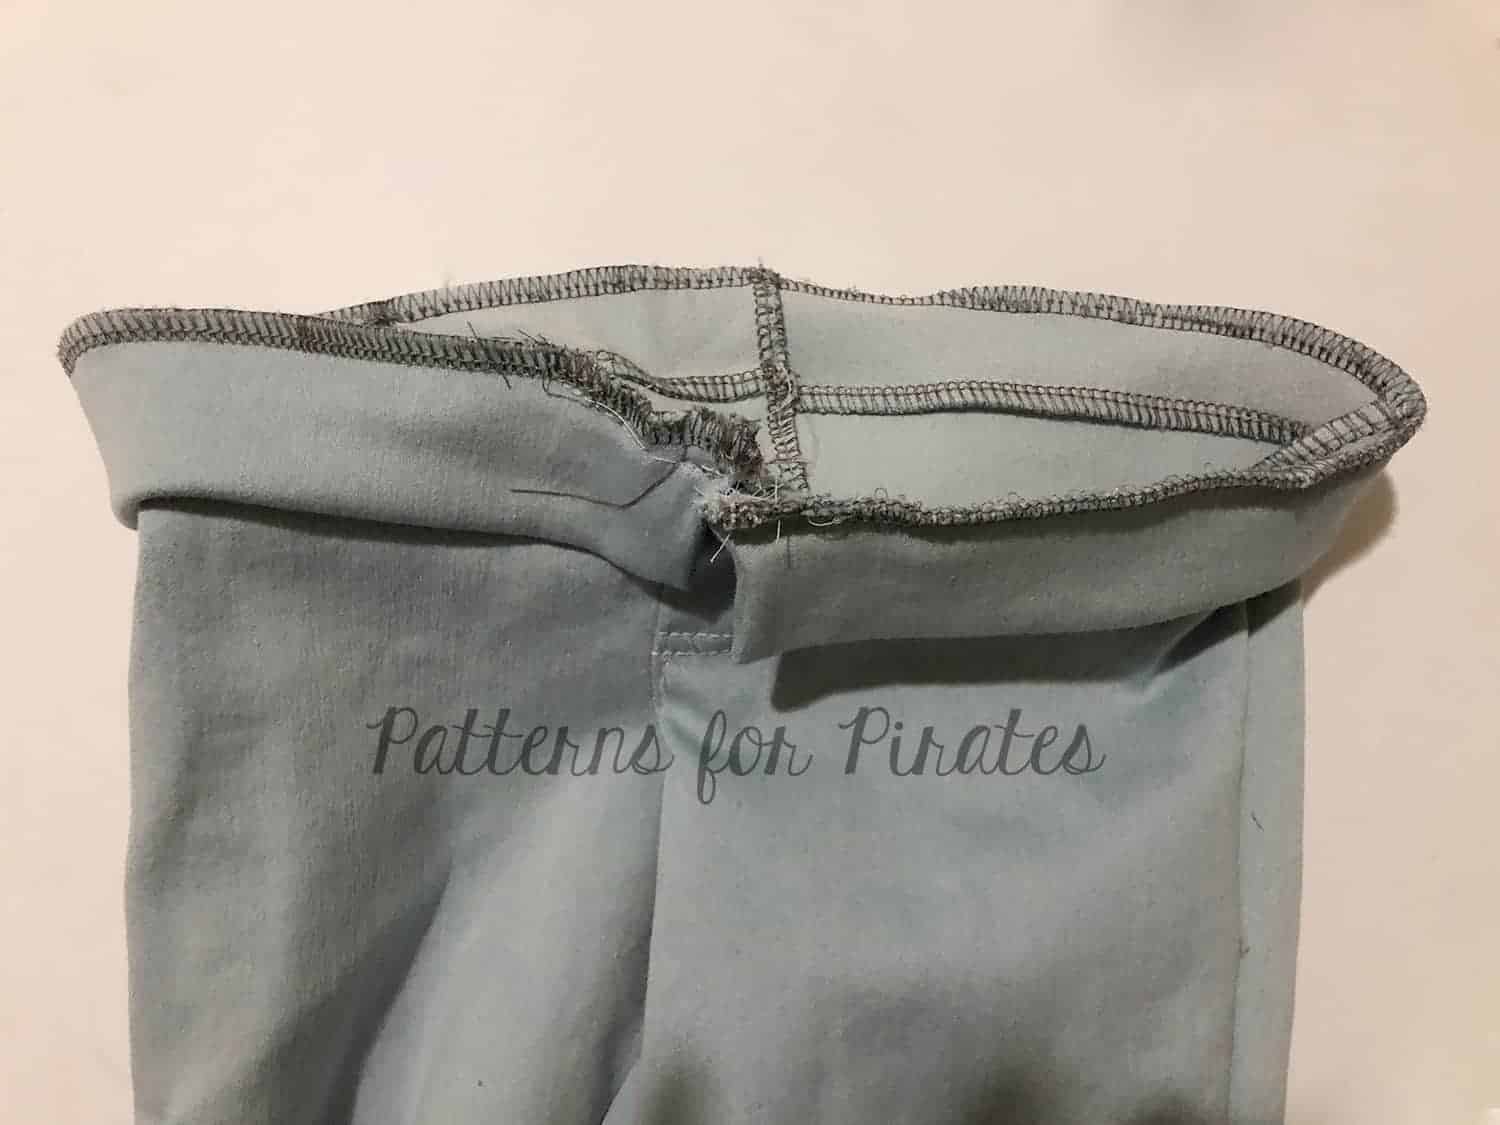
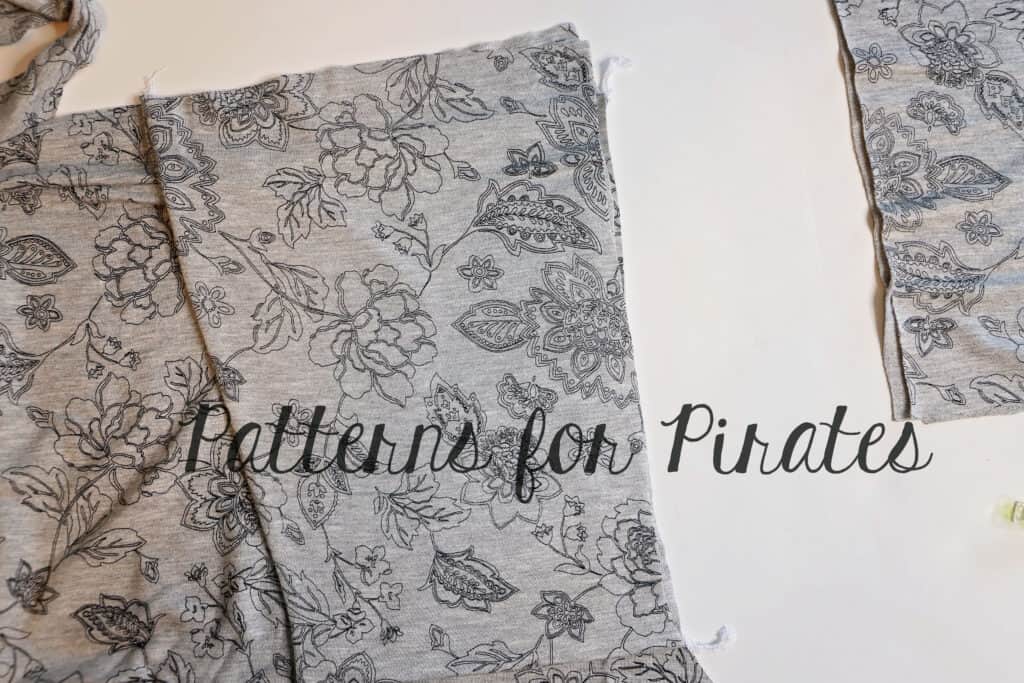
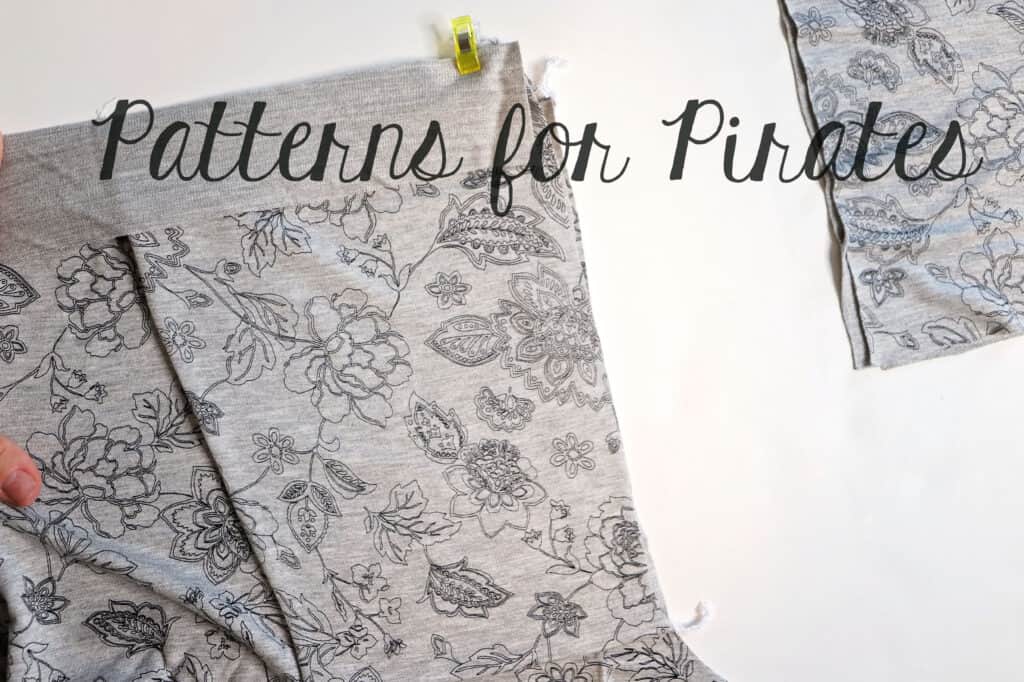
Clip your corners, turn it through.
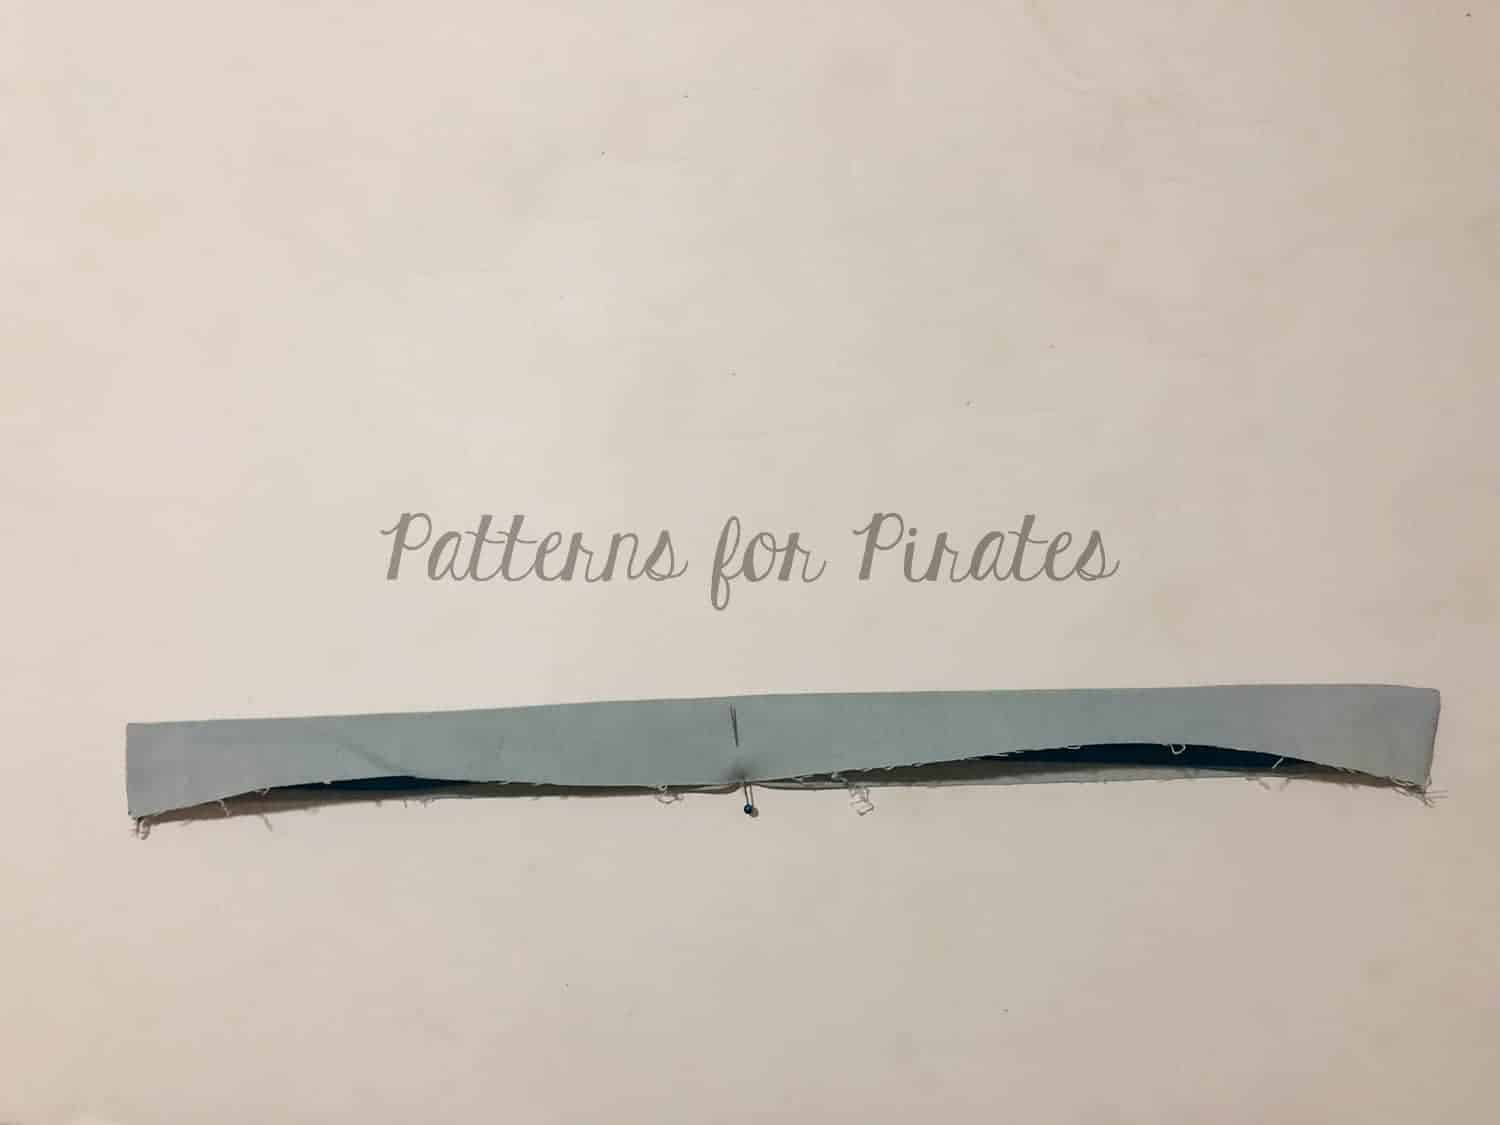
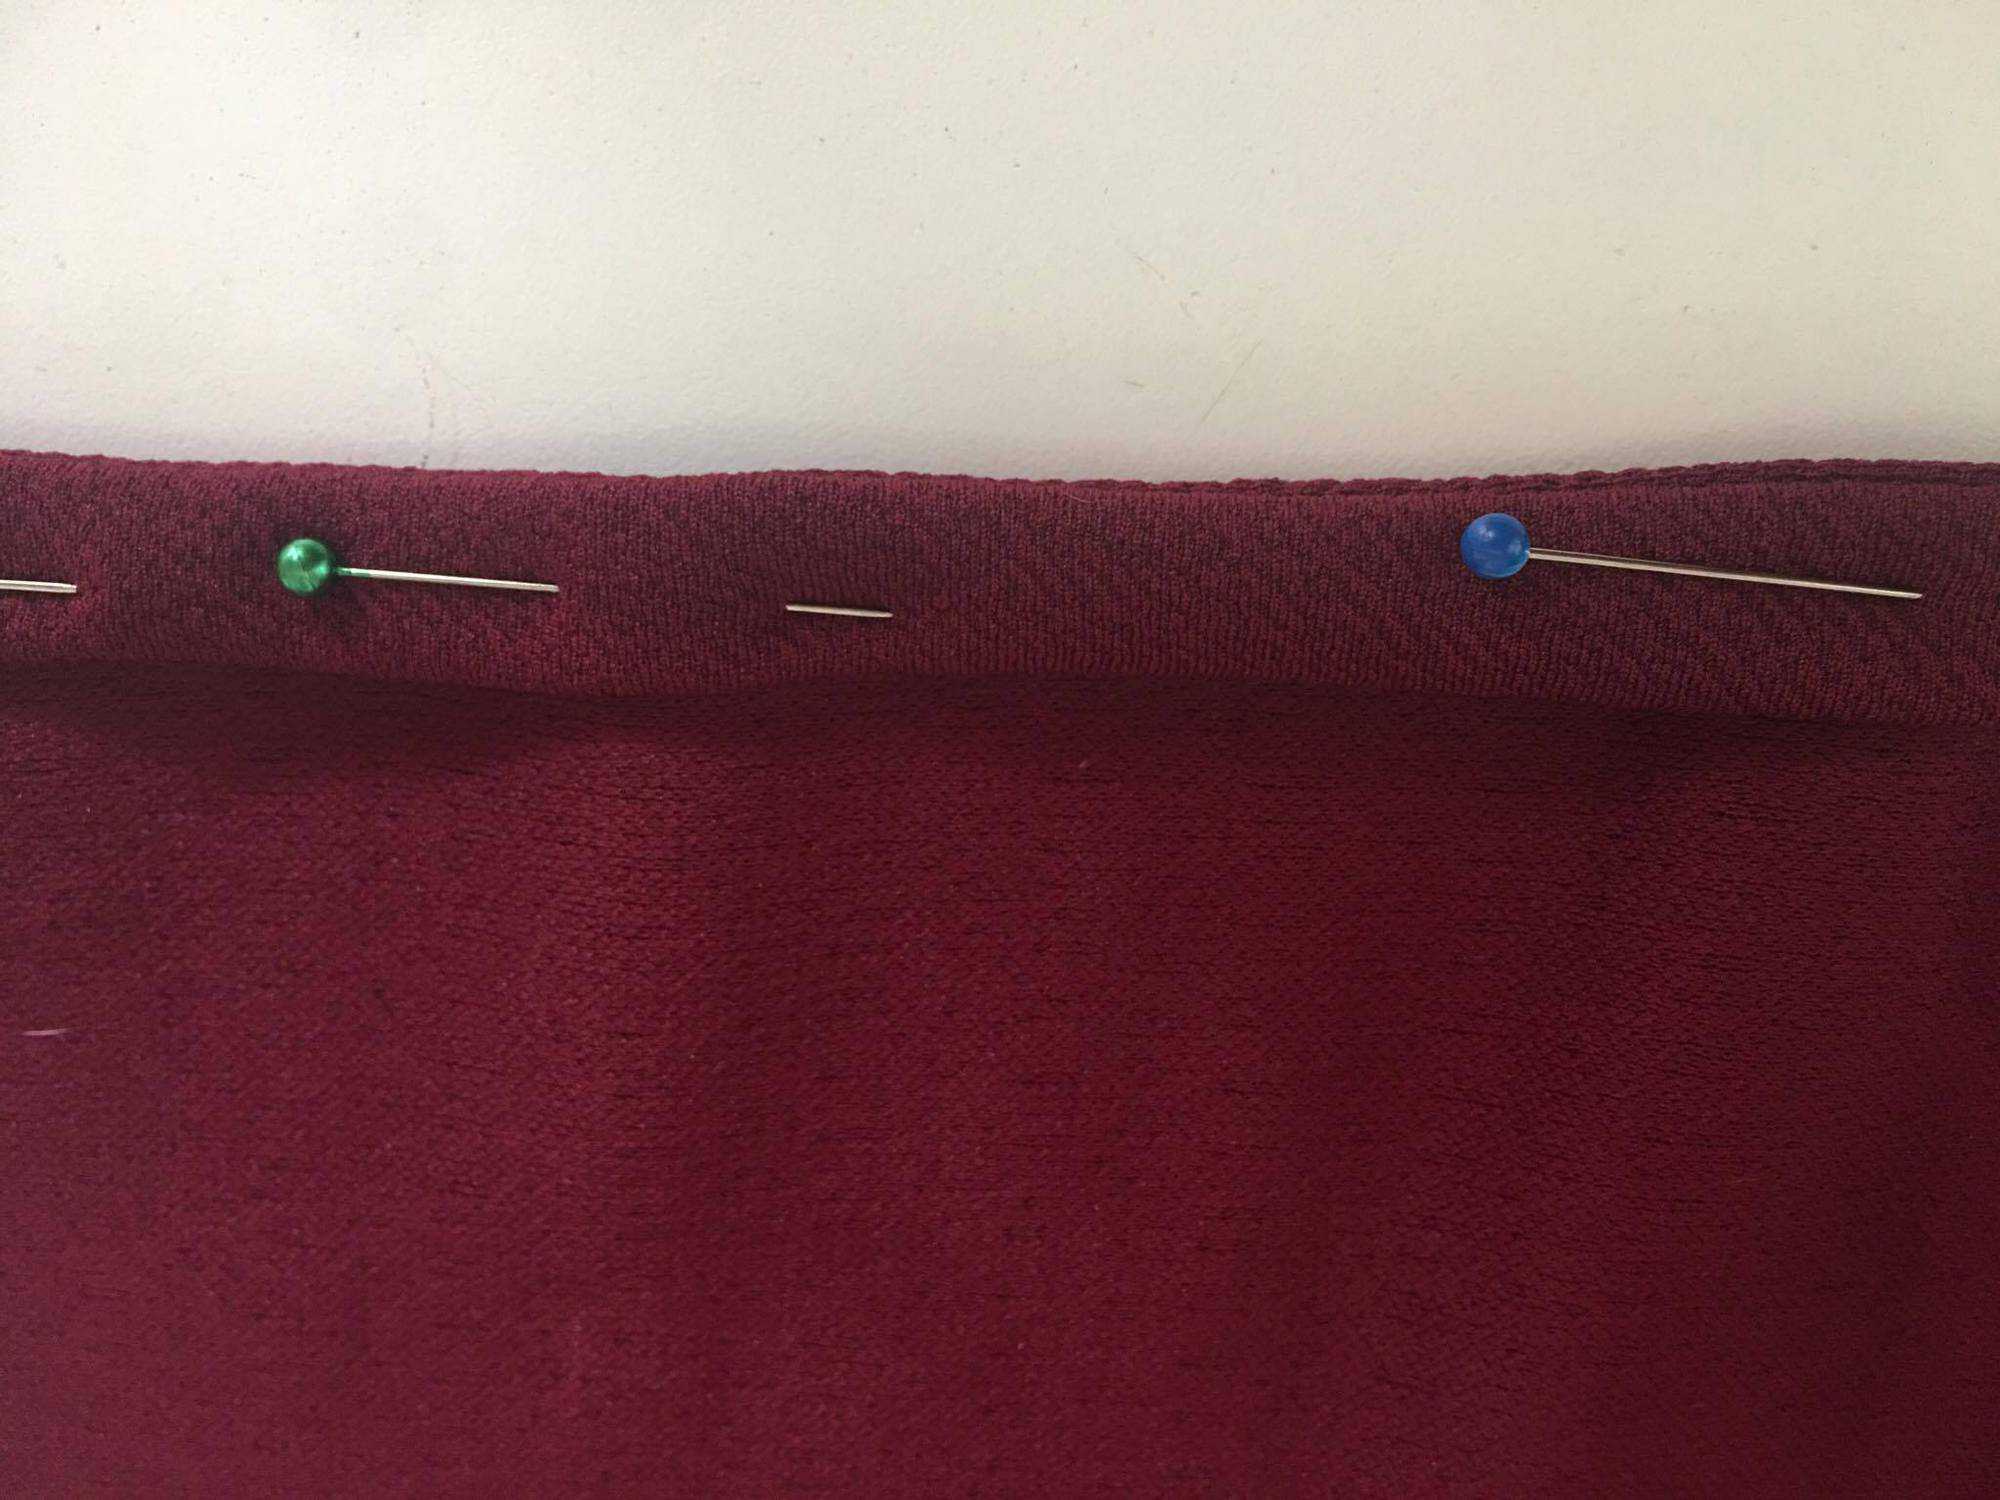
Topstitching after pressing
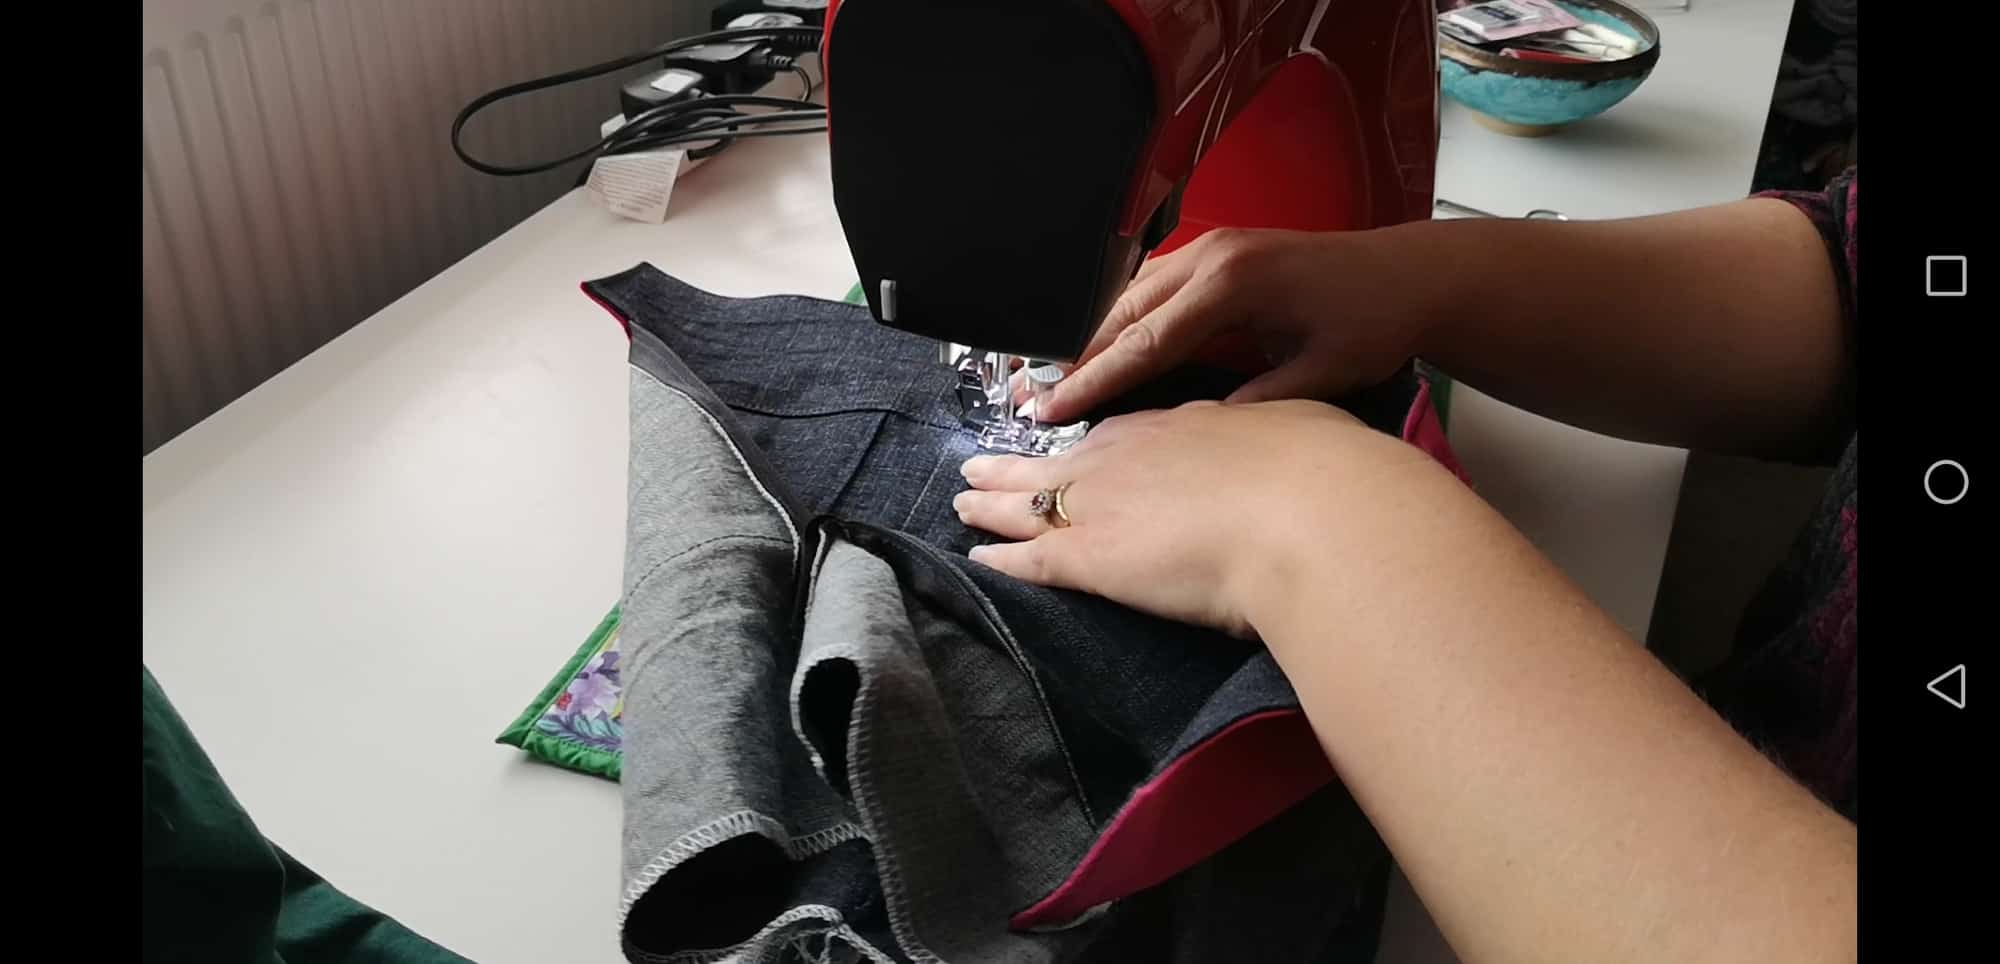
Press and topstitch around the entire waistband.
Then finish off your garment as per the regular tutorial instructions and you’re done!
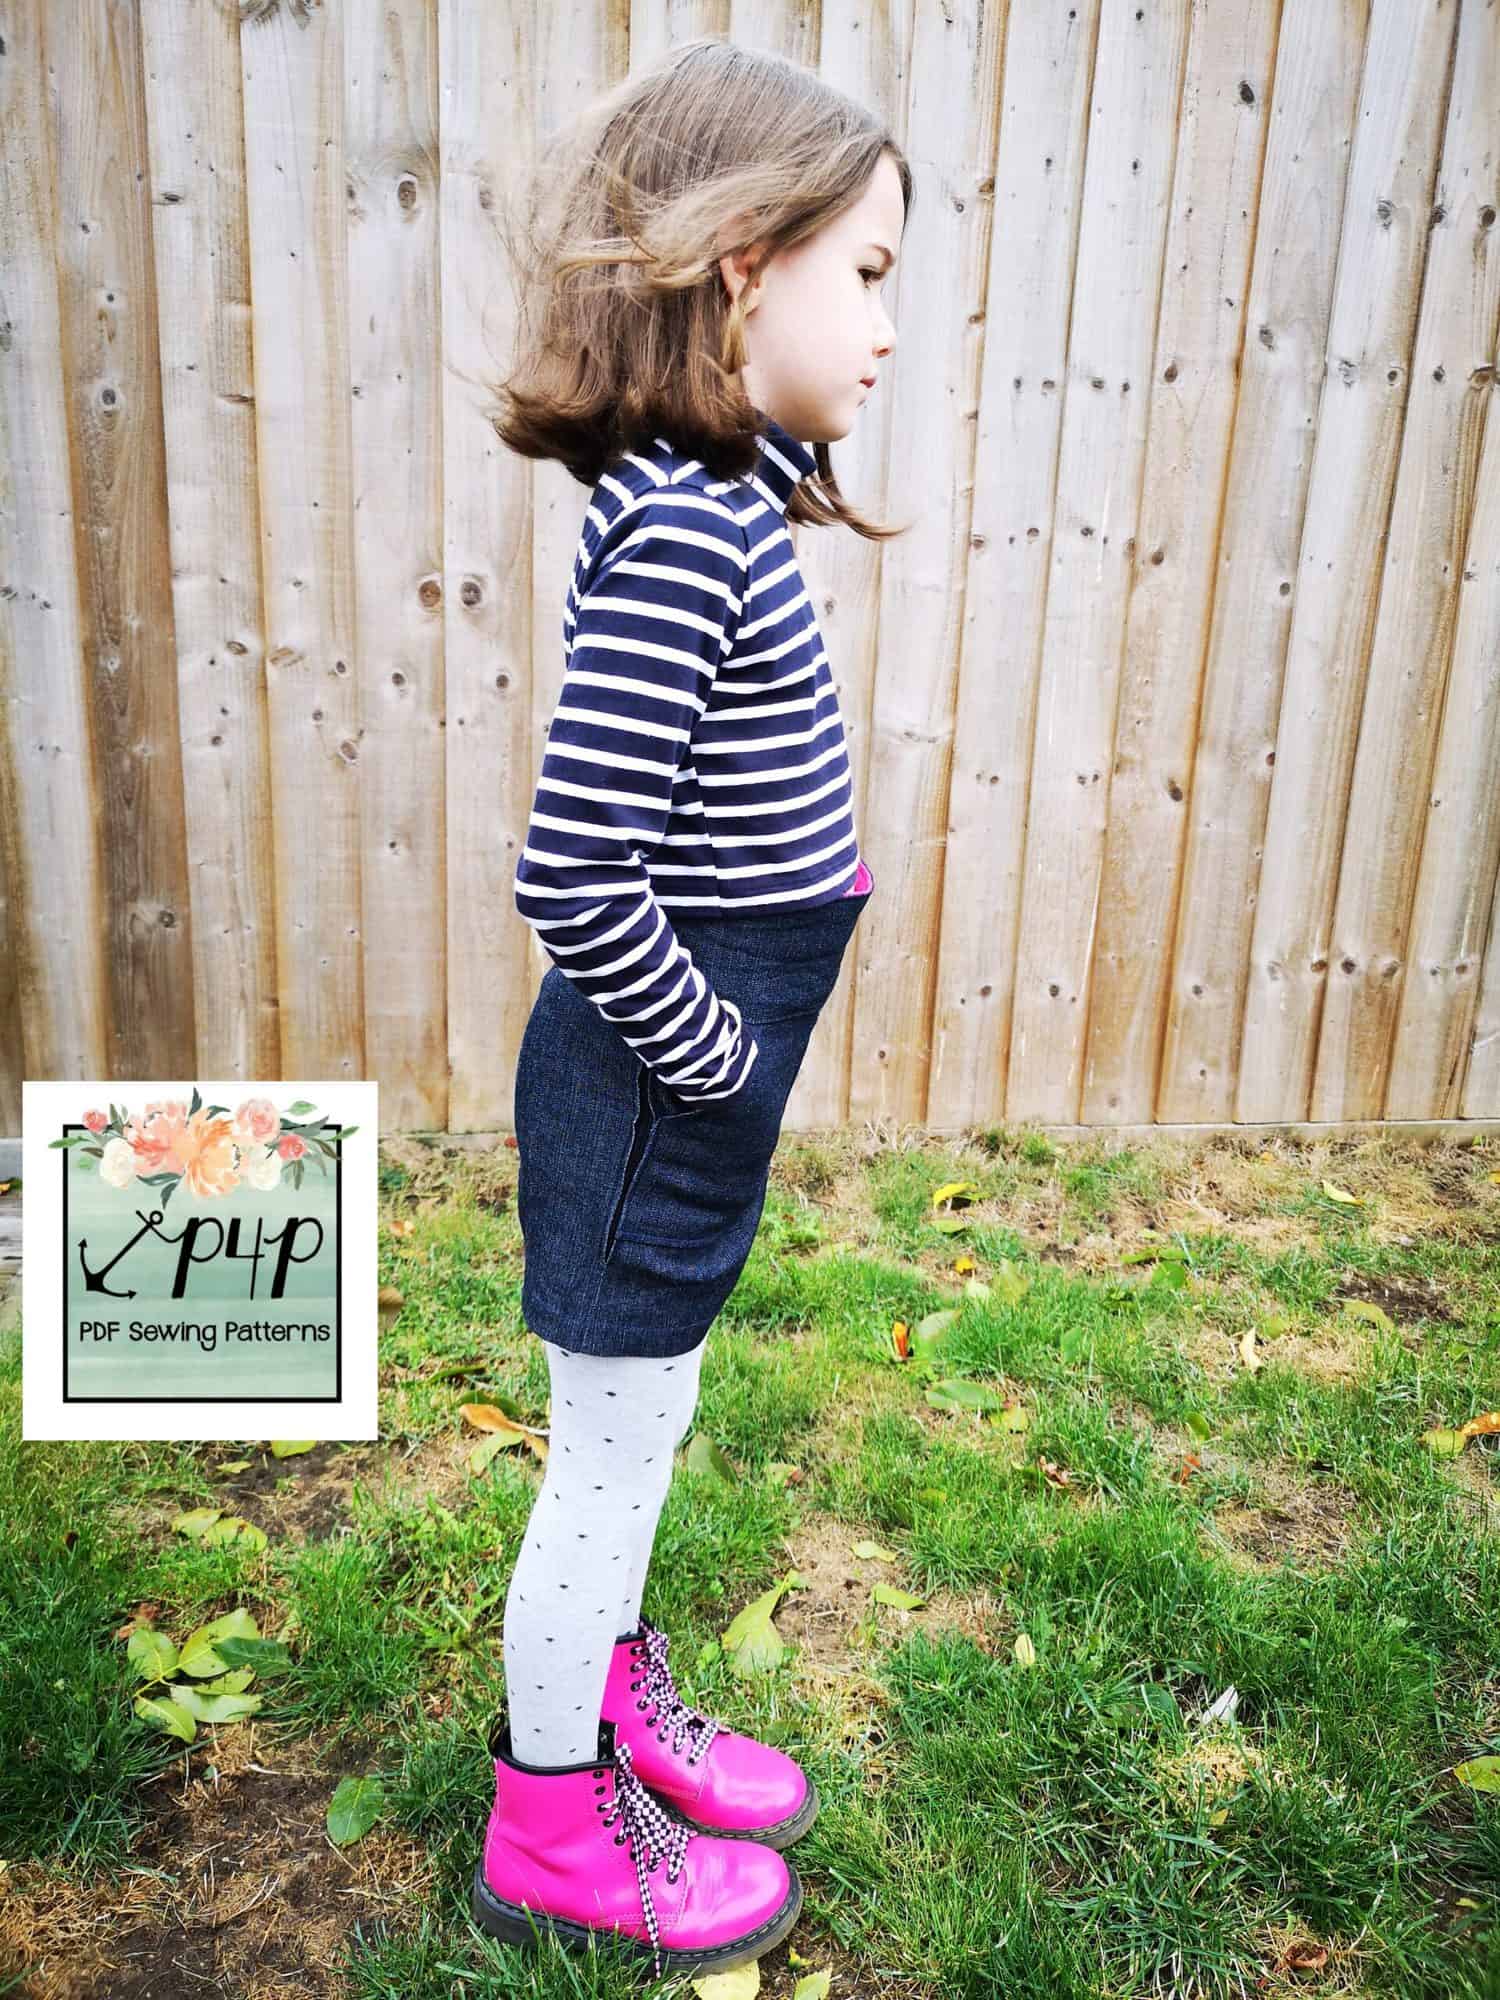
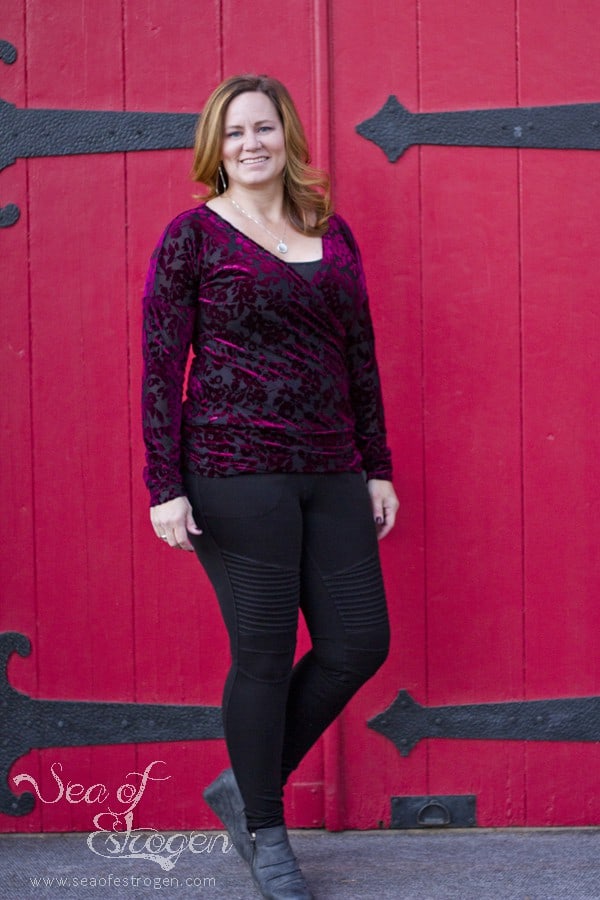
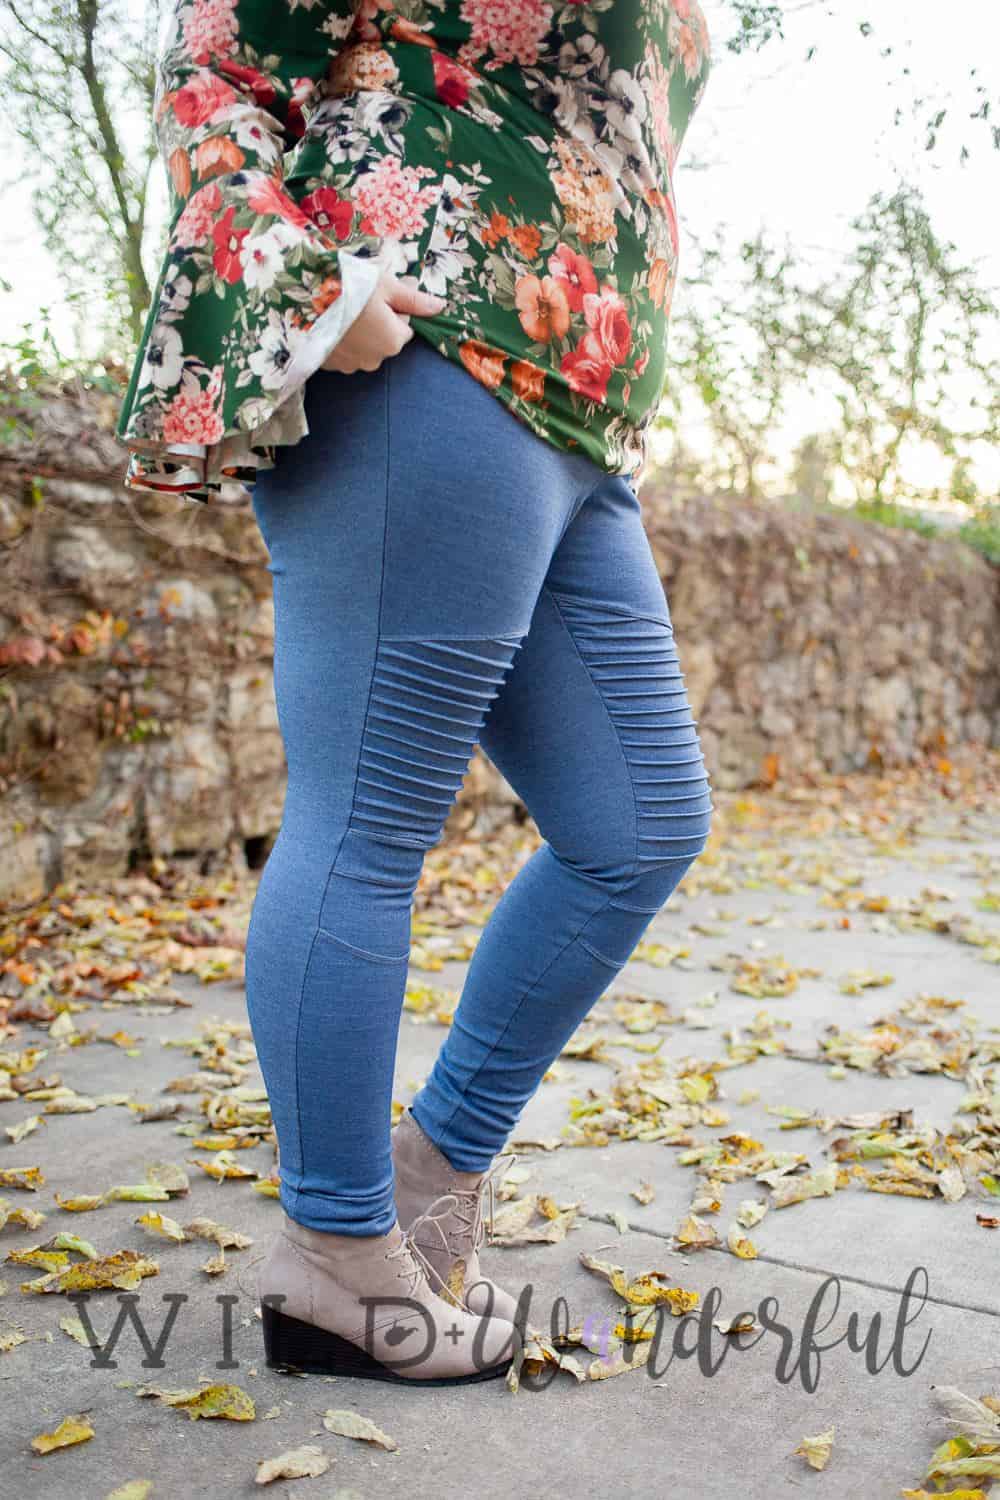
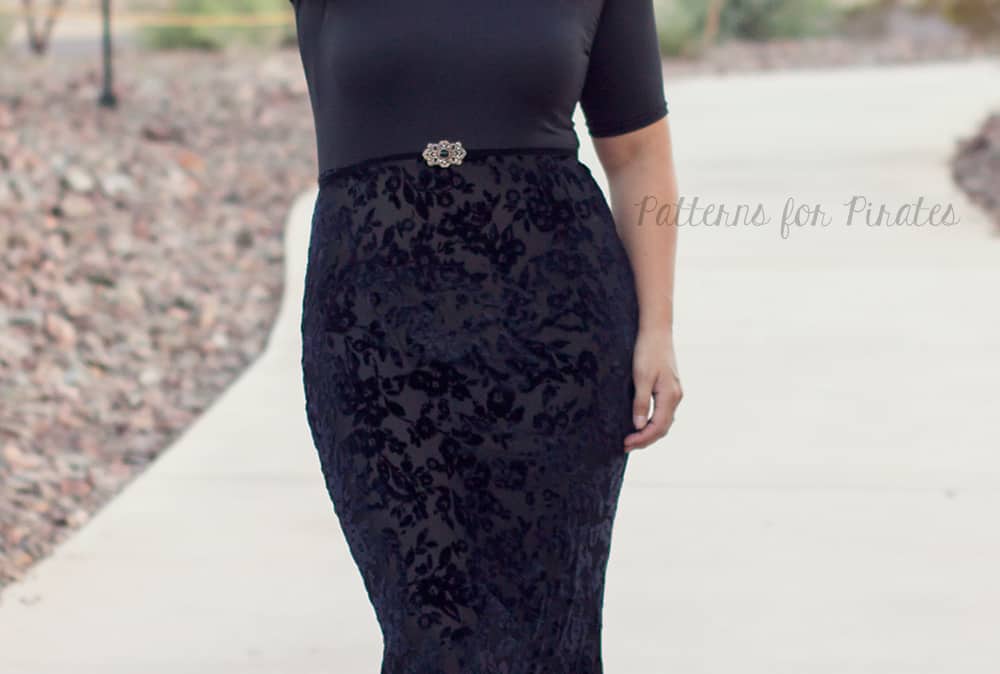
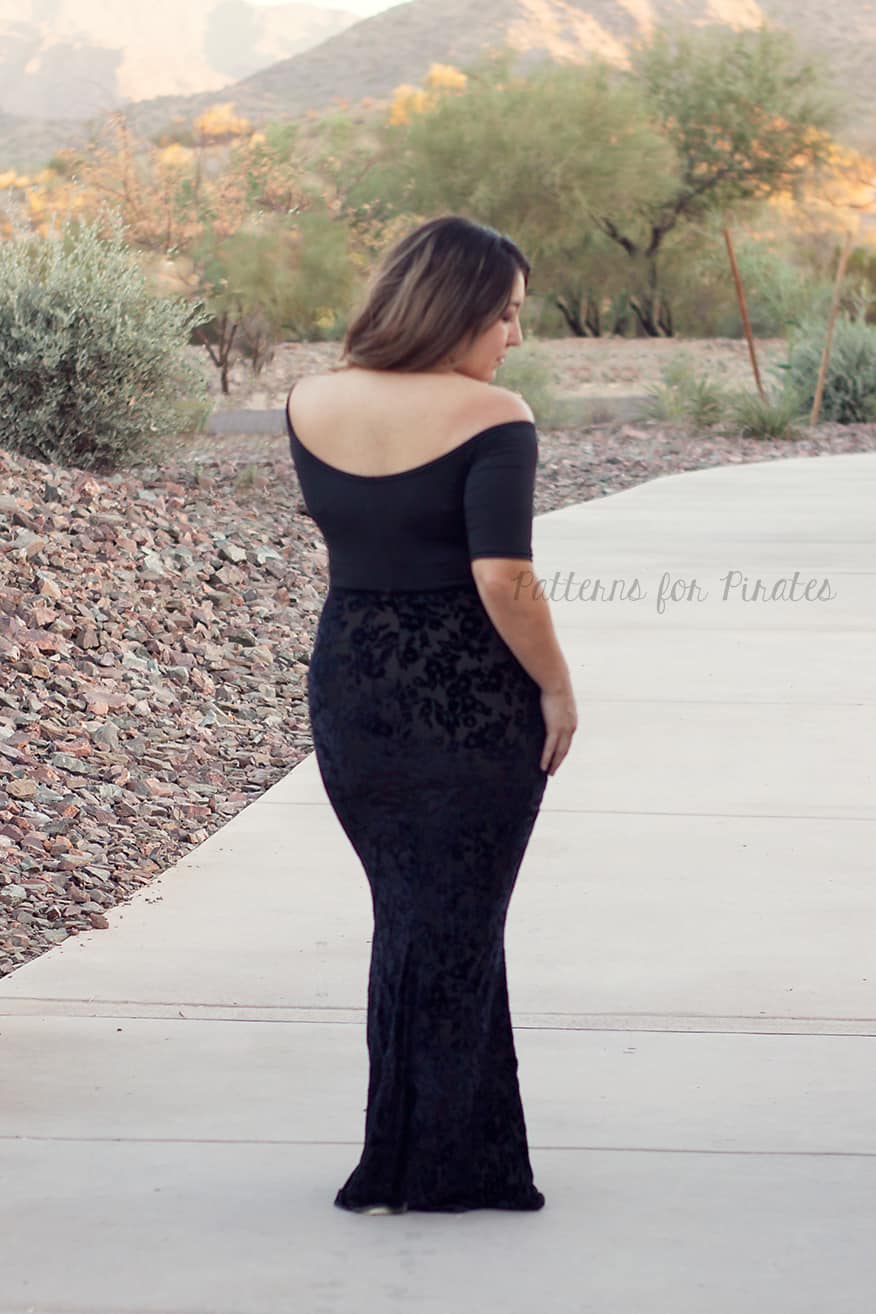
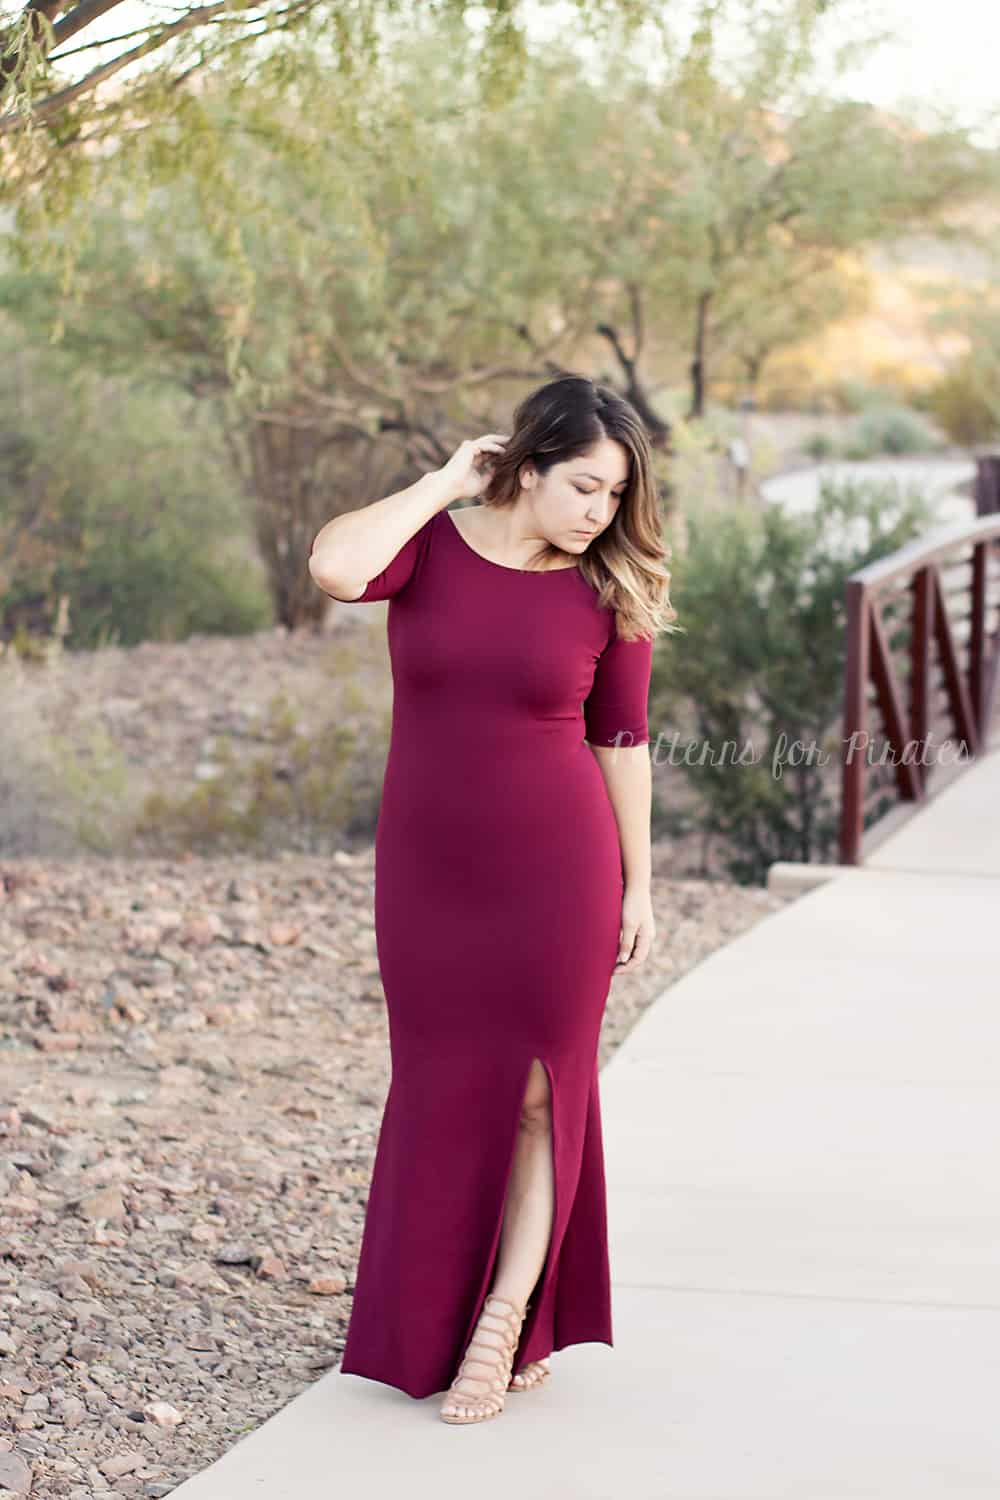
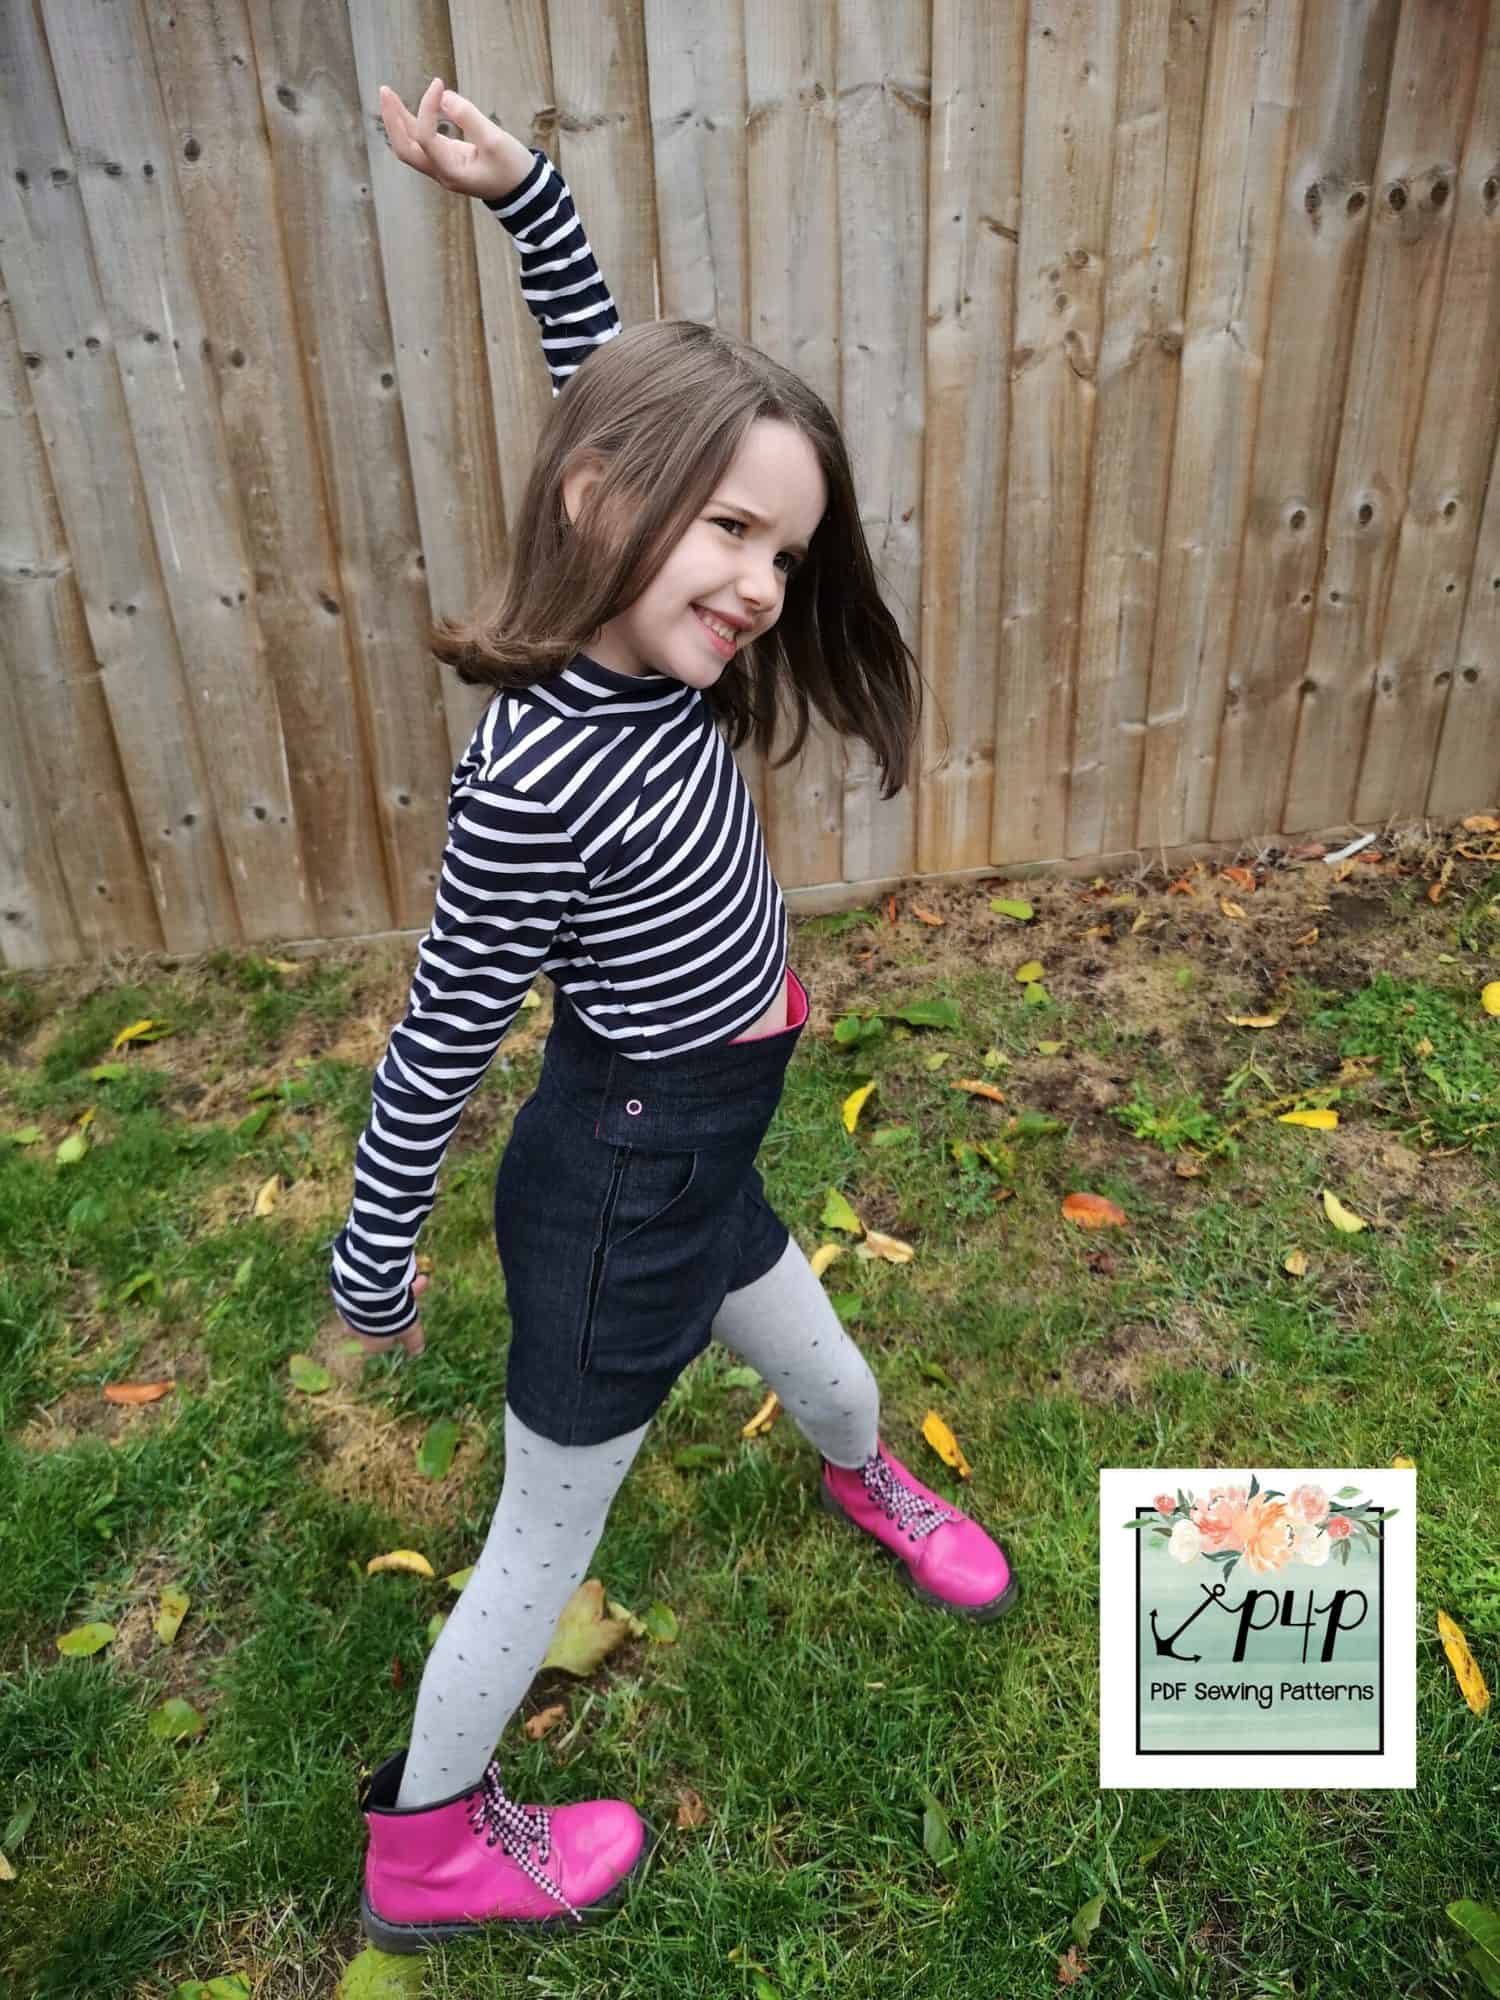
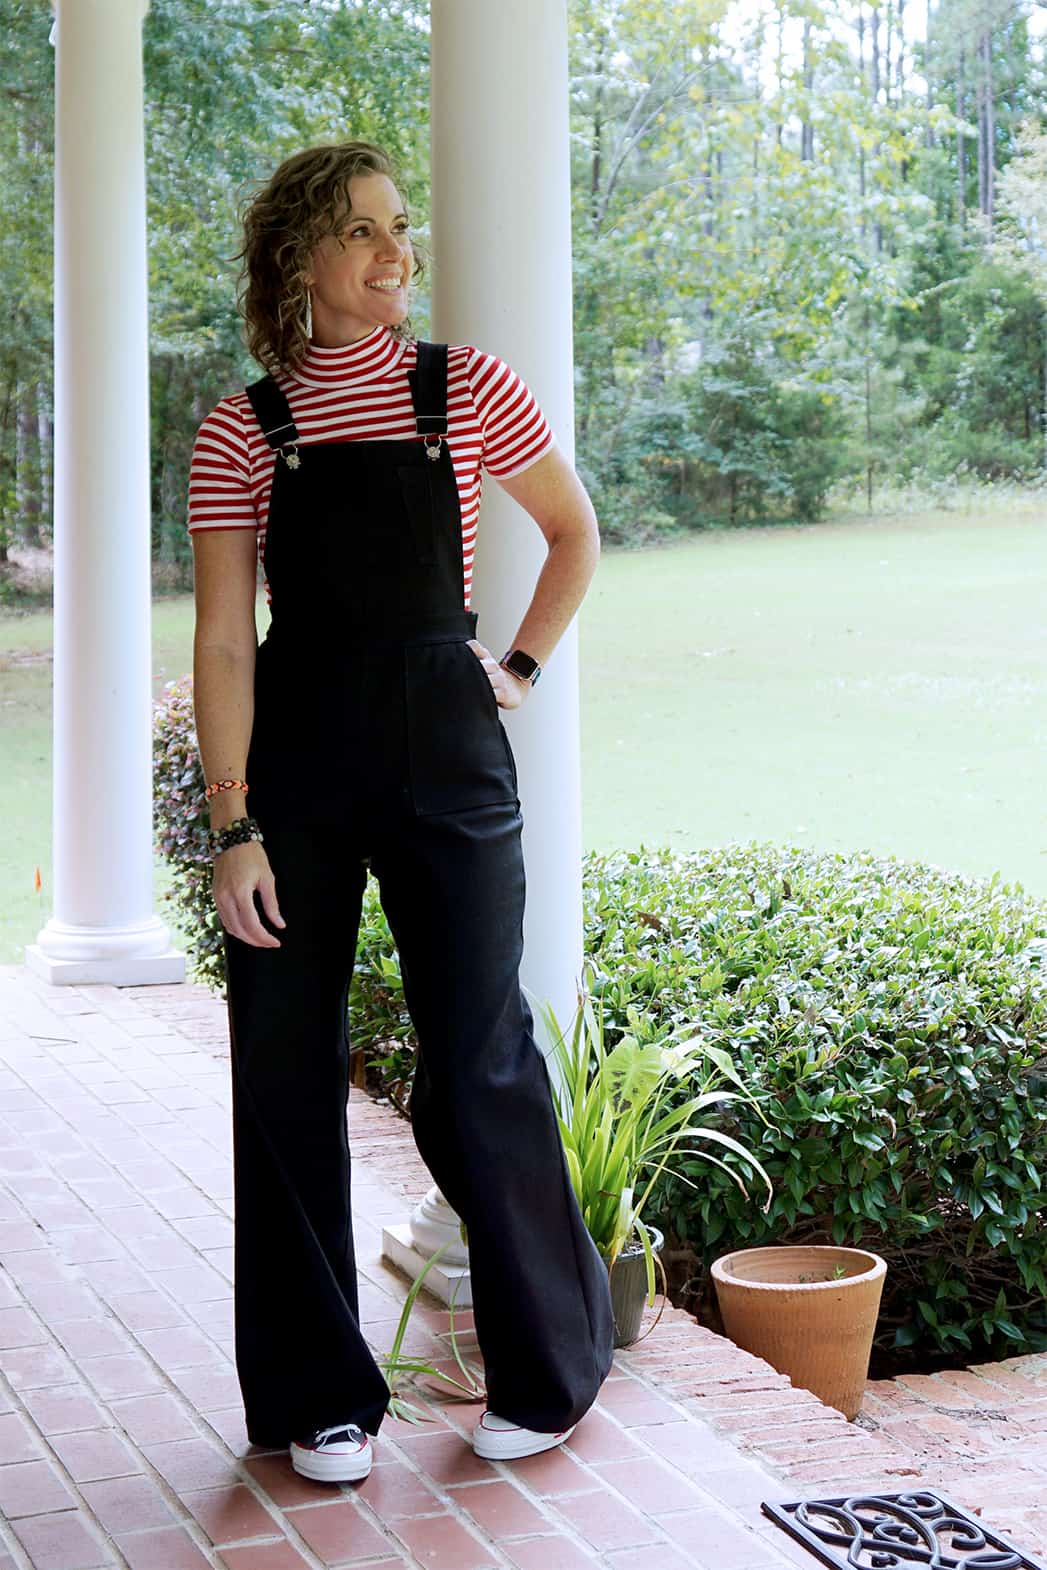
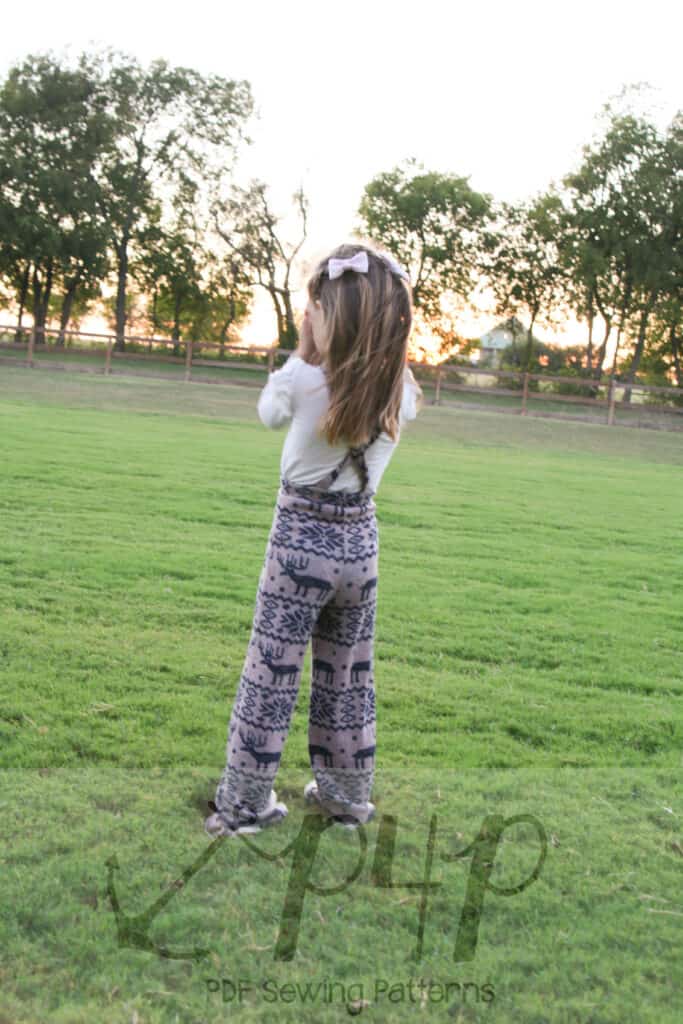
We style them with tights, Doc Martins and a crop length Hepburn. I loved it so much on the shorts I had to do it for the skirt too!
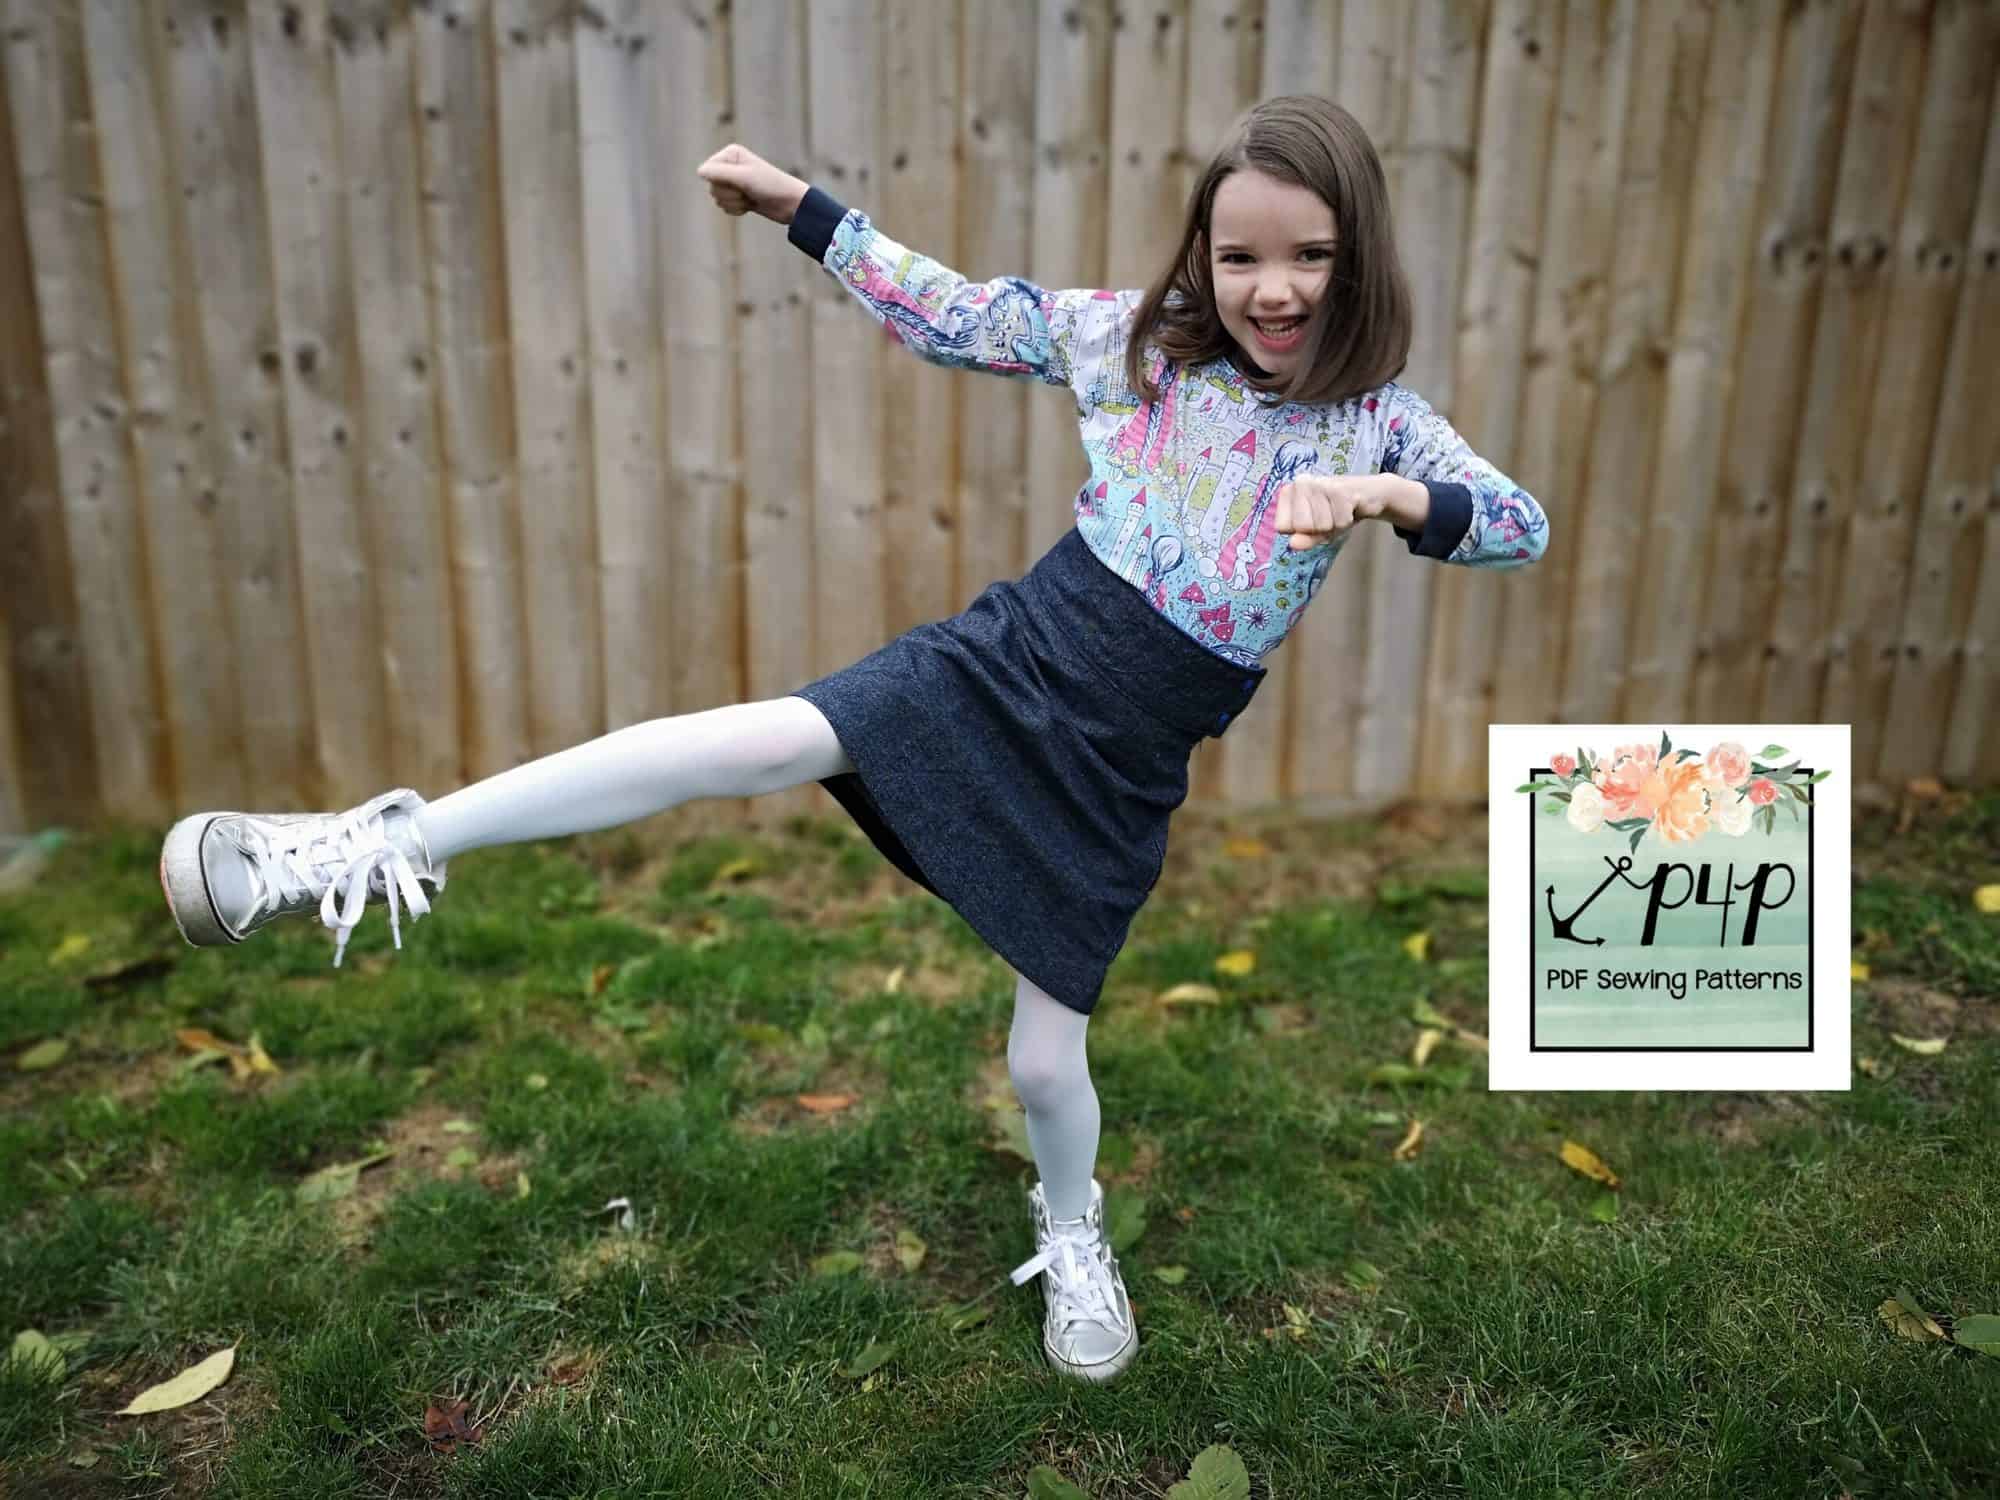
Anyone else find that their child turns into a karate expert as soon as you turn on a camera?!
Obviously you can also just sew this up with the regular height of the original waistband too. The choice is all yours!
Happy sewing!
Dana x
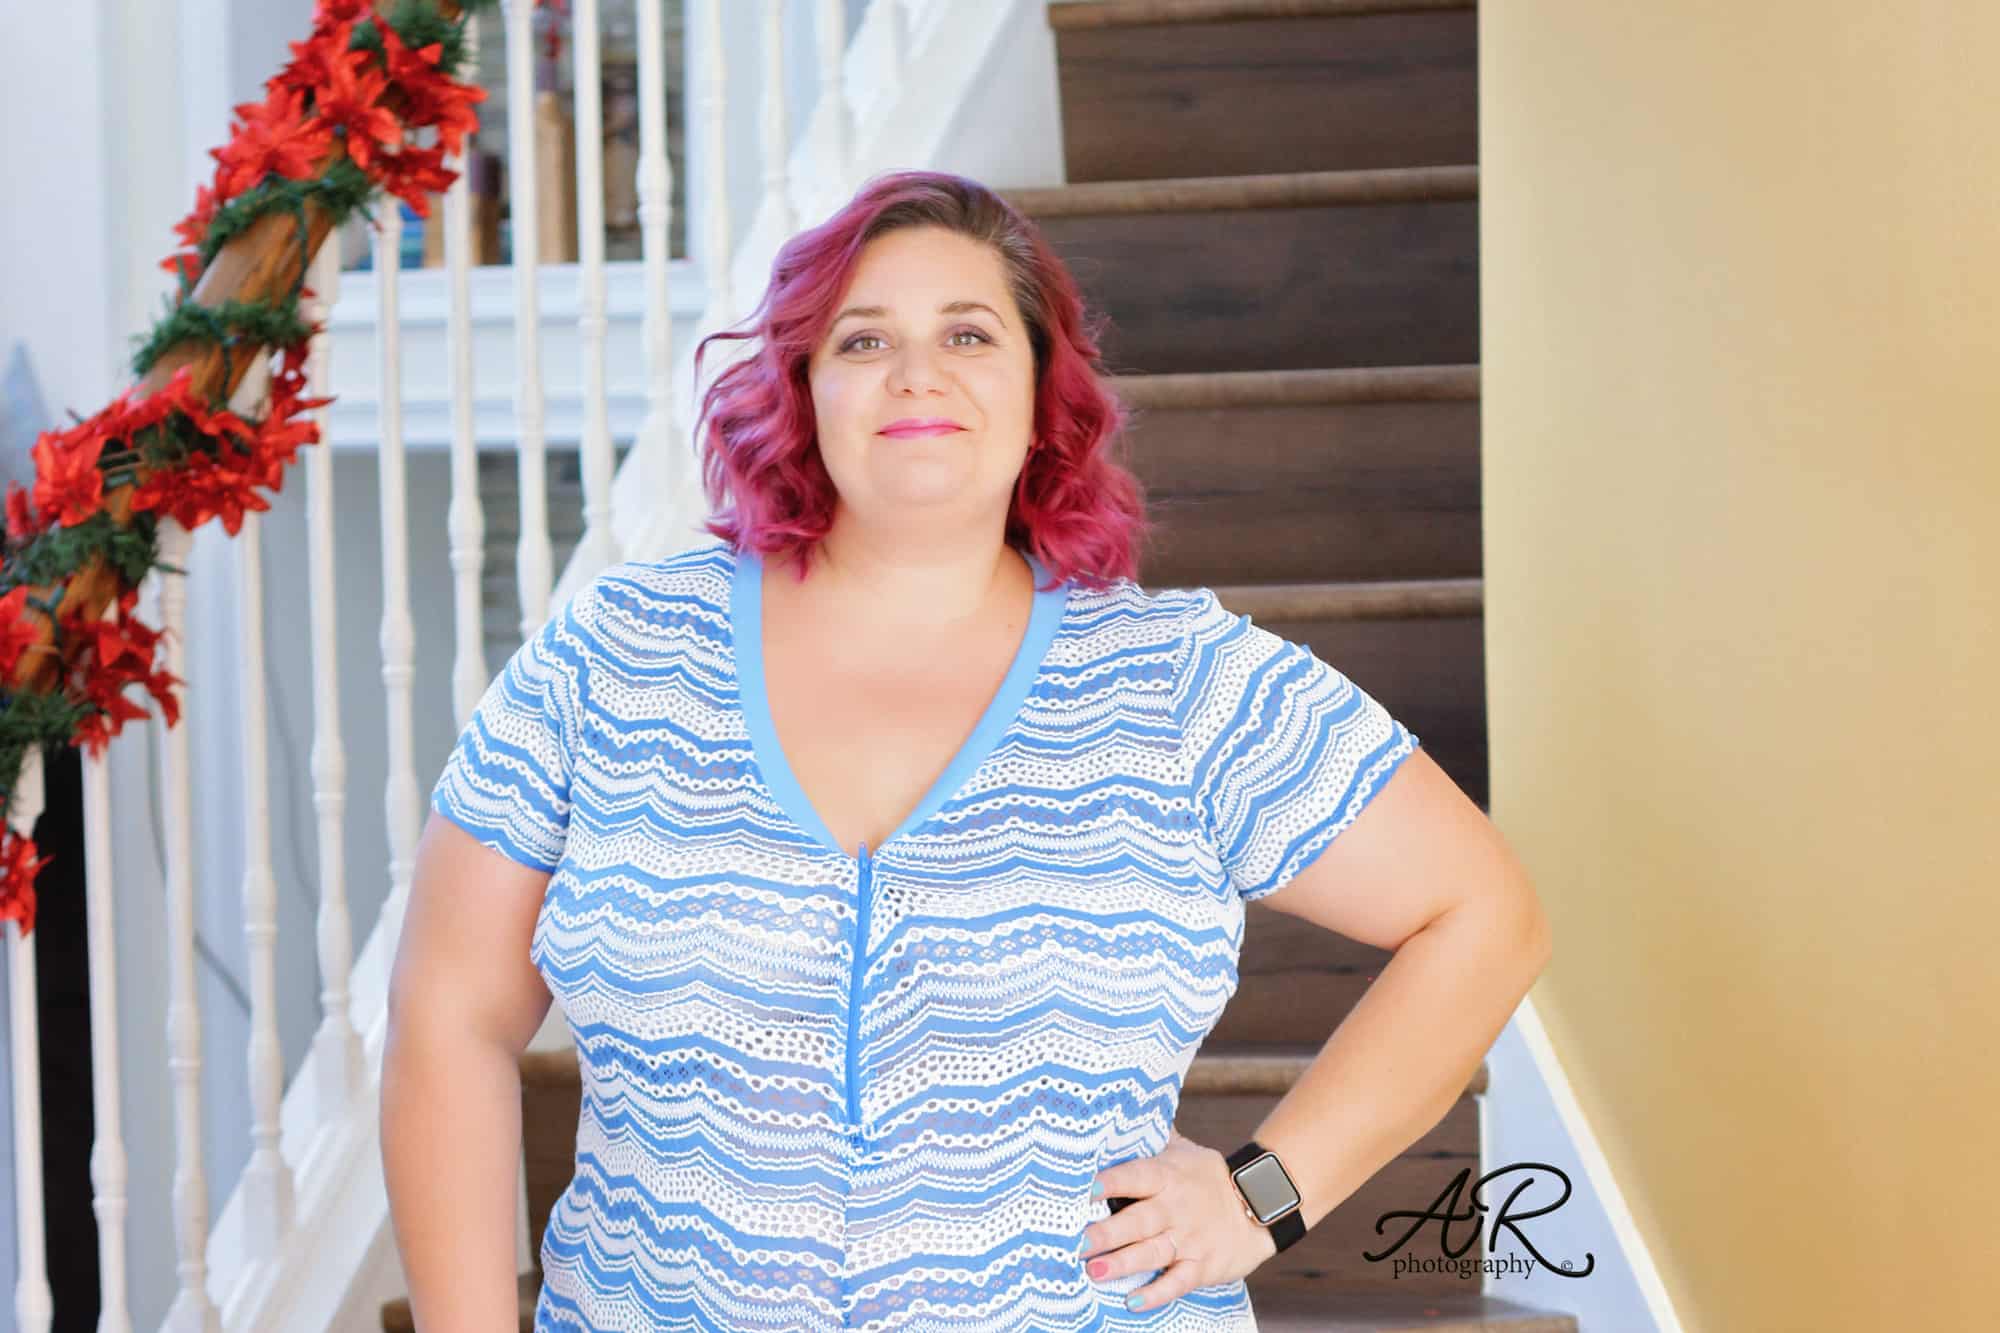
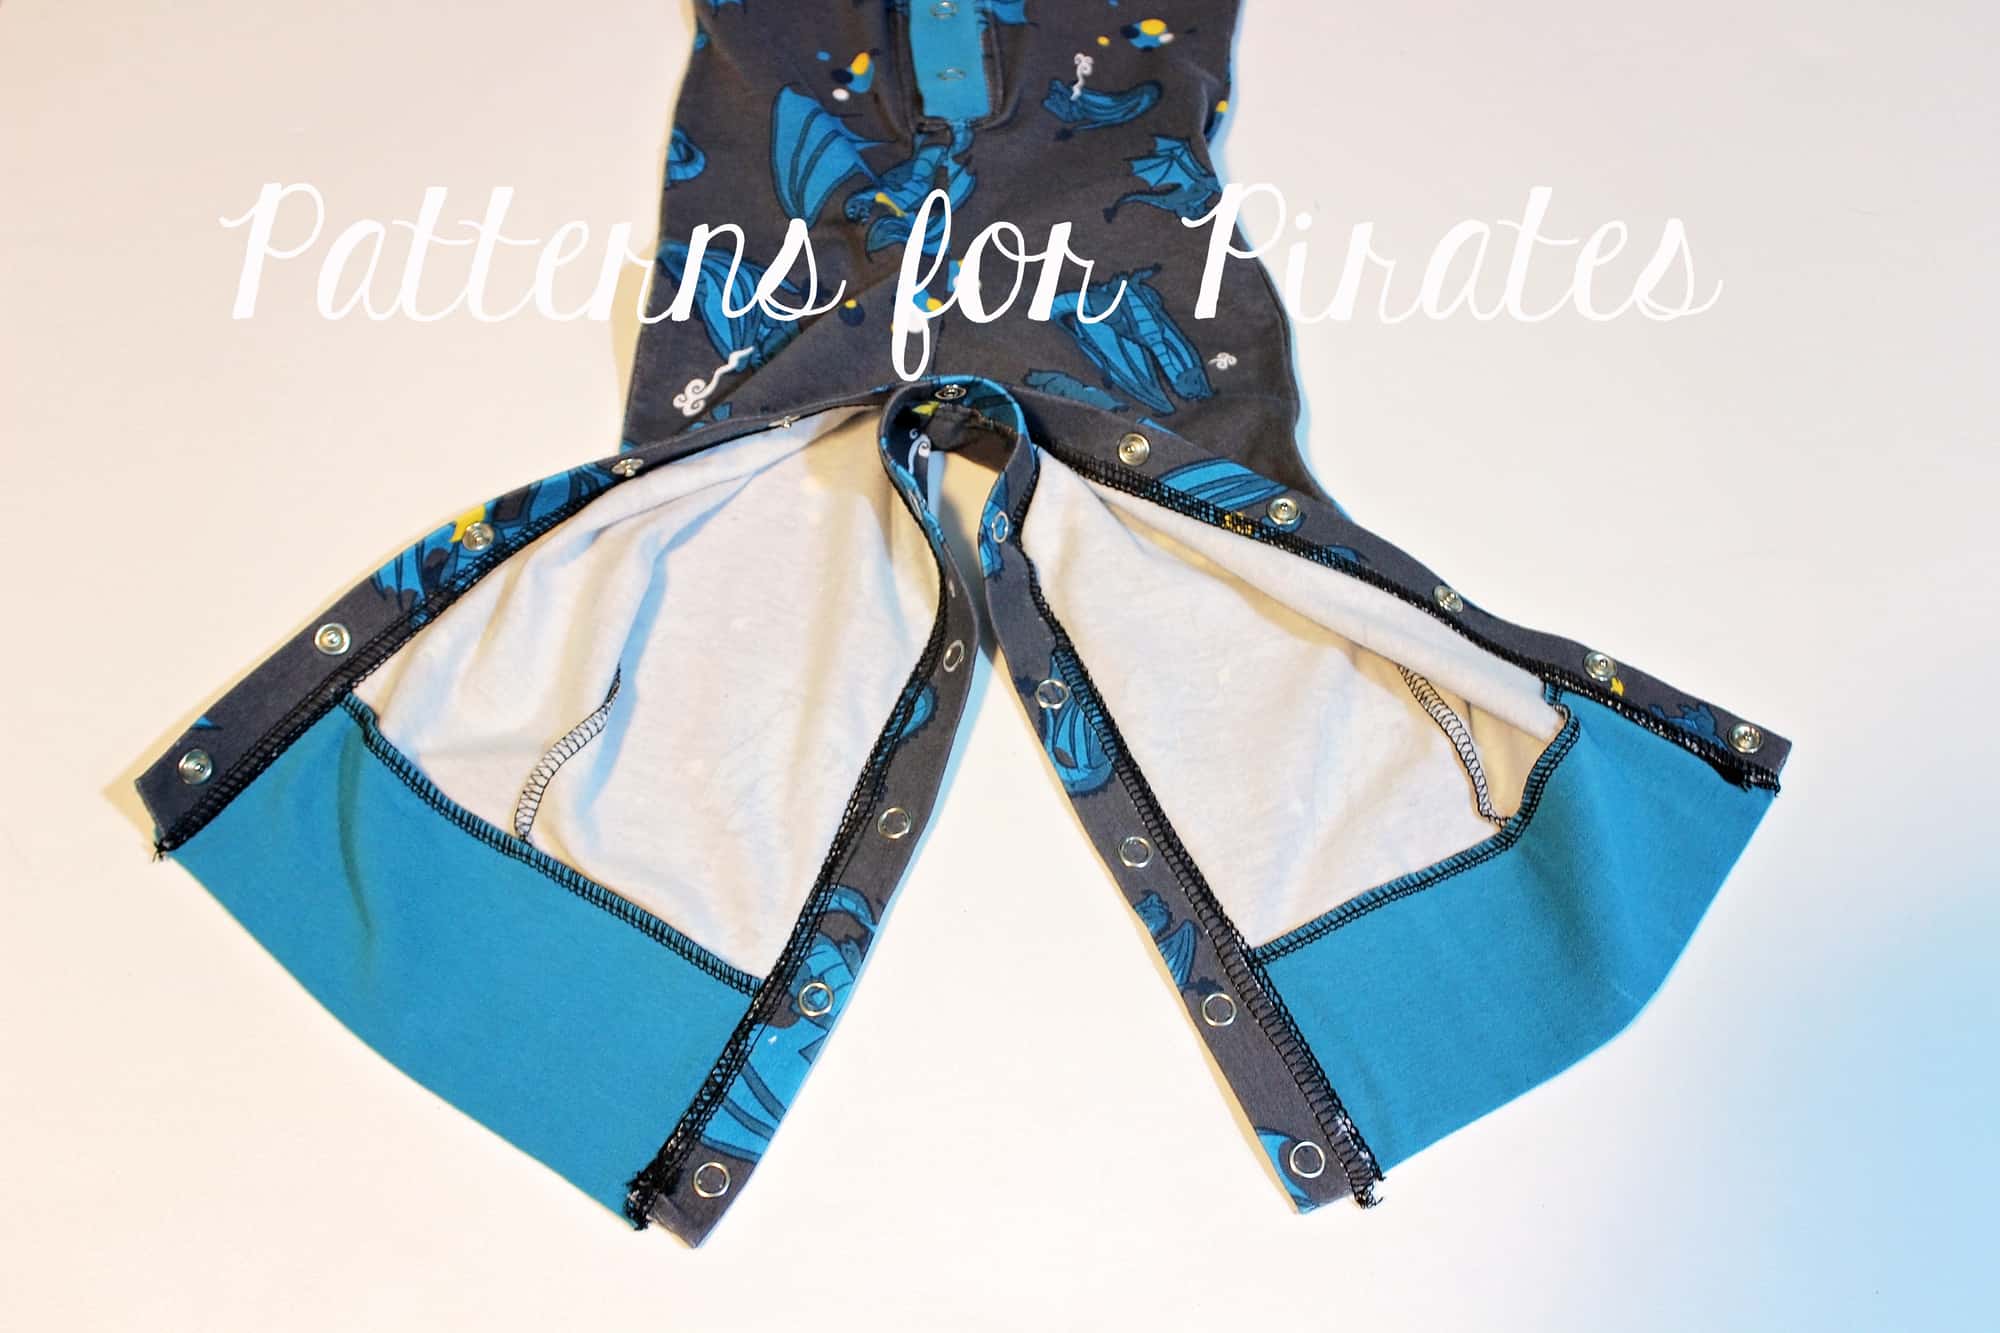
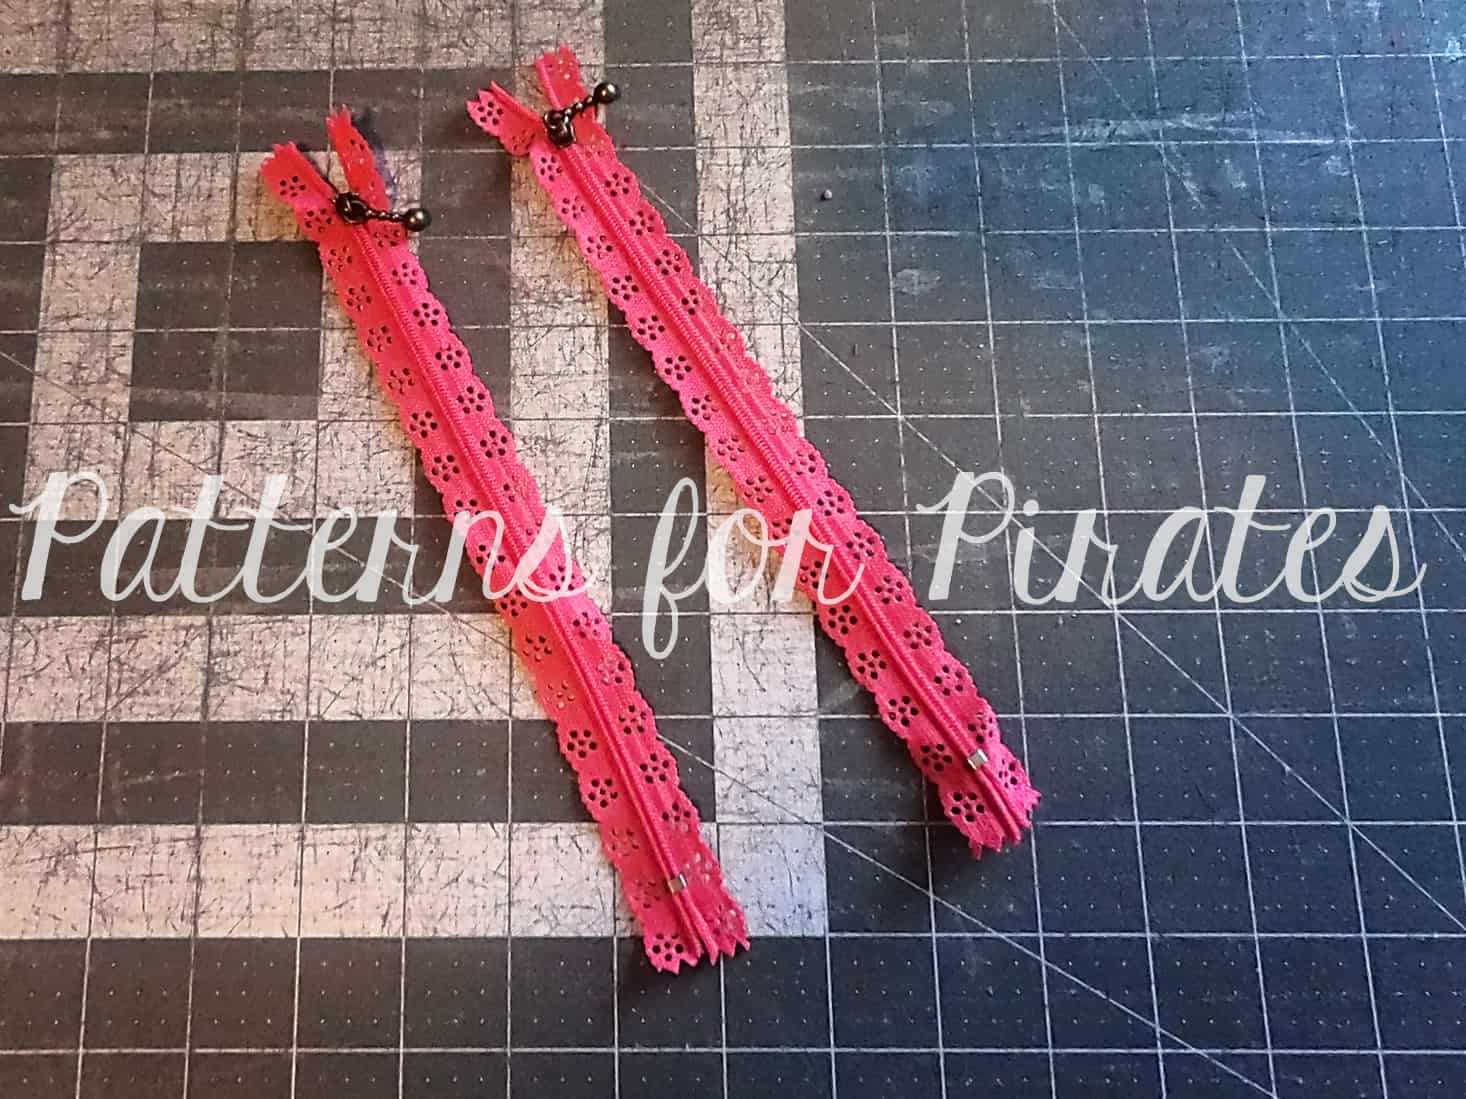
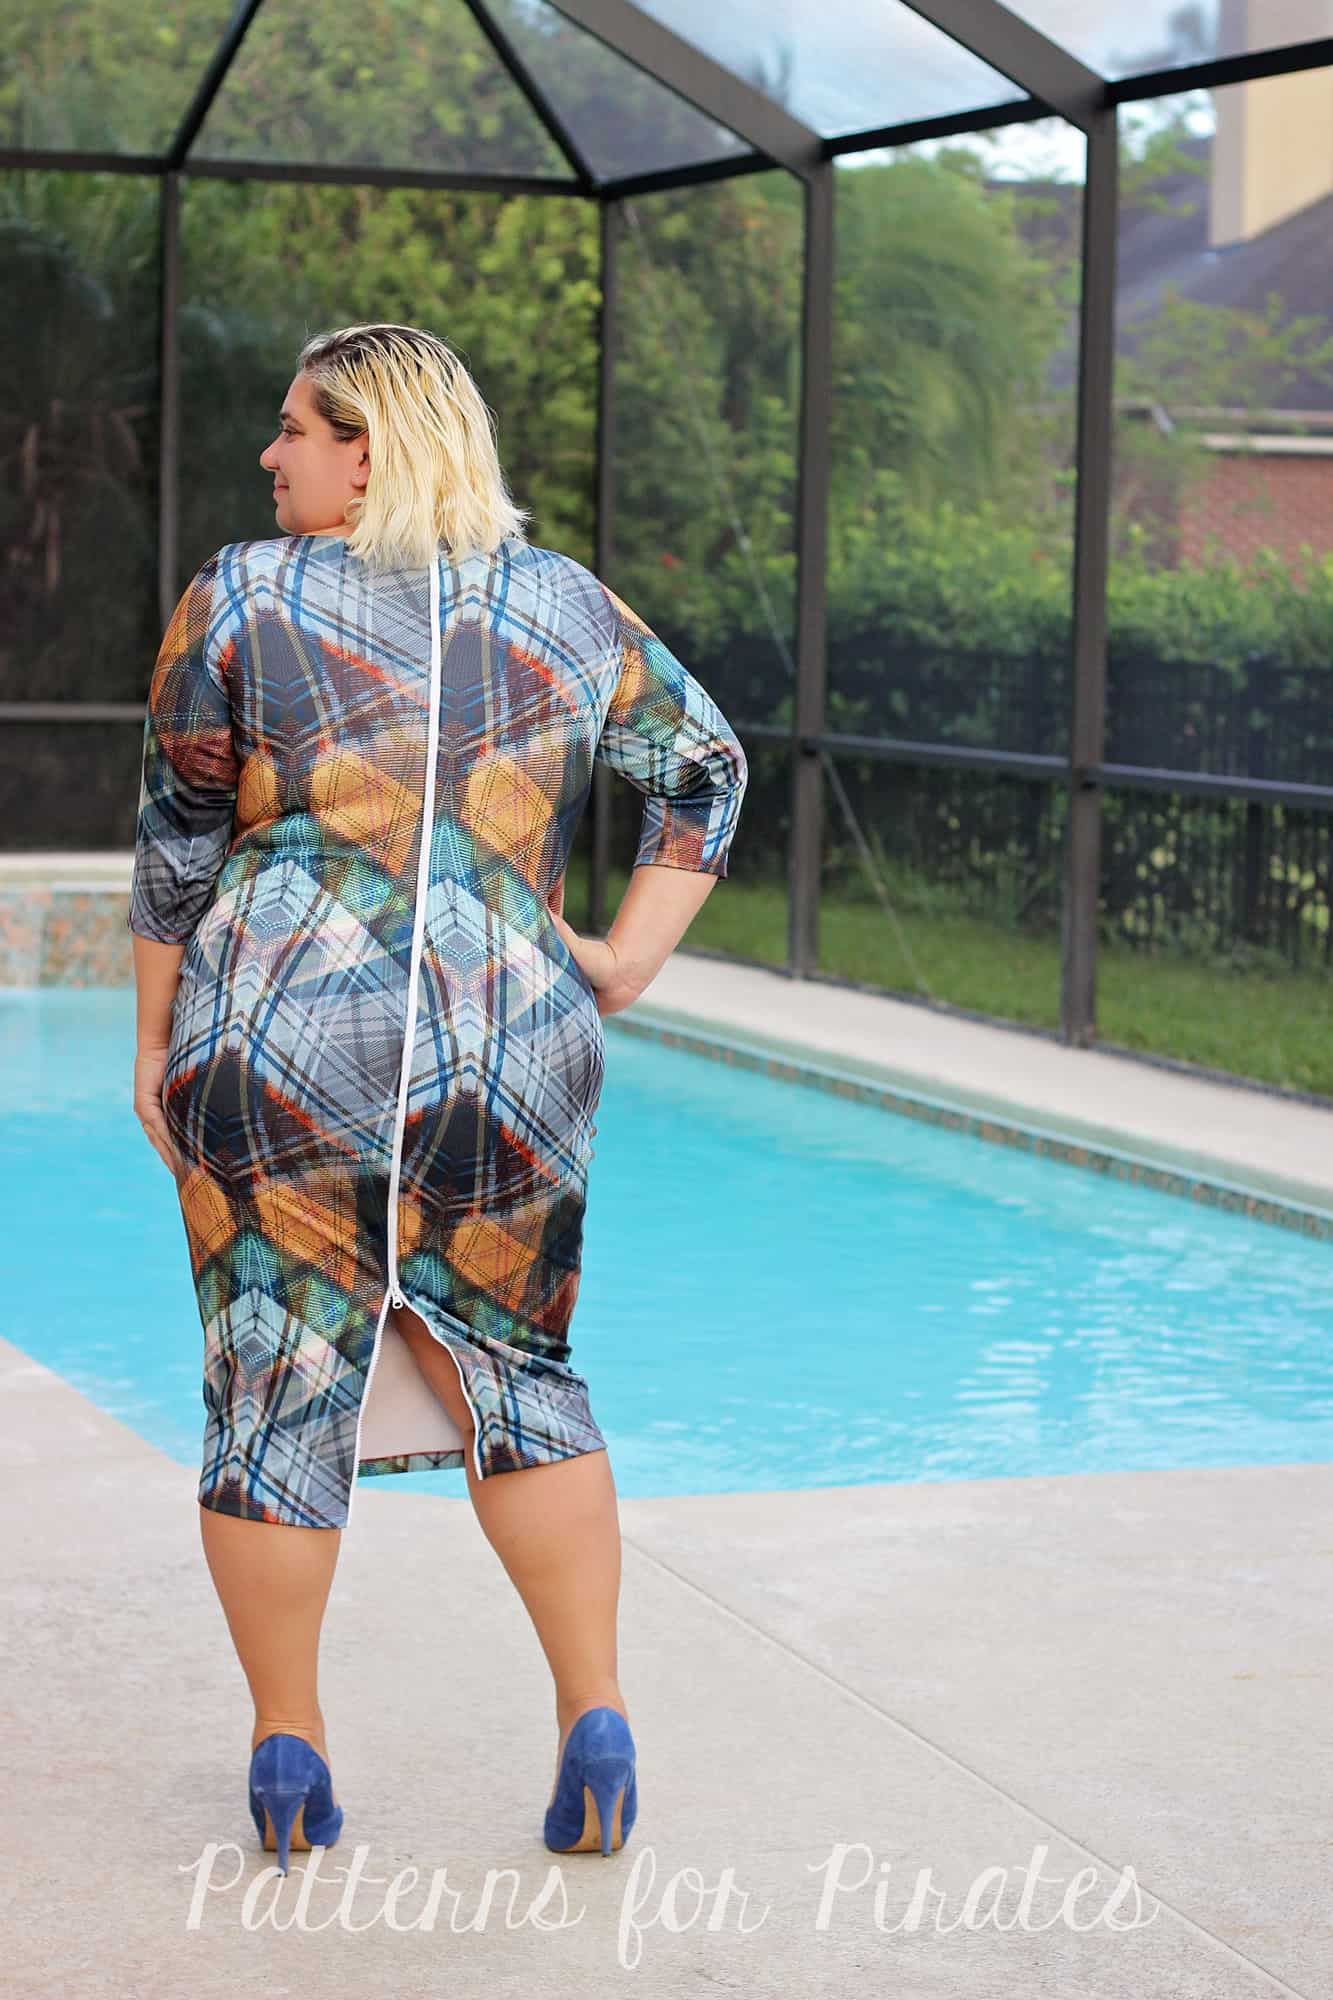
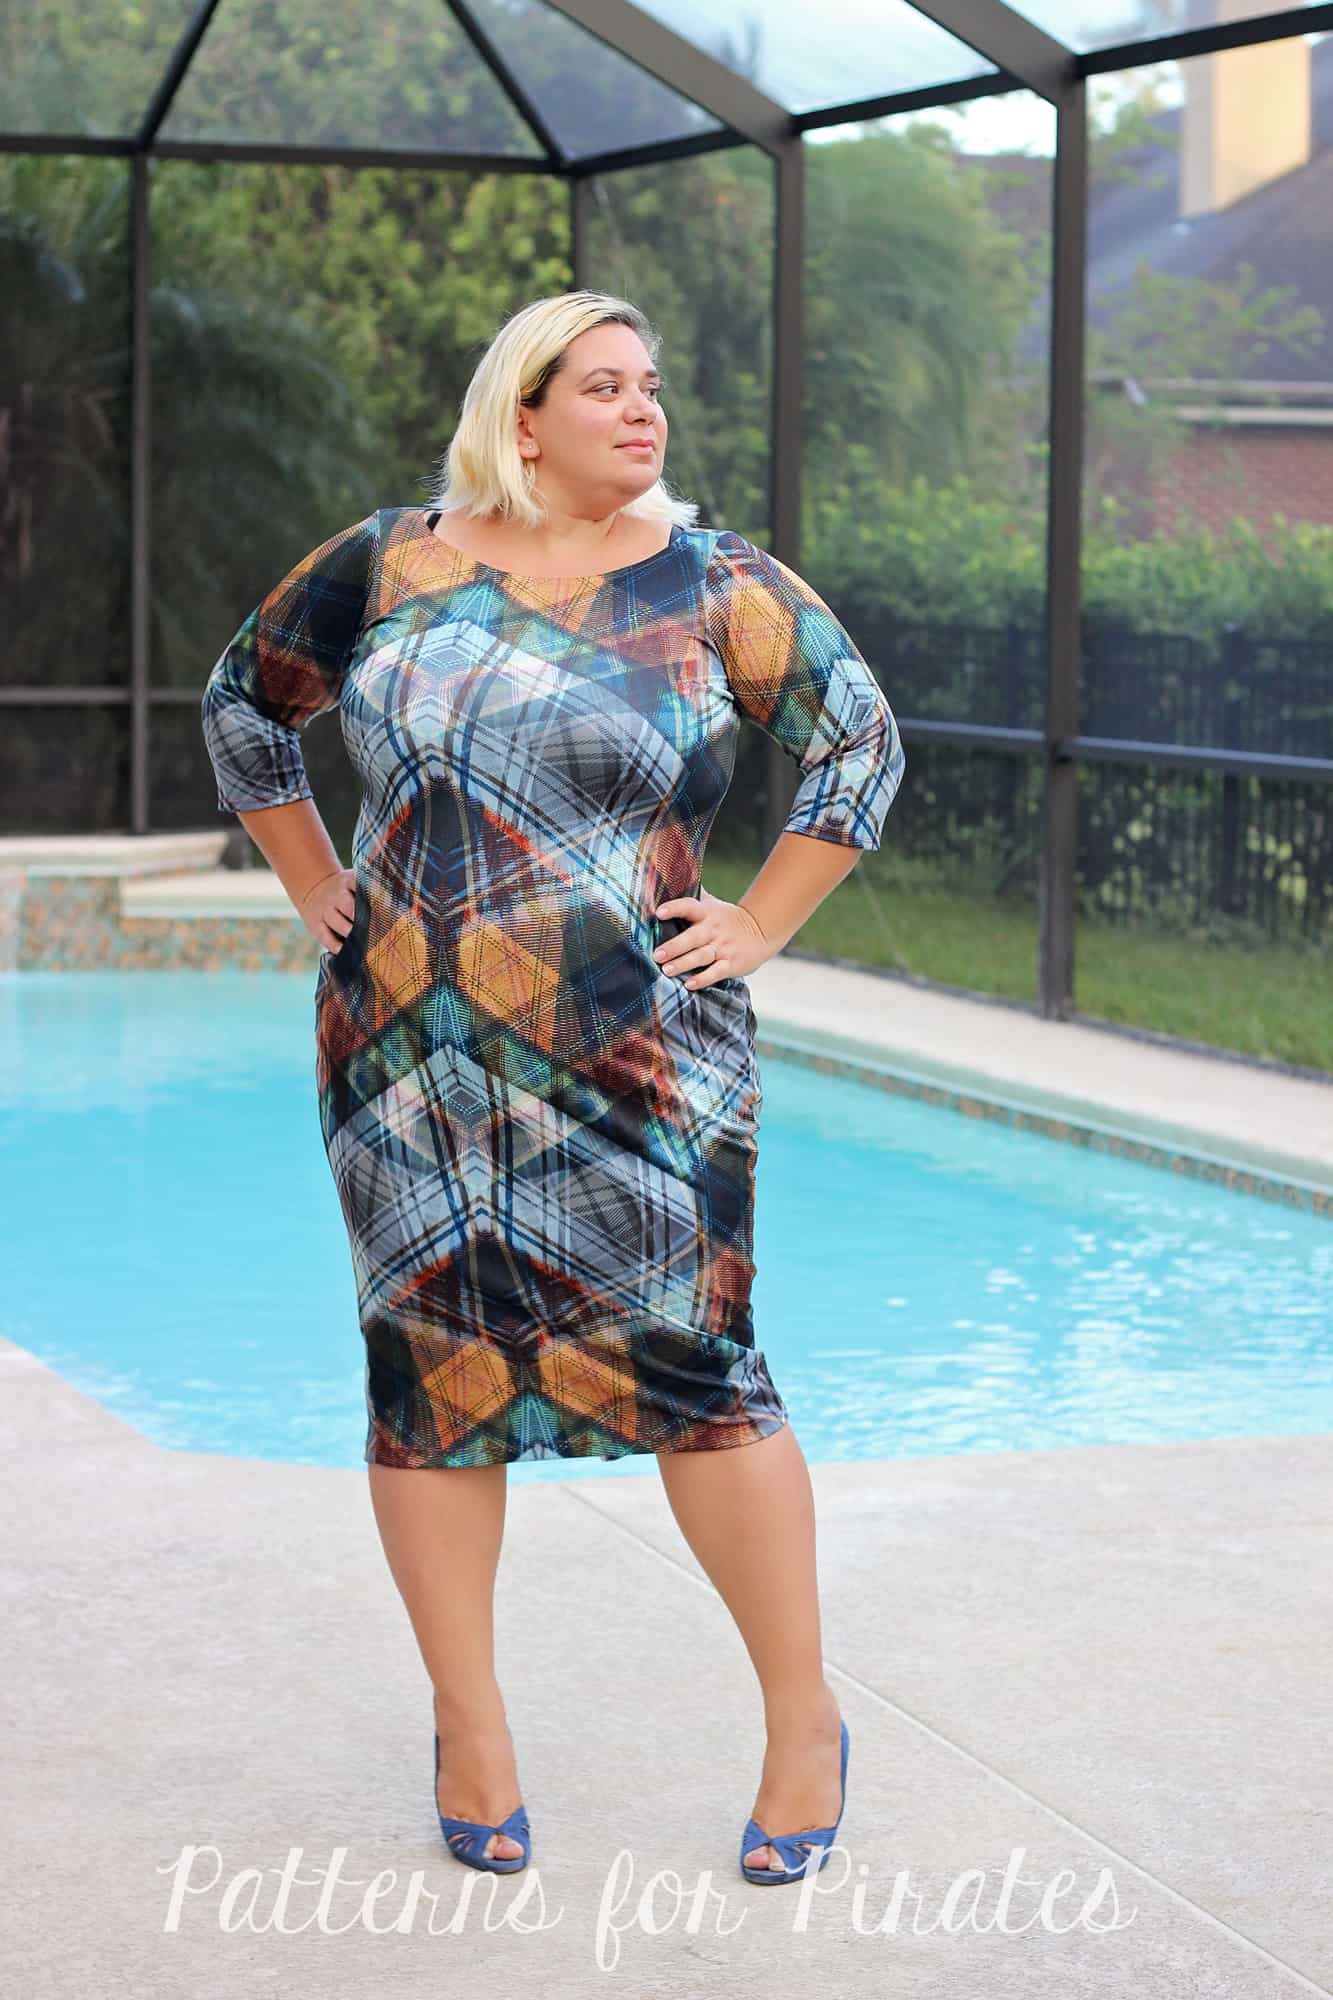
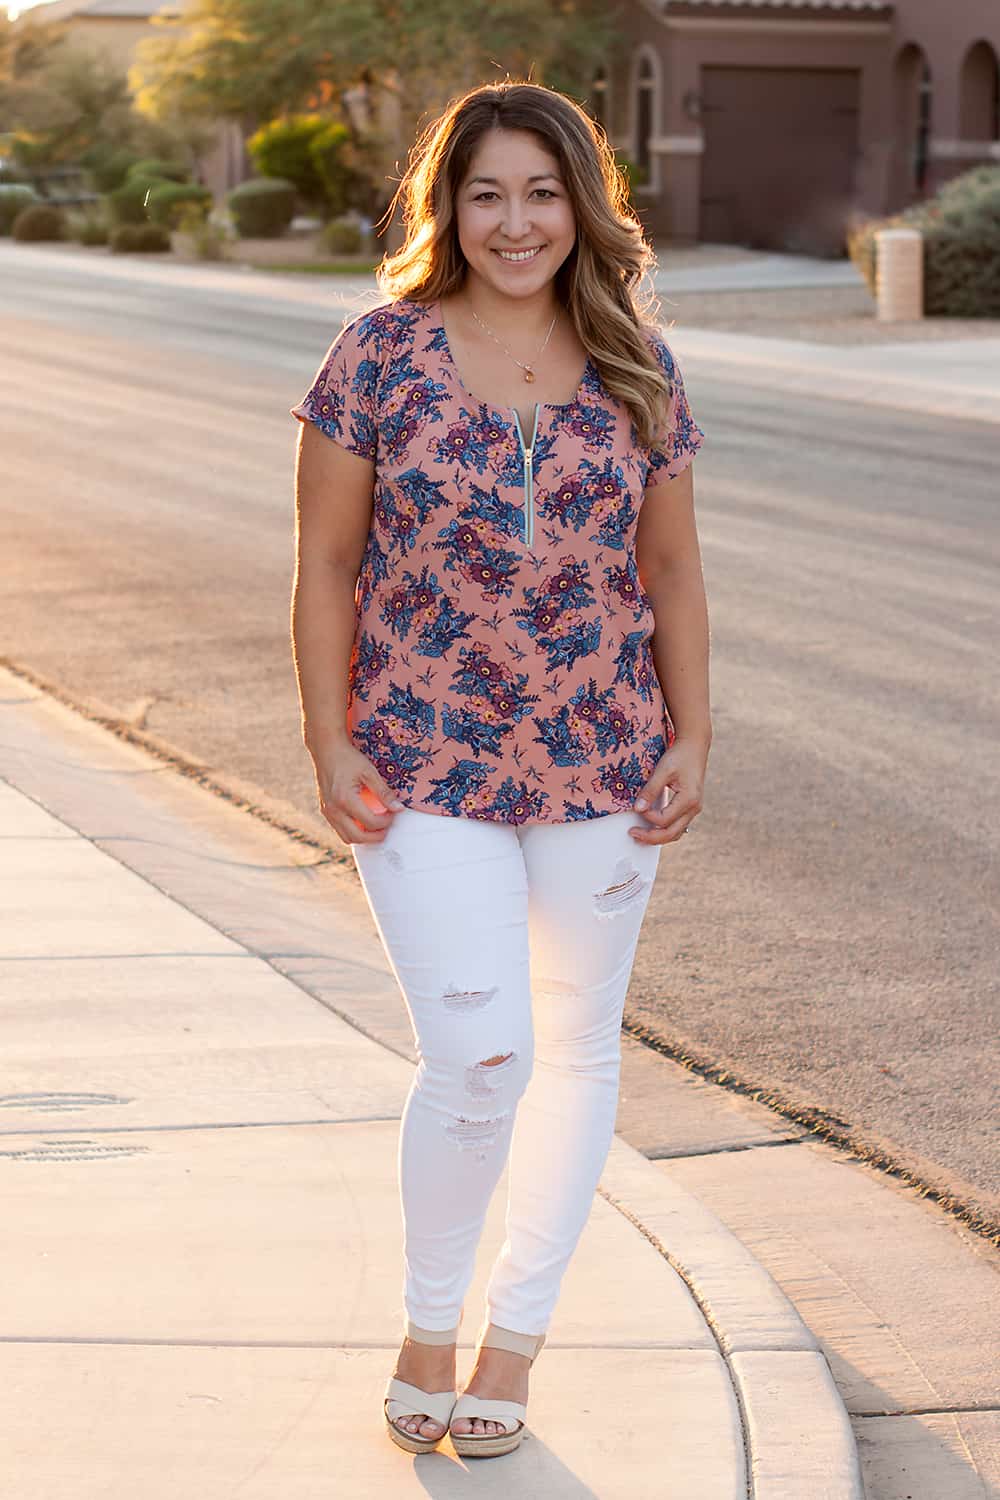
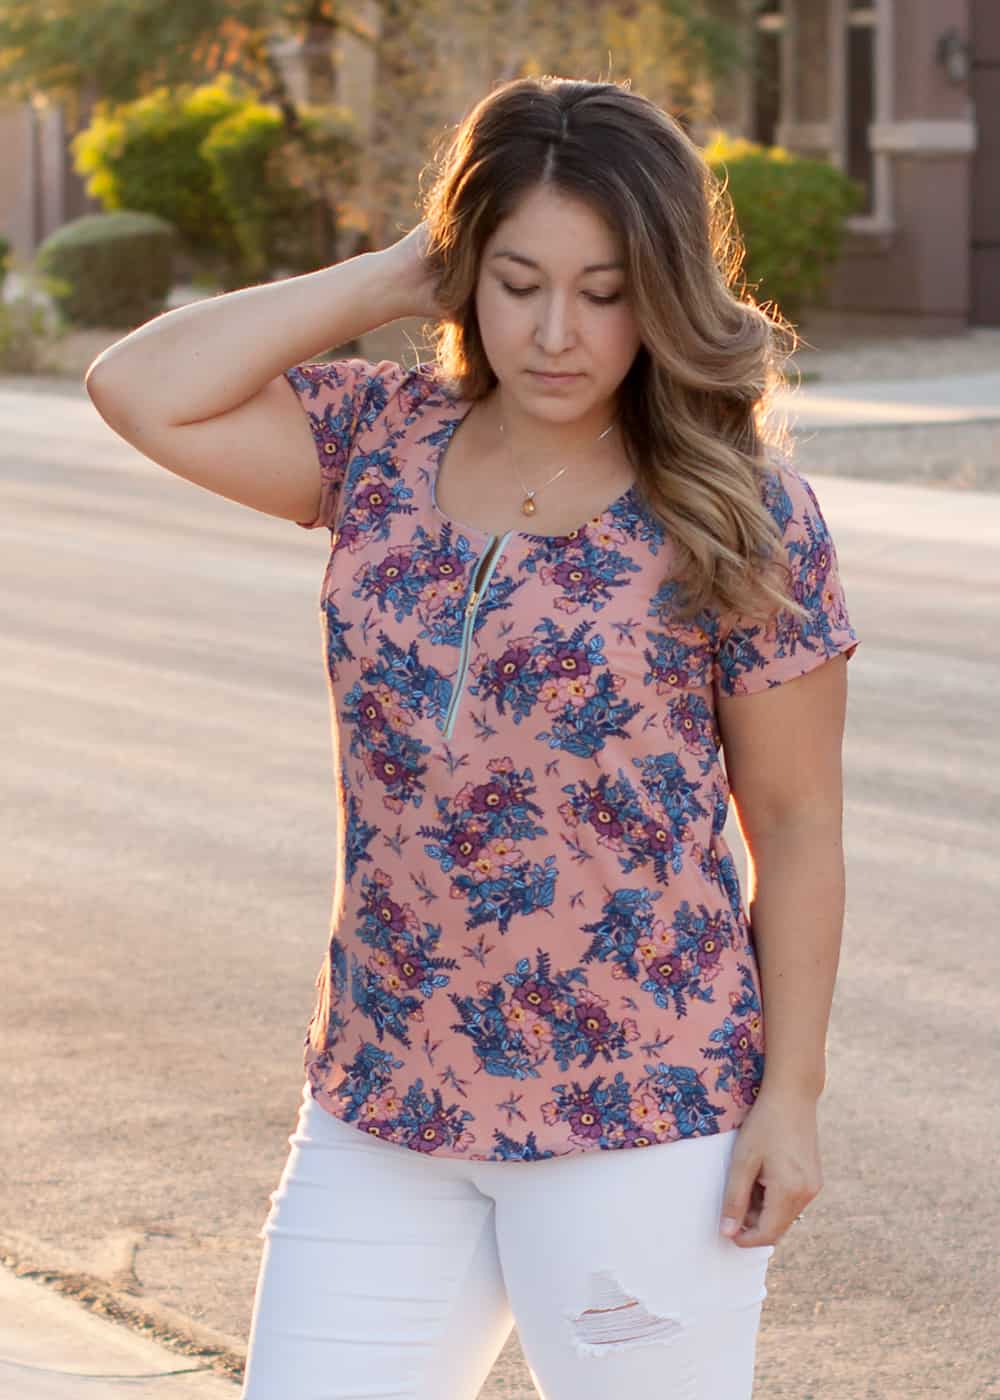
Front zipper
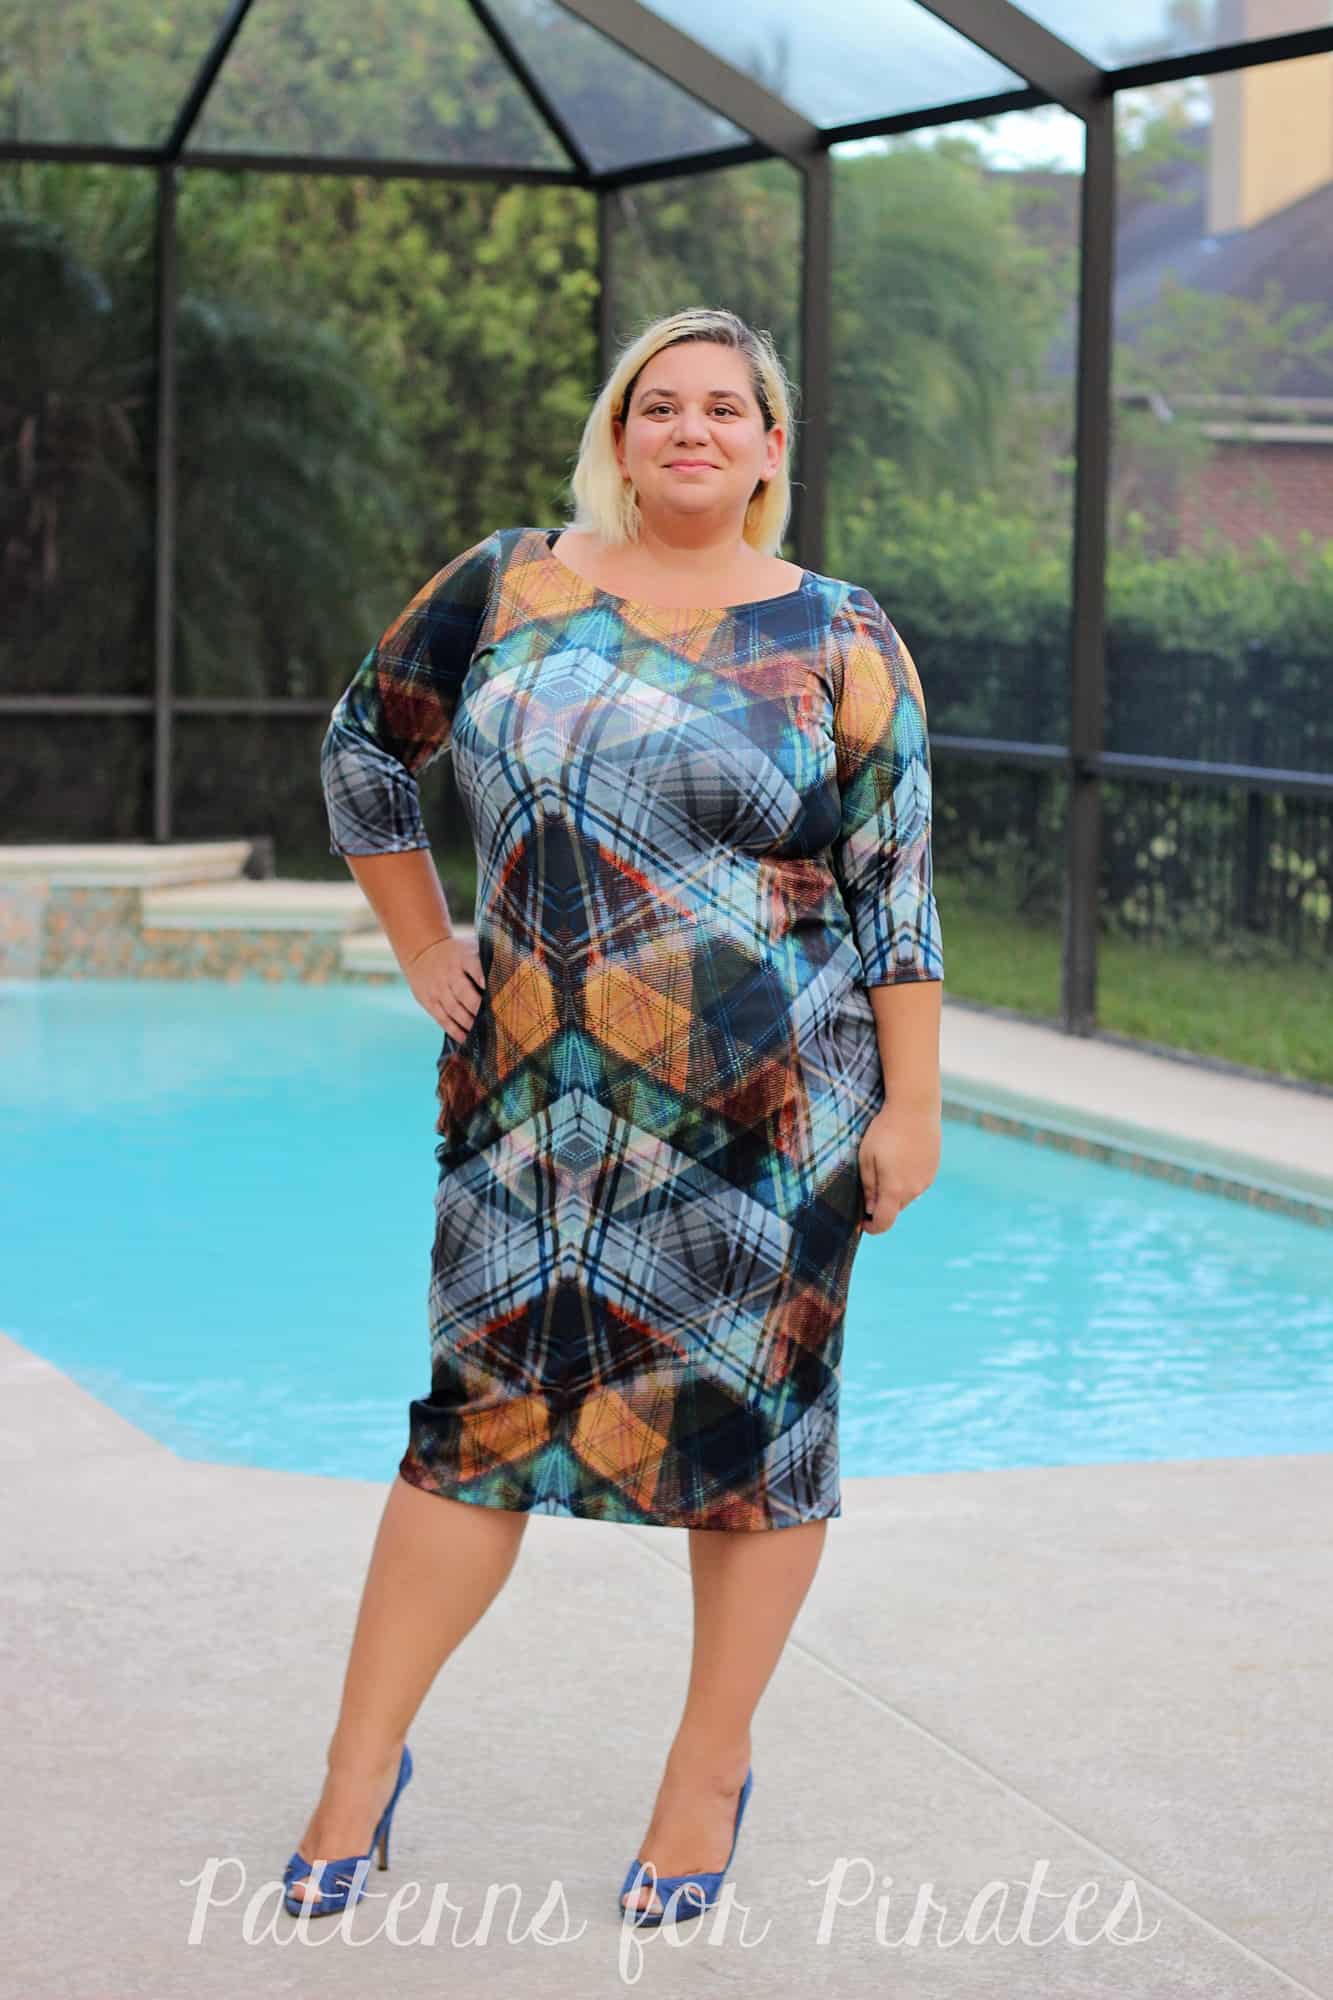
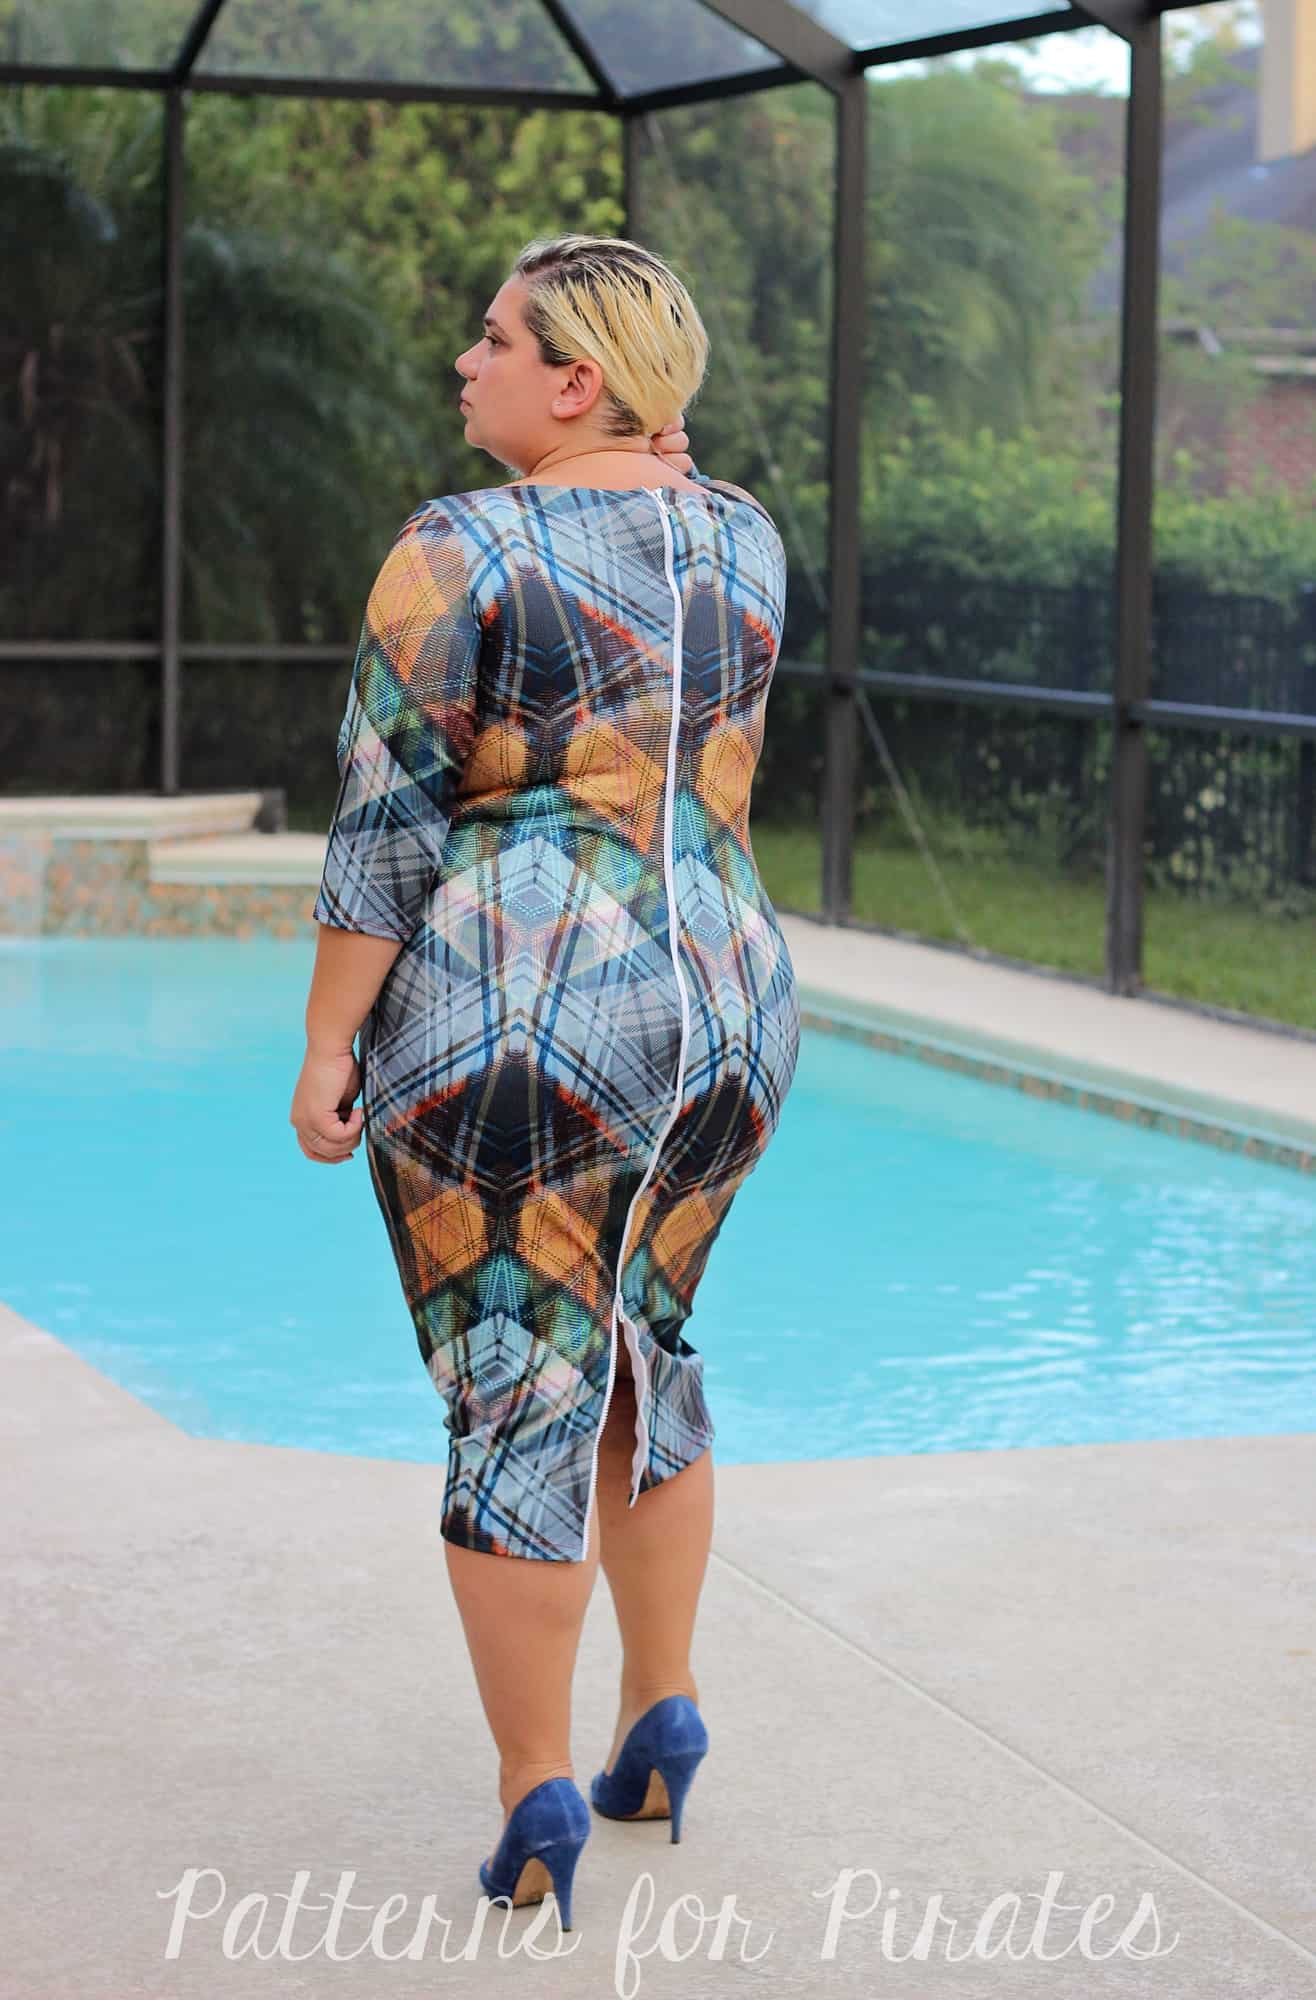
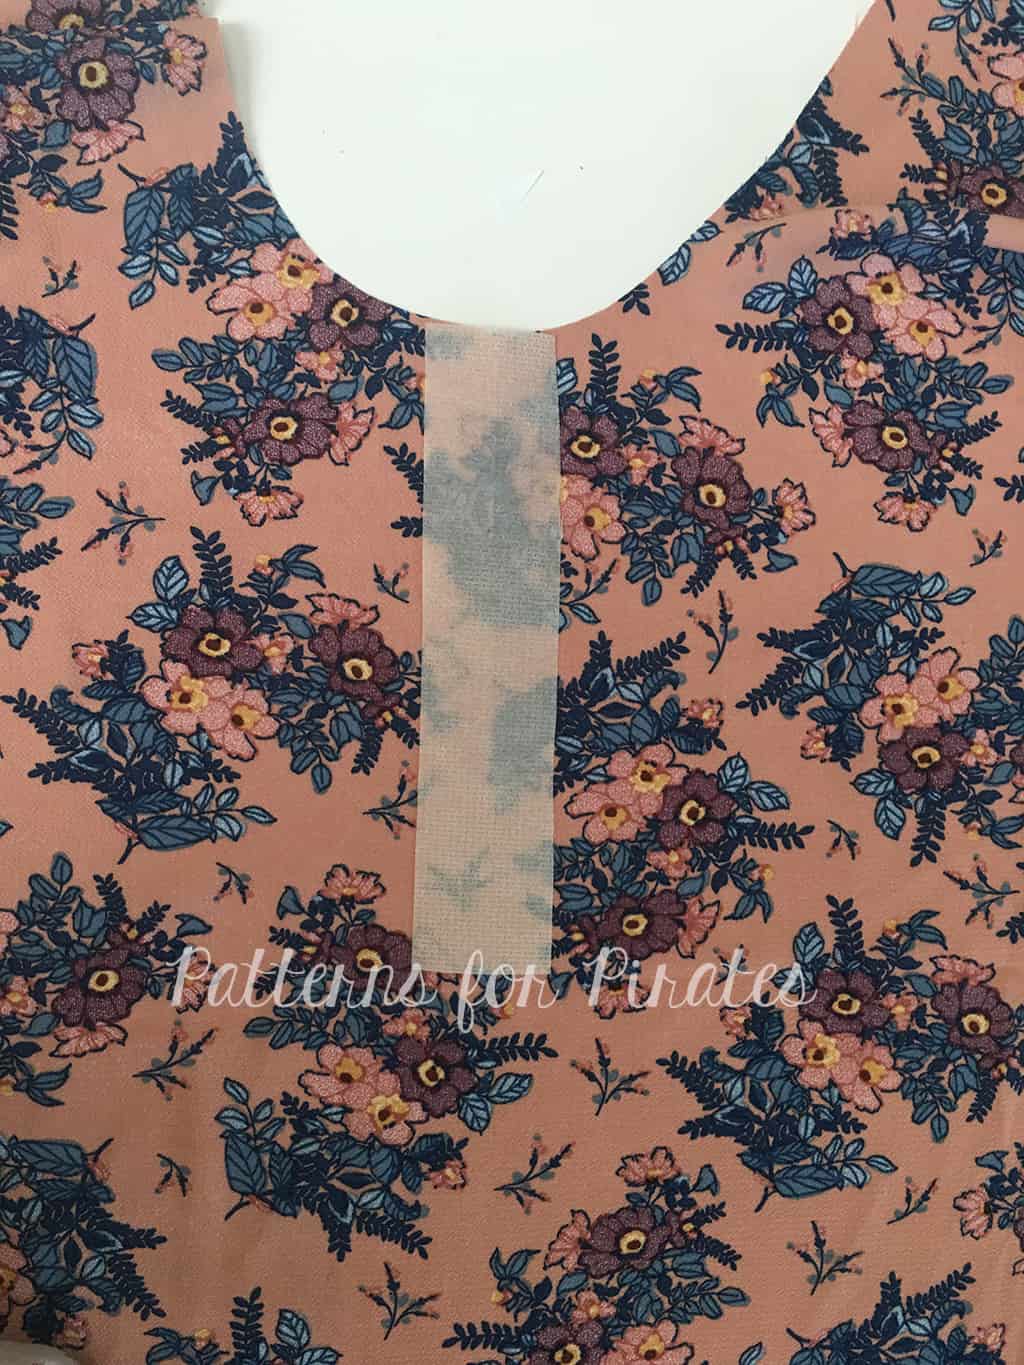
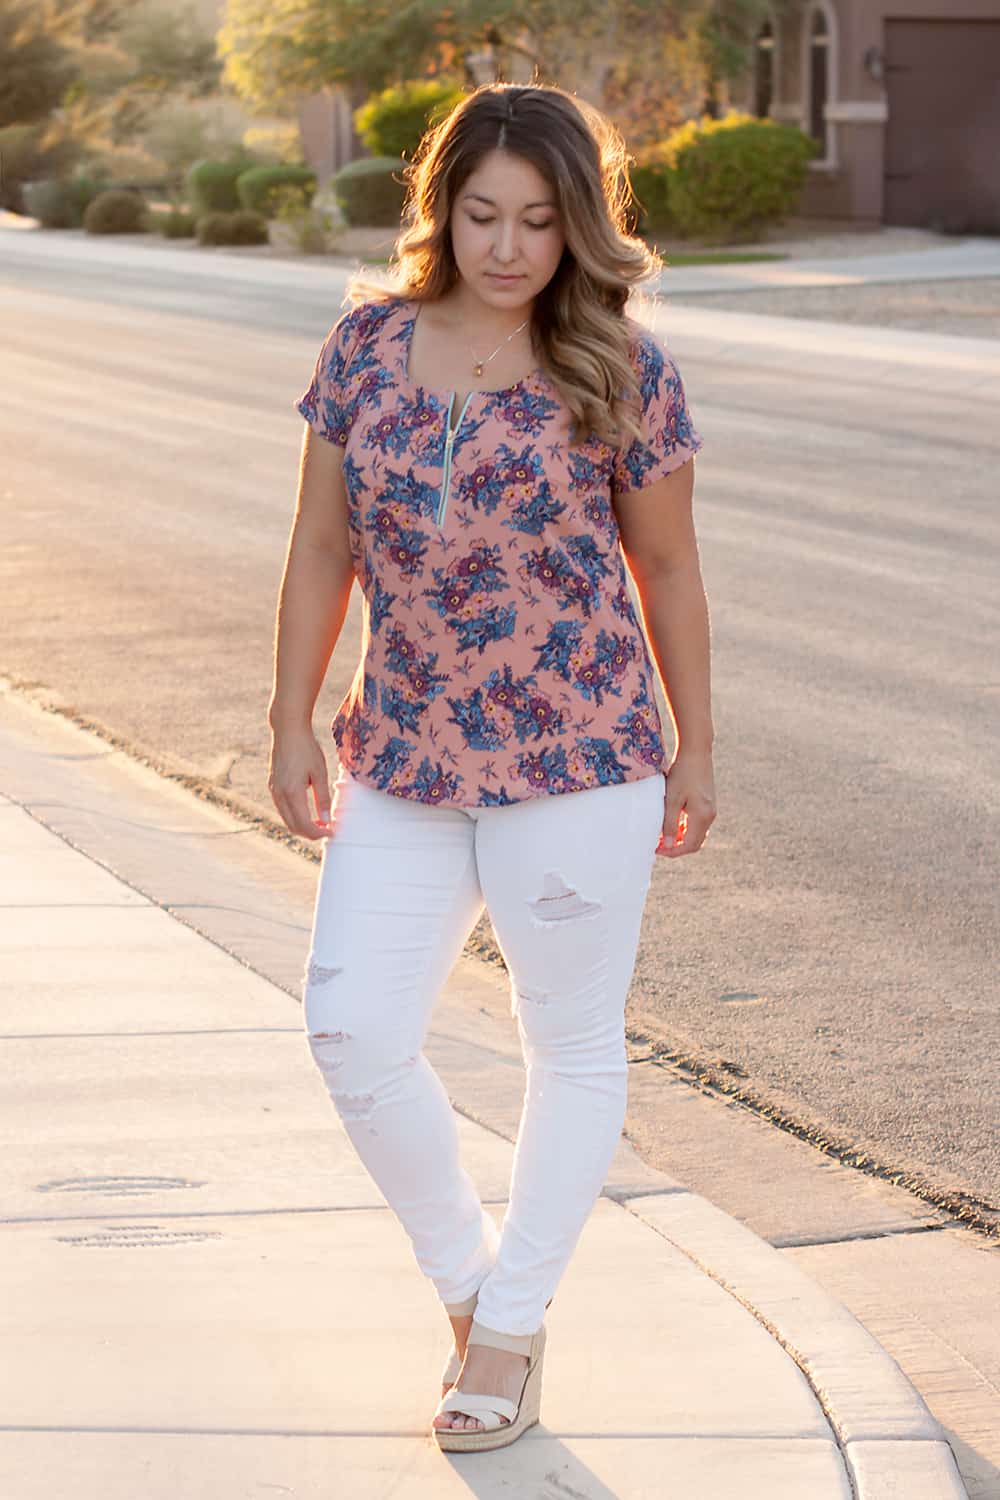
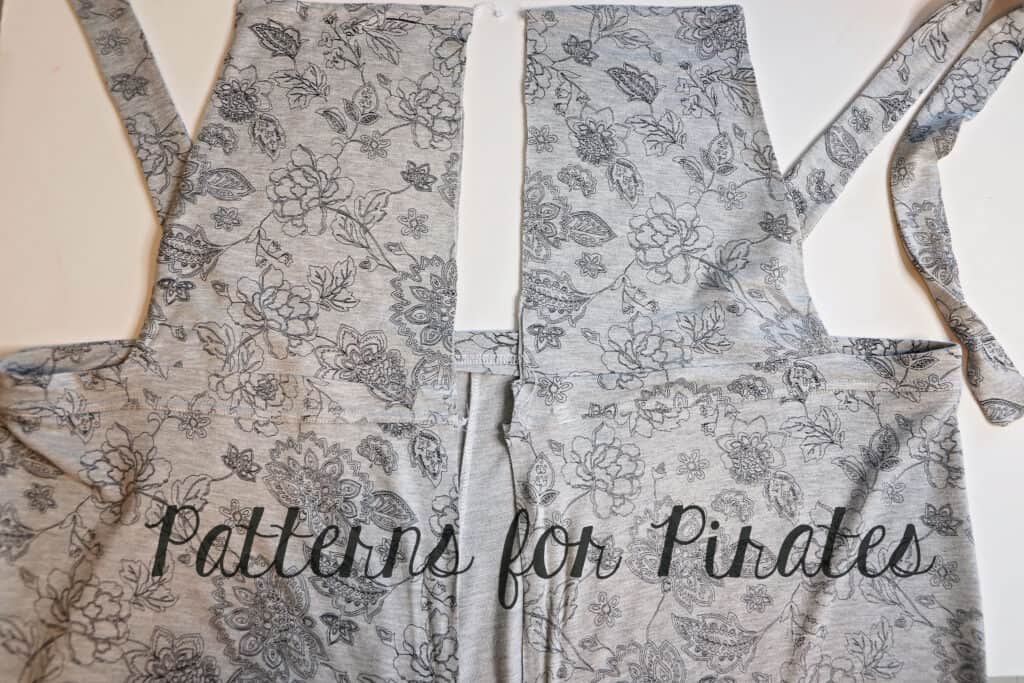
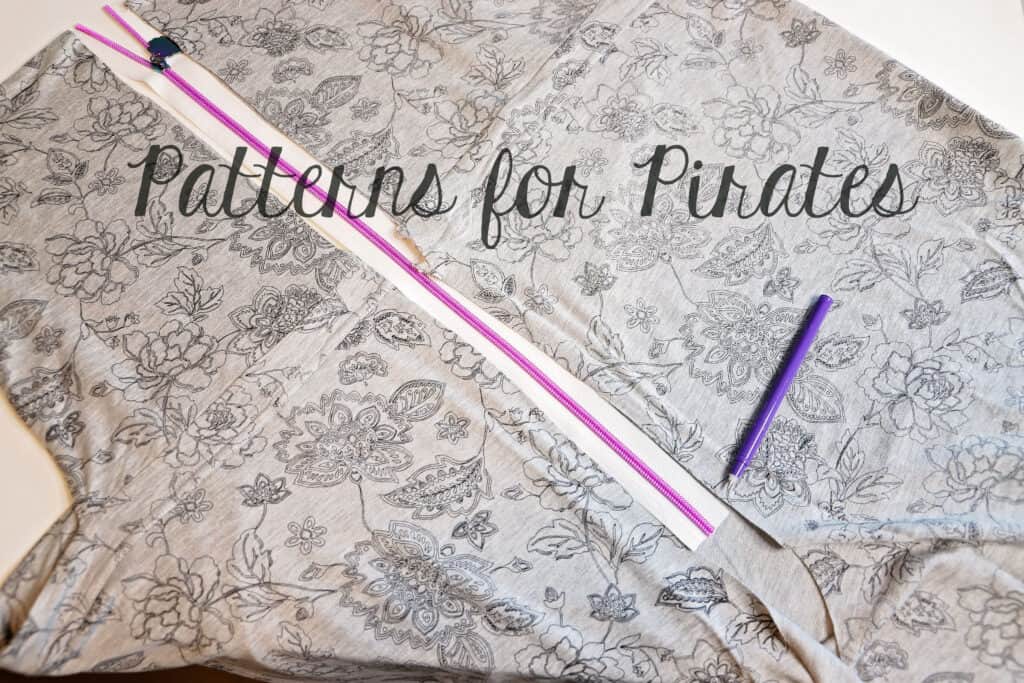
Up next we wanted to show you a different style jumper that can be achieved with the new Vintage pattern. Let’s add a zipper to the front instead of the side. This a s great opportunity to show off your favorite zippers and pulls. For my example I am using zipper by the yard with a fun rainbow finish zipper pull. I also went with a Doodles French Terry instead of stretch woven. Cut your pattern as instructed in the tutorial. You will make two changes. Remove the part of the waistband beyond the notch on both ends. Repeat for the waistband lining. The other modification would be for the bib. Cut two 2 mirror images instead of 1 set mirror pieces and the lining on fold.
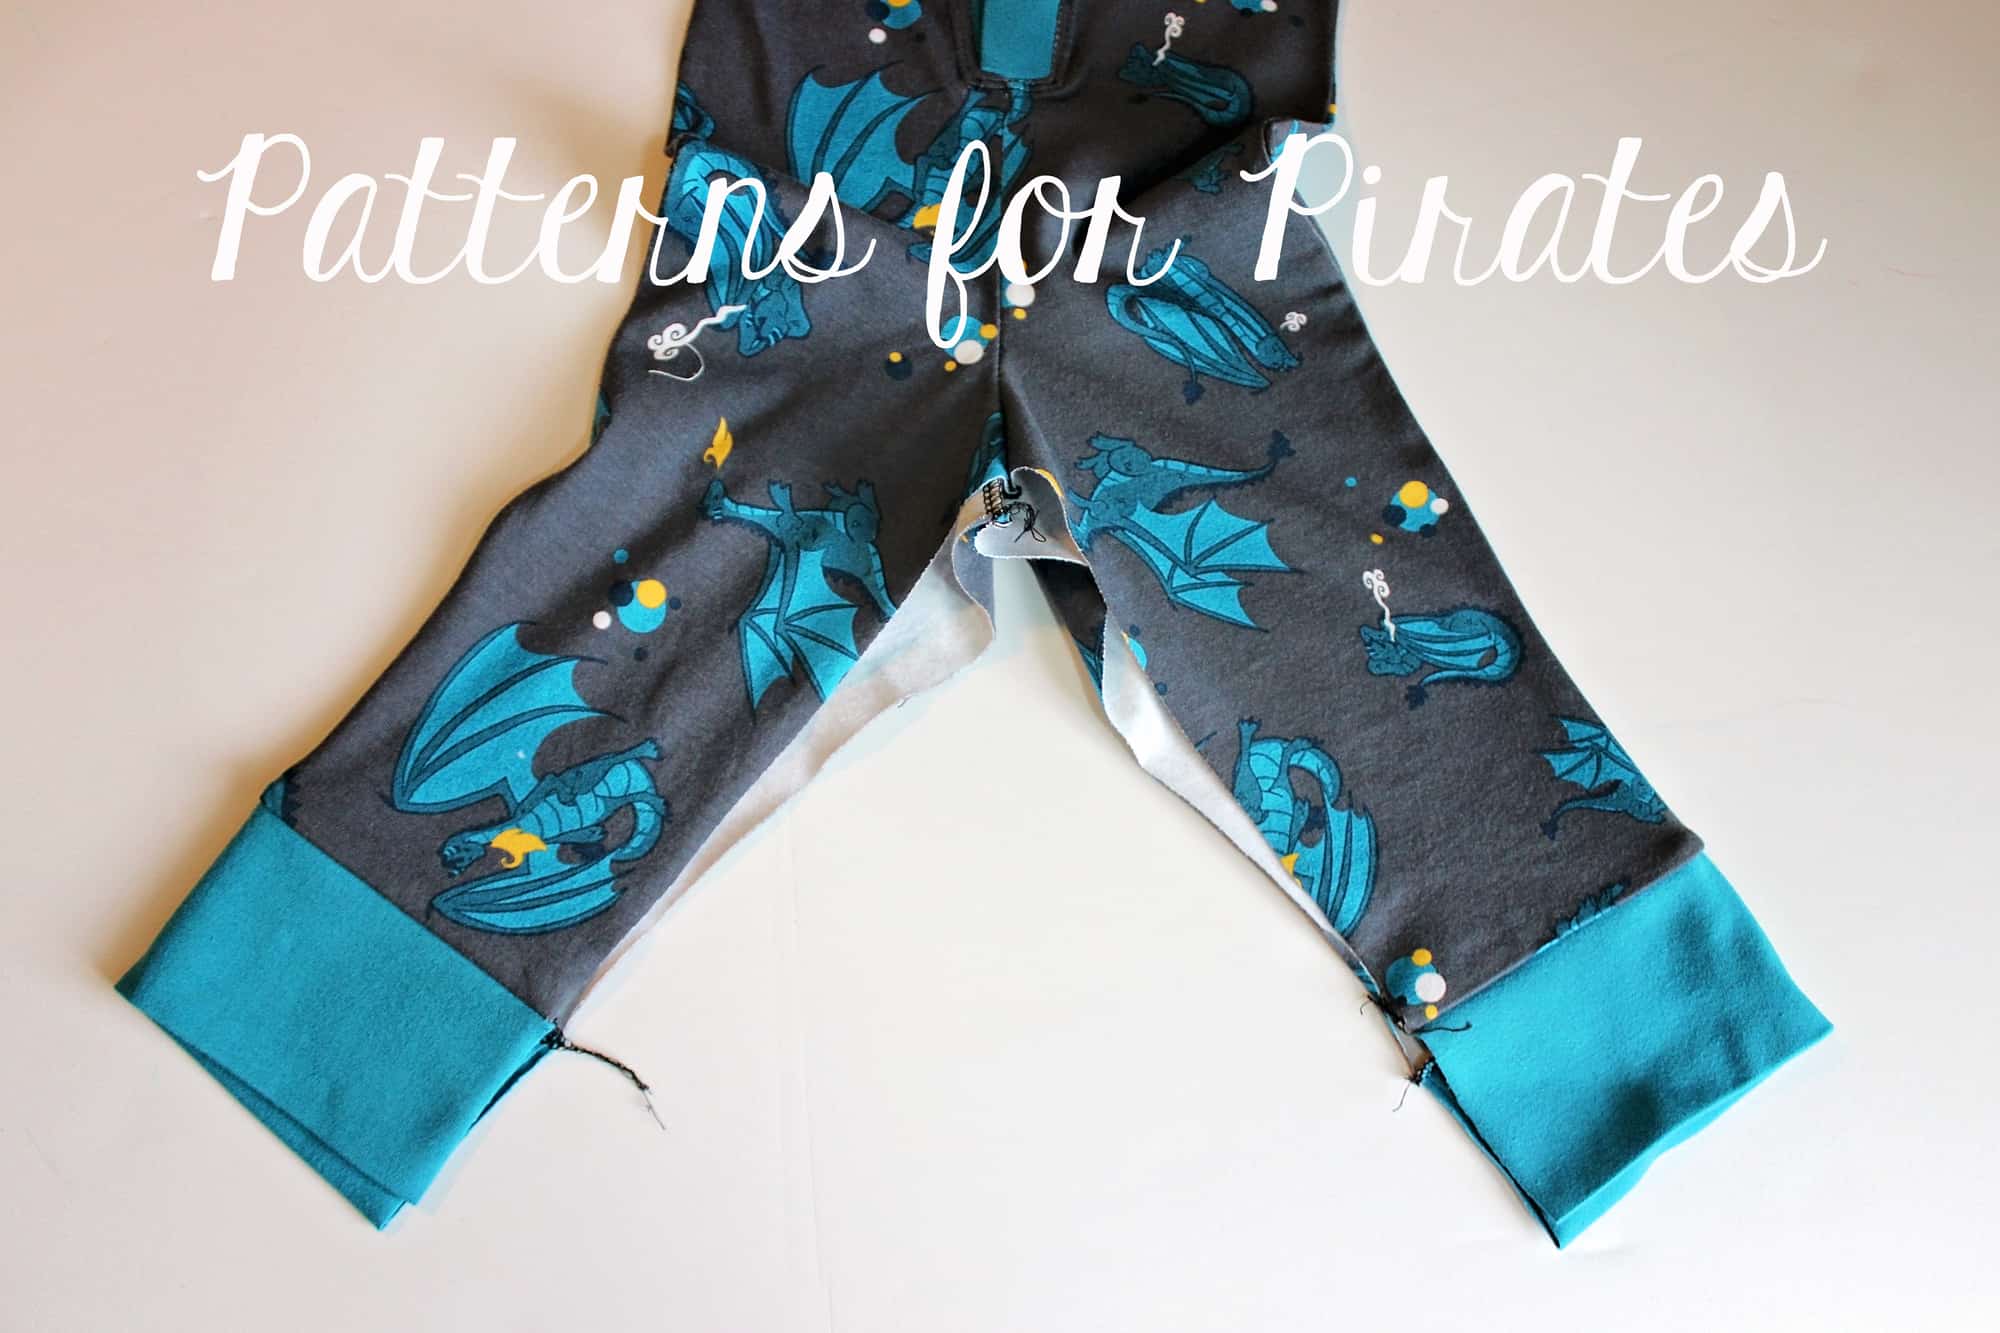
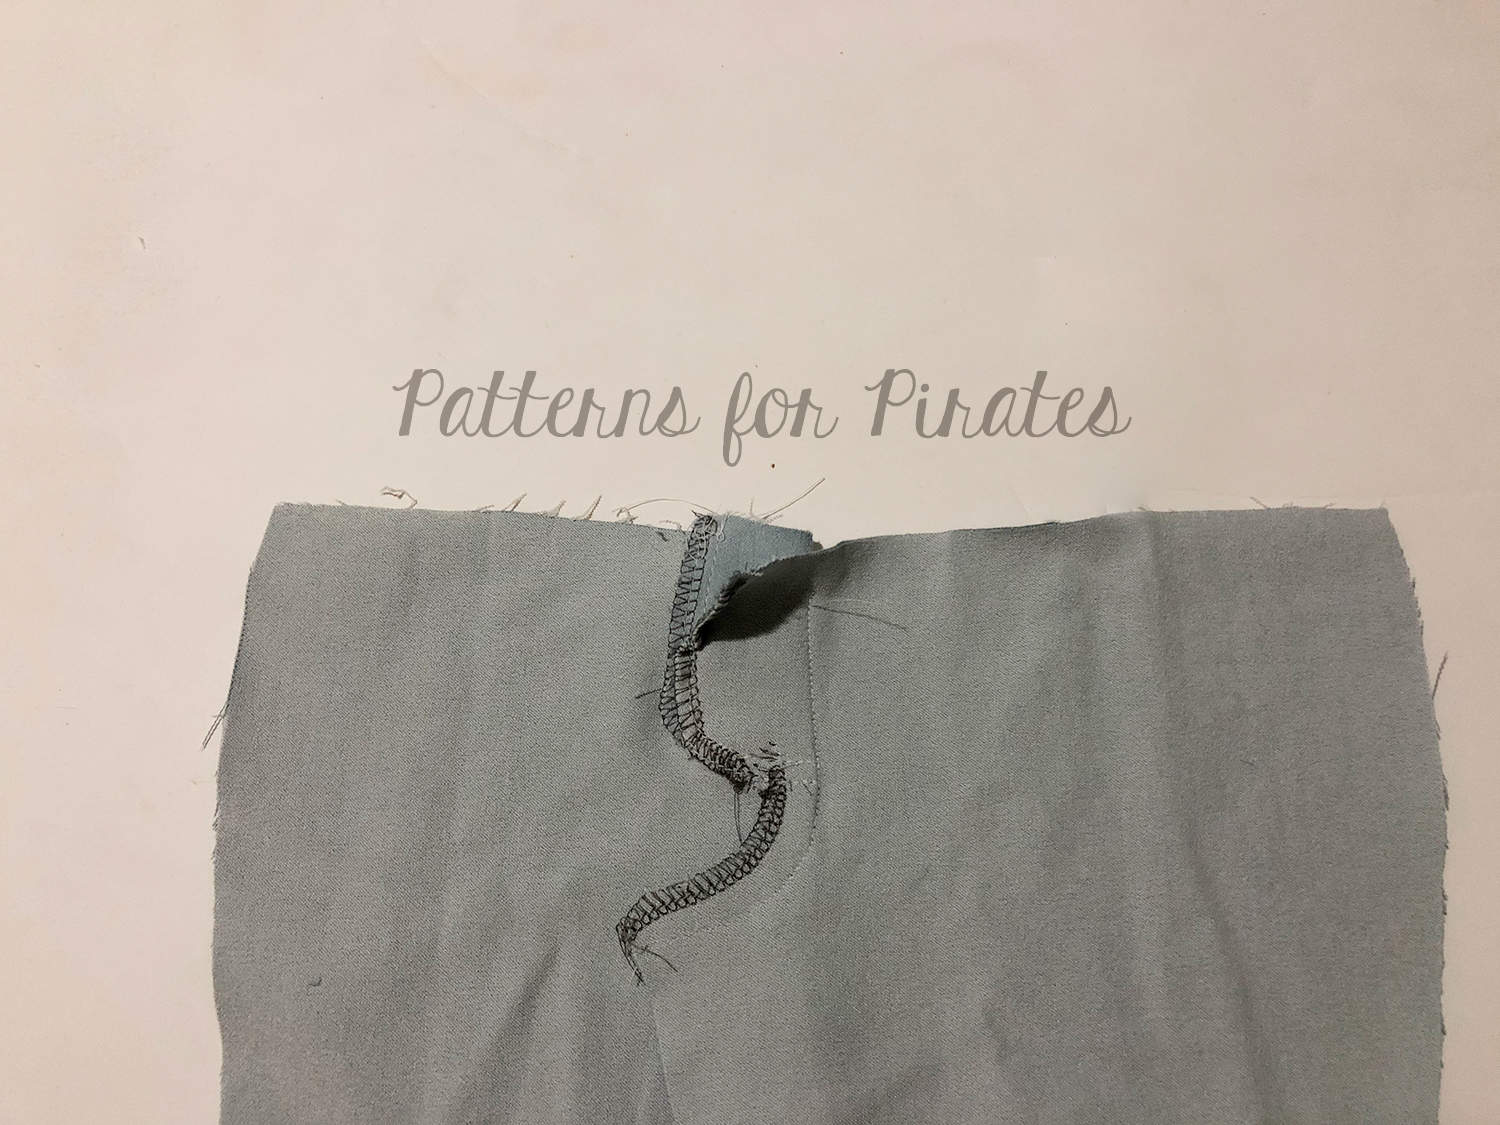
After sewing the darts on the back pants pieces, sew the back crotch seam and the two side seams. The pants will not be sewn at the front crotch just yet.
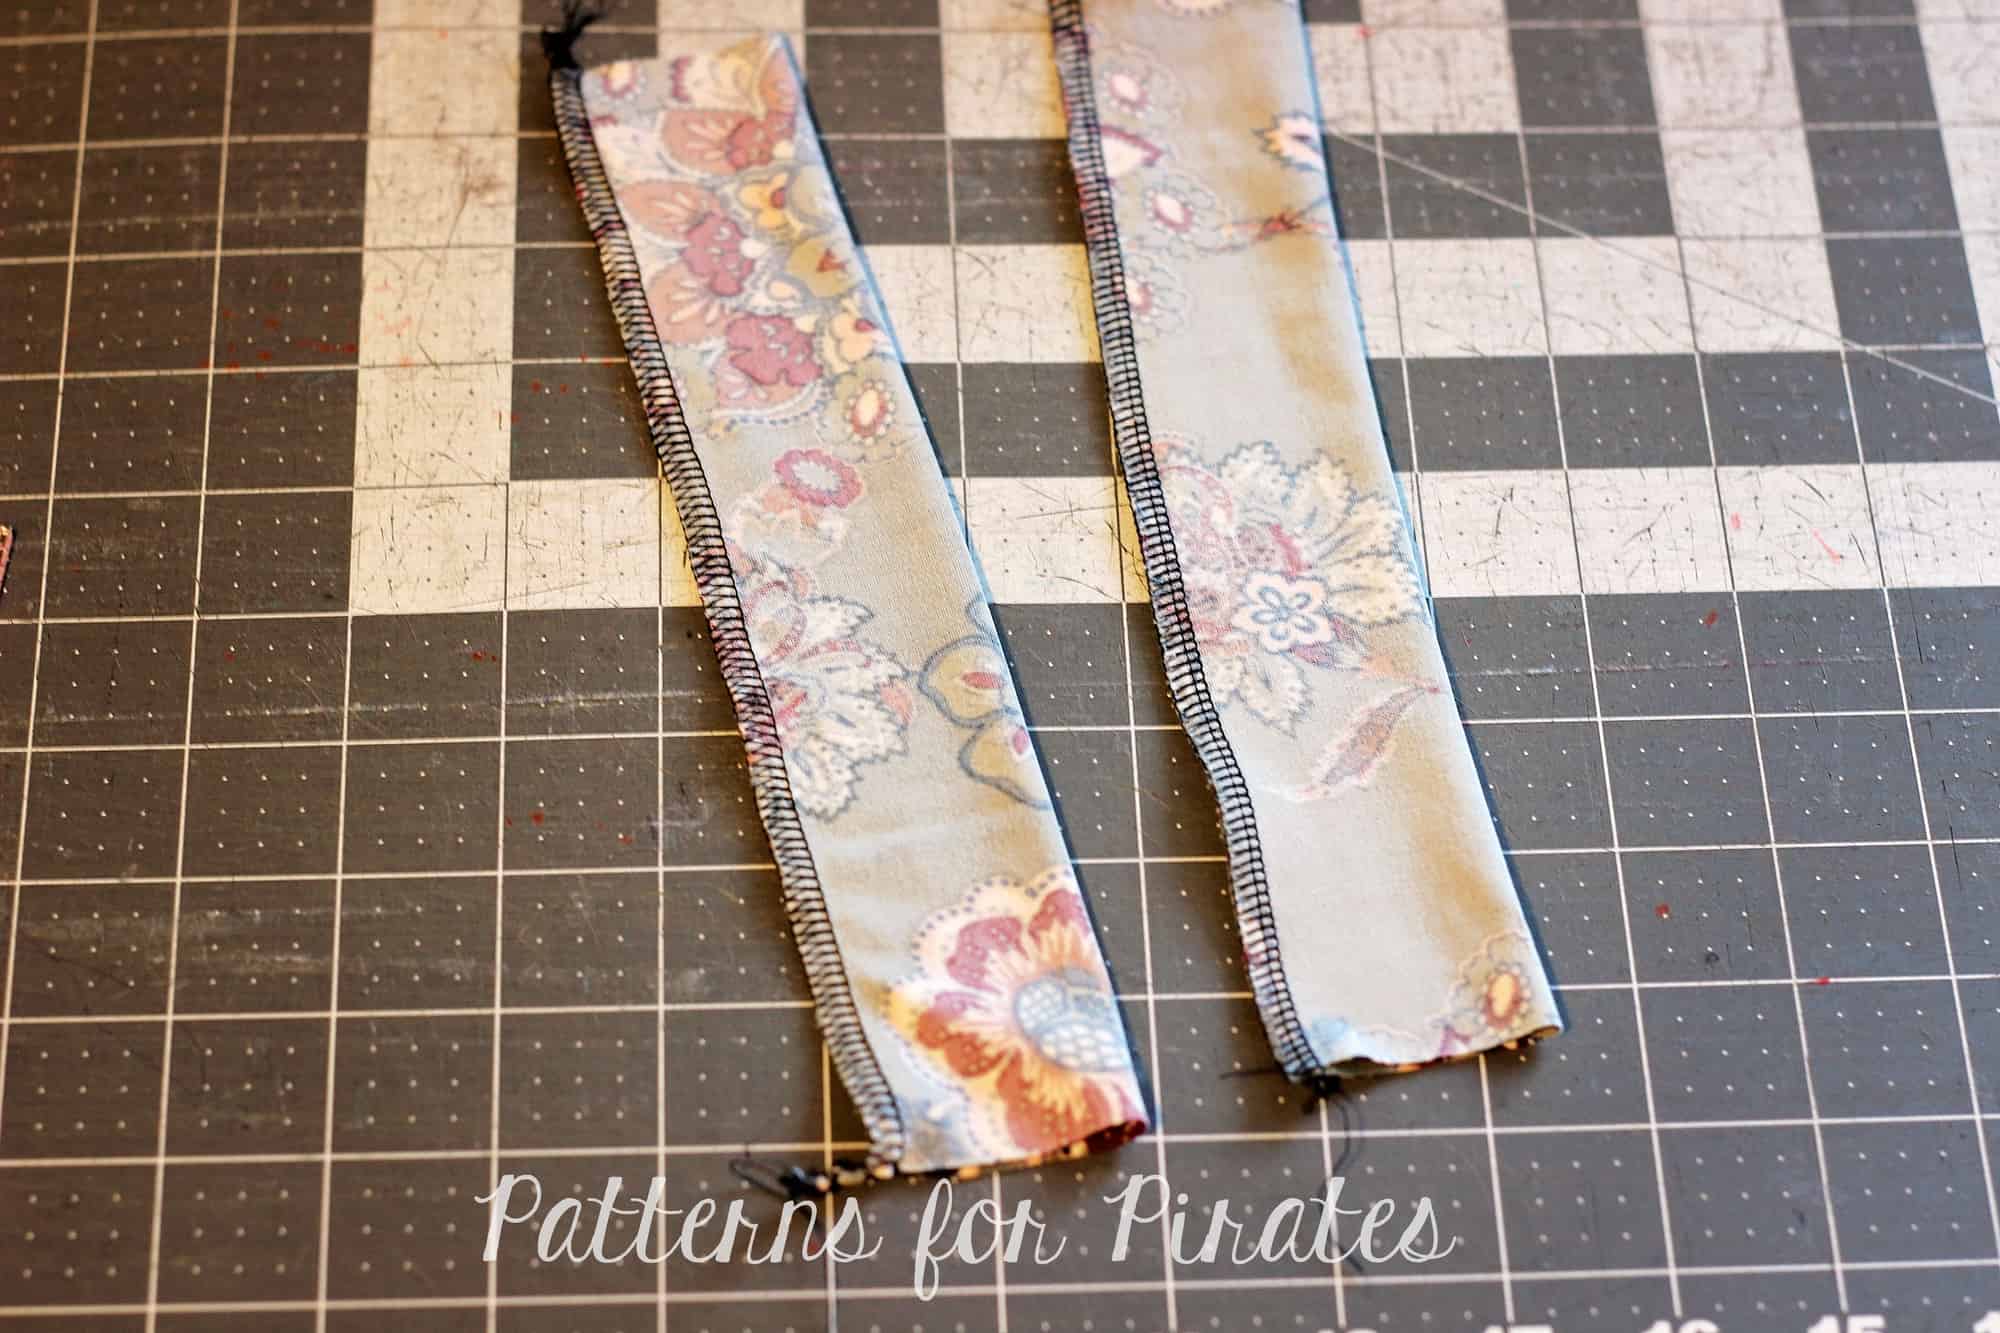
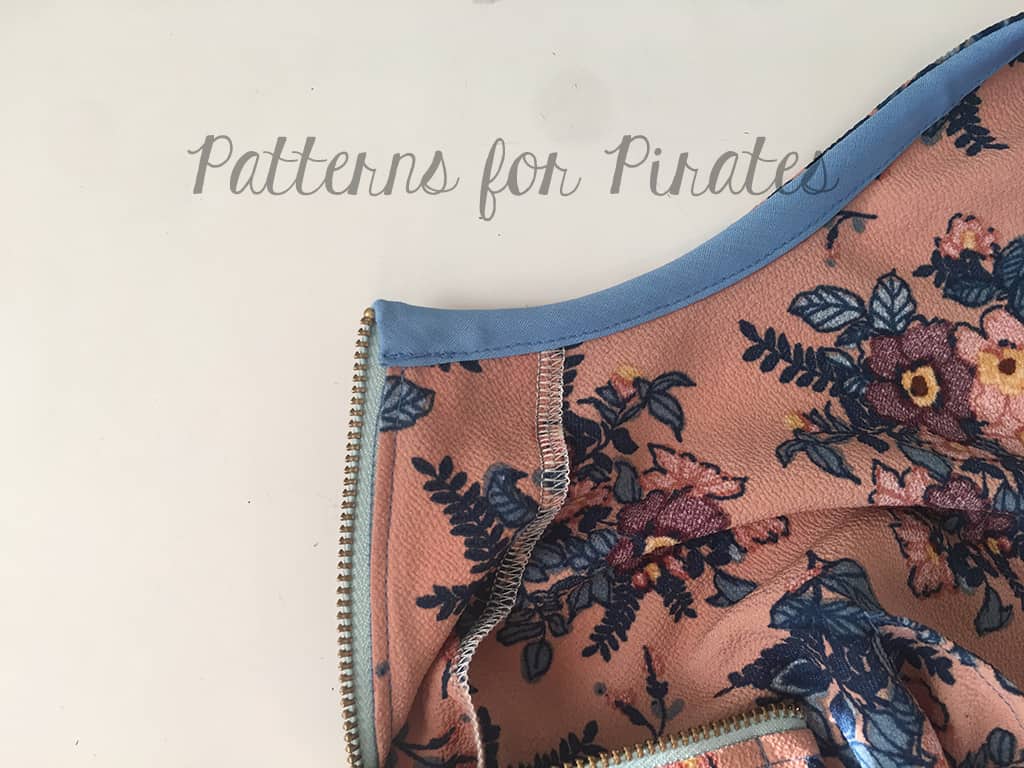
Prepare the bib by sewing the left side main and lining piece right sides together along the top and slanted side raw edge. Repeat for the ride side bib. You will now have two bib piece that will have raw edges on the vertical center seam and bottom.
Attach the main print waistband to the pants right sides together by matching the center to the center back and the raw edged to the front raw front seam.
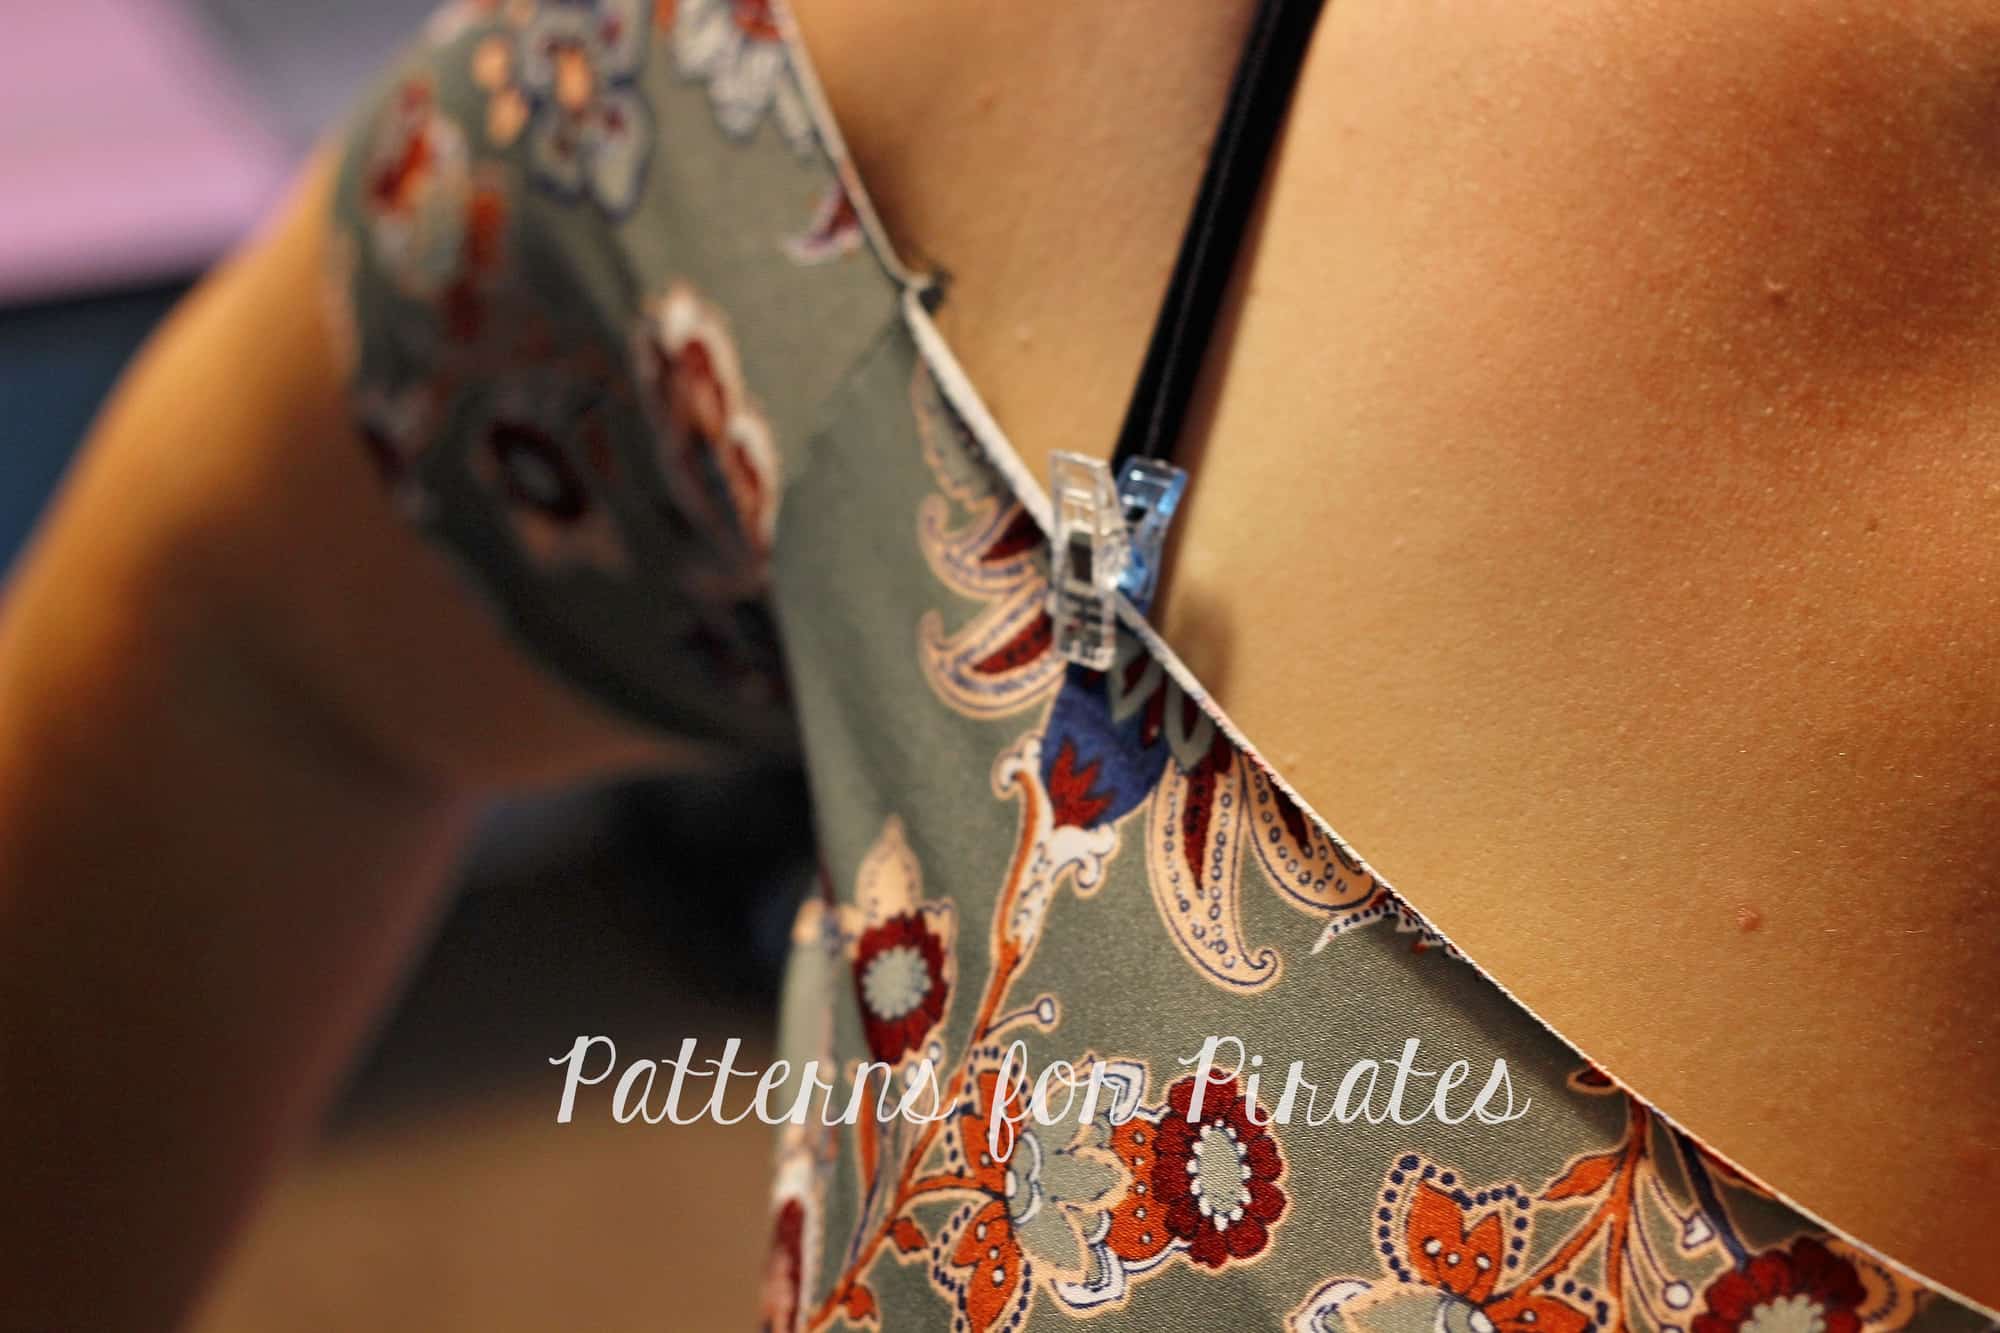
Pin the straps matching the strap placement notches. Place the bib on the top edge of the waistband, right sides together matching the raw edges. Repeat on the other side with the other half of the bib. Place the lining on top, right side down, sandwiching the bib in between the main and lining waistband. Stitch in place.
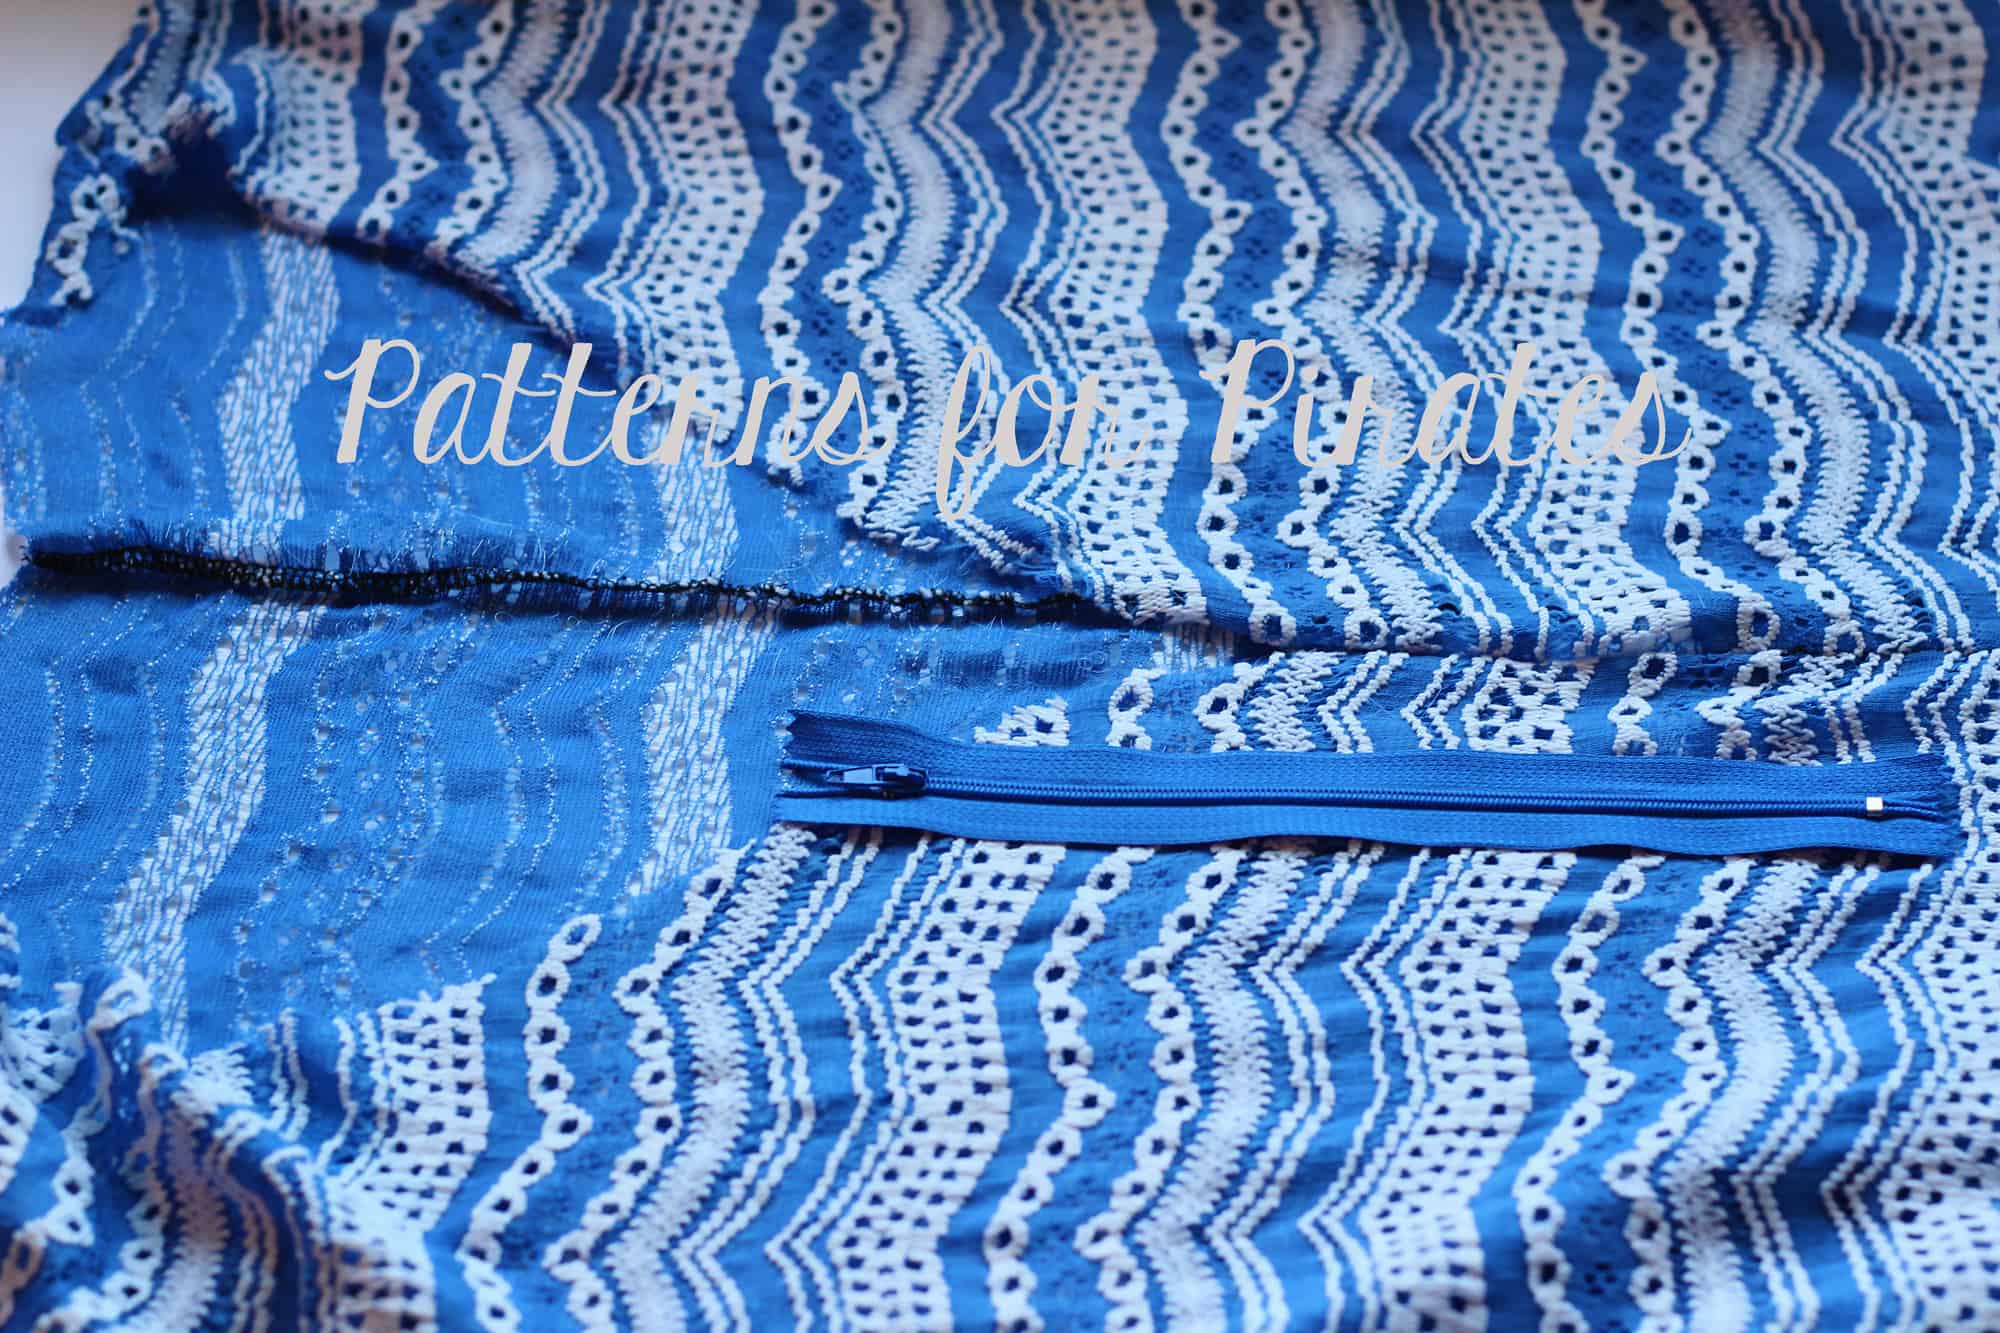
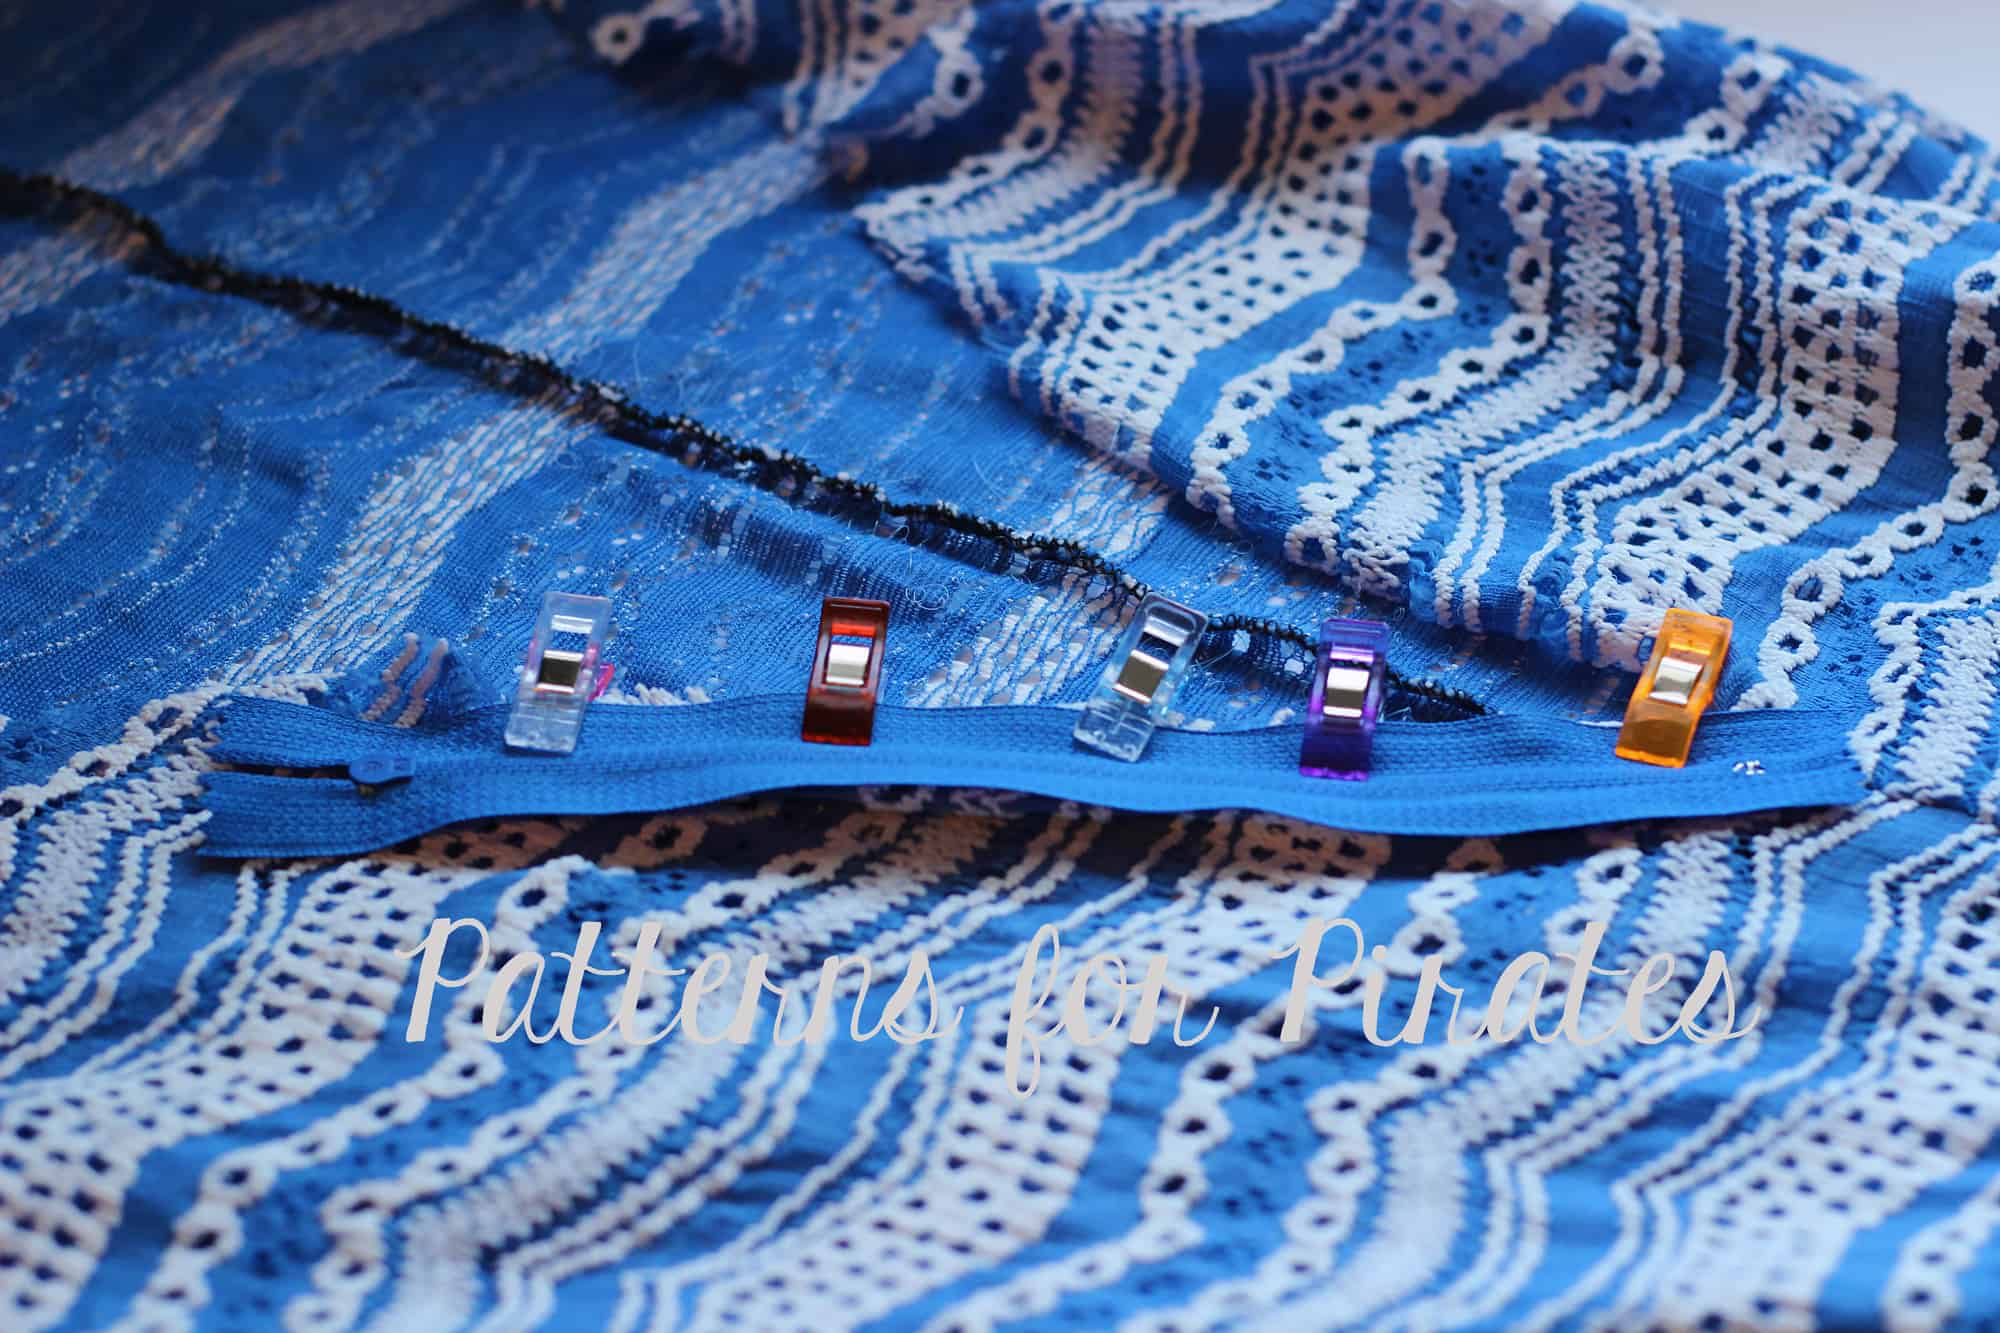
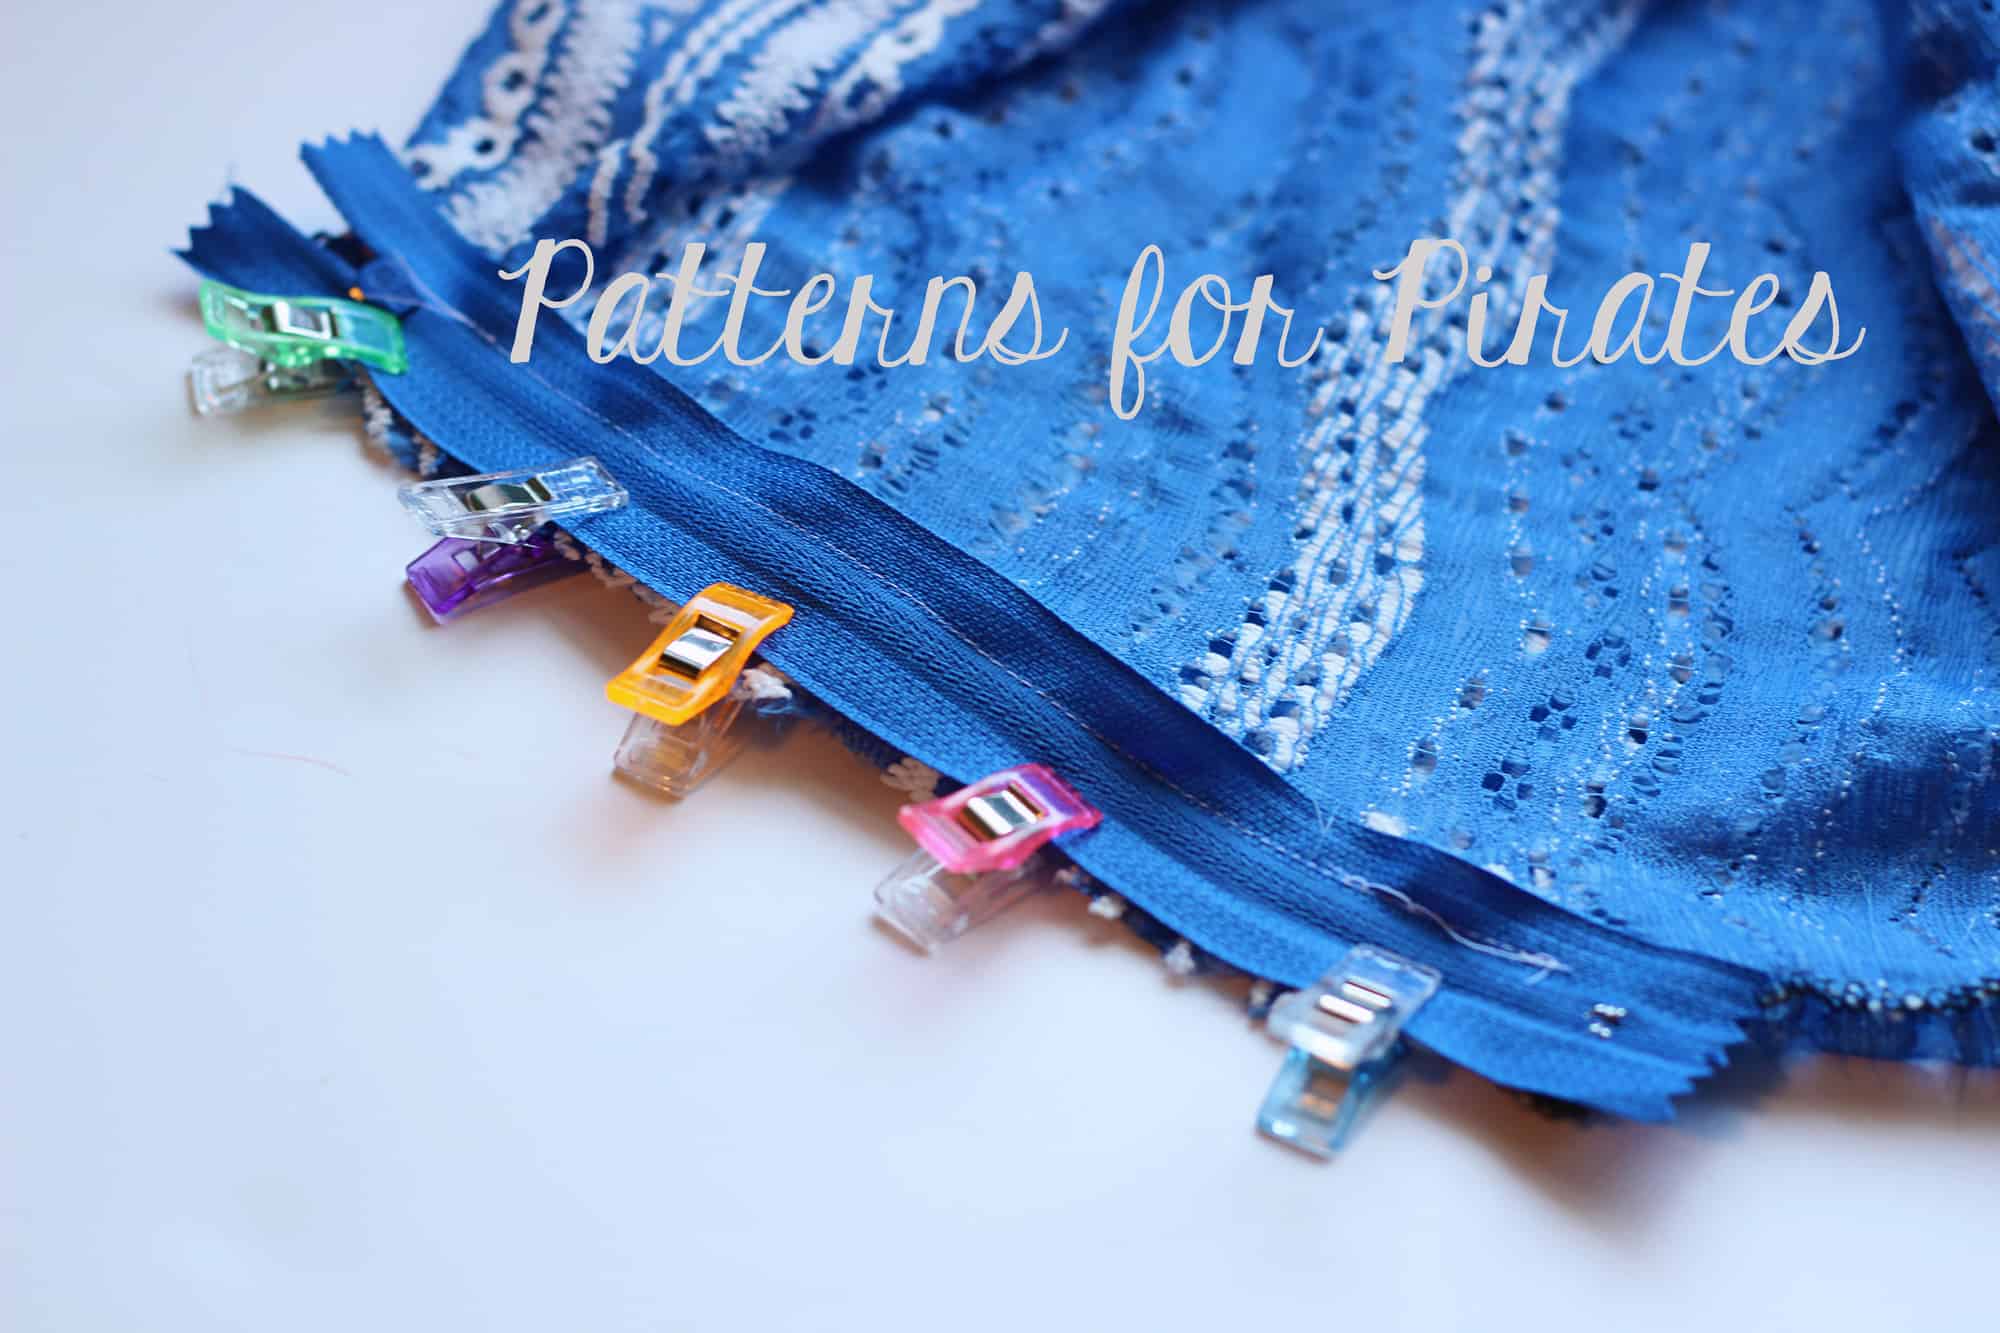
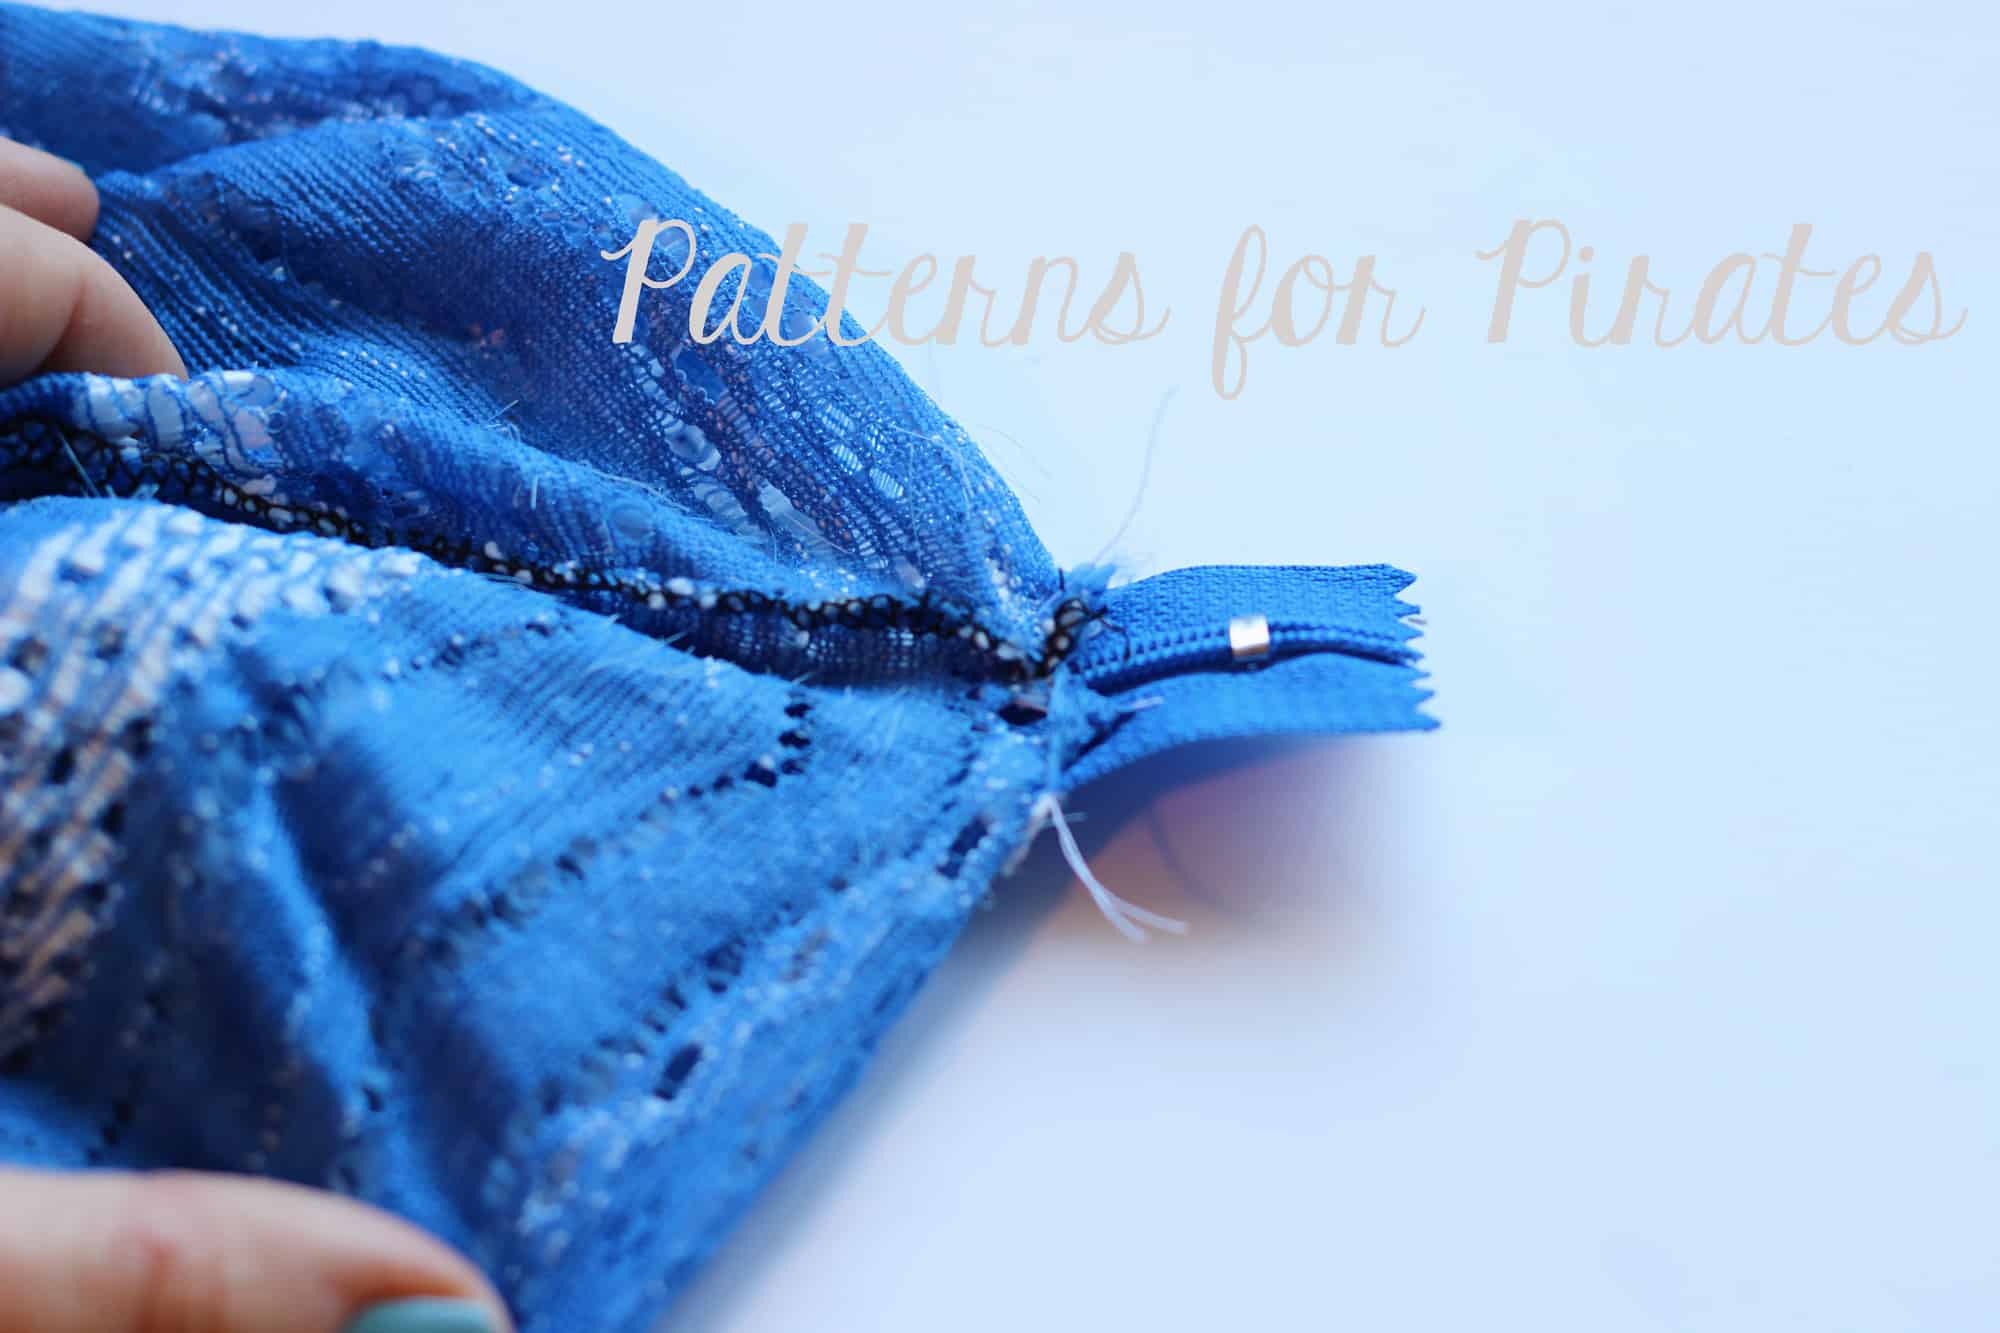
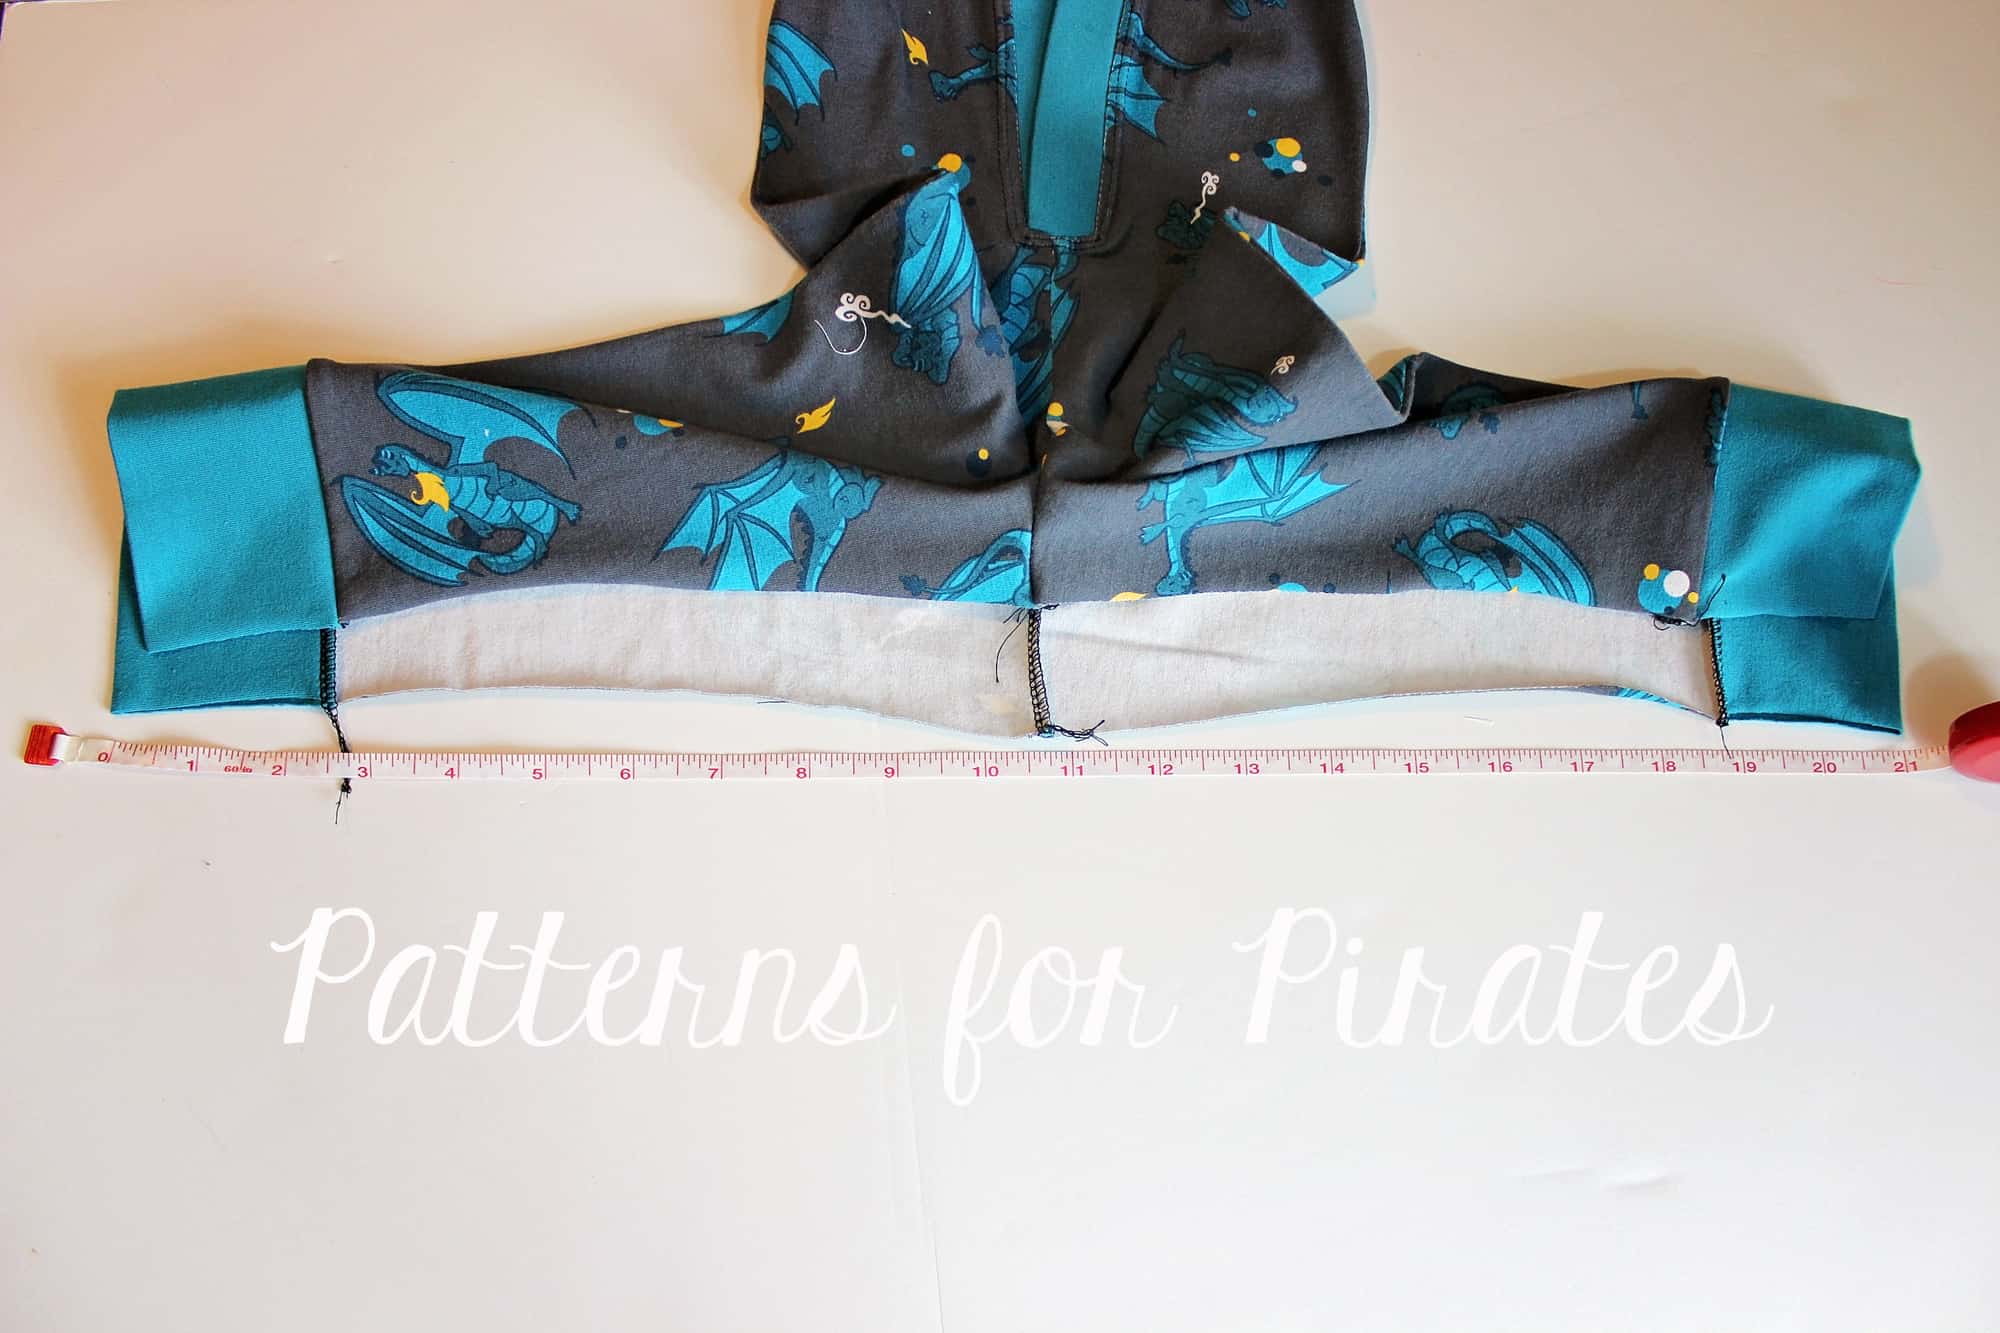
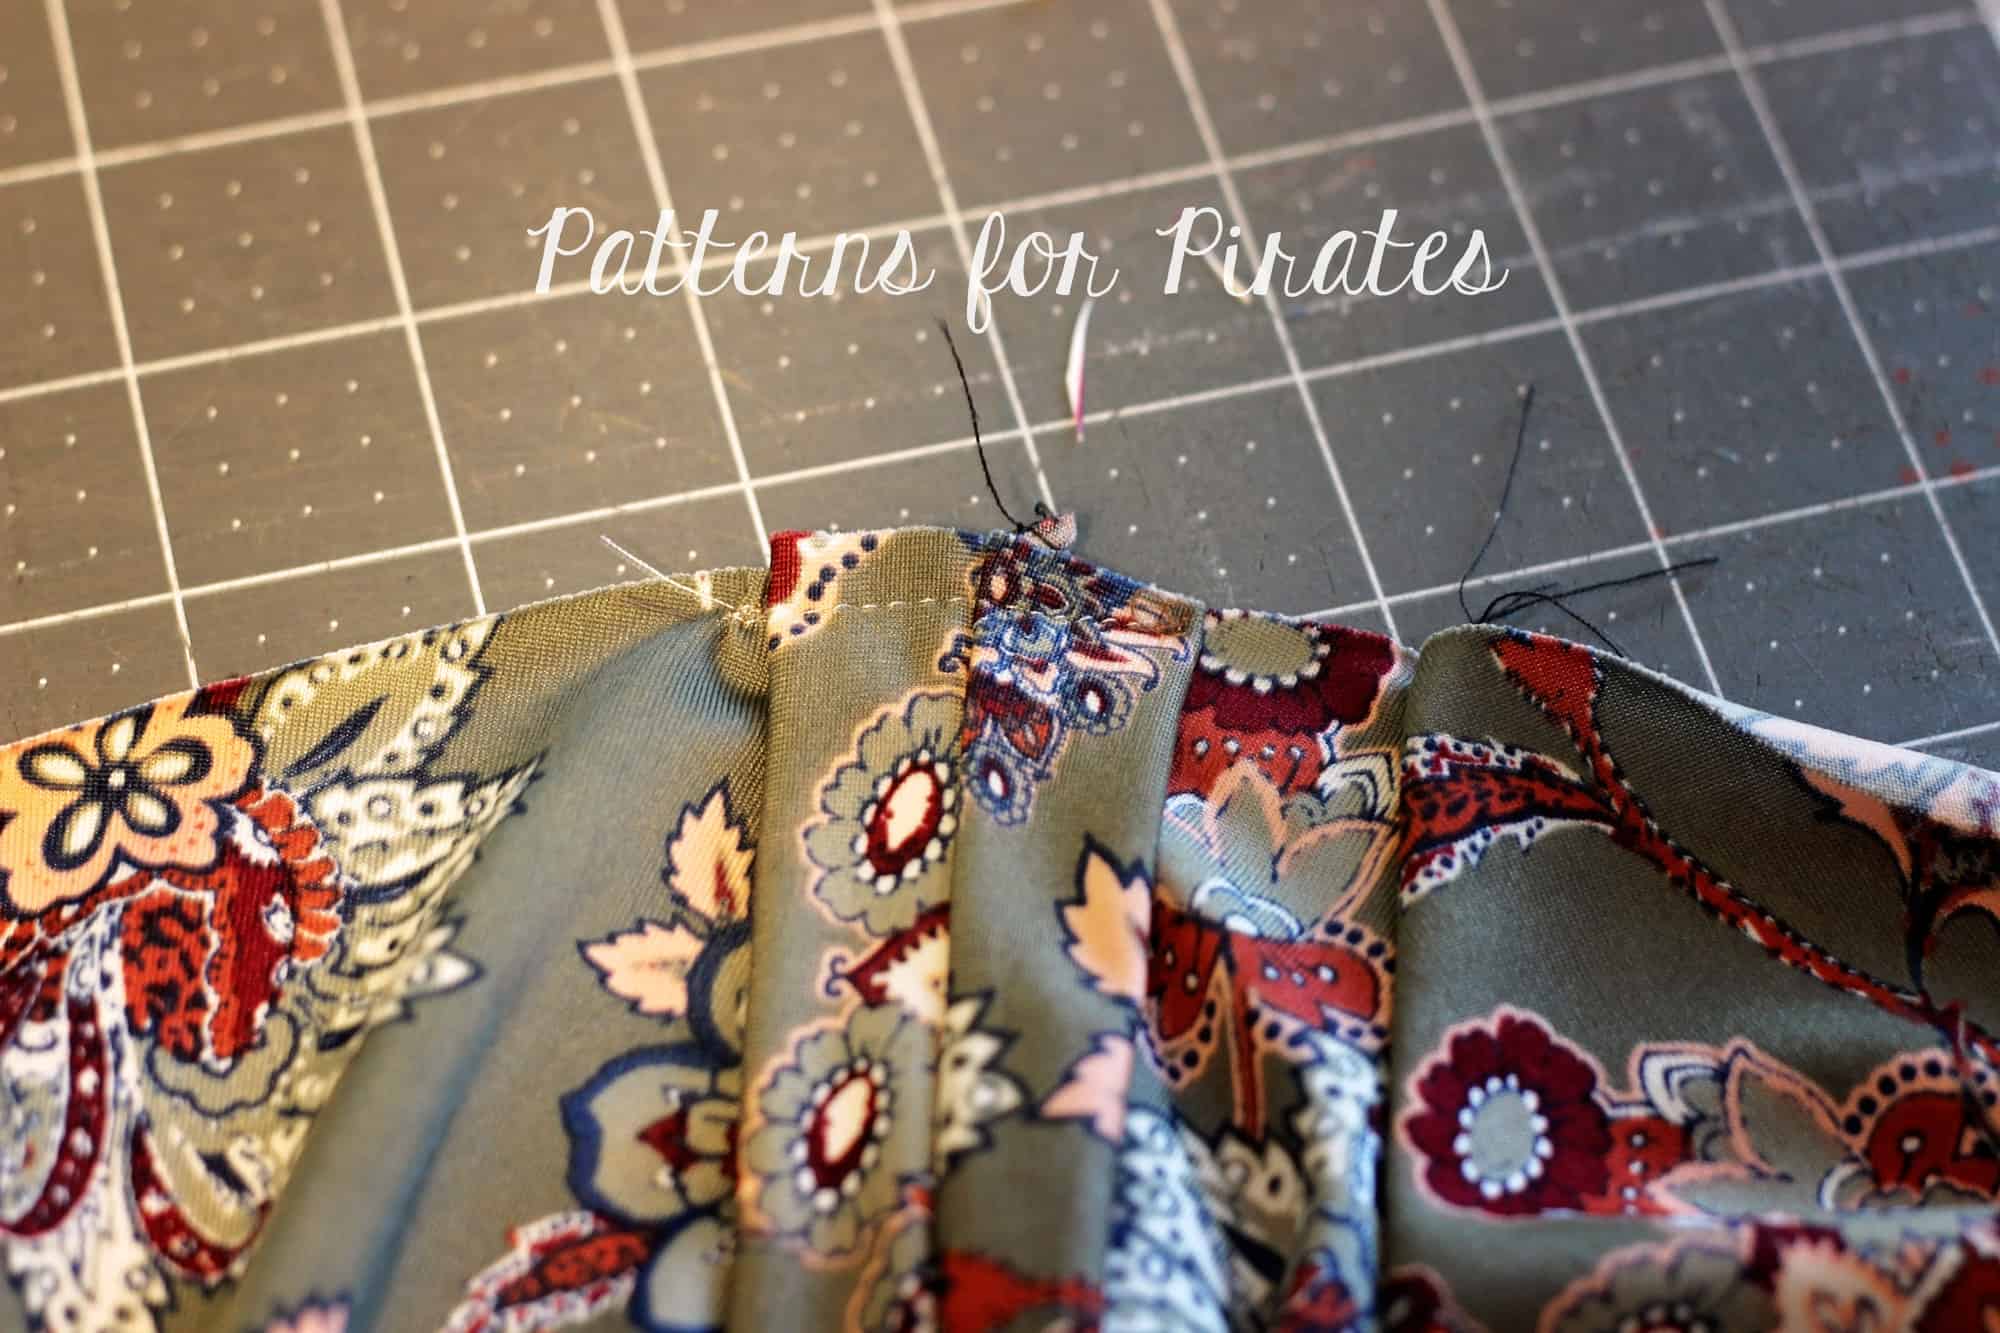
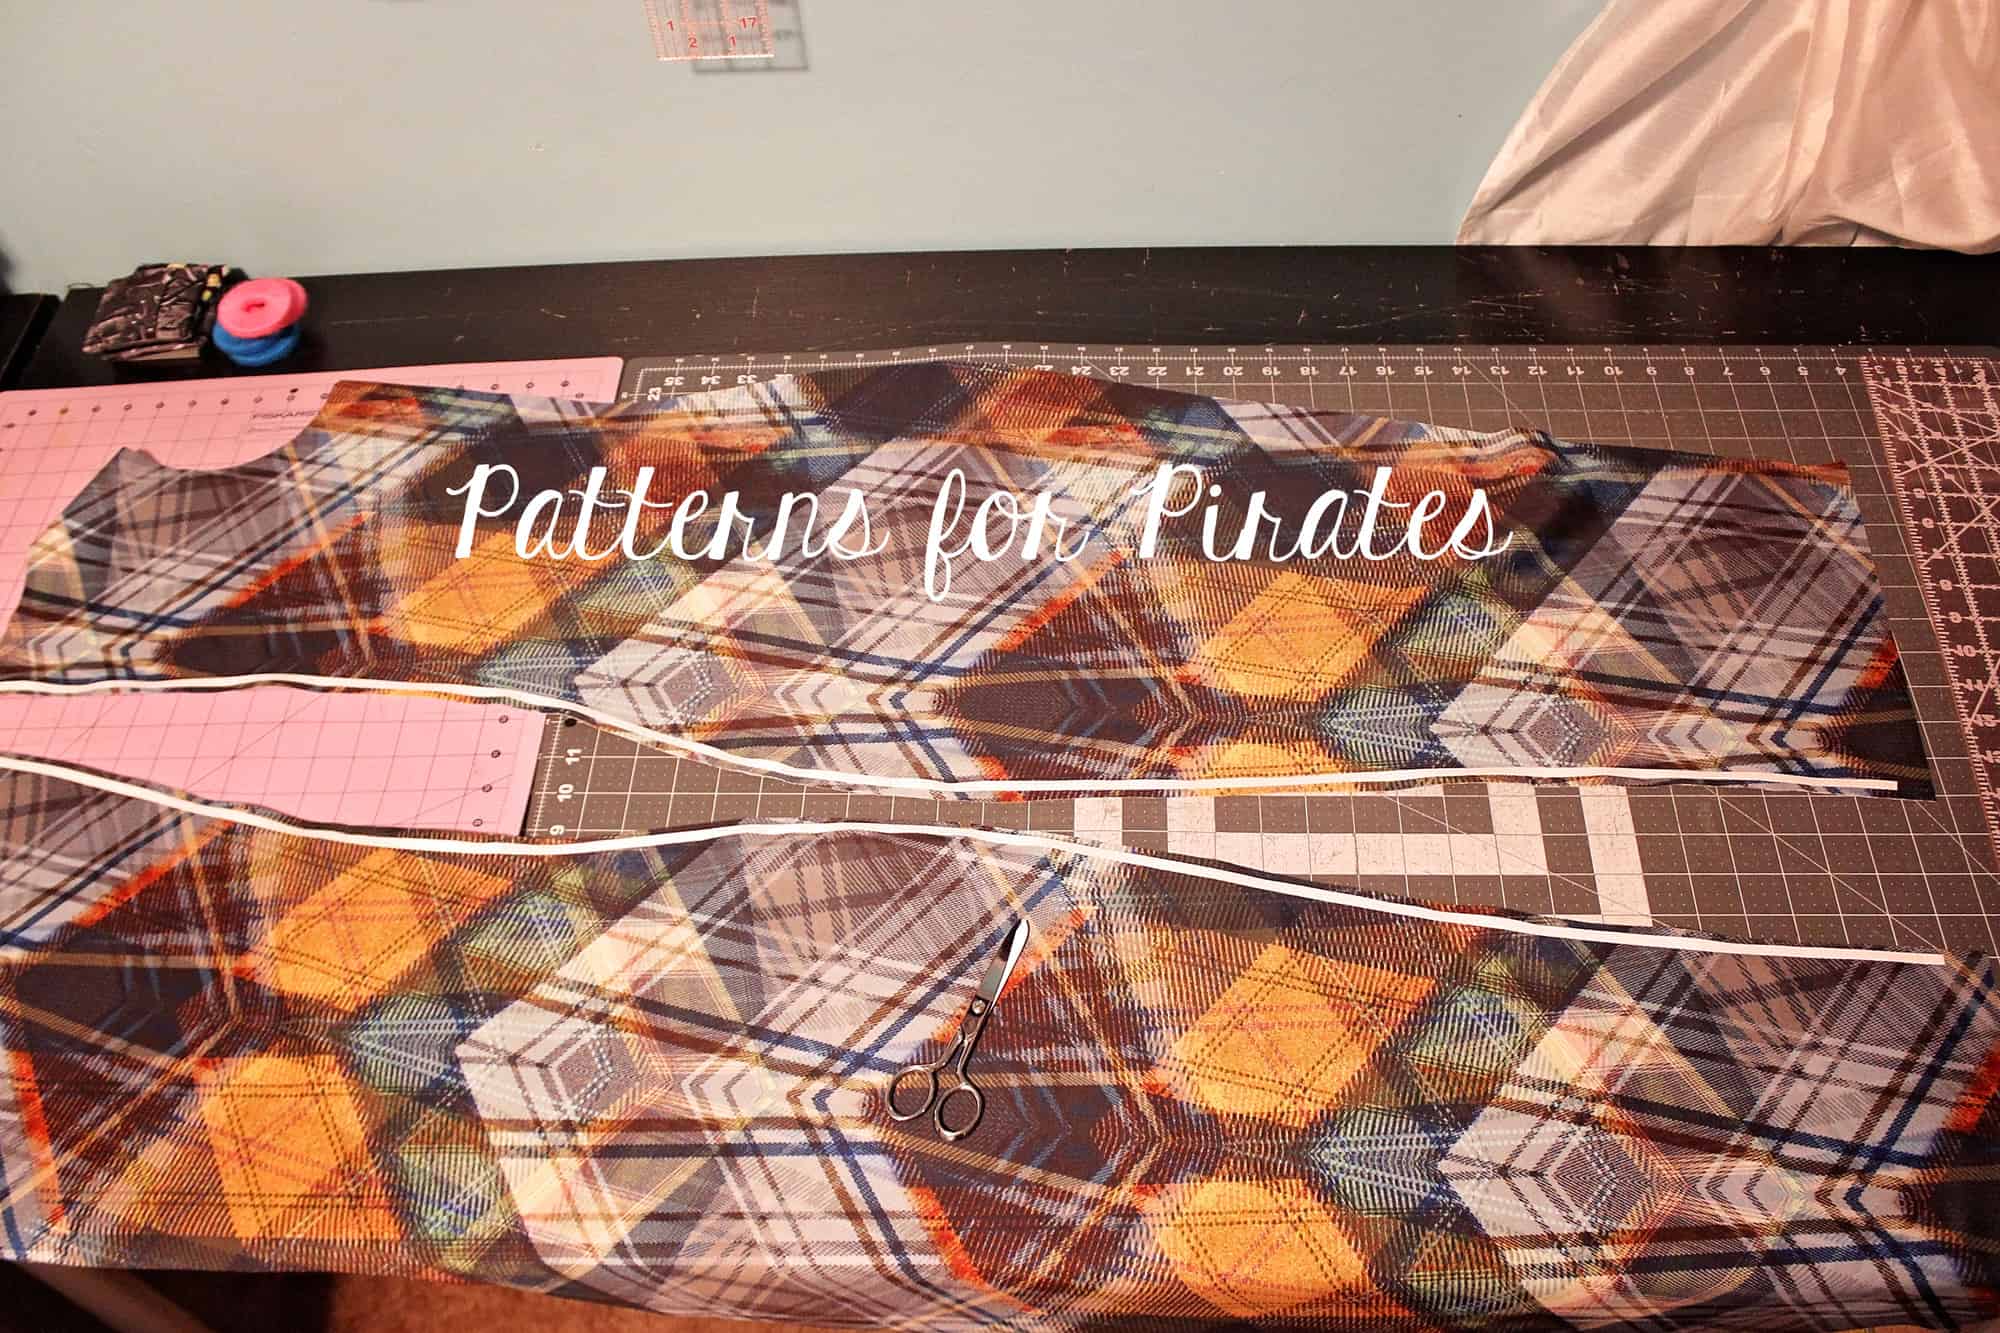
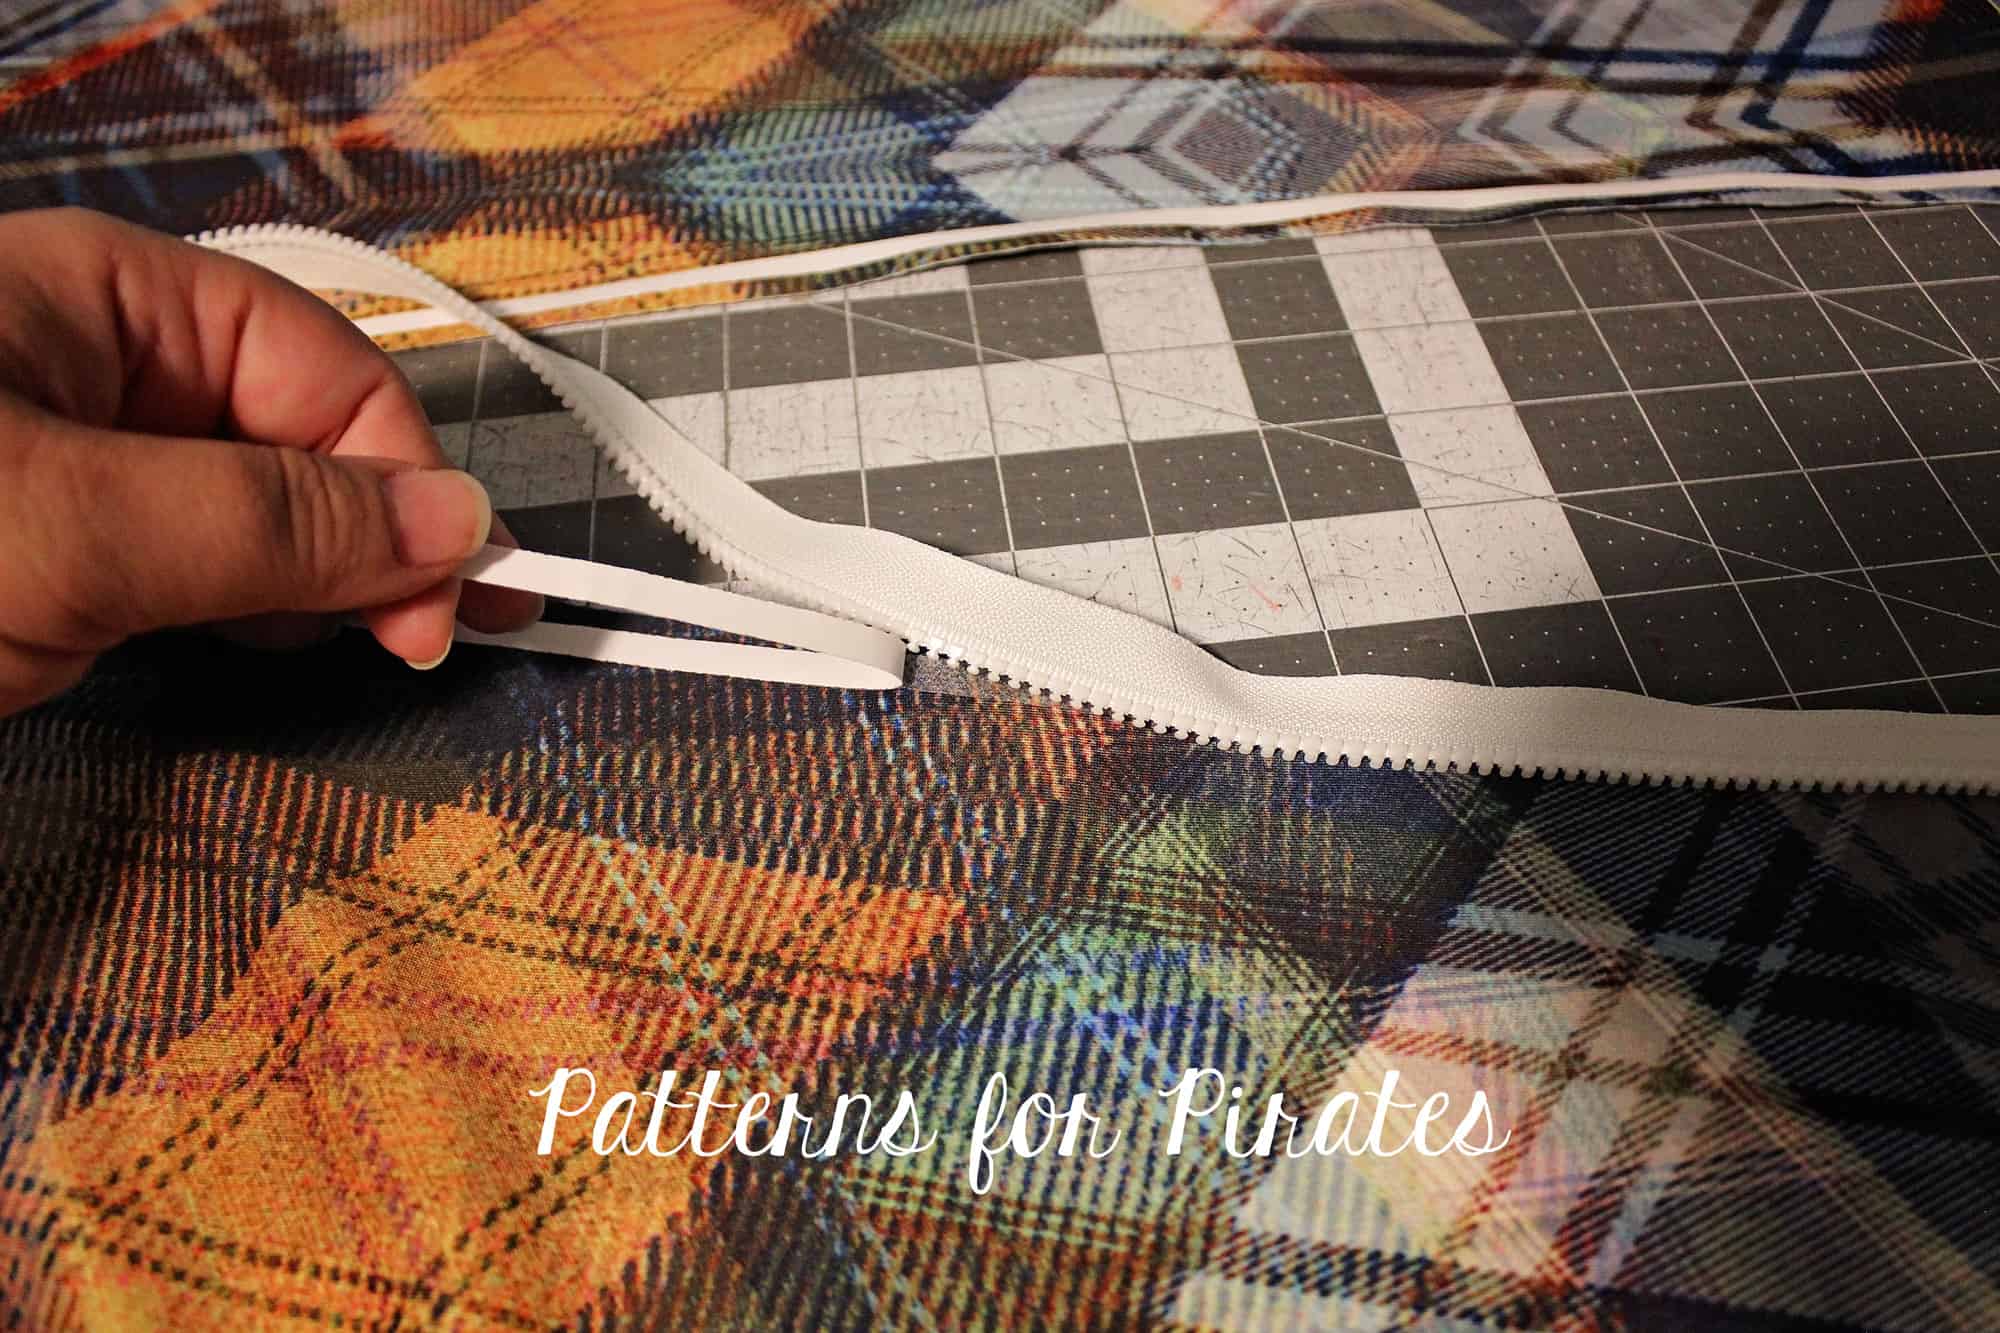
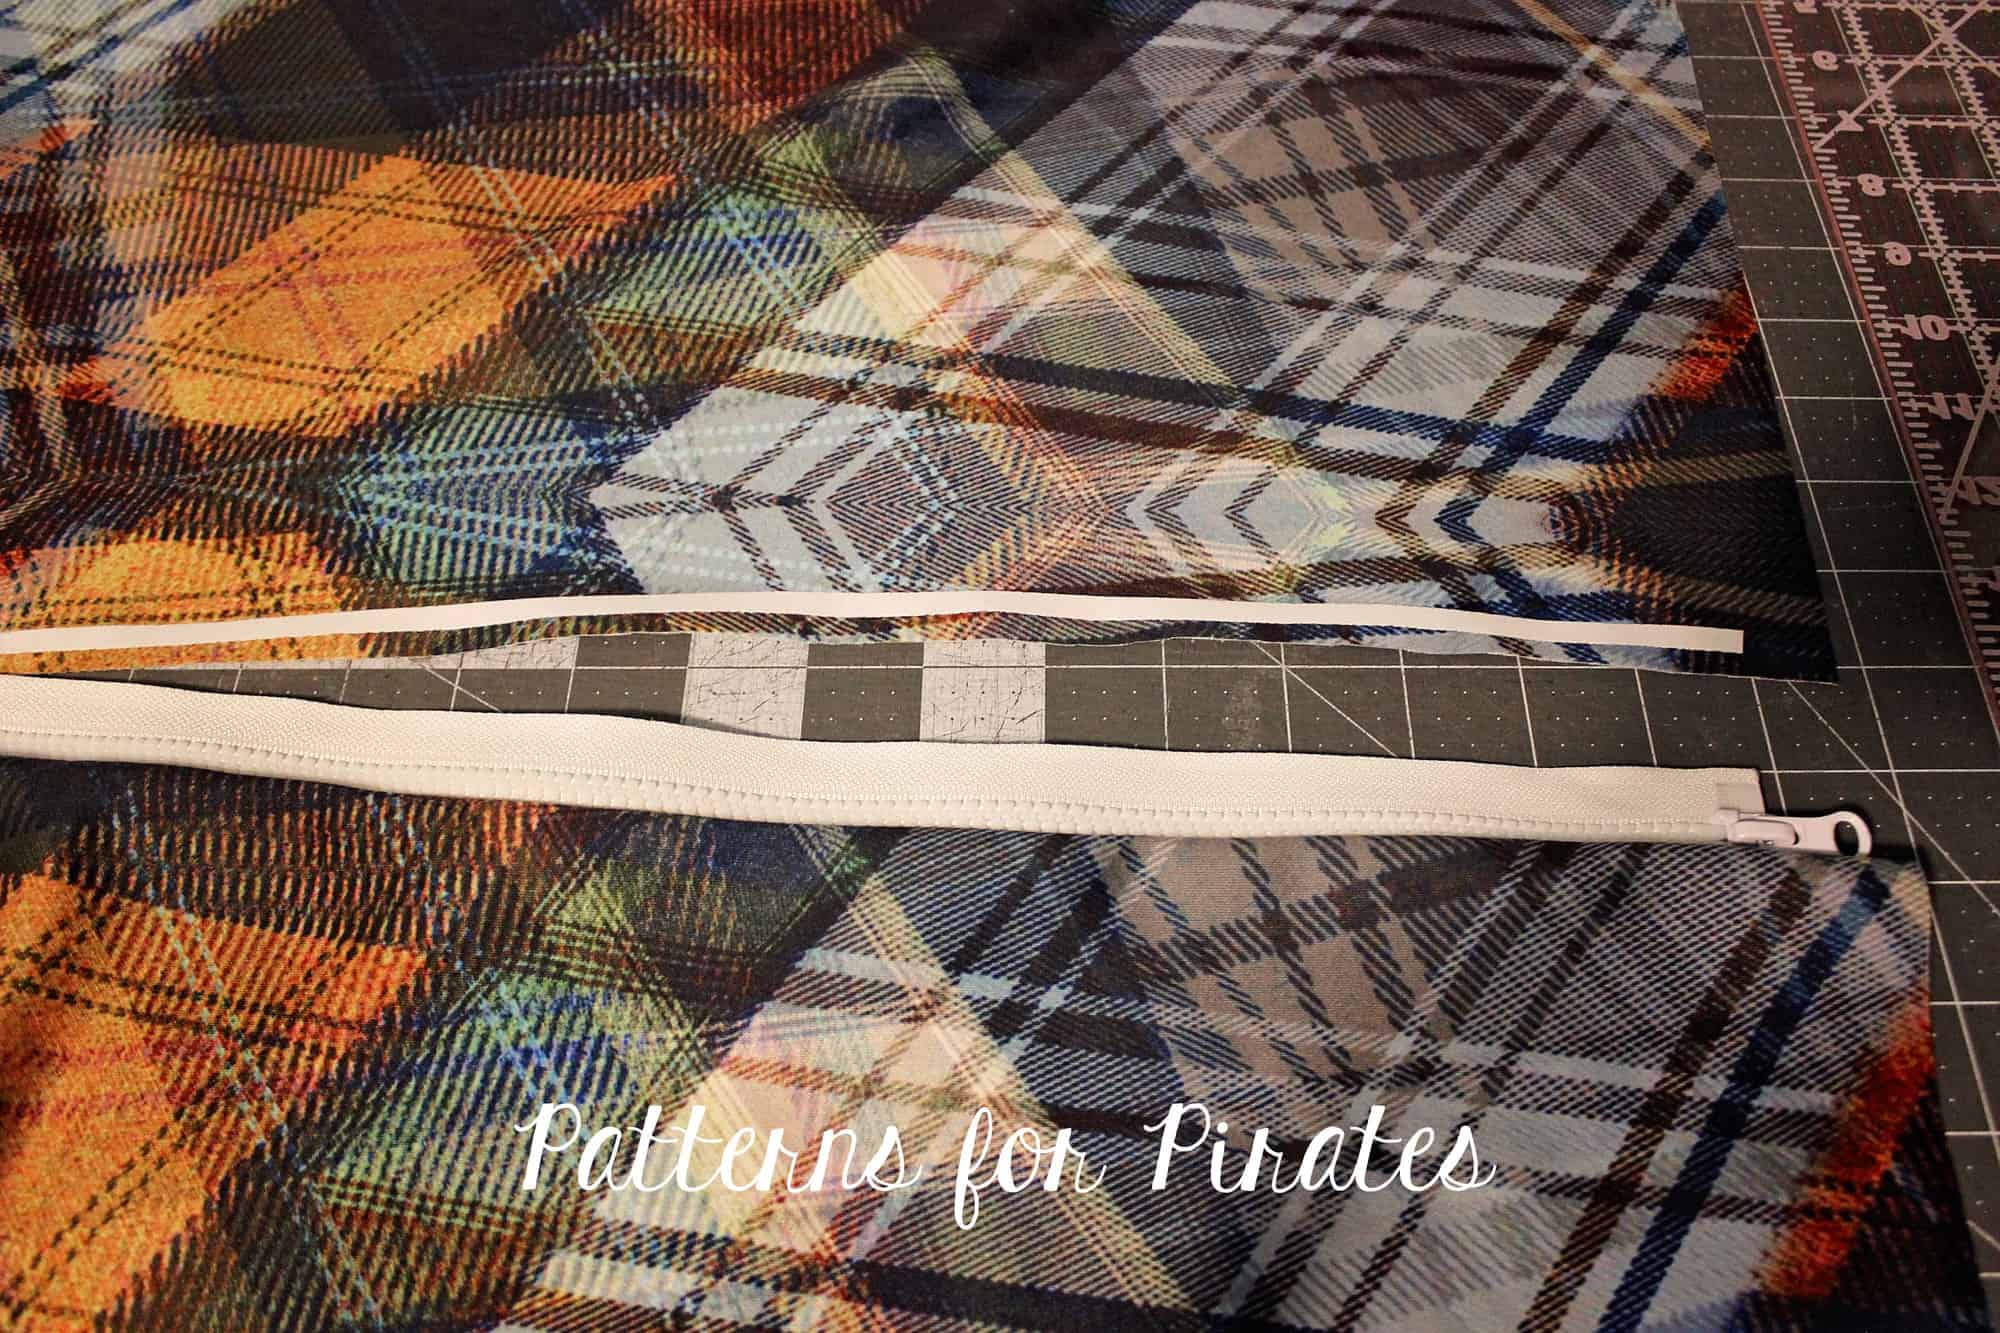
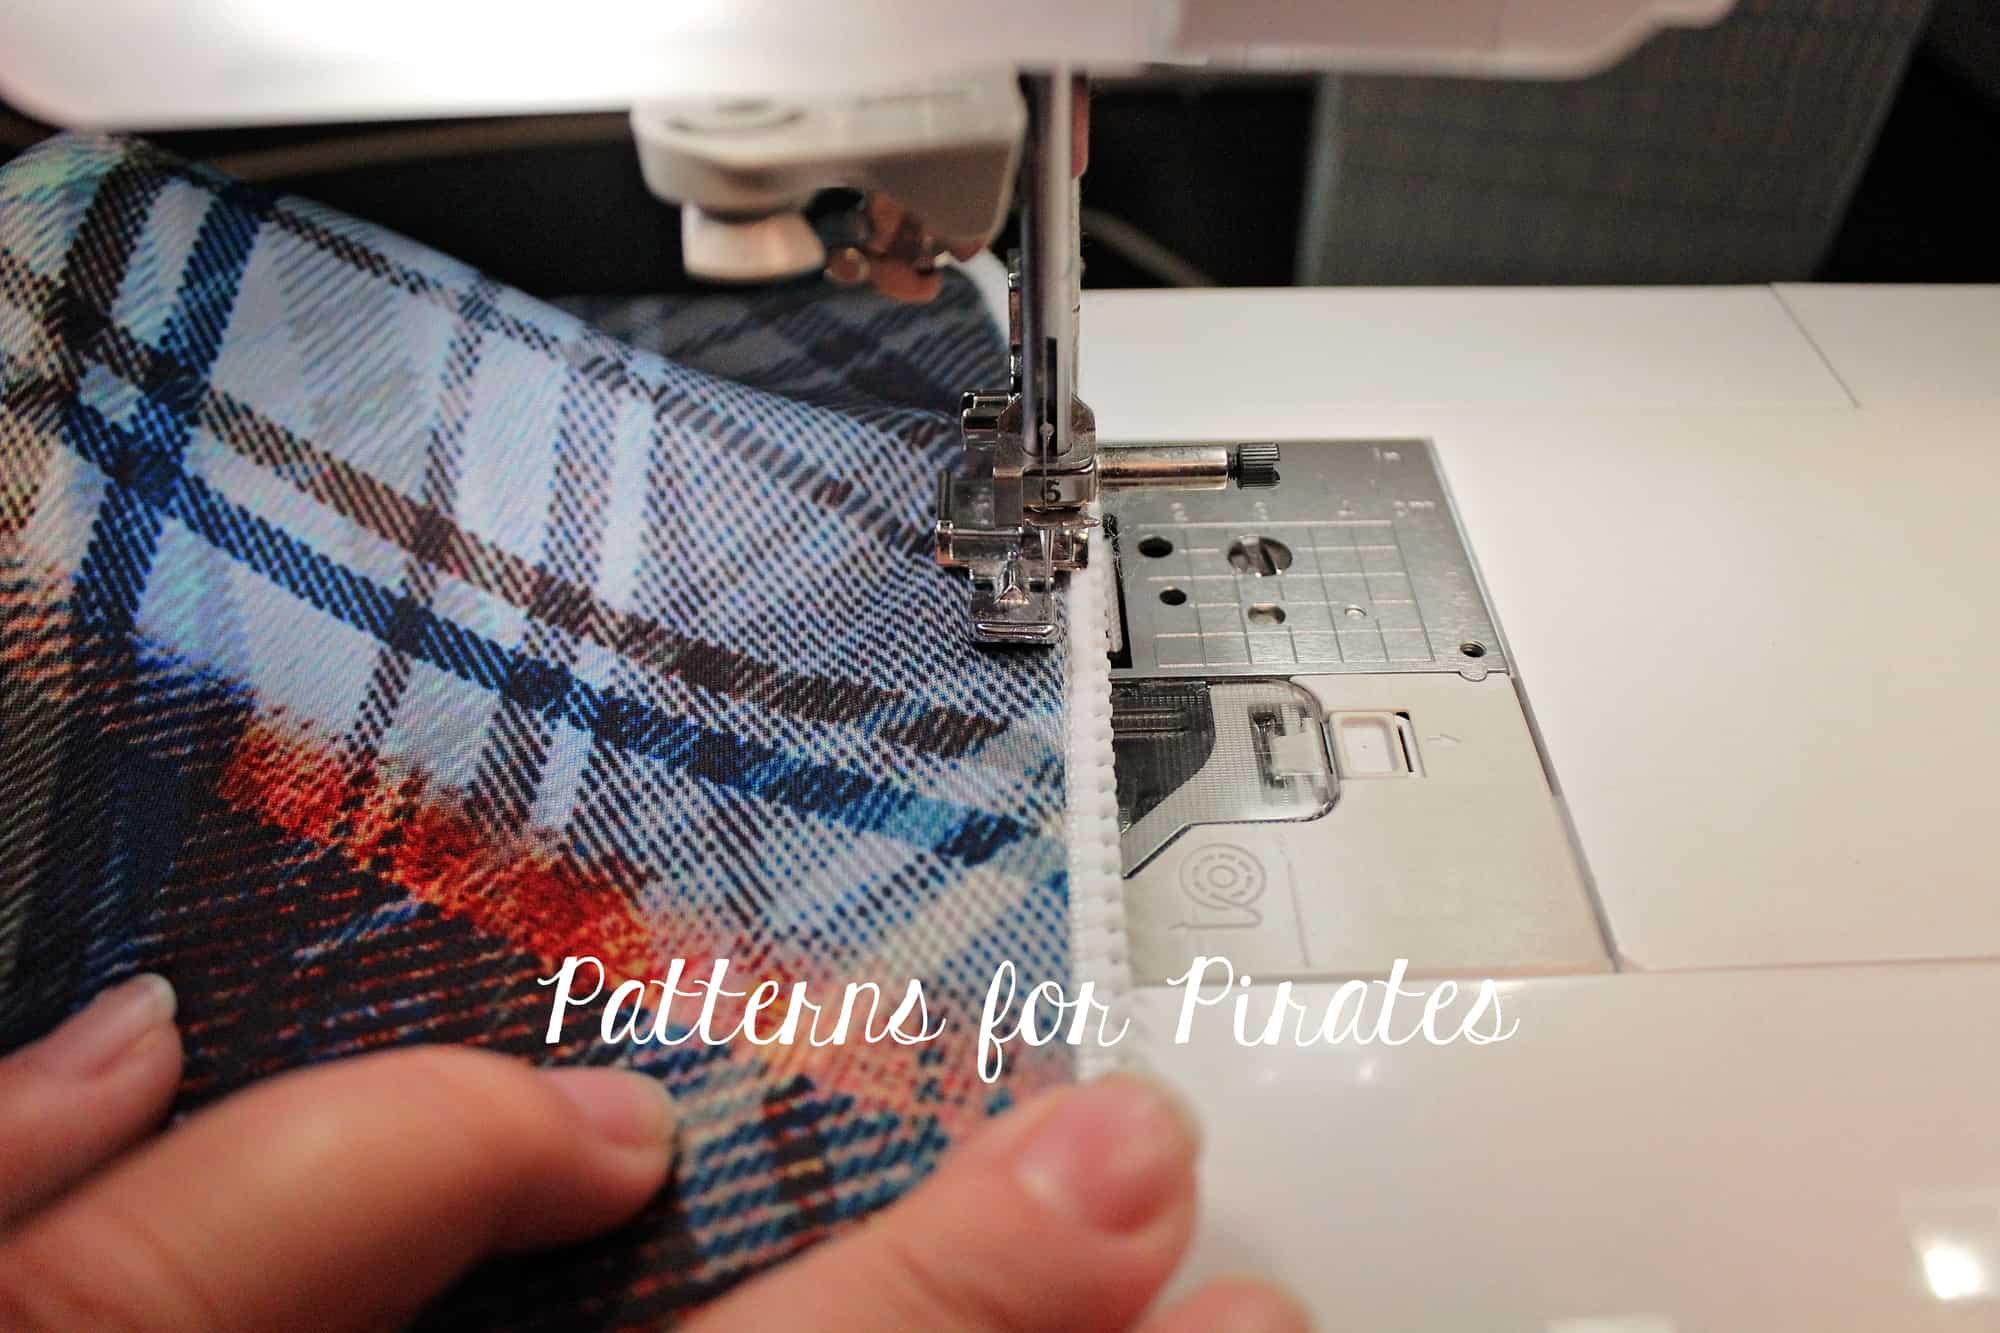
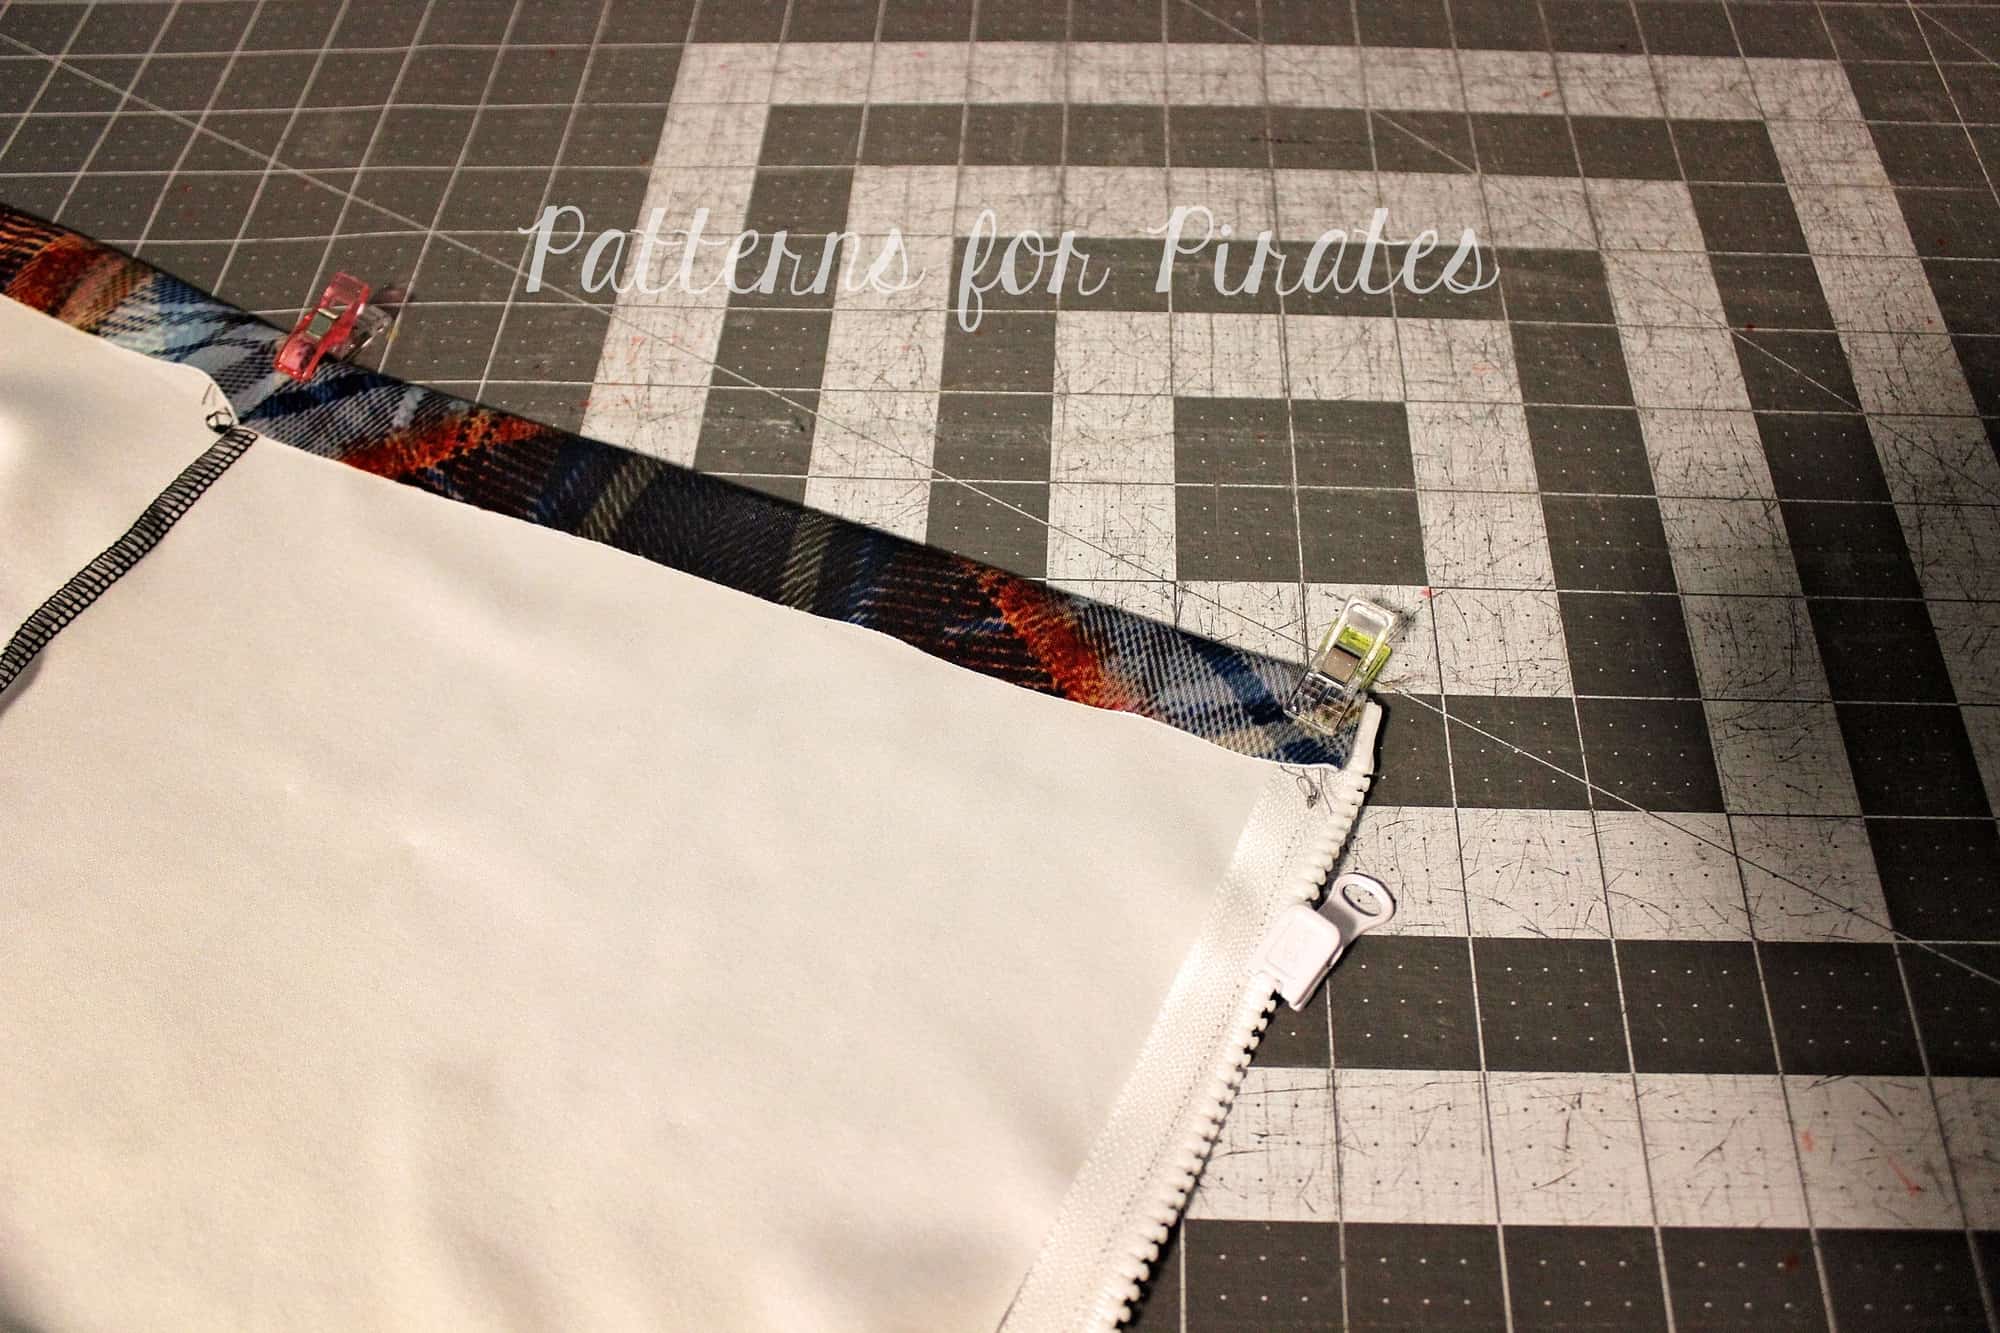
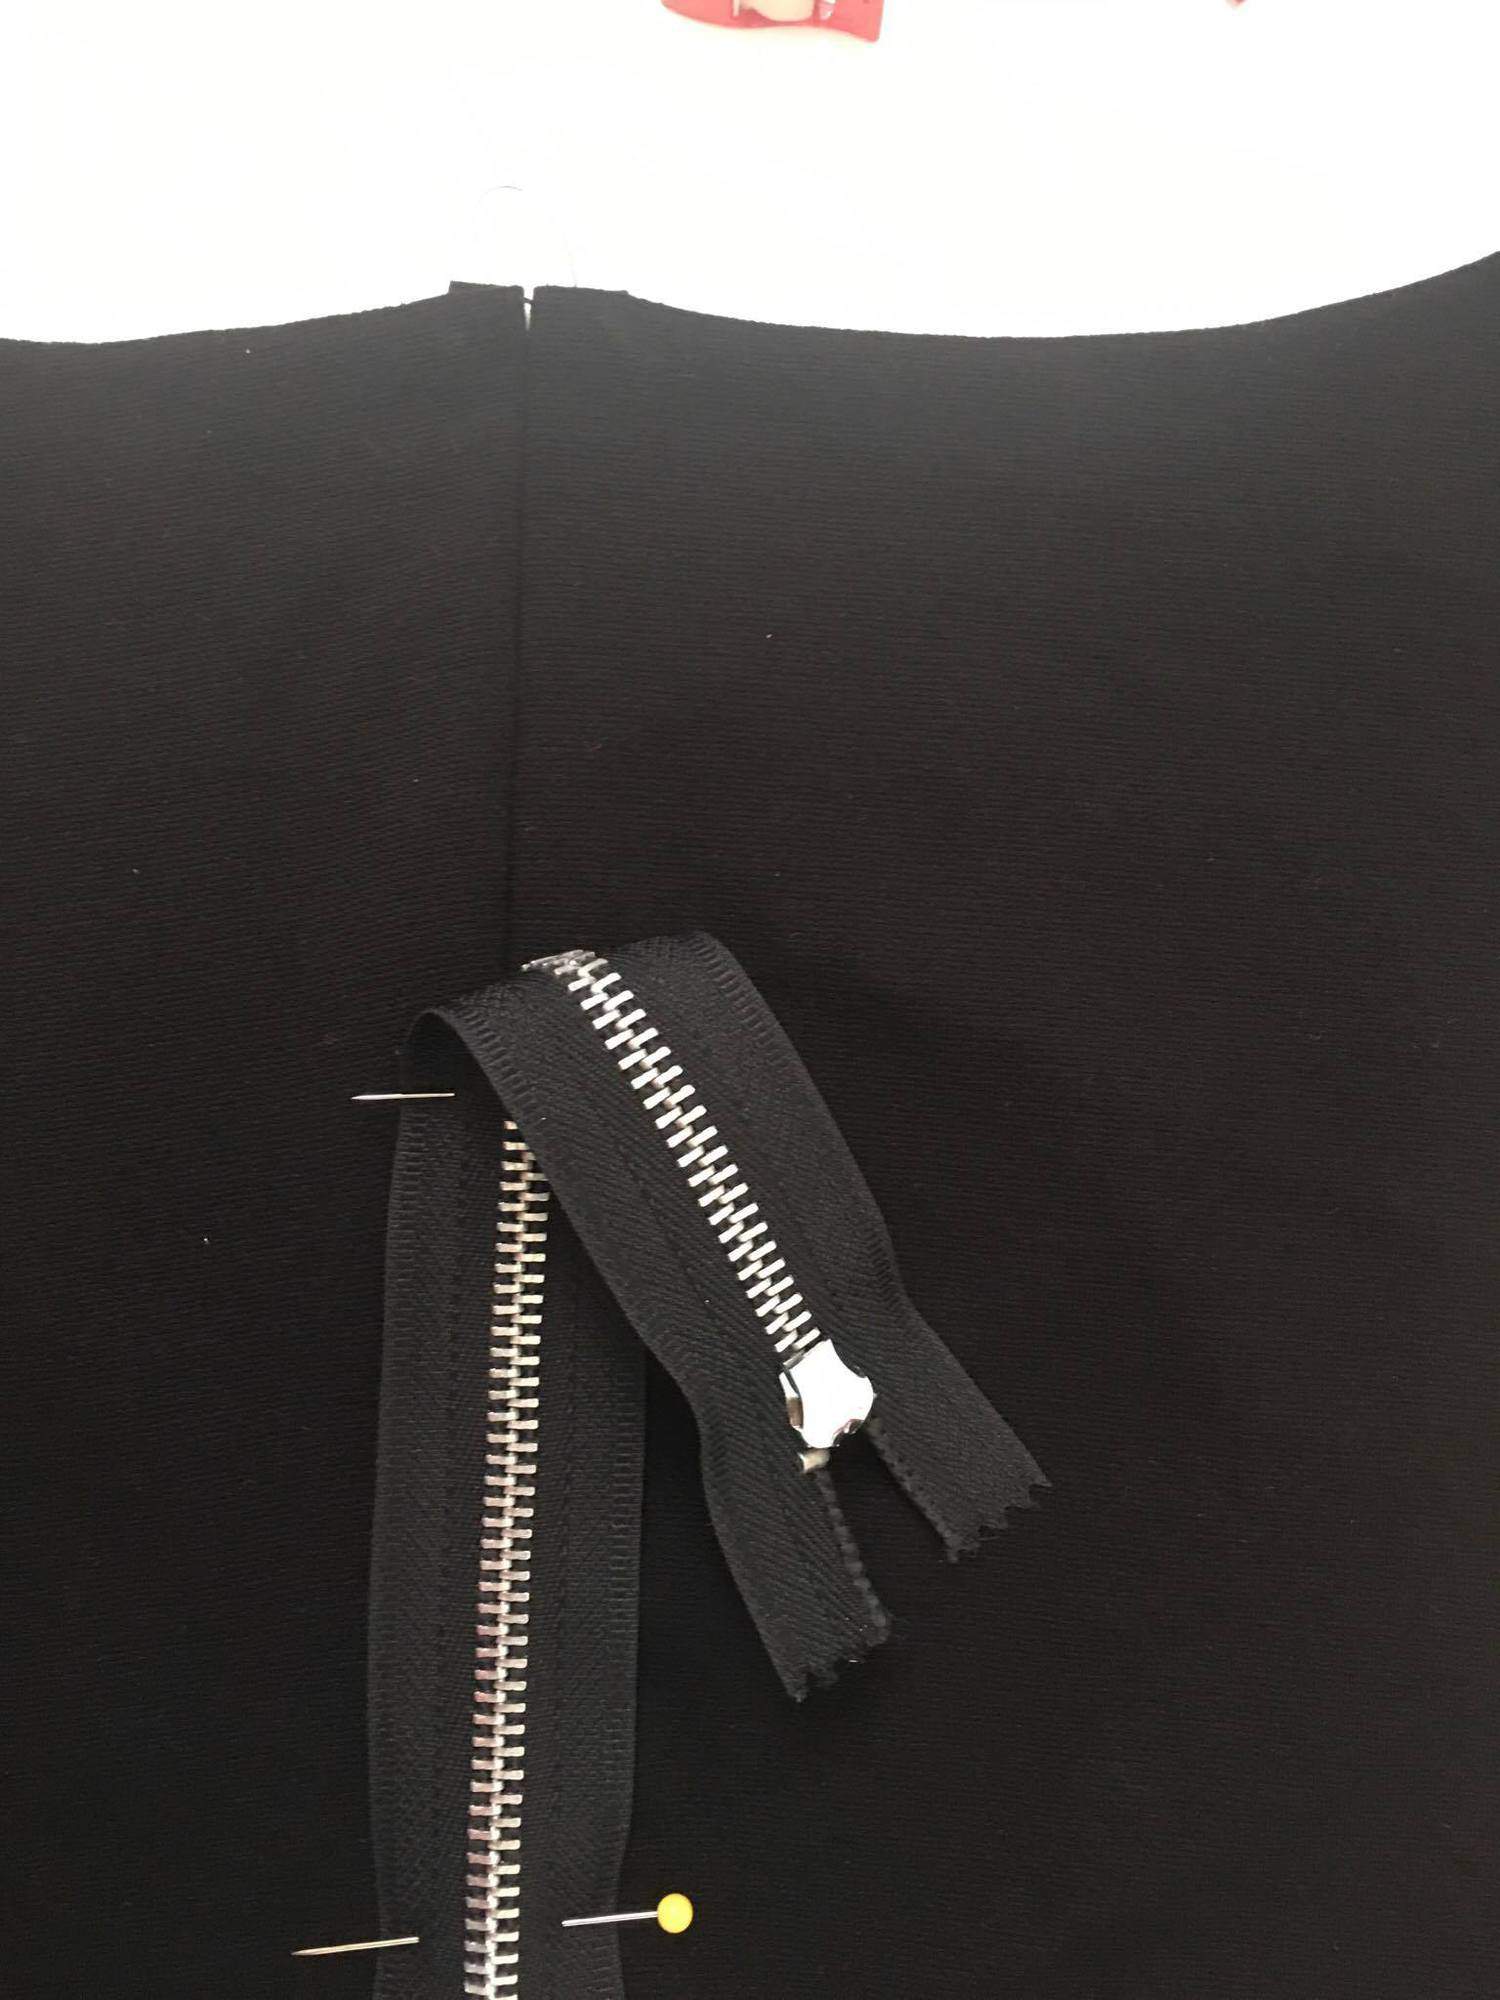
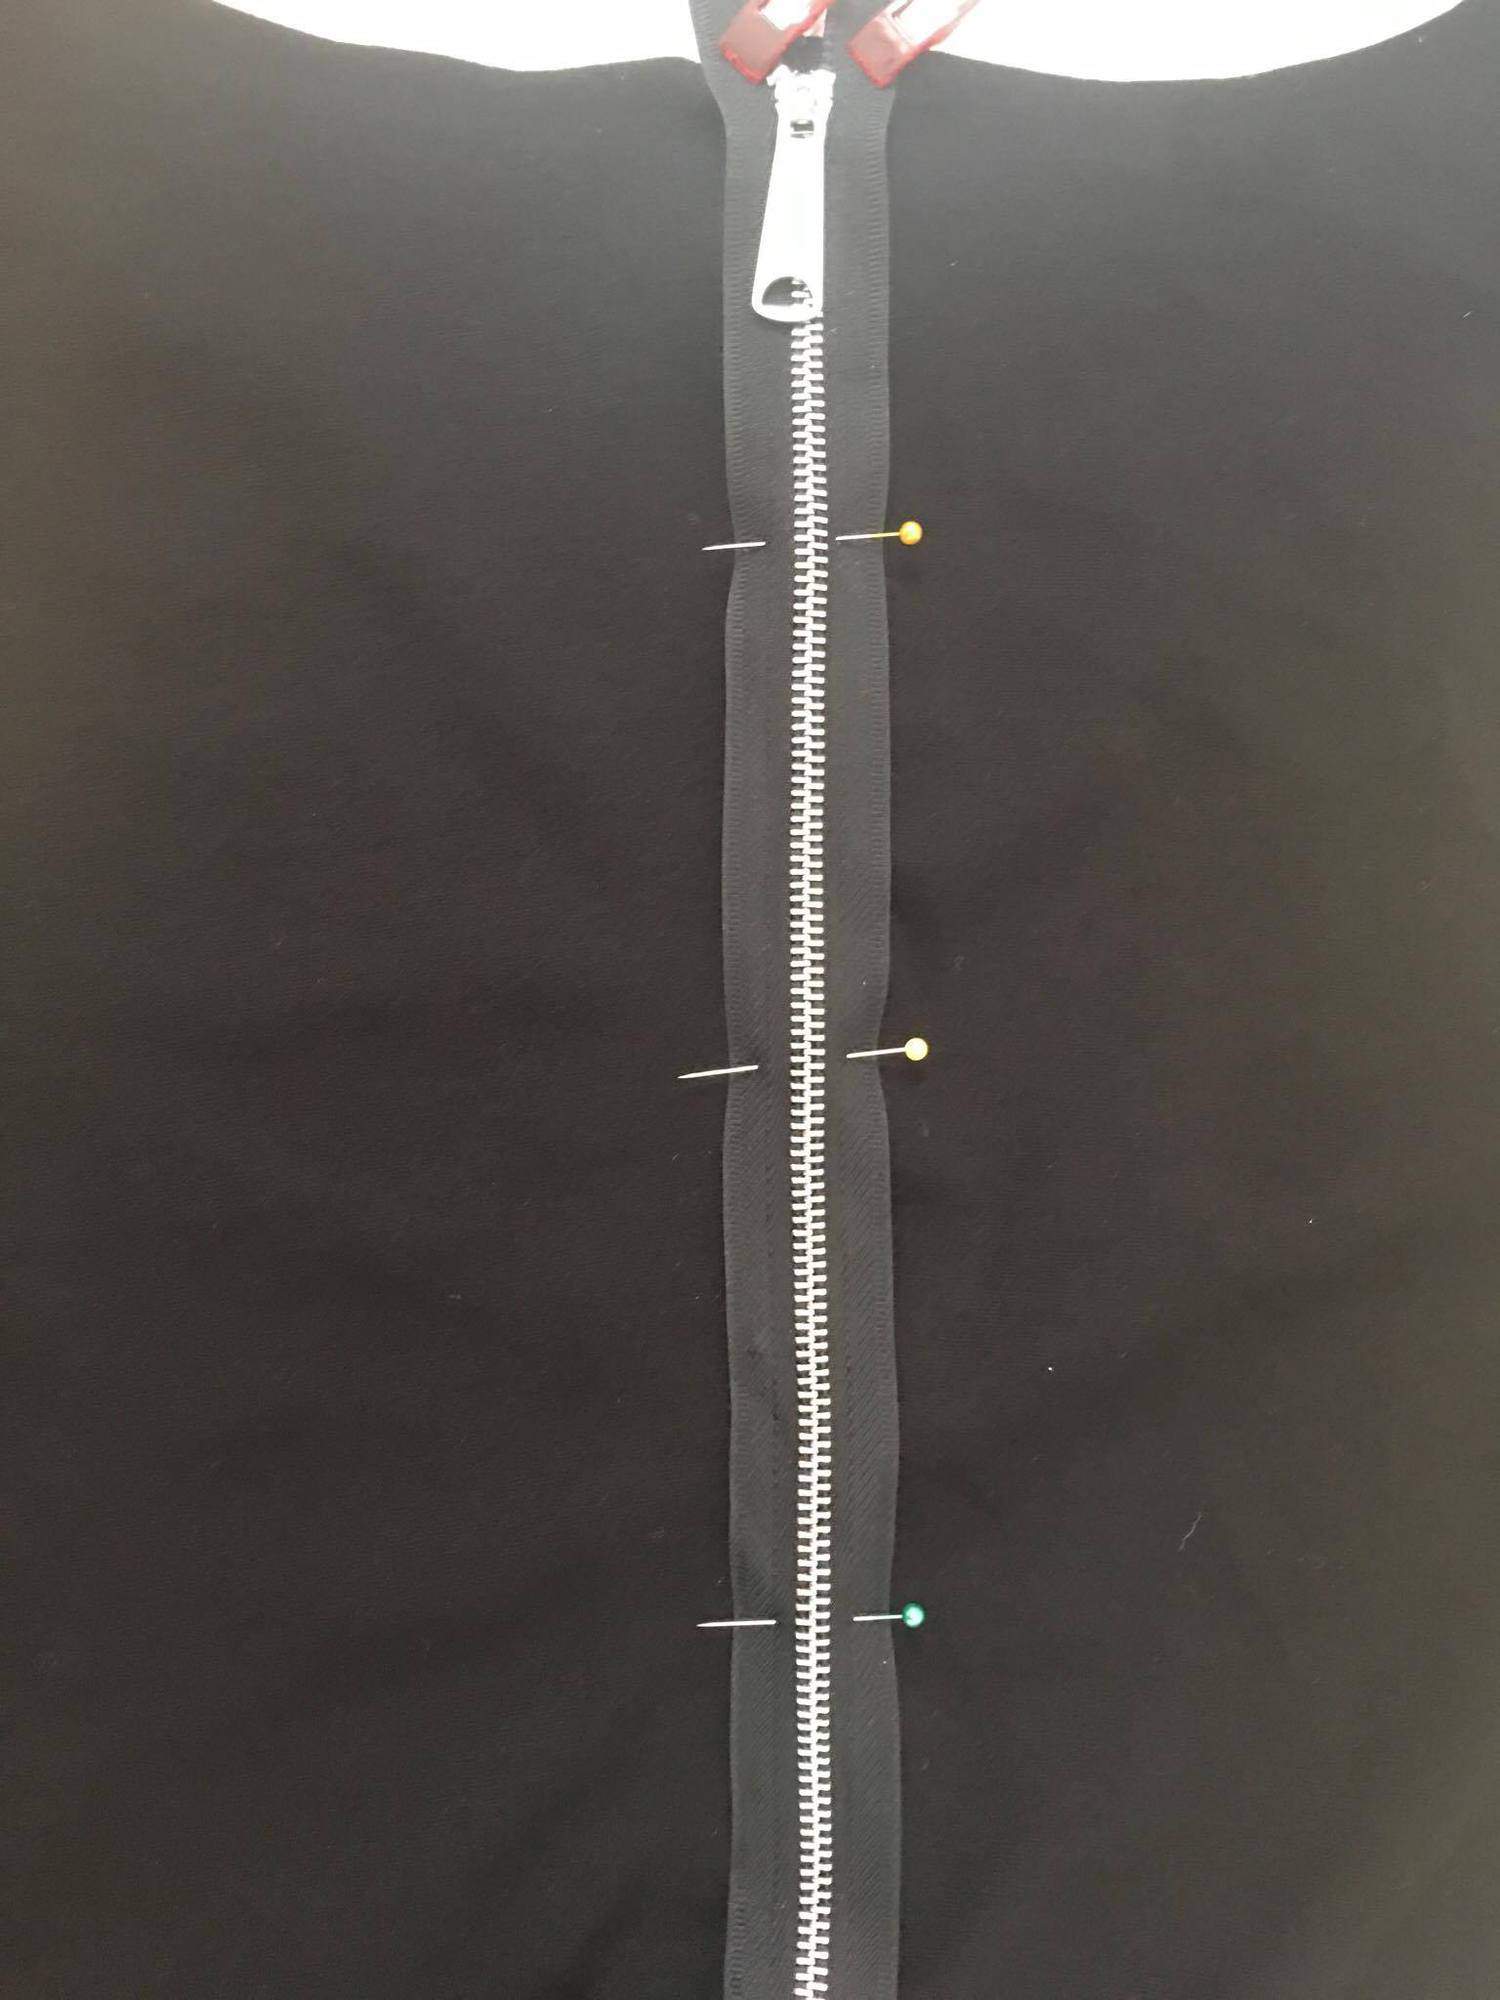
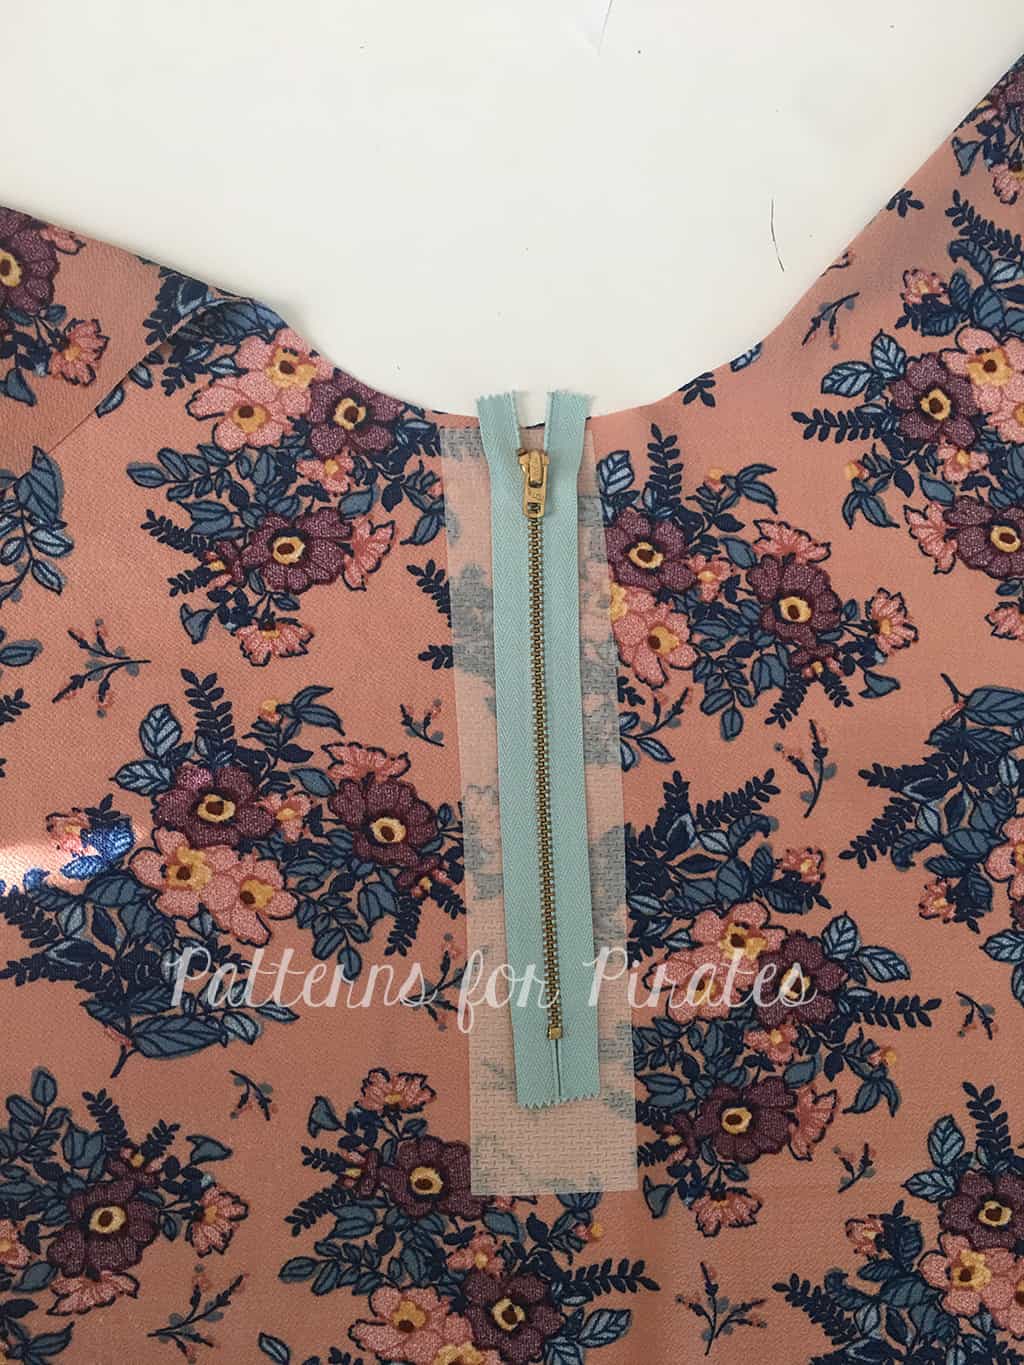
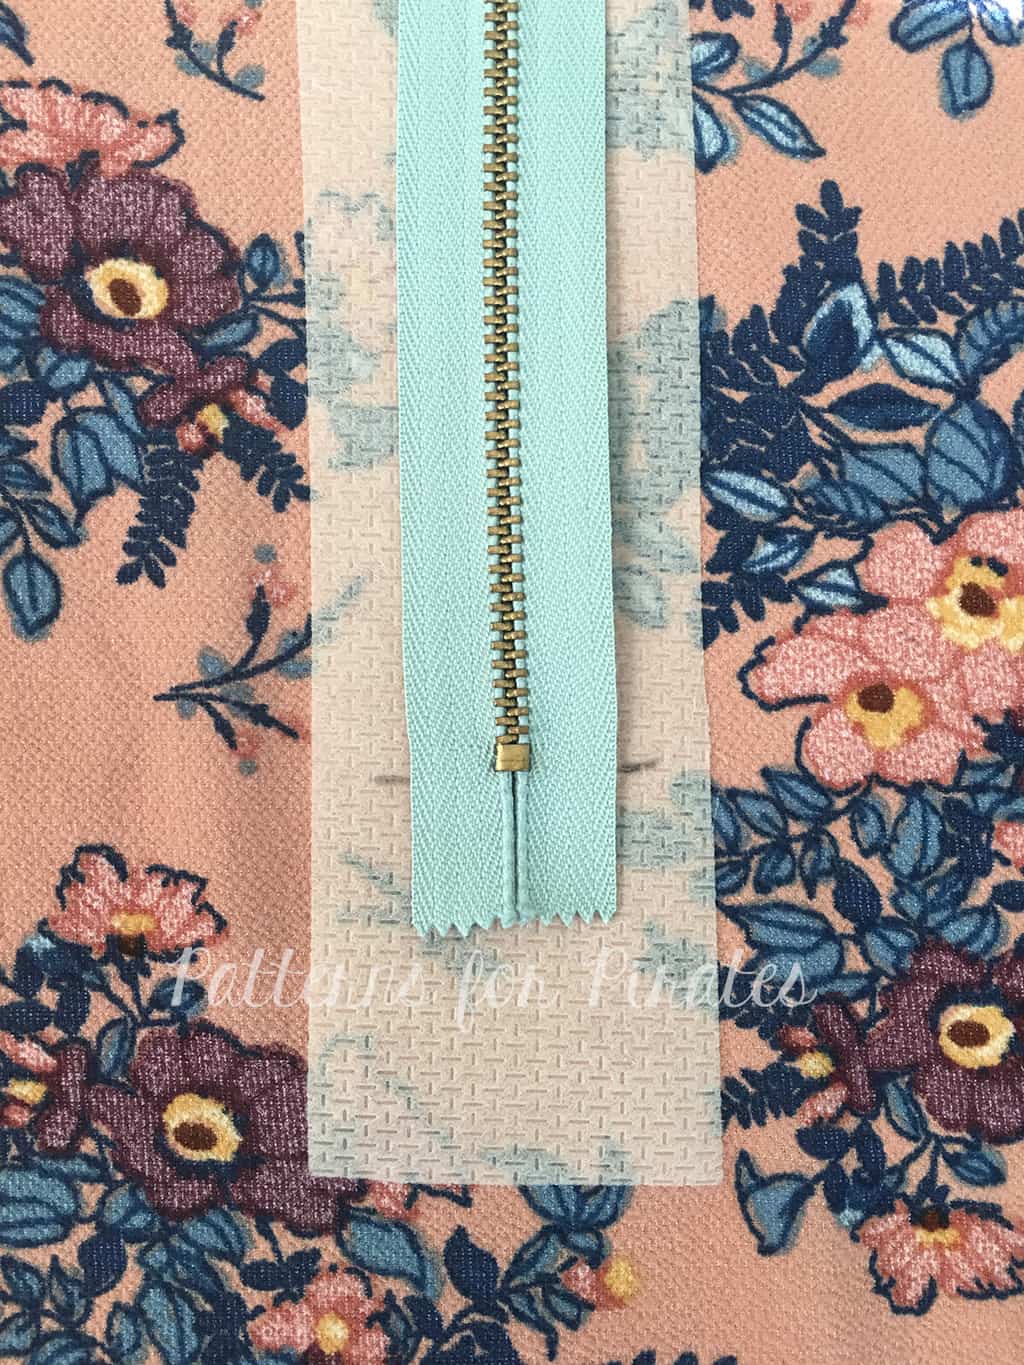
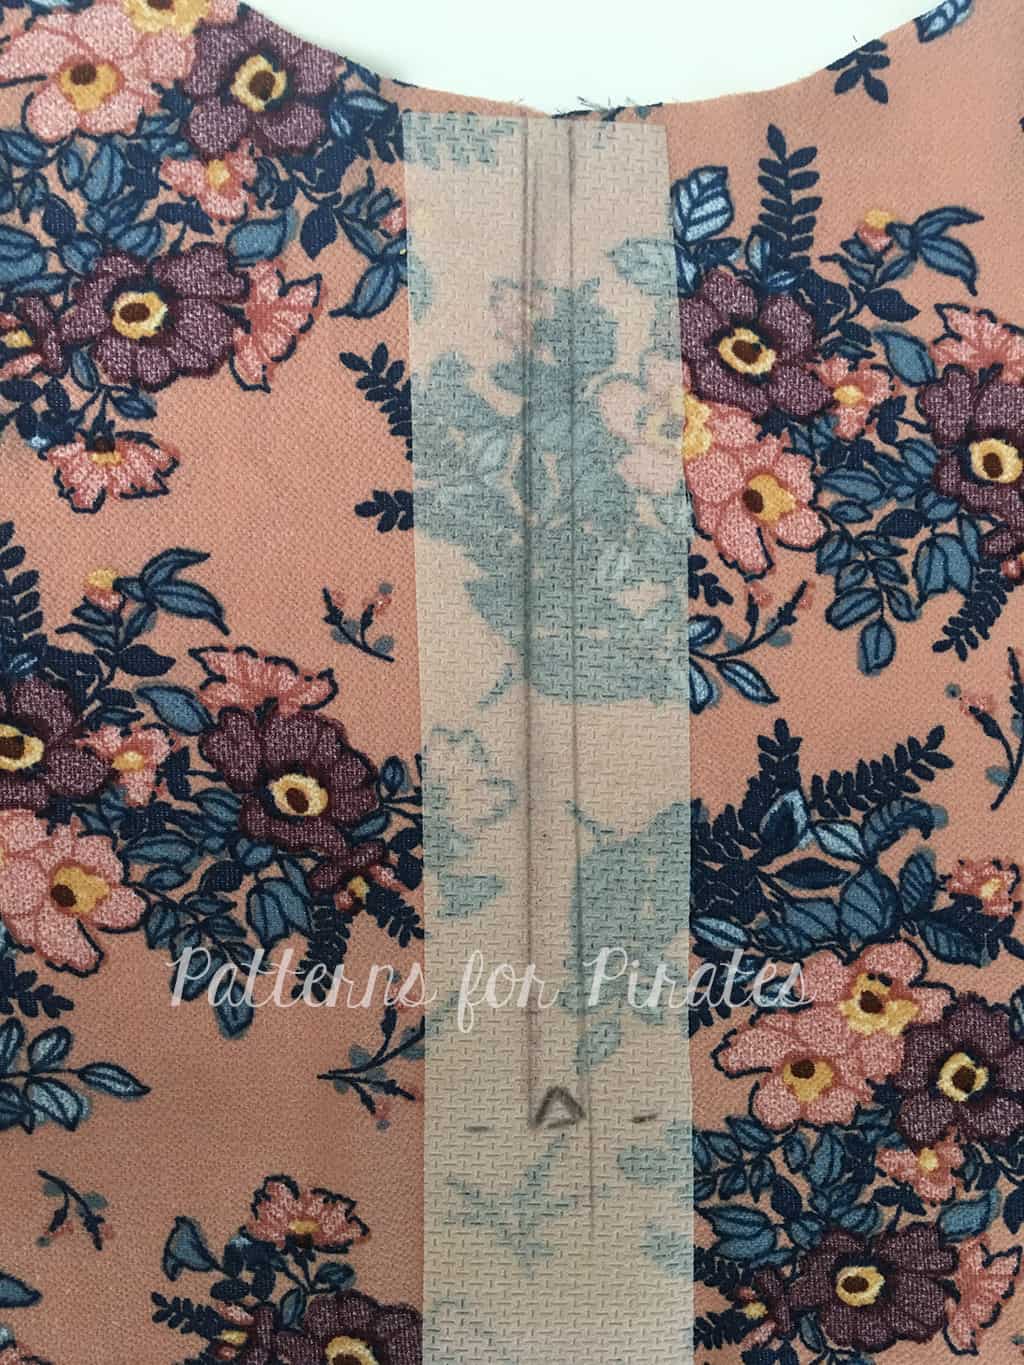
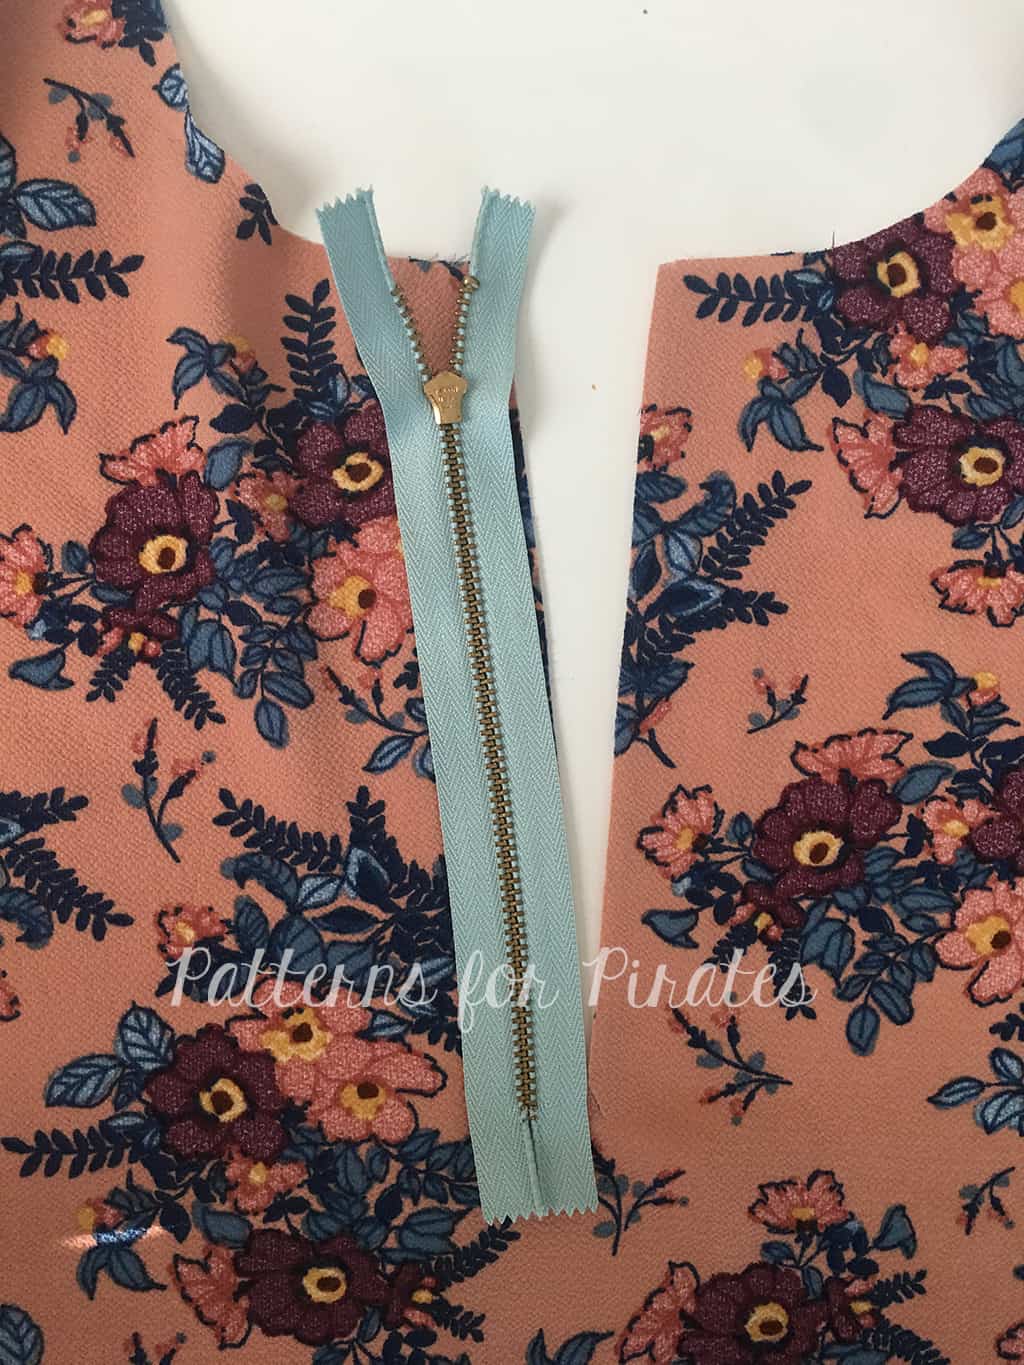
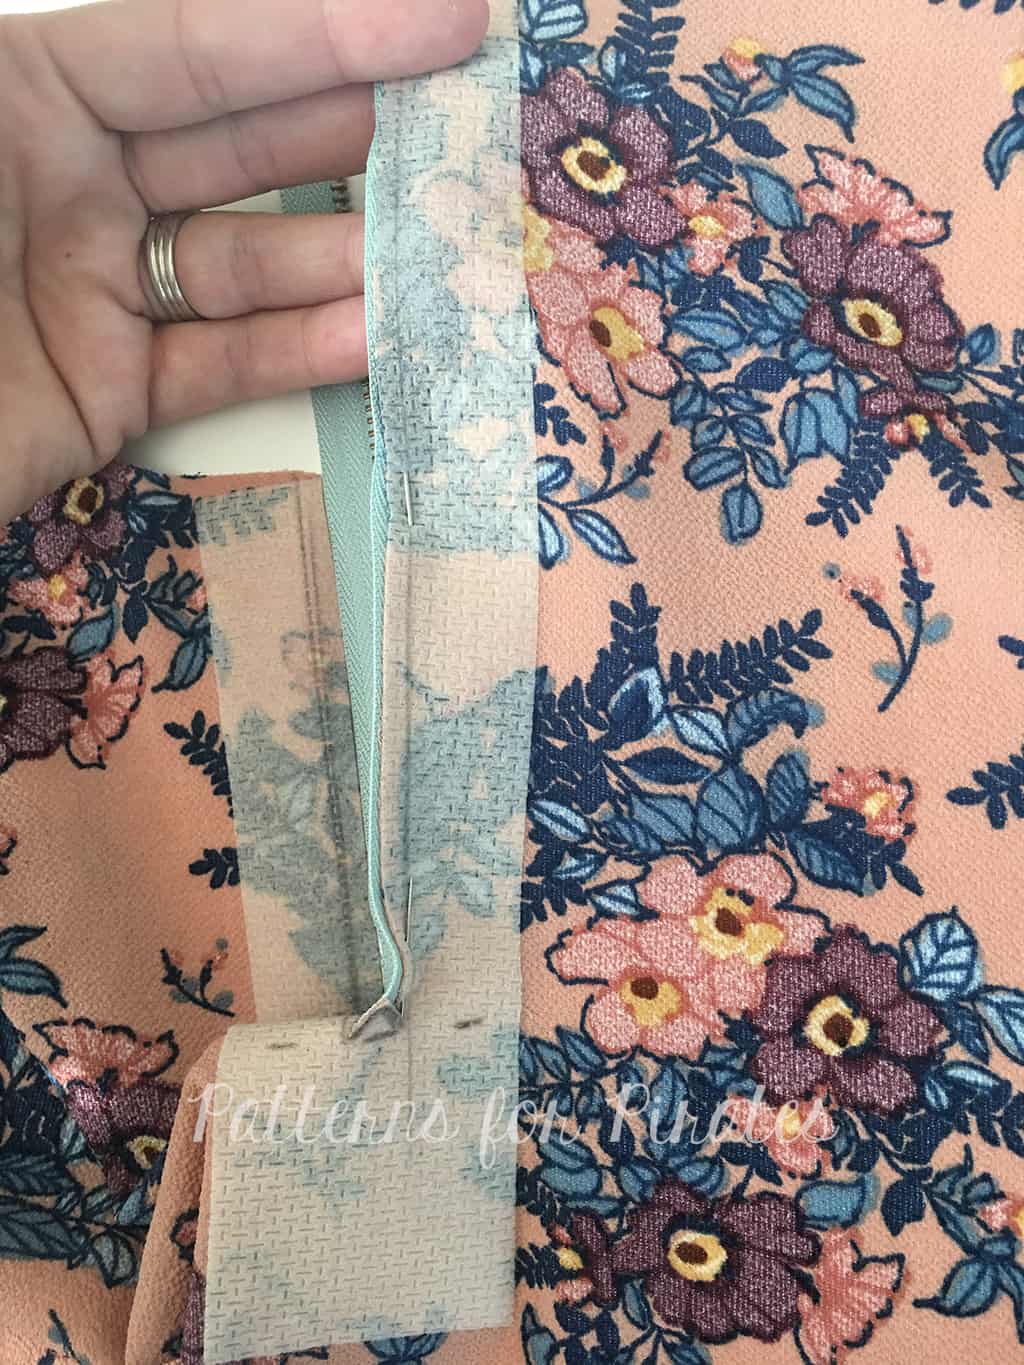
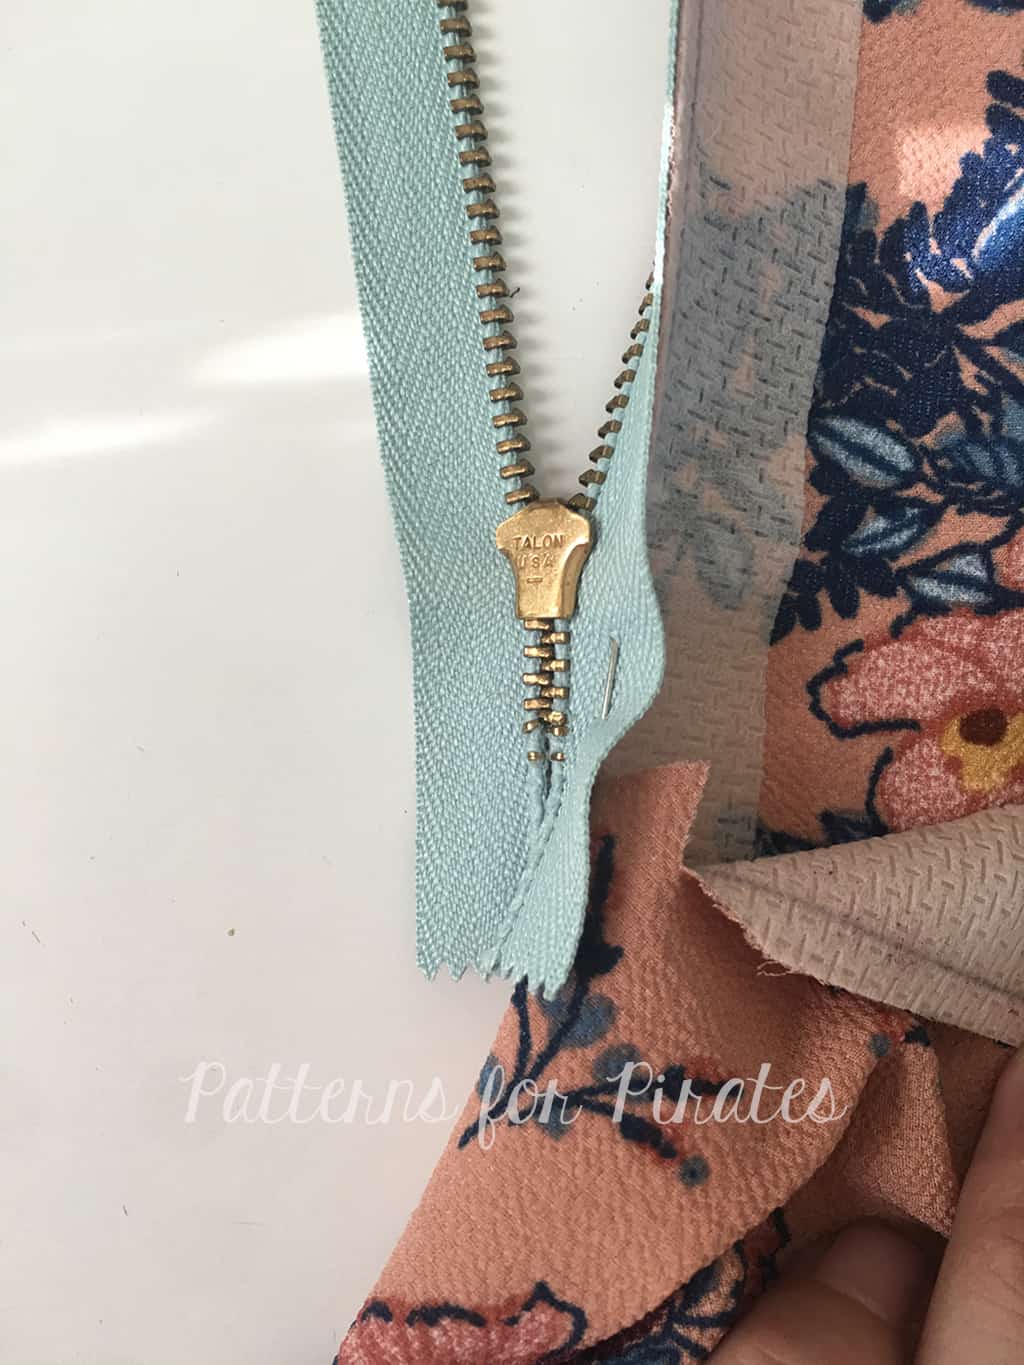
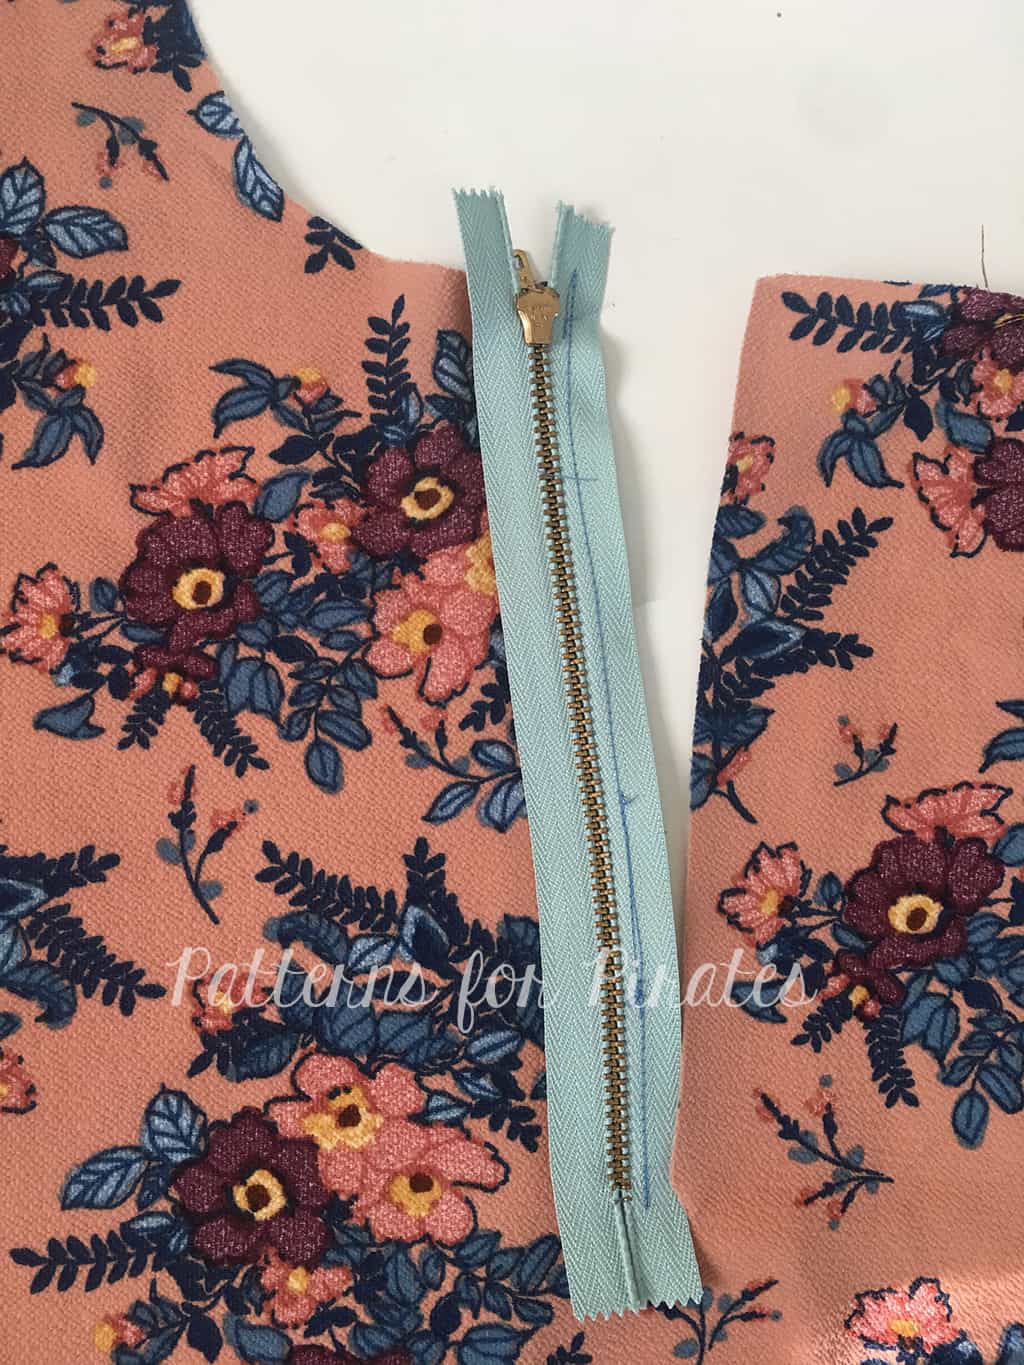
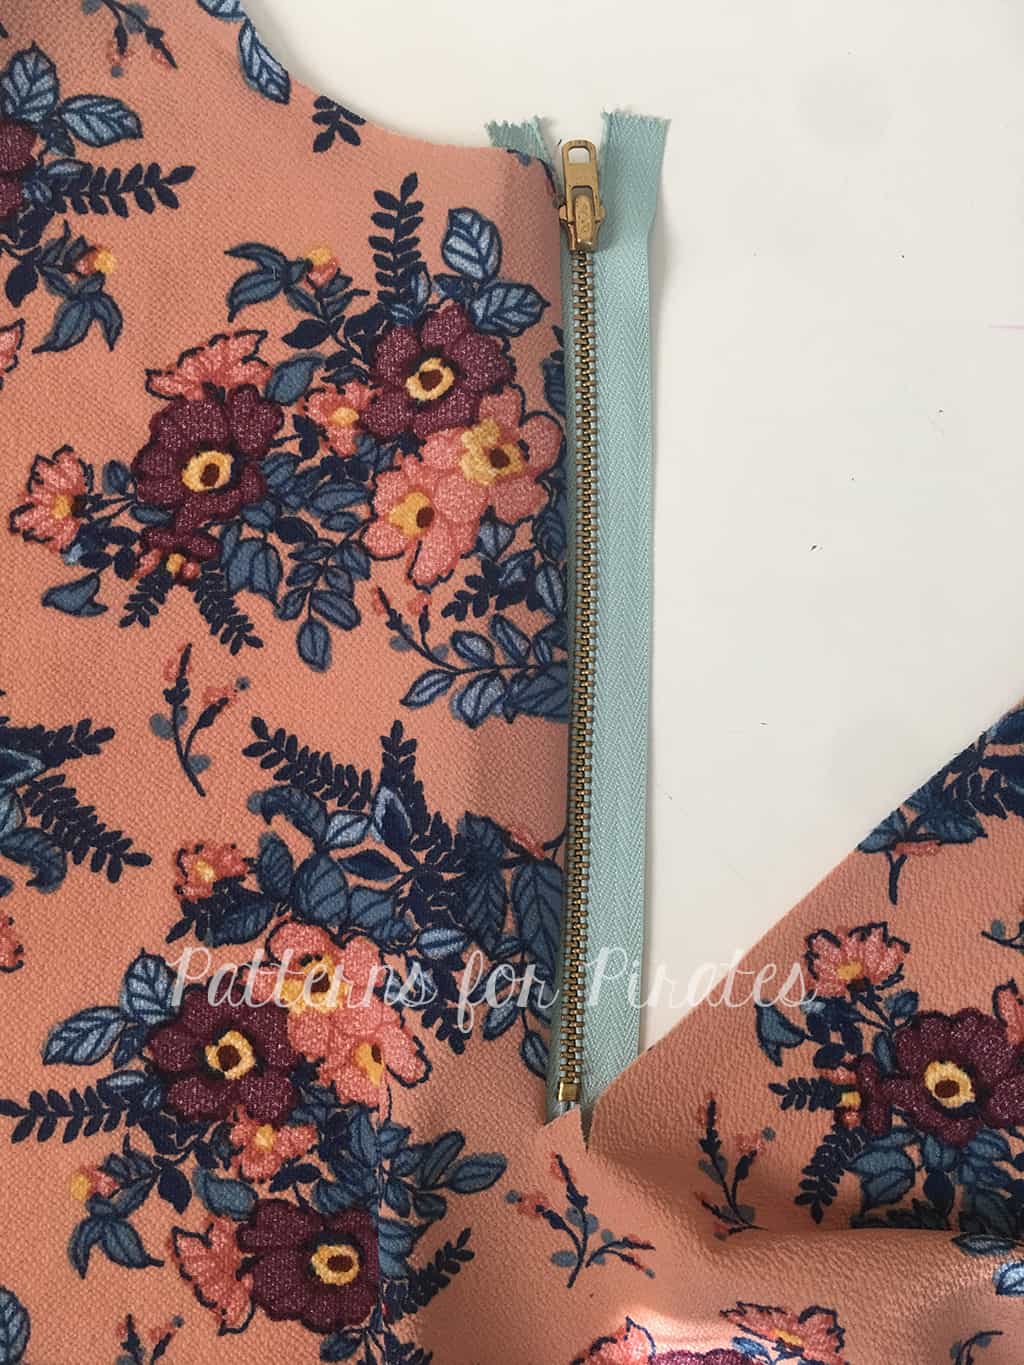
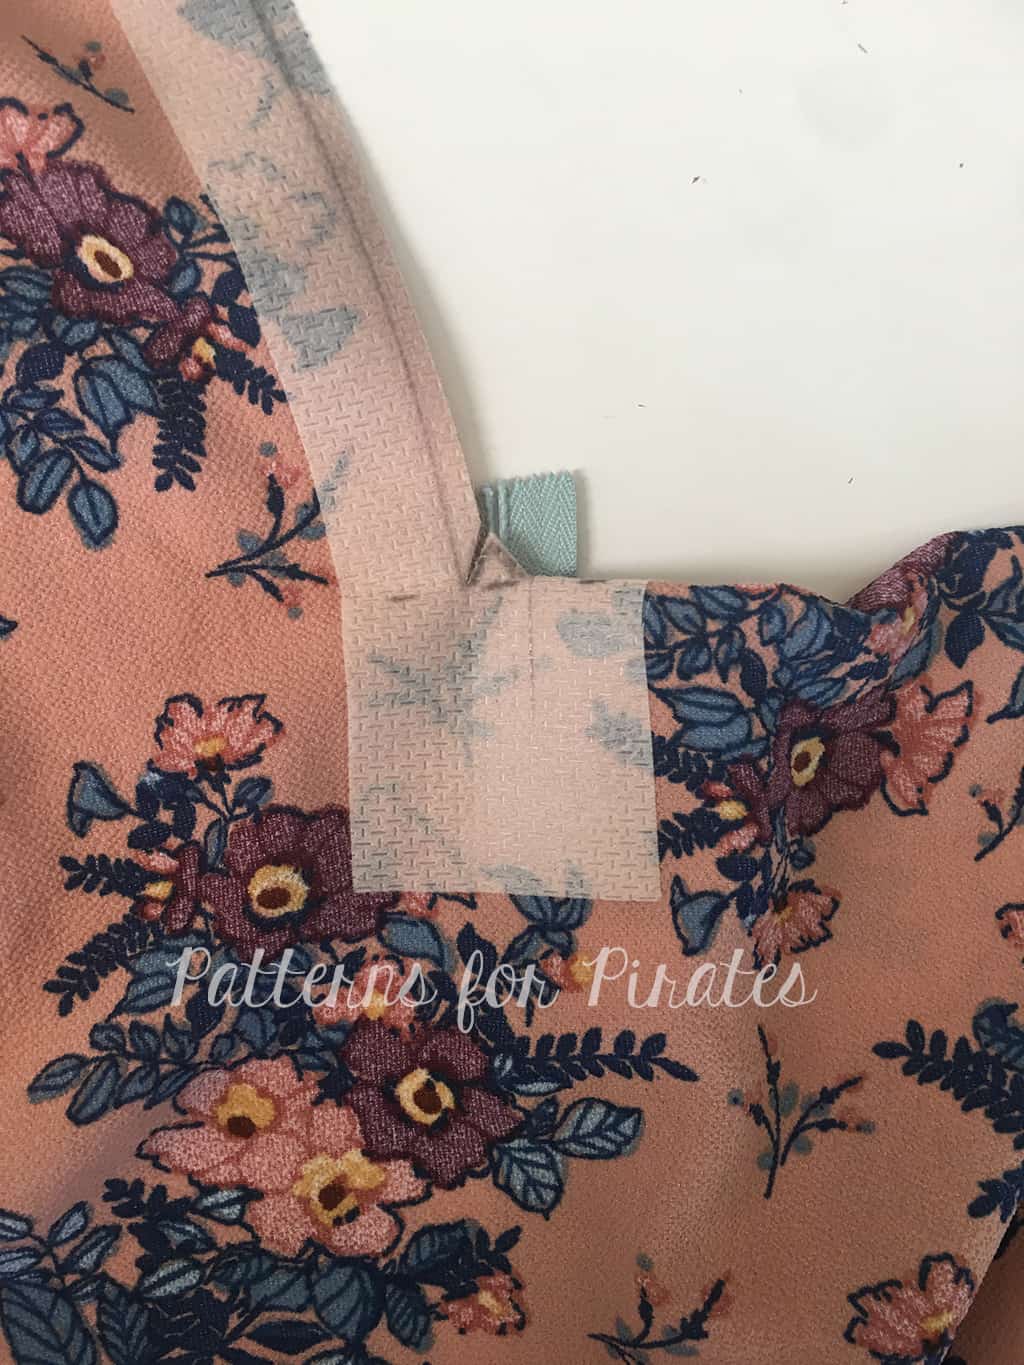
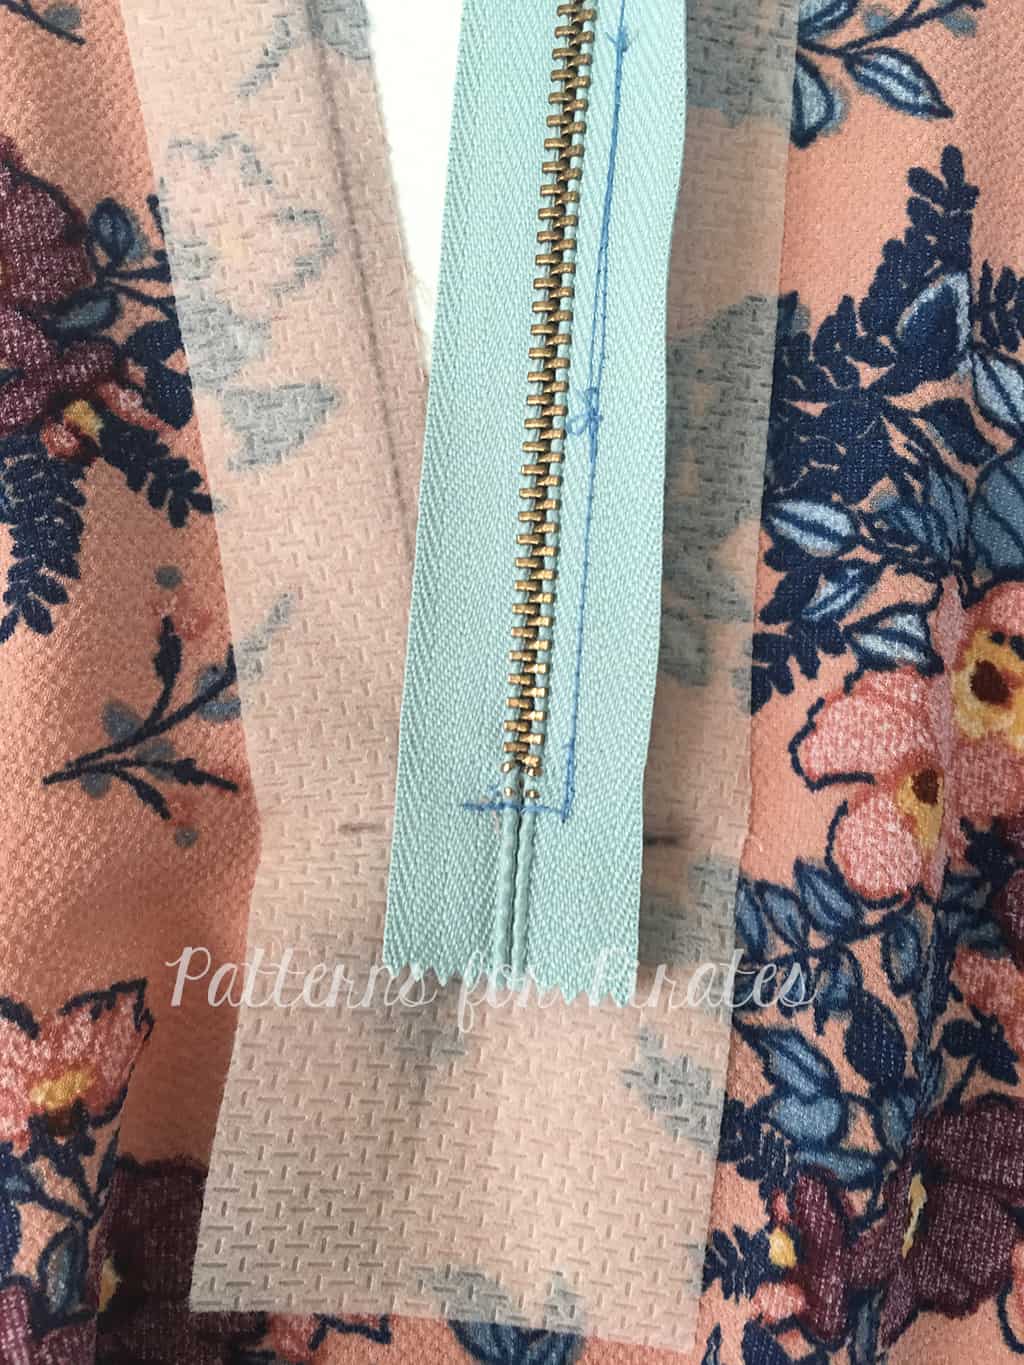
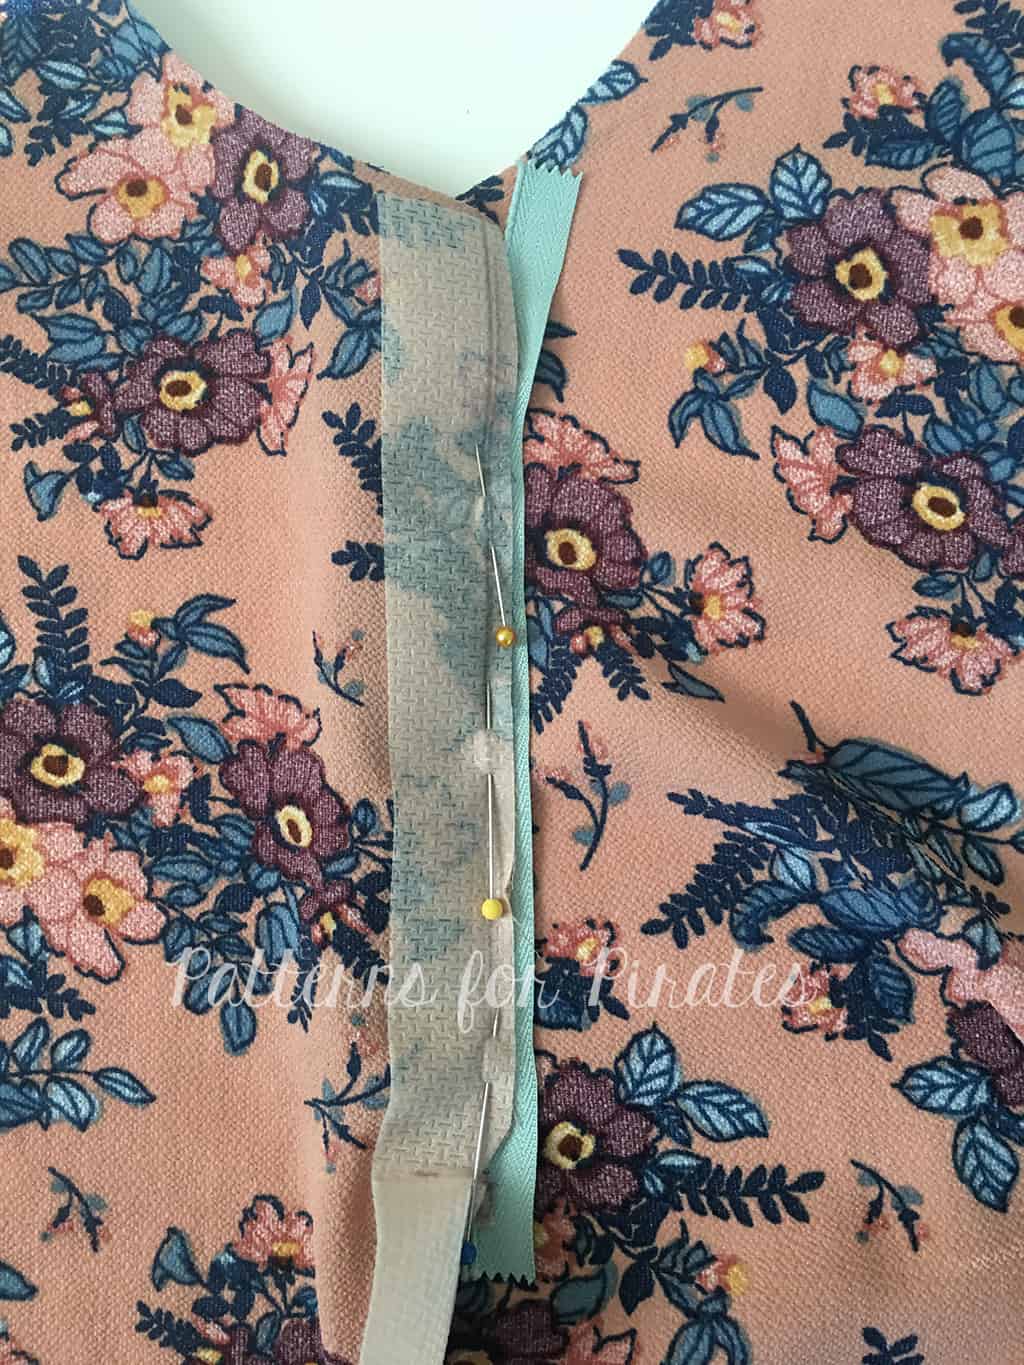
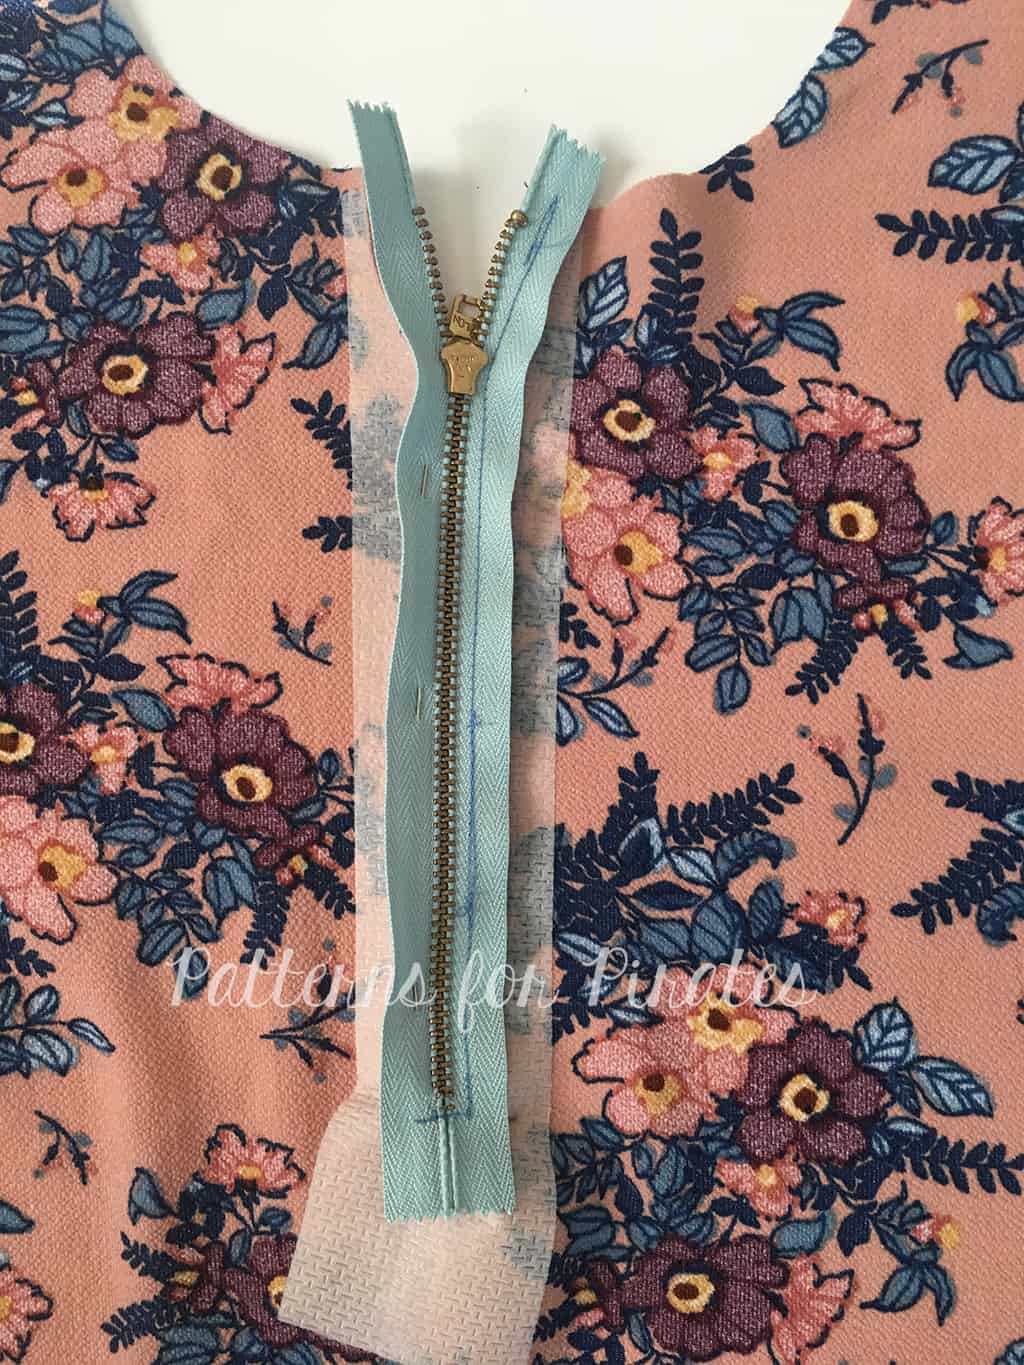
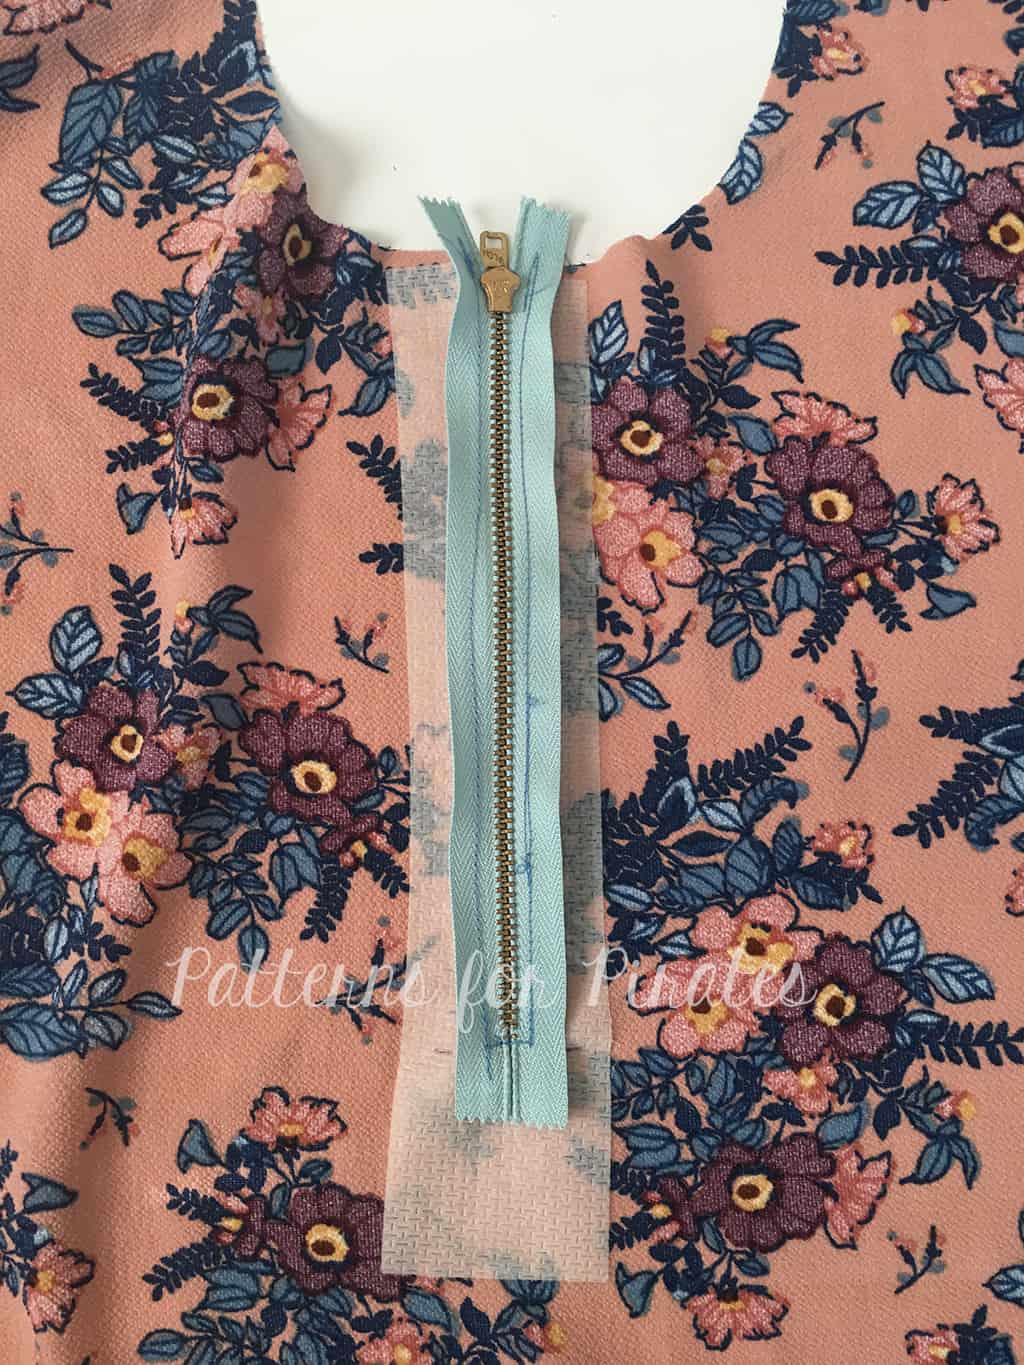
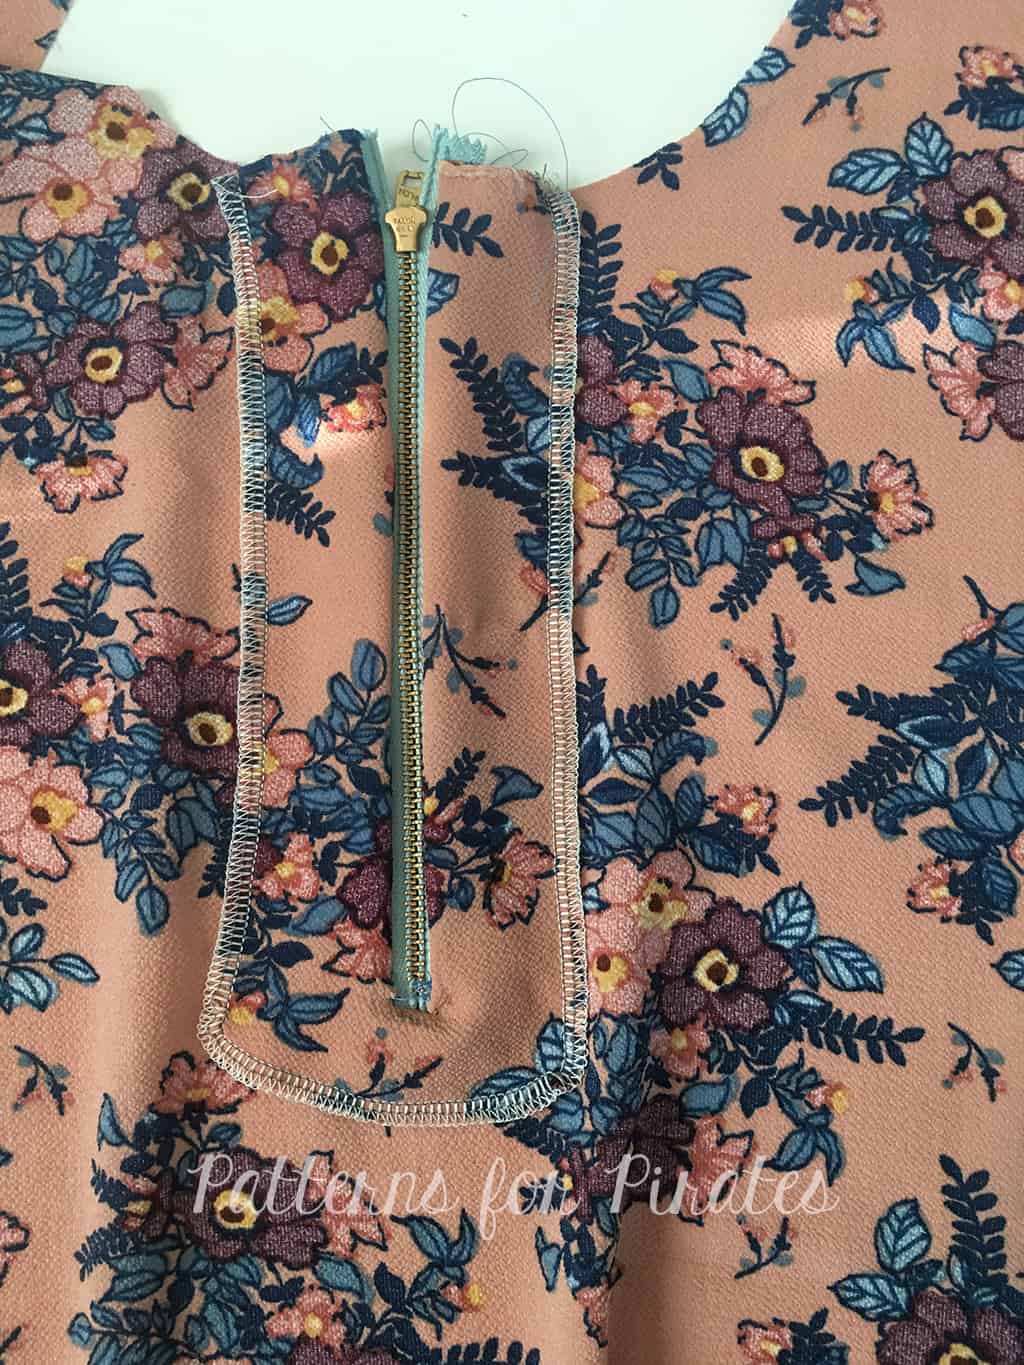
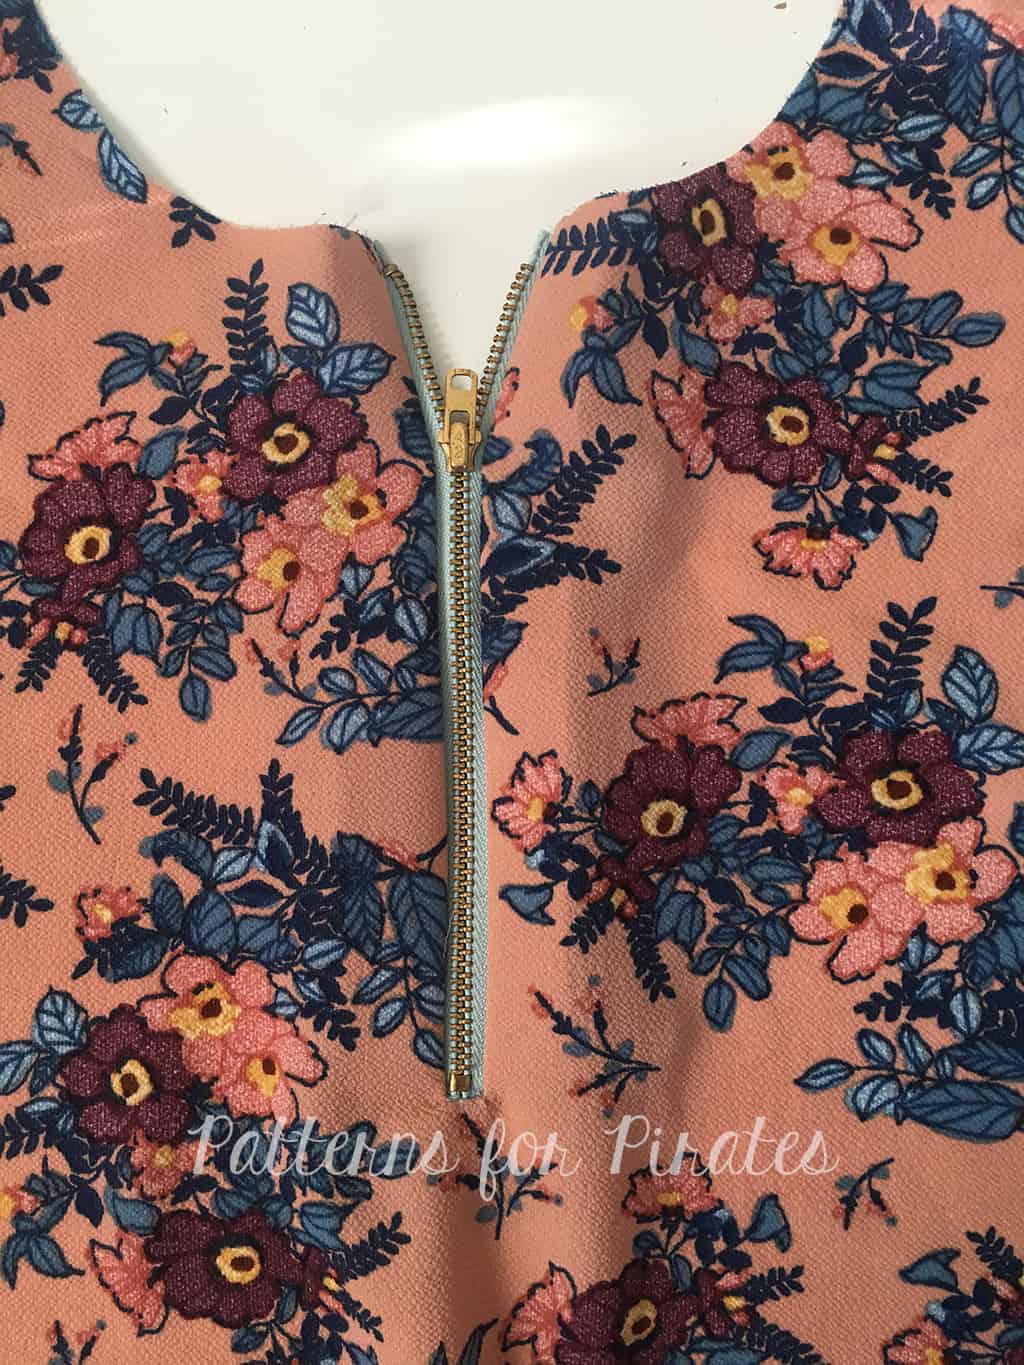
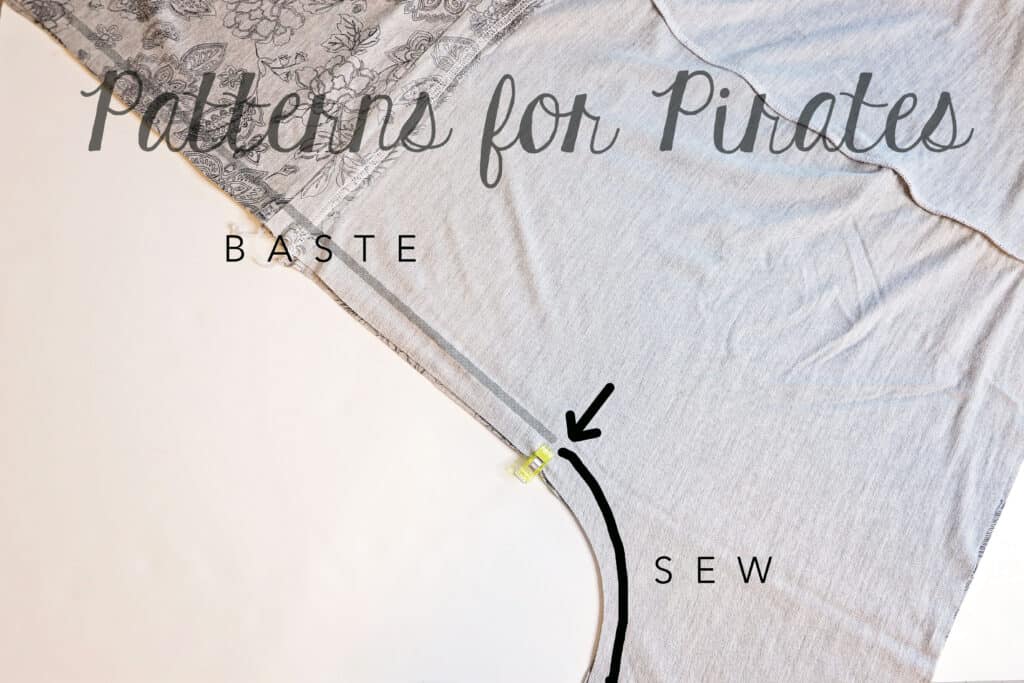
Mark the place of the zipper stop on the wrong sides of the fabric. Place the front of the jumper right sides together matching the front raw edge. Baste in place from the top to the marked point and sew in place down from that point along the front crotch seam. Attach the zipper using the same technique as in the Vintage Jumper tutorial.
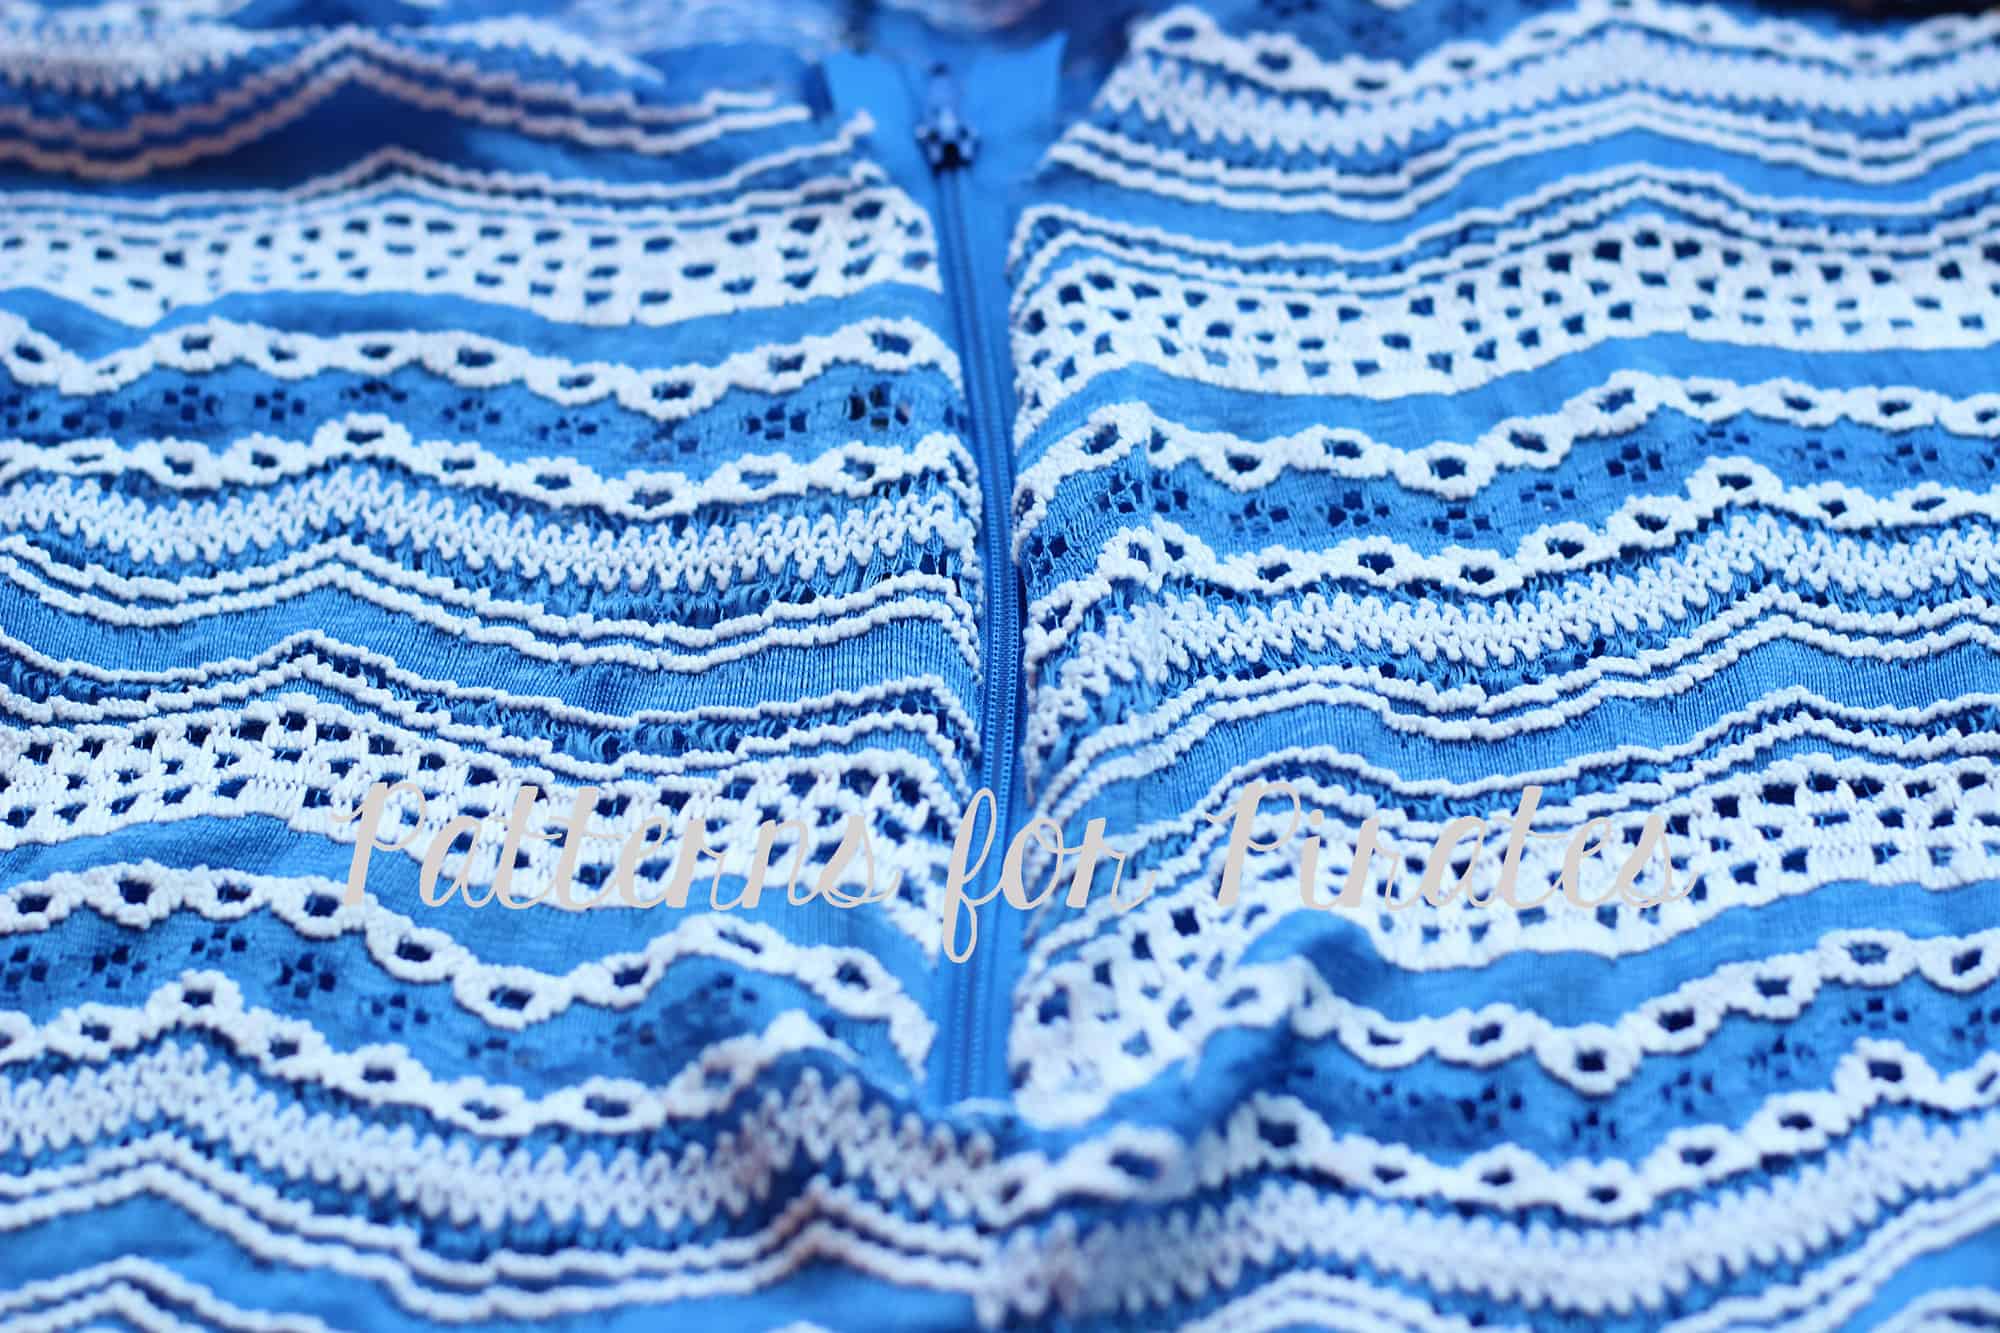
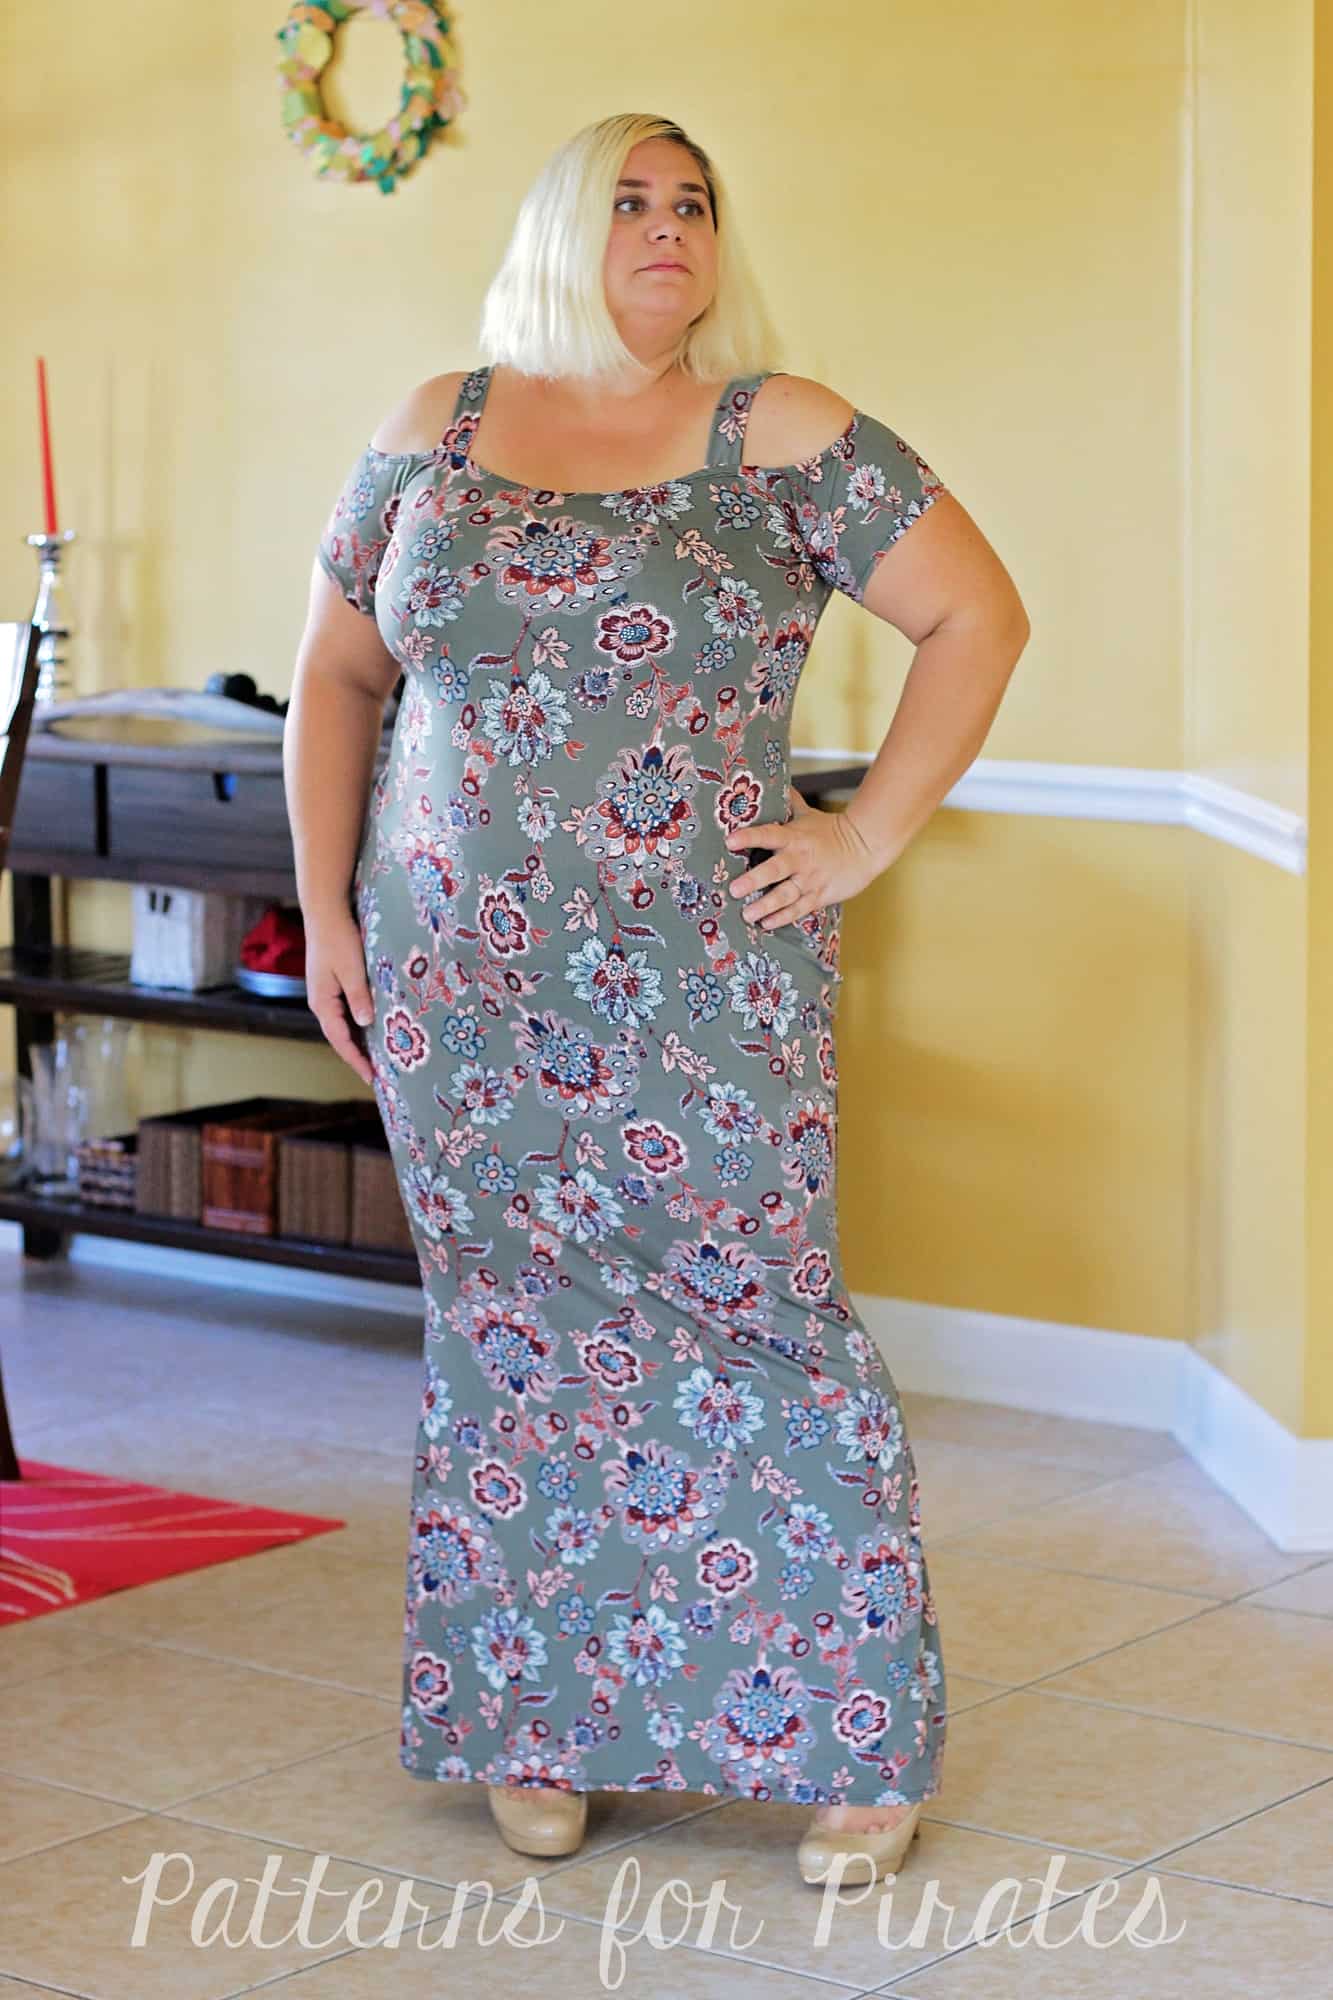
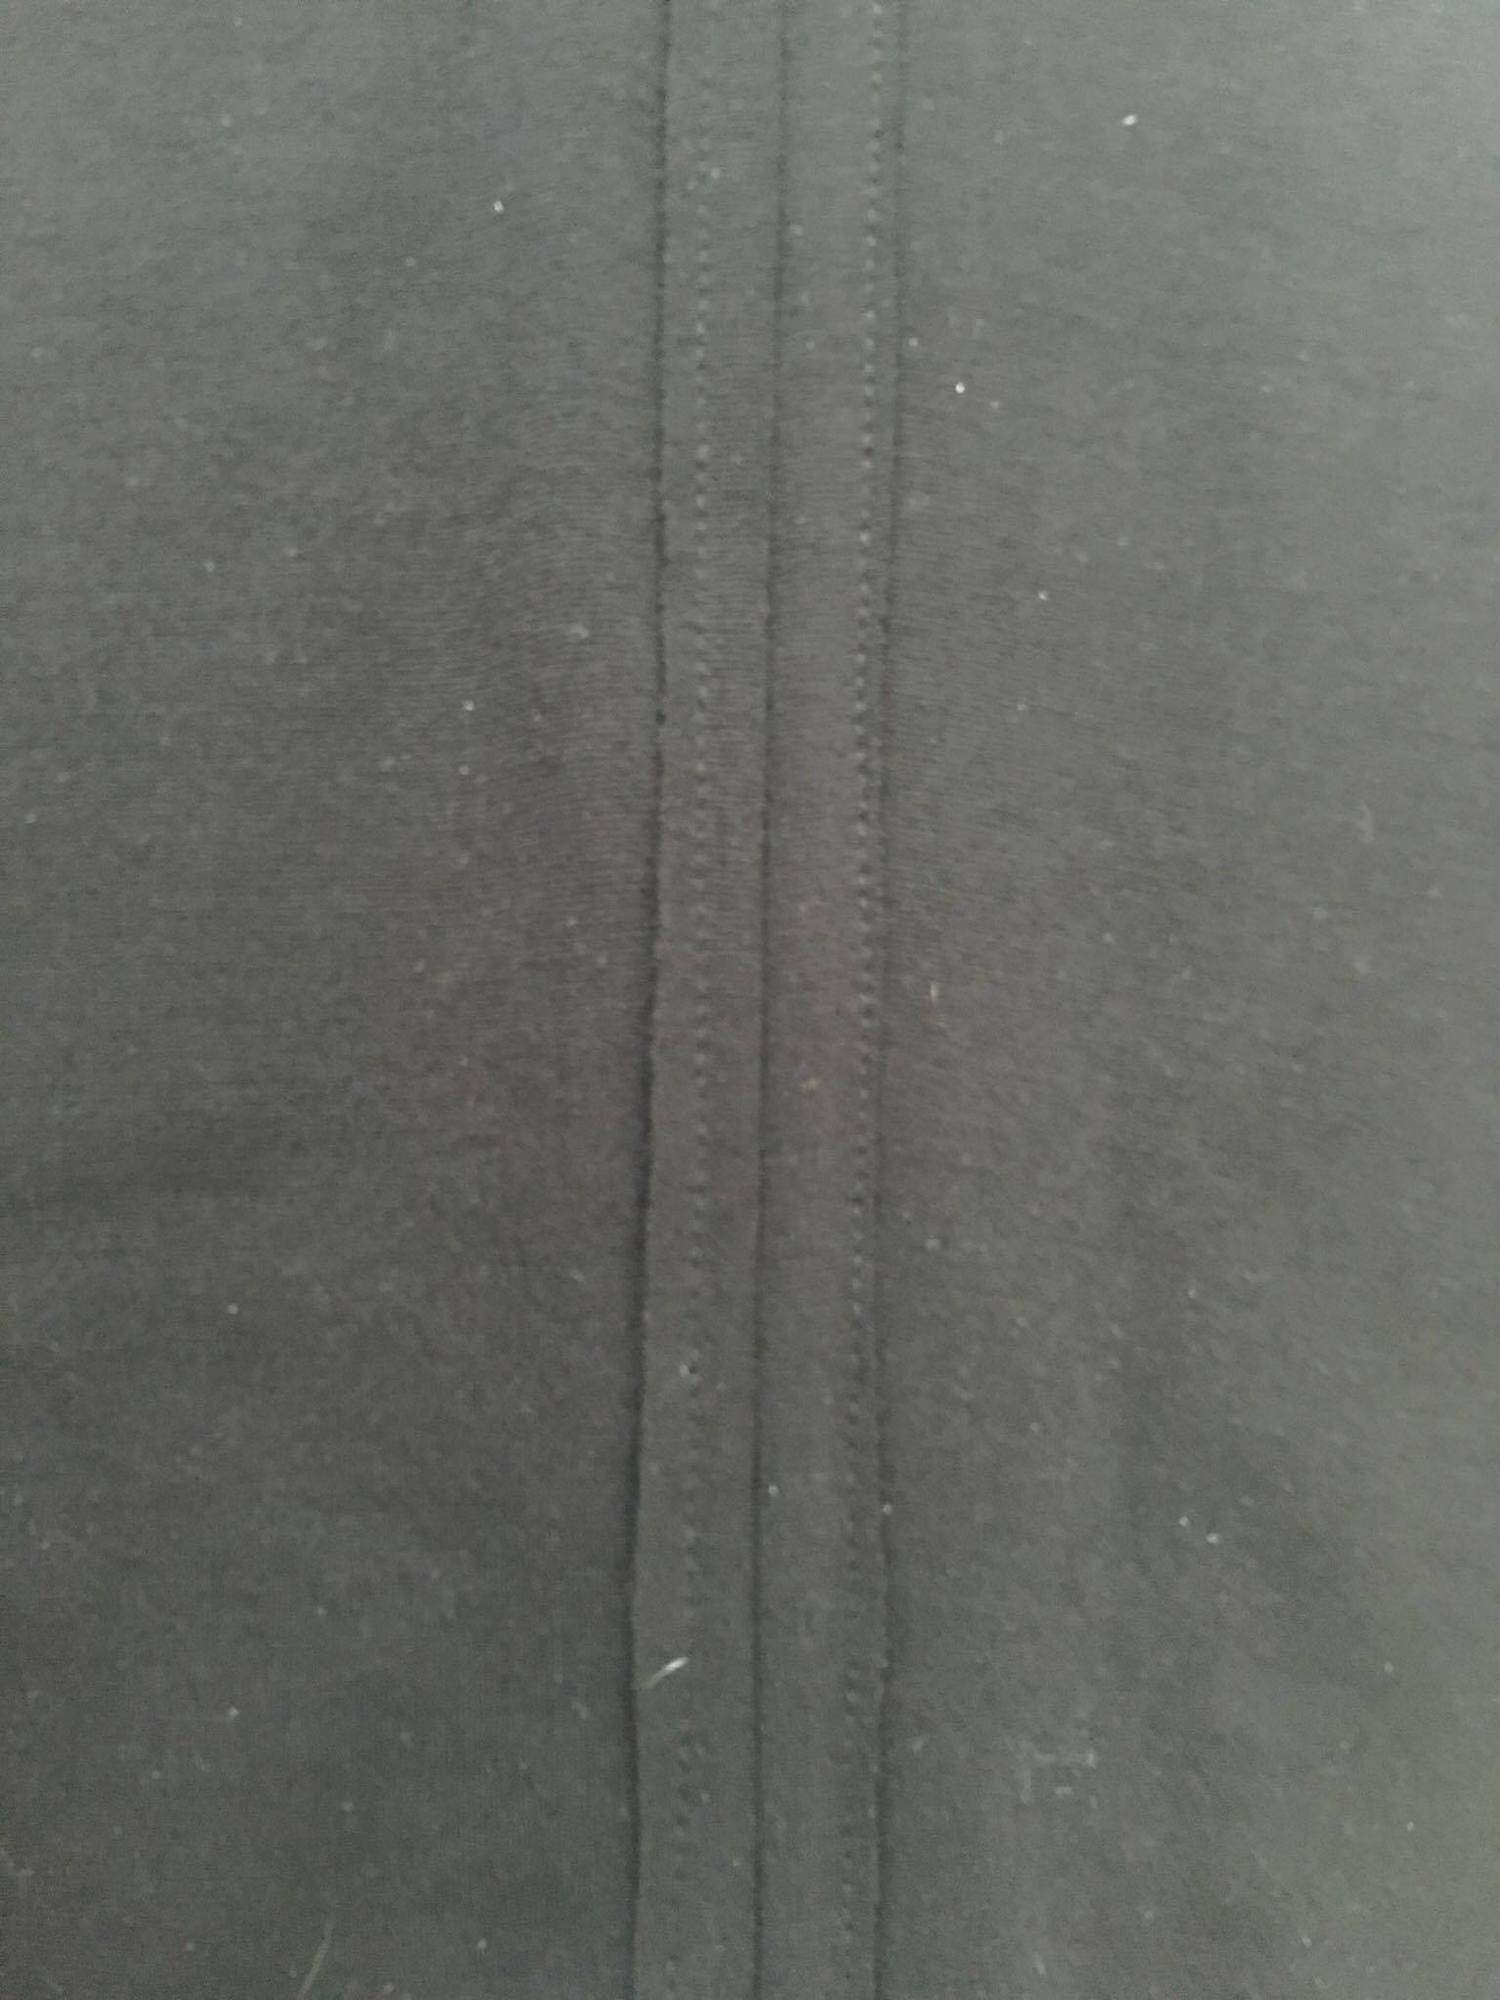
Finish your jumper by attaching the straps to the front and hemming. All done! I can’t wait to see your take on this hack.
….
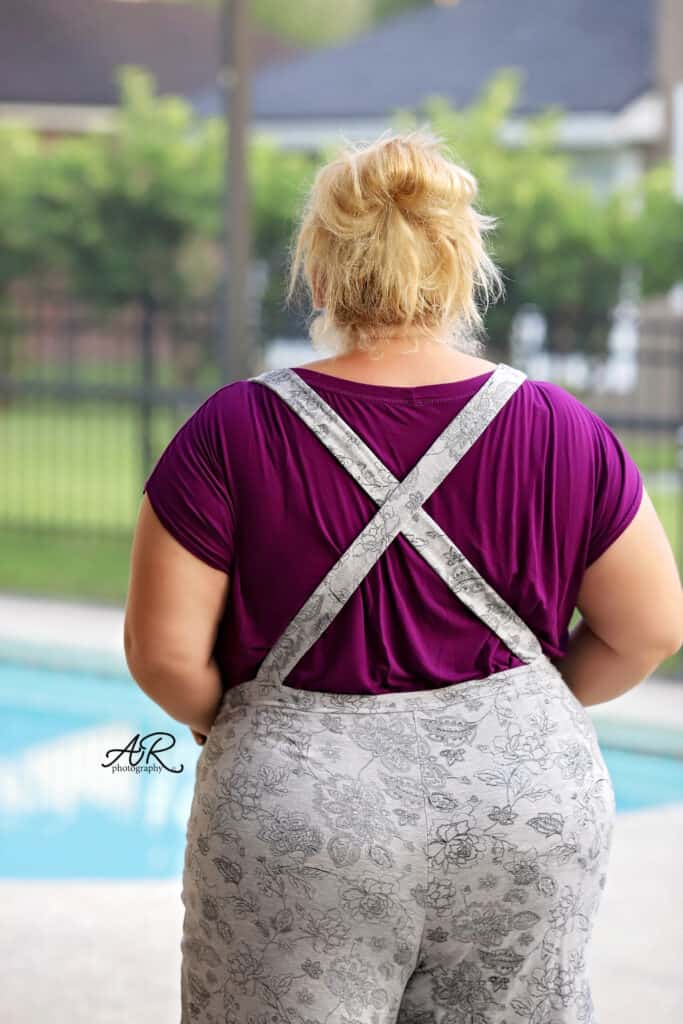
Overall buckles
Love the Vintage Jumper, but you’re terrified of button holes? Never fear! Buckles are here!

Adding buckles as a button replacement is an easy and super cute hack… no extra sewing involved!
For the Vintage Jumper, you’ll need 1 ¼” buckles. I ordered mine from WAWAK and they came within 2 days, but you can also order from Amazon or pick them up in your local fabric store.
I’ve put together a video tutorial, but if you prefer written instructions, just scroll a bit further!
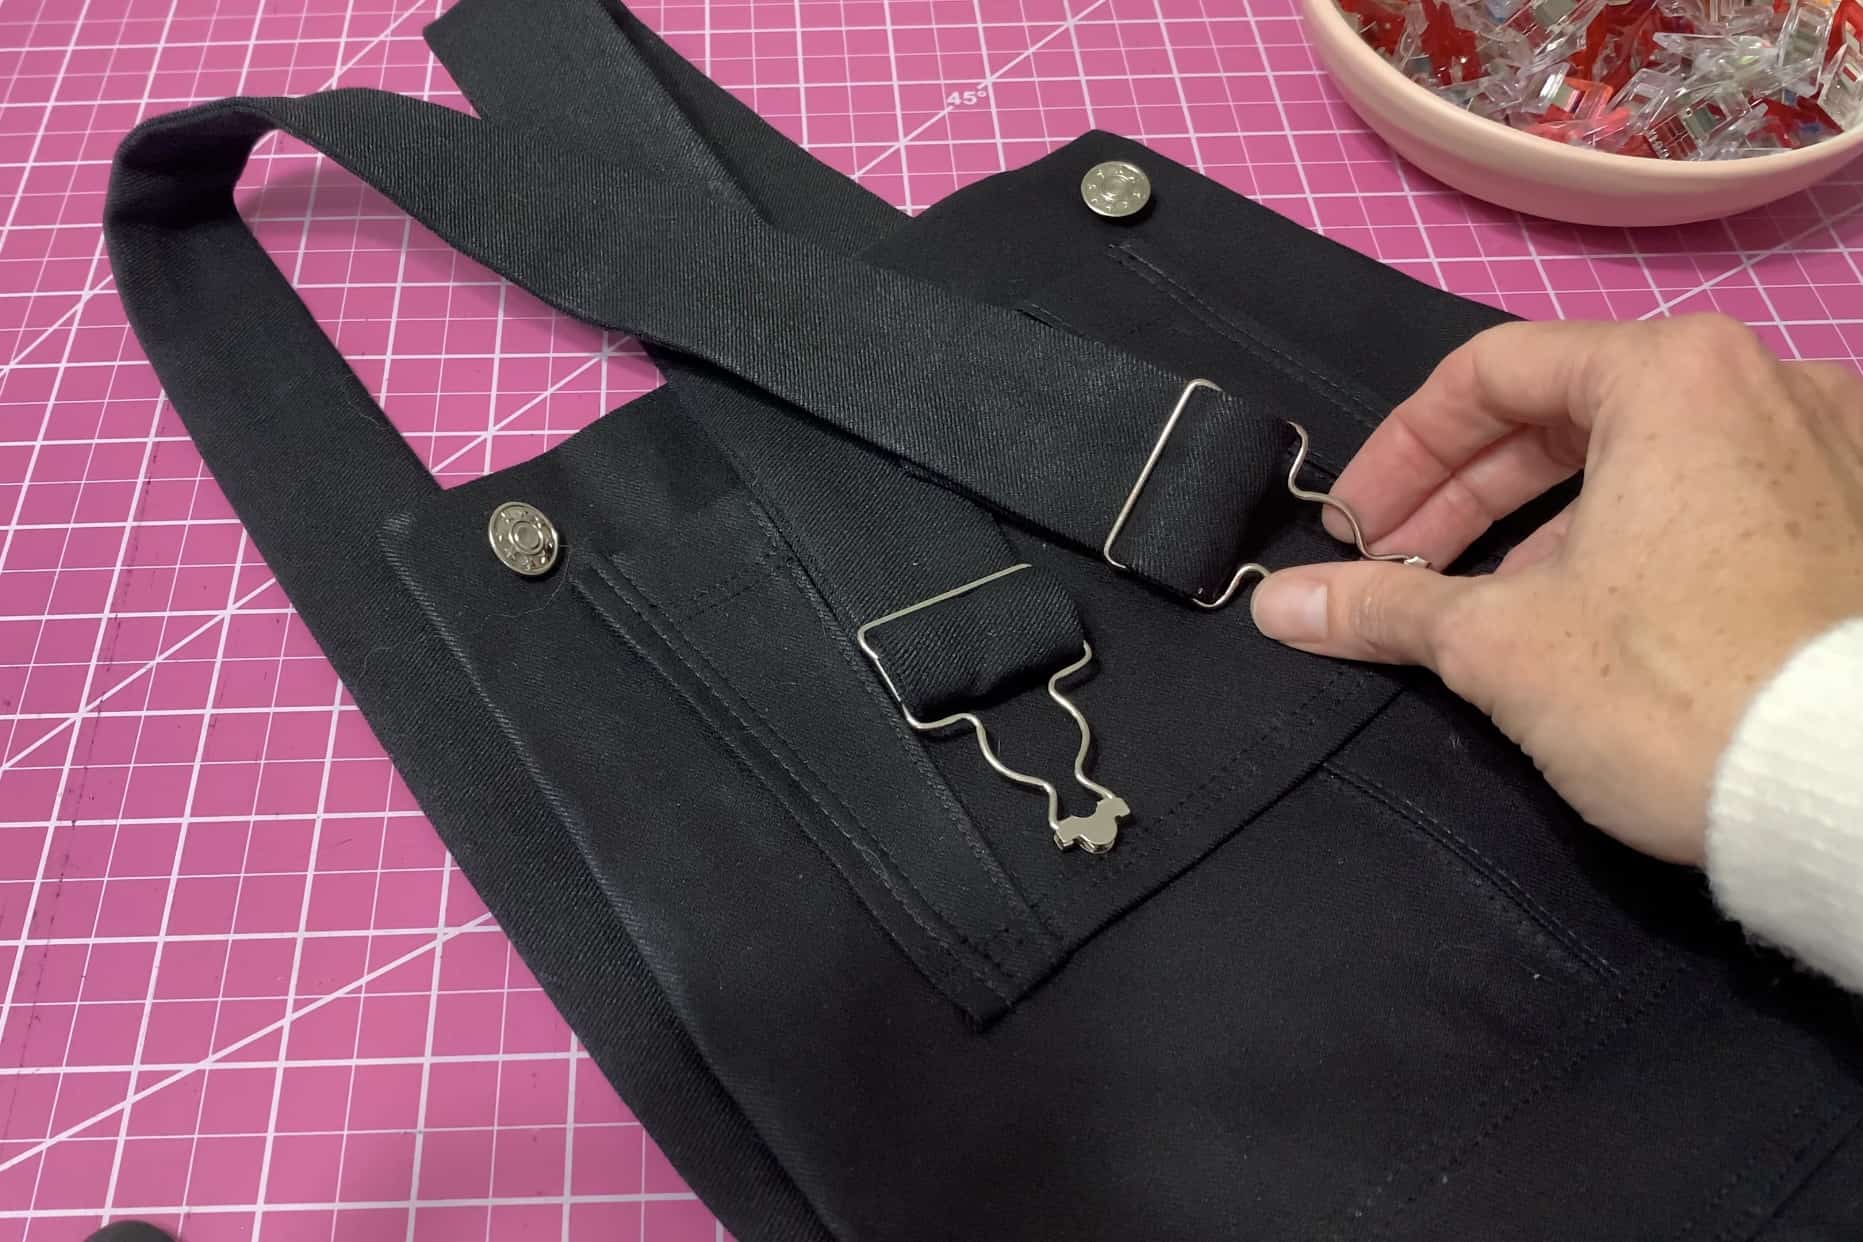
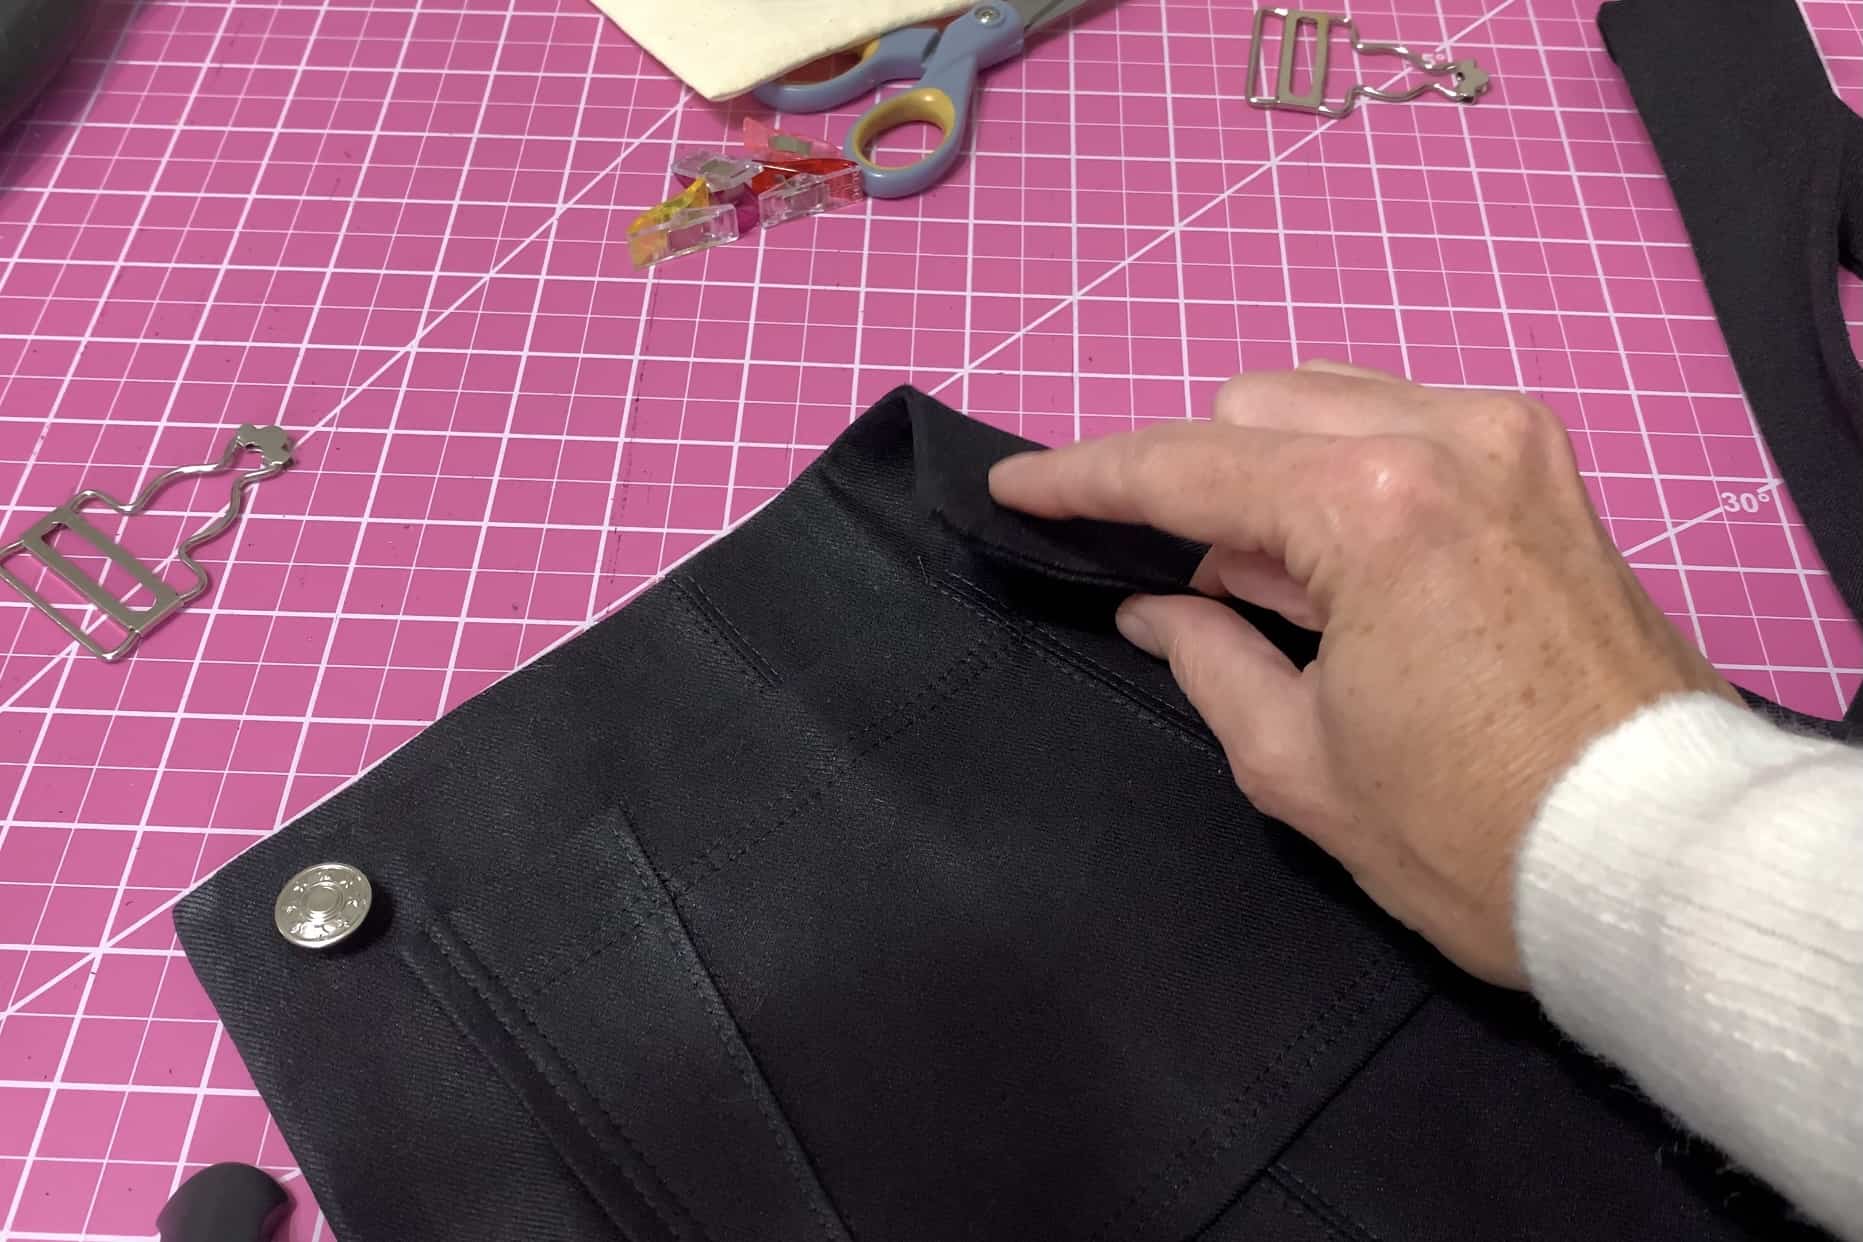
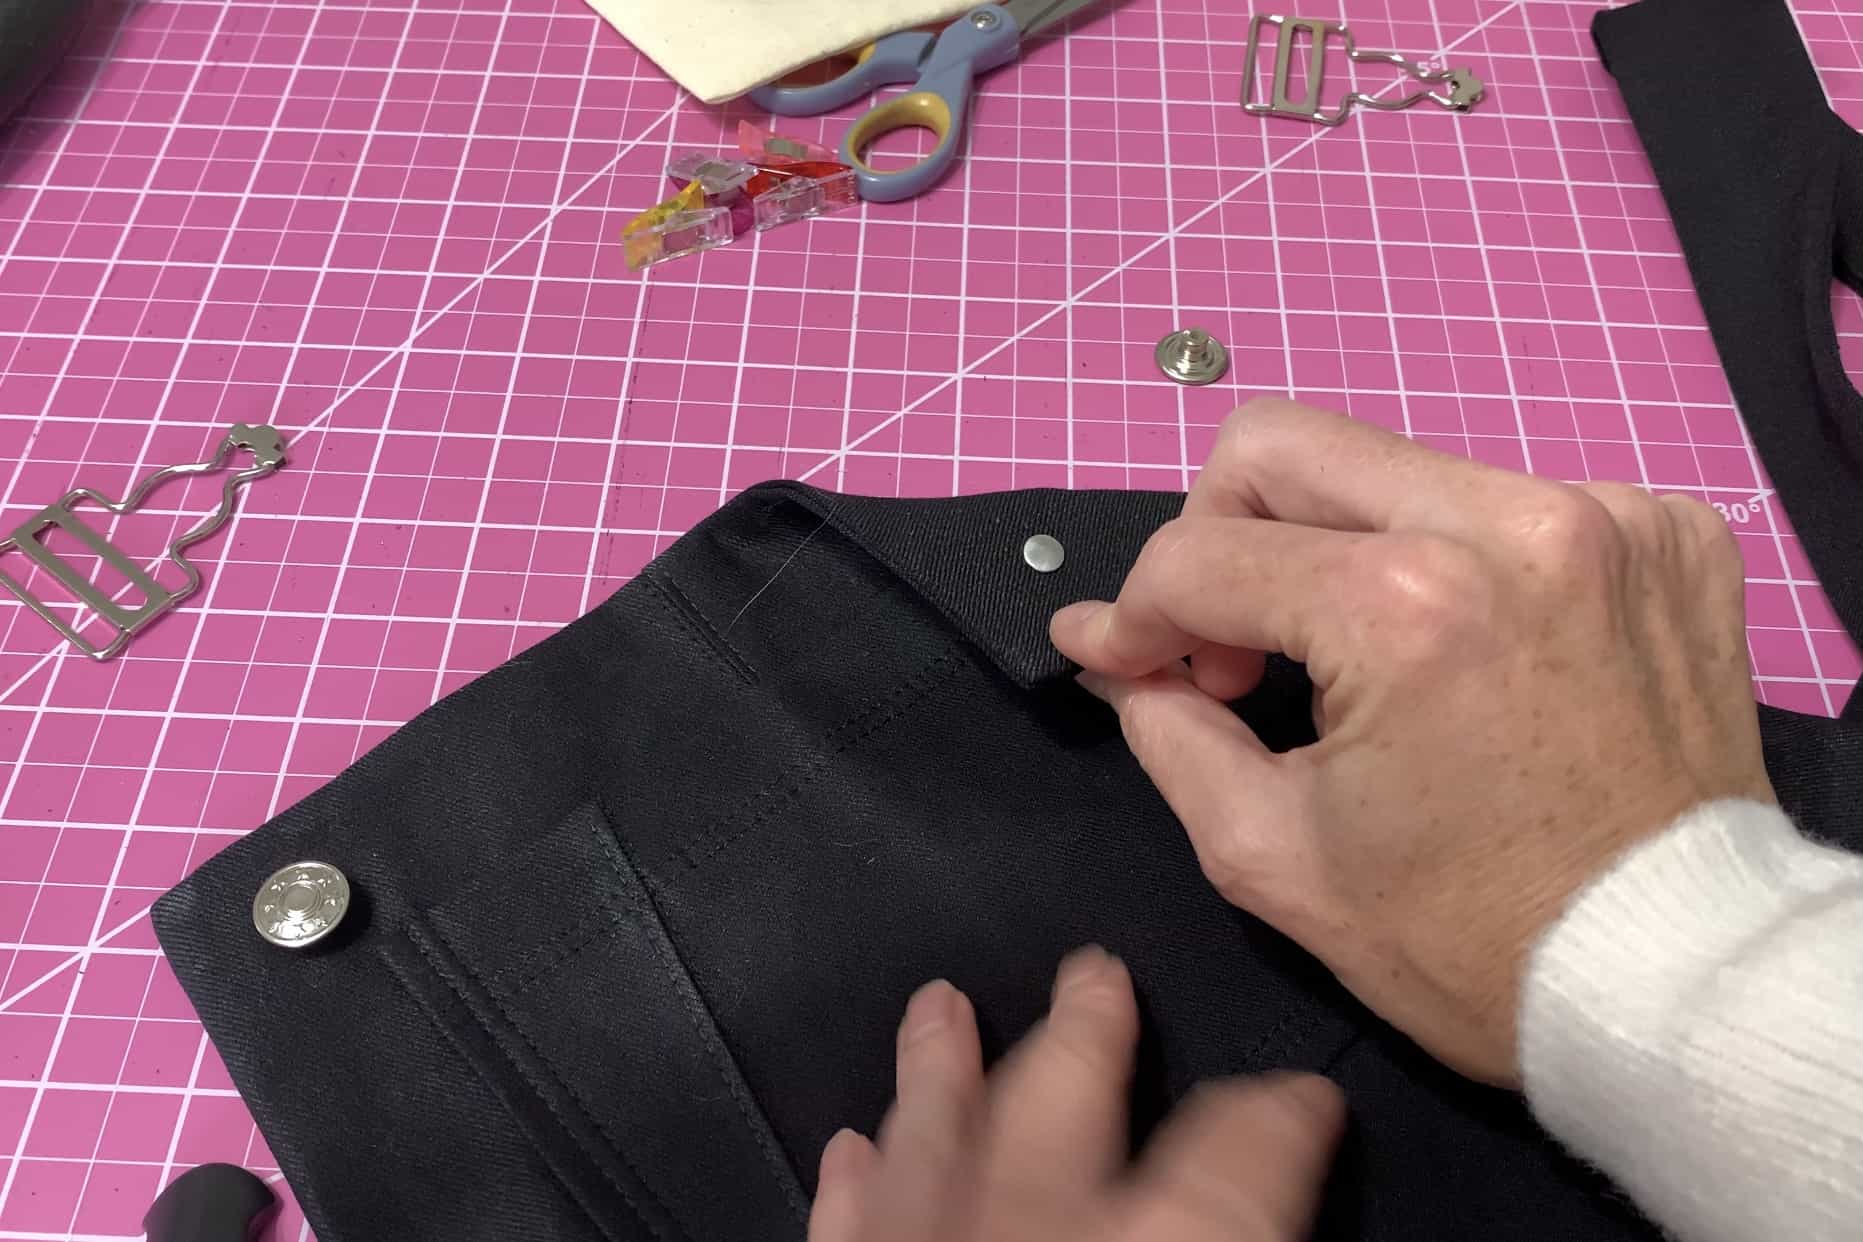
Mark your button placement on the bib with tailor’s chalk, 1” from the top and side edge of the bib.
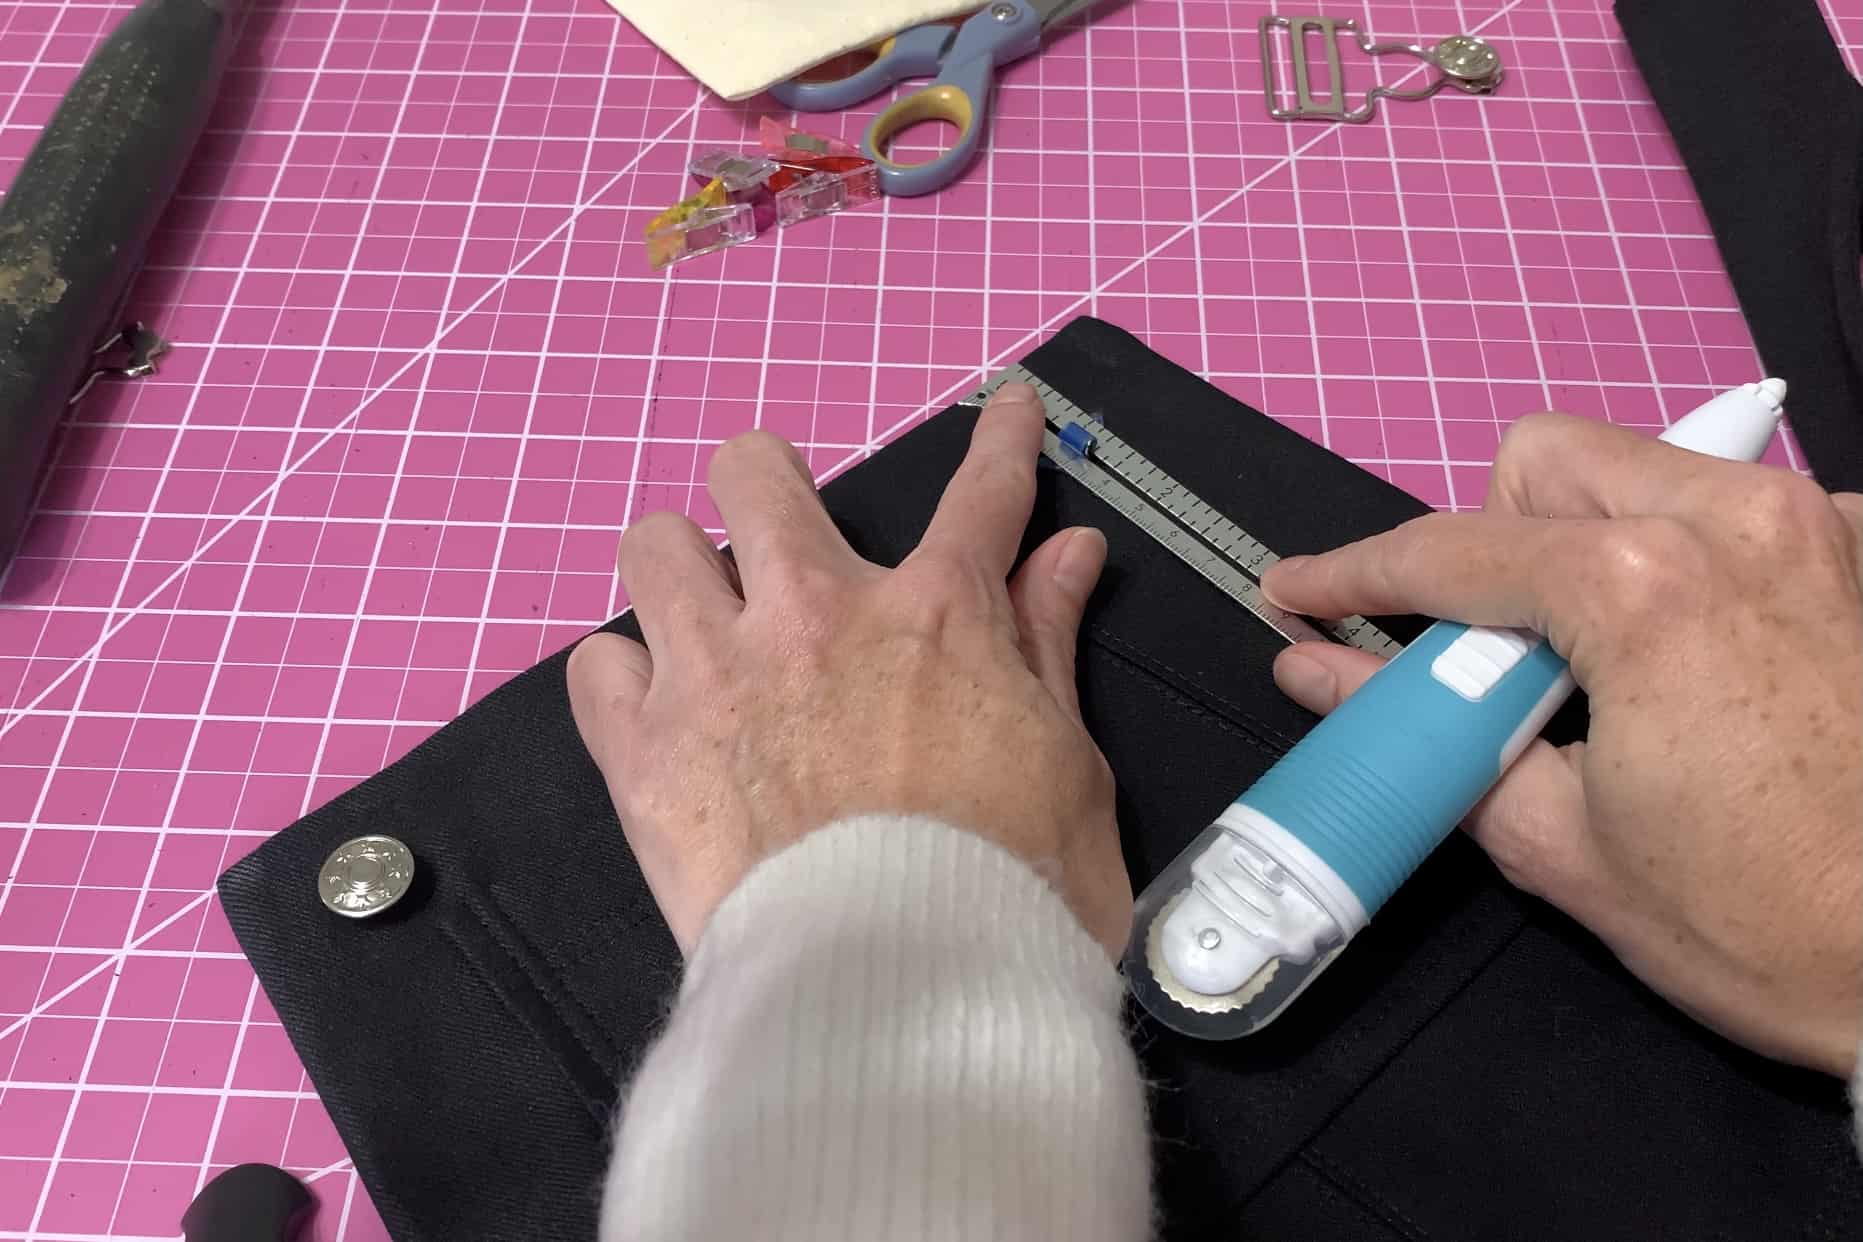
Take your button post and push it through the backside of your bib, at your chalk mark, going through all layers of your fabric.
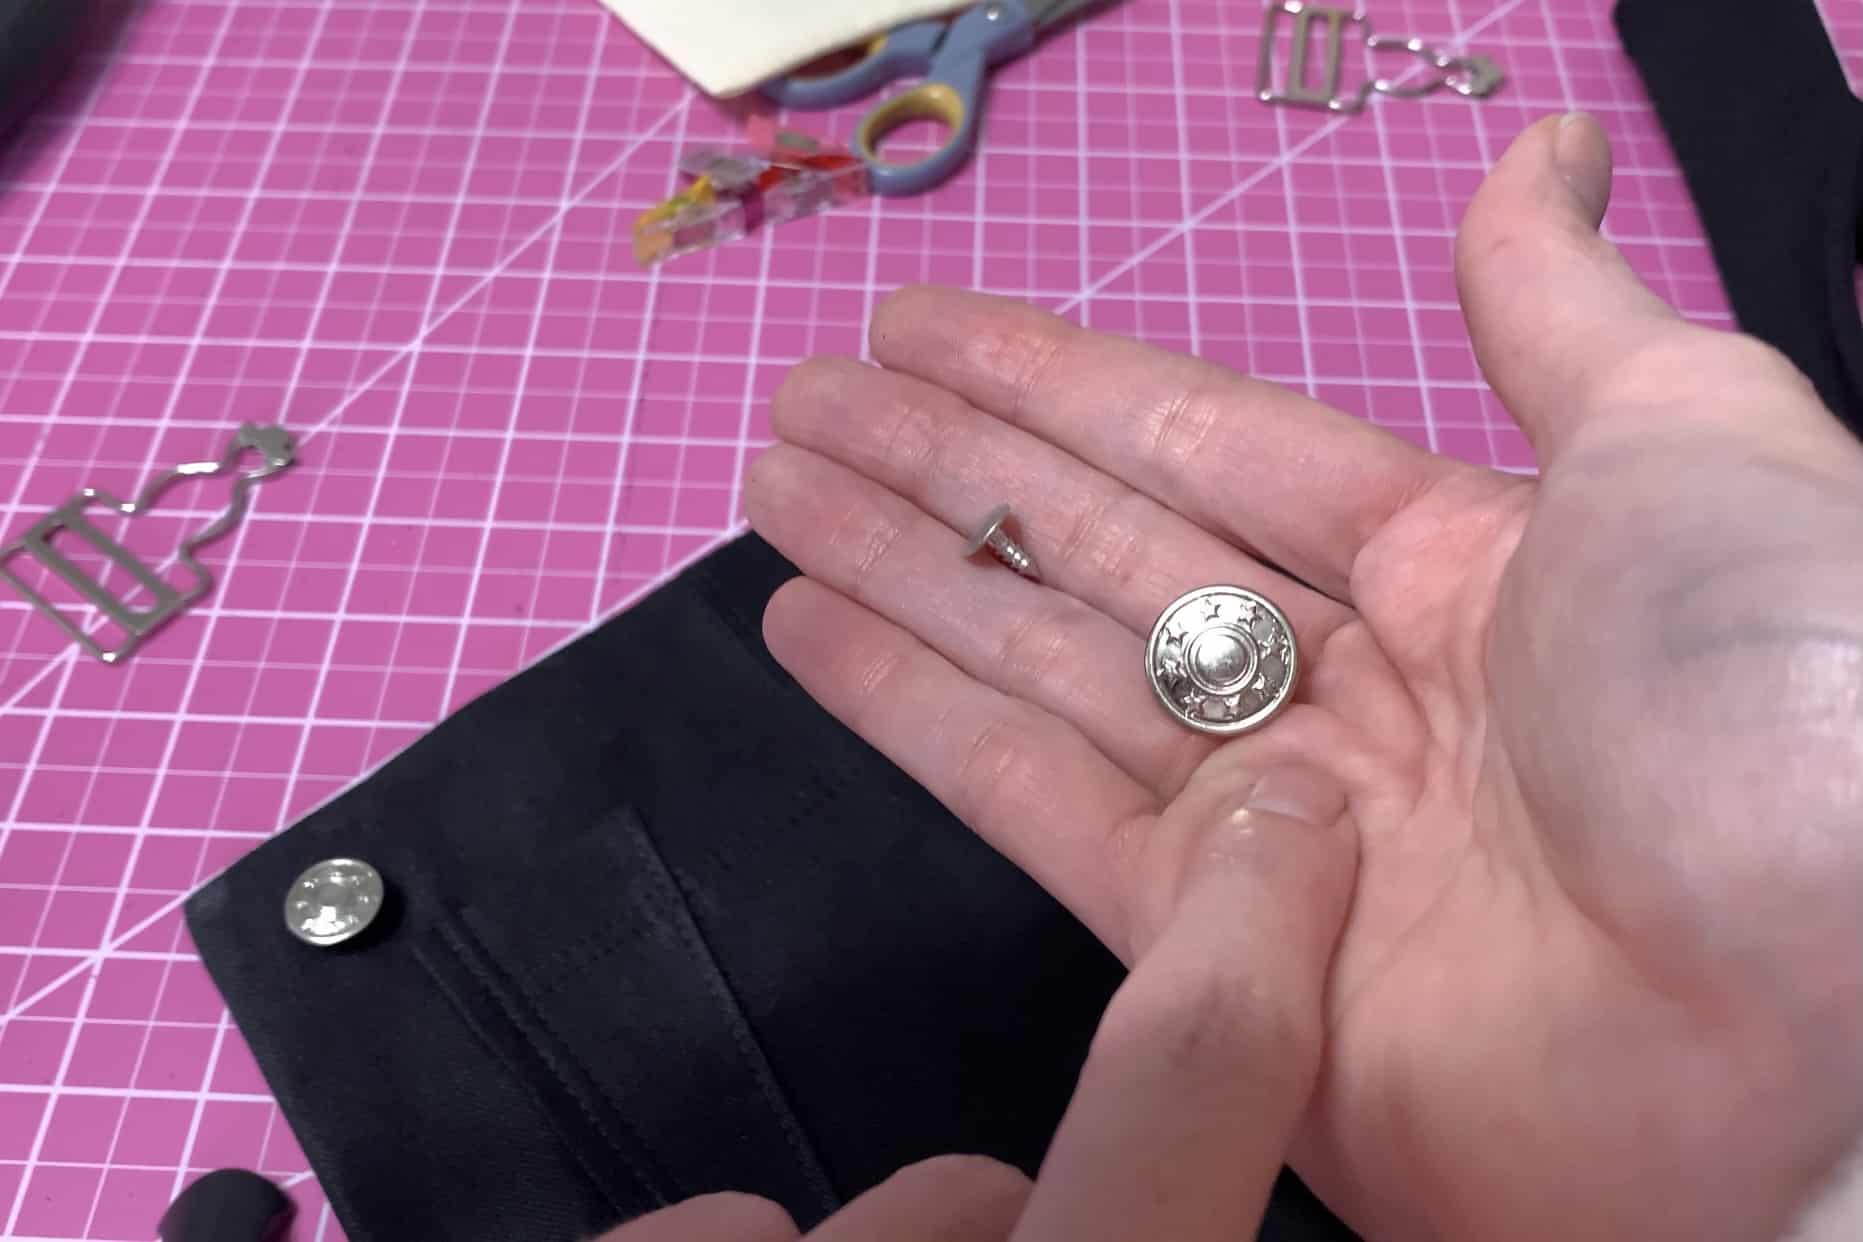
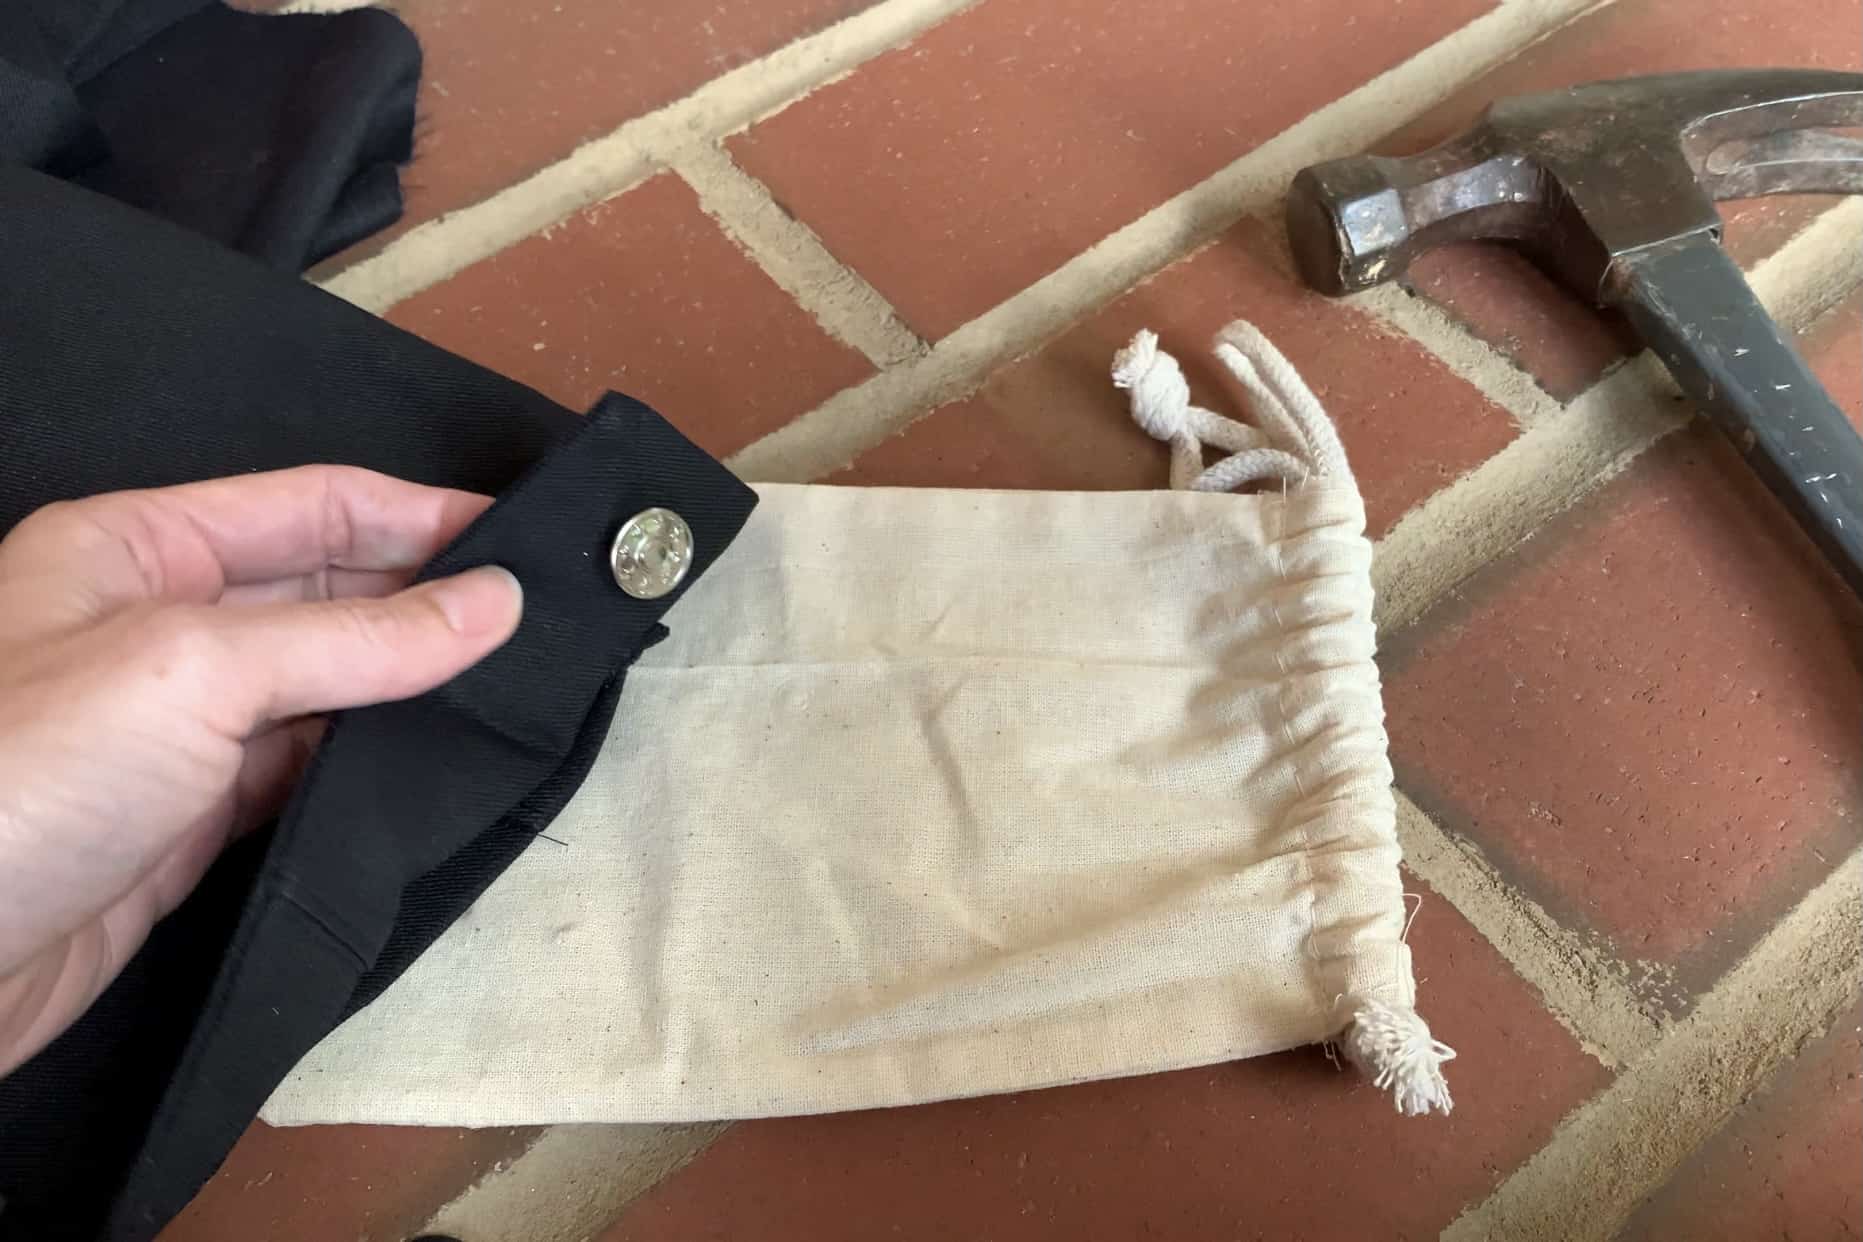
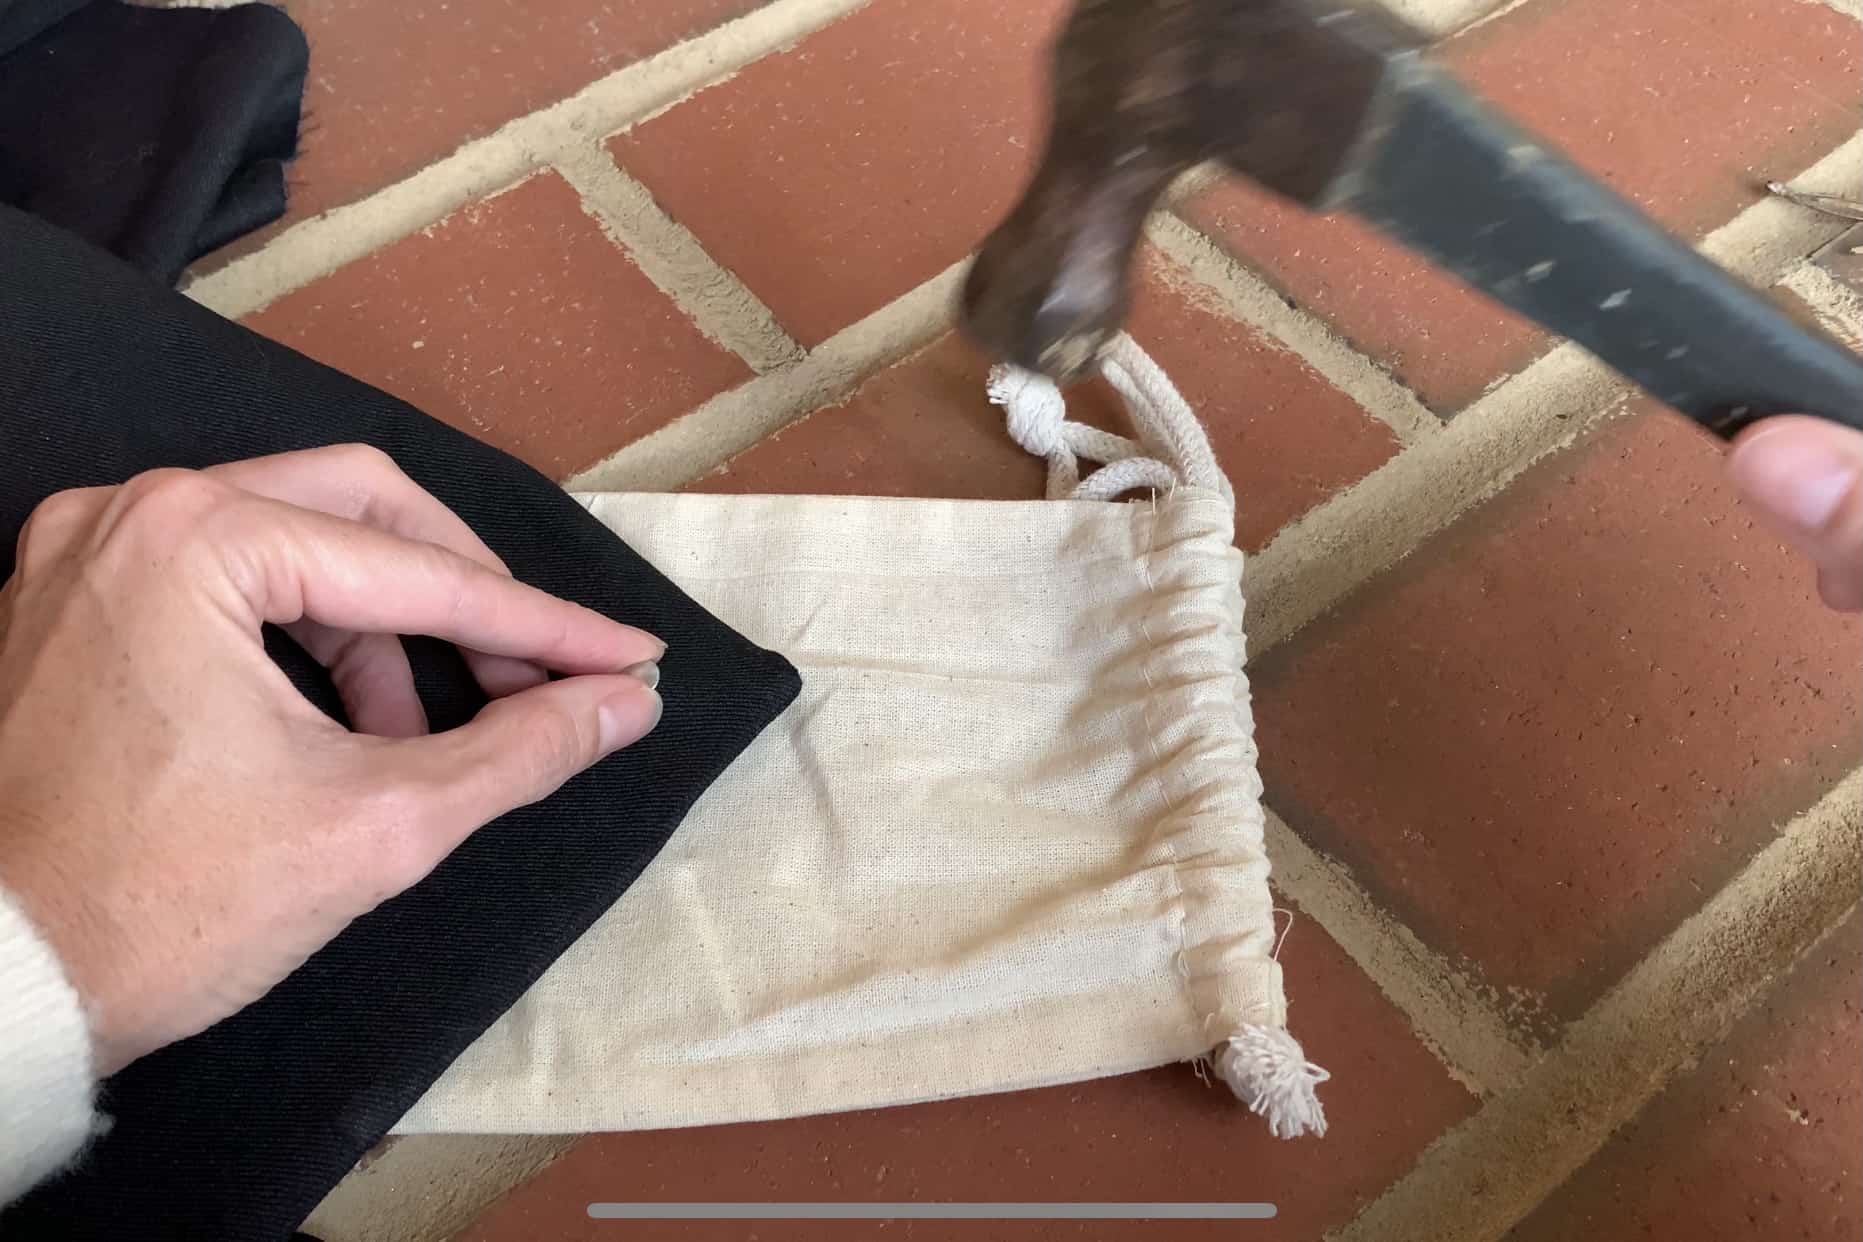
Protecting the front side of your button (as I’ve done here with a simple cloth bag), hammer the button post into the button.
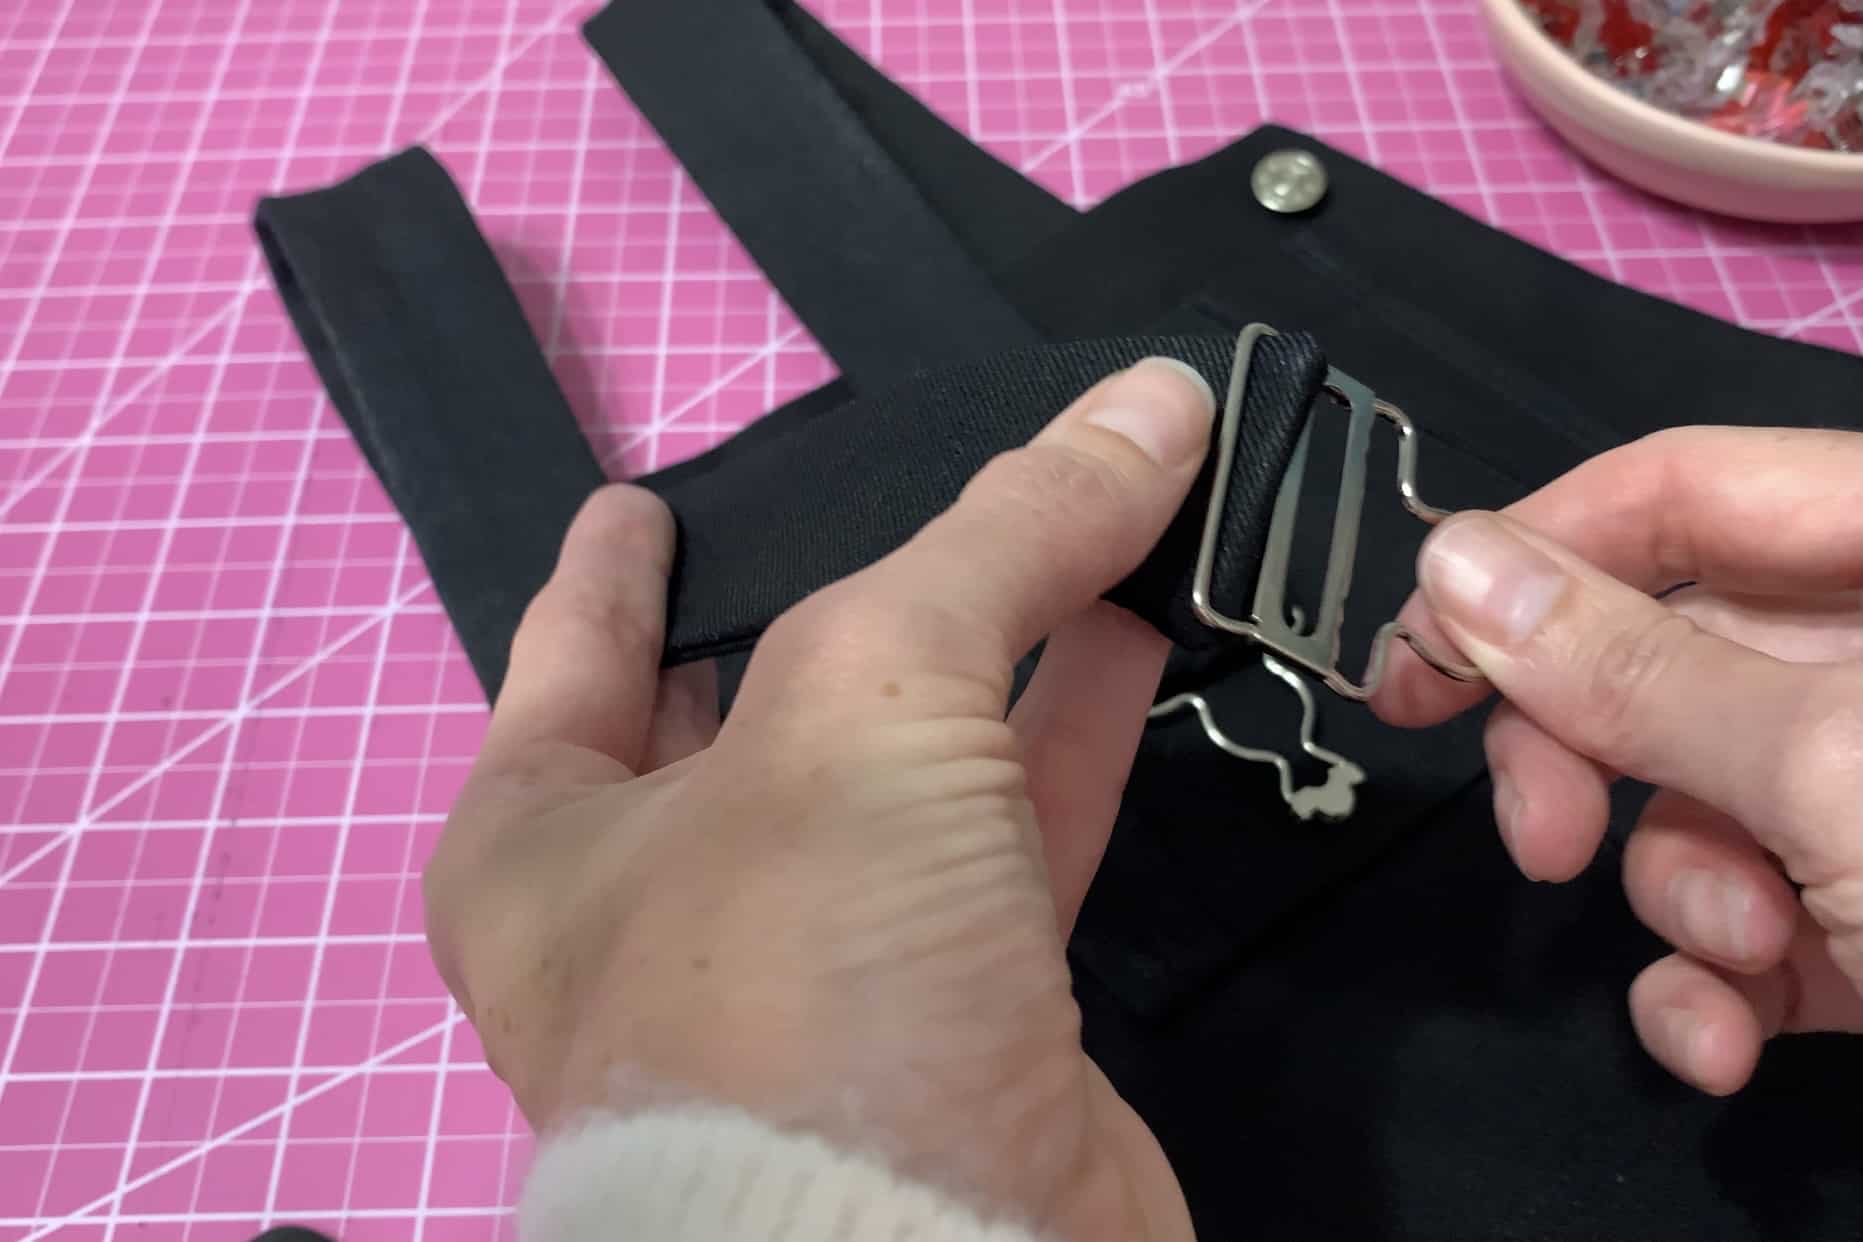
Thread your straps through the buckles, starting with the top…
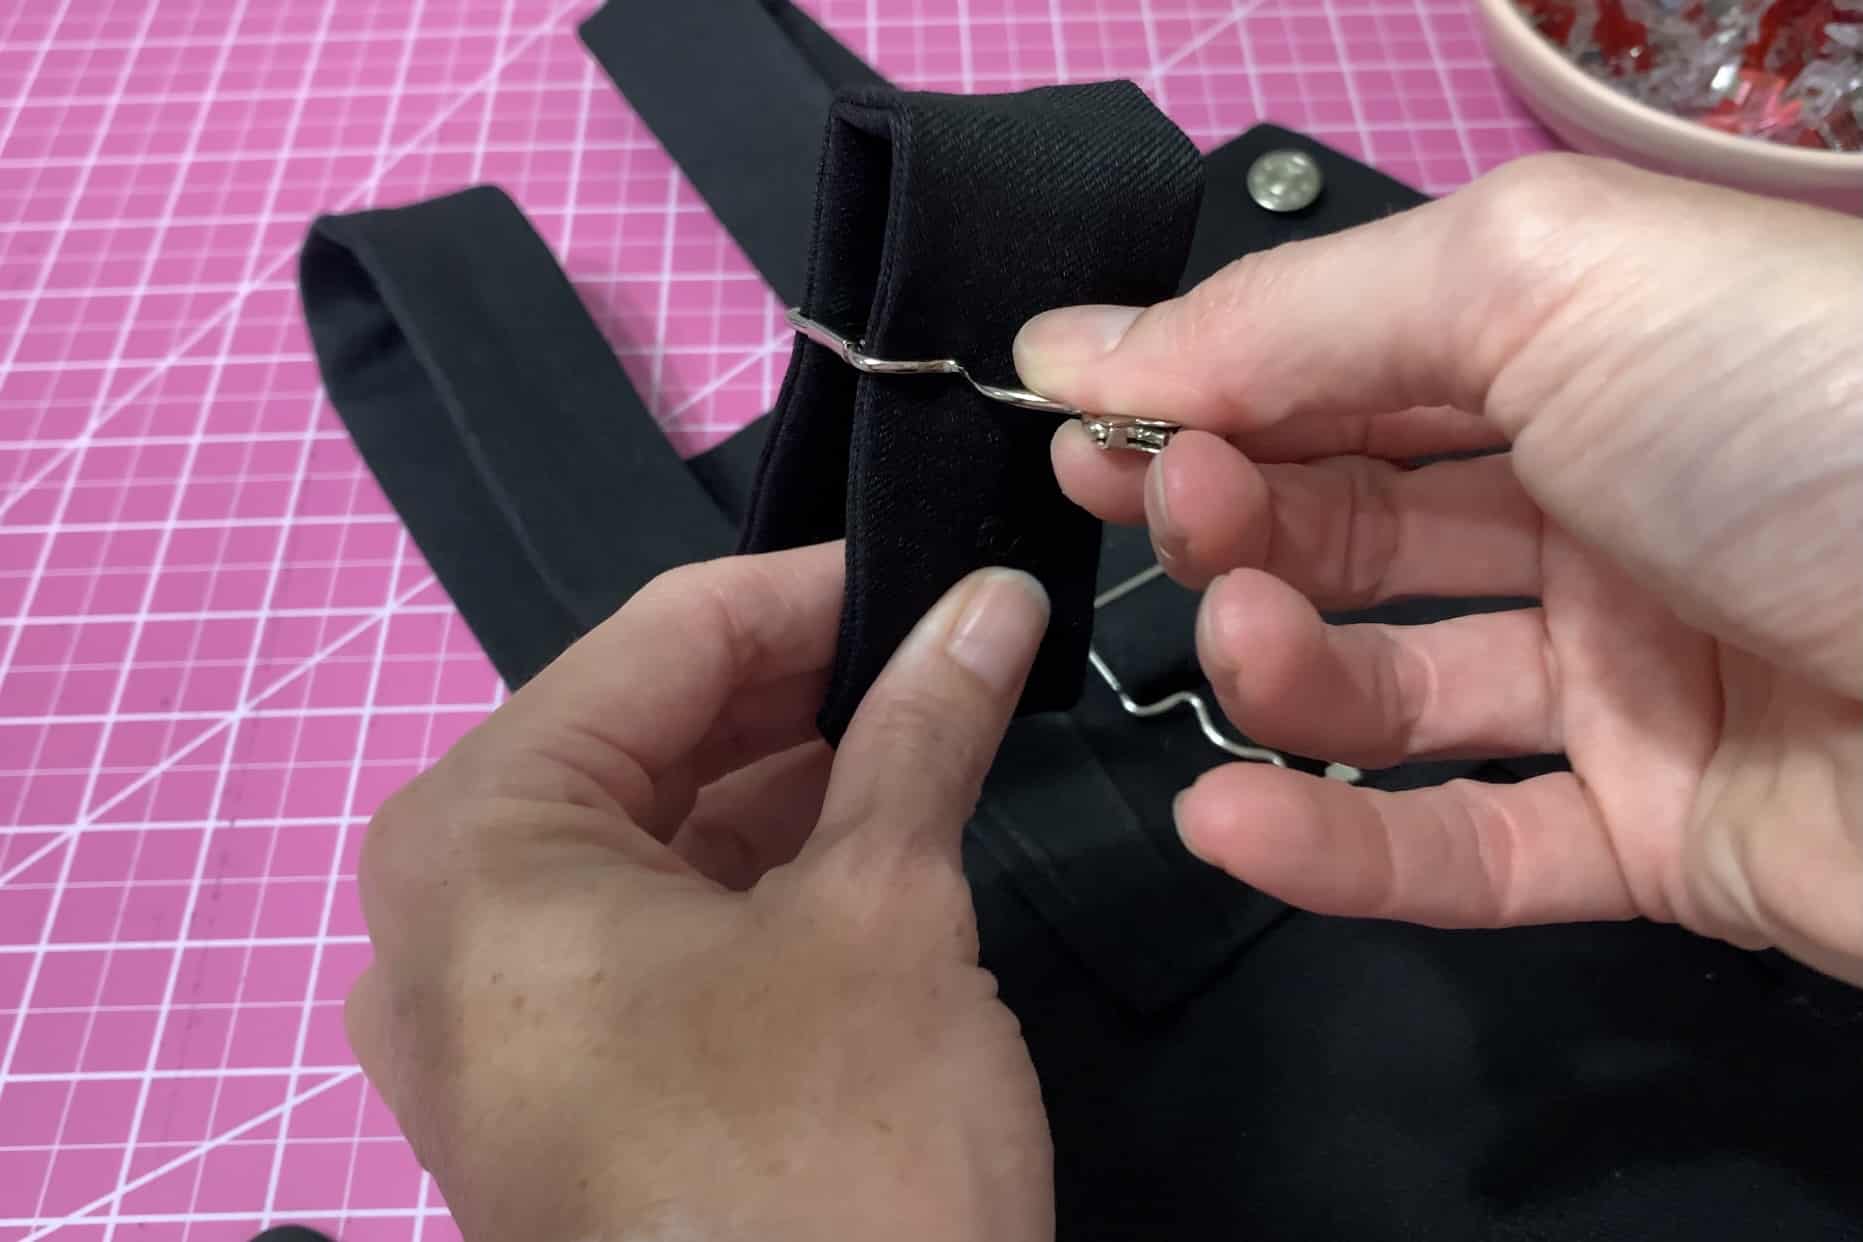
Running through the bottom…
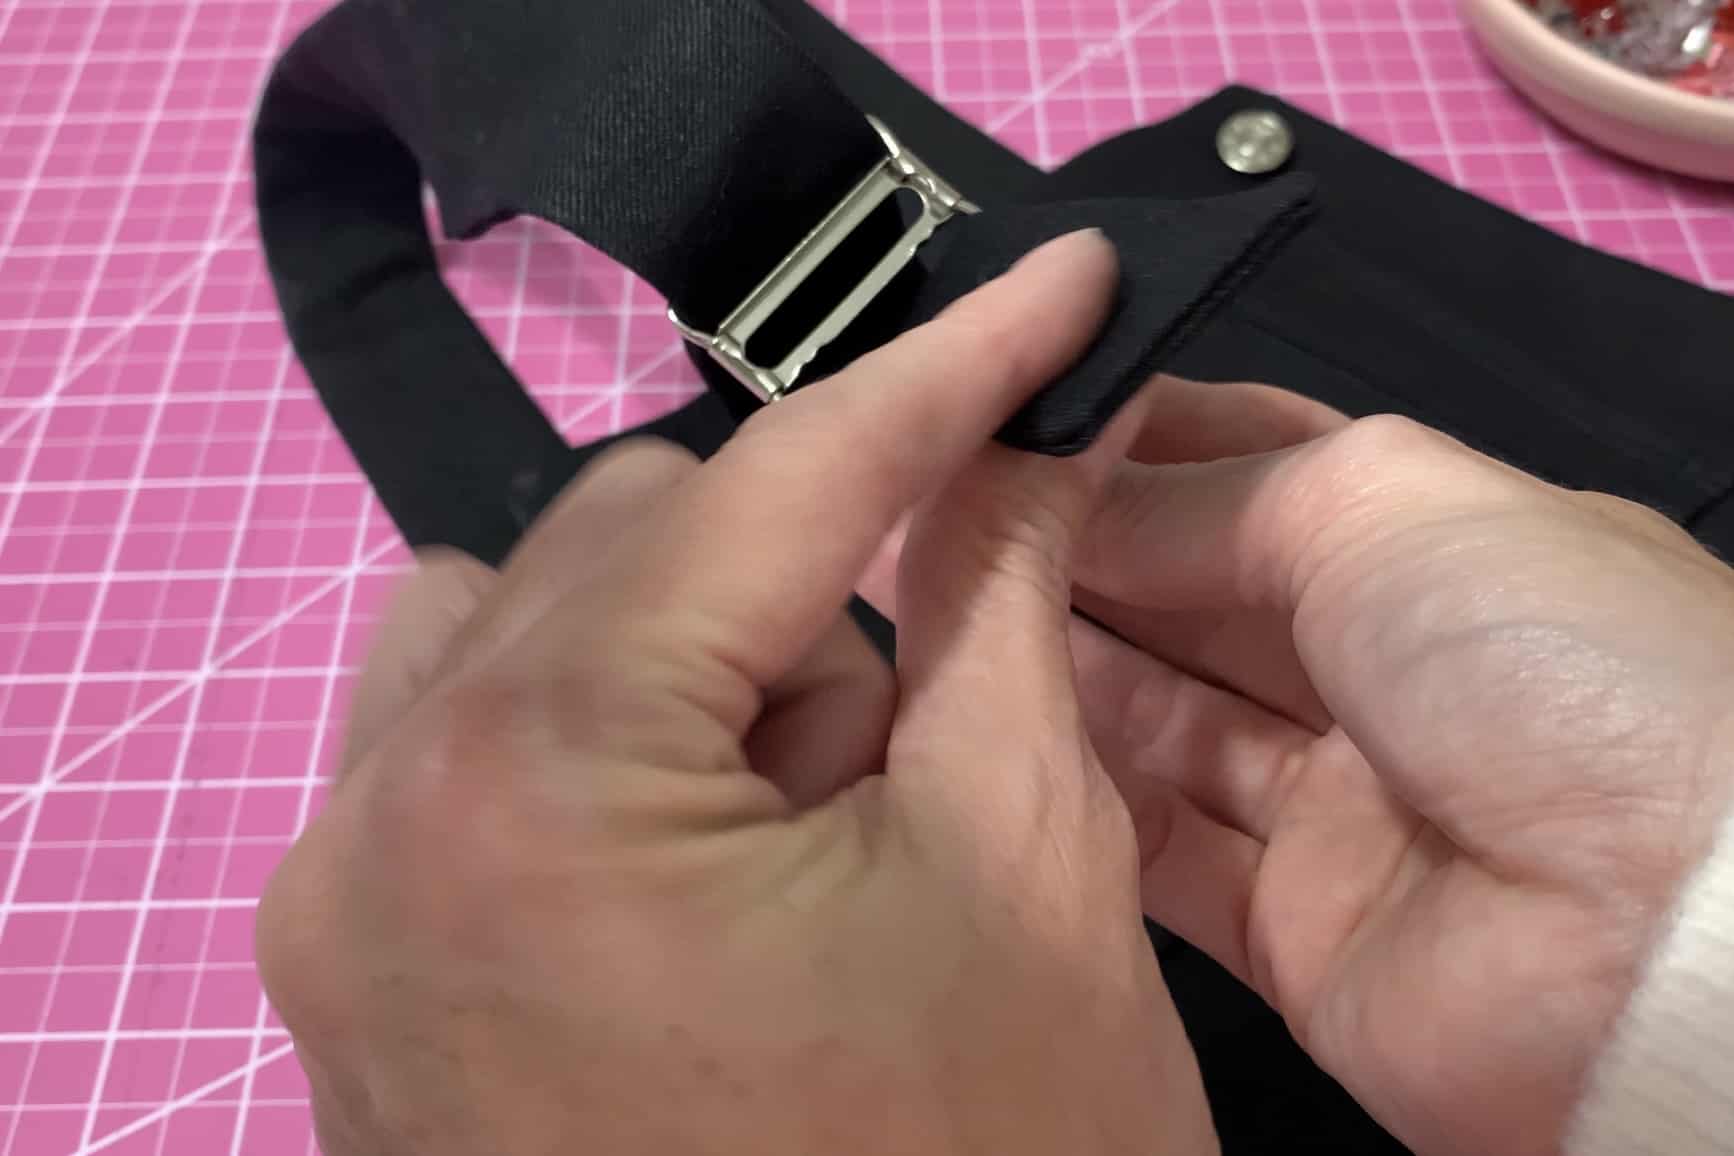
Back through the middle…
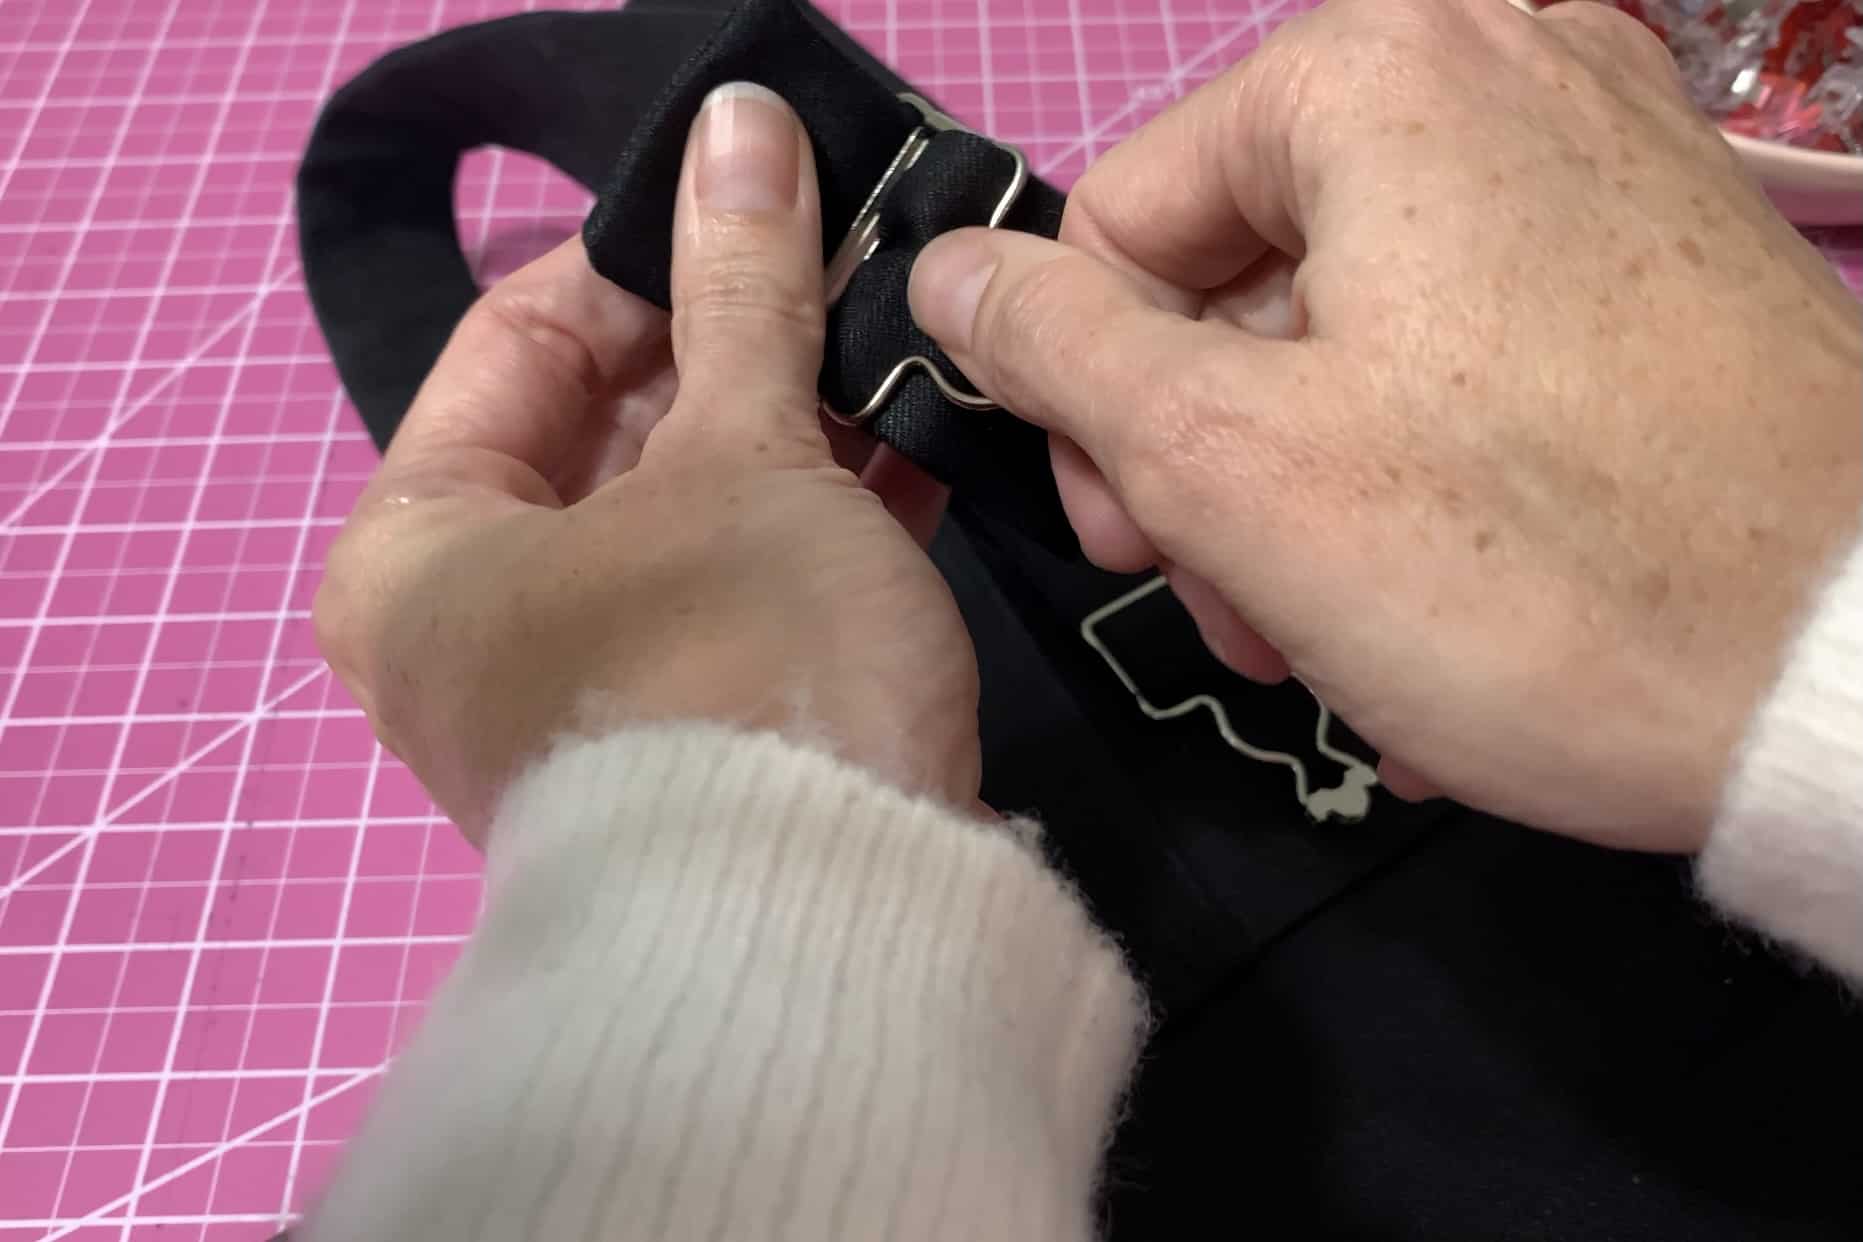
And behind the front of the strap, back through the top loop.
Give yourself plenty of play in your straps to make fit adjustments
5. Adjust the straps to your preference and you’re done!
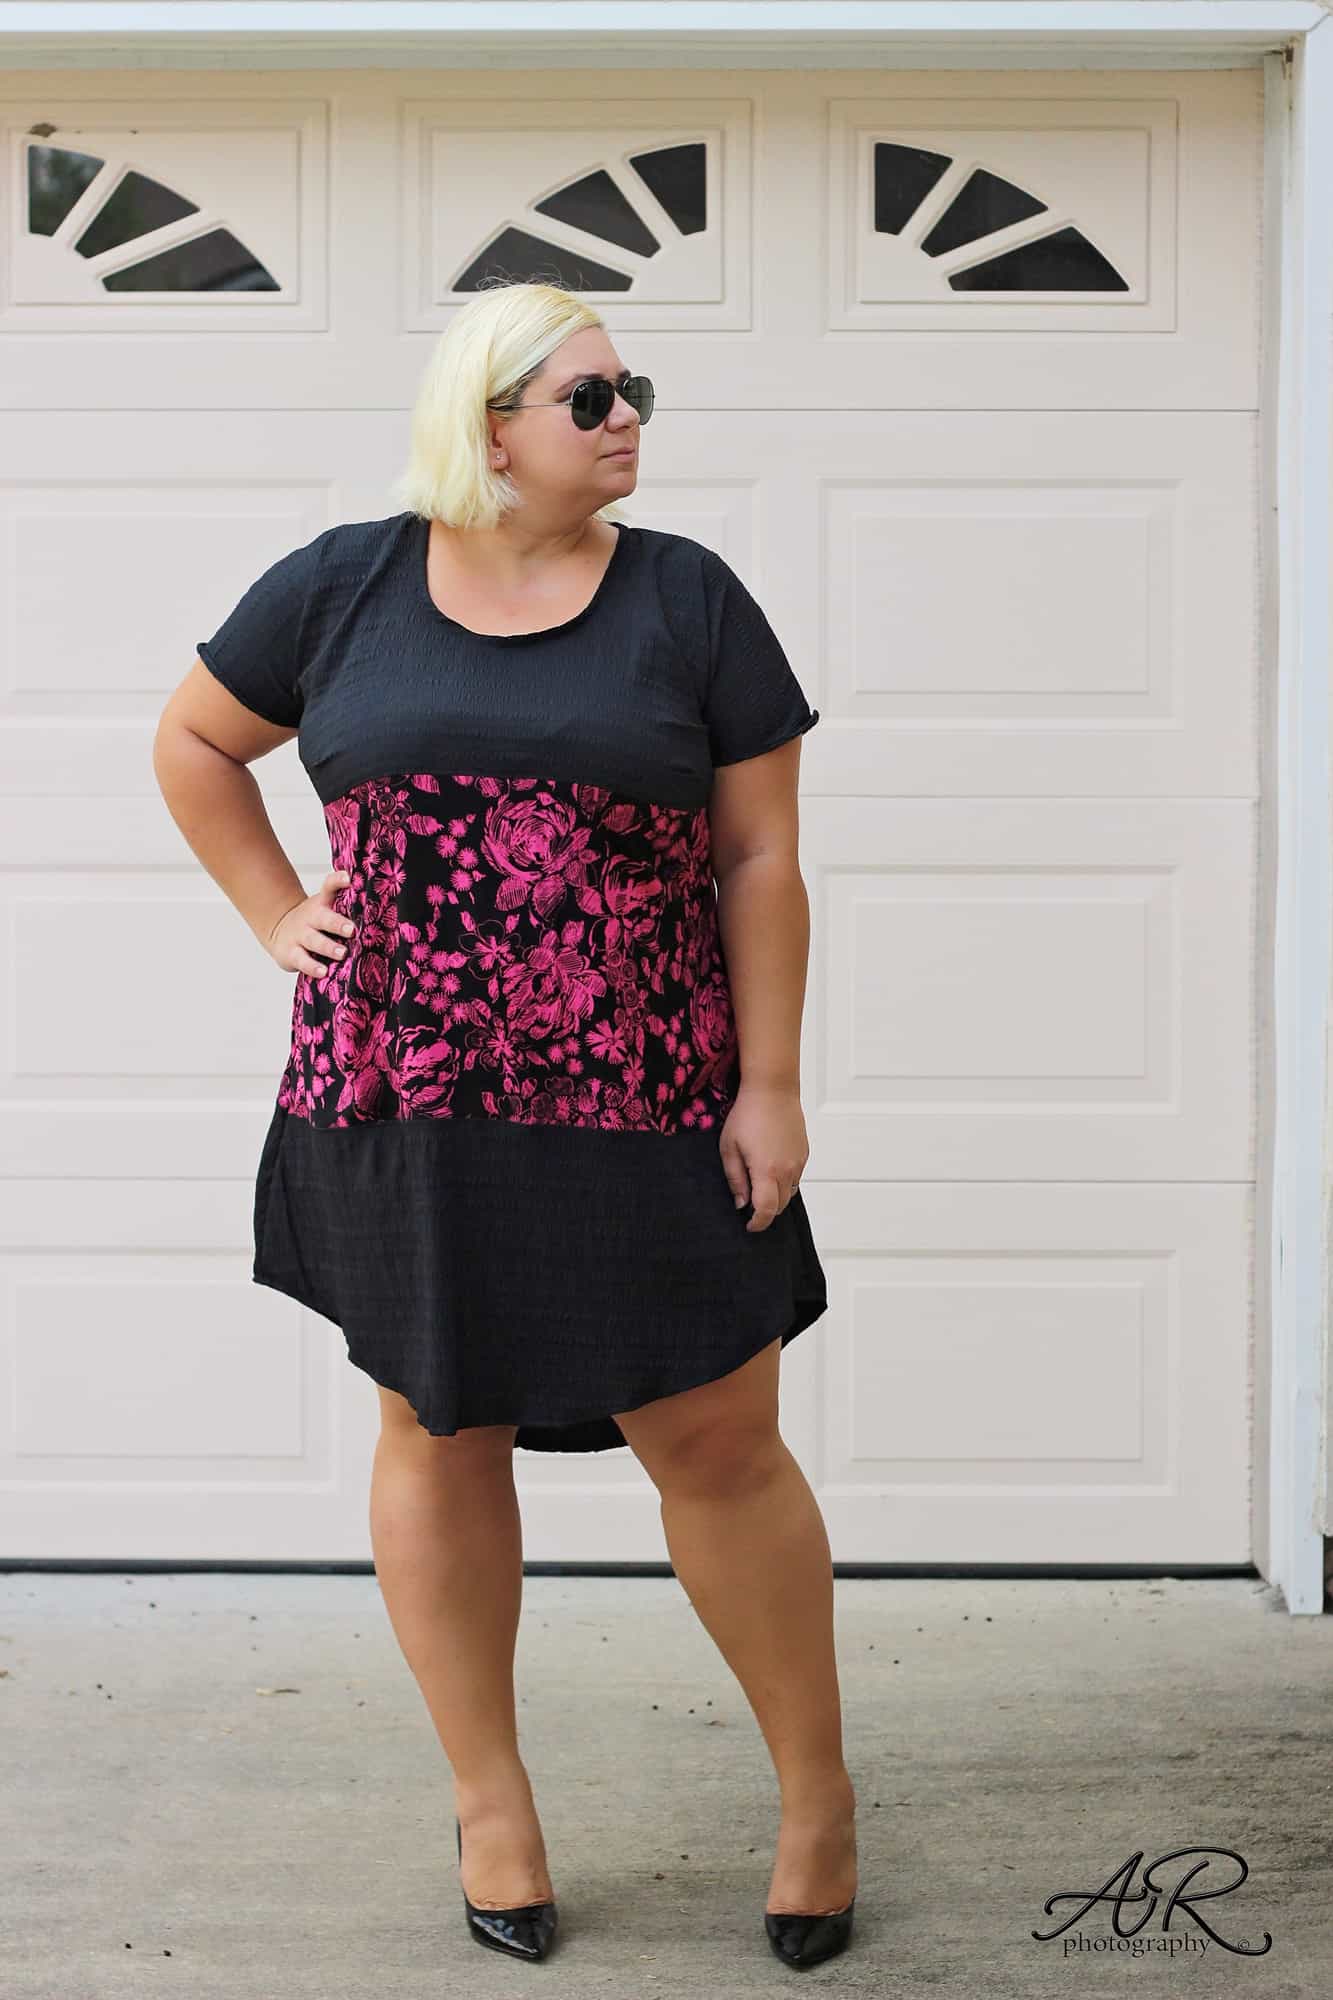
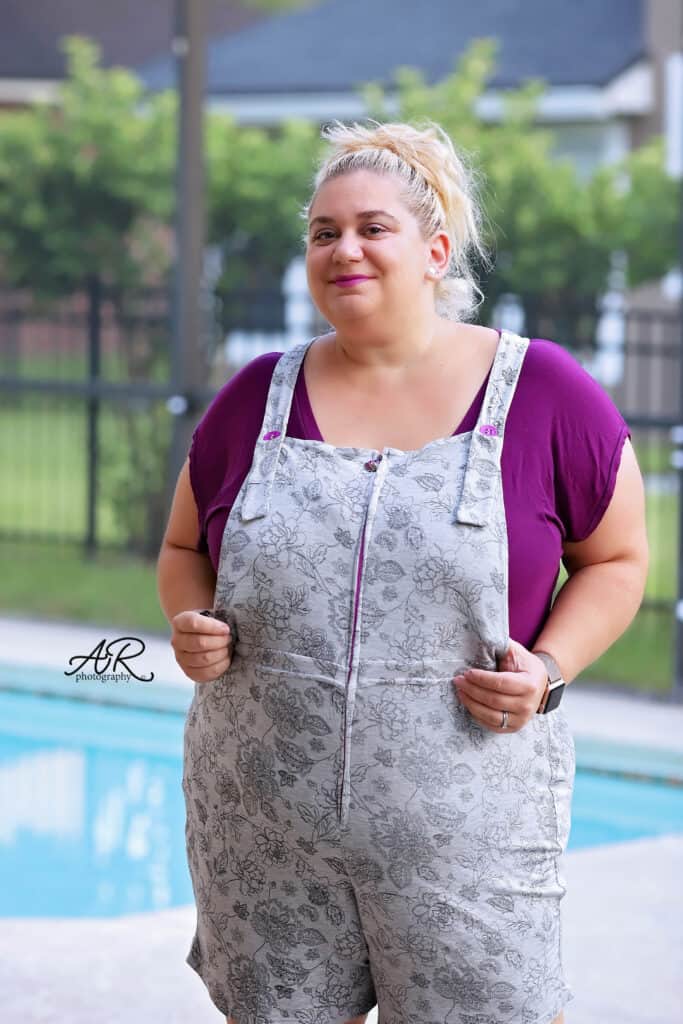
I have always loved overalls! I am so glad to have this updated pair in my wardrobe. As with all Patterns for Pirates makes, you can’t stop with one. I already have the fabric ready to make another pair soon.
I hope you enjoy your new jumper!!
Rachel
….
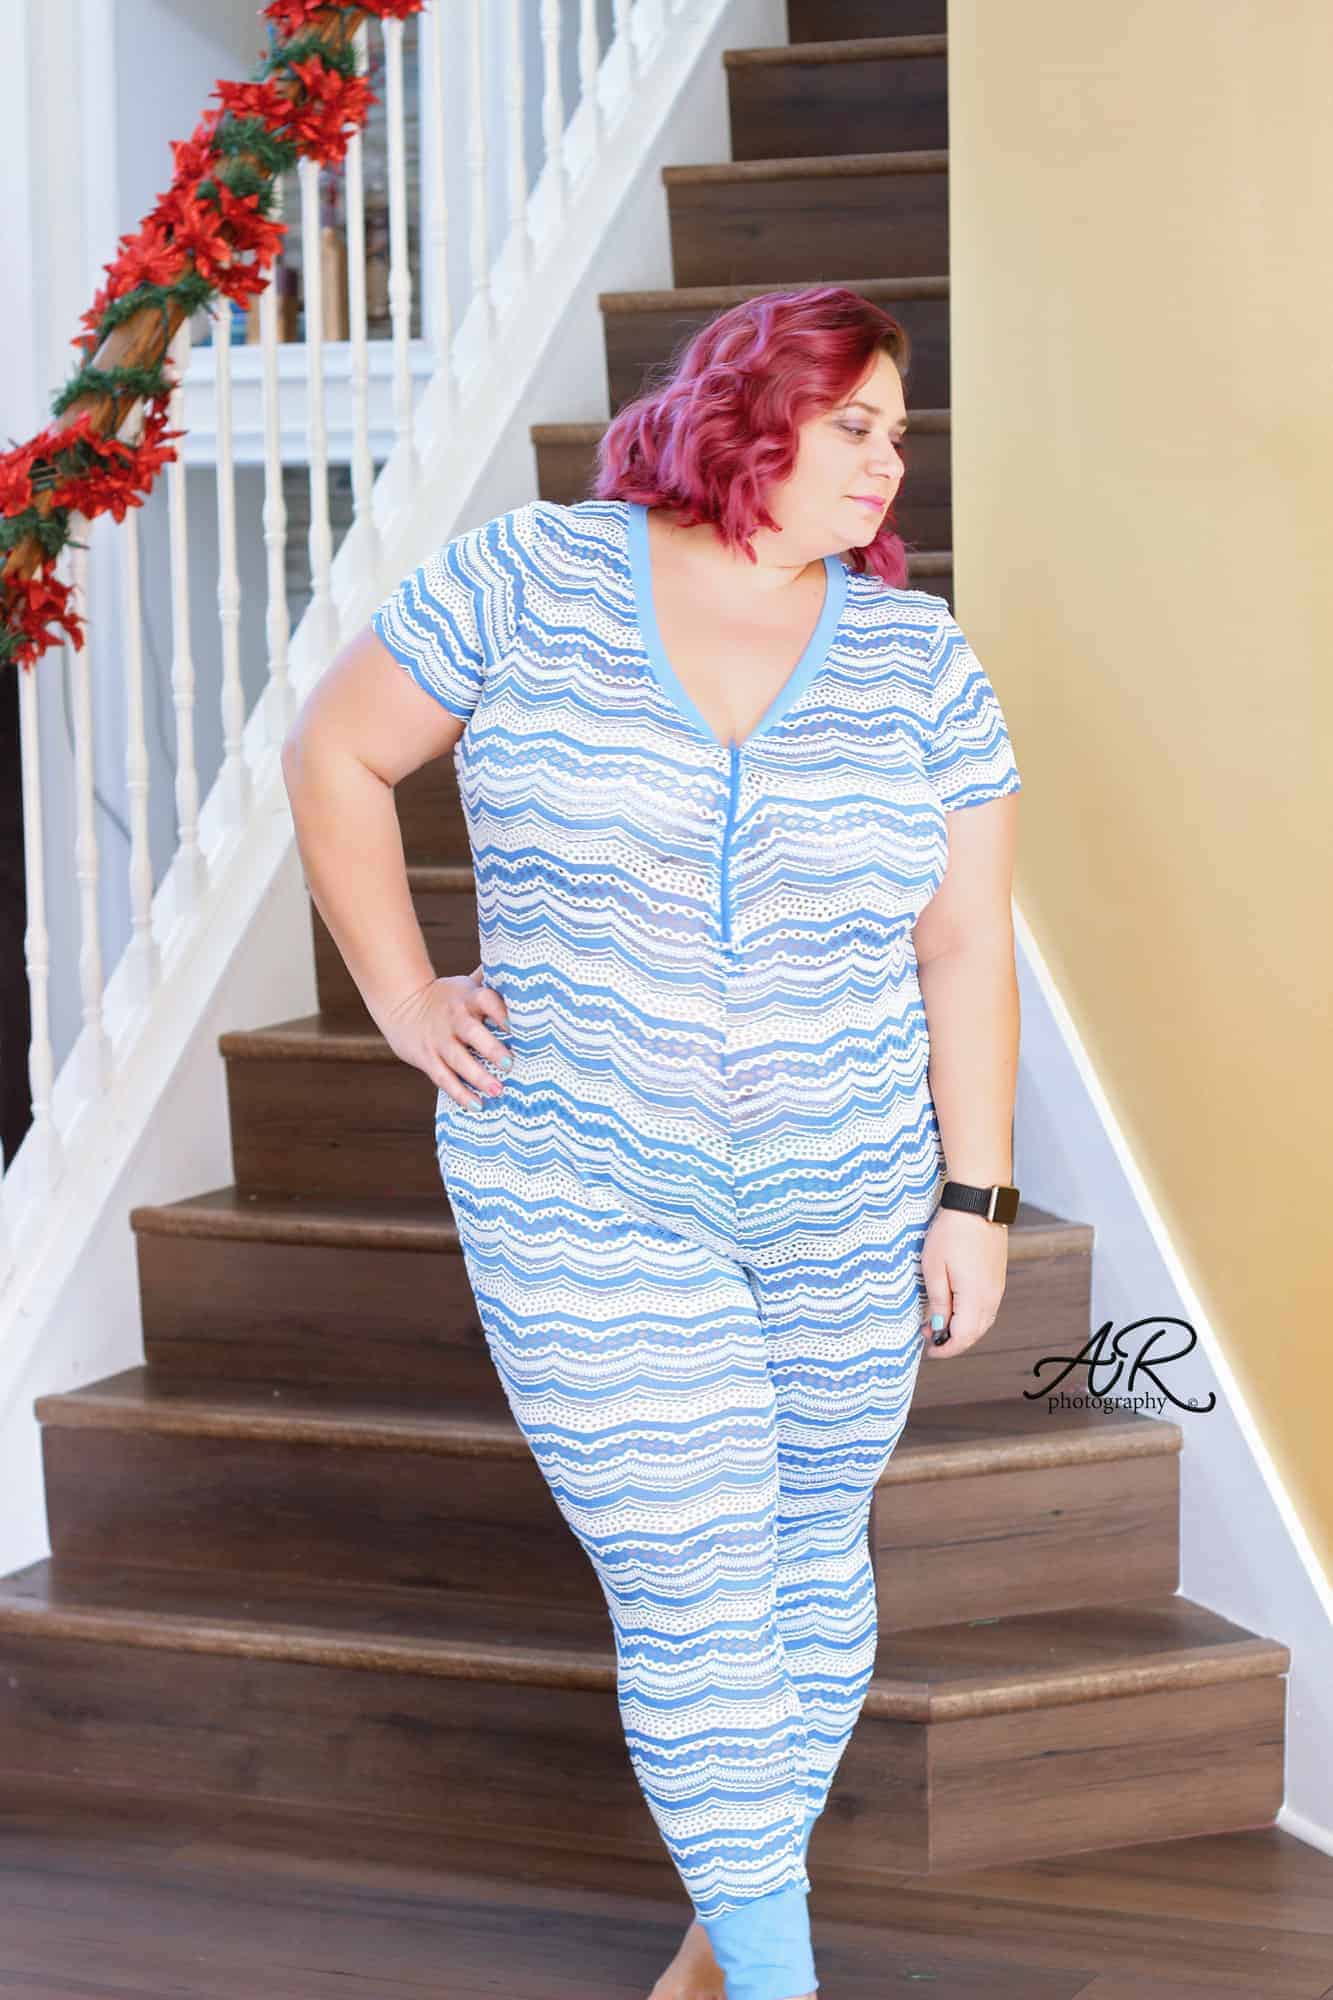
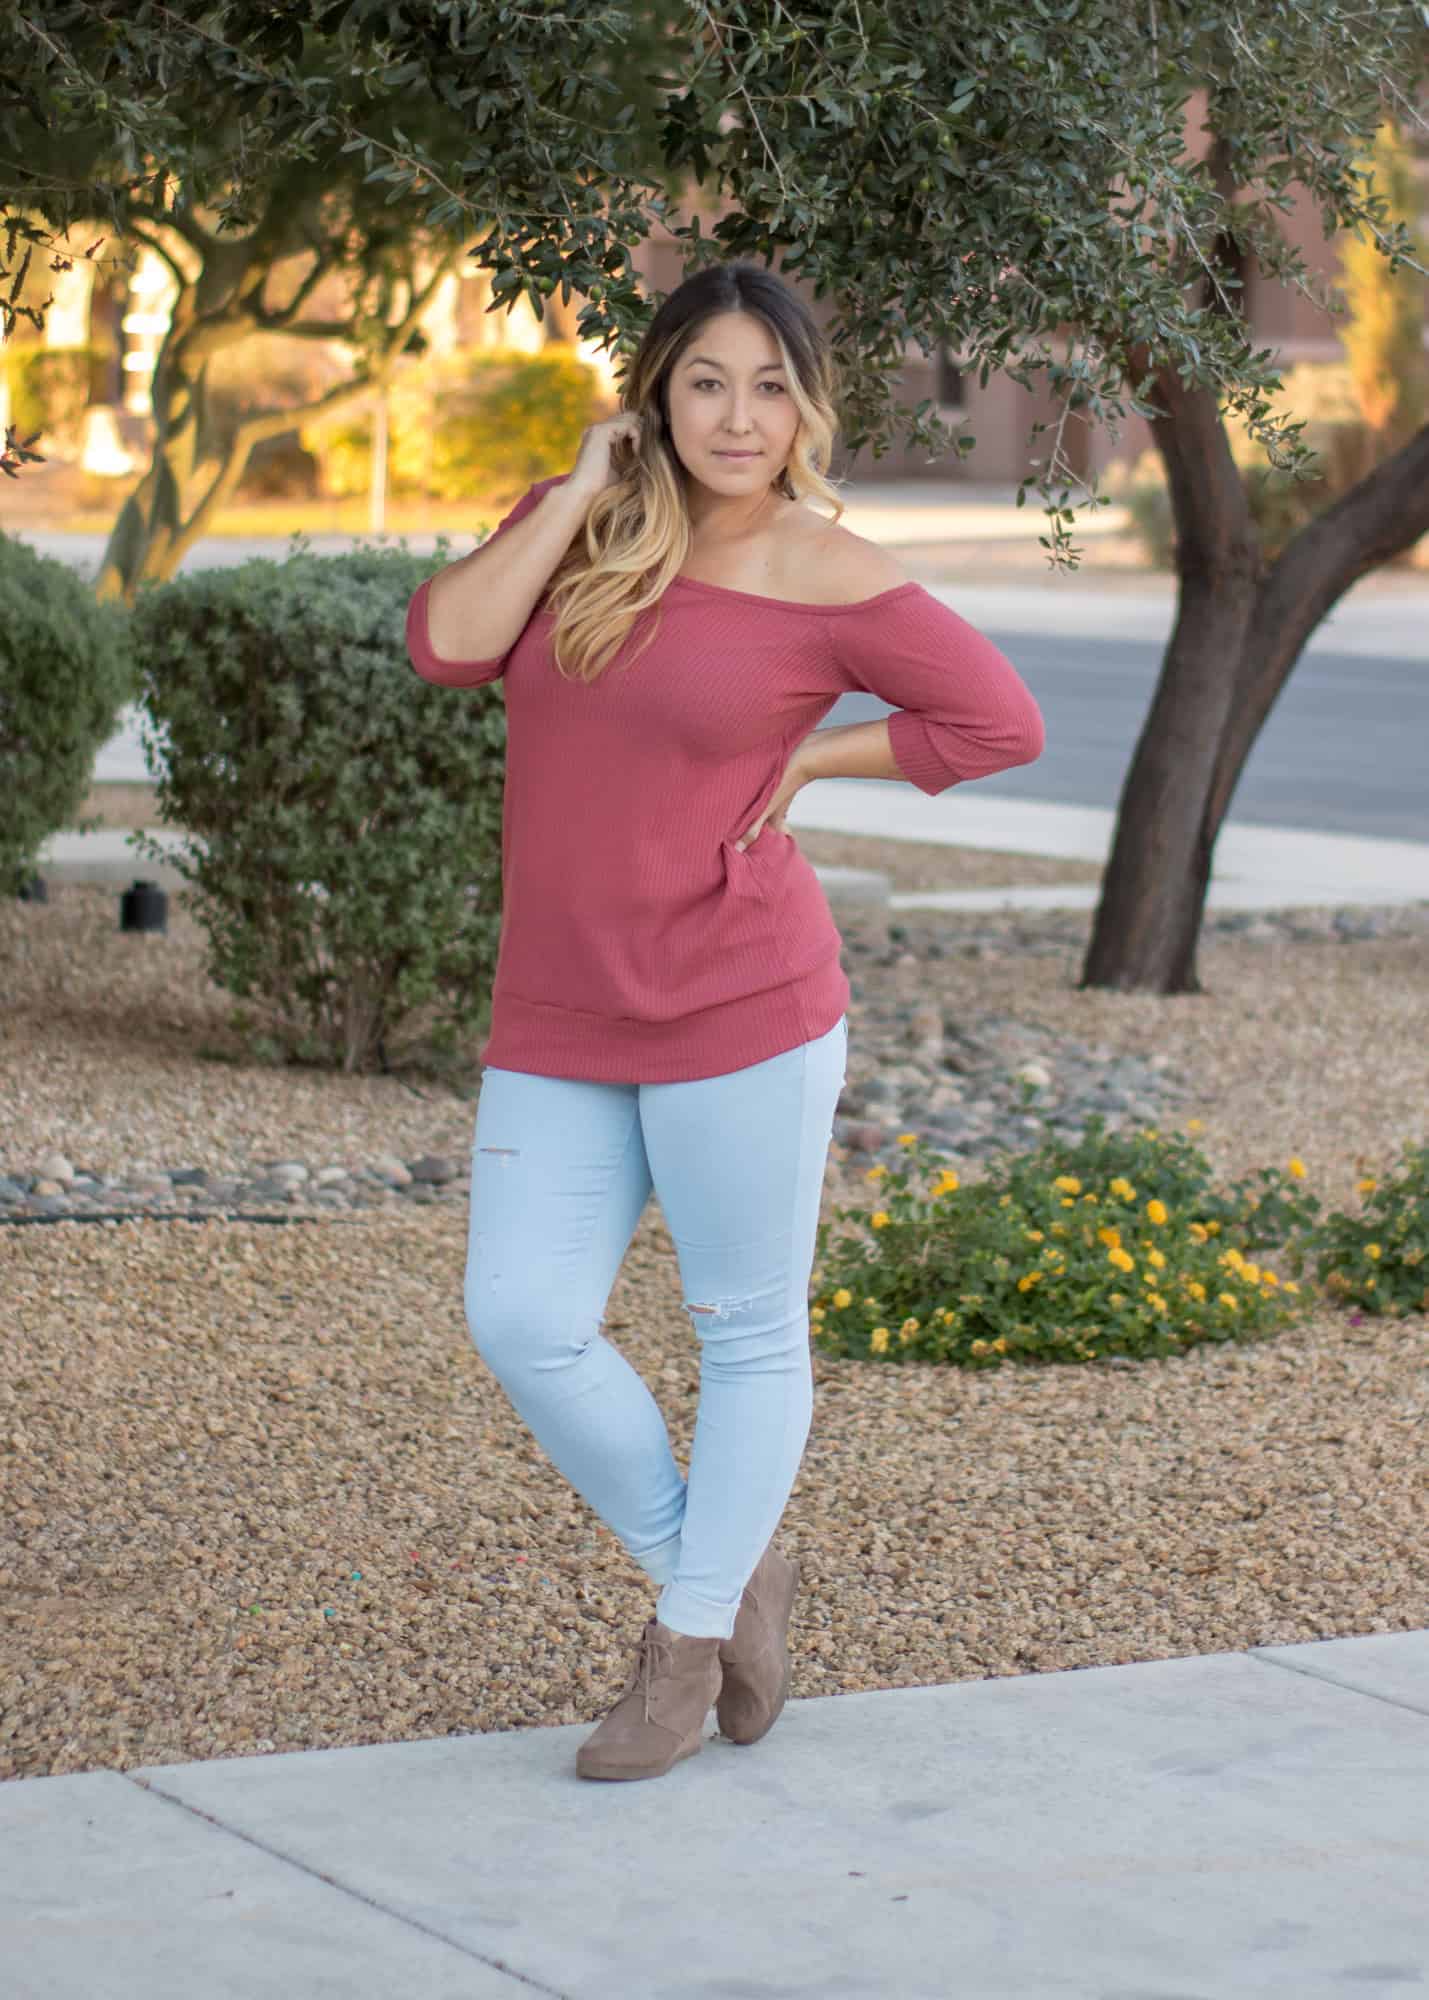
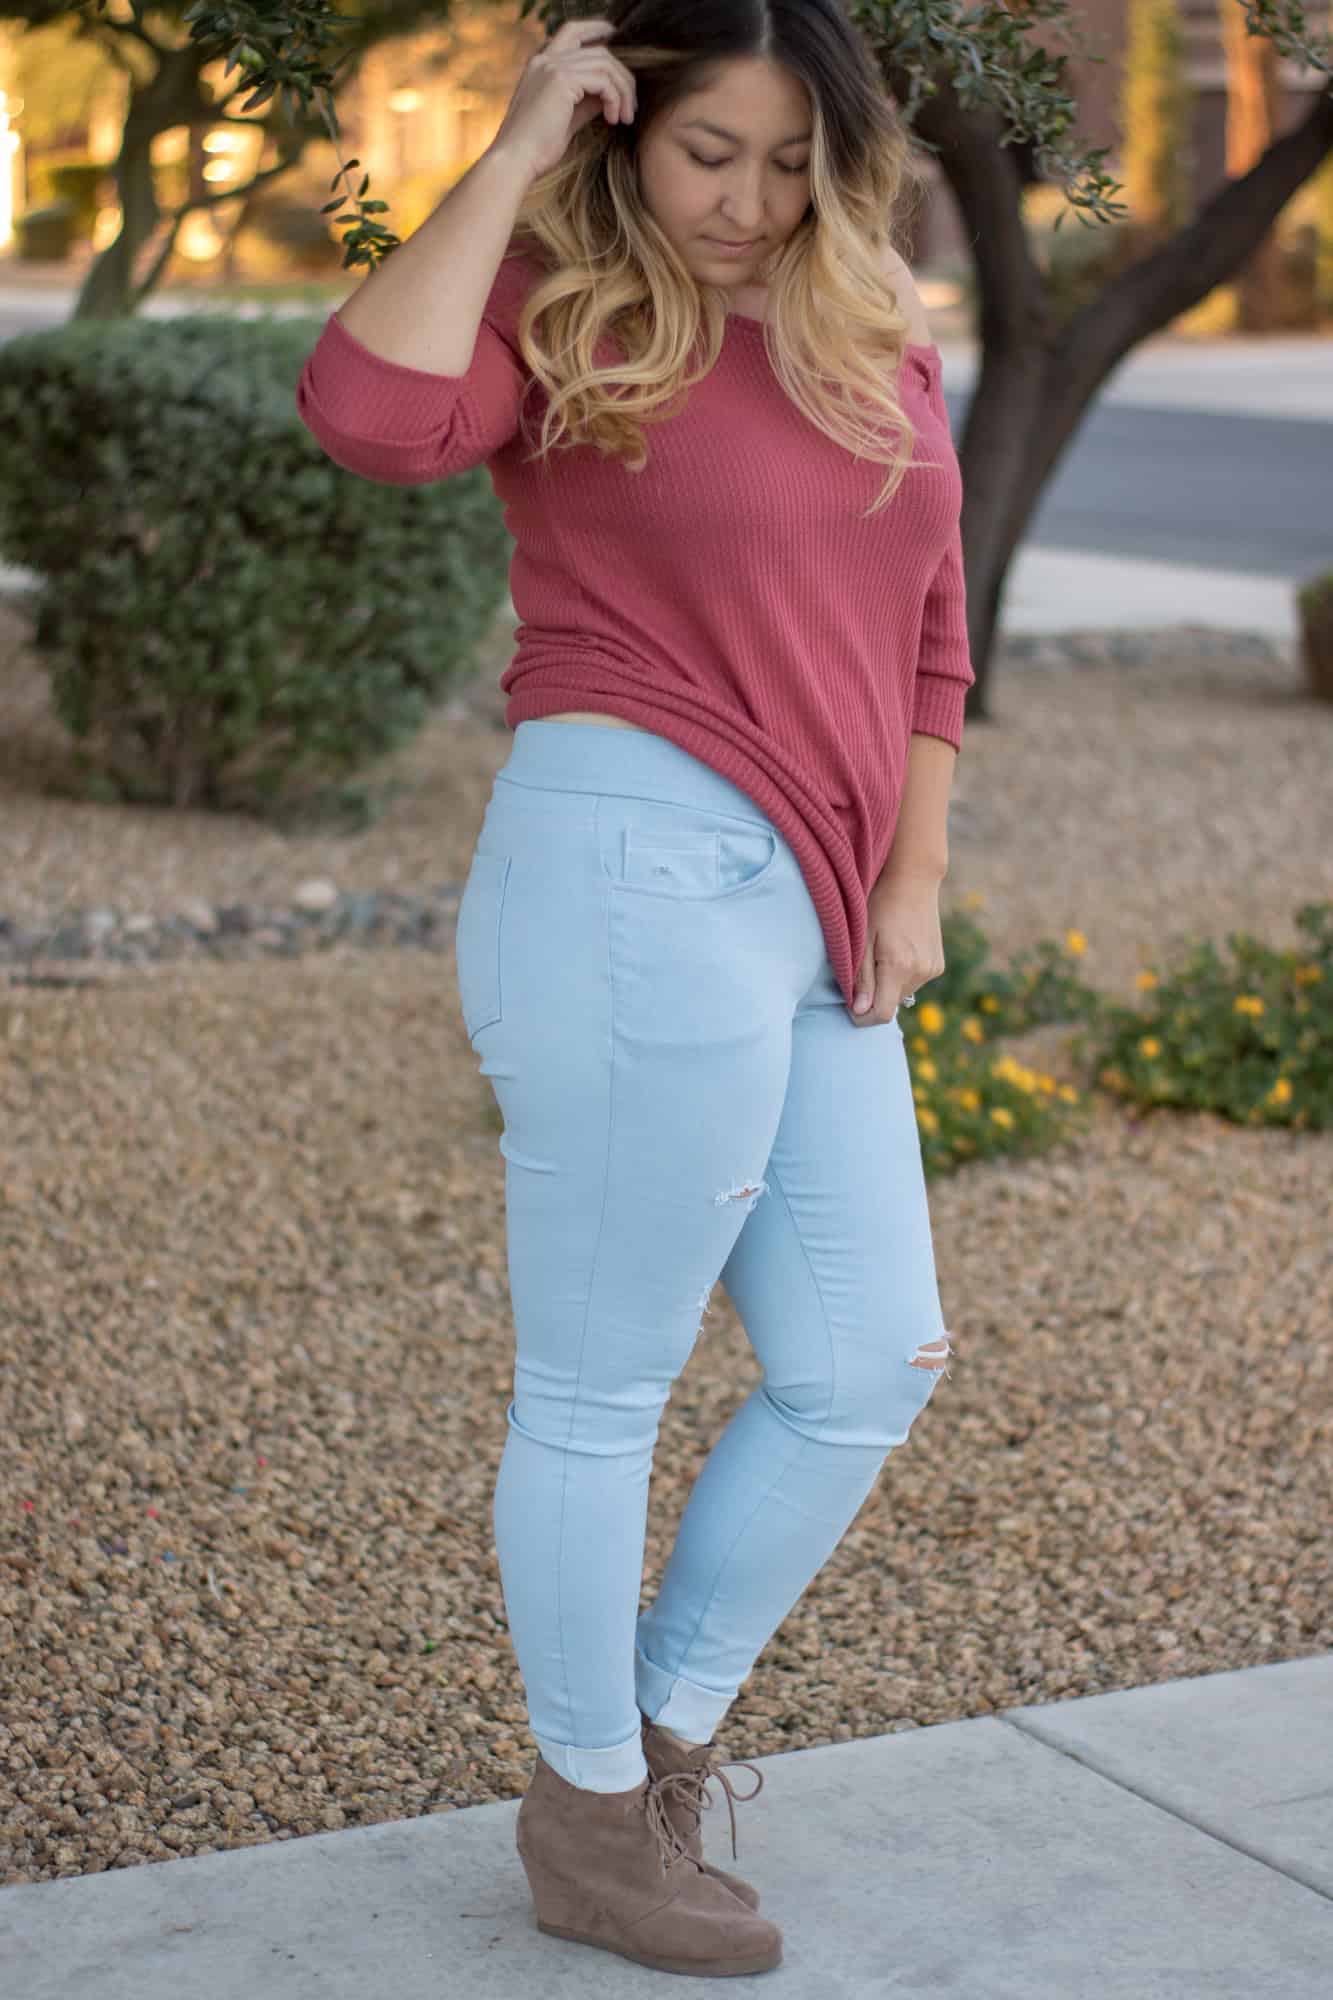
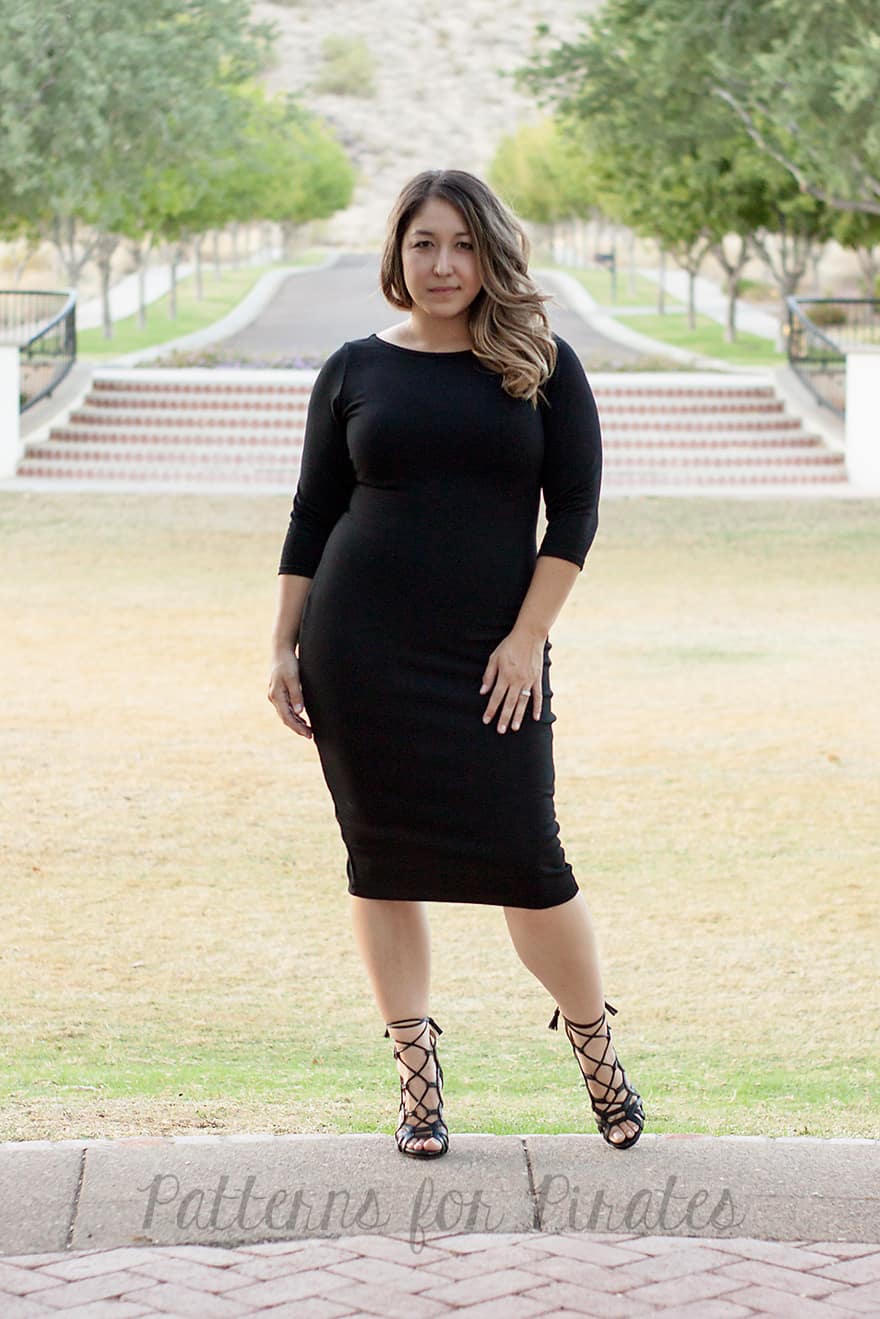
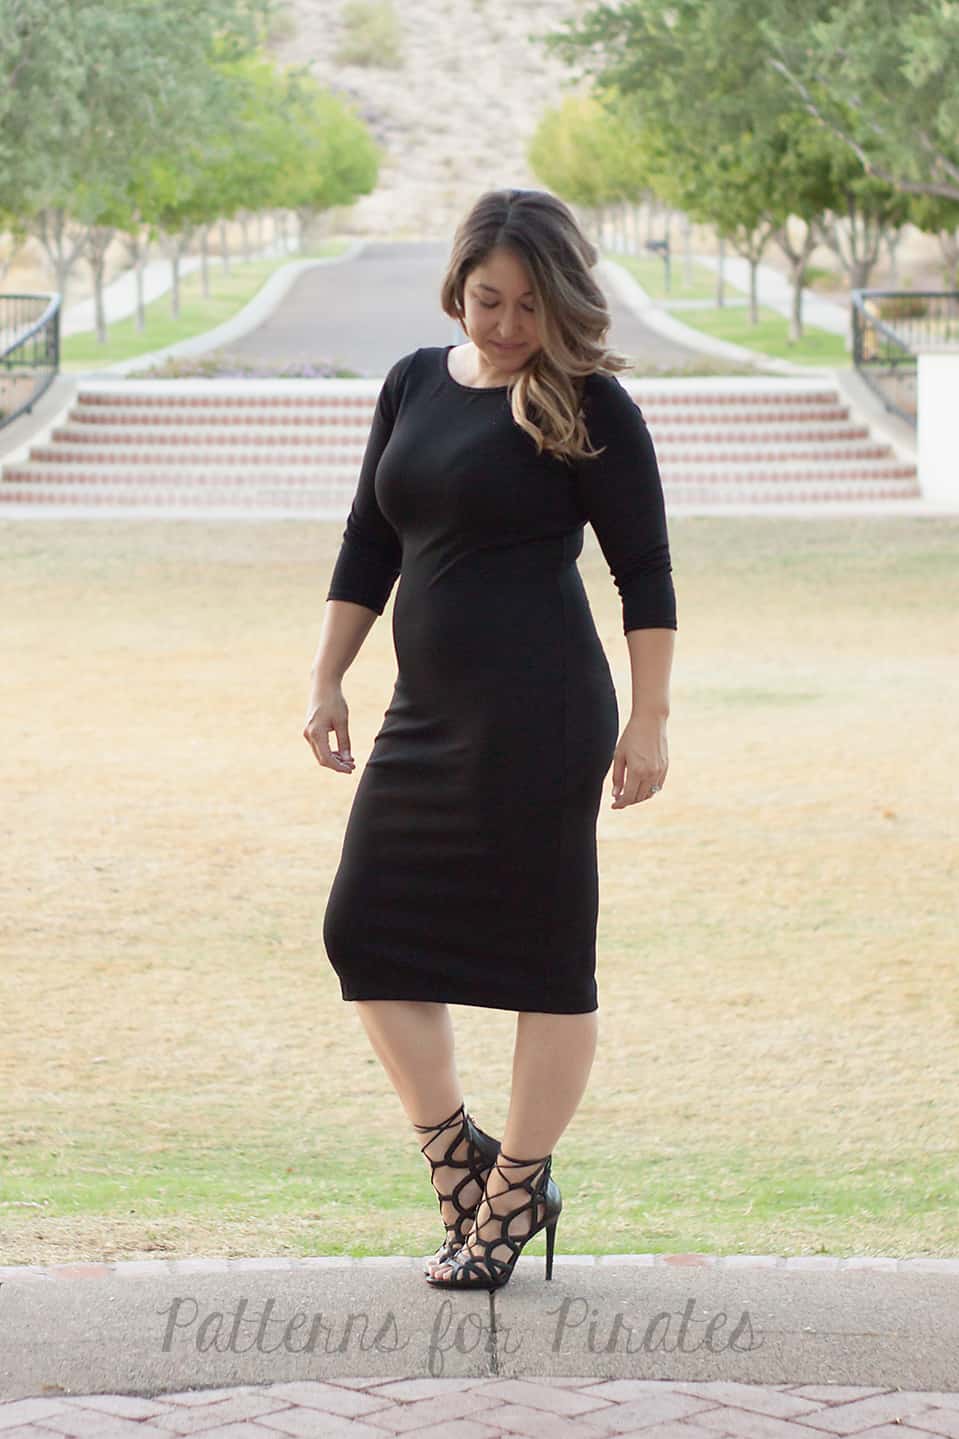
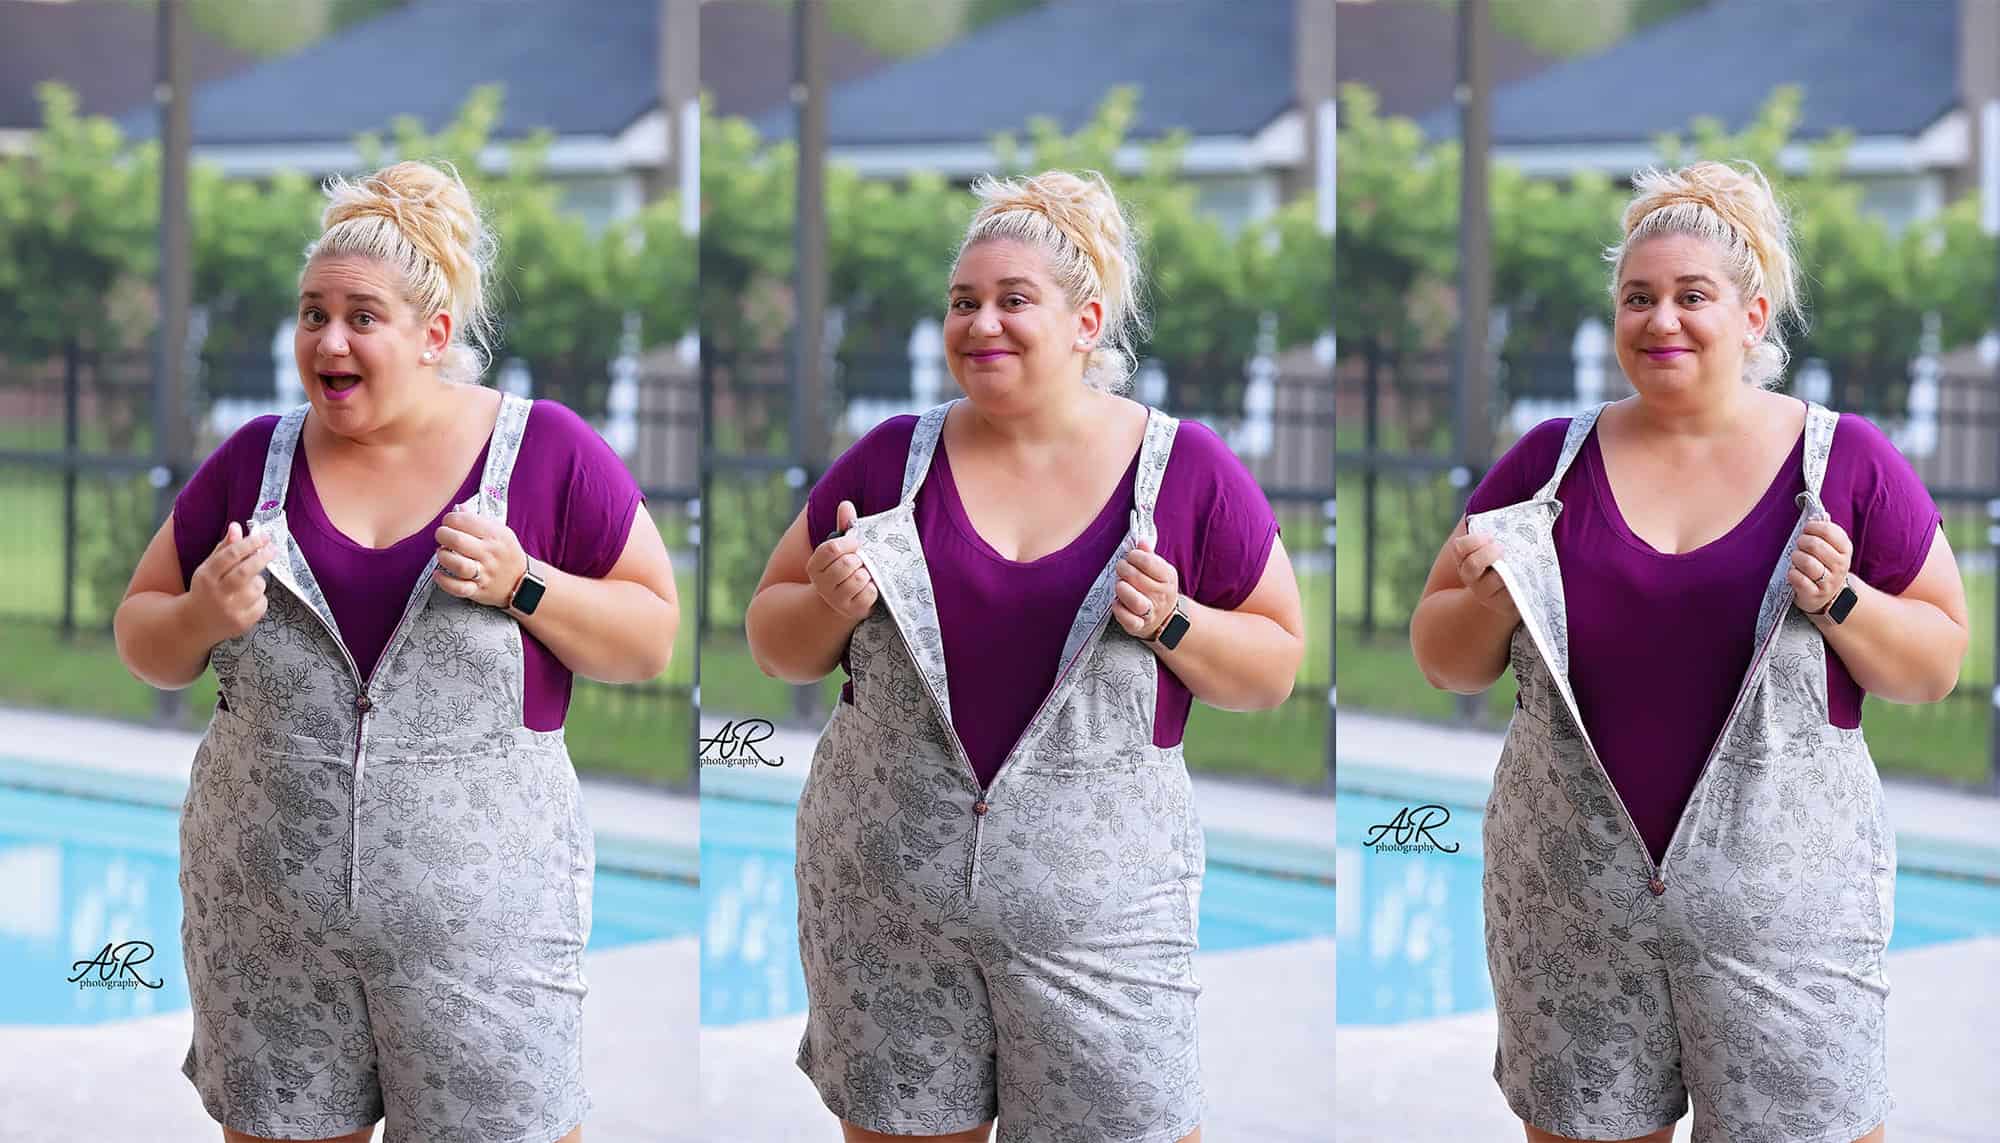
Skip the Zip
If you’d rather skip the zip you can choose a fabric with high stretch and recovery and slip it on/off. It’s a very simple modification, just make sure your fabric is stretchy enough to slip on and off with the snug waistband at natural waist. You will want a fabric that is more stable and can “hold” that waistband shape nicely. Or you can add some 1″ elastic into the waistband to help keep the shape.
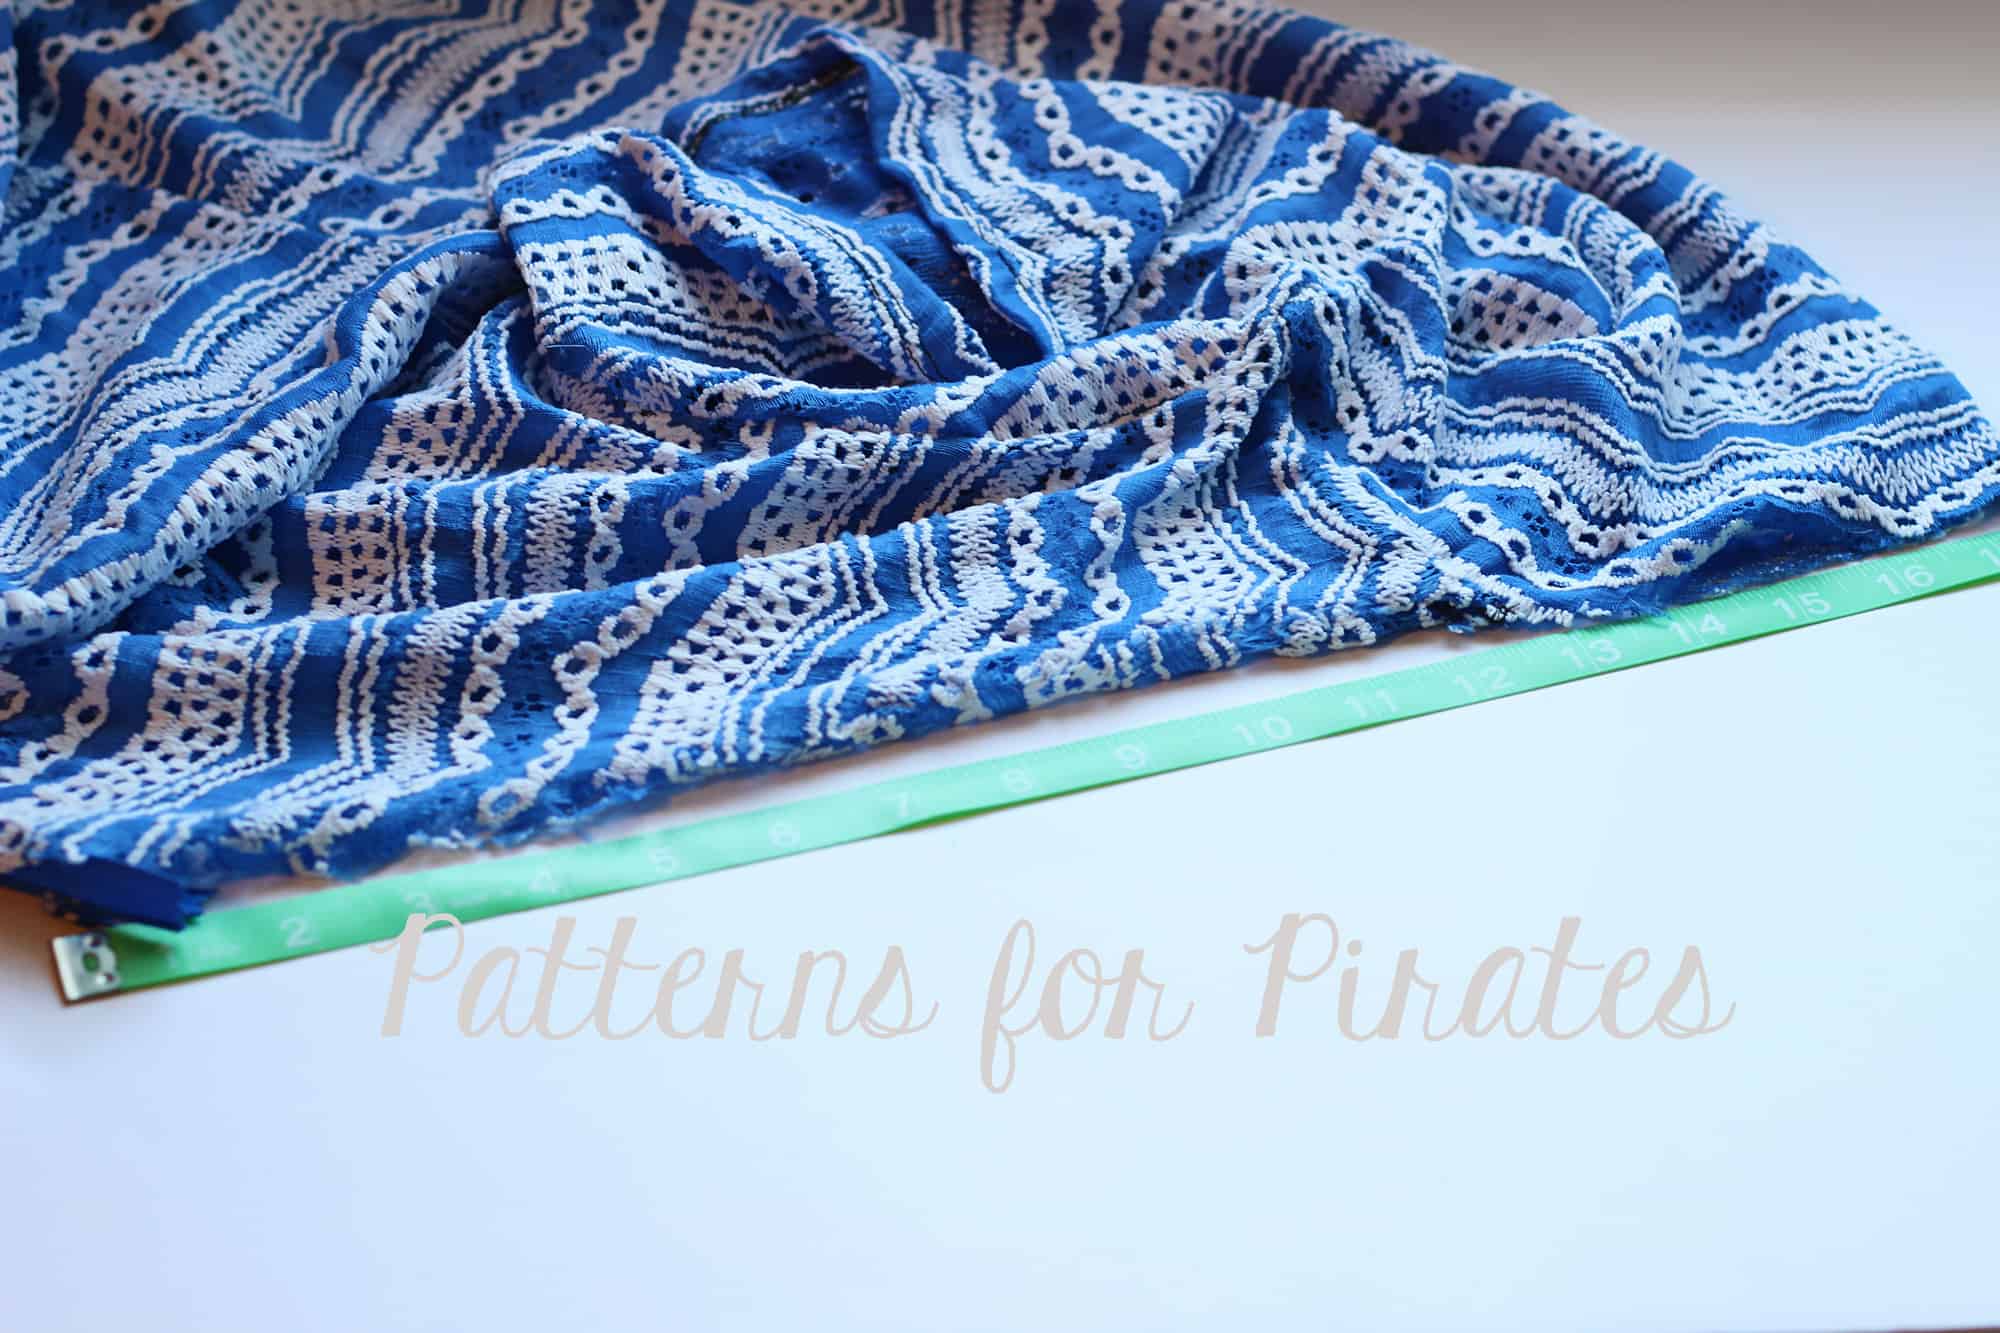
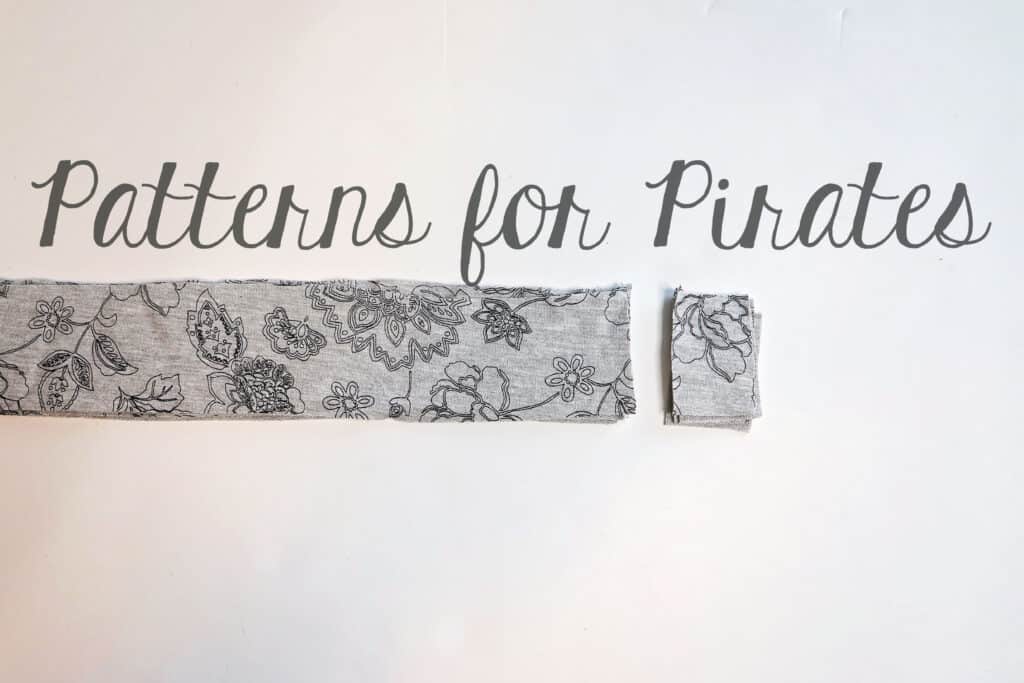
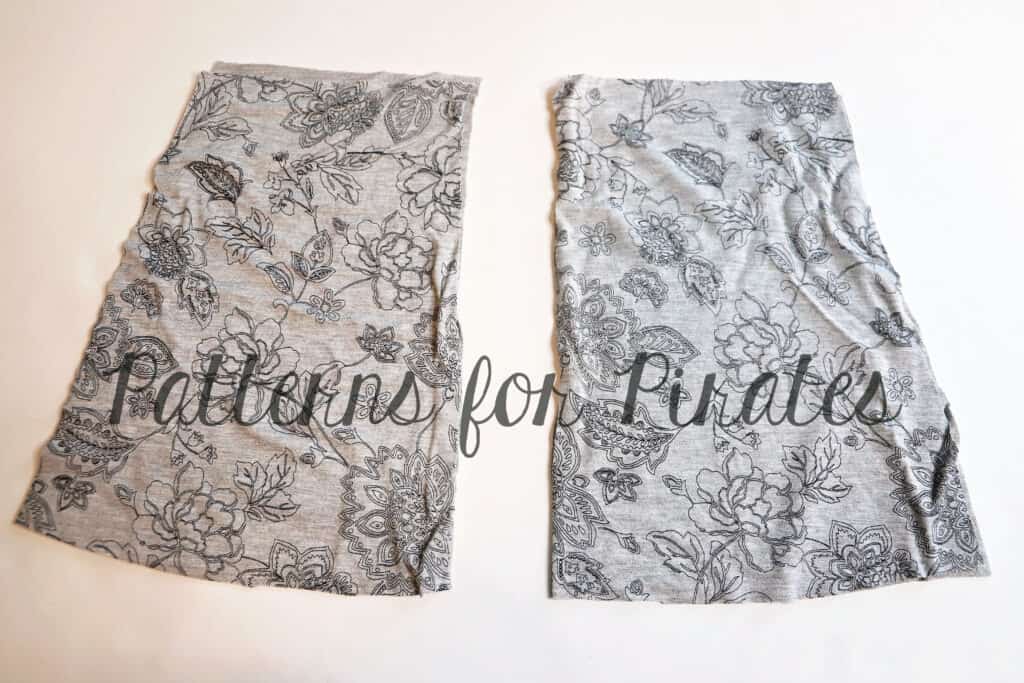
Cut out all your pieces the same, except the waistband. You will need to trim off the extra 1″ on each end since we will not have them overlapping for a button. If you’re adding elastic I cut mine just slightly shorter then my new waistband piece so it would be snug to her waist.
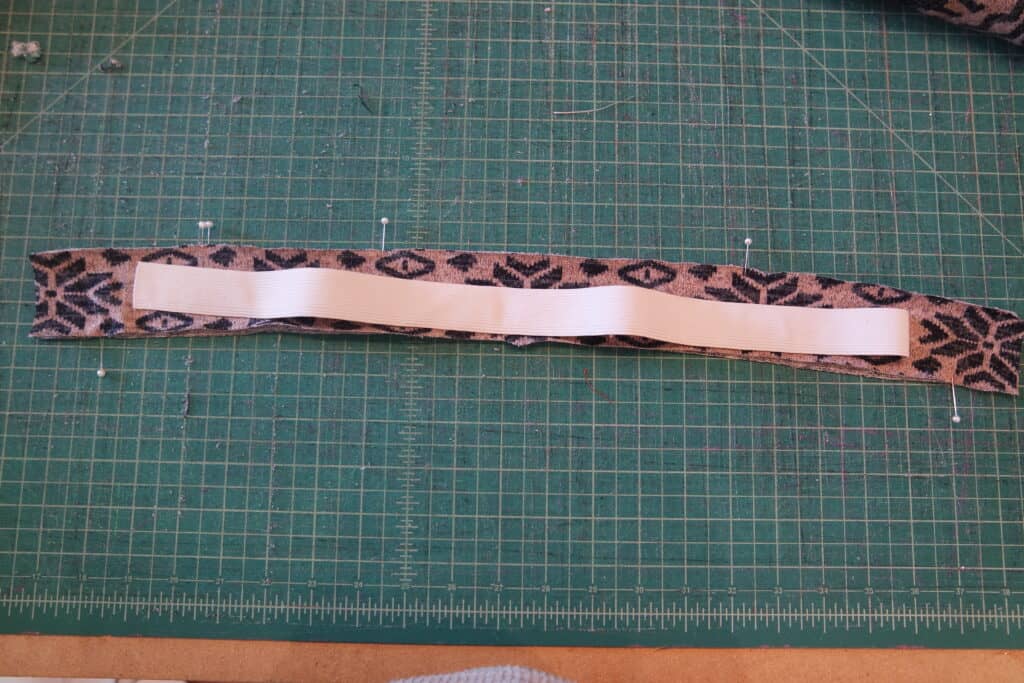
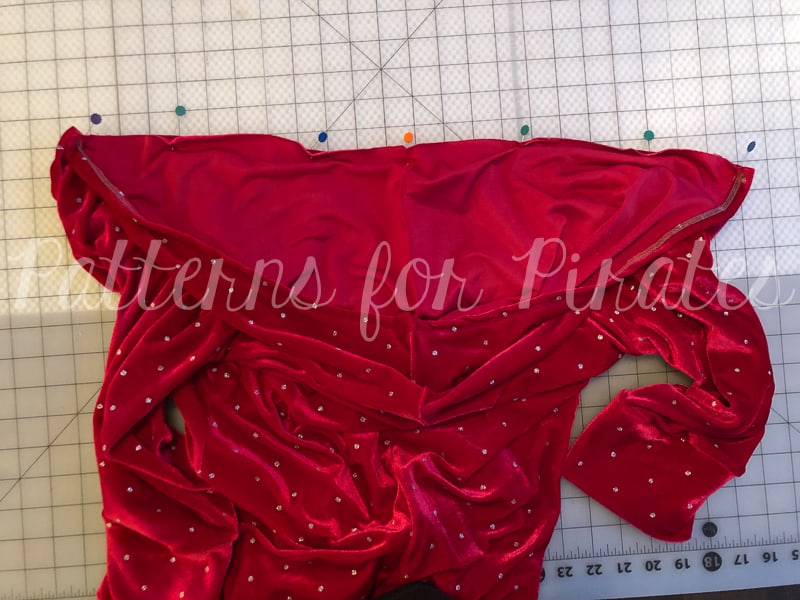
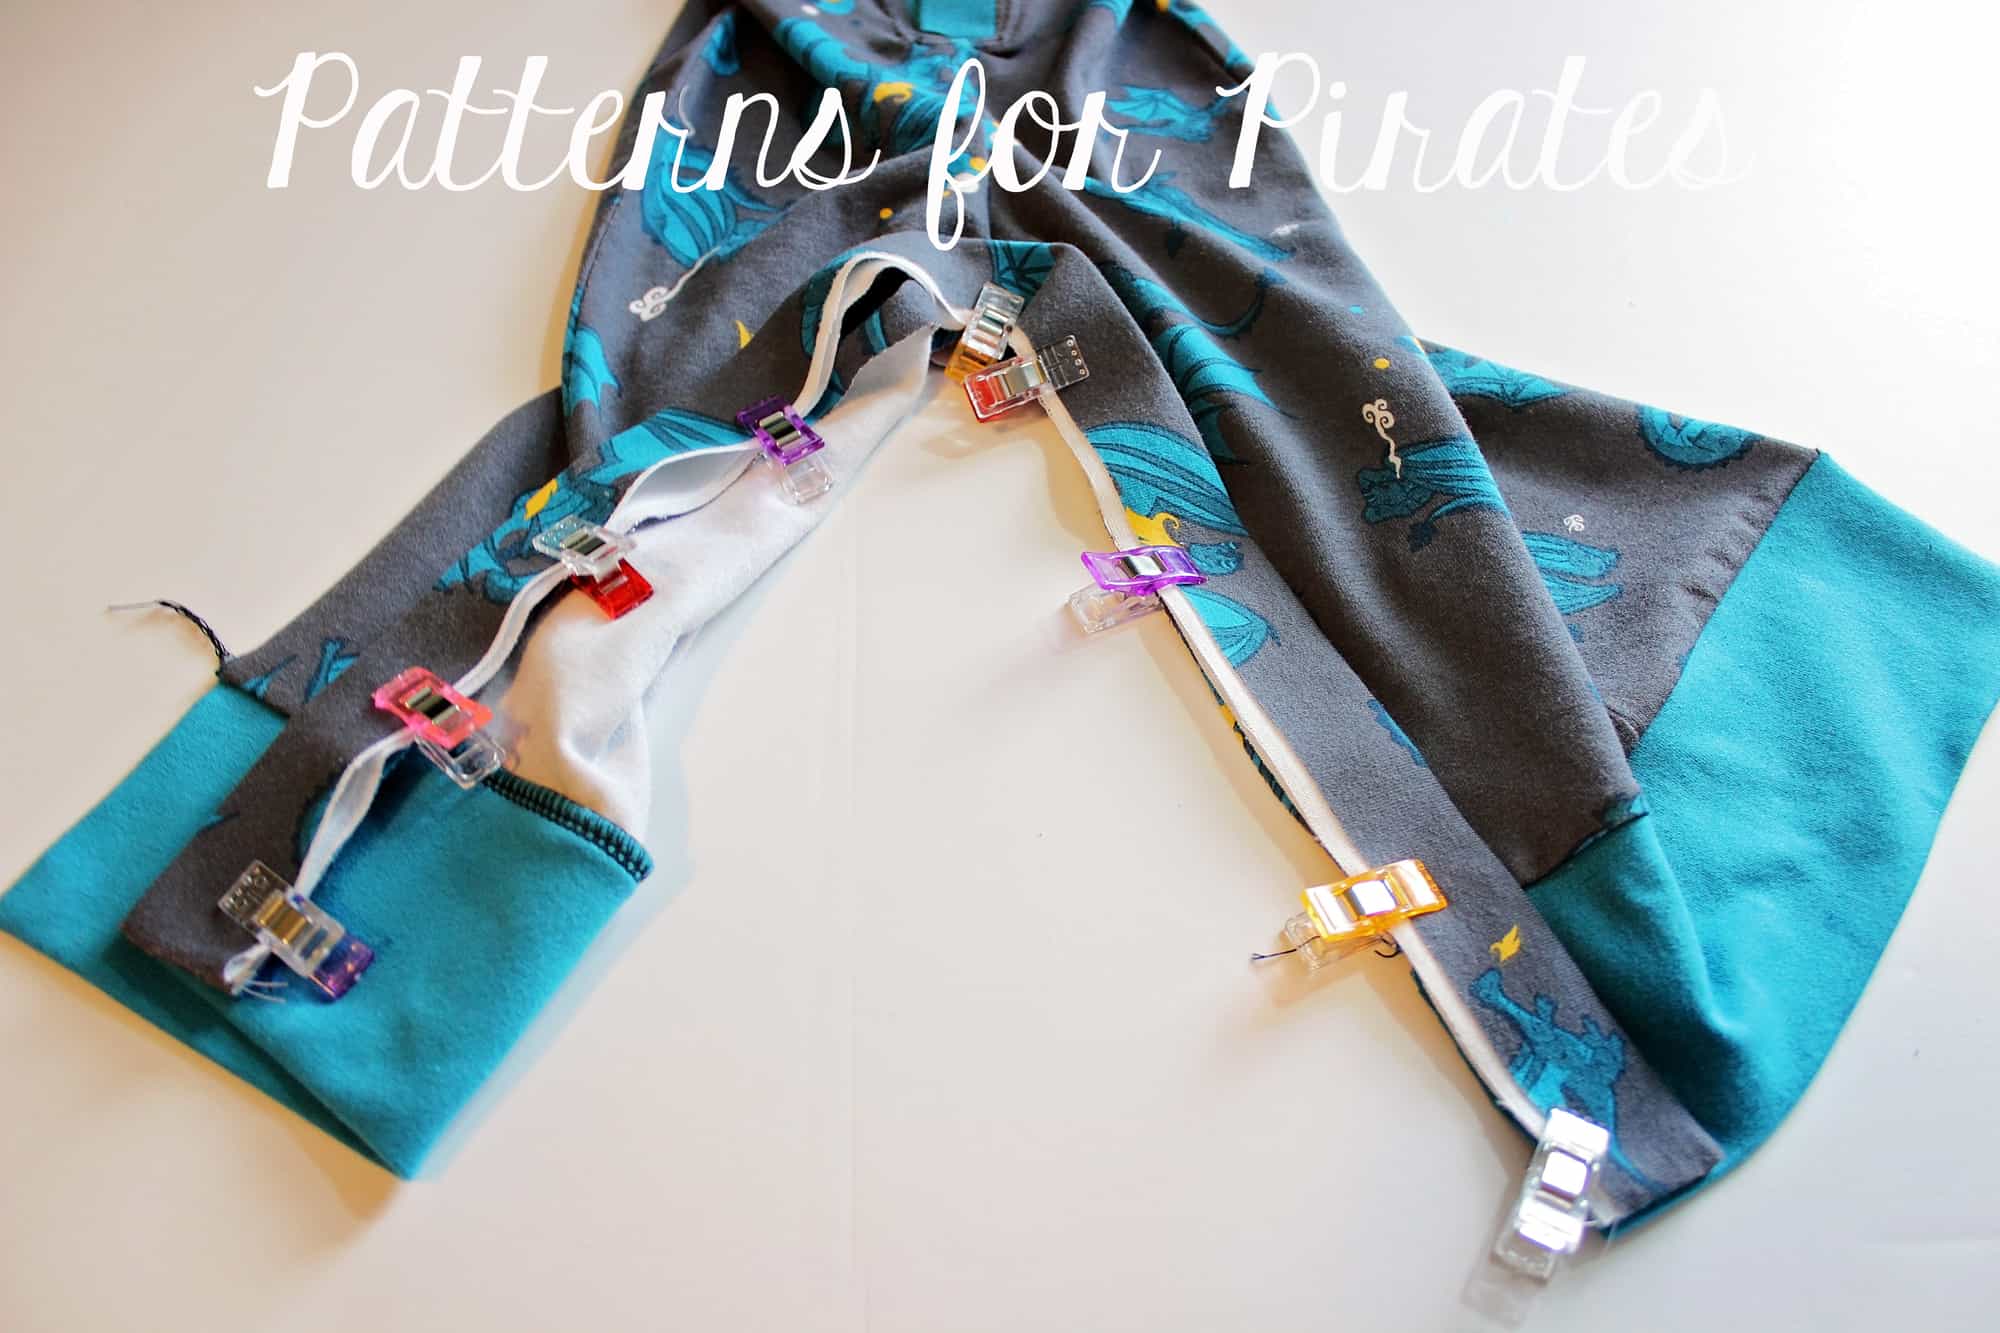
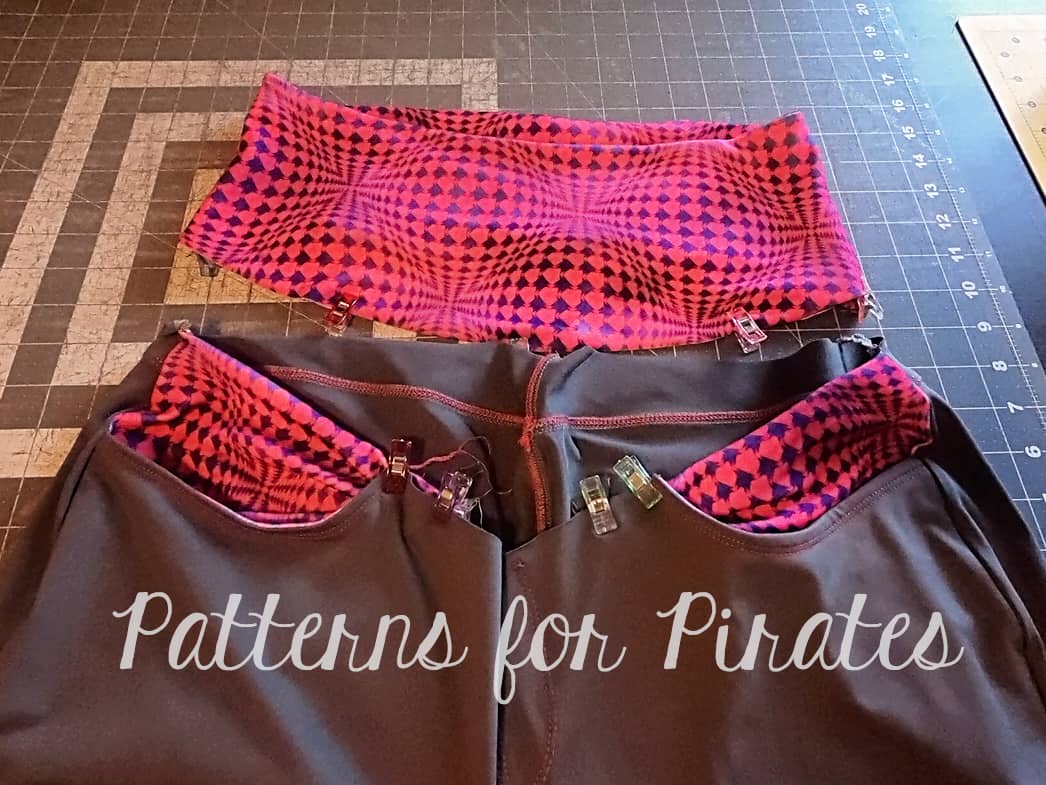
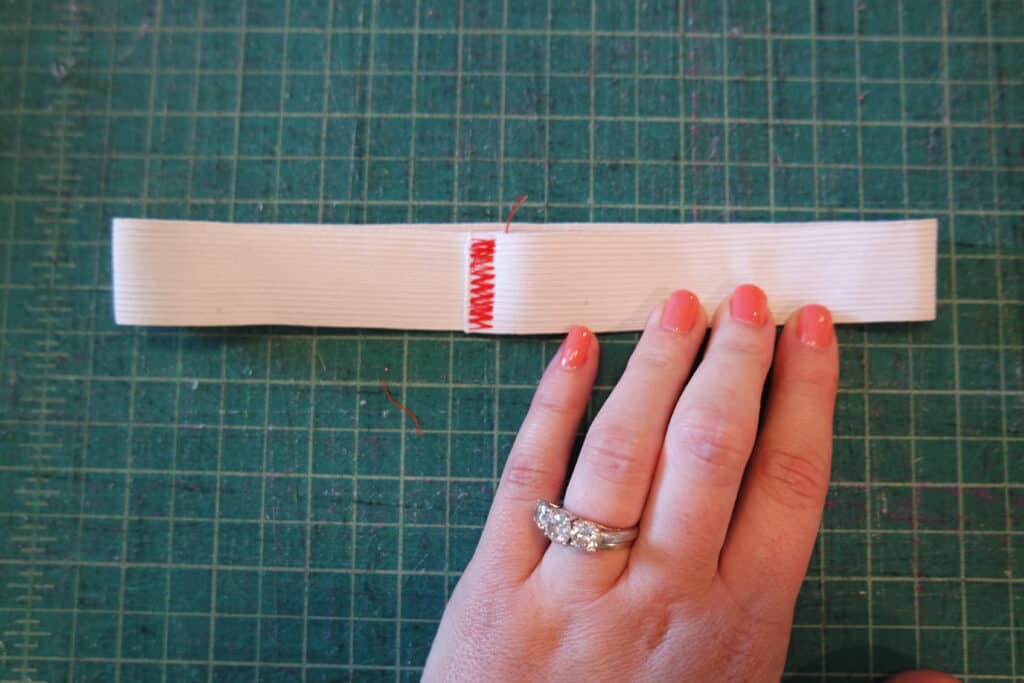
Instead of sewing your zip into your side seam you’ll just stitch it up. Stitch your waistband pieces into a circle. If you are adding elastic sew it into a circle as well.
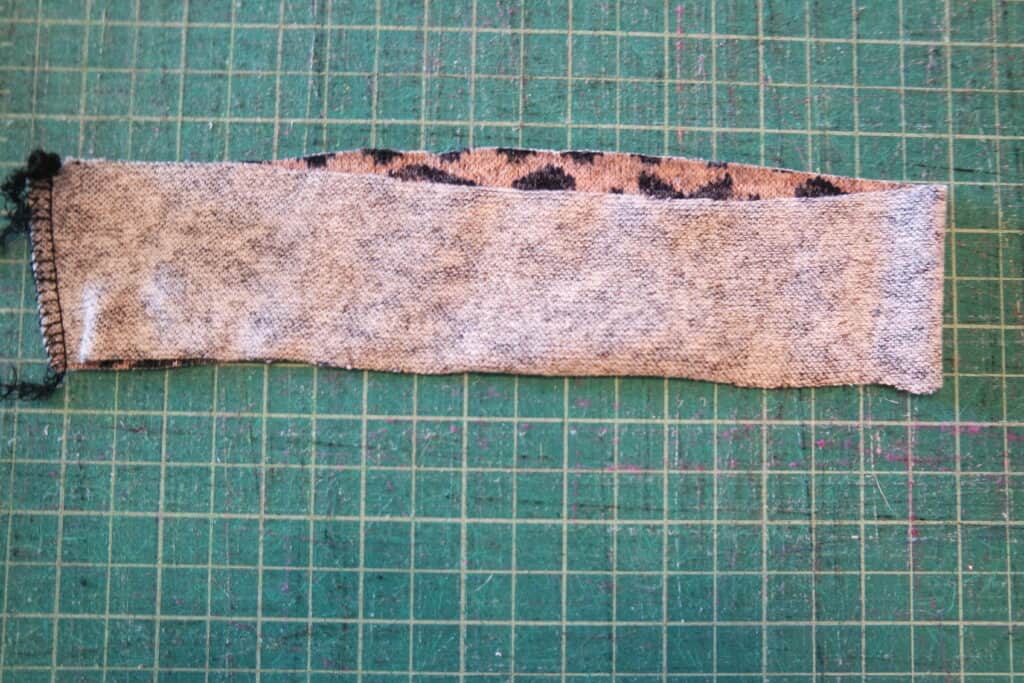
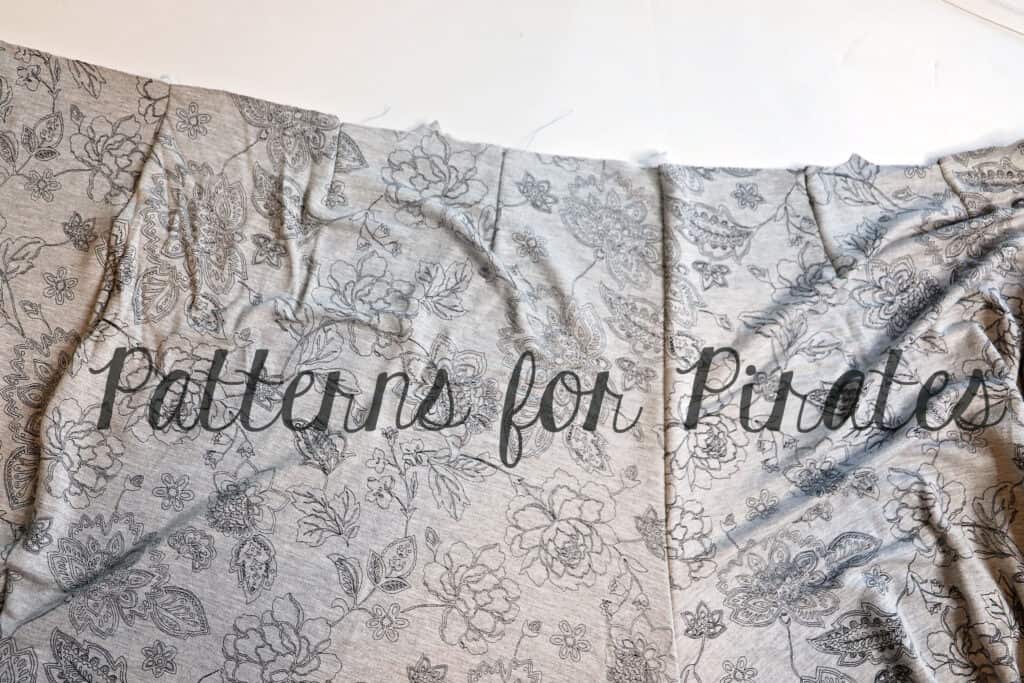
You will follow the same steps as the tutorial attaching the main waistband piece, sandwiching the straps and bib between the main and lining waistband, and top-stitching band. You will just be sewing in a complete circle rather then having the ends that overlap for a button.
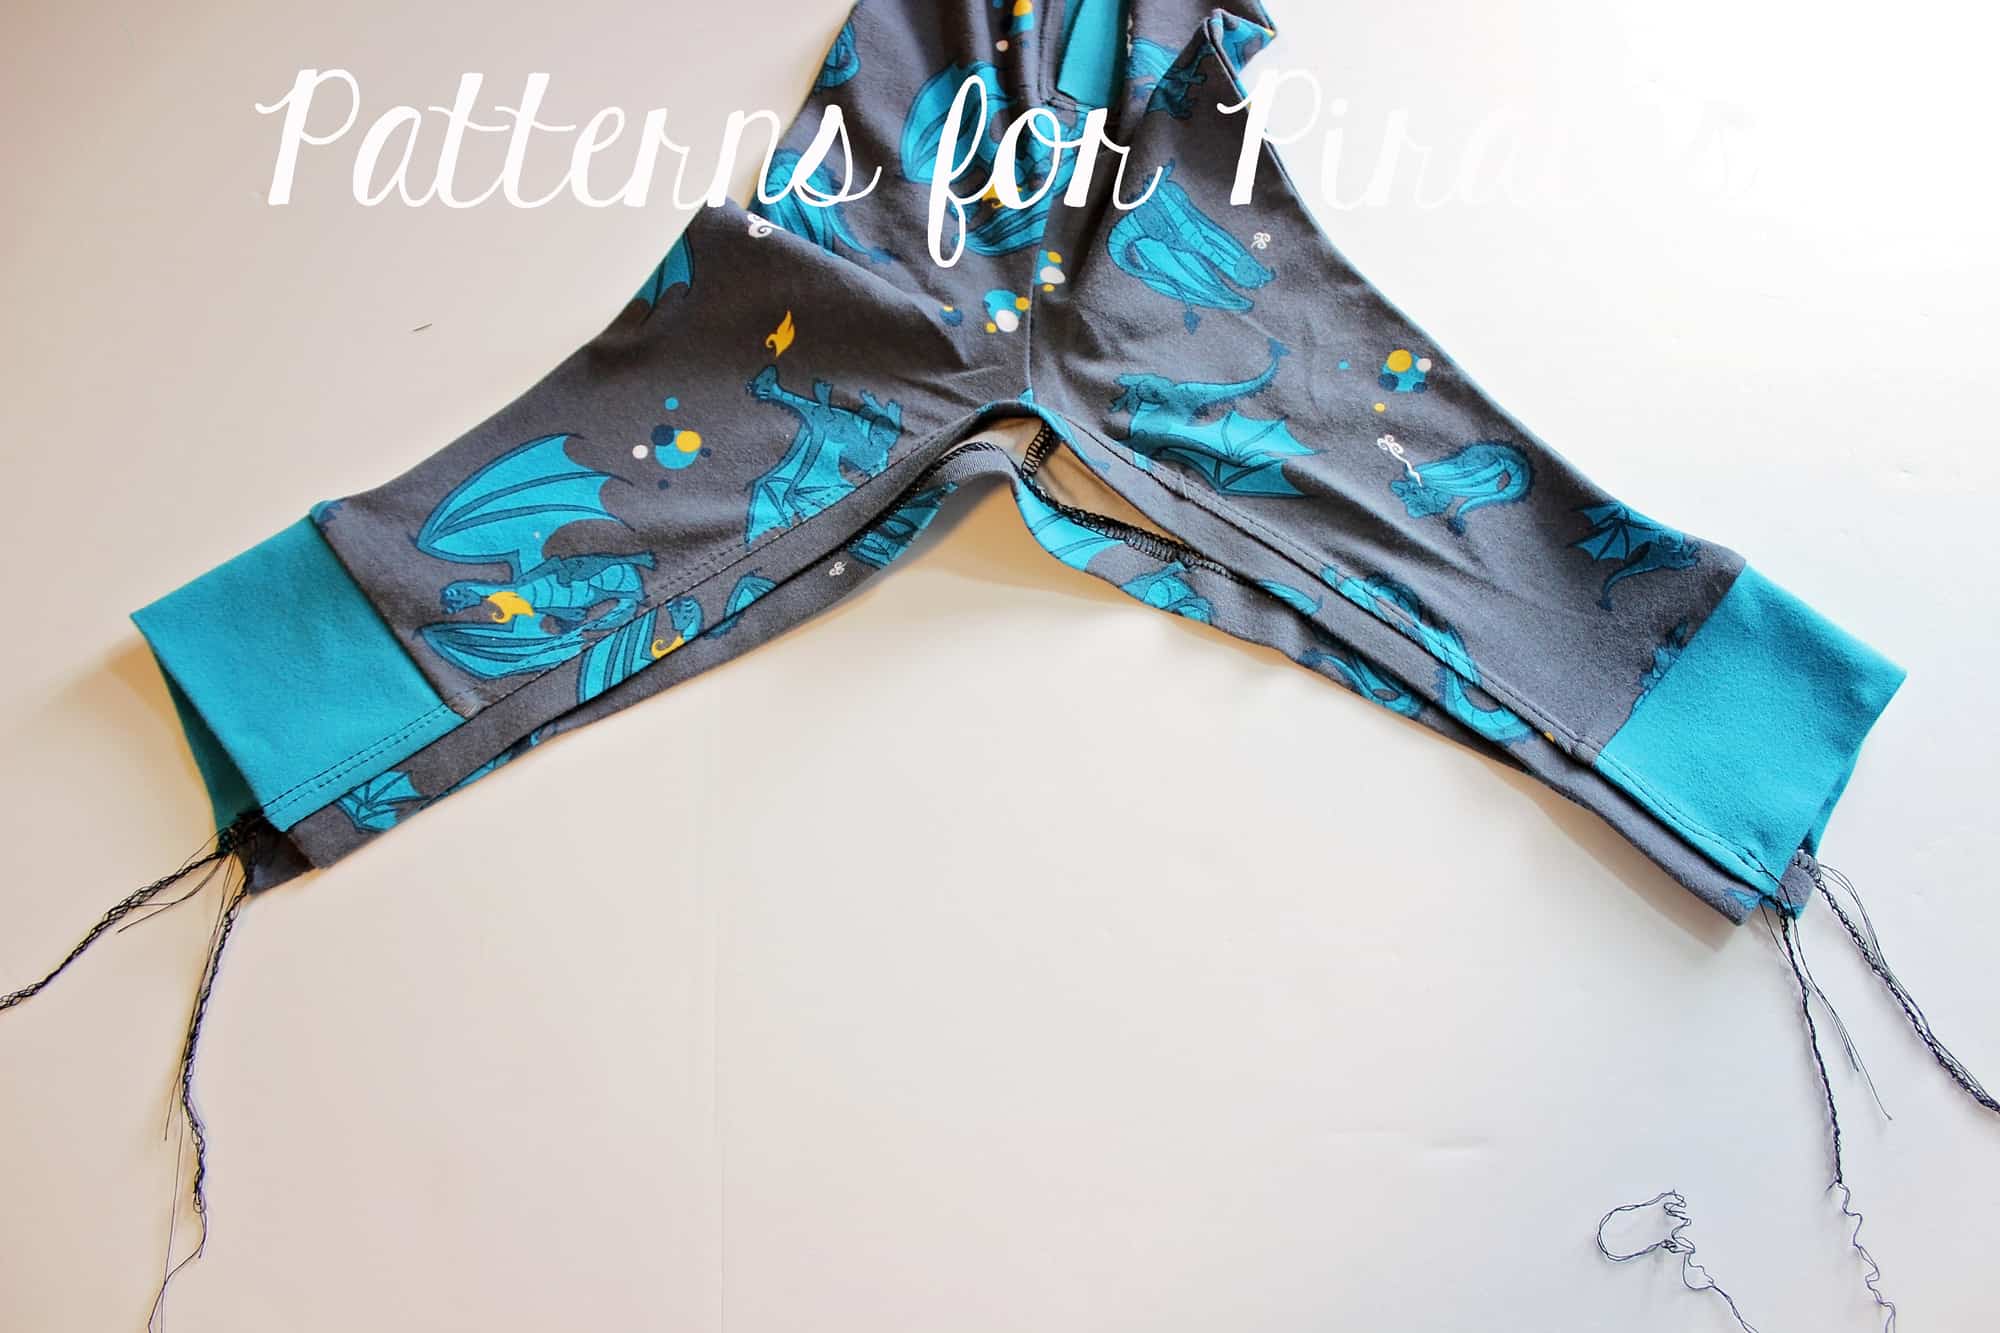
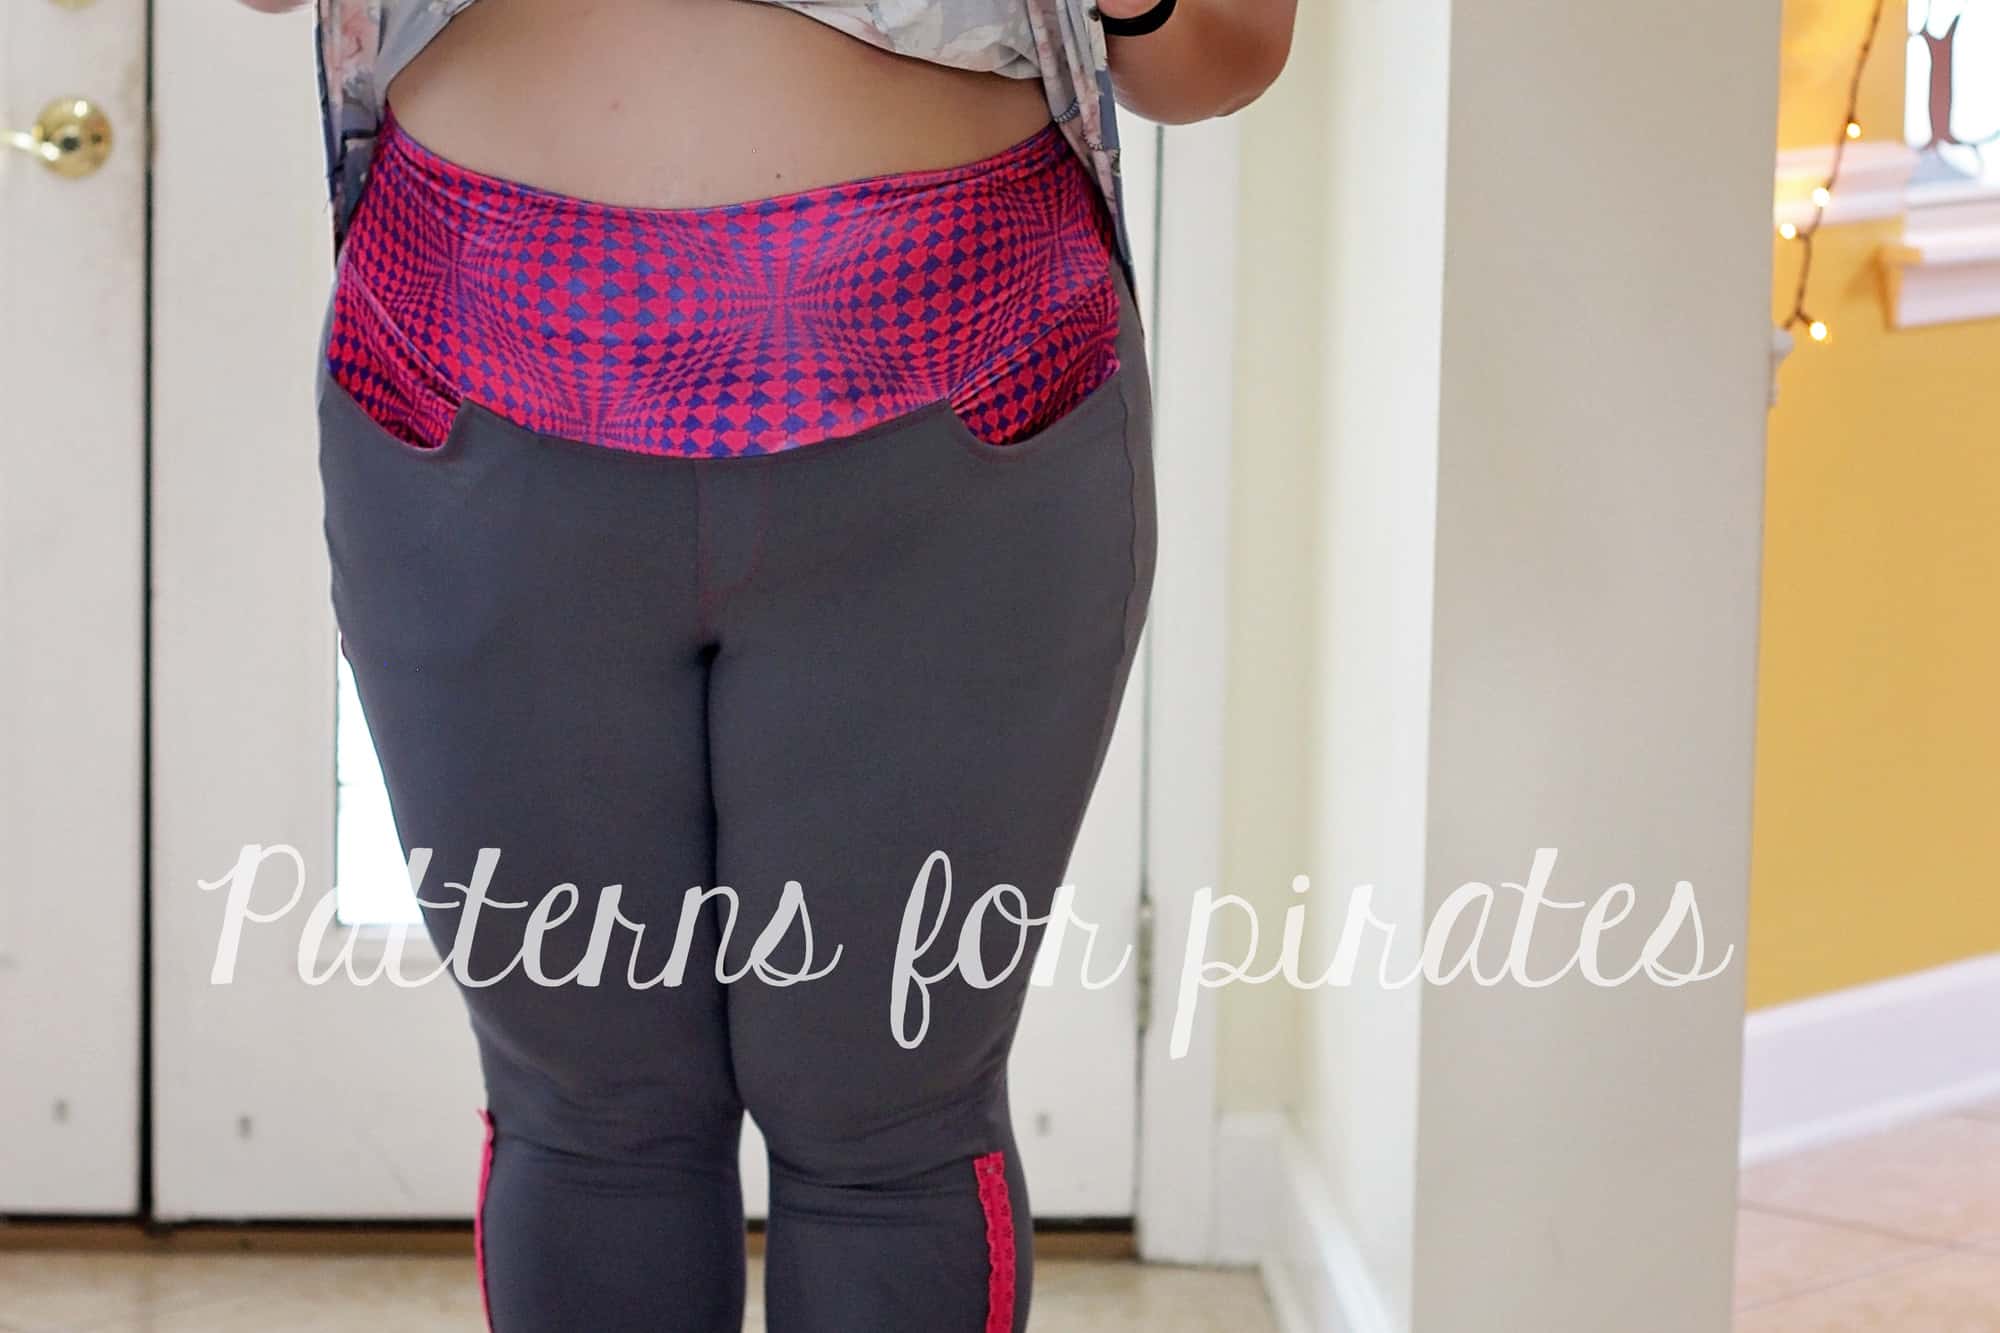
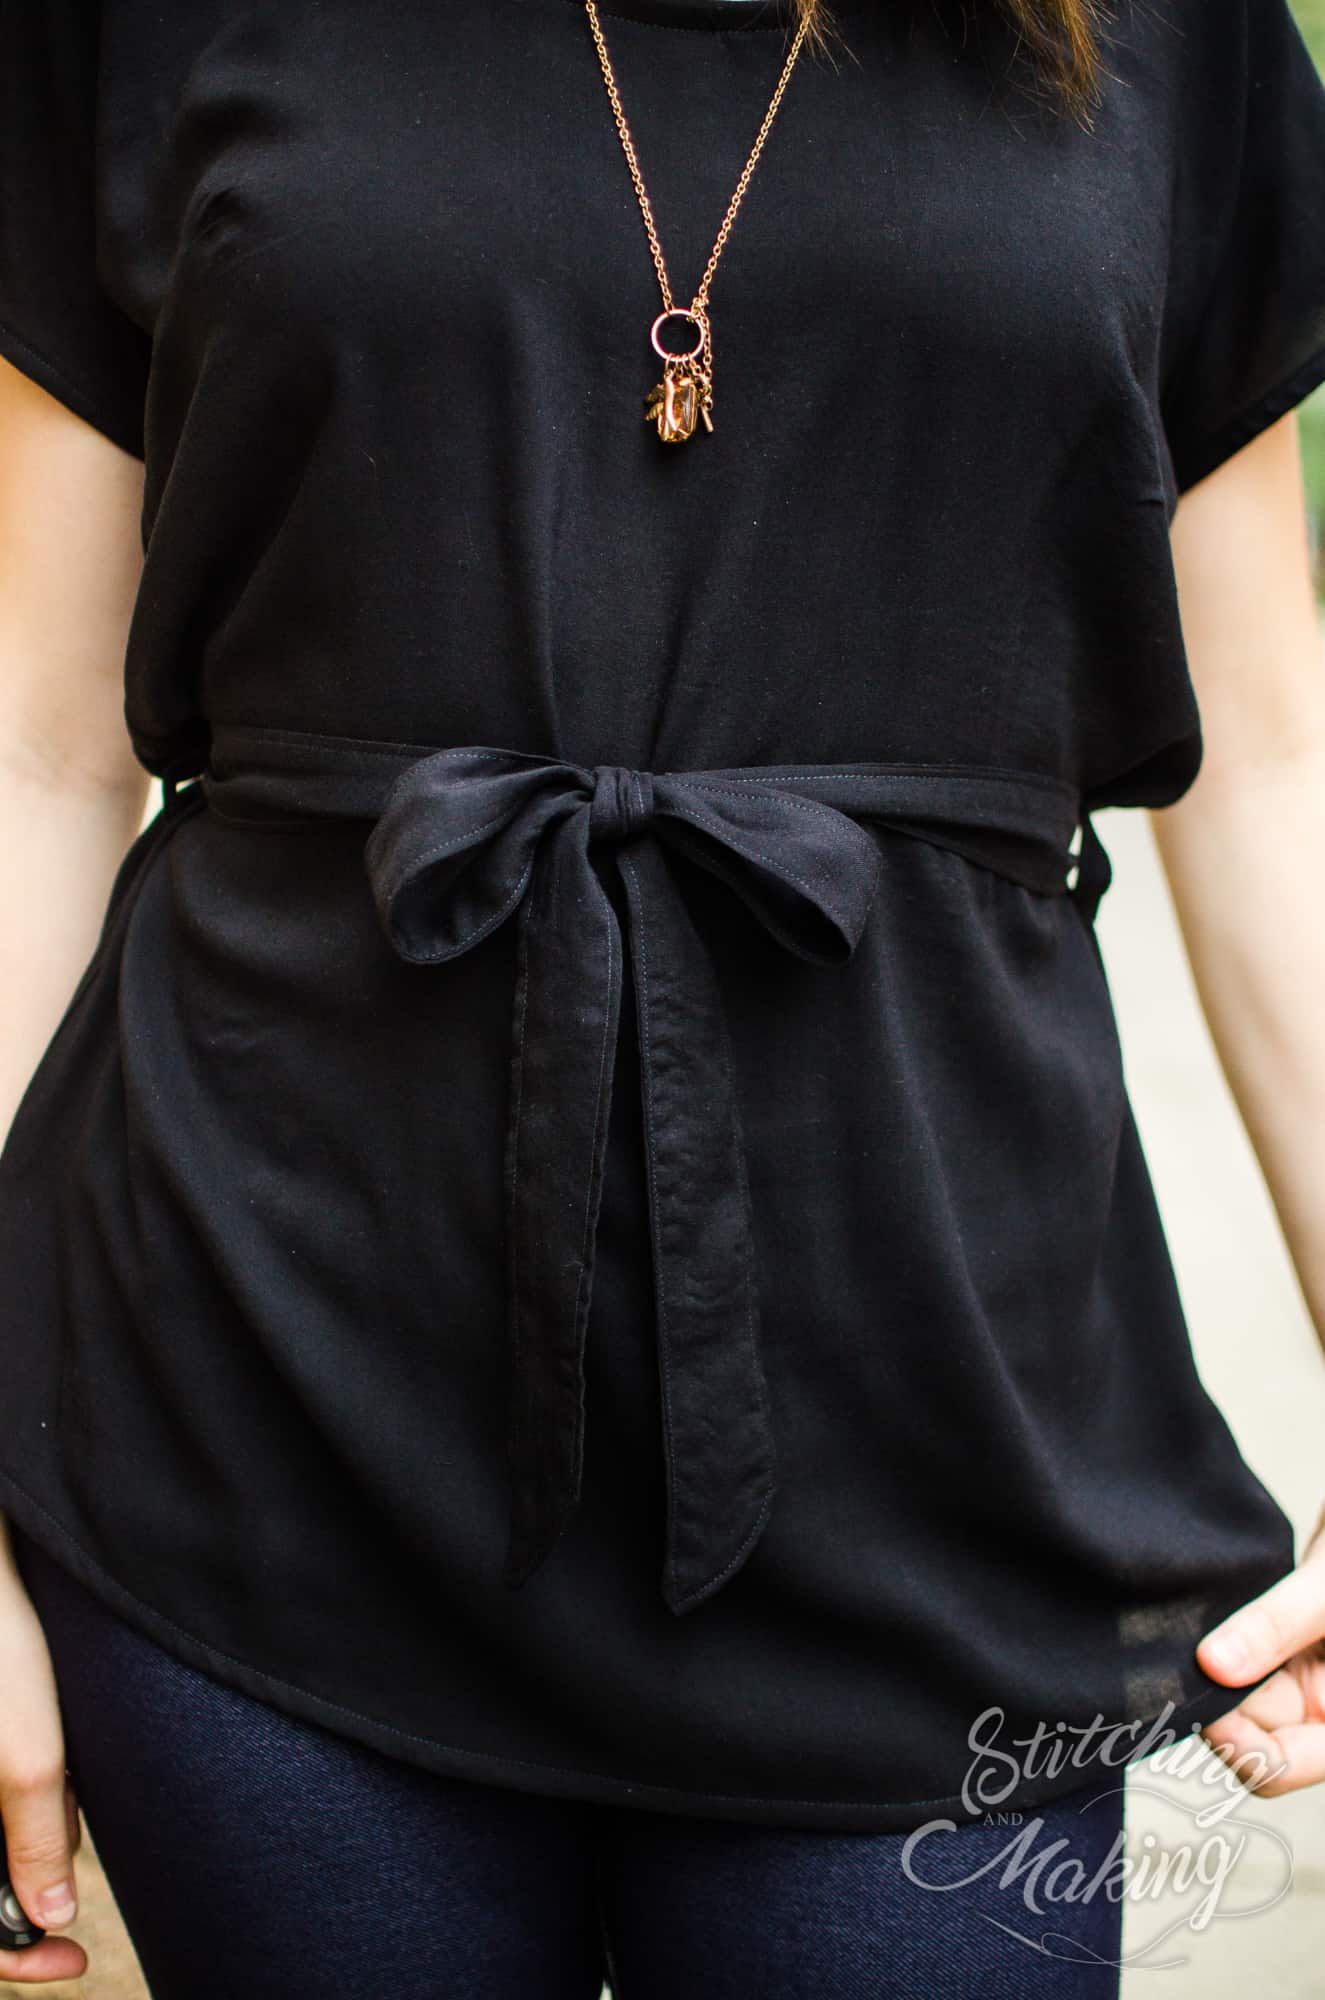
All done, now you can just slip it on/off with no zip!


….
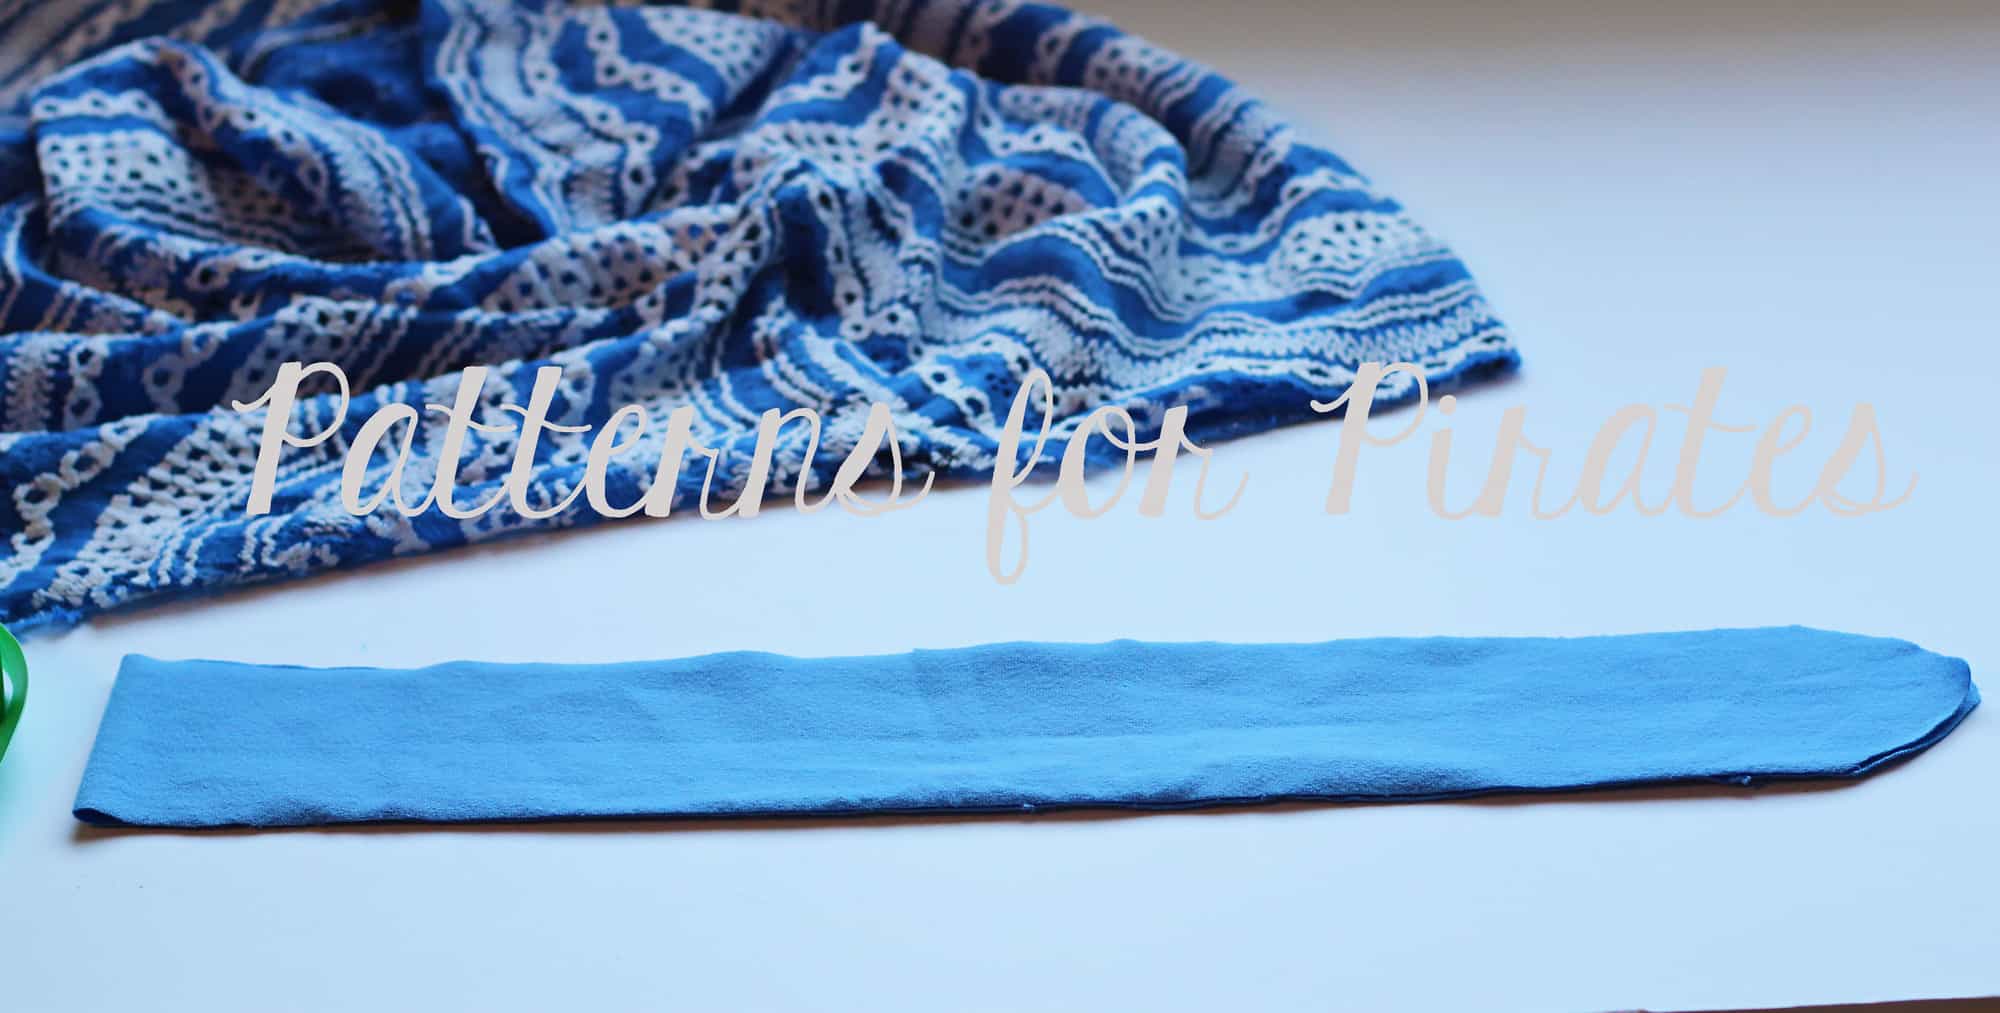
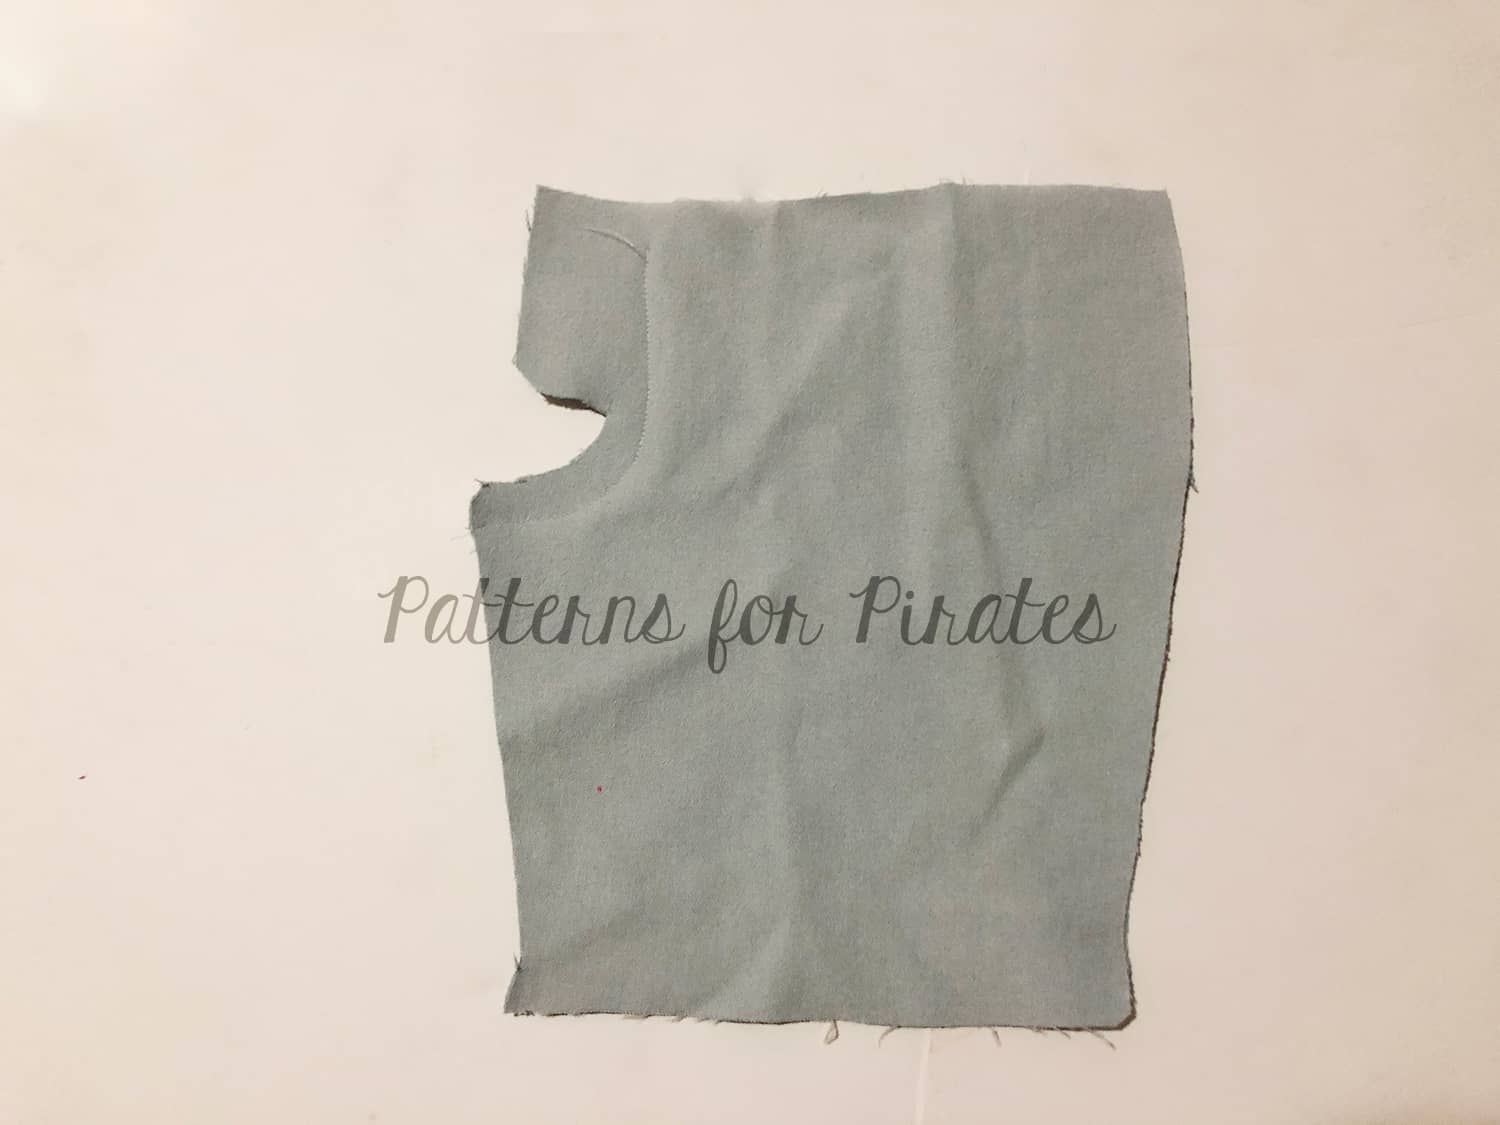
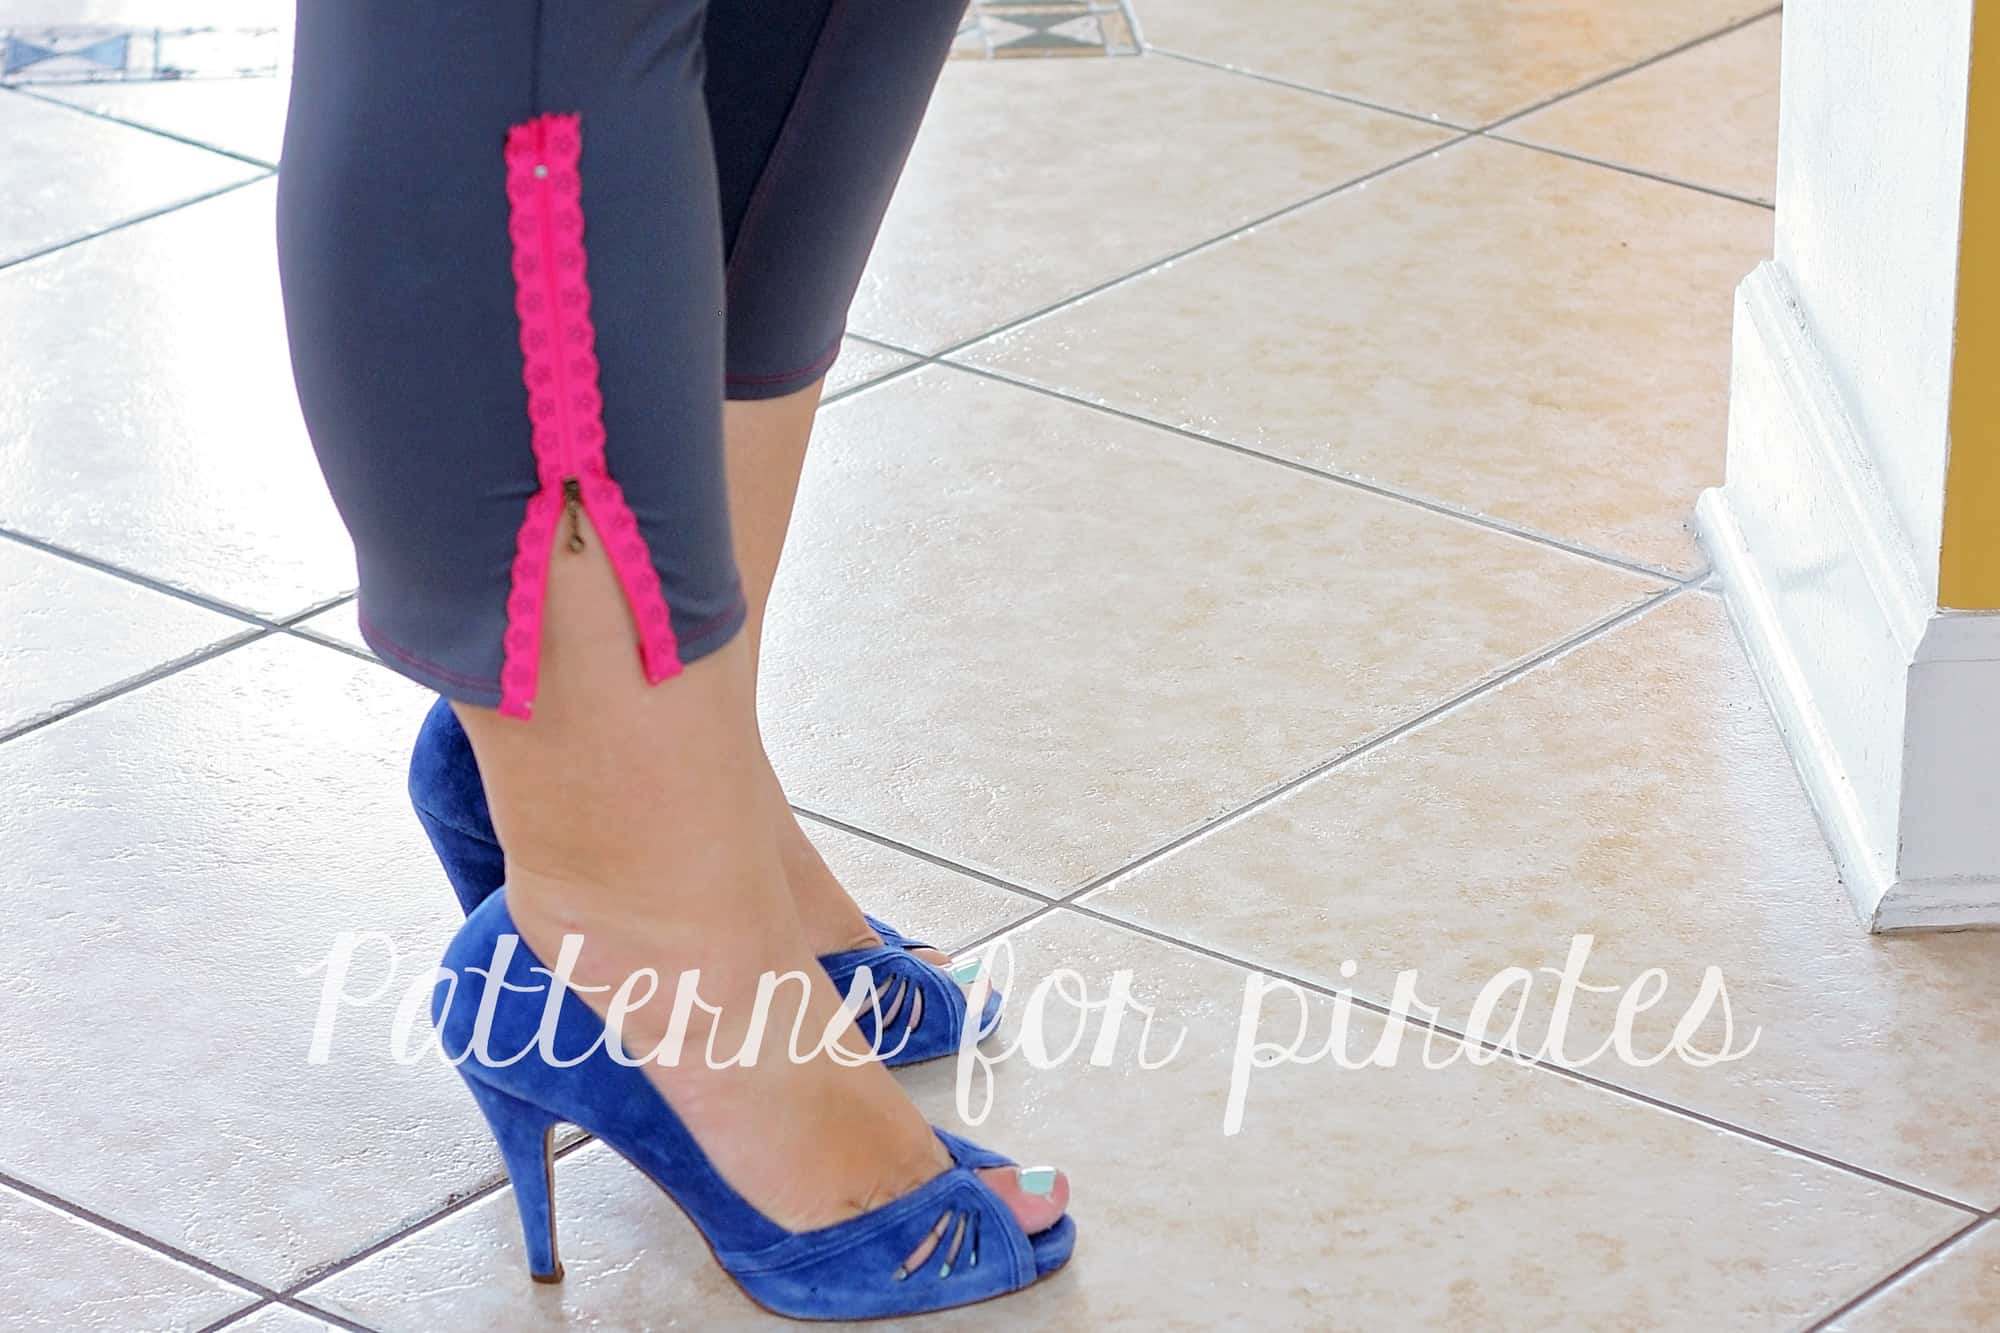
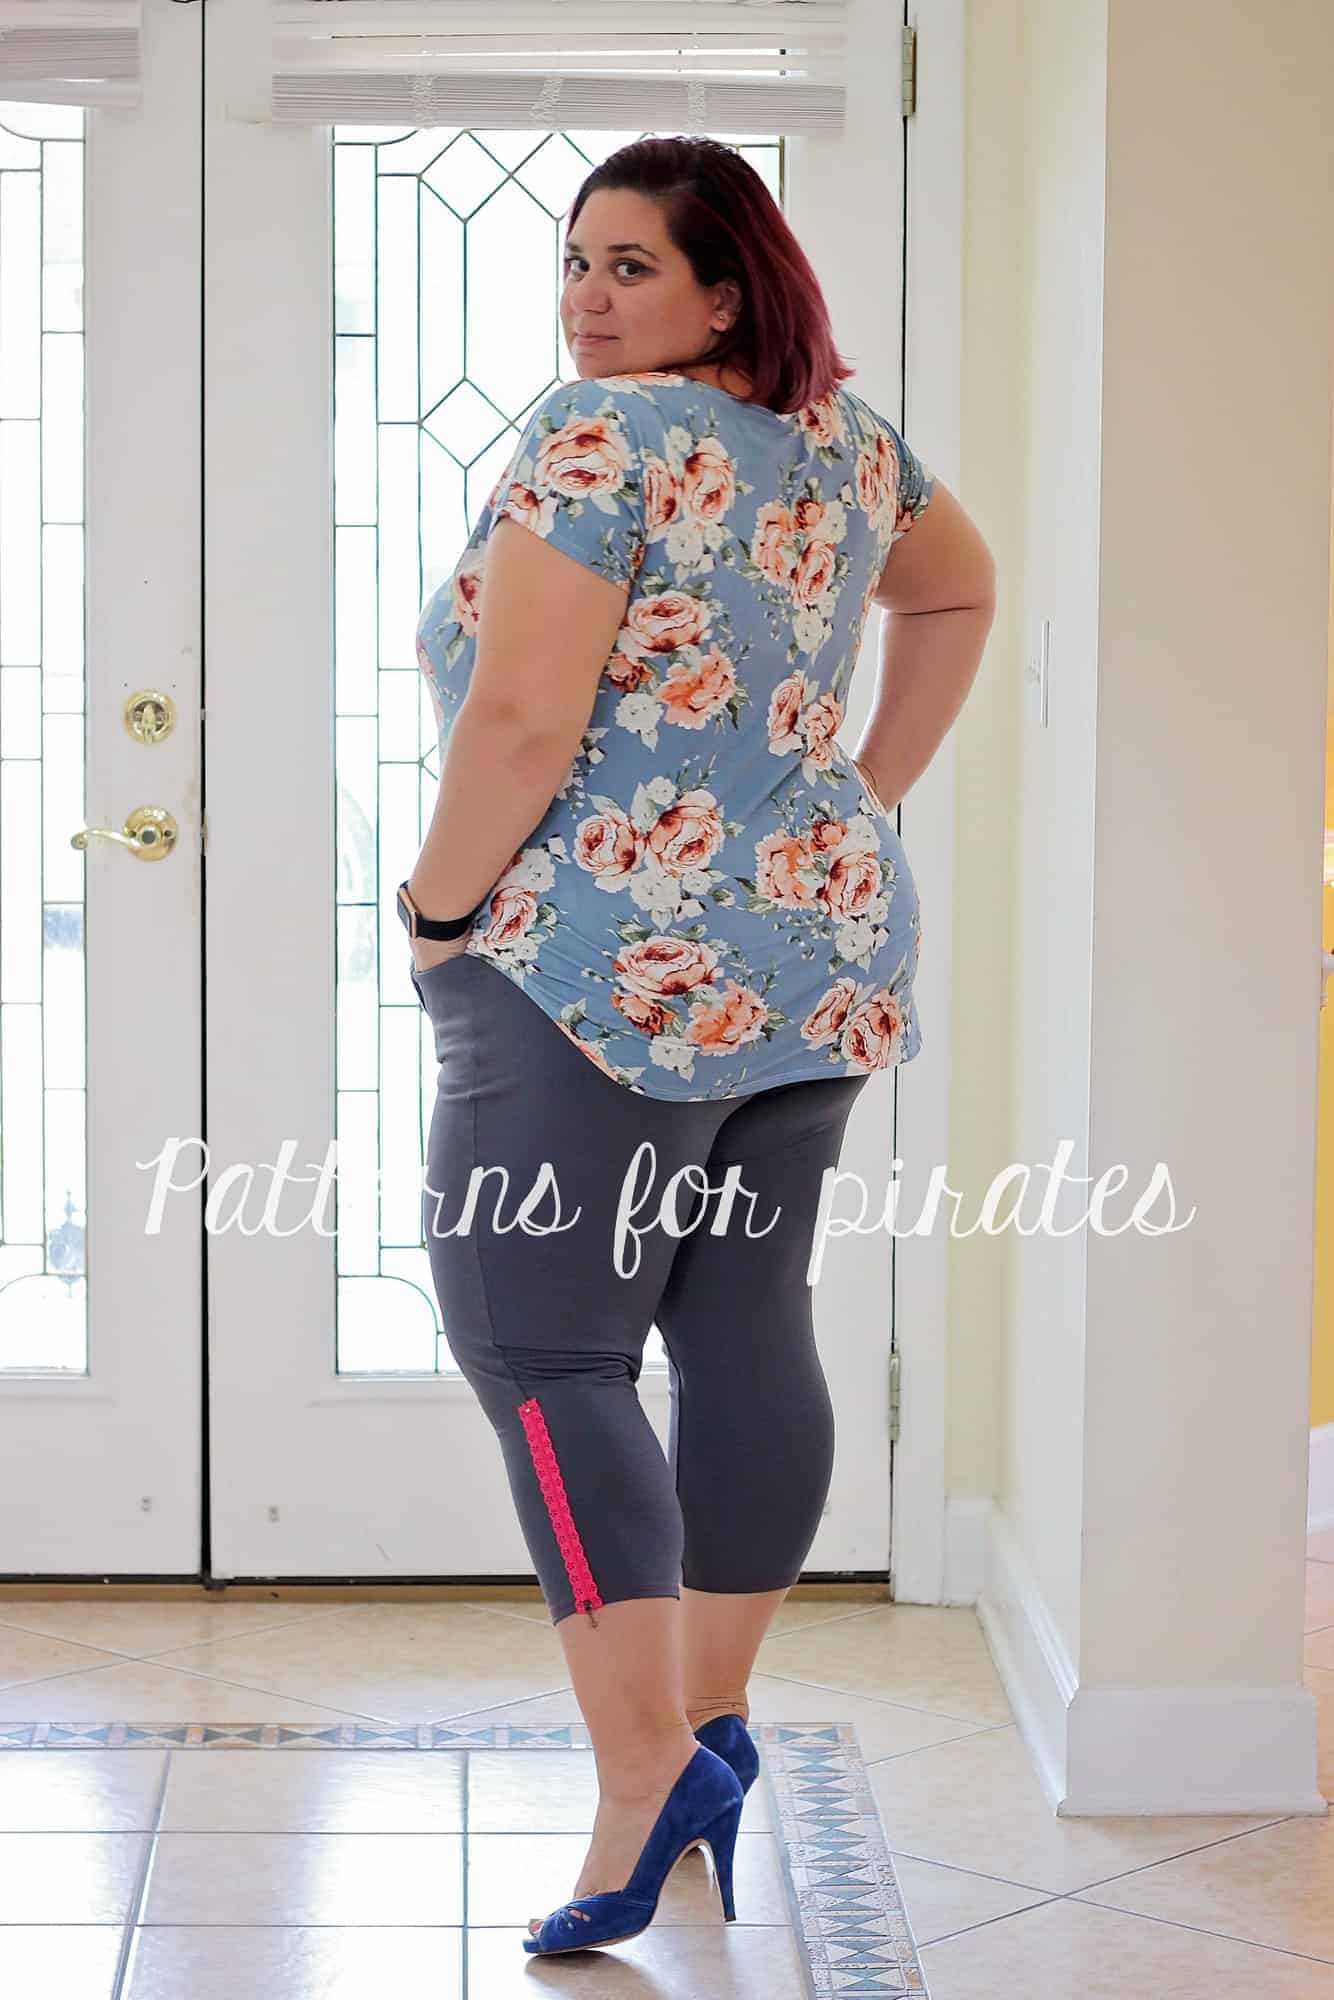
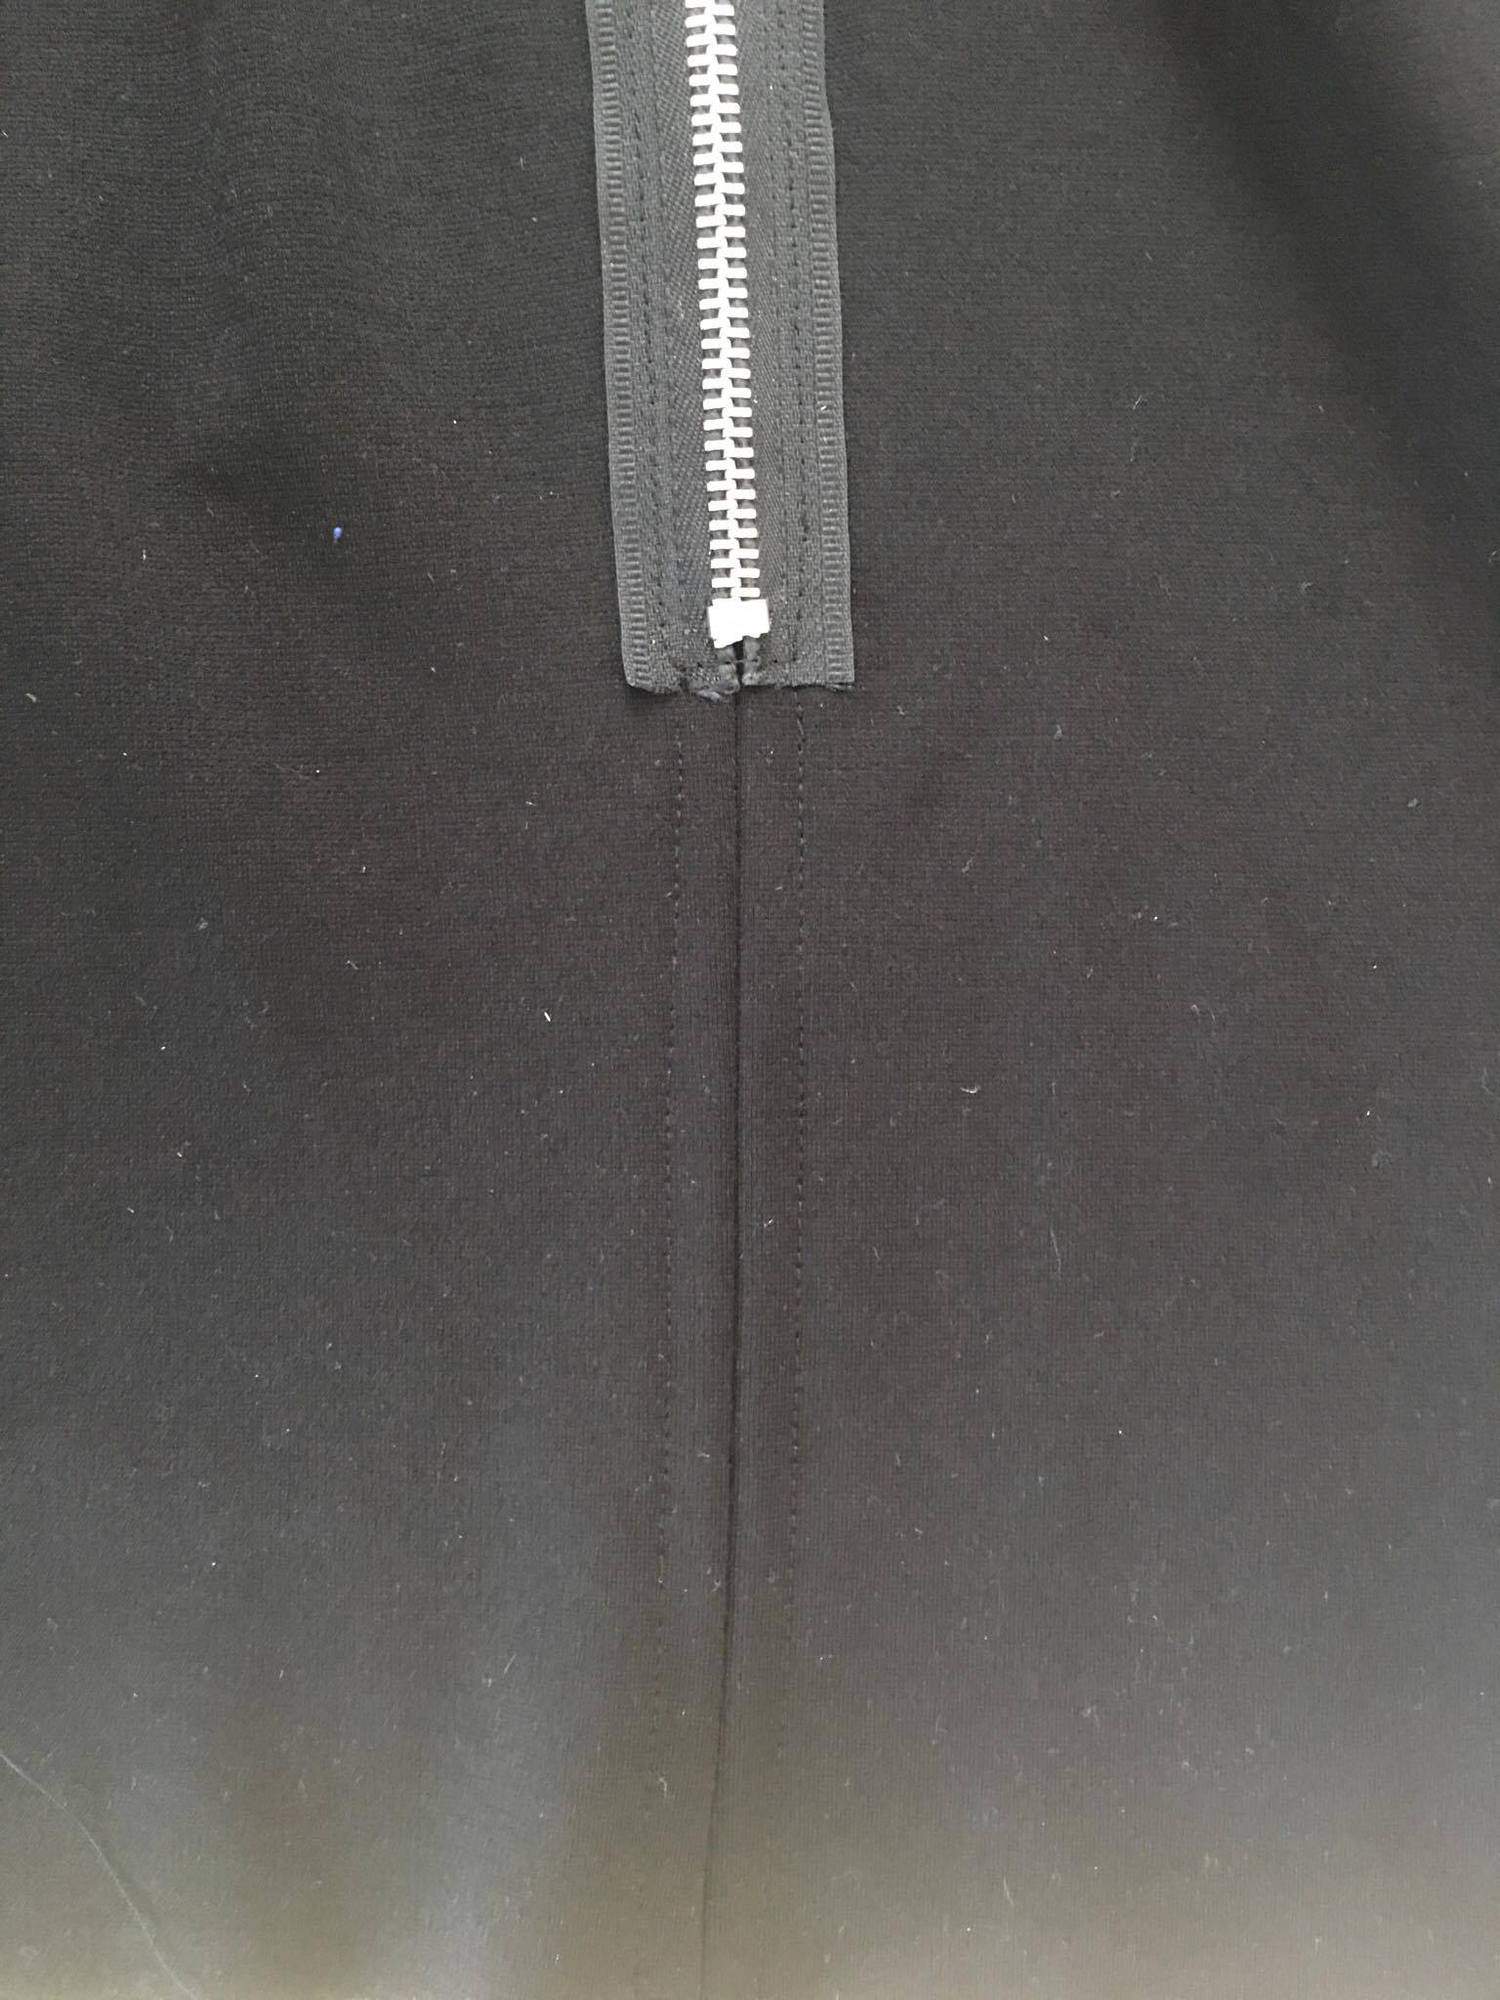
Zipper Guard
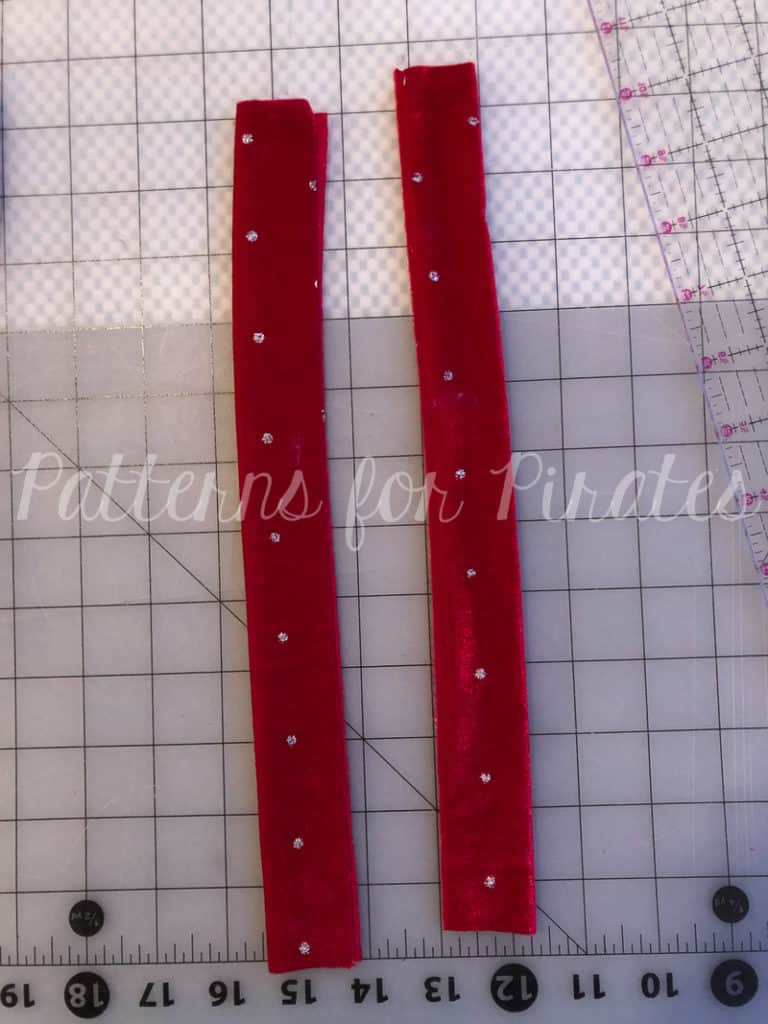
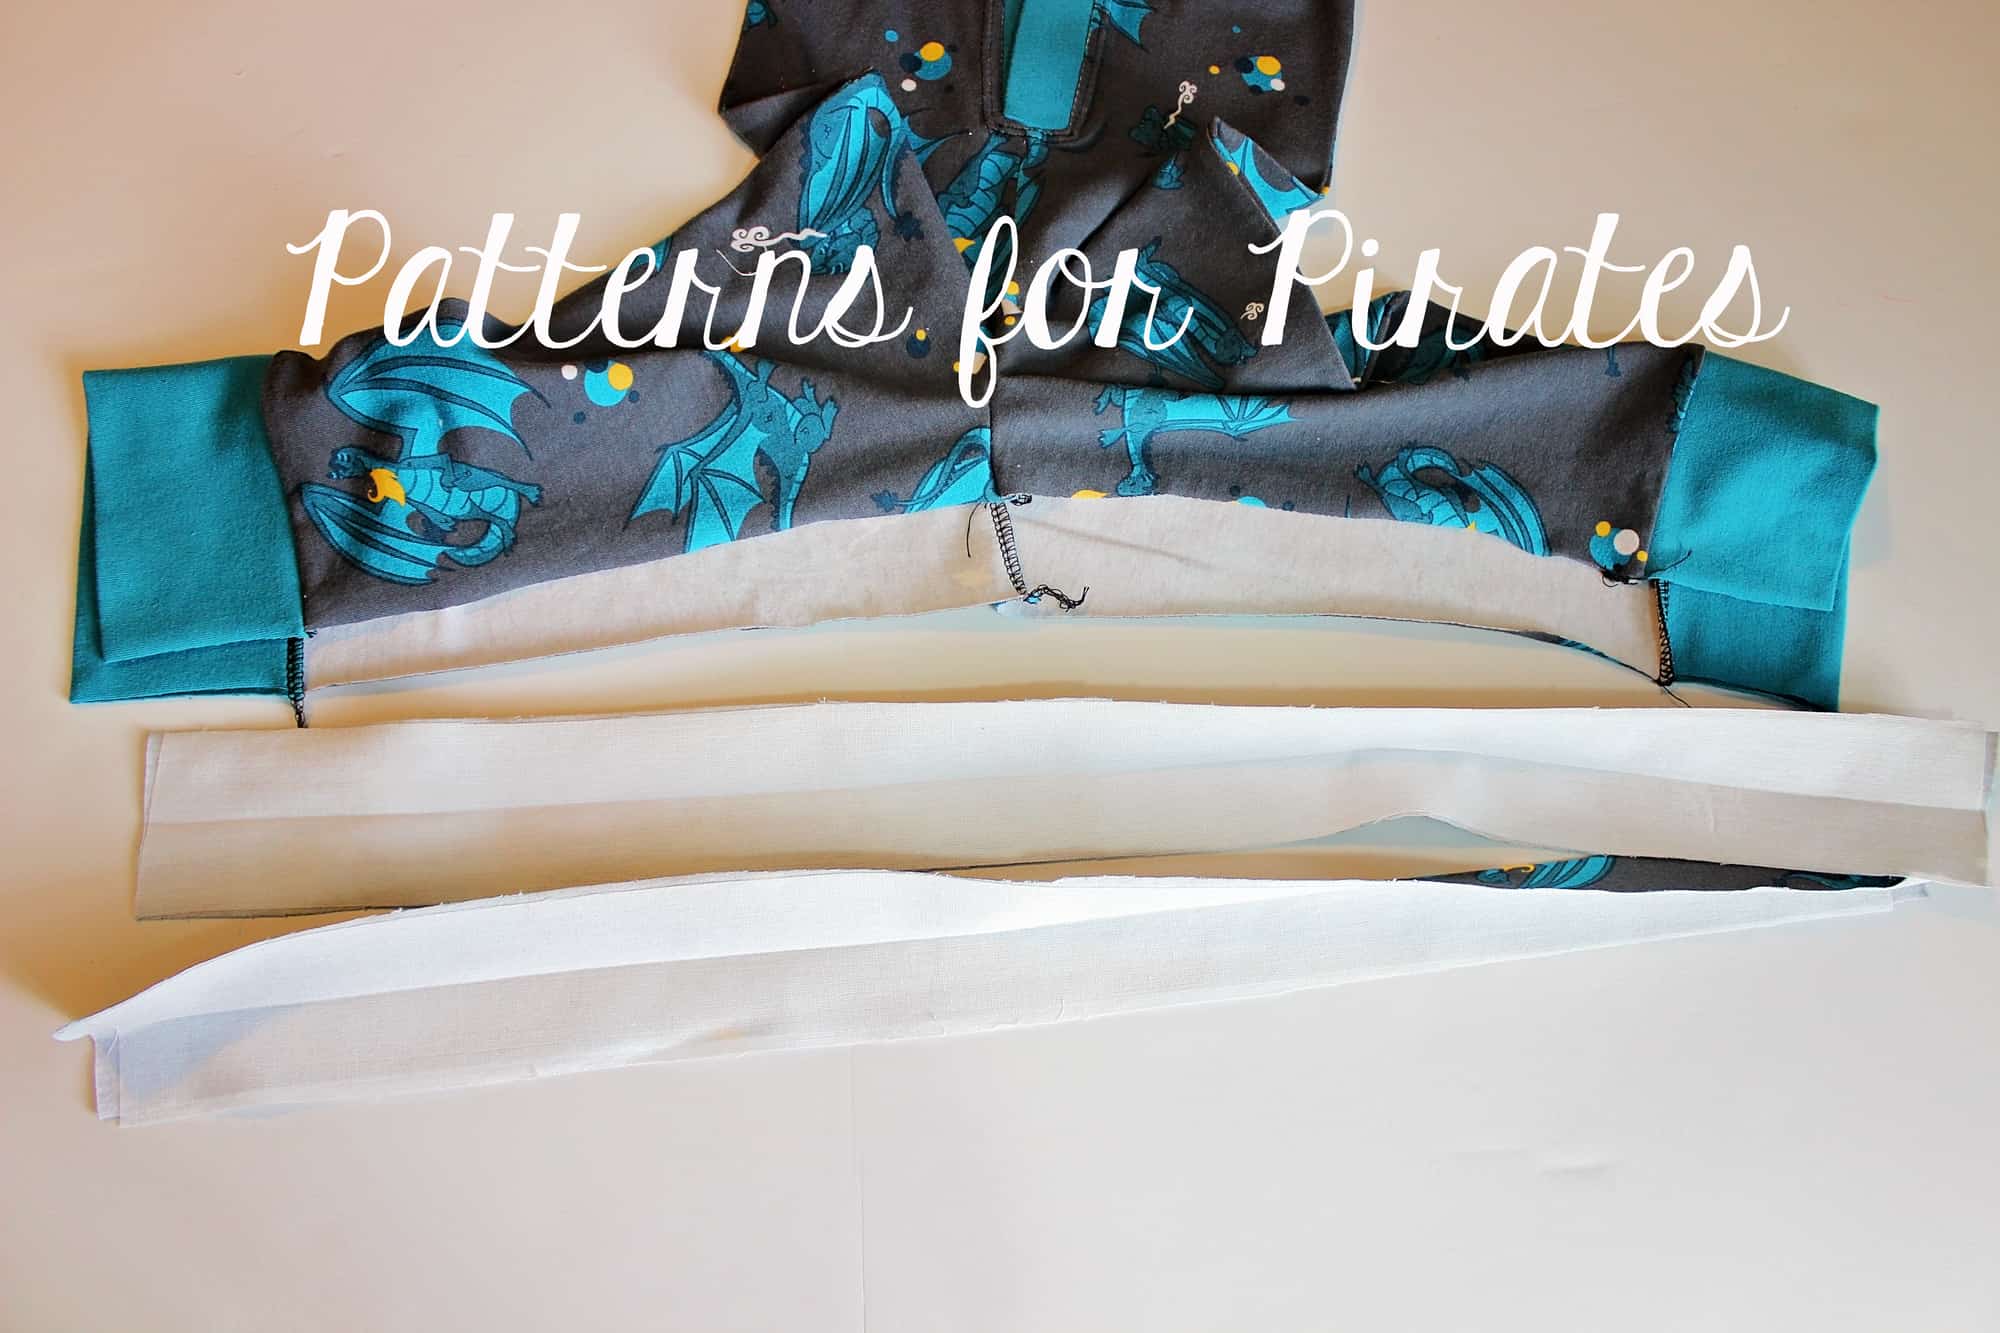
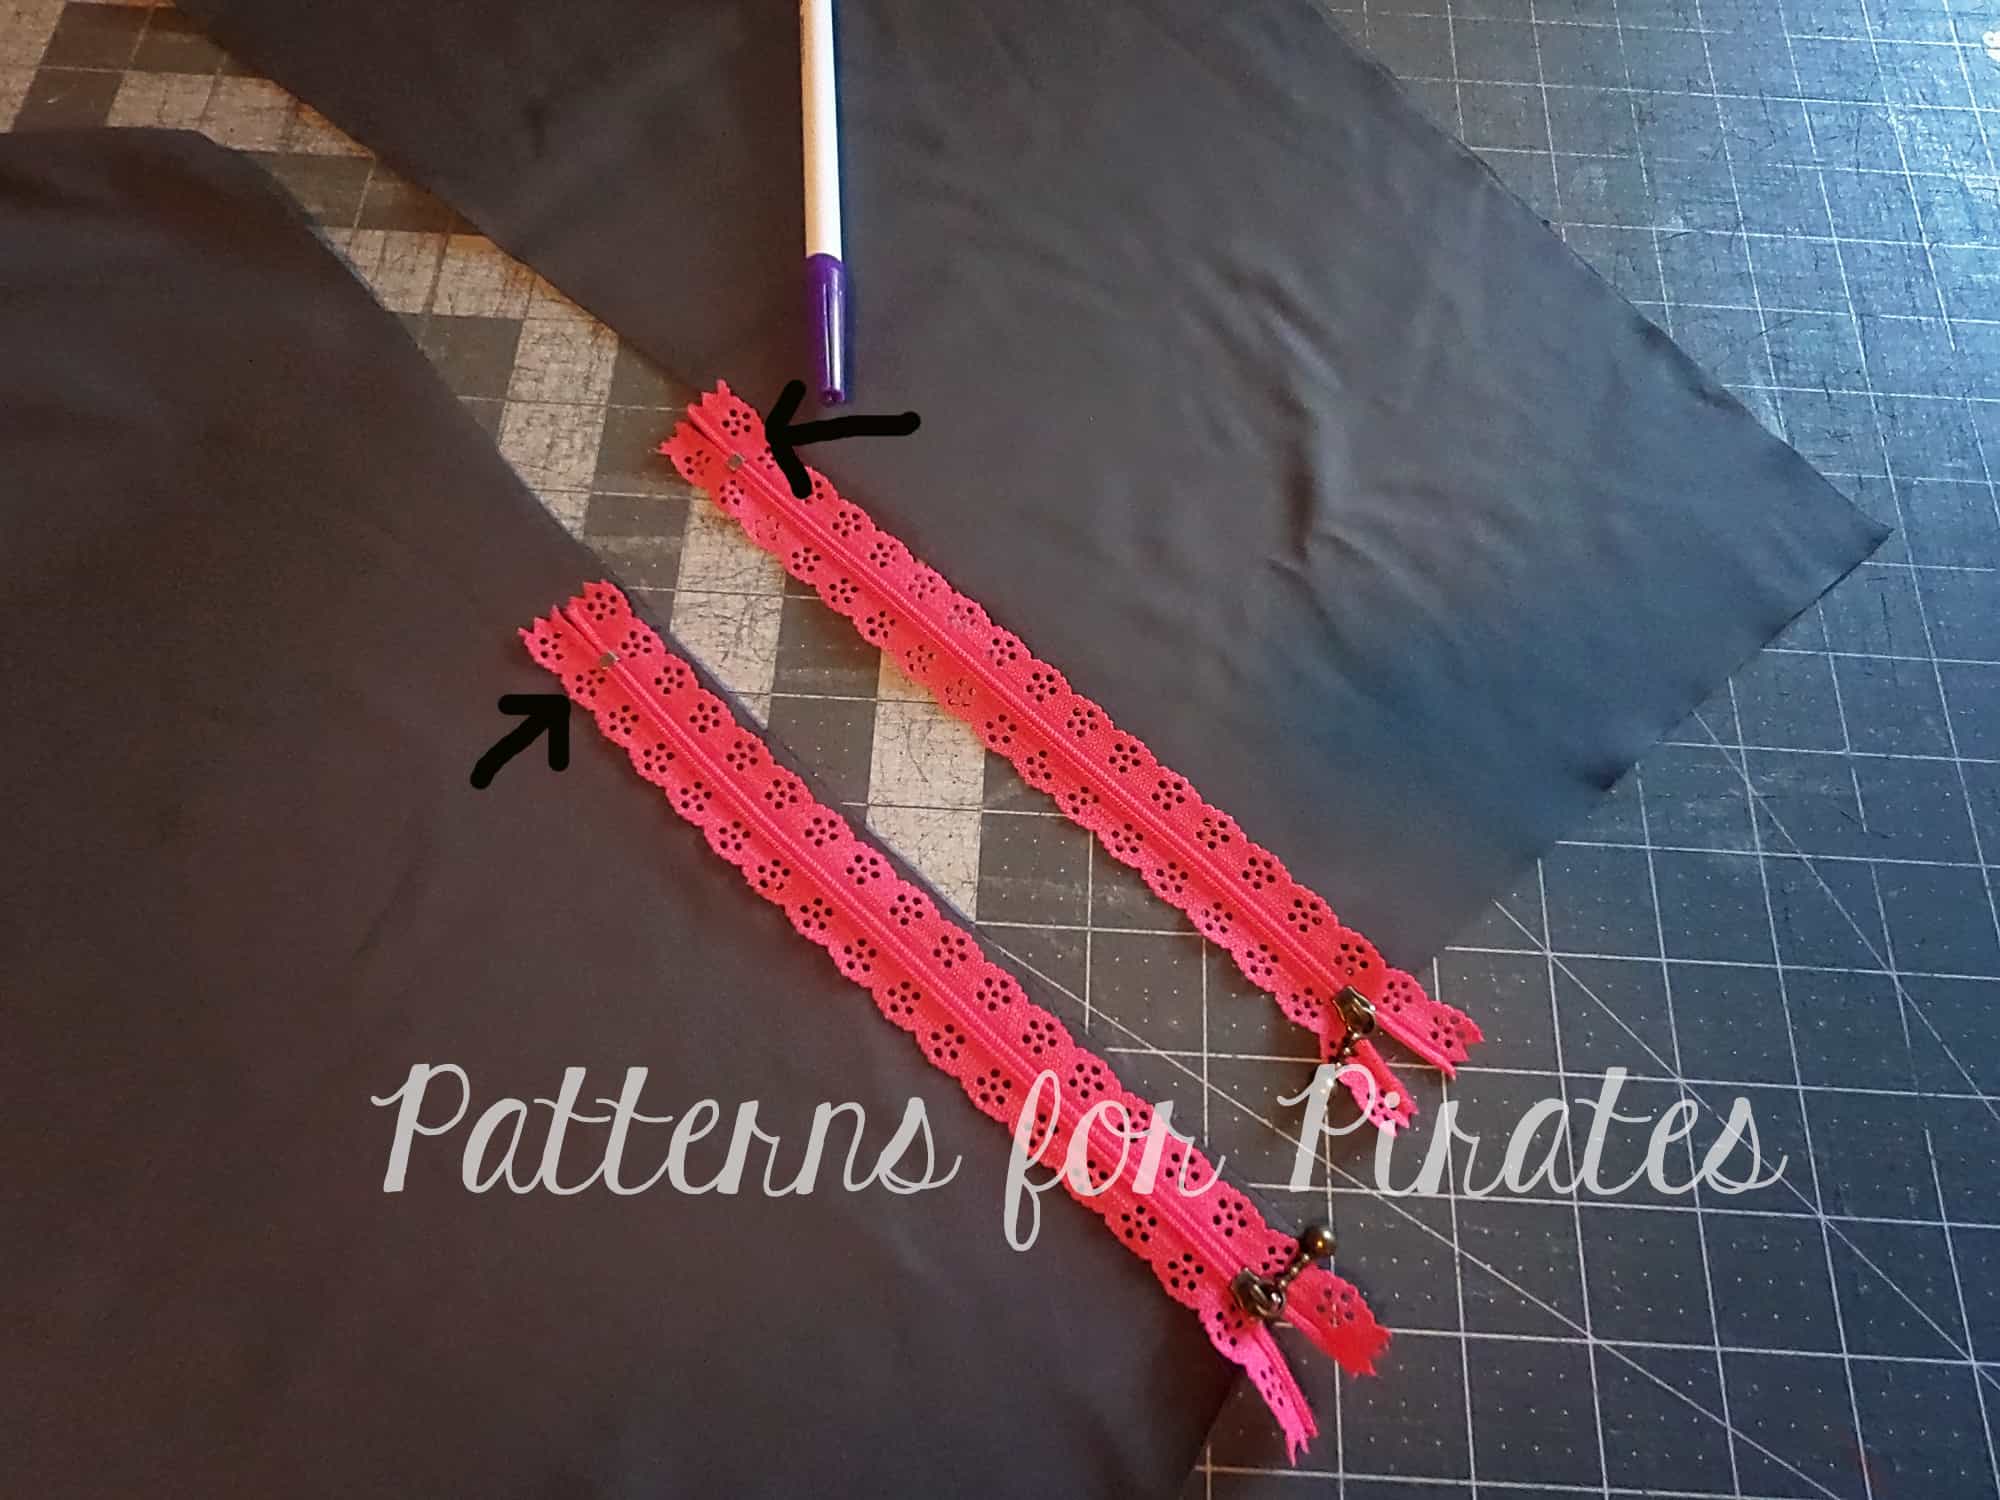
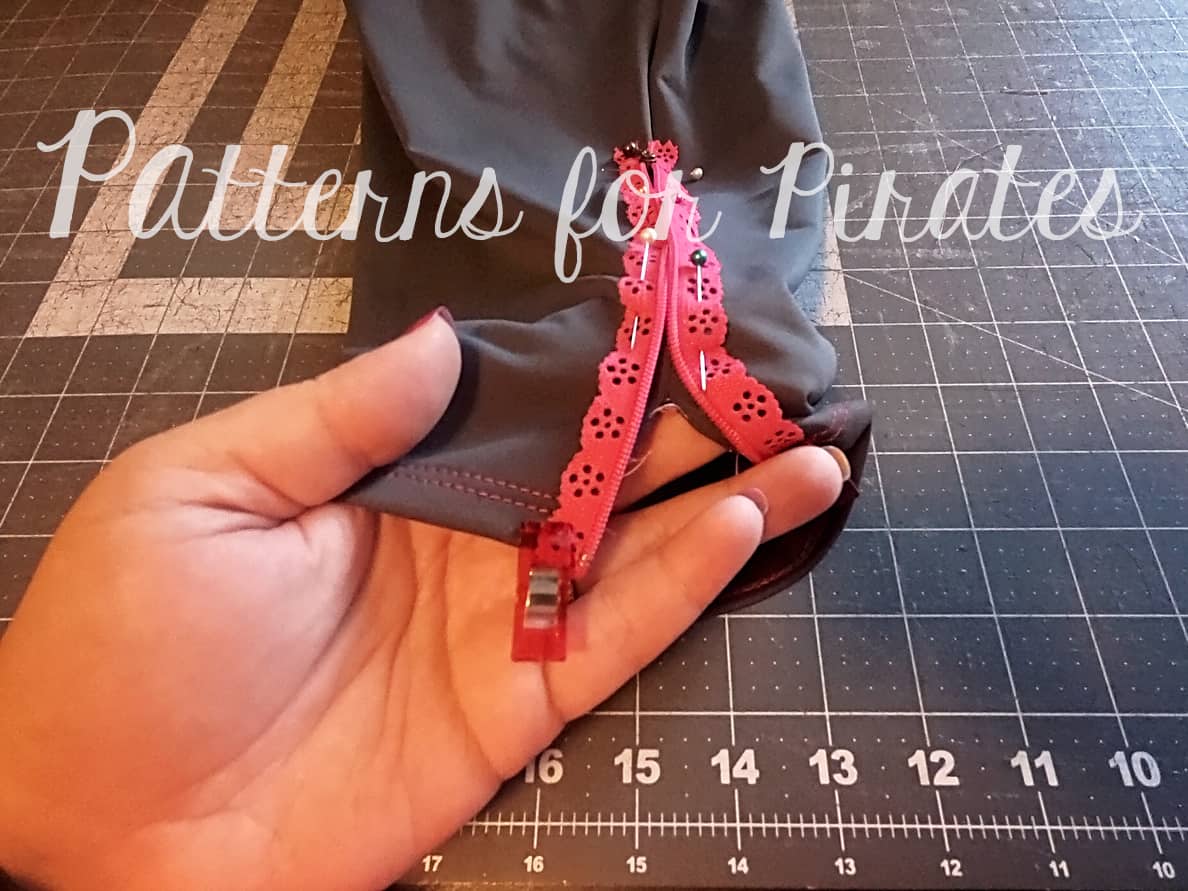
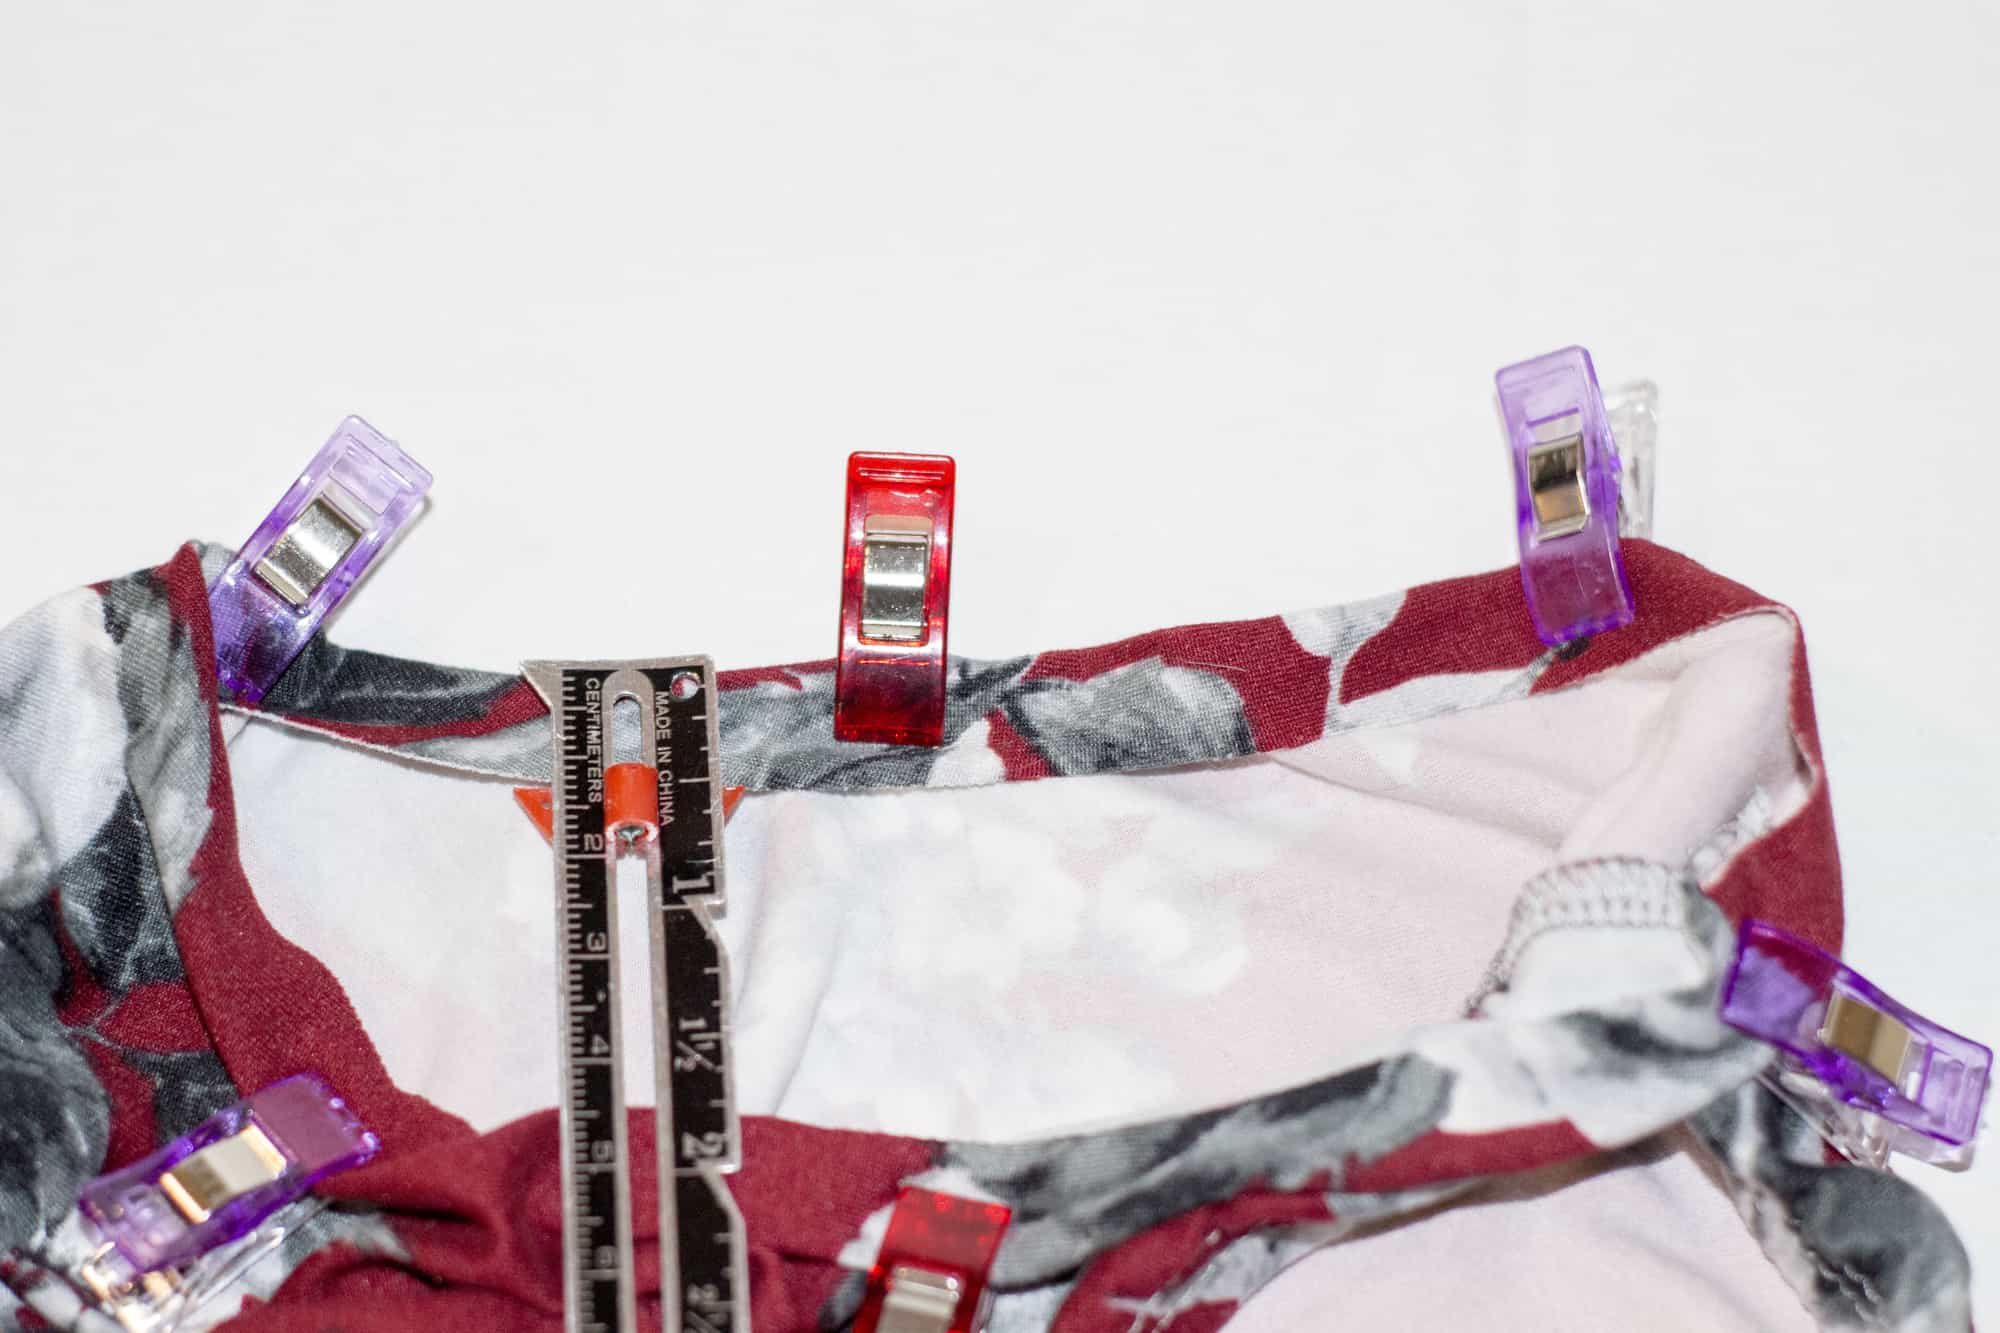
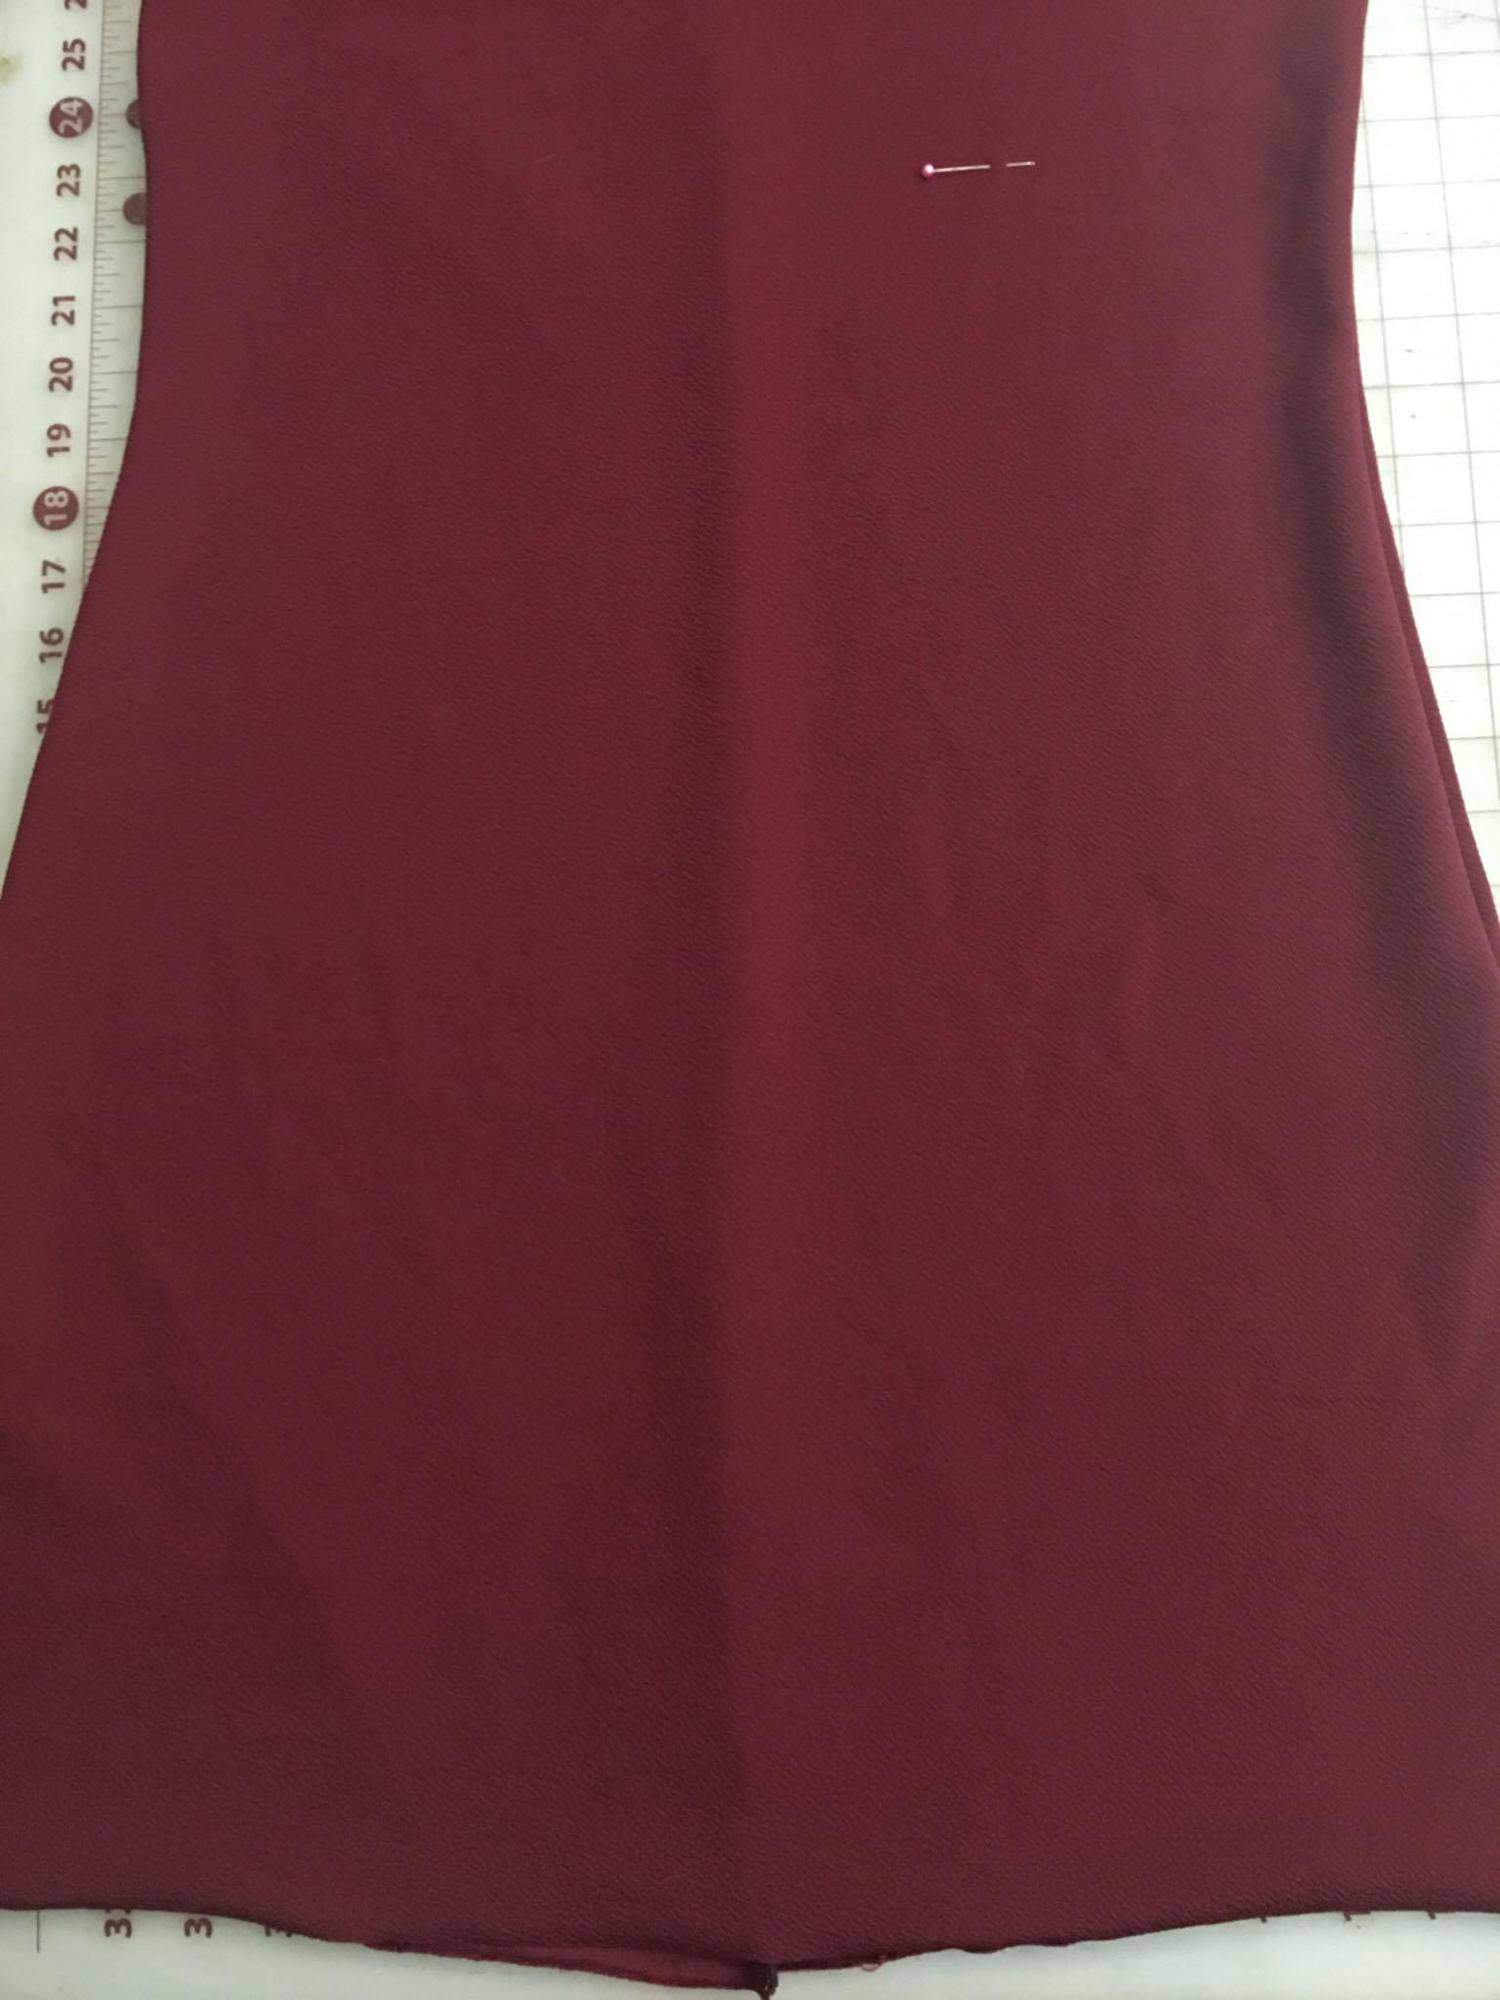
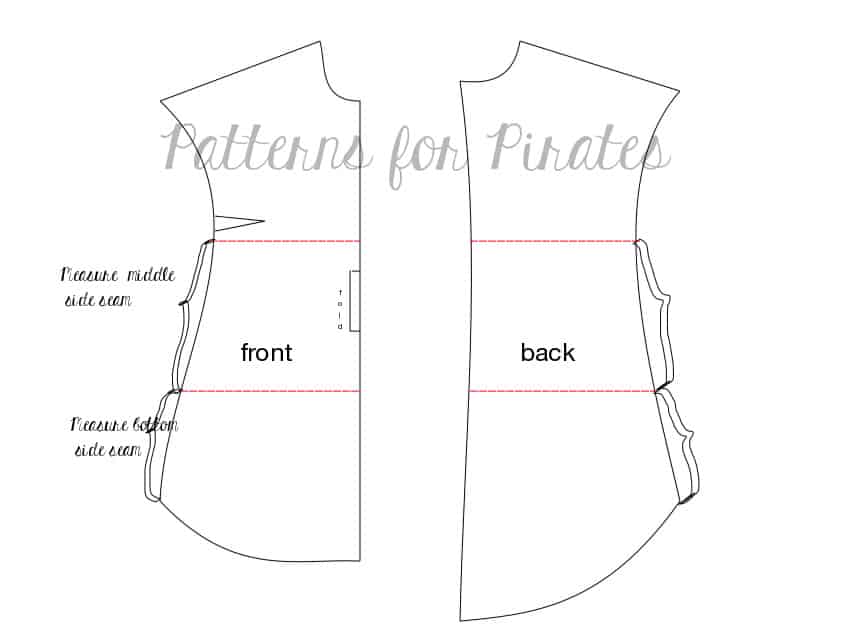
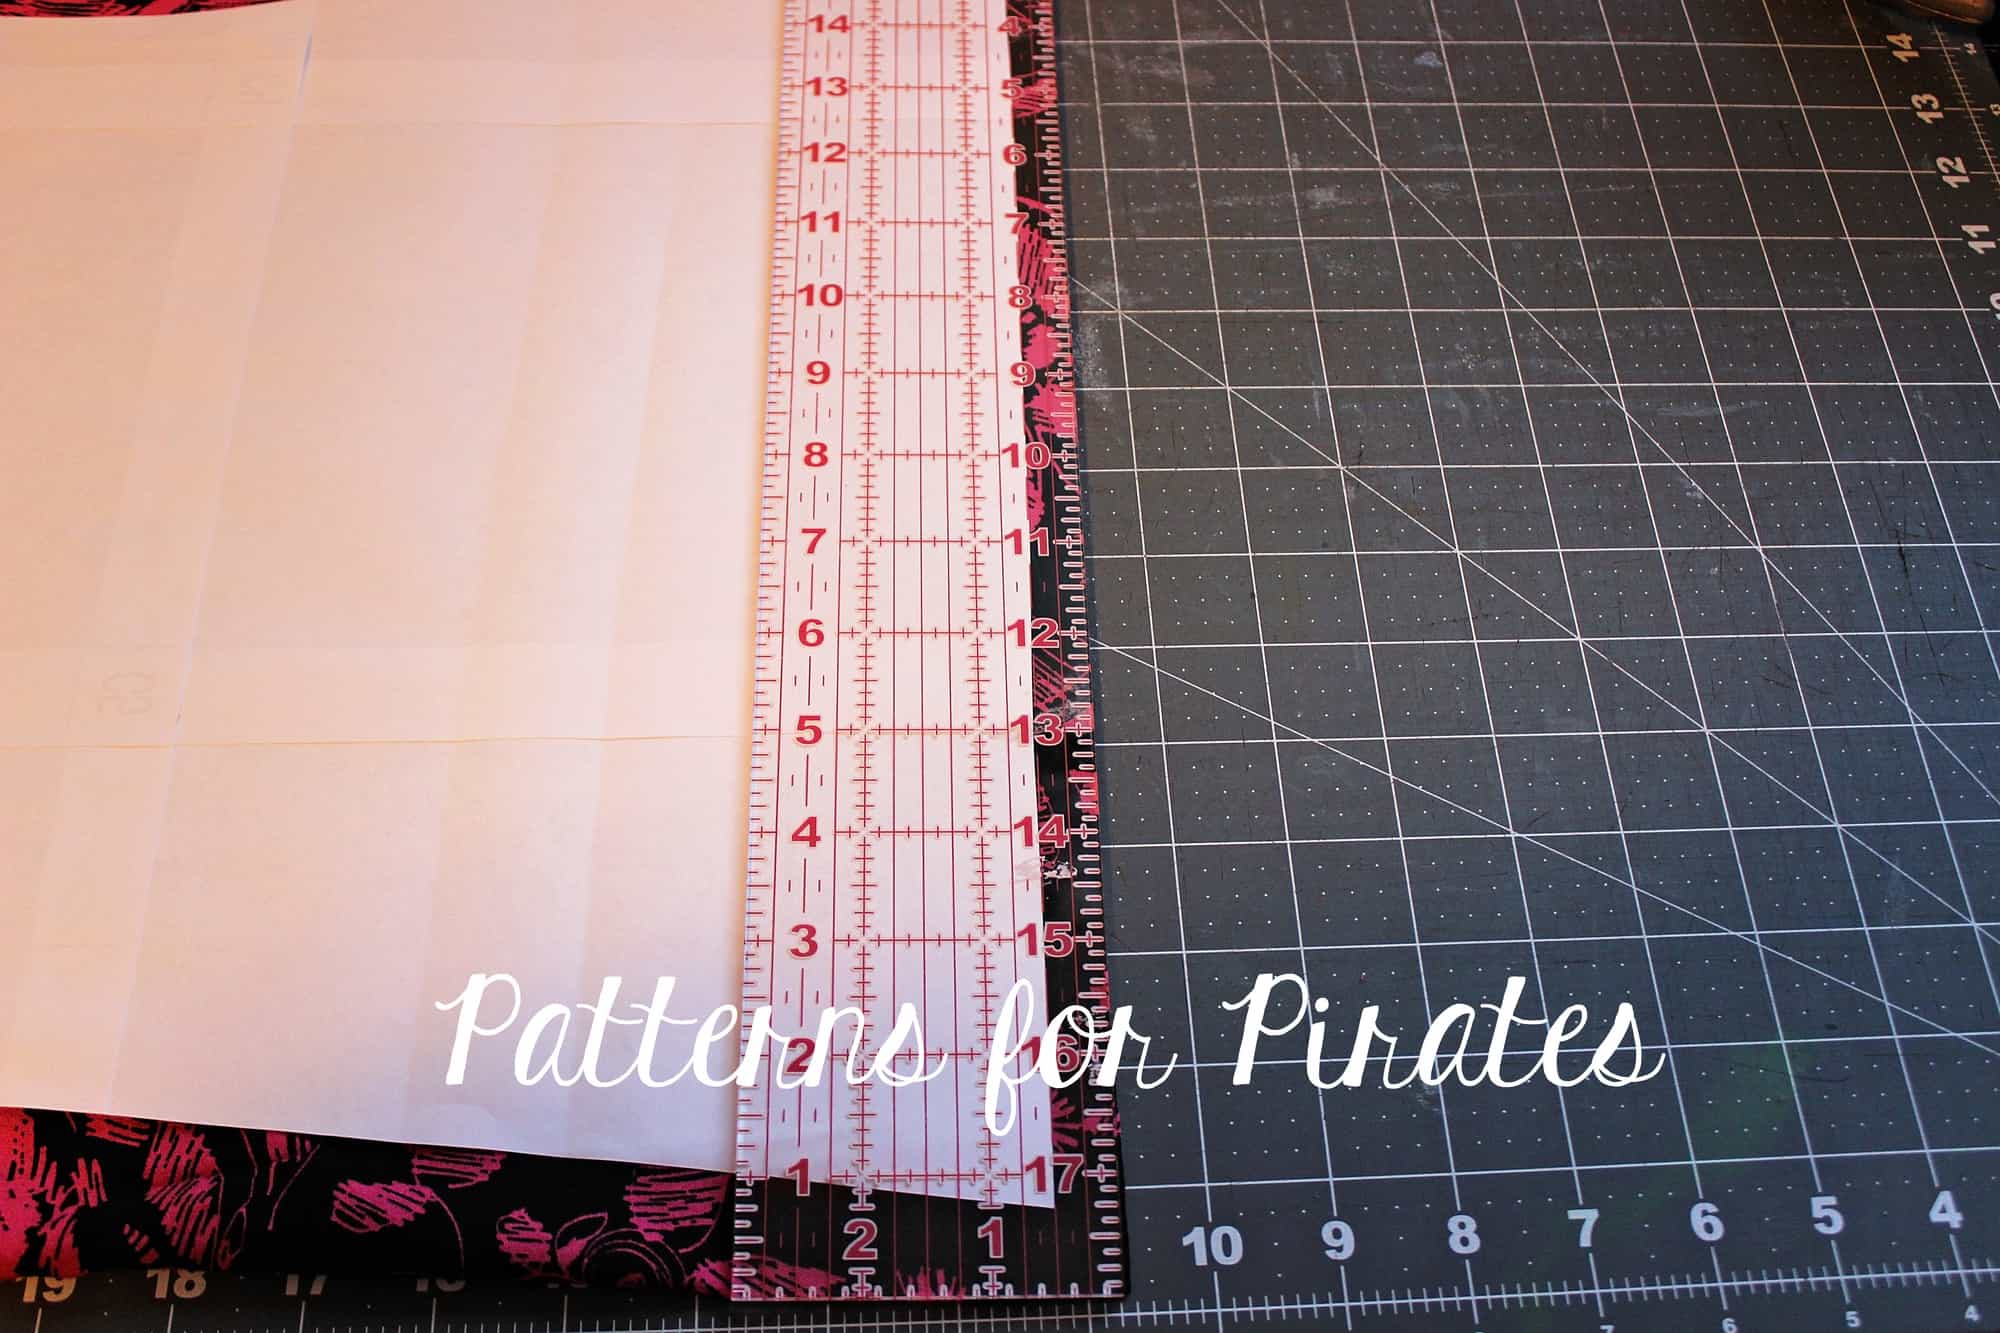
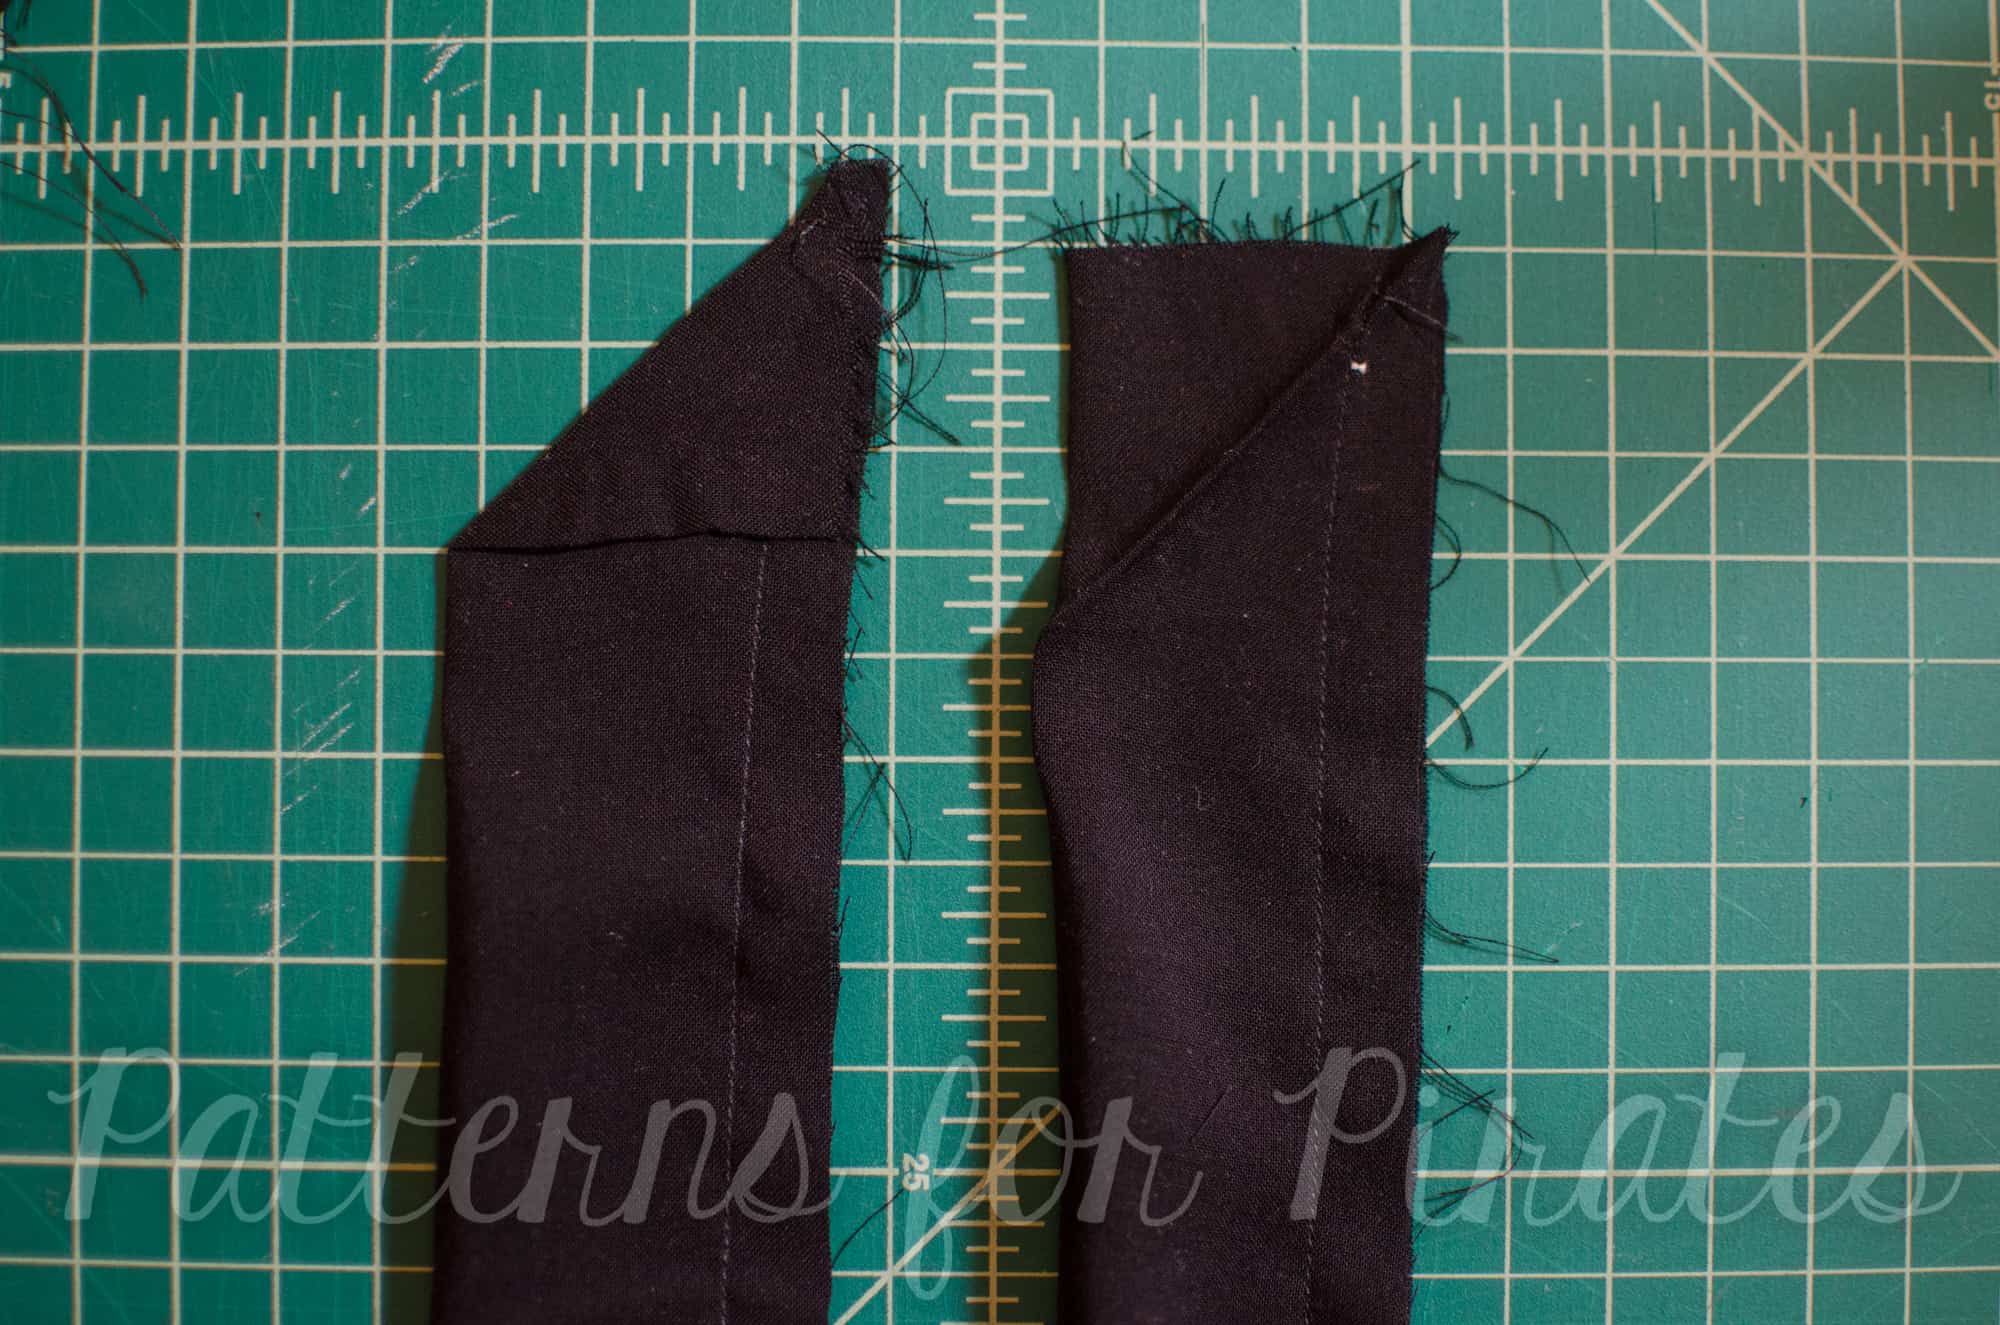
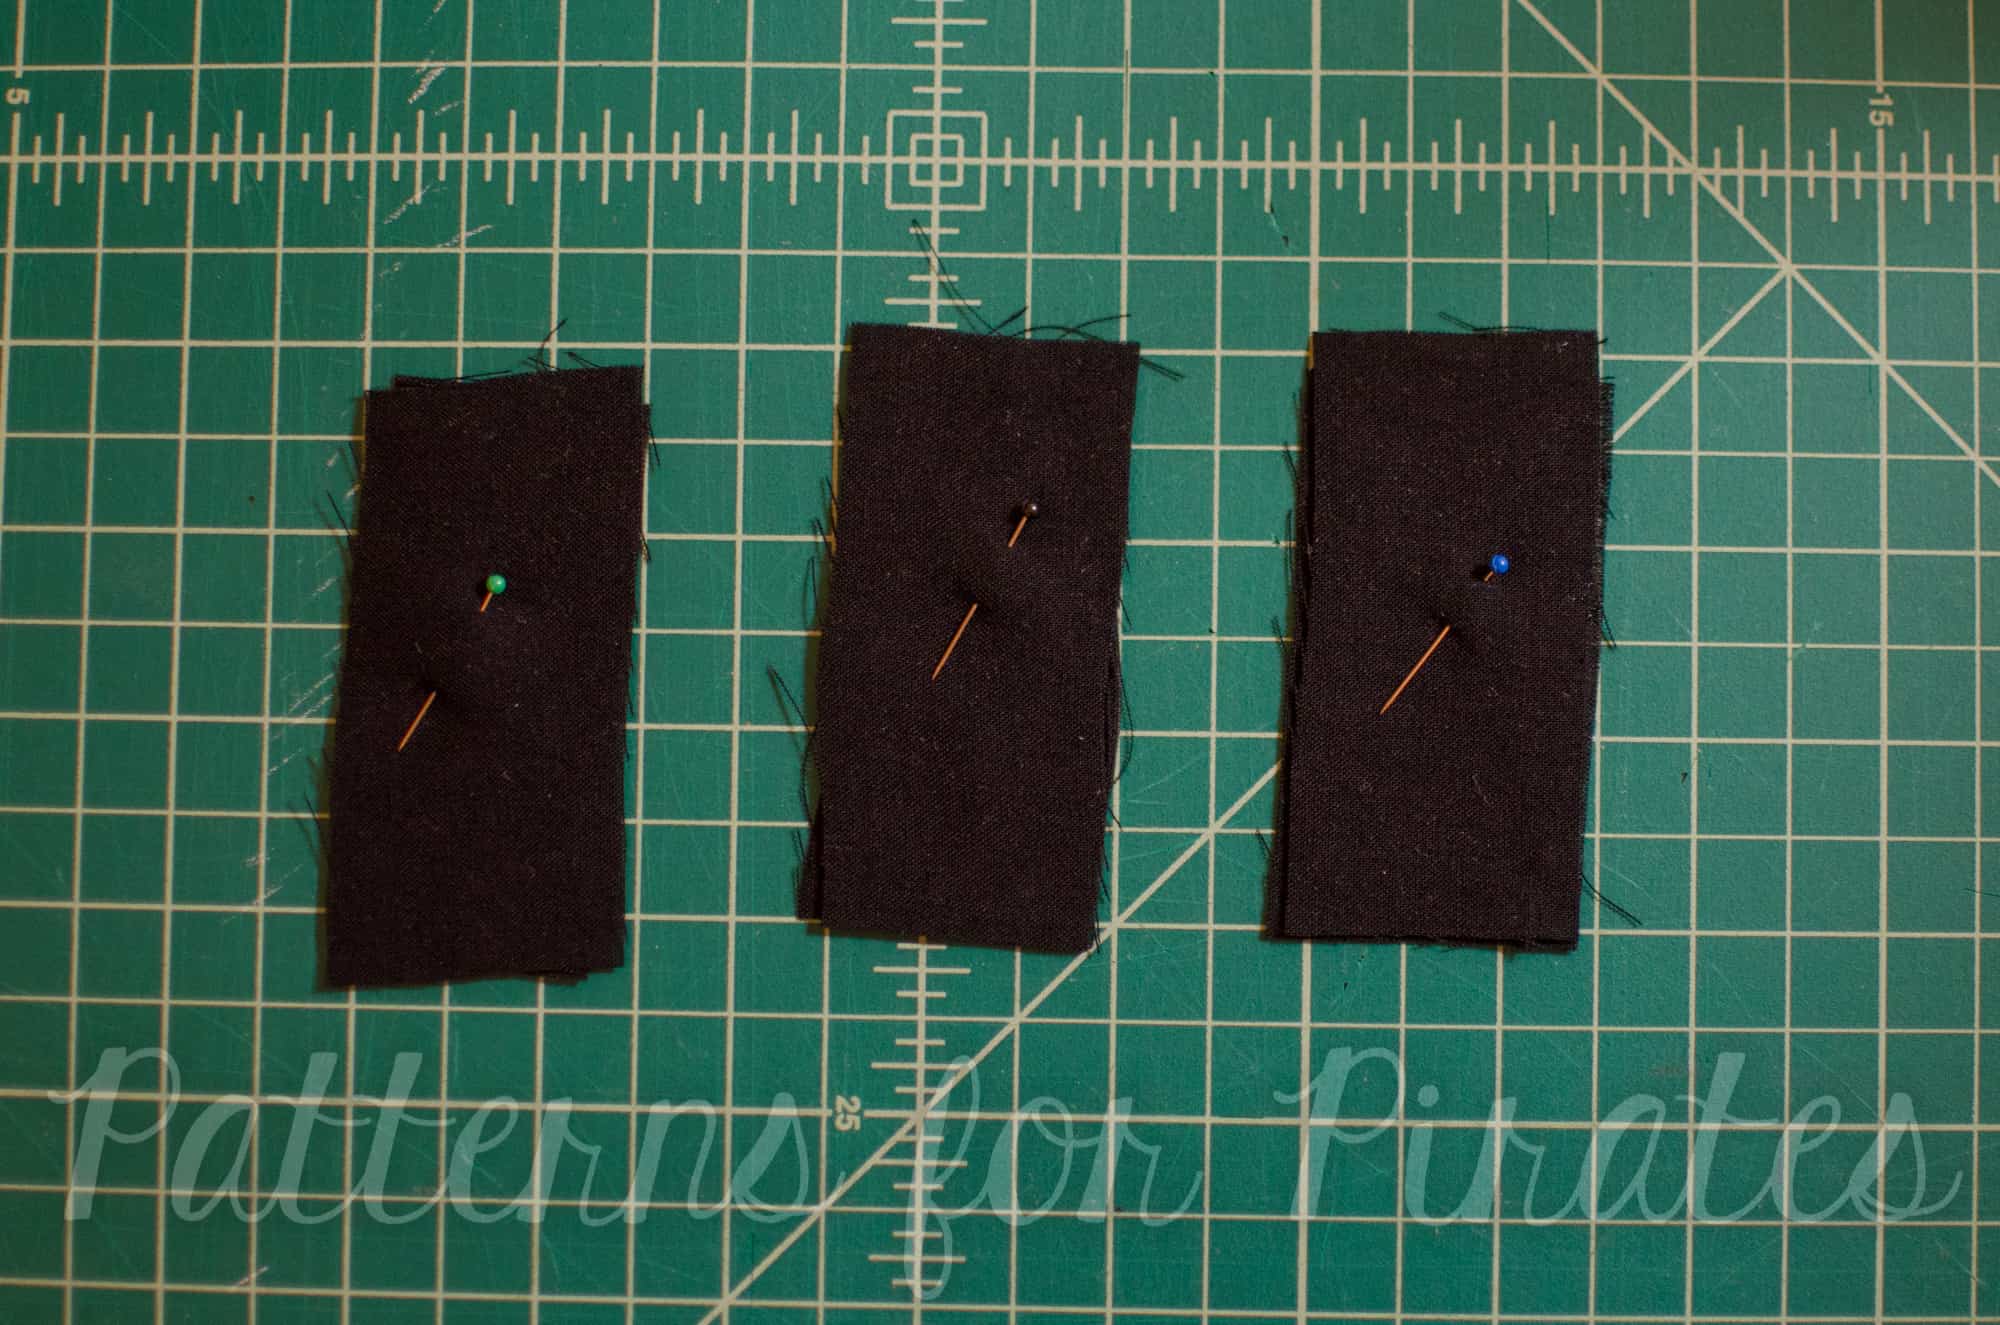
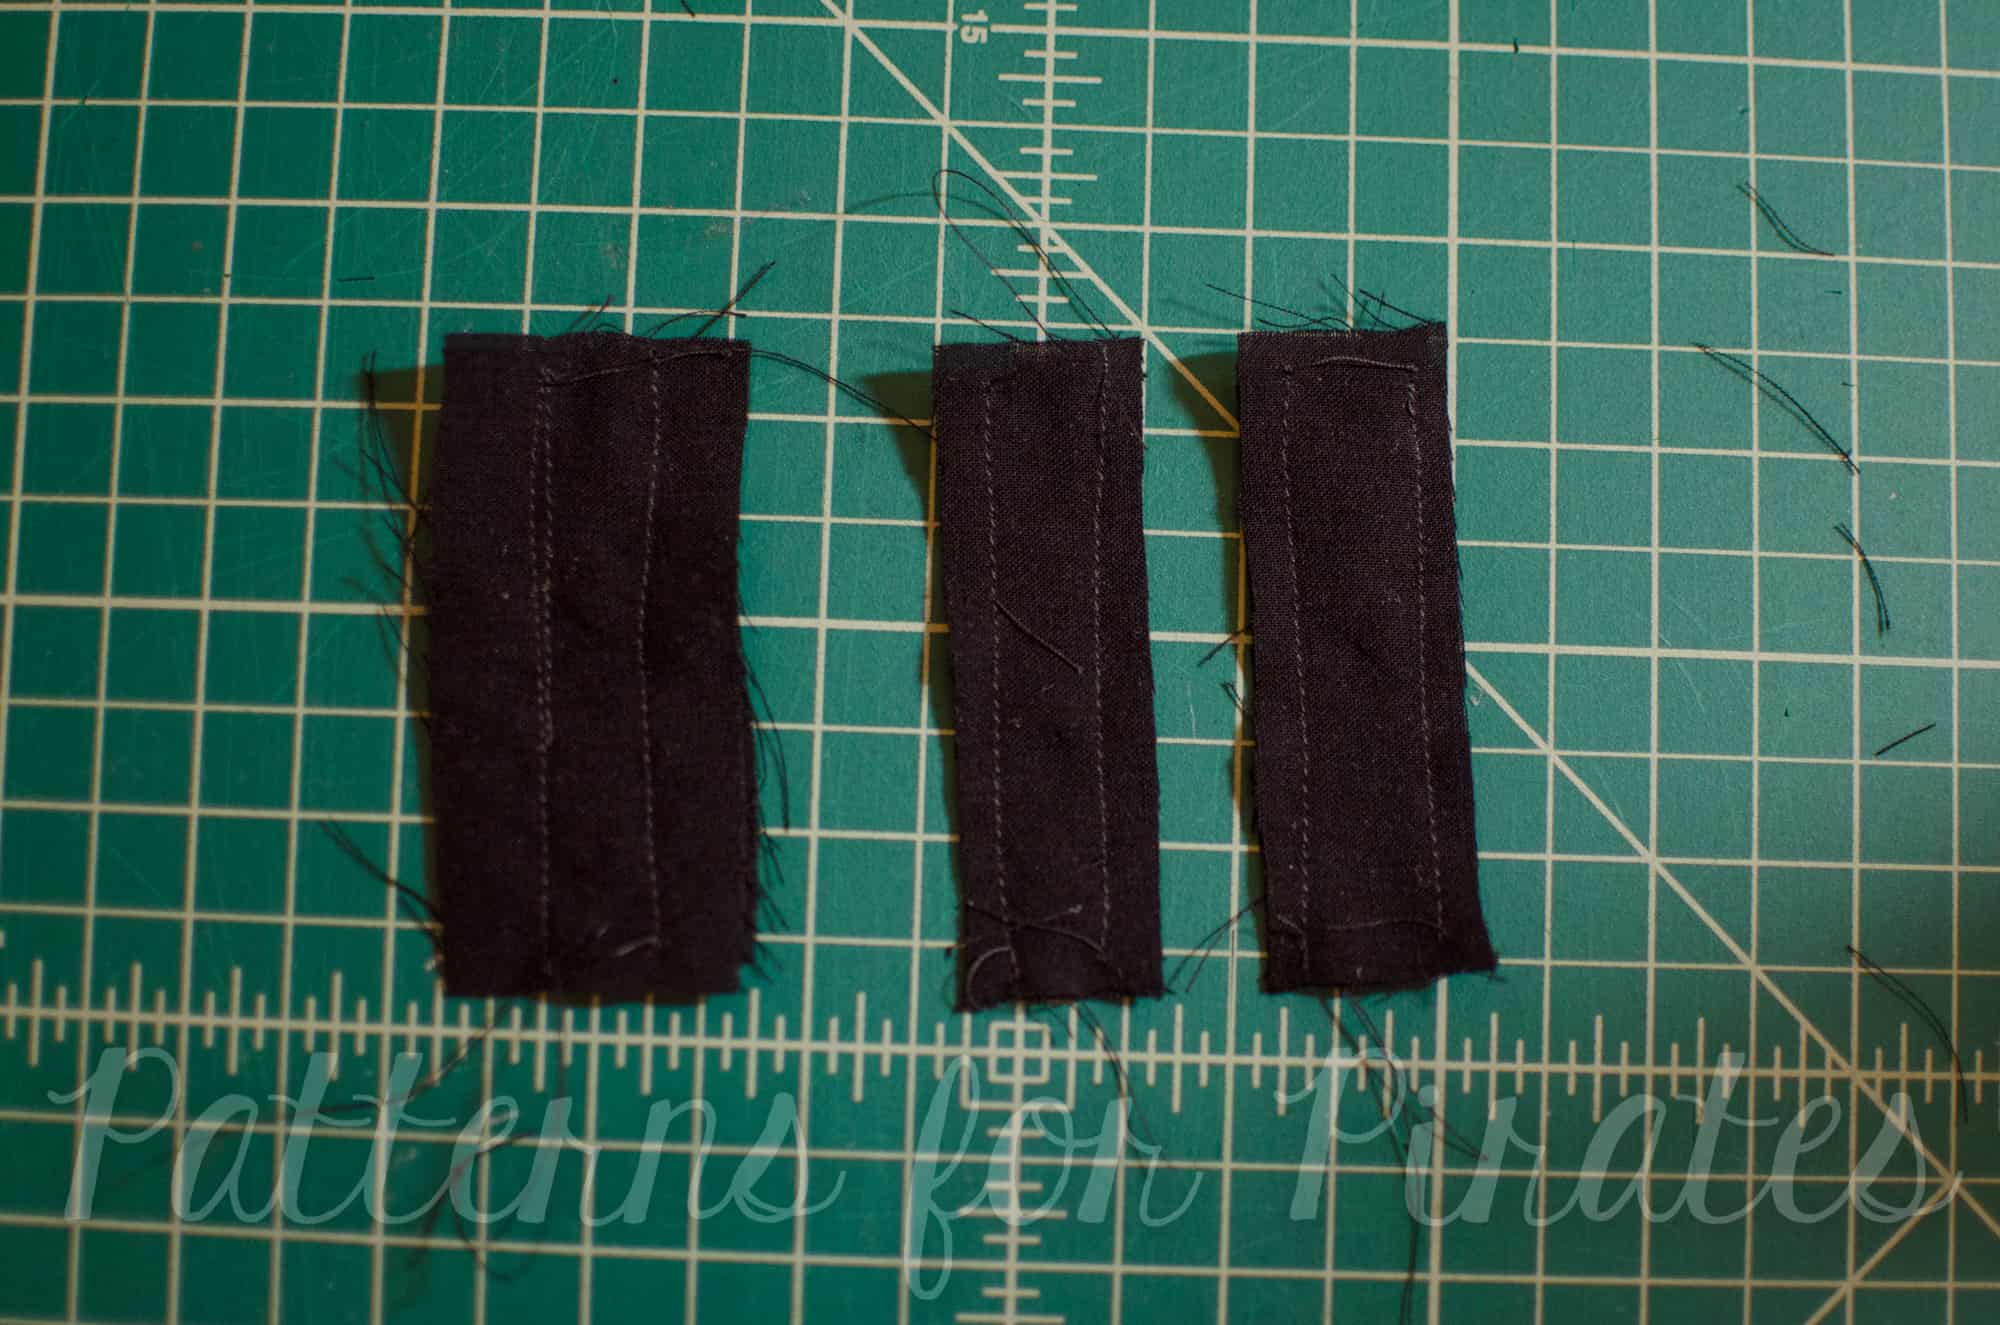
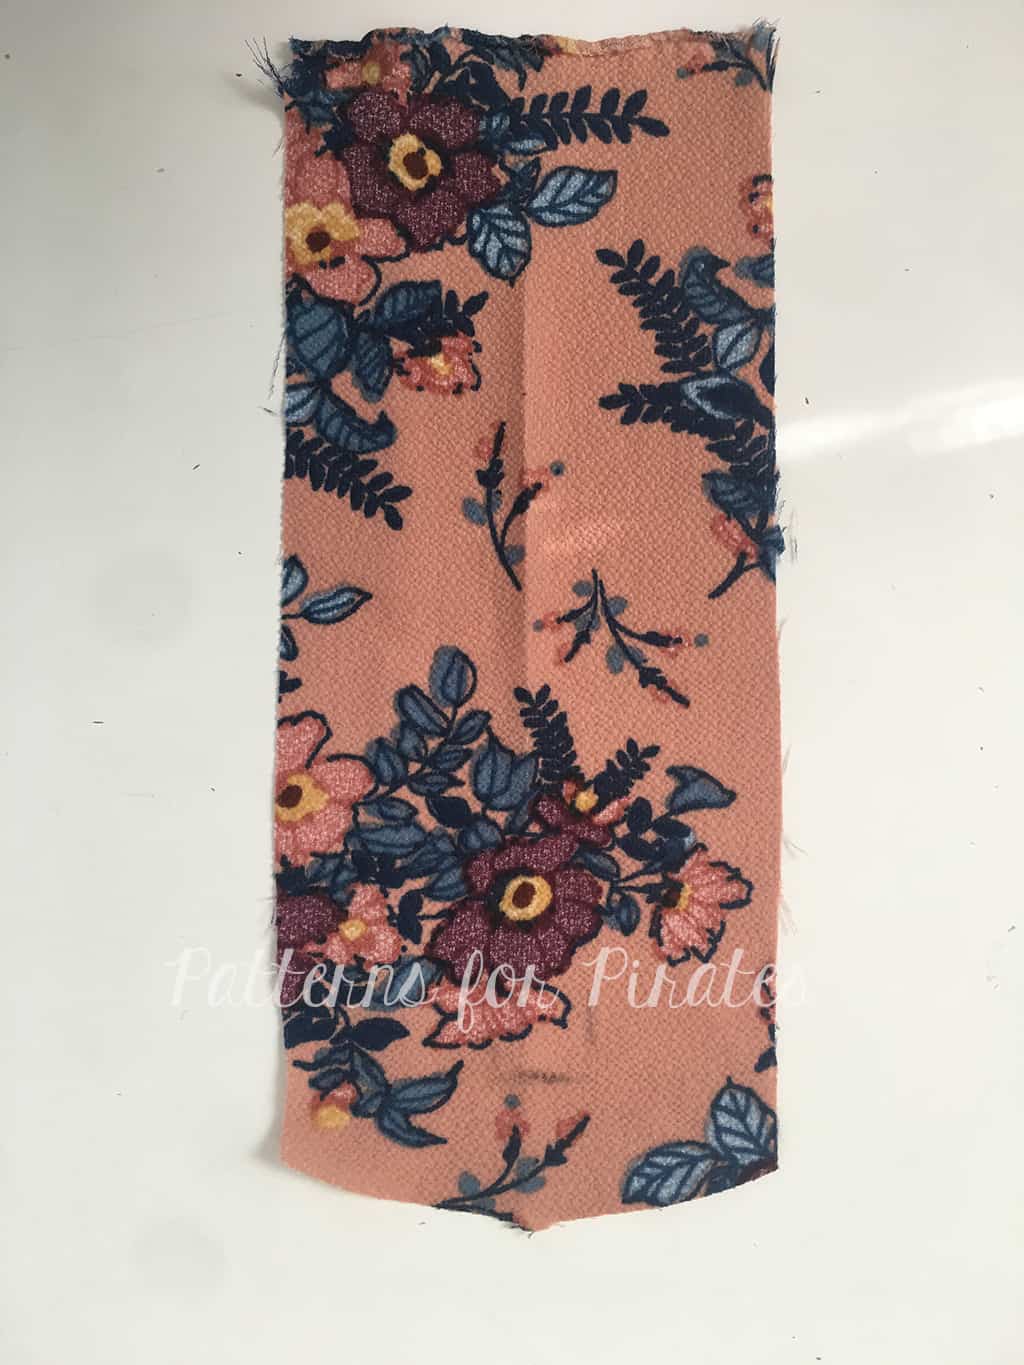
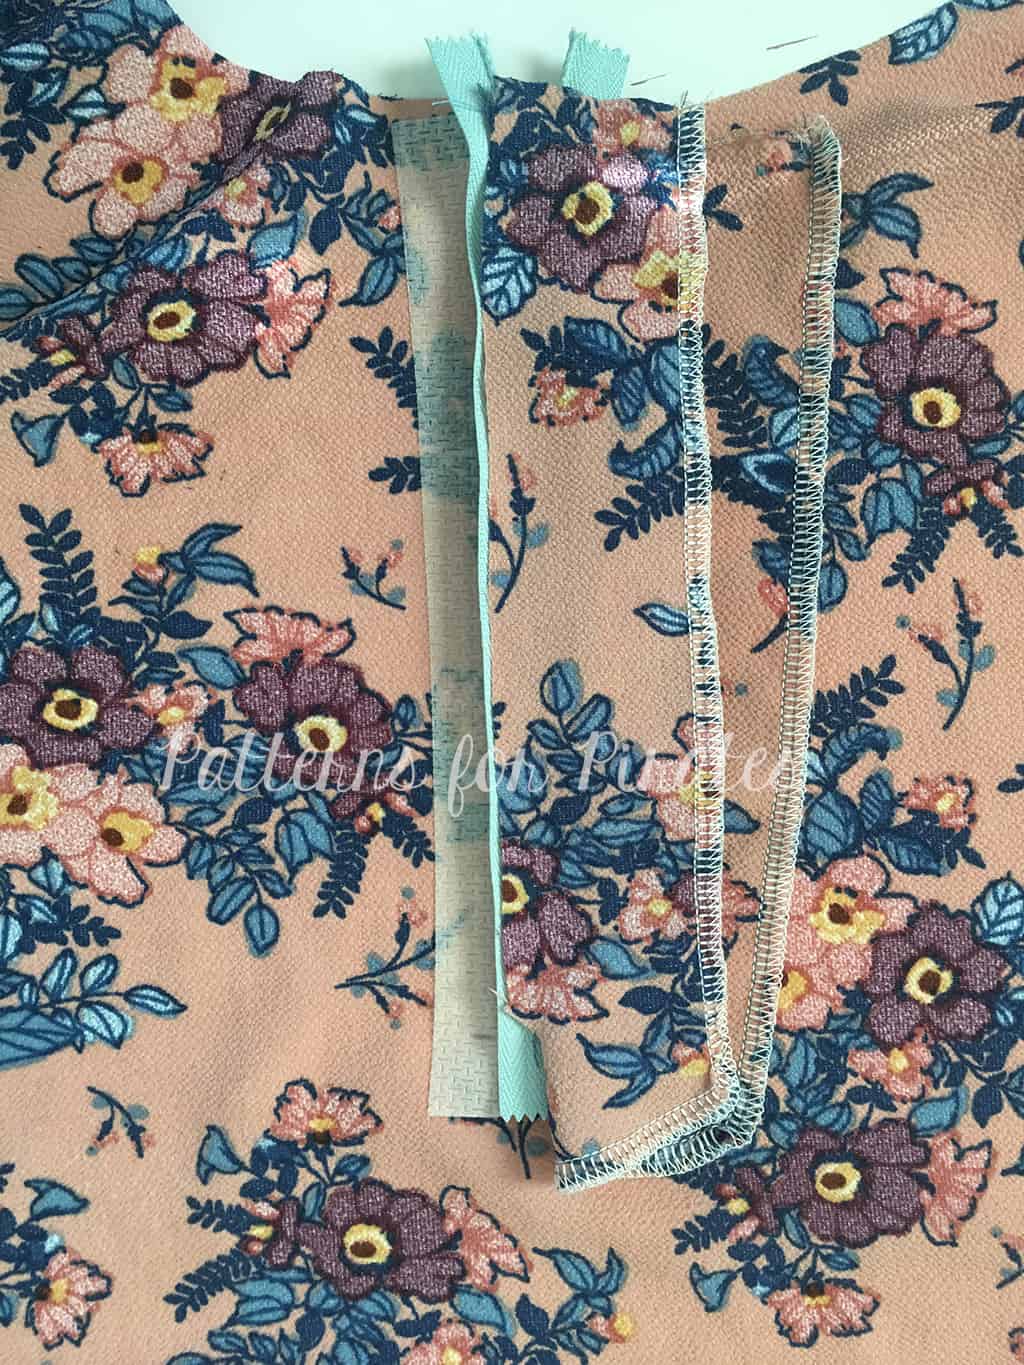
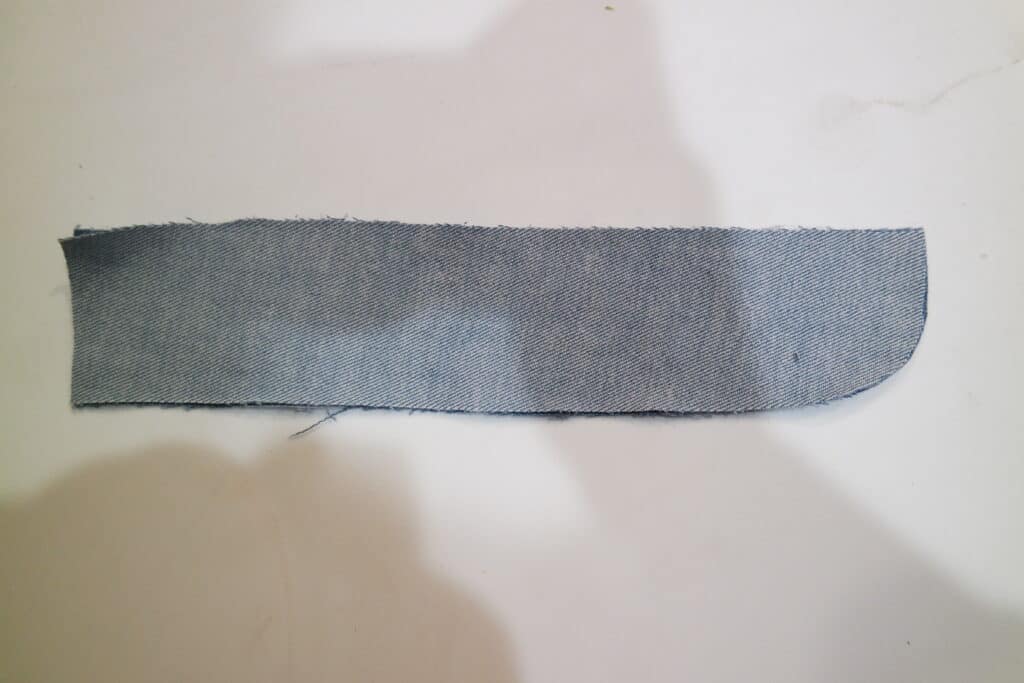
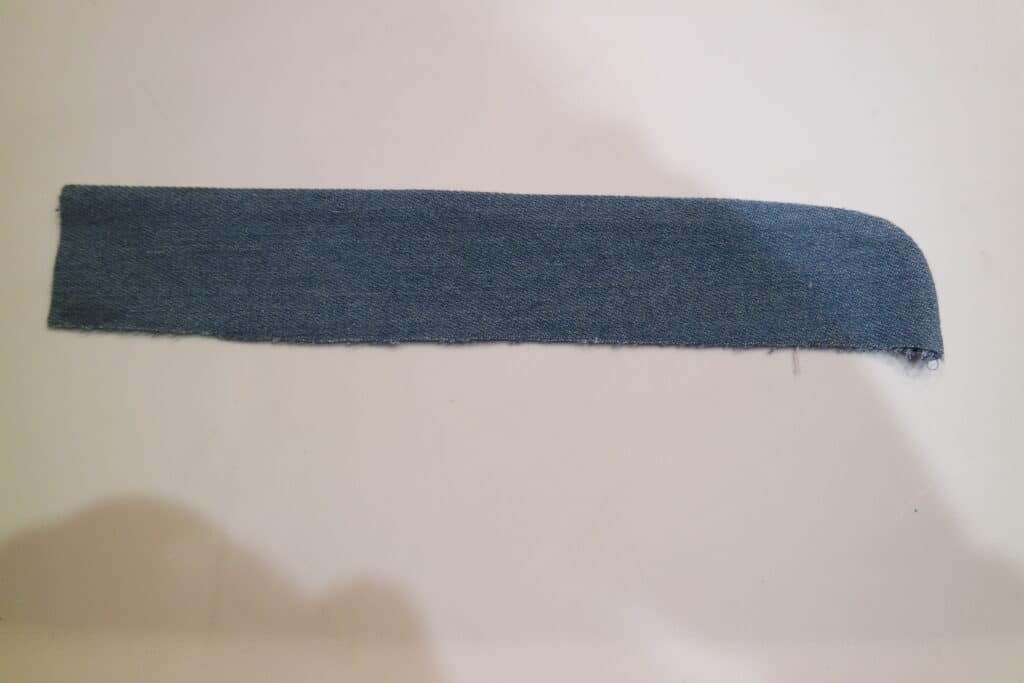
If the feeling of the zipper on your skin bothers you- you can add a simple zipper guard quickly and easily. You will cut out 2 rectangles (you can curve the bottom edge if you’d like I did or leave it a rectangle) a little longer (1-2″) then your zipper and about 2″ wide.
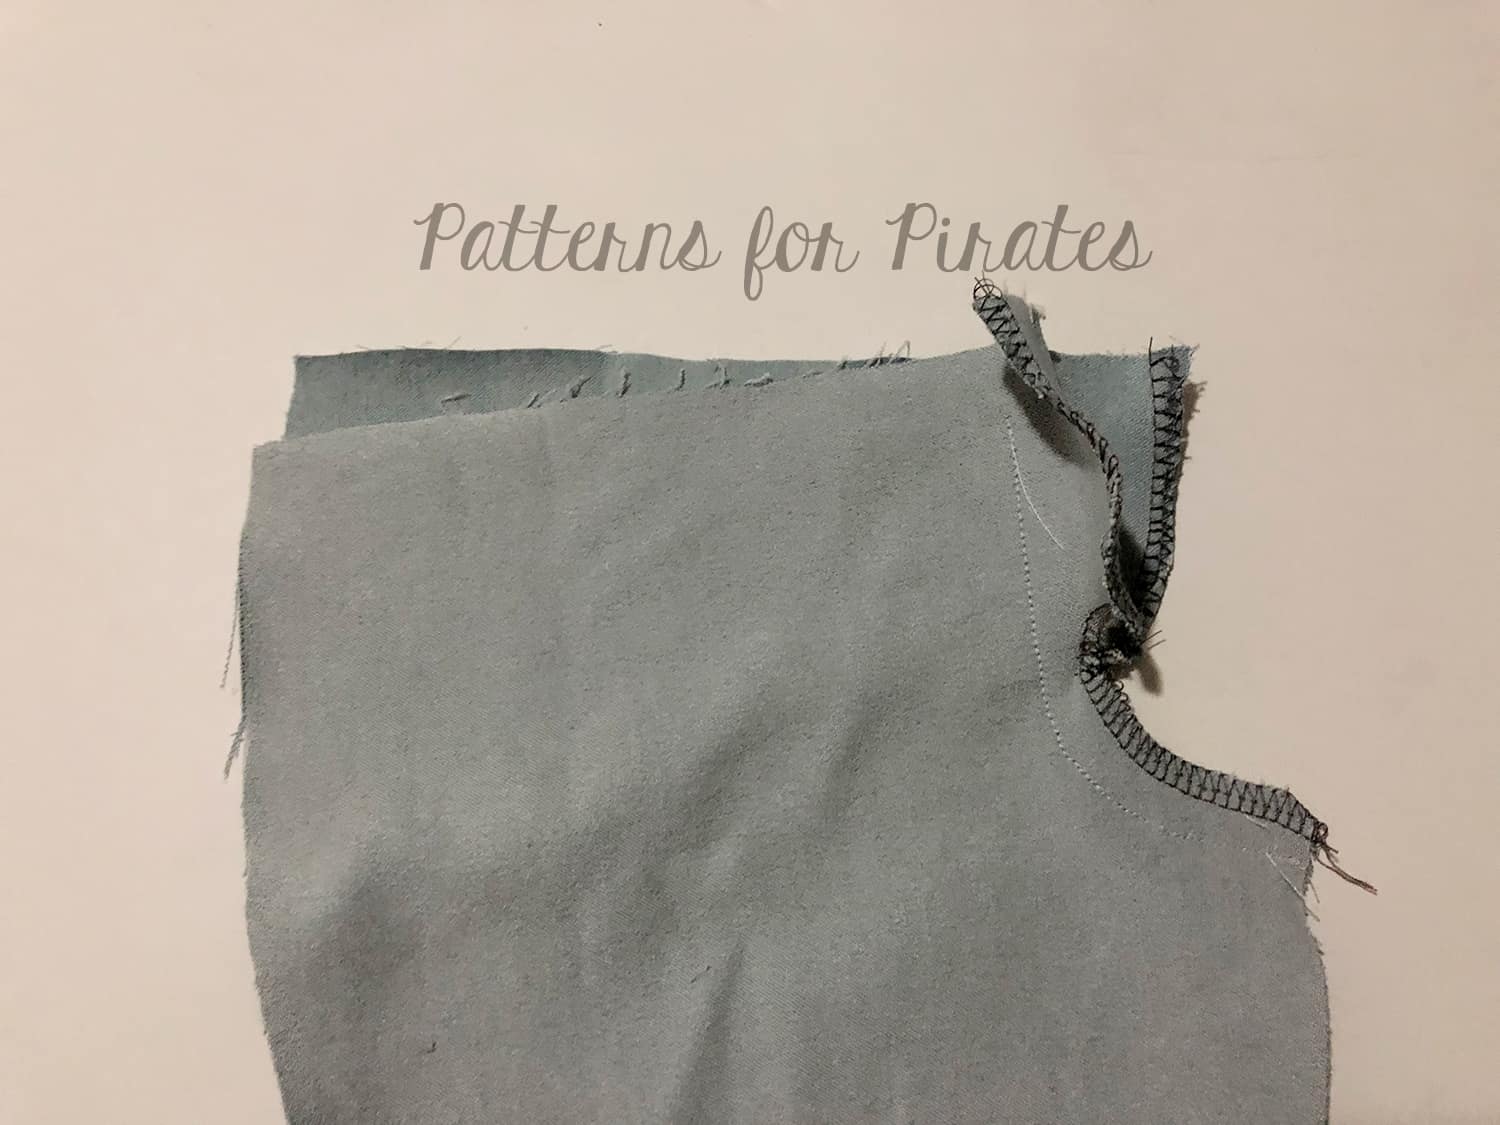
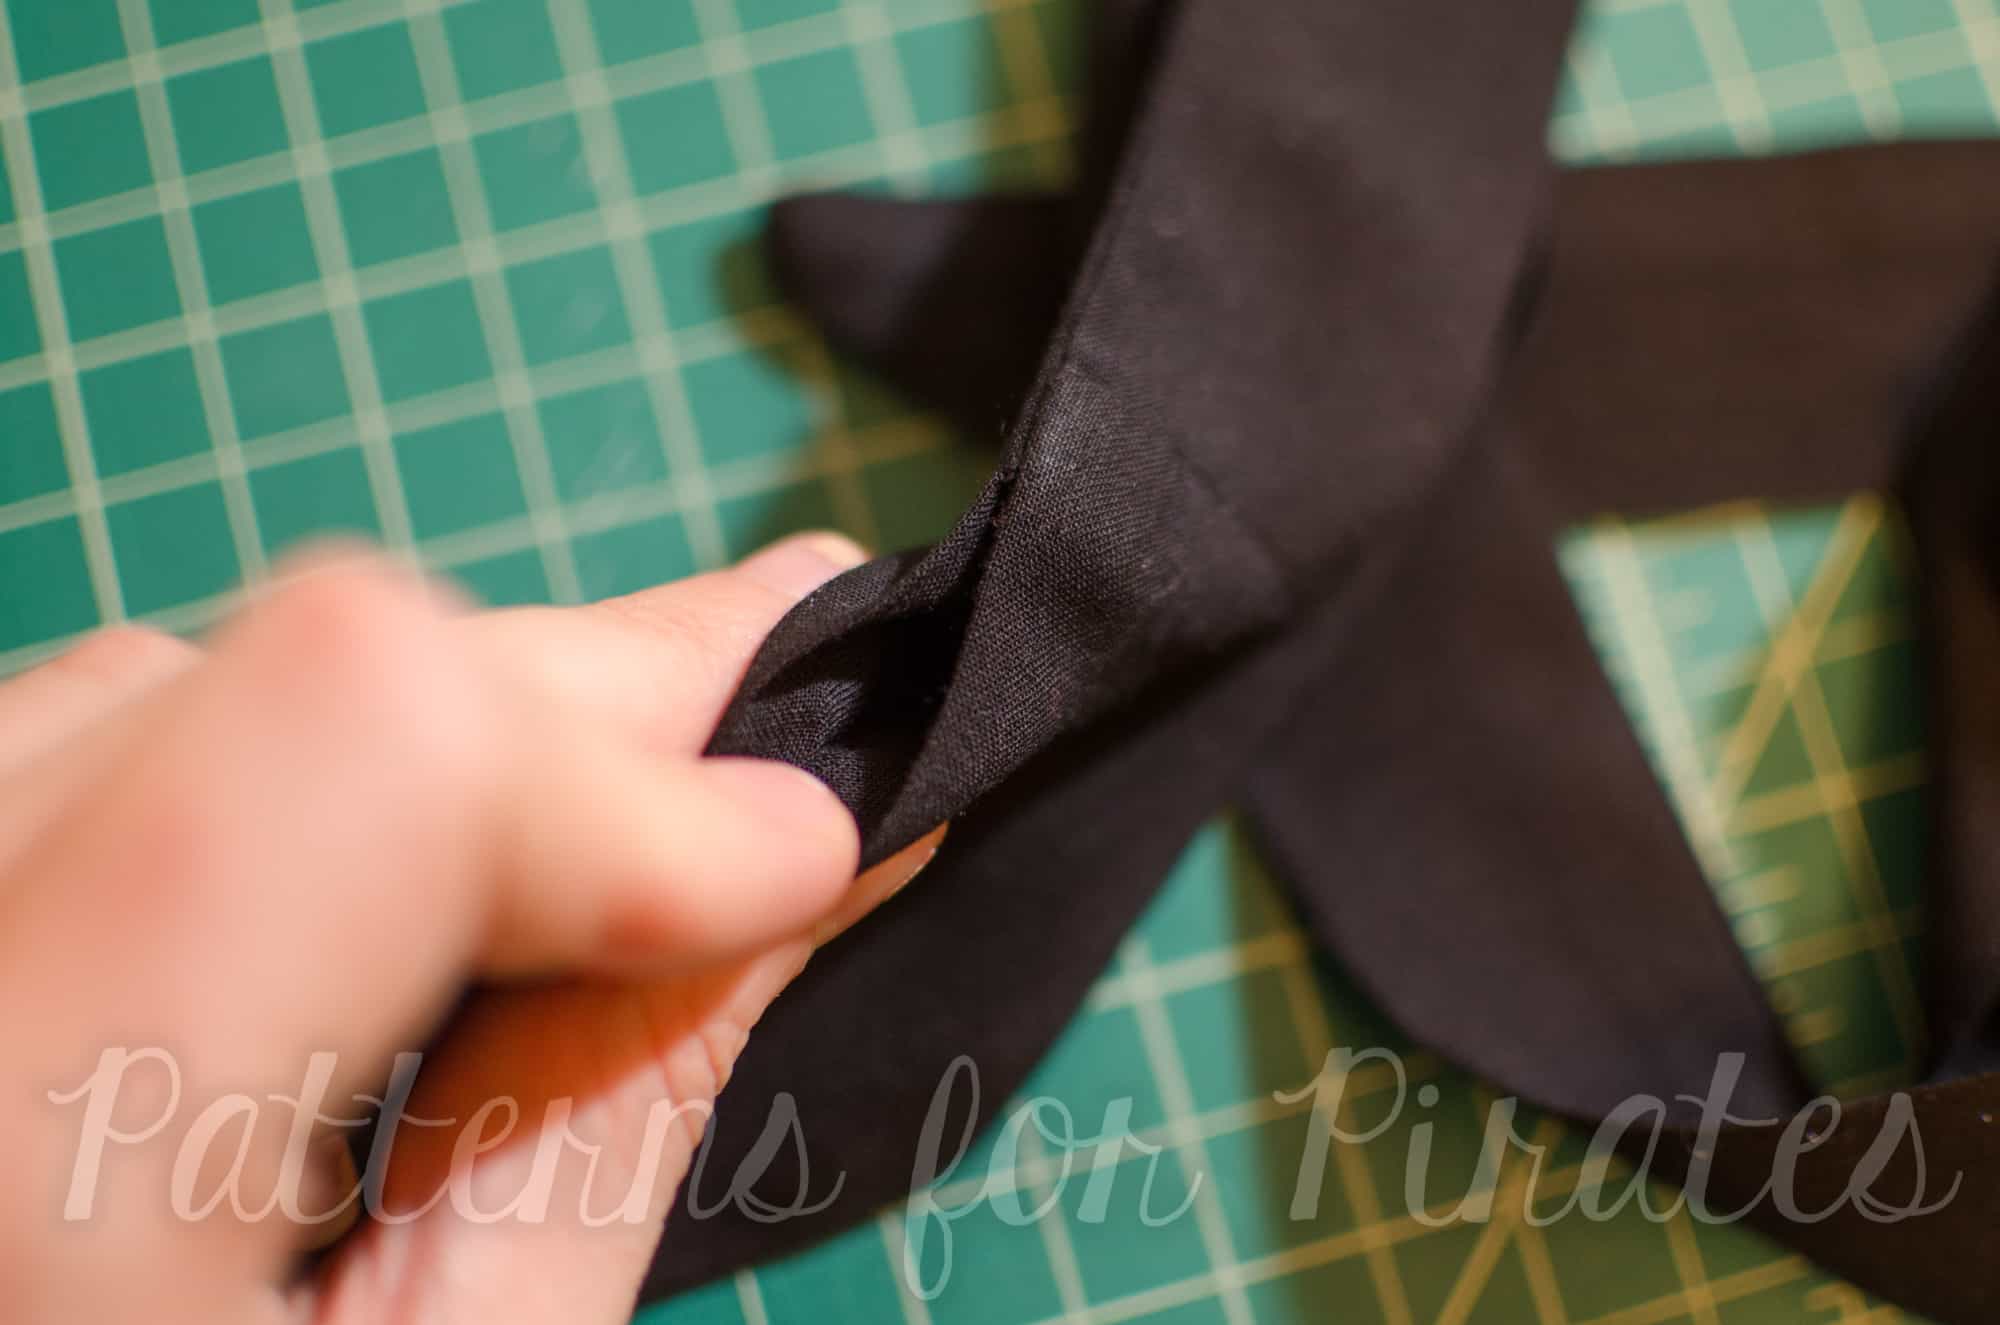
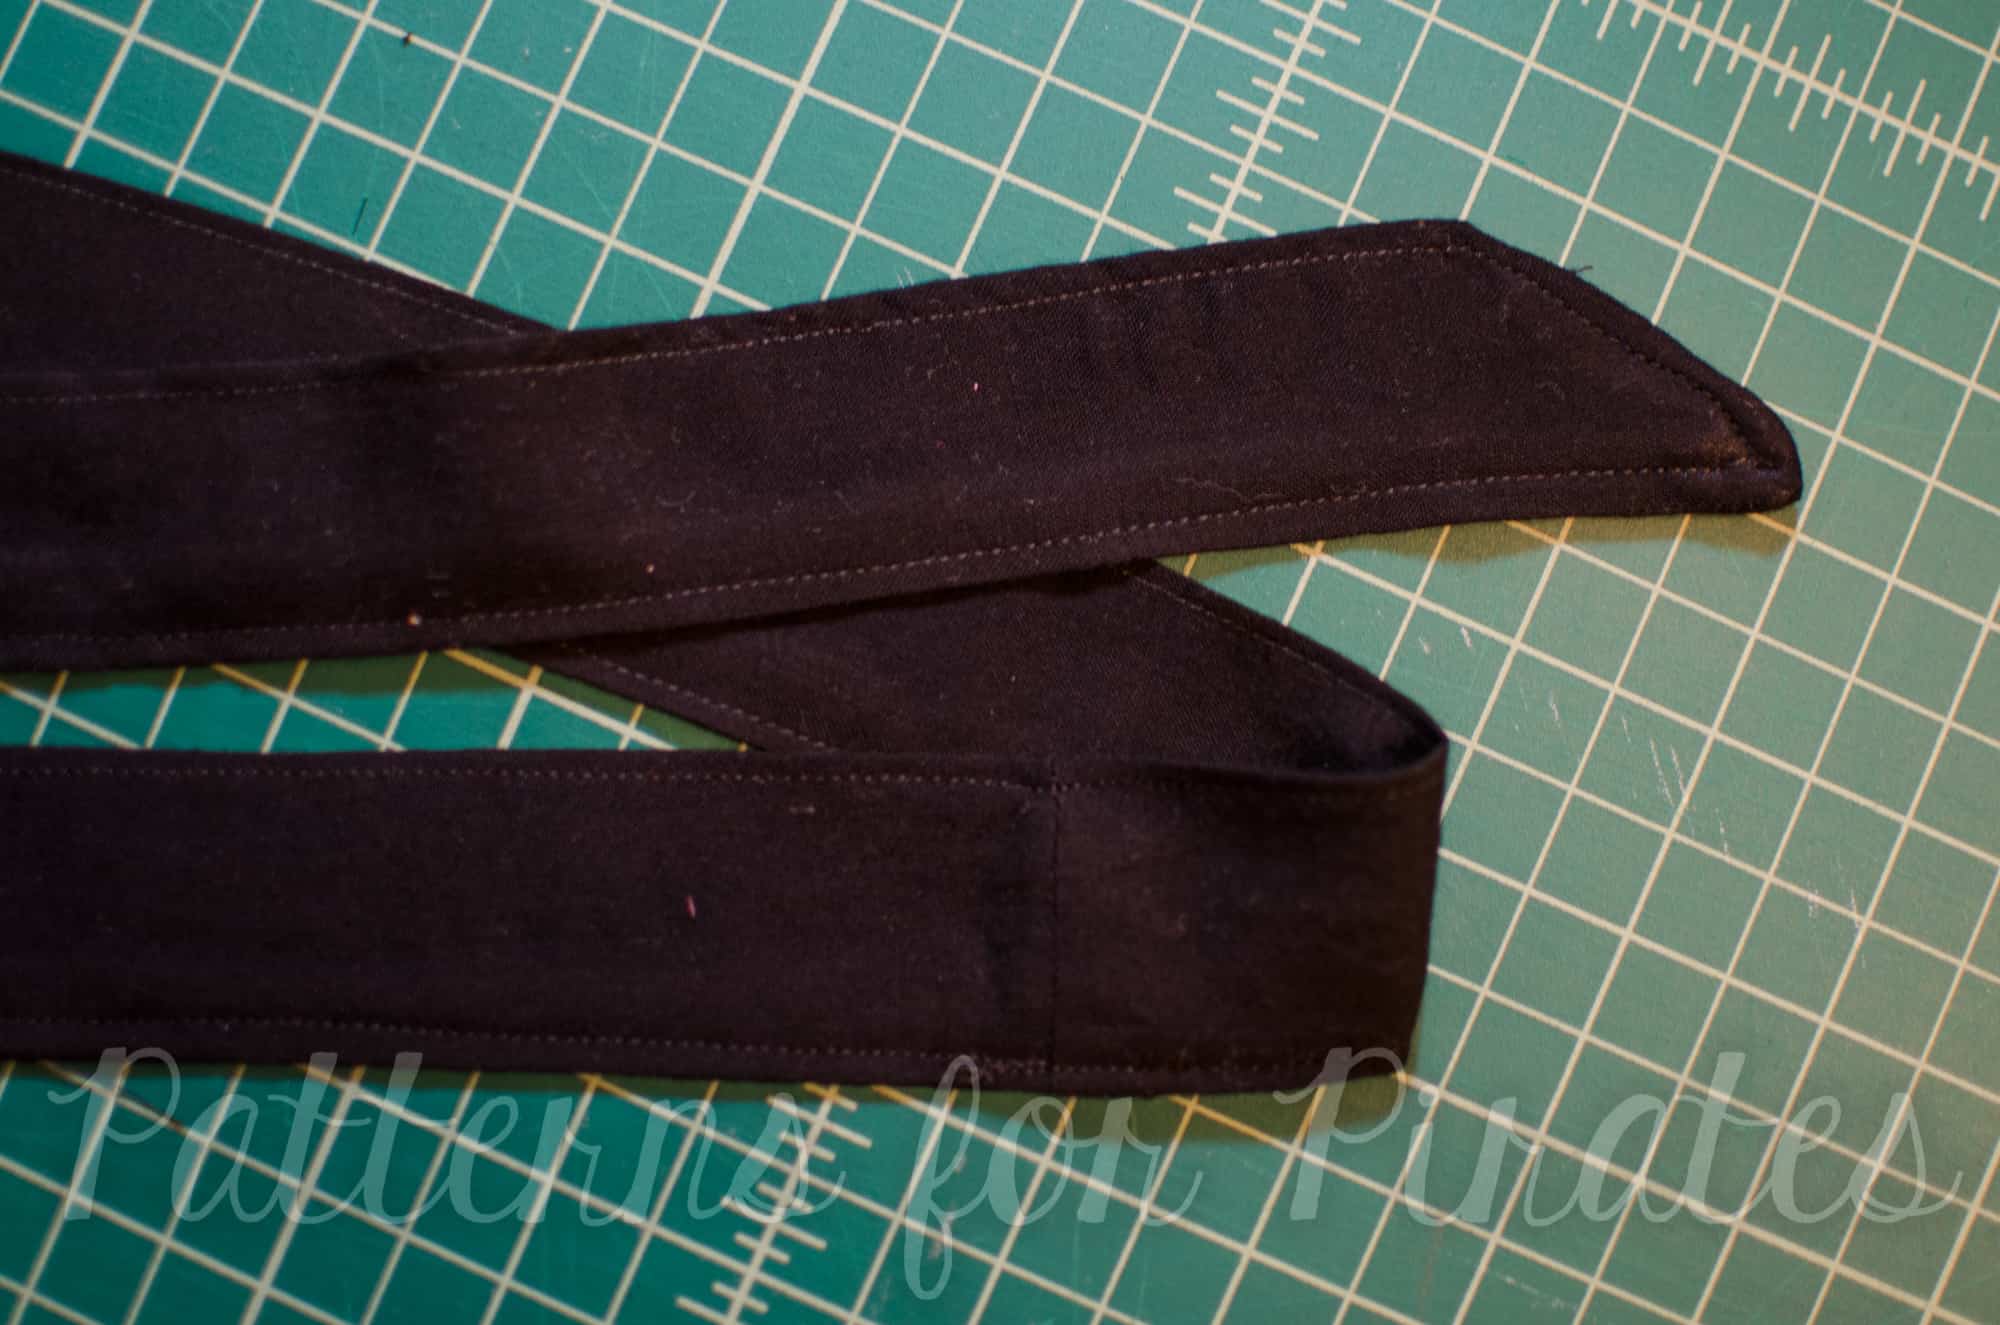
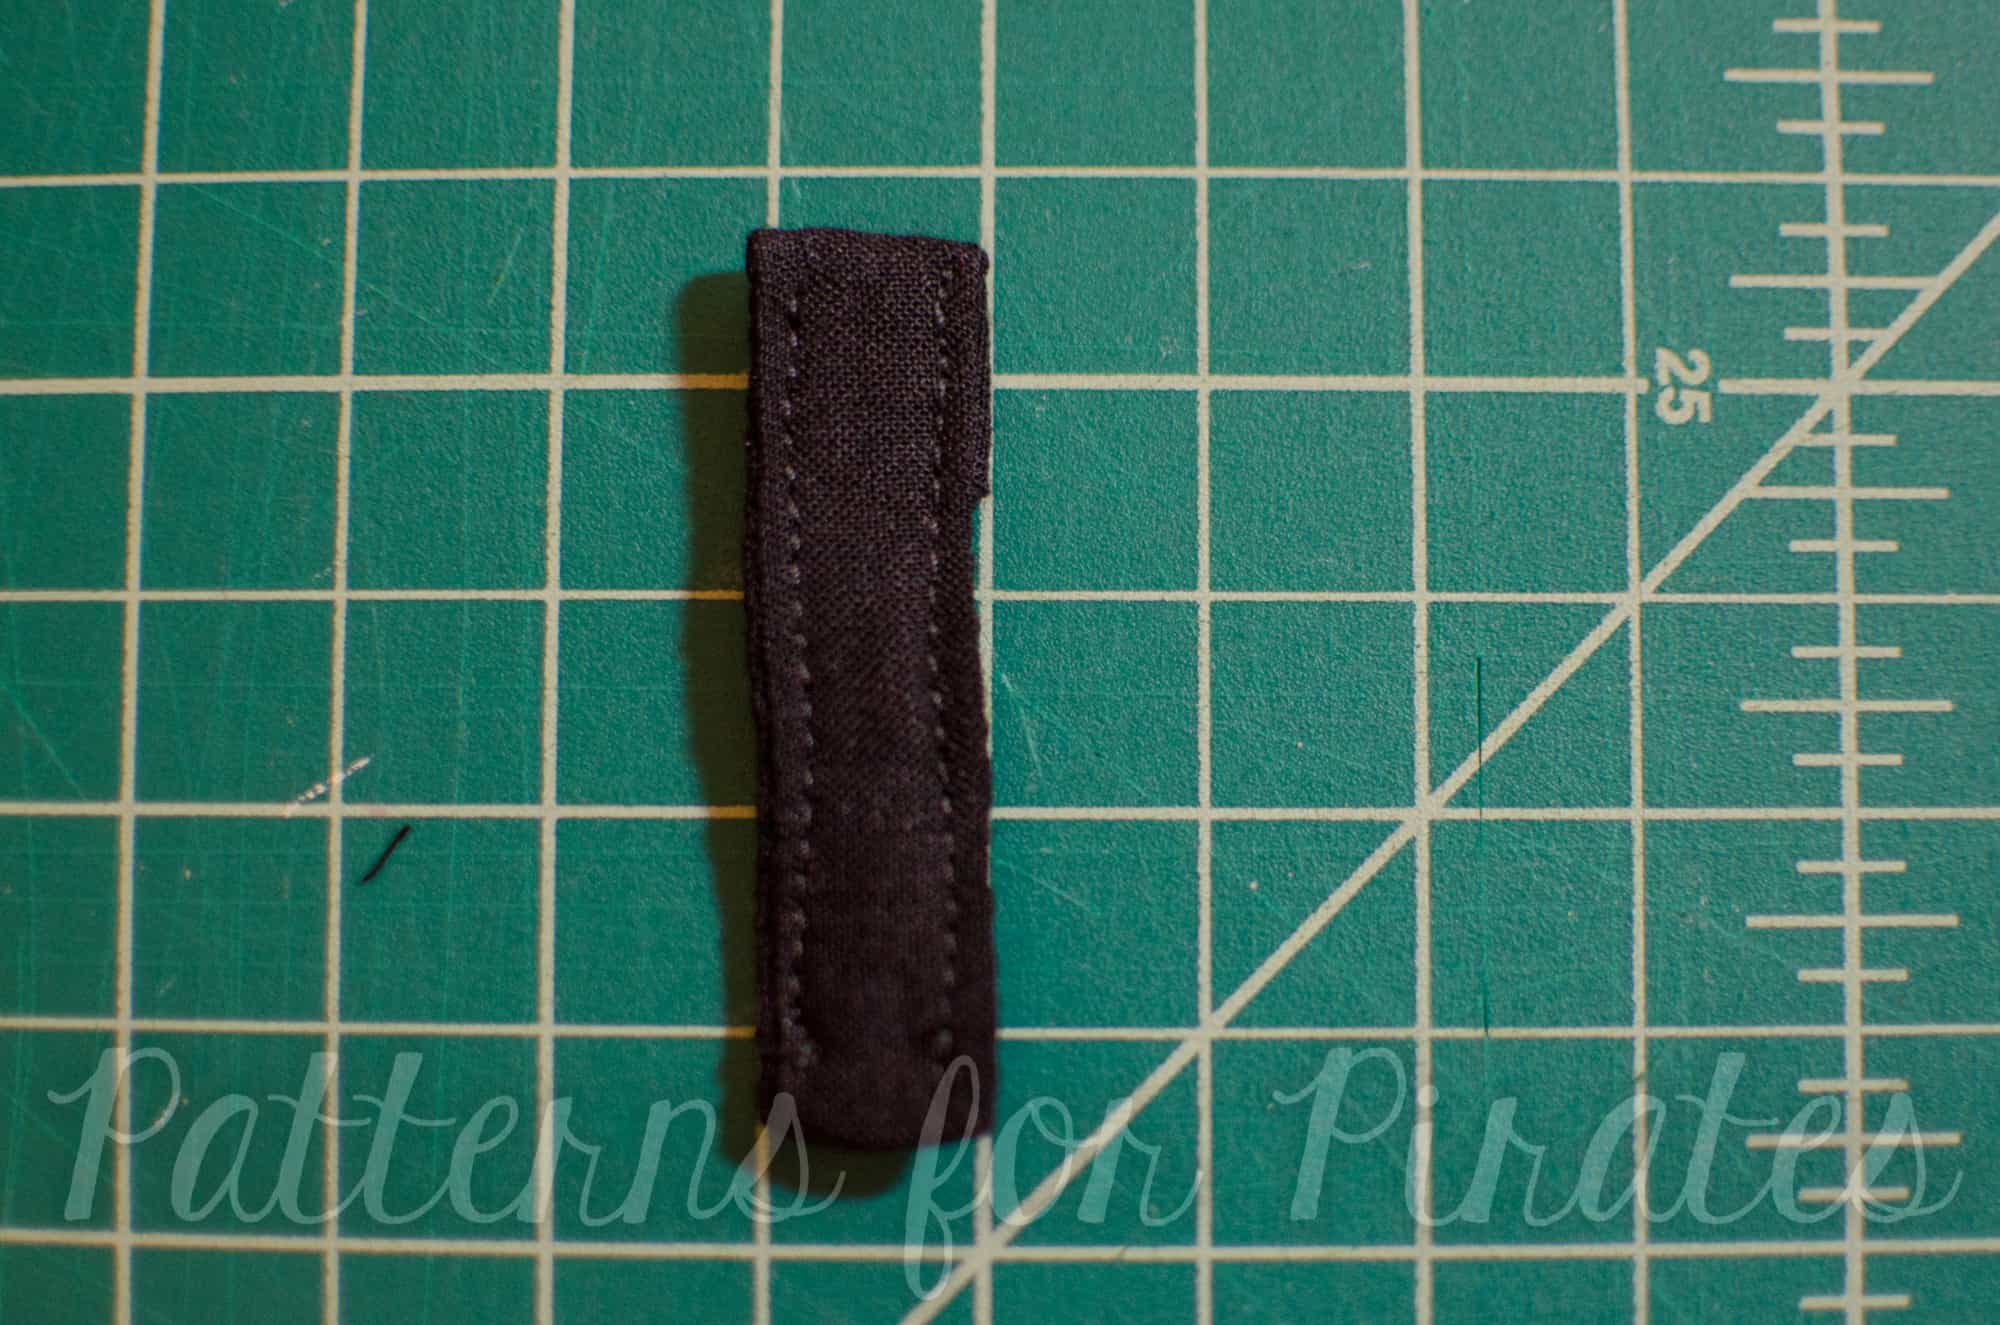
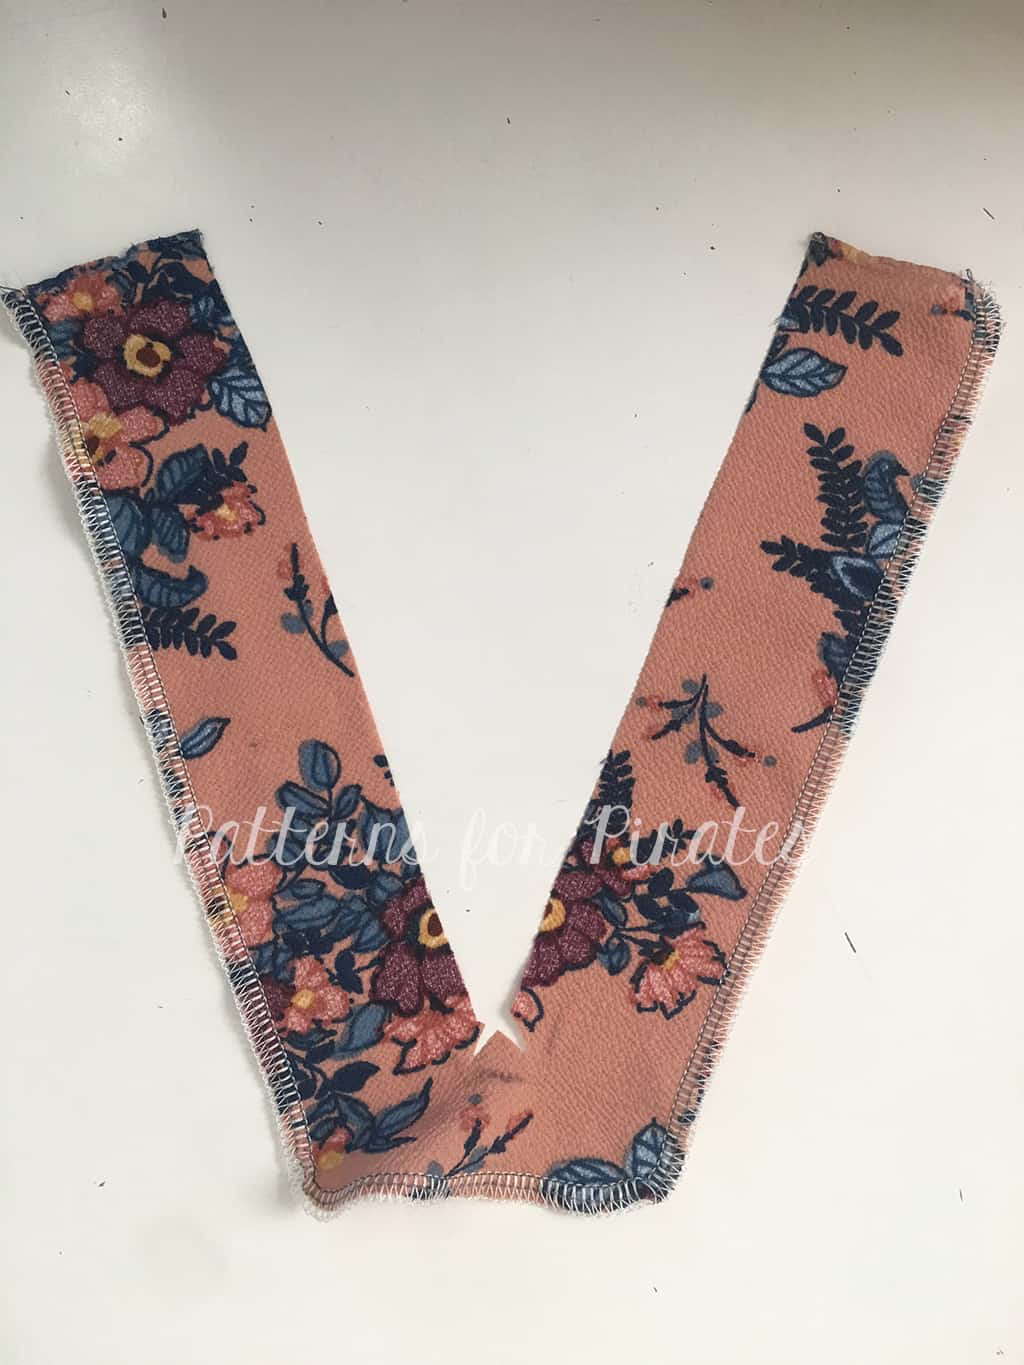
Stitch your pieces right sides together along one long and short edge like a L (J if you curved your corner like me) shape. Trim seam allowance and flip right sides out. Press and stitch.
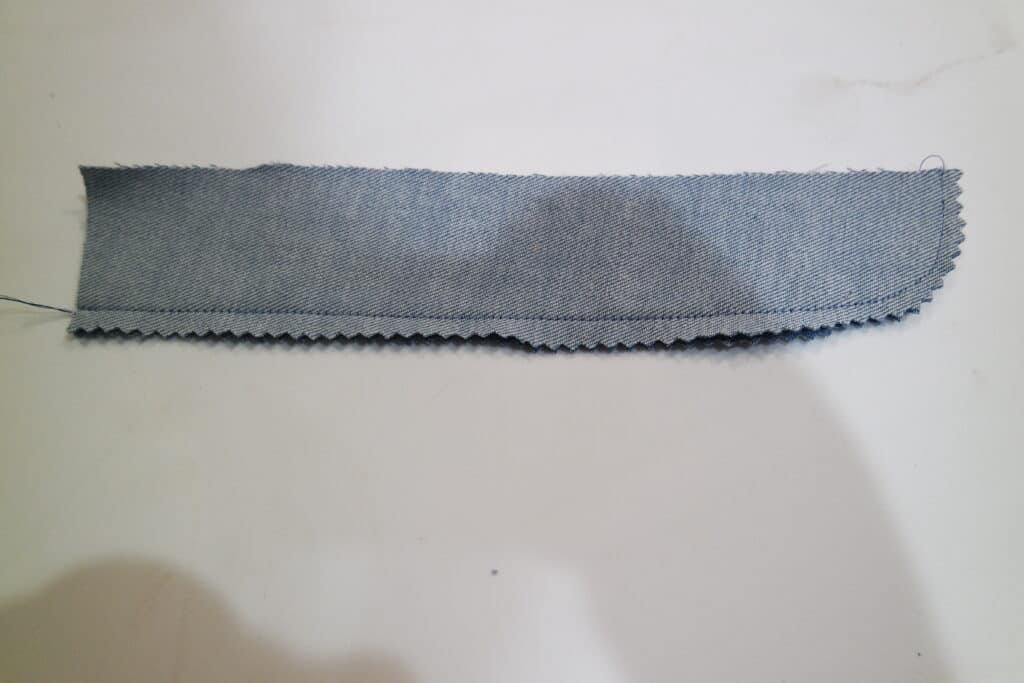
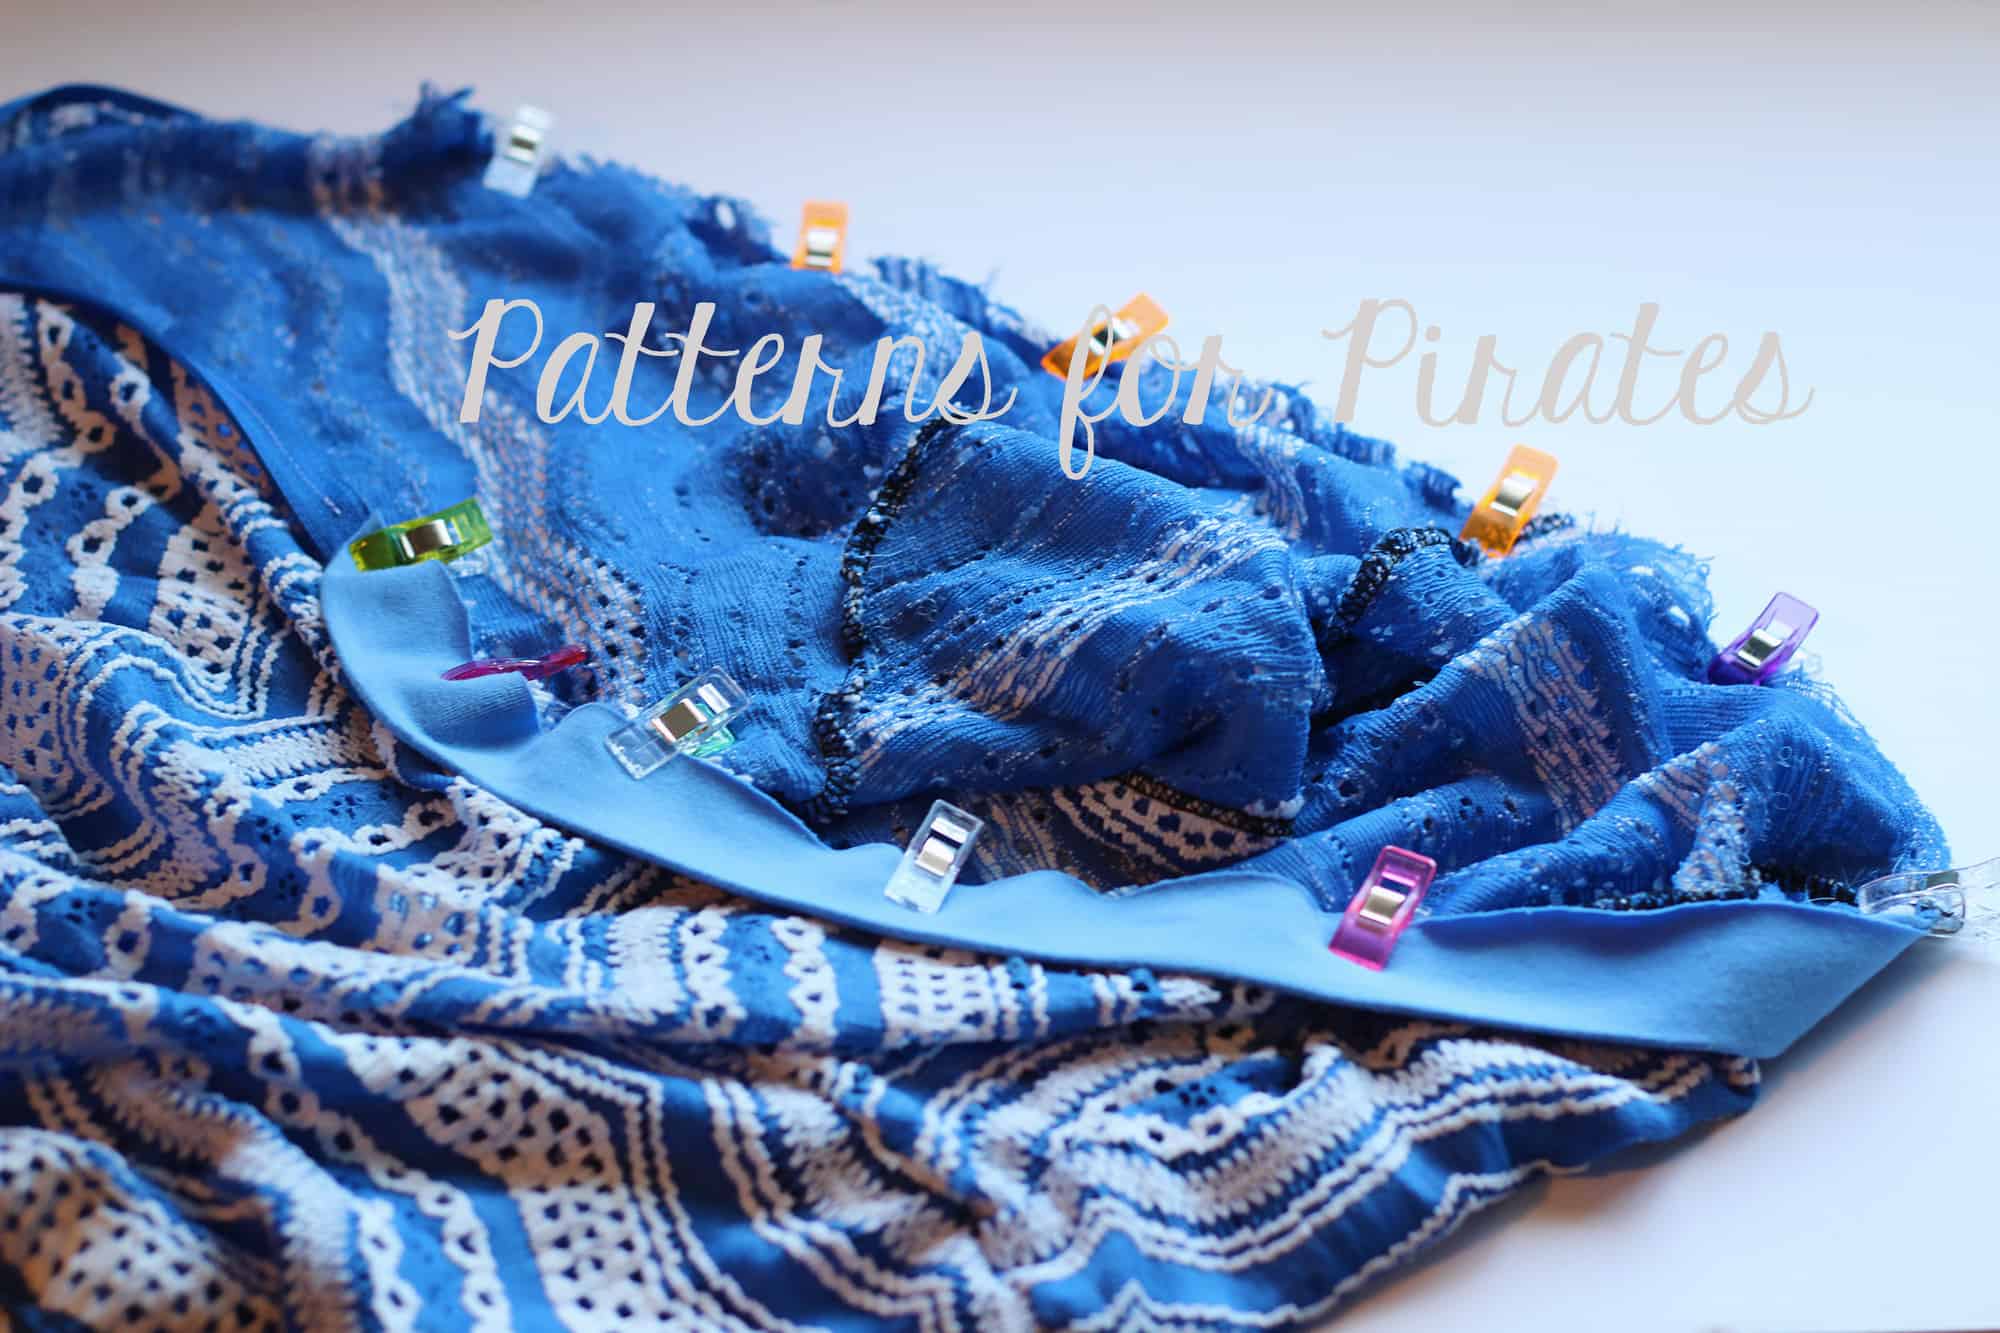
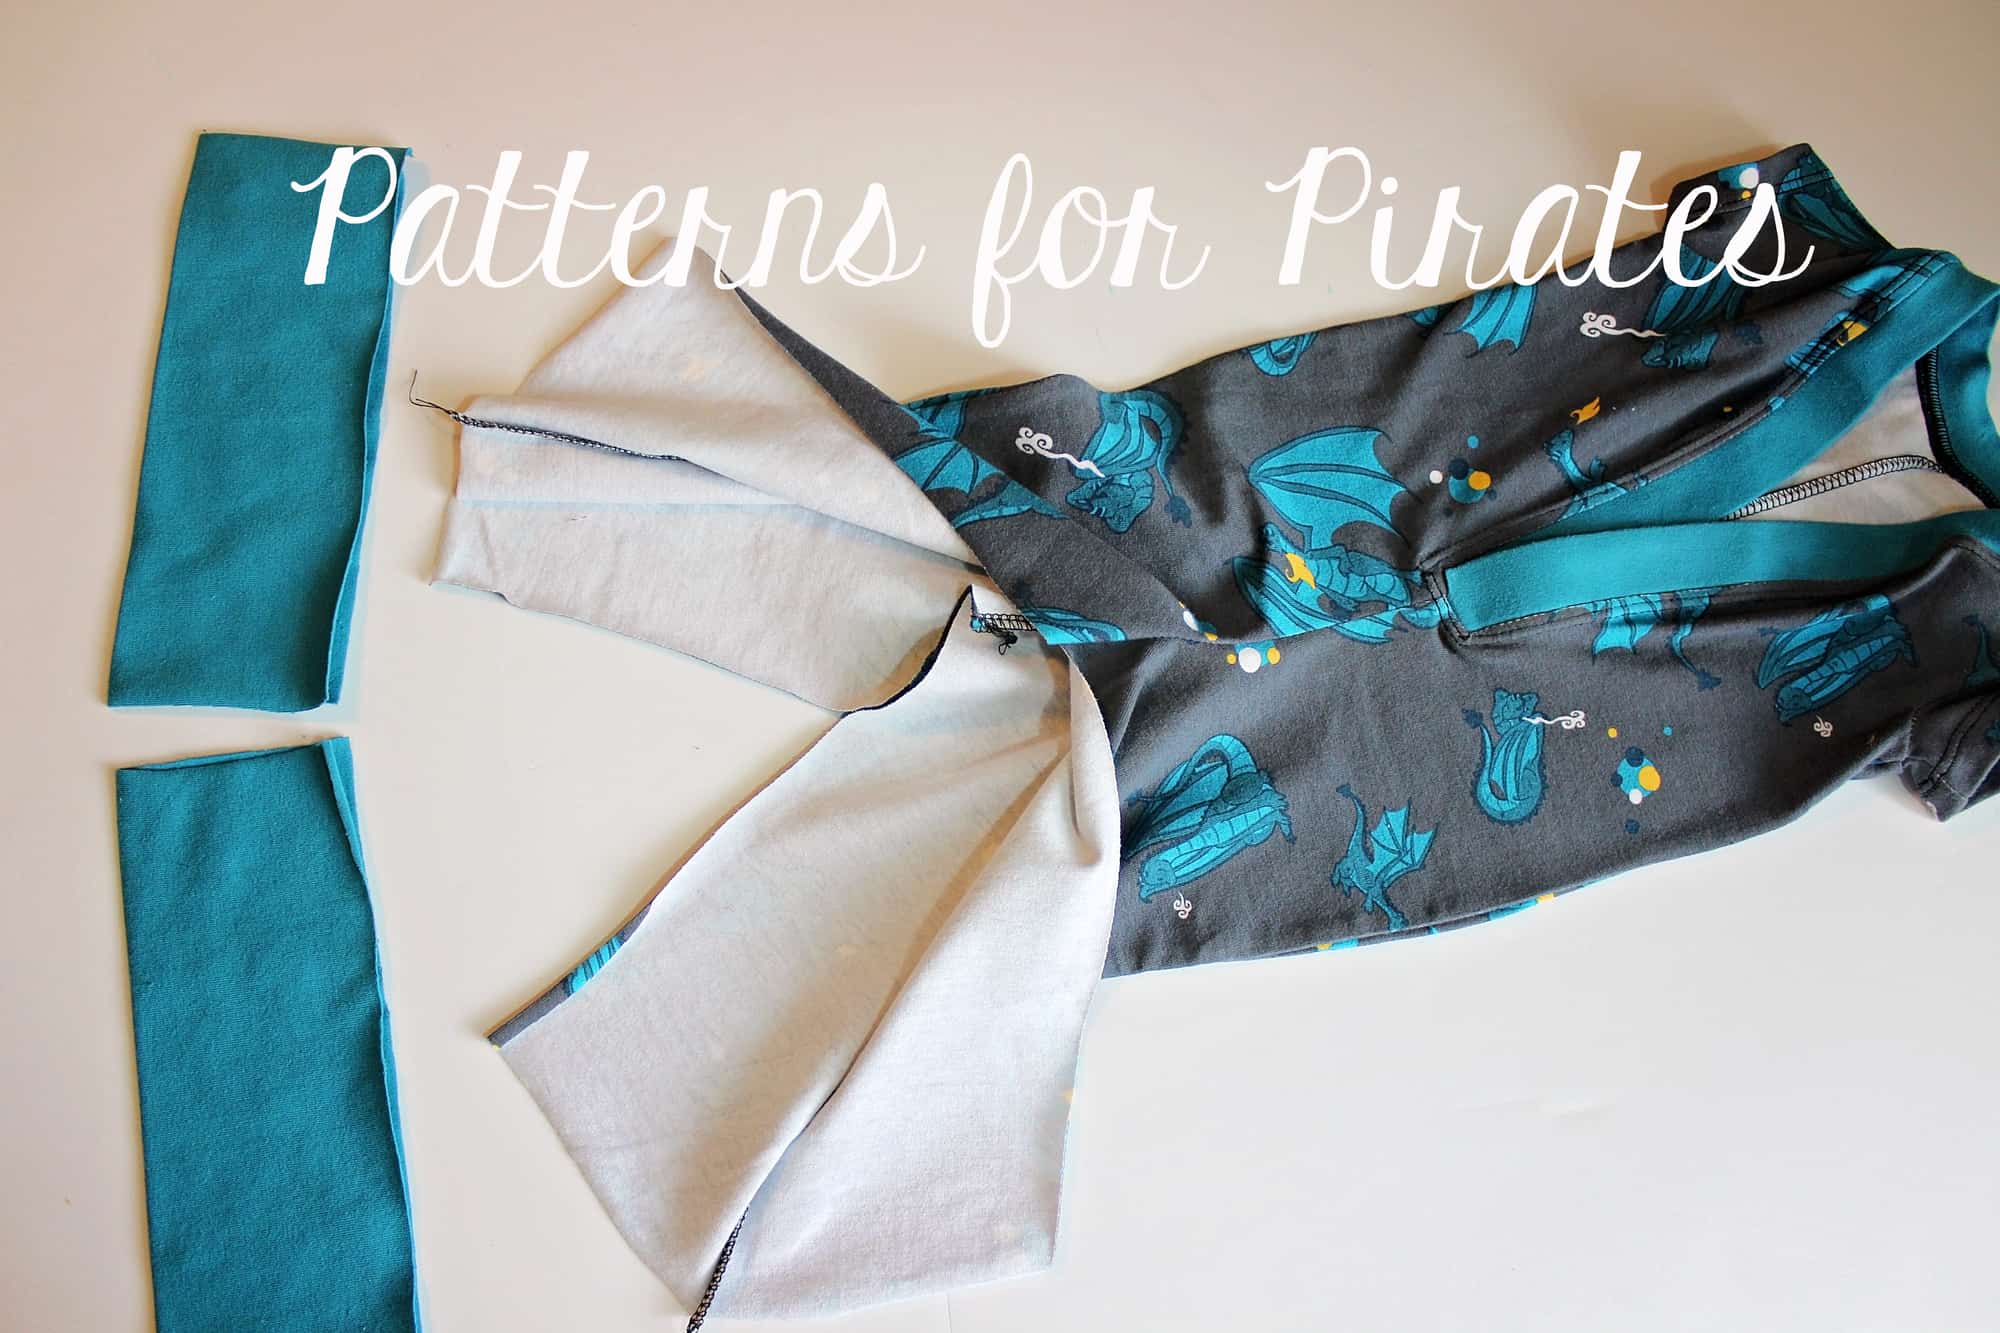
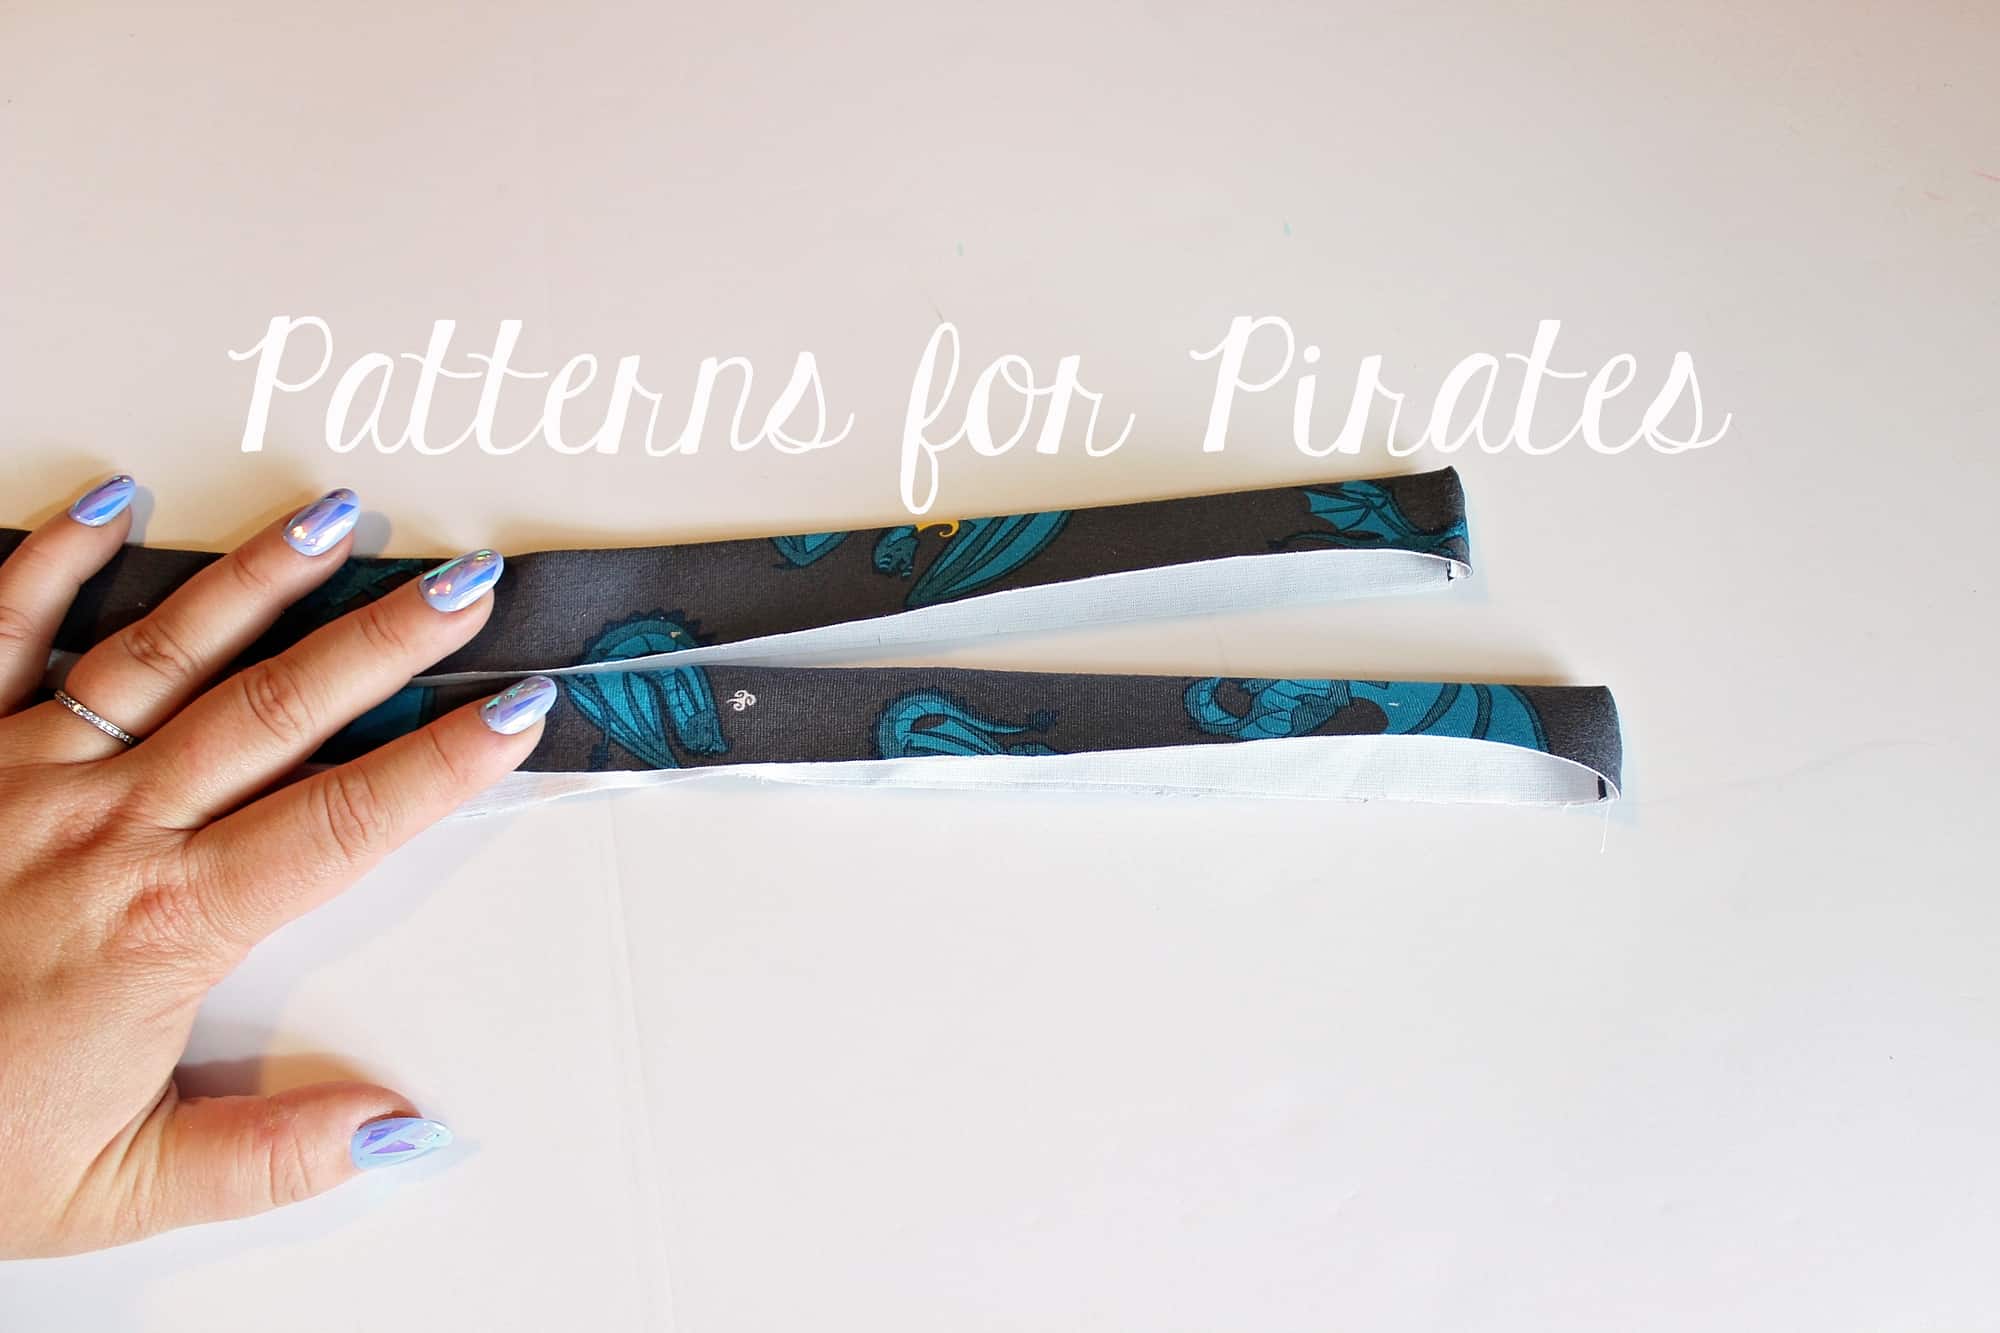
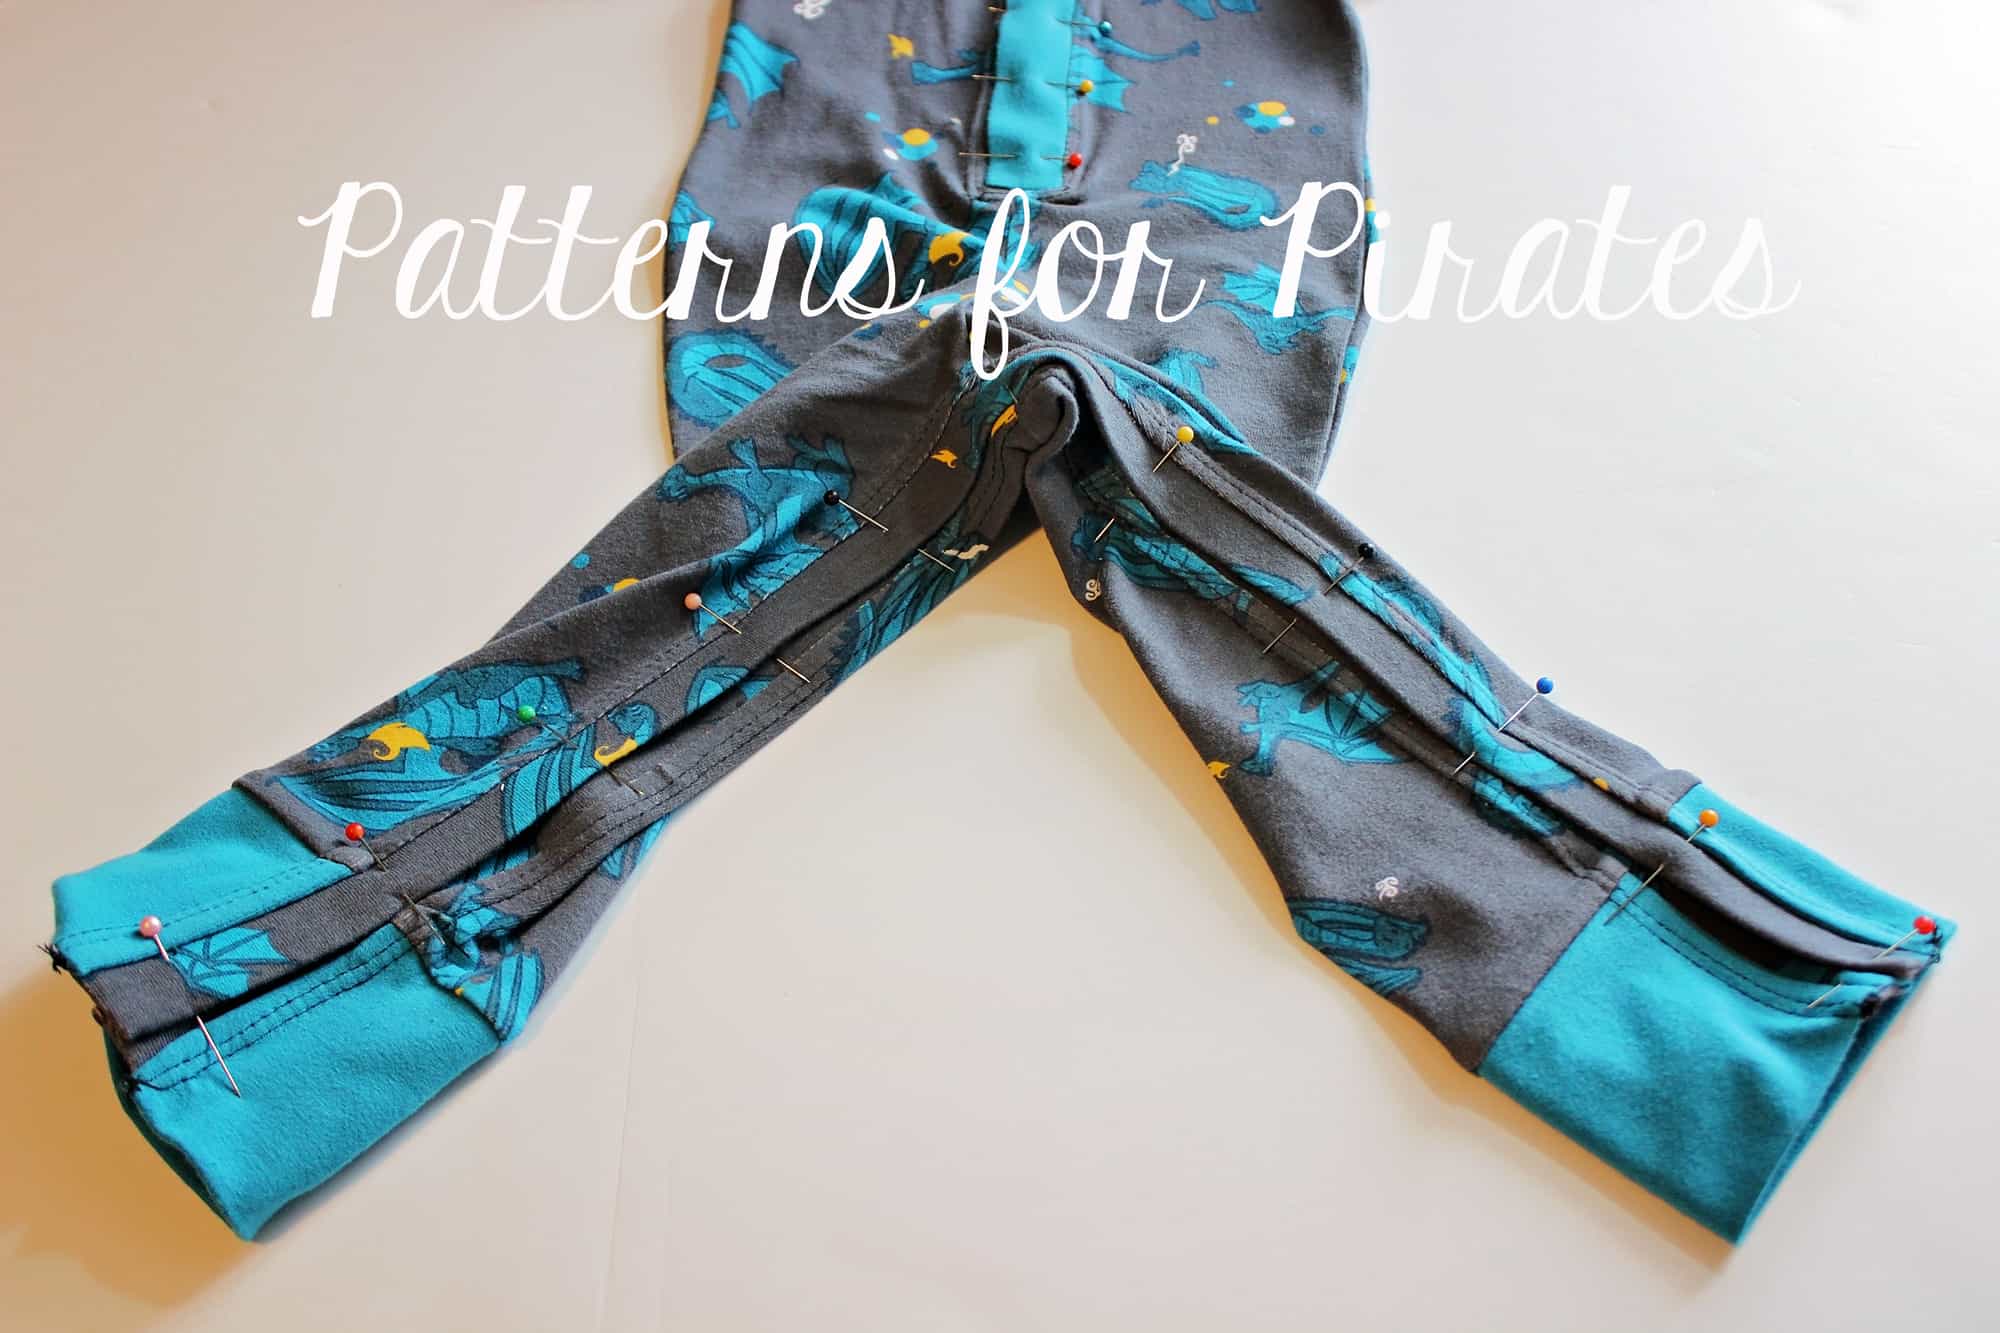
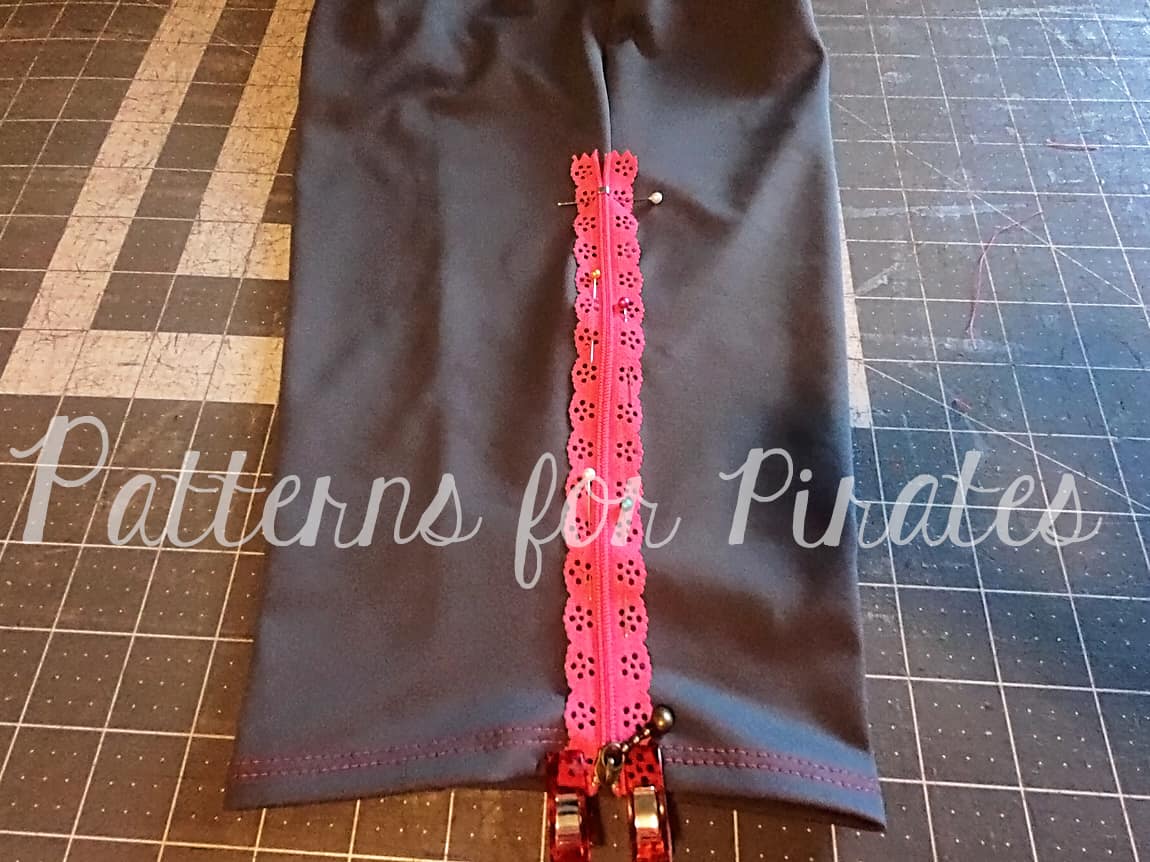
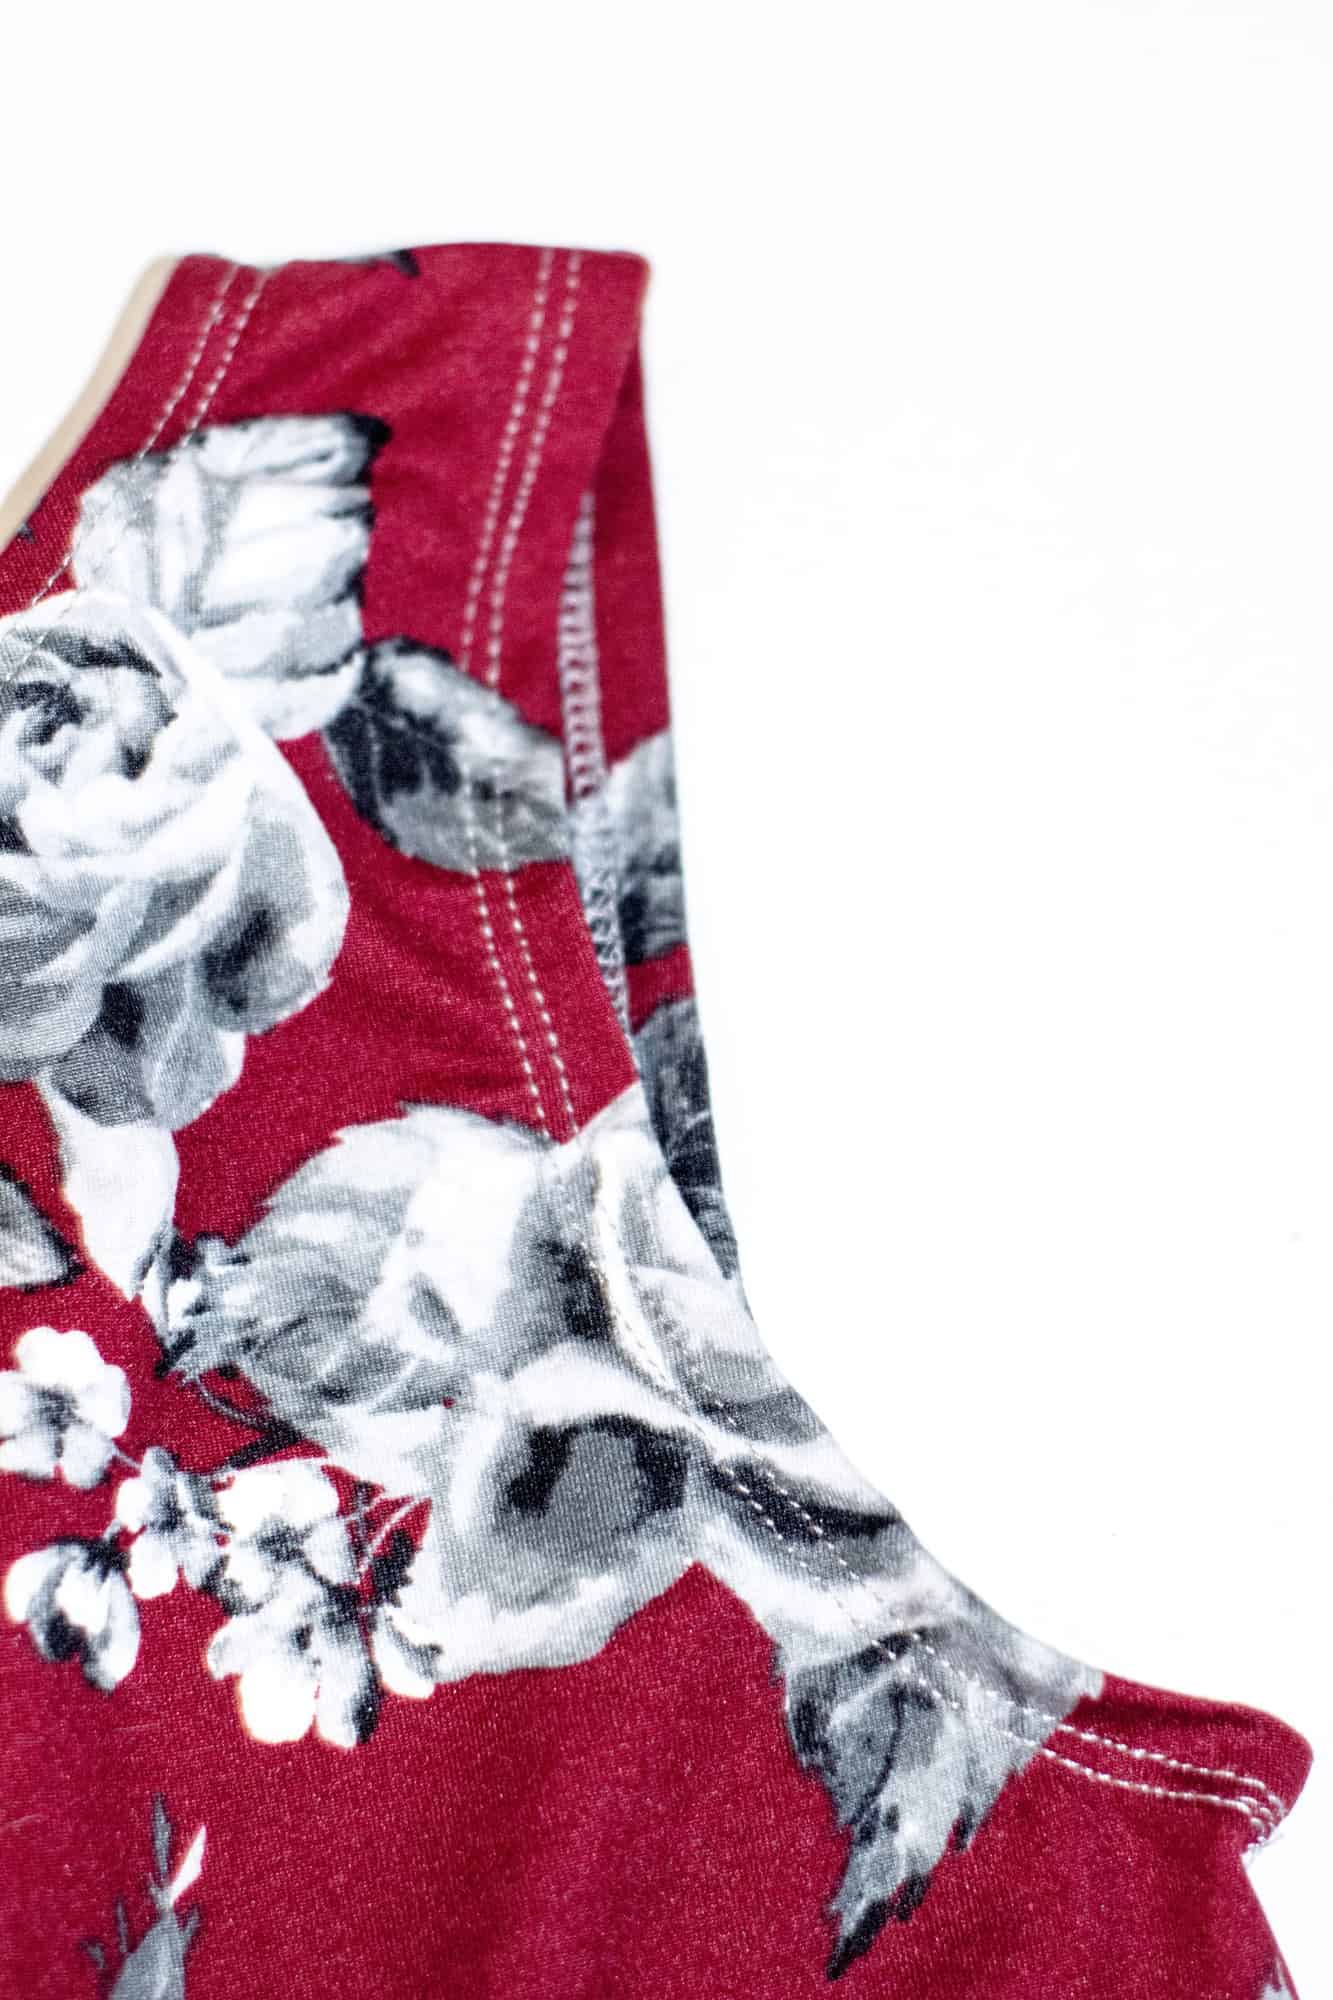
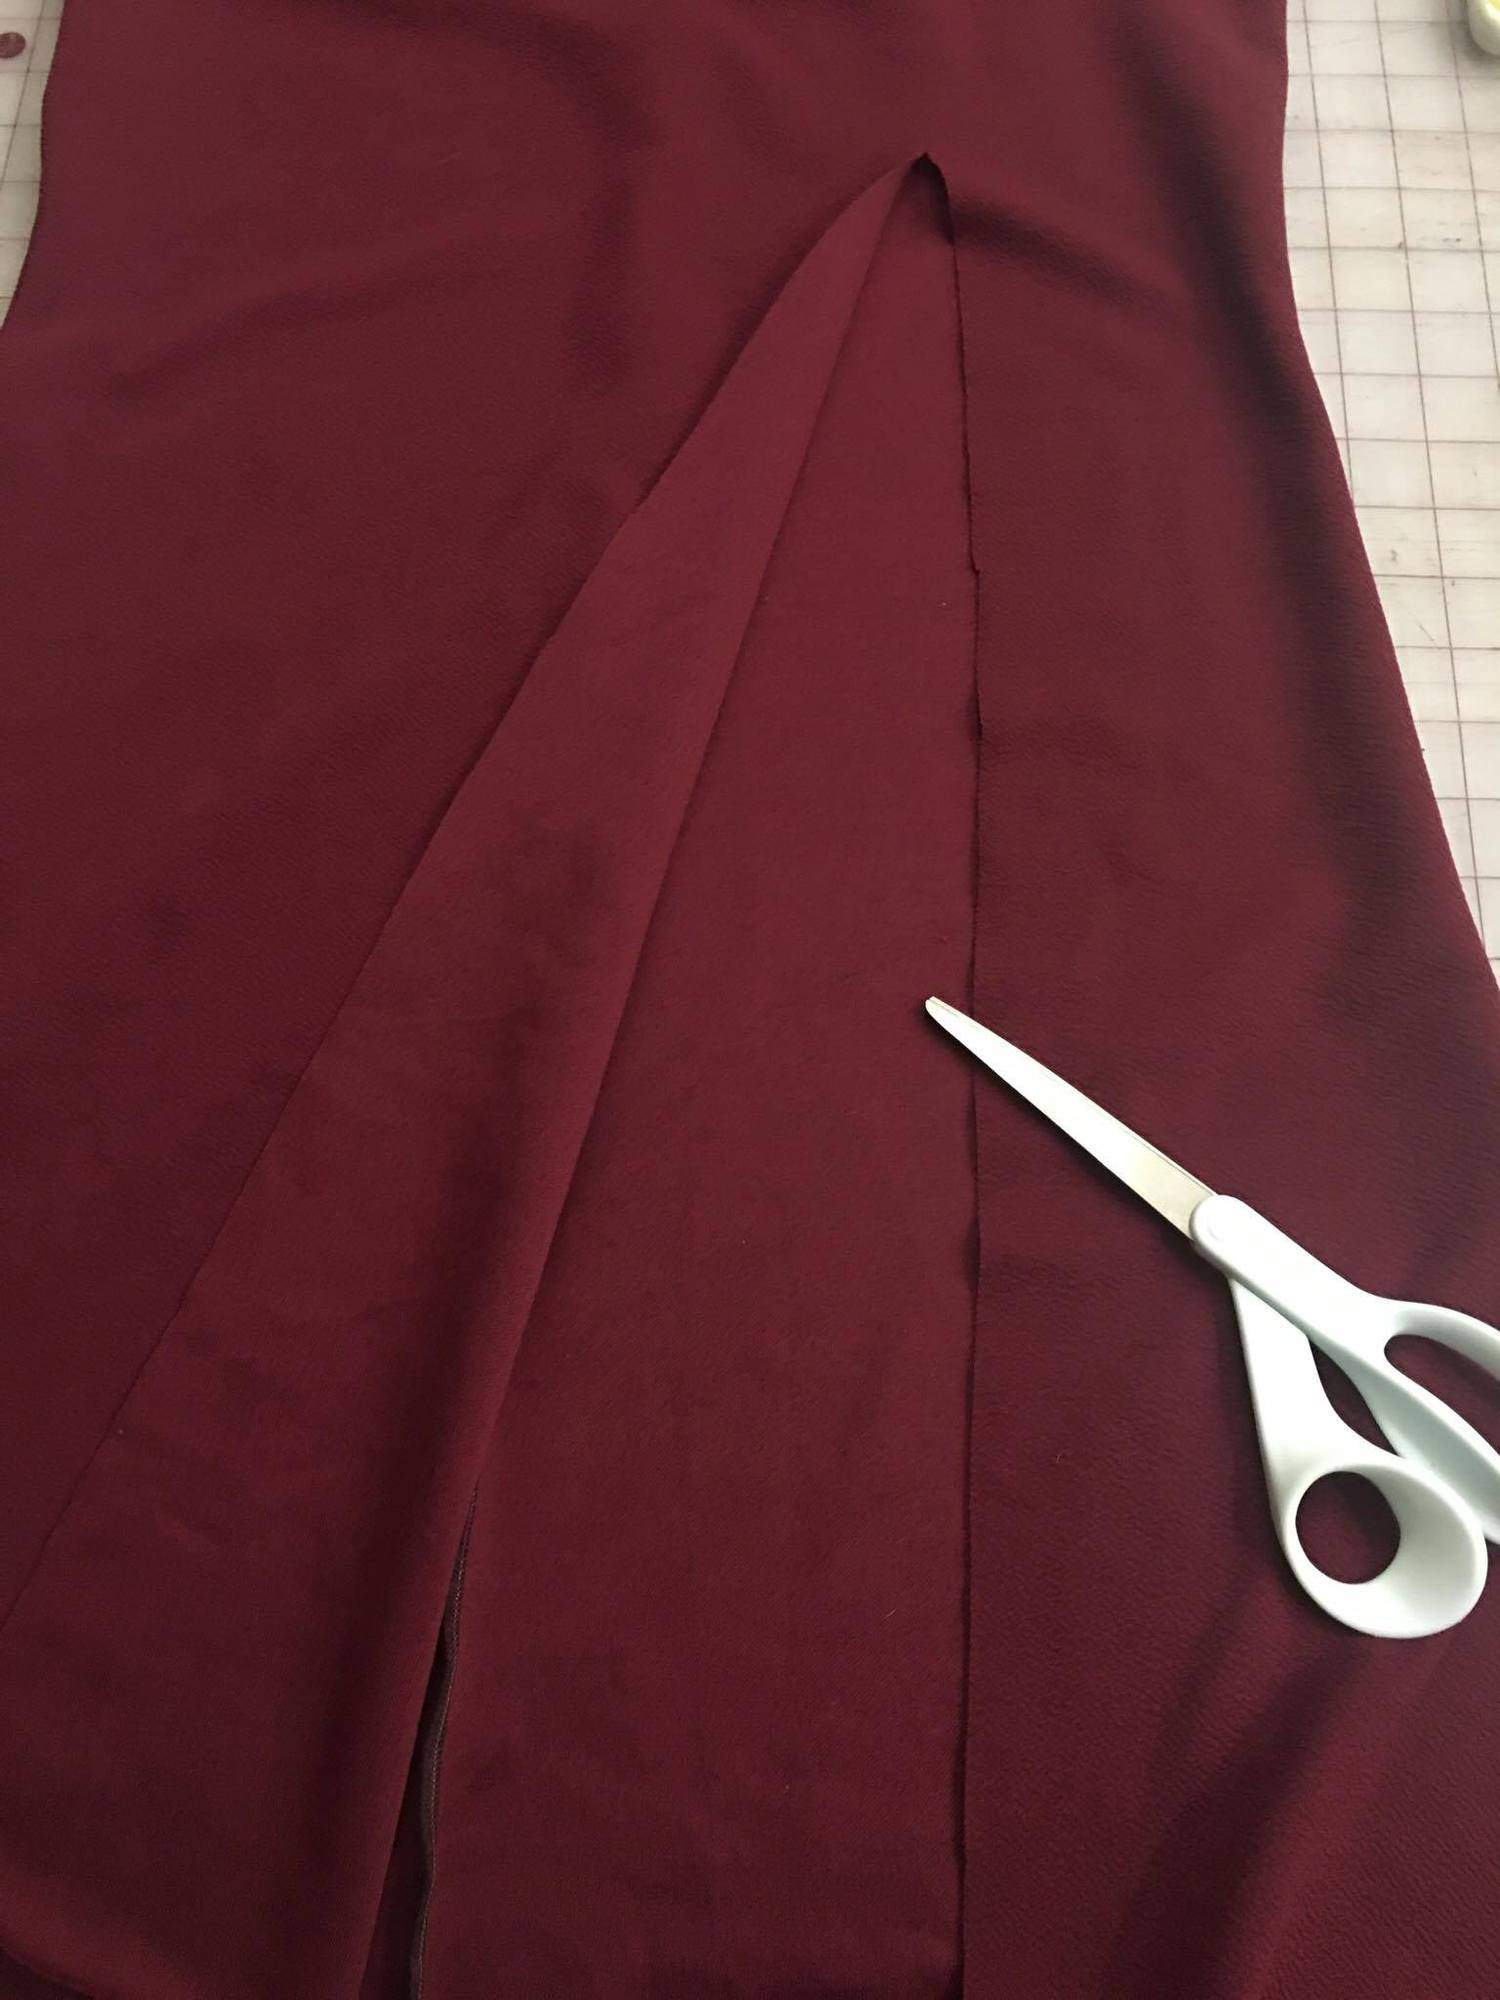
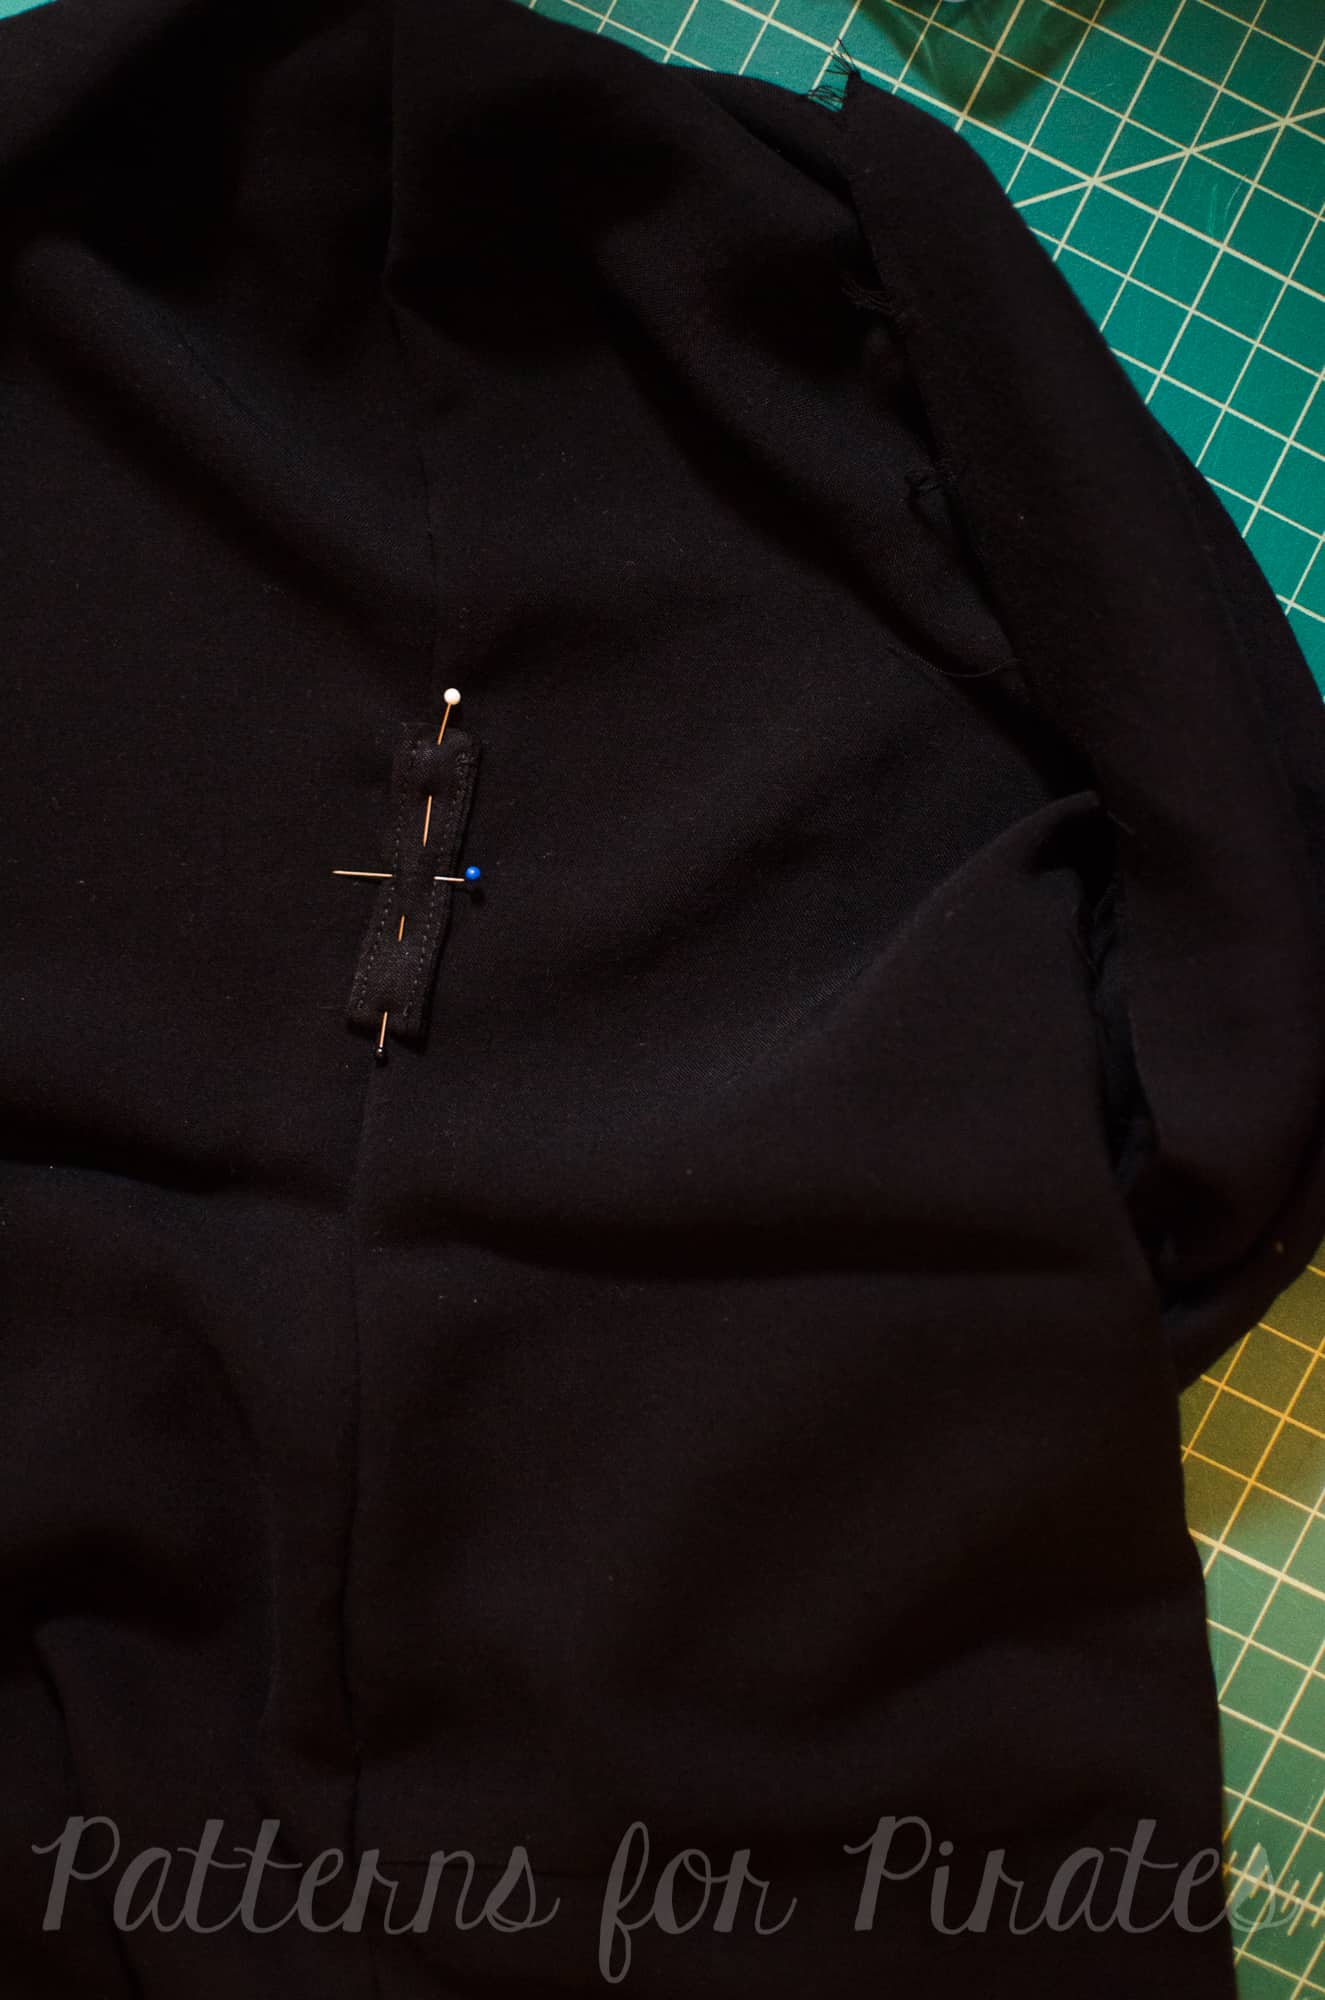
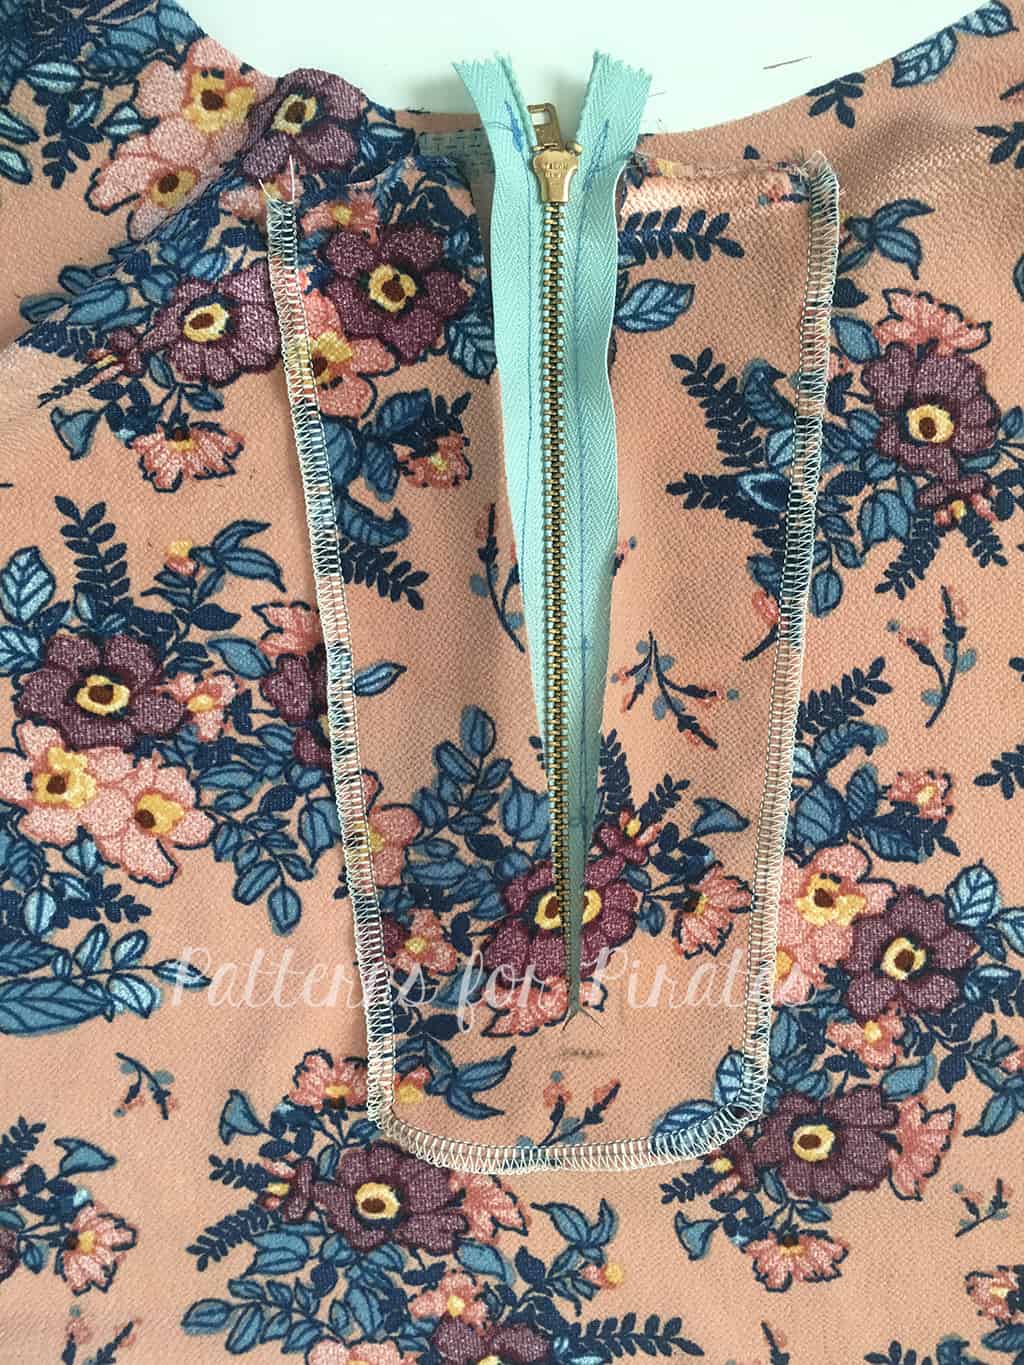
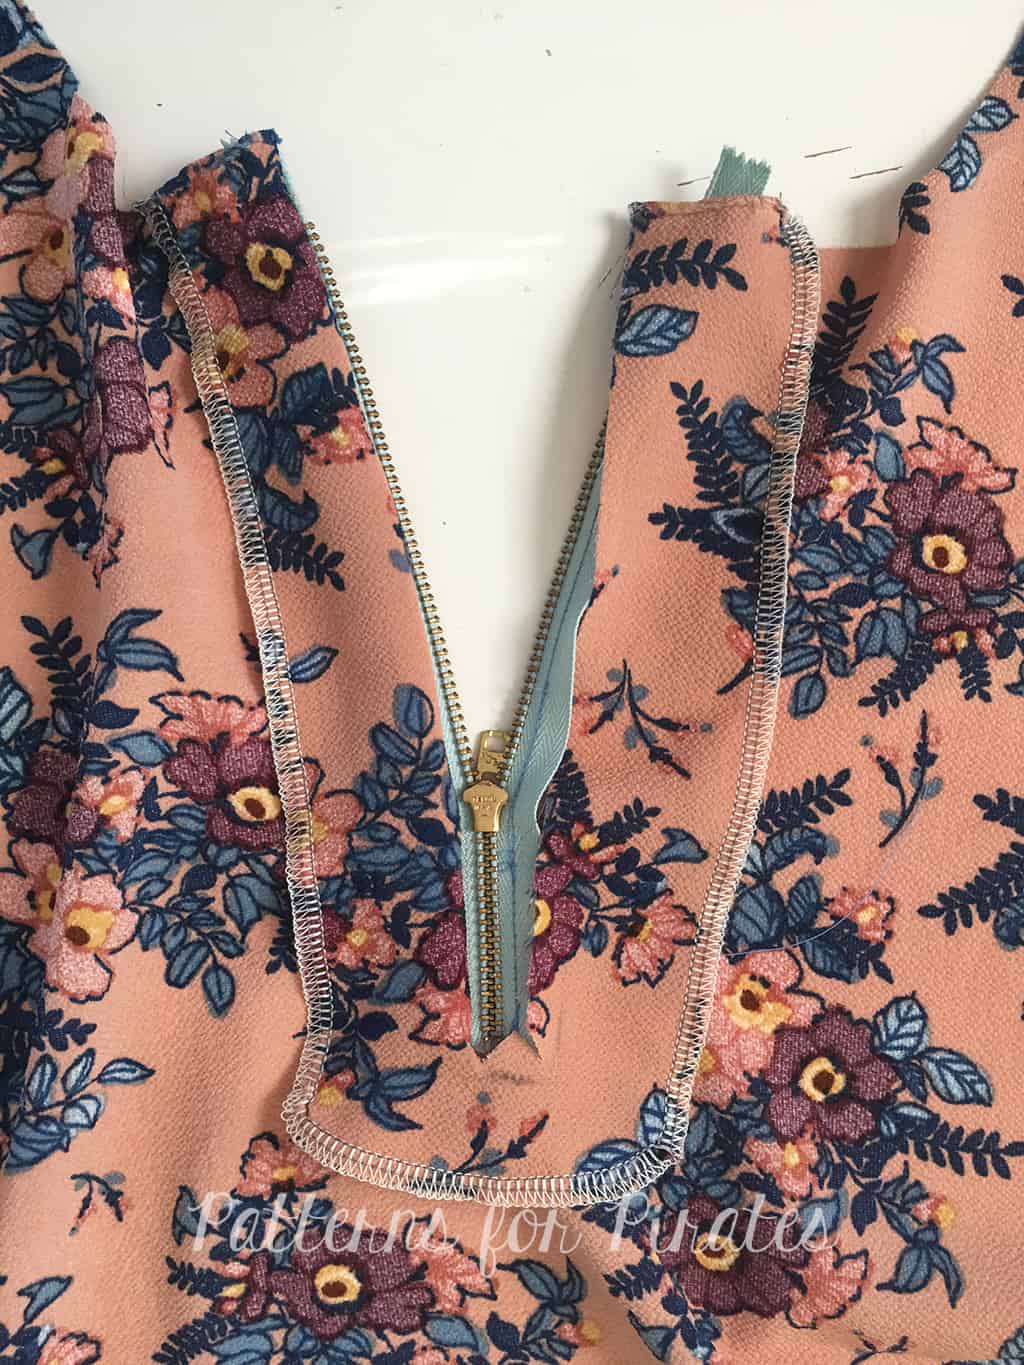
Place your zipper guard along the side seam with zipper with the raw edges aligned to the seam allowance of the front pant/skirt. Stitch guard to seam allowance (do not stitch through pant/skirt).
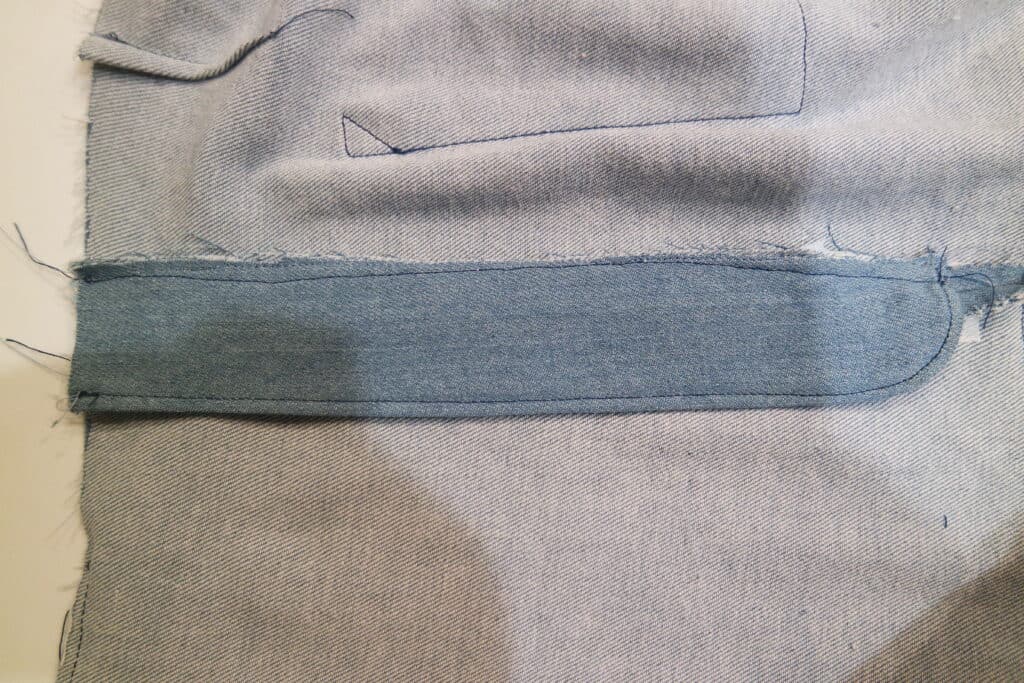
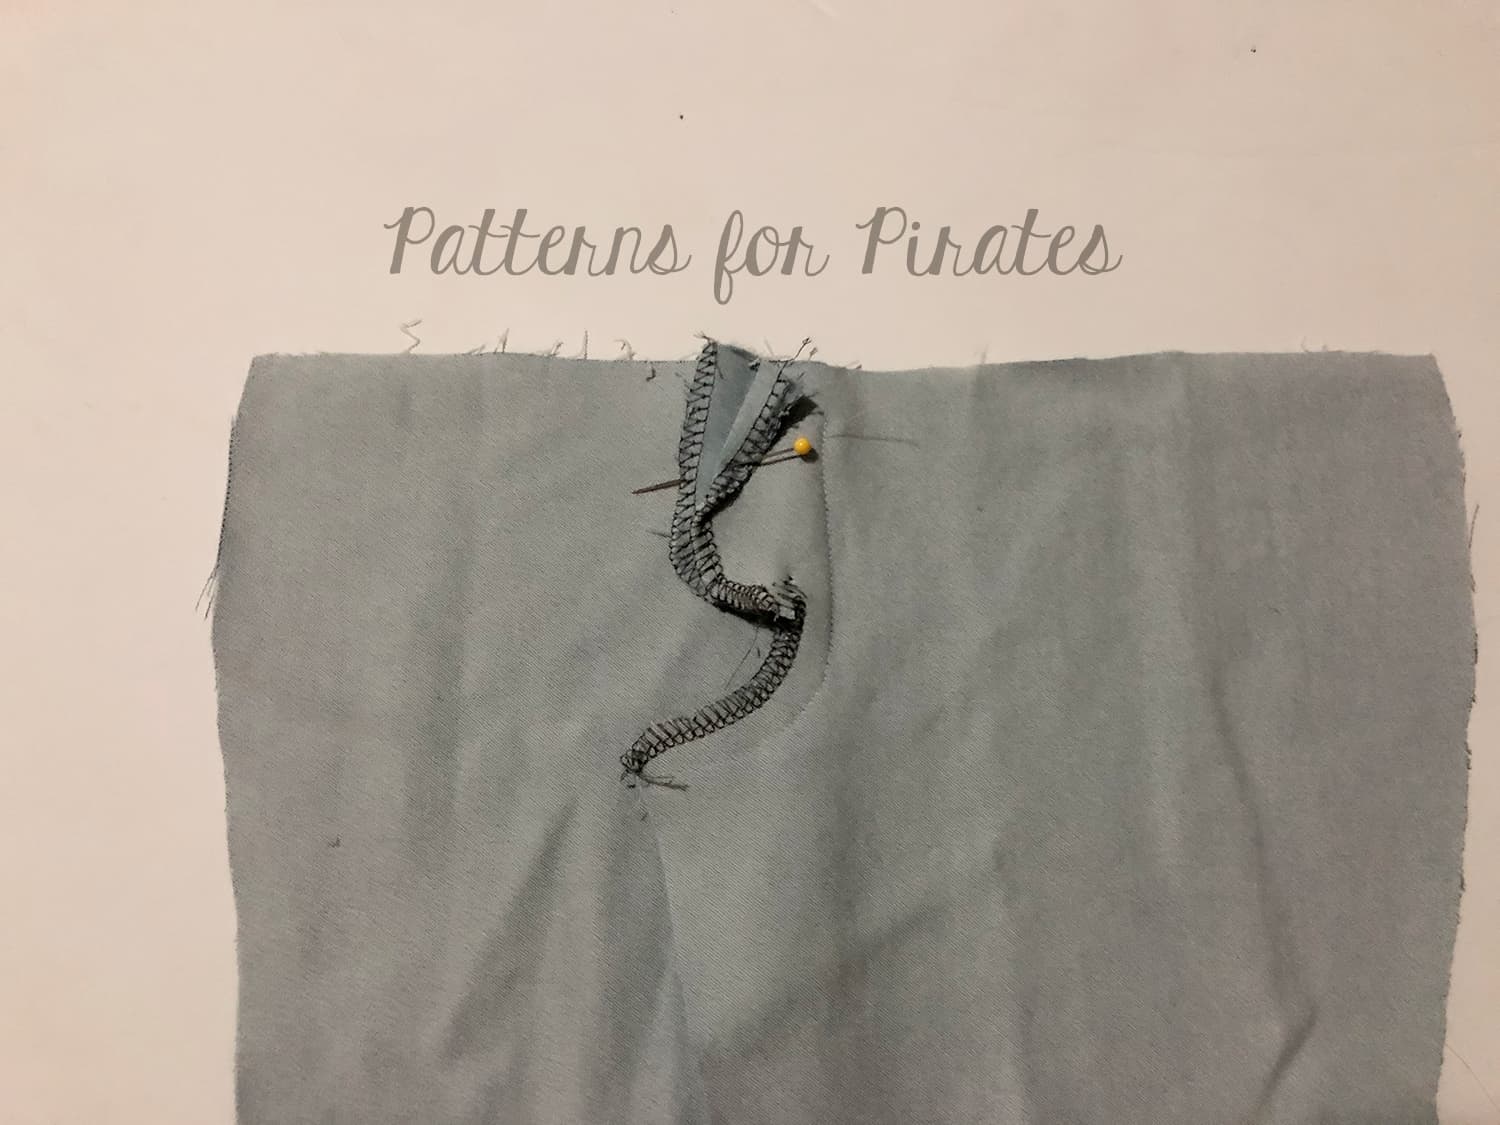
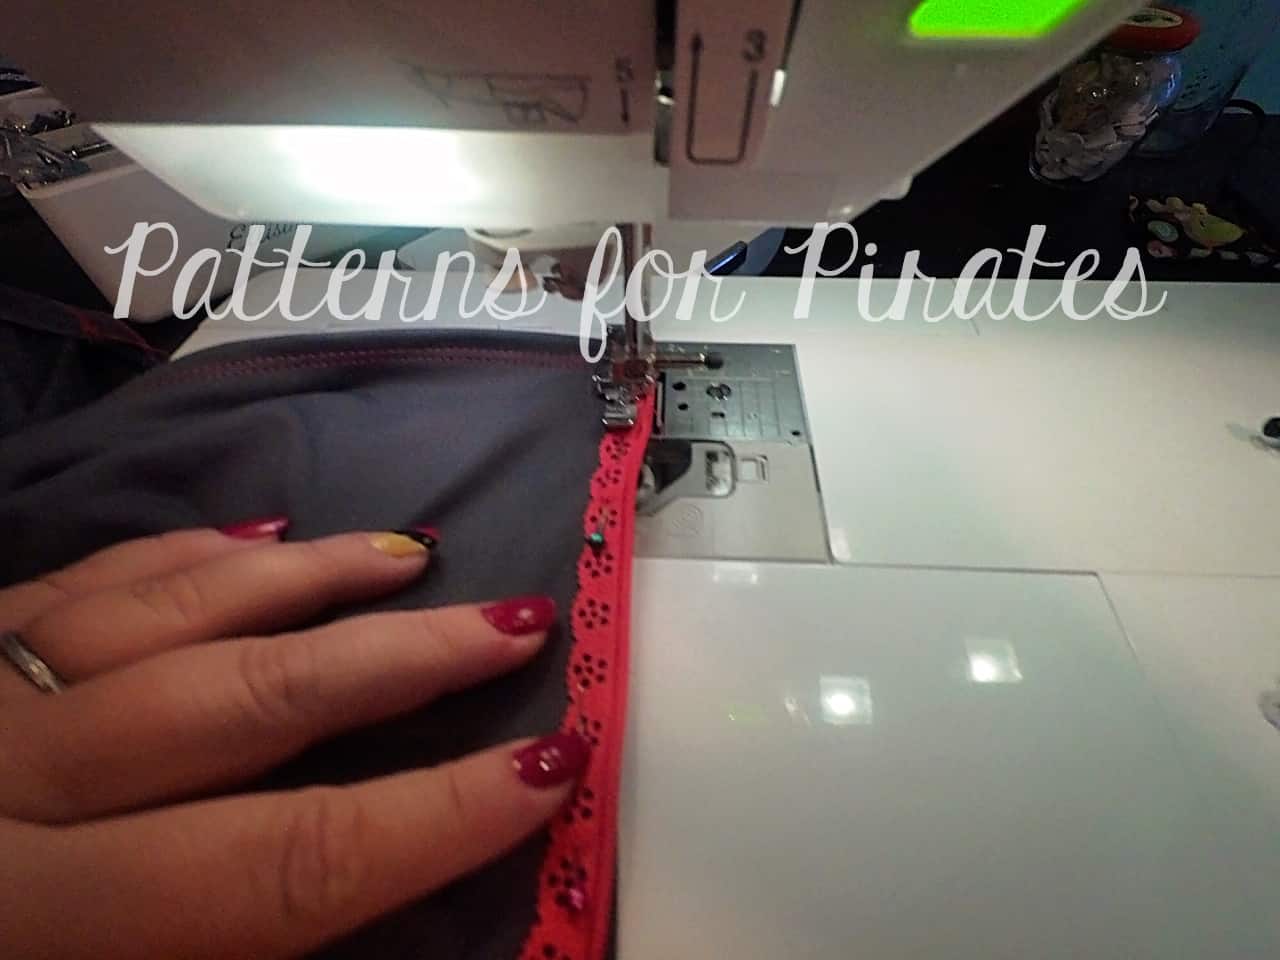
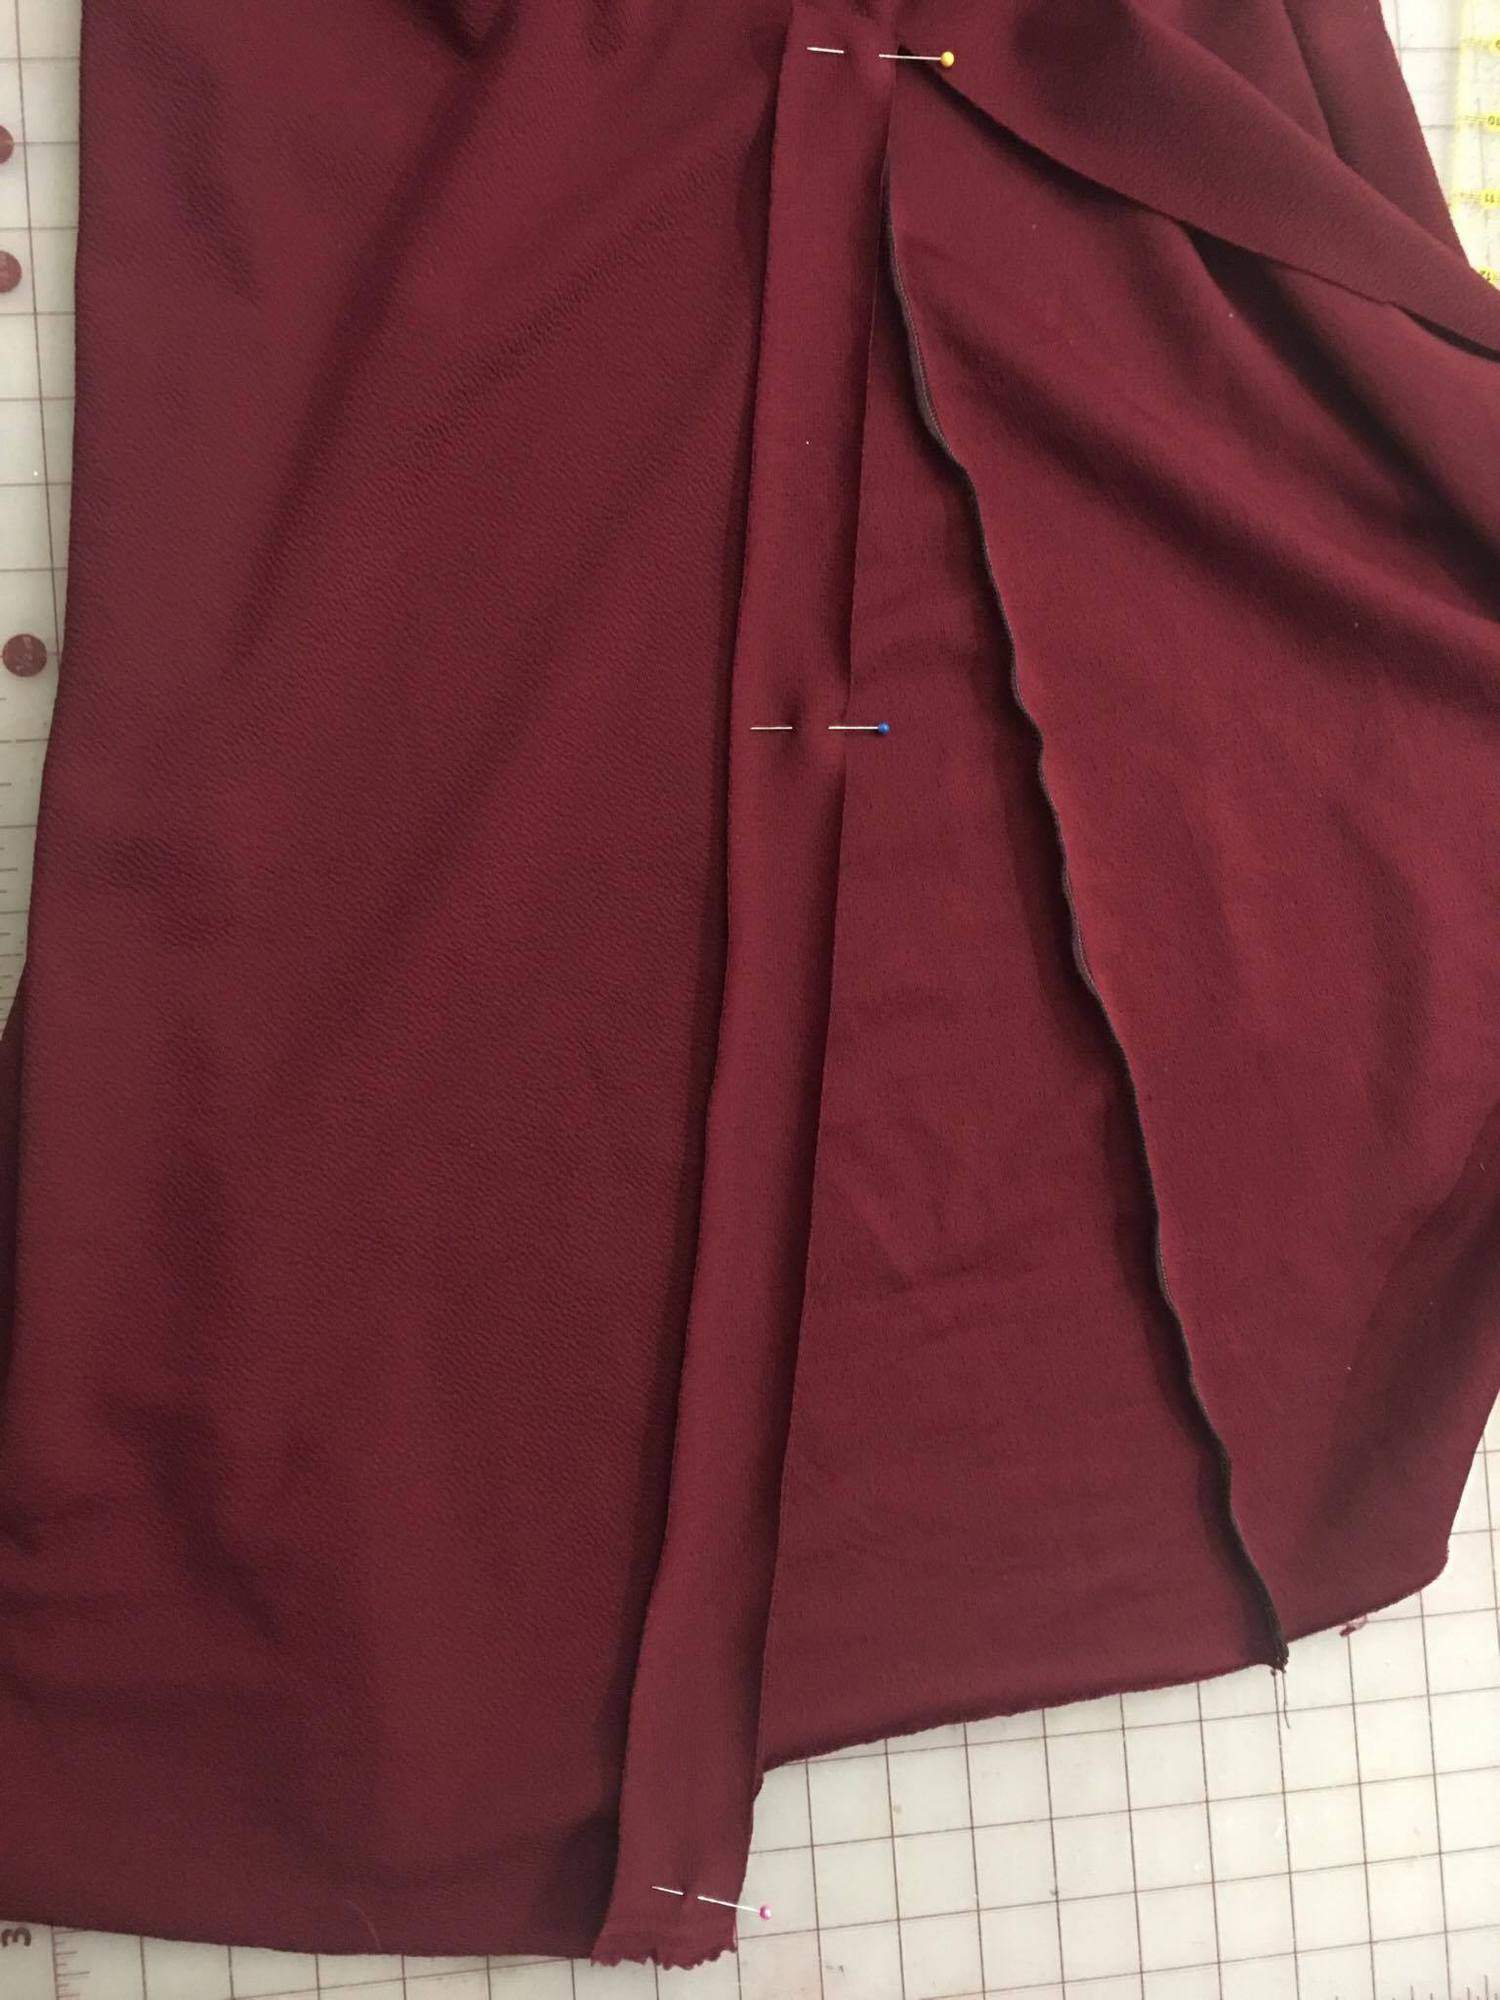
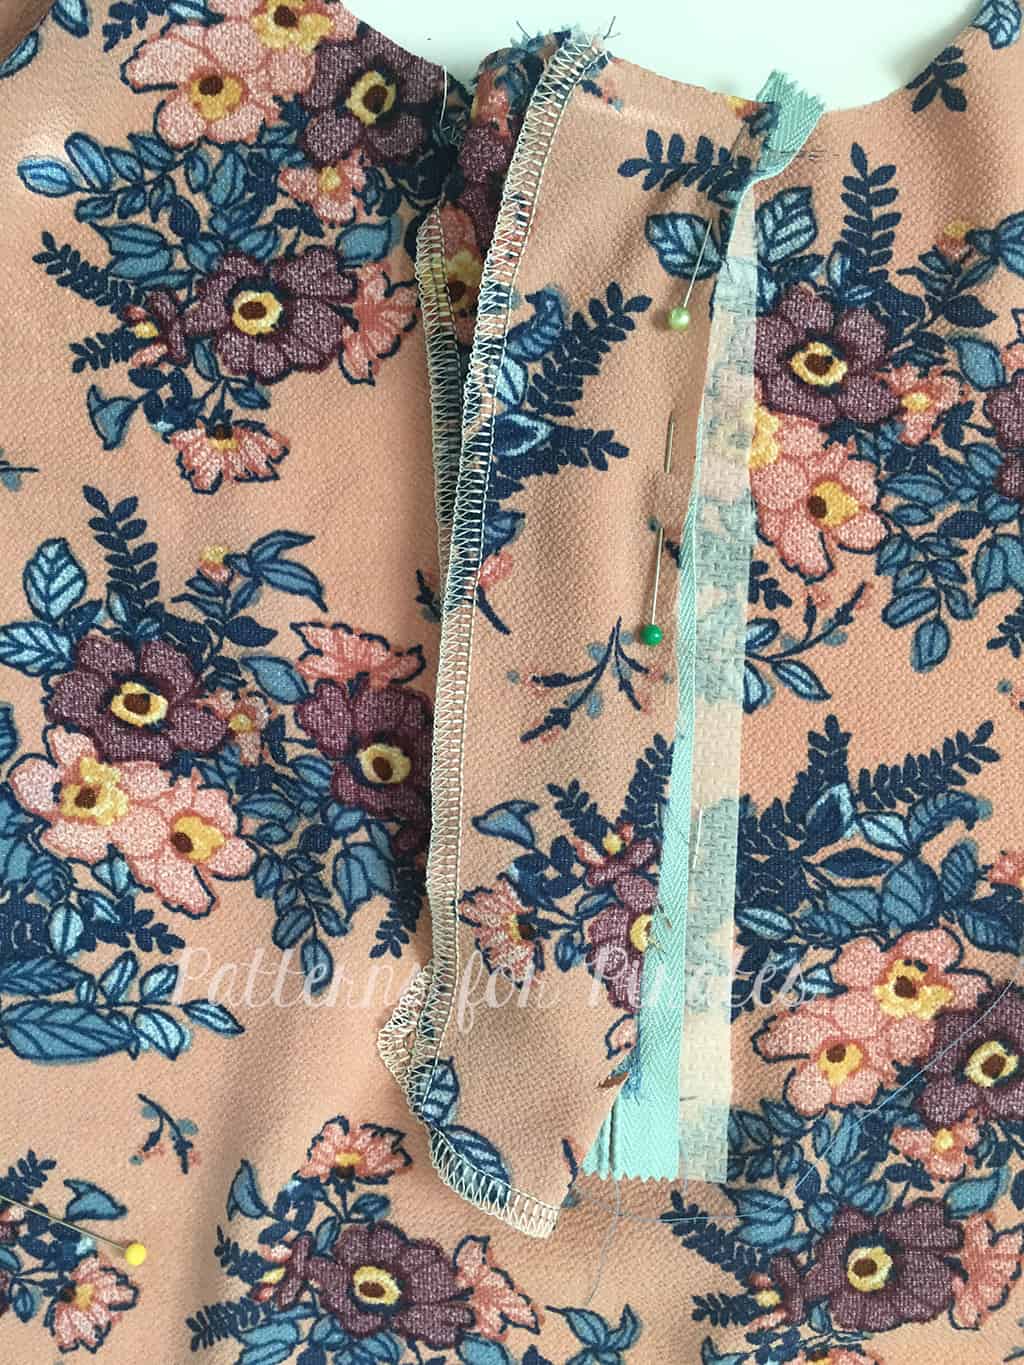
Pin in place from front. Stitch in the ditch along your zipper seam on the front pant/skirt through the zipper guard.
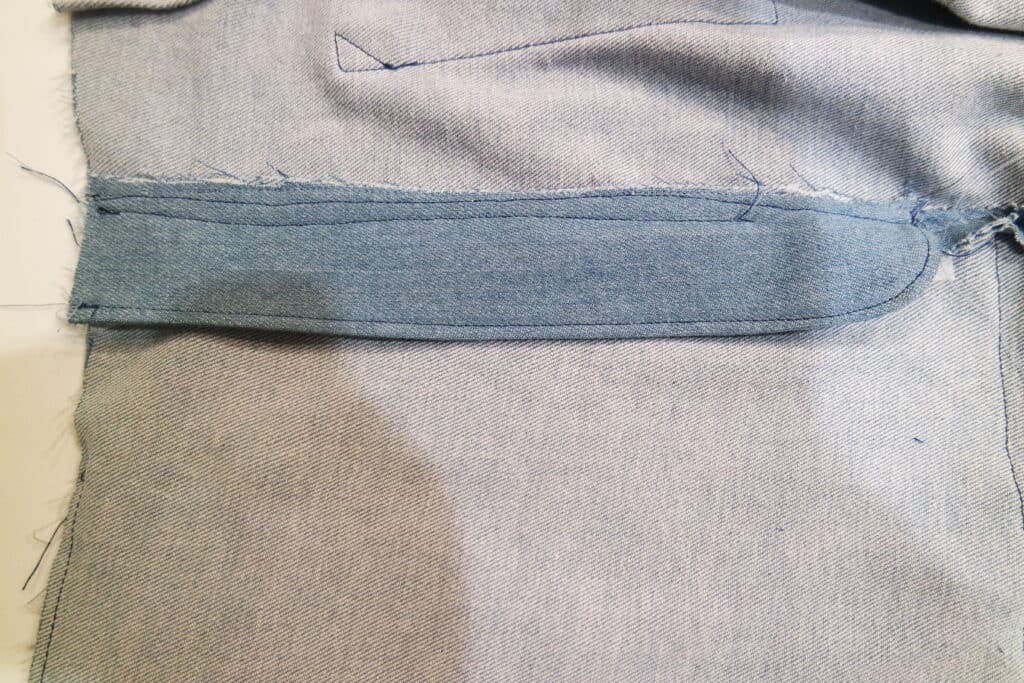
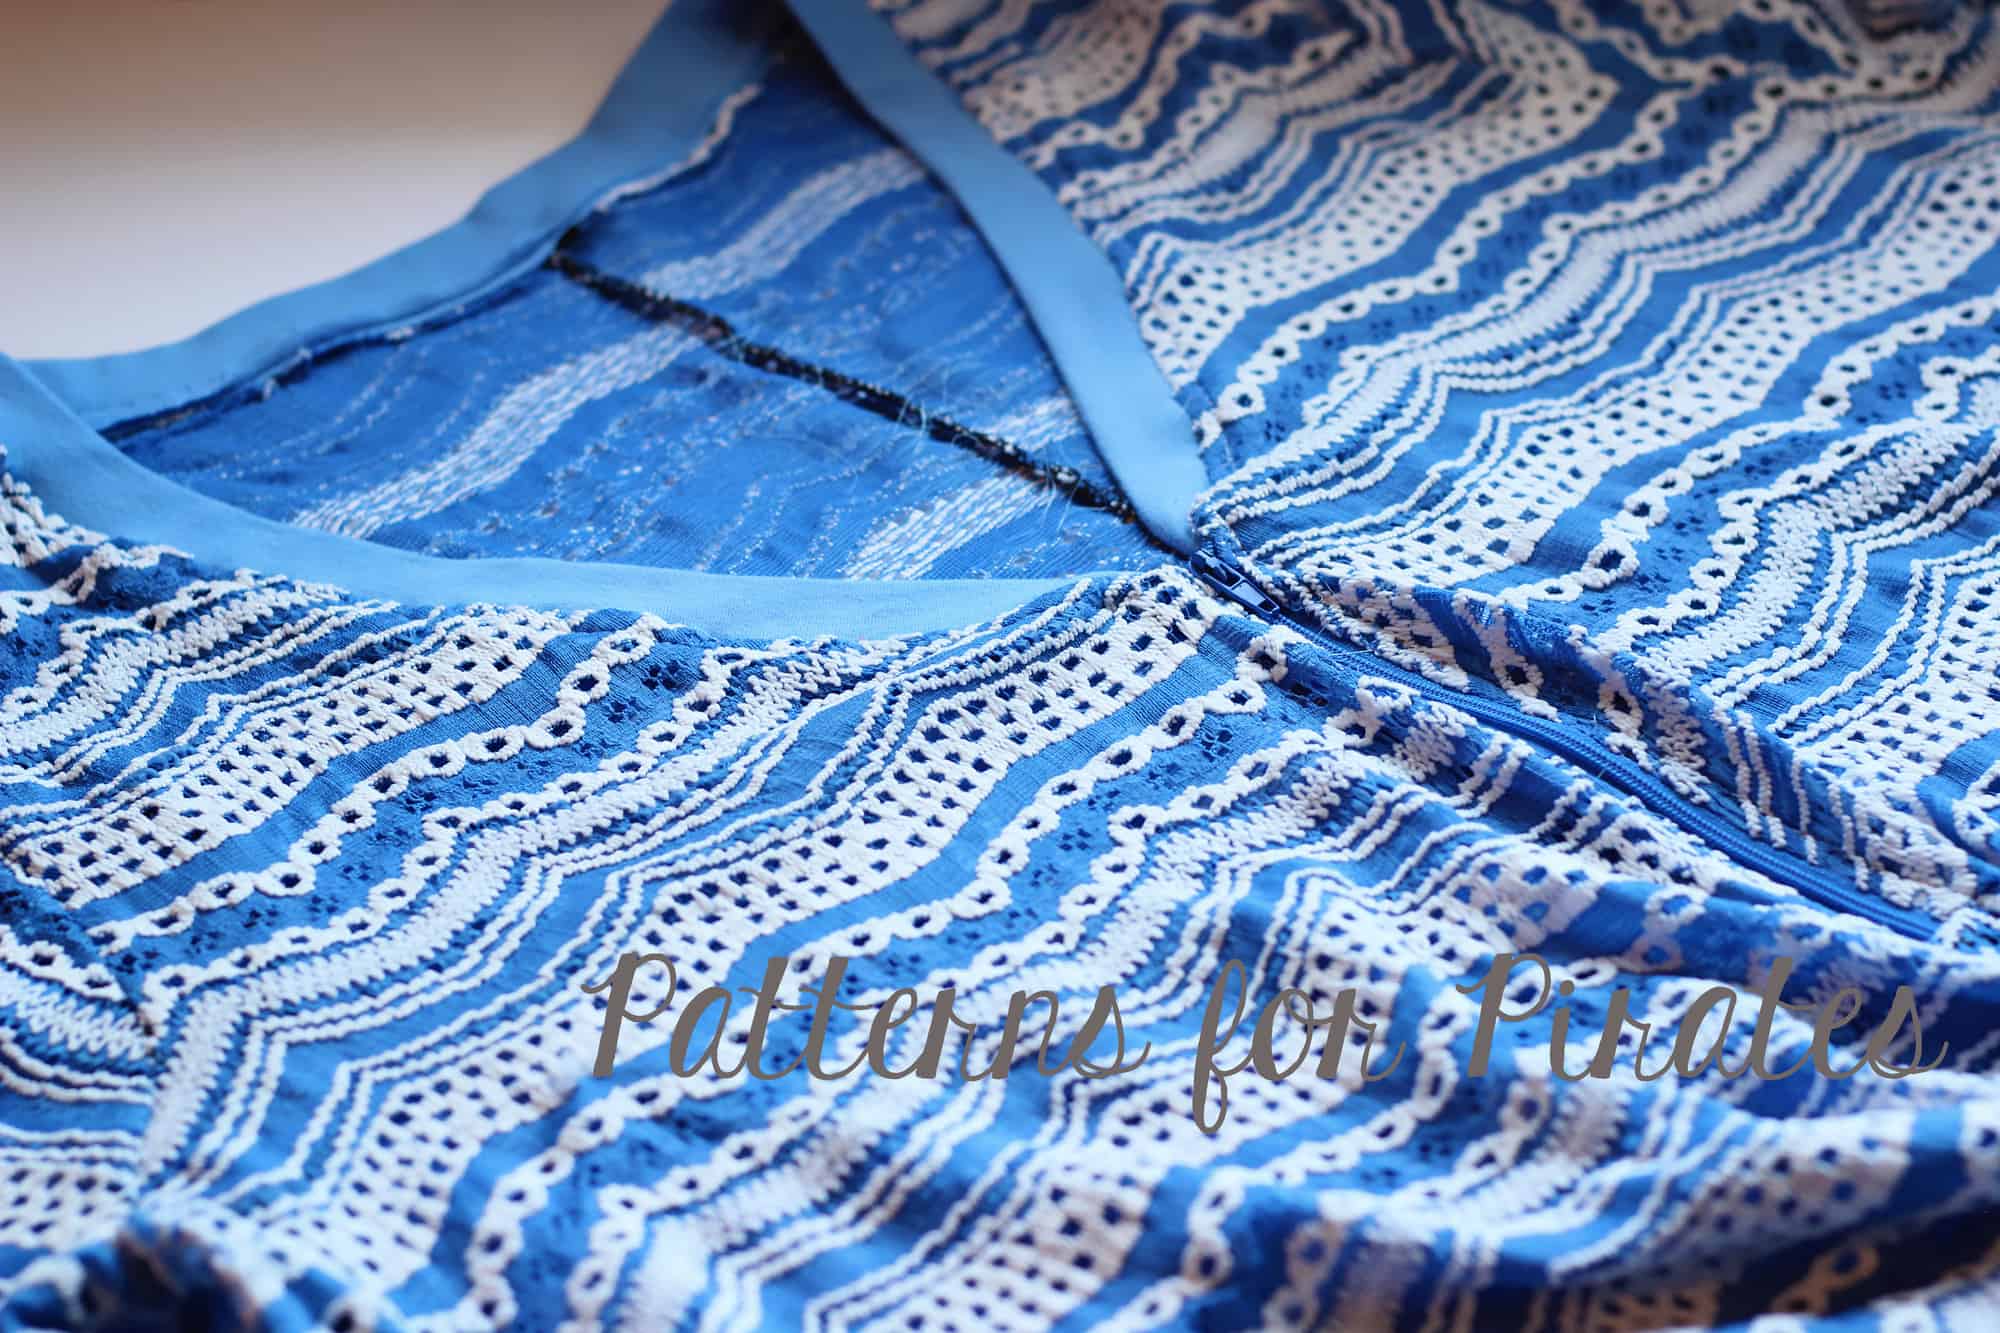
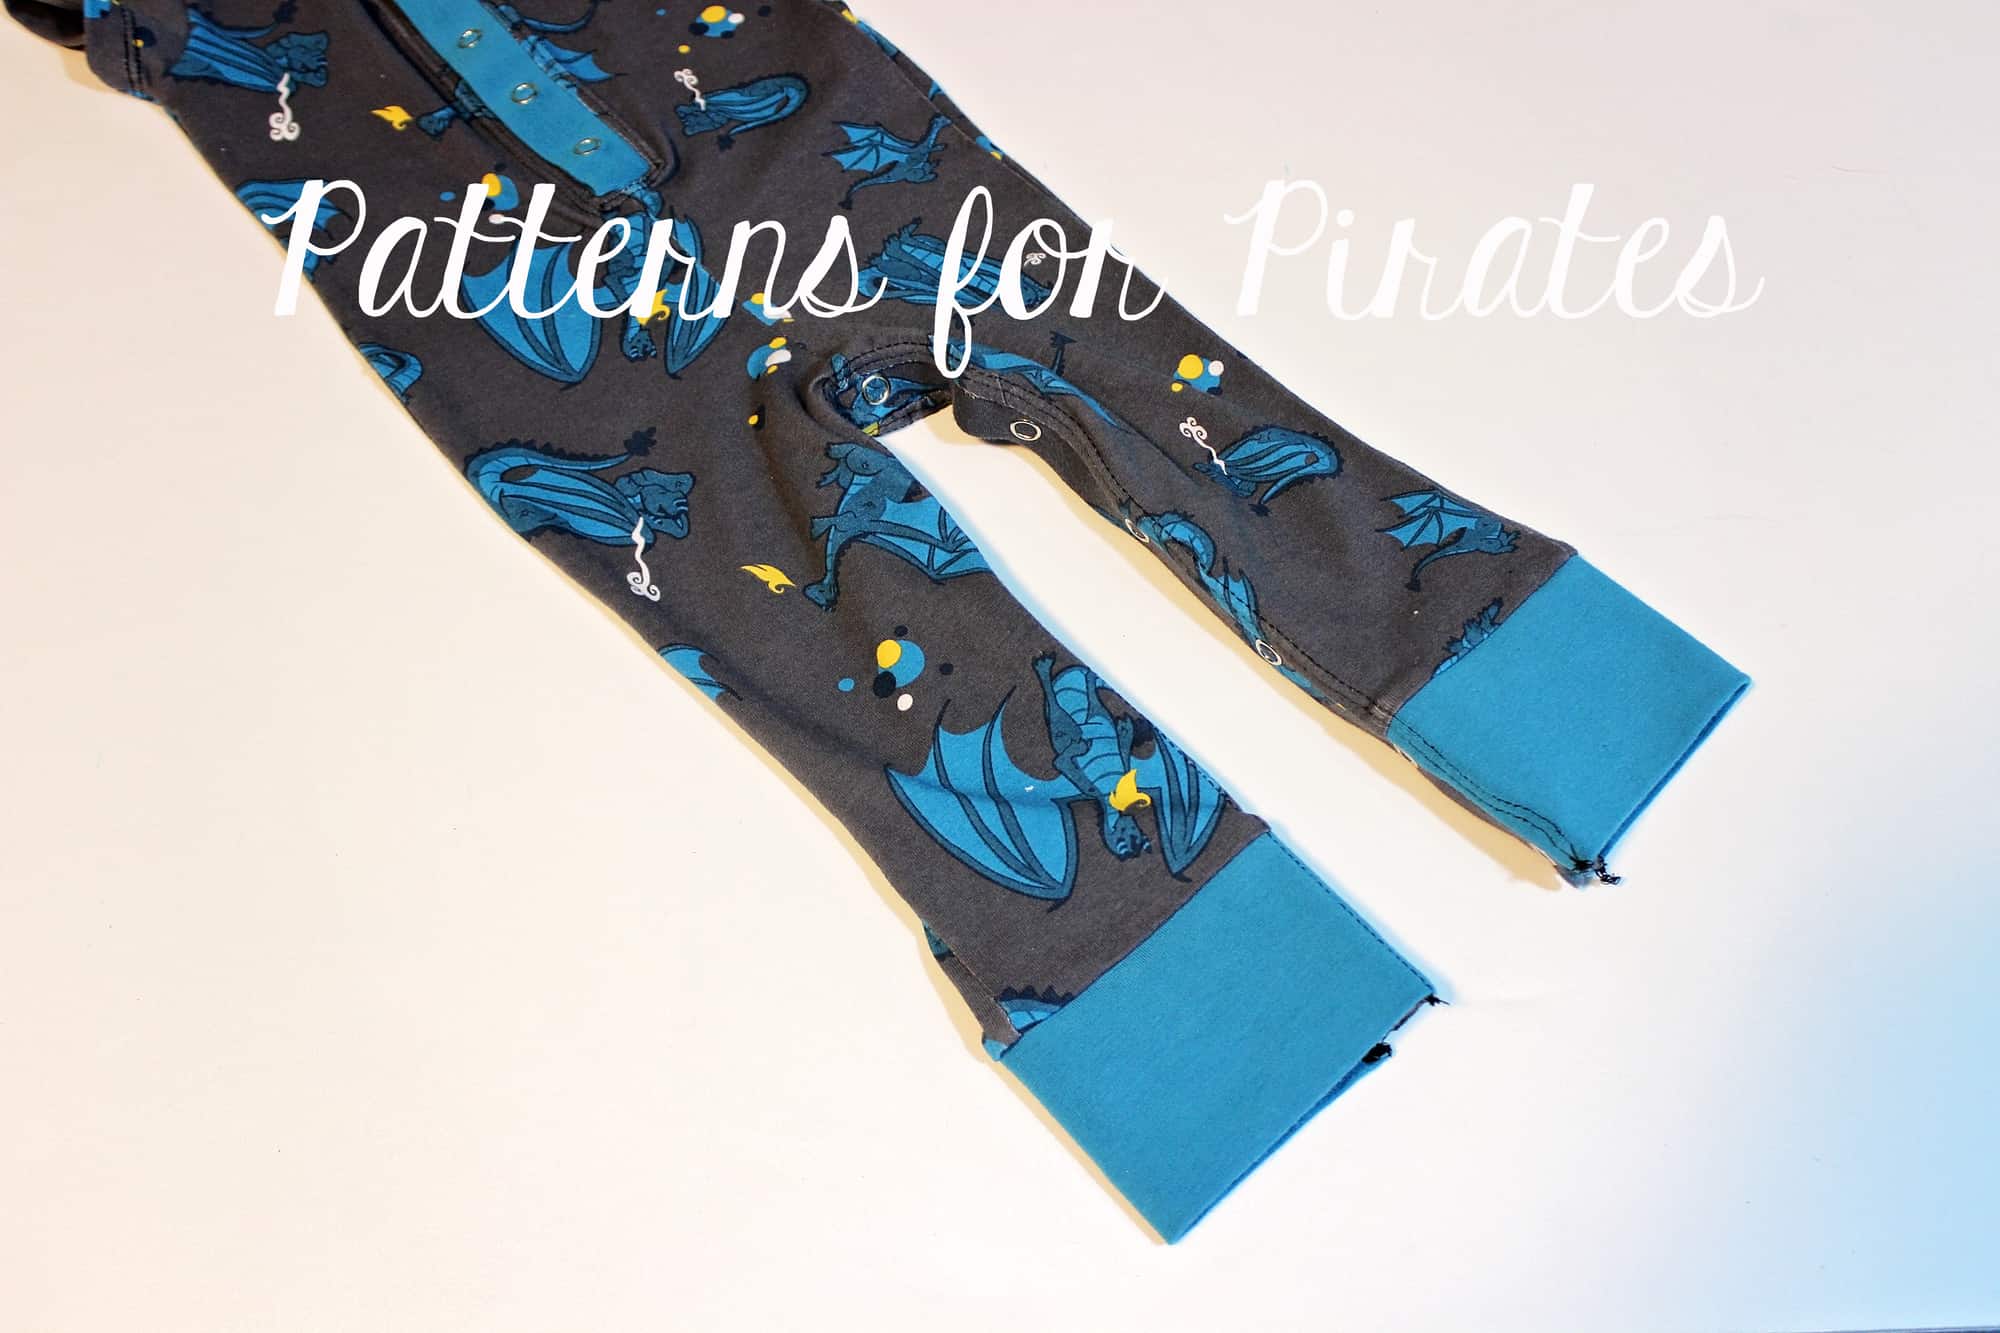
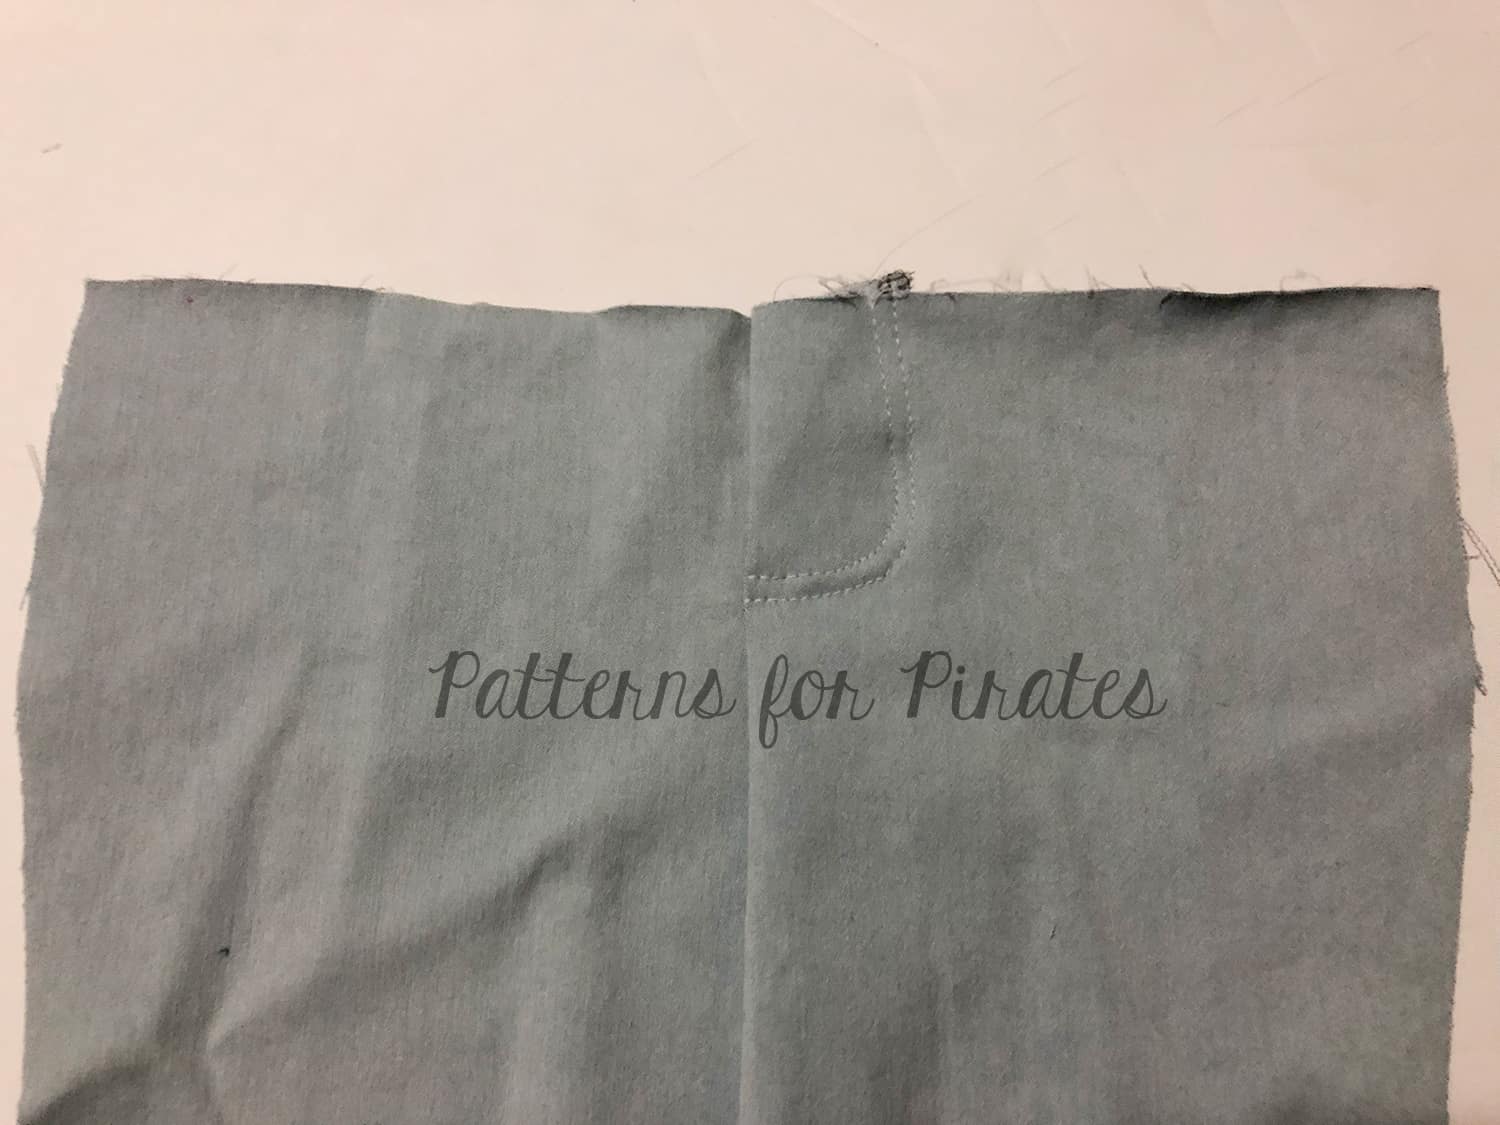
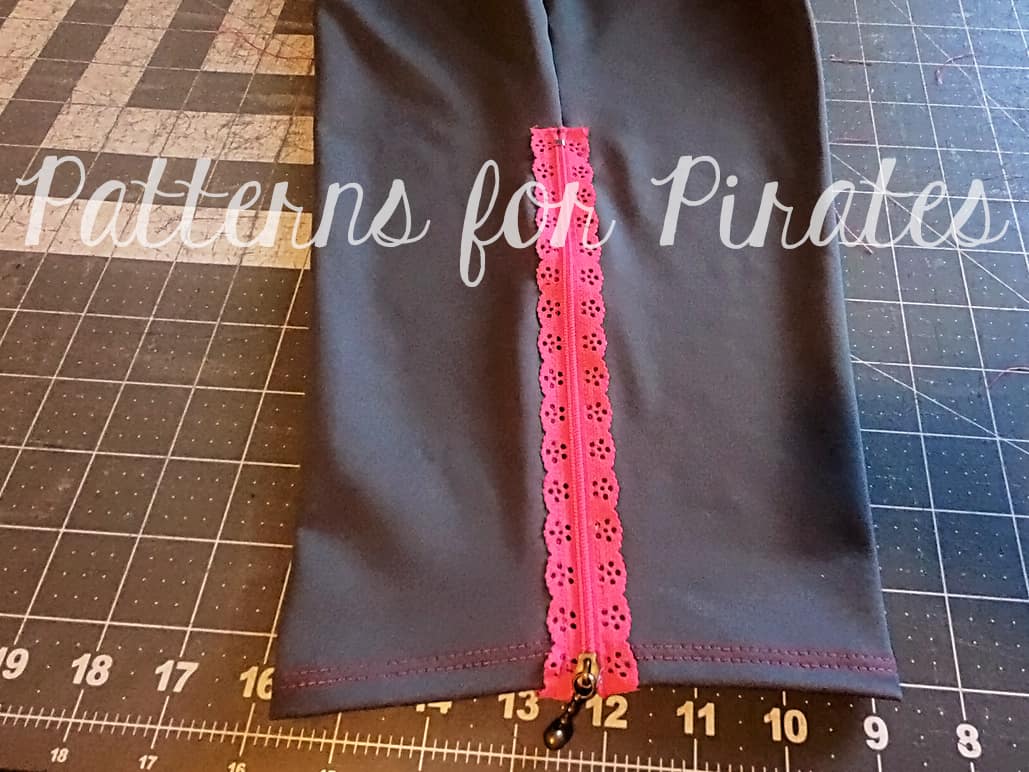
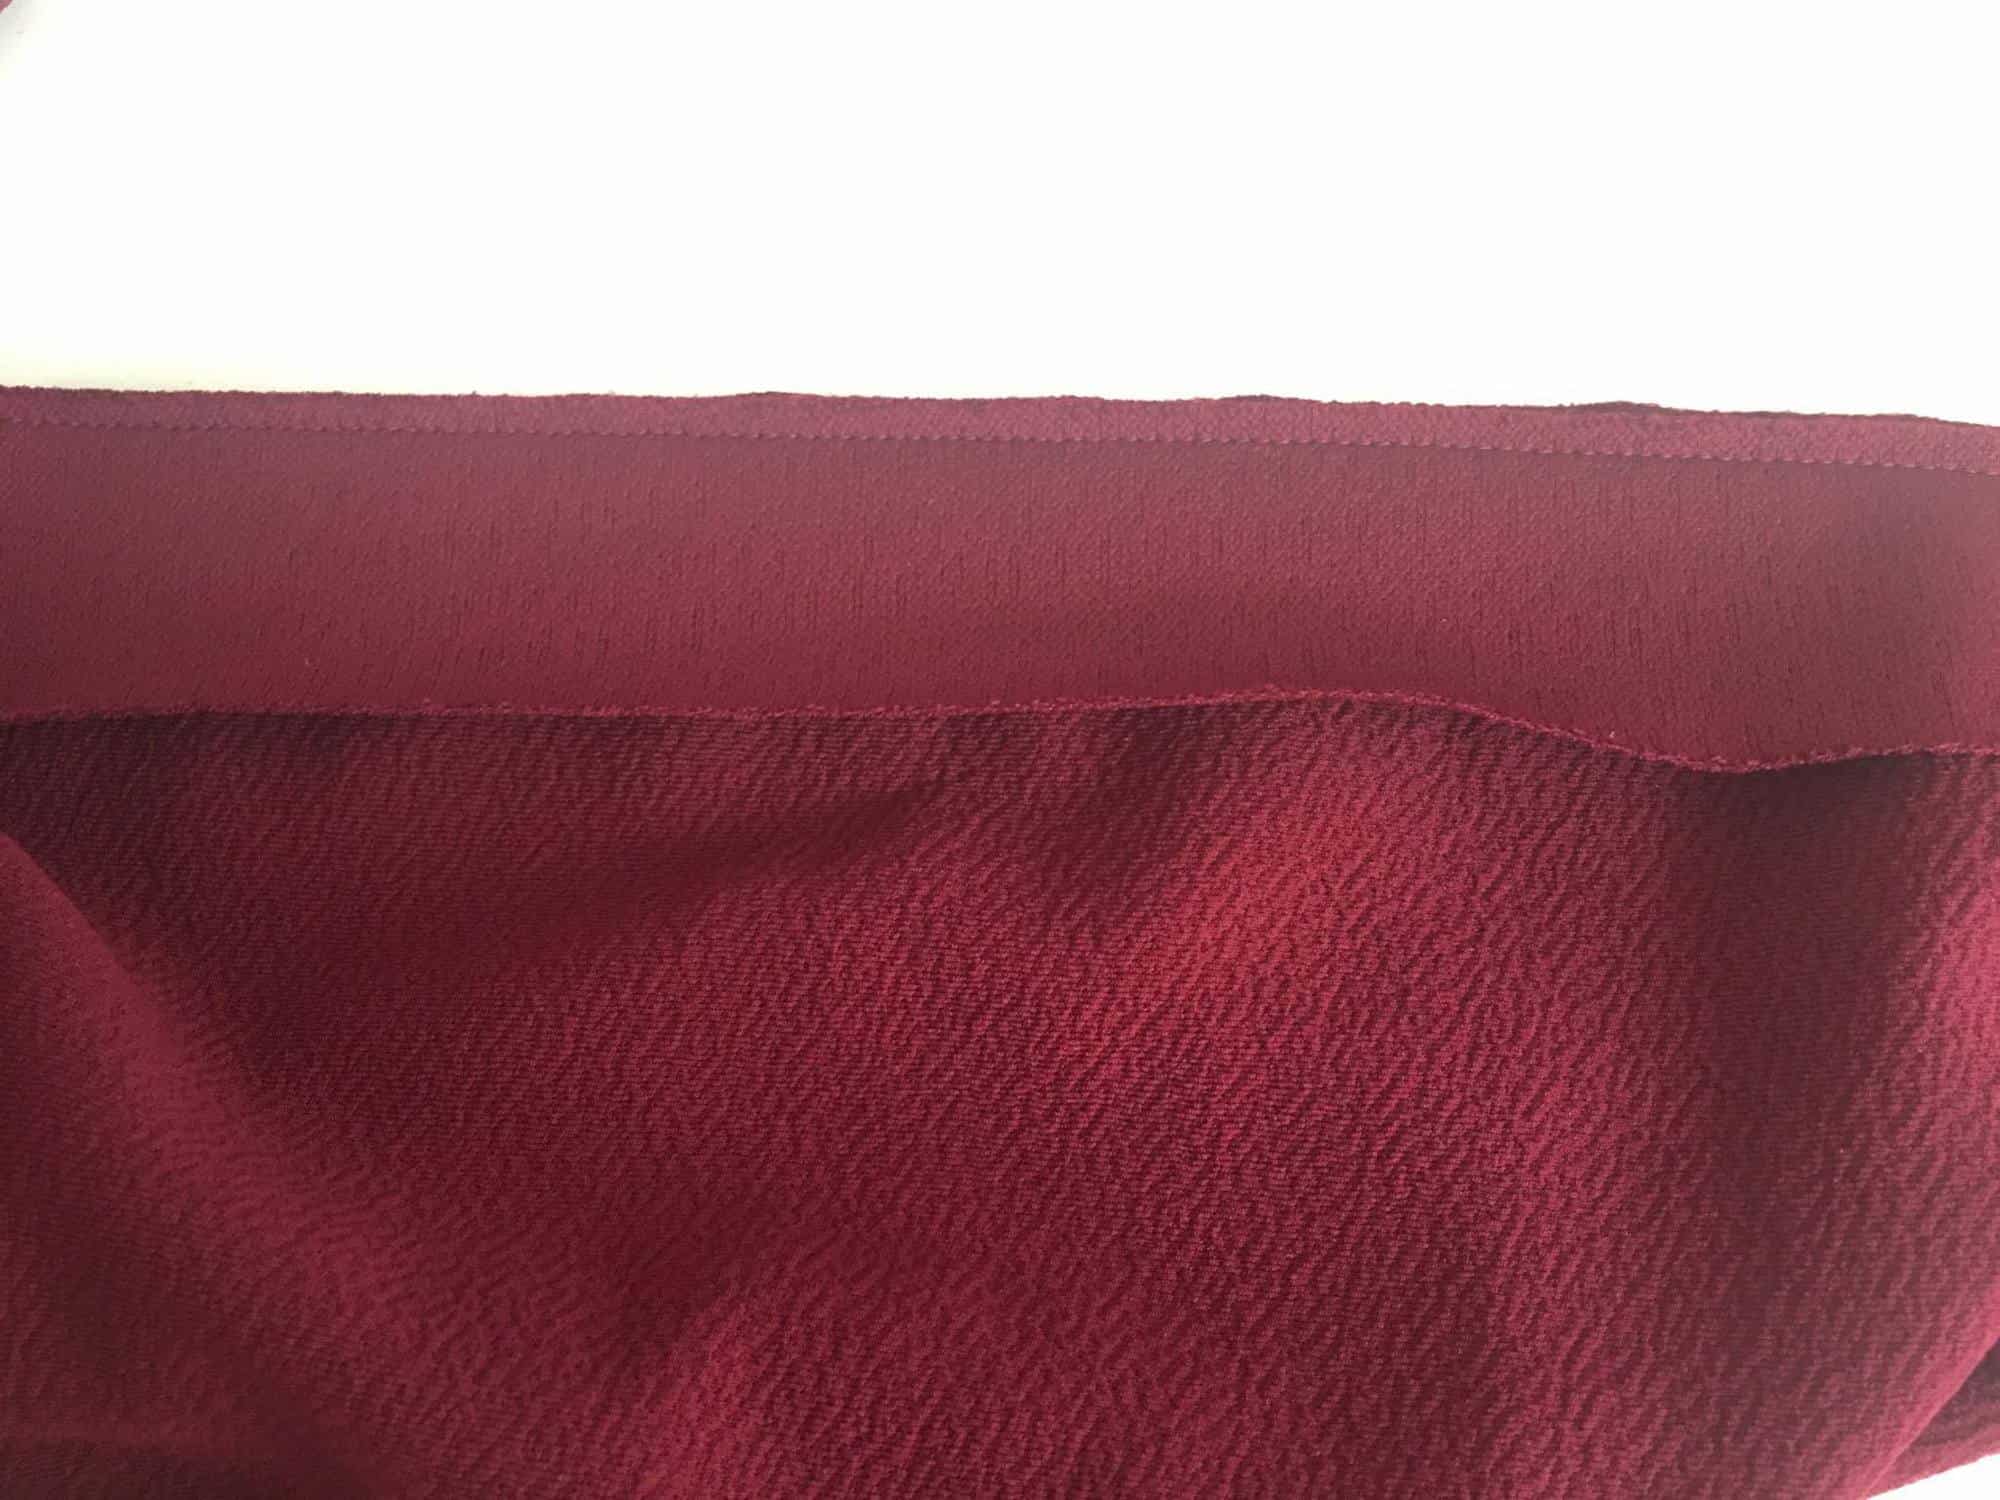
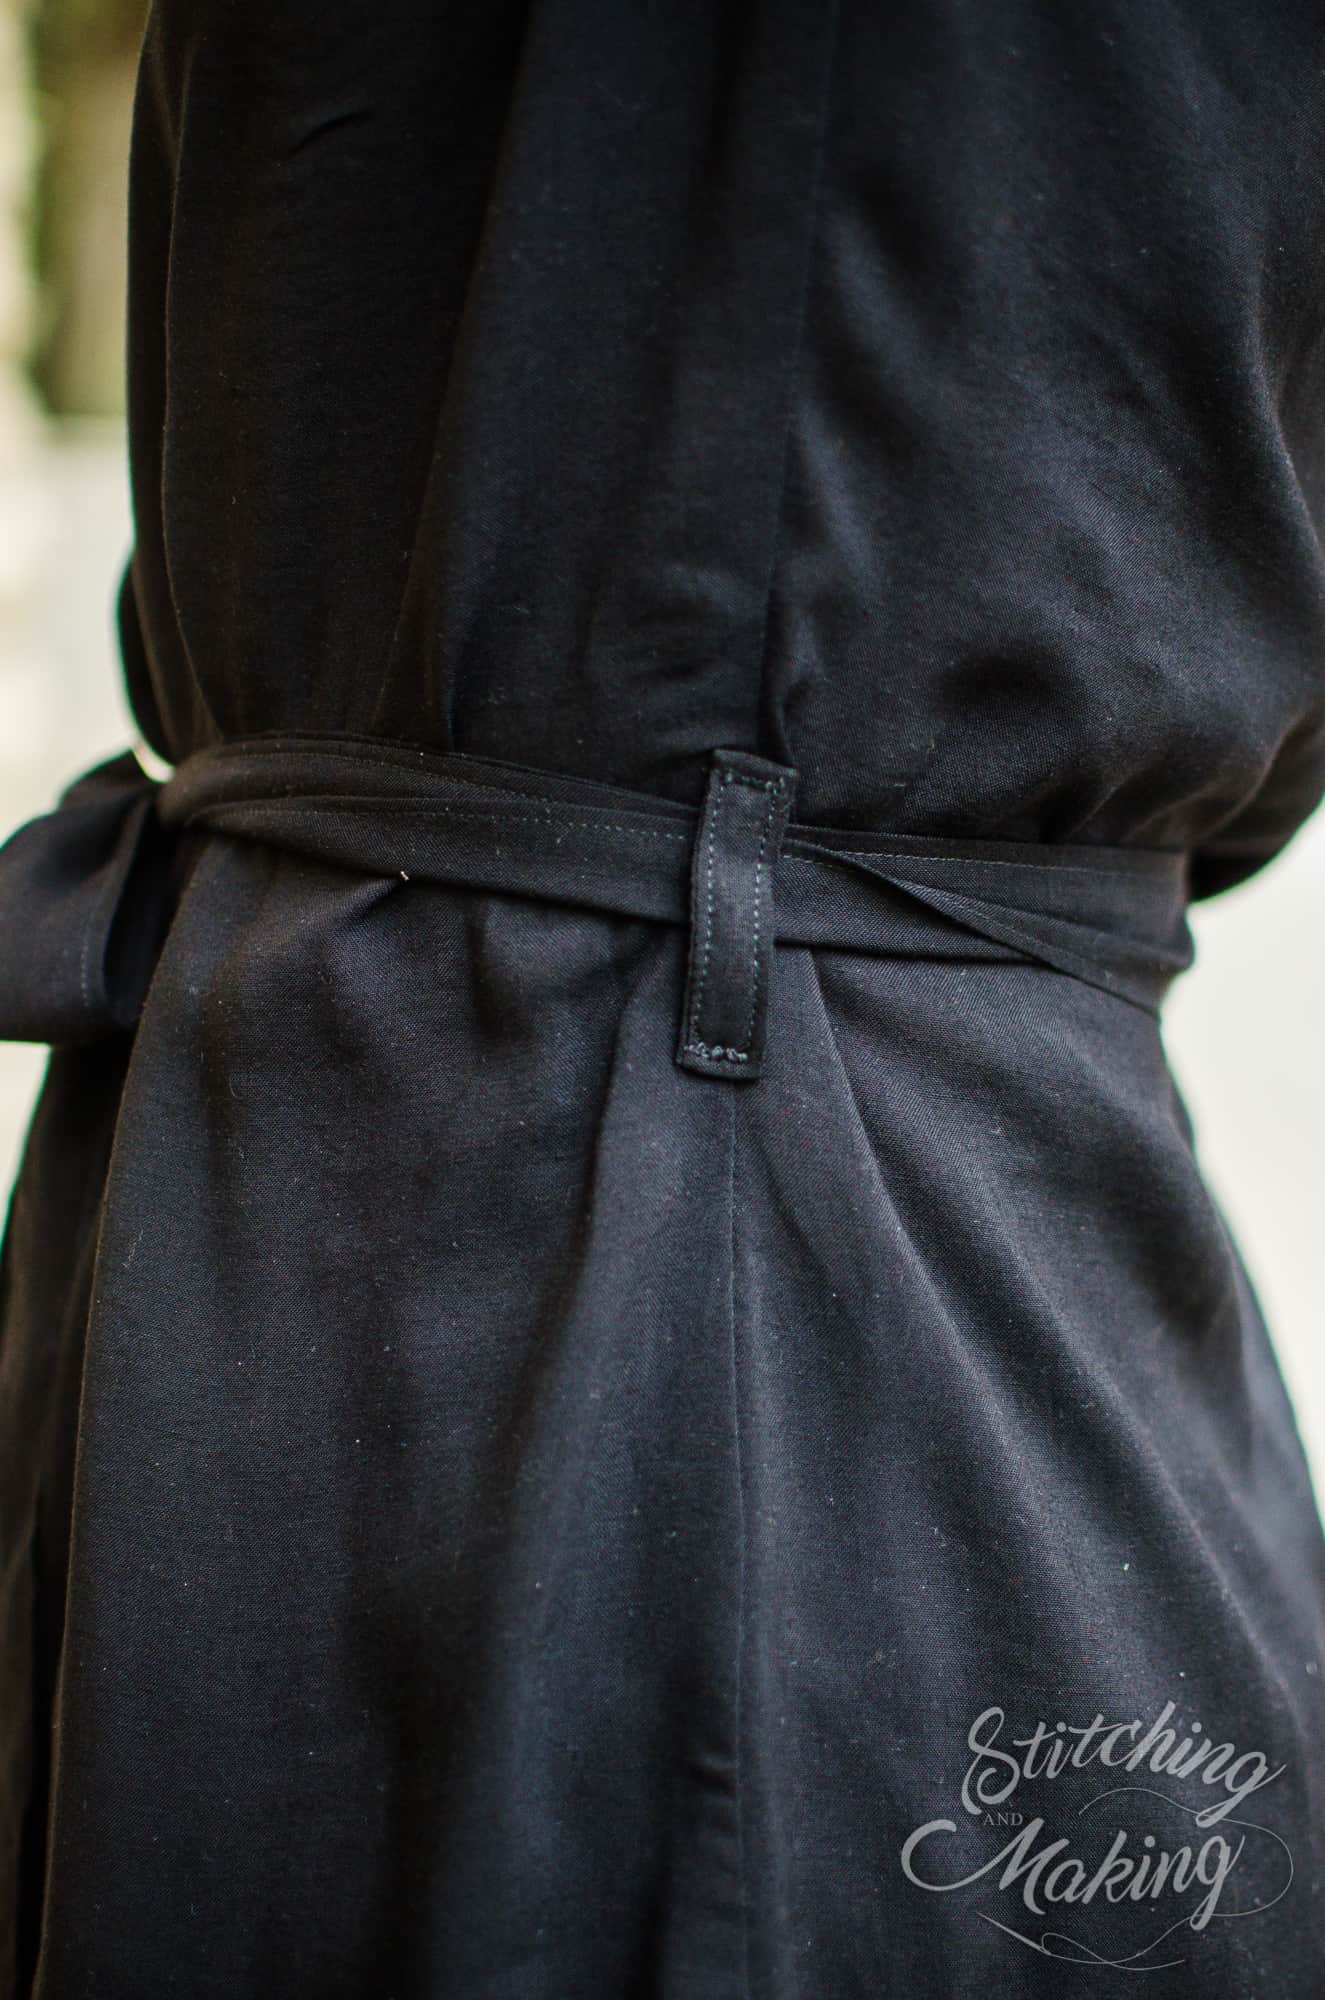
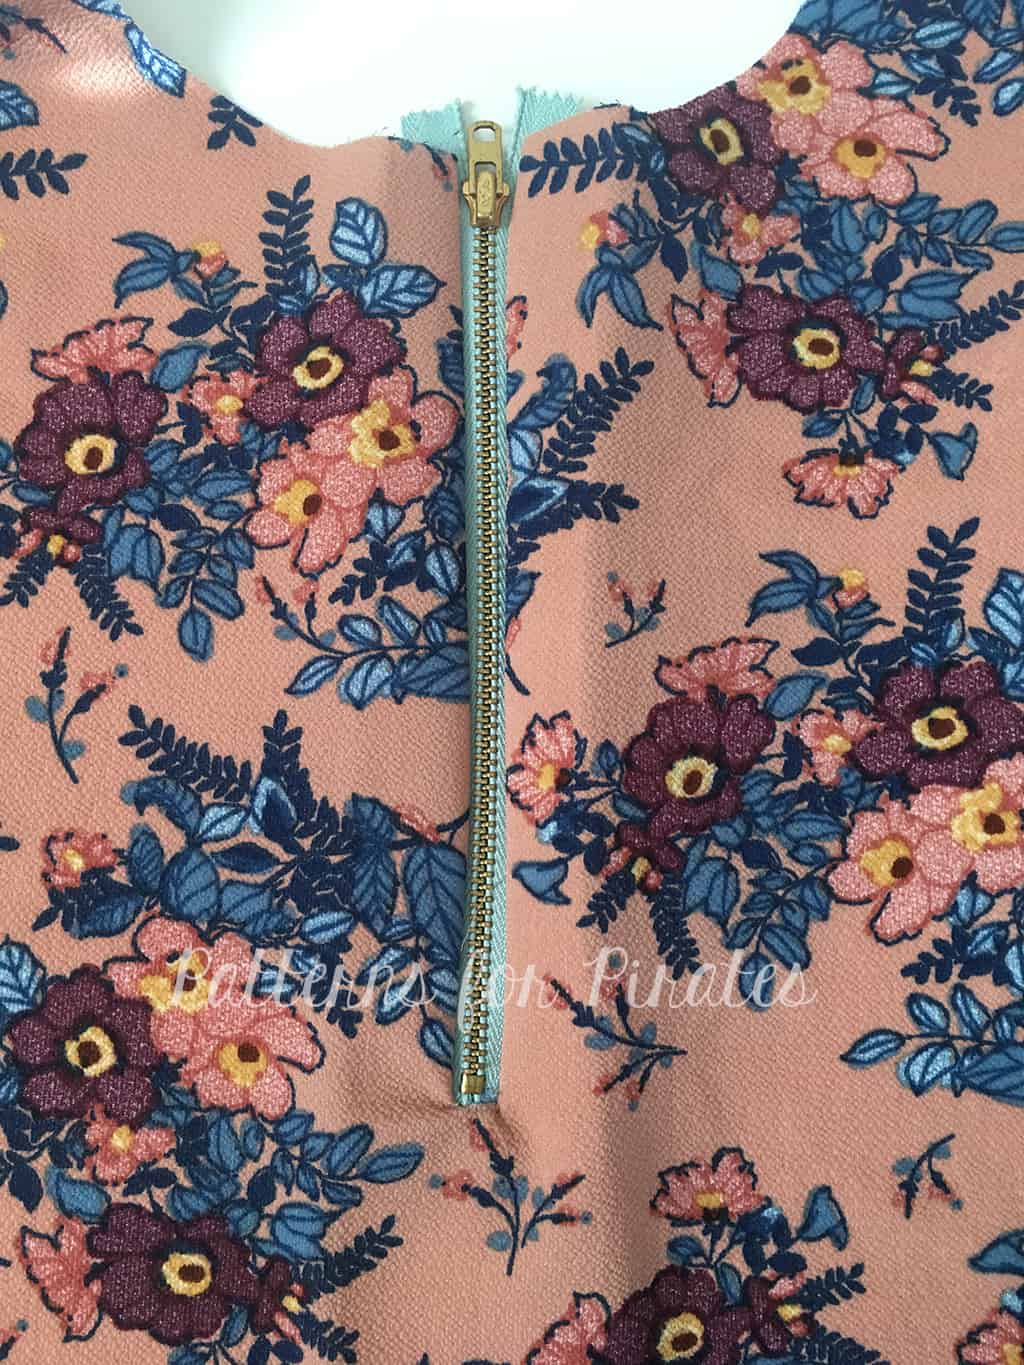
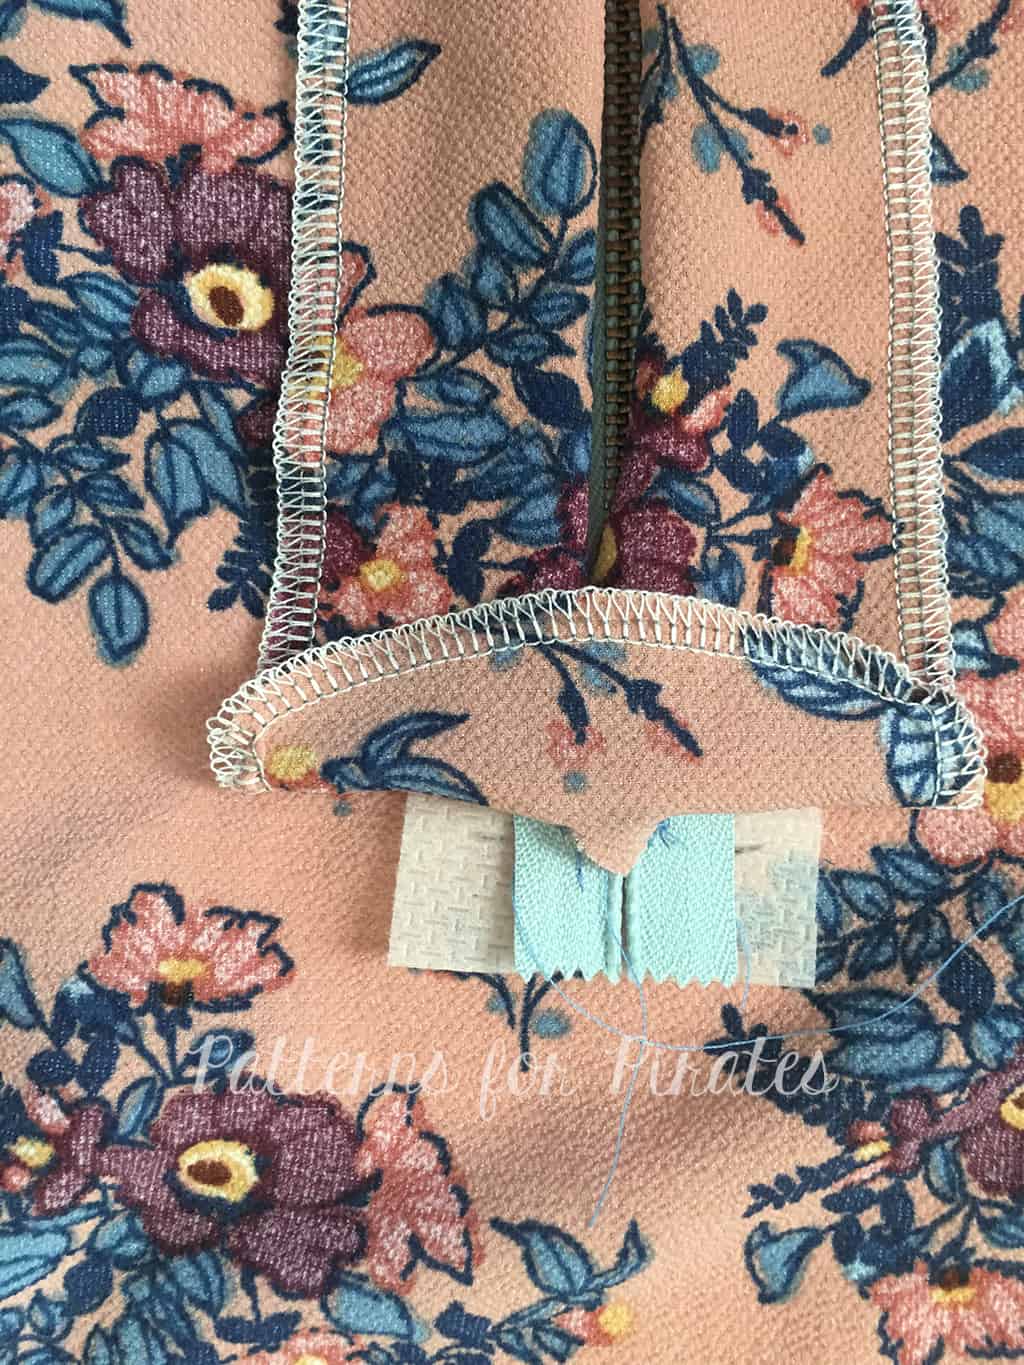
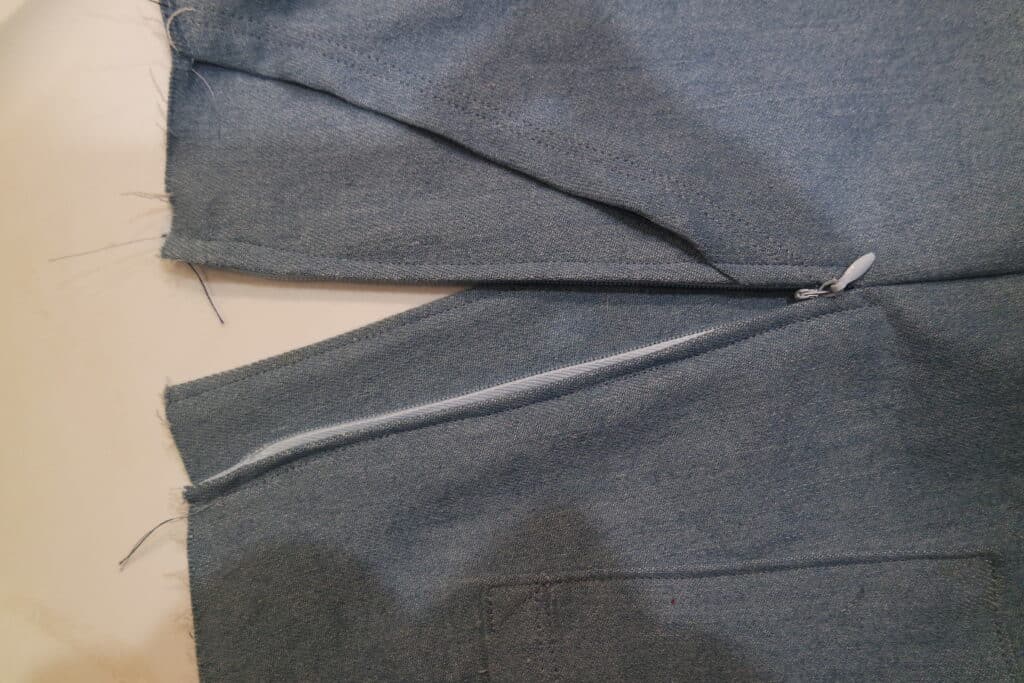
You can also continue to stitch in the ditch across the bottom and up just a little to help keep the guard in place when taking on/off. This is what it will look like after with the zipper guard keeping the zip from touching your skin:
….
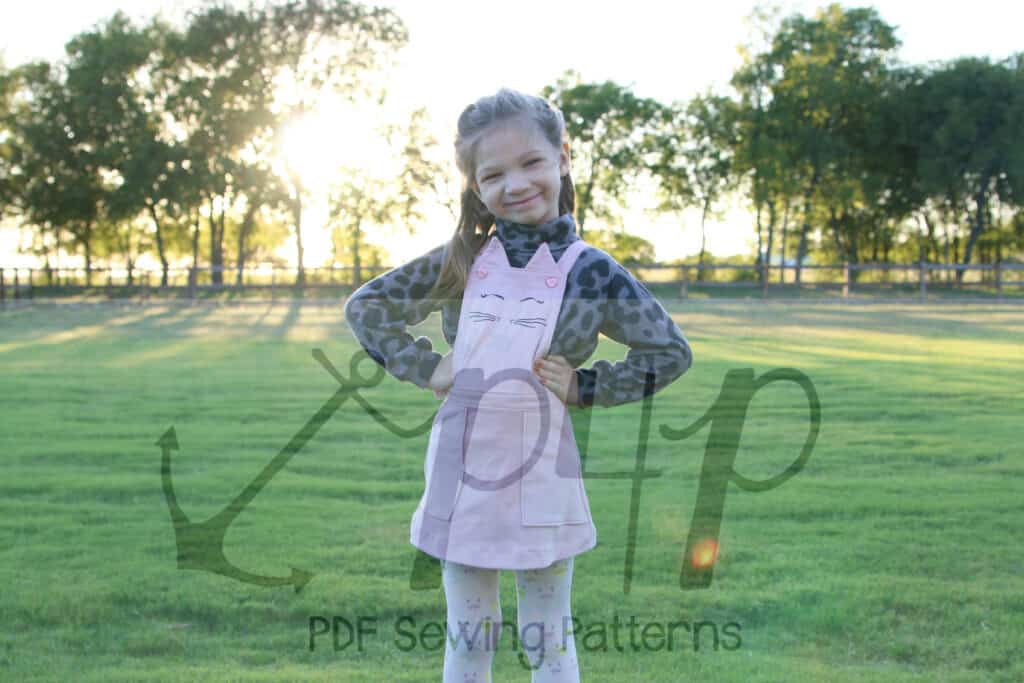
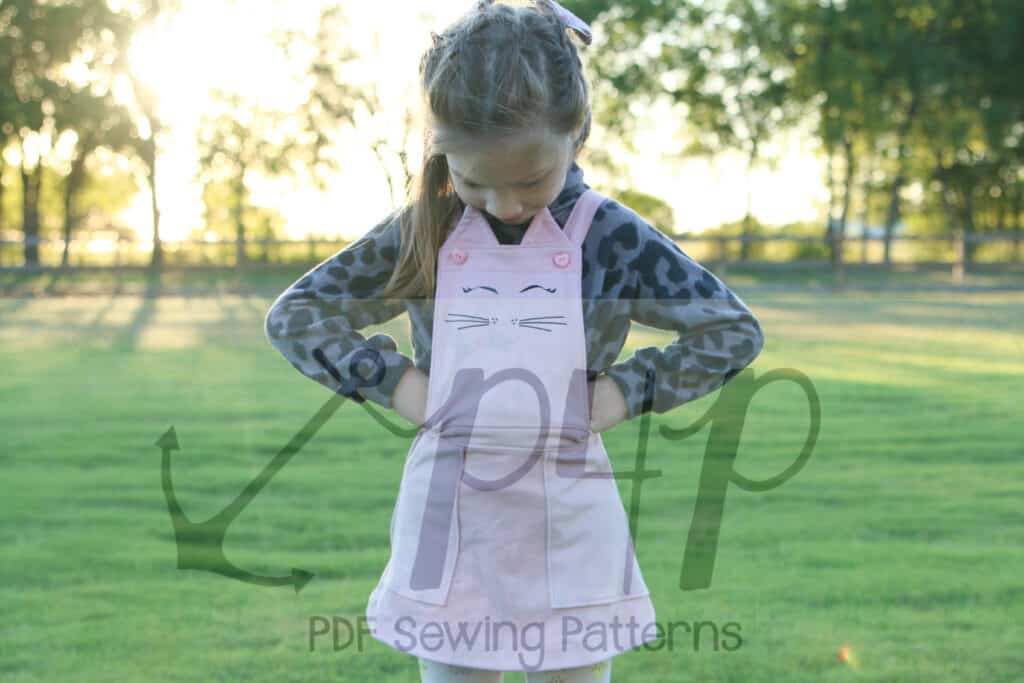
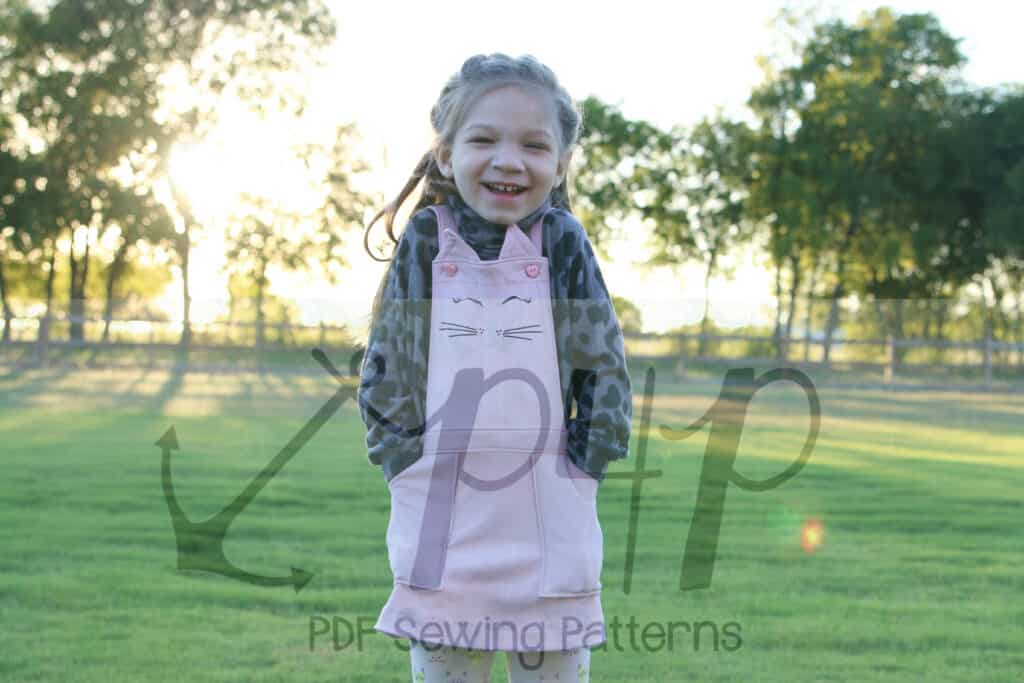
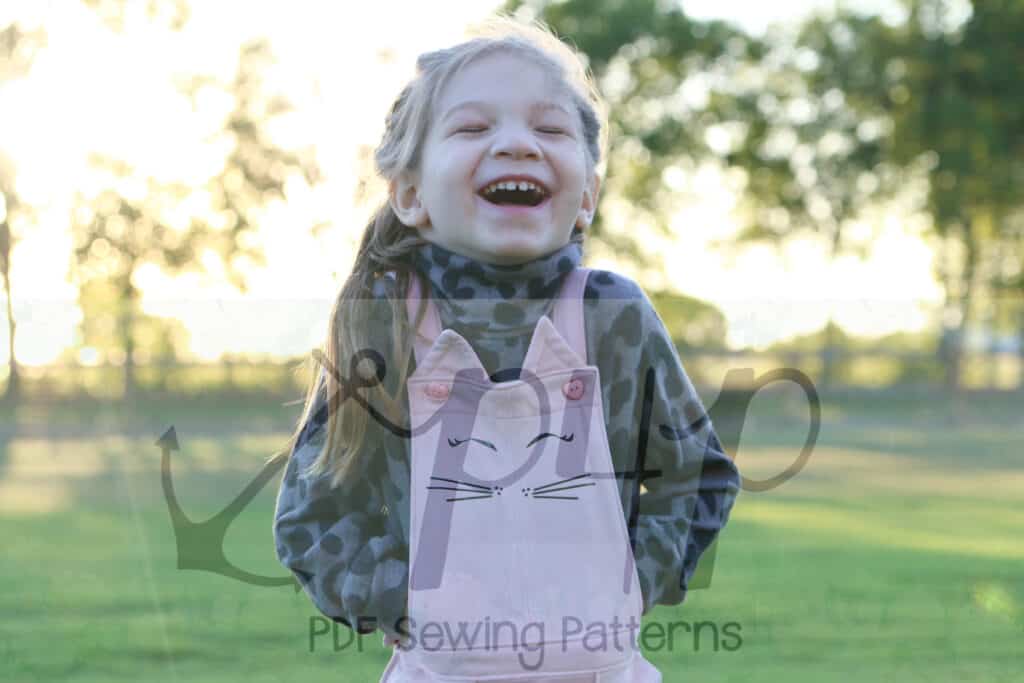
Add some Ears
Adding a little face and ears is always a way to make my daughter super happy with something I sew her. She requested a kitty for this one after seeing one similar at a store. It was such an easy little modification. I simple free-handed the ears… but we do have some ears in the Oversized Sweater-Youth pattern and I used the faces from our free Animal Faces for our Jolly Roger Raglan. I only freehanded the ears to make sure they fit perfectly and…. well… I didn’t want to print anything 😉
Stitch the ears up and sandwich them between the main and lining bib. Ta-da… that’s it! So cute and simple!
What an amazing line up! We look forward to seeing your own “”hacked” Vintage Jumper creations on Facebook and Insta.