Patterns for Pirates

P4P stylish, modern, wearable patterns

  • Home
  • Blog
    • Frequently Asked Questions
    • Pattern Releases
      • Free Patterns
    • P4P University
      • Fitting
      • Sewing with Stretch, Knit Fabrics
      • Sewing with Woven Fabrics
      • Sewing Machines
    • Sew-A-Longs
    • Fabric for Pirates
    • Pattern Hacks
    • Announcement
      • Blog Tours
      • Contest/Giveaway
  • Shop
  • Bundle Discounts
  • Flash Friday
  • Gift Cards
  • My Account
  • Cart

Oversized Sweater :: Easy Hacks

January 23, 2020

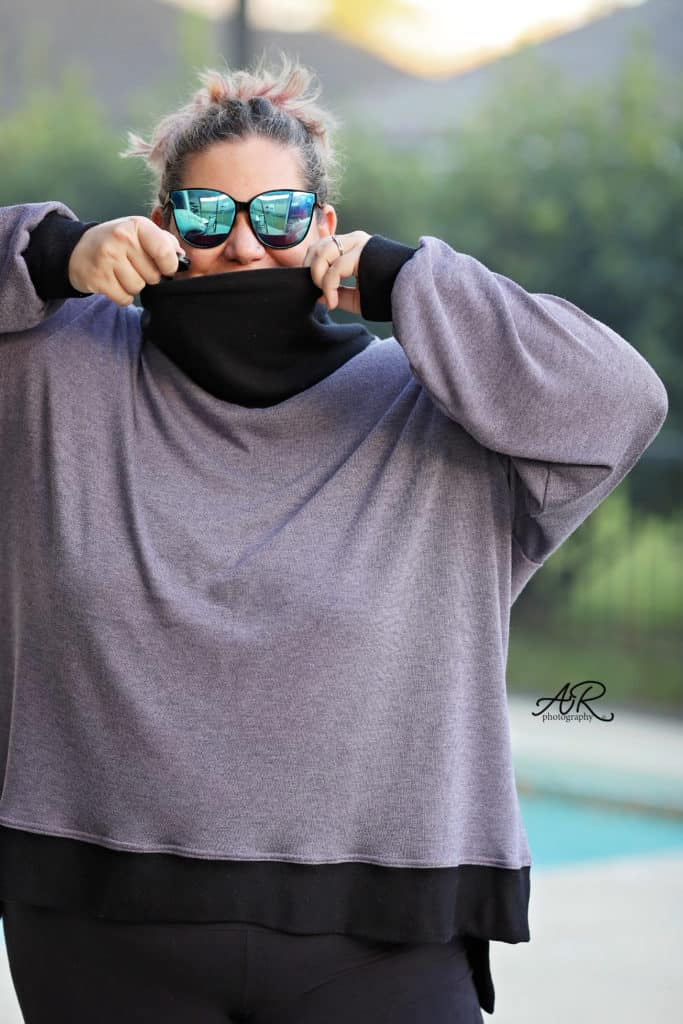
It’s here! It’s here! The comfiest, snuggliest, coziest sweater you will ever have. The Oversized Sweater includes so many options for both youth and adult but we couldn’t help ourselves…we wanted more! The P4P blog team is showing you how to make an Off the shoulder sweater, a mini dress, a color blocked one, the cutest pom poms hack ever and a higher side slit one. Enjoy!


…..

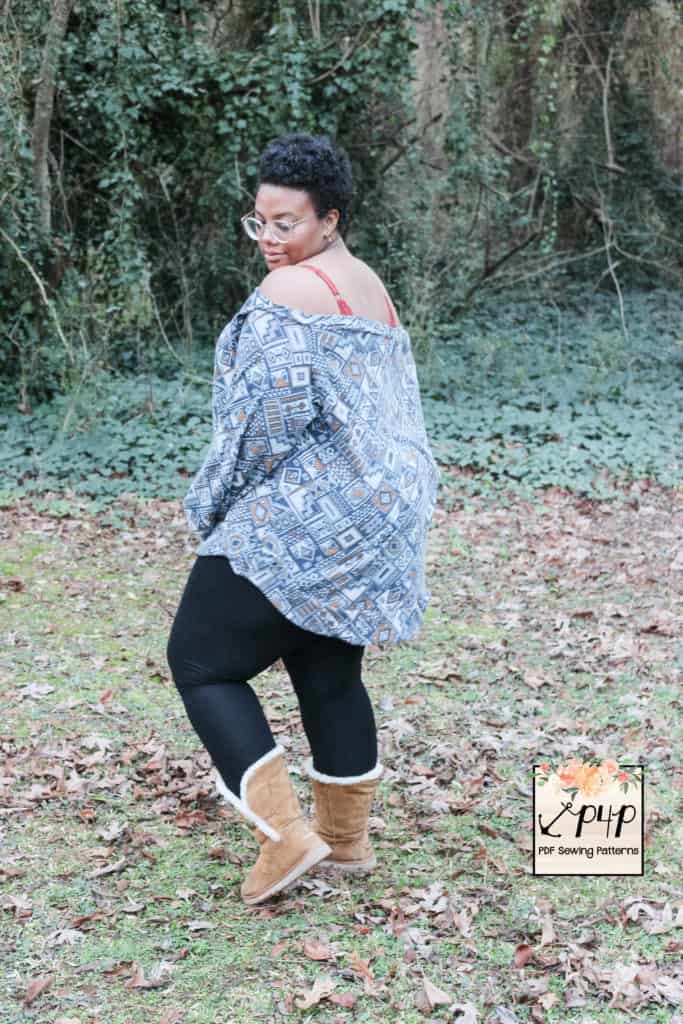
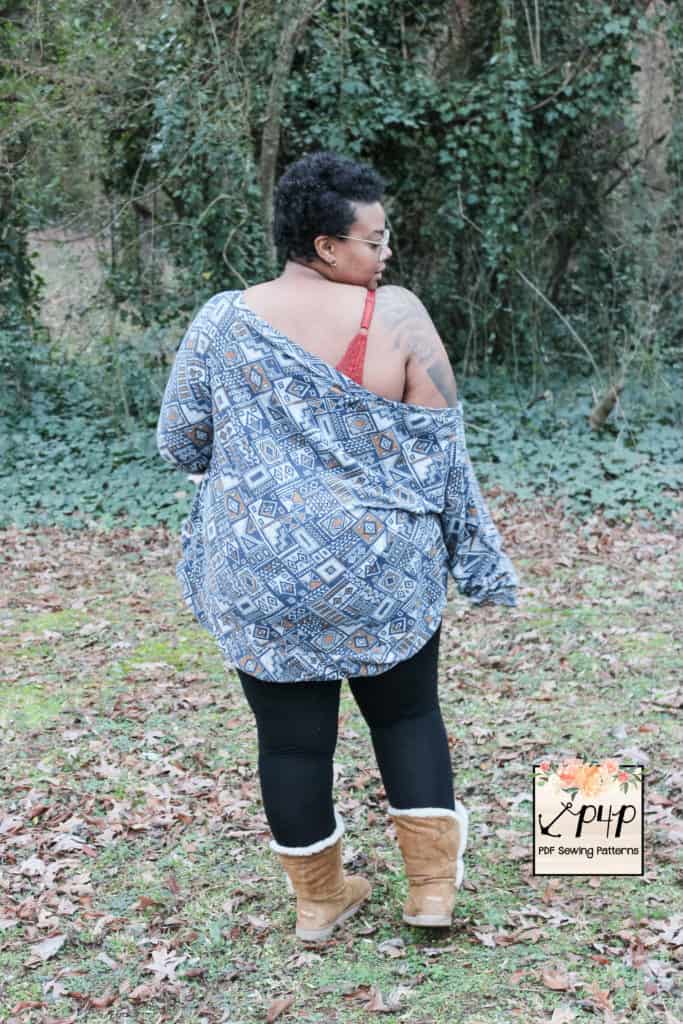
Off the shoulder

Off-the-shoulder shirts are my jam. I still remember falling all the way in love with the first one I saw Alex do for the Relaxed Raglan. This Oversized Sweater is the PERFECT top to hack into your favorite Pinteresty slouchy off-the-shoulder sweater. And it’s pretty easy! Grab your fabric and pattern pieces–let’s get started!

Layer your front, back and sleeve pieces on top of each other.
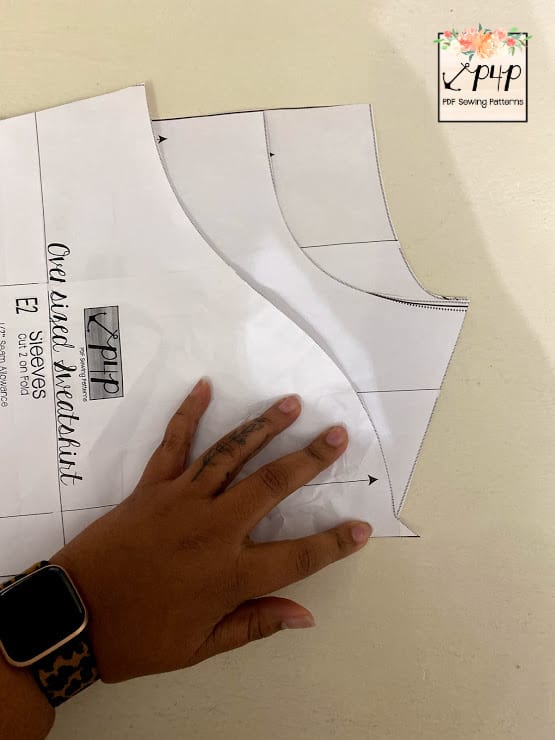
Measure down 1/2 inch.
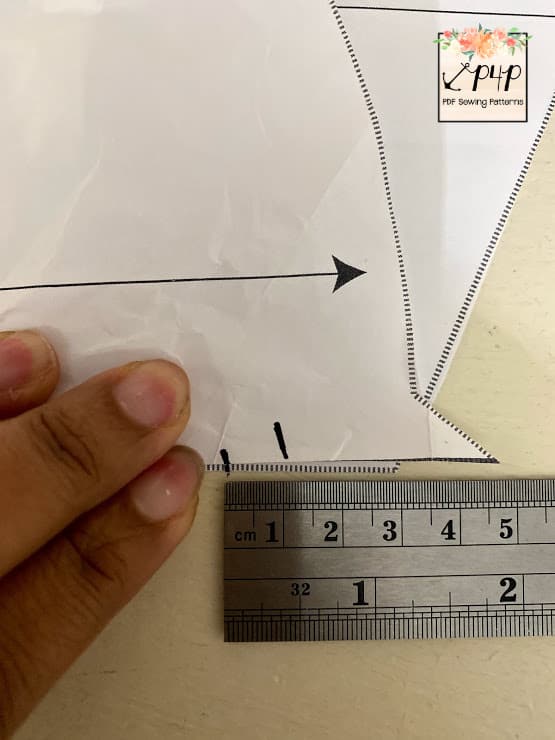
Draw a line. This is going to be your new cut line.
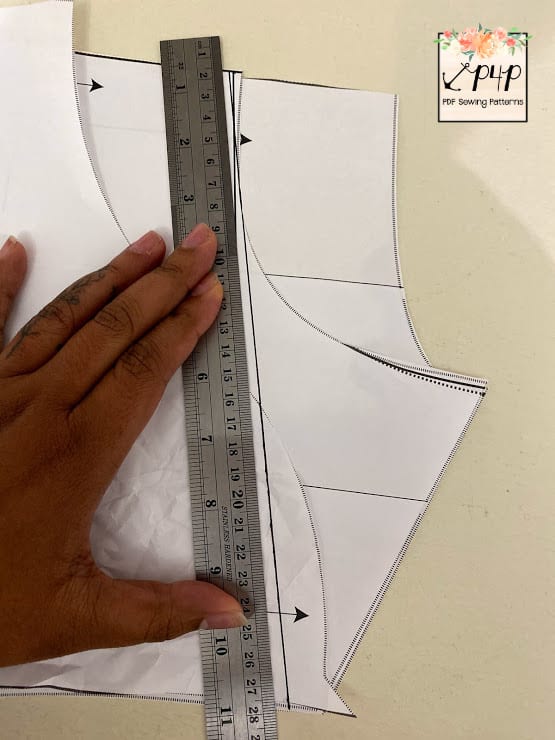
Cut out your pieces.

**Tip: Place a clip on the front of the sweater to differentiate your pieces.

Sew your sleeves on first. They aren’t going to be sewn all the way up so remember that. You’re going to sew them on similarly to how raglan sleeves are done. They’ll look like this:
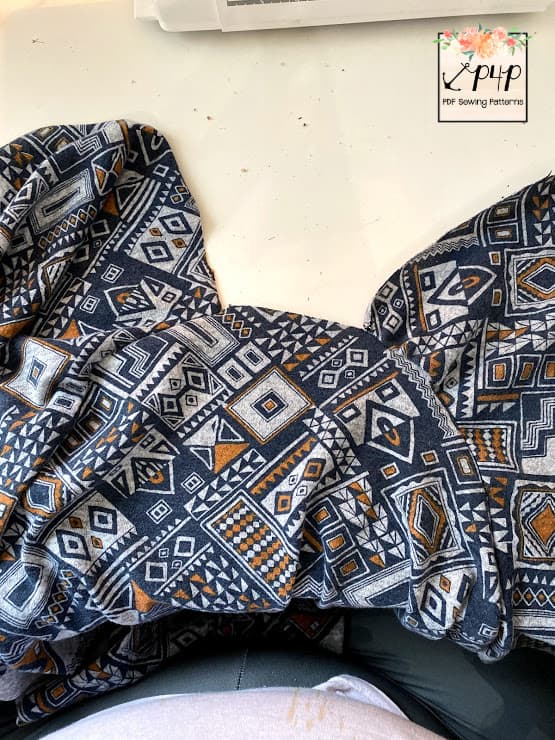
Once the sleeves have been attached to both the front and back pieces, it’ll look like this.
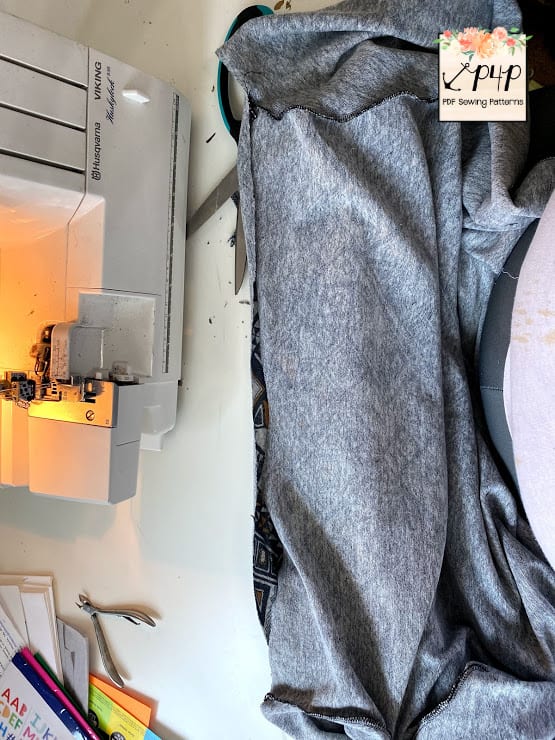
Cut a neckband 3 inches in width by 85% of your measurement of your shoulders (with shoulders down, measure around your body). Add the neckband.

Finish assembly as instructed in the tutorial and then rock the hell out of it!

I’m wearing a hachi sweater knit in a straight P1 with a curved hem.


…..

Mini dress
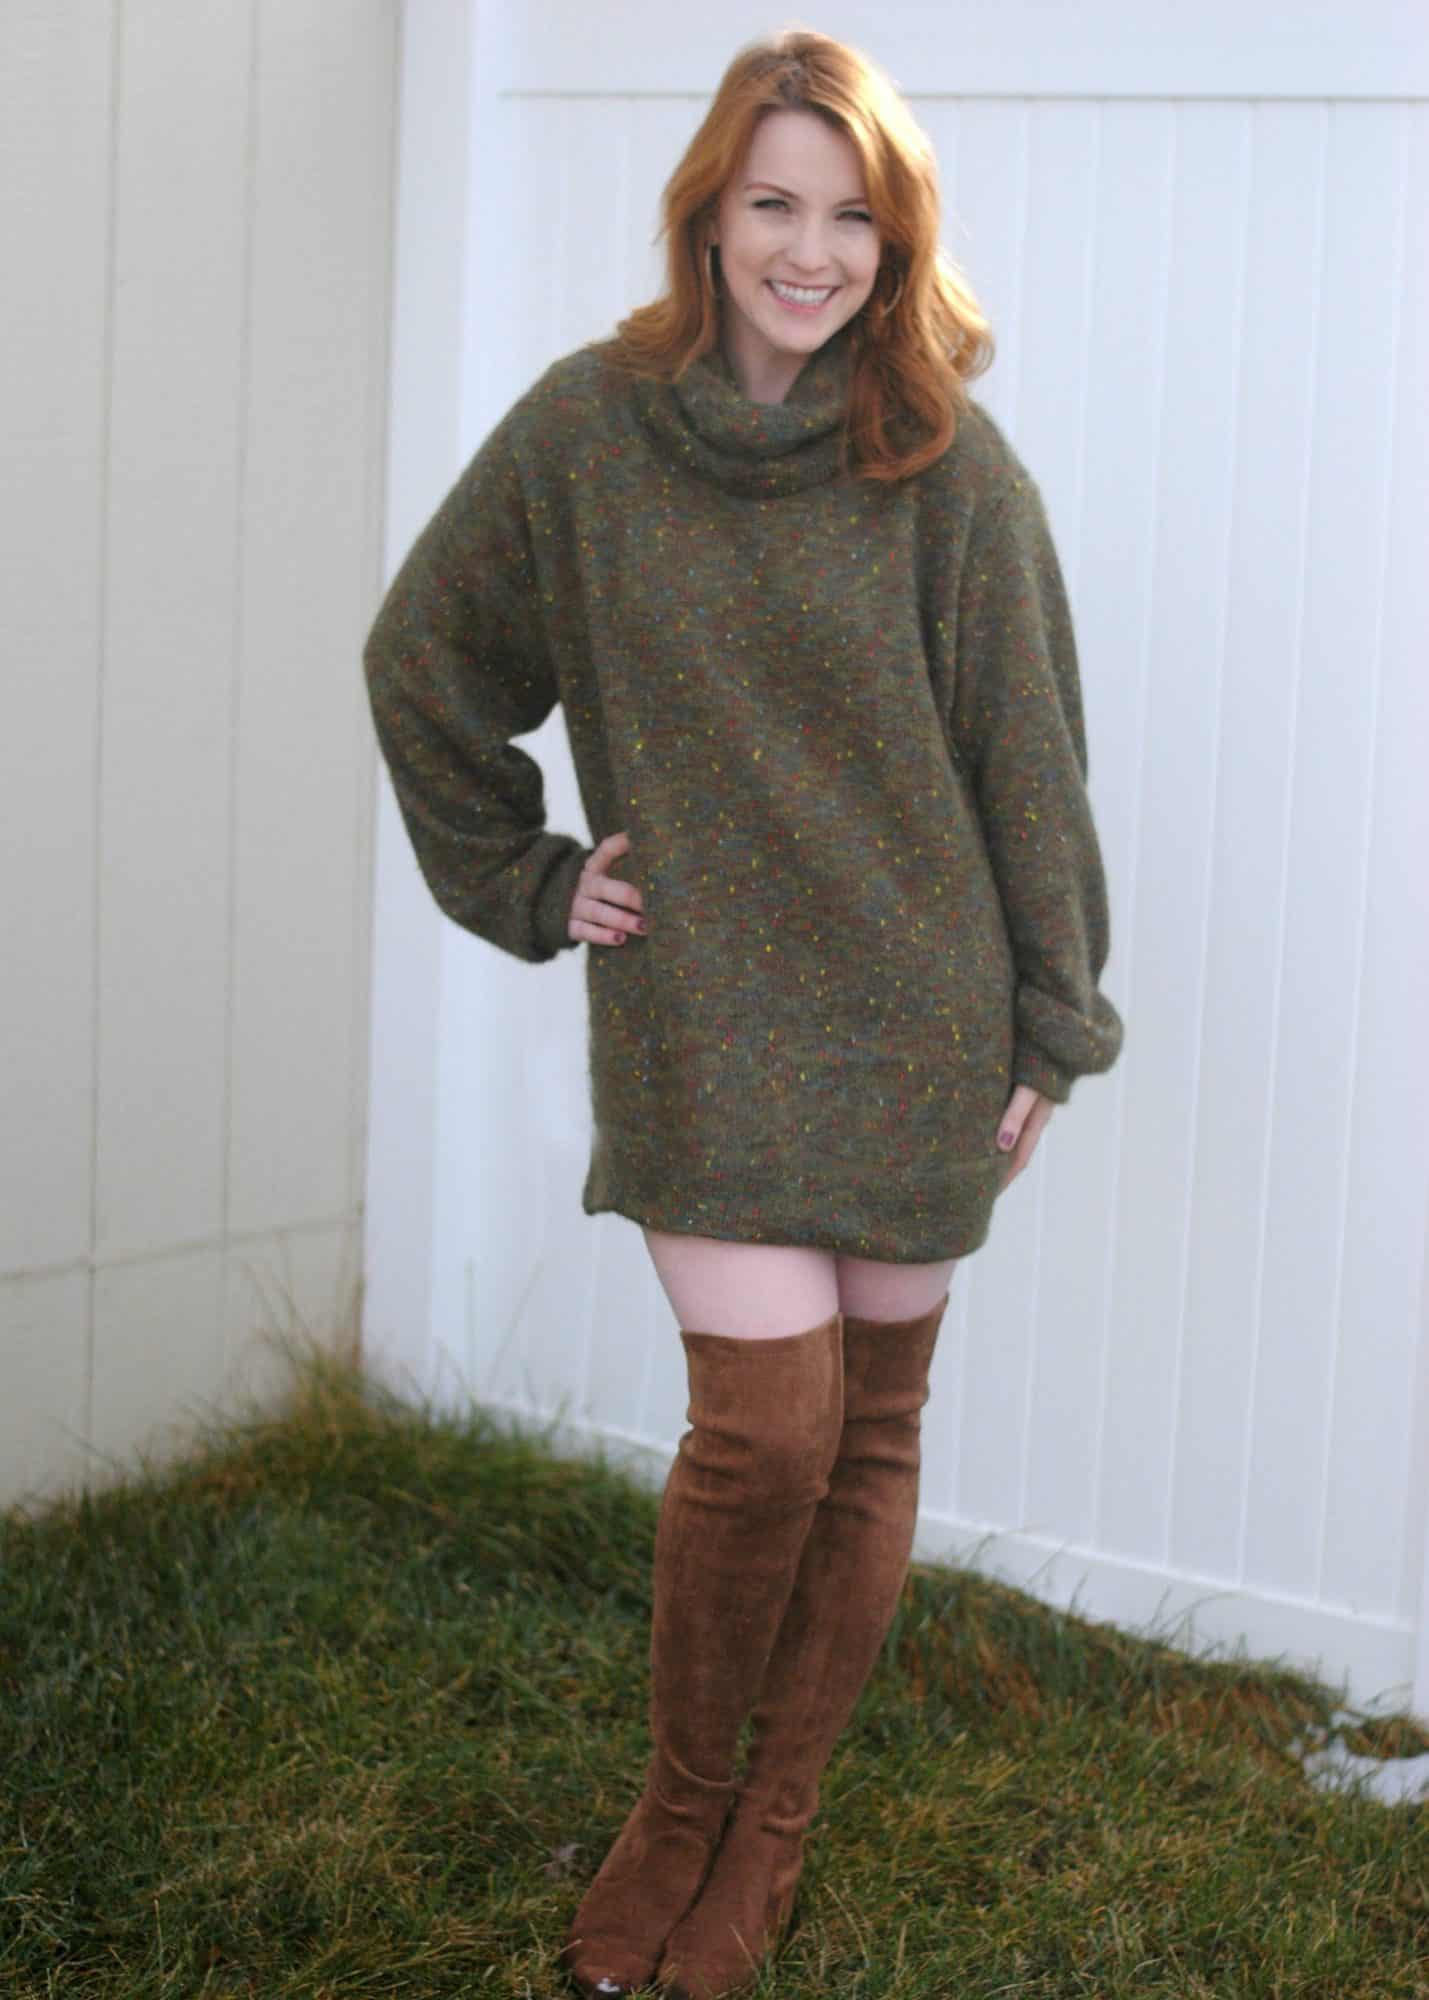
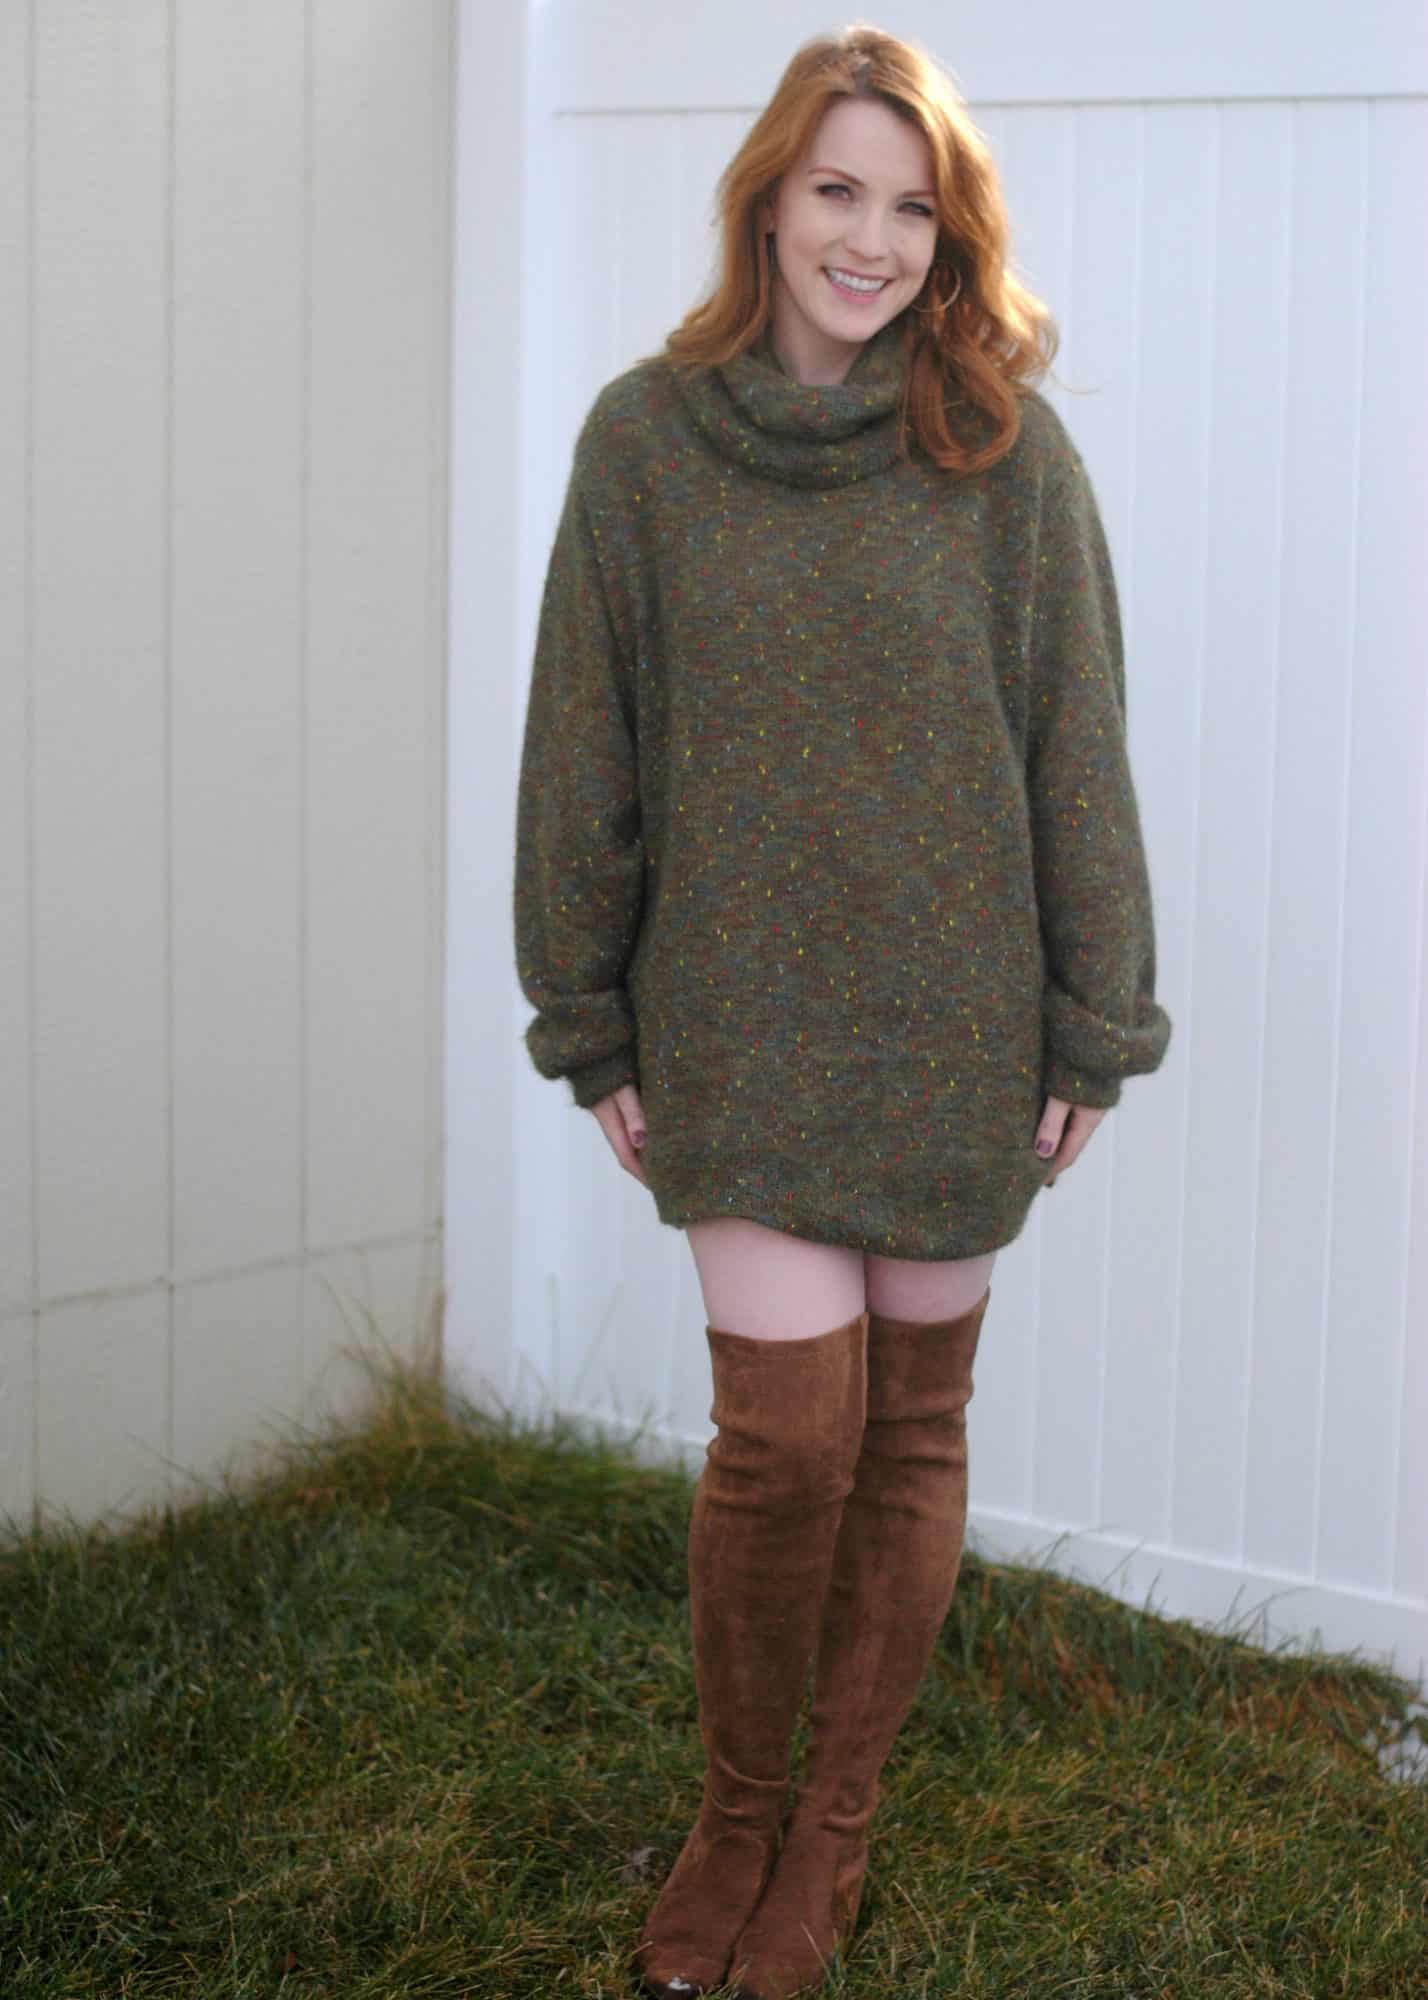
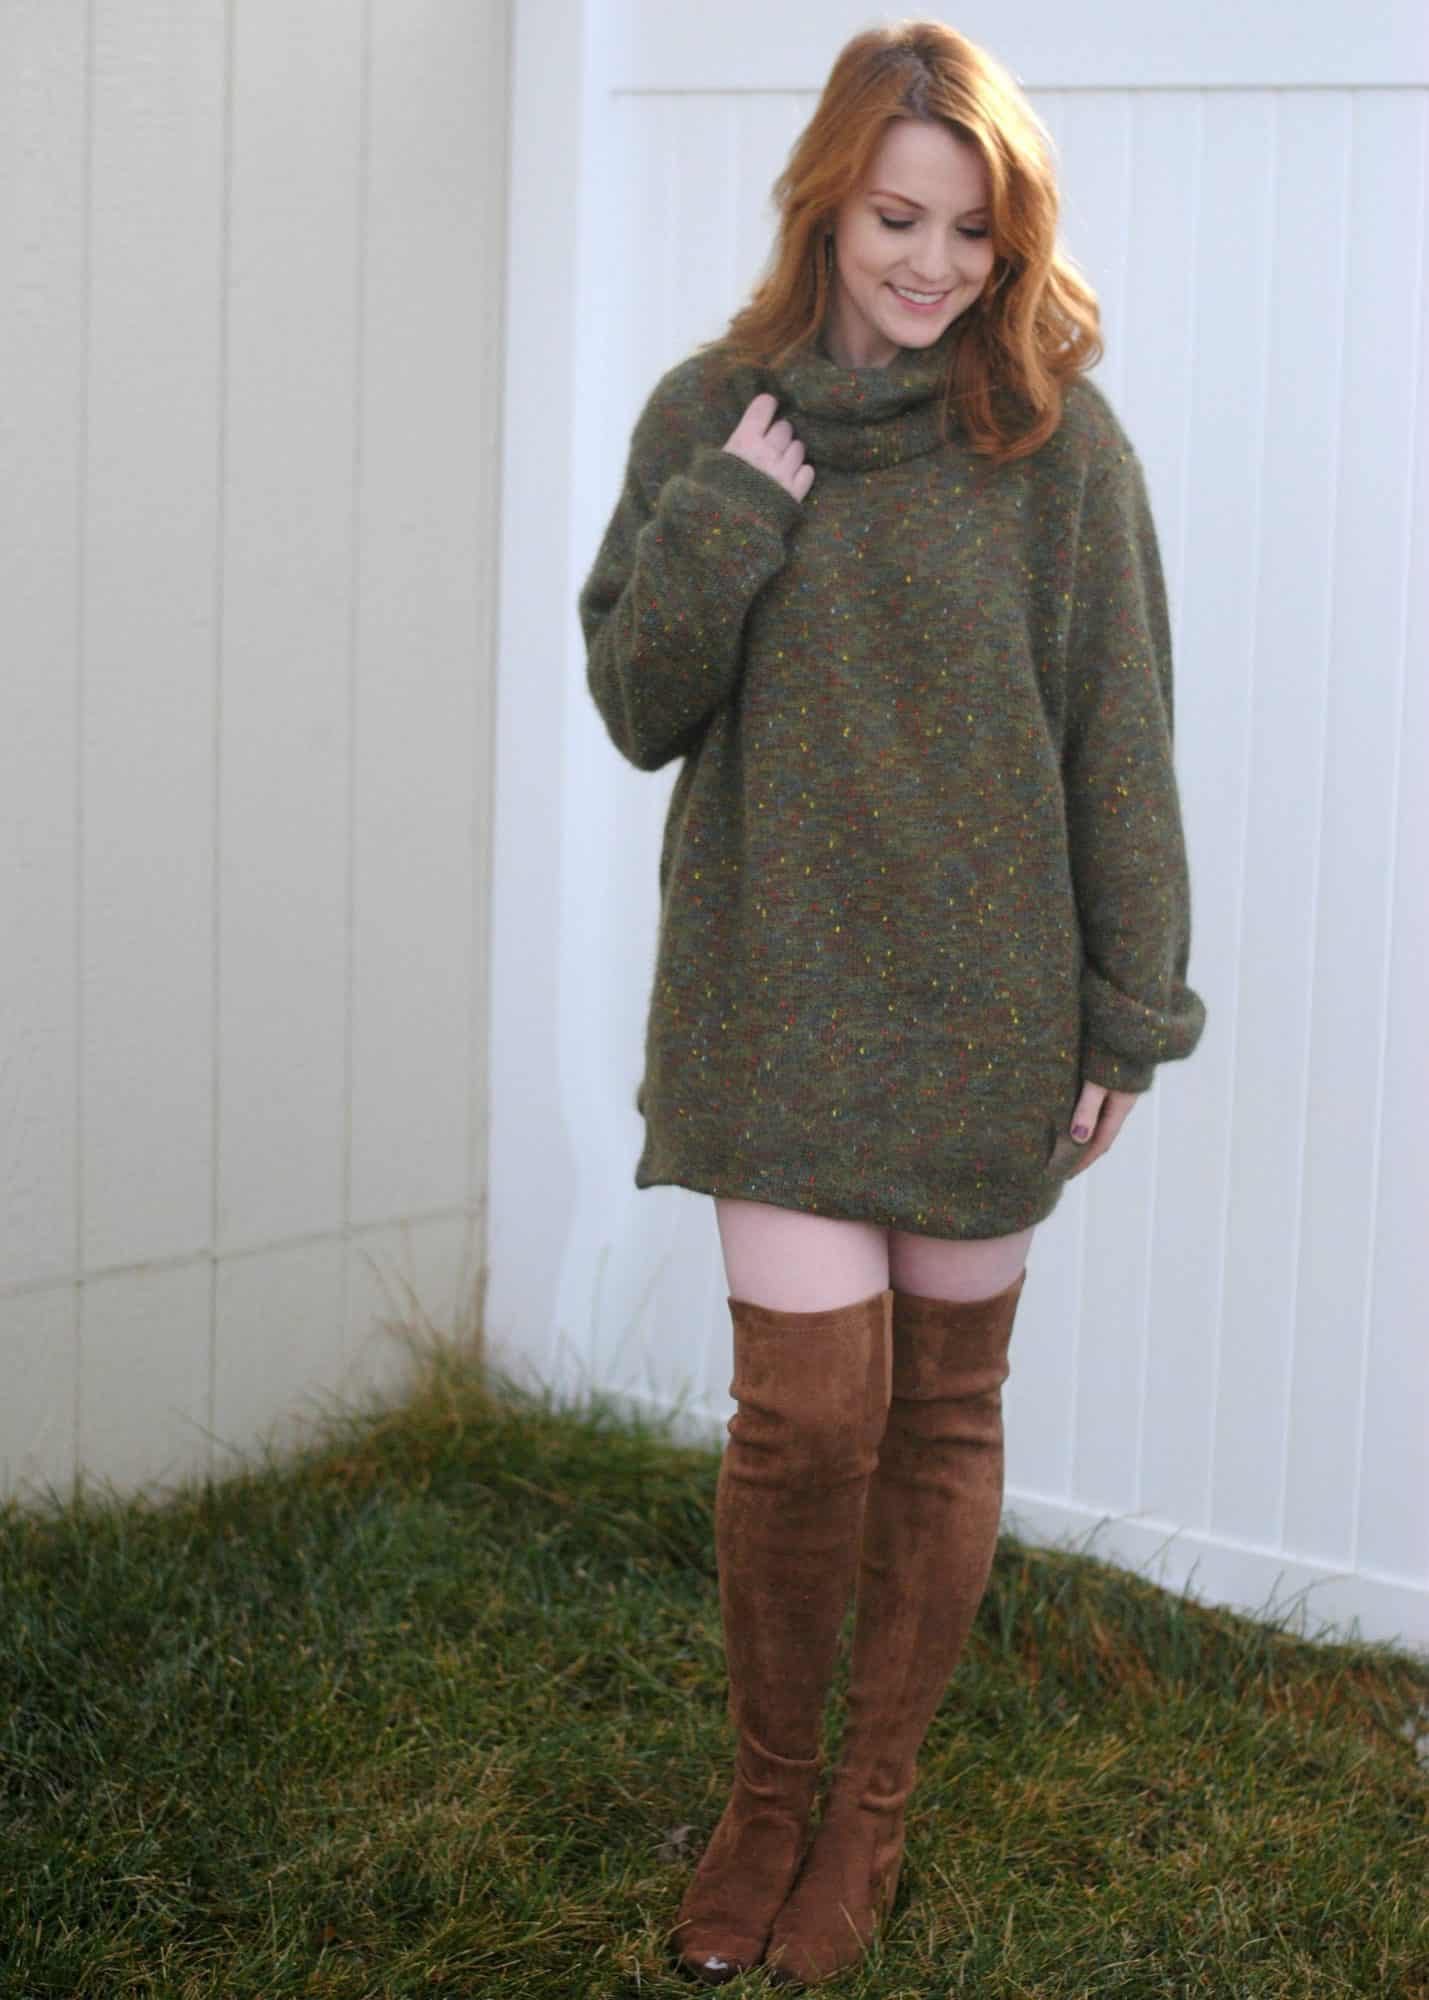
Next up, we have a mini dress hack. I love anything that I can wear that’s comfy, but that’s also really sexy, and this mini dress hack fits the bill perfectly.

For this version, we’ll be using the high-low hem option of the sweater.  Because the bottom of both the front and back pieces of the bodice are straight, it’s very easy to simply add length to the bottom of these to lengthen your sweater into a dress. How much length you add to the bottom of your pattern pieces is completely up to you, but I found that 4 inches was perfect for the “mini” look I was going for.

When cutting out both the front and back pieces of your sweater, simply add 4 inches to the length at the bottom of each. Please note that the high-low bands were not changed at all for this hack; only the length of the main body pieces have been altered.
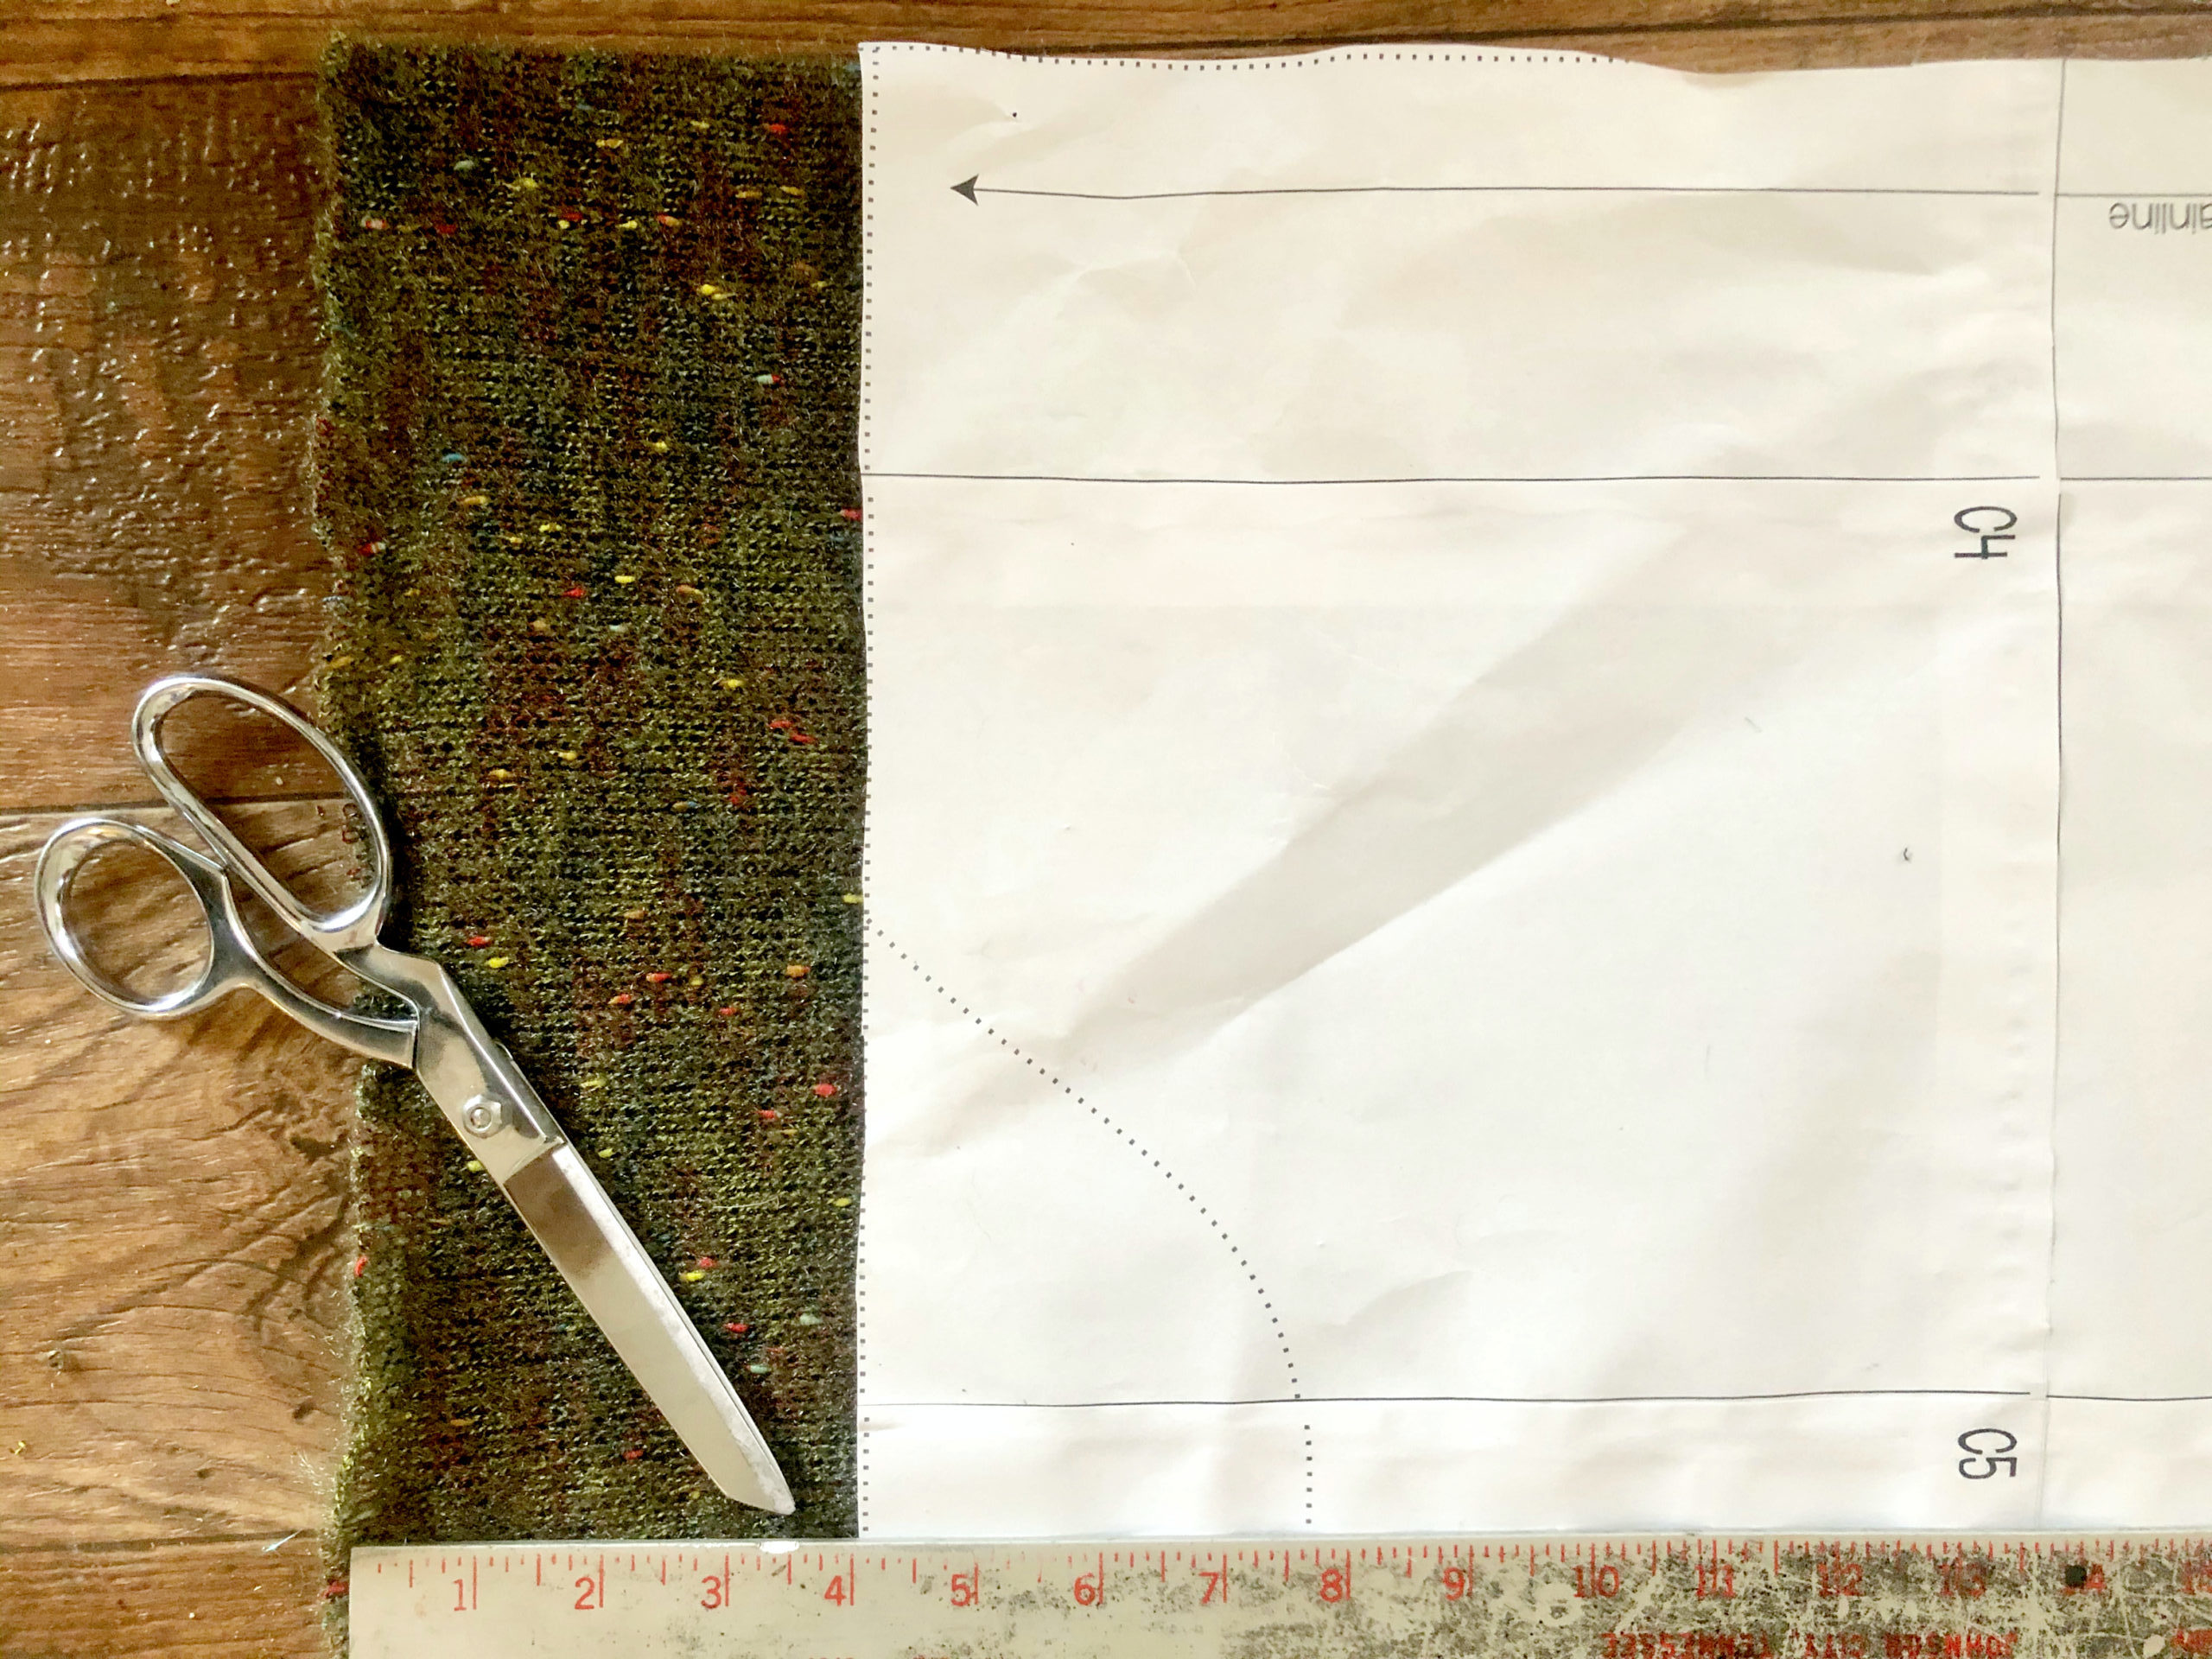
Cut and sew together the rest of the sweater as described in the tutorial, and voila! You now have a cute and very trendy mini dress, ready to go!
…..

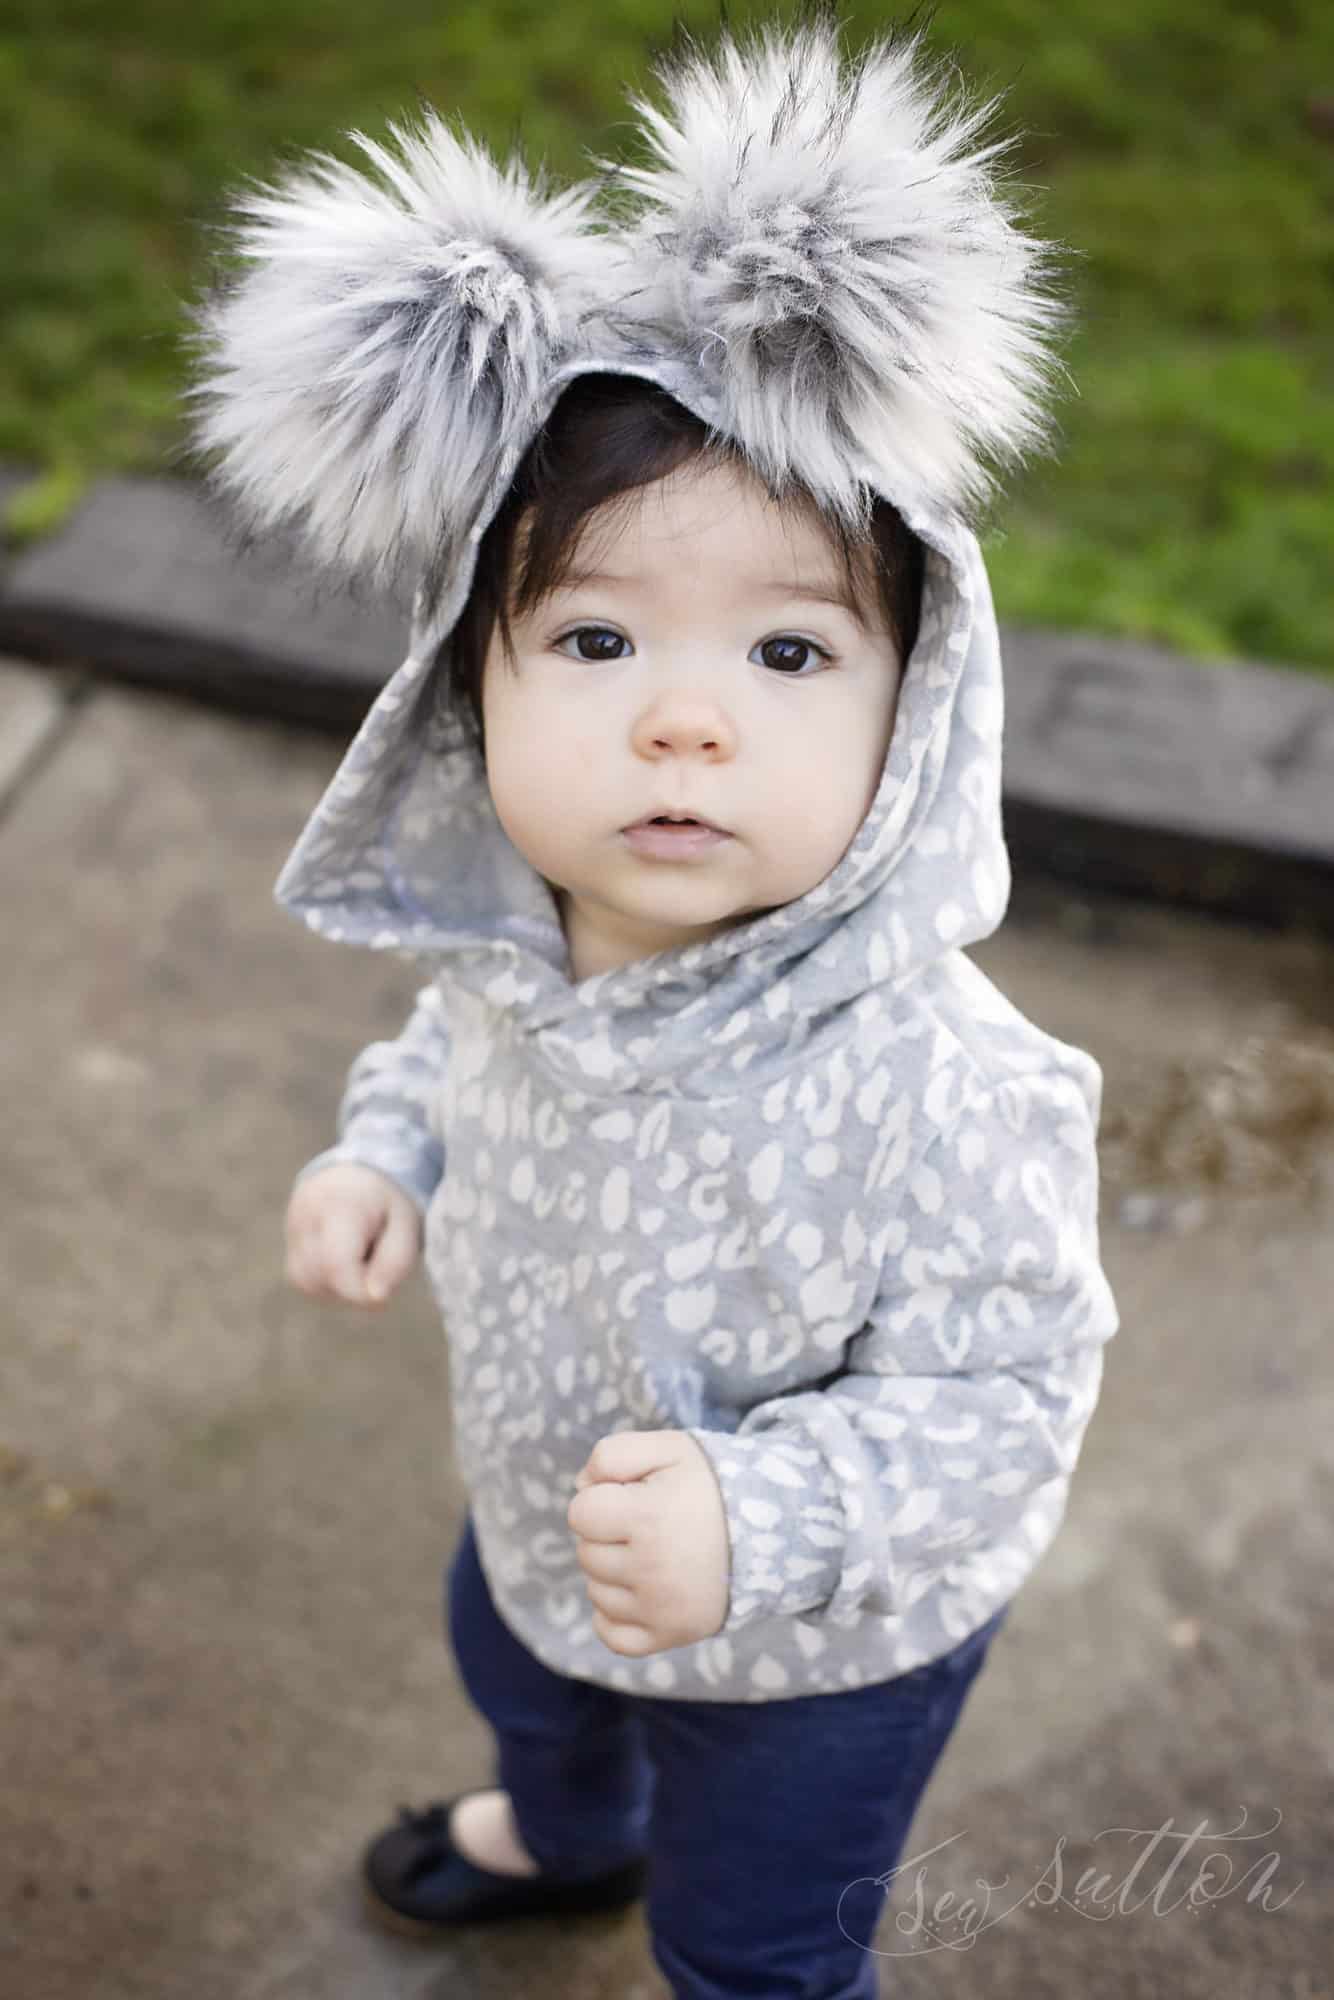
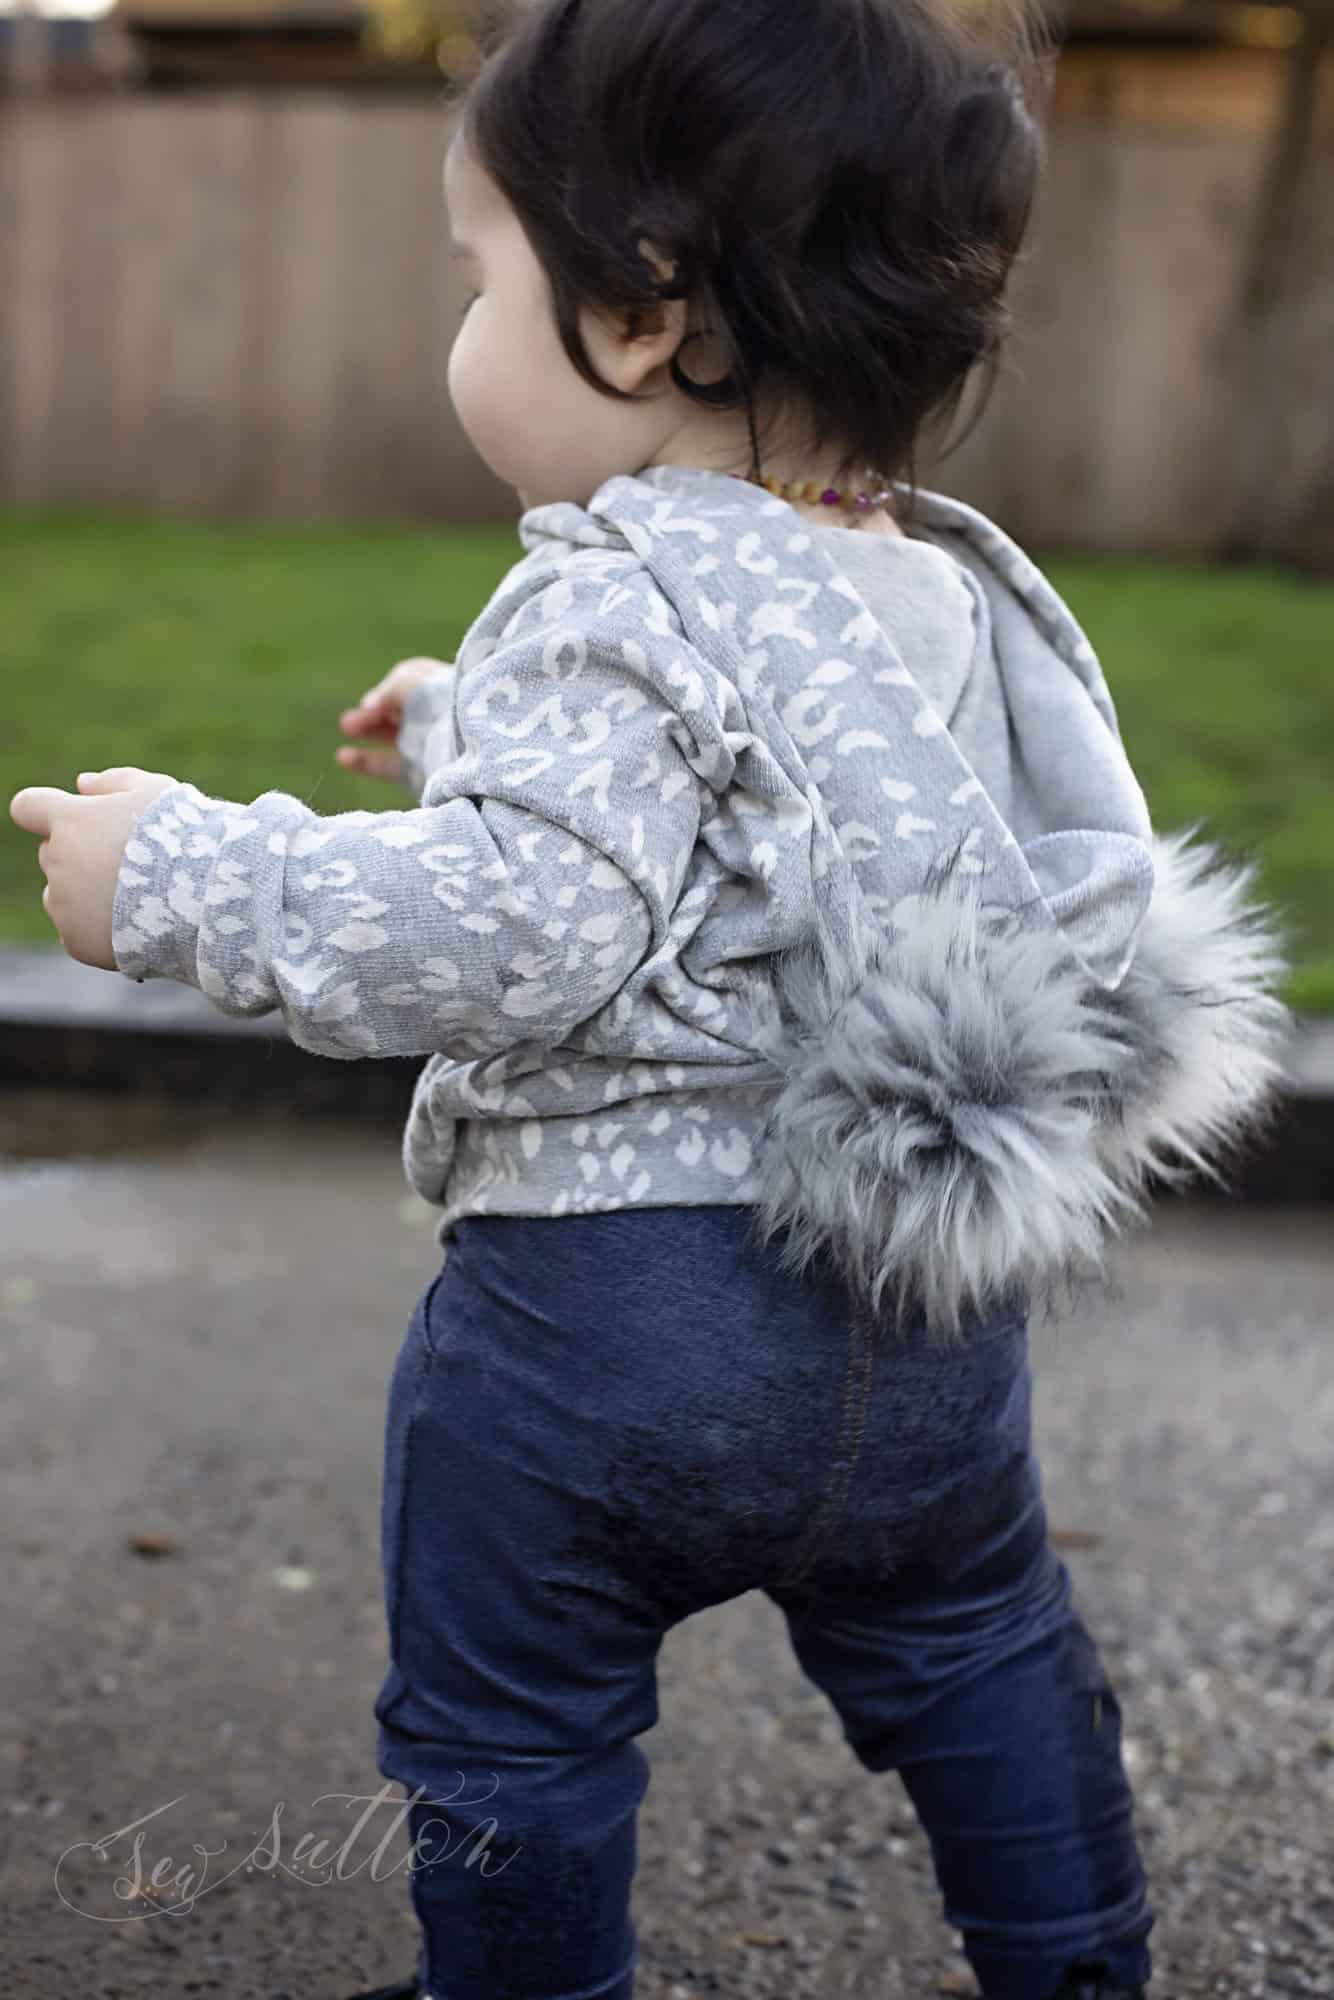
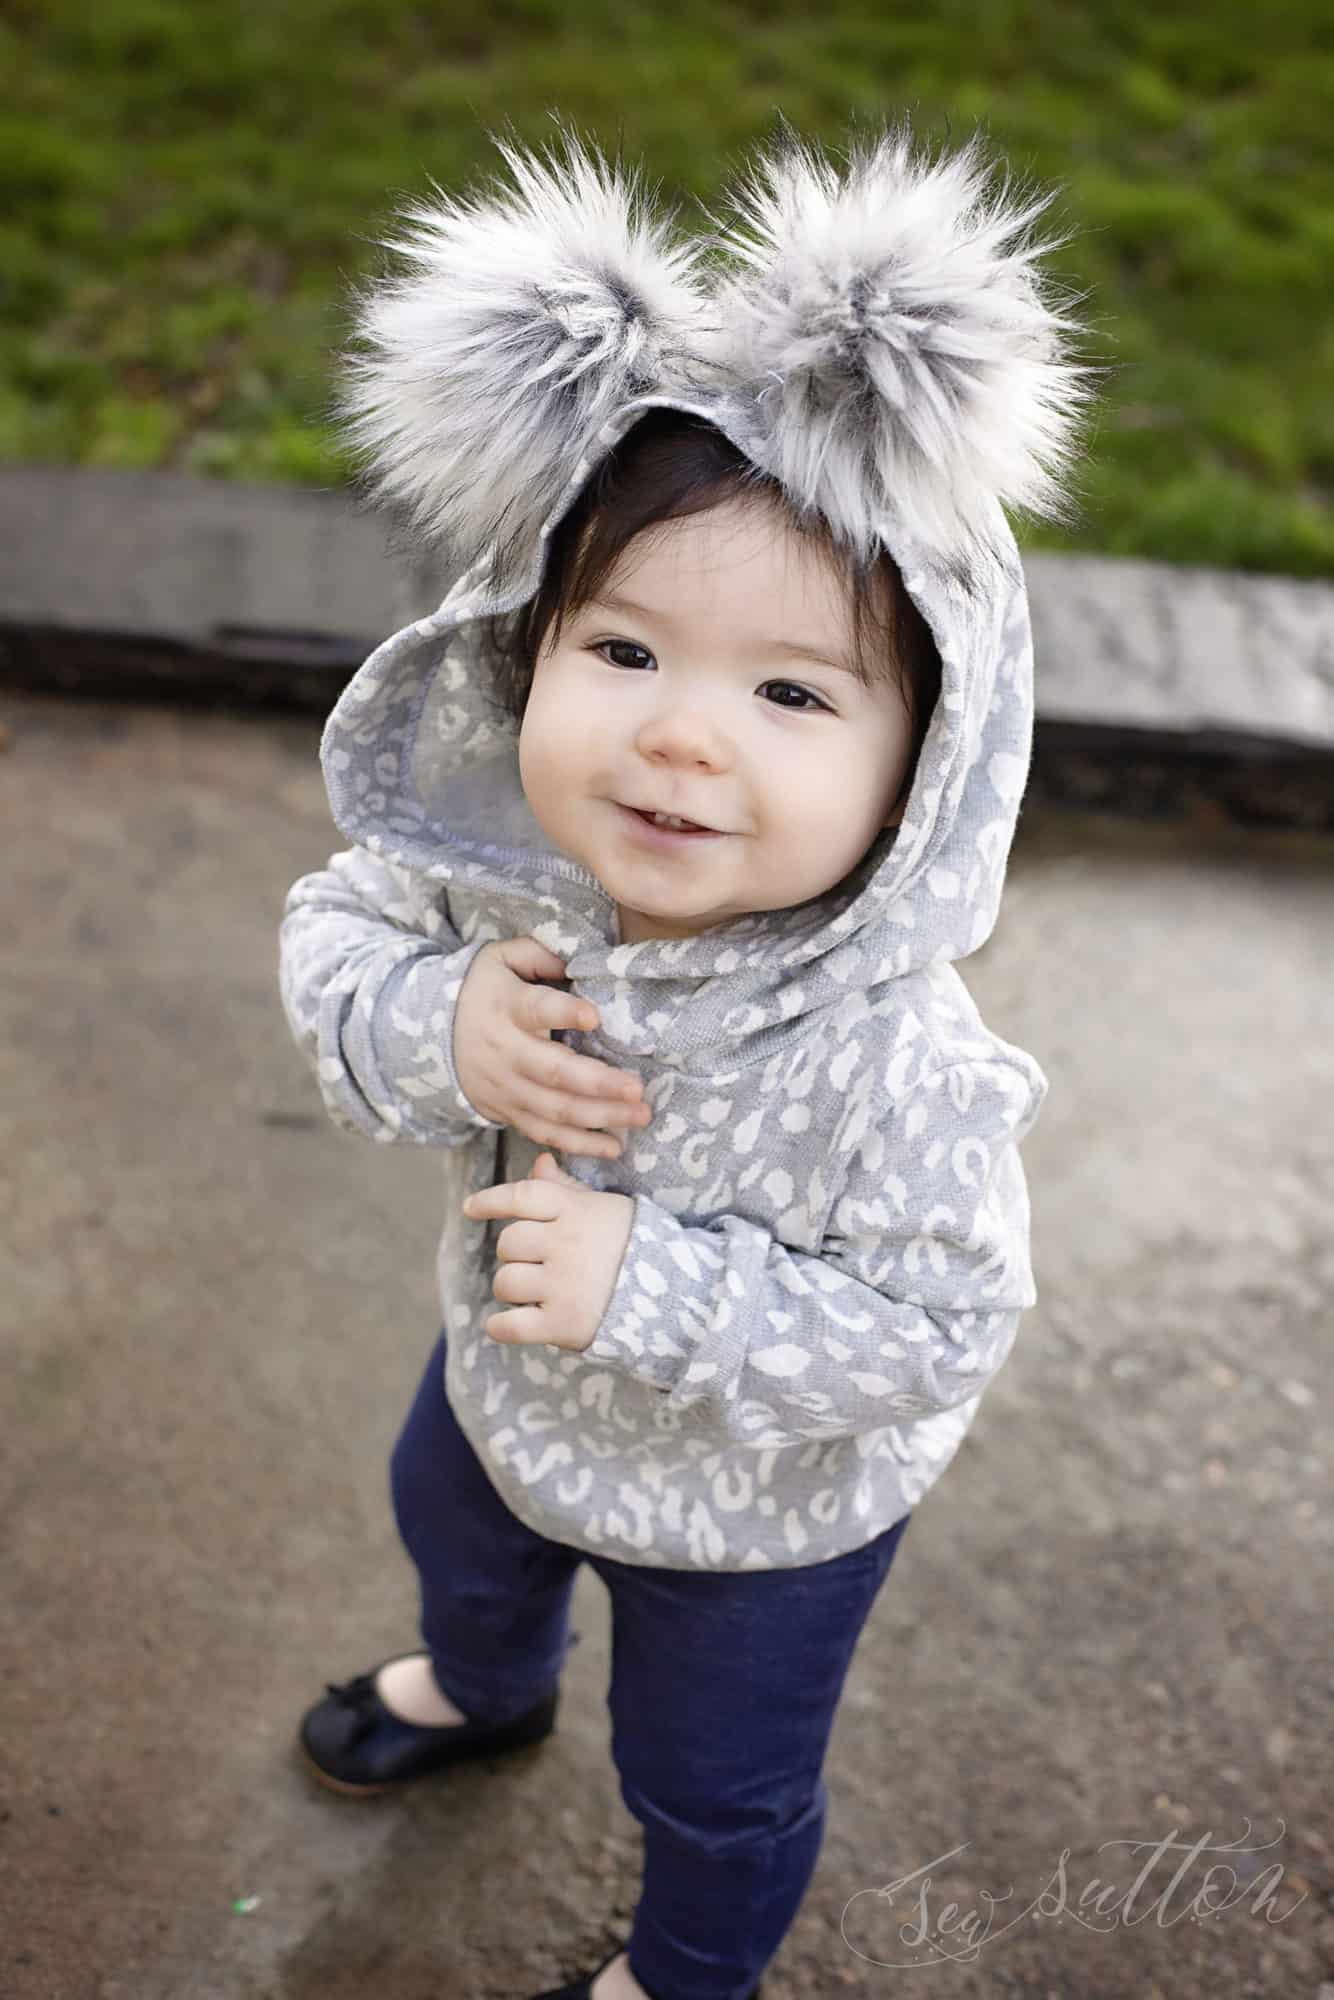
Poms

If you’re anything like me you might have an addiction to Faux Fur Poms especially on the littles! They are just so cute! I’m going to show you a quick and easy way to substitute the ears for Poms! You’ll sew your hood together exactly the same as all of the instructions but before sewing the hood I recommend marking your ear placements slightly past the seam allowance in a washable pen that way you know where to place your poms. Then I highly recommend adding interfacing where your poms will be for added durability especially if using a pom with snaps.
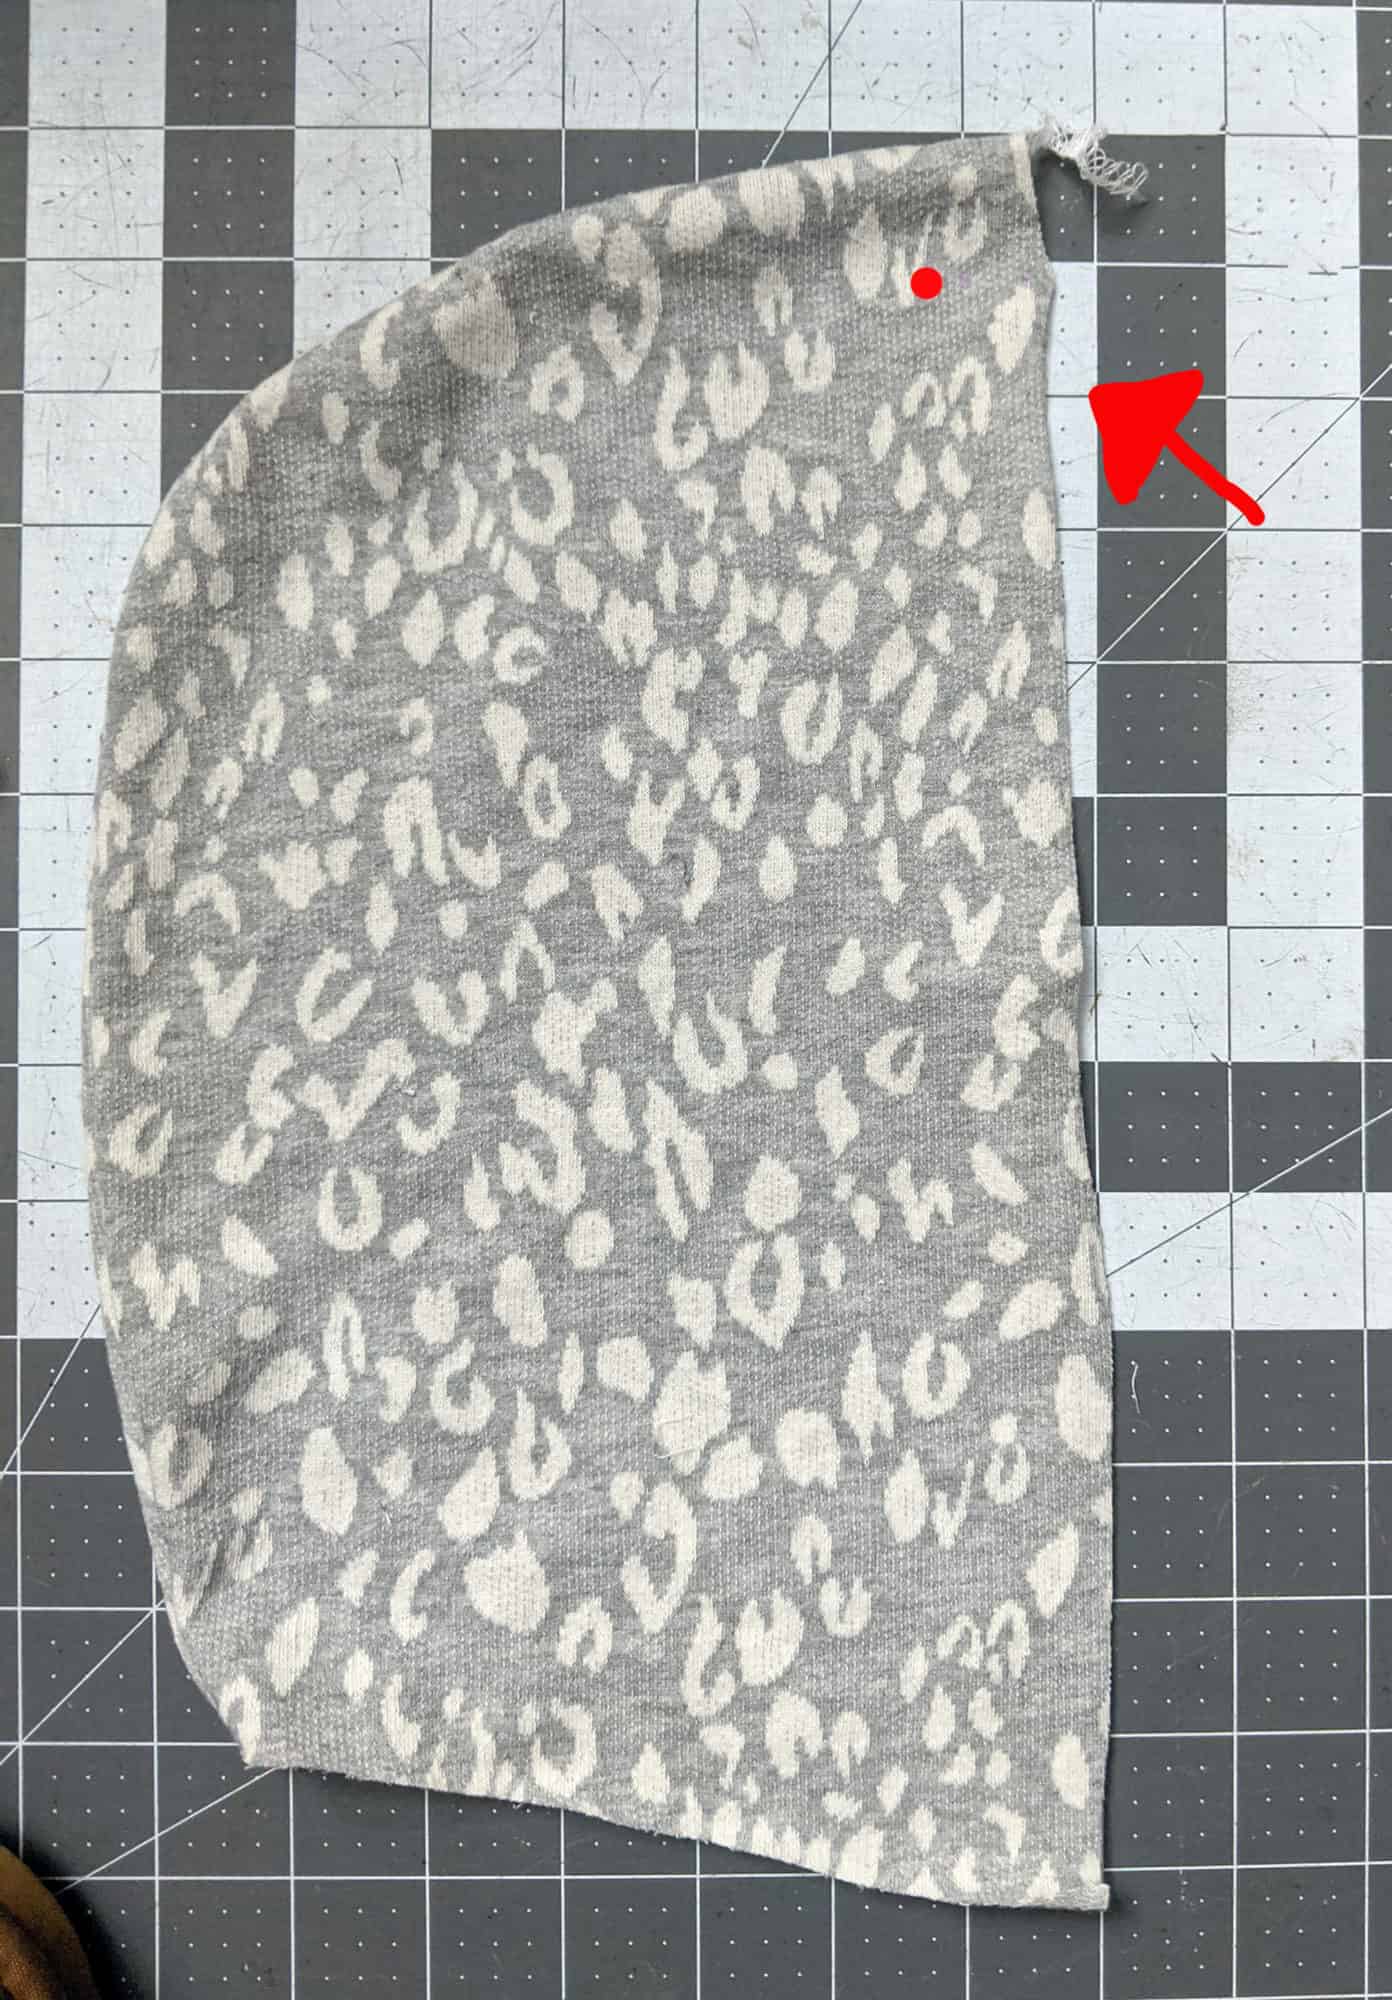
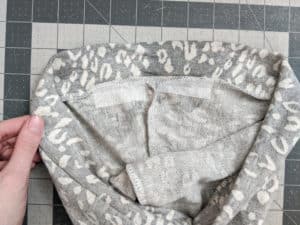
 

Now if you have a sew on pom you’ll sew it right along the markings you made for the ears. I recommend going directly through the seam allowance, once again for added durability.
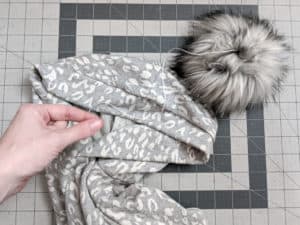
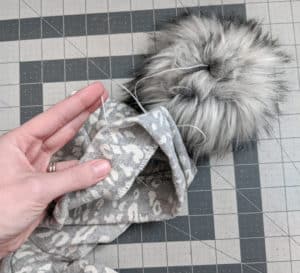
 

If you are using a pom with snaps (which I recommend for washing purposes as well as pom changing fun!), push your seam allowance toward the back of the hood and attach your snap through your interfacing and the seam allowance.
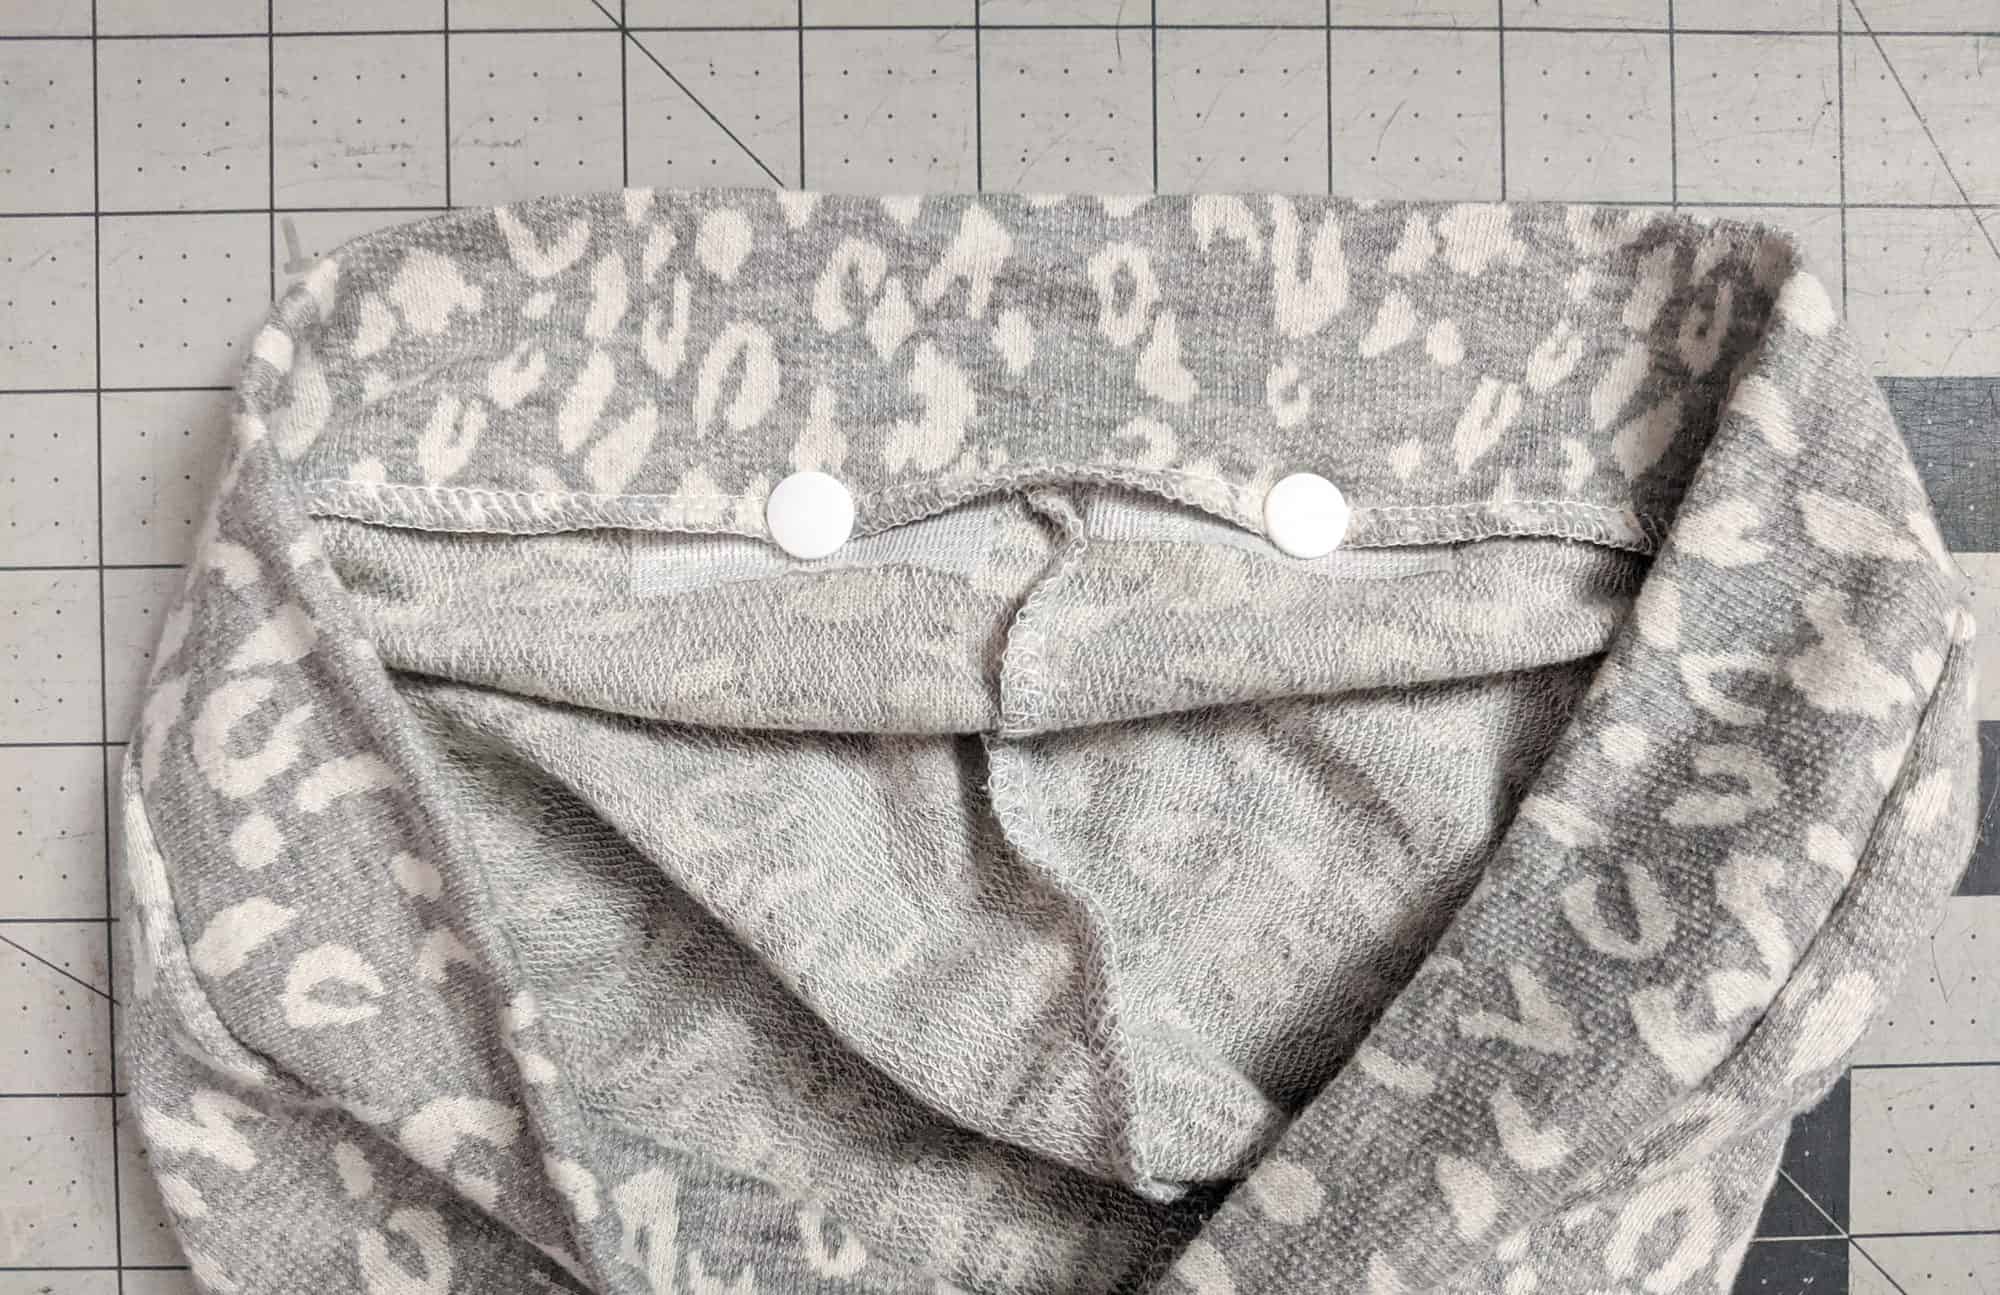
and wallah! You are done and now have super cute pom ears!

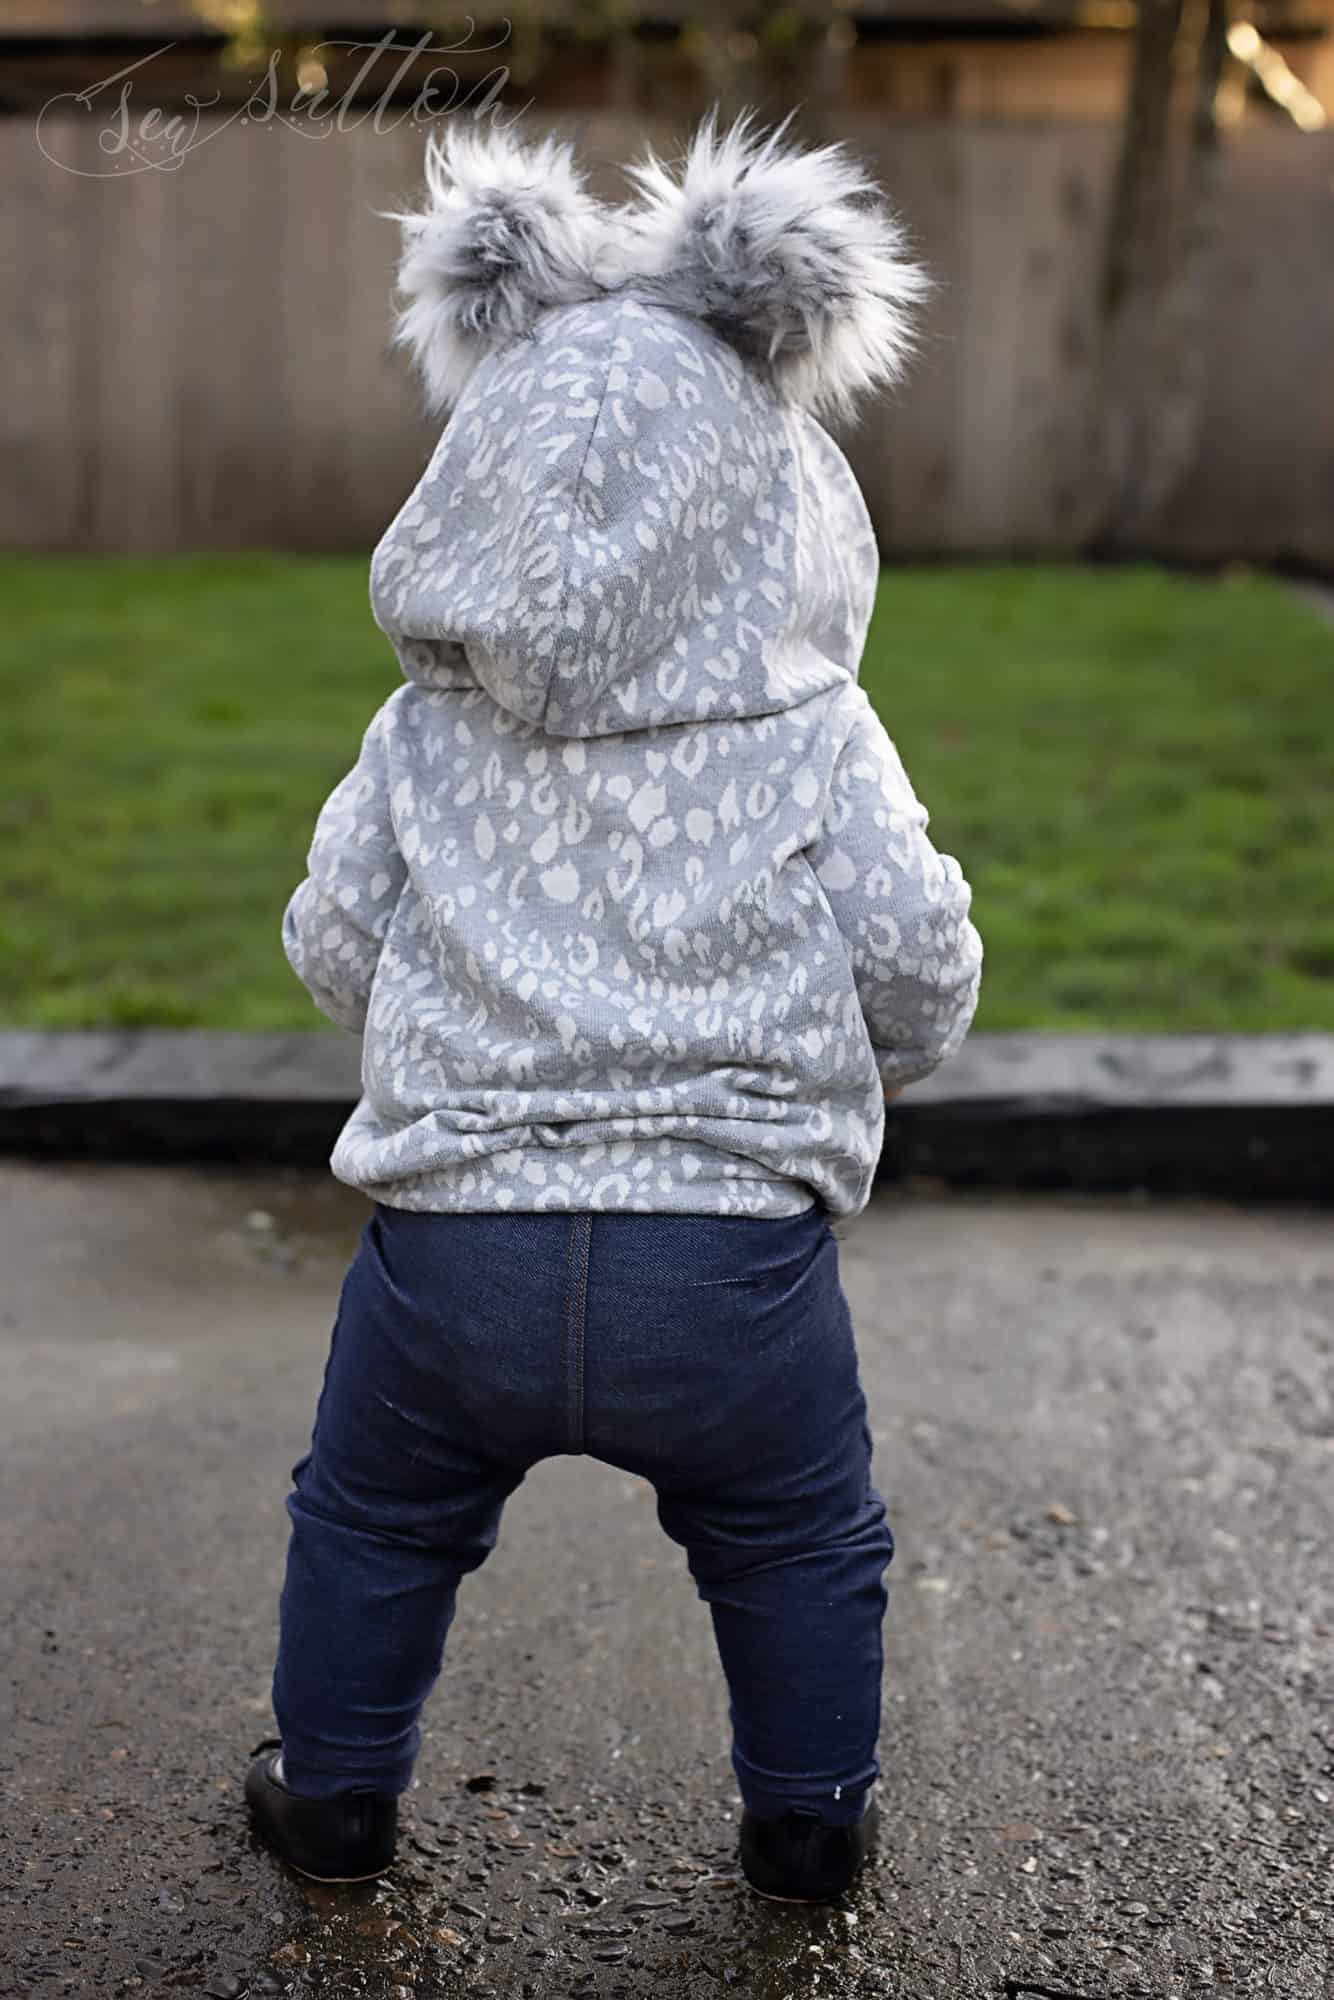
 

Happy Sewing,

Michelle


…..

Colorblocked
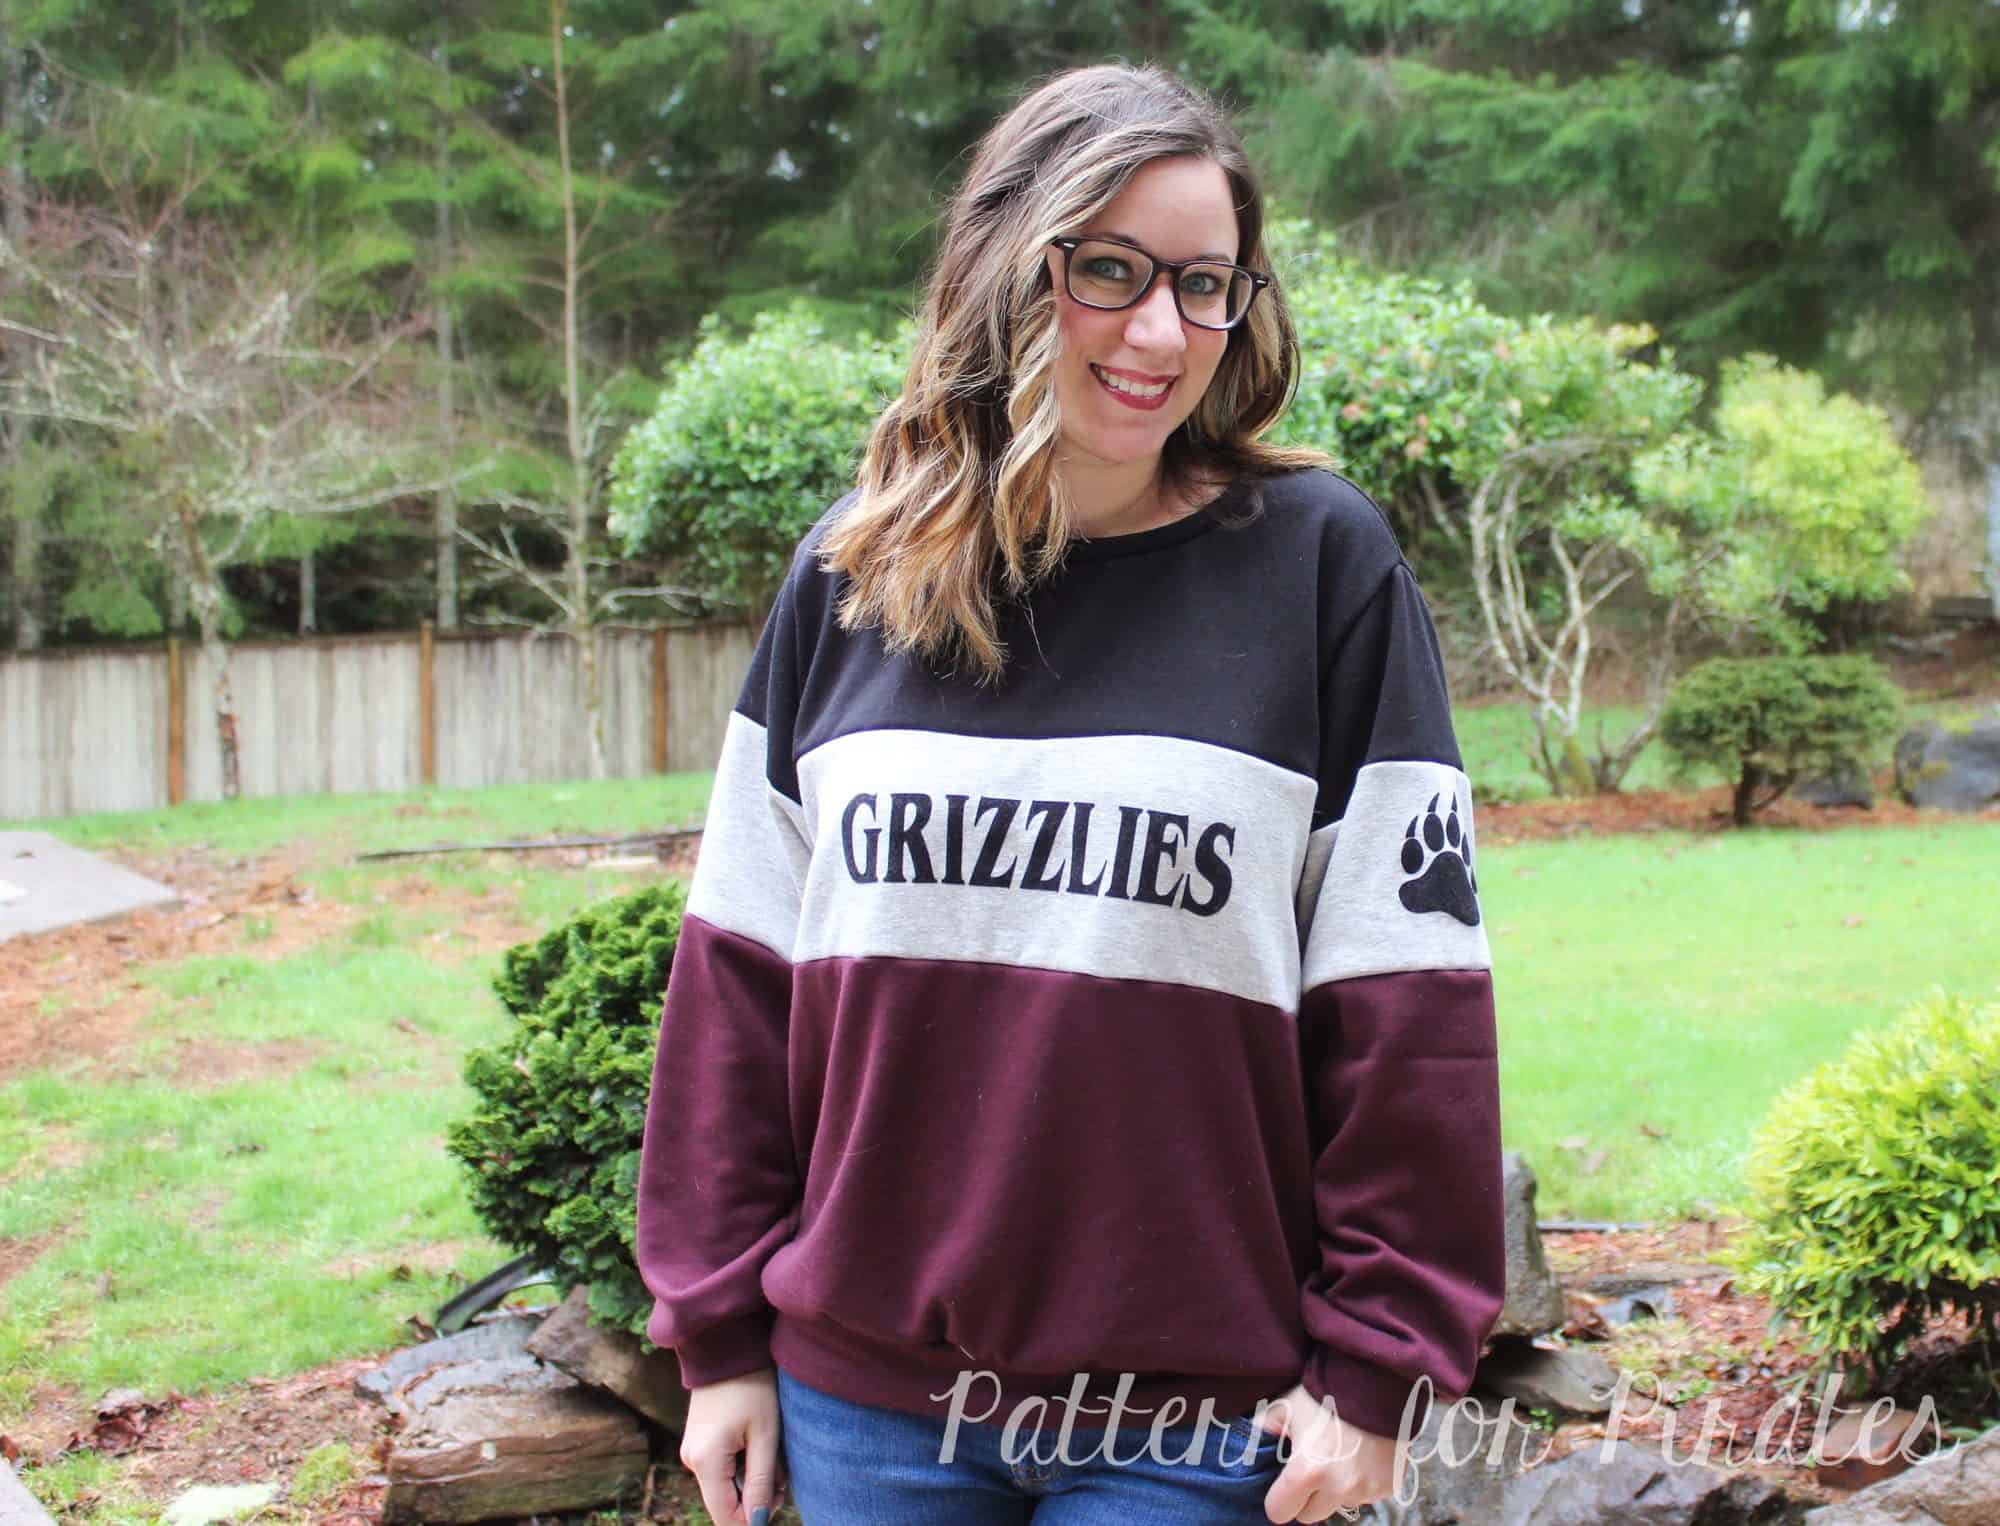
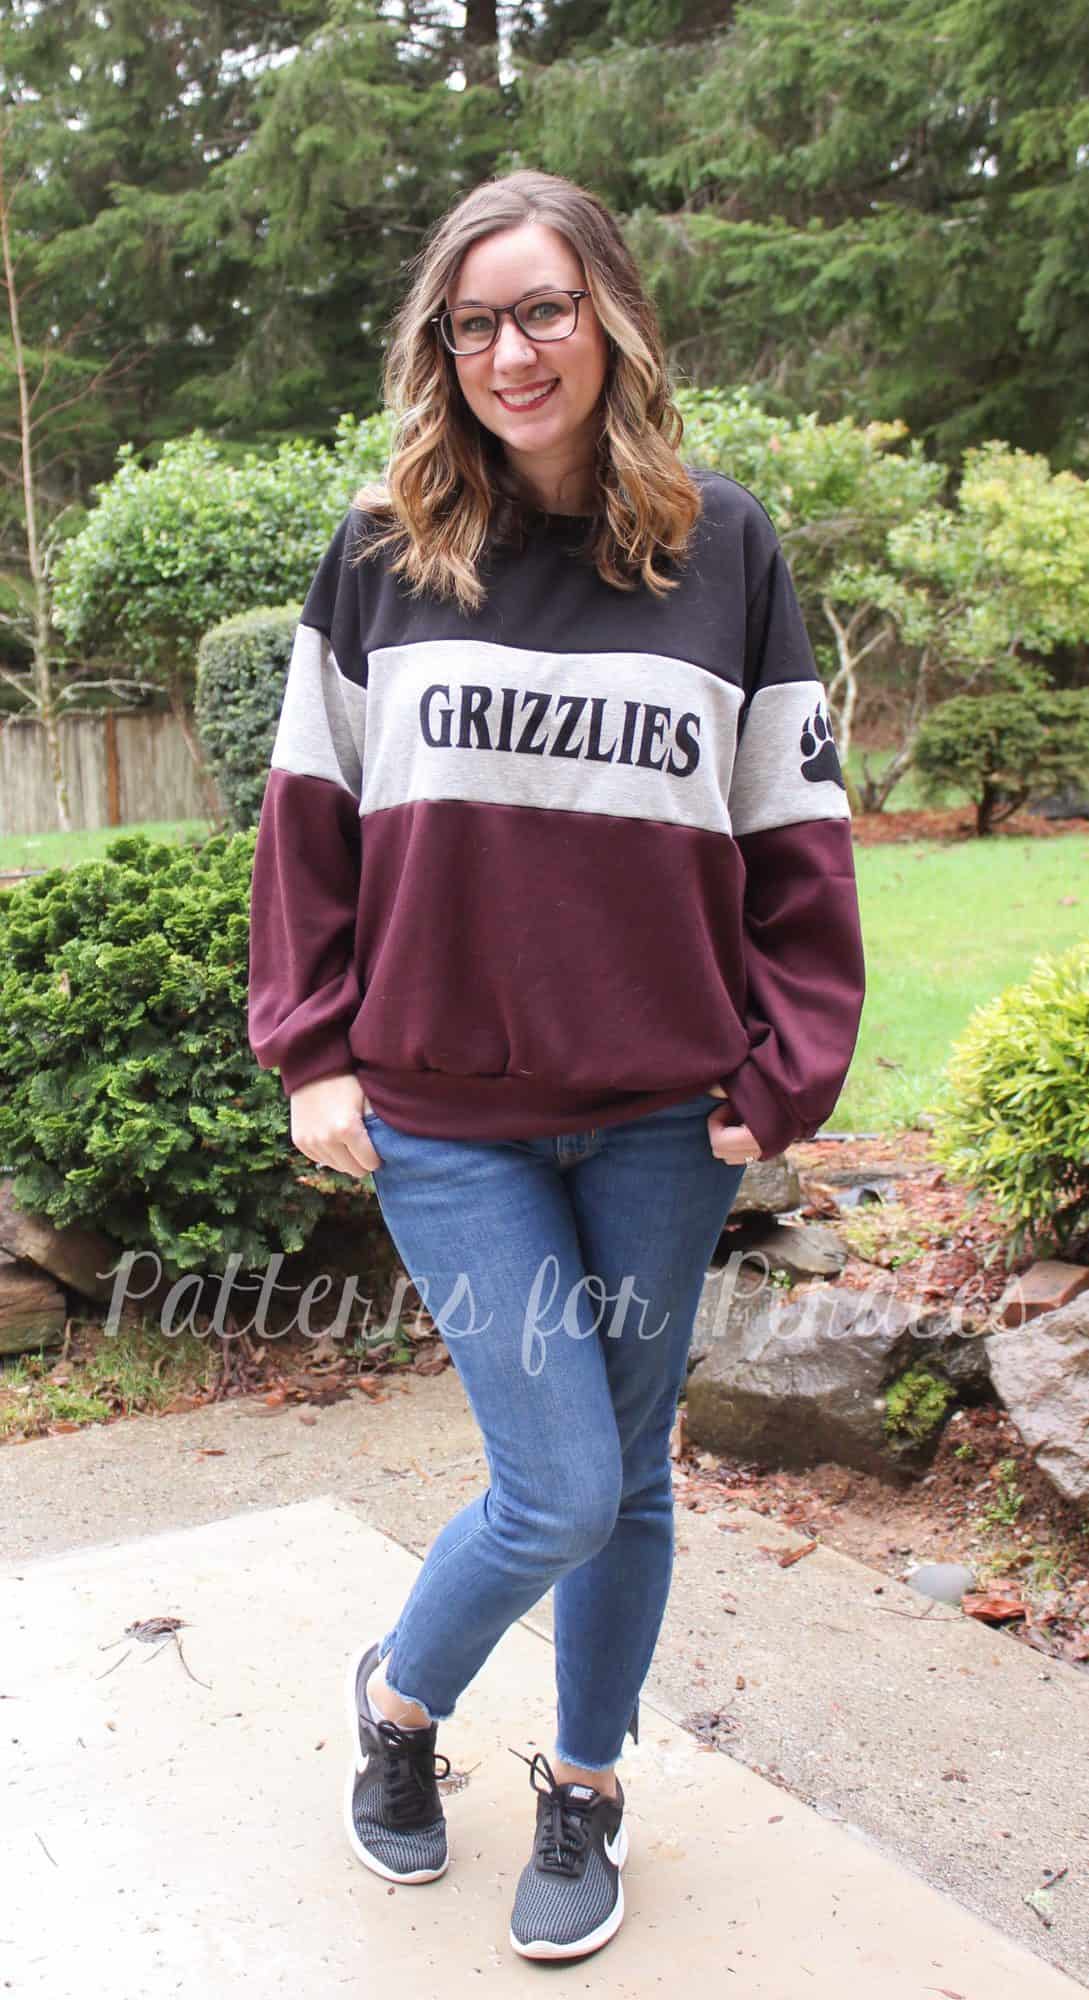
I am all in anytime that I have a chance to sport some spirit gear for our local team (Go Grizzlies!). Awhile ago, I was doing some aimless browsing and came across a colorblocked sweatshirt that was absolutely perfect. Of course they didn’t have our team colors, but the oversized sweater was the perfect starting point to recreating this sporty look.

To begin, you will want to divide the front and back bodice pieces, as well as the sleeve, into the sections. For mine, I began with the front bodice piece. I measured 5″ down from the neckline and placed a vertical line. I then measured 6″ below that to create my second color block. The remaining section will be for my third color block.  For the back bodice, I lined up the bottom hemline of both front and back piece, and transferred my lines to this piece as well.
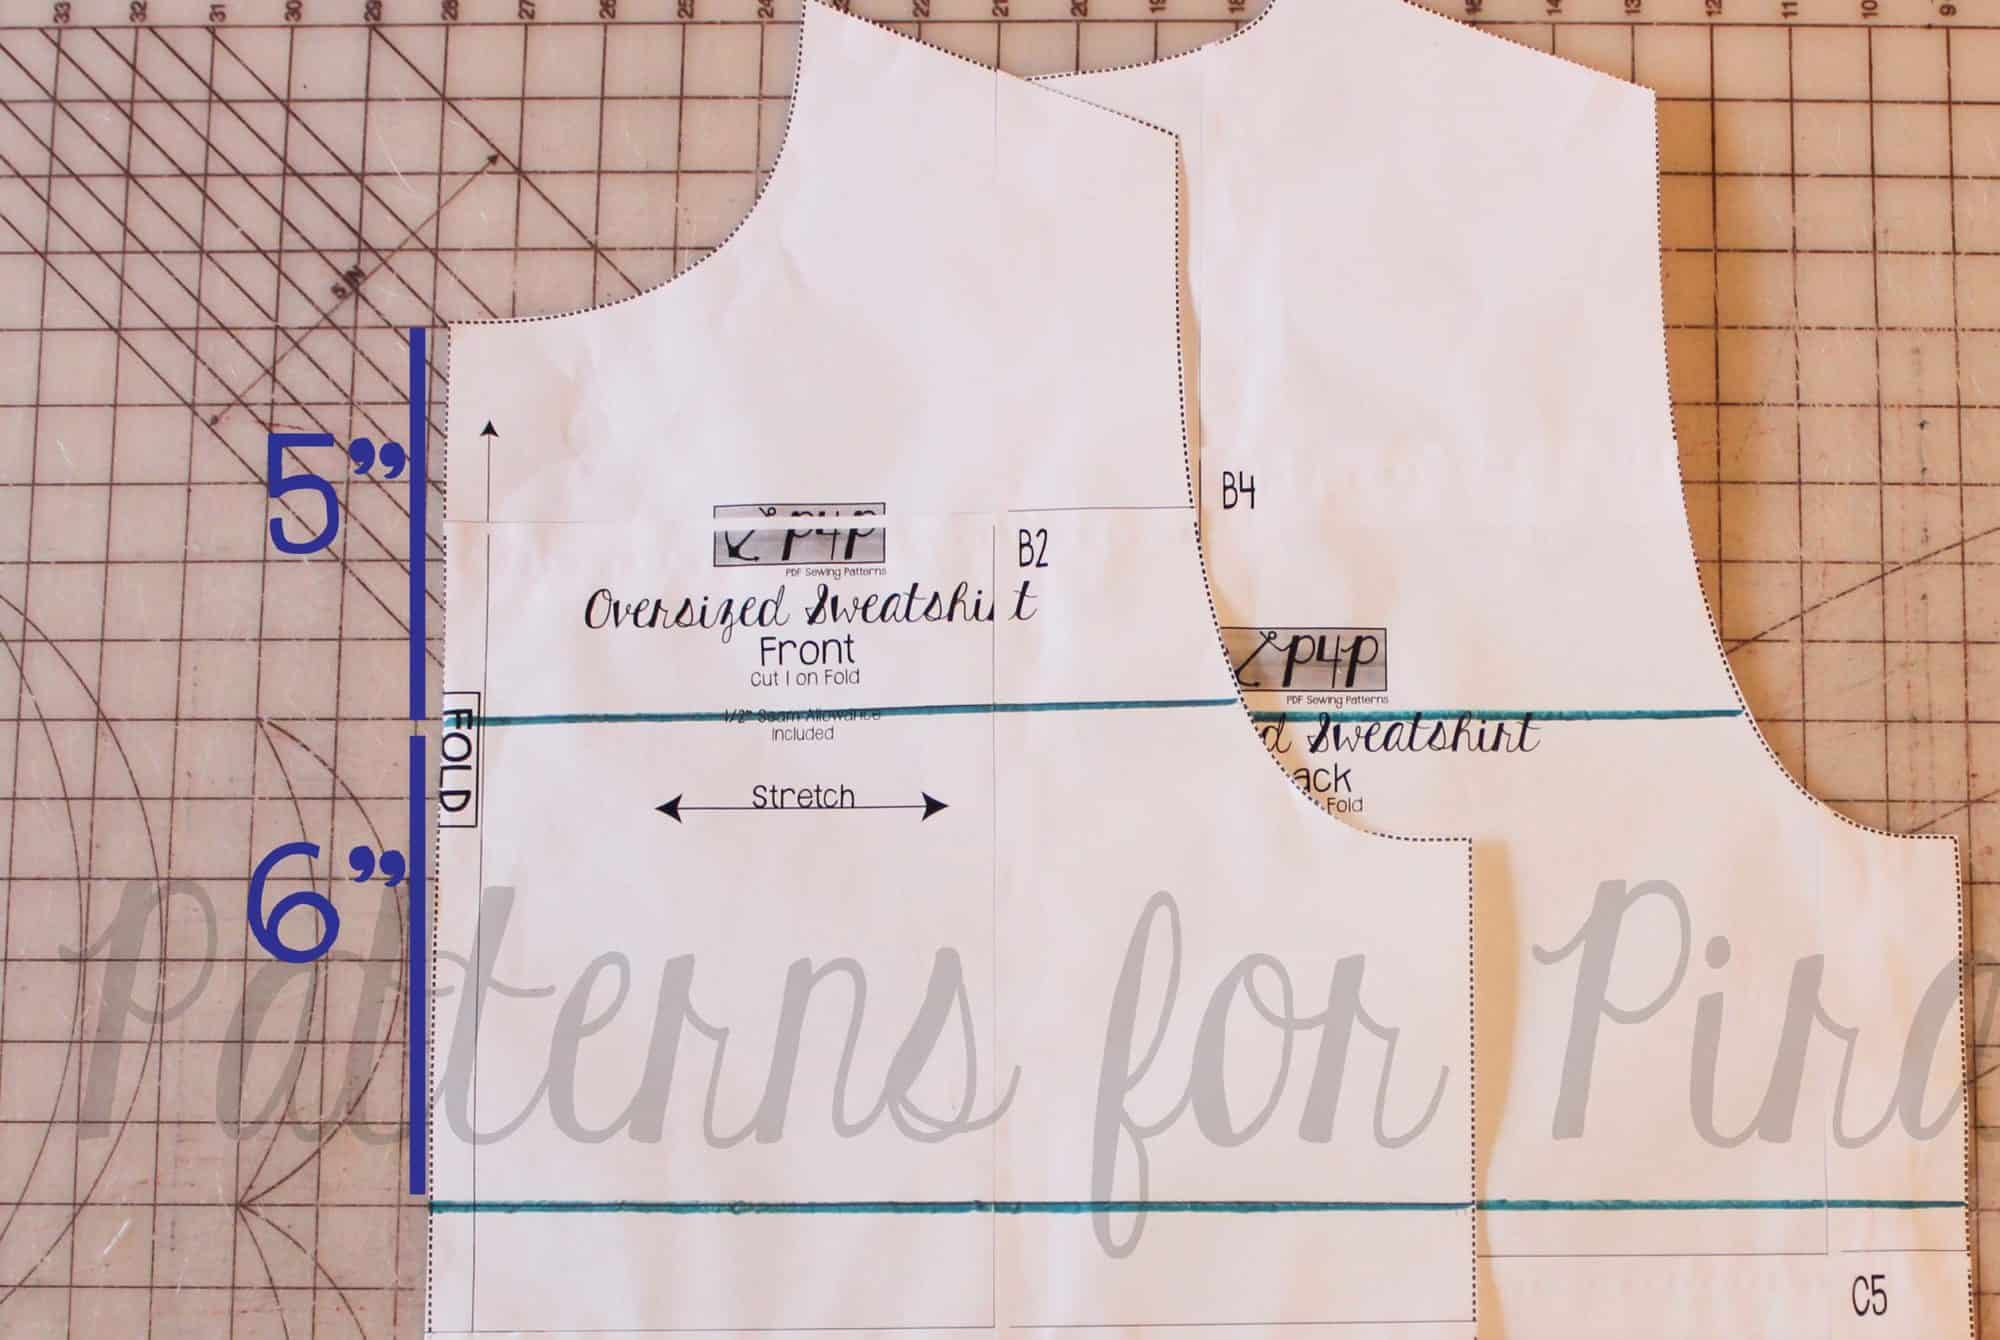
To create the colorblocked sleeve, I began by aligning to top of the sleeve with the front bodice neckline and again, transferring these lines.
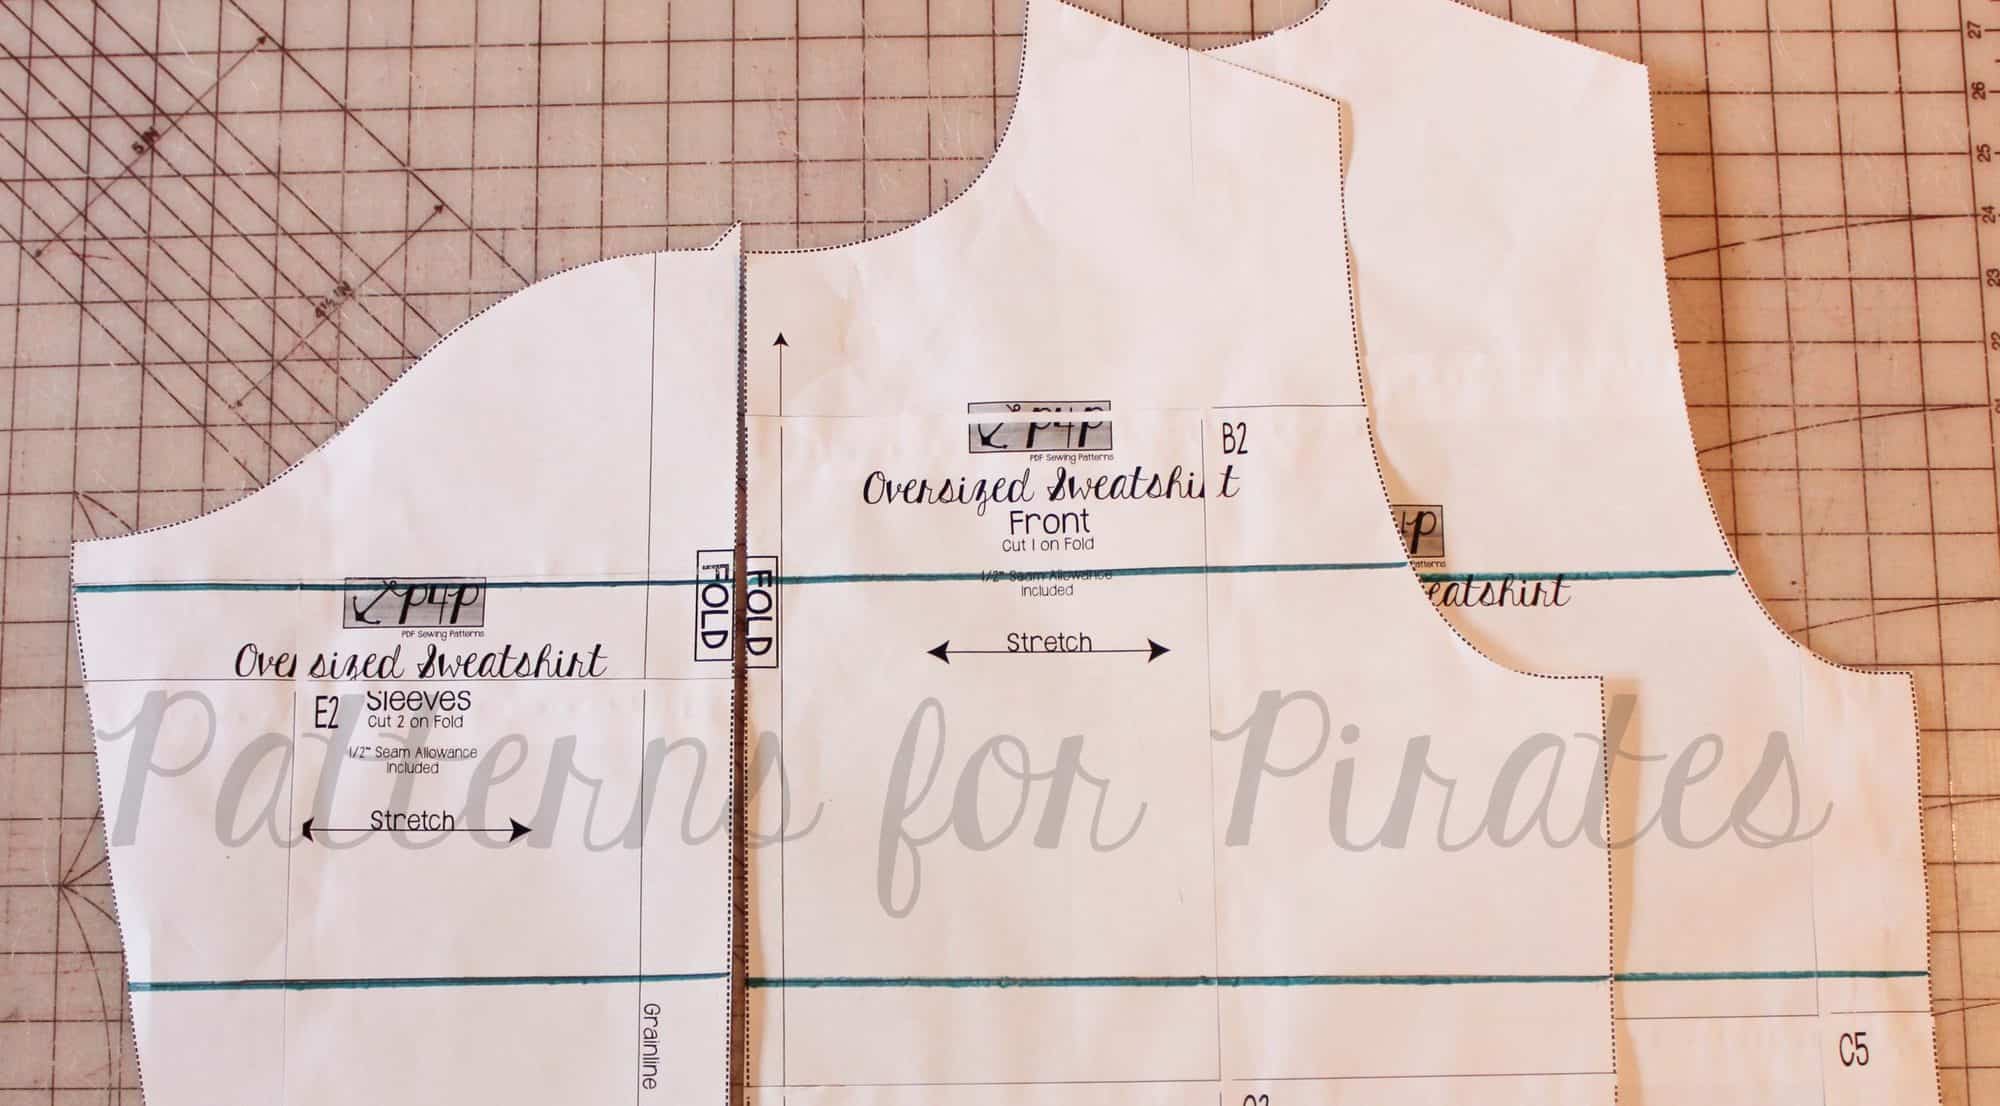
Once the lines are drawn, you will then need to cut your pieces on these lines (you can also fold your pattern on each of these lines if you’d rather not cut your original). To cut the fabric, you will need to add an additional 1/2″ to each line you drew, both to the top and bottom colorblocked sections of this line, to account for the seam allowance.

Now that you’ve cut out your pieces (phew, wasn’t that fun?! haha), you will begin to reassemble the bodices and sleeves. With right sides together, match up each colorblock section and sew using a 1/2″ SA.
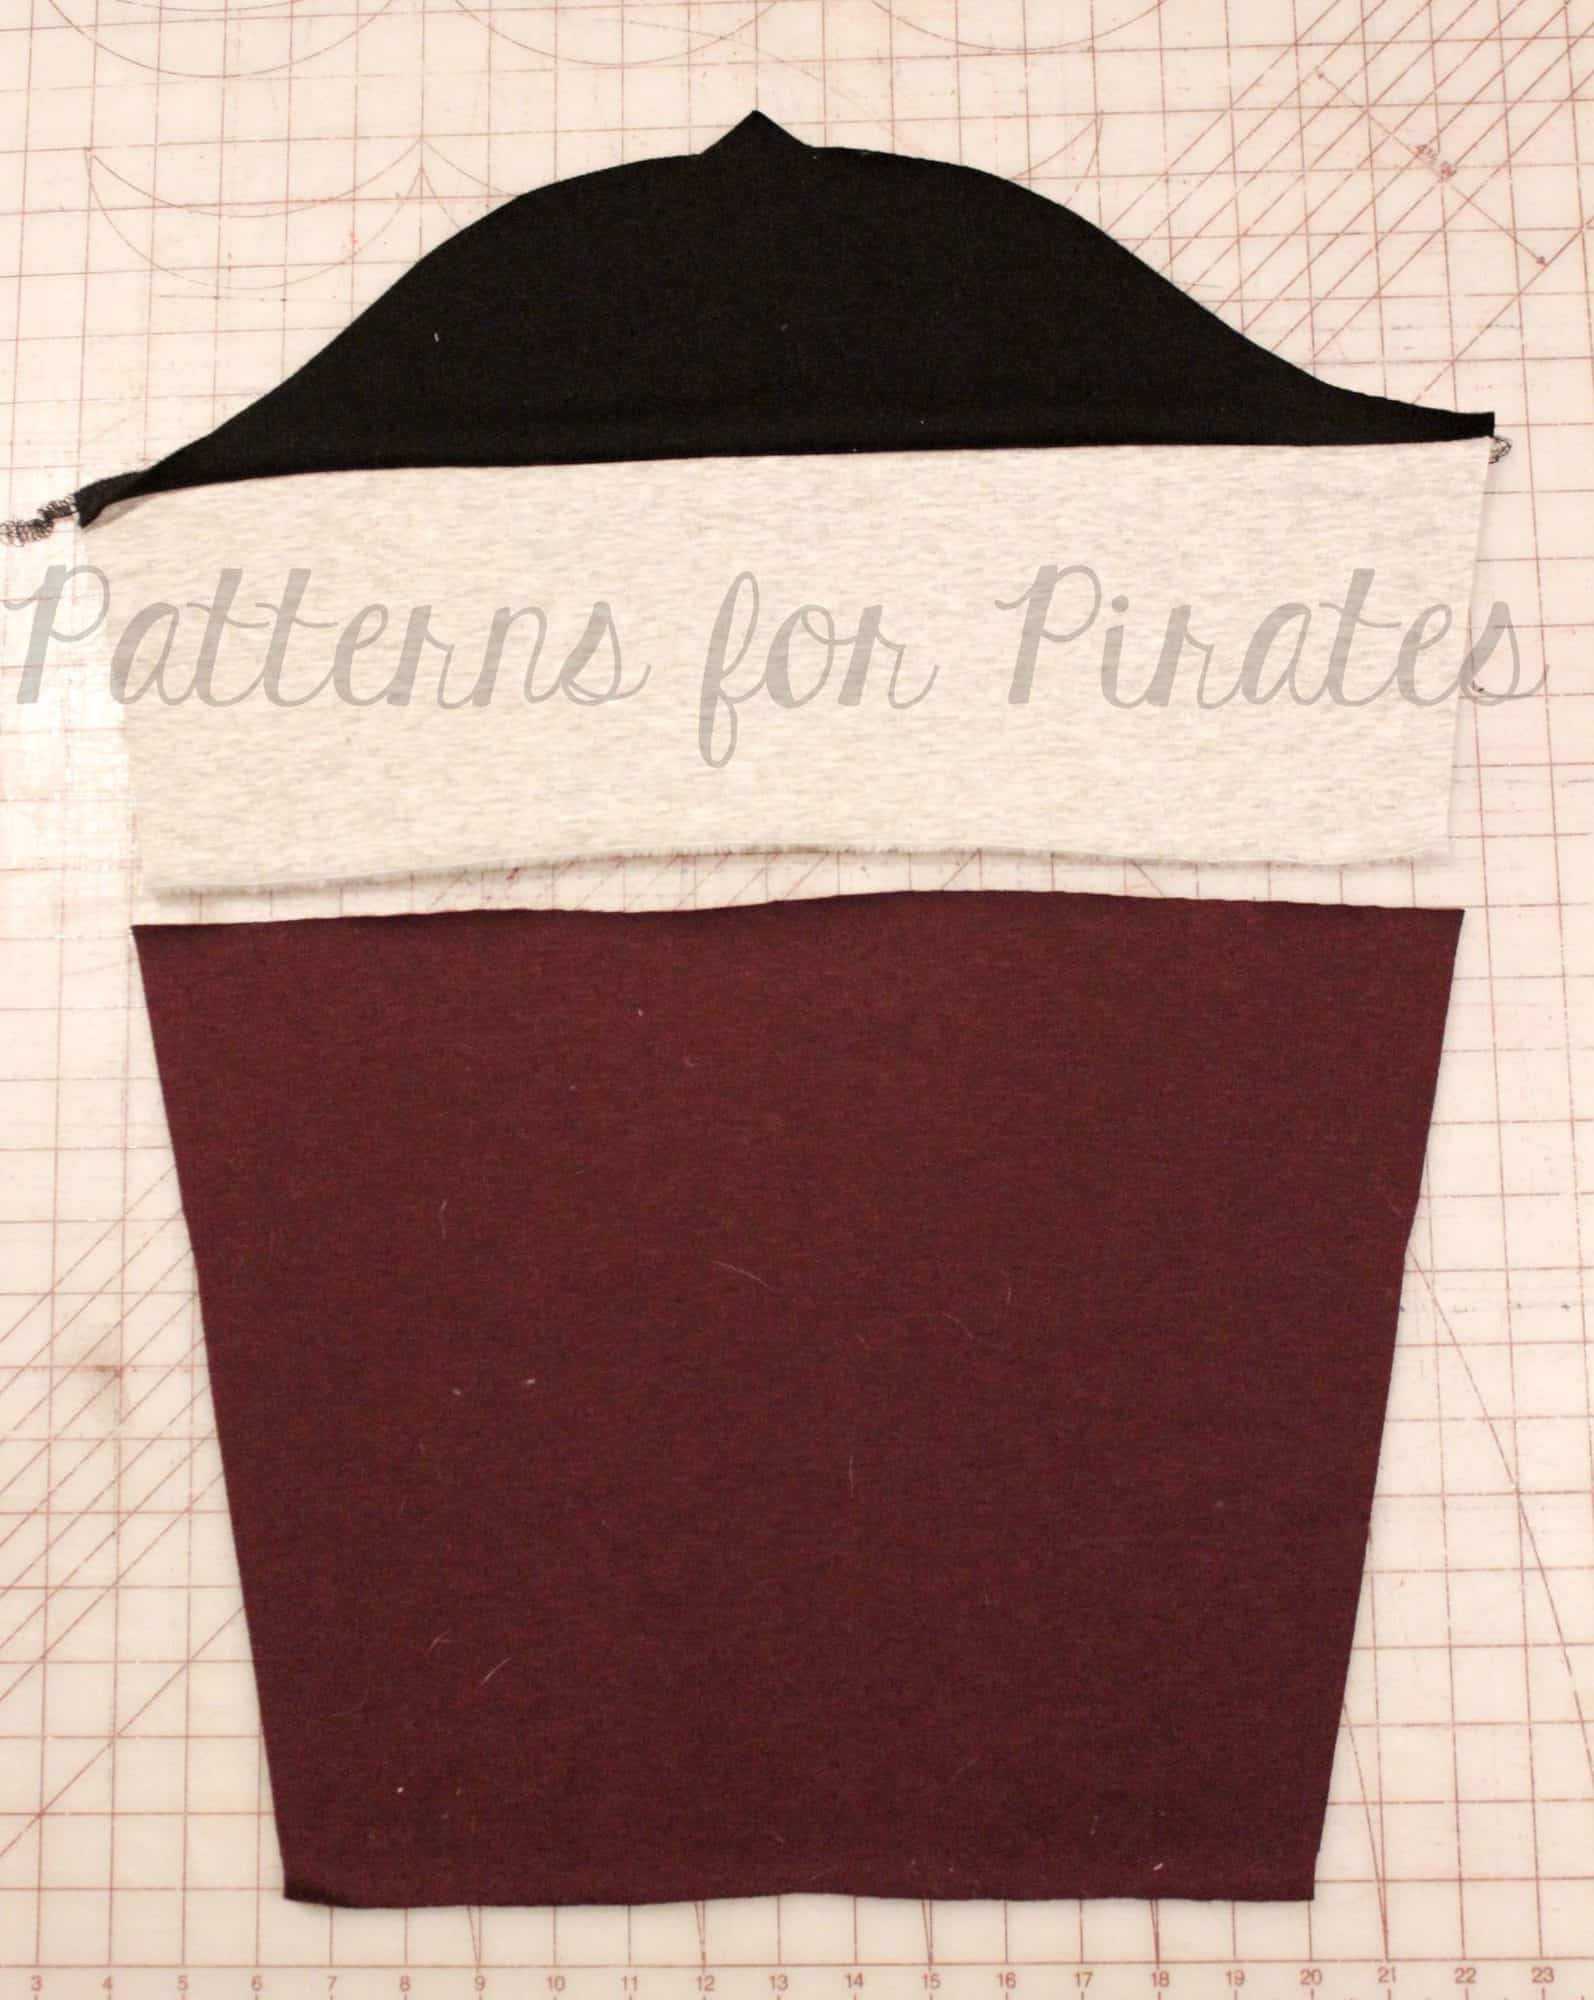
Once your pieces have been sewn together, you will then follow the original tutorial to construct your sweatshirt.  And just like that, you’re now ready to show off your favorite colors, prints, or school spirit all in one fun, colorblocked sweater!
…..

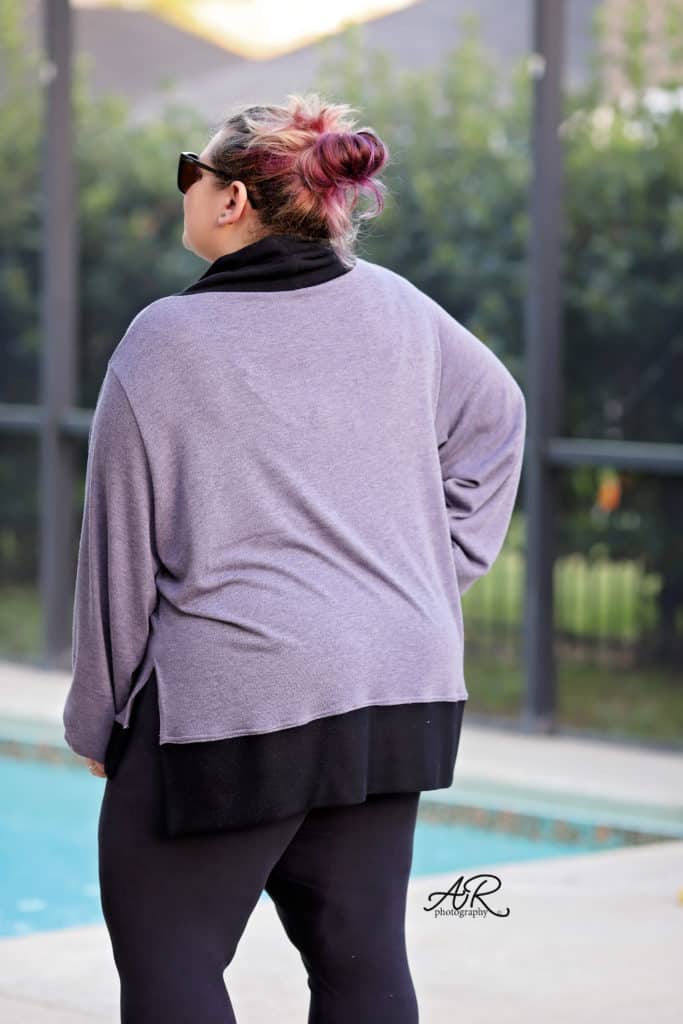
Higher side split
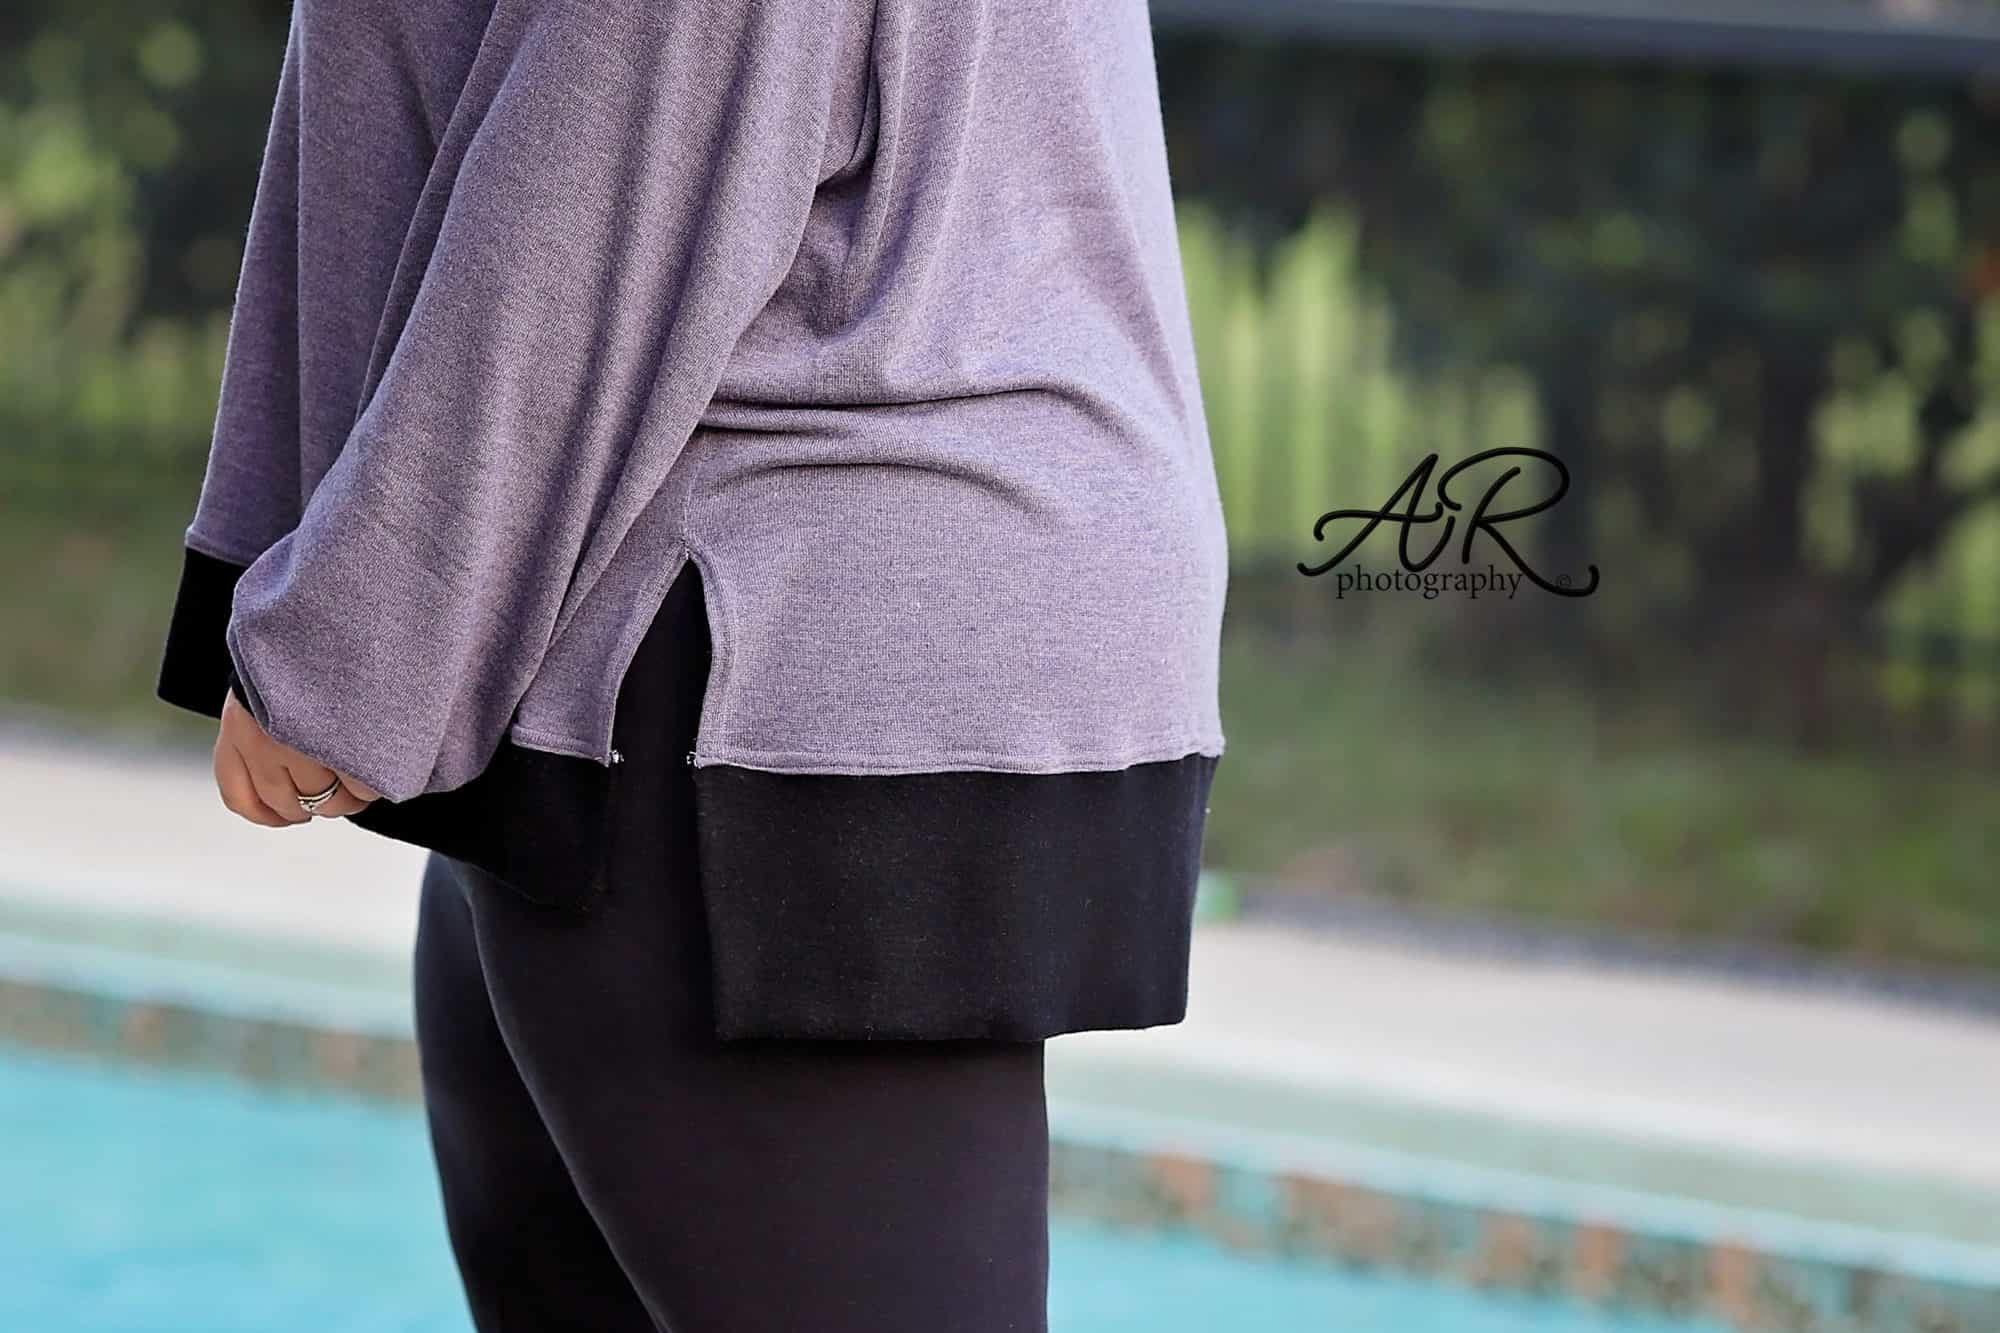
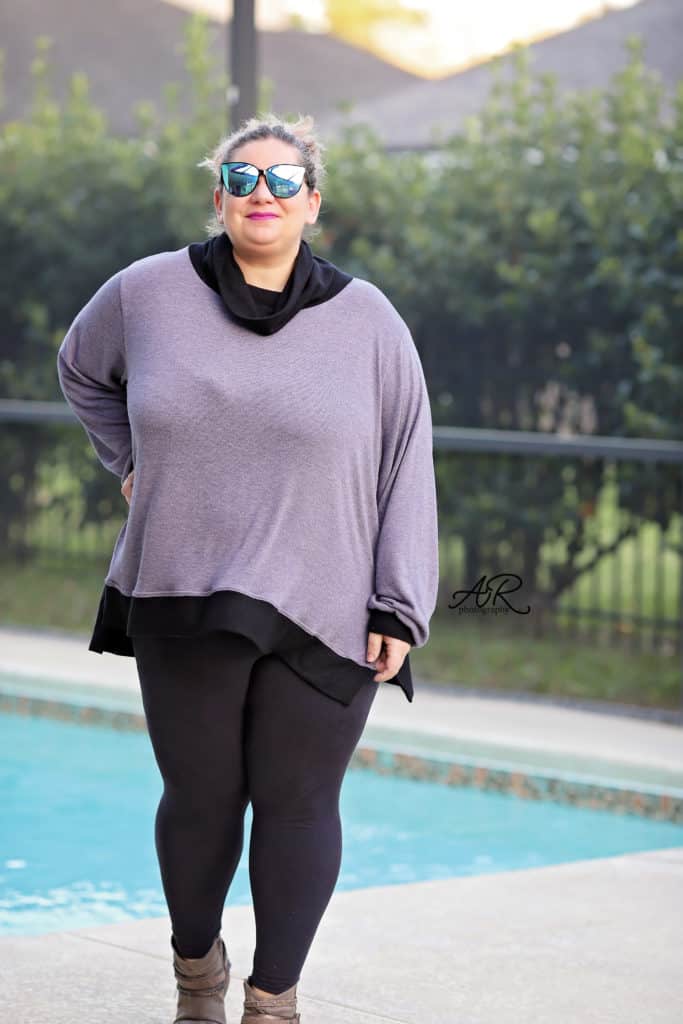
Let’s end this easy hacks series with a Pinterest inspired hack. One of the testers shared a picture of a high side slit oversized sweater and I knew I just have to have one. This is super easy look to achieve!

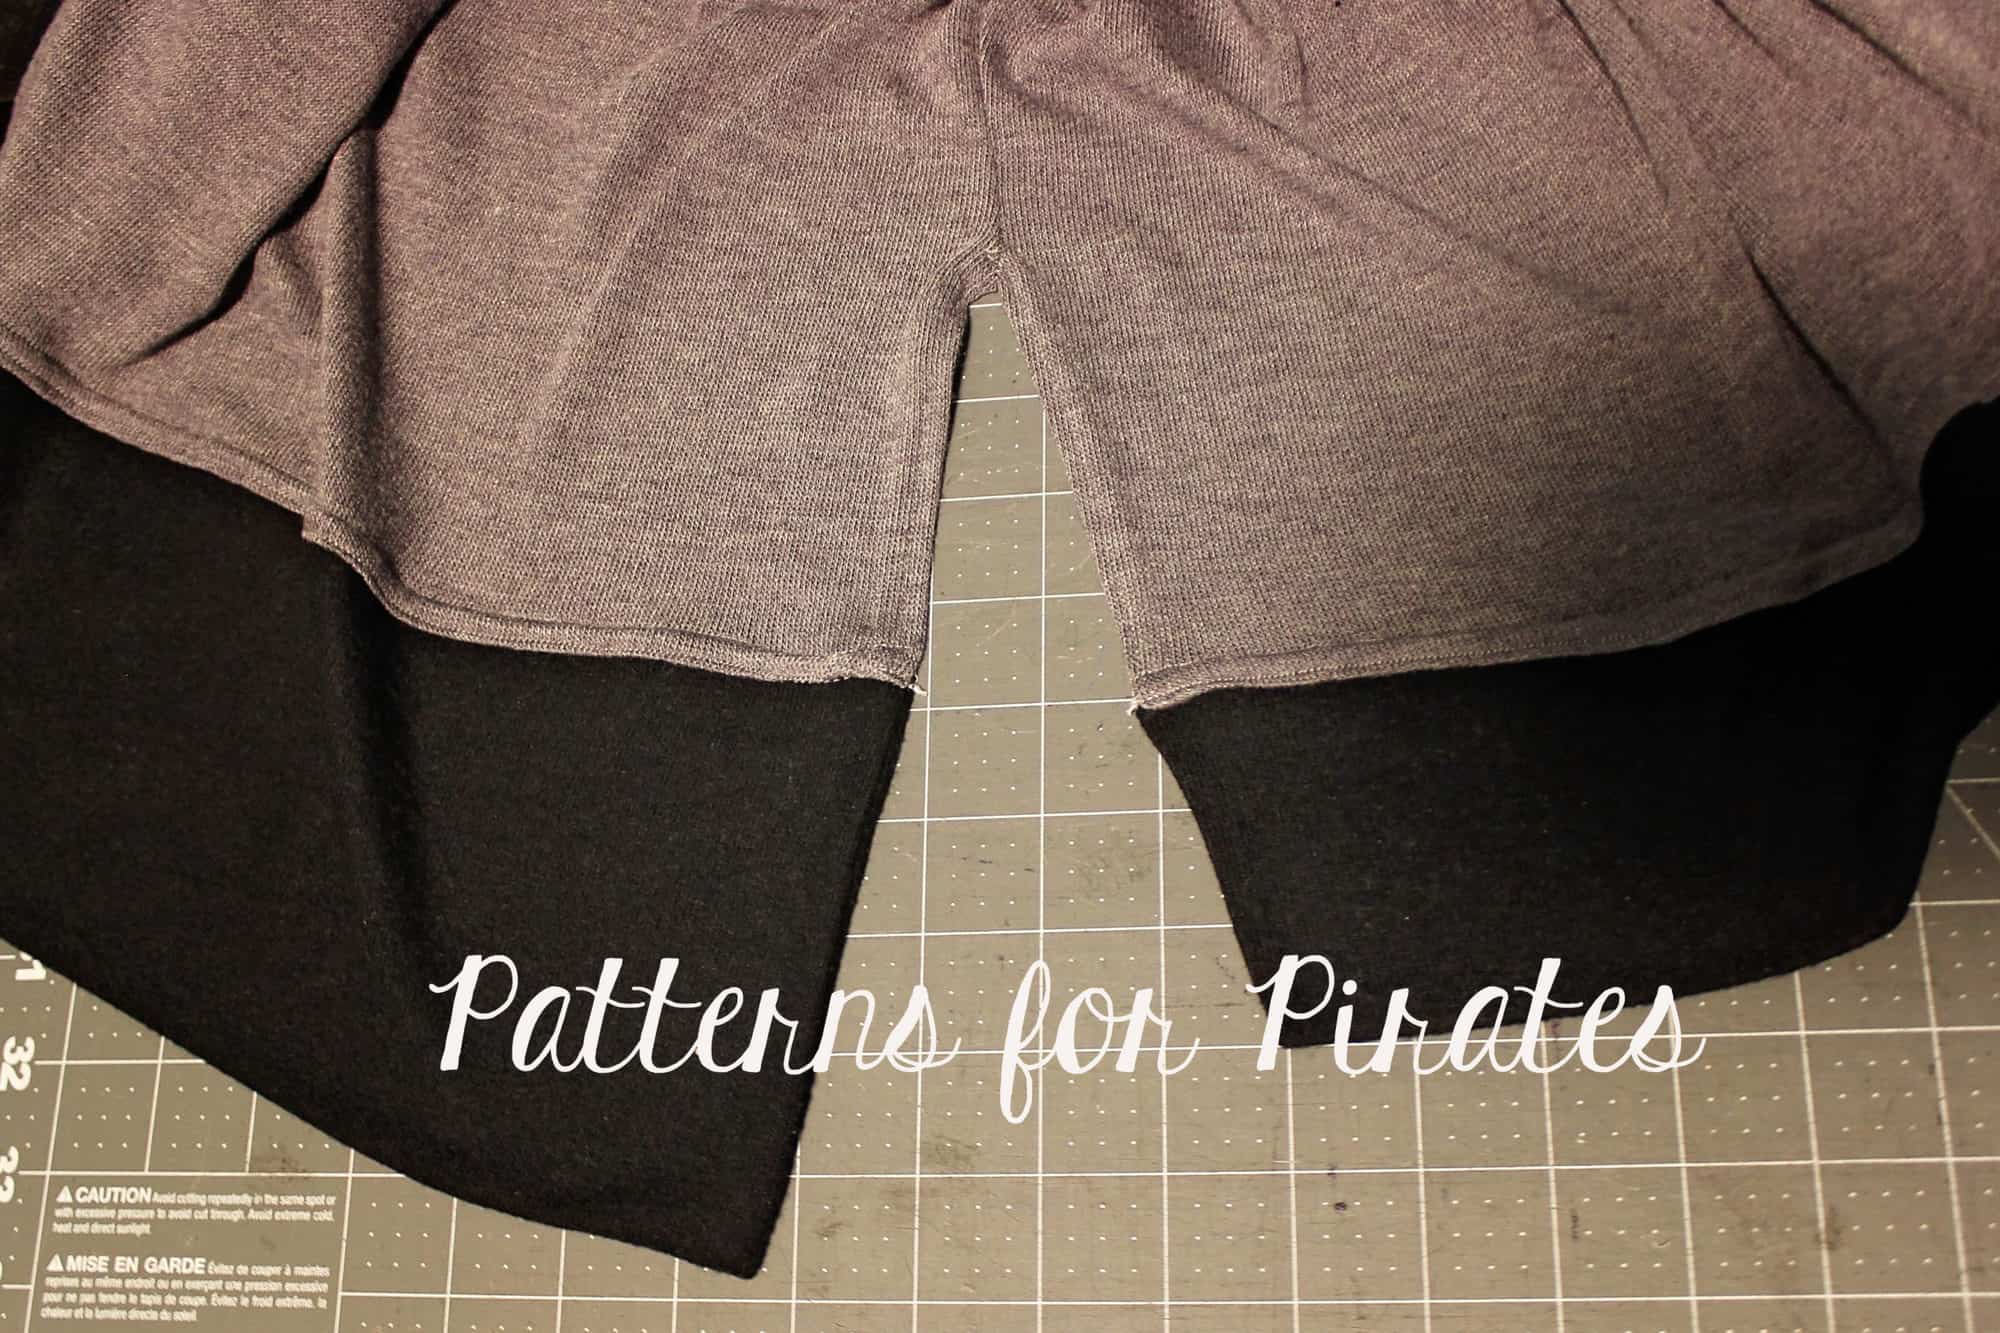
I chose to make the slit 5″ but that is just a mild suggestion. You can certainly make it bigger (or smaller) if you’d like. Mark 5″ up from the bottom raw edge on all 4 side seams. You can use pins, clips or a tailor chalk.
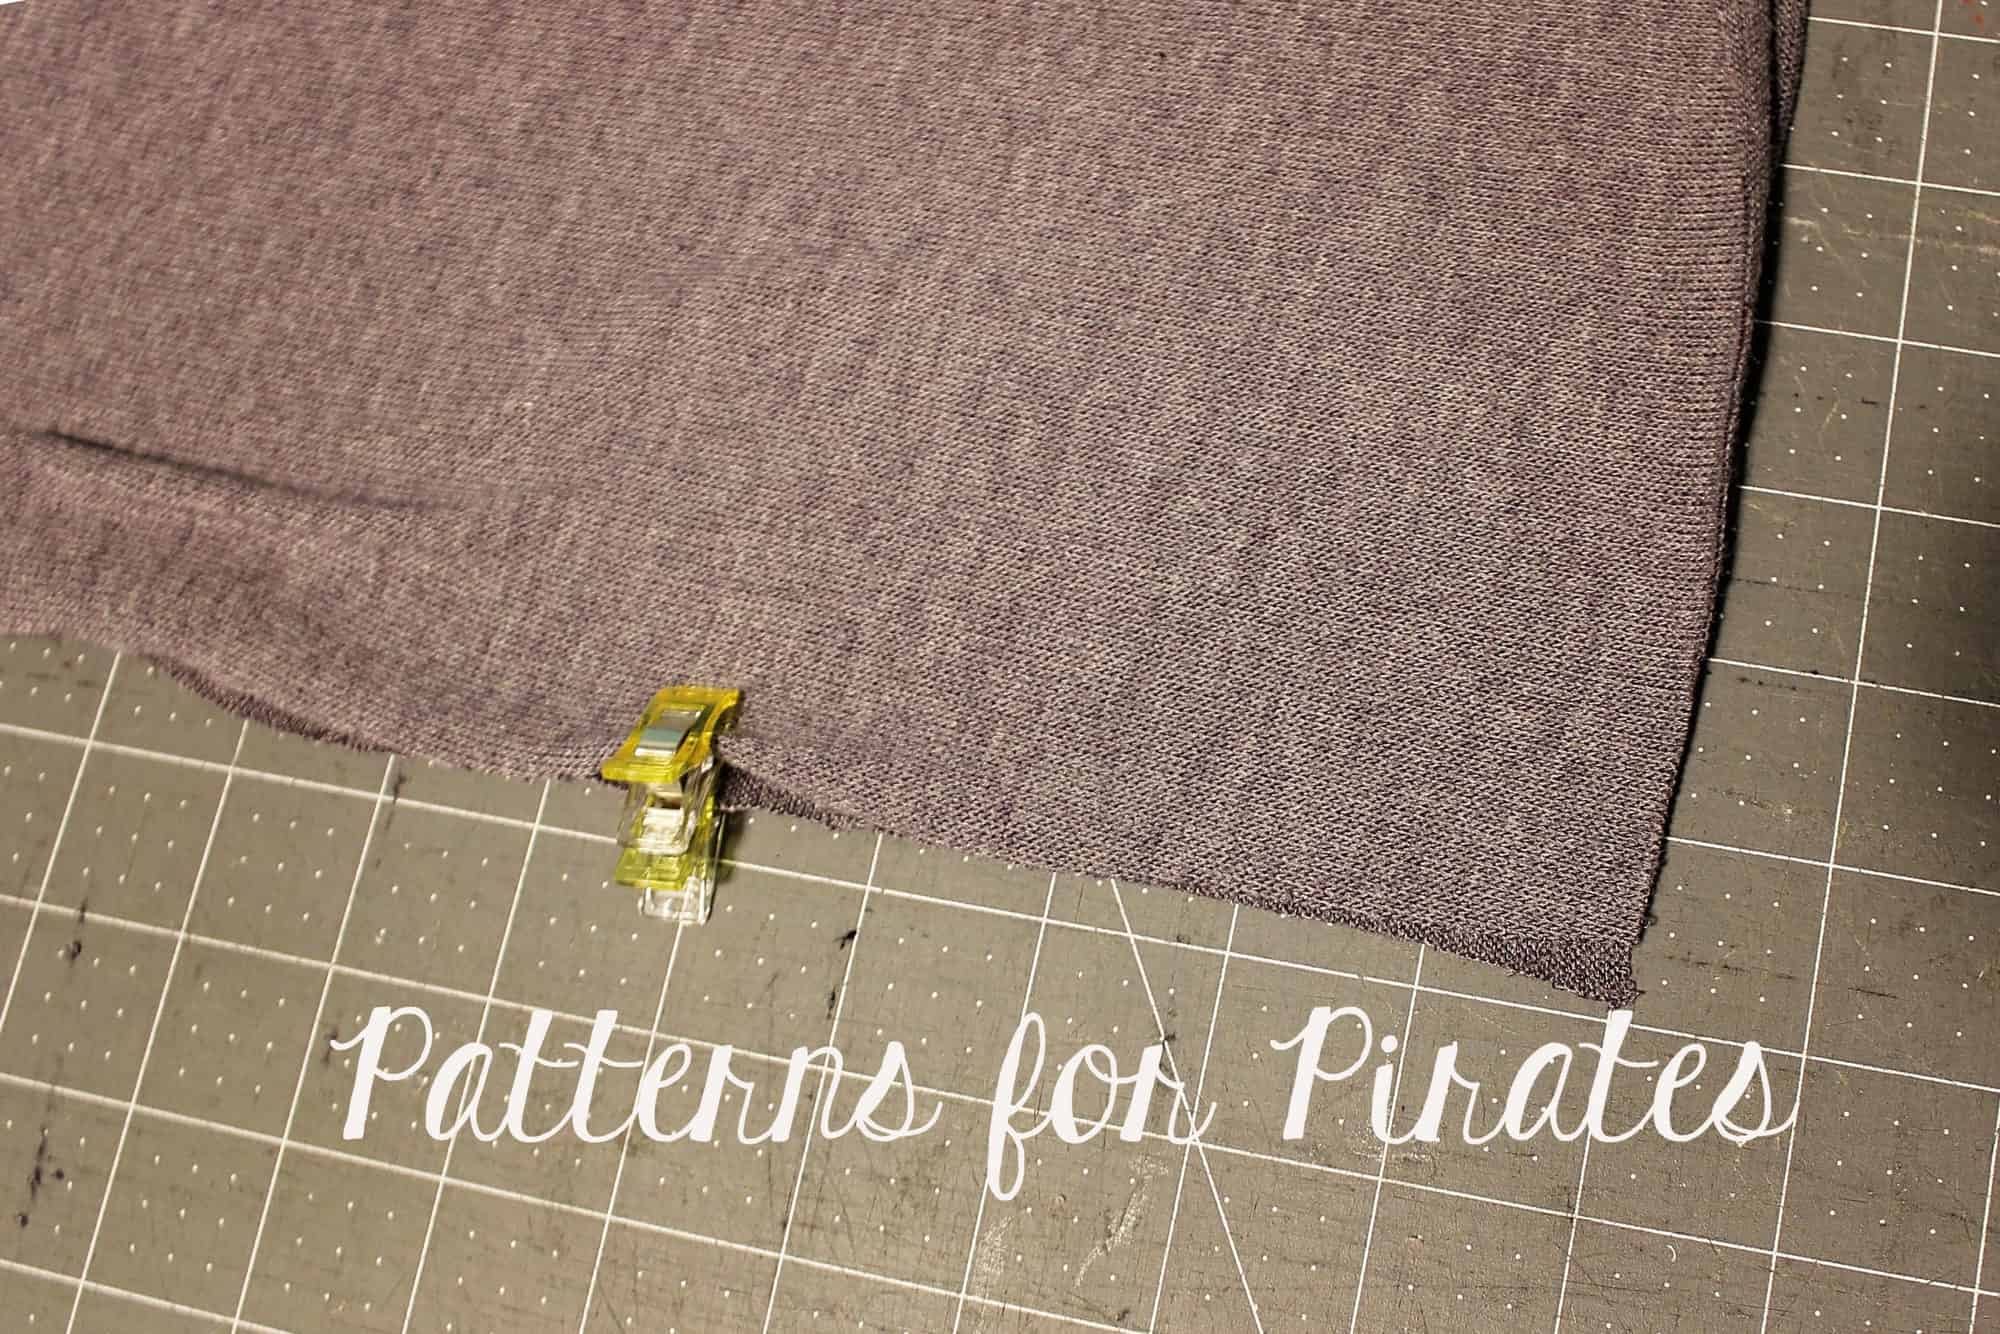
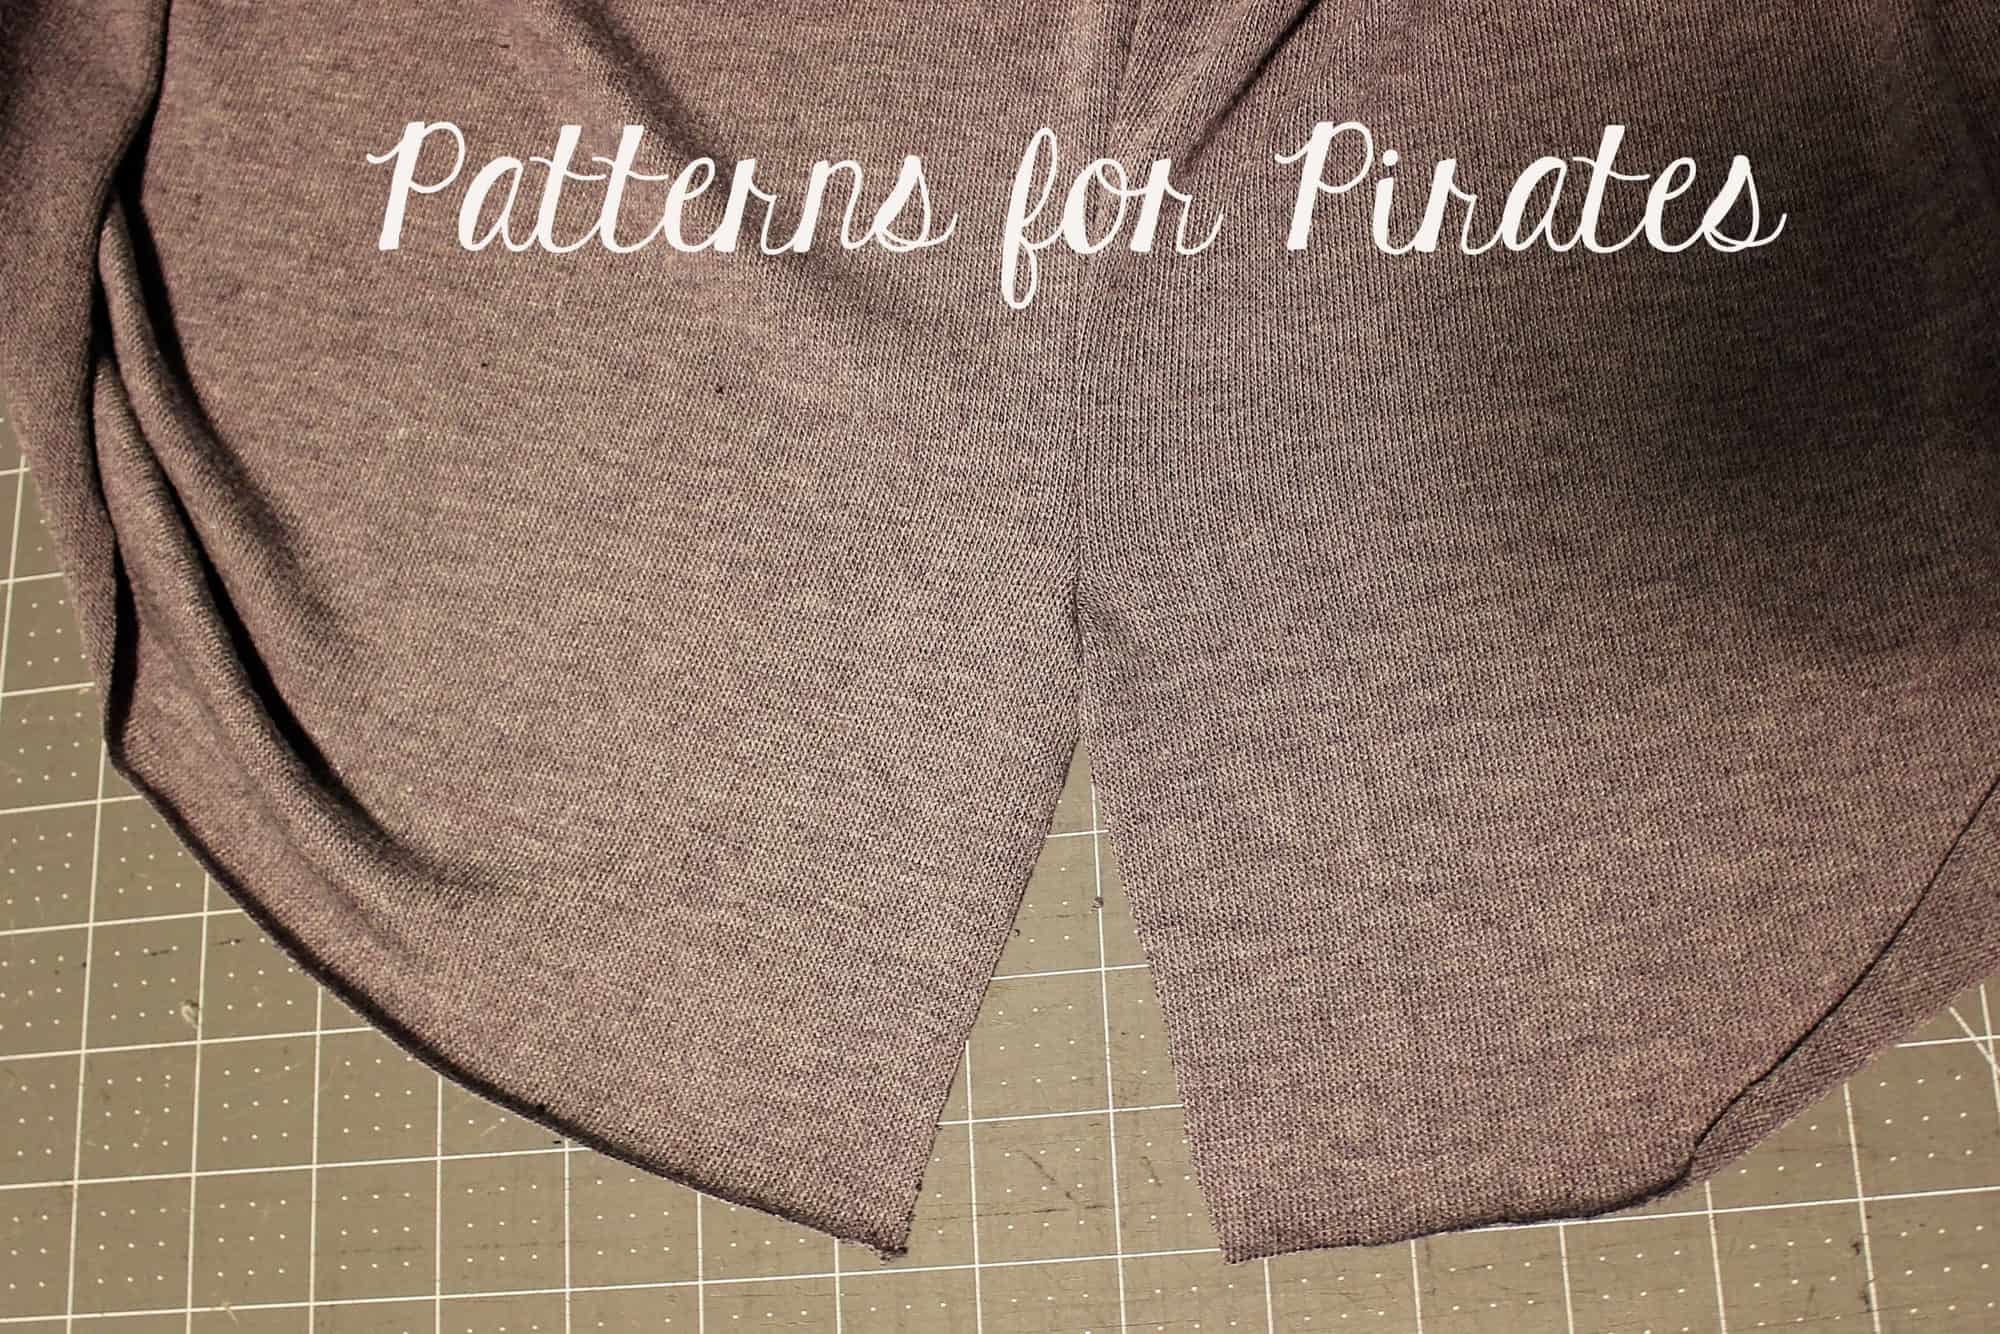
Sew the pattern as instructed in the tutorial but stop the at the 5″ mark. You may find this step easier to be done if you sew (at least the last few inches) with a sewing machine. Repeat the steps on the other side.
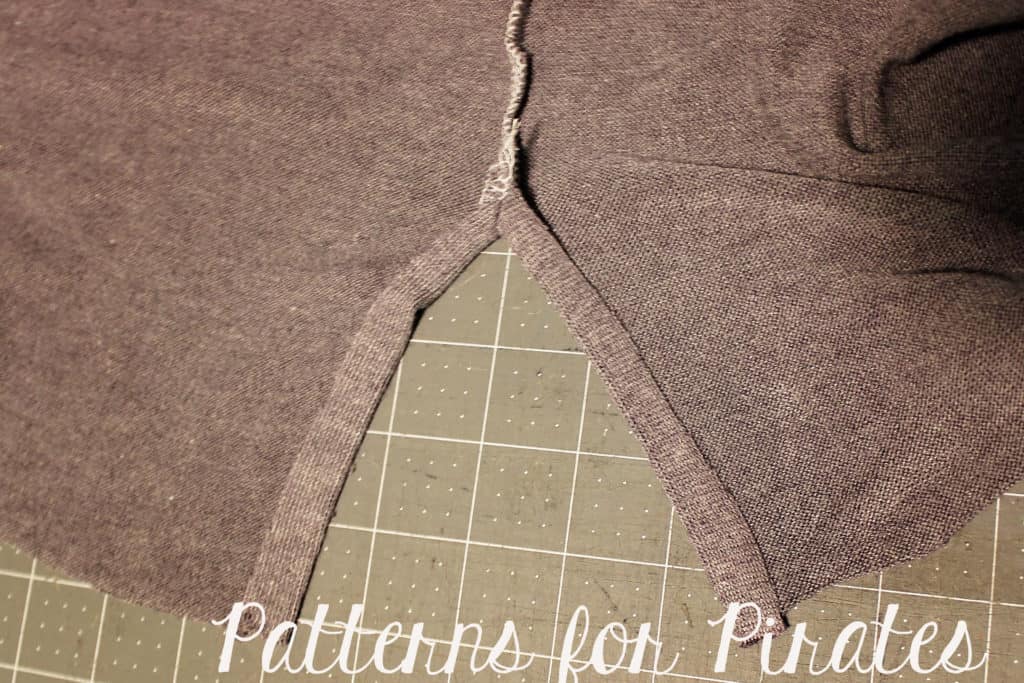
Press a 1/2″ hem on both sides of the side seam. Stitch the hem down with a zig zag stitch, twin needles or a coverstitch.
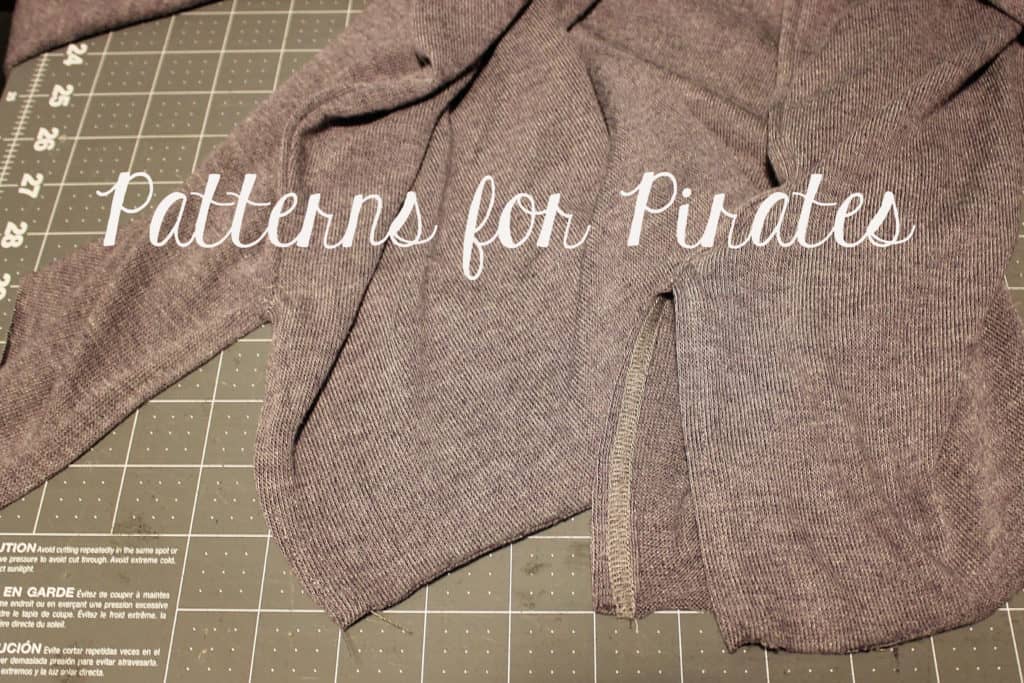
Continue adding the front and back bands ad in the tutorial. See that was super easy!
I did the hack on my turtleneck version but it would be super cute on all neckline.

Tip: If you would like to make the high side seam on the curved hem option you would have to sew the side seams the same way you do the high low option. 


Hope you enjoyed these as much as we loved making them for you. As always, don’t forget to show off your creations in the P4P Facebook group or Instagram (use #patternsforpirates) so we can ohhh and ahhh over them!

Filed Under: Pattern Hacks, Pattern Release, Uncategorized Leave a Comment

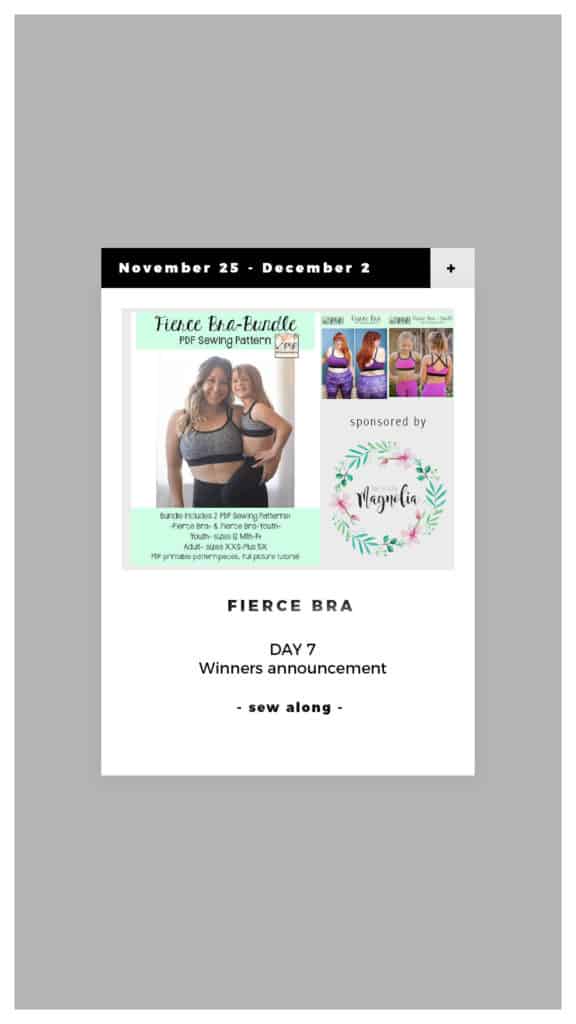
Fierce Bra SAL day 7

December 4, 2019


Thank you for joining us this past week! It is time to announce our Fierce Bra SAL winners so without further ado…

Congratulations Tiffany Nash! Tiffany won a $20 gift certificate to Patterns for Pirates and a $25 gift card to The Styled Magnolia Custom Fabrics.


Our second winner is Andrea Opalewski! Andrea will receive a $20 gift card from Made for Mermaids as well as a $25 card to The Styled Magnolia.


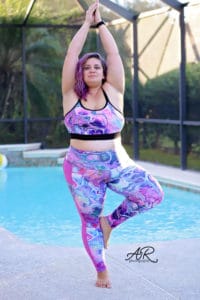
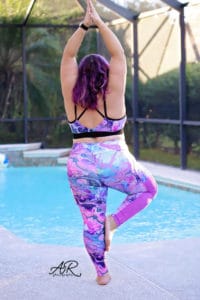
Huge THANK YOU to our Sew Along sponsor for not only providing the prizes but also the fabric I used for my own Fierce Bra and Peg Legs.


Fierce Bra SAL | Print and cut pattern [day 1]

Fierce Bra SAL | Choose and cut fabric [day 2]

Fierce Bra SAL | Prepare lining and sew side seams [day 3]

Fierce Bra SAL | Sew front neckline [day 4]

Fierce Bra SAL | Add shoulder FOE [day 5]

Fierce Bra SAL | Add under bust elastic [day 6]

Fierce Bra SAL | Winners announcement [day 7]

Filed Under: Frequently Asked Questions, Sew-A-Long Leave a Comment

Fierce Bra SAL day 6

November 30, 2019


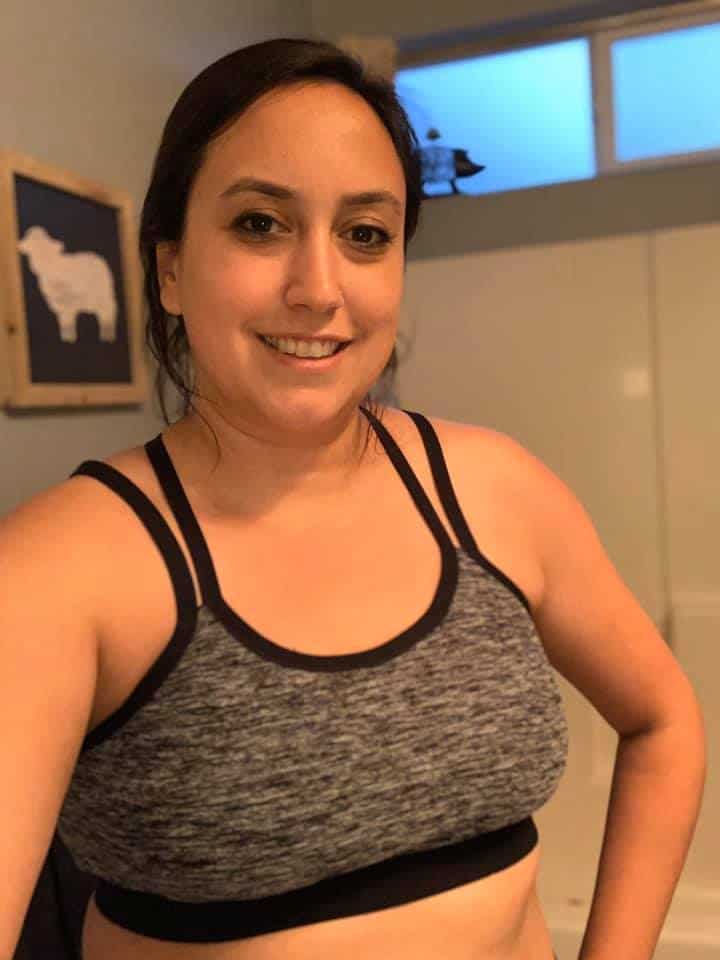
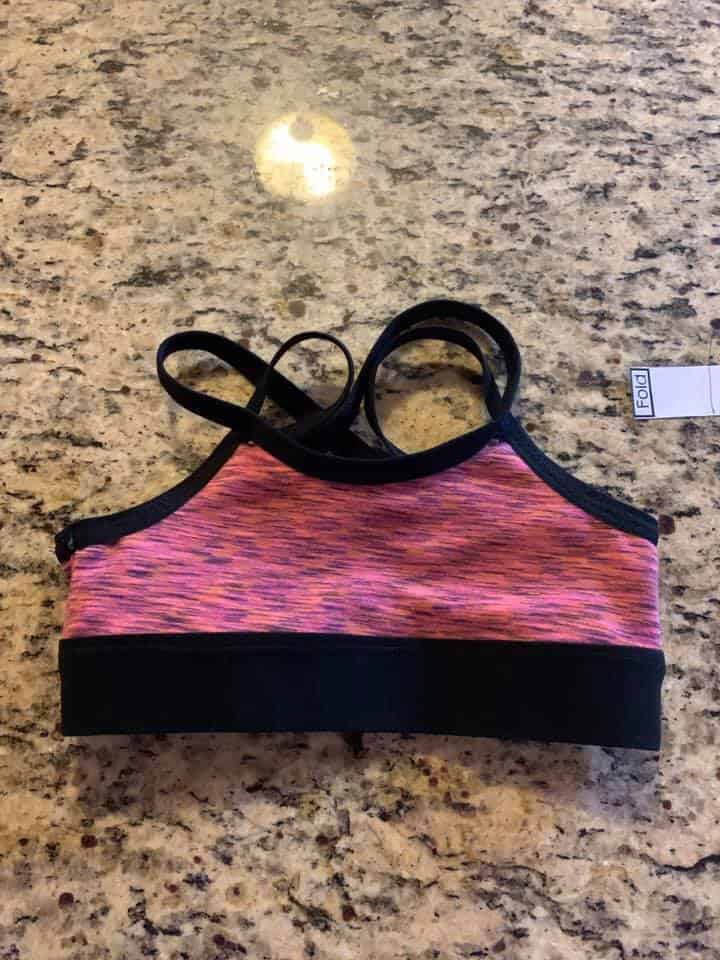
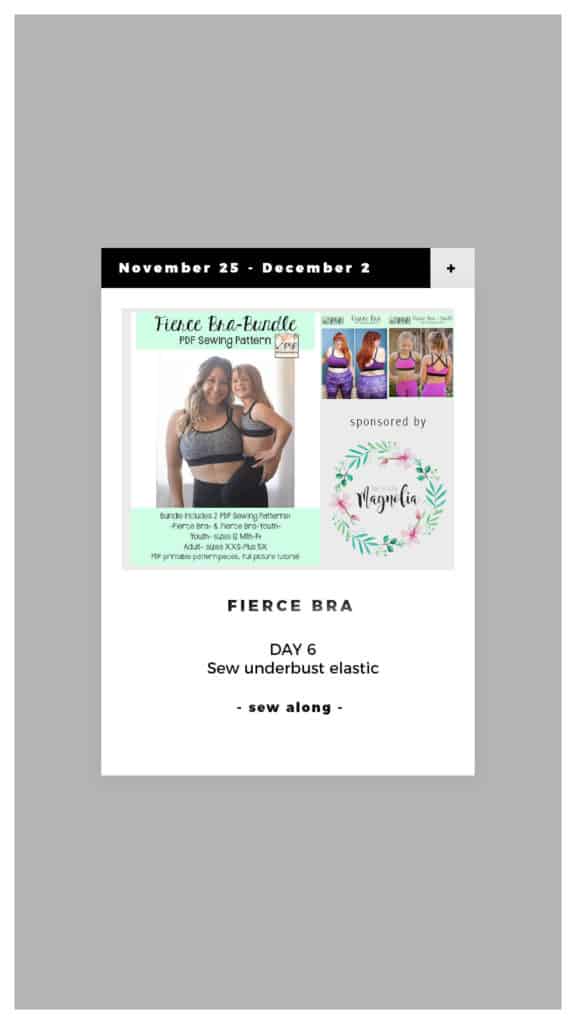
You did it! Last sewing day of the Fierce Bra SAL is here! Today we are attaching the under bust elastic and of course showing off our custom made bras. Whether you went for more of a loungewear bra and used cotton spandex or preferred an actual, medium impact sports bra and used athletic knit, your waistband will be plush (or underwear) elastic.

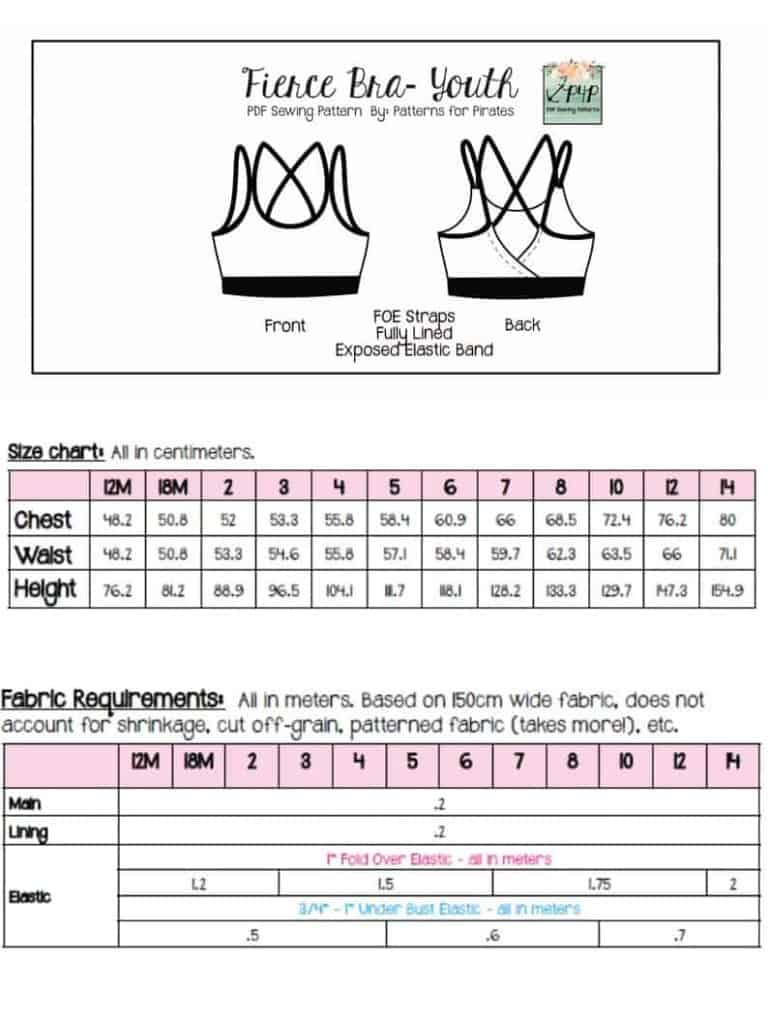
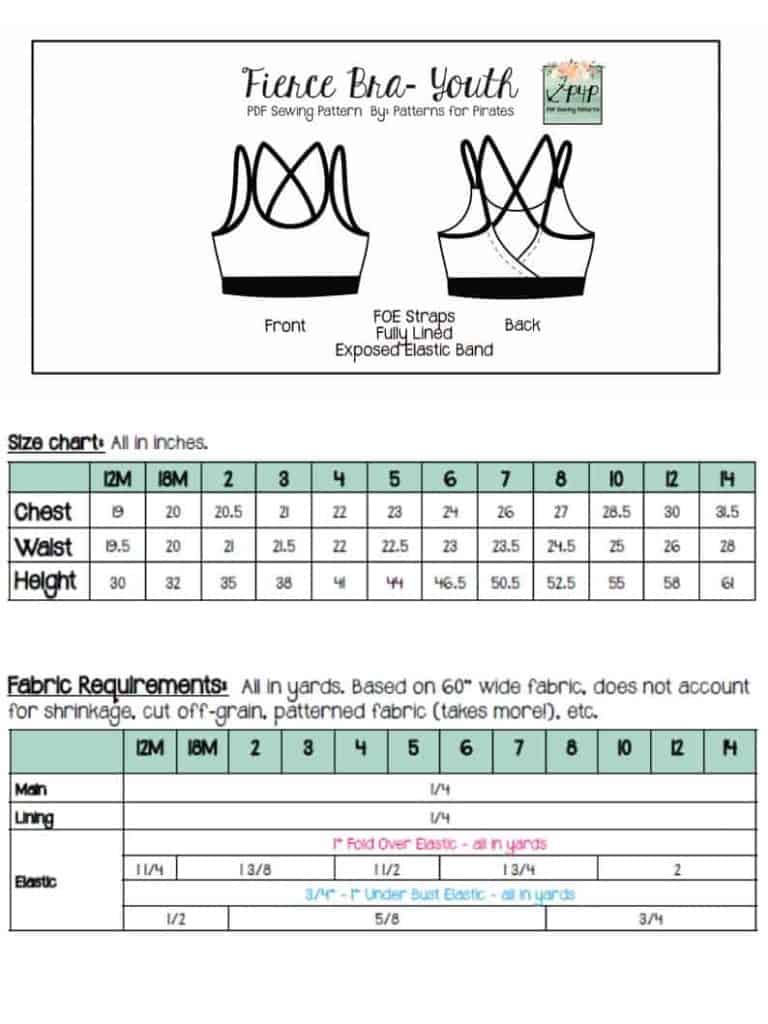
You can “get away” with 3/4-1″ elastic if you are using cotton lycra. However, if you would like a sports bra that will be good for workouts, use 1.5-2″ plus elastic. If you have sewn the Youth Fierce Bra you can use 3/4 or 1″ plush elastic.


Here is the last sew along video. Take a look over it and post your completed Fierce Bra in the comments of the day 6 photo of the sew along album. Of course you are welcome to brag in the main P4P group too 🙂 Great job, everyone!


Fierce Bra SAL | Print and cut pattern [day 1]

Fierce Bra SAL | Choose and cut fabric [day 2]

Fierce Bra SAL | Prepare lining and sew side seams [day 3]

Fierce Bra SAL | Sew front neckline [day 4]

Fierce Bra SAL | Add shoulder FOE [day 5]

Fierce Bra SAL | Add under bust elastic [day 6]

Fierce Bra SAL | Winners announcement [day 7]

Filed Under: Frequently Asked Questions, Sew-A-Long Leave a Comment

Gala Gown :: Easy Hacks

November 29, 2019

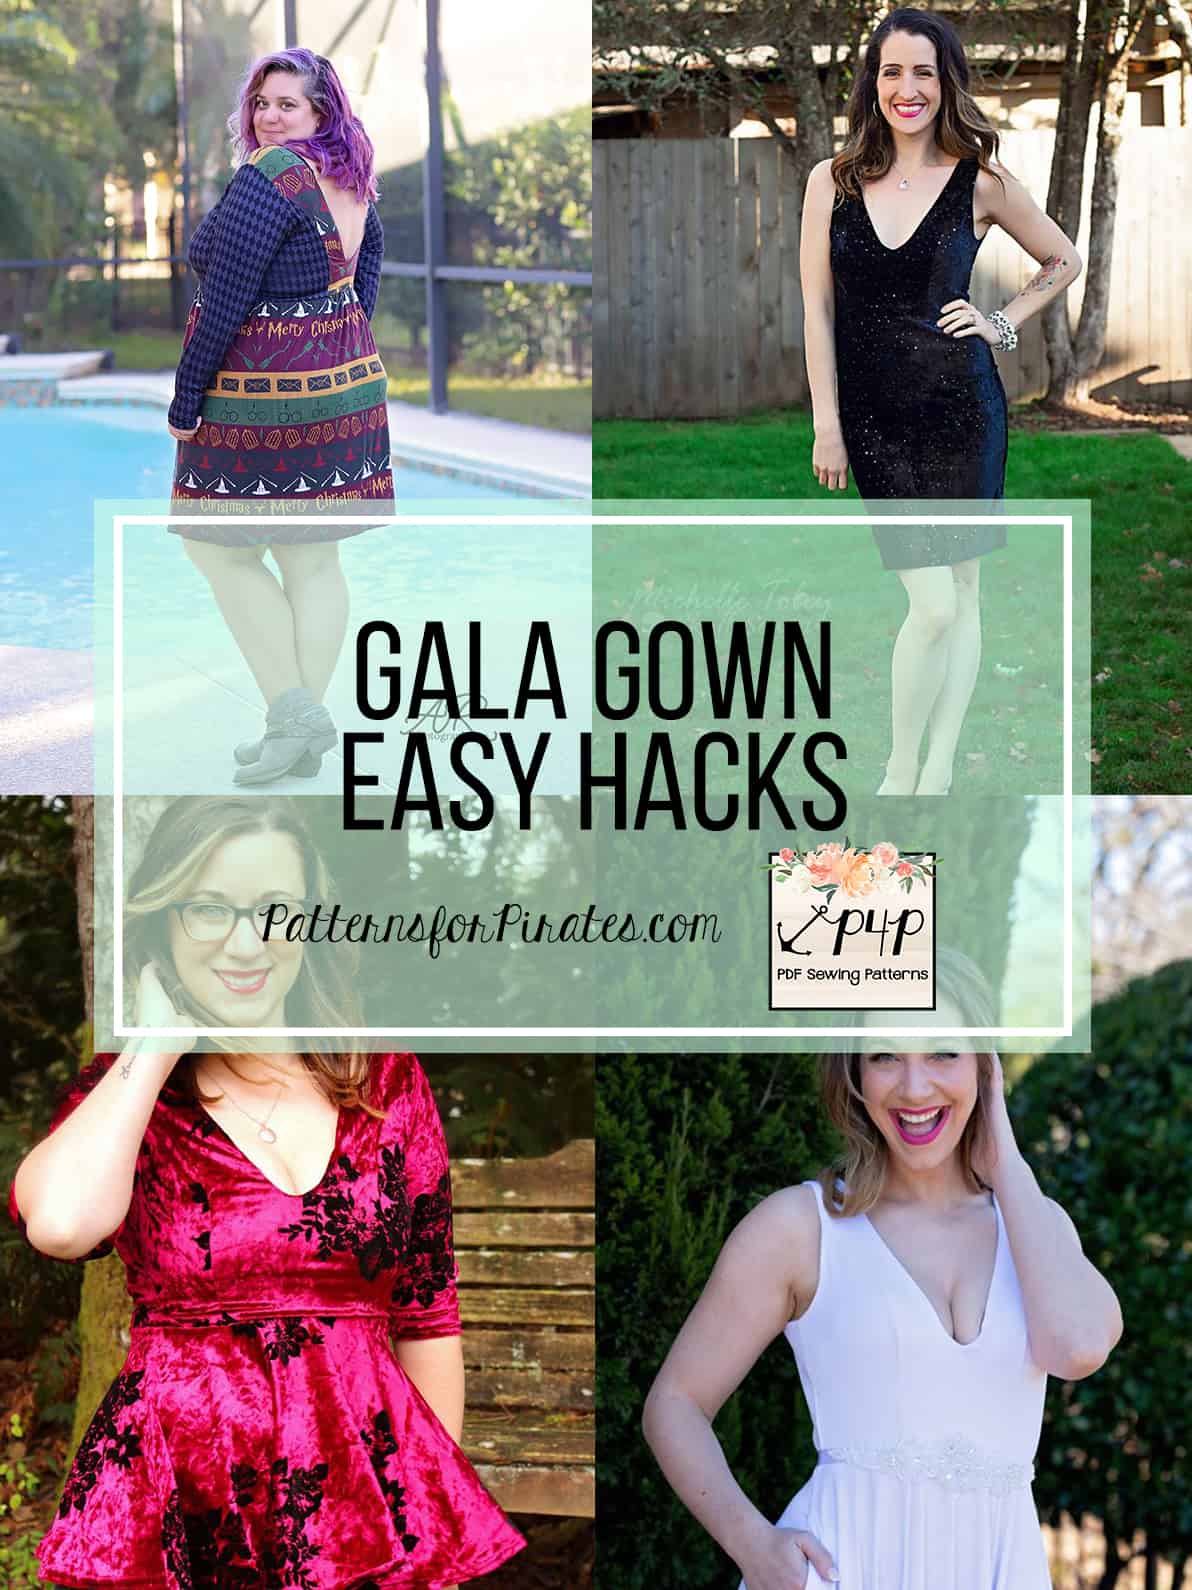
It’s a Gala Hacks party! In true P4P fashion, our amazing blog team has some fun, easy hacks and mash ups ready for you.

…..

Gala – Sweetheart mash up

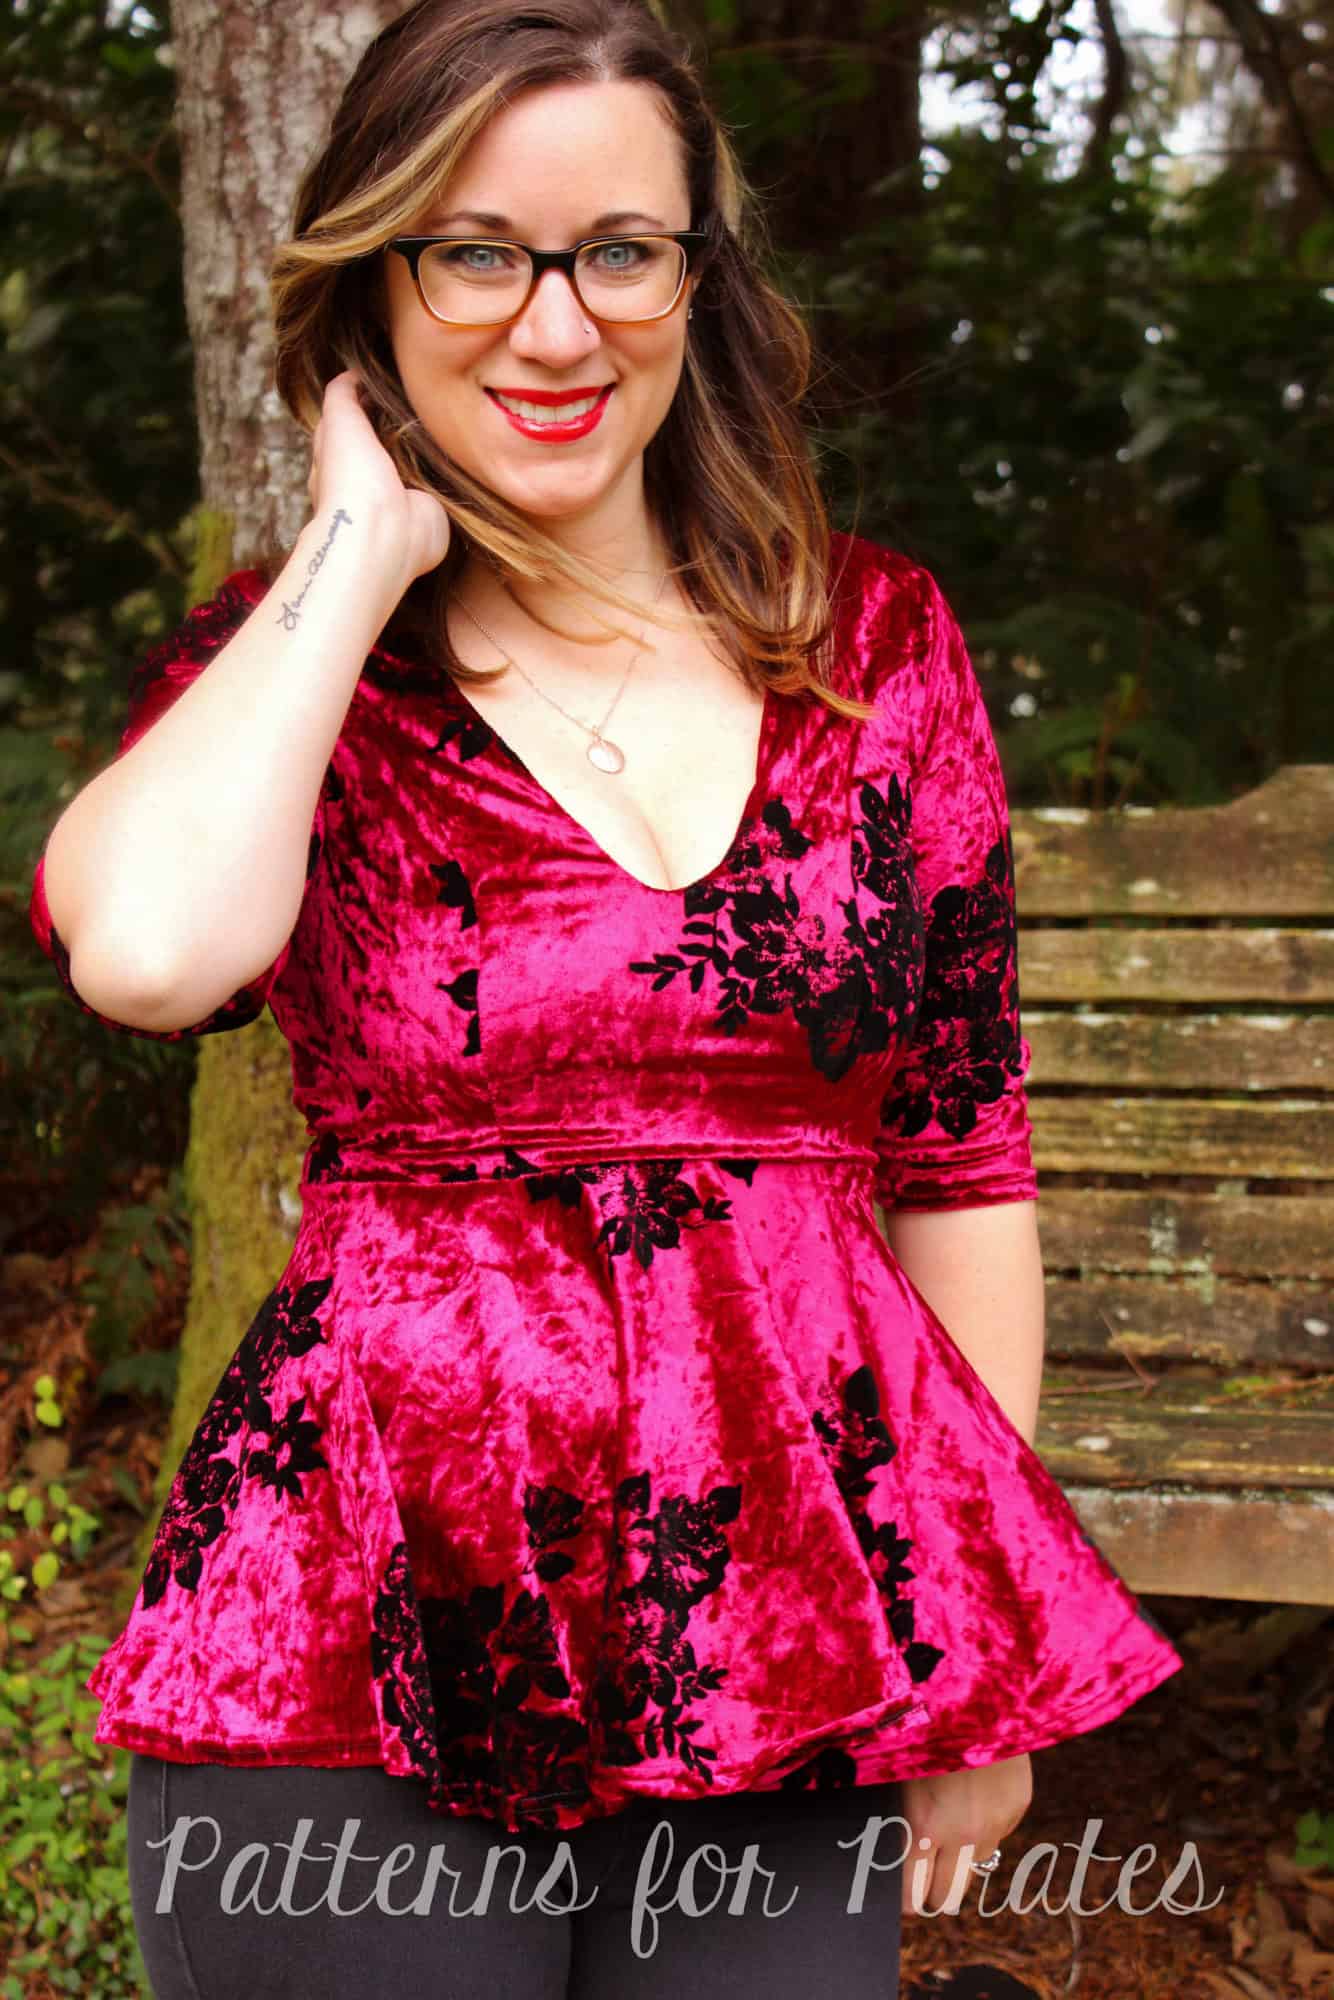
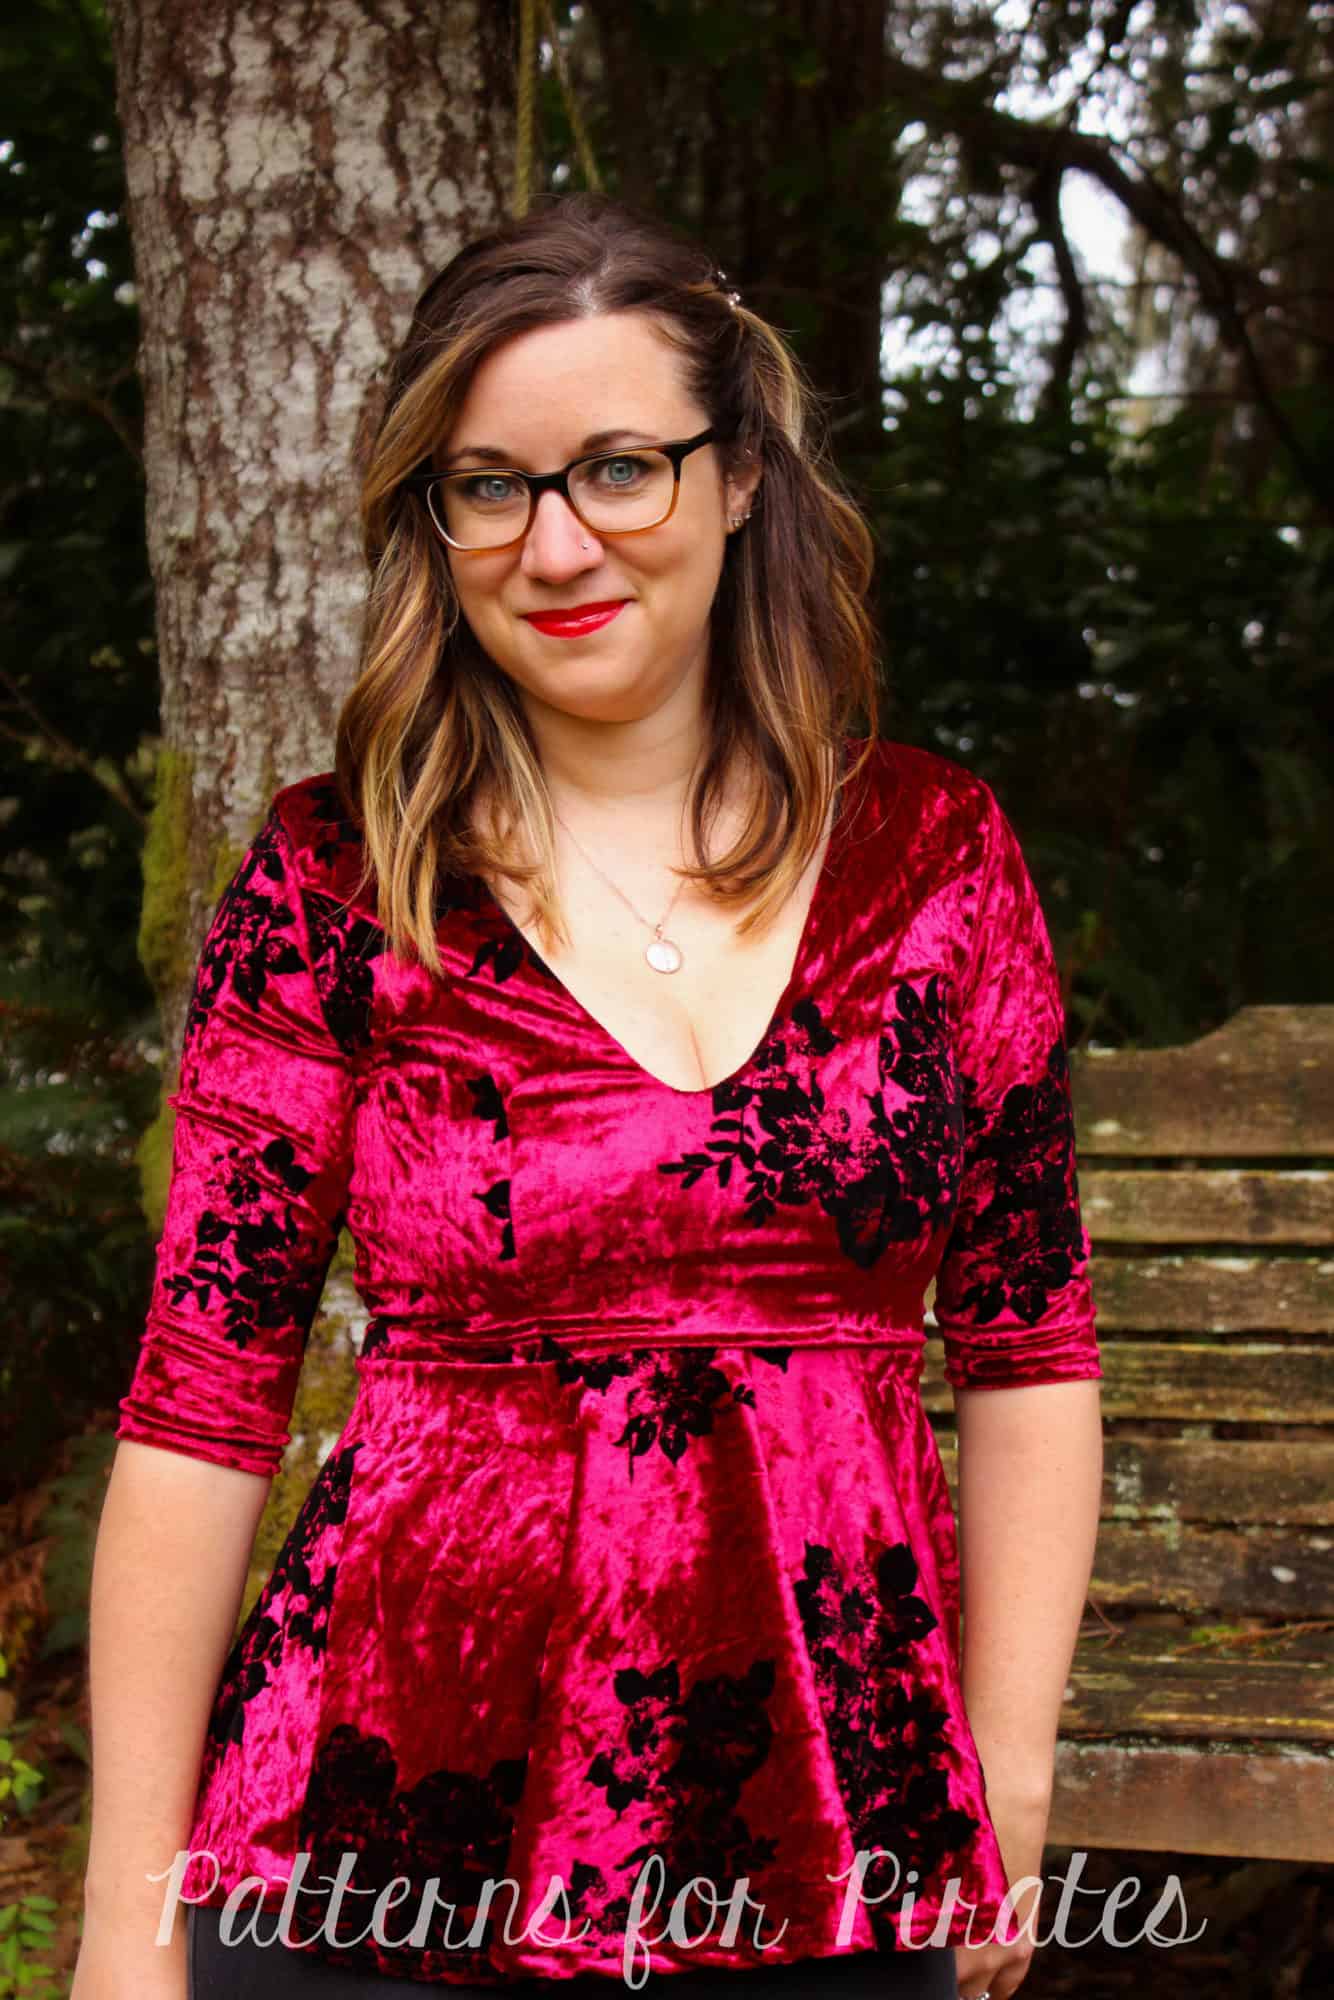
There’s no denying that the Gala Gown has all of the drama and beauty needed for all of those amazing times in our life. However, it can also be transformed into a fun little top with very little effort! I used the bodice of the Gala Gown for this look, however I paired it with the peplum skirt option from the Sweetheart Dress. 

To create this look, cut and assemble your bodice from the Gala Gown as directed in the tutorial. You will then want to use the peplum skirt option from the Sweetheart Dress. Mark the quarter points on both the bodice and the skirt. Slip the skirt over the bodice, right sides together, and match quarter points. Attach using a ½” SA. Finish your peplum by hemming and you’re all done!
~ Erinn

…..

Gala – Pencil Skirt mash up

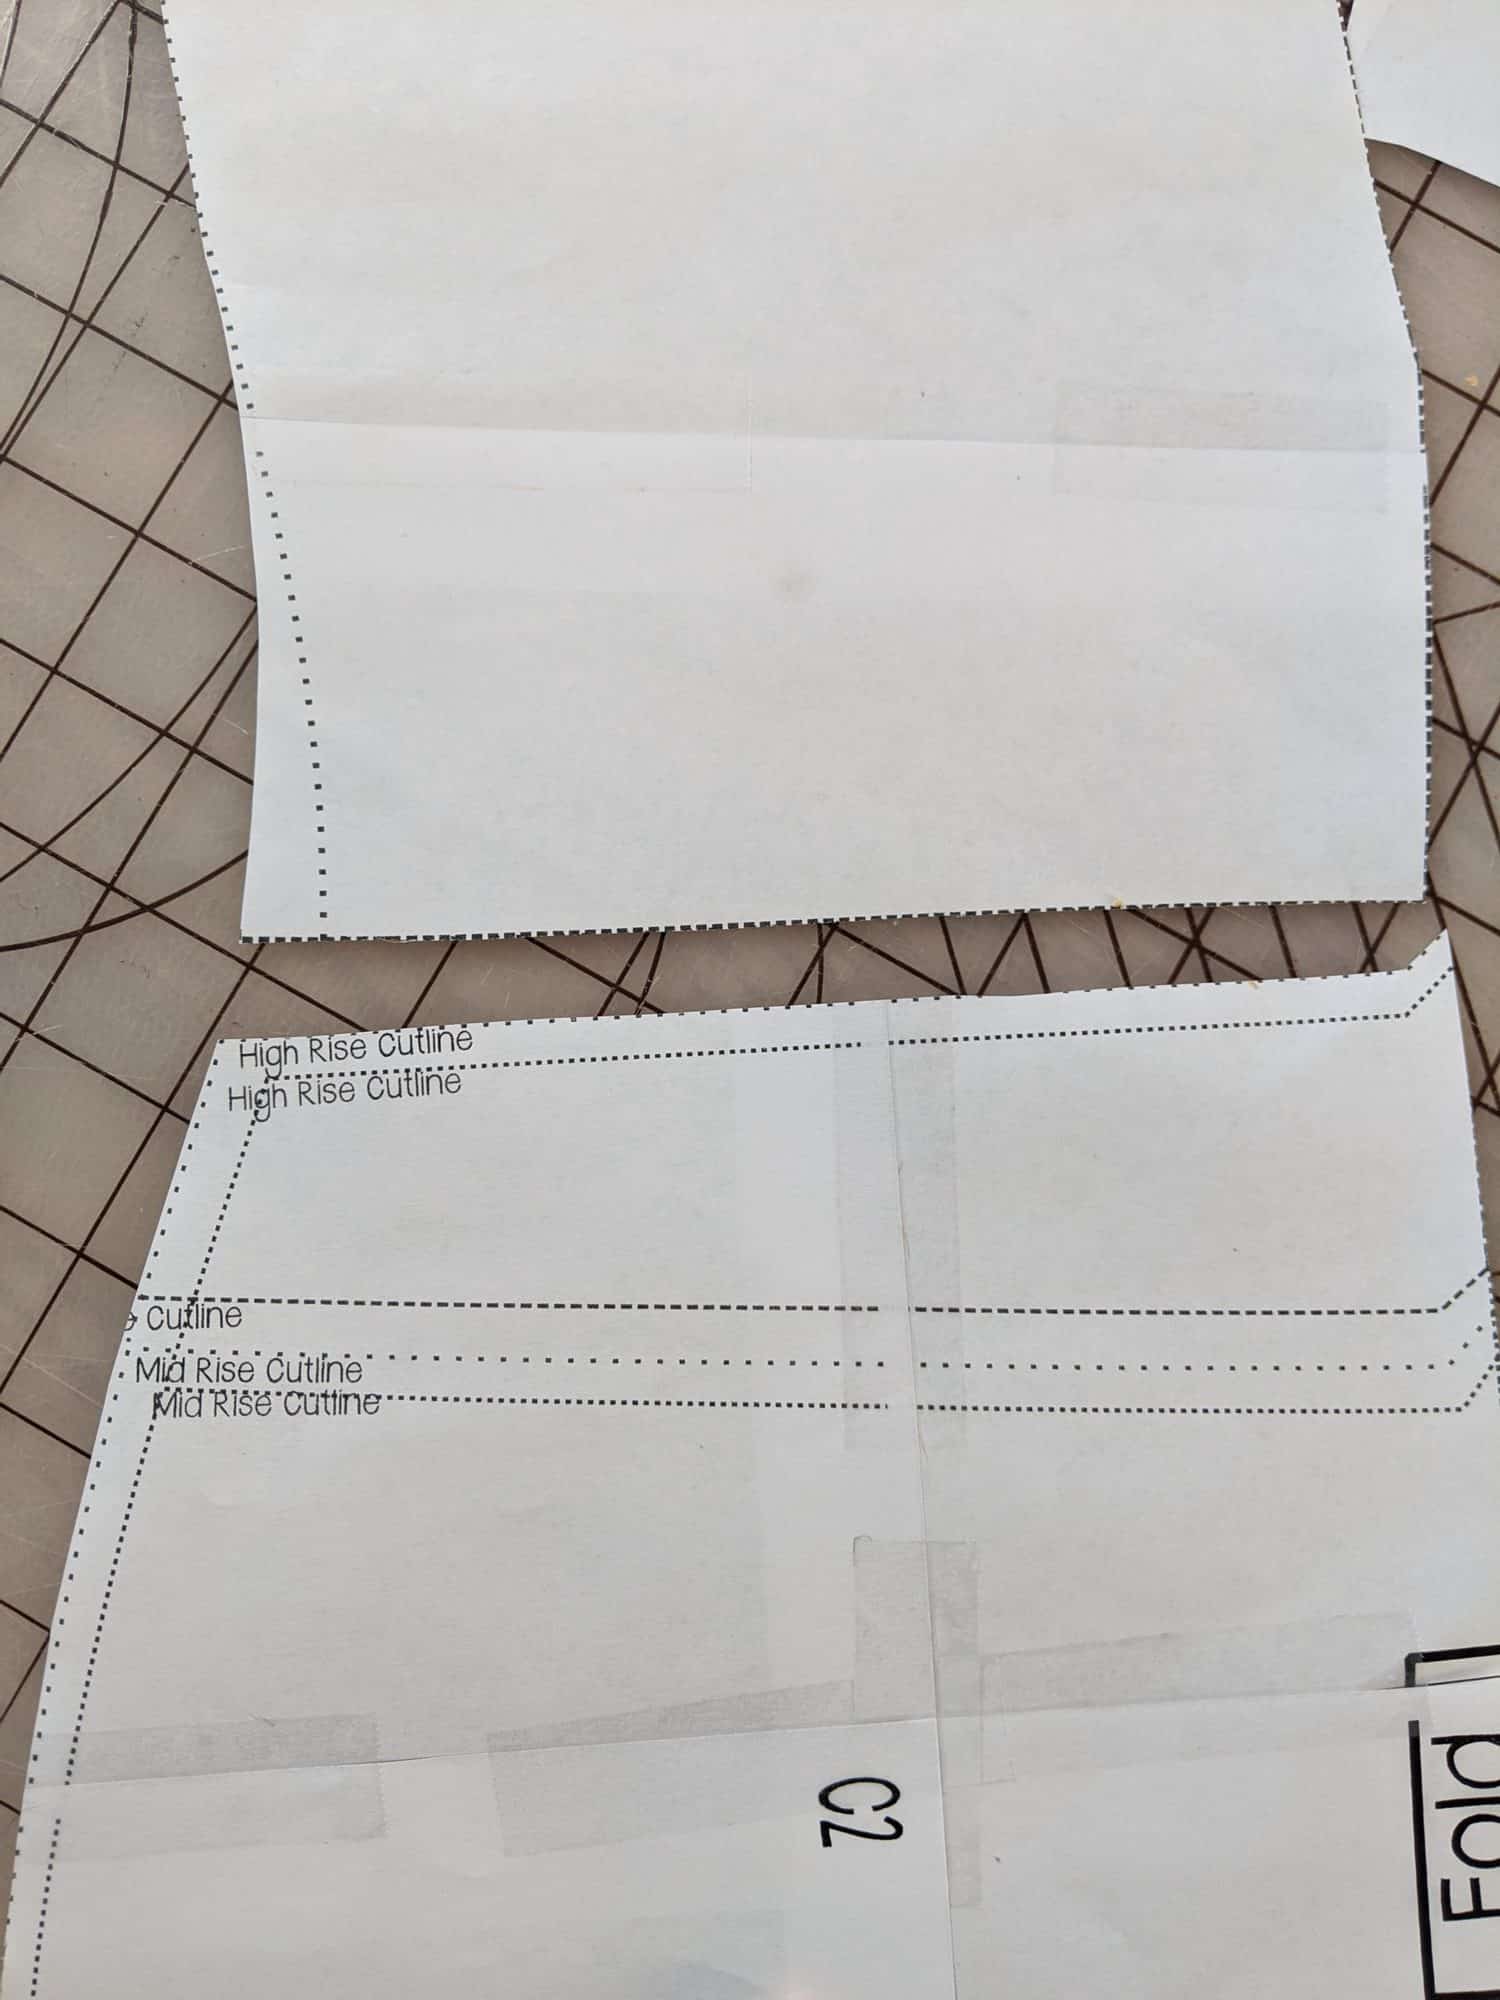
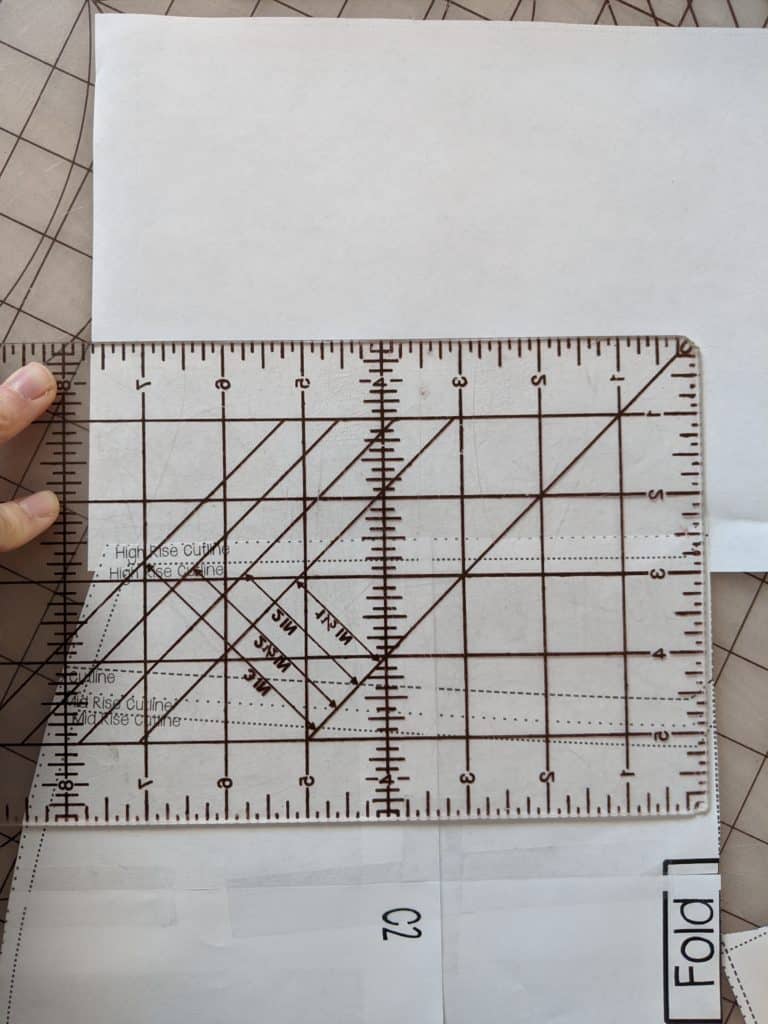
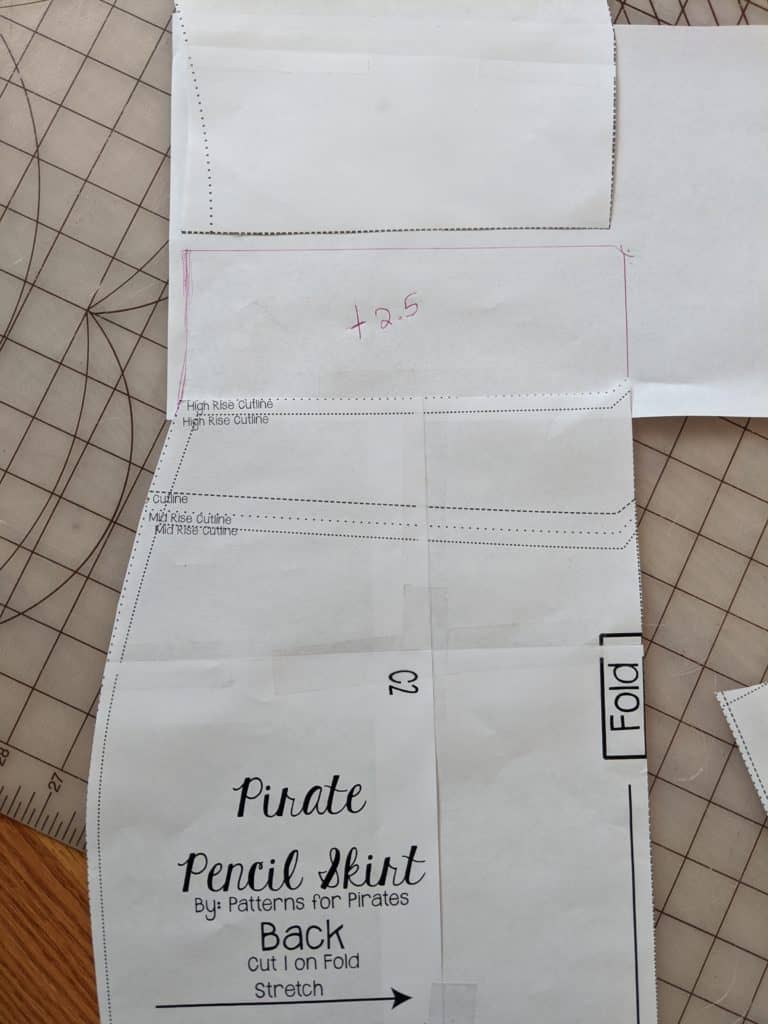
Loving the new Gala top but looking for something a little more form-fitted through the hips?  I’m going to take you through a super quick and easy mash with the Freebie Pirate Pencil Skirt that’ll give you a totally different look. Go ahead and grab your Gala Bodice Lining and your Pencil Skirt Pattern (high rise height) pieces.  You’ll want to make sure the bodice bottom is close to the same width as your pencil skirt top for mashing (based on your sizing it should be).  You may have to grade your pencil skirt pieces slightly to match the Gala Bodice.  I did this through the added waistband height.

Next, you’ll need need to add the Pencil Skirt band height to your pencil skirt pattern.  You’ll take the given band height and divide it by 2 and then add that to the top of your pattern pieces.  For example- the band height on mine called for 5 inches so I added 2.5 to my pattern piece ( since the band is folded in half for the actual skirt height).  This is what you’ll cut for the bottom of your dress.


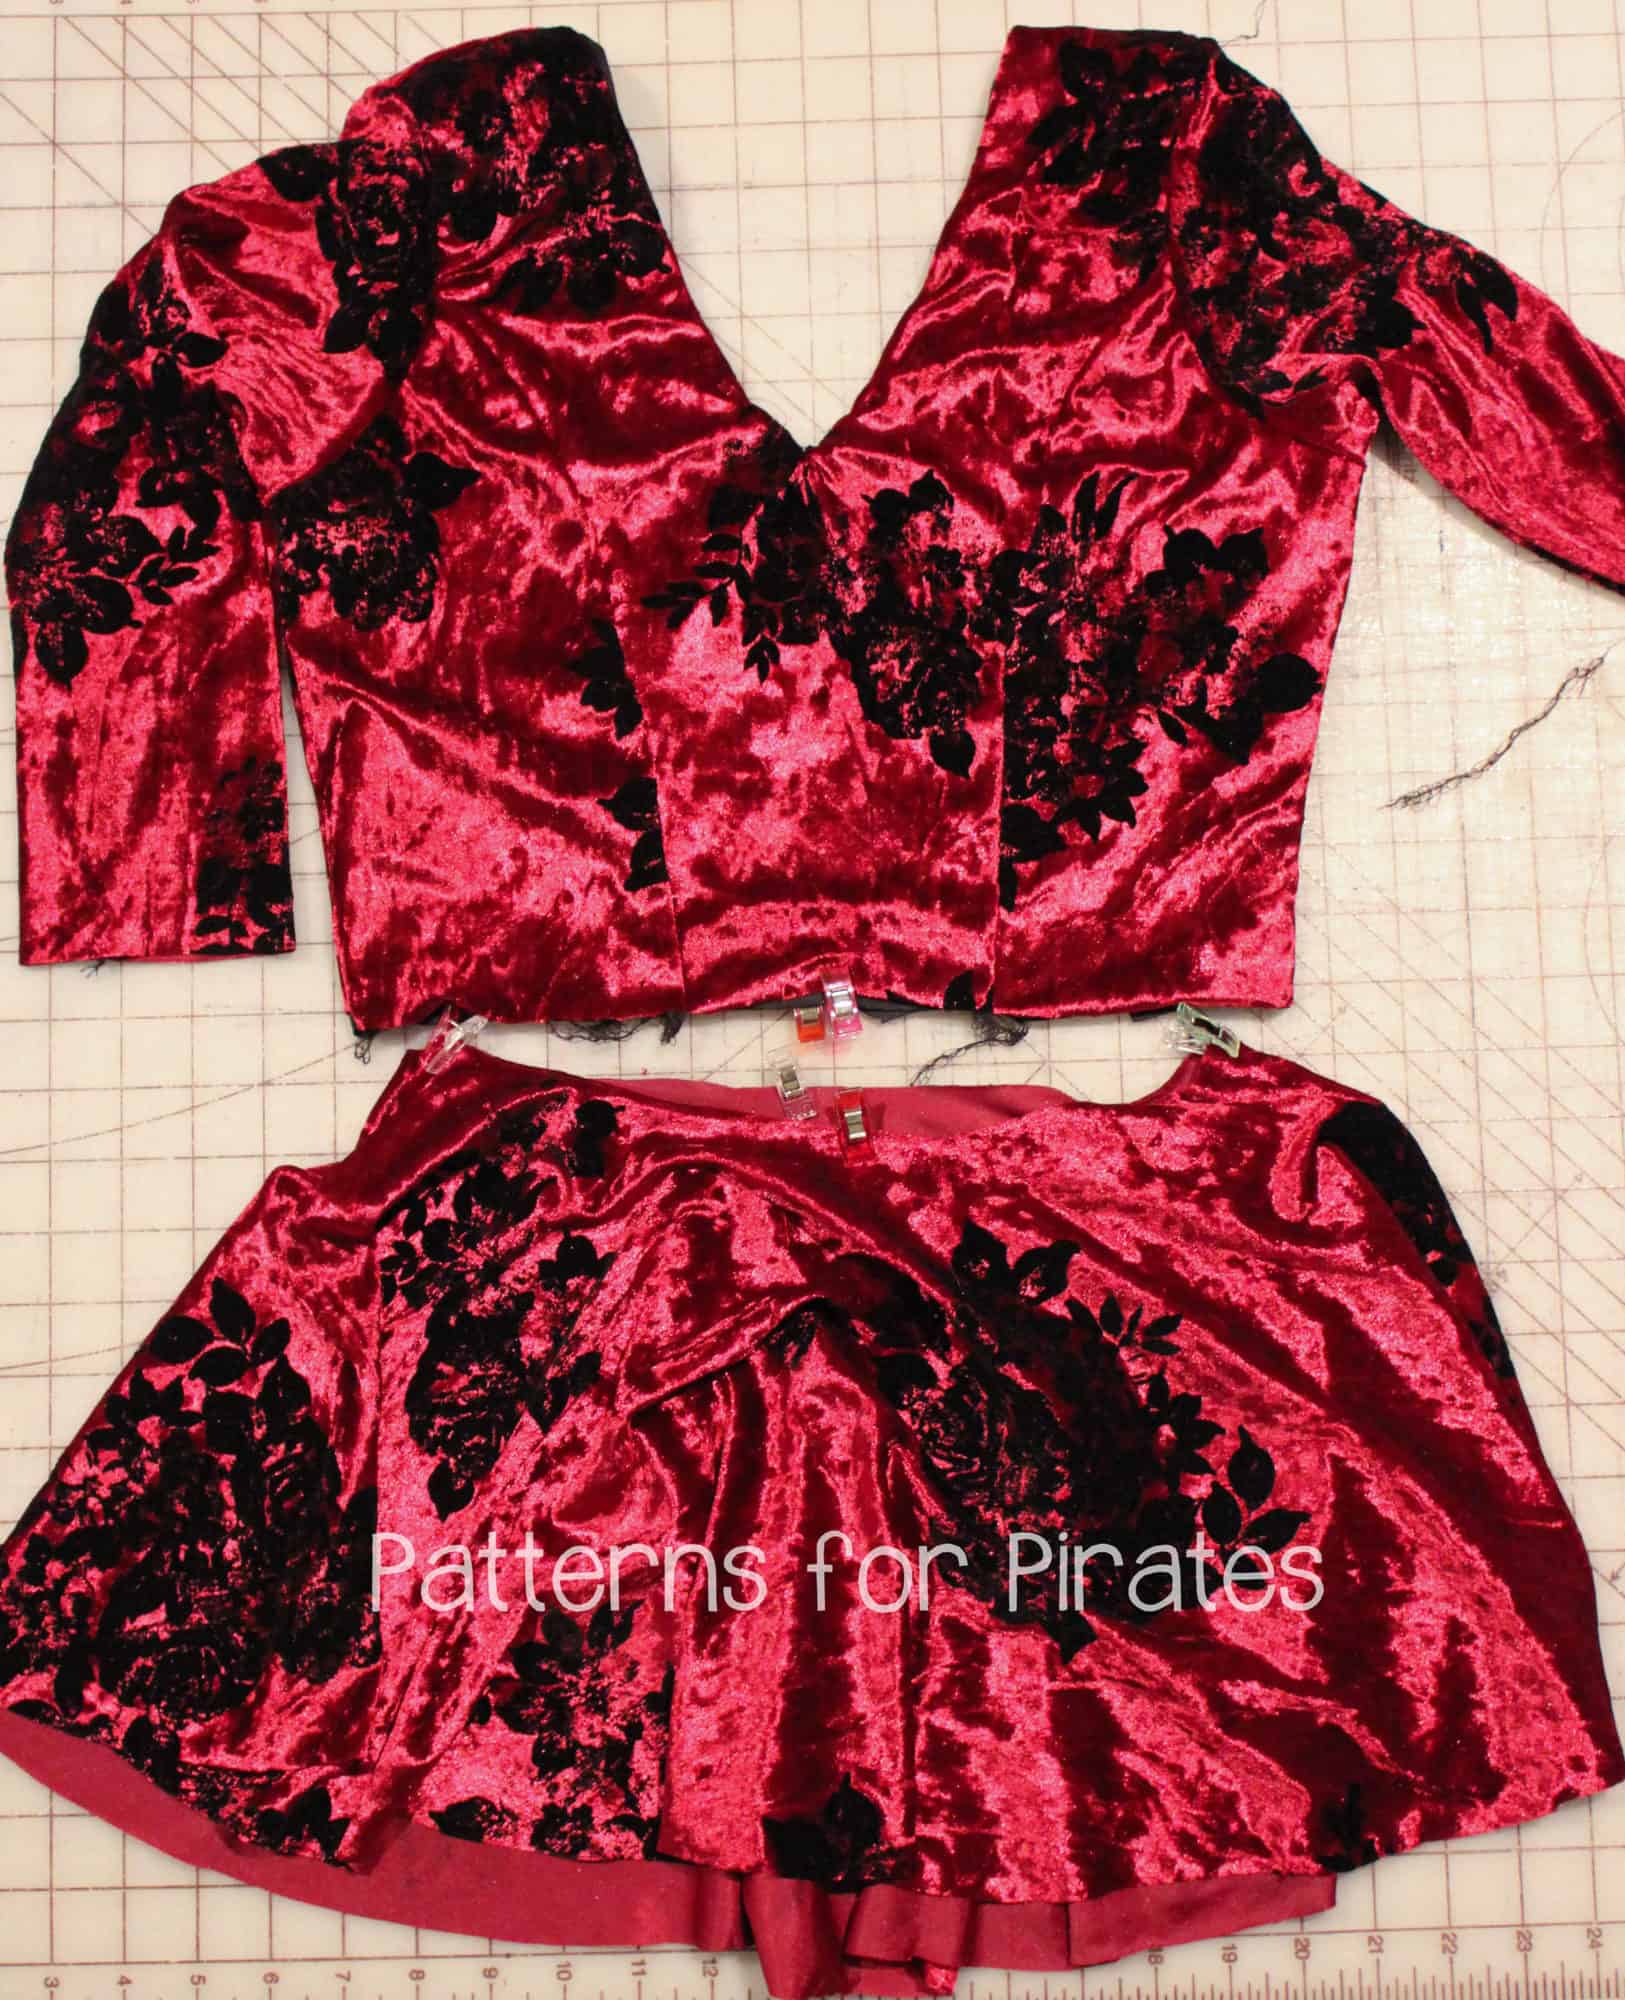
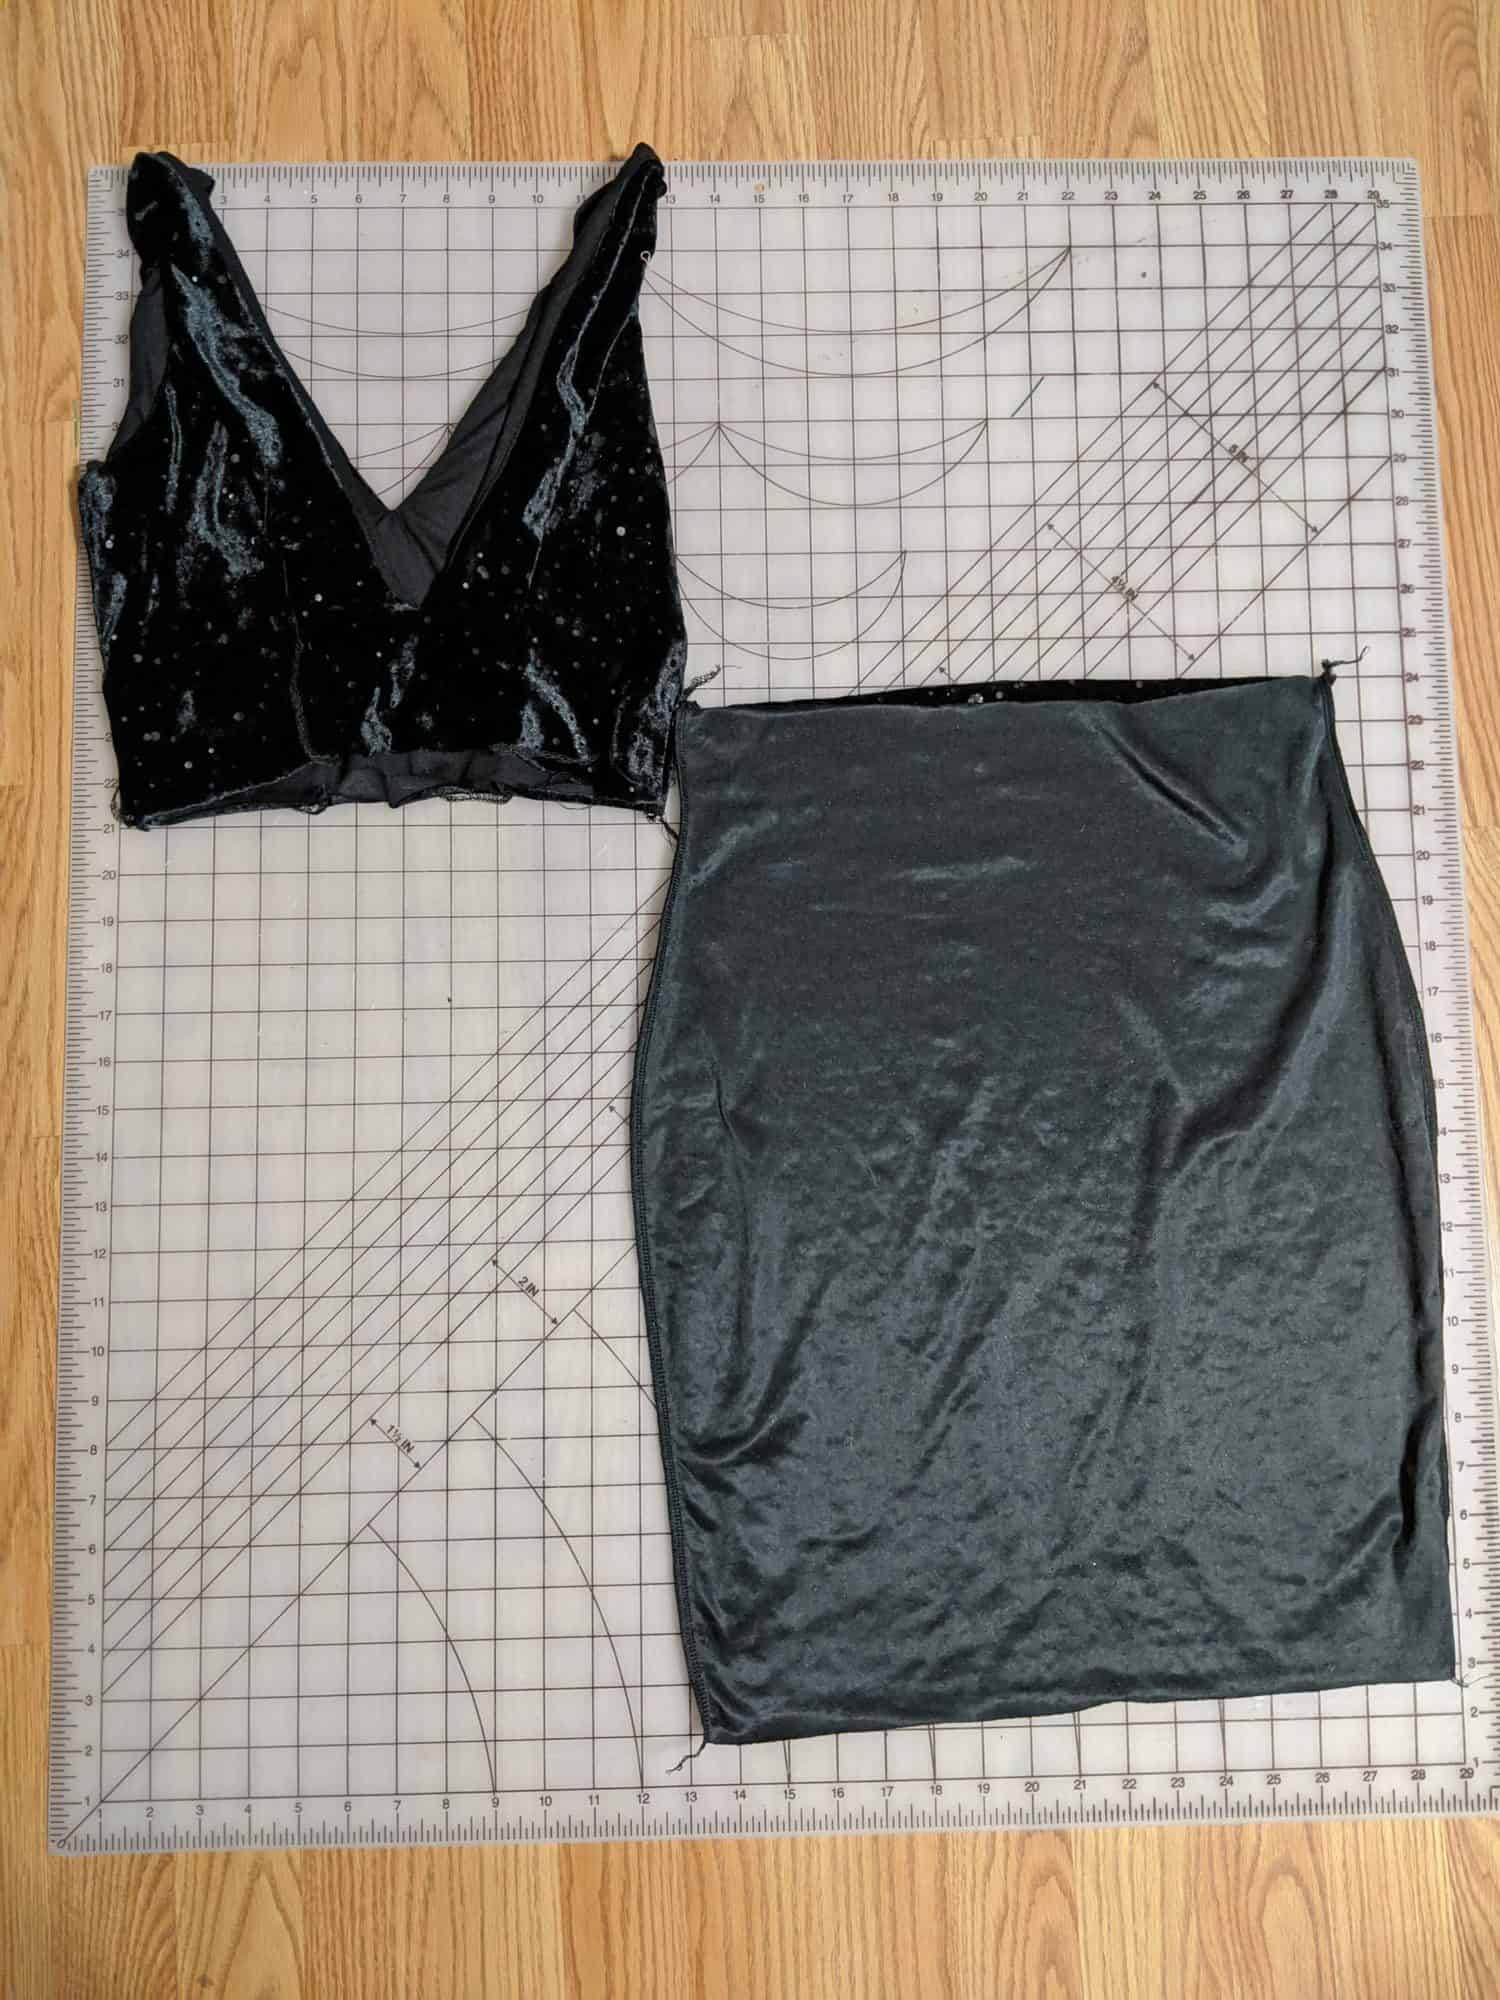
Now, sew your bodice as directed in the pattern and the side seams of your pencil skirt.   You’ll end up with two separate pieces that look like the photo below.

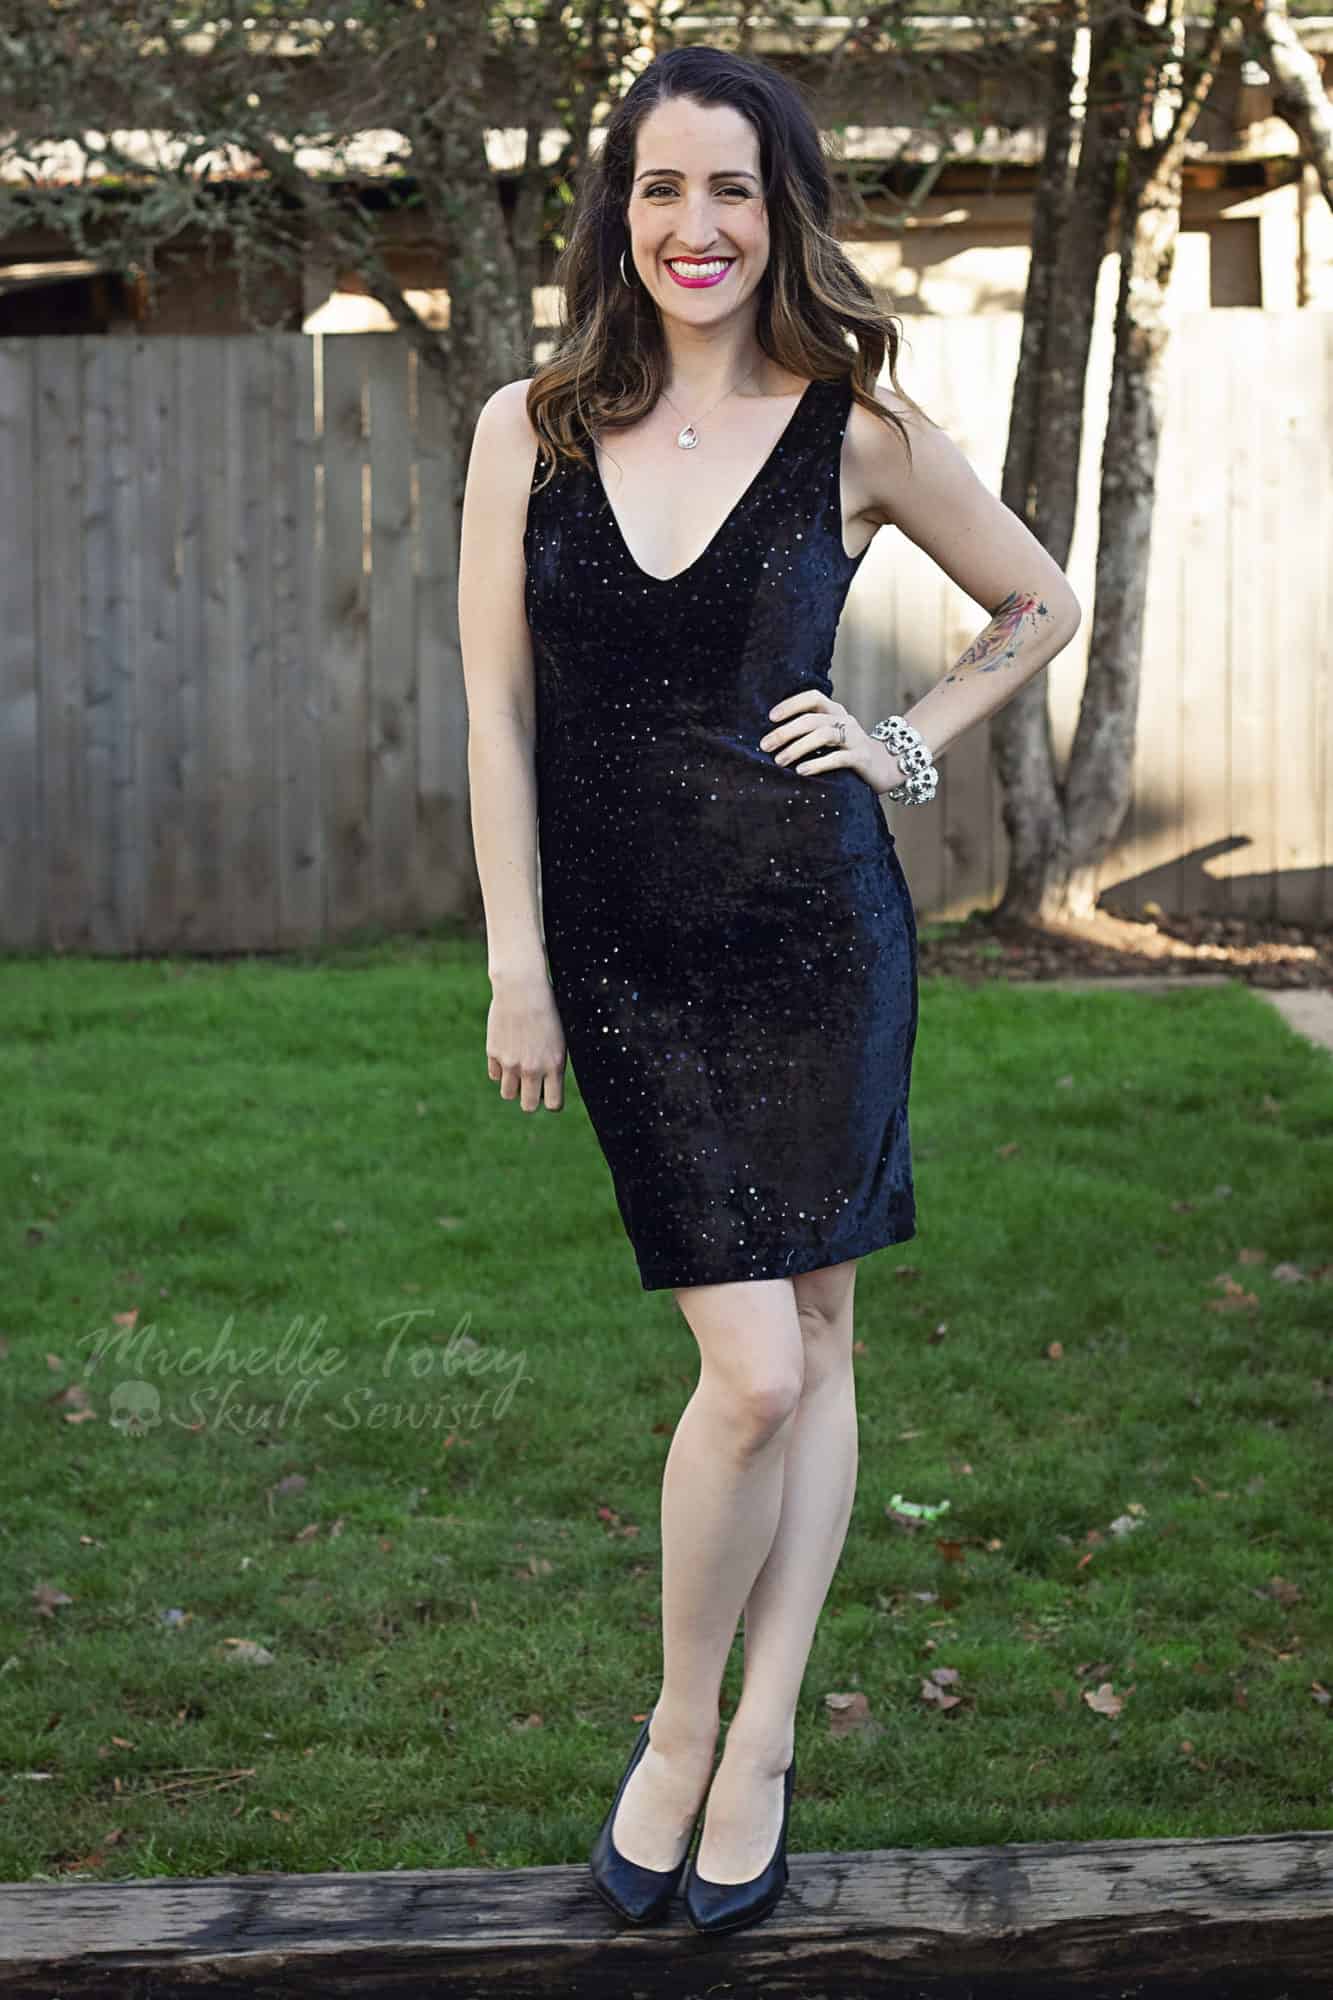
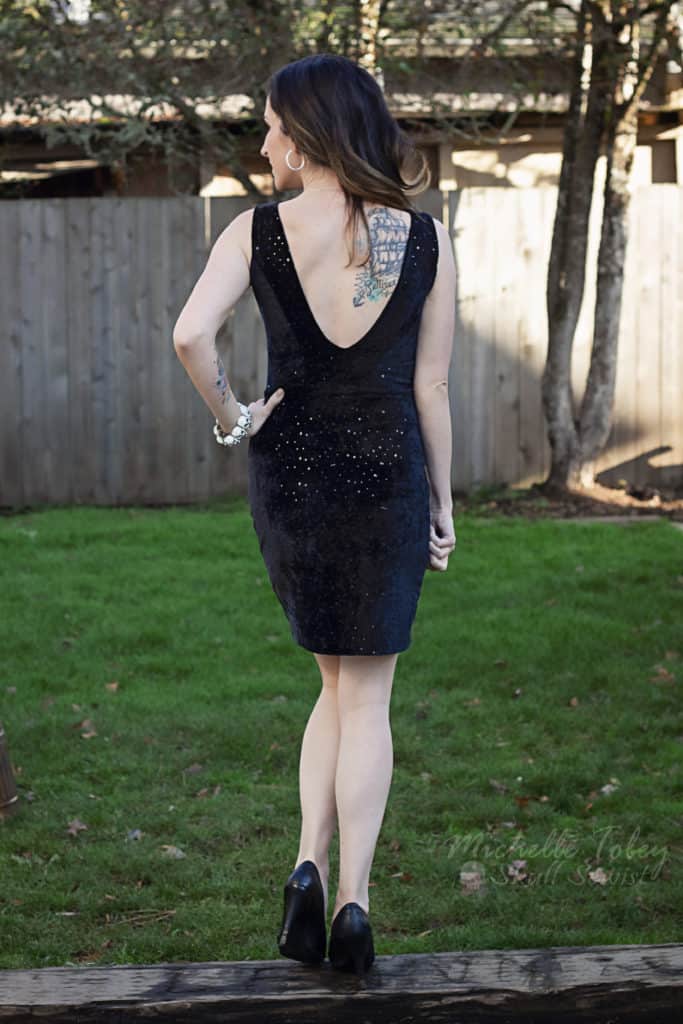
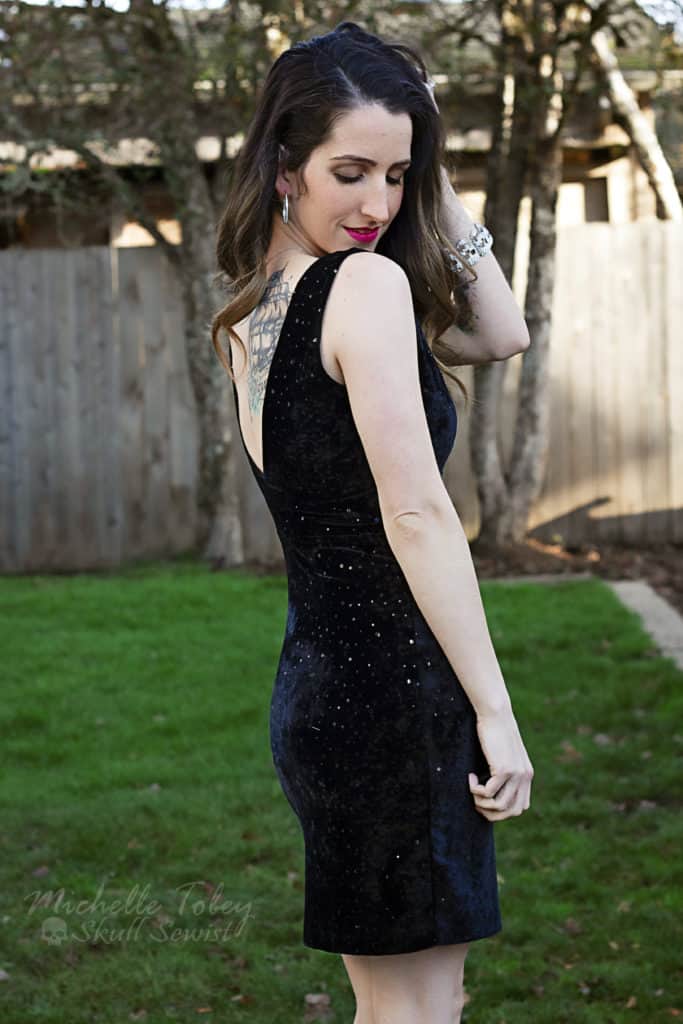
Finish your dress by sewing your bodice to your skirt piece just like you would if you were sewing the standard Gala skirt and you’re done!  Totally new look- perfect for New Years’ Eve fun!


Happy Sewing and Cheers,

Michelle


…..

Gala – Boundless mash up

It’s no secret that the Boundless dress is one of my favorite P4P dresses so it was only natural that I would mash the Gala Gown bodice with the Boundless skirt. This is a super easy hack.

All you have to do is cut the Gala Gown bodice and sleeves and the Boundless skirt. I used bamboo knit for my whole dress but if you used stable knits for the top, I encourage you to use fabric with great drape for the skirt.

Sew the top and the skirt as instructed in the patterns. You will be adding the skirt as in the Boundless tutorial, using elastic to stabilize the waist.

Hack: I used the width of the fabric and stitched the skirt in a loop. I marked the sides and front of my skirt and attached it to the bodice with the seam in the back. 


…

Ribbon Belt

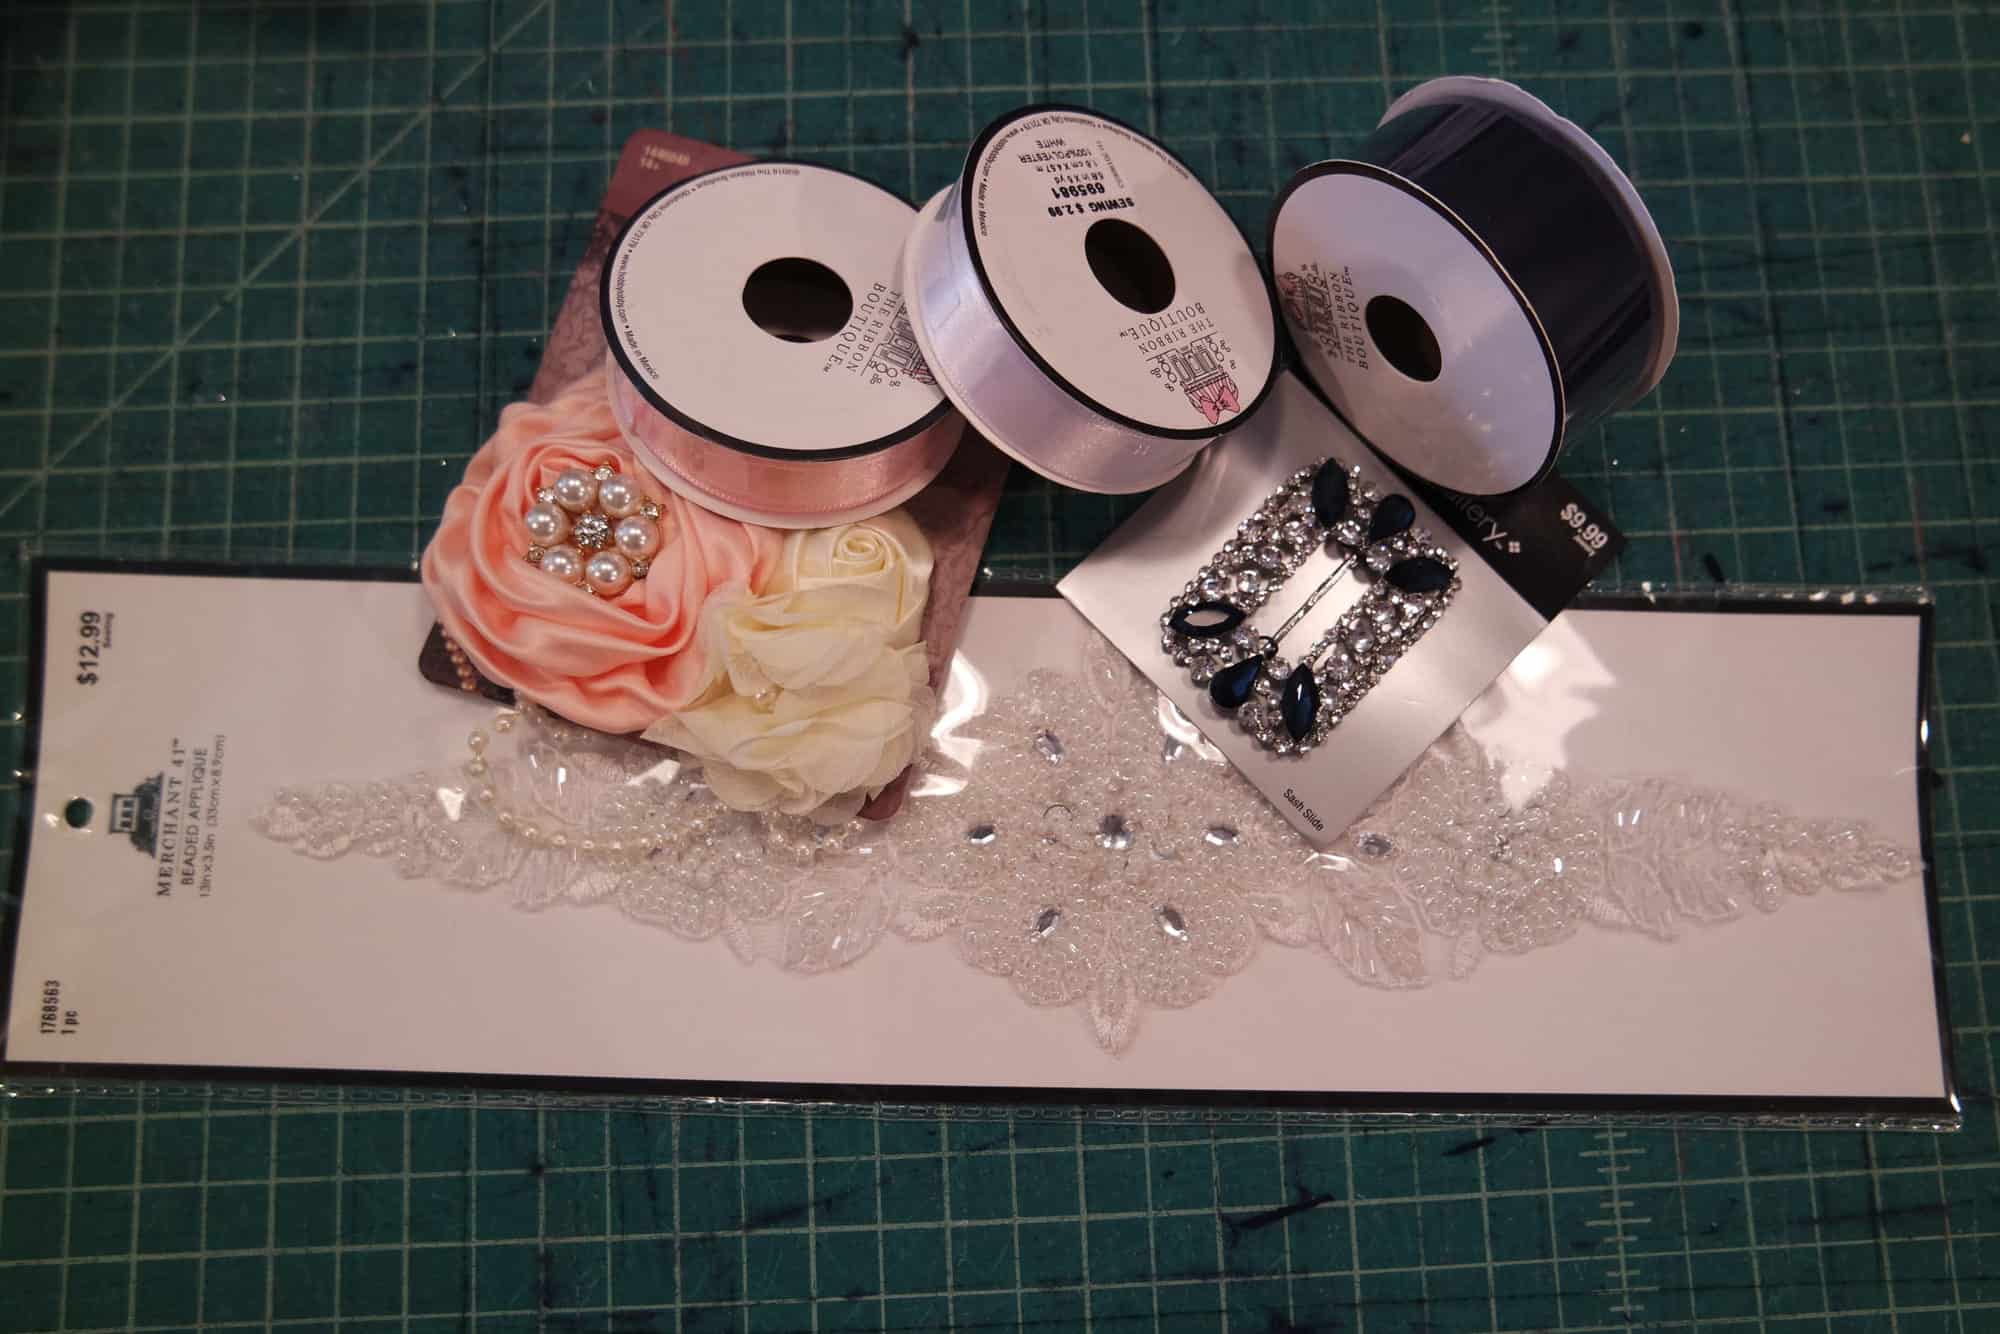
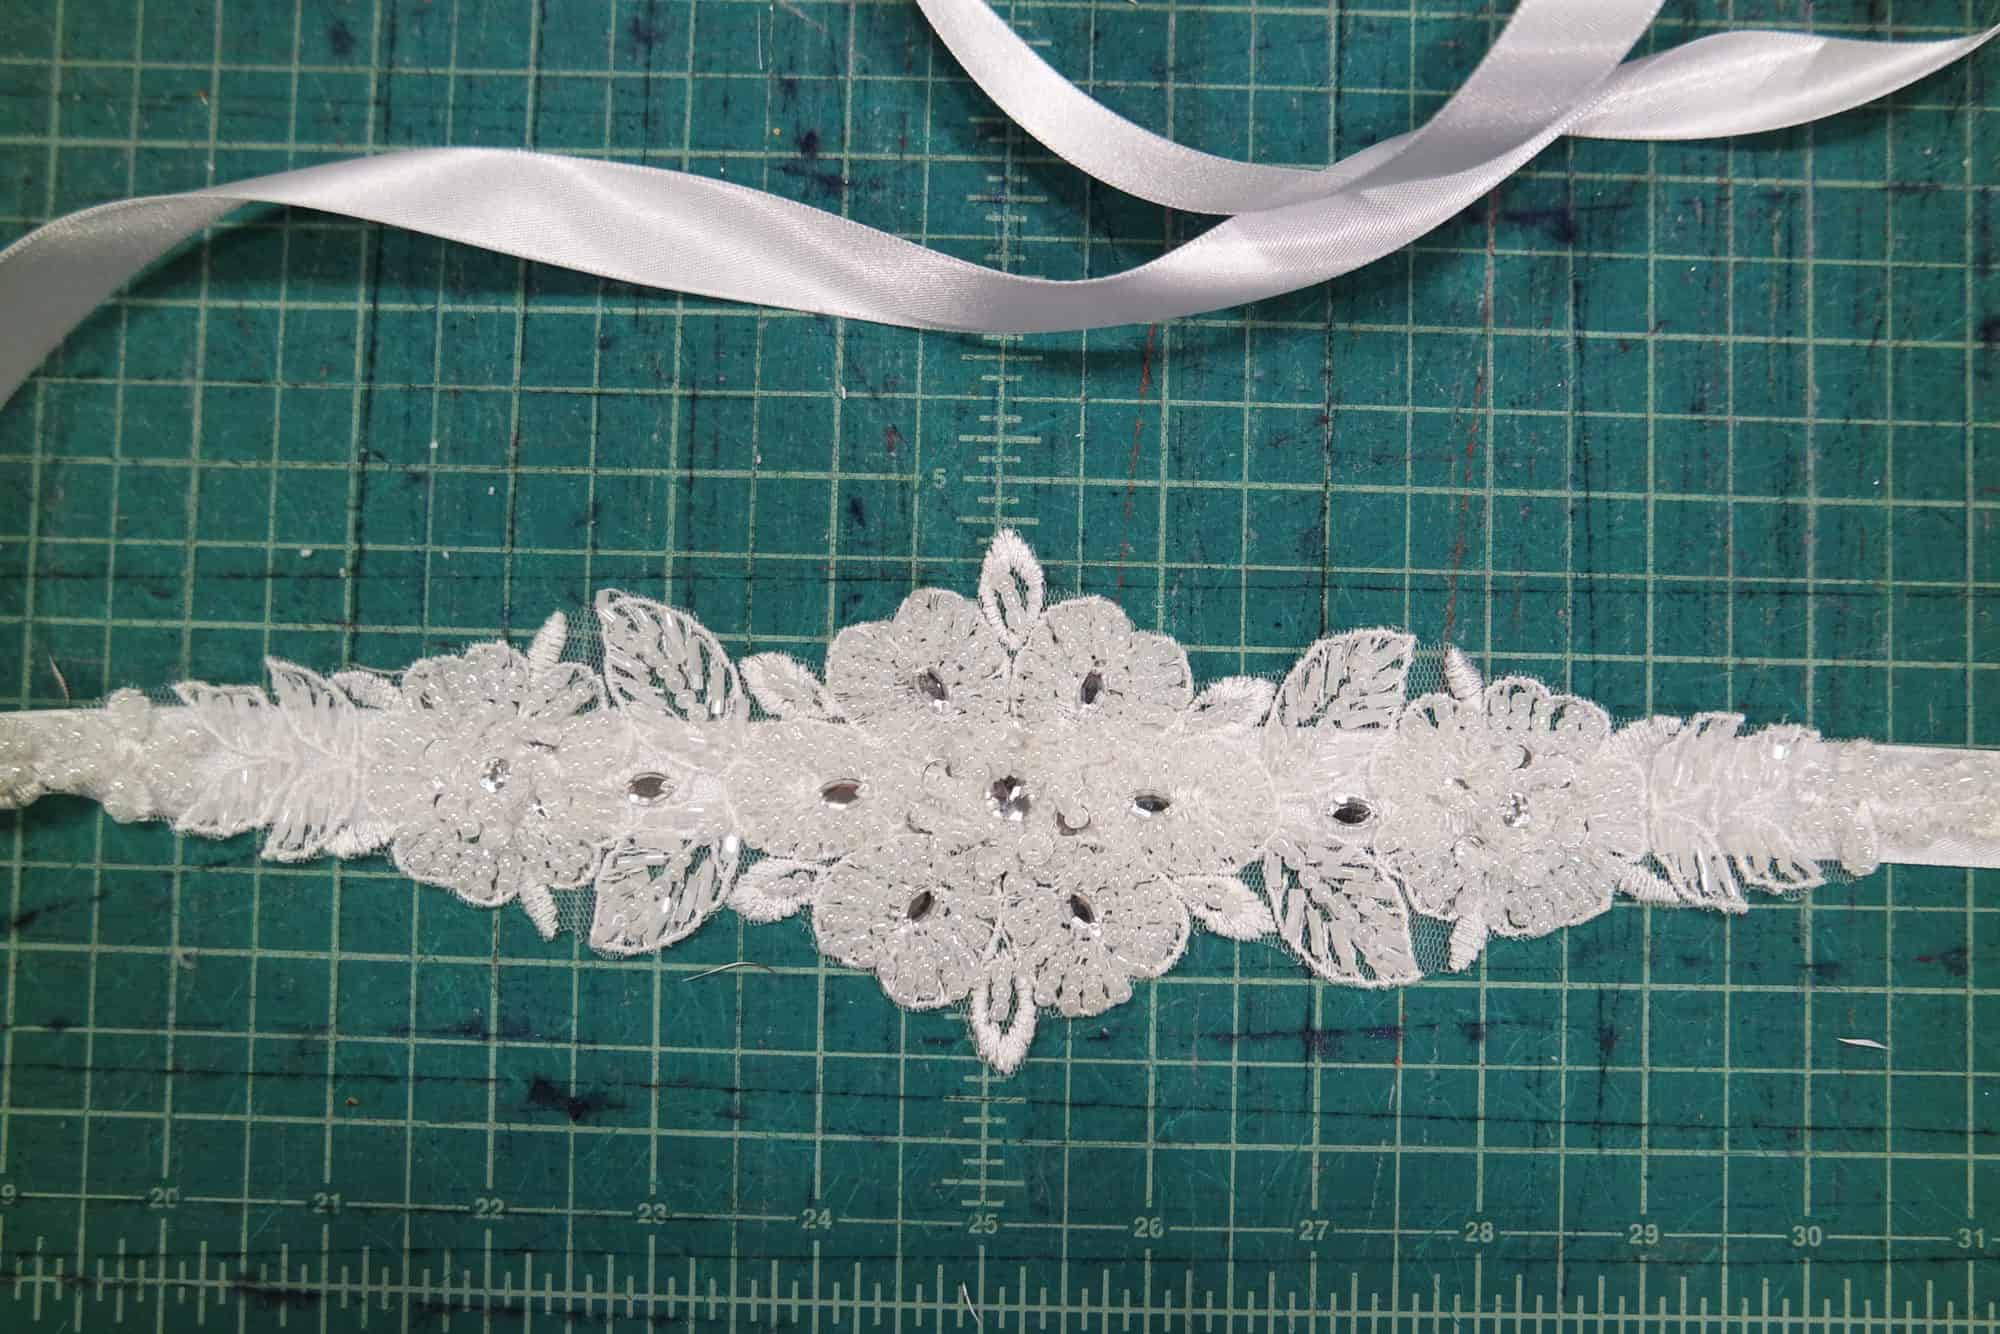
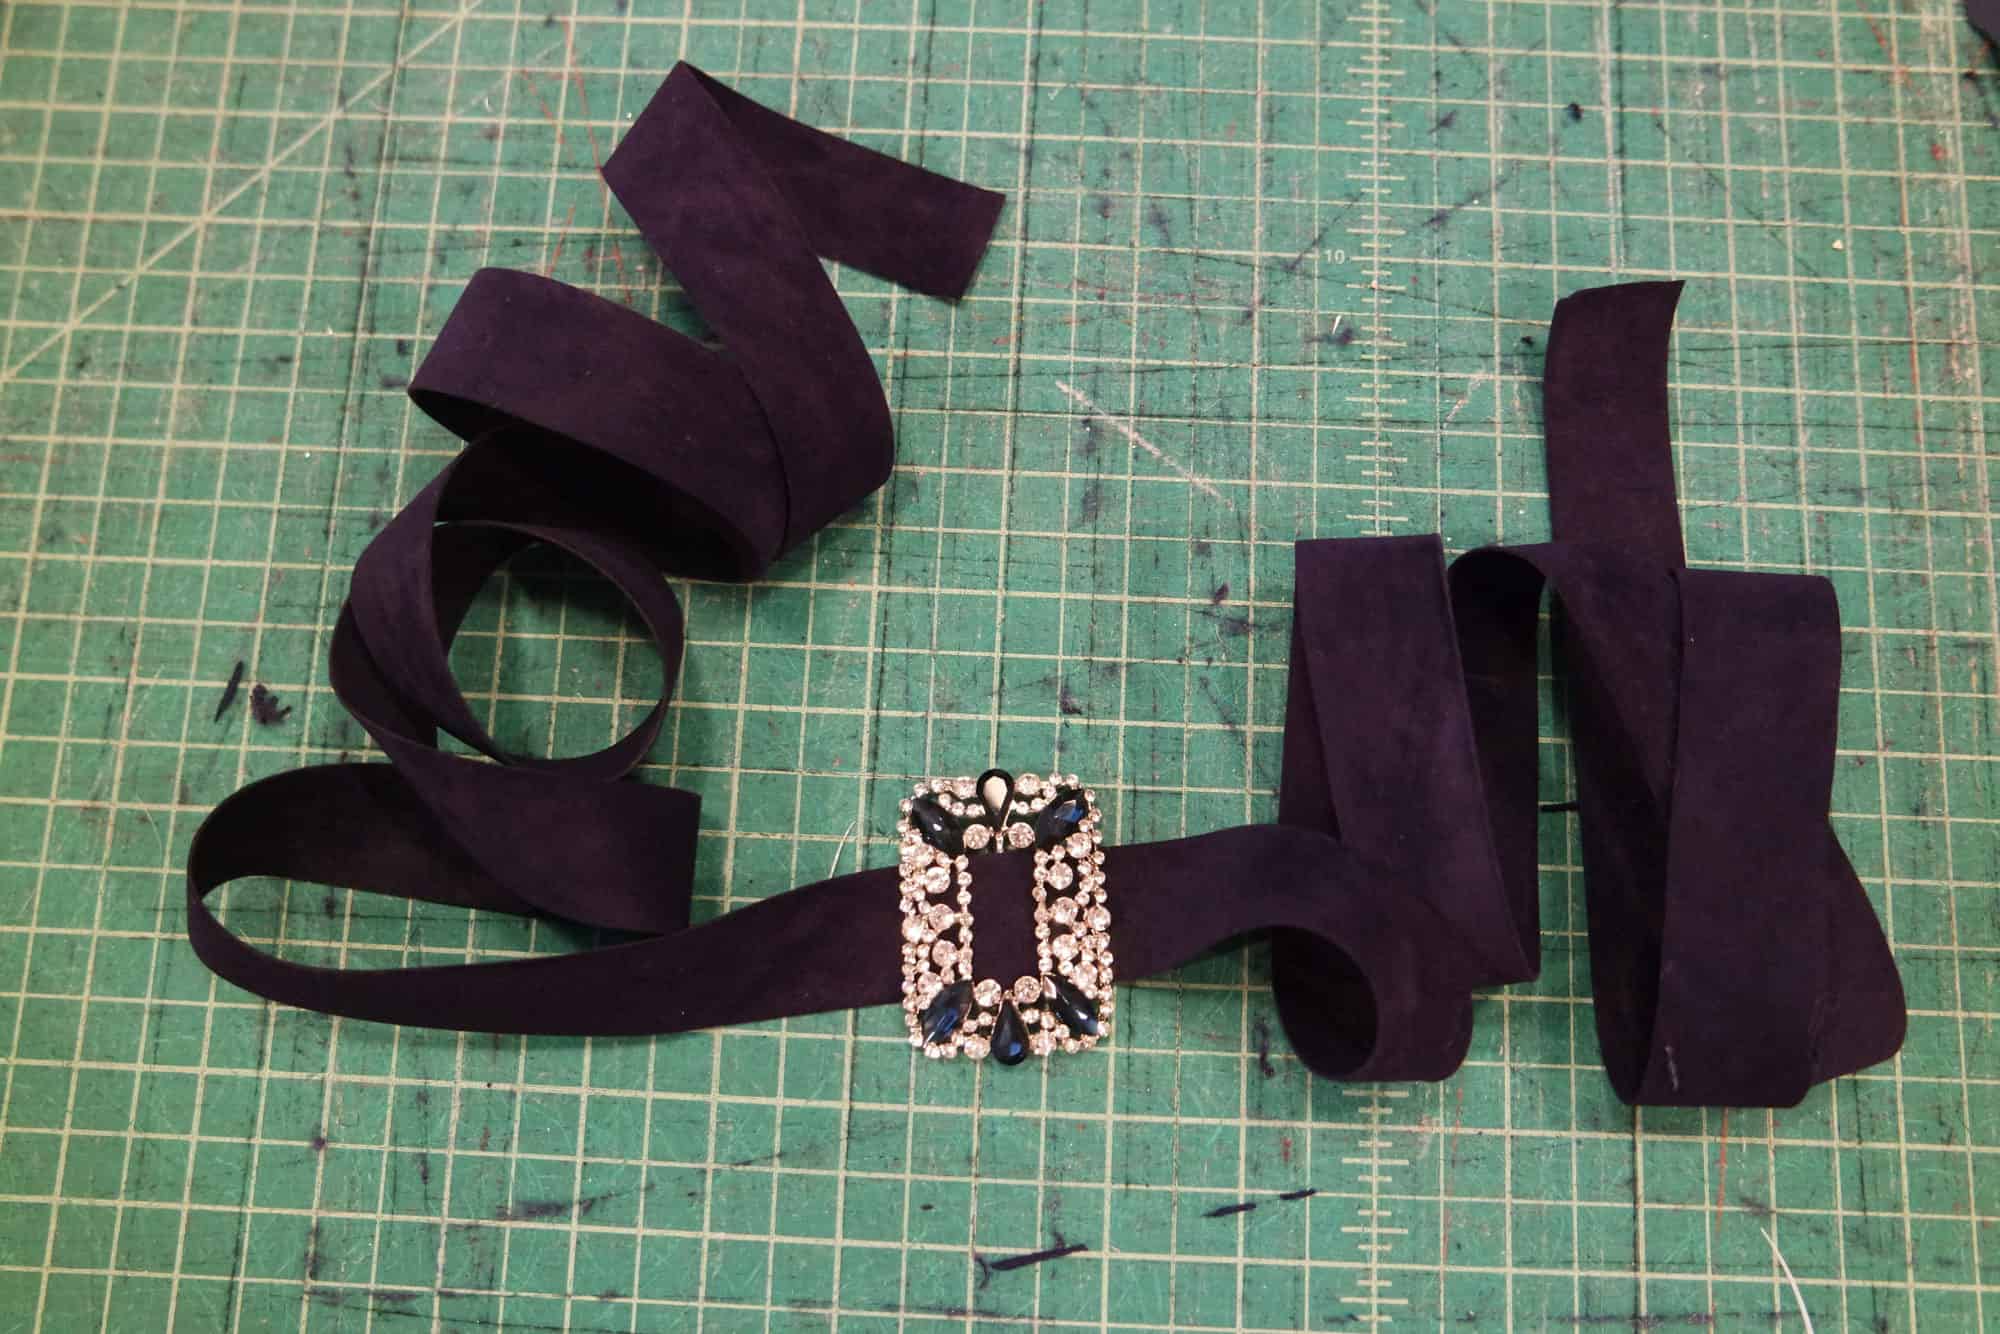
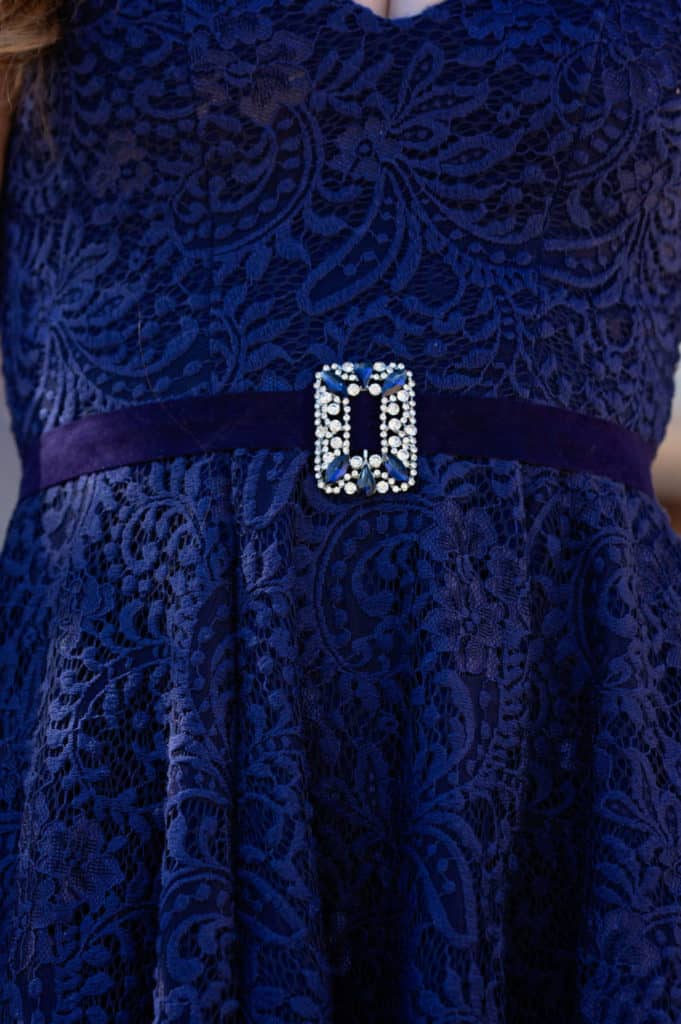
I see a lot of posts wanting something to really highlight the waist when wearing a dress, but if you’re wearing a more formal dress you might not have a belt that goes! A ribbon belt can be very elegant and simple to create to give yourself a little more definition or attention to your waistline.  You can grab any ribbon style you’re drawn to that coordinates with your dress and attach whatever embellishment you find that makes your heart sing!

Some ideas would be appliques, belt buckles, brooches, fabric flowers, hair-clips, bows, etc.  I picked up satin ribbon and some great velvet ribbon as well.

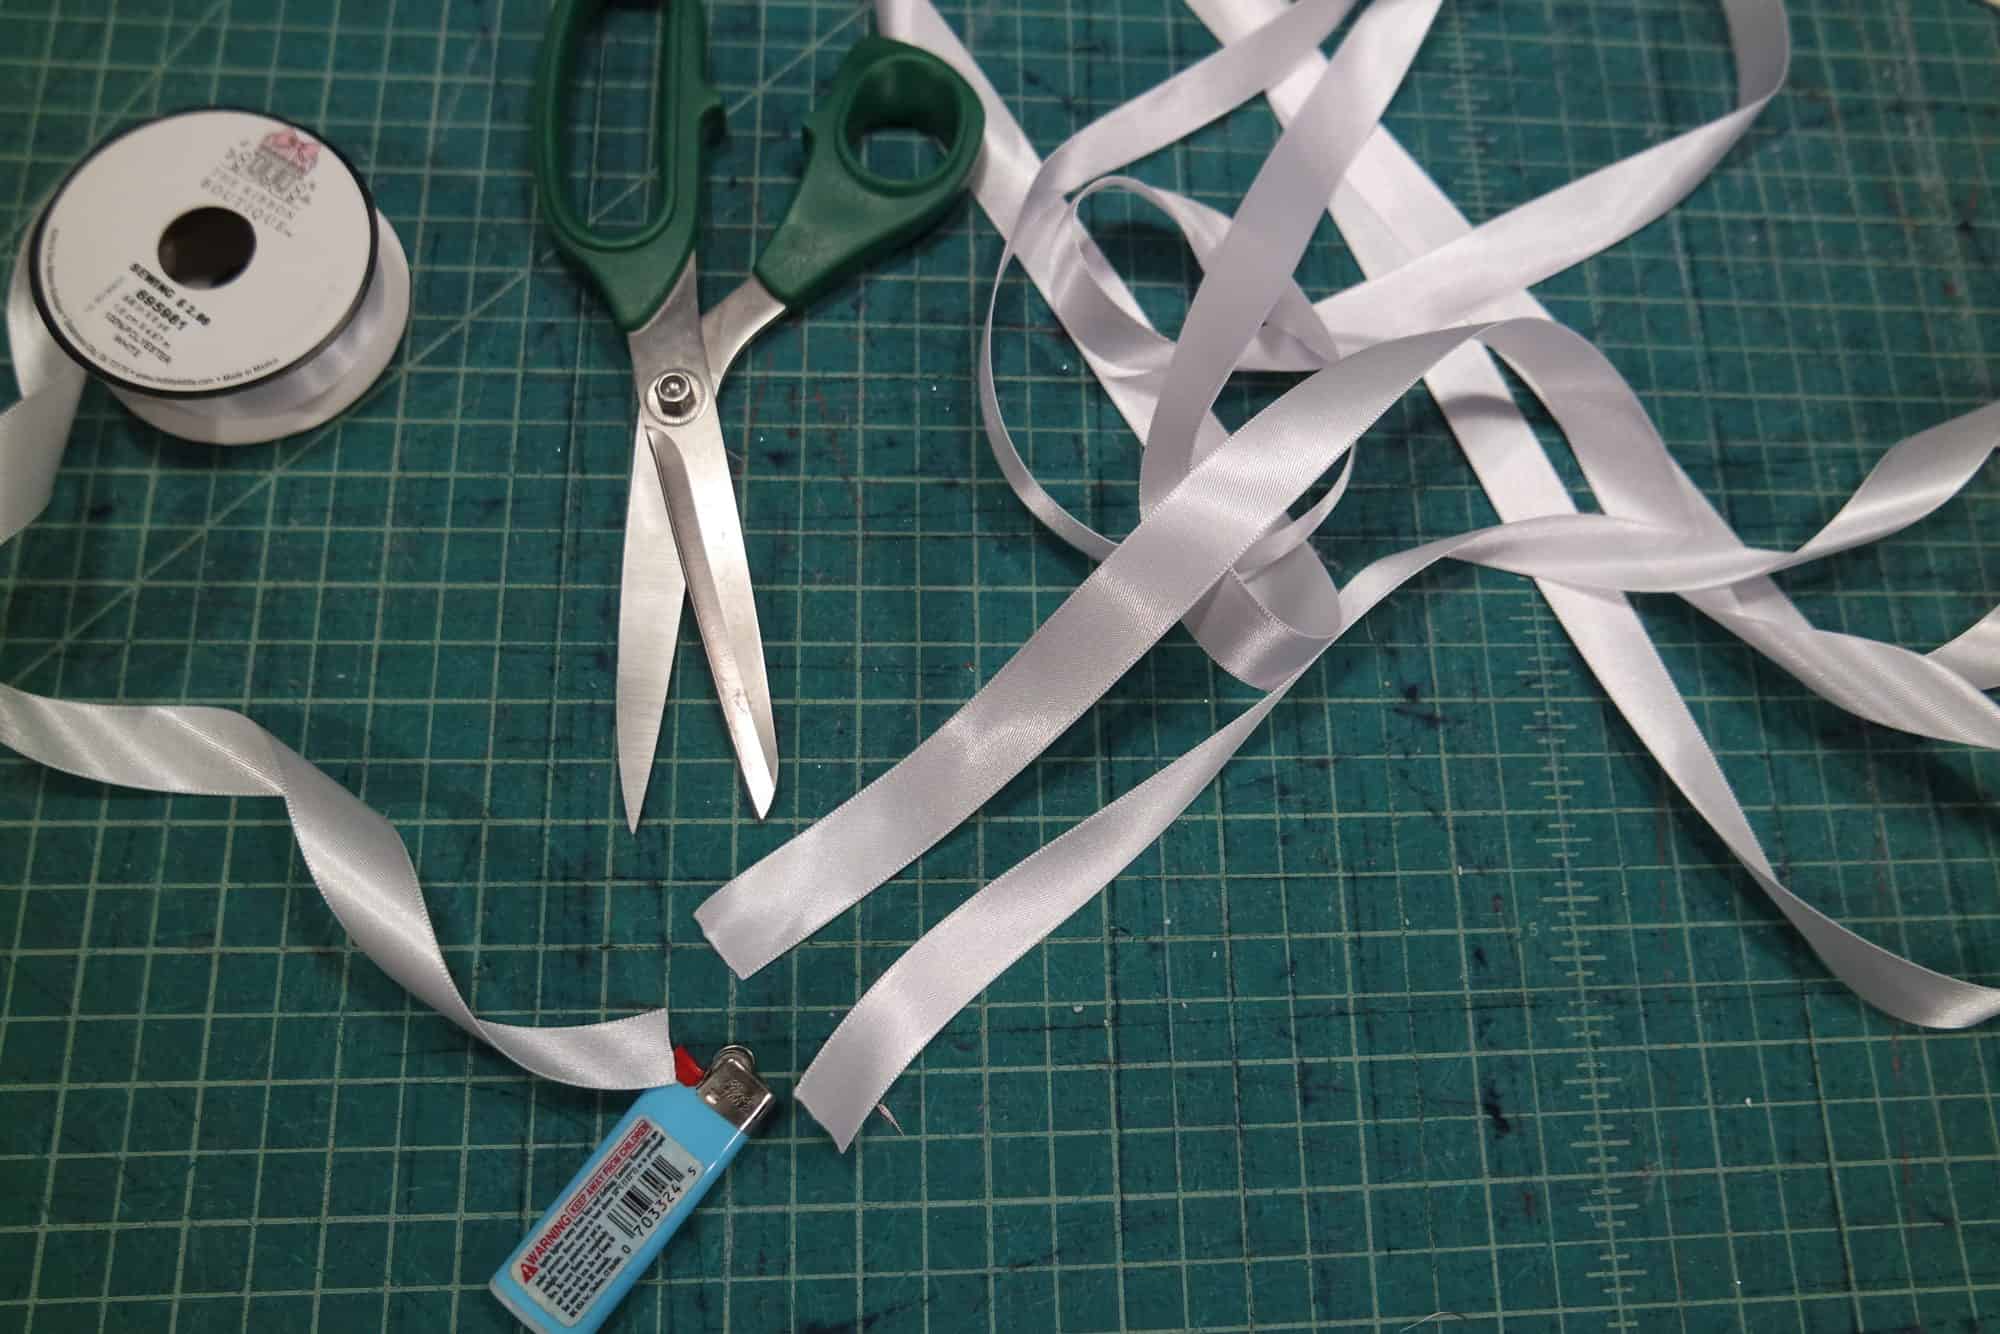
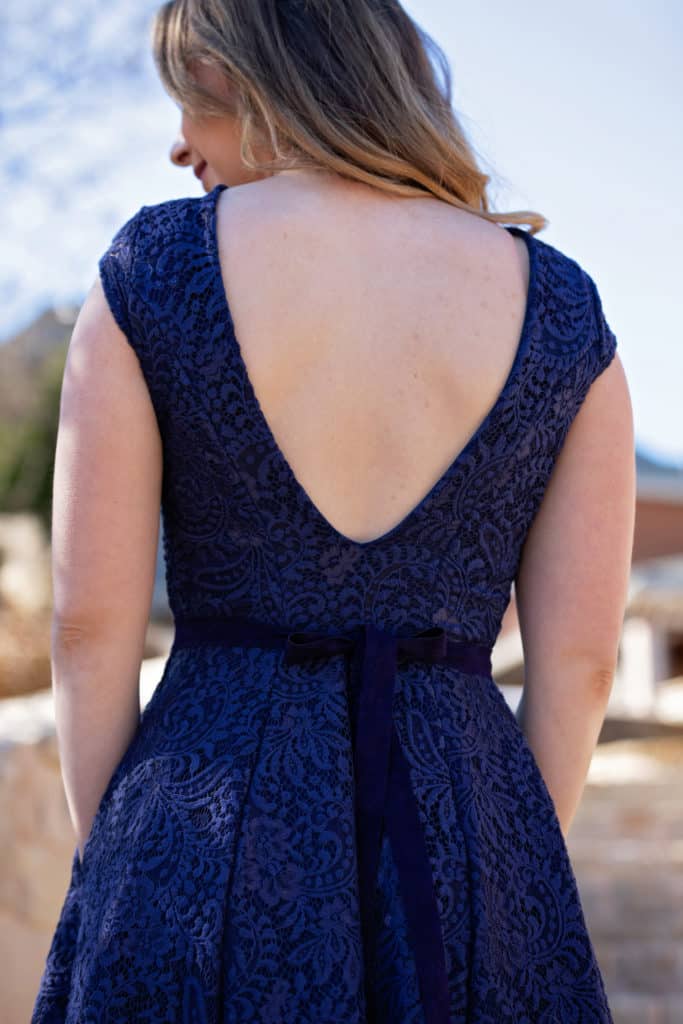
To create it you just need to cut your ribbon as long as you’d like- so the waist measurement plus enough to tie a bow and however long you want  your tails.  I like to have my tails go to almost the very bottom of my hem personally, but that’s just personal preference.  Make sure you finish the edges if you pick a ribbon that frays.  Satin ribbon I prefer to heat seal with a flame.

Find the center of your cut ribbon and attach your embellishment with hand stitching.

There! You now have a beautiful belt that will look stunning on your more formal dresses! It’s quick and simple for such a fabulous add on and the possibilities are endless!


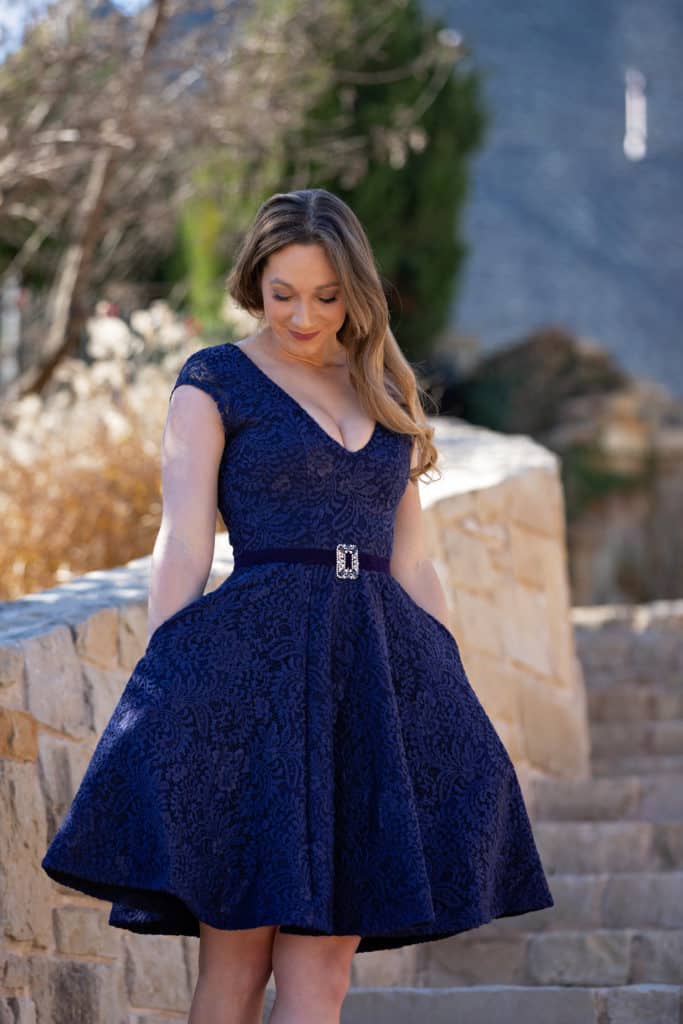
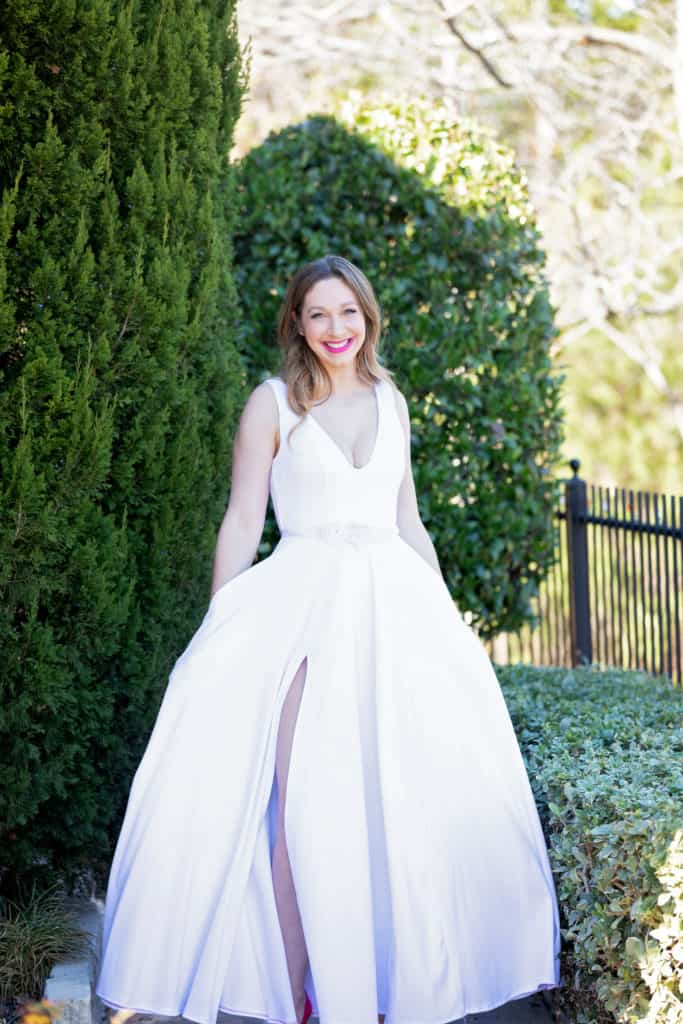
Here a a few modeled with the Gala Gown.


Judy

Which hack will you make first? Don’t forget to share your creations in the P4P Facebook group so we can all admire them too.

Filed Under: Pattern Hacks, Pattern Release 1 Comment

Fierce Bra SAL day 5

November 29, 2019


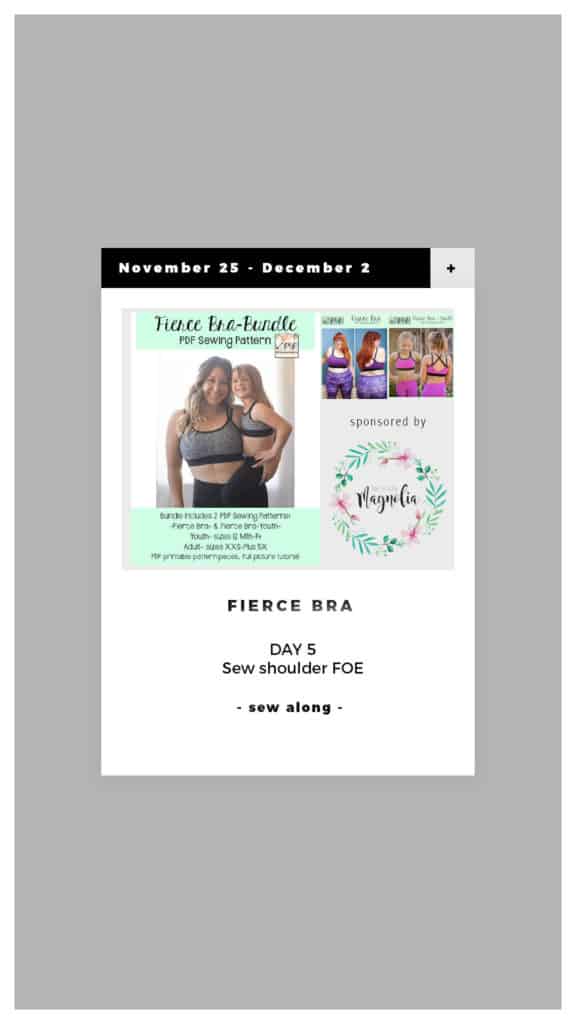
Good morning! Today we are adding the FOE shoulder straps. Start by marking your straps front and back notches. Do not skip this step! Sew one strap in a loop. Match the front notch to the front pick up and the back notch to the back pick up. Pin in place. You will stretch the FOE to match the armscye.

Day 5 video is posted below. Once you add both shoulder straps post a picture of the completed steps in the comments of “day 5” photo of the Fierce Bra sew along album.

Fierce Bra SAL | Print and cut pattern [day 1]

Fierce Bra SAL | Choose and cut fabric [day 2]

Fierce Bra SAL | Prepare lining and sew side seams [day 3]

Fierce Bra SAL | Sew front neckline [day 4]

Fierce Bra SAL | Add shoulder FOE [day 5]

Fierce Bra SAL | Add under bust elastic [day 6]

Fierce Bra SAL | Winners announcement [day 7]

Filed Under: Frequently Asked Questions, Sew-A-Long Leave a Comment

Fierce Bra SAL day 4

November 28, 2019


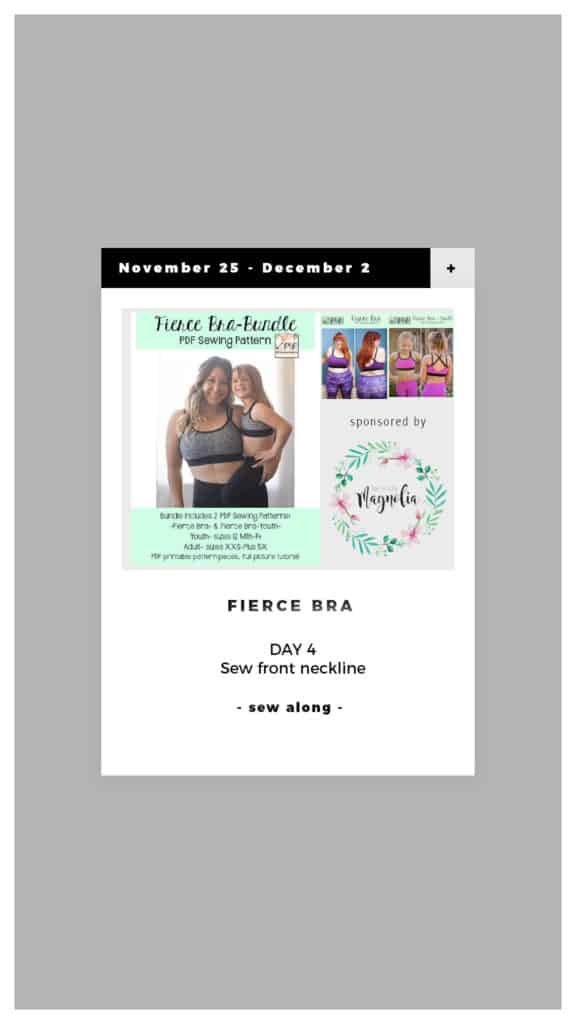
Good morning, pirates and mermaids! Today’s step is attaching the FOE to the front of the neckline and the overlapping back. It is highly important to triple check that the fold over elastic ends are not twisted when attach them to the back of the bra.

Make sure you mark your notches (center and pick ups) on the FOE as the center fold over elastic part is smaller than the front curve. You will be stretching the elastic to match the neckline.

Below is today’s video. Once you finish your steps post a picture in the comments of day 4 photo of the Fierce Bra SAL album in the Sew Along group.

Fierce Bra SAL | Print and cut pattern [day 1]

Fierce Bra SAL | Choose and cut fabric [day 2]

Fierce Bra SAL | Prepare lining and sew side seams [day 3]

Fierce Bra SAL | Sew front neckline [day 4]

Fierce Bra SAL | Add shoulder FOE [day 5]

Fierce Bra SAL | Add under bust elastic [day 6]

Fierce Bra SAL | Winners announcement [day 7]

Filed Under: Frequently Asked Questions, Sew-A-Long Leave a Comment

Fierce Bra SAL day 3

November 27, 2019


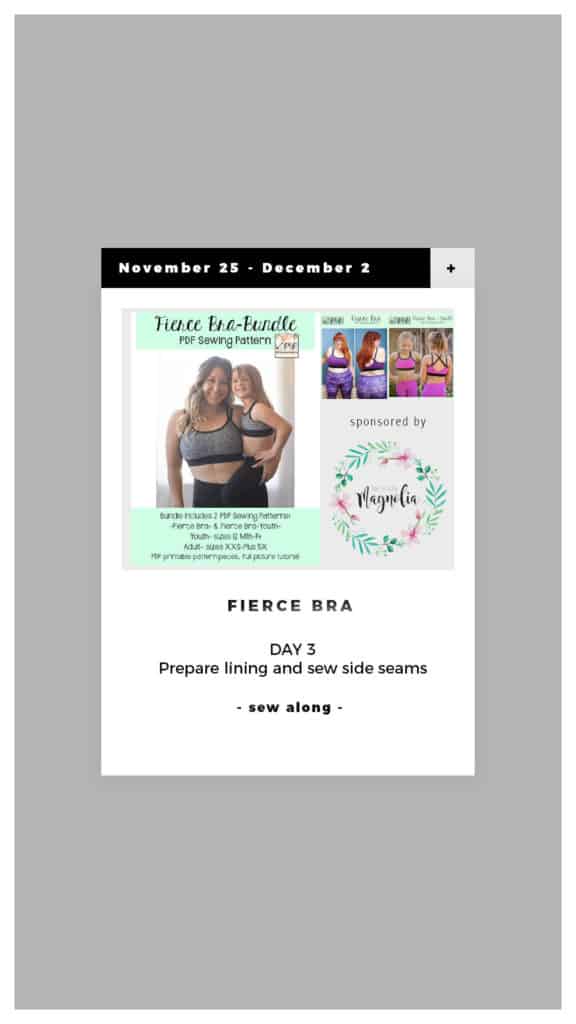
Let’s start sewing! On day 3 we sew the inner lining to the lining piece and sew the side seams on both the main and the lining. The youth Fierce Bra does not include a “cups” option however, Angela showed us in the release hacks blog how to add cups to the youth bra. You can check it out here. If you would like to sew one of the hacks during this sew along, your entry will still count for the prizes 🙂

If you opted out of the cups, you will only have lining and main and your steps today will be just sewing the side seams…super duper easy! 

Take a look over the day three video below and post  picture of your progress in the comments of day 3  picture of the Fierce Bra SAL album.

Fierce Bra SAL | Print and cut pattern [day 1]

Fierce Bra SAL | Choose and cut fabric [day 2]

Fierce Bra SAL | Prepare lining and sew side seams [day 3]

Fierce Bra SAL | Sew front neckline [day 4]

Fierce Bra SAL | Add shoulder FOE [day 5]

Fierce Bra SAL | Add under bust elastic [day 6]

Fierce Bra SAL | Winners announcement [day 7]

Filed Under: Frequently Asked Questions, Sew-A-Long Leave a Comment

Fierce Bra SAL day 2

November 26, 2019


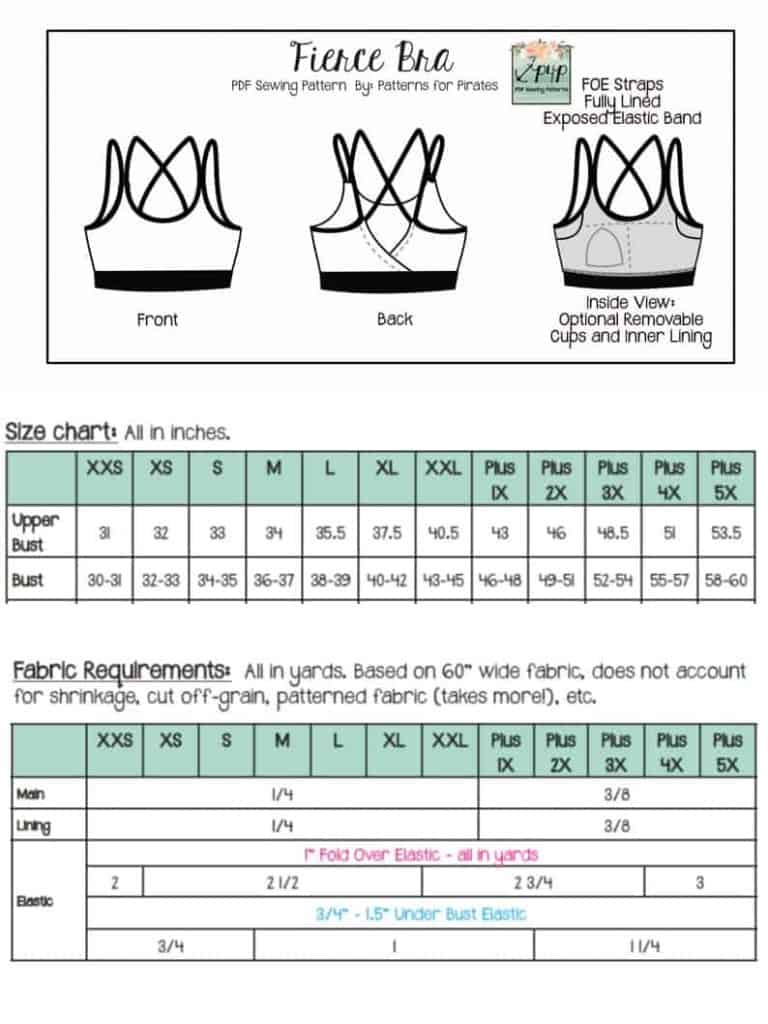
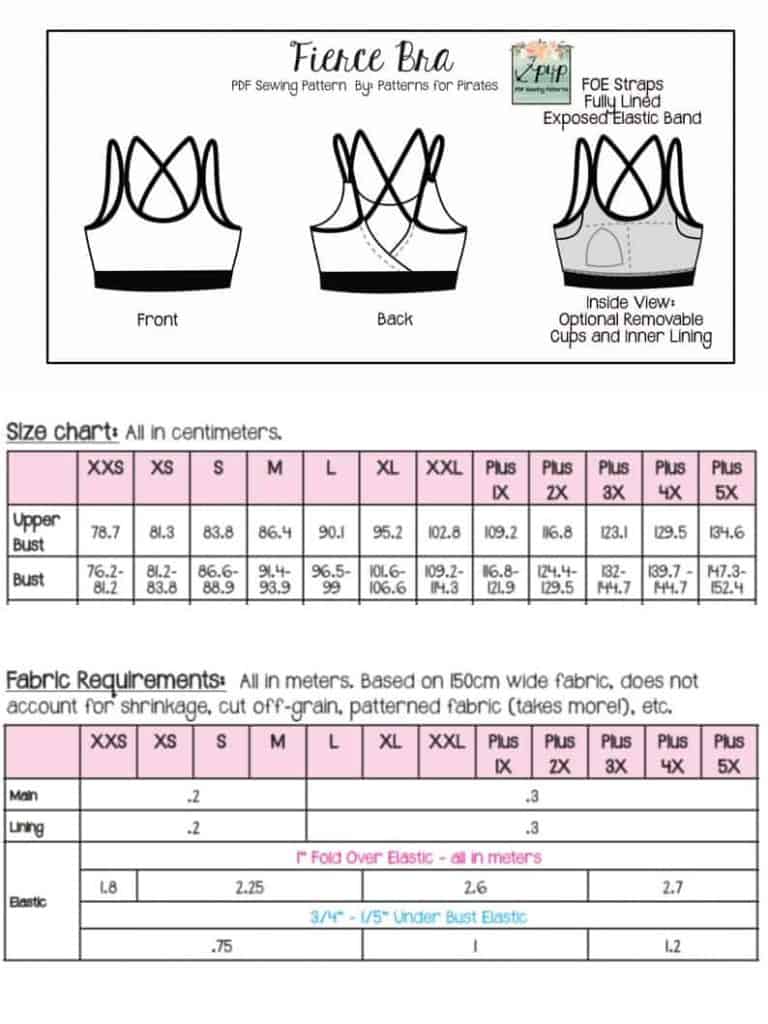
Welcome to day 2 of our Fierce Bra sew along. Today we will be choosing the fabric, cutting it and gathering all necessary notions. To make the Fierce Bra you will need athletic knit or cotton spandex fabric, 1″ Fold Over Elastic (FOE), 3/4″ – 2″ plush waistband elastic and optionally power mesh or cups.

For my Fierce Bra I decided to go with a gorgeous athletic knit I got from The Styled Magnolia. I am using solid purple supplex, also from TSM, for lining and a nude swim for the inner lining. I am using 1″ FOE and 1.5″ plus elastic, both from Amazon.

The Day 2 video is posted below. Check it out and once you are done cutting your fabric post a picture of your prepped fabric in the comments of the Day 2 photo of the Fierce Bra SAL album in the M4M & P4P Sew Along group.

Fierce Bra SAL | Print and cut pattern [day 1]

Fierce Bra SAL | Choose and cut fabric [day 2]

Fierce Bra SAL | Prepare lining and sew side seams [day 3]

Fierce Bra SAL | Sew front neckline [day 4]

Fierce Bra SAL | Add shoulder FOE [day 5]

Fierce Bra SAL | Add under bust elastic [day 6]

Fierce Bra SAL | Winners announcement [day 7]

Filed Under: Frequently Asked Questions, Sew-A-Long 1 Comment

Fierce Bra SAL day 1

November 25, 2019


Welcome to the Fierce Bra

Sew Along!

Day 1 is for purchasing the patterns, printing and cutting the size(s) you need. If you plan on sewing for yourself you can get the Fierce Bra here, if you’re sewing for your little one, the Youth Fierce Bra can be purchased here and if you’re sewing for both of you can get the bundle.

This Sew Along will take place in our M4M & P4P Sew Along group so be sure to join the group to be able to post your progress this week. As always all daily posts will be here on the blog but you’ll be checking in with your completed steps in the group, in the comments of each daily picture.


This sew along is sponsored by The Styled Magnolia who specializes in non inspired custom fabric. They offer a variety of athletic knits that make the most perfect Fierce Bras. Our two lucky winners will each get a gift card to shop TSM fabric.


Now that you have your pattern printed, time to cut the correct size(s). The Fierce Bra (adult) pattern includes pieces for Full Bust and Small but so if your full bust is 1 size bigger or smaller than the over bust and under bust measurement you can use the FBA or SBA pattern piece. You will still need to grade if your full bust varies by more than one size from the under/over bust size.

P4P has an amazing blog that gives you tip for accurately taking your measurements. You can read all about it here. If your measurements put you in a different size for bust/waist/hips be sure to check out our P4P University blog and grade to achieve the perfect fit.

Check out the day 1 video below and then comment “done” on the Day 1 picture of the Fierce Bra SAL album in the sew along group. We don’t allow pictures of the pattern pieces so this will count as your day 1 check in. Let’s get started!

Fierce Bra SAL | Print and cut pattern [day 1]

Fierce Bra SAL | Choose and cut fabric [day 2]

Fierce Bra SAL | Prepare lining and sew side seams [day 3]

Fierce Bra SAL | Sew front neckline [day 4]

Fierce Bra SAL | Add shoulder FOE [day 5]

Fierce Bra SAL | Add under bust elastic [day 6]

Fierce Bra SAL | Winners announcement [day 7]

Filed Under: Frequently Asked Questions, Sew-A-Long 5 Comments

Fierce Bra and Undies – Easy Hacks

November 1, 2019

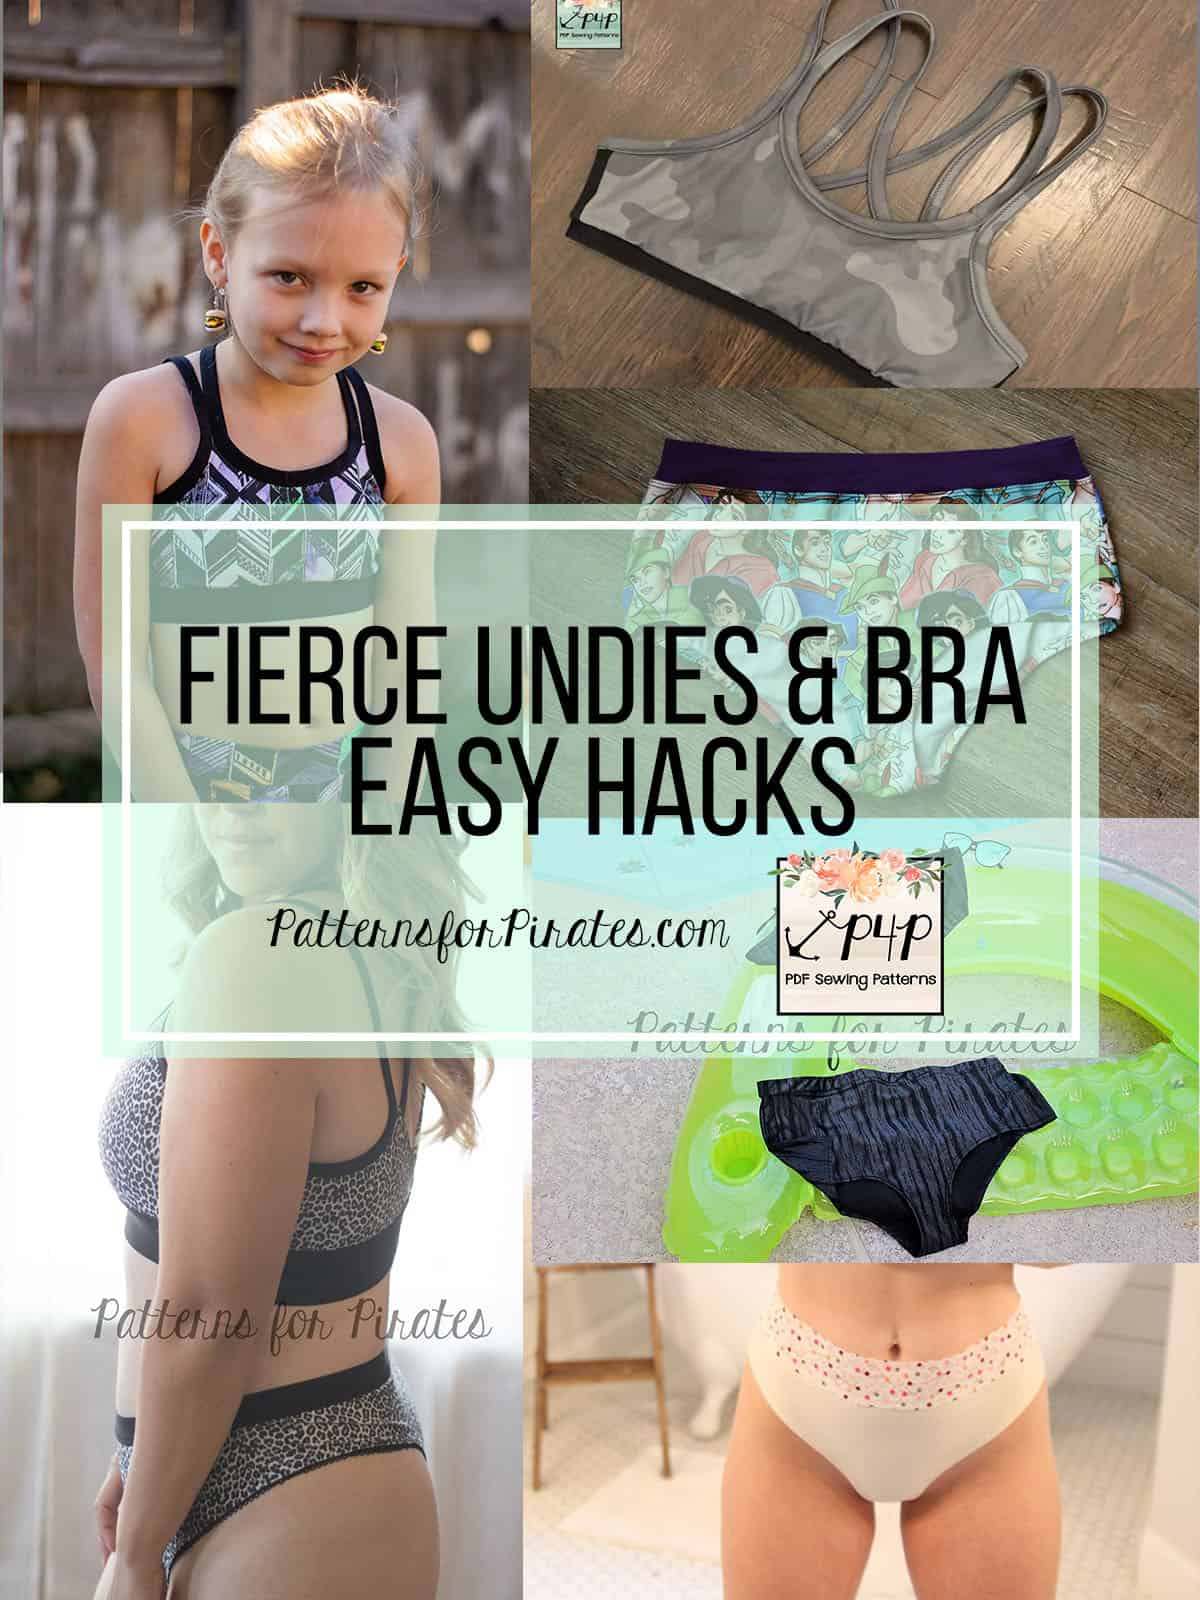
Ahoy, pirates! In true P4P fashion we could not let the DOUBLE release happen without showing you some simple hacks for your new Fierce Undies and Bra. All these simple mods can be applied to both our adult and youth pattern.

…..

Undies with bands


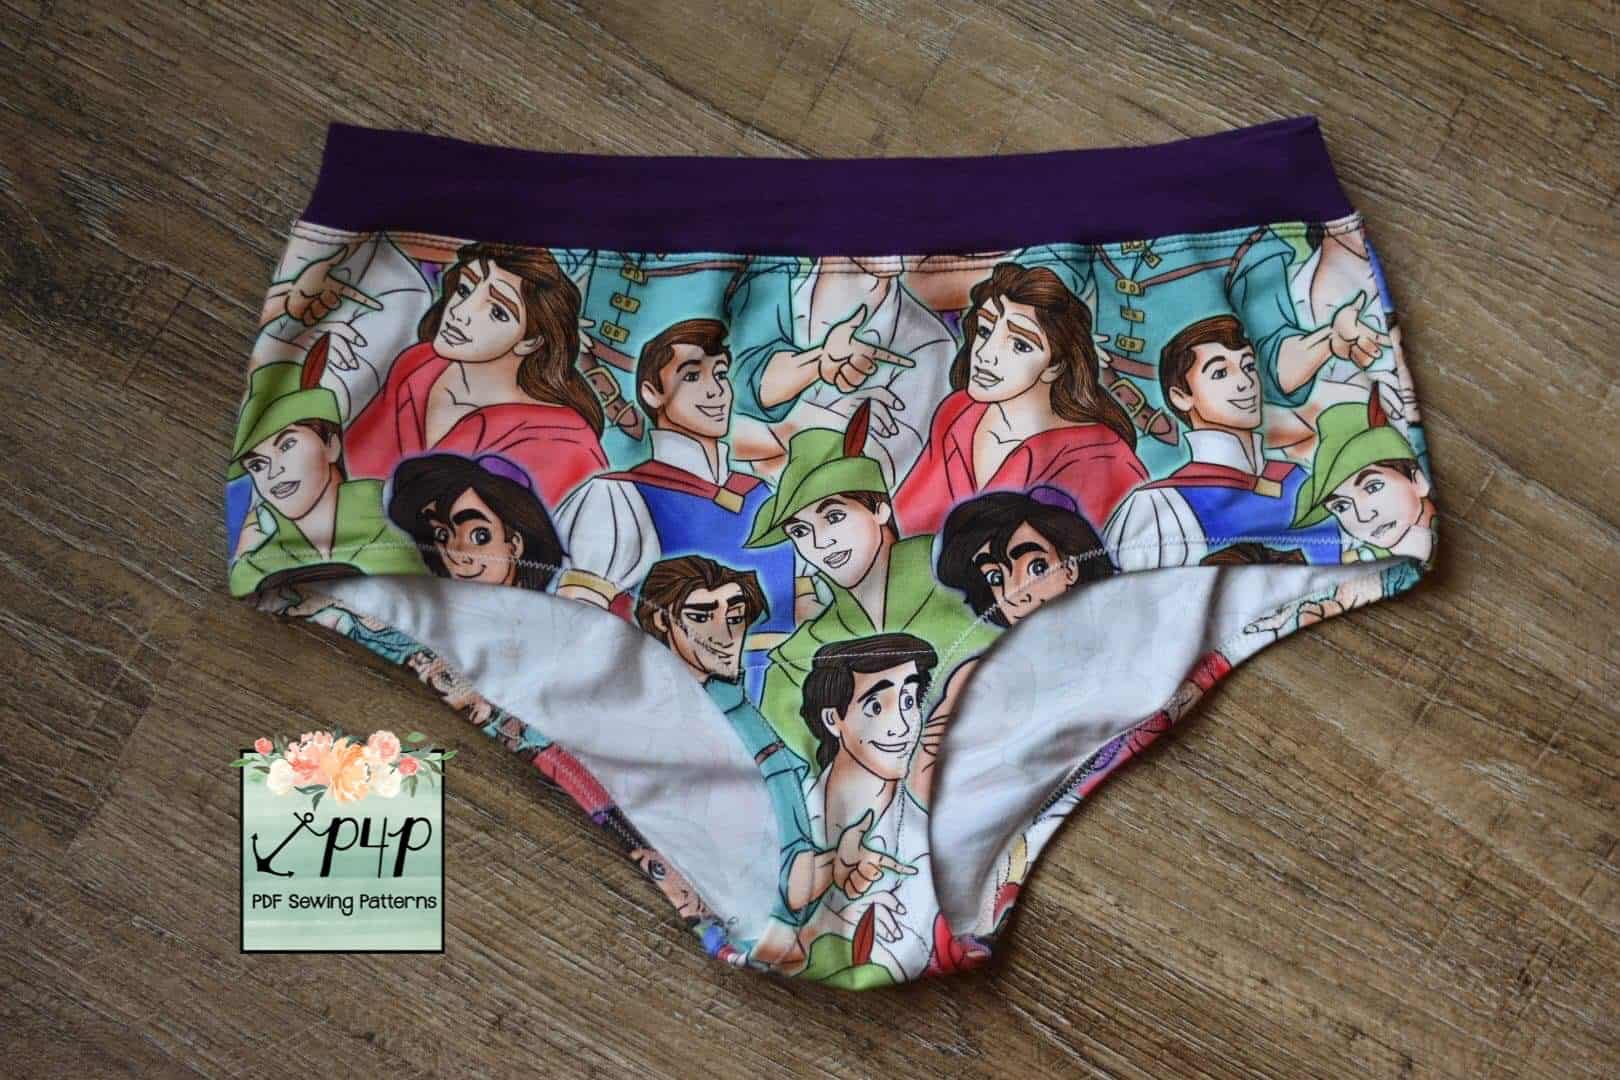
I love the new Fierce Undies. They feel so amazing! But I know sometimes I prefer a knit waistband instead of elastic. So today I will be showing you how to hack a knit waistband on the Fierce Undies.


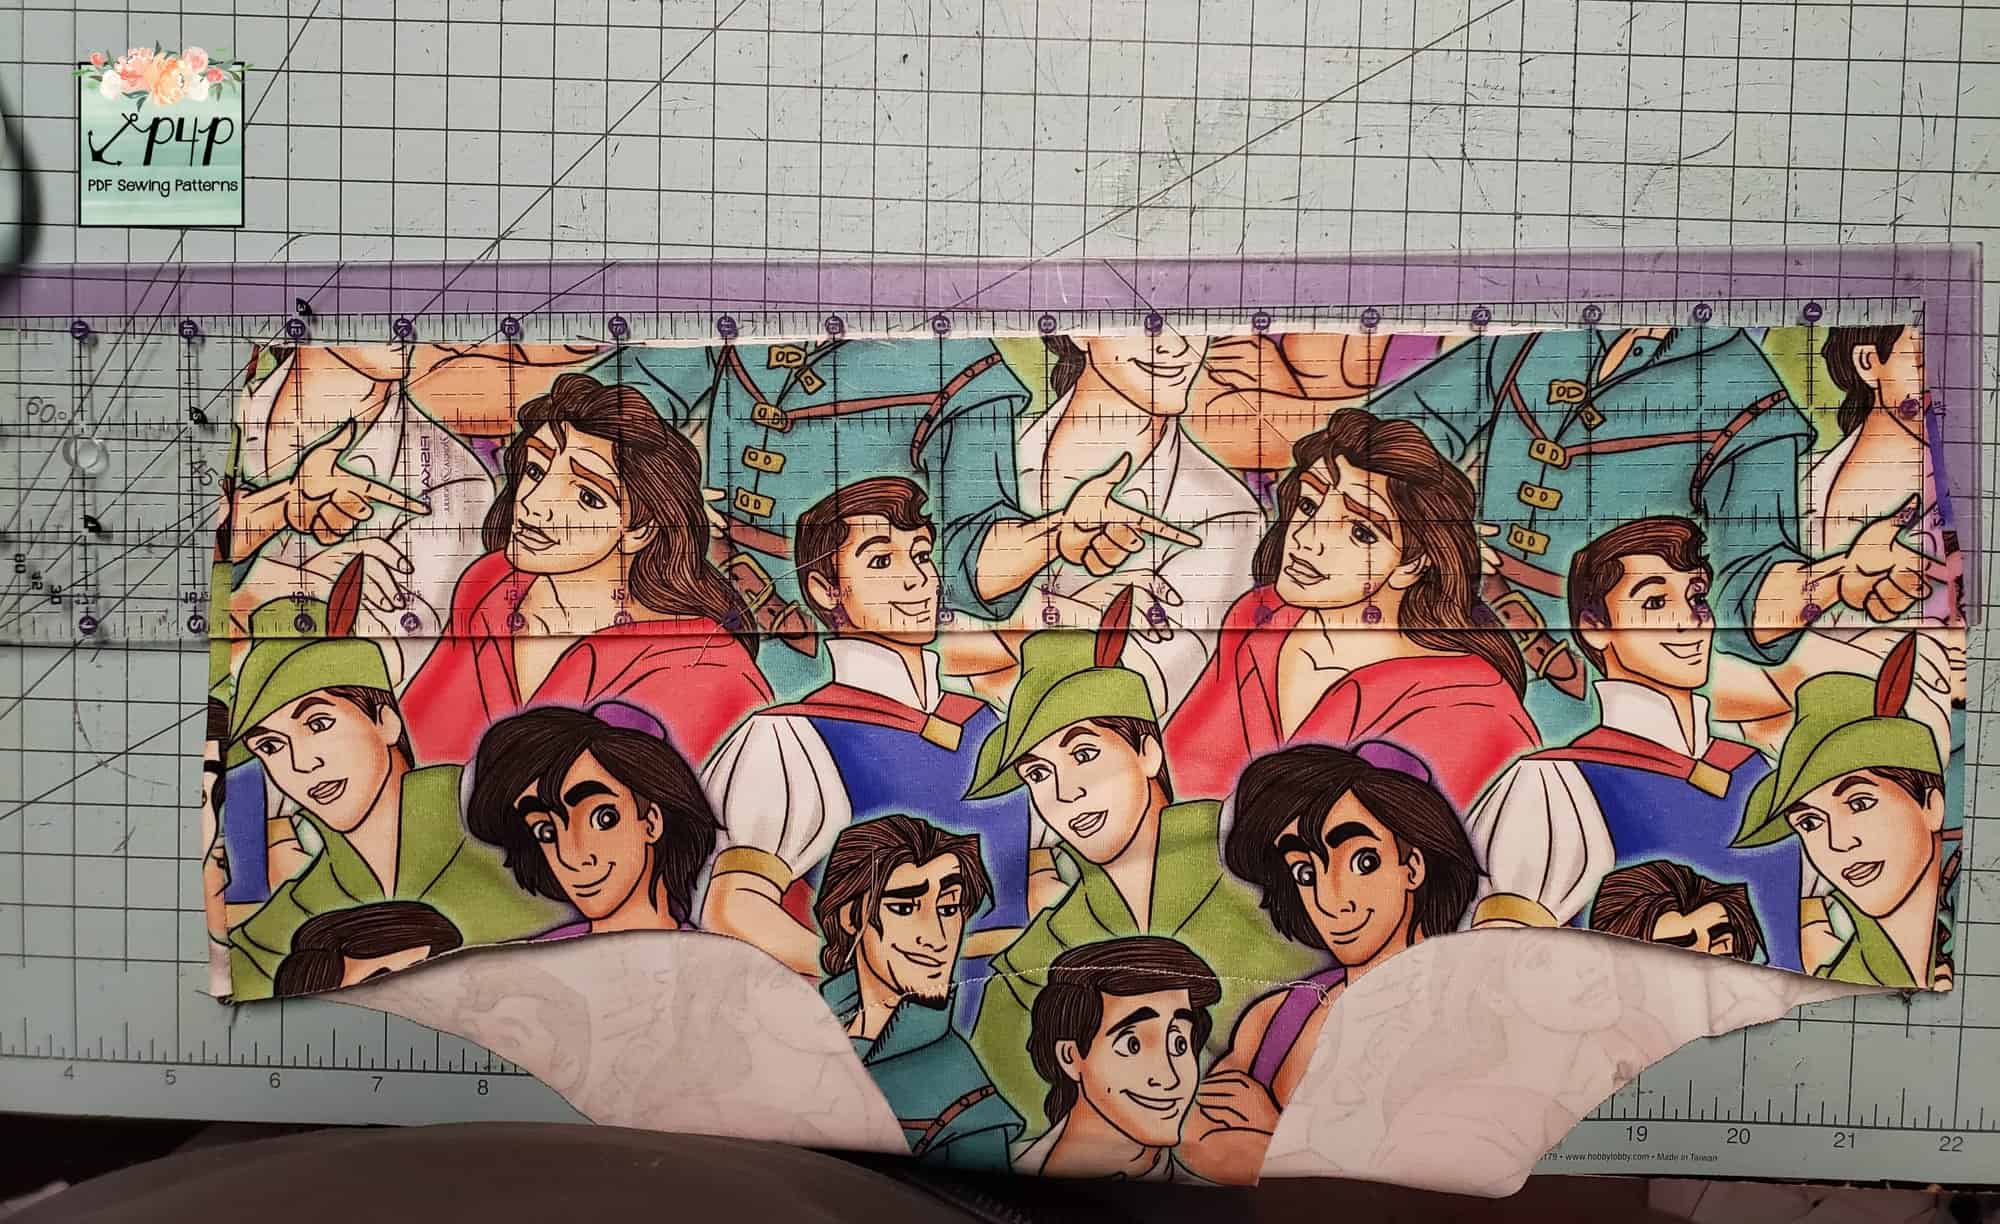
The first thing I did was cut and assemble the pattern according to the pattern. Then I measured the top of the undies to see how wide it is.

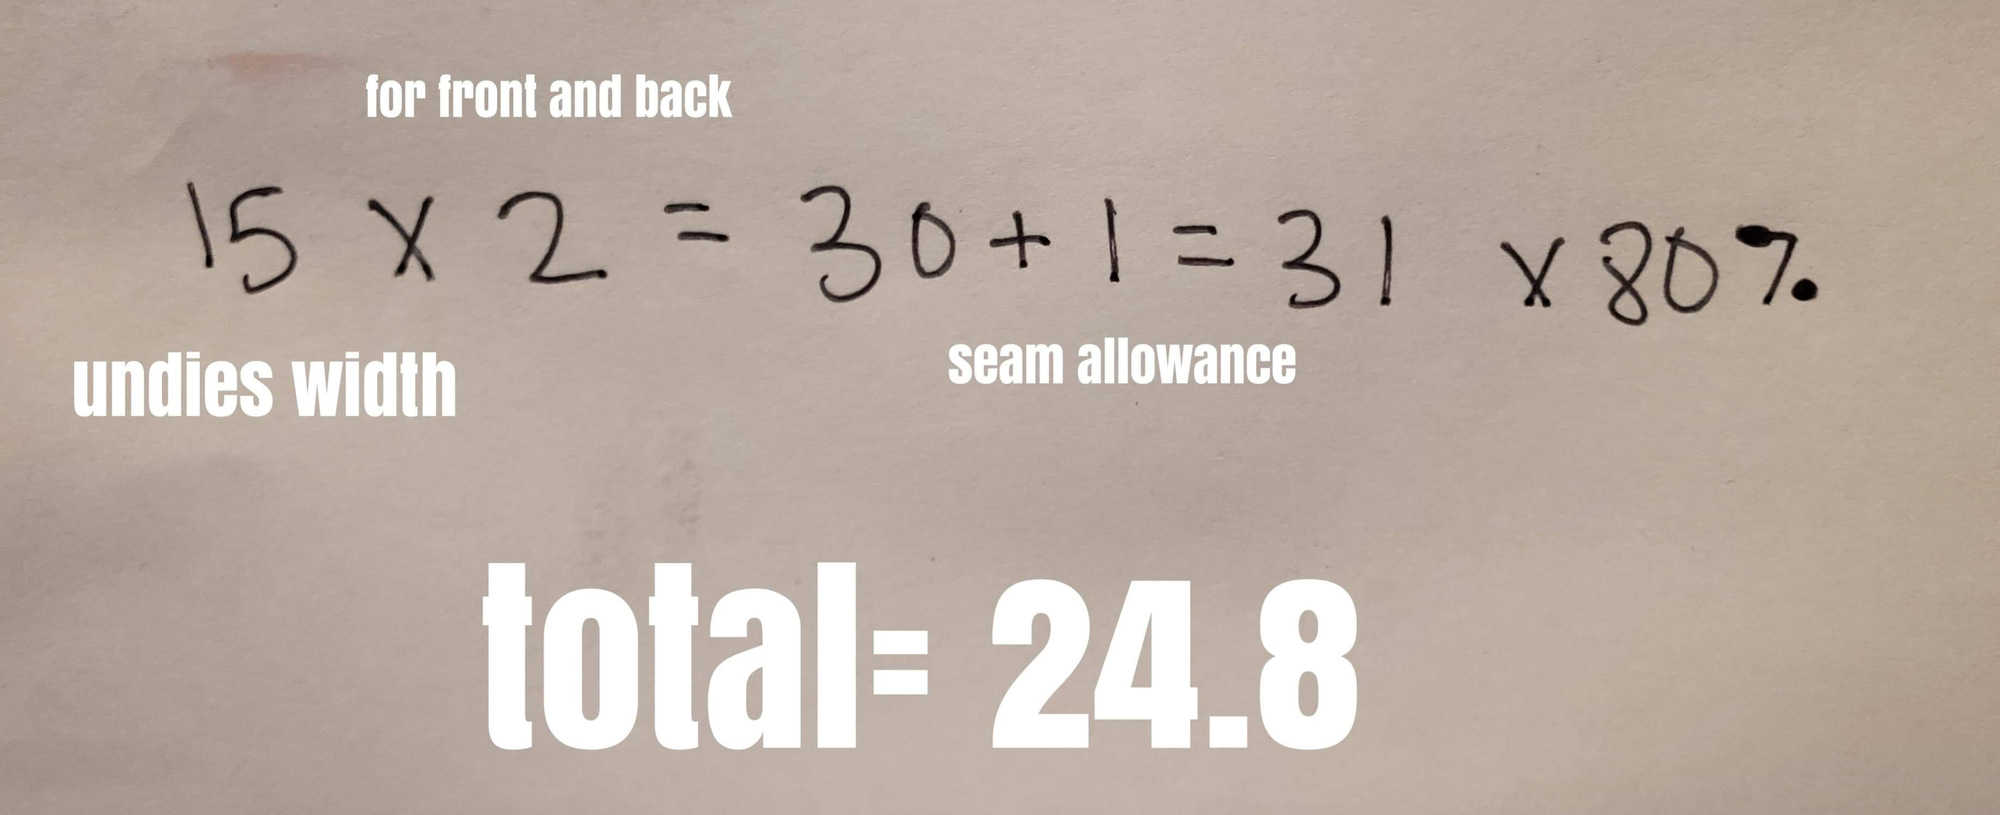
Now here is the formula I used to the band width: (undies width X 2)+1 X 80%. I like to use 80% because I like my band a little smaller but not too tight. Here is a picture of my measurements. 

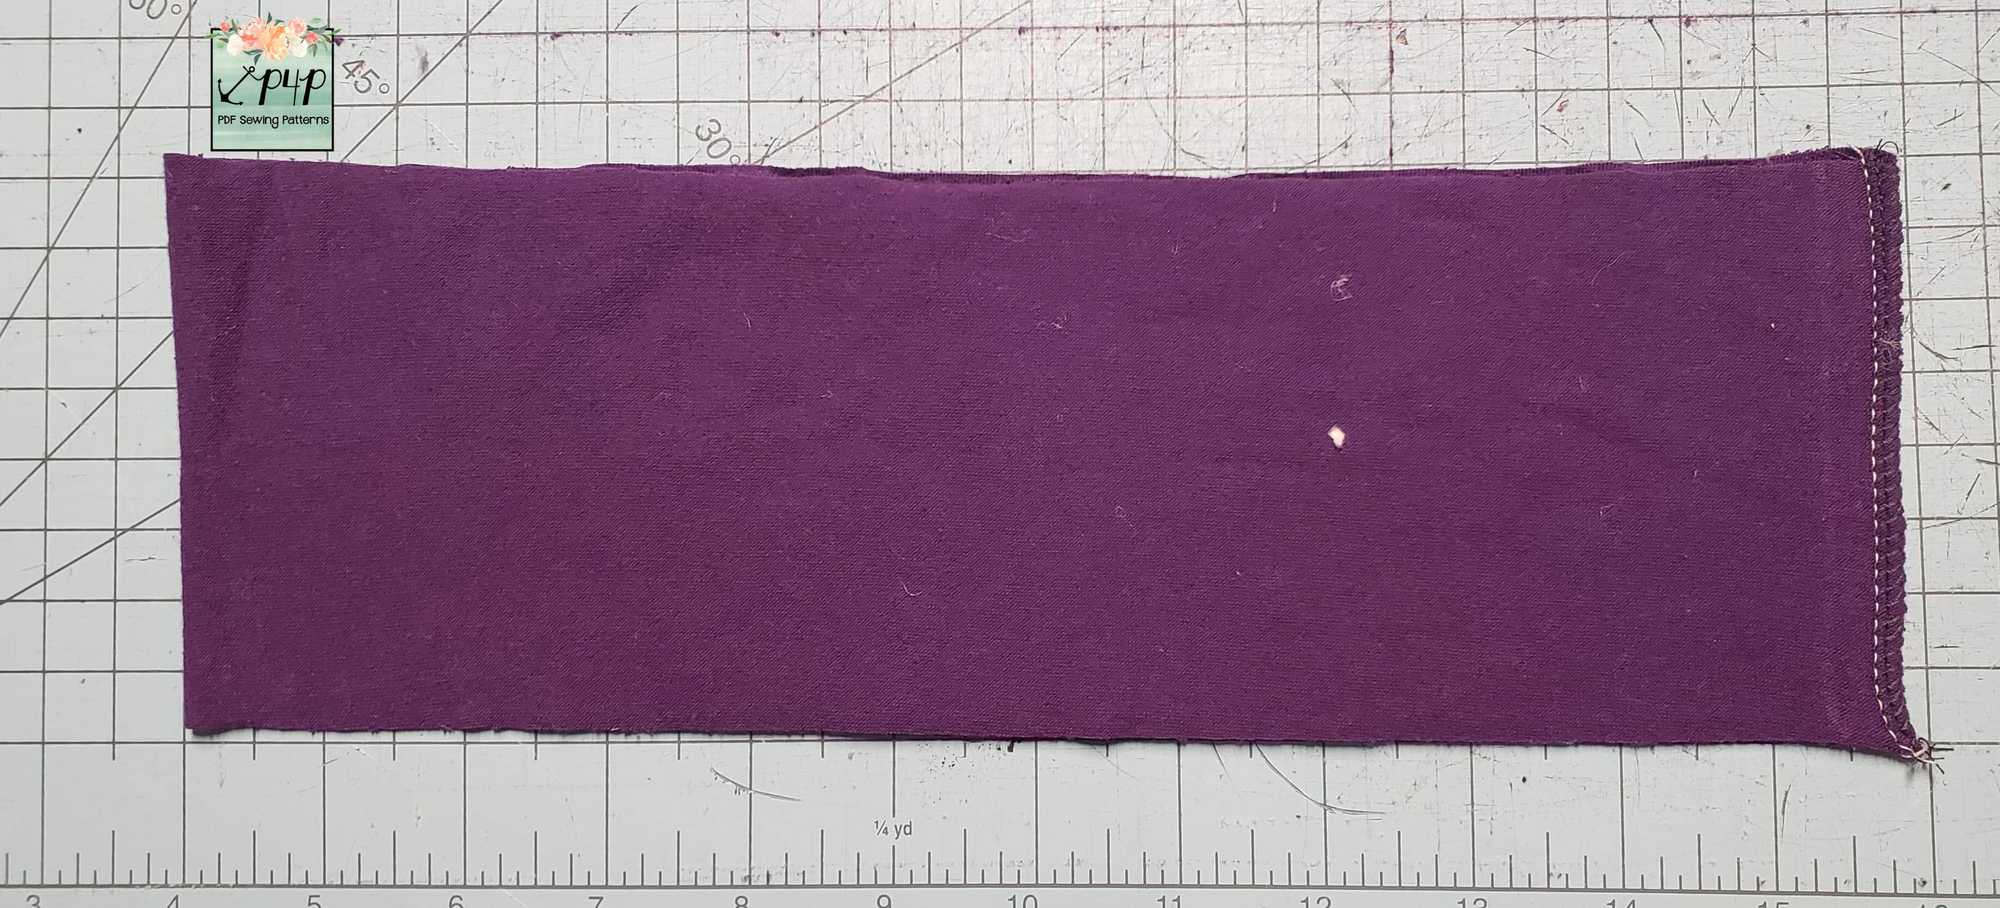
So my finished number is 24.8. So I cut my band at 4” tall and 24.8 wide. I cut my band 4” high because I like the 2” thickness. I fold my band short ends together and sew.

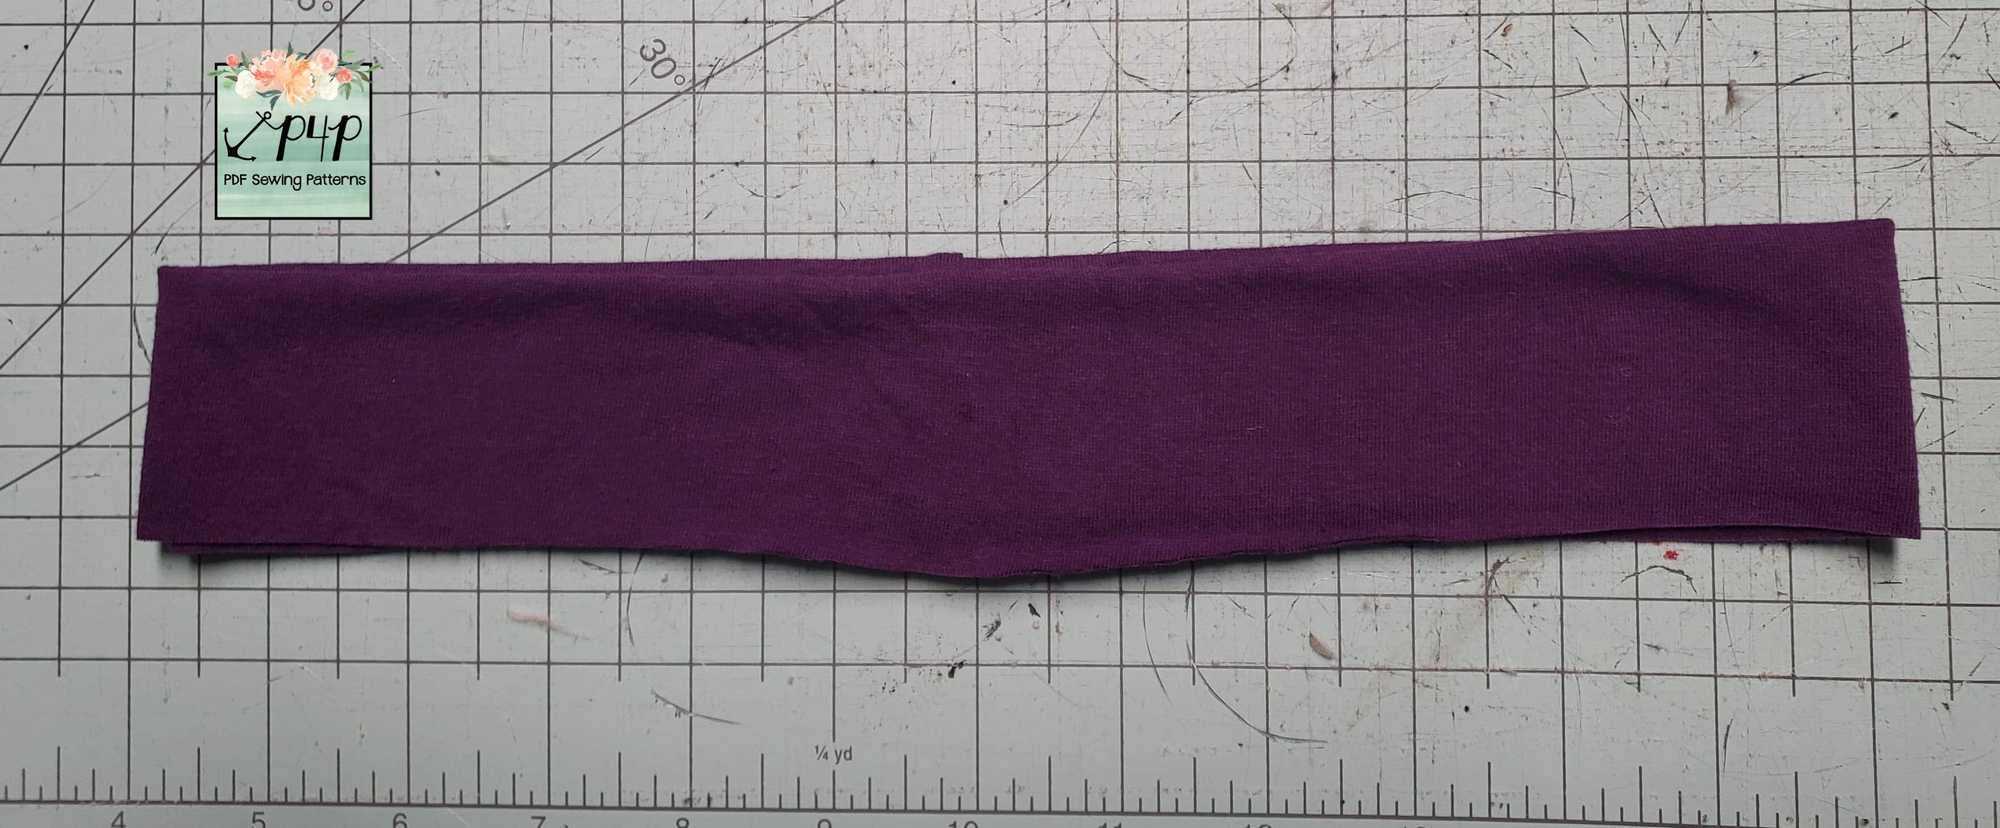
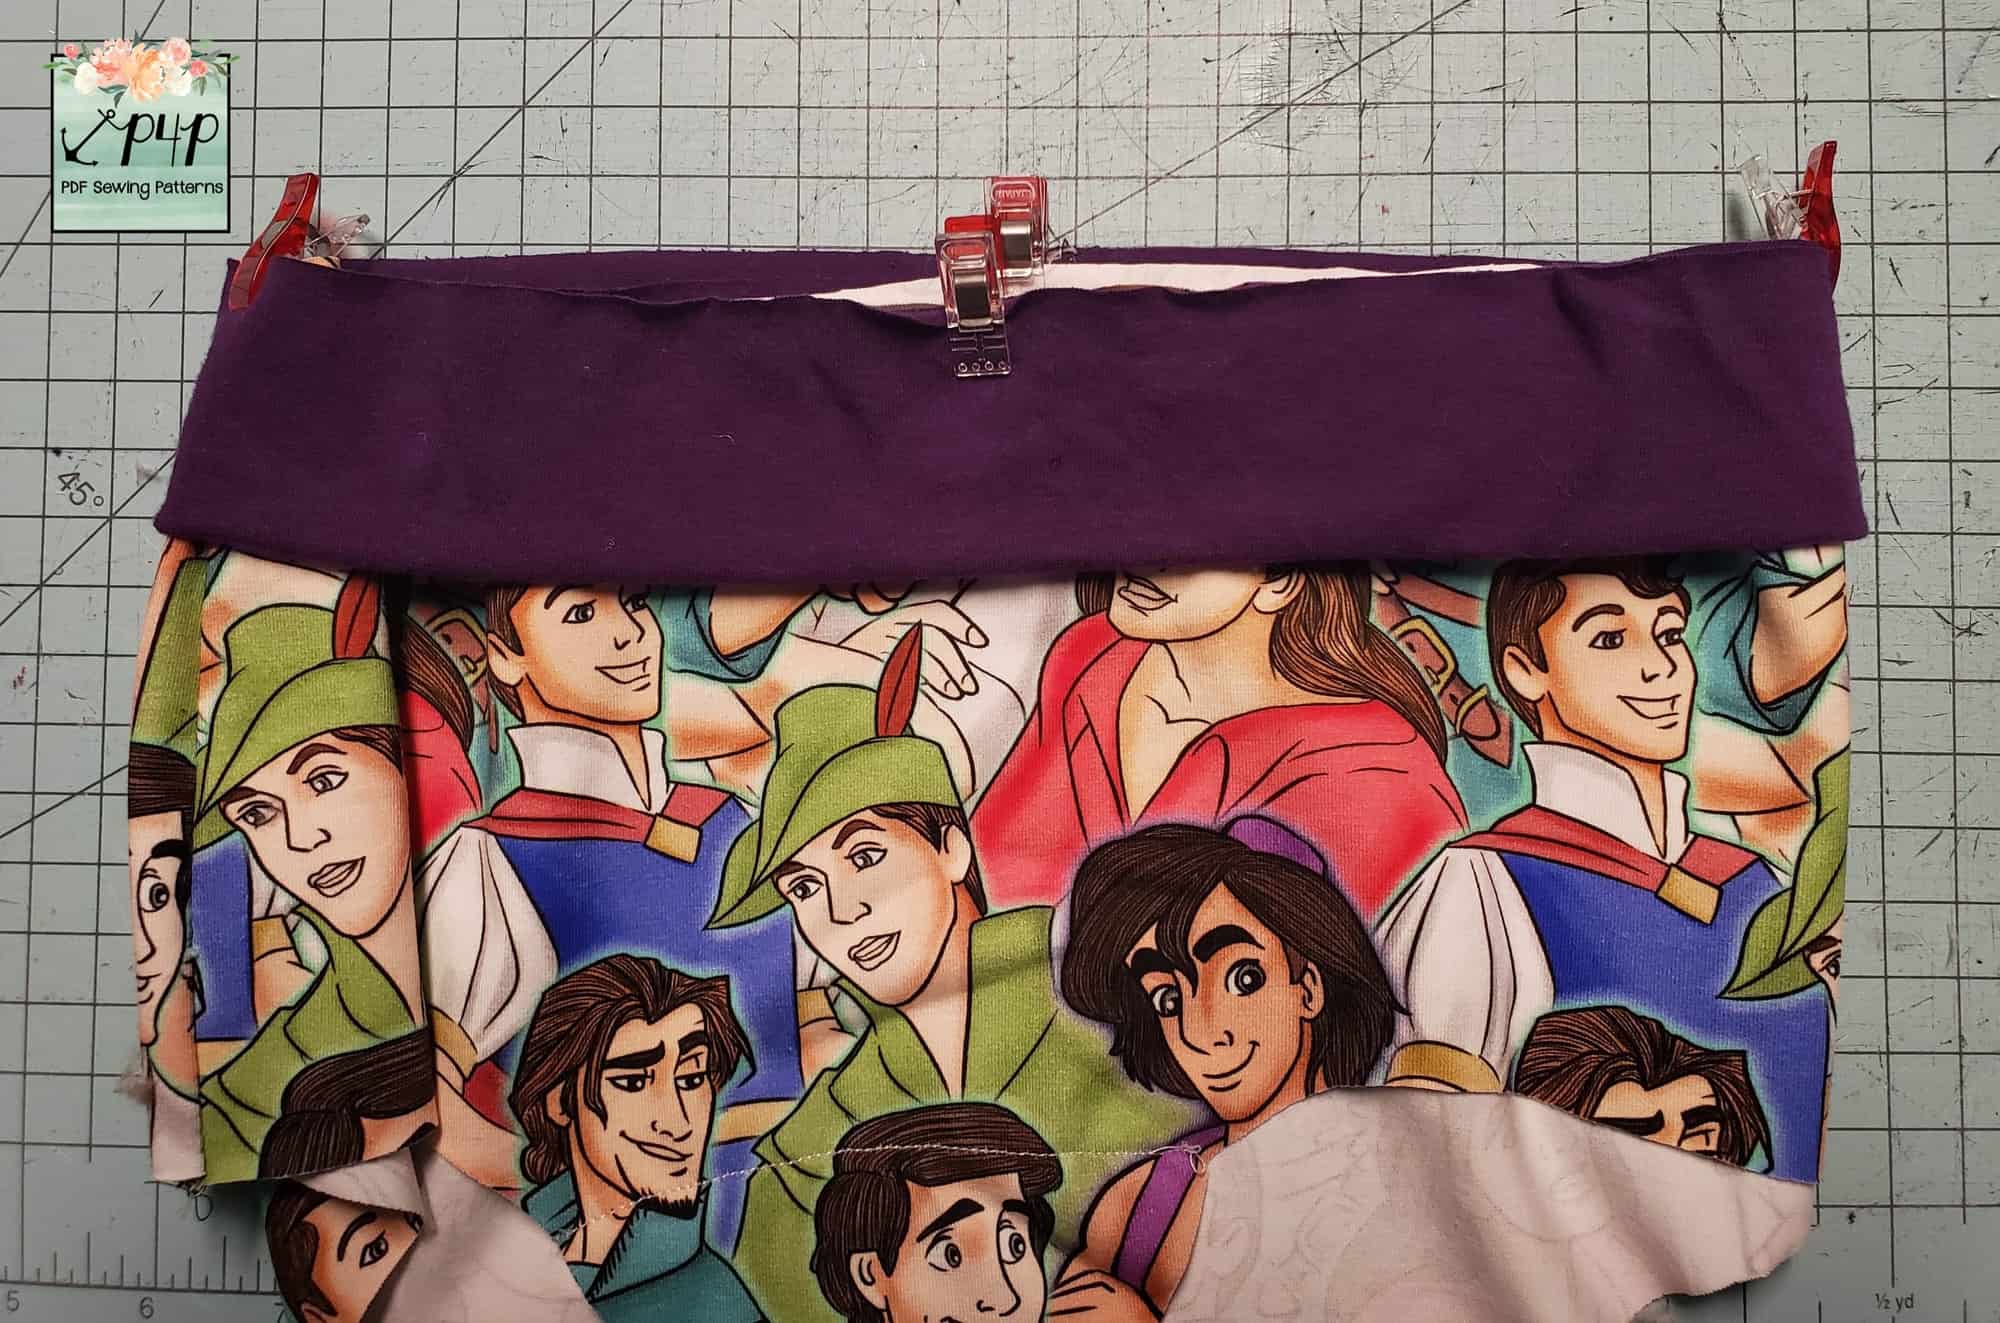
Then I fold it again raw edges together.


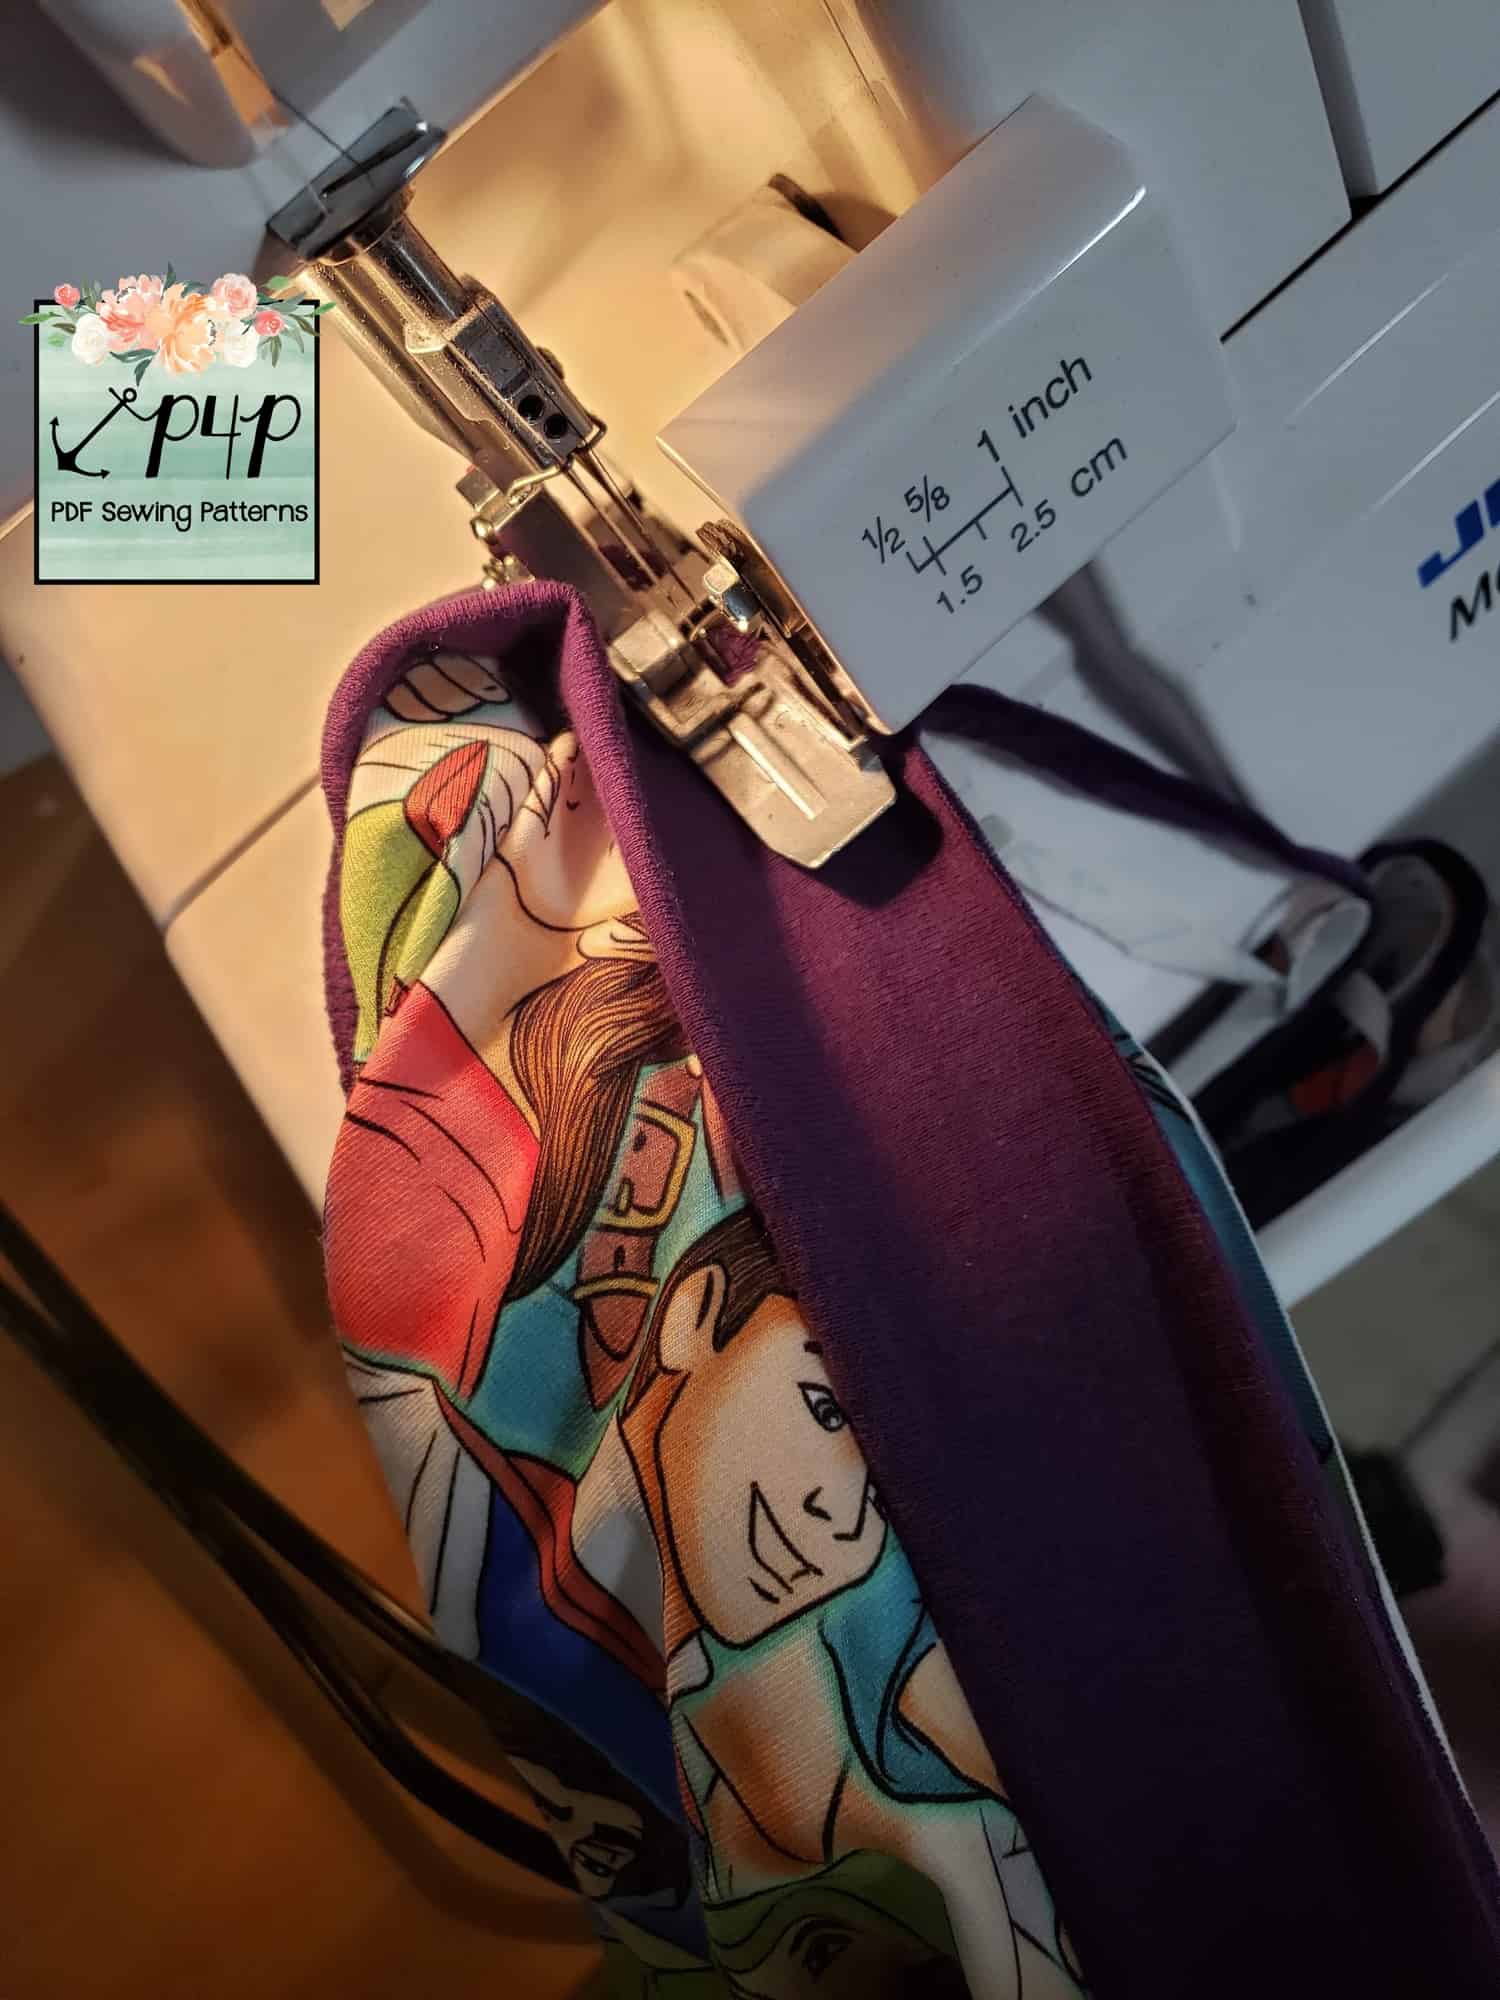
Now I quarter the band and undies, then I put the band over the undies with right sides together matching the quarter marks.

Sew the band on, top stitch if desired.

Now you have a knit and Fierce undies! 


…..

Undies with picot lace

Nicole will show us how to add picot trim to the leg opening soon!

…..

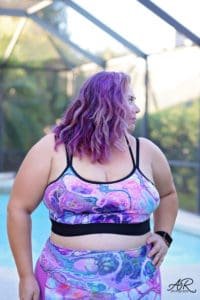
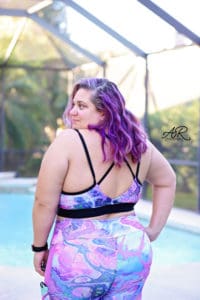
Bra with knit biding

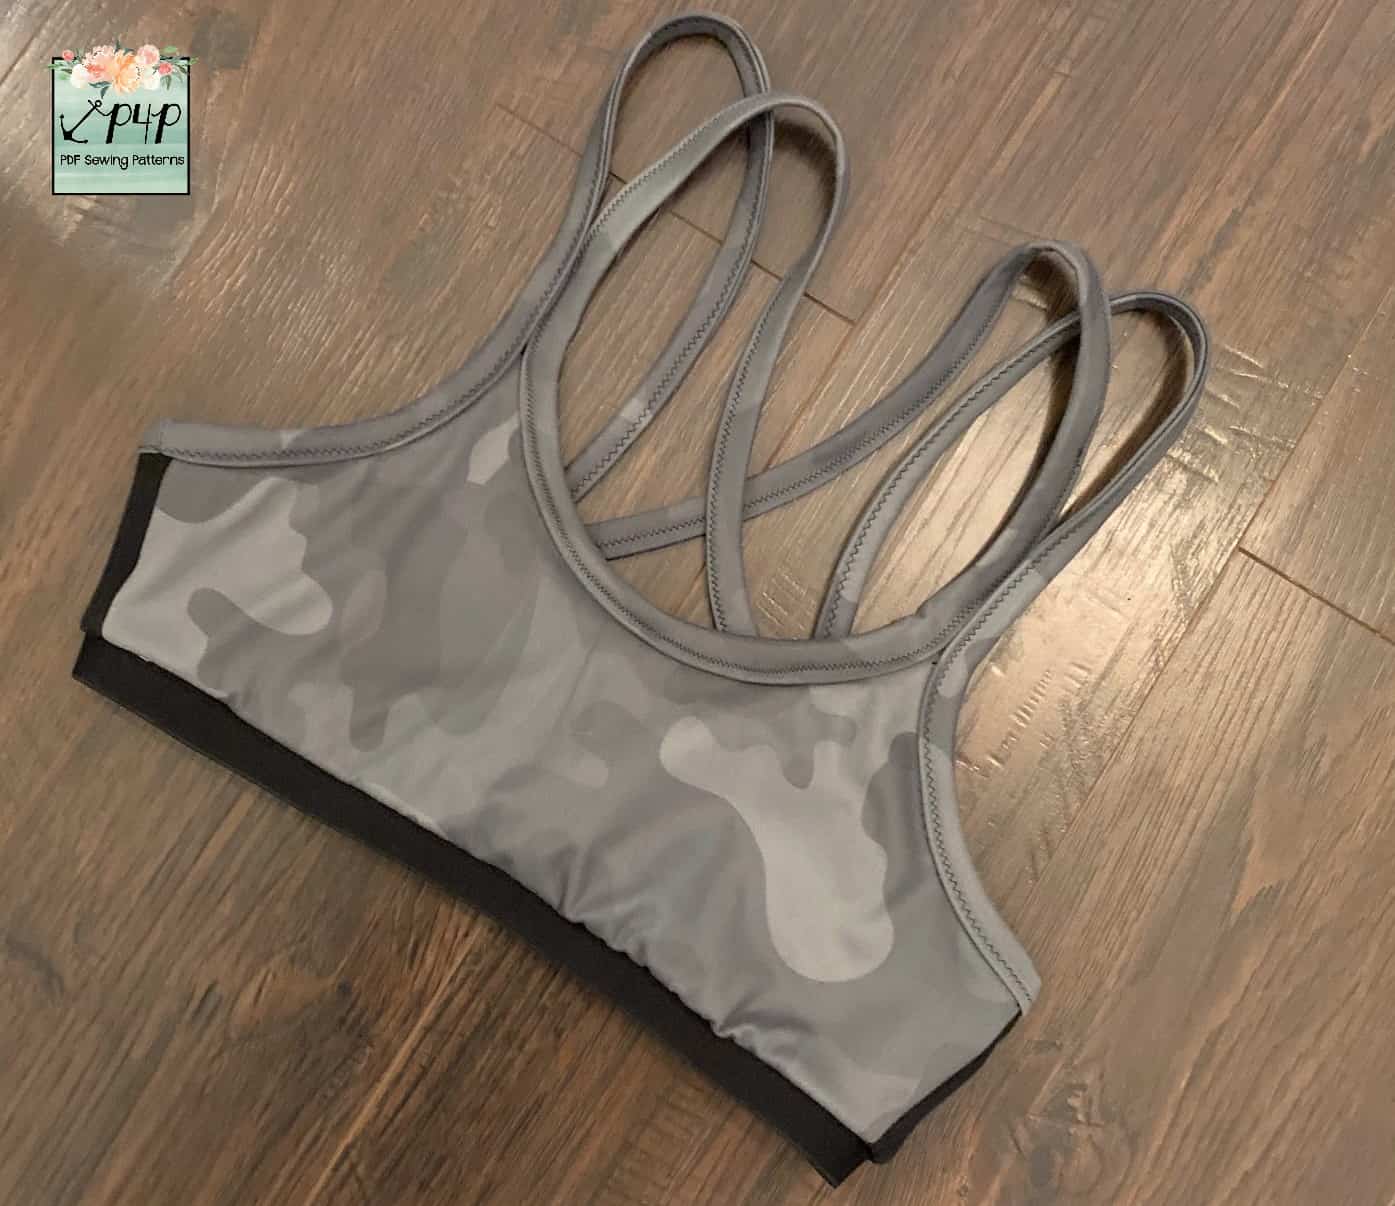
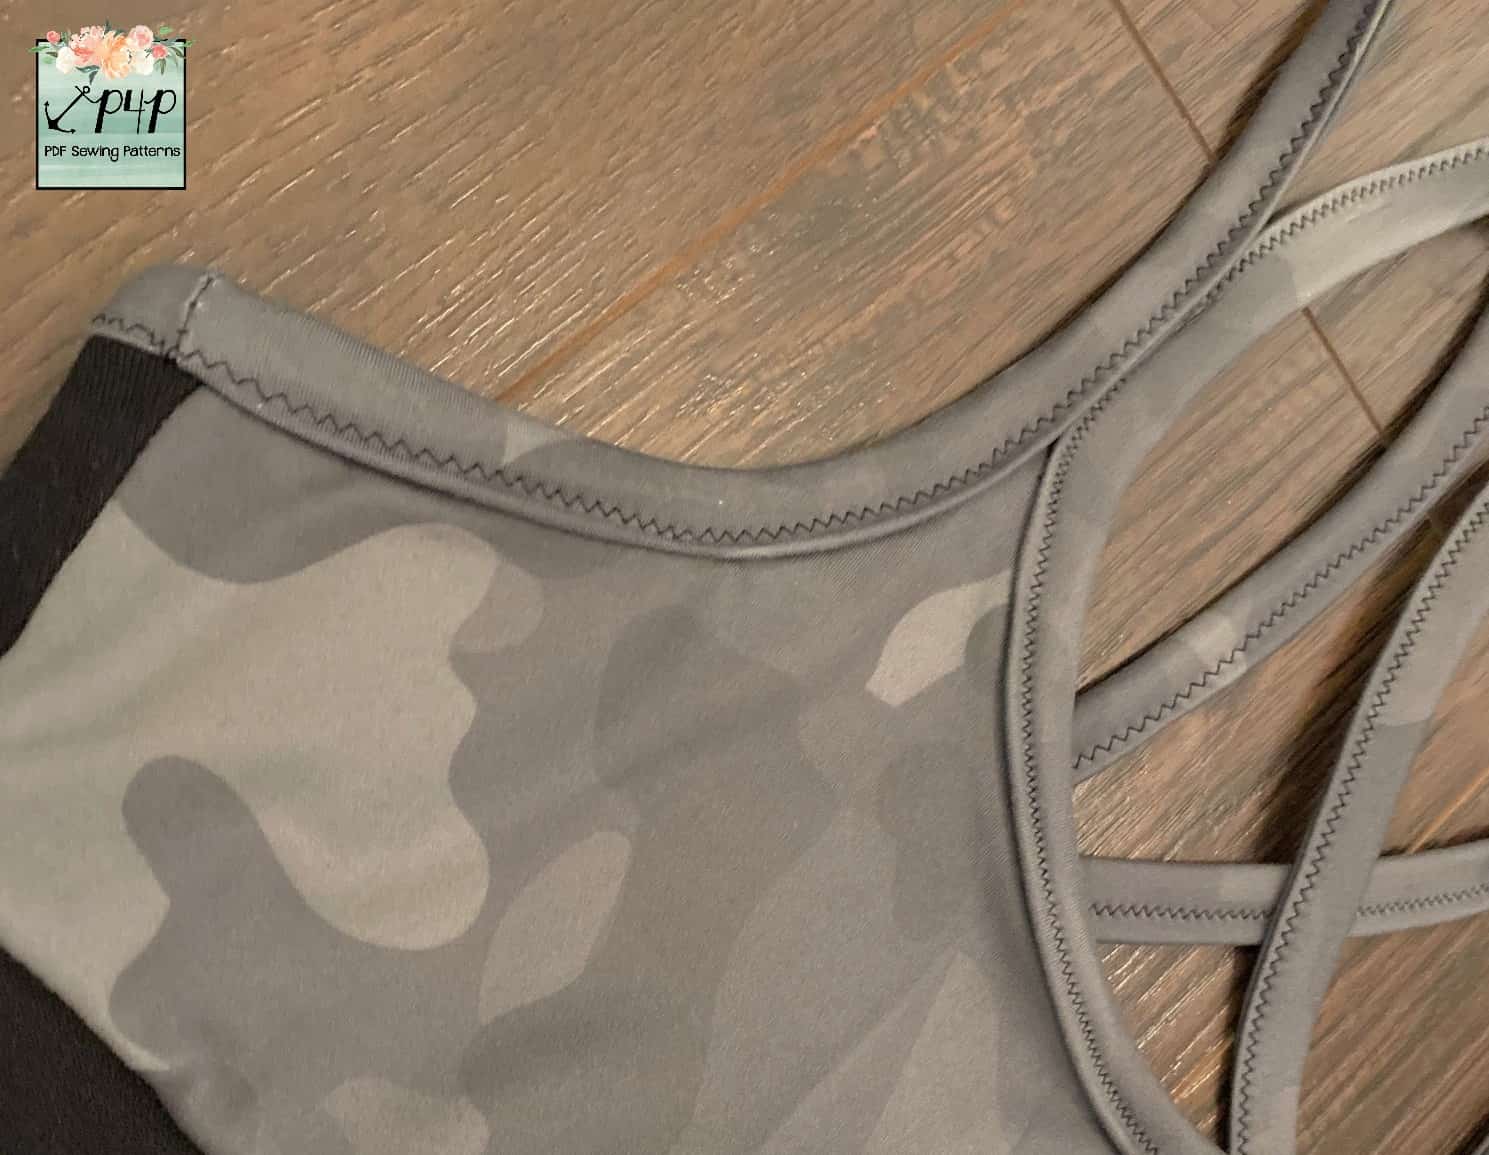
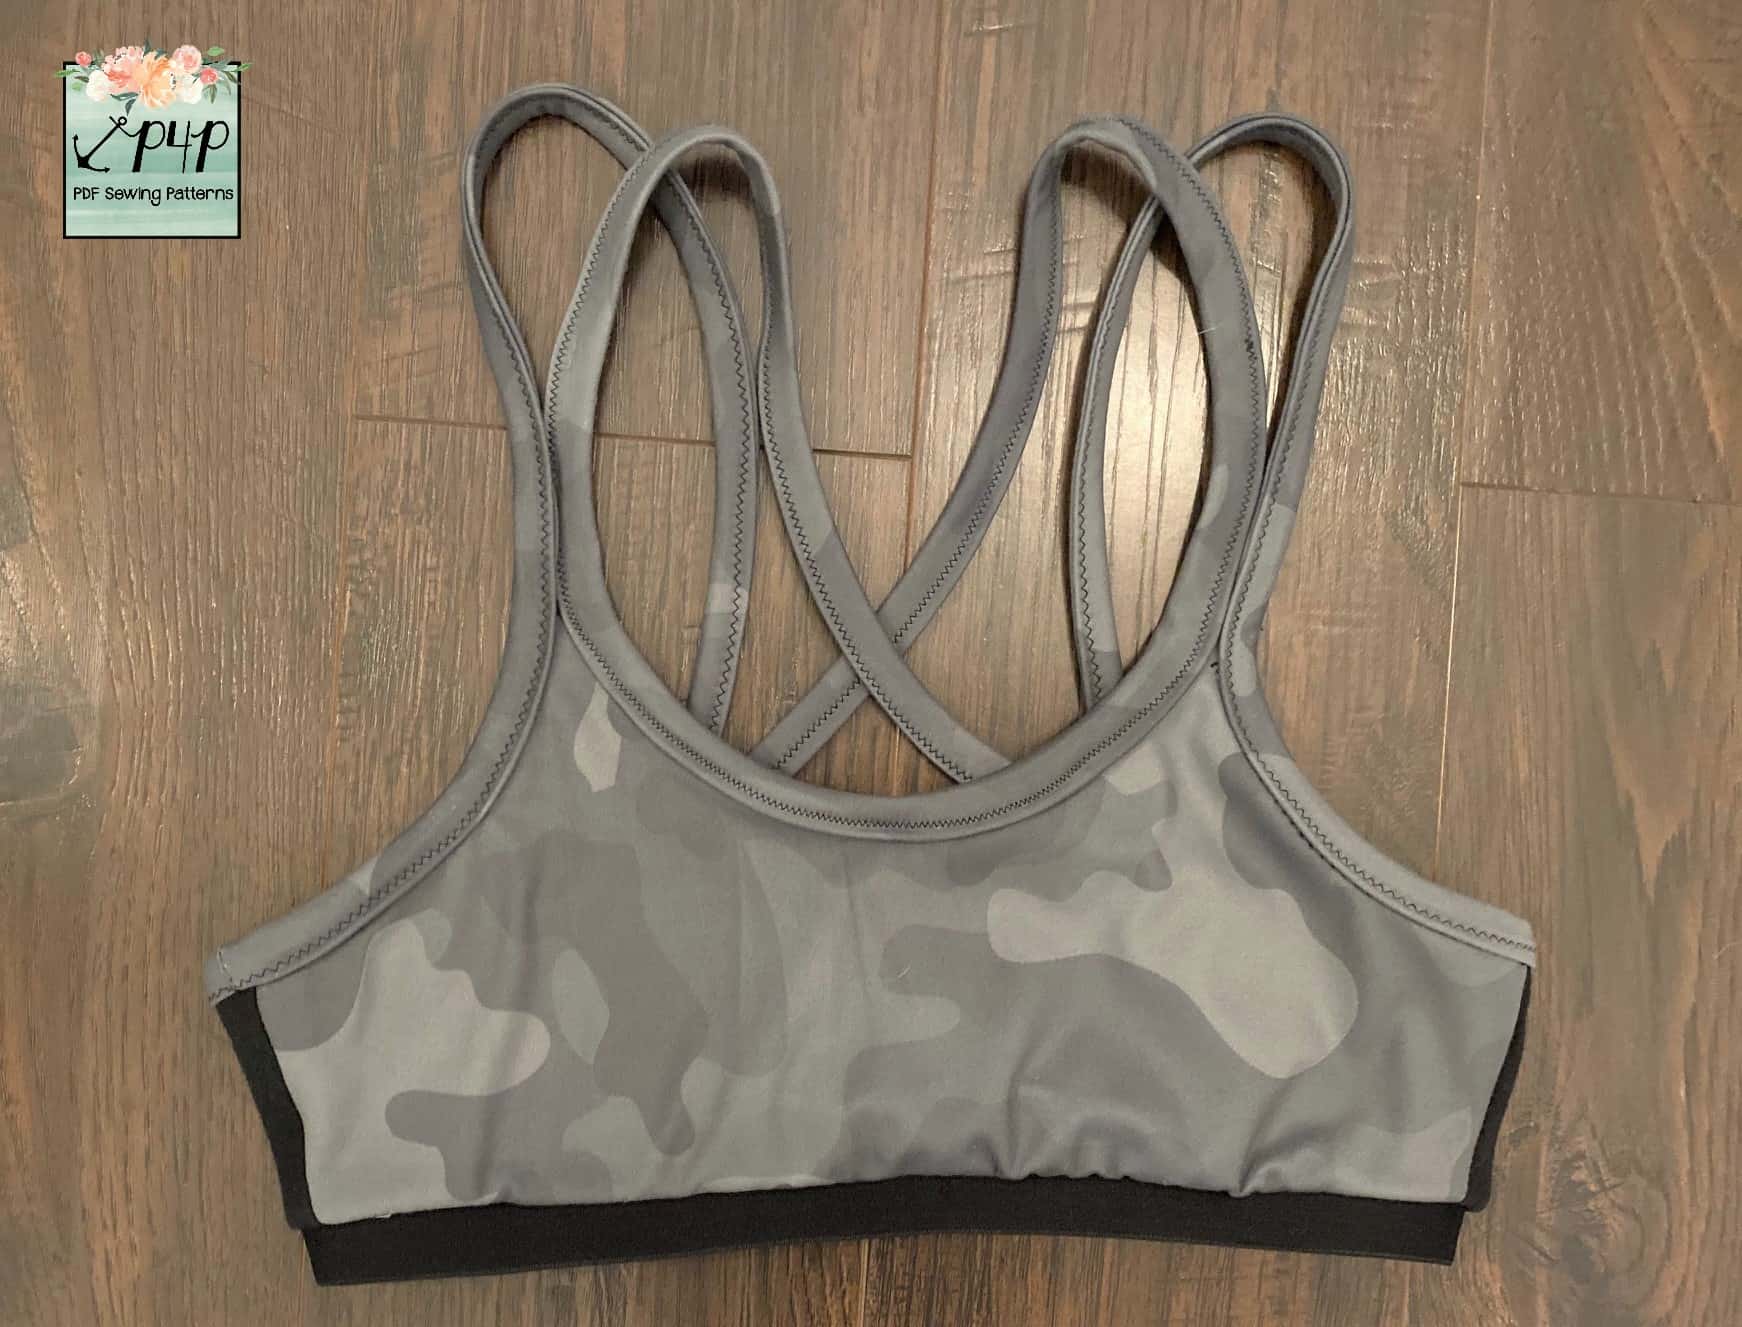
For this hack, we will be using knit to create a binding instead of fold over elastic (FOE). This is a a great hack to use if you don’t have any FOE on hand or if you want your binding to be a cute print or exact match of one of your fabrics.
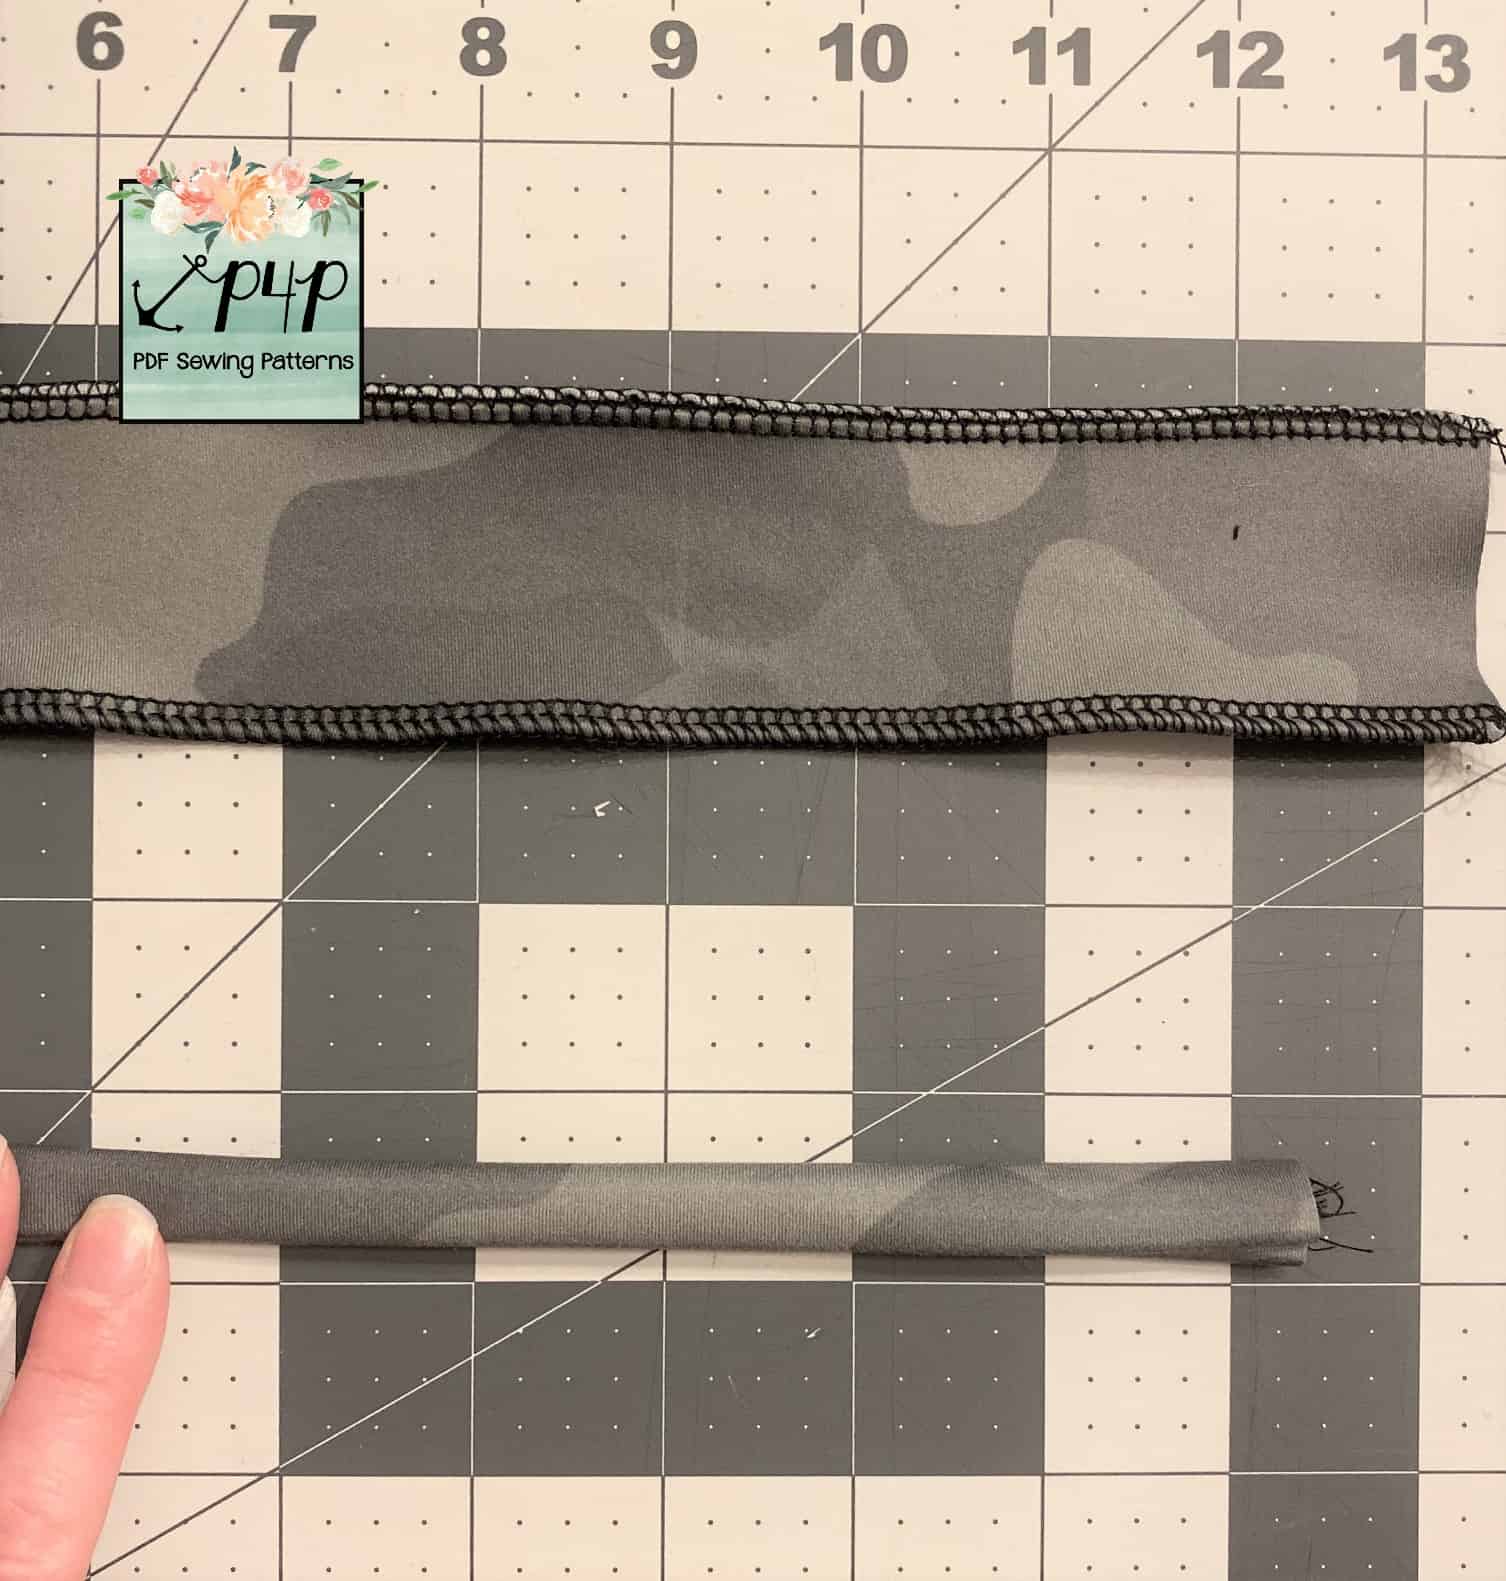
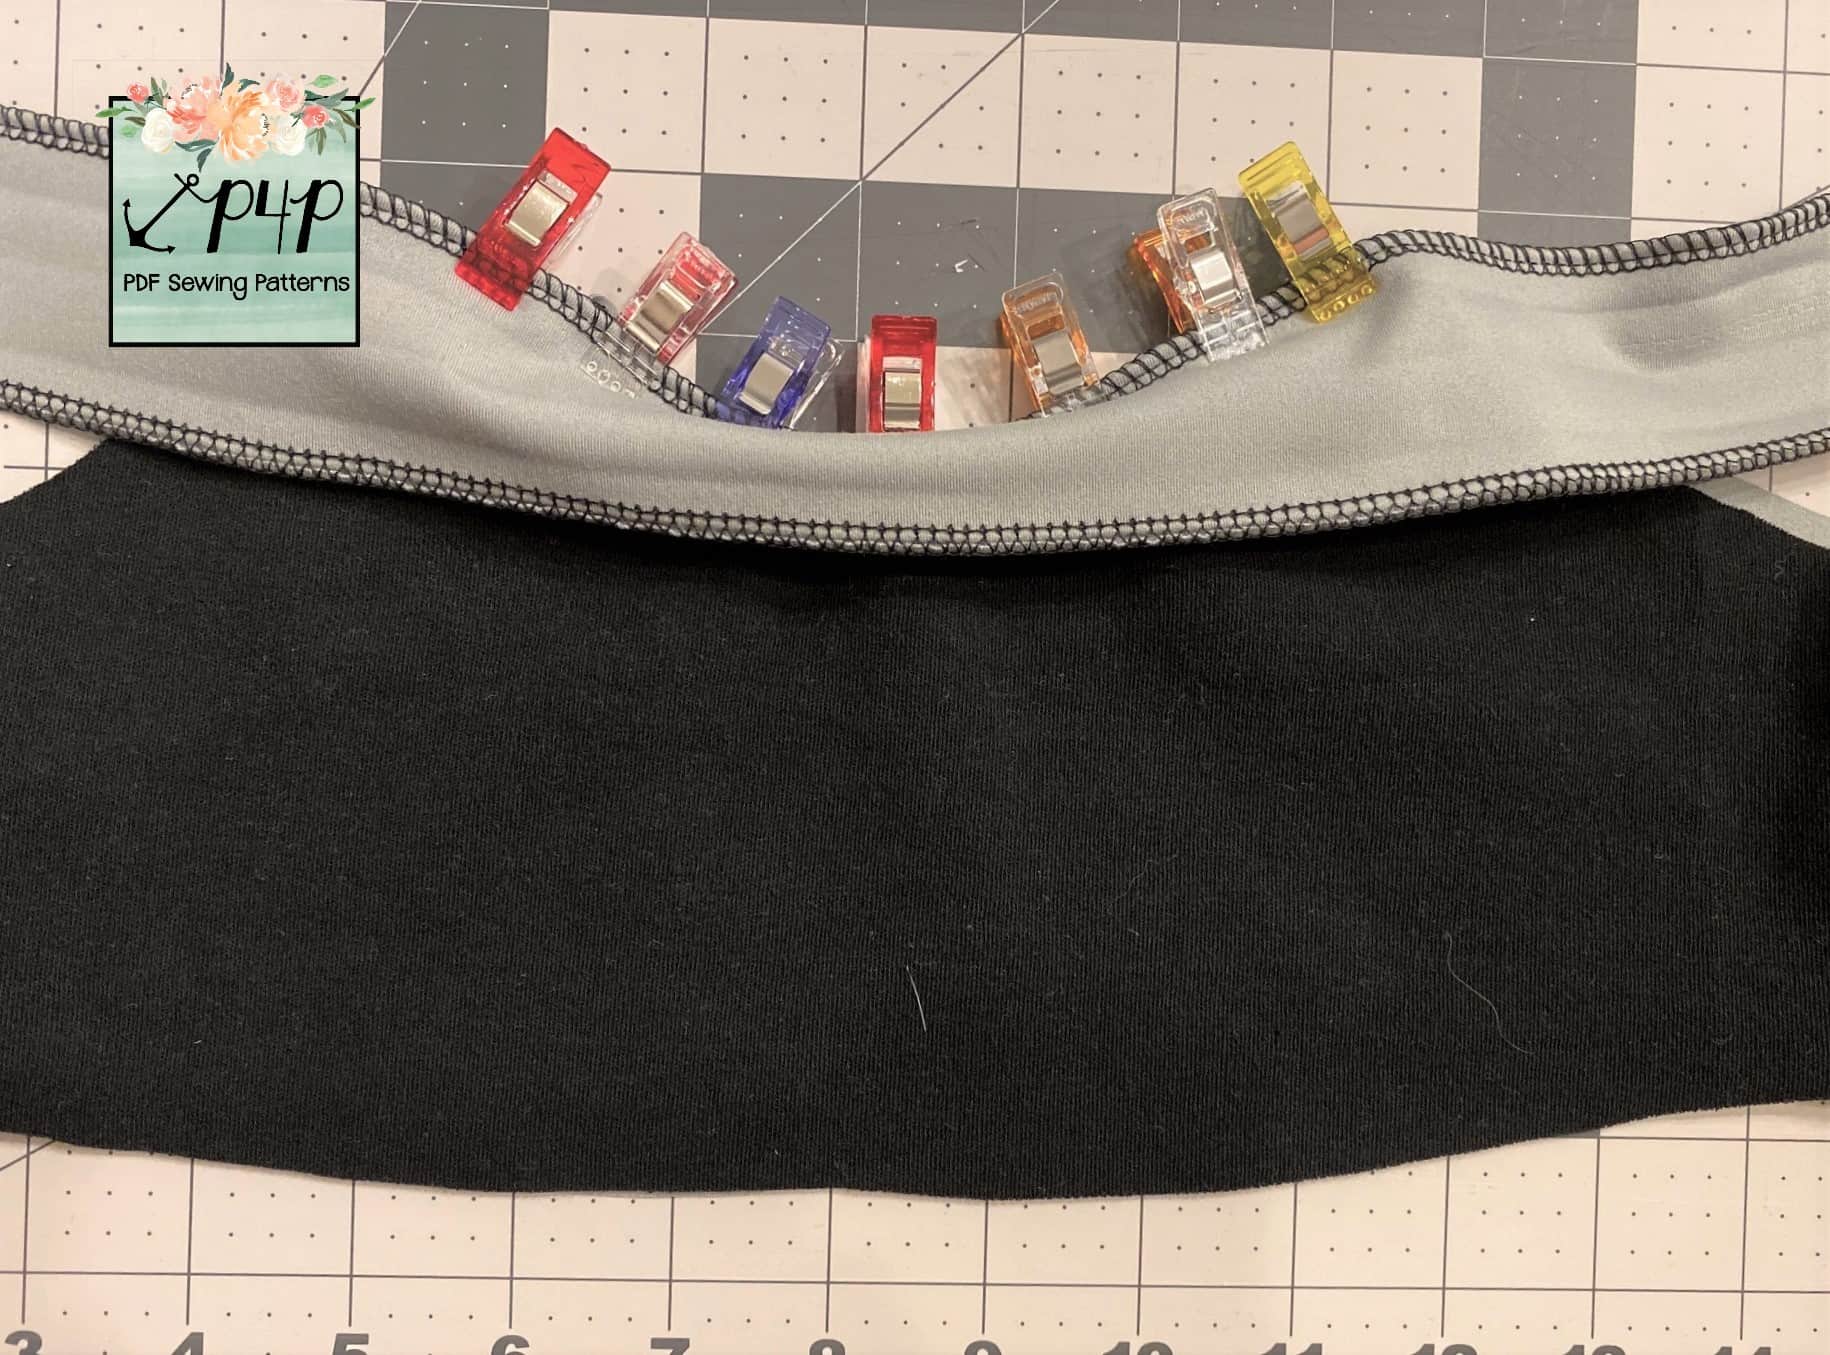
To get started, cut out the three 2” strap pieces using the width measurements as indicated in the elastic cut chart according to your size. Optional: serge along the long edges for additional stability. Then, press all three binding pieces into 1/2” strips: Fold pieces in half, press, open back up, then bring raw edges to meet at the center crease, press, fold in half, press.
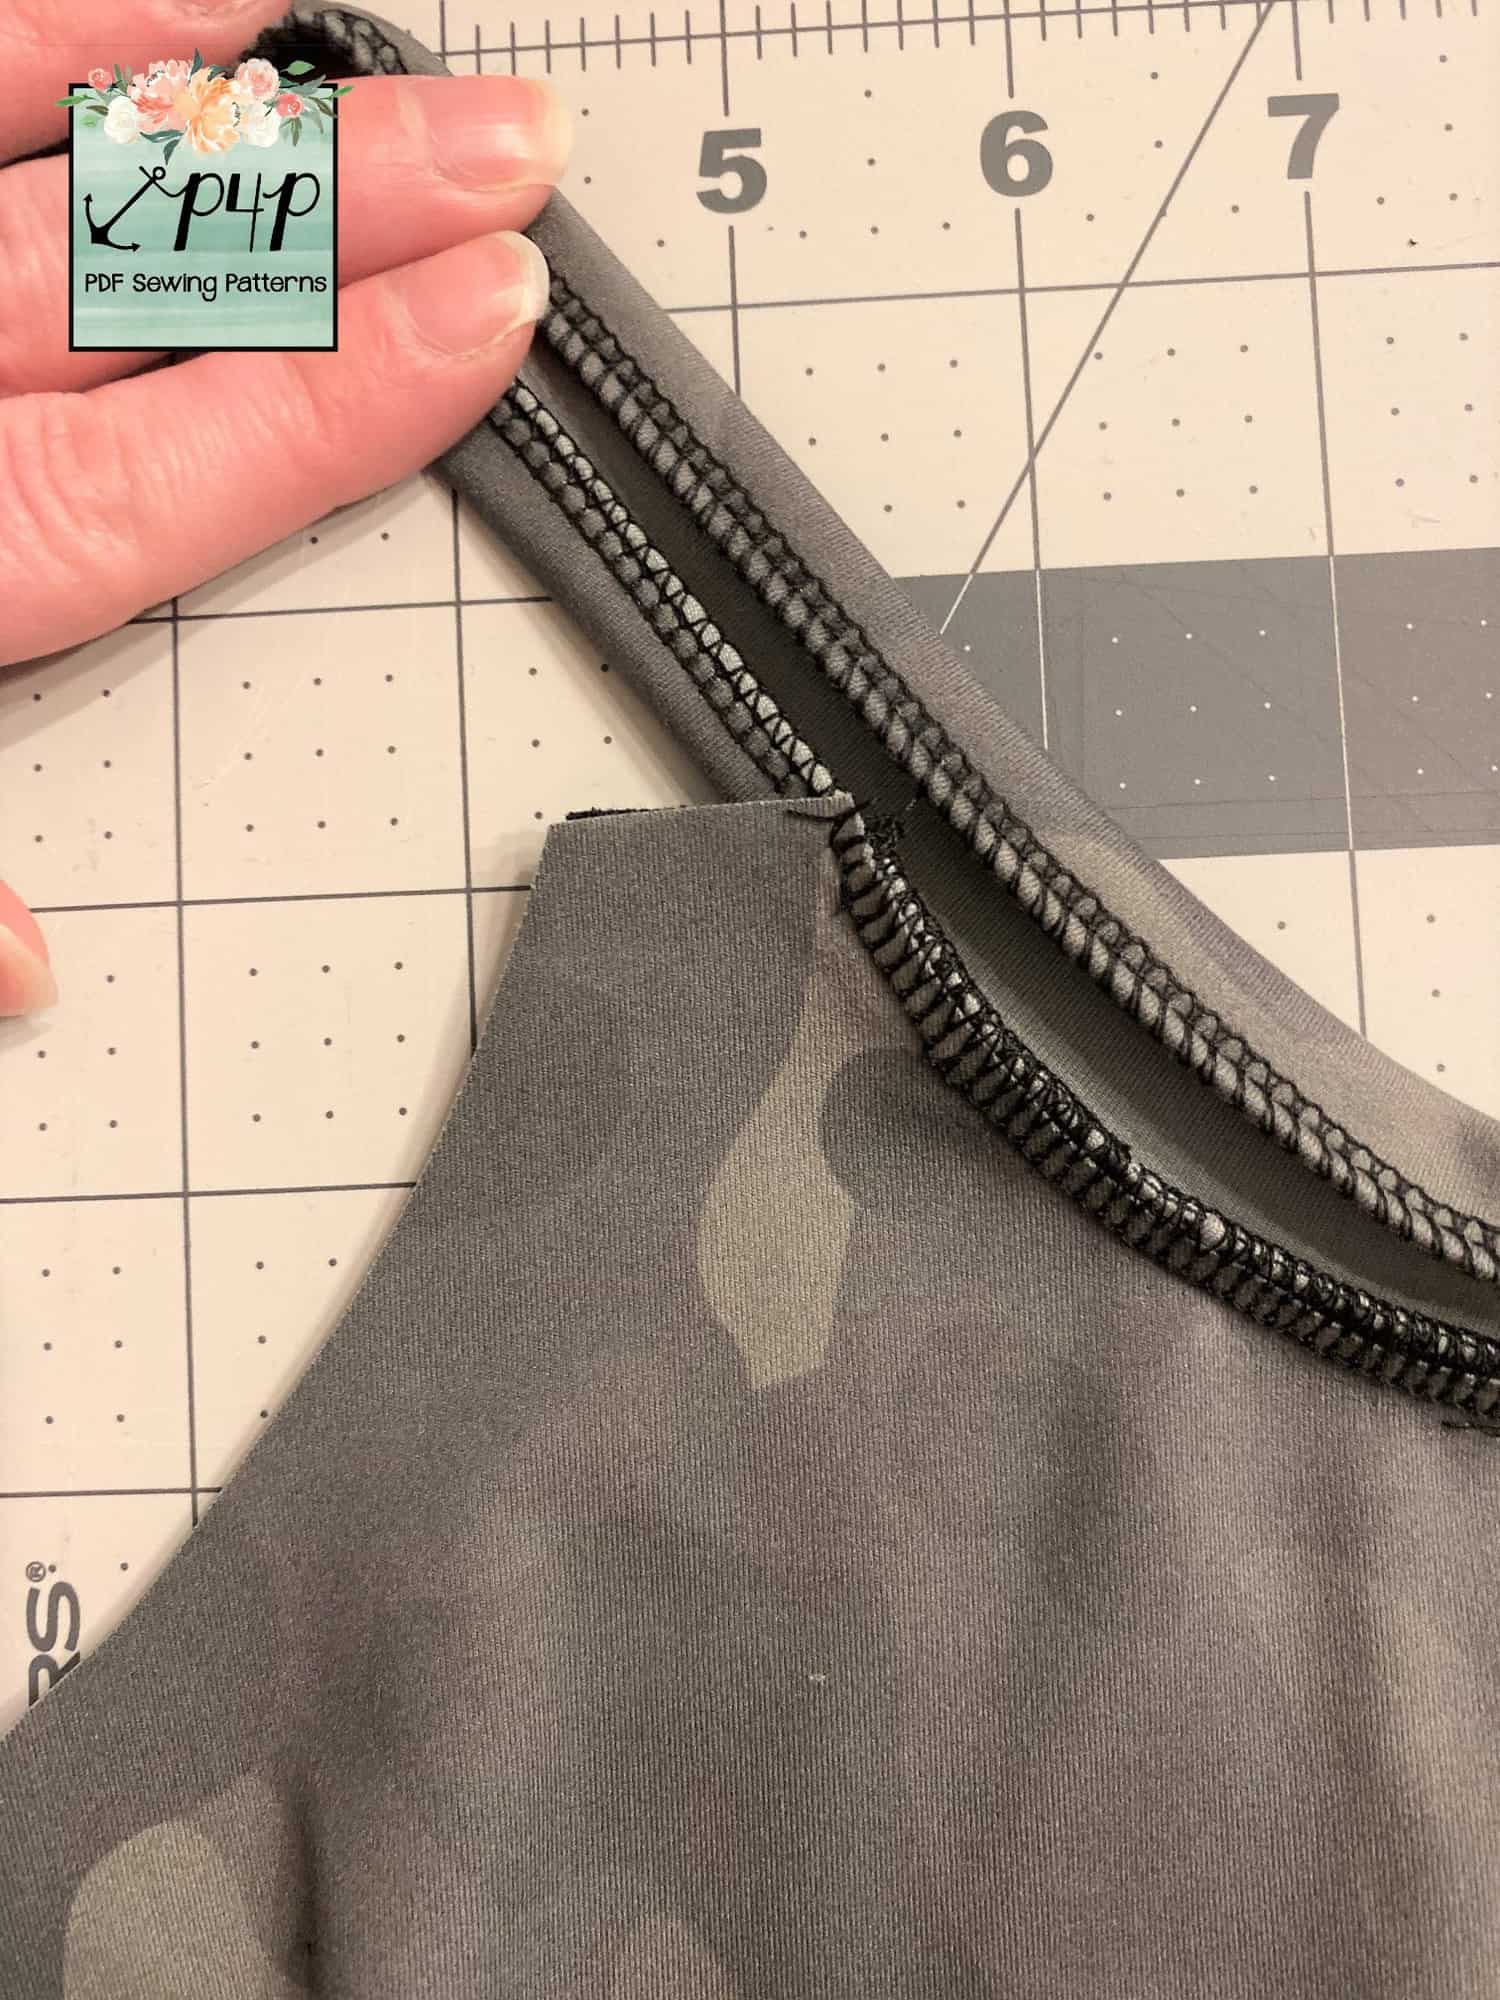
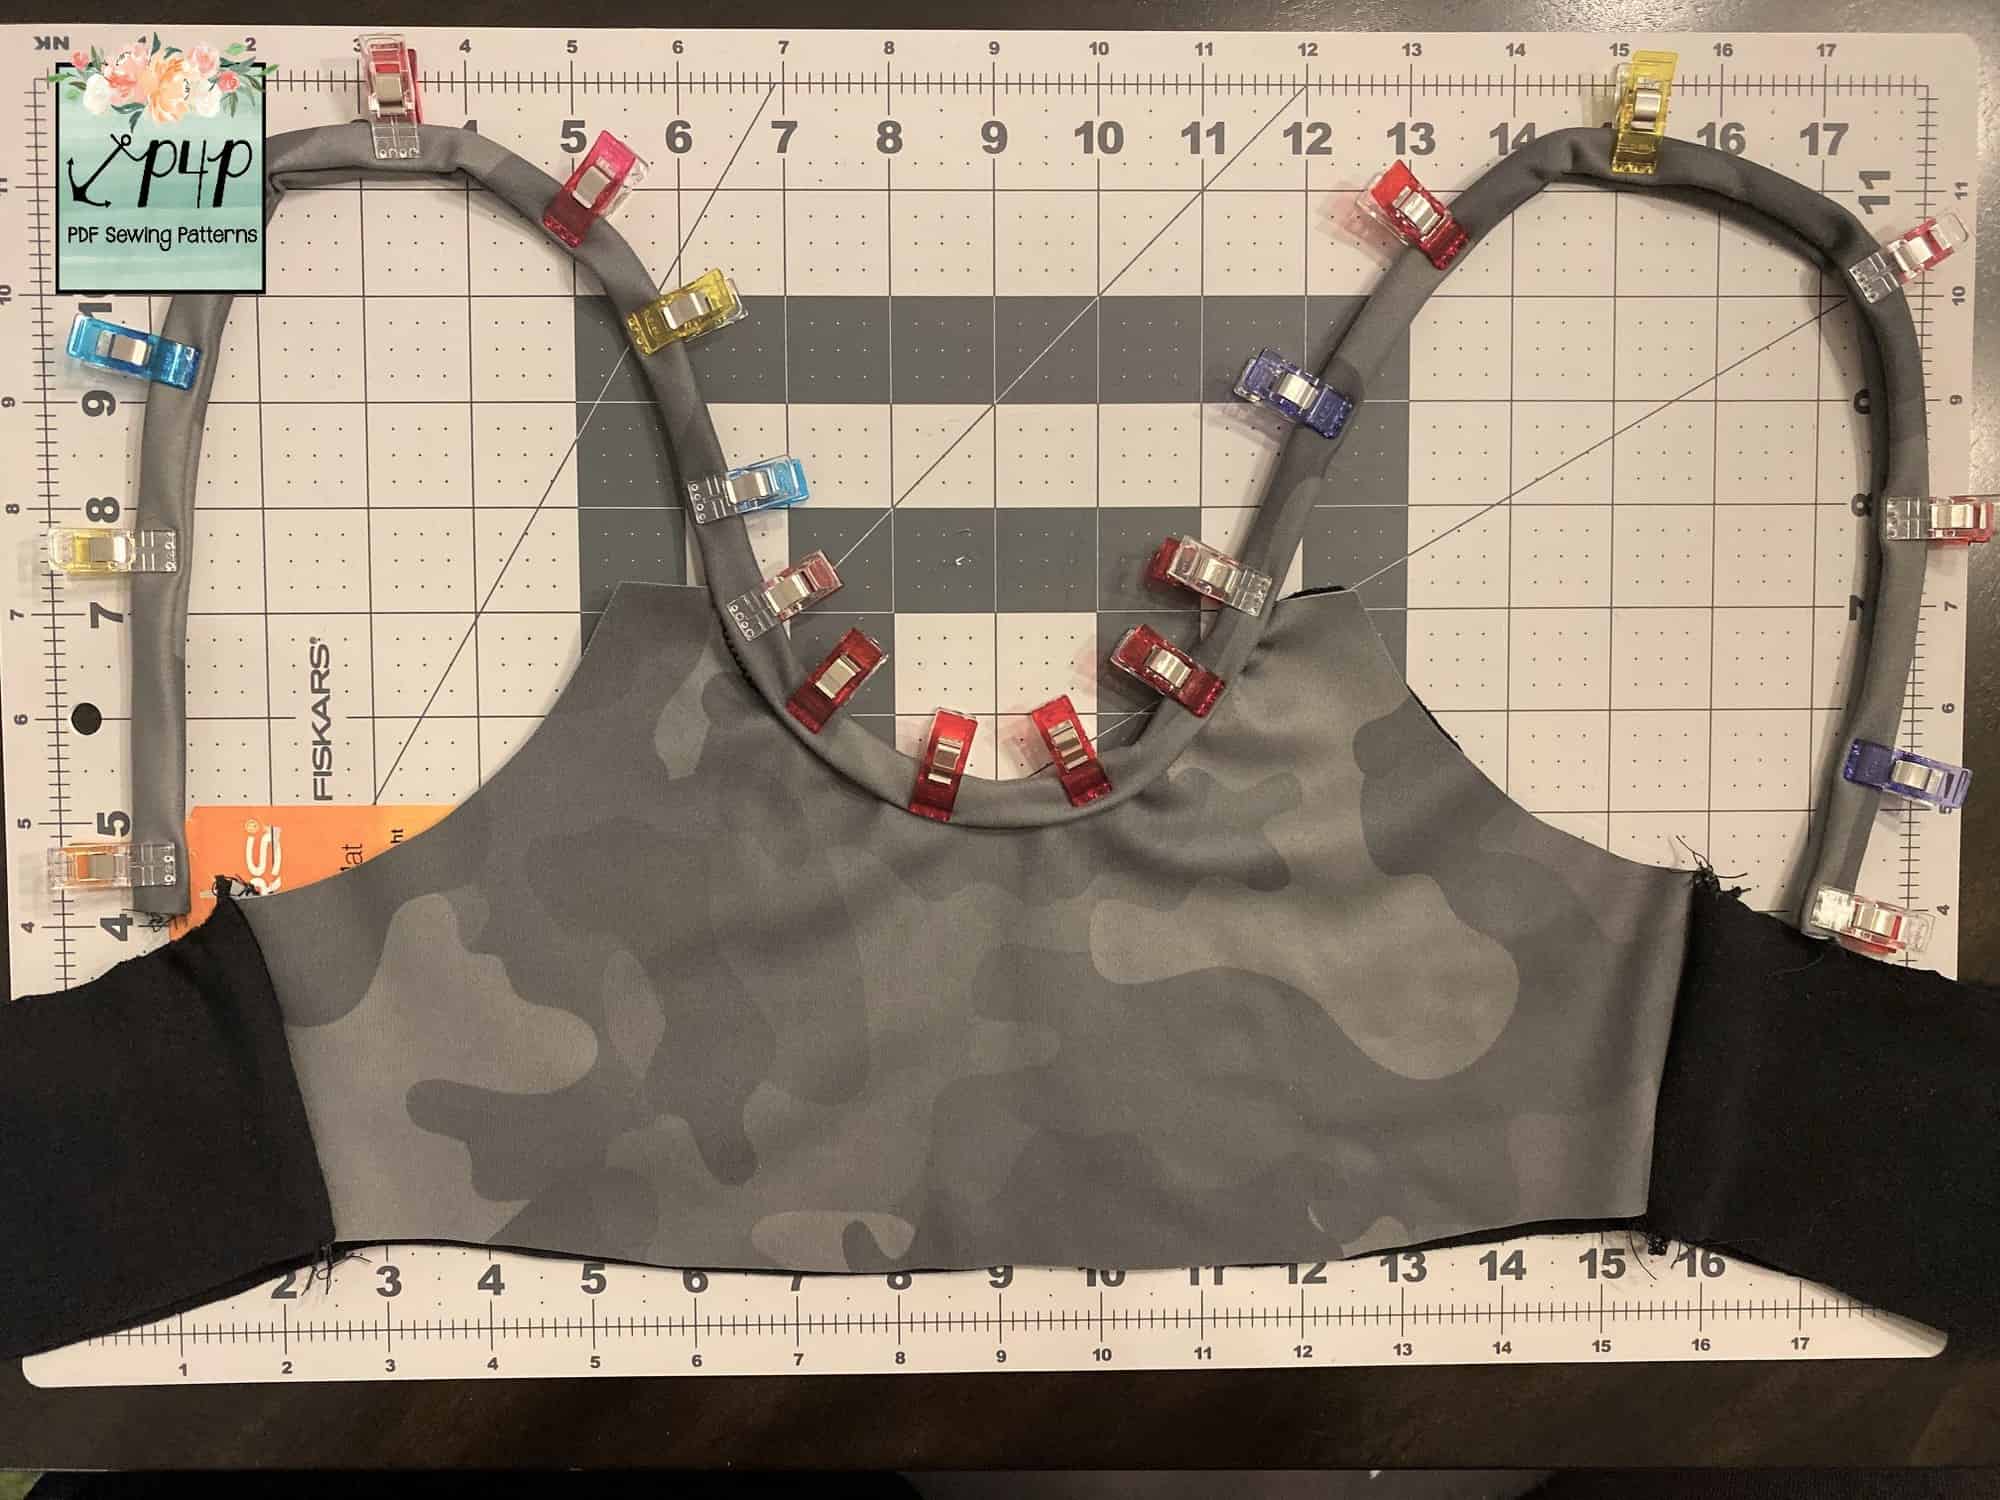
Open up your binding neckline piece, match the center point of binding (right side) to the center point of the neckline (lining side). Stretching slightly, stitch along the neckline using a stretch stitch and a 1/2” seam allowance (along the first crease).
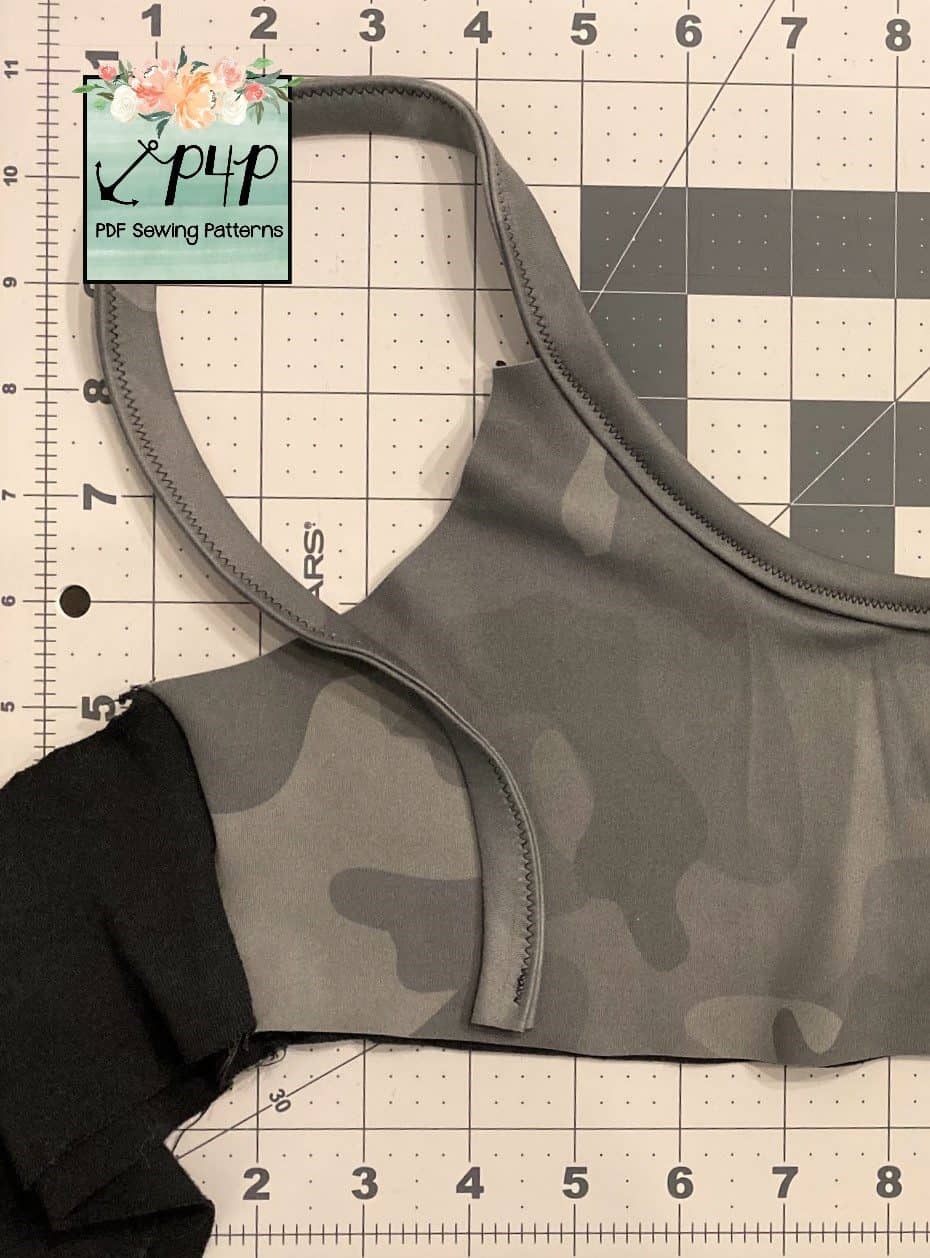
Finger press binding and seam allowance up, then re-fold the binding in the same manner as done previously to get a 1/2″ strip. Re-fold the entire strip to form your straps and pin/clip in place. Stitch using a stretch stitch along the entire binding to close and finish the binding/straps.
     
Continue with pattern instructions for construction. Repeat binding steps with outside straps: be sure your binding pieces are open before stitching the ends together when getting started on the outside straps.
 
and now you have your own custom knit binding! <3
(bra pictured has elastic band attached differently than pattern)
Lacy

…..

Youth bra with cups

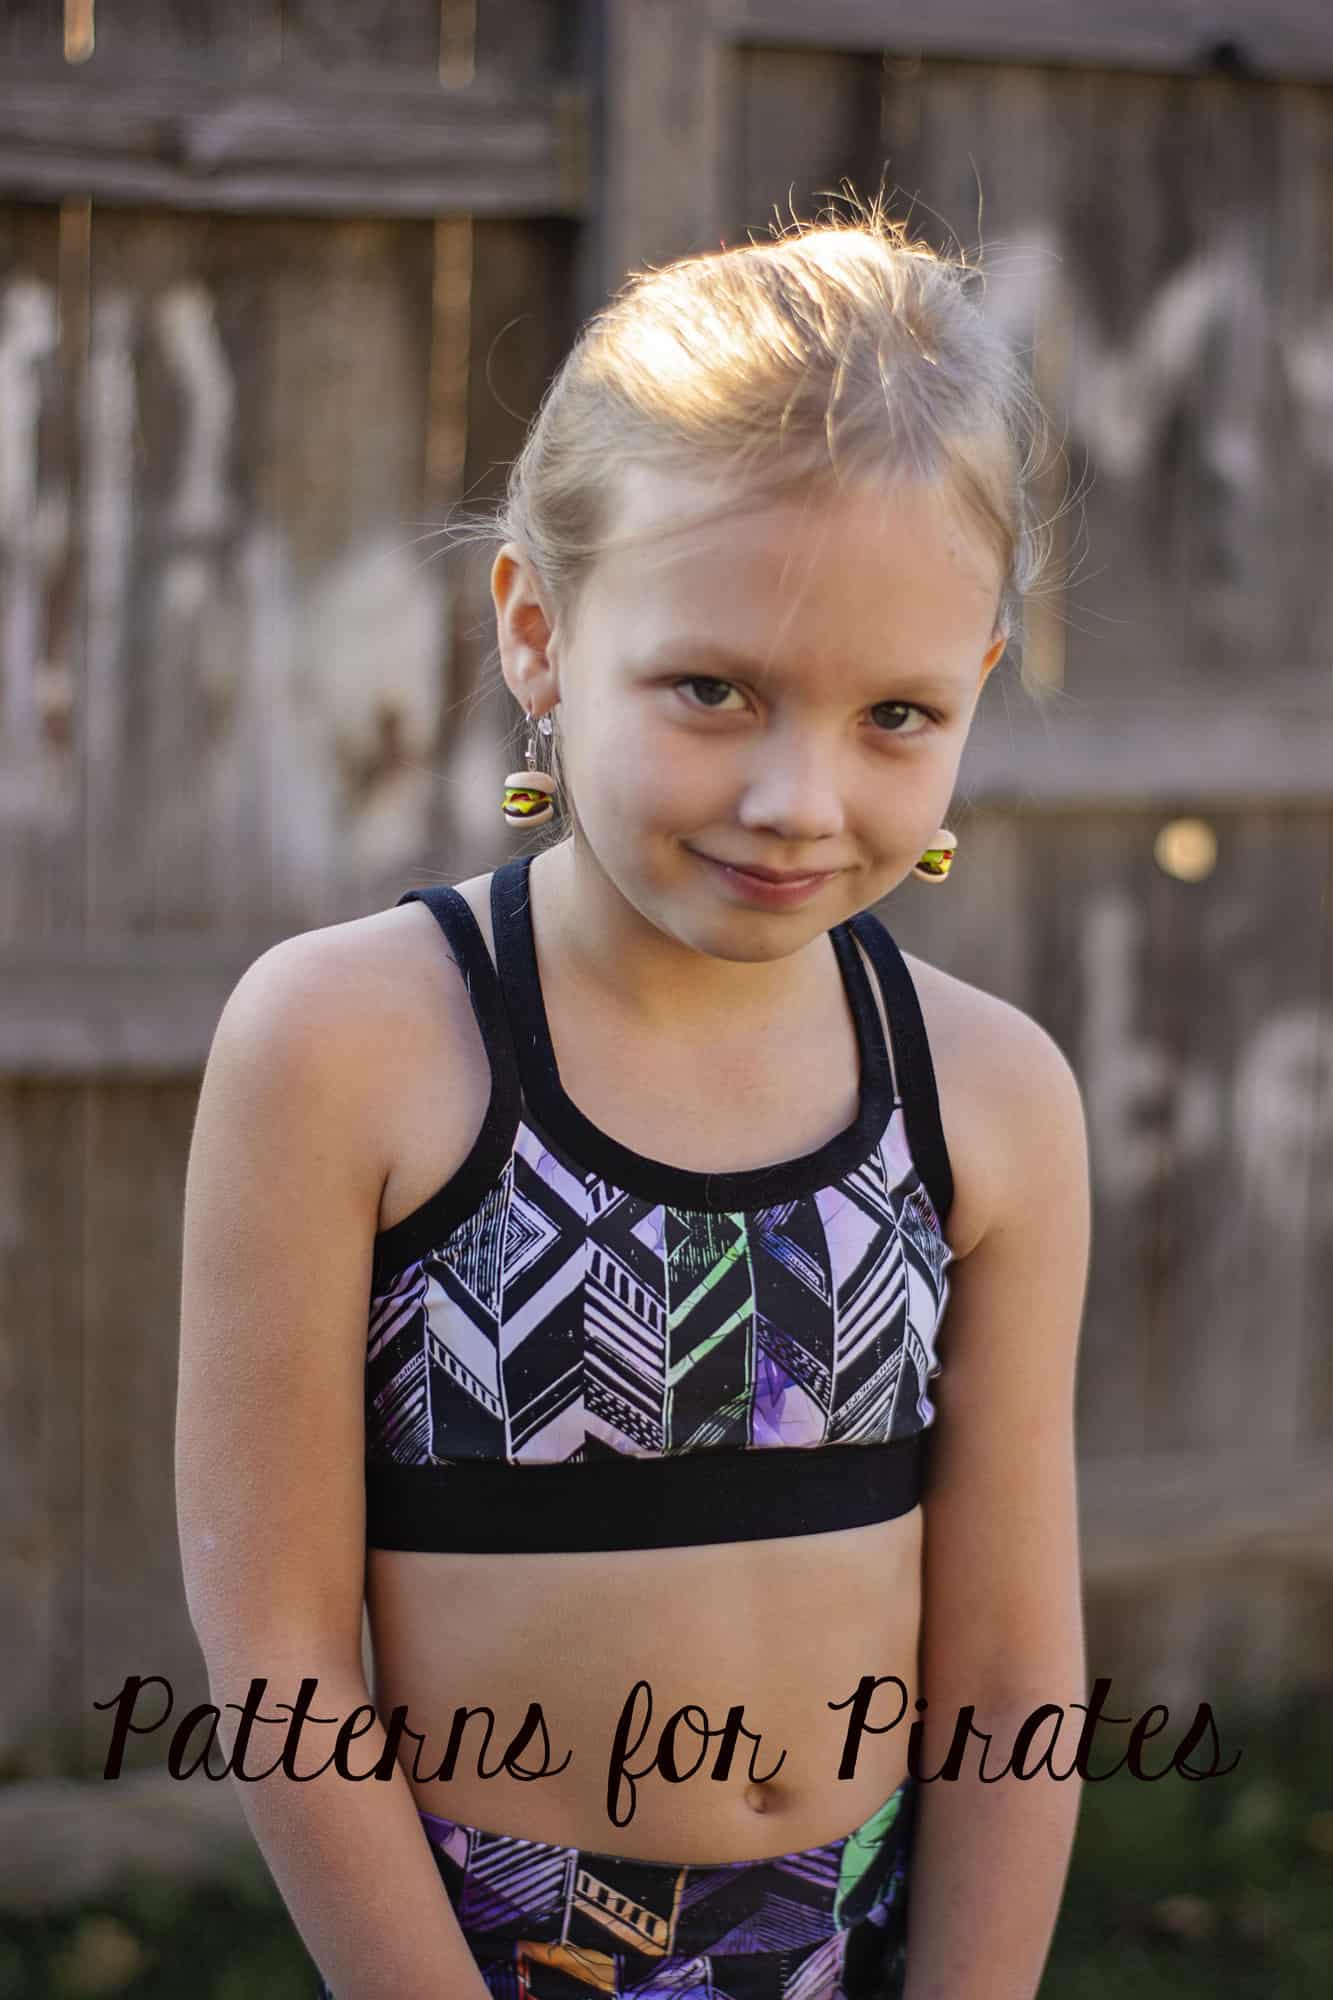
My daughter is getting to be that age that she wants just a bit more coverage and loves all her ready to wear sports bras that come with padded cups. The first thing that she asked me about the new fierce bra is if it had cups and I said no but not to worry I could add them for her.  This hack is super easy and the construction does not change at all!  Let’s get started!

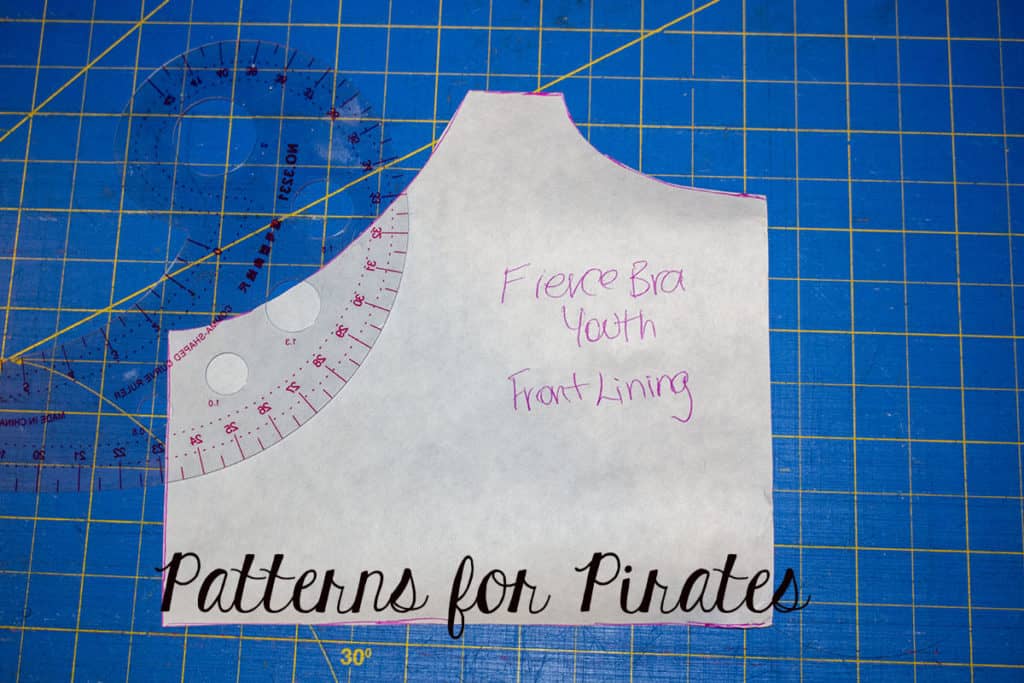
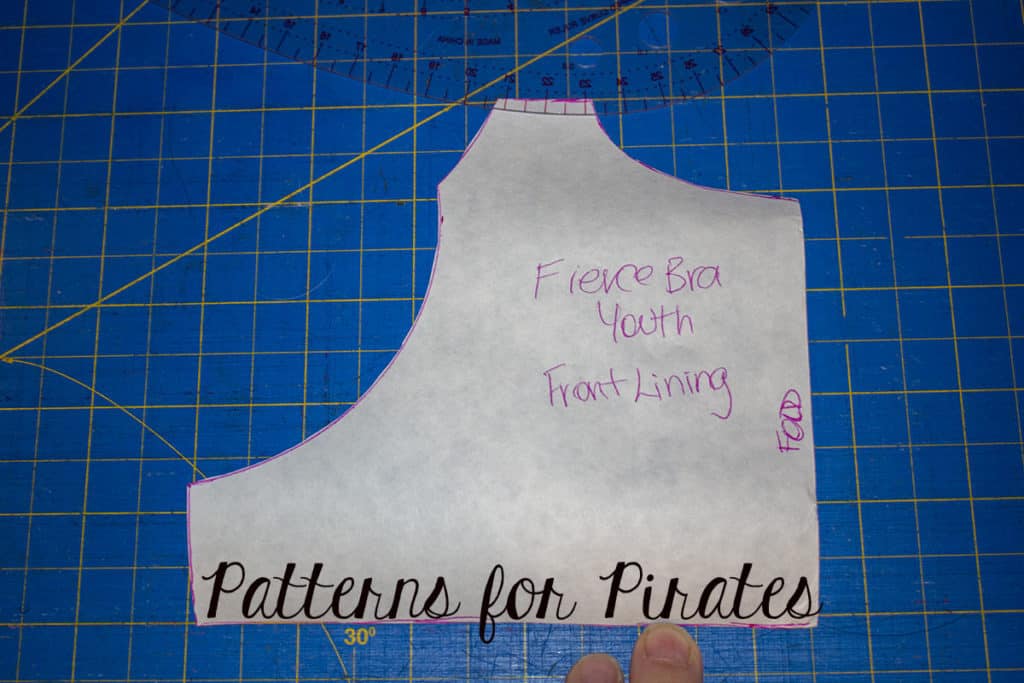
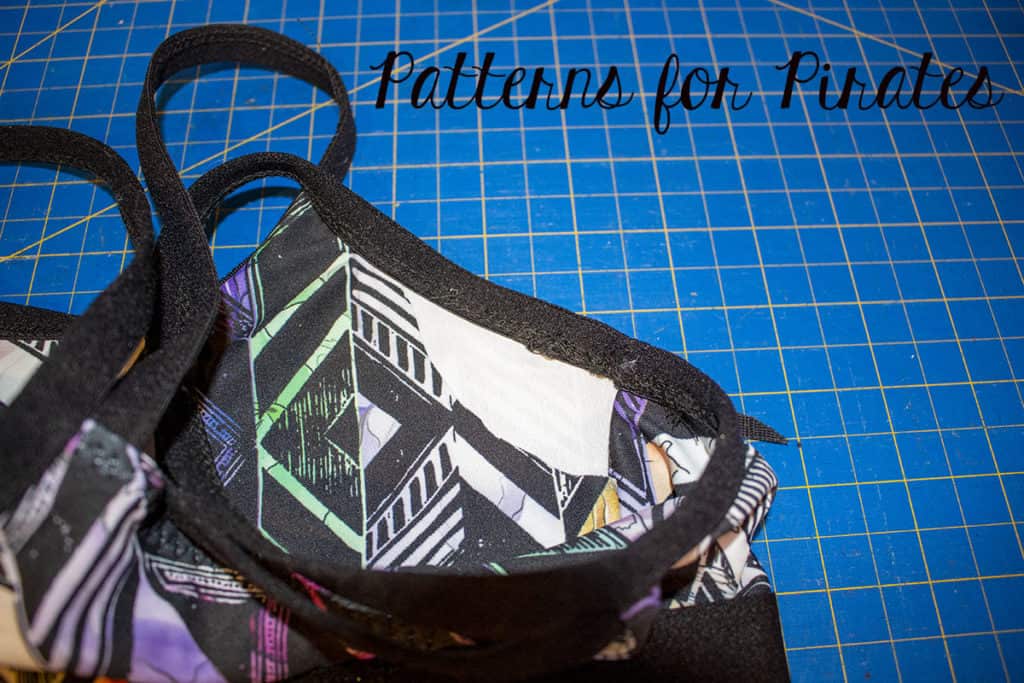
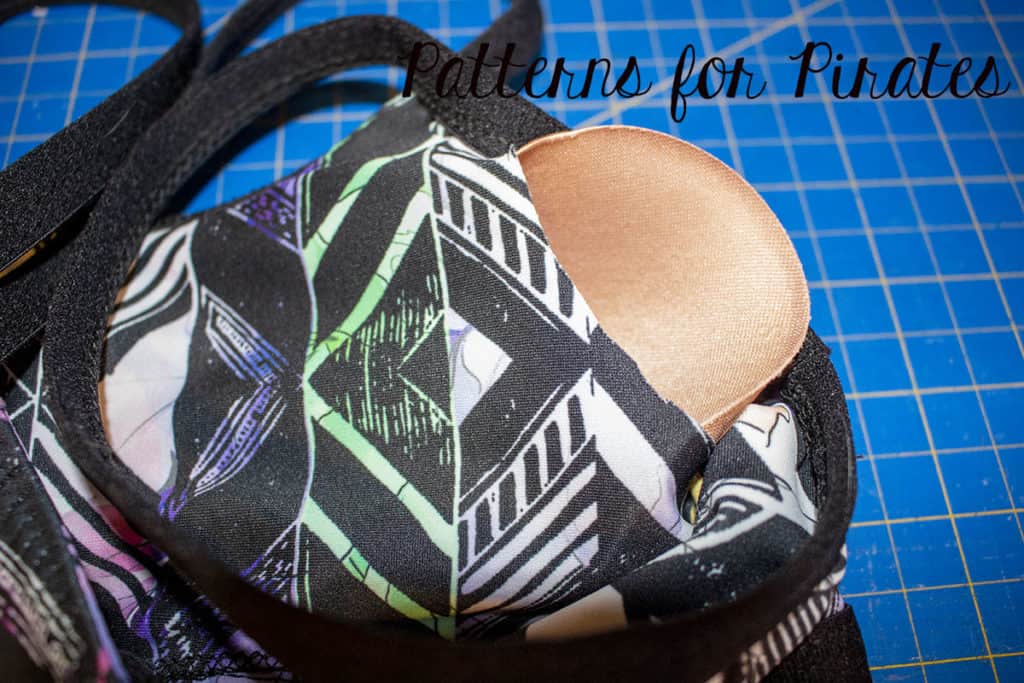
First we are going to trace off our front piece, next we need to create an opening for our cups to slide into.  I used my french curve but you can certainly free hand a curve similar to what I have shown here.  I just estimated how big to make it, it does not need to be to big, you want to be able to easily slide a cup in and out of it.  Next cut away the line you drew on your piece, this will now be your lining piece. You will cut one main front and one lining from your newly created piece.


Your construction will stay exactly the same, you will just have the curves in your lining piece.  I choose not to finish the edges of my curves as I was using a really nice quality athletic fabric but you can always finish that edge with your serger or with a narrow hem on your sewing machine.  Once finished you will be able to slide in cups, I just grabbed a set from my daughters ready to wear bras but you can also buy bra cups and cut them down to fit.  My daughter is only 10 and really doesn’t need them to add any type of support she just likes the extra coverage so really any cheap cups from Amazon will do the trick and are easy to cut to size.


All done and my girl is happy to have a bra made to fit her perfectly

Angela

…..

Undies with lace band

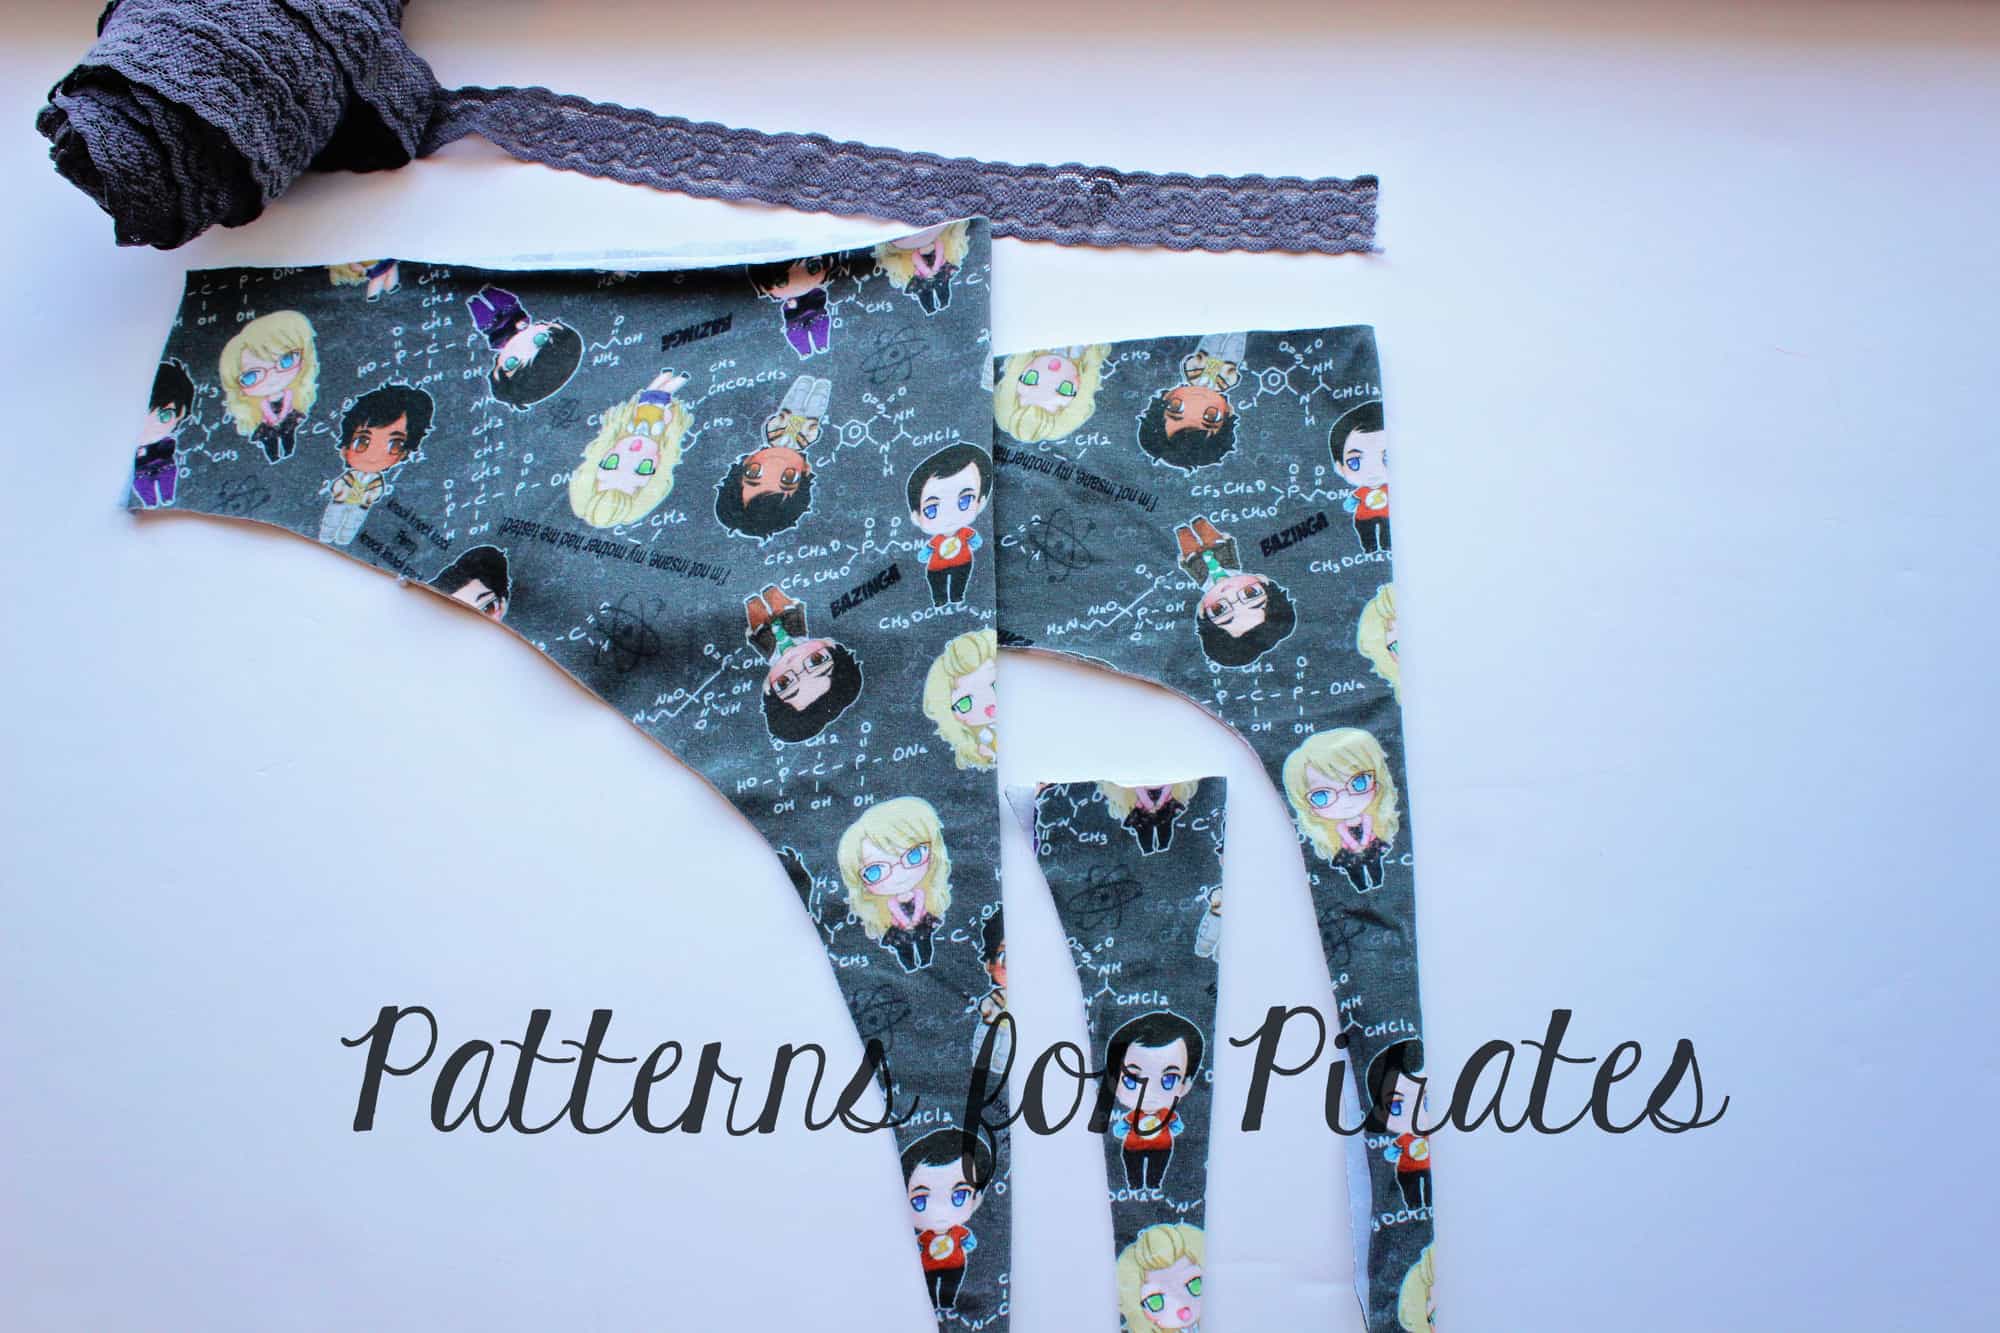
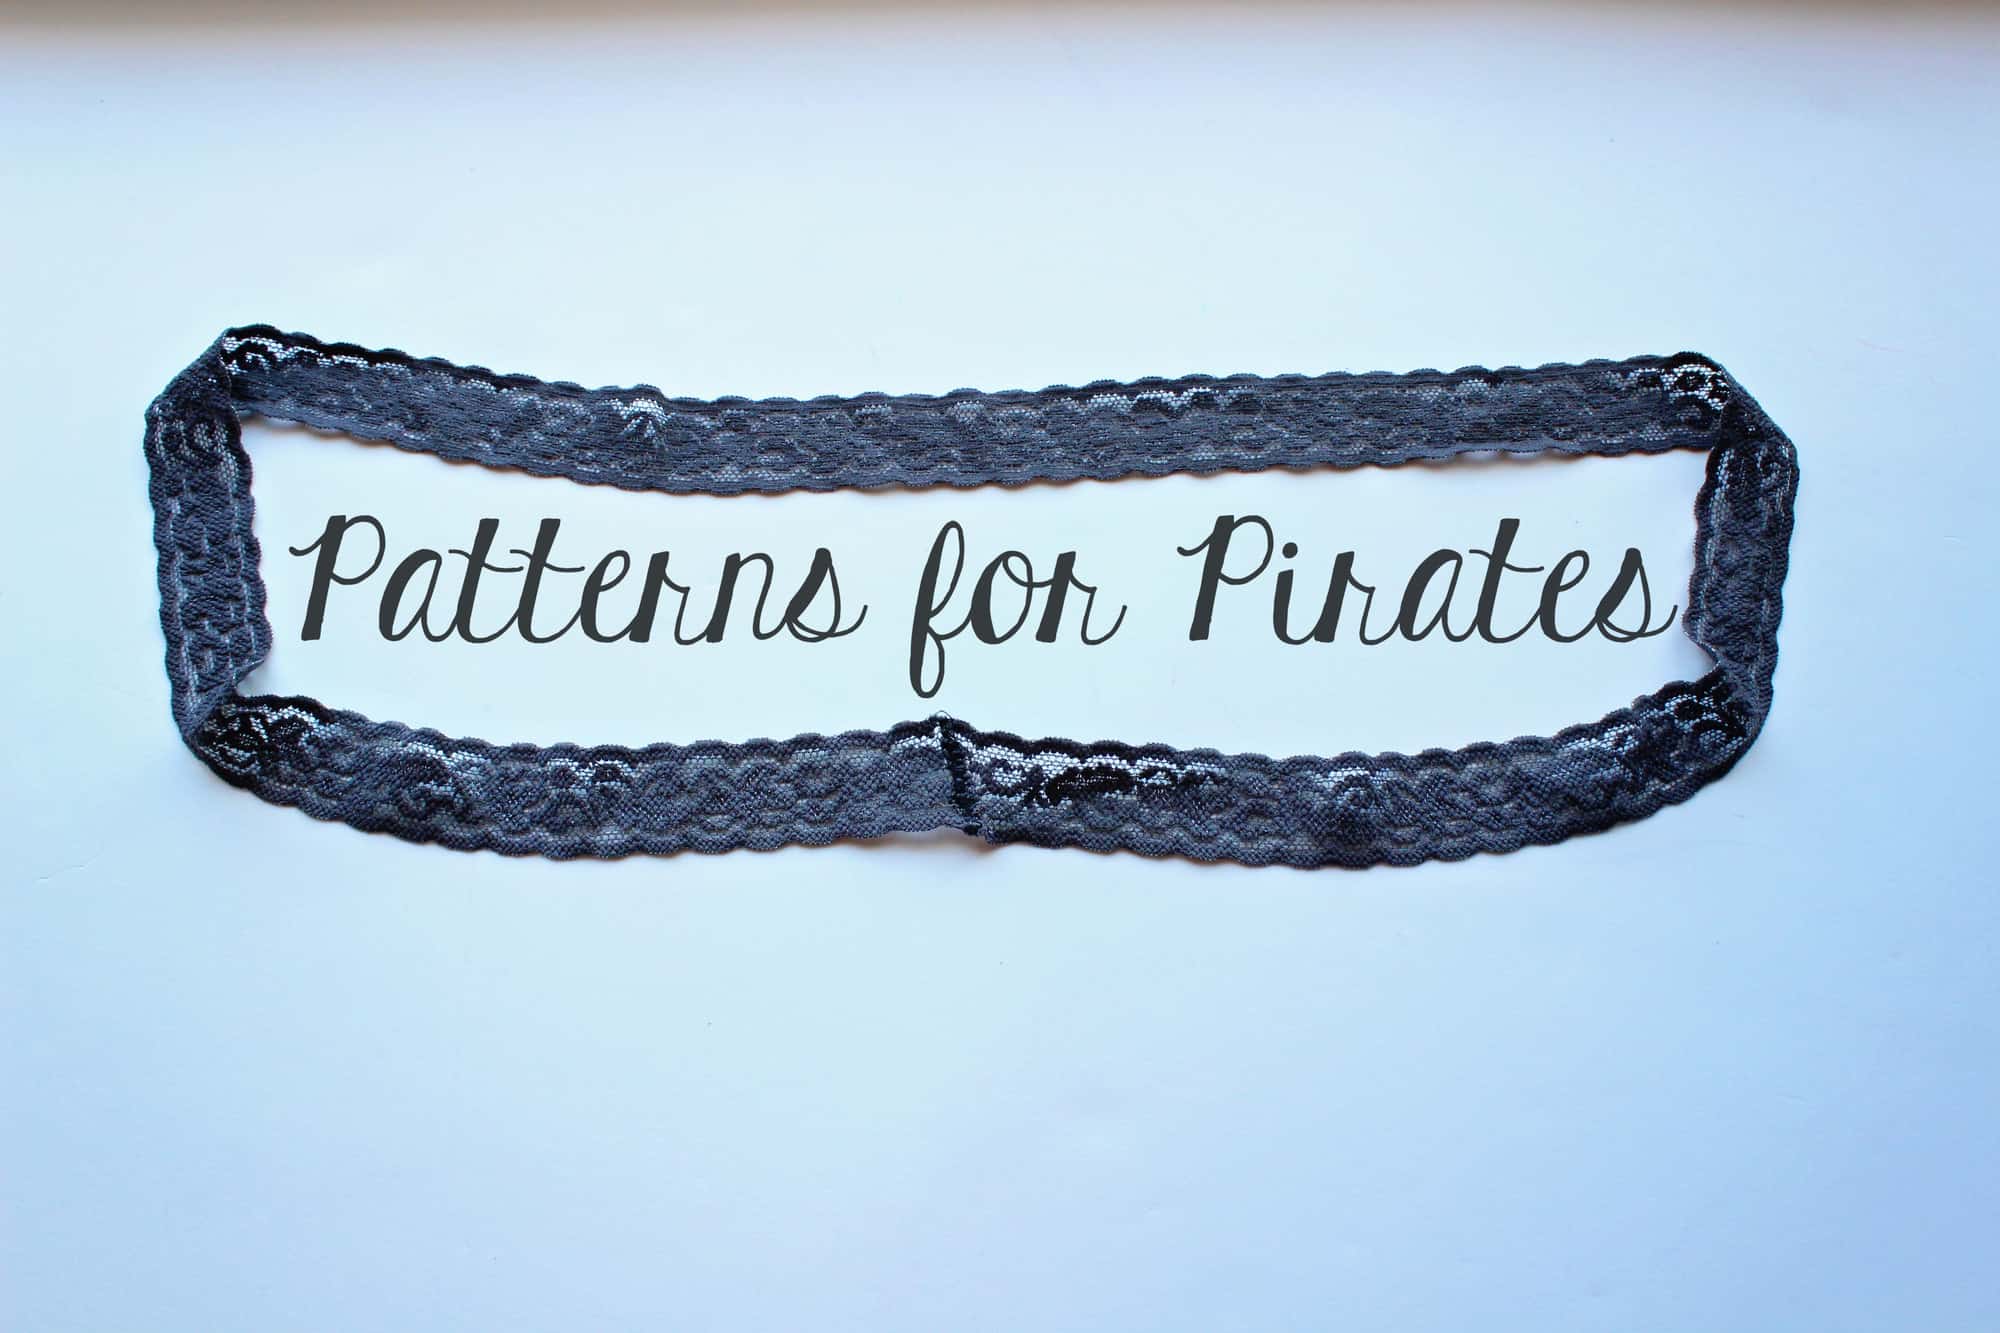
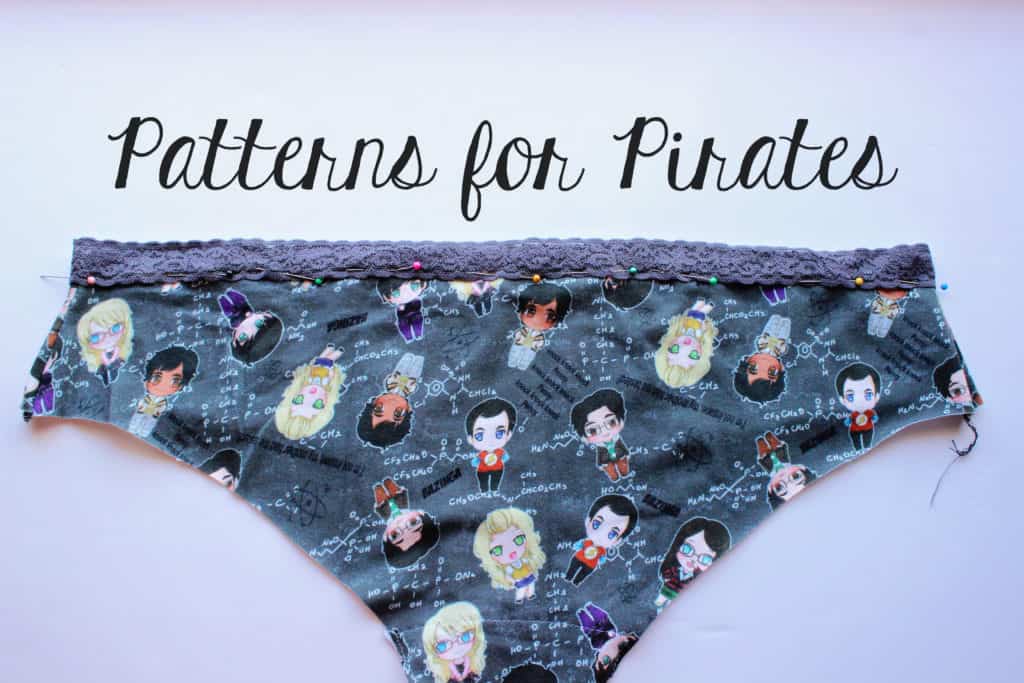
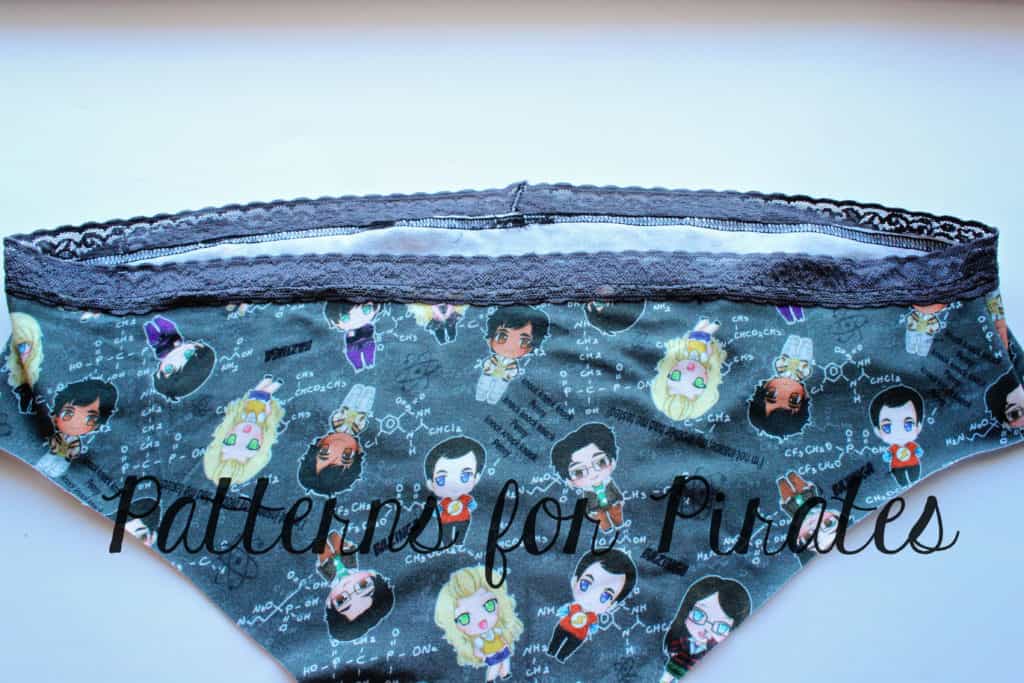
Up next I wanted to show you another way to add a waistband to the Fierce Undies. Instead of the 3/4″-1.5″ waistband elastic you can use stretch lace. I used 1″ for my example but 1.5″ would work beautifully as well. Start by cutting your pattern as instructed but cut stretch lace instead of elastic.

Sew the short ends of the lace to form a loop. You may find it easier to use a piece of water soluble stabilizer between the machine’s feed dogs and the lace so as to deter your machine from trying to “eat” your fabric.

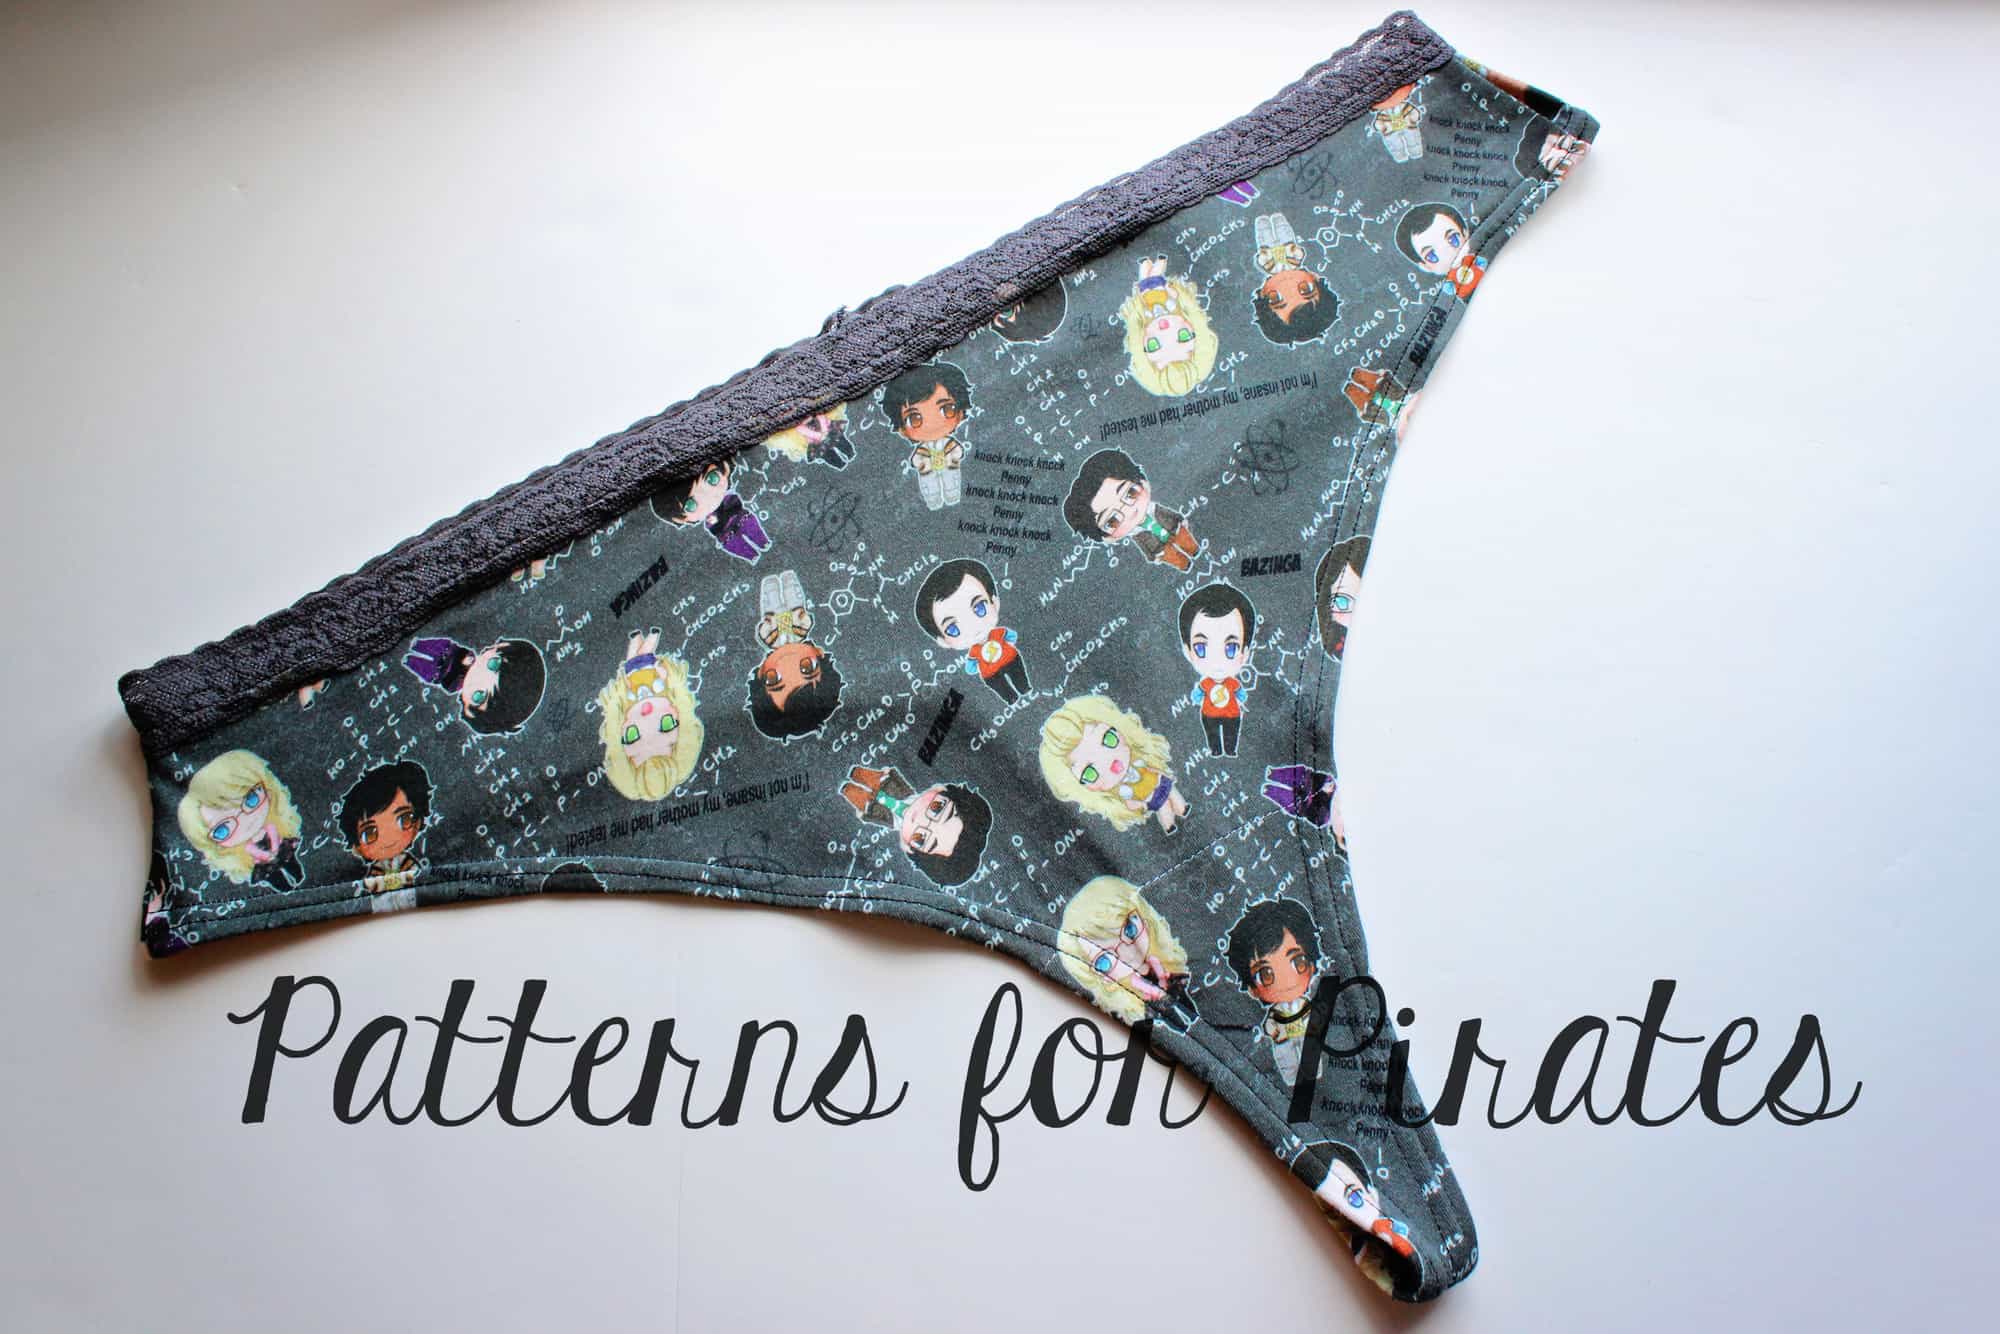
Sew the undies as instructed in the tutorial. Pin the lace at the top, overlapping 3/8″. The wrong side of the lace will be against the right side of the undies. Sew in place using a zig zag stitch of a coverstitch.


Tadah!  Done! You just added one more option to the Fierce Undies.

Judy is rocking a pair of Fierce Undies with a 2″ lace band.

…..

Swim suit

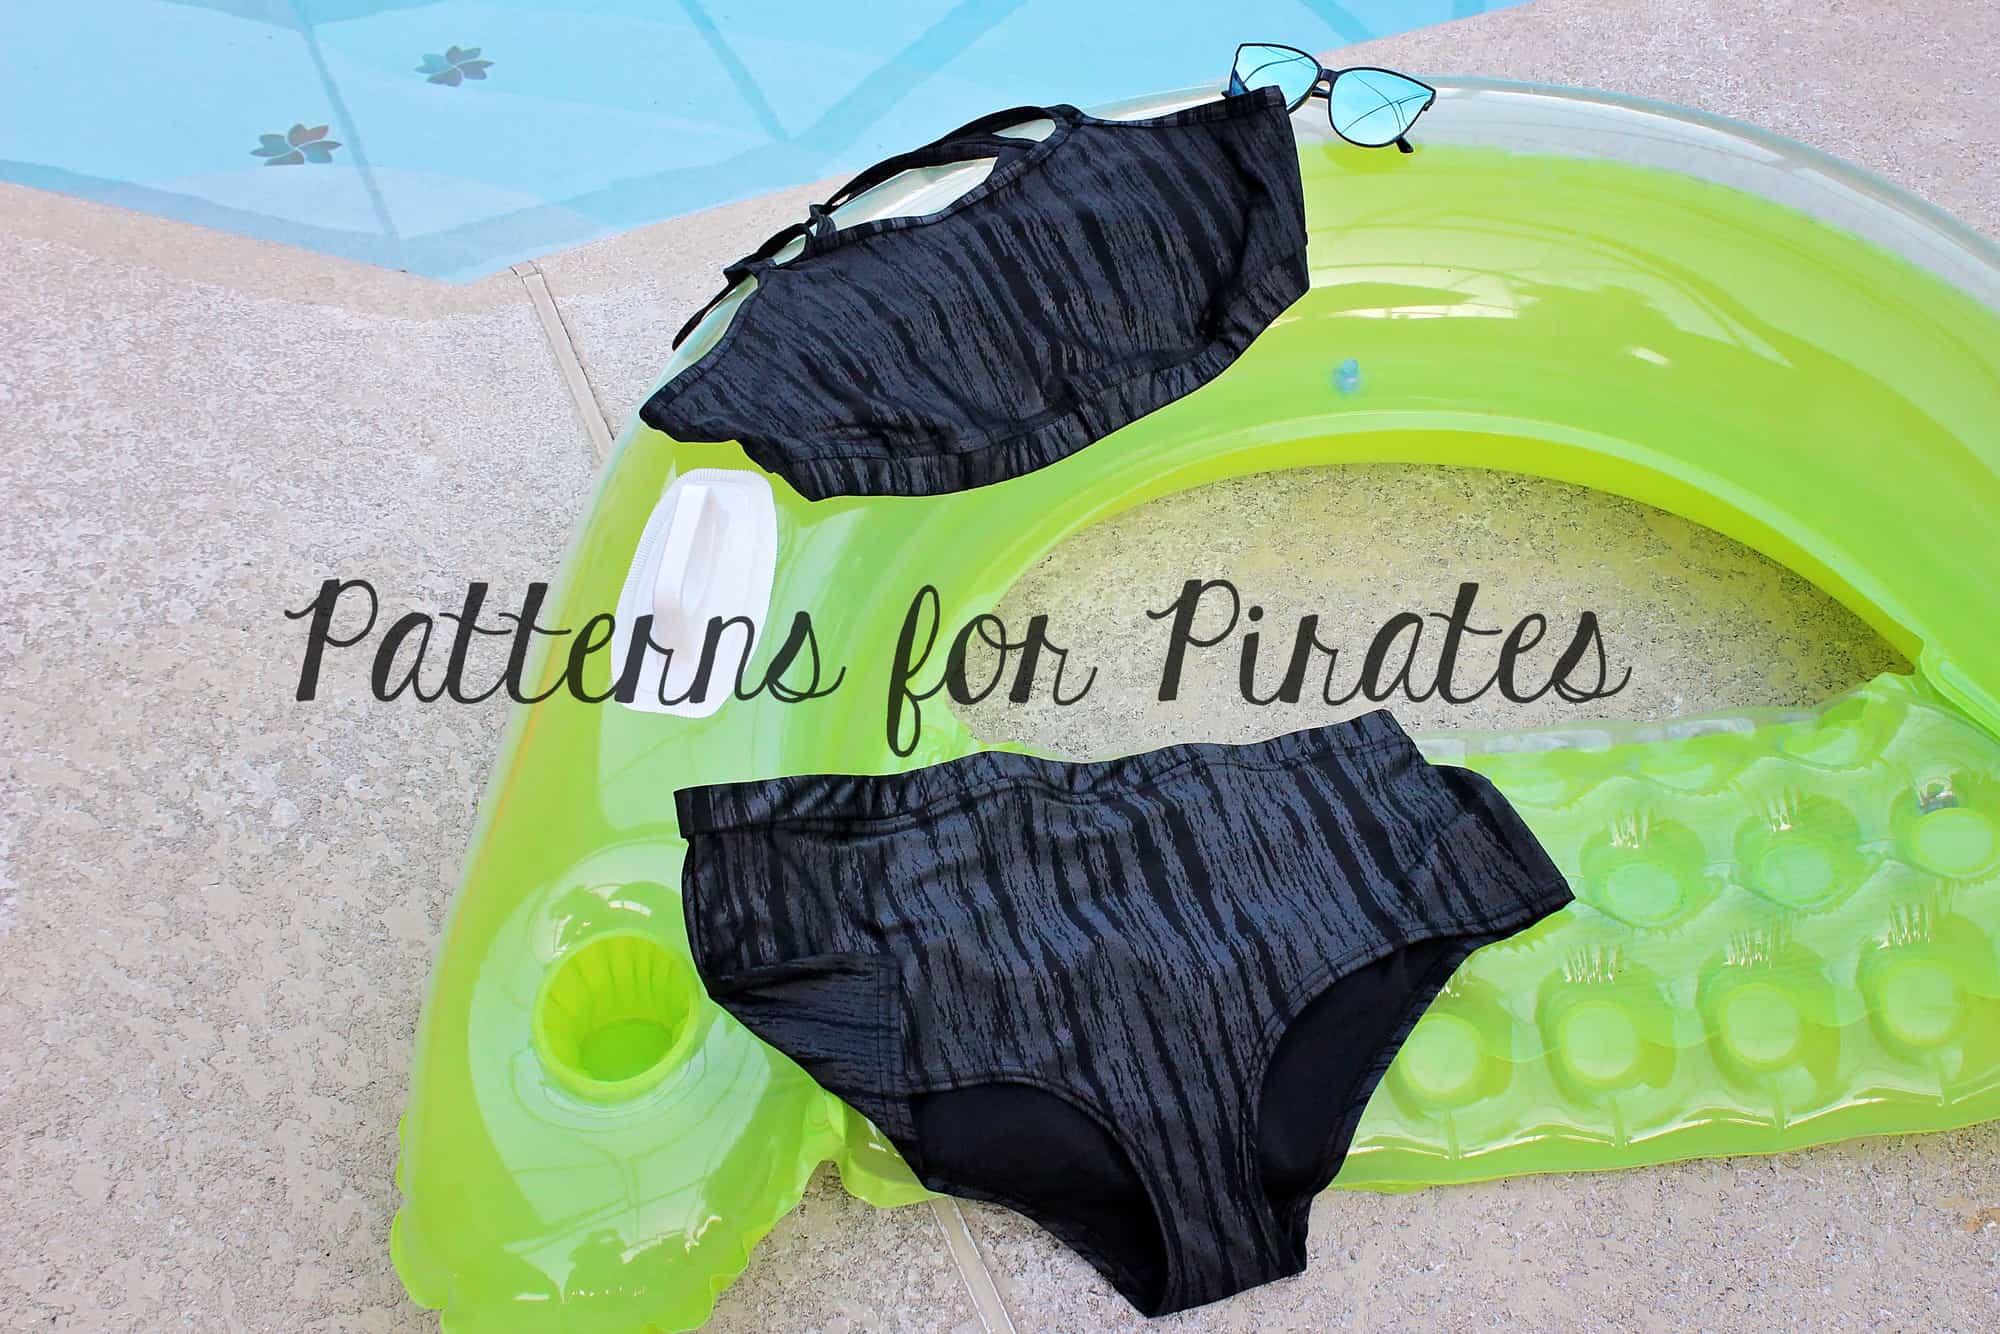
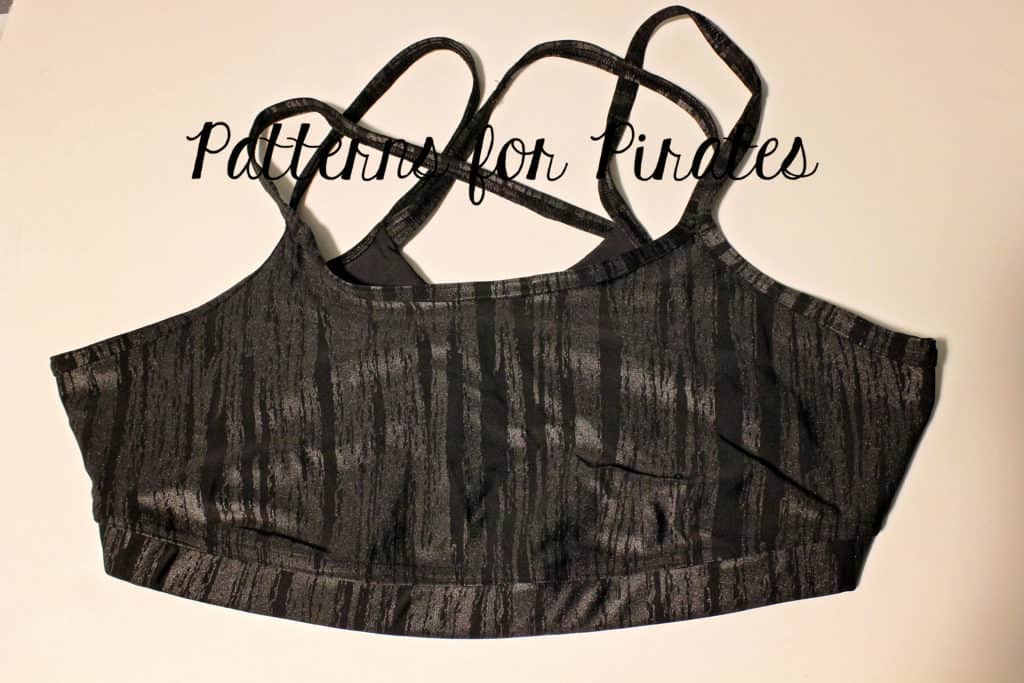
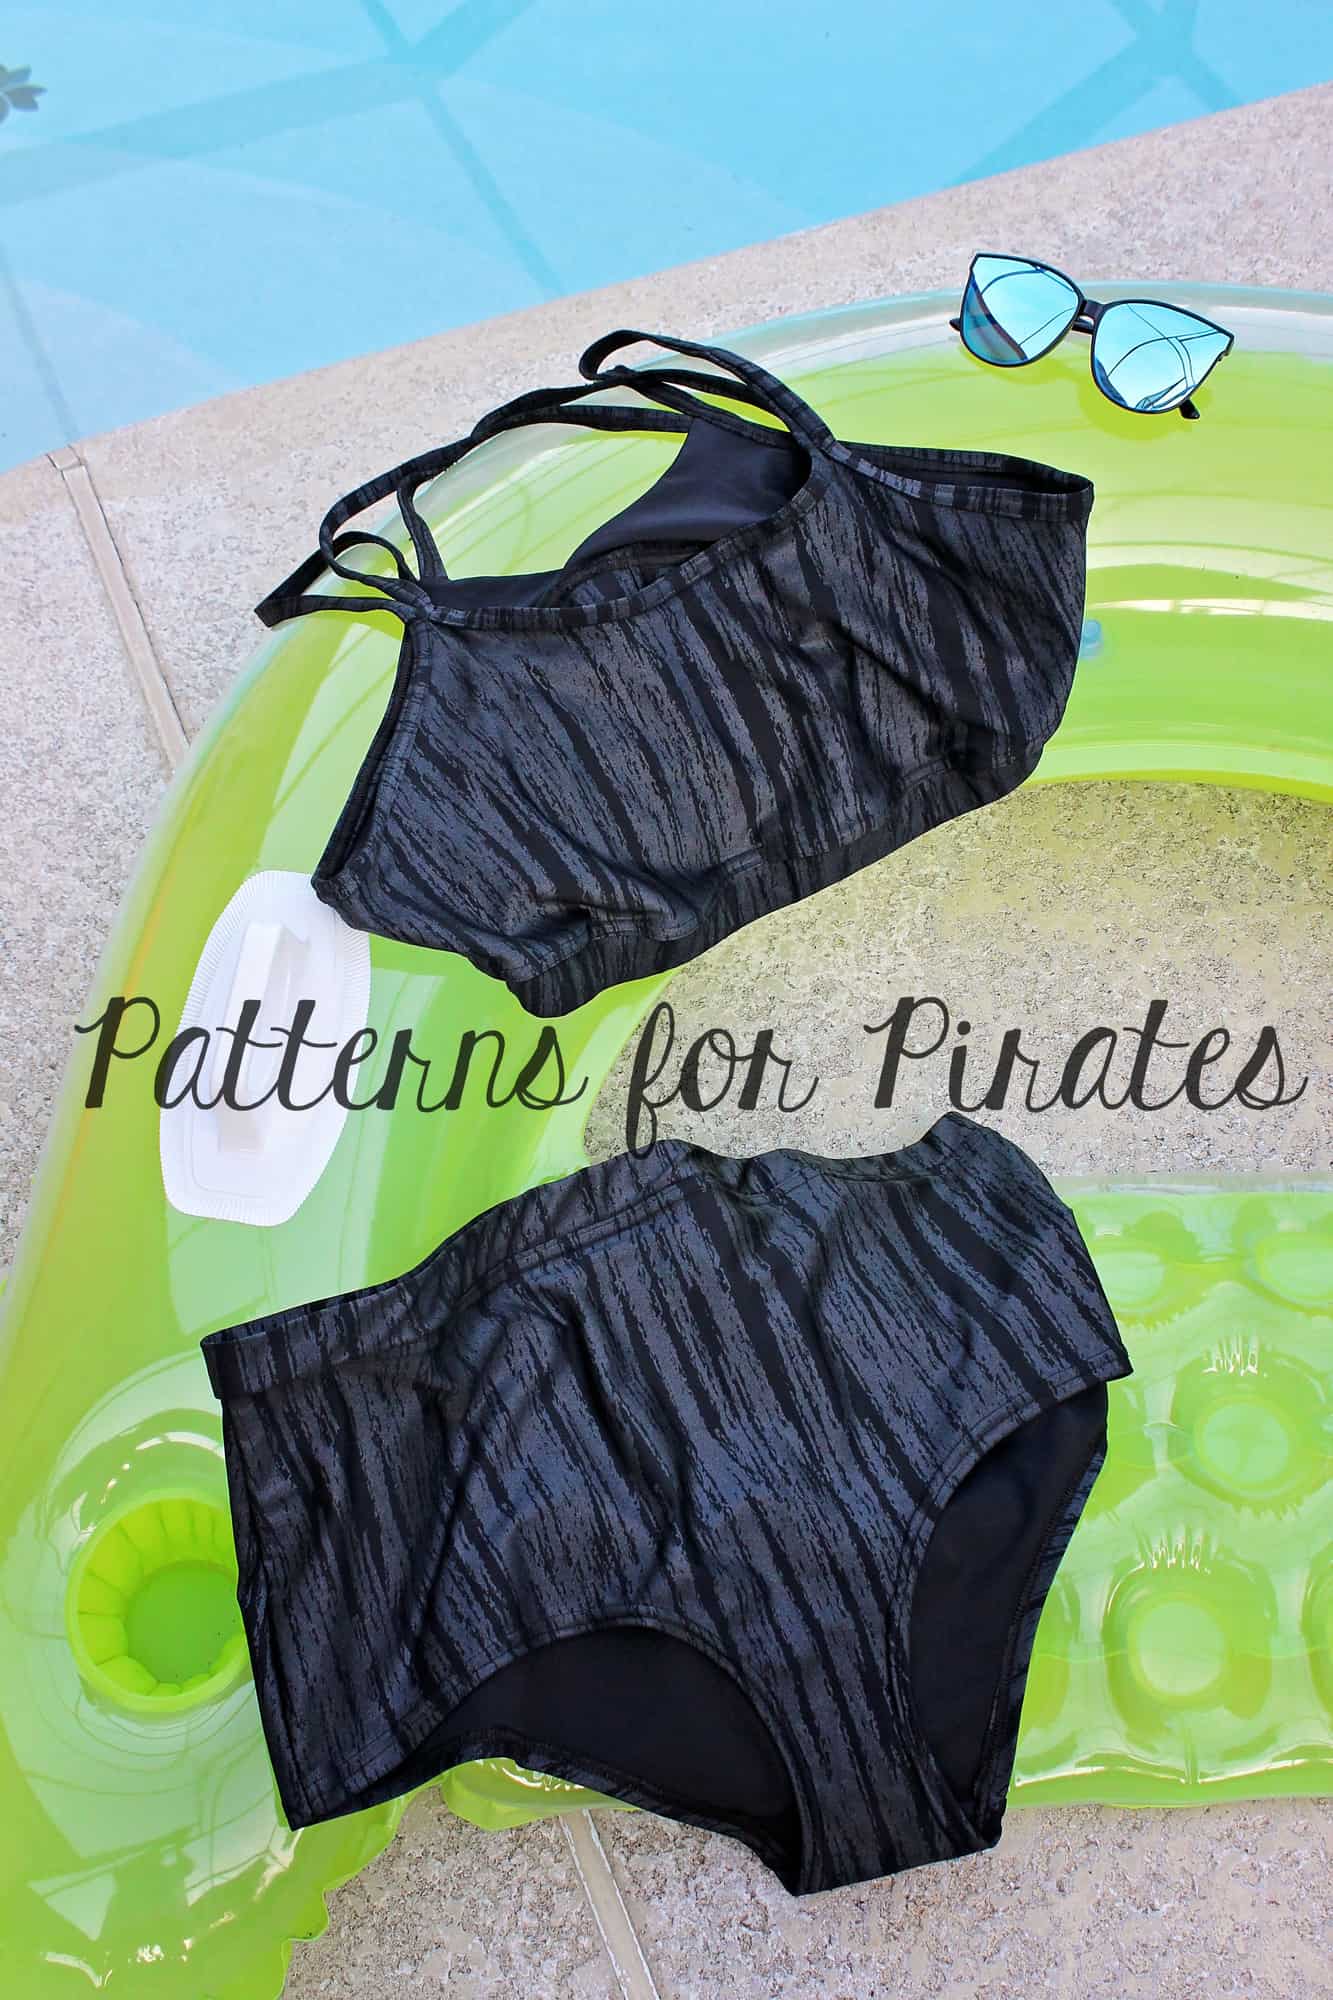
Last but certainly not least we want it to show you how easy it is to make  Fierce Swimsuit. You will need:

  • swim suit fabric
  • swim lining (or solid swim like I used)
  • 1″ swim elastic for the waistband and under bust band
  • 3/8″ swim elastic for the leg openings and bra straps
  • optionally power mesh and cups (I have not used them on mine)

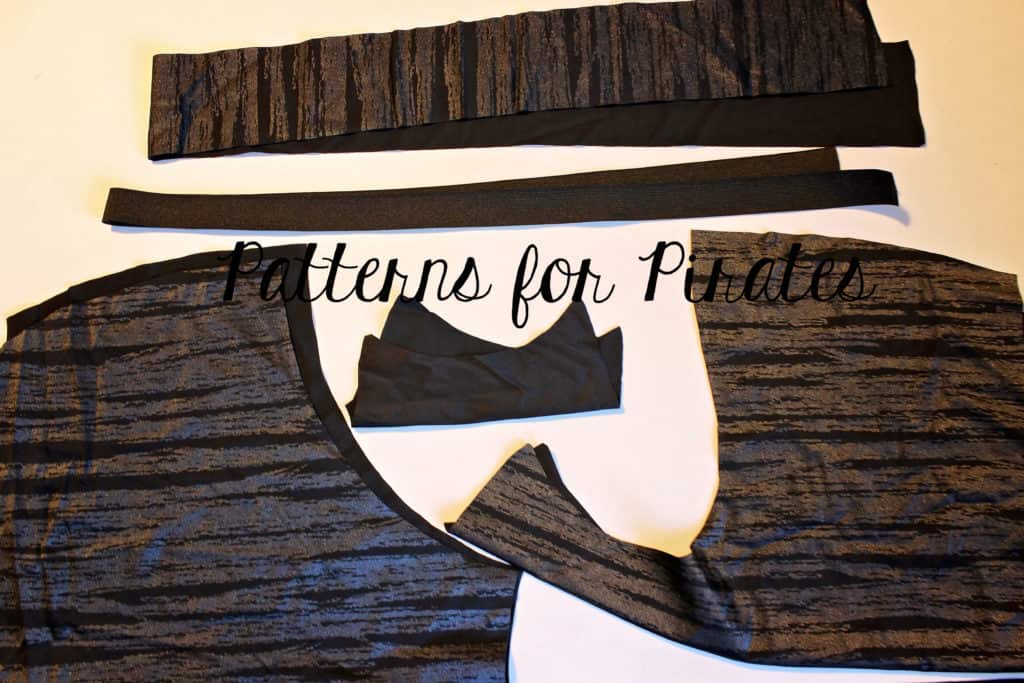
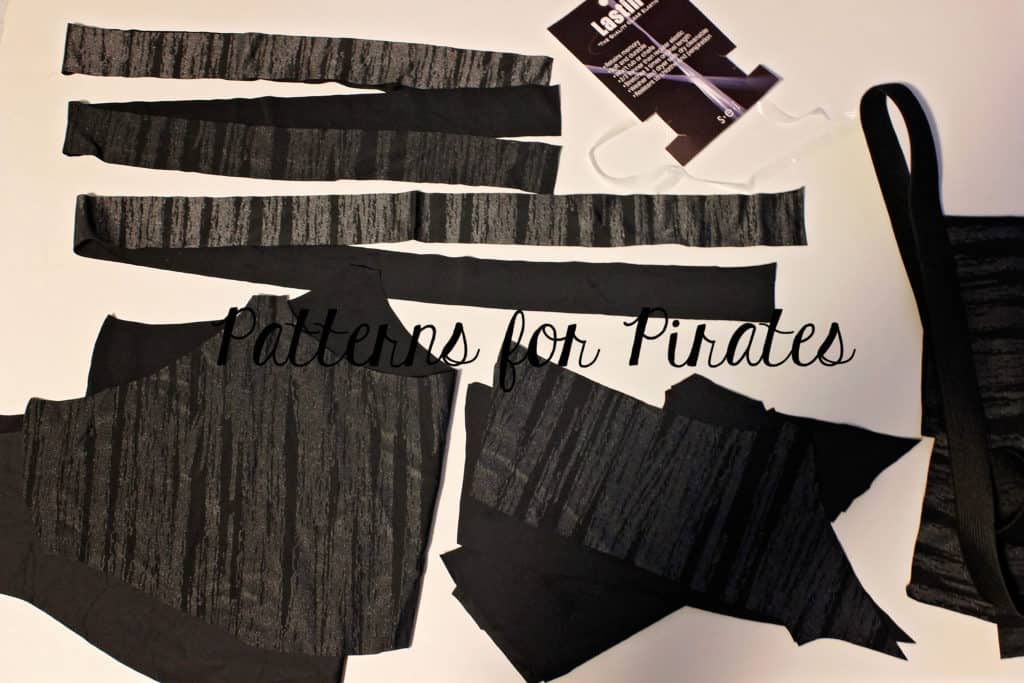
Start by cutting you undies front and back pieces from swim, the liner from solid swim or lining. Cut the waistband 3″ by the length of the waistband elastic (from the cutting chart) plus 1″ for the seam allowance. Cut the 1″ swim elastic the length of the waistband elastic from the chart. Now cut the bra pieces, making sure that the under bust band is 3″ wide by the length of the elastic plus 1″ seam allowance. You will also need to enclose swim elastic in the bra straps so you will but binding strips that are 1.5″ wide by the length of the pattern straps pieces.


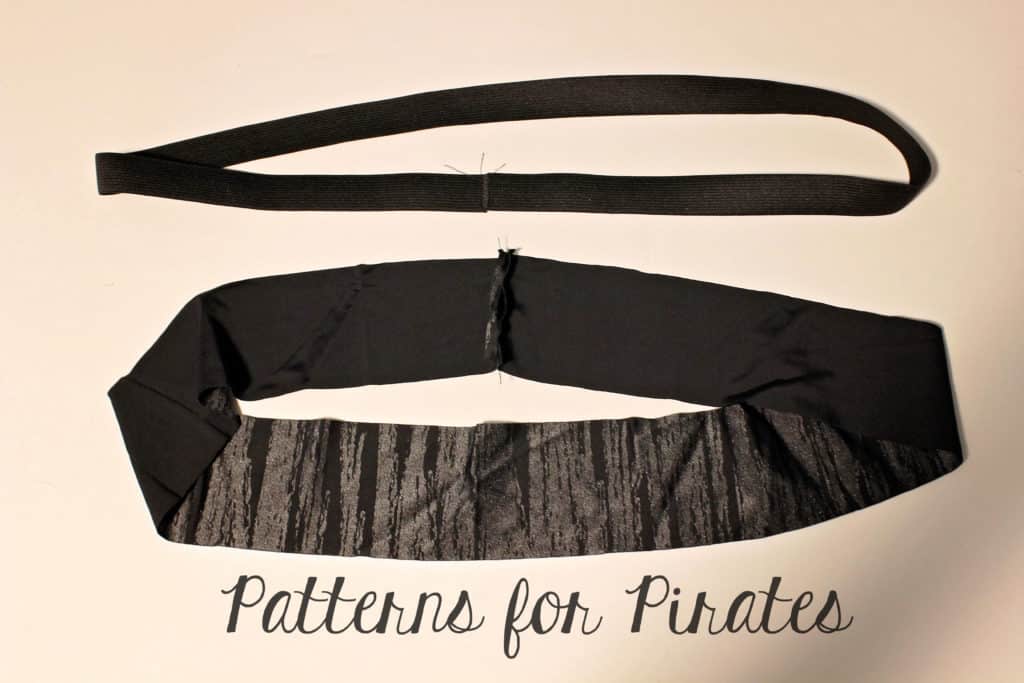
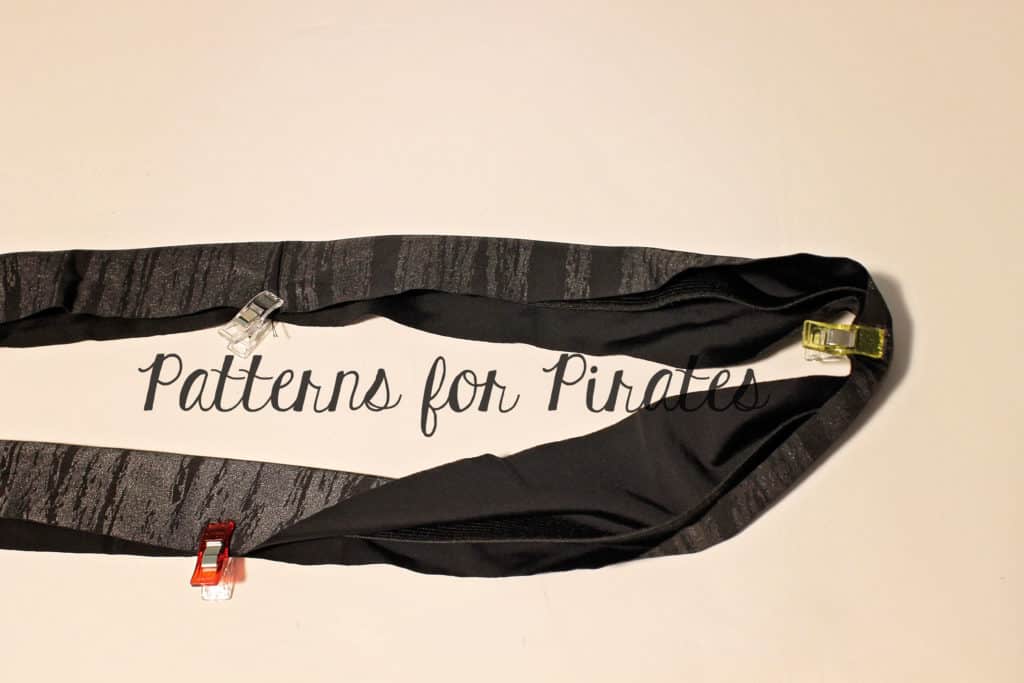
Sew the undies and side of the bra (and lining) as instructed in the tutorial. Now let’s make the waistband and the bra under bust band. Same technique…butt the ends of the elastic together and sew with a wide zig zag stitch. Overlap the band with the right sides together and sew it in a loop using 1/2″ seam allowance. Insert the elastic inside and put pins or clips at the quarter mark. Put the bands aside for now.


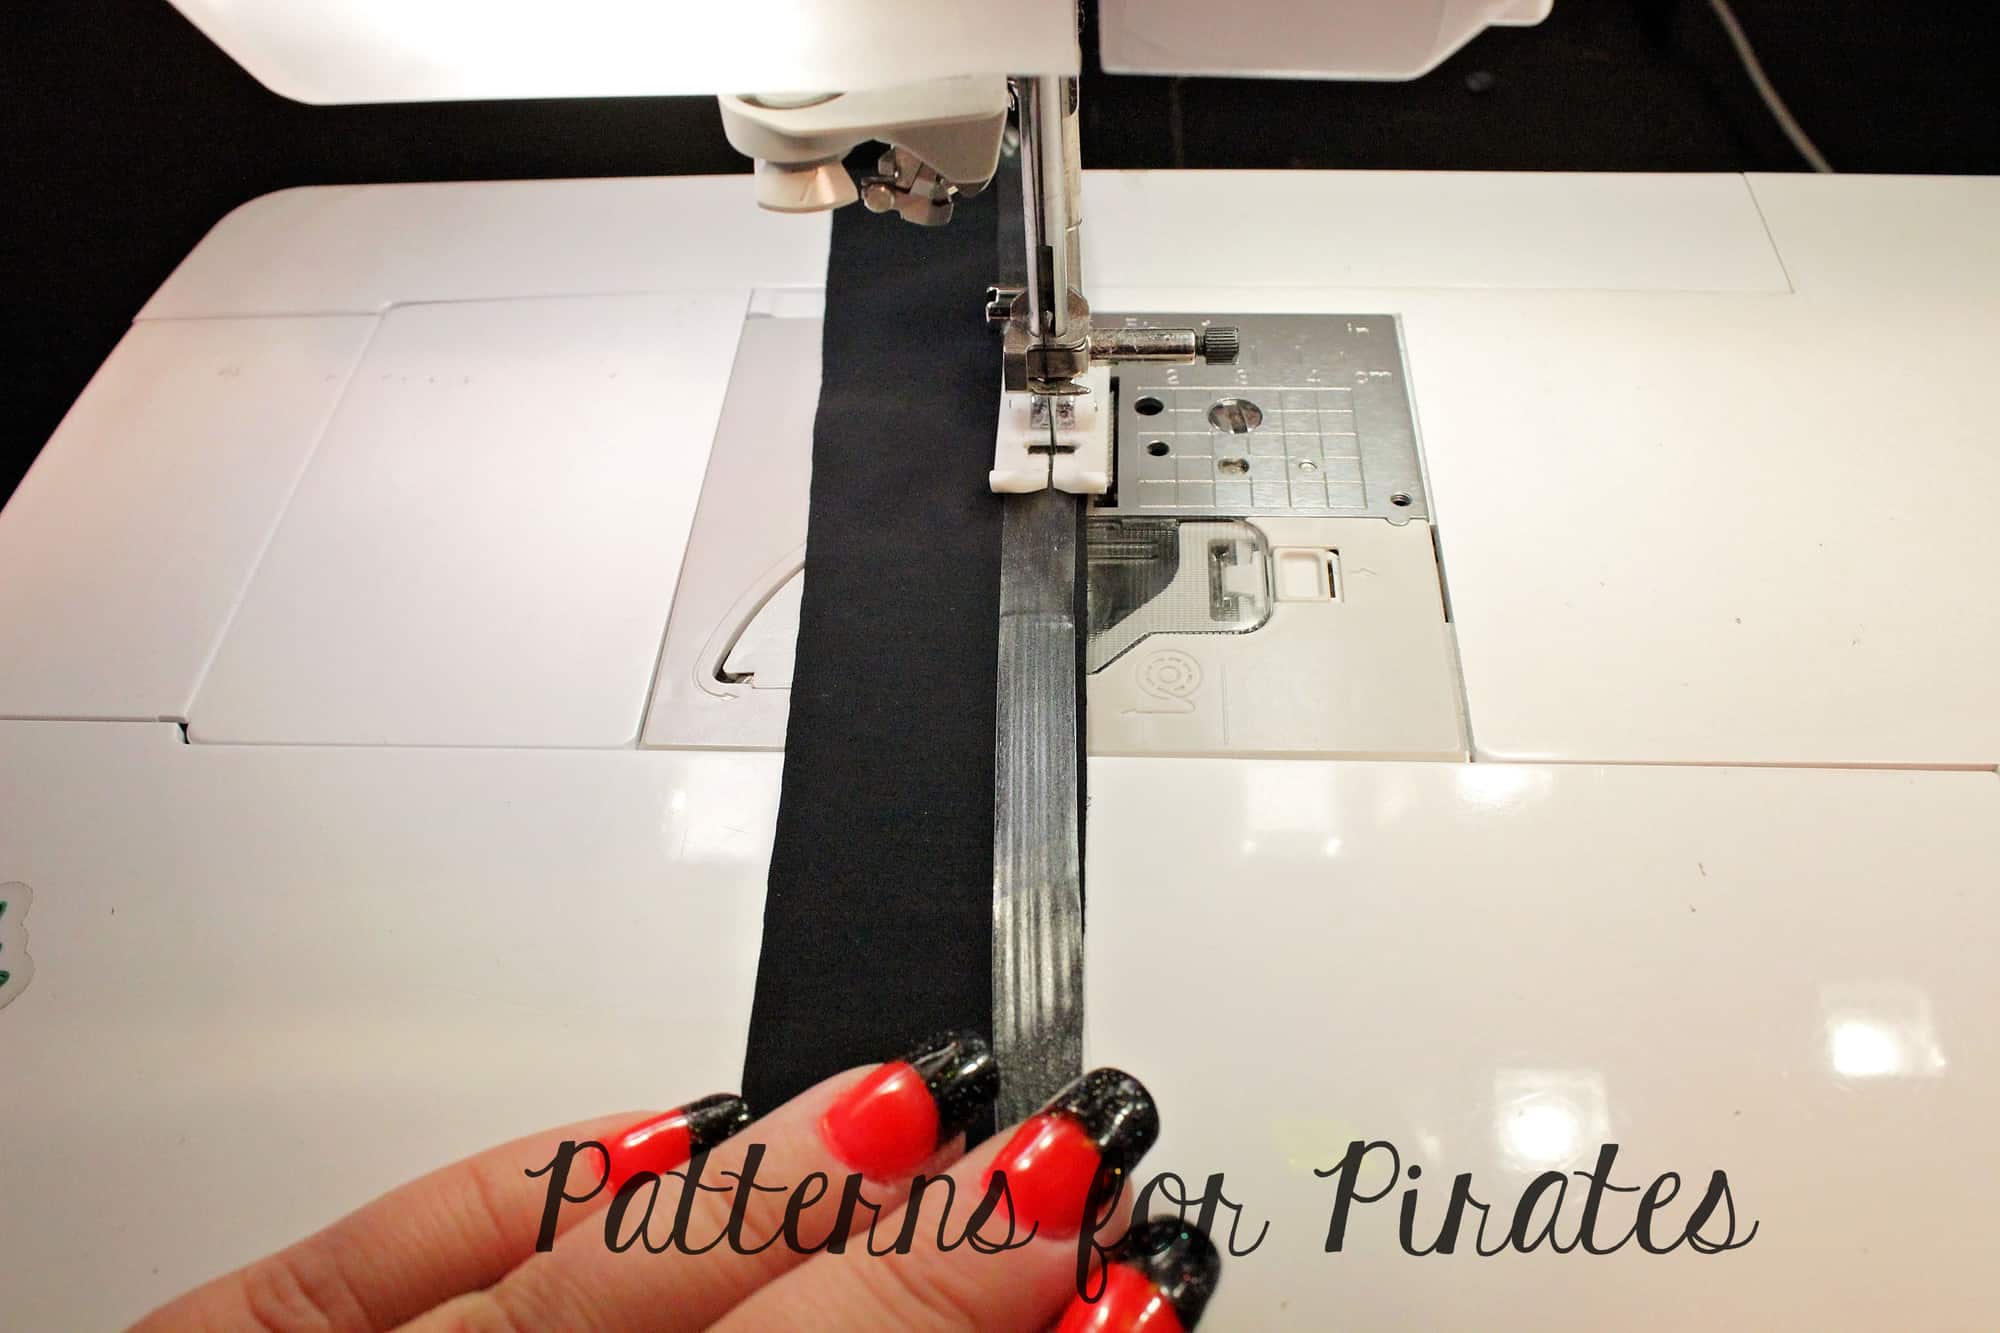
Hem the legs of the undies as in the pattern. The only difference will be that you will be using swim elastic for the briefs and thong, no elastic for the cheekies. Take your swim elastic and baste it to one edge of each of the bra straps.

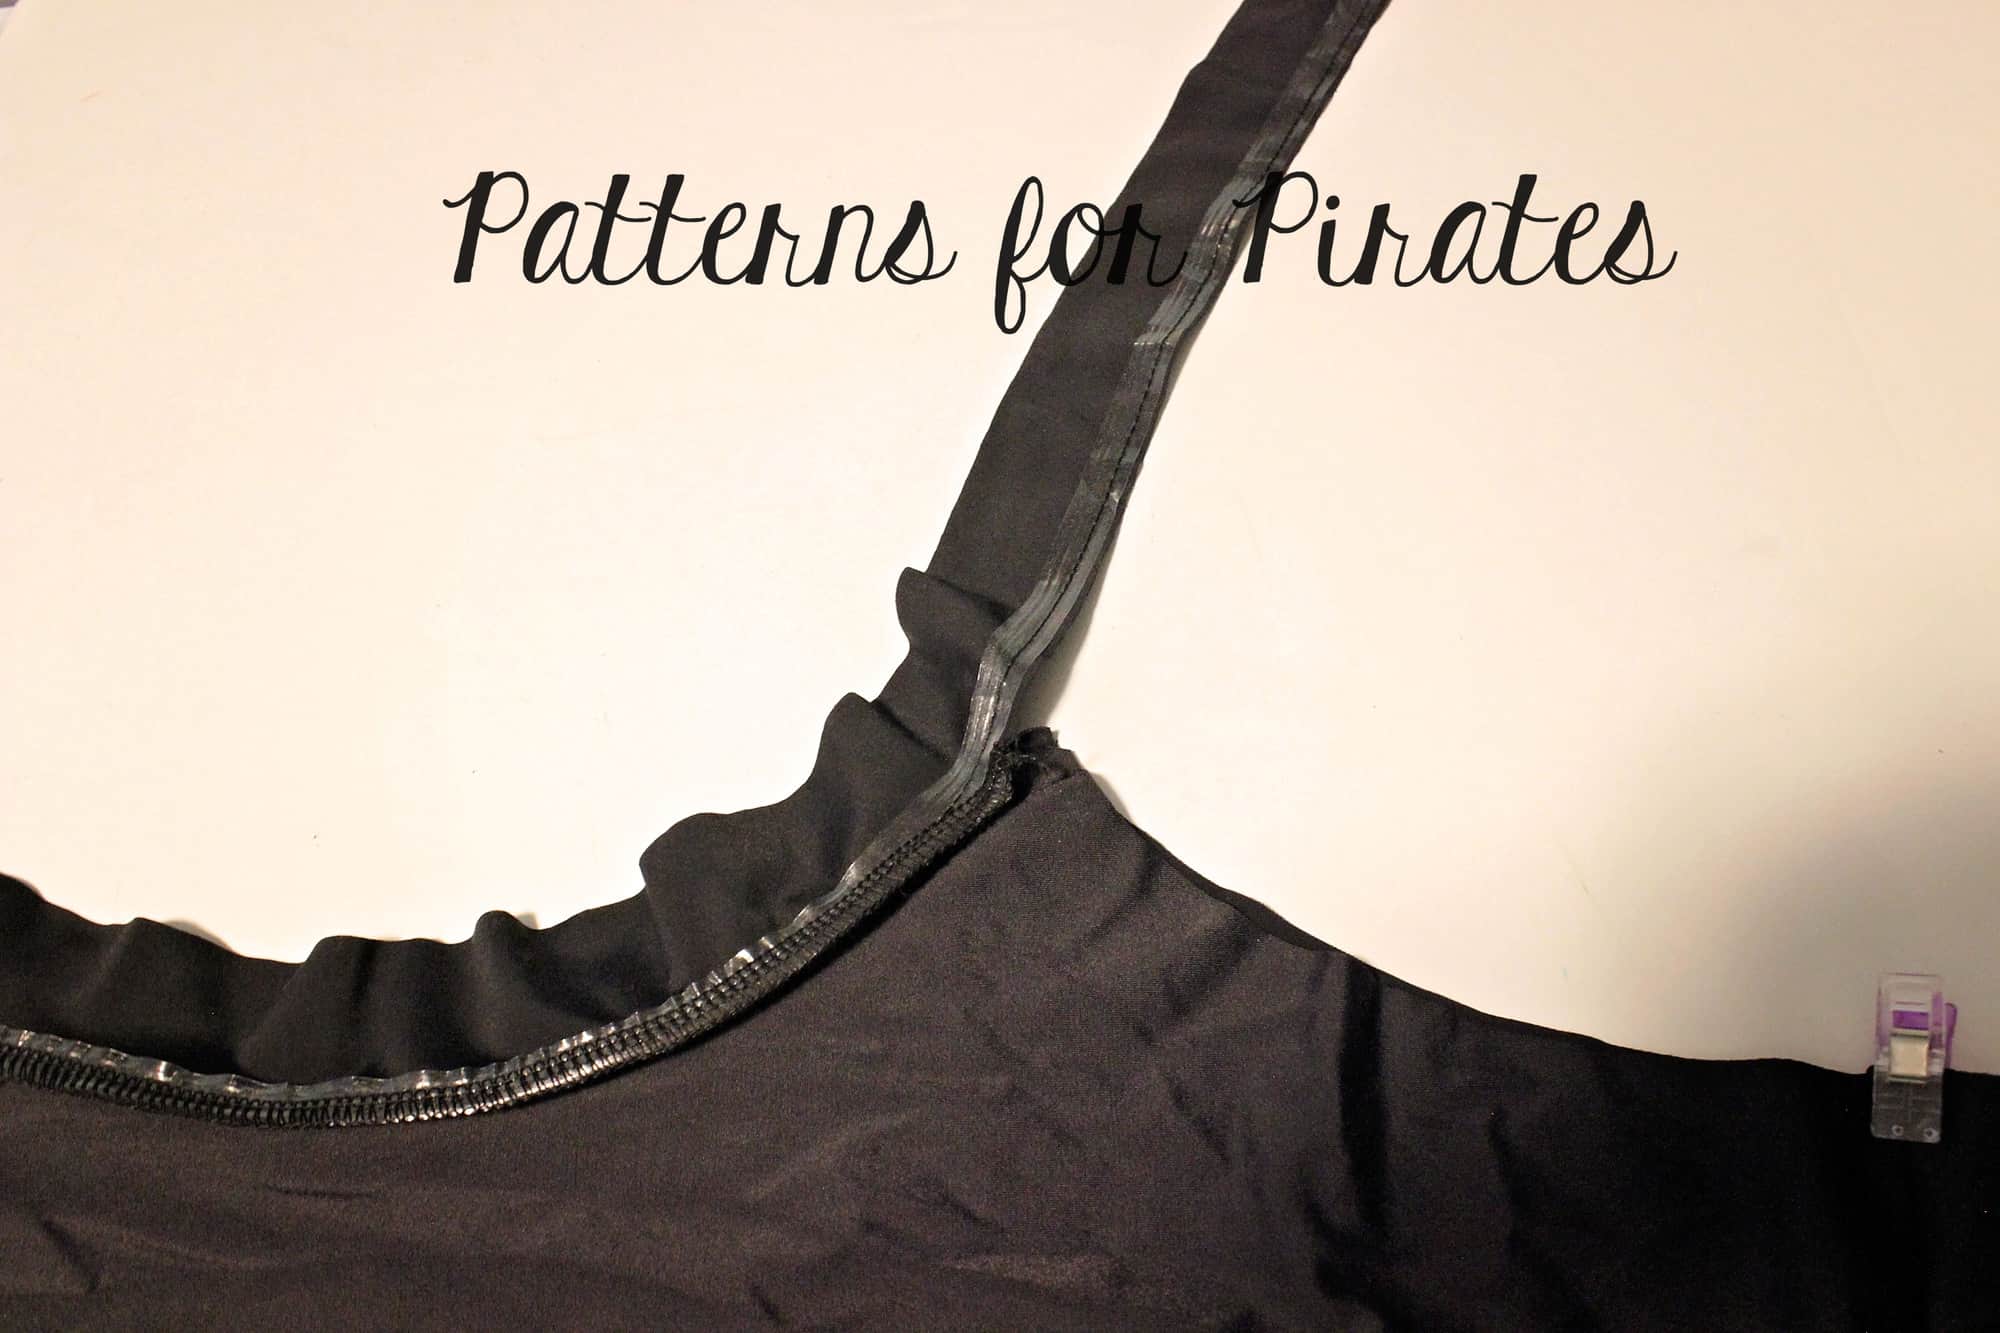
Attach the bra straps binding as Lacy is showing you in the hack above.

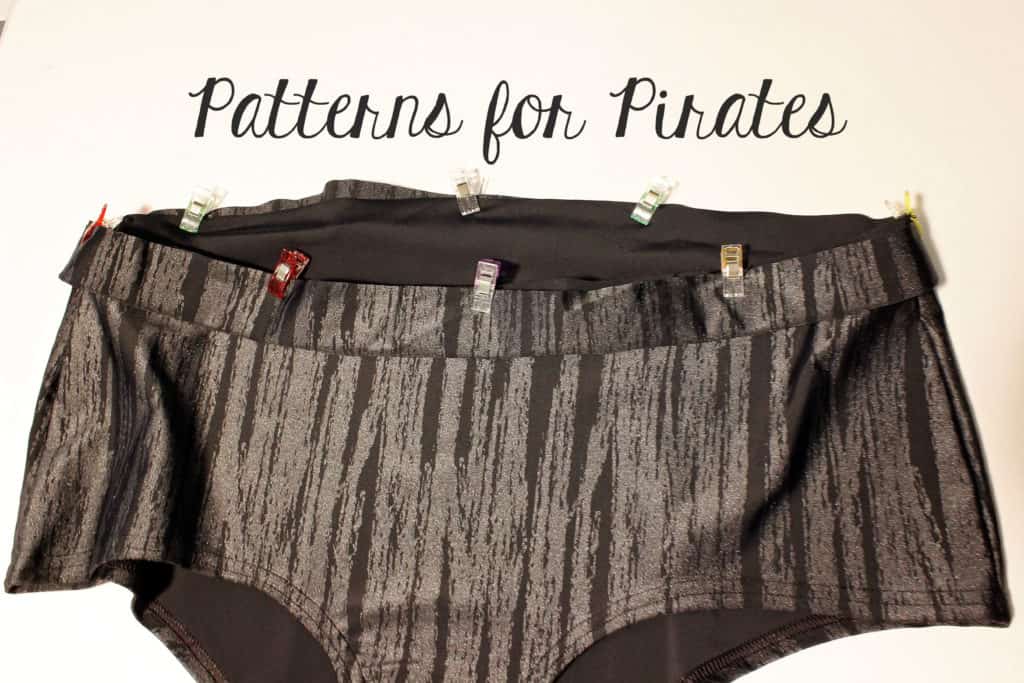
All you have left to do is add the waistband and under bust band that you prepared earlier. Mark the 4 quarters of the undies waist and under bust opening. Add the respective band matching the quarter points. Sew them with your serger or a triple stretch stitch. Optionally, top stitch.


All done! You just added one more swim suit to your collection. You can use the same tips for both the youth and the adult pattern.
We hope you enjoyed these spins on the new Fierce Undies and Fierce Bra pattern. Don’t forget to share your creations in the Patterns for Pirates Facebook group or tag us on Instagram @patternsforpirates.
 

Filed Under: Pattern Hacks, Pattern Release, Uncategorized 4 Comments

  • « Previous Page
  • 1
  • …
  • 9
  • 10
  • 11
  • 12
  • 13
  • …
  • 23
  • Next Page »

connect with me

  • Email
  • Facebook
  • Instagram
  • Pinterest
  • YouTube
Privacy & Cookies: This site uses cookies. By continuing to use this website, you agree to their use.

To find out more, including how to control cookies, see here: Cookie Policy
  • Privacy Policy
  • Refund Policy
  • Contact Us
  • About

Copyright © 2026 Patterns for Pirates

Copyright © 2026 · Genesis Framework · WordPress · Log in