Patterns for Pirates

P4P stylish, modern, wearable patterns

  • Home
  • Blog
    • Frequently Asked Questions
    • Pattern Releases
      • Free Patterns
    • P4P University
      • Fitting
      • Sewing with Stretch, Knit Fabrics
      • Sewing with Woven Fabrics
      • Sewing Machines
    • Sew-A-Longs
    • Fabric for Pirates
    • Pattern Hacks
    • Announcement
      • Blog Tours
      • Contest/Giveaway
  • Shop
  • Bundle Discounts
  • Flash Friday
  • Gift Cards
  • My Account
  • Cart

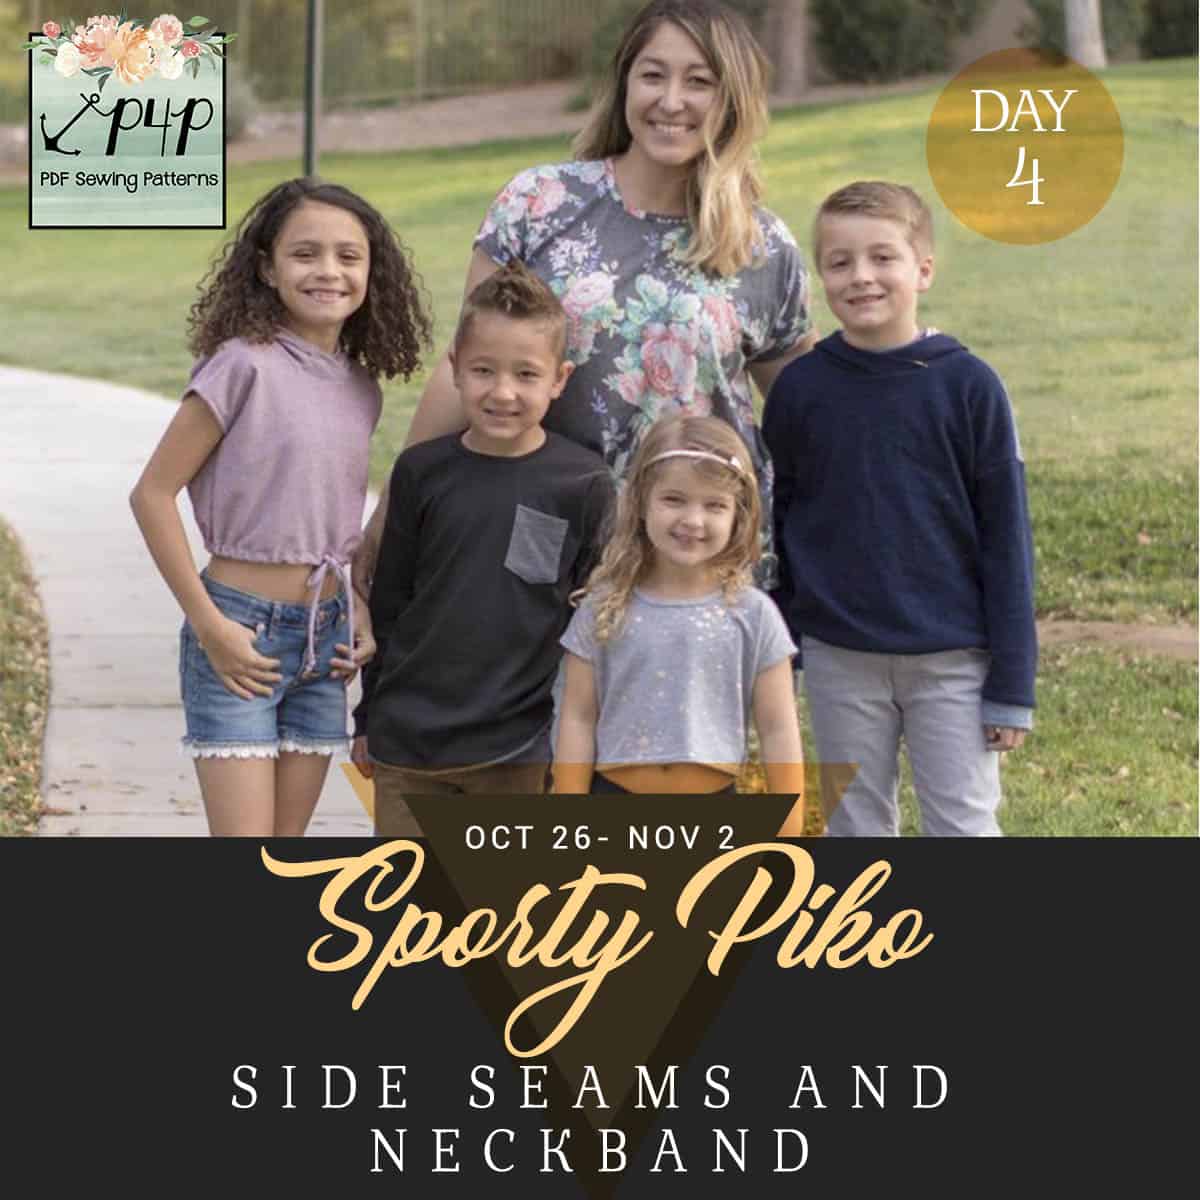
Sporty Piko Sew Along – day 4 (side seams and neckband)

October 29, 2020

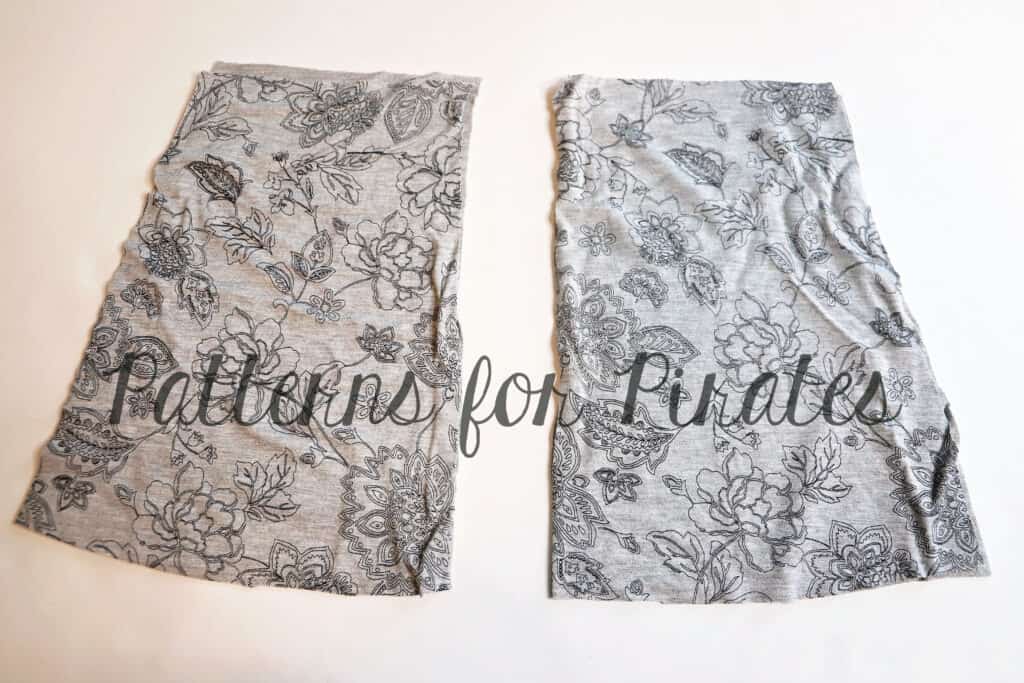
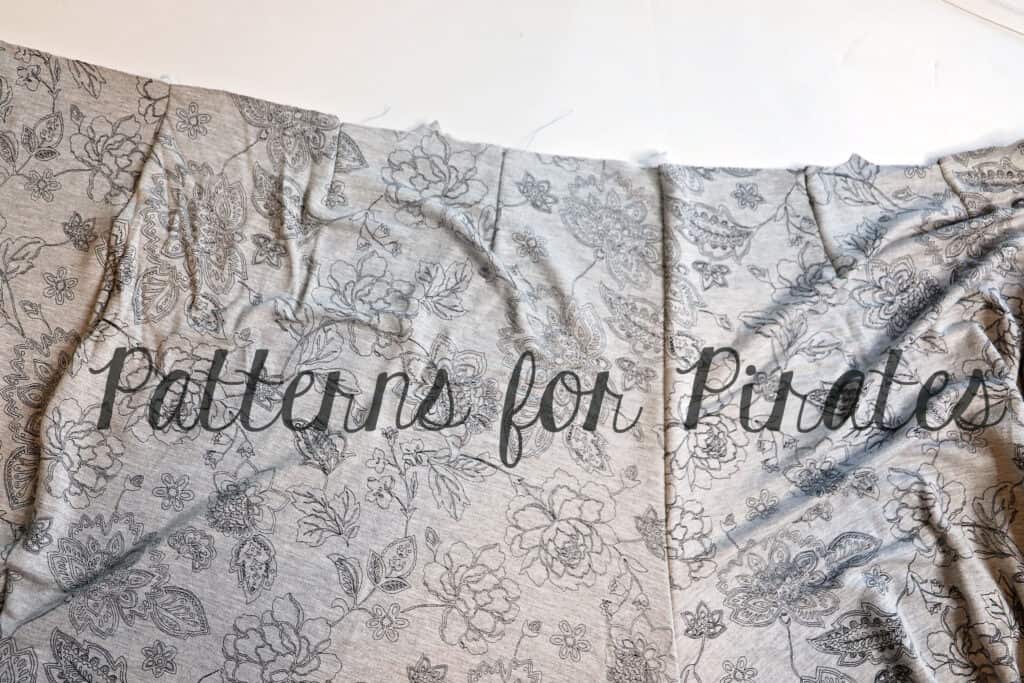
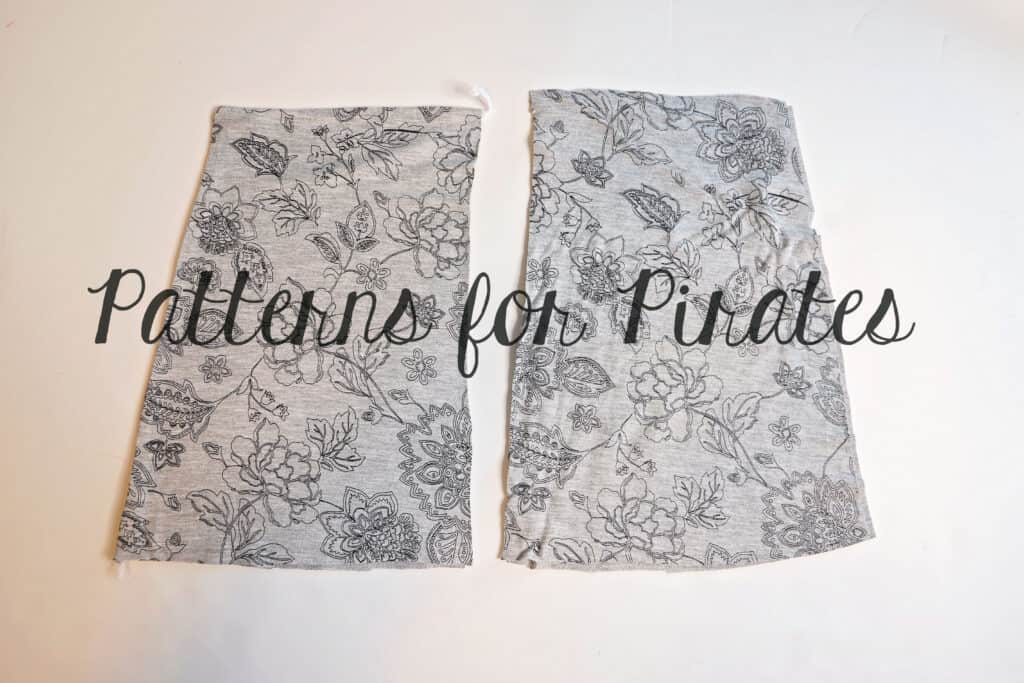
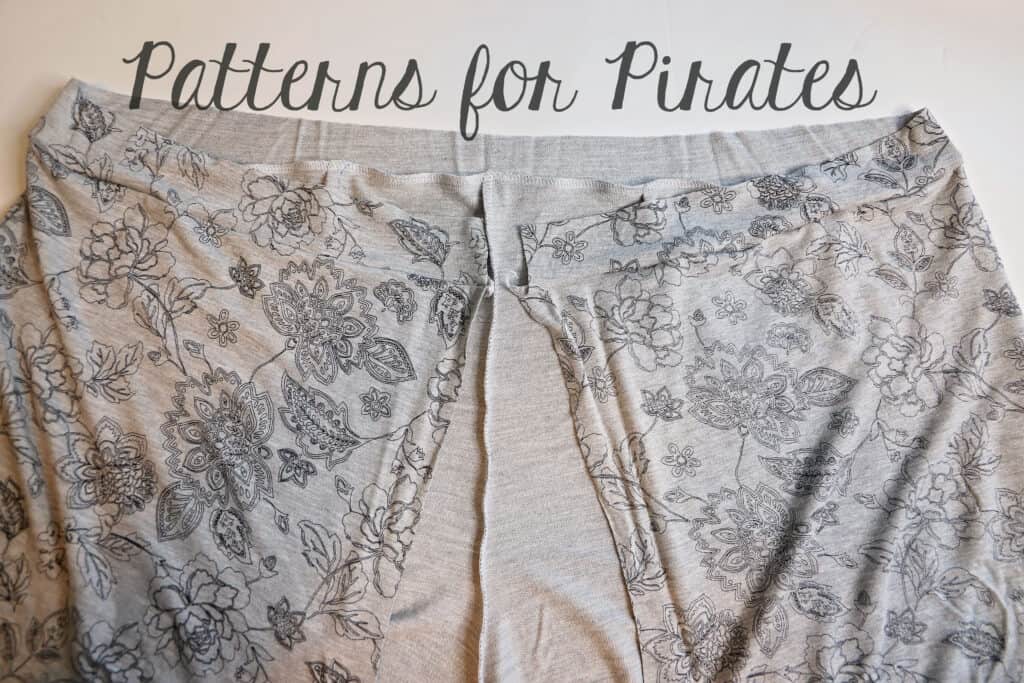
Another easy day in the Sporty Piko sew along, but let’s face it…they are all pretty easy. All of us will be sewing the side seams first. Pin the seam, right sides together, matching the under arm, sleeve ends and bottom. Sew with a stretch stitch, or your serger, following a 1/2 ” seam allowance. 

If you are making the hooded option, like I am, you are pretty much done for today. Snap your picture and check in by commenting on the day 4 photo of the sew along album. If you are sewing the neckband option, you will add that now. Take a look over our P4P University Neckbands 101 blog post. The key to a beautiful neckband is using fabric with excellent recovery and quartering the neck opening. If you followed previous sew alongs here on the blog, you have seen how I like to add the neckband to various P4P patterns. By the way, did you know all P4P blogs and videos stay up forever? Check out our YouTube Channel!

Great job so far! Don’t forget to check in for today so you qualify for the prizes!
Sporty Piko SAL | day 1

Sporty Piko SAL | day 2

Sporty Piko SAL | day 3

Sporty Piko SAL | day 4

Sporty Piko SAL | day 5

Sporty Piko SAL | day 6

Sporty Piko SAL | day 7

Filed Under: Frequently Asked Questions, Sew-A-Long, Uncategorized Leave a Comment

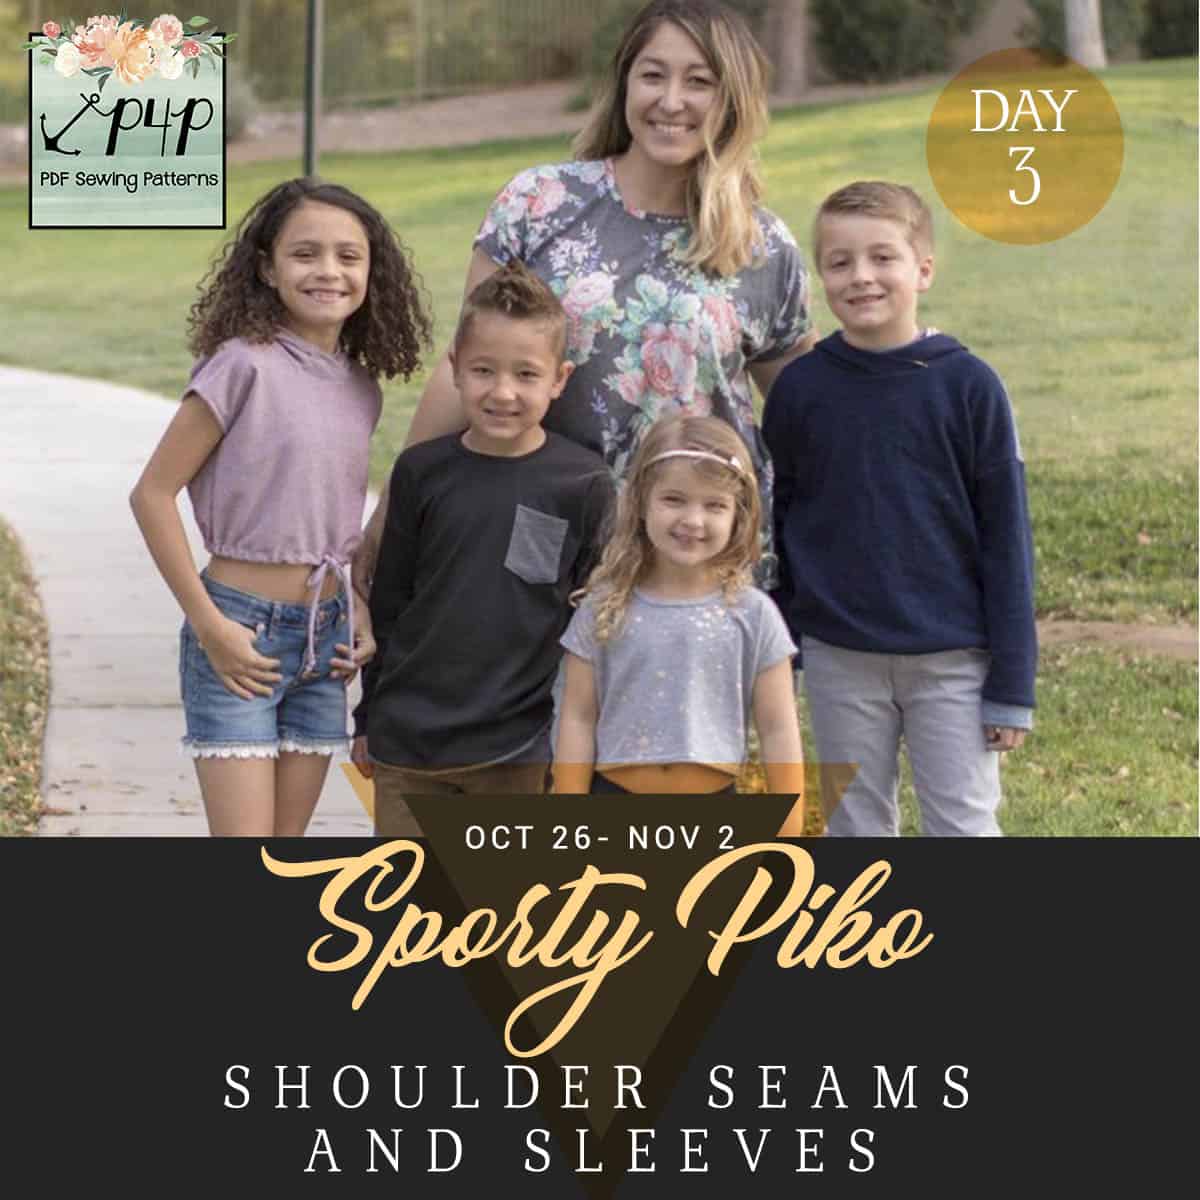
Sporty Piko Sew Along – day 3 (shoulder seams and sleeves)

October 28, 2020

Welcome to day 3 of our Sporty Piko Sew Along. Today’s steps include sewing the shoulder seams and adding the sleeves. Remember, the pattern follows a 1/2″ seam allowance snd it’s highly important to keep that constant. 

Tip: Add clear elastic to the shoulder seams to strengthen them and make sure the shoulders don’t stretch throughout the day. 

When attaching the sleeves start by pinning the center of the raw edge to the shoulder seams, then pin the sides. You will be easing the sleeves in the sleeve opening. Optionally you can top stitch the seam allowance.

I have posted today’s video below. As always, you will be checking in with your progress photo in the day 3 picture comments of the Sporty Piko Sew Along album. 


Sporty Piko SAL | day 1

Sporty Piko SAL | day 2

Sporty Piko SAL | day 3

Sporty Piko SAL | day 4

Sporty Piko SAL | day 5

Sporty Piko SAL | day 6

Sporty Piko SAL | day 7

Filed Under: Frequently Asked Questions, Sew-A-Long, Uncategorized Leave a Comment

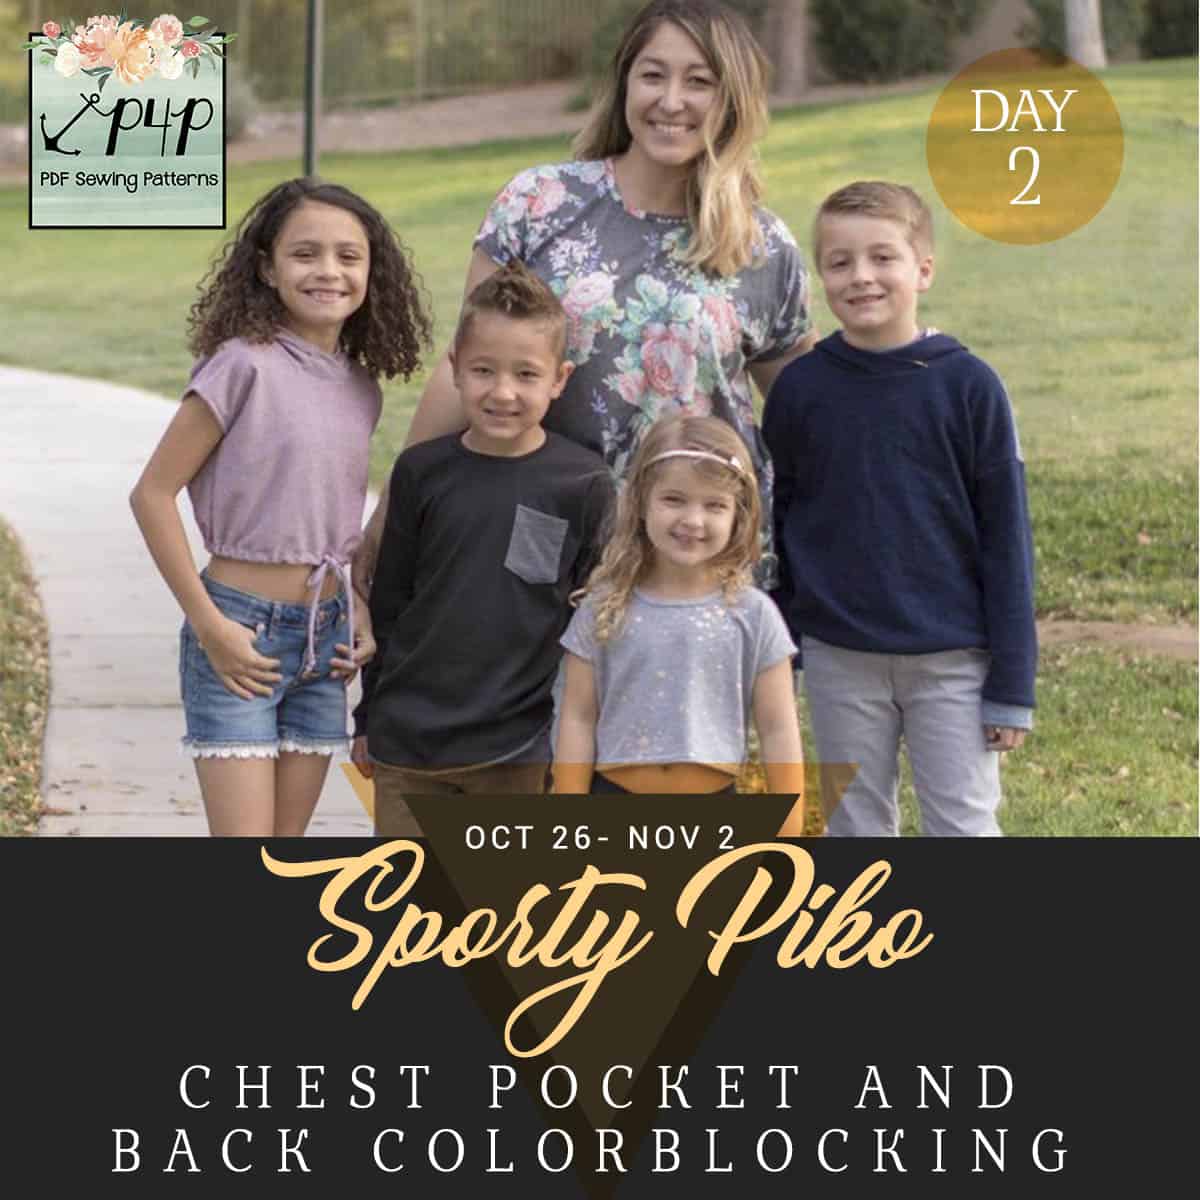
Sporty Piko Sew Along – day 2 (chest pocket, back colorblocking)

October 27, 2020

Good morning, pirates! Today we start sewing our Sporty Piko shirts. First step is to add the optional chest pocket. It is optional but I wouldn’t skip it, it adds a little extra something to the front….plus, you can hide your little treasures in it 😉

The key to getting a nice pocket is pressing! Yes, I know, I know… I say that all the time but it’s true. If you have a favorite woven you would like to use instead of knit, you can do that for the pocket. 

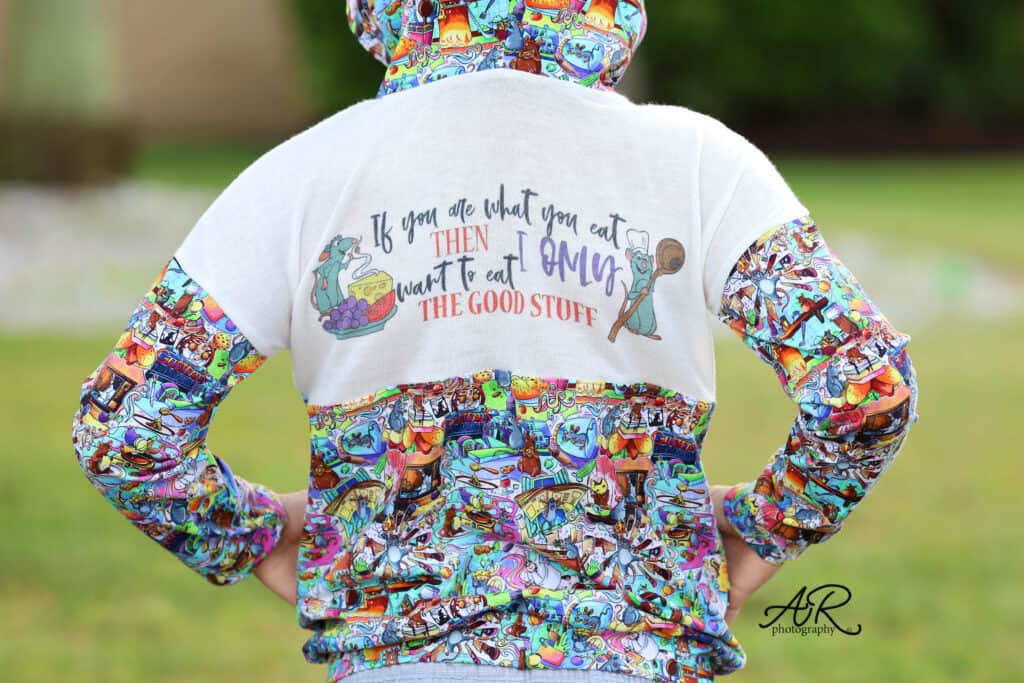
Next and final step of the day is to create the back piece by sewing the top and bottom together. Simply match the center point and pin in place. The two edges are 1:1 ratio so they will match perfectly, no stretching.

Tip: if you plan on adding any embellishments to the top back piece (like HTV, sublimation, iron ons, etc) do that before you sew the pieces together. 


You can see the day 2 video below. Once you complete these steps, post a picture of your progress in the comments of day 2 photo of the sew along album. You can find this album in our SAL group. 


Sporty Piko SAL | day 1

Sporty Piko SAL | day 2

Sporty Piko SAL | day 3

Sporty Piko SAL | day 4

Sporty Piko SAL | day 5

Sporty Piko SAL | day 6

Sporty Piko SAL | day 7

Filed Under: Frequently Asked Questions, Sew-A-Long, Uncategorized Leave a Comment

Sporty Piko Sew Along – day 1 (print pattern and cut fabric)

October 26, 2020

Welcome to the Sporty Piko Sew Along!

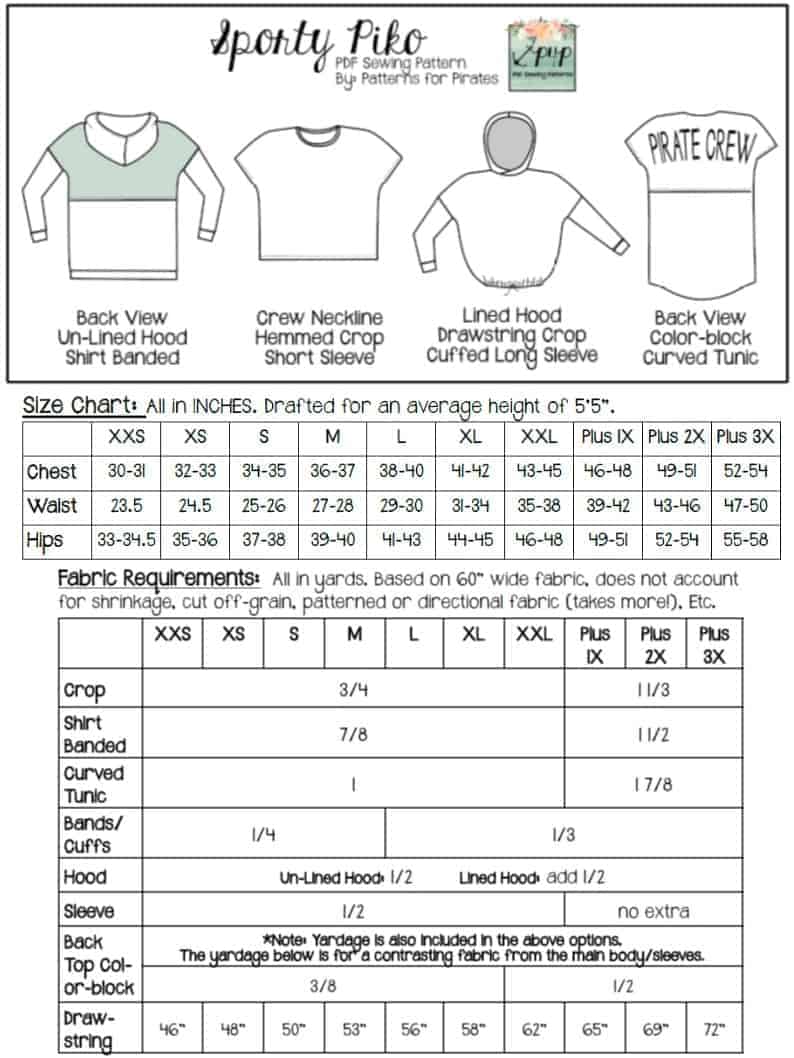
I am happy to sew with you a Sporty Piko this week. The pattern comes in Youth and Adult and you can of course get the bundle and save. If you are still undecided which style to make, our Round Up blog will give you a glance at all options included, from sleeve lengths to necklines. You can also use the Easy Hacks blog for added options.

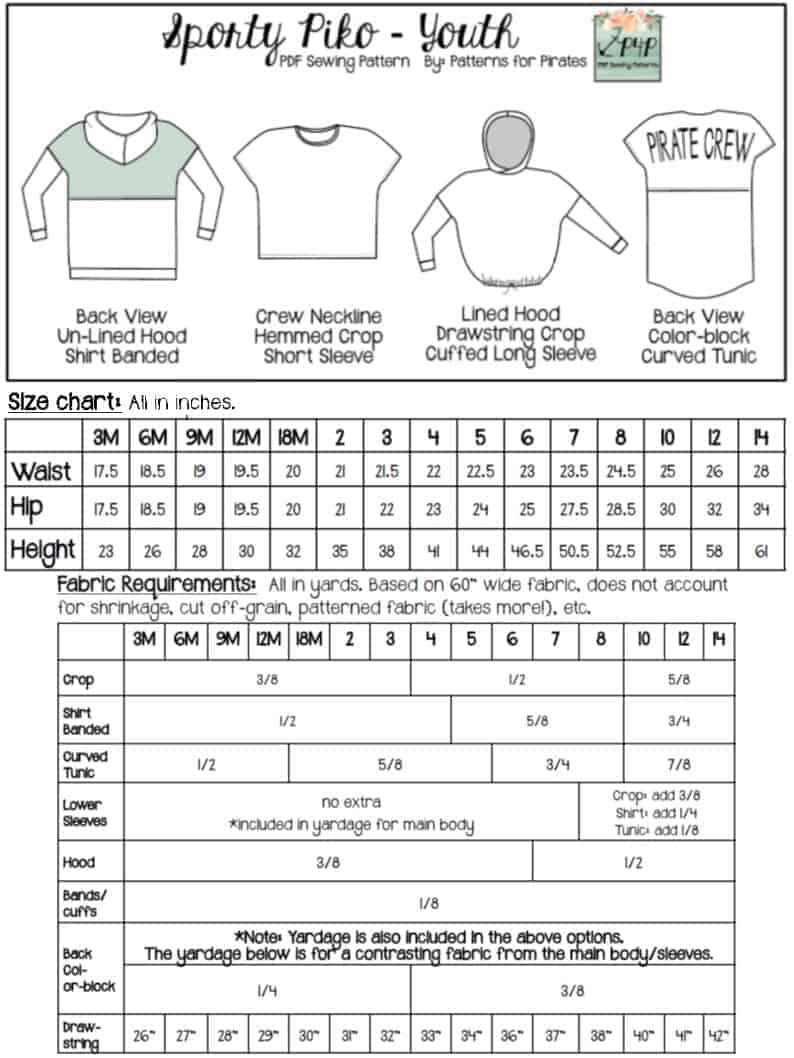
Let’s start by taking the measurements needed for the best fit. P4P has an amazing blog that gives you tips for accurately taking your measurements. You can read all about it here. If your measurements put you in a different size for chest/waist/hips be sure to check out our P4P University blog and grade to achieve the perfect fit. The Sporty Piko patterns include videos as well. On page 3 you will notice an active button that will take you to the video about adding or removing length. Please refer to it if you are taller or shorter than 5’5″.


Unsure about which knit type will work best for your desired look? Take a look over our P4P University Knit Types blog. We also included a cheat sheet that you can print. If you are like me and sometime are just keen on using a specific print for a specific pattern, read our Different fabric, different fit blog post before you cut your fabric.

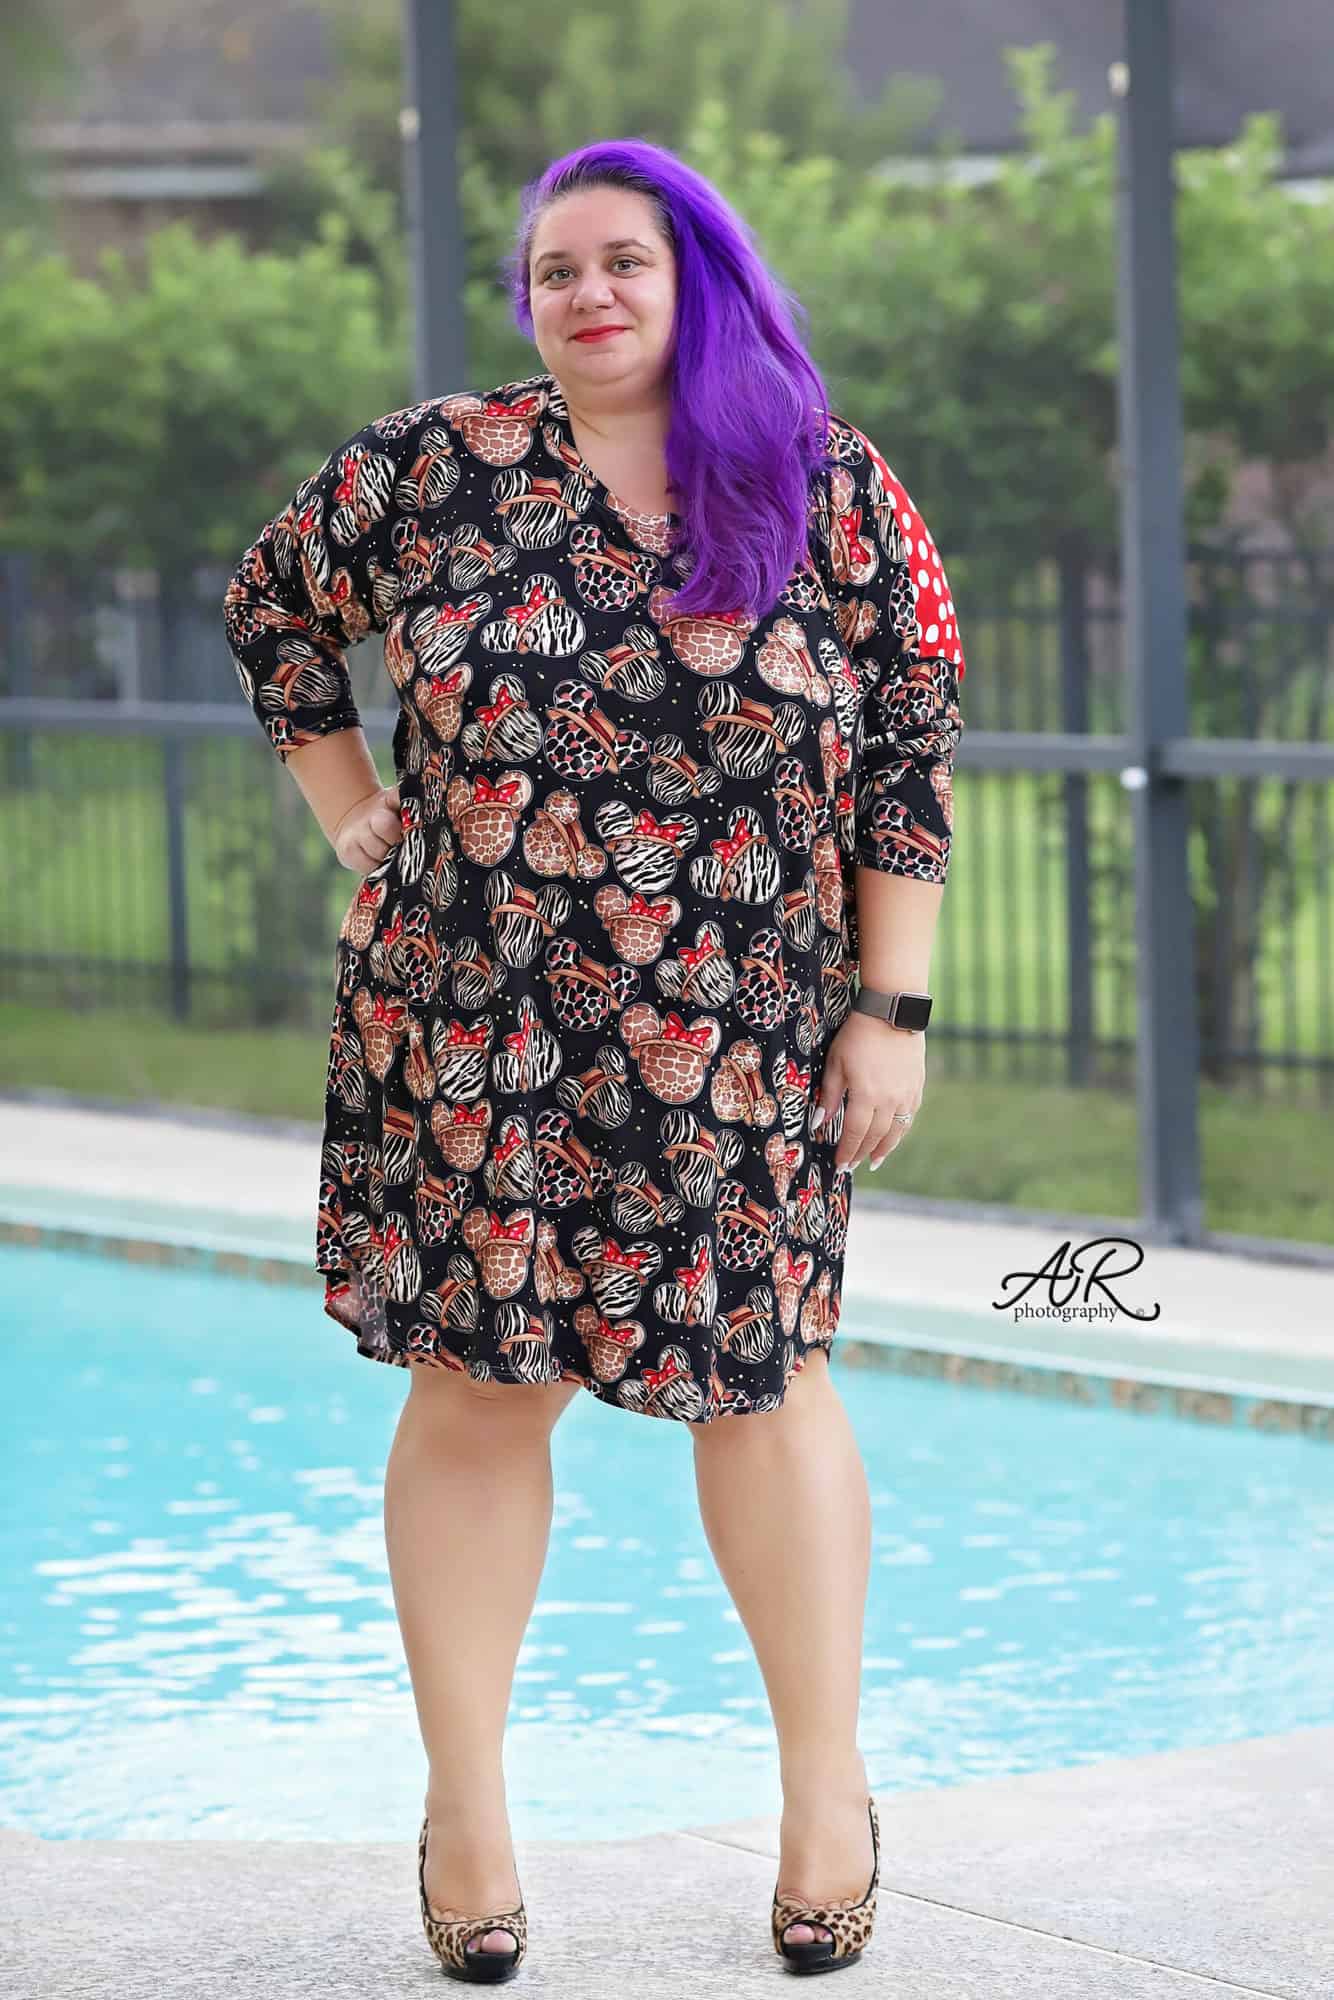
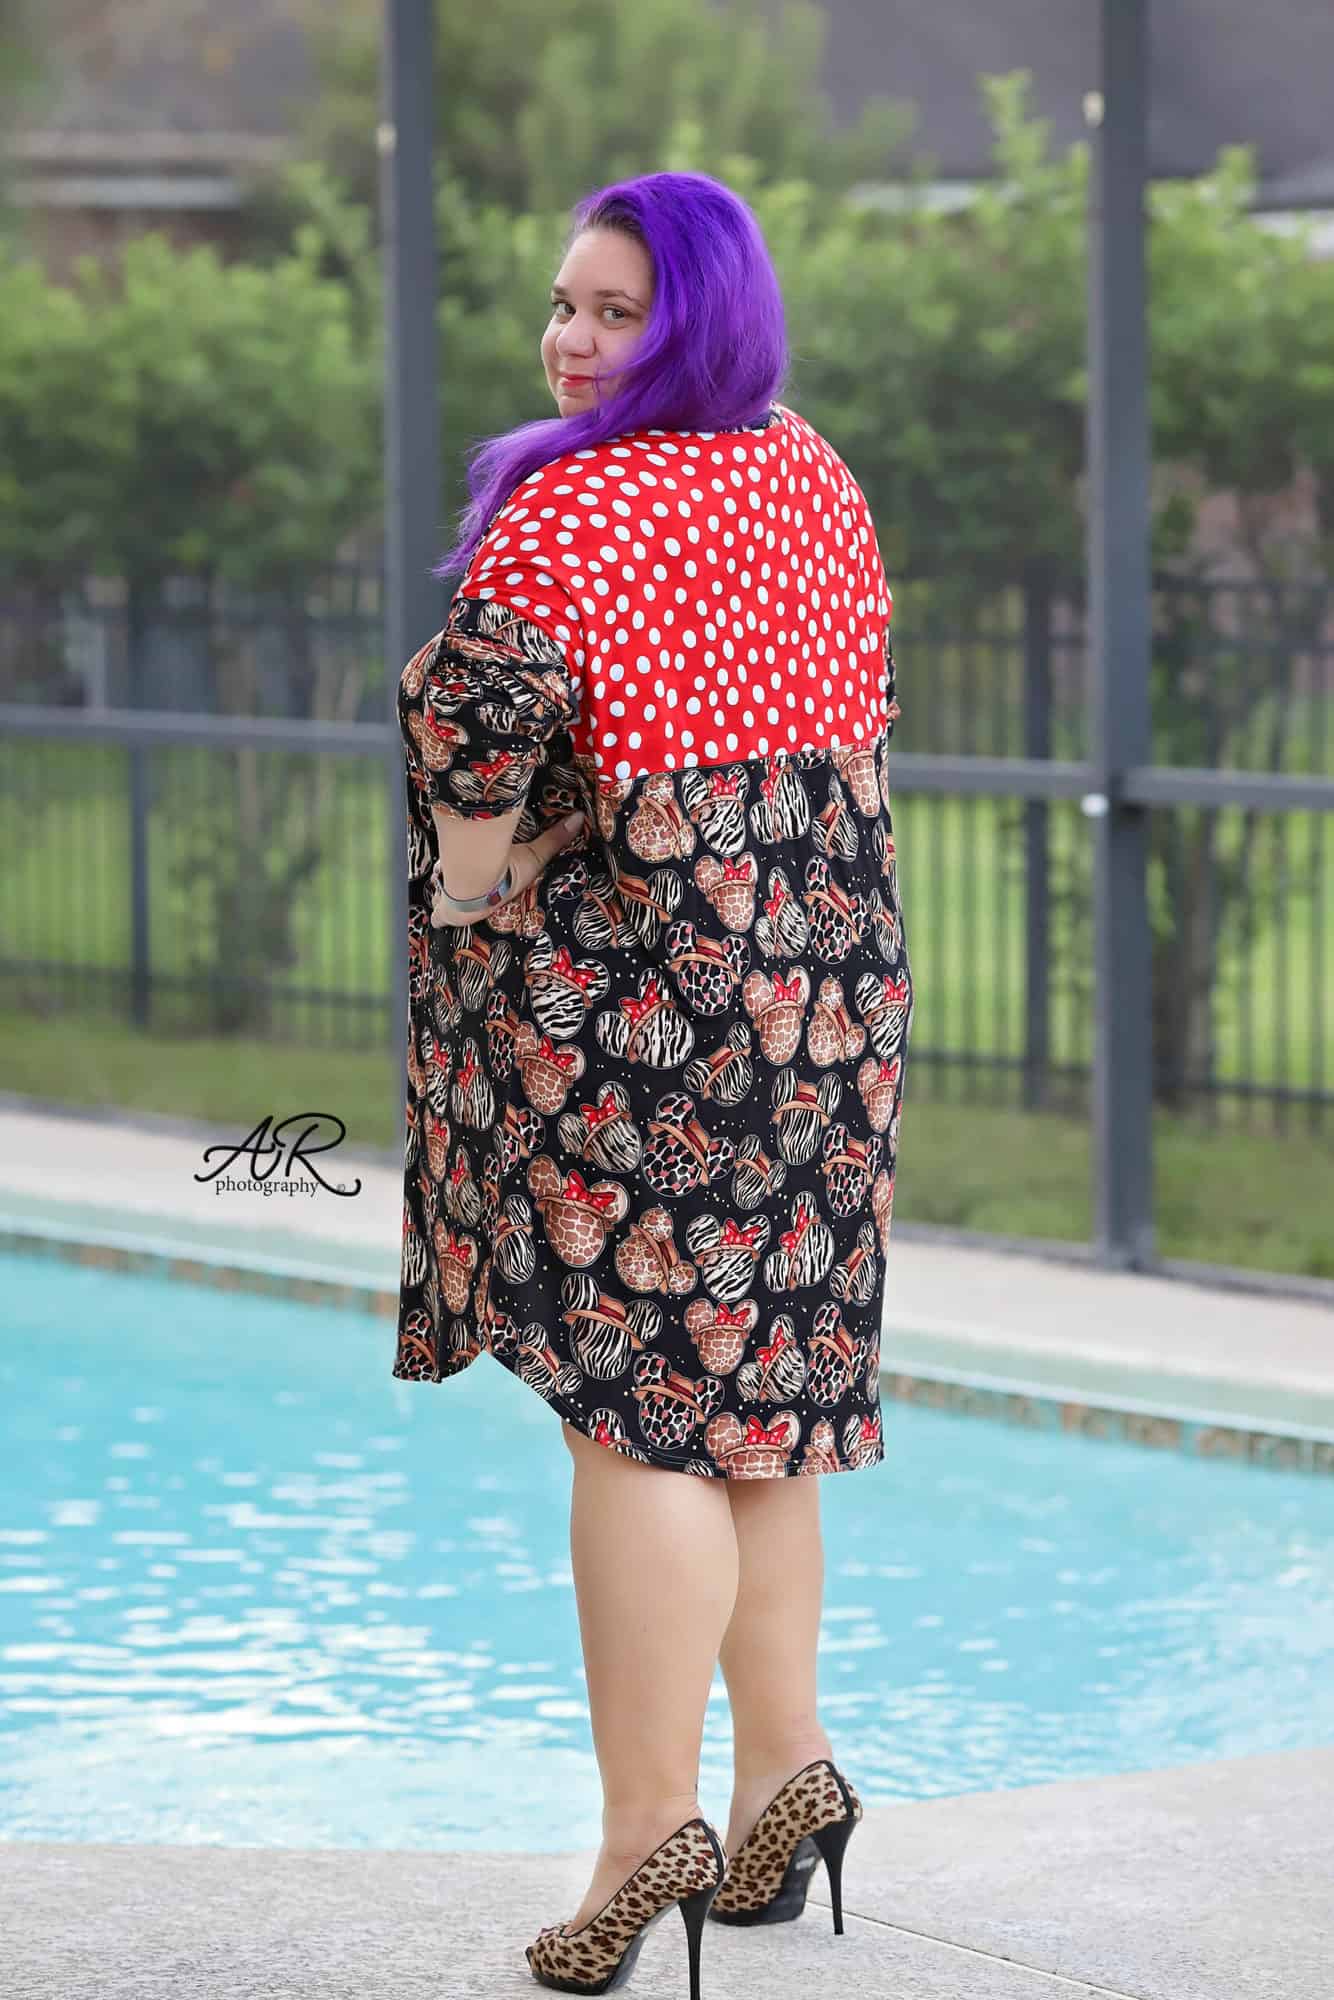
The Sporty Piko patterns include a crop, shirt and tunic length. If you would like to make a dress length simply add 8-10 inches length. The simplest way to do that is to cut both the back and the front pattern pieces at the crop cut line, add the extra length there and tape the remainder of the pattern to it. You can see in the video below how to do that. This is my dress hack made with bamboo lycra.


This pattern is drafted from light to medium weight fabrics with 20-30% stretch. The Sporty Piko has an oversized, relaxed fit so using thicker fabric like cotton lycra, french terry or sweatshirt fleece will give you a bulkier, more rectangle look. It would work great for the youth option, though. For my Sporty Piko I will be using a cute custom cotton lycra from Hapa Fabrics. Hapa is this sew along’s sponsor so be sure to check them out and show them some love in their Facebook group.


You can see the day 1 below, including how I use my projector  with the A0 file. Once you cut the fabric, post a picture of your pretty pile in the comments of DAY 1 photo of the Sporty Piko album in the M4M & P4P Sew Along Group.

Sporty Piko SAL | day 1

Sporty Piko SAL | day 2

Sporty Piko SAL | day 3

Sporty Piko SAL | day 4

Sporty Piko SAL | day 5

Sporty Piko SAL | day 6

Sporty Piko SAL | day 7

Filed Under: Frequently Asked Questions, Sew-A-Long, Uncategorized Leave a Comment

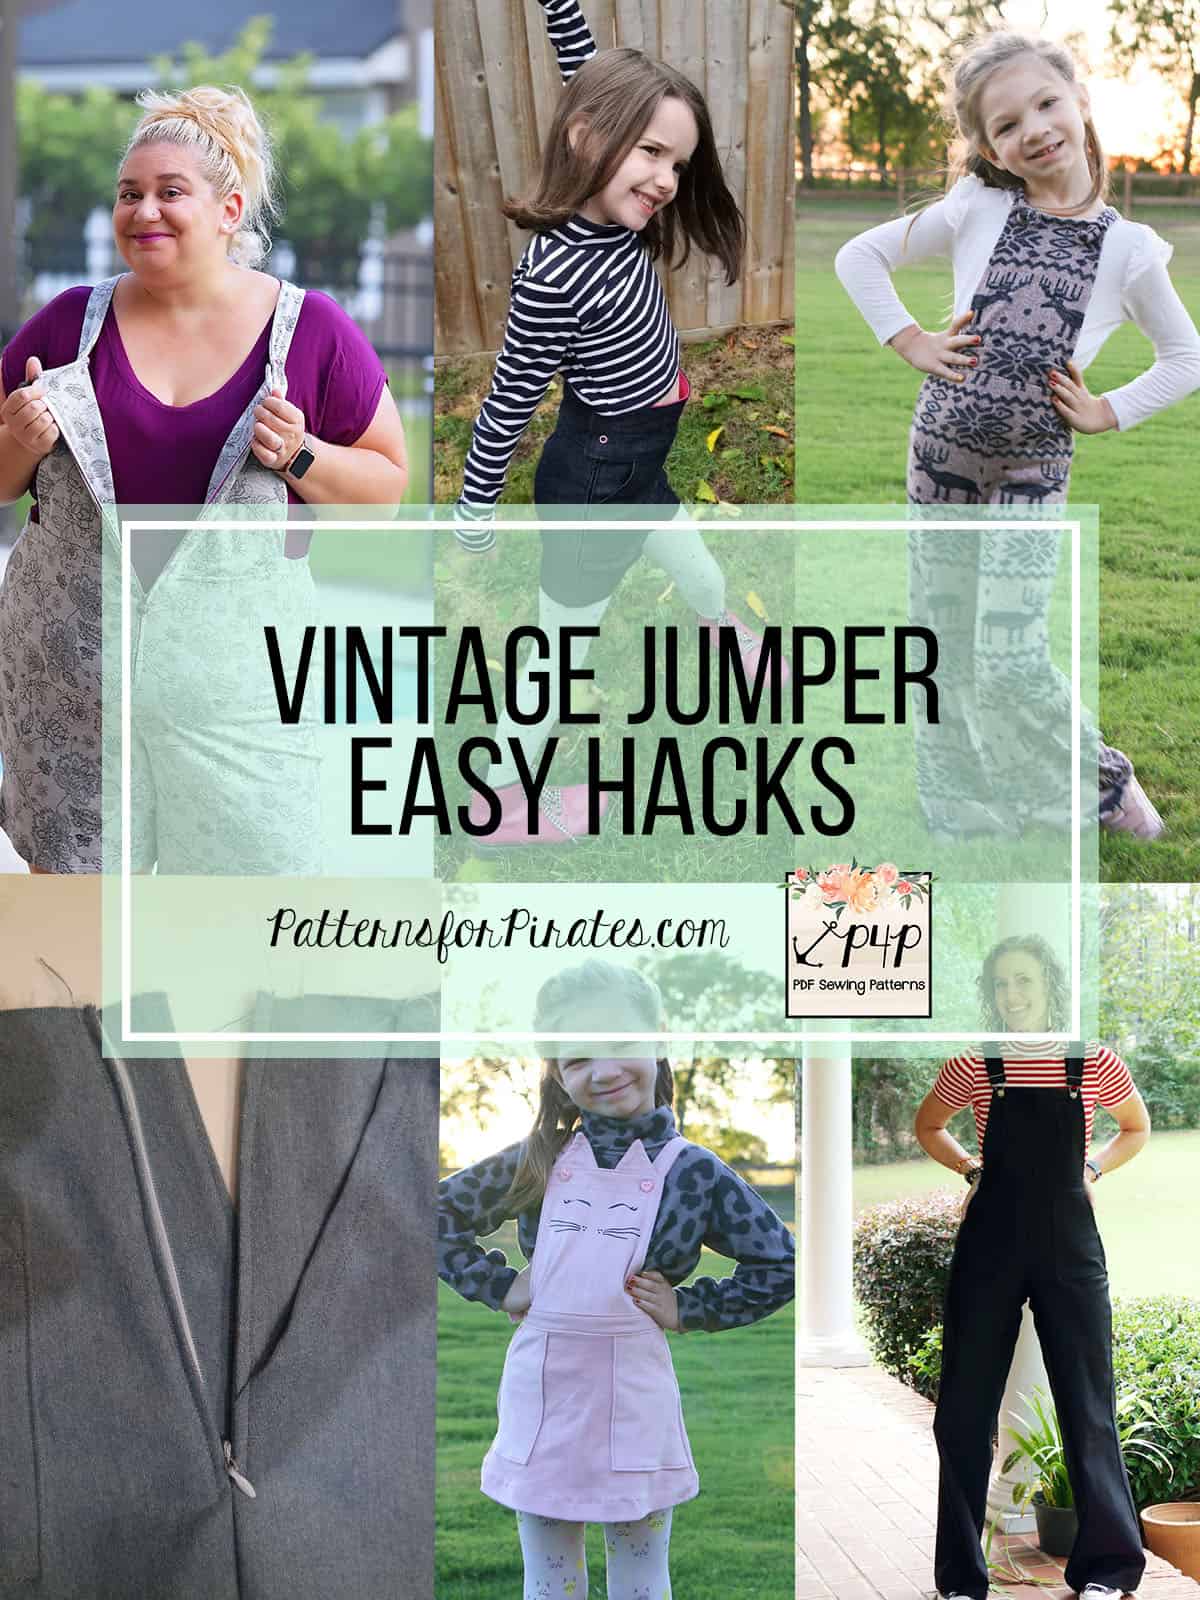
Vintage Jumper – Easy Hacks

October 1, 2020

The Vintage Romper is here and we couldn’t be more excited to share with you the blog team’s take on some easy hacks. Grab your patterns and let’s get started!

…..

Pants/skirt

Do you love shorts like we love shorts?! Then you’re in the right place. I’m going to spend a little time today showing you how to hack the new Vintage Romper into a shorts or skirt only piece. It couldn’t be easier and I have even filmed a little tutorial showing you how to adapt the waistband pattern piece and then put the waistband together too, which you can find here:

However, if you like it old skool here is the written blog post. 


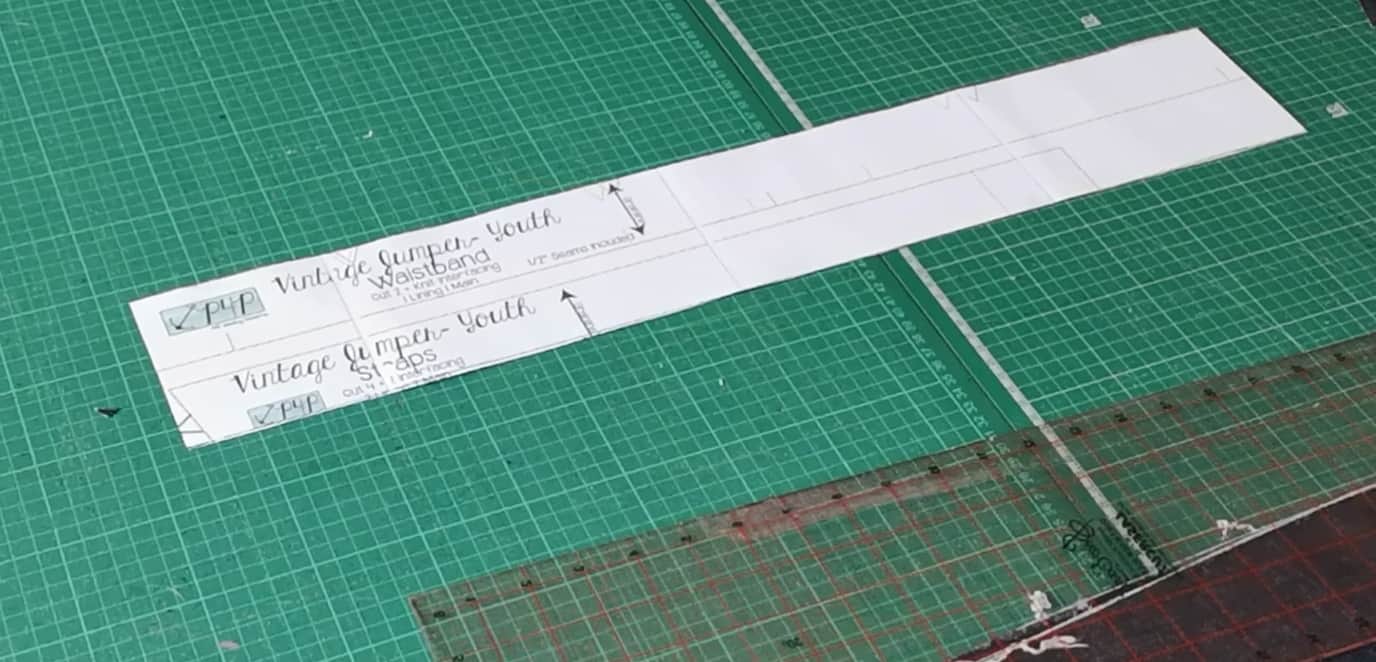
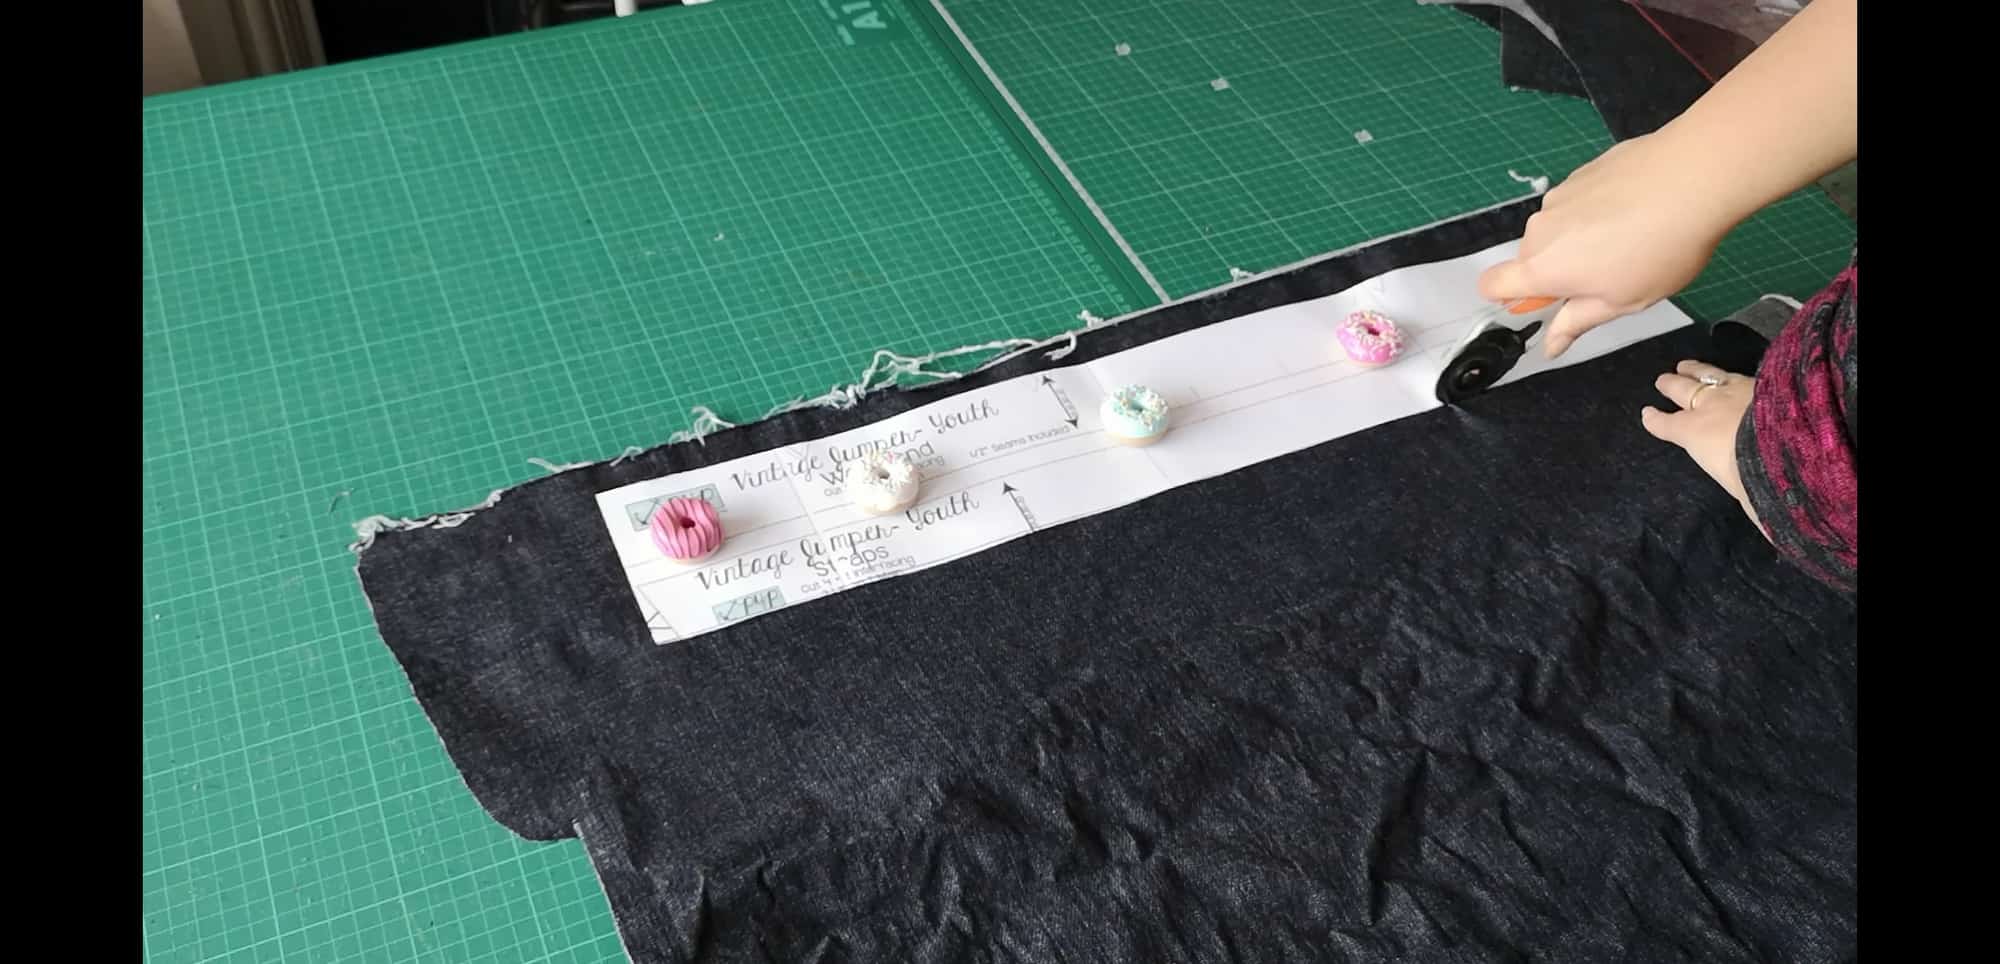
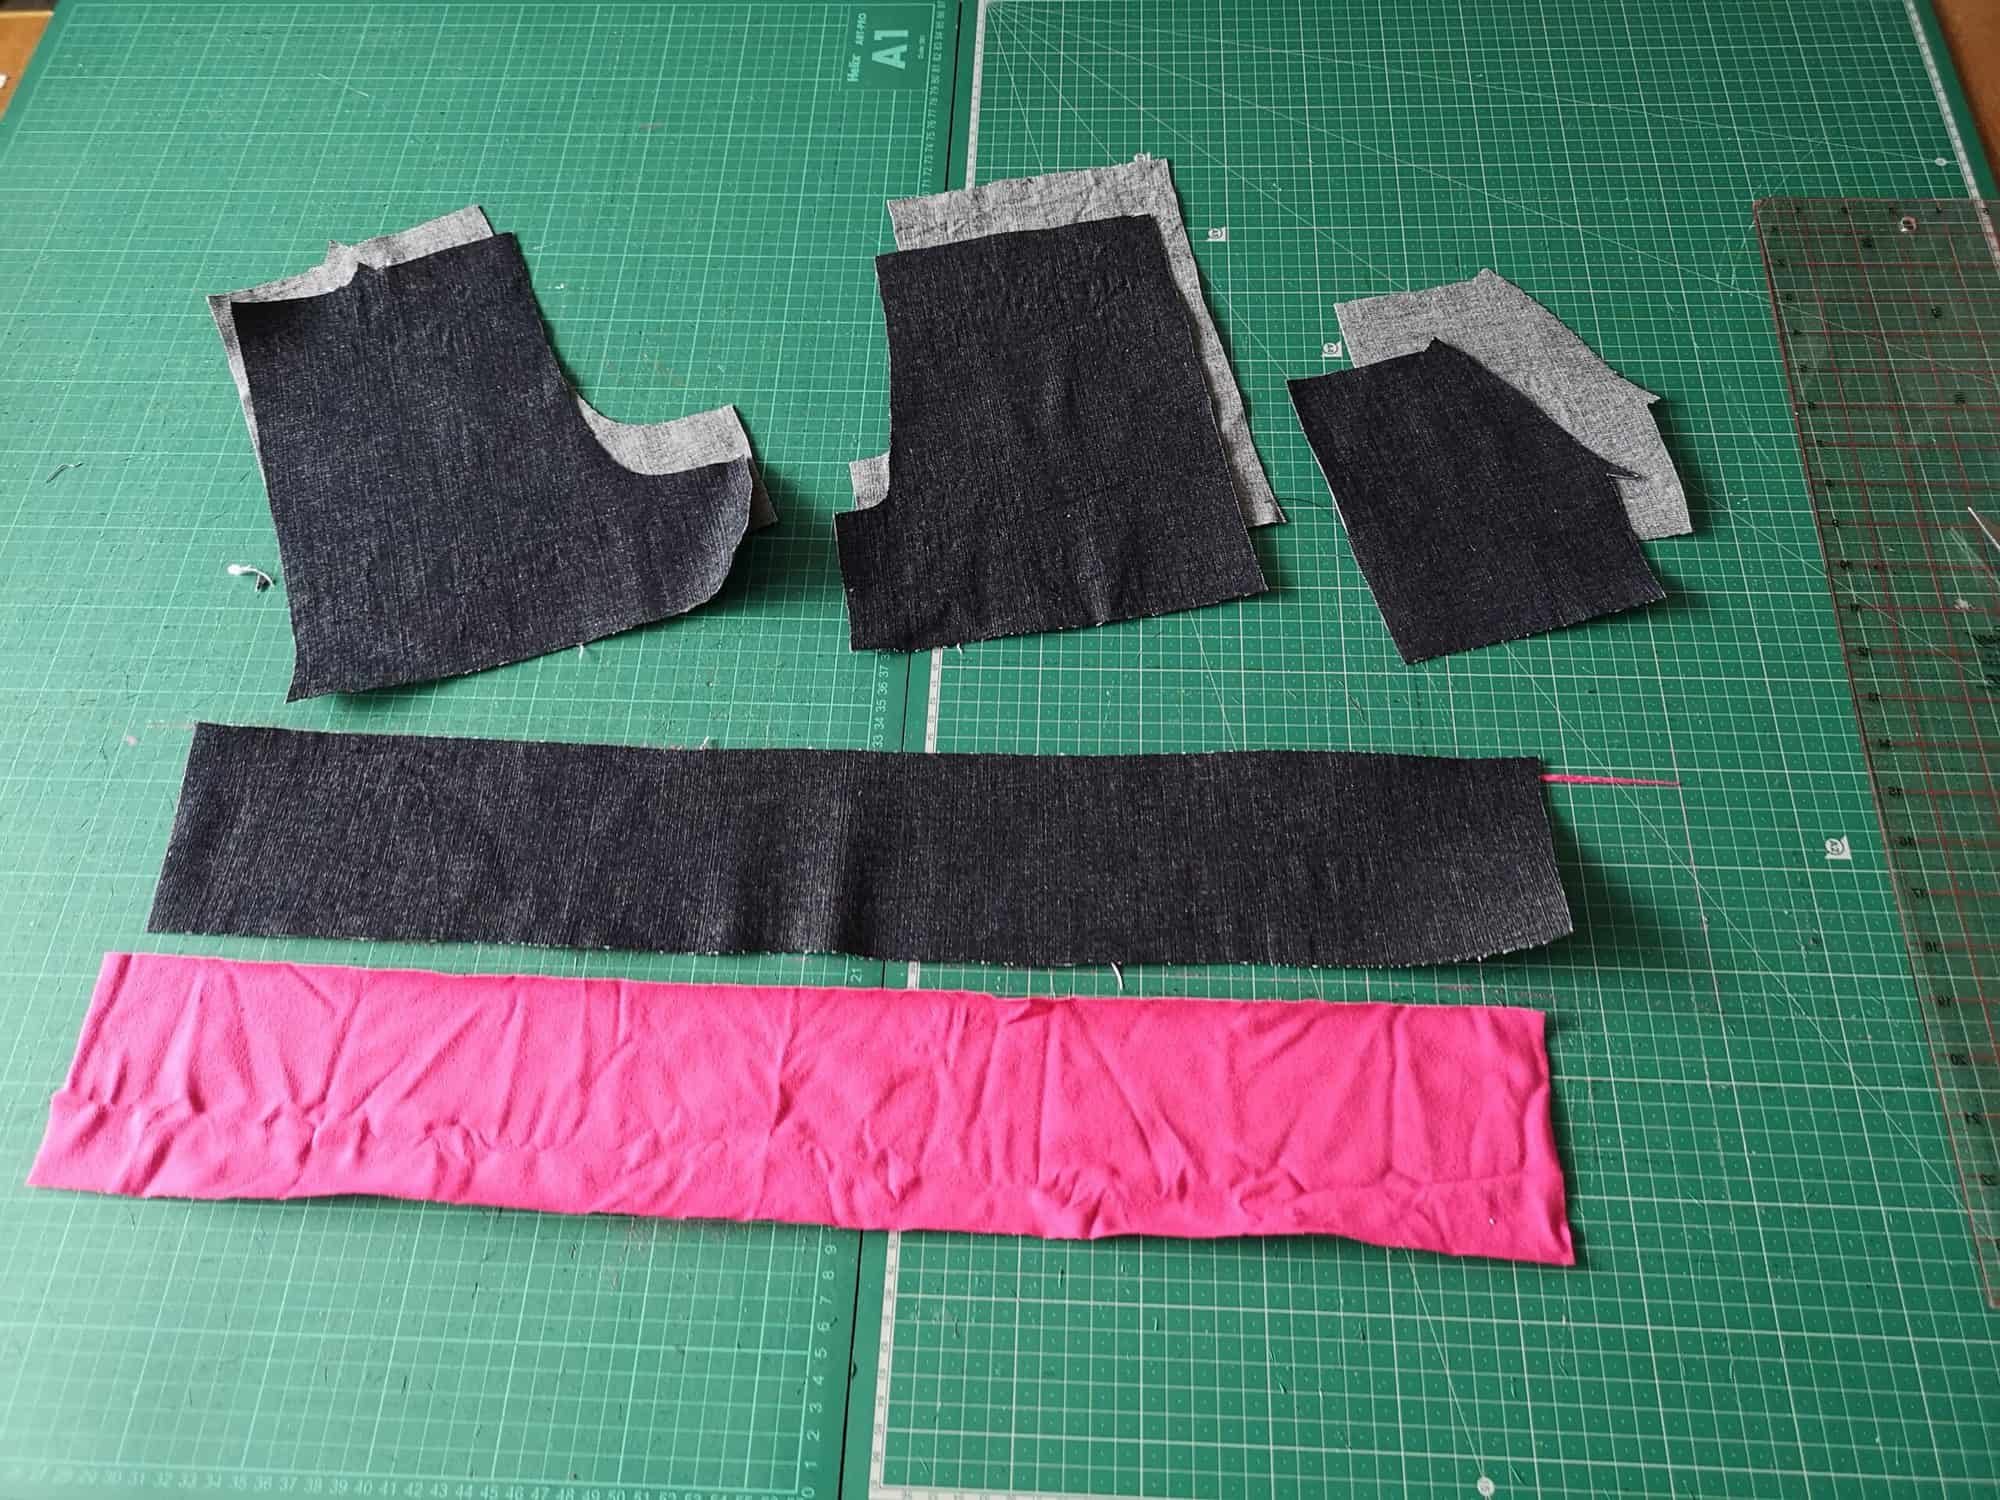
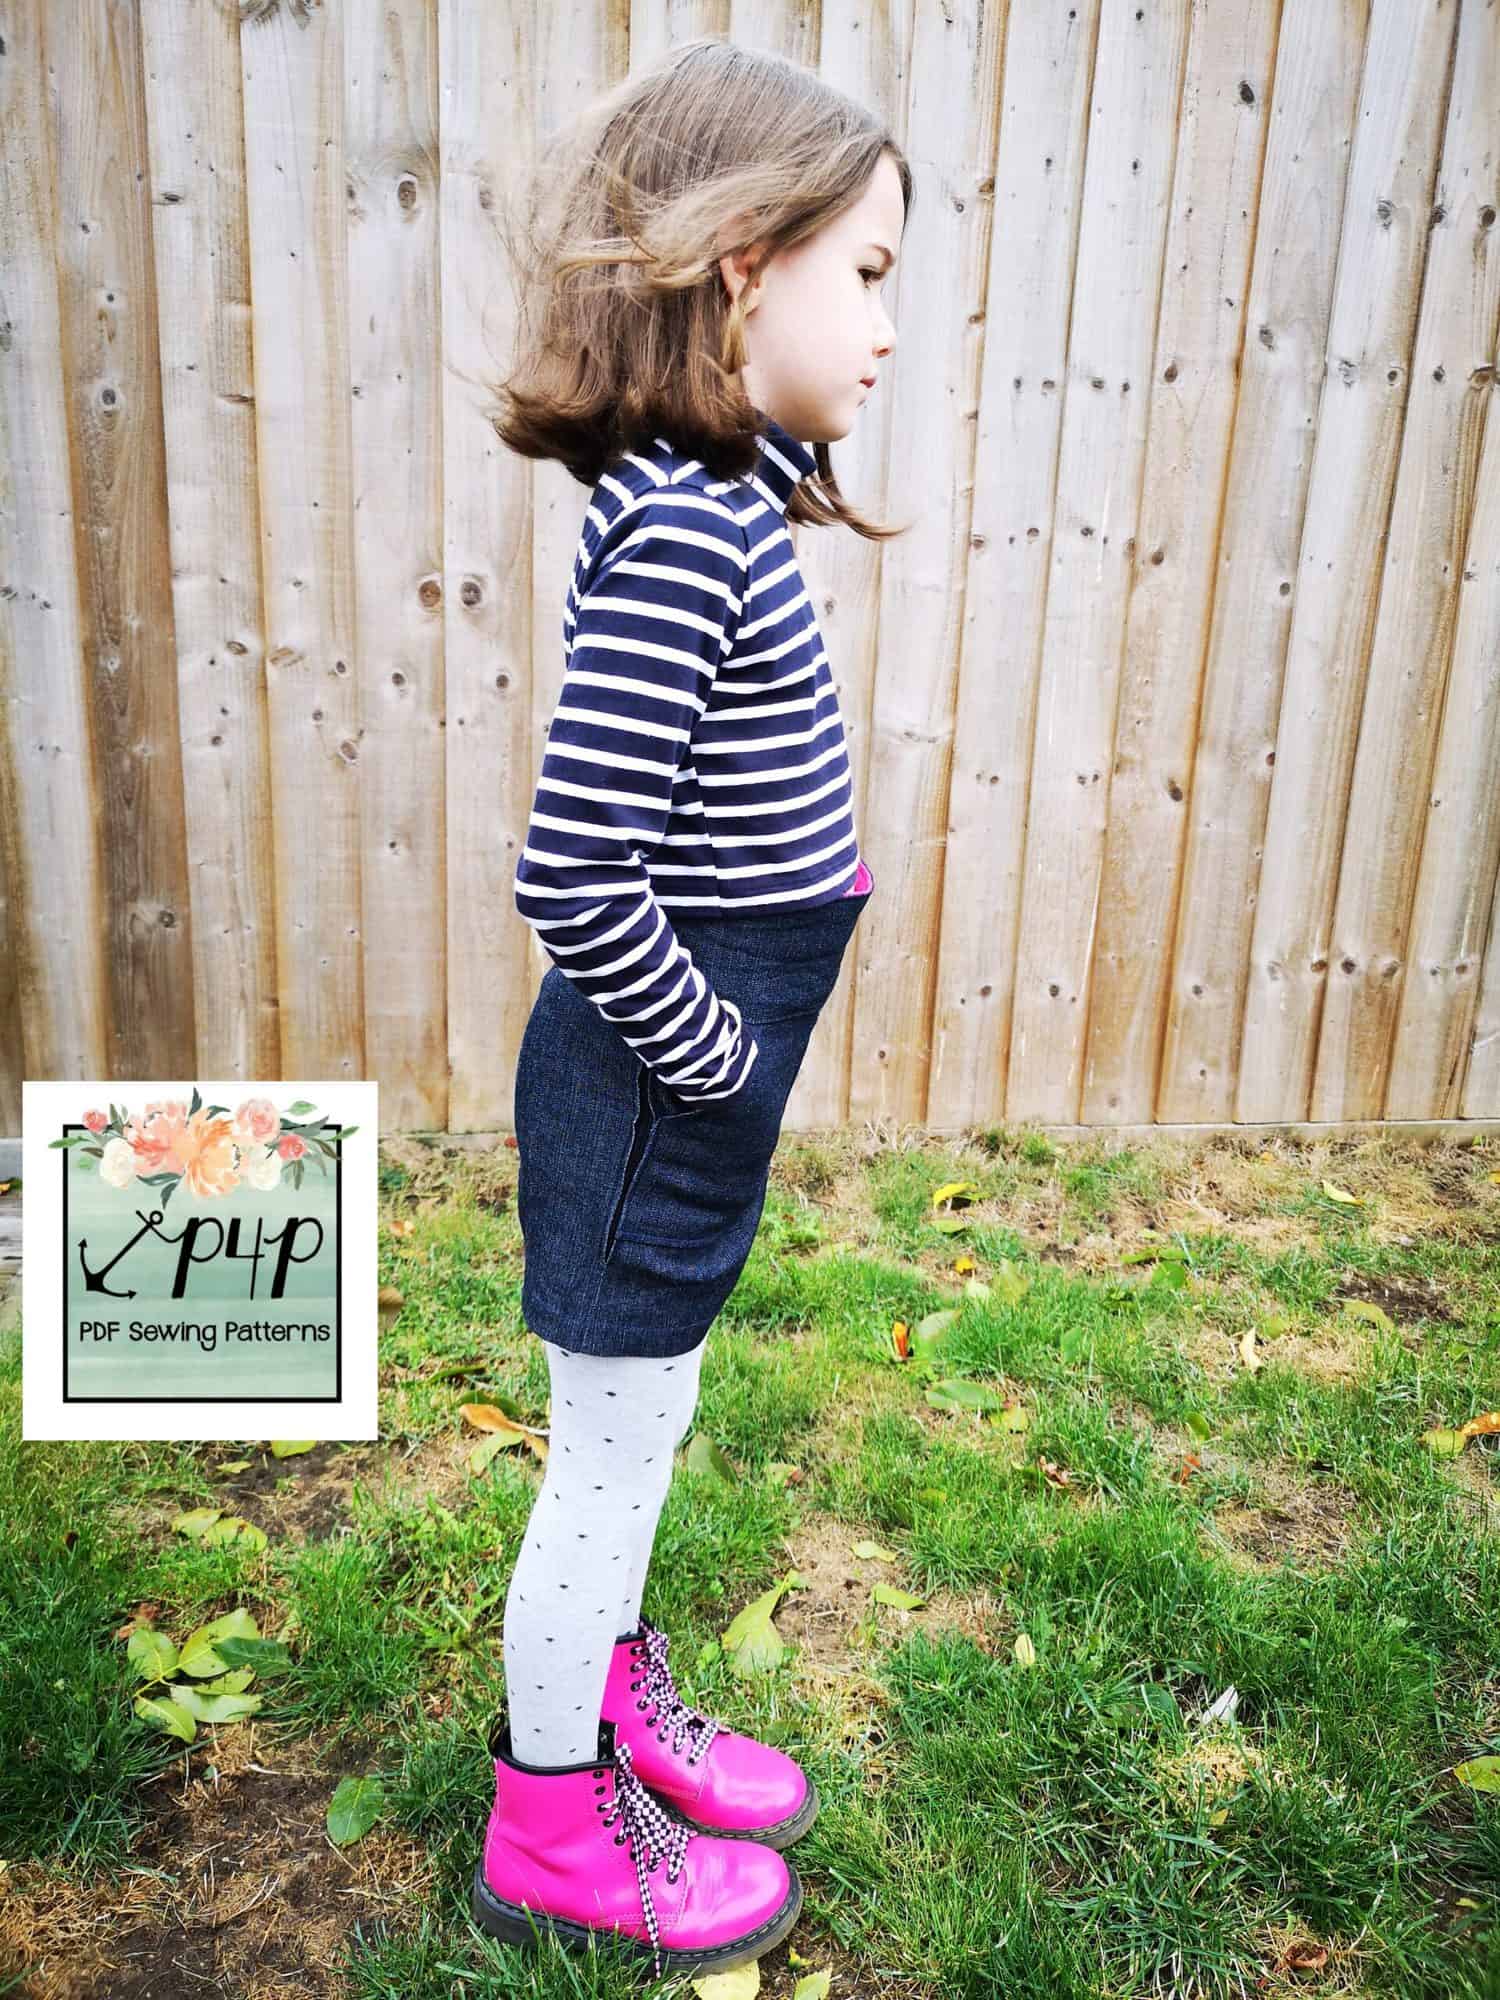
First you will want to cut out your skirt or pants pieces as per the regular tutorial. Then take your waistband piece and double the height of it. I used the Youth pattern to make mine and this measured 2 inches in height so I doubled it to make it 4 inches tall and then cut the length out as usual. I wasn’t going to use the strap pieces so I extended the waistband height out over the strap piece here, just to save paper.  Cut your waistband lining piece out in the same way.


Waistband piece cut with the height doubled


shorts pieces, pockets, waistband outer and lining.

You will then have your pants/shorts/skirt pieces; pockets if using; extended waistband pieces; interfacing if using.  Construct the rest of your garment as usual until you get to the section where you have to attach the waistband. You will attach the waistband as per the tutorial, the only difference being you don’t have the bib and straps to sandwich between the outer and lining of the waistband pieces. So you will attach the waistband outer right sides together with the pants/skirt.

Waistband with overhang

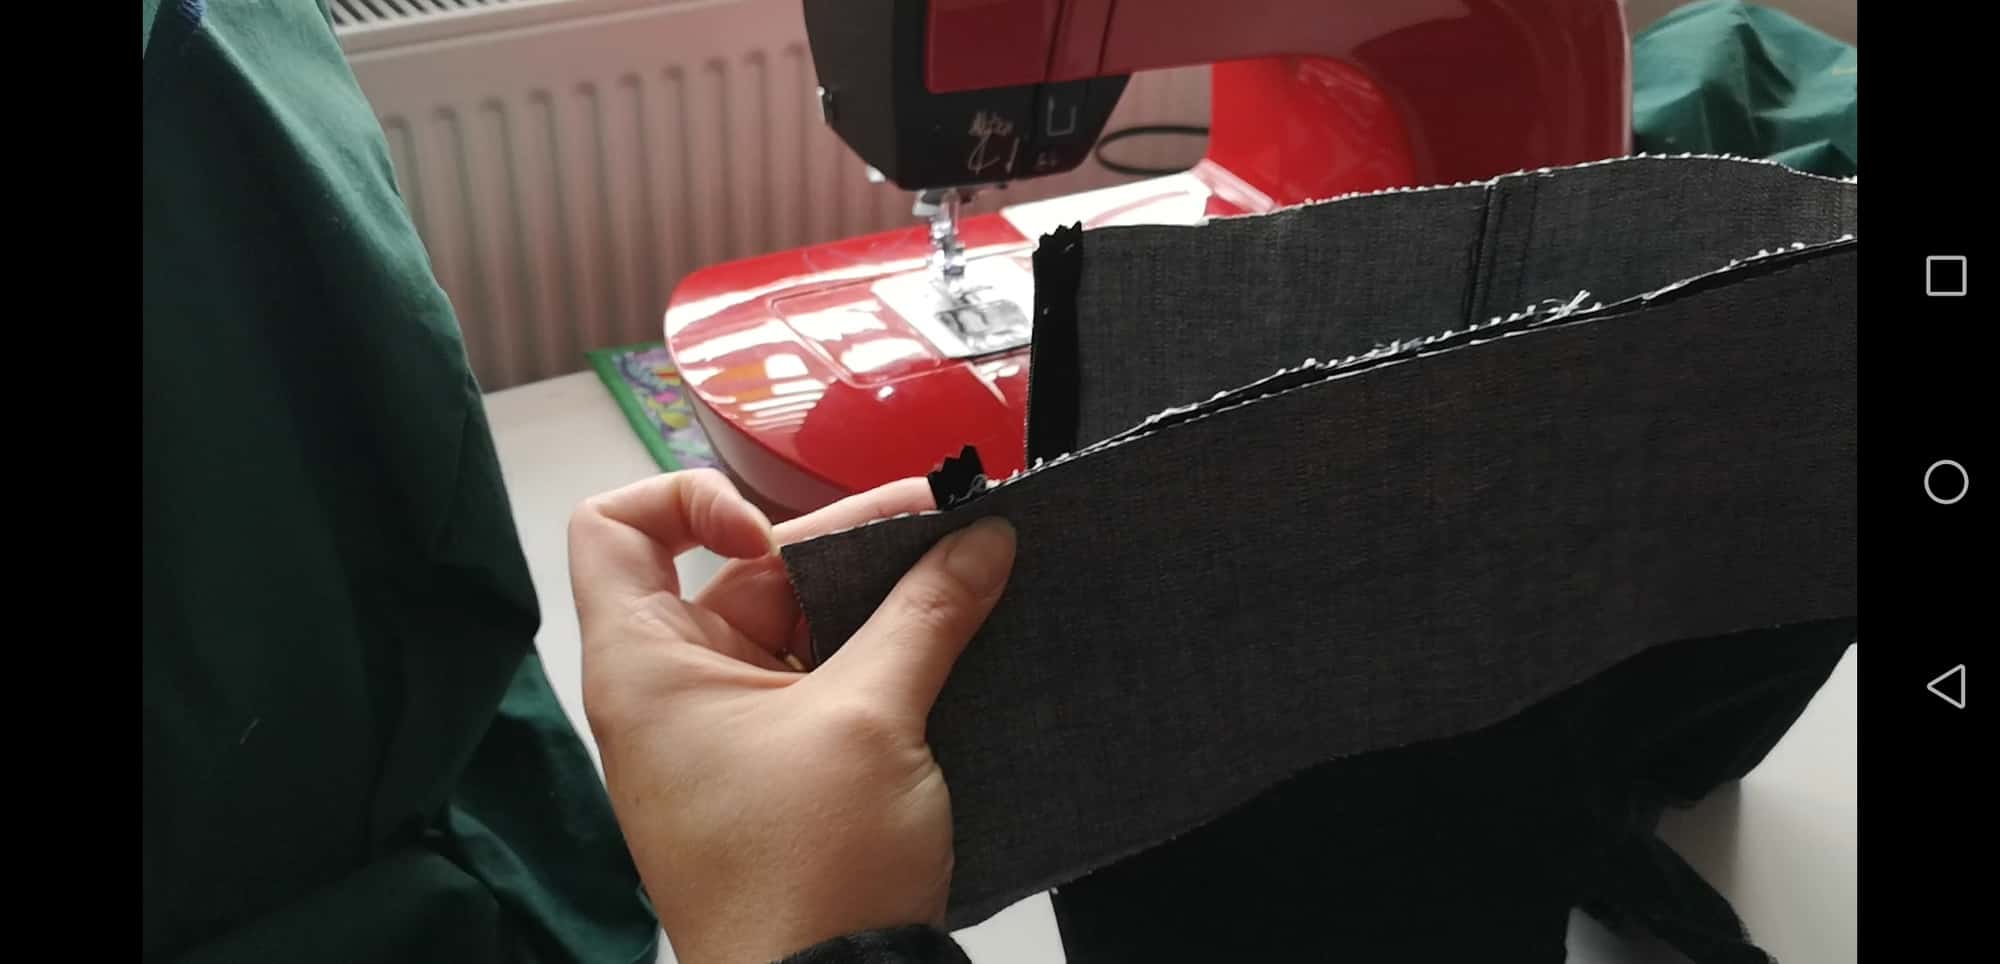
You will have an overhang of the waistband over the edge of the pants piece .  This is correct, it enables you to attach a fastening for the top of the waistband at the end, like a button and buttonhole or poppers. Then sew the lining right sides together with the outer, up one short edge, along the top and down the other short edge.

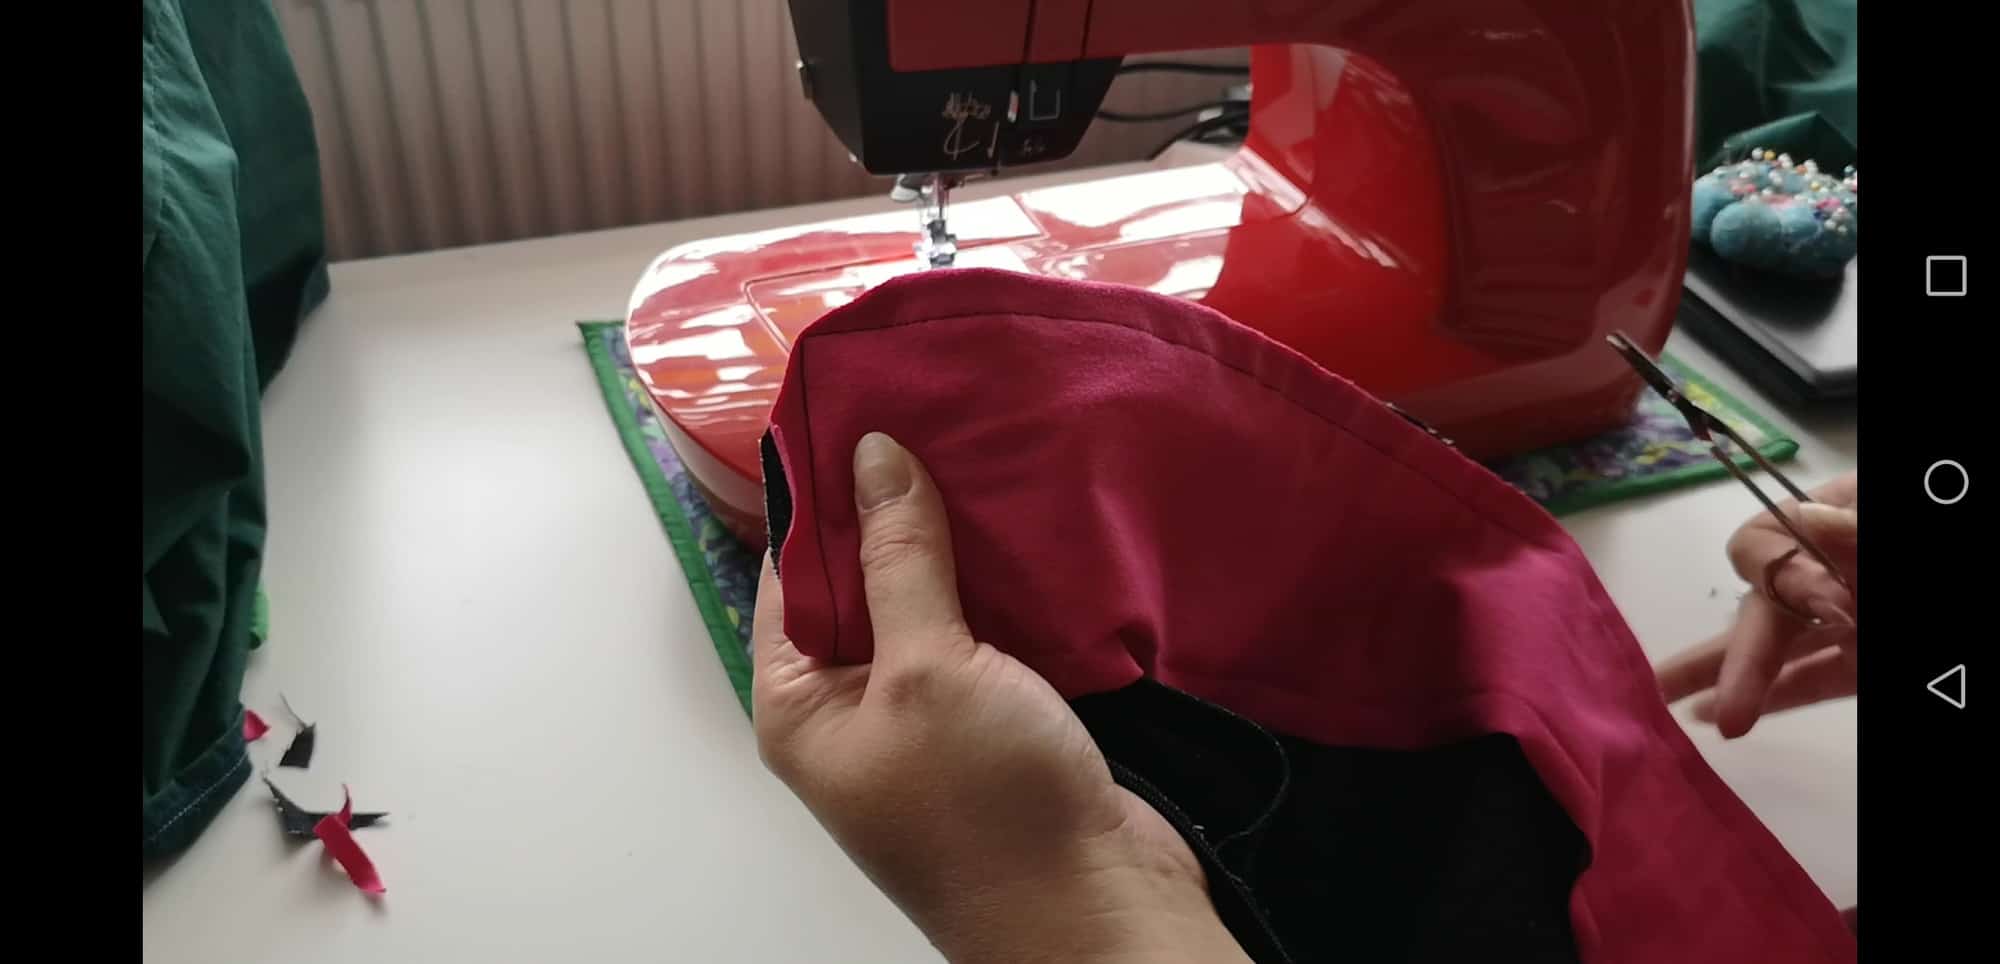
 Clip your corners, turn it through.


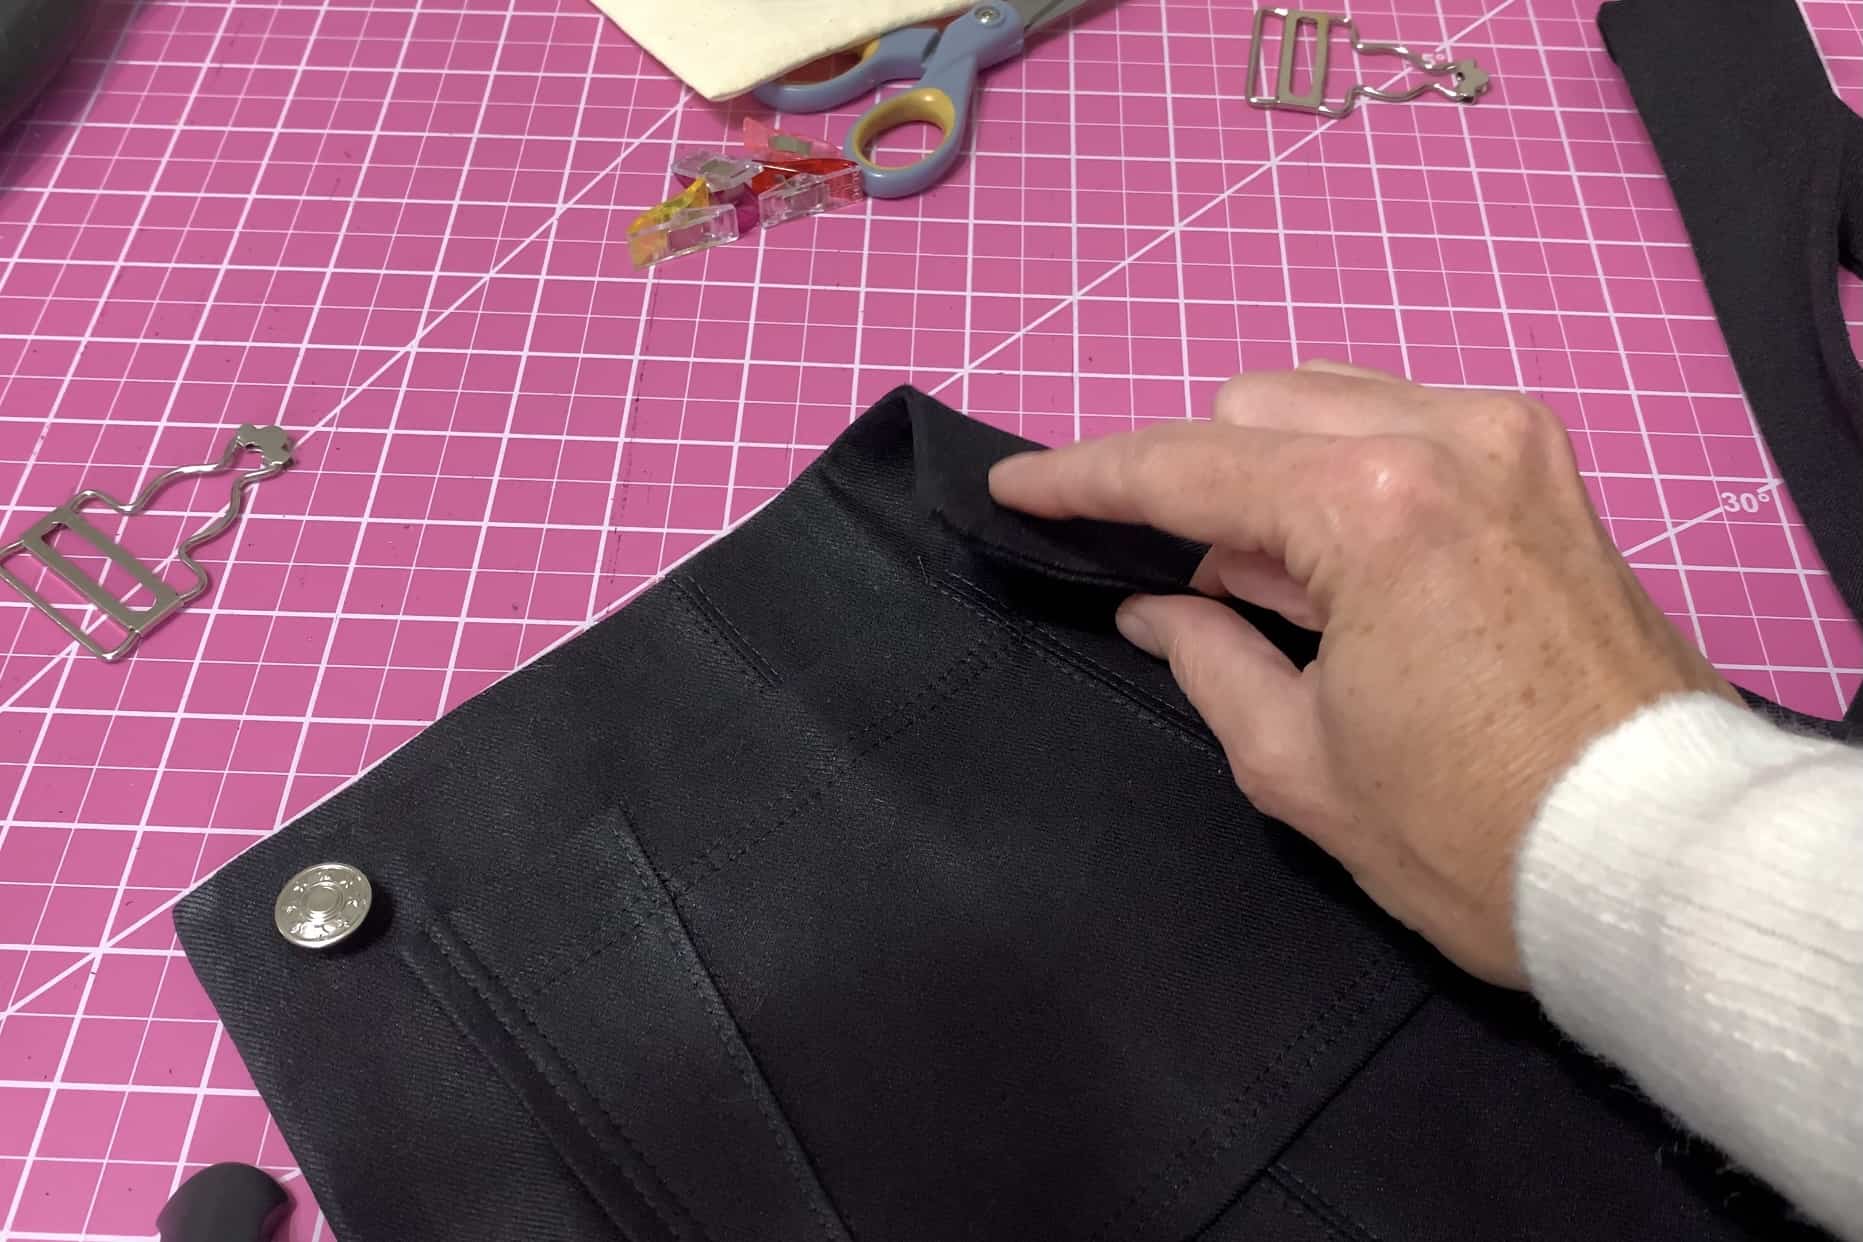
Topstitching after pressing

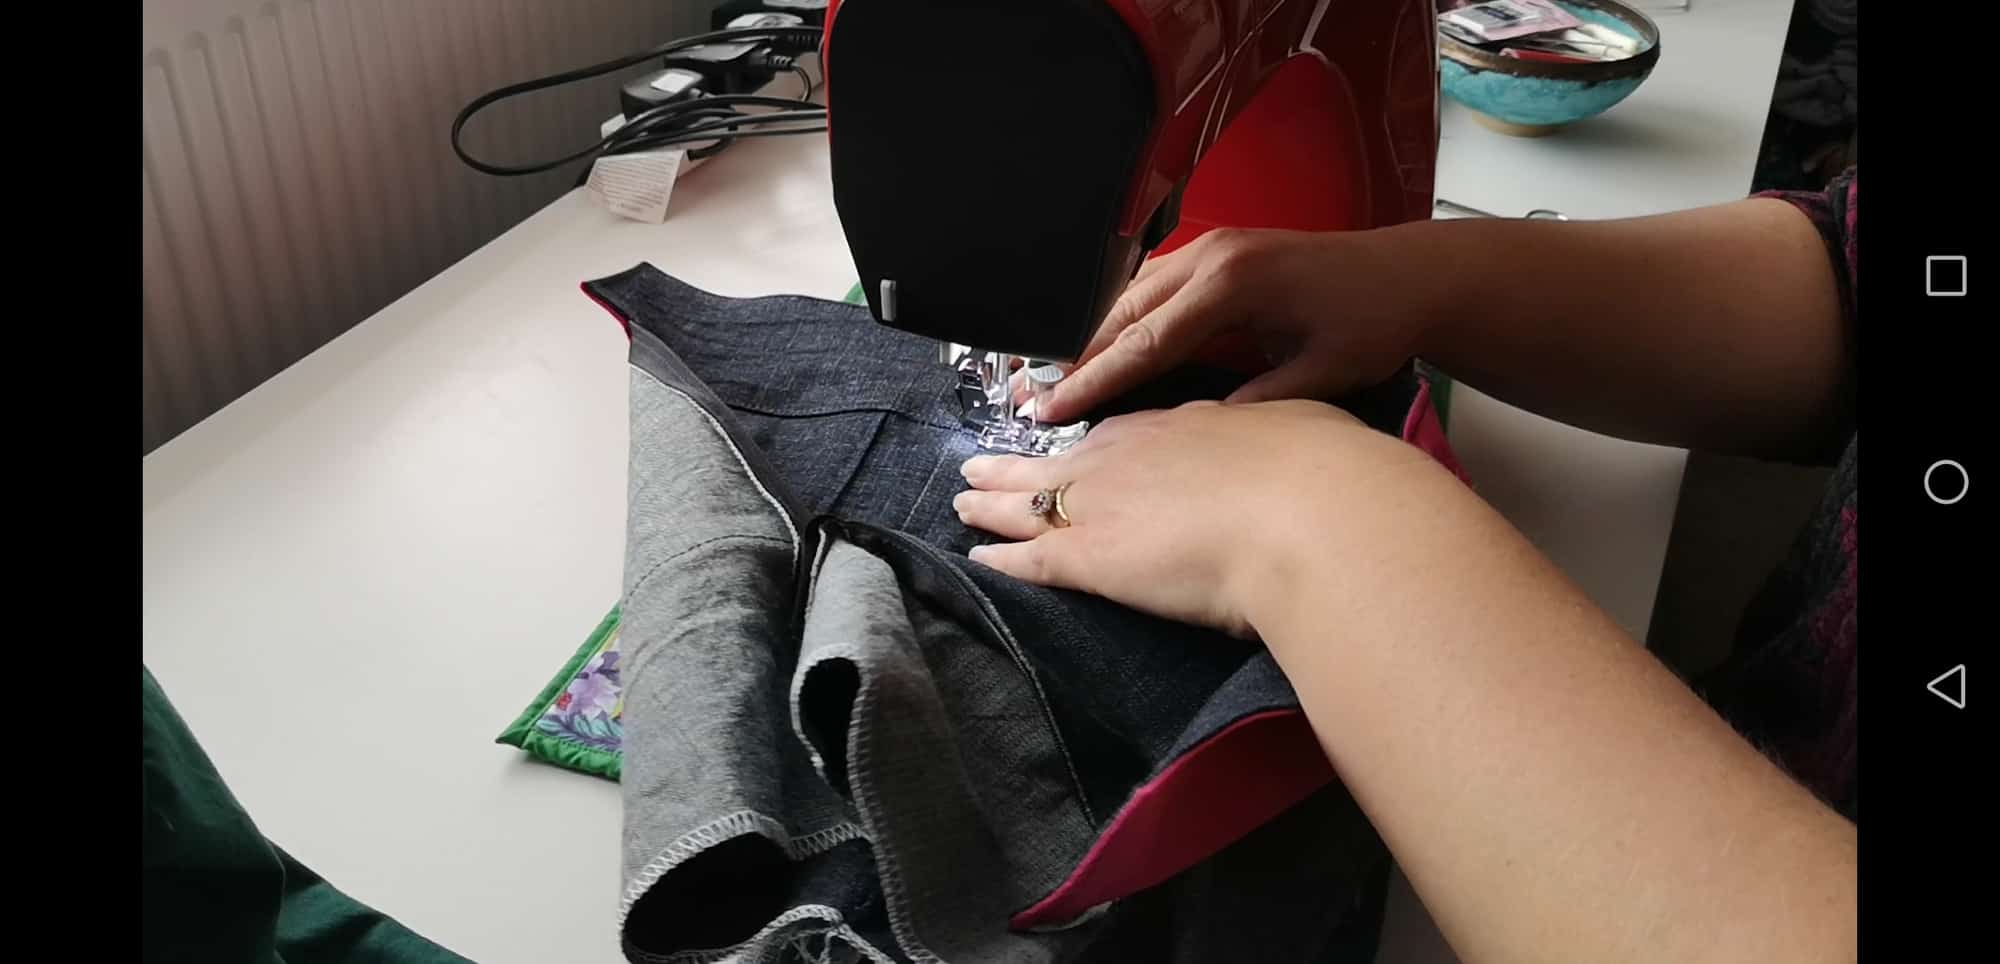
Press and topstitch around the entire waistband. 

Then finish off your garment as per the regular tutorial instructions and you’re done!

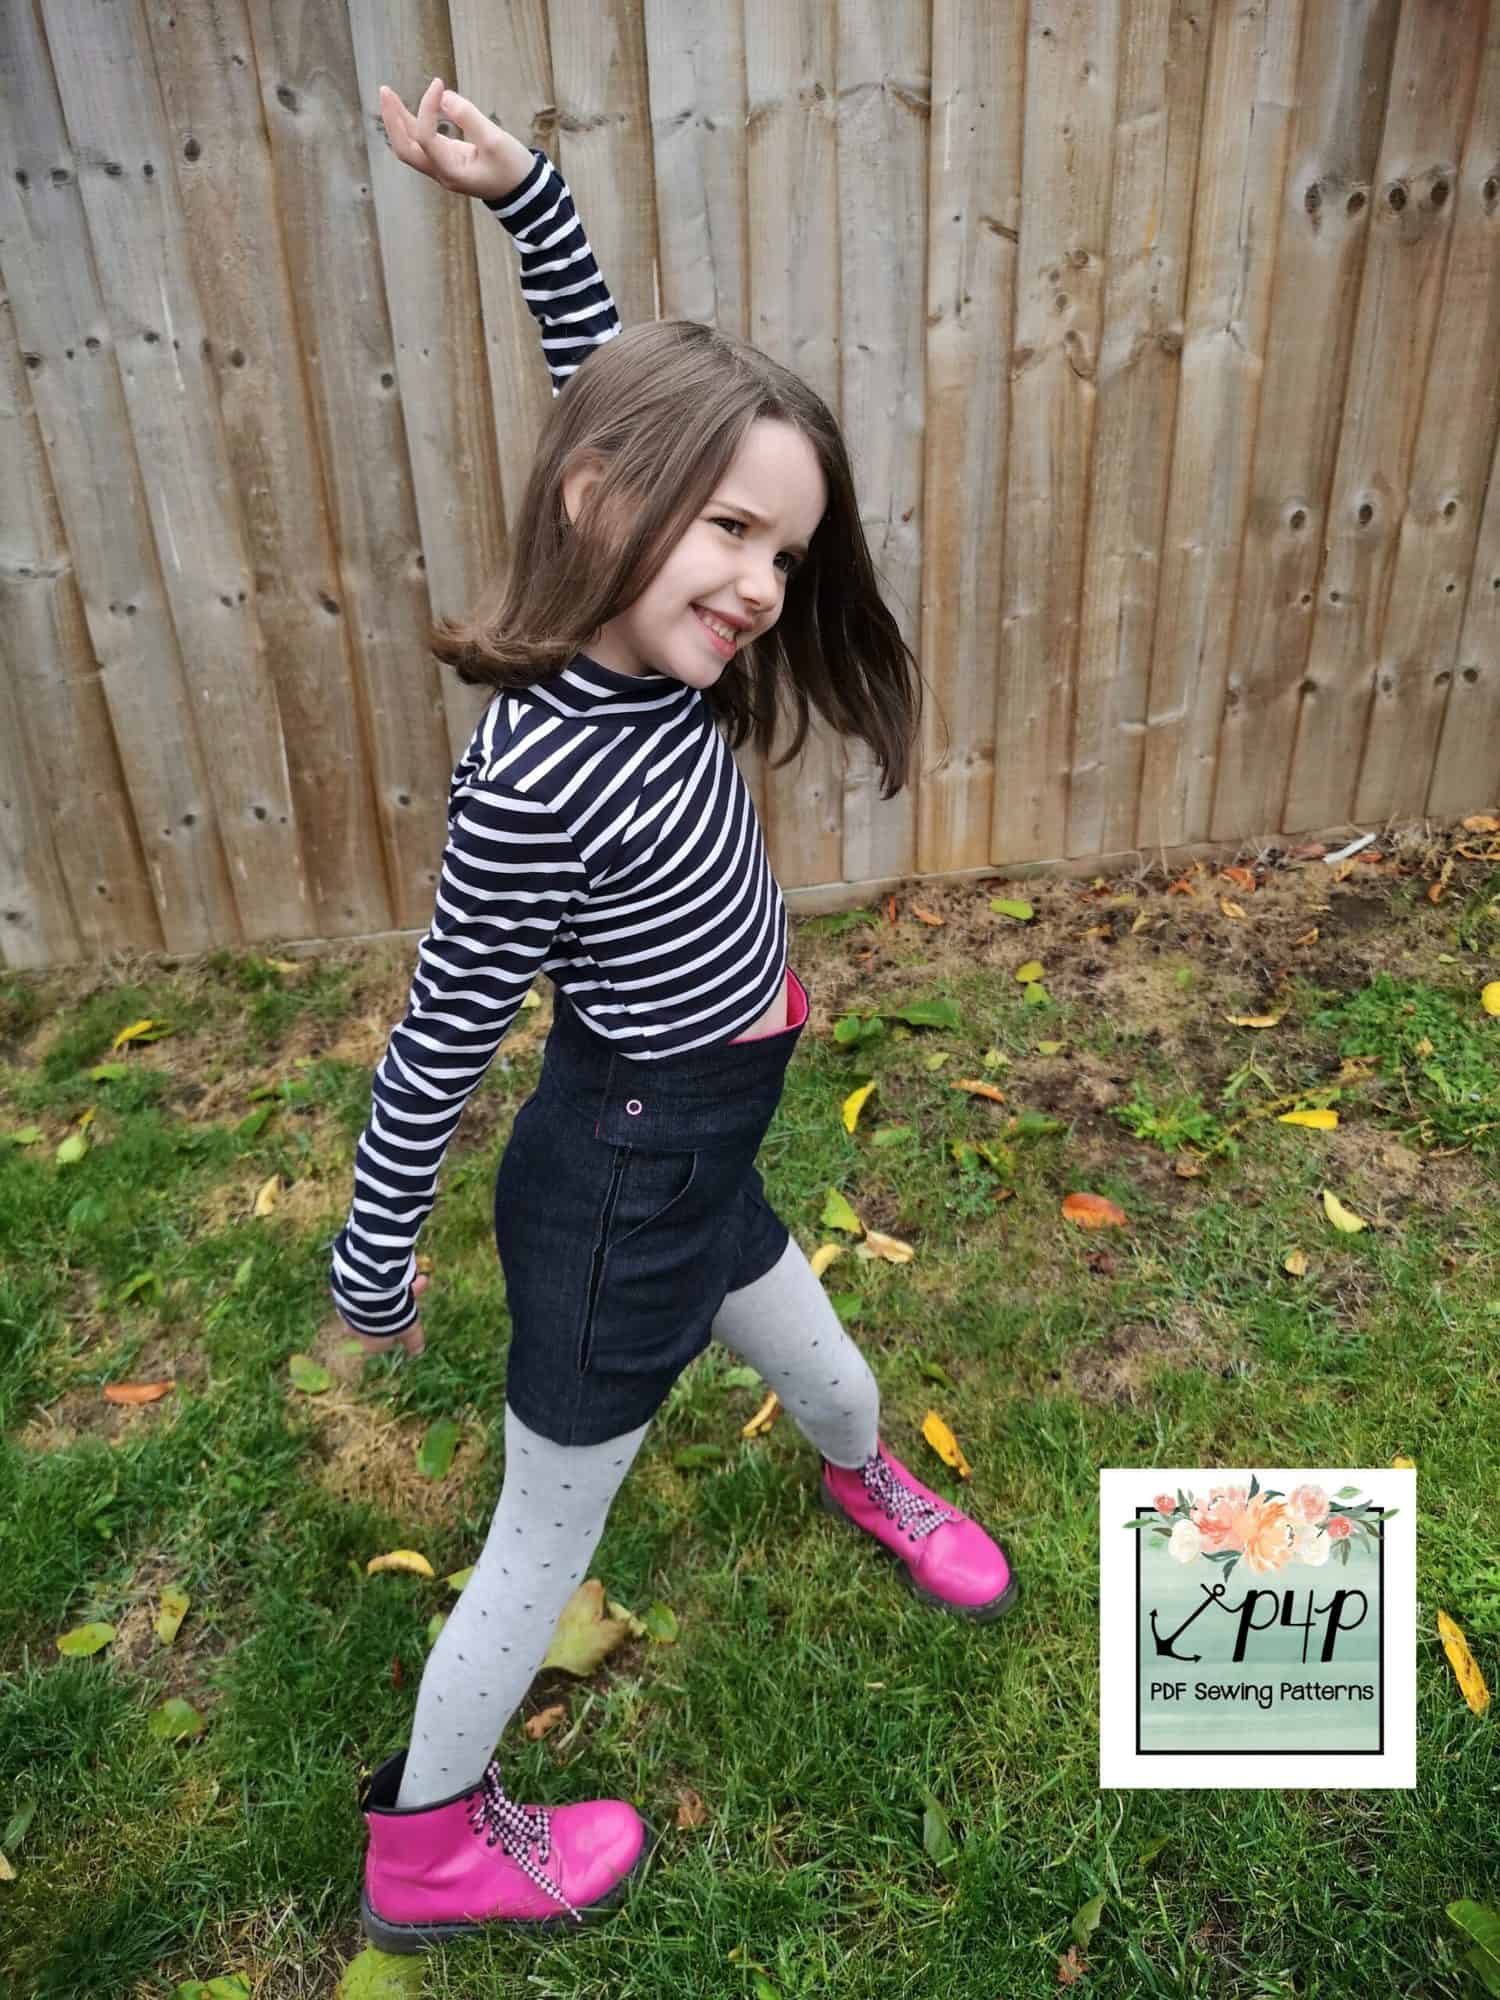
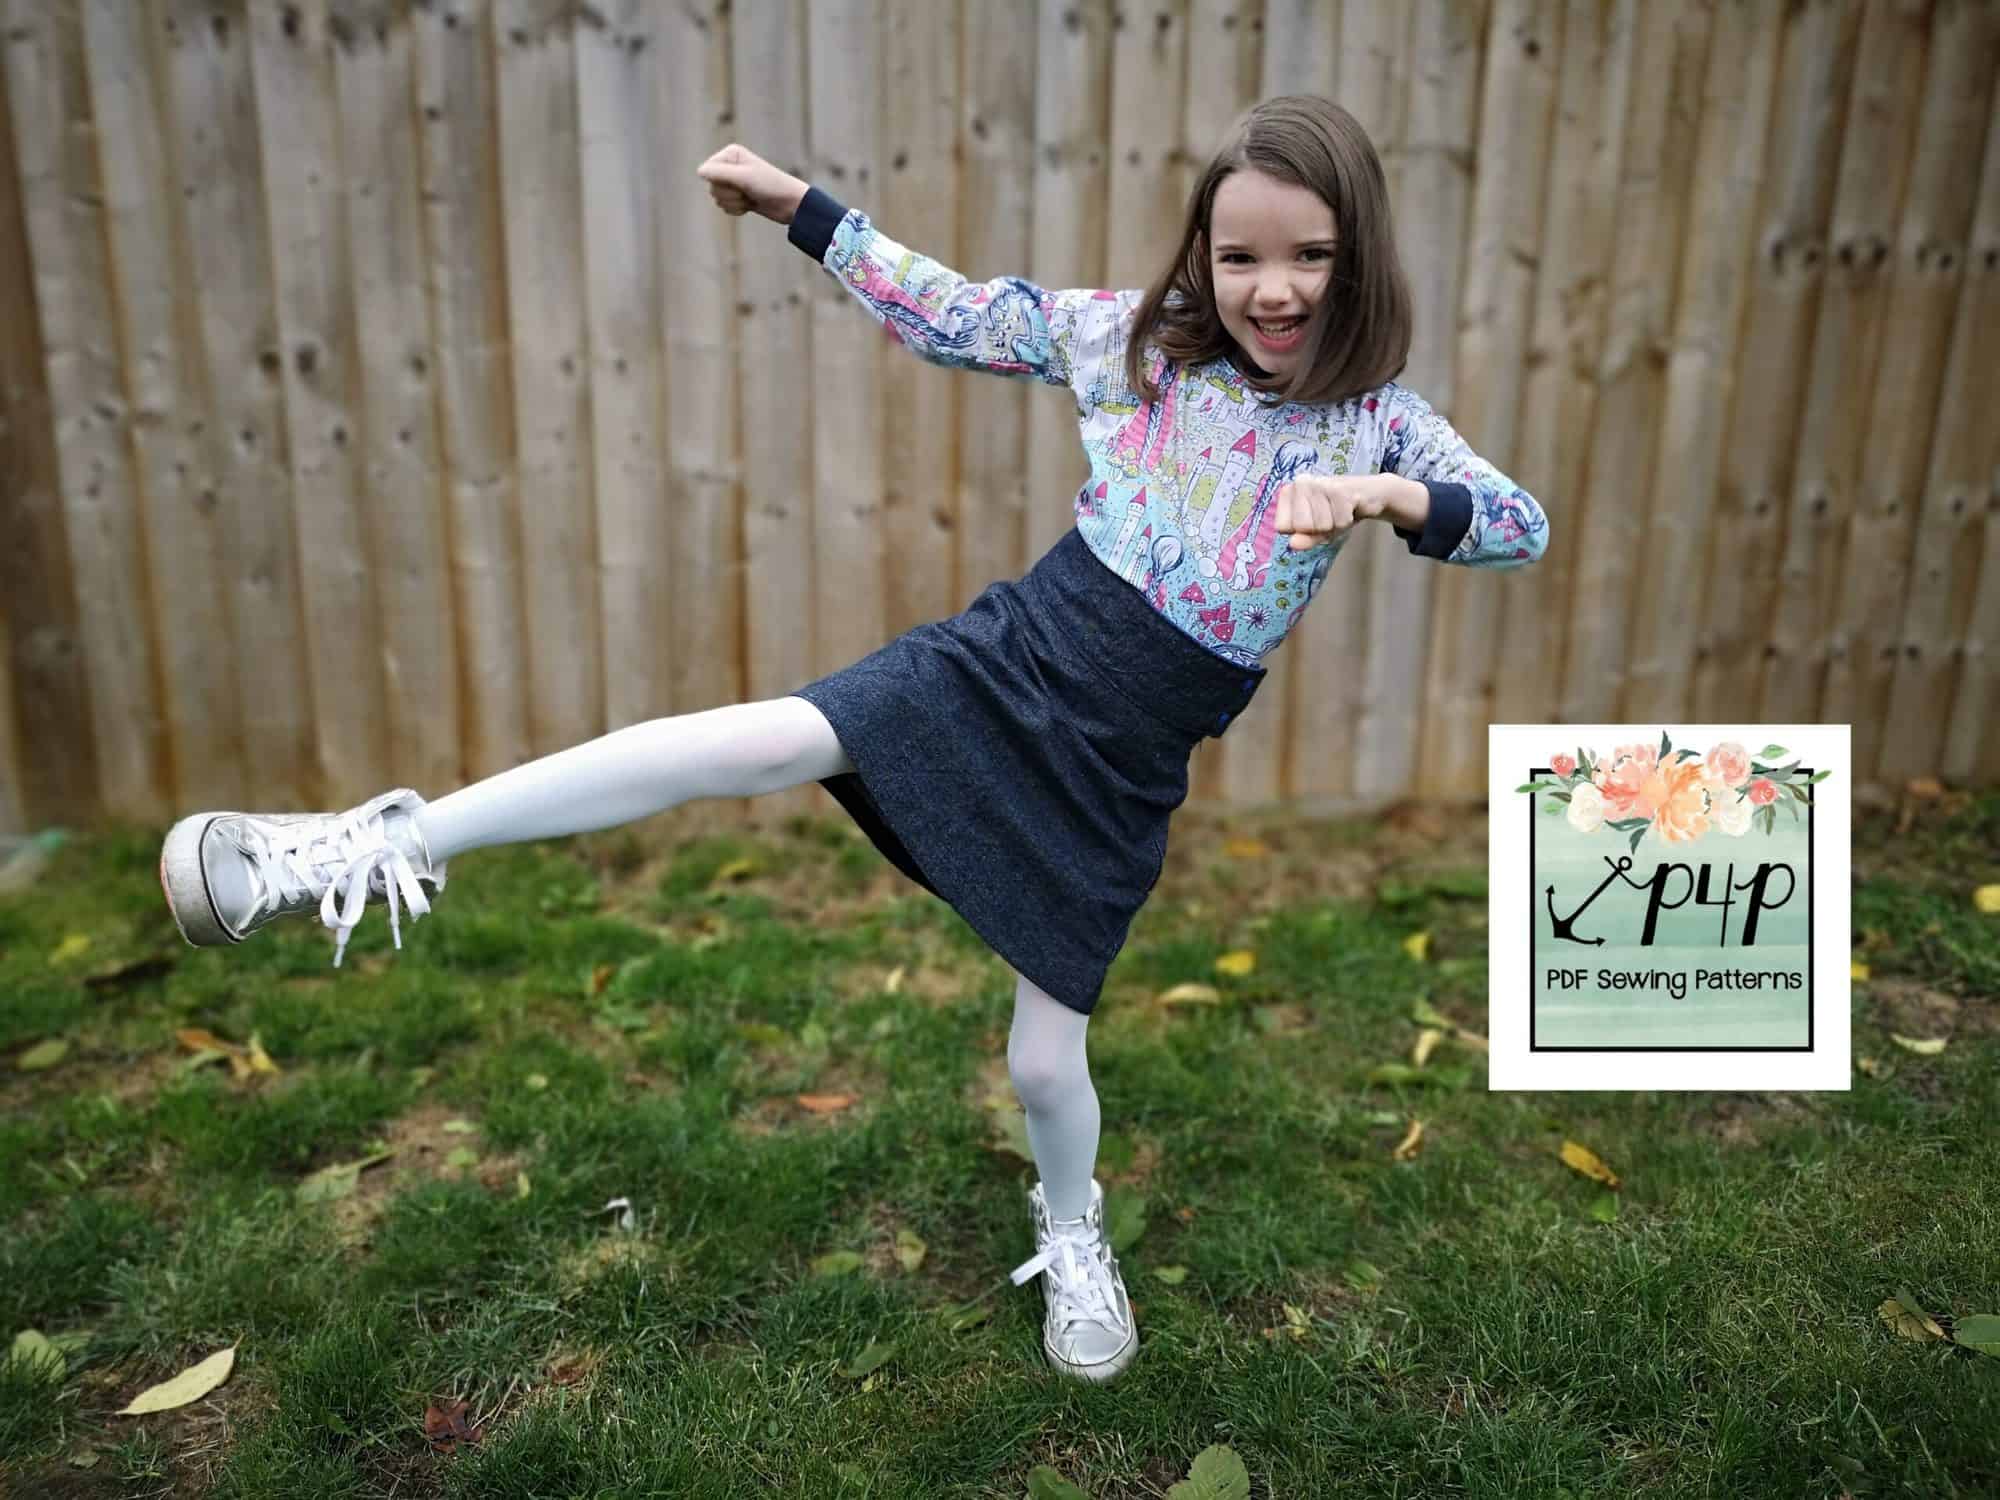
We style them with tights, Doc Martins and a crop length Hepburn. I loved it so much on the shorts I had to do it for the skirt too!  

Anyone else find that their child turns into a karate expert as soon as you turn on a camera?!

Obviously you can also just sew this up with the regular height of the original waistband too. The choice is all yours! 
 

Happy sewing! 
 

Dana x


Front zipper

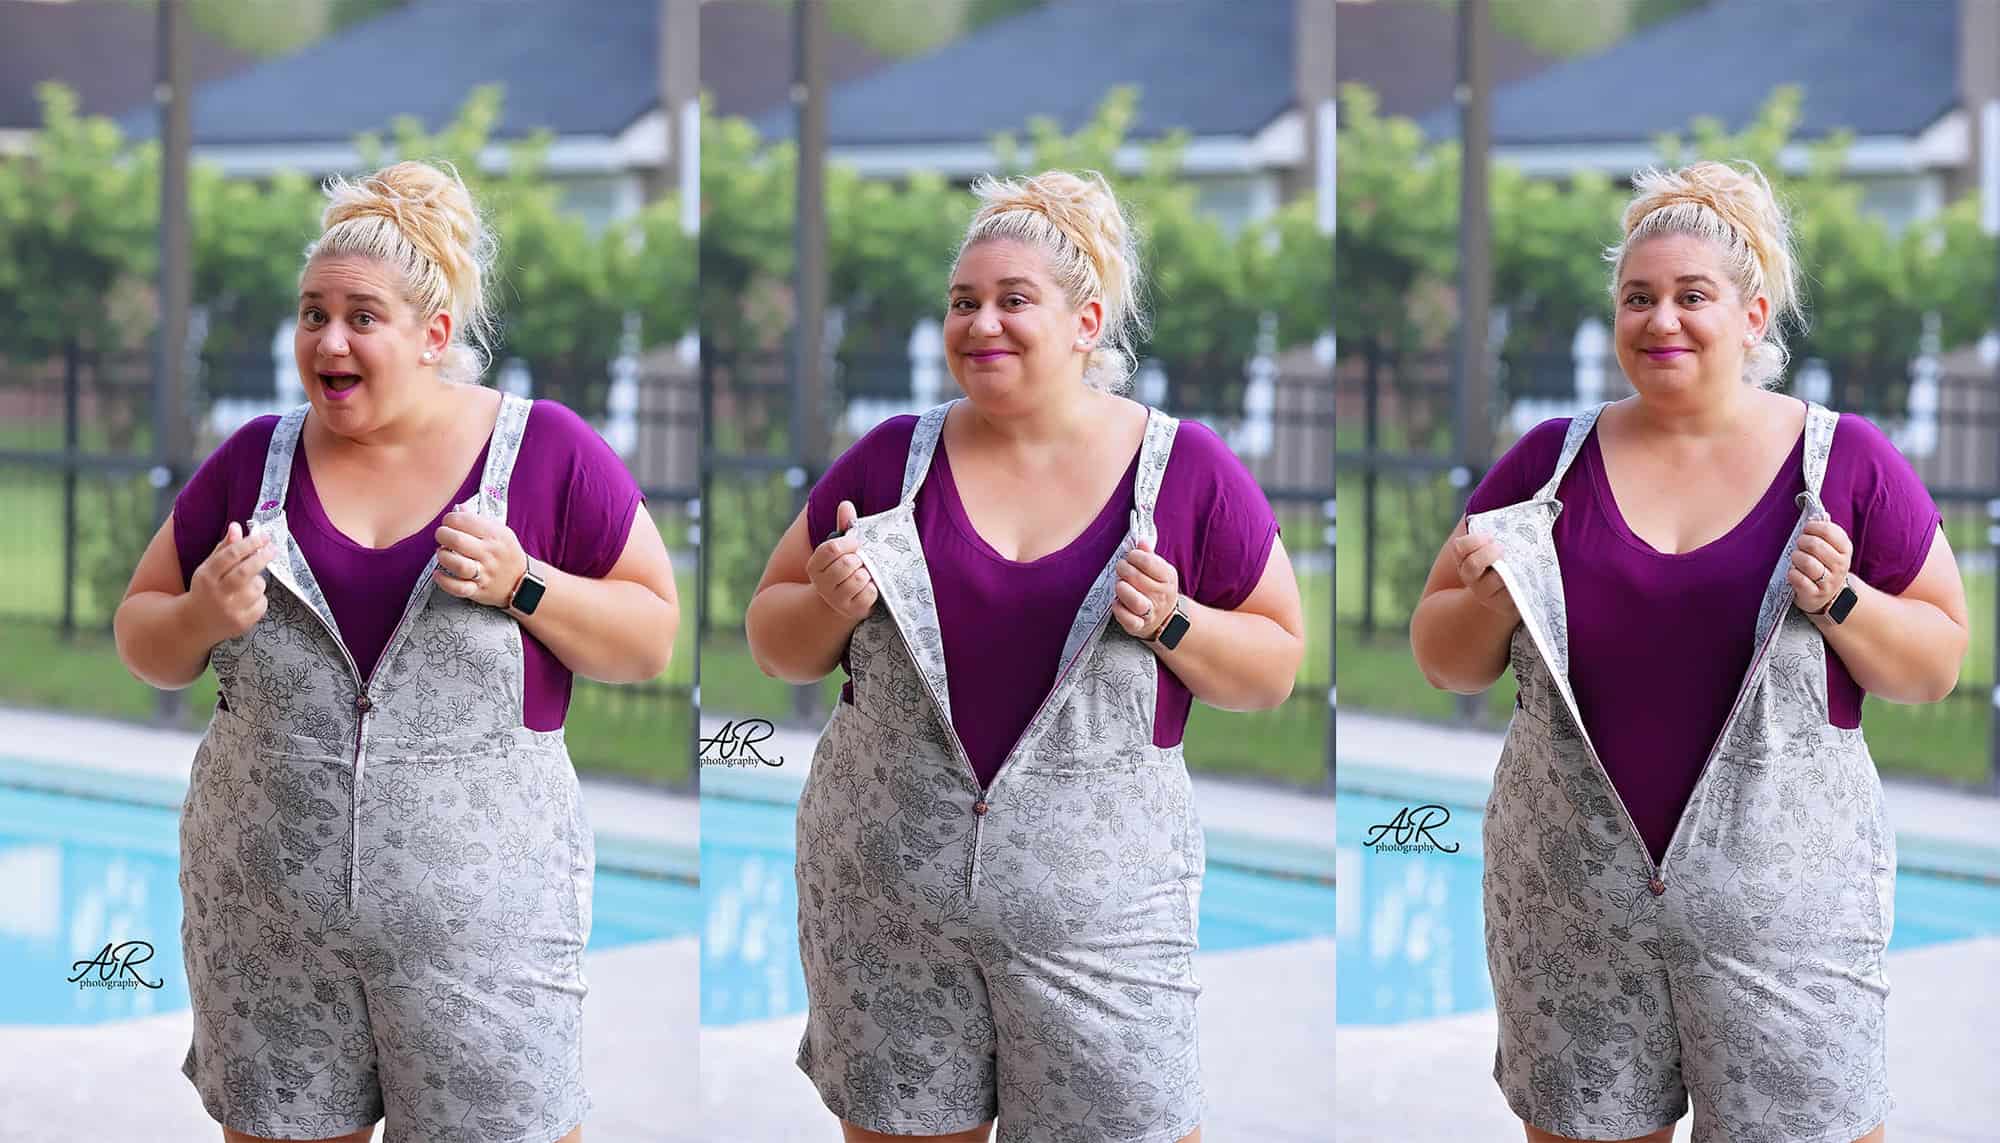
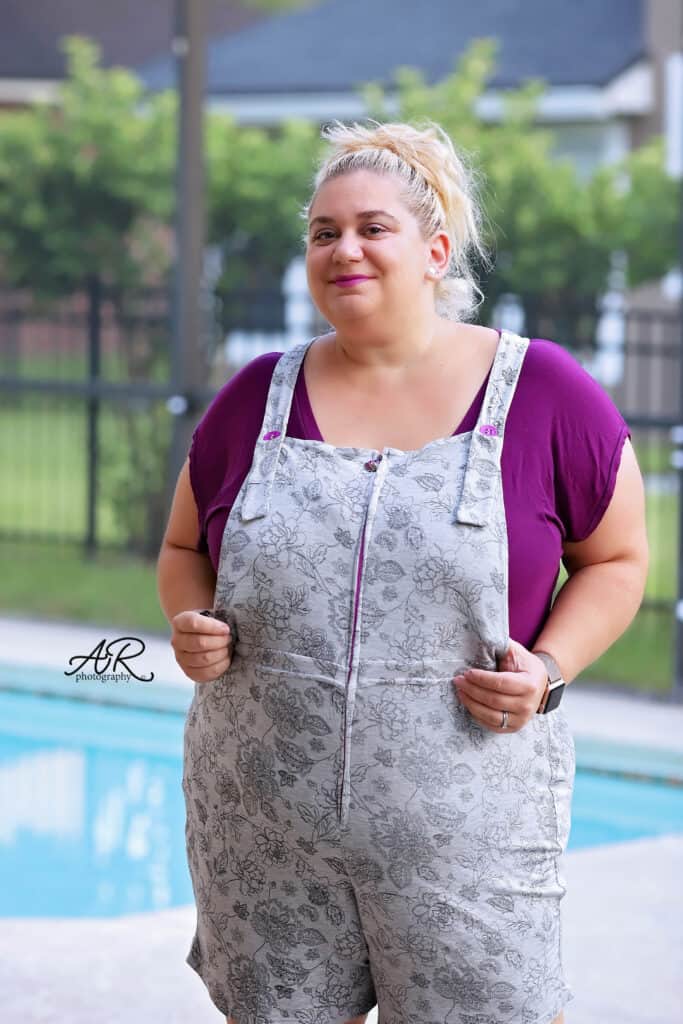
Up next we wanted to show you a different style jumper that can be achieved with the new Vintage pattern. Let’s add a zipper to the front instead of the side. This a s great opportunity to show off your favorite zippers and pulls. For my example I am using zipper by the yard with a fun rainbow finish zipper pull. I also went with a Doodles French Terry instead of stretch woven. Cut your pattern as instructed in the tutorial. You will make two changes. Remove the part of the waistband beyond the notch on both ends. Repeat for the waistband lining. The other modification would be for the bib. Cut two 2 mirror images instead of 1 set mirror pieces and the lining on fold.


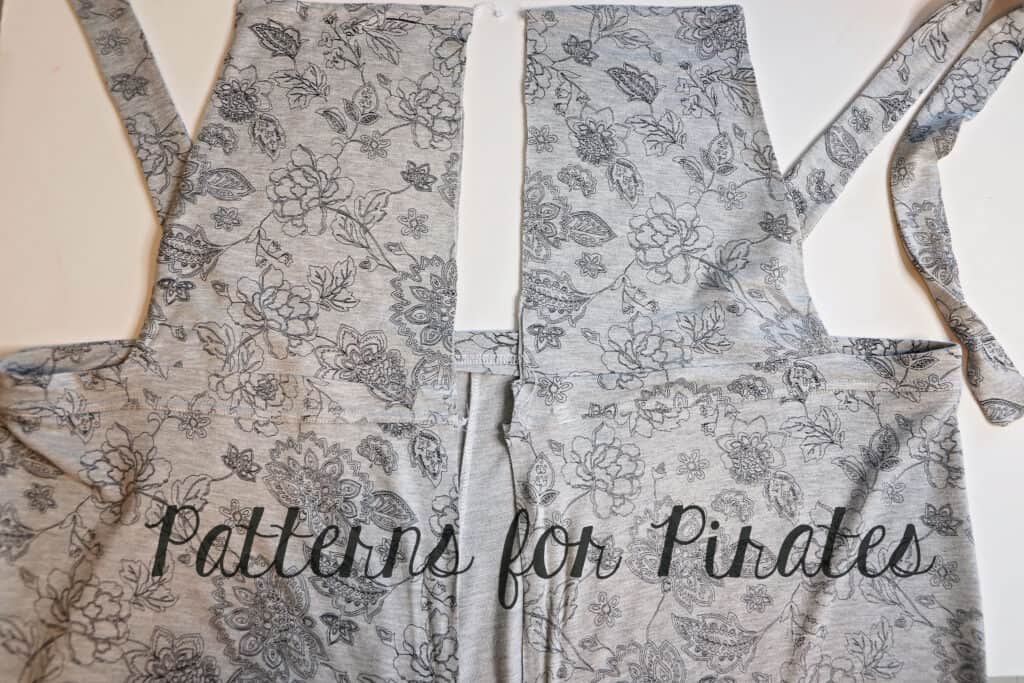
After sewing the darts on the back pants pieces, sew the back crotch seam and the two side seams. The pants will not be sewn at the front crotch just yet.


Prepare the bib by sewing the left side main and lining piece right sides together along the top and slanted side raw edge. Repeat for the ride side bib. You will now have two bib piece that will have raw edges on the vertical center seam and bottom.


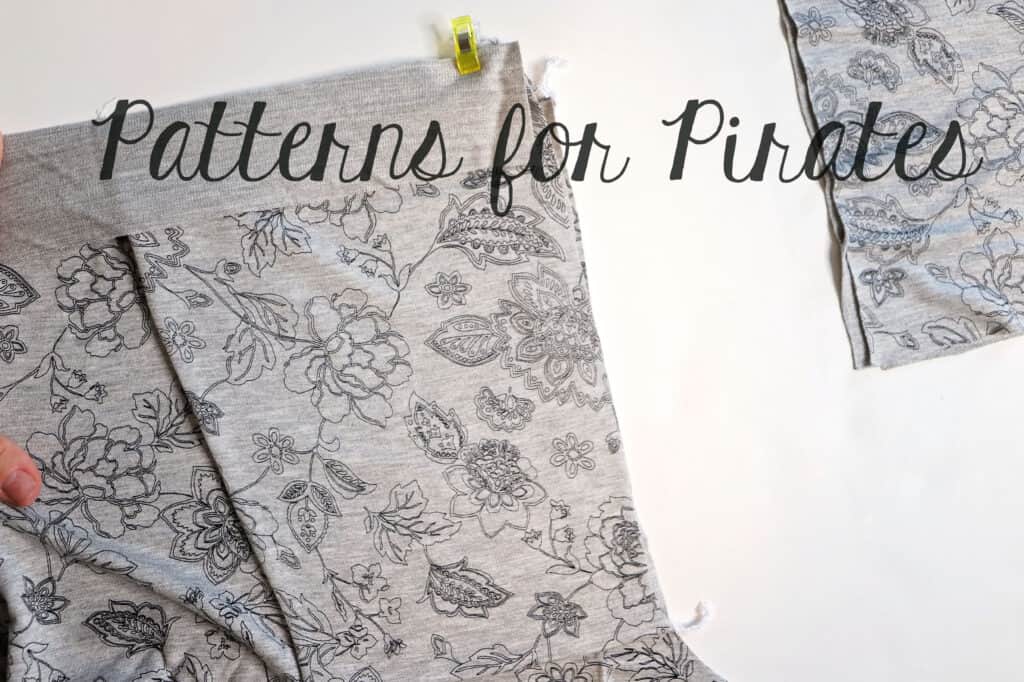
Attach the main print waistband to the pants right sides together by matching the center to the center back and the raw edged to the front raw front seam.


Pin the straps matching the strap placement notches. Place the bib on the top edge of the waistband, right sides together matching the raw edges. Repeat on the other side with the other half of the bib. Place the lining on top, right side down, sandwiching the bib in between the main and lining waistband. Stitch in place.


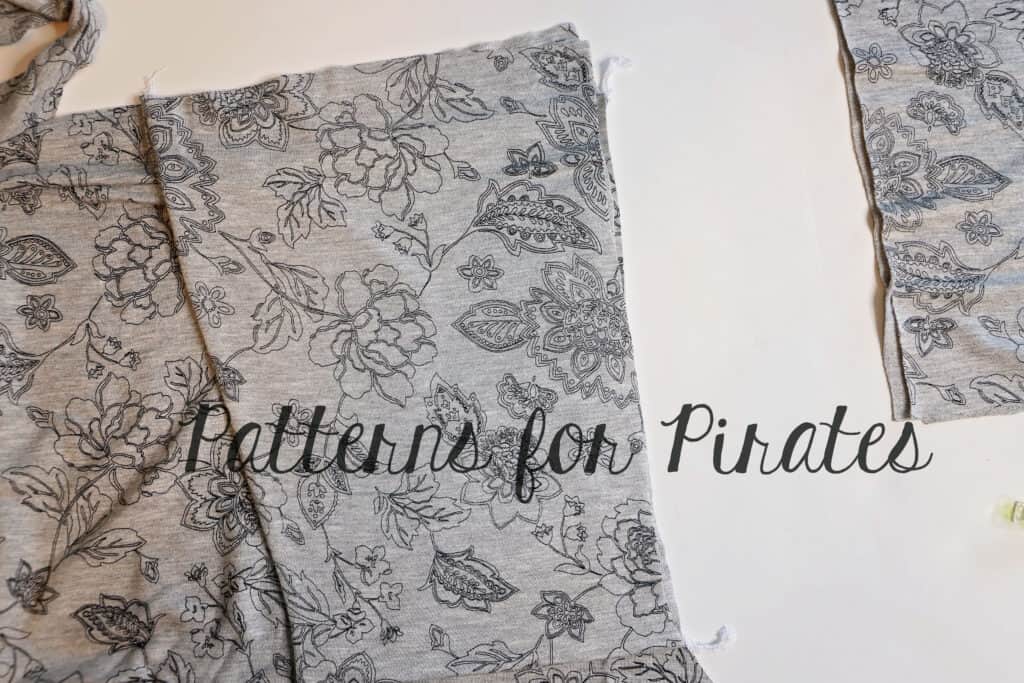
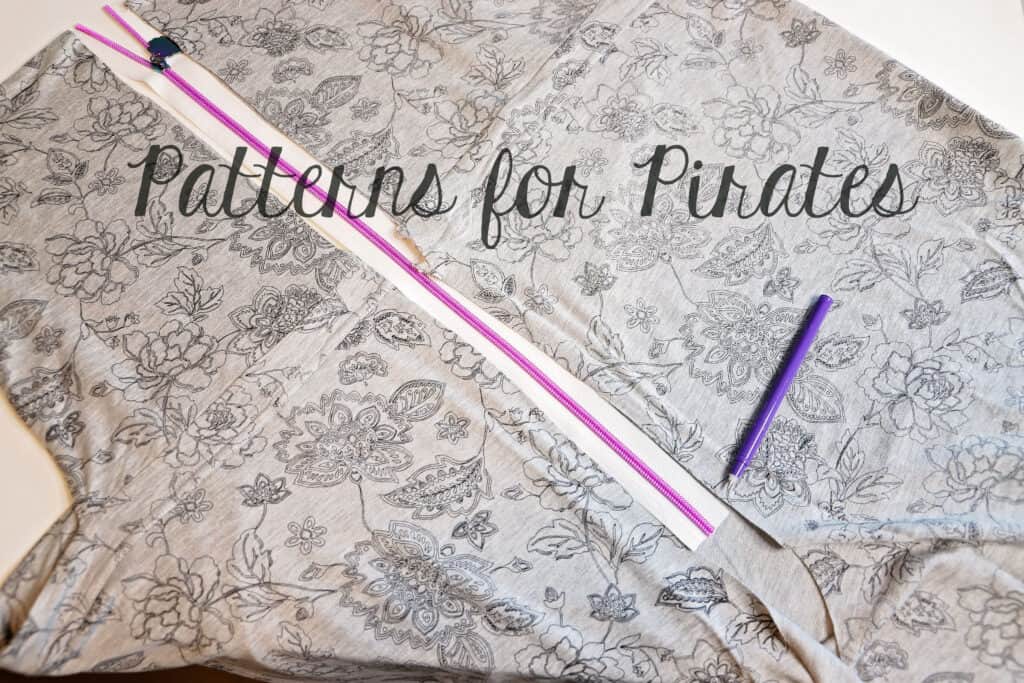
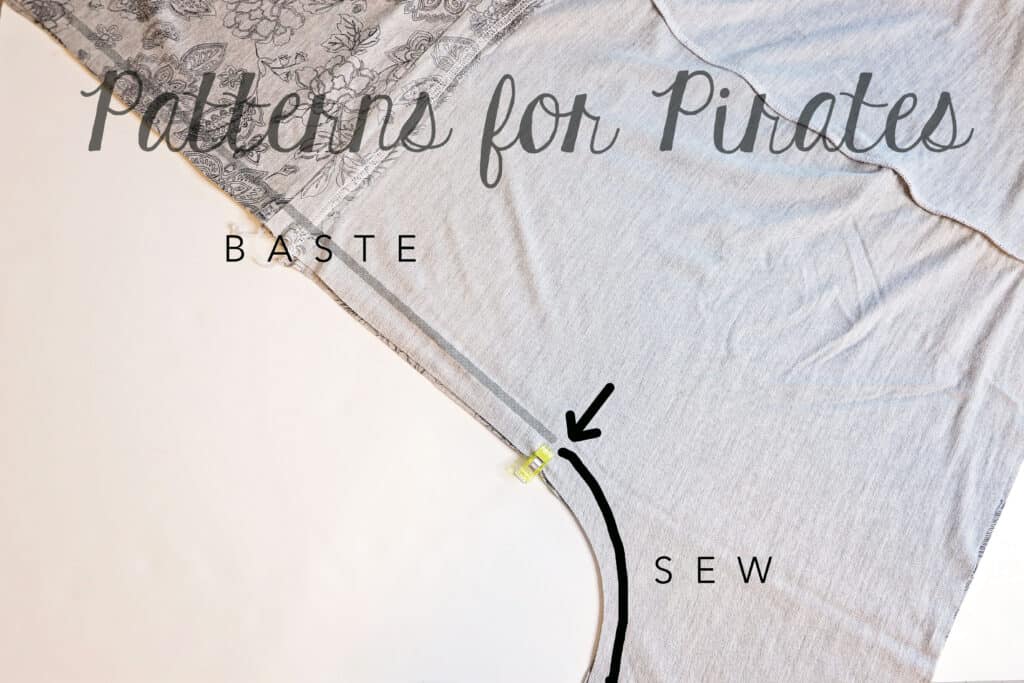
Mark the place of the zipper stop on the wrong sides of the fabric. Place the front of the jumper right sides together matching the front raw edge. Baste in place from the top to the marked point and sew in place down from that point along the front crotch seam. Attach the zipper using the same technique as in the Vintage Jumper tutorial.


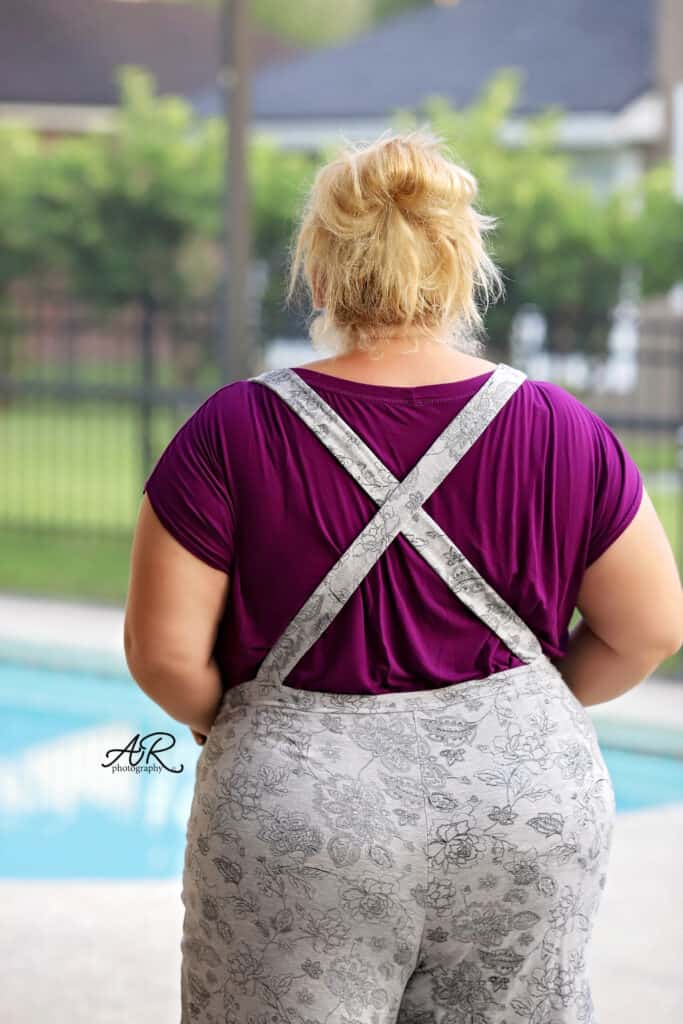
Finish your jumper by attaching the straps to the front and hemming. All done! I can’t wait to see your take on this hack.


….

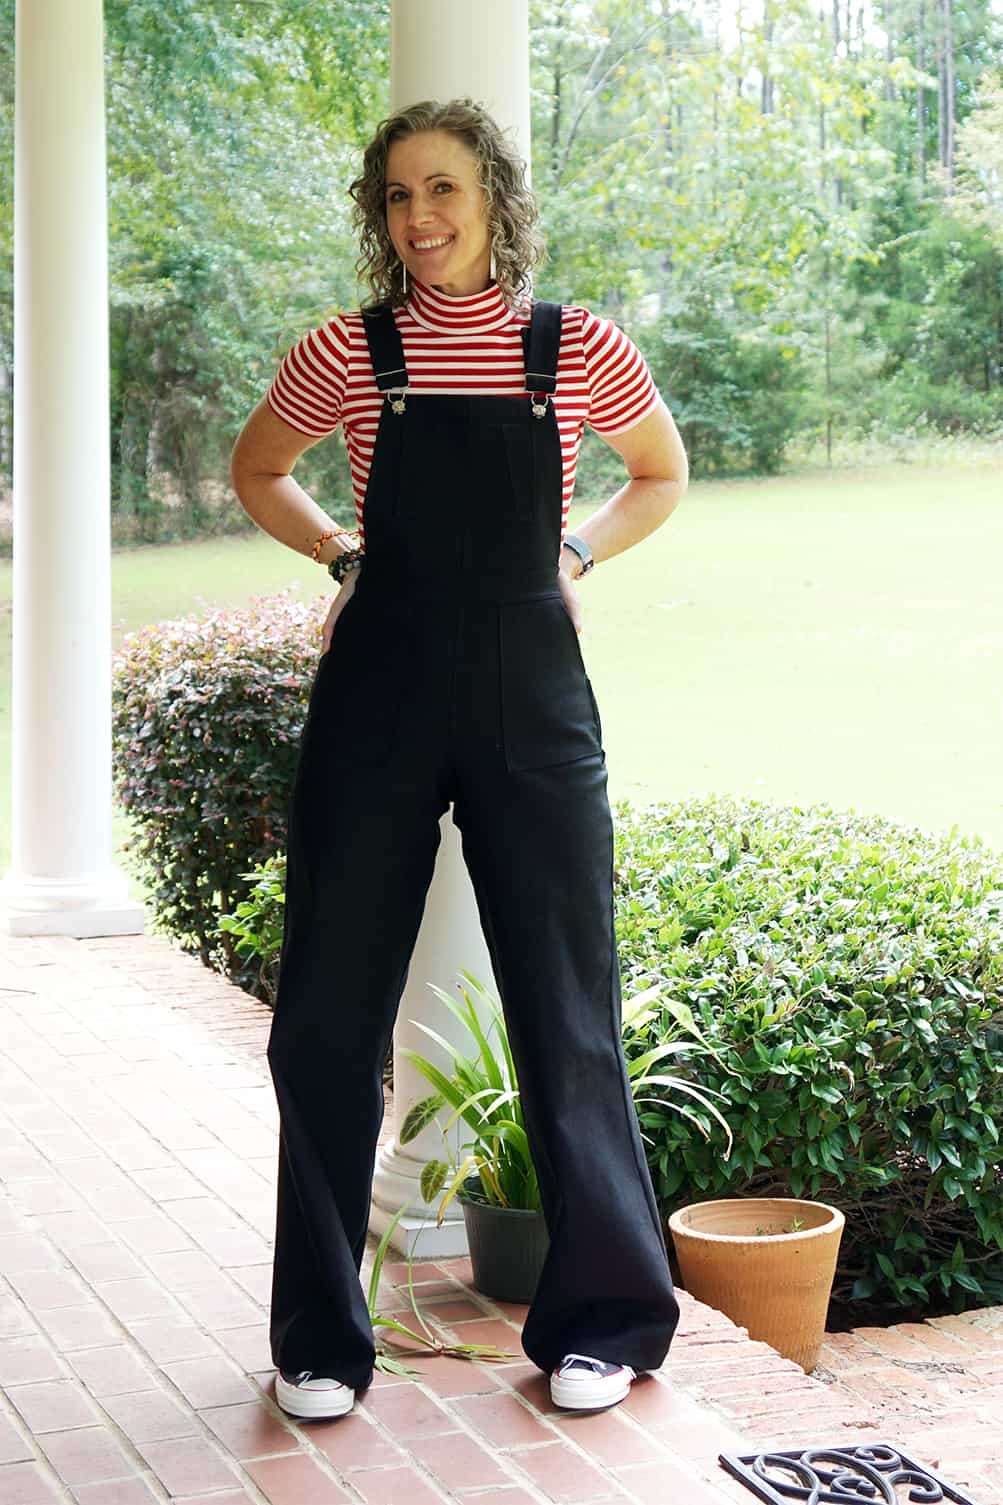
Overall buckles

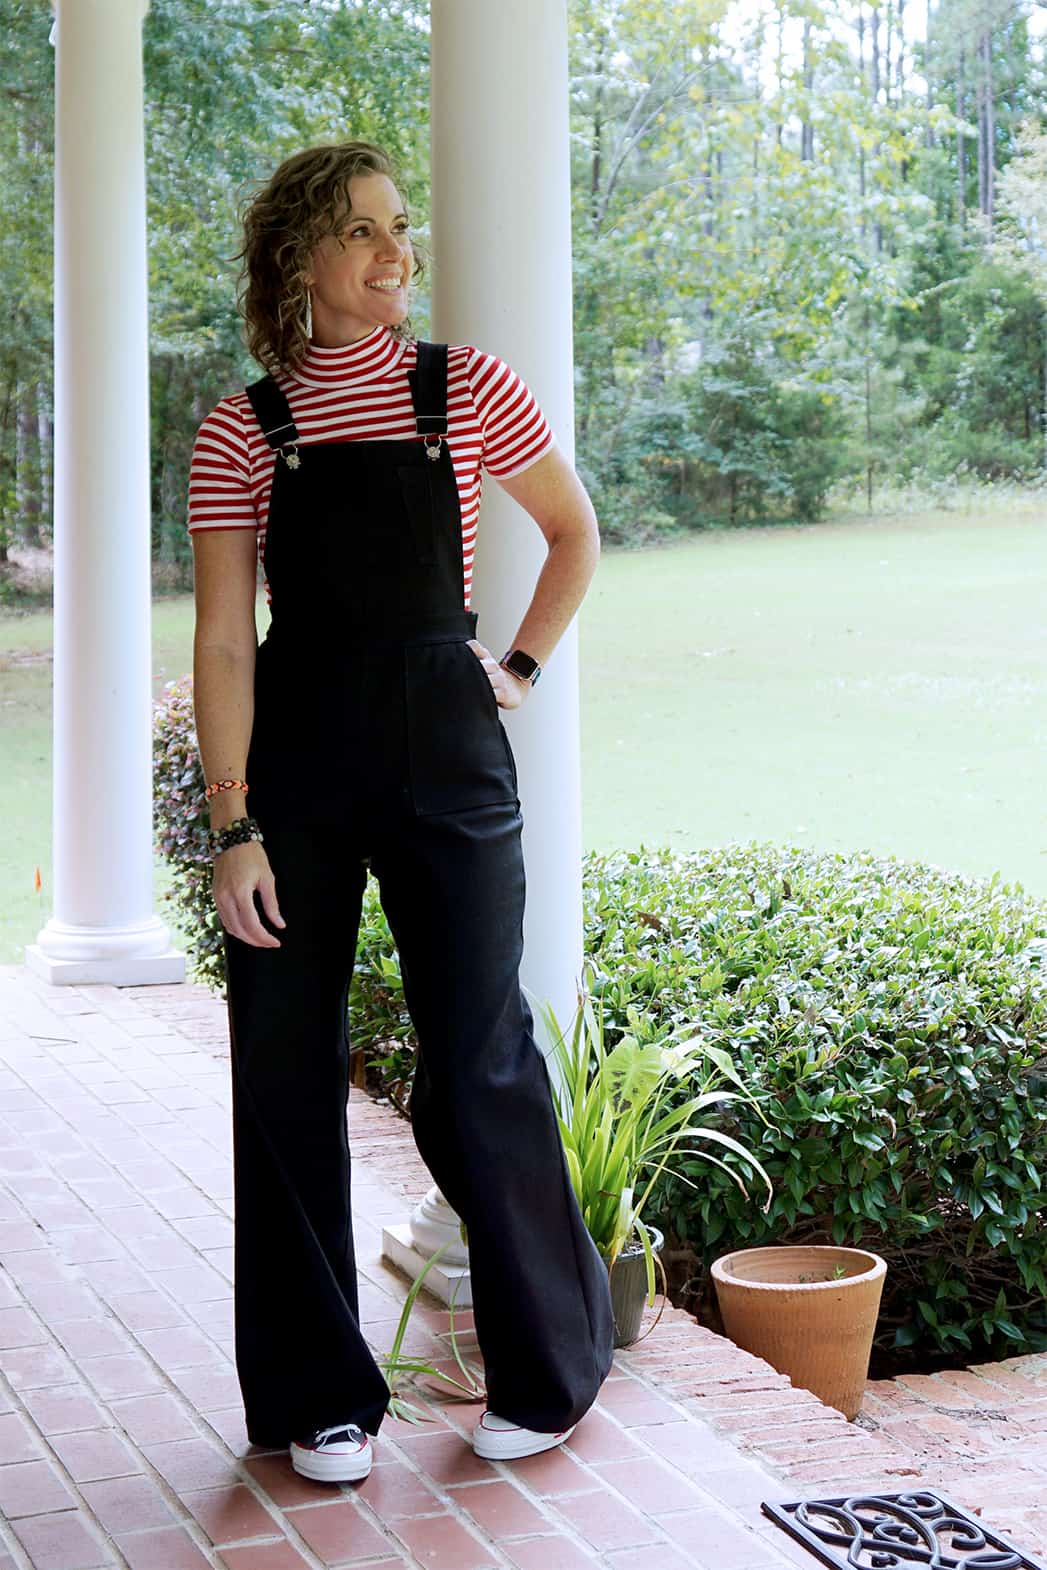
Love the Vintage Jumper, but you’re terrified of button holes? Never fear! Buckles are here!

Adding buckles as a button replacement is an easy and super cute hack… no extra sewing involved!

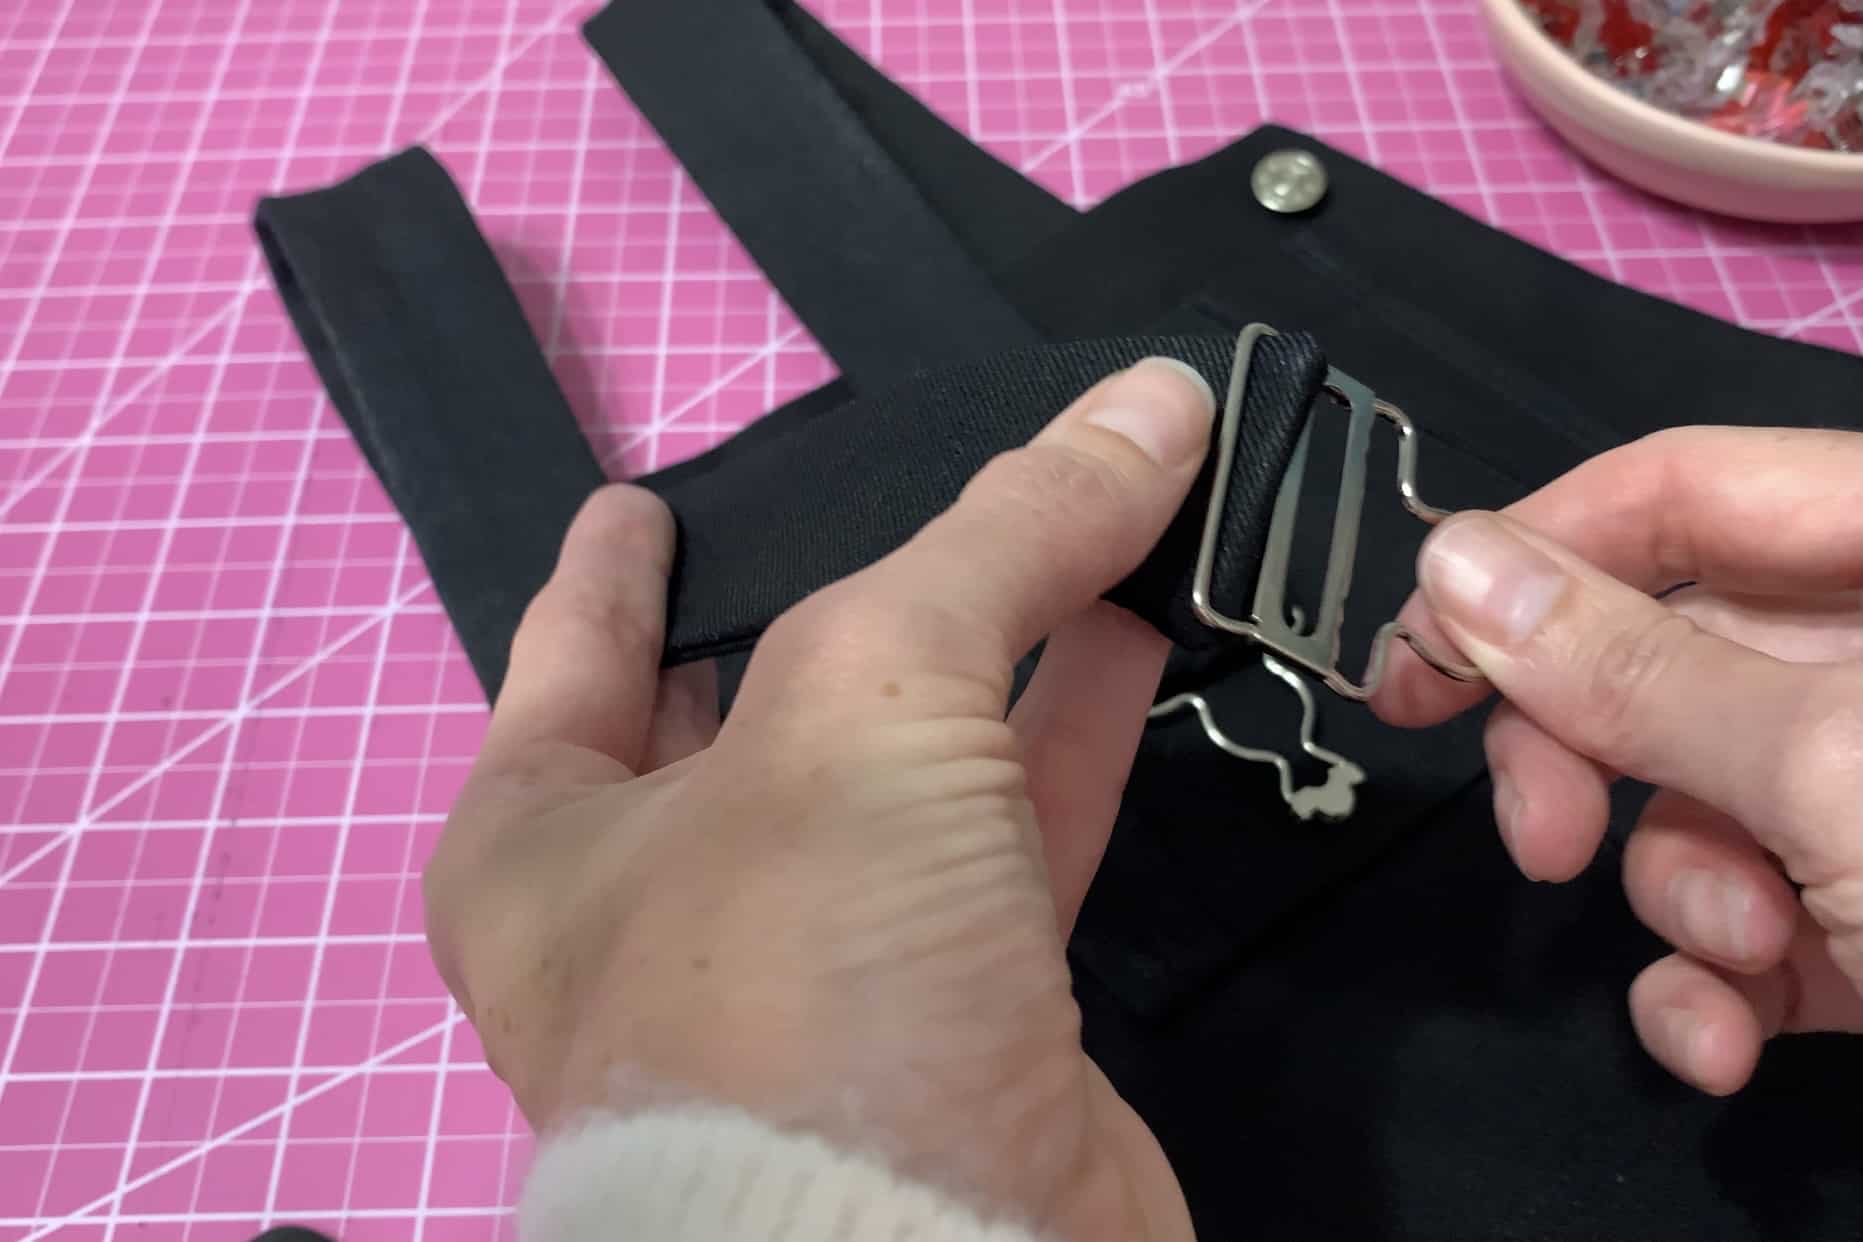
For the Vintage Jumper, you’ll need 1 ¼” buckles. I ordered mine from WAWAK and they came within 2 days, but you can also order from Amazon or pick them up in your local fabric store.

I’ve put together a video tutorial, but if you prefer written instructions, just scroll a bit further!

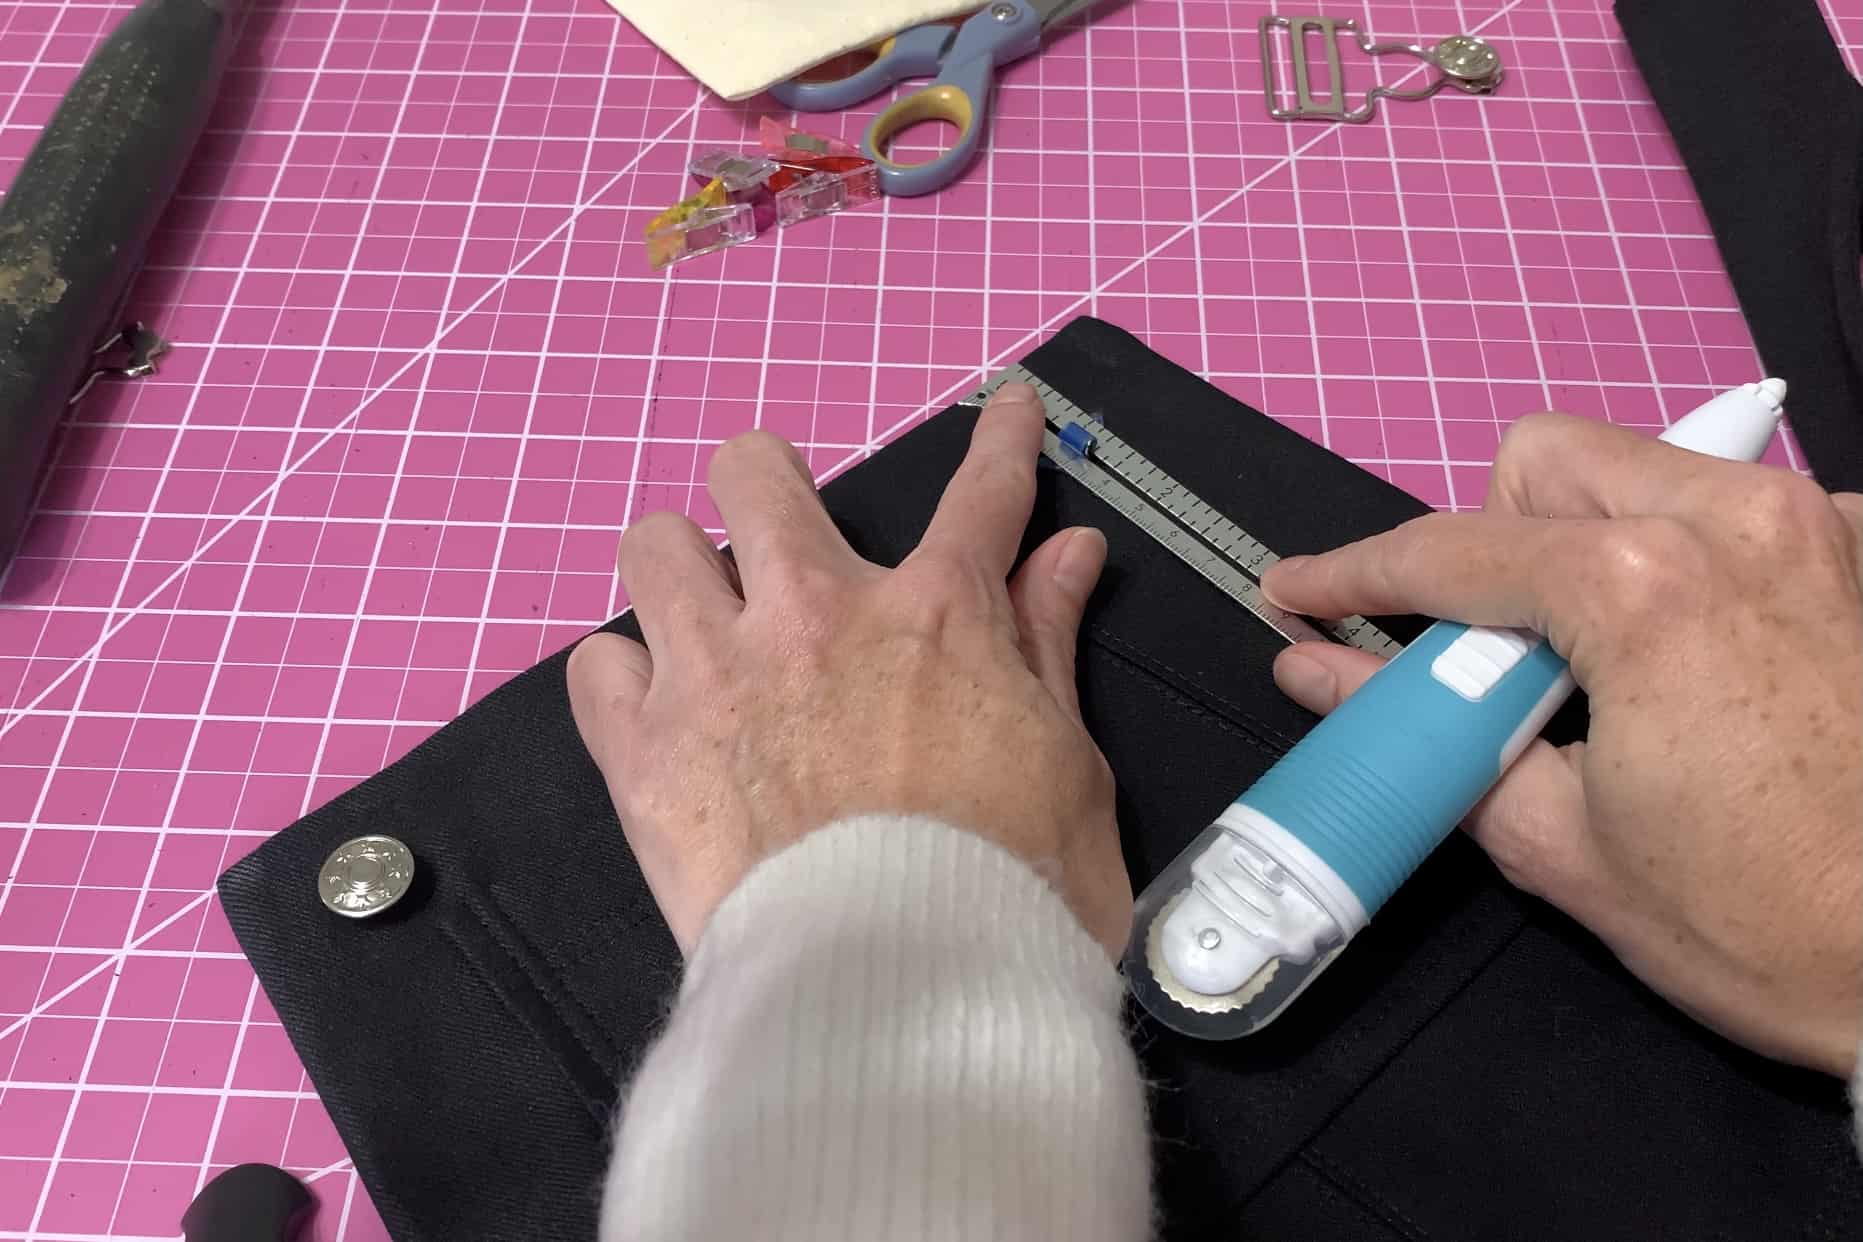
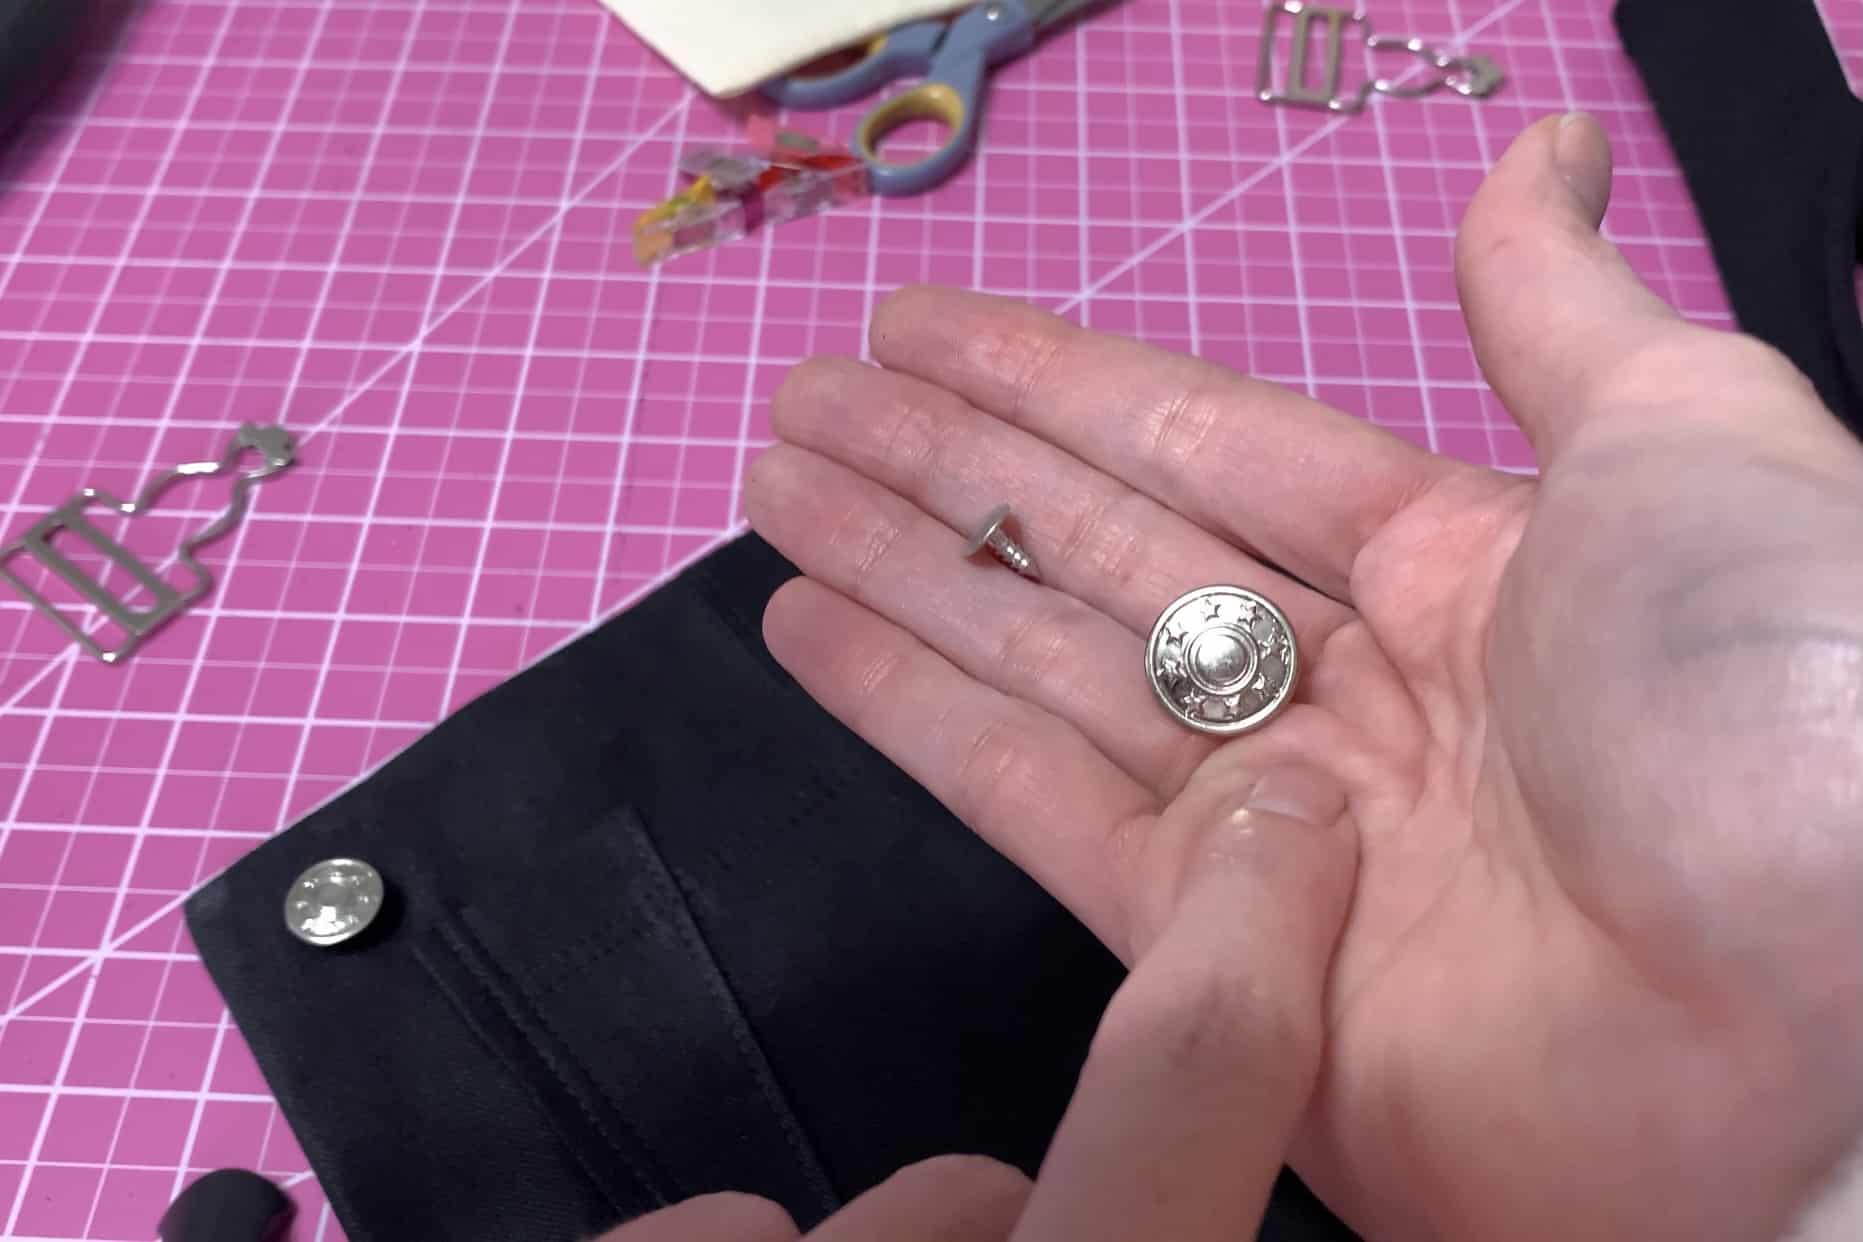
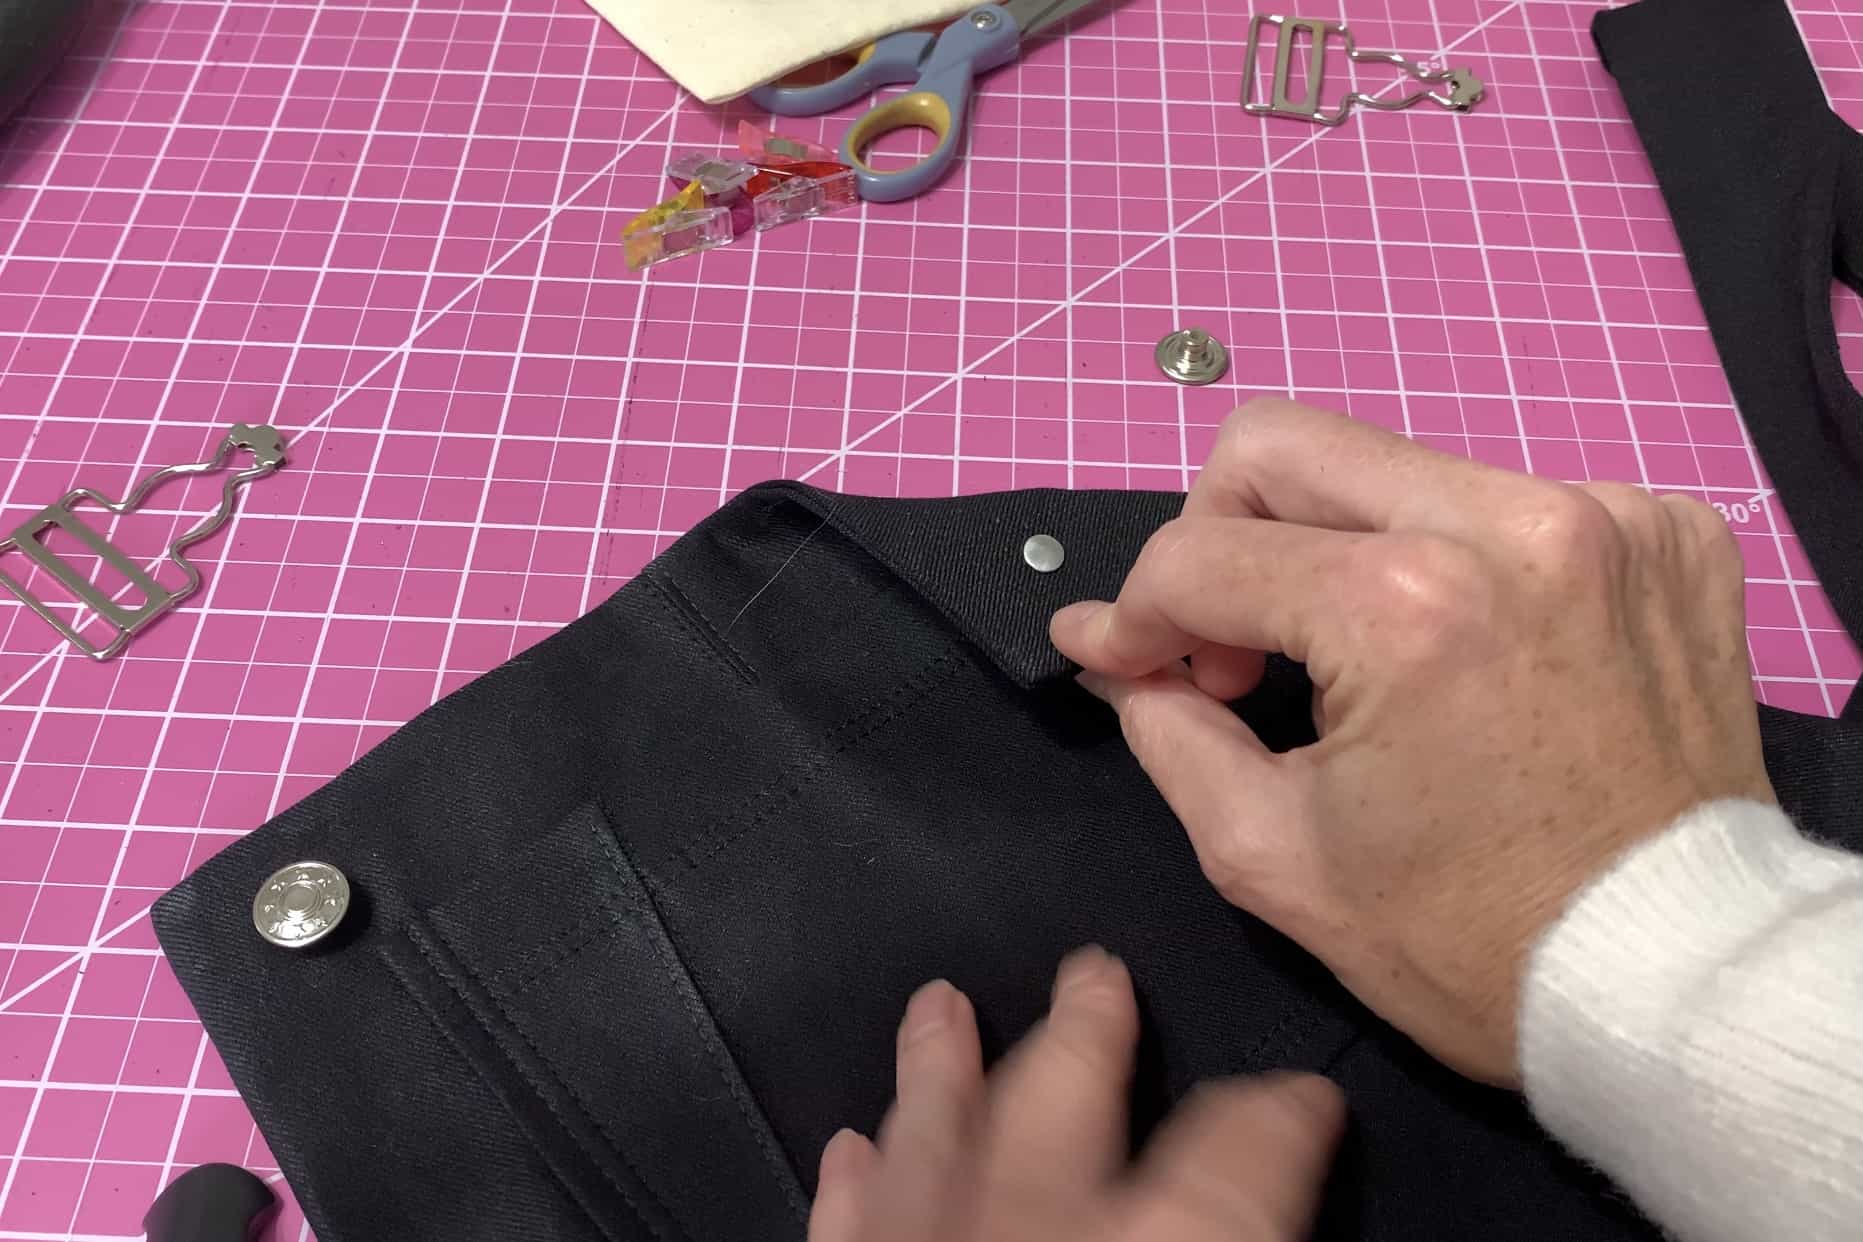
Mark your button placement on the bib with tailor’s chalk, 1” from the top and side edge of the bib.

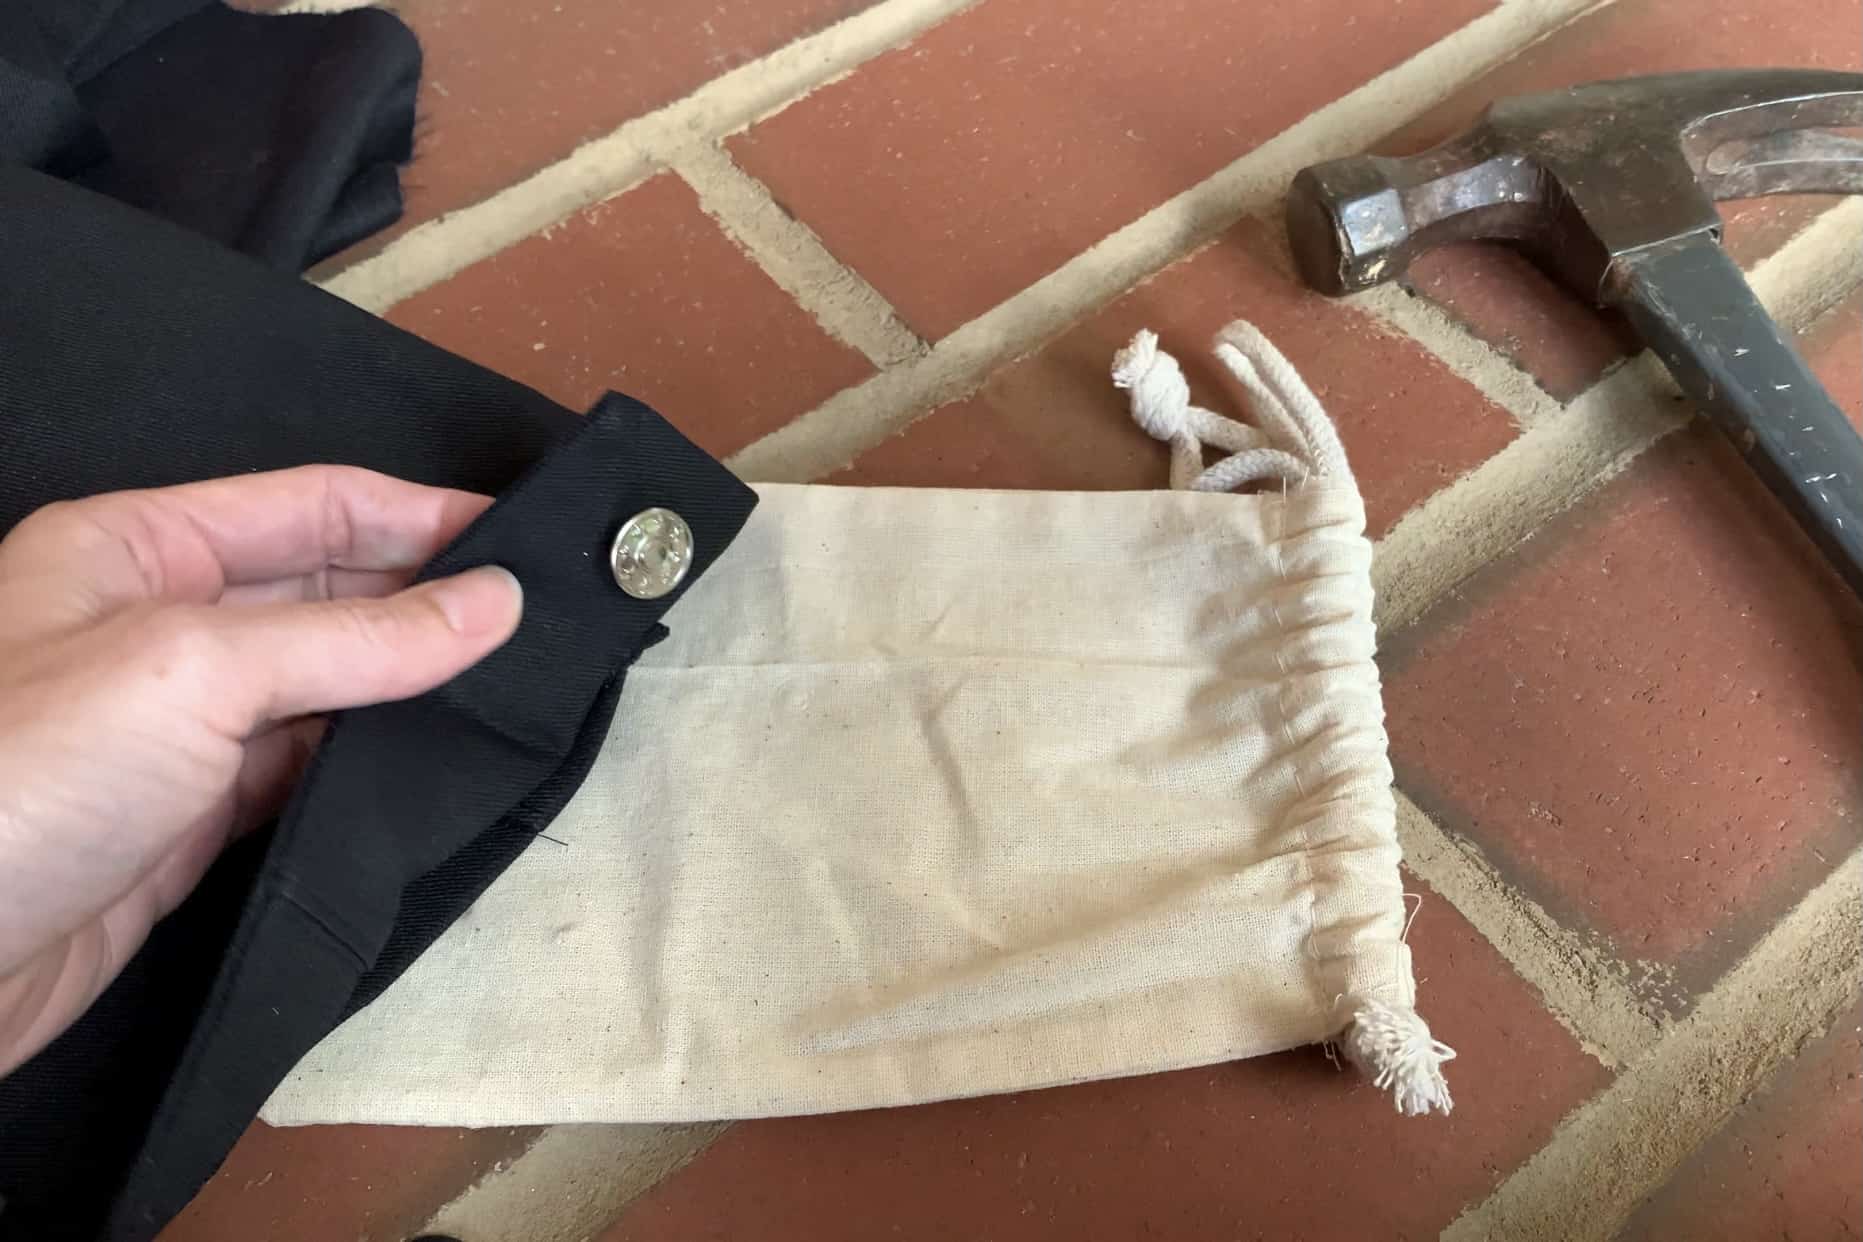
Take your button post and push it through the backside of your bib, at your chalk mark, going through all layers of your fabric.

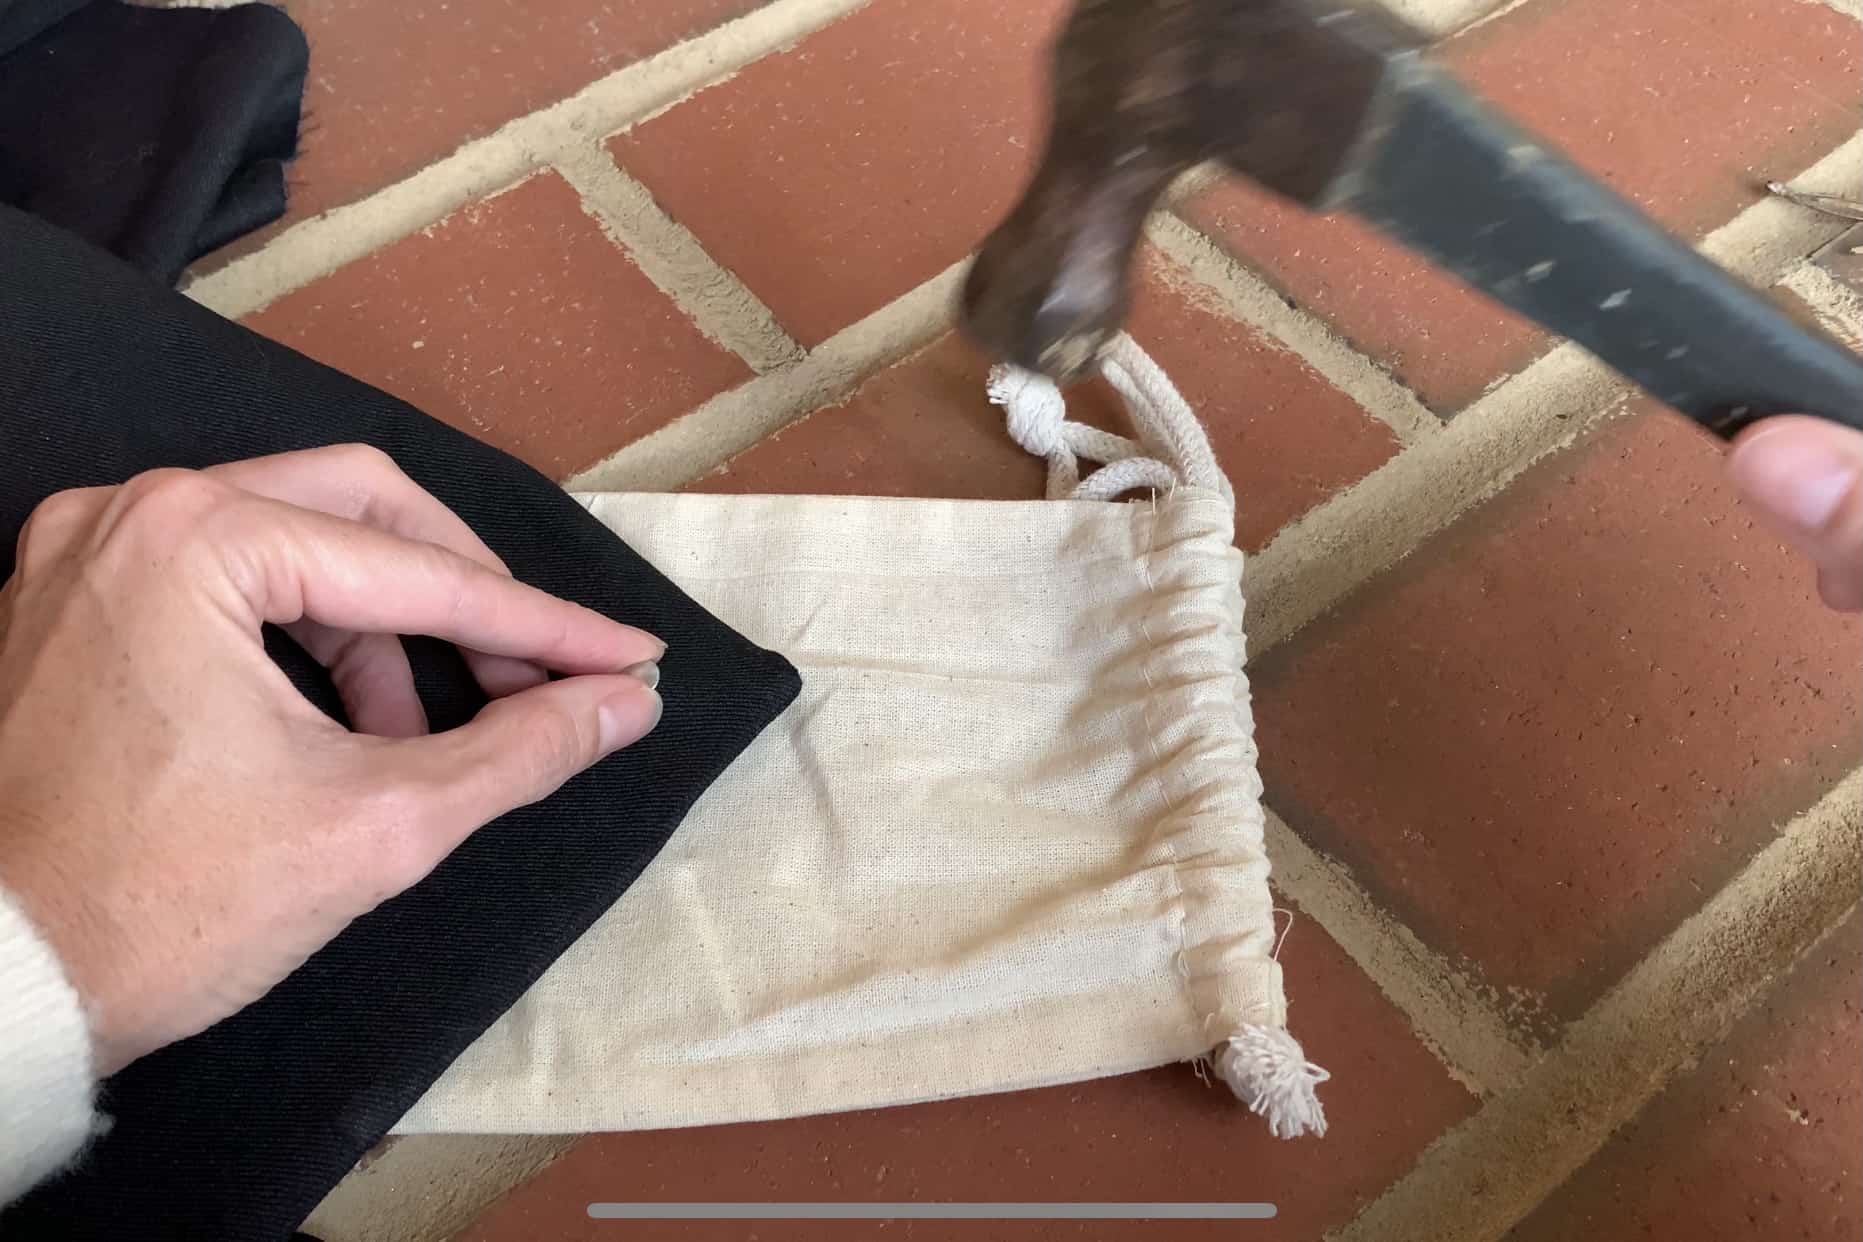
Protecting the front side of your button (as I’ve done here with a simple cloth bag), hammer the button post into the button.

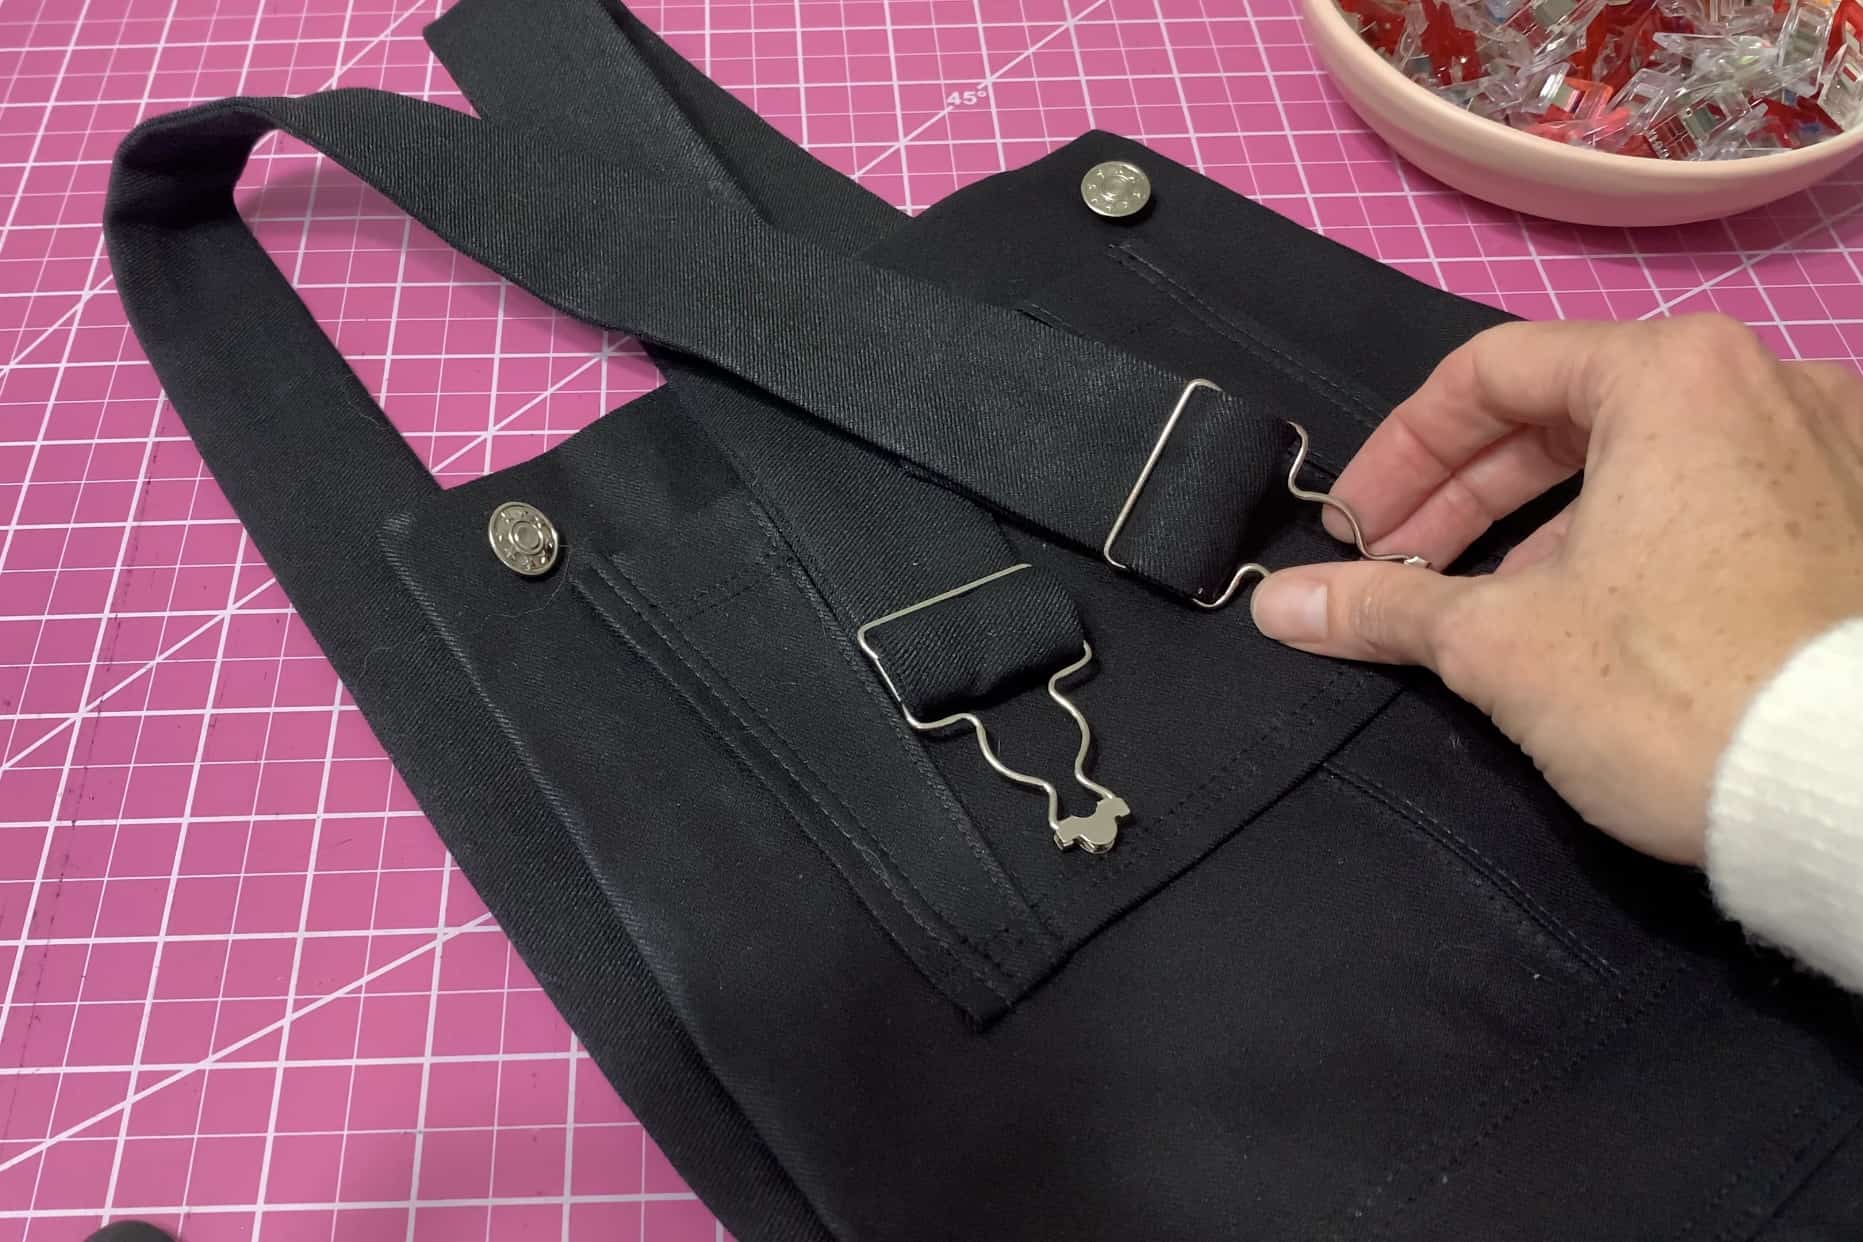
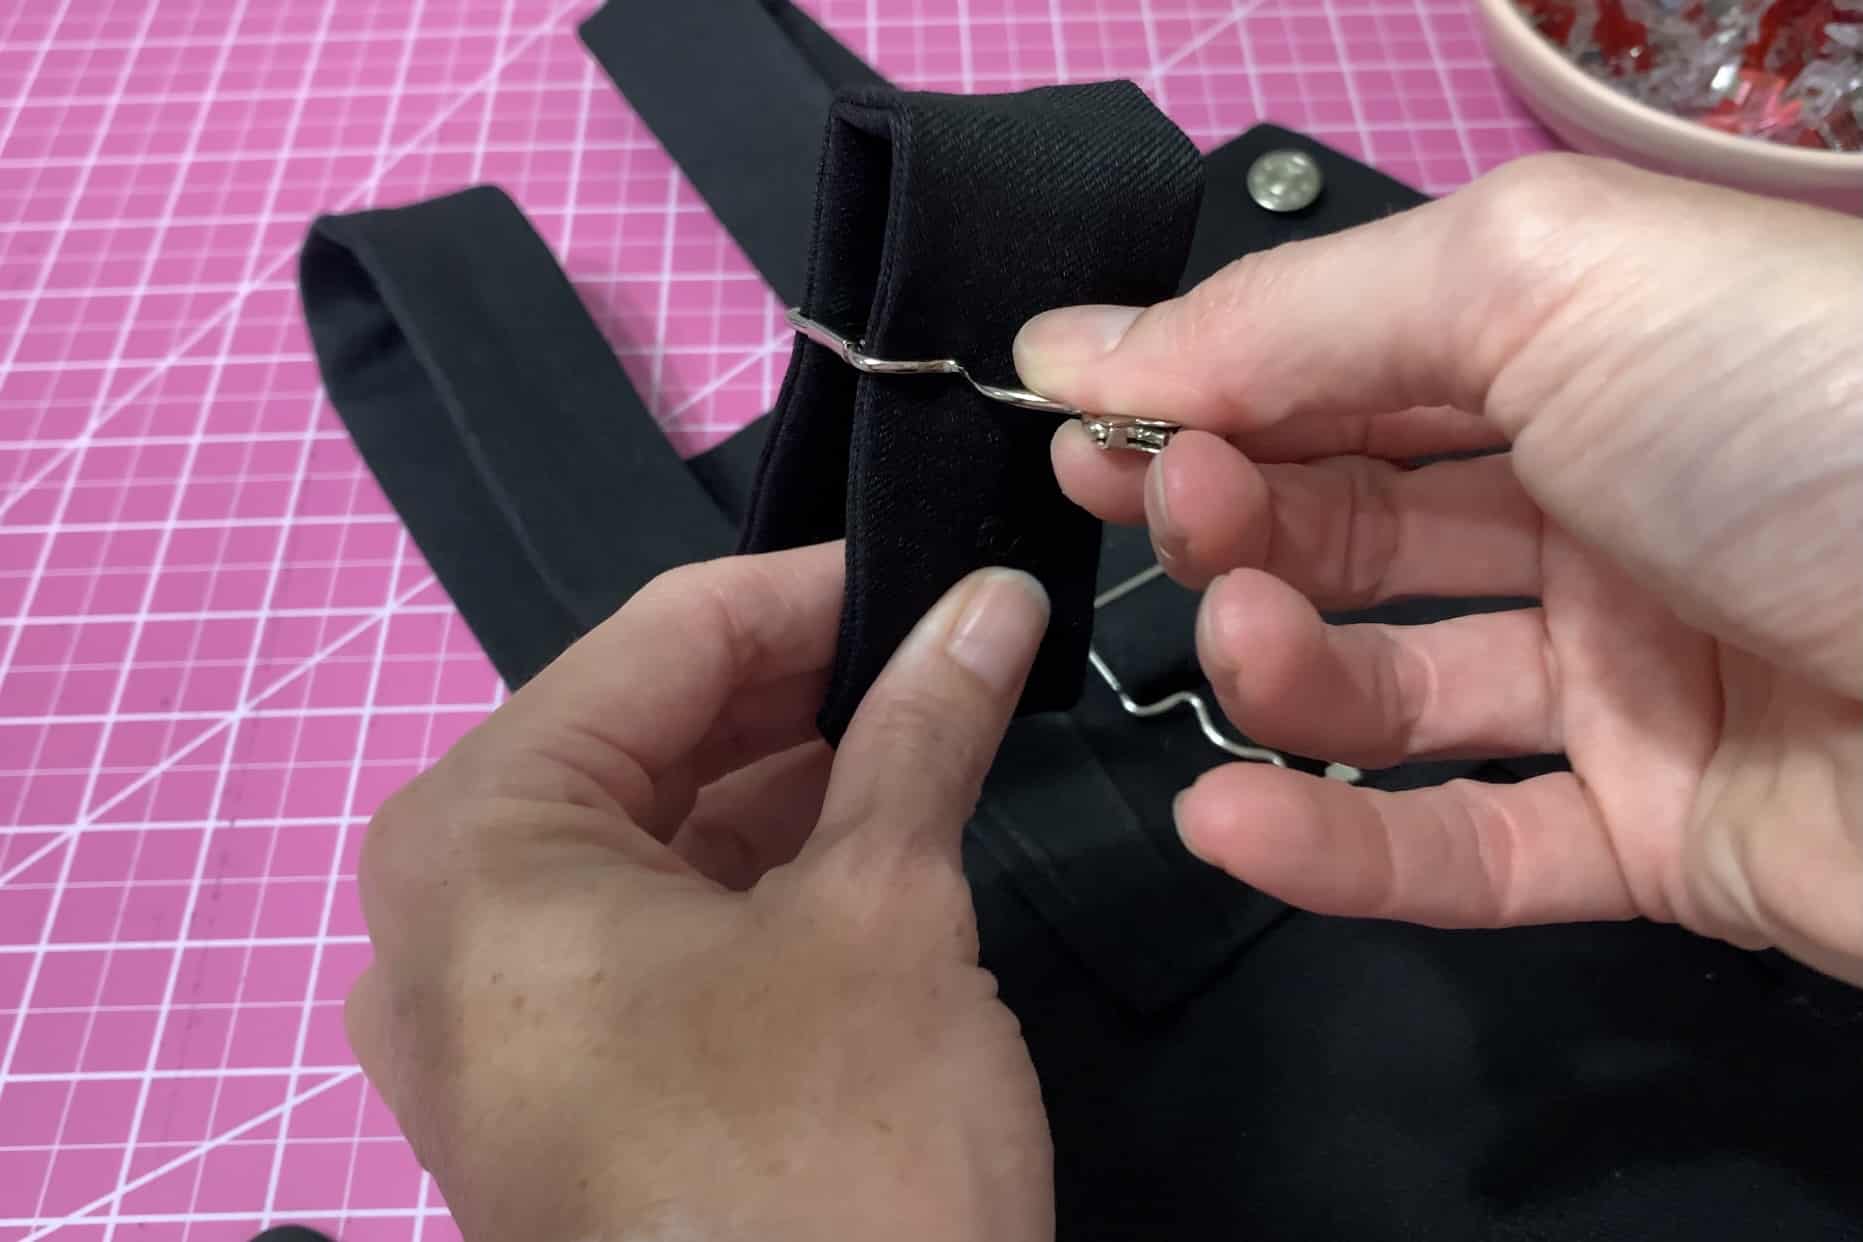
Thread your straps through the buckles, starting with the top…

Running through the bottom…

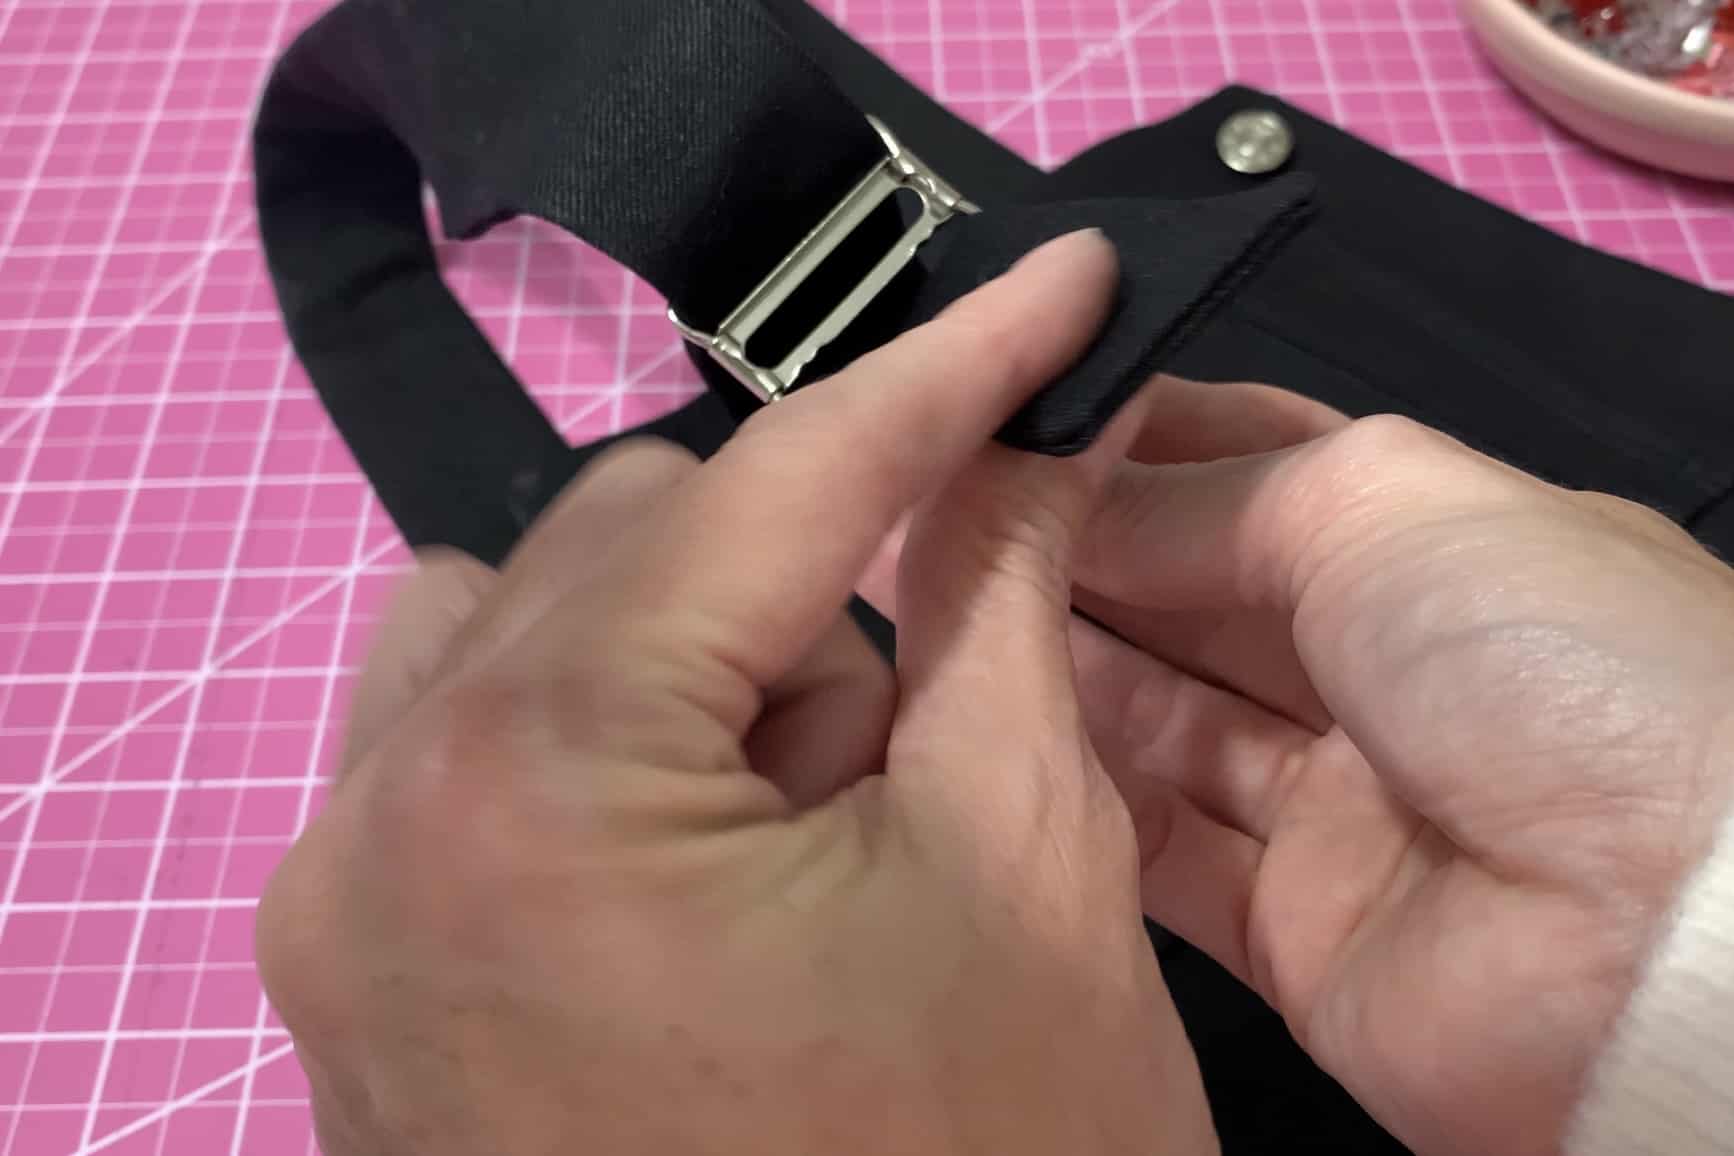
Back through the middle…

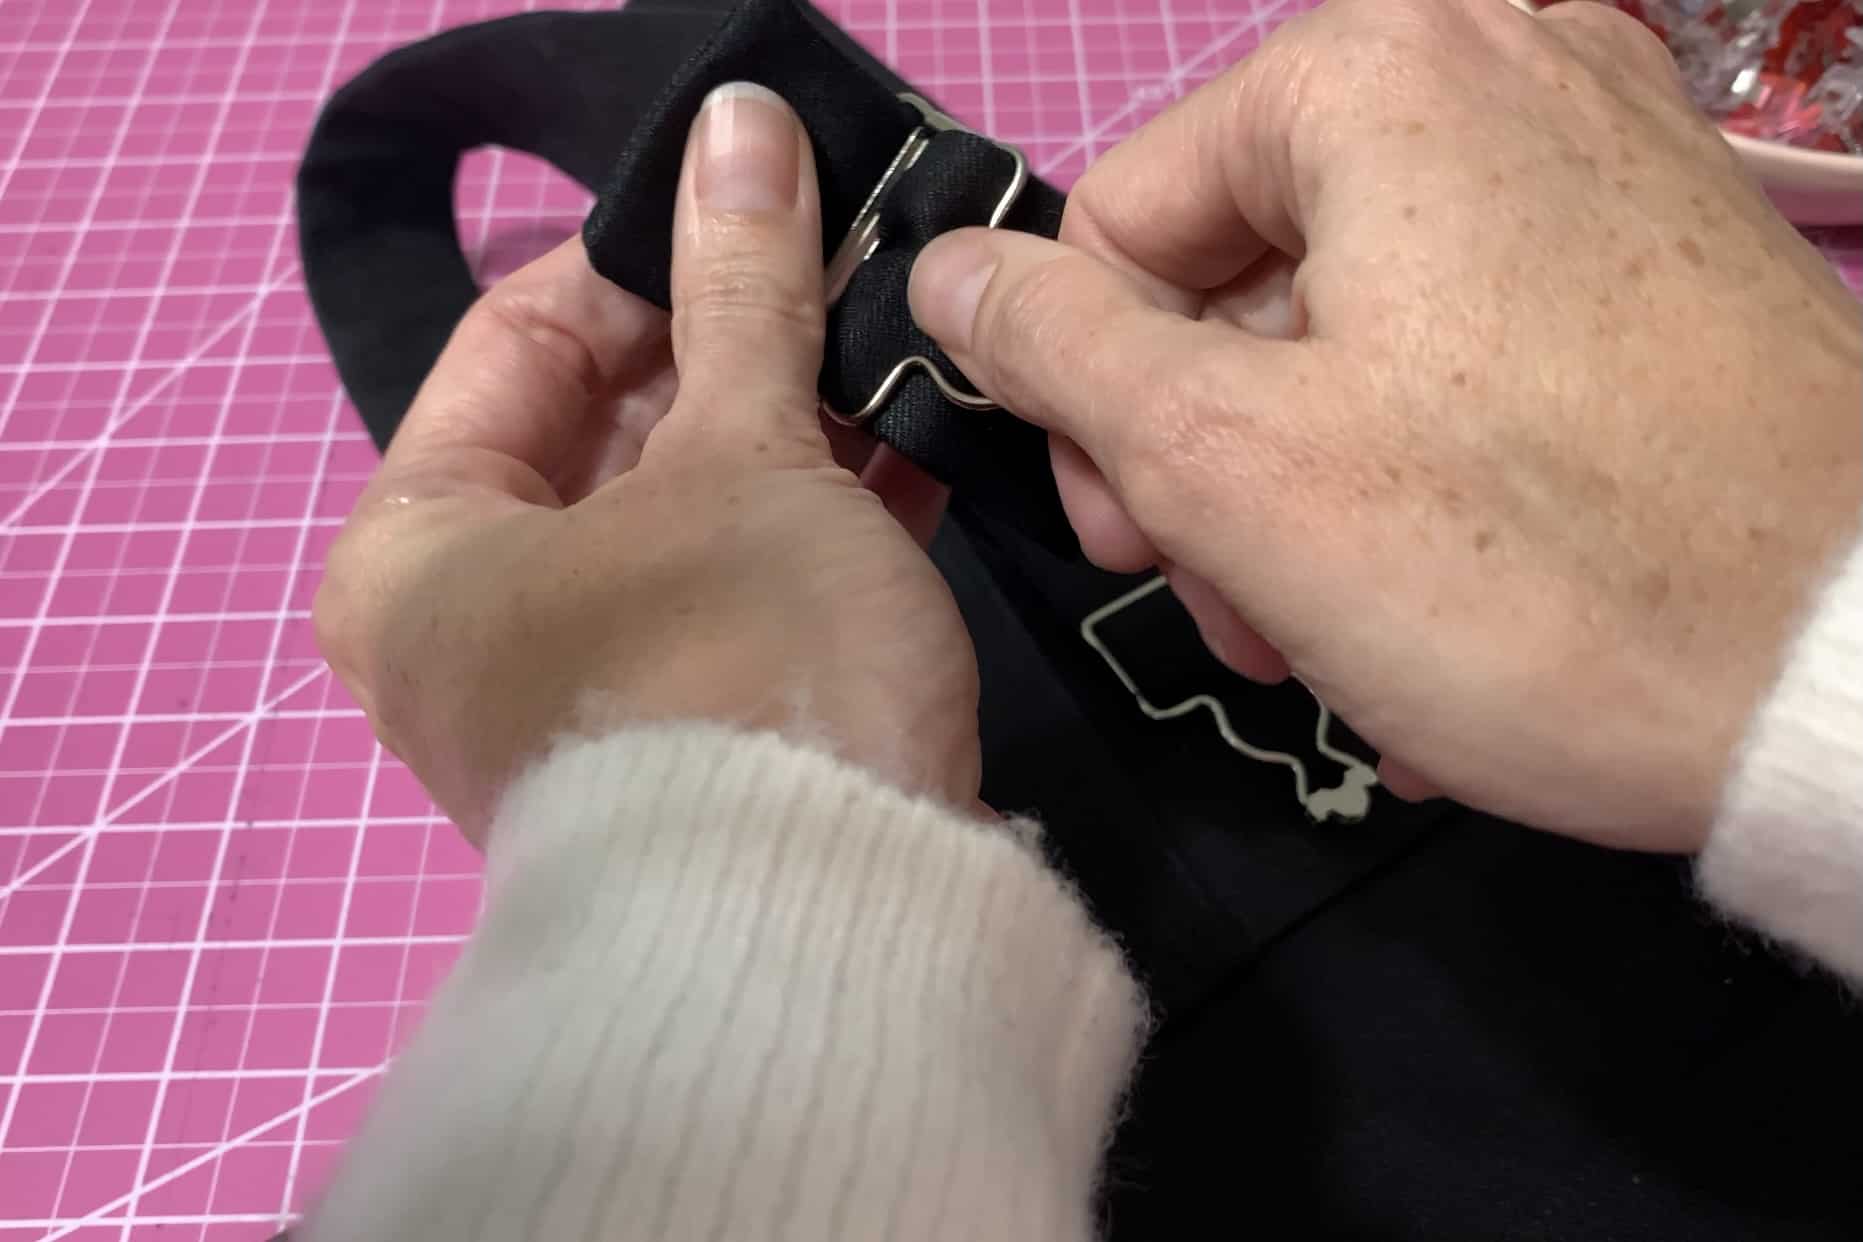
And behind the front of the strap, back through the top loop.

Give yourself plenty of play in your straps to make fit adjustments

5.     Adjust the straps to your preference and you’re done!

I have always loved overalls! I am so glad to have this updated pair in my wardrobe. As with all Patterns for Pirates makes, you can’t stop with one. I already have the fabric ready to make another pair soon.

I hope you enjoy your new jumper!!

Rachel

….
Skip the Zip

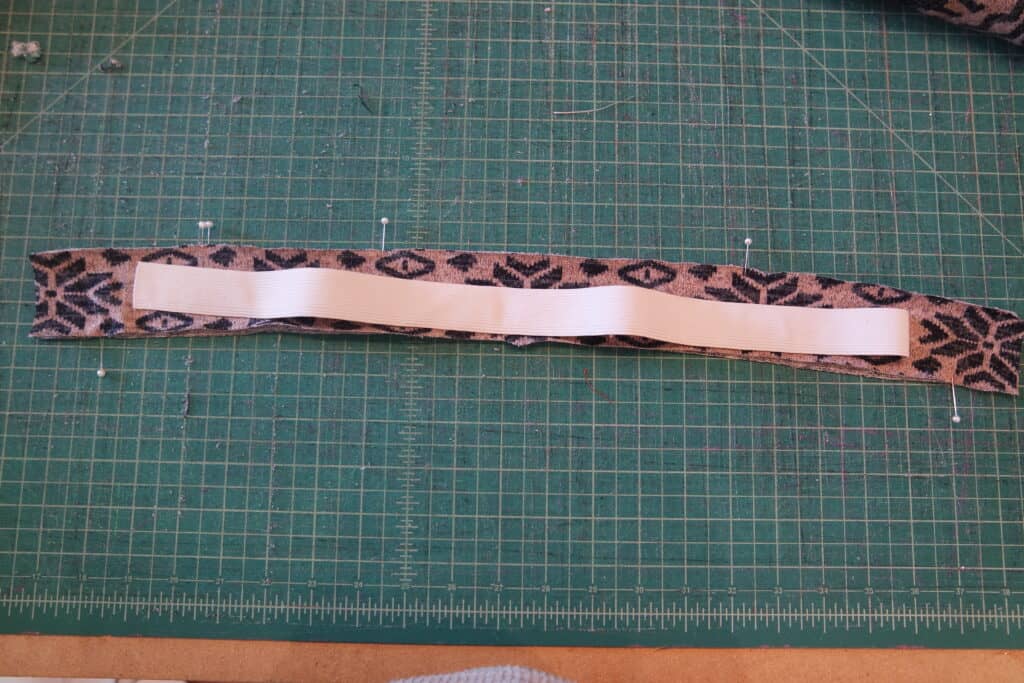
If you’d rather skip the zip you can choose a fabric with high stretch and recovery and slip it on/off. It’s a very simple modification, just make sure your fabric is stretchy enough to slip on and off with the snug waistband at natural waist. You will want a fabric that is more stable and can “hold” that waistband shape nicely. Or you can add some 1″ elastic into the waistband to help keep the shape.

Cut out all your pieces the same, except the waistband. You will need to trim off the extra 1″ on each end since we will not have them overlapping for a button. If you’re adding elastic I cut mine just slightly shorter then my new waistband piece so it would be snug to her waist.

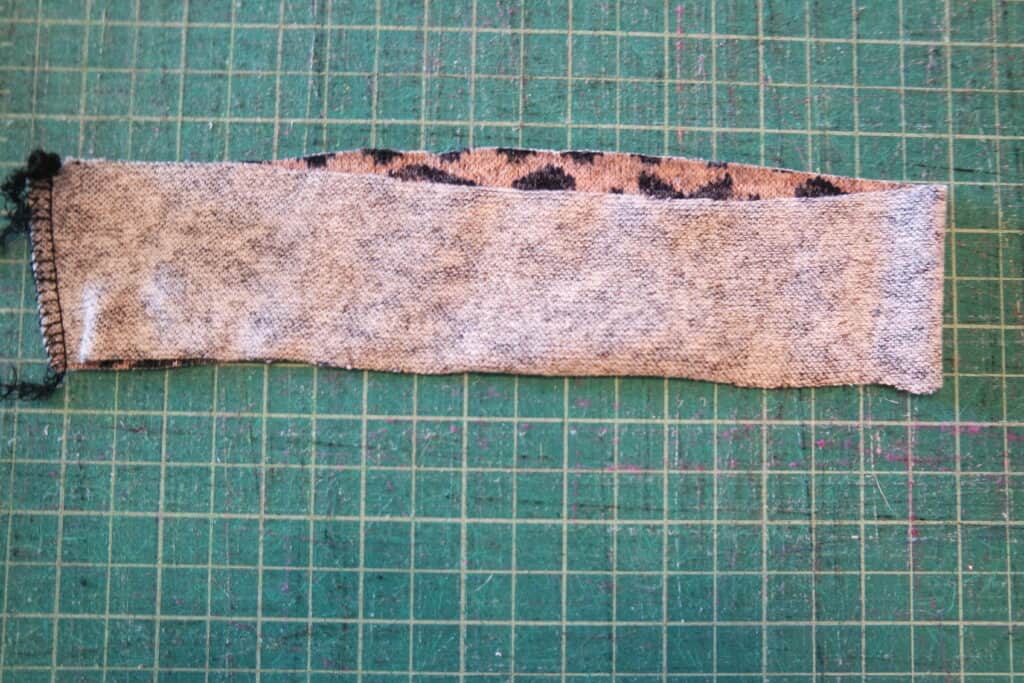
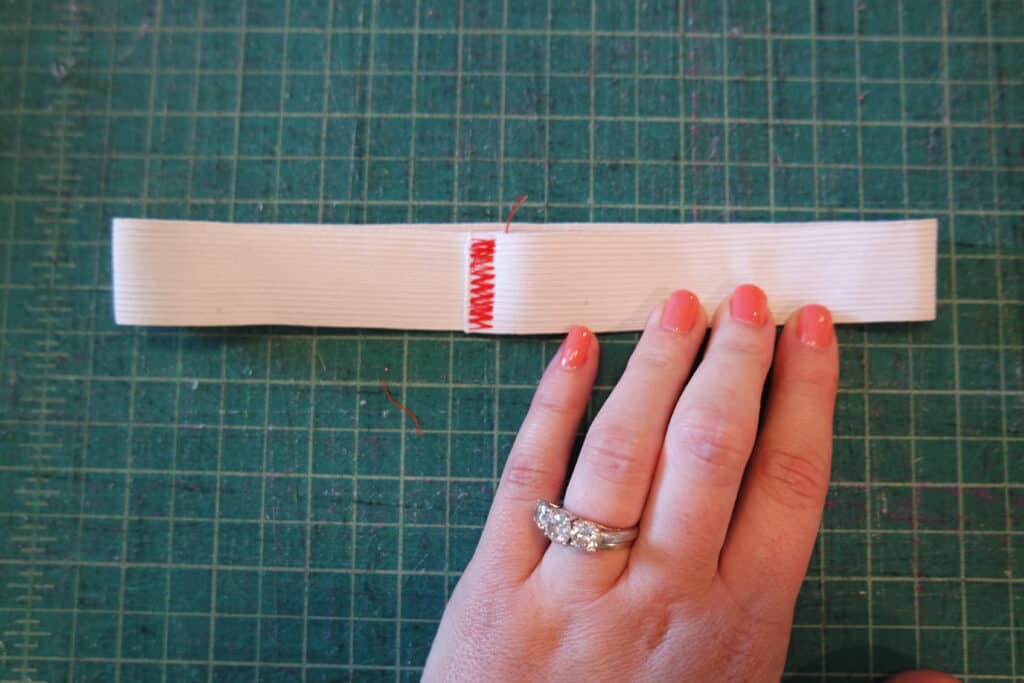
Instead of sewing your zip into your side seam you’ll just stitch it up. Stitch your waistband pieces into a circle. If you are adding elastic sew it into a circle as well.

You will follow the same steps as the tutorial attaching the main waistband piece, sandwiching the straps and bib between the main and lining waistband, and top-stitching band. You will just be sewing in a complete circle rather then having the ends that overlap for a button.

All done, now you can just slip it on/off with no zip!

….

Zipper Guard

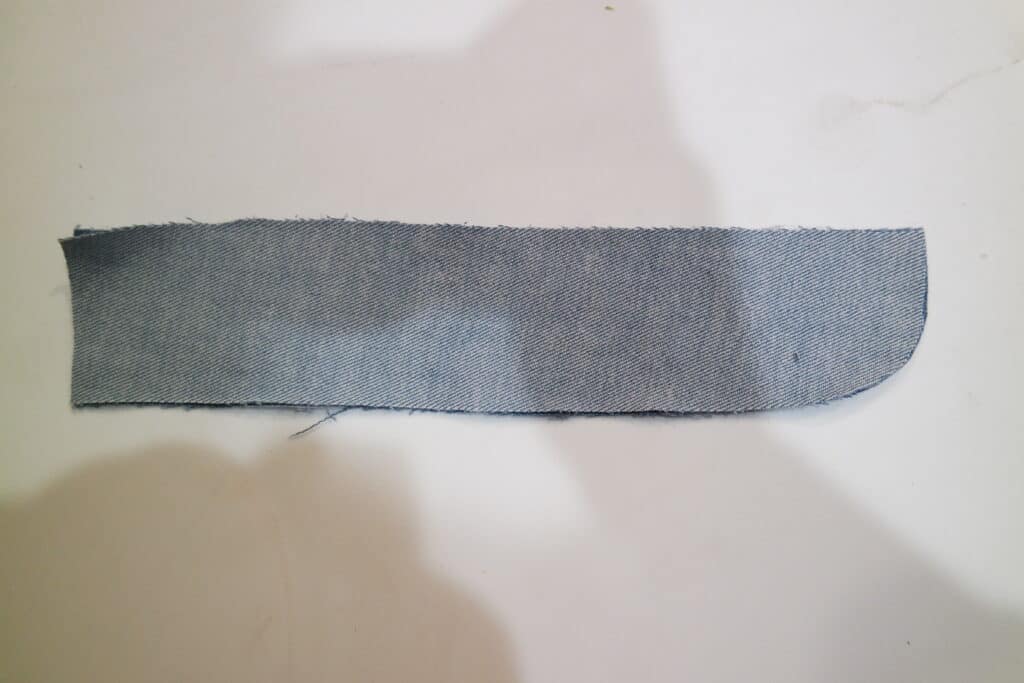
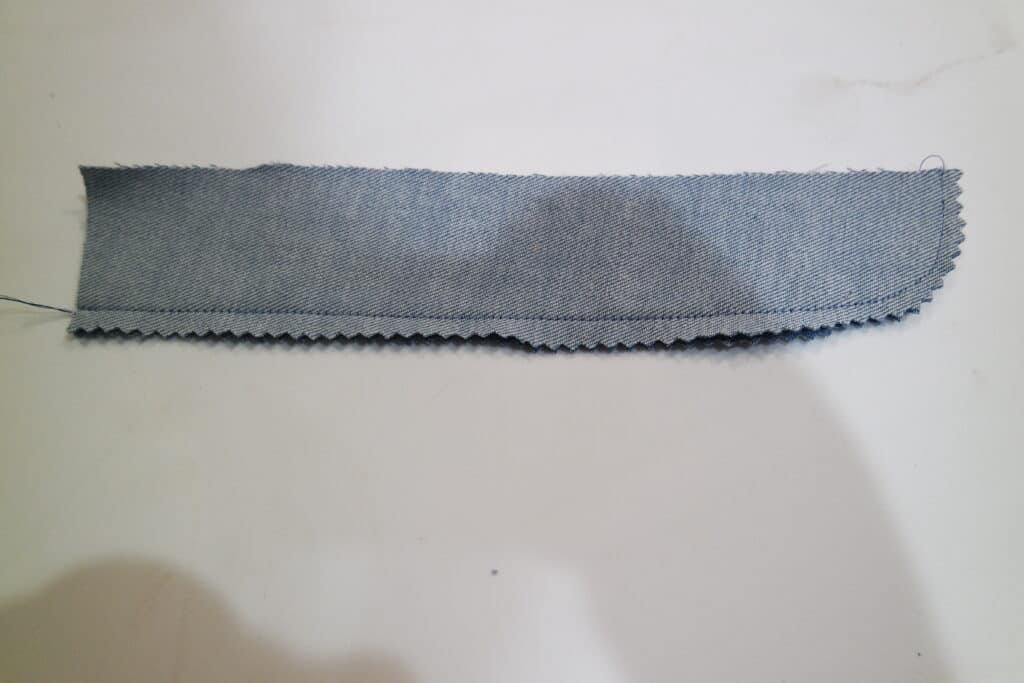
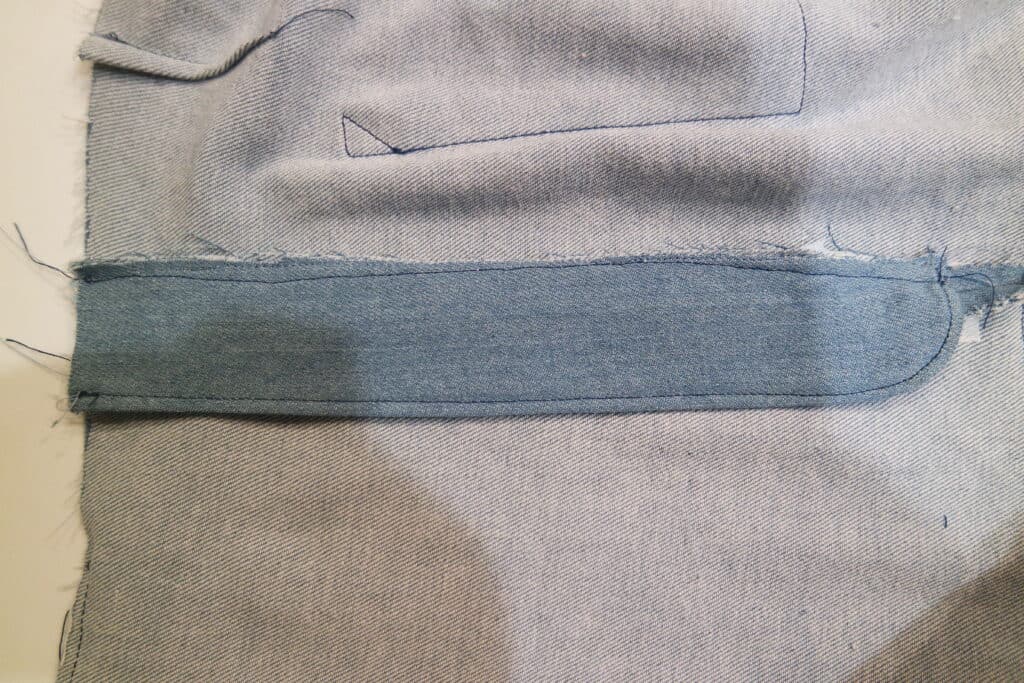
If the feeling of the zipper on your skin bothers you- you can add a simple zipper guard quickly and easily. You will cut out 2 rectangles (you can curve the bottom edge if you’d like I did or leave it a rectangle) a little longer (1-2″) then your zipper and about 2″ wide.

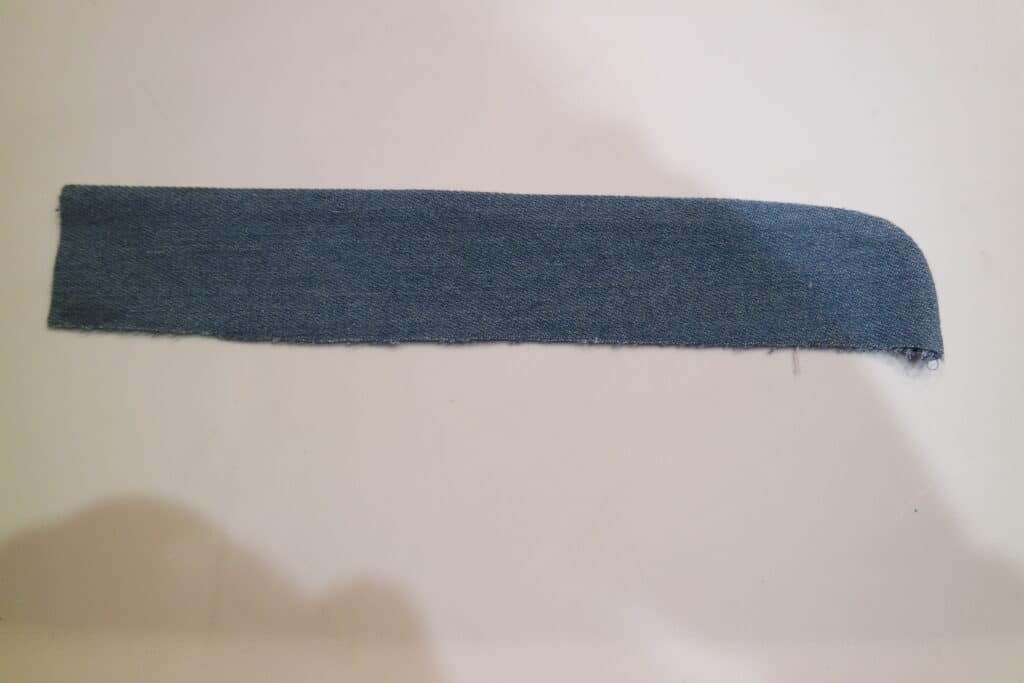
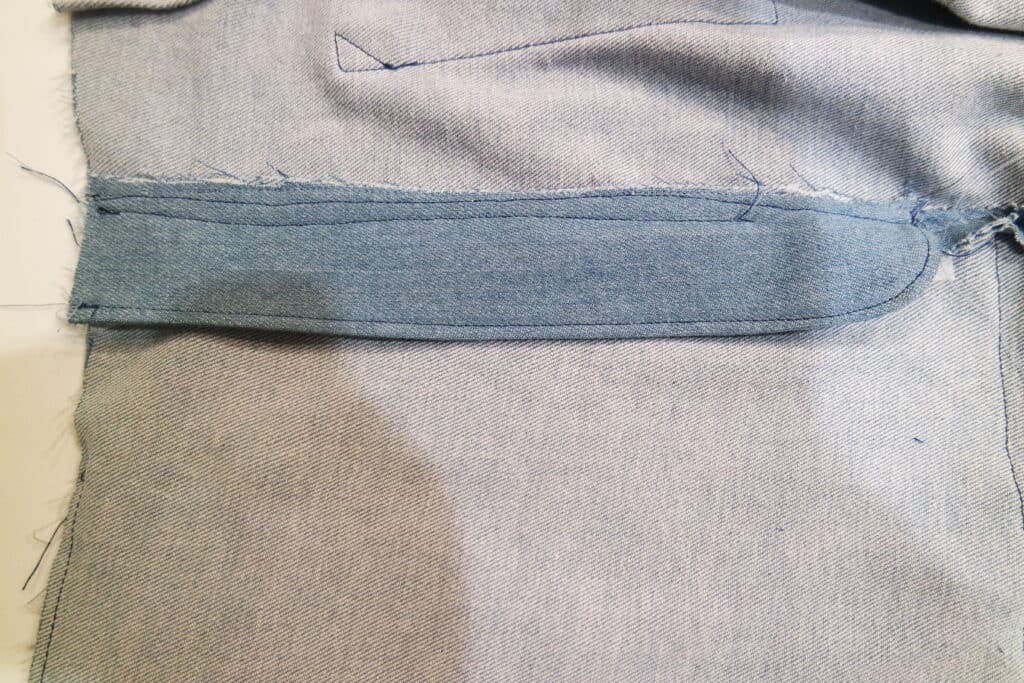
Stitch your pieces right sides together along one long and short edge like a L (J if you curved your corner like me) shape. Trim seam allowance and flip right sides out. Press and stitch.

Place your zipper guard along the side seam with zipper with the raw edges aligned to the seam allowance of the front pant/skirt. Stitch guard to seam allowance (do not stitch through pant/skirt).

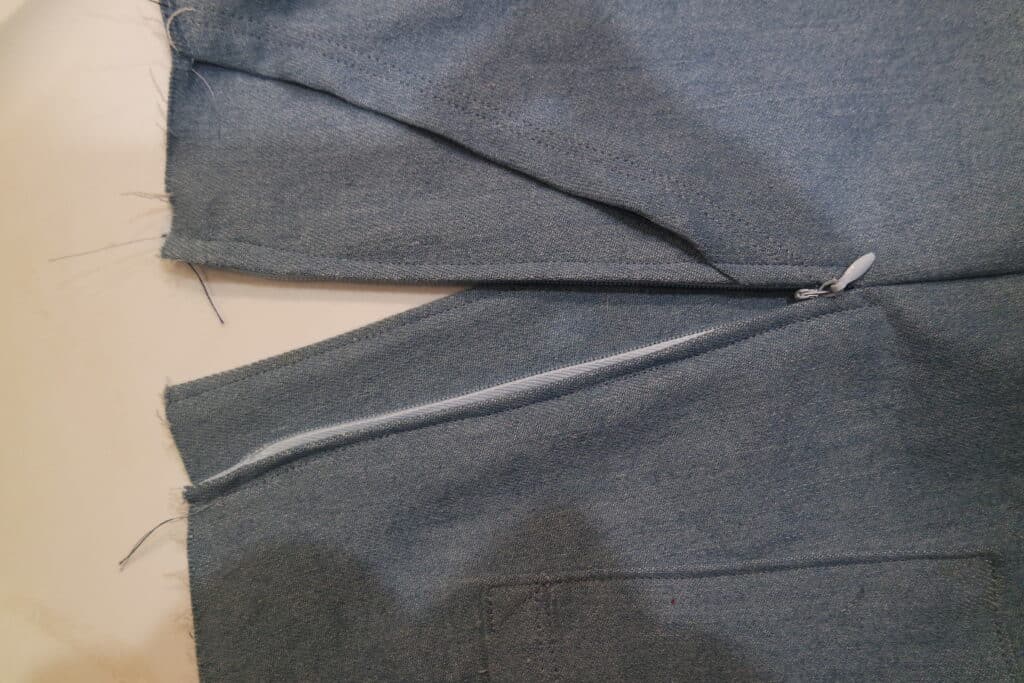
Pin in place from front. Stitch in the ditch along your zipper seam on the front pant/skirt through the zipper guard.

You can also continue to stitch in the ditch across the bottom and up just a little to help keep the guard in place when taking on/off. This is what it will look like after with the zipper guard keeping the zip from touching your skin:

….

Add some Ears

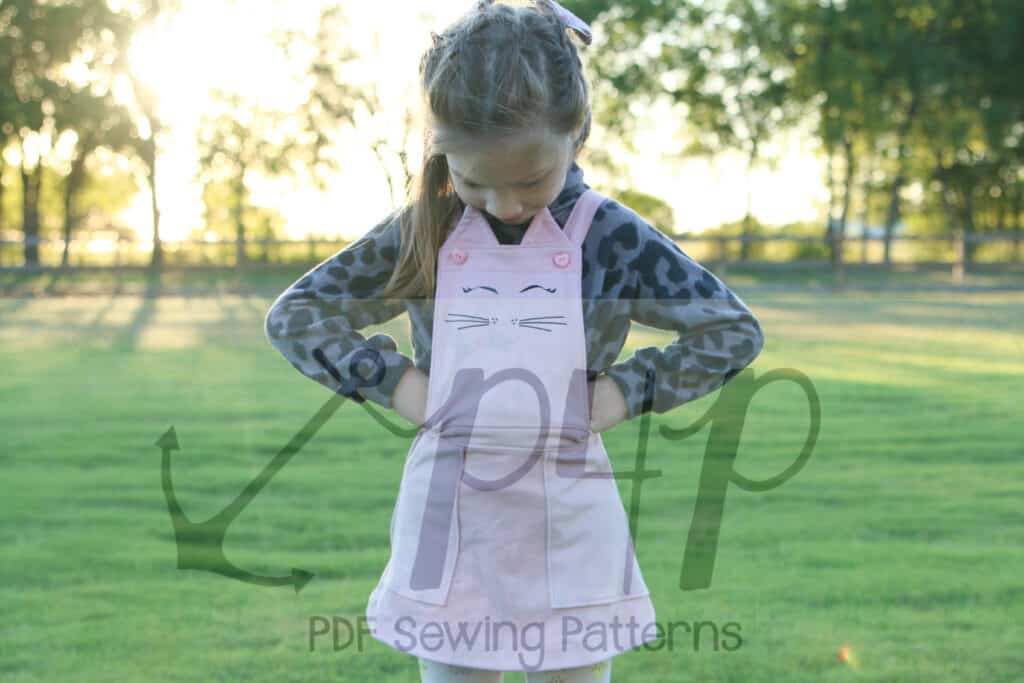
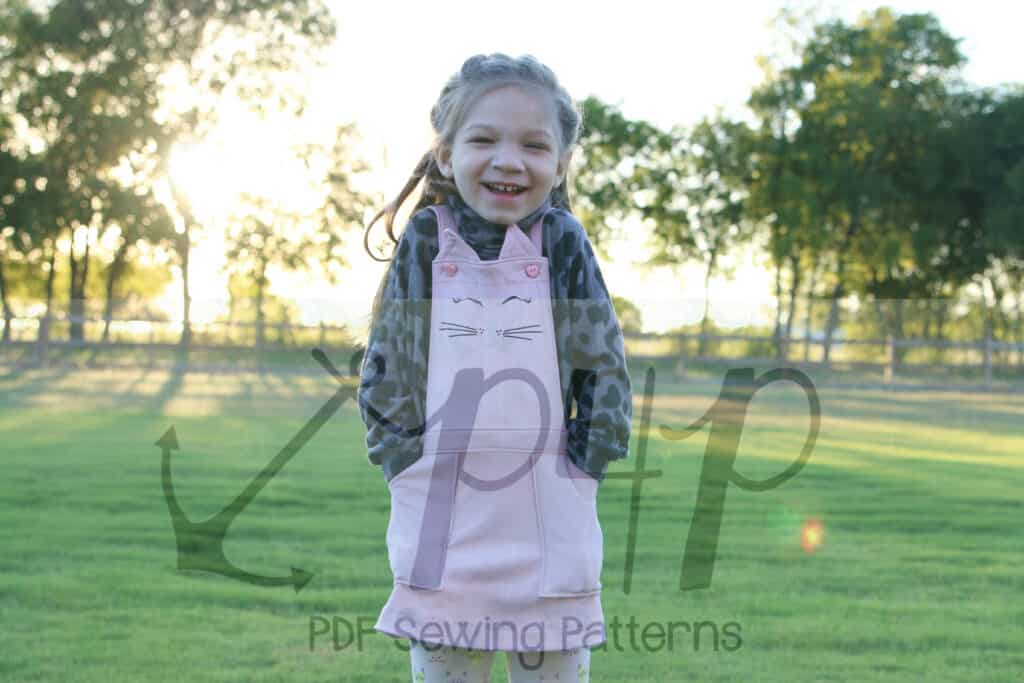
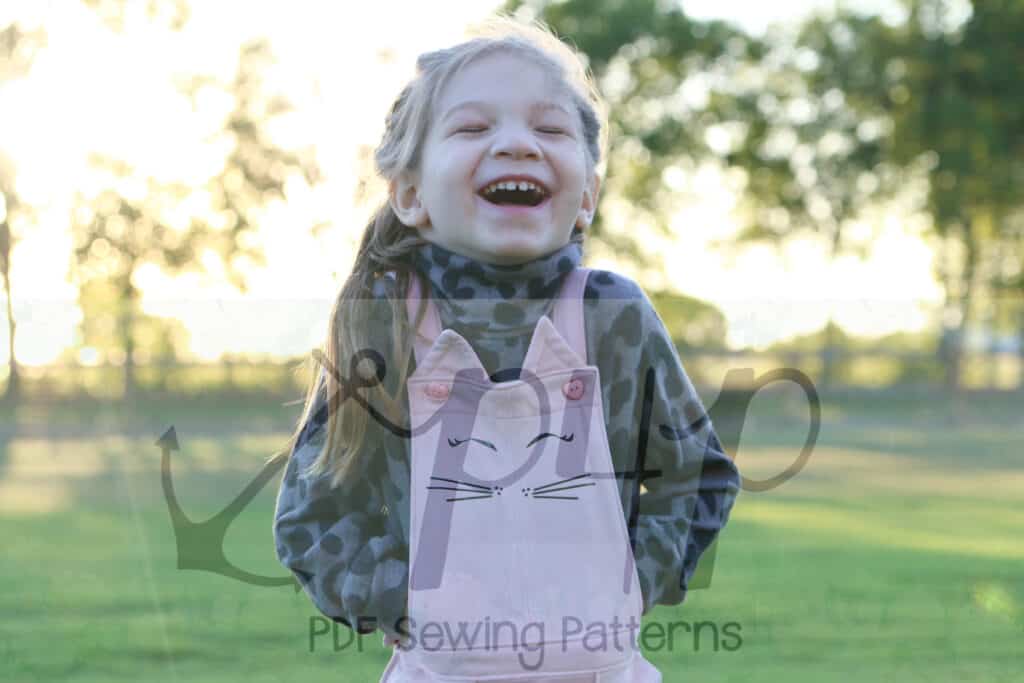
Adding a little face and ears is always a way to make my daughter super happy with something I sew her. She requested a kitty for this one after seeing one similar at a store. It was such an easy little modification. I simple free-handed the ears… but we do have some ears in the Oversized Sweater-Youth pattern and I used the faces from our free Animal Faces for our Jolly Roger Raglan. I only freehanded the ears to make sure they fit perfectly and…. well… I didn’t want to print anything 😉

Stitch the ears up and sandwich them between the main and lining bib. Ta-da… that’s it! So cute and simple!

What an amazing line up! We look forward to seeing  your own “”hacked” Vintage Jumper  creations on Facebook and Insta.

Filed Under: Frequently Asked Questions, Pattern Hacks, Pattern Release Leave a Comment

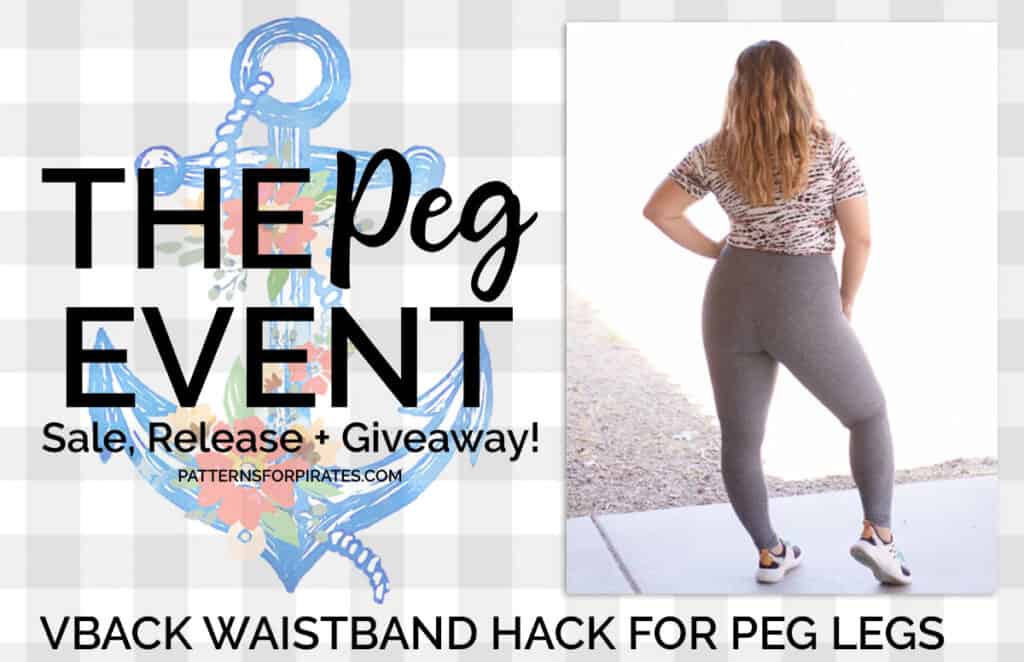
The Peg Event :: VBack Waistband Hack for the Peg Legs Update!

September 9, 2020

Welcome back to another day of The Peg Event! We hope you are loving our newest release of the Peg Legs – Colorblock Pack and update to the beloved Peg Legs, and Peg Legs – Add-On Pack!

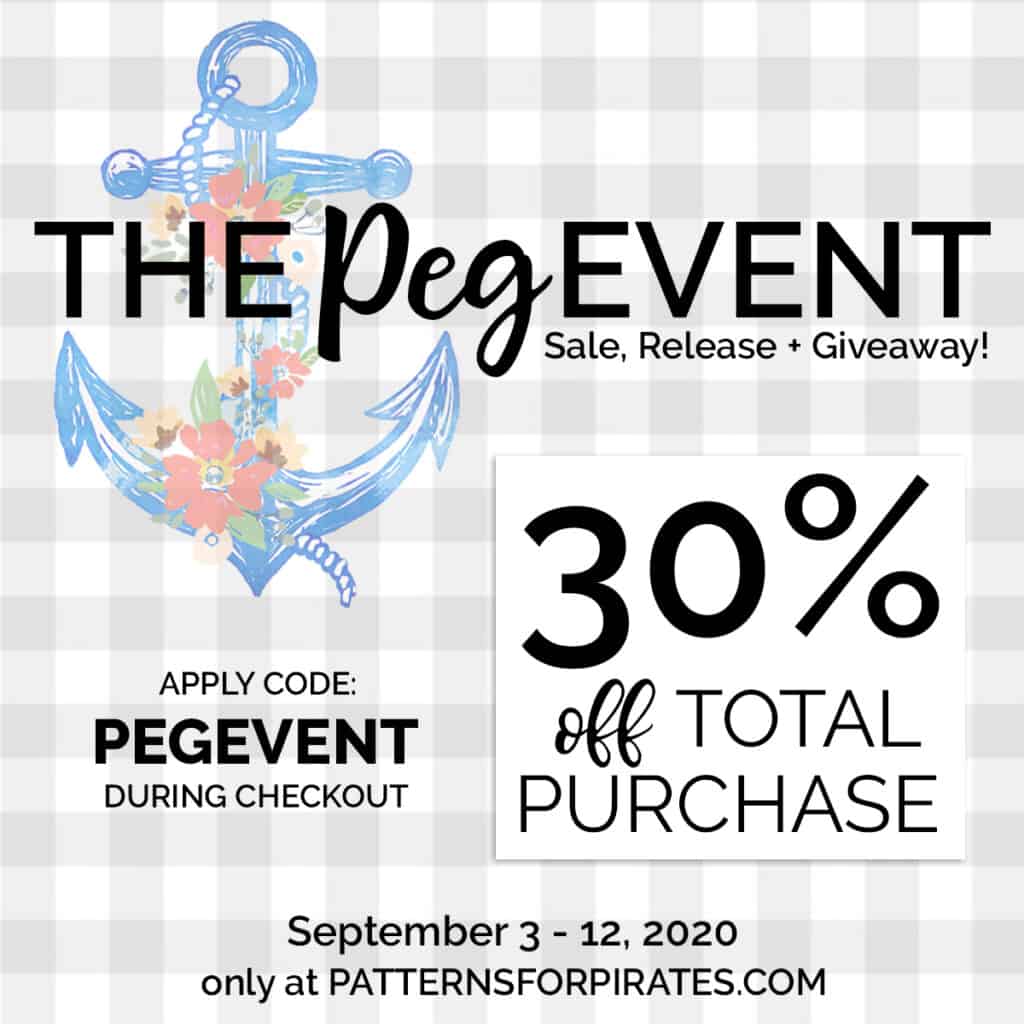
Before we get to the main event, I’d like to remind you that we’ve got a sitewide sale happening from now until Saturday, September 12.  In addition to that, we’ve got an awesome giveaway happening, with 14 amazing prizes (and 14 amazing prize winners)!  You can read all about The Peg Event HERE.


Colorblock Pack Waistband Hack for the Original Peg Legs Pattern


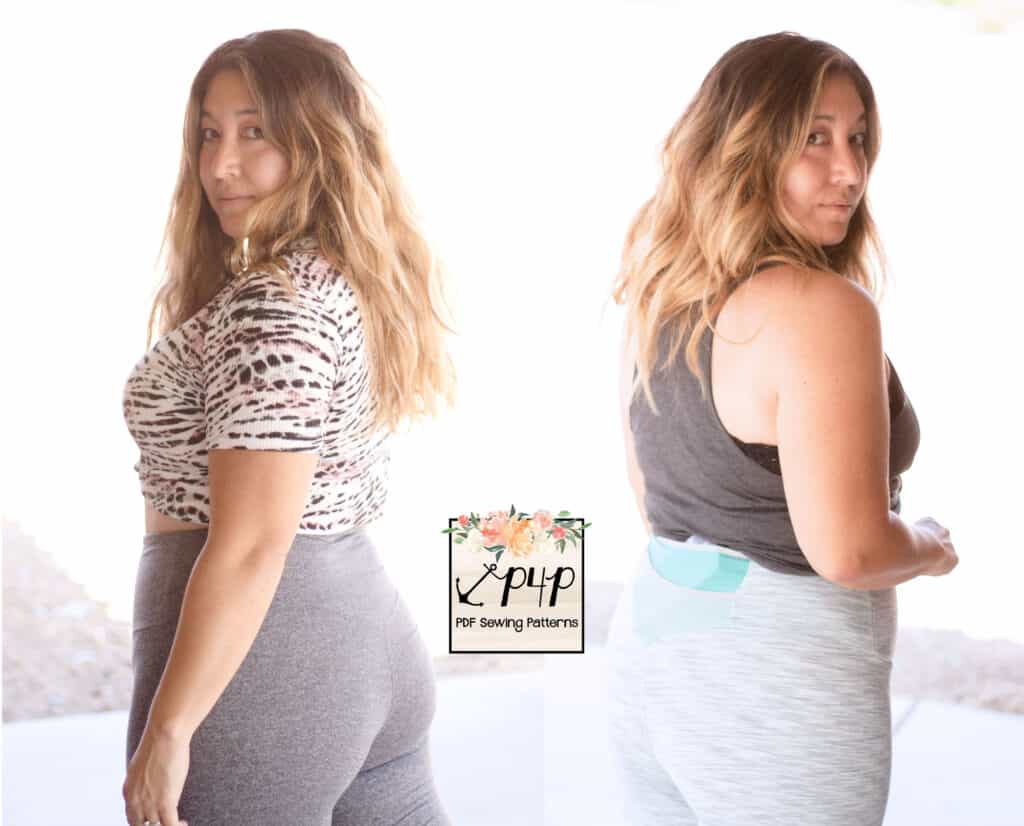
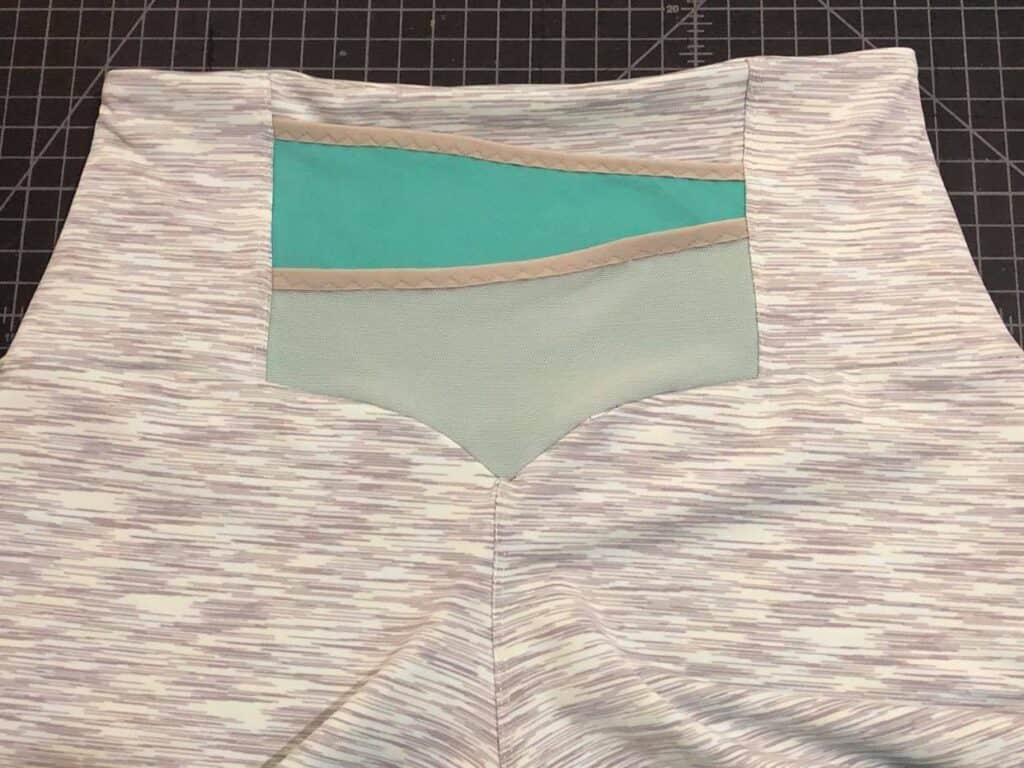
So you love the new contoured waistband of the colorblock pack, but want to keep the legs quick and simple?  Here’s the hack on how to use the original Peg Legs with the new colorblock pack waistband.  You can use either the plain contoured waistband or with all the fun pockets too. 

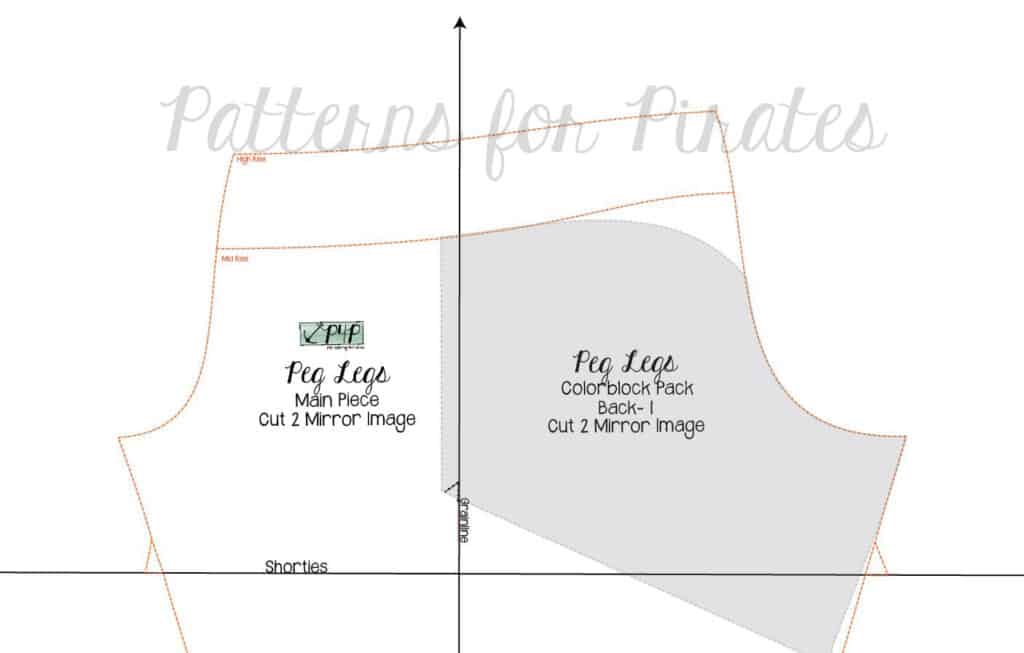
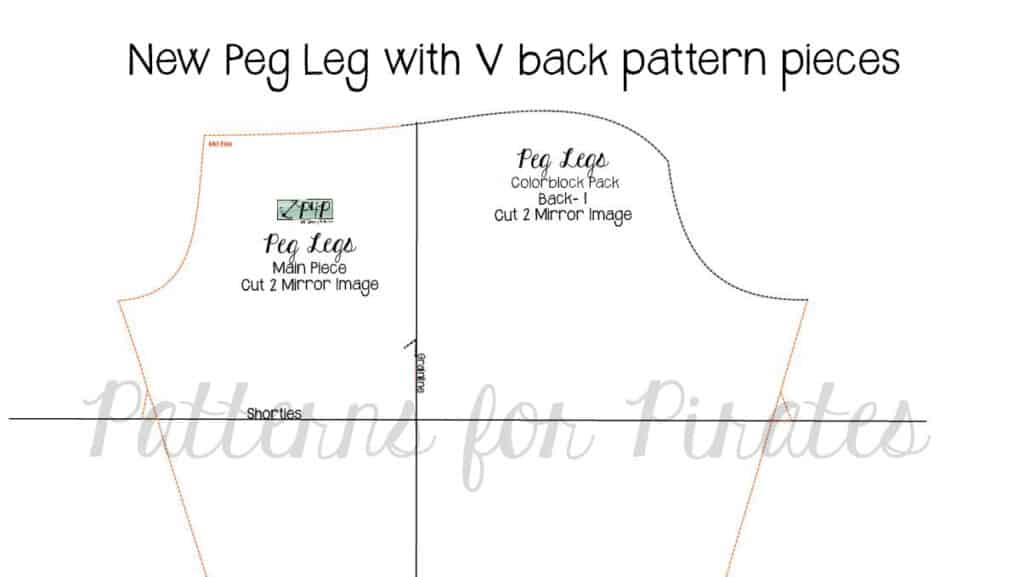
First, assemble the original Peg Legs pattern and Colorblock pack. You will only need the Colorblock Pack Back – 1 Piece.  Aligning at the back rise and crotch curve, place back colorblock piece on the original Peg Legs pattern piece.  Note, the pattern piece should align at the mid-rise cutline as the contoured waistband is drafted to fit the lower rise and finish high rise at the natural waist.  


Trim the original Peg Leg pattern piece back rise or re-trace to create your new Peg Legs pattern piece. 


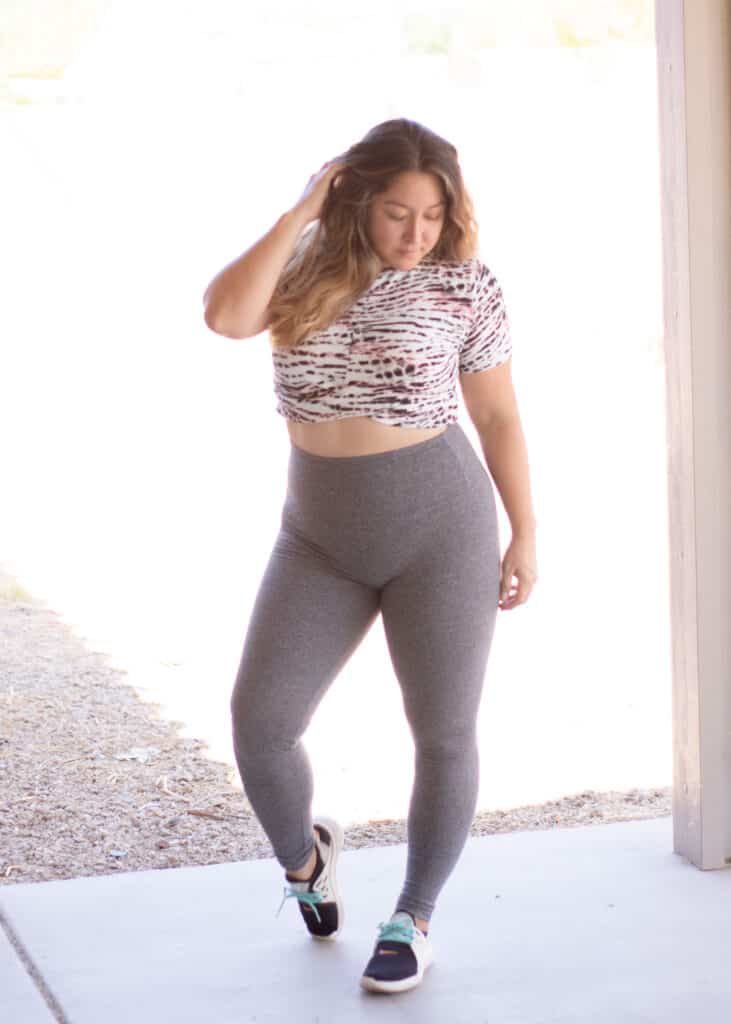
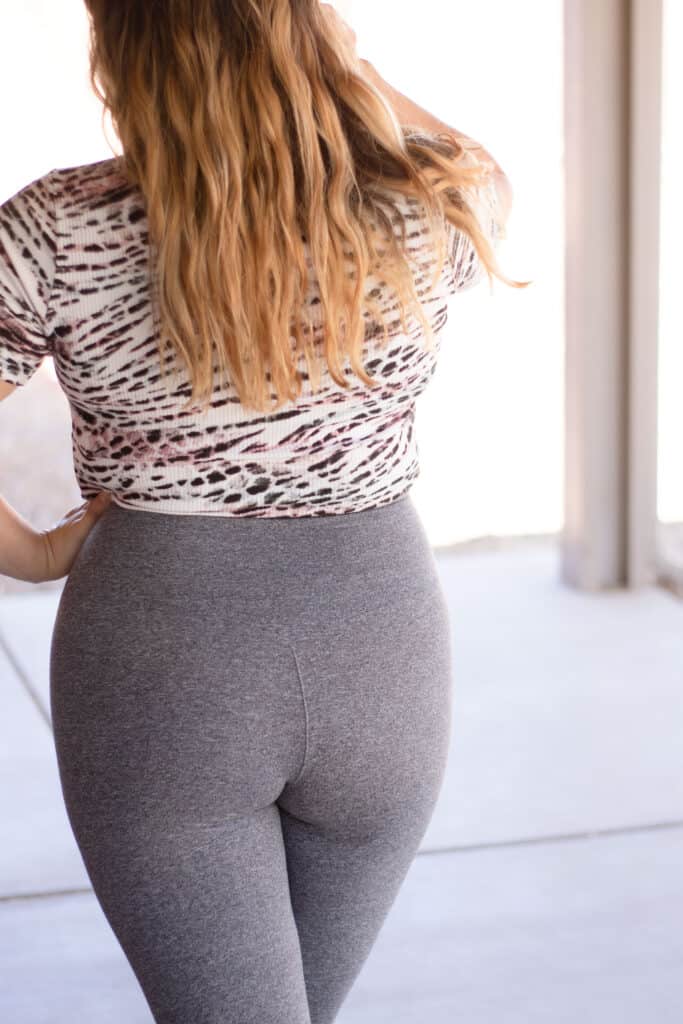
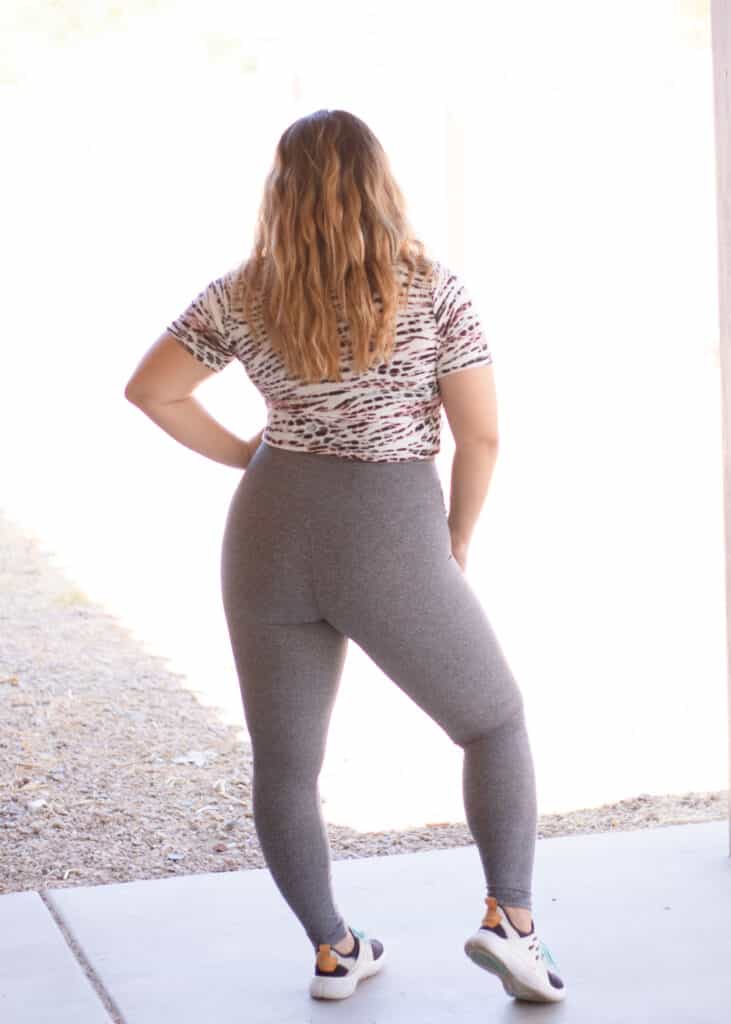
Cut and assemble the legs as per the original Peg Leg instructions and using the waistband instructions from the colorblock pack. I used the back pocket option and our FOE hack for the version shown below. 


Easy right?!? Now you can add an extra style of leggings to your closet.  I especially love how the V back fits with the booty 😉 Don’t forget to share your version, we’d love to see all your Pegs!

Here are some links to all of our FREE leggings patterns, so you can get to sewing!

PEG LEGS | PEG LEGS – ADD-ON PACK | PEG LEGS – COLORBLOCK PACK

But wait!  There’s more!  We’ve got a giveaway prize to tell you about!  Sponsoring today’s portion of The Peg Event is a fabulous fabric company!

SO SEW ENGLISH FABRICS – https://sosewenglishfabrics.com/
INSTAGRAM | FACEBOOK GROUP

By offering a diverse mix of quality and affordable fabrics, So Sew English strives to inspire creativity and make the dream of self-made fashion a reality for everyone. A few of their most popular fall leggings fabrics are their Bamboo Spandex French Terry, their Jean Denim Cotton Spandex French Terry and of course their Double Brushed Poly.
 
One lucky winner will be walking away with a $75 gift card.  And on top of that, SSE is having a 20% off site-wide Labor Day Sale that ends tonight 9/9 at 11:59pm PDT. *some exclusions apply.  Use code: LABORDAY

**Daily and Grand Prize winners will all be announced together on Sunday, September 13.


Filed Under: Contest/Giveaway, Pattern Hacks Leave a Comment

X Factor Sew Along – day 7

September 1, 2020

Congratulations to all participants in this month’s sew along. You are all winners in my book!  We absolutely loved seeing all the X Factor crop and dresses made last week. Without further ado…

Our first winner is Jeanne T Weidner! Jeanne won a $20 gift card from Patterns for Pirates and a $25 one to Mily Mae Fabrics. The X Factor was Jeanne’s first sew along and she did fantastic! 


Congratulations go out to Kaitlin Schwartz too! Kaitlin will receive a $20 gift card for Made for Mermaids and a $25 store credit to Milly Mae Fabrics. Her little girl just shines in her mini X Factor dress. 


A huge THANK YOU to our sponsor, Mily Mae Fabrics who set our winners up with store credit and provided the gorgeous bamboo Lycra I used during the videos. You too can grab some here.


September is Mermaids month in the M4M & P4P Sew Along group. Colleen will be announcing which pattern we will be sewing together this month. 

X Factor SAL | day 1

X Factor SAL | day 2

X Factor SAL | day 3

X Factor SAL | day 4

X Factor SAL | day 5

X Factor SAL | day 6

X Factor SAL | day 7

Filed Under: Frequently Asked Questions, Sew-A-Long, Uncategorized Leave a Comment

X Factor Sew Along – day 6

August 29, 2020

Last sewing day is here…and it’s probably the most rewarding one. Today we will get to see the project come to life. For the crop option you will be attaching the band to the bodice matching the side seams. Keep in mind that it is much easier to sew a couple of inches on each side of the center seam with your sewing machine (using a stretch stitch!) than it is to sew all around the waist with only the serger. If you are sewing the dress option, you would need to make sure that the waistband is sandwiched between the skirt and the bodice, right sides together. 

Last steps of this sew along are hemming the sleeves and skirt. If you did the crop tank, you are already done. The sleeves are hemmed 1/2″. Did you make your memory hem a few days ago? Well now it comes in handy. The skirt is hemmed 1″ while the sleeves are hemmed 1/2″. In the video below you can see how I finish the dress option including the 1″ hem.


Thank you so much for joining us this week. We loved watching your creations come to life! Don’t forget to post your final photo in the comments of day 6 check in picture of the sew along album. We will pick two winners and announce them here on the blog Monday evening or Tuesday. 


X Factor SAL | day 1

X Factor SAL | day 2

X Factor SAL | day 3

X Factor SAL | day 4

X Factor SAL | day 5

X Factor SAL | day 6

X Factor SAL | day 7

Filed Under: Frequently Asked Questions, Sew-A-Long, Uncategorized Leave a Comment

X Factor Sew Along – day 5

August 28, 2020

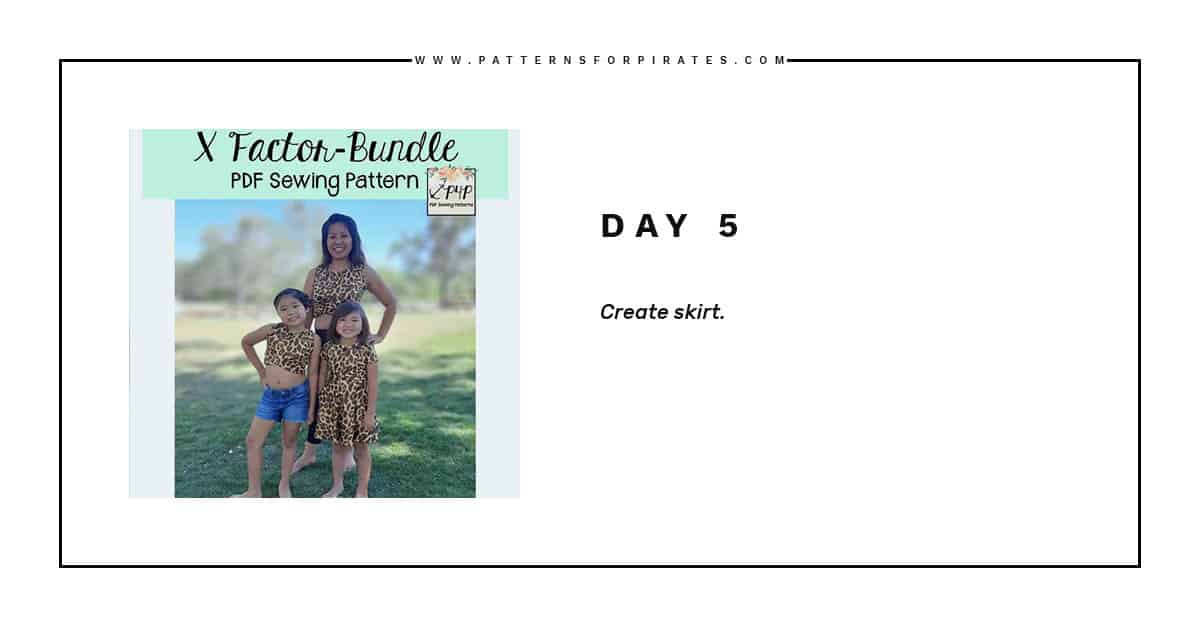
Welcome to day 5 of our X Factor sew along! Today we create the skirt by adding the optional pockets and sewing the side seams. If you are making the crop top style, today is a rest or catch up day. No need for any check in pictures.

You might have noticed in the first video of this sew along that I added the pockets to my pattern piece (removing the seam allowance) so I will not have to stitch them. One less step 😉 In the video below I show you how I use my serger to sew the side seams instead of a combination of sewing machine and serger. Both methods work great so chose the one you are more comfortable.

Reminder: the patten includes two links to complete sew ups of the X Factor so you can also follow Judy’s method of sewing the side seams when the skirt has pockets. And why would you even consider skipping the pockets? 😊

If you are doing the dress option, check in for day 5 in the comment of today’s photo of the sew along album. See you back here tomorrow for the final steps!  


X Factor SAL | day 1

X Factor SAL | day 2

X Factor SAL | day 3

X Factor SAL | day 4

X Factor SAL | day 5

X Factor SAL | day 6

X Factor SAL | day 7

Filed Under: Frequently Asked Questions, Sew-A-Long, Uncategorized Leave a Comment

X Factor Sew Along – day 4

August 27, 2020

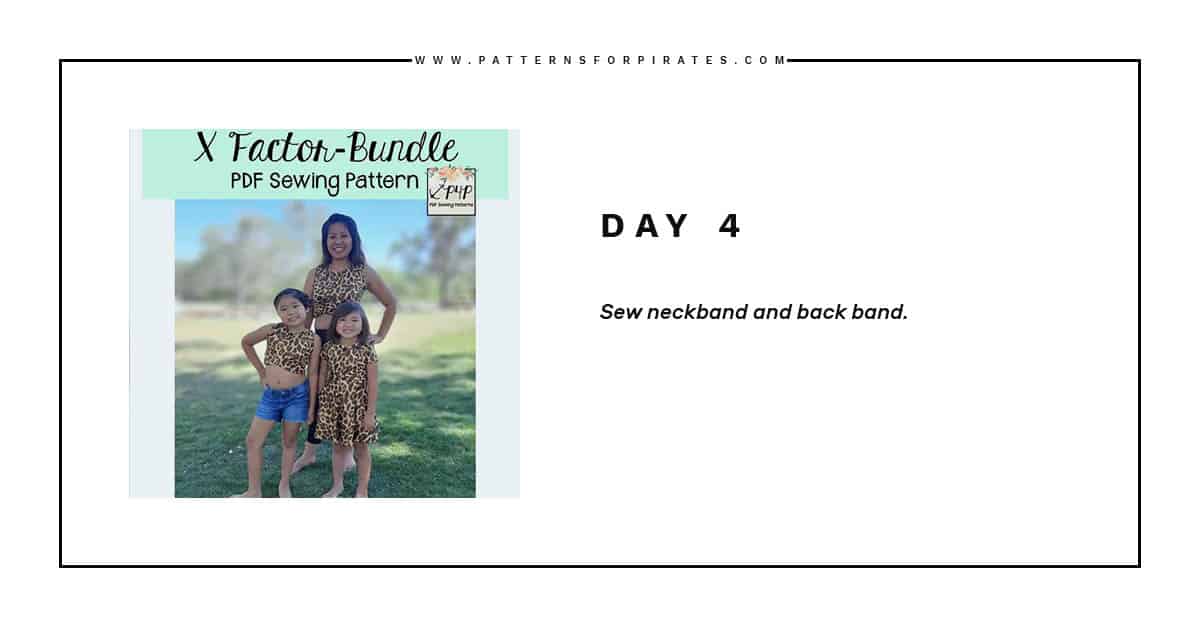
Day 4 is here! Today we add the neckband and the back band.  If you are new to sewing with knits or simply would like a refresher, take a look over our P4P University Neckbands 101 blog post. This blog shows you how to create the crew neck.  The most important thing to keep in ming when creating and adding the crew neckband is to press, press, press! 

In the Day 4 video below I walk you through creating and adding the V neckband. This is a slightly different way of creating the neckband than I showed in the P4P University V neckband blog. This time we will overlap the ends creating the V point that way. I highly encourage you to add the V part of the neckline with the sewing machine, instead of a serger. It will make for a more precise stitch and a neater look.

Last step is to stitch the back band to the front one. Keep in mind that the front band is attached to the bodice. Overlap the parts that will become the waistband one time (doesn’t matter if you overlap left on top of right or vice versa).  With the right sides together sew the side seams of the band following the 1/2″ seam allowance. 

Don’t forget to add your check in photo to the comments of Day 4 in the X Factor sew along album. See you back here tomorrow! 


X Factor SAL | day 1

X Factor SAL | day 2

X Factor SAL | day 3

X Factor SAL | day 4

X Factor SAL | day 5

X Factor SAL | day 6

X Factor SAL | day 7

Filed Under: Frequently Asked Questions, Sew-A-Long, Uncategorized Leave a Comment

  • « Previous Page
  • 1
  • …
  • 5
  • 6
  • 7
  • 8
  • 9
  • …
  • 23
  • Next Page »

connect with me

  • Email
  • Facebook
  • Instagram
  • Pinterest
  • YouTube
Privacy & Cookies: This site uses cookies. By continuing to use this website, you agree to their use.

To find out more, including how to control cookies, see here: Cookie Policy
  • Privacy Policy
  • Refund Policy
  • Contact Us
  • About

Copyright © 2026 Patterns for Pirates

Copyright © 2026 · Genesis Framework · WordPress · Log in