Ahoy, matey! Welcome to the mid day of our Sunflower sew along. Today is the fastest sewing day so it makes a good opportunity to catch up on past days, start a second swim top or join us if you still haven’t started.
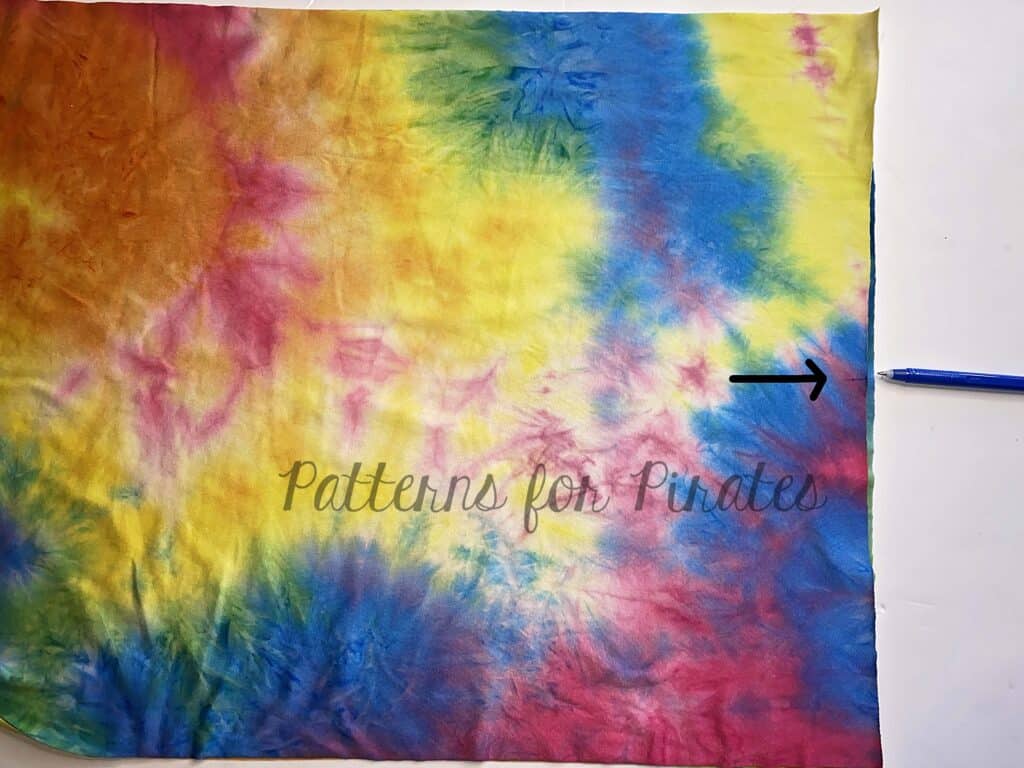
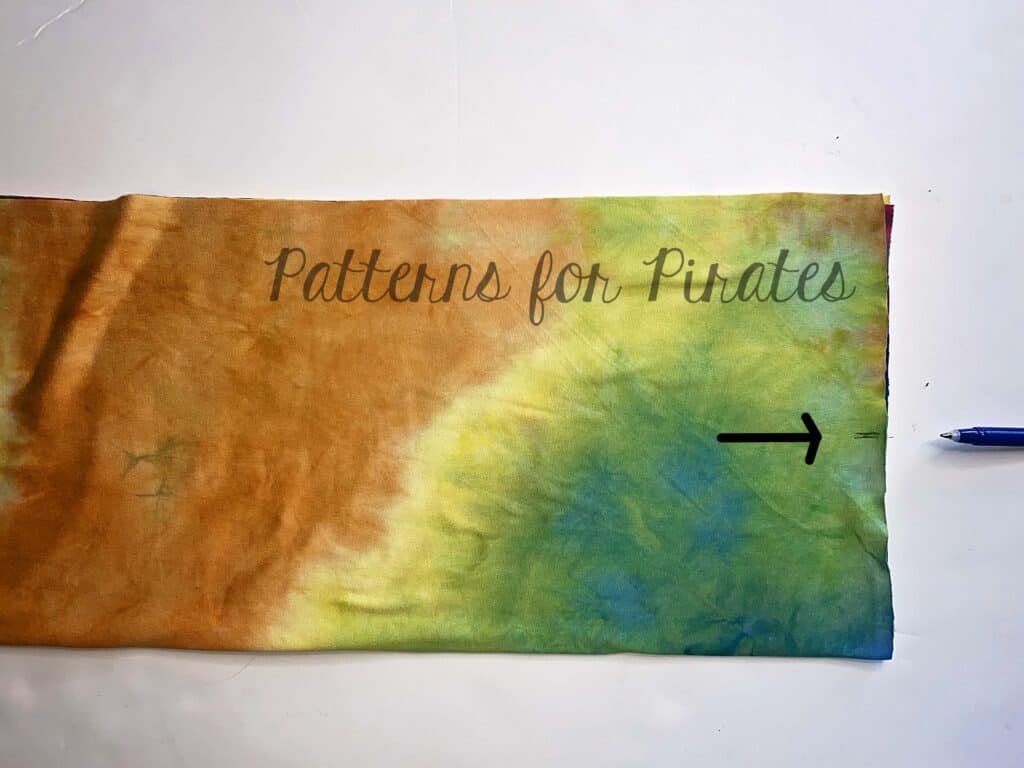
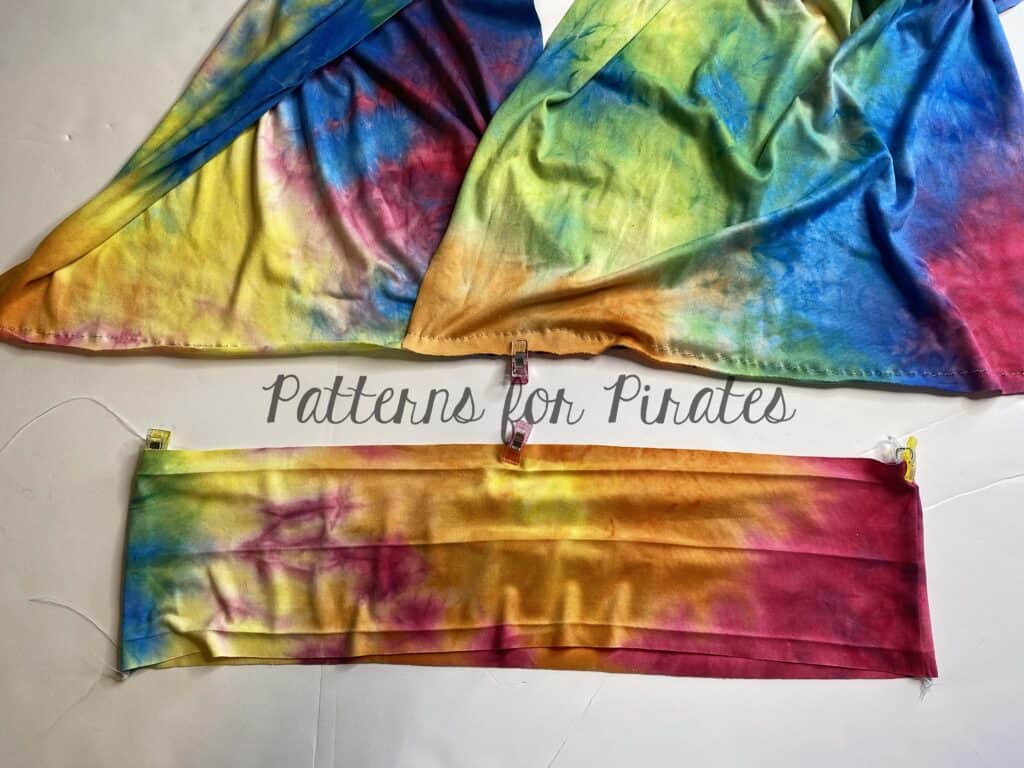
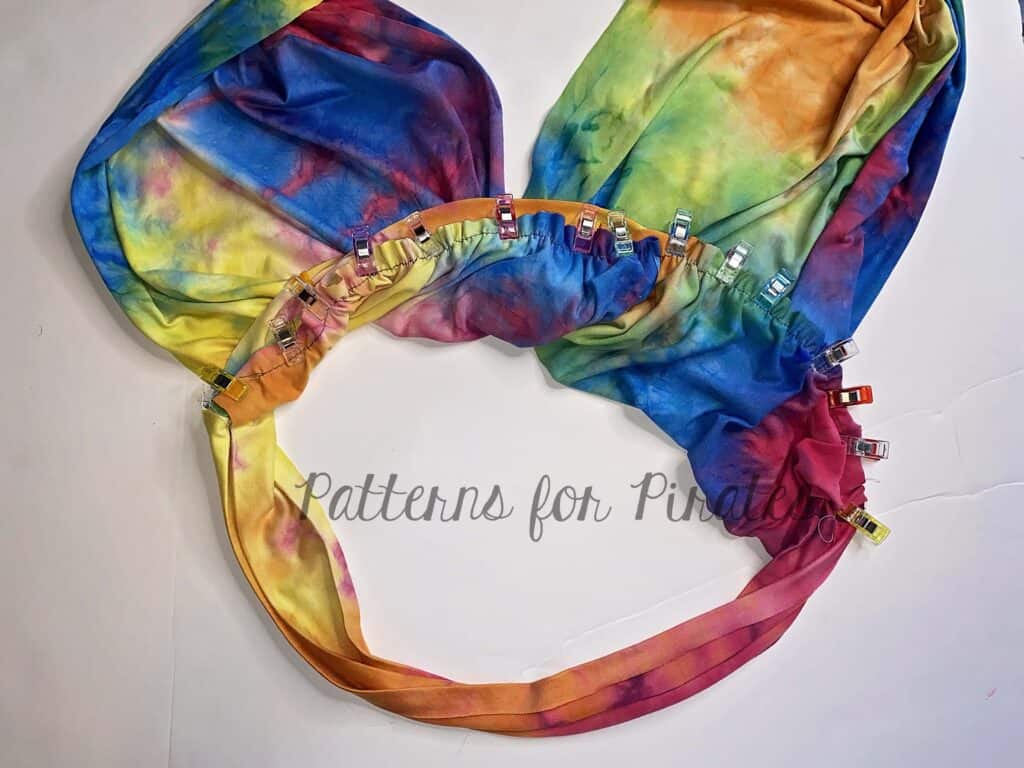
First off we need to baste or pin in place the front straps. If you are sewing the halter top, you’ll pin the straps 1.25″ away from each side. If you did the scoop neckline (like me) then you are centering the straps in the pick ups. Once the front straps are basted in place, stitch the back side too. You are only sewing in the back straps for the closed back style.
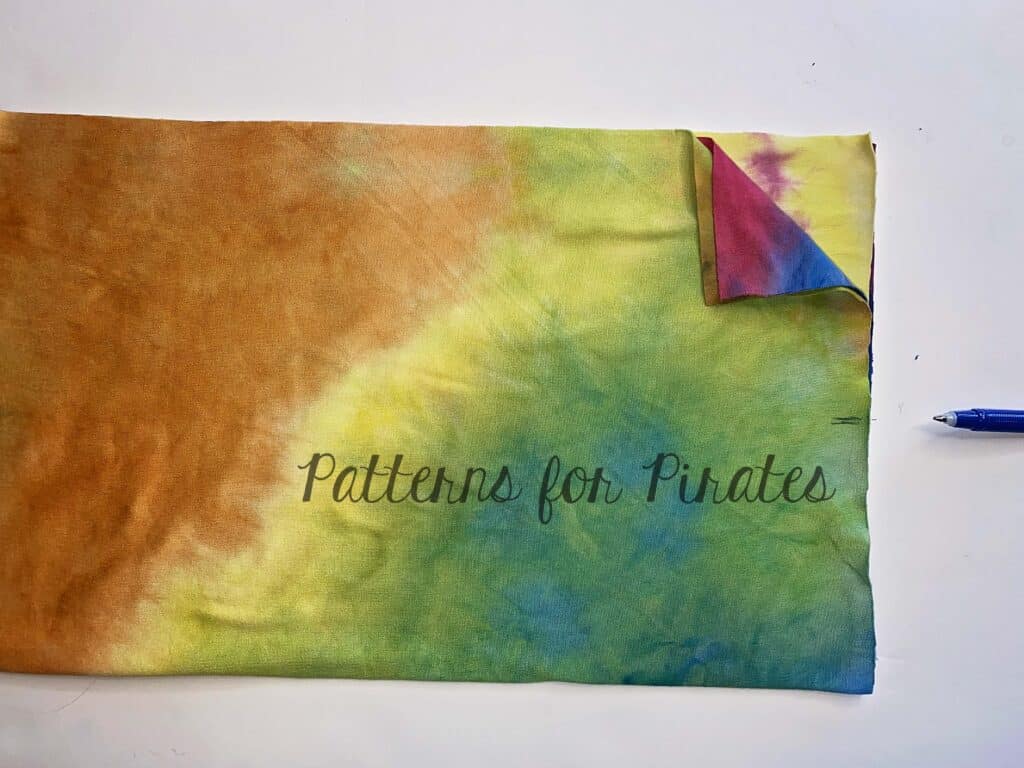
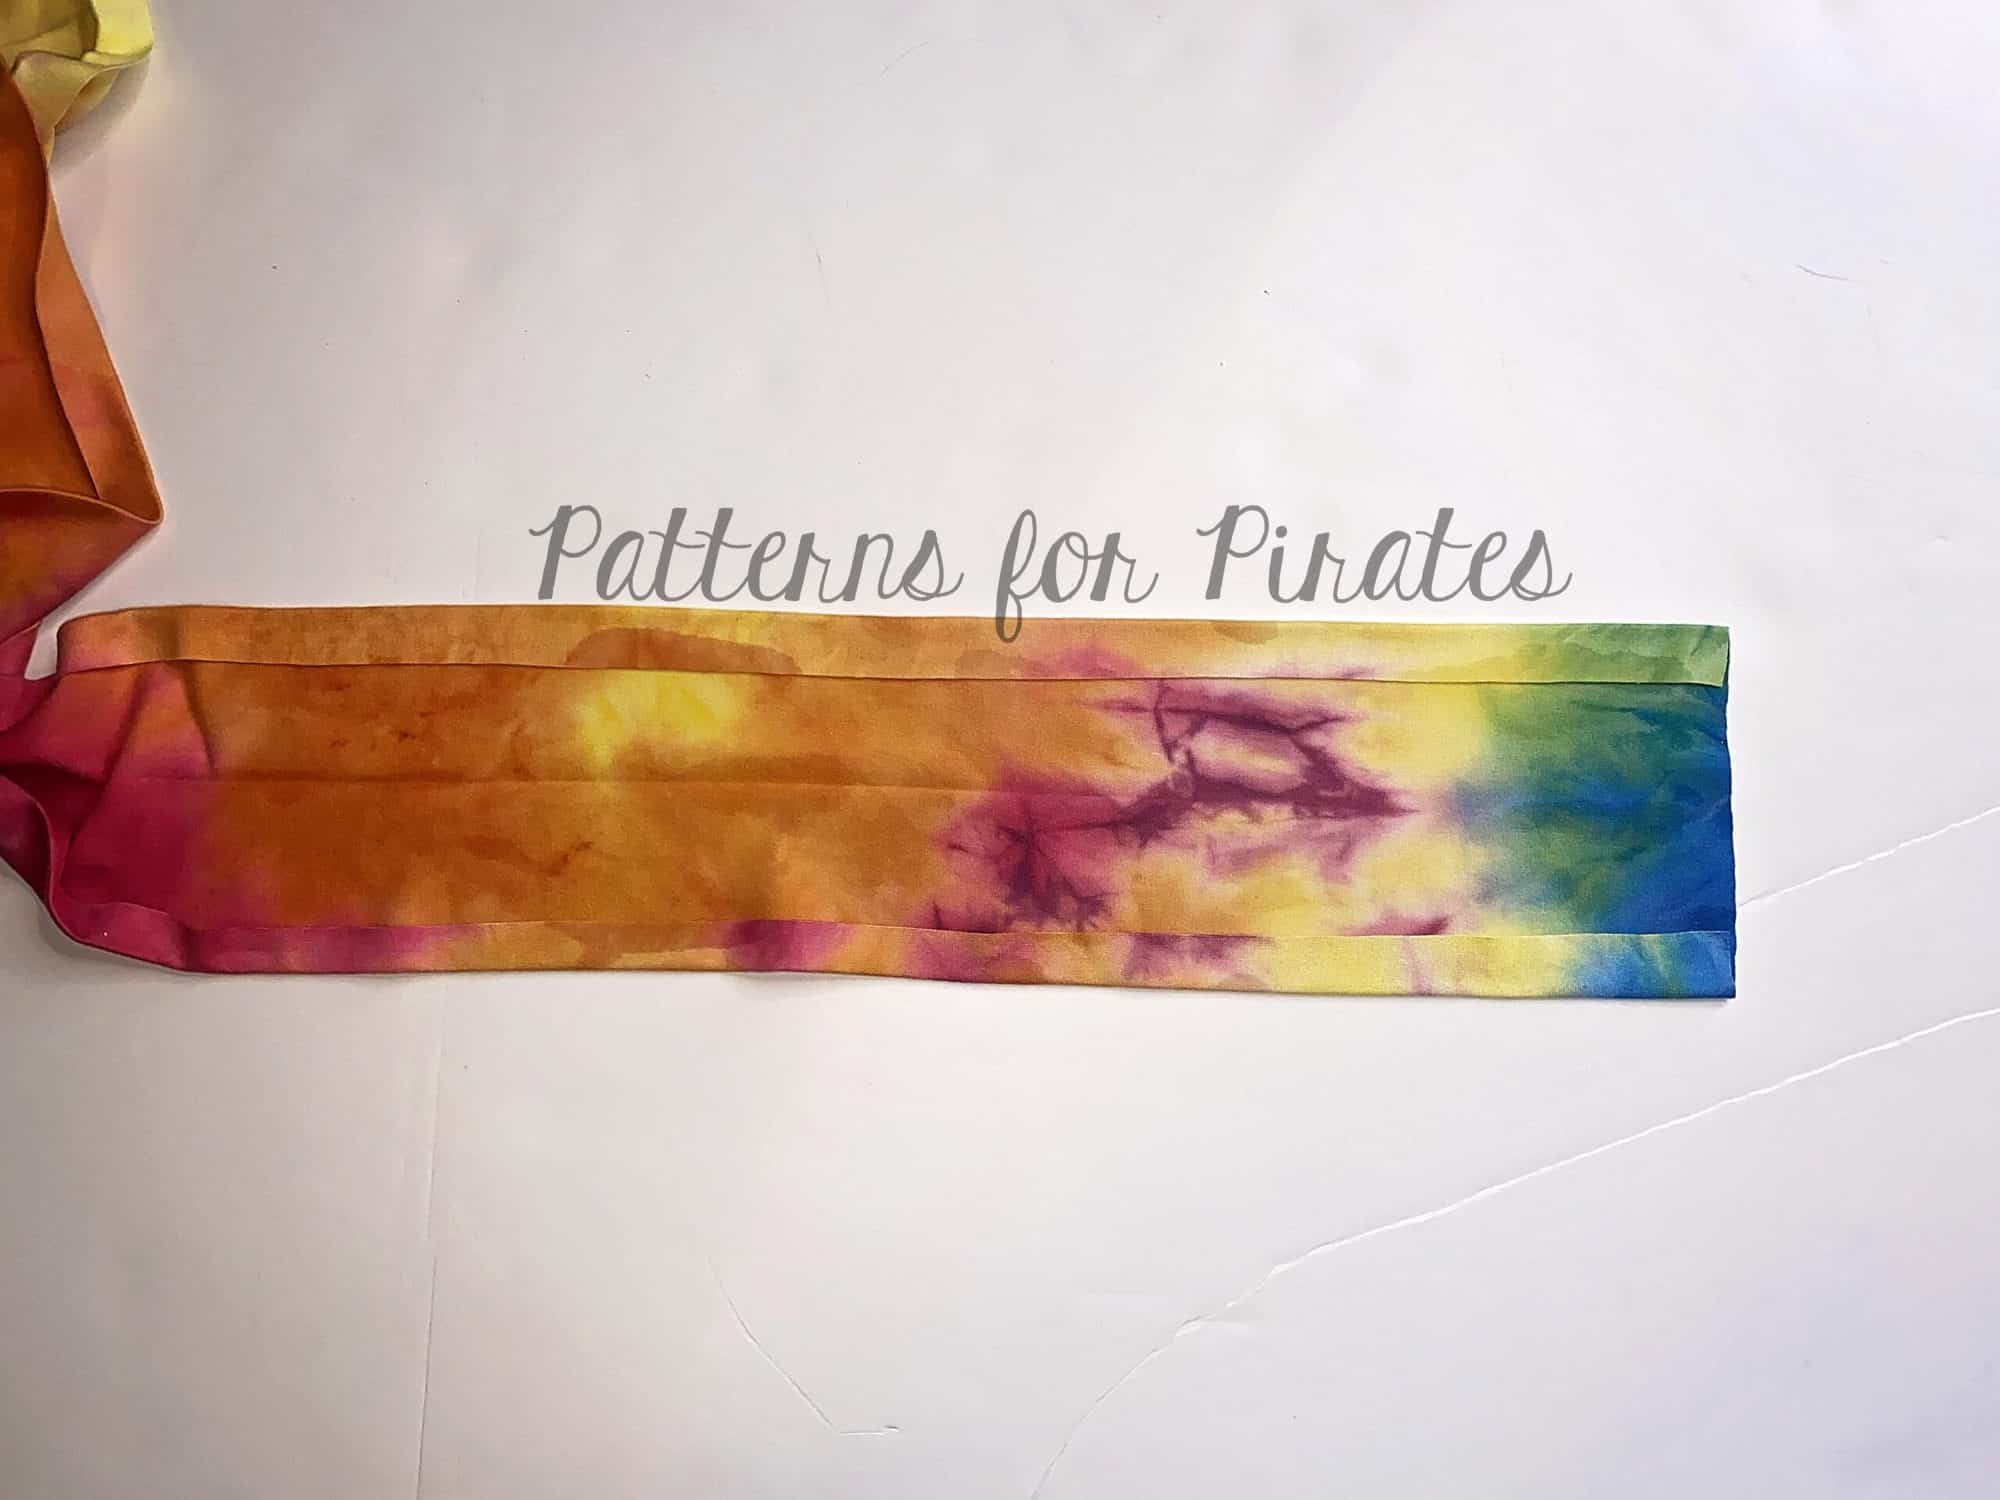
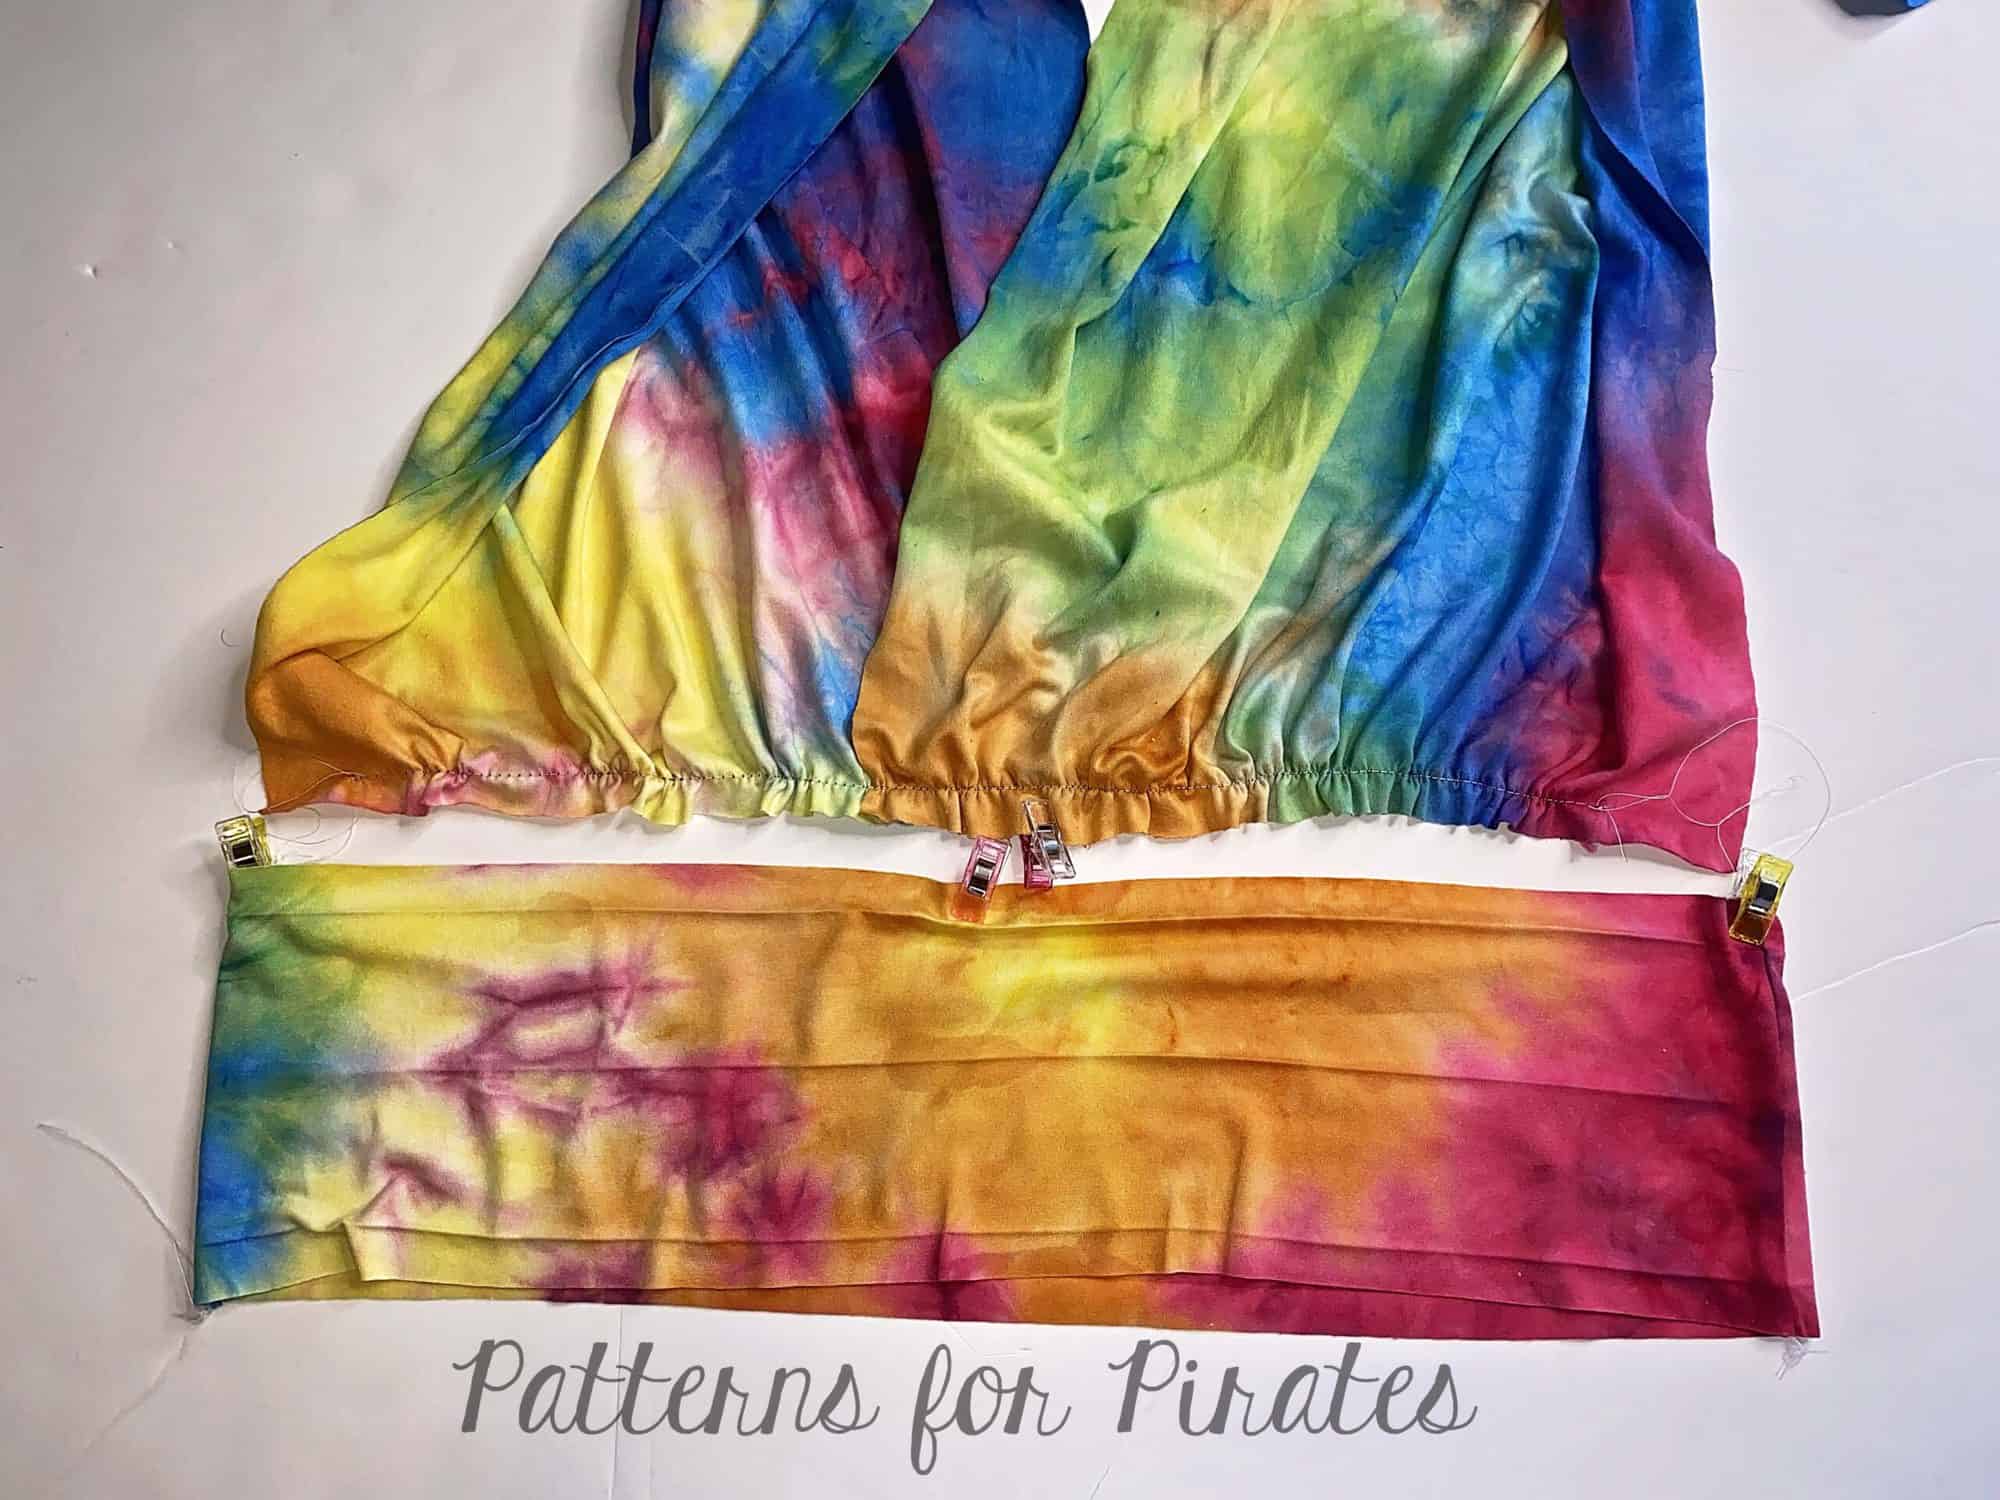
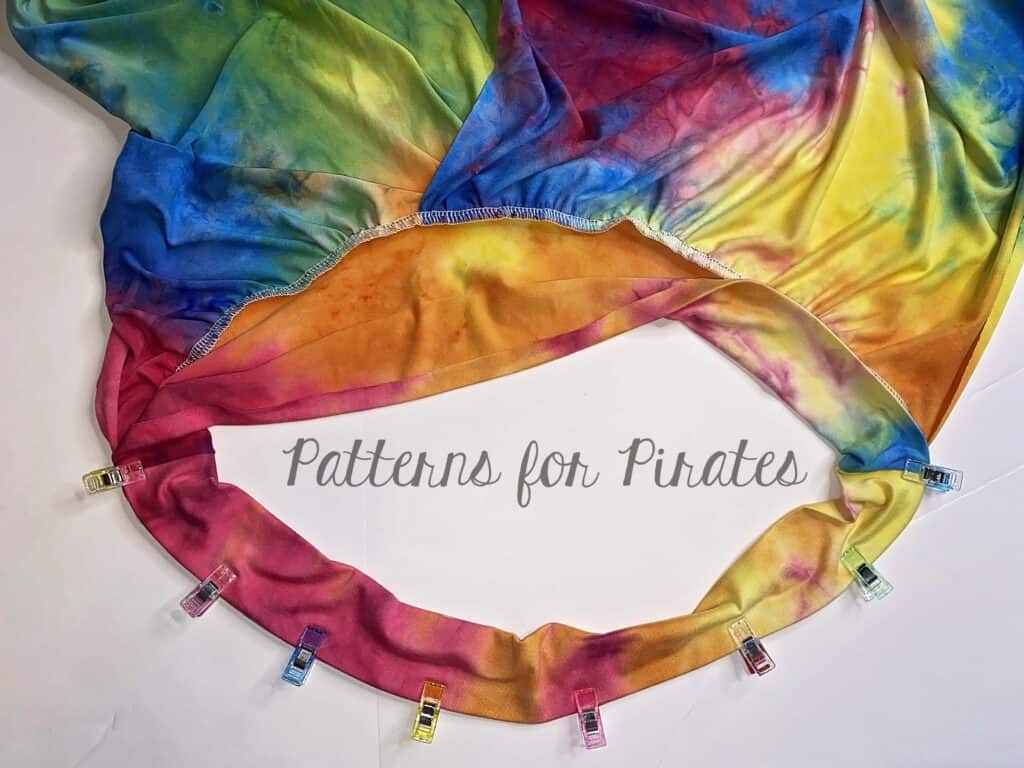
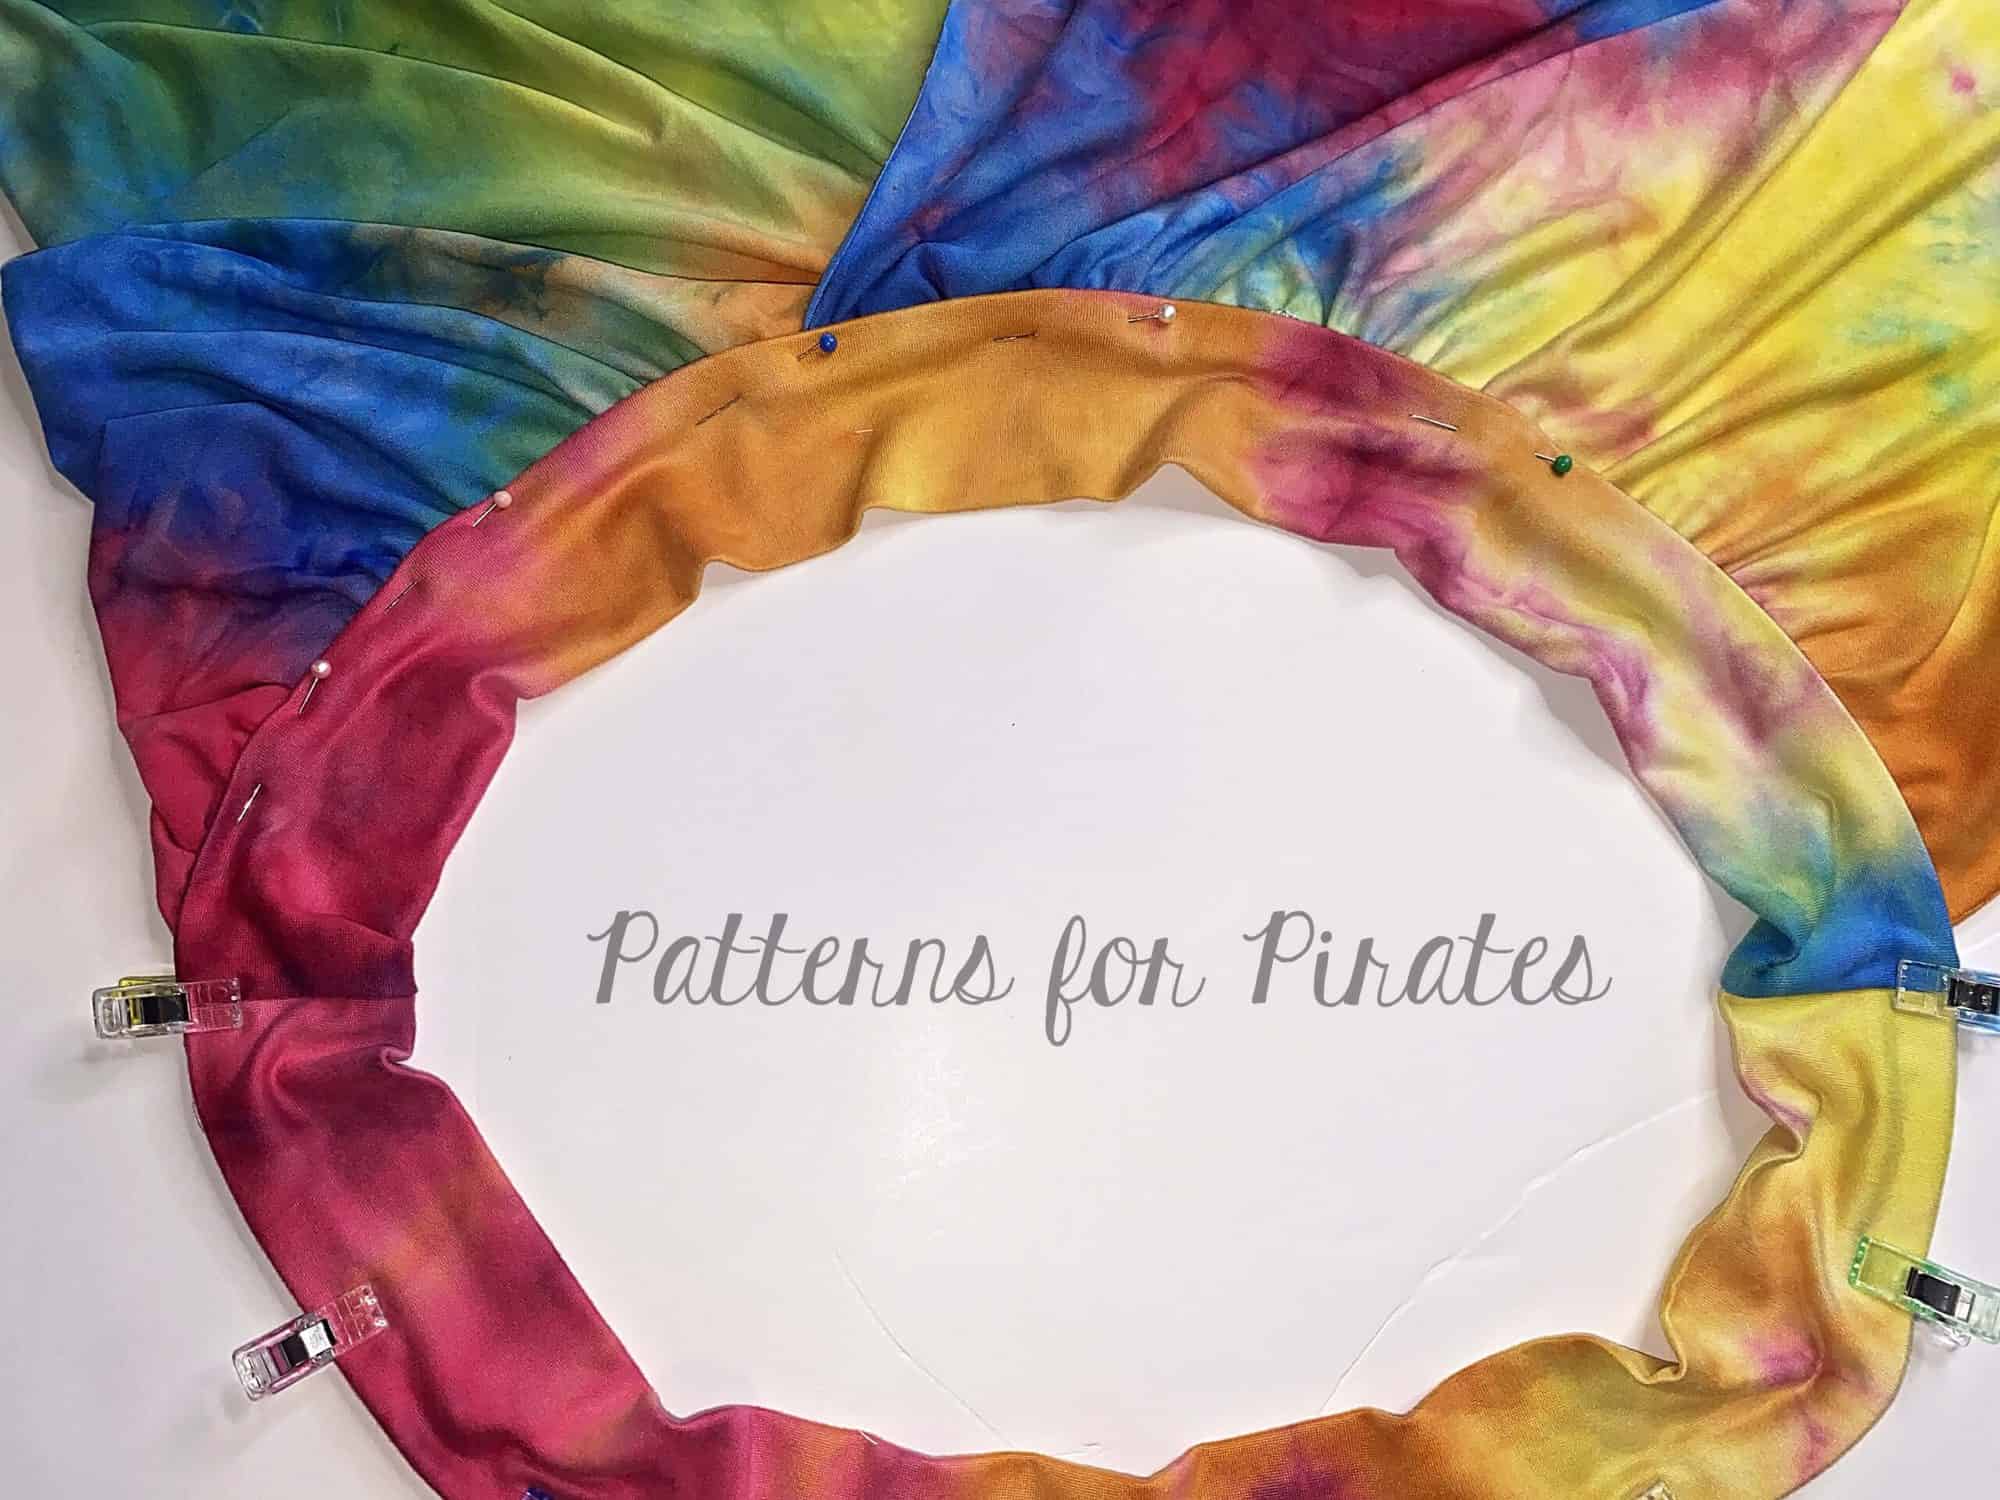
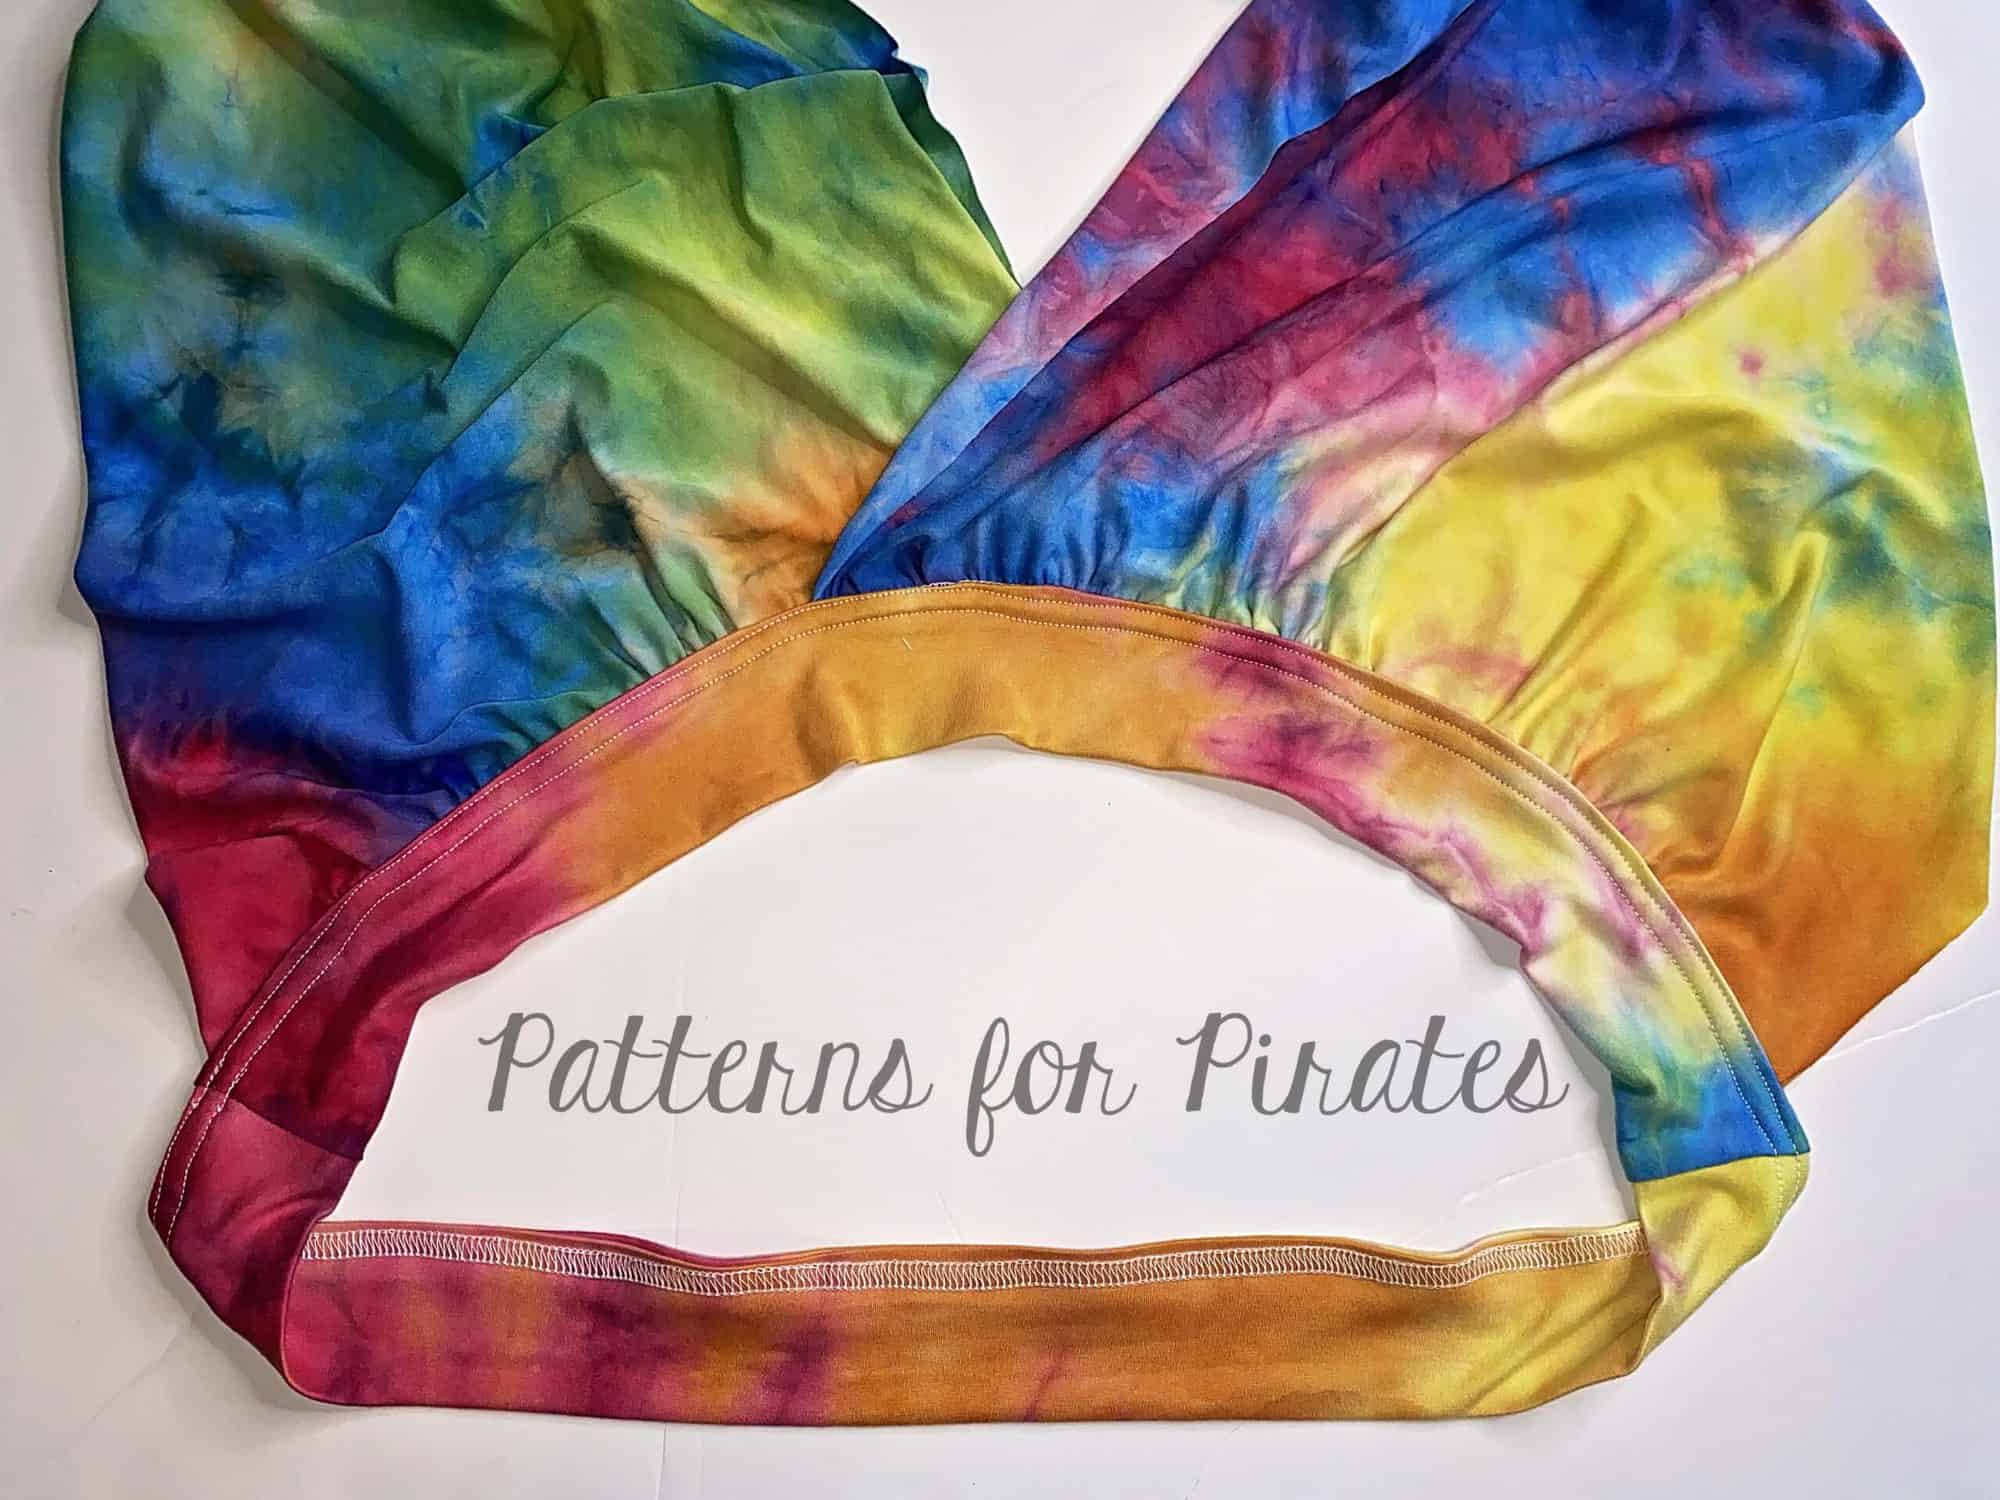
Place your lining and your main right sides together making sure that the straps are out of the way. Stitch along the top ONLY for now. For the closed back option, you are all done. If you are creating the open back then you will also need to stitch around the 4 “C” curves at the back.
You can see in day 4 video below how I attach the lining to my scoop neck, open back Sunflower swim top. Once you finish today’s steps, post a picture of your progress in the comments of day 4 photo of the Sunflower Sew Along album. See you back here tomorrow!
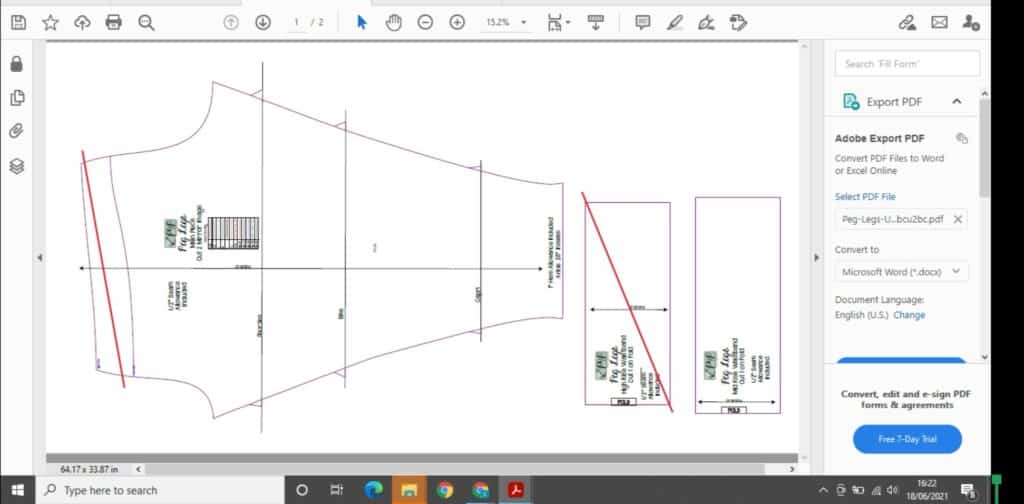
Sunflower Swim Top SAL day 1 | Cut fabric
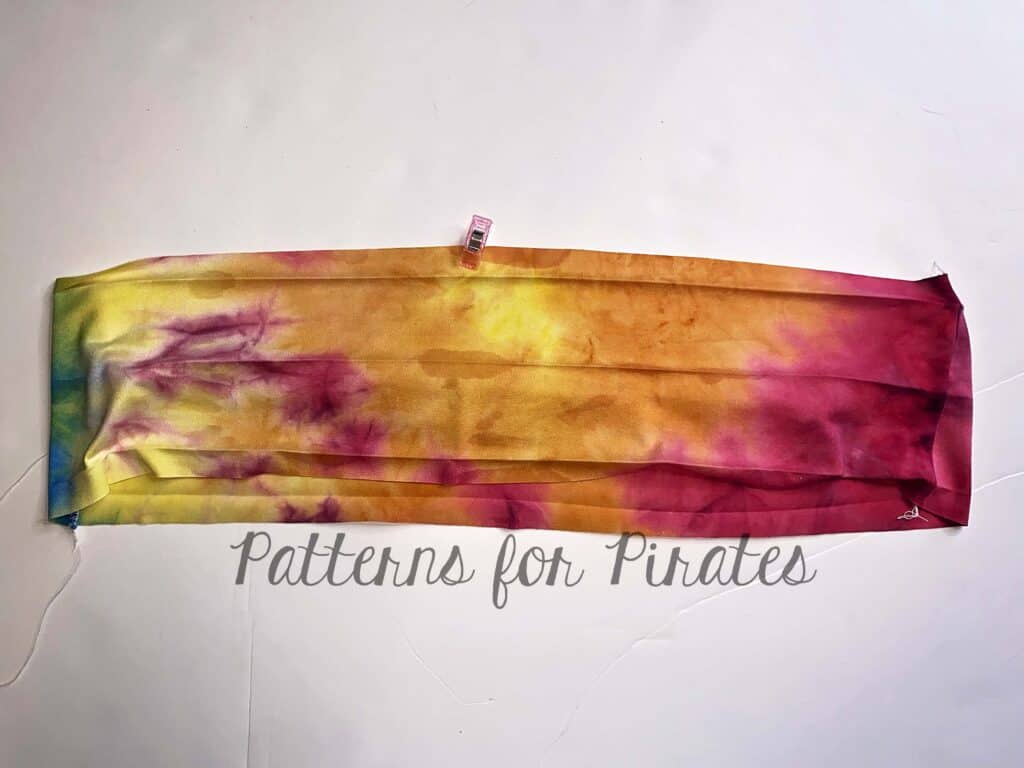
Sunflower Swim Top SAL day 2 | Shelf bra
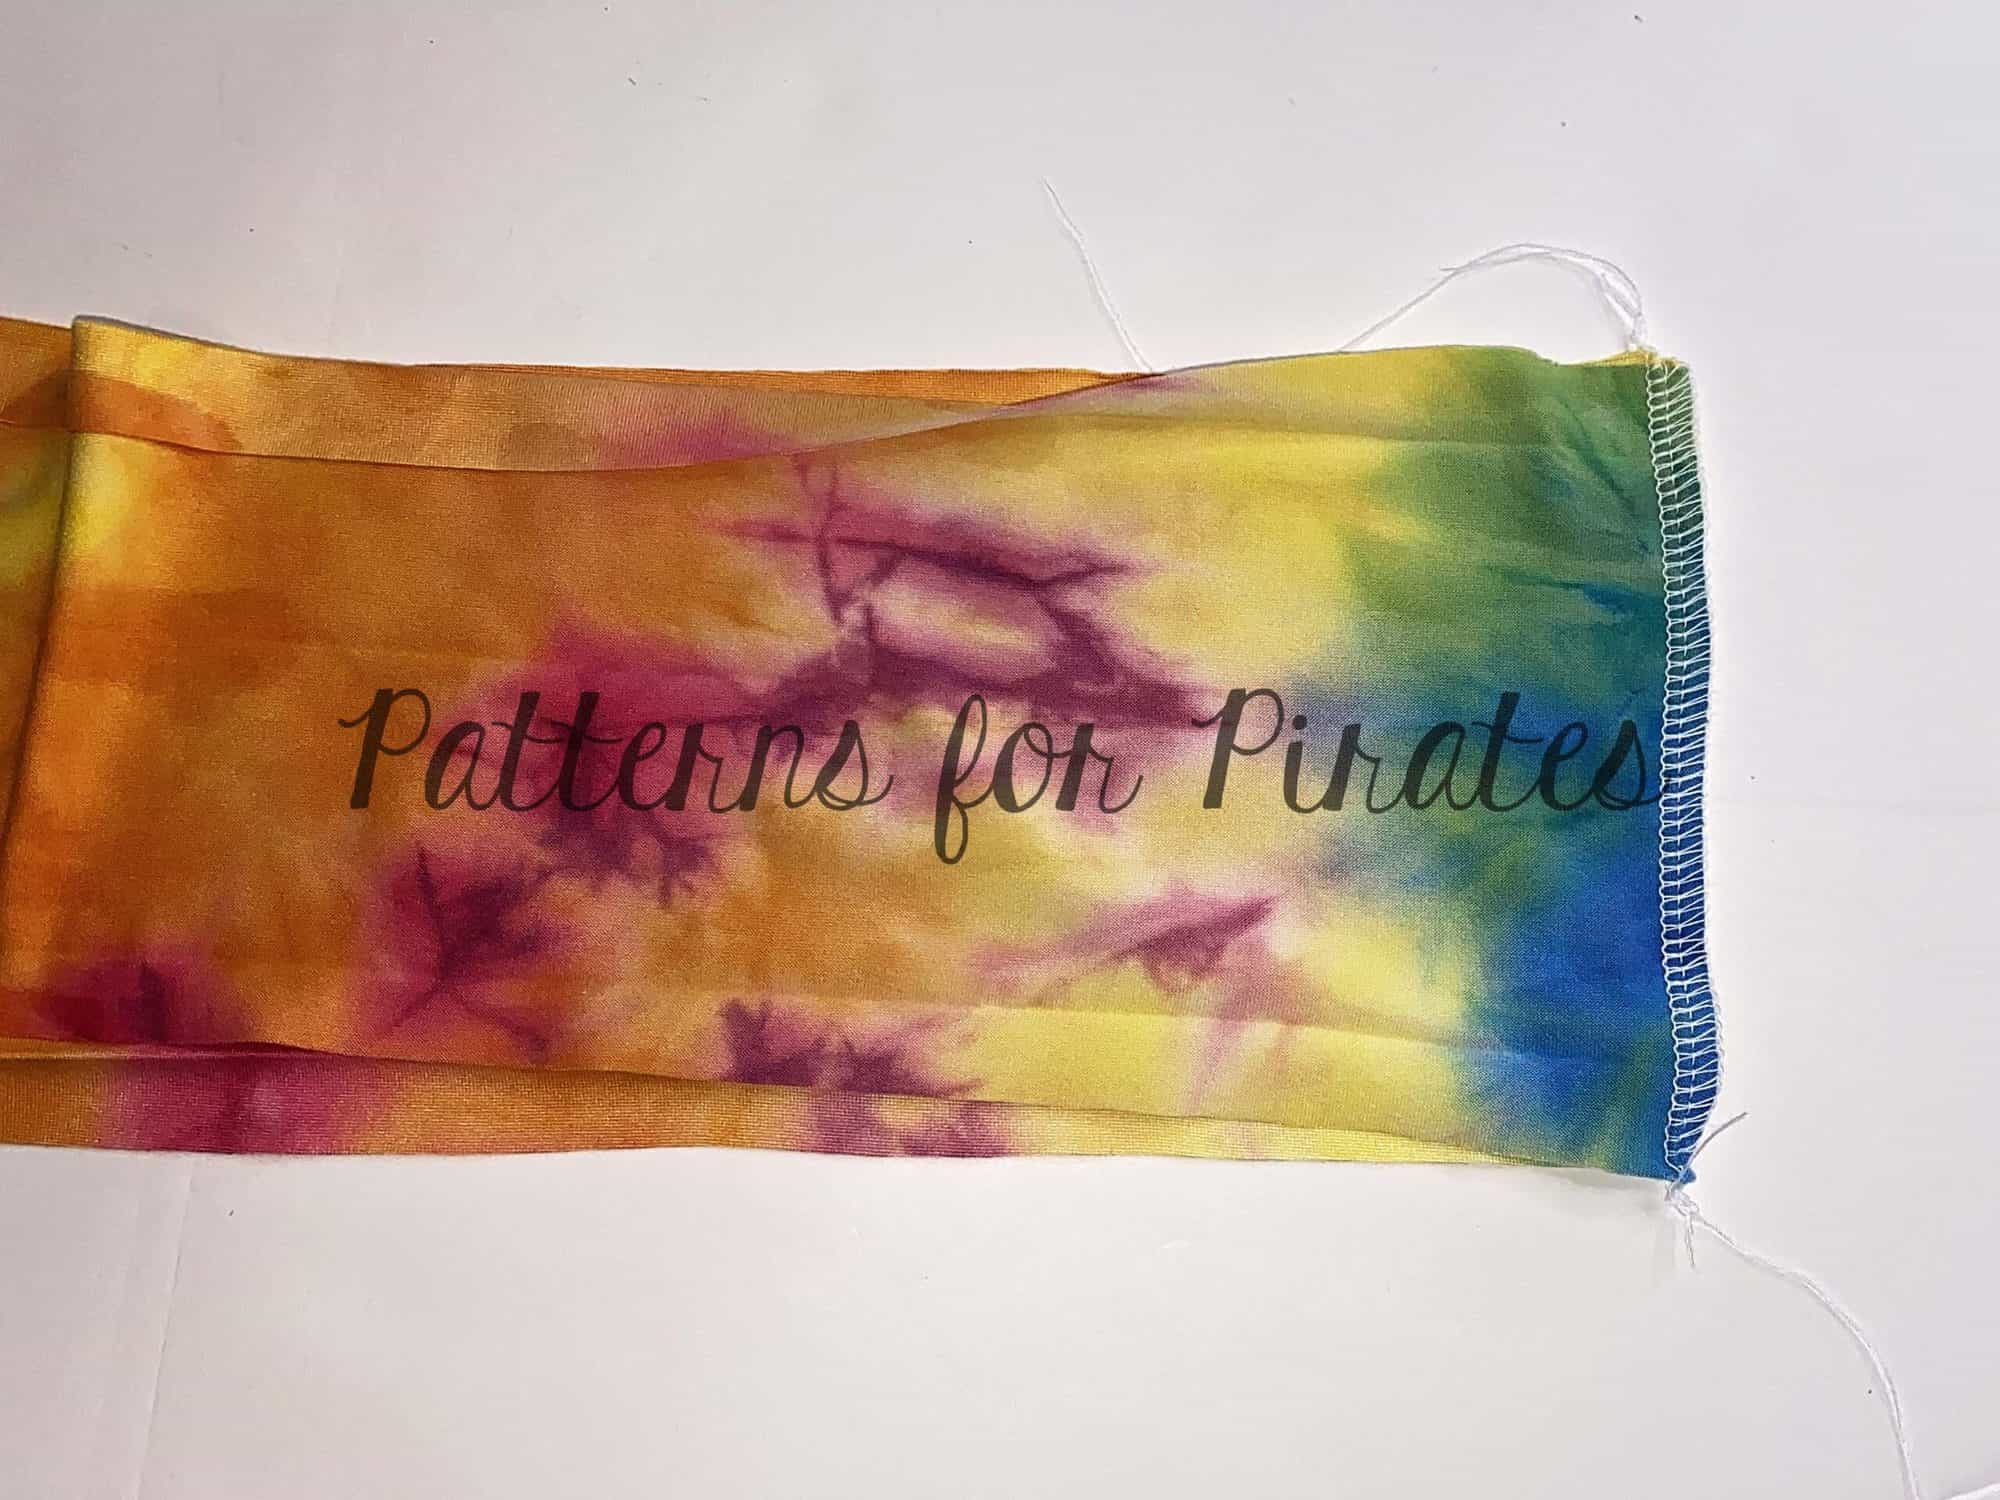
Sunflower Swim Top SAL day 3 | Straps and side seams
Sunflower Swim Top SAL day 4 | Attach lining
Sunflower Swim Top SAL day 5 | Neckline and elastics
Sunflower Swim Top SAL day 6 | Add ruffle/hem and finish swim top
Sunflower Swim Top SAL day 7 | Winners announcement