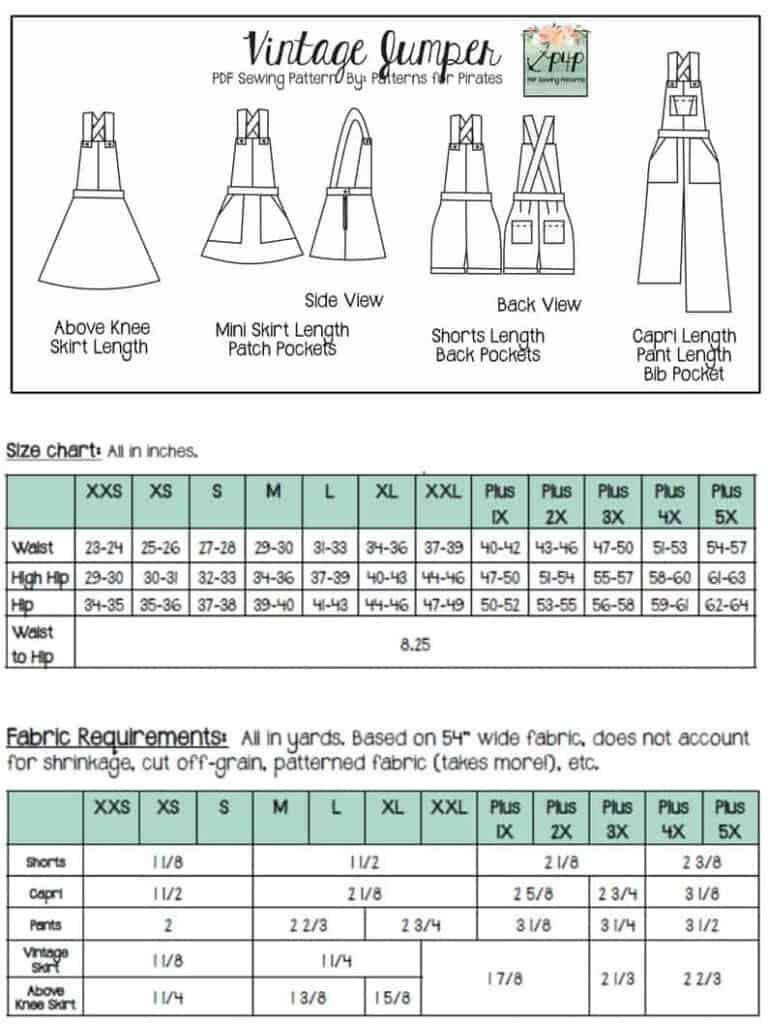
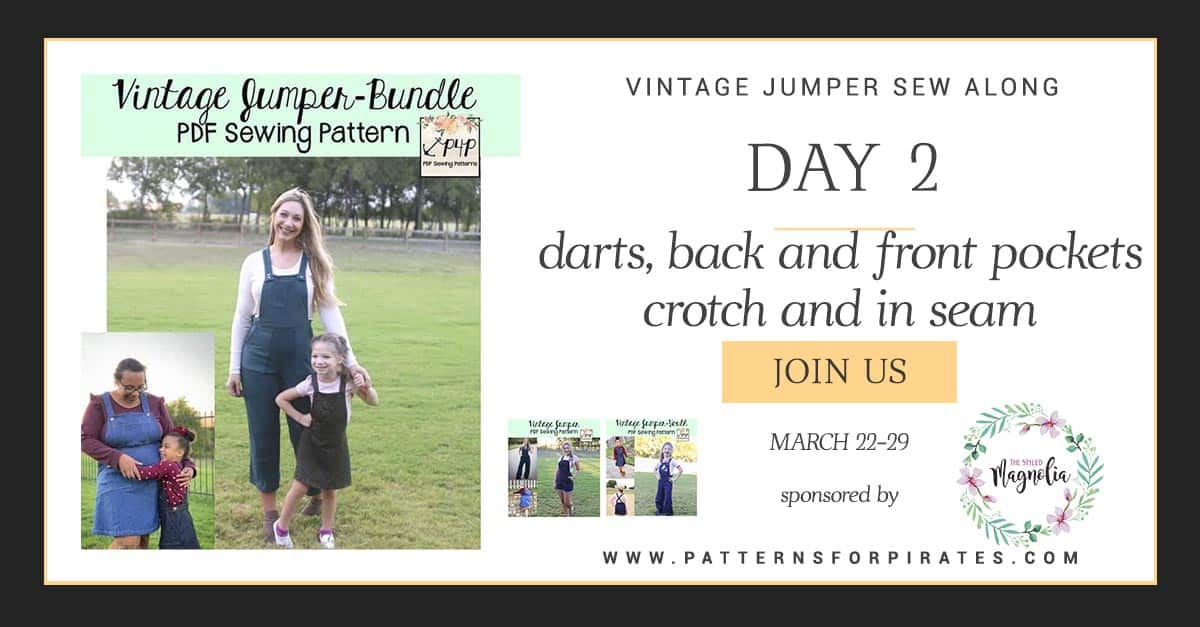
Patterns for Pirates

P4P stylish, modern, wearable patterns

  • Home
  • Blog
    • Frequently Asked Questions
    • Pattern Releases
      • Free Patterns
    • P4P University
      • Fitting
      • Sewing with Stretch, Knit Fabrics
      • Sewing with Woven Fabrics
      • Sewing Machines
    • Sew-A-Longs
    • Fabric for Pirates
    • Pattern Hacks
    • Announcement
      • Blog Tours
      • Contest/Giveaway
  • Shop
  • Bundle Discounts
  • Flash Friday
  • Gift Cards
  • My Account
  • Cart

Vintage Jumper Sew Along – day 2

March 23, 2021

\

Welcome to day 2 of our Vintage Jumper Sew Along! Today we sew the darts for the shorts, capris and pants. We also add the front and back pockets as well as the pants crotch and in seam. 

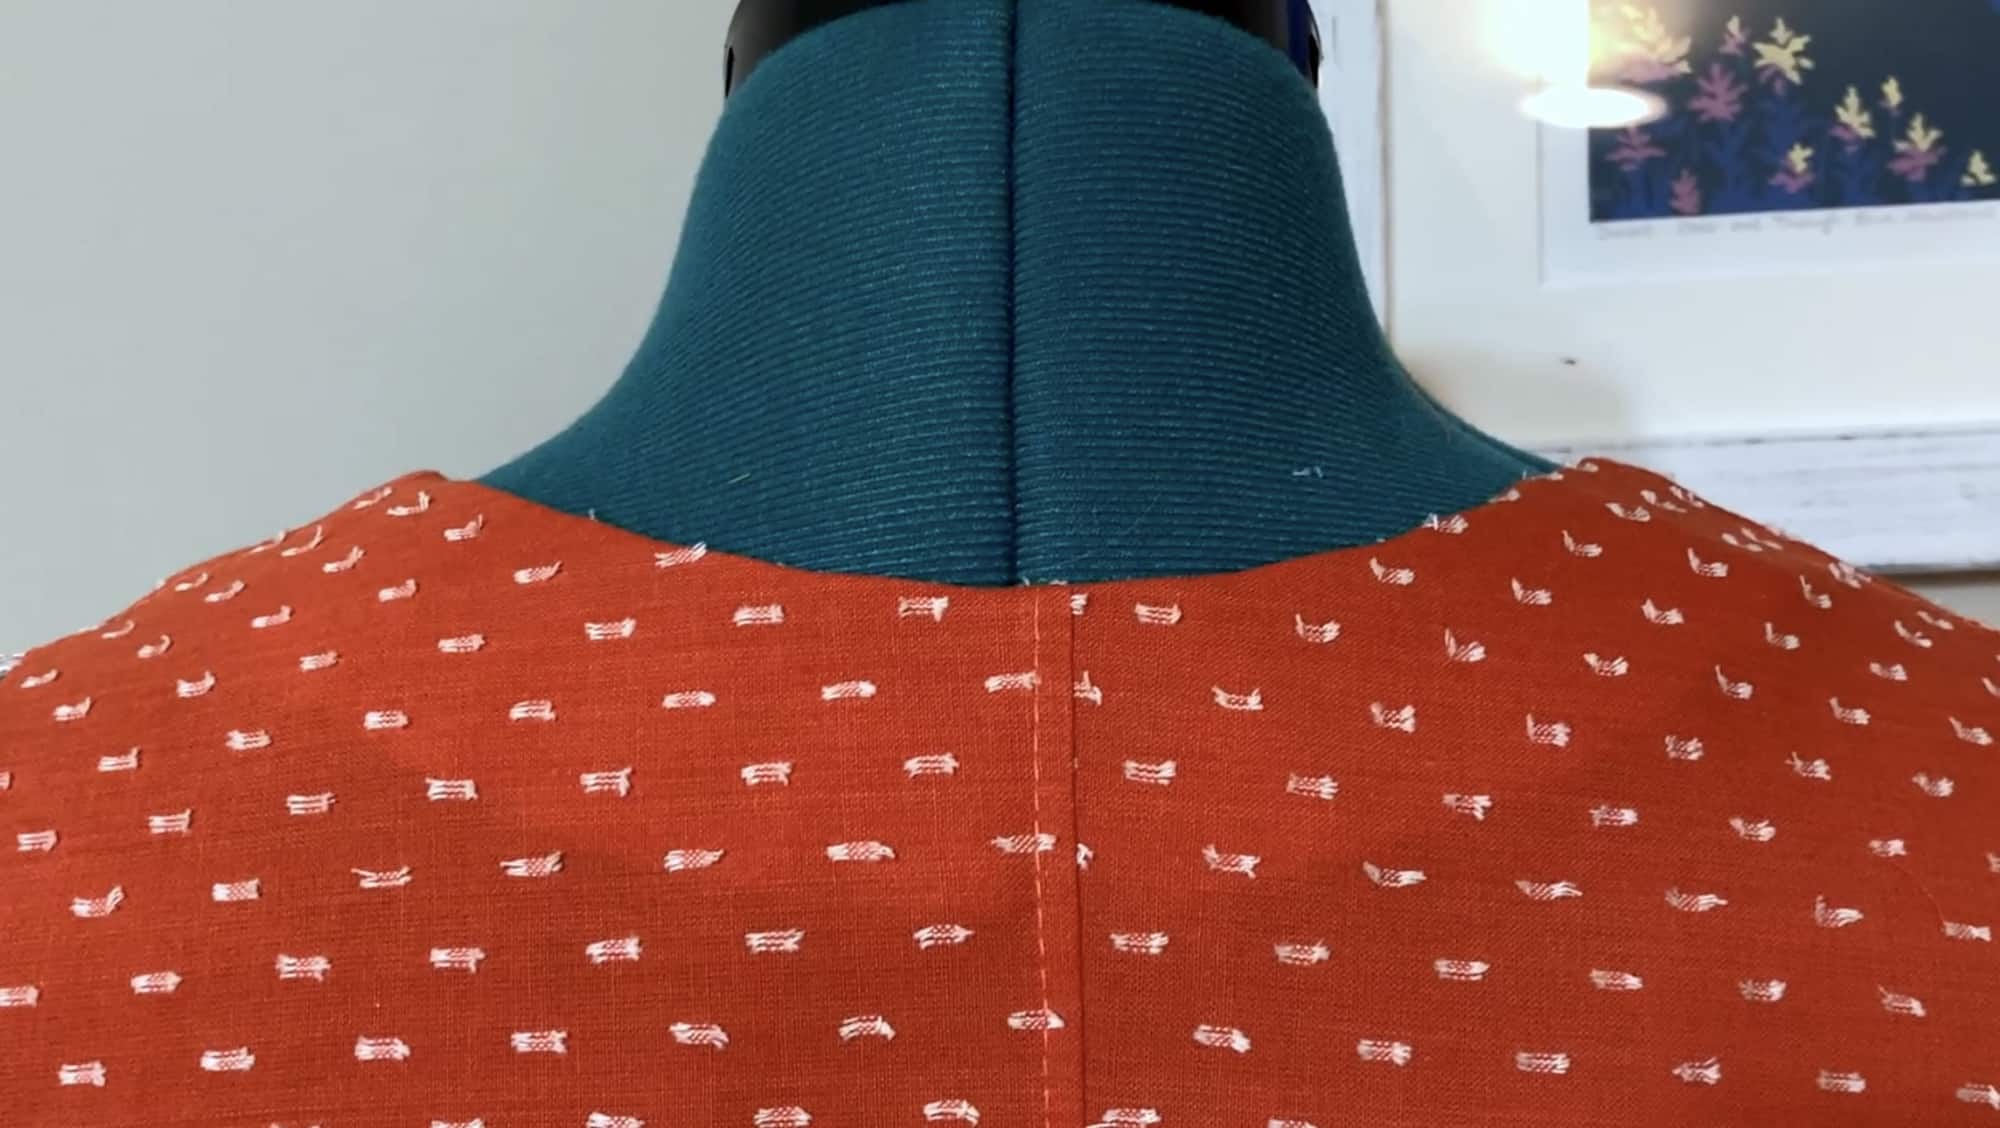
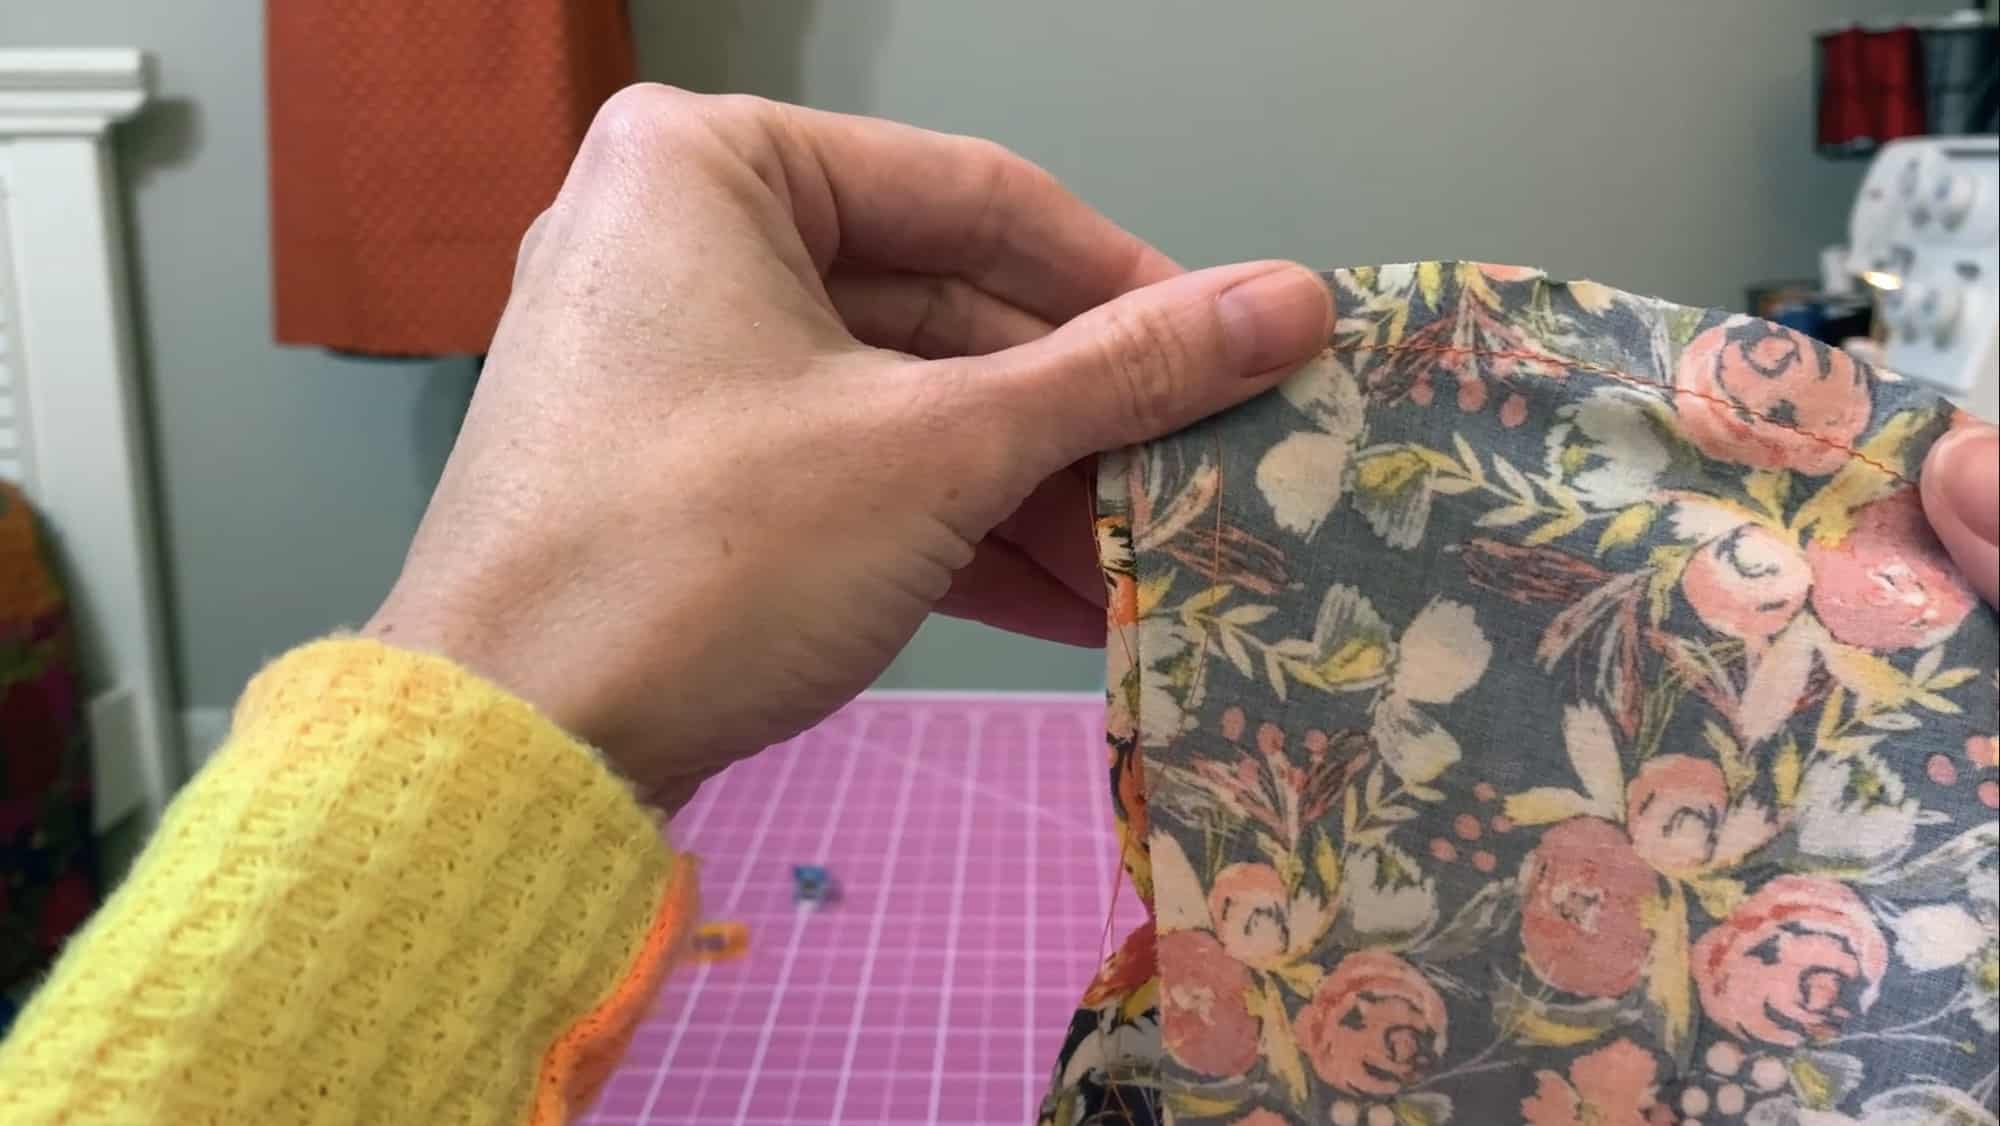
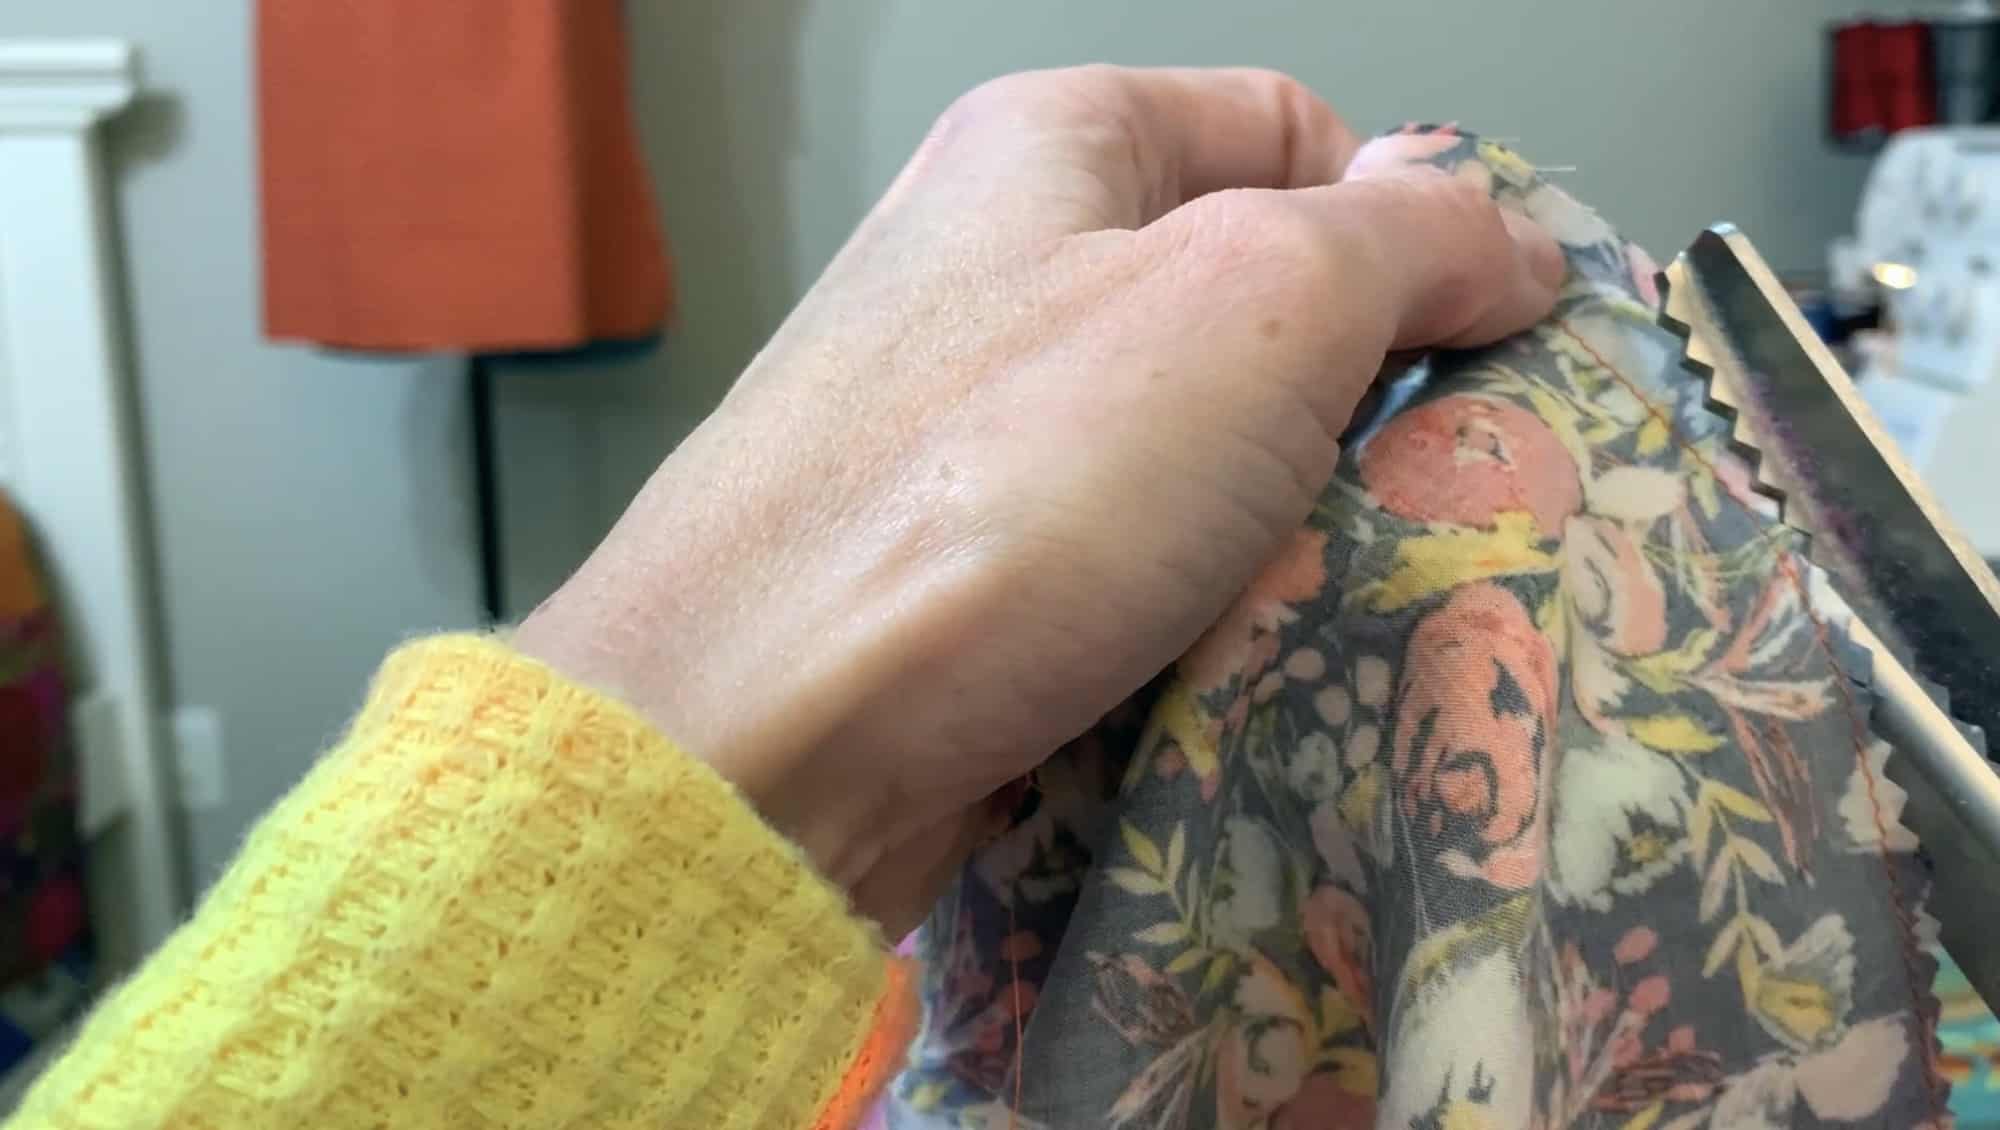
When sewing the darts, remember to not back backstitch. Simply pull both threads on the wrong side of the fabric and tie them in a knot. This will reduce the bulk in the dart stitches. While I am not showing the darts in my day two video (I am making the skirt) I do recommend reading our P4P University Darts 101 if you are new to sewing this step. 

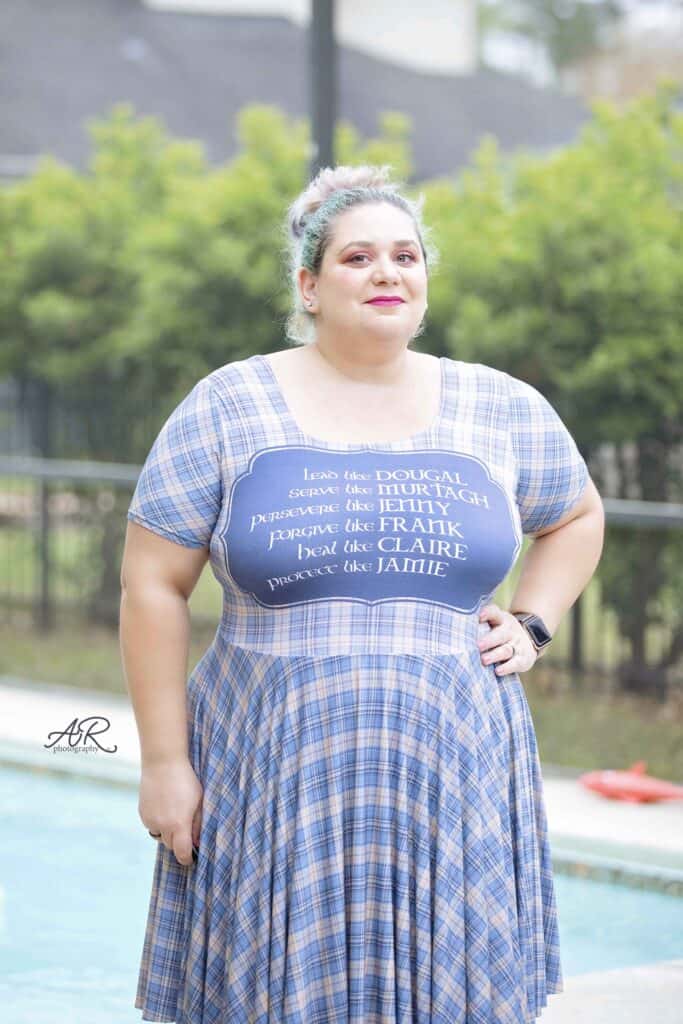
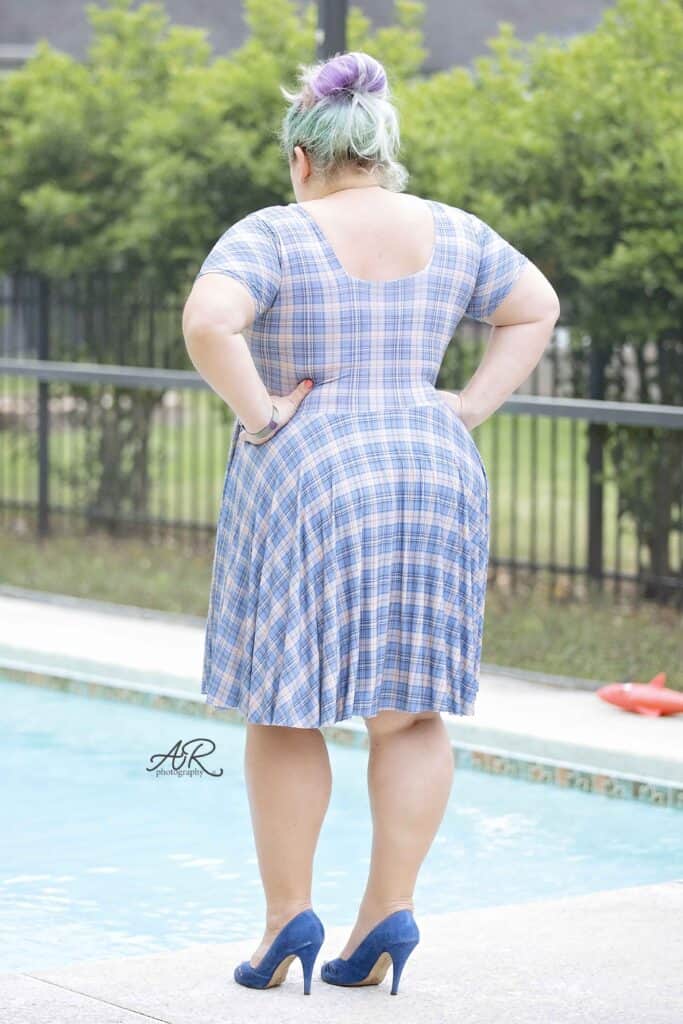
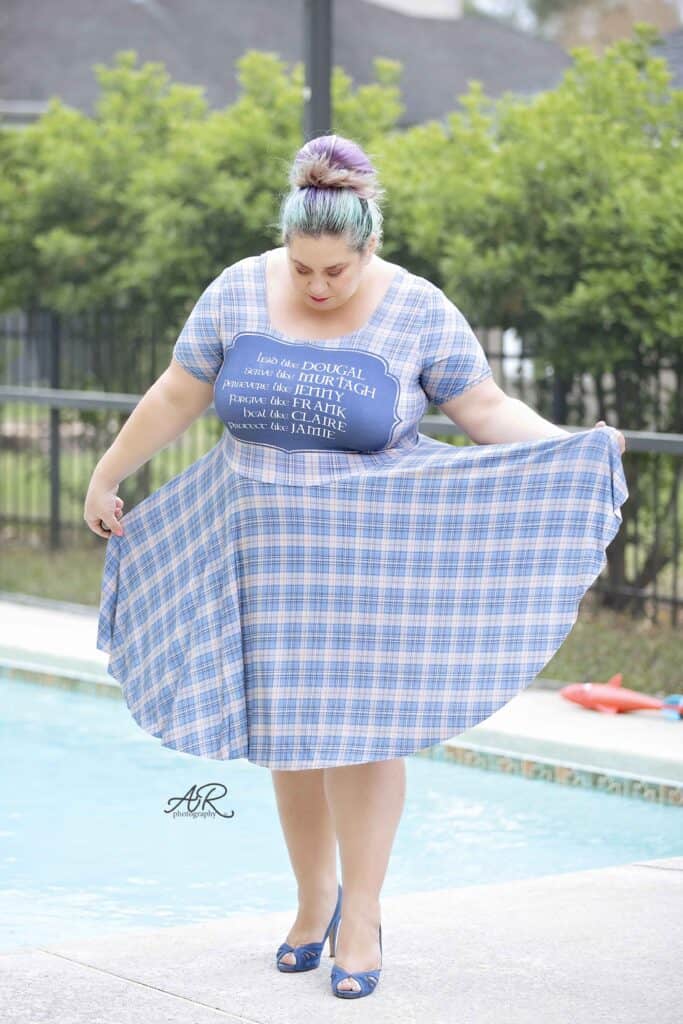
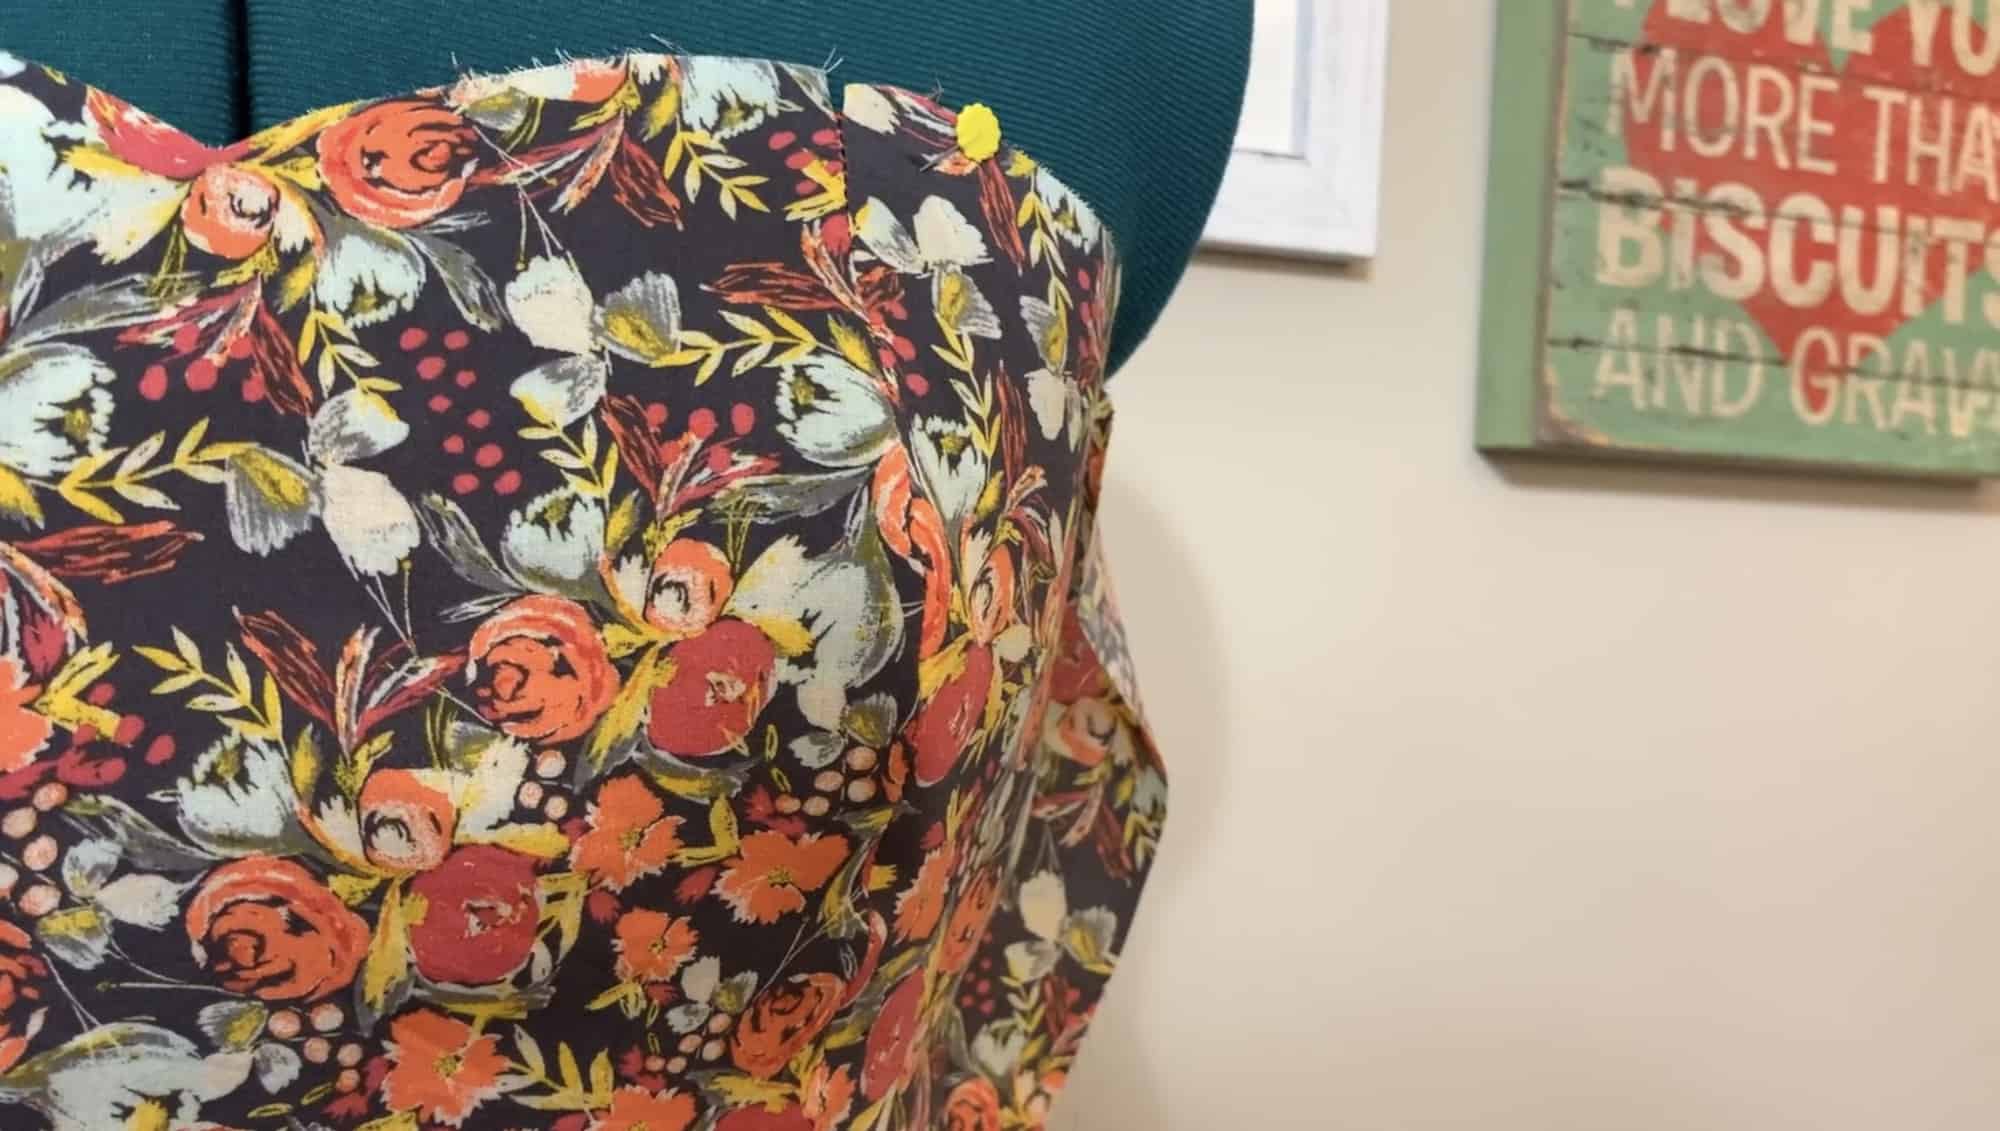
Both the pants and skirt options include a front pocket style. I recommend not skipping them, they are so adorable! I went “off the script” 😉 and added even the back pockets to my skirt. The pattern only has you adding the back pockets to the shorts, capri and long pants style. Remember to just baste your back pockets in place, try the jumper on after day 5 steps and only then sew them in place. You want to make sure you love the placement! It can make or break the look of your pants. 

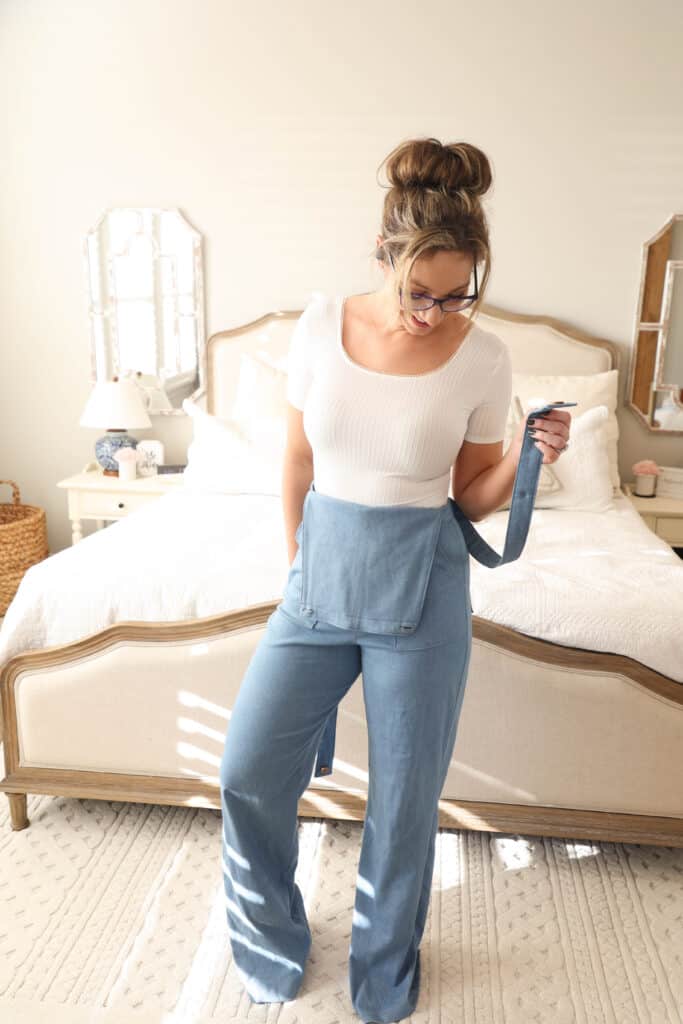
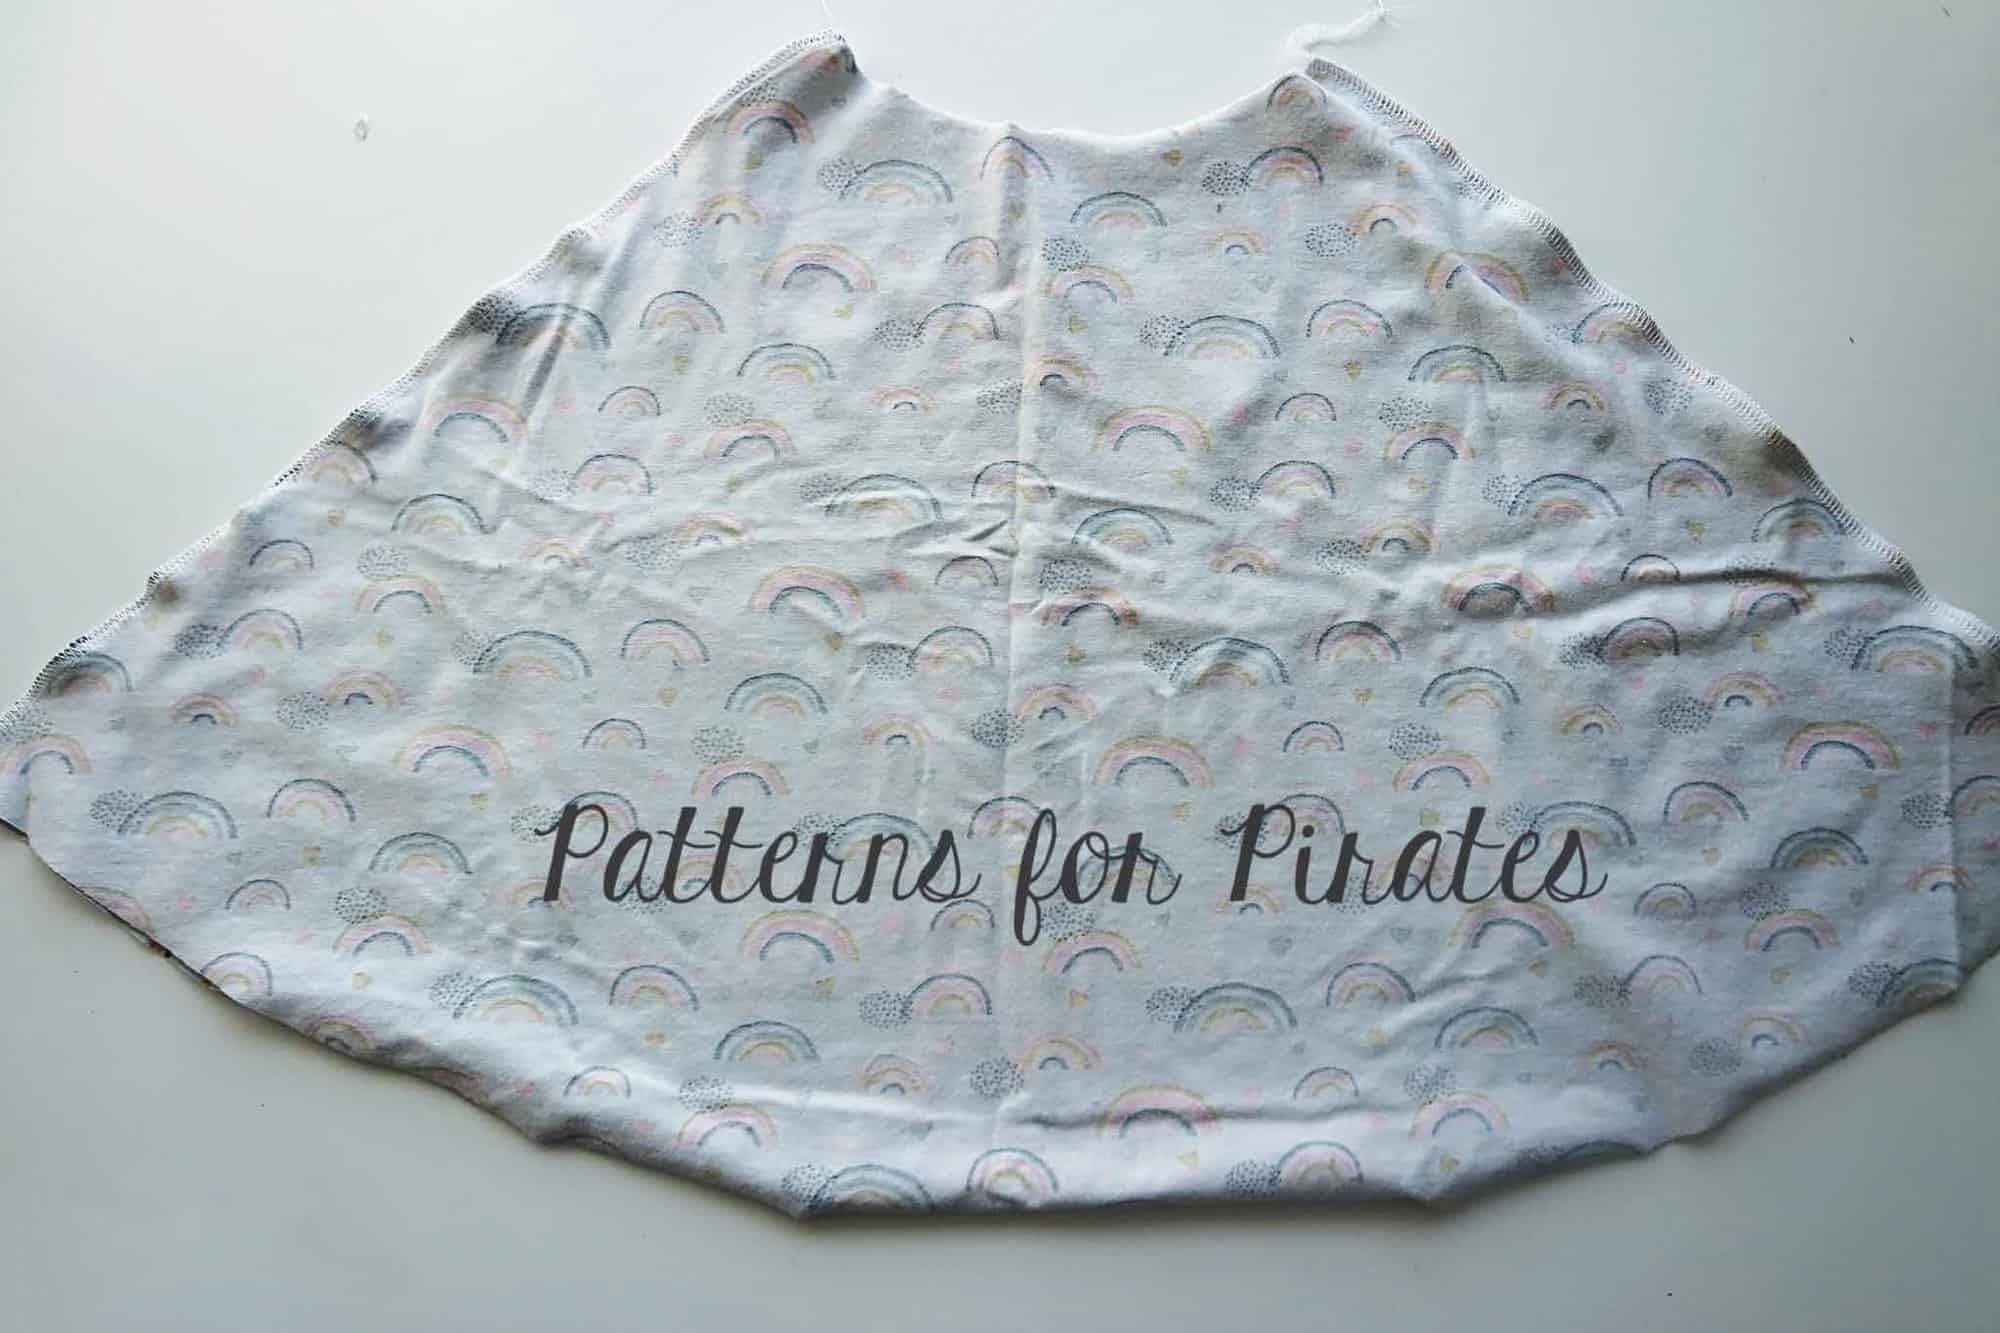
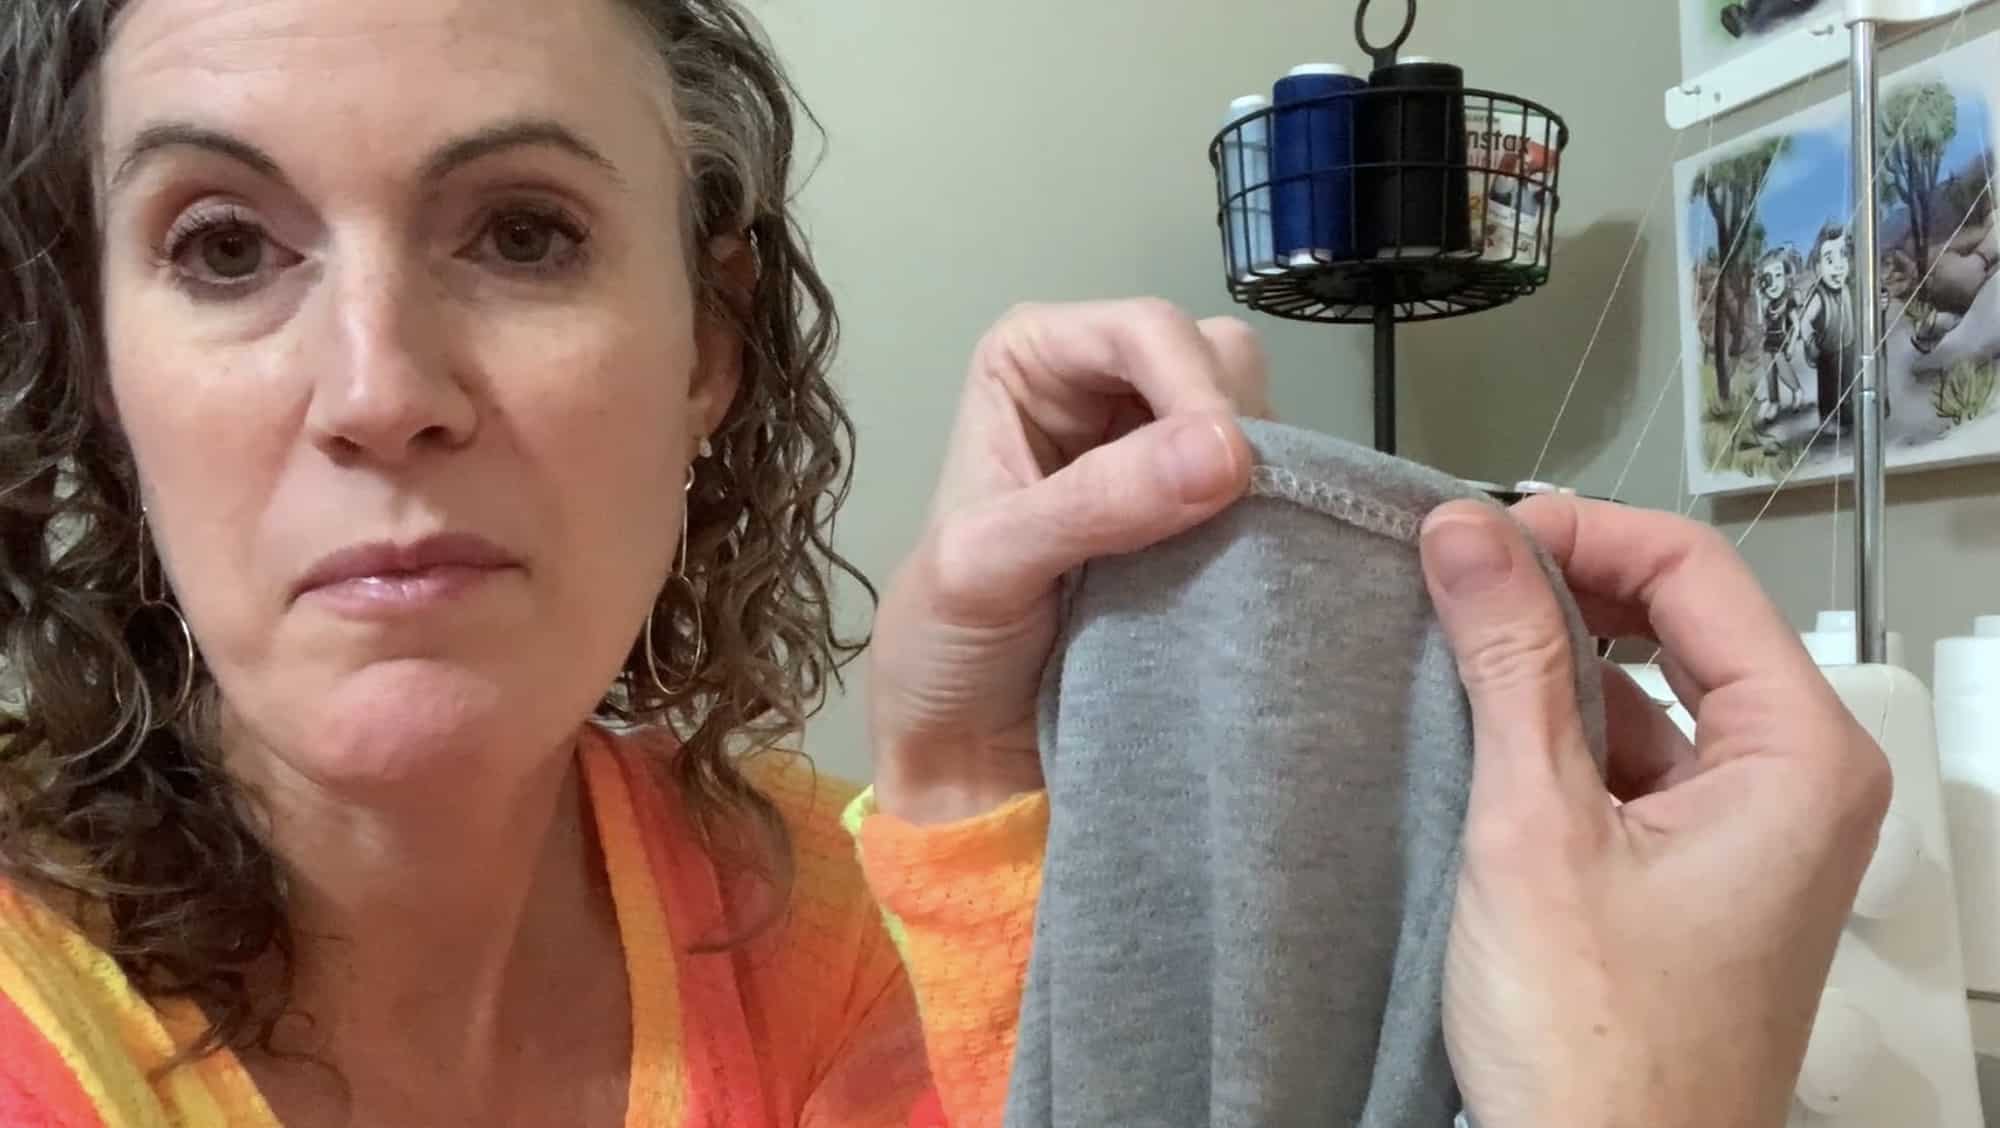
If you are making the skirt option, you have completed the steps for today. If you are sewing the pants style, you still need to sew the crotch and in seam. Today’s video is below. Don’t forget to snap a picture of your completed steps and add it to the day to photo comments in the Vintage Jumper Sew Along album. 

Vintage Jumper SAL | DAY 1 (cut fabric)

Vintage Jumper SAL | DAY 2 (Back darts, front & back pockets, crotch & in seam)

Vintage Jumper SAL | DAY 3 (out seam)

Vintage Jumper SAL | DAY 4 (straps, front bib)

Vintage Jumper SAL | DAY 5 (waistband)

Vintage Jumper SAL | DAY 6 (button holes, buttons and hem)

Vintage Jumper SAL | DAY 7 (winners announcement)

Filed Under: Frequently Asked Questions, Sew-A-Long, Uncategorized Leave a Comment

Vintage Jumper Sew Along – day 1

March 22, 2021

Welcome to the Vintage Jumper Sew Along! 

Day One of the sew along is for purchasing the pattern and cutting the fabric. If you did not buy the patterns yet, stop by the Sew Along Facebook Group to grab an exclusive coupon code. You can grab the adult Vintage Jumper here. If you plan to sew for a little one, be sure to snag the  Youth Vintage jumper or the Bundle. If you are still undecided which style to make, our Round Up blog will give you an overview of all options included, from skirts to pants lengths. You can also use the Easy Hacks blog for added options.

Now that we have the patterns it’s time to select which method of using them you would like to do. Both the Youth and the Adult come in A4 and Letter format to print at home, A0 format to print with a plotter or at a copy shop AND a projector file. If you use the projector file you will not have to print anything!! That’s definitely my favorite way! You can see in today’s video how I use the file to cut the fabric. 

Let’s start by taking the measurements needed for the best fit. P4P has an amazing blog that gives you tips for accurately taking your measurements. You can read all about it here. If your measurements put you in a different size for chest/waist/hips be sure to check out our P4P University blog and grade to achieve the perfect fit. Our most recent patterns include videos as well so be sure to check them out!


Still debating which knit type will work best for your desired look? Take a look over our P4P University Knit Types blog. We also included a cheat sheet that you can print. If you are like me and sometime are just keen on using a specific print for a specific pattern, read our Different fabric, different fit blog post before you cut your fabric. This pattern is drafted for stretch woven such a stretch suede, stretch velvet or stretch denim.

I have opted for a fun Half Black Stripes Tropical Ombre stretch woven from The Styled Magnolia. TSM is this sew along’s sponsor so our winner will get to try some of their goodies too. 


You can see day 1 video below. Once you complete you pretty pile of cut fabric, take a picture and post it in the comments of day 1 photo. This sew along album will be in the M4M & P4P Sew Along Facebook group. 

Vintage Jumper SAL | DAY 1 (cut fabric)

Vintage Jumper SAL | DAY 2 (Back darts, front & back pockets, crotch & in seam)

Vintage Jumper SAL | DAY 3 (out seam)

Vintage Jumper SAL | DAY 4 (straps, front bib)

Vintage Jumper SAL | DAY 5 (waistband)

Vintage Jumper SAL | DAY 6 (button holes, buttons and hem)

Vintage Jumper SAL | DAY 7 (winners announcement)


Filed Under: Frequently Asked Questions, Sew-A-Long, Uncategorized Leave a Comment

New Pattern Releases :: Be Bold Bodysuit!

March 10, 2021

We are so excited to be celebrating another release day with our favorite Pirate Crew!  We’ve been wanting to put out a bodysuit for forever now, and the day is finally here.  Let’s learn all about the Be Bold Bodysuits, available in both Adult and Youth sizes!


The Be Bold Bodysuit will have you feeling fierce in any option. This classic tight fit bodysuit is meant to feel snug and act as the perfect tucked in top without worrying about anything coming un-tucked. With all the options we’ve packed into this single pattern, you’ll be able to make a perfect bodysuit or crop to pair with any bottoms – skirts, pants, overalls, casual or dressy. You can pick from a higher or lower neckline on both the back and front for the adult pattern, and a higher or lower back neckline for the youth version.  You can also take this pattern from the hot summer with the multiple tank options to the cooler weather with longer sleeve options. You can finish the neckline with a simple picot elastic or with a lining and shelf bra.
Moving down for the adult pattern, you can have multiple bottom options as well!  You can do a thong or brief plus pick if you’d like the seam in the traditional back spot or add snaps with a front seam for ease of snapping. The bodysuit is partially lined so you can use the bodysuit as your undergarment.
Drafted for high stretch (4 way stretch) knit fabrics like cotton spandex, double brushed poly, ribbed knits, athletic knits, or swim knits.  Options include: crop length, bodysuit with thong (snaps or back seam), bodysuit with brief (snaps or back seam), lined neckline with shelf bra, unlined with picot finished neckline, thin strap tank, tank, short sleeve, 3/4 sleeve or long sleeve.
Enjoy several videos throughout the tutorial like fabric suggestions, options and cutlines video, how to add/remove length to pieces, sewing the picot on the shelf bra, neckline and leg lines, and lining the tank option.

The youth sizes range from 3m – 14 and the adult sizes are for the full, newer size chart, extending from XXS – Plus 5X!  If you haven’t sewn with us in a while, please make sure to check the size charts, as there were slight adjustments made to accommodate the new size range for adults.


*Want to learn more about how to measure yourself for these pattern?  We’ve got you covered with an in-depth blog HERE.  And in case you’re new to Patterns for Pirates and PDF patterns in general, we have a great blog full of new-user tips HERE to help you get started!  As with all of our current releases and updates, the pdfs now include our layers feature and can be found in Letter, A4, A0 and projector sizes.  And for even more helpful fun, we have a free* printable that you can use to help record your measurements as you take them.

Let’s take a quick look at all of the options!

There are three options available for the sleeves- short, 3/4, and long. If sleeves are quite the look you’re going for, check out the sleeveless options, including a classic tank strap as well as a thin strap tank. For the necklines, not only is it a fun squared design, there are several options that can be mixed and matched. If you’re feeling a bit daring, there is a low option available for both front and back bodices. If you’d like a little more coverage, there are also higher cutlines. You can use these options together to create your perfect look. To help finish the necklines, use either a simple picot elastic or finish with a lining and shelf bra. To round out the Be Bold Bodysuit, you have multiple leg options (available on the adult version).  This includes either a thong or brief plus you can choose if you’d like the seam in the traditional back spot or add snaps with a front seam for ease of snapping.  The bodysuit is partially lined so you can use the bodysuit as  your undergarment.

SLEEVED OPTIONS


SLEEVELESS OPTIONS


NECKLINES


ADULT LEGLINE OPTIONS


PICOT FINISHING


LINED w/SHELF BRA


What are you waiting for?  Head on over and grab yourself a copy of the perfect Be Bold patterns!  They are available on sale (no code needed) through 11:59pm CST, March 19, 2021.

BE BOLD BODYSUIT | BE BOLD BODYSUIT – YOUTH | BE BOLD BODYSUIT – BUNDLE

Maybe hoping for a little more inspiration before you make the purchase?  Head over to our Facebook group where you can see tester albums full of amazing images!

Be Bold Bodysuit | Be Bold Bodysuit – Youth

If you’re looking for even more options, we show you a few more ways you can use this pattern in our Be Bold Easy Hacks post.


Filed Under: Pattern Release Leave a Comment

Be Bold Bodysuit – Easy Hacks

March 10, 2021

The much anticipated Be Bold Bodysuit has now released. I couldn’t be more thrilled to share with you some easy hacks that the P4P blog team has prepared for you. We will show you how to add a your favorite P4P skirt to the crop top and make it a custom dress. Rachel is adding a faux placket to her Be Bold Bodysuit and Shannon is making a very cropped 😉 crop option. Ohh and did I mention that you can turn the BBB into an undergarment compression bodysuit? Djem is showing you how below. 

…..

Dress 

Let’s start off this easy hacks series with my favorite of all – a dress!! Hello, beautiful! The Be Bold Bodysuit includes a crop top option which makes an excellent bodice for many of the P4P skirt patterns. 


In the mini tutorial below, Judy shows you how to add the X Factor skirt to the Be Bold crop to to create a gorgeous, comfortable square neckline dress. Print the skirt portion of the X Factor pattern and cut the fabric. Sew the side seams right sides together. 

Mark the center of the skirt front and back as well as the centers of the bodice front and back. 

Matching the marked points, pin the skirt and bodice right sides together. Serge or sew with you favorite stretch and a 1/2″ seam allowance. 


Hem the skirt and enjoy your new Be Bold dress! 


I used the same method as above to make a Be Bold – Sweetheart mash. Instead of using the X Factor, I use the Sweetheart dress, Easy peasy! My next mash will be with the Boundless dress. If you chose to to the Be Bold crop with the Boundless gathered skirt, make sure that you use the cutting chart for the natural waist skirt, NOT the empire one. 

My dress below is bamboo spandex and Judy’s baby girl’s dress above is cotton spandex. 


Just look how stunning Sylvia looks in her Be Bold thin strap option mashed with the Sweetheart dress. Her polka dots fabric is double brushed poly. Just radiant! 


…..

Faux Placket

Adding a faux placket is an easy way to gain extra mileage from your Be Bold pattern. And it couldn’t be easier!

You can add a faux placket to any of the Be Bold styles, but I chose to add mine to the tank bodysuit.

Did I say that it couldn’t be easier? Keep reading…

Cut the pattern pieces for your preferred Be Bold style.

Cut an additional rectangle, 6.5” x 1.75”.

Optional! Finish the edges on your serger, without cutting off any of the seam allowance. It adds a bit of stability to your placket.

Fold the bottom and side edges in ¼” towards the wrong side and press into place.

Pin your placket piece to the center line of your bodice, aligning raw edges at the top of the placket and neckline. At this point, I like to use hem tape to secure the placket into place.

Edgestitch into place. Fun tip! Use your blind hem foot to help keep your topstitching super-straight!

Assemble the rest of the garment per the pattern instructions.

Add your buttons once your garment is complete so they don’t get in the way of your construction.

I mentioned it was simple, right?? Enjoy the newest addition to your spring wardrobe!

…..

Compression undergarment

Love the Be Bold Bodysuit, but want a little tummy control? No problem. It’s all about fabric choice. You’ll want to use a heavy athletic knit with a high spandex content, like supplex or compression tricot. In my navy bodysuit below, I used supplex for the main fabric and lined the front and back bodysuit with power mesh. I treated the supplex and power mesh as one layer and followed the tutorial as written. However, if you are looking for something compressive, that can be worn as an undergarment, you’ll want something a little more like the black bodysuit on the right.


For the black bodysuit, I used tricot for the main fabric and power mesh for the lining. The only adjustments were made to the front bodice pattern piece.


  1. Mark 1.5″ down from the armpit of the front pattern piece.
  2. Using the bottom curve of the Front Shelf Bra as a guide, create a line.


3.  Measure from your side seam to where you feel the start of your bra cup. Mine is about 3″, mark this measurement on your pattern.

4. From the top of the shoulder seam, mark 2.5″ down. Connect the lines as illustrated above.

5. Using a french curve ruler or whatever you have around (I used a drinking glass), create a curve connecting the shoulder seam line and the underbust line.

6.  Cut out that section, and you now have your new front pattern piece! Using this piece, cut out your main fabric and lining on the fold.

7. Follow the construction of the tutorial as written, treating the deep plunge as a normal neckline. You will want to use a 1:1 ratio for the picot, while slightly stretching along the curve.

…..

Very crop top

This very cropped cami and top are super comfortable and perfect to wear under low-cut tops and for loungewear. I will be living in these and the best part is they are so quick and easy to make. Here are the two tutorials for creating the crop. The first shows the tutorial using the thin strap option and the second is the tank option.

Very Crop Cami Using the Thin Strap Option:

  1. Take your lining pieces for your pattern. Simply cut 2 fronts and 2 backs following the thin strap tank lines to create a cropped cami with lining. 
  2. Sew the top together using the thin strap tank directions from the tutorial. 
  3. Once you have sewn the side seams, baste the main and lining pieces together along the bottom edge. Treat these two as one while you attach the picot as directed in the pattern.  

This cropped cami is great for pairing with low cut tops for some extra coverage. I made this option in white cotton jersey, lined with the same fabric and used bra strap elastic in place of fabric straps. (paired here with RTW Jeans and Top).

Very Cropped Top Using the Tank Option

  1. Take both your front and back bodice pieces and lay the front and back shelf bra liner pieces on top, lining up the shoulders. 
  2. Draw a line on your front and back main bodice pieces along the bottom of the shelf bra piece. 
  3. Cut your main bodice pattern pieces on this line and use this for your new pattern.
  4. Cut your main fabric for the very crop tank top using your new pieces and cut your lining from the shelf bra lining pieces. Follow the tutorial for sewing the tank top. Once you have the neckline, arms, and side seams sewn, baste the lining and main fabric together along the bottom edge. You will now treat the two fabrics as one piece. Last, apply picot elastic according to the tutorial for the shelf bra.  That’s it.

This very cropped top is great to wear in place of a bra or sewn up in athletic fabric to match with your favorite workout wear. This is not supportive enough to be a sports bra, but very comfortable for lounging, a sleep bra, or paired with your own bra as a very cropped top.


I hope you will get to give these easy hacks a try. Which one will you do first? Don’t forget to share them in the P4P Facebook group and on Instagram so we can admire your work too! 

Filed Under: Frequently Asked Questions, Pattern Hacks, Pattern Release, Uncategorized Leave a Comment

P4P University – Sewing Curves

March 9, 2021

Knowing how to properly sew curves makes a huge difference in giving your garments a more professional finish! There are different techniques, whether you are sewing a convex or concave curve… think neckline versus bust. At the core, the key is all about eliminating bulk and resistance so your curves can lay as designed.

Clip The Seams

The first technique works for curves, like necklines, that require the fabric to spread in an array. It’s simple!

Once you have your pattern pieces stitched together, clip into the seam allowance every half inch or so. Take good care not to snip through your seam!

You’ll notice that the fabric relaxes because the tension in the curve is gone!

To demonstrate, I’ve added a facing to the neckline of the Brunch Blouse. After stitching together and clipping my seams, I turned the facing to the inside of the shirt and gave it a good pressing.

Look at that result!

Grab Those Pinking Shears

Pinking shears can pretty much do it all… they can reduce bulk and relieve tension in your curves. Even more, they stop fabric from fraying!

To demonstrate, I’ve stitched up the front bodice of the So Classic Sundress. This gorgeous pattern features princess seams. You definitely want to reduce the bulk in those princess seams that run right along the front of your bust!

After stitching my pieces together, I trimmed the seam allowance with pinking shears and pressed the seam open.

Here’s the result!

Your Serger is Magic

Once I learned how to gather on my serger, I wanted all the ruffles! It turns out that you can also make small adjustments that will help you to achieve the perfect curved hem on knits.

All you need to know… turn up that differential dial! You’ll want to test on a few scraps to determine how much to adjust the dial.

In this instance, tension is your friend! You want to create slight tension along the raw edge of your hem. That will cause the hem to naturally turn inward and help you to maintain that beautiful curved edge without fighting fabric folds. All you have to do is pin and stitch!

My fabric was a heavier knit so I adjust the differential feed all the way up. A lighter knit wouldn’t require the same adjustment.

Again, once I learned this trick, it changed my relationship with curves! I love it.

I hope you find these techniques helpful! Please drop questions in the comments below and join us in the Patterns for Pirates Facebook Group.

Happy sewing!

Filed Under: P4P University, Sewing Techniques, Sewing with Stretch, Knit Fabrics Leave a Comment

Protected: FABRIC FOR PIRATES :: March 2021 REVEAL

March 2, 2021

This content is password protected. To view it please enter your password below:

Filed Under: Fabric for Pirates 25 Comments

P4P University – Understitching and Topstitching

February 23, 2021

Hi Pirates! Today we’re going to take a look at understitching and topstitching to find out how to use them while making your favorite woven patterns. The written instructions are below or you can scroll to the bottom of the page to find the video tutorial.

P4P University Understitching and Topstitching

What is Understitching?

Understitching is the technique that is used to keep facings or linings from rolling out towards the front of your garment during wear. It provides you with the ability to keep any of the facing or lining from being visible while also giving you a nice, finished and crisp edge without any stitching showing.

How to Understitch:

Begin by sewing your two pieces of fabric right sides together using the pattern seam allowance. In my example, I am using the Brunch Blouse and added a full lining to showcase understitching. You most often use understitching while attaching a facing or lining, so I added a lining to this pattern by cutting an identical top from lining fabric. After sewing the bust darts, center back seam, shoulder seams, and stay-stitching the necklines on both my main fabric and lining fabric, I was ready to sew them together. Open out both tops flat and pin the necklines together, right sides facing. Then sew all the way around the neckline with a 1/4 inch seam allowance. Clip around the entire neckline, about every 1/2 inch, to help the fabric release and ease around the curves before turning. You want to clip through your stay-stitching lines but not through your seam allowance. Only clip up to the seam allowance line.

Press your seam allowance all towards the lining or facing. Make sure you press this well. Stitch 1/8 inch away from the seam line, on the lining side. This will hold all your seam allowances to the underside of the top when you are wearing the garment and will prevent the lining fabric from showing. Sew slowly while keeping your 1/8 inch seam allowance and readjust every inch or so around the neckline to make sure your curves are laying flat with no puckers. I prefer to stitch from the right side of the lining and feel to make sure the seam allowance is all under the presser foot, but you may stitch from the wrong side as well to be able to see your seam allowances while sewing them down. Finally, press your neckline well, making sure you have the lining fully towards the inside of the garment. I like to make sure about 1/8 inch of the main fabric is also towards the back of the seam while pressing to further make sure no lining will be visible.

Steps to understitching

You do not need to add topstitching when you have used understitching.

understitching steps

What is topstitching?

Topstitching can serve many different purposes. You can use it to add a decorative element to your make, like the back pockets of your favorite SOS pants. Or, like in today’s blog post, it can be used to hold the lining or facing to a garment. All topstitching will be visible and therefore it is important to do it carefully and have accurate stitching. Here are some tips to help your topstitching turn out great.

Topstitching

How to Topstitch:

Begin by selecting a thread that is suitable for your fabric. When applying decorative finishes, you may want a thicker topstitch thread and select a top-stitch stitch option on your machine which will create a thicker, more defined stitch. For my brunch blouse, I chose to use regular all-purpose thread and a regular straight stitch on my machine. You will want to slightly increase your stitch length when top-stitching. I use a 3 length for finer and medium weight fabrics and 3.5-4 length for heavier fabrics. Typically, the topstitching is sewn at 1/4 inch. You can use a specialty foot or use the edge of your presser foot to help keep a smooth, straight line.

Pressing will be equally important in topstitching as it was for understitching. Make sure you have pressed the area you will be topstitching well first to minimize any potential for puckers. You will want to avoid back-stitching while topstitching and instead, tie off your thread ends. These tips will help your topstitching turn out fantastic. Take your time and focus on keeping your line very straight.

Topstitching

For my brunch blouse, I used a burrito roll method to finish my arms, as I added a lining. After sewing the lining and main fabric cap sleeves, right sides together, I turned the bodice right side out and pressed. Make sure you press your fabric so that all the lining is fully under the main fabric and will not show. Next, topstitch, using a 1/4 inch seam allowance and a stitch length of 3 down the sleeve hems. This topstitching attaches the lining to the fabric so that it will not be exposed during wear. Then I continued sewing the brunch blouse per the instructions, treating the lining and main fabric as one piece for the rest of the stitching.

Understitching and Topstitching Video

I hope you enjoyed this look at understitching and topstitching. If you have any questions, please visit the Facebook Group and join the discussion with so many very helpful sewists. And make sure to check out the other P4P University Posts for more help.

Filed Under: P4P University, Sewing Techniques Leave a Comment

P4P University – Armbands Tips and Tricks

February 10, 2021

P4P University – Armbands Tips and Tricks


I’m going to spend a little time today showing how I get the best finish on my armbands.  They can be quite tricky to get right and people often struggle with ‘bubbling’ over the shoulder, which can ruin the look of an otherwise perfect neckline.

The pattern I will be using to illustrate how I sew my armbands is the Youth Essential Tank.  There are many different cut lengths, from shirt to dress length and the option for a regular tank or a racerback cutline.  Today I will be sewing the shirt length tank option for my daughter, ready for the summer weather which we are all desperate for right now!

The first thing to remember is that there are pattern pieces for you to use for the neckband and armband options and these are calculated at 85% of the opening, but the fabric you use may need you to make some adjustments to those pieces to get the perfect fit.  A fabric like a 100% cotton interlock won’t have as much stretch as you may need and you will probably want to add a little length to your bands, perhaps recalculate at 90%.  Something like a ribbing/cuffing has lots of stretch and that could be cut at 75 or 80% to get the same look. Either way you will want to ensure that you sew the shoulder and side seams of your garment at the full ½” seam allowance or you will find that the bands won’t be long enough, as not using the full seam allowance will make your neck/arm openings wider than they were drafted to be.

If you prefer a video, I filmed the process of making my Essential Tank here:

https://www.patternsforpirates.com/wp-content/uploads/2021/02/2021-02-07-16-32-02.mp4

Sew your shoulder seams and then prep your neckband by sewing the short sides, right sides together to form a loop.  Fold your fabric wrong sides together around the long edge and then place a clip at the joining seam.  Place another clip at the other end of the band by stretching the band a little to find the centre point opposite the joining seam.  Unlike a regular neckband, we won’t be quartering the neckhole and the neckband, just halving. Find the centre front and centre back of your neckhole and place clips. You should have this.

Next, evenly stretch the neckband until it fits the neckhole and clip the neckband to the neckhole at the shoulder seam (this won’t be the normal quarter point as the shoulder seam will be further towards the back). Then also place clips 1 inch either side of the shoulder seam NOT STRETCHING THE NECKBAND BETWEEN THESE THREE CLIPS. (If making an adult sized tank I wouldn’t stretch for 2 inches either side of the shoulder seam), then ease the remaining neckband in between the clips either side of the shoulder seam and the centre front and back clips.

Sew the neckband on, making sure to use the full seam allowance, and remembering not to stretch the neckband over the shoulder seams.  This reduces the tension on the neckband here and helps to stop the ‘bubbling’ we spoke of earlier.  I prefer to sew with the band uppermost as it helps me keep an eye on the seam allowance. I also like to start sewing just before the shoulder seam as this is the area we will NOT be stretching as we sew.  It is easy to forget about this if you come to it at the end of sewing the neckband on, so I like to do this part straightaway so I don’t have to worry about forgetting about it later.

TIP – If you have difficulty managing the three layers when sewing the neckband on, or if your fabric has a tendency to curl badly, I recommend sewing the neckband together around the long raw edge before attaching it to the bodice.  You can either use your overlocker/serger without trimming any seam allowance off, or do a zig zag stitch with your sewing machine right at the edge (you may need to stretch the neckband slightly as you sew round, just to make sure it will still fit in the neckhole after sewing this temporary stitch).  It just keeps those two layers together whilst you are sewing it onto the bodice, then you simply trim if off with your serger blade when you attach it, or trim with scissors if using a sewing machine.

Press with steam and then topstitch.  You can either use a chain stitch as I have here, or a regular 2 or 3 needle coverstitch.  If you have a sewing machine then you can choose a twin needle, long straight stitch or zig zag/stretch stitch of your choosing.

Next we move onto the armbands which are sewn in the same way as the neckband.  First sew the short ends to form a loop, then fold wrong sides together and mark the seam and opposite point on the band with clips or pins.

The armbands are a little easier because more often than not you find the shoulder and underarm seams are opposite one another.  I like to put the armband seam at the bottom of the armscye, for comfort and so you cannot see it when it is worn, then clip in place.  Next clip the opposite end of the armband to the shoulder seam.  Again, clip the armband to the armhole WITHOUT STRETCHING for 1 inch either side of the shoulder seam (again for a larger sized adult tank, I would not stretch for 2 inches either side of the shoulder seam), then ease the rest of the armband into the armhole between the other clips.  The idea behind this is that it should allow the armband to run flat over the shoulder seam, but then the added tension around the bottom of the armband will encourage it to flip up and sit snug against the side of the body at the bottom and sides.  

Sew, using the full seam allowance, then press with steam and top stitch as before.

Finish the rest of your garment as usual, and you’re done.

I hope you found this tutorial helpful and don’t forget if you have any questions we have a large community on our Facebook page who are always happy to help.


Happy Sewing!


Dana x

Filed Under: P4P University, Sewing with Stretch, Knit Fabrics Leave a Comment

Protected: FABRIC FOR PIRATES :: February 2021 REVEAL

February 3, 2021

This content is password protected. To view it please enter your password below:

Filed Under: Fabric for Pirates, Uncategorized 19 Comments

Cozy Wrap Sew Along – day 7

February 3, 2021

The wait is over! I’m here to announce the two winners of our Cozy Wrap Sew Along so let’s get to it.

Congratulations Celeste Wright! You are our first winner! Celeste won a $20 gift certificate to Patterns For Pirates and a January Fabric For Pirates Box (fabric and swag). 

Our second winner is Debra Moyer! Congratulations! Debra won a $20 gift card to Made for Mermaids and a January Fabric for Pirates box (fabric and swag). 

Thank you so much for joining me last week! I throughly enjoyed sewing the Cozy Wrap along side you. Big thank you to Judy for providing the Fabric 4 Pirates prizes too. If you haven’t checked out the subscription, do that here! It’s so fun!


Up next, the Mermaids are taking over the SAL group. See you back here in March!

Cozy Wrap SAL day 1 | Cut fabric

Cozy Wrap SAL day 2 | Sew shoulder and side seams

Cozy Wrap SAL day 3 | Add bottom bands

Cozy Wrap SAL day 4 | Add neckband

Cozy Wrap SAL day 5 | Add sleeves

Cozy Wrap SAL day 6 | Add waist tie

Cozy Wrap SAL day 7 | Winners announcement  


Filed Under: Sew-A-Long 1 Comment

  • « Previous Page
  • 1
  • …
  • 19
  • 20
  • 21
  • 22
  • 23
  • …
  • 68
  • Next Page »

connect with me

  • Email
  • Facebook
  • Instagram
  • Pinterest
  • YouTube
Privacy & Cookies: This site uses cookies. By continuing to use this website, you agree to their use.

To find out more, including how to control cookies, see here: Cookie Policy
  • Privacy Policy
  • Refund Policy
  • Contact Us
  • About

Copyright © 2026 Patterns for Pirates

Copyright © 2026 · Genesis Framework · WordPress · Log in