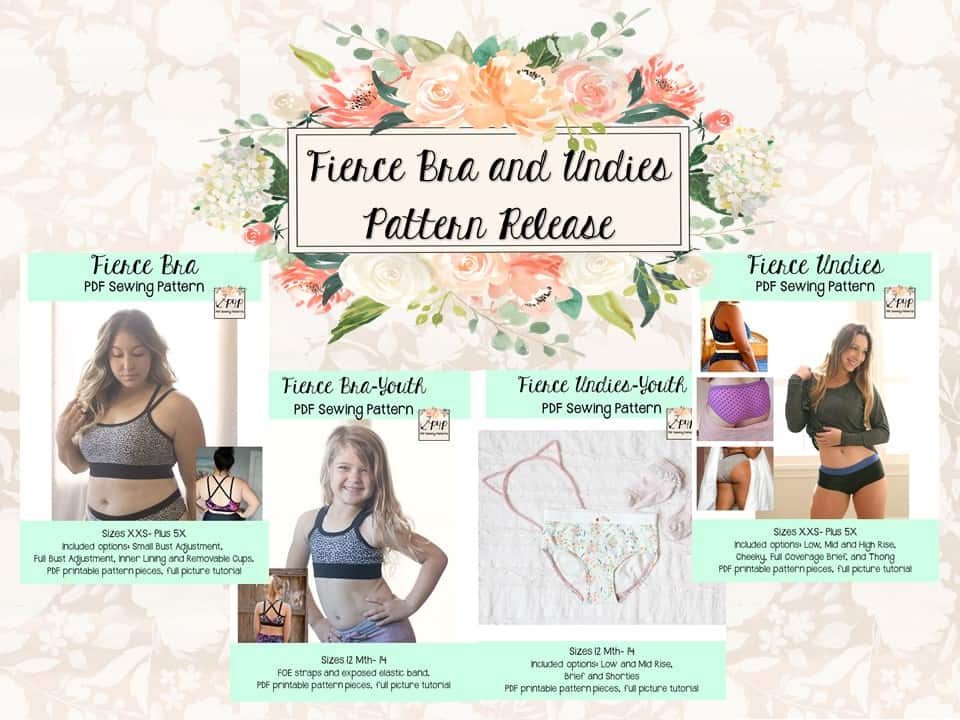
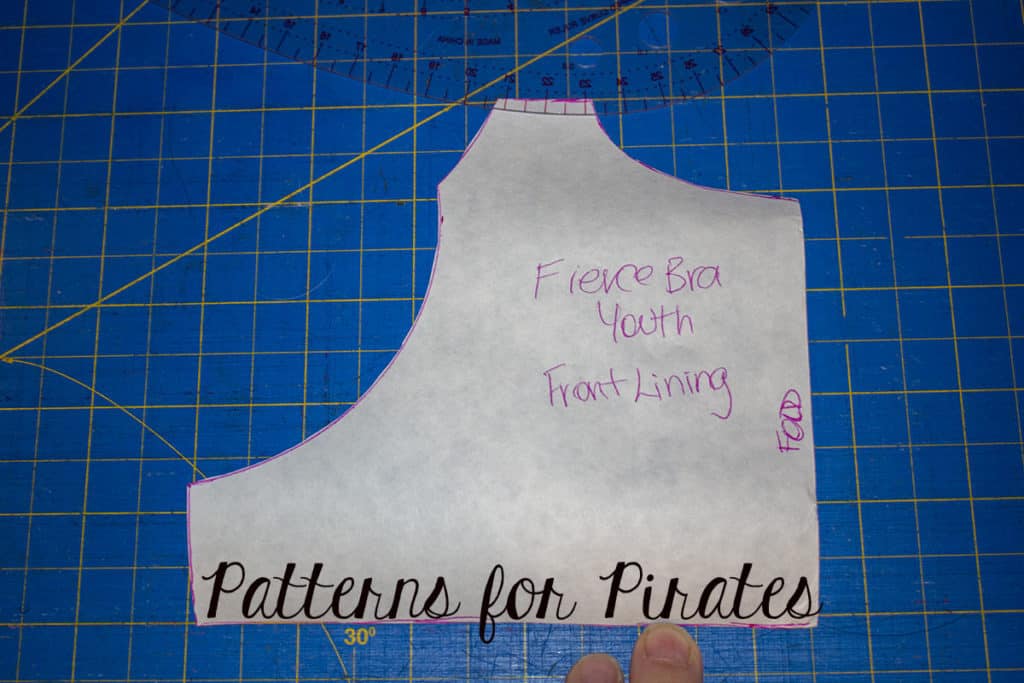
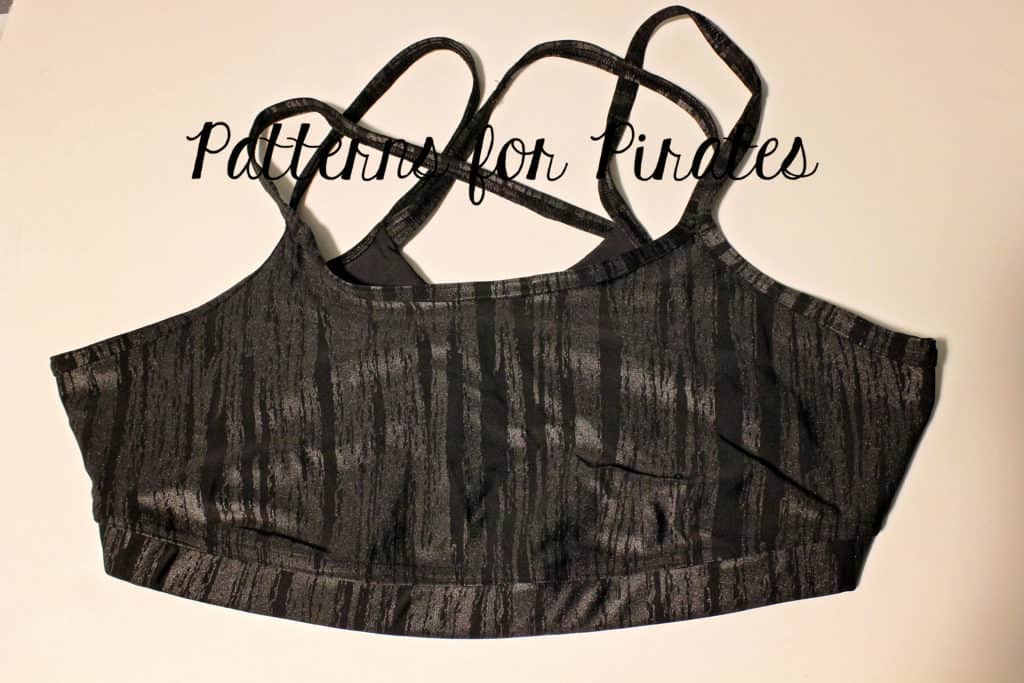
Hey there Pirates! Today was a day I thought would never come… a bra and undies pattern release! I never had my sites set on doing undergarments, but my strong desire to have a soft knit bra that fit was too much to deny any longer! The Twist Back Top was such an adorable open back pattern that begged for a cute strappy bra under… so the Fierce Bra was born!
-

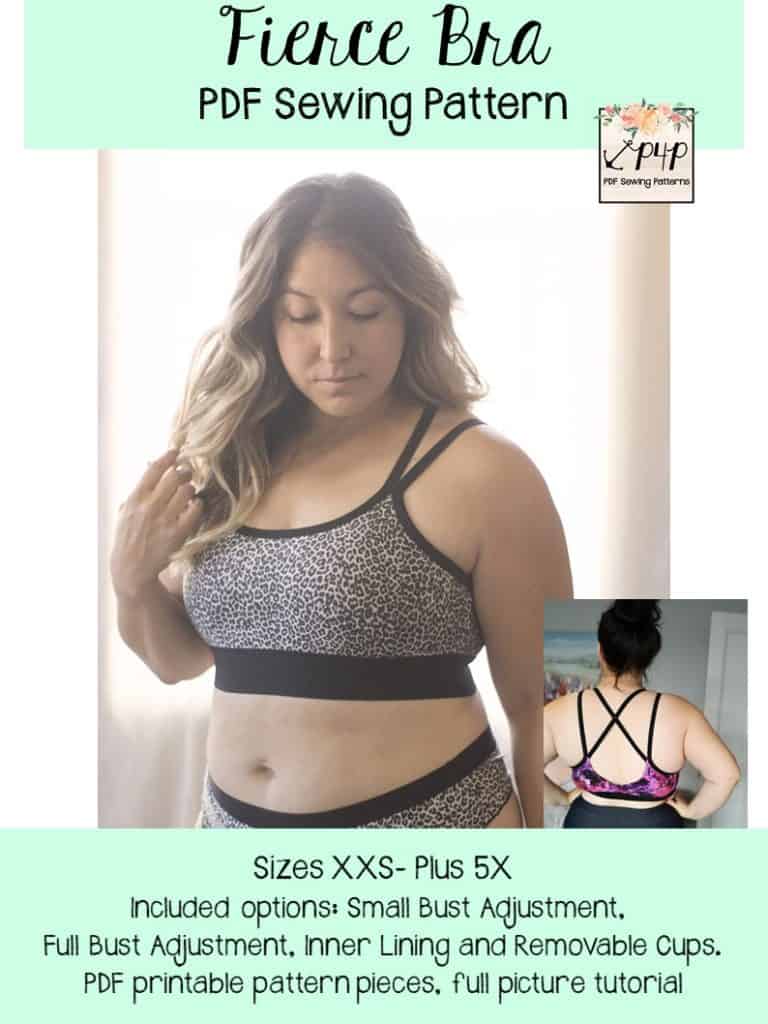
- Adult Sizing- Fierce Bra PDF Sewing Pattern by Patterns for Pirates
-
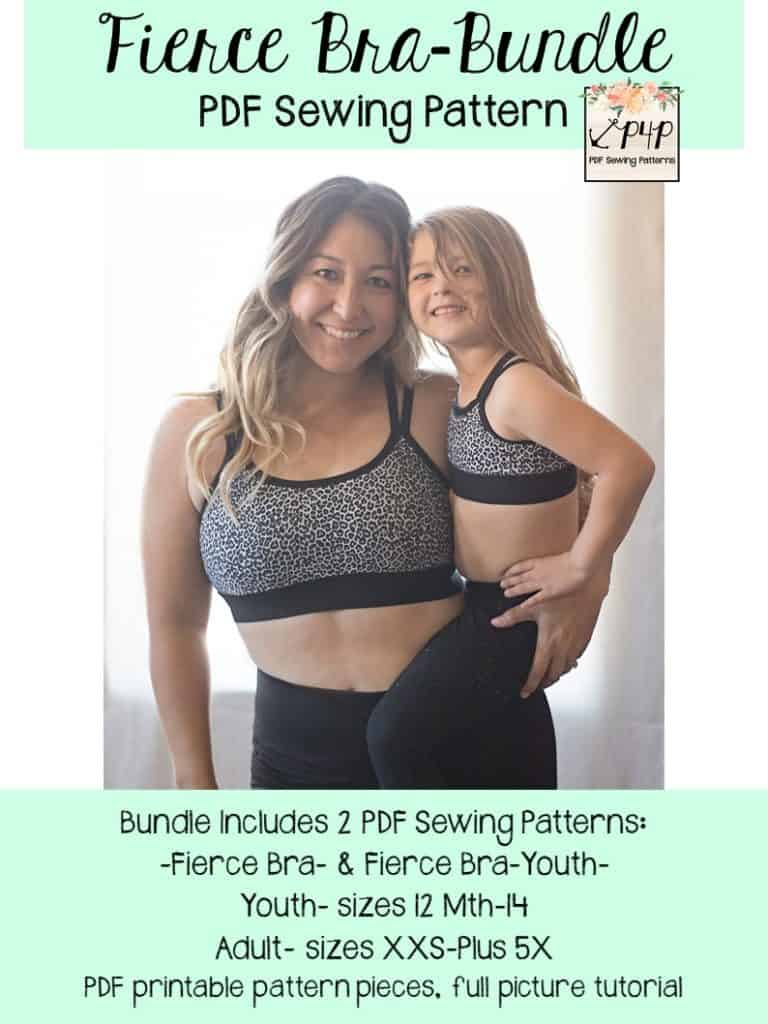
- Bundle Adult and Youth Sizing- Fierce Bra PDF Sewing Pattern by Patterns for Pirates
-
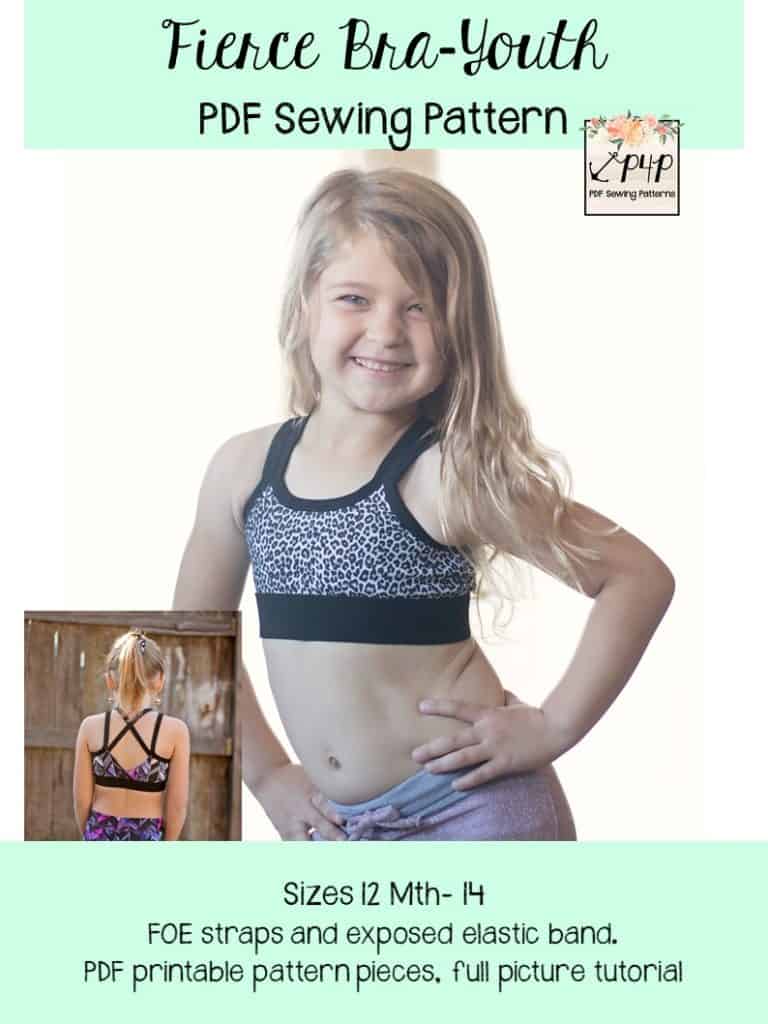
- Youth Sizing- Fierce Bra- PDF Sewing Pattern by Patterns for Pirates
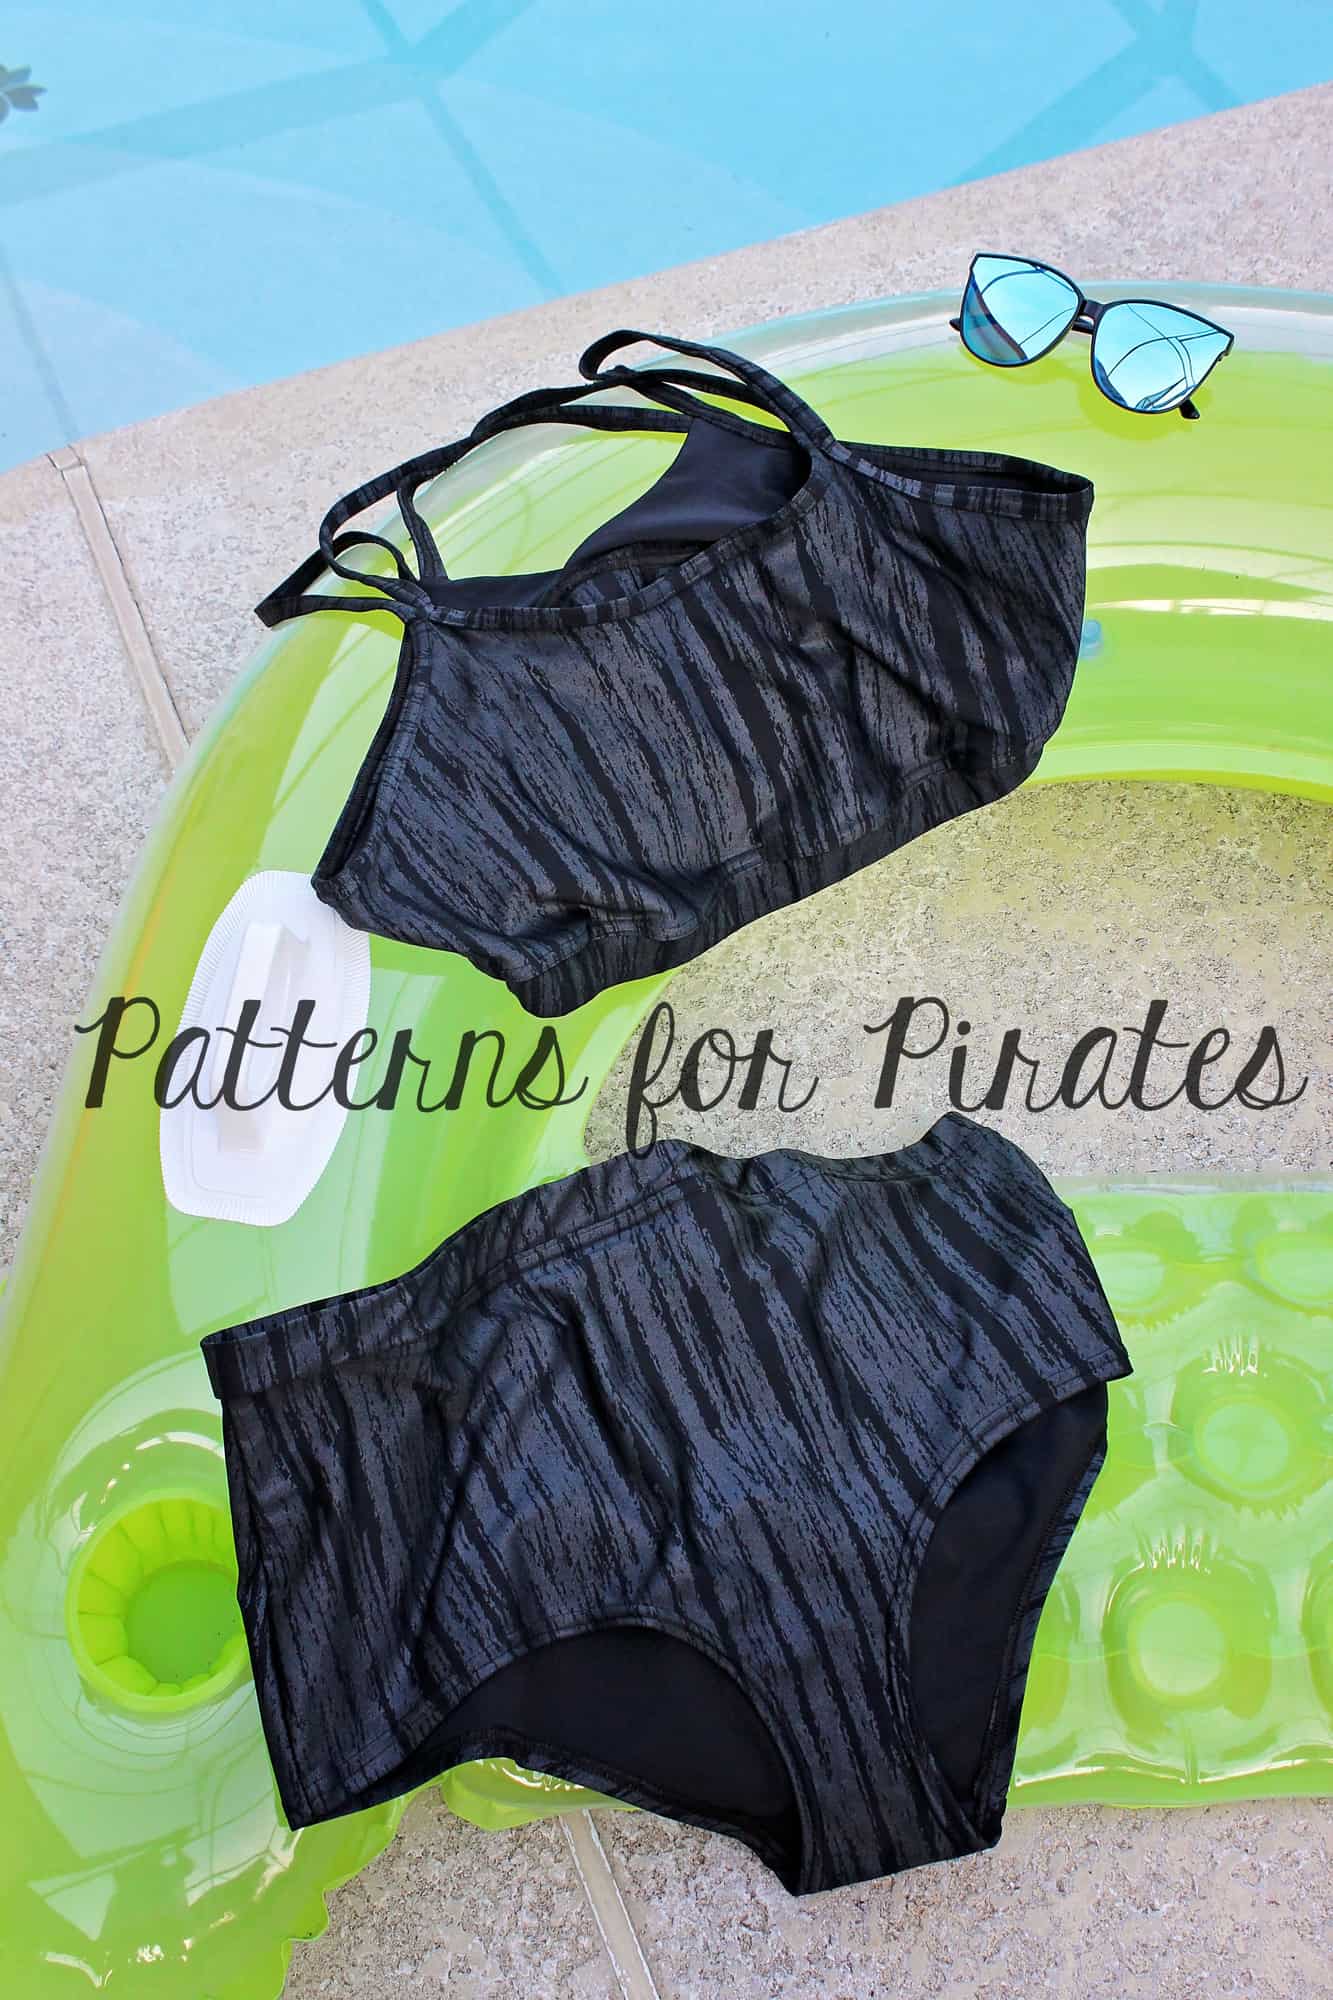
Then who could resist some matching undies to the bra right?! The Fierce Undies came right along as well 🙂 Both Adult and Youth can feel fierce in their undergarments now!
-
- Fierce Undies- Adult Sizing- PDF Sewing Pattern by Patterns for Pirates
-
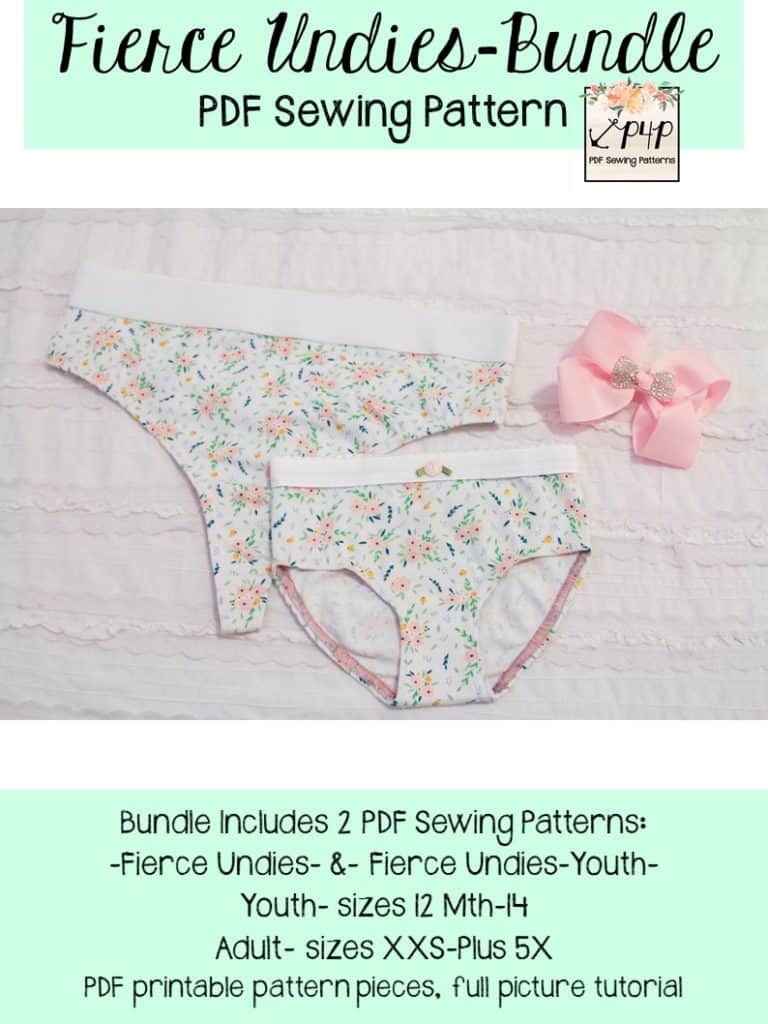
- Fierce Undies- Bundle Adult and Youth Sizing- PDF Sewing Pattern by Patterns for Pirates
-
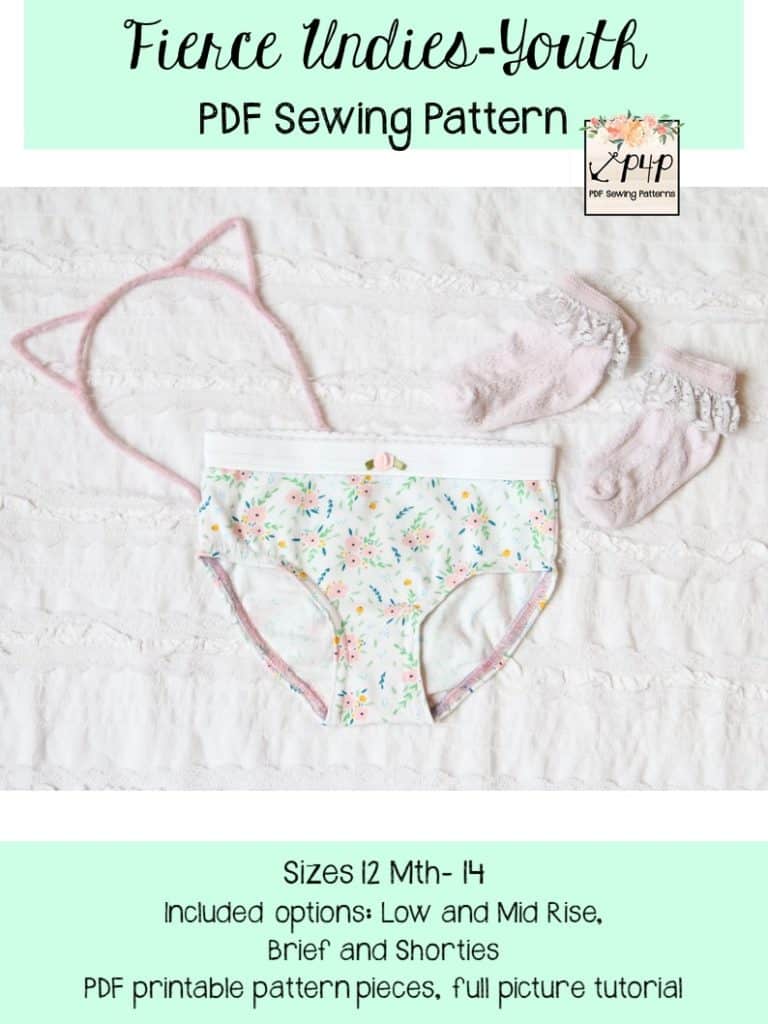
- Fierce Undies- PDF Sewing Pattern by Patterns for Pirates
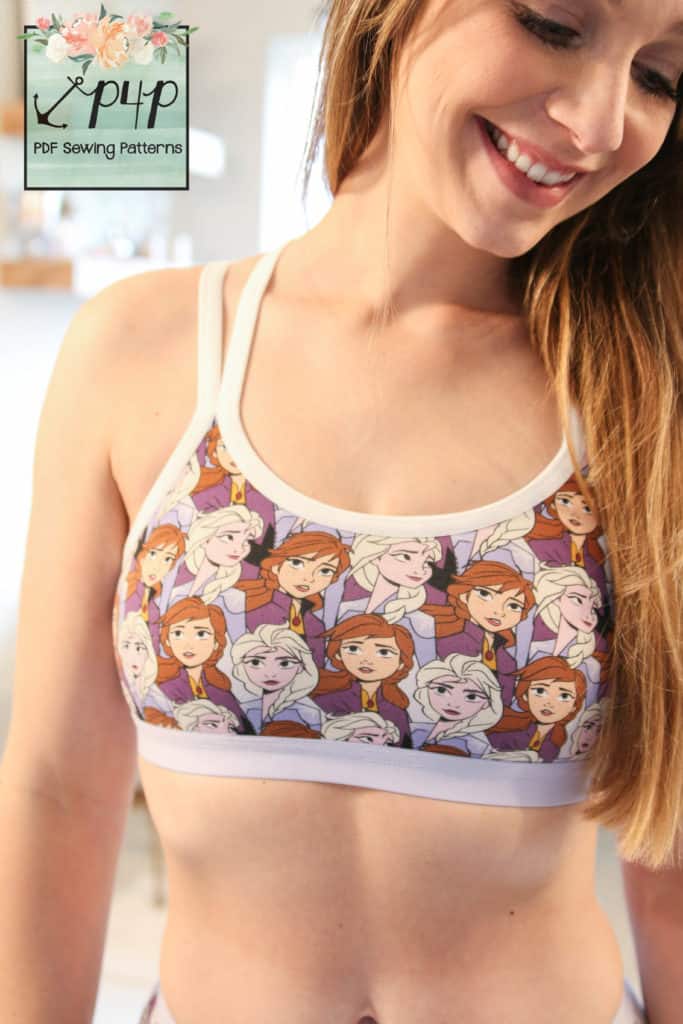
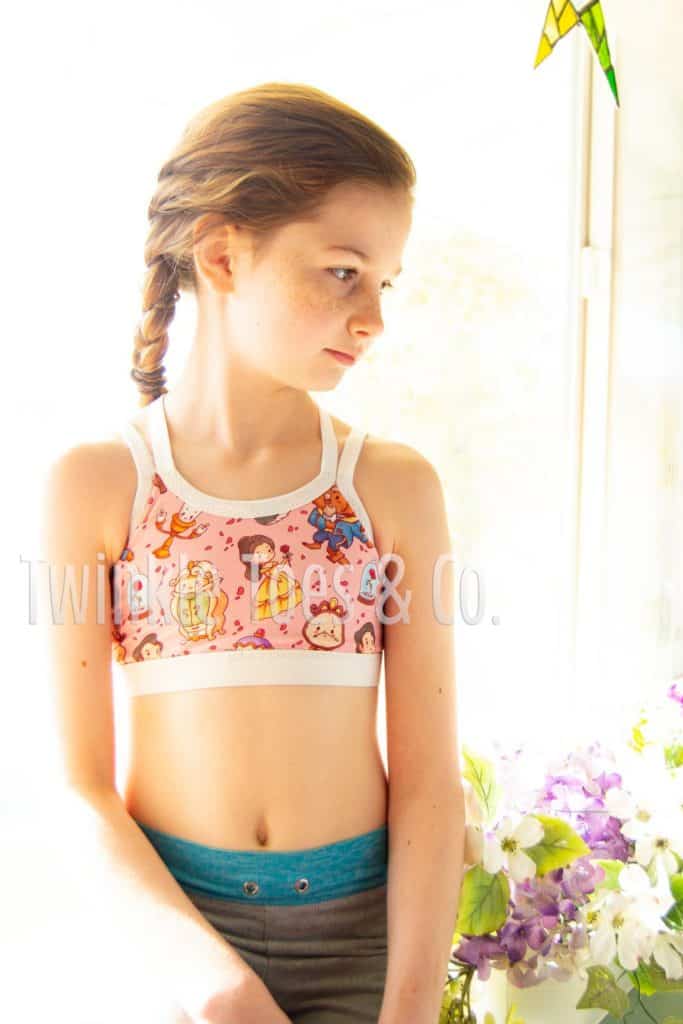
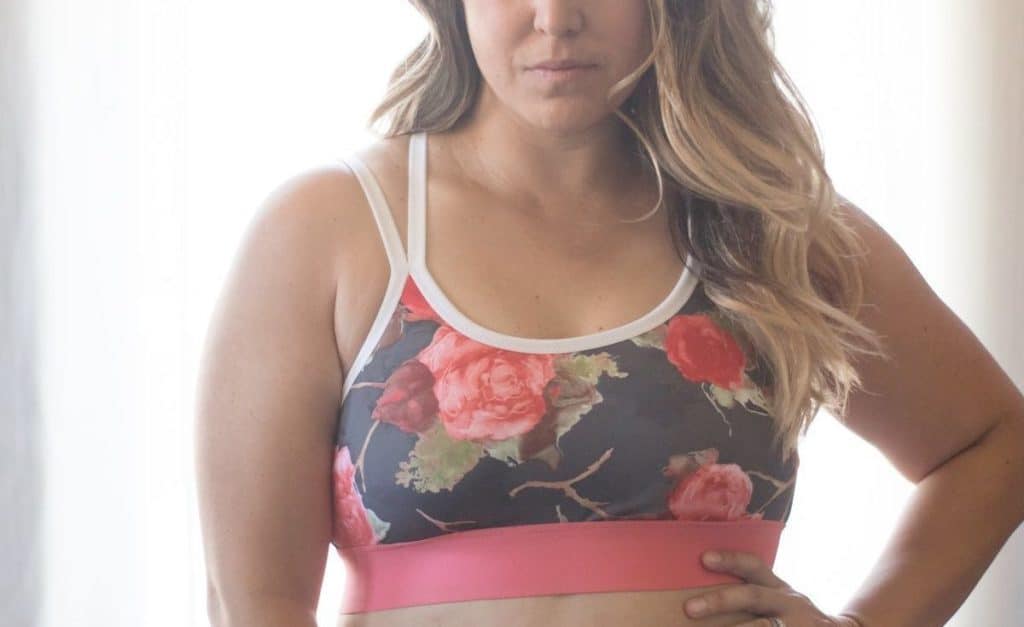
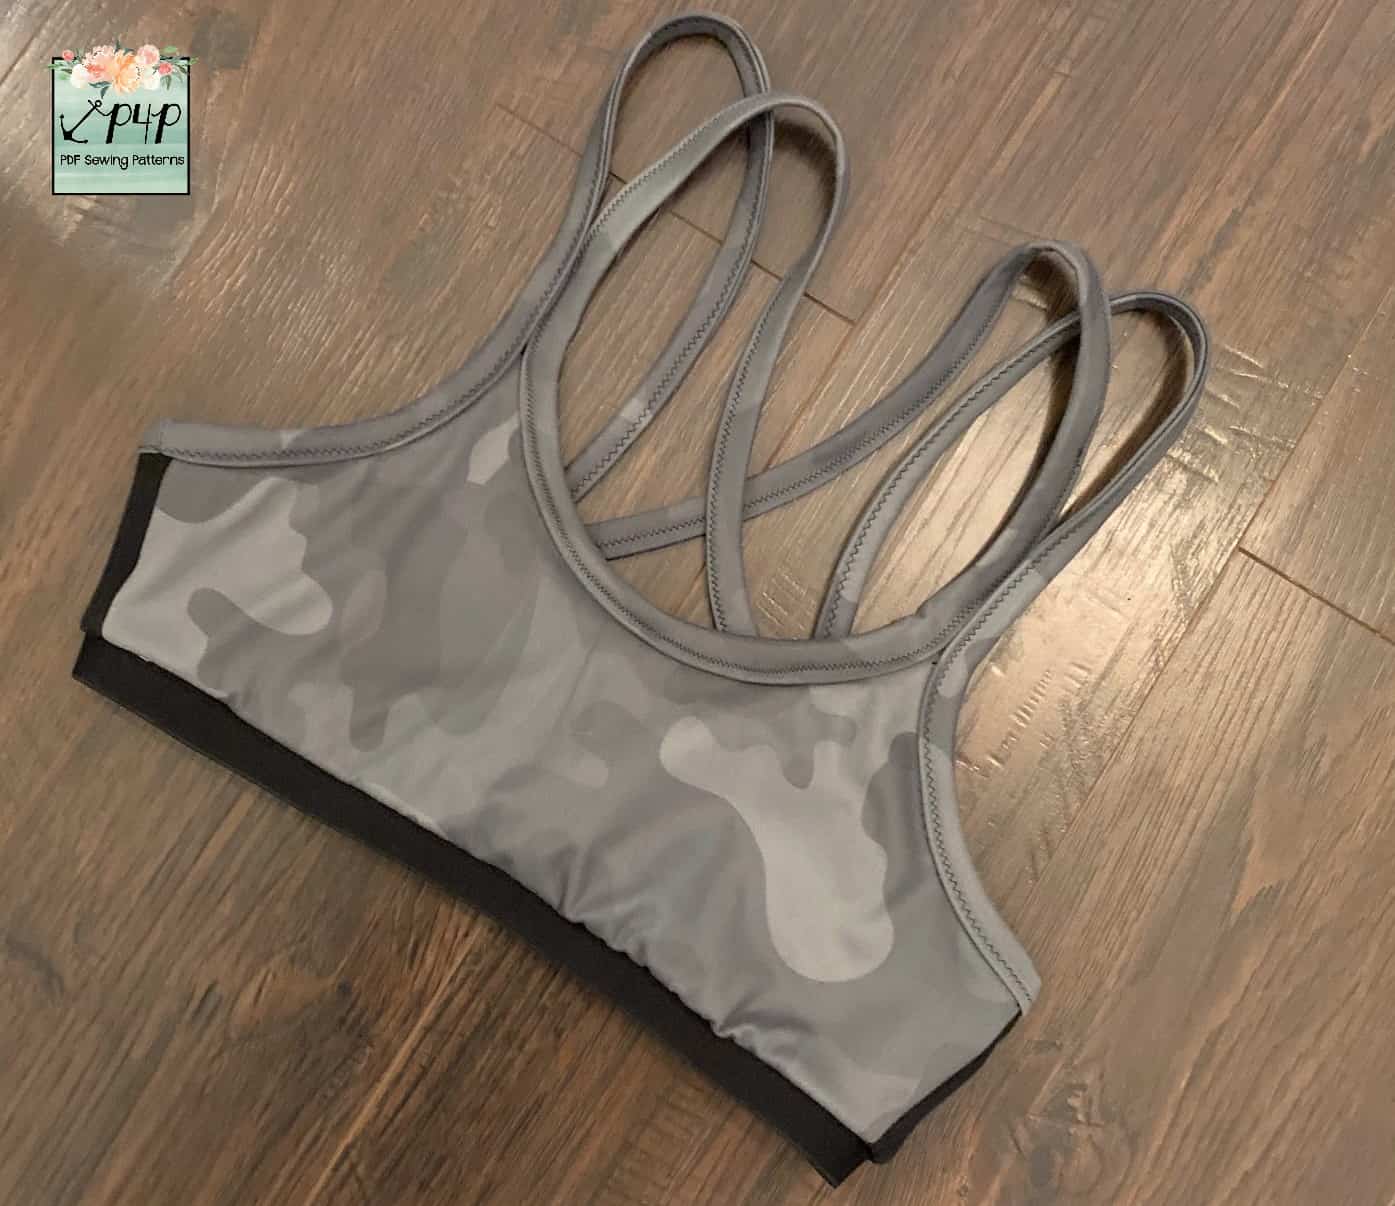
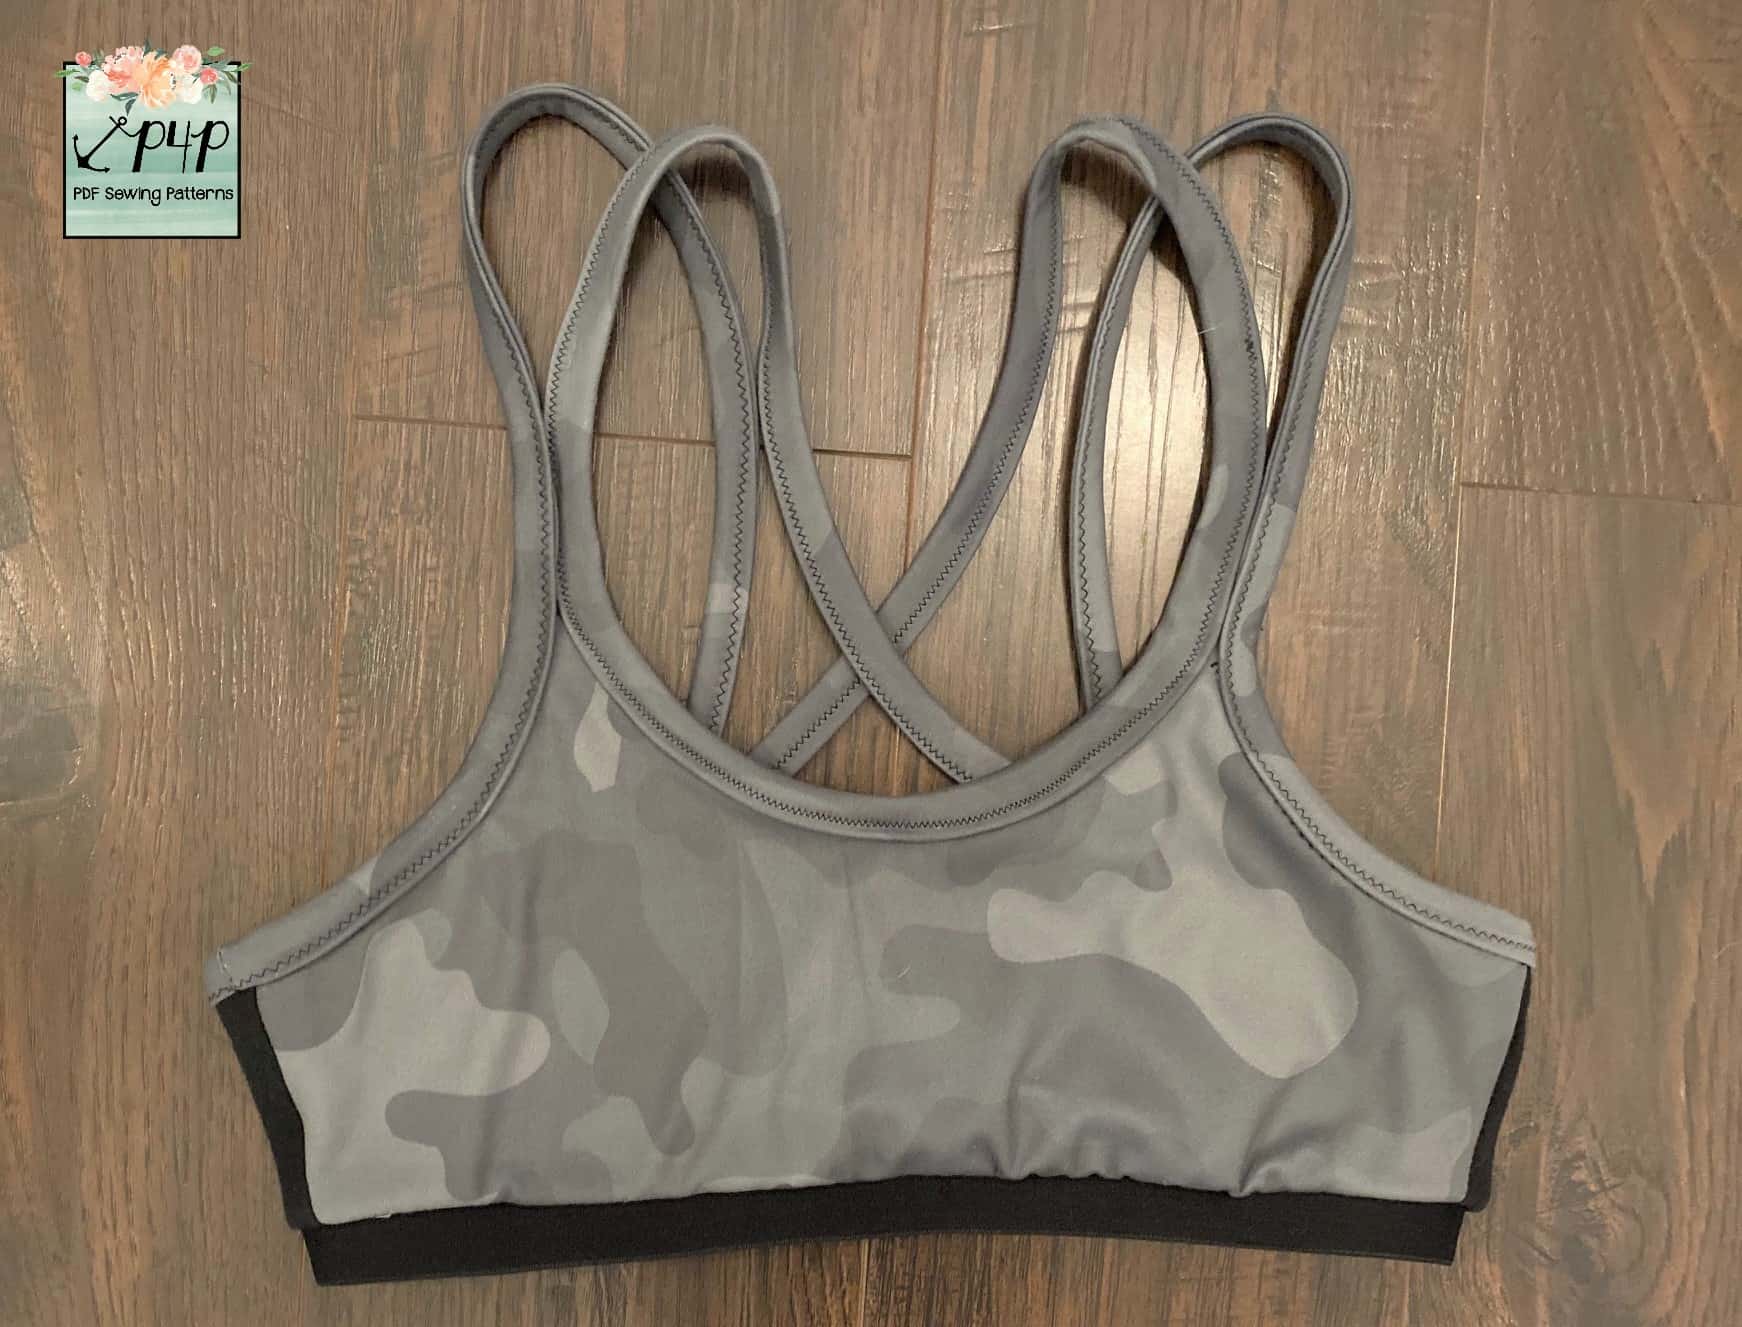
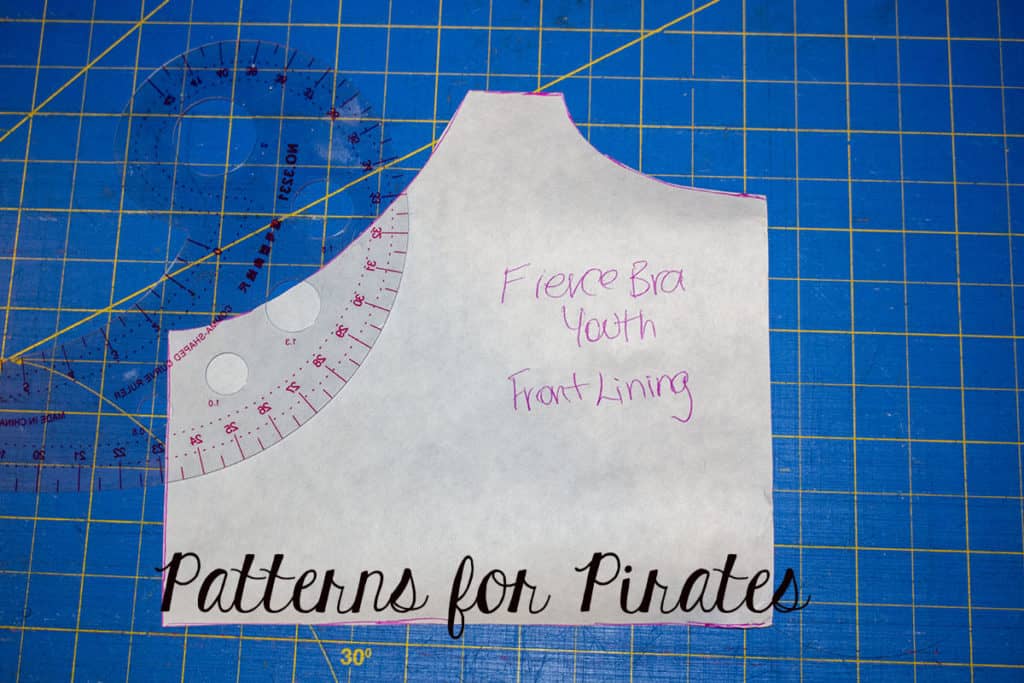
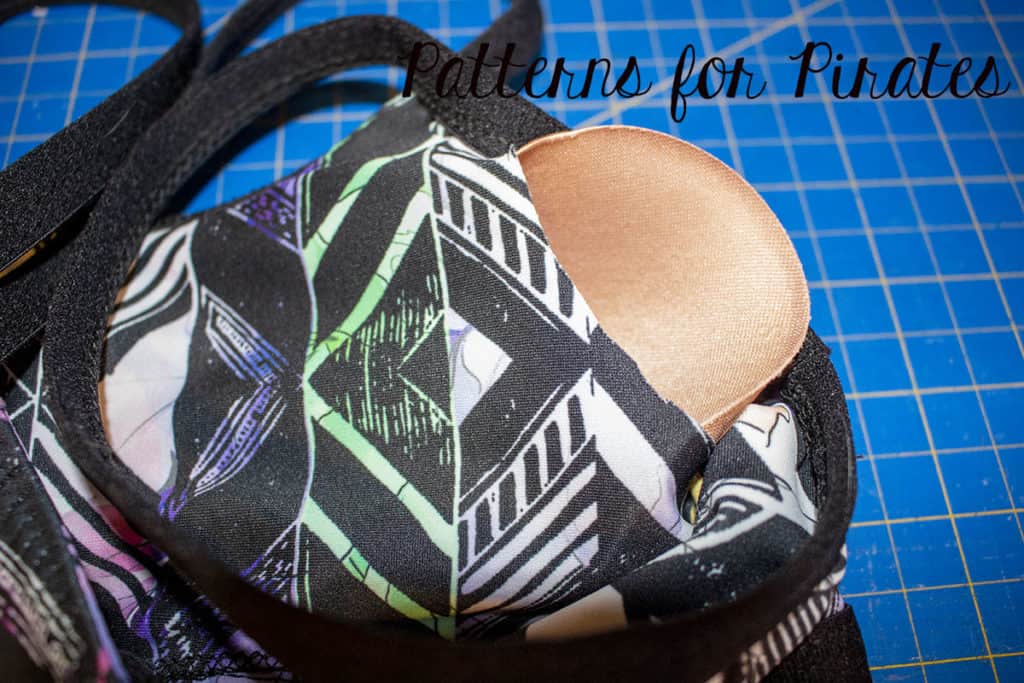
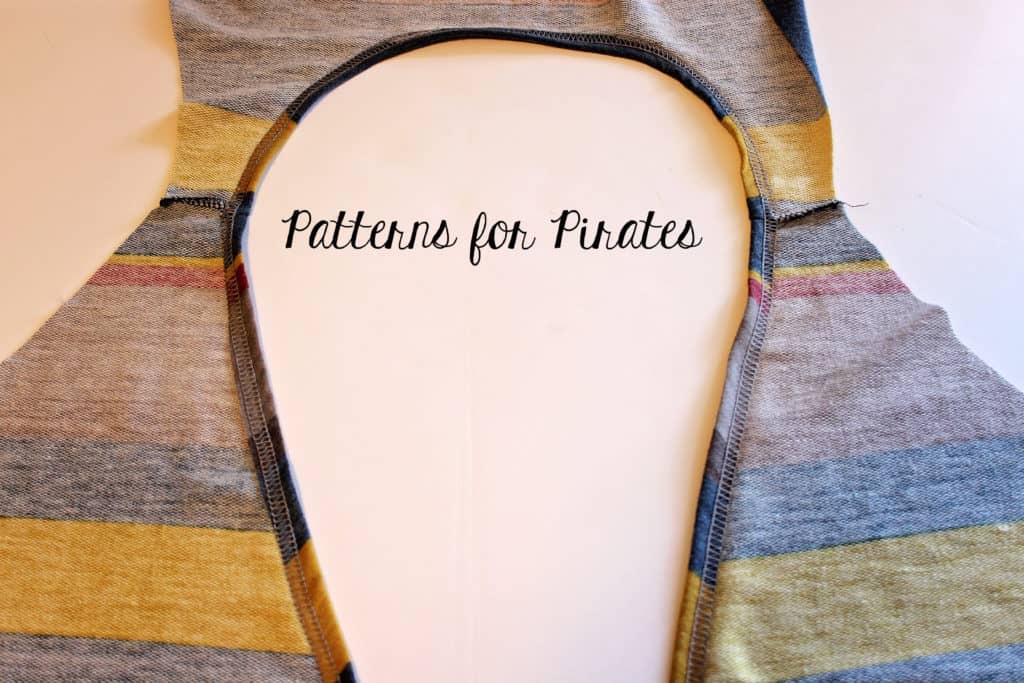
Lets talk Fierce Bra first! This pattern is a great first bra for any sewist to try their hand and get sizing and adjustments down for more involved bras. It is drafted to be a light to medium impact sports bra… what exactly does that mean? It would give enough support for a walk, yoga, or other light to medium exercising. It’s not a high impact- which would include running, jumping, burpees, ect. Depending on fabric and options you choice you can essentially create a lounge bra with minimal support (and lots of comfort ;)) or a more medium support.
-

- Fierce Bra- Youth- Athletic Fabrics
-
- Fierce Bra- Adult- Athletic Fabrics
-
- Fierce Bra- Adult- Lounge Fabrics
-
- Fierce Bra- Youth- Lounge Fabrics
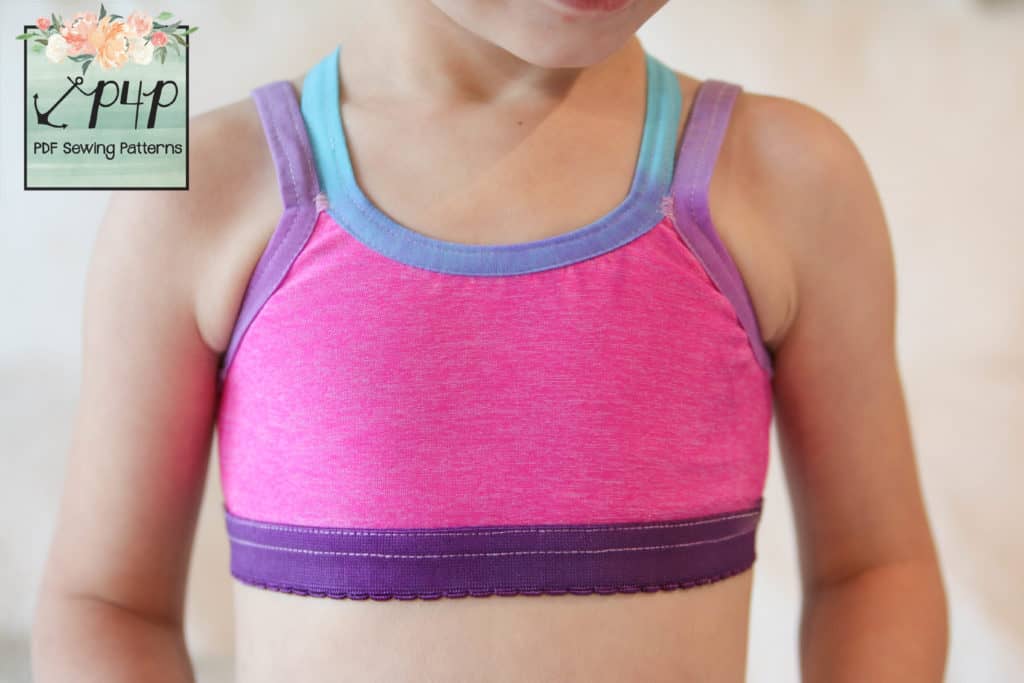
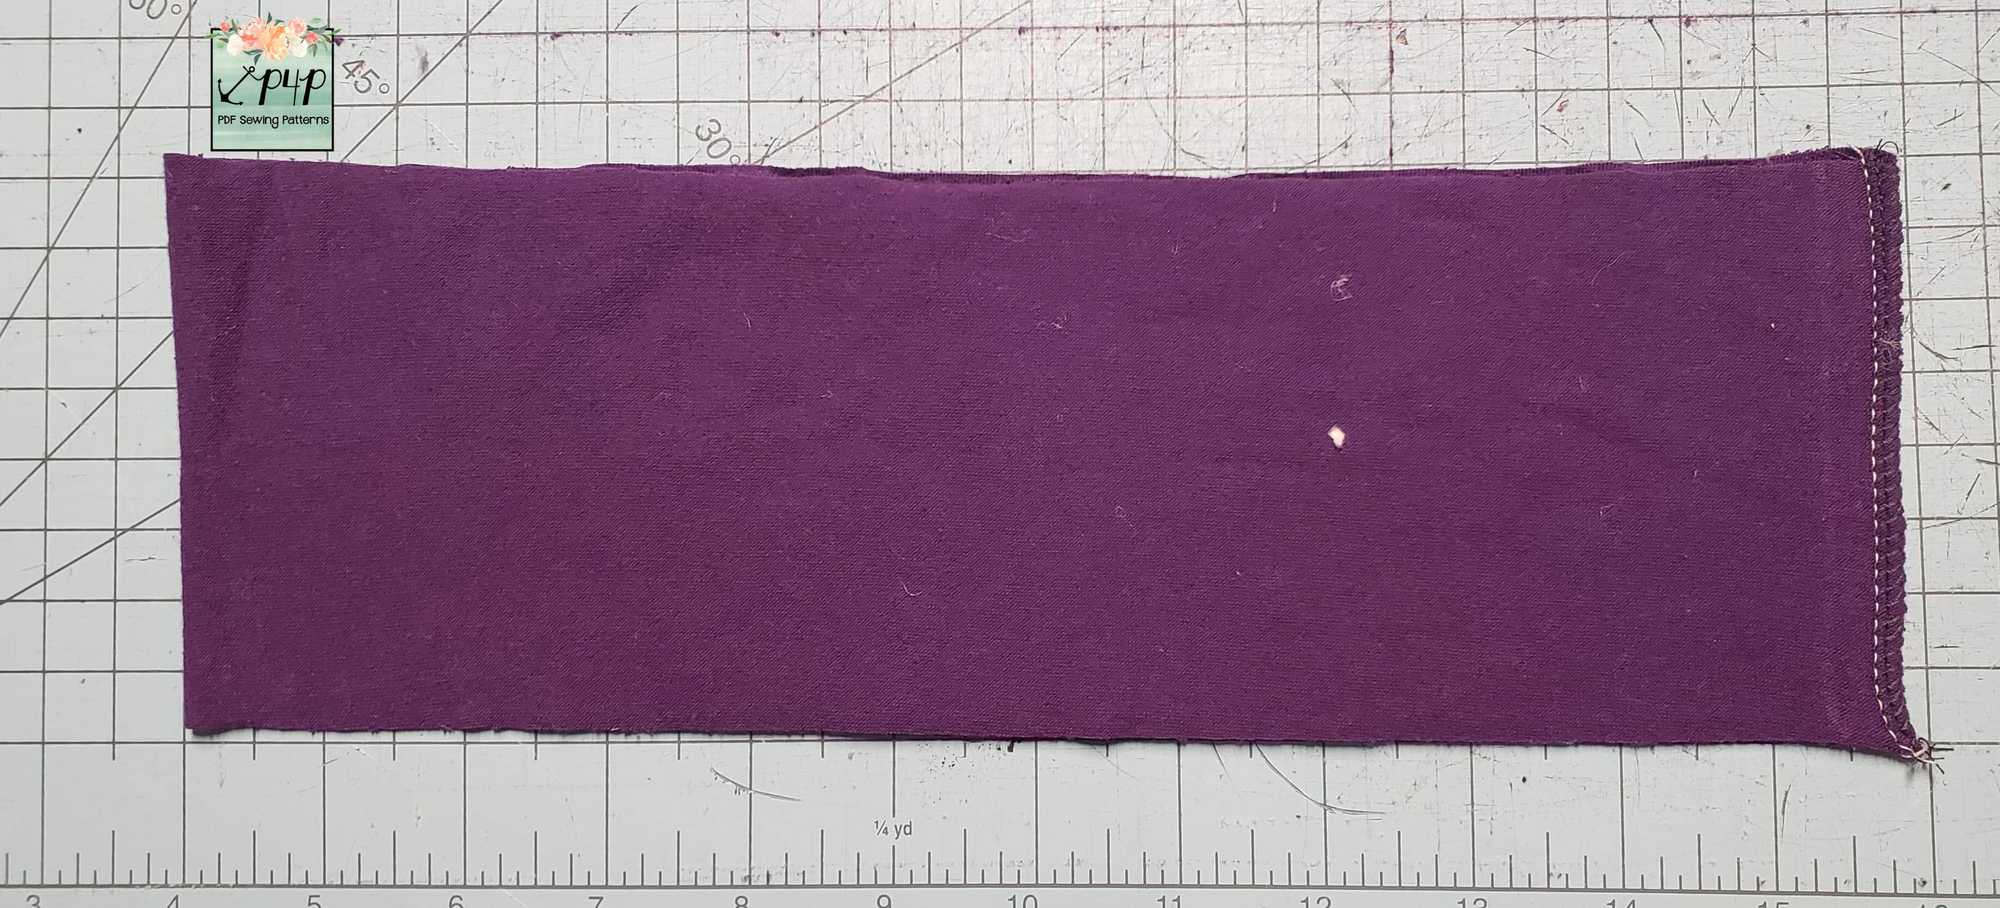
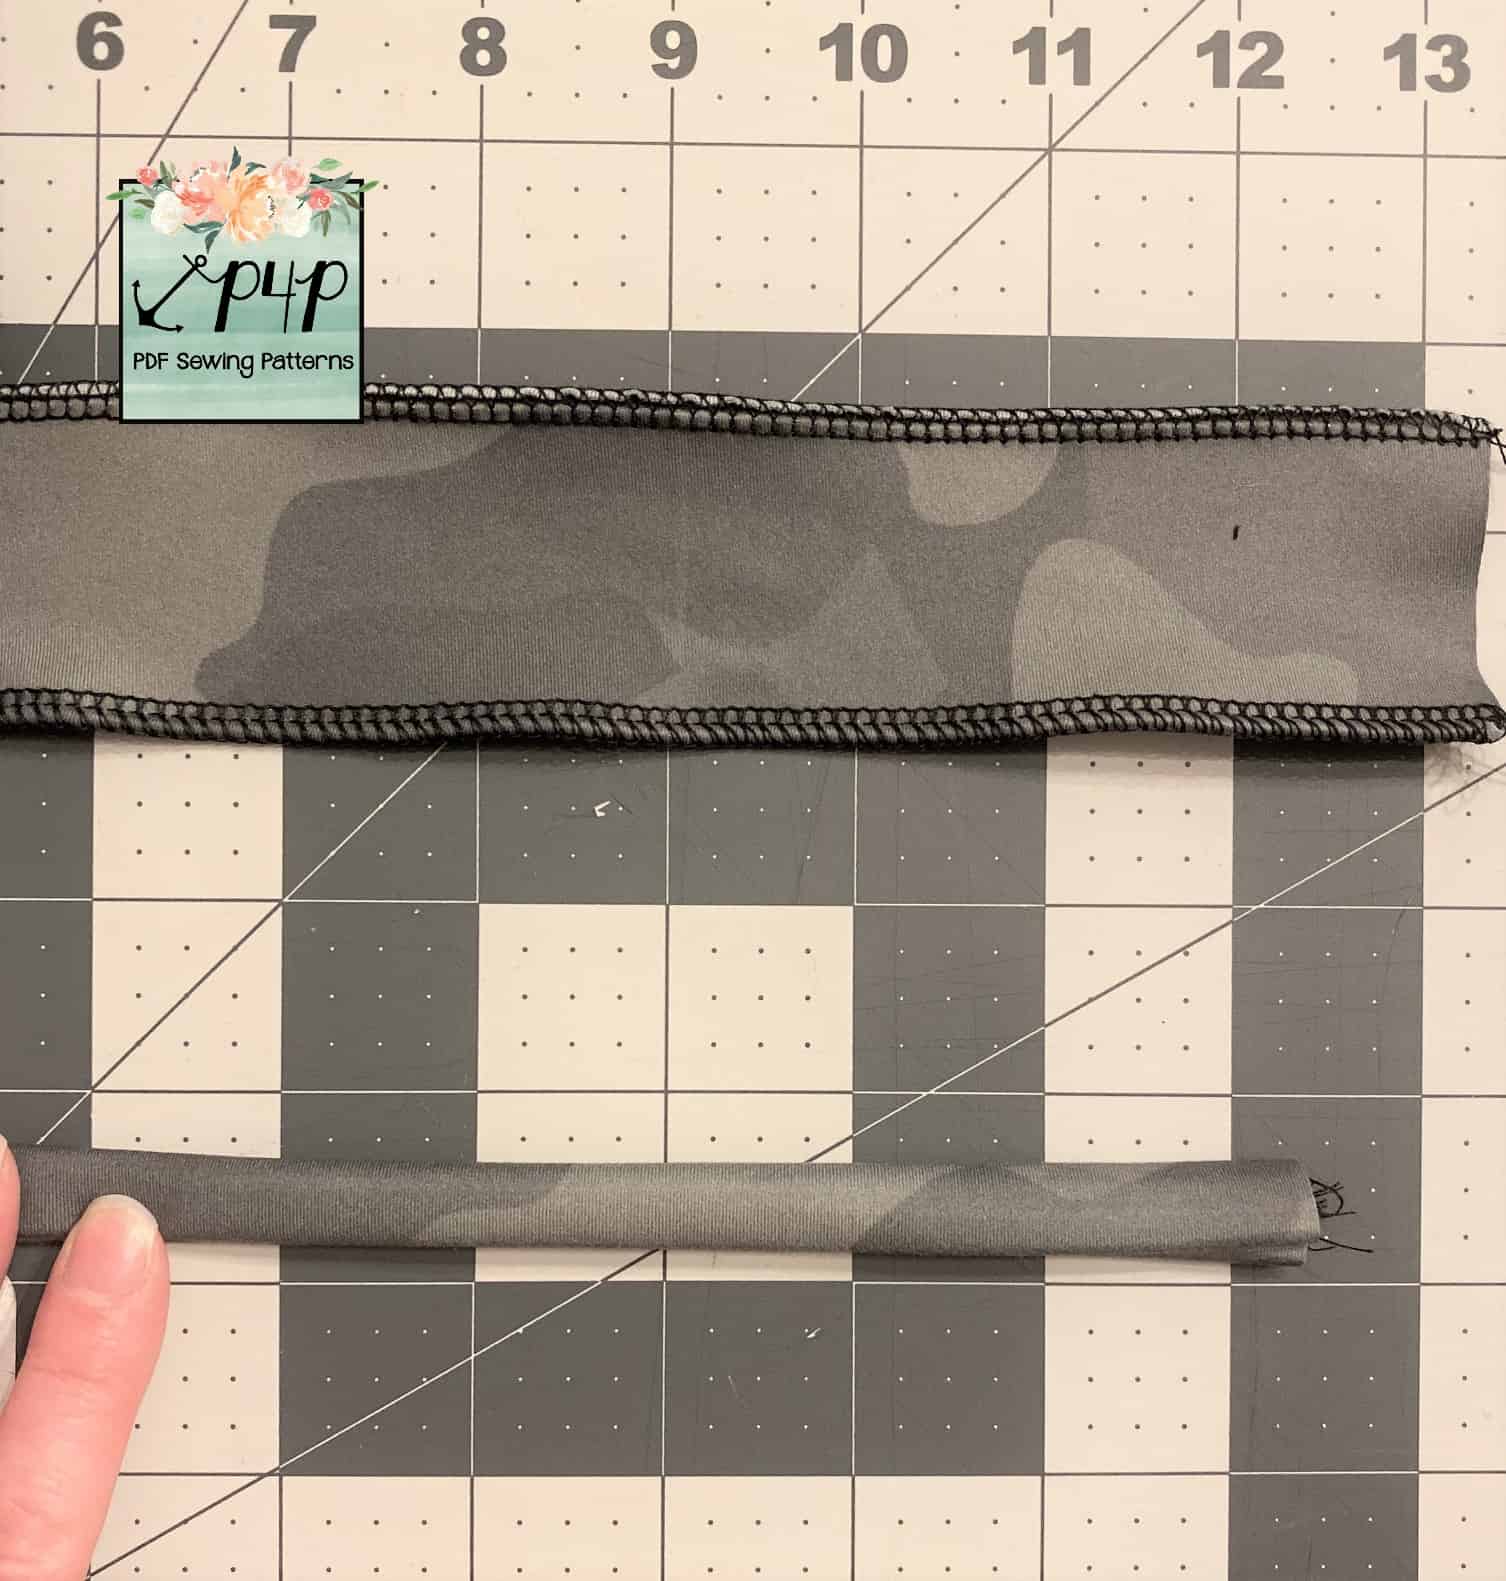
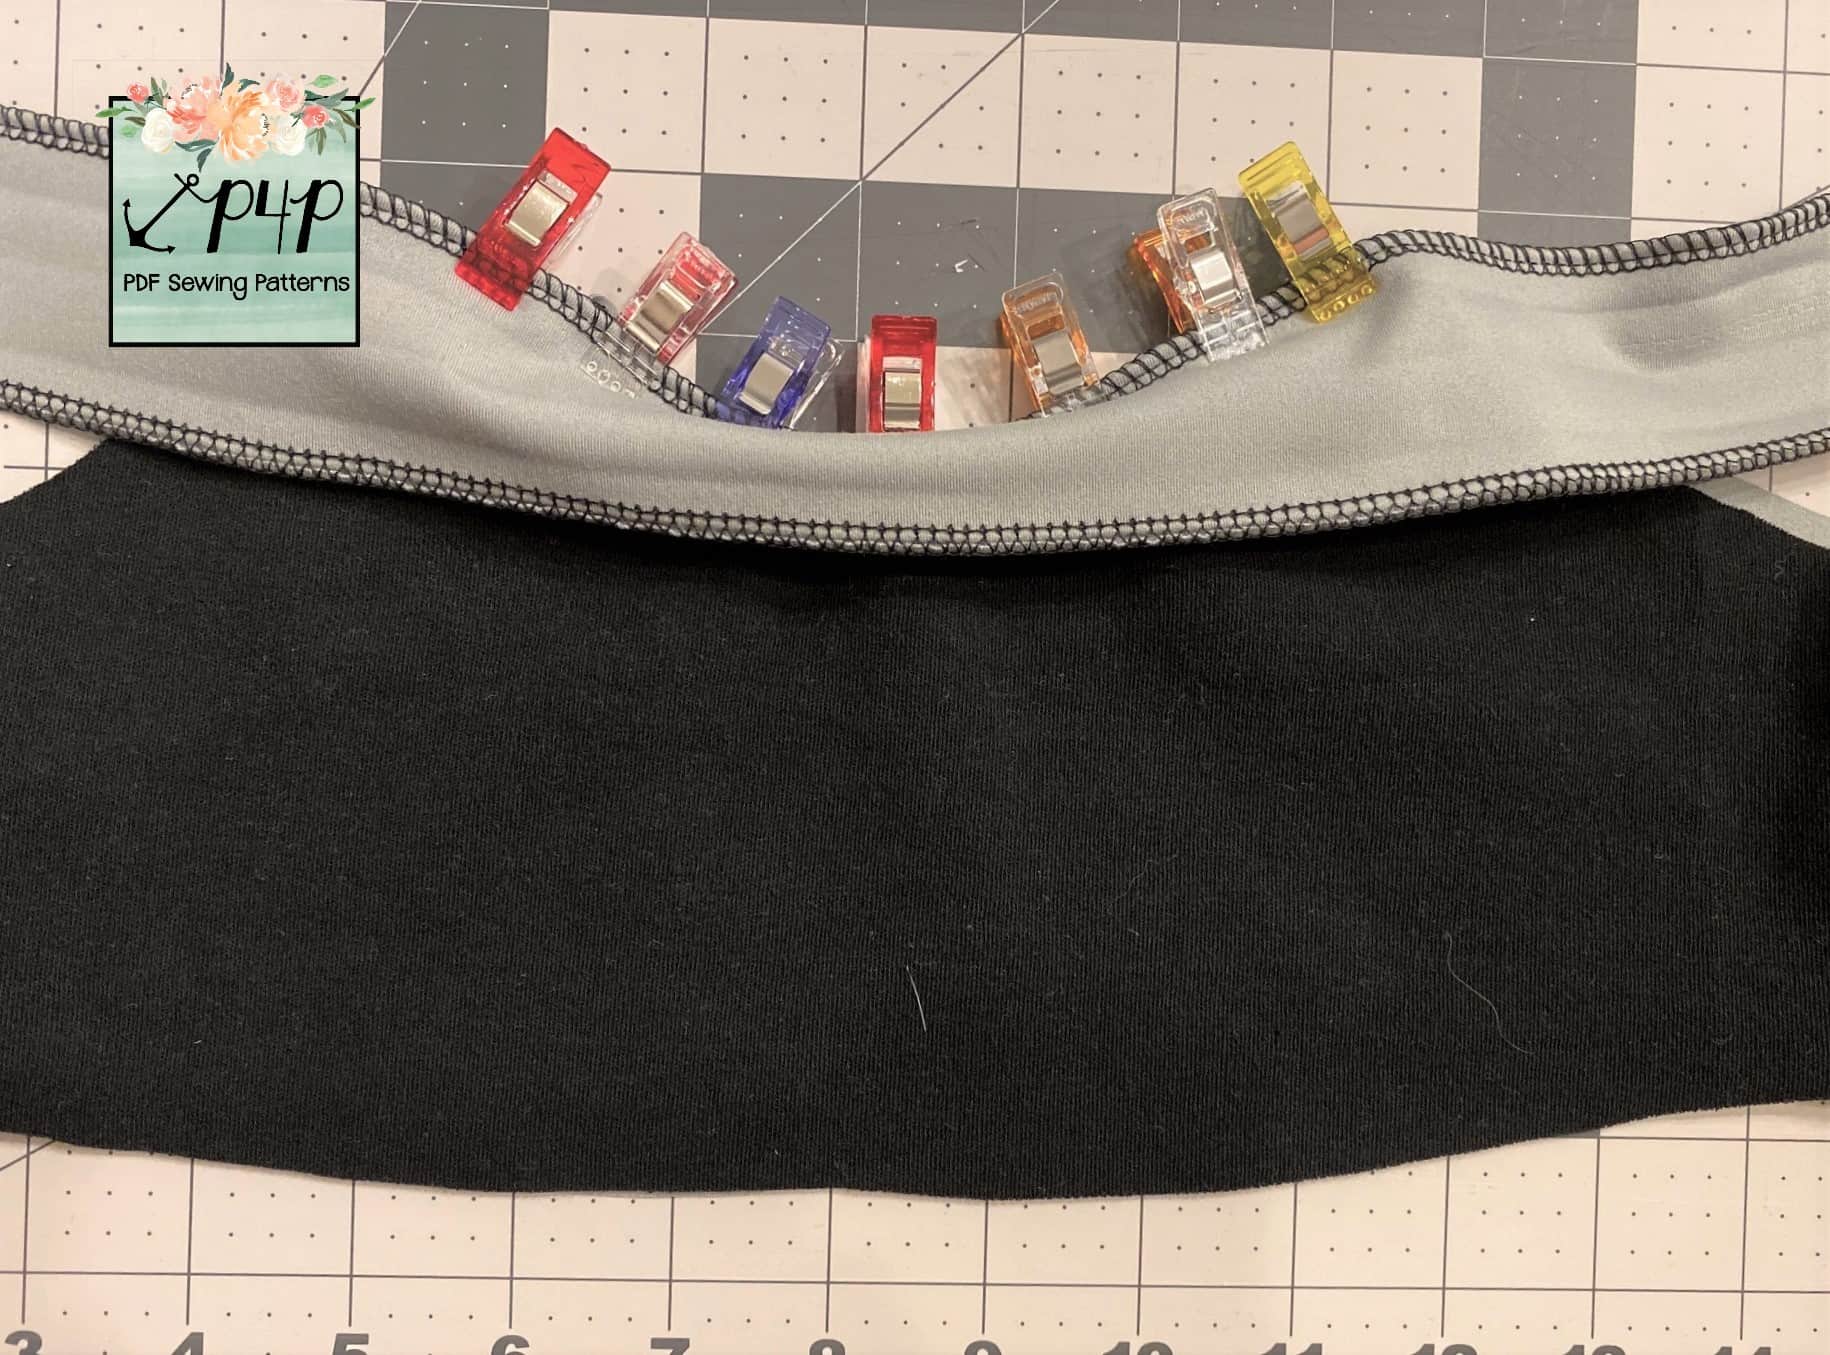
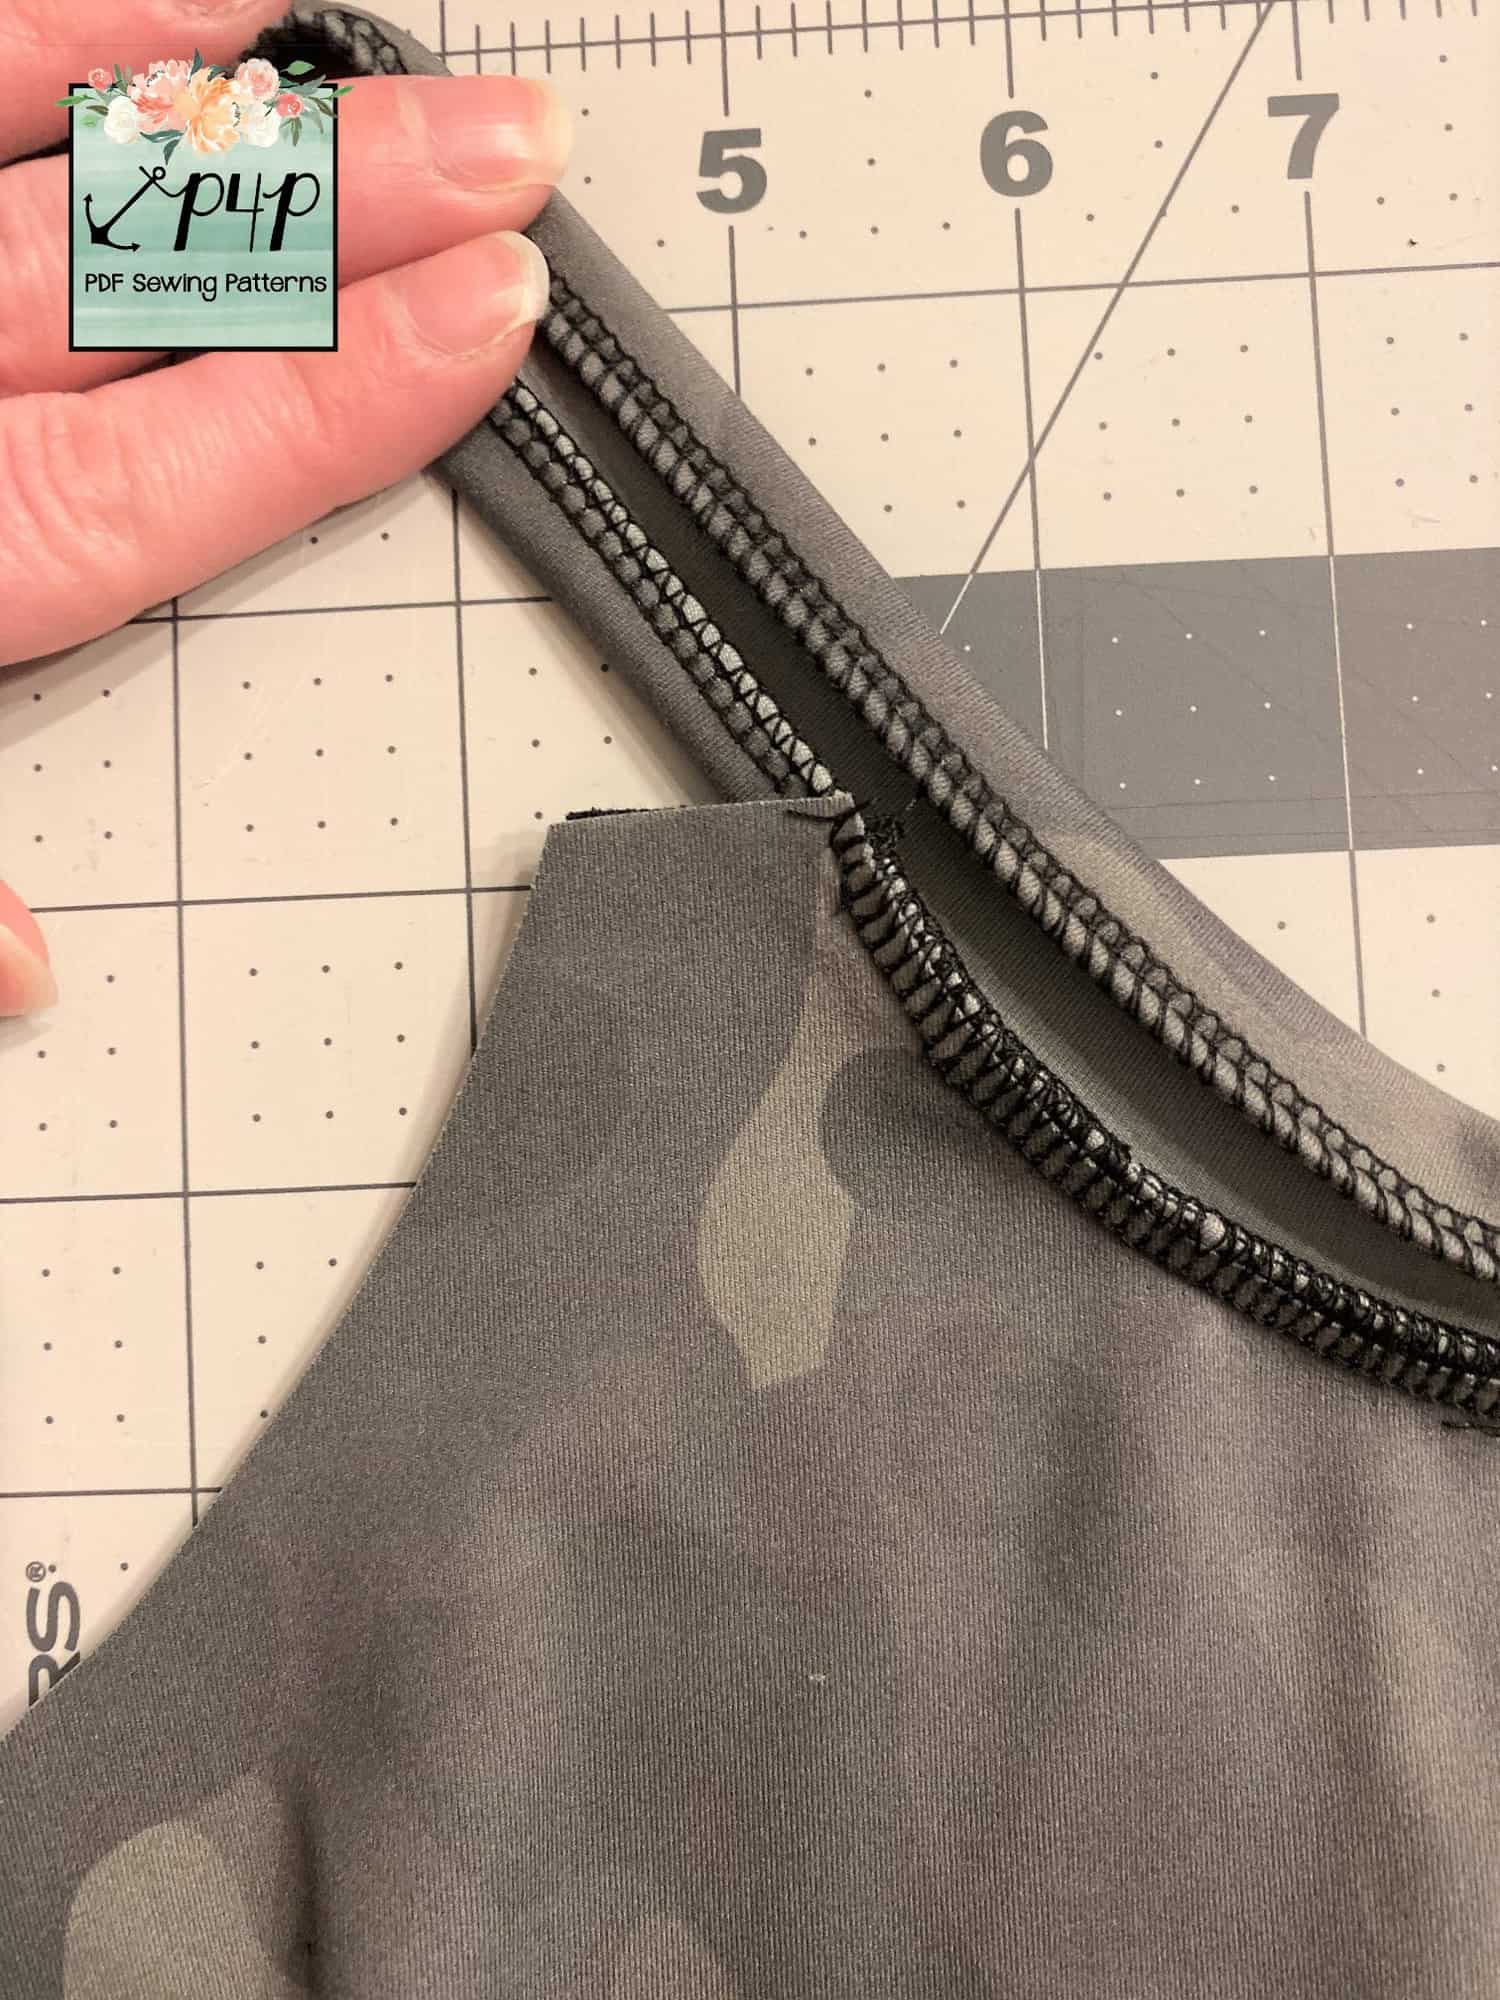
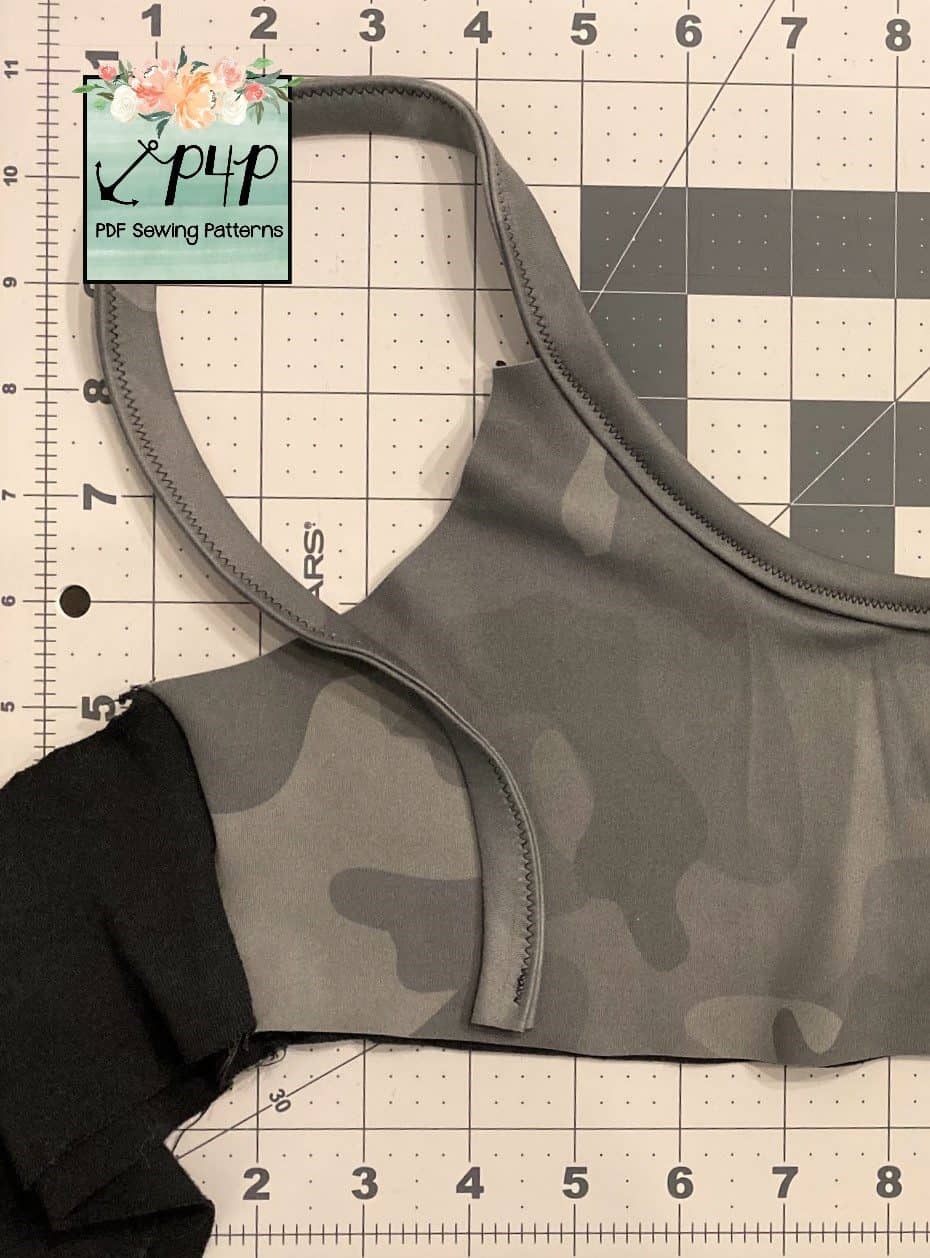
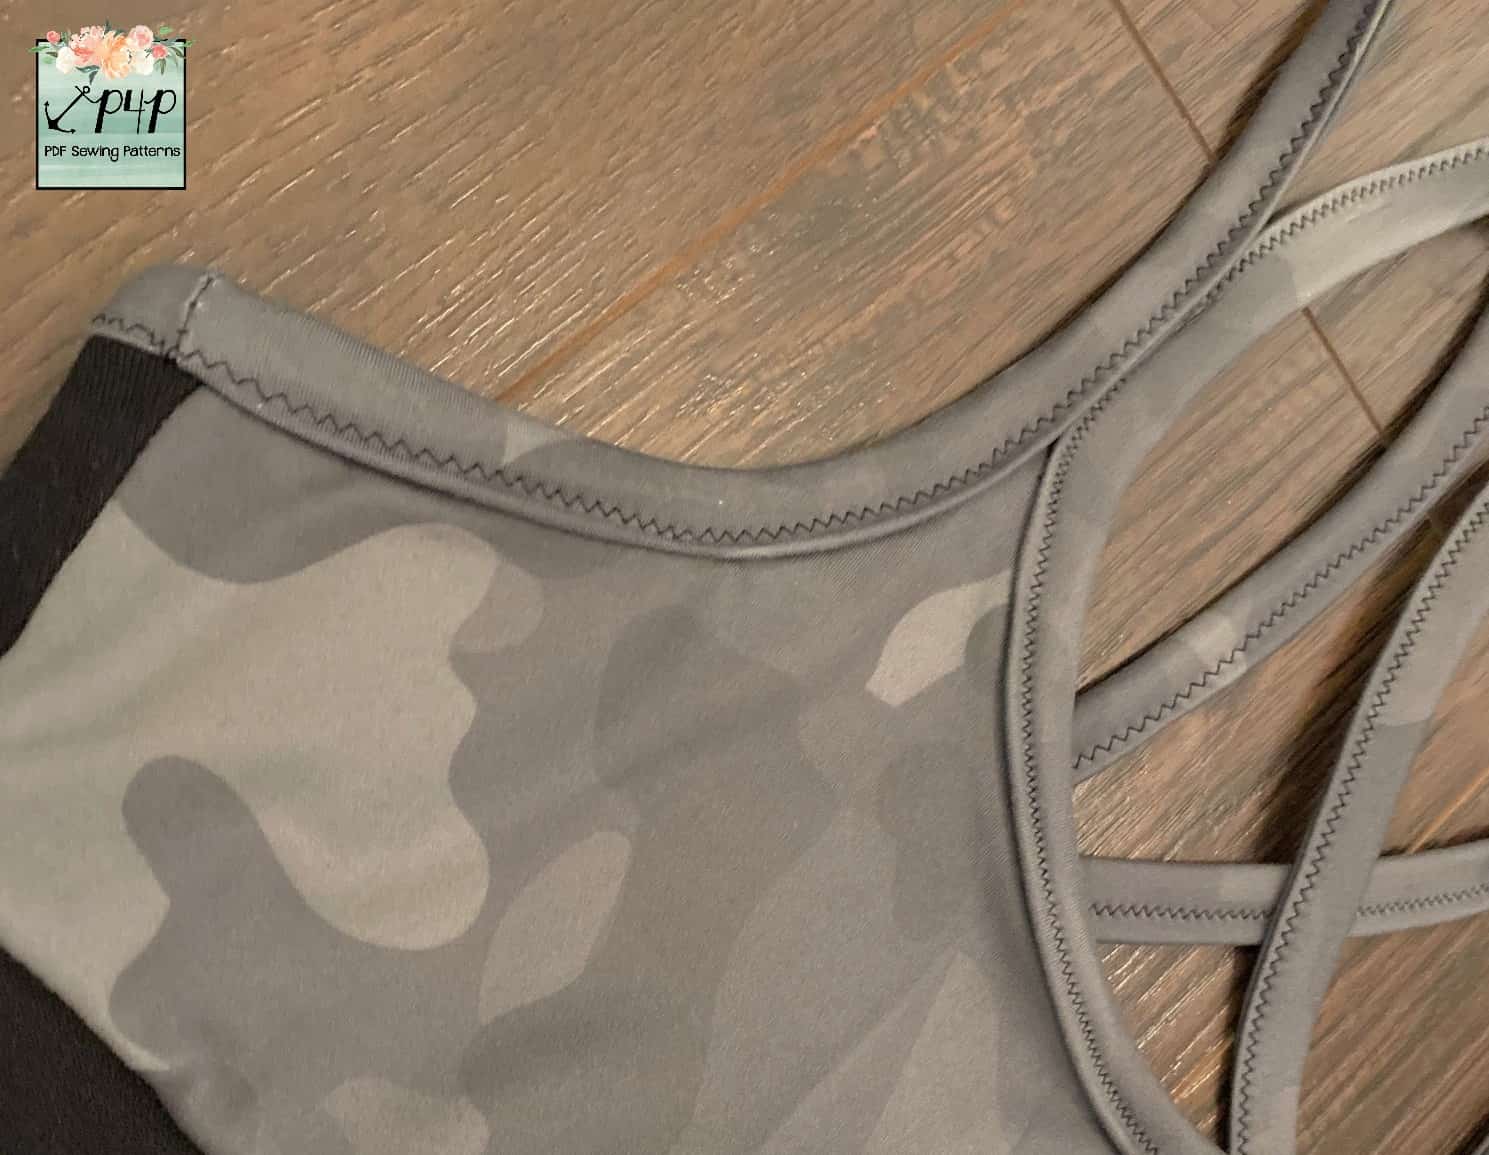
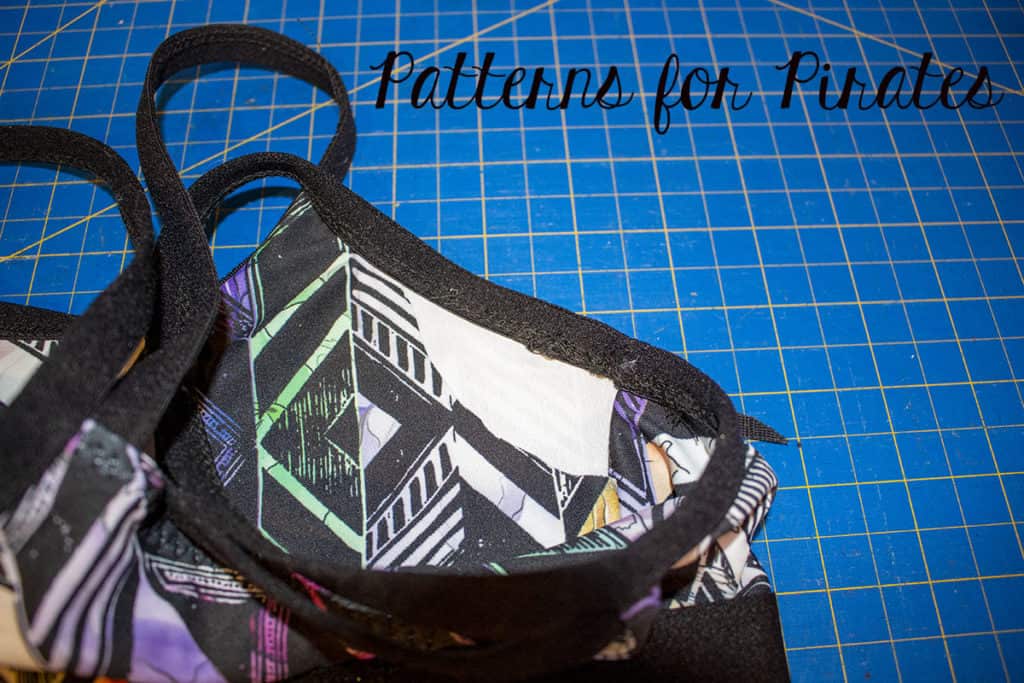
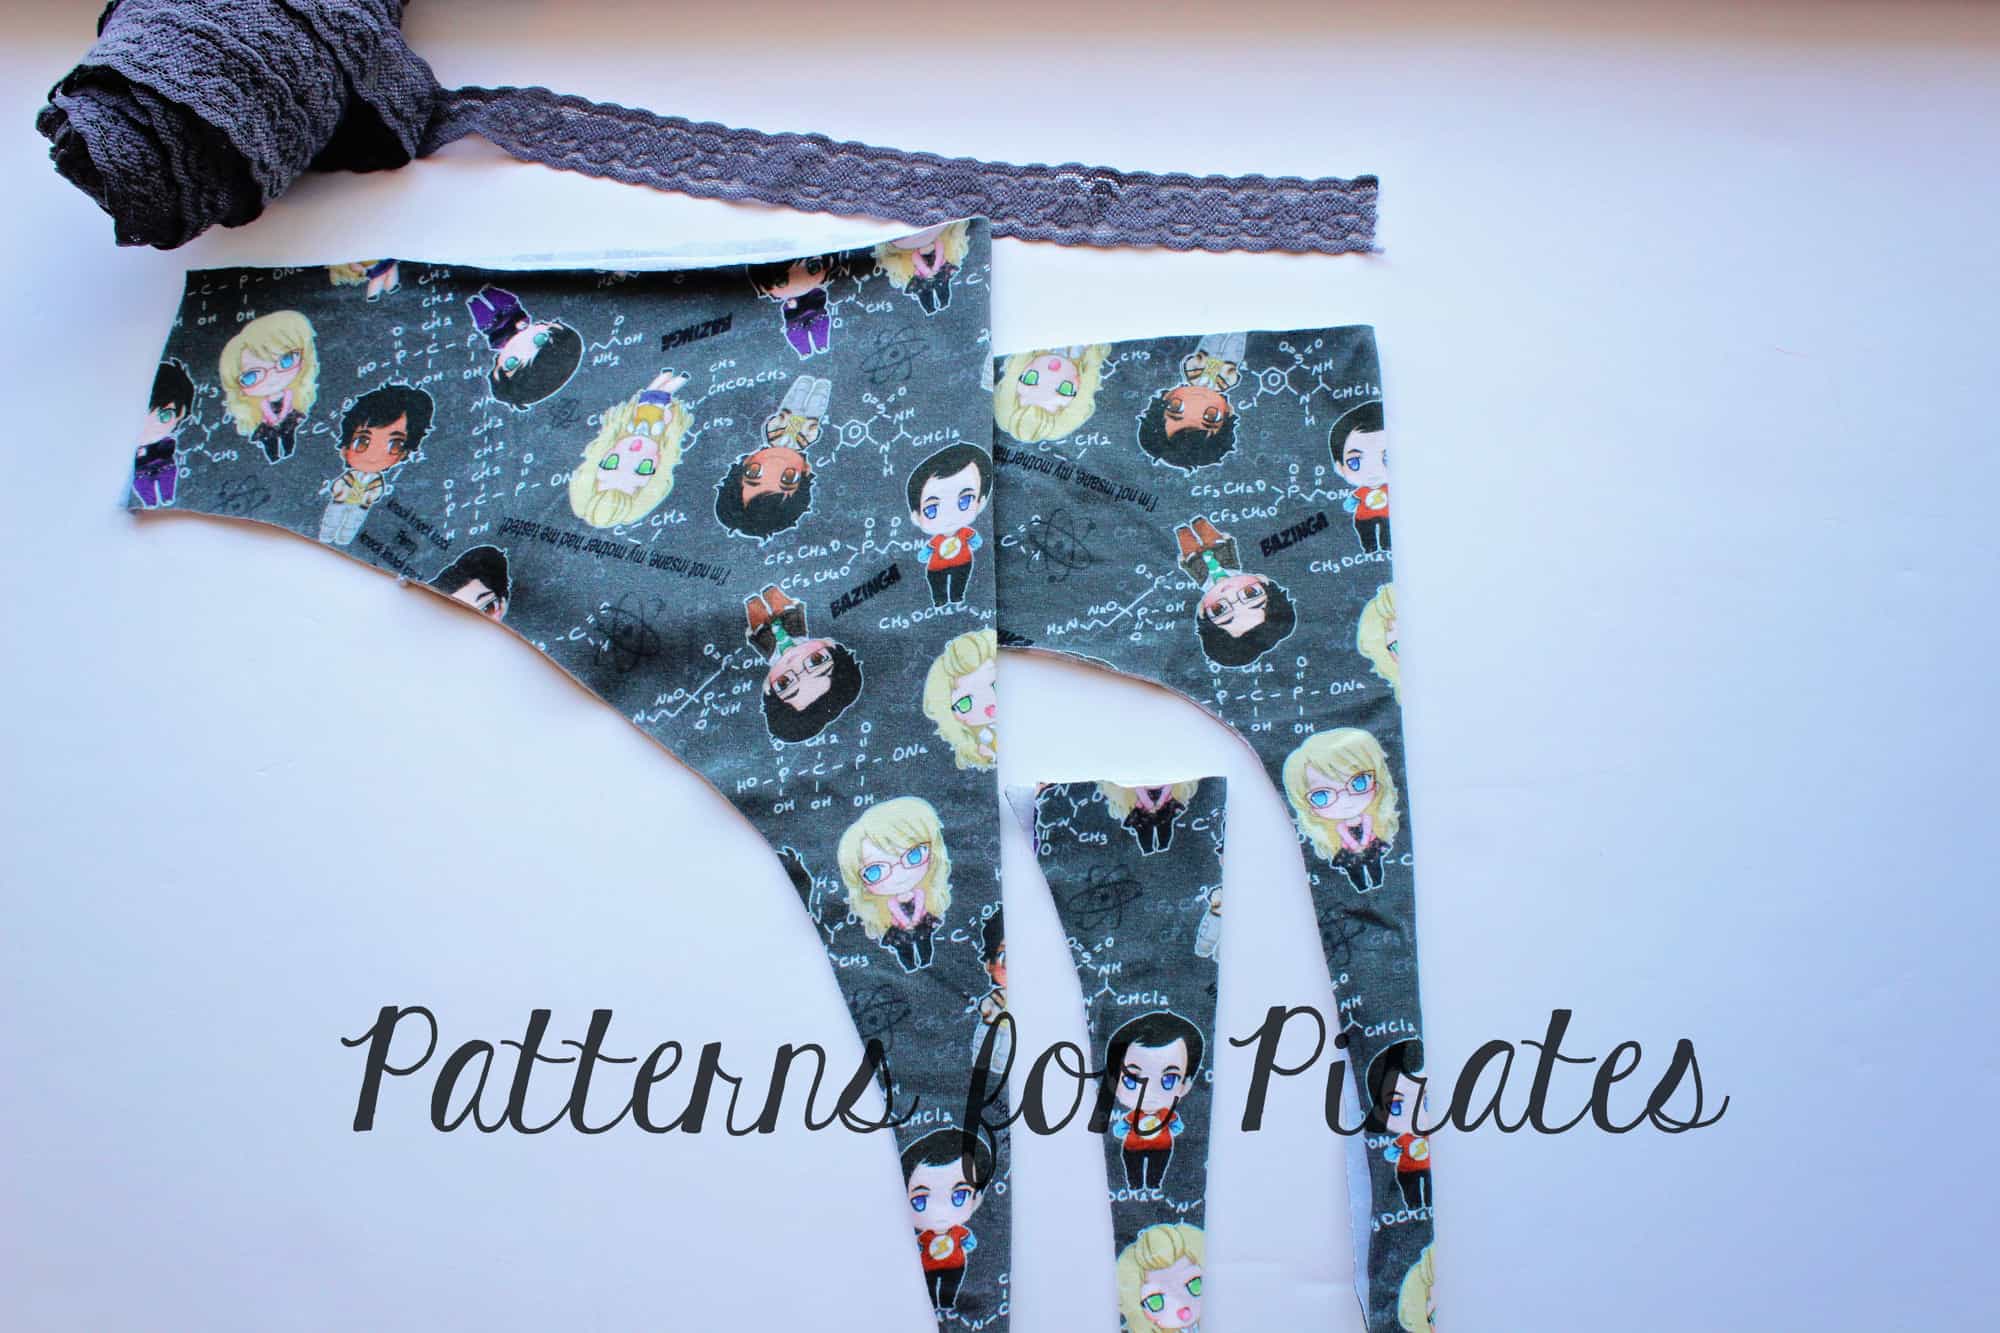
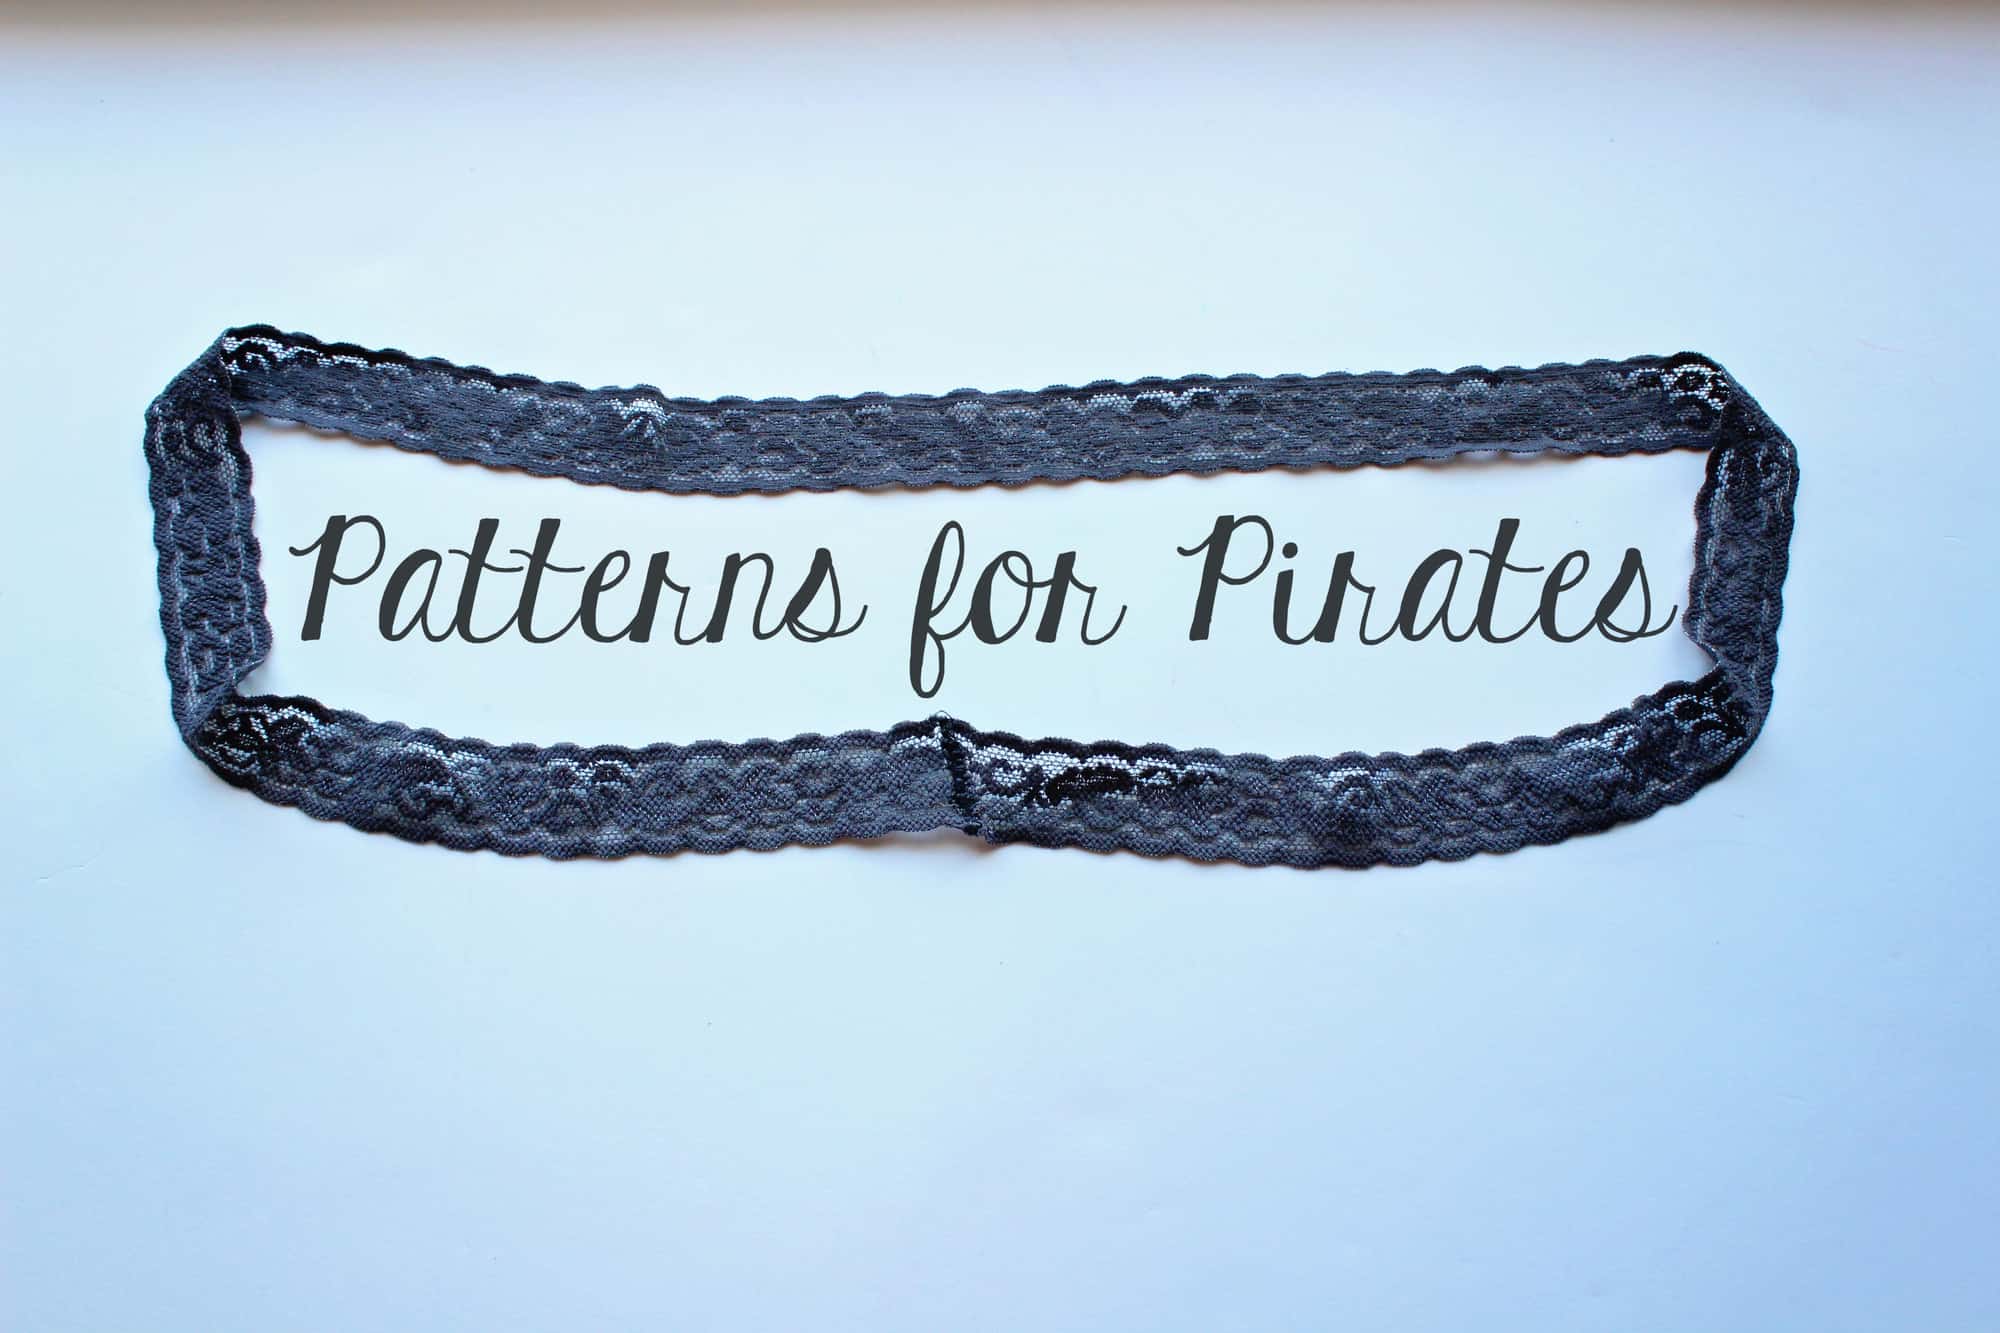
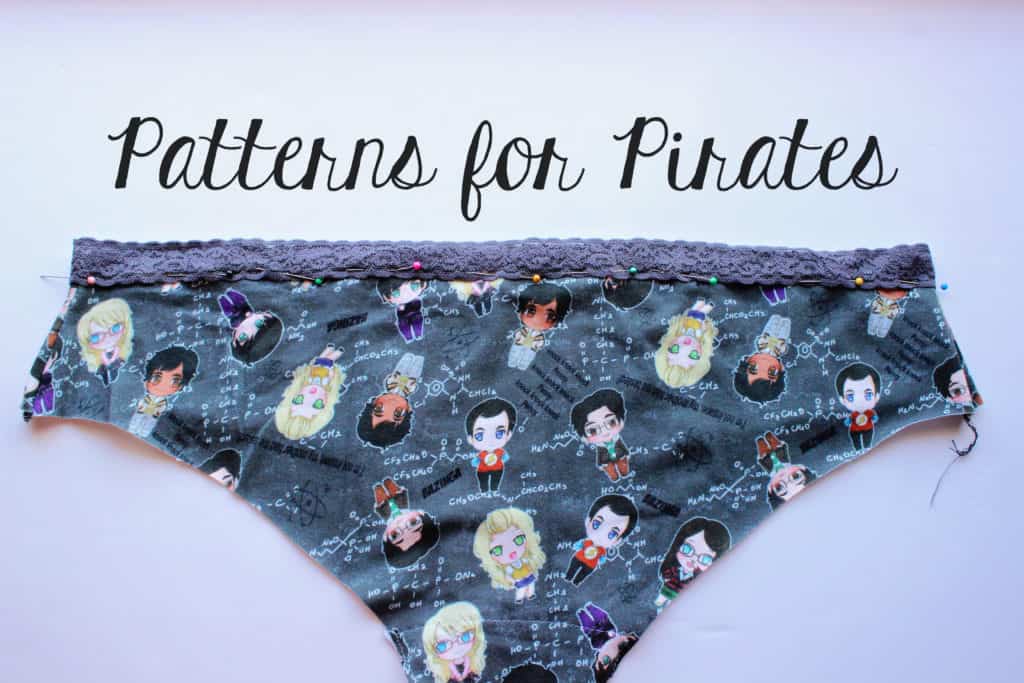
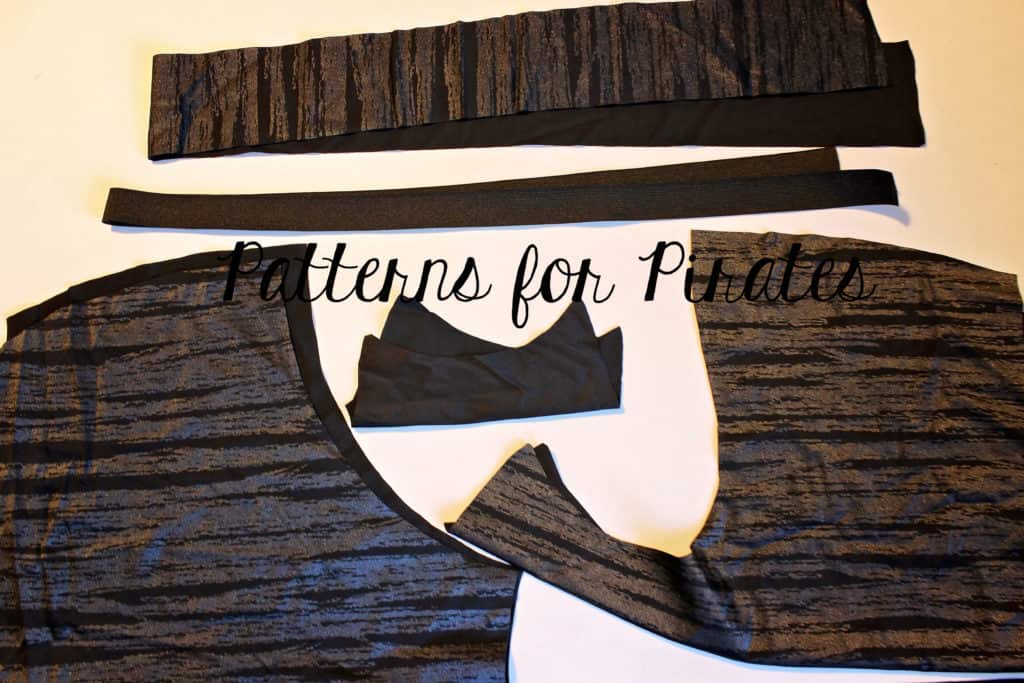
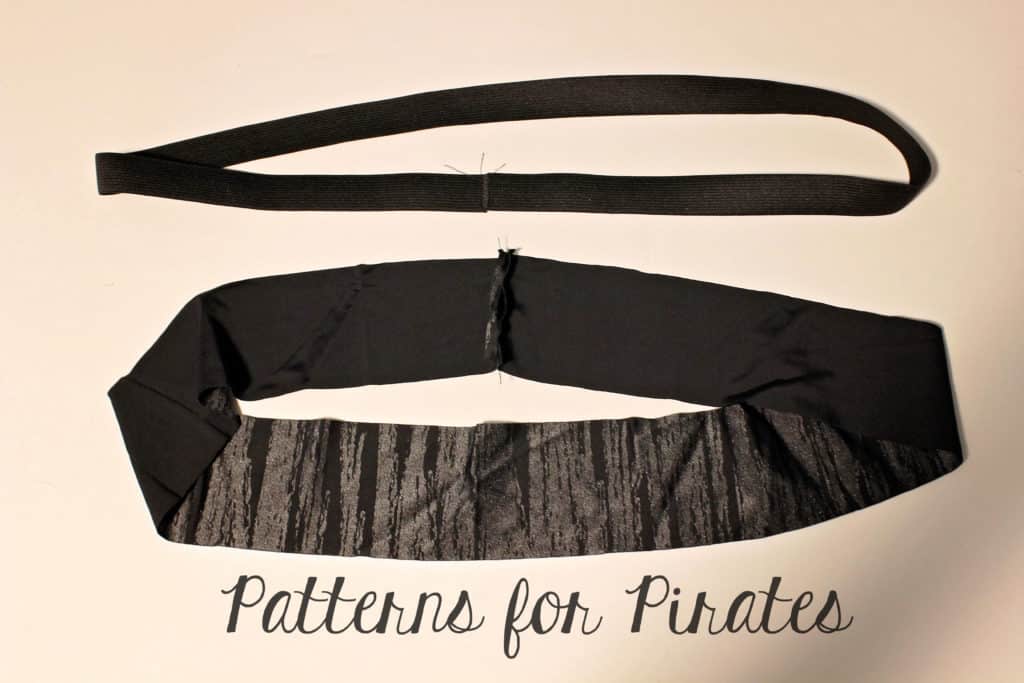
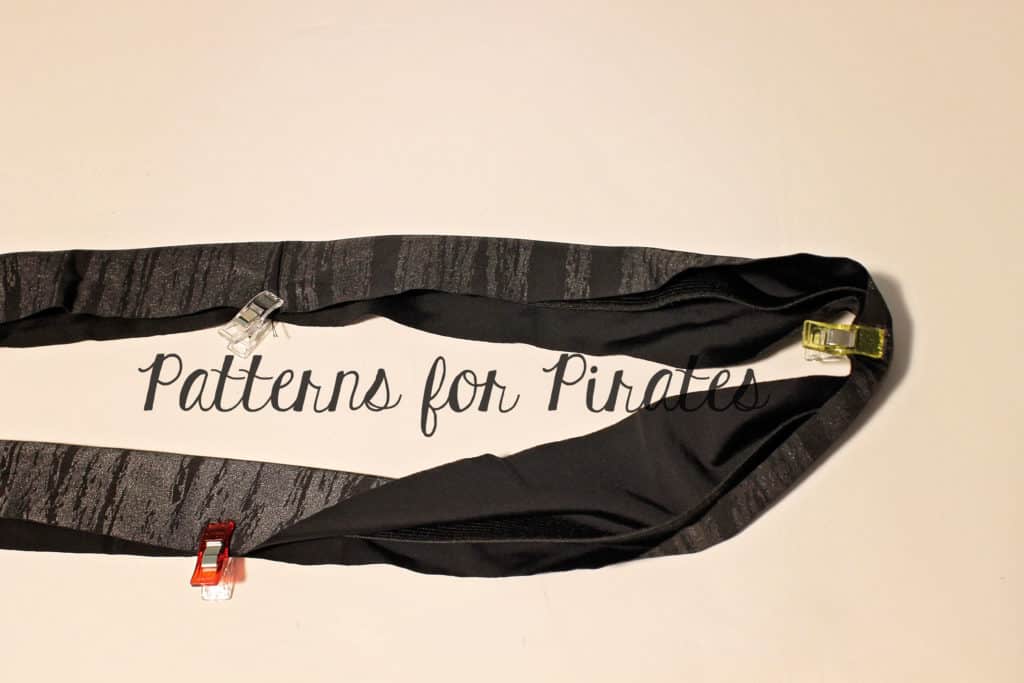
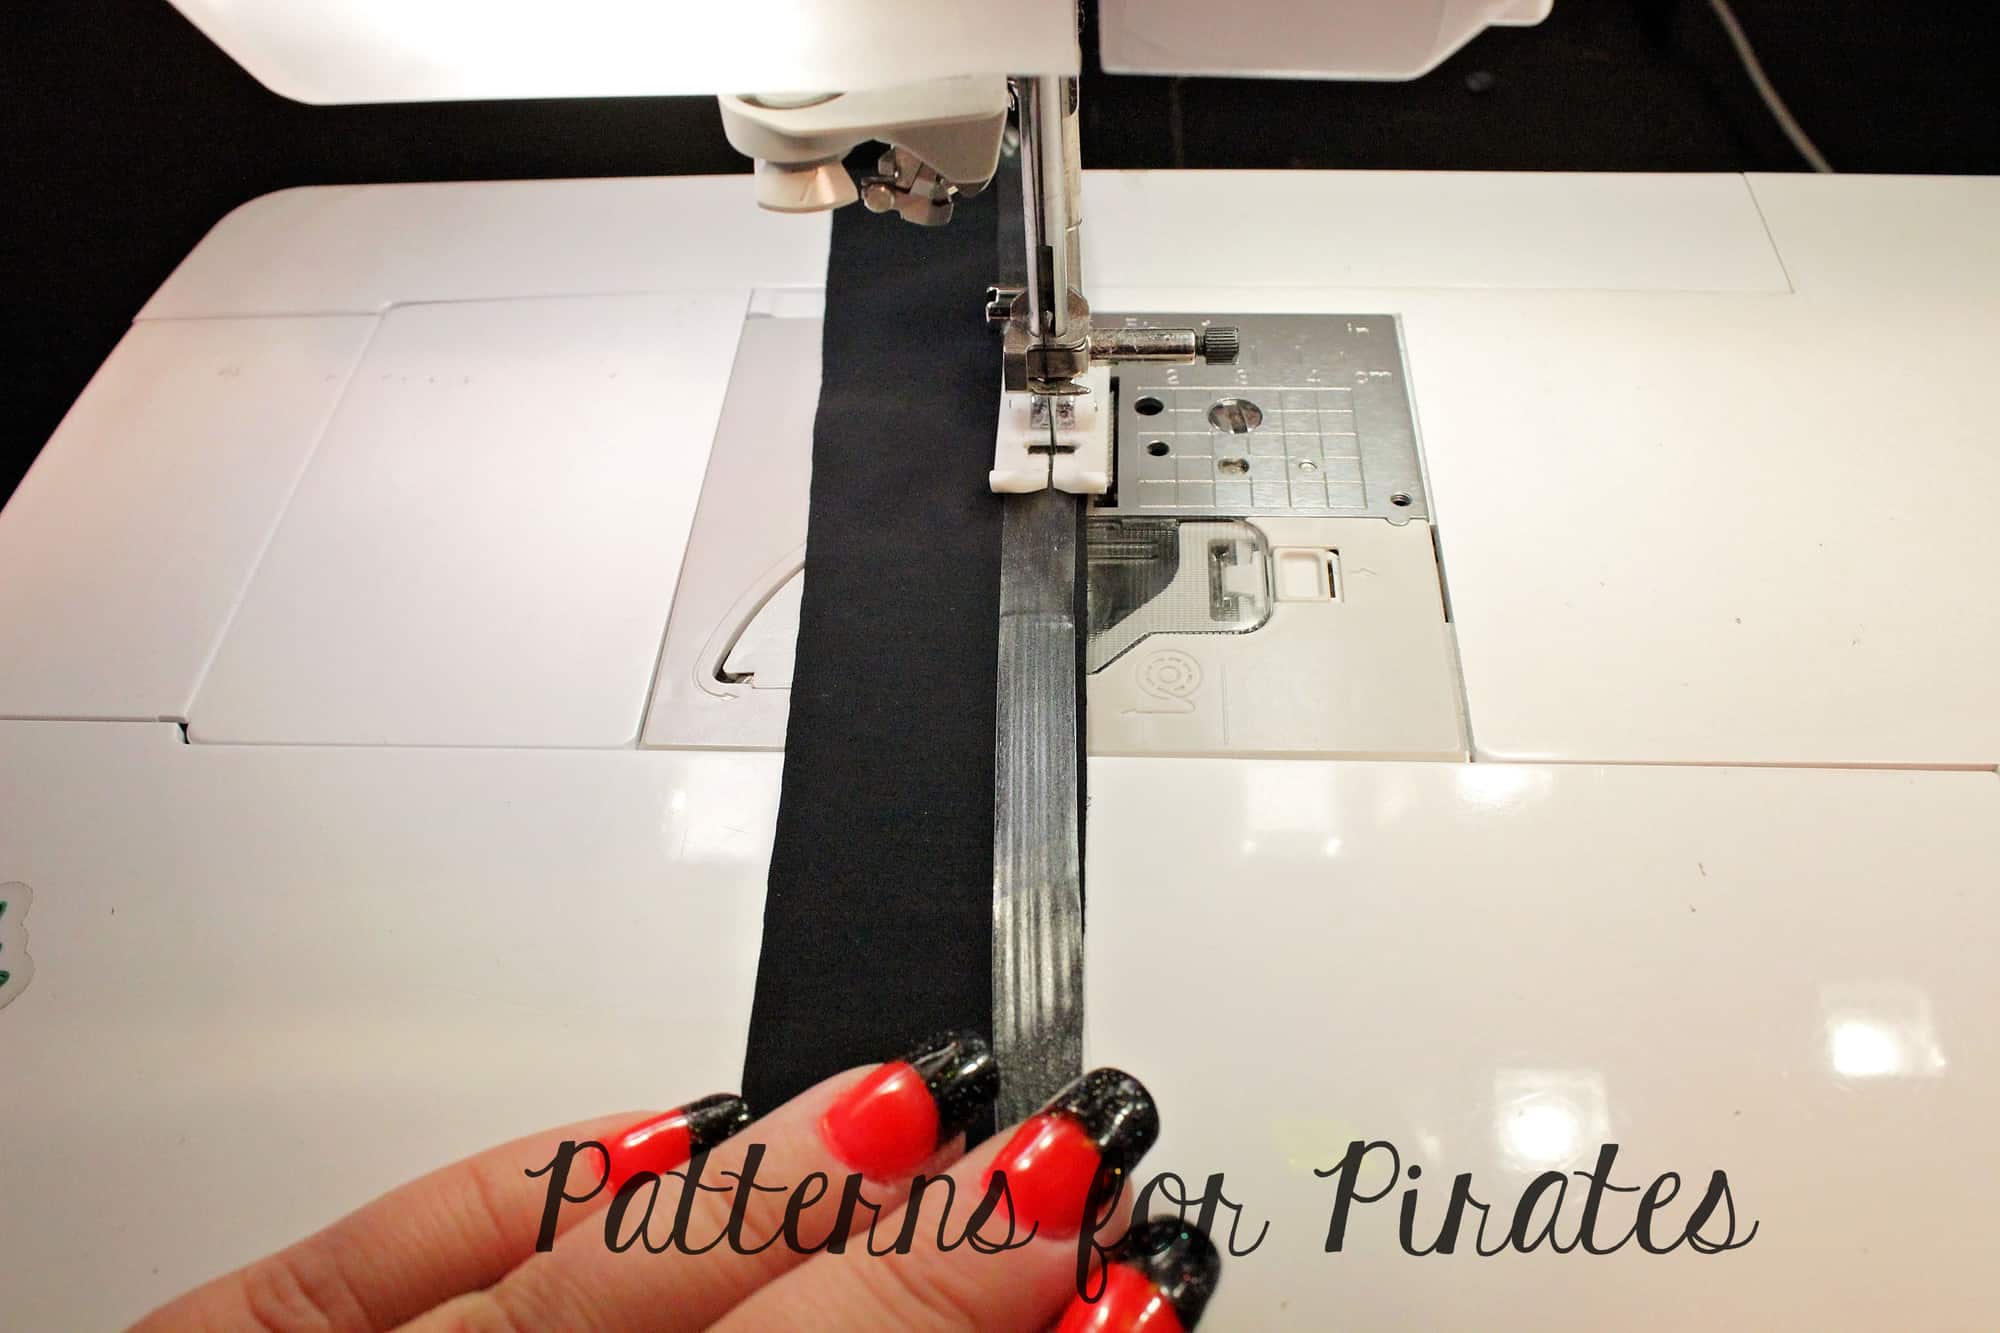
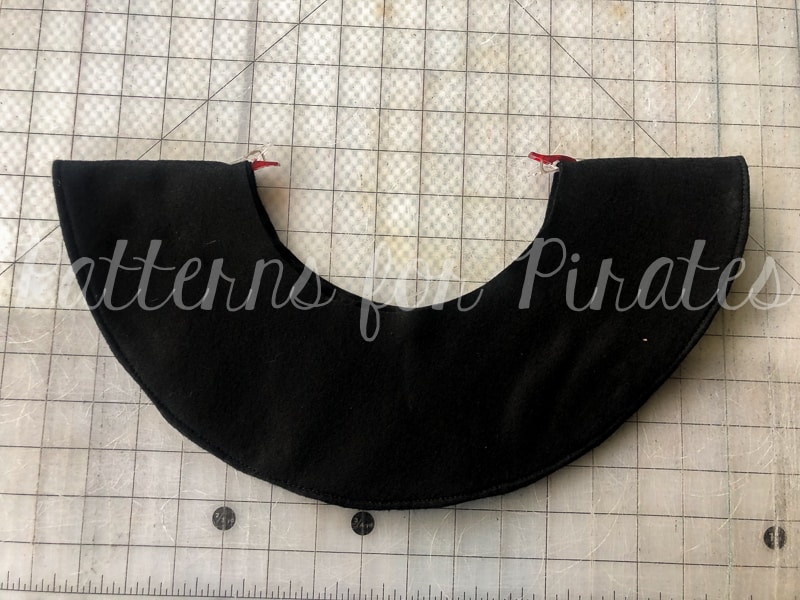
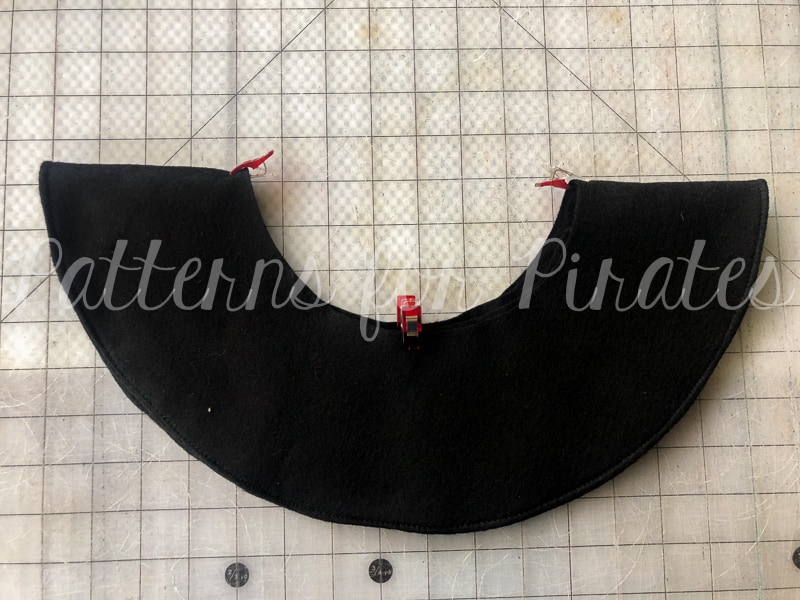
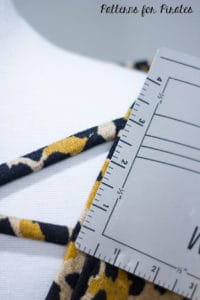
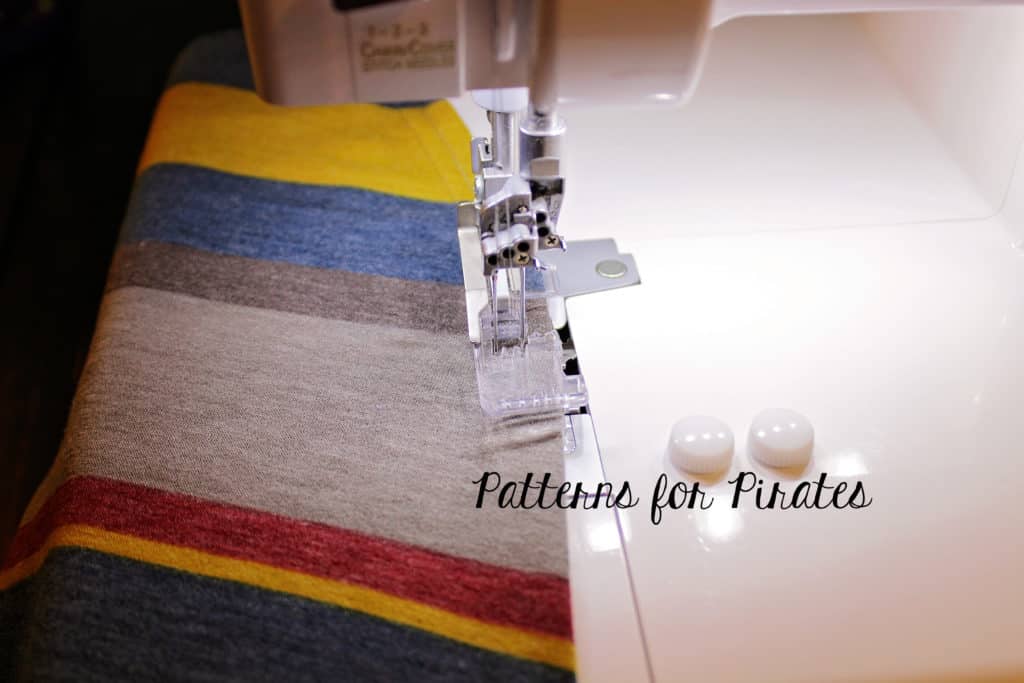
The straps are created with 1″ FOE (Fold Over Elastic) which is a super simple and quick method. The exposed elastic band at the bottom gives it a unique detail and options to use different width elastics that you may find and fall in love with!
-

- Thicker Bottom Band Elastic- Fierce Bra- Youth
-

- Thinner Bottom Band Elastic- Fierce Bra- Adult

-

- Thicker Bottom Band Elastic- Fierce Bra- Adult
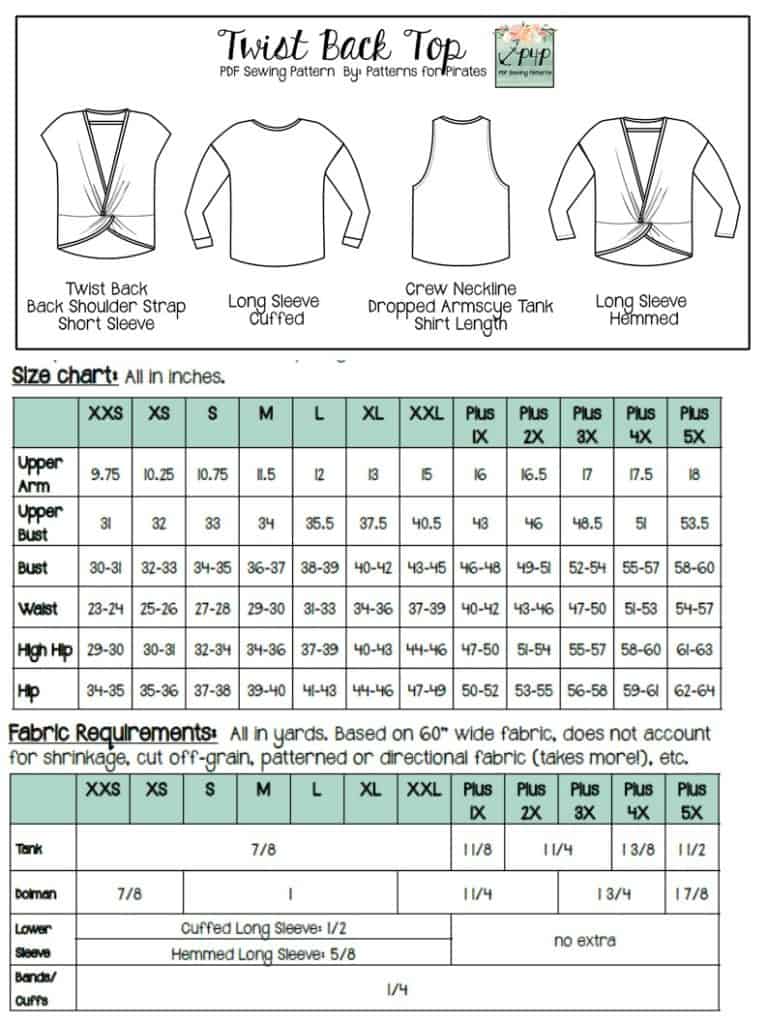
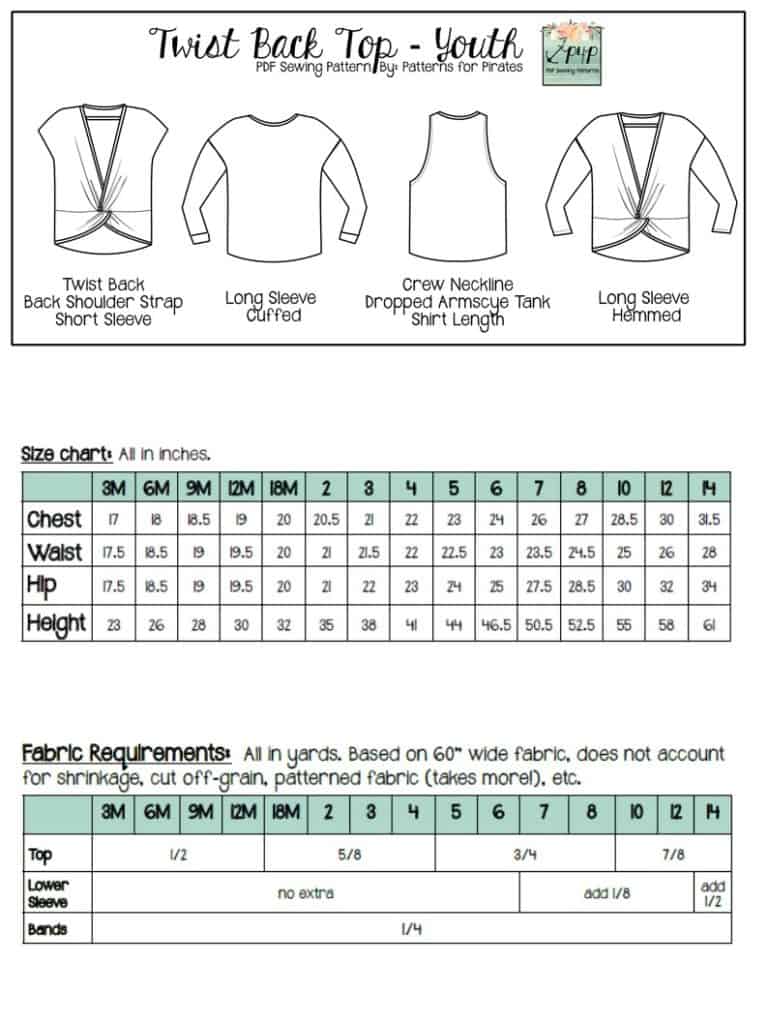
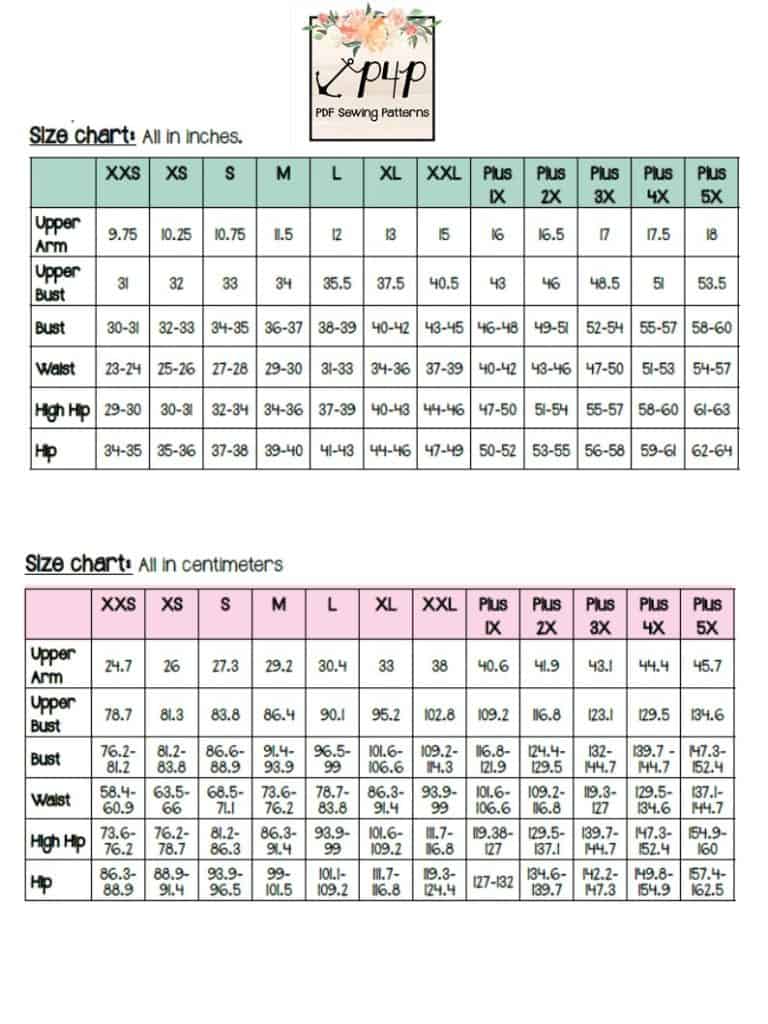
The youth pattern covers a size range from 12M – 14. Adult covers XXS-Plus 5X plus it includes a SBA (Small Bust Adjustment) and FBA (Full Bust Adjustment) pieces if your upper and full bust don’t fall into the same size on our chart. Sound complicated? Don’t worry, we have a video in there to explain it all <3
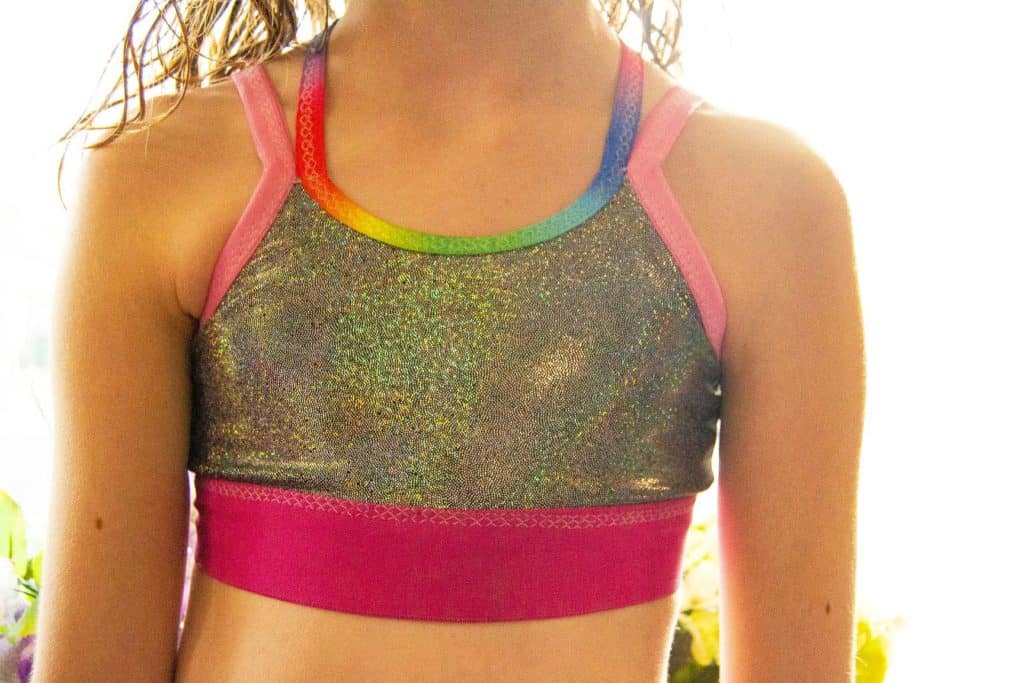
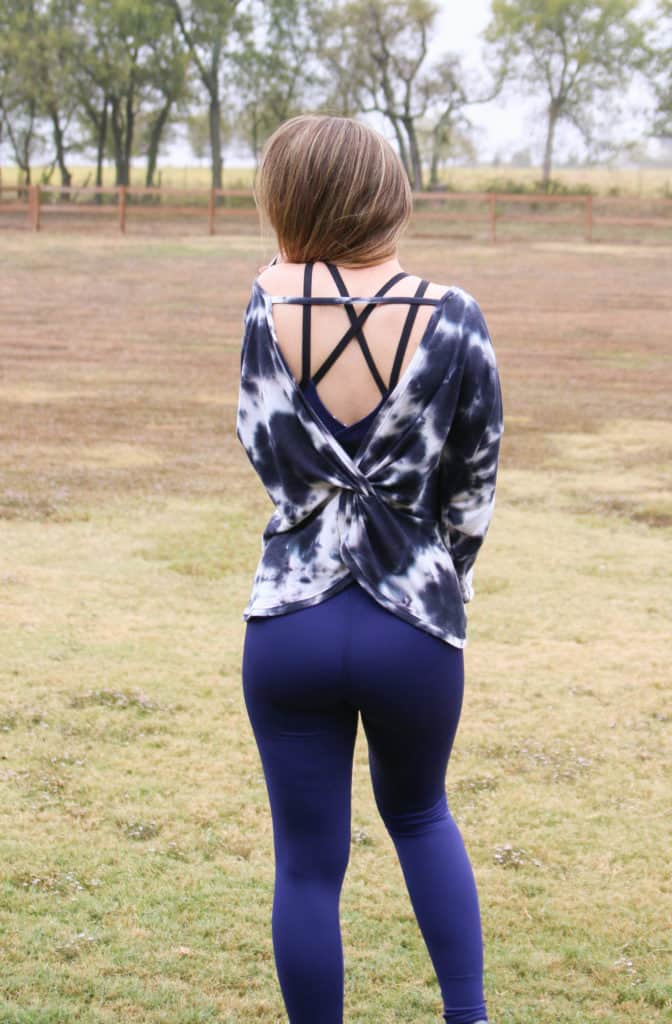
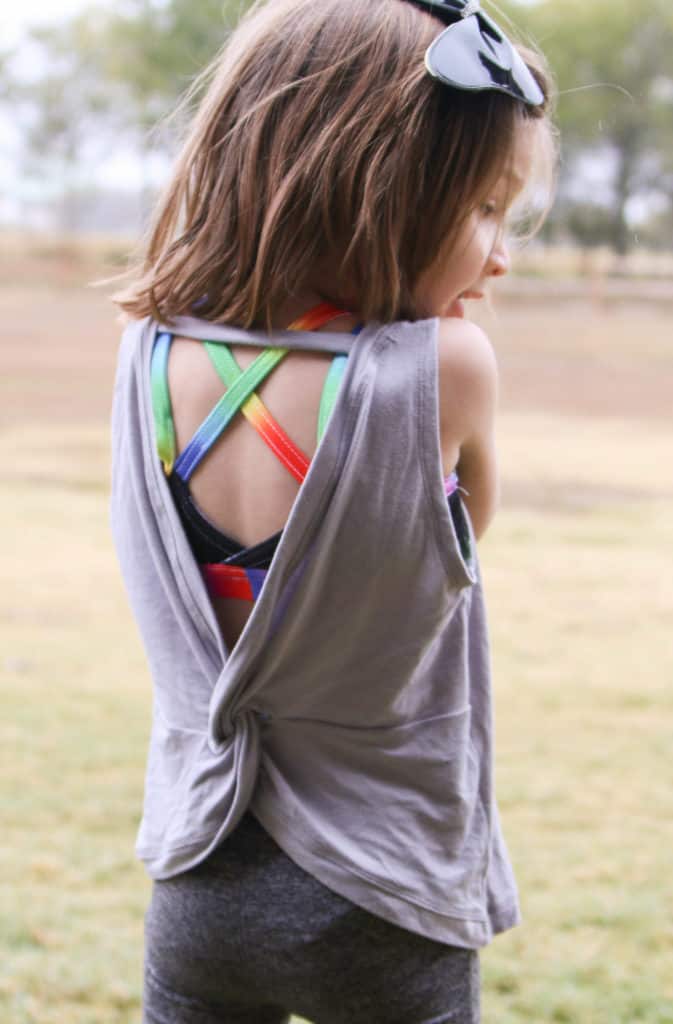
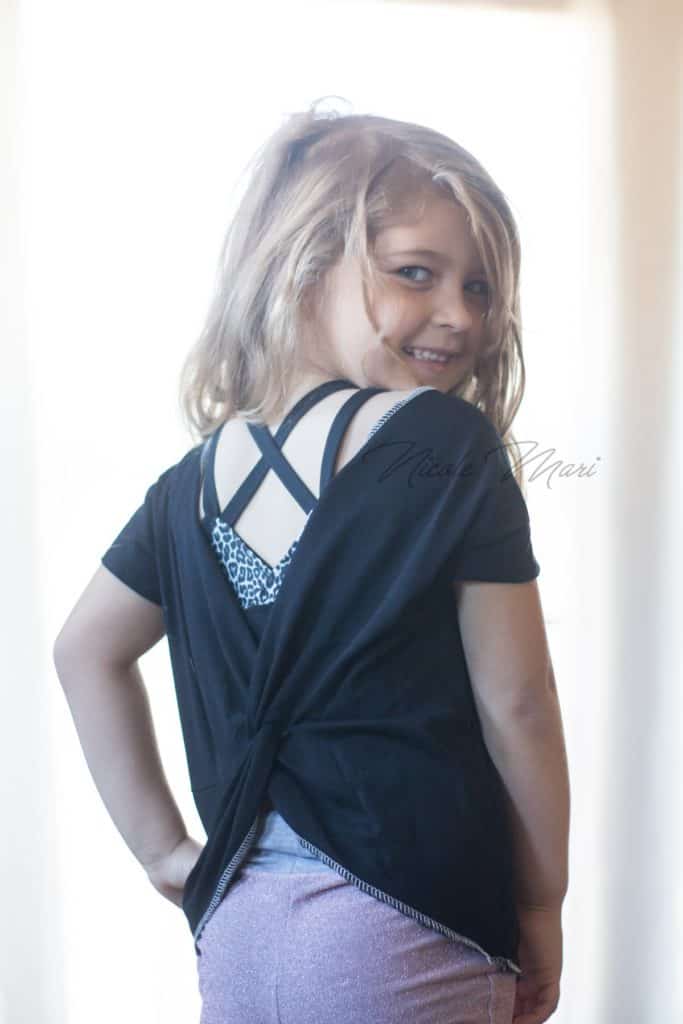
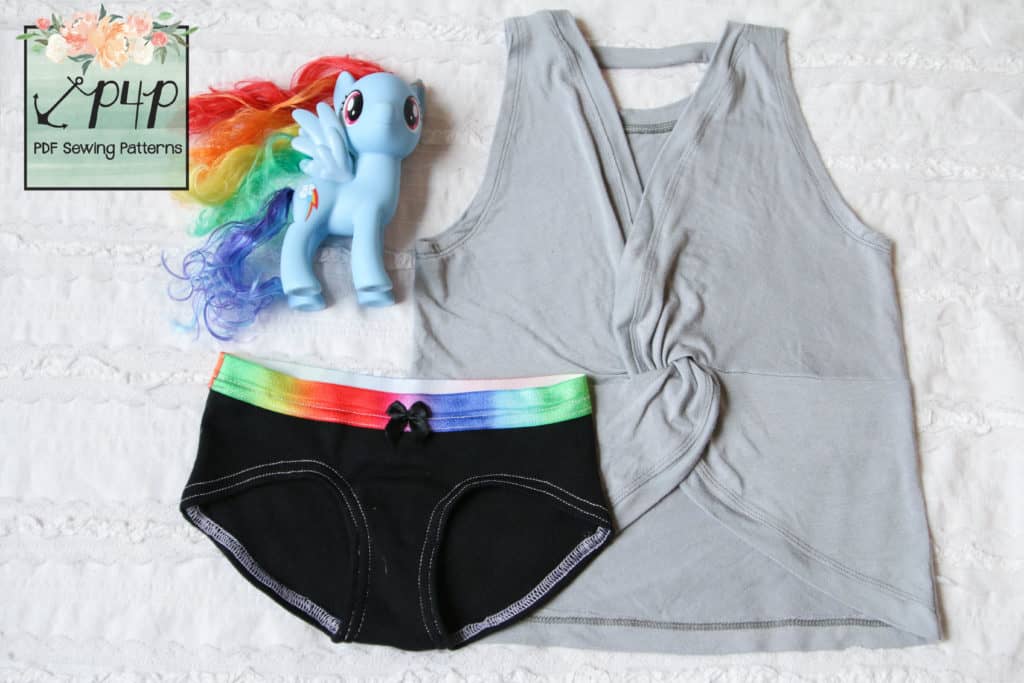
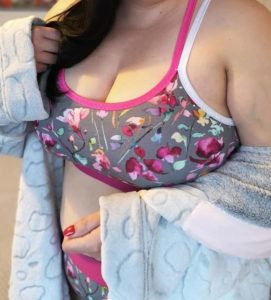
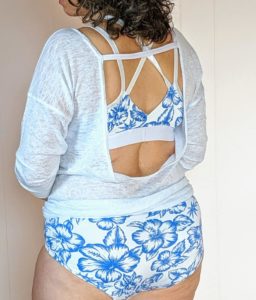
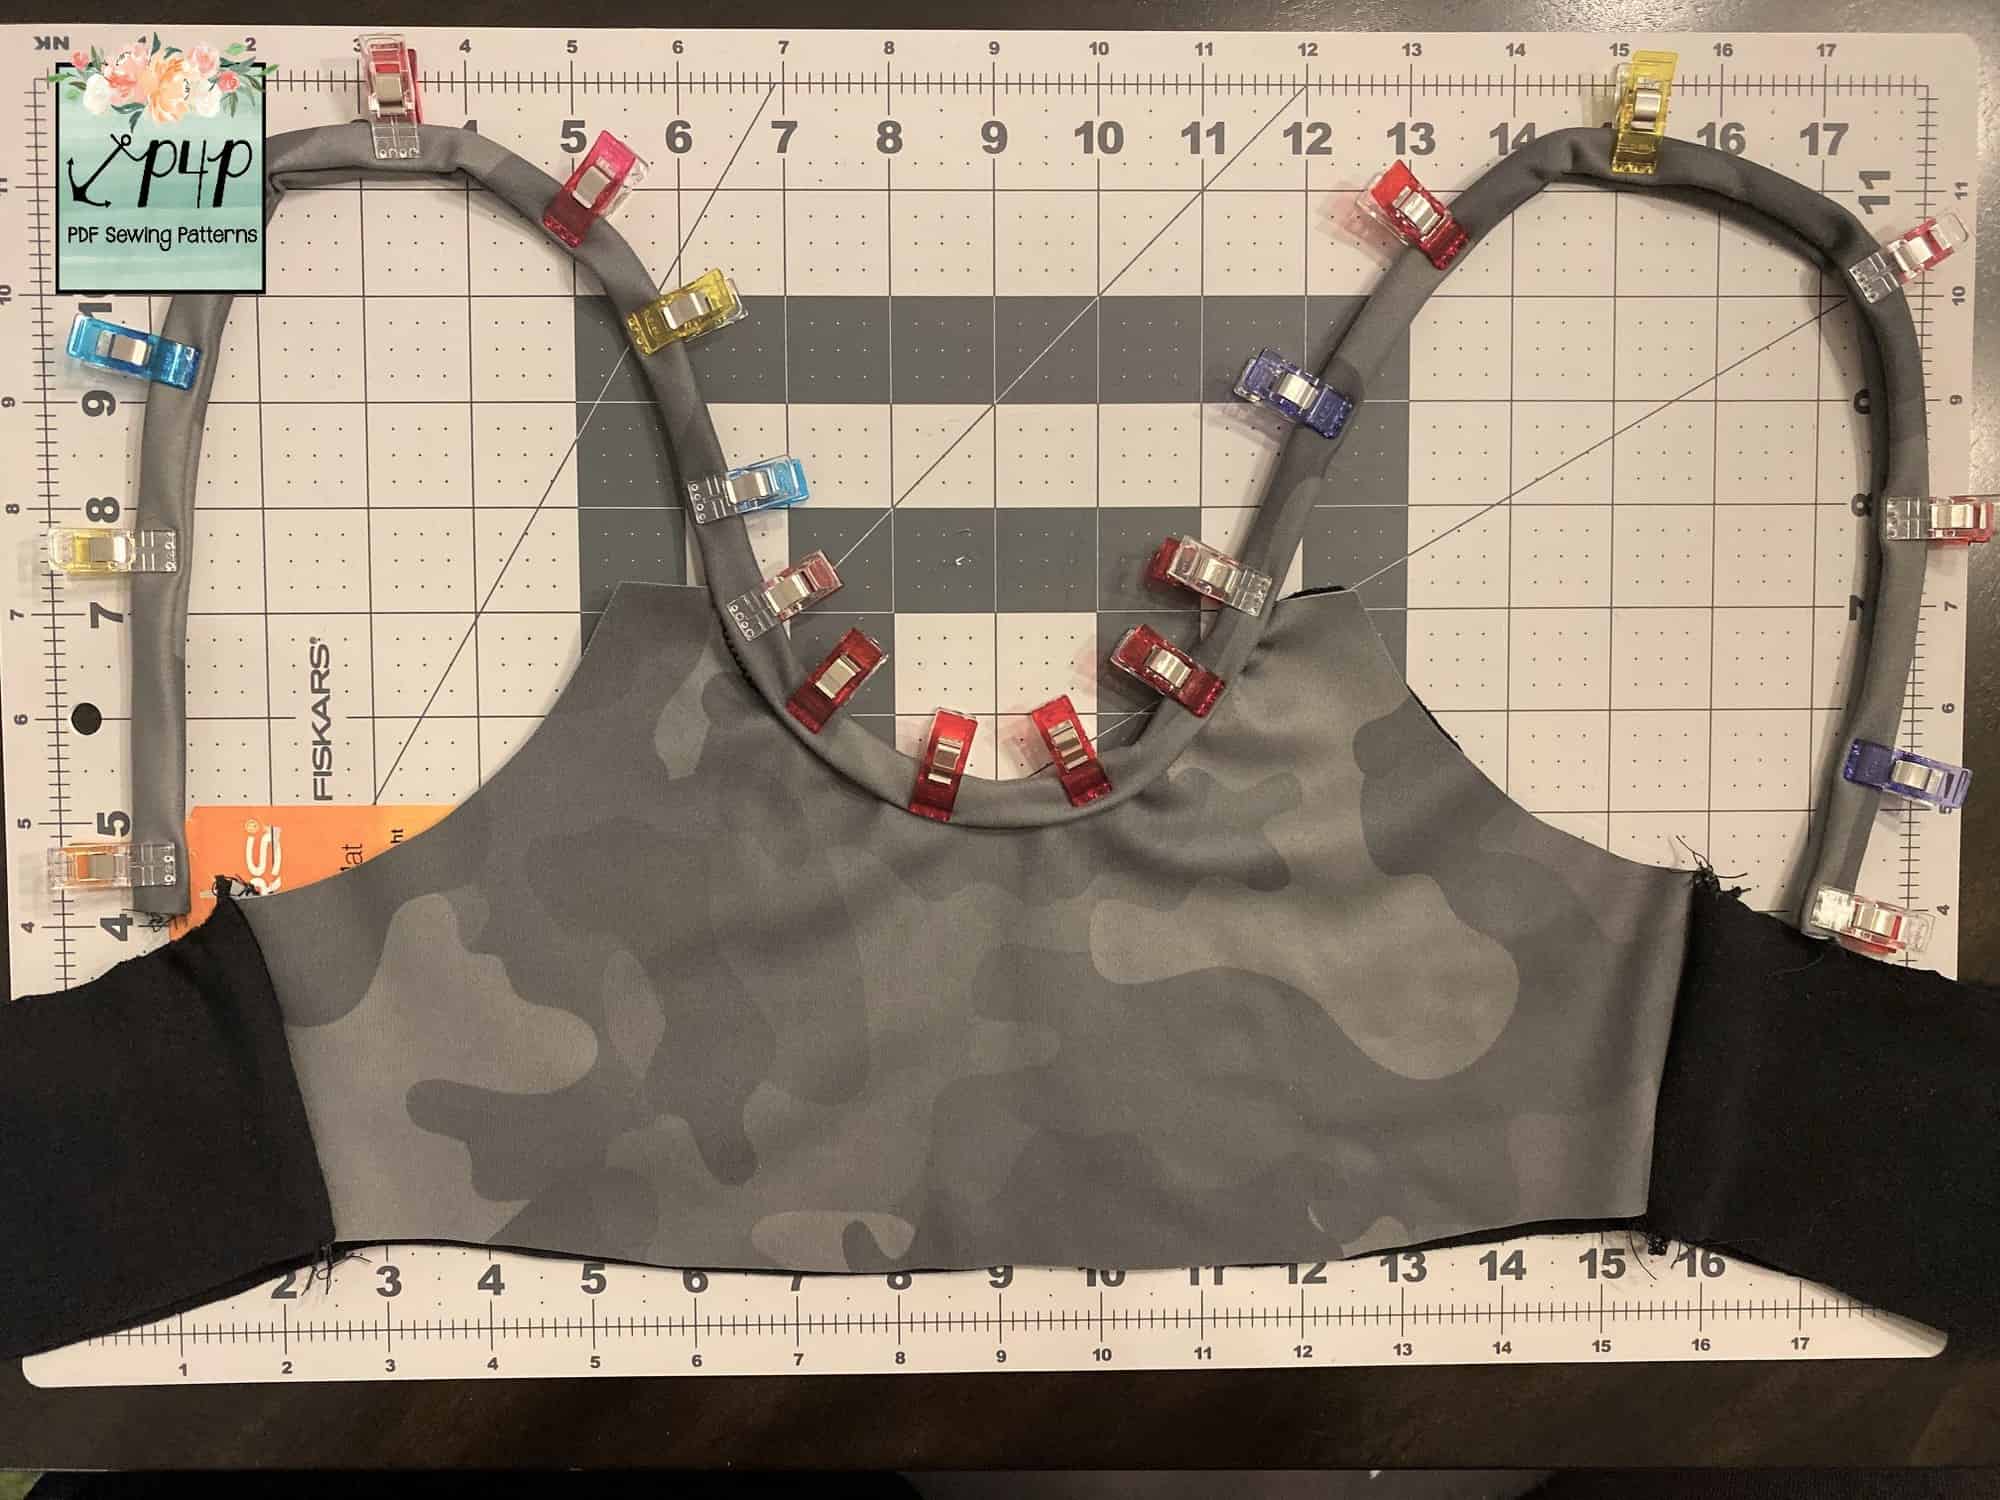
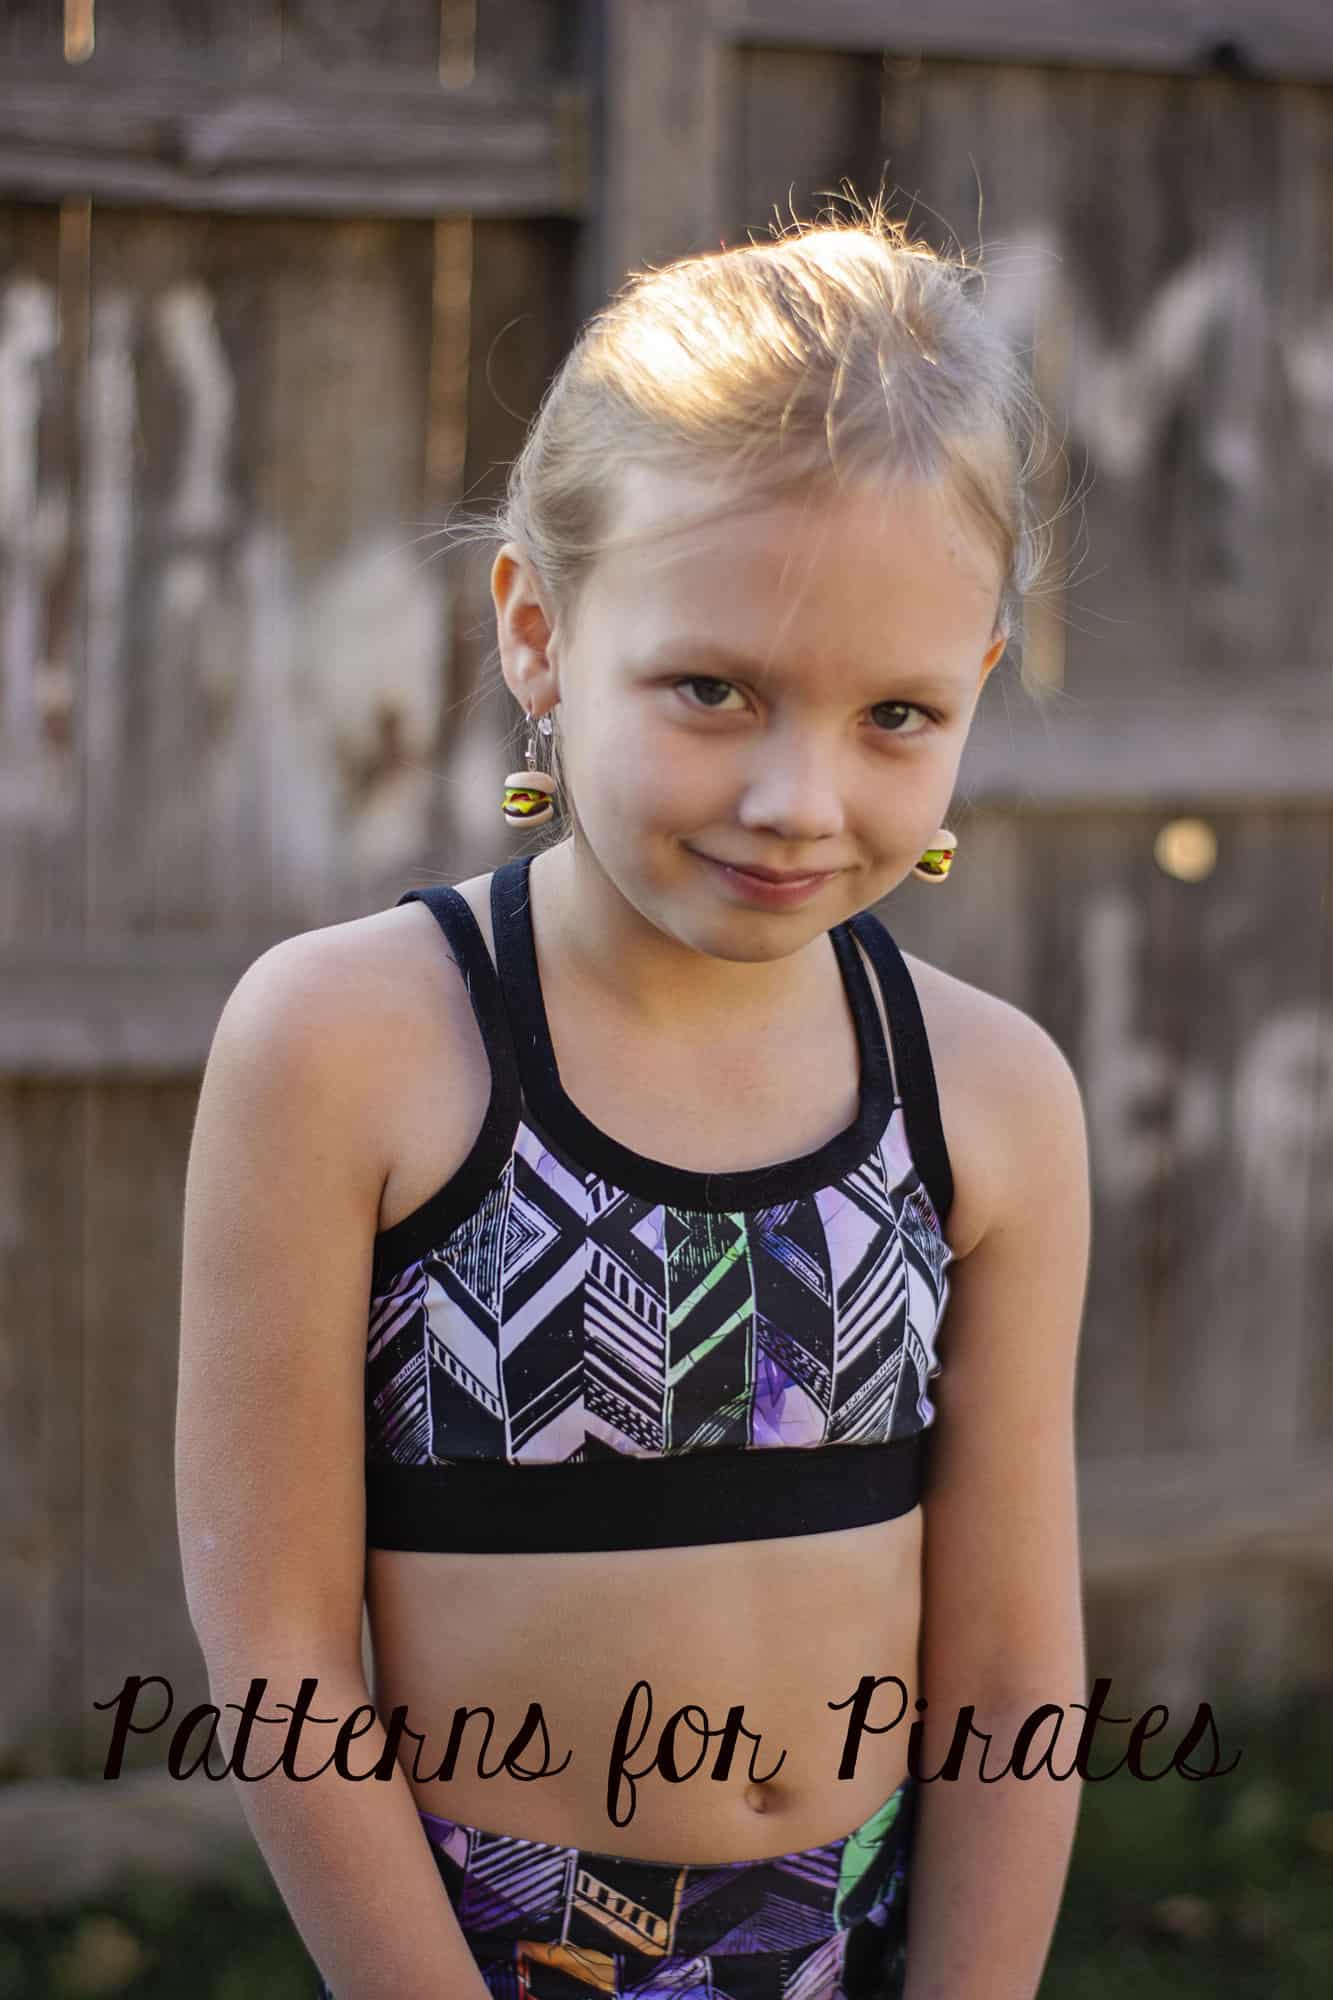
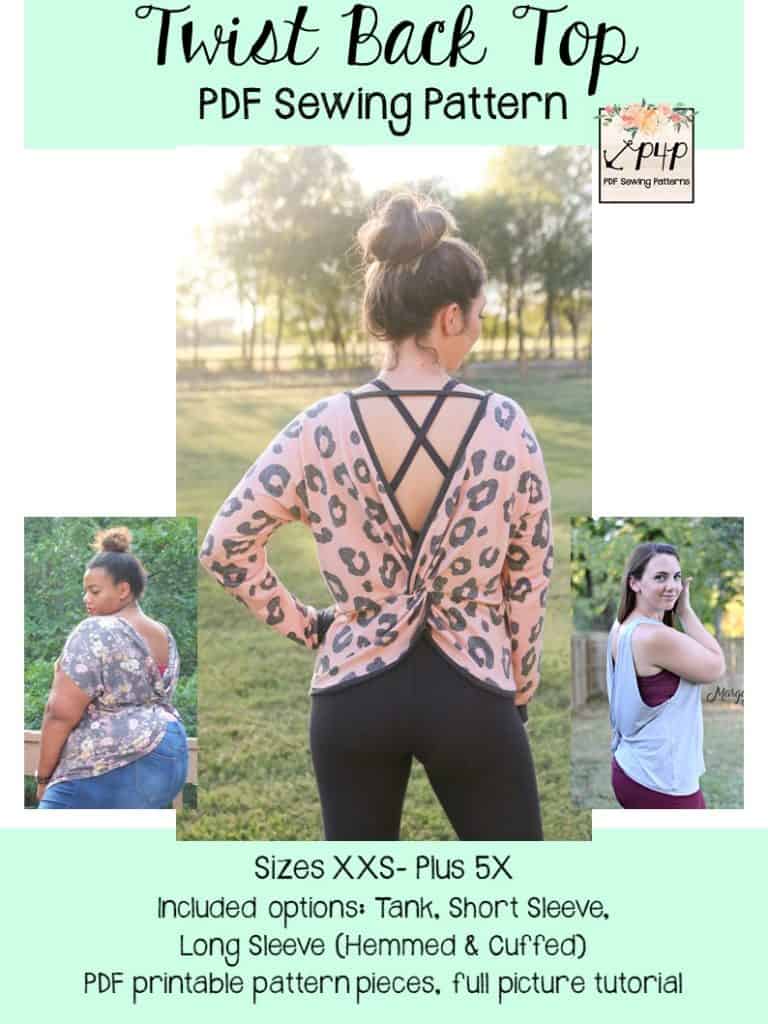
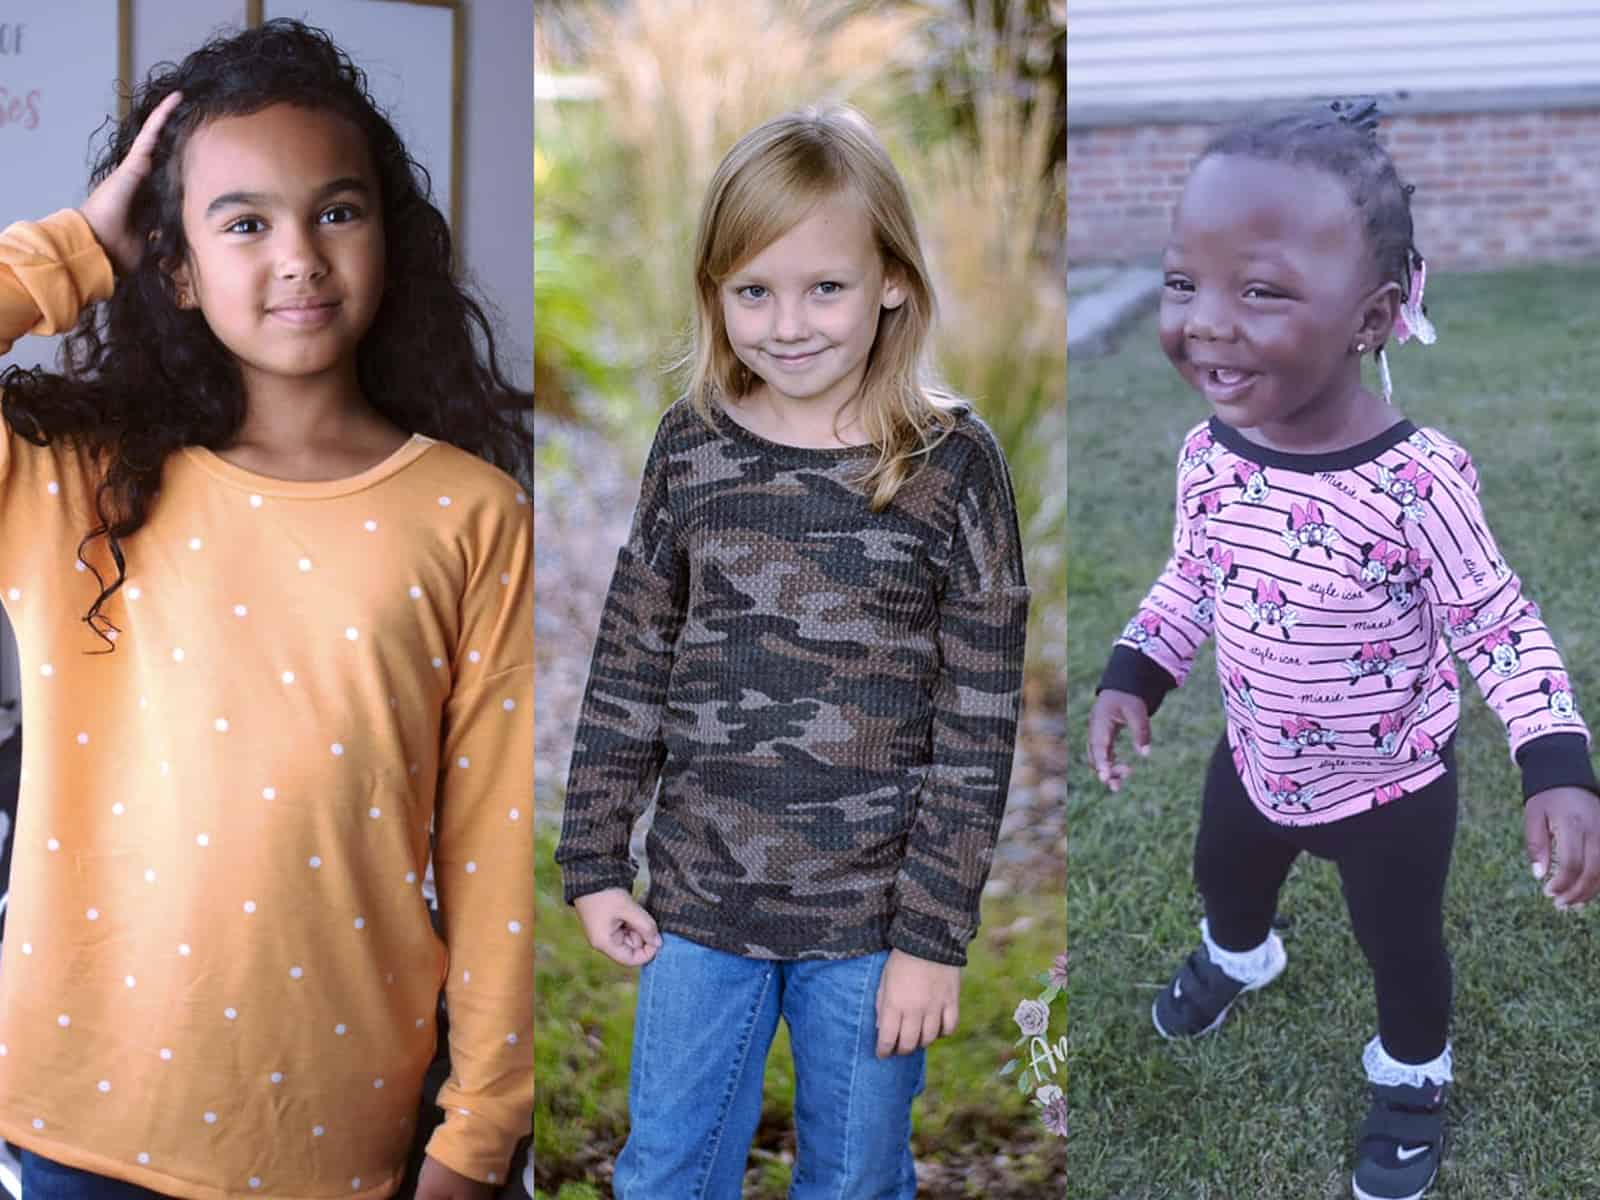
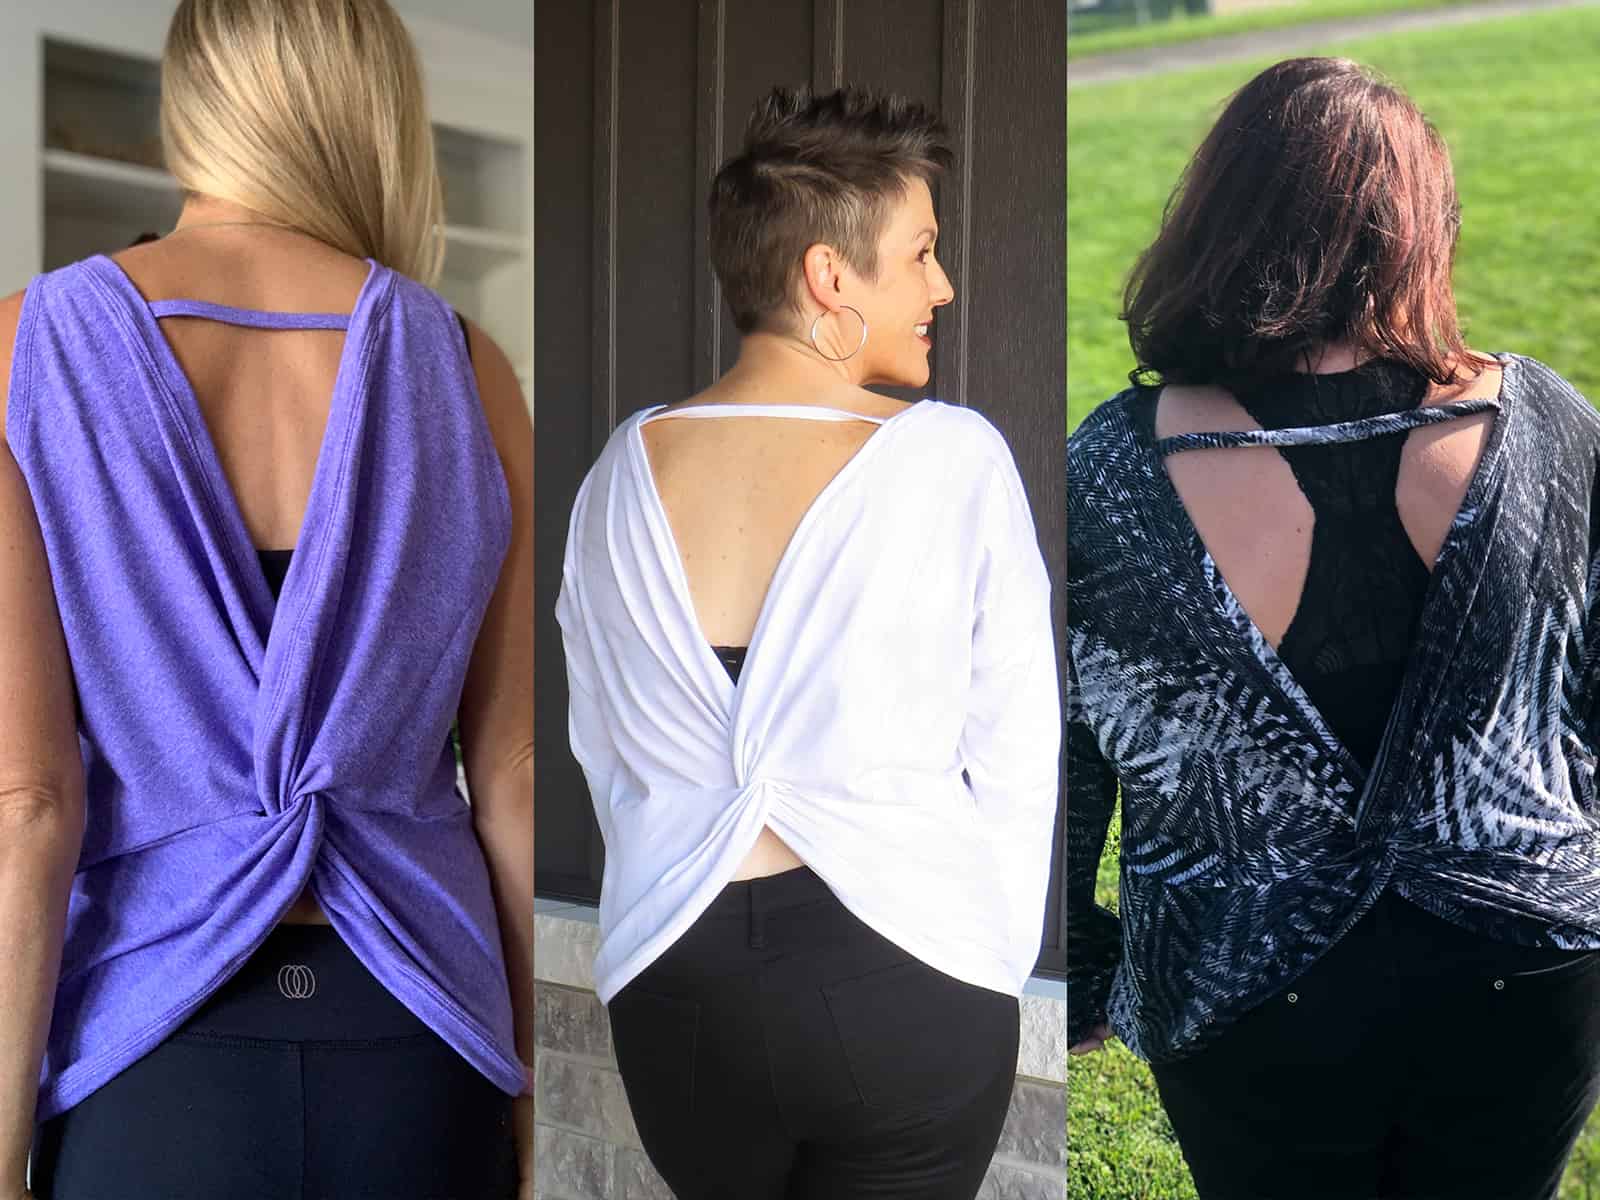
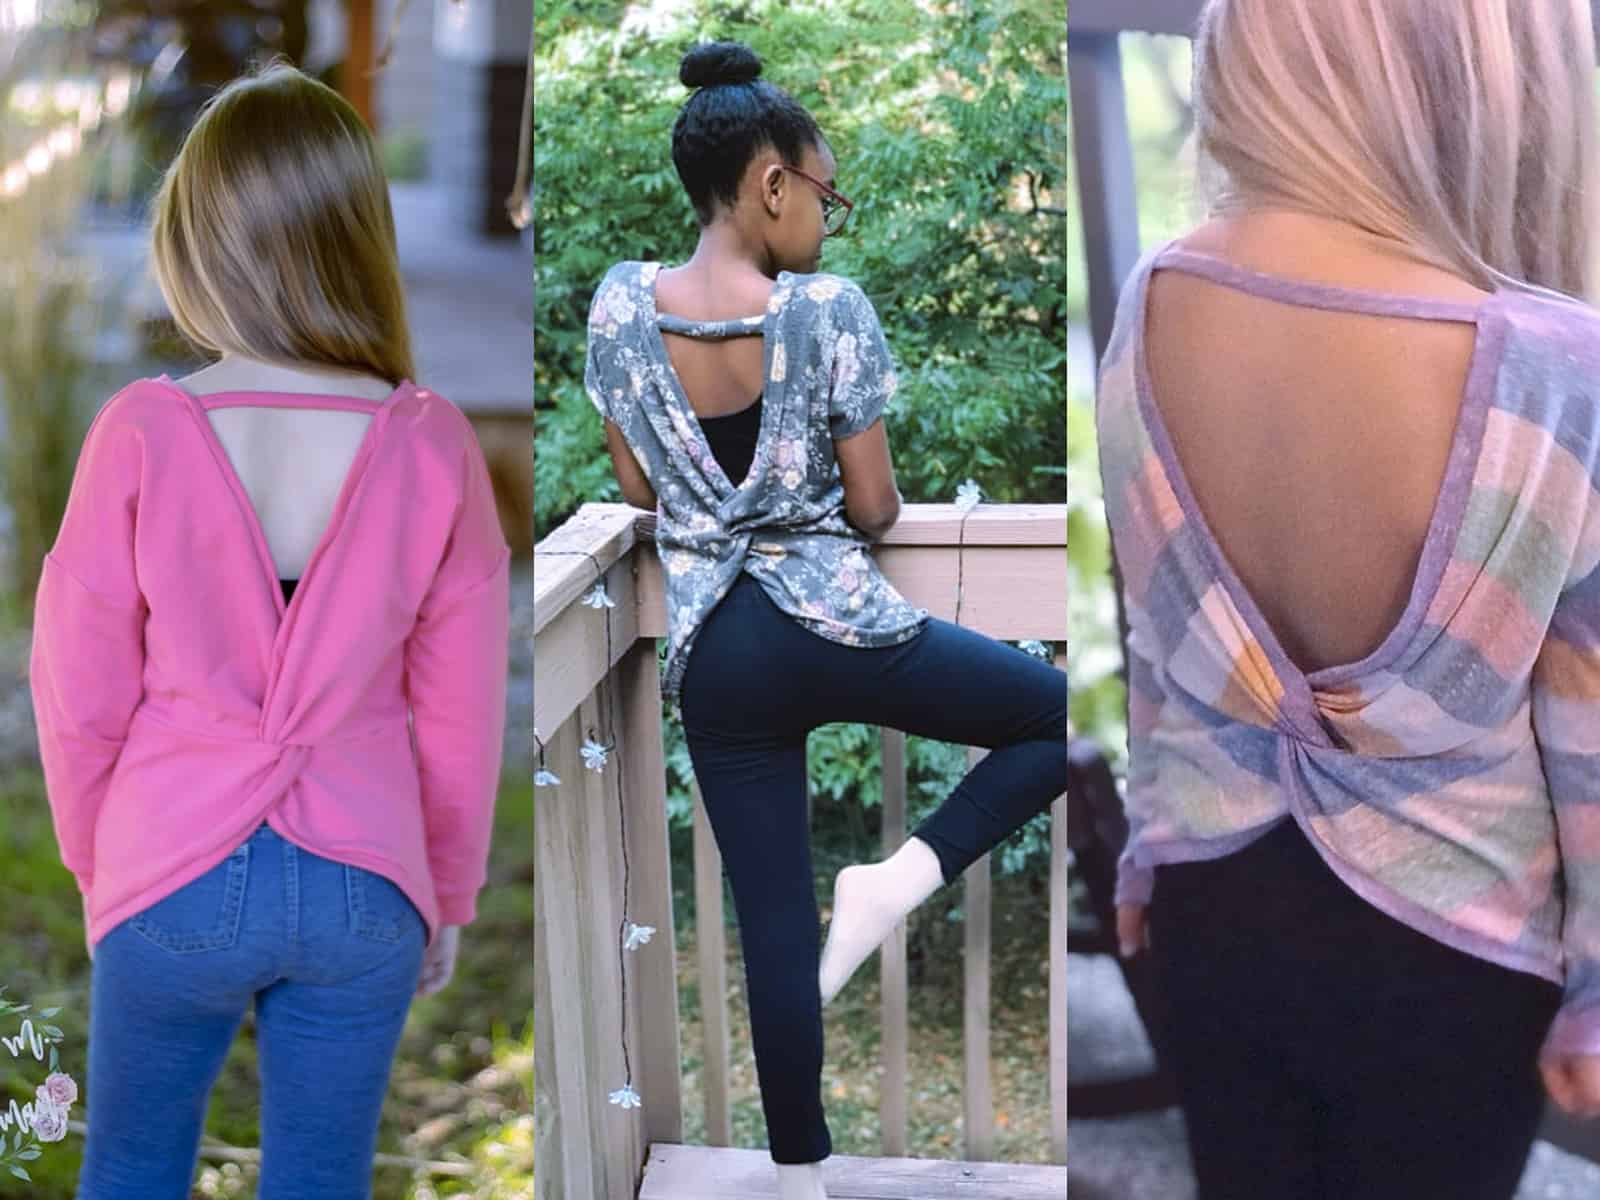
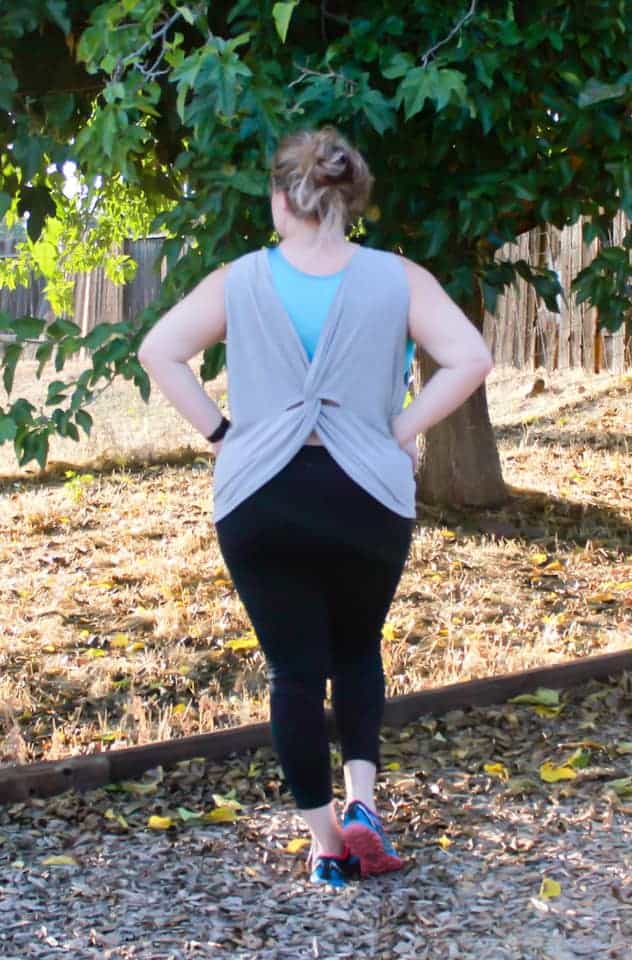
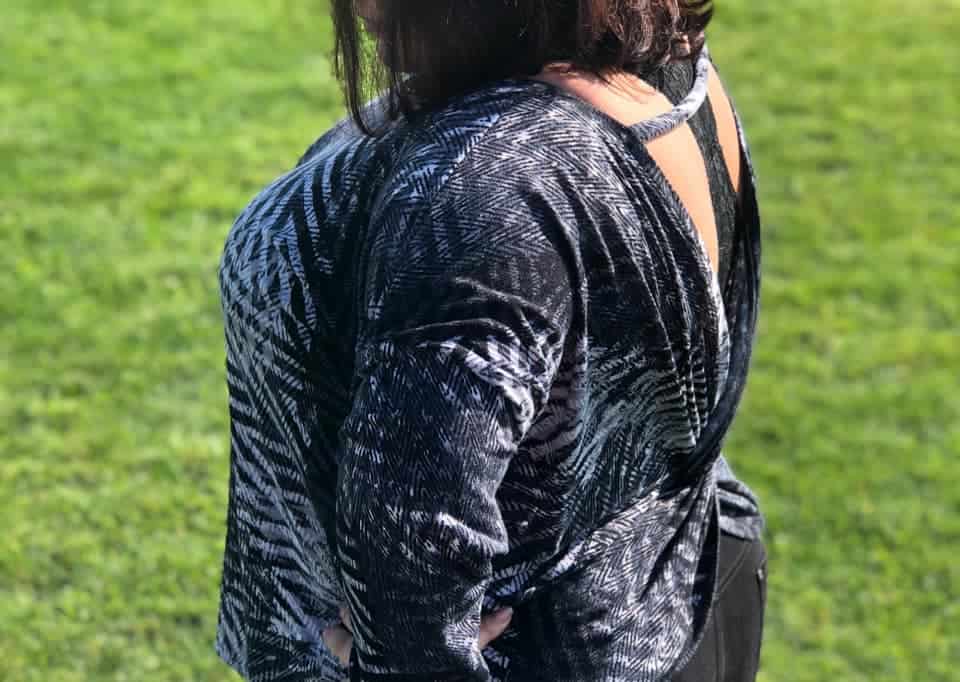
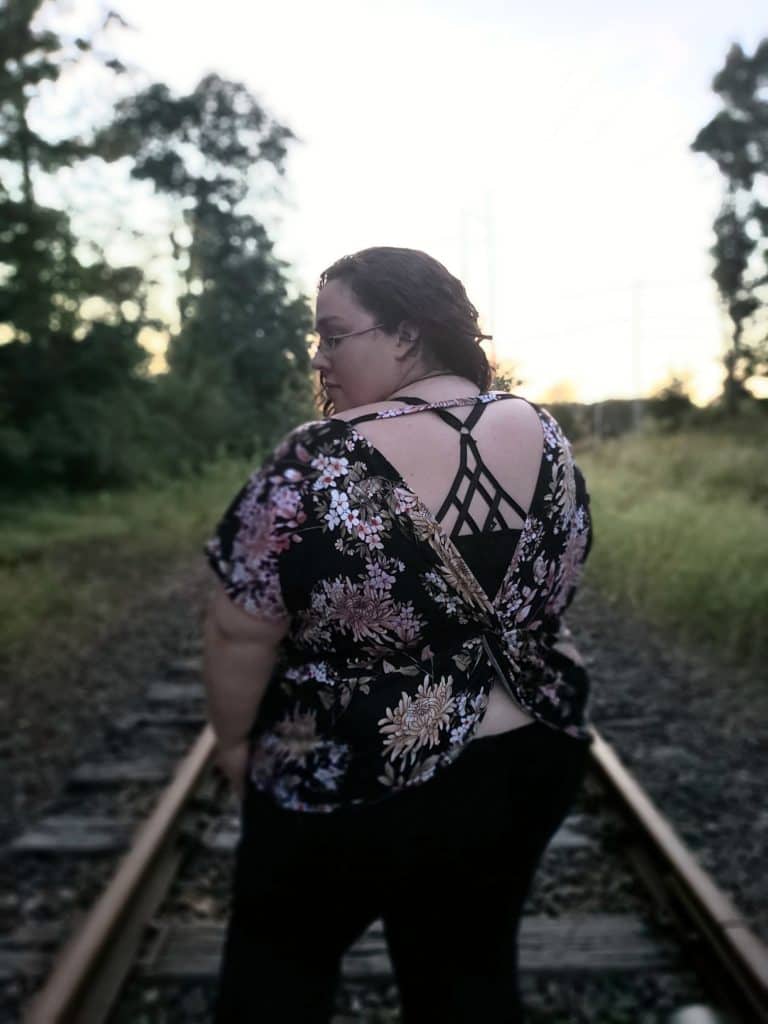
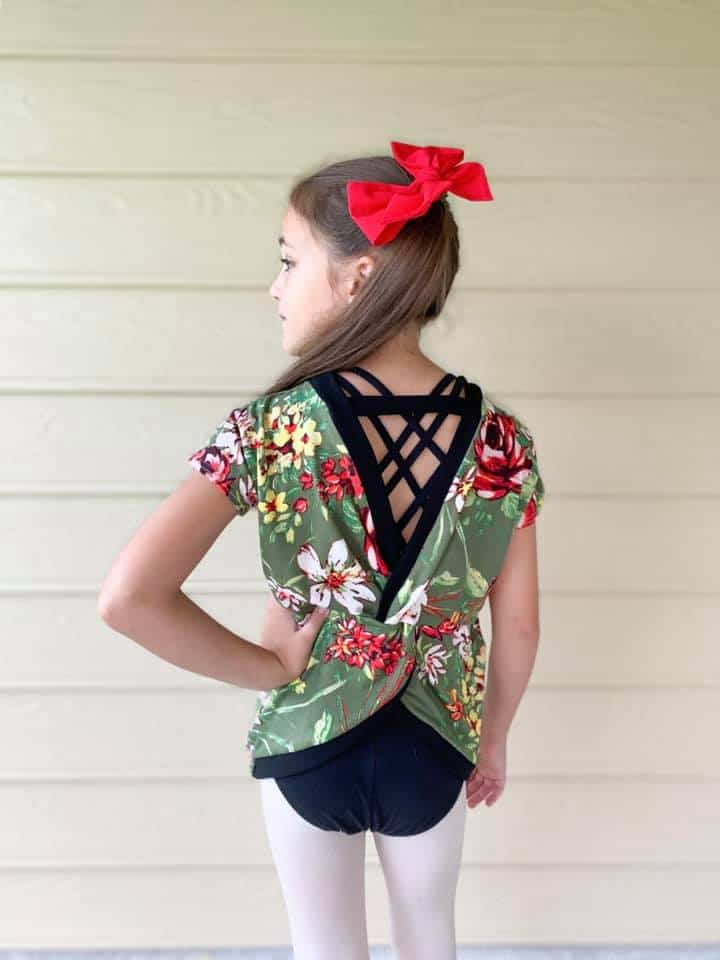
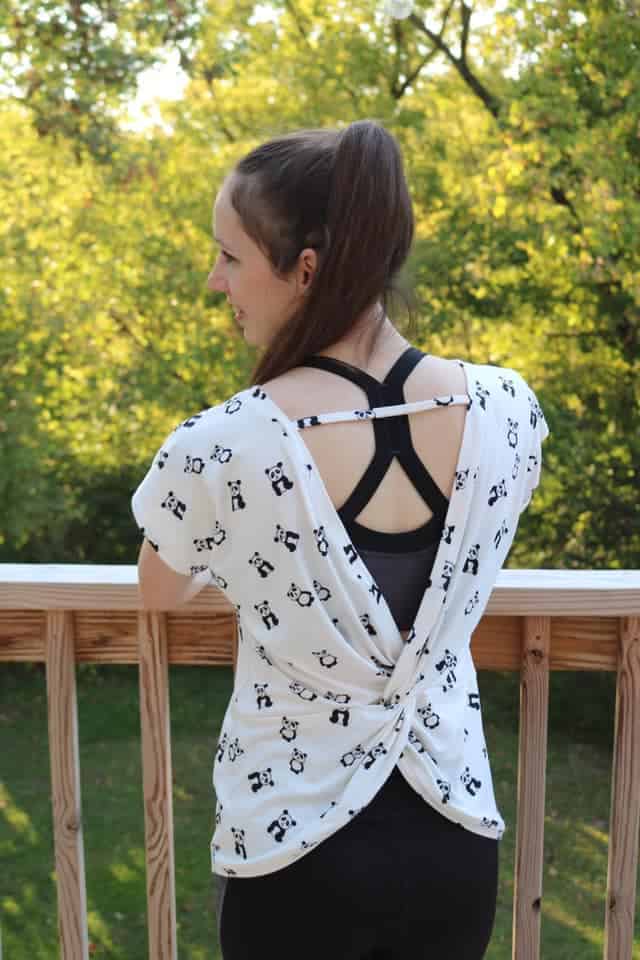
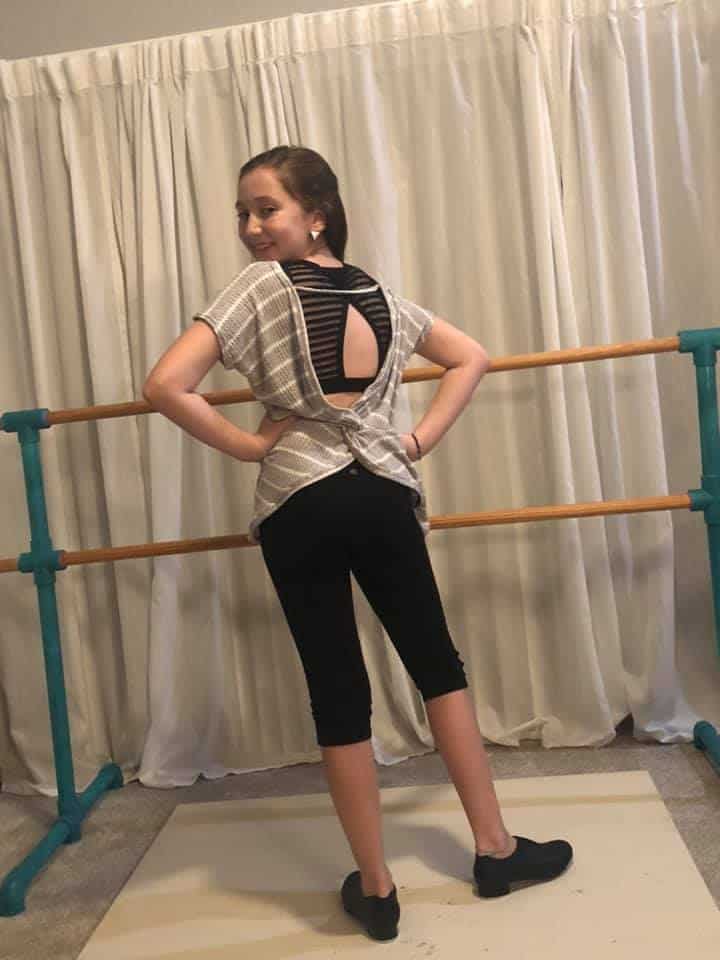
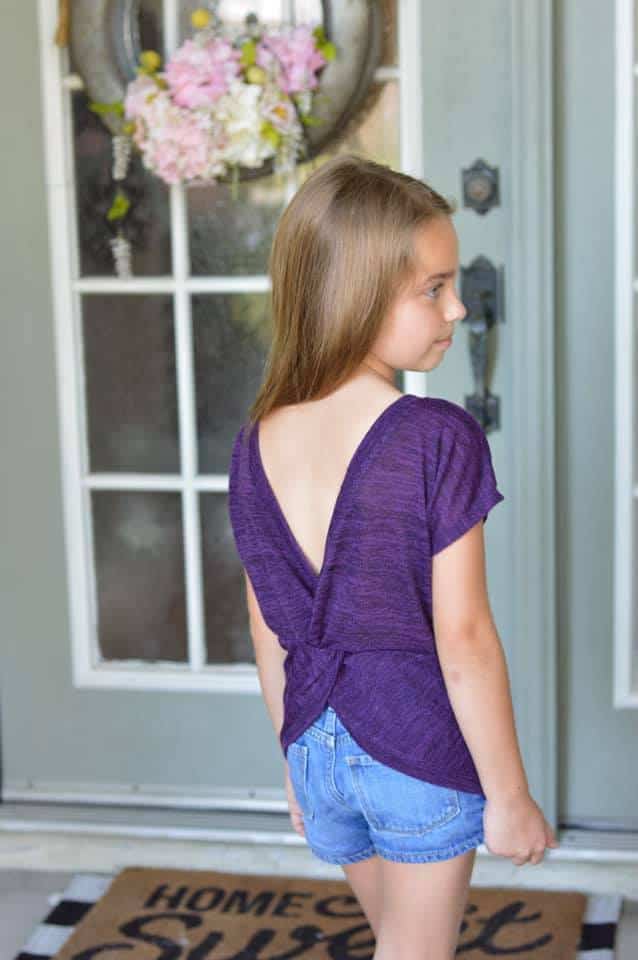
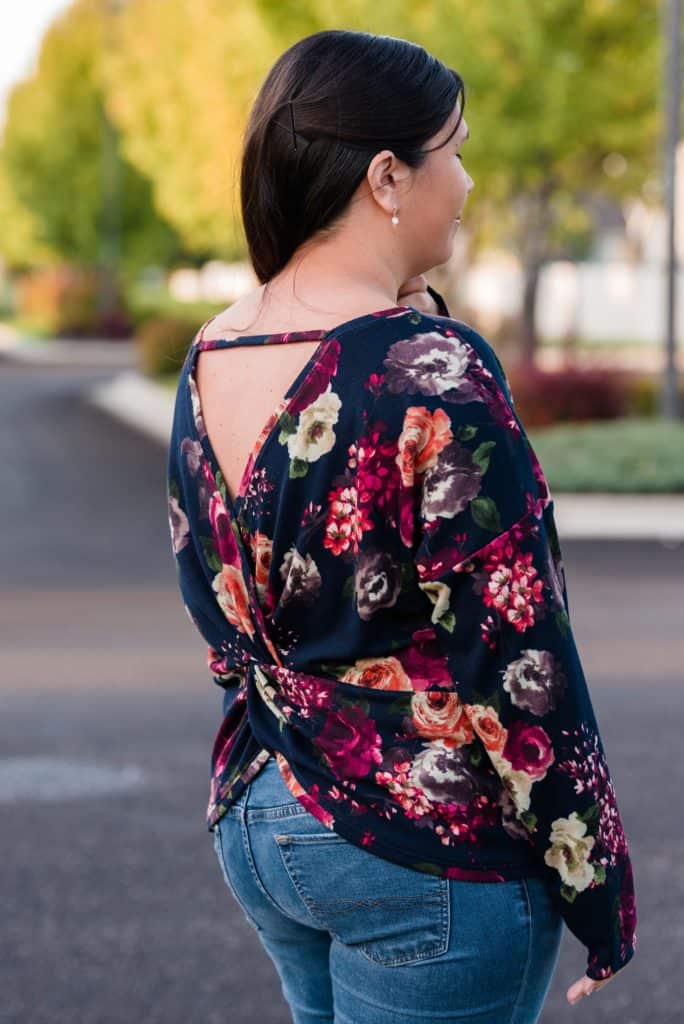
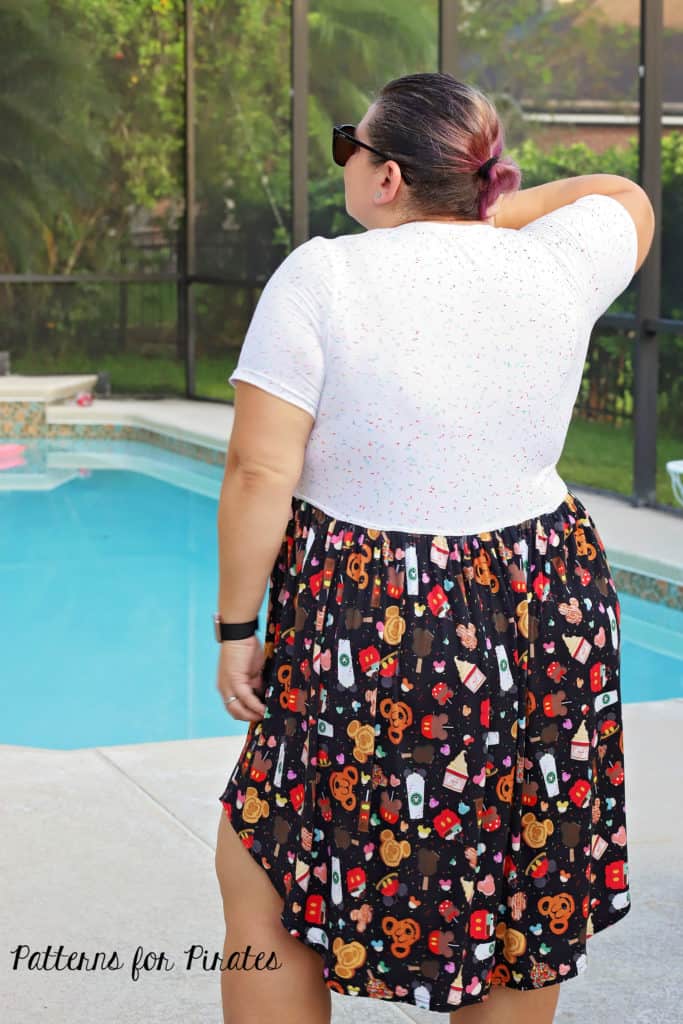
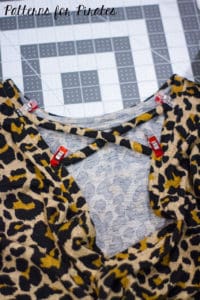
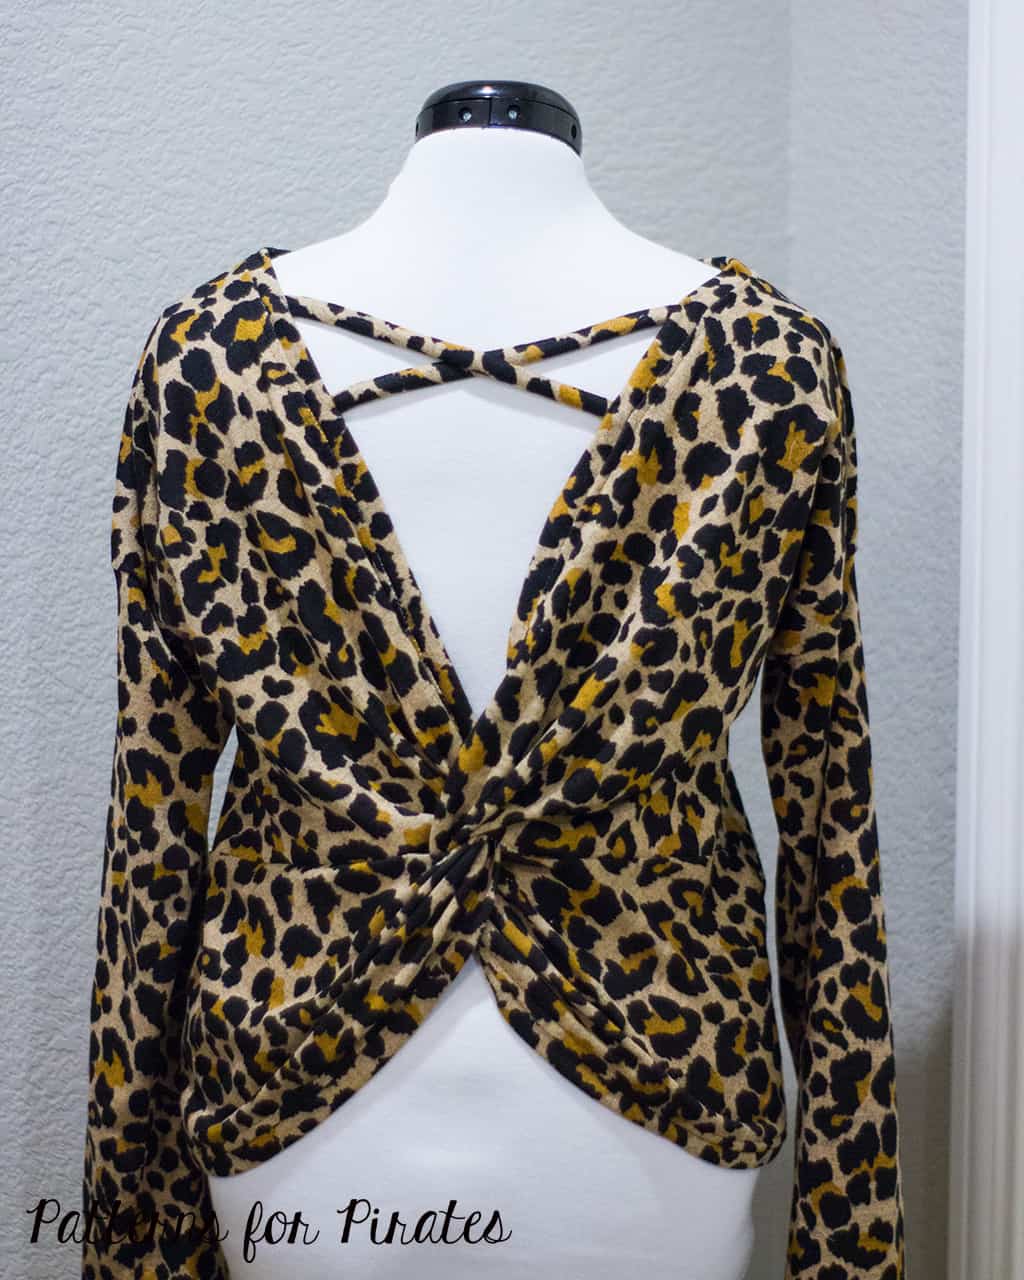
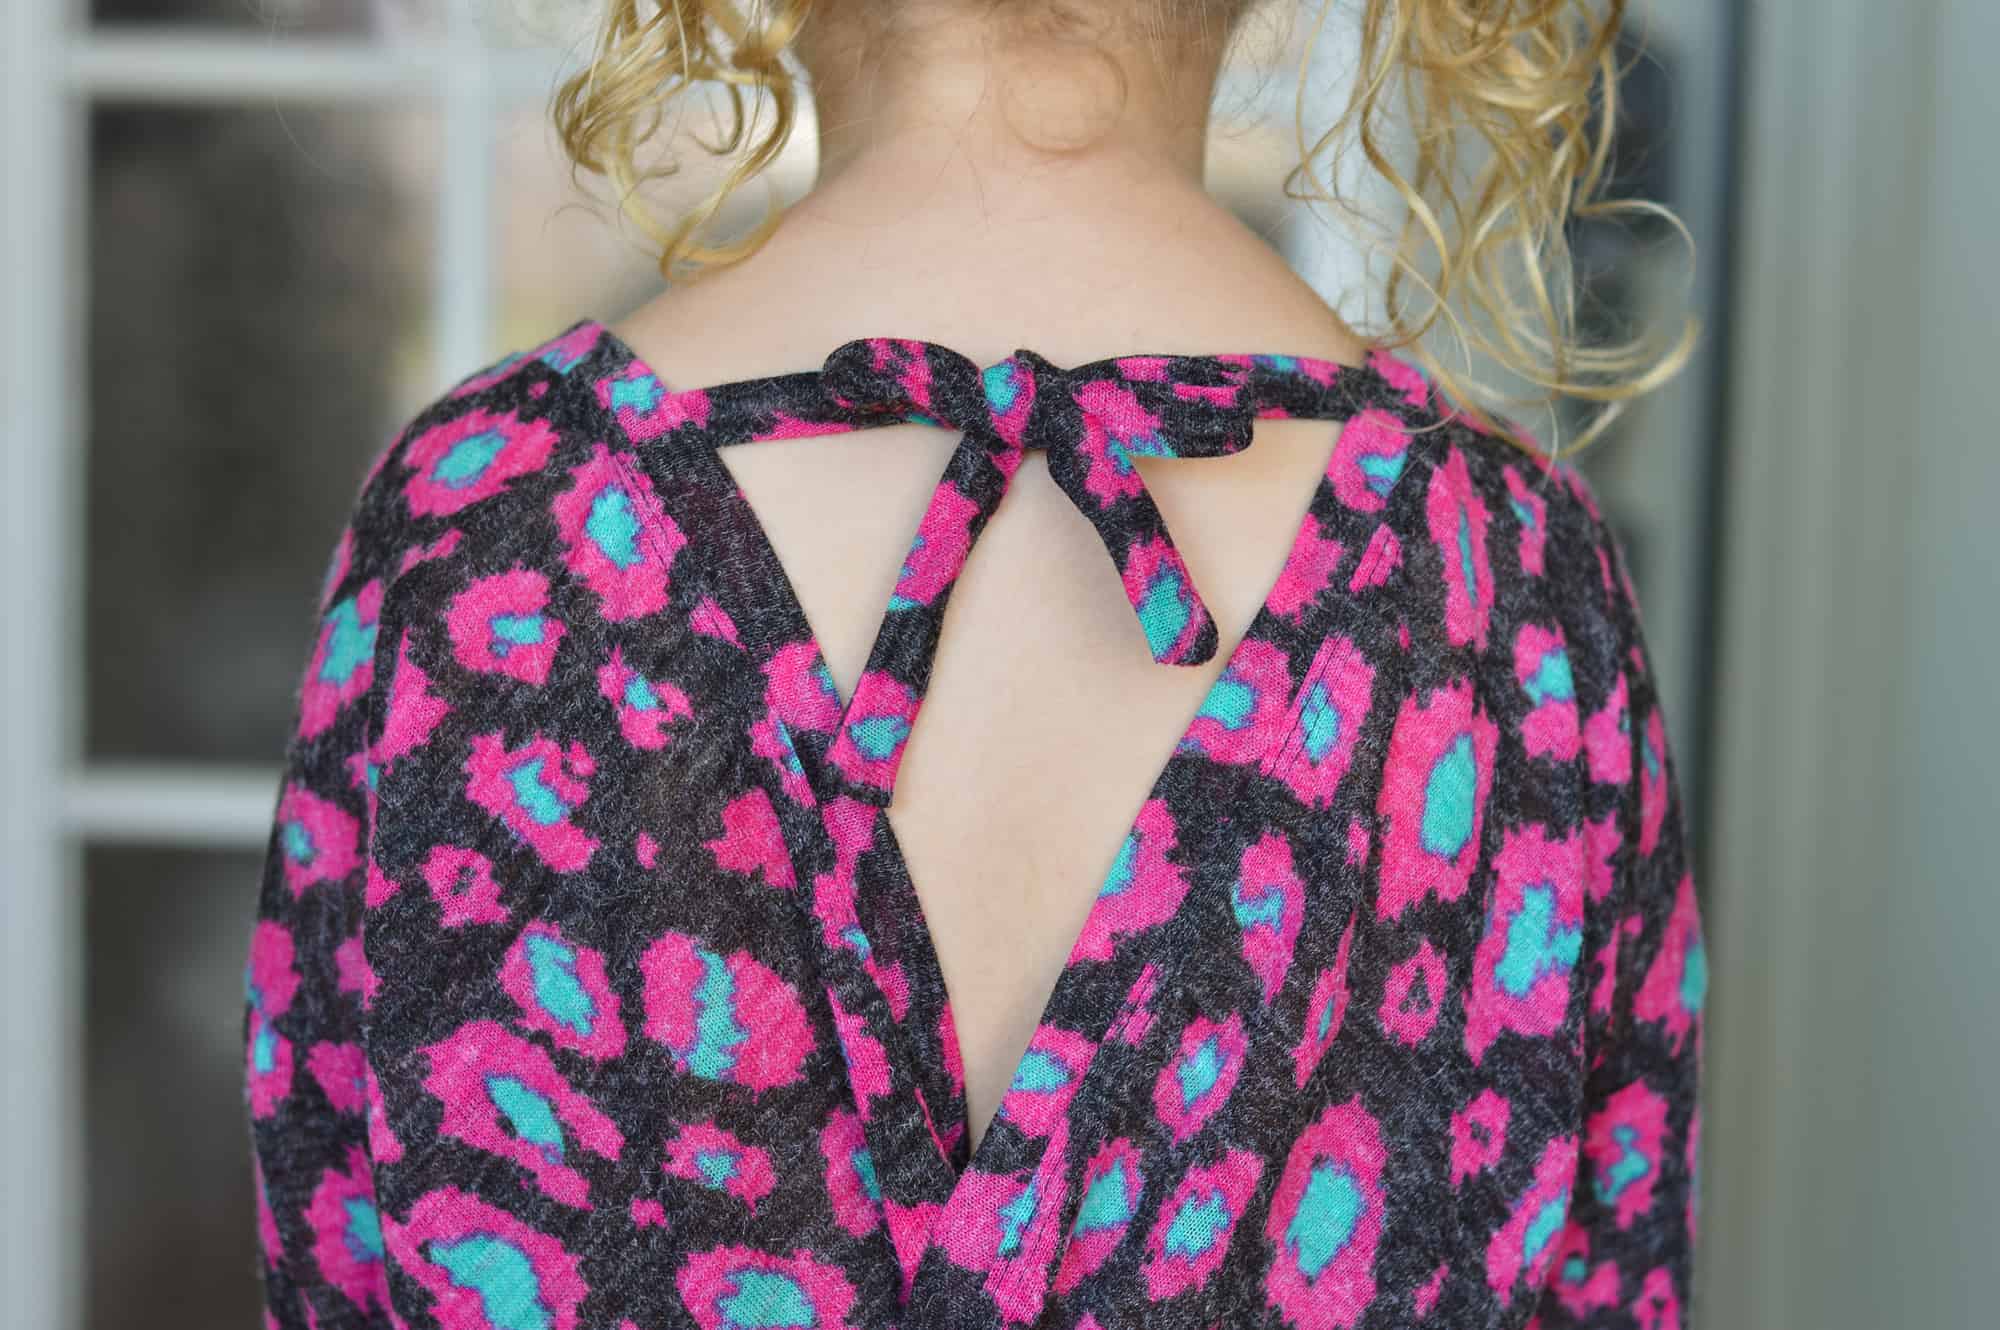
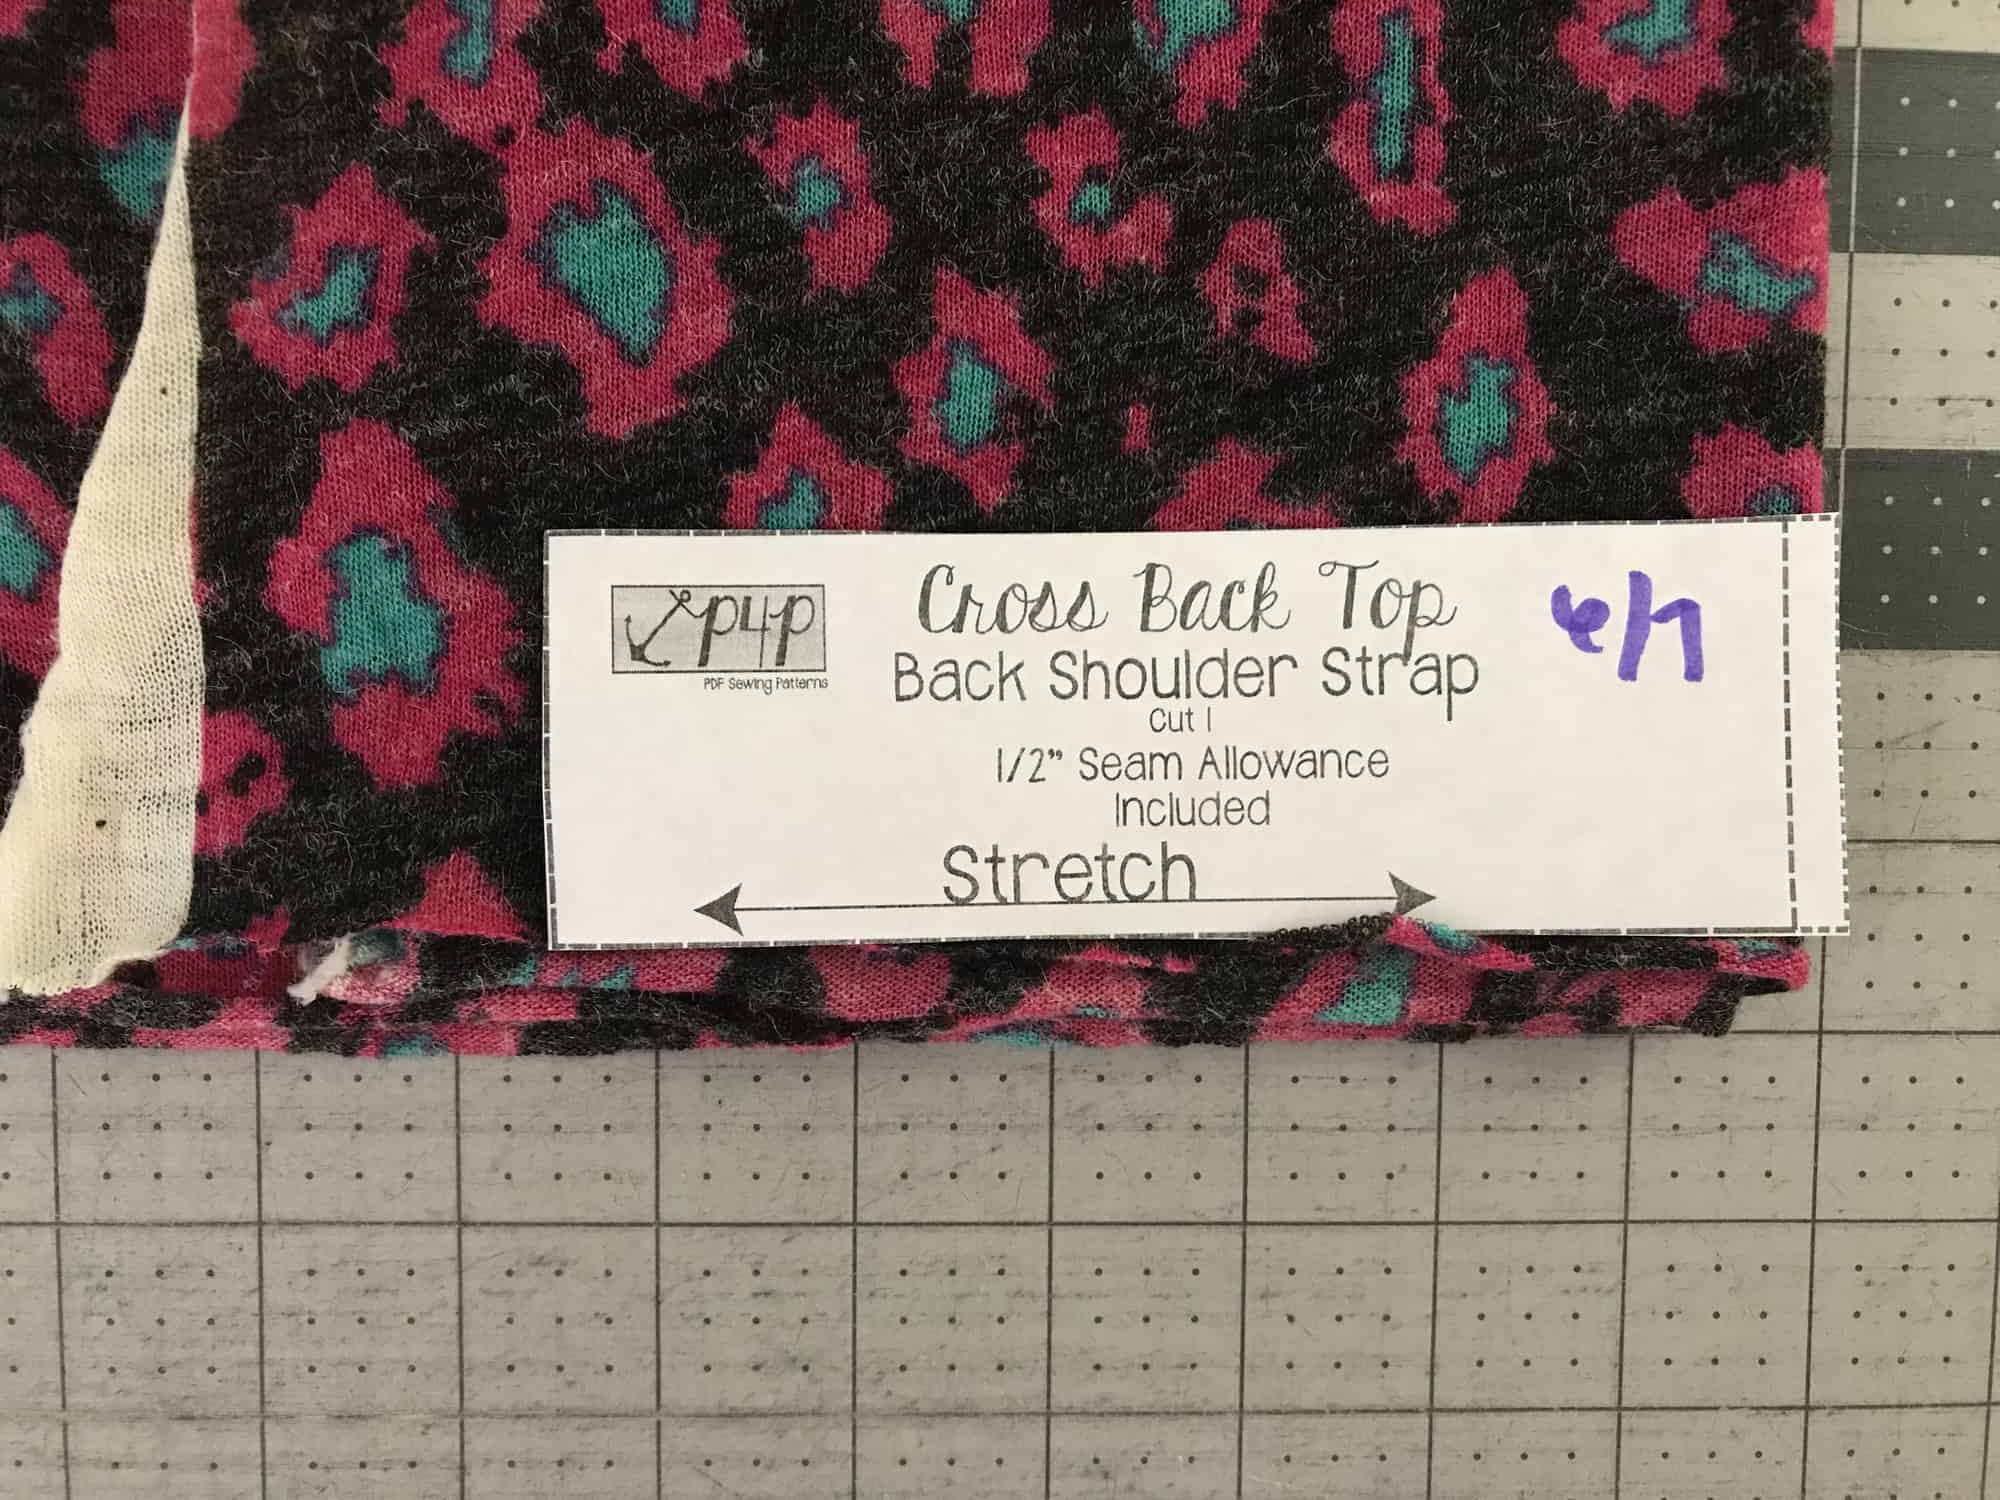
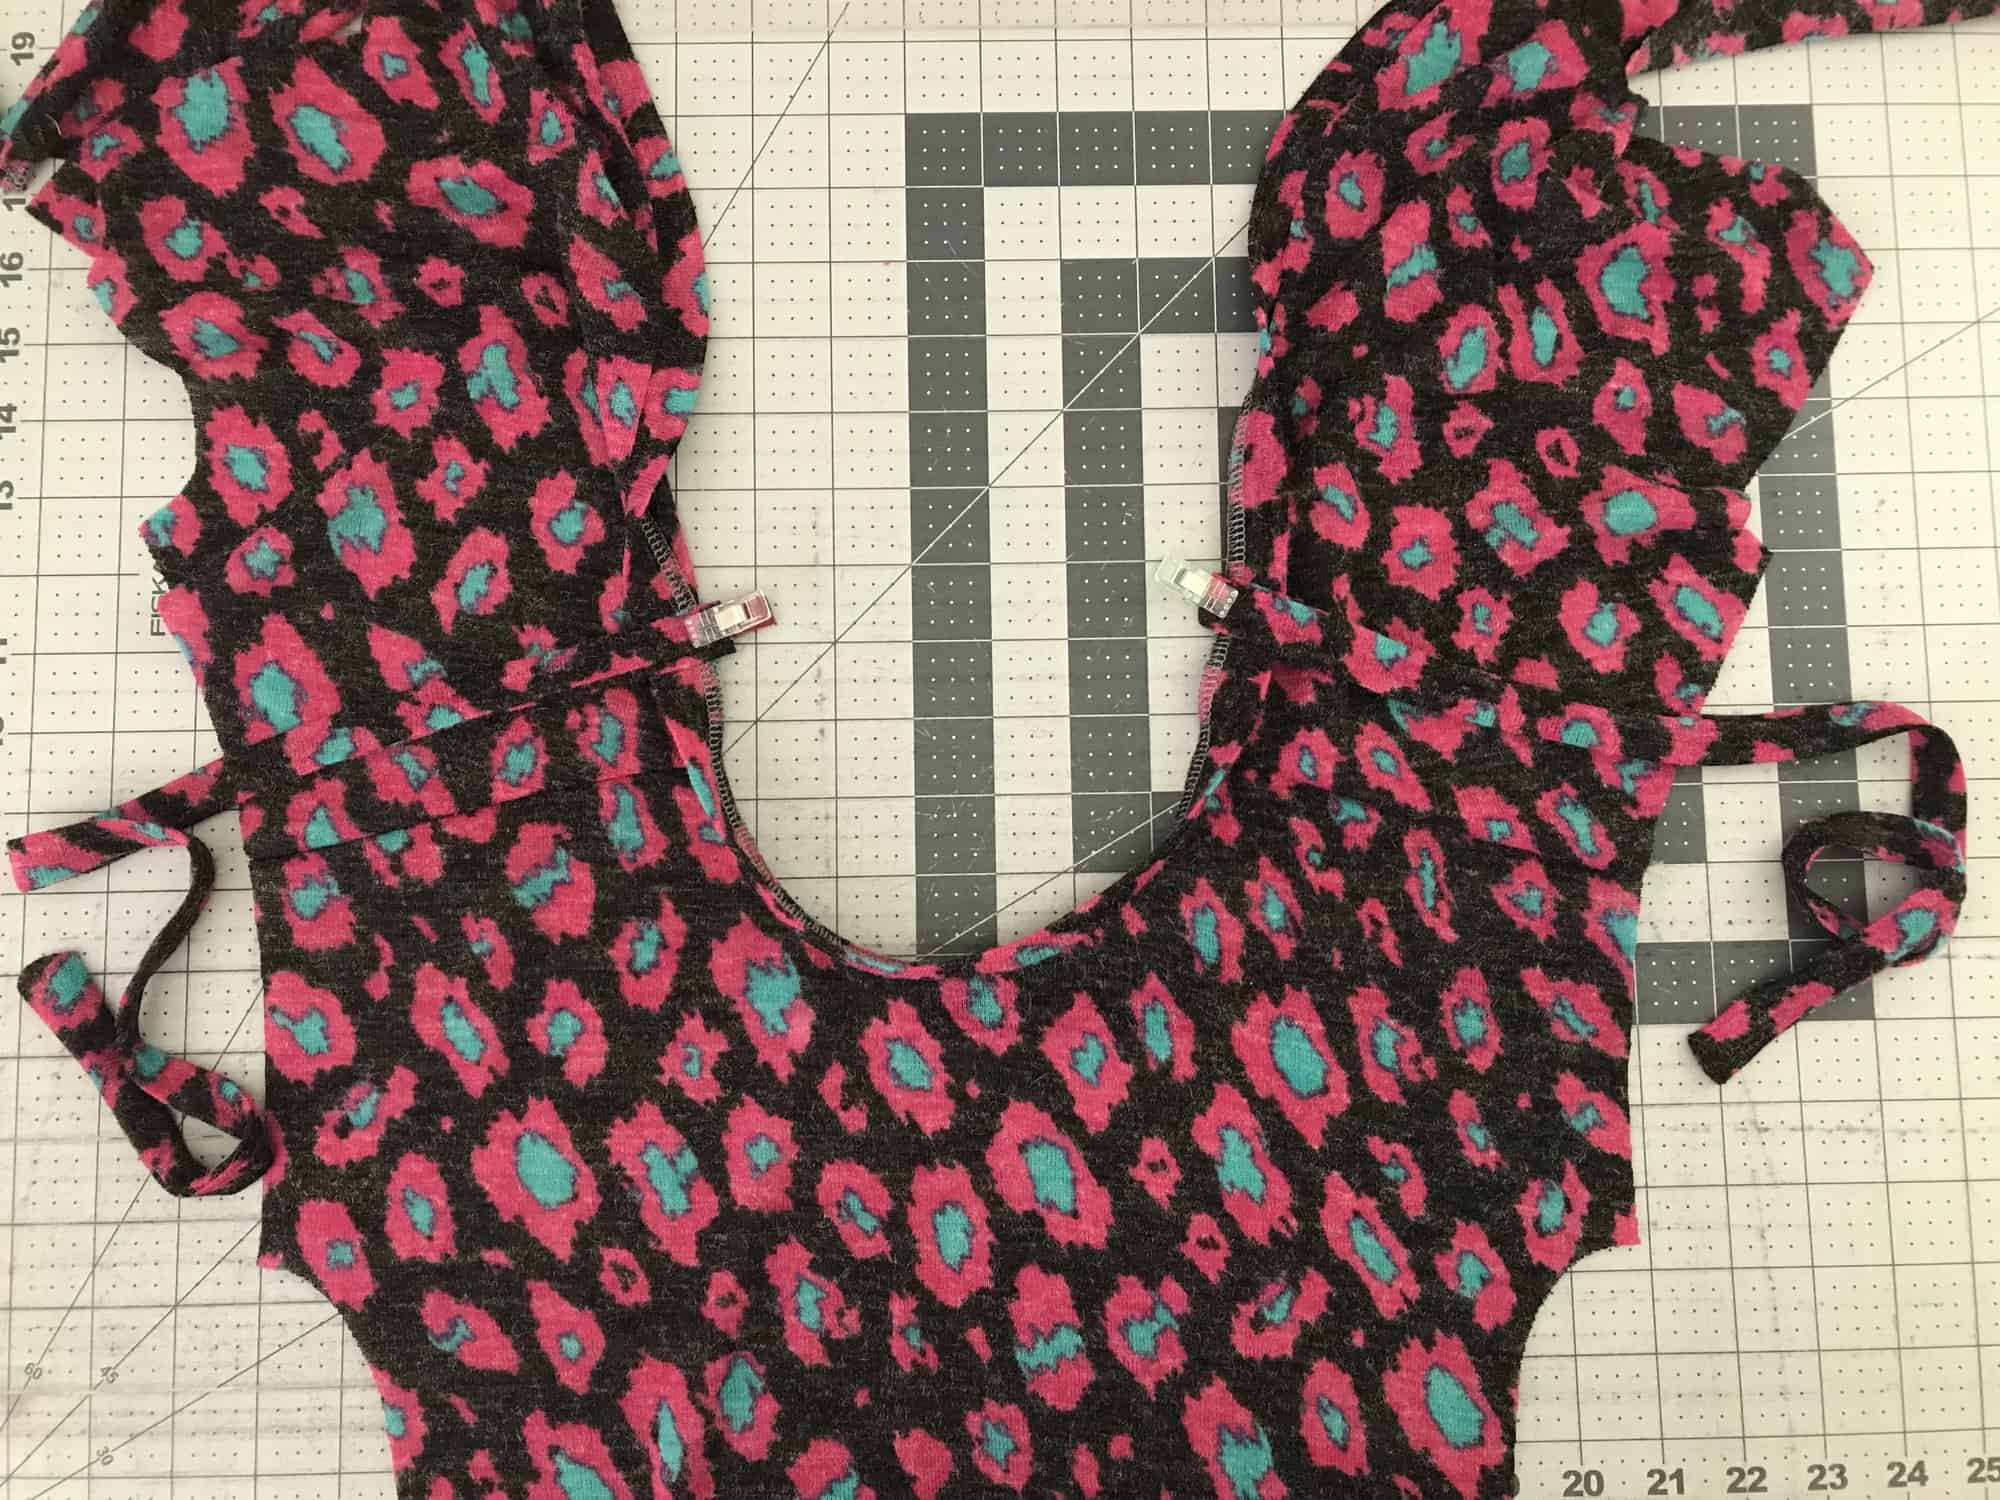
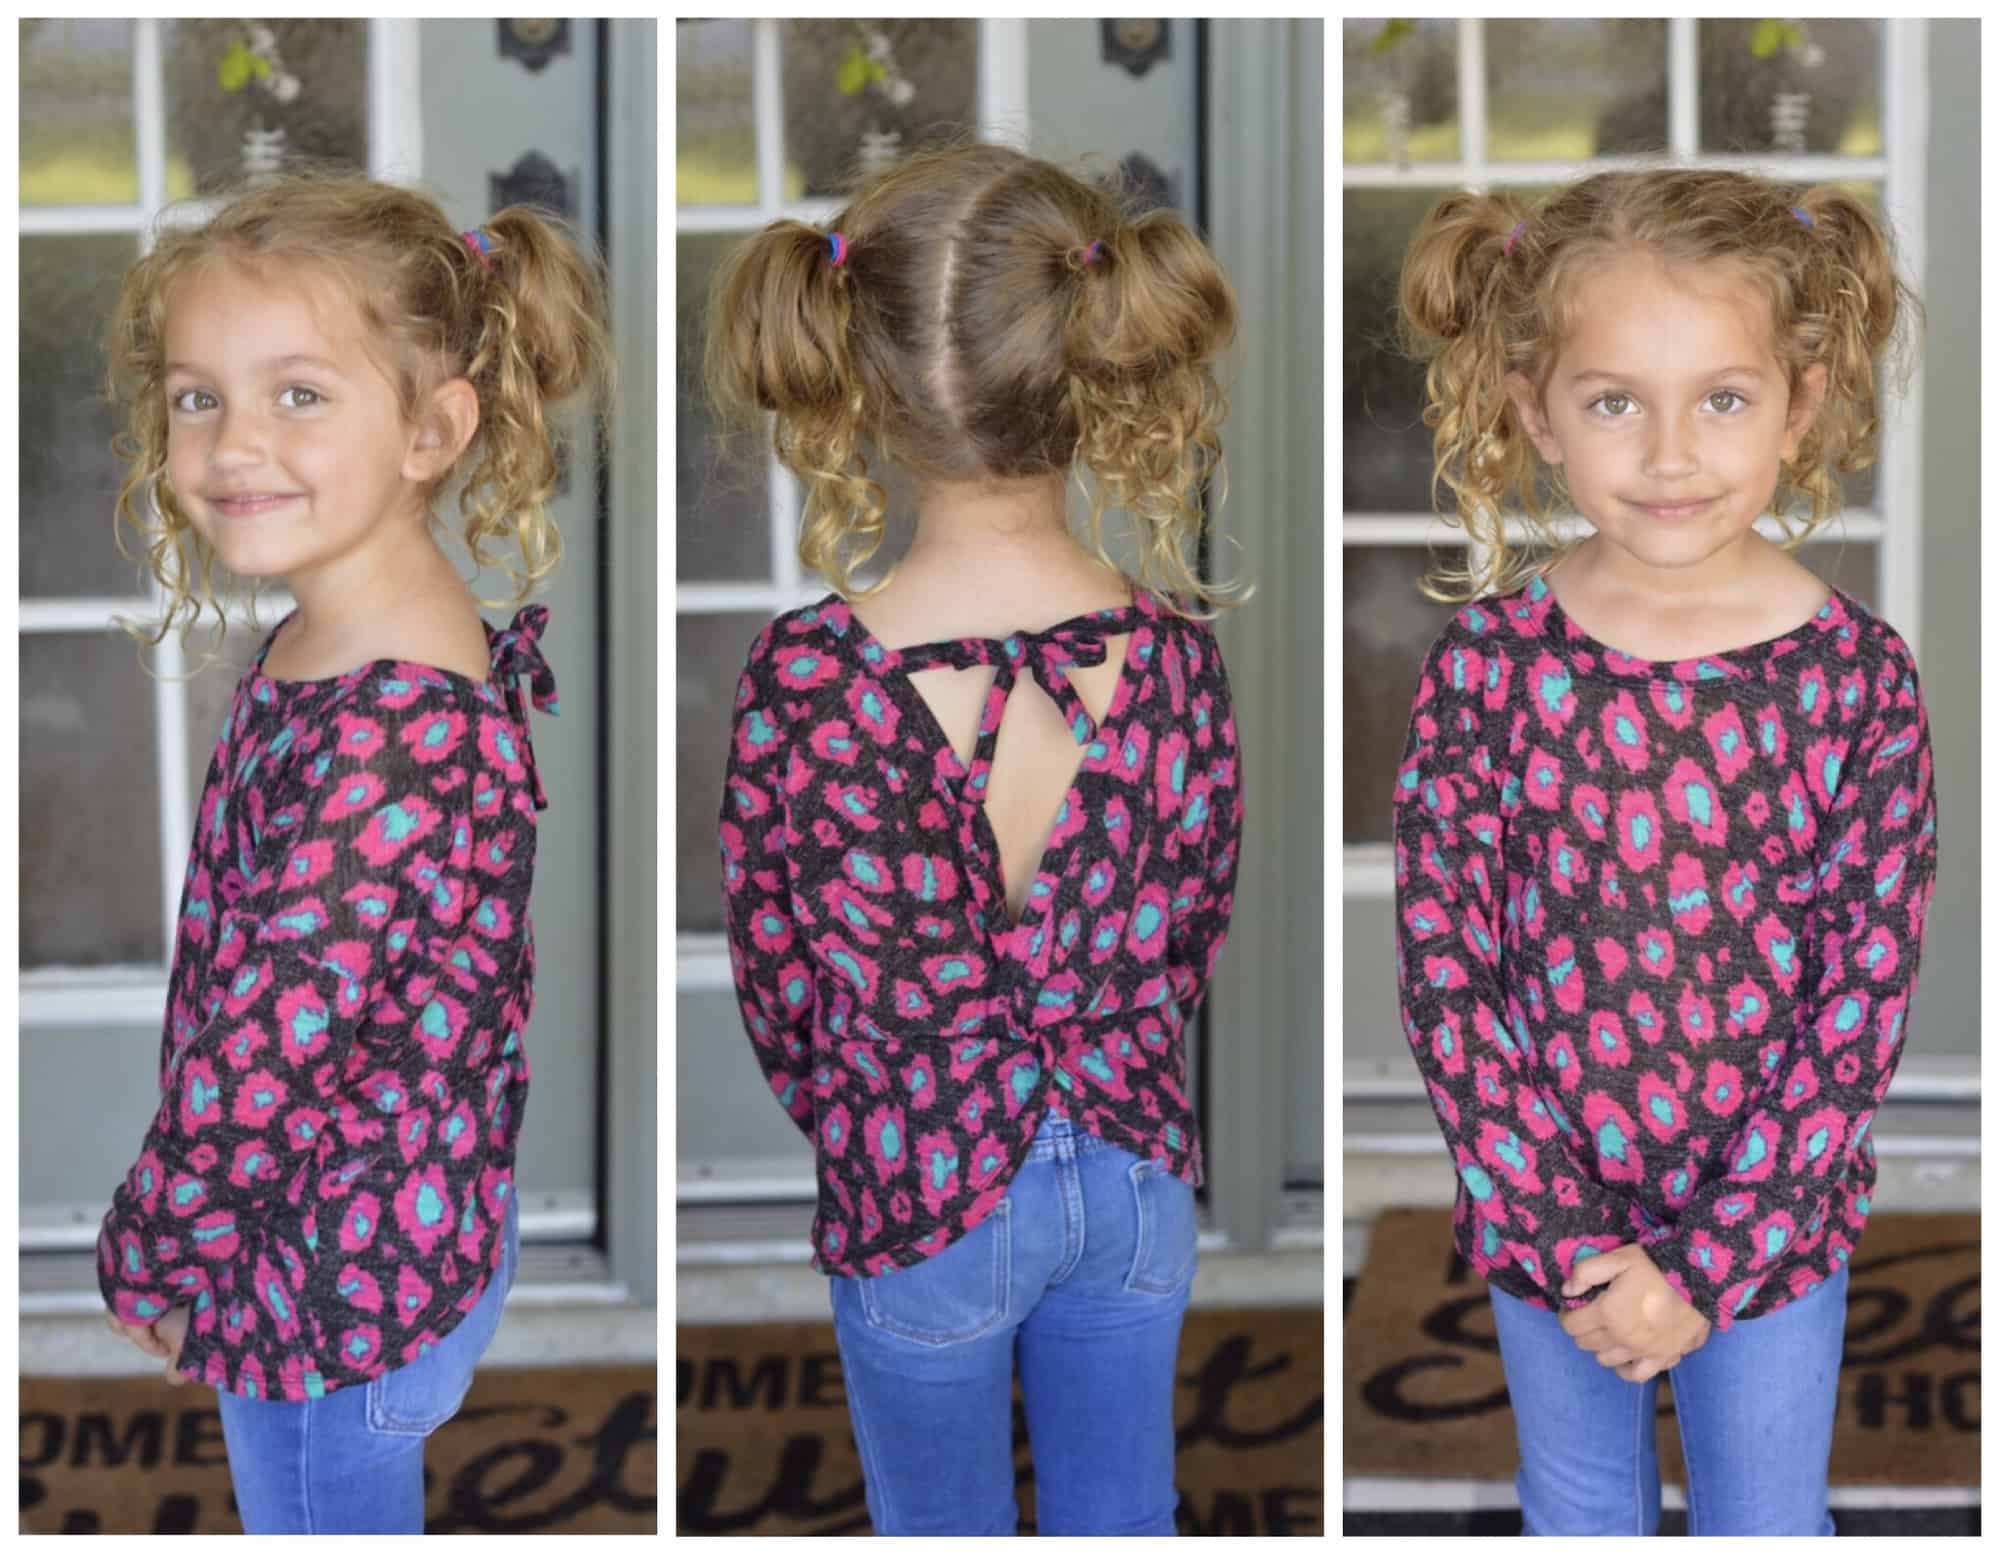
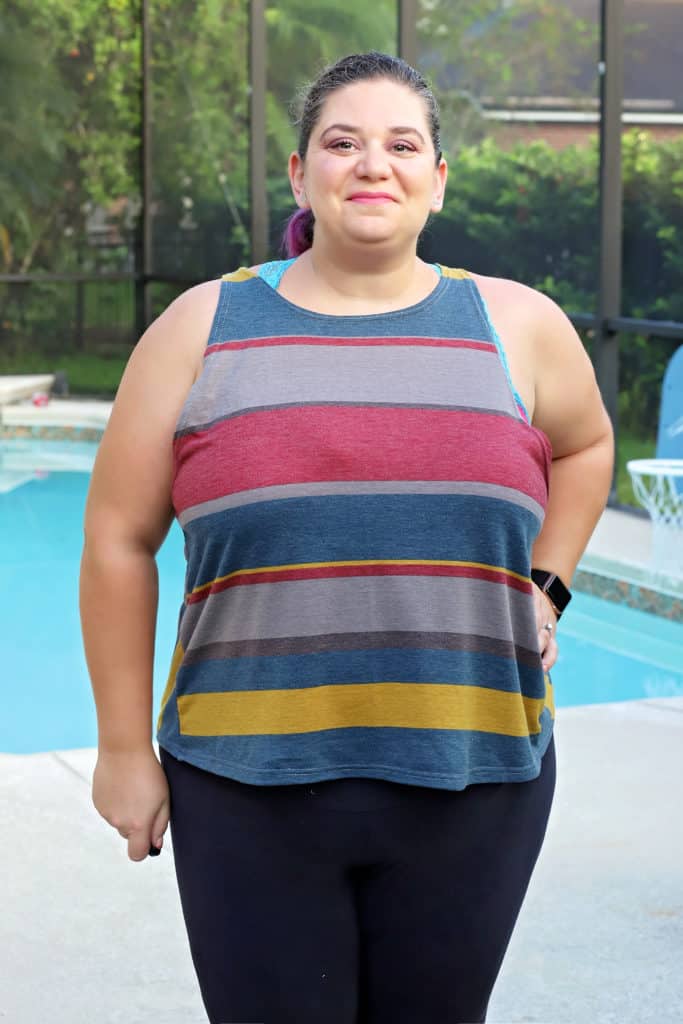
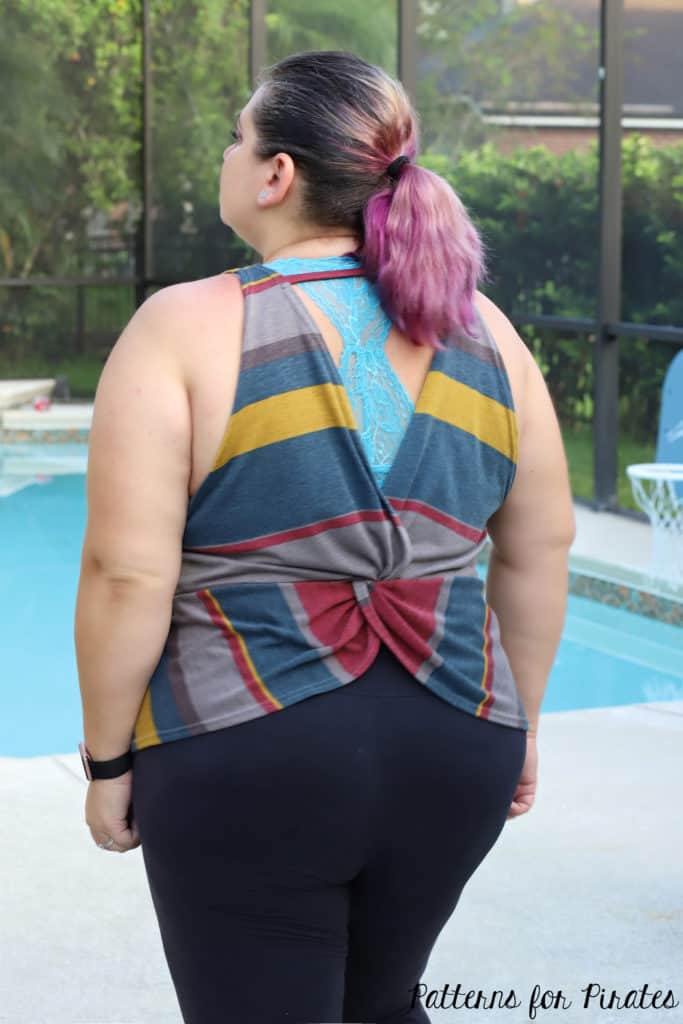
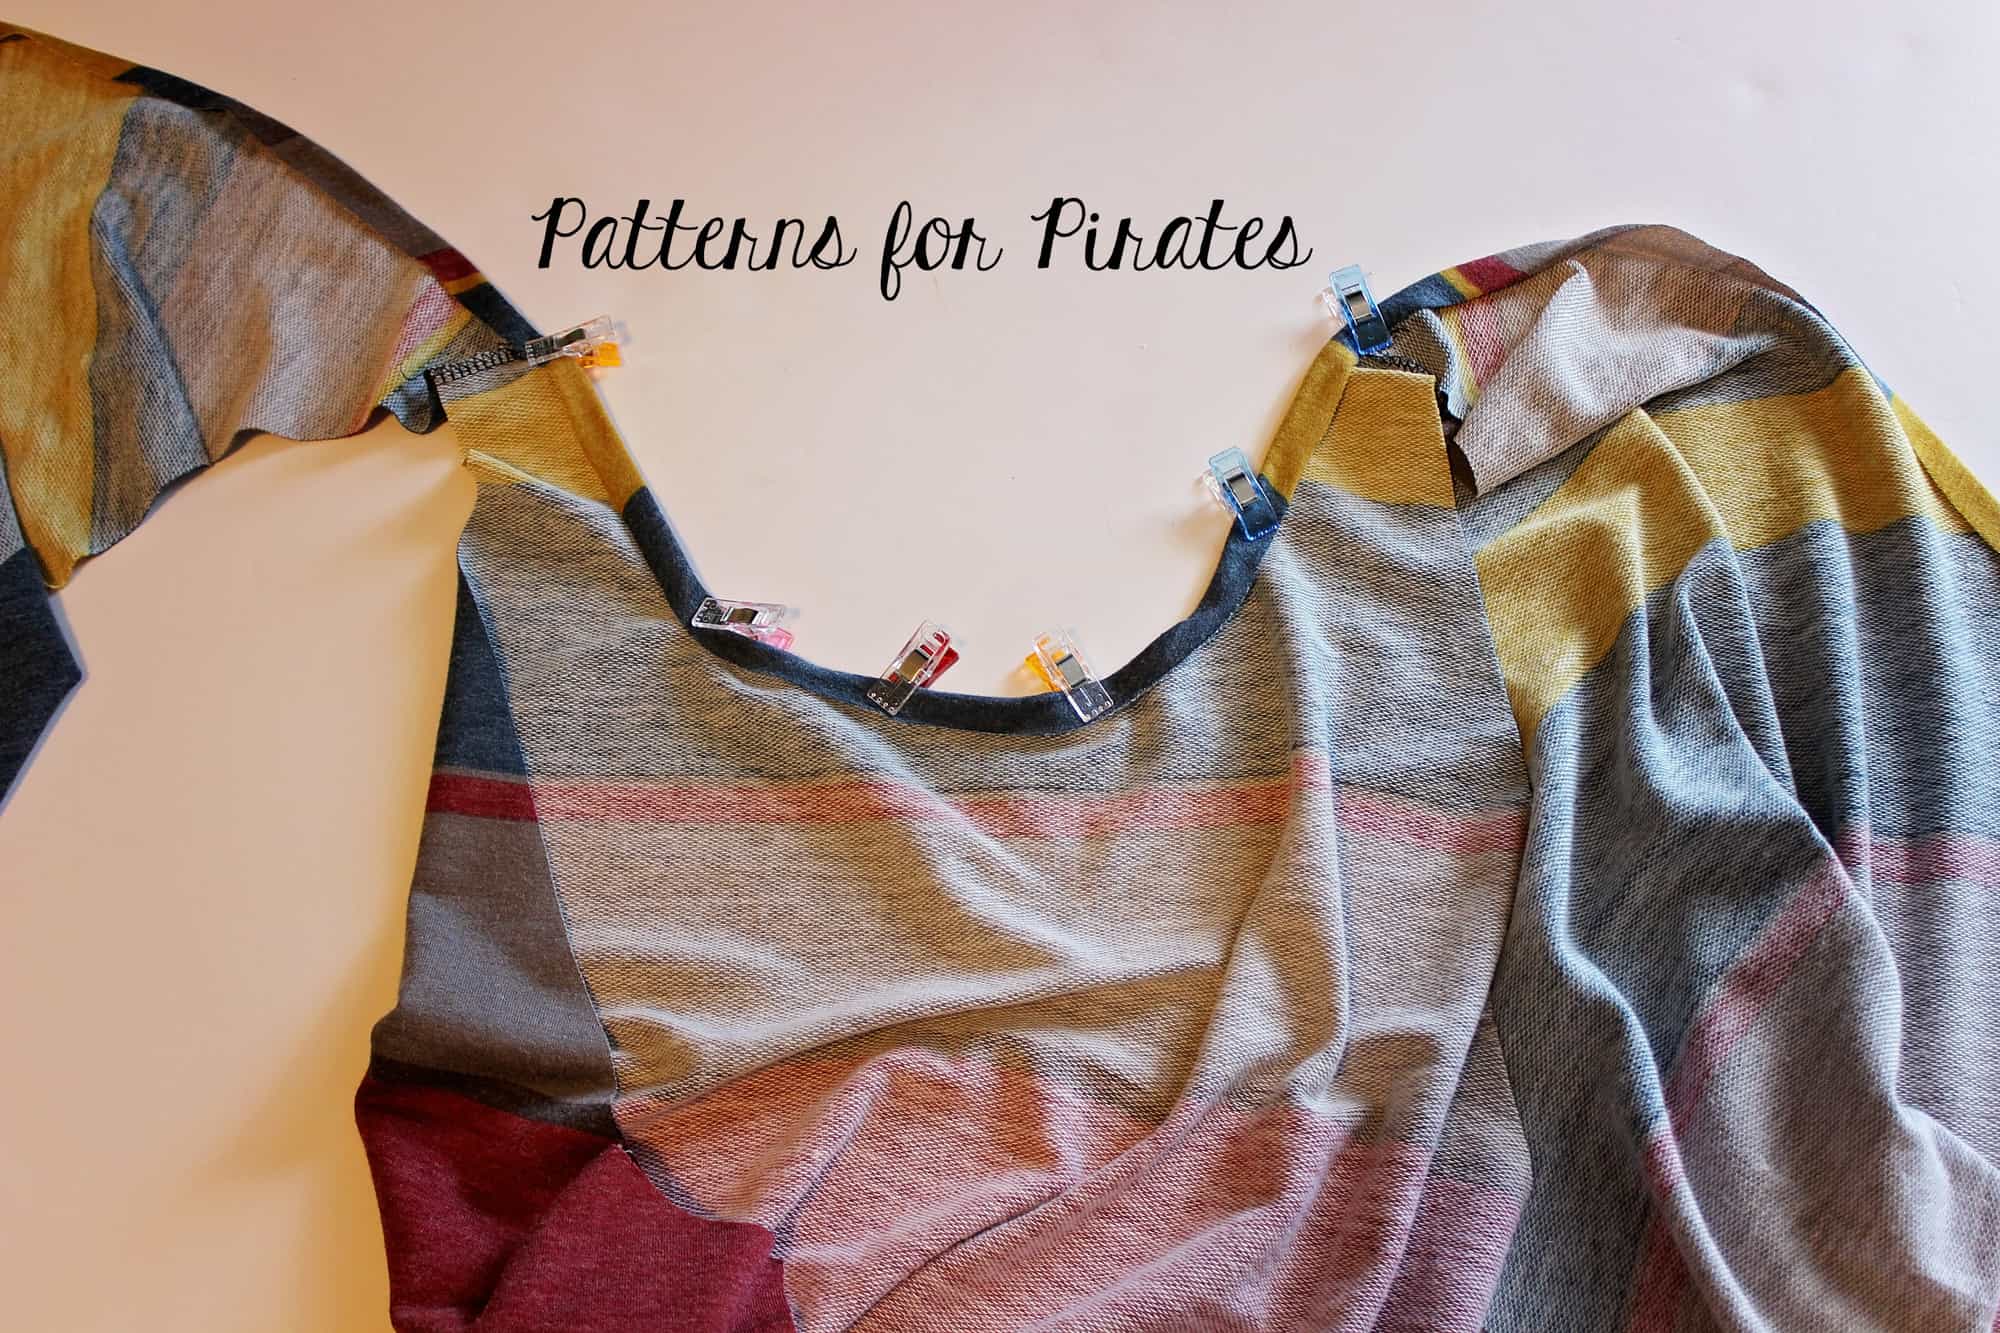
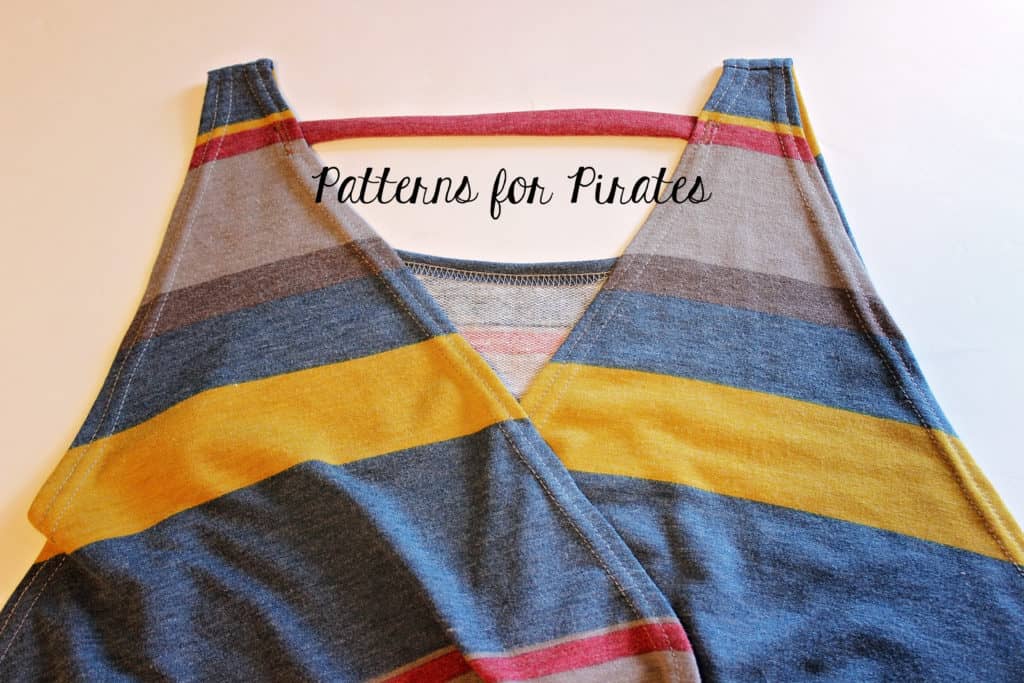
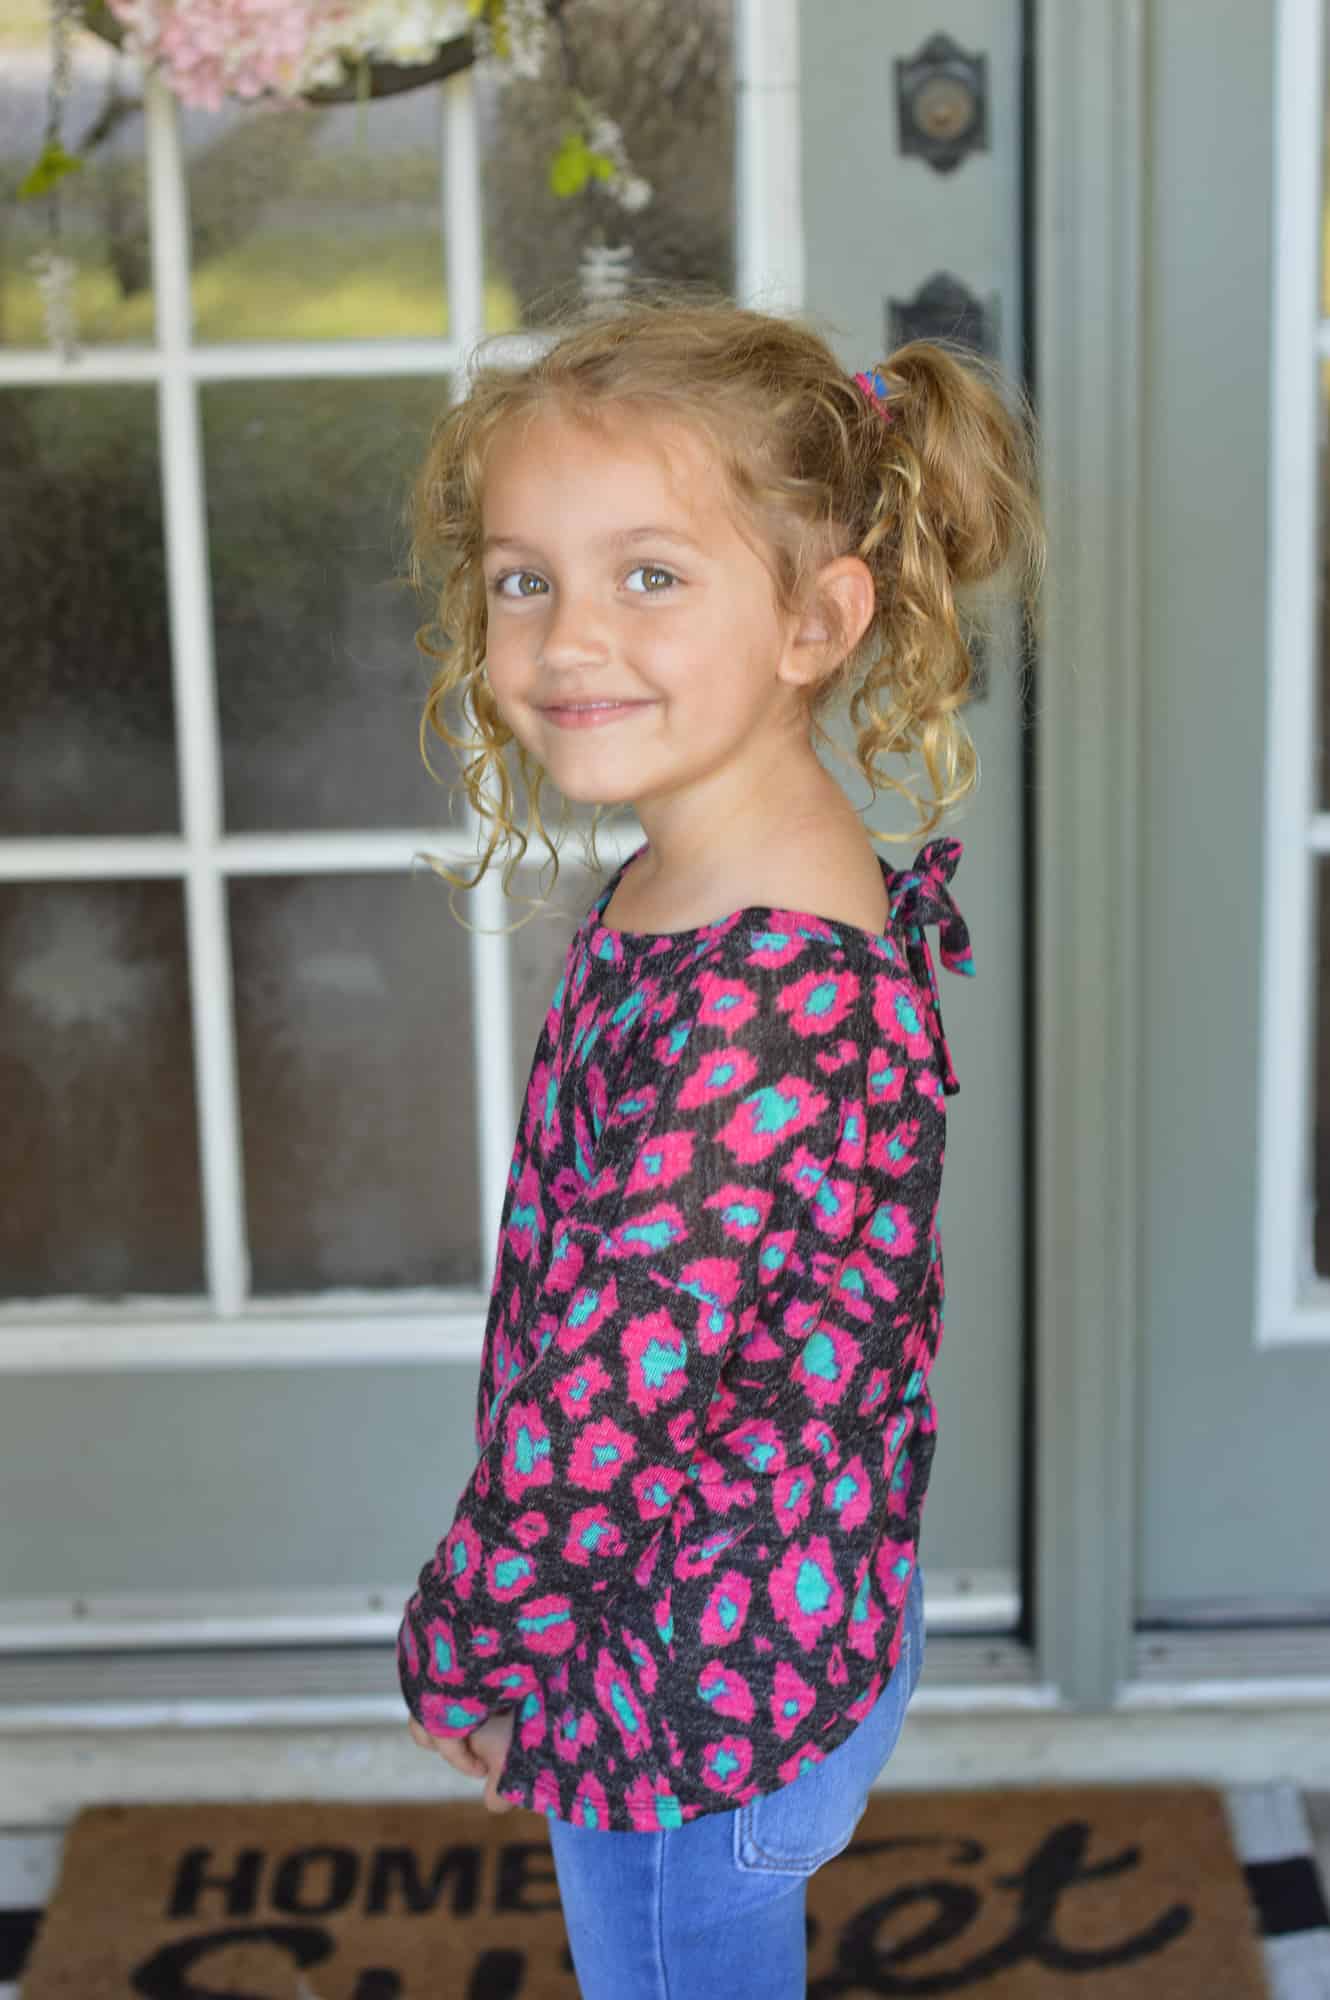
Don’t forget that super adorable strappy back! Not only does it look cute, but the straps also provide support both criss cross and traditional straight straps which allows the pressure of the straps to be distributed a few more spots on your shoulders and back…meaning… more comfortable! It’s just a bonus that it looks great with open back tops!
-

- Fierce Bra Paired with Ragdoll Raglan
-

- Fierce Bra Paired with Twist Back Top
-

- Fierce Bra-Youth Paired with Twist Back Top- Youth
-
- Fierce Bra-Youth Paired with Twist Back Top- Youth
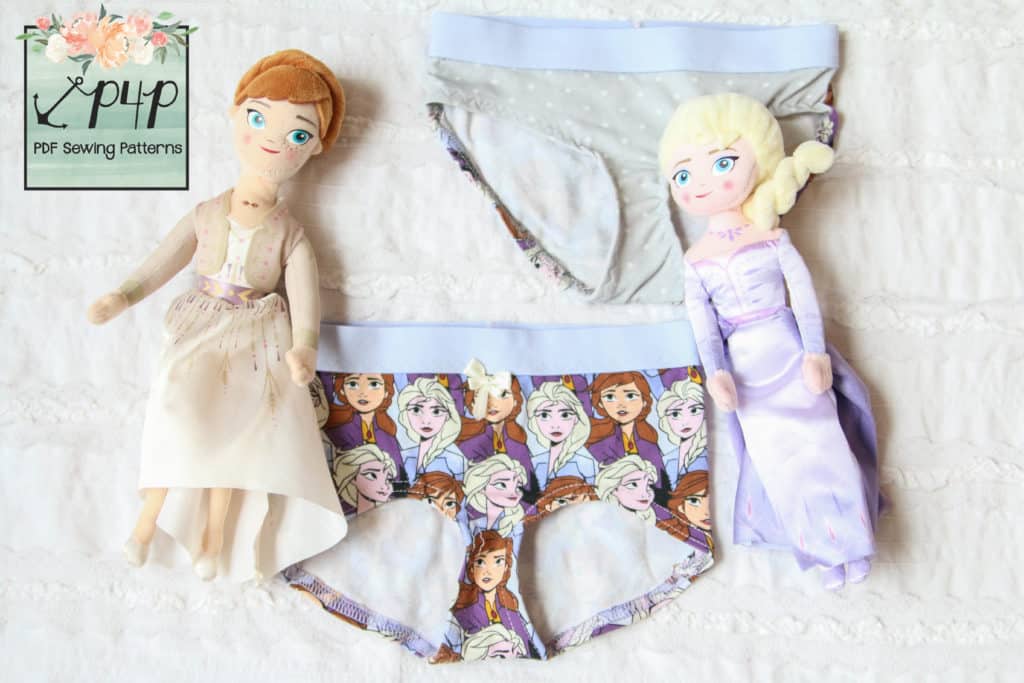
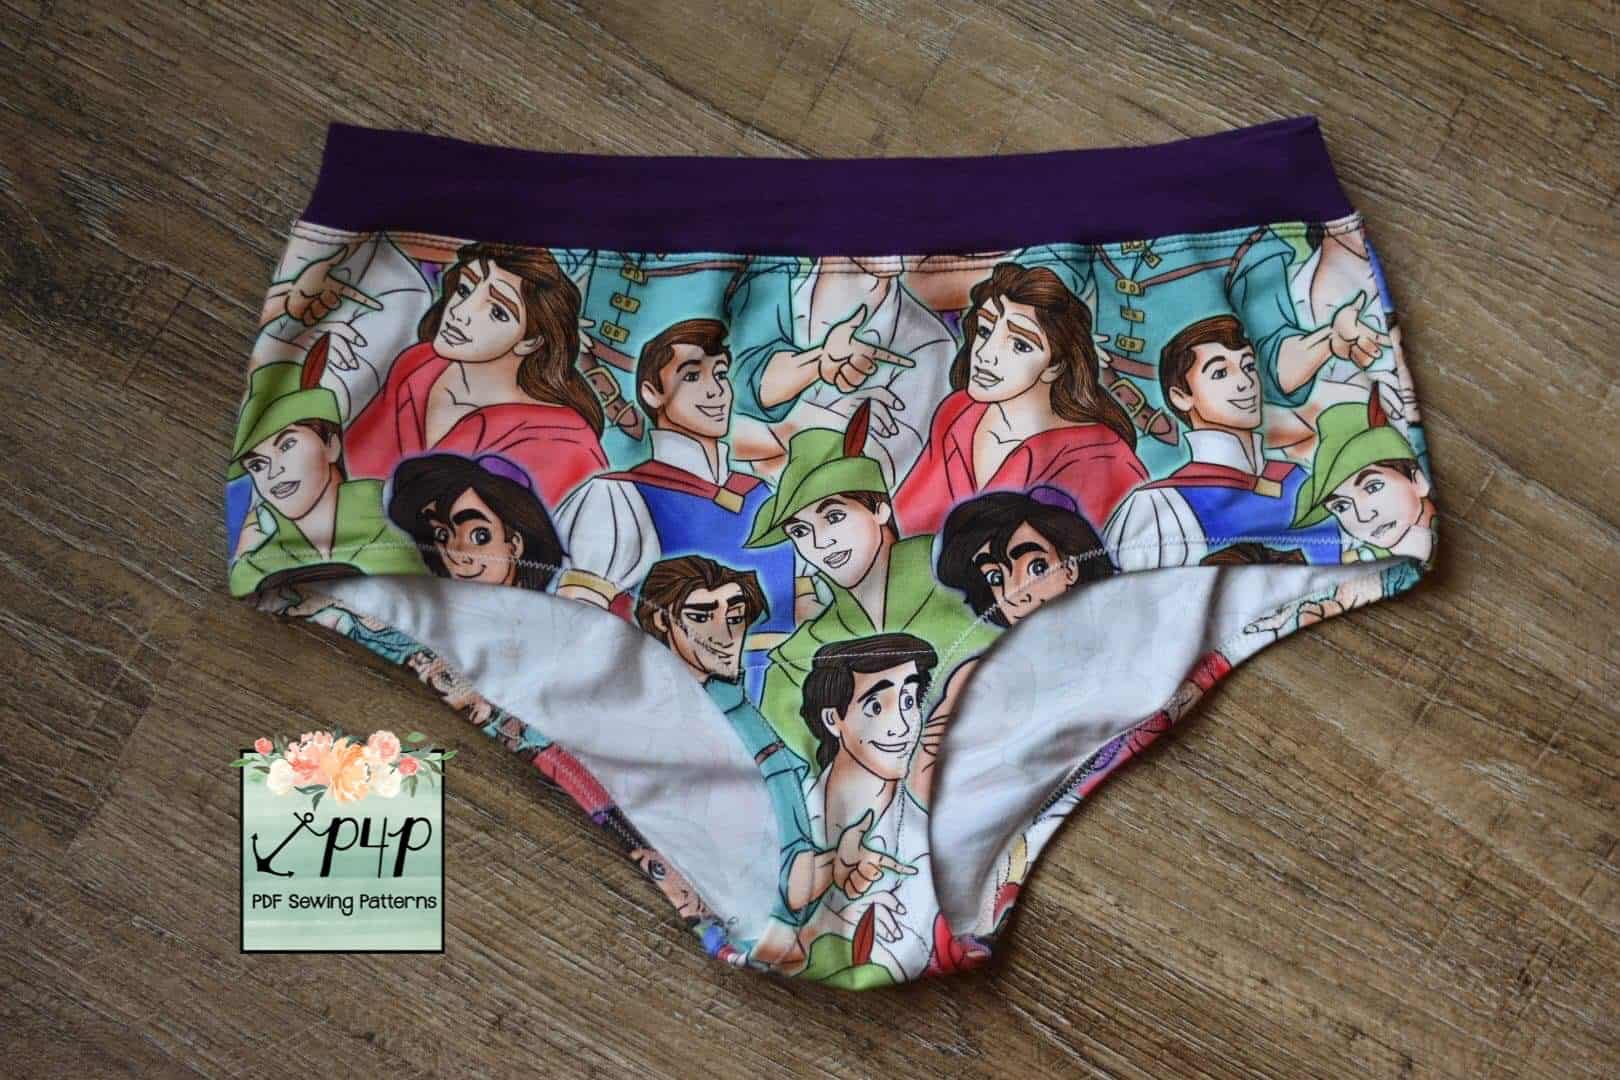
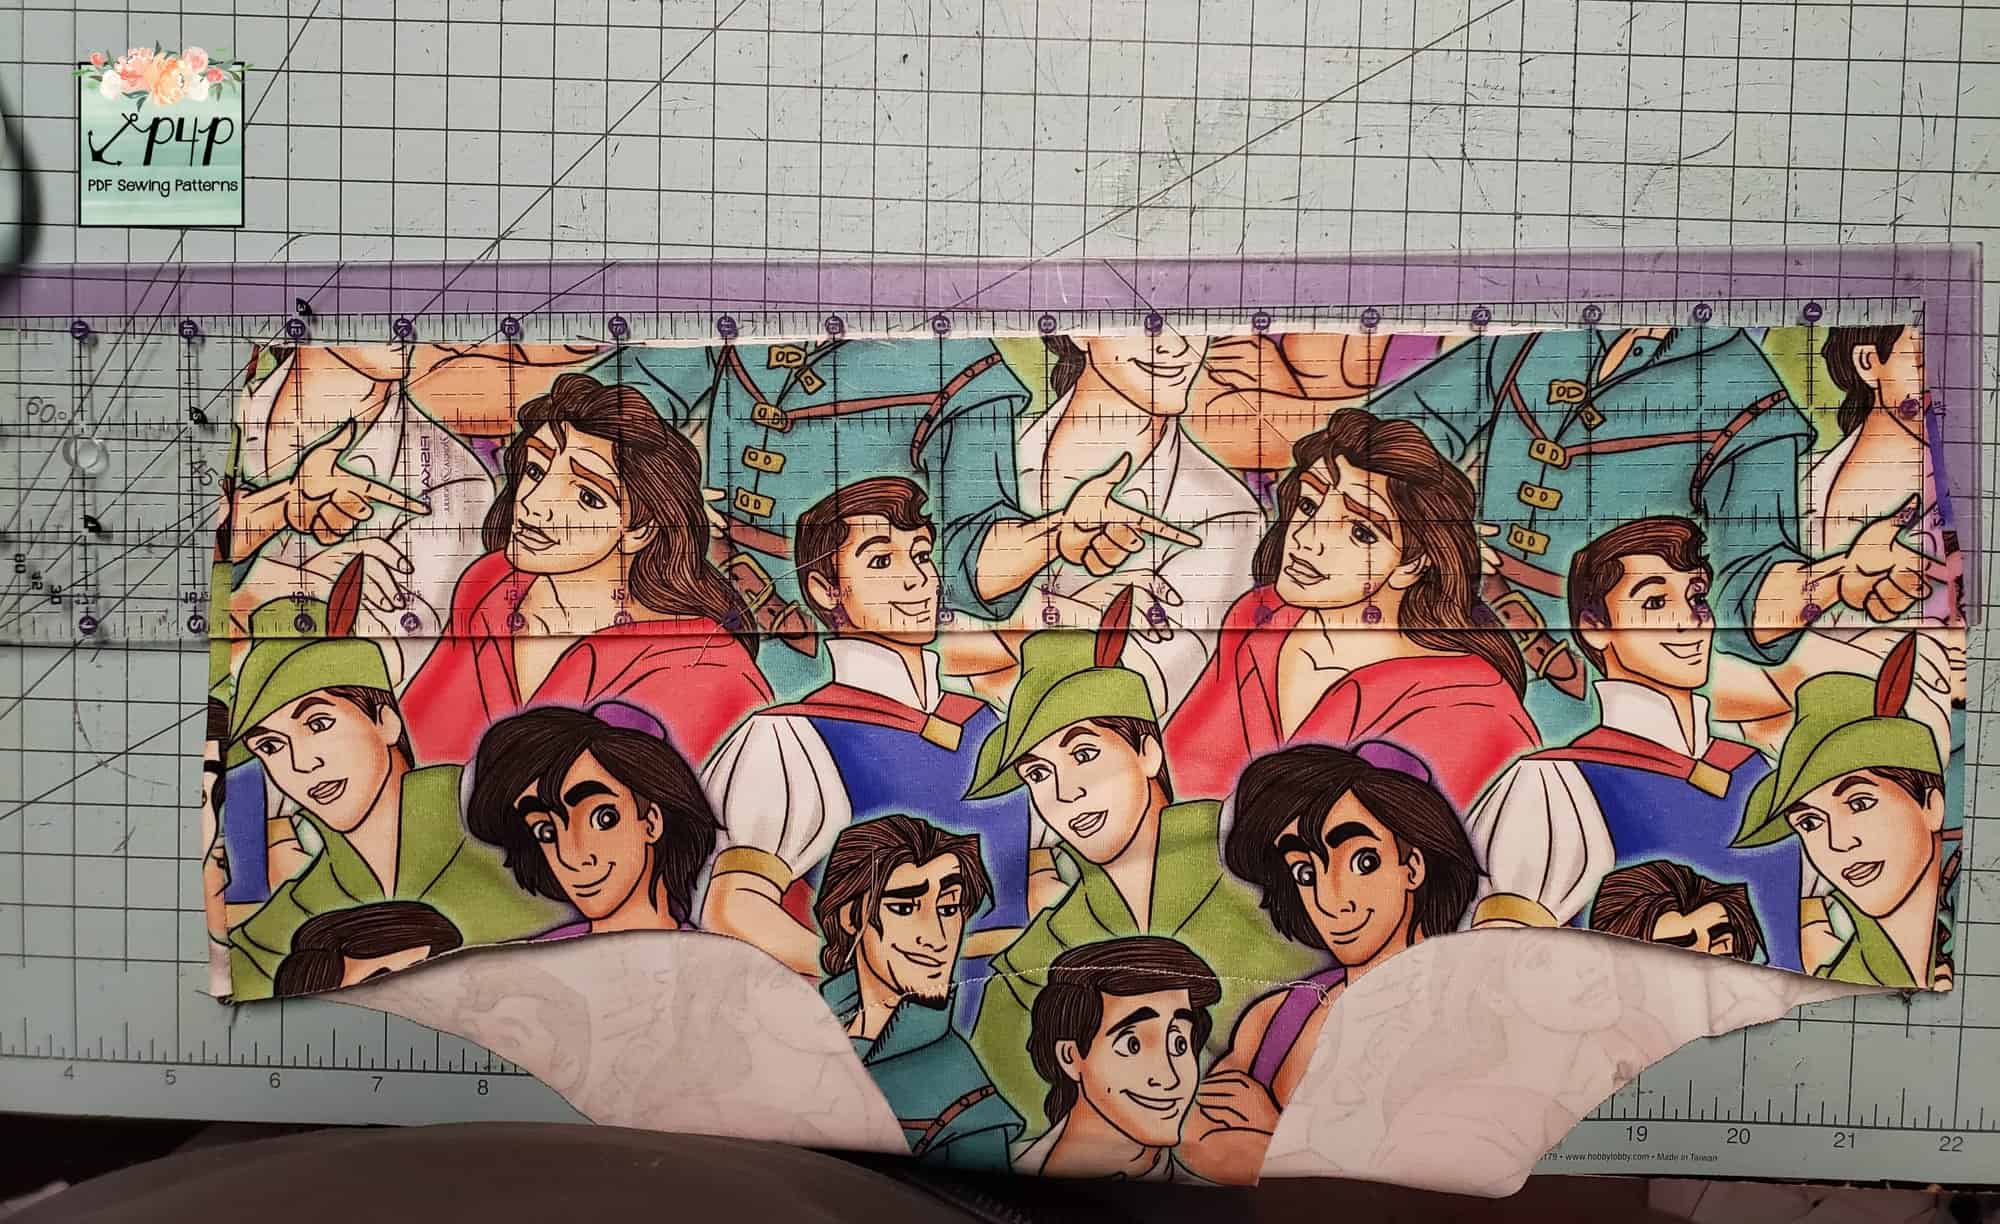
Okay… now lets chat about the matching Fierce Undies!! Underwear can be so fun to sew up. It takes just scraps of fabrics and are so quick to make! Bonus, you can have extra freedom choosing fun prints and fill up your drawers with something super practical at the same time!
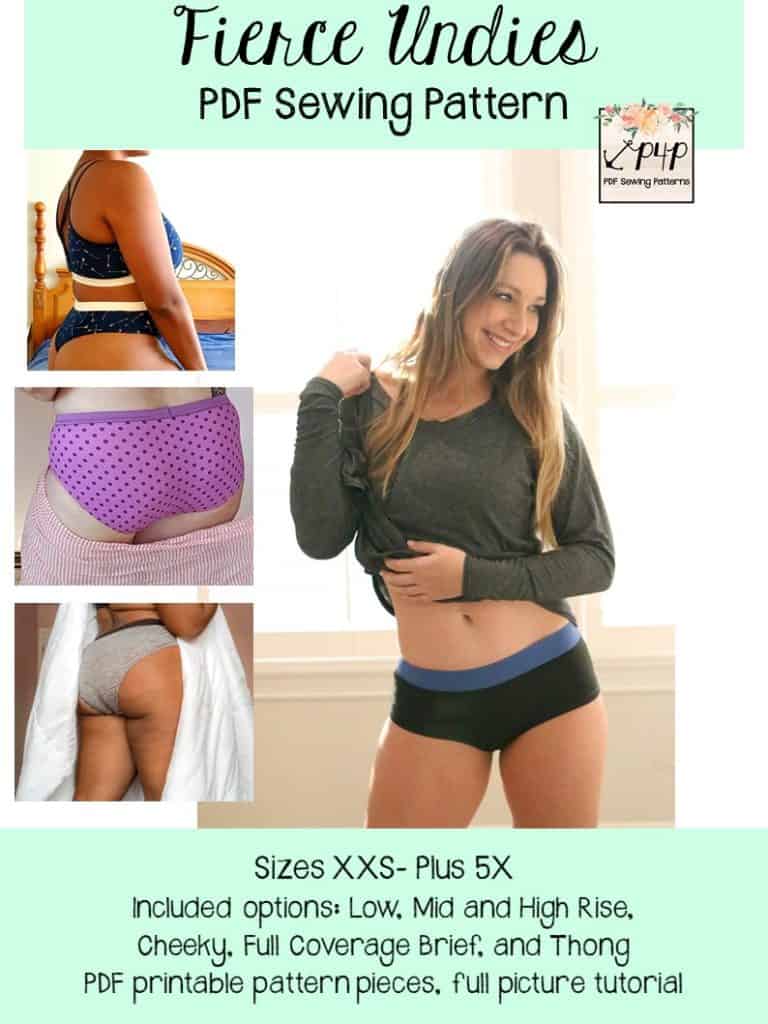
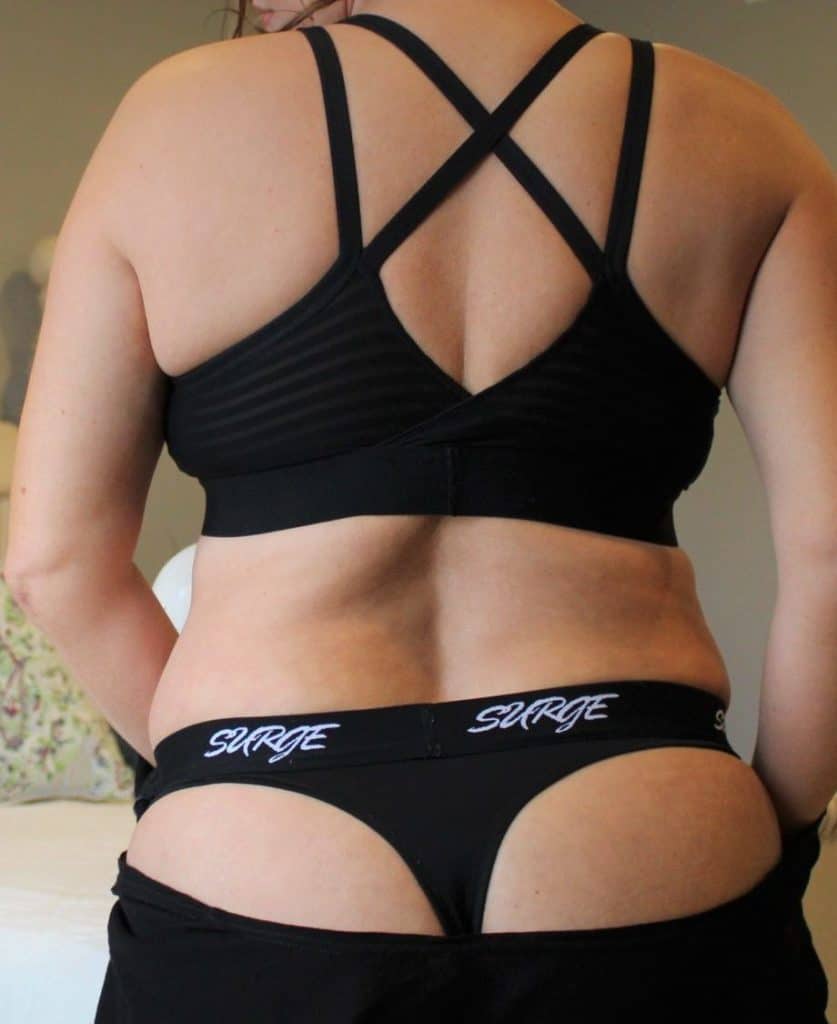
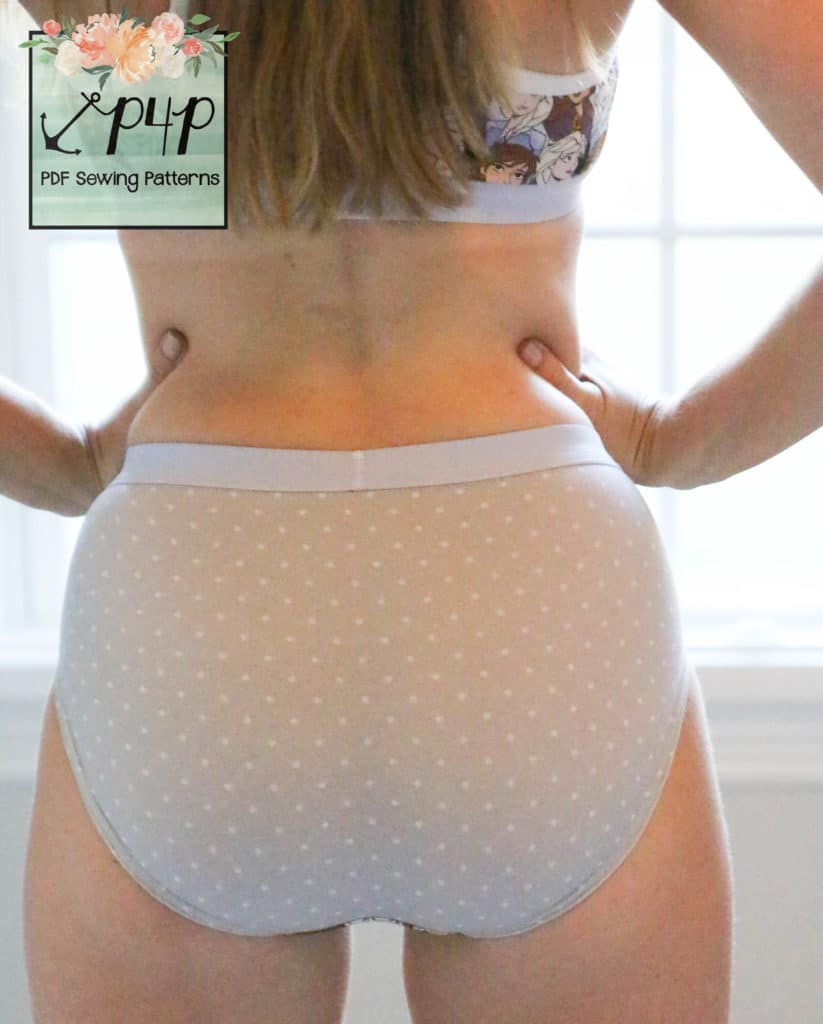
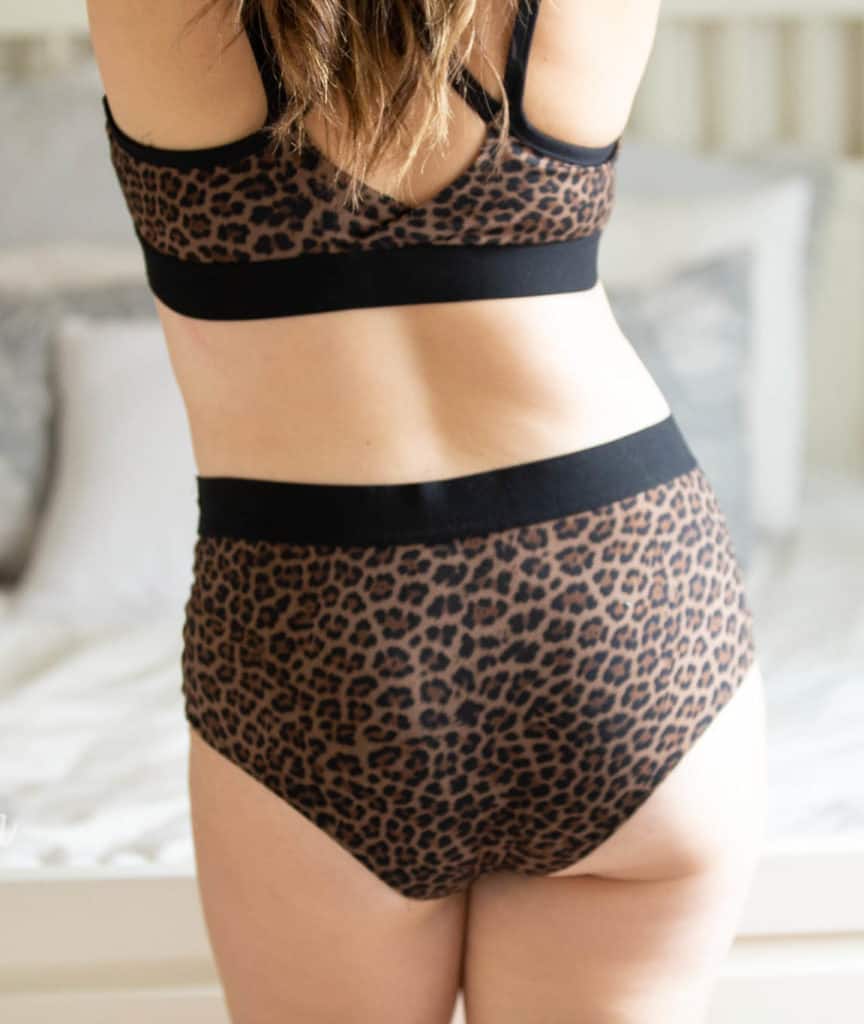
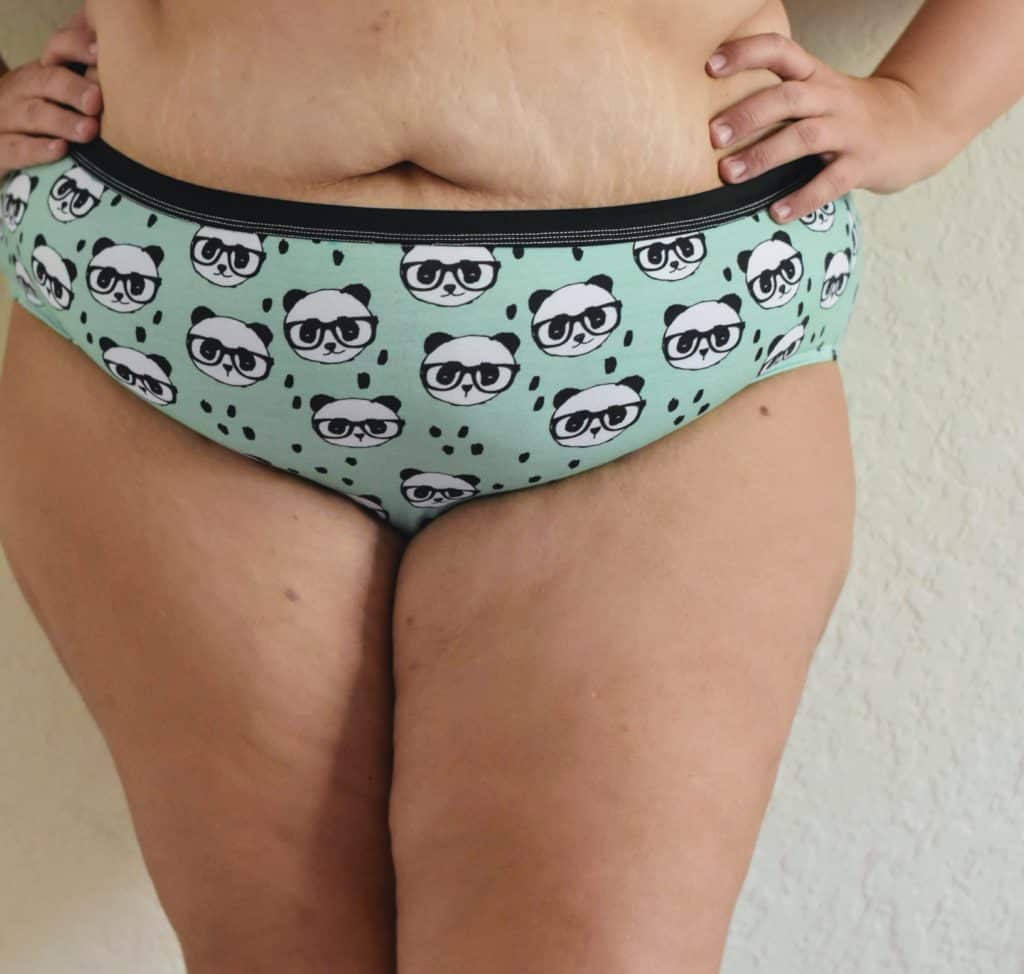
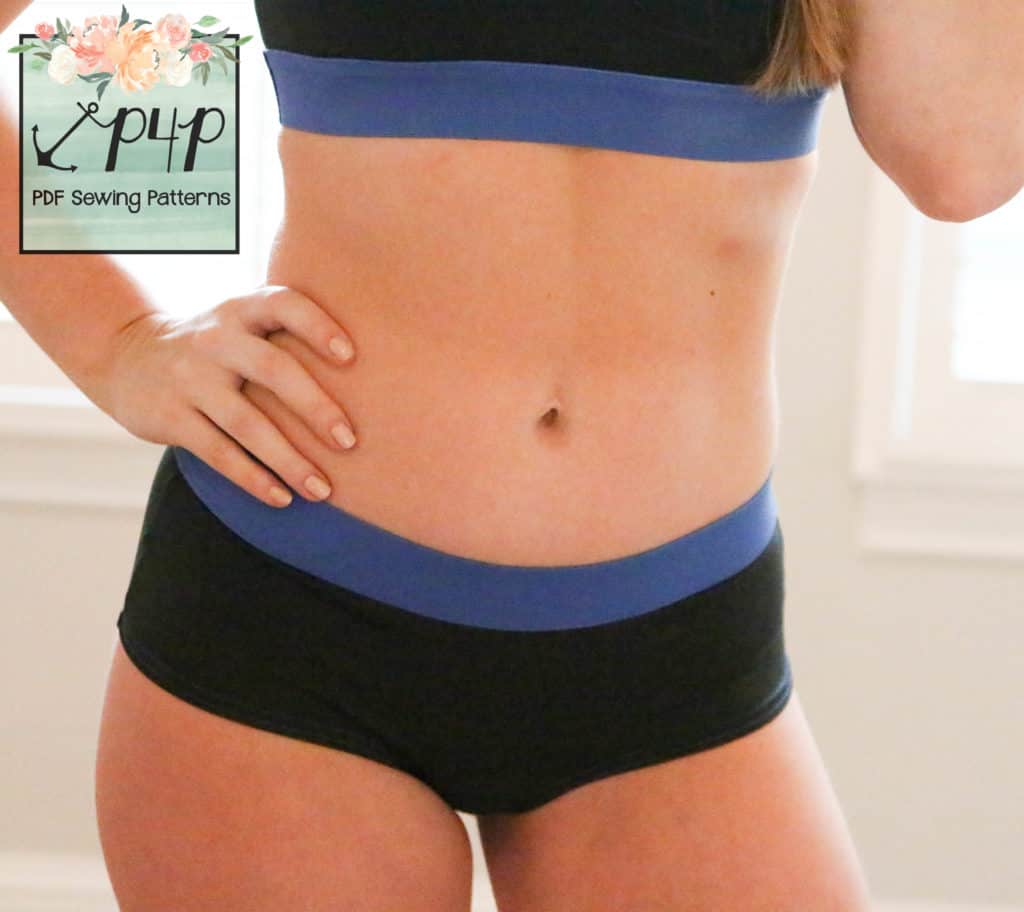
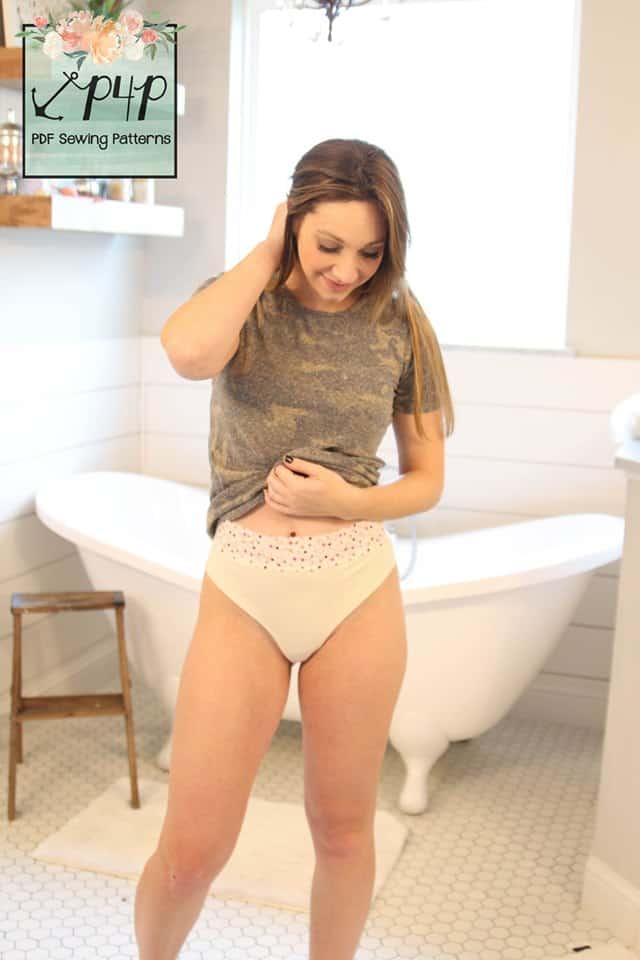
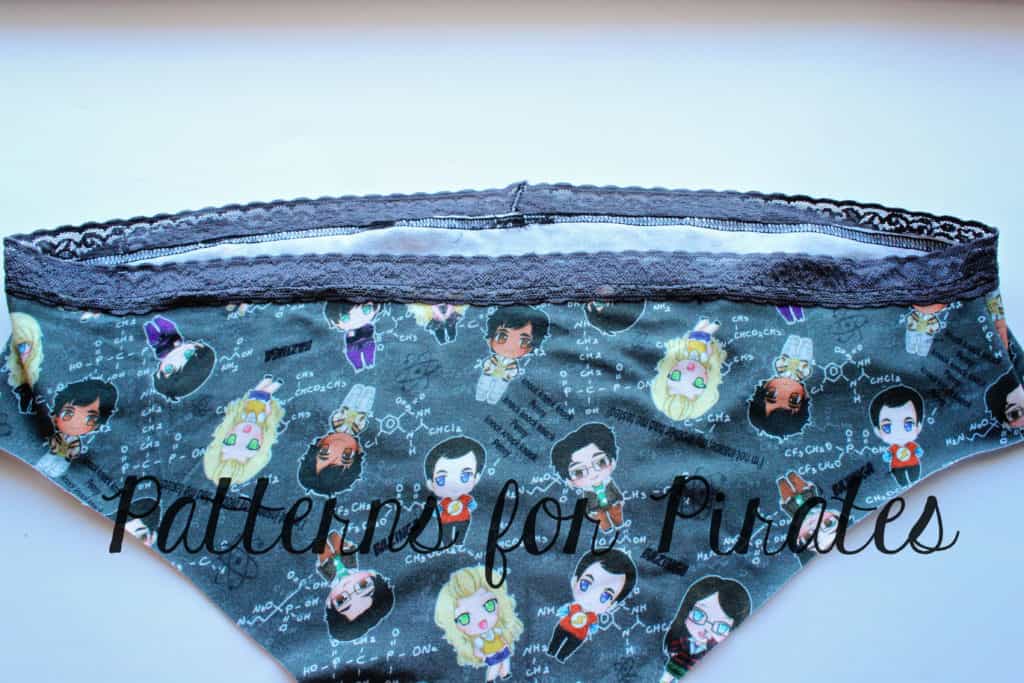
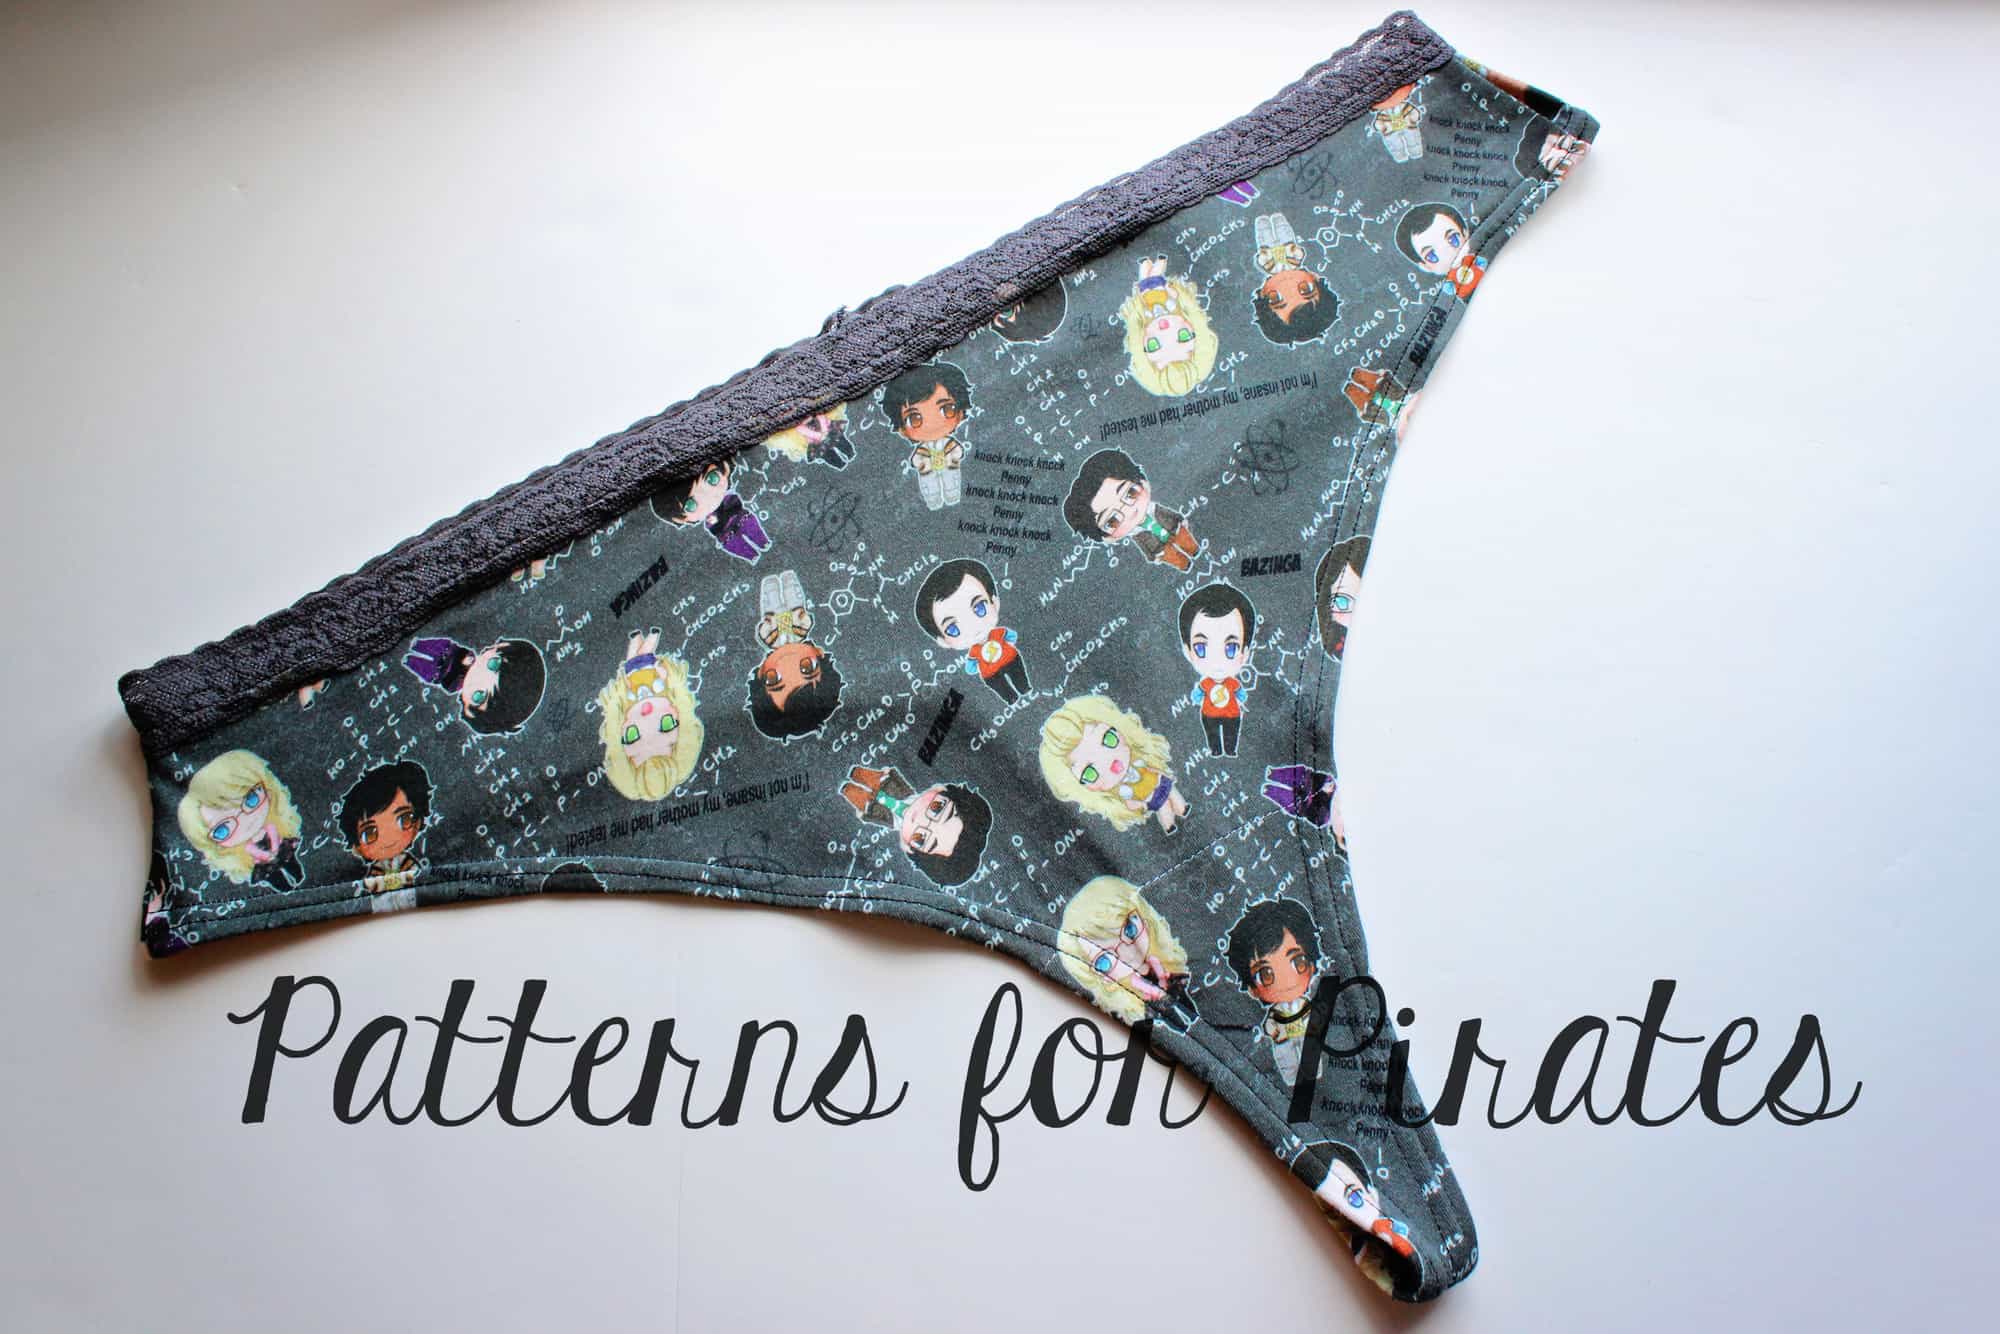
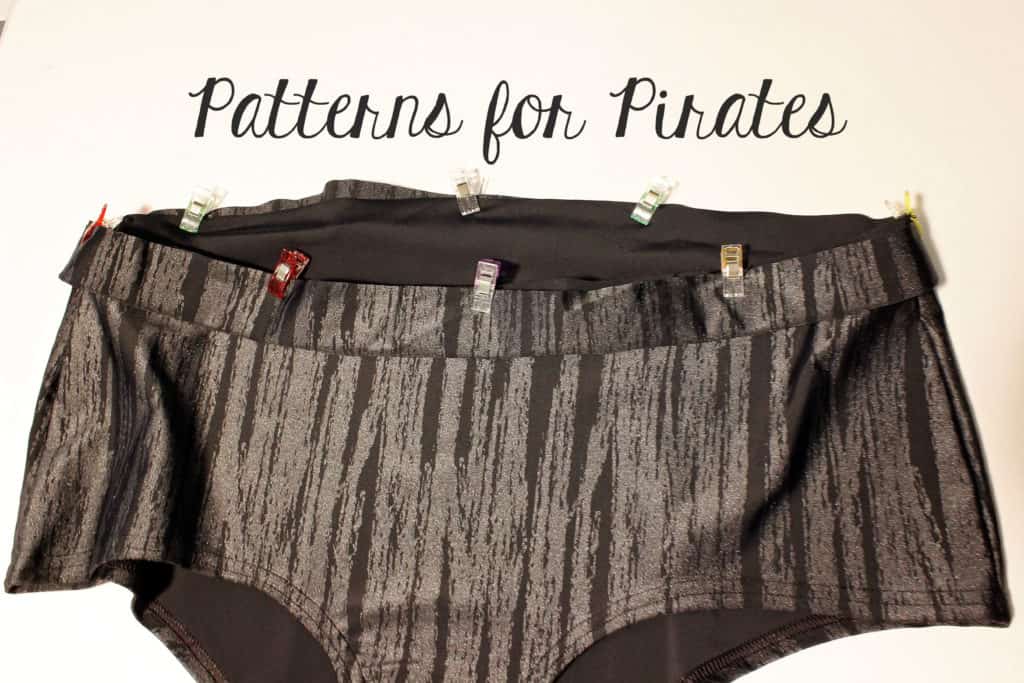
The Fierce Undies are a sportier looking underwear pattern with an exposed elastic waistband that matches the Fierce Bra.
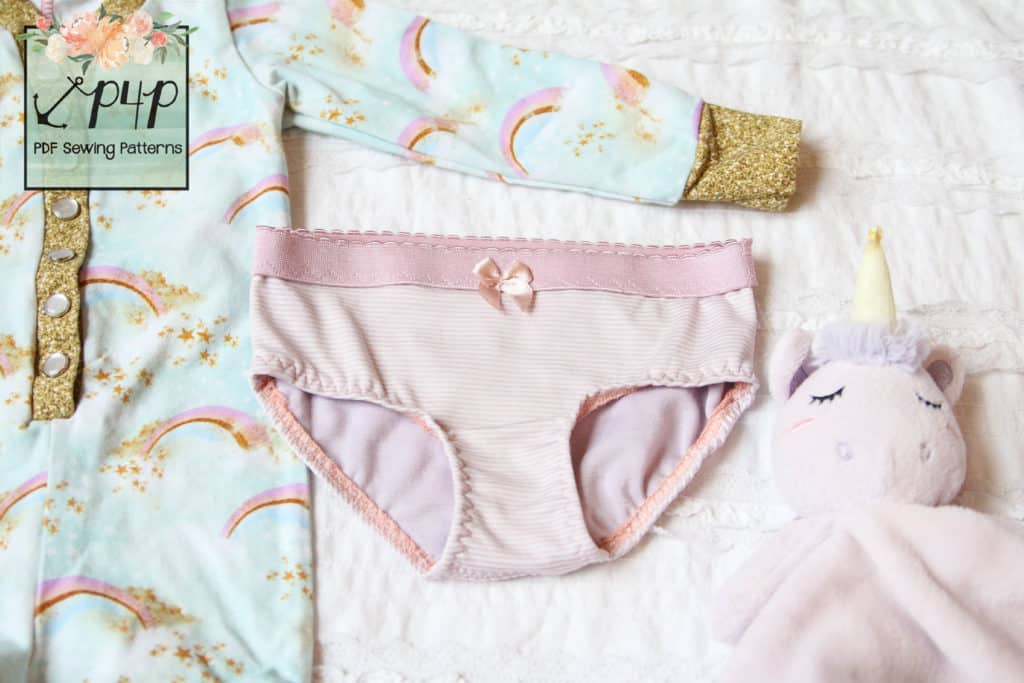
INCLUDED STYLES: Youth Includes a brief and shorties options.
-
- Fierce Undies- Youth- Brief Above, Shorties Below
-
- Fierce Undies- Youth- Brief Above, Shorties Below
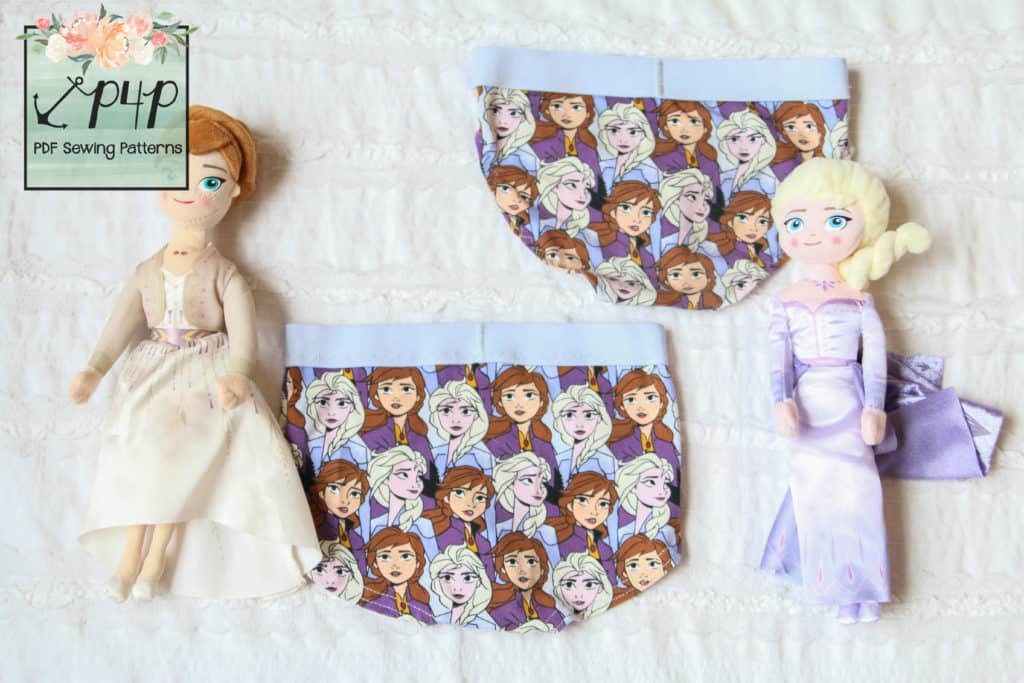
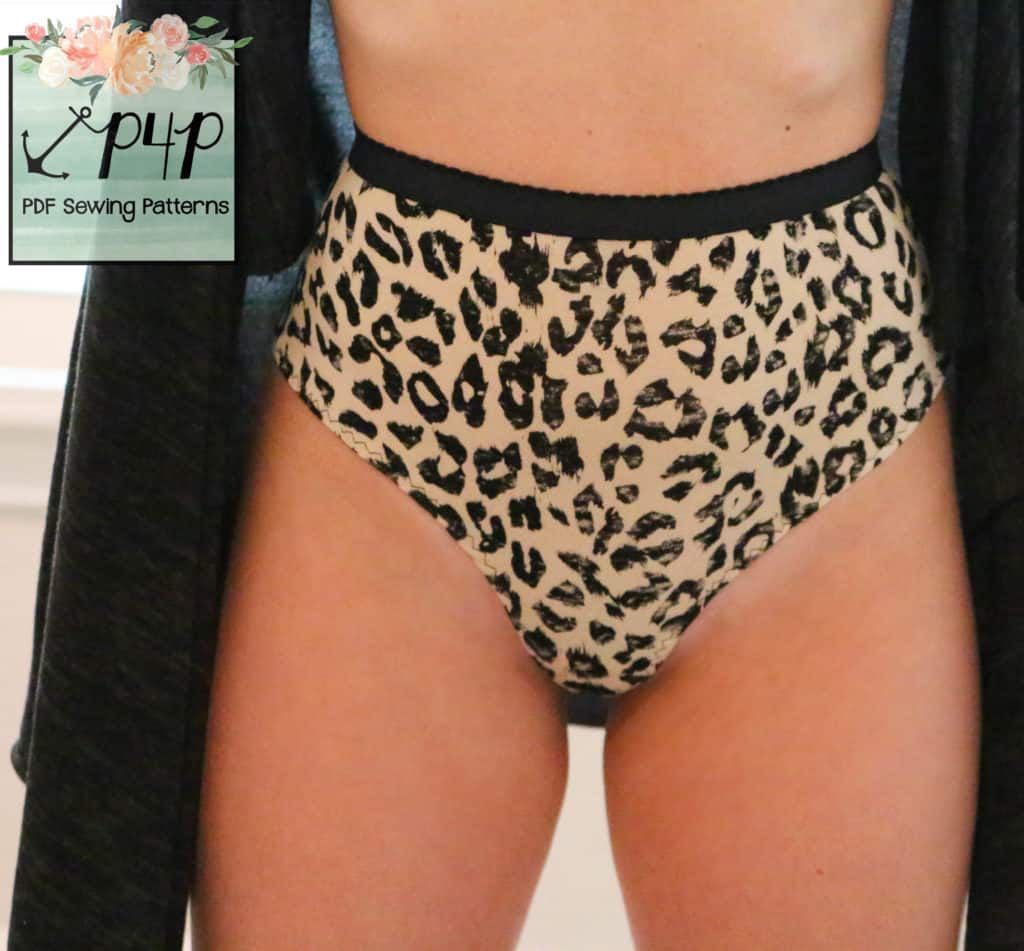
Adult includes a thong, full coverage brief, and cheeky options.
-

- Thong Option-Fierce Undies- PDF Sewing Pattern By Patterns for Pirates
-

- Brief Option-Fierce Undies- PDF Sewing Pattern By Patterns for Pirates
-

- Cheeky Option-Fierce Undies- PDF Sewing Pattern By Patterns for Pirates
INCLUDED RISE OPTIONS:
We also included a few different rises to choose from. Youth includes low rise and mid rise.
-
- Low Rise Option- Fierce Undies- PDF Sewing Pattern by Patterns for PIrates
-
- Mid Rise Option- Fierce Undies- Youth- PDF Sewing Pattern by Patterns for Pirates
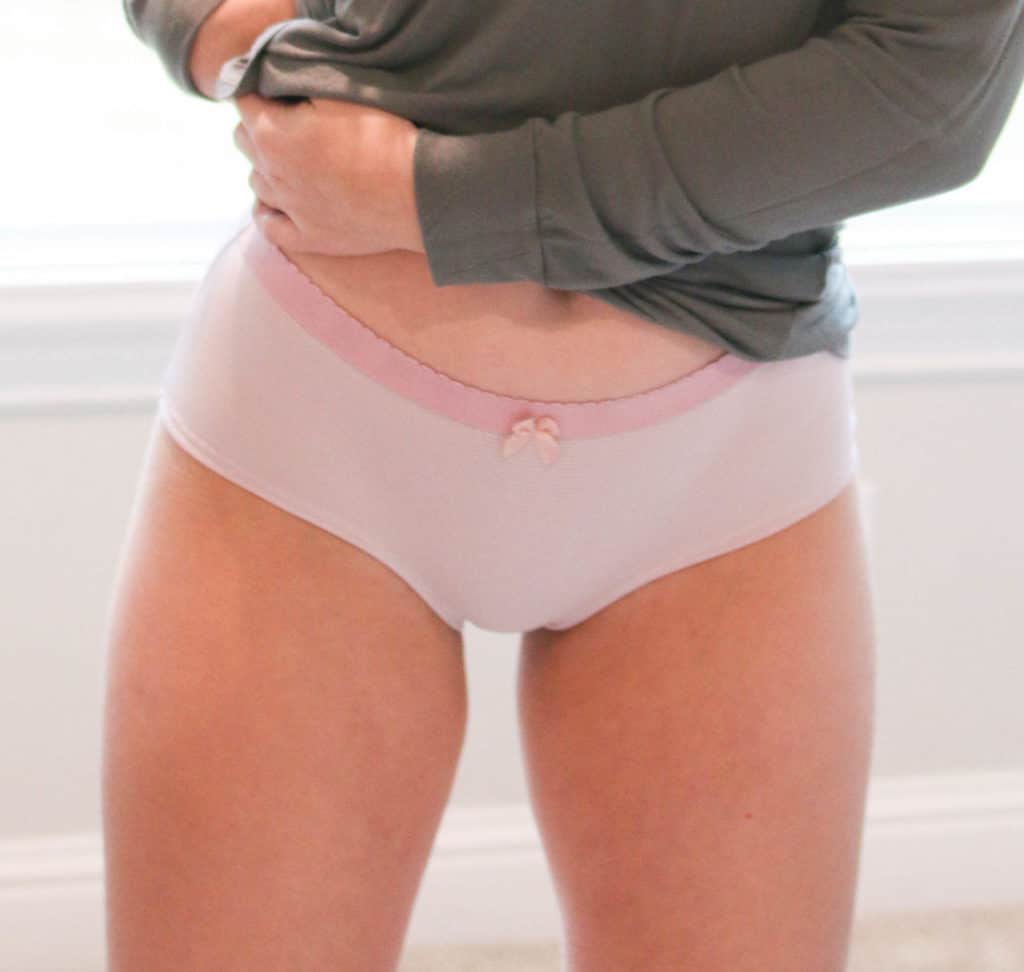
The Adult Fierce Undies includes low rise, mid rise and high rise options.
-

- Low Rise Option- Fierce Undies- PDF Sewing Pattern by Patterns for Pirates
-

- Mid Rise Option- Fierce Undies- PDF Sewing Pattern by Patterns for Pirates
-

- High Rise Option- Fierce Undies- PDF Sewing Pattern by Patterns for Pirates
You can even customize your waistband by what thickness your elastic is… the thicker the elastic the bit higher the rise will be!
-

- 3/4″ Elastic Low Rise
-

- 1.5″ Elastic Low Rise
VIDEOS! Don’t be worried if you’ve never ventured into undergarments before… I included several videos in both tutorial about supplies, sizing, and a video of a complete bra and undies sew up!

**Want to learn more about how to measure yourself for this patterns? We’ve got you covered with an in-depth blog HERE. And in case you’re new to Patterns for Pirates and PDF patterns in general, we have a great blog full of new-user tips HERE to help you get started! As with all of our current releases and updates, the pdfs now include our layers feature and can be found in Letter, A4 and A0 sizes. And for even more helpful fun, we have a *free* printable that you can use to help record your measurements as you take them.
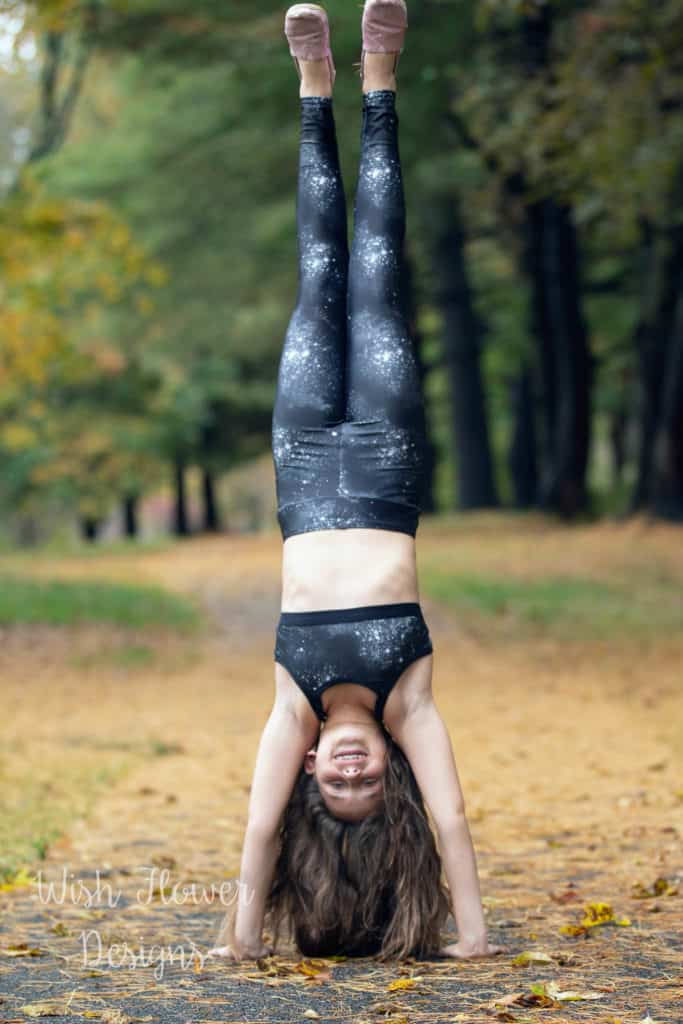
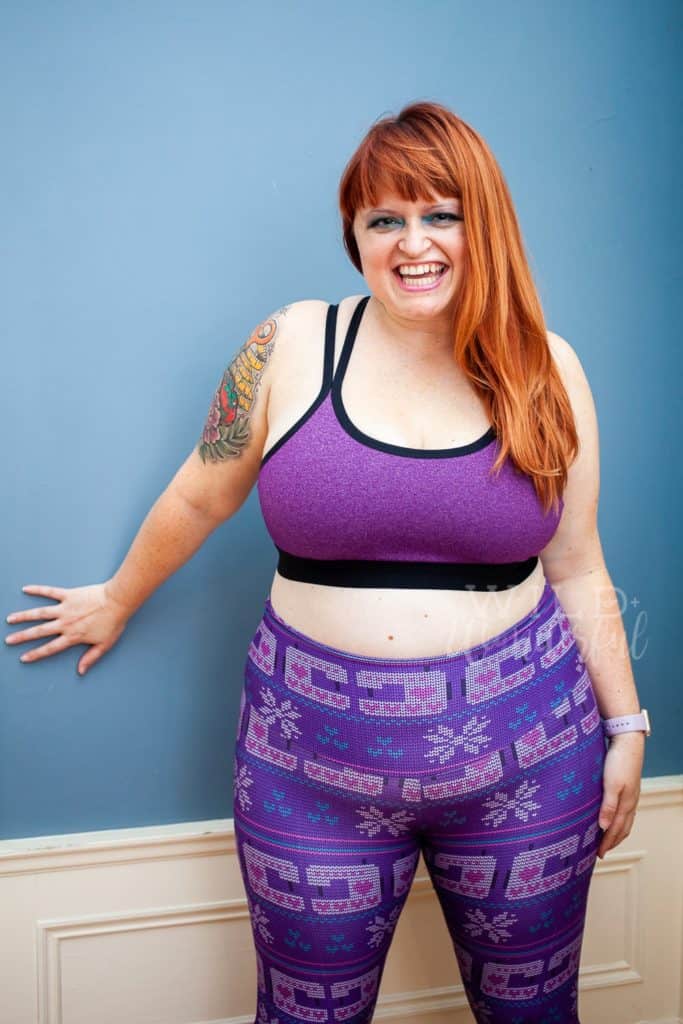
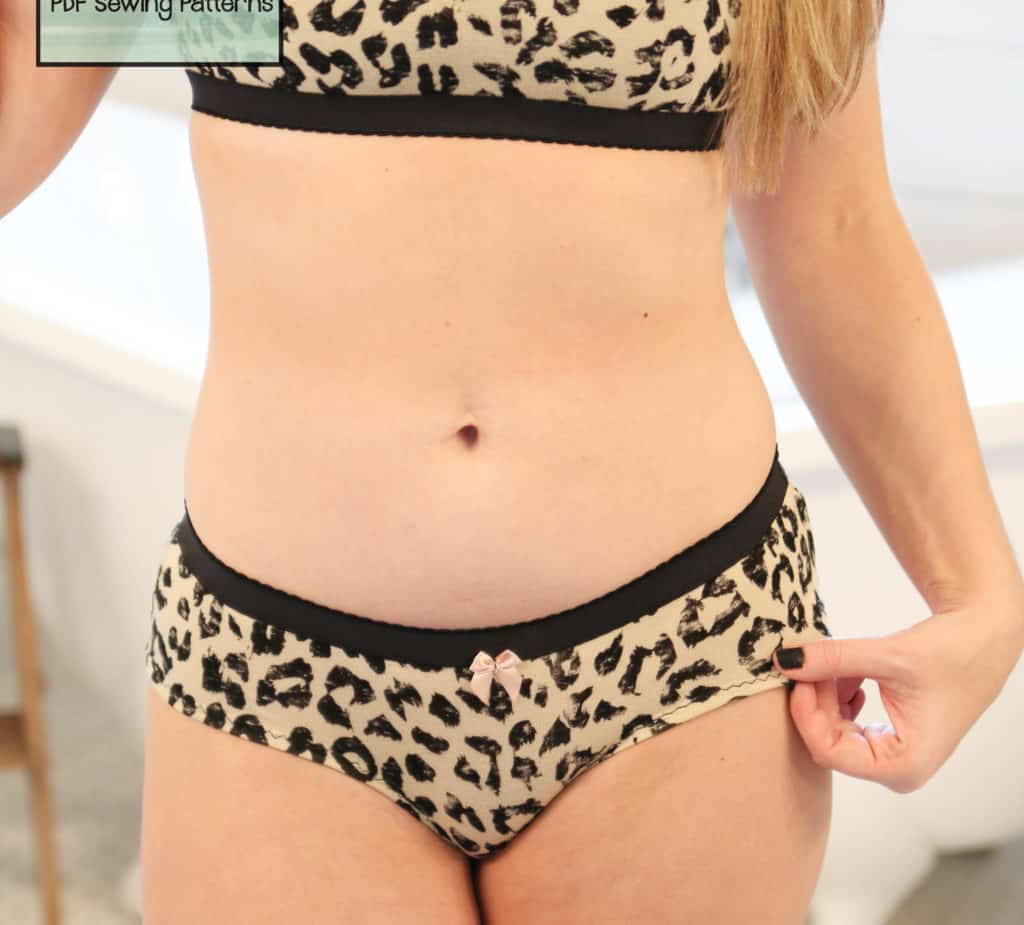
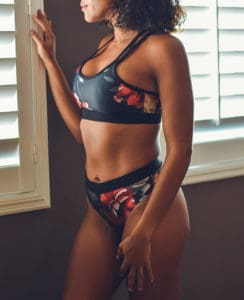
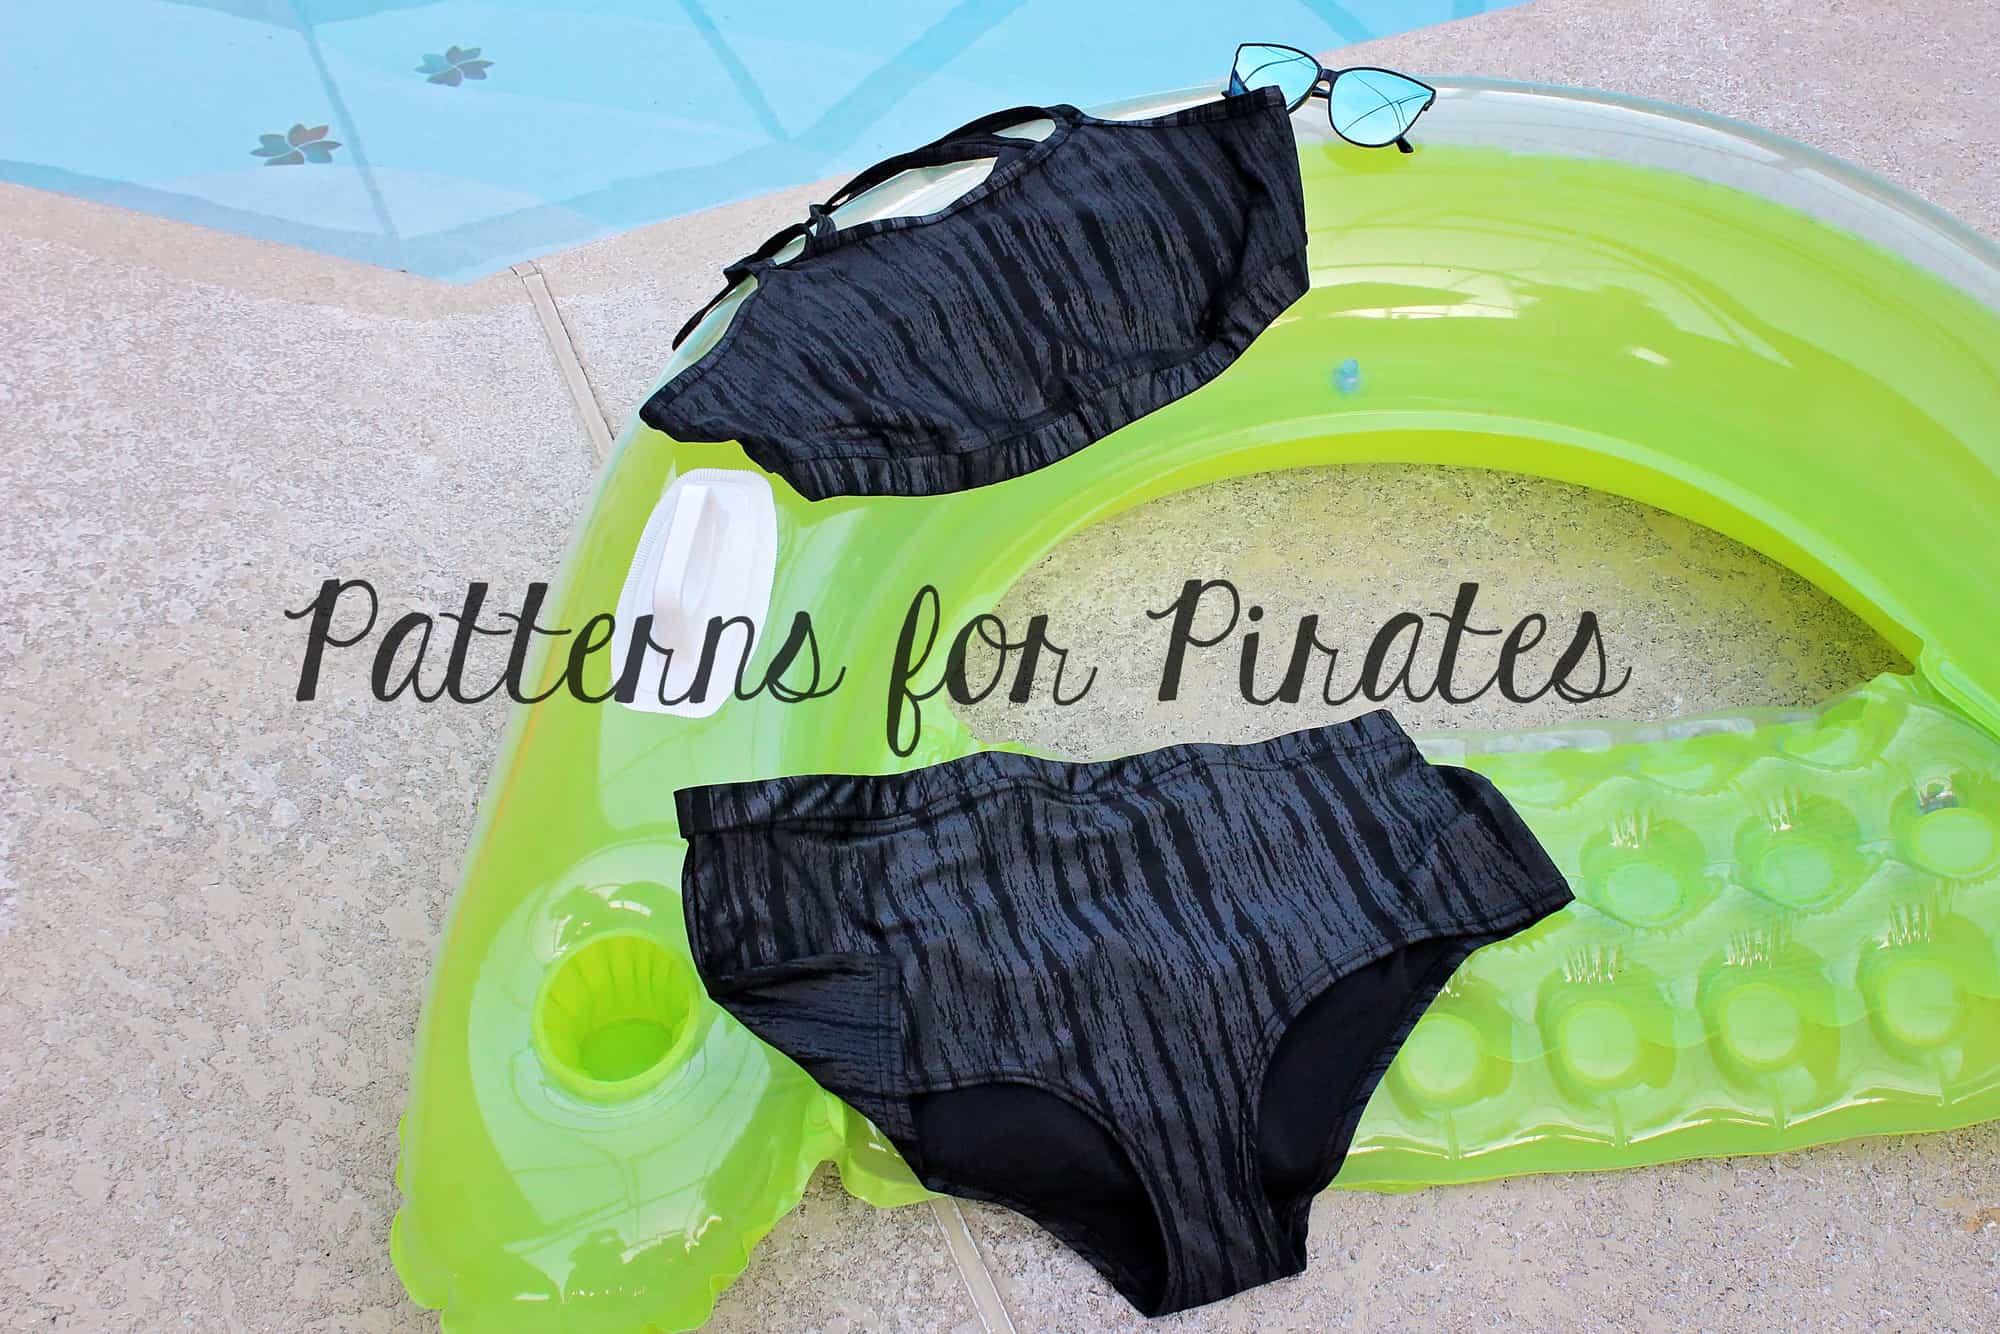
Make your cute matching sets as cute or spicy as you want!

-

- Fierce Bra and Undies- PDF Sewing Pattern by Patterns for Pirates
-

- Fierce Bra and Undies- PDF Sewing Pattern by Patterns for Pirates
-

- Fierce Bra and Undies- PDF Sewing Pattern by Patterns for Pirates
-

- Fierce Bra and Undies- PDF Sewing Pattern by Patterns for Pirates

Ready to fill your drawers with practical pieces and plow through that scrap bin? Go grab the patterns now!
FIERCE BRA | FIERCE BRA – YOUTH | FIERCE BRA BUNDLE
FIERCE UNDIES | FIERCE UNDIES – YOUTH | FIERCE UNDIES BUNDLE
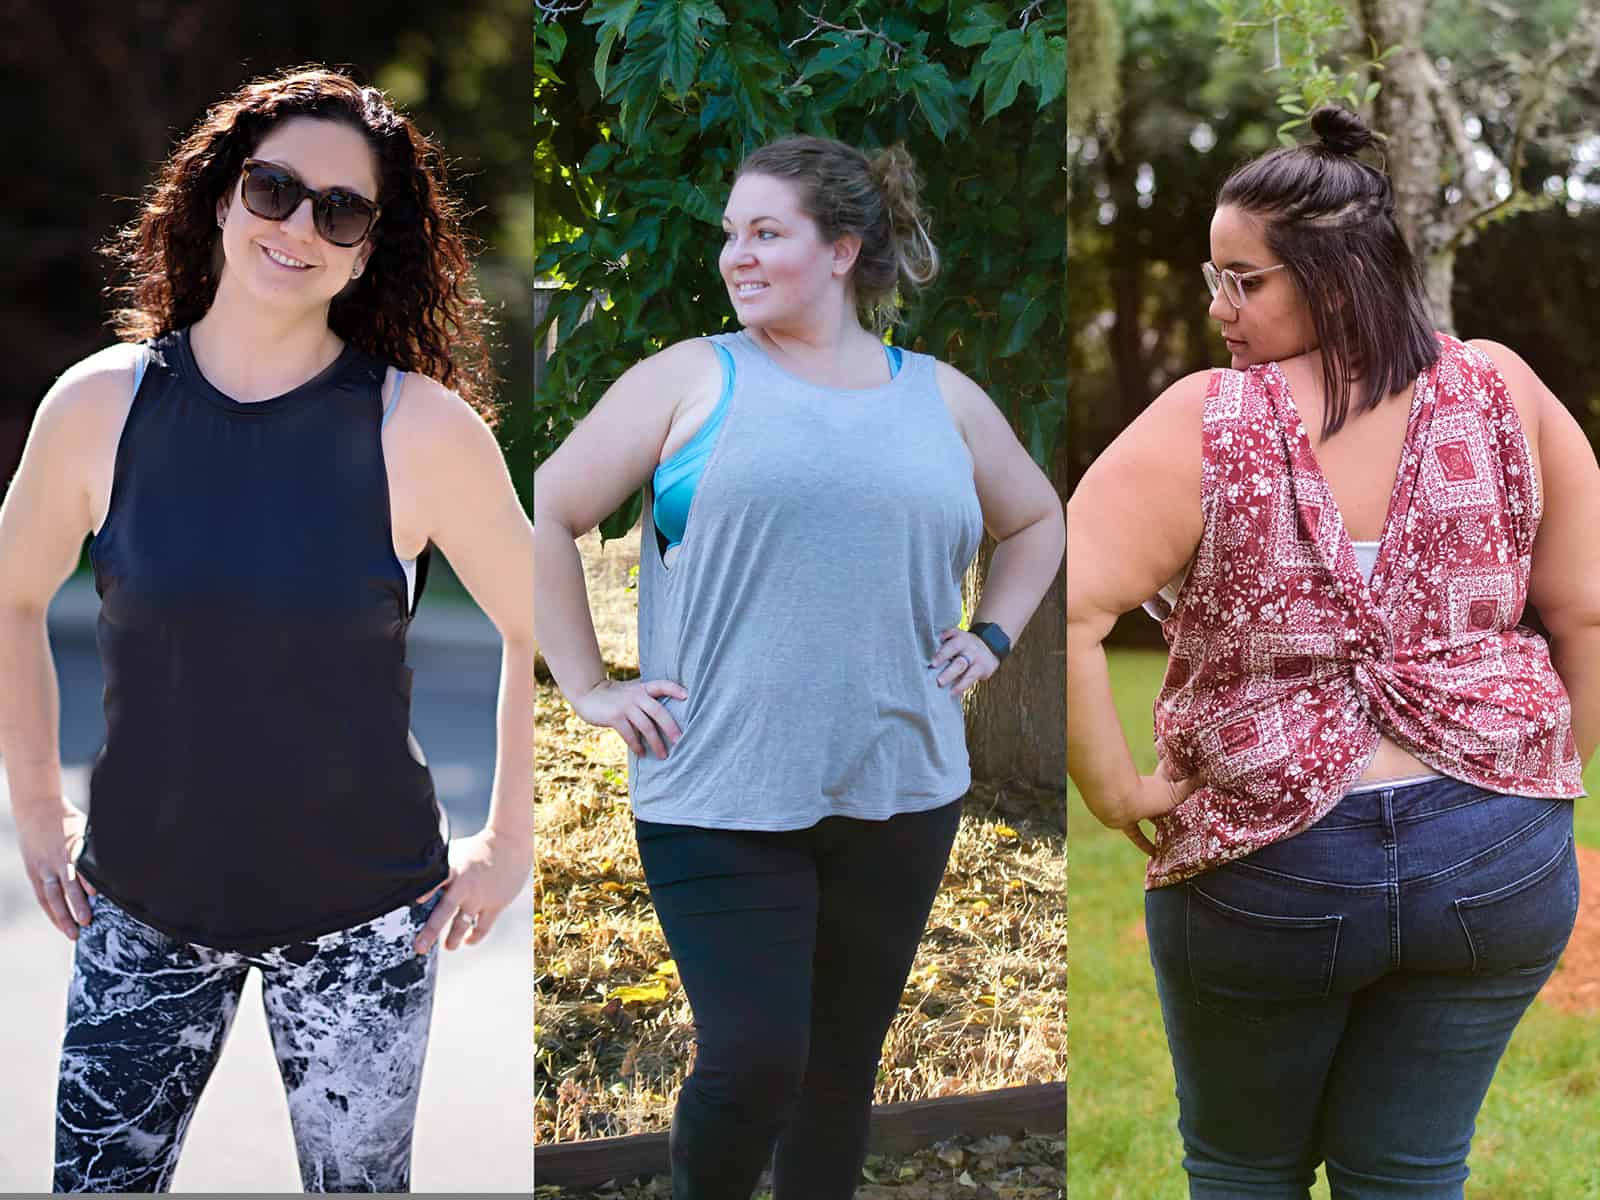
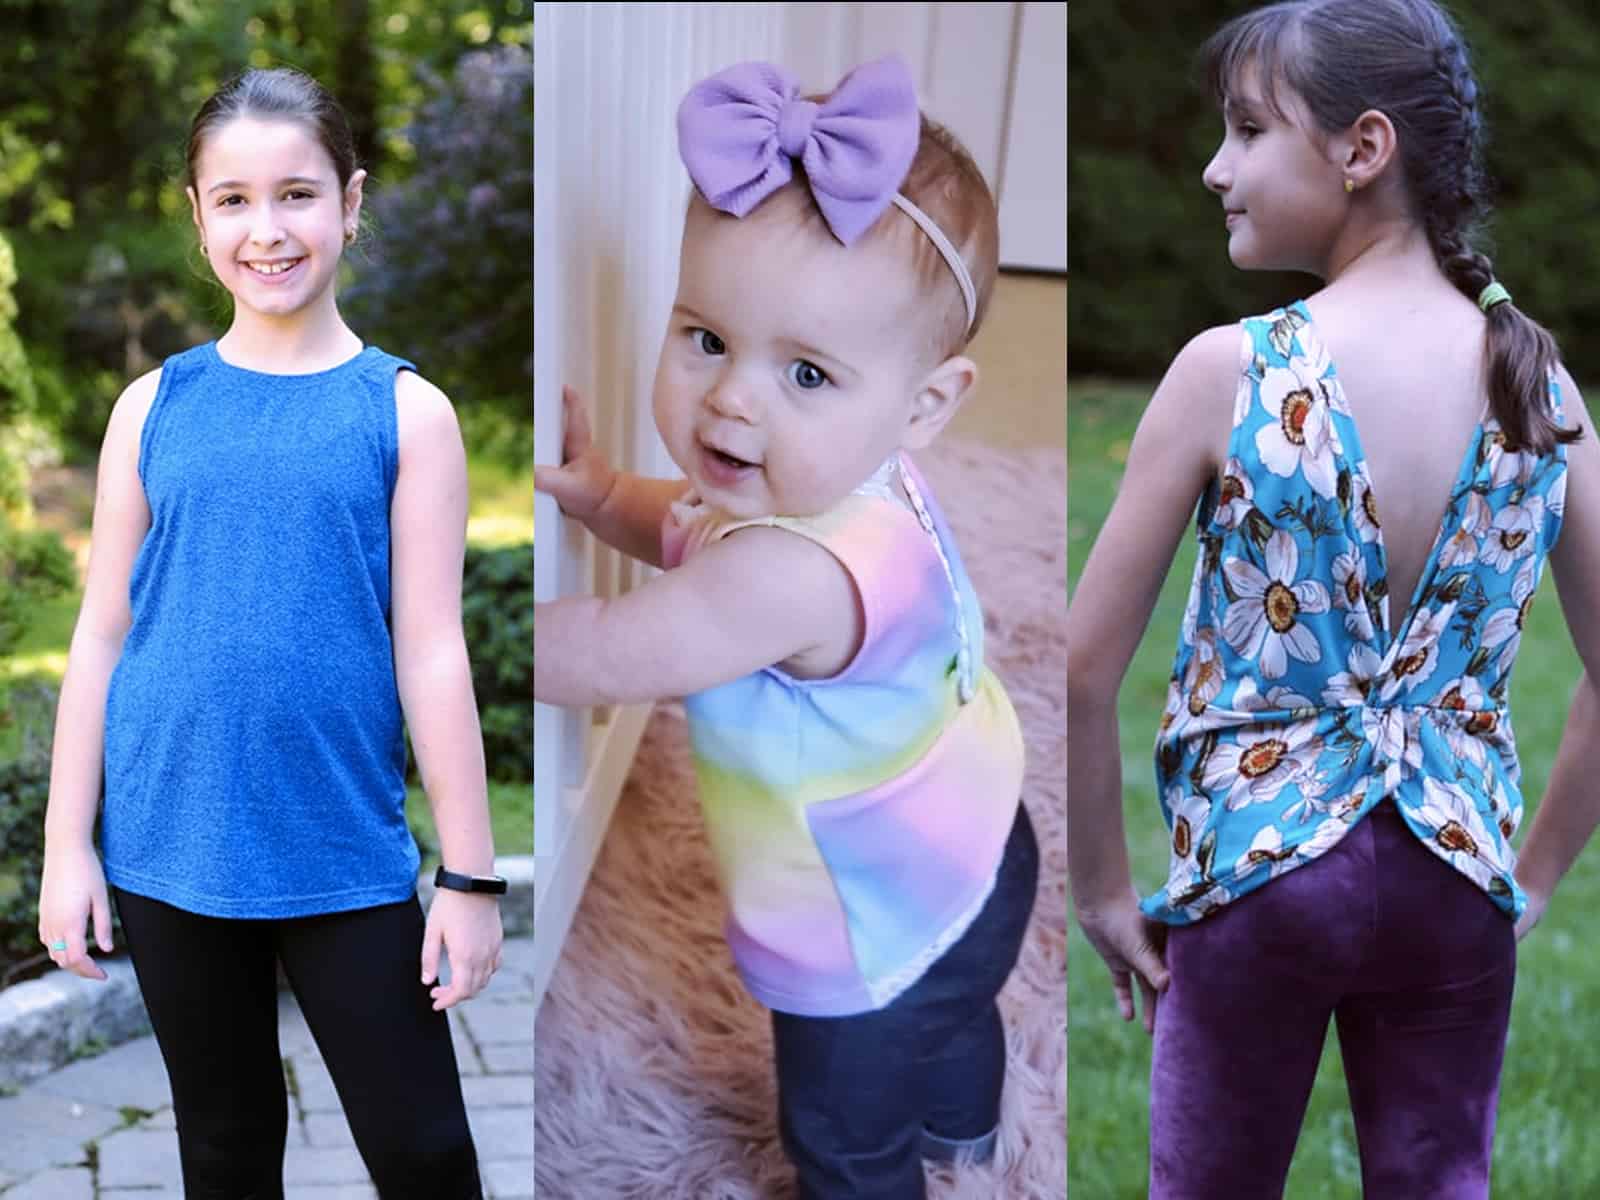
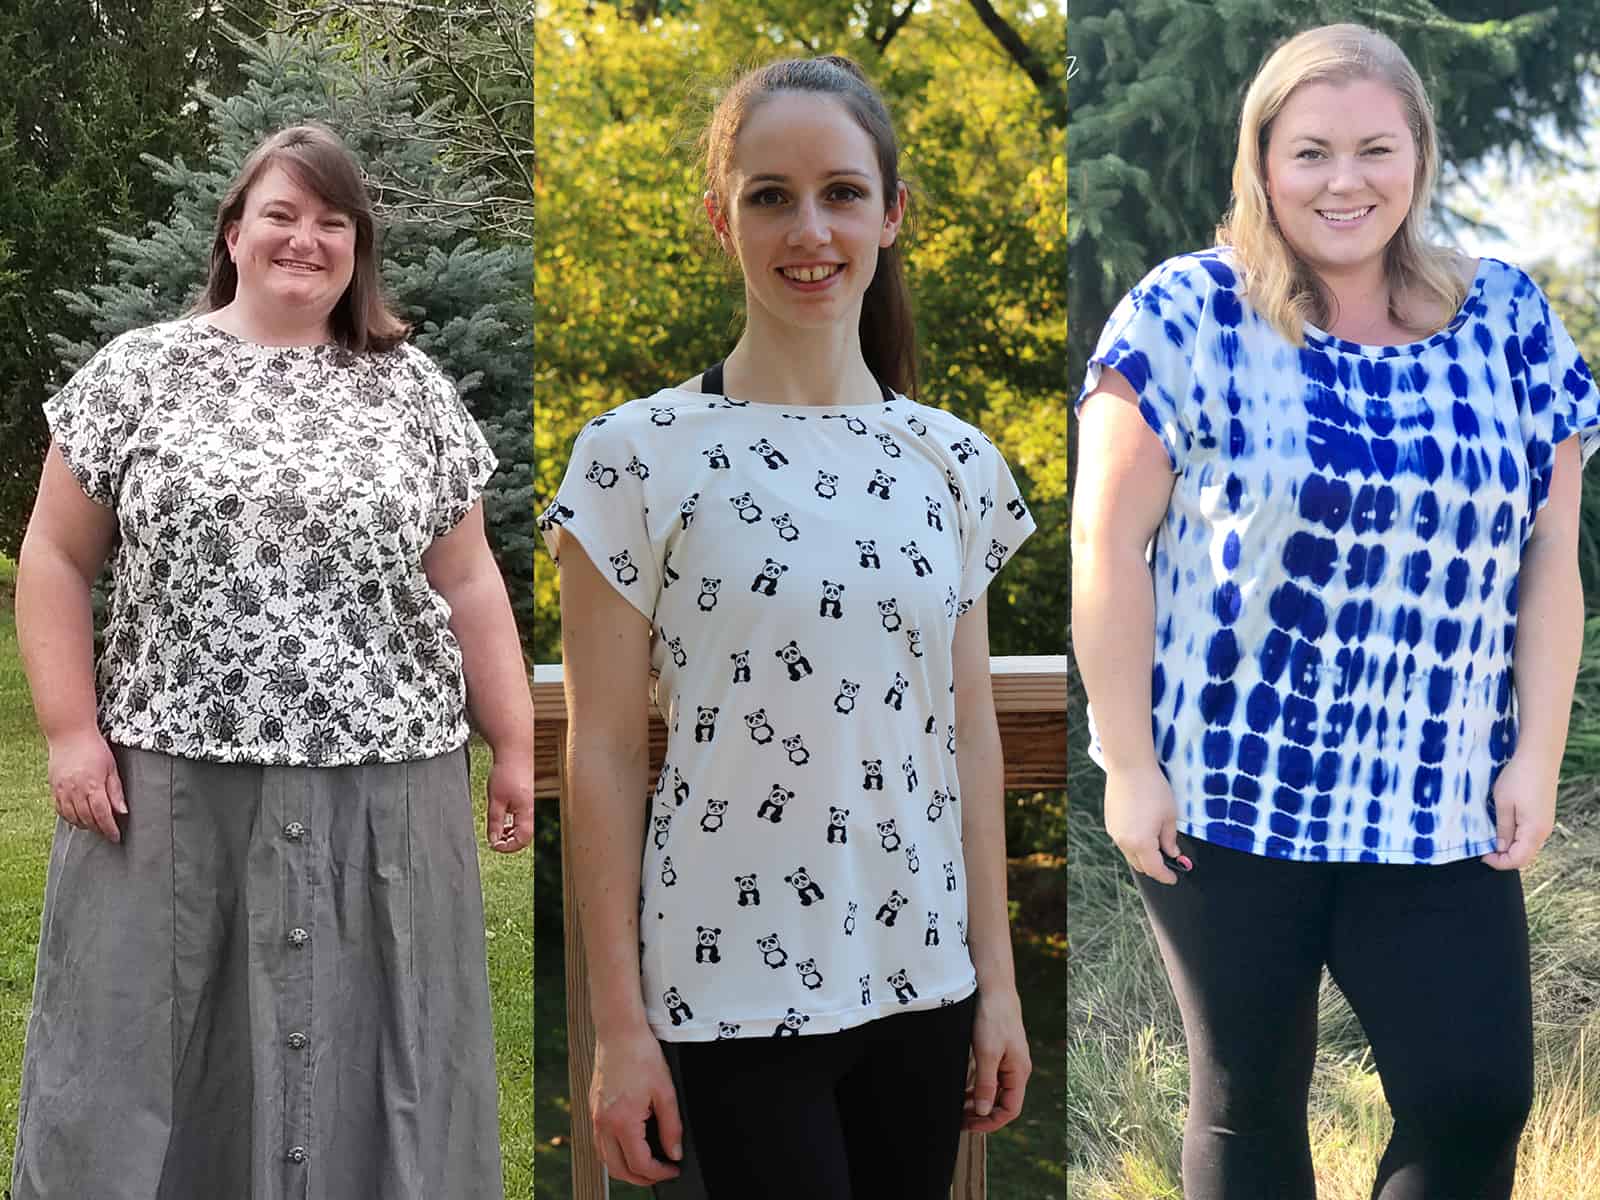
Hoping for a little inspiration before you get to sewing? Just take a look at this pattern on all of the amazing shapes and sizes of our testers, and get a look at more examples of all the options in our albums in the P4P Facebook group!
Fierce Bra Album | Fierce Bra – Youth Album
Fierce Undies Album | Fierce Undies – Youth Album
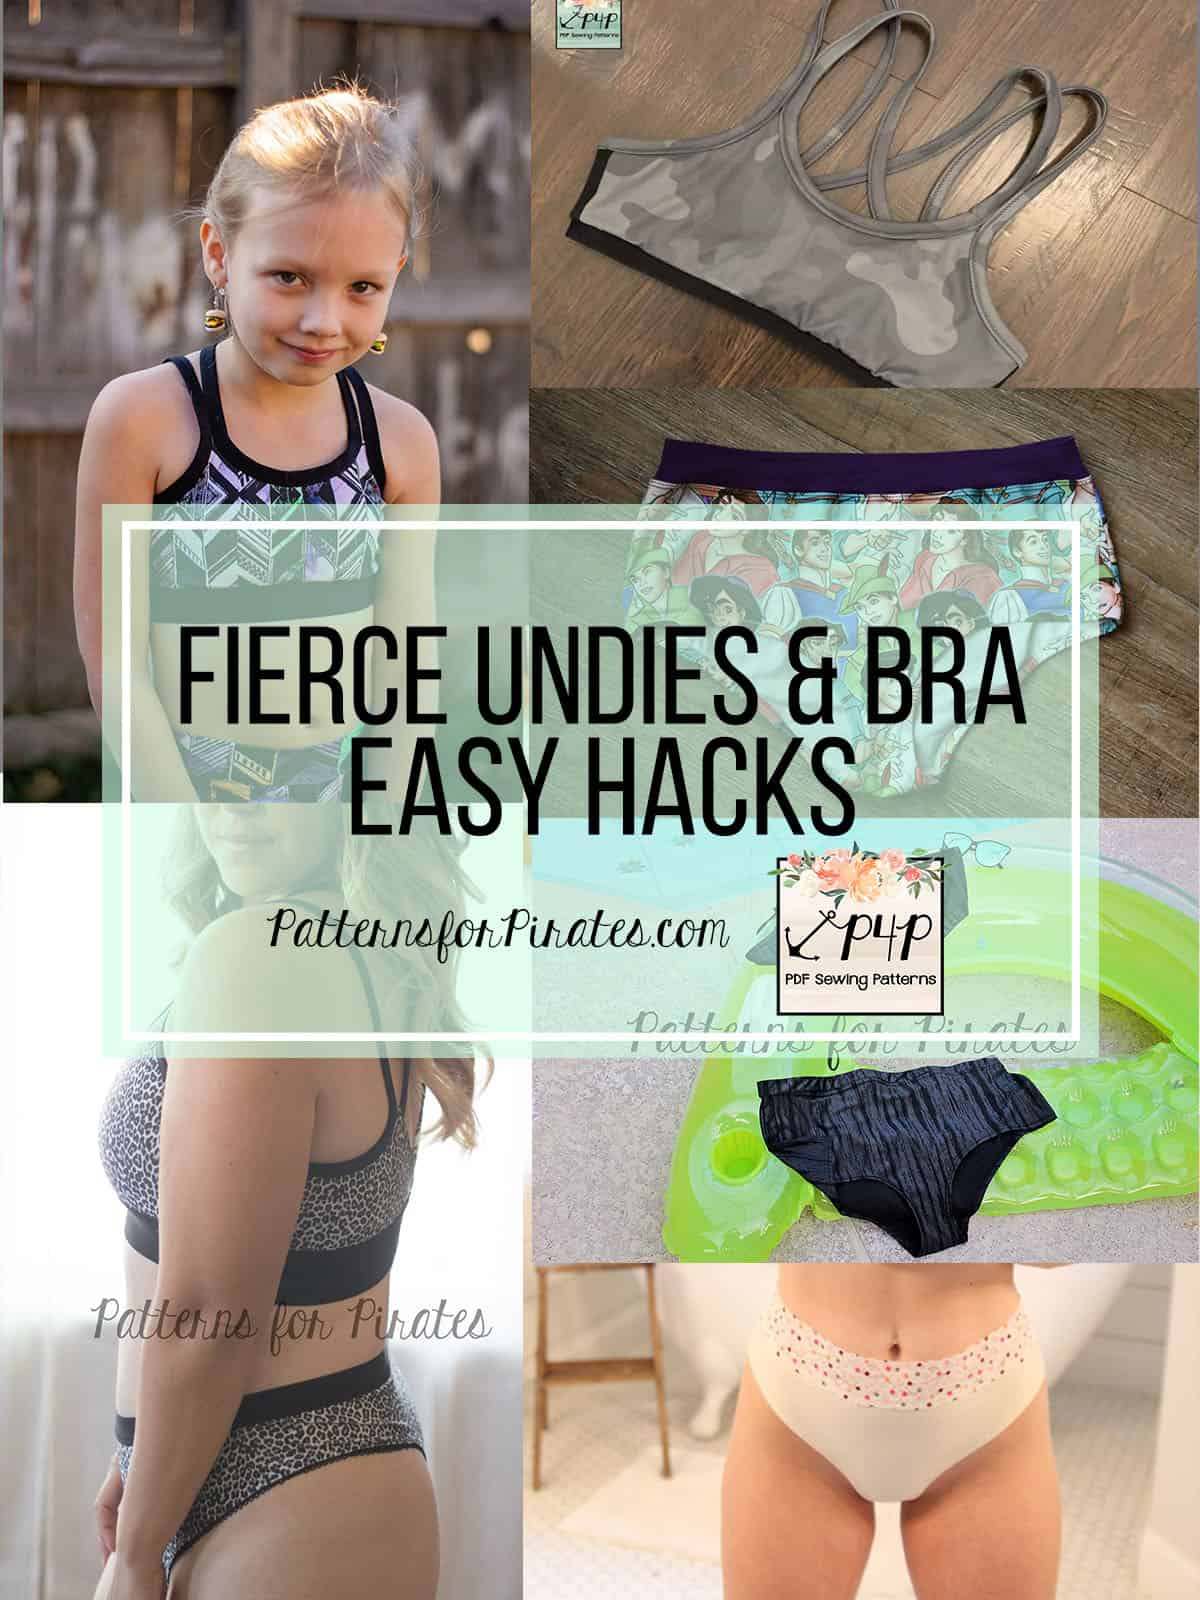
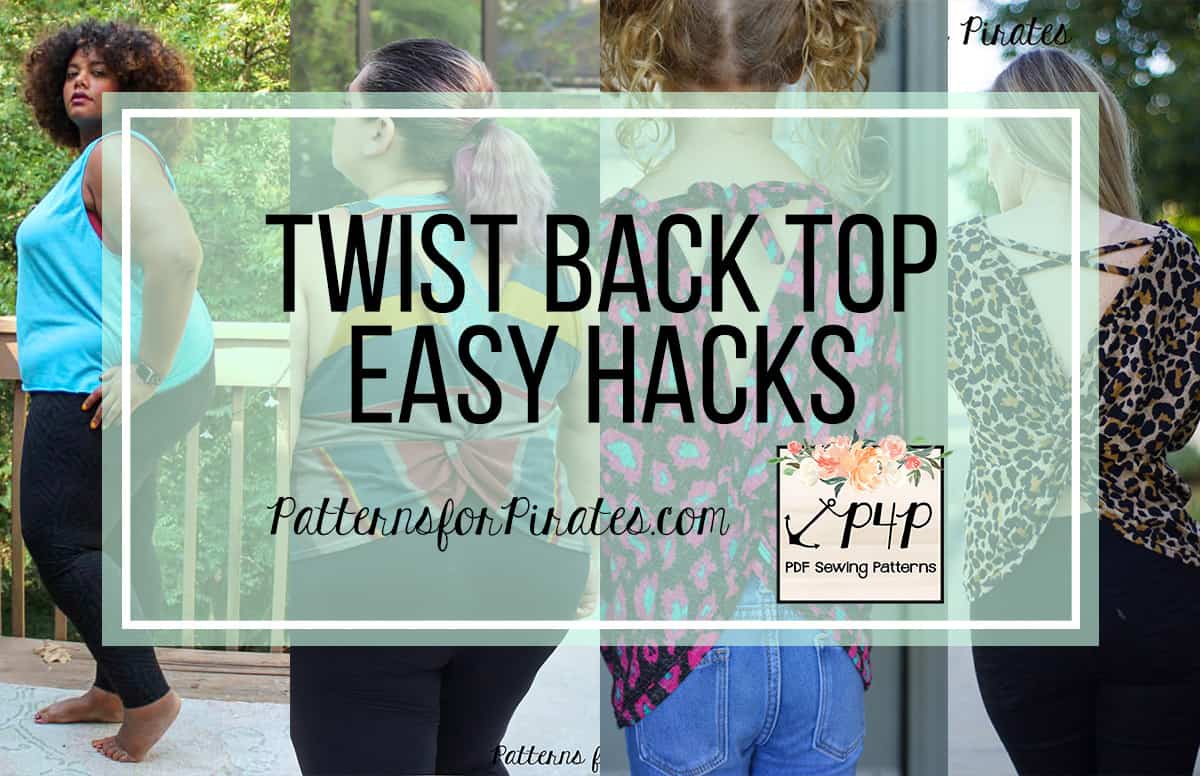
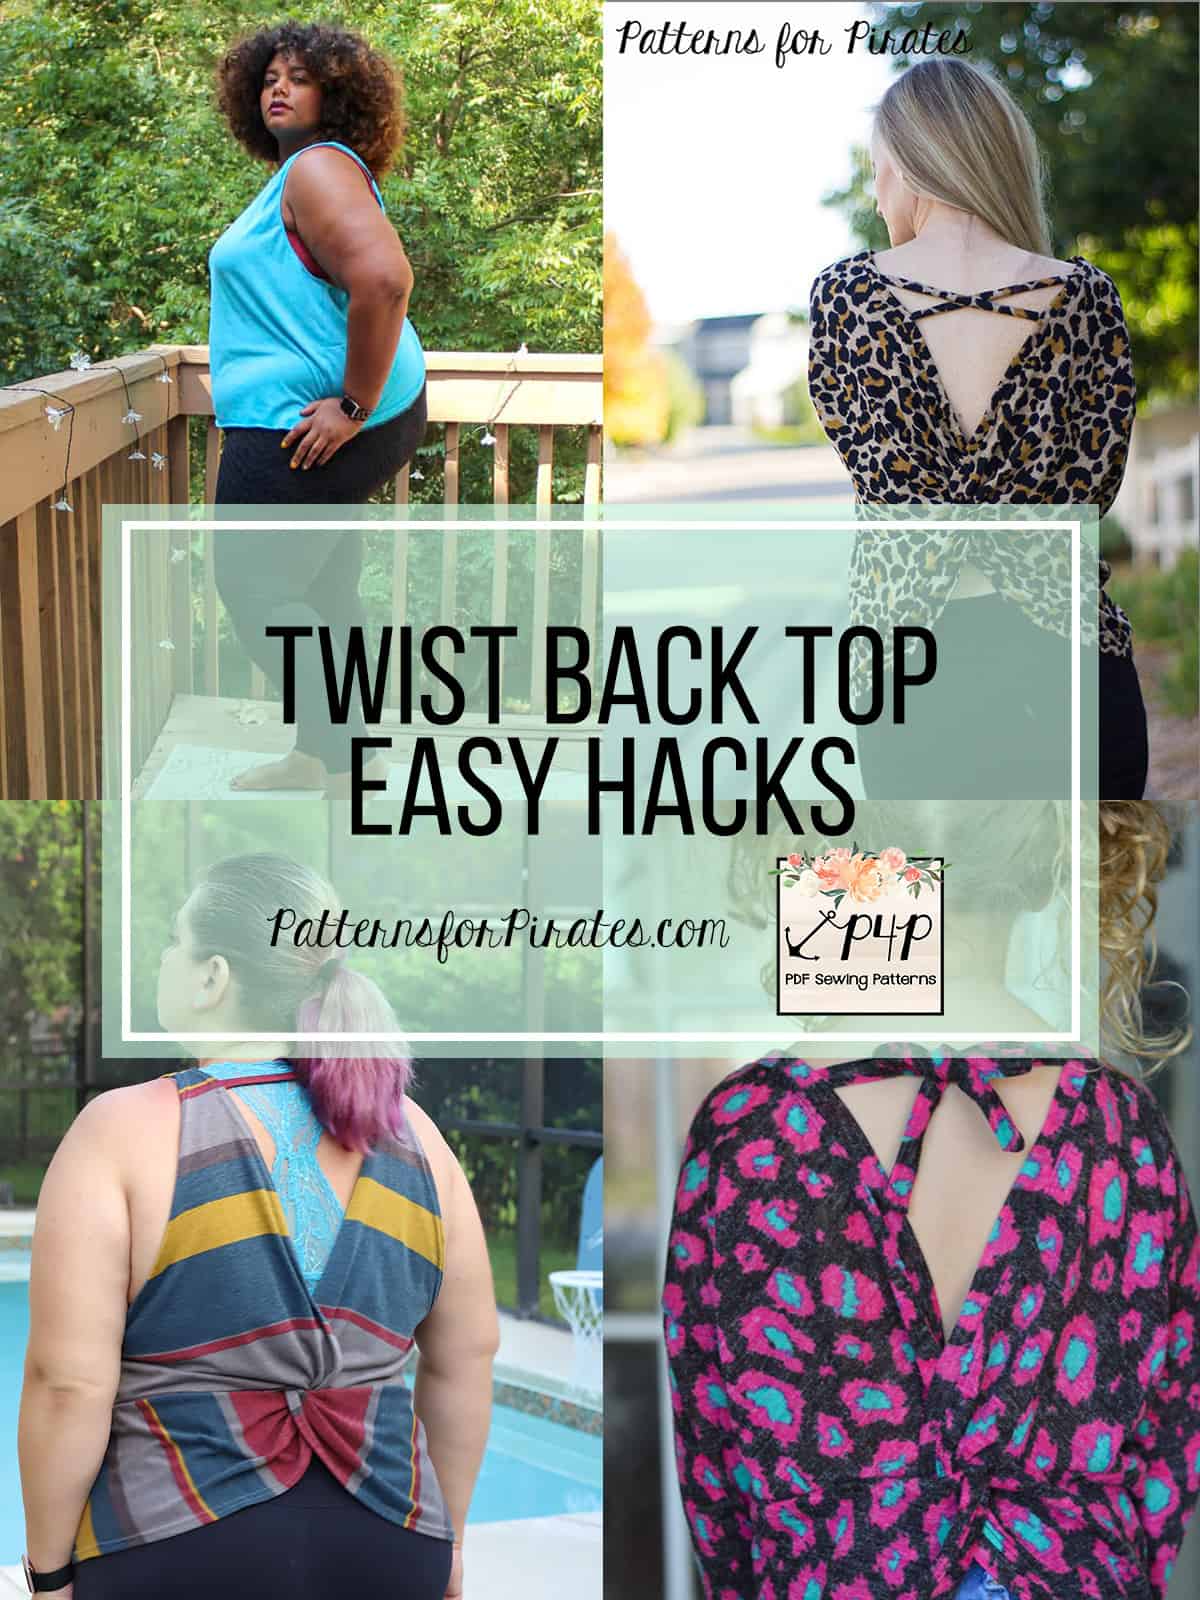
And if our pattern alone doesn’t provide enough options for you, we’ve also included a blog post that will help take the Fierce patterns to the next level! Go check out our Easy Hacks Post to see how to make some slight alterations to the original pattern, to customize it even further!
The release sale (no code needed) will be through Thursday 7th (11:59PM US Central Time Zone).
Happy Sewing, Pirates!


