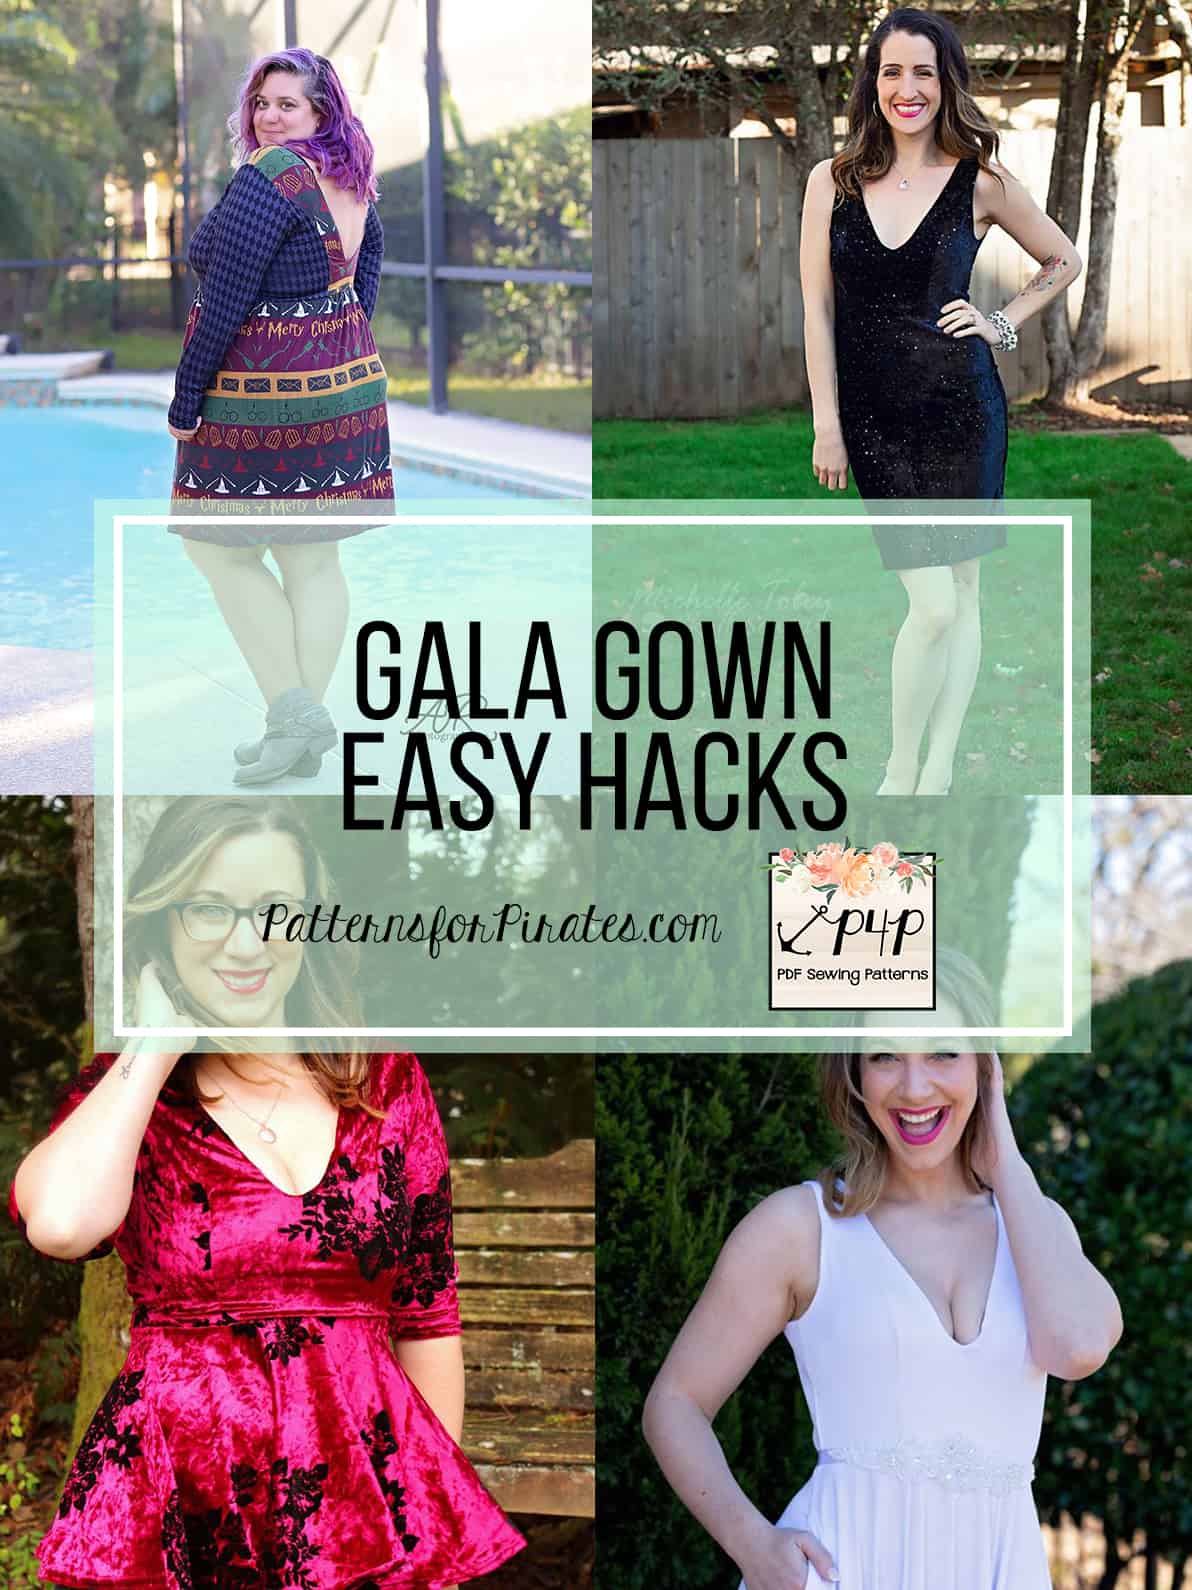
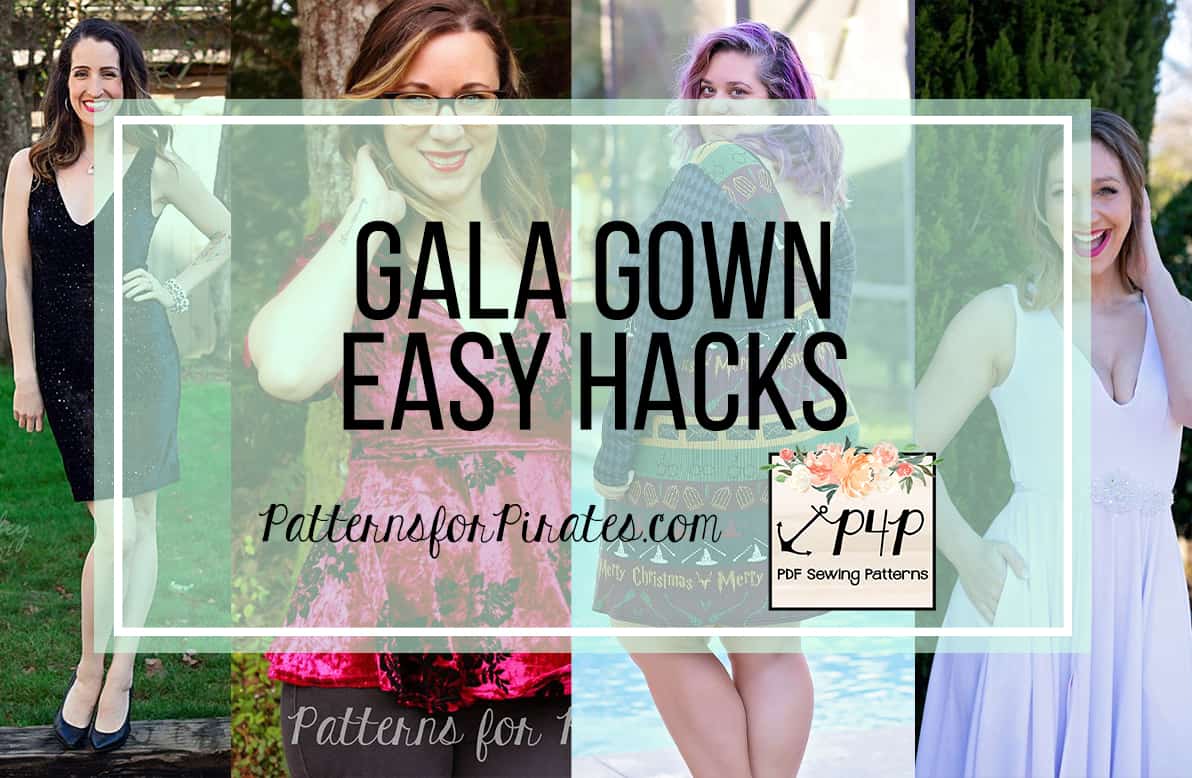
We’ve been teasing this pattern for a while now. But I promise that the wait has been SO worth it because these new dresses are stunning! Let’s talk about the Gala Gowns!
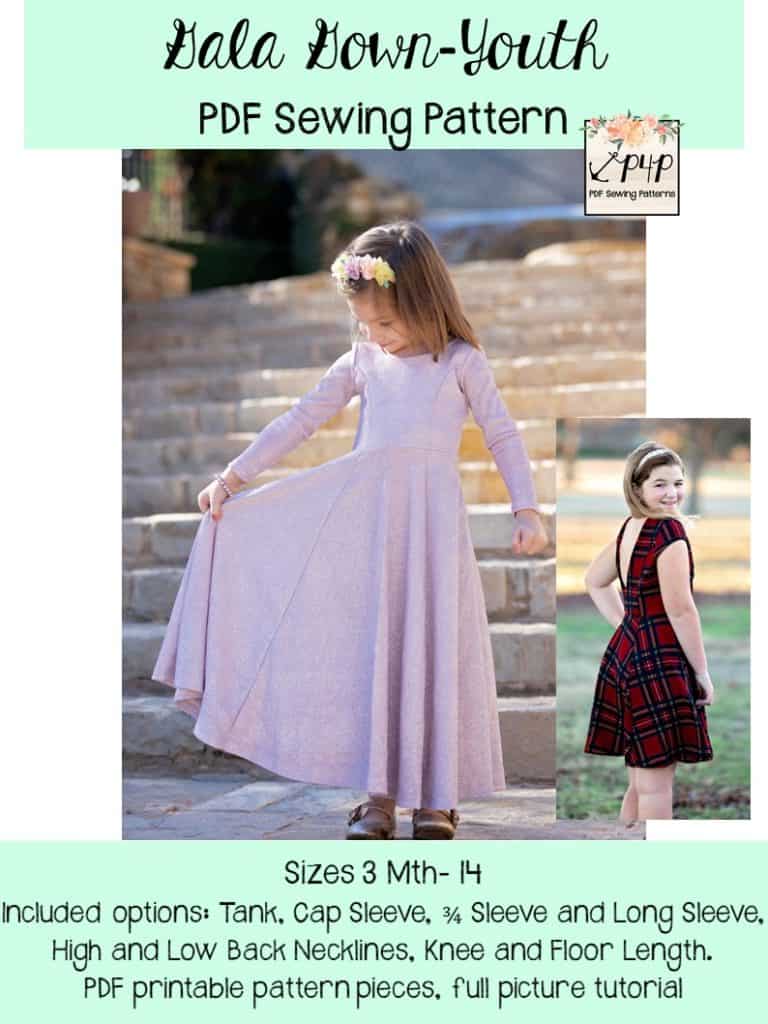
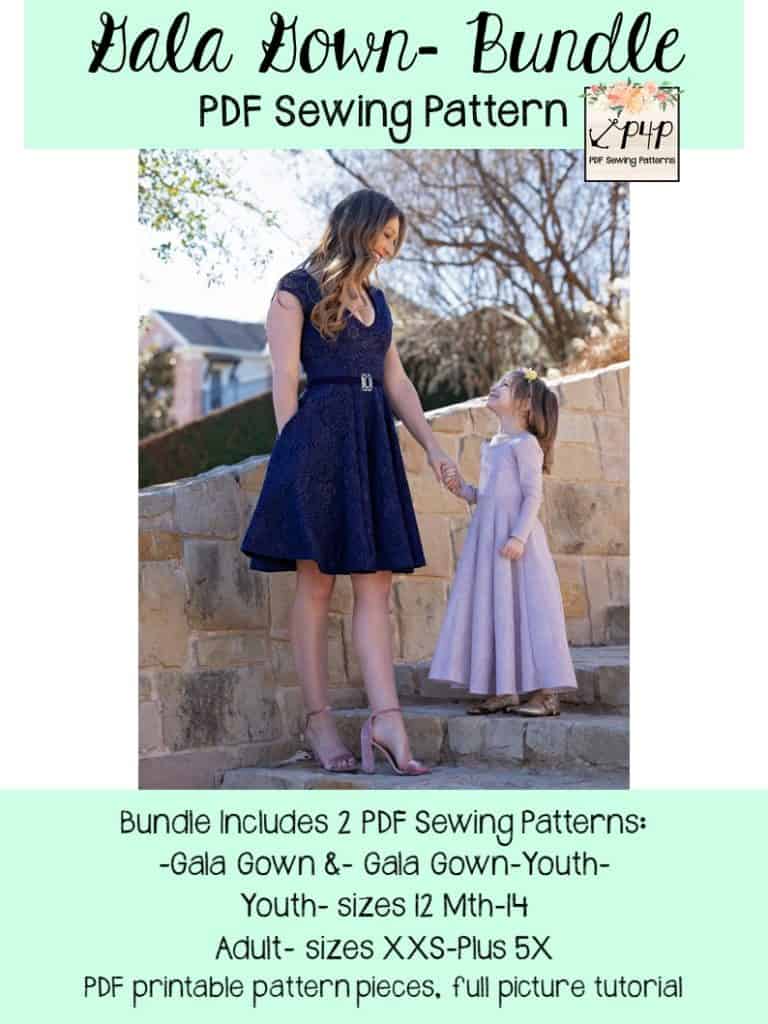
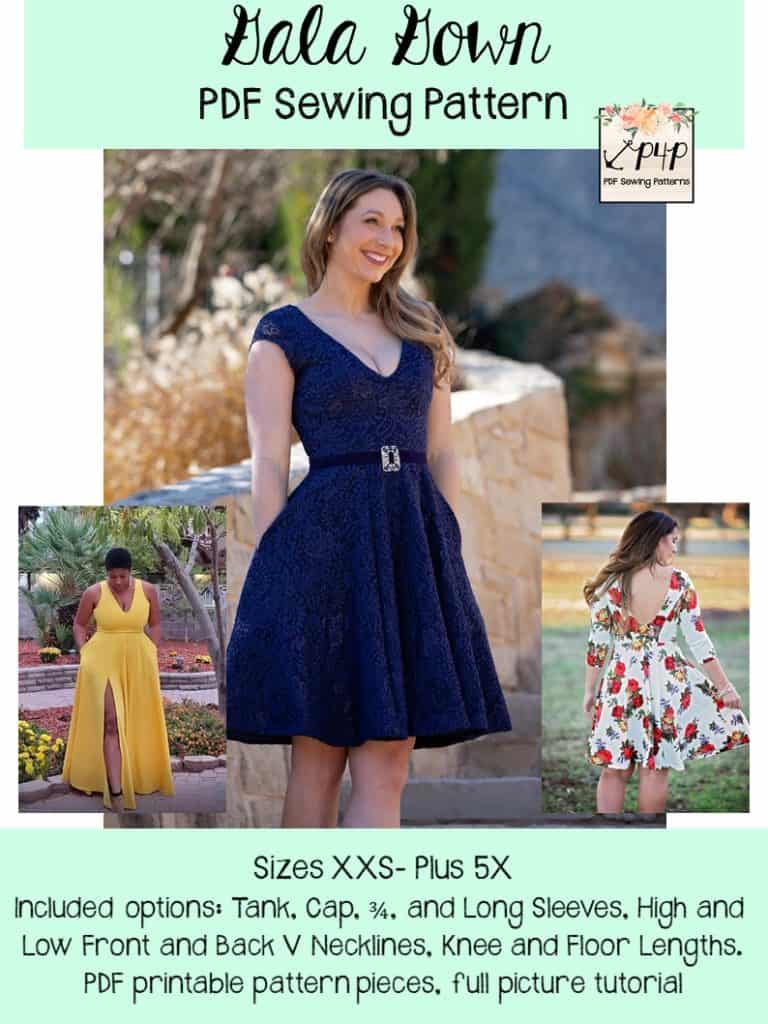
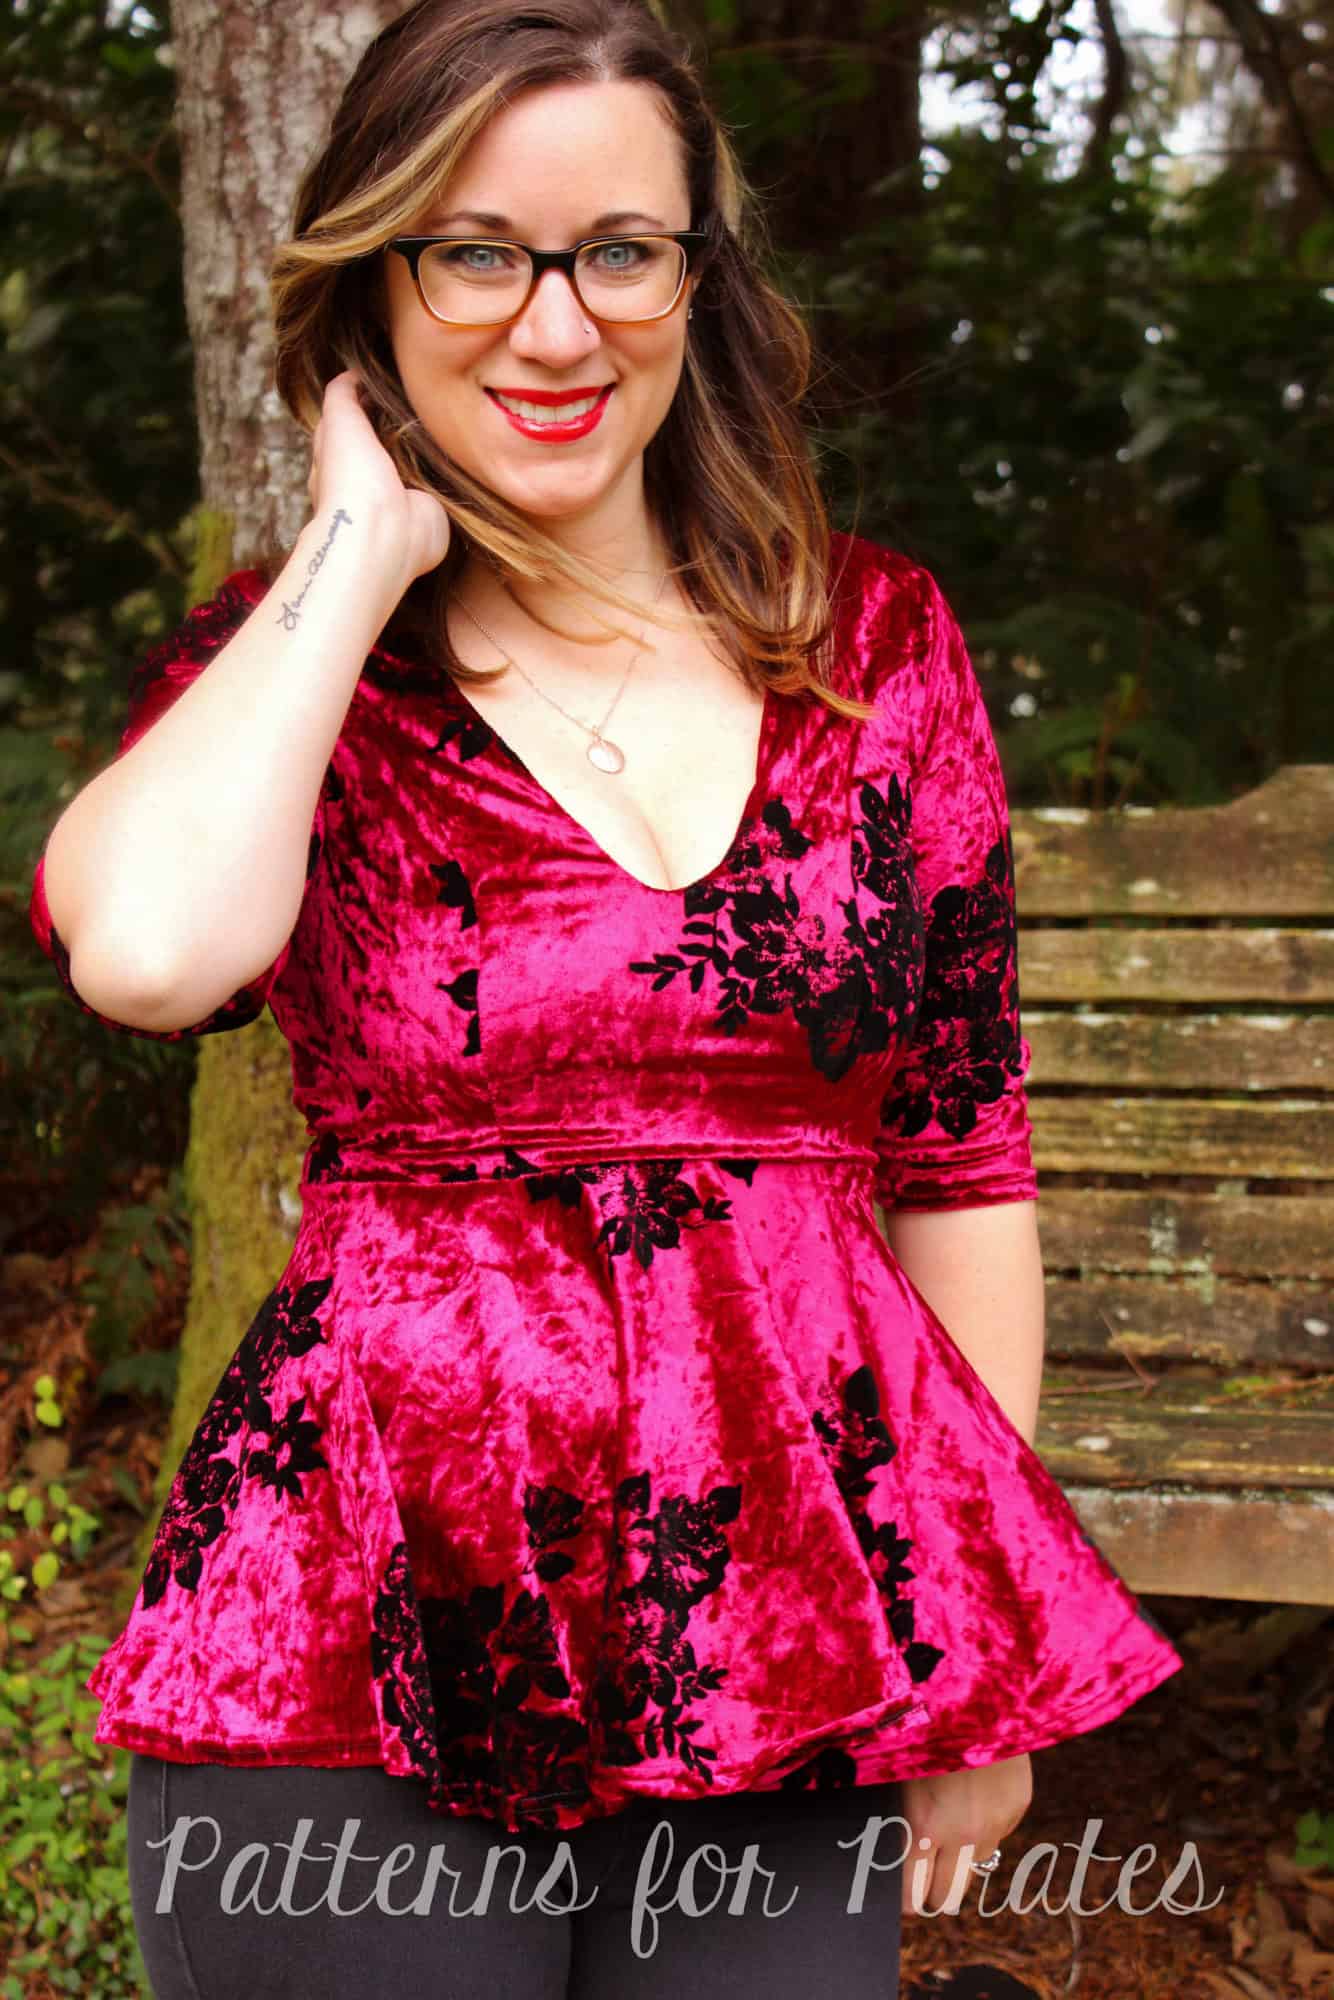
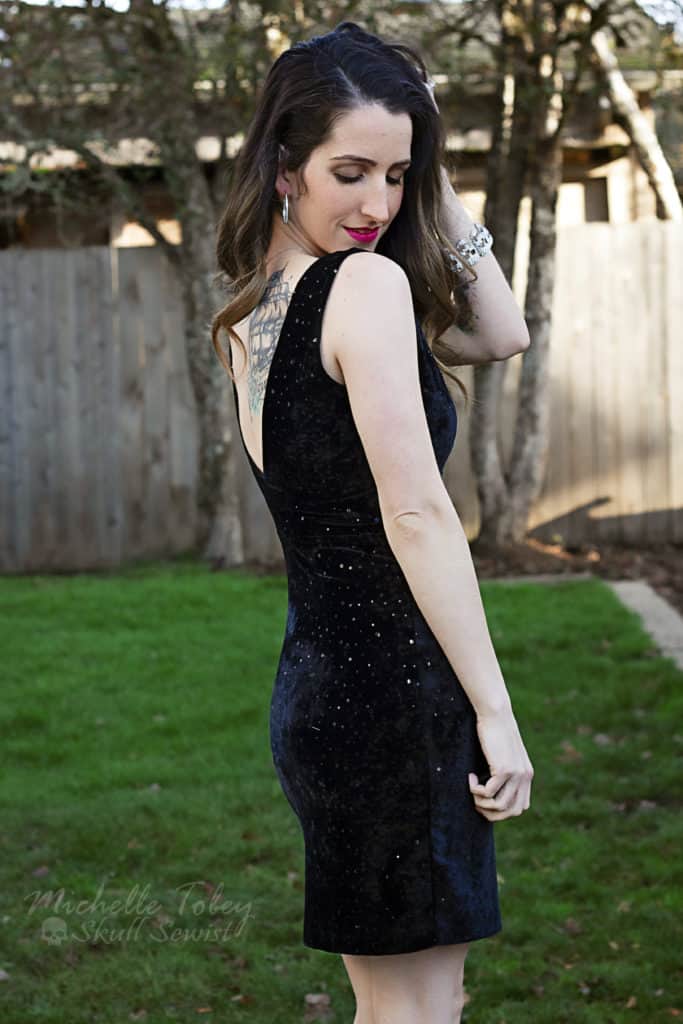
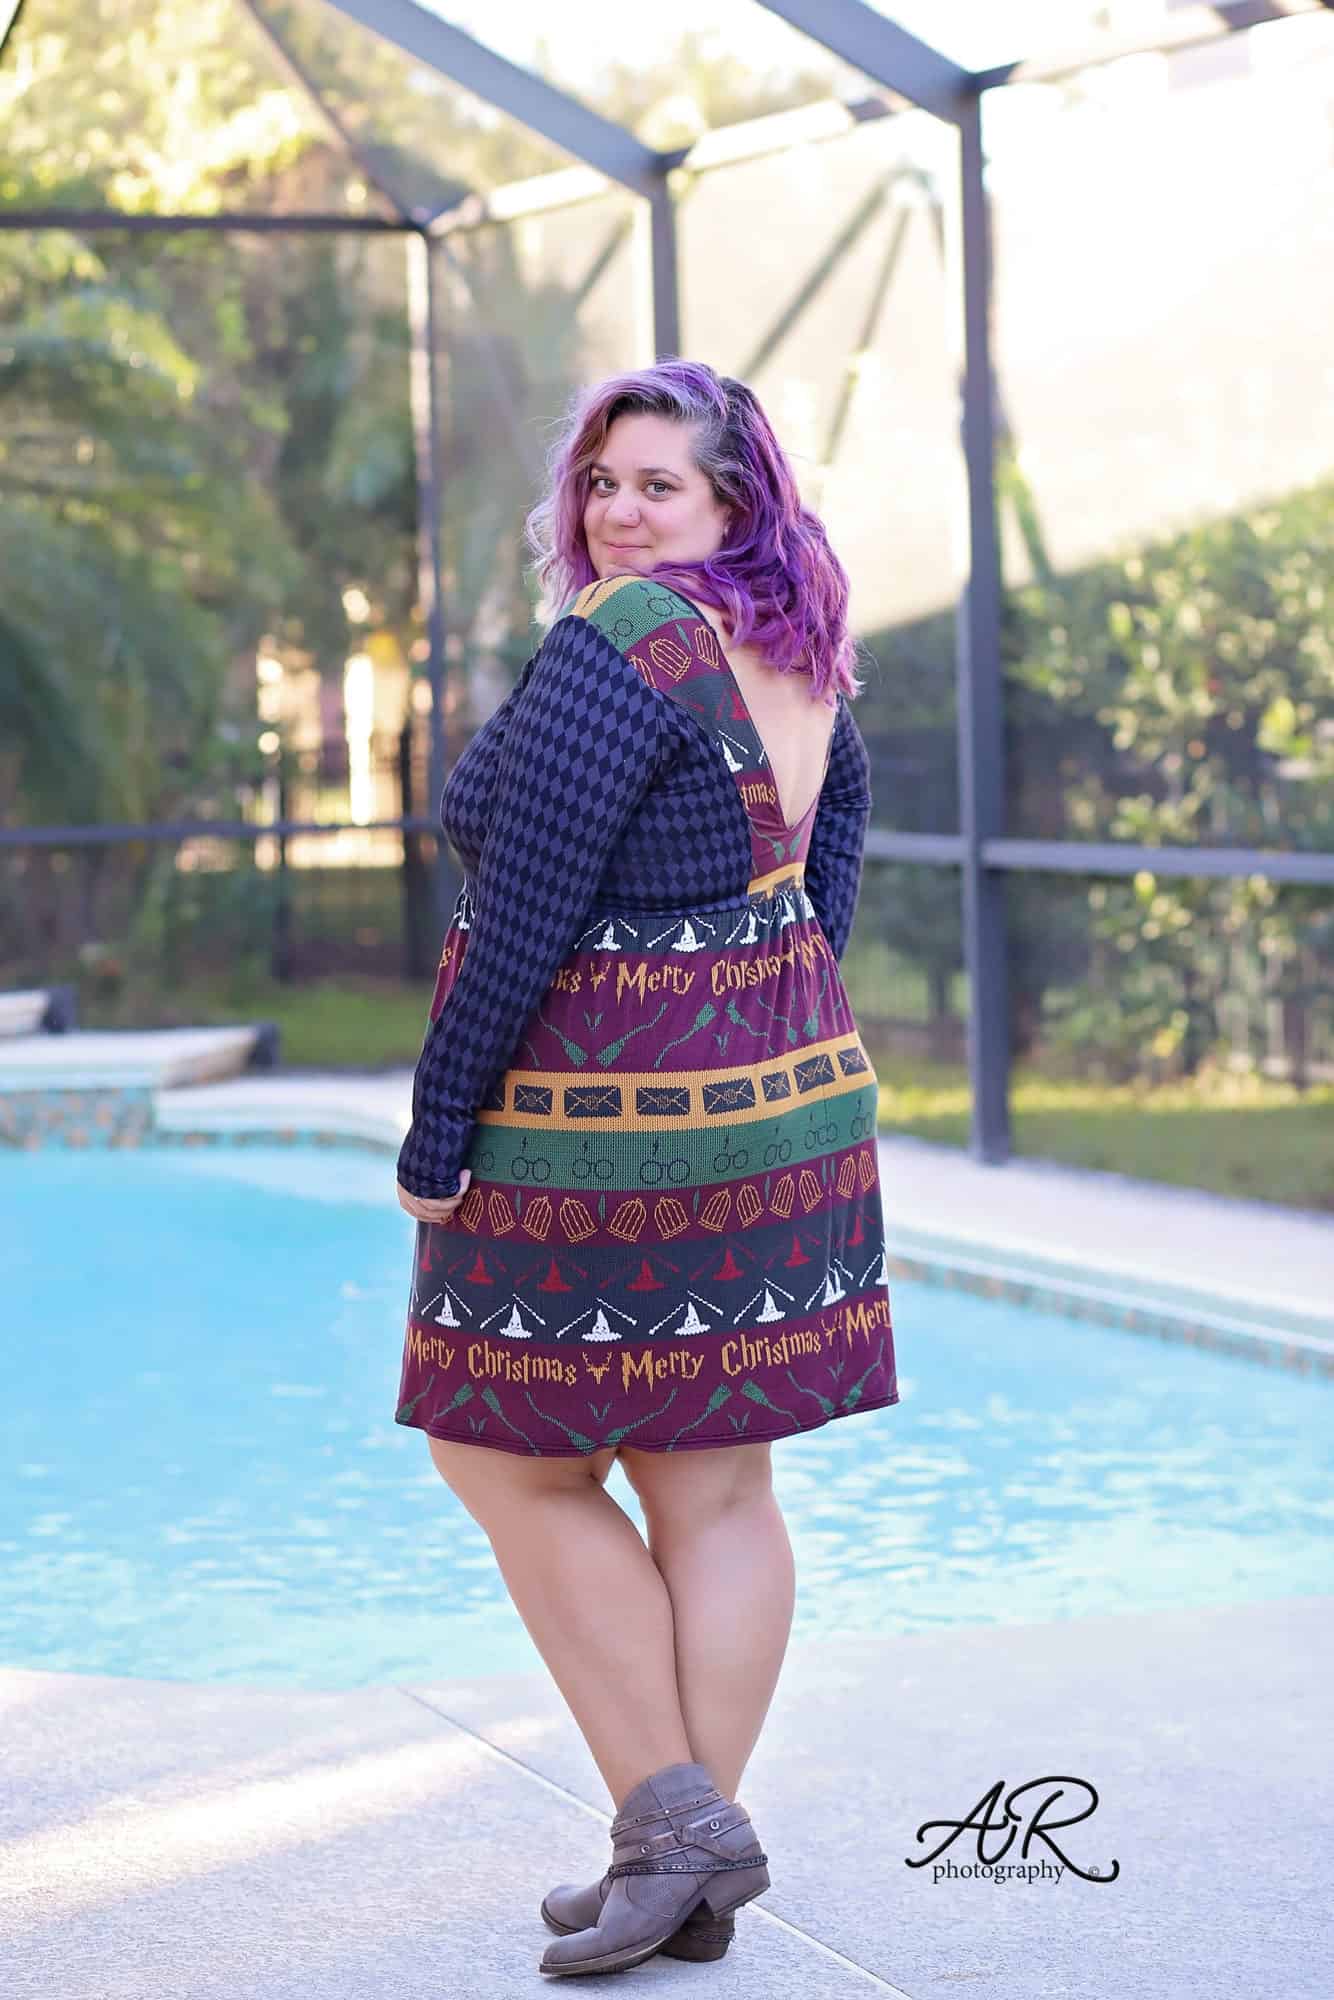
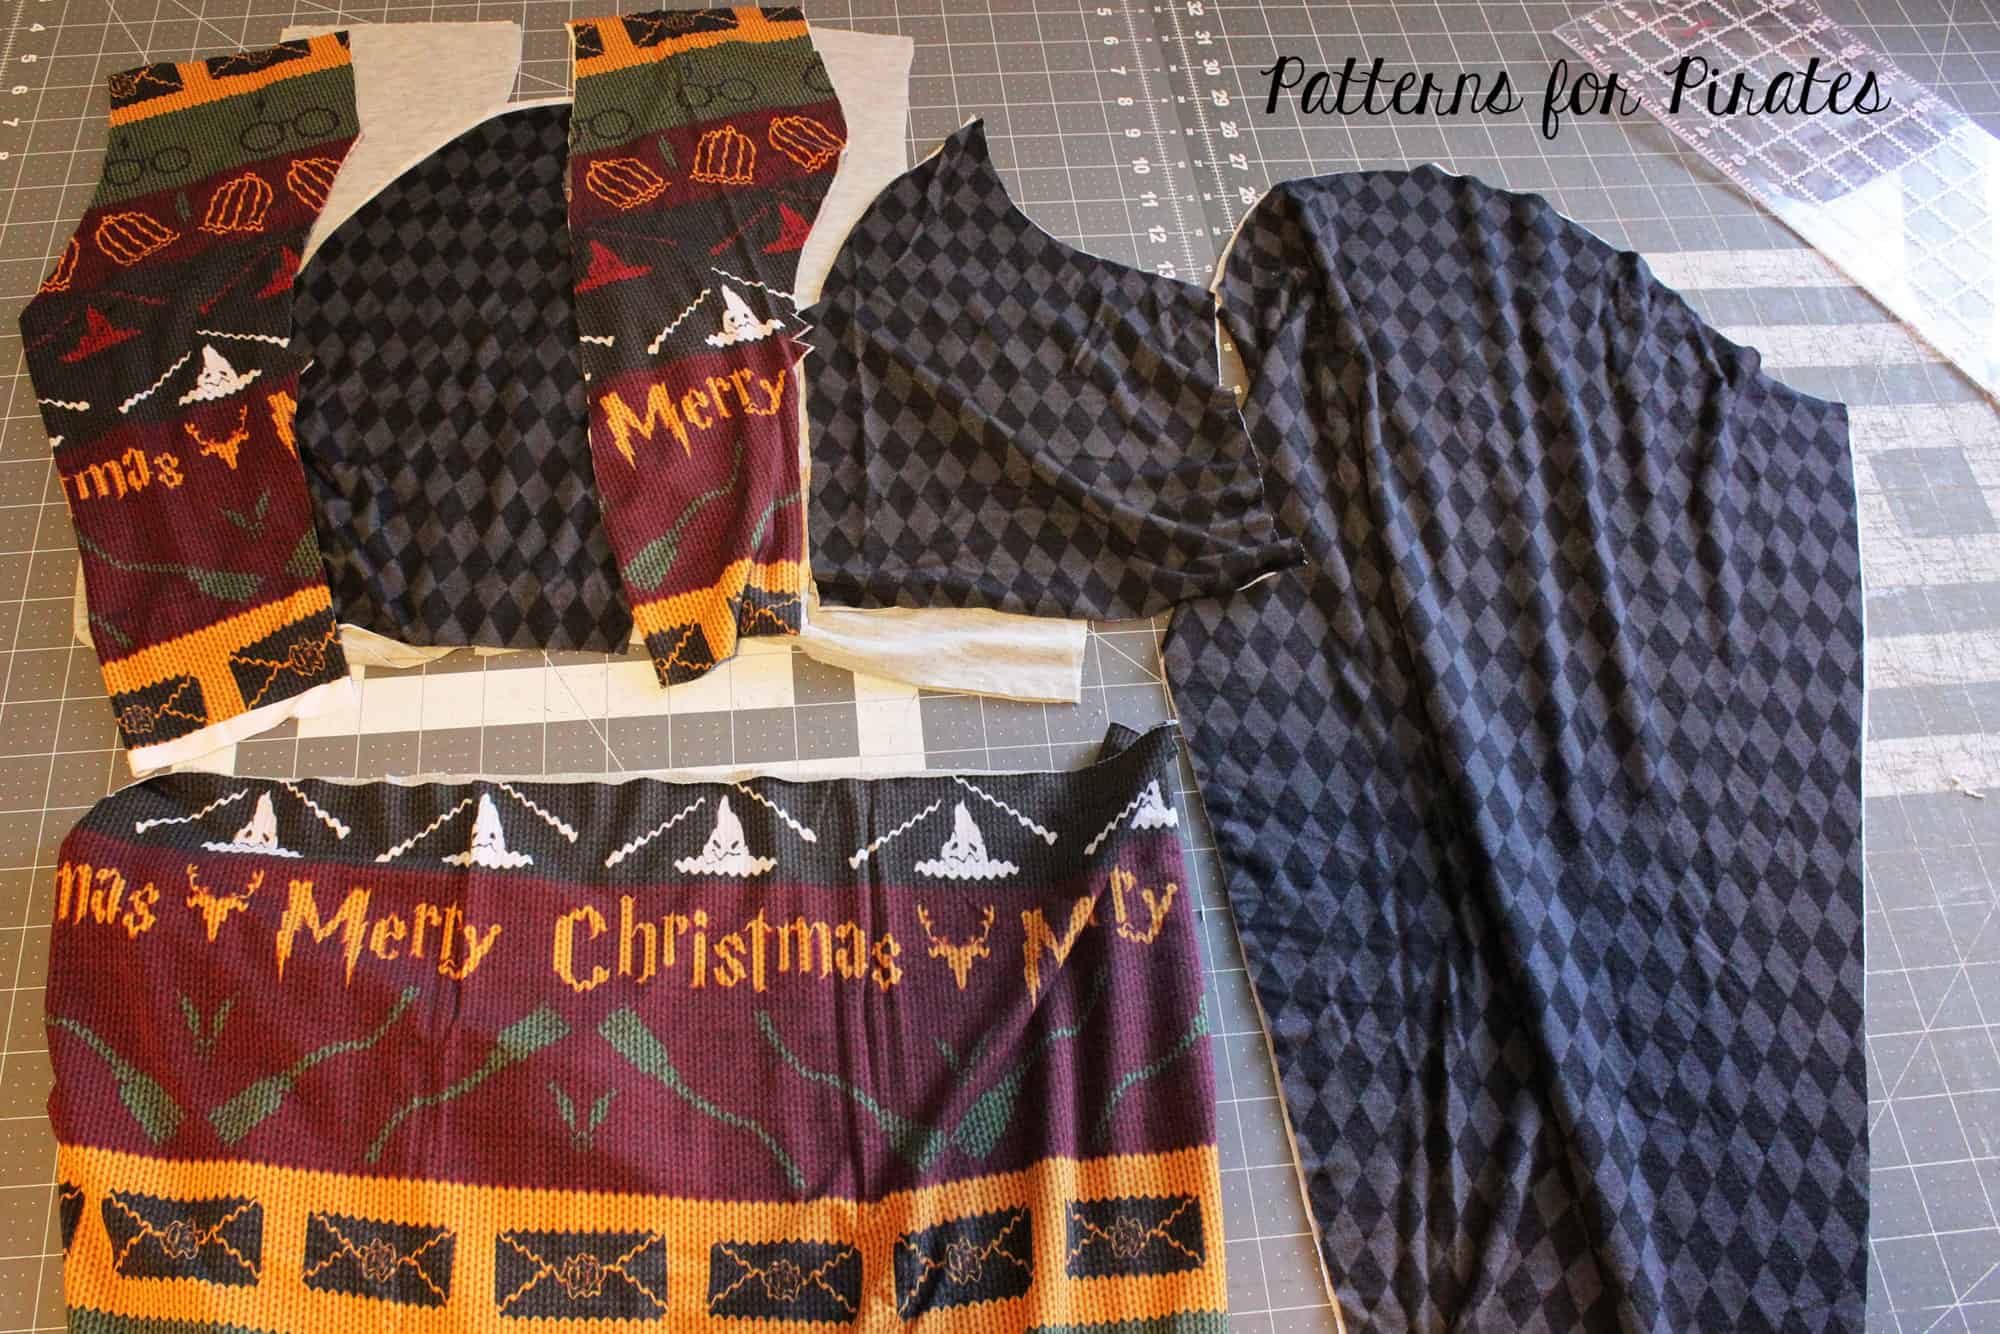
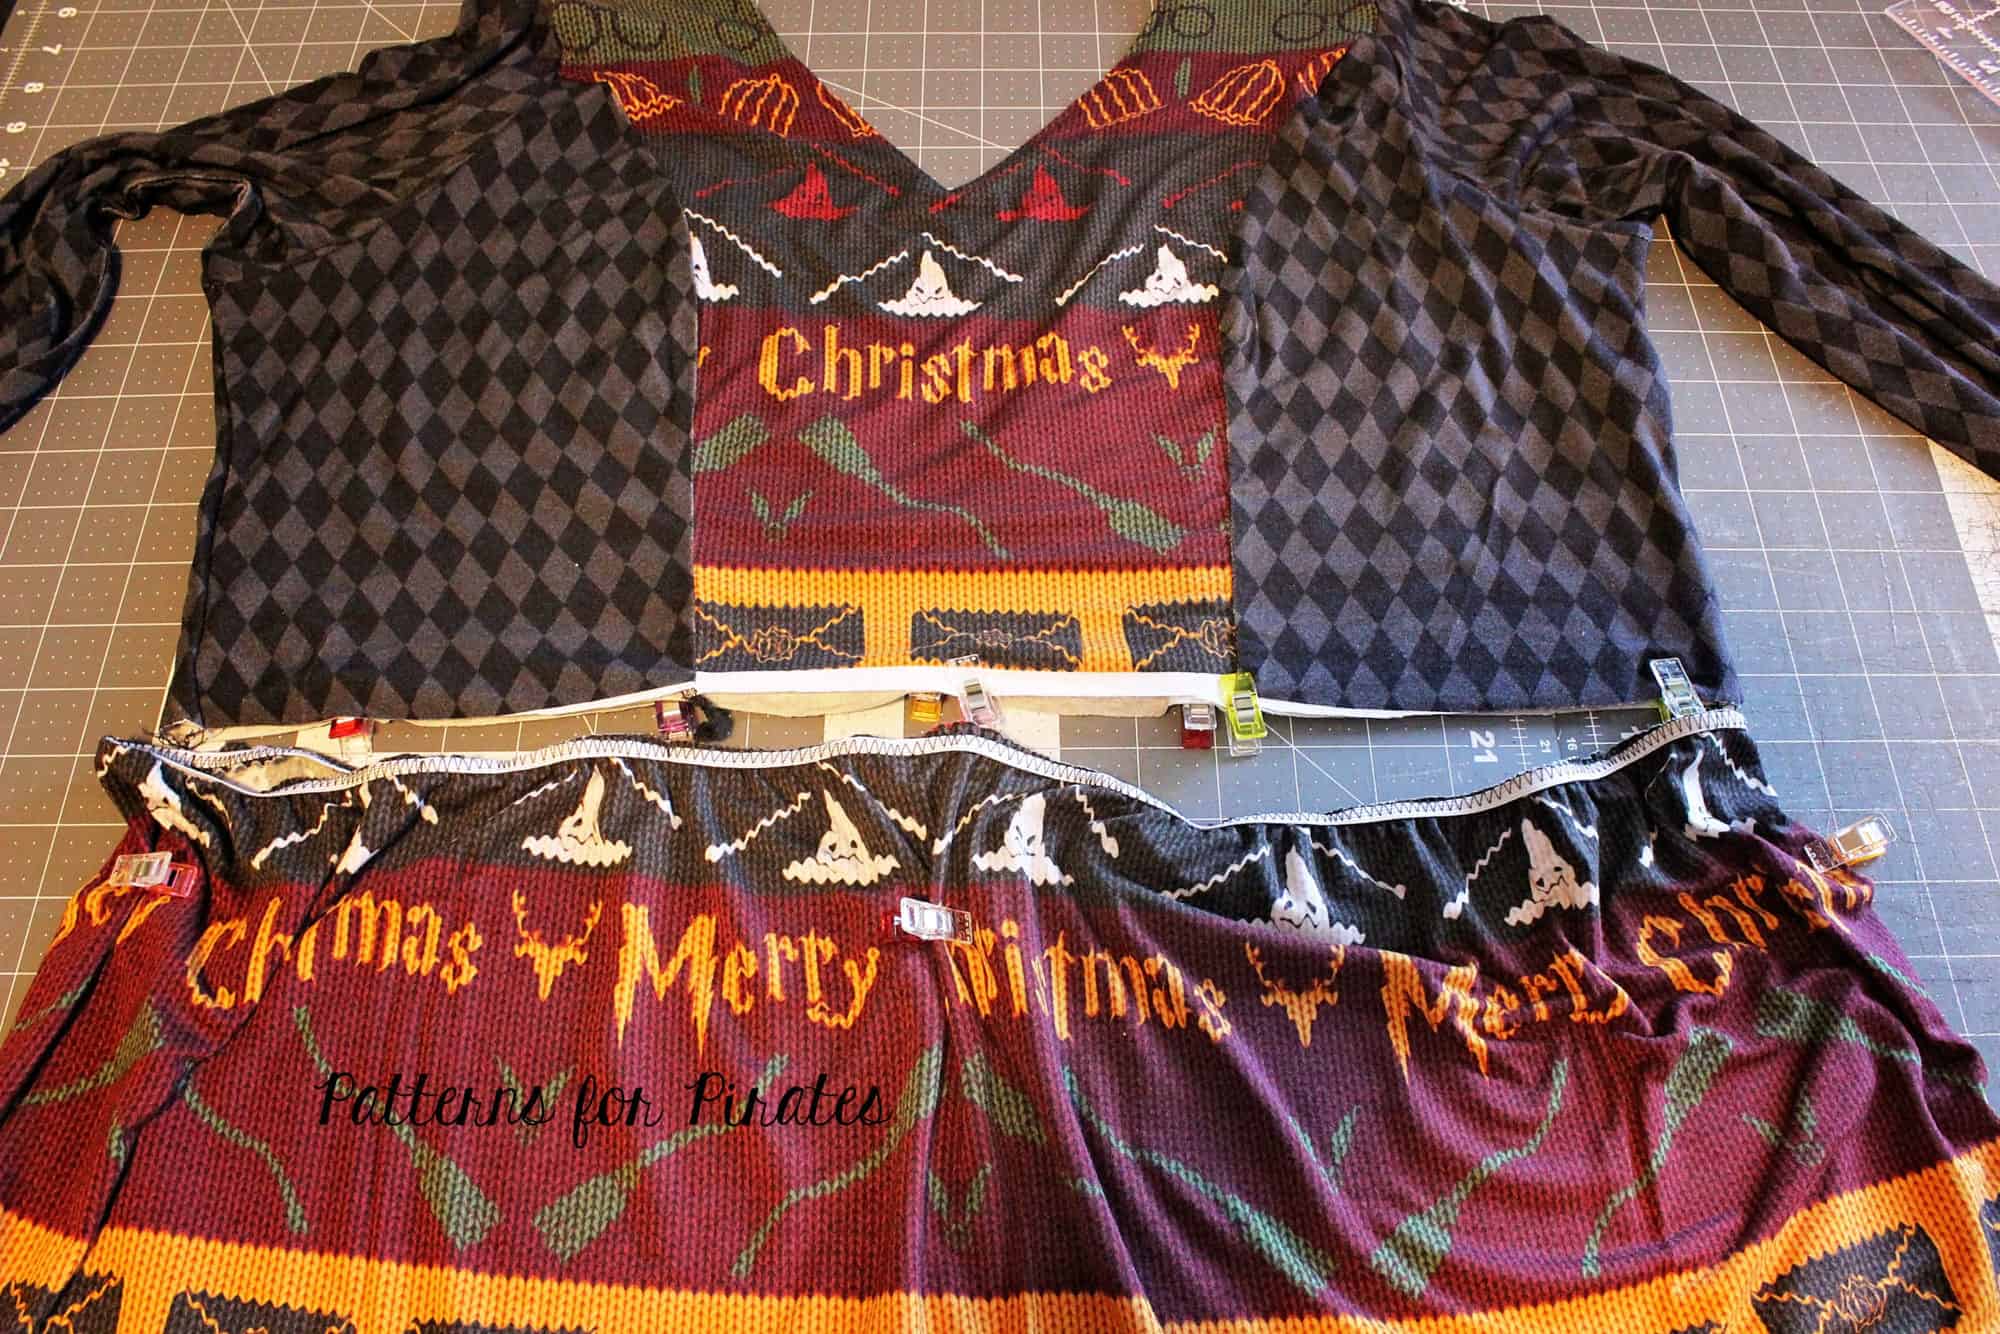
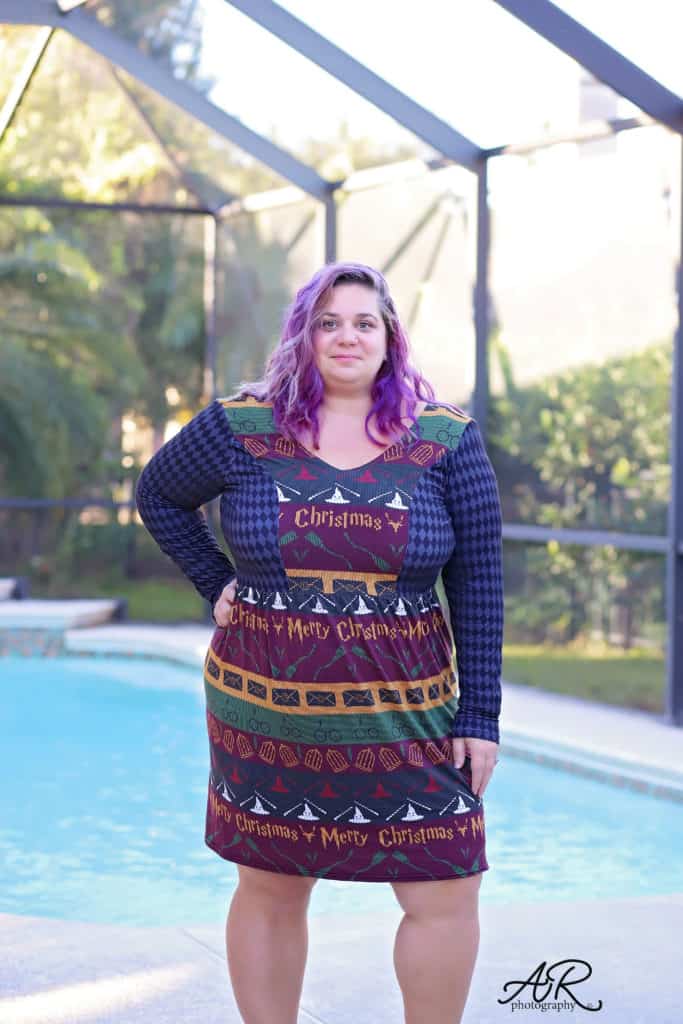
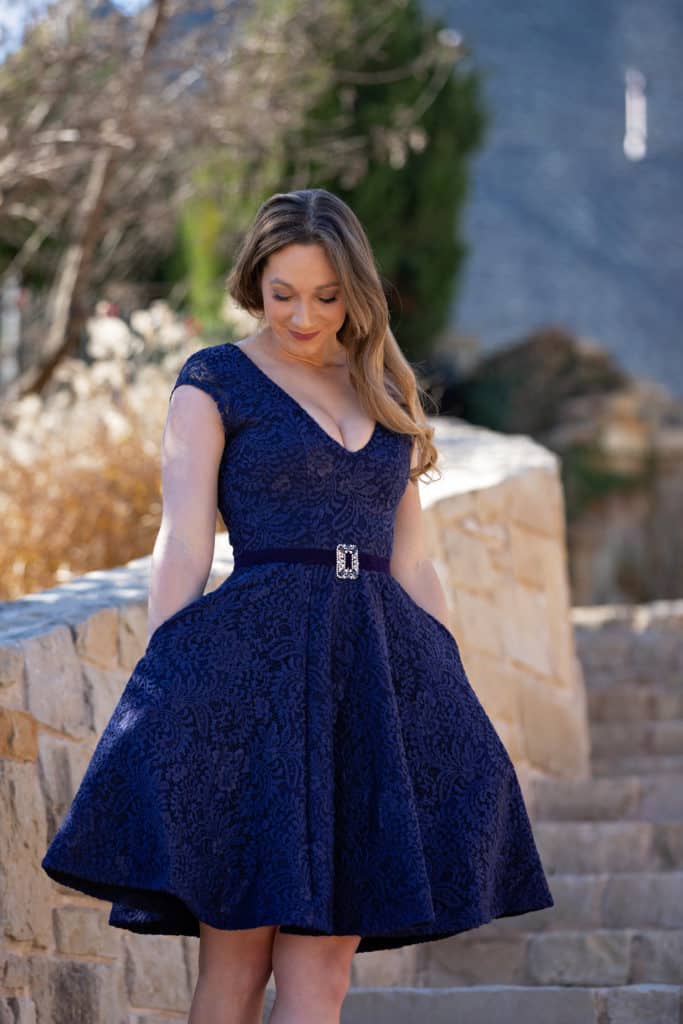
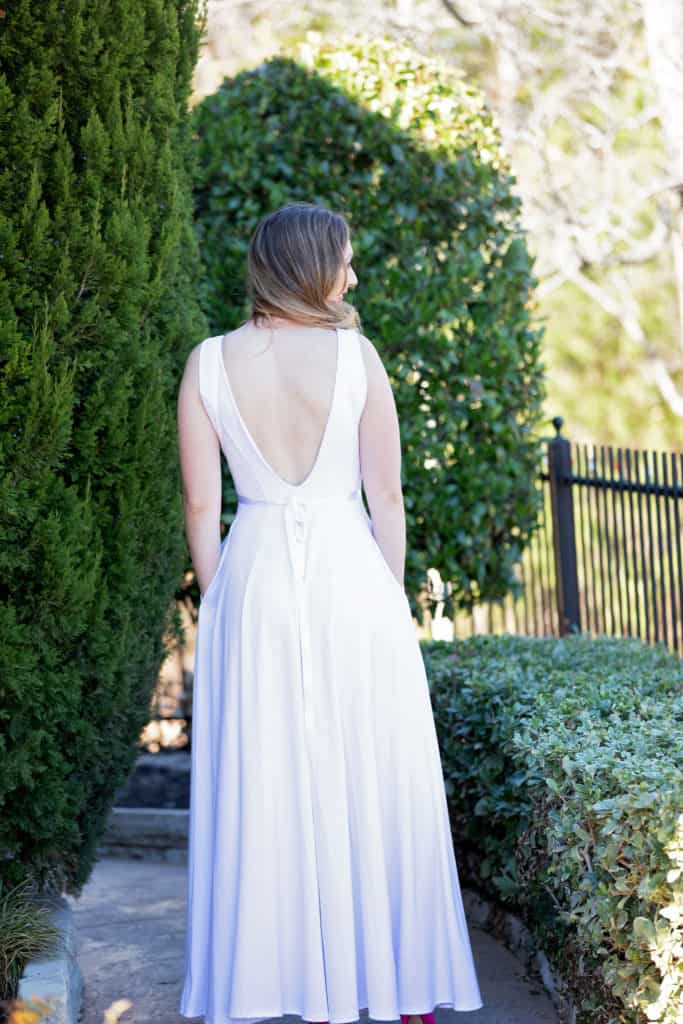
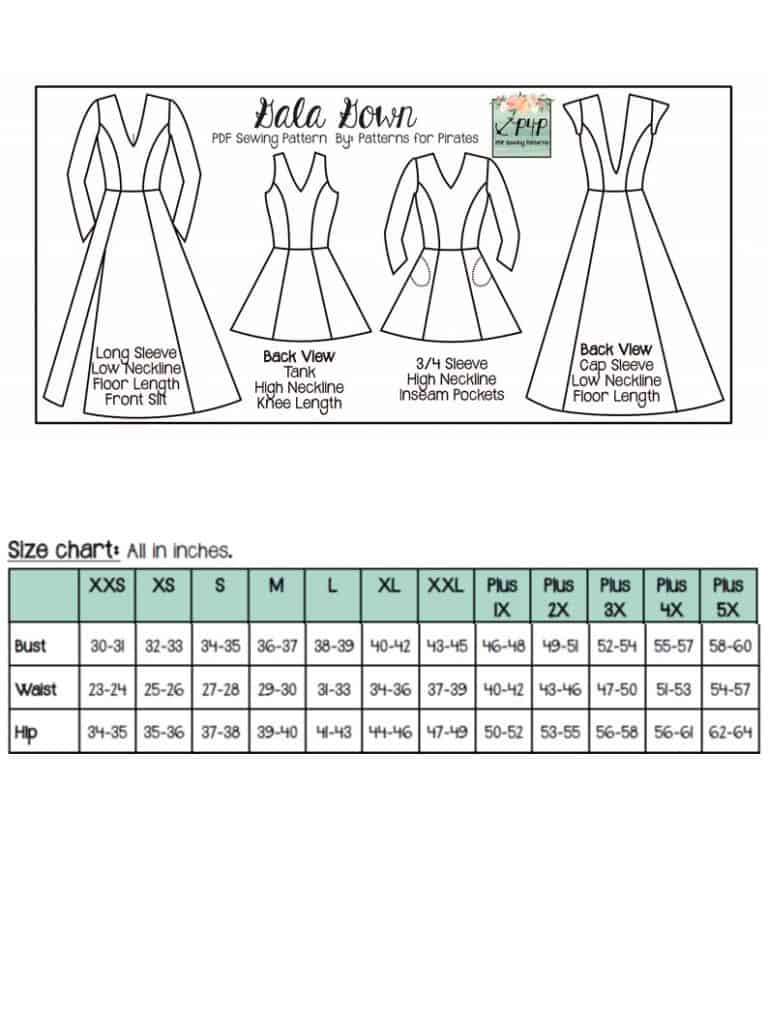
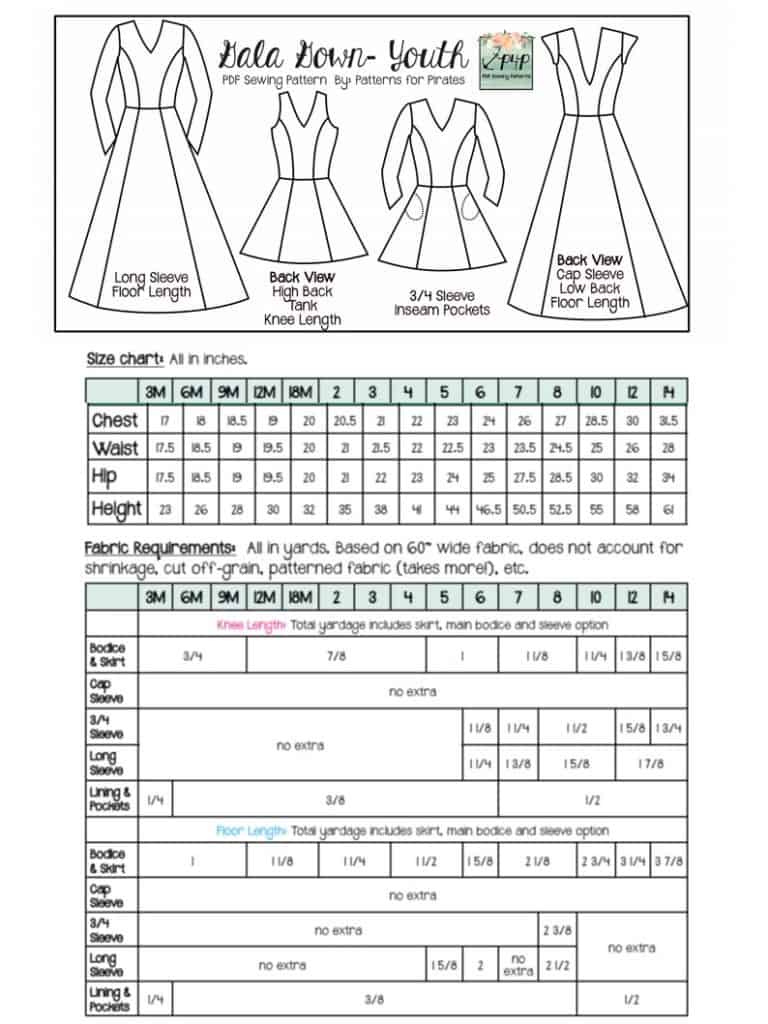
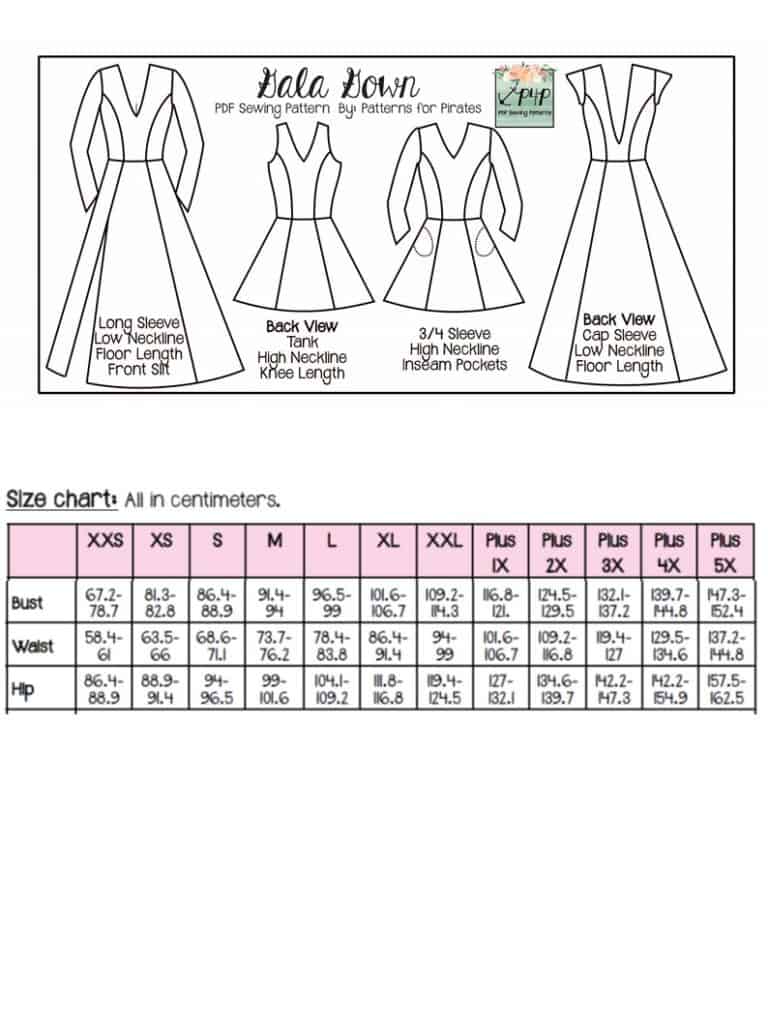
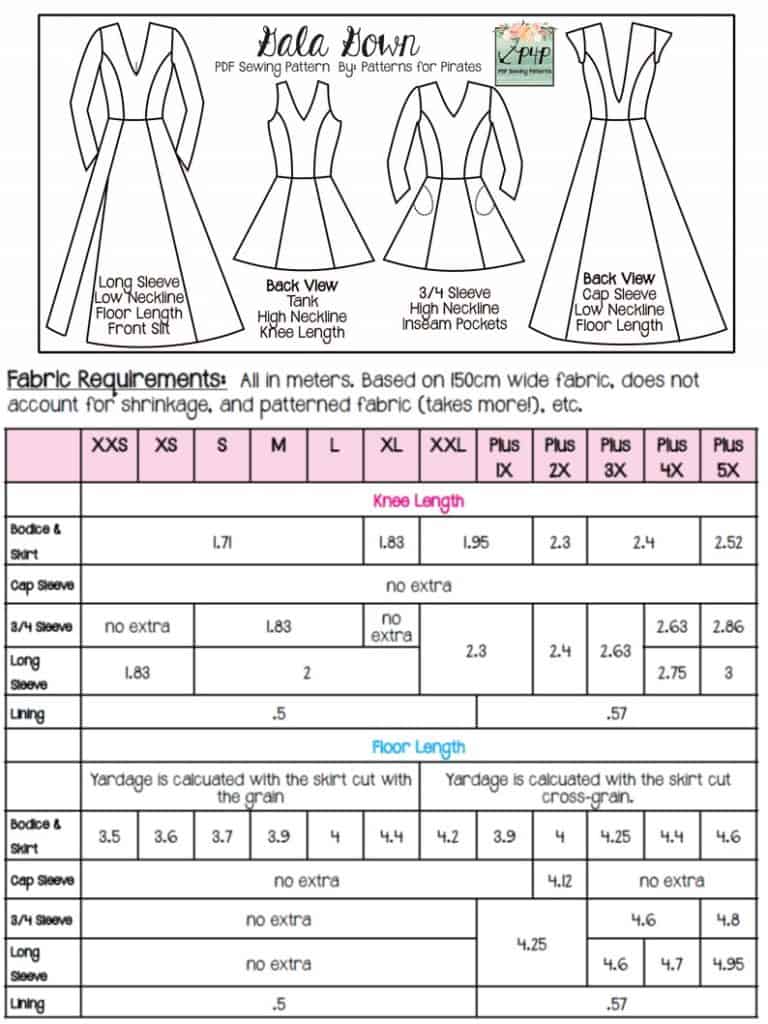
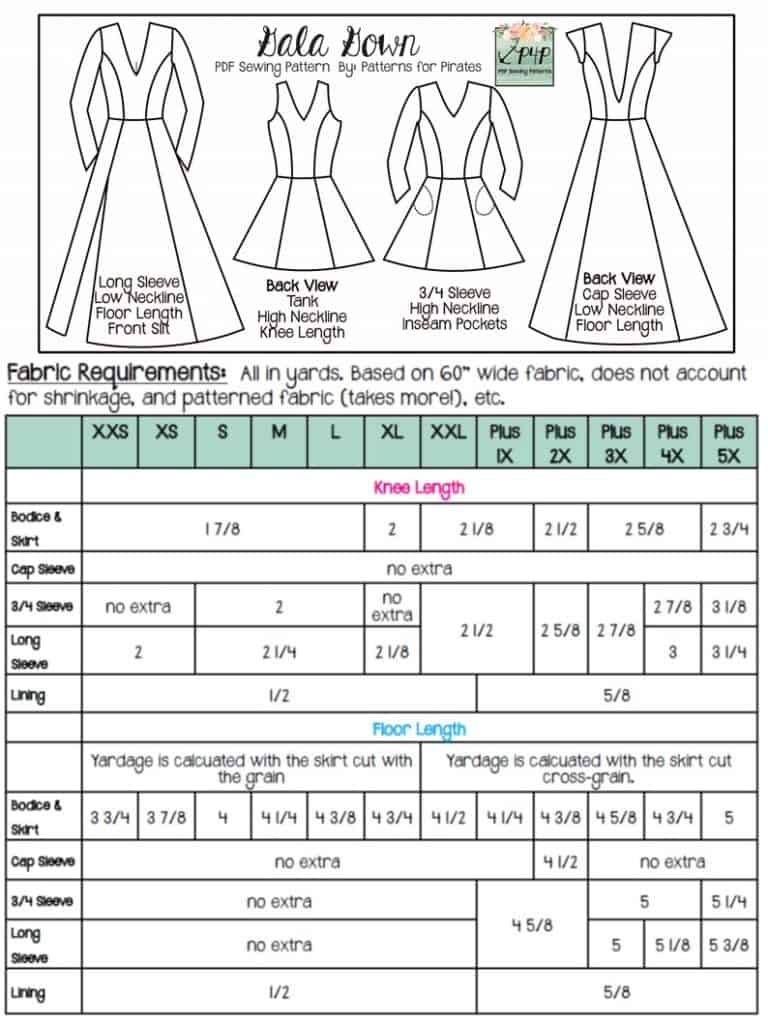
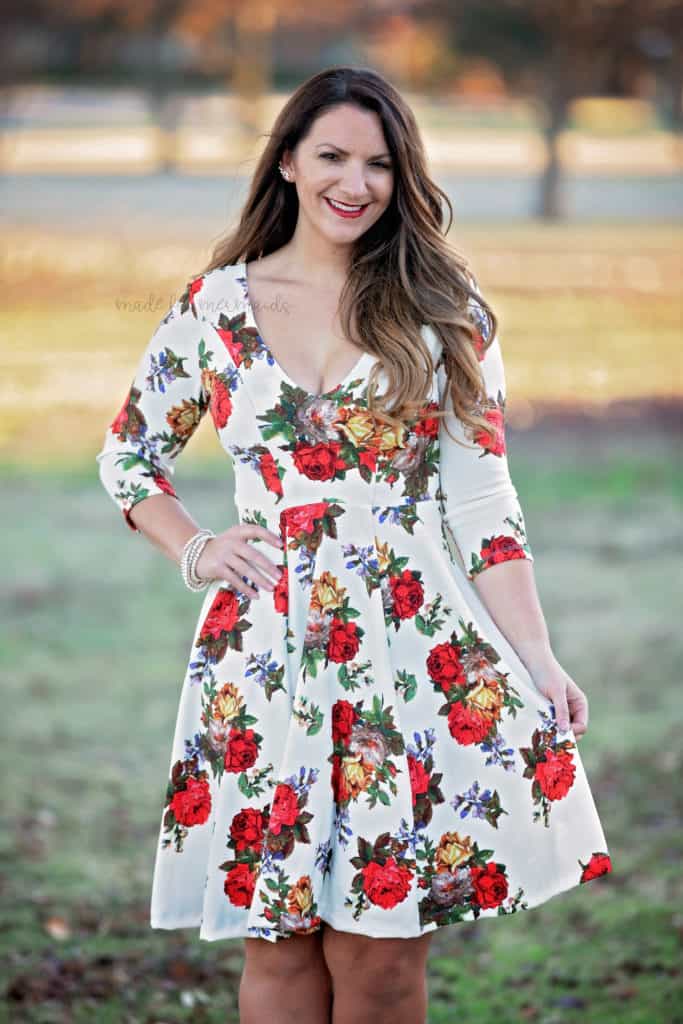
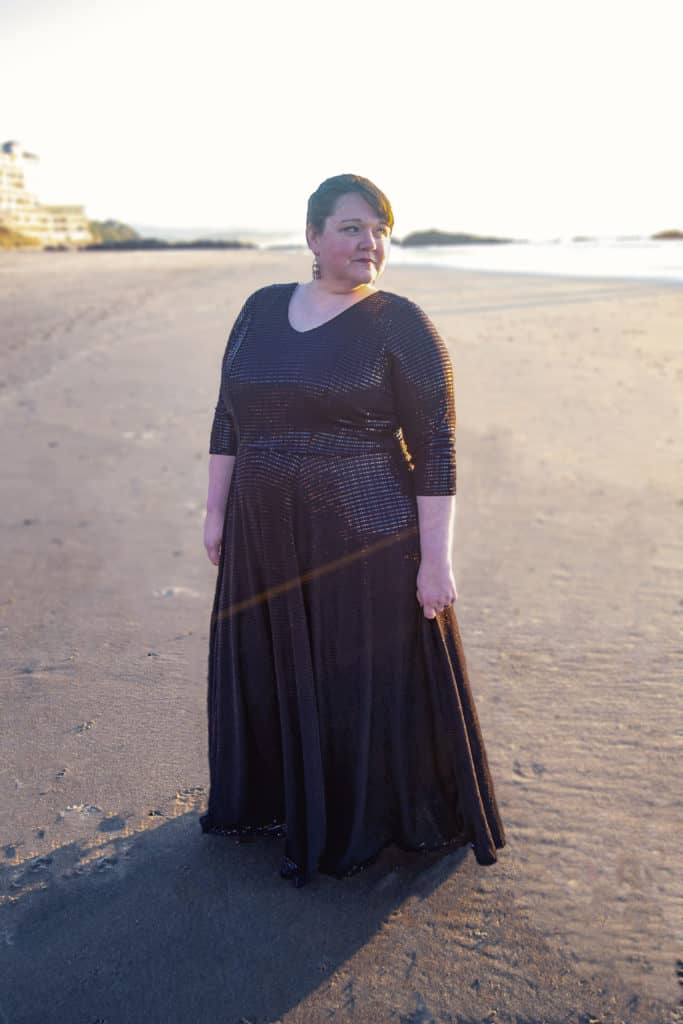
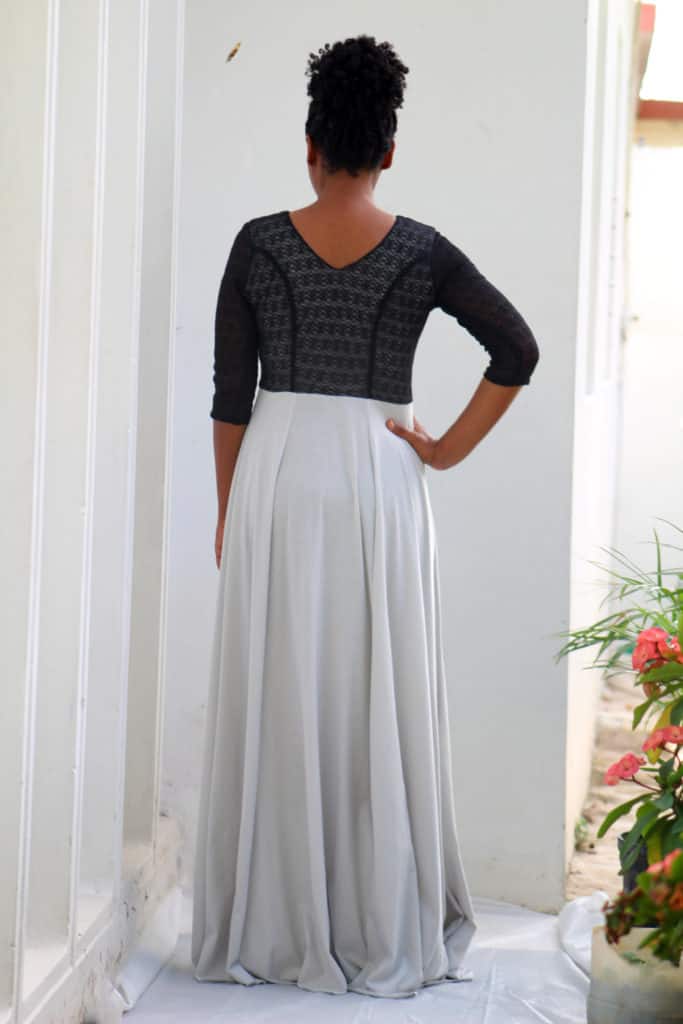
The Gala Gown is a beautiful dress with options that will suit your preferences every time for any season! It includes tank, cap sleeve, 3/4 and long sleeves. You can choose from knee length, floor length or floor length with a front slit. The bodice features flattering princess seaming on the front and back and is lined for an easy v neckline! The adult pattern comes with a high and low v neck option for both front and back, which you can mix and match.
You can’t leave out the pocket either! Perfect for your large phone, keys, lipstick, or just somewhere perfect to keep your hands all night! Finally some pockets big enough to carry everything we need while we’re looking drop dead gorgeous, am I right?!
The Gala Gown is drafted for stable knits like stretch lace, ponte, scuba, liverpool, techno, stretch velvet, french terry, etc.

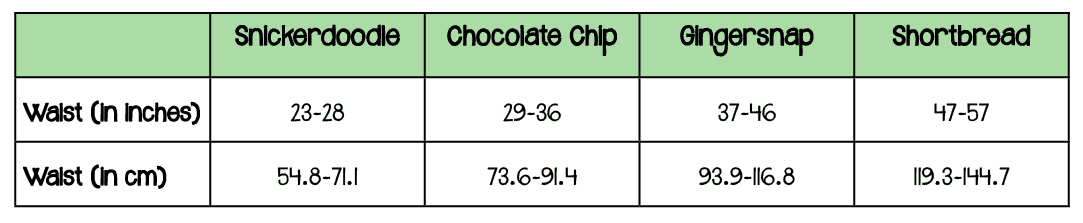
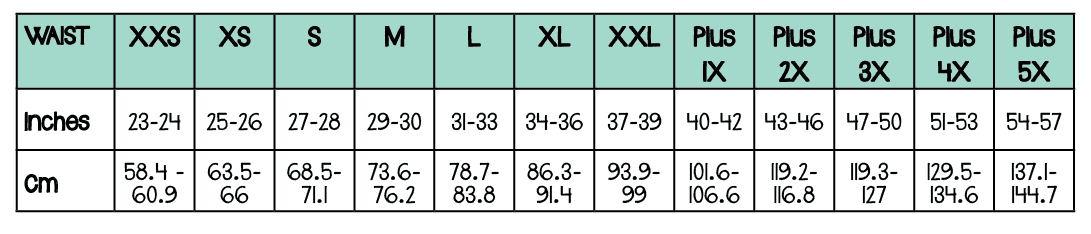
**Want to learn more about how to measure yourself for this pattern? We’ve got you covered with an in-depth blog HERE. And in case you’re new to Patterns for Pirates and PDF patterns in general, we have a great blog full of new-user tips HERE to help you get started! As with all of our current releases and updates, the pdfs now include our layers feature and can be found in Letter, A4 and A0 sizes. And for even more helpful fun, we have a *free* printable that you can use to help record your measurements as you take them.
Let’s take a quick look at the different options!
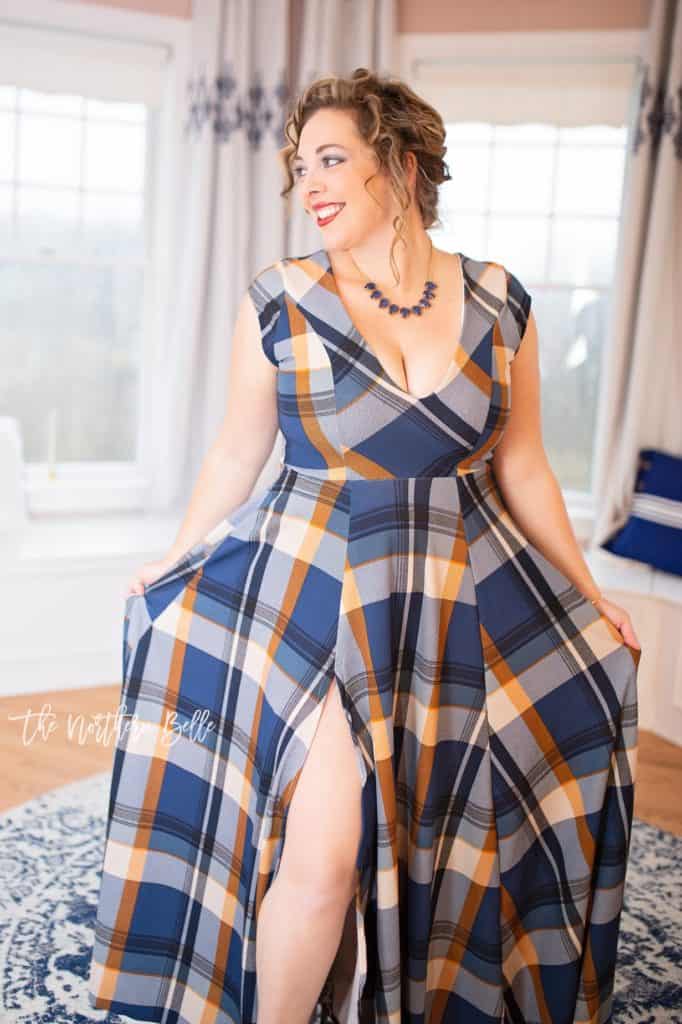
LOW FRONT (ADULT SIZES ONLY)

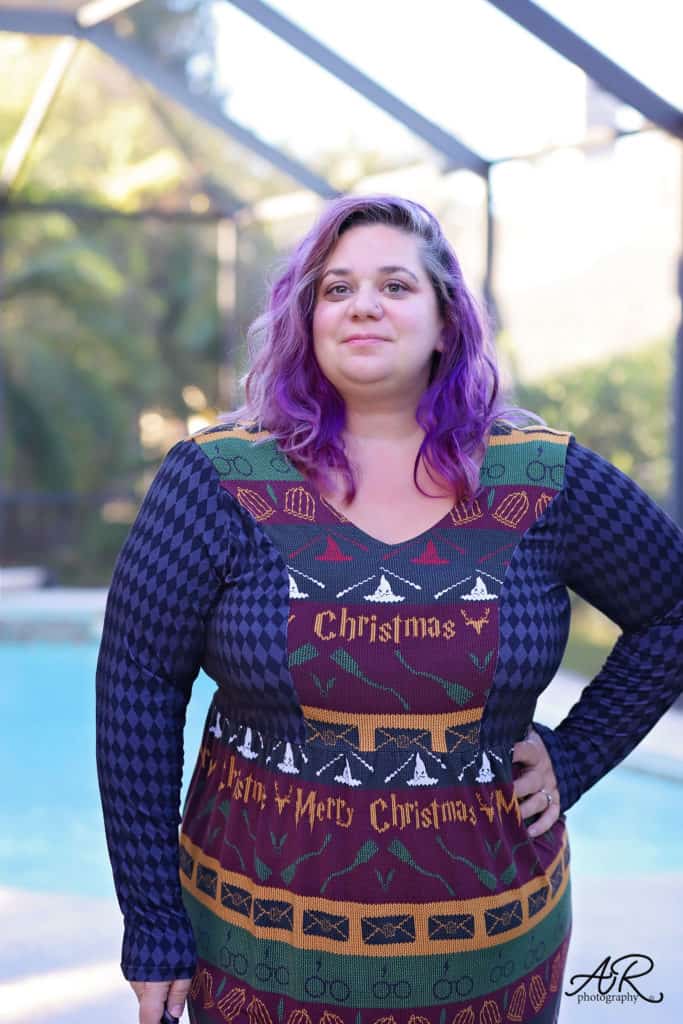
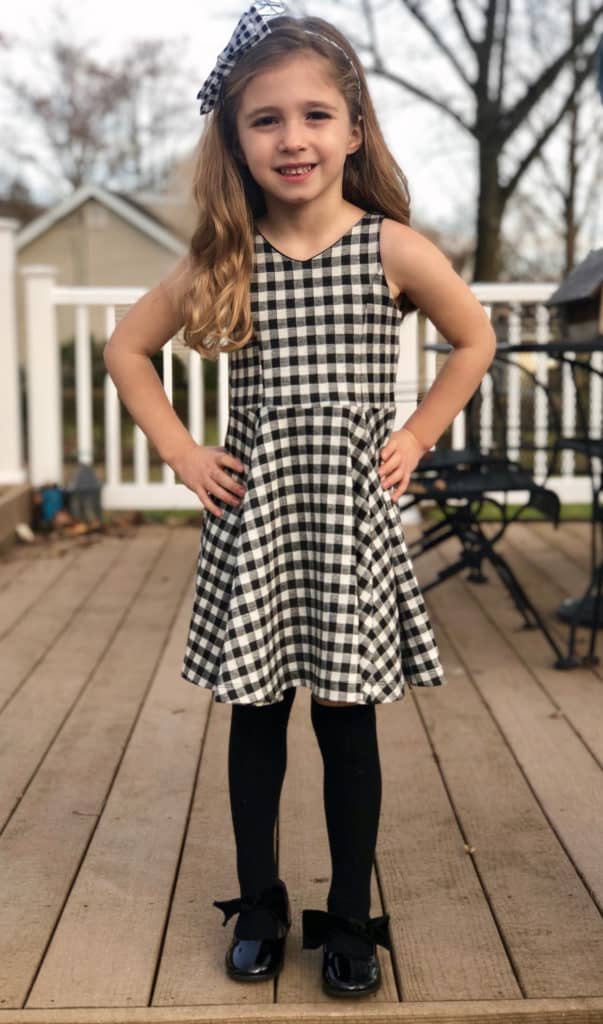
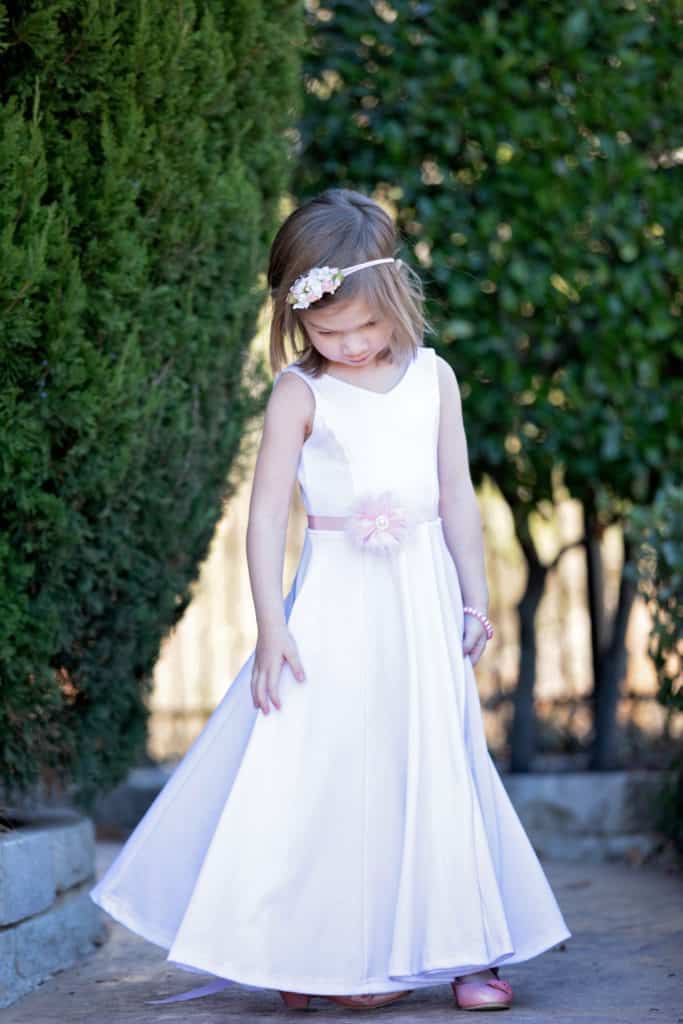
HIGH FRONT

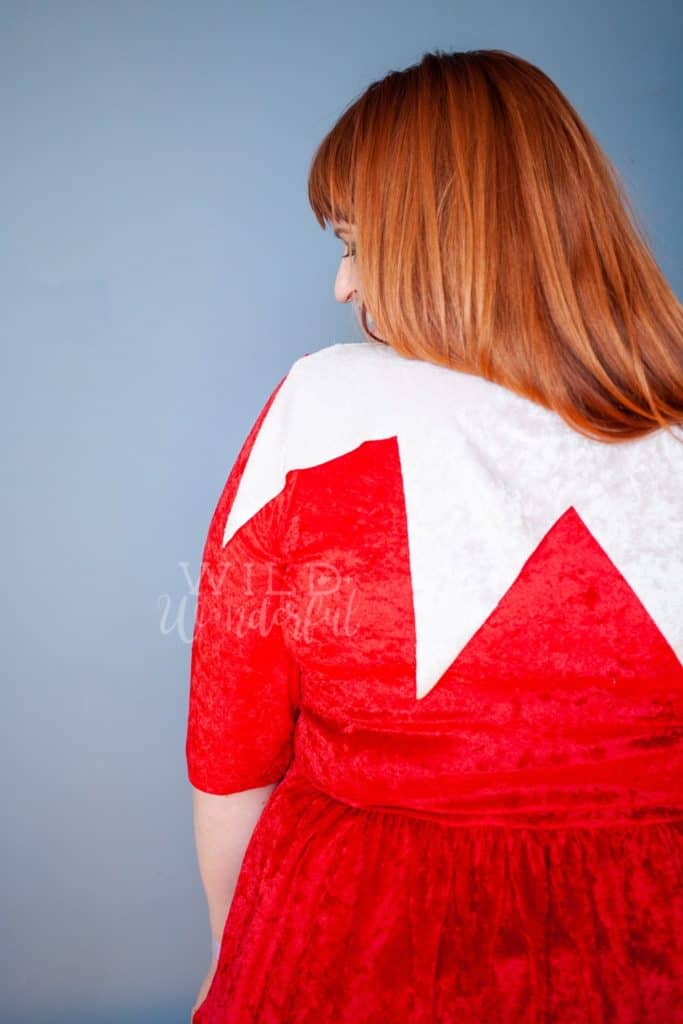
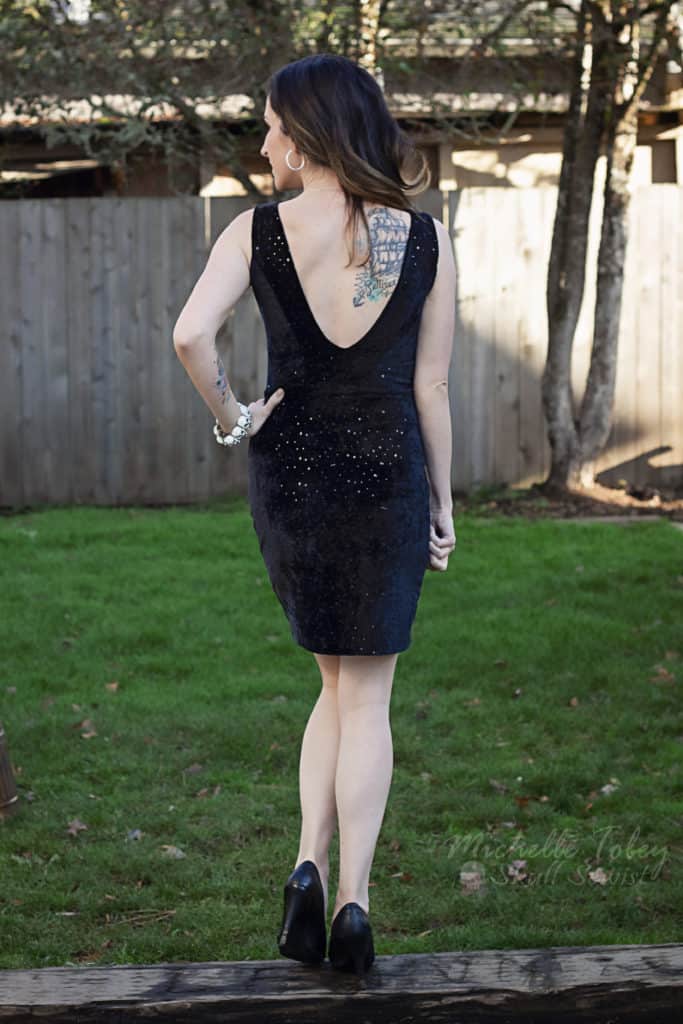
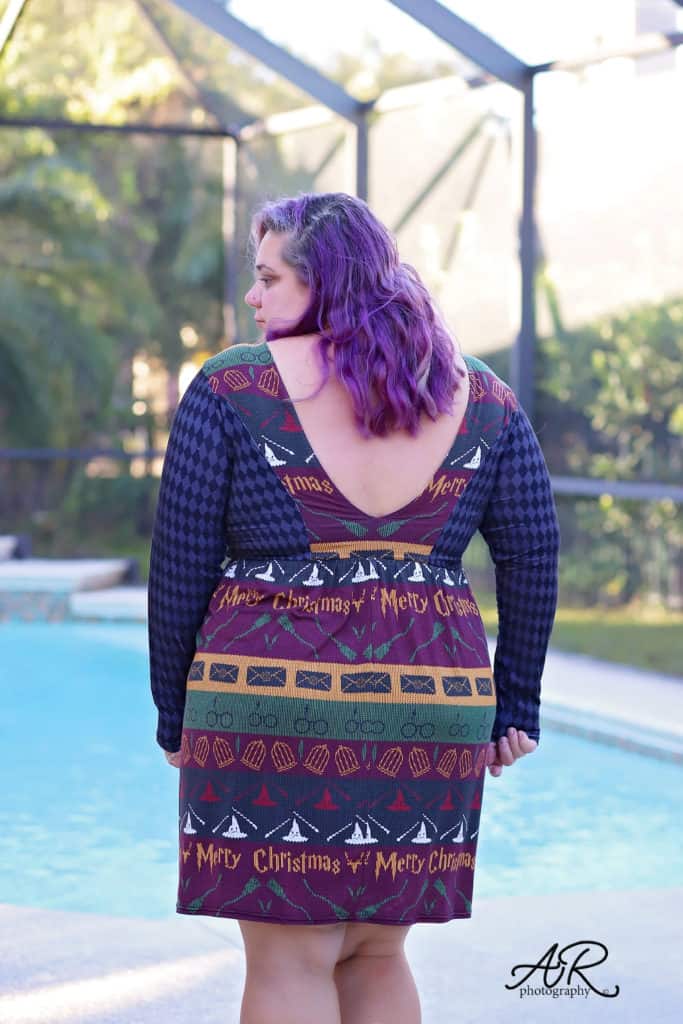
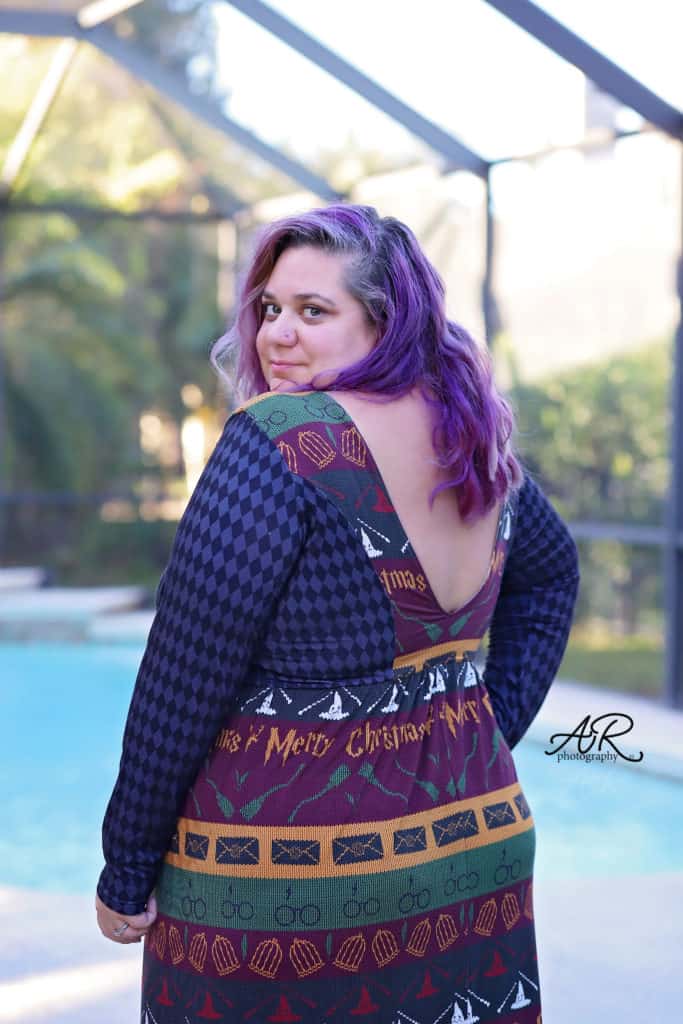
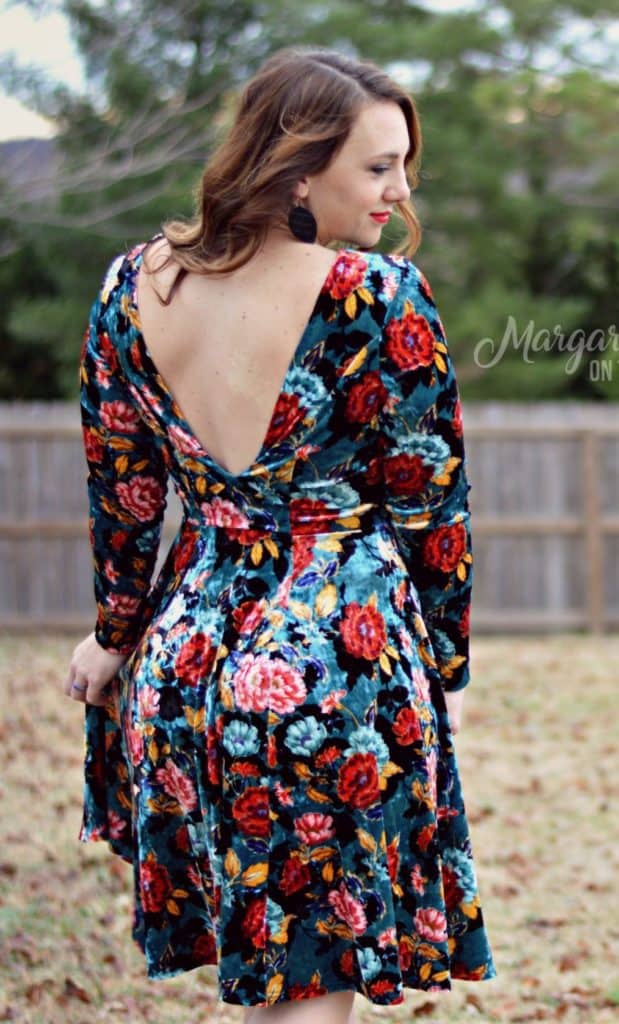
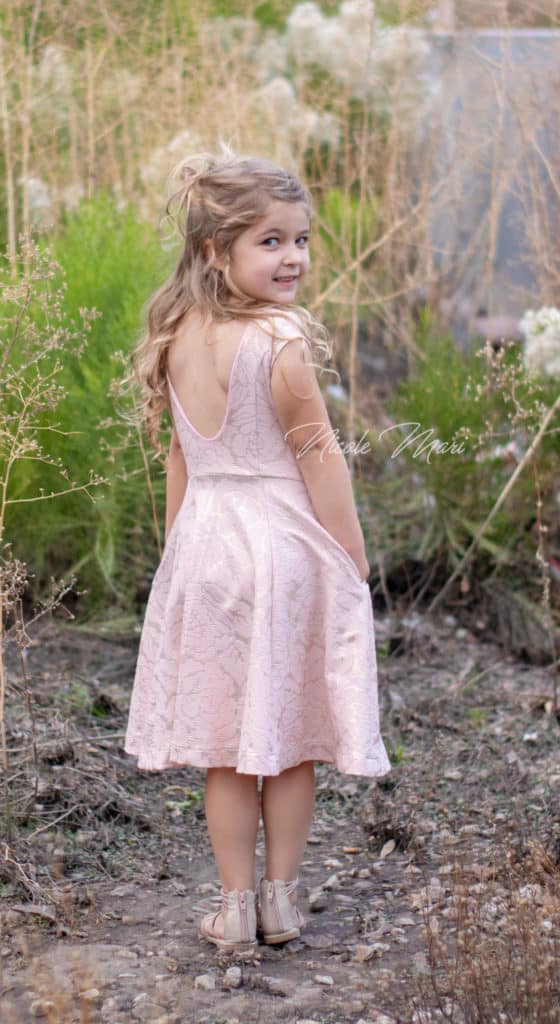
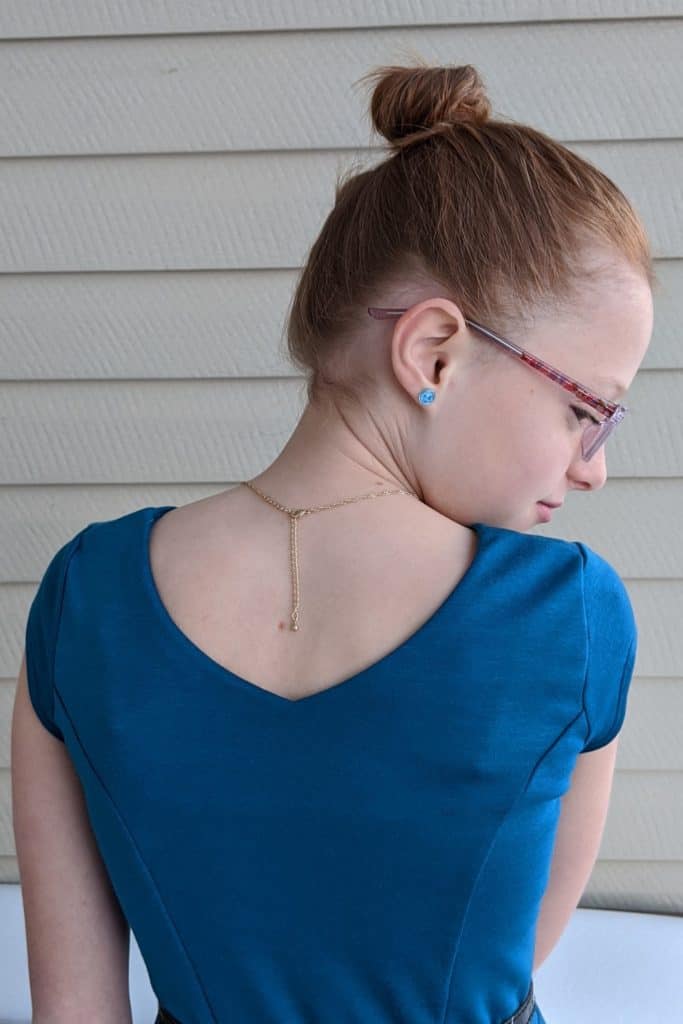
LOW BACK


HIGH BACK
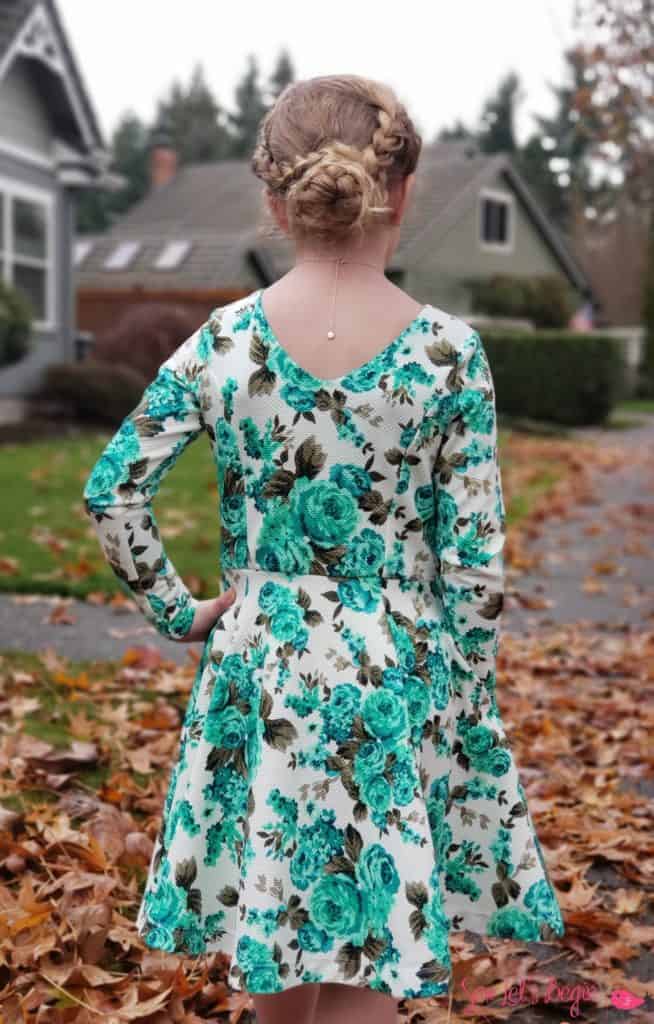
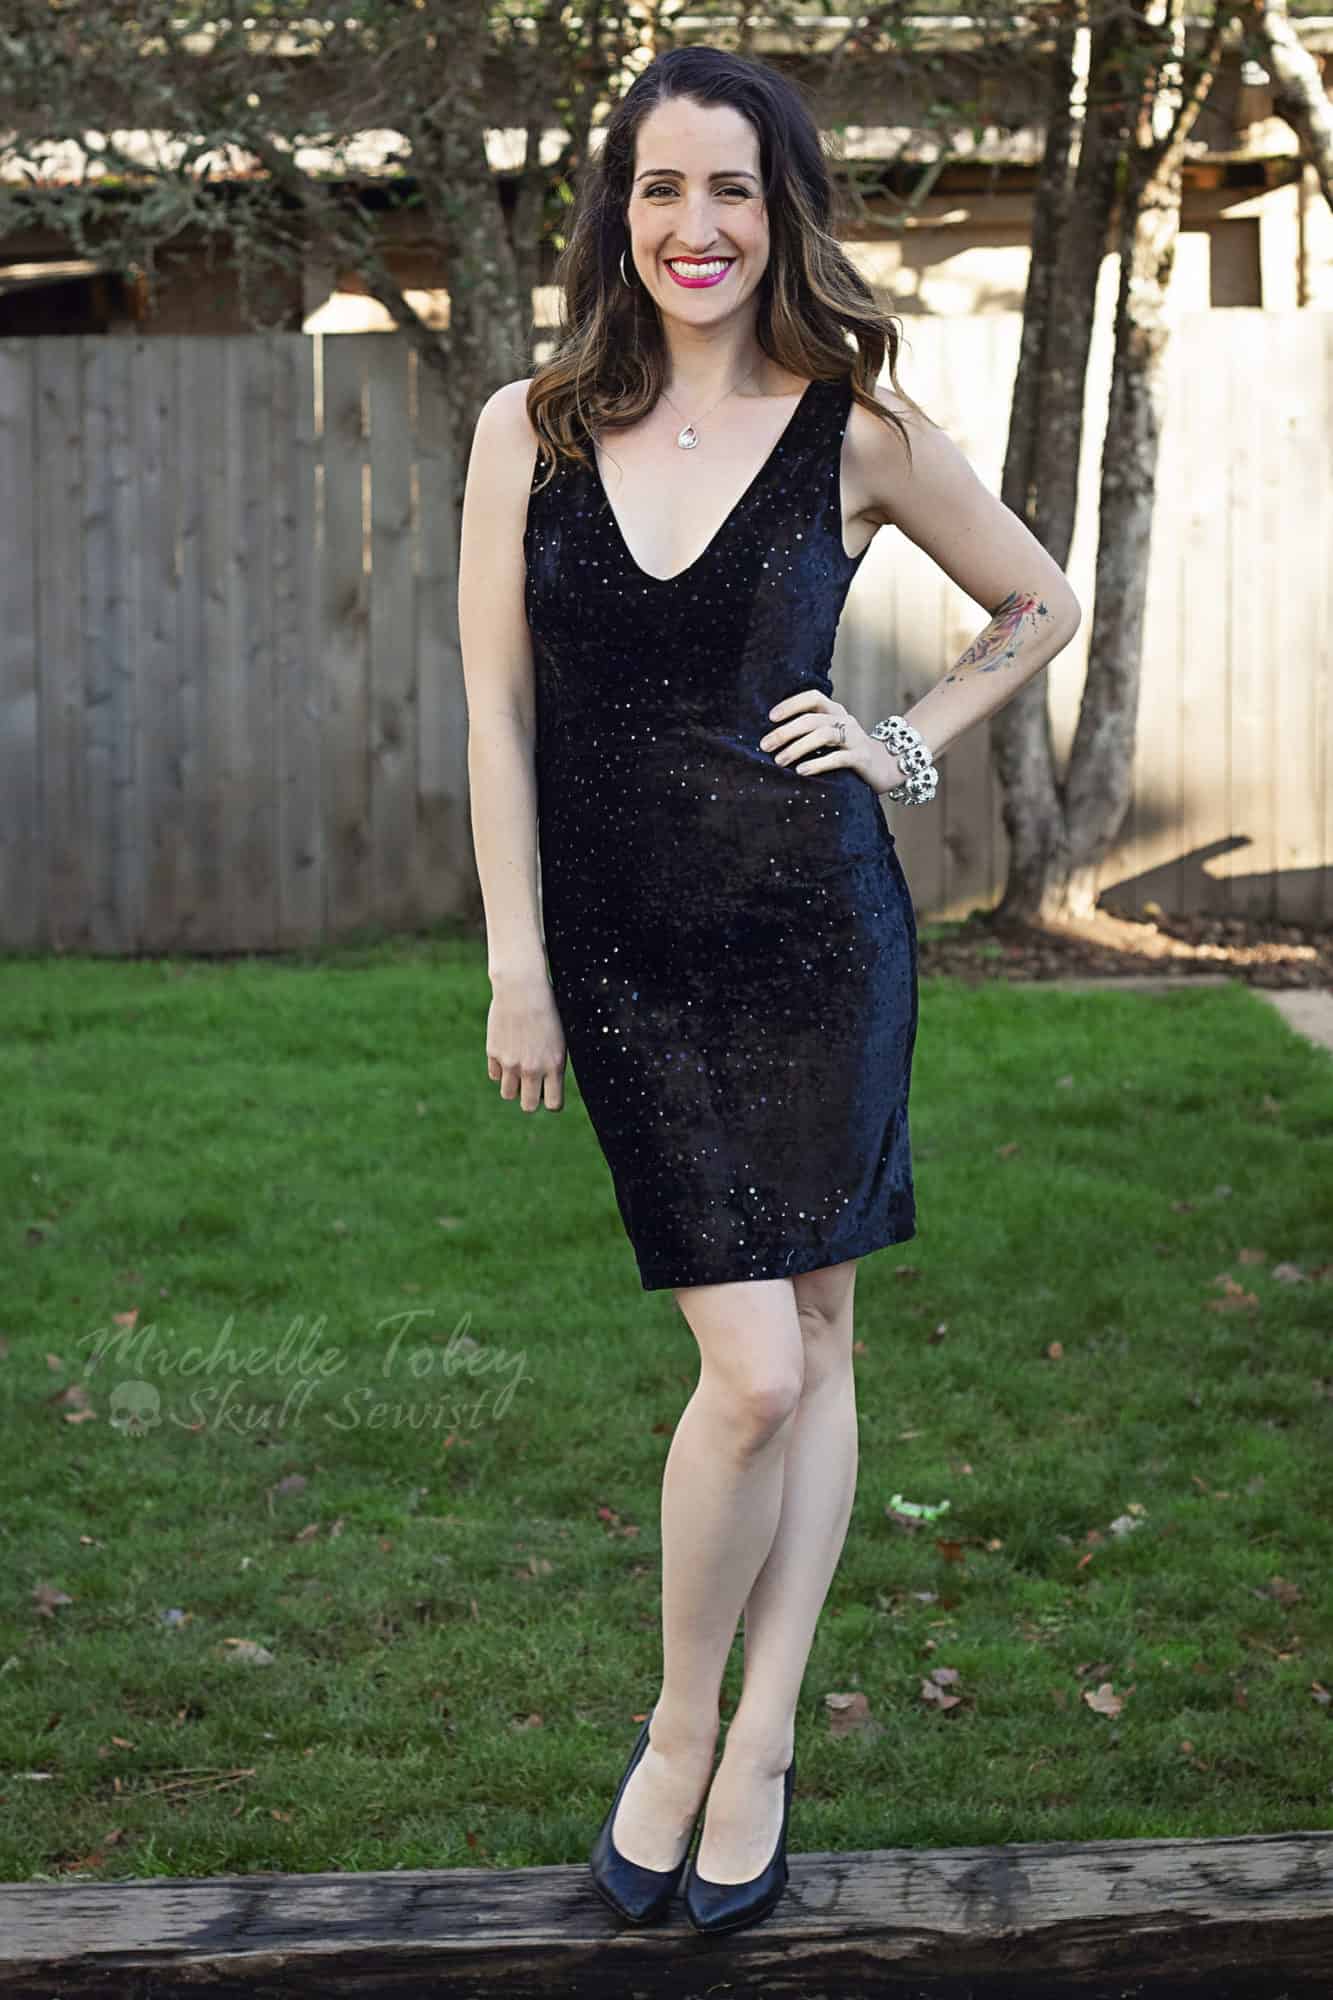
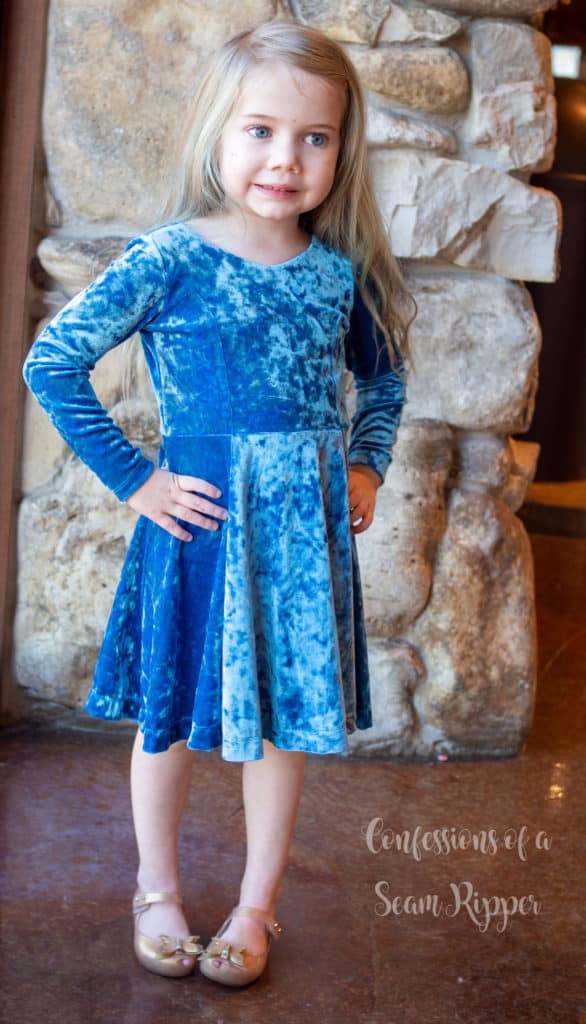
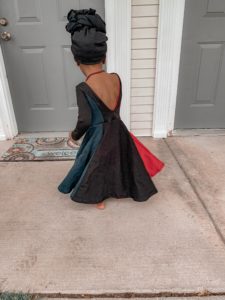
KNEE LENGTH


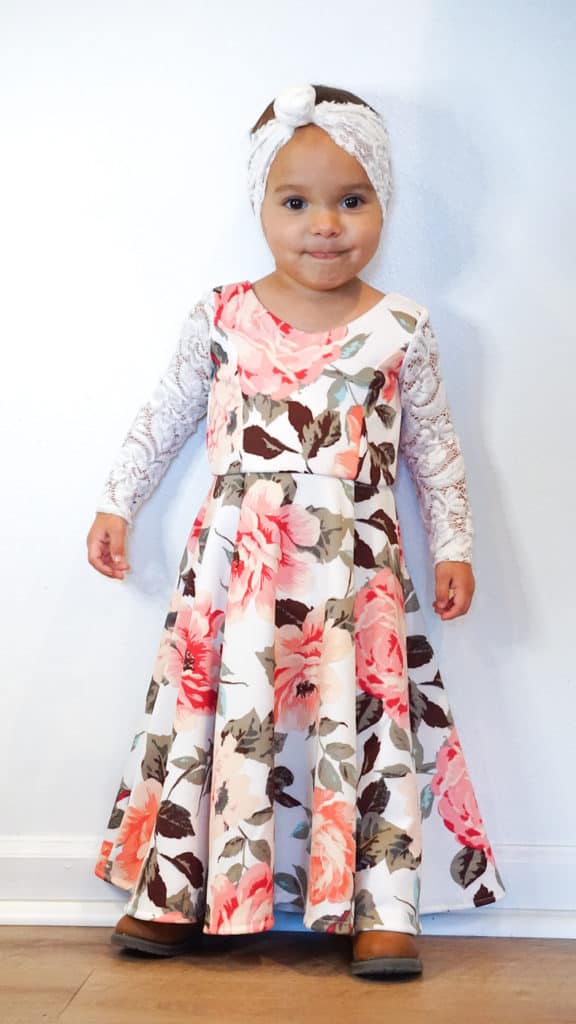
MAXI LENGTH

OPTIONAL HIGH SLIT (ADULT SIZES ONLY)

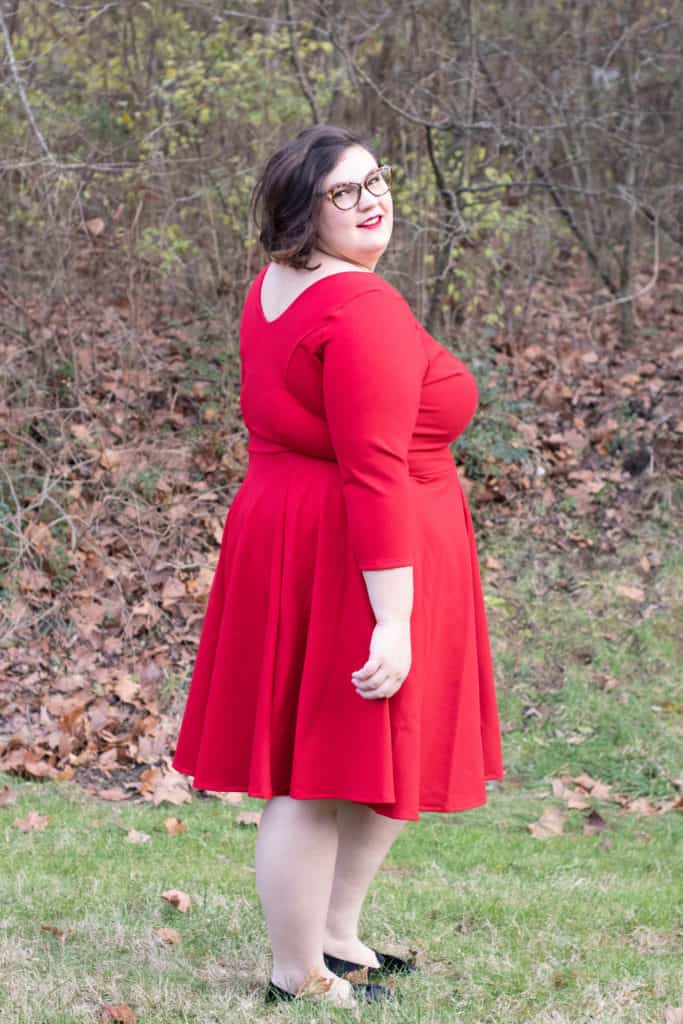
FOUR SLEEVE LENGTHS


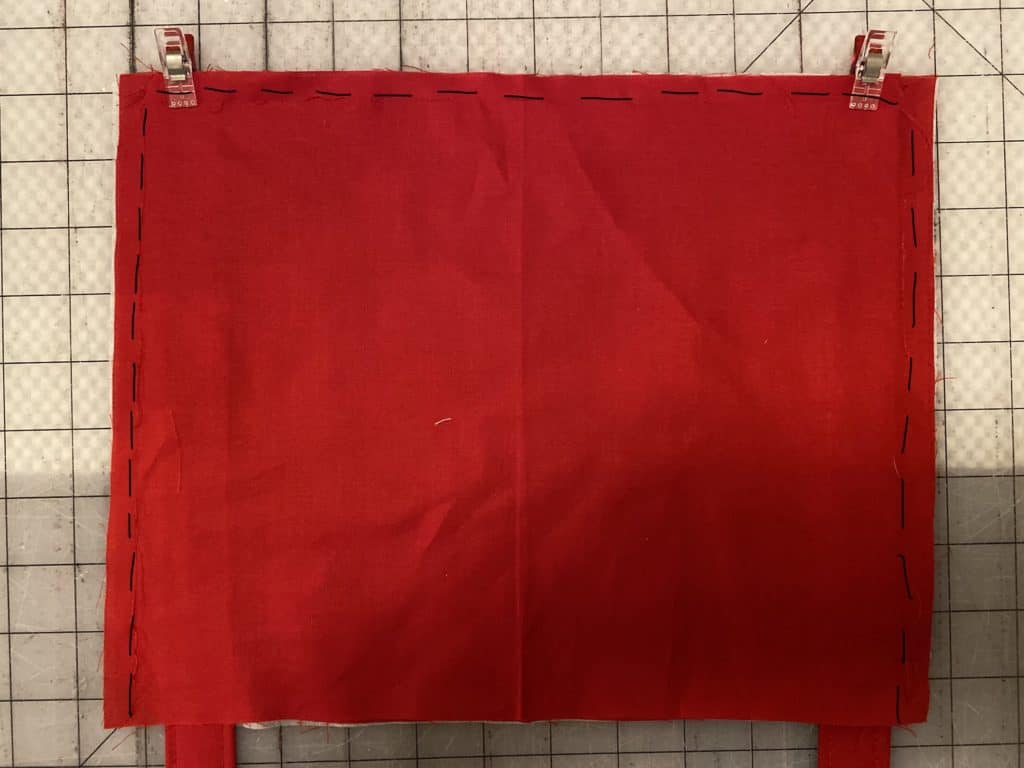
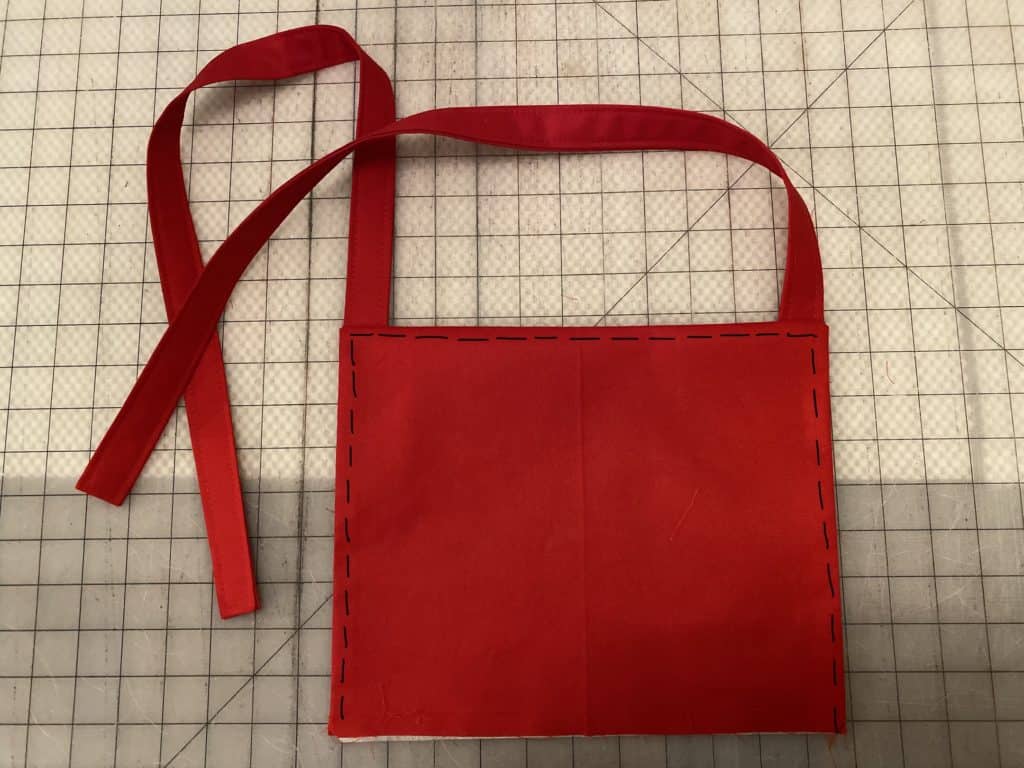
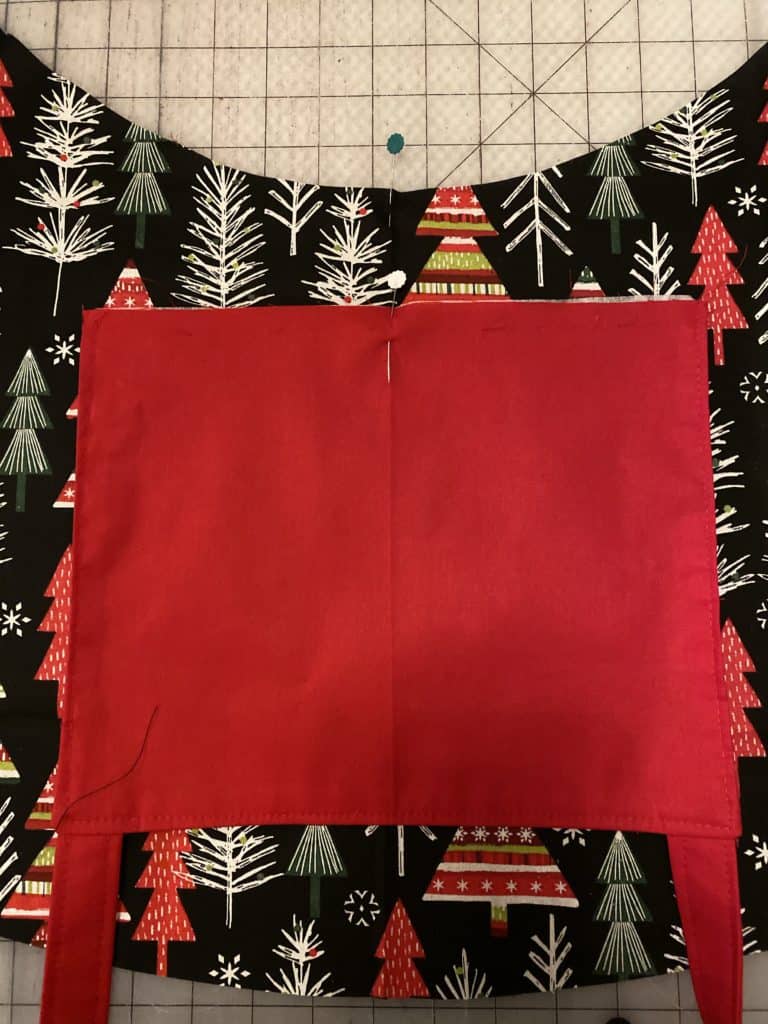
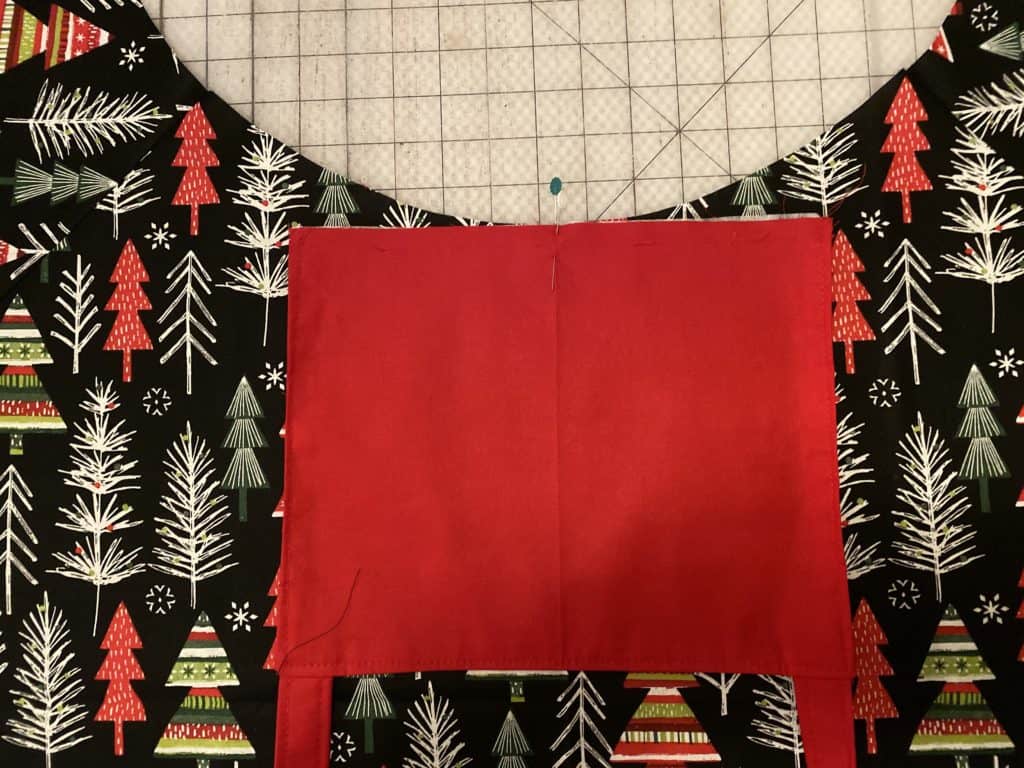
OPTIONAL POCKET


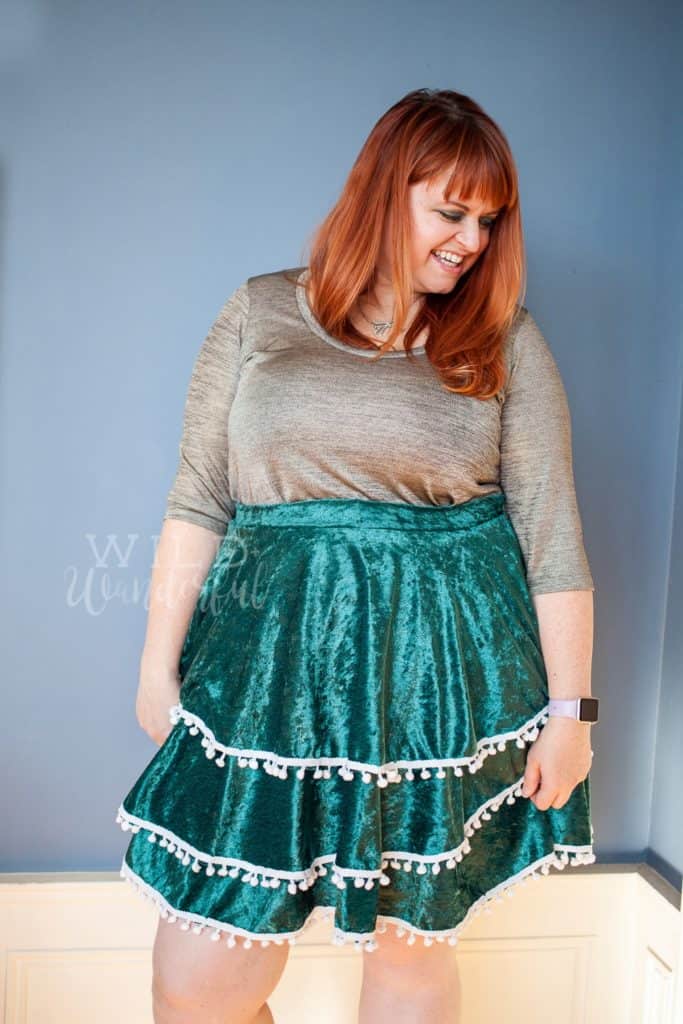
TWIRL FACTOR


Are you ready to go make a fabulous gown? Go grab the patterns now!
GALA GOWN | GALA GOWN YOUTH | GALA GOWN BUNDLE
And if our pattern alone doesn’t provide enough options for you, we’ve also included a blog post that will help take the Gala Gowns to the next level! Go check out our Easy Hacks Post to see how to make some slight alterations to the original pattern, to customize it even further!
The release sale (no code needed) will be through Saturday December 14th (11:59PM US Central Time Zone).
Happy Sewing, Pirates!


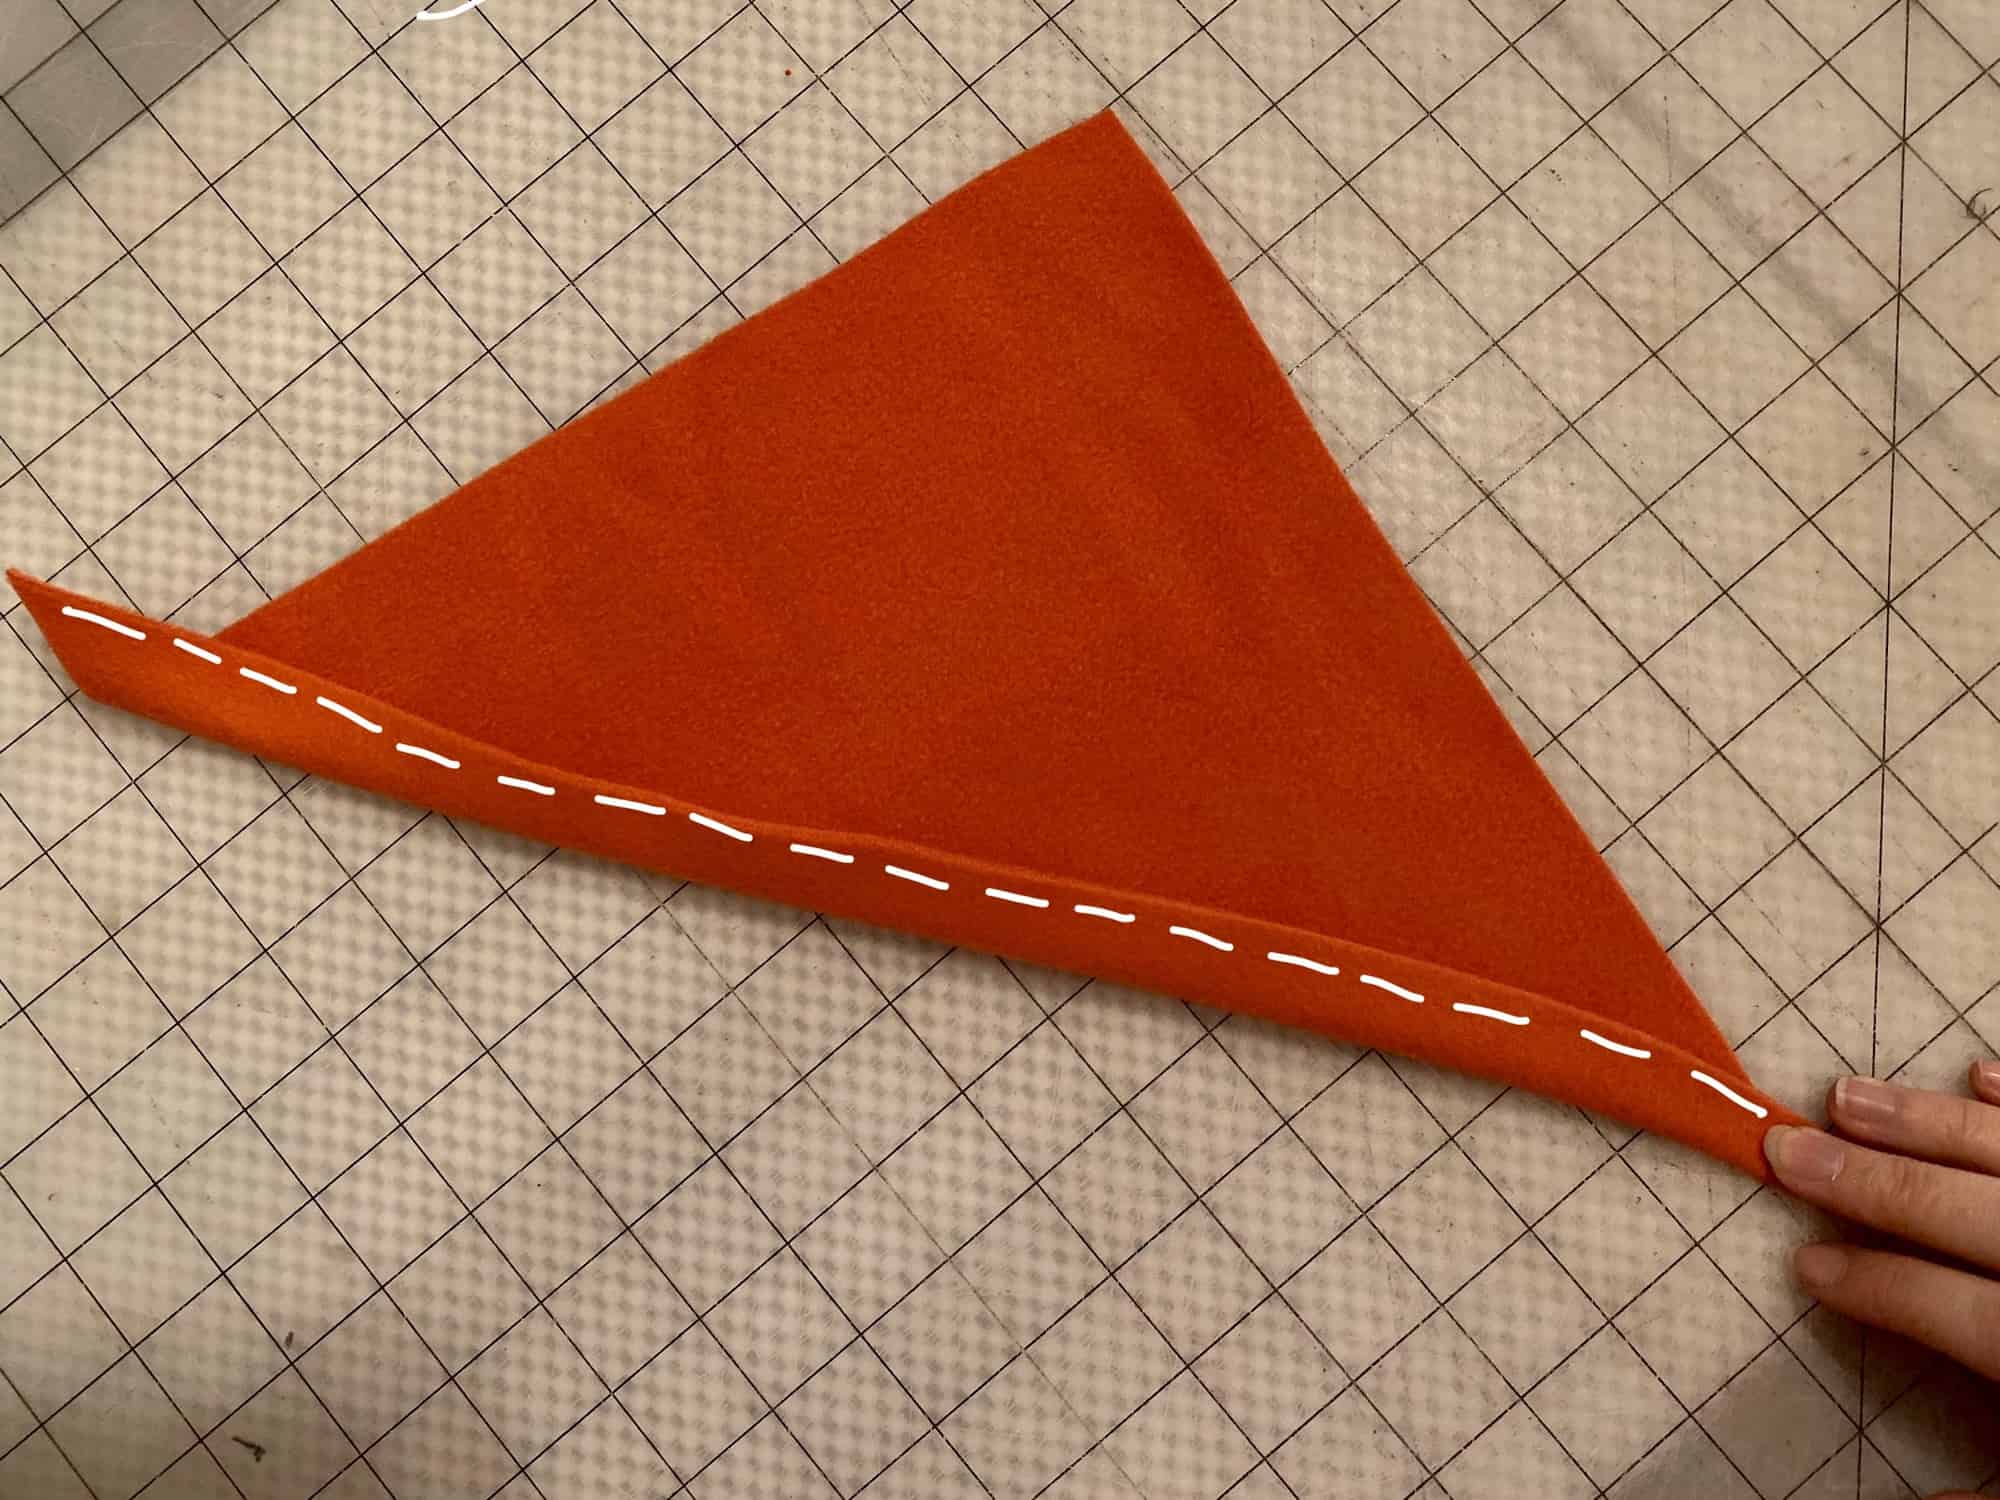
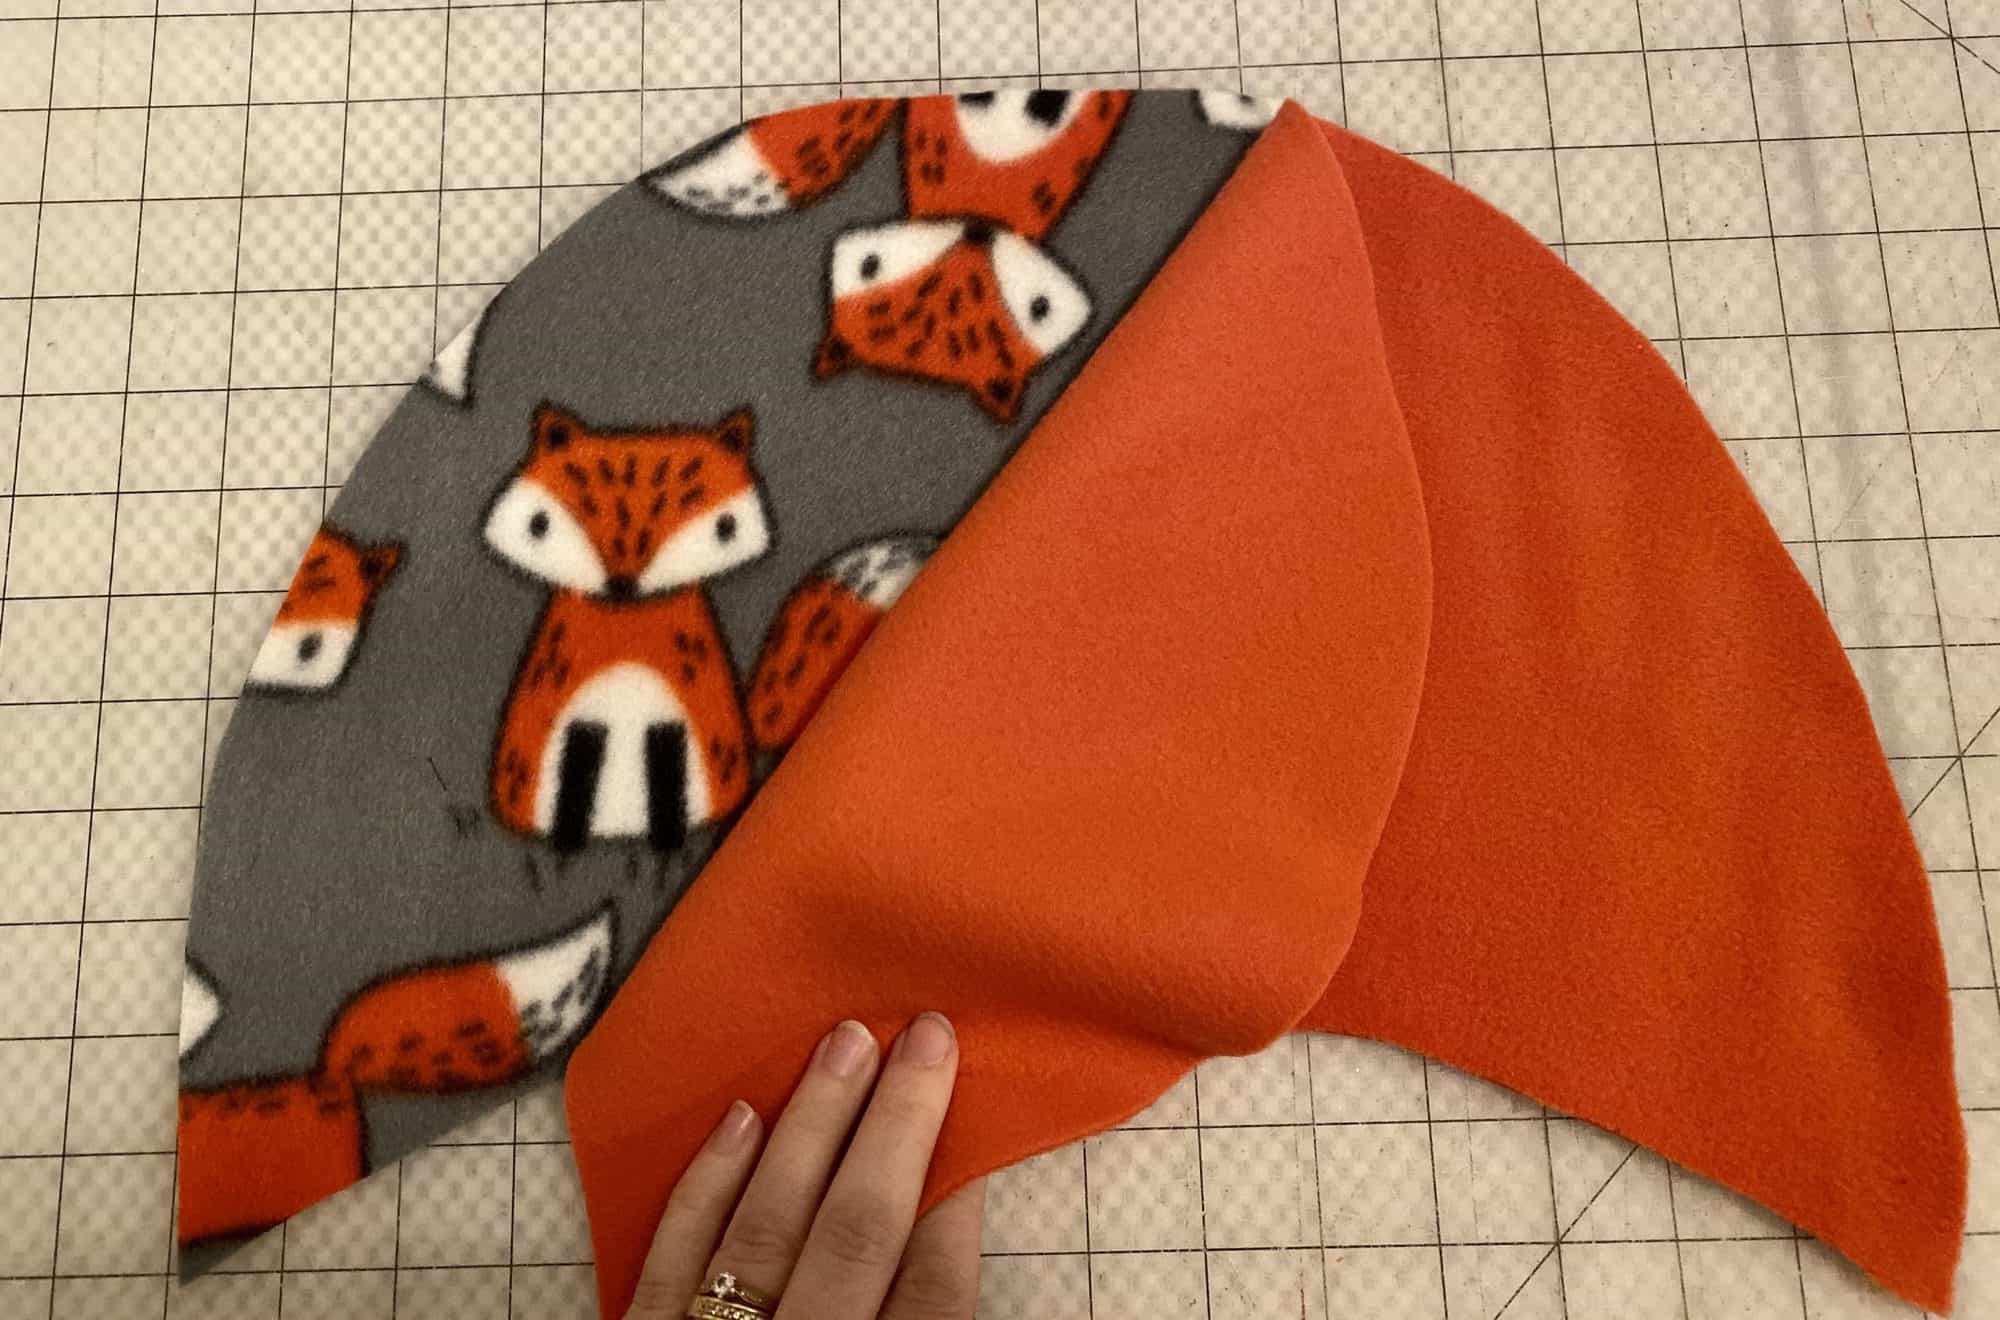

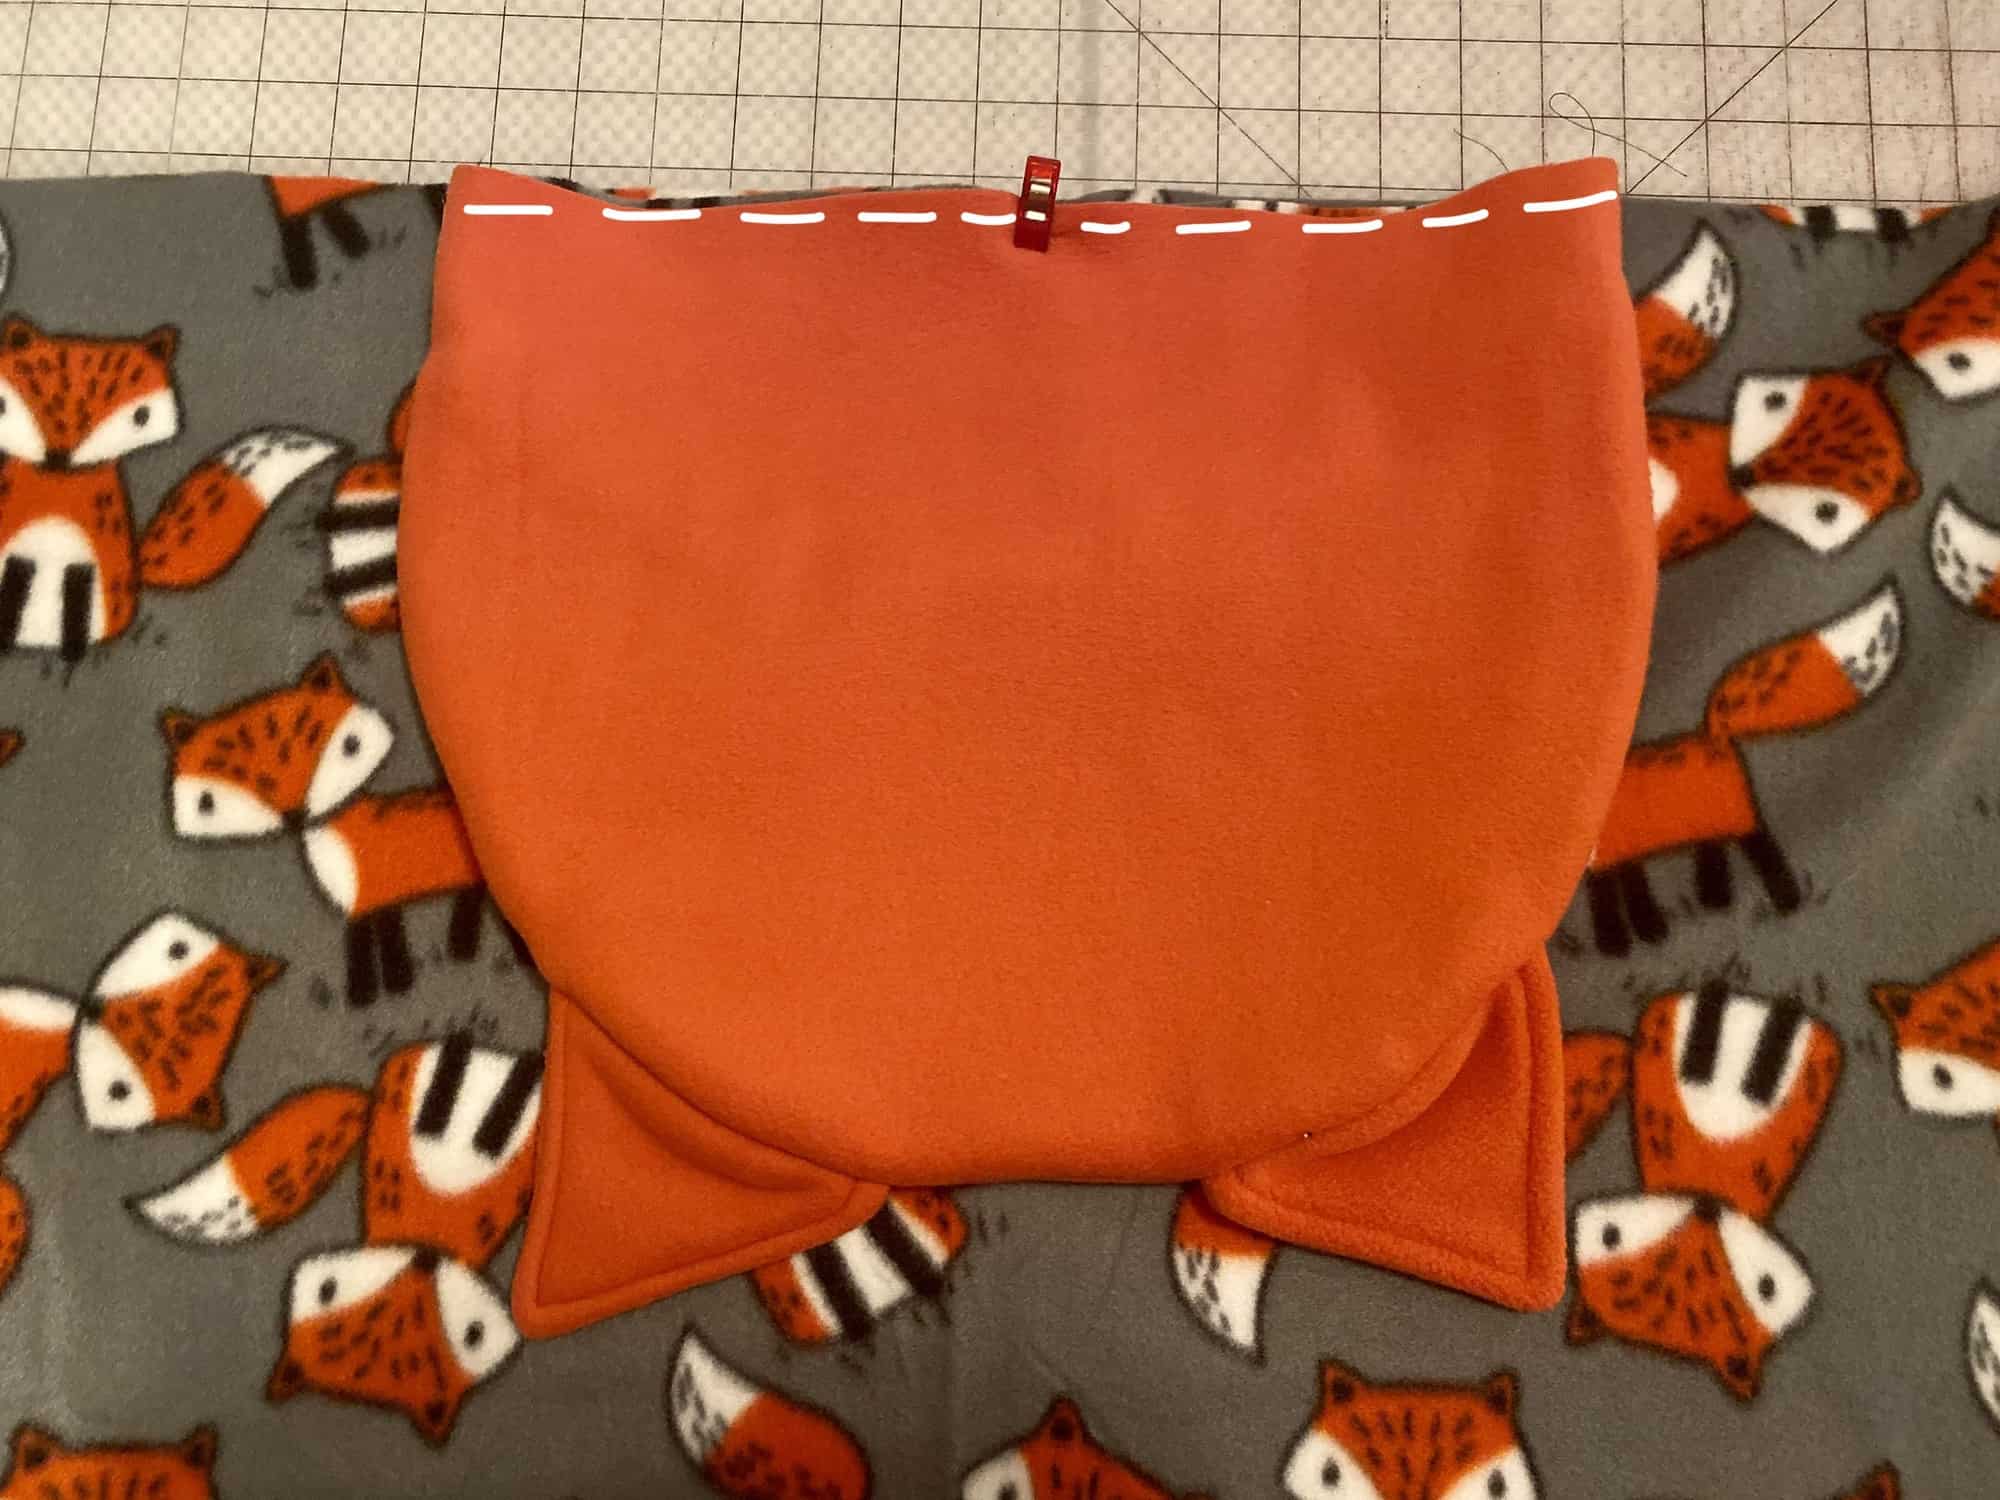
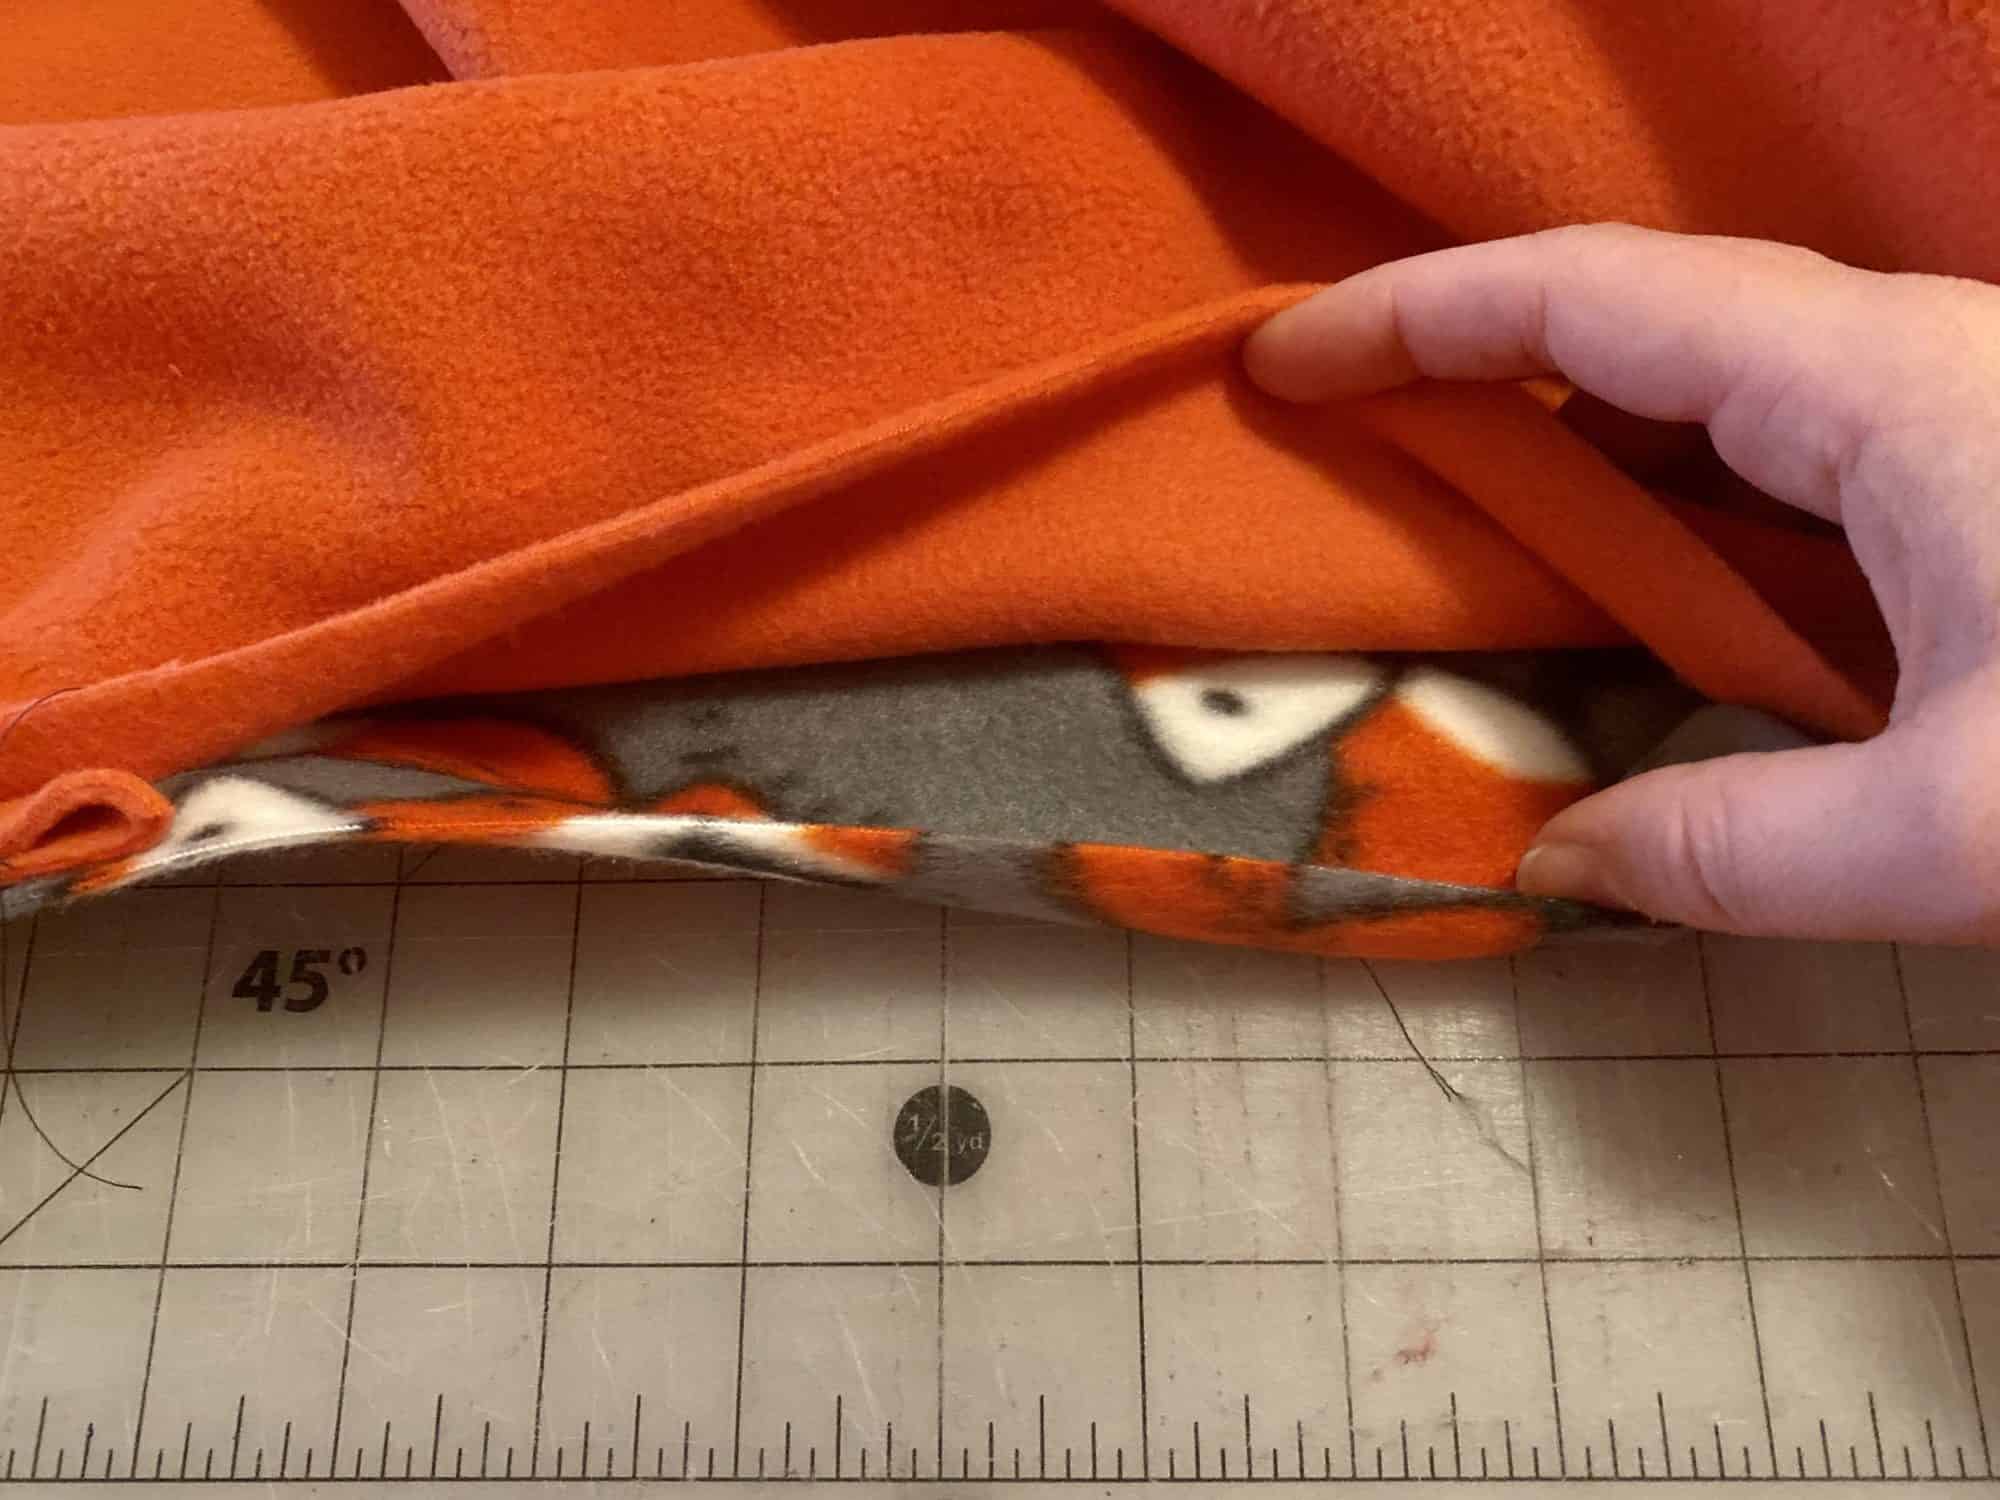
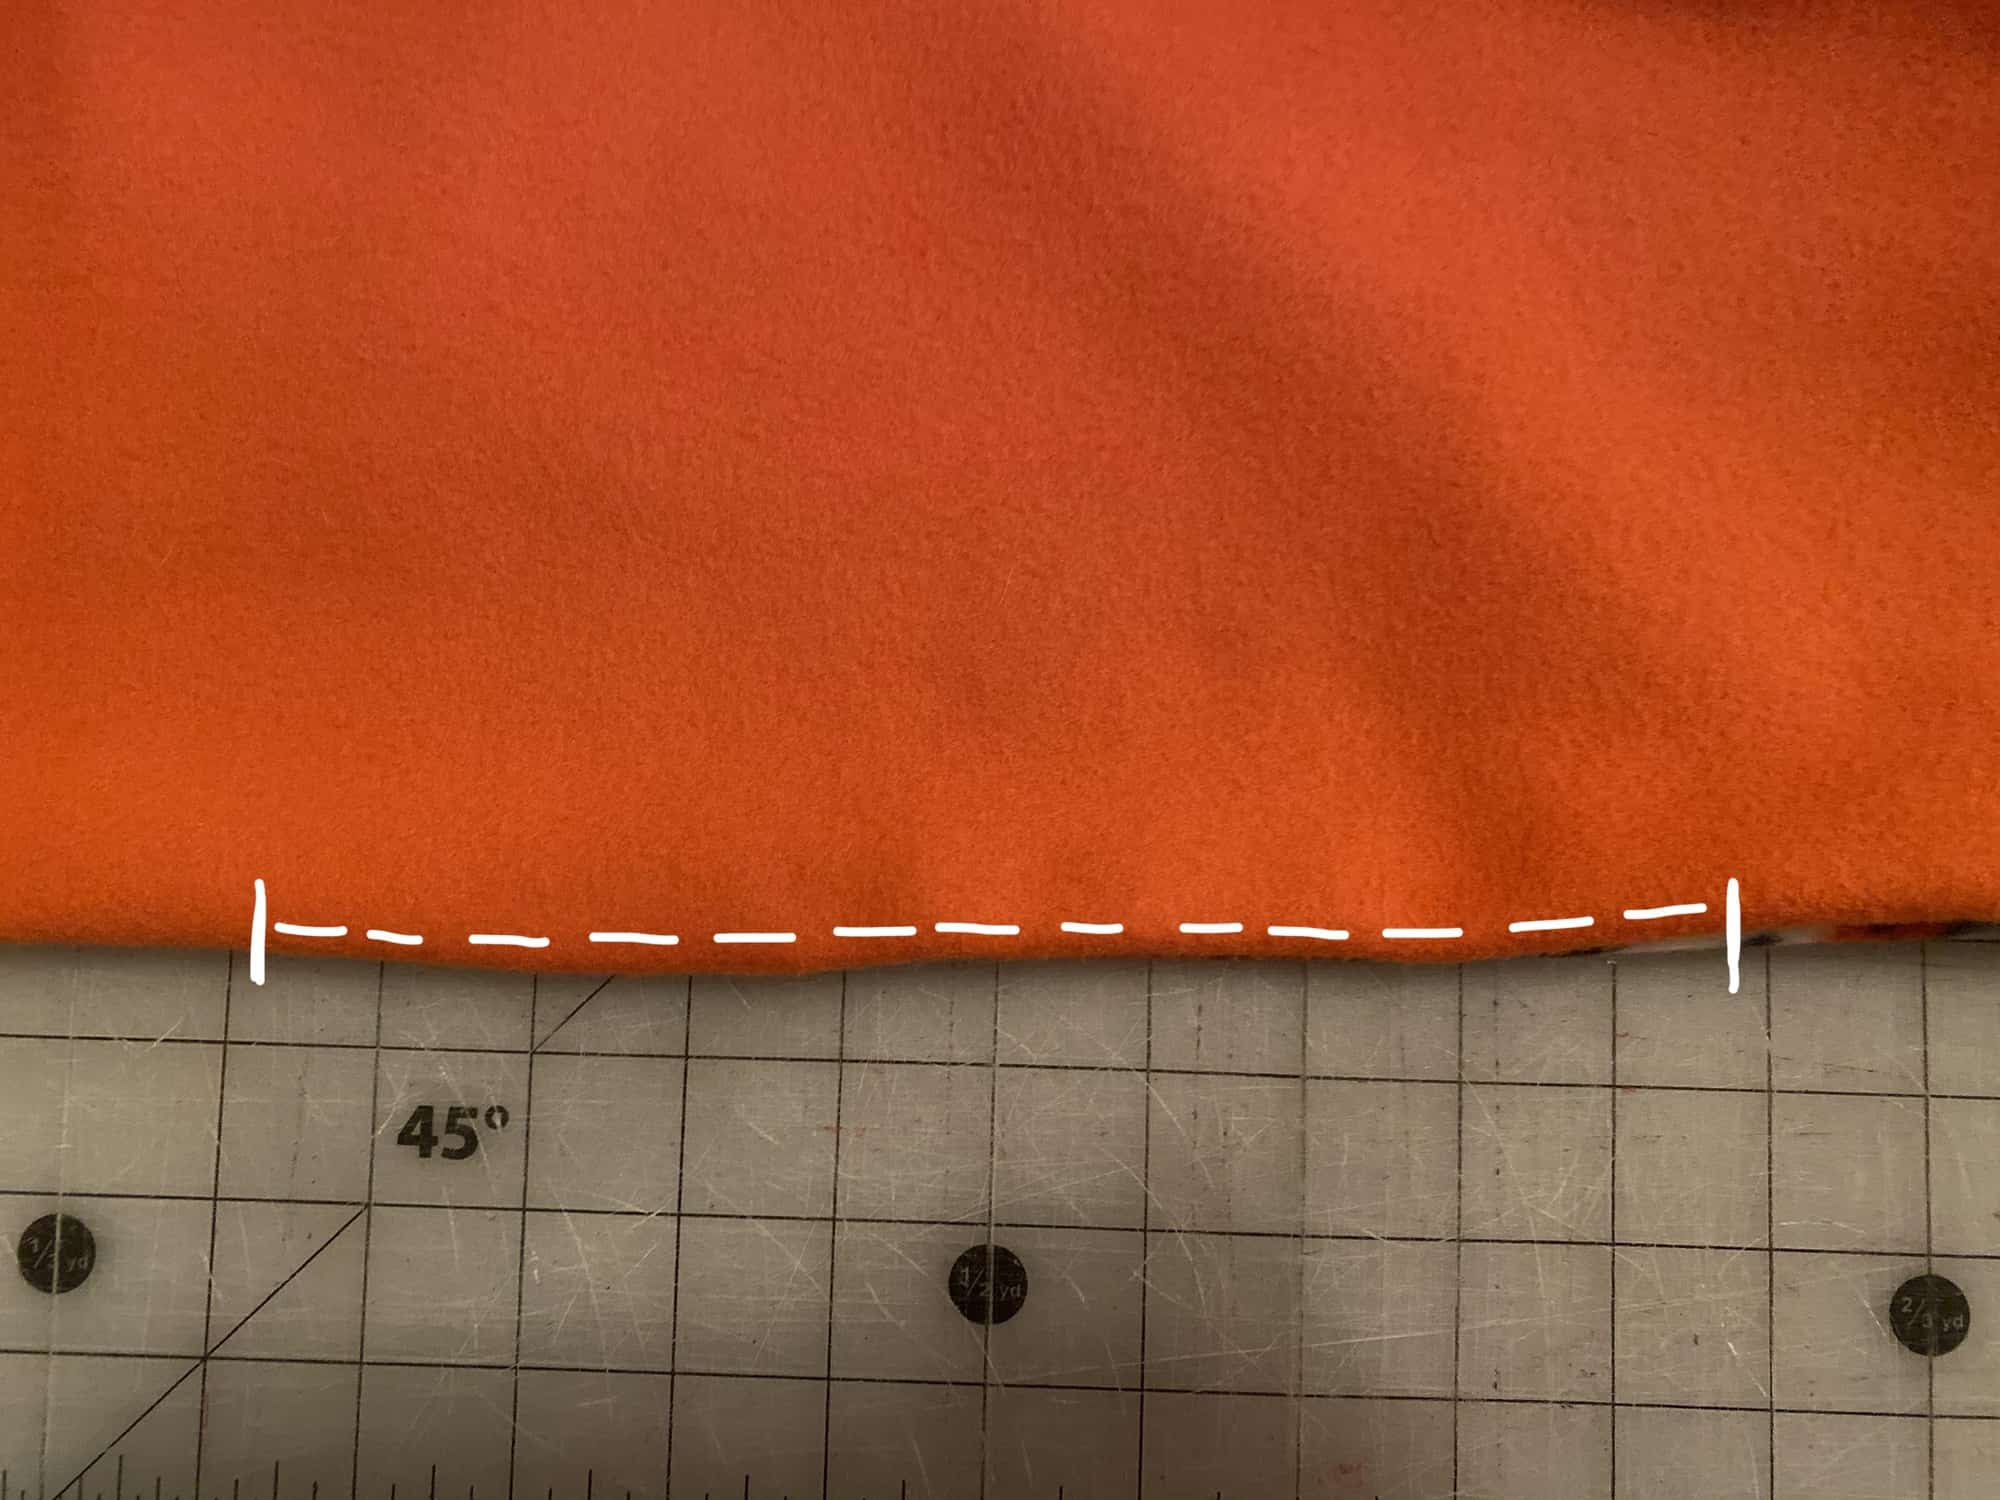

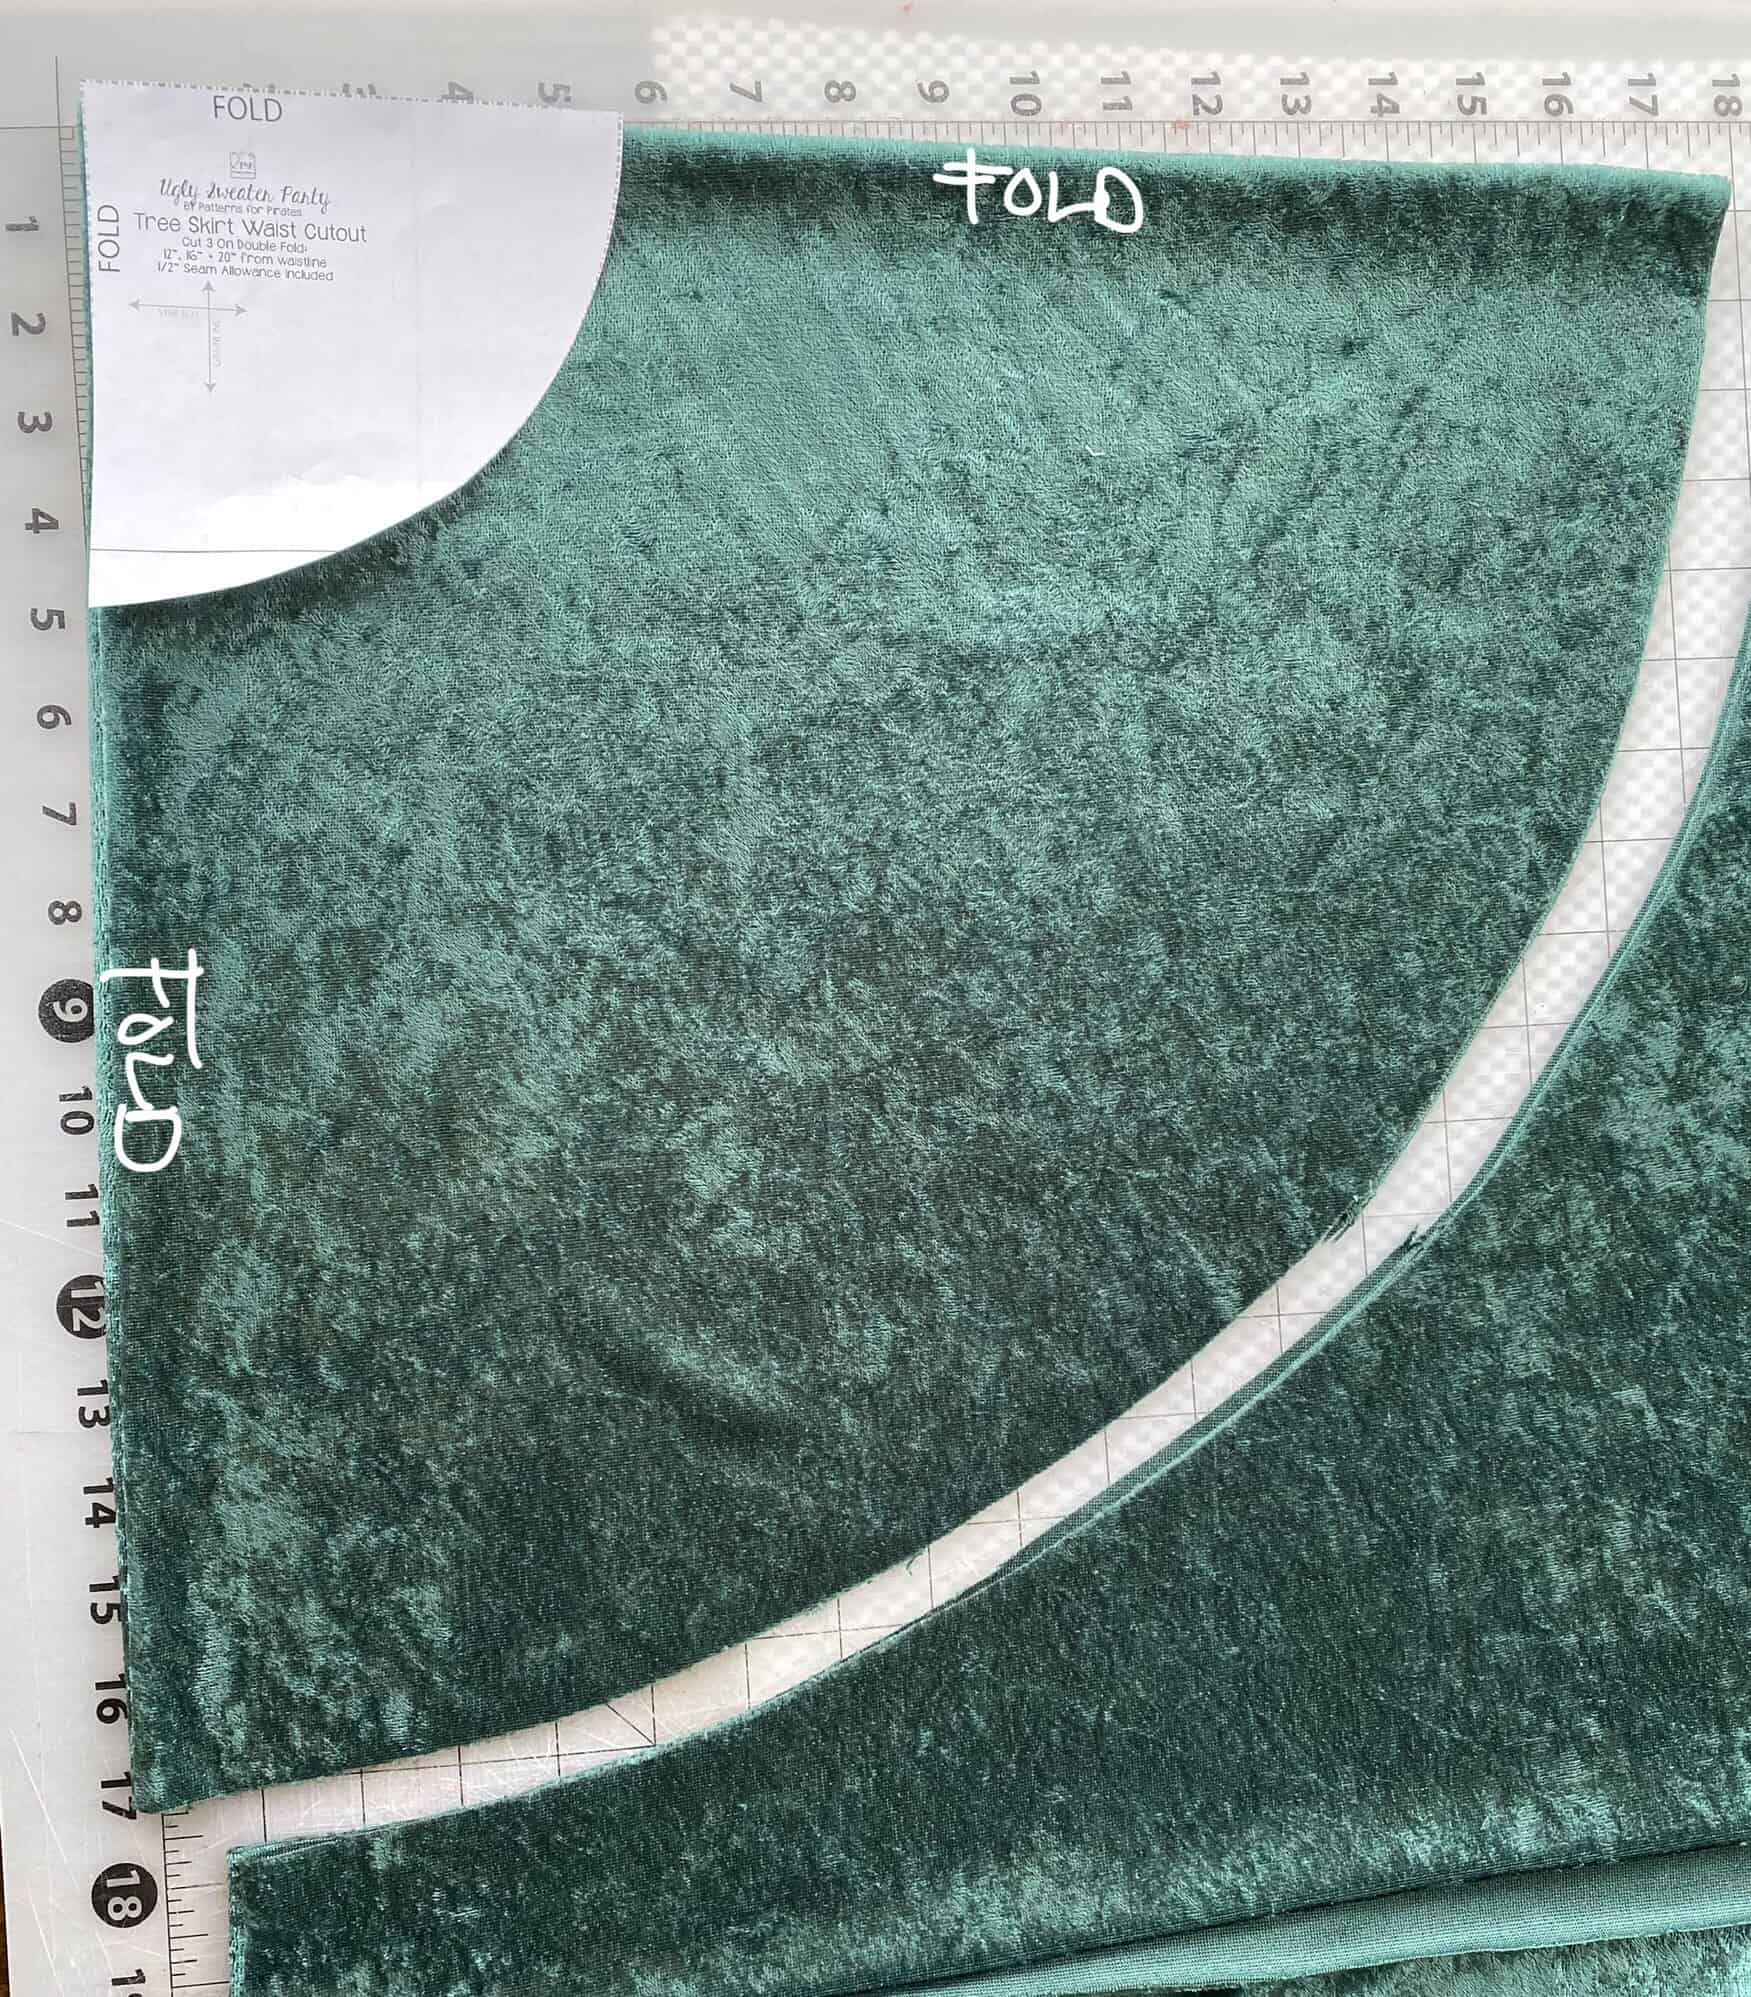
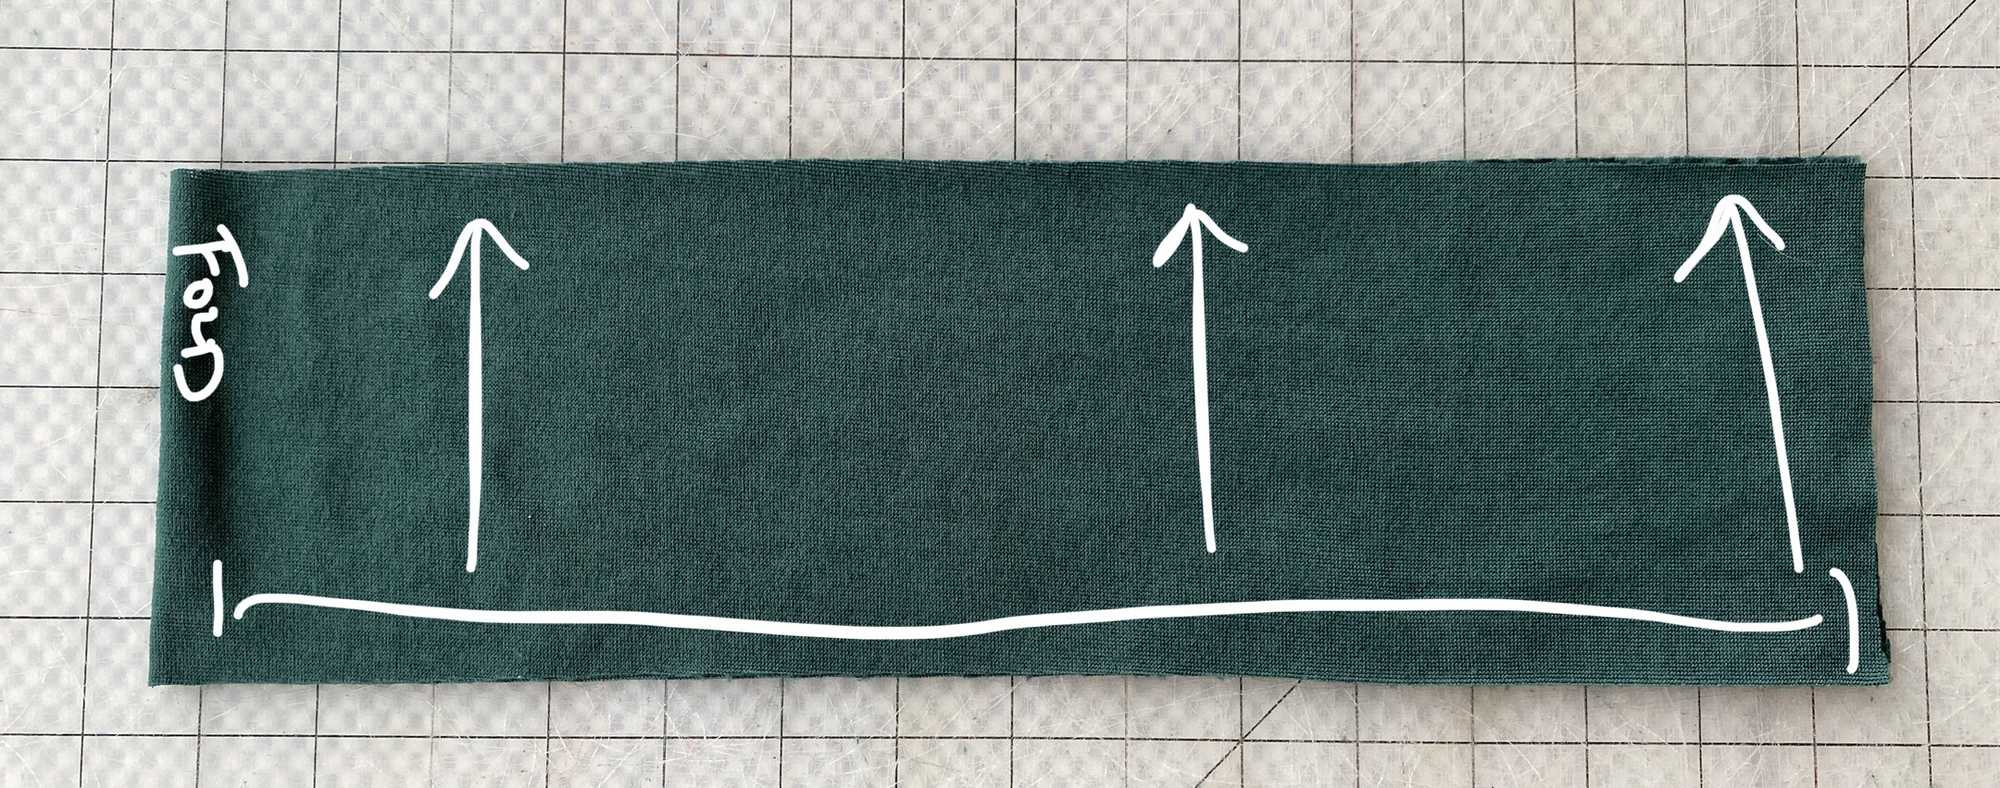
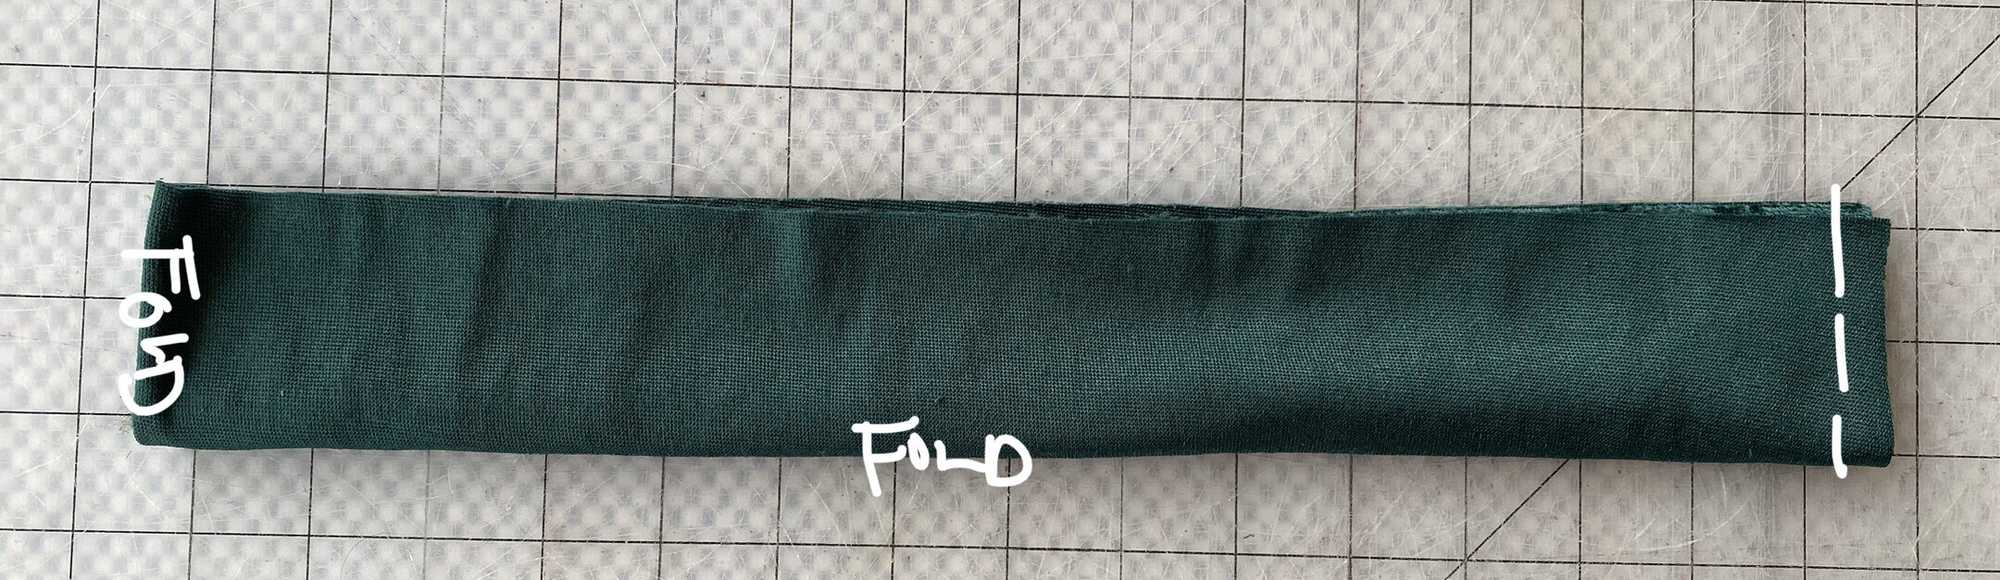
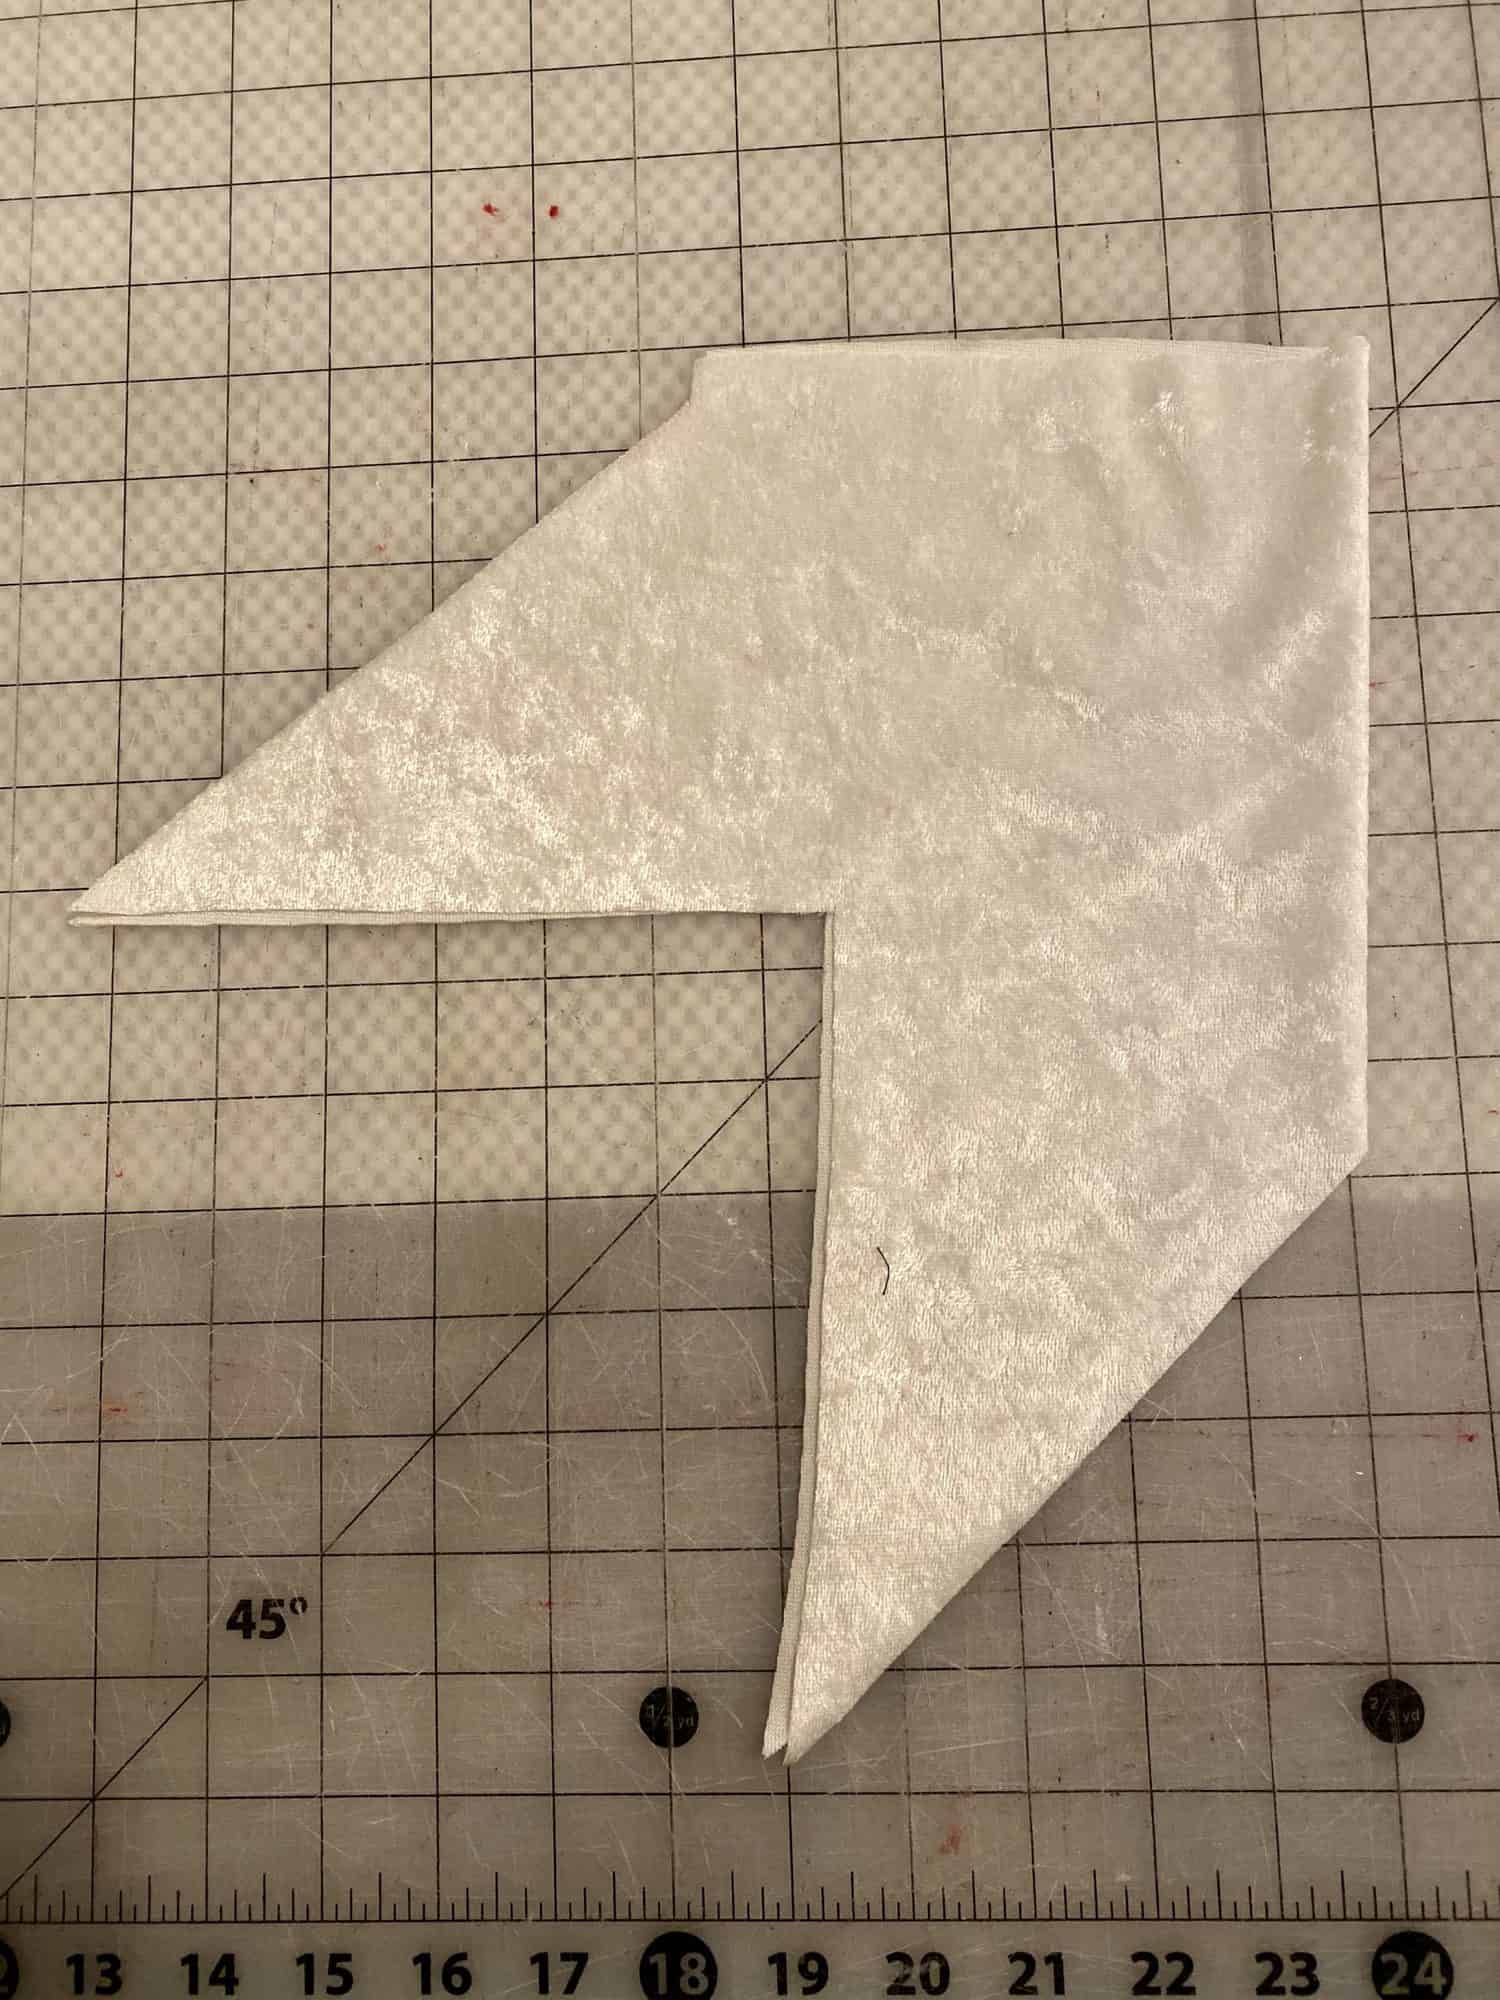
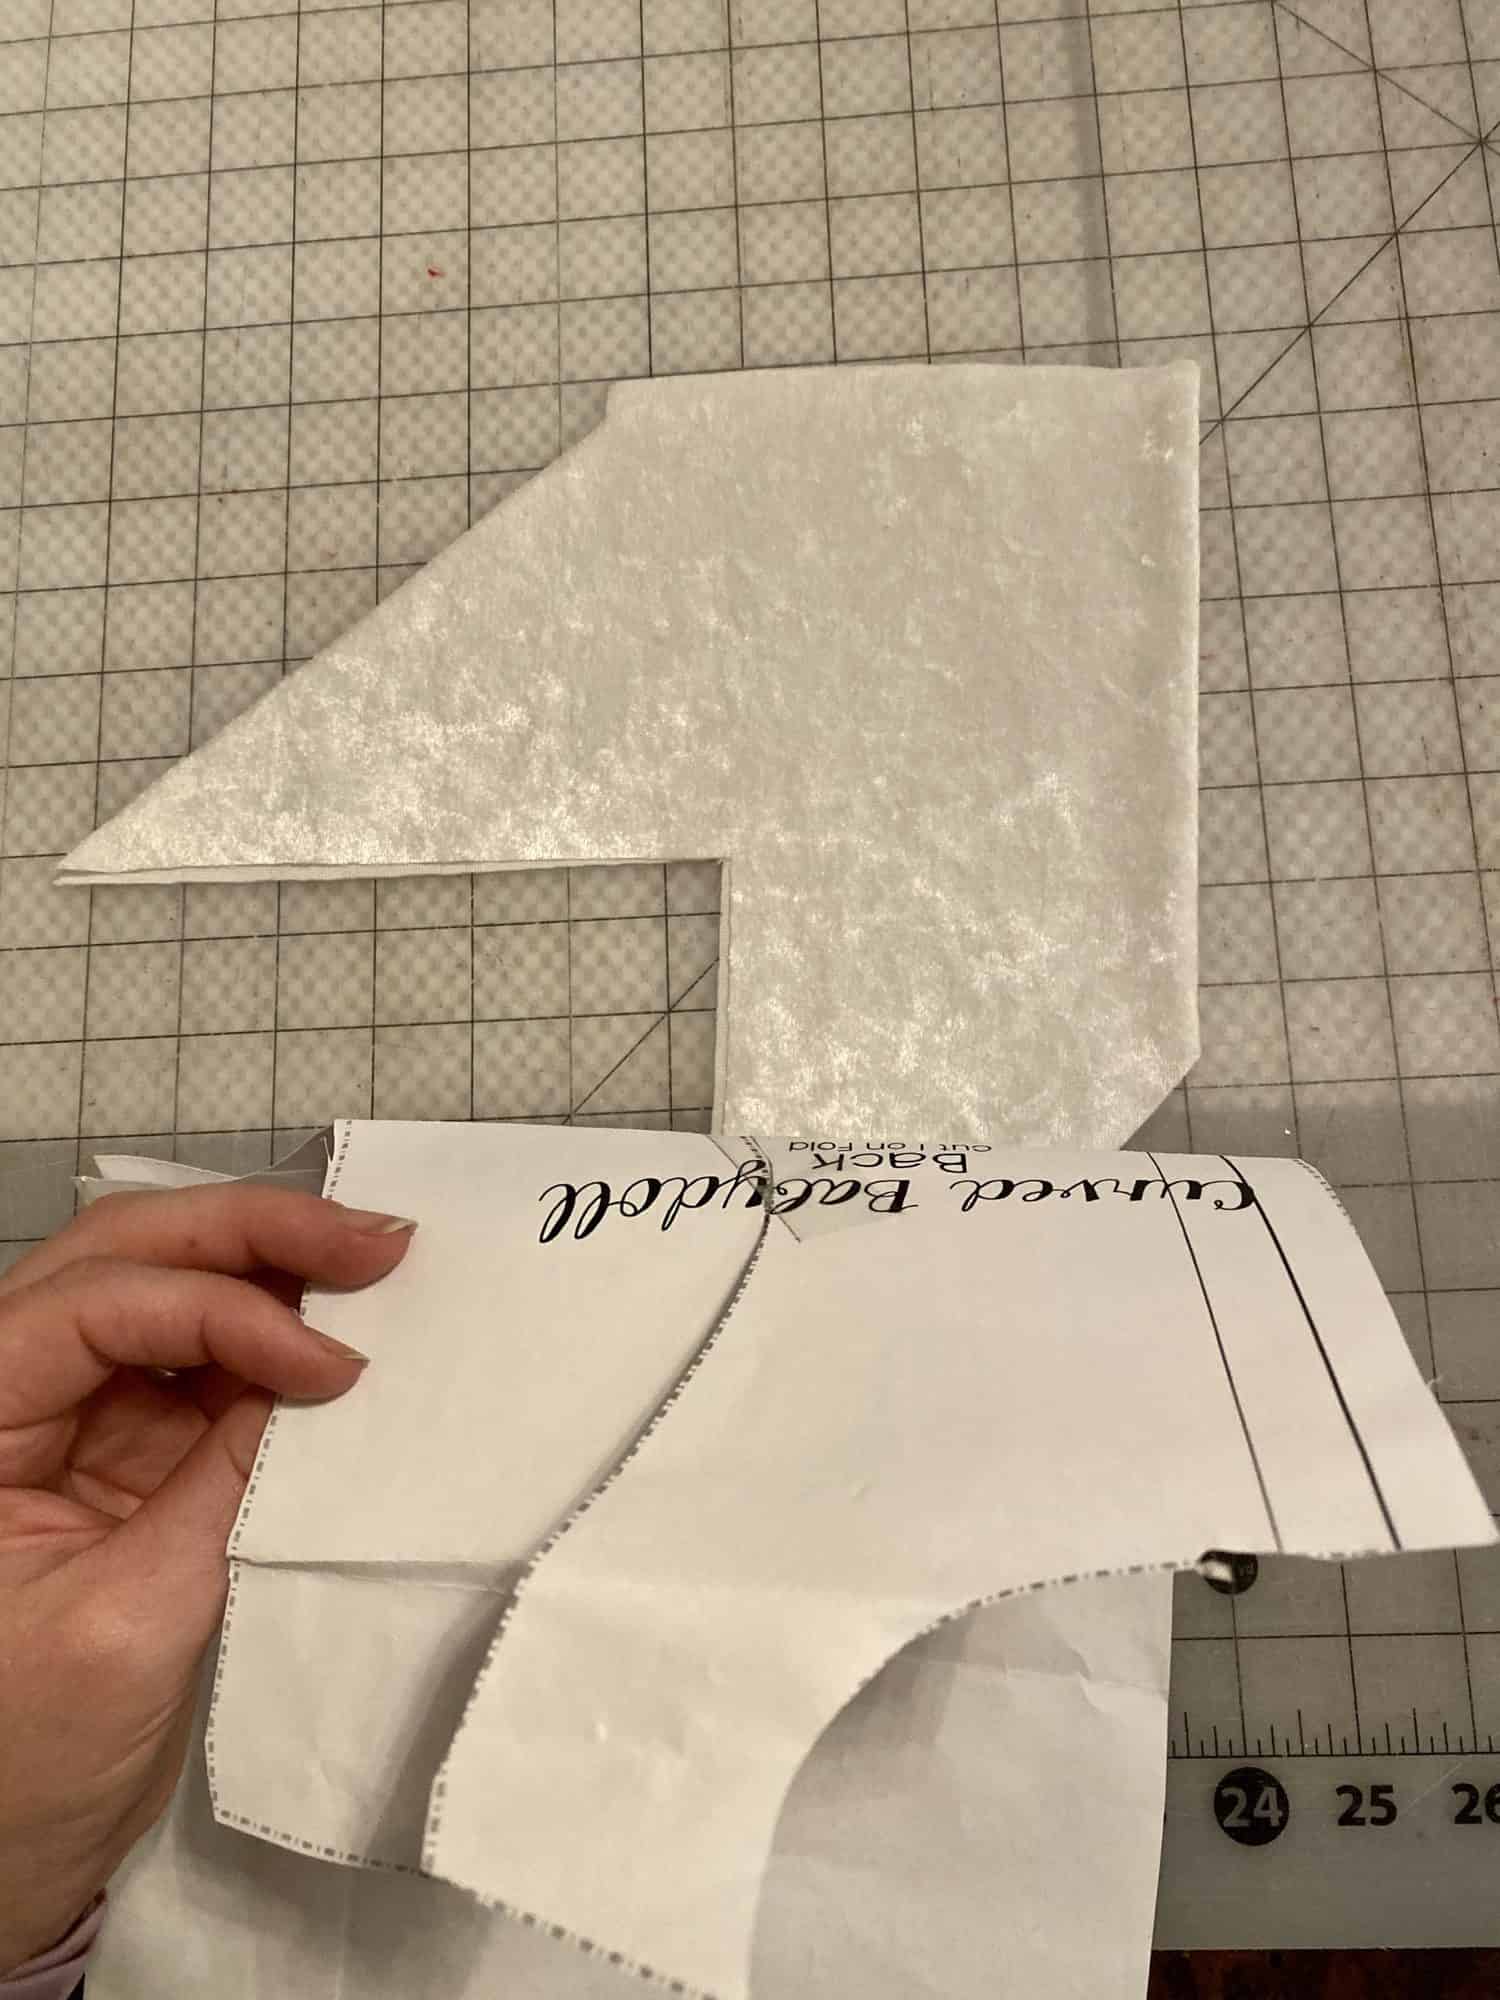
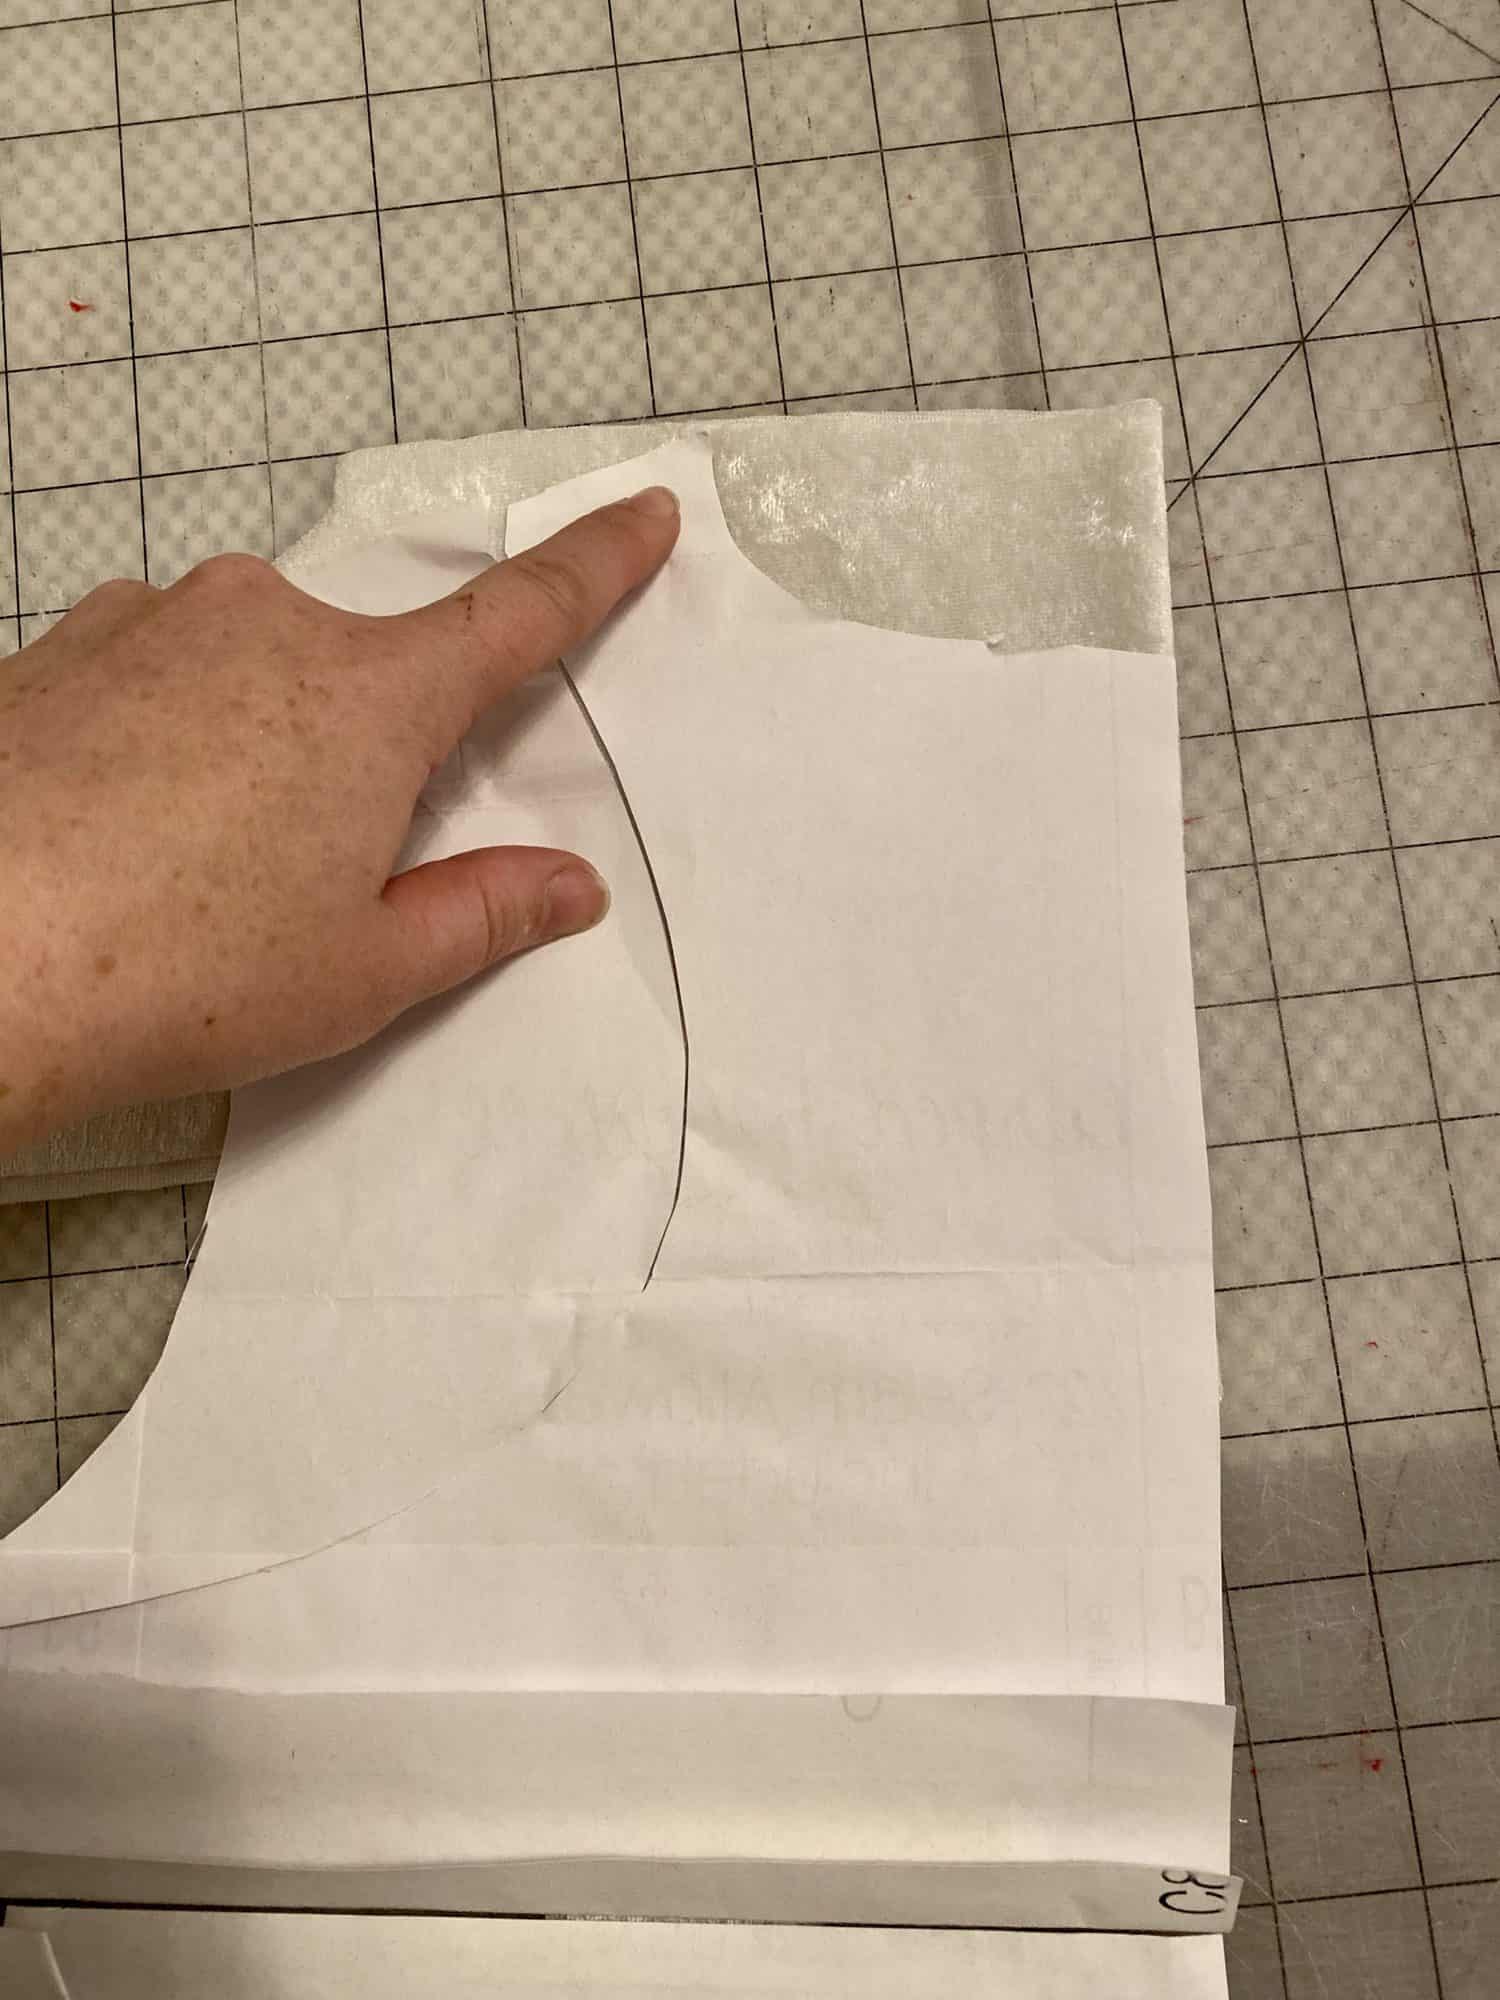
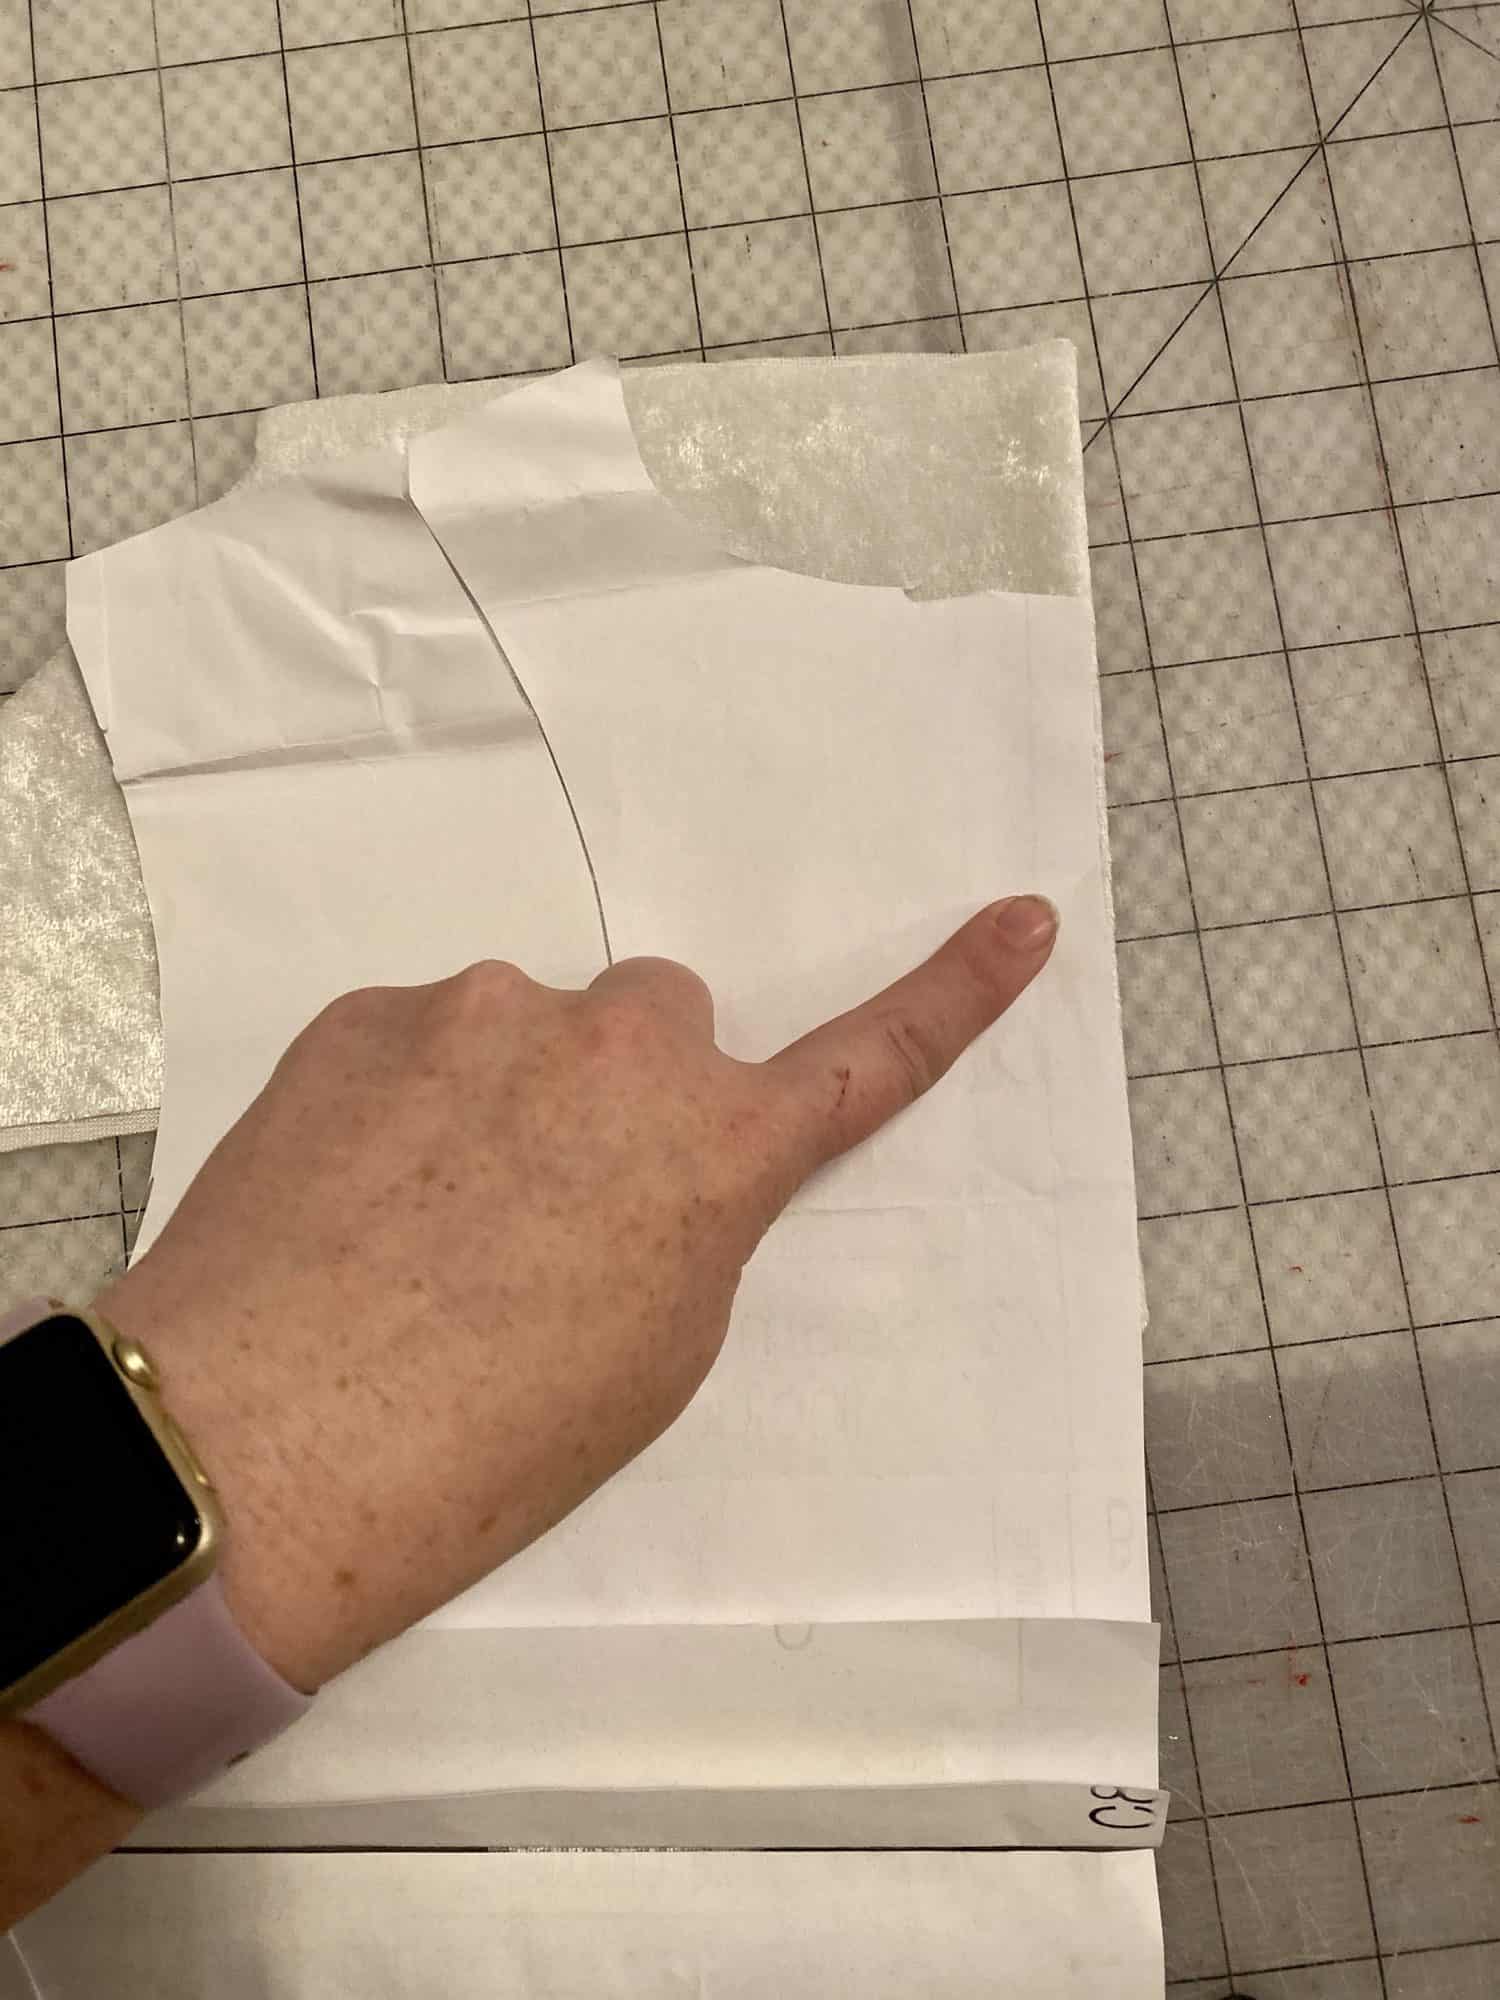
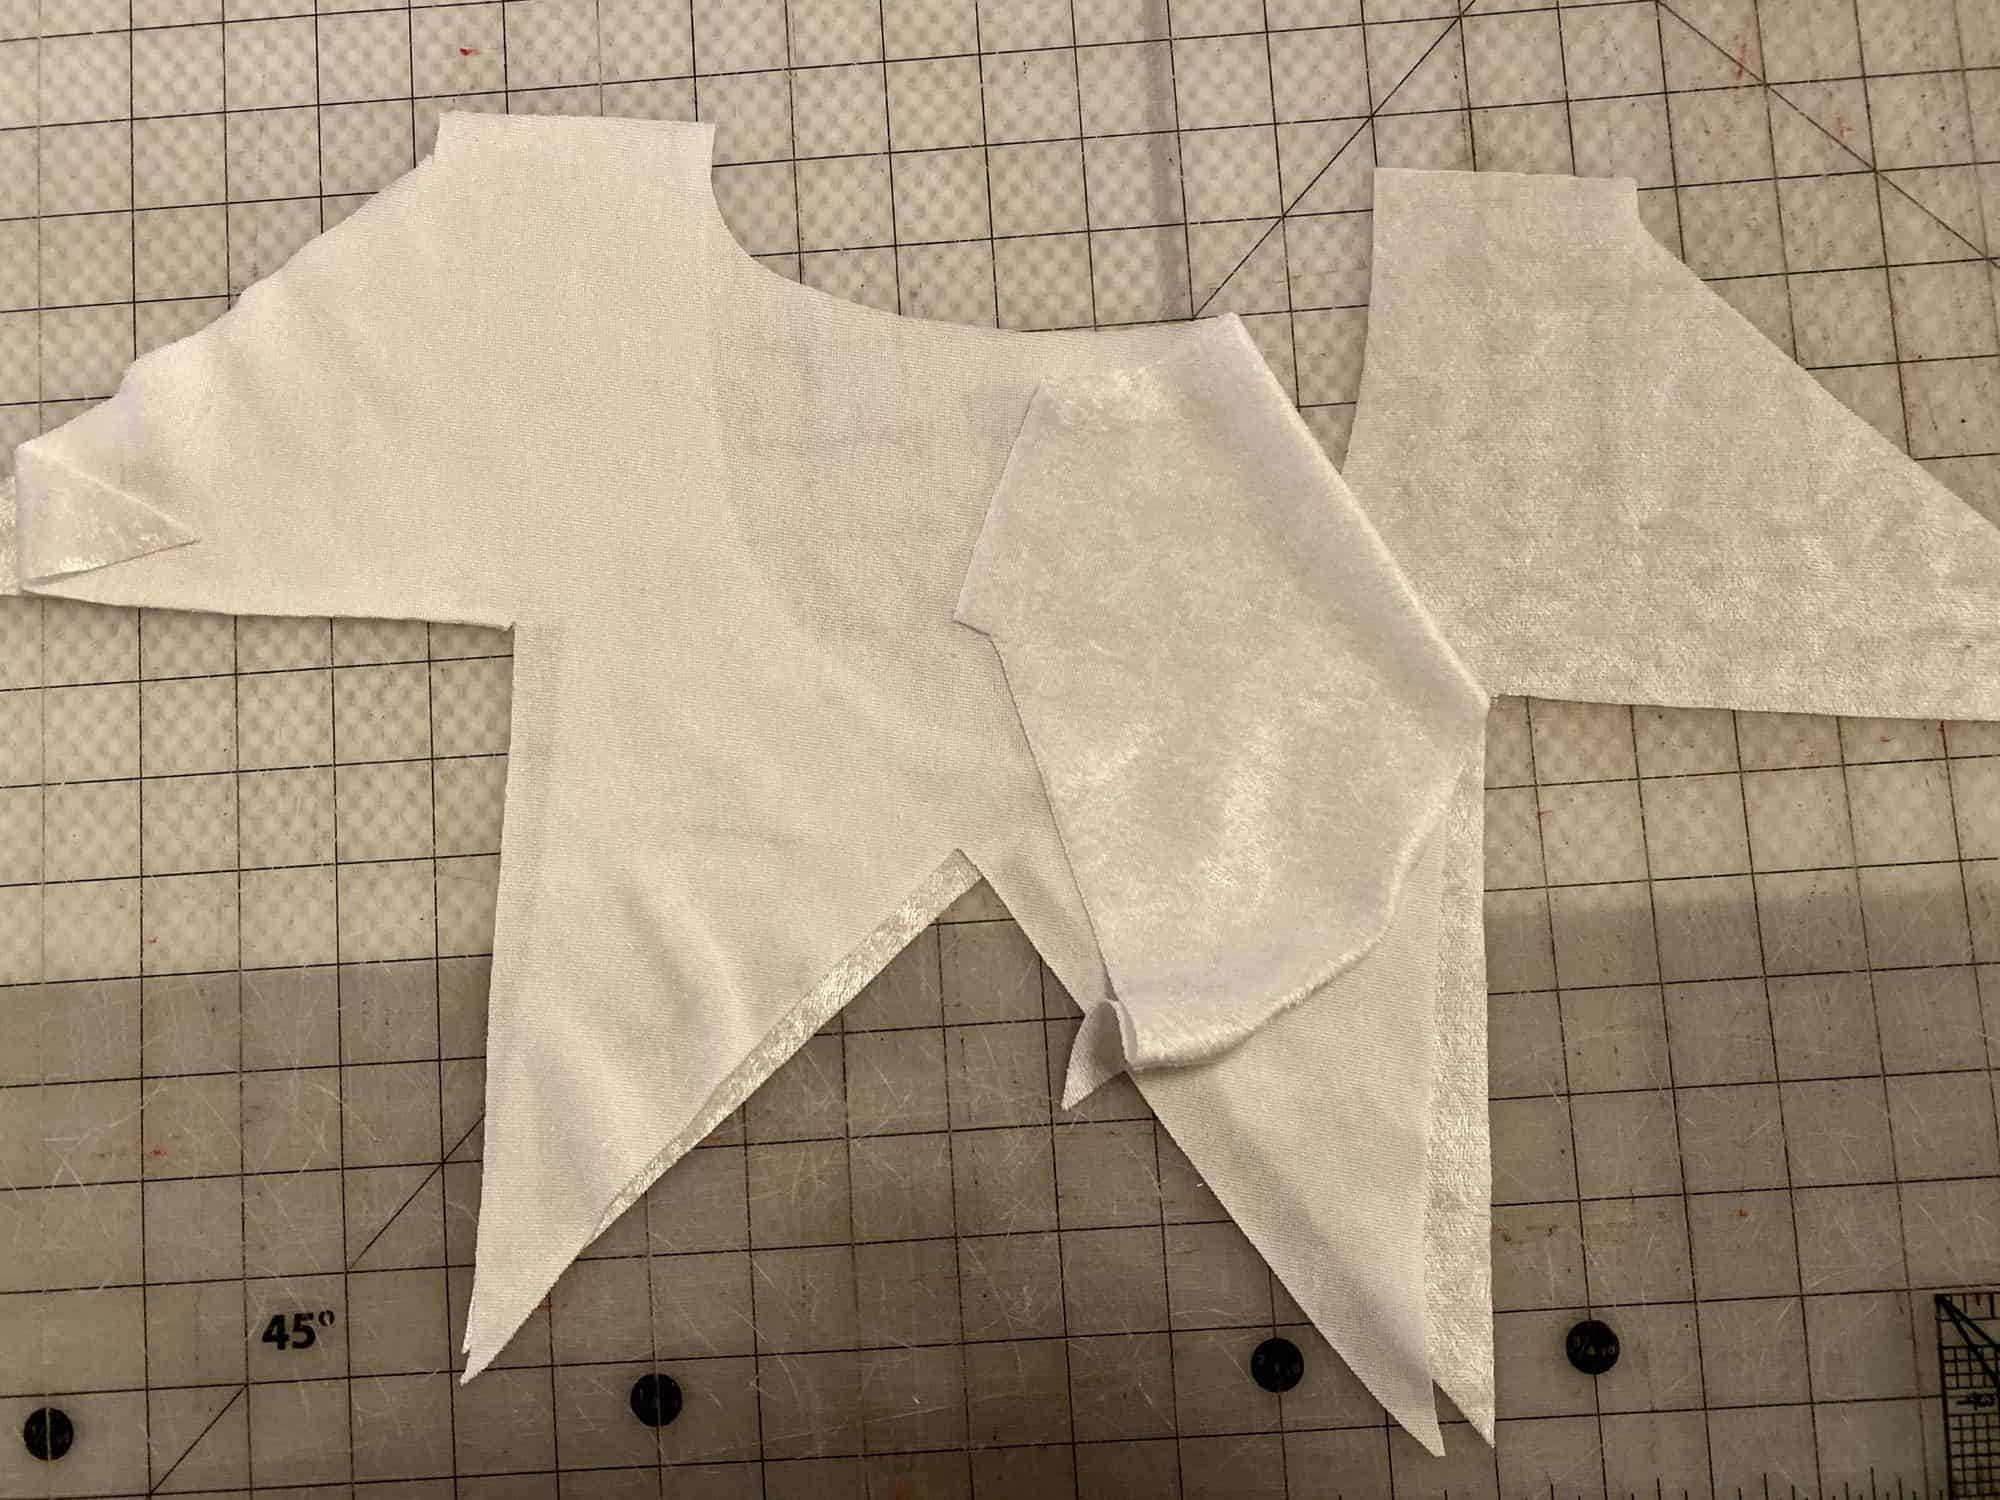
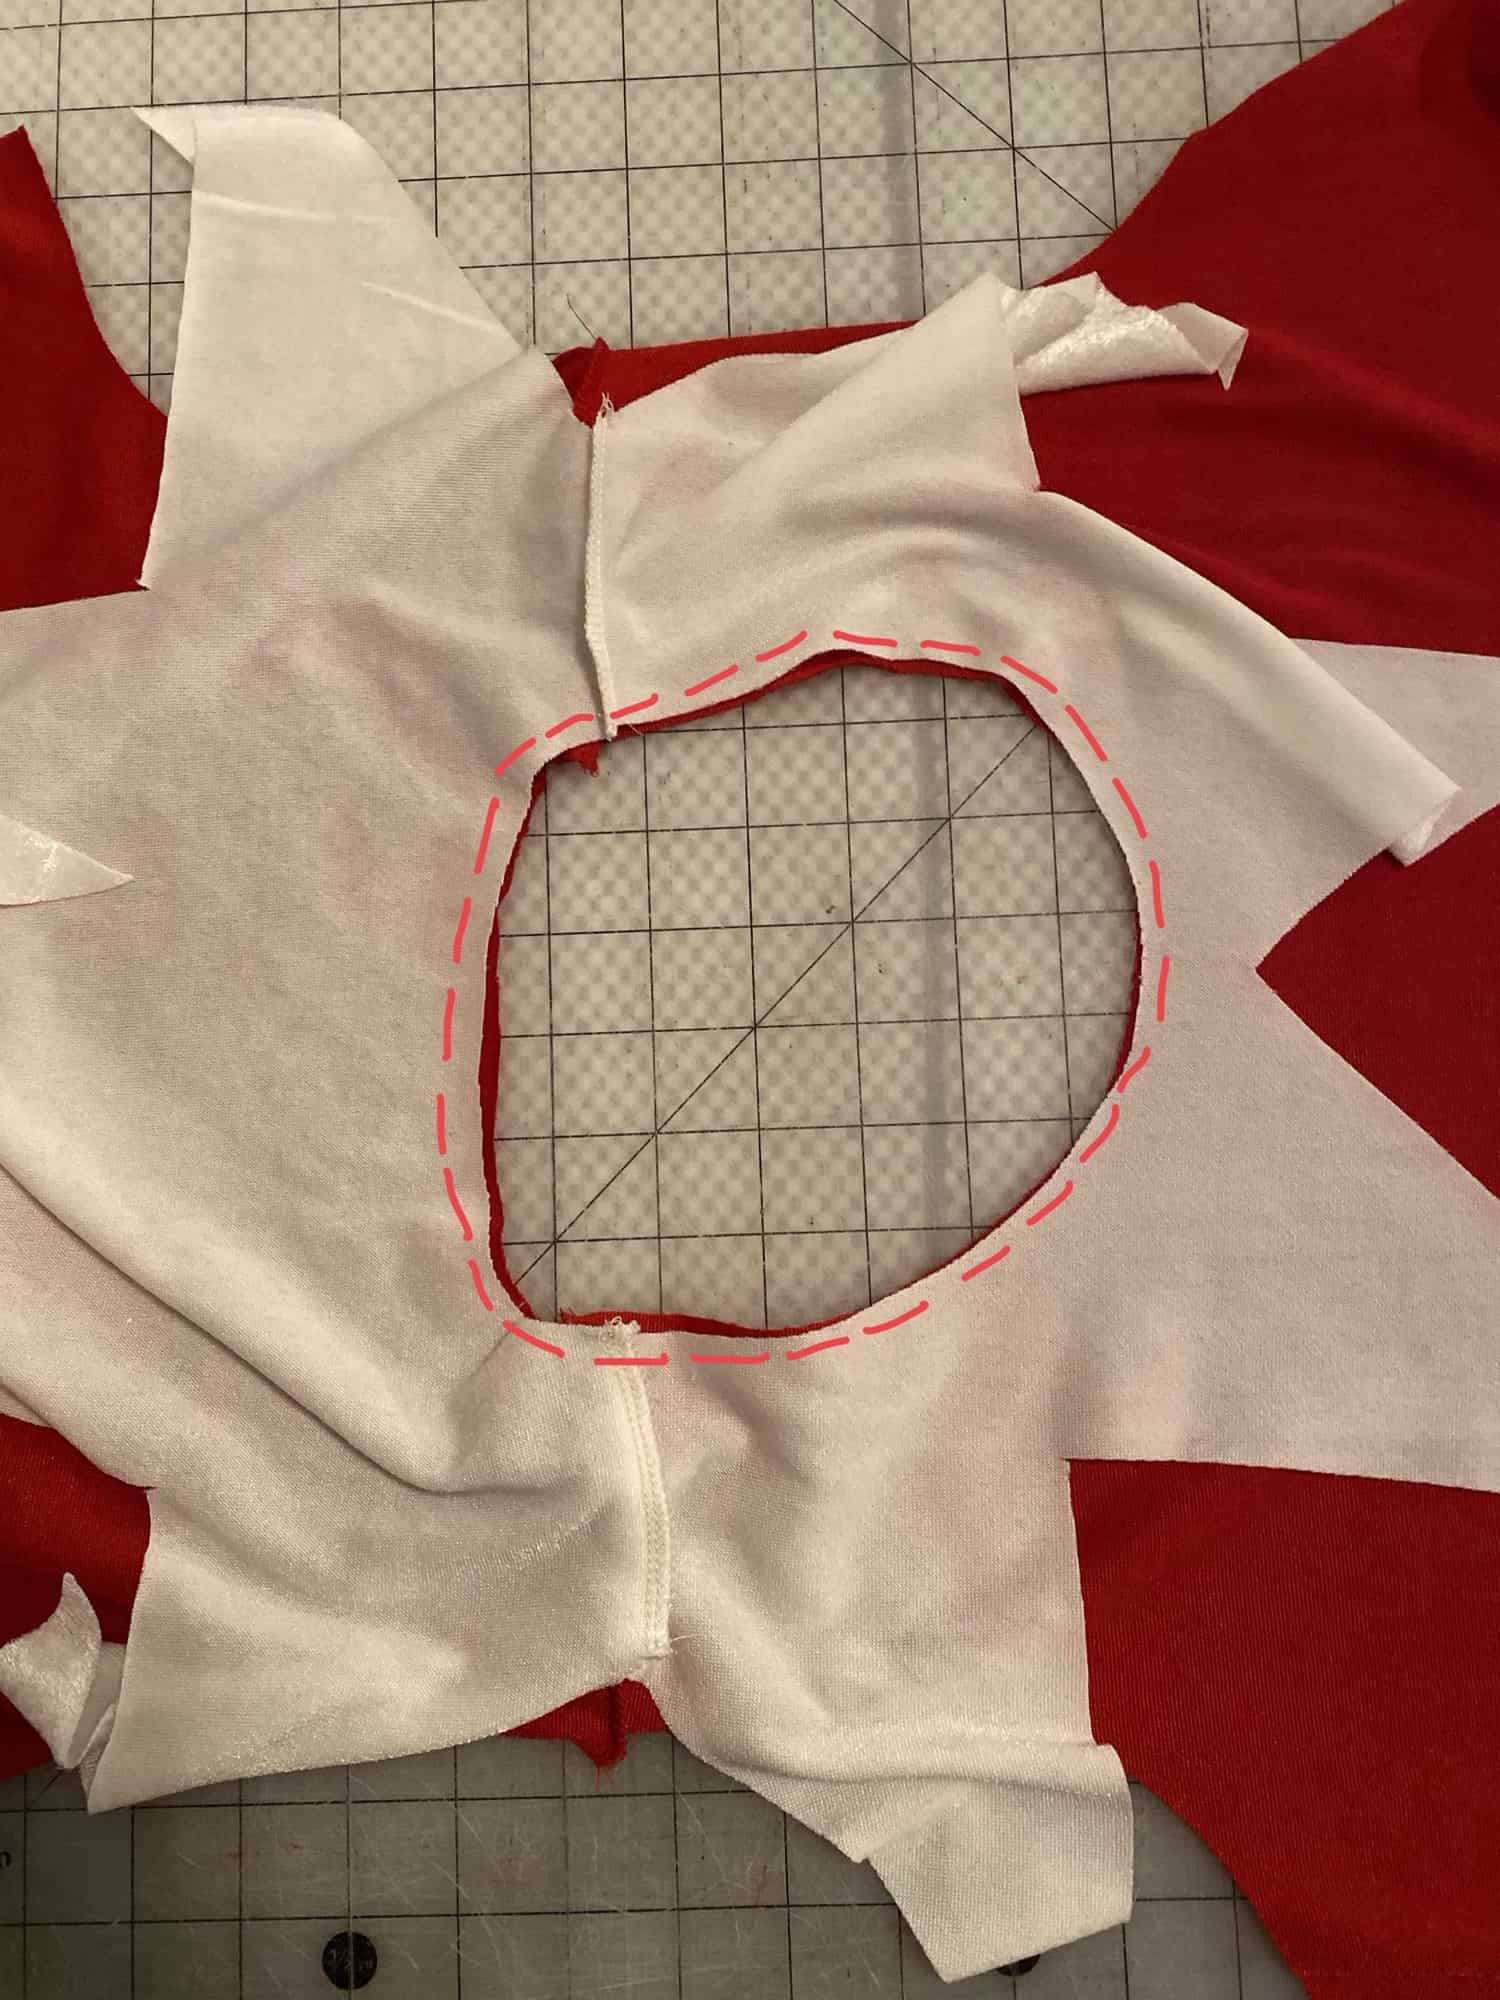
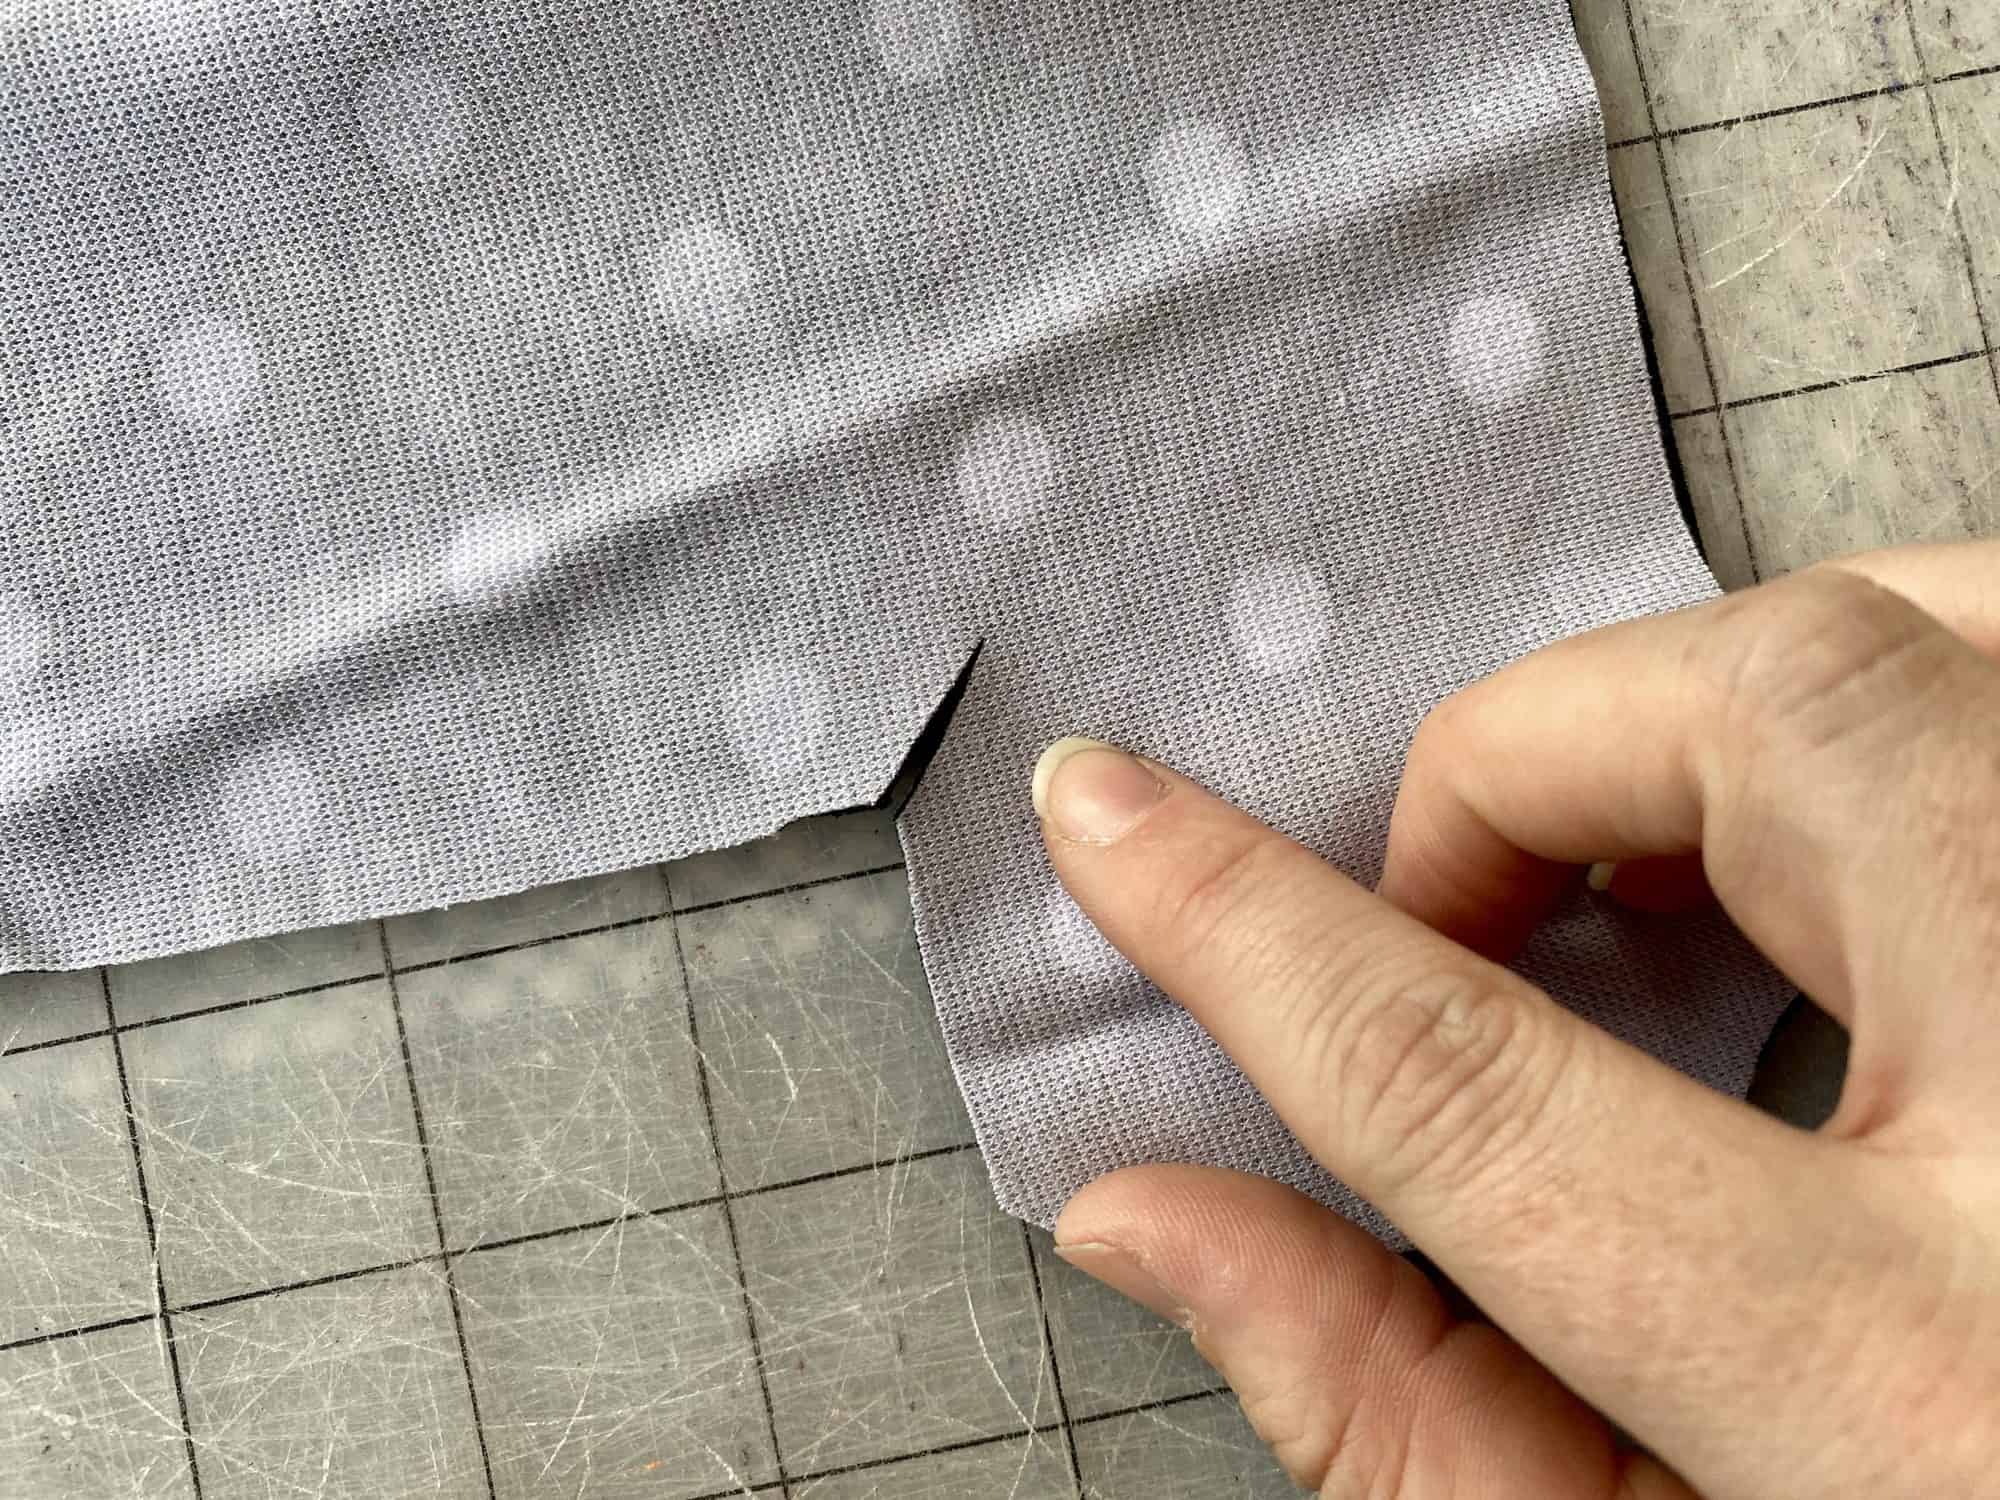
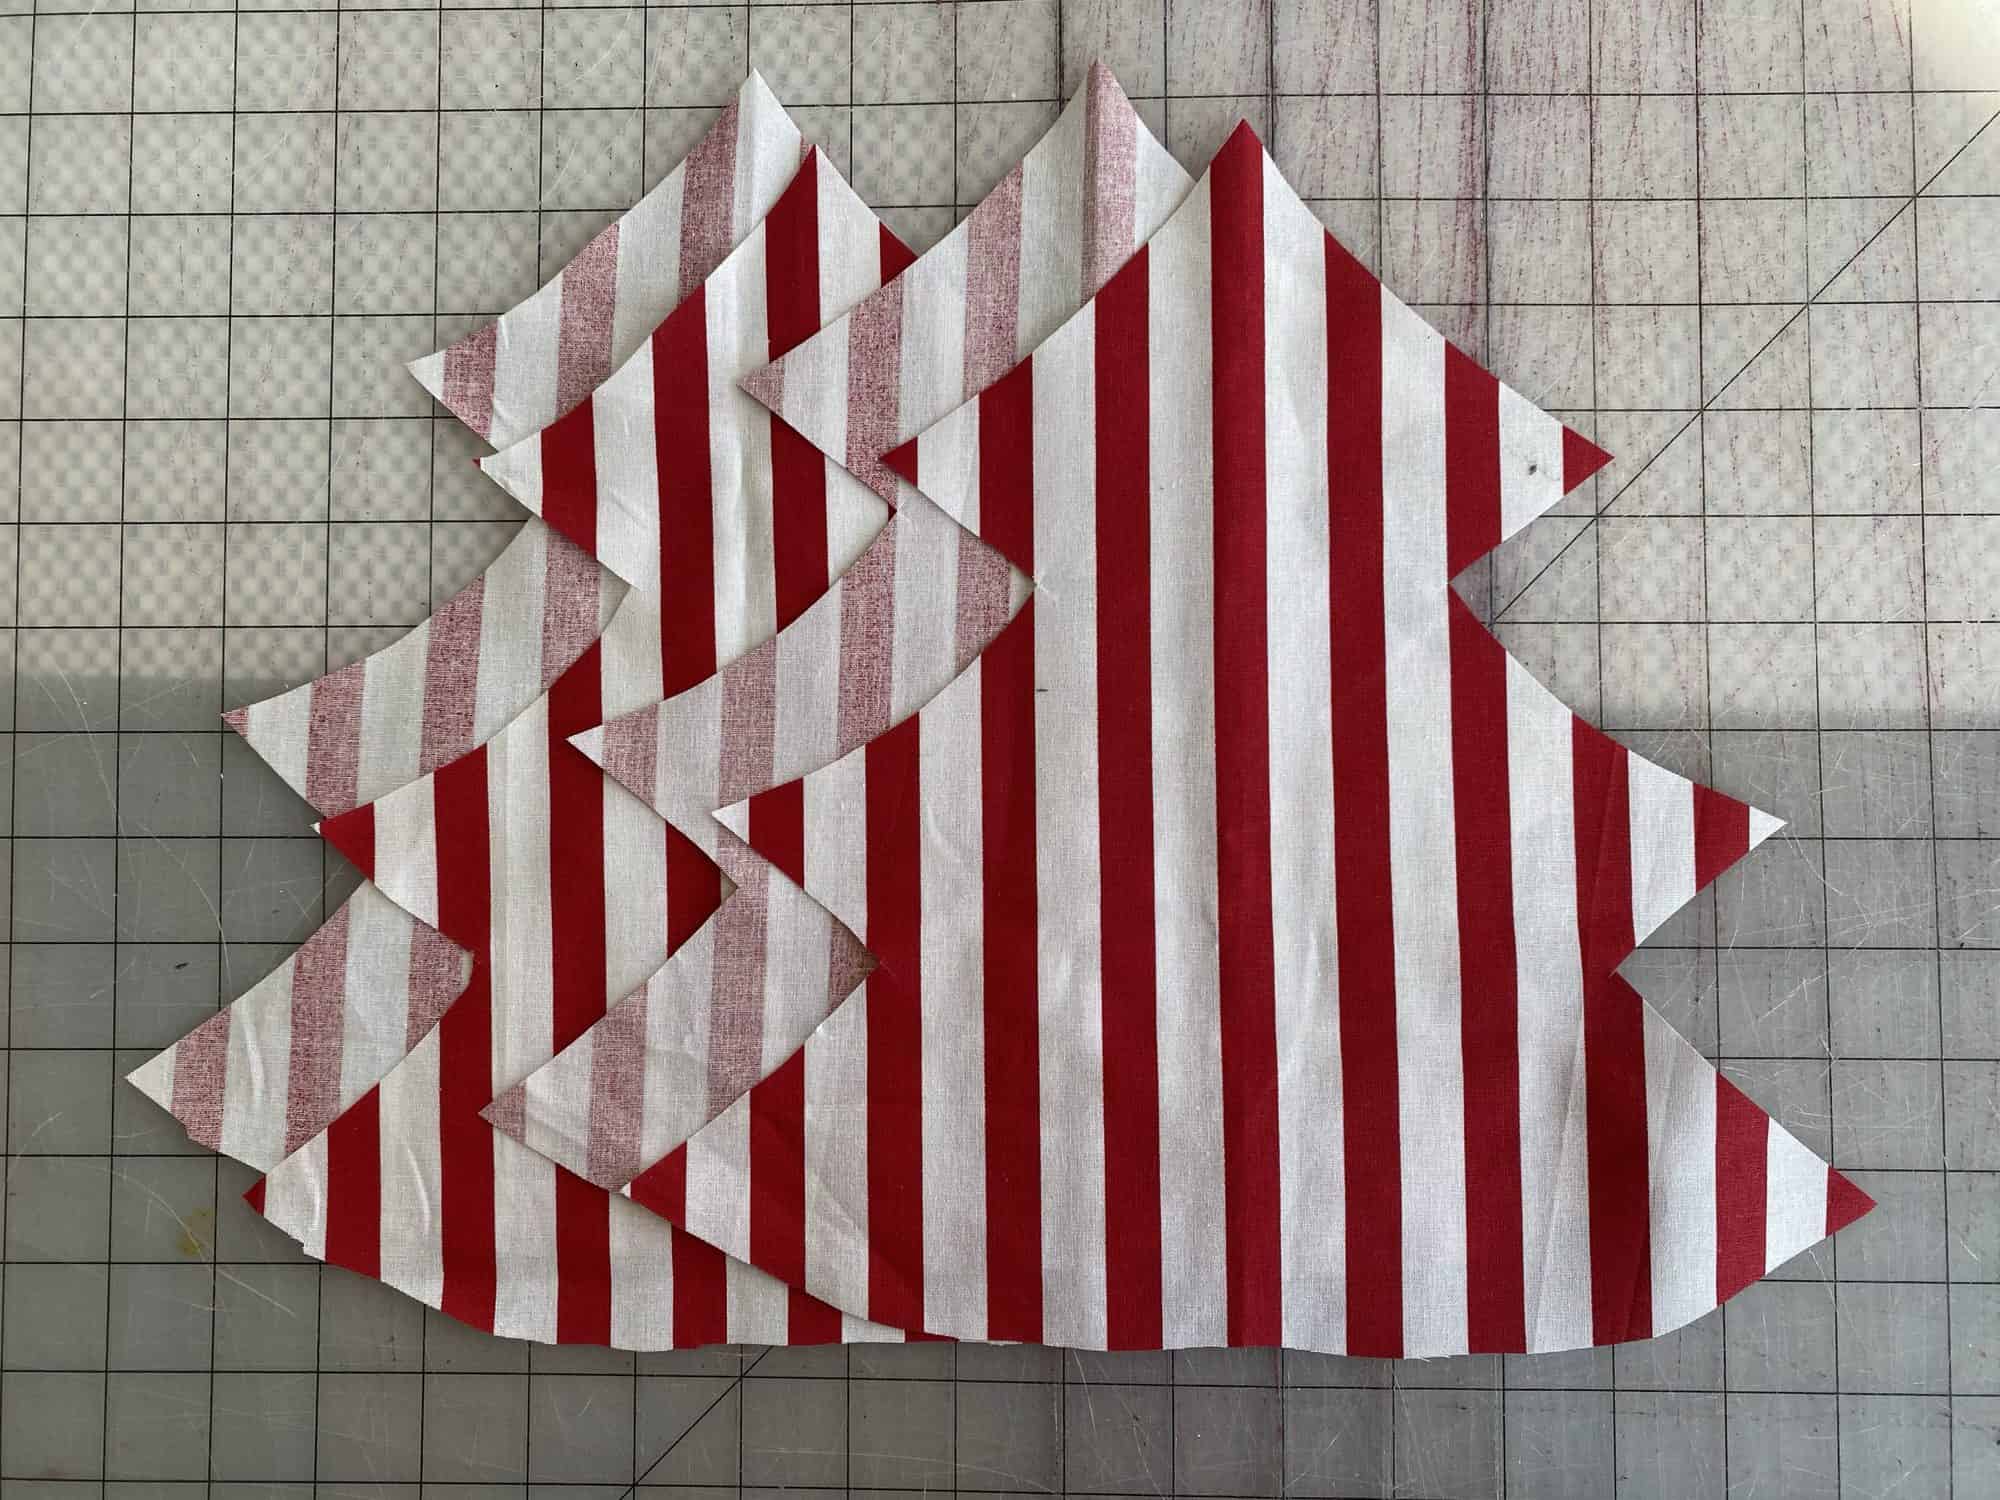
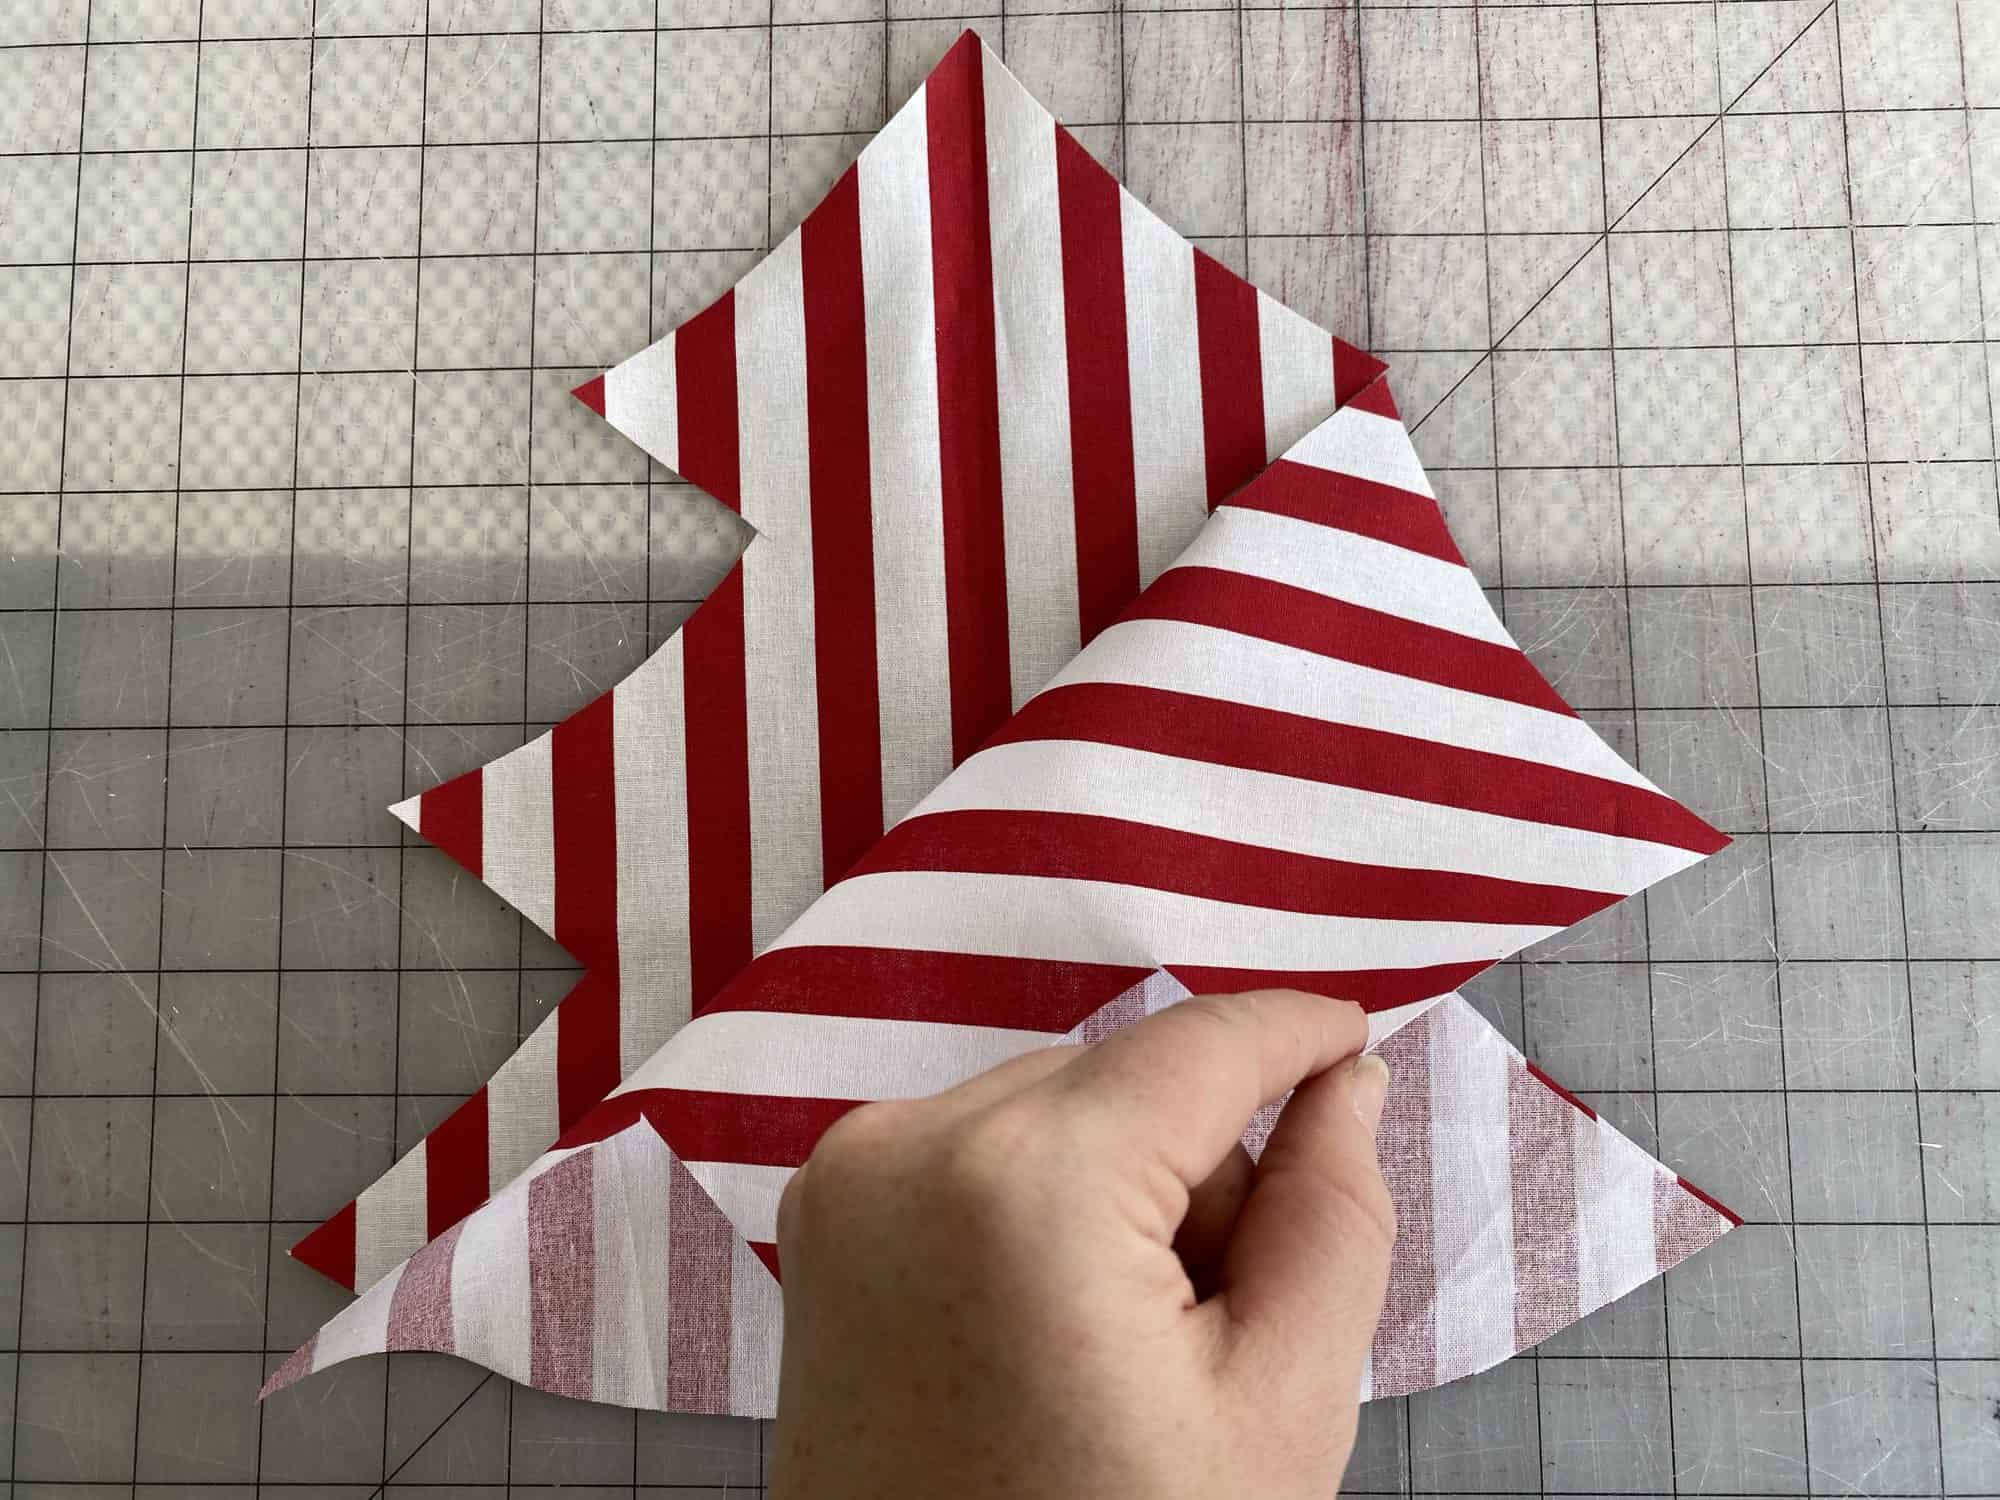
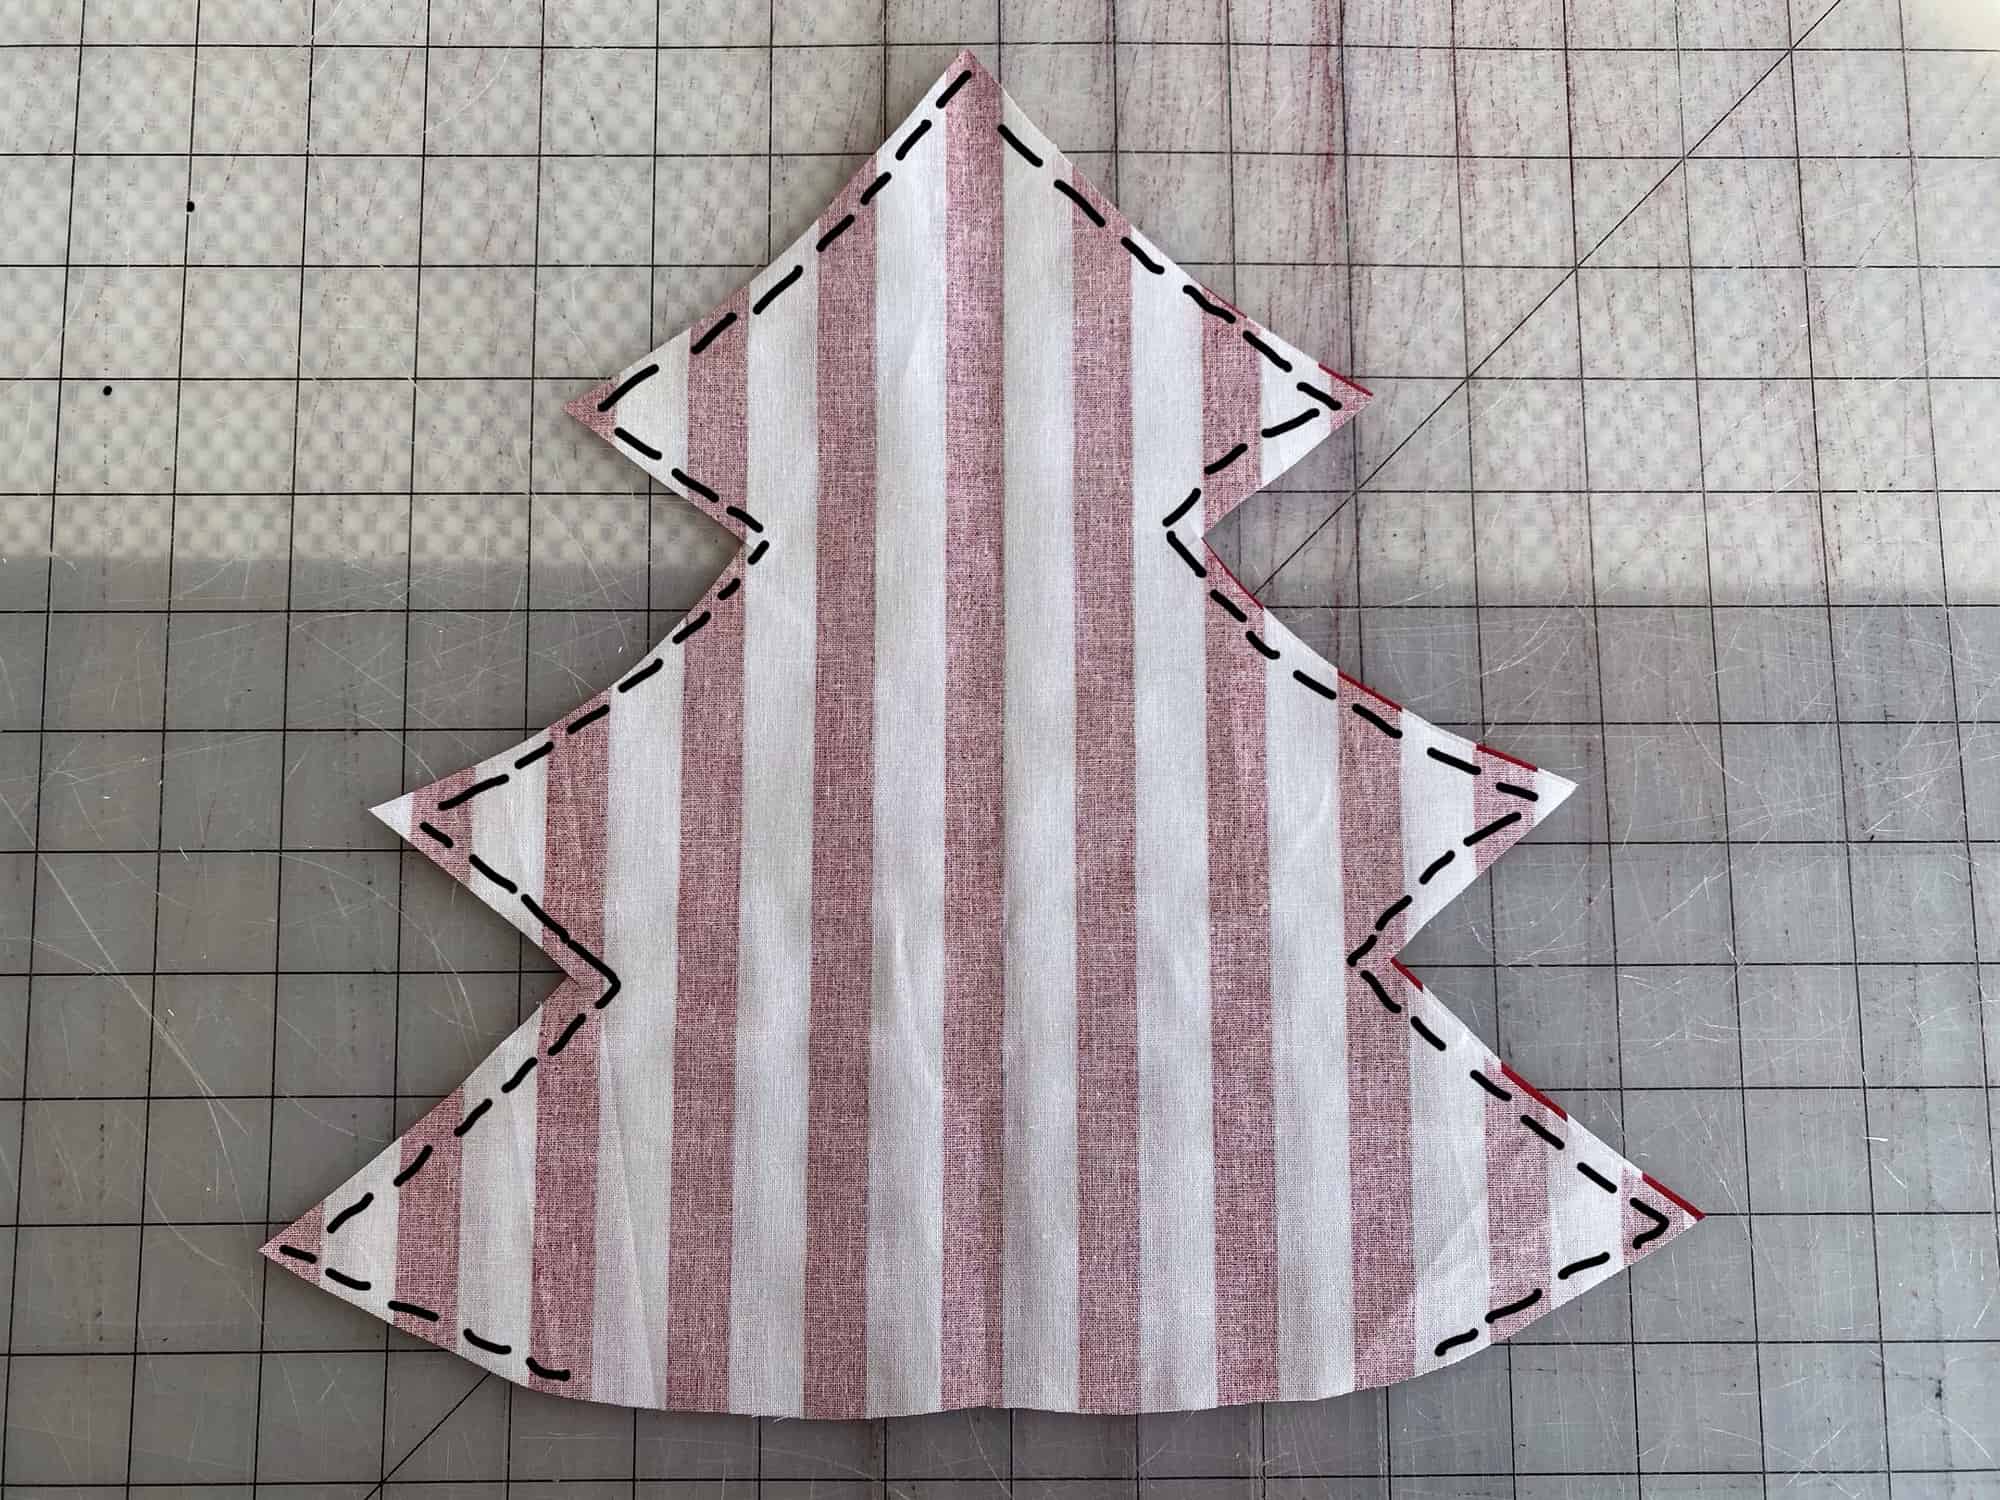
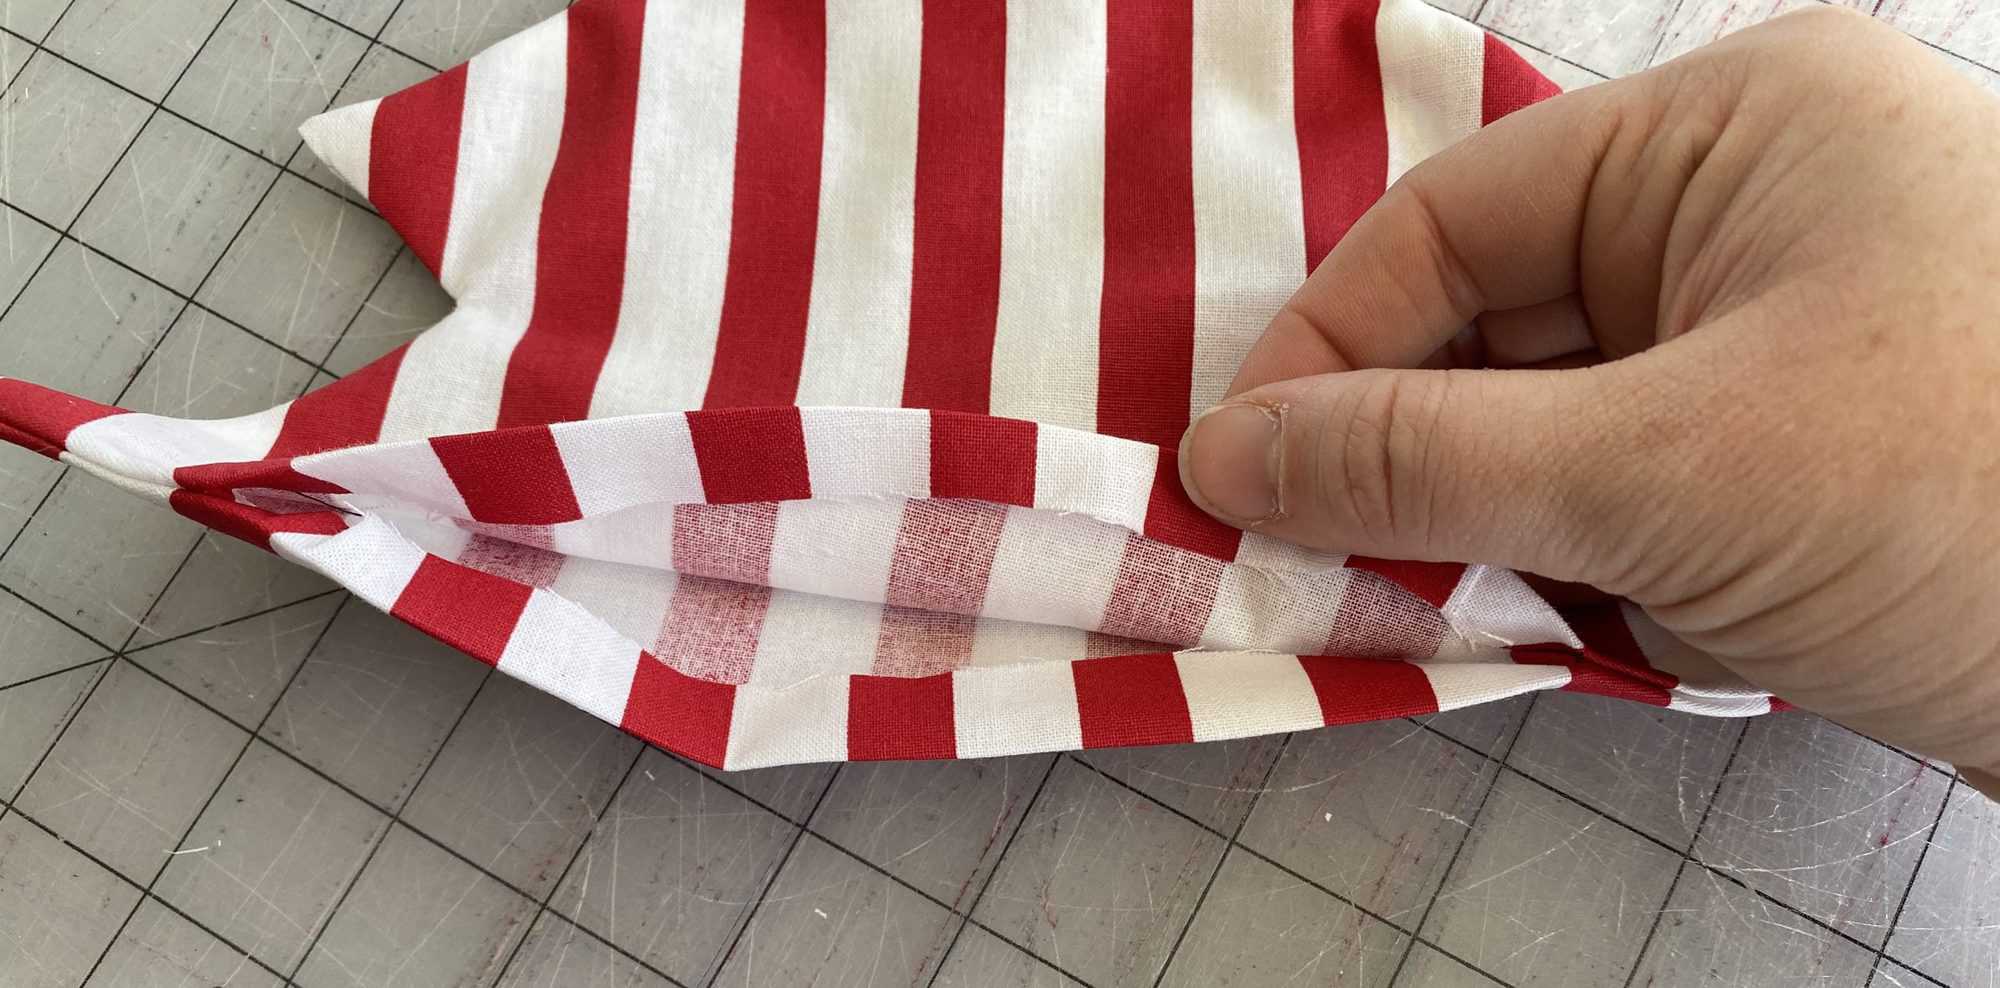
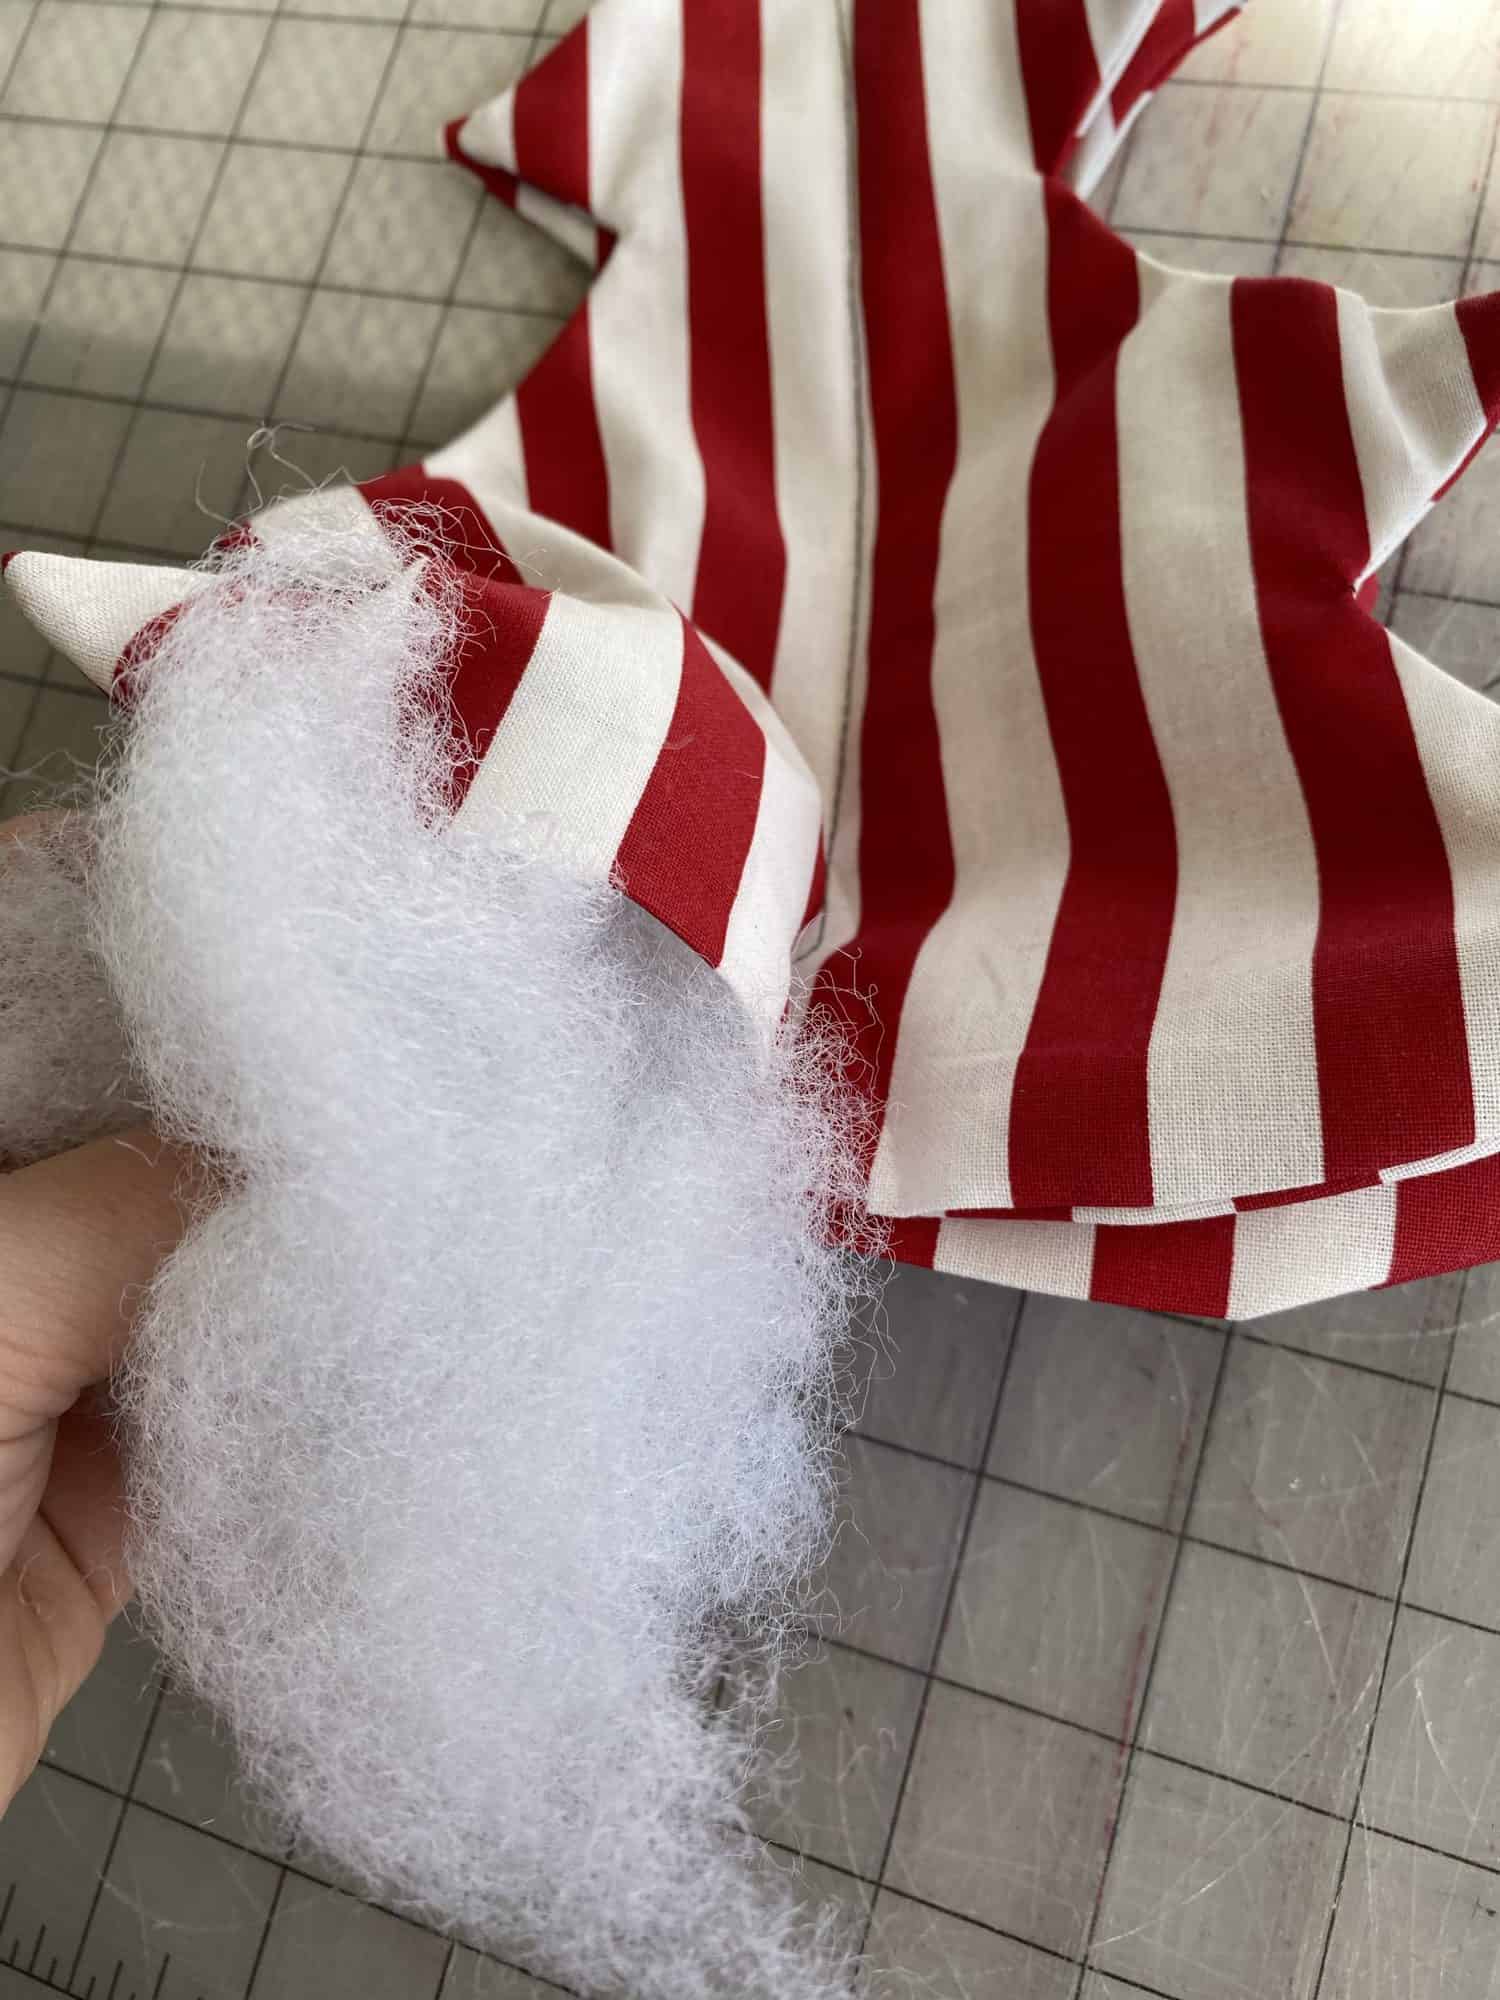
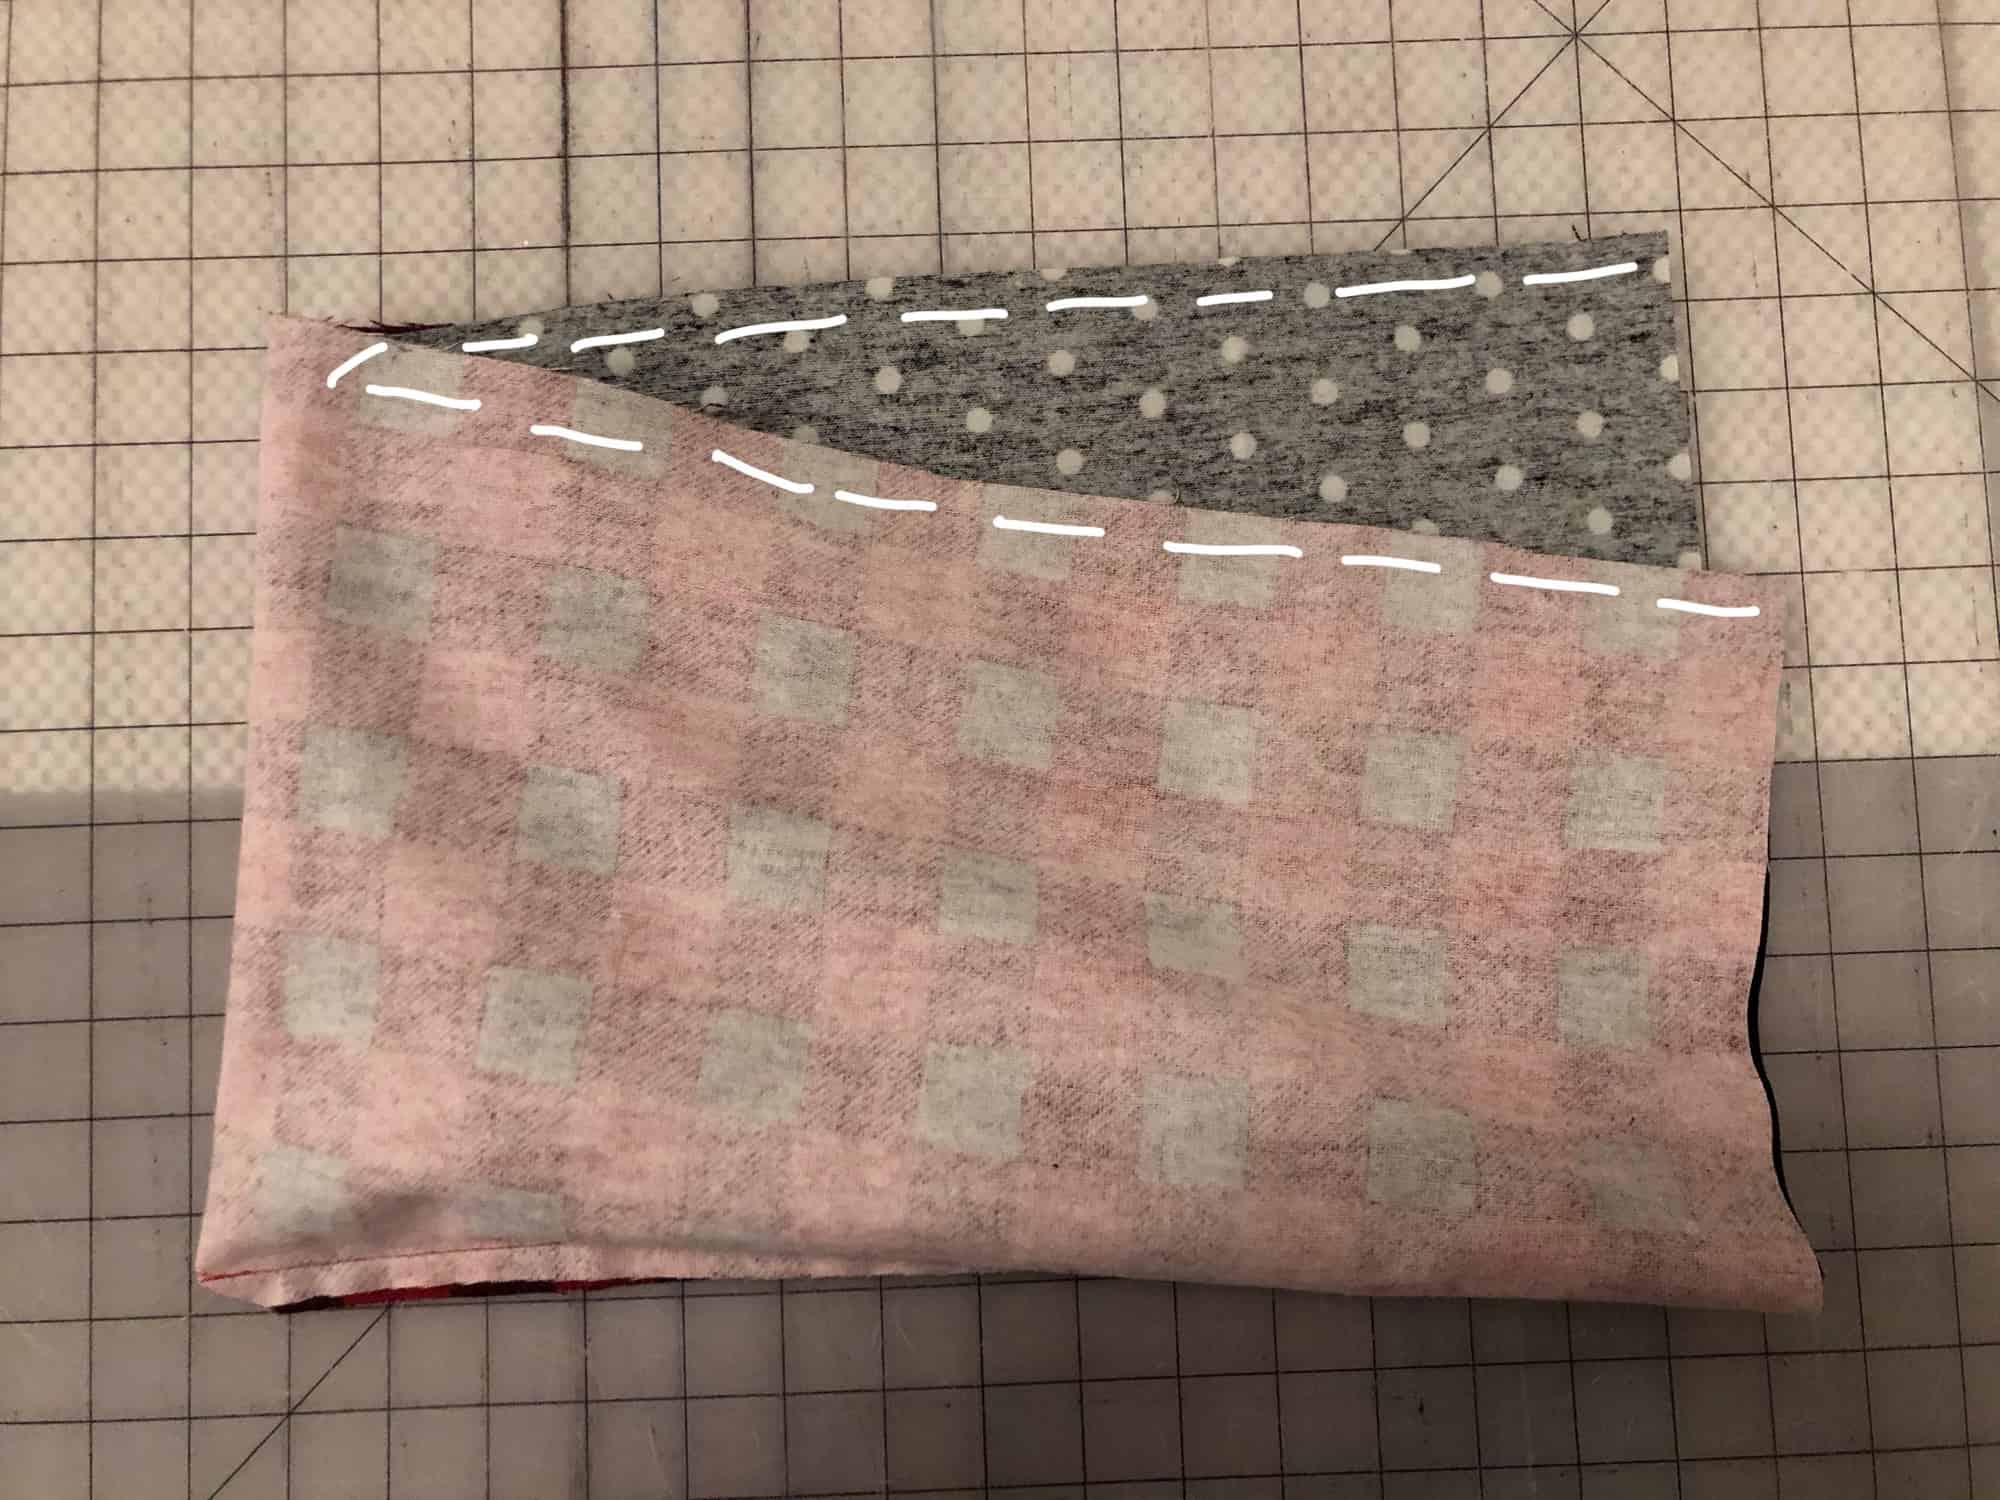
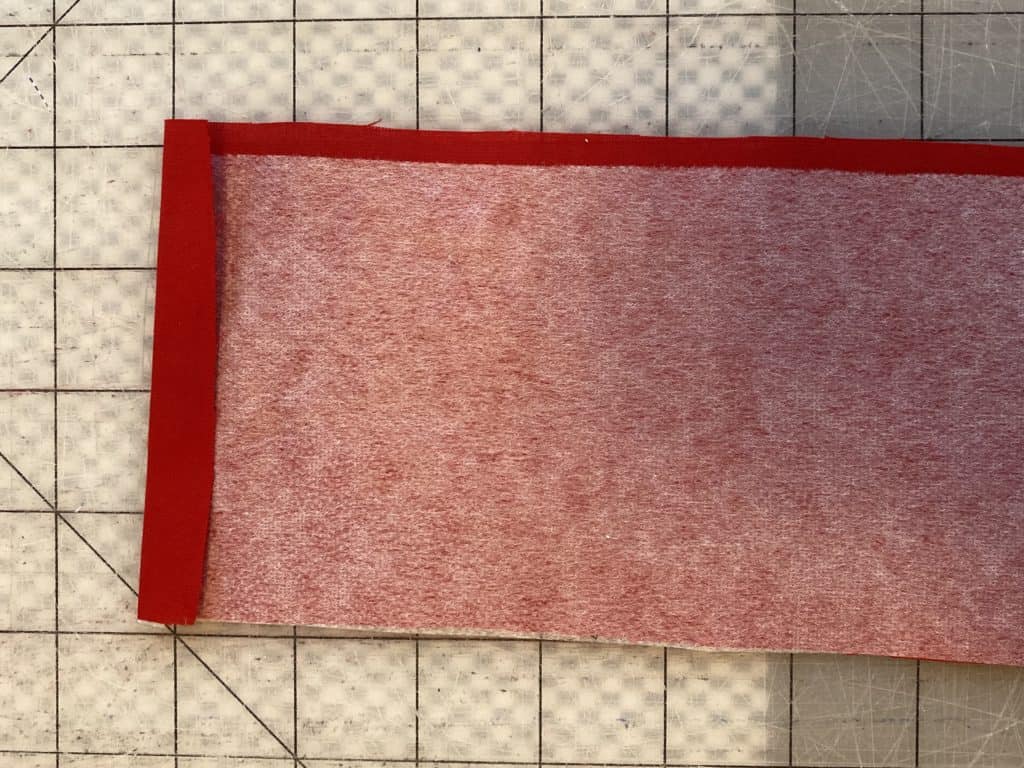
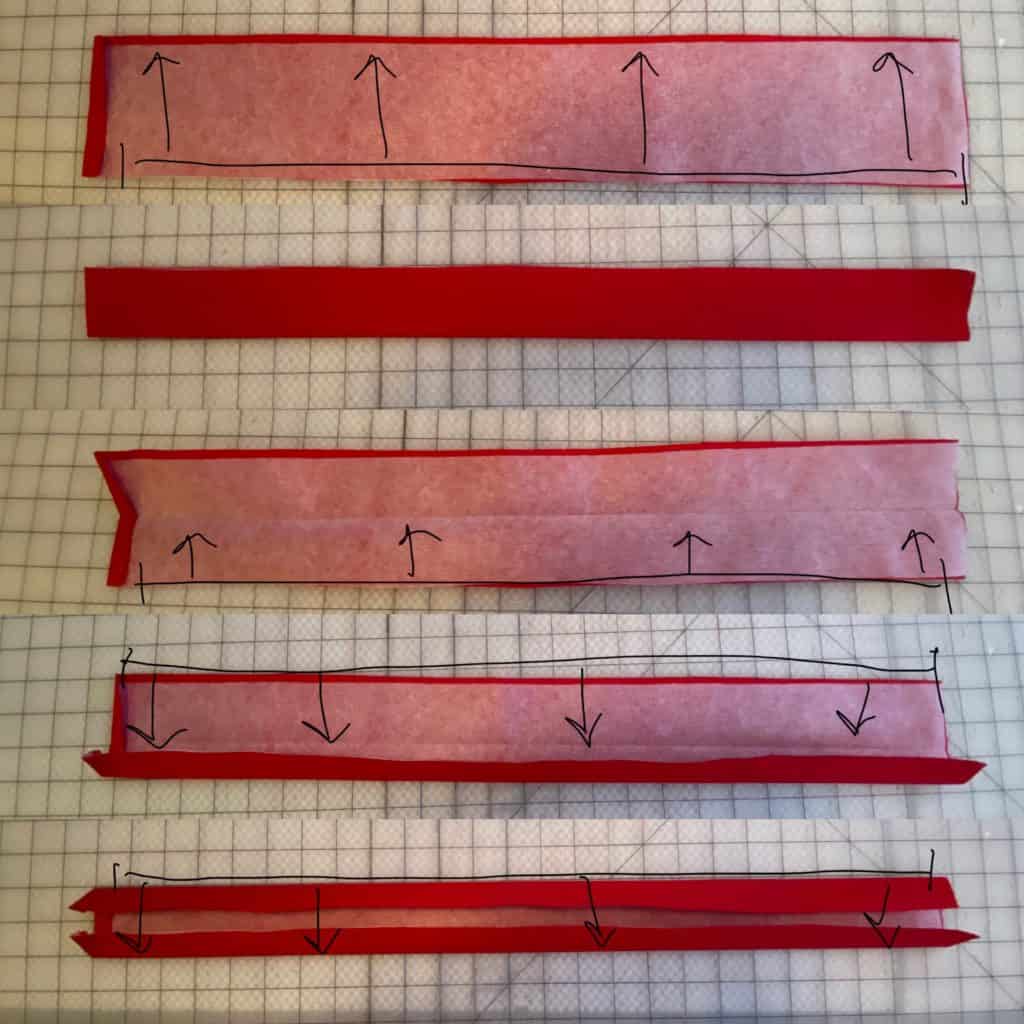
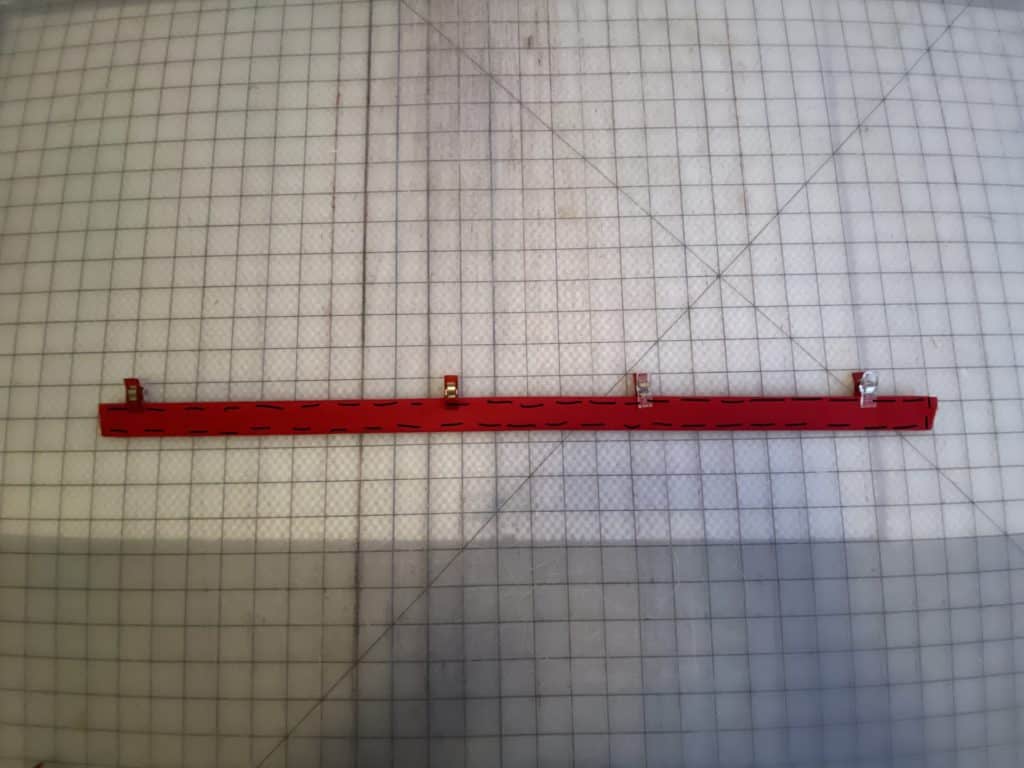
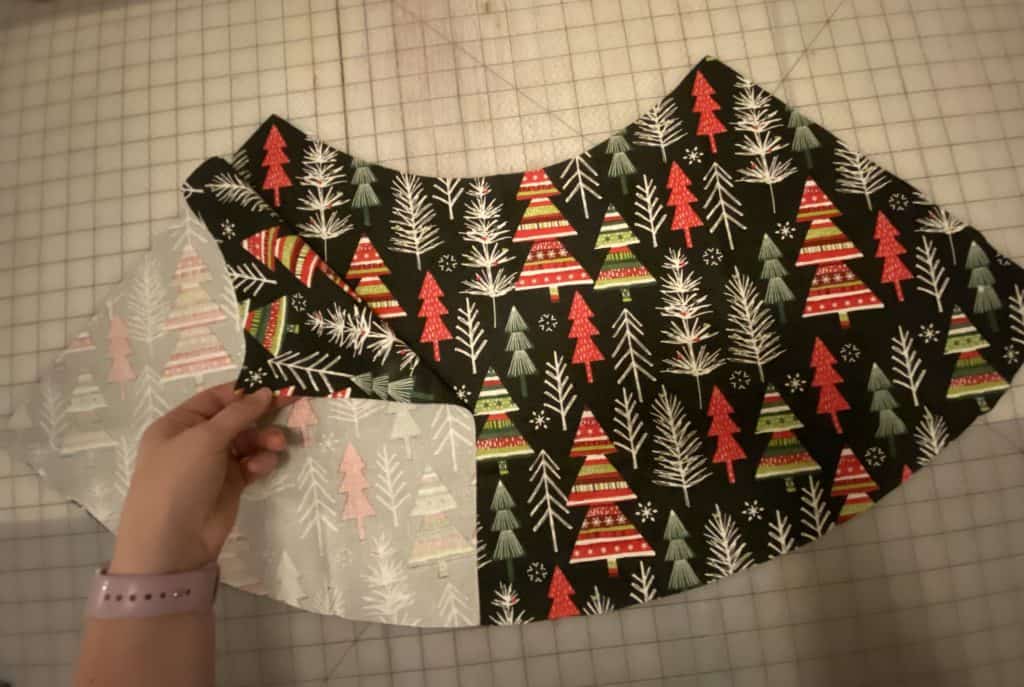
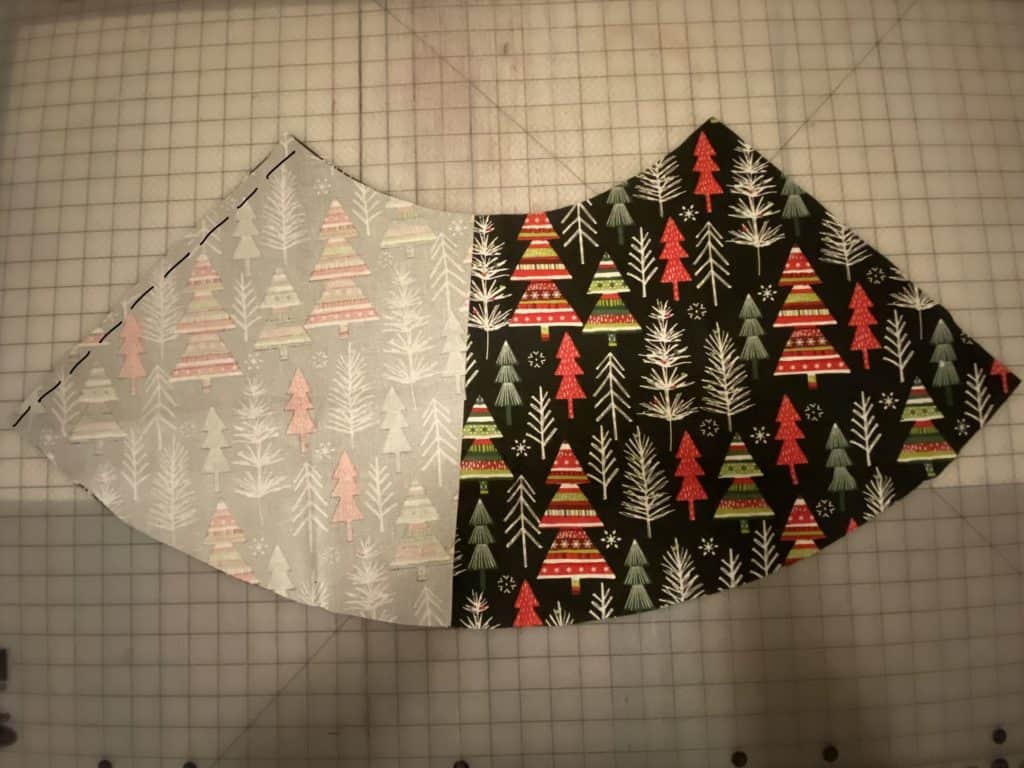
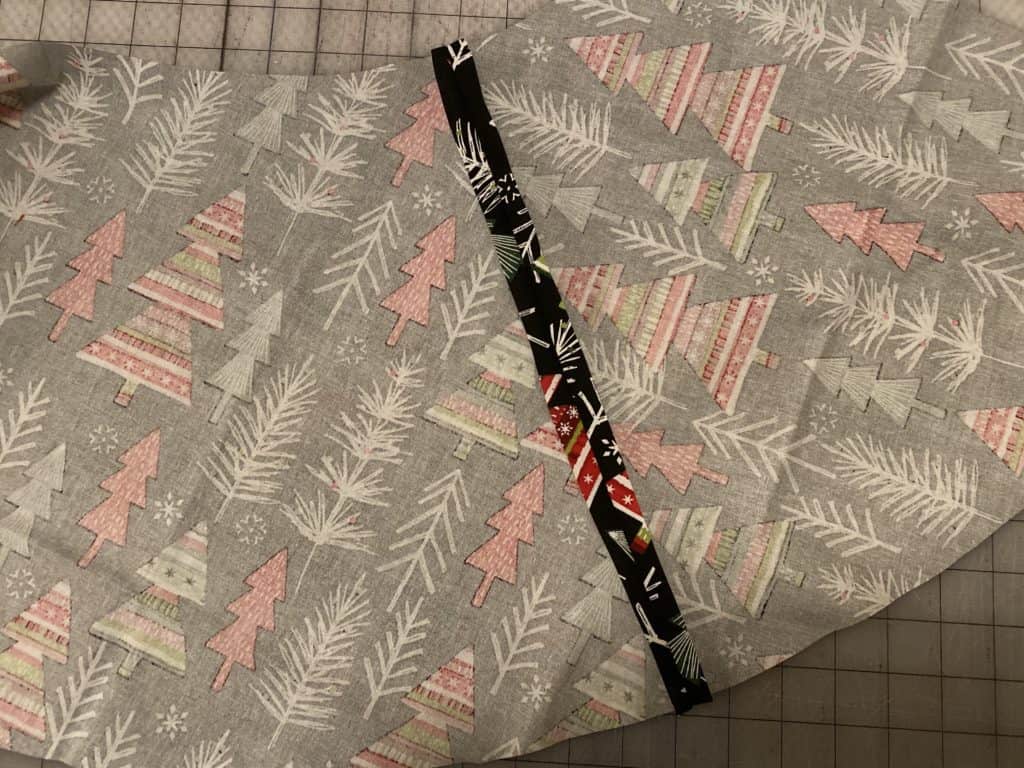
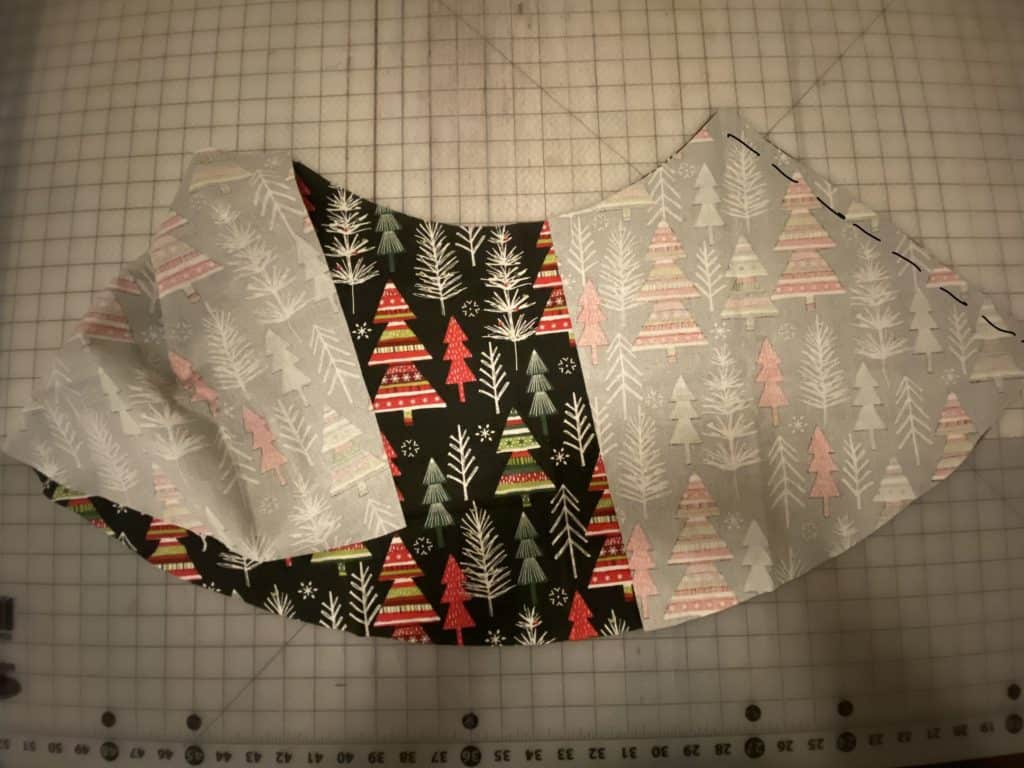
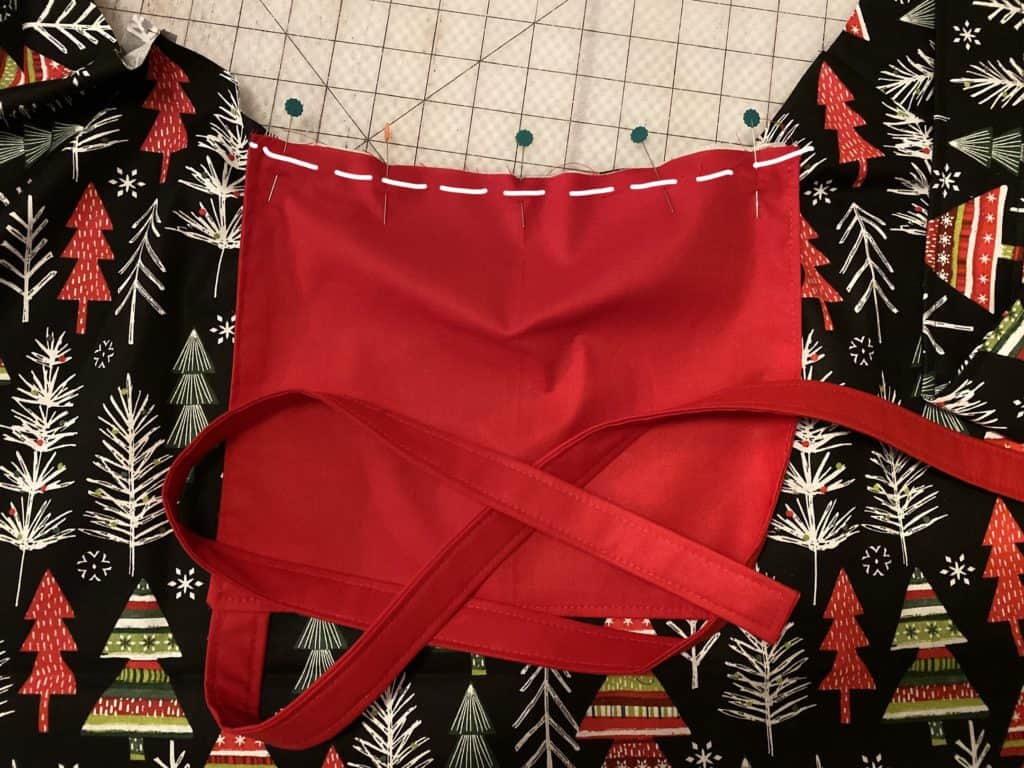
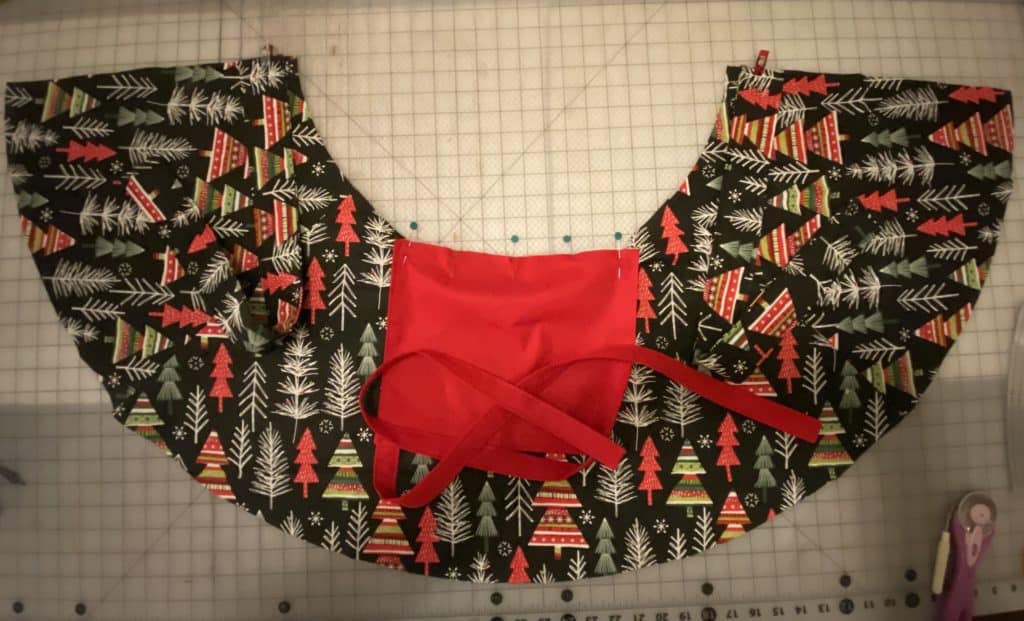
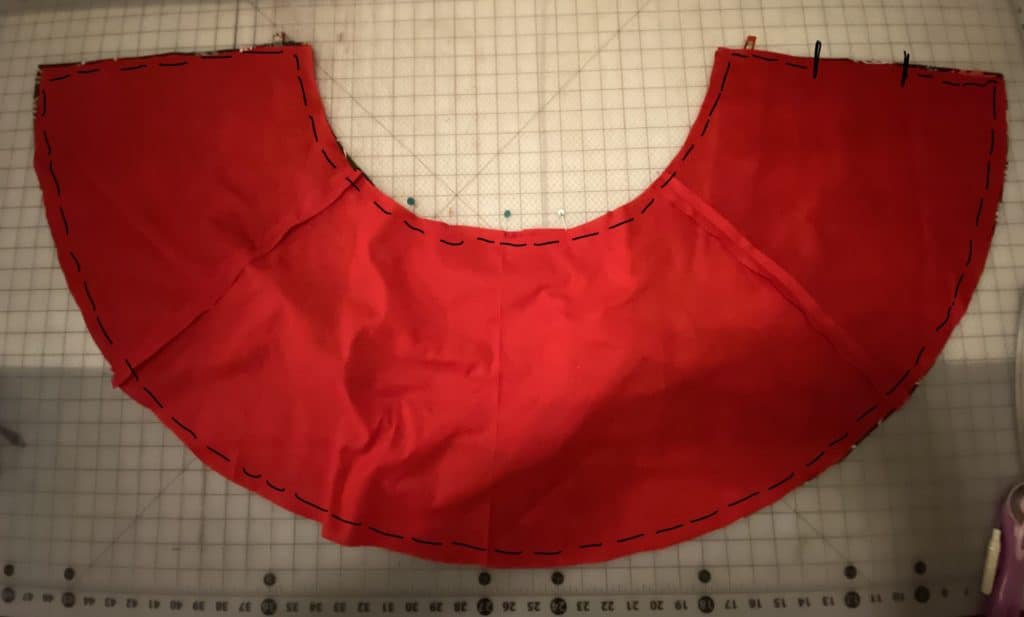
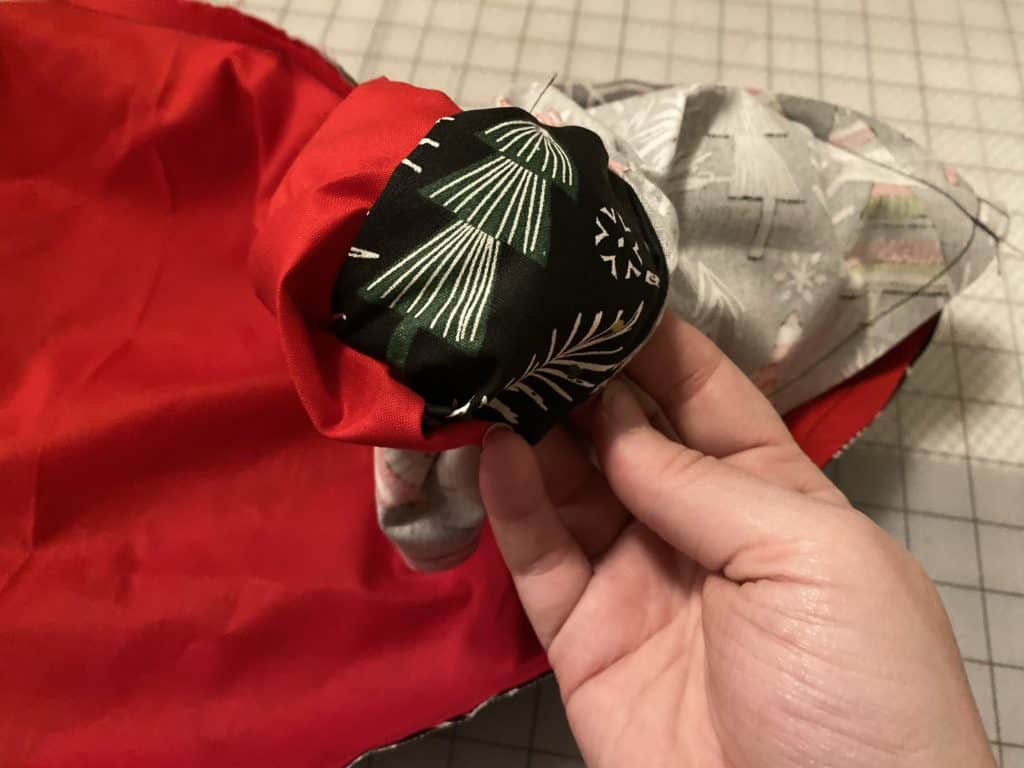
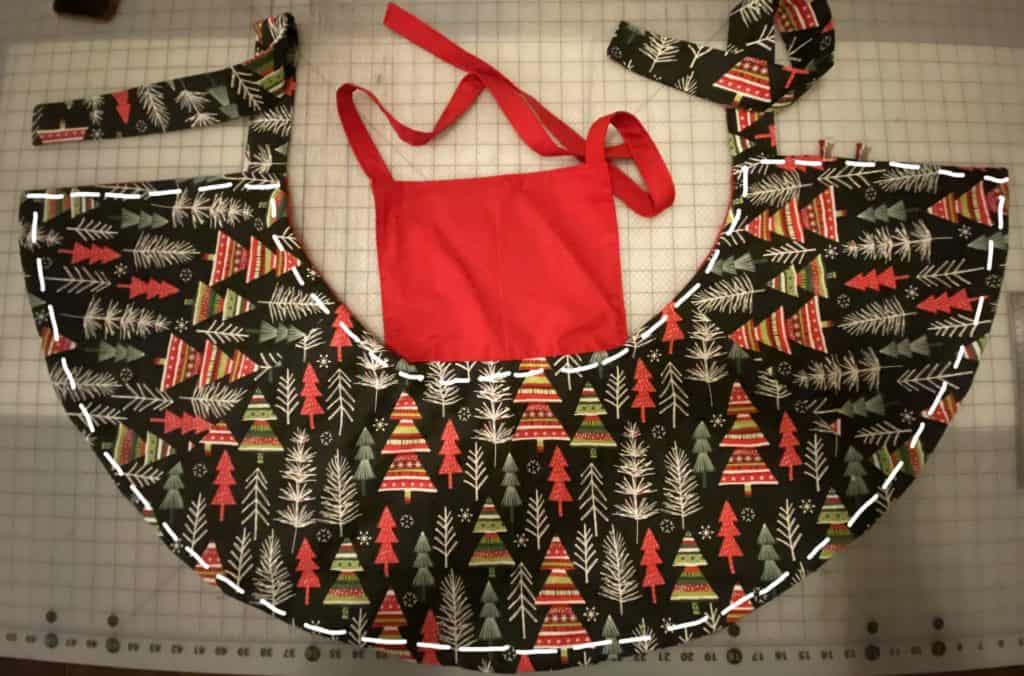
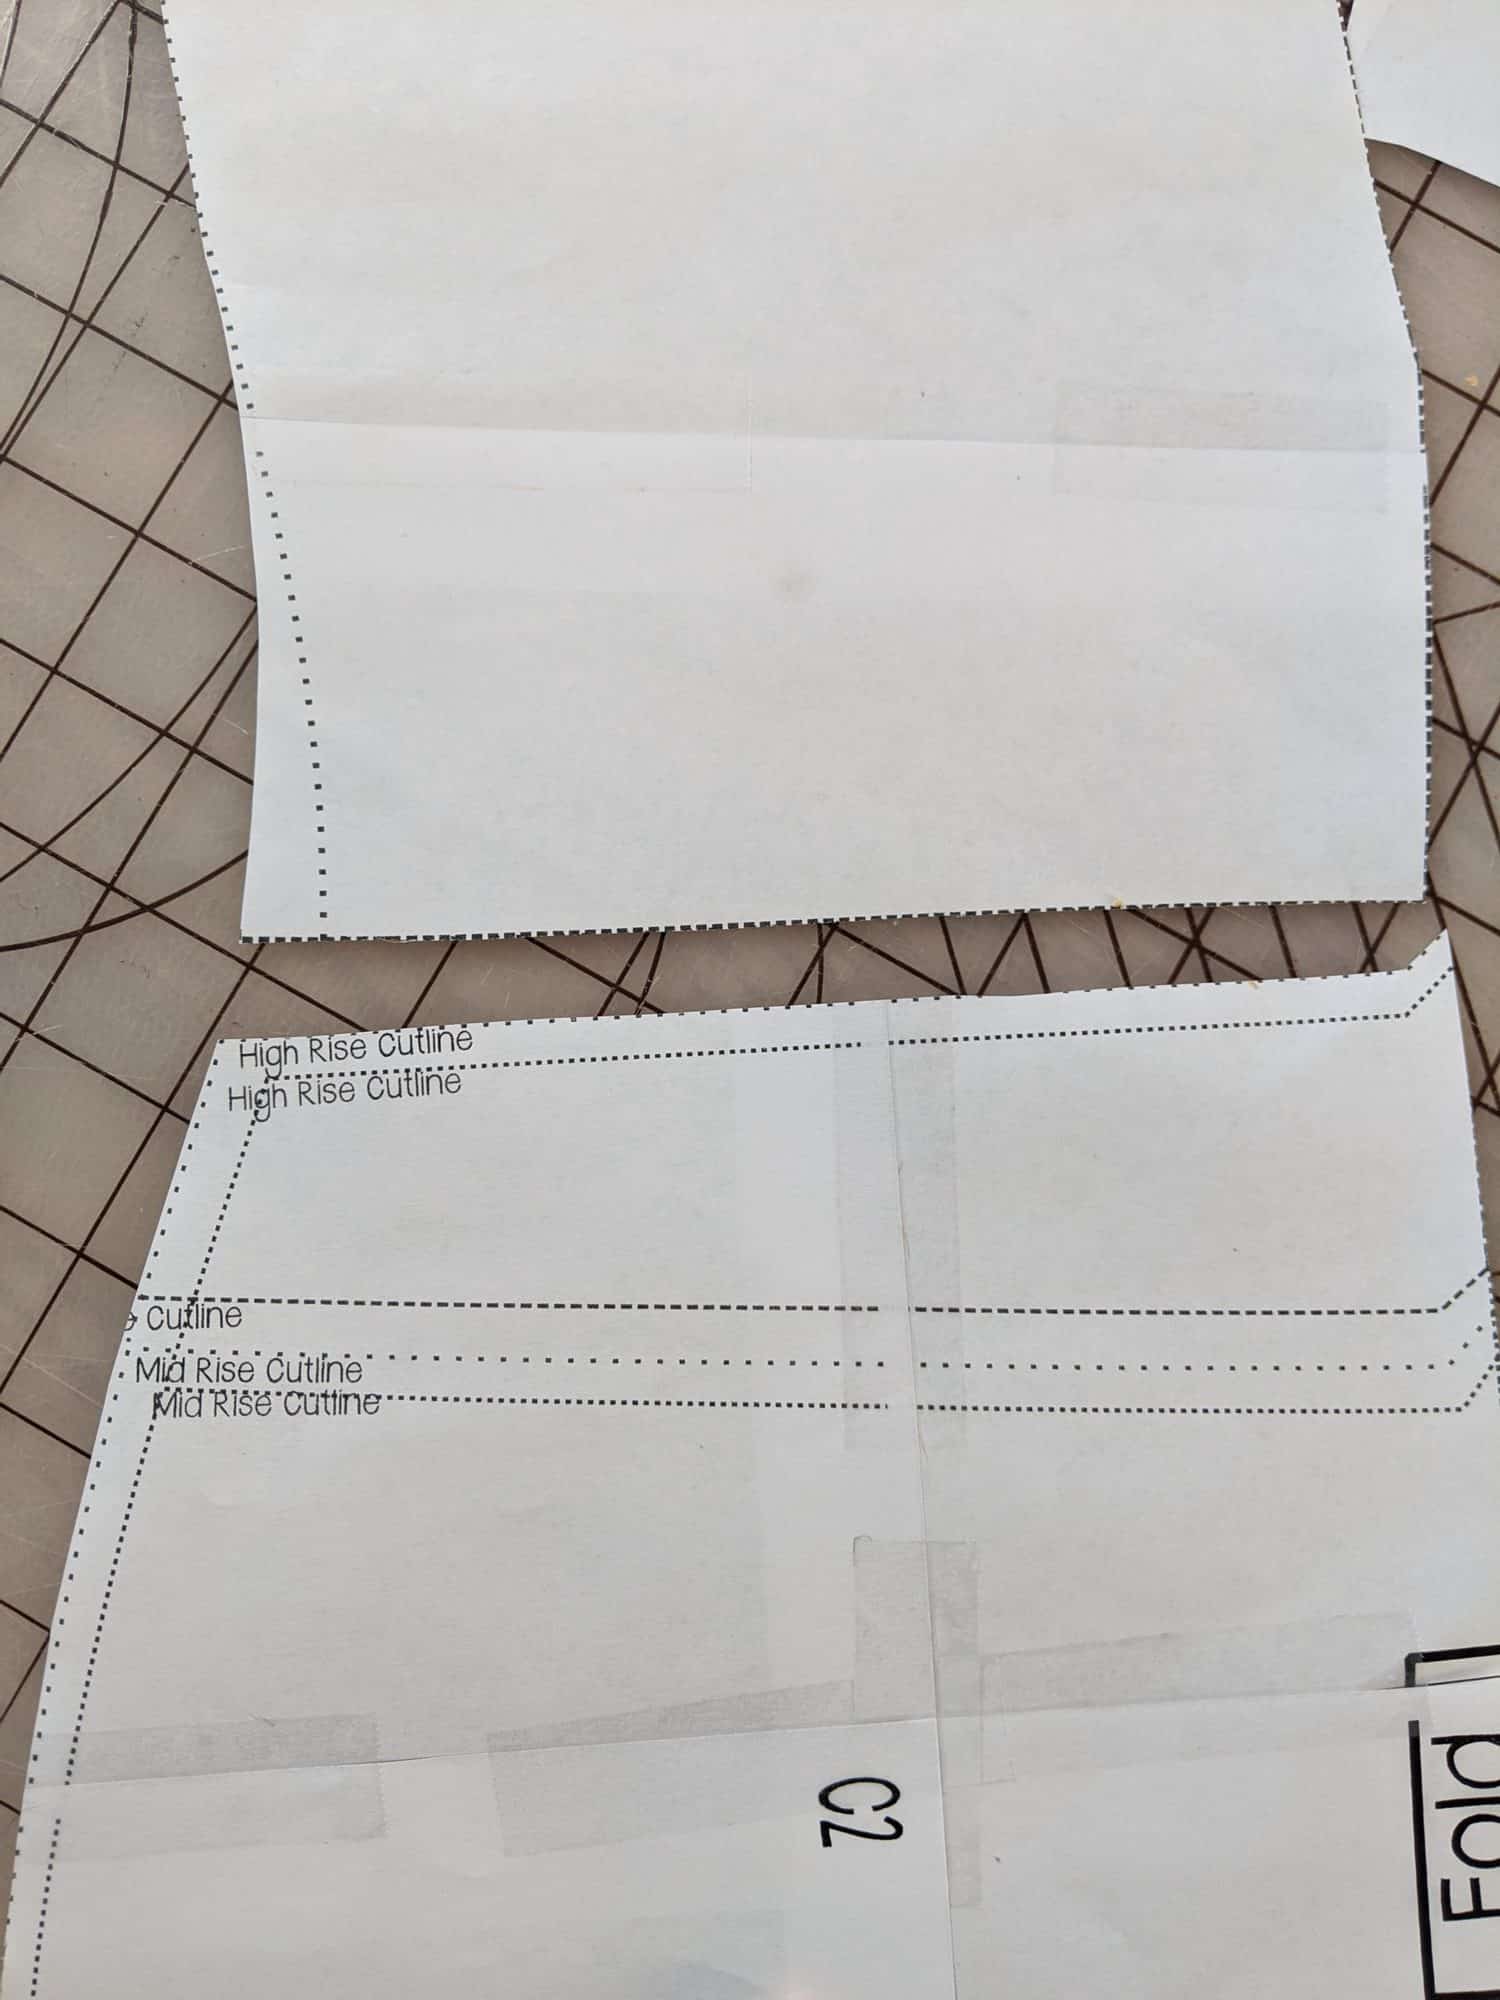
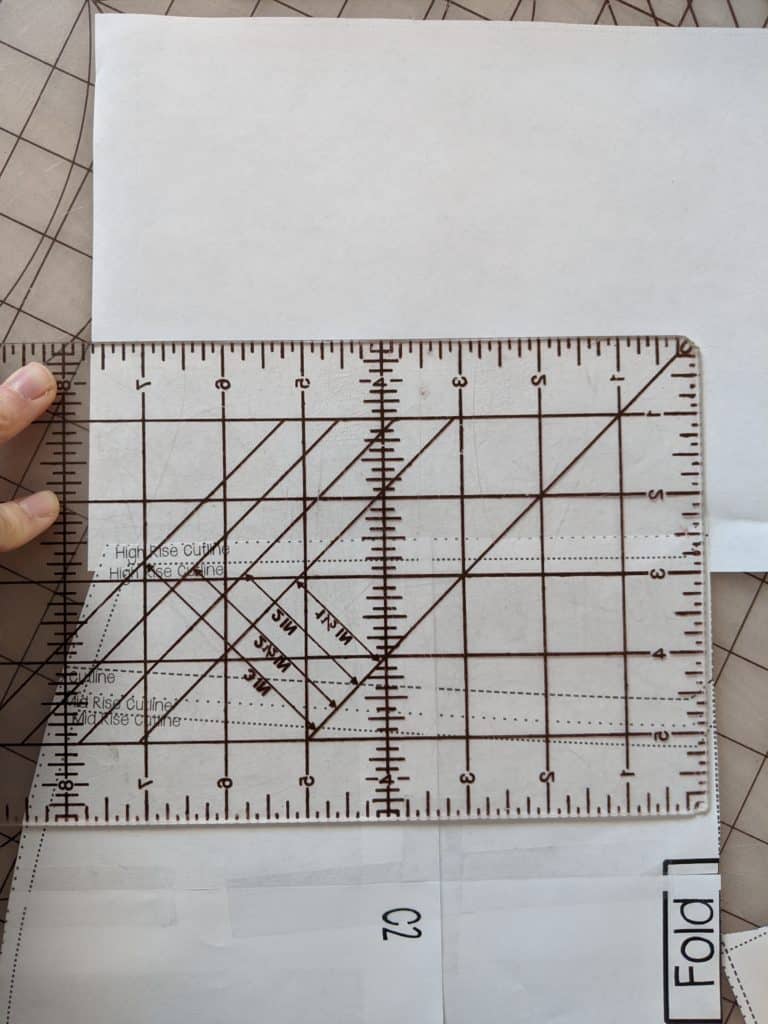
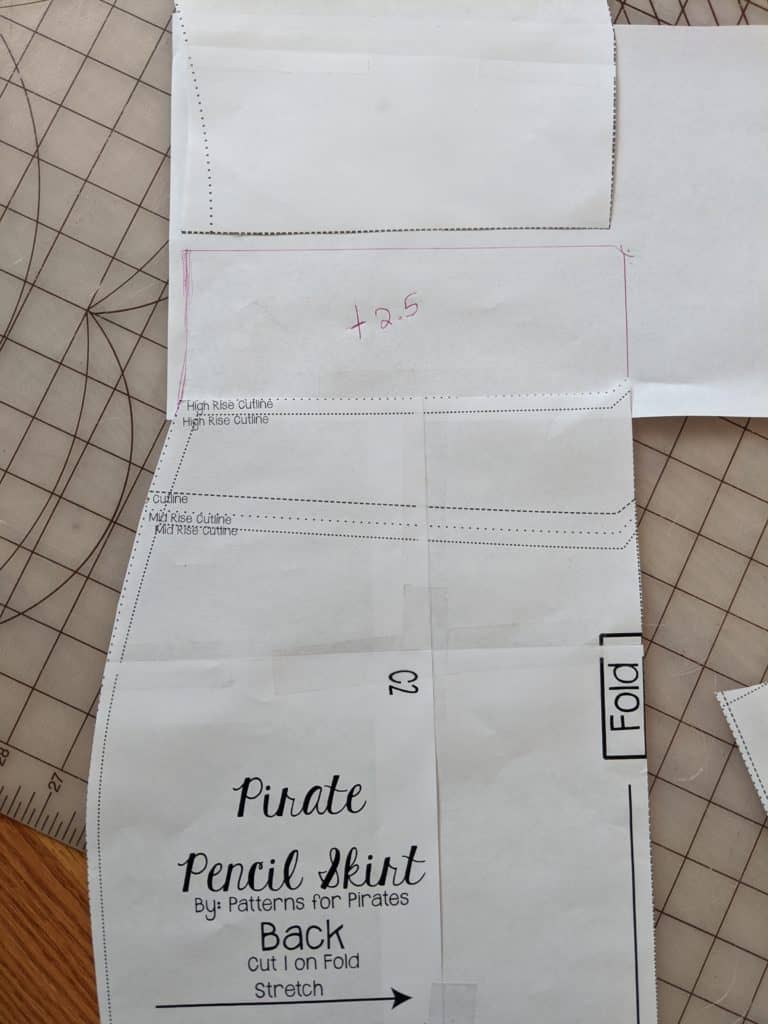
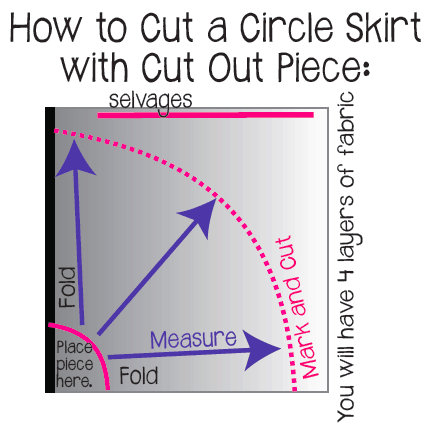 1. Place the cutout piece in between both of folds. Measure the distance from bottom of the cutout piece. First for 12″, then for 16″ and then another circle at 20″.