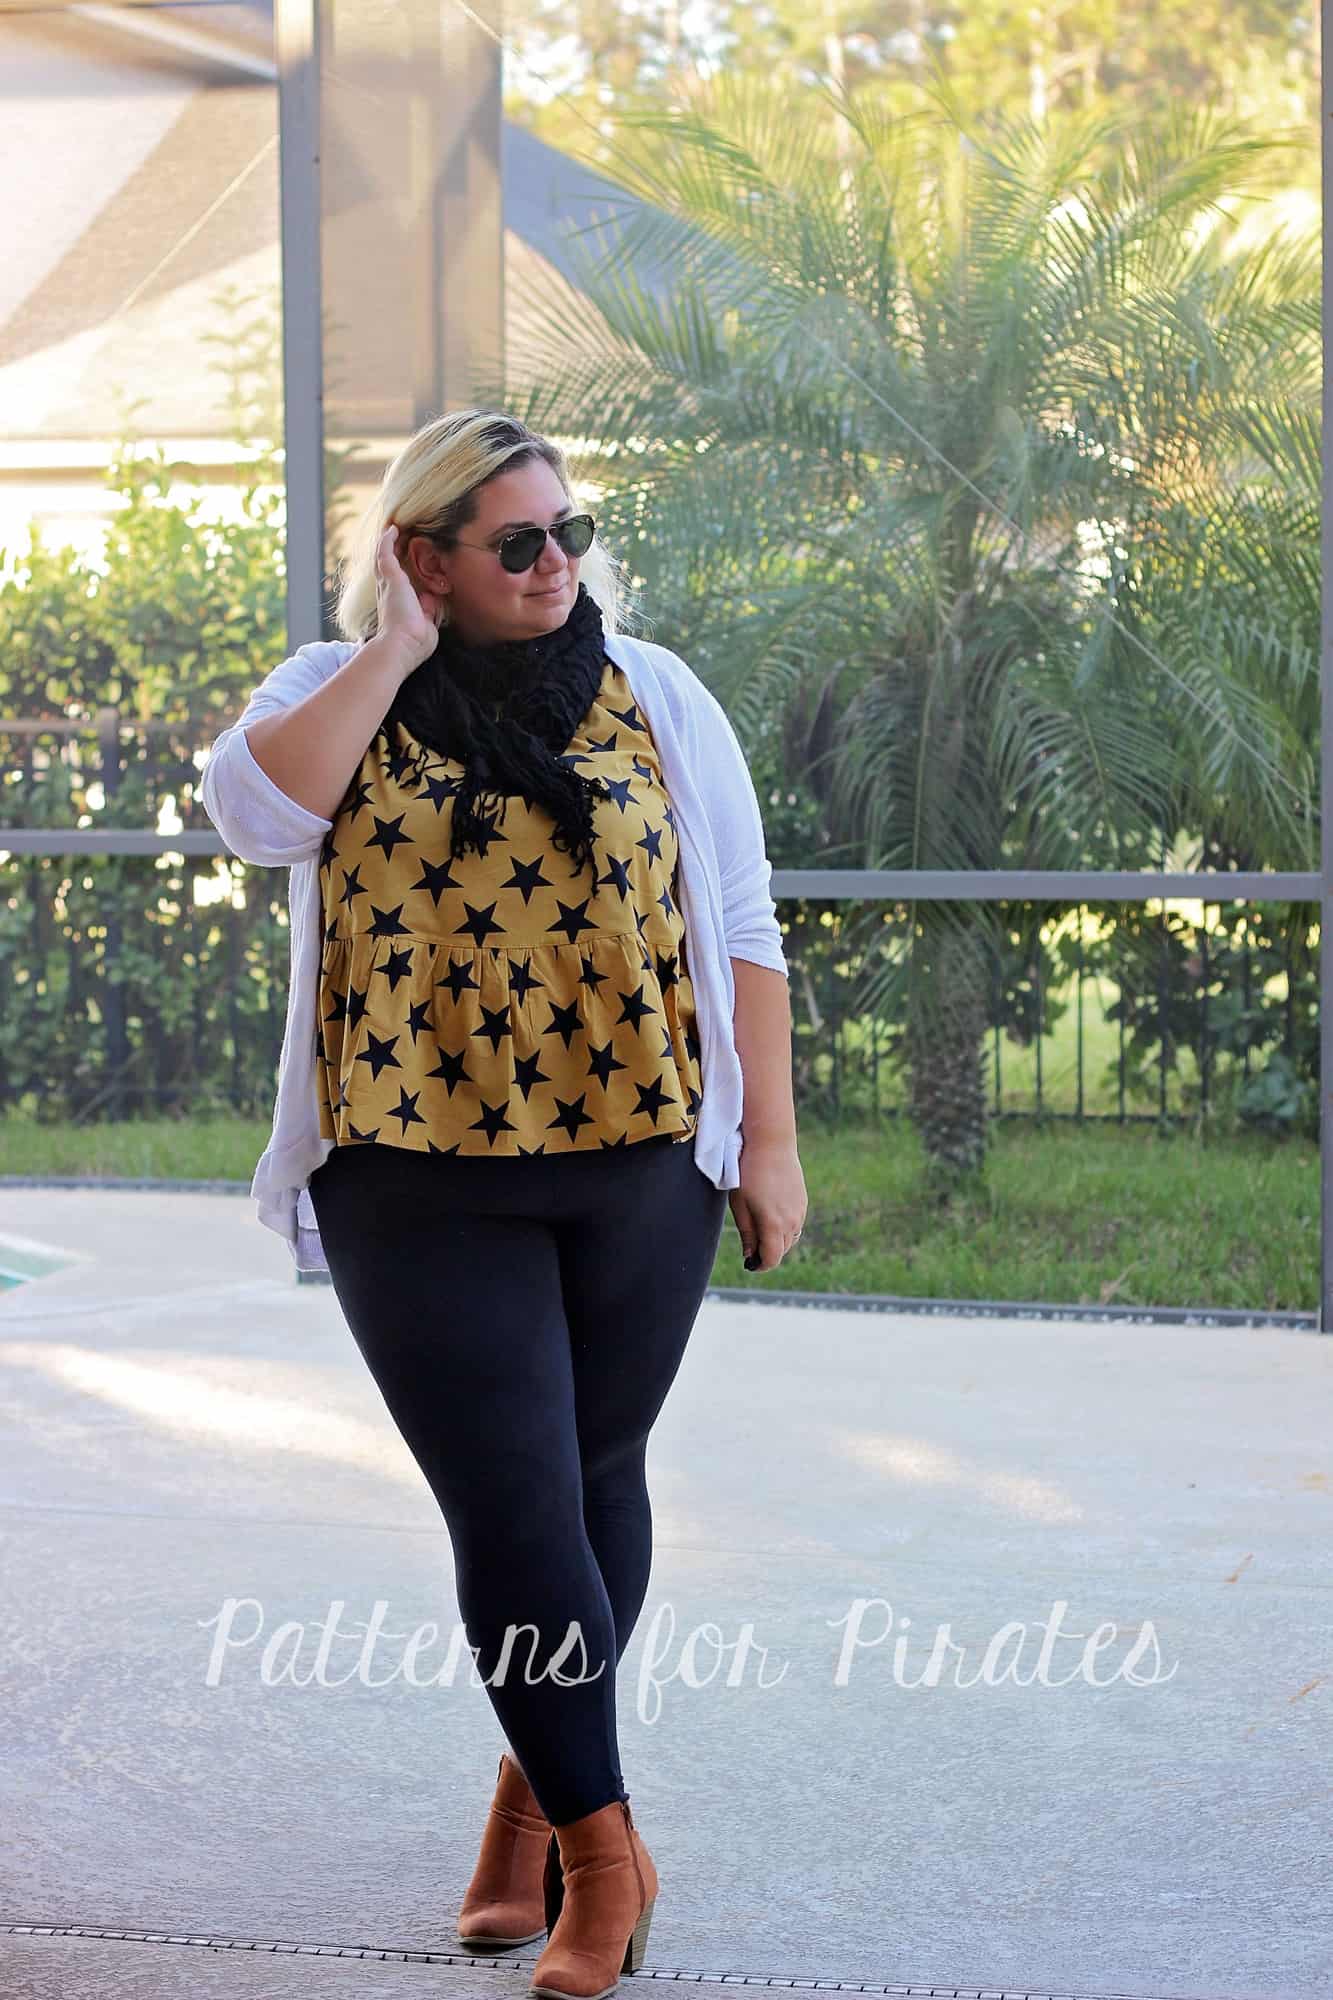
Patterns for Pirates

P4P stylish, modern, wearable patterns

  • Home
  • Blog
    • Frequently Asked Questions
    • Pattern Releases
      • Free Patterns
    • P4P University
      • Fitting
      • Sewing with Stretch, Knit Fabrics
      • Sewing with Woven Fabrics
      • Sewing Machines
    • Sew-A-Longs
    • Fabric for Pirates
    • Pattern Hacks
    • Announcement
      • Blog Tours
      • Contest/Giveaway
  • Shop
  • Bundle Discounts
  • Flash Friday
  • Gift Cards
  • My Account
  • Cart

2017 Holiday Freebies :: Slouchy Headwarmer

December 4, 2017

I. Am. So. Excited.

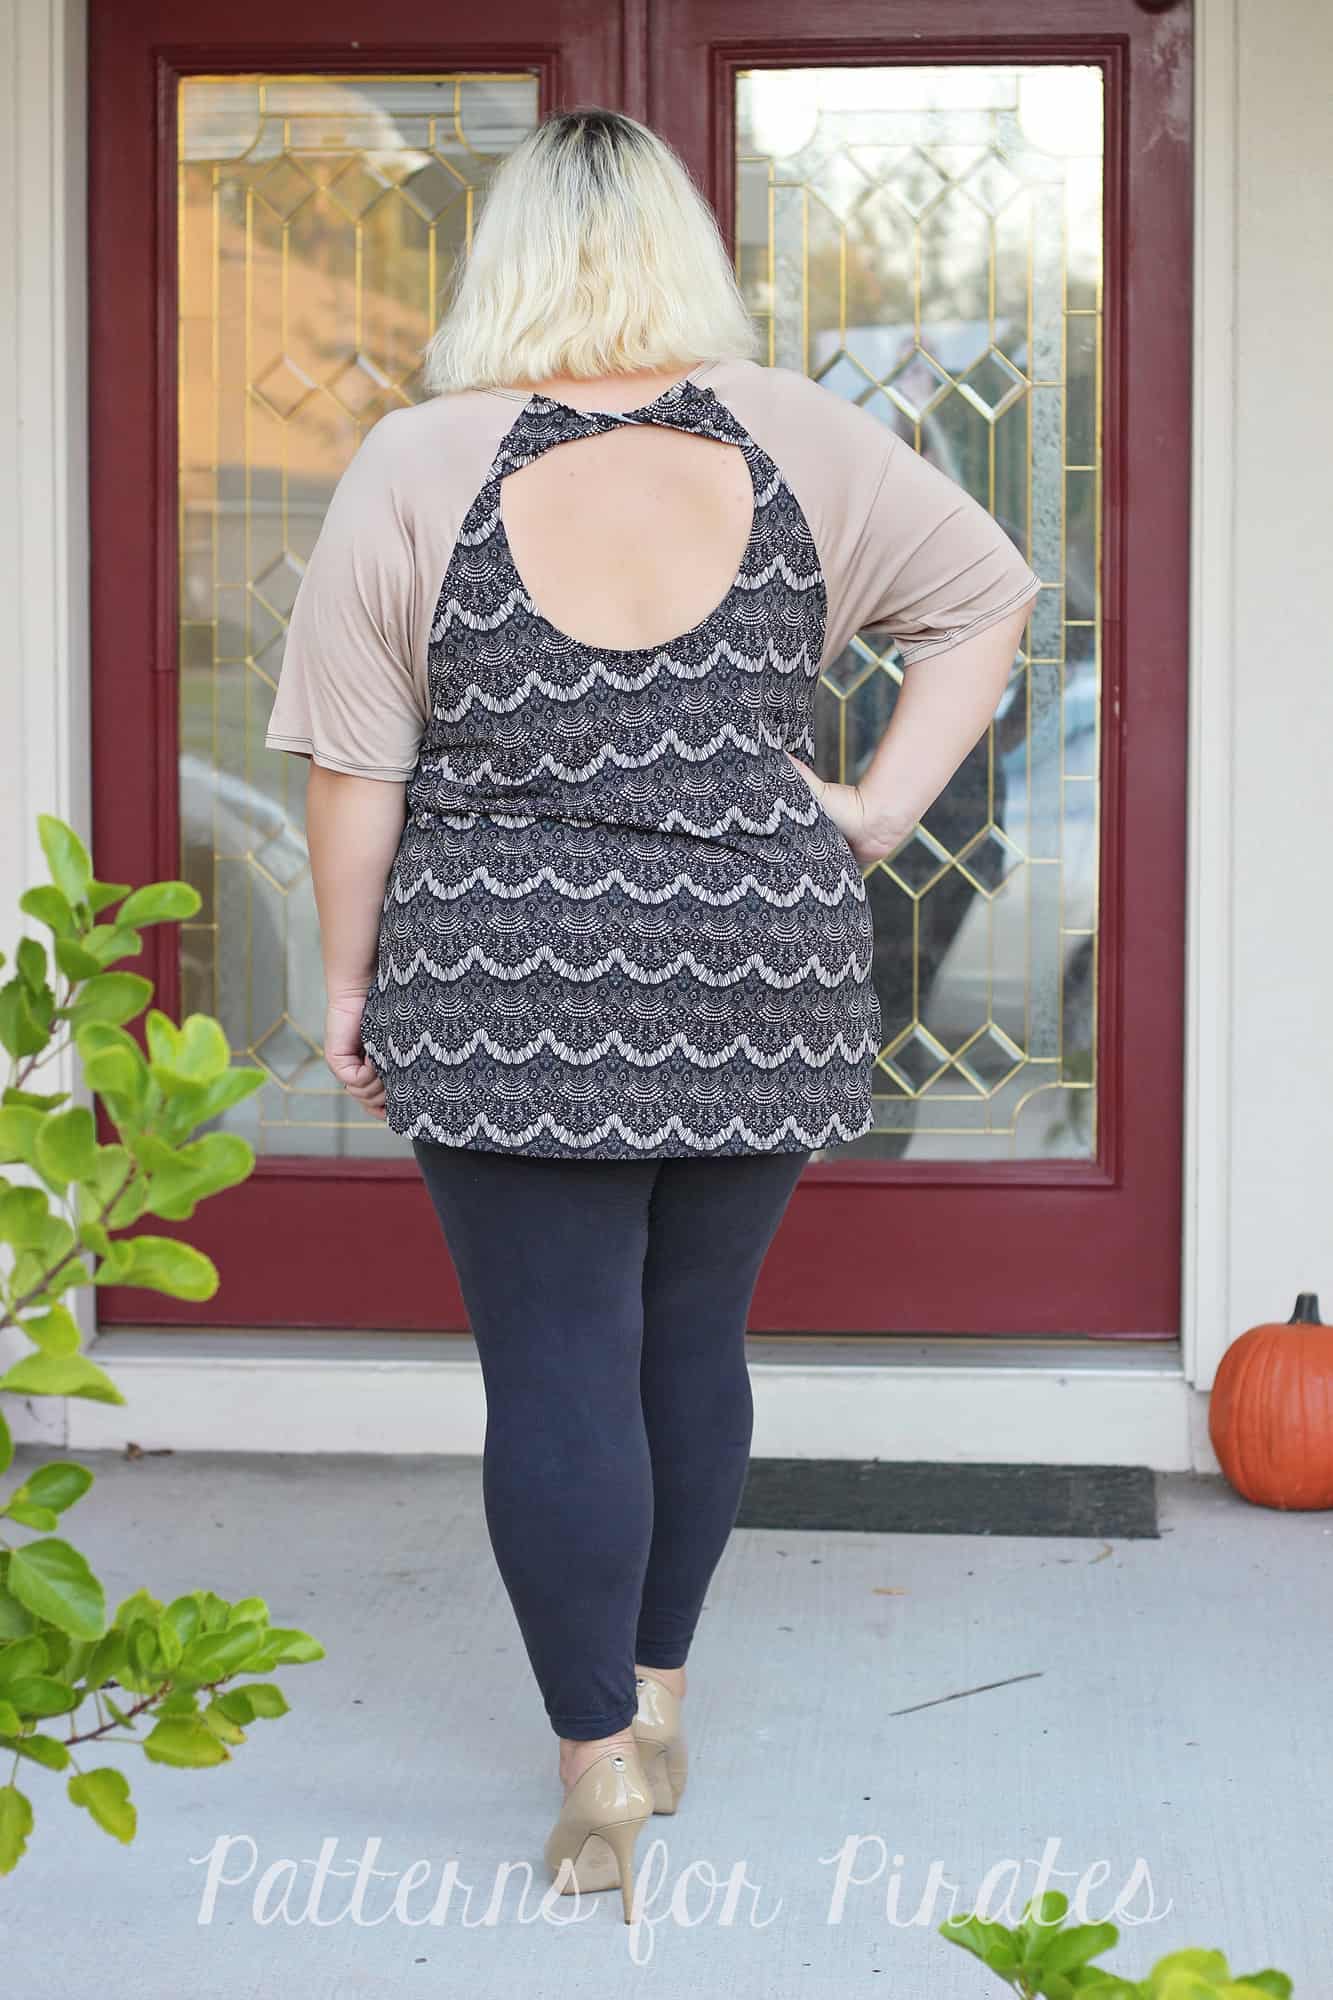
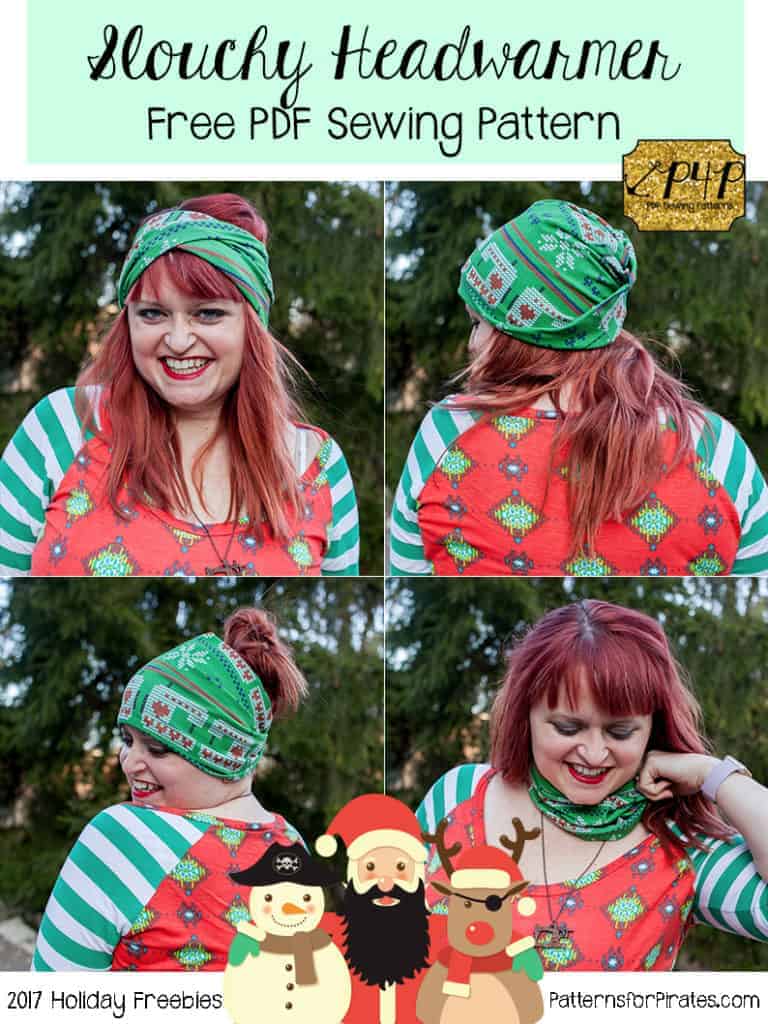
We are kicking off another year of P4P Holiday Freebies and today is the first of FIVE days of freebies.  I hope you love each and every one of them as much as I do.  We brainstormed pretty hard to find things that were unique, quick to make, and totally giftable for people on your holiday lists.  (And if you’re on your own holiday list, we don’t judge at all!)  Today’s freebie is like four-in-one!  It’s a slouchy headwarmer that can convert into a headband, hat, cowl, and messy bun hat!

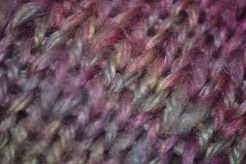
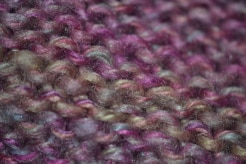
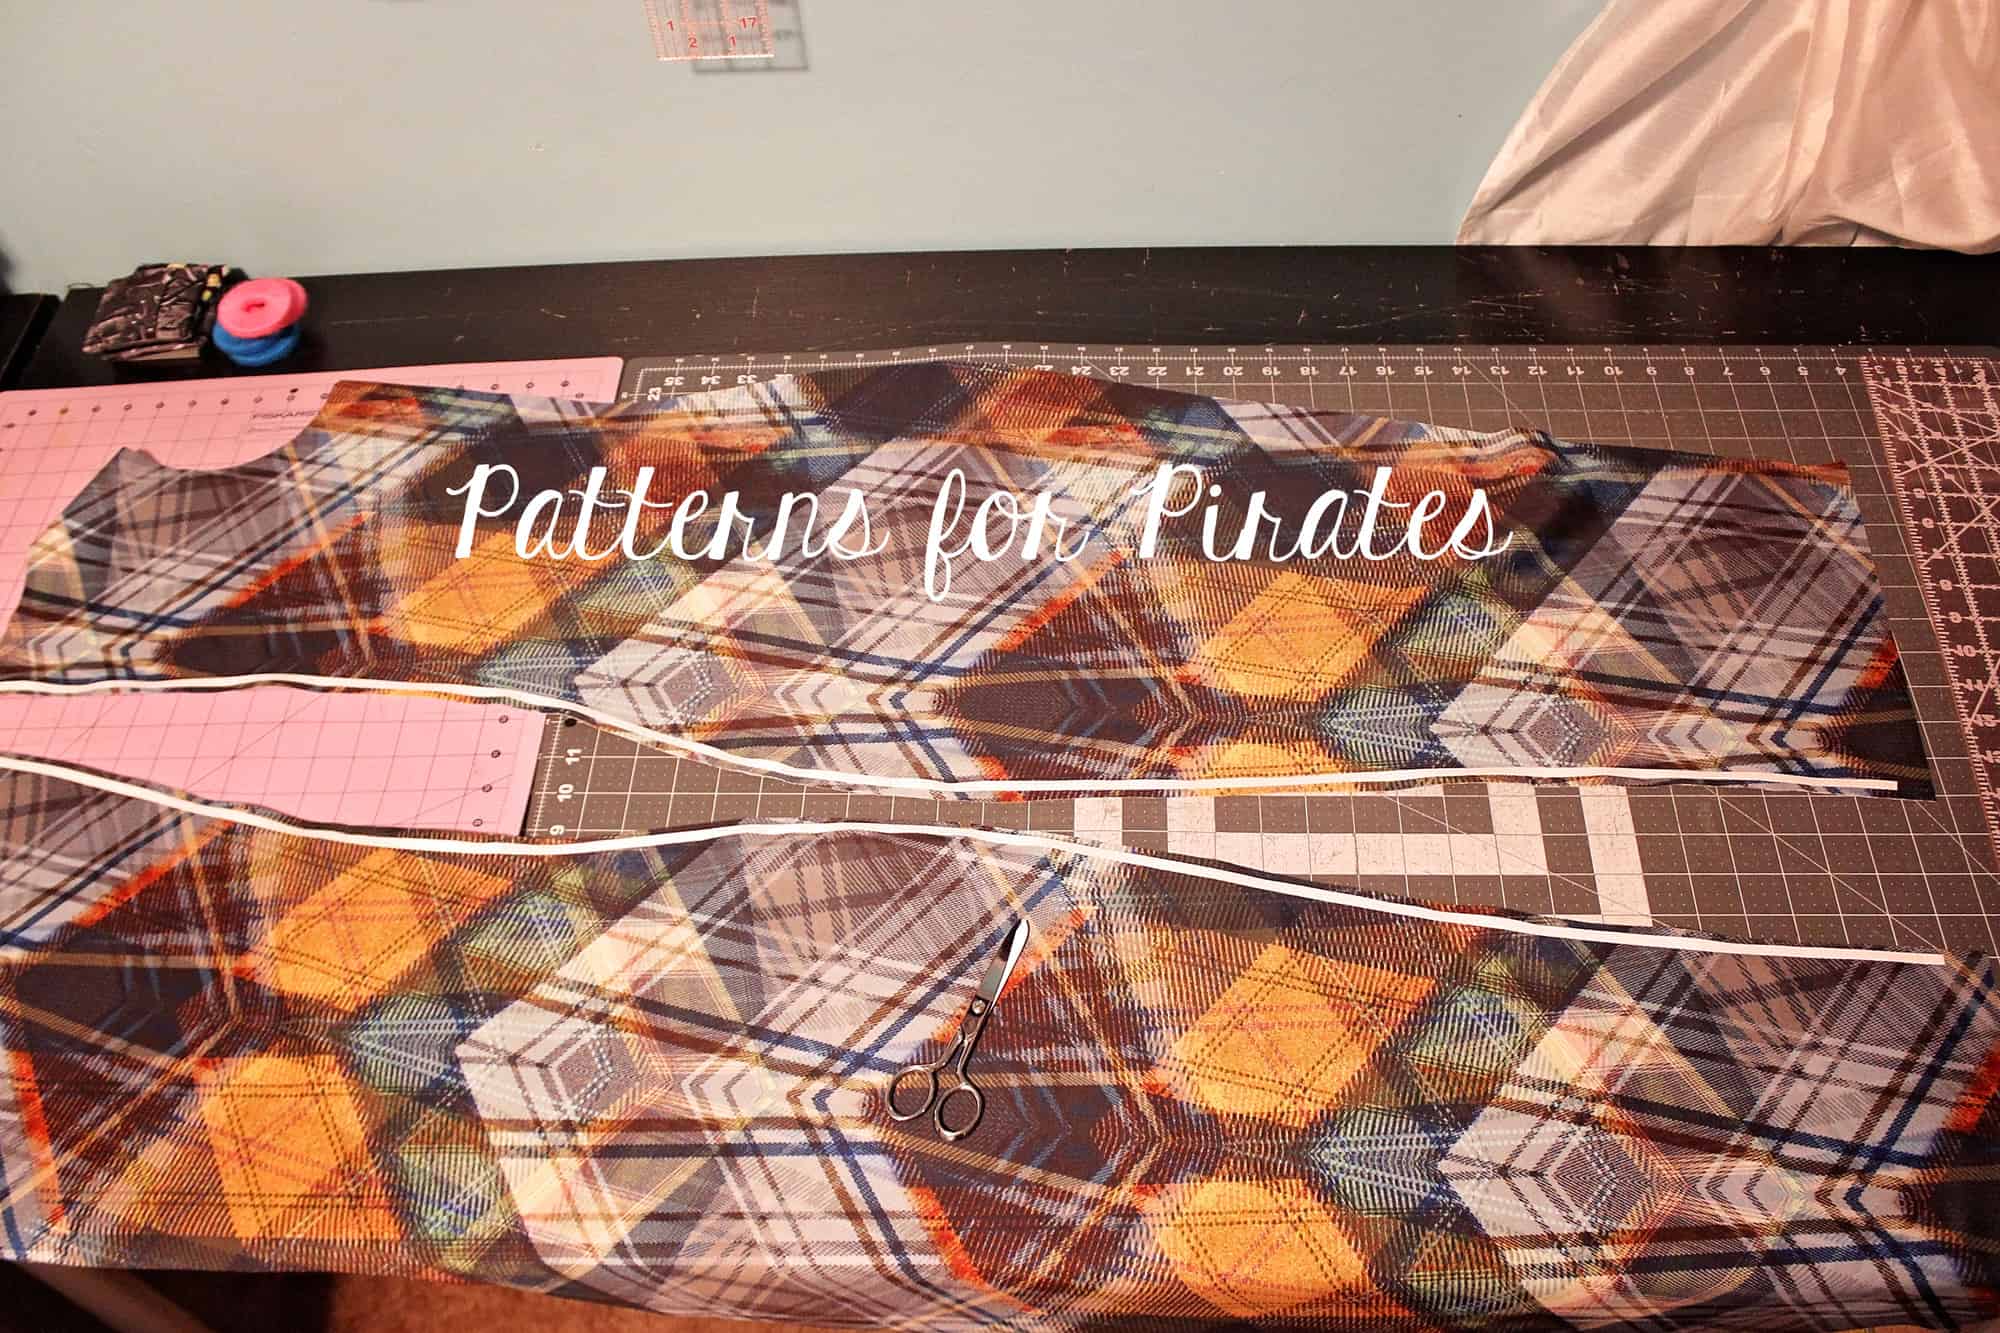
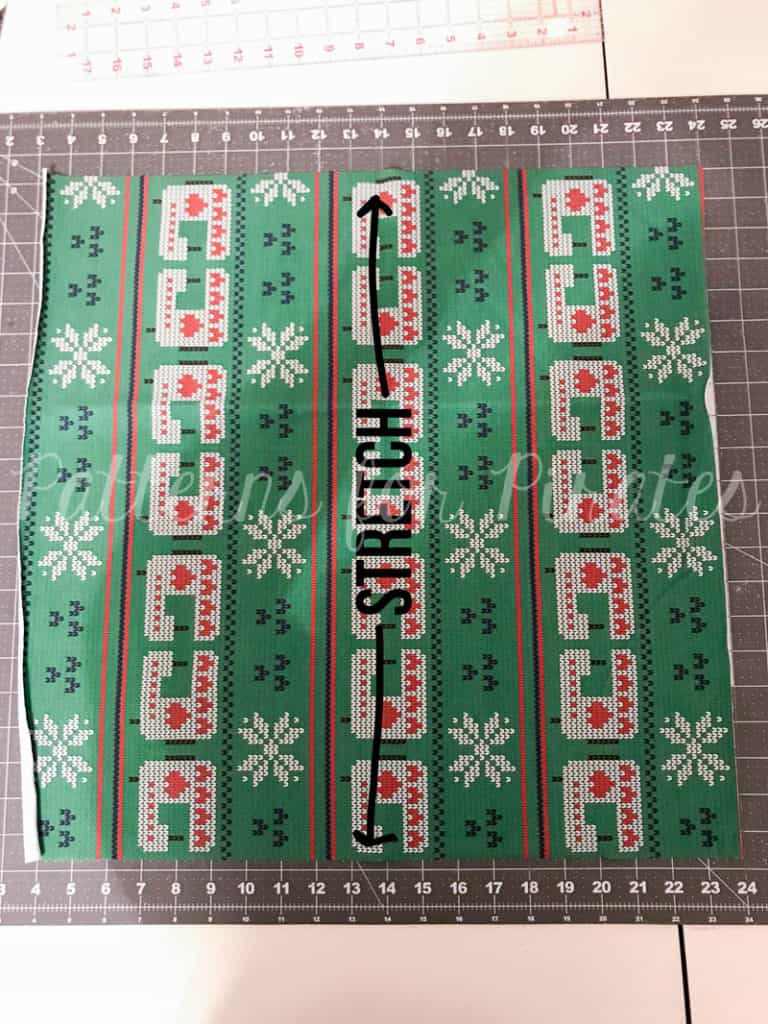
Suggested fabrics: Brushed Poly, Rayon/Spandex, (some) Sweater Knits, Cotton Lycras, etc.  The fabric has to have a really good stretch and recovery factor.

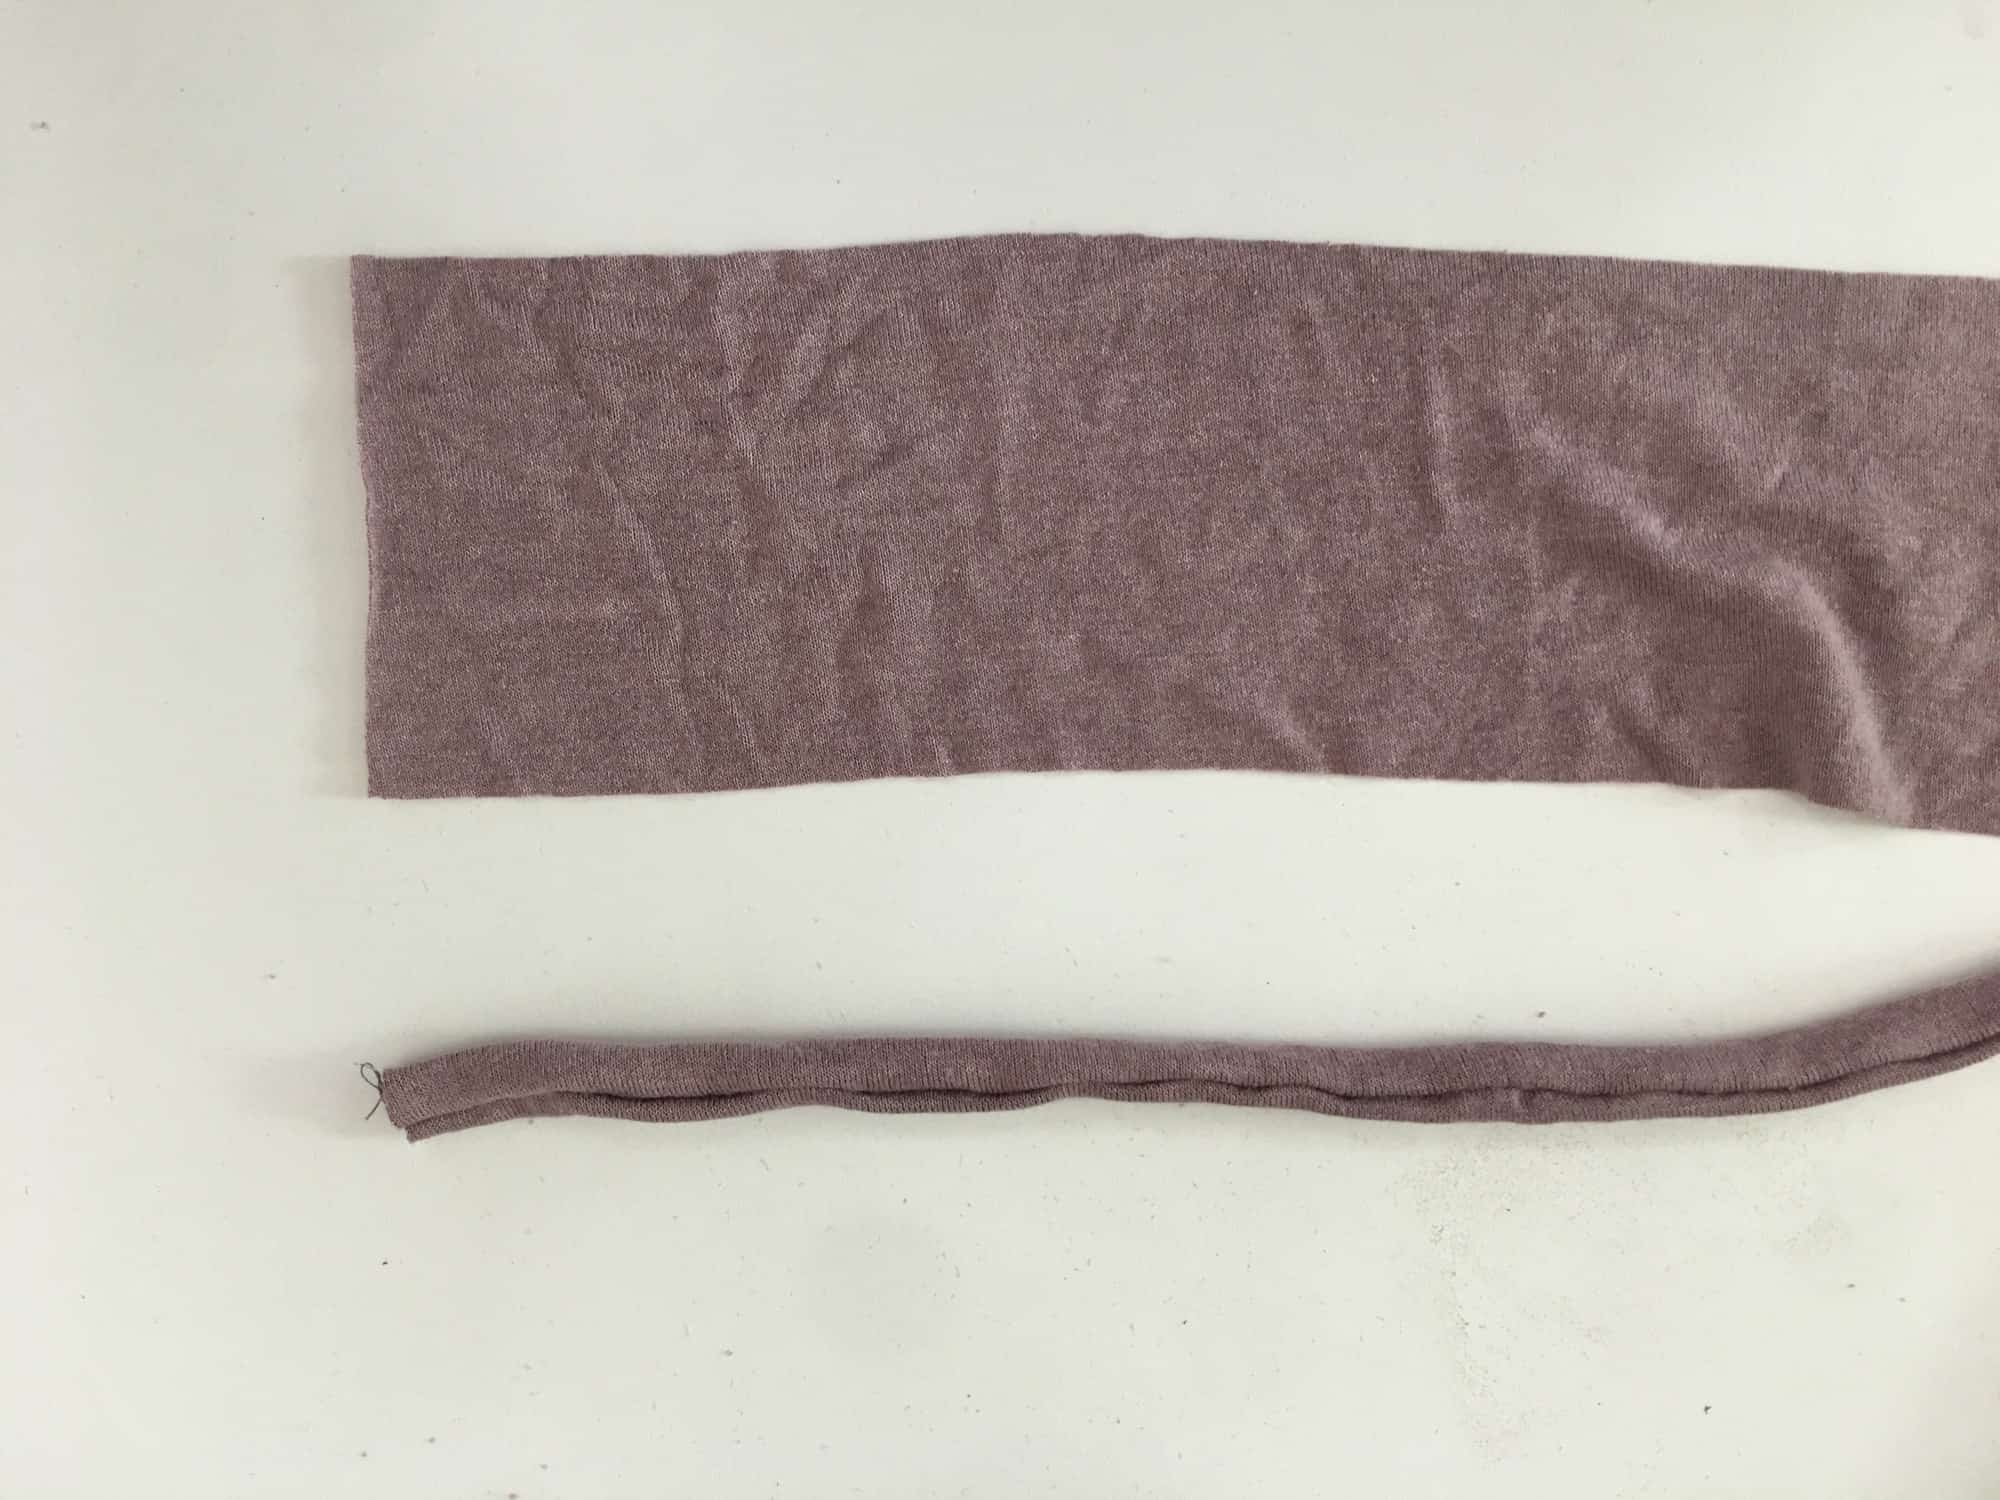
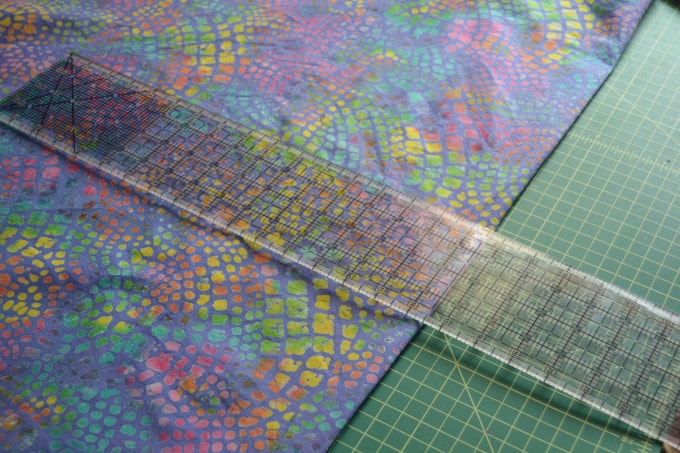
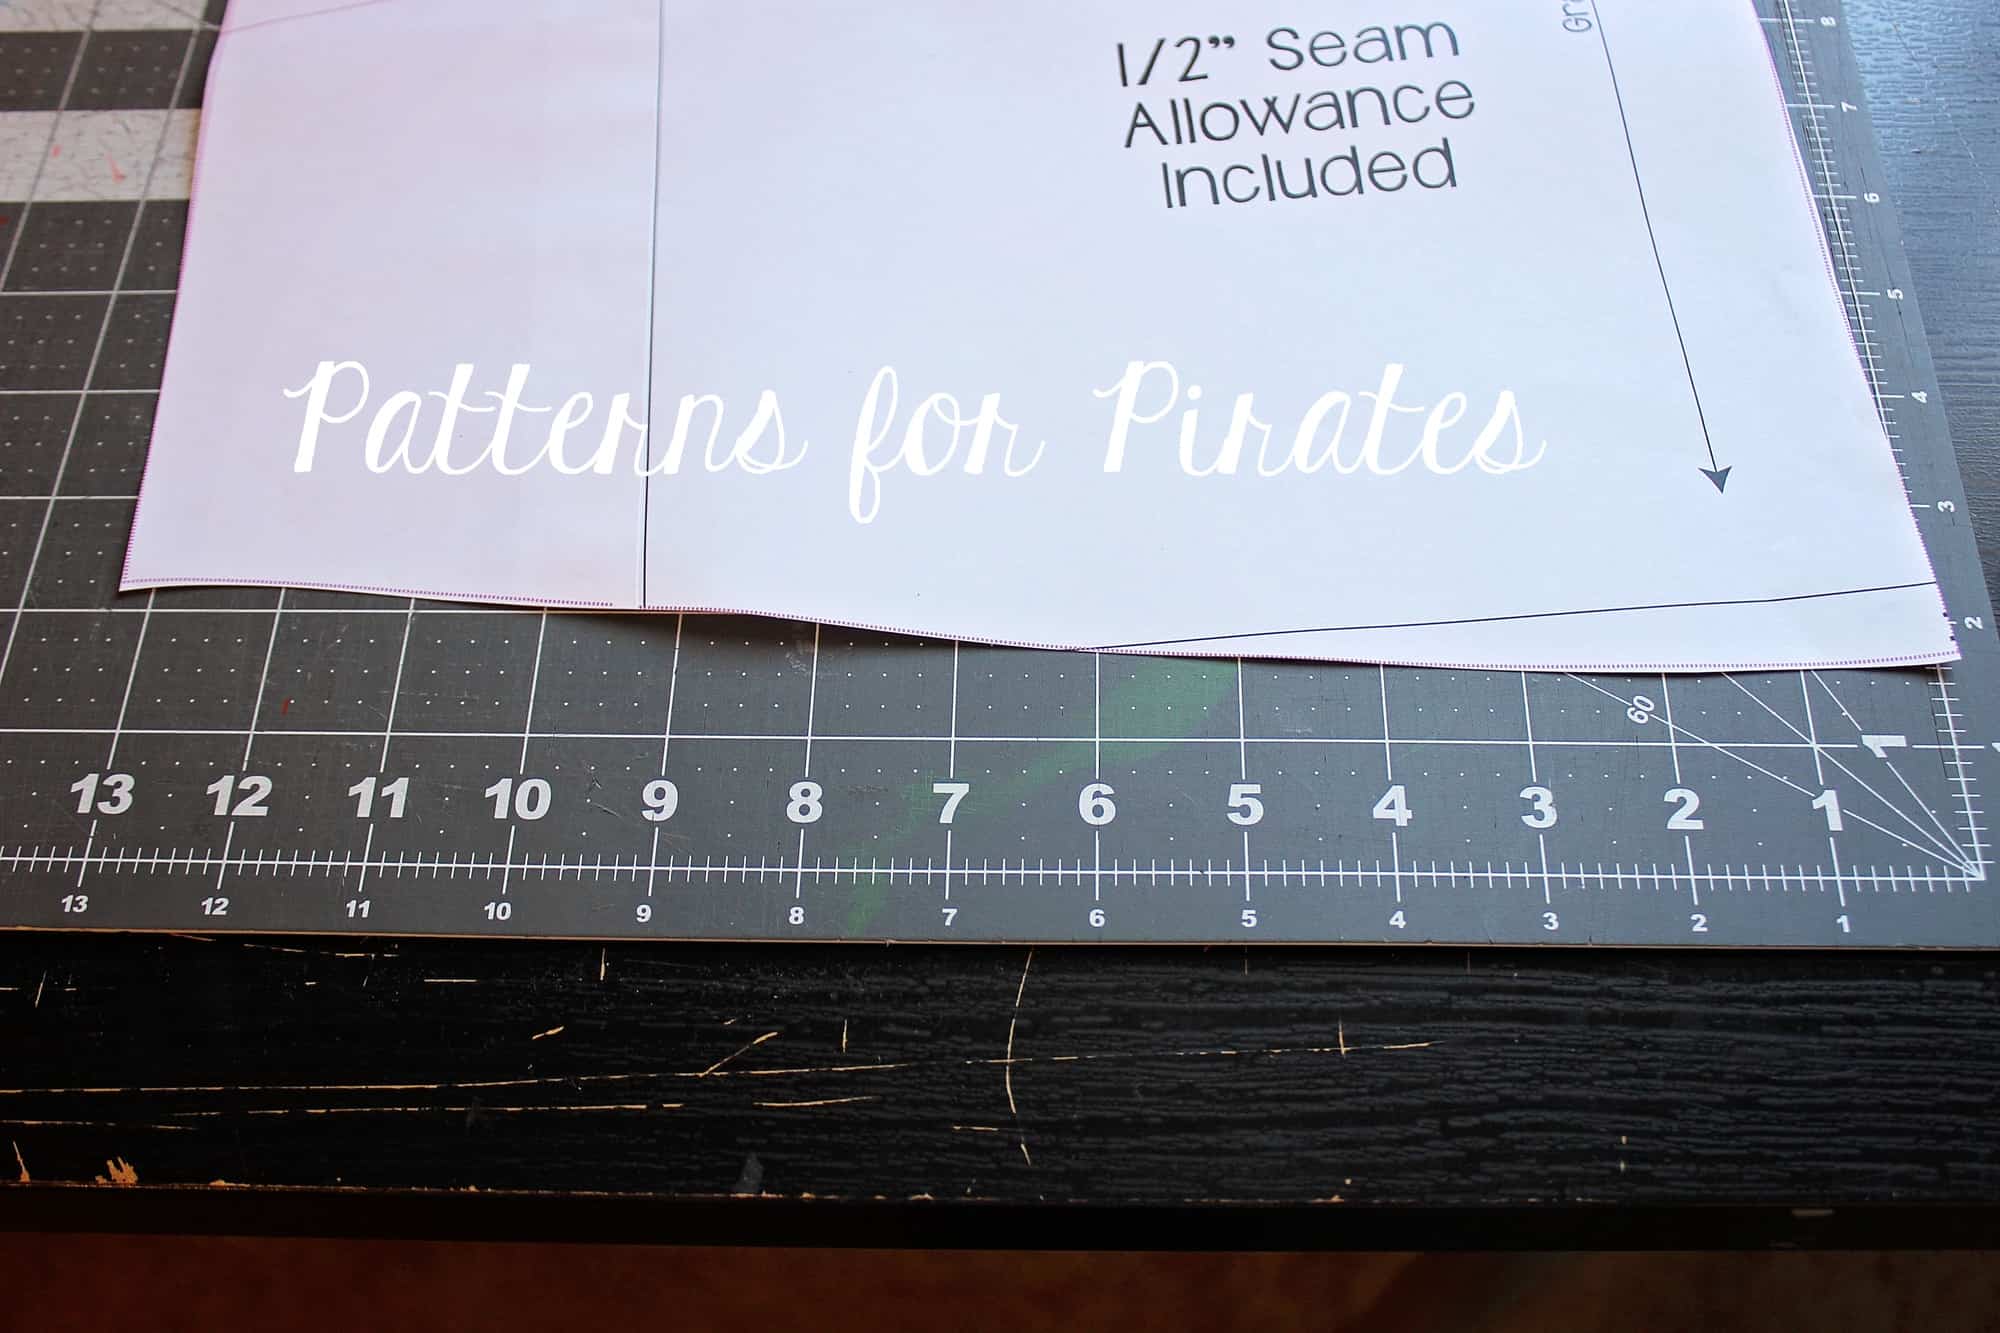
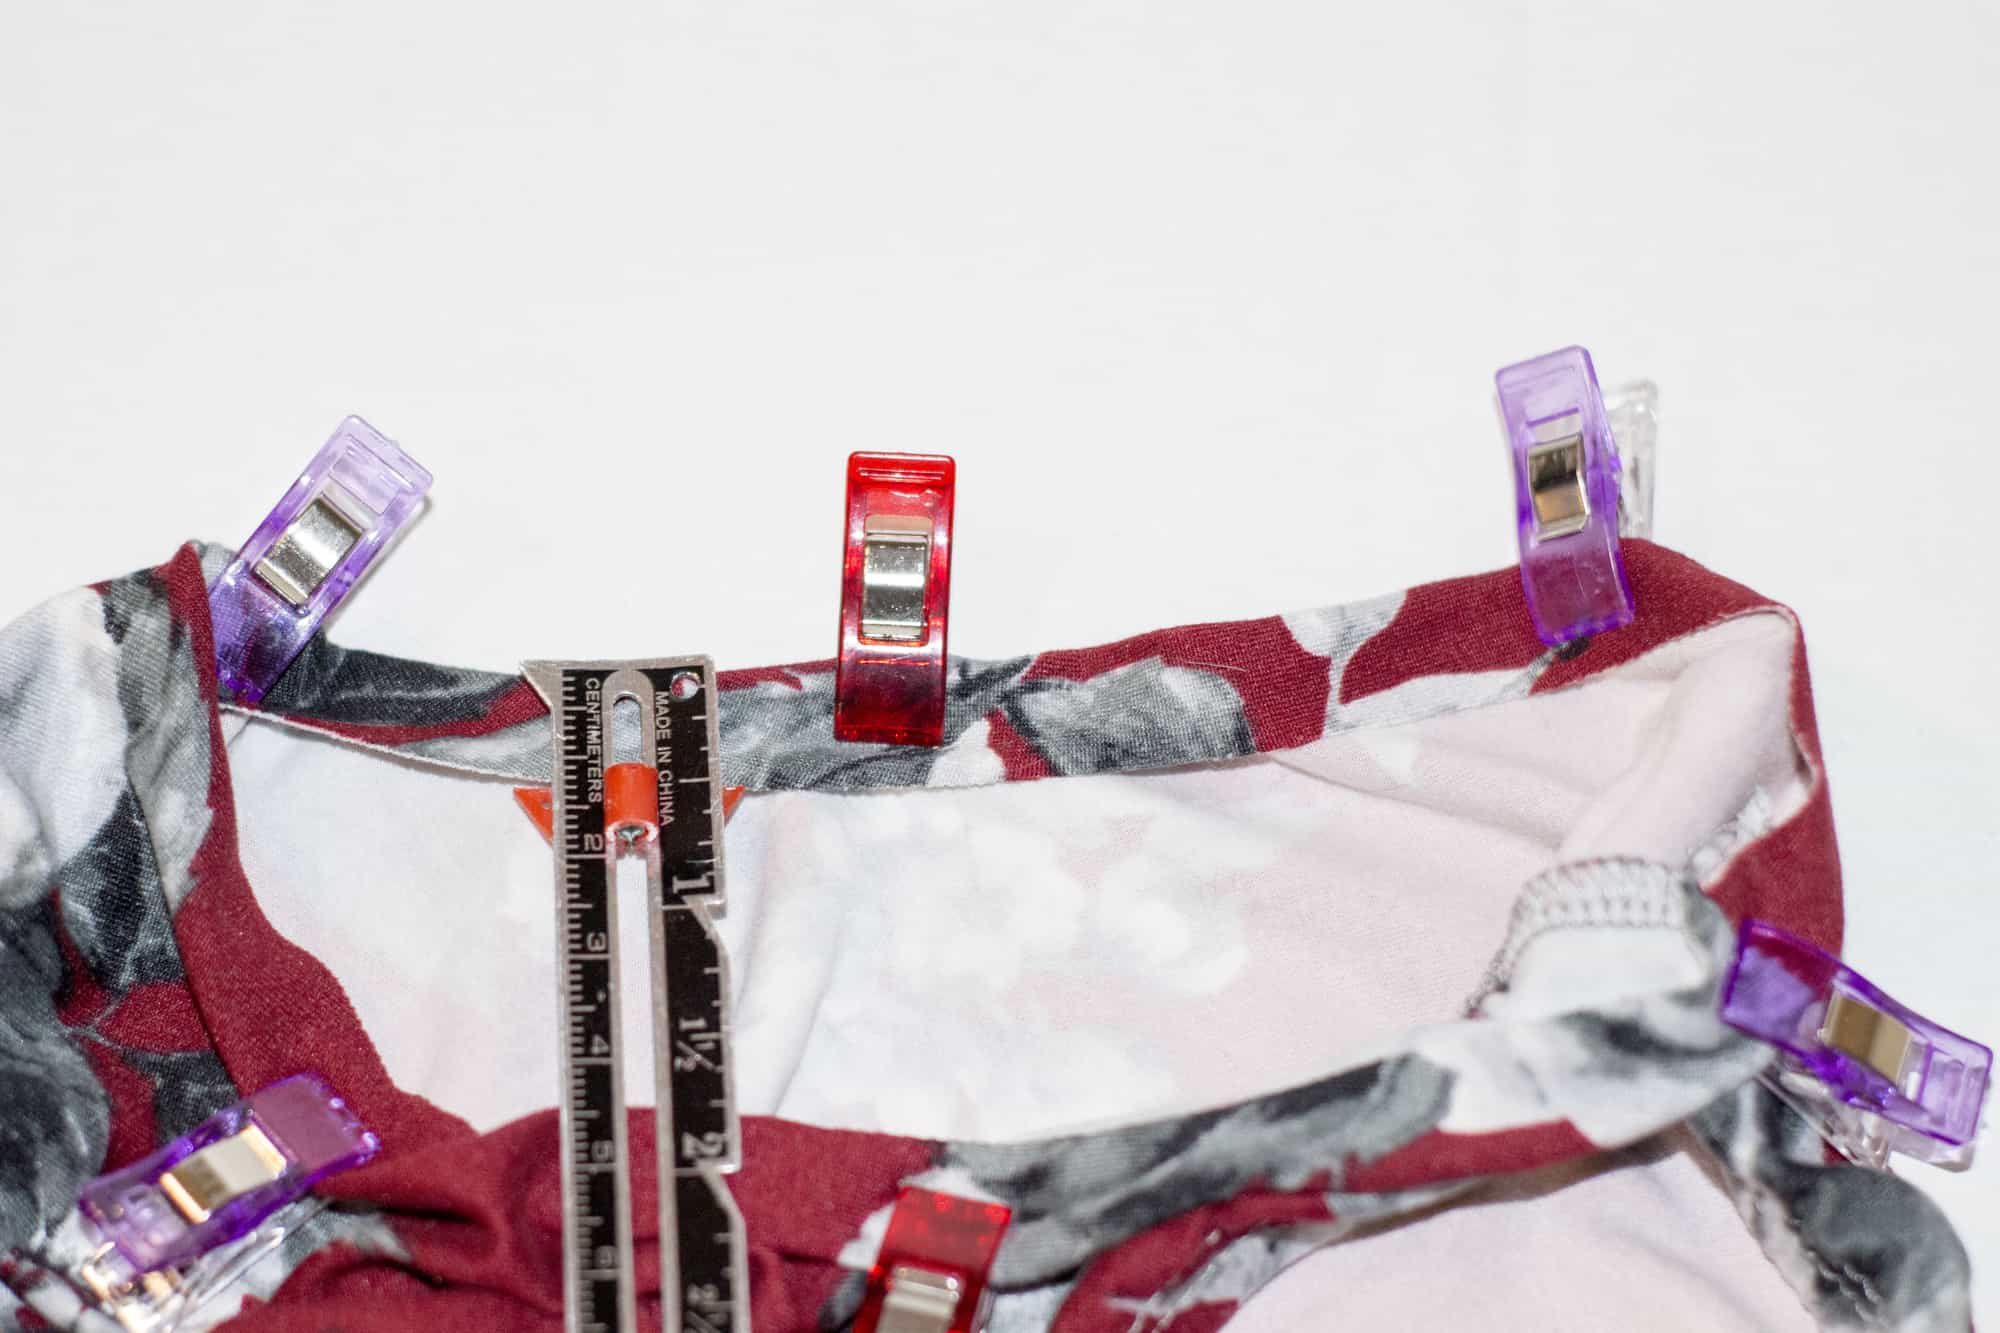
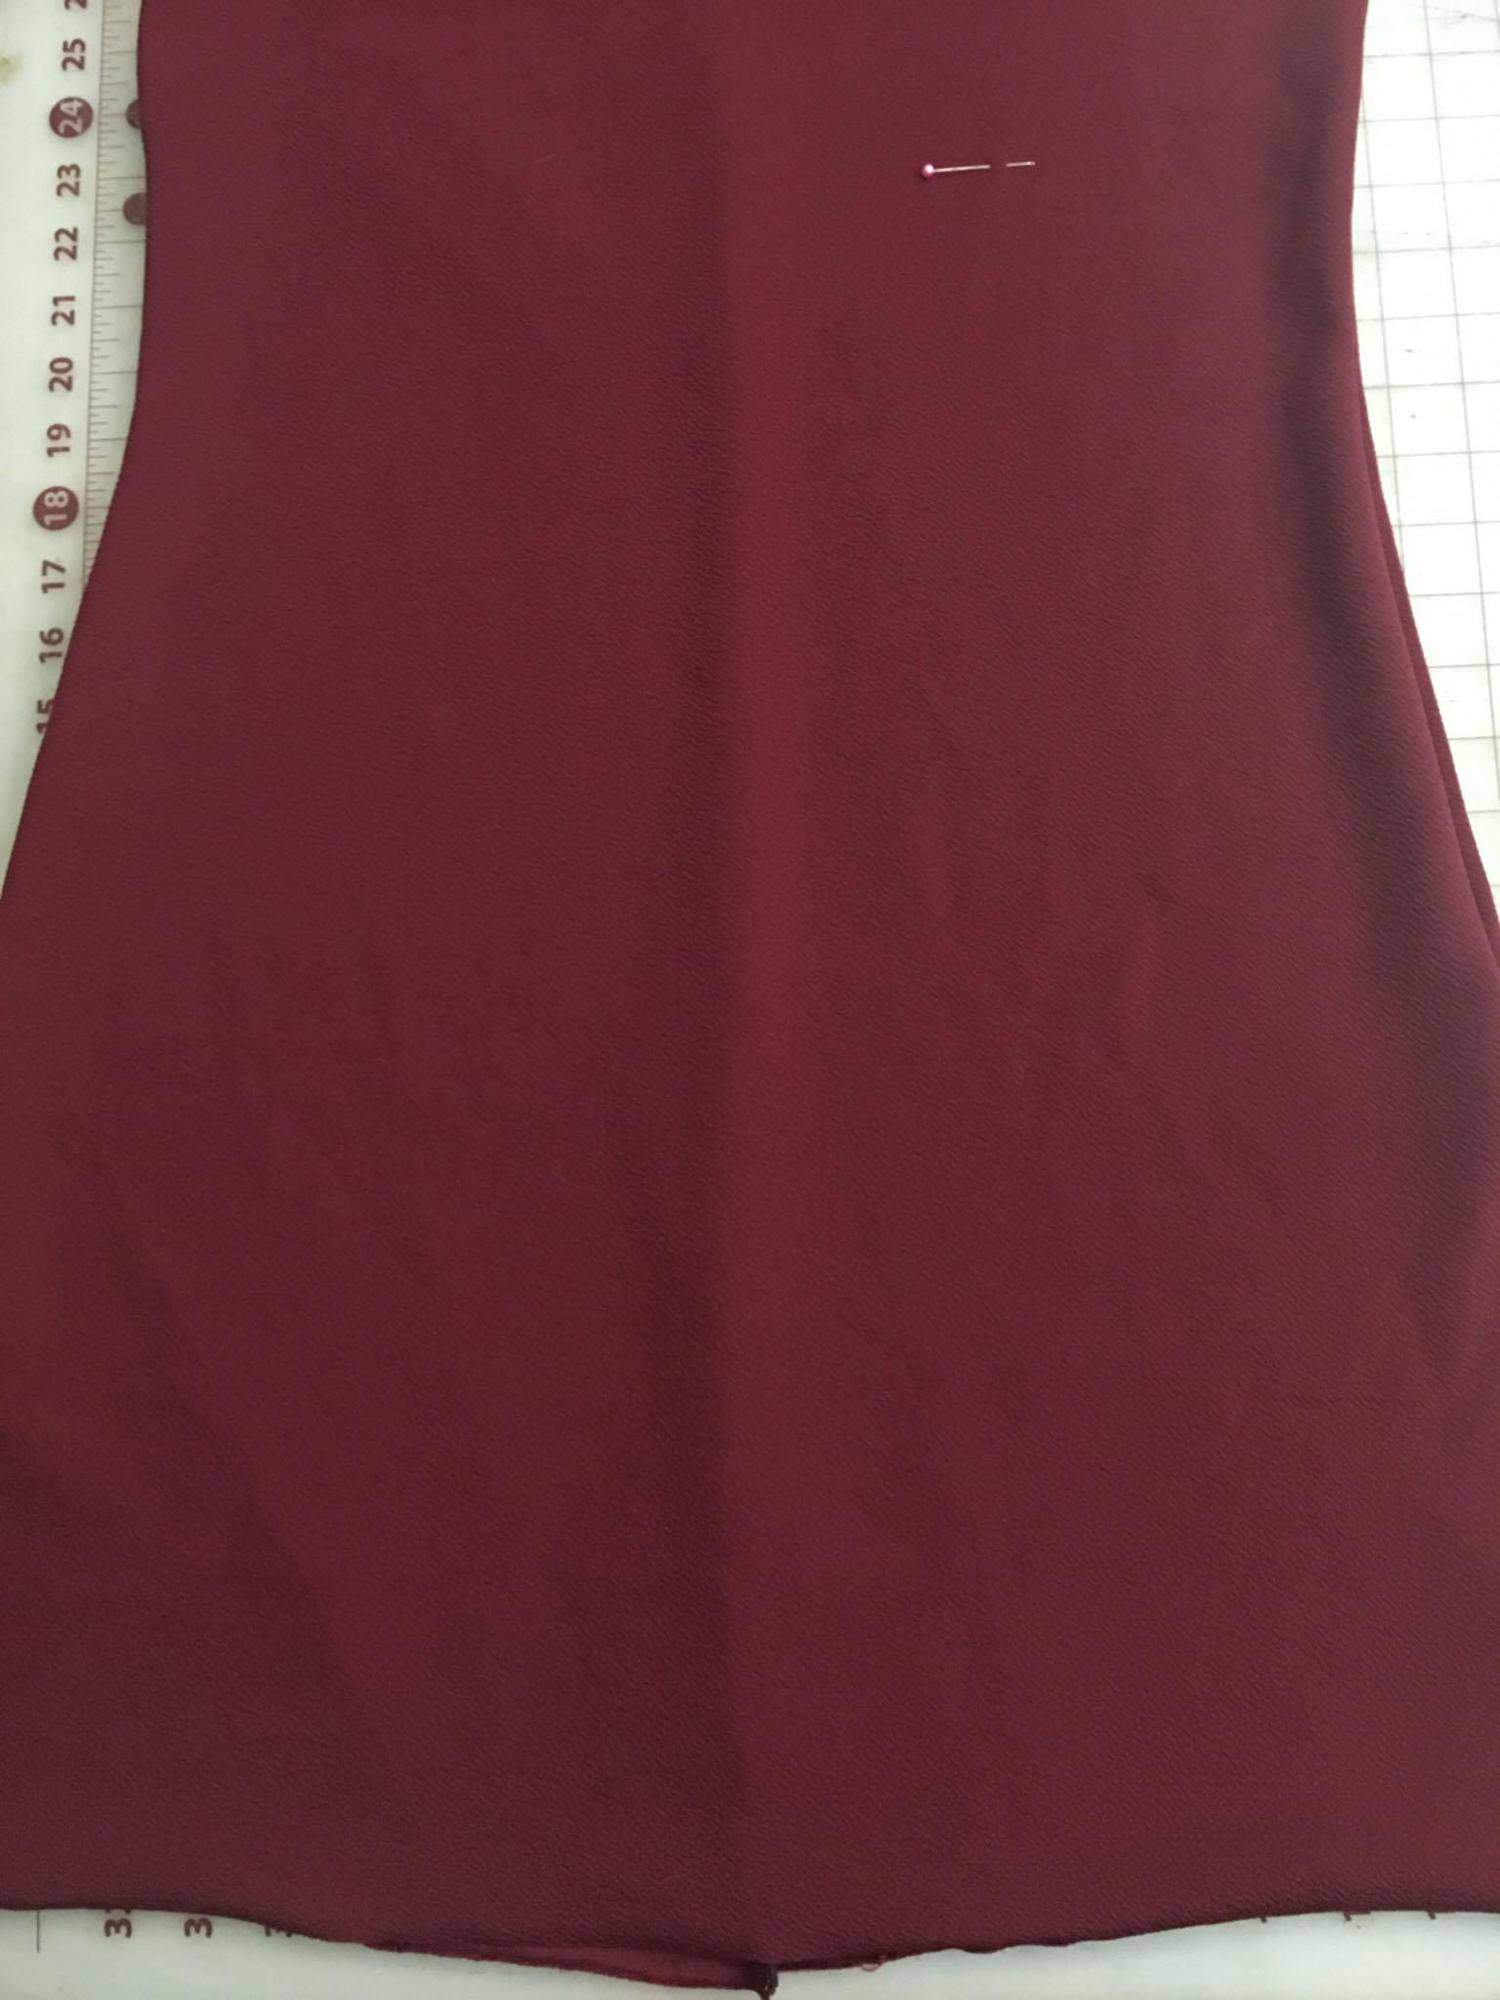
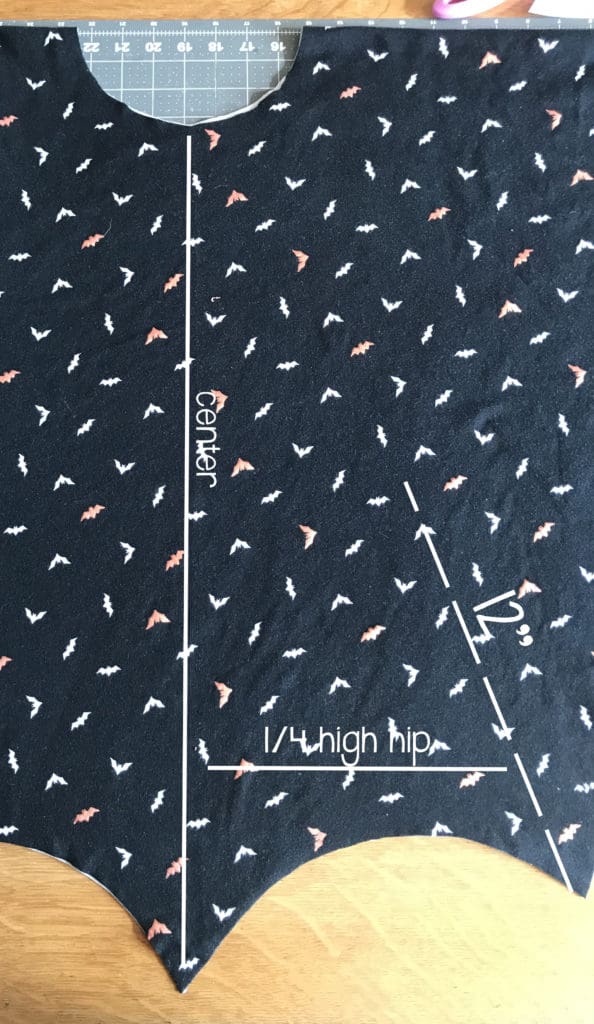
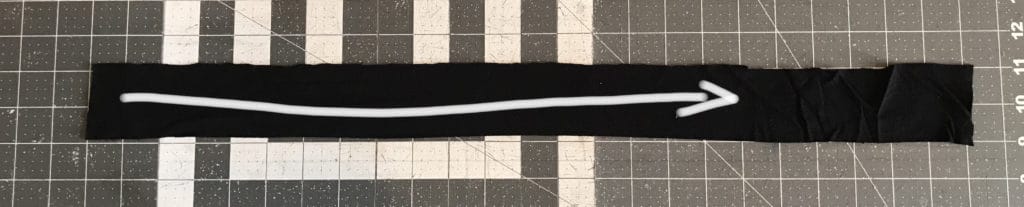
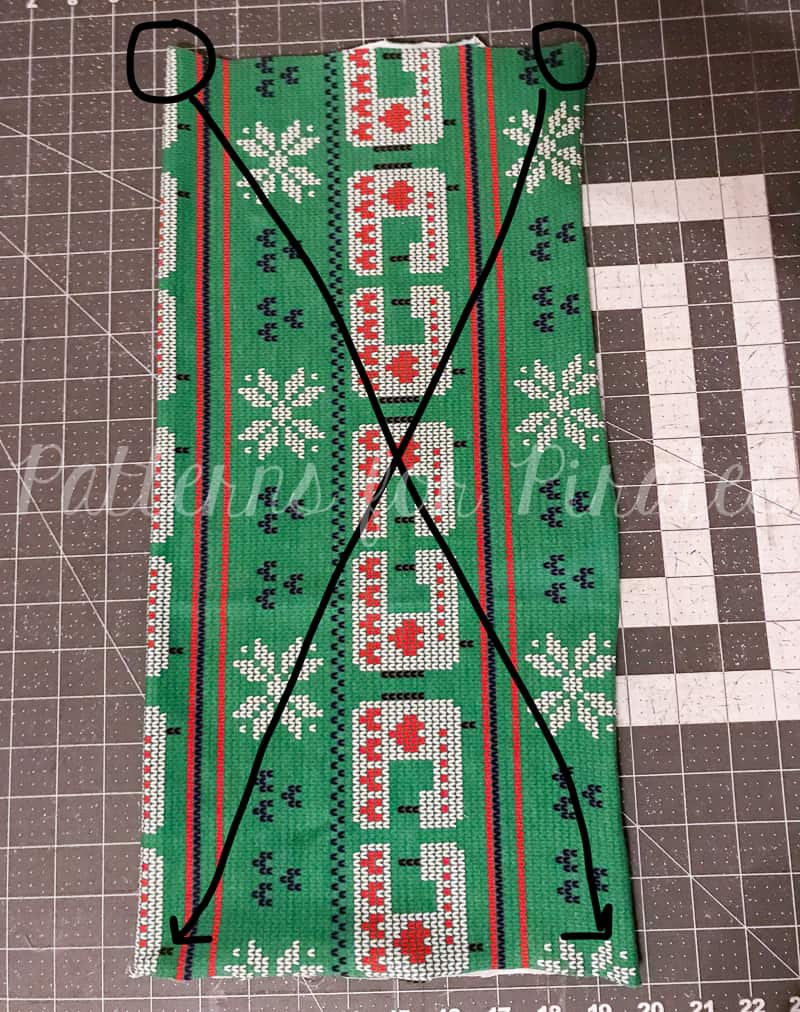
Cut square: 20” wide x 20” long.
**The average woman’s head size is 21″ in circumference.  If your head measures smaller/larger than this, it’s easy to adjust accordingly.  I also recommend to add an inch or two if you’re using a thicker cotton/lycra blend or something with a high spandex percentage, as it can be extra tight and end up a little uncomfortable if it’s too tight.

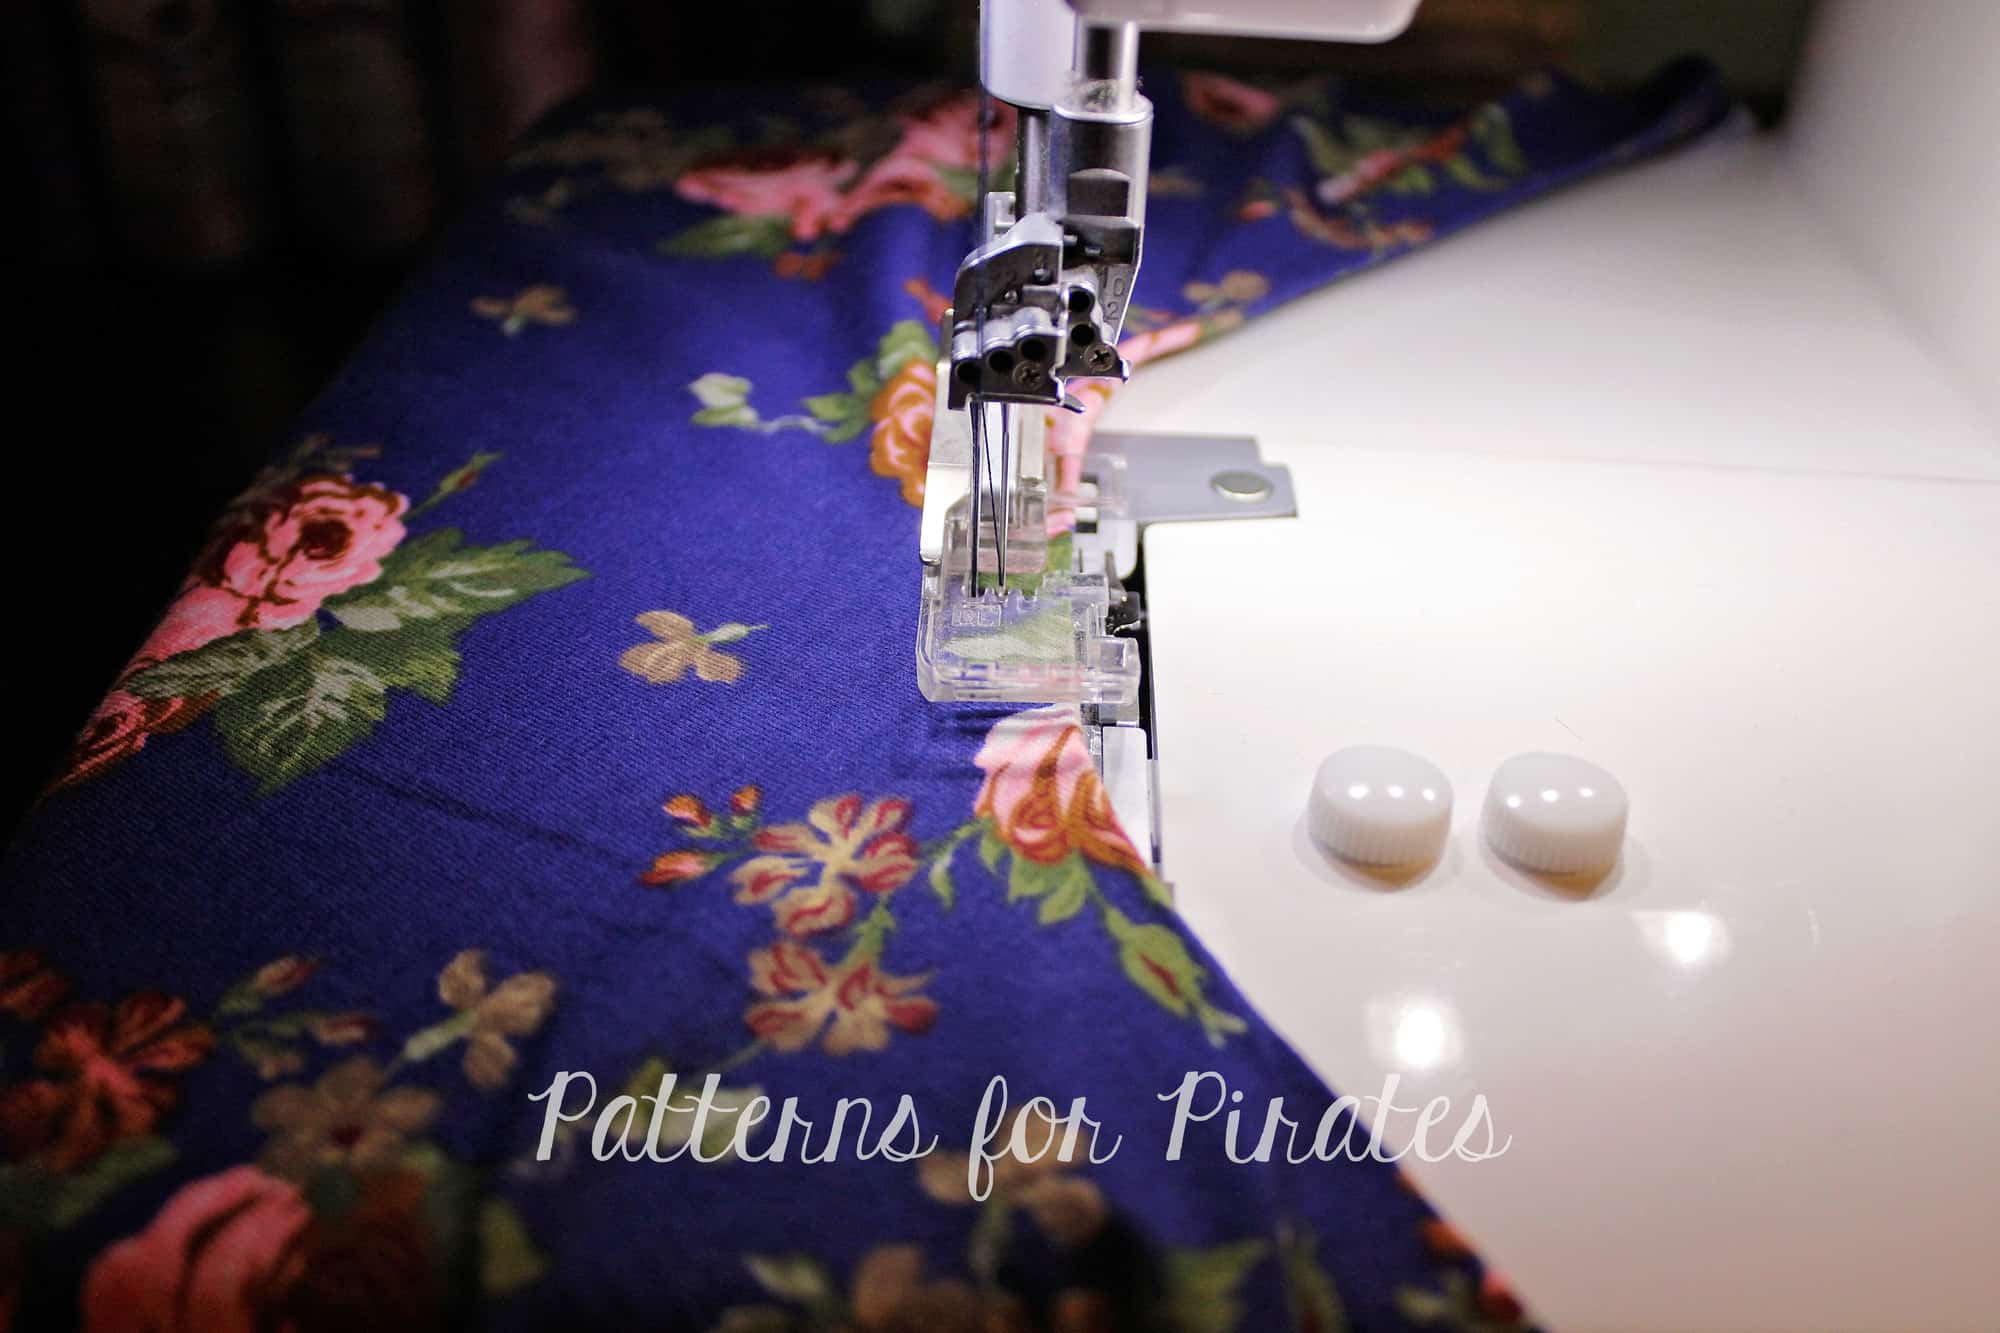
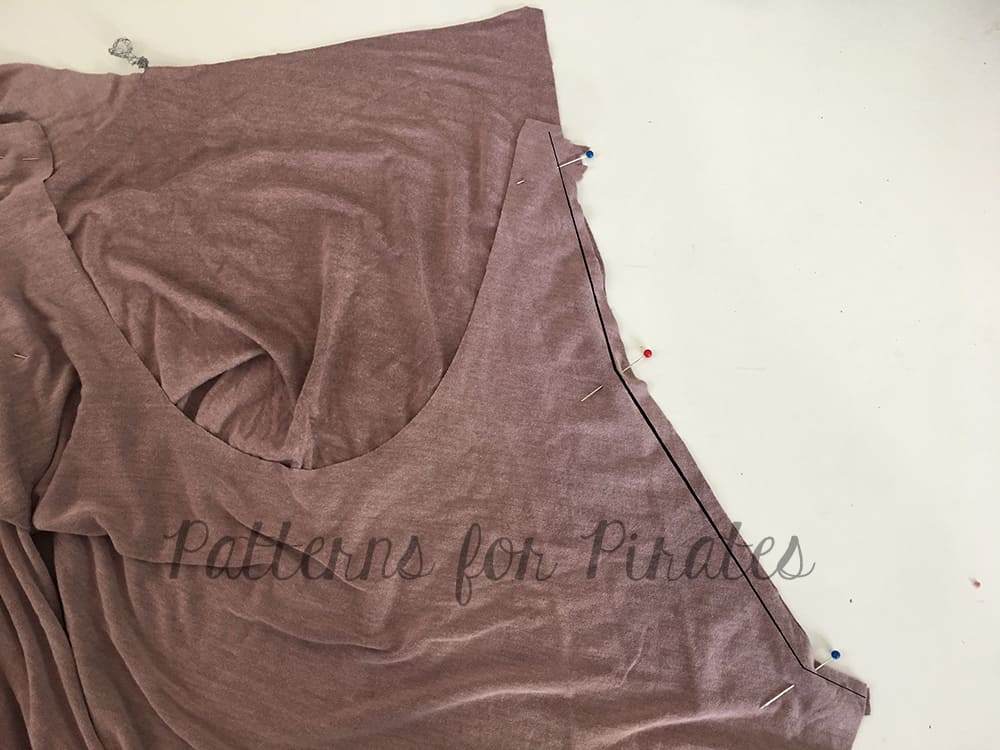
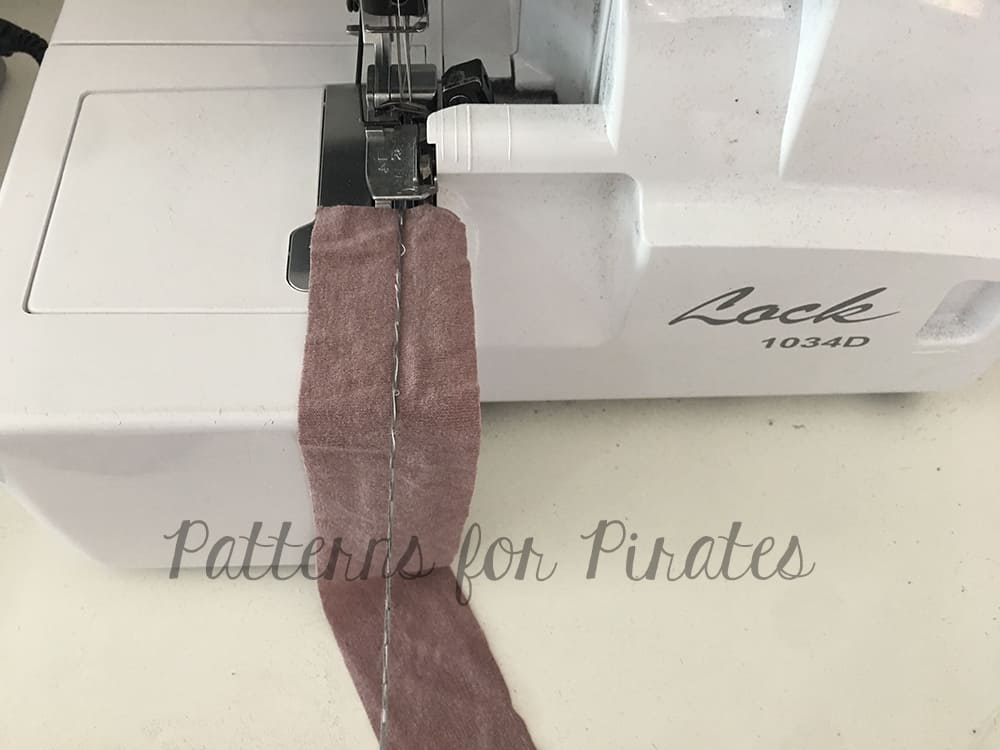
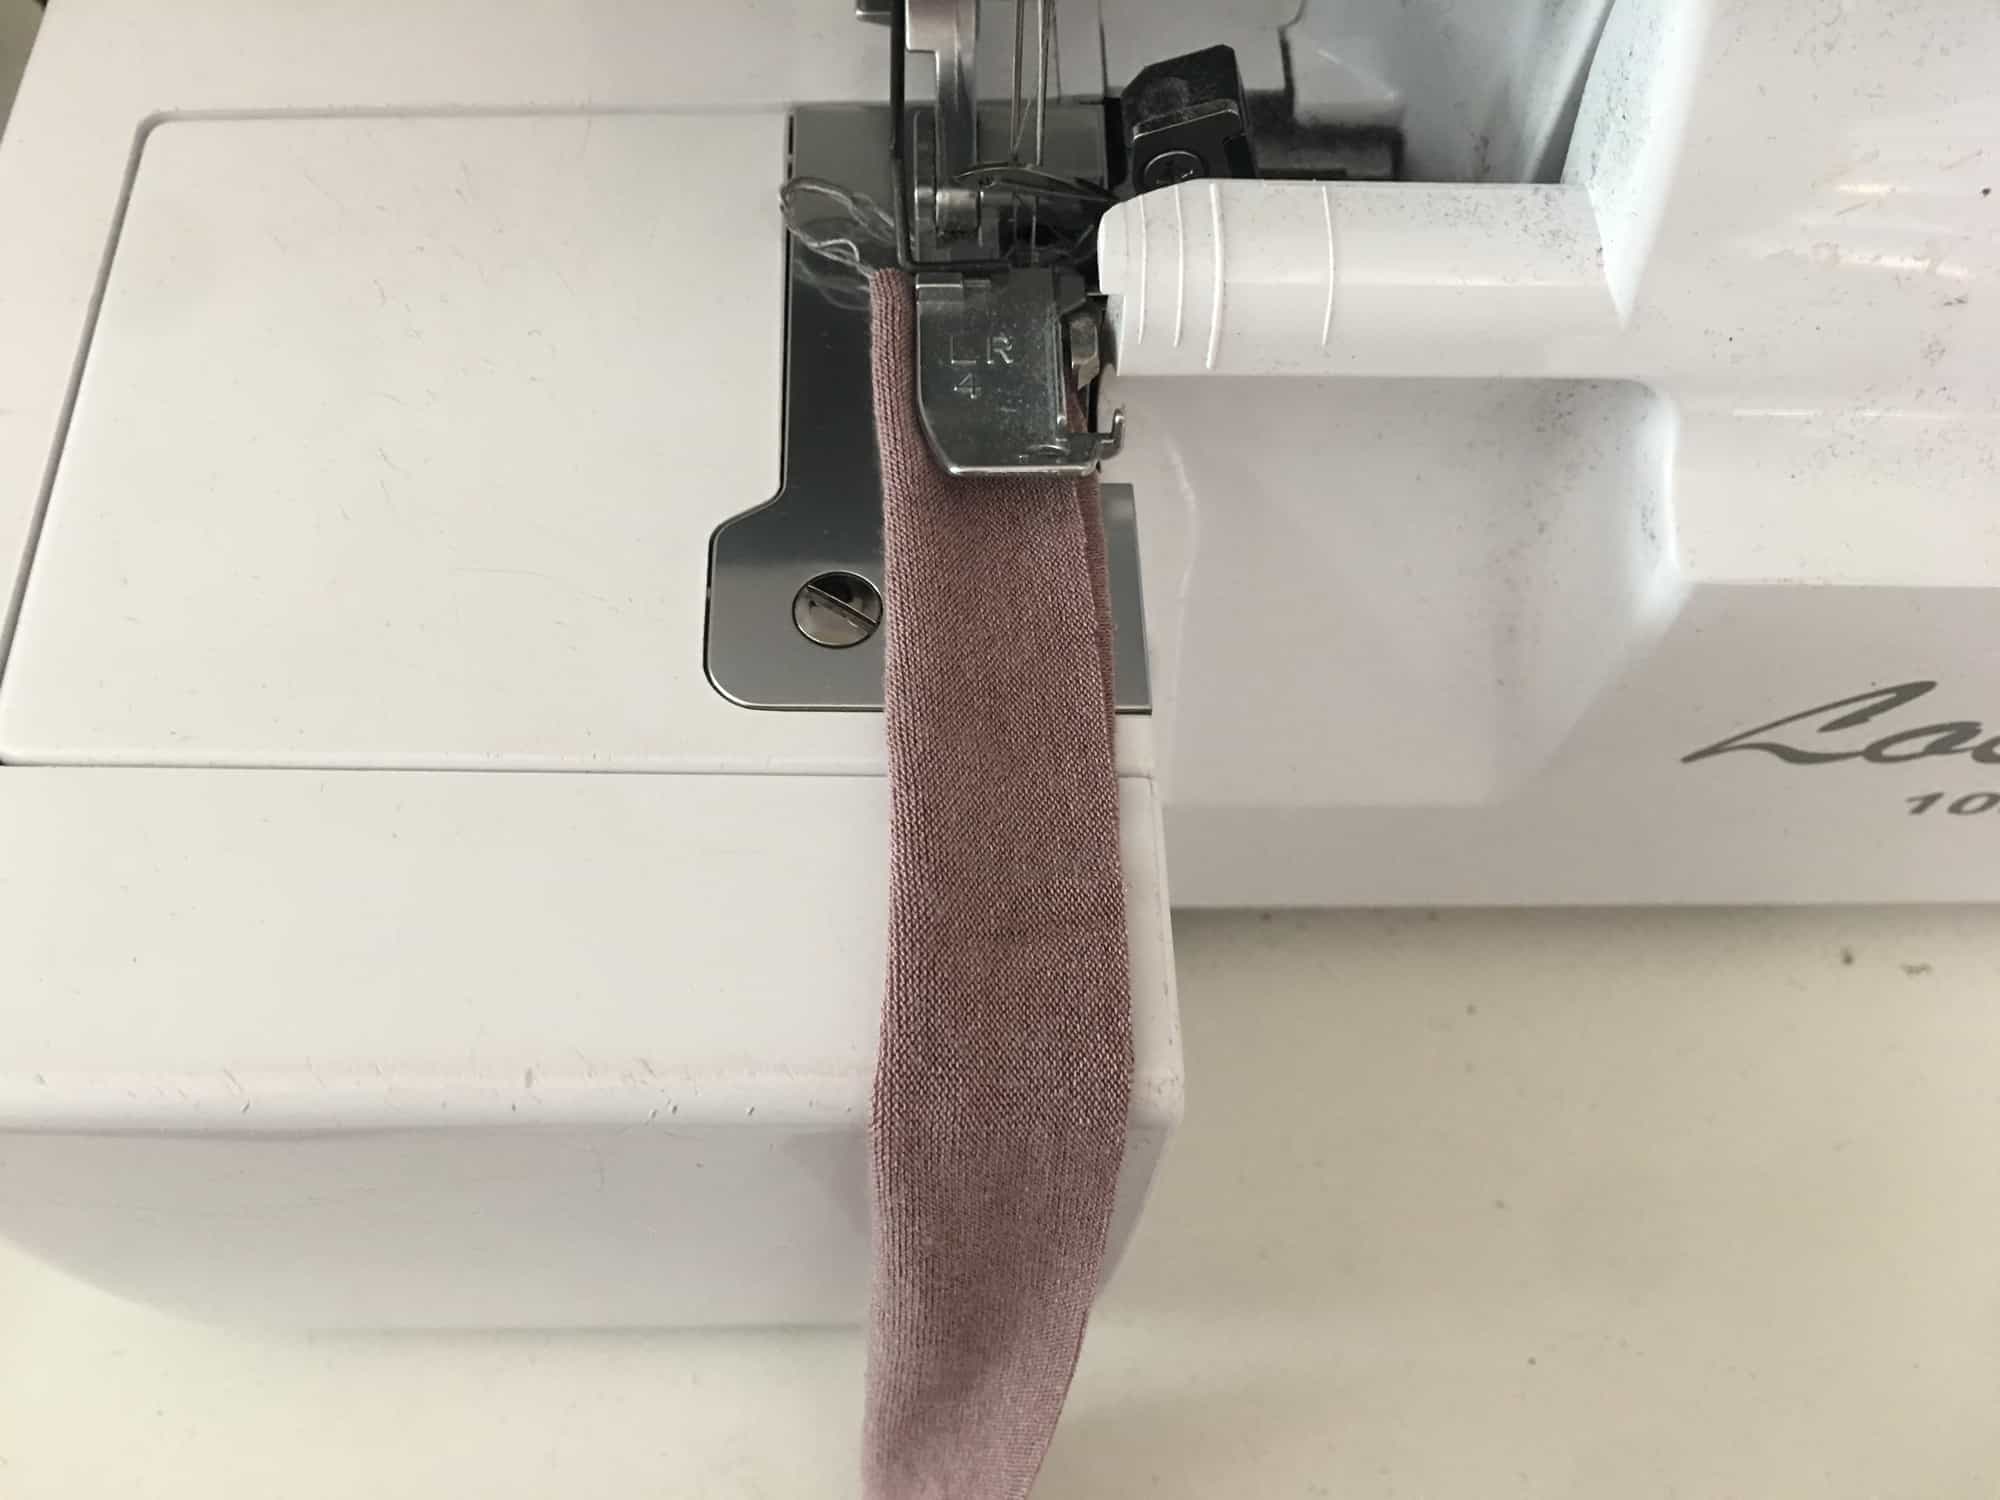
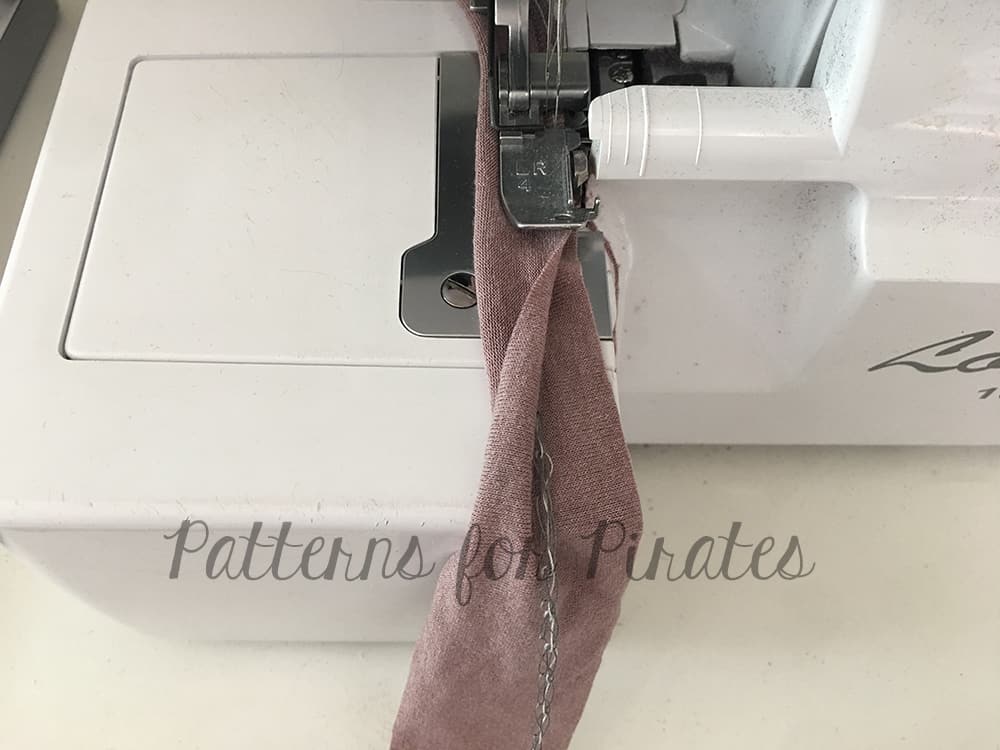
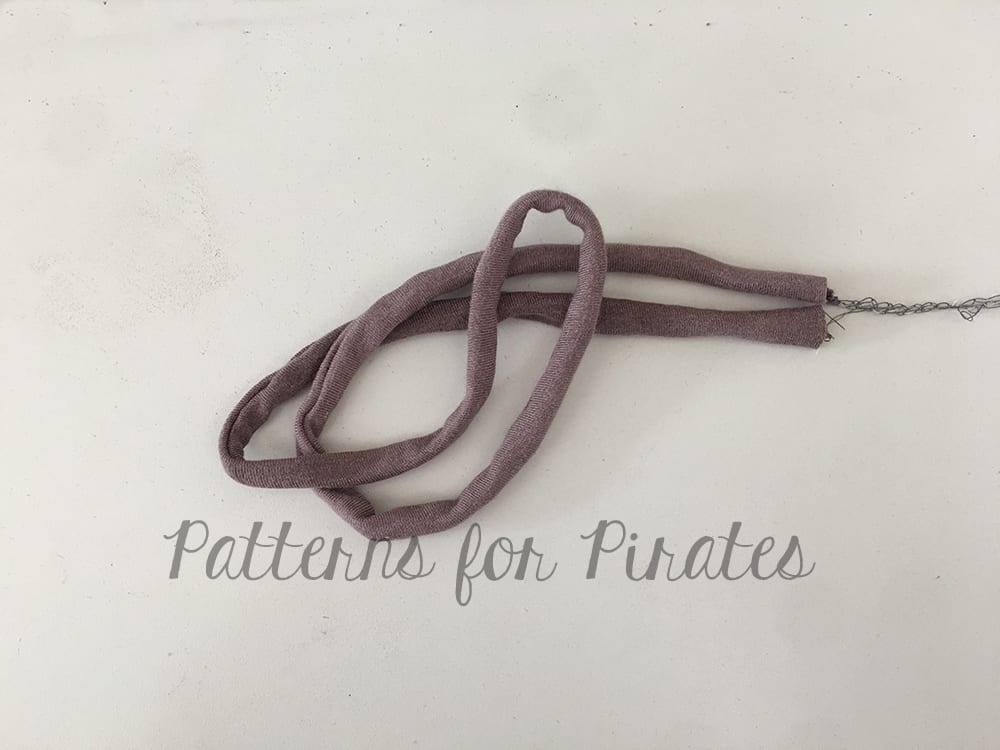
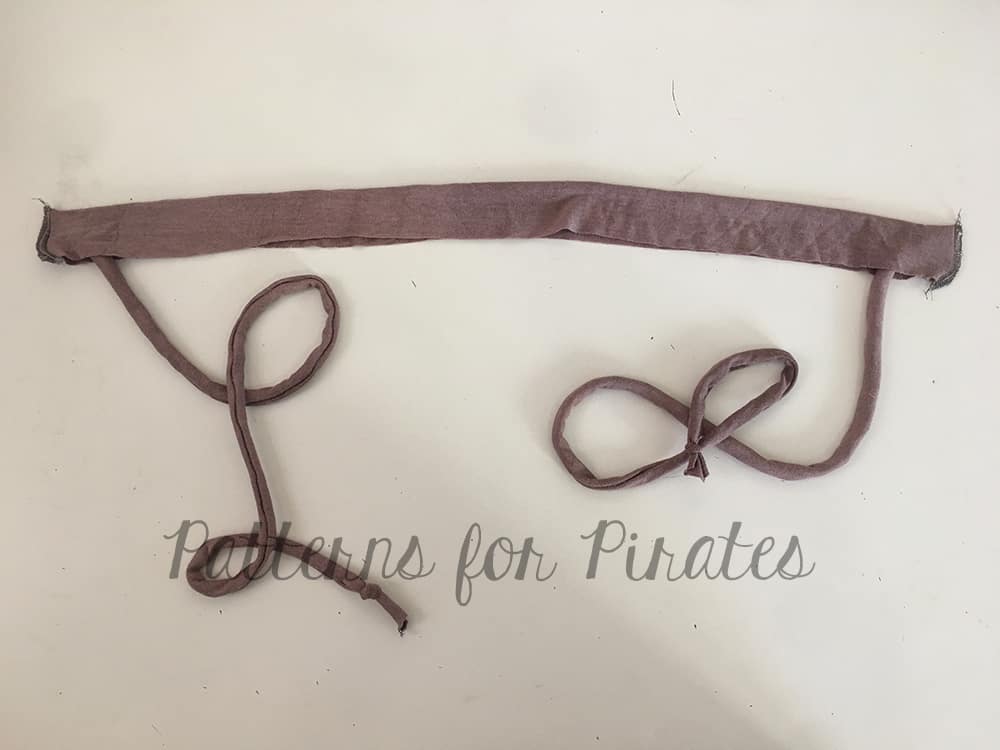
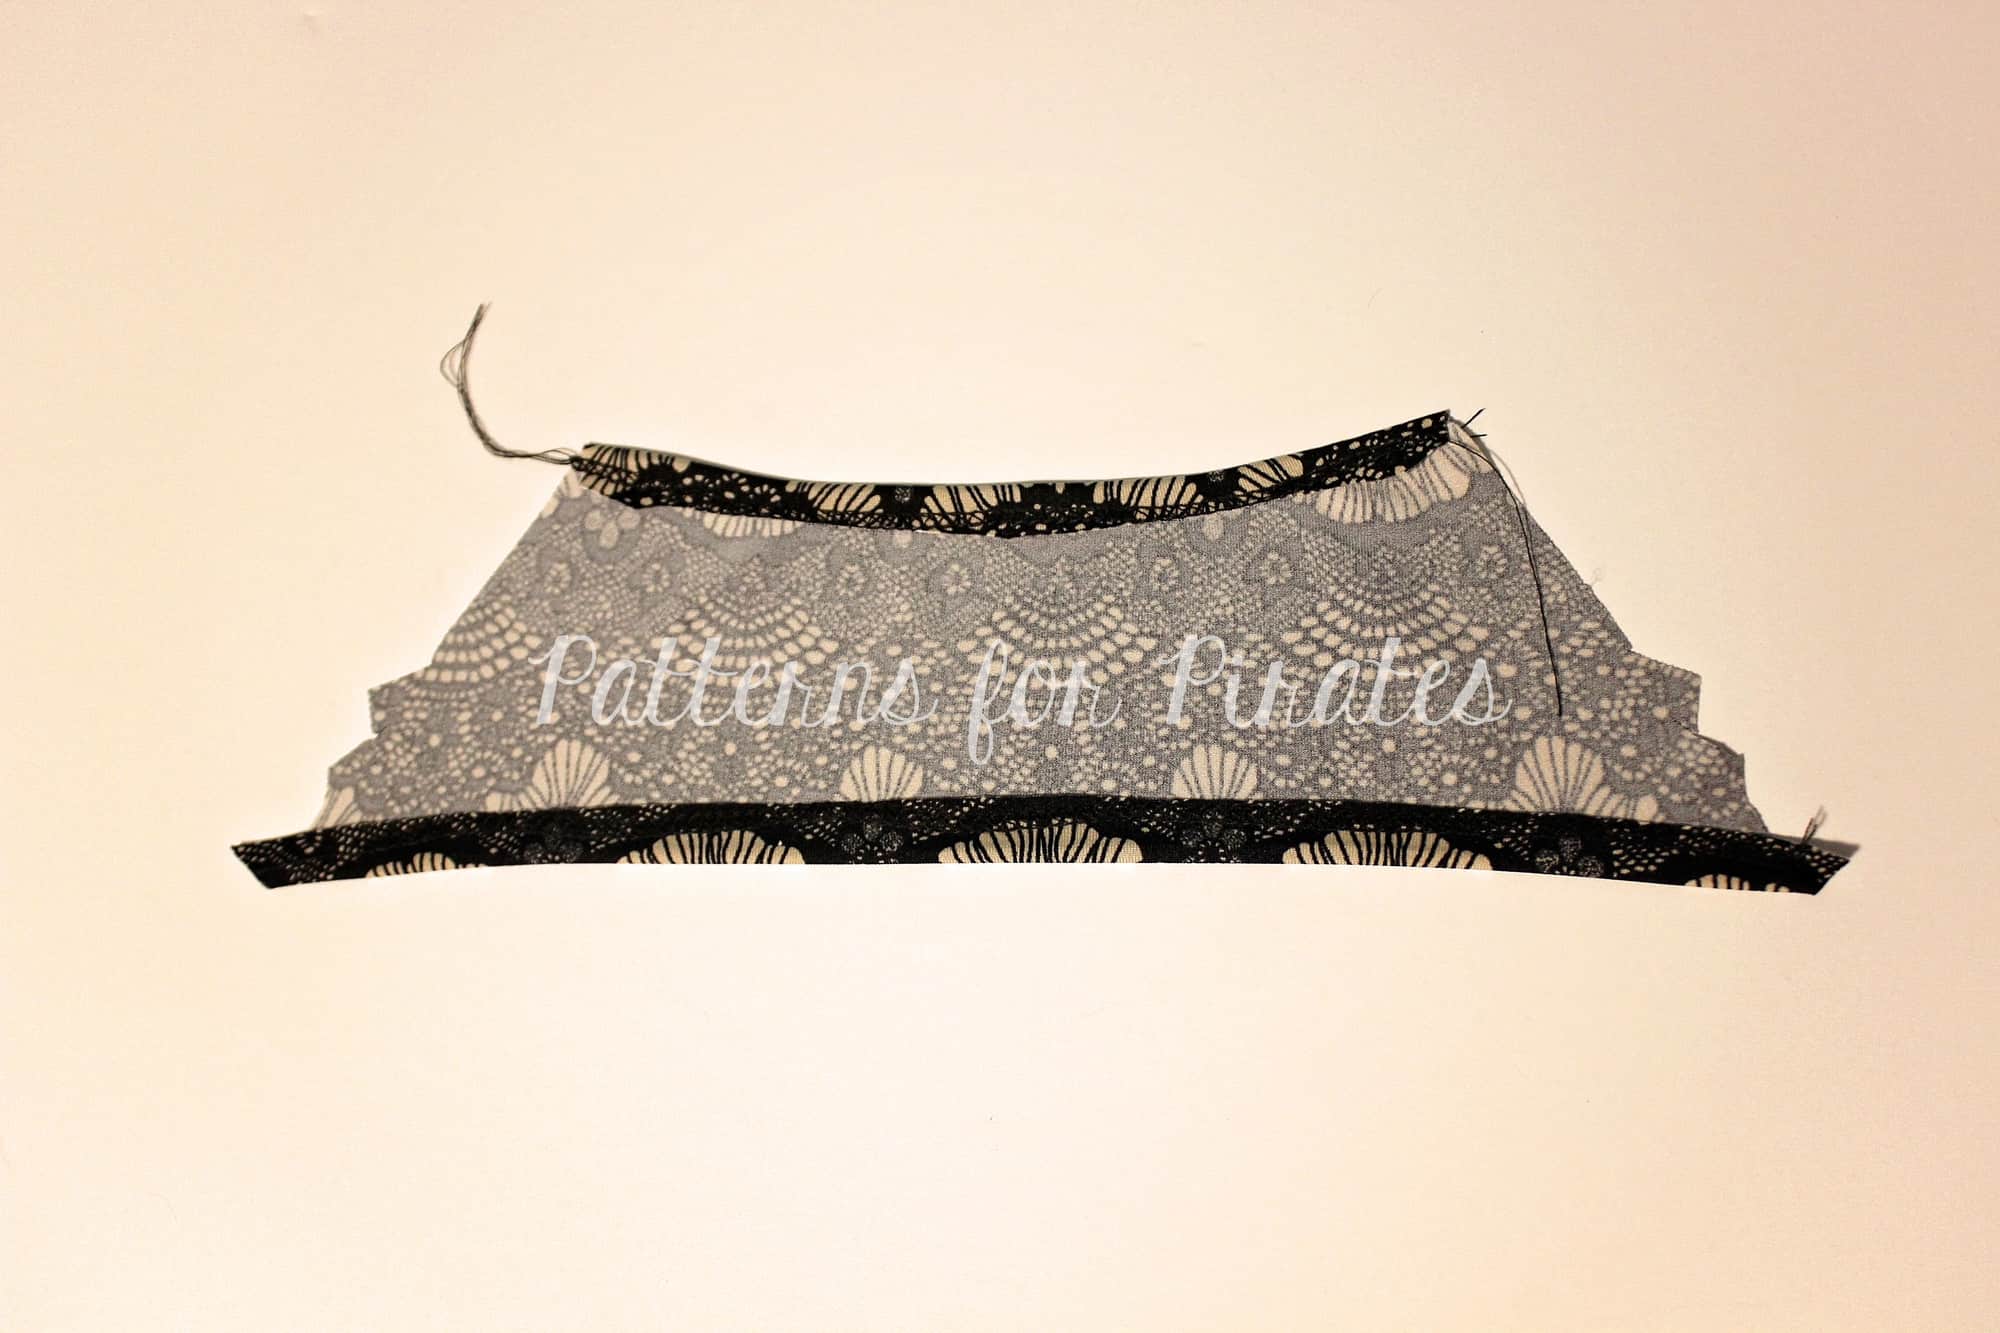
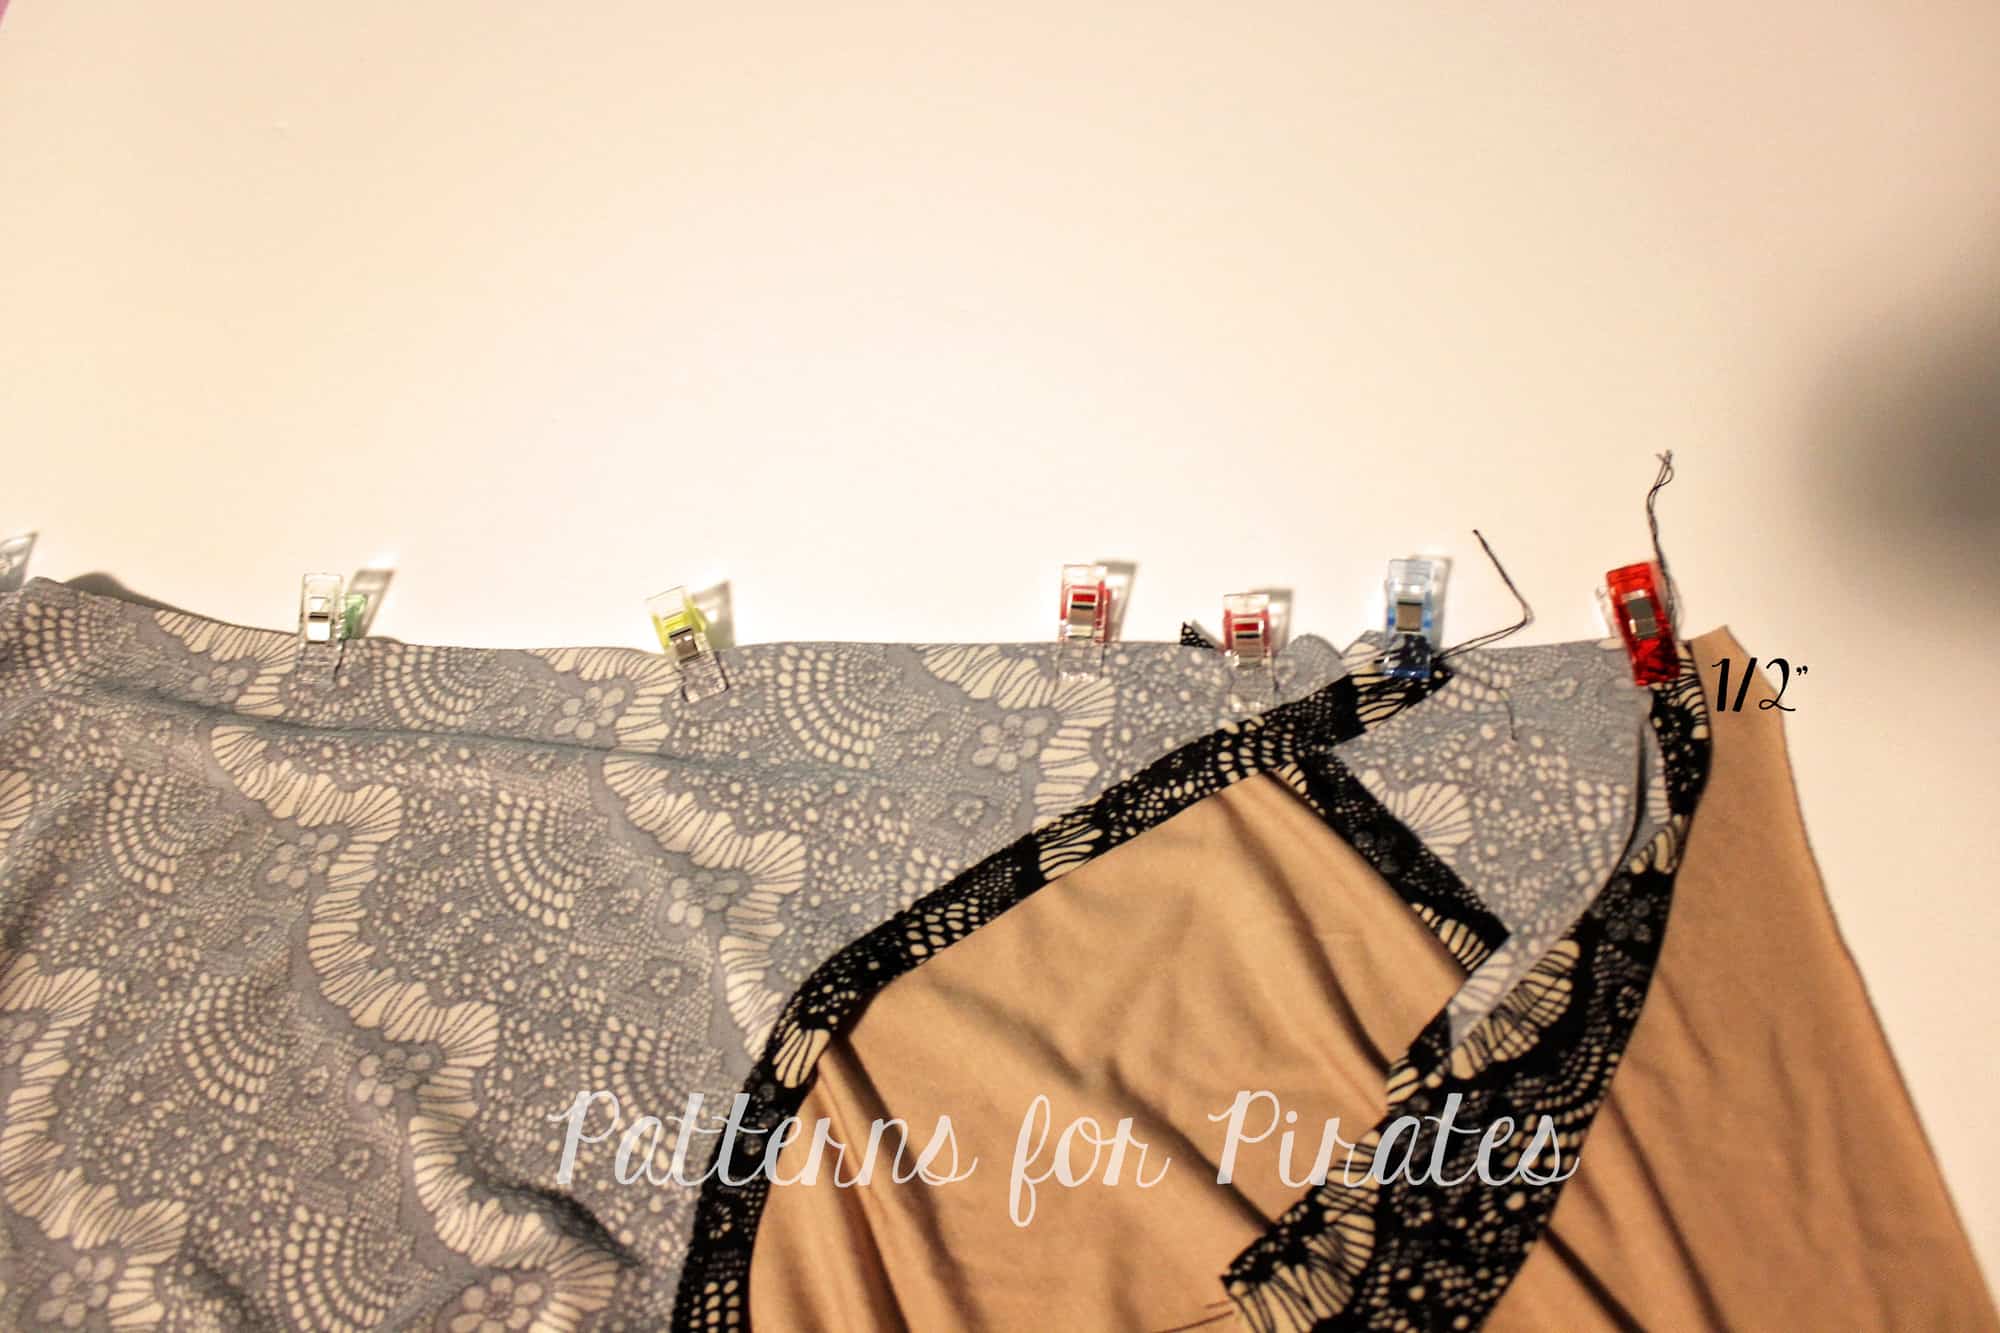
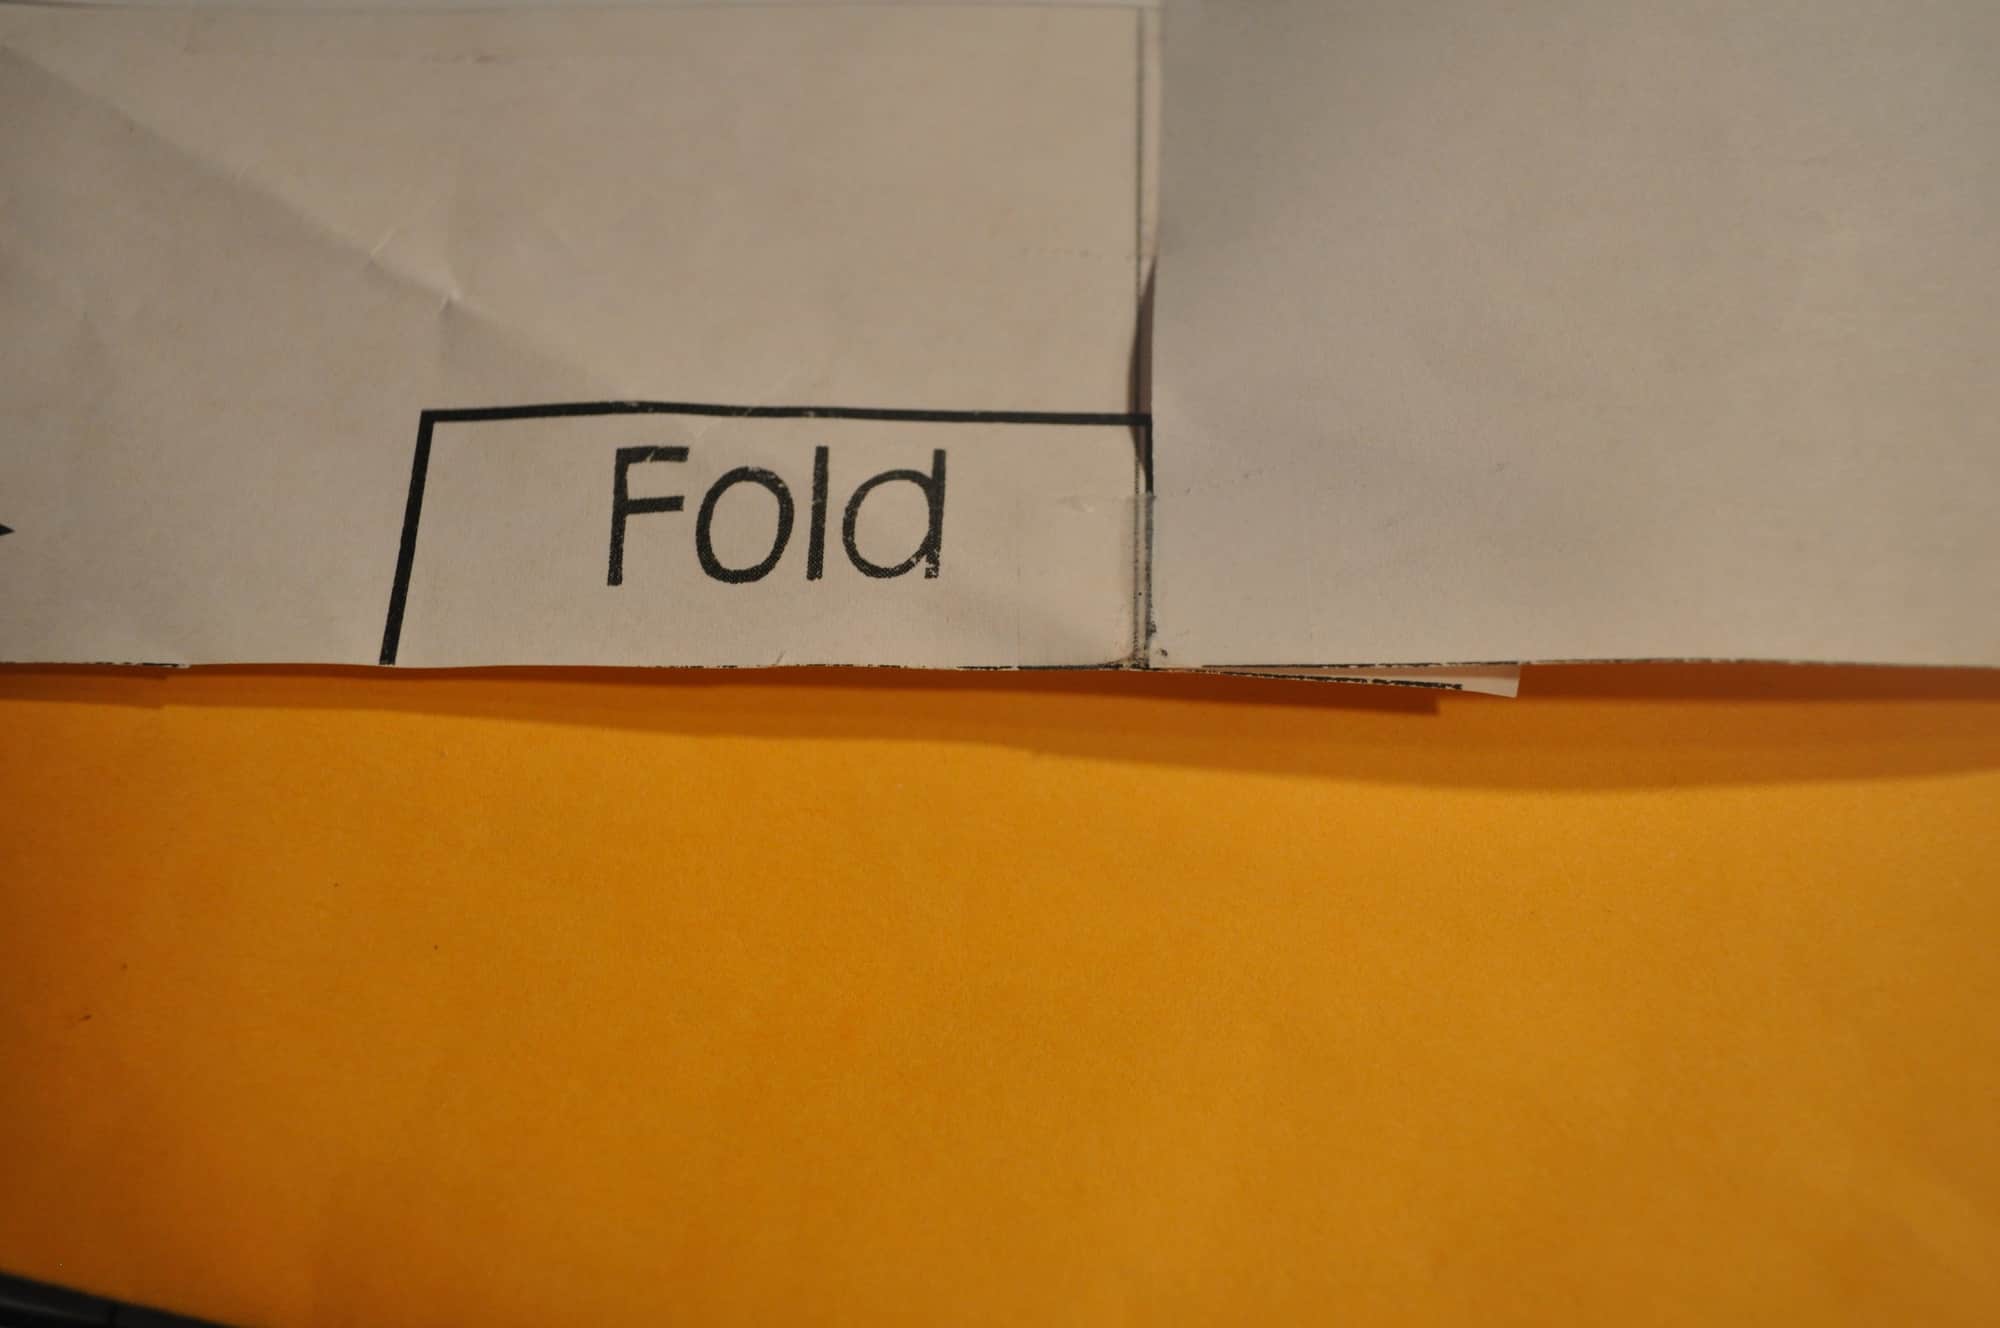
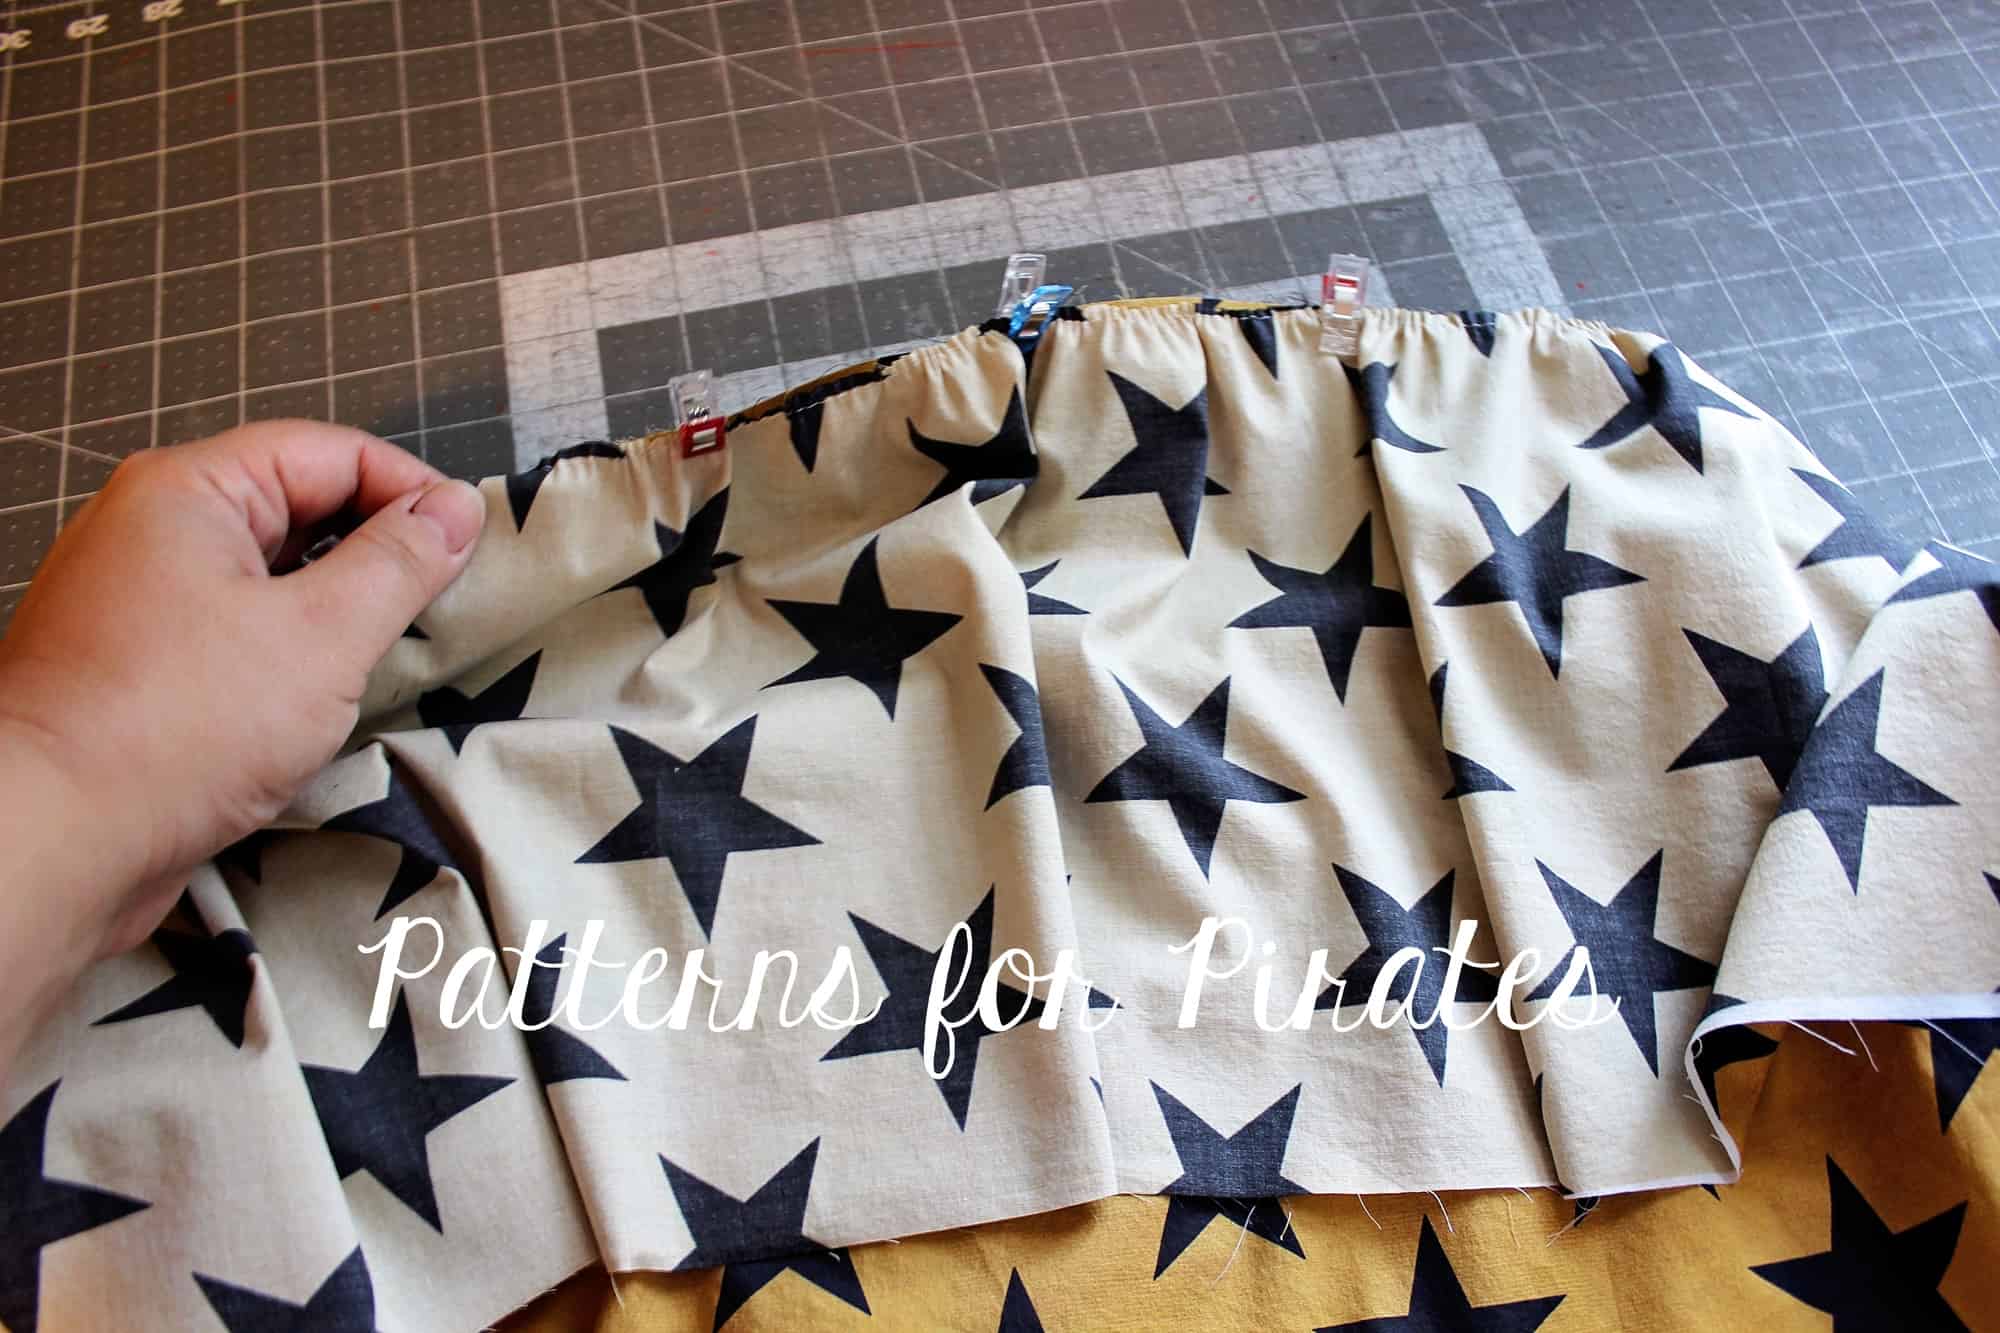
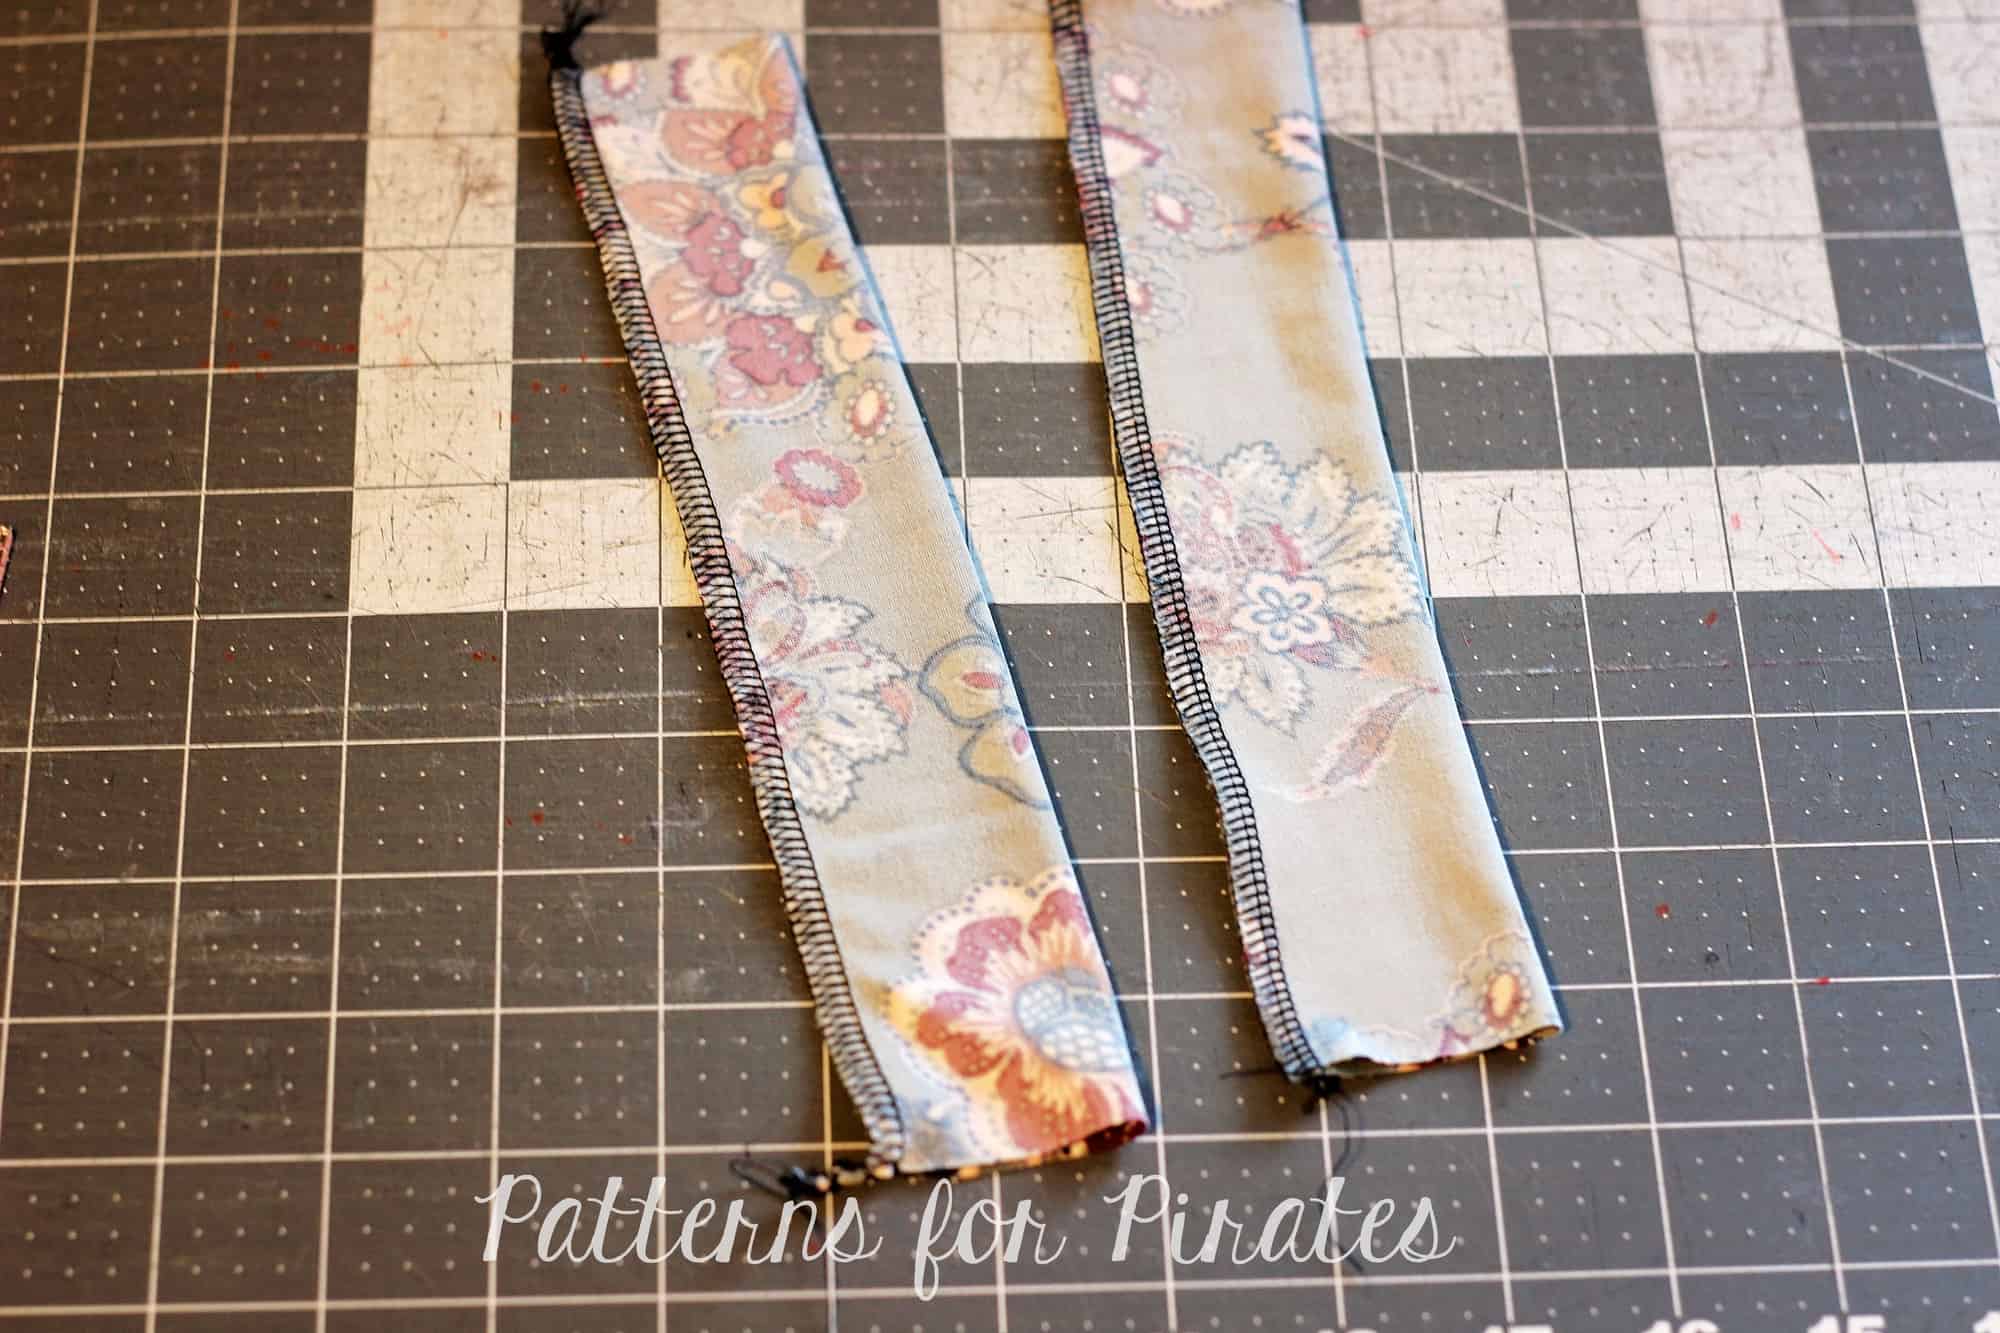
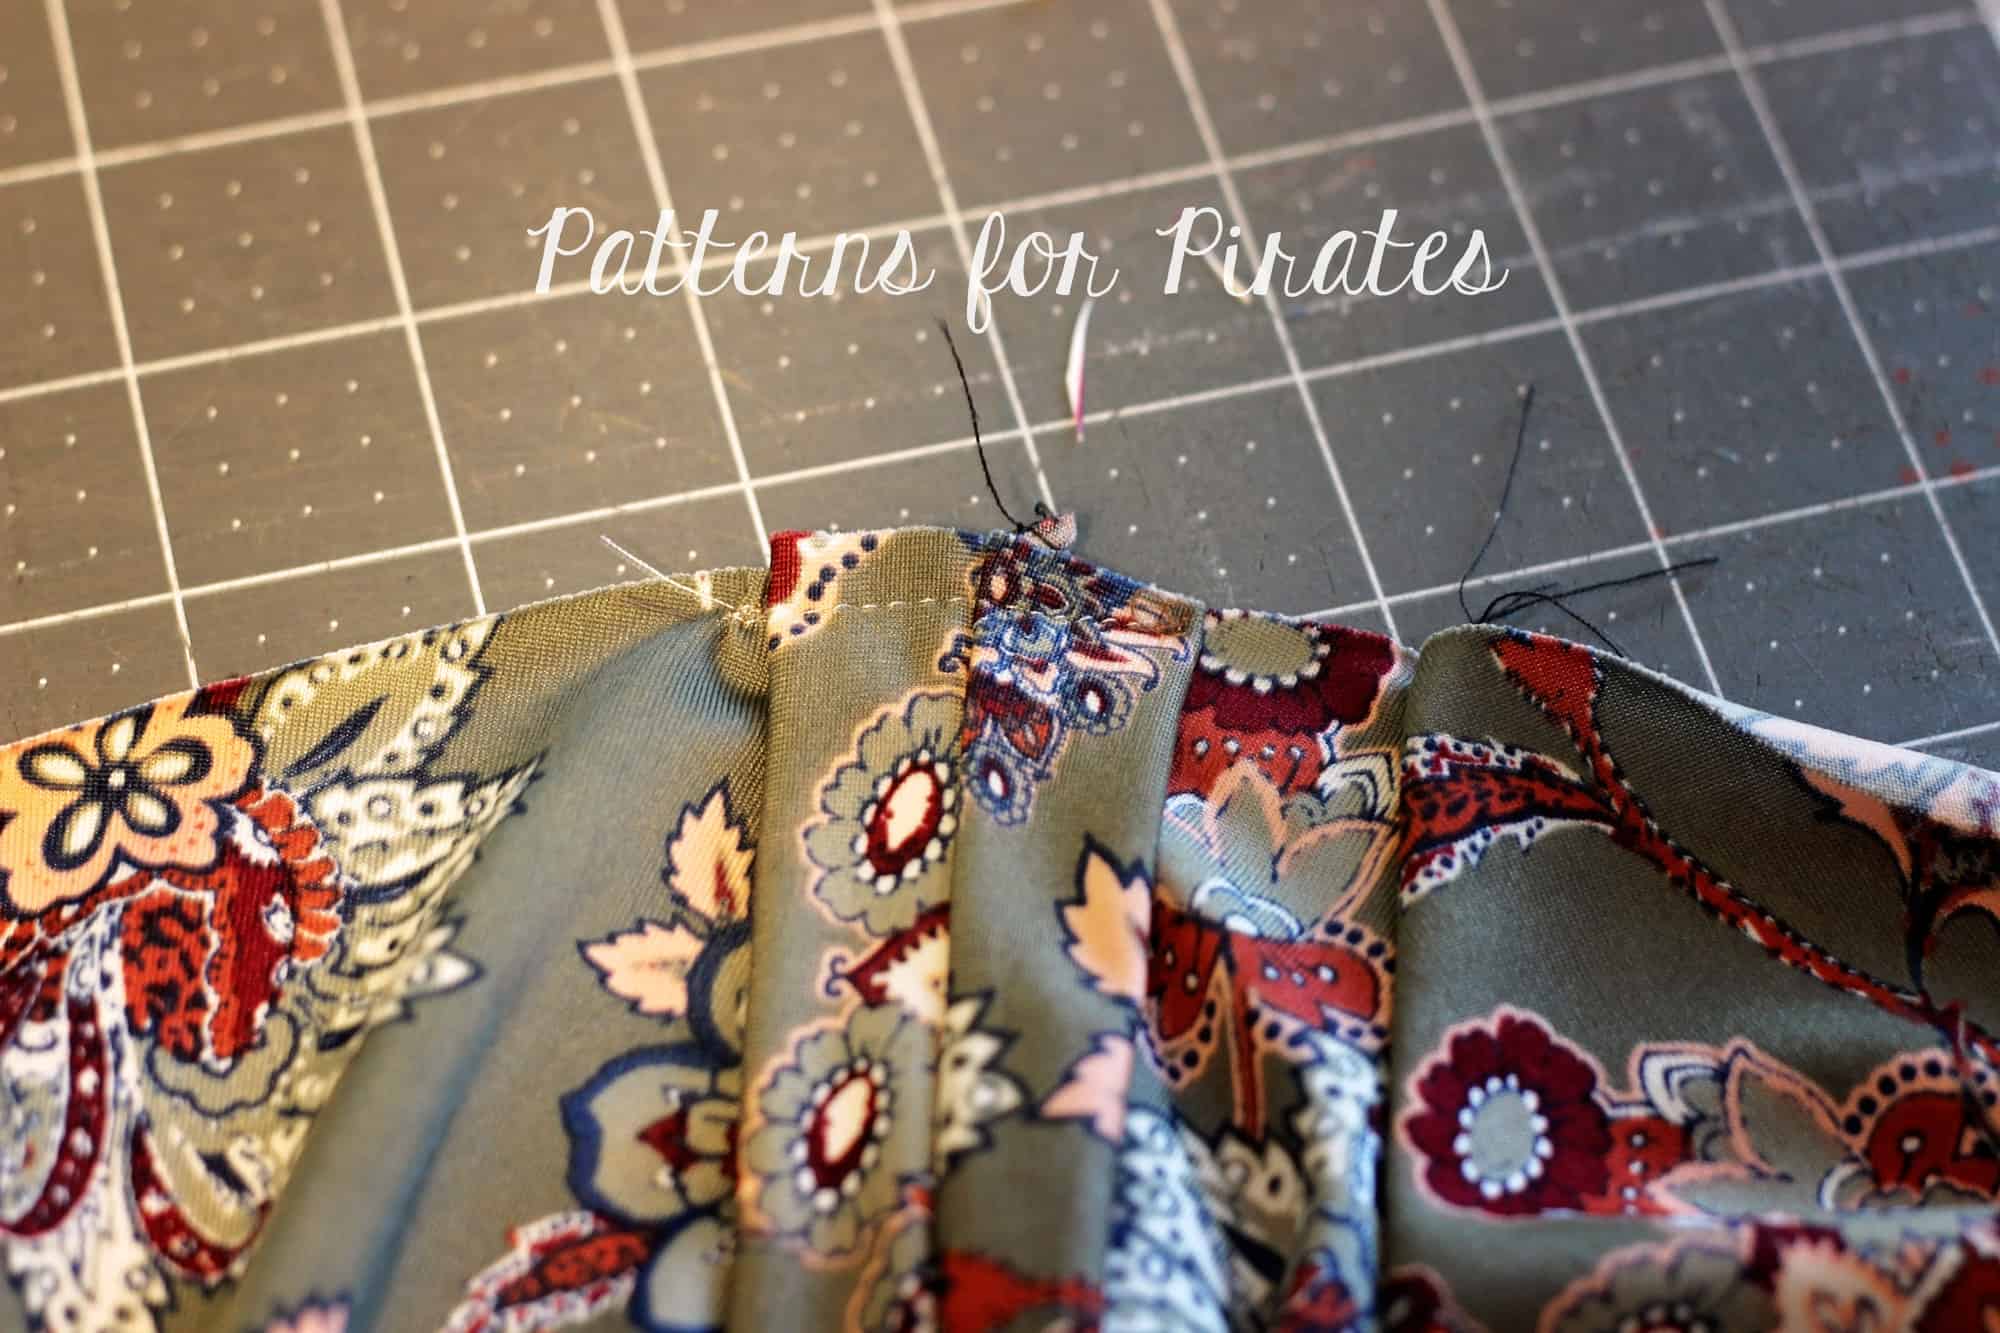
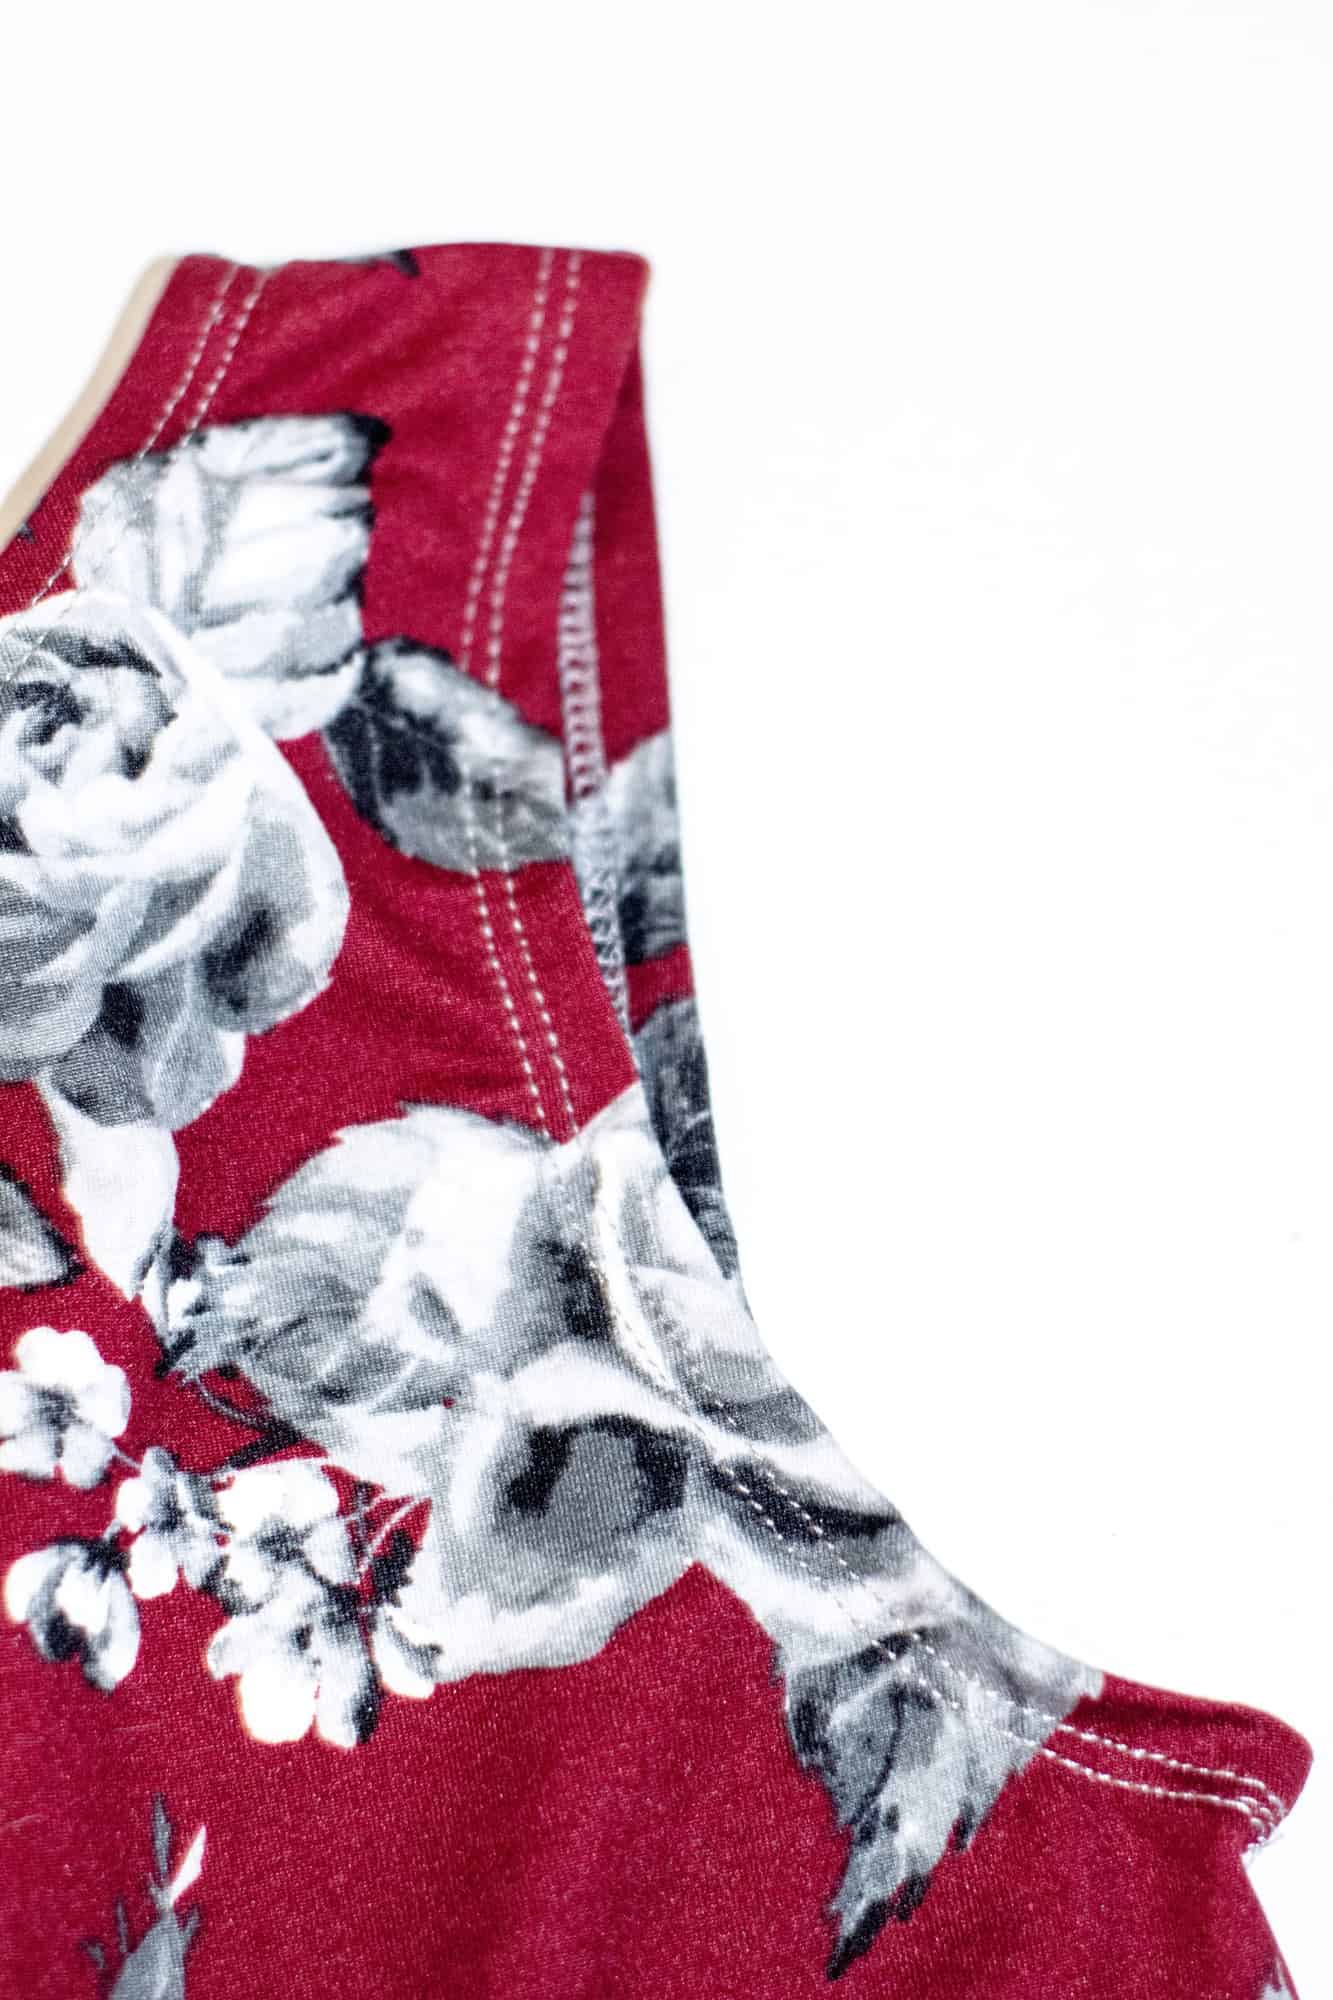
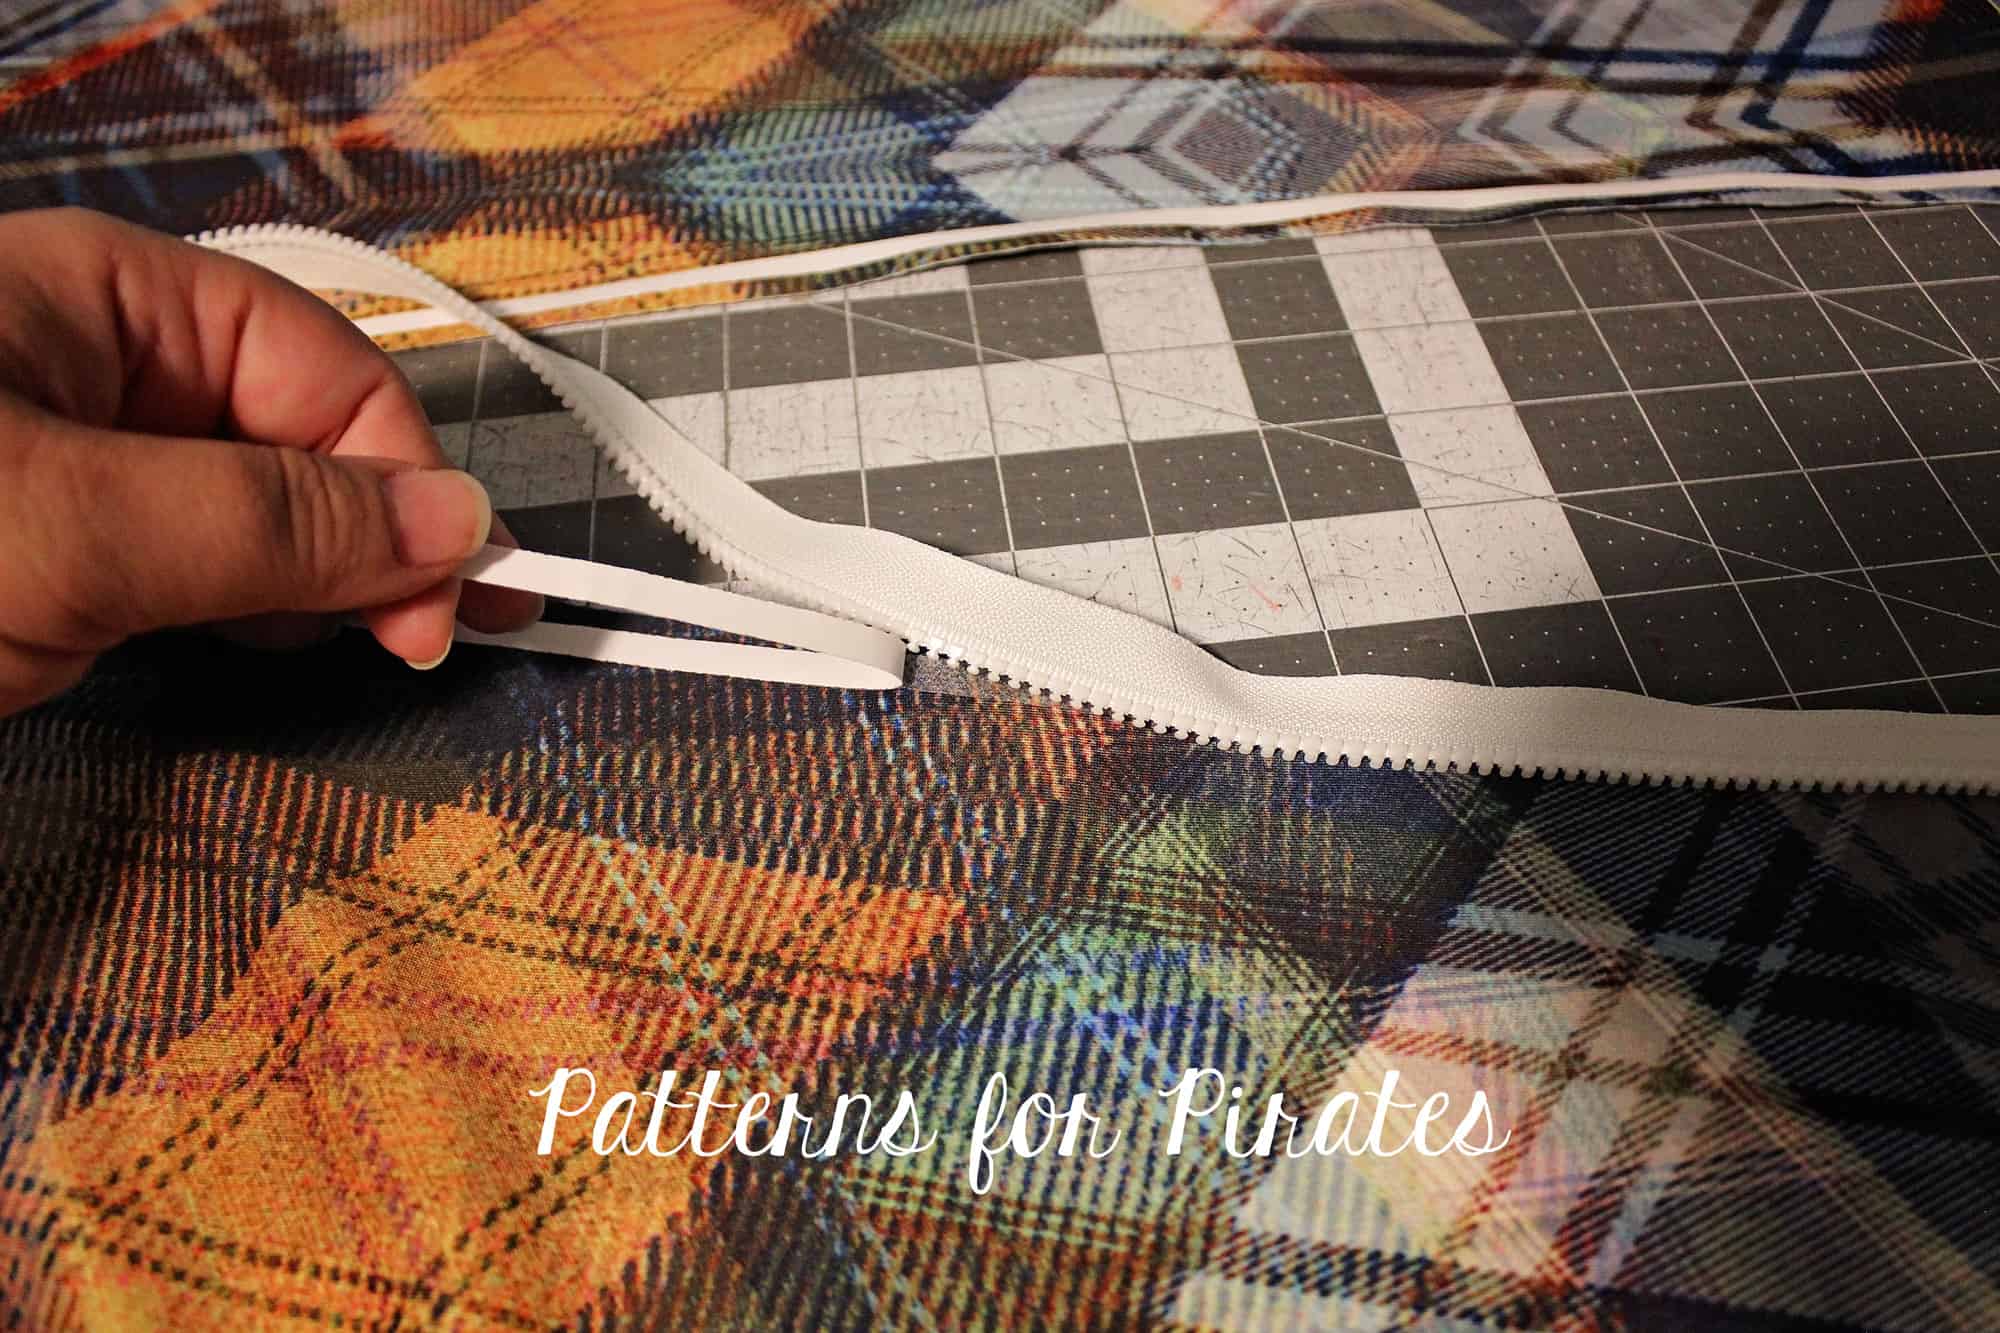
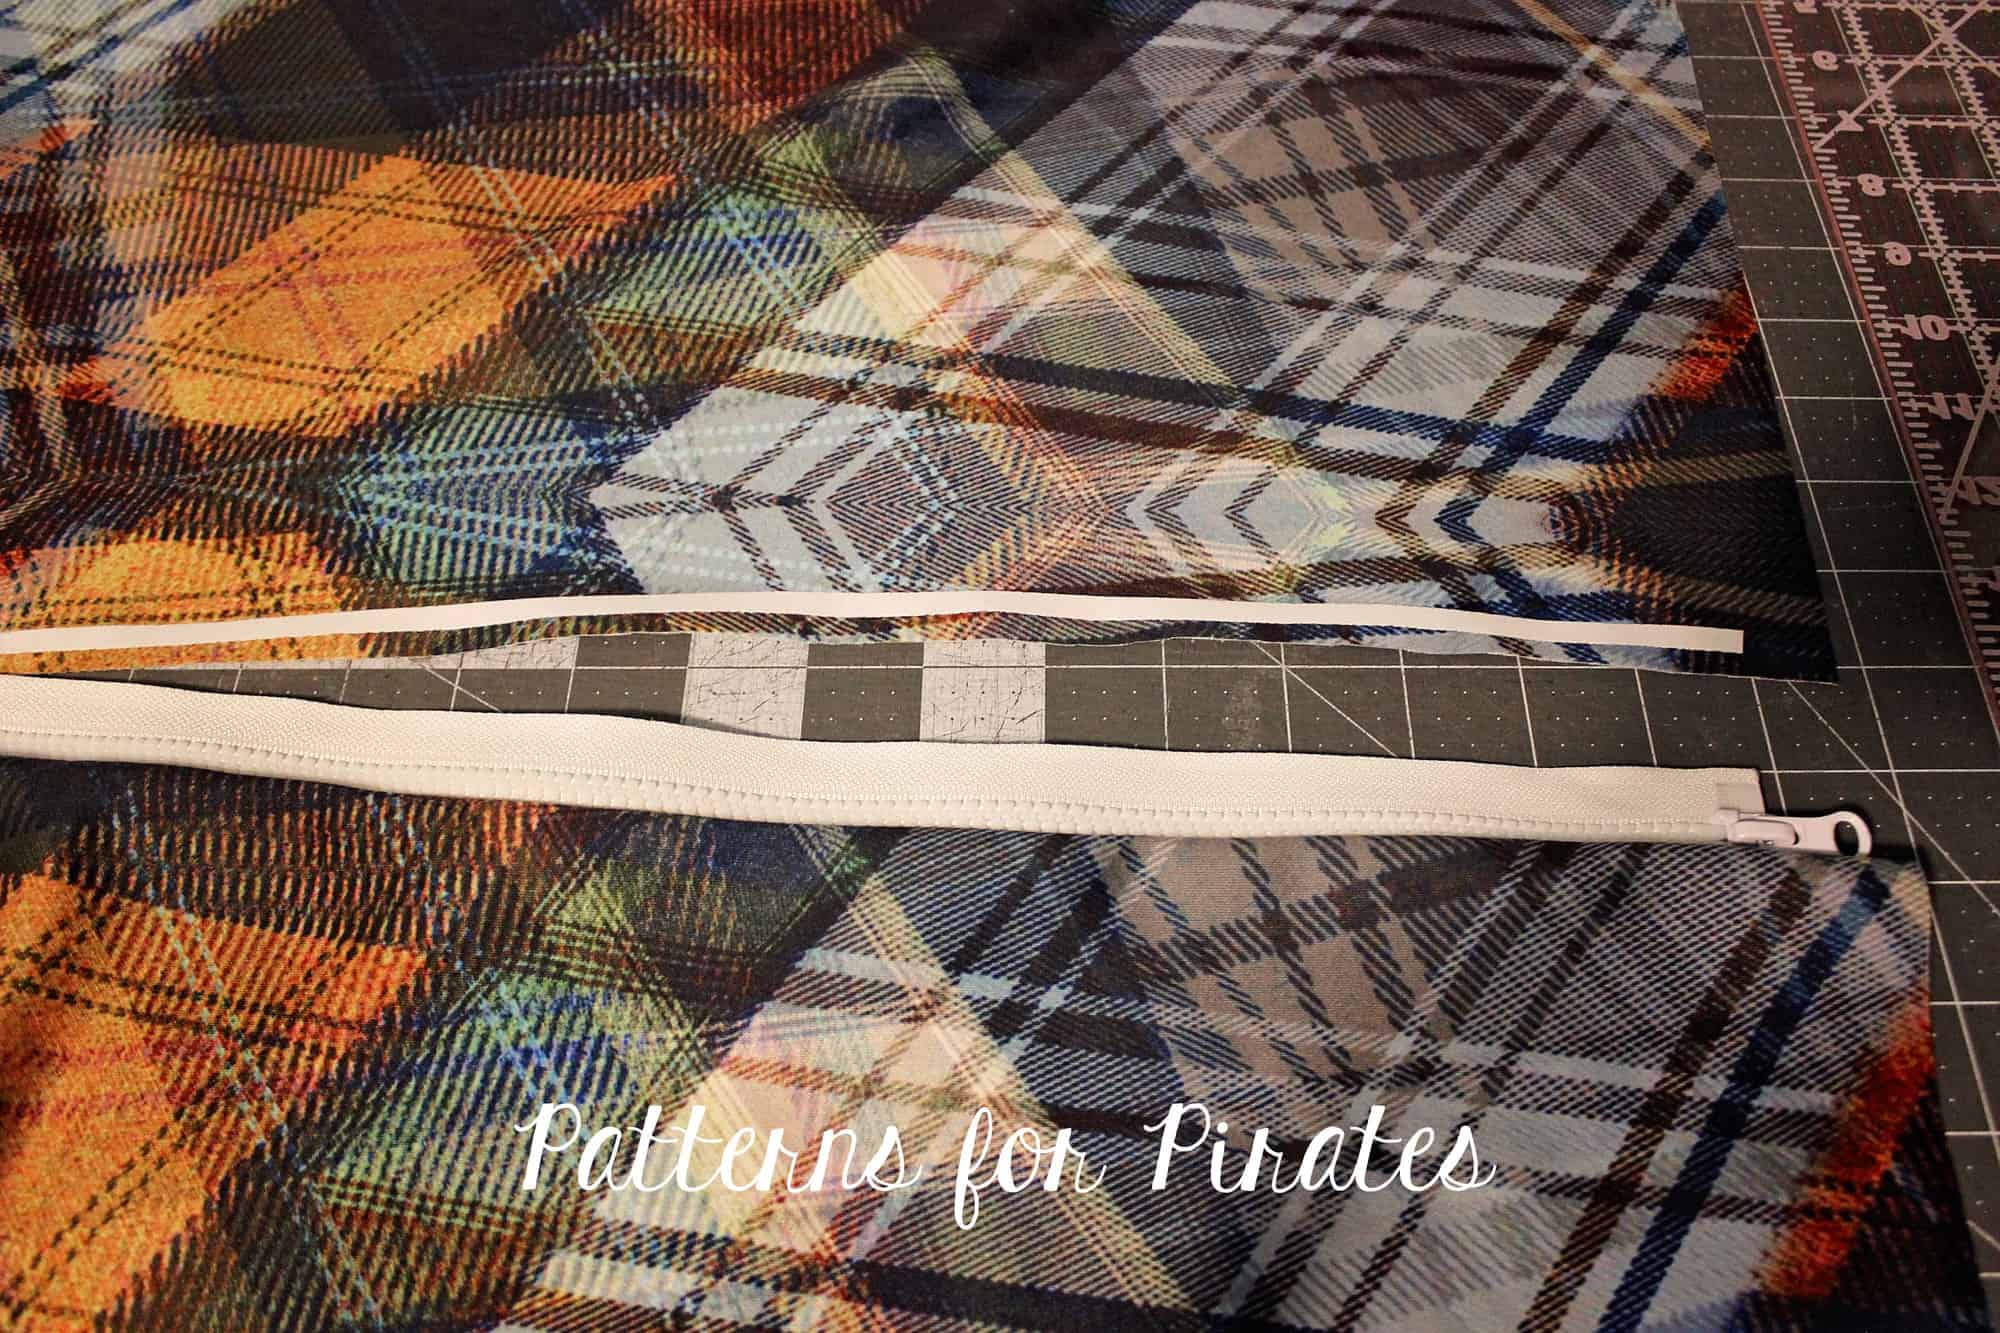
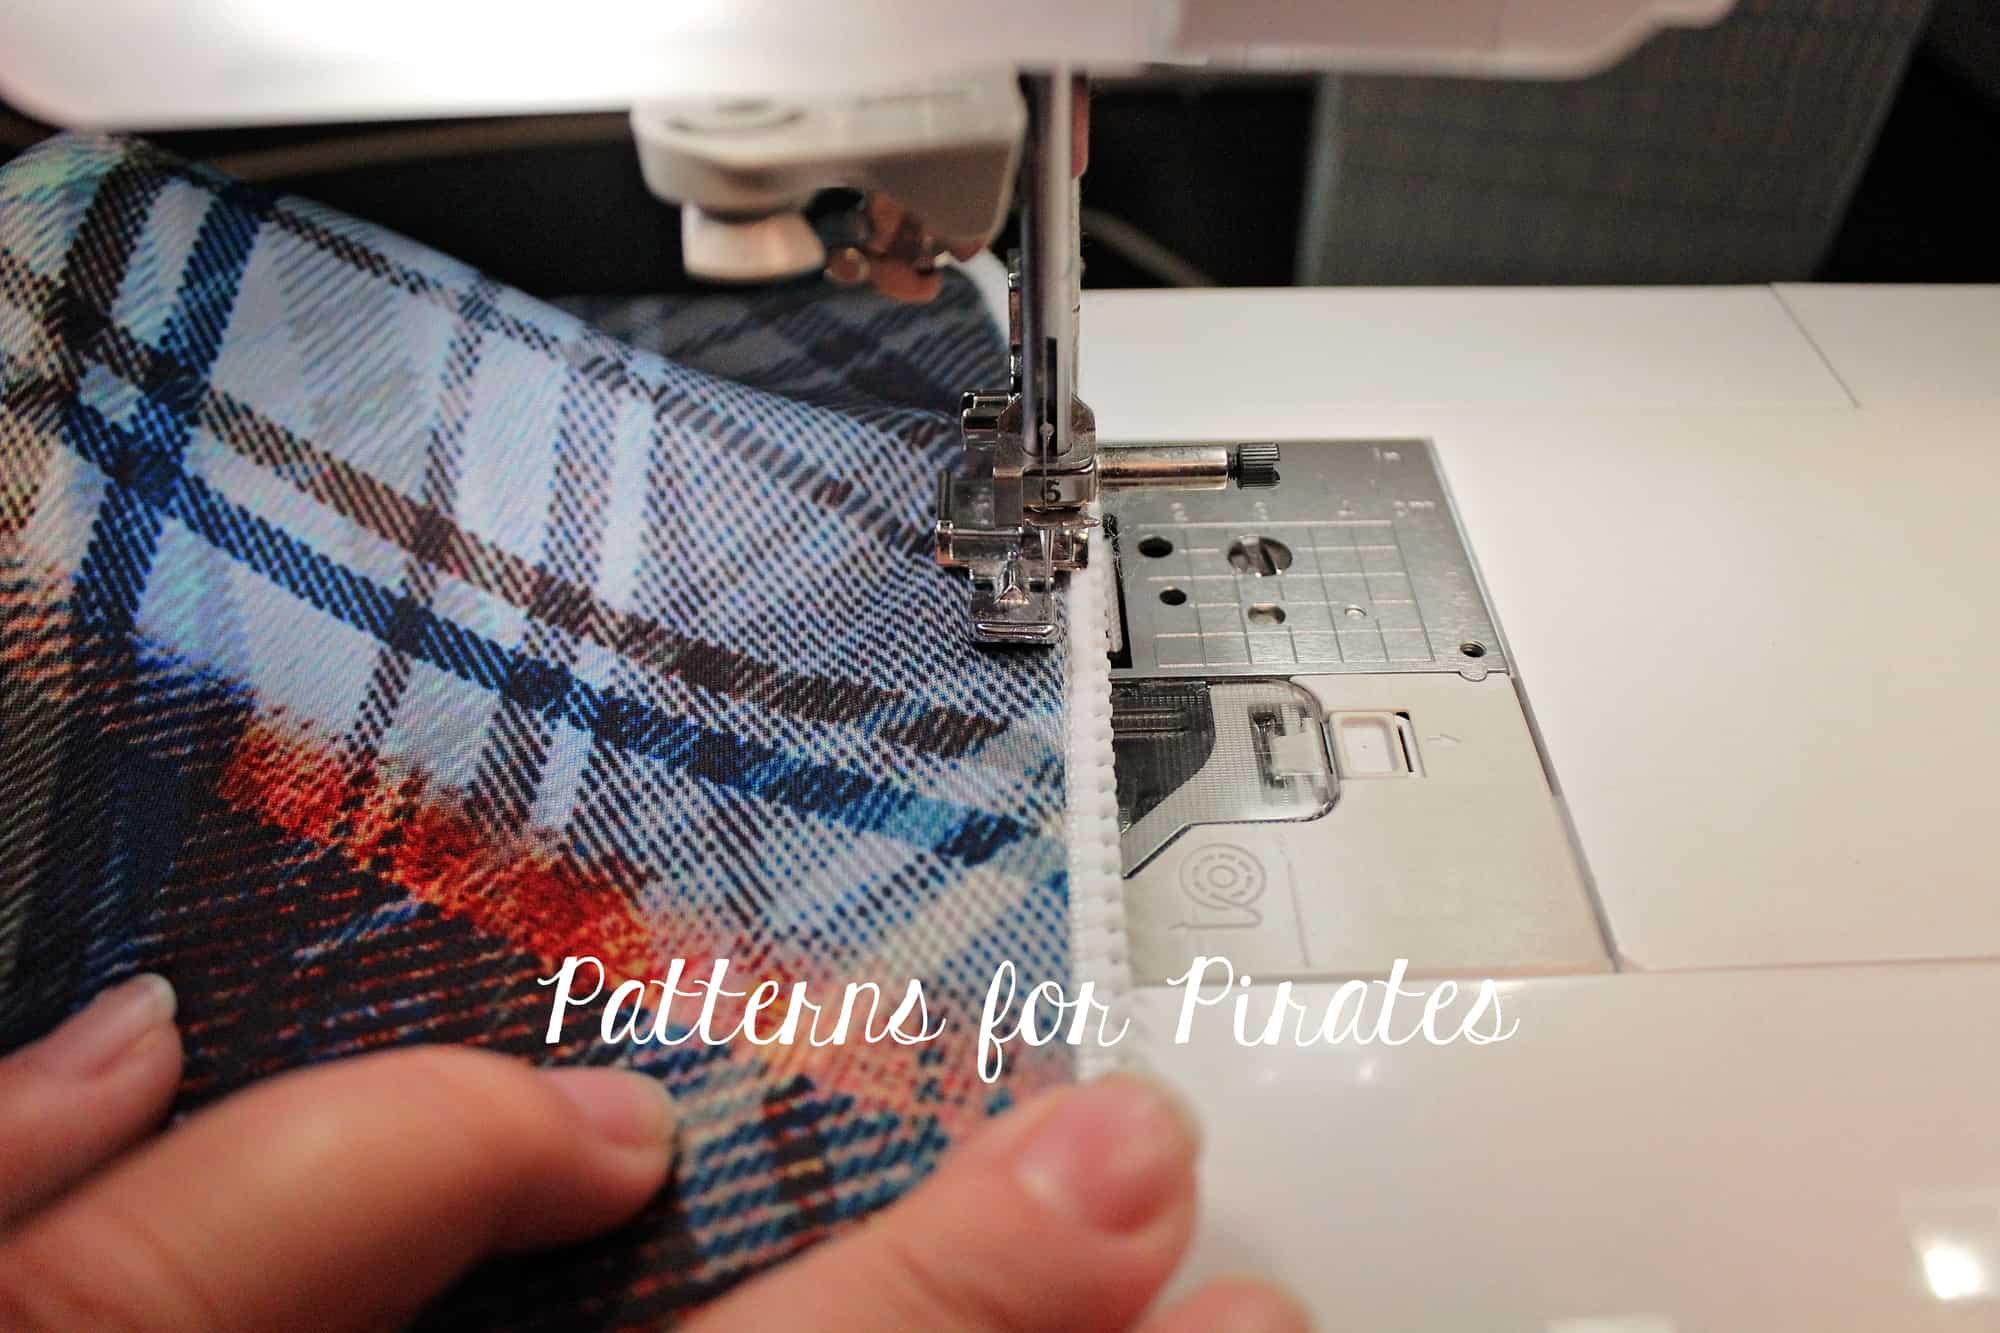
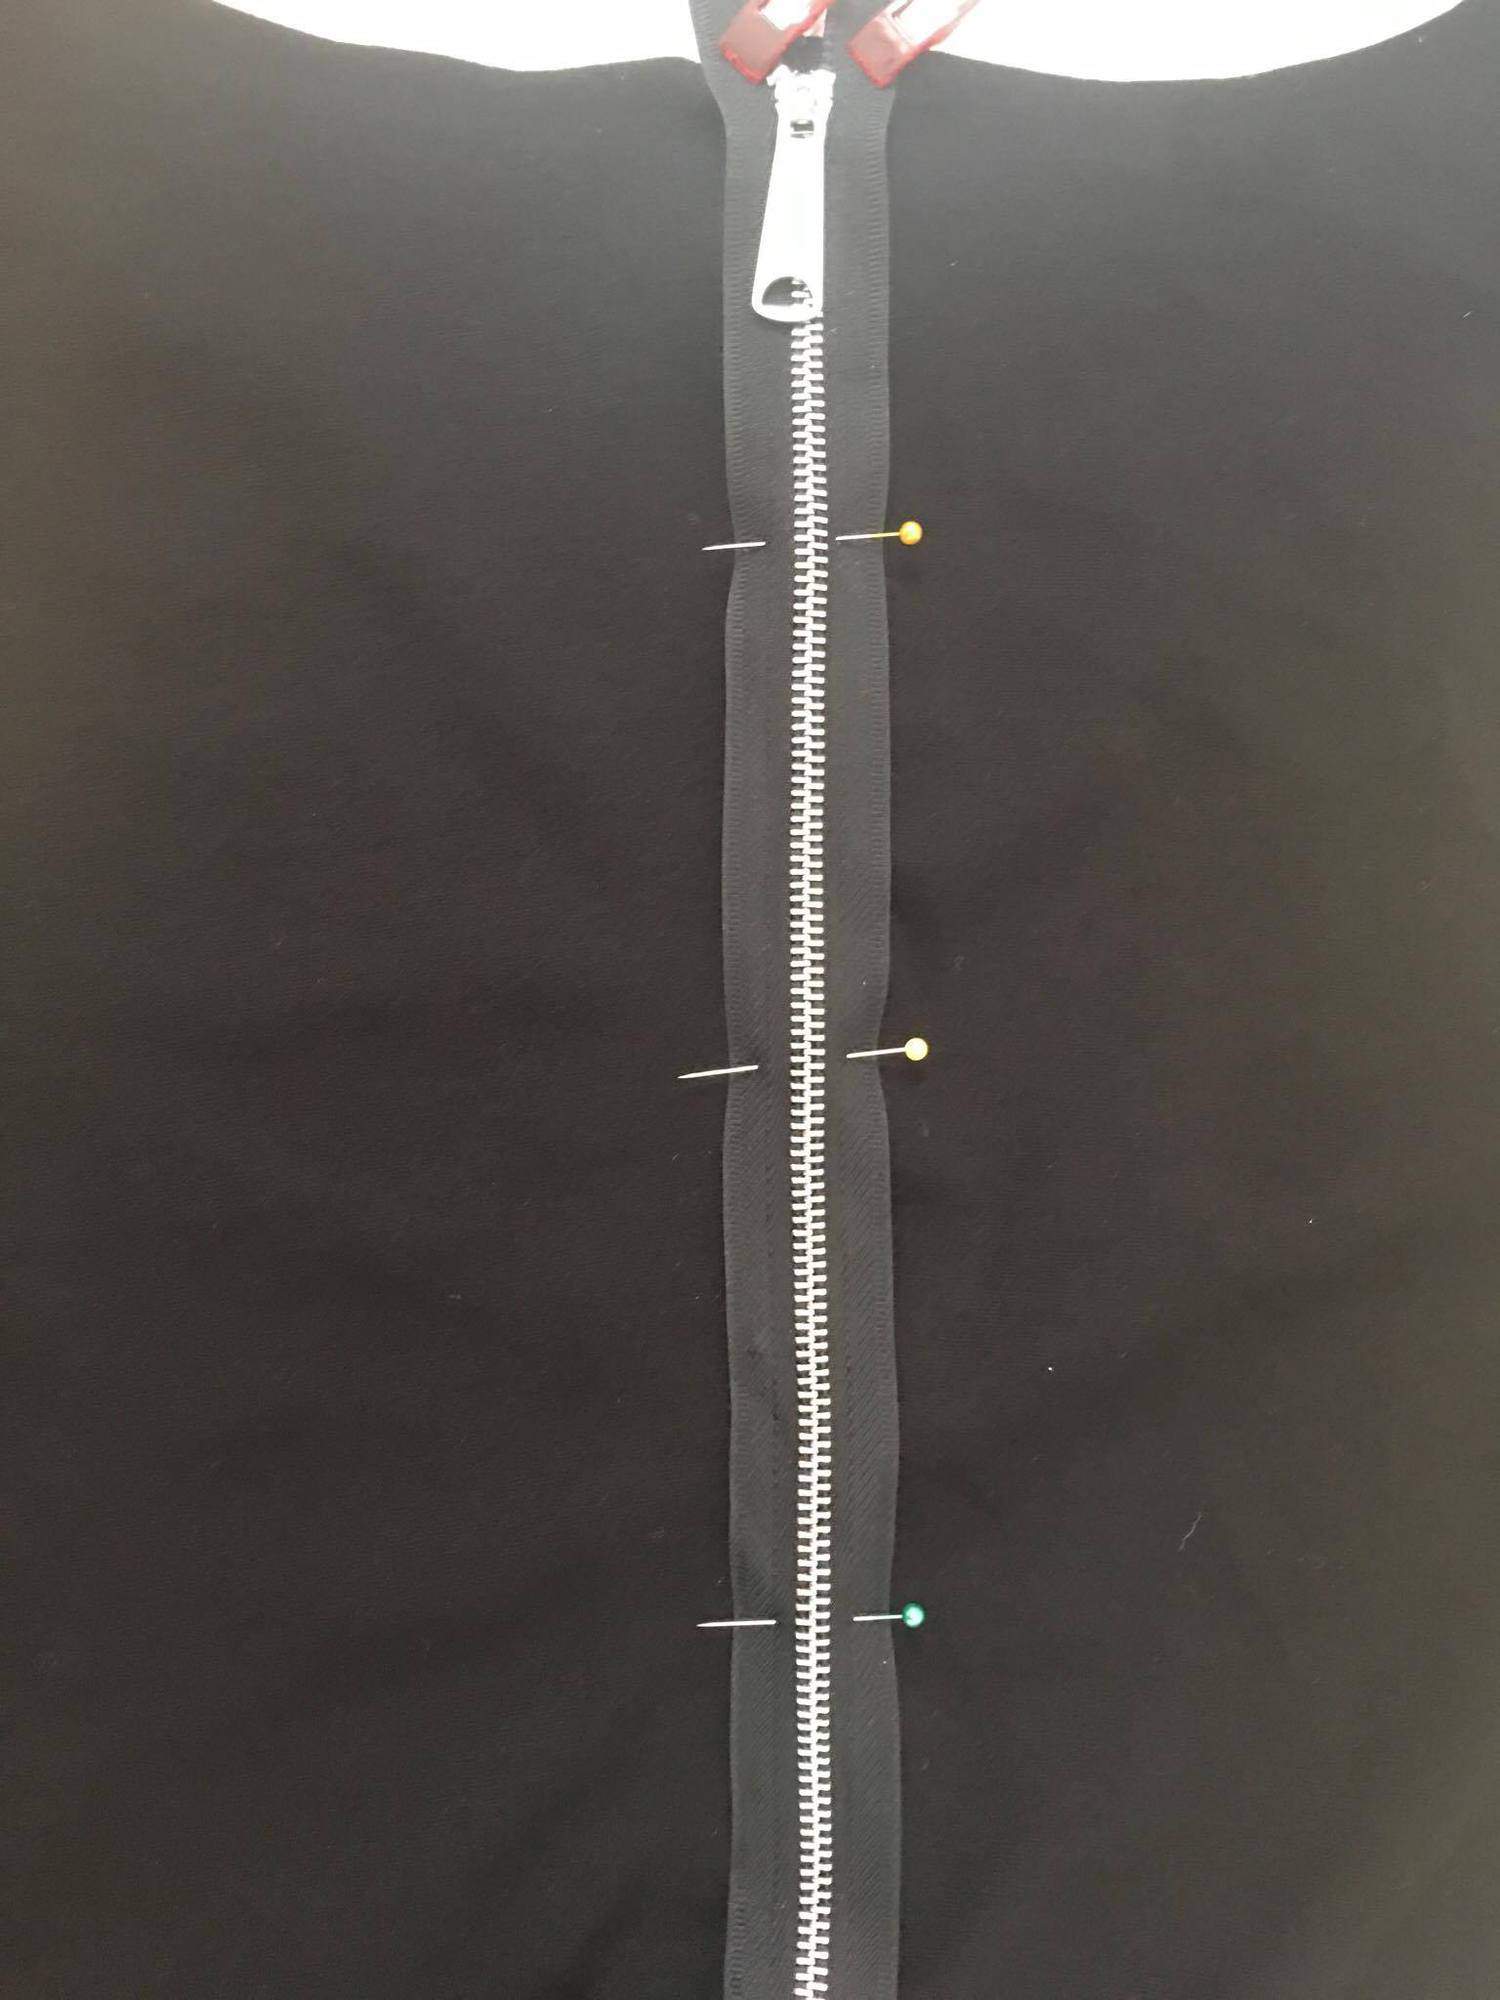
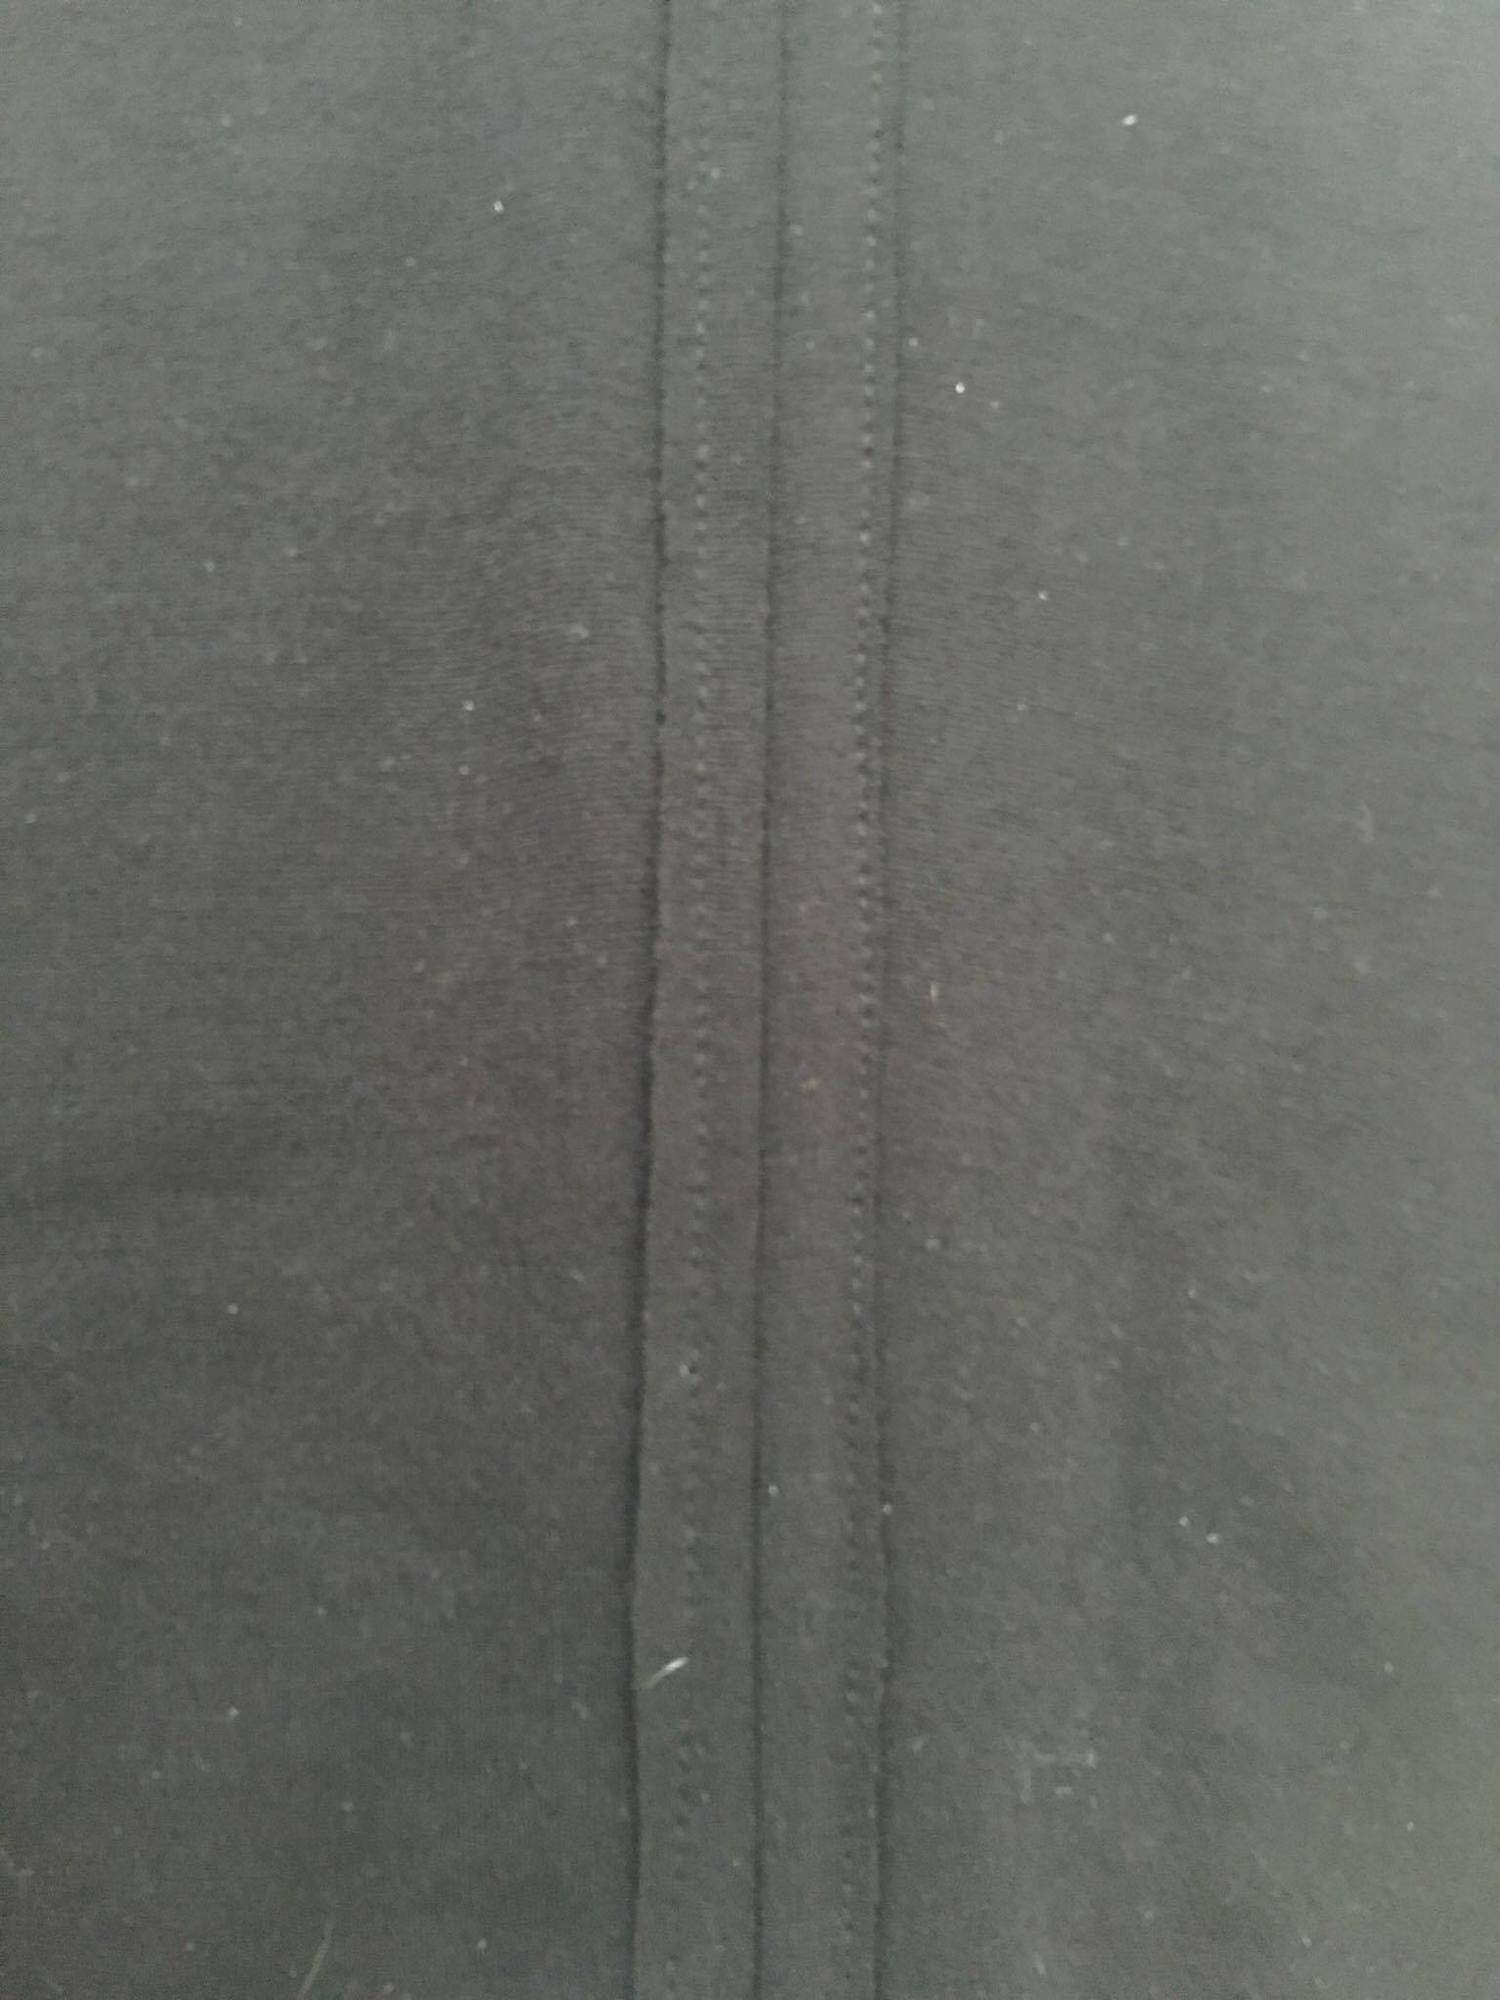
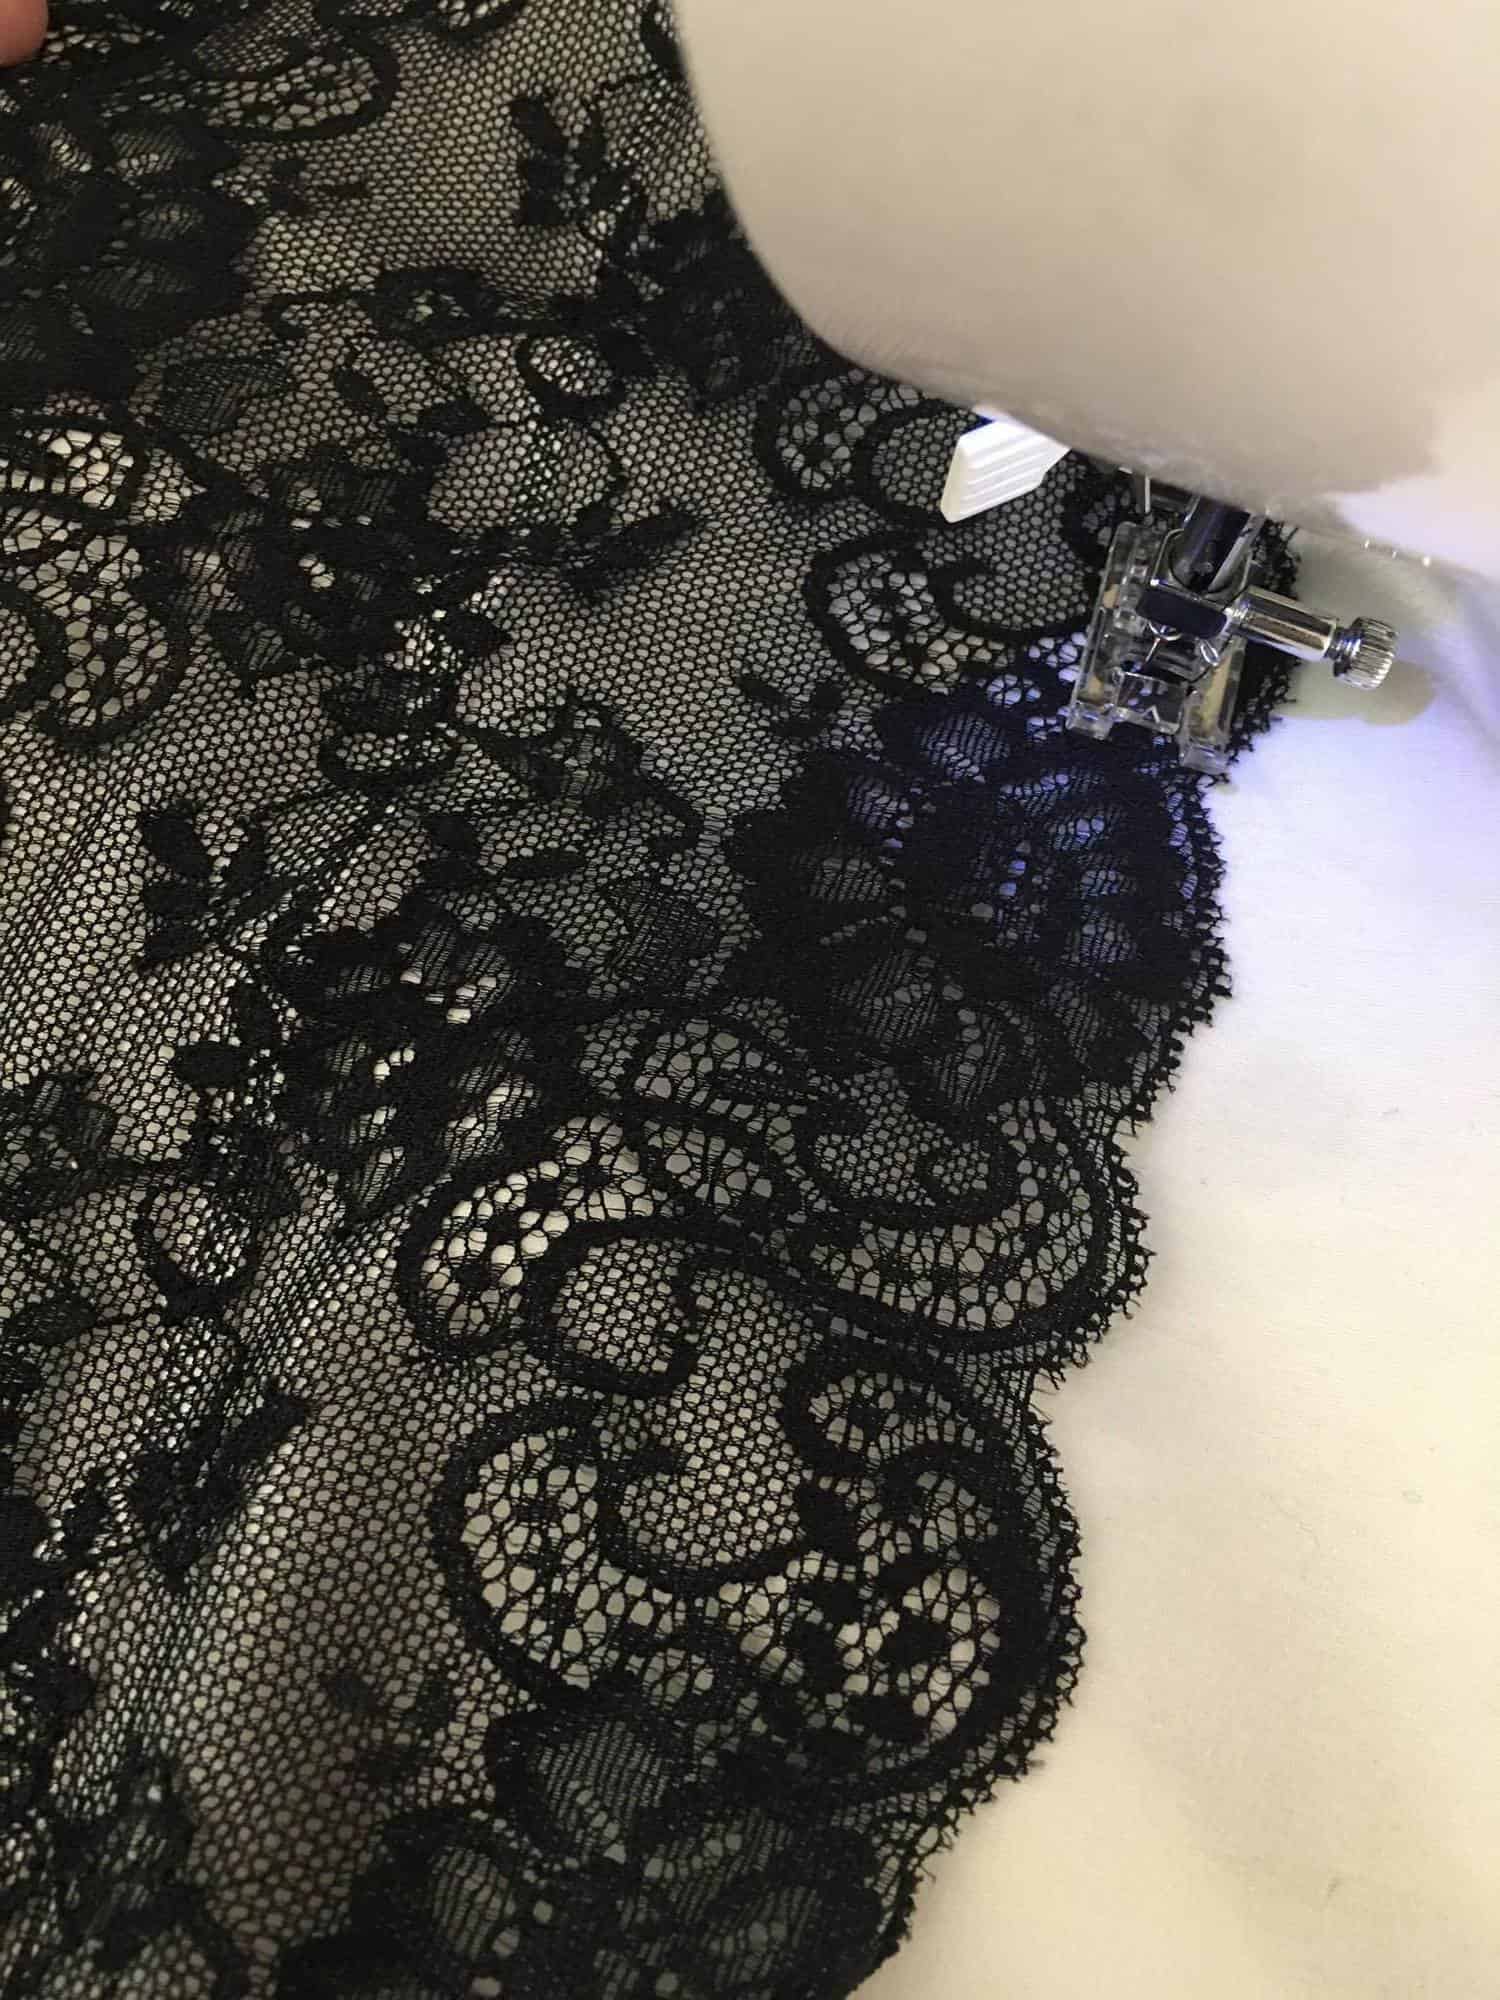
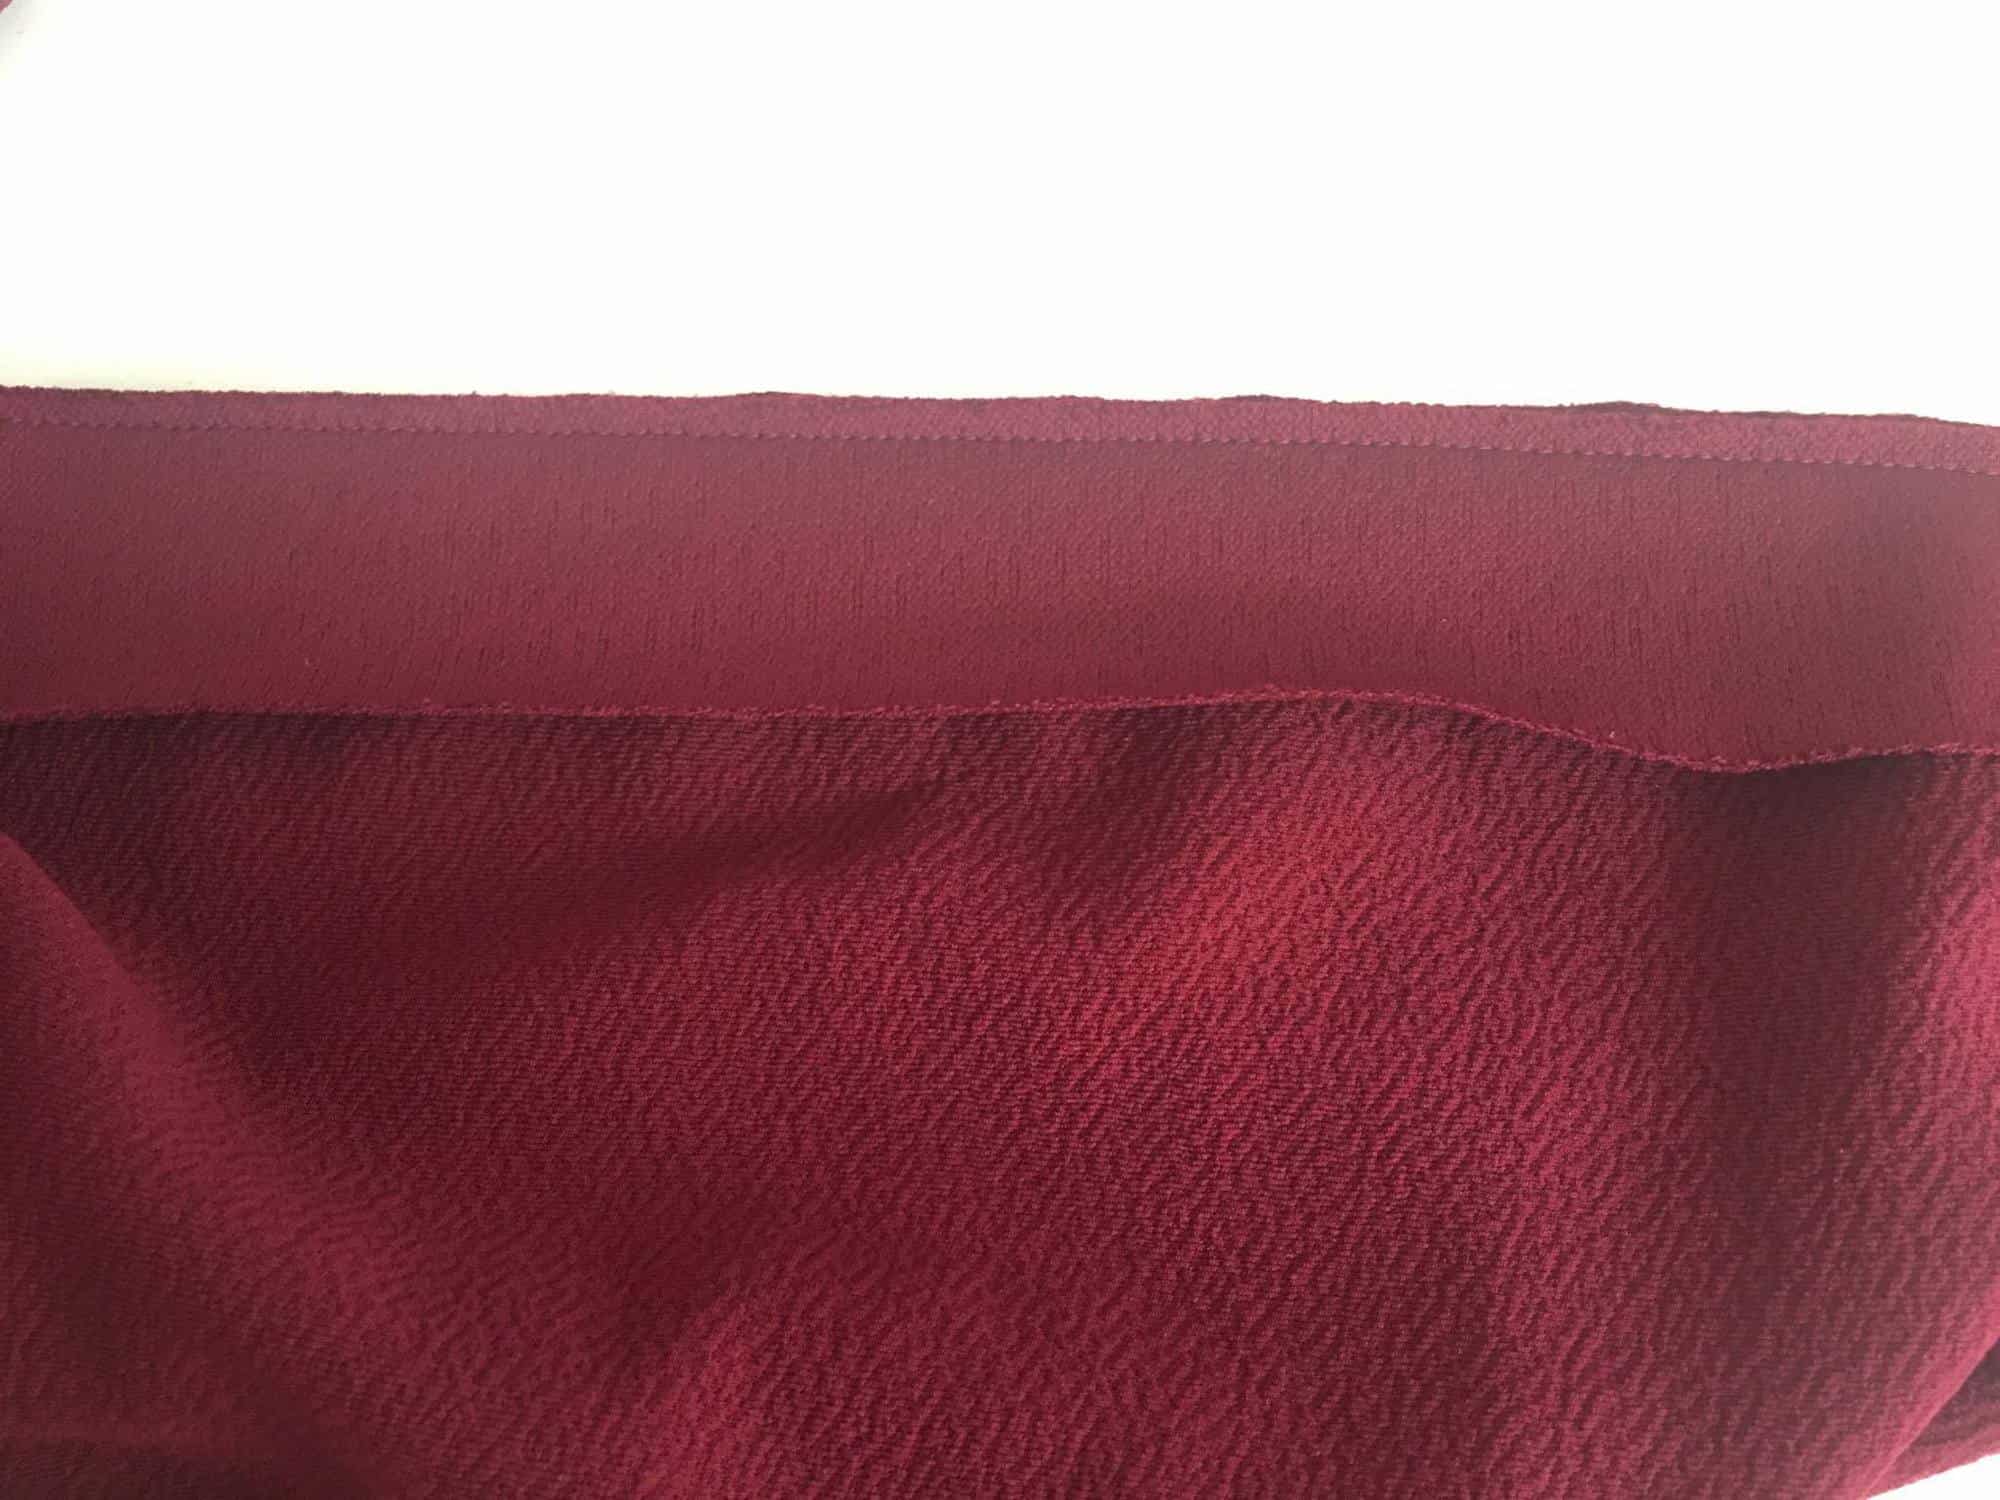
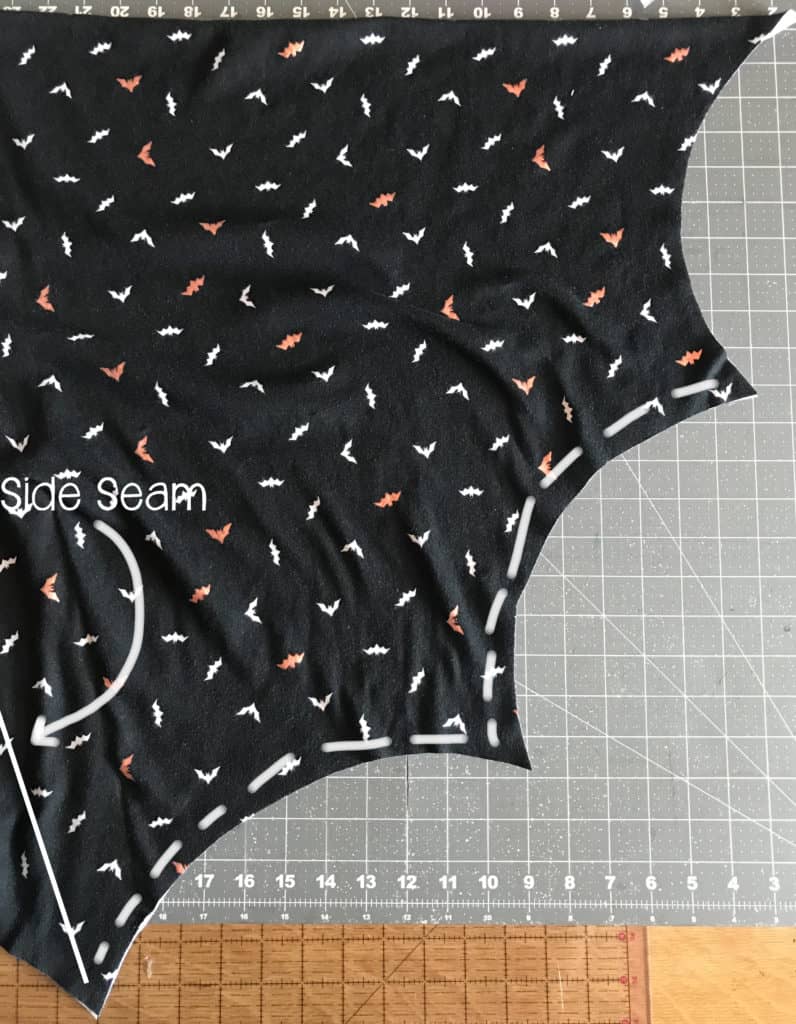
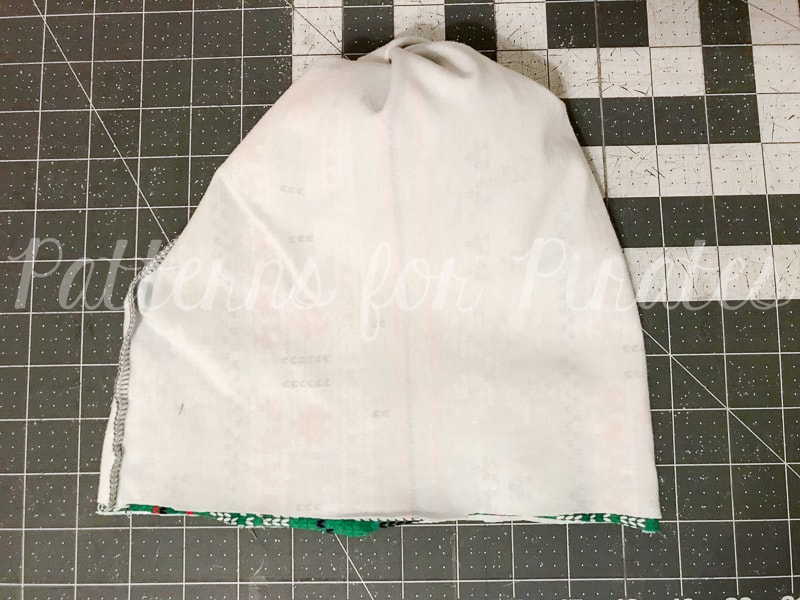
Fold in half, right sides together. Stitch with 1/2” allowance.  Turn right side out.

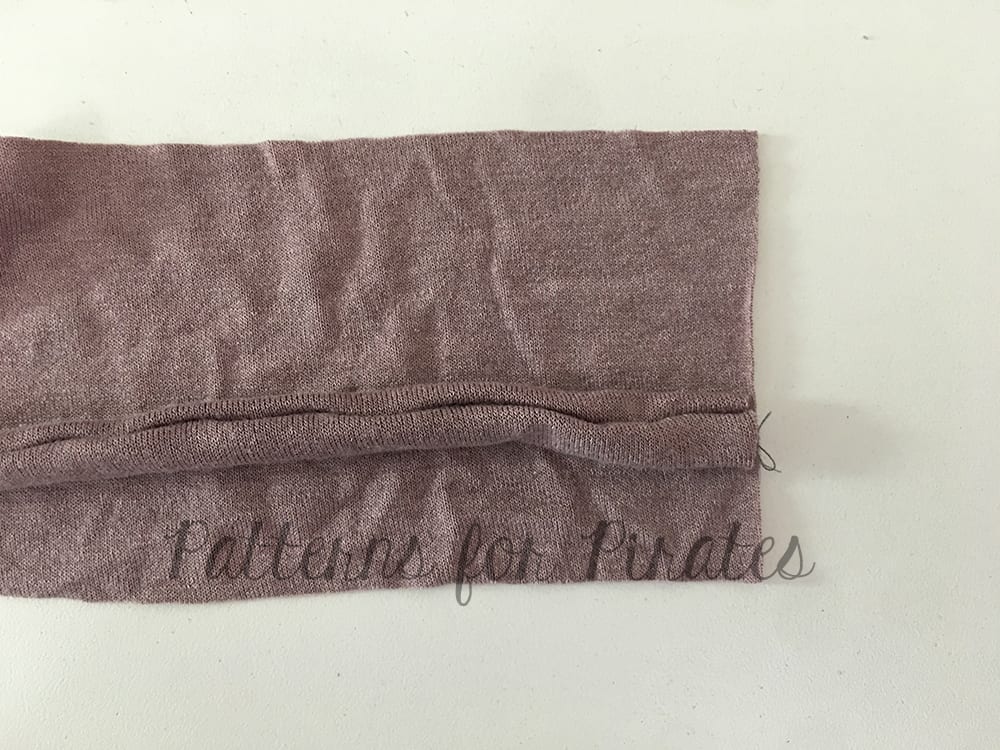
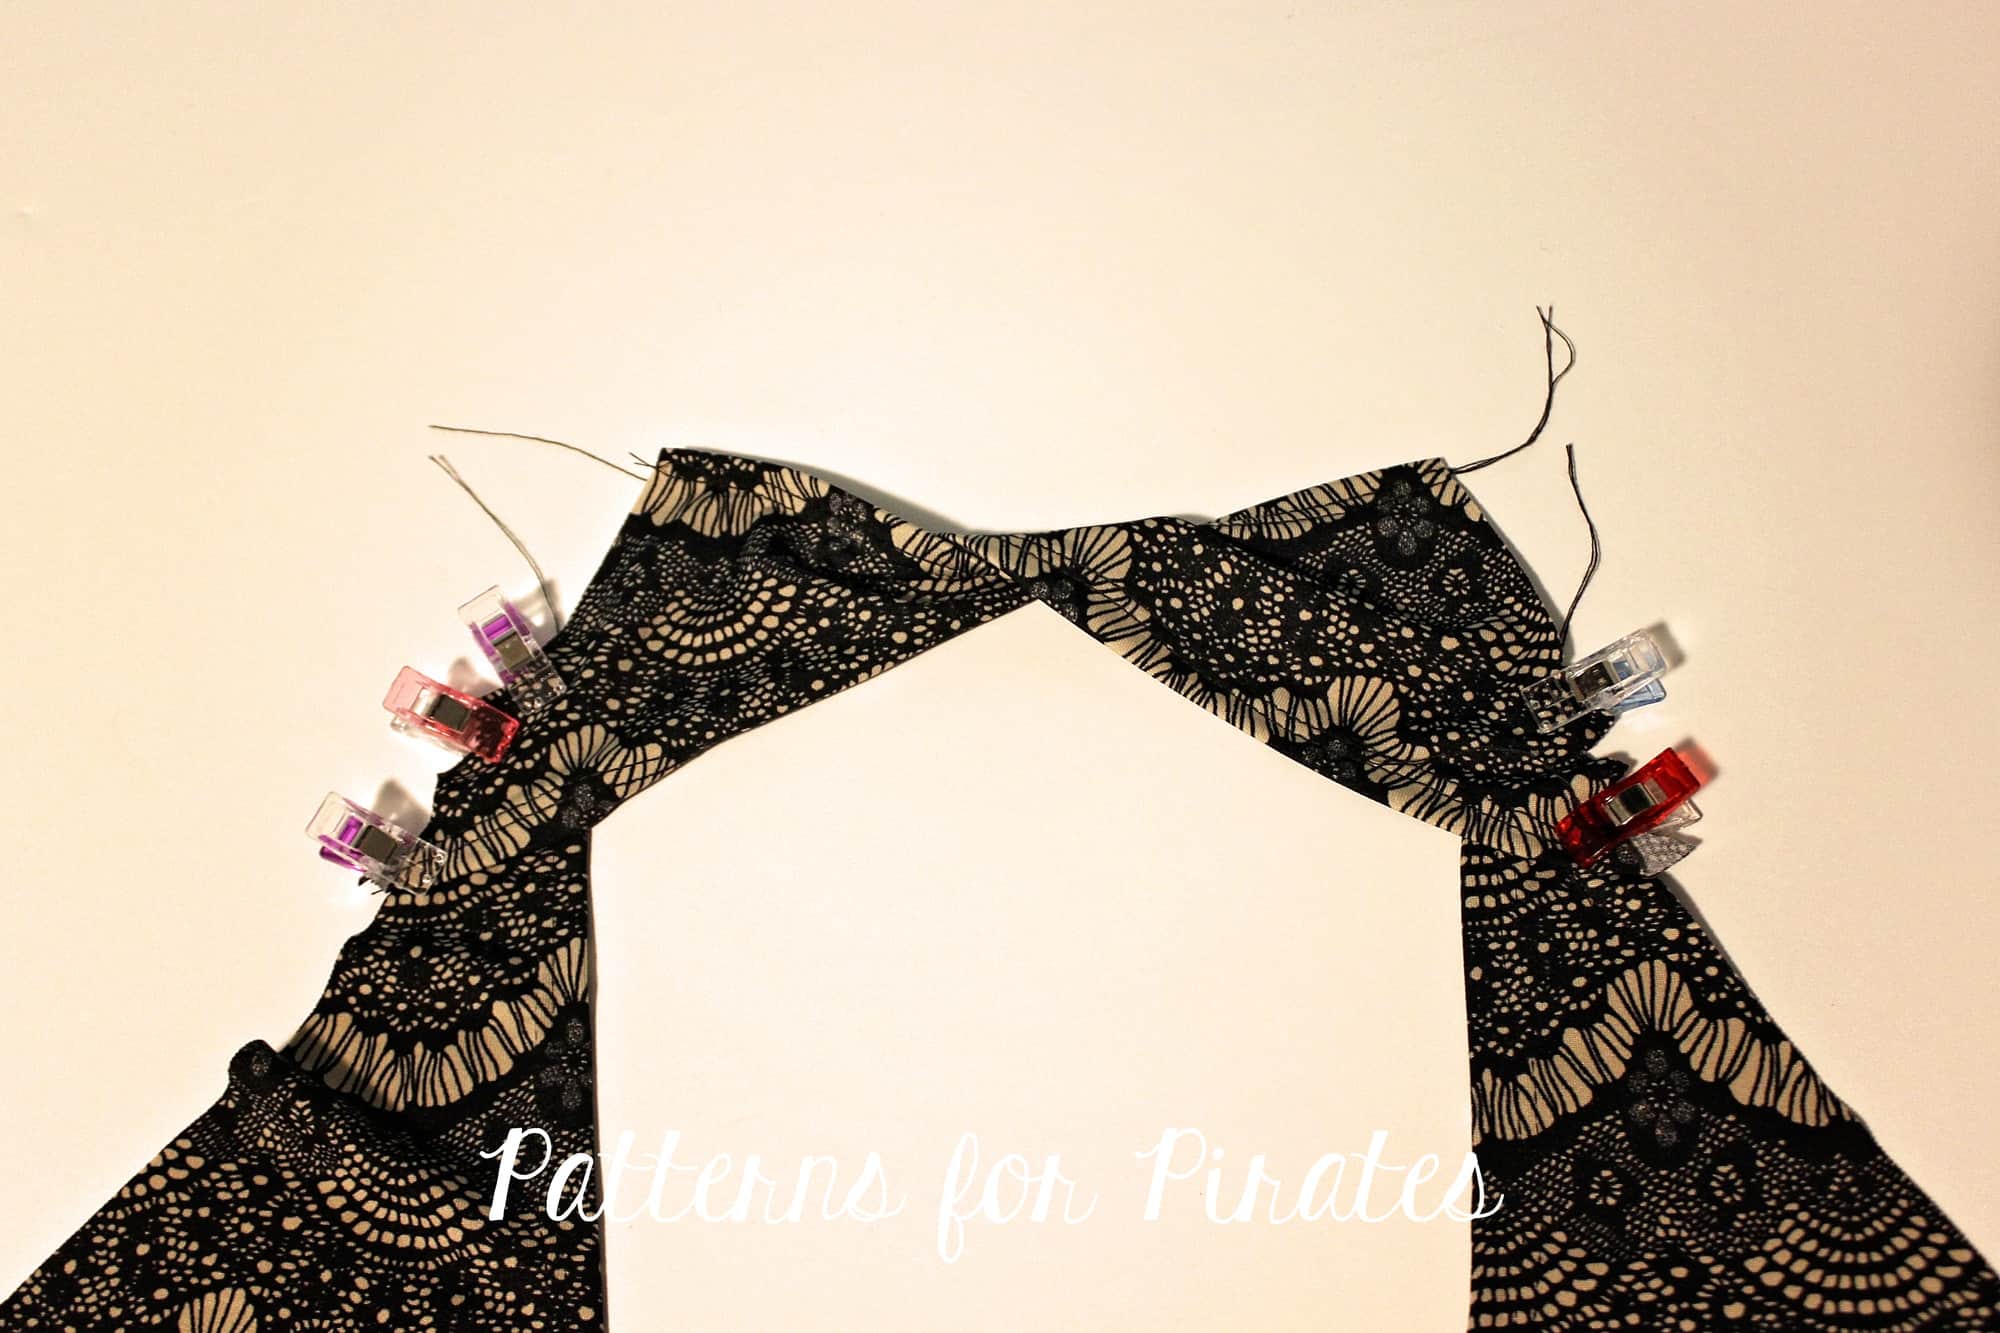
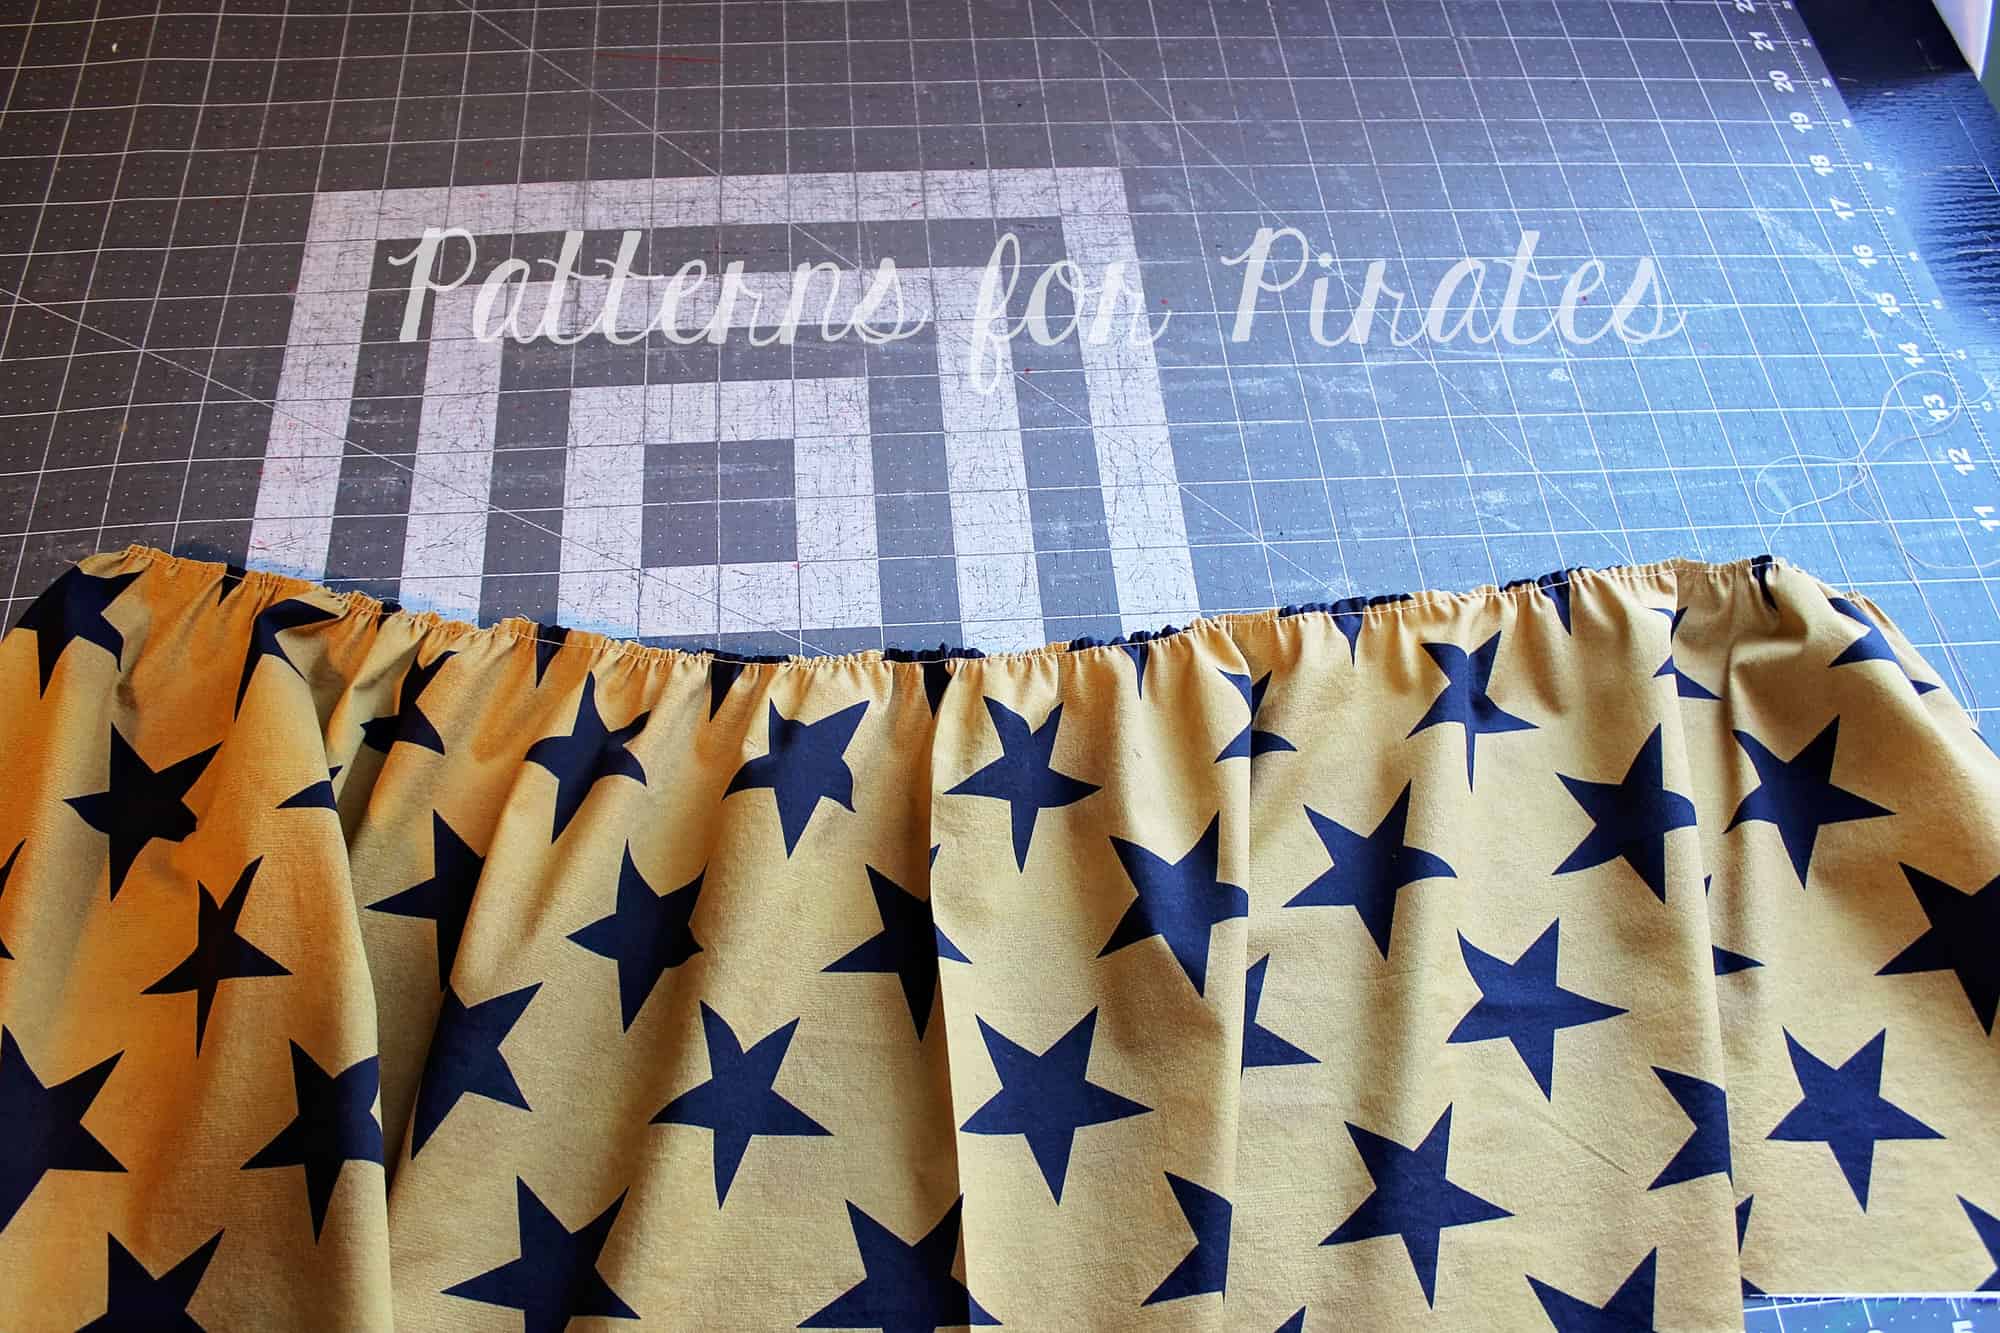
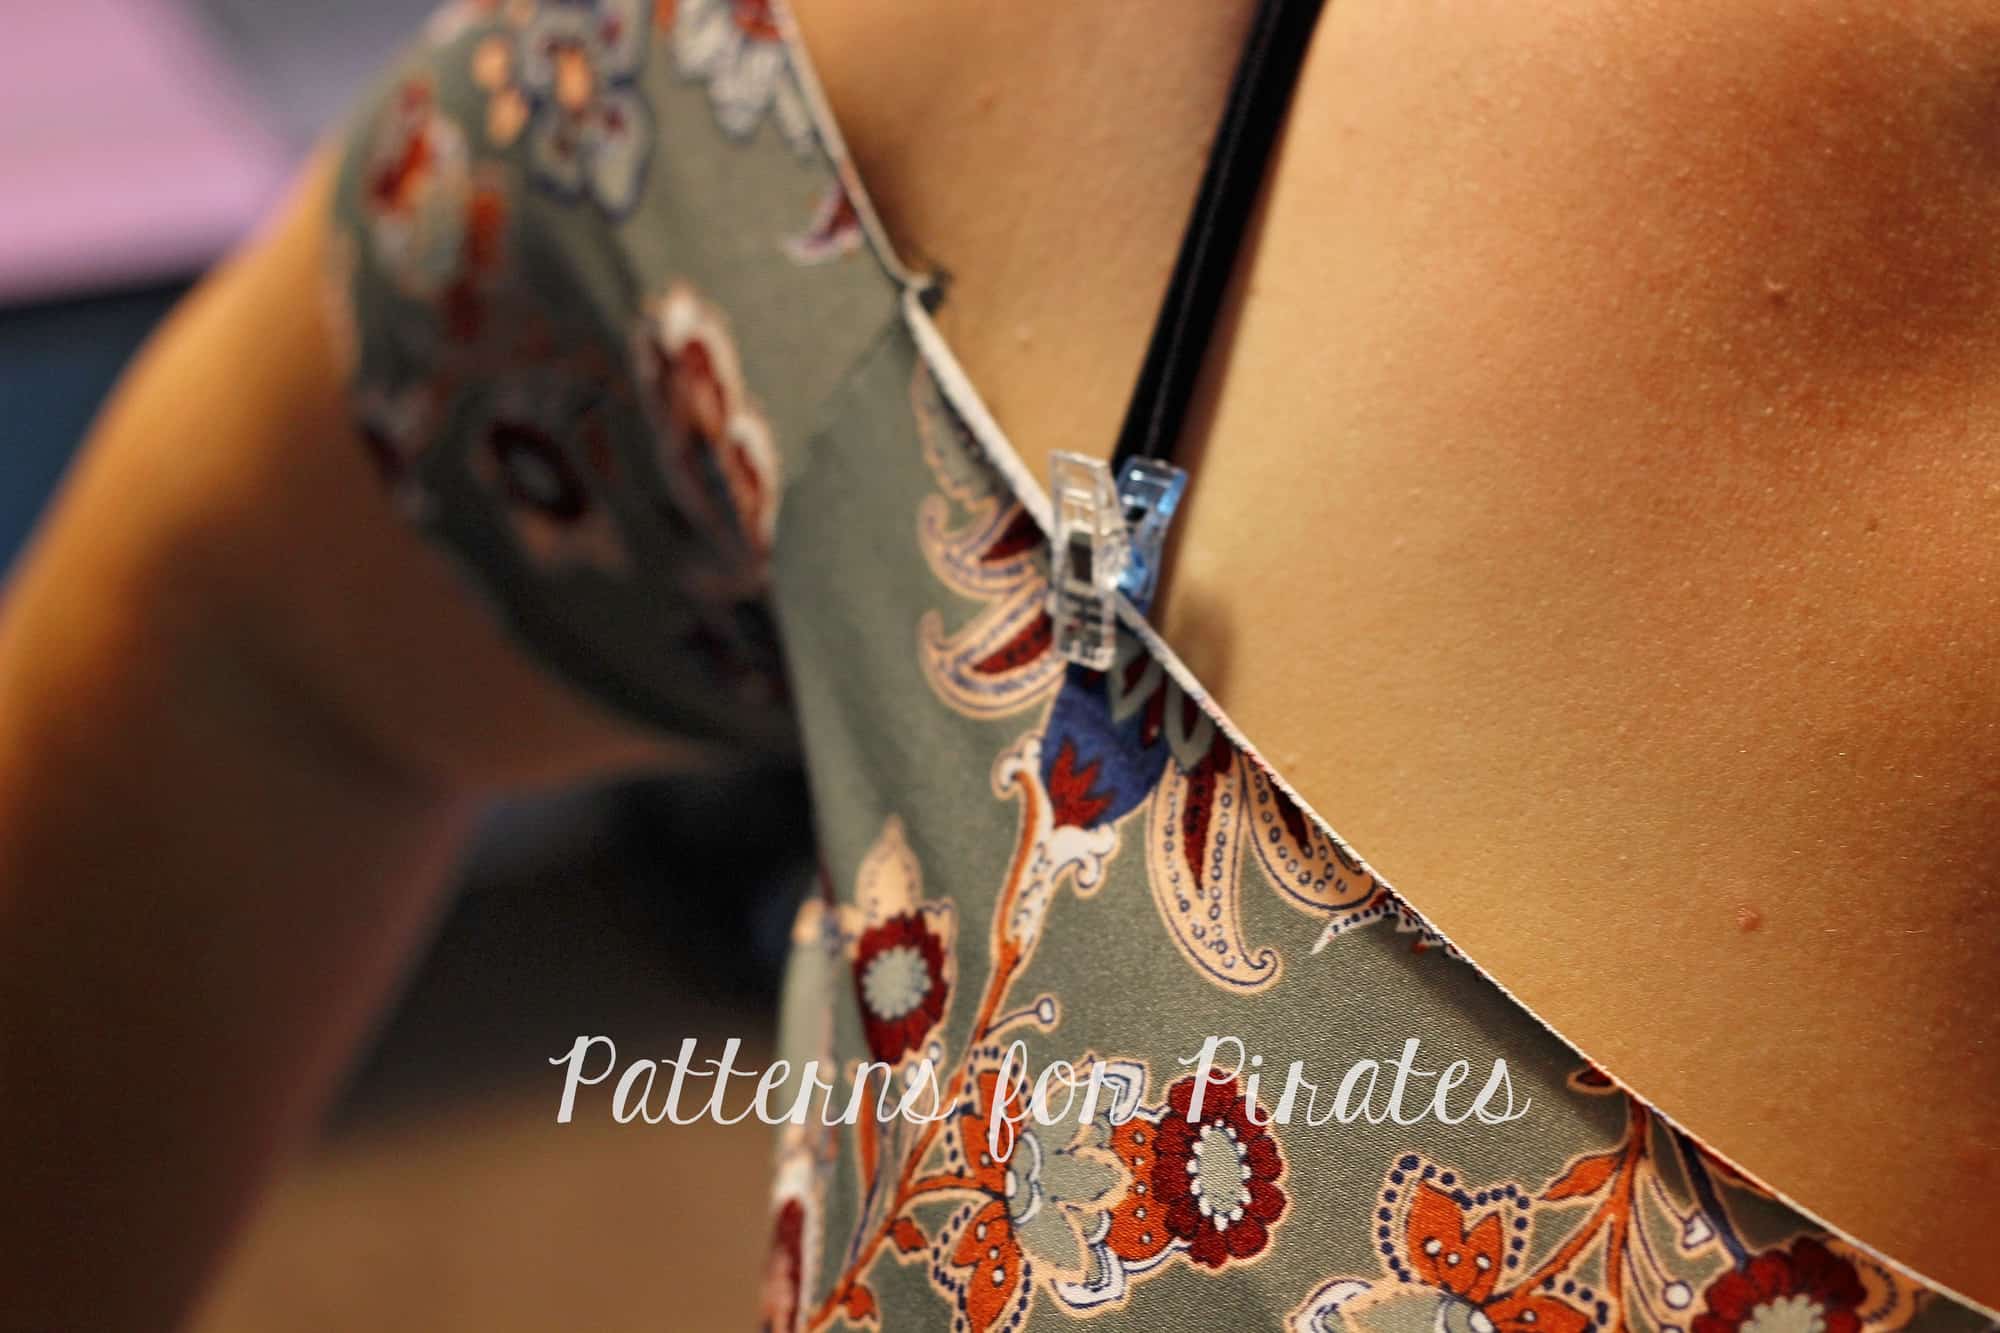
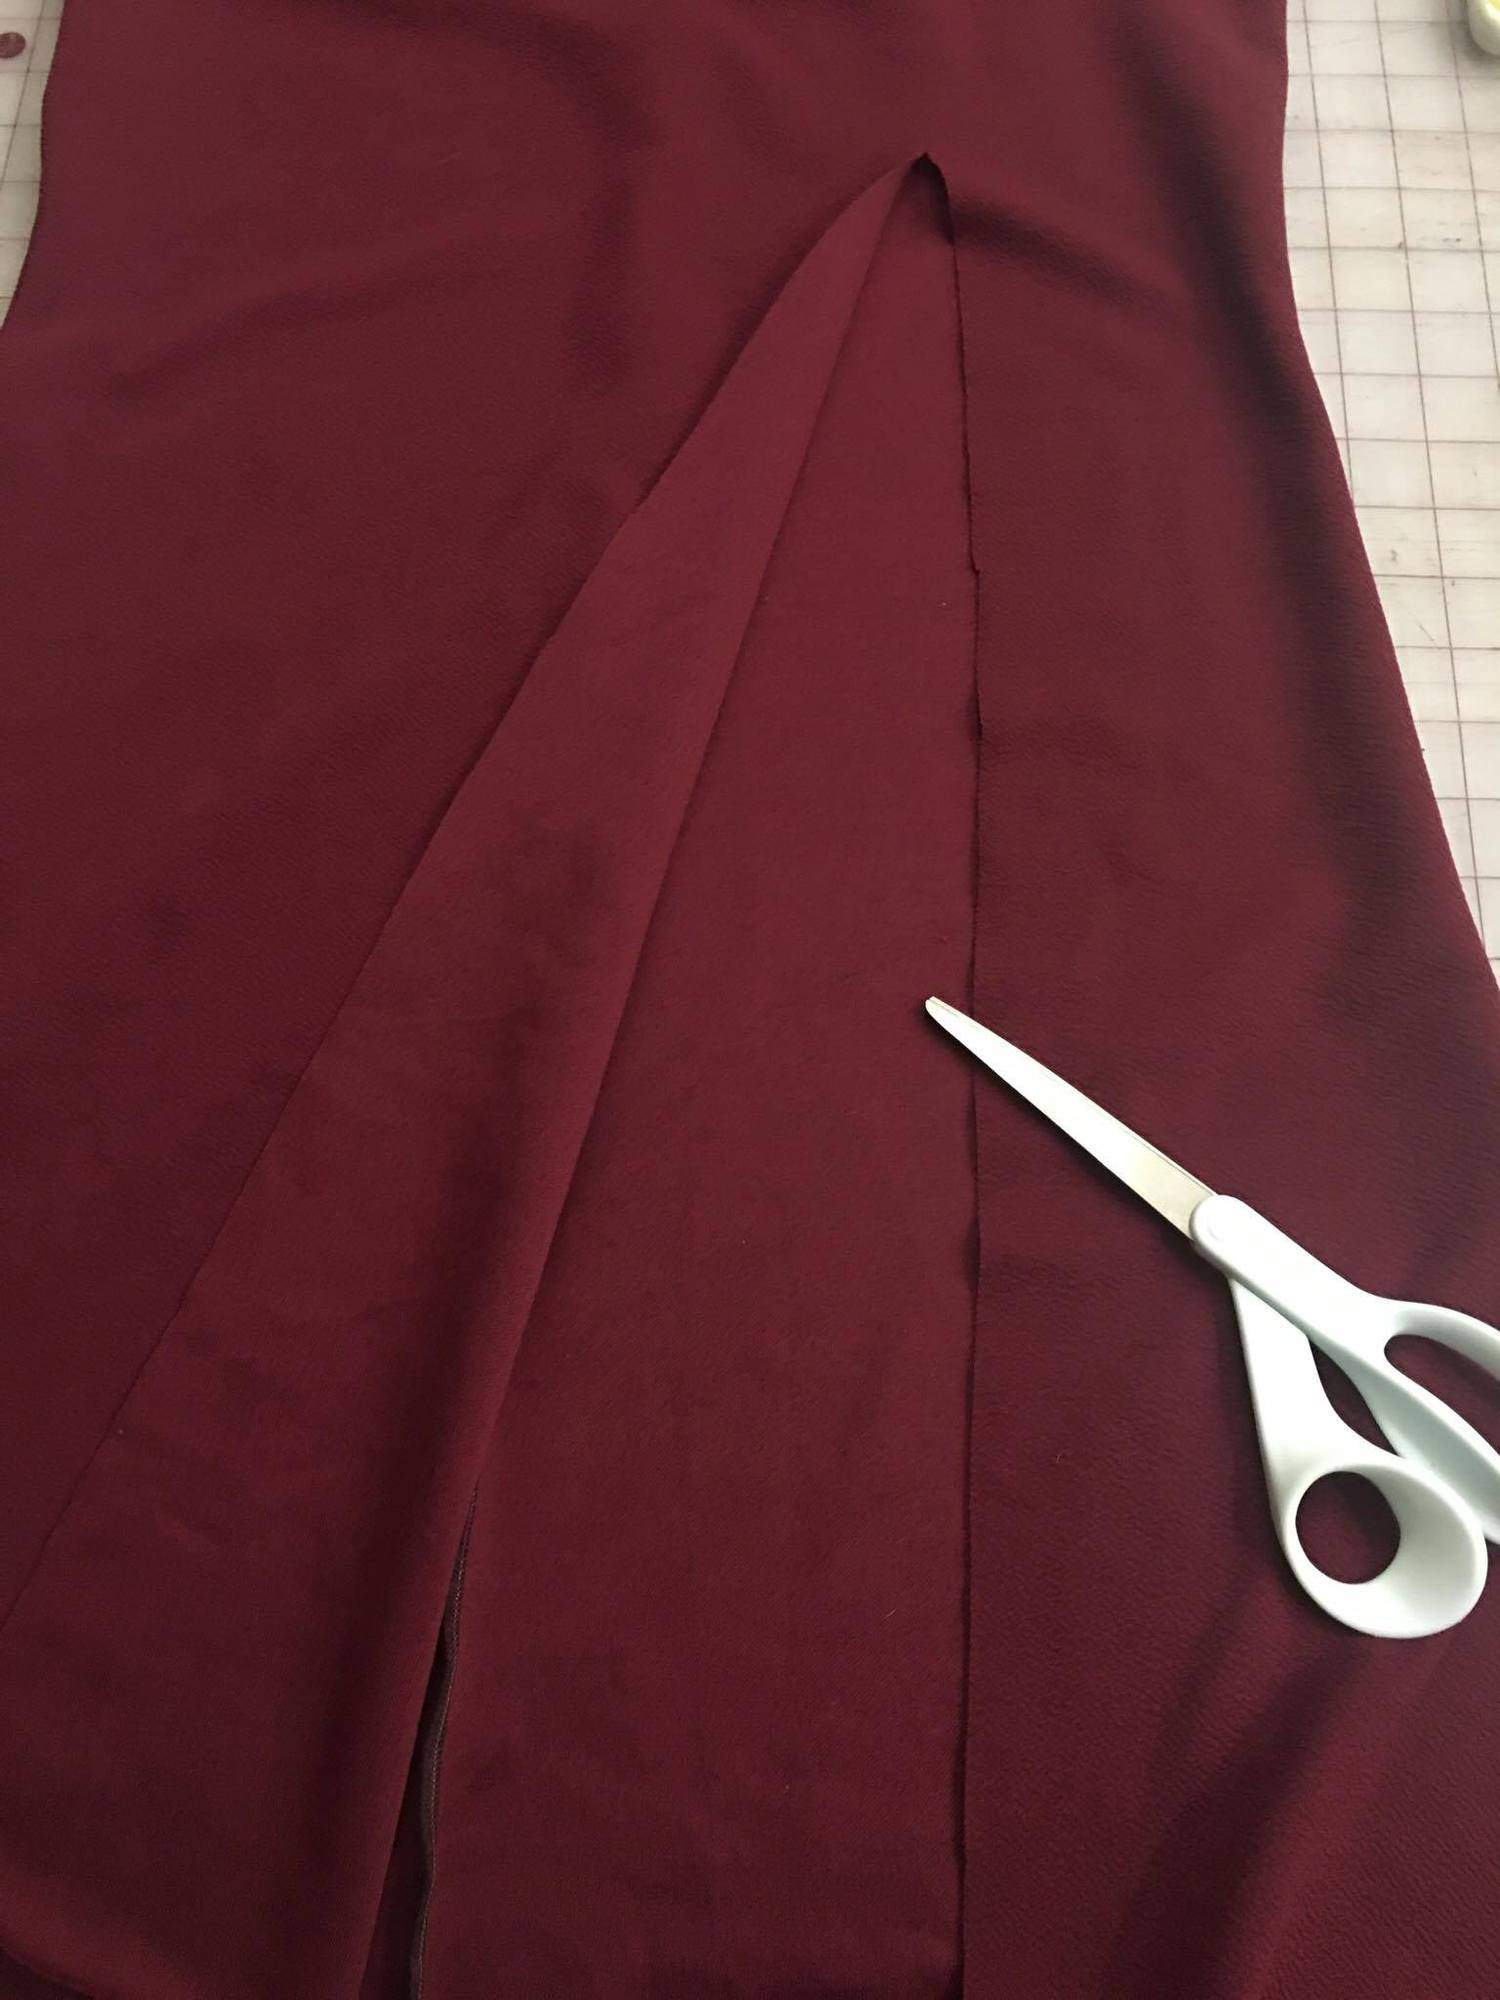
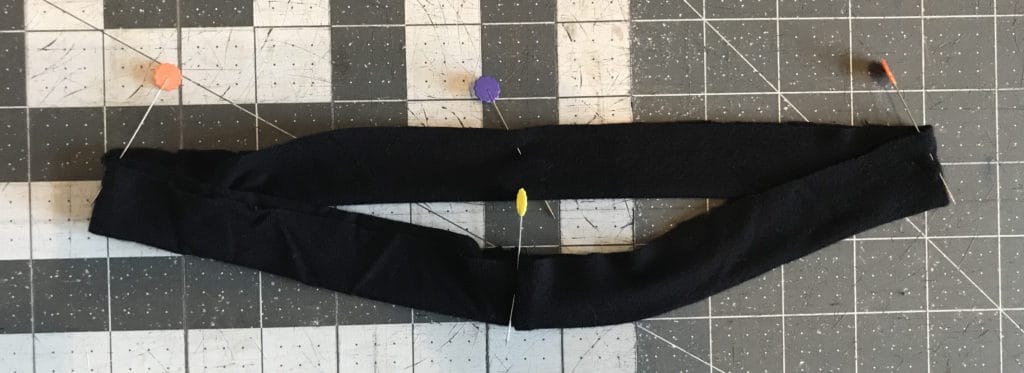
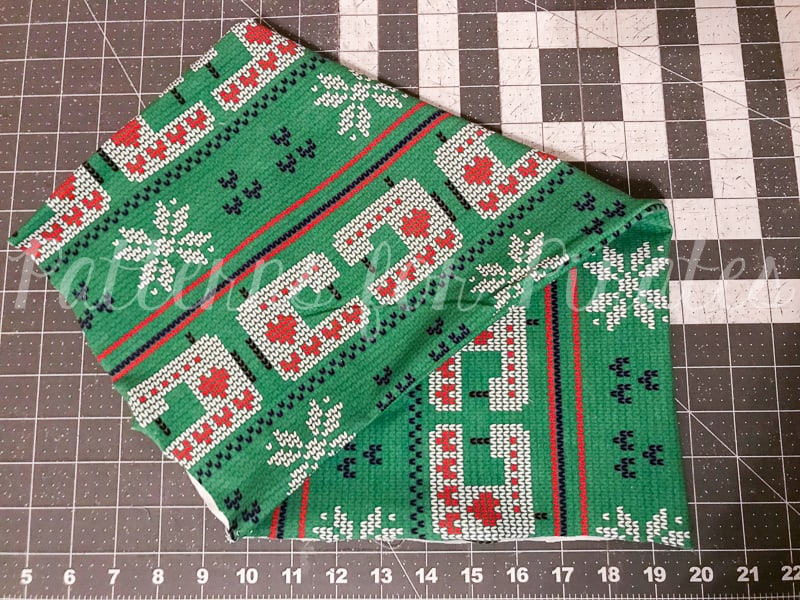
Fold top right corner to meet bottom left corner.

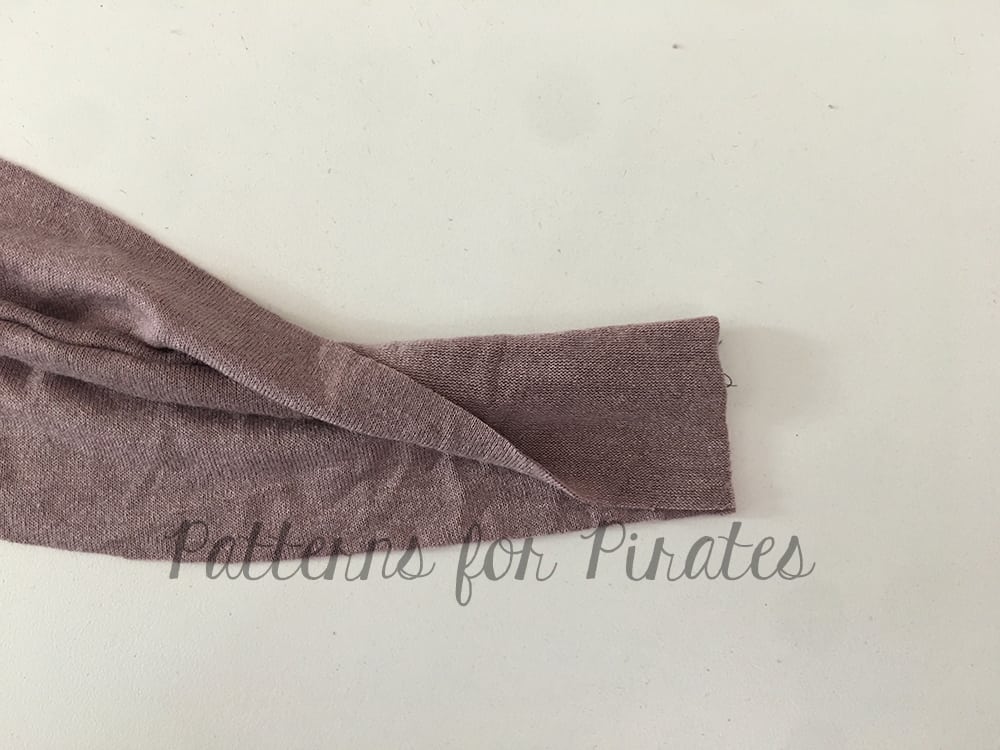
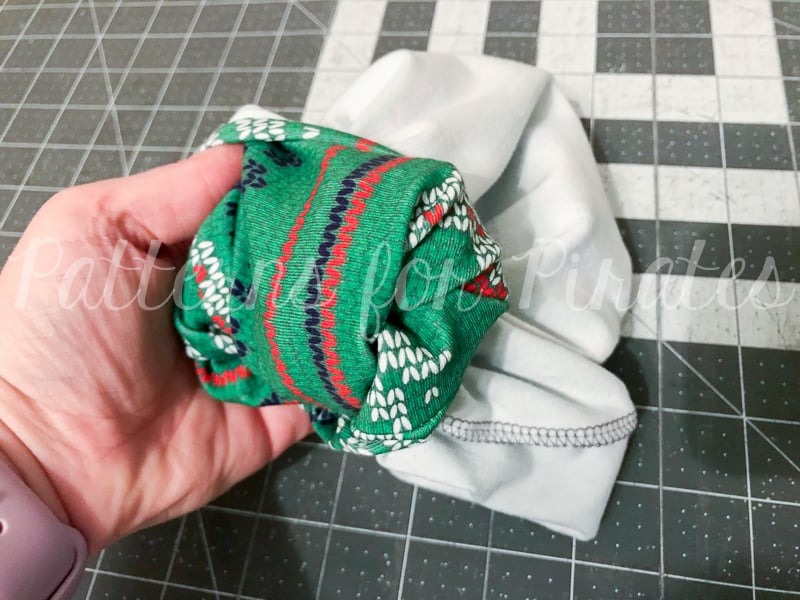
Grab the outer corner (which was top left corner before we folded in the last step) and have it meet the right bottom corner.

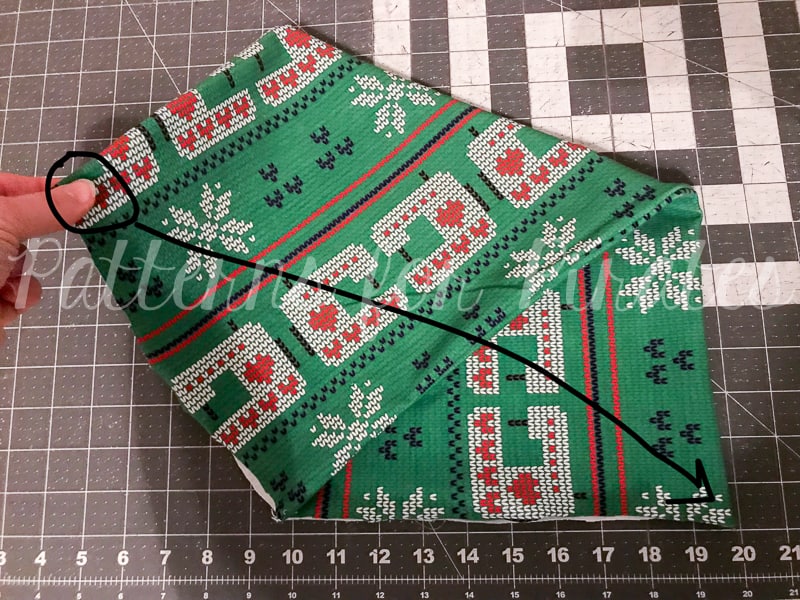
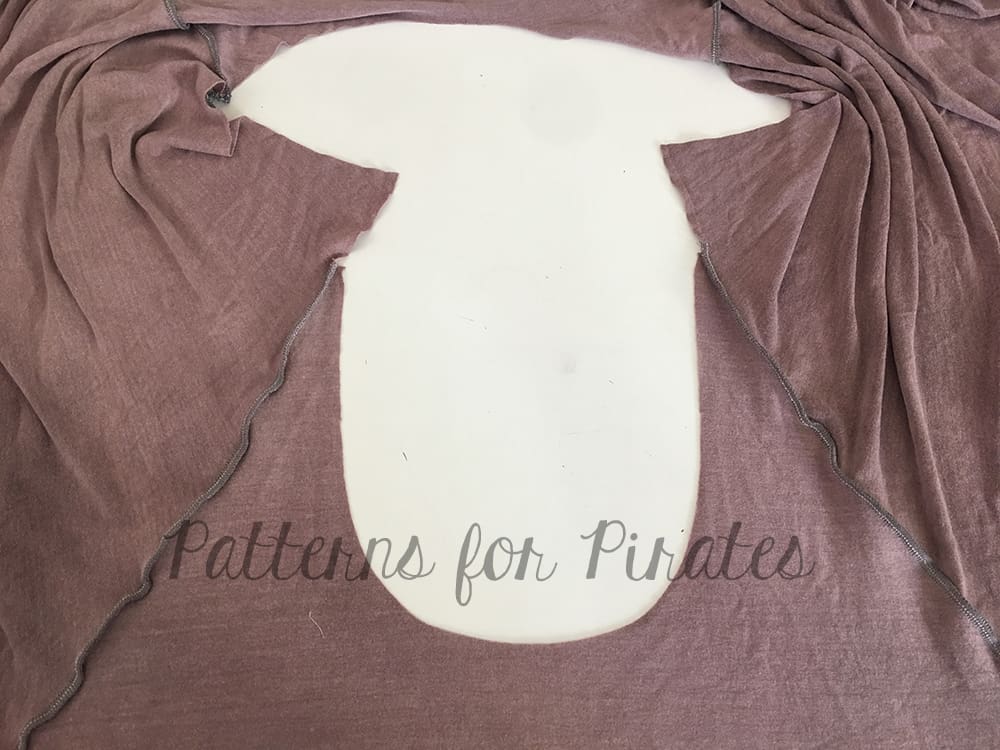
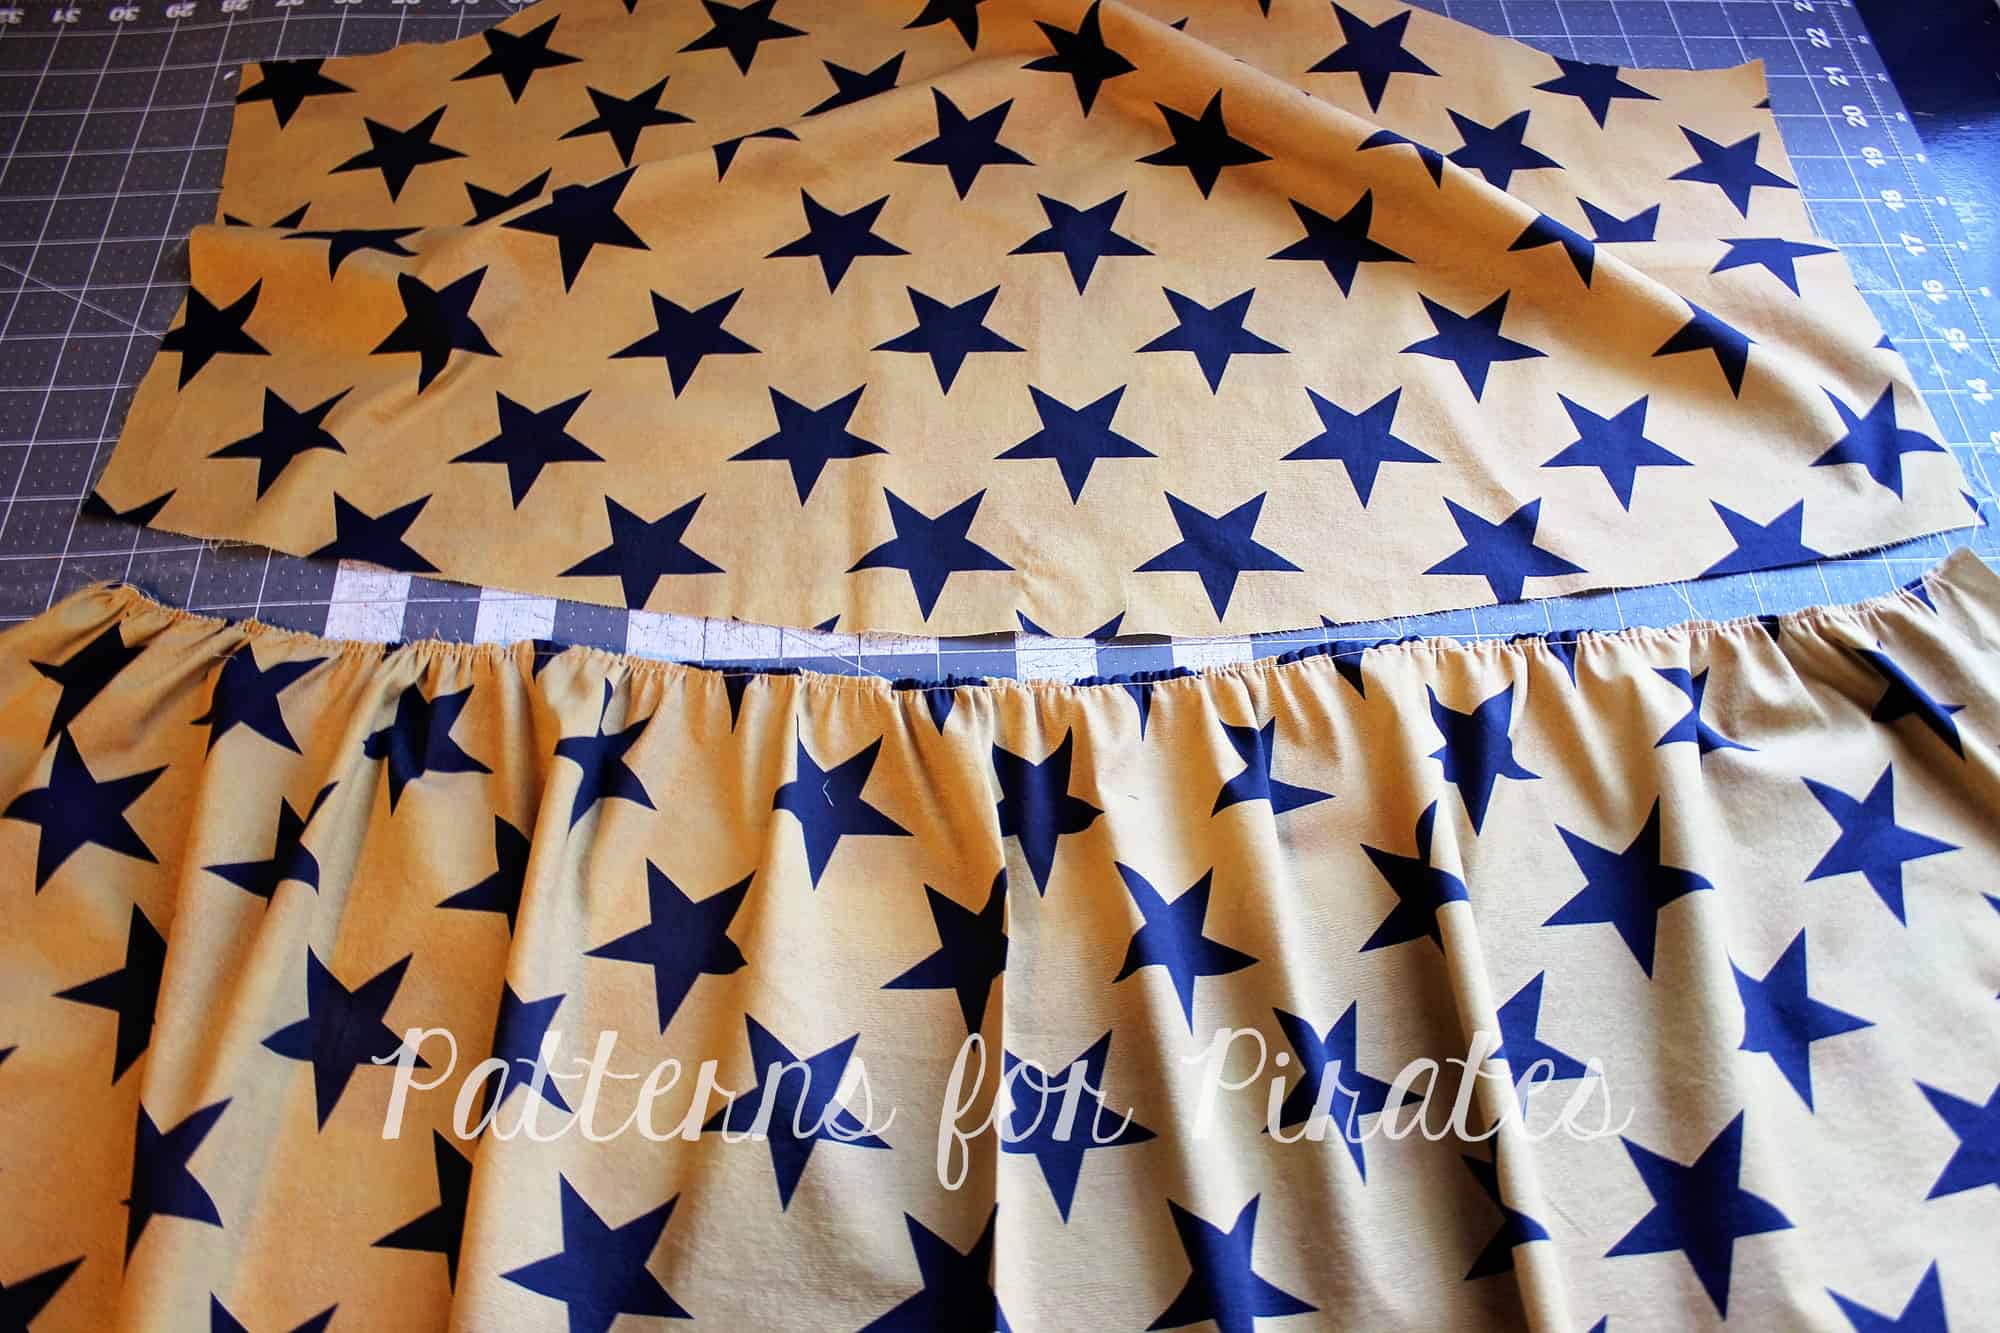
Shown folded with the twist.

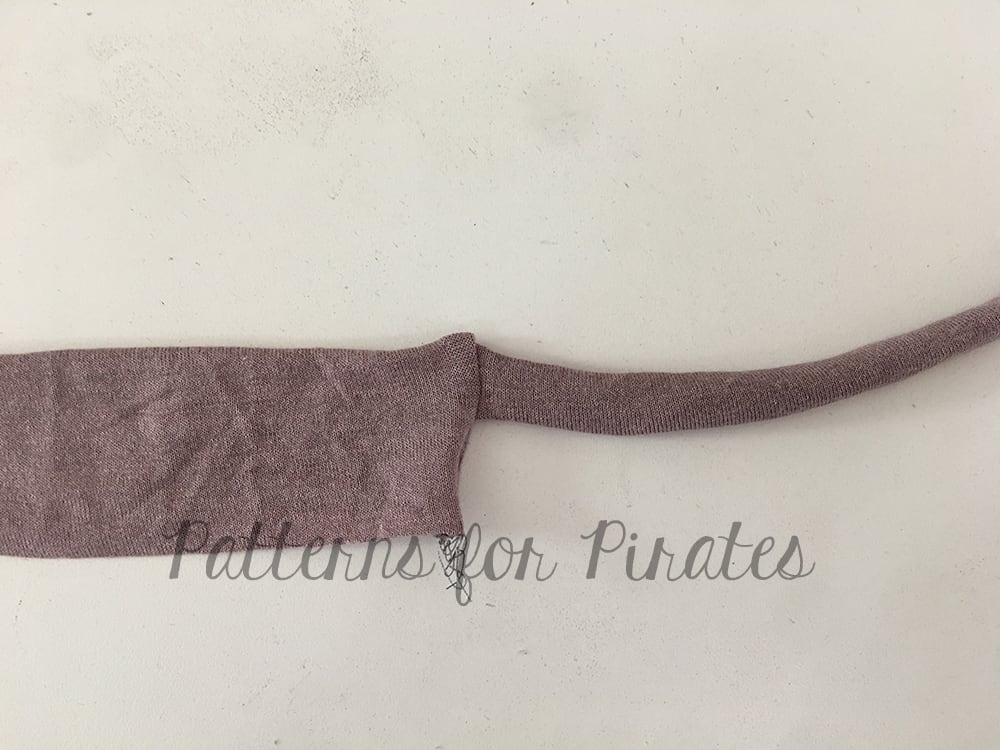
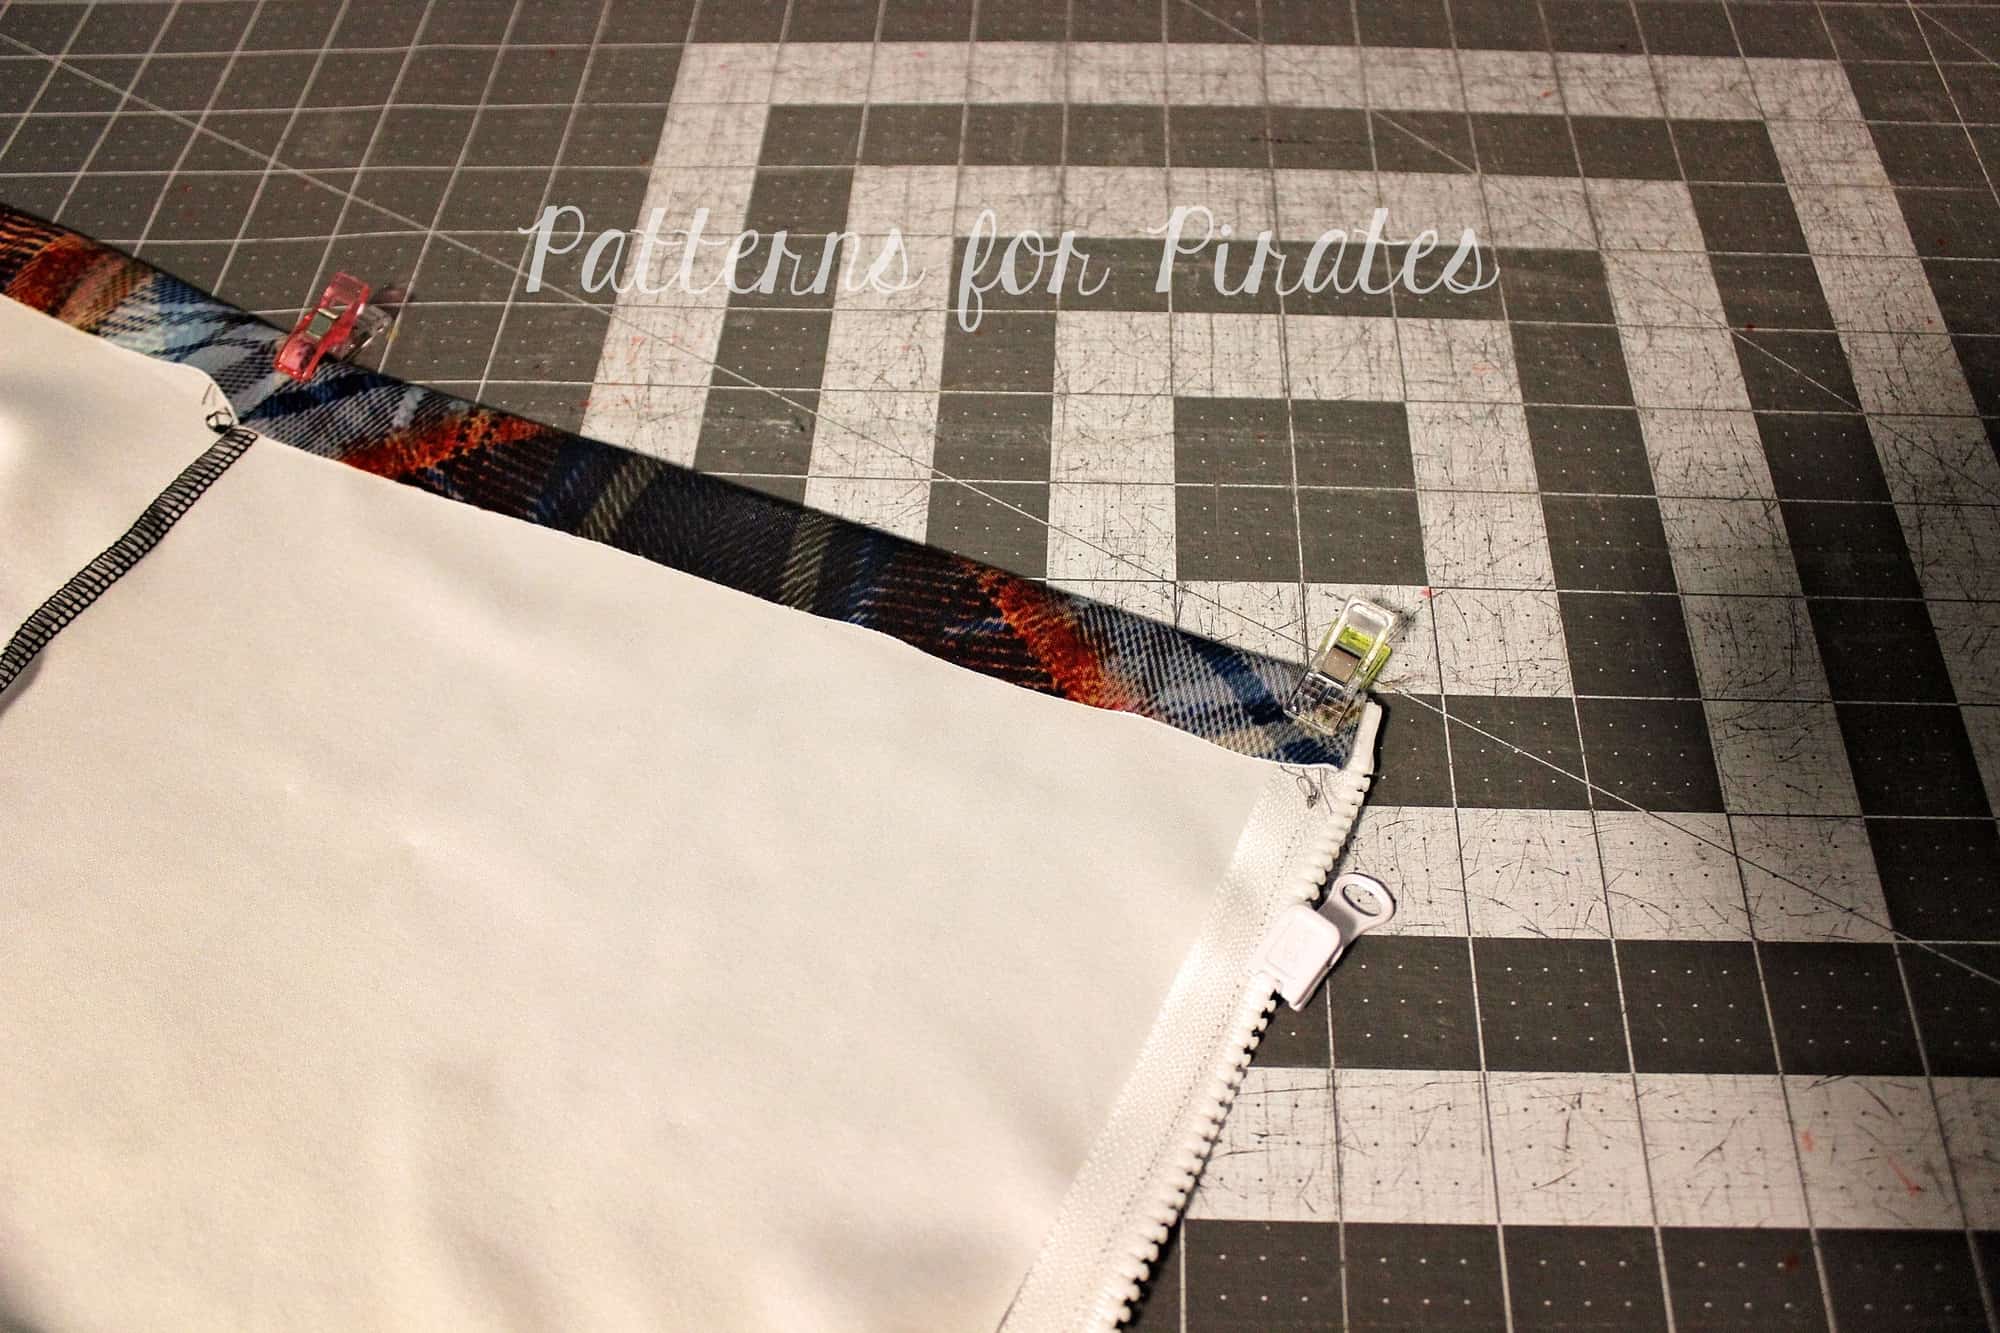
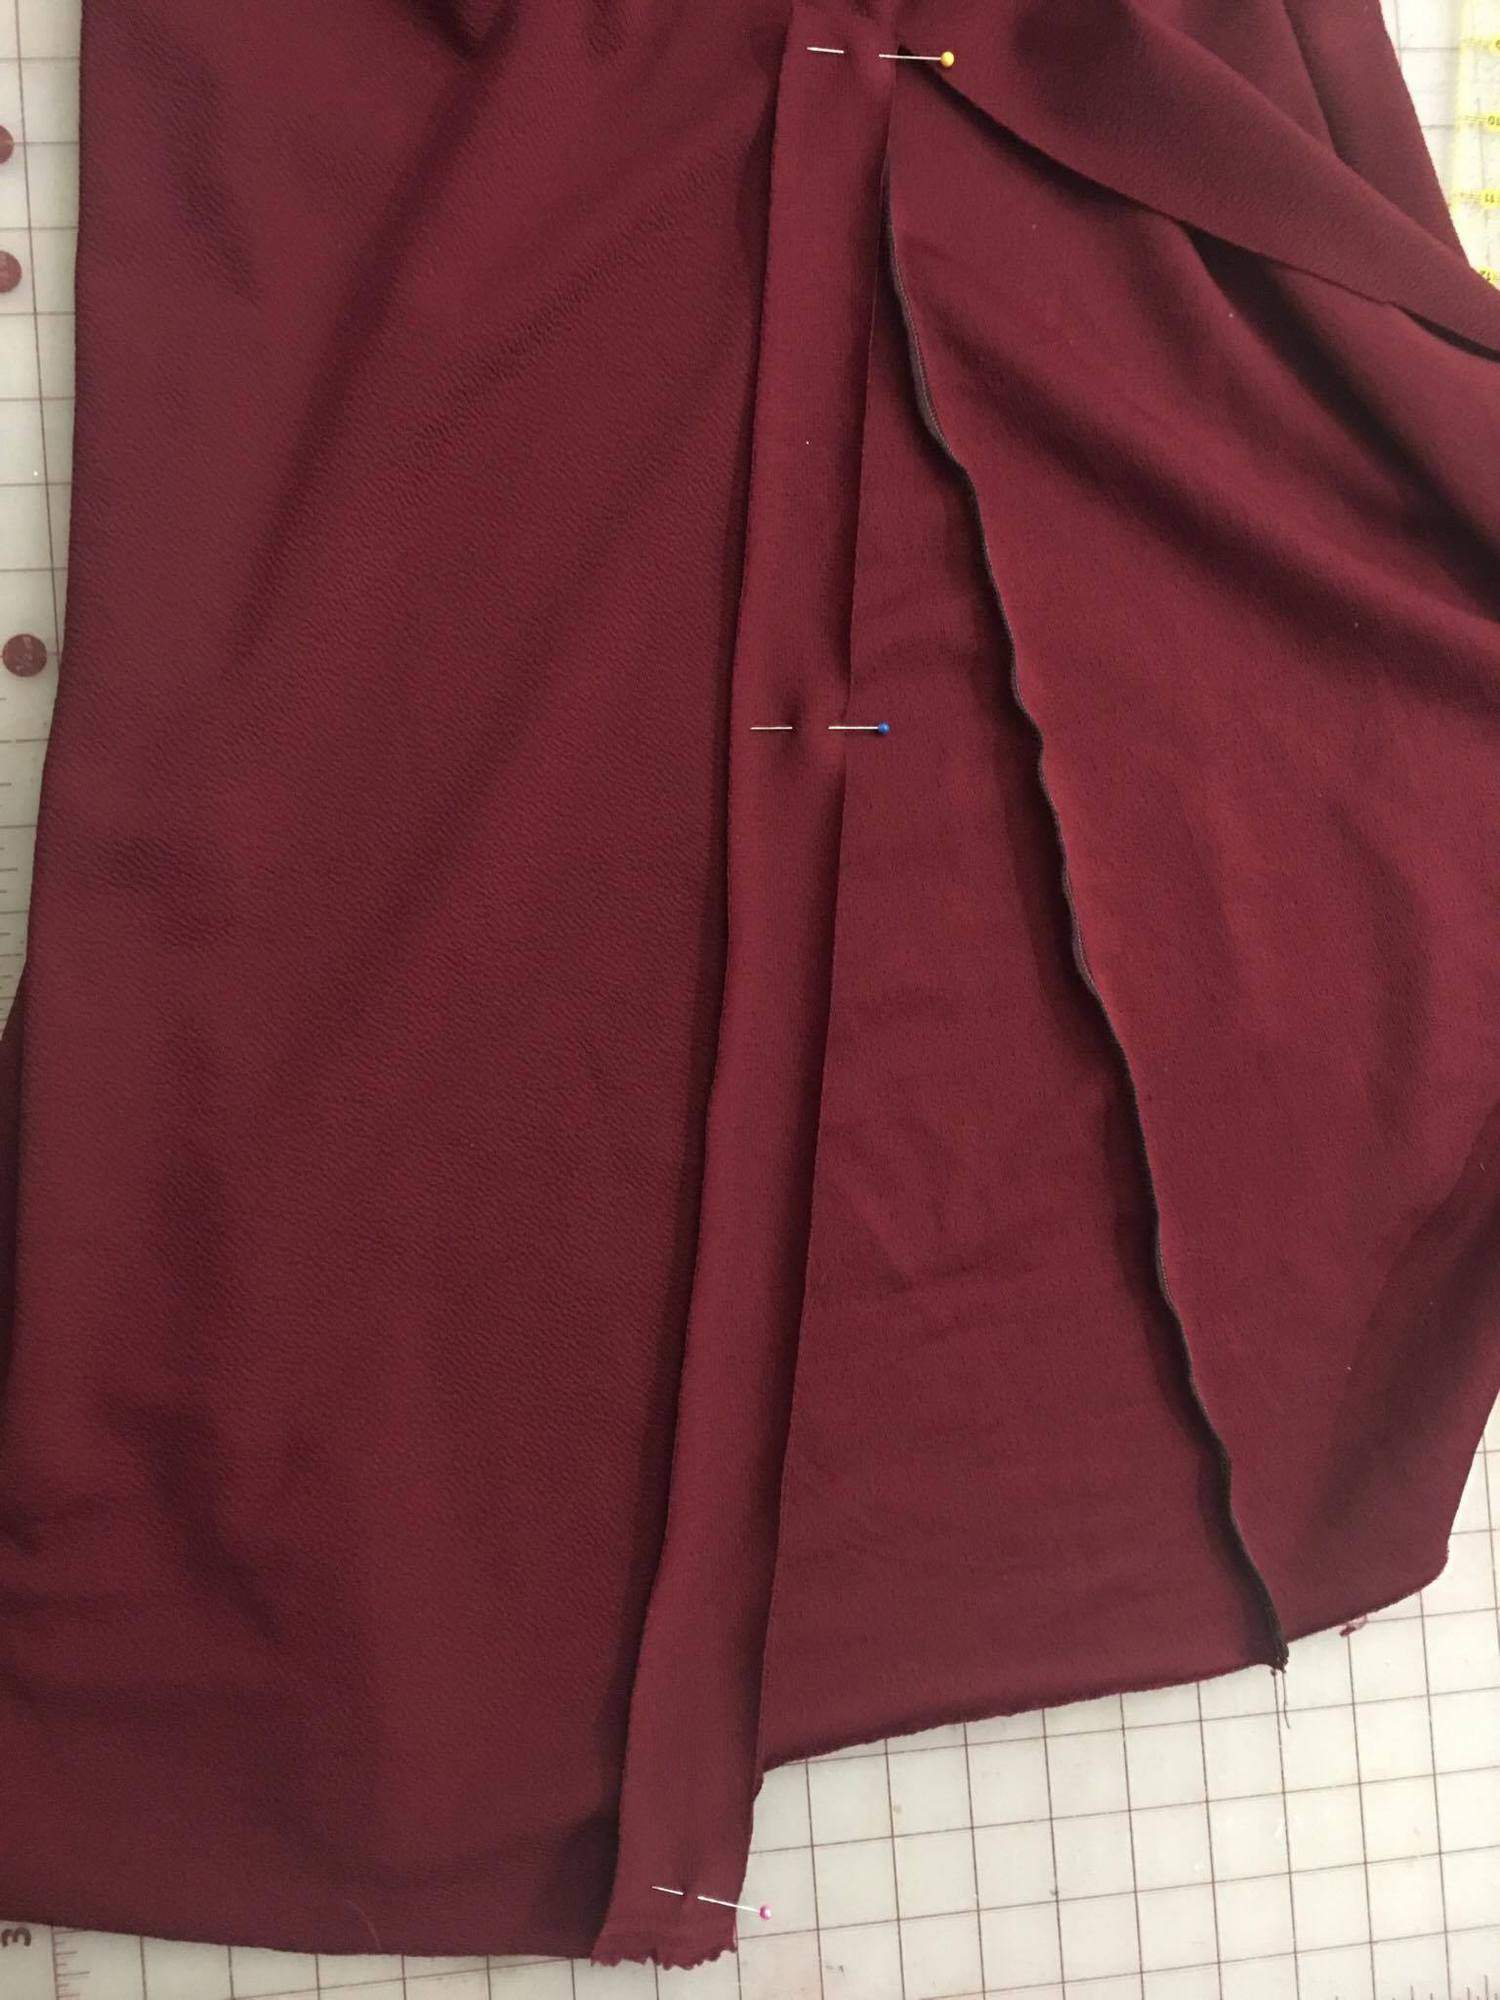
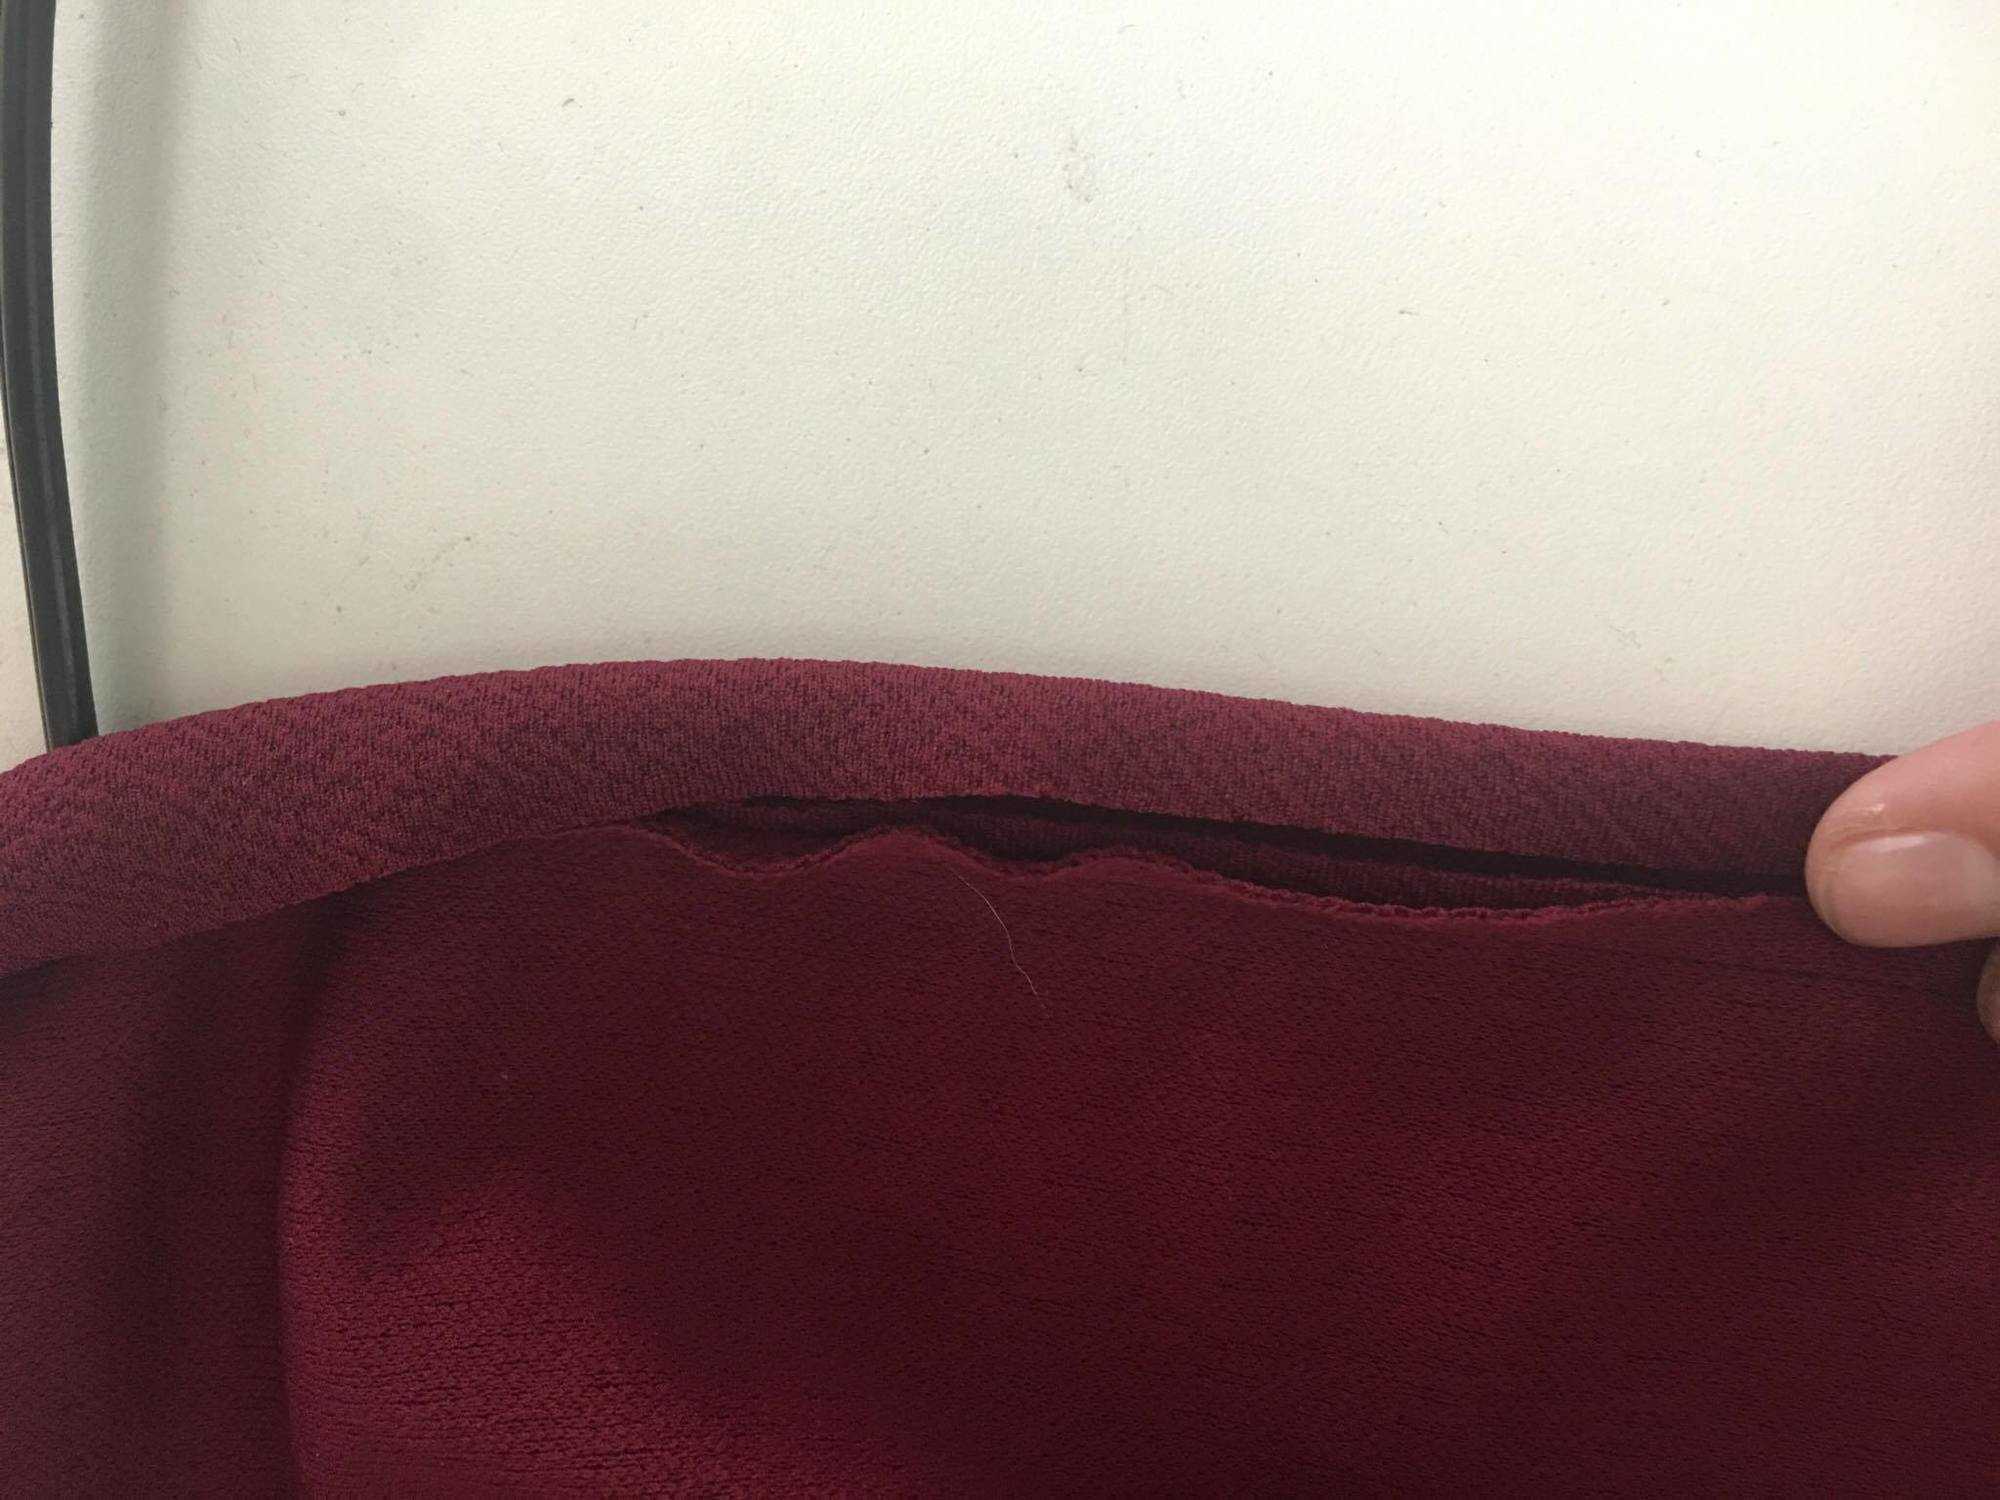
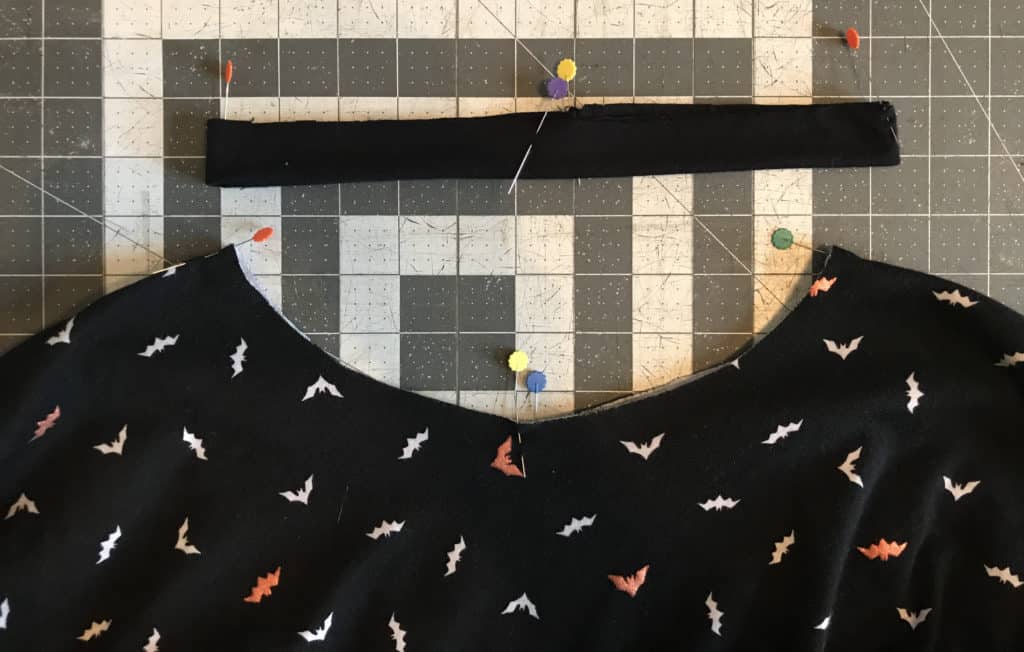
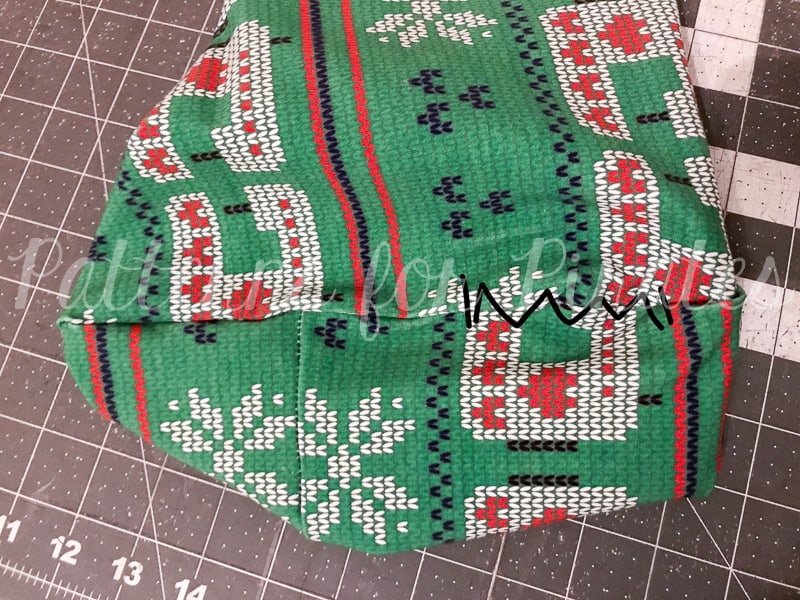
Grab the top layer of the four raw edges.

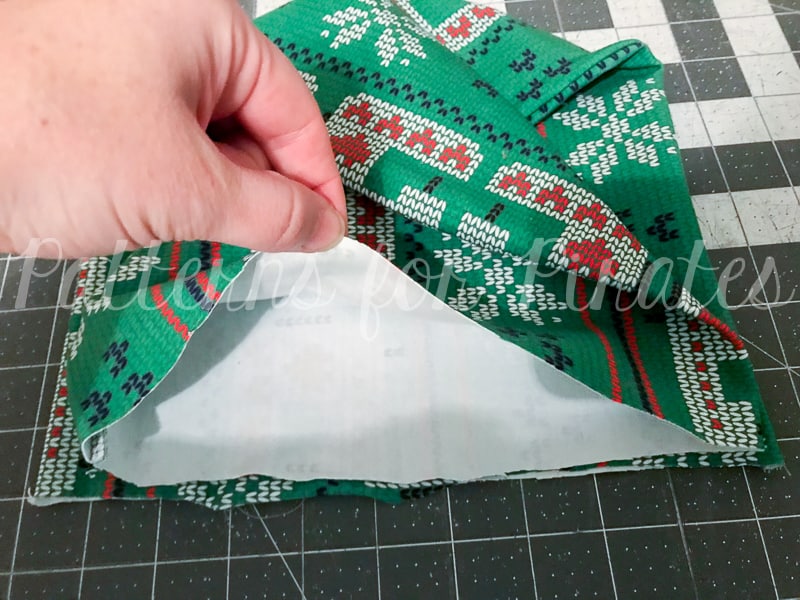
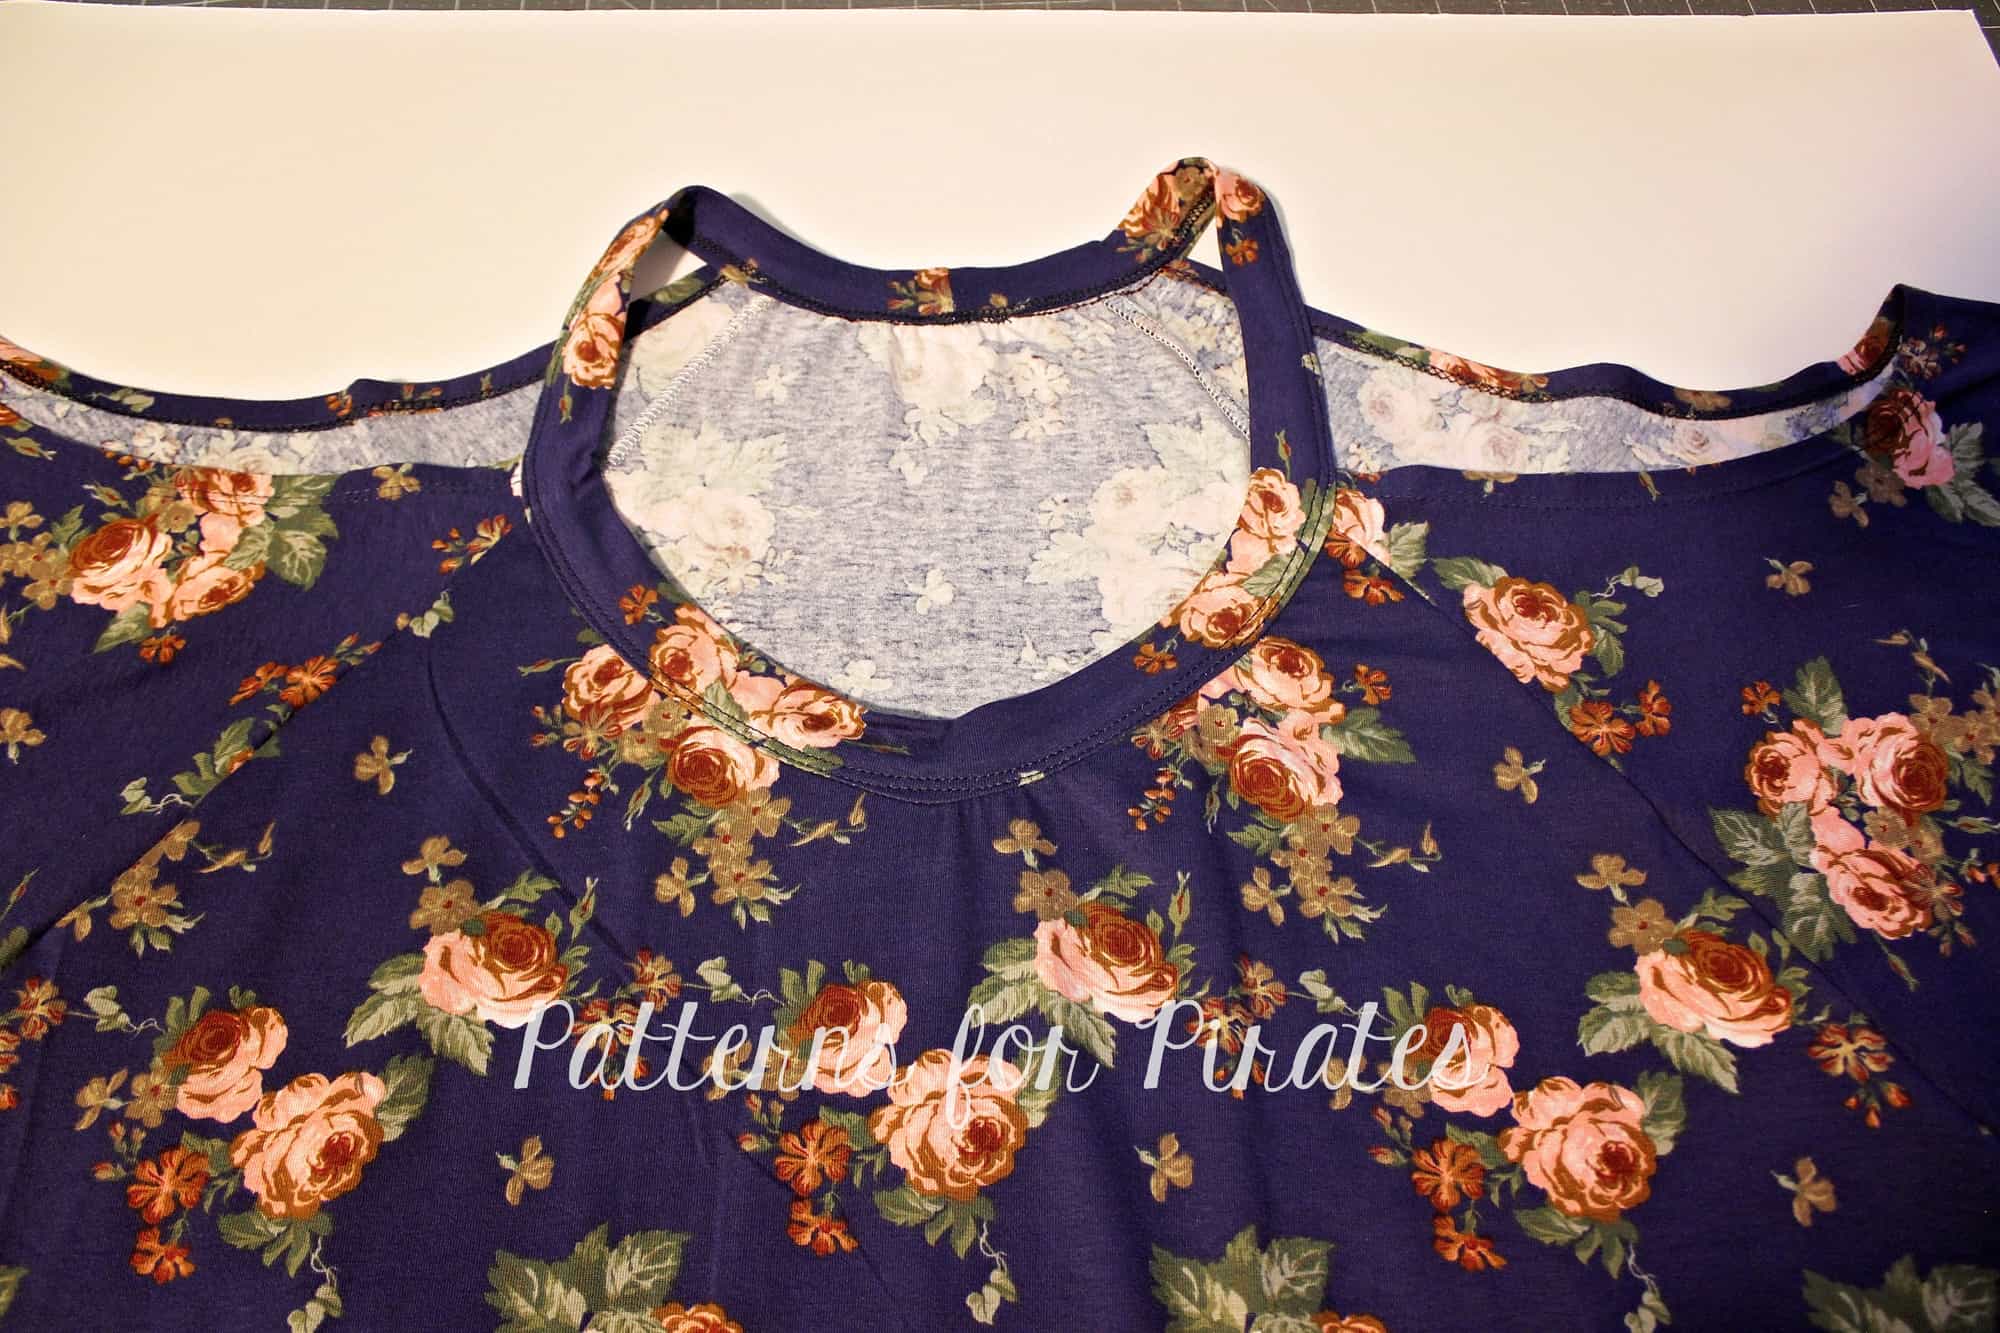
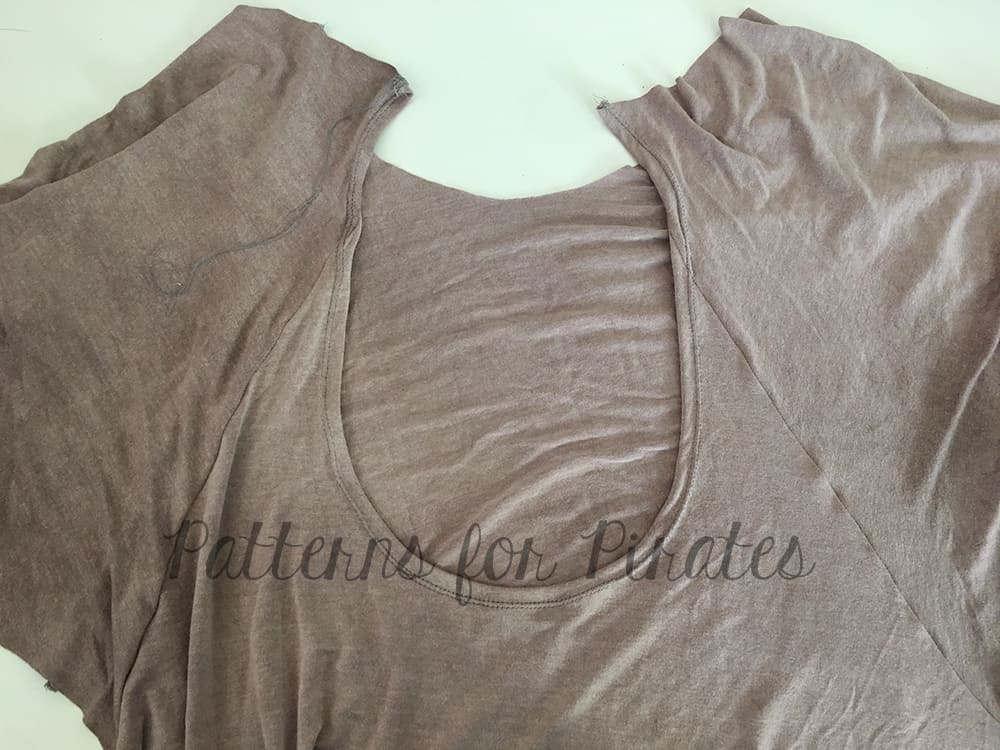
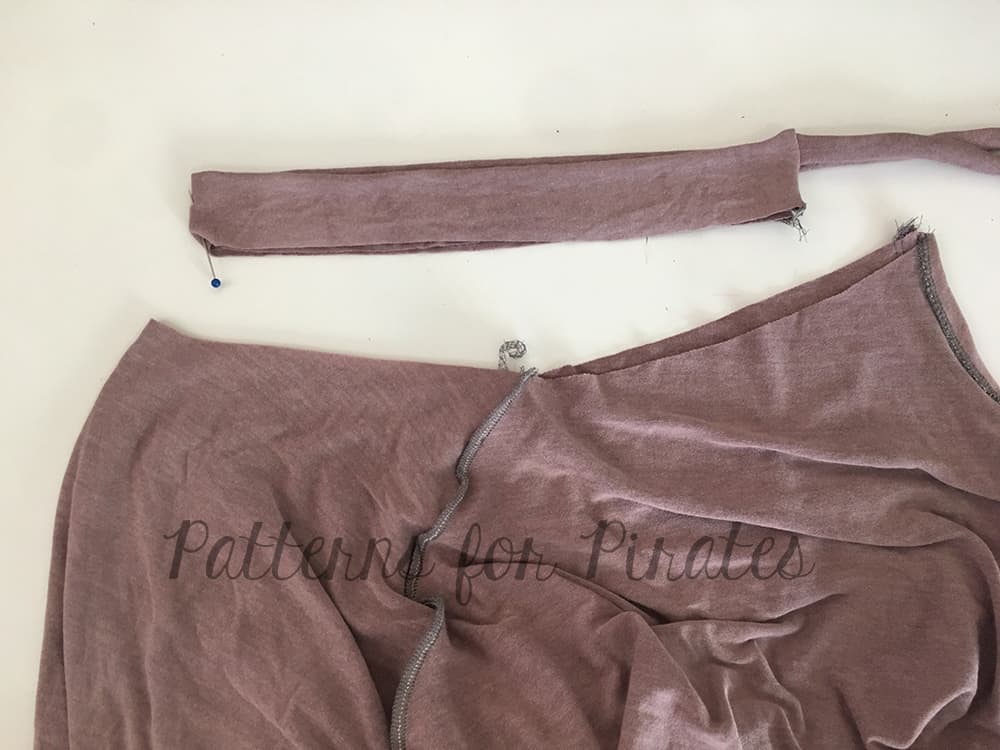
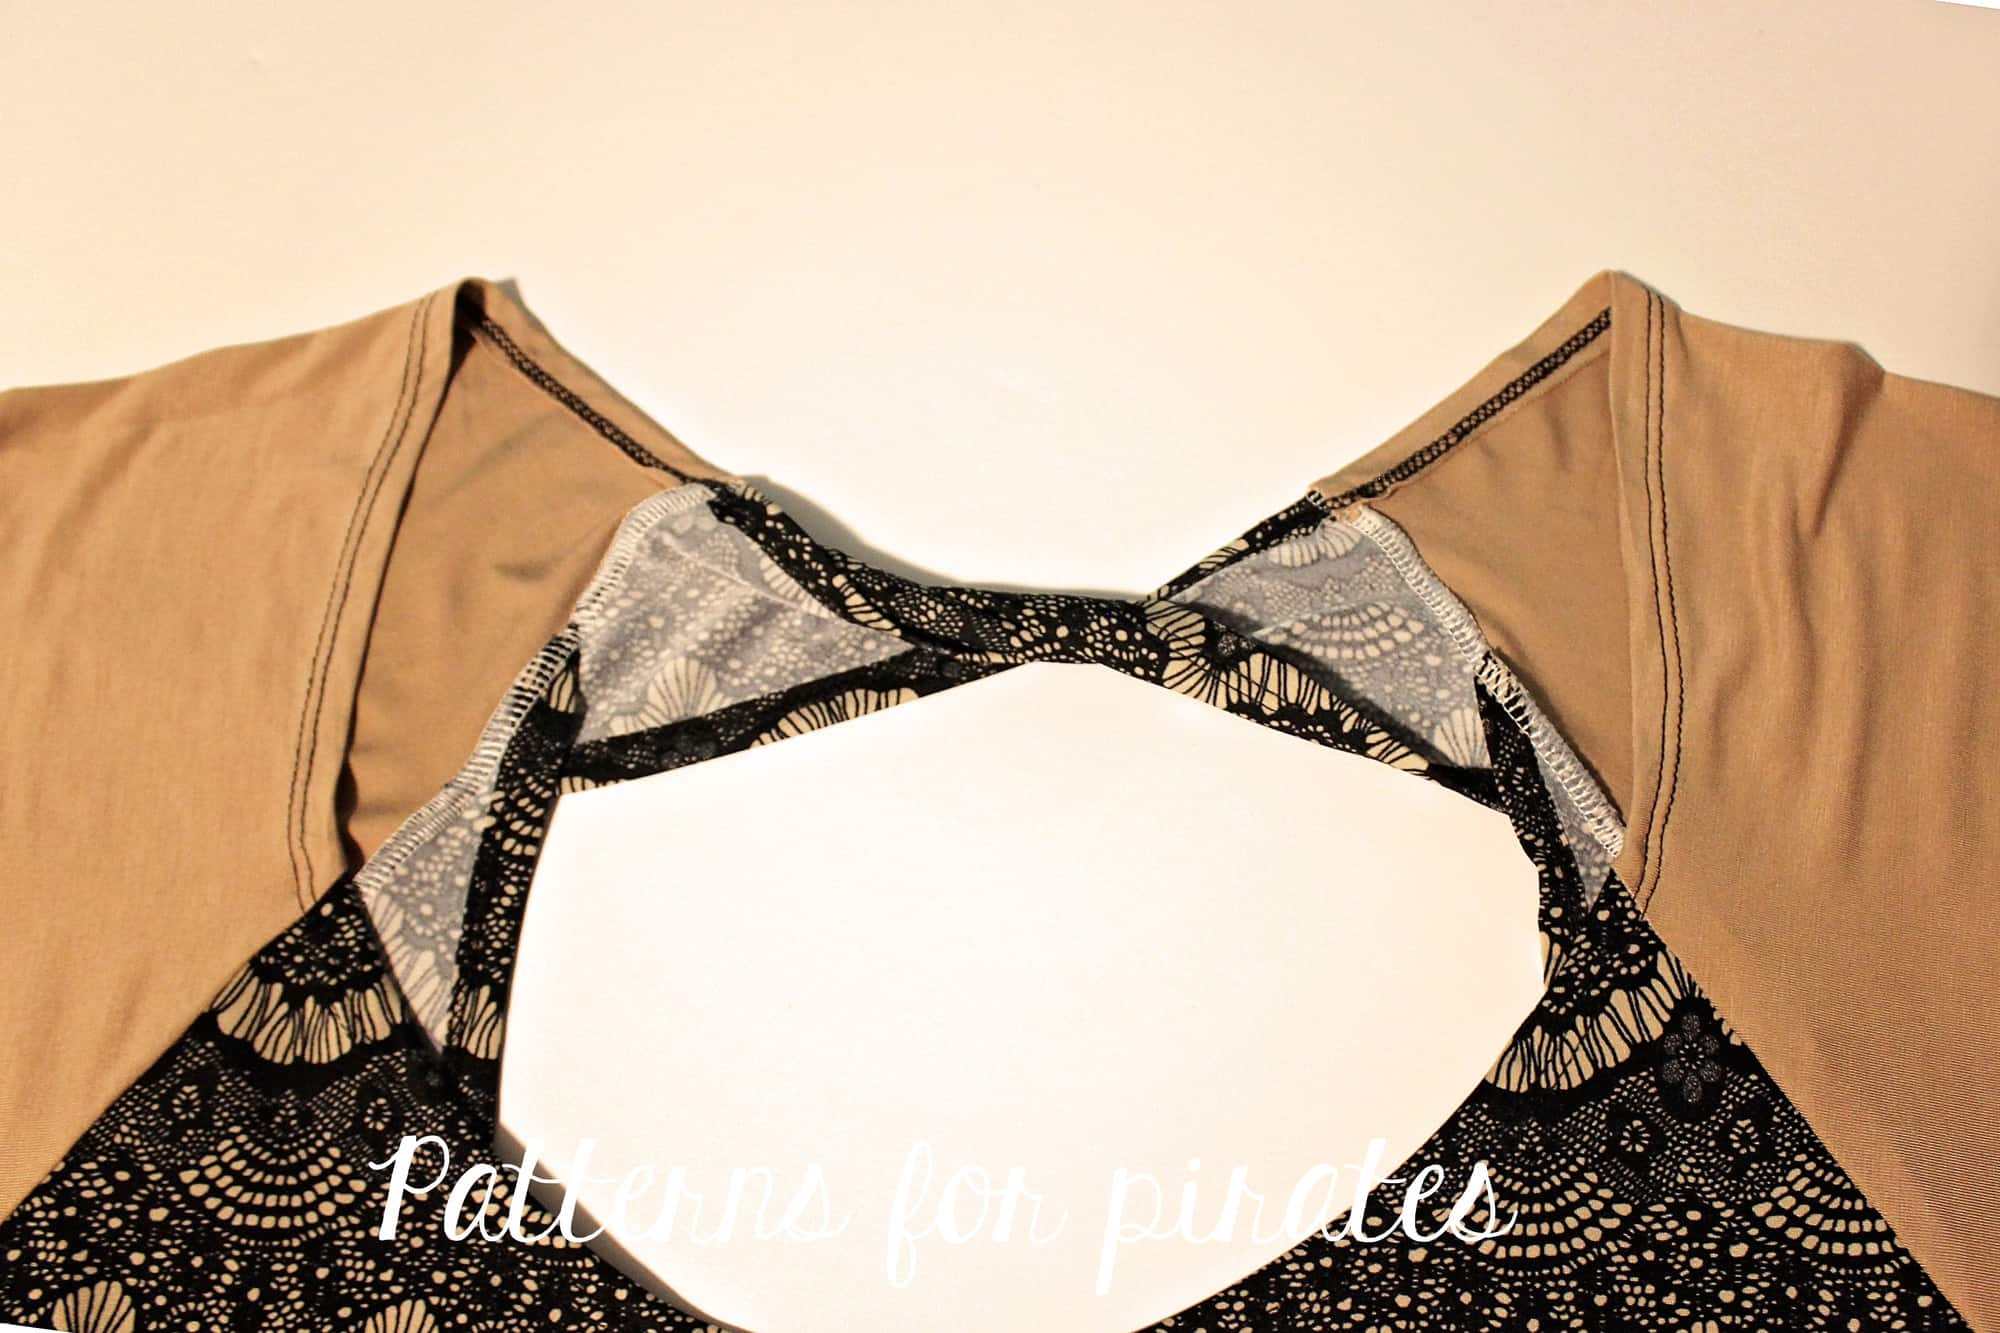
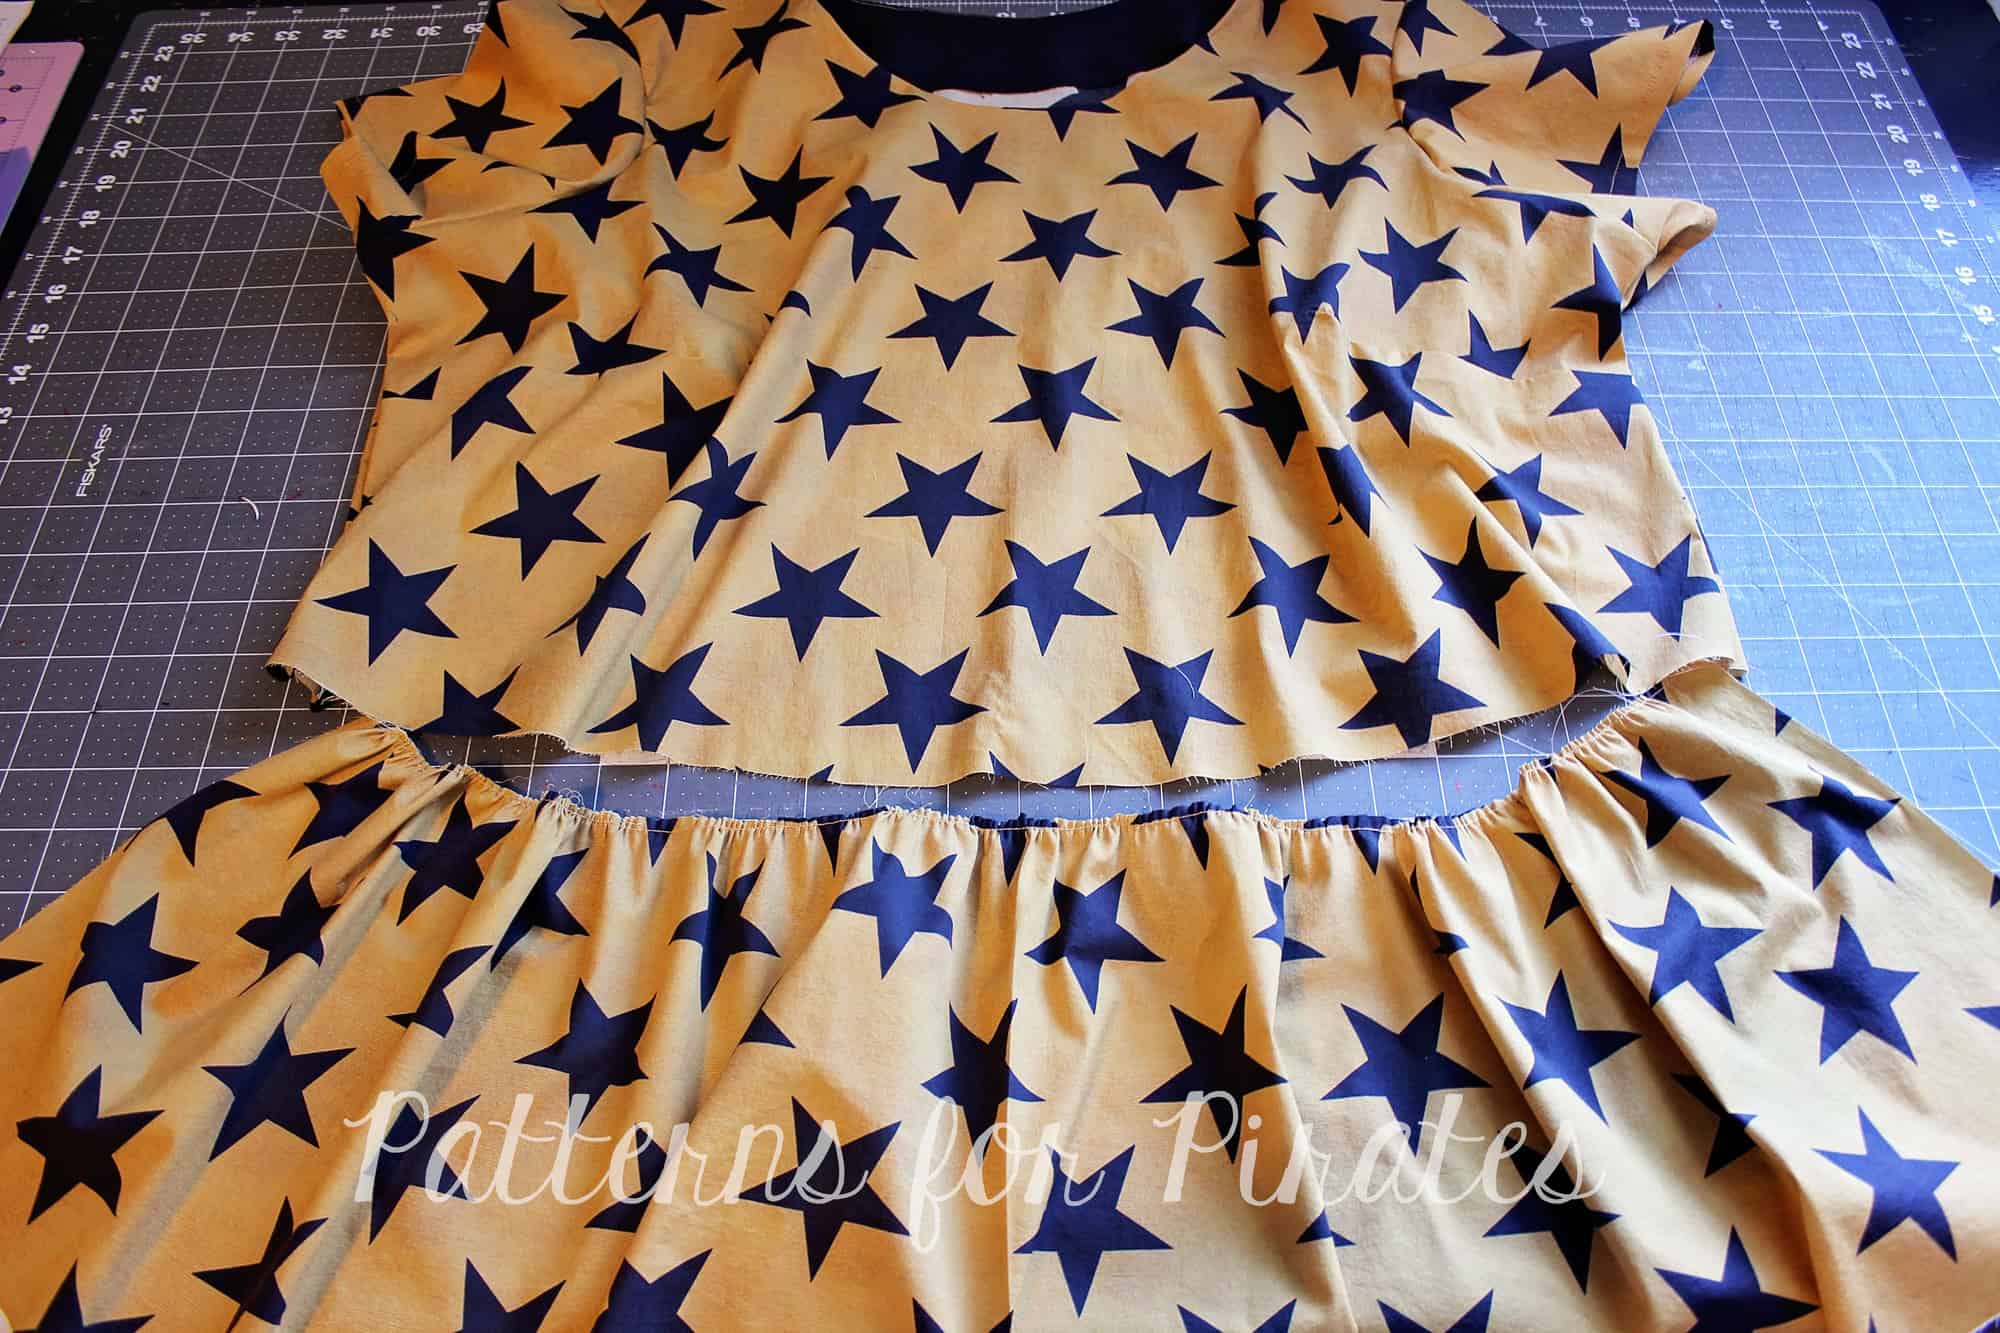
Flip it around the entire headband, so you have a pocket with right sides together.

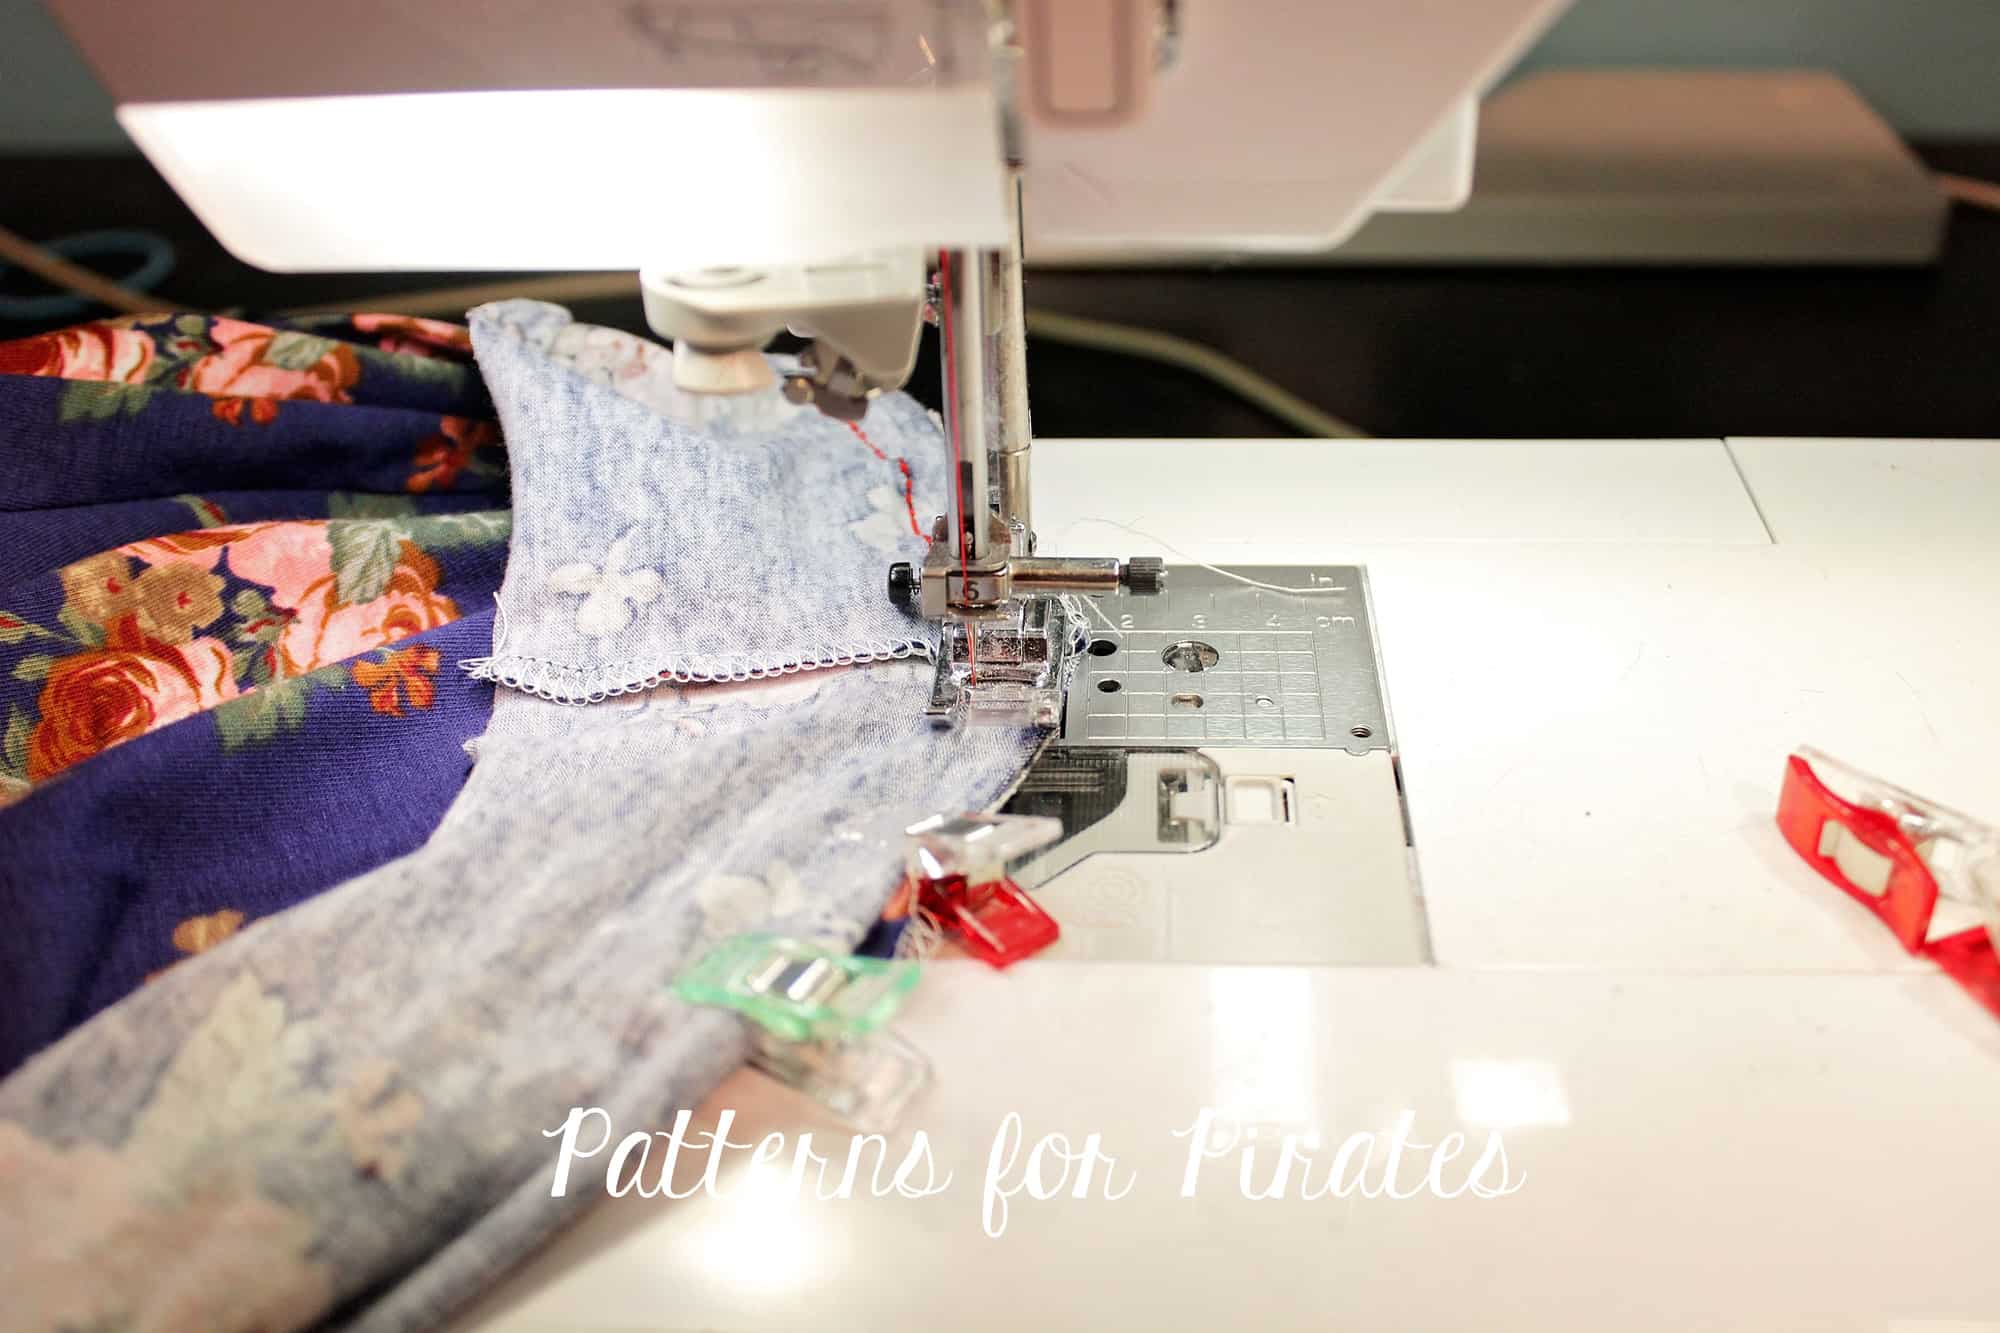
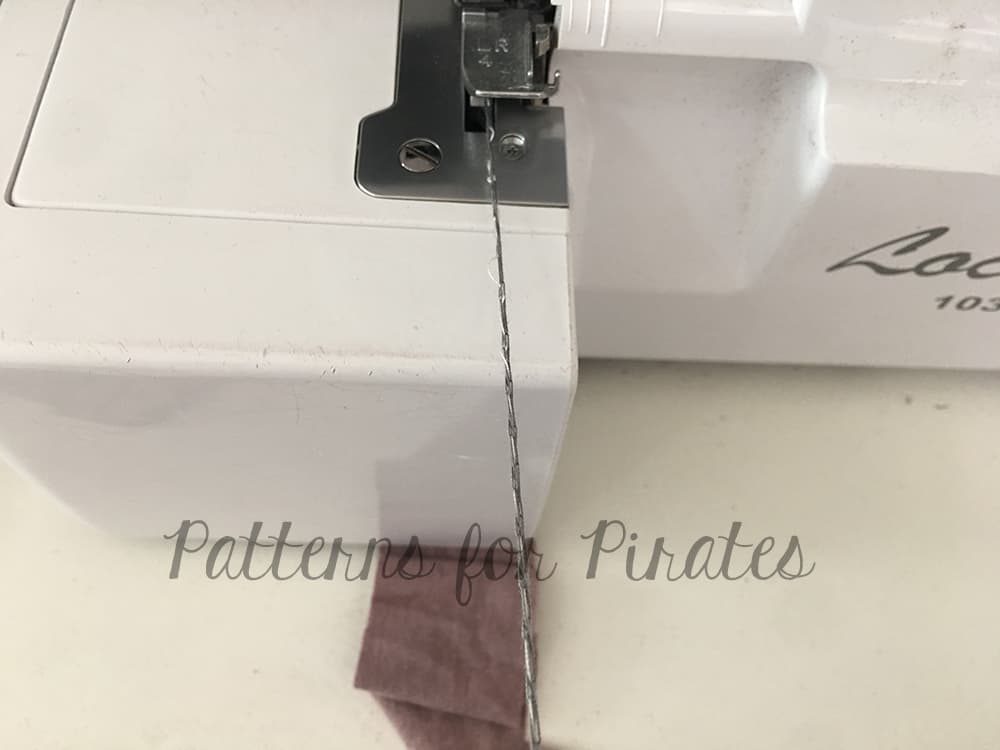
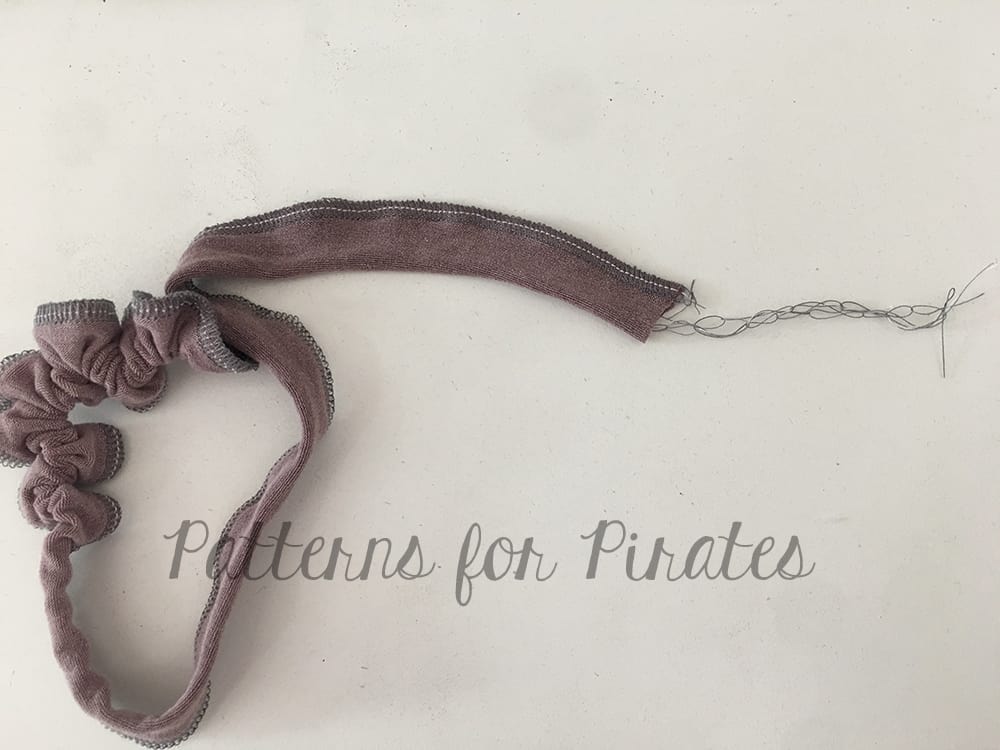
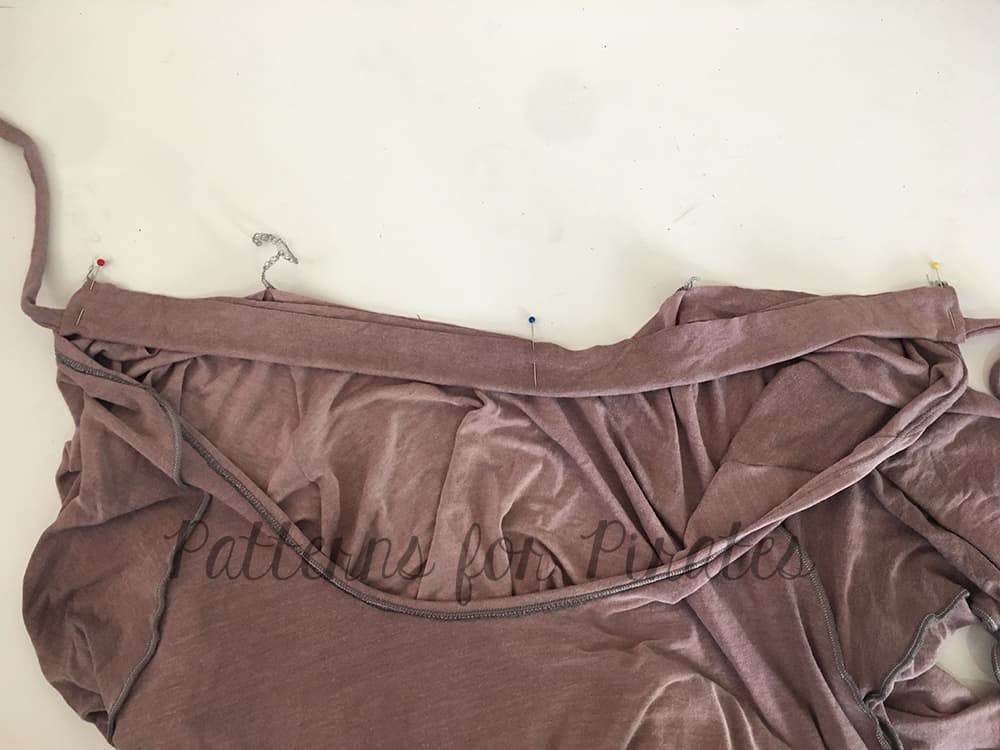
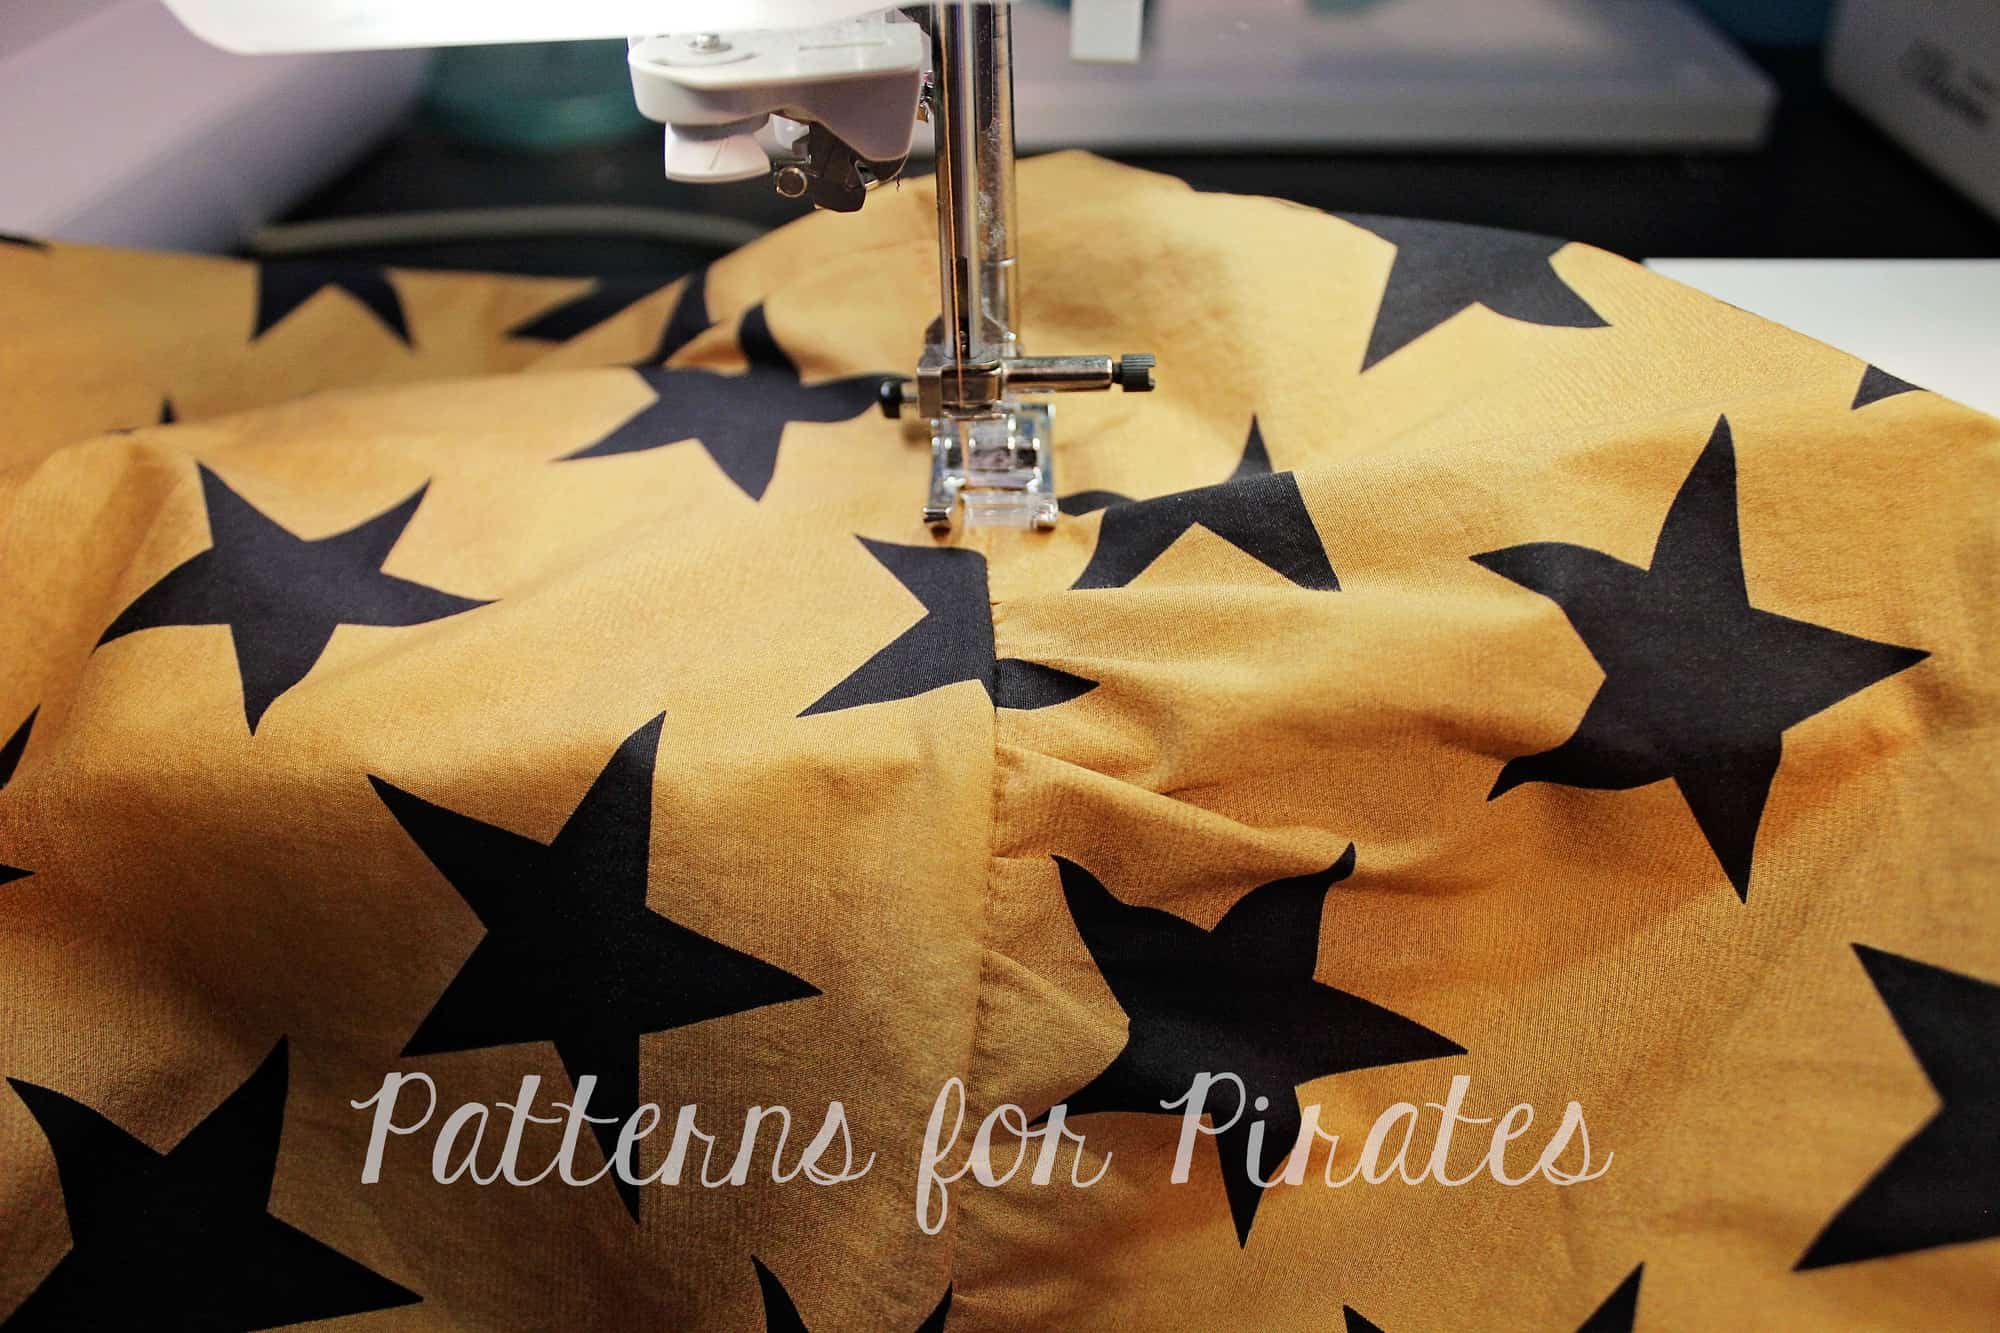
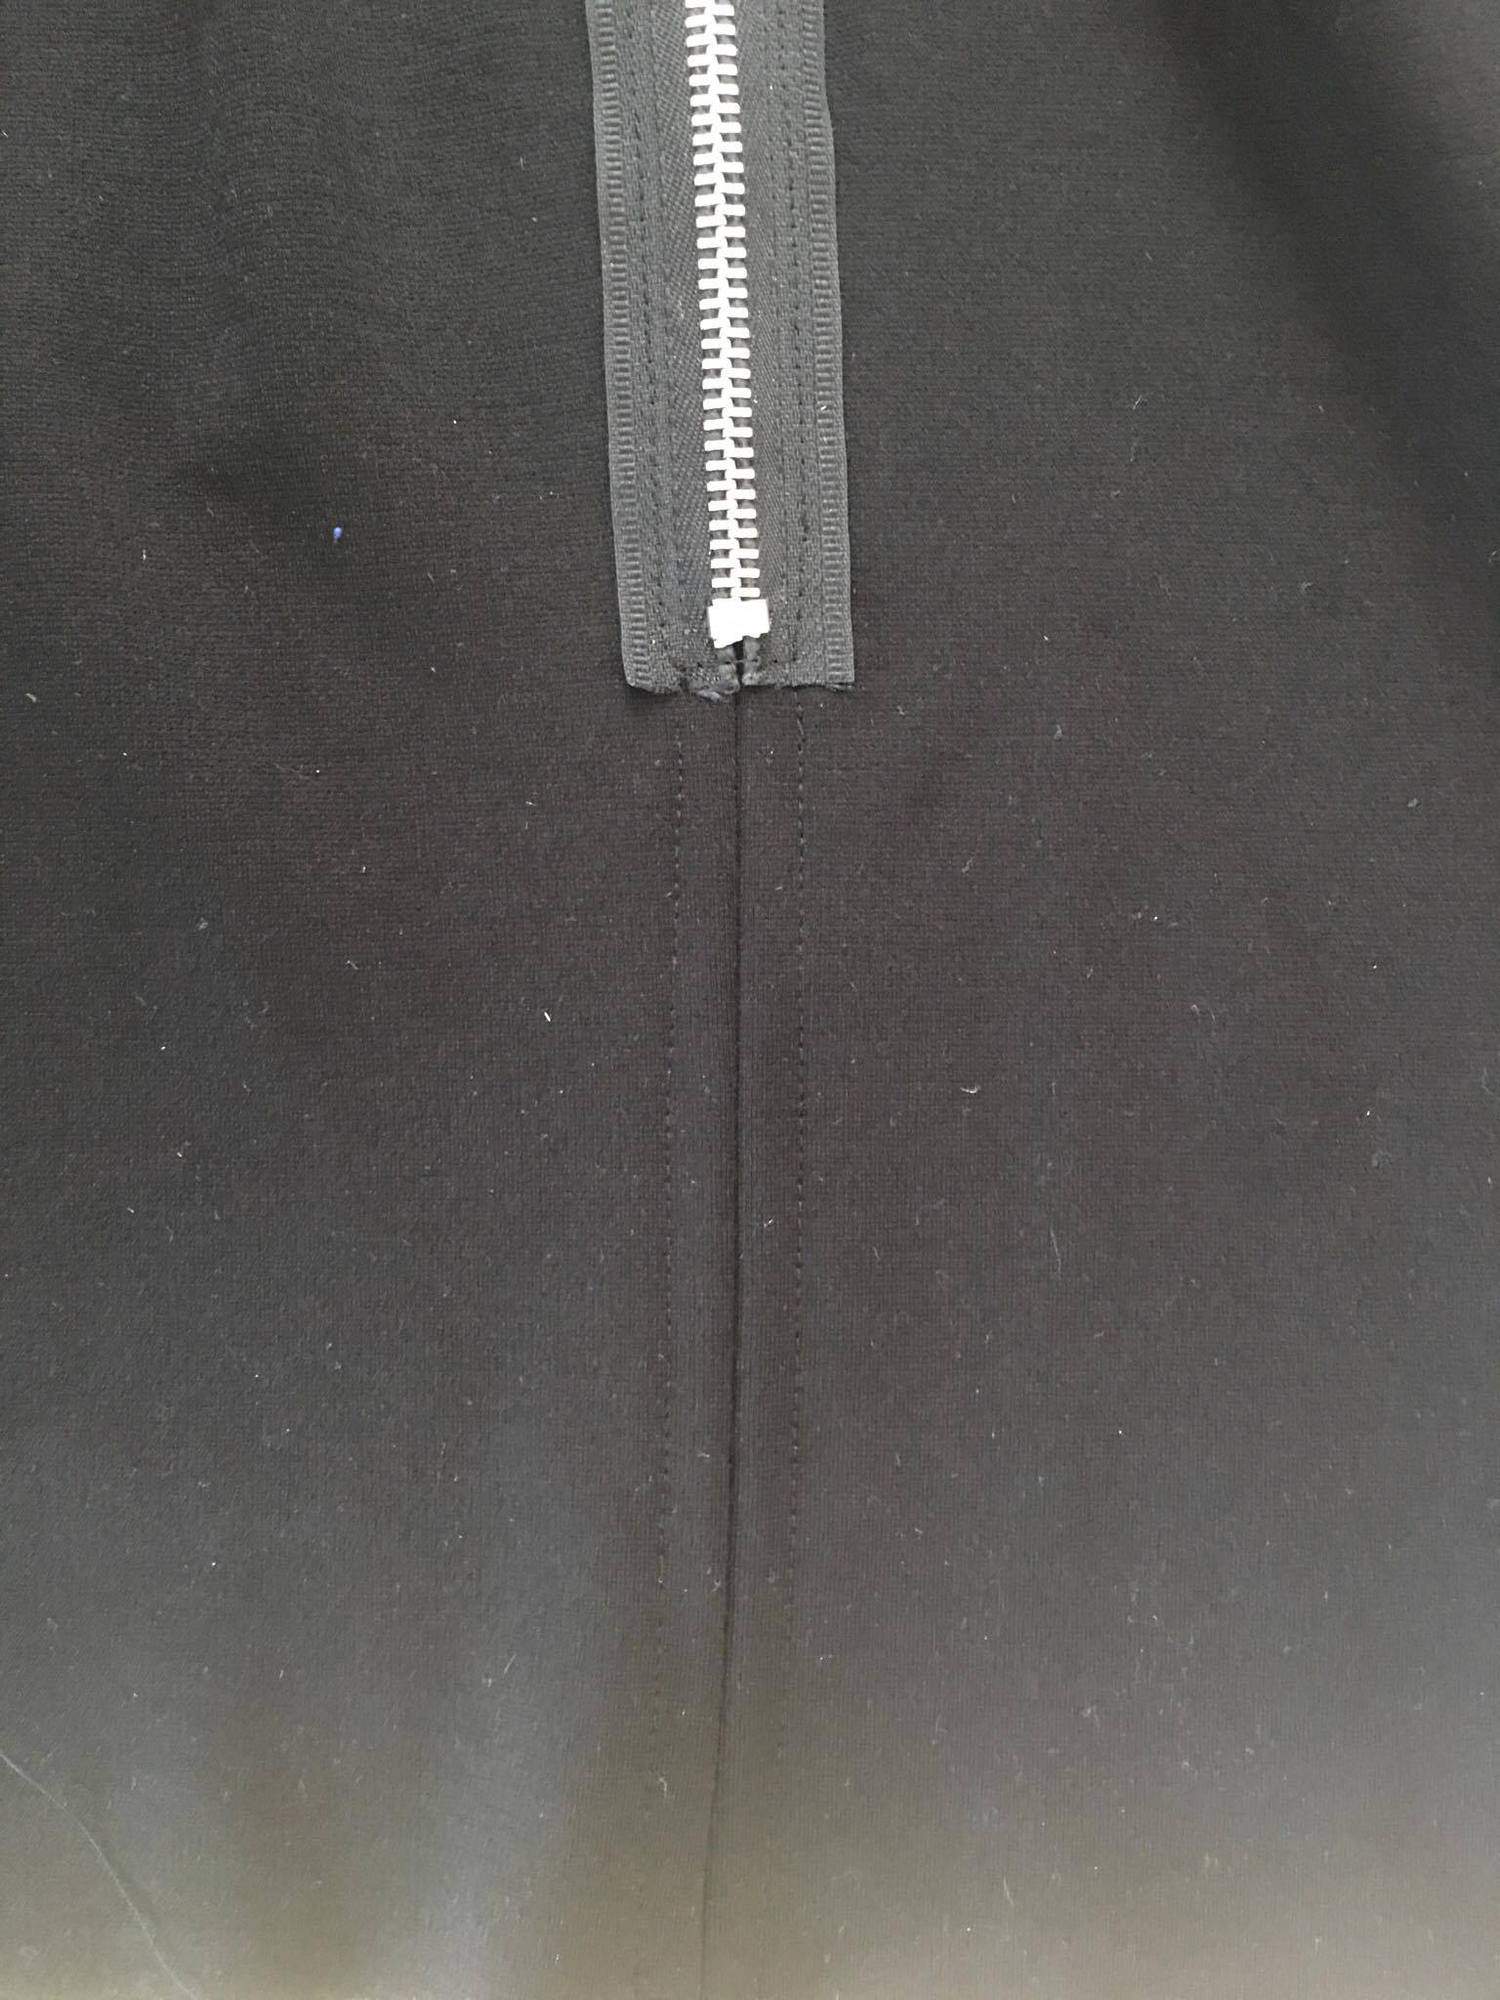
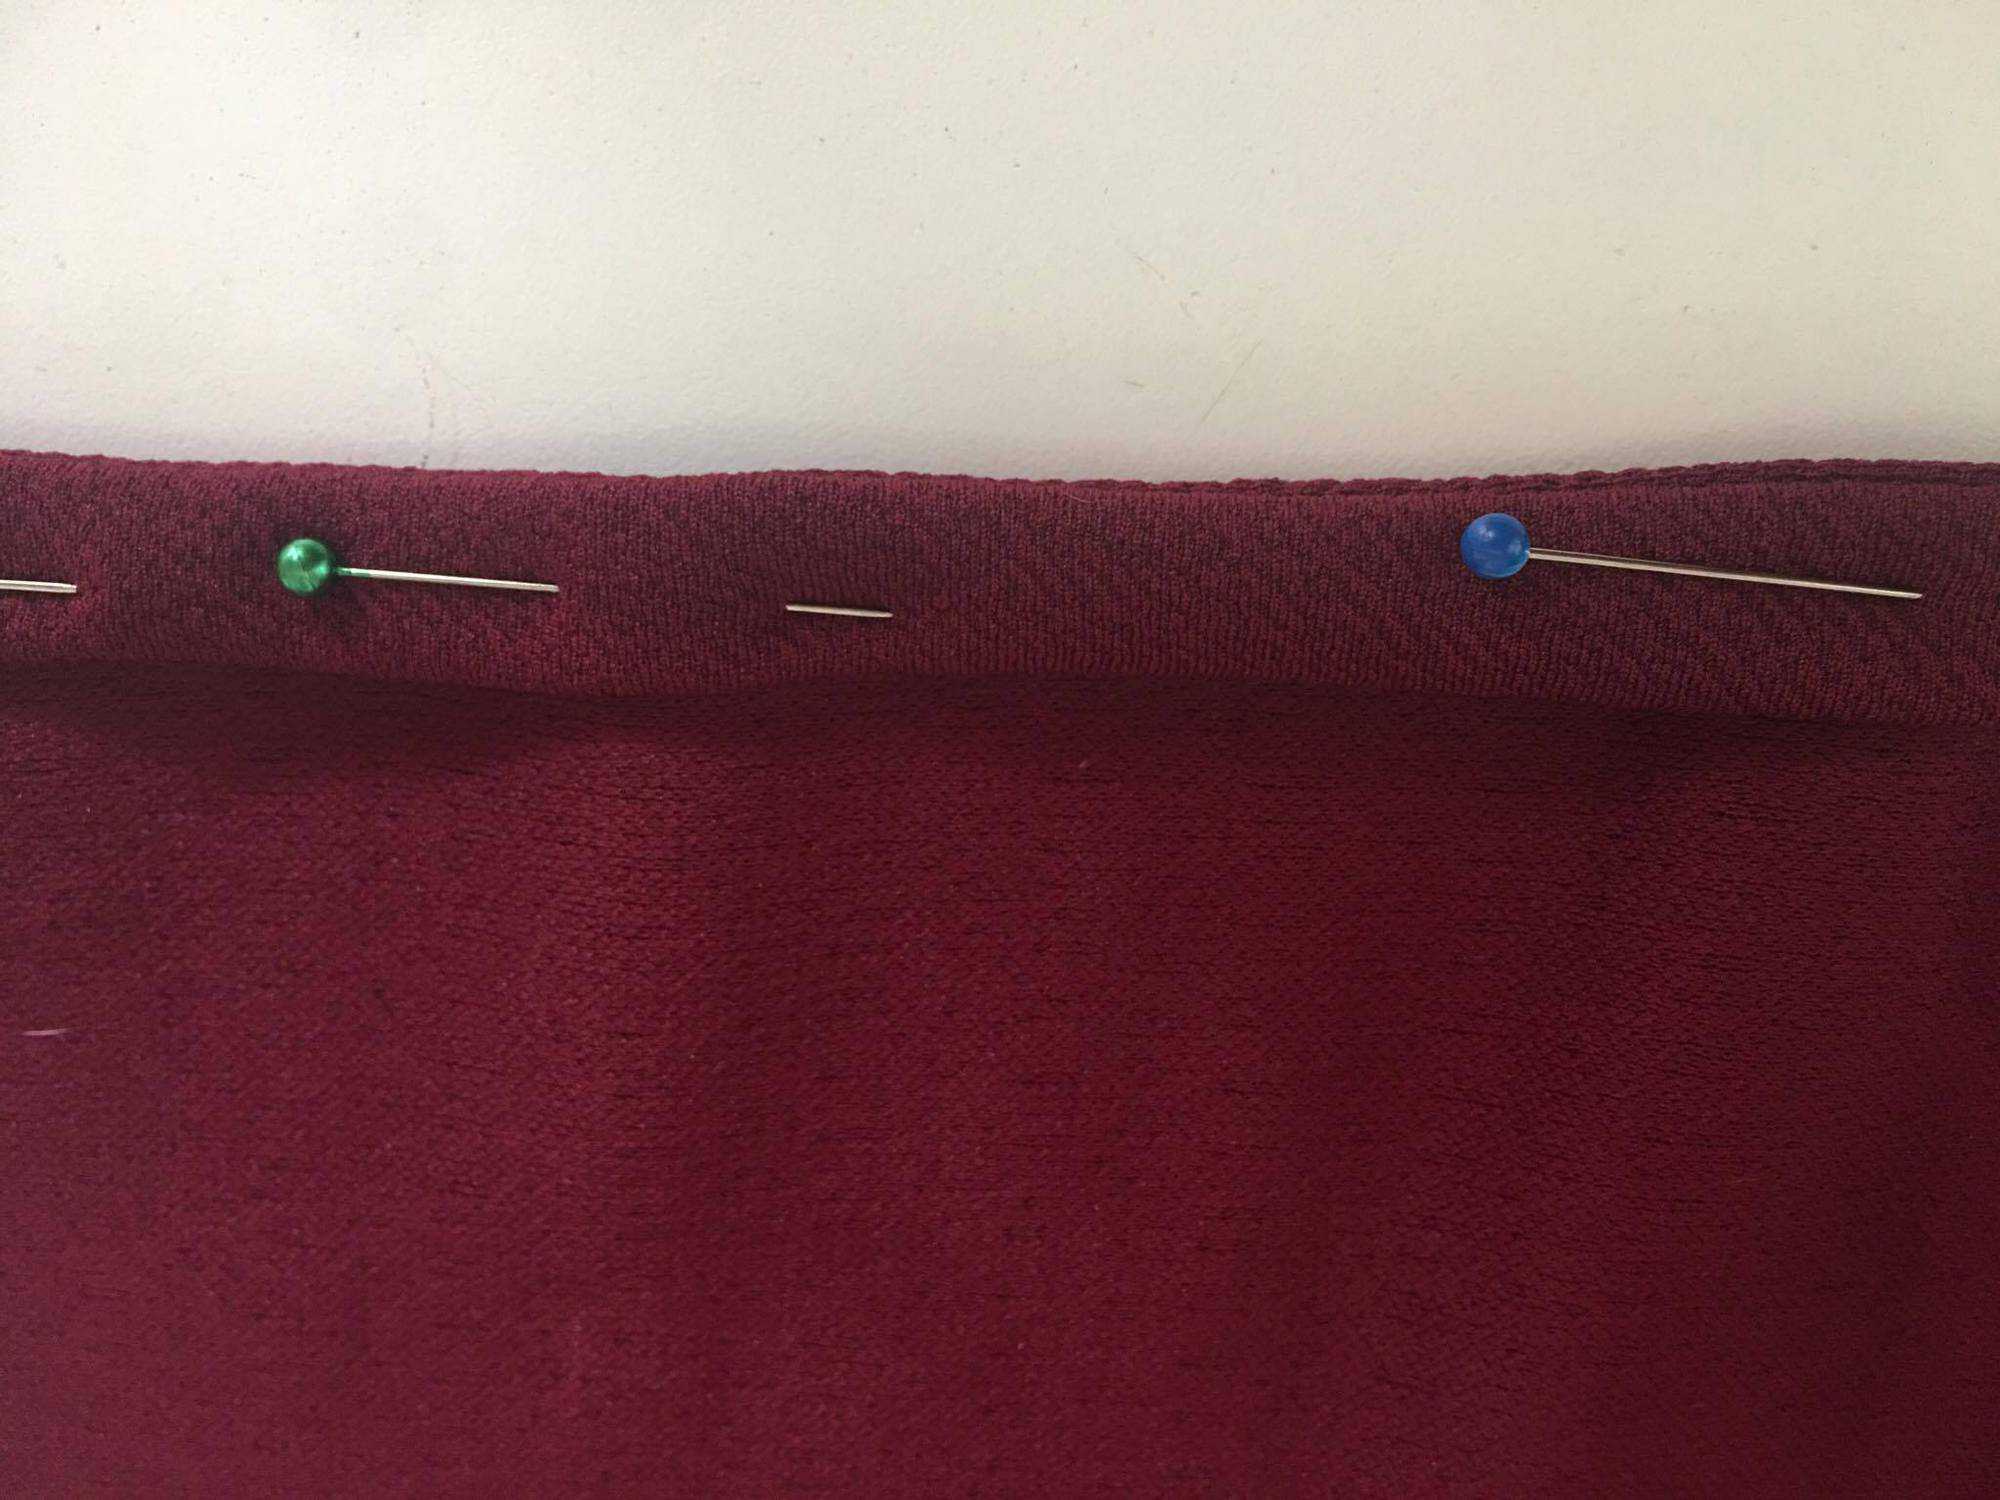
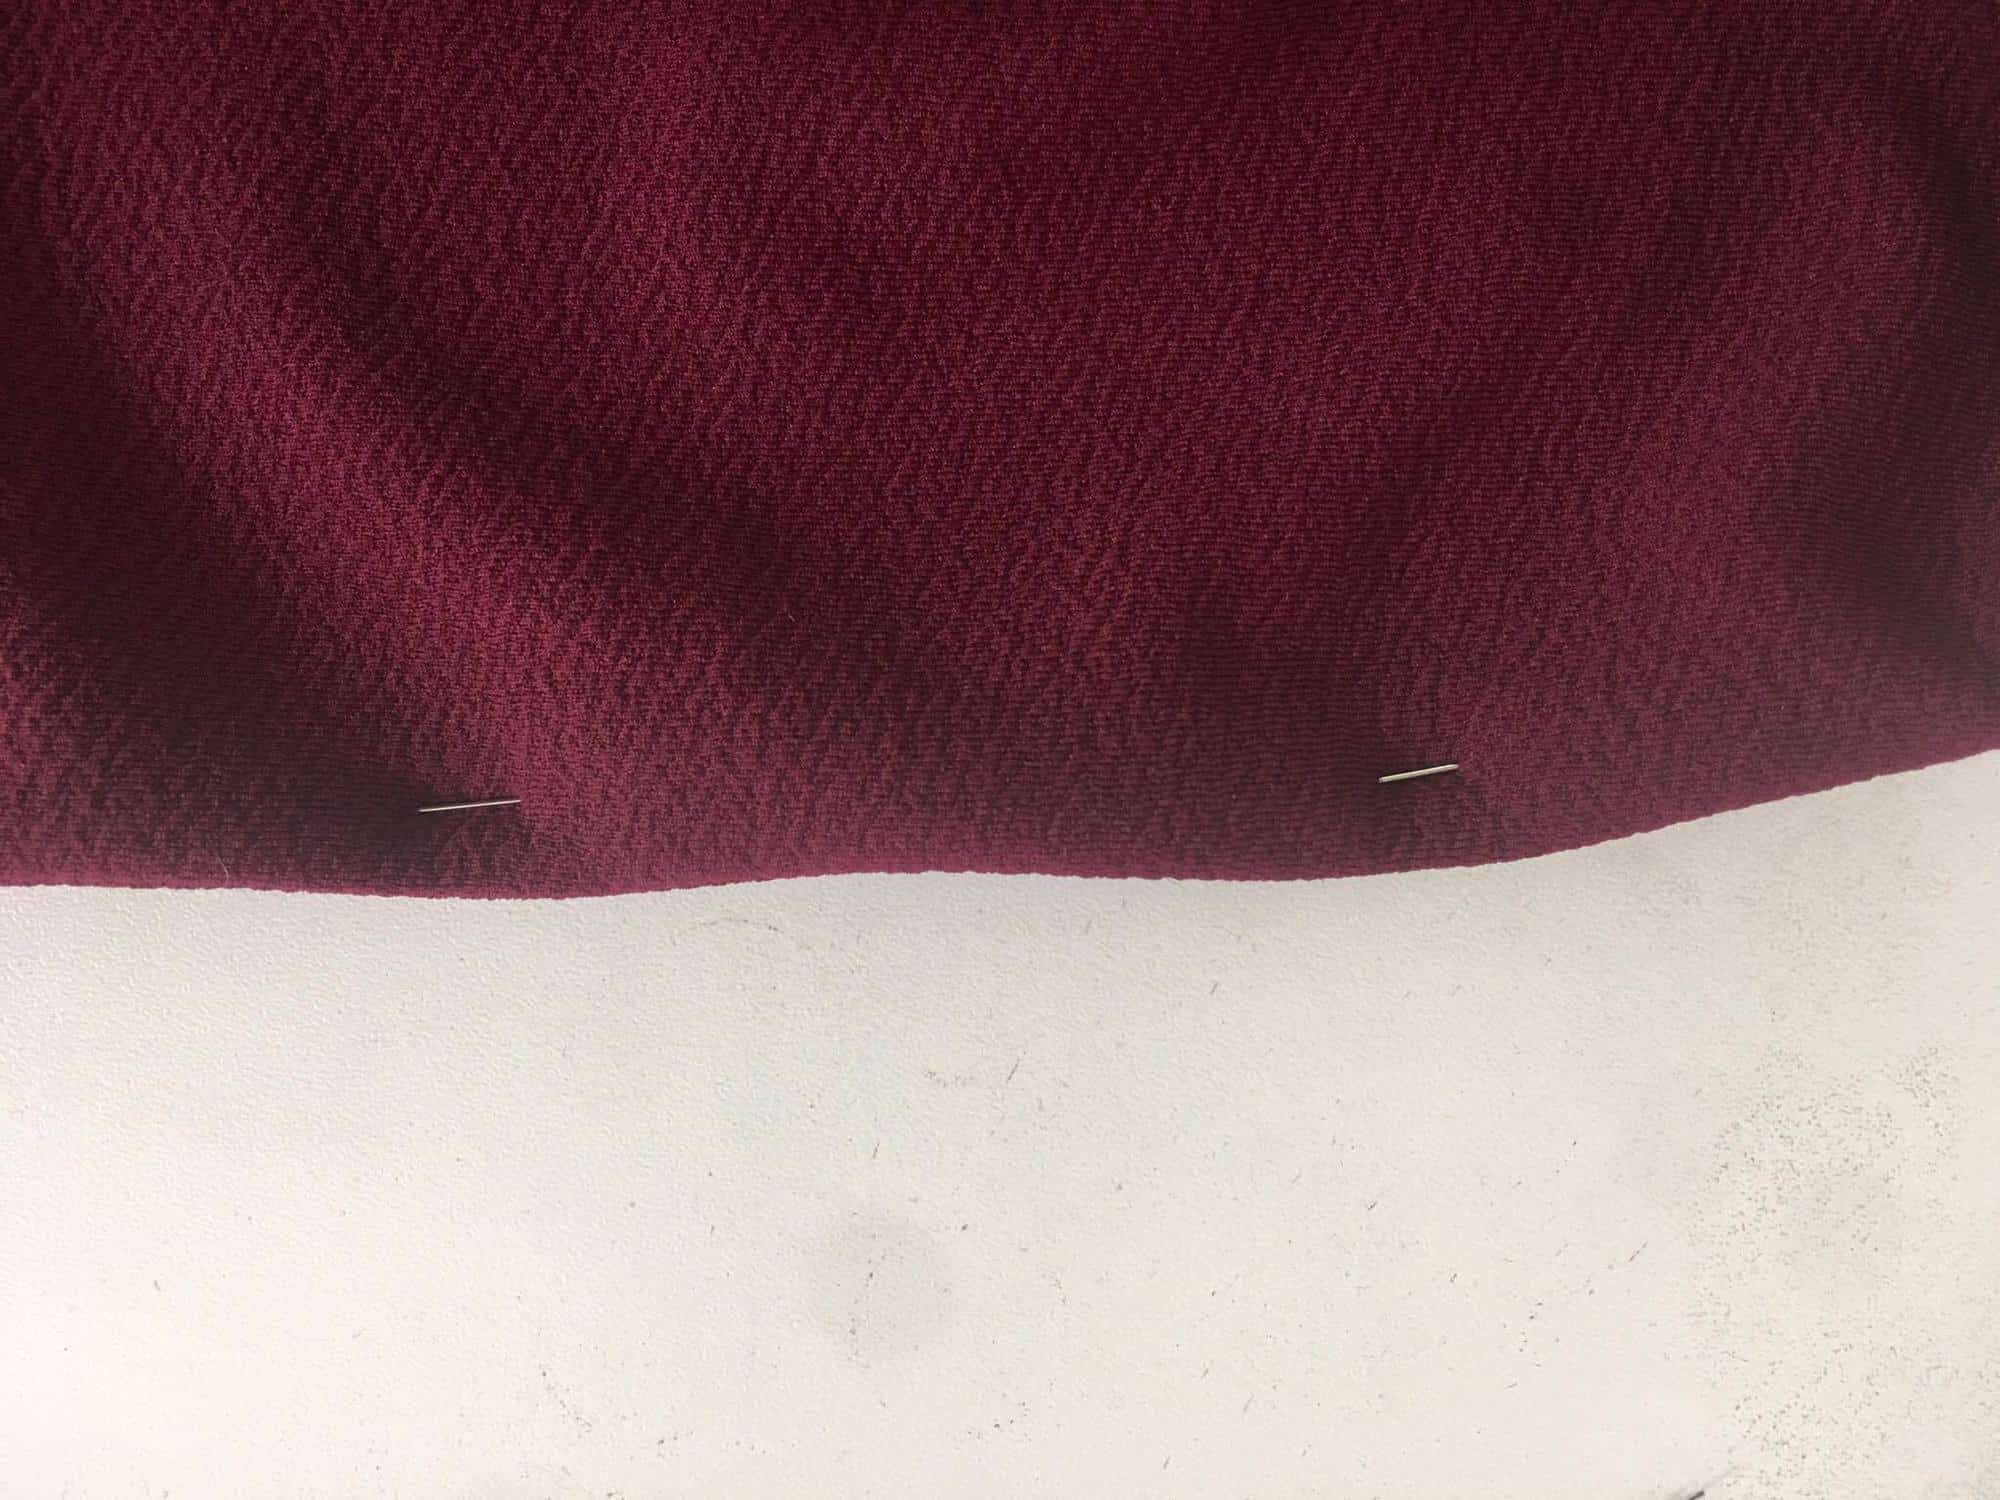
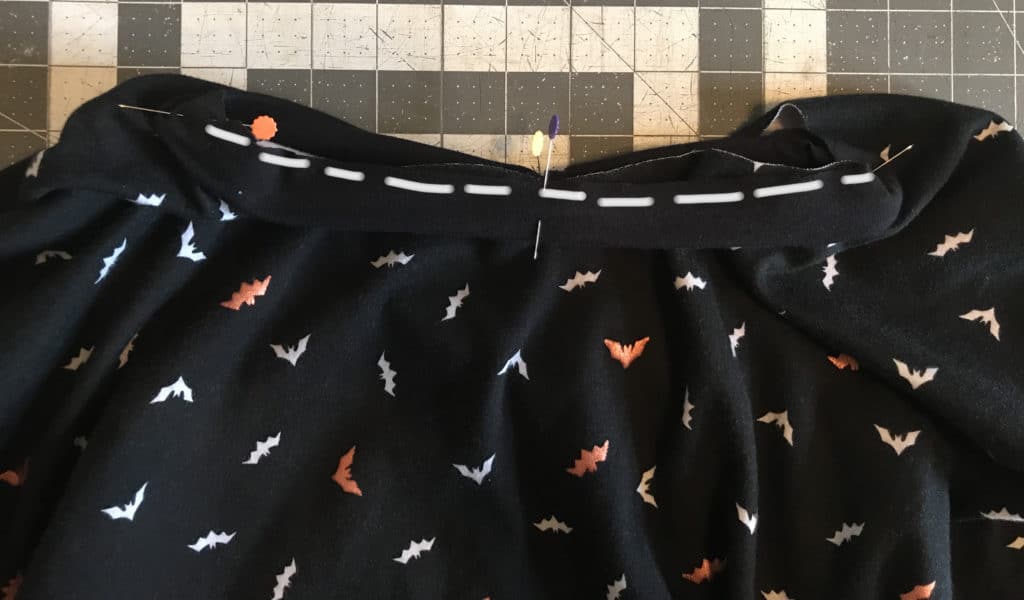
Stitch around open edge closed, leaving a 2-3” opening for turning.

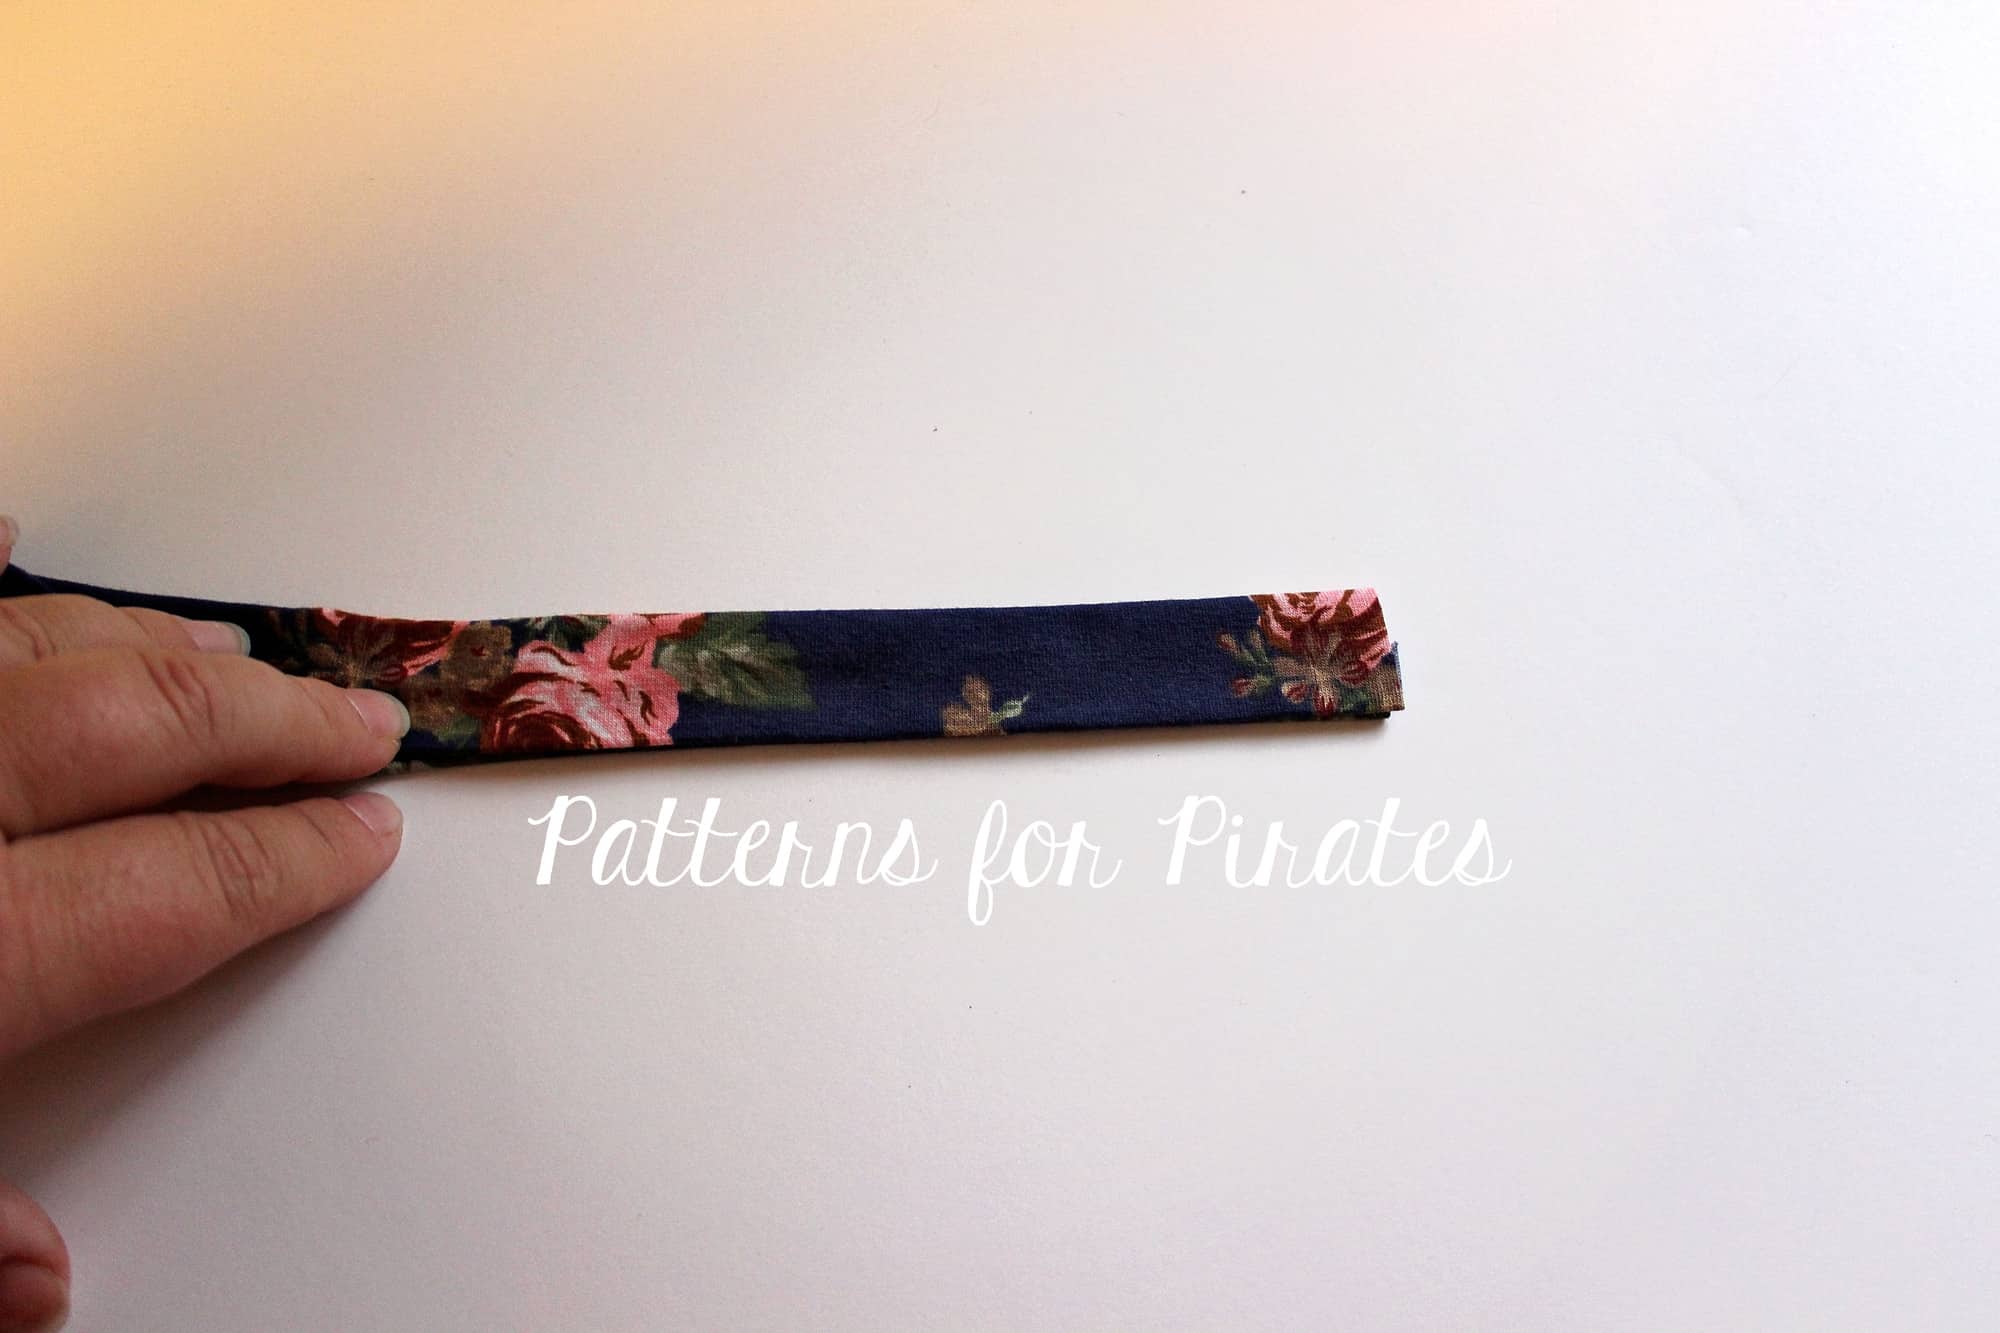
Pull your headband back through opening, turning it right-sides out.

Blind stitch opening shut.

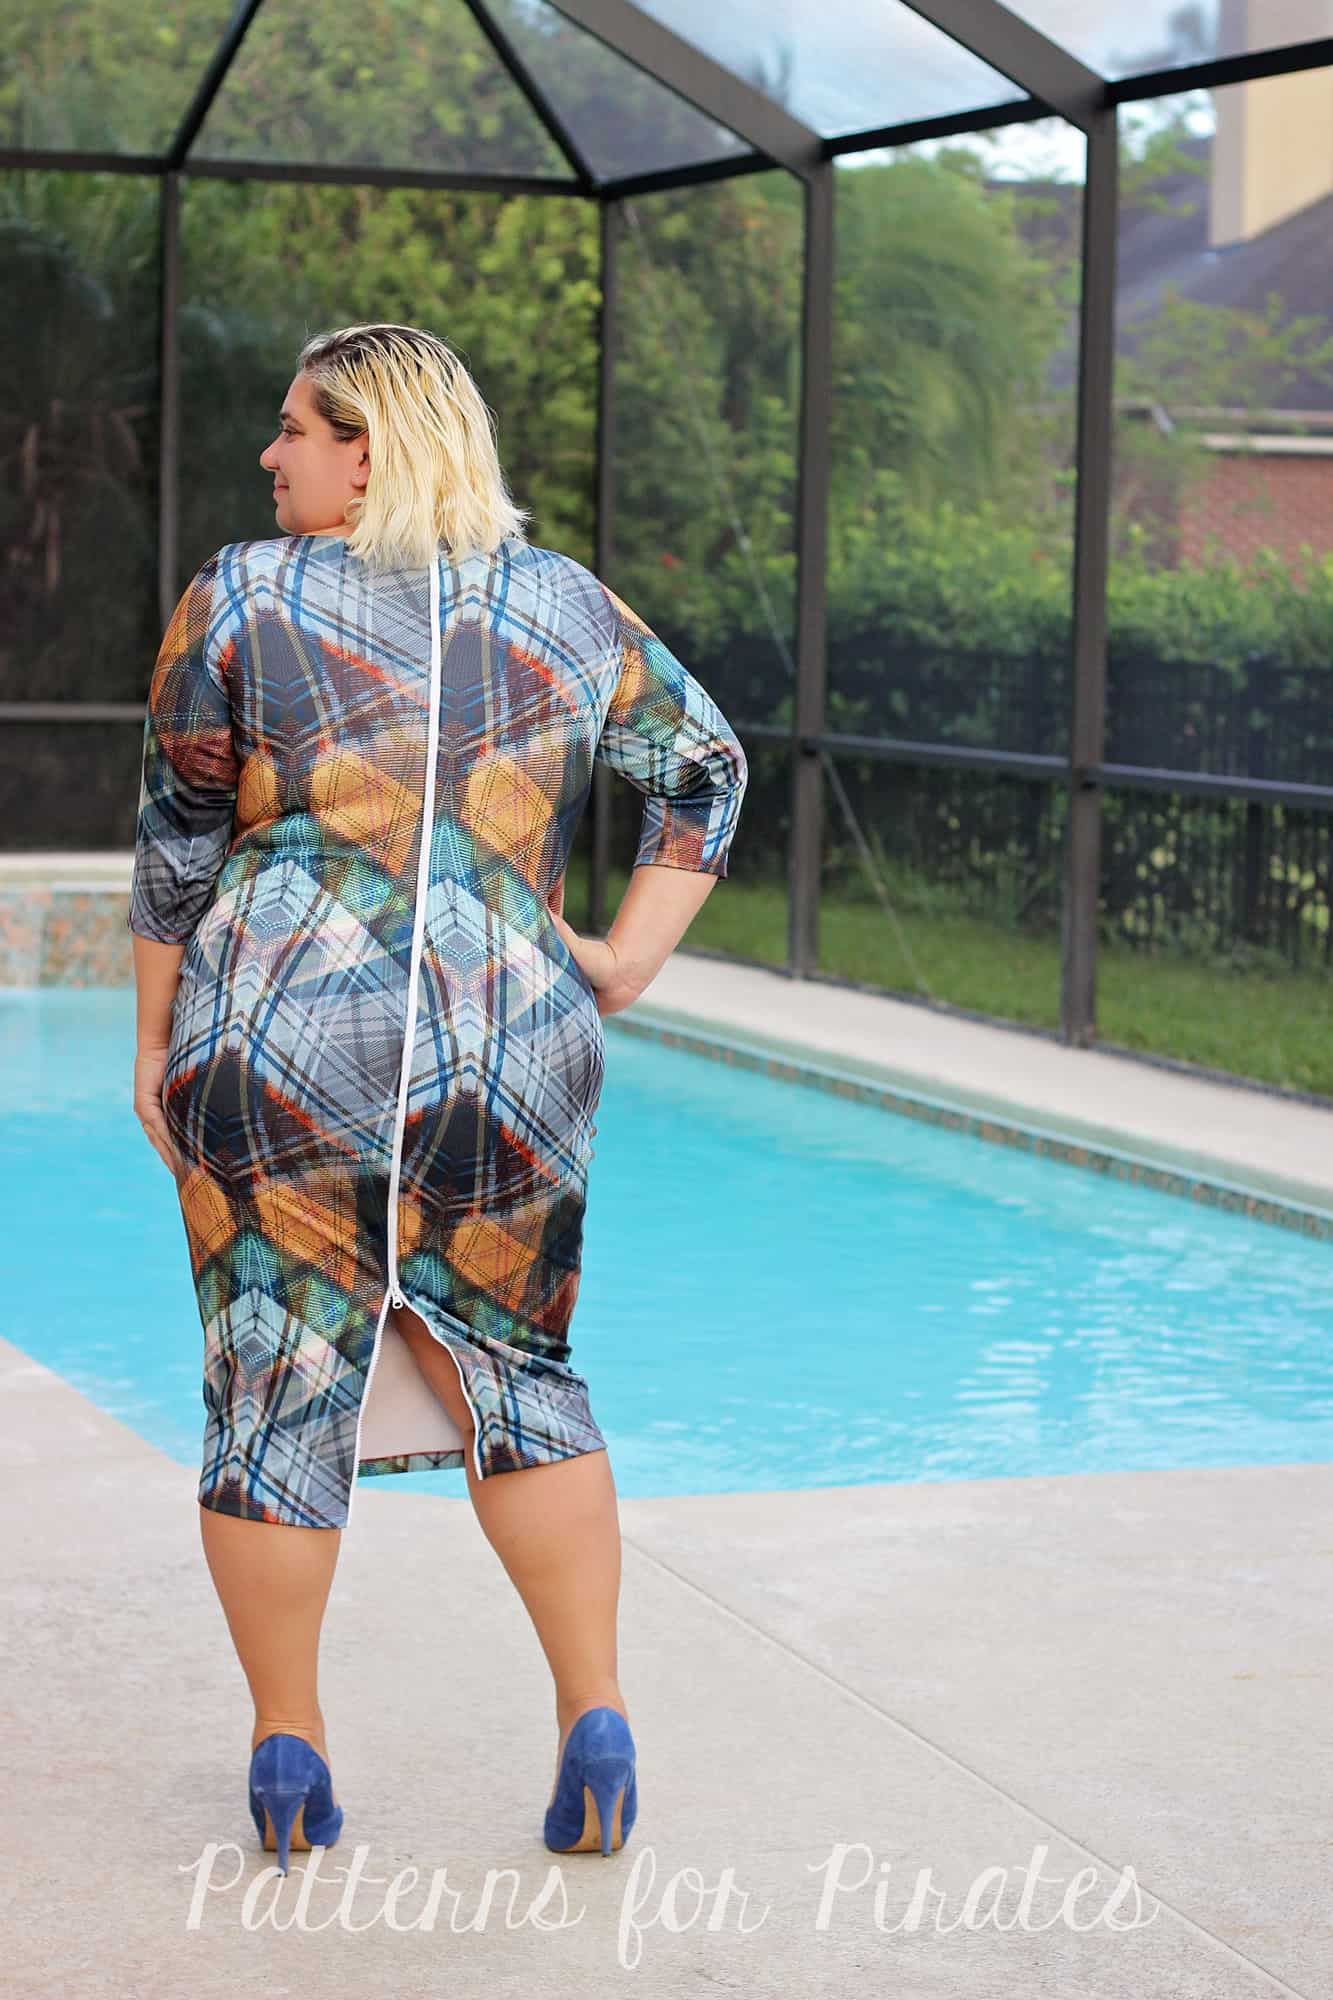
And now comes the fun part!  This headwarmer can be worn FOUR different ways.  Four!  Amazing, right?  Especially for such a simple sew!  You can…..

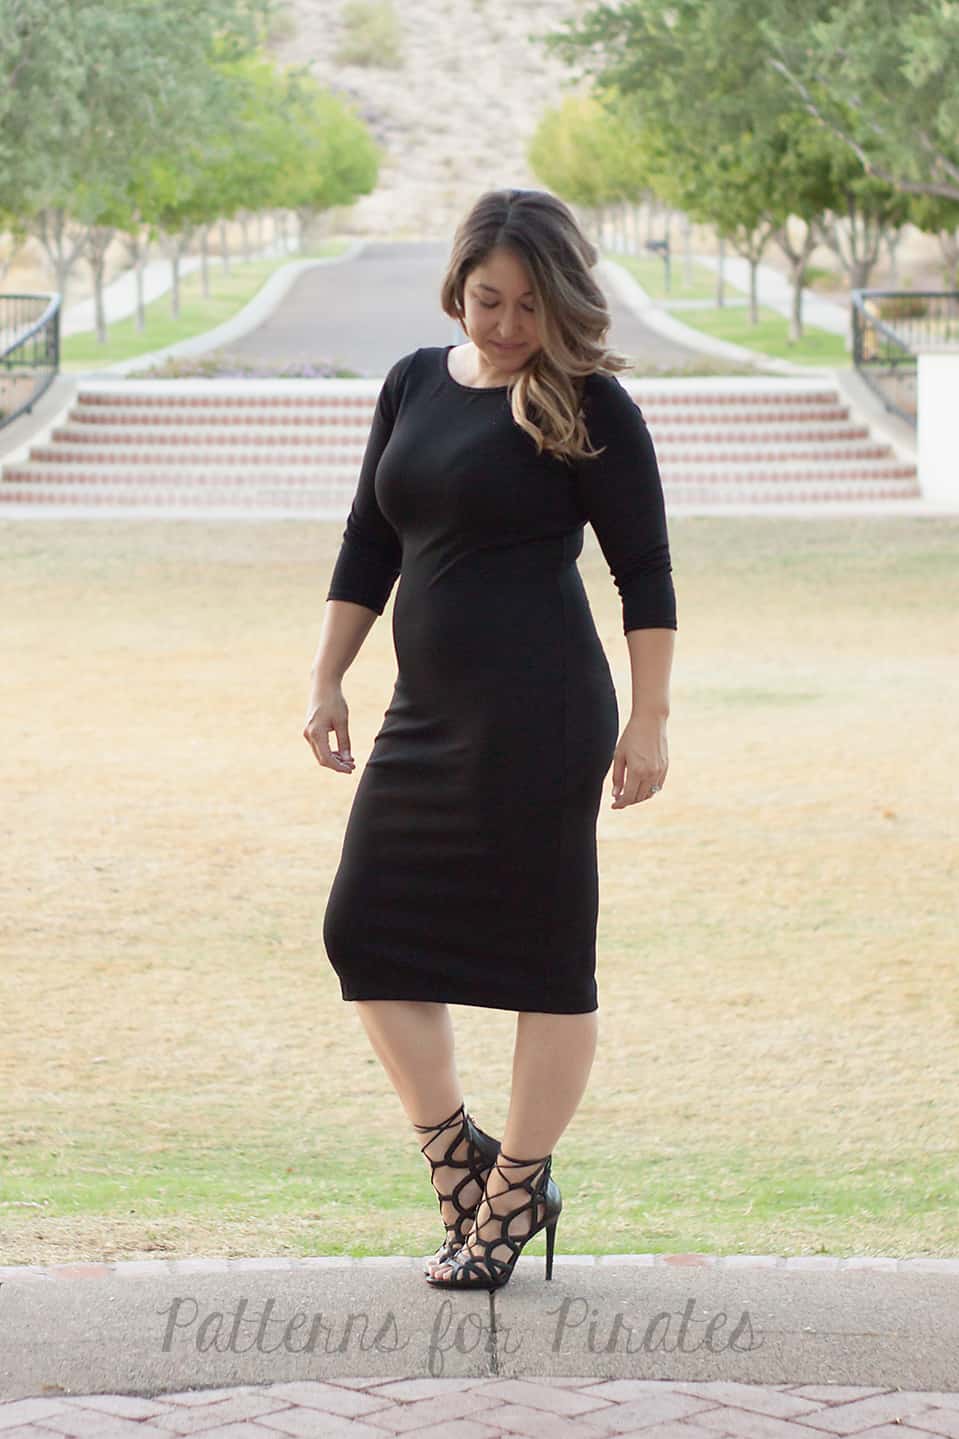
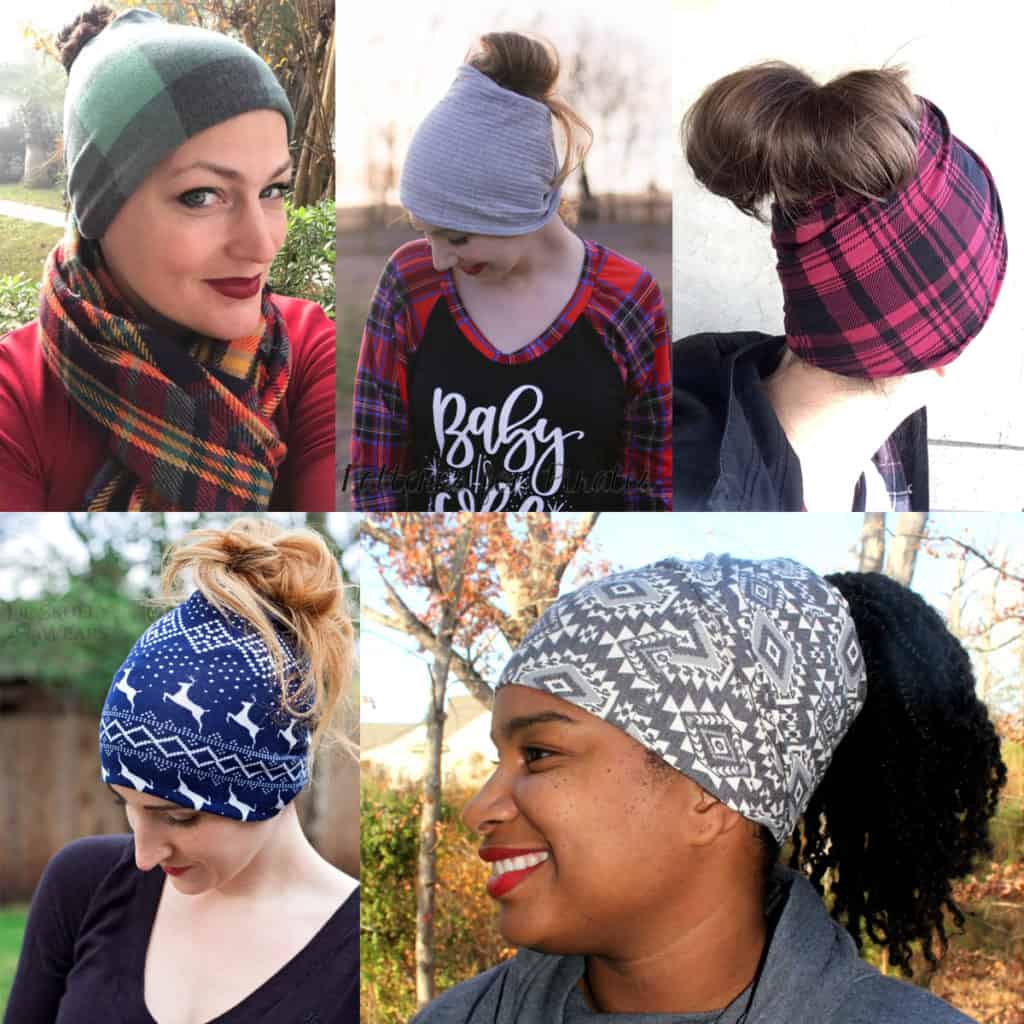
…rock it as a headband/earwarmer.

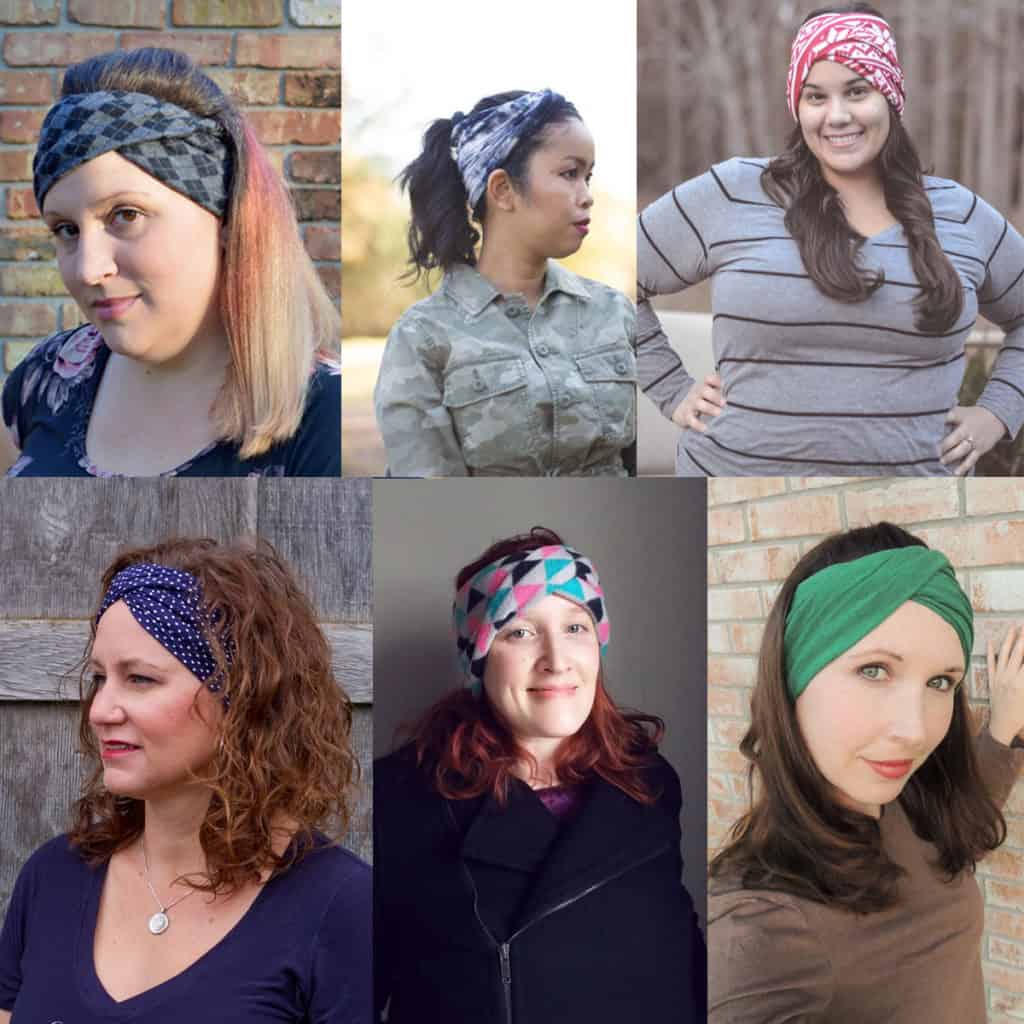
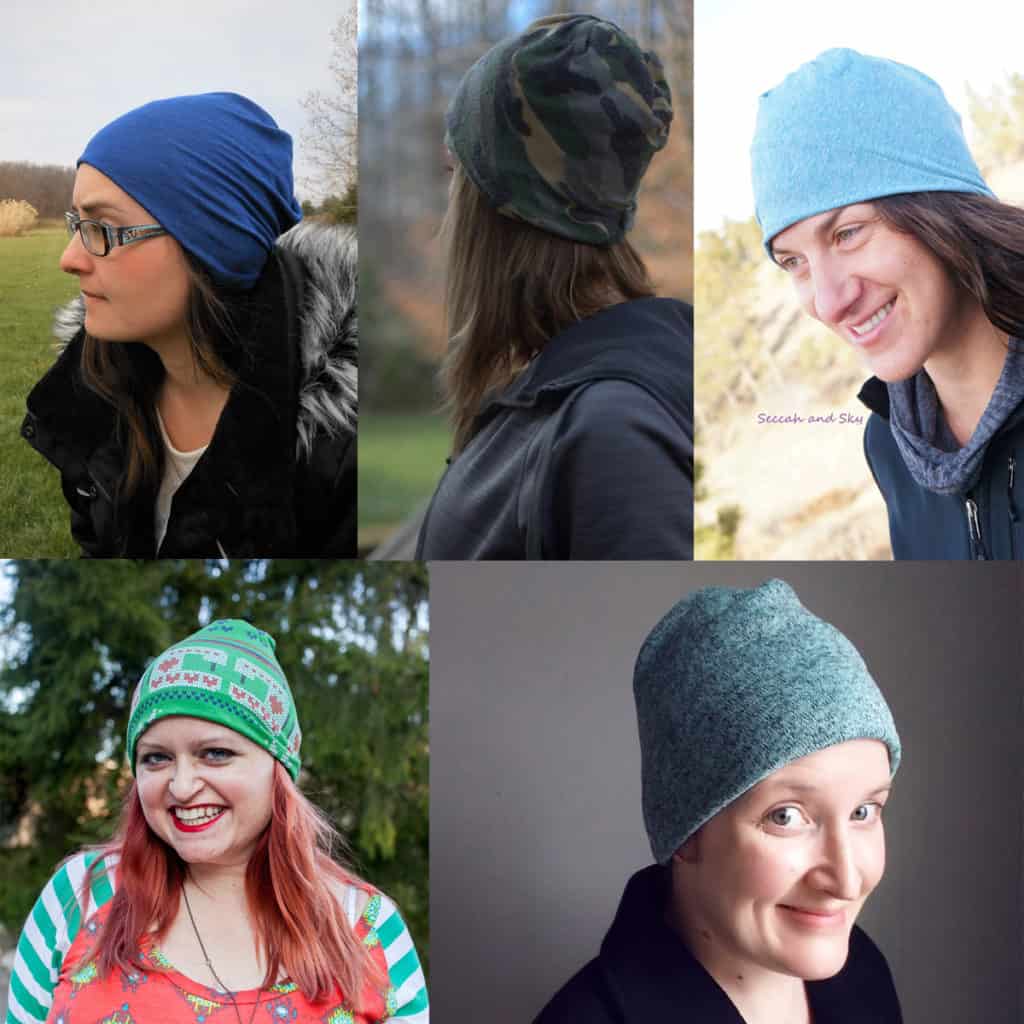
…wear it like a hat.

…throw it on over a messy bun.

…or keep your neck warm, while wearing it like a cowl.

As always, we love when you share what you’ve made with us.  Head over to the Patterns for Pirates Facebook group and show off the fabulous Slouchy Headwarmer that you’ve managed to make from our freebie pattern!  Happy Holidays, friends!

Filed Under: Free Pattern 36 Comments

RagDoll Raglan :: New Pattern Release!

November 30, 2017

We are so excited to bring you the latest pattern in the Patterns for Pirates family!  Judy has a mad love for slouchy, loose and oversized looks and drafted up the RagDoll Raglan to fit that niche in her closet.  Allow me to introduce you to the RagDoll Raglan!!

Why “RagDoll”?  We thought that it was the perfect mash-up of a classic raglan style sleeve AND a dolman “batwing”.  Rag(lan) + Dol(man) = RagDoll !

Just like the rest of our patterns, we’ve packed the RagDoll Raglan full of as many options as we could!  It is drafted for women, sizes XXS – Plus 3X, with a super relaxed, straight fit throughout the body.  The pattern features three sleeve lengths (half, 3/4, long), optional sleeve cuffs, four hem lengths (curved shirt, curved tunic, banded top, and dress) and two back options (full and cut-out).

The RagDoll was drafted with knit fabrics that have a good drape to them.  Think: your favorite rayon blends, dbp, sweater knits, etc.

**Want to learn more about how to measure yourself for this pattern?  We’ve got you covered with an in-depth blog HERE.  And in case you’re new to Patterns for Pirates and PDF patterns in general, we have a great blog full of new user tips HERE to help you get started!  And, as with all of our current releases and updates, the pdfs now include our layers feature and can be found in Letter, A4 and A0 sizes.

Let’s see some options in action, shall we?

SLEEVE LENGTHS

HEM LENGTHS

CUT-OUT + FULL BACK

Go Grab your Copy of the RagDoll Raglan Now!

Need more convincing?  Just take a look at this pattern on all of the beautiful shapes and sizes of our testers, and get a look at more examples of all the options in our albums in the P4P Facebook group! Find the album HERE.

The sale price will last through December 3 (11:59 PM US Central time zone) so grab it while you can at the introductory price!

And if that wasn’t enough options, be sure to check out our all of the amazing hacks that our team has come up with: RagDoll Raglan Easy Hacks

Filed Under: Pattern Release 2 Comments

RagDoll easy hacks

November 30, 2017


. . . . .

Cold Shoulder


With the off the shoulder look being all the rave right now, I just had to show you how easy it is to get the look with our newest Ragdoll pattern. I will show you two different looks, one more modest and one sexier if you will. The technique will be the same for both you will just make the sleeve cut out different sizes. Feel free to play with it to get your desired cold shoulder size.

Start by printing the pattern in your size. You will be cutting out a portion of the sleeves as in the graphic below.

Hem the cutout using a 1/2″ hem allowance. The easiest way to do that is to steam press and pin it in place with a lot of pins (or clips). Stitch with your coverstitch, a twin needle or a zig zag stitch. Don’t forget to give it a good press after you hem it.

Sew the shirt or dress as shown in the pattern tutorial. All we have left to do now is attach the neckband. Press 1/2″ memory hem as shown below.

Fold the neckband lengthwise and press it really well. Sew the short sides together to create a loop. Mark the center back (where the seam is) and the center front.

Match the center back of the neckband with the center back of the shirt. Slightly stretch the unfolded neckband and pin it to the back. Repeat for the front of the shirt. Using a stretch stitch, sew the neckband to the shirt right sides together.

Using the memory hem you created earlier enclose the front and back of the shirt and stitch the neckband with either your coverstitch machine, twin needles or a zig zag stitch.

All you have to do now is give the neckband a good steam press and show off your new cold shoulder shirt.


Play around with the cut-out size and get more looks!

. . . . .

Tie Back


During Raglan Week last year, we showed how to create a keyhole back for the Slim Fit Raglan (here), so I knew a tie back option for the RagDoll Raglan had to be done.  Instead of binding the neckline, I decided to do a spaghetti strap style tie.  You can really use anything for your ties; lace, ribbon, etc. but will show you how to make the spaghetti straps.

Cut your patterns pieces as usual:

  • front, back with low scoop option, 2 sleeves (mirror image).
  • For the ties, I did 1.5″ x 22″.  You can adjust to your preference but found this to be a good length for me.
  • Neckband: as per pattern but less 3″ from the width measurement on the cut chart.  Example: Size large is 2.75″ x 26.75″ so my adjusted neckband is 2.75′ x 23.75″.

Construct your pattern as provided in the tutorial but skip hemming the low back curve.  We will do that after the back has been attached to the sleeves.

With right sides together stitch sleeves to front and back as instructed in the tutorial. You will have excess at the top back, do not cut off your seam allowance.
Back view.
Turn the low back curve and top portion of the sleeve under 1/2″ to the wrong side and edgestitch.

Now to create the ties.

On your serger or sewing machine create a long tail at least 3/4 the length of your tie.
Place your tail on the right side of the tie.
Fold tie with right sides together over the tail.

Stitch using a 1/4″ seam allowance. Be sure not to catch your tail. As you stitch, pull the tail toward you so that you have excess and does not end up enclosed in your tie.
Gently pull the tail and turn your tie right side out.
Finish or knot your ends.

Now, we can finish the neckband.

Grab your ties and neckband.
With right sides together, place one tie at one end of the neckband just below center.
Fold neckband over tie with right sides together and stitch using a 1/4″ seam allowance.
Repeat on other side.

Flip neckband right side out.
Mark center of neckband and neckline of shirt.
With right sides together, match center and each end of the neckband to the back neckline. Stitch.
Press seam allowance down and stitch a small bar tack to keep in place or topstitch entire neckline.

The tie back gives a much more open back but is perfect to show off all those strappy bralettes :).


. . . . .

Twist Back

We couldn’t have ended this hack series without a twist back. For this option, you will need to print and cut the low back option. You will not be adding the neckband to this hack so the shirt neckline will be 1.5″ lower than the intended look of the pattern. You may need to wear a cami underneath (like the Cross My Heart Cami) or you can raise the neckline prior to cutting the fabric. Check out this “how to” blog!

Place the back top piece 1/2″ away from the fold line.

Using a 1/2″ hem allowance, hem the top and bottom. You can use a coverstitch, a zig zag stitch or twin needles.

Twist the top piece twice so the right side of both the left and right sides are up. Baste the top and bottom pieces together as in the tutorial.

Attach the sleeves matching the notches. There will be 1/2″ excess fabric at the top which will be hemmed next.

Hem the neckline with a 1/2″ hem allowance. All you have left to do is give the shirt a good press and show it off!


. . . . .

Off the Shoulder

Last but not least, we couldn’t leave you without a full off the shoulder option.  Using the same idea that we did for the Relaxed Raglan (here), we’re going to remove some height to all the pattern pieces (front, back, and sleeve).  Also, be sure to move your notches to help you keep the pieces in order and you know which side lines up with one another.

For the band, I used the same measurement as the waistband in the pattern.  In hindsight, I could have made it a smidge tighter around the shoulders but as is doesn’t move around too much. Now, I didn’t measure each size, but just to be safe…..measure your neckline once you’ve completed the main pieces.  Make your band between 80-85% (plus seam allowance) of the opening.  (Unsure how to measure the neckline? Check out this blog post for more details.) Mark in quarter and stitch just like you would a waistband. As with any neckband though, be sure your band has good recovery! This will help keep it up on your shoulders. 🙂


Make a RagDoll Raglan?  Be sure so share you makes in the Facebook Group or tag us on Instragram!

Filed Under: Frequently Asked Questions, Pattern Hacks, Uncategorized Leave a Comment

When It Goes Against the Grain

November 14, 2017

Woven Fabrics

We make woven fabrics on a loom. The weaver strings the lengthwise threads first, and we call them the “warp”. Then threads are woven through them creating the fabric. We call these horizontal threads  the “weft” or the “woof”. We’ve named the edges of the fabric the “selvages” or “selvedges”, and we weave them more tightly to prevent fraying.

The warp creates the “straight grain” of the fabric, and the weft creates the “cross grain”.

Pattern pieces have grainlines printed on them.  They are either arrows or fold lines.

Grainline


When we cut a pattern out, the best way is to fold the fabric carefully on the straight grain of the fabric, lining up the selvages .  If you need to straighten the ends of your fabric, take a snip through the selvage near one end. Then pull a horizontal thread. The missing thread will create a straight line for you to cut along.

Fold Placement

Then place the pattern pieces down carefully with the grain lines on the pattern piece lined up with the straight grain of the fabric.

Finding the Straight Grain

An easy way to check if your pattern piece is “on-grain” is to measure from the line on the pattern piece to the selvages in a couple of places. The distance should be the same.

It’s important for long pattern pieces, especially something like a pant leg, to be grain perfect. If it’s not, the garment will twist, and once you cut it, there’s nothing you can do to fix it. You’ll also never be able to match stripes or plaids if you cut off-grain.

Smaller pieces like pockets, collars, cuffs, and yokes can be cut on the straight grain, the cross grain, or the bias no matter what the lines on the pattern say. The “bias” is the direction that’s 45 degrees from the straight grain. It has more drape than either the straight grain or the cross, and edges cut on the bias don’t fray.

When you cut major pieces on the bias, it’s important to cut them in opposite directions or your whole garment will twist. But it’s not important for small pieces like pockets.

How to Position Bias Cut Pieces


You can mark the bias on your pattern piece with a protractor or a quilting ruler.

Marking the Grainlines


Over time fabrics cut on the cross grain will droop more than then fabric cut on the straight. It’s not a problem for something like a skirt or pants made from a border print. The droop won’t be noticeable in the normal lifetime of the garment. You might see it in heavy curtains, though.

Knit Fabrics

Technically, knit fabrics don’t have a grain, but the direction you cut your pieces out matters just as much. Big machines make knit fabric, but they work the same way we knit with yarn and needles. Some machines knit back and forth and some  knit in the round. One results in a fabric with selvage-like edges and other in a tube of fabric.

Close up of a Knit Fabric


No matter what yarn is used to create the knit fabric, the single knit process will result in a horizontal stretch in the fabric we call the “mechanical stretch”.  Fabrics that only have horizontal stretch are usually called “two-way stretch”.  The addition of elastane (Spandex, Lycra, etc.) to the yarns can create a fabric with both horizontal and vertical stretch, and it is usually described as “four-way stretch”. Whether the fabric is two-way or four-way,  the horizontal stretch should be the circumference of your garment.

Horizontal Stretch Line

While the amount of elastane in the yarns might make the fabric stretchy enough for the garment to fit you cut with the vertical stretch used as the circumference, you shouldn’t cut it that way. If the mechanical stretch in the fabric hangs vertically, you’ll get elephant knees, saggy elbows, and baggy crotches. You can use the same method for making sure your pattern is lined up so the grainlines on your pattern are parallel to the edges of your fabric that we use for wovens. Knit patterns often have the horizontal stretch line marked, too.

There’s a saying in sewing- The fabric always wins. There is probably nowhere in sewing where fighting the fabric is more futile than not paying attention to the grain.

Roberta

Filed Under: Frequently Asked Questions, P4P University, Sewing Techniques, Uncategorized 14 Comments

Timeless Tunic – Boho hack

November 7, 2017


In one of my daily Pinterest browsing sessions (admit it, we all do it!) I came across some great boho tops that just screamed fall to me. Needless to say I had to have one so in today’s blog I will show you how to create this simple boho shirt using just the Timeless Tunic pattern and a few easy modifications.

Start by printing your pattern in your size. You will only need the bodice pieces and the sleeves (if you are not making the tank option). Skip the skirt! Measure the front and back bottom width. We need that measurement to create the gathered skirt. Since the look we’re going for is a relaxed boho style we will not be adding the elastic casing or the elastic.

Cut the skirt part of the top 9″ by 1.5x bottom width. If you prefer your top longer you can certainly make the pieces 11-12″ instead of 9″. You will cut two pieces, one for the front and one for the back.

Using your favorite gathering method (serger gather, zig zag over dental floss, longest stitch/highest tension, etc) gather the top of the skirt pieces to match the bottom of the top.

Sew the top as per the pattern instructions.

Using a 1/2″ seam allowance, sew the side seams of the skirt to create a loop. Attach the gathered skirt to the top matching the side seams.

Optionally, top stitch the skirt to the top.

All you have to do now is hem the skirt (using a 1/2″ hem ) and enjoy your new boho top. I absolutely love this top paired with the Cocoon Cardigan and some SOS knit pants or Peg Legs.

I can’t wait to see your take on this top so be sure to post your creations in the P4P group.


Filed Under: Frequently Asked Questions, Pattern Hacks, Uncategorized Leave a Comment

Sew what do I wear…Professional Edition

October 27, 2017

It’s that time of the year again…time for the Sew What do I wear blog tour hosted by Made for Mermaids and P4P. This season a group of very talented women are bringing you inspiration for business wear outfits so make sure to check them all out.

As busy professionals on the go one of the most important thing to keep in mind when sewing your office outfits is time! How much spare time to you have? How many outfits can you treat yourself to in the allotted sewing time? Easy and fast patterns will help you get many looks in a short amount of time.

Keeping that in mind, for today’s blog I chose two of the fastest to sew P4P patterns, the Brunch Blouse and the Pirate Pencil skirt. Both patterns have a minimal number of pattern pieces and are super fast to put together.

For a more edgy look I use some vegan stretch leather when I made the Pirate Pencil Skirt . I loved the look of the skirt un-hemmed so I just skipped this step all together…boom! Even a faster sew now!

As I was sewing the top length Brunch Blouse I realized I wanted to add some extra details to it but without much work 😉 Store bought single fold bias tape to the rescue! Instead of finishing the neckline with the bias tape on the inside (as per the pattern tutorial), I did a switcharoo and put the bias tape on the outside of the neckline. I finished the bottom of the shirt using the same technique. The bias tape hem add a little extra to the shirt, doesn’t it?

There you have it! Two easy to sew patterns and a pair of of stilettos and you made yourself a edgy office attire. If you live in a colder weather are, throw a Cocoon Cardigan over and you’re ready for a stylish day at work.

Make sure you check out all the amazing blogs that joined us for this tour!

Filed Under: Blog Tours, Frequently Asked Questions, Uncategorized 2 Comments

Wiggle Dress :: New Pattern Release!

October 25, 2017

Brace yourselves for the sexiest pattern we’ve ever put out into the world!  Allow me to introduce you to the Wiggle Dress.

The Wiggle Dress is the classic tight fit-pencil skirt dress that has been in style for ages!  It is drafted for women, sizes XXS – Plus 3X.  And features SO MANY options.  Two necklines (boatneck and off-the-shoulder), two back necklines (high back and low back), four sleeve lengths (short, 3/4, half, and long), four dress lengths (above knee, below knee, midi, and full), two top lengths (crop and shirt), and an optional zipper, as well as a kick pleat for some of the lengths.

The back has a center back seam to fit along your curves nicely. And the Wiggle Dress is drafted for a more stable knit, like ponte roma, liverpool, stretch lace, stretch velvet, etc.  BUT, you can also make it more casual with a double brushed polyester, rayon spandex, french terry, or even some thicker sweater knits!

**Want to learn more about how to measure yourself for this pattern?  We’ve got you covered with an in-depth blog HERE.  And in case you’re new to Patterns for Pirates and PDF patterns in general, we have a great blog full of new user tips HERE to help you get started!  And, as with all of our current releases and updates, the pdfs now include our layers feature and can be found in Letter, A4 and A0 sizes.

Let’s talk options!

NECKLINES

DRESS LENGTHS

TOP LENGTHS

SLEEVE LENGTHS

OPTIONAL ZIPPER + KICK PLEAT

Go Grab your Copy of the Wiggle Dress Now!

Need more convincing?  Just take a look at this pattern on all of the beautiful shapes and sizes of our testers, and get a look at more examples of all the options in our albums in the P4P Facebook group! Find the album HERE.

The sale price will last through November 1st (11:59 PM US Central time zone) so grab it while you can at the introductory price!

And if that wasn’t enough options, be sure to check out our all of the amazing hacks that our team has come up with: Wiggle Dress Easy Hacks.

Filed Under: Pattern Release 11 Comments

Wiggle Dress – easy hacks

October 24, 2017

…..

Separates

The full-length mermaid-esque dress is gorgeous, but maybe you want to pair it with a different top or choose different fabrics?  With this simple hack, you can create a gorgeous set and wear them as separates.  For the skirt, cut along the crop cutline.  Stitch the center back seam and each side seam.  Using the cropped band measurement and instructions, attach to the top edge of the skirt.  Easy peasy!

How cute is Katy in this Ariel inspired Haloween outfit!


And seriously, how amazing is this sequin skirt!!


…..

Color-Block Bodice

Keeping with the concept of separates, but perhaps you still wanted a dress. Doing a color-block bodice gives you a chance to mix up your fabrics. Since there is already a crop cutline on the pattern pieces that hits at the natural waist, we will be using that as a guideline. Re-trace the crop cutline 1/2″ above and below it to create your seam allowance on both the front and back pattern pieces.  Cut your new top bodice and bottom skirt from both front and back.  For the back, you will have 2 back top bodices (mirror image) and 2 back bottom skirt (mirror image) pieces.  For assembly, with right sides together, stitch with a 1/2″ seam allowance the front bodice to the front skirt. Repeat for both back bodice and skirt pieces.  Continue construction as provided int he pattern. 🙂


…..

Decorative Button Back

Adding embellishments to your dress can give it some extra special details that will set it apart from the next.  Since the pattern is drafted for stable knits, you do not need a zipper or functional buttons to put it on, so these buttons are purely for decorative reasons.  I love the finishing touch it gives the back. Using the center back seam as a guideline, I hand stitched pearl buttons every 1/2″.  I used the zipper lengths as mentioned in the tutorial as a guide where to end my button placement.  For this version, I used a total of 13 buttons. ”


…..

Straps for off the shoulder

Love the off the shoulder but hate wearing strapless bras? No problem! Let’s add some cute straps to the Wiggle off the shoulder dress that will cover your bra straps. Print the off the shoulder option of the pattern and sew it up as per the pattern tutorial. Stop at the neckline finishing steps. Cut two pieces of fabric 4″x 9.5″. These will be your straps. The length of your straps may vary slightly based on the size you make.

Fold the straps lengthwise and sew them side with a 1/2″ seam allowance.

Turn the straps inside out and press them with the seam in the center.

For perfect straps placement, try the dress on with your favorite bra. Mark with a pin or a clip where the bra straps will be.

Sew the straps to the dress with the right sides together. Finish the neckline as per the pattern tutorial.

That’s all! You now have yet a new style of the new Wiggle dress!


…..

Sleeveless

The Wiggle Dress is already packed with soo many options and great for every season but I don’t know about anyone else but summer here is HOT!! I can not handle any type of sleeves at all so a sleeveless version of the Wiggle dress would be what I would want for summer and lucky for me it is a really quick and easy hack.  Let’s get started.

First, you are going to cut all your pieces except for your sleeves.  You do not need to modify the armscye at all for this hack so just cut your front and back as usual.  Sew the shoulder seams and side seams as directed in the pattern, but skip the section for adding a sleeve.   Next, you will iron and pin your armscye to the wrong side 1/2″ inch as shown below. Topstitch using your favorite stretch stitch.


Now just finish up the dress or top as instructed in the pattern and you’re done. Quick, right!?


…..

Full Zipper Back

As soon as I saw the Wiggle dress I knew I had to make a full zipper back! So I took it up a notch and bought a dual zipper. This style zipper opens at the top and bottom. You can add this zipper to the high back, low back or even the off the shoulder option as well as the above, bellow or midi length. Just make sure the zipper you use is long enough! As a point of reference, I used a 48″ zipper for the high back, midi length style.

Start by marking the hem on the center back seam.

Add a strip of 1/4″ Wonder Tape to the center back seam, 1.4″ away from the edge. Start at the point you marked above and stop 1/2″ away from the top.

Repeat with the other back piece.

Remove the paper backing of the Wonder tape and adhere the zipper right sides together. Sew in place with a 1/2″ seam allowance.

Zip up the zipper and place the other side of the back piece, right sides together, making sure that the bottom and top match.

Sew in place and top stitch.

Now that you have your back piece ready, sew the dress as per the tutorial. You will be enclosing the zipper in the bottom hem as shown below.

All done! Now all you have to decide is where the next date night will be! 🙂


I loved the idea of a full-length zipper like Alex showed us above, but when it came to finding one locally, I wasn’t able to get one the length I needed.  I did find a chunky zipper that would be perfect to use as an exposed zipper and just so happened to work out that it’s finished length was about knee length.  I opted to go with the midi length and do a split hem at the center back.  You will install your zipper the same as you would in the tutorial, except place it on the RIGHT side of the fabric with the wrong side of the zipper centered along the back seam.

Place zipper on top of the center back seam.
Pin in place and topstitch.
View from Back
Fold the remaining center back seam to the wrong side and topstitch.


…..

Lace Applique

I’ll be honest, Judy created this dress while we were pre-testing and I had to replicate it.  Adding a lace applique is super easy but adds a super sexy and classic flair.  For this particular version, the lace extends along the entire side seam, so I constructed my bodice first, added the lace to the top, then sewed my sleeves on so that the lace was enclosed in the armscye.  You can, of course, add lace wherever you’d prefer, such as the neckline or bottom hem but I love the silhouette the wide stripe gave from the front and back.   I used a fairly narrow zig-zag stitch down the center seam and along each edge of the stretch lace trim.  Be sure to keep your lace taut as you sew along the waist and hip curves.


…..

Front Leg Slit

What sexy dress doesn’t include a slit!  Show off those legs and add a front slit to your wiggle.

Try on your dress and mark where and how high you would like your slit. For reference, mine is 24″ from bottom hem (just above the knee) and is about half the distance from the center (1/4 point).
Cut the slit.
Cut 2 binding strips 1 1/4″ by the length of your slit.
With right sides together and using a 1/4″ seam allowance, stitch binding to each side of the slit.

Fold the binding to the wrong side.
Fold the raw edge down to the previously sewn stitch line.
Fold over to the wrong side again, and pin in place.
Topstitch.

…..

Sweetheart/Wiggle Mash

We couldn’t end this epic hacks series without a Wiggle dress/Sweetheart mash up. I just had to make myself a black velvet and lace long dress. We all need one in our closets, right?

This mash is super easy. Simply take the front patterns of the wiggle dress and mark the sweetheart color-block lines using the Sweetheart dress top pattern piece. Don’t forget to add the seam allowance!

Sew the two front pieces (lace and velvet) as suggested in the Sweetheart pattern.

Once you do that simply follow the directions in the Wiggle Dress pattern to finish your dress. I used lace for my sleeves too. Since I didn’t have any black elastic and I certainly couldn’t use white elastic for the neckline, I used clear elastic instead. It worked like a charm!

Tadah! Just by adding a sexy sweetheart color block front, you took your Wiggle dress up a notch!


Holy Moly…. I think we covered just about every hack we could come up with to take The Wiggle Dress to the next level (if it wasn’t already on its own)!  Make a Wiggle? Hop on over to the Facebook Group, and share your makes, we’d love to see it!

Filed Under: Frequently Asked Questions, Pattern Hacks, Pattern Release, Uncategorized 15 Comments

Gone Batty Top :: A Halloween Freebie!

October 17, 2017

Halloween is my favorite holiday ever.  EVER.  It’s so fun and kitchy and full of creativity.  All the best things, right?

I’ve been seeing ads for these batwing shirts floating around and I NEEDED one.  And since we love to give our P4P family fun freebies, we thought this would be the perfect thing to help you create this Halloween.  It’s totally wearable as just a fun, festive top.  Or you could use it as a last minute costume idea.  Either way, I hope you love it!

Want to make this top for yourself?

Go grab yourself a copy of the Gone Batty Top (for FREE!!) and then come back and learn how to make your own.

This pattern is a “one size fits most” adult pattern.  It’s a circle top with some added details and the measurements are based upon your high hip.

**Want to learn more about how to measure yourself for this pattern?  We’ve got you covered with an in-depth blog HERE.  And in case you’re new to Patterns for Pirates and PDF patterns in general, we have a great blog full of new user tips HERE to help you get started!  And, as with all of our current releases and updates, the pdfs can be found in Letter, A4 and A0 sizes.

Recommended fabrics: Practically any knit fabric with at least a 20% stretch will do!  Cotton lycra, poly/rayon blends, dbp, ity, etc.
Note: Due to the style of the curved “bat wings”, I’ve left the edges raw and unhemmed.  You’re welcome to hem if you’d like, I simply chose not to with this top style.


Supplies needed:

Main Fabric: 1-5/8 yard
Neckband: cut piece 2″L x 19″W (pattern piece also provided)

Step 1: Cut out the bodice piece.  You will be cutting on a double fold.  First, folding selvedge edge to selvedge edge.  And then folding down lengthwise.
**If you’re wanting to skip printing all of the pages, print only page 8 and use the cut-out pieces provided.

When using the cut-out pieces, measure 25″ from the neckline cutout.

Keeping your bodice piece folded, take the “Bat Wing” cut-out and remove the shape from the bottom hem four times, beginning with the bottom corner and working your way toward the second folded edge.

Step 2: Sew your side seam.

— Take your “high hip measurement” and divide by 4.
— Open up your top, so the stretch is going width-wise but it remains folded at the top.
— Find your center line, and measure your high-hip/4 measurement.
— Using a stretch stitch: sew a 12″ line, slightly angled toward the neck opening.  Repeat for the opposite side.

Step 3: Stitch your “bat wings”.
This step is totally optional, but highly recommended.  It allows for your “wings” to stay together nicely.

Starting at your side seam, edge stitch the “bat wings” together, ending at the second to last point.  Repeat for the other side.

Step 4: Add the neckband.  (If you struggle with neckband installation, here’s a super helpful blog with videos!)

— Fold your neckband piece, right sides together, meeting the short ends together.

— Using 1/2″ seam allowance, stitch short ends.

— With wrong sides together, fold the raw edges together to meet each other.  Mark 1/4 points of raw edges.

— Mark the 1/4 points on the bodice piece.

—  Slide the neckband over the bodice, aligning the raw edges and matching the quarter-marked points.  Note: The neckband is slightly smaller than the bodice.  Stitch, using 1/2″ seam allowance.

— Flip neckband up and enjoy your new batty top!

As always, we love when you share what you’ve made with us.  Head over to the Patterns for Pirates Facebook group and show us how bat shirt crazy you’ve become with our Gone Batty Top!


Filed Under: Free Pattern, Pattern Release 17 Comments

V-neckbands 101

October 12, 2017

We’ve been asked so many times how to achieve that perfect V neckline so today on the blog we will be covering a few tips that will help you get that look you’re striving for every time.

Let’s start with a reminder of the Neckbands 101 blog! All the tips I gave you there apply to the V neckbands too so take a look over it and come right back.

Now that you we have those tips covered let’s take a look at some V neck specific tricks that will ensure you will have the perfect neckline.

Don’t skip the stay stitch!

A stay stitch is a straight stitch that will help your fabric stay in place, it will keep it from stretching and distorting. You will be sewing a stay stitch on both the neckband and neckline, a couple of inches on both sides of the V point.

Here is a video of the Favorite Tee V neckband. The same tips can be applied to the Boyfriend V neck shirt or the kids’ Deep Sea V neck and Fave Tee.


Always press the V neckband!

Press the neckband before you attach it! It will make a world of difference! Pressing it will make it easier to maneuver when pining it to the neck opening and when attaching them.

Snip the V point as close to the stay stitch as possible!

As you can see in the video below, a snip in the right place can make a huge difference. Using sharp scissors, carefully make a vertical snip about 3/8″ long, getting as close as possible to the stay stitch without snipping the stitches.

Sew the V points with the sewing machine!

Taking the extra time to attach the V part of the neckband with the sewing machine will help you achieve that much desired crisp V point. Plus, if you’re not 100% happy with how it looks you can definitely seam rip it and reattach it a lot faster than if you were to have used your serger.

Here is how I attach the V neckband to the neck opening.


Are V necks less scary now? 🙂 I sure hope these tips will help you get that perfect look you’re aiming for. Don’t forget to brag about your awesome V neck shirts in the P4P group too!

Filed Under: Frequently Asked Questions, Uncategorized 3 Comments

  • « Previous Page
  • 1
  • …
  • 48
  • 49
  • 50
  • 51
  • 52
  • …
  • 68
  • Next Page »

connect with me

  • Email
  • Facebook
  • Instagram
  • Pinterest
  • YouTube
Privacy & Cookies: This site uses cookies. By continuing to use this website, you agree to their use.

To find out more, including how to control cookies, see here: Cookie Policy
  • Privacy Policy
  • Refund Policy
  • Contact Us
  • About

Copyright © 2026 Patterns for Pirates

Copyright © 2026 · Genesis Framework · WordPress · Log in