I’m sure by now you’ve all browsed Pinterest for cardigan inspiration, I know I have. When I saw a dolman style cardigan with lace trim I knew right away I needed to make myself one so in today’s blog I’ll show you how easy it is to get the look and I’ll also give you some tip for working with lace.

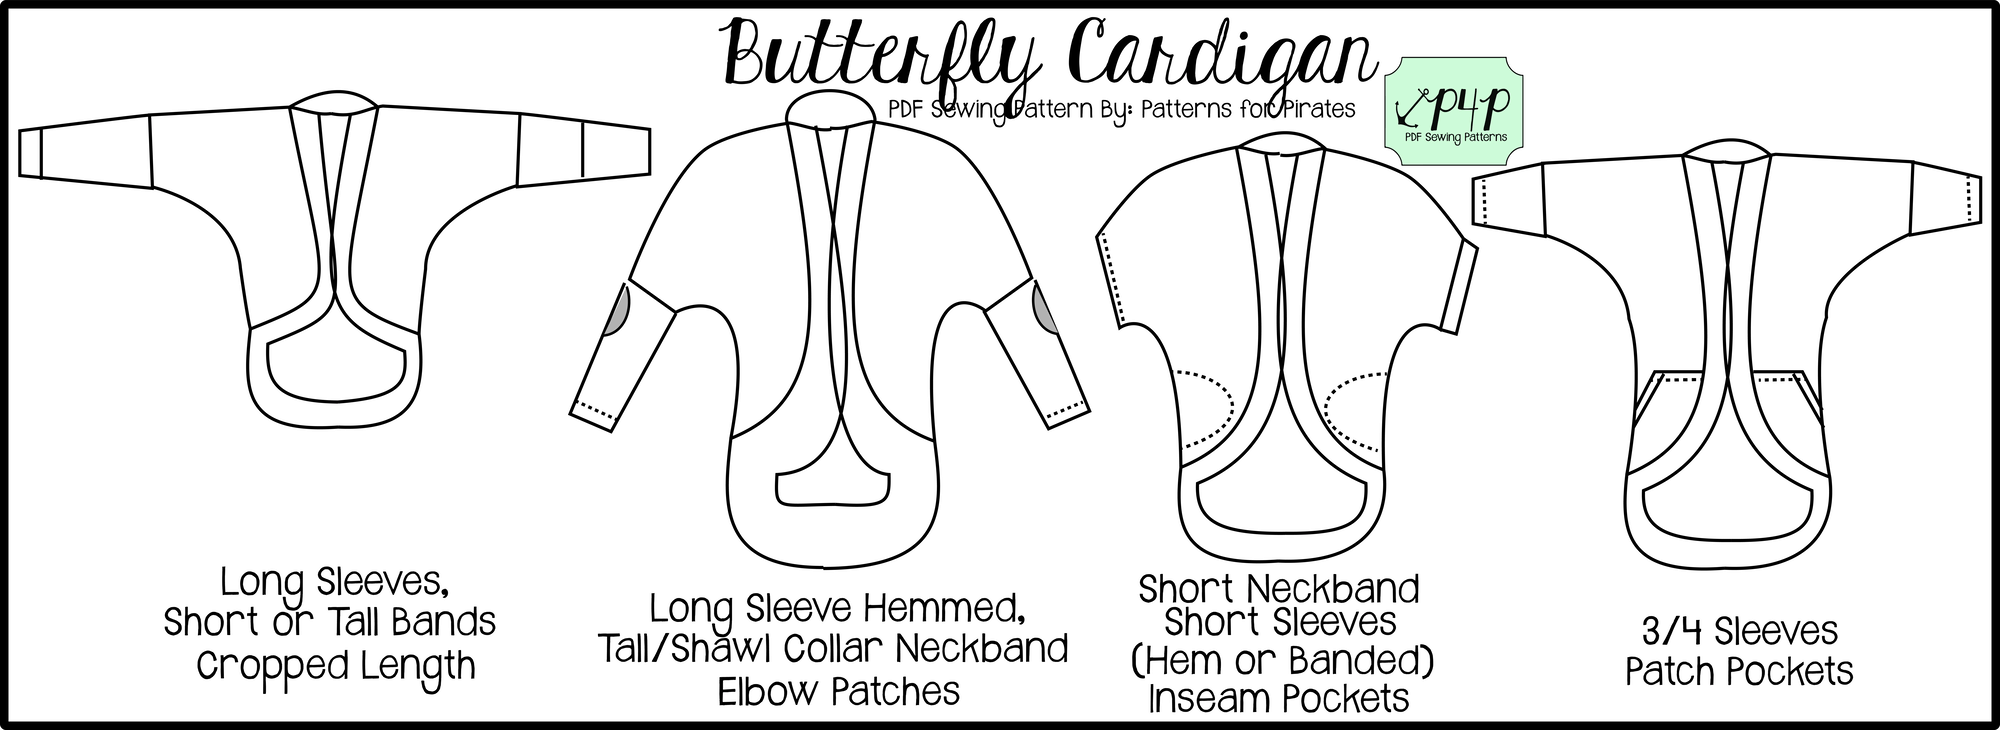
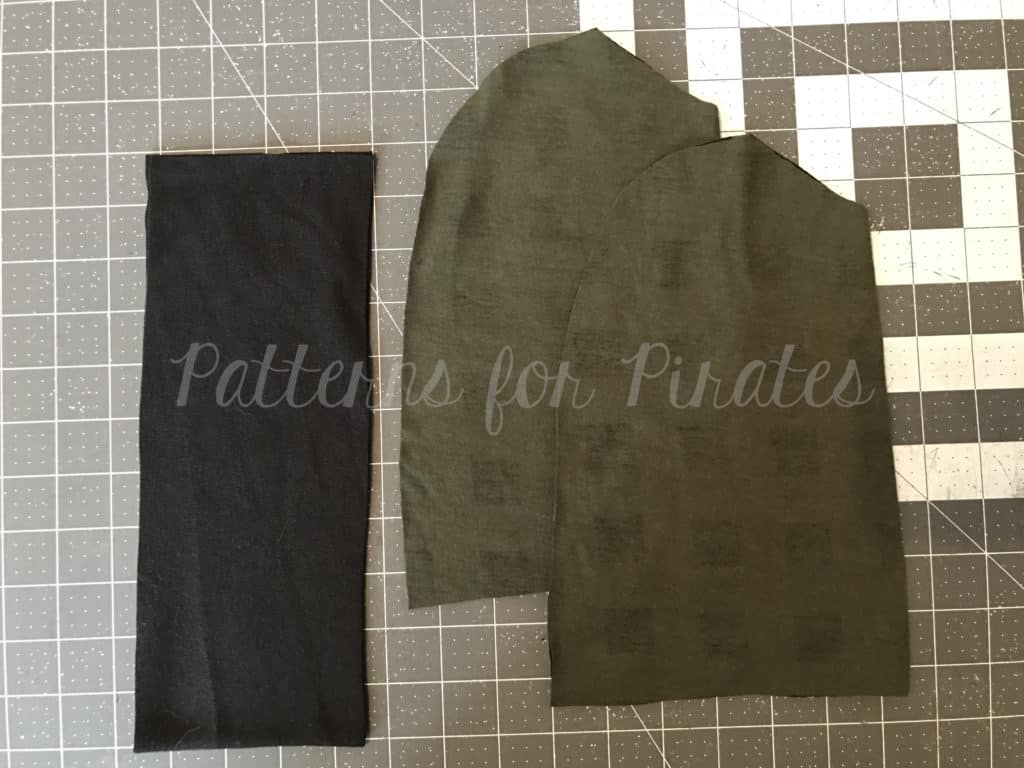
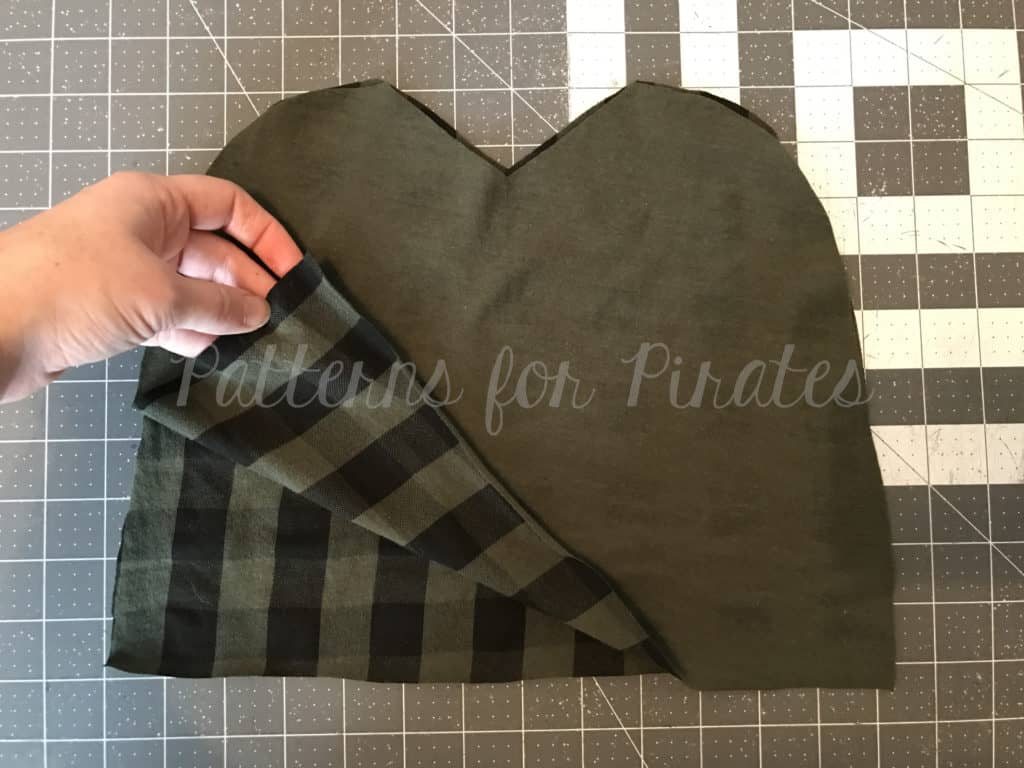
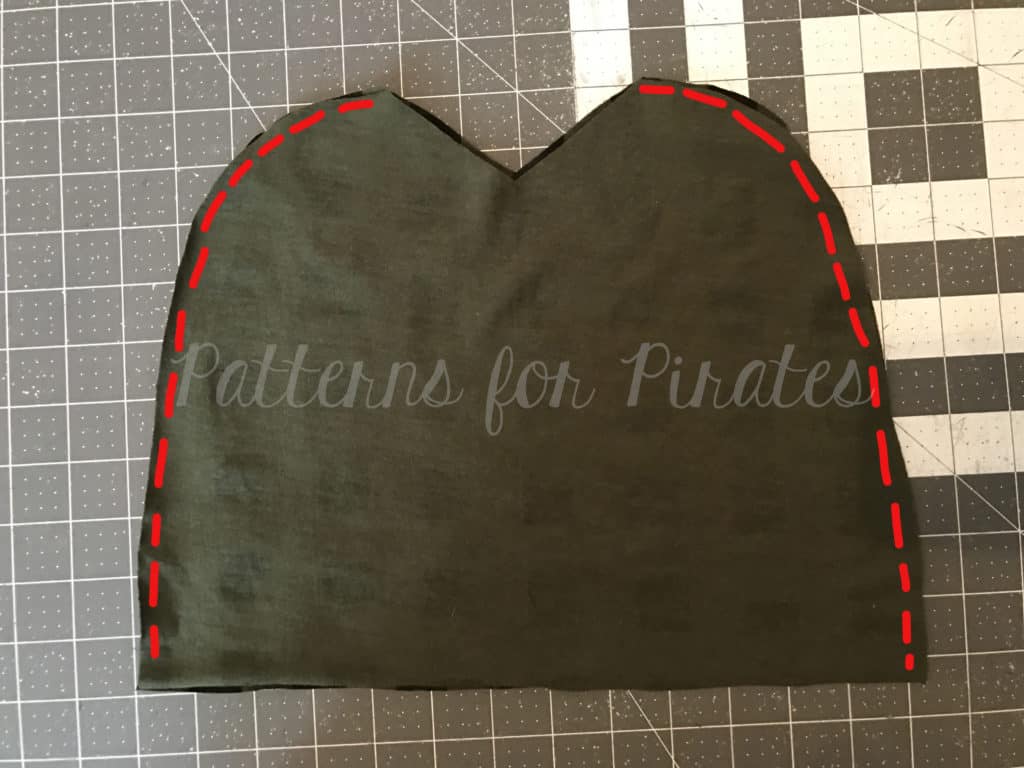
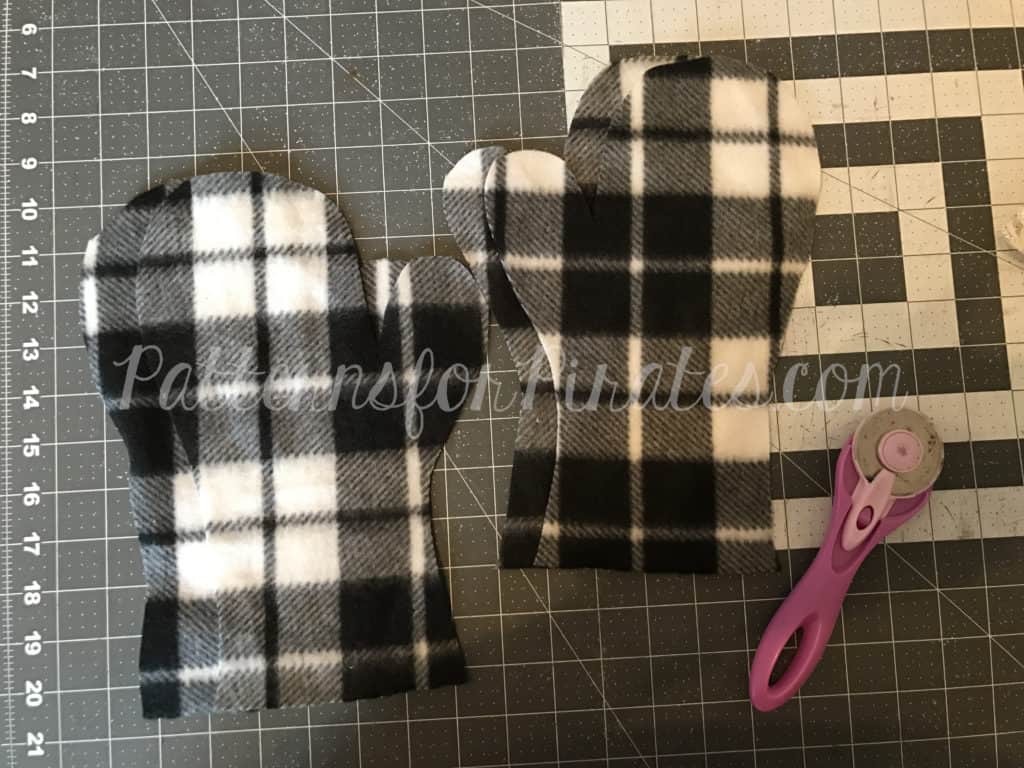
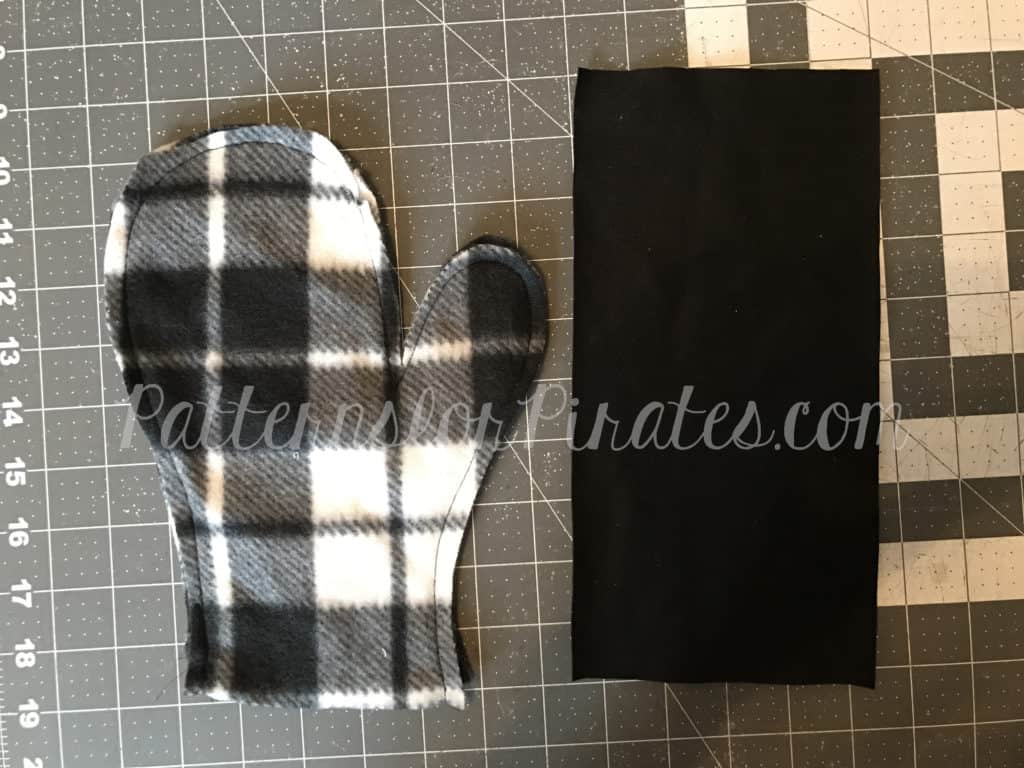
Start by cutting the Cocoon Cardigan pattern pieces. You will not need to cut the the band, we will be replacing it with trim. I made a tunic length, 3/4 hemmed sleeves with no pockets but you can apply this technique to either one of the styles. The fabric and lace I used are both from Hobby Lobby.
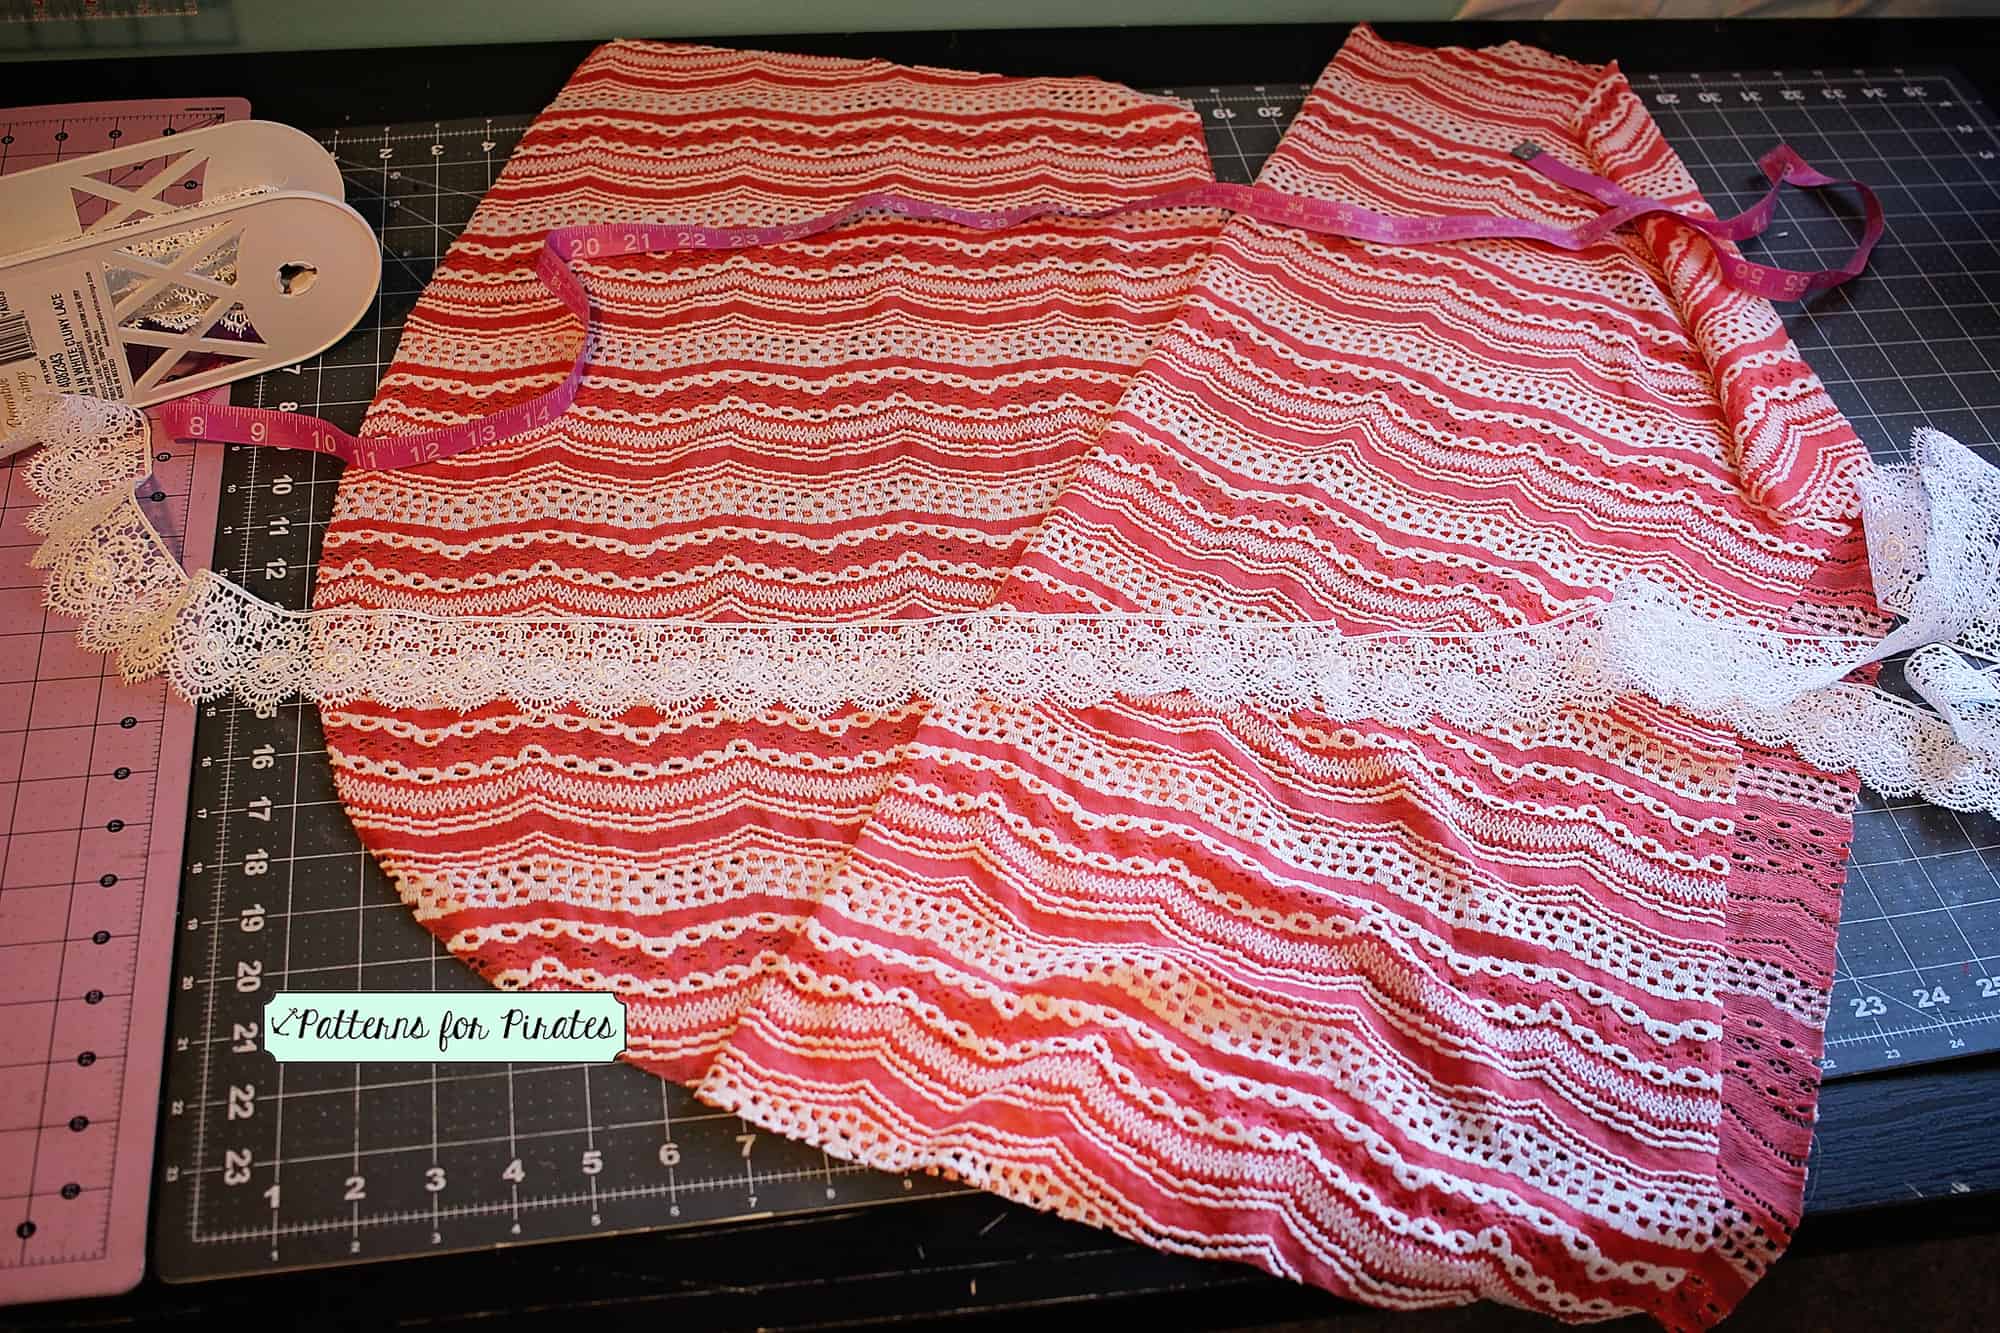
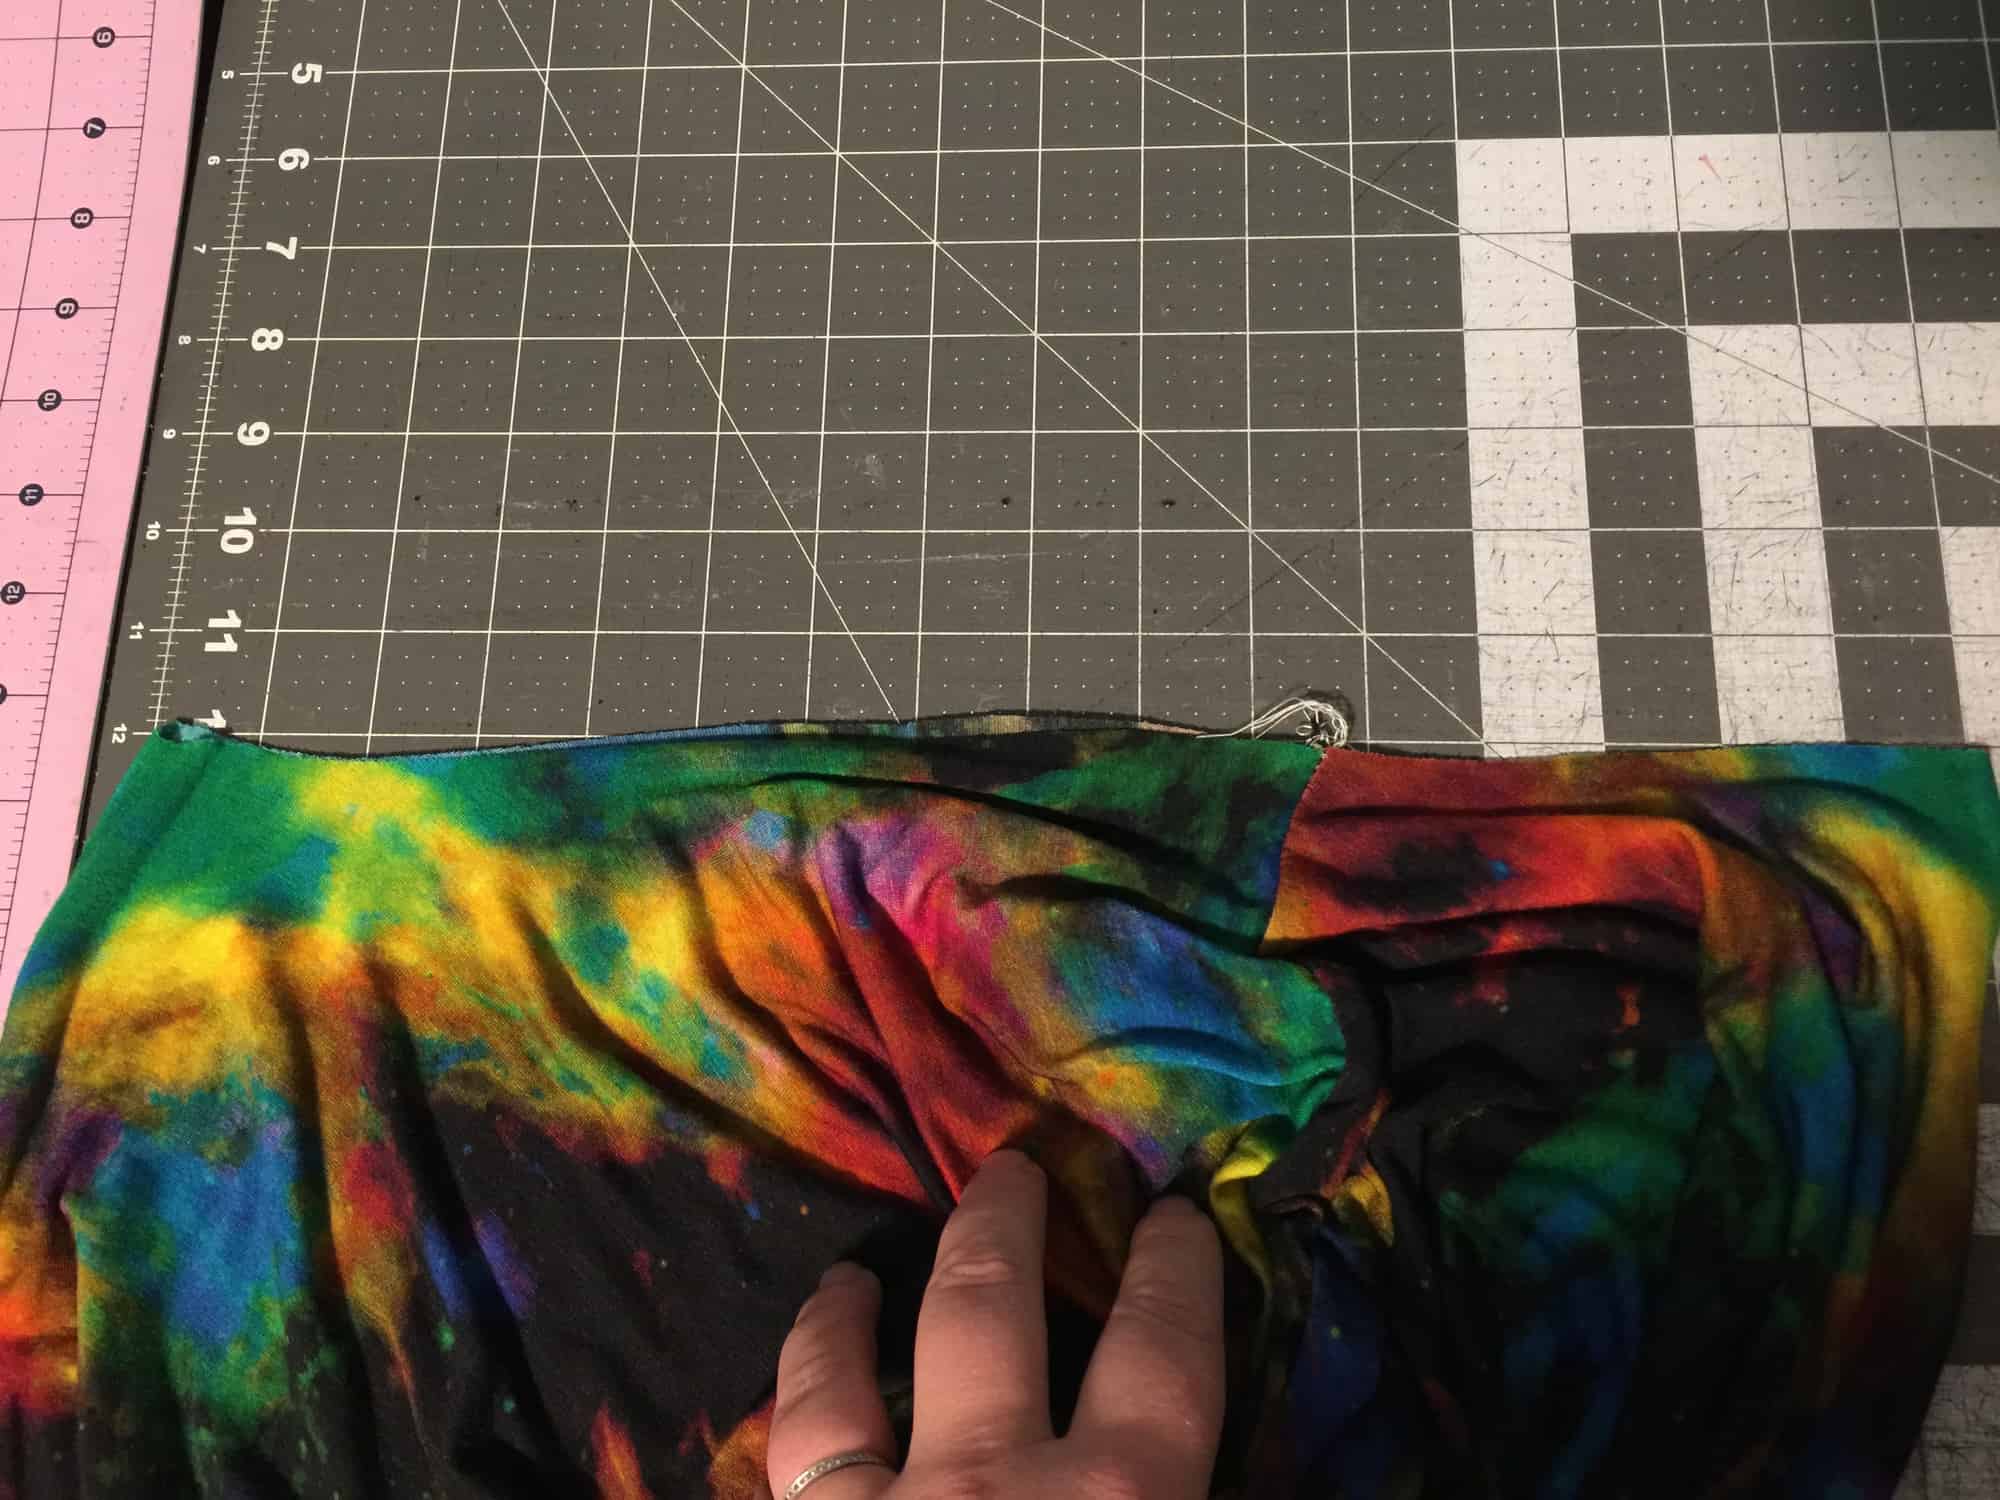
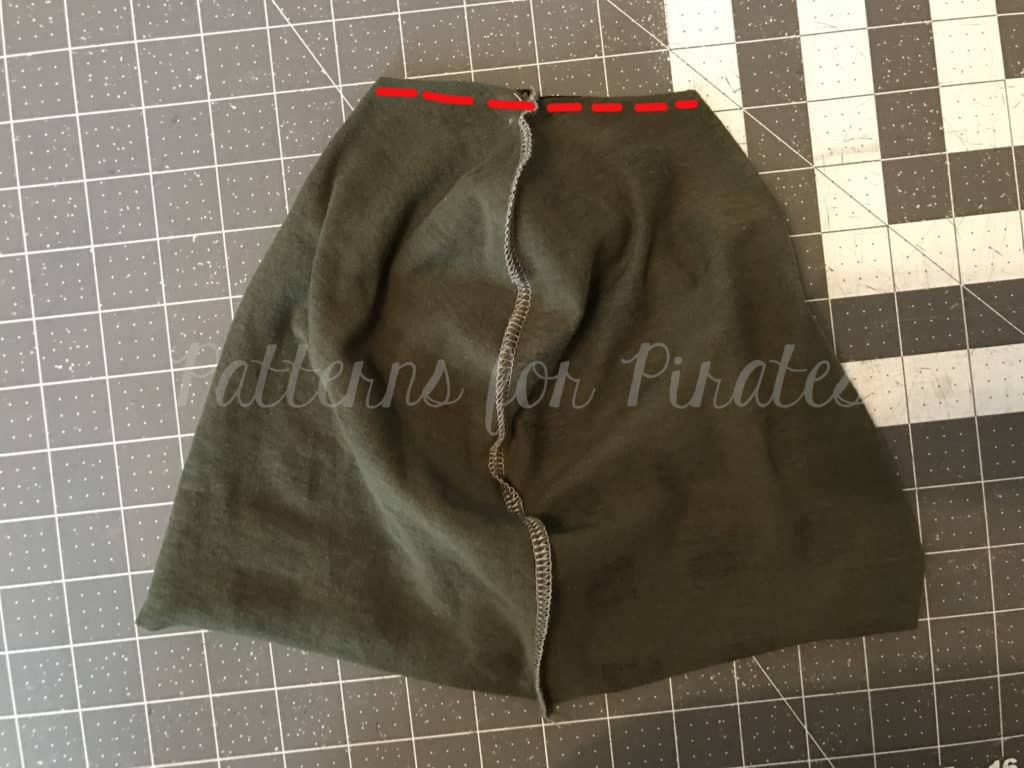
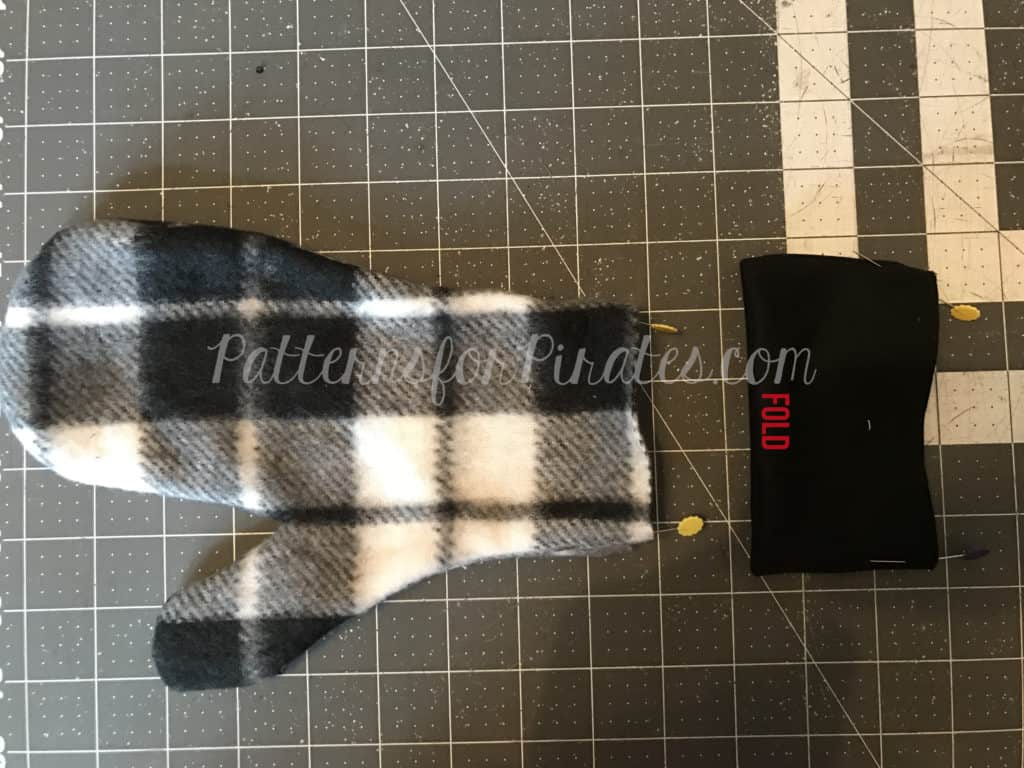
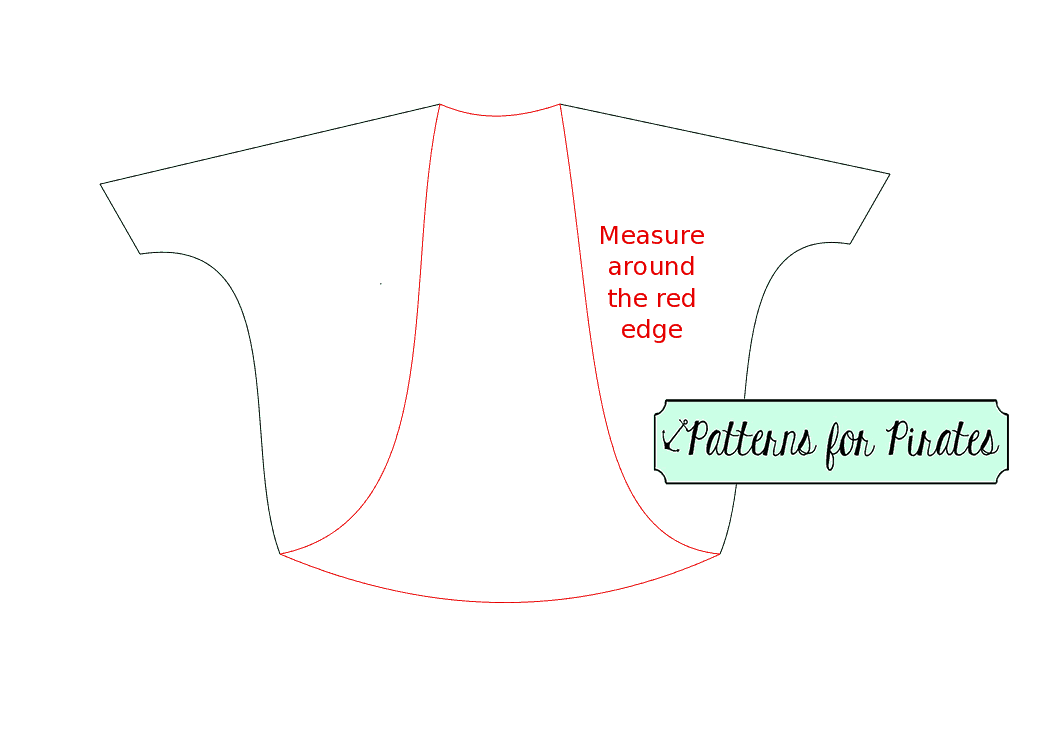
Assemble your pattern pieces as per the instruction. I like to leave the band for the end so you now have your cardigan ready to add the lace trim. The pattern band is shorter than the edge circumference and since most lace trims have no stretch we will have to measure the opening. The trim you will need will be equal to this length.
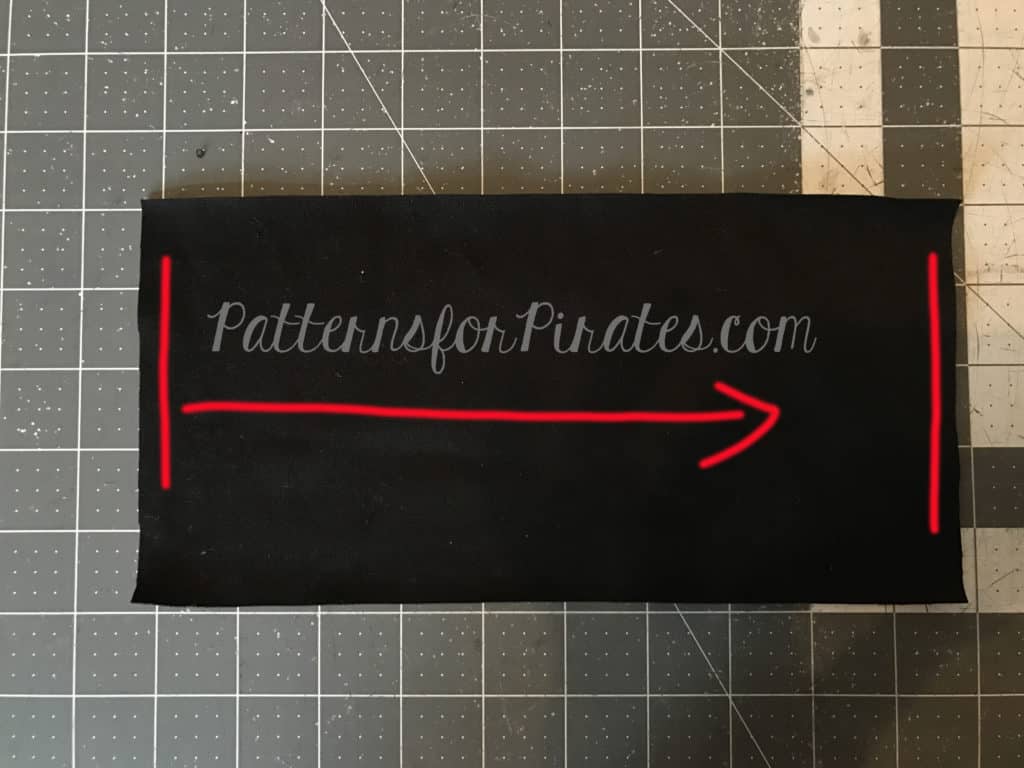
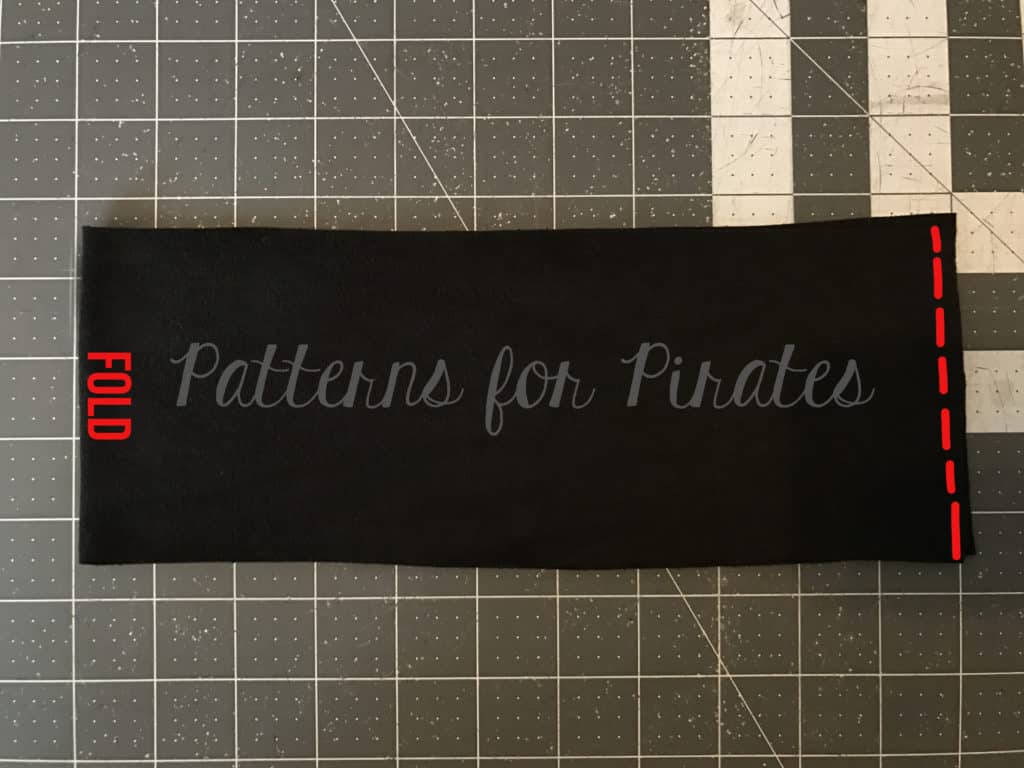
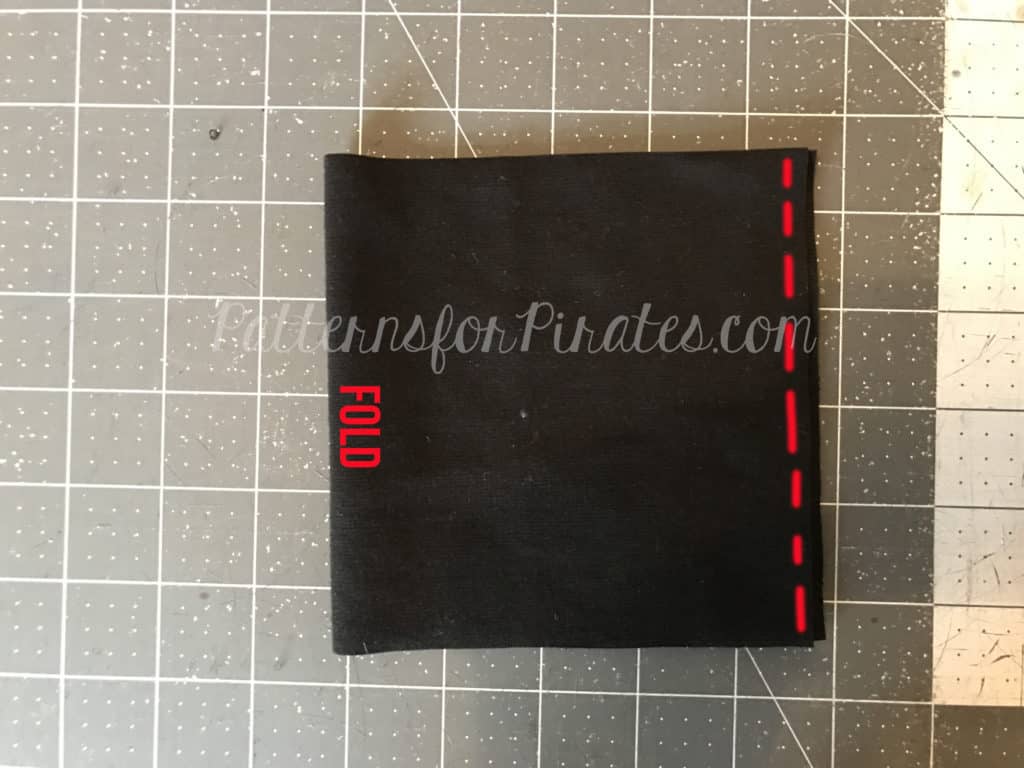
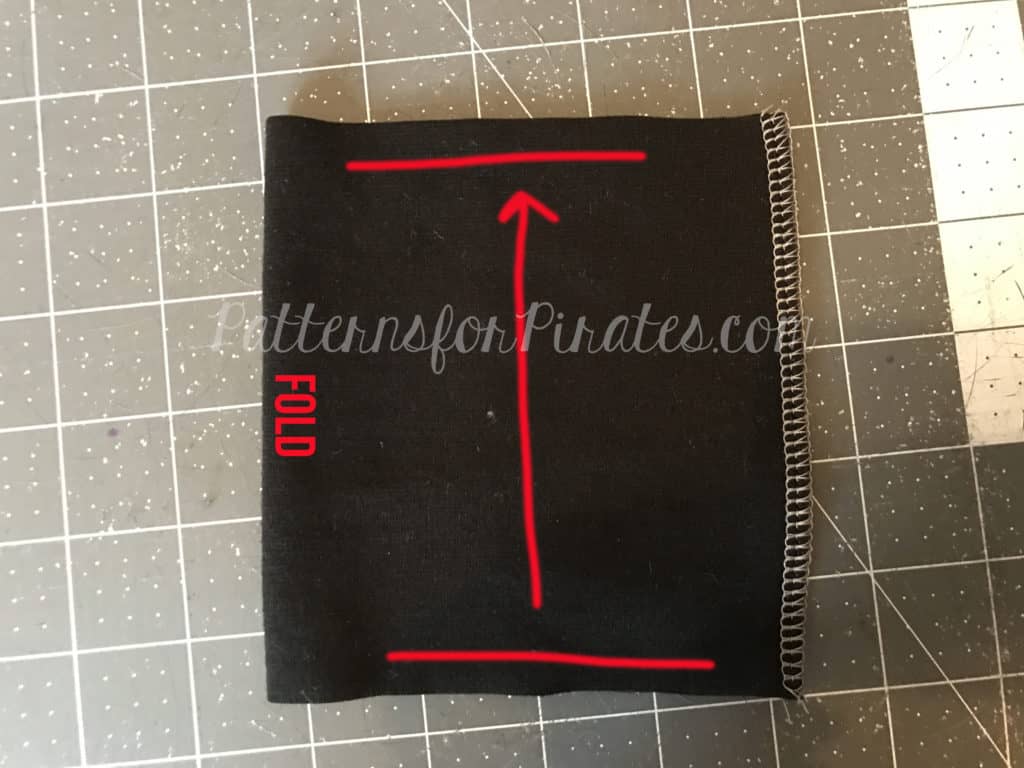
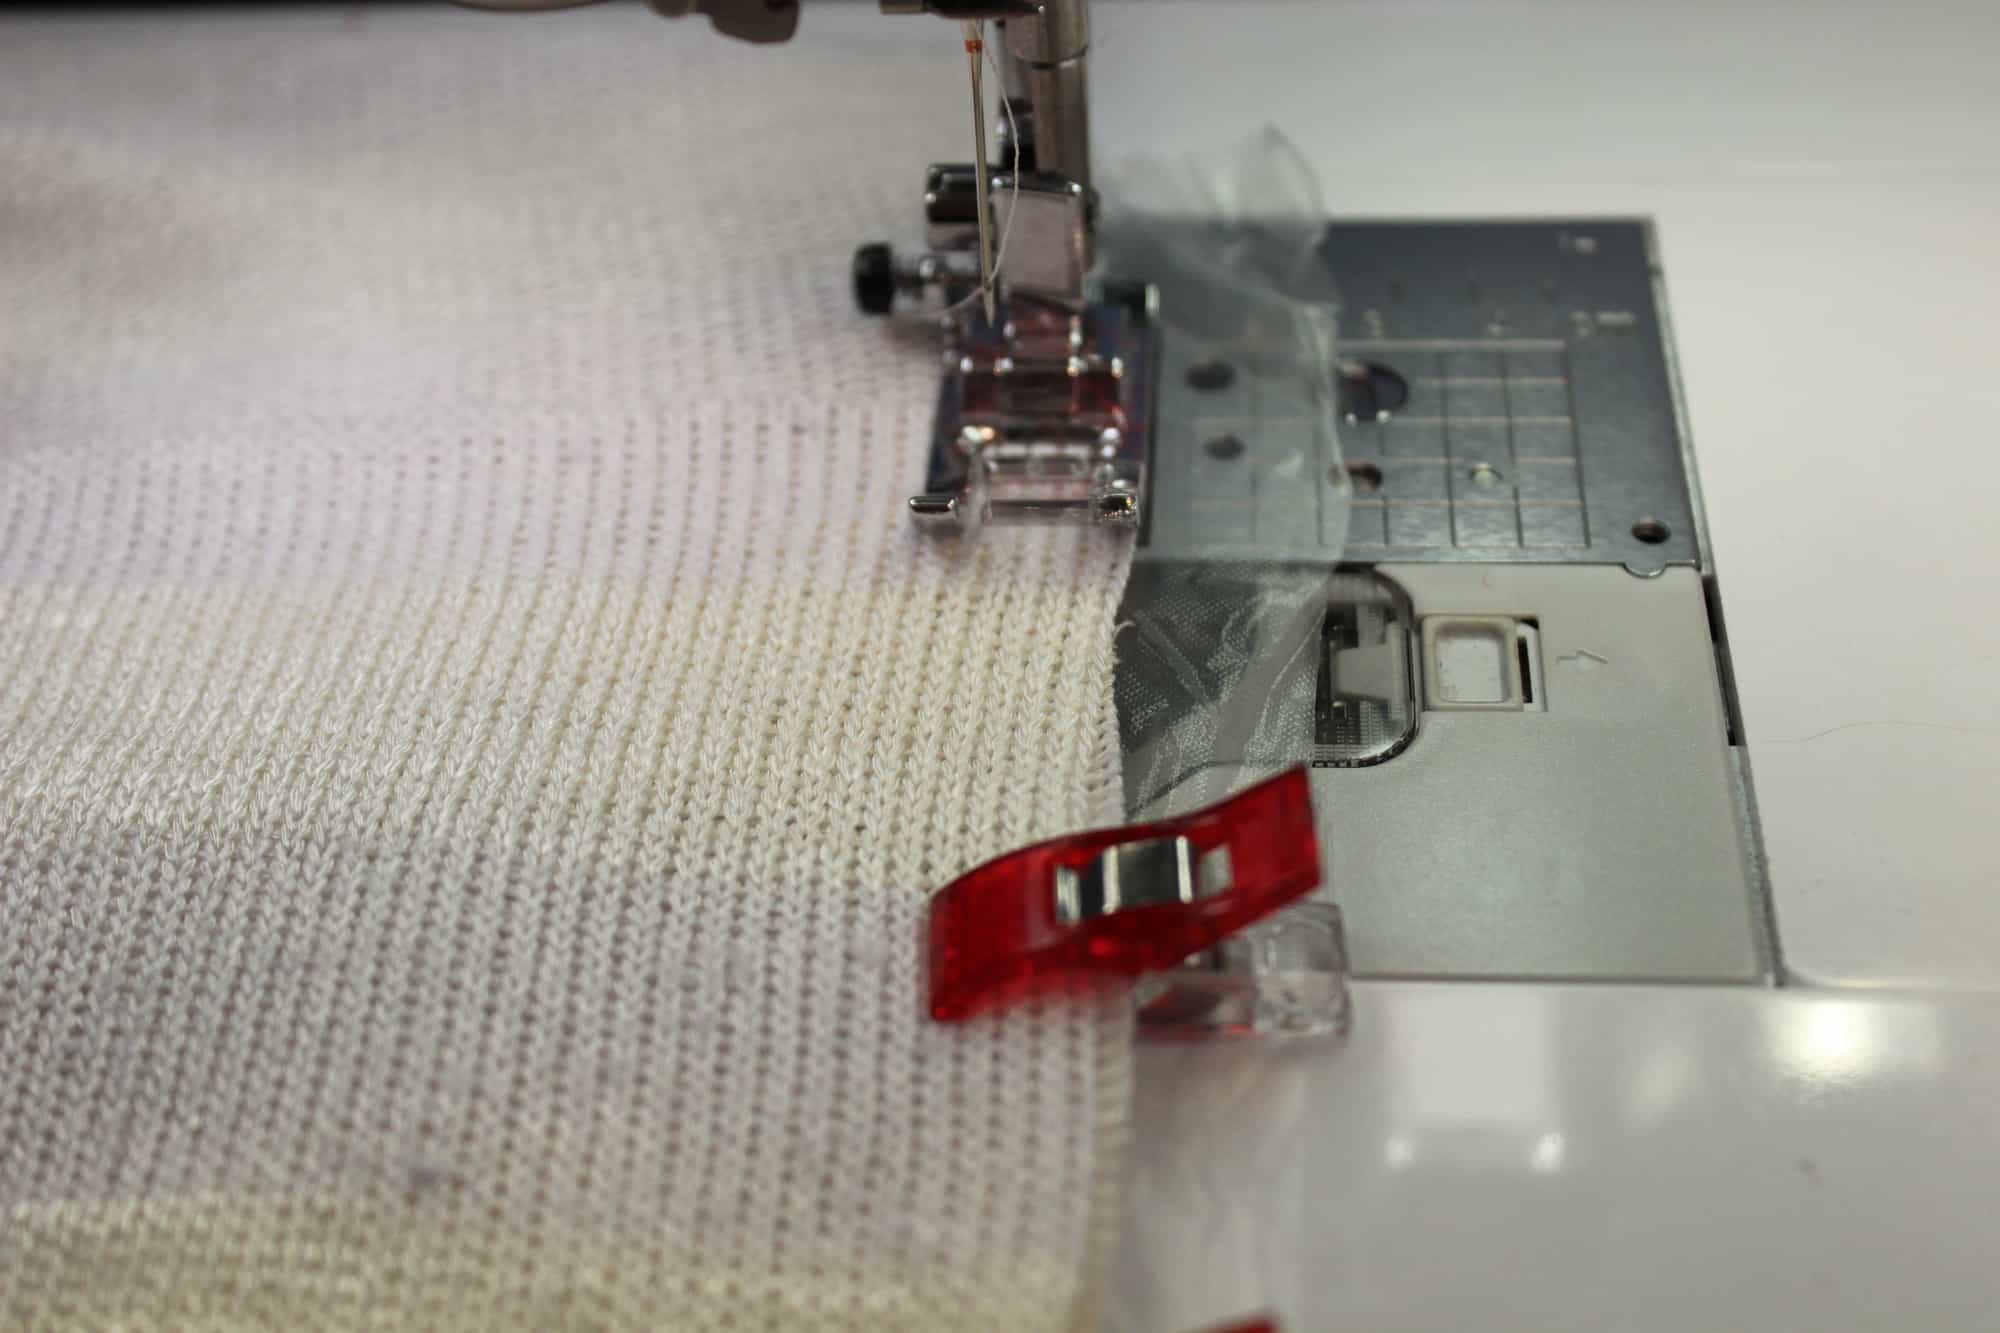
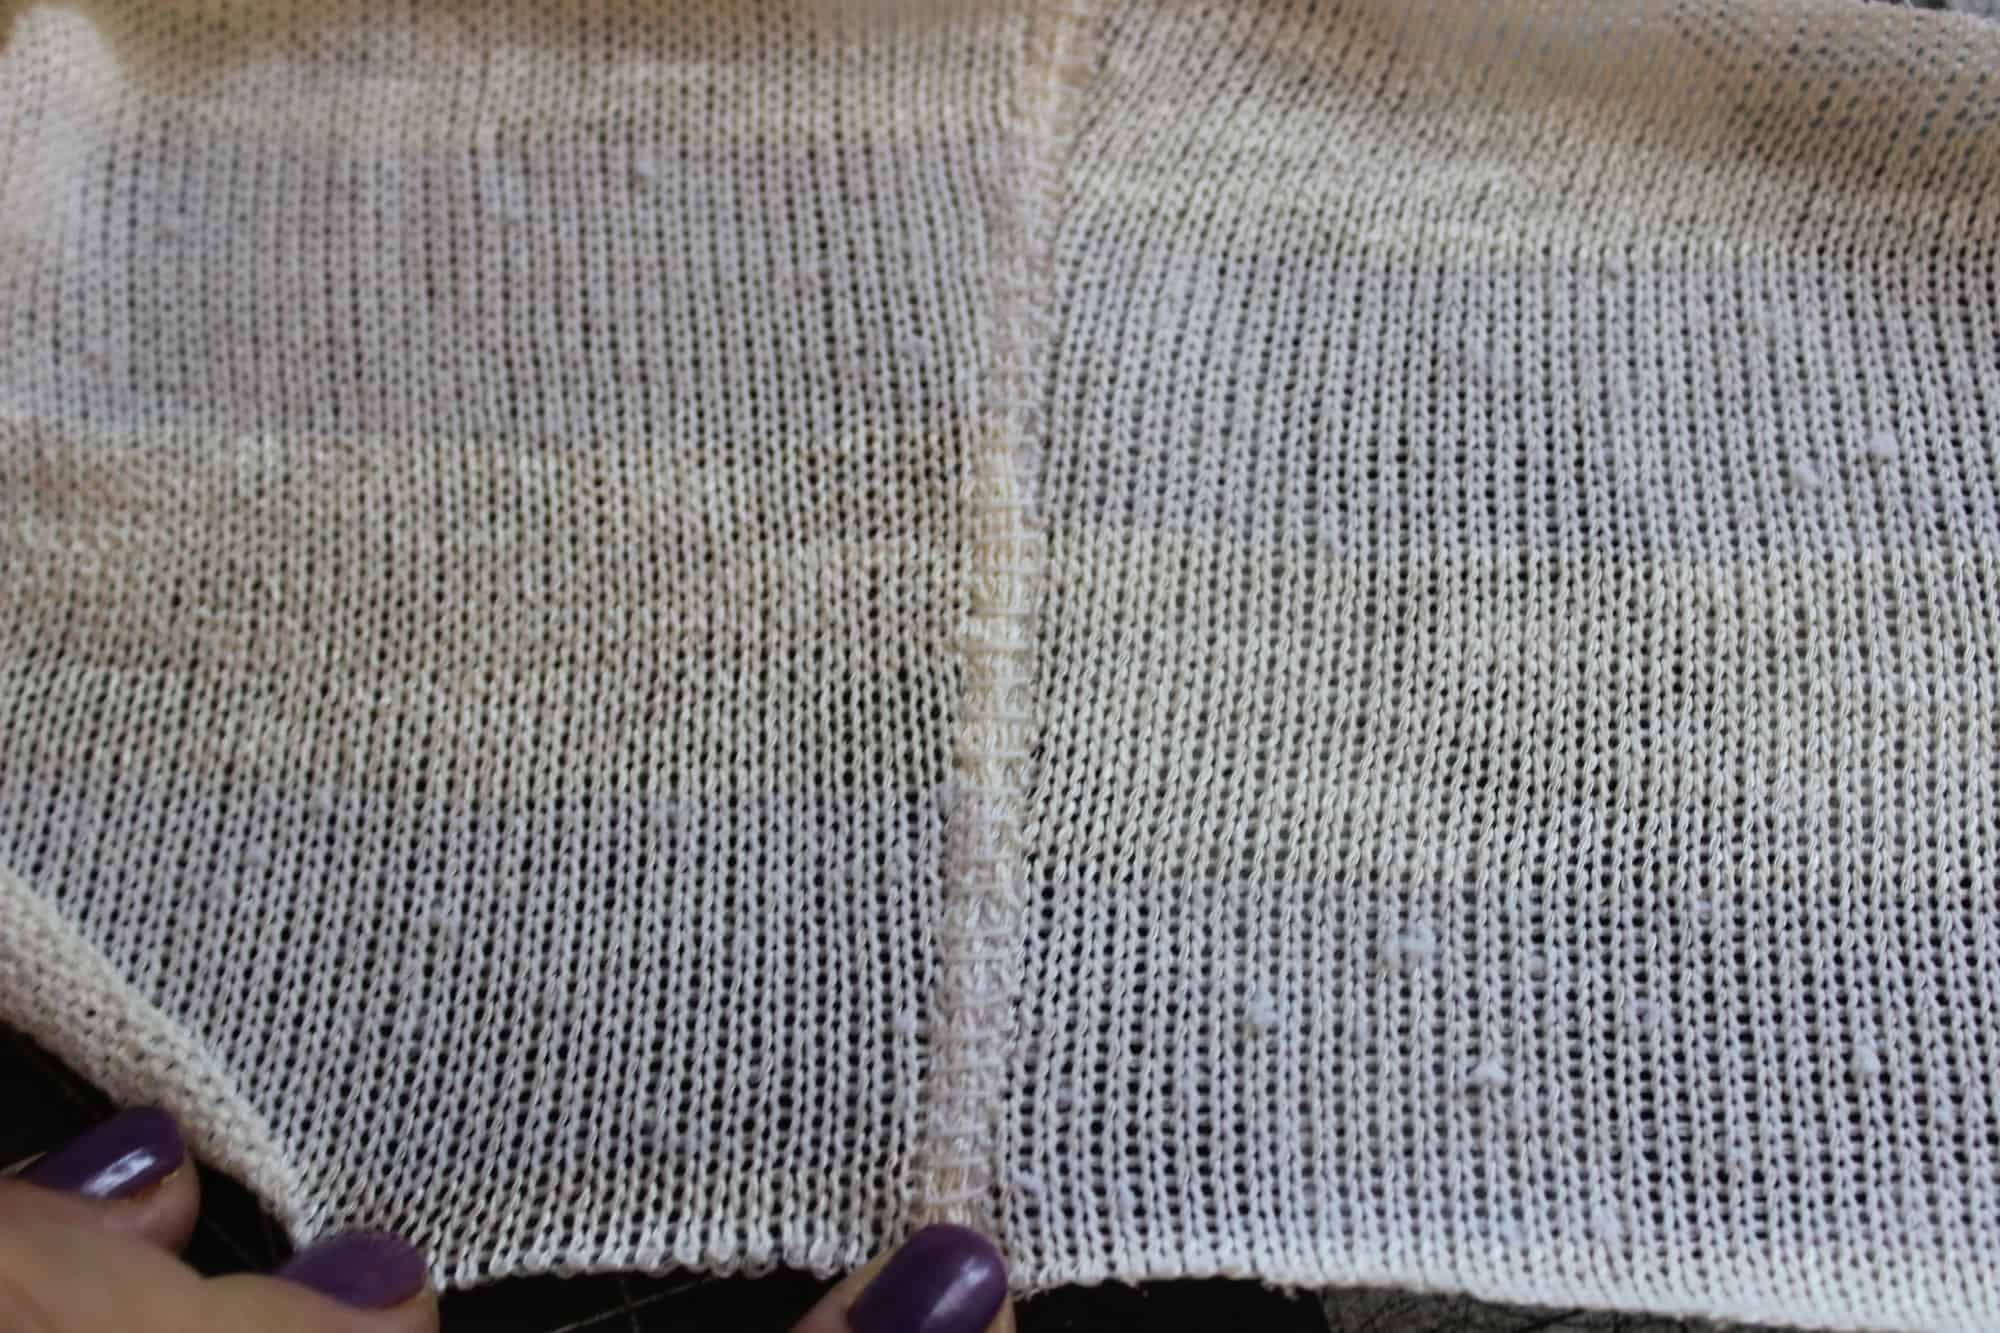
TIP: If your trim comes in 2 yards or less increments you will need to attach two pieces together. To do that I like to use a zig zag stitch and just slightly overlap the ends. Stitch them together with a narrow zig zag stitch. Don’t forget to place a little piece of water soluble stabilizer under your lace when you stitch it.
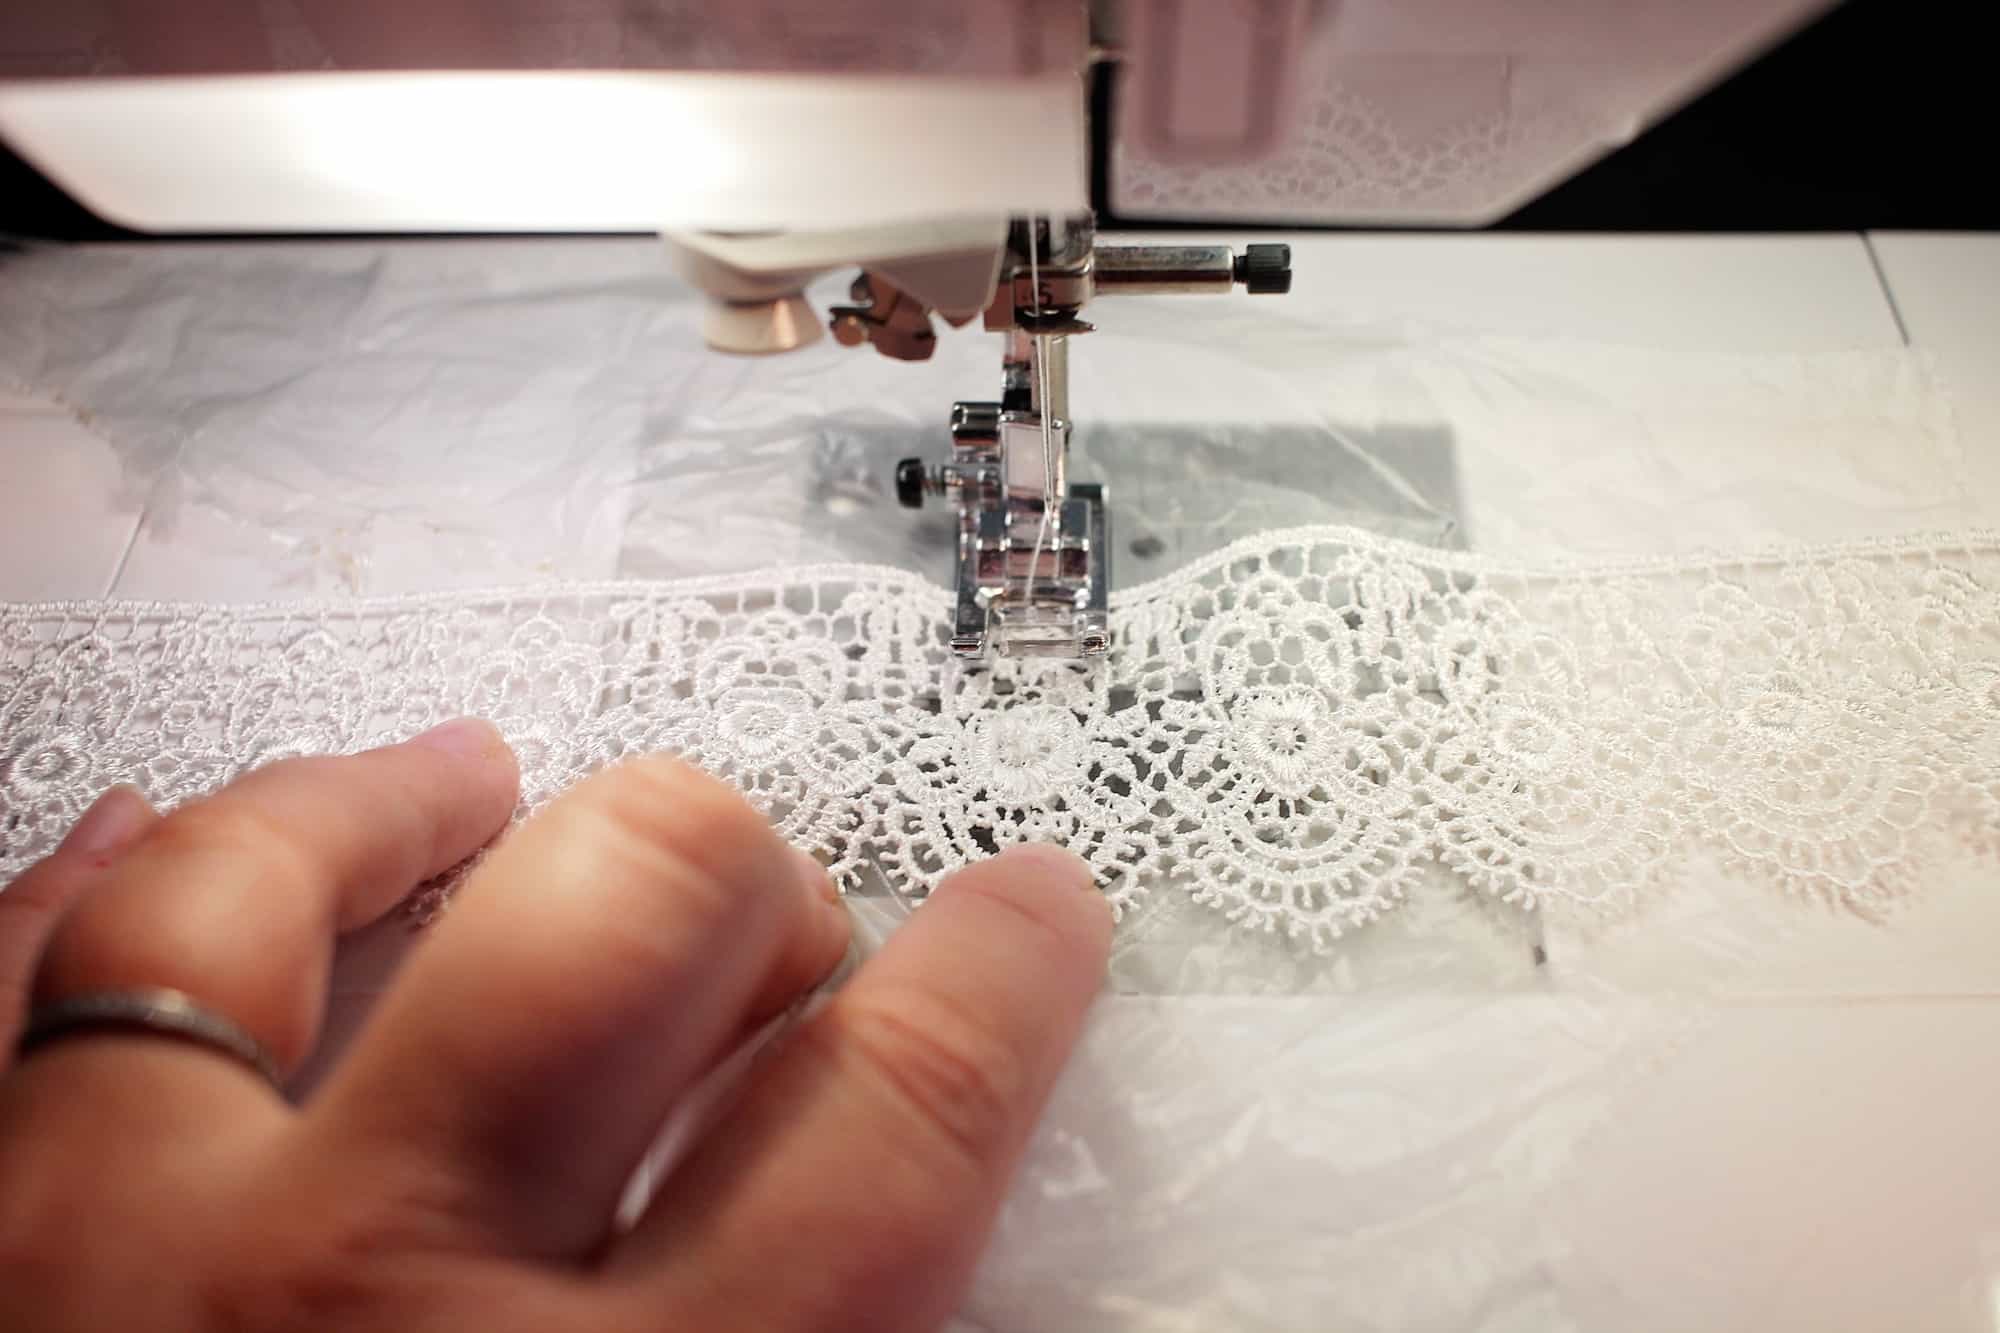

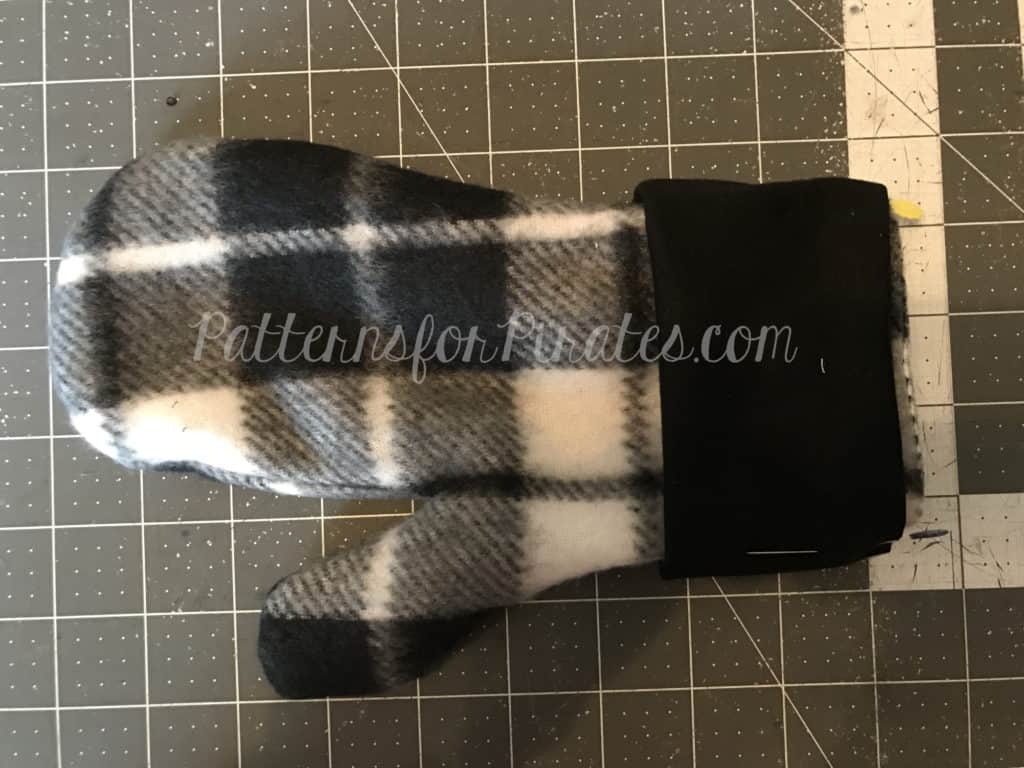
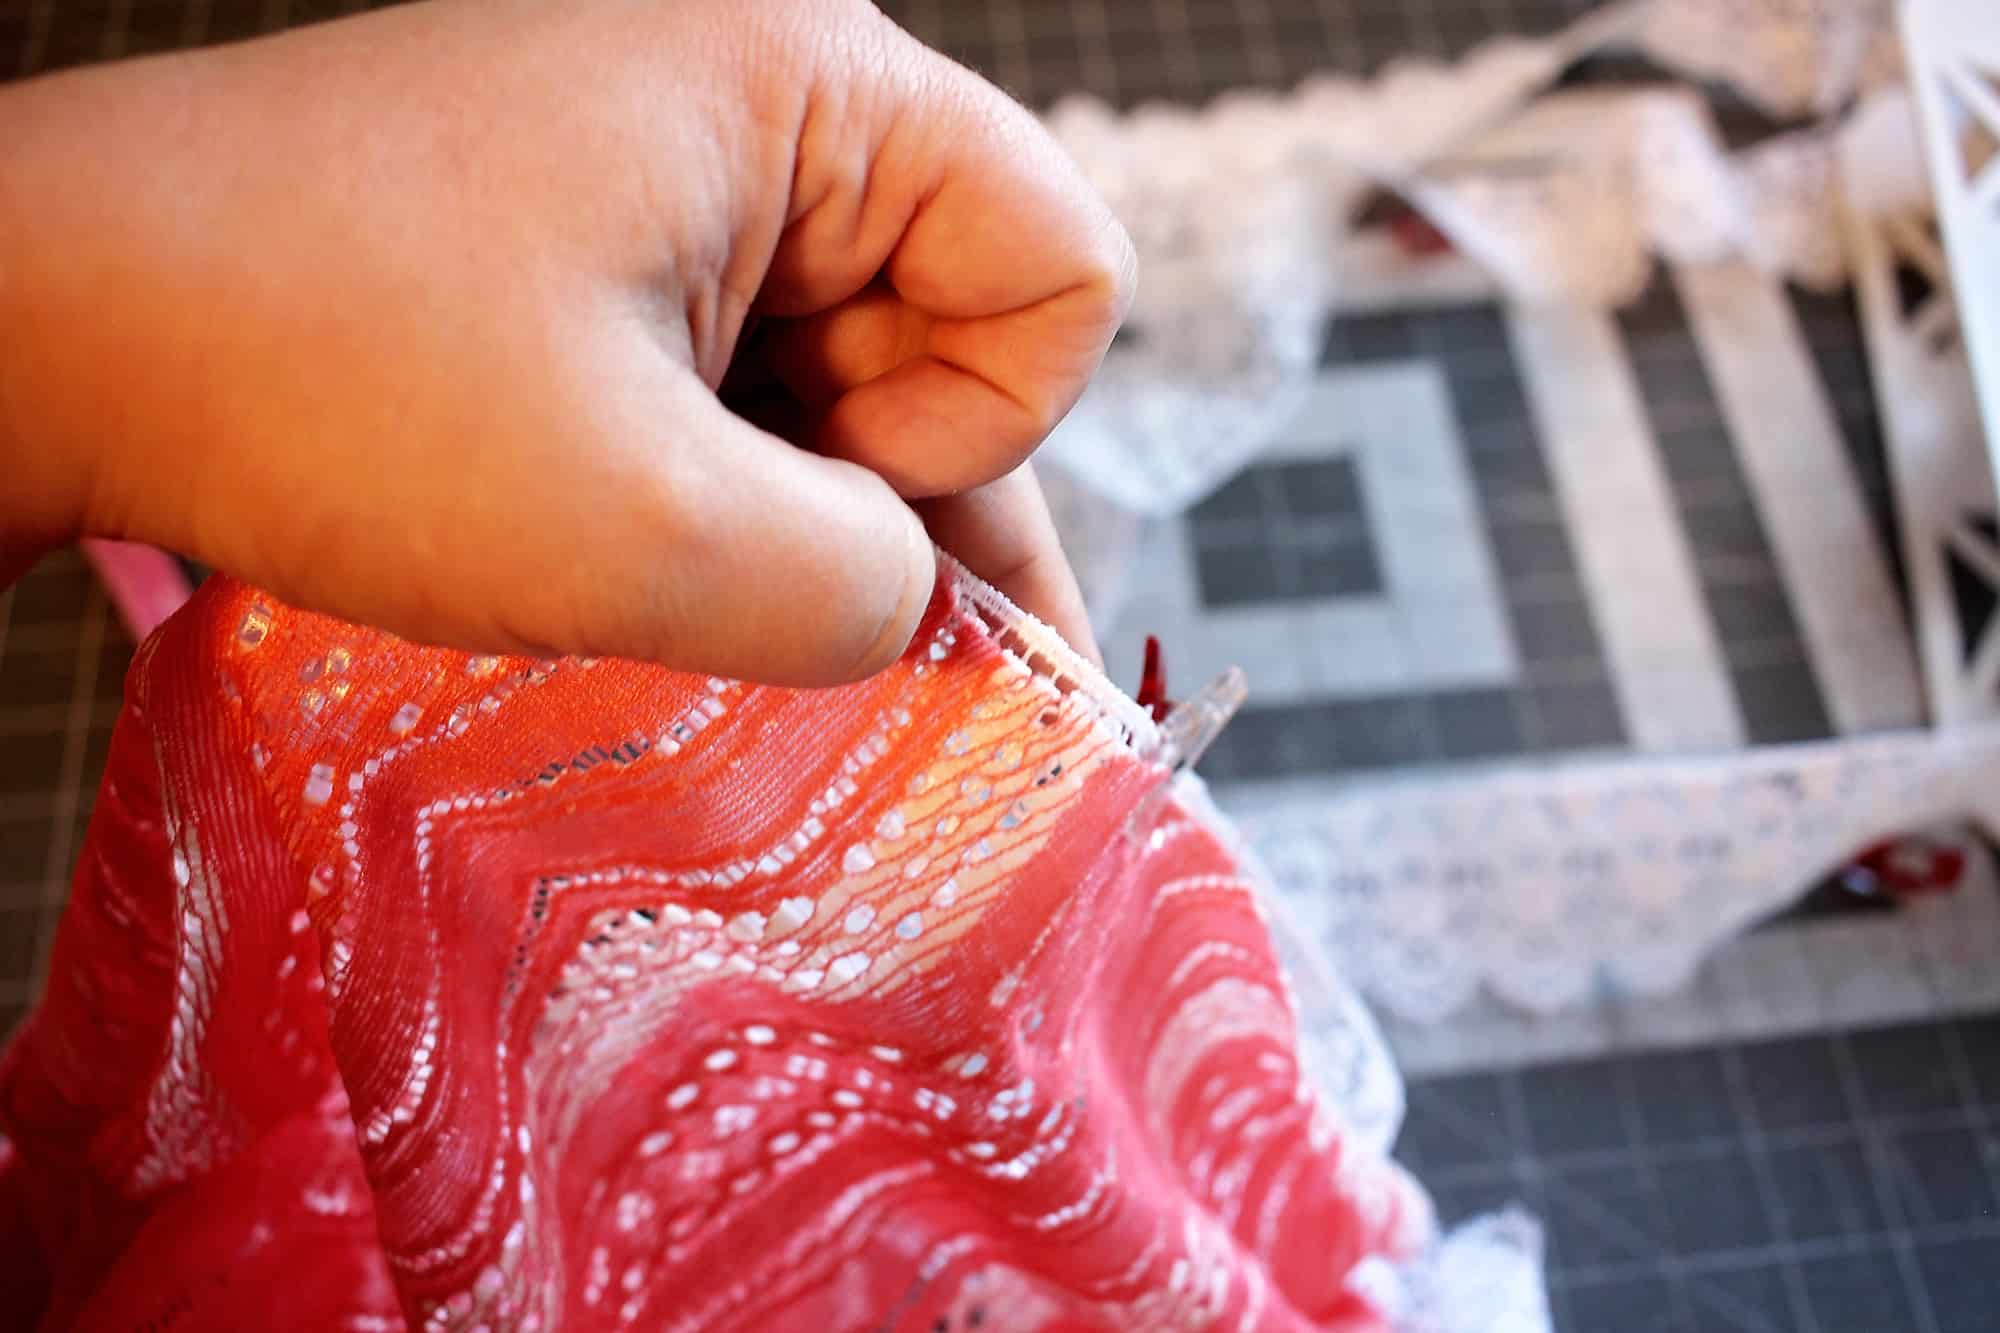
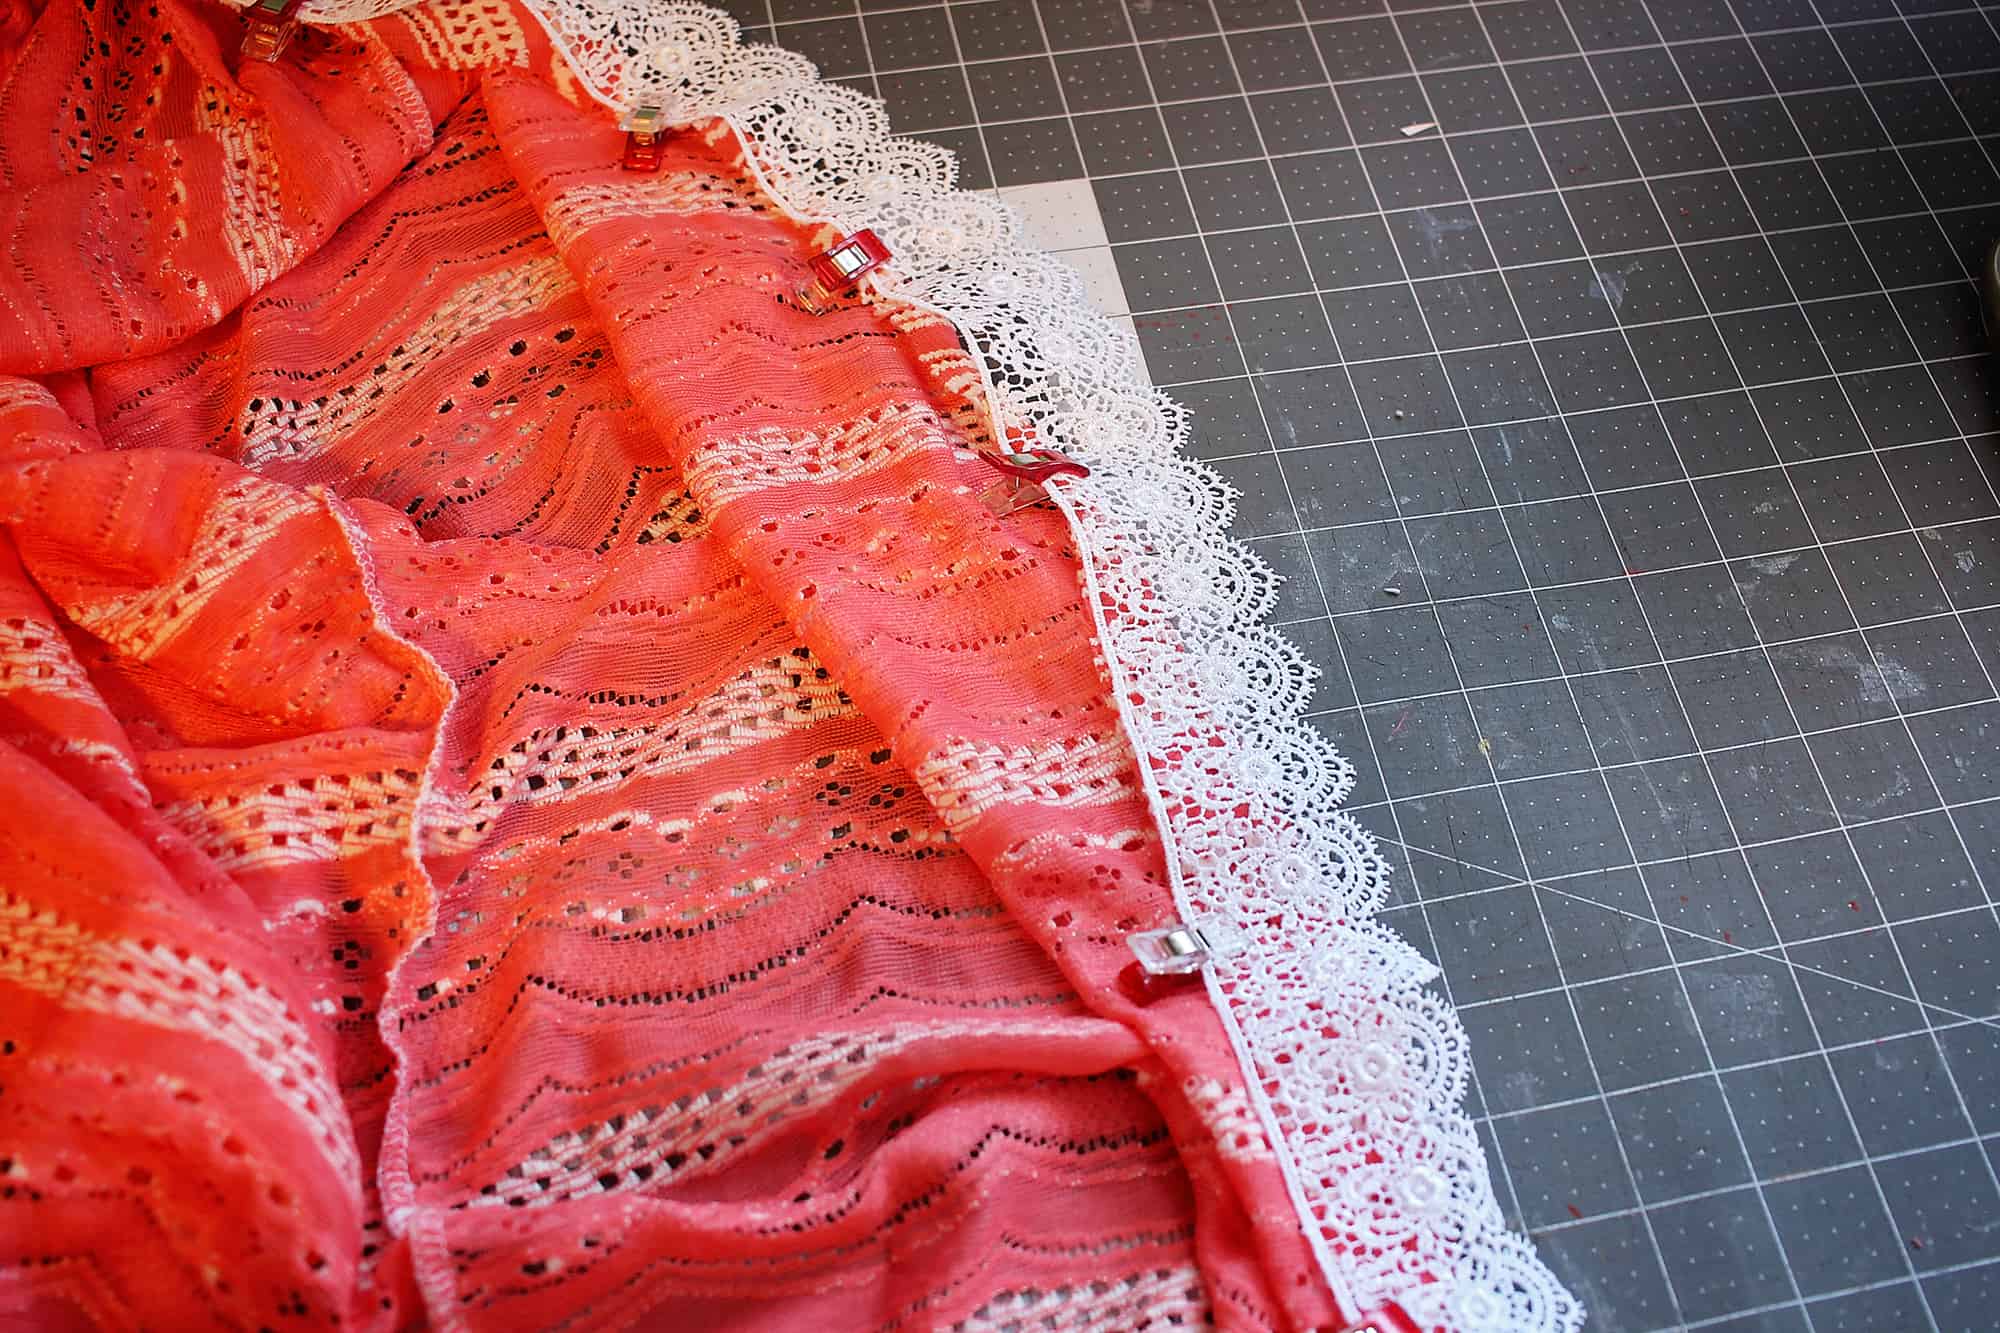
Pin (or clip) your lace to the cardigan raw edge, right sides together. Yes, there is a right side to the lace trim too! 🙂 Pin all around the edge, making sure you do not stretch the cardigan. When you get to the curved edge pin even closer since that part is not only stretchy but also on the bias.
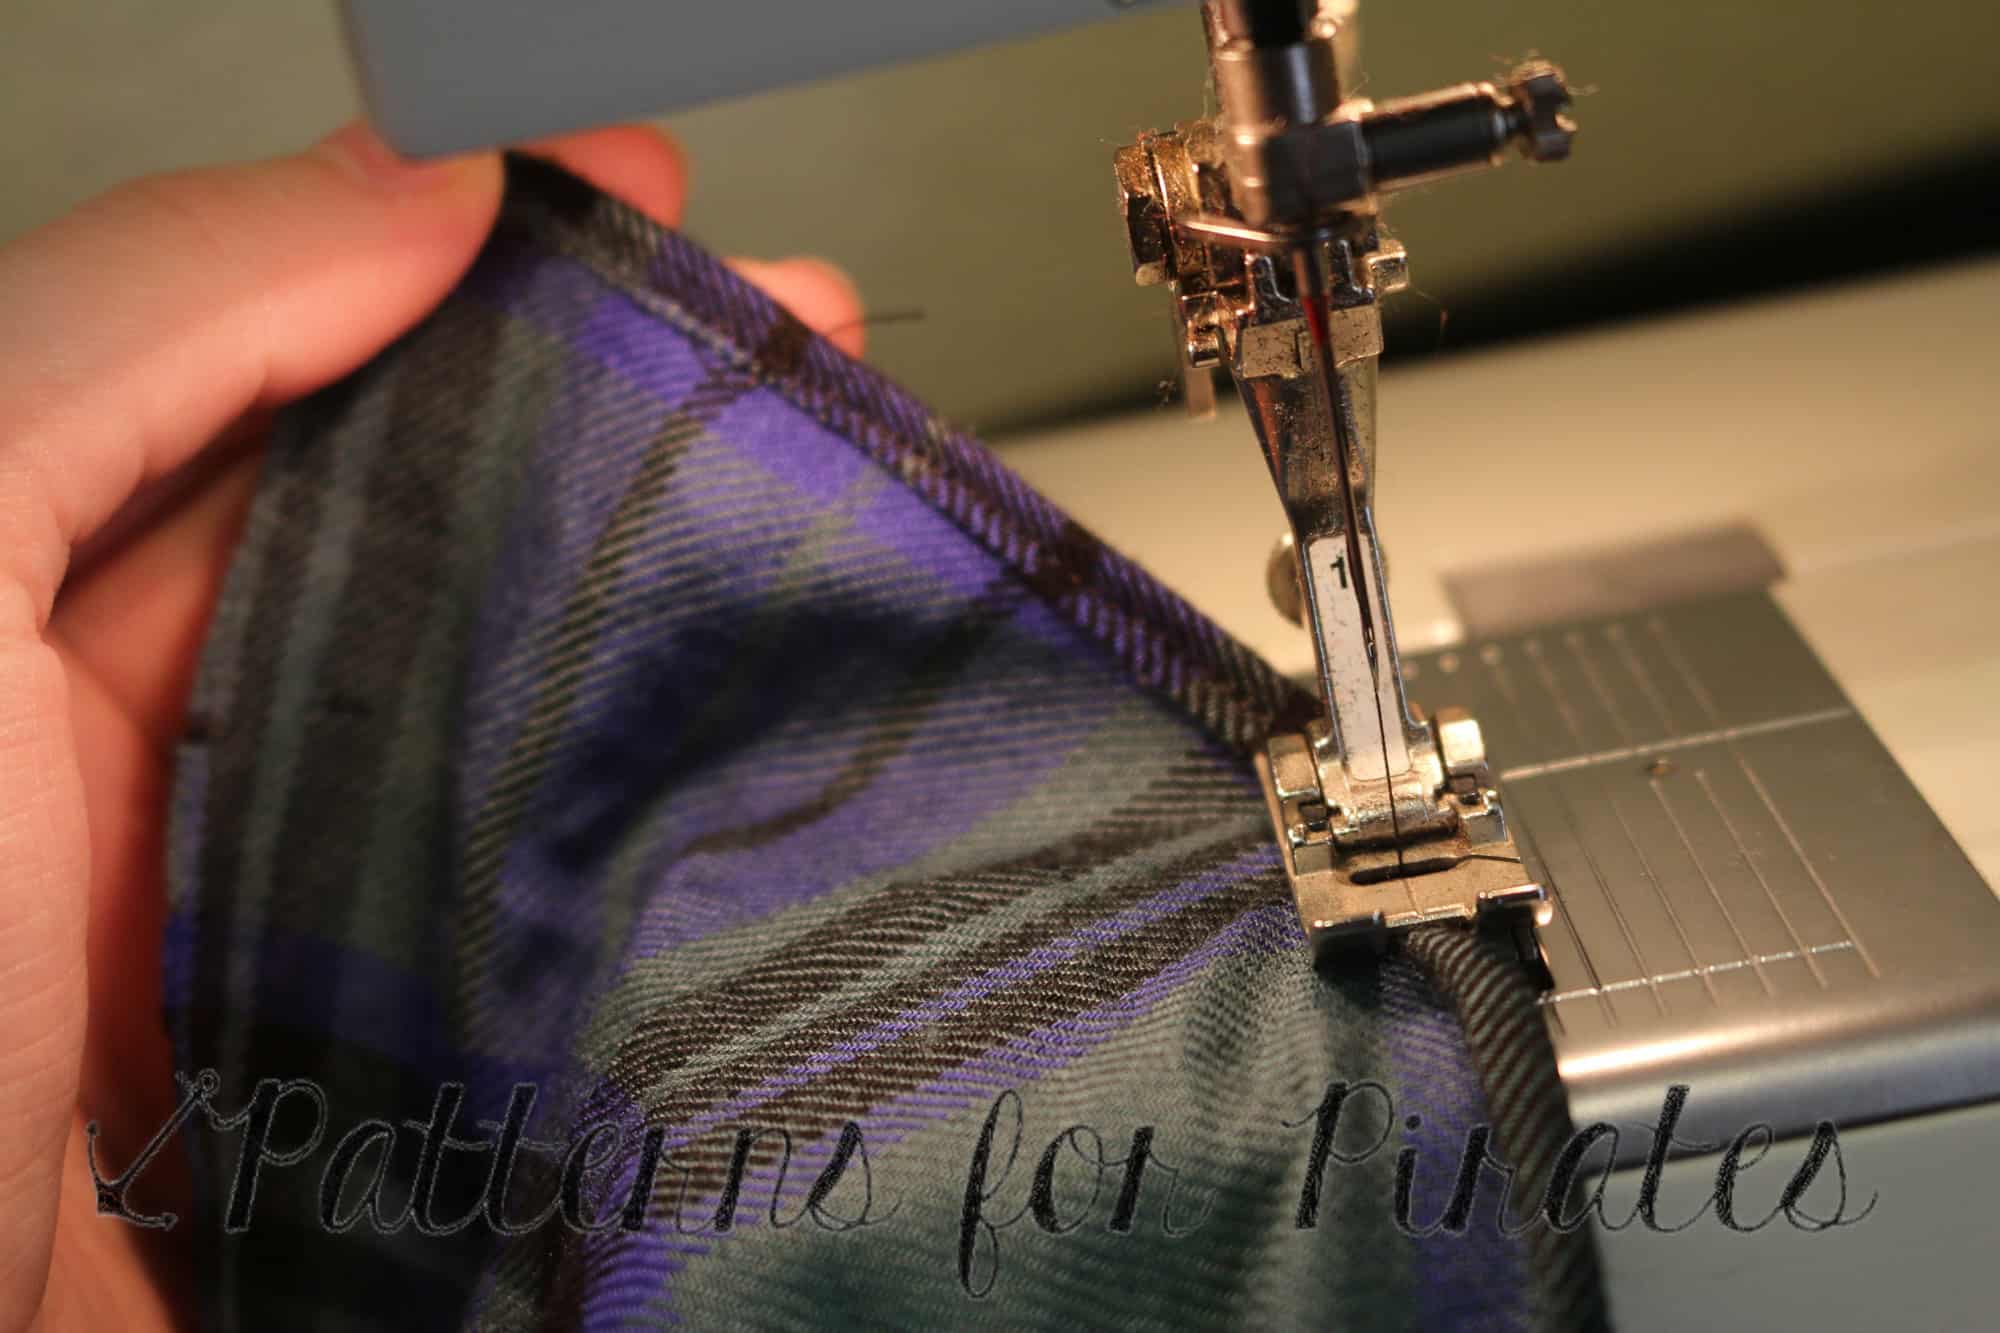
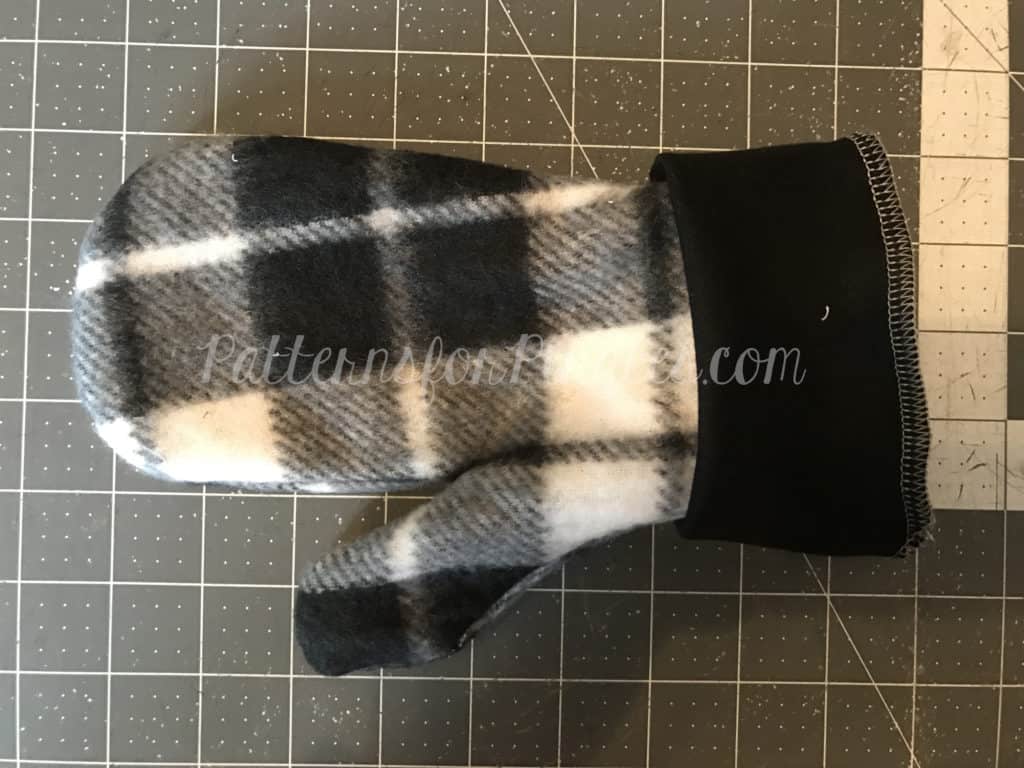
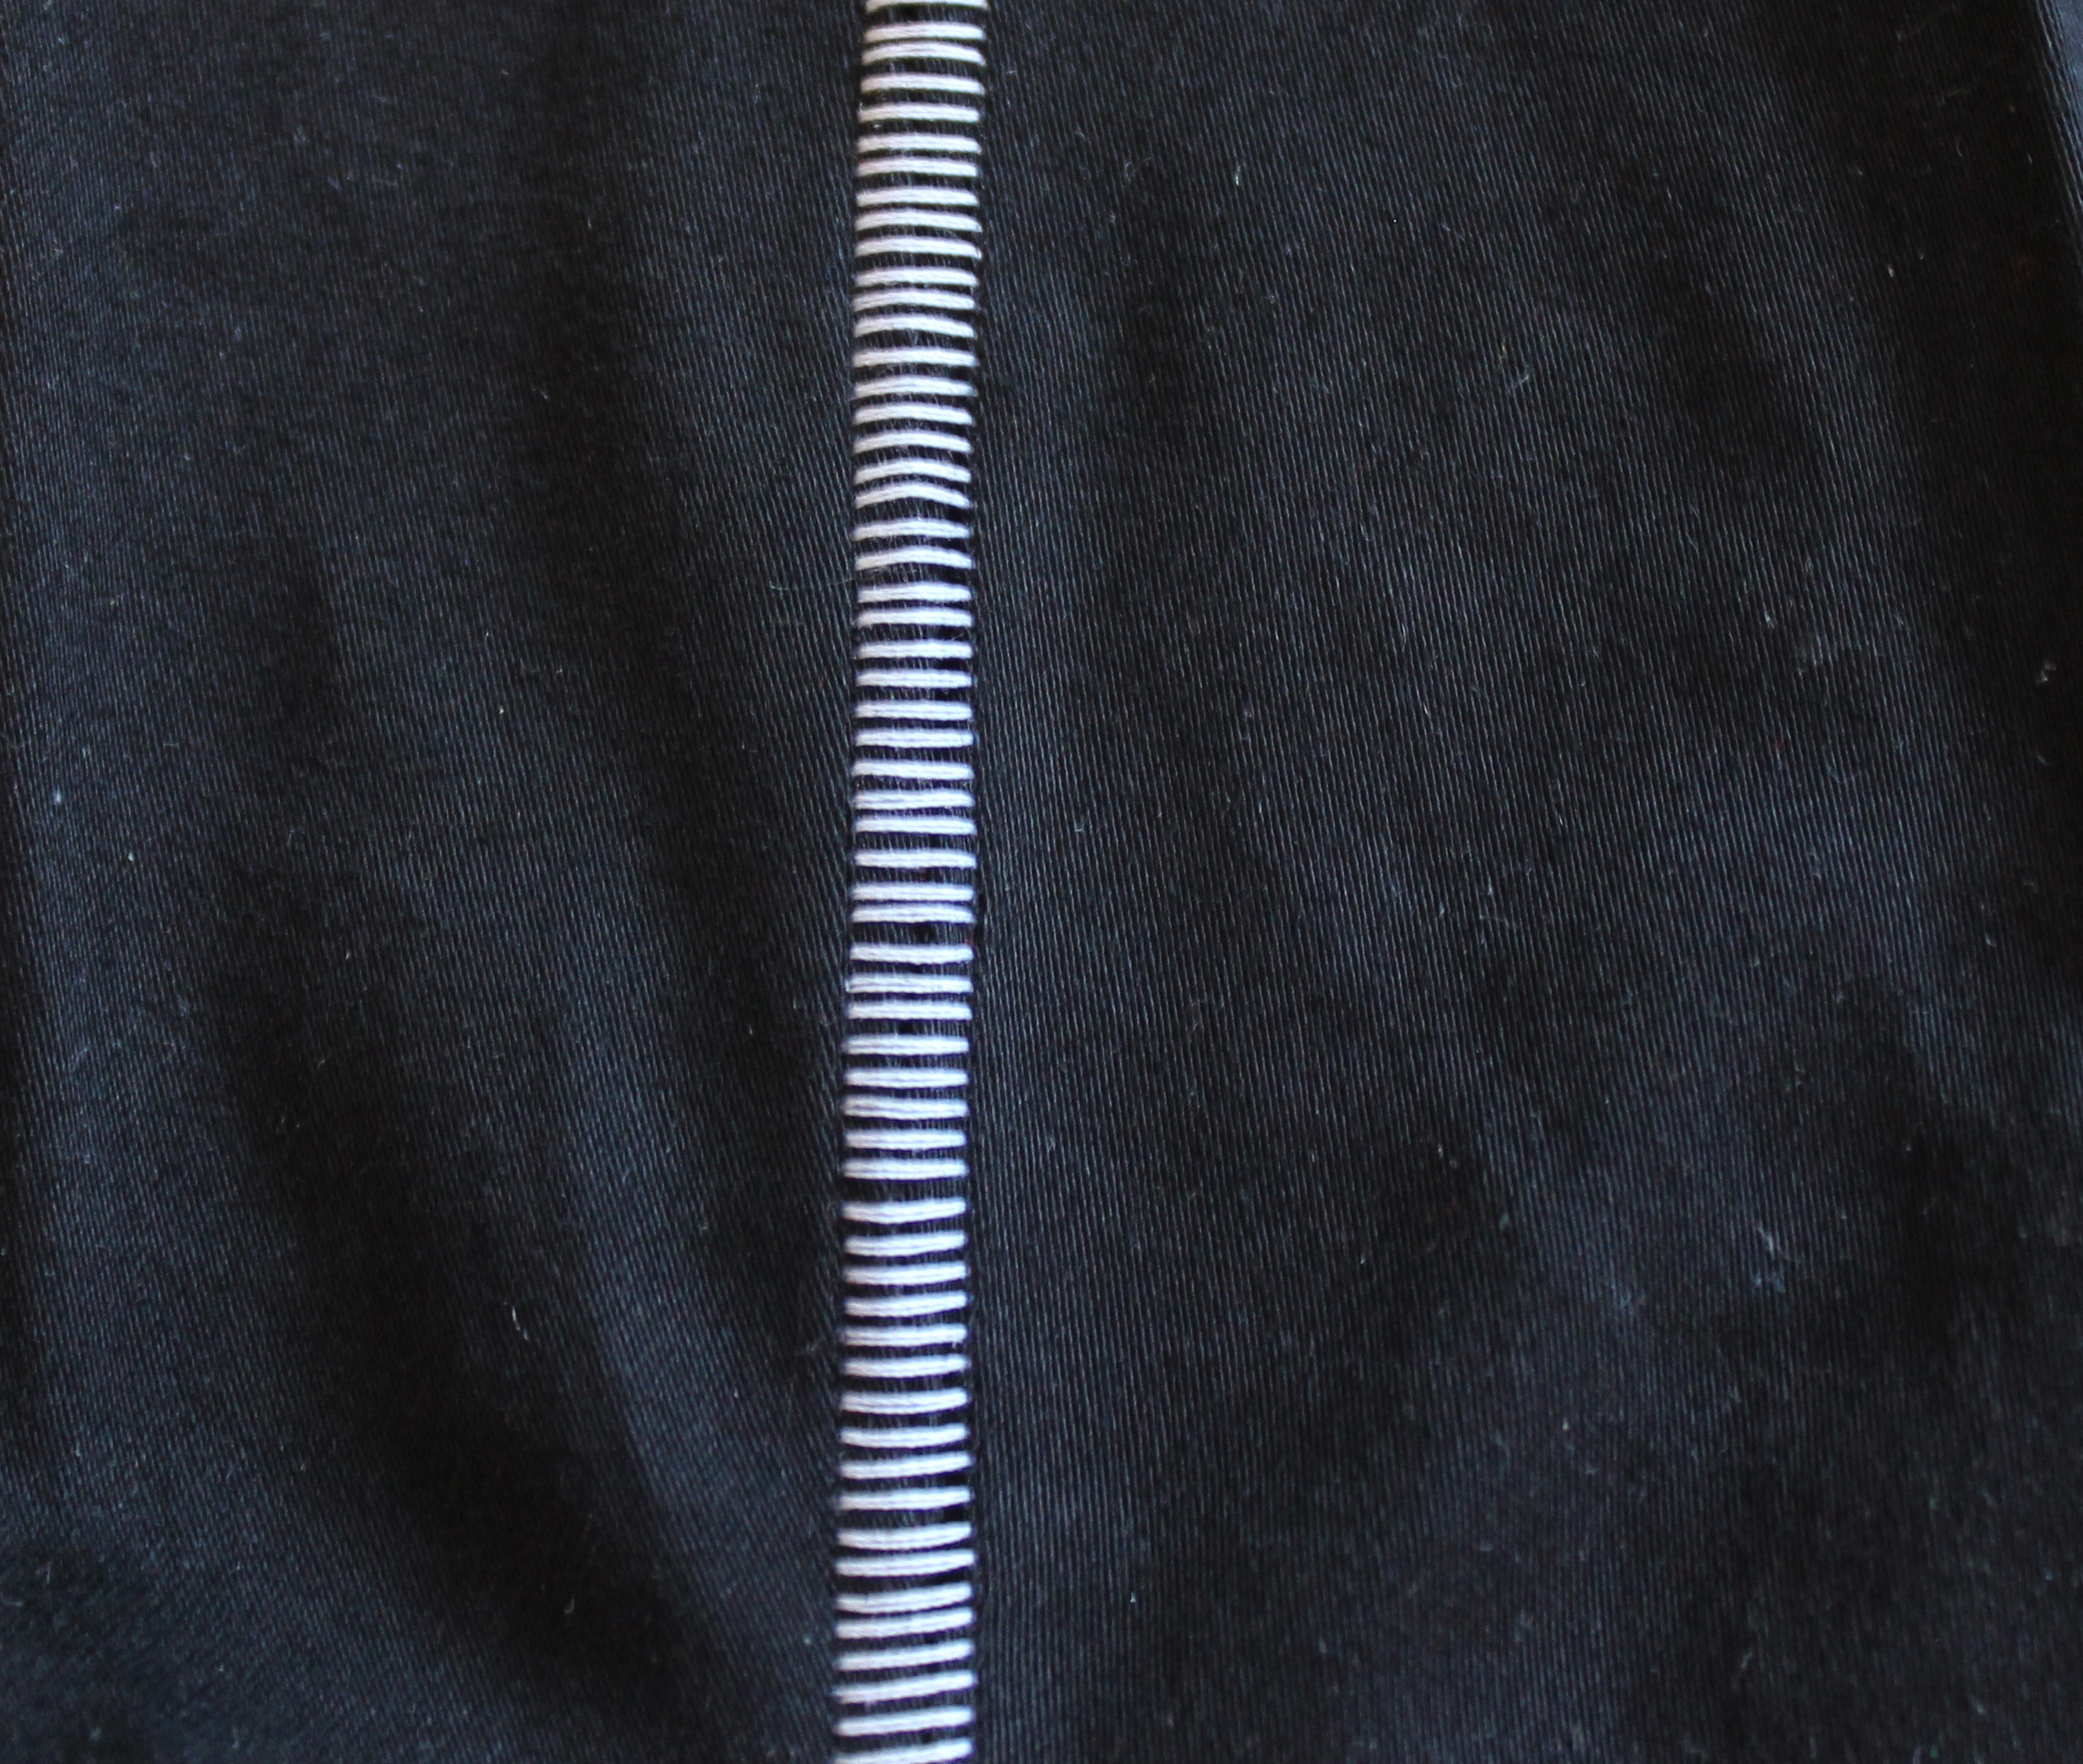
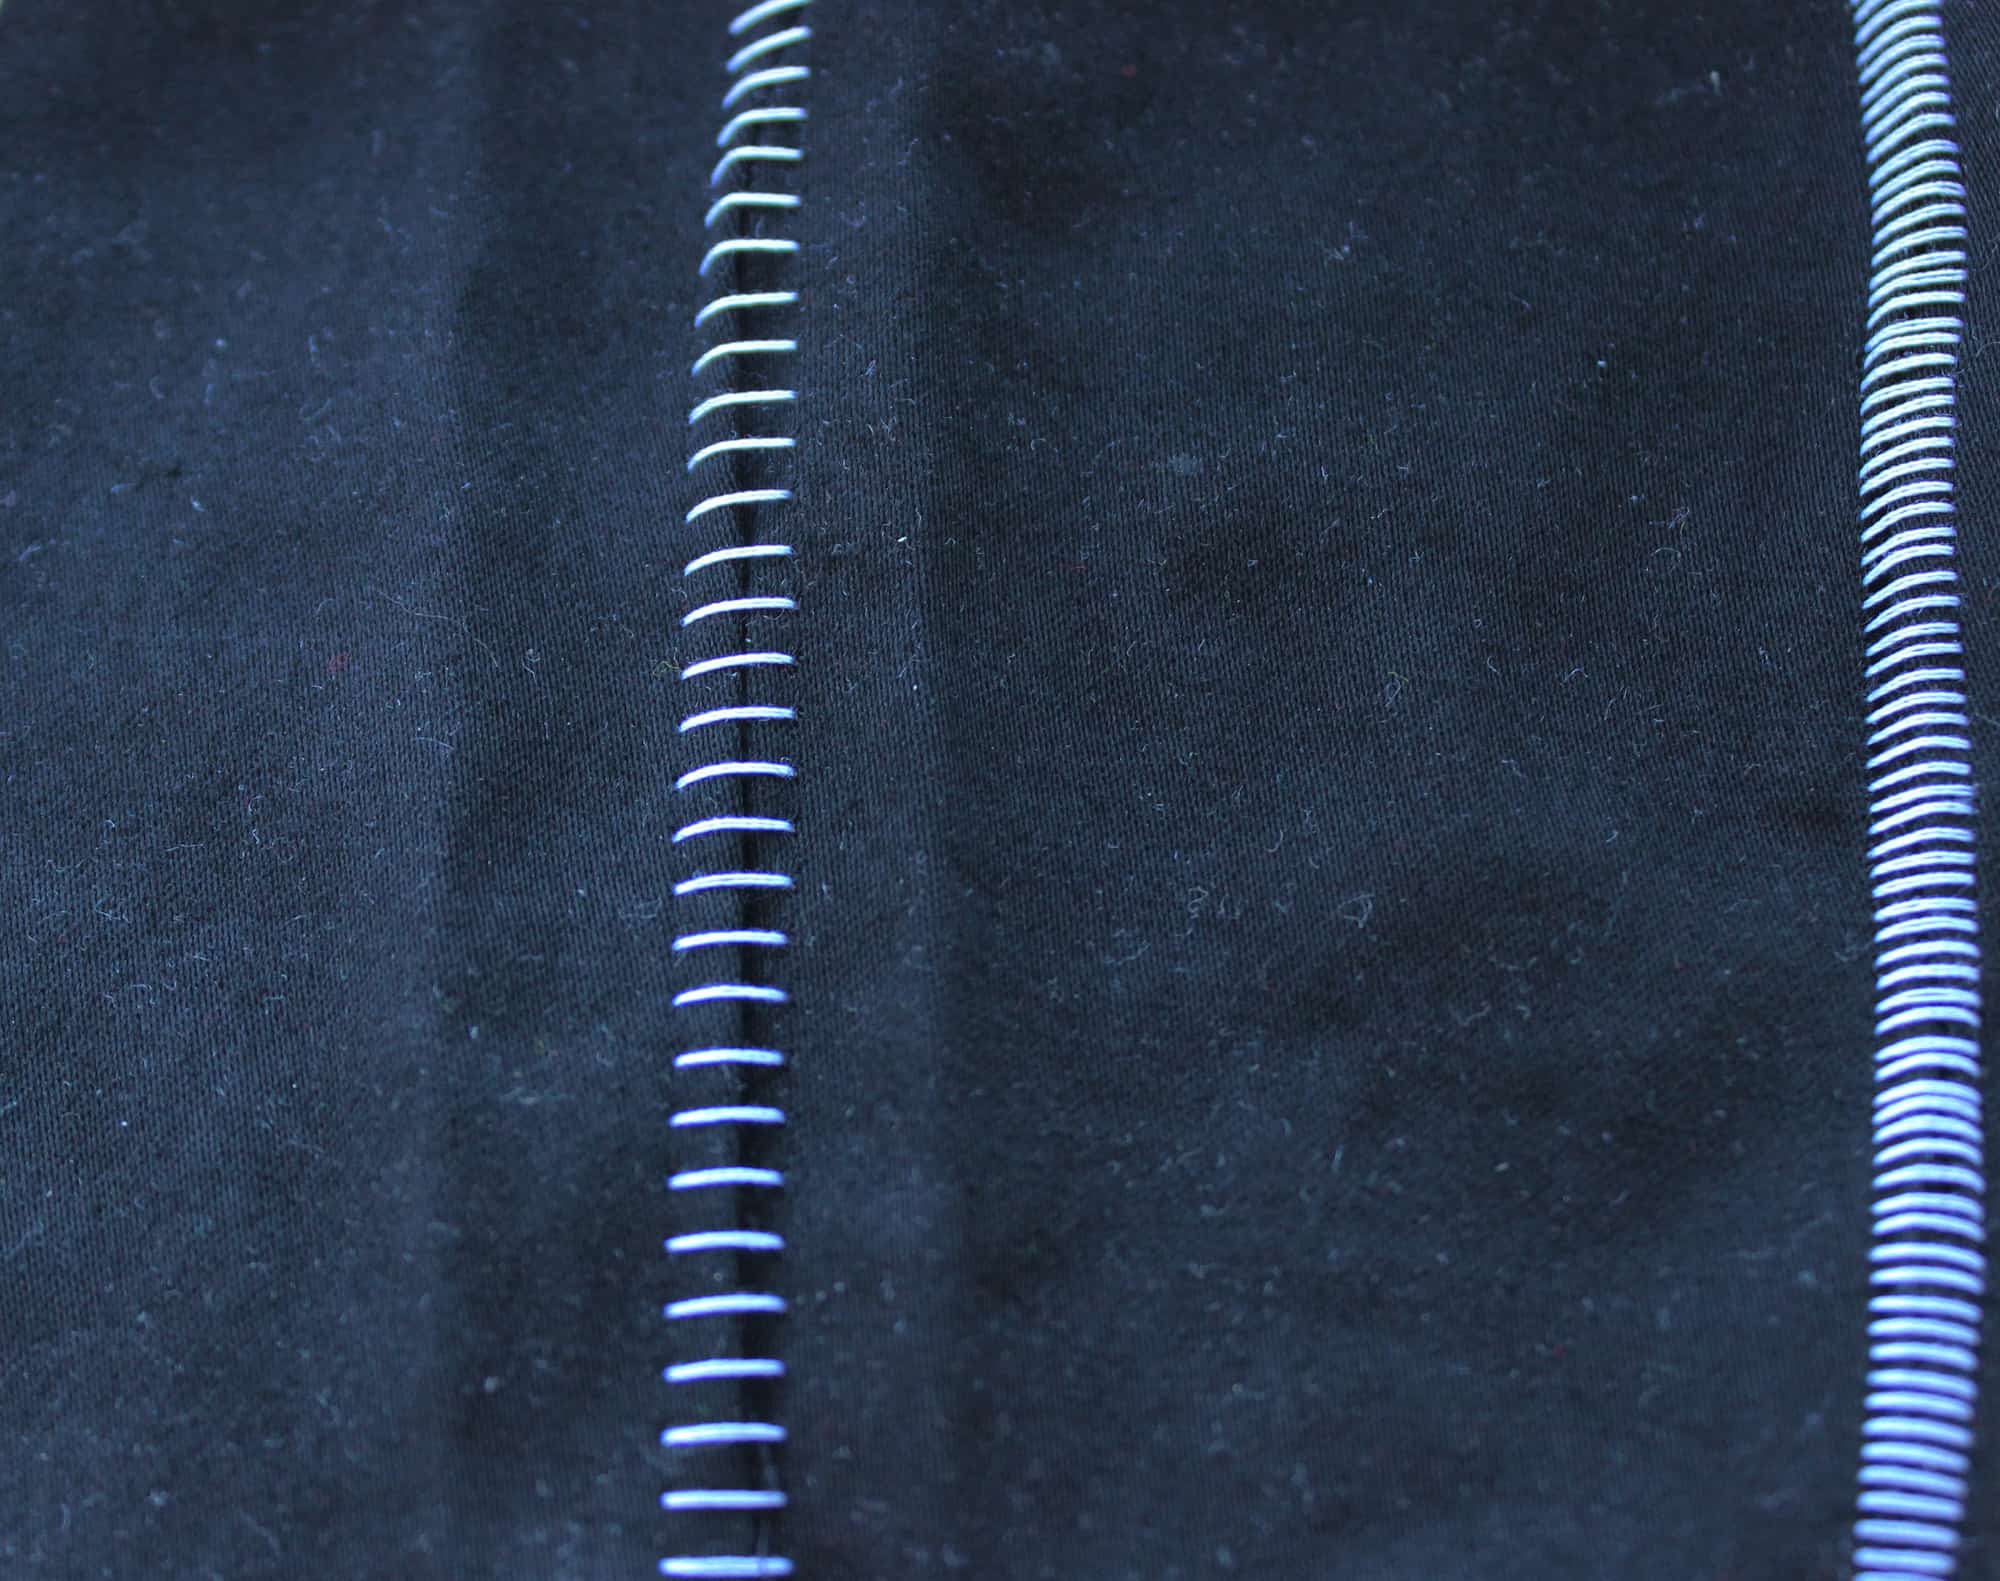
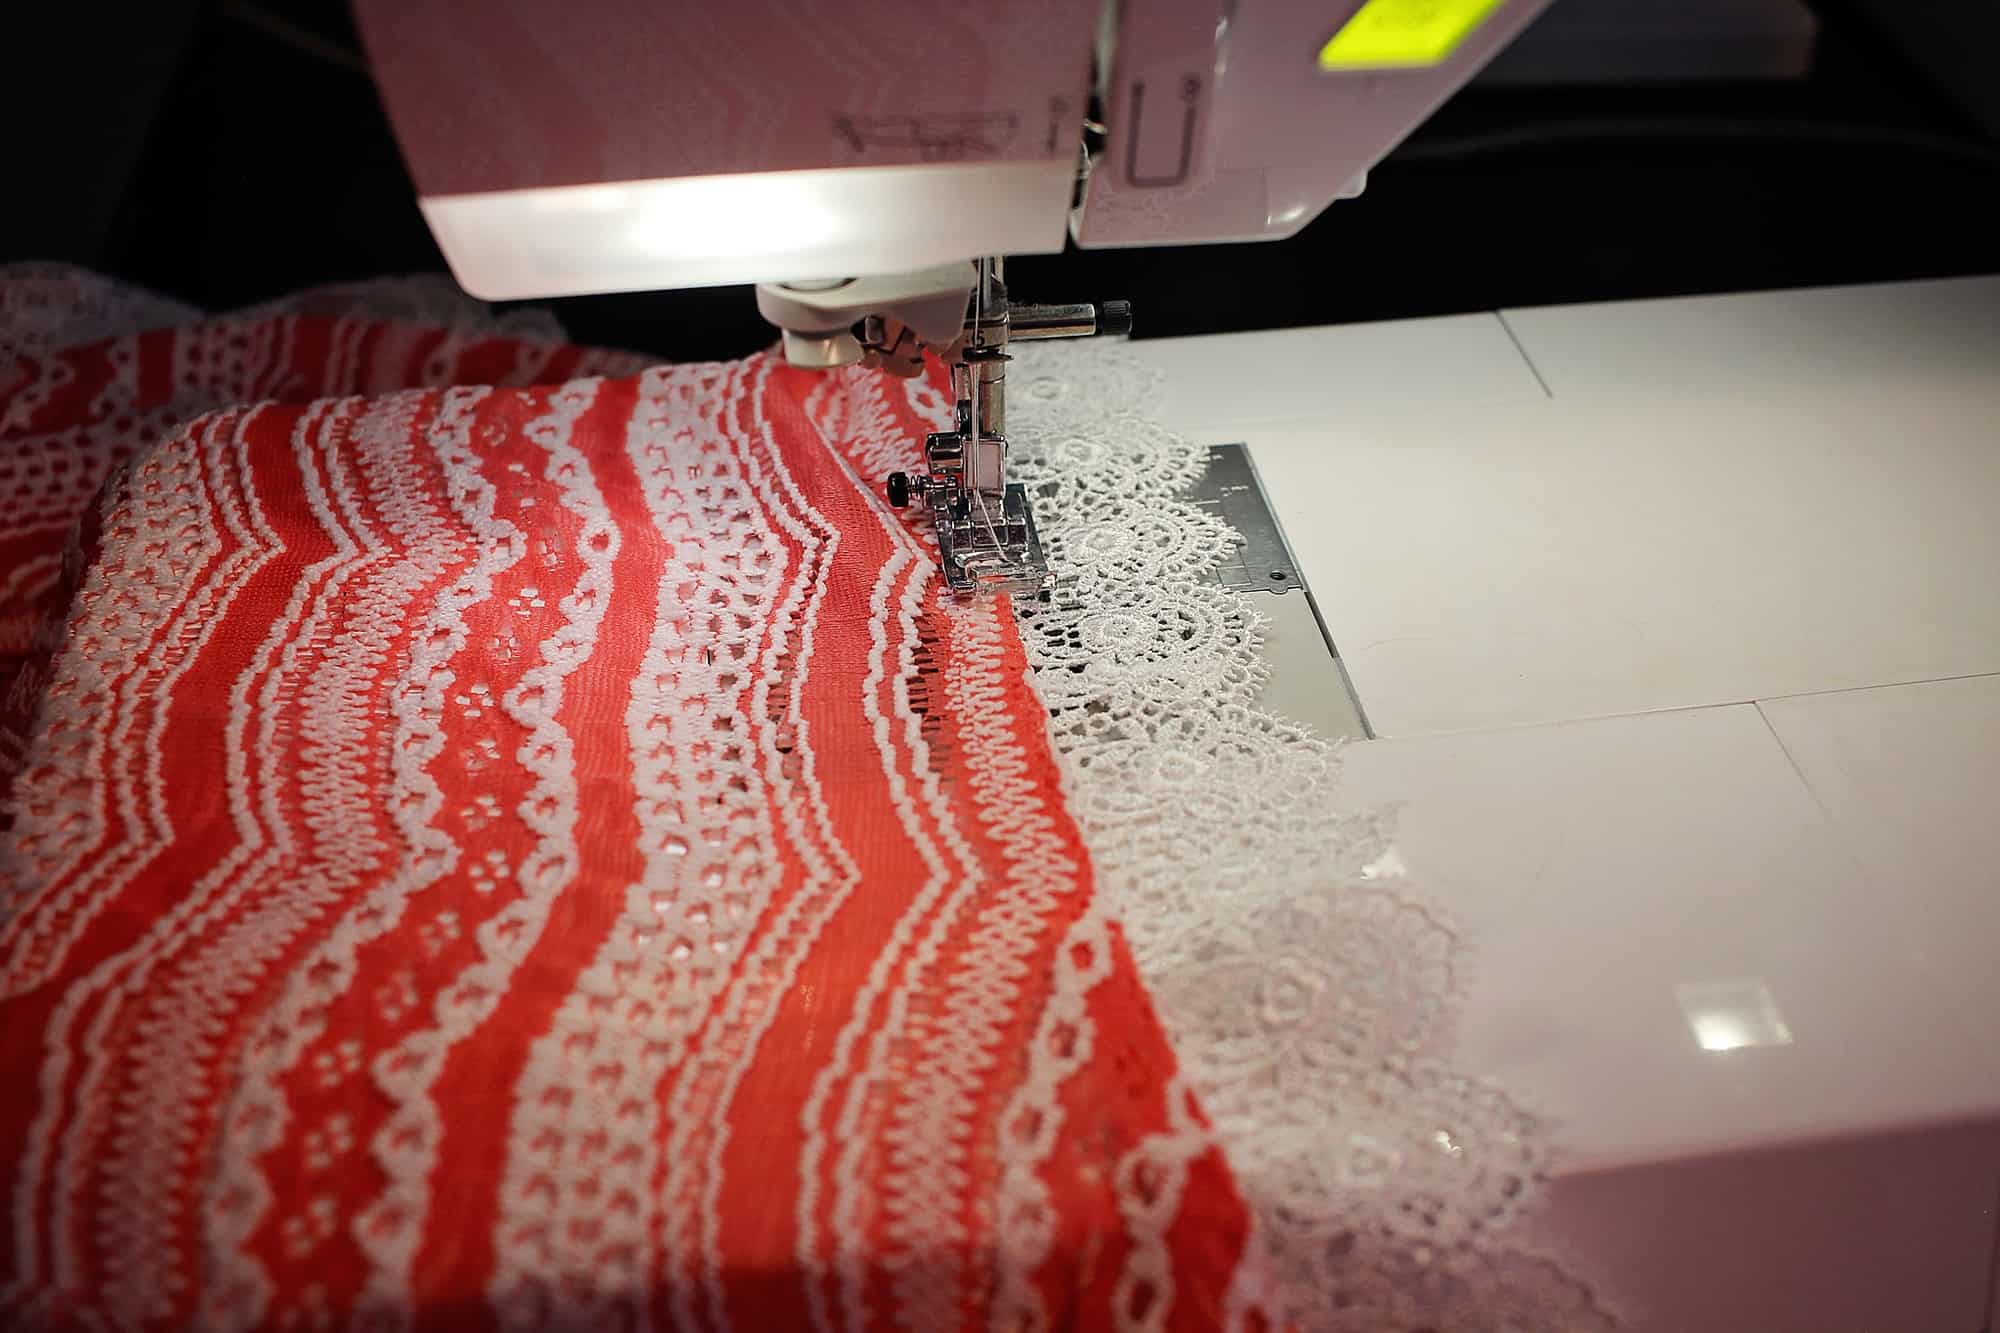 Once it’s all pinned in place sew the lace around the opening very slowly. I like to use my sewing machine for this step, instead of the serger. A stitch length of 3.5 with a 3.4-3.6 tension should be all you need. All you have to do now is top stitch around the opening, about 1/4-1/8 inch away from the trim and you are all set. See how easy that was?


Take a look at our jam-packed schedule of cardigan love!
Saturday, January 21: #P4PCardiWeek Announcement
Sunday, January 22: Cocoon Lace Hems and Butterfly Ruffle
Monday, January 23: Ribbon Tie Closure Hack
Tuesday, January 24: Carefree Cardigan Fringe Hack
Wednesday, January 25: Duster-Length Adjustment
Thursday, January 26: Kimono Ruffle Sleeves + Hem
Friday, January 27: Varsity Sweater Style Hack
Saturday, January 28: Carefree Cardigan Flannel + Vest Hack
Monday, January 30: #P4PCardiWeek Winner Announcement
You can follow along on the blog here, or in our Facebook group. Search #P4PCardiWeek to be able to find our posts all over social media. And please feel free to sew-along with us on one or all of the days. The more the merrier!
But wait, there’s more! We wanted to create a friendly pirate-y competition with our P4P Cardi Week!
Between tomorrow and Saturday, January 28, sew up a Patterns for Pirates cardigan using one of our hacks, or by keeping the pattern as-is. Share your photo with us on Instagram or in our Facebook group and use the tag#P4PCardiWeek We will pick our favorite and the winner will win a free P4P pattern of choice AND be featured on this blog. Fun right?
To make it even better we have put all the cardigan patterns in the shop on sale all week (no code needed)!
Now get out there and sew some cardigans, matey!