Guess what today is? You betcha! It’s a P4P pattern release day!
We are coming at you live with another double release, for both women and girls. Remember the sneak peek at the we had in last month’s newsletter? It’s finally here!

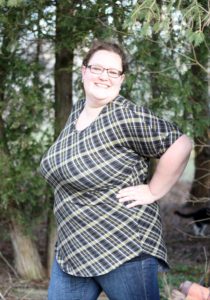
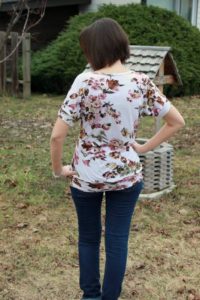
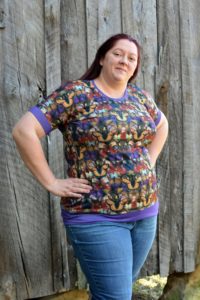
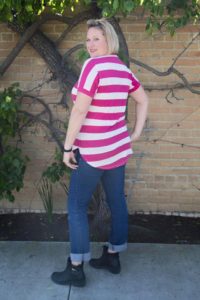
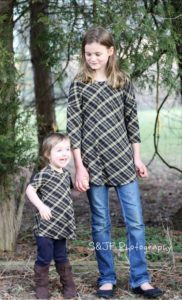
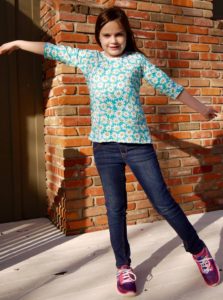
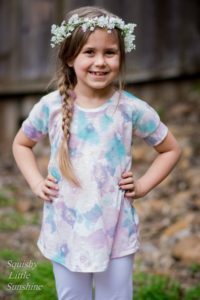
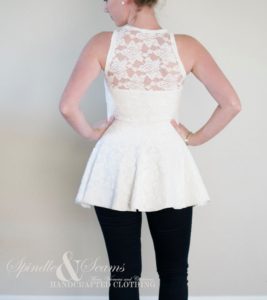
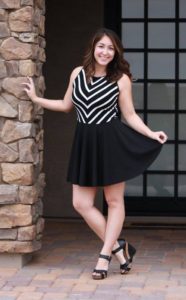
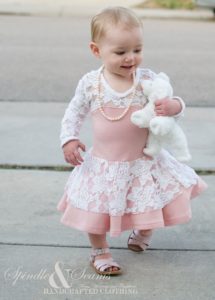
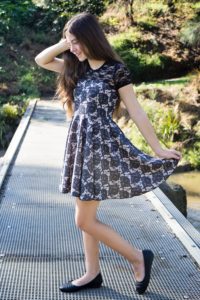
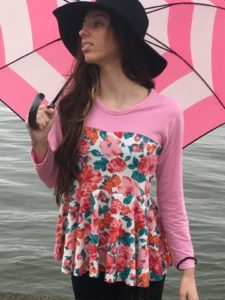
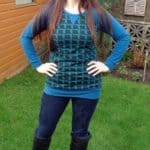
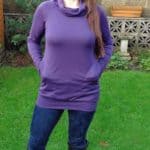
The Sweet Tee (women’s) and Sugar Pie (girl’s) tops (Bundled here) will quickly create a dolman-sewing addiction. They are incredibly quick and super darling on all body types. The pattern features a semi-fitted silhouette and a dolman-style sleeve…as well as our tried-and-true jam packed amount of options. You’re bound to become as obsessed with this top as we are.

Multiple sleeve options (short, 3/4 and long), multiple hems (curved/tall and short waistbands/shirt length/dress length) and a variety of finishes for the neckband will give you endless options. There is nothing better than having a trusted pattern you can use over and over again, and the Sweet Tee + Sugar Pie will not disappoint.
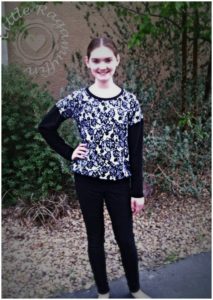
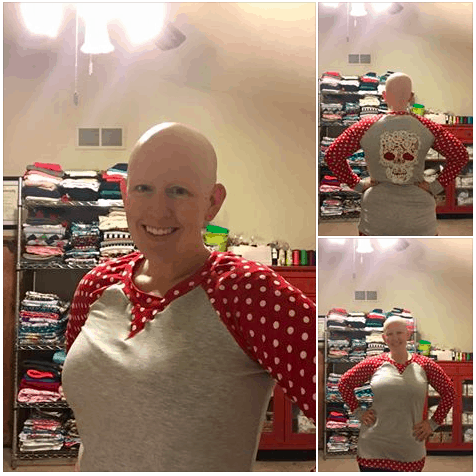
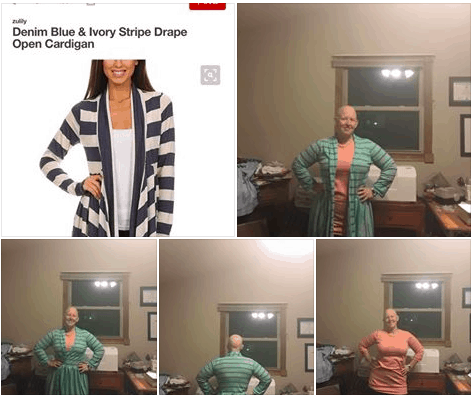
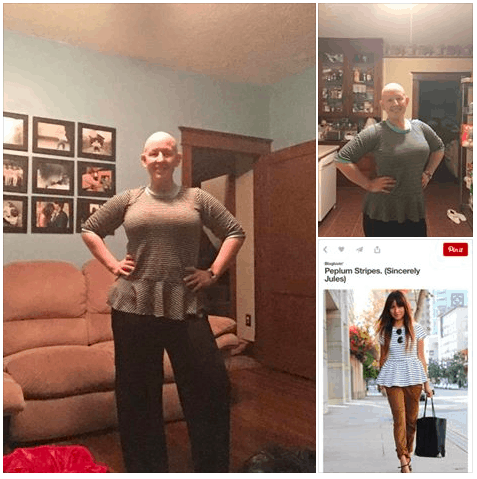
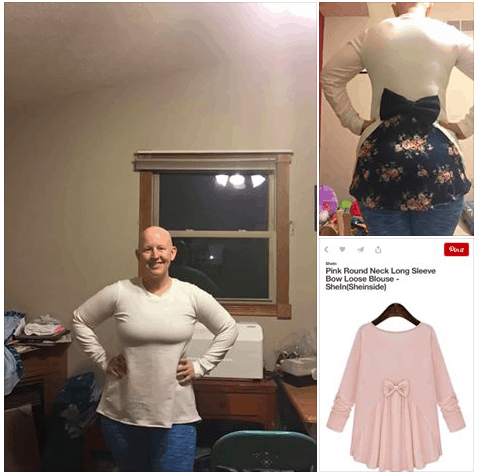
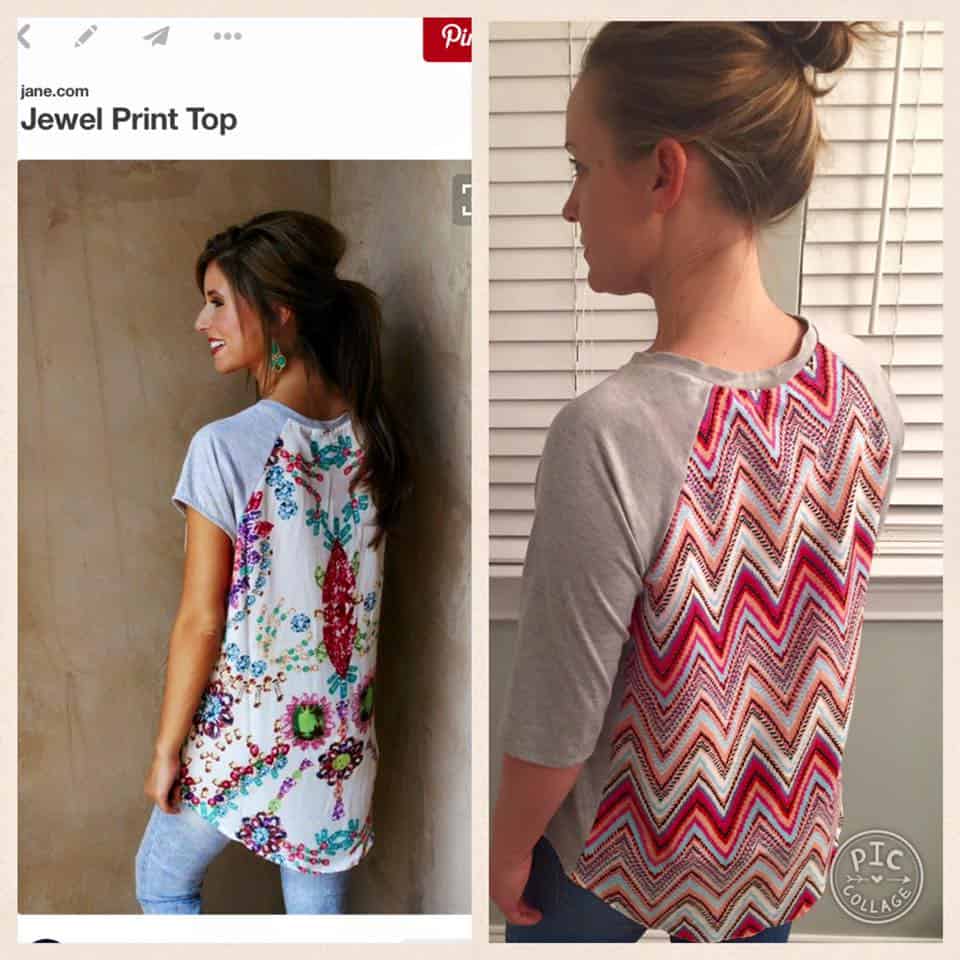
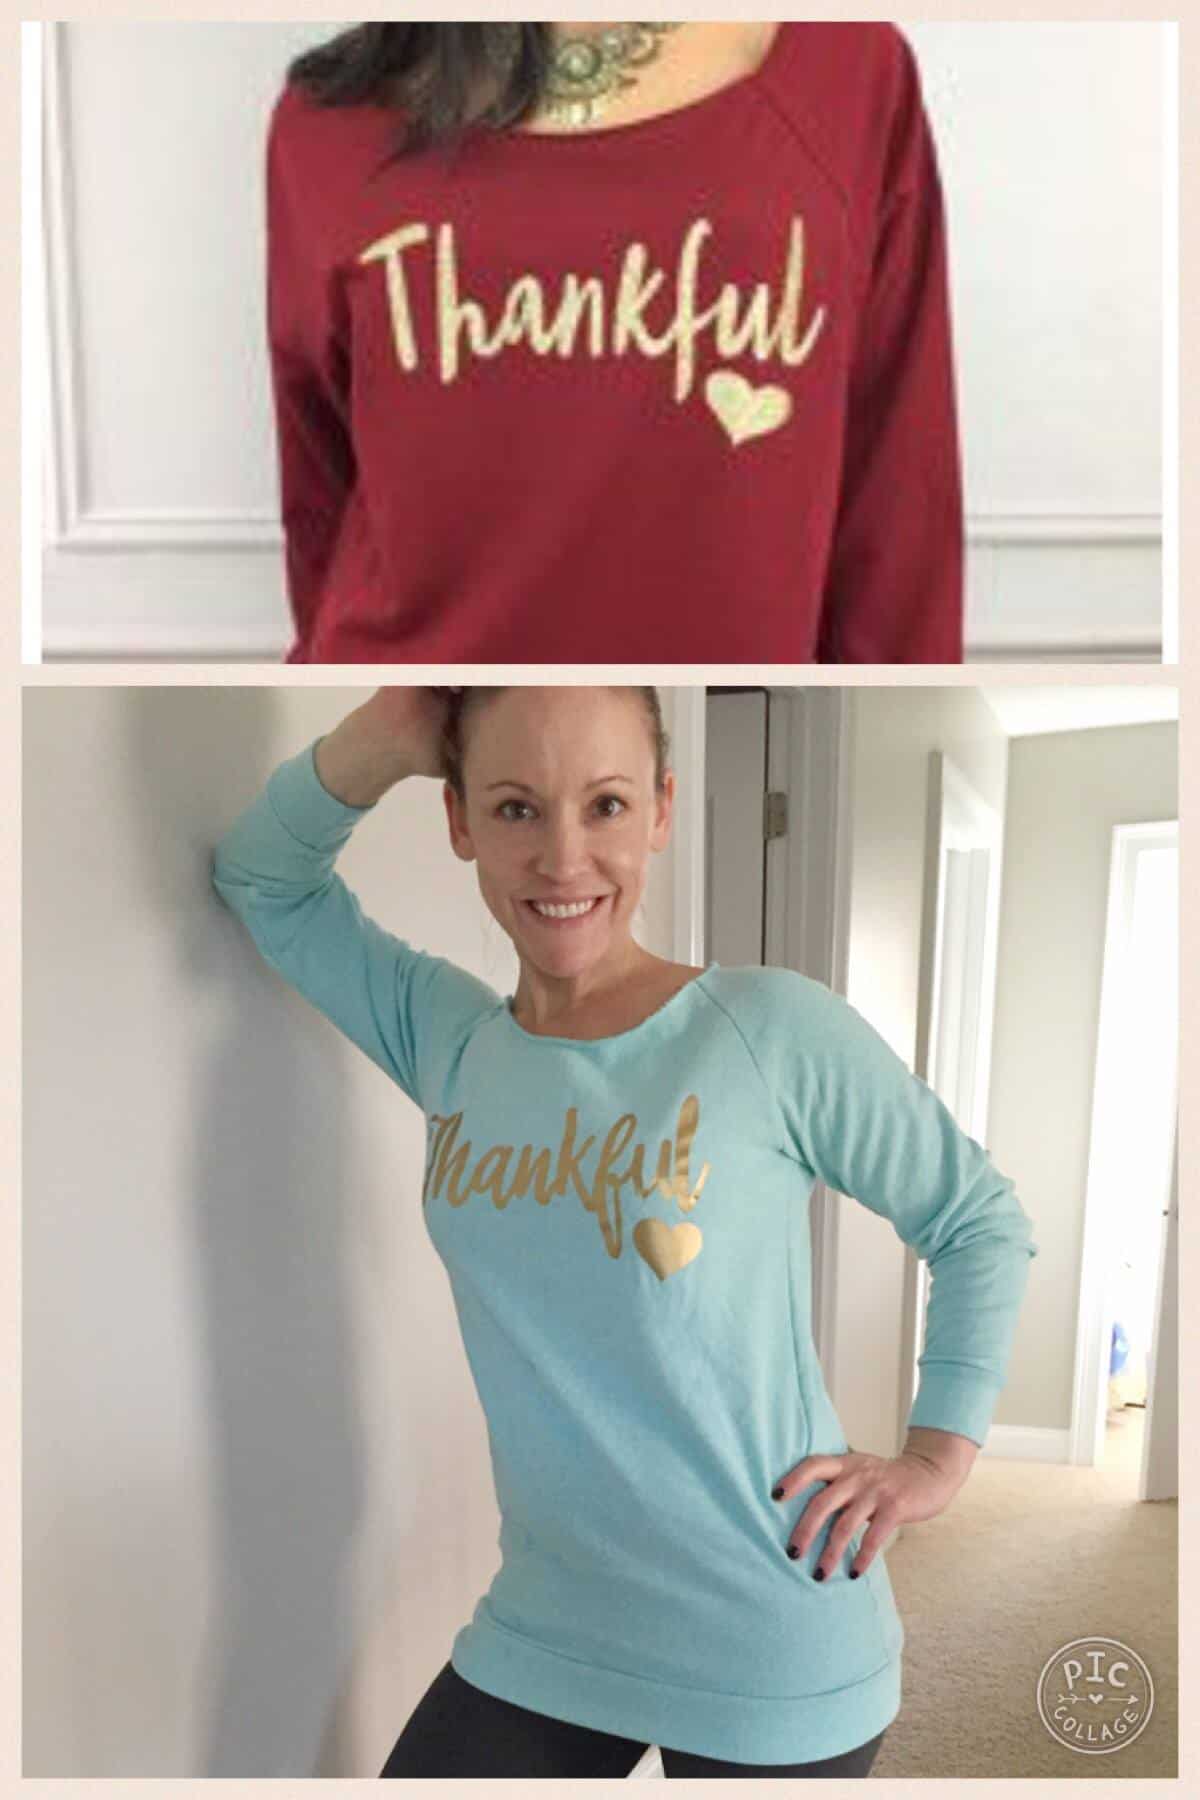
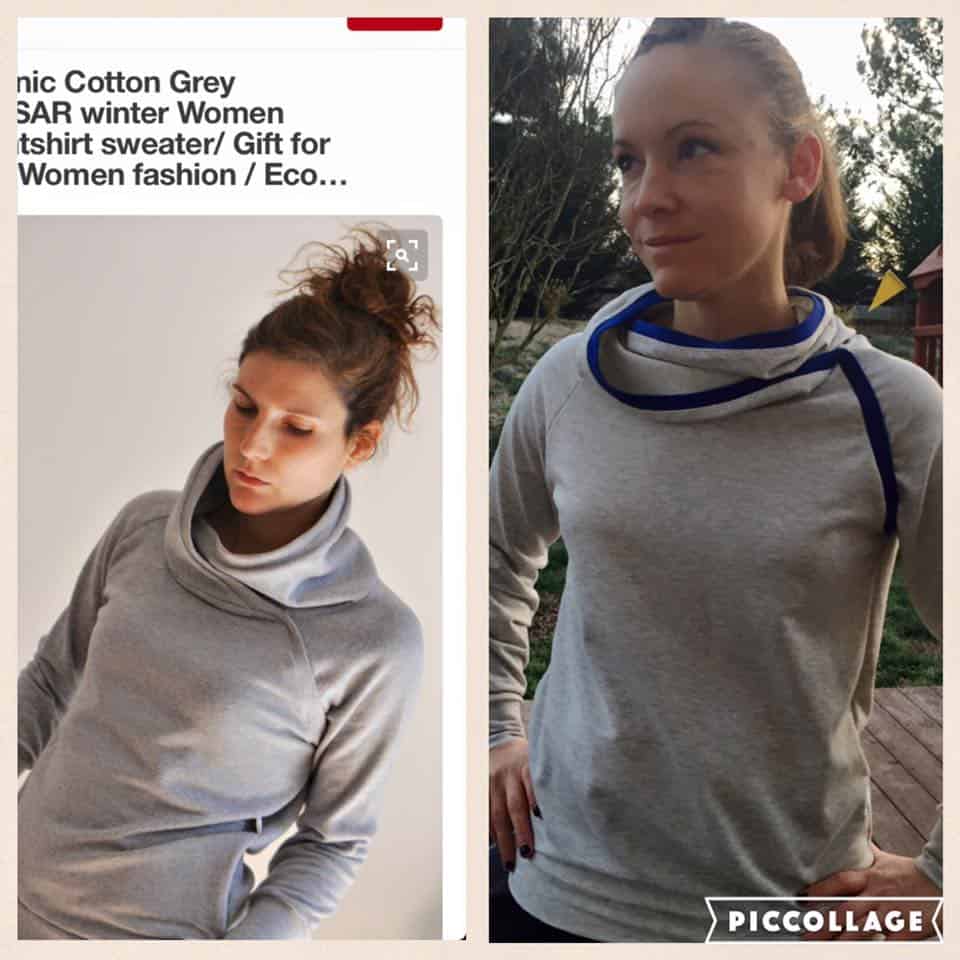
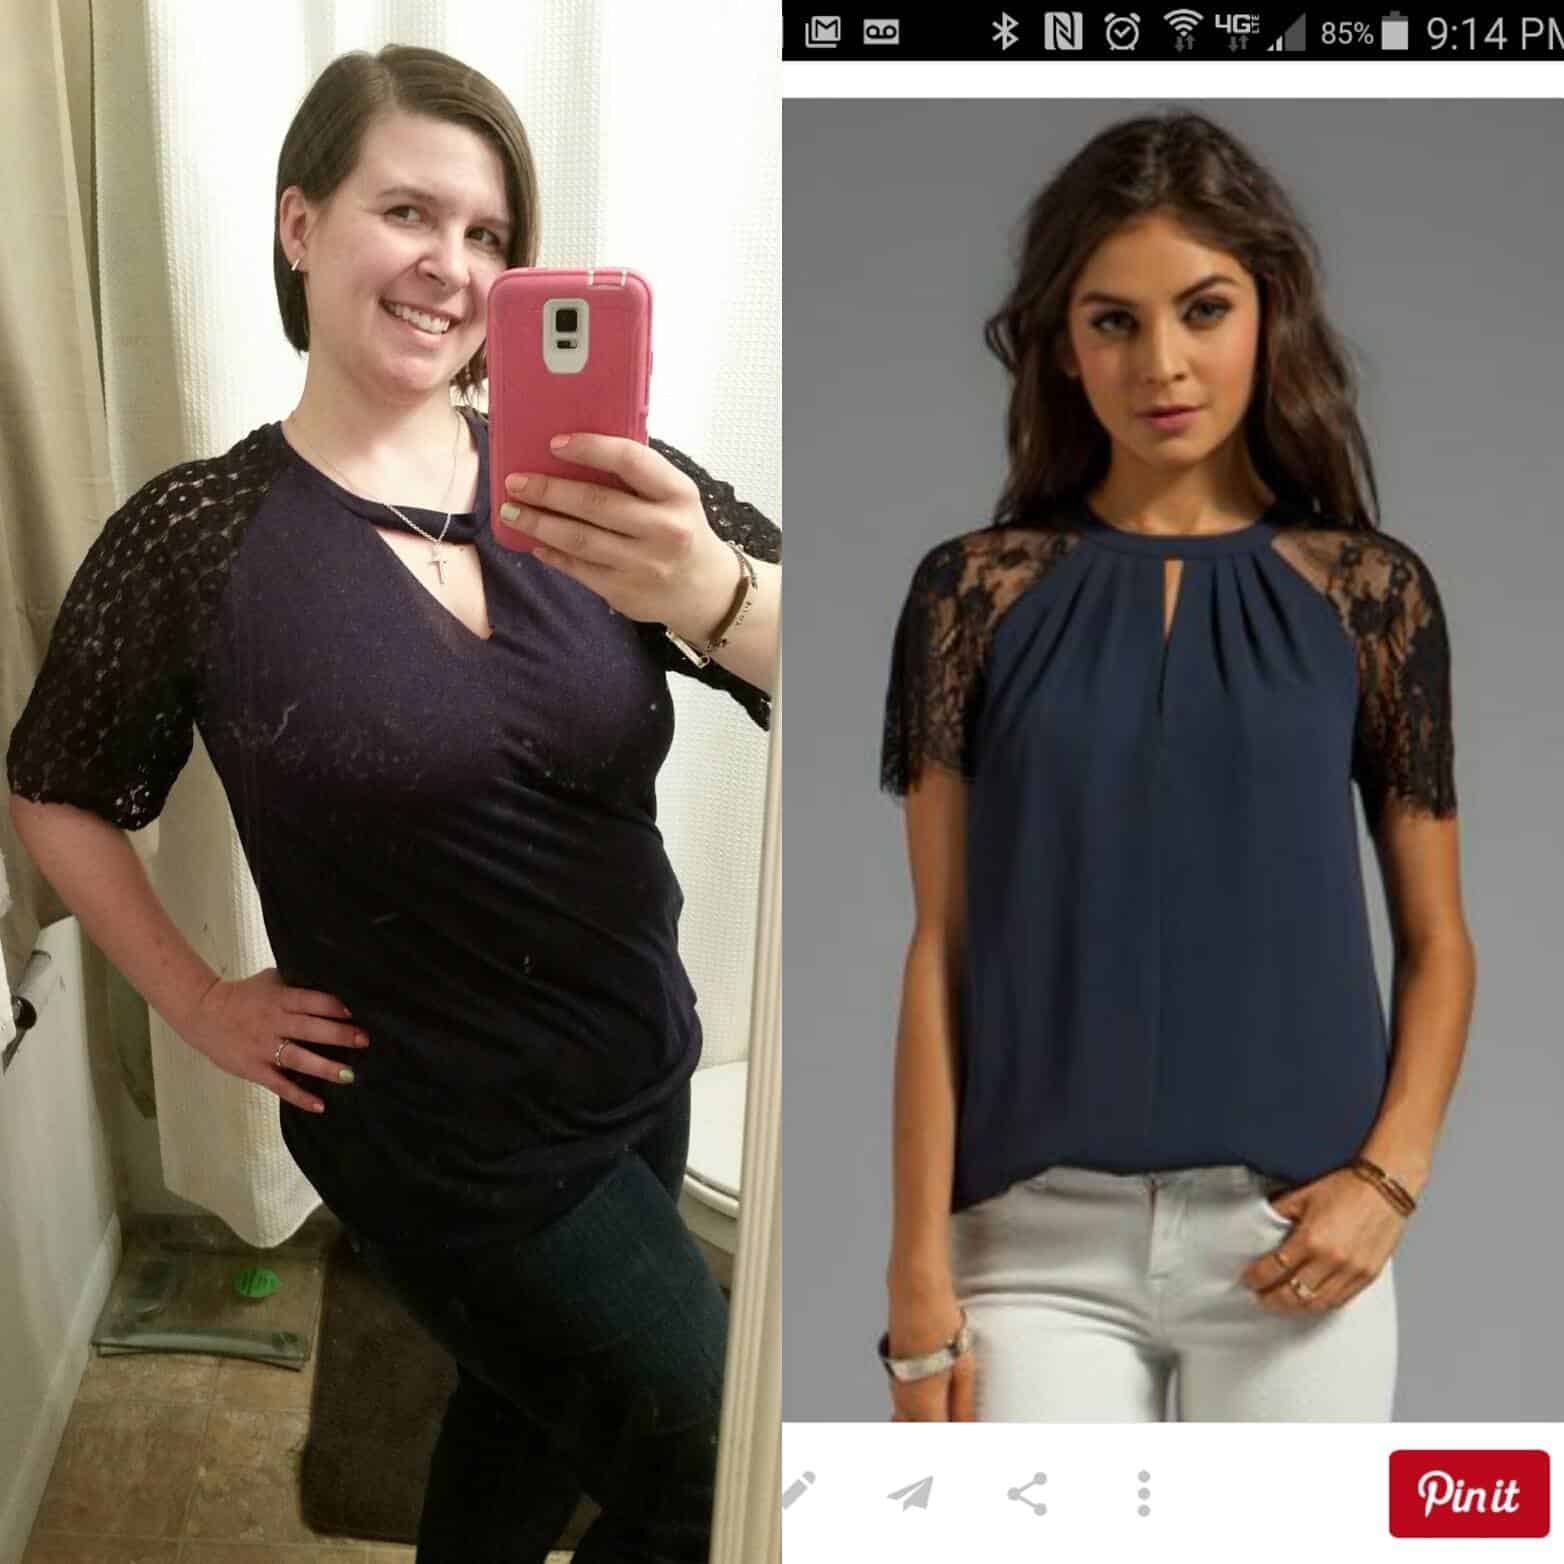
Just ask our fabulous testers!


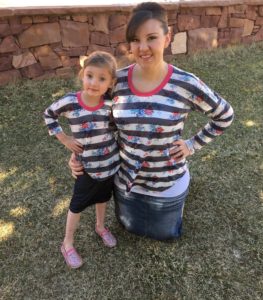


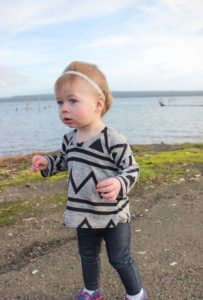
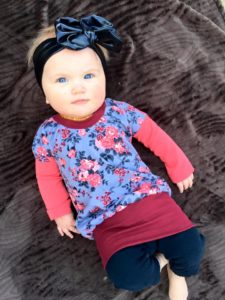
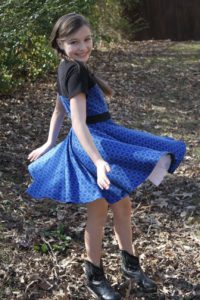
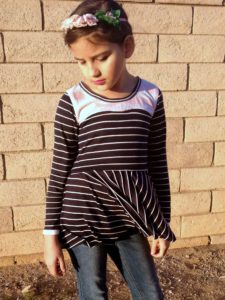
And we can’t leave our our mini models:


Make sure to head over to our Facebook Group and check out the tester albums there! You’ll never fall short of inspiration with our amazing group of sewists. (But you know that already. Am I right?)
What are you waiting for? Go grab yourself a copy of the newest dolman tees!
Find the women’s Sweet Tee HERE
Find the girl’s Sugar Pie HERE
And best of all…find the Sweet Tee/Sugar Pie Bundle HERE (gotta love mommy and me versions!)
We can’t wait to see what you make!


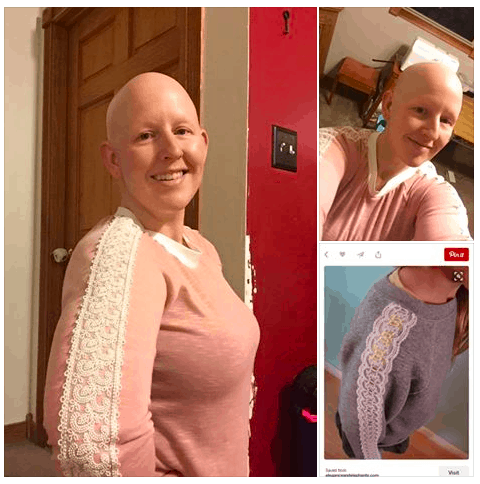


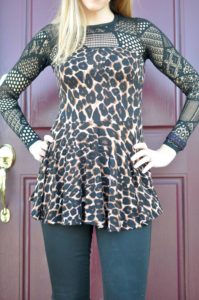


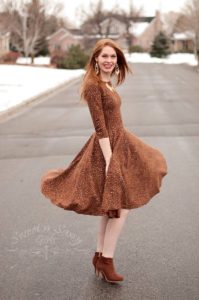


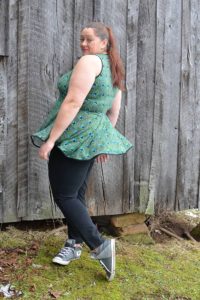


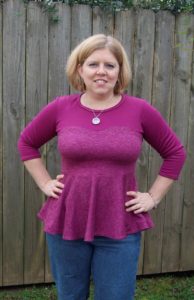
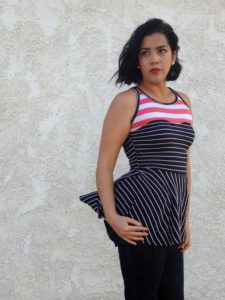


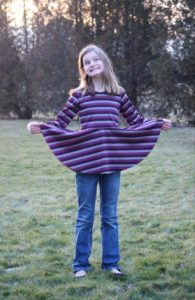


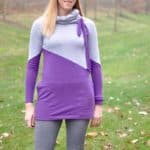
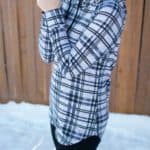
 Also added was a 3/4 sleeve length. It just made sense to add it in as a style choice. And it looks amazing on our testers!
 A new hem alternative was added too! In addition to the curved and straight hems from the original pattern, there is now a chance to add a band to the bottom of your PSD. The bands come in two different lengths and simply create a different look for this style top. Sometimes you want a curved/straight simple hem for a more flowy-style shirt…and sometimes you want something that pulls it all back into your body. Isn’t that the beauty of sewing? You get exactly the style you want in each item you stitch for yourself!
 So what are you waiting for? Go grab yourself the


