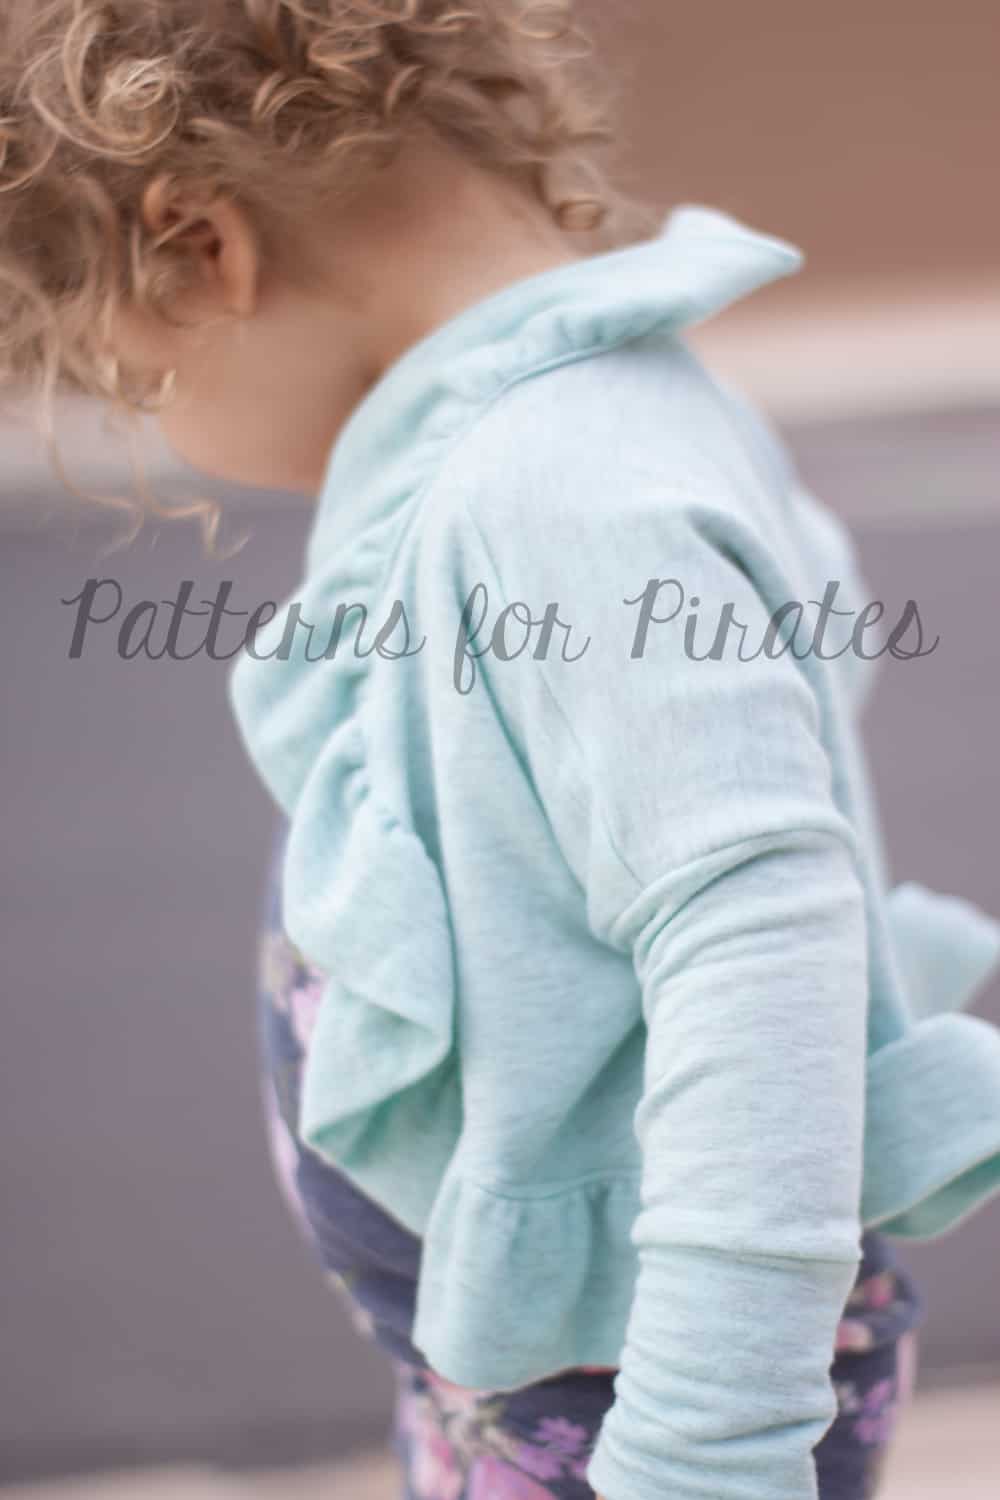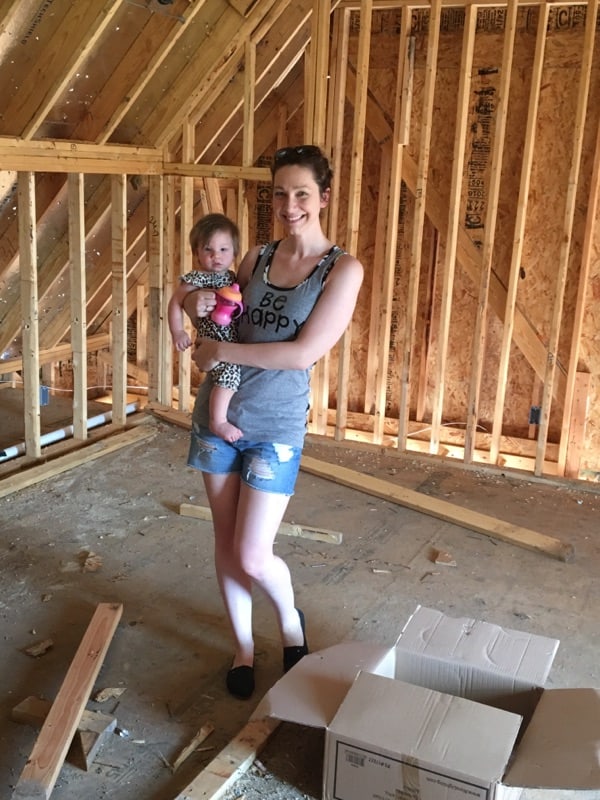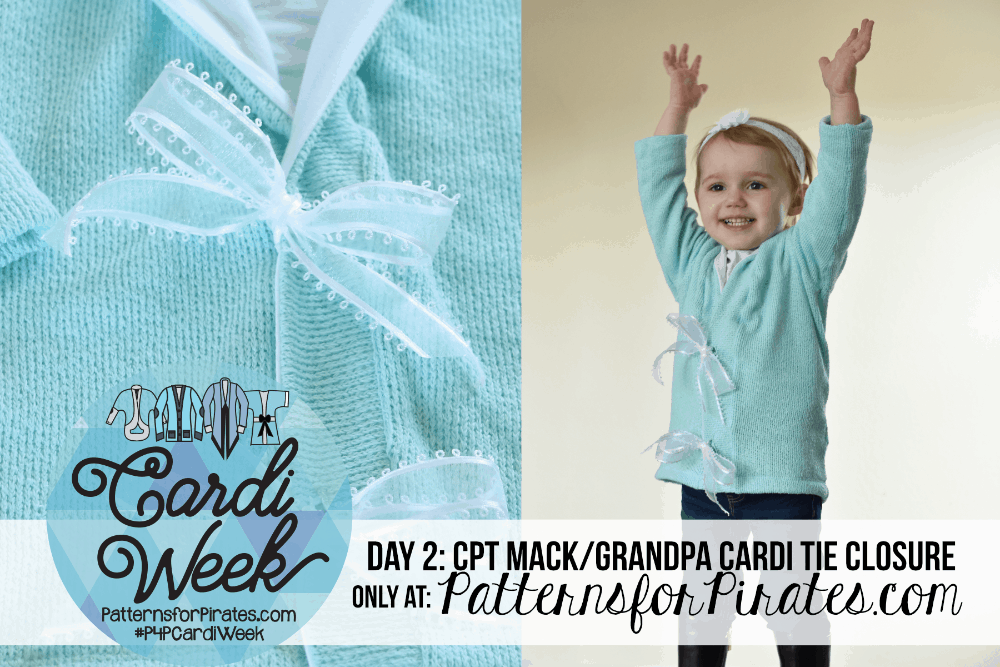
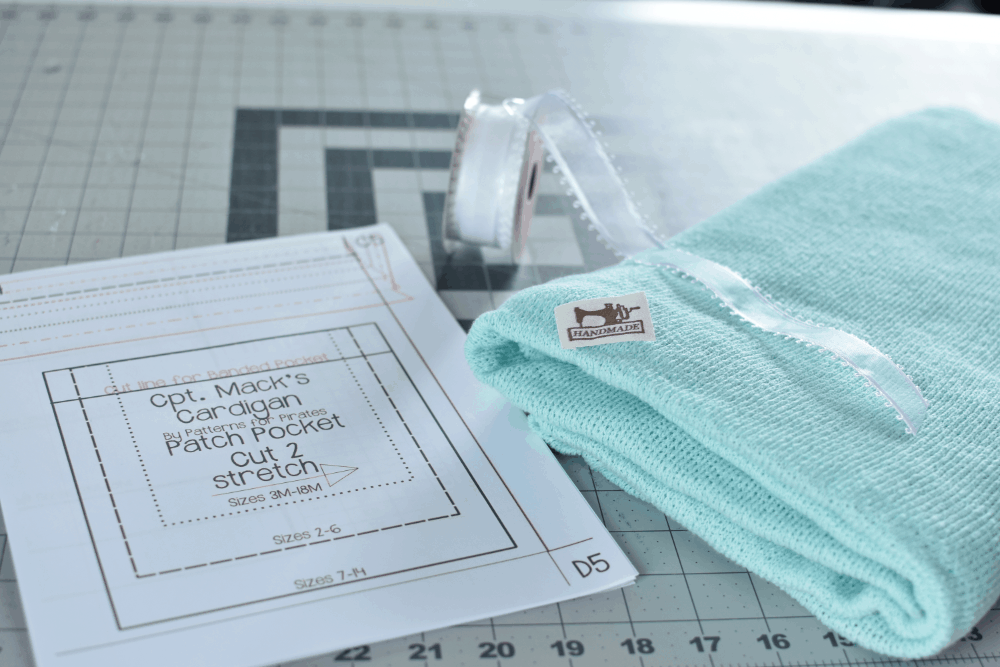
Today I have for you a simple hack that can be applied to either the Patterns for Pirates women’s Grandpa Cardi or the youth version, the Cpt. Mack’s Cardigan. This mod is simple but it adds so much to the overall look! There are a few different ways that you could approach this; but grab your pattern and follow along the tutorial below to find out how I like to add a ribbon tie closure to the Cpt. Mack and Grandpa Cardigans.
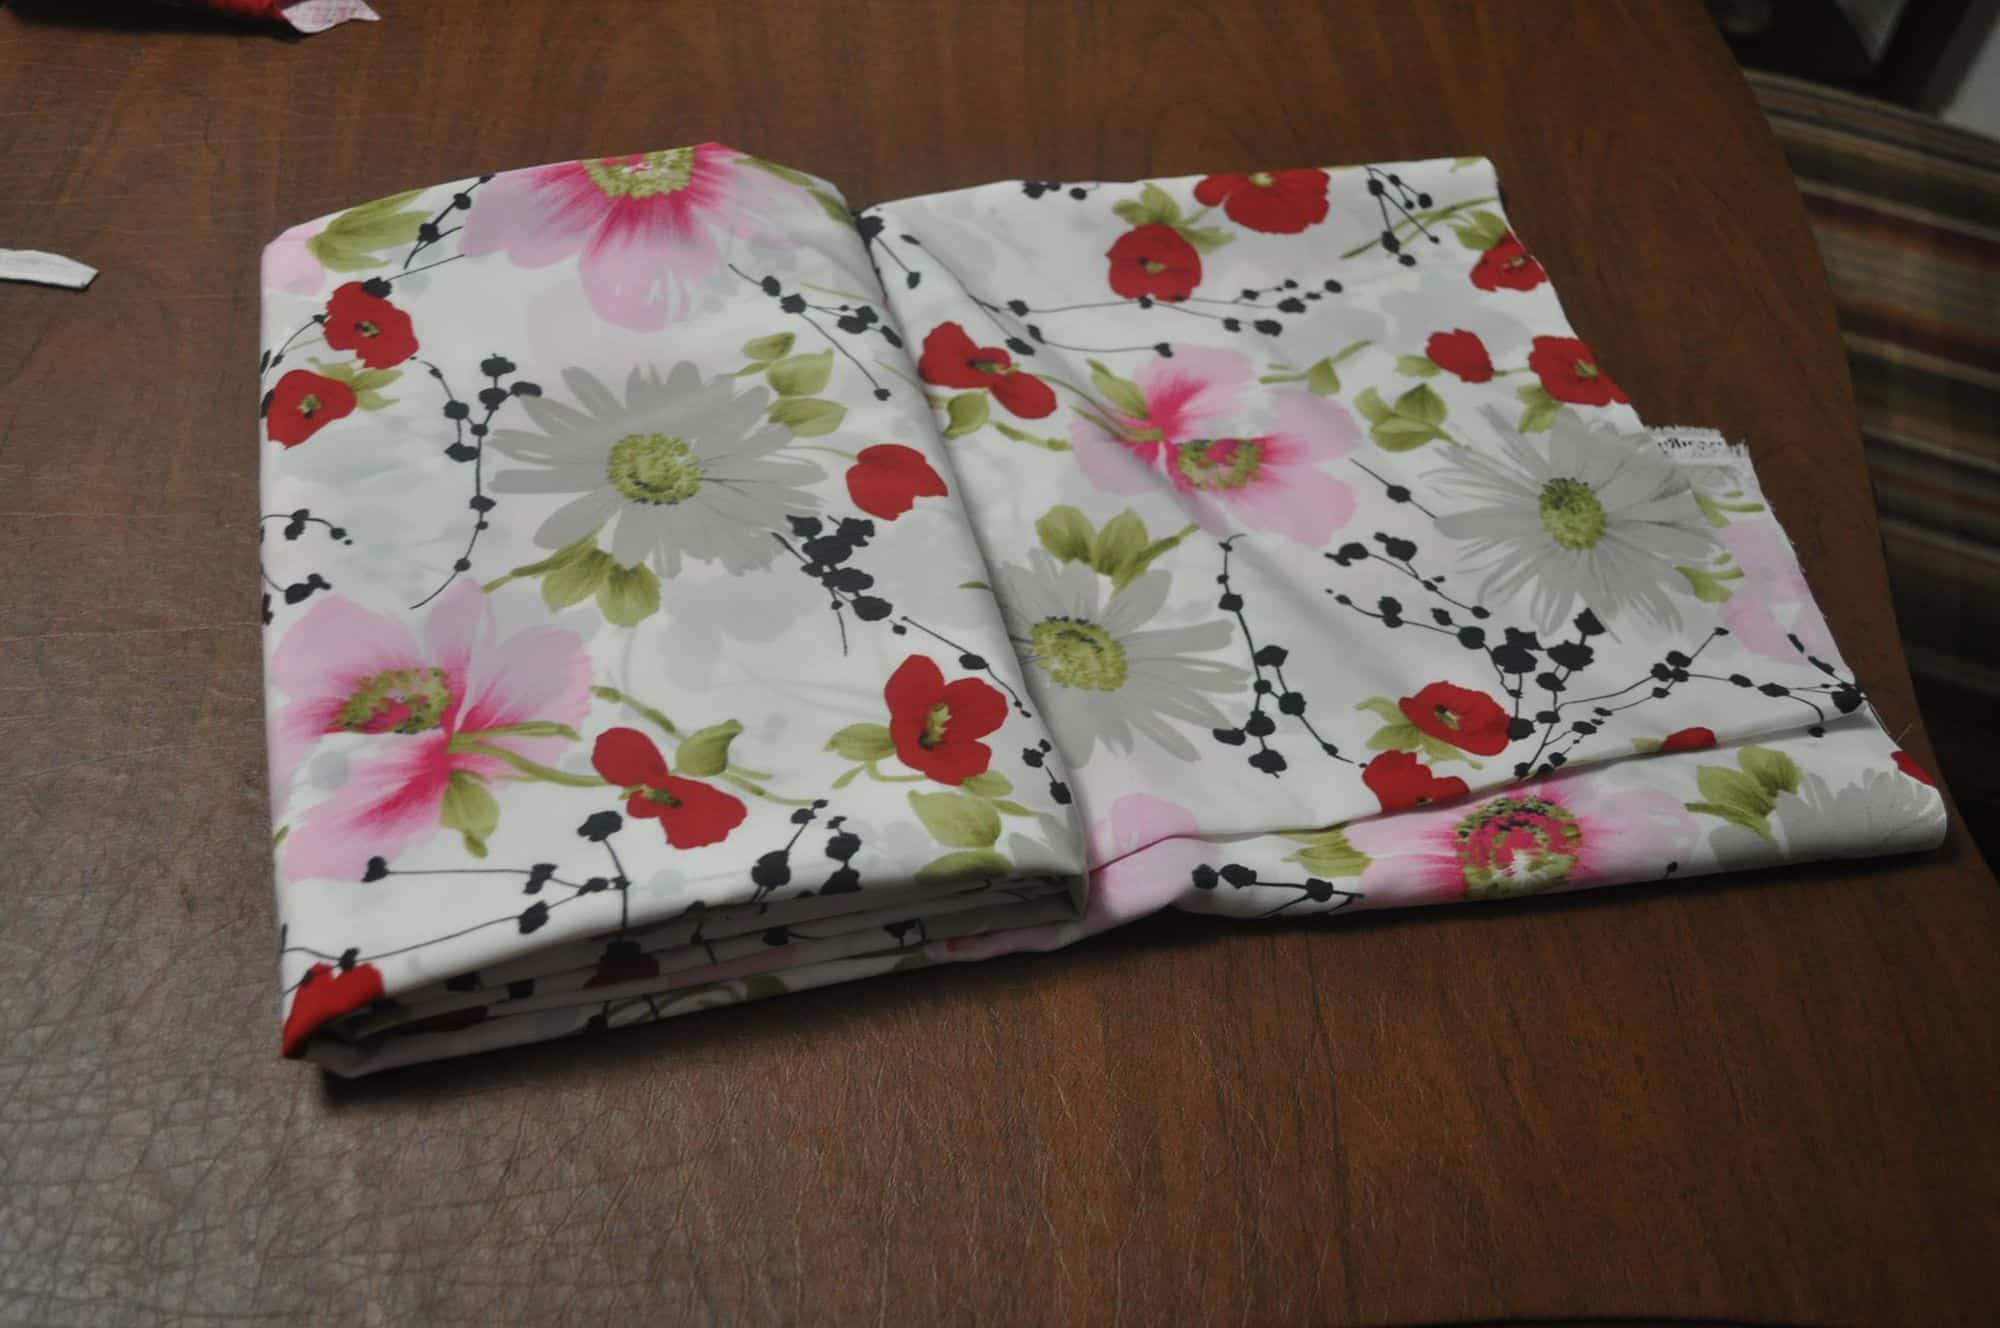
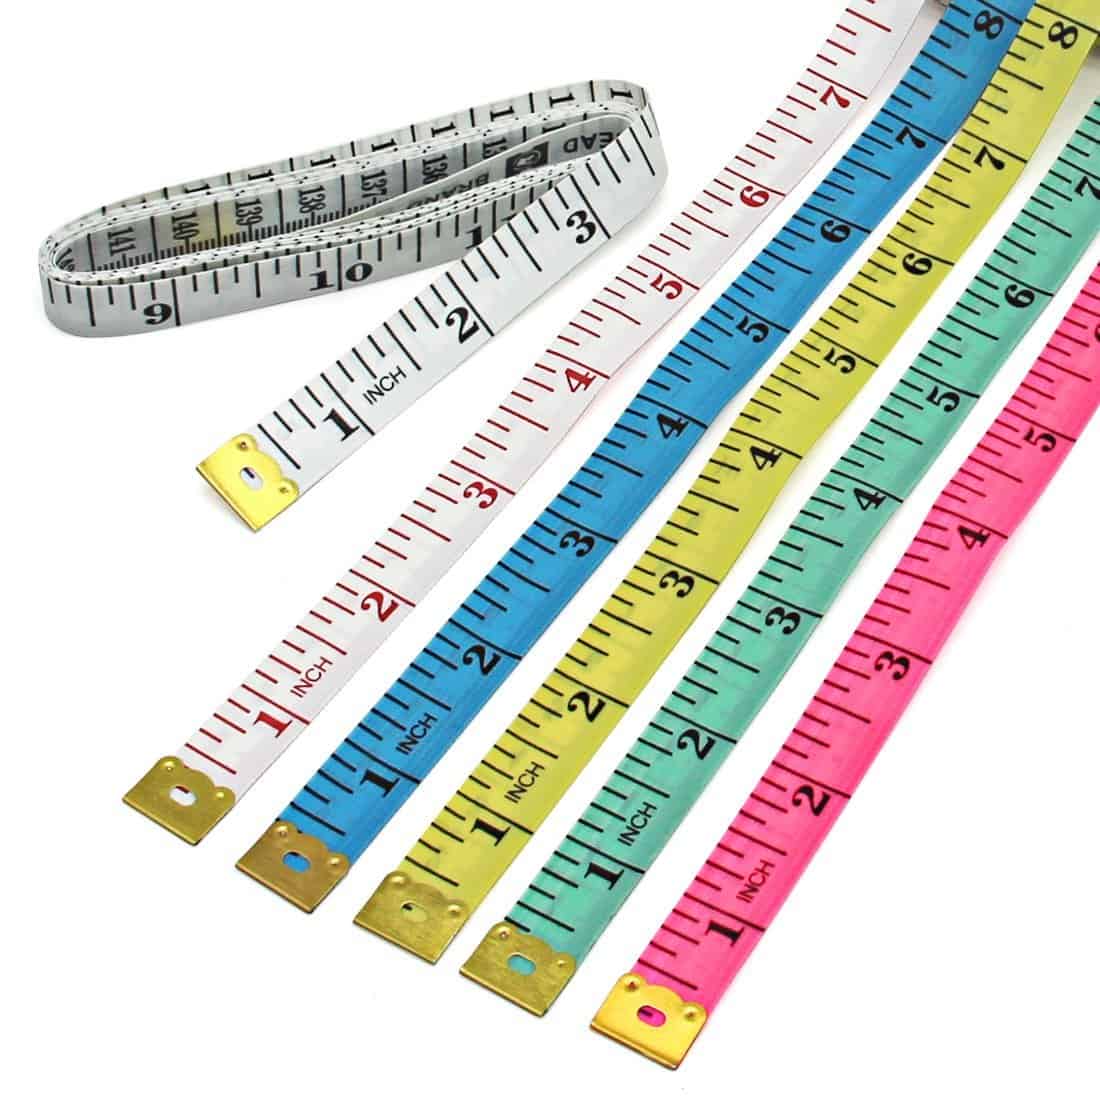
For this tutorial I am using some simple satin and mesh ribbon to coordinate with my rayon spandex lined loose weave sweater knit Cpt. Mack.
Step 1: Sew up your cardigan, stopping just before attachment of the collar.
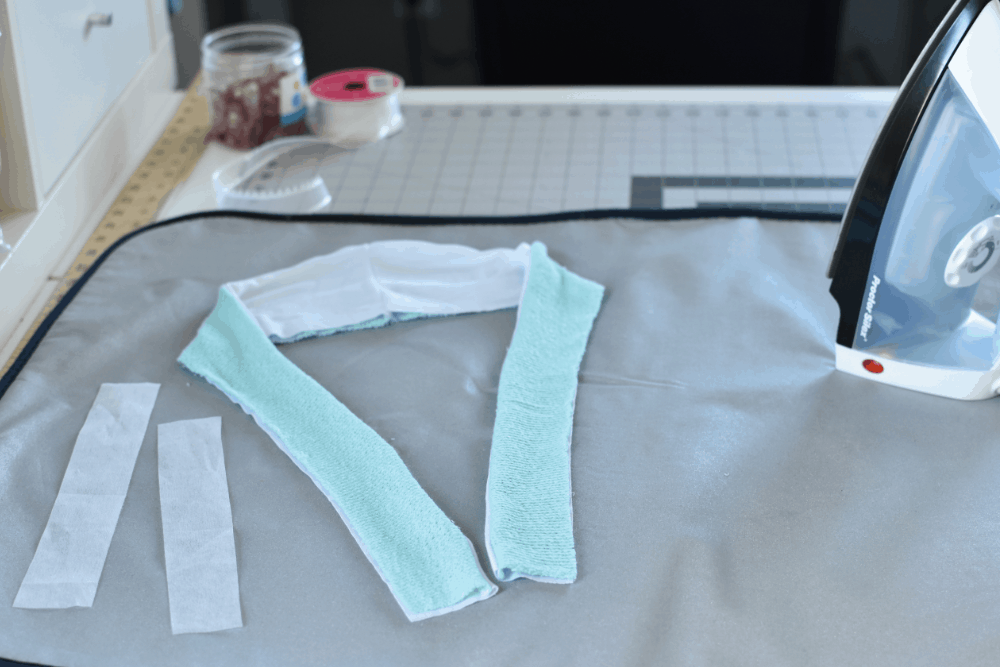
Step 2: Iron on some interfacing along the inside of the collar where the buttonholes will be stitched. This will provide some stability to your knit and to prevent the holes from being stretched out with use. I know my kids aren’t gentle with their clothes!
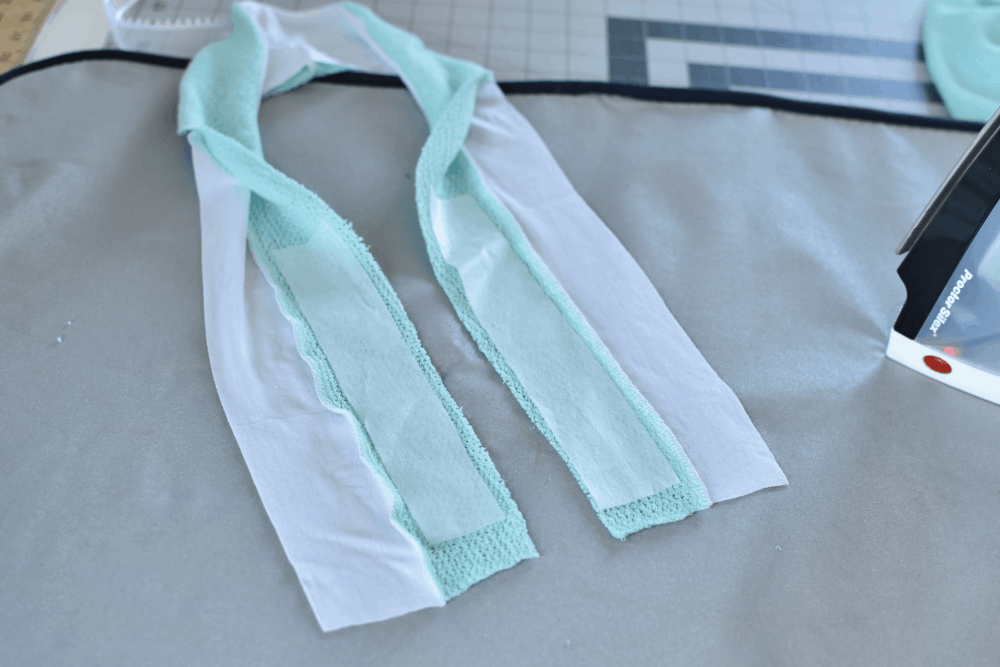
Step 3: Now sew your collar onto the cardigan as directed by the pattern tutorial.
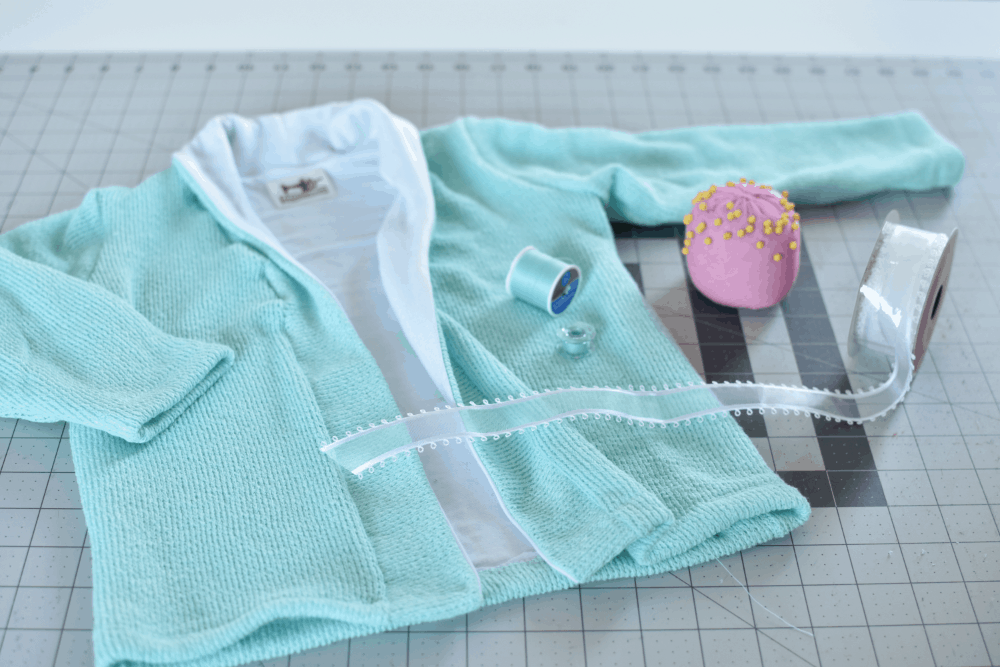
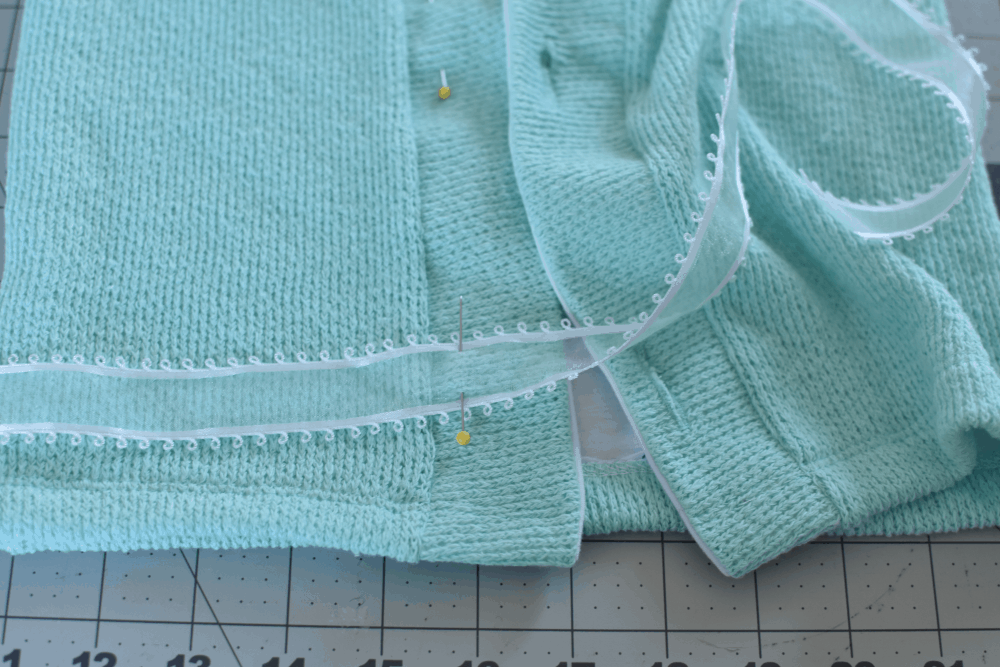
Step 4: Mark on the overlapping band (with pins) where you would like your bows to be located. I used two bows for my daughters size 2T tunic length cardigan. The width of the chosen ribbon should be considered when deciding how many bows to use as well. Now mark the corresponding location on the under lapping band.
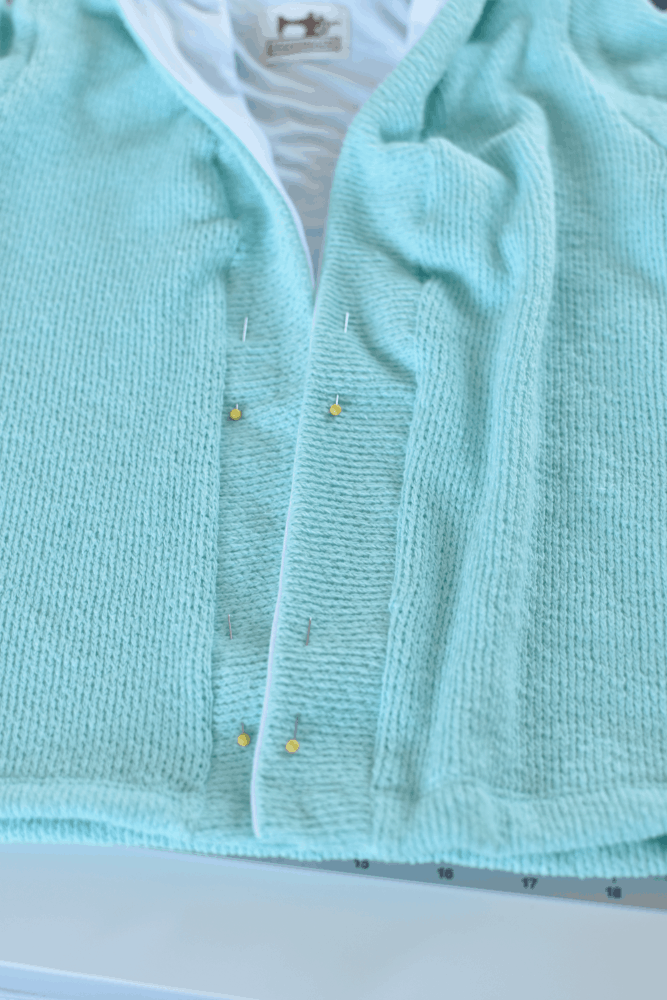
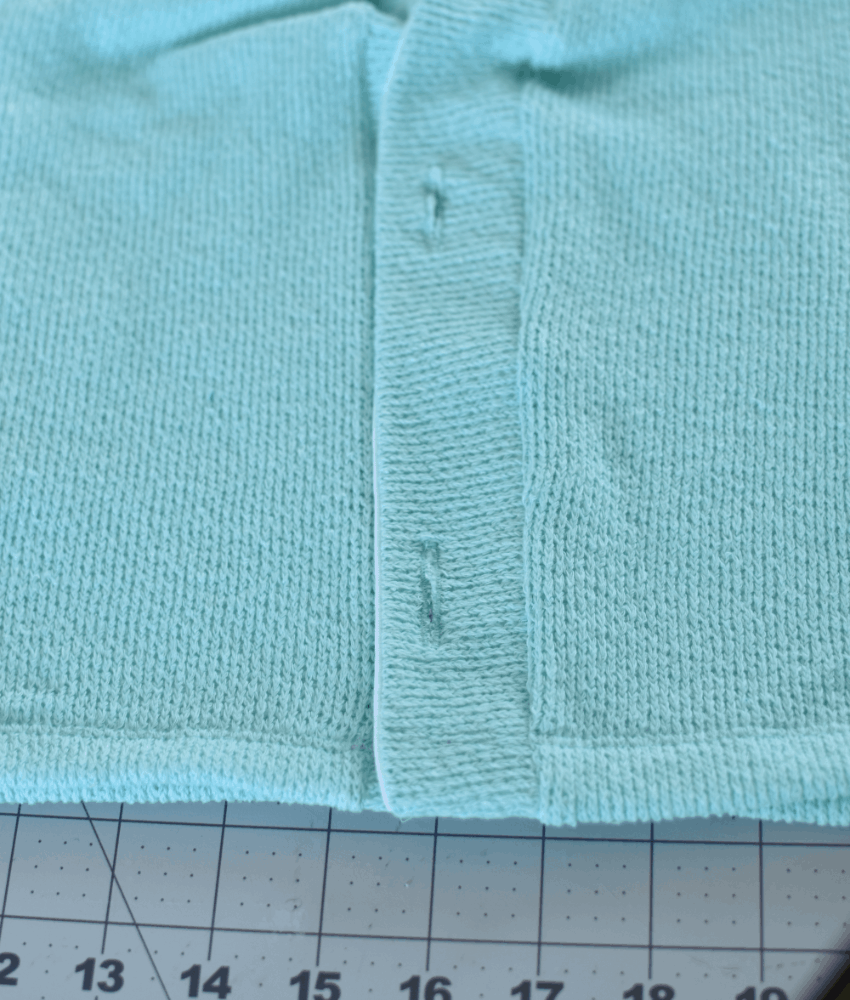
Step 5: Use your machine to create buttonholes on the overlapping band locations. For this I used my automatic buttonhole presser foot. If you haven’t yet used your buttonhole foot I highly suggest reading your manual or searching YouTube for a quick video. These make it super simple! If you do not have a buttonhole setting and foot option on your machine you can certainly use a zigzag stitch to create one yourself. Follow along Judy’s Carefree Cardigan Button blog post to see how she likes to create a buttonhole in that circumstance. Once the buttonhole is stitched, it’s time to very carefully cut them open with your seam ripper.
Step 6: Next, use your ribbon to tie a bow to the size of your liking. Trim the ribbon tails a little longer than desired to allow for some wiggle room as we construct this. Untie your bow and cut an additional piece equal in length for as many bows as you would like to attach.
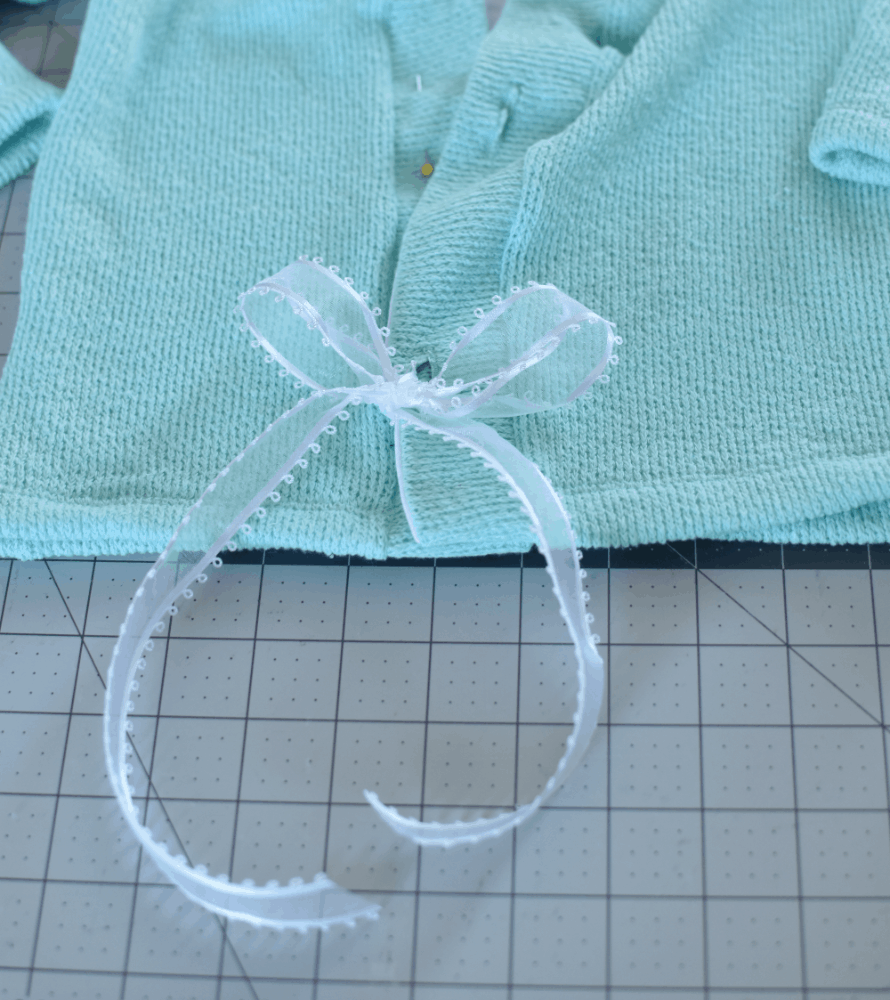
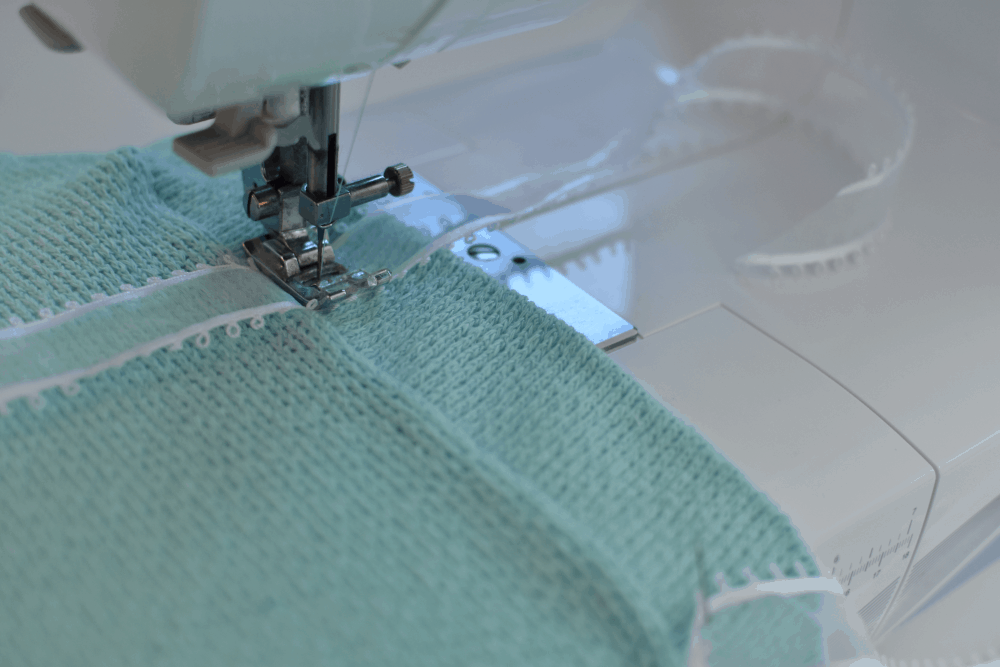
Step 7: Find the center of each piece of ribbon and secure it to the under lapping band at the pin locations. Sew a straight stitch vertically down the centerline of the ribbon to attach it to the cardigan. I stitched mine on along the left side of the band. This allows the overlapping band to fully cross over once tied.
Step 8: Pull one end of each ribbon through its corresponding buttonhole and tie into bows once again, closing the cardigan front. Once all of your bows are tied you can trim the tails to the desired lengths. If you prefer these to be permanent bows you can certainly hand stitch them so that they may not come untied.
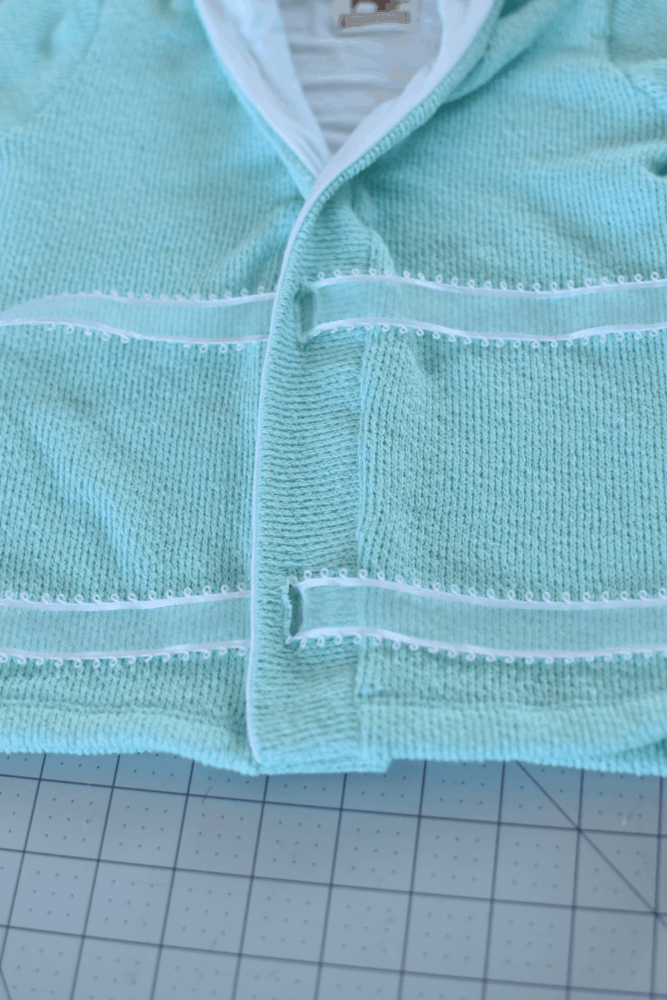

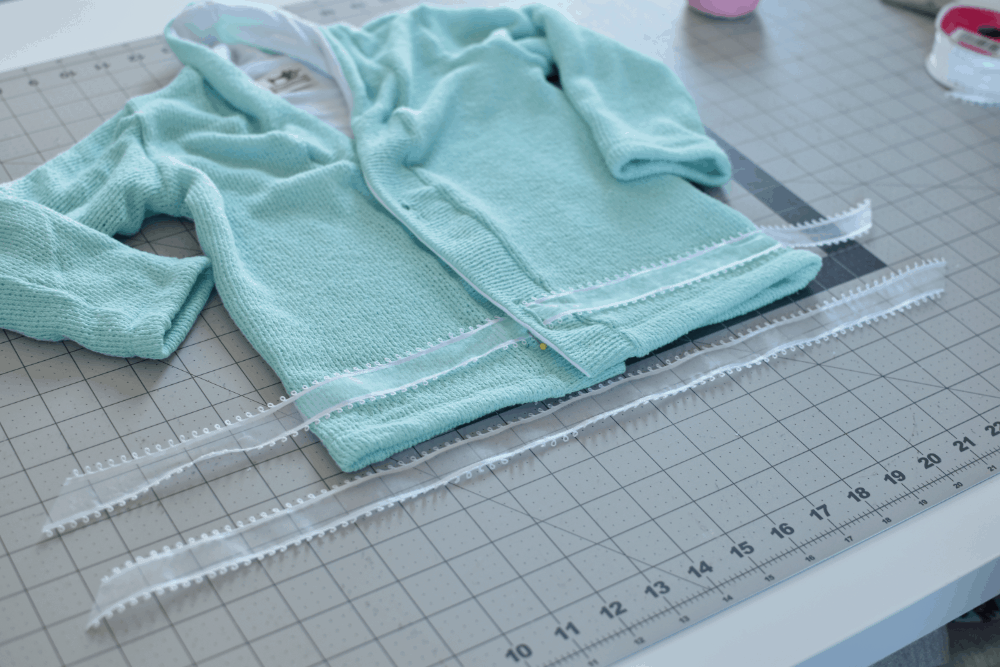
Step 9: If you have used a ribbon that frays easily, use a lighter to gently melt each ribbon end or some Fray Check to seal the weave. Be careful to use the heat from the flame and not the flame itself. If you mess up, no worries! Simply trim off the tip of the ribbon tail and try again.
There you have it. All done!

Keep your eyes peeled for some other fun tutorials the ladies at Patterns for Pirates have prepared for you this week! Be sure to read all the way to the end of this post to find out how to participate in this week’s sewing contest!
-Kelly Bailey
P4P Blog Contributor
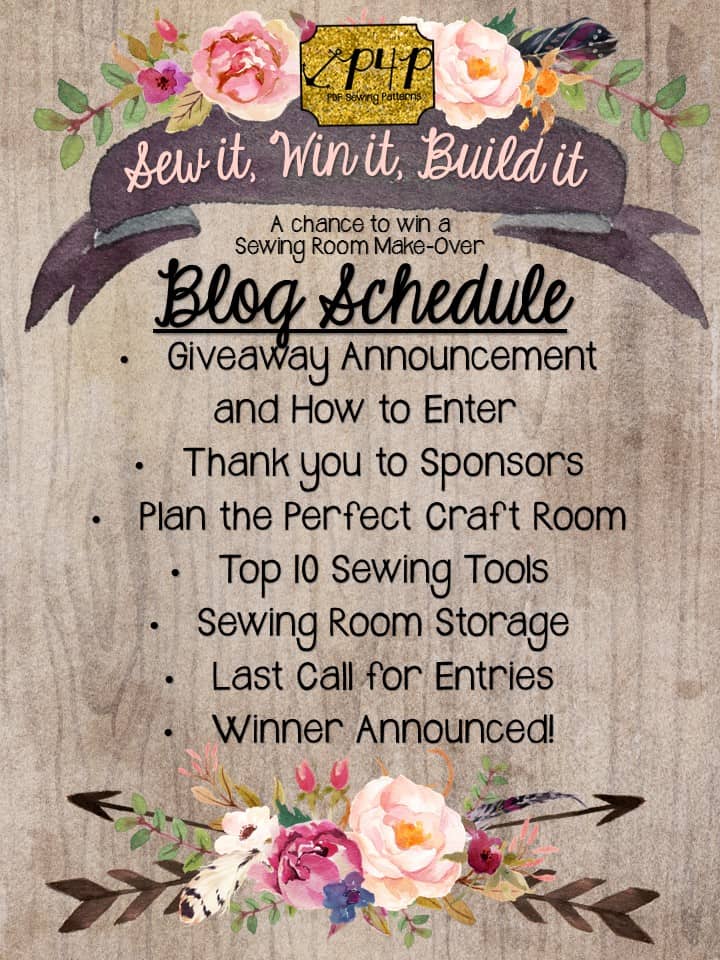
Take a look at our jam-packed schedule of cardigan love!
Saturday, January 21: #P4PCardiWeek Announcement
Sunday, January 22: Cocoon Lace Hems and Butterfly Ruffle
Monday, January 23: Ribbon Tie Closure Hack
Tuesday, January 24: Carefree Cardigan Fringe Hack
Wednesday, January 25: Duster-Length Adjustment
Thursday, January 26: Kimono Ruffle Sleeves + Hem
Friday, January 27: Varsity Sweater Style Hack
Saturday, January 28: Carefree Cardigan Flannel + Vest Hack
Monday, January 30: #P4PCardiWeek Winner Announcement
You can follow along on the blog here, or in our Facebook group. Search #P4PCardiWeek to be able to find our posts all over social media. And please feel free to sew-along with us on one or all of the days. The more the merrier!
But wait, there’s more! We wanted to create a friendly pirate-y competition with our P4P Cardi Week!
Between tomorrow and Saturday, January 28, sew up a Patterns for Pirates cardigan using one of our hacks, or by keeping the pattern as-is. Share your photo with us on Instagram or in our Facebook group and use the tag #P4PCardiWeek. We will pick our favorite and the winner will win a free P4P pattern of choice AND be featured on this blog. Fun right?
To make it even better we have put all the cardigan patterns in the shop on sale all week (no code needed)!
Now get out there and sew some cardigans, matey!