Patterns for Pirates

P4P stylish, modern, wearable patterns

  • Home
  • Blog
    • Frequently Asked Questions
    • Pattern Releases
      • Free Patterns
    • P4P University
      • Fitting
      • Sewing with Stretch, Knit Fabrics
      • Sewing with Woven Fabrics
      • Sewing Machines
    • Sew-A-Longs
    • Fabric for Pirates
    • Pattern Hacks
    • Announcement
      • Blog Tours
      • Contest/Giveaway
  • Shop
  • Bundle Discounts
  • Flash Friday
  • Gift Cards
  • My Account
  • Cart

How to do a Full Booty Adjustment

June 13, 2015

n my post about the Greenstyle Taylor Shorts I made myself here … I mentioned I did a “full butt adjustment”.. well because I have a FULL butt 😉

IMG_0749 IMG_1308

Well apparently the apple didn’t fall far from the tree… because when I went to measure my LO for some cute Winter Wear Aviator pants, I shared about them here in this post …  his measurements all hit a size 2… but THAT BUM was a size 5! UH-OH! ha ha ha ha… so I flat measured the bum area to see how much ease the pattern had… I decided he did need more room then the size 3 had… so I went to work doing a full butt adjustment for my not quite 2 year old…I thought kids were easier to sew for?????

IMG_6900 IMG_6928

I had lots of inquires about a more detailed blog post, so I thought I would share his… it is the same on any size pattern 🙂

It is a really quick and simple adjustment!

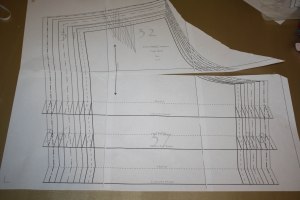
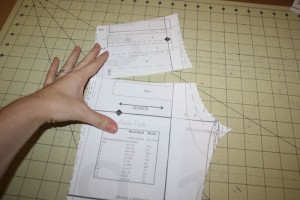
Take your back piece and splice it across where the roundest part of their/your booty is.  usually about mid rise on younger/athletic builds 🙂 You will want to leave the seam allowance! Here is a picture of his:

IMG_6879

Now when you go to cut, you will spread out the back rise however much you need to add for the bum… I added about 1/2″ to my LO’s after flat measuring and comparing to his measurements.

Then you will need to “true up” the sides… since you’re adding length into the rise it wont match perfectly anymore, neither will the outer leg seam… Here is where you can customize your fit even more…

IMG_6880

For my Little Guy who still has a baby figure I didn’t want to loose ANY width on the waist or high hip… so when I “trued up” the outer leg I took the outer edge and added slightly straightening the line up.

When I adjust for myself, I have a small high hip and waist… so I don’t mind taking the inner angle and loosing some width up there.

(Looking back I should’ve taken another picture with a chalk line describing these… I will add those when I need to adjust a pattern for myself, or my little one!!)

I hope this helps those blessed with big bums! 😉

Filed Under: Fitting, Uncategorized 3 Comments

P4P University: Petite and Tall Fitting Adjustments

June 13, 2015

So… I’m tall… I mean… I’m TALLLLL 🙂

5’10” no shoes ha ha ha See me towering over my tiny mom?

10271502_10101467547479973_2882136477492759705_n

It makes finding RTW clothes a CHALLENGE to say the least… yes, I can pay an arm and a leg for “talls” but I want young trendy clothes!! So making my wardrobe is so rewarding for me!

I’ve already posted tips for blending sizes for children’s clothing here but this method doesn’t work well for adult patterns because all of the sizes are made to fit an average height adult, rather than differing heights on the youth patterns.

Here are some tips for adding, or taking away length to a pattern for an adult.


Our patterns are drafted to two different size charts, as well as different heights for both charts.

  • for our Hourglass Figure chart, patterns are drafted to a 5’5″ height.
  • for our V-Figure Chart, patterns are drafted to a 5’6″ (short) / 5’10” (average) / 6’2″ (tall) height.

The “rule of thumb” is to add or remove 1/2″ for every 1″ that you differ from the height that the pattern is drafted for.

For example, at 5’10” there is a 5″ difference so I would need to add 2.5″ throughout the pattern.  If I were 5’1″ then I would remove 2″ of length since there is a 4″ difference.

If you are shorter or taller you need to add/take away length throughout the whole pattern!
Just like children’s patterns I DO NOT recommend only adding to the bottom hemline. Knit patterns are much more forgiving in fit. And sure, adding only to the bottom hemline will make your garment longer. But using the method of lengthening at the bottom only will most likely not give you the desired fit.

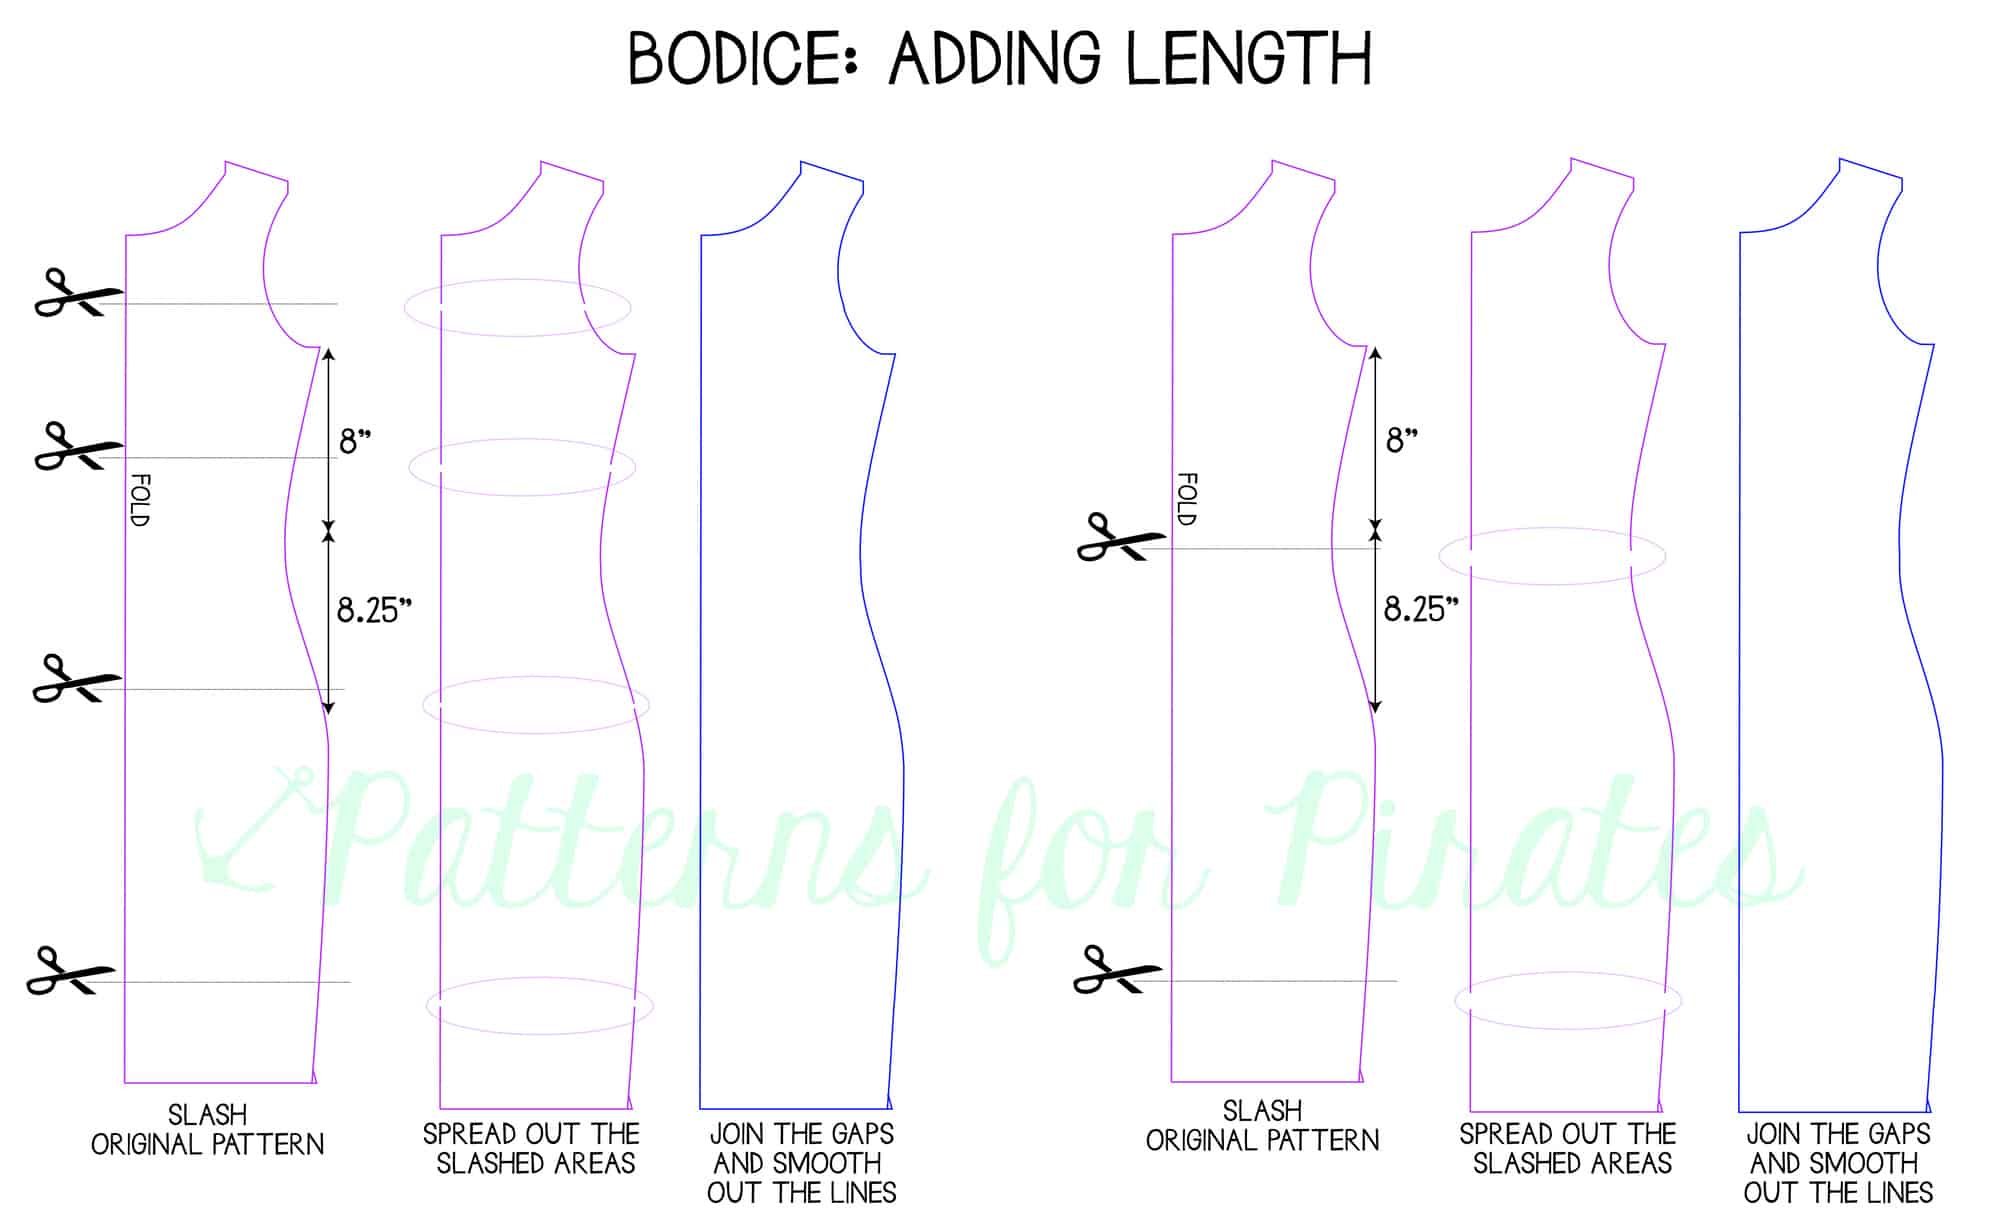
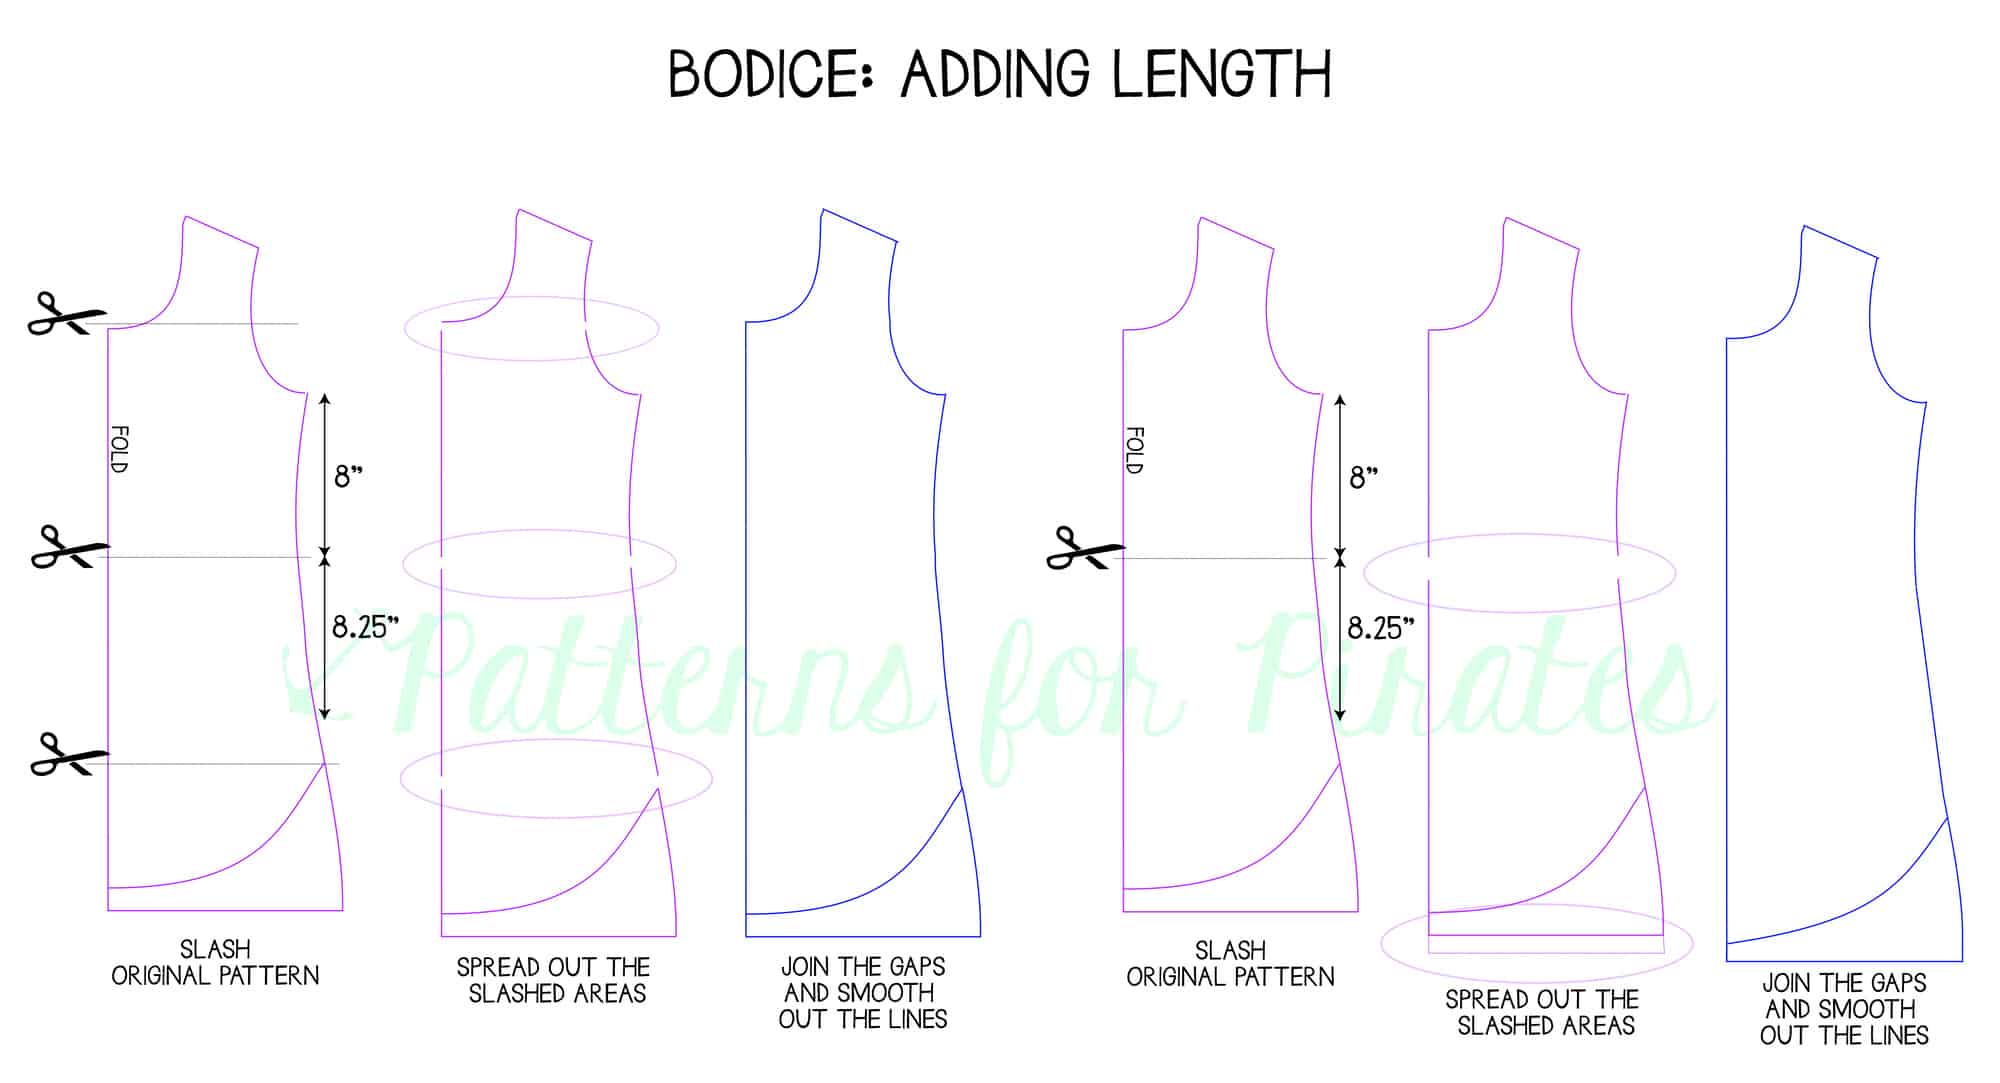
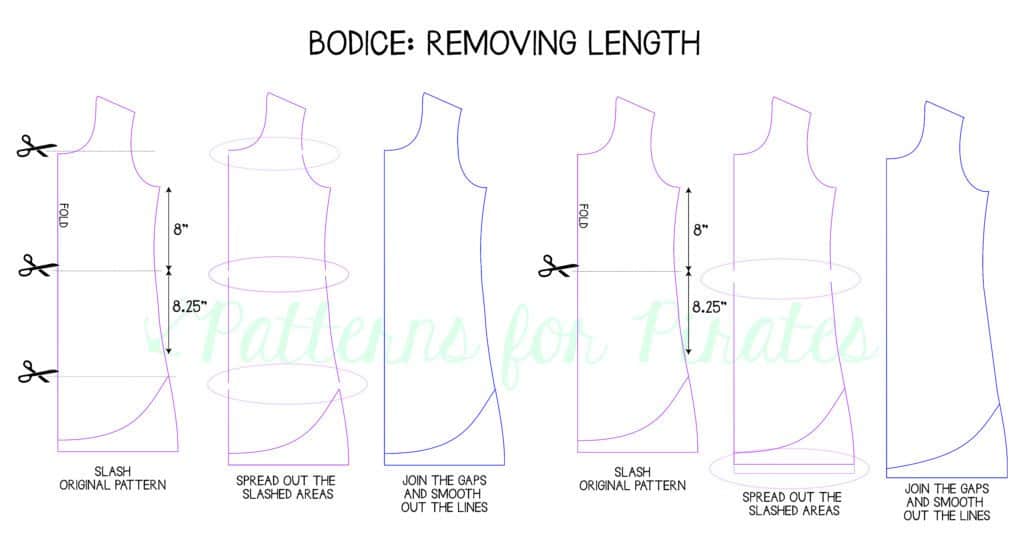
The four places I recommend adjusting for height are:

  • at the shoulder/armscye
  • just under the bust line
  • just under the waistline
  • at the bottom hemline.

Adding throughout the pattern helps keep the bust, waist, and hip where they actually hit you. P4P uses a standard side waist length of 8″ and a waist to hip length of 8.25″ so if you know your specific length measurements between those points, you will want to add/remove the exact amount in those areas.

(Not sure where to measure yourself for garment sewing? Check out our post here.)

I have made myself enough clothing to know how much I need to add to MOST patterns designed for average height.
–  I add about 2 1/8″ to every shirt I make, or I add about 2 5/8″ to my tunic length tops
–  I even know how much I like in each spot: at my shoulders I add a scant 1/8-1/4″, at the chest and waist area I add 3/4-1″, and my bottom hems get about 1/2-1″ added to them.

The shoulder/armscye adjustments can be tackled a couple of different ways. I personally like to take a smaller seam allowance there to add some length. But you can also splice your pattern straight across where the armsyce is and spread the pattern pieces to add length that way. I only add about 1/8-1/4″ to mine, but that tiny difference makes SUCH A HUGE difference in how a shirt fits me!

Because of how our no-trim patterns are assembled with the Letter and A4 formats, there are margins on each of the overlapped pages that make slash + spread adjustments easy as pie! For the chest and waist, I simply untape the pattern pieces, move them down (adding what I need for extra length), and then retape that section.

Or you can (with any pattern)… splice it straight across and measure what you’d like to add.

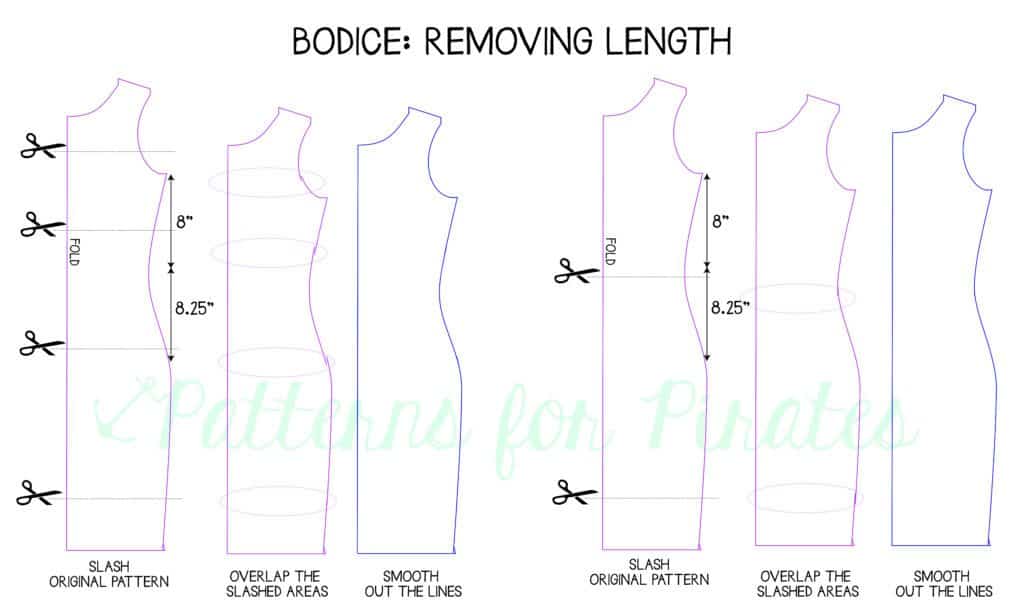
Shortening is the same method, you would just be overlapping instead of adding.

With the height adjustments you’re making, with adding or removing length, the pattern pieces won’t line up perfectly without a one extra step. All you need to do is cut out the pattern and “true up” the sides. Simply match the lines up and straighten them out the best you can to even out the adjustments made.

Repeat the process for the other pattern pieces as needed.

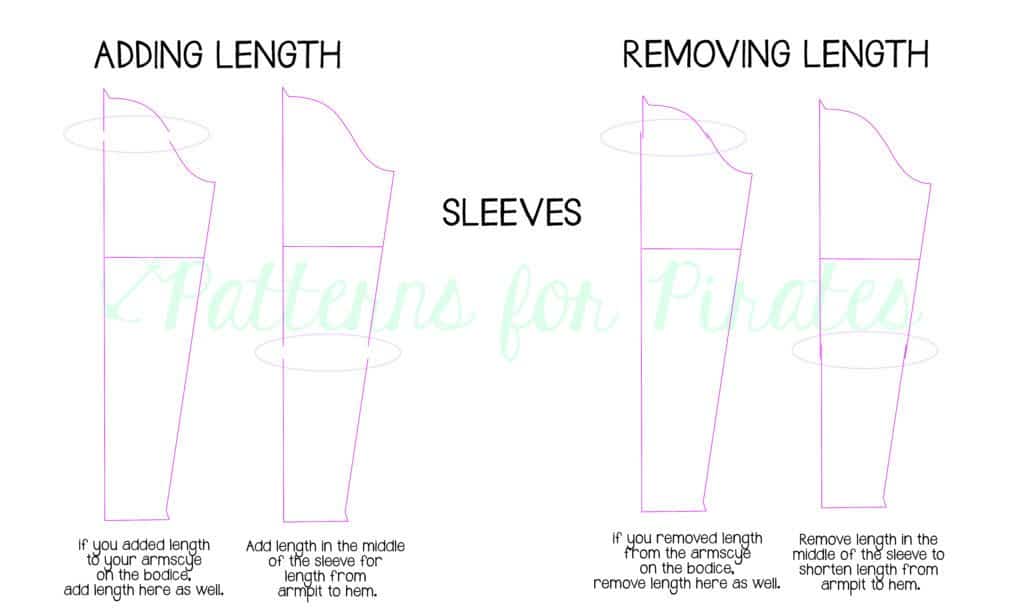
Remember: If you added length in the armscye on the bodice piece, you need to add length in the sleeve as well. Or if you changed the length of the rise on the back leg piece, you’ll need to do that same adjustment to the front leg piece.


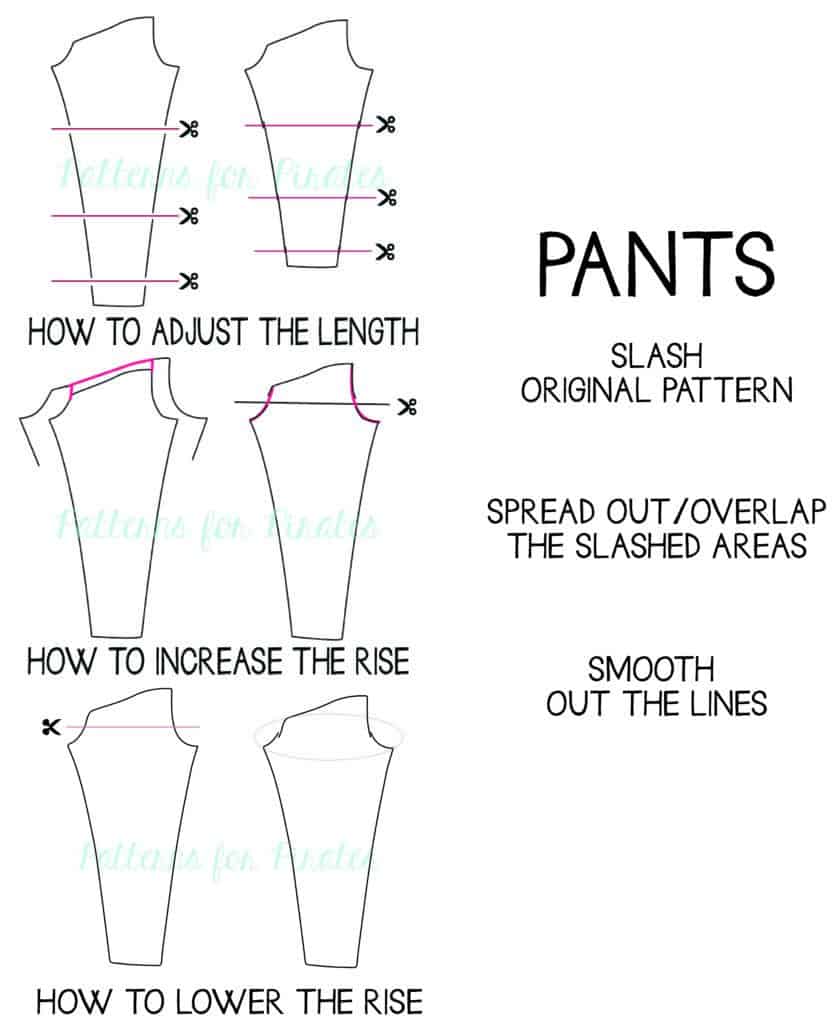
Pants (like our Peg Legs, Vintage Jumper or Uptown Joggers) should also be shortened or lengthened throughout.  Each of the patterns include a finished inseam length.  Measure your inseam and compare to the pattern to make your length adjustments.


Ta-Da!!!! Now you have shirts and pants that will FIT you…ALL over! 🙂


Filed Under: Fitting, P4P University, Sewing Techniques 30 Comments

How to Mash Sizes for a Custom Fit!

June 13, 2015

Do you have a tall skinny minny? Or a little one who needs a bigger width then their height? This is a simple easy route to mashing sizes for children to get a better fit! No more just adding to the hem!! If your child needs length they need it throughout the whole garment, not just the hem! And vice versa if your child is shorter they need it shortened throughout the whole garment.

So here is the quick guide. You will take their overall height and match that to the size chart of your pattern… for this example I’m going to be using my niece who is 44″ tall- which matches my size 5.  Her chest and waist match a size 4. So I will be using the width of a 4 and the length of the 5 on every pattern piece!

**I’m going to note in here too that going more then 2 sizes is very hard to keep the proportion and shape of the pattern.

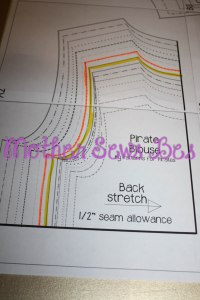
Here is a picture where I highlighted the size 4 and 5 (Size 4 in yellow and size 5 in orange). I don’t typically do this, but I did to help illustrate 🙂

IMG_5433

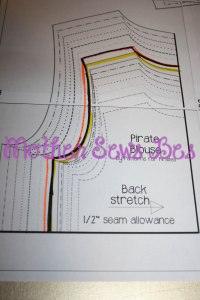
And here I drew in black to show how I followed the size 4 width overall on the piece and the size 5 length.  See how I made the armhole the size 5 length, and neck hole… these are places where your little ones fit will drastically improve with this method!

IMG_5435

And again, here is the sleeve with a 4 width and 5 length. Make sure you keep EVERY piece the same length/width and your pattern will fit together beautifully 🙂

IMG_5436

Coming from a very tall girl- if your little one needs added length they will be so much more comfortable with that longer armhole/neckhole/bodice!! I can hardly wear shirts that I don’t add that 1/8-1/4″ at my armhole… even though it seems like such a small adjustment it makes such a BIG difference in my fit! 🙂

This method can also be used with a shorter length to width— I used to do this for my little one when he was younger– he is big for age so he was in toddler sizing with a baby figure! He needed a much bigger around then his height and it worked wonderful for him!

Now go create that perfect custom fit!! 🙂


Filed Under: Fitting, Frequently Asked Questions, P4P University 6 Comments

  • « Previous Page
  • 1
  • 2

Featured Patterns

  • Loosey Goosey Loosey Goosey $12.00 Original price was: $12.00.$10.50Current price is: $10.50.
  • Loosey Goosey- Youth Loosey Goosey- Youth $10.00 Original price was: $10.00.$8.50Current price is: $8.50.
  • Loosey Goosey - Bundle Loosey Goosey - Bundle $20.00 Original price was: $20.00.$18.00Current price is: $18.00.
  • Everyday Shirt Everyday Shirt $12.00
  • Everyday Shirt- Youth Everyday Shirt- Youth $10.00
  • Privacy Policy
  • Refund Policy
  • Affliliate Program
  • Contact Us
  • About

Copyright © 2025 Patterns for Pirates

Copyright © 2025 · Genesis Framework · WordPress · Log in