Have you seen the sneak peek Judy posted on Instagram? Check it out if you haven’t already. If you did you might have noticed that soon you will be sewing those pretty sweater knits you’ve been saving. In the blog today I will give you some of my tips and tricks to work with this kind of fabric.
1.Grab the lint roller! No, I have not lost my mind…believe me, you will want the lint roller close by when you cut sweater knit. Whether it’s a open weave or a dense one, sweater knits tend to leave a lot of residue when being cut.
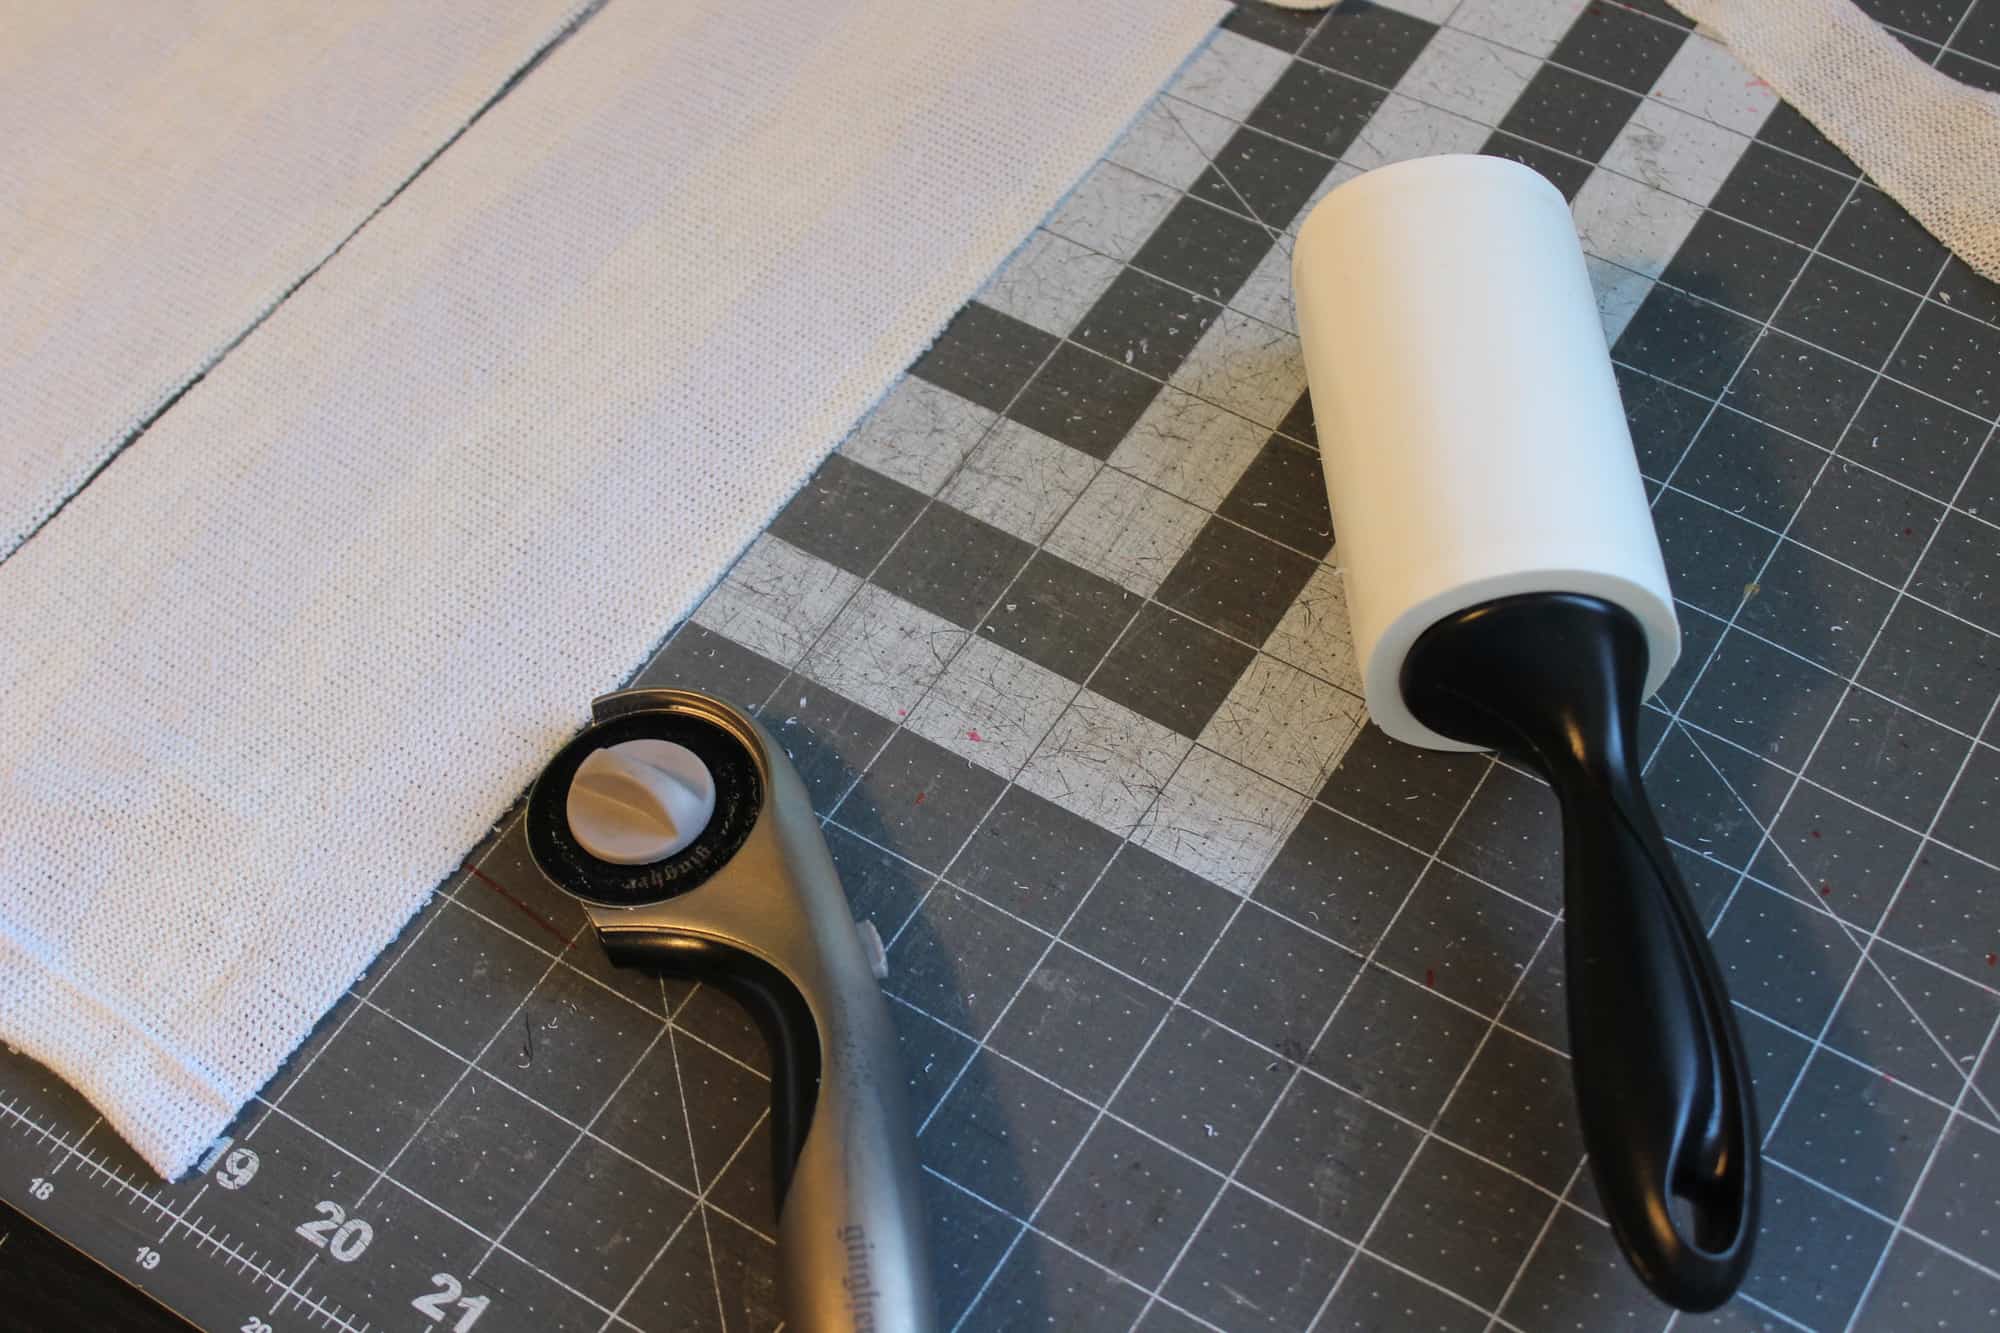
TIP: Use the lint roller to not only clean your cutting mat but also the edges of the fabric pieces you just cut. That will help keep your sewing machine cleaner.

2. If cutting with a rotary cutter, use a new or very sharp blade. I find sweater knits to be more prone to getting a run in the fabric if the cutter or scissors is not very sharp.
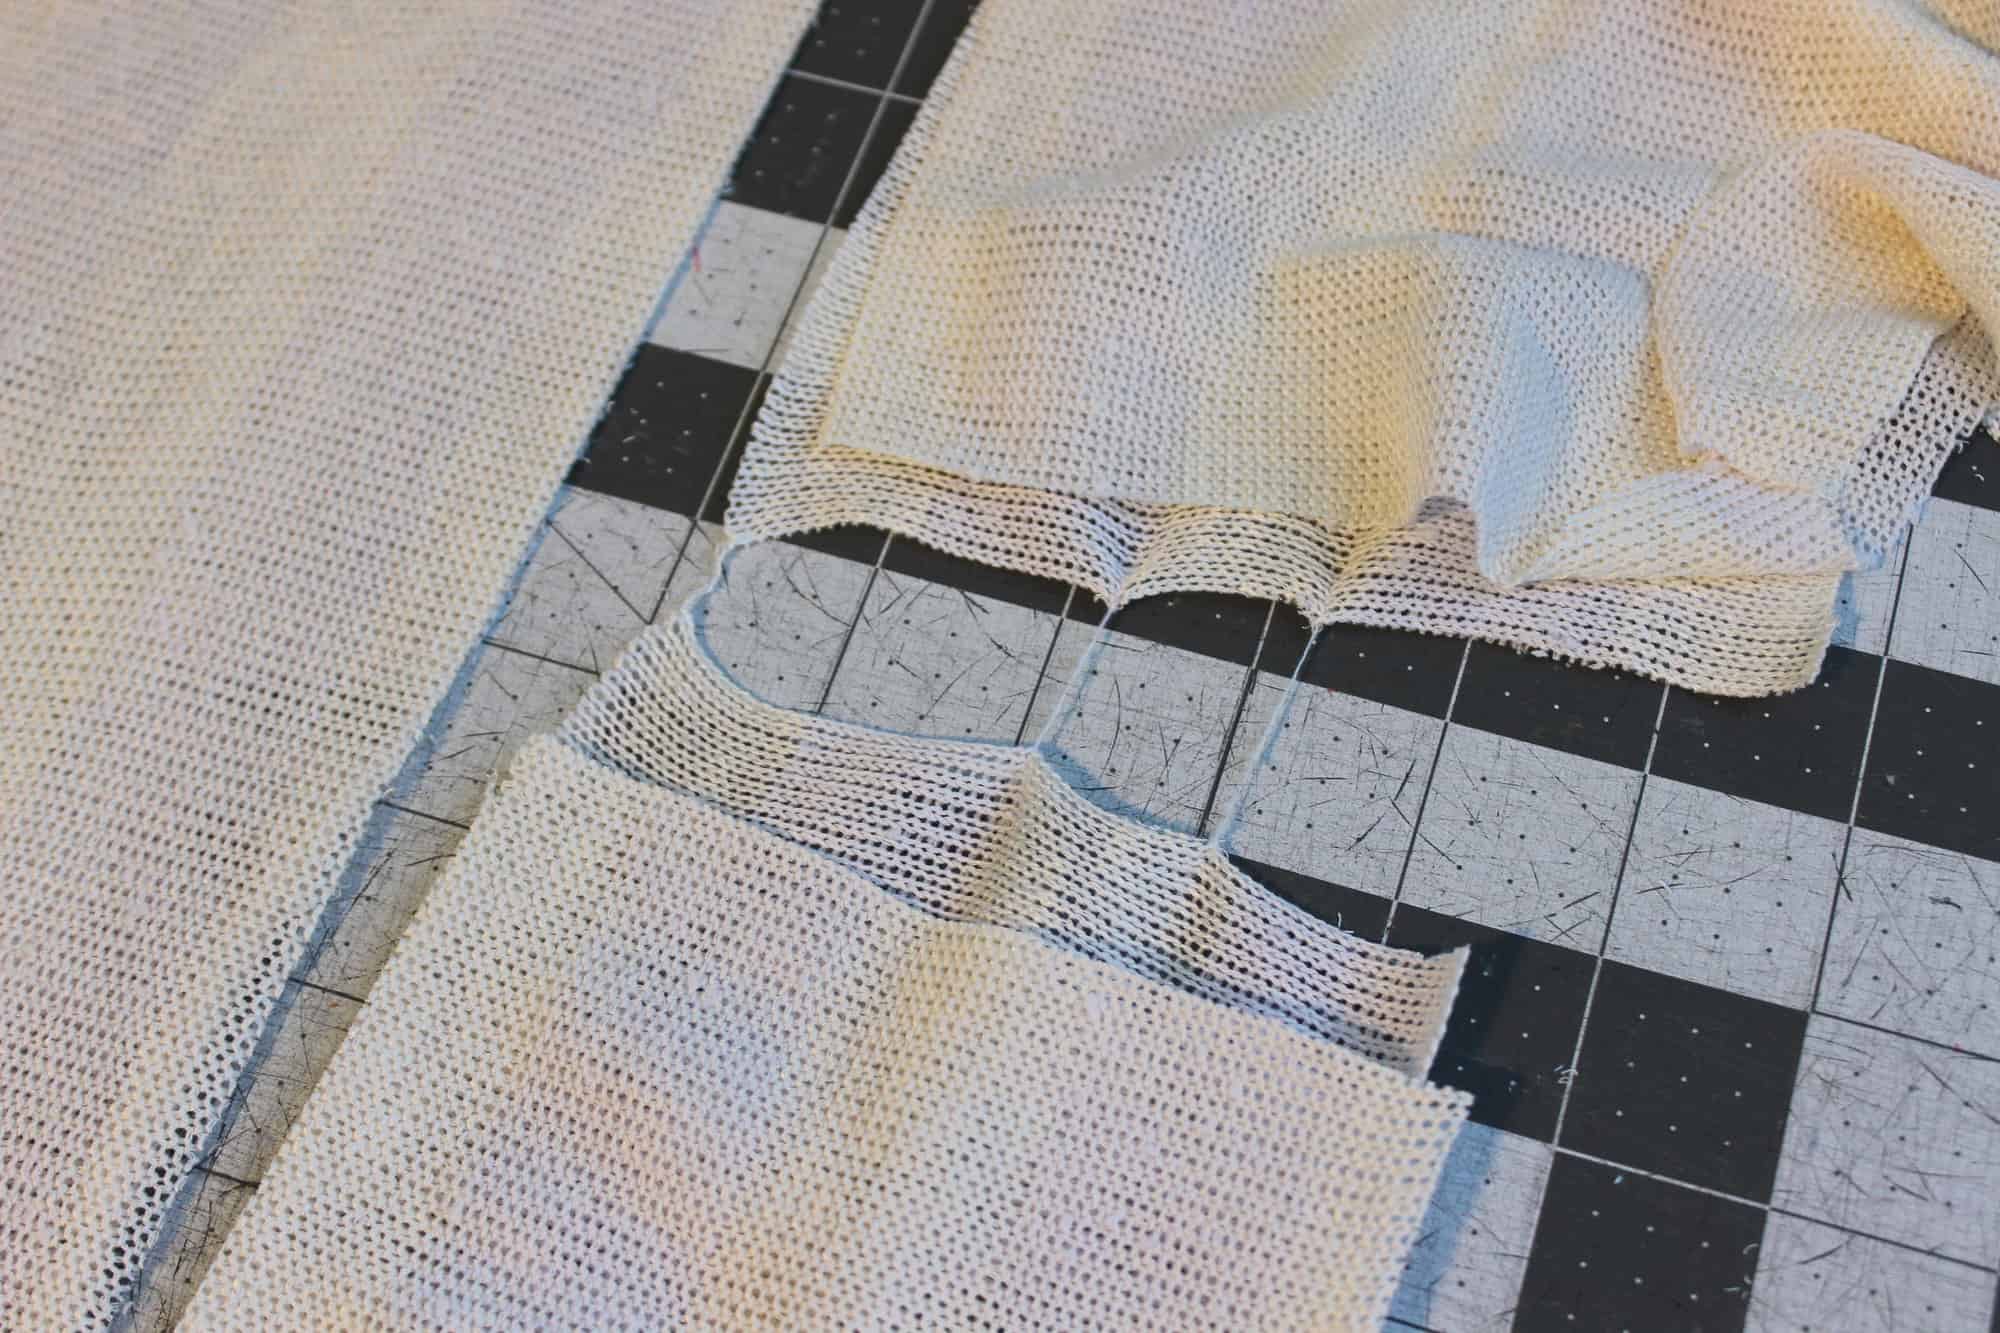
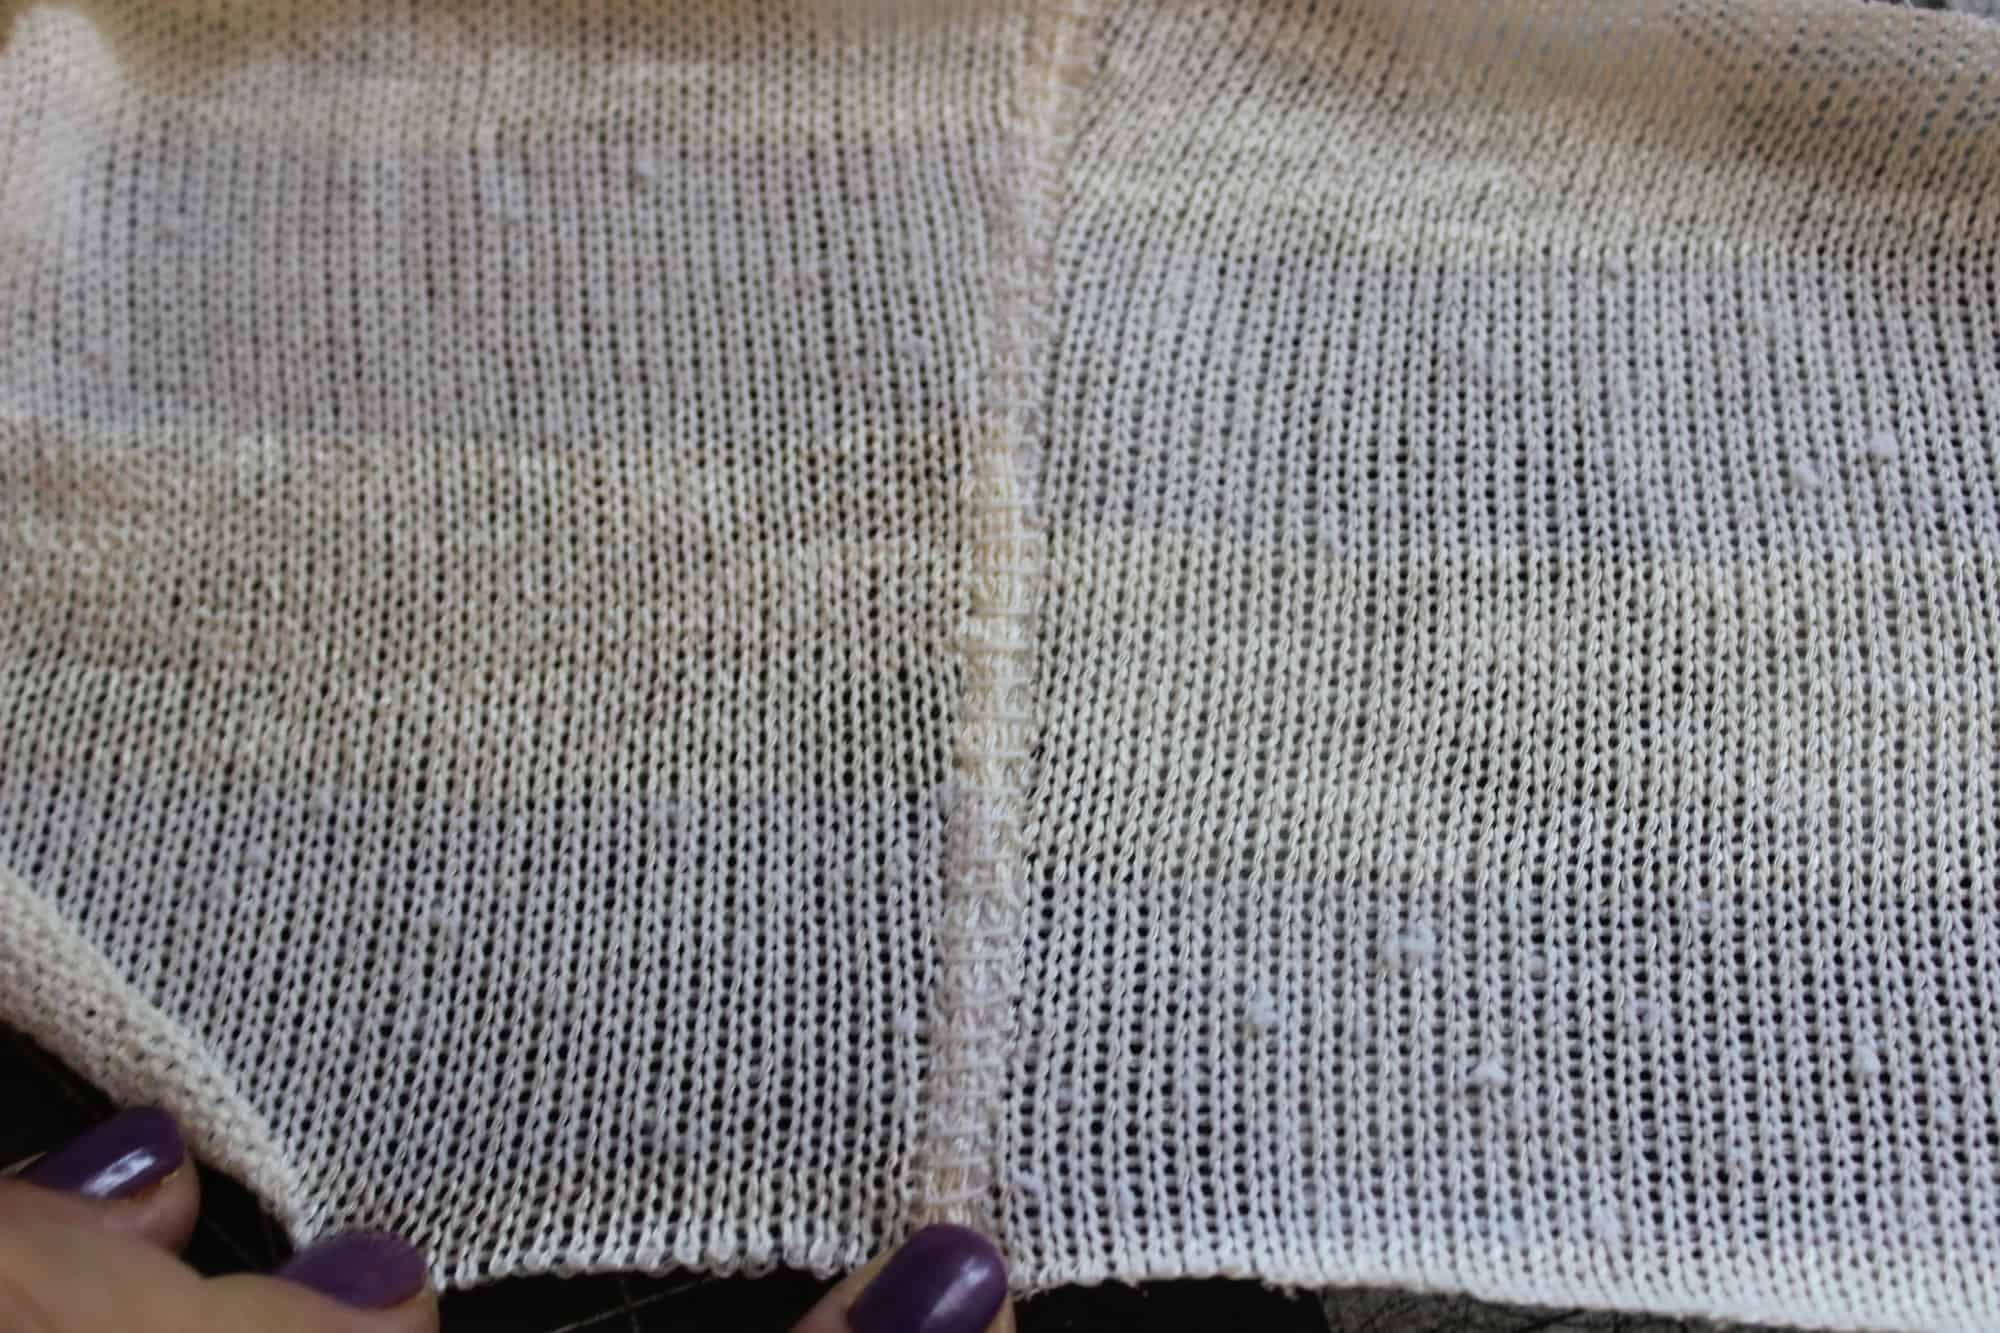
3. Water soluble stabilizer is not just for embroidery! When working with sweater knits on your sewing machine I highly recommend placing a piece of WSS under your fabric. This will not only make sewing it easier but it will also prevent puckering and even more important it will stop your machine from “eating” your fabric. Sweater knits, especially open weave ones have a lot of “holes” so your machine is basically sewing through air.
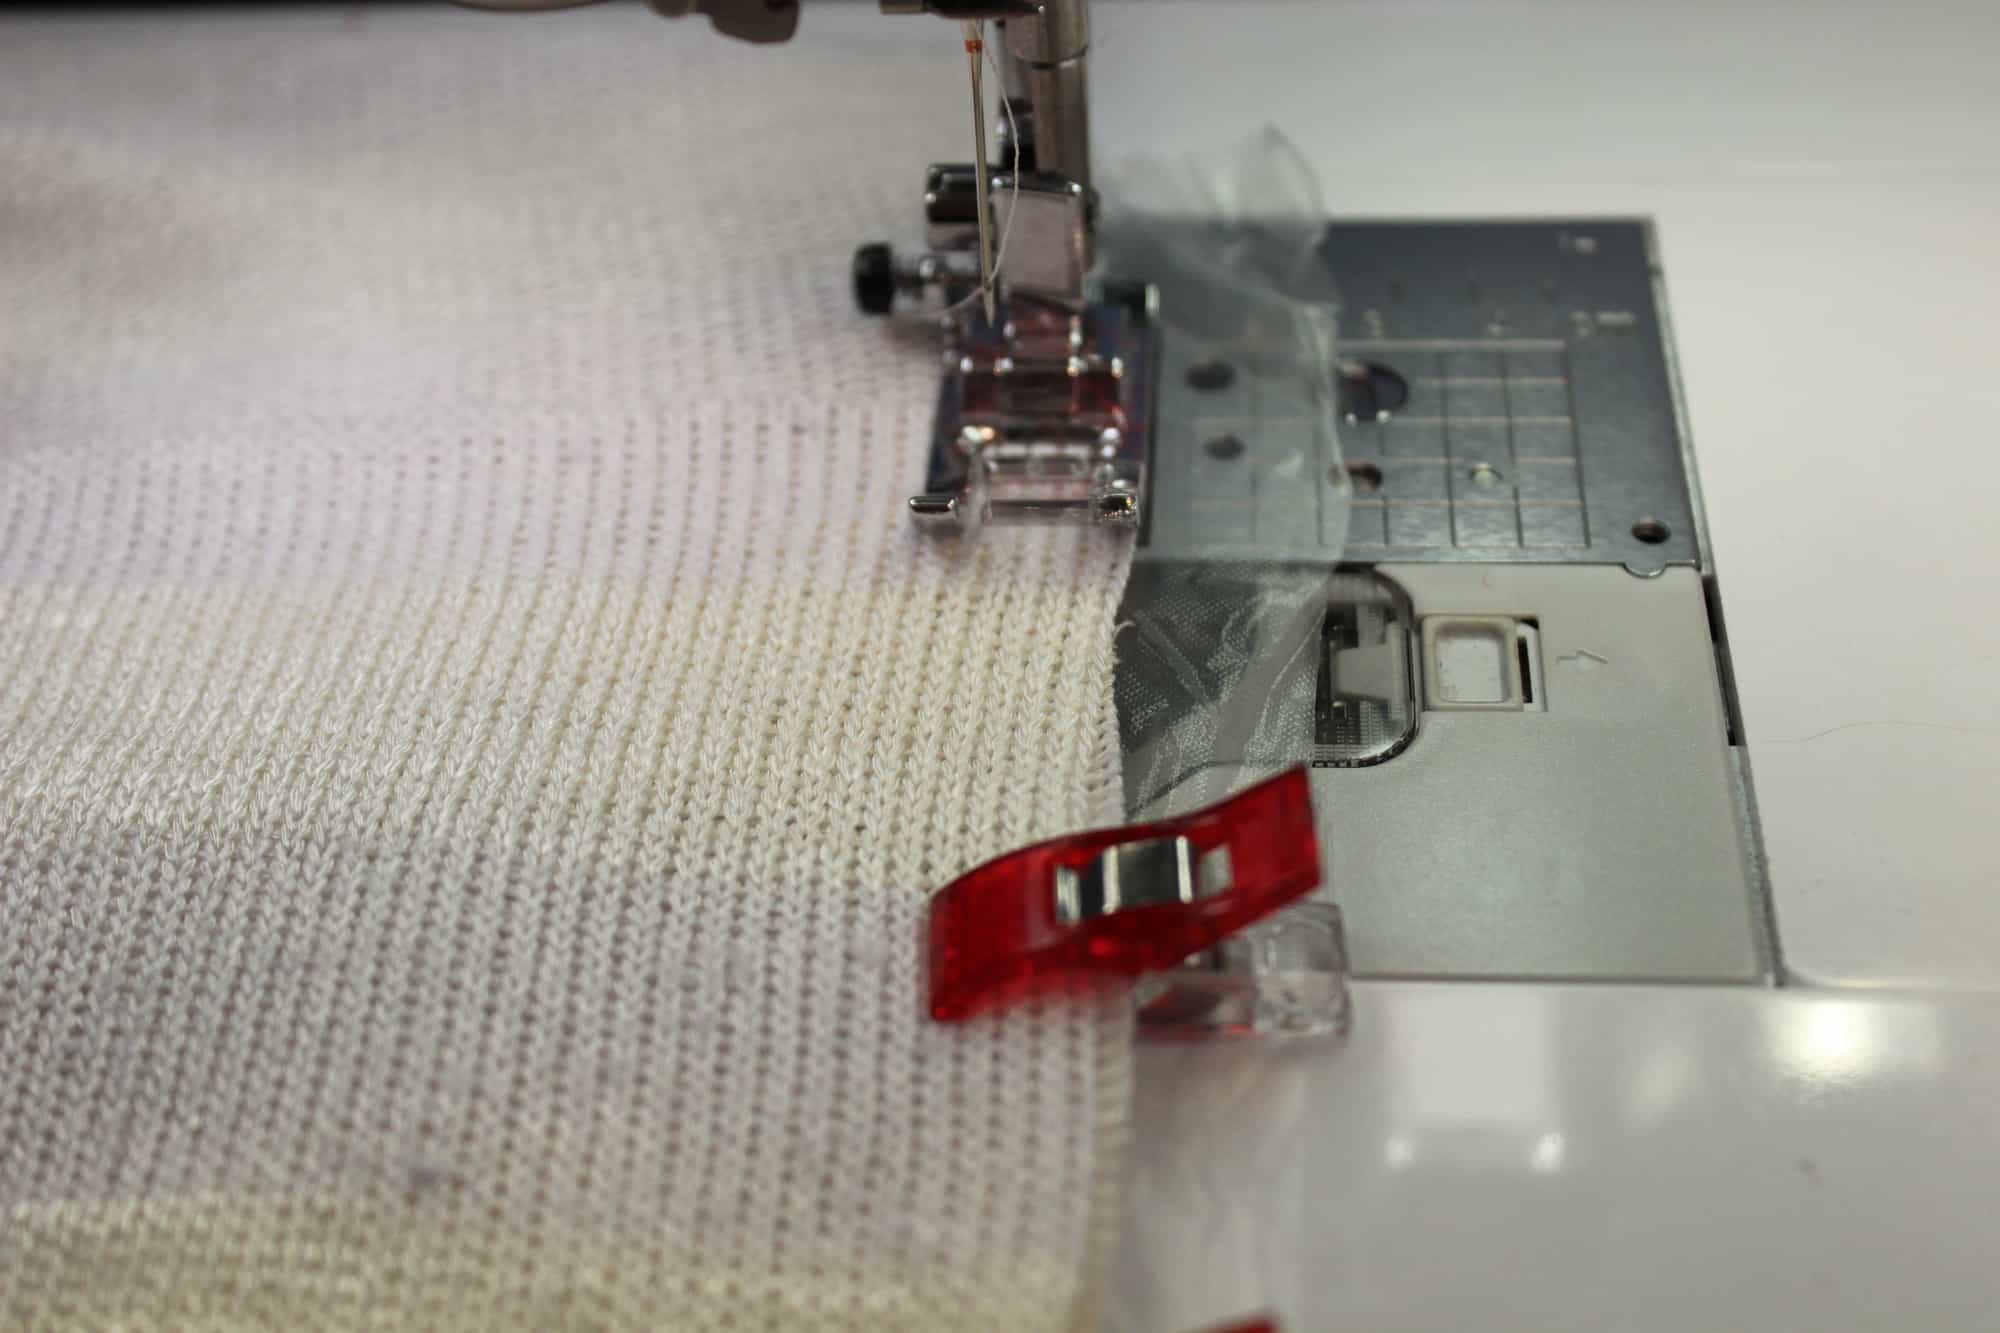
Tear away the excess, the remaining water soluble stabilizer will disappear when you first wash the garment. I prefer transparent WSS but opaque ones work just as well.

4. You can sew sweater knit entirely with your sewing machine however a serger will make the process faster and easier. You might need to adjust your settings a bit to accommodate this type of fabric. My favorite serger stitch when sewing sweater knits is the FLATLOCK stitch. Check your serger user manual to make the proper settings for a flatlock stitch, they will vary from model to model. Here is an example of how a white thread flatlock stitch looks like on a black piece of fabric.
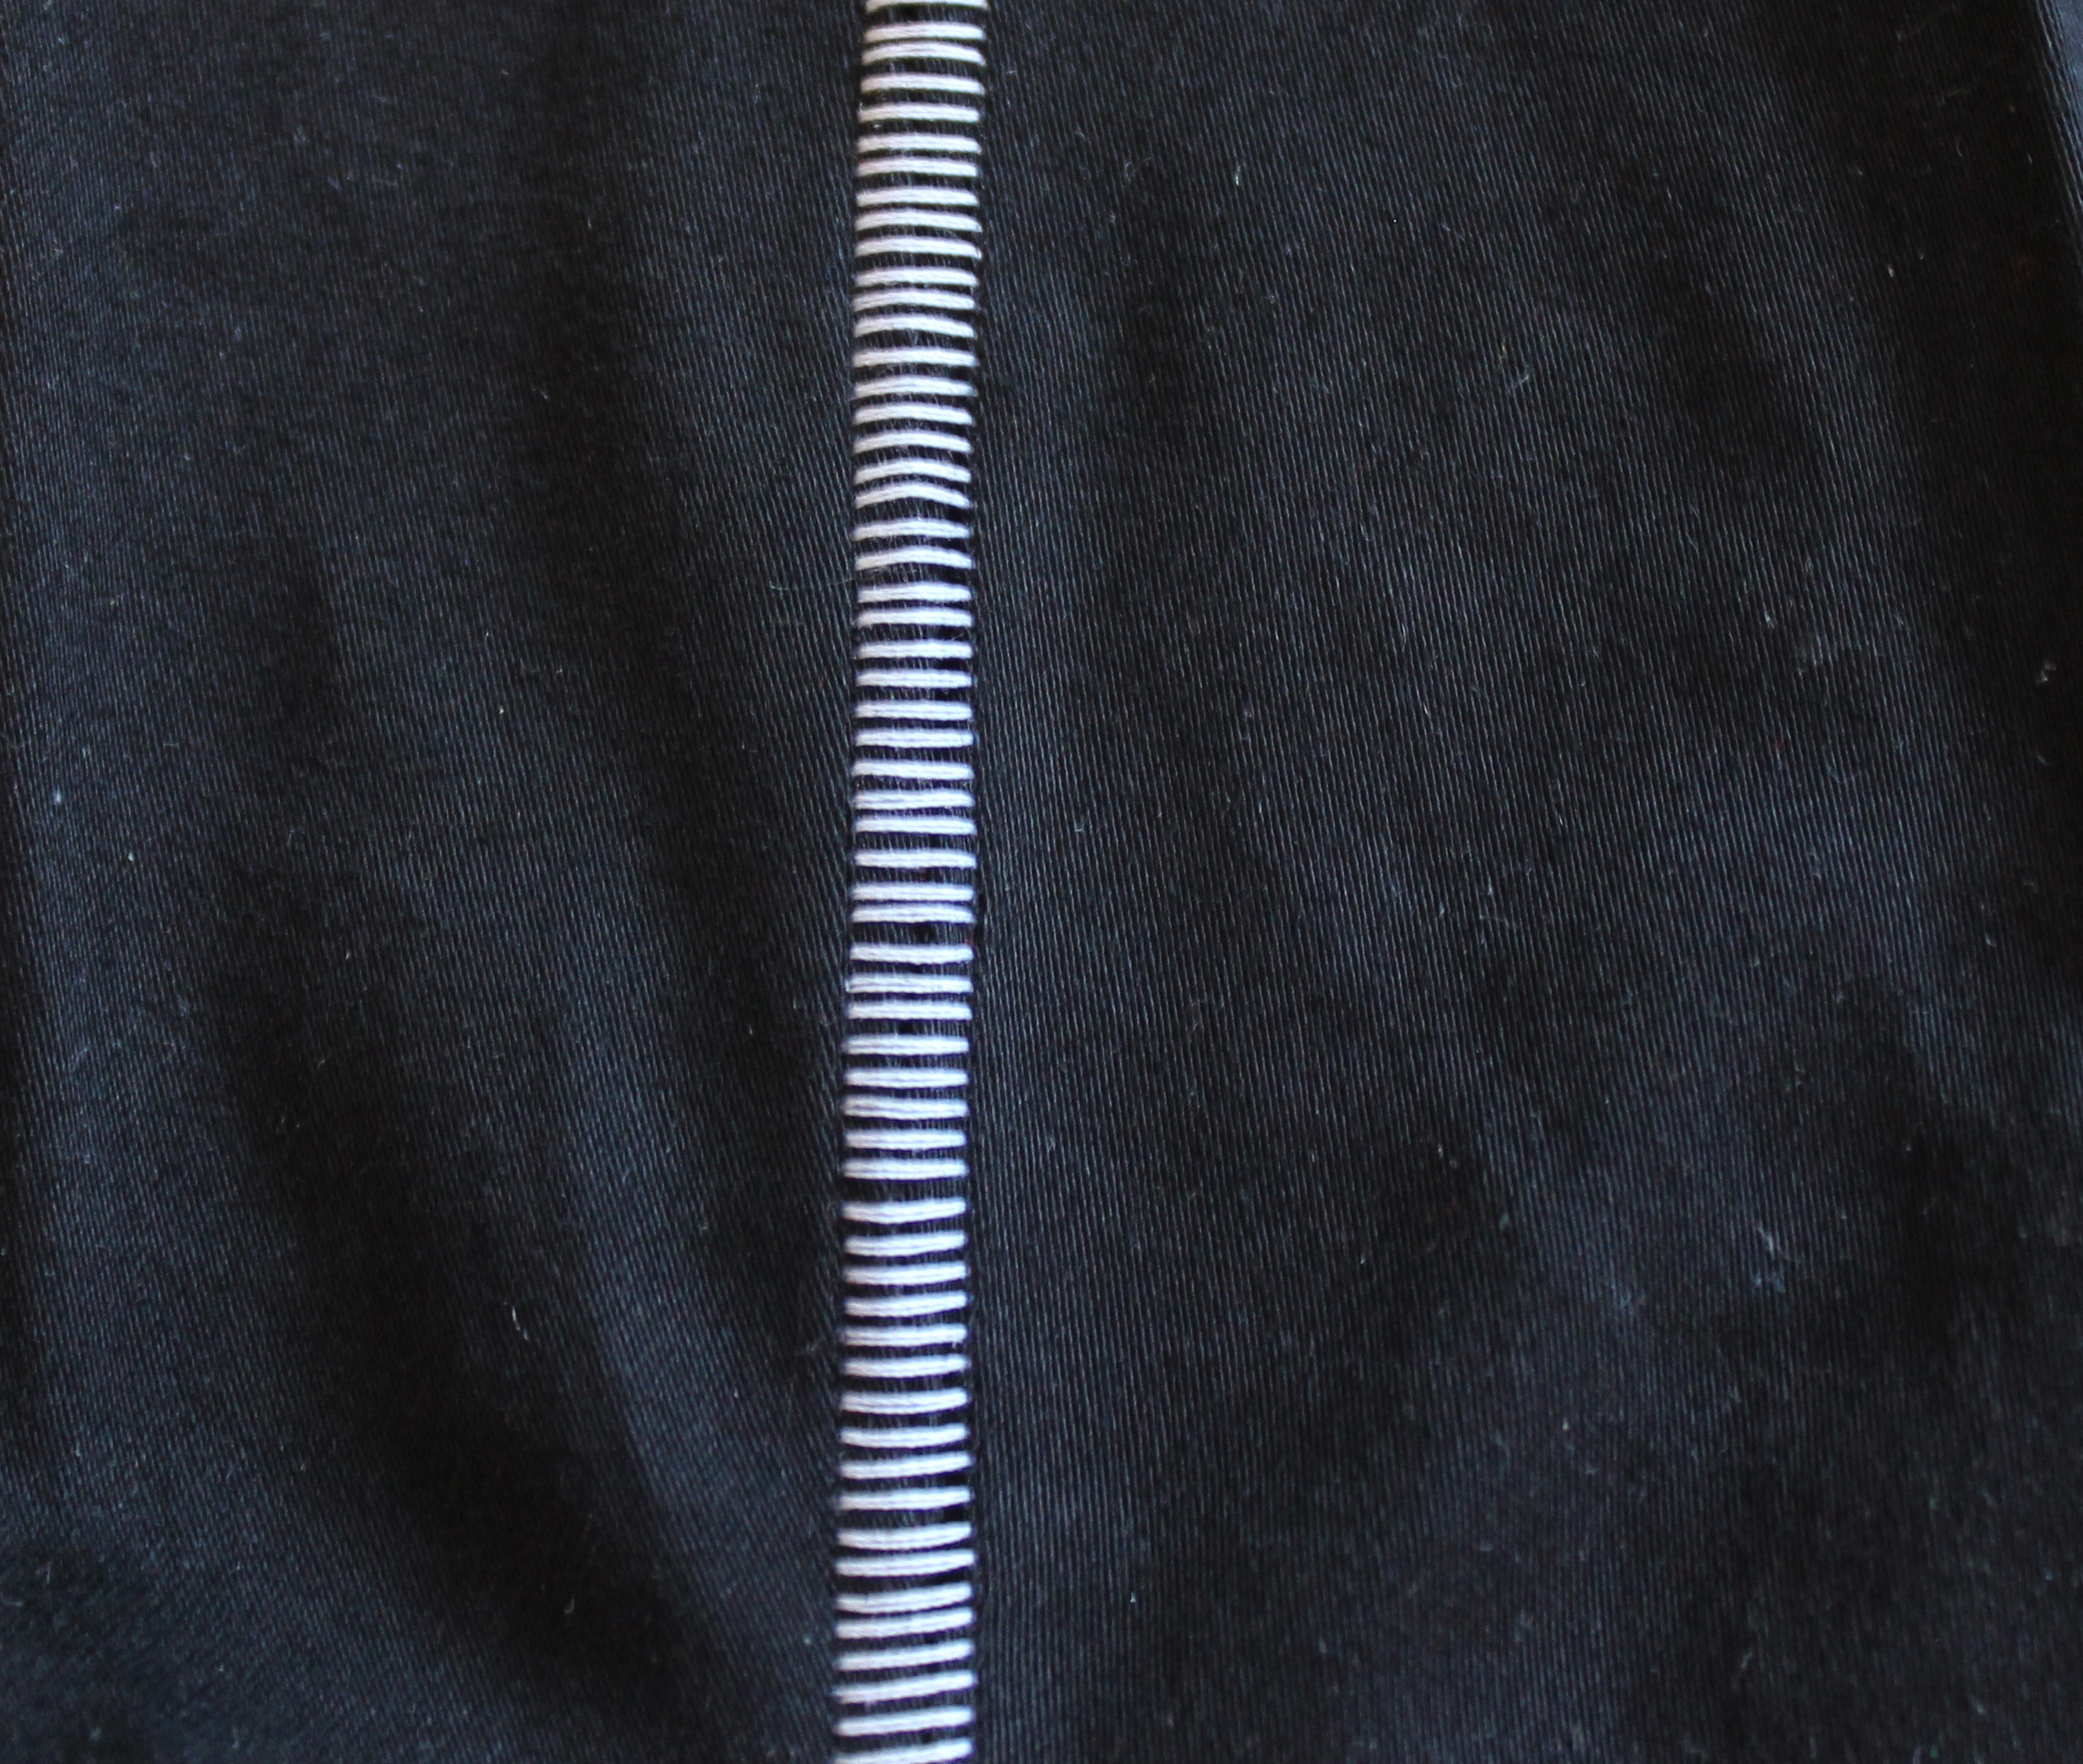
A narrower flat lock stitch
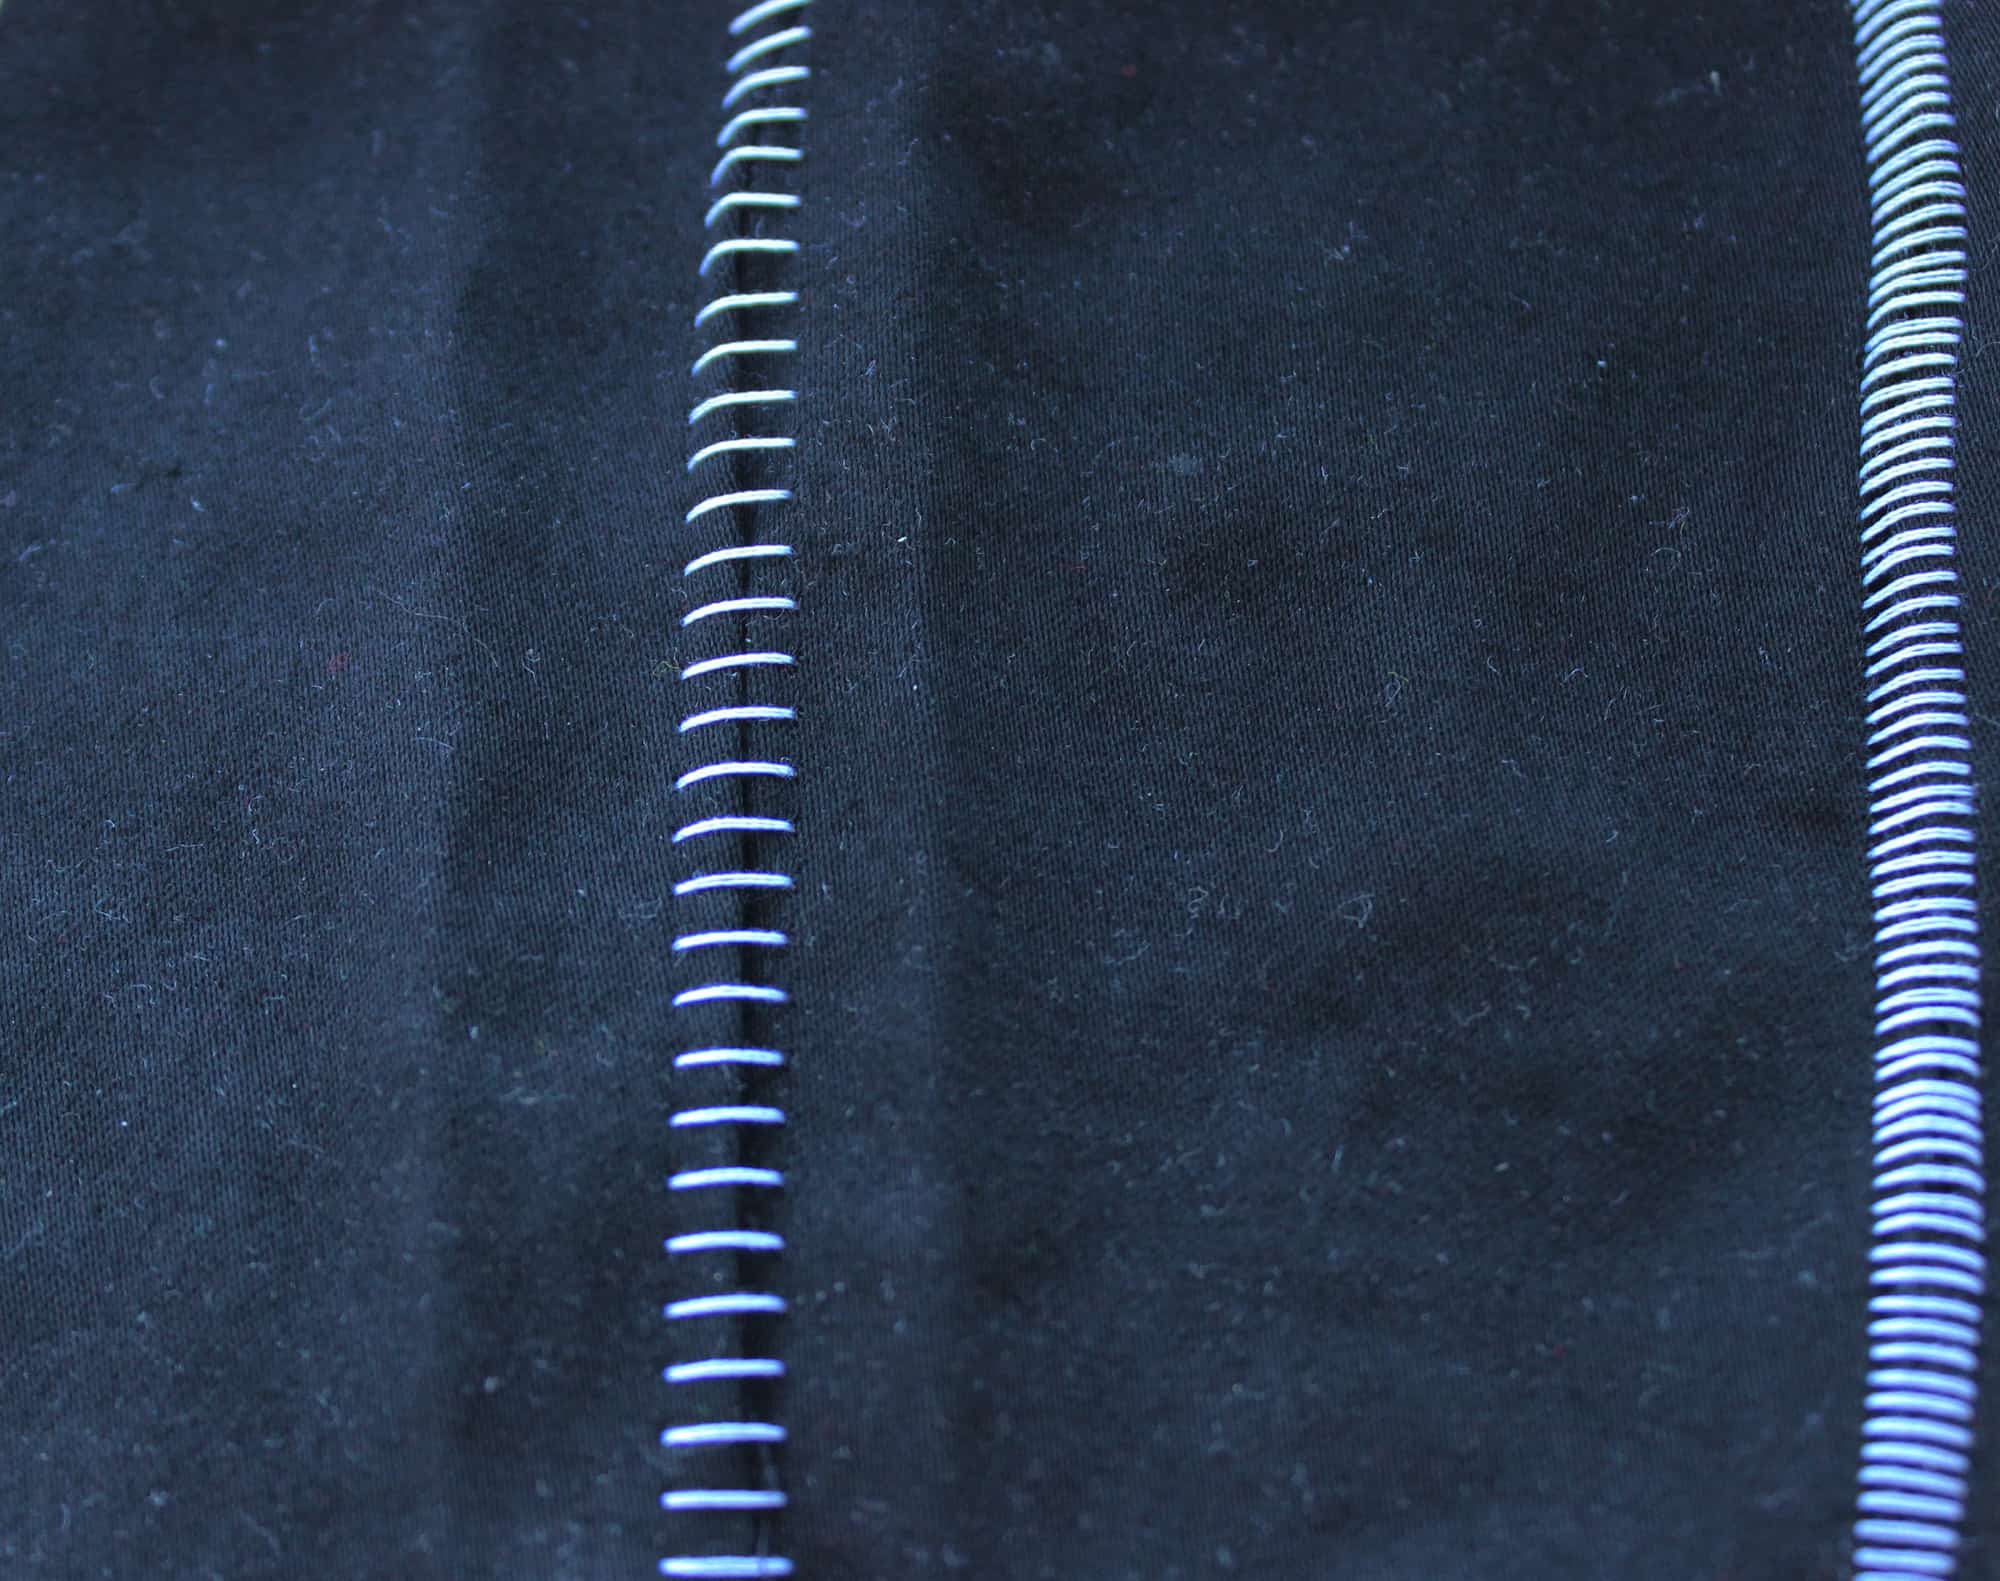
A wider flat lock stitch
I use this type of serger stitch when I make sweater knit bands and hems. Use a matching thread so the stitch will blend in with the fabric.
5. Just as with all knits, always use a ball point needle in your sewing machine and serger. You’ll also need to lower the pressure foot tension of your sewing machine.
6. The markings on open weave sweater knits will need to be added with chalk/ a tailor pen or by adding tailor tacks. Notches are impossible to see on sweater knits.
I hope you find these tips helpful when you will be sewing the new Cocoon pattern releases soon. I will leave you with another sneak peek of this amazing cardigan. Now get the sweater knits stash out and as always post your creations in the group so we can all ohh and ahhh over them.


Alex


