Happy Holidays, Pirate Friends! We are excitedly back for another year and another round of holiday freebies to share with you! Since 2016, we’ve compiled different tutorials and patterns that we think would make *perfect* gifts for your friends and family. Curious about what we’ve already released in the way of holiday freebies? Head right here to see all of them: Holiday Freebies Roundup.
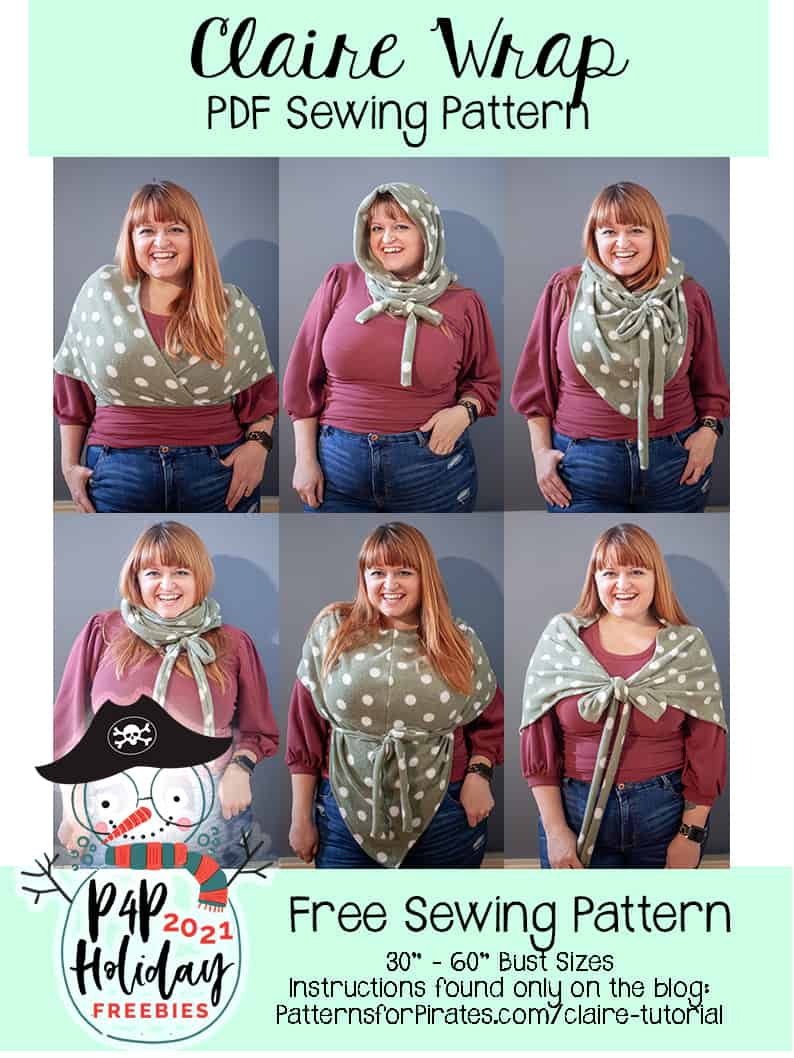
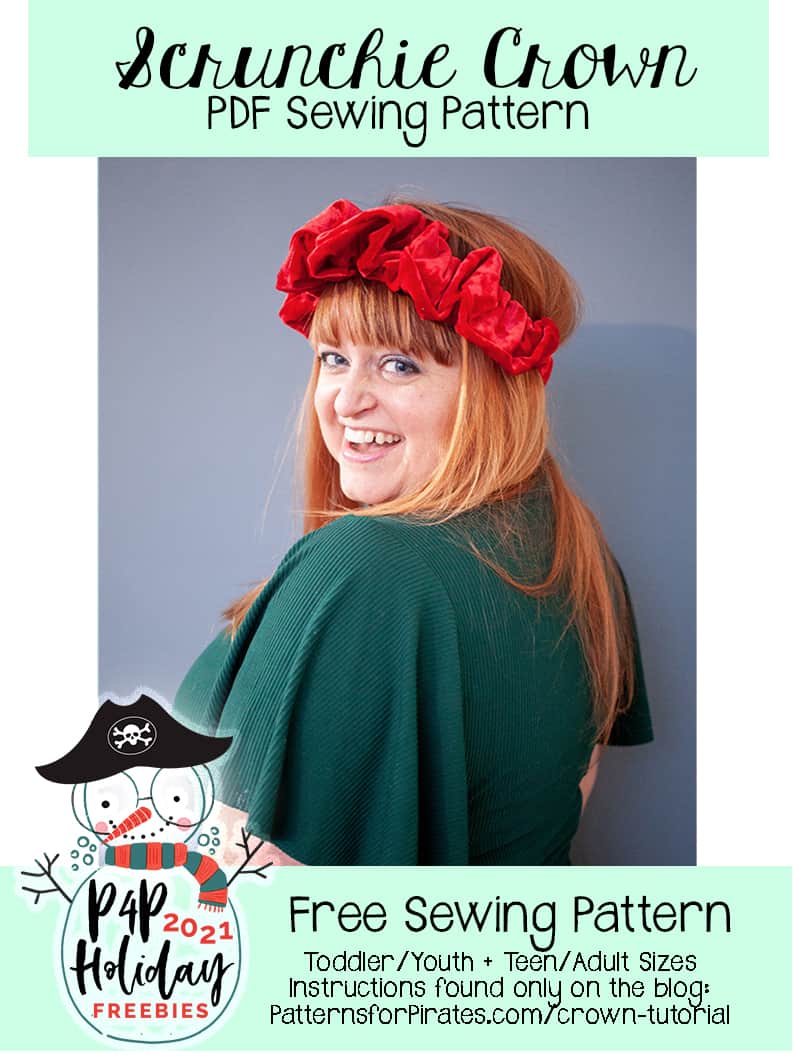
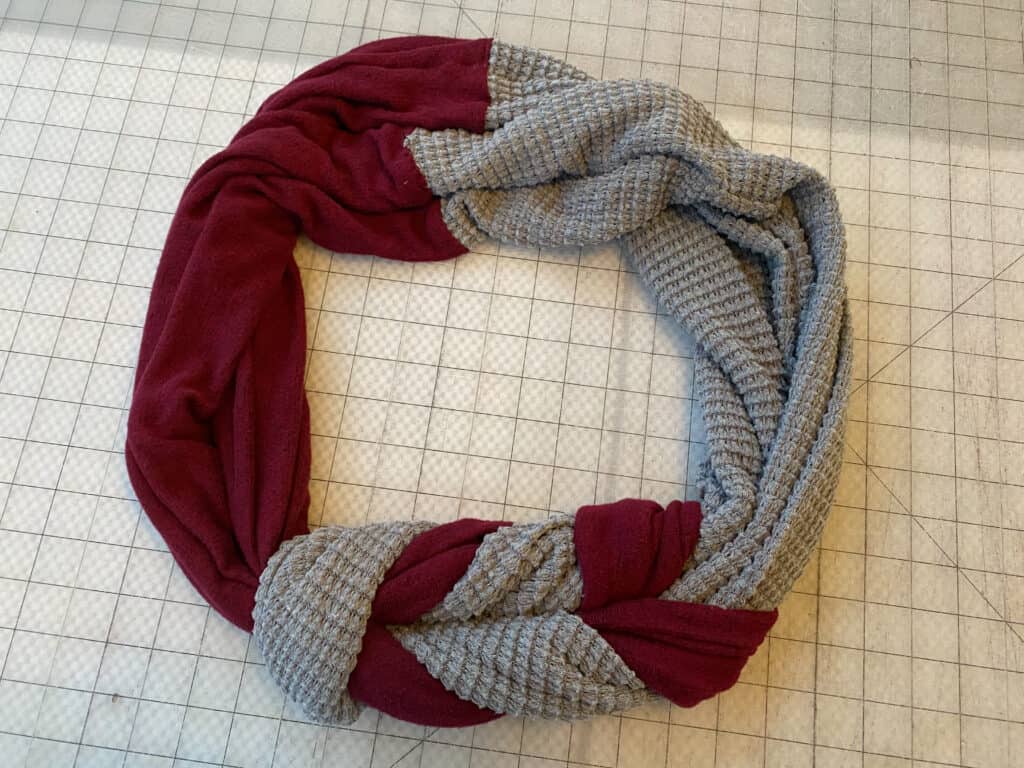
Today, we are bringing you the: Sleigh Ride Shawl!
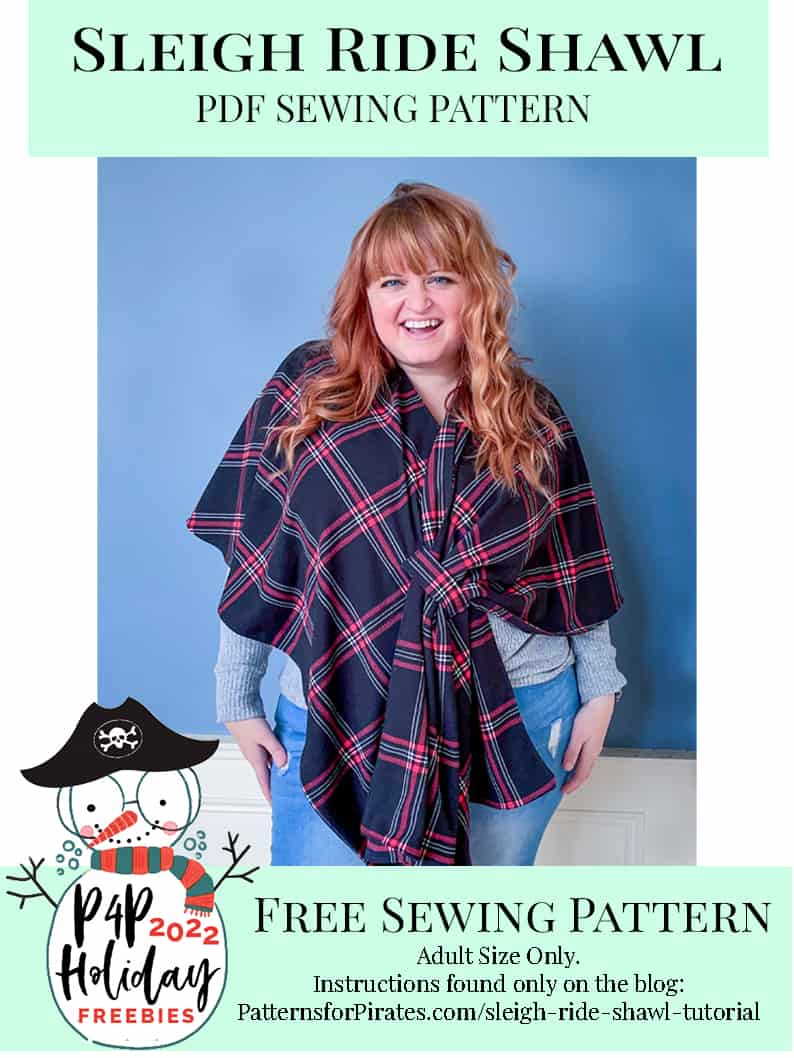
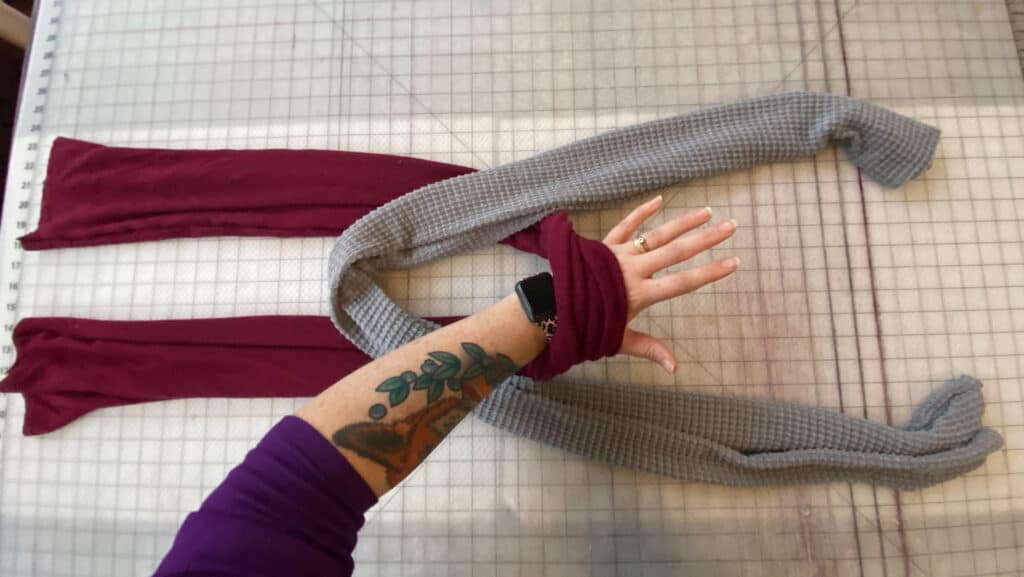
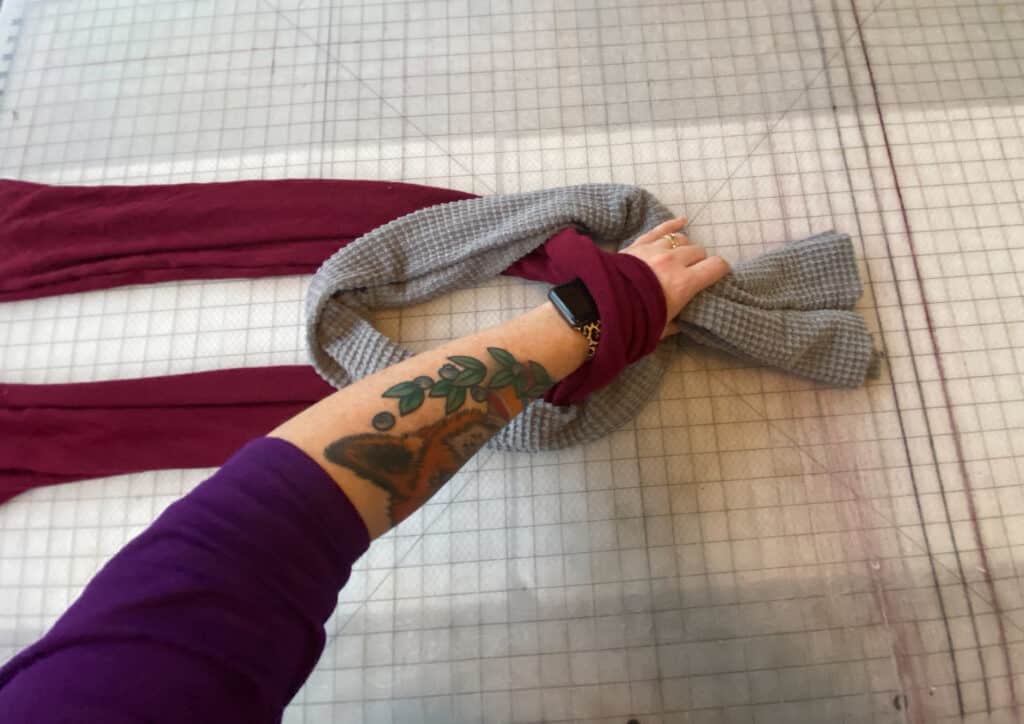
The Sleigh Ride Shawl is the cutest accessory you never knew you needed until now! It’s an adult sized pattern that is super easy to make, and even easier to wear around. Throw it on to wear around the house for a cozy layer, make it in a dressier fabric for an evening out, or layer it over a jacket for an about-the-town look. It’s the perfect pairing piece for so many different outfits!
Fabric Requirements / Recommendations: 1-3/8 Yard Main Fabric + 1-3/8 Yard Lining Fabric
- Most Knit and Apparel Woven Fabrics will work. (The pattern piece is 47″ wide, so you’ll need to choose a fabric wide enough to fit it!)
- If you’d prefer, you can skip the lining and make it a single layer and just hem the edges instead! If you’re choosing this option, keep in mind that the “wrong side” of the fabric will be visible, so be sure to choose something that will look good on both front and back.
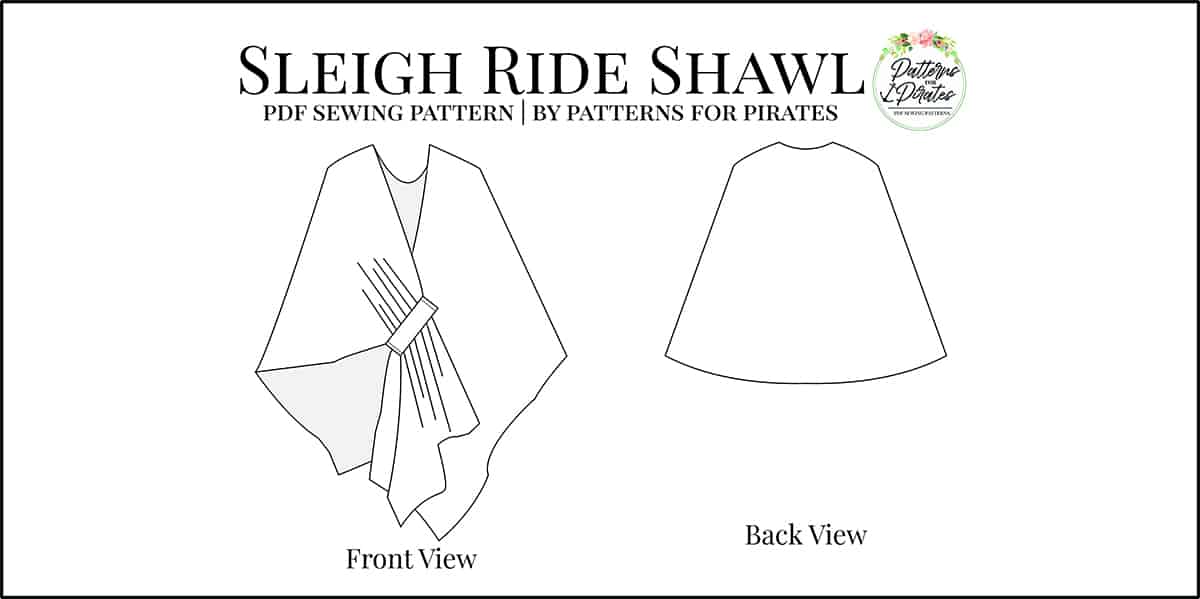
Grab Your Pattern Pieces Here: Sleigh Ride Shawl pattern pieces
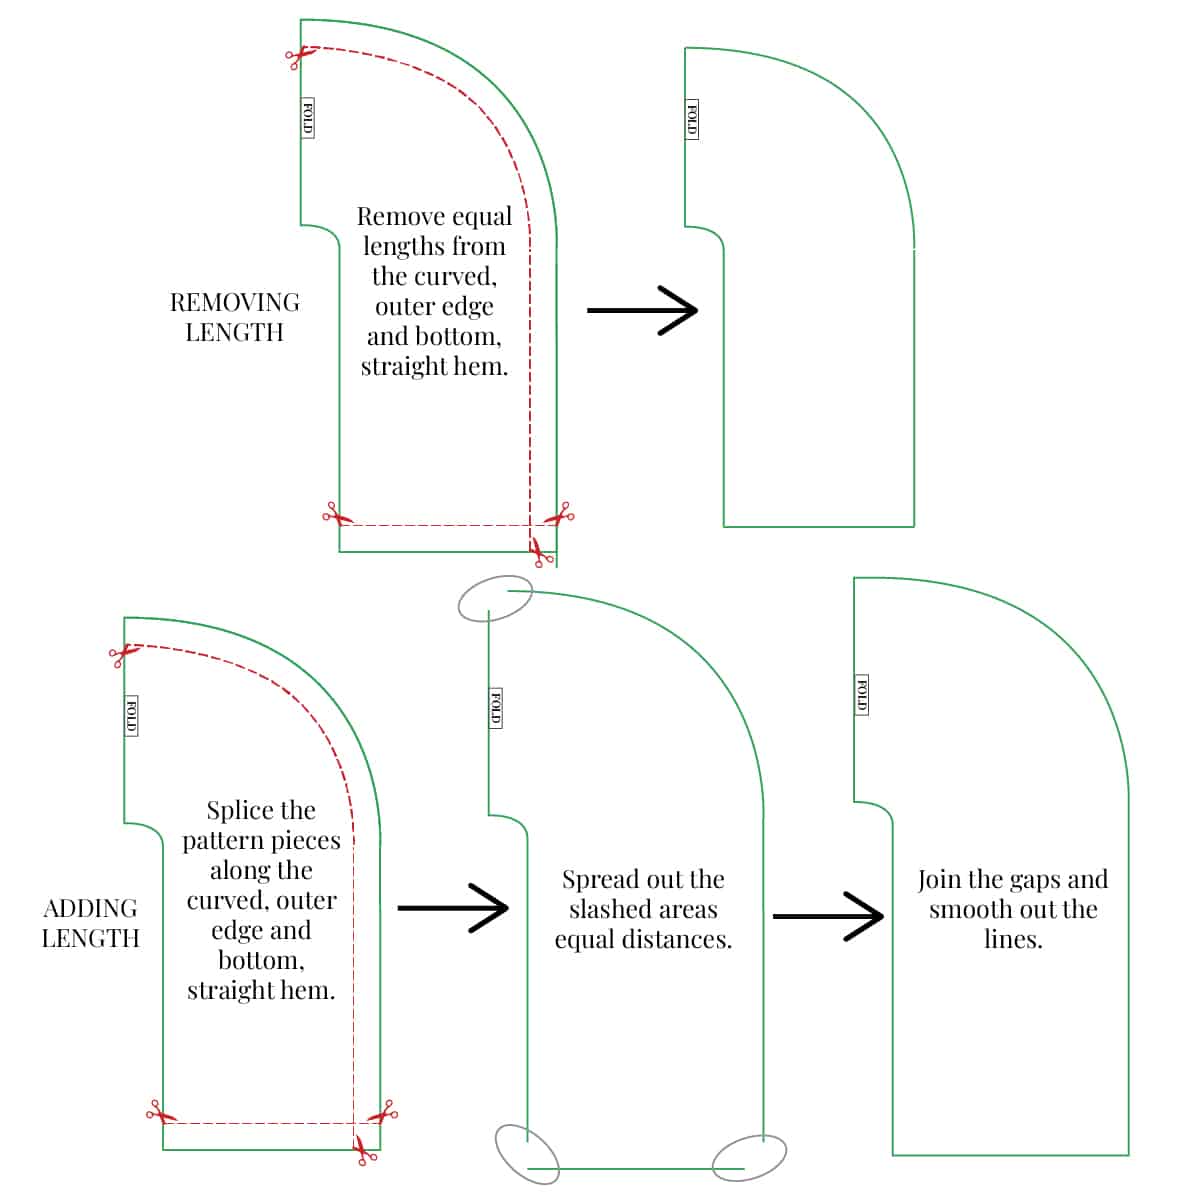
The Sleigh Ride Shawl is designed for an adult with the average height of 5’5″. If you’re taller or shorter than that, you may want to adjust the height. I would personally recommend making a muslin of one first to decide before making adjustments. However, adjustments are super easy! The concept is the same as this P4P University blog post: Petite and Tall Fitting Adjustments.
Now that we’ve got our pattern prepped and ready, let’s get to sewing!
TUTORIAL:
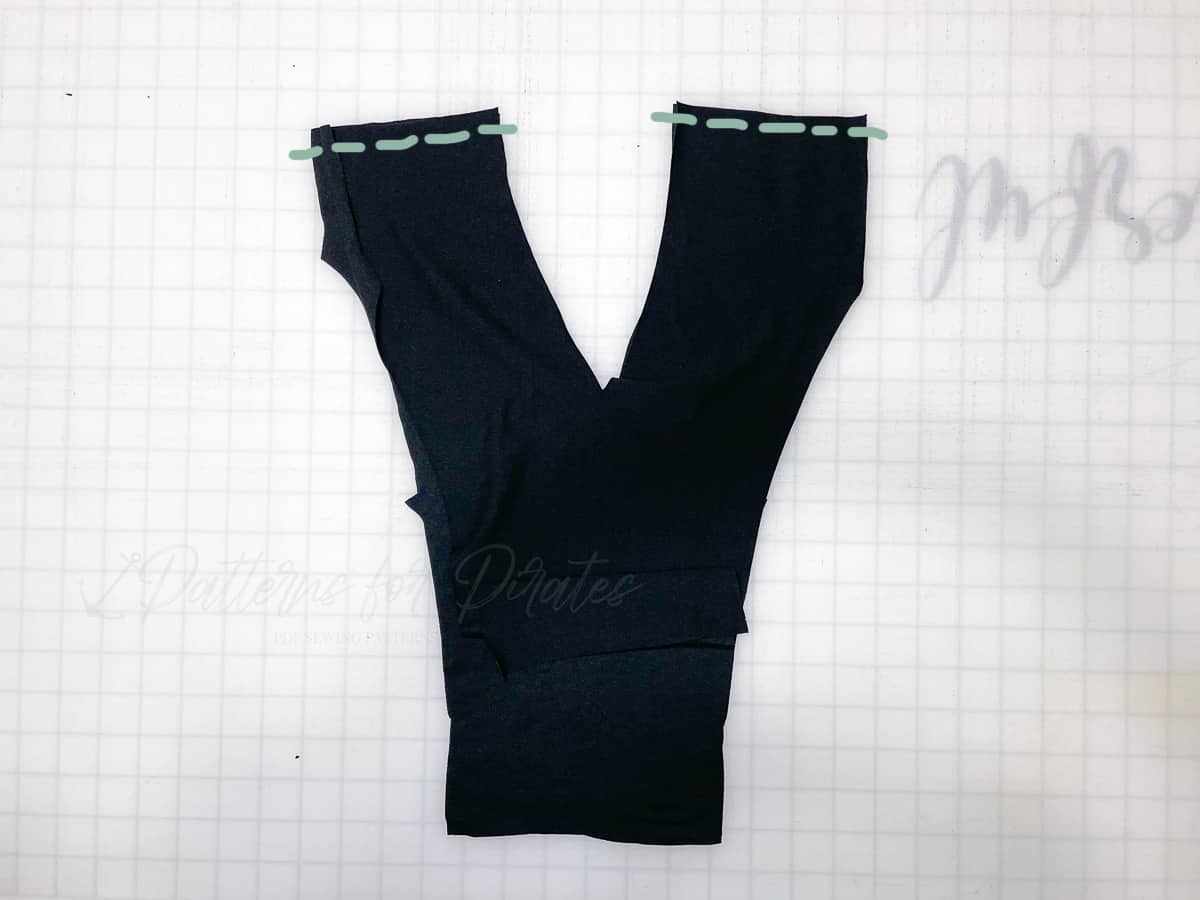
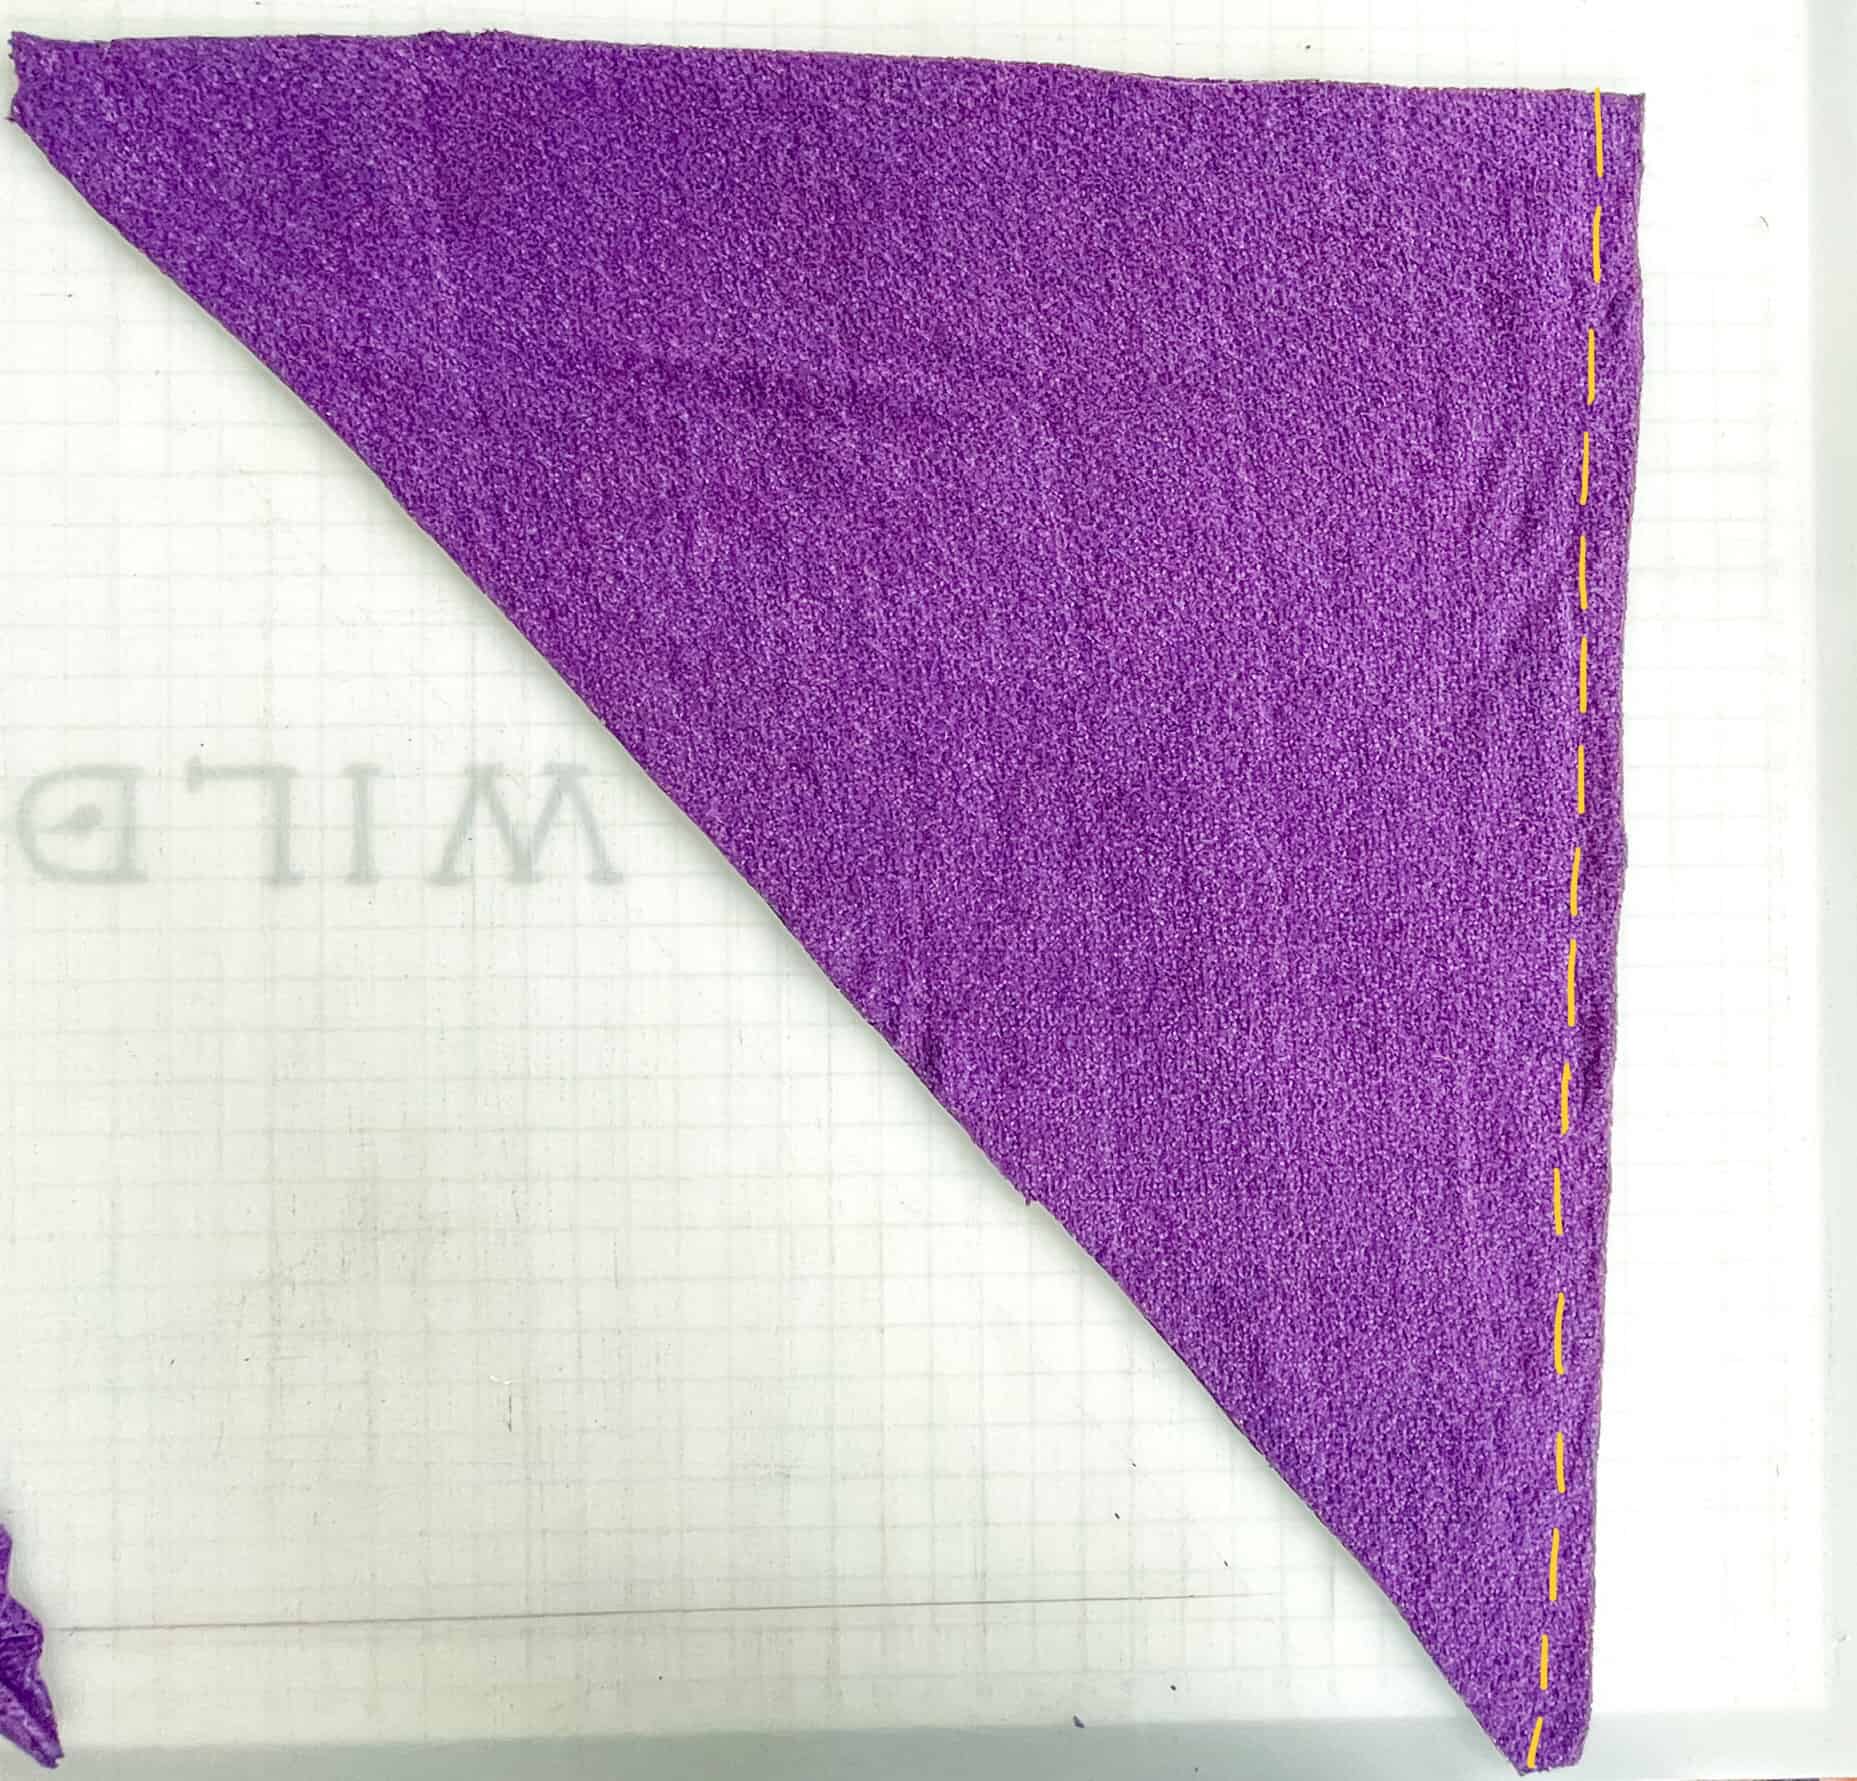
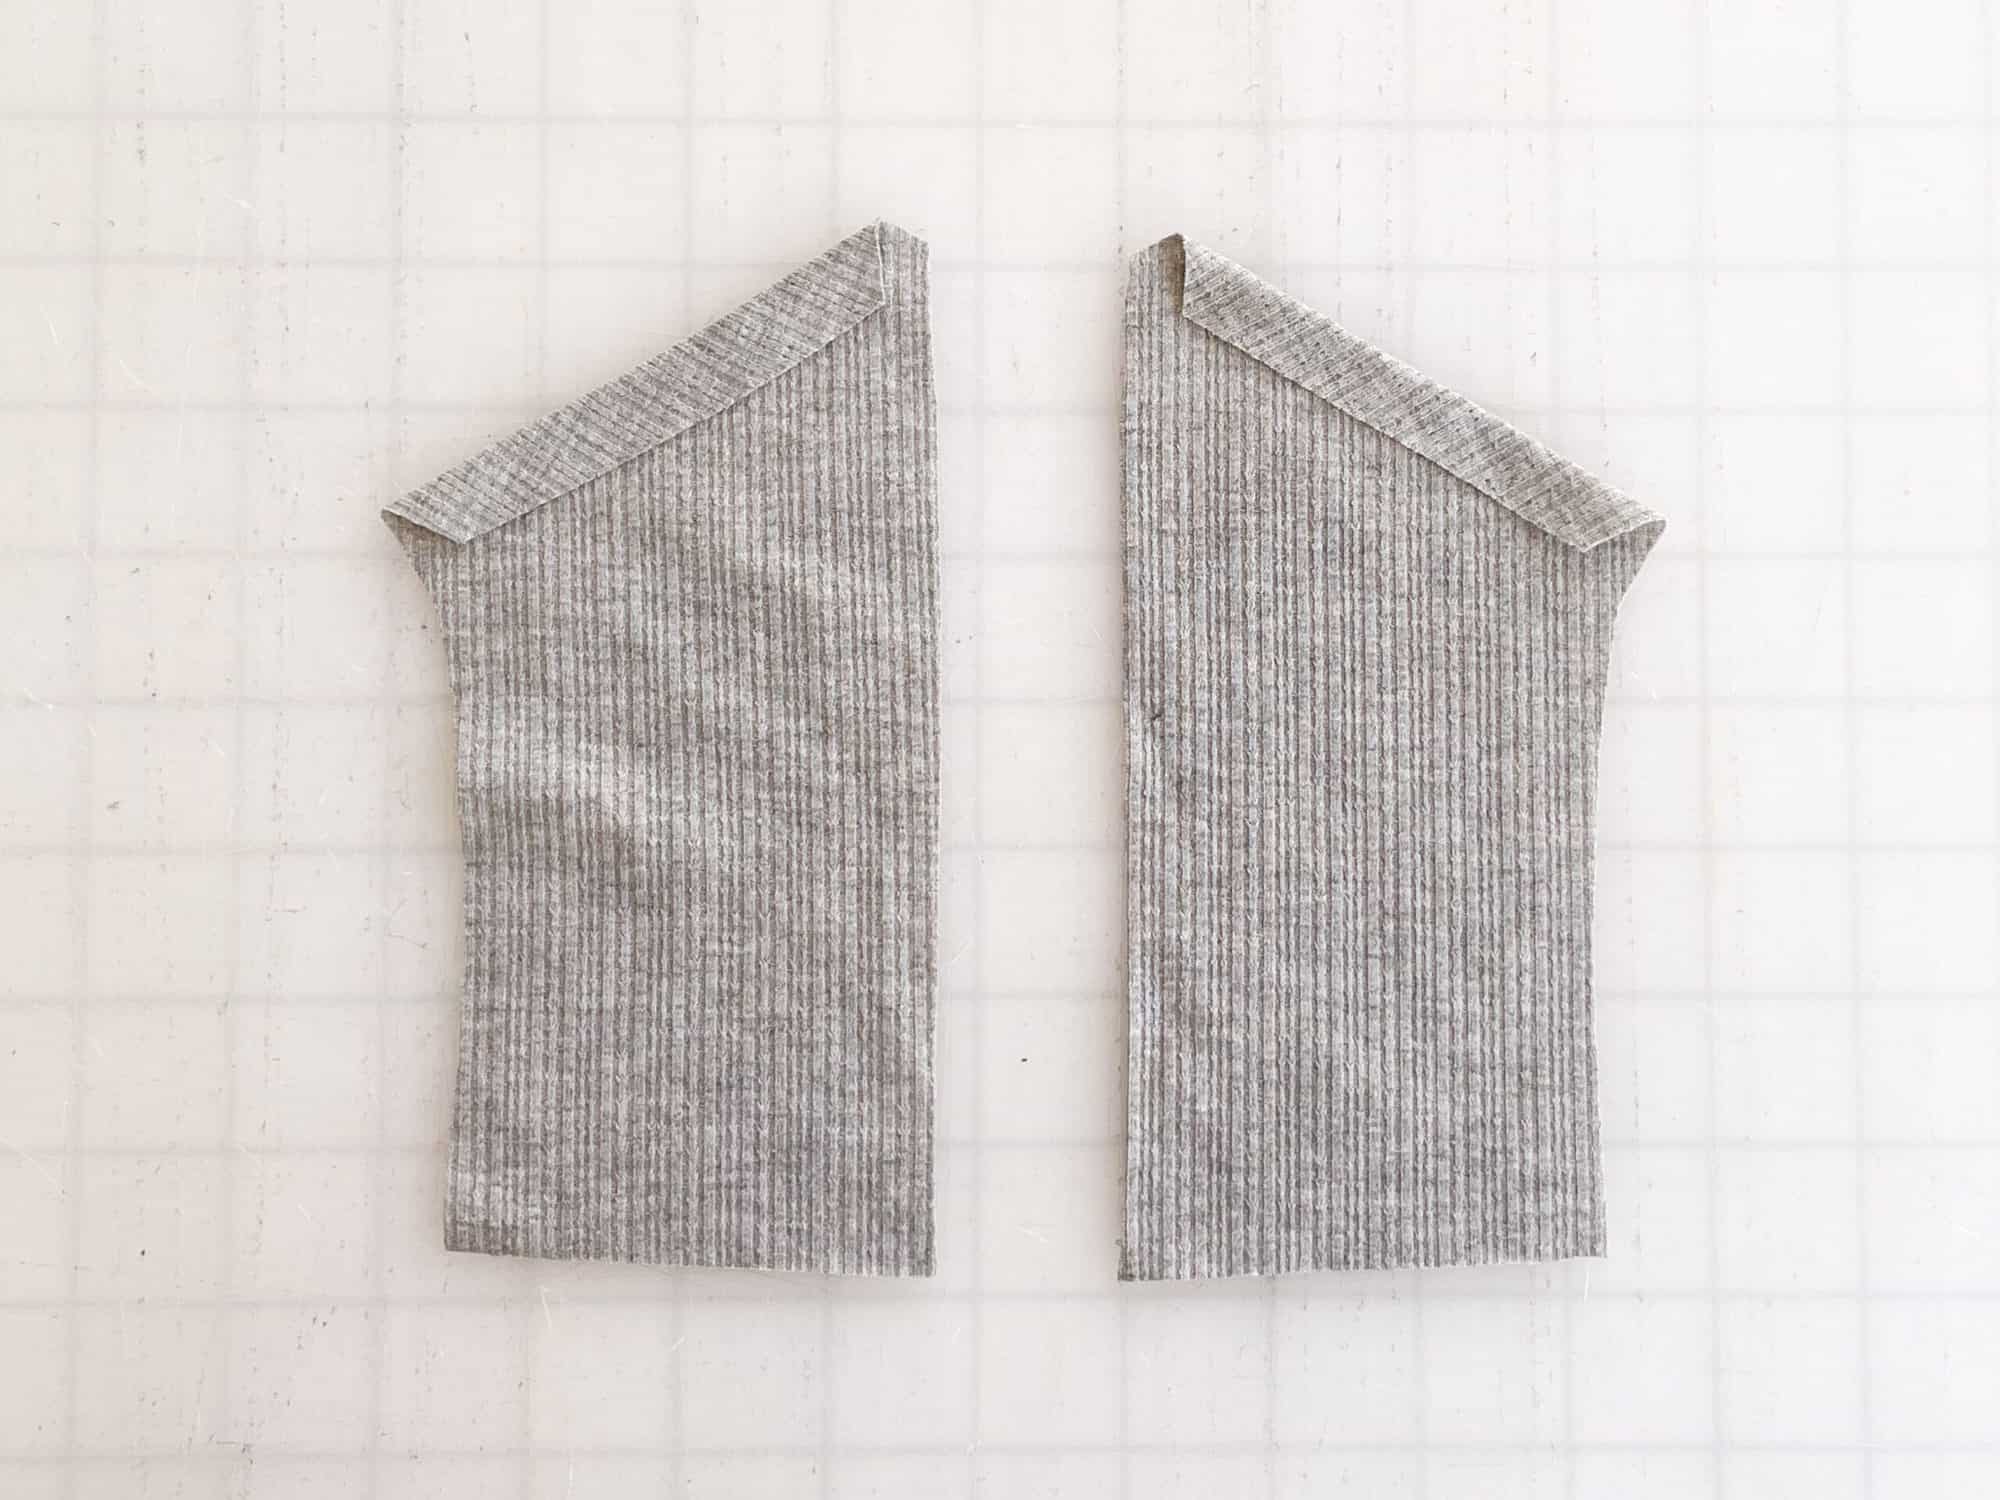
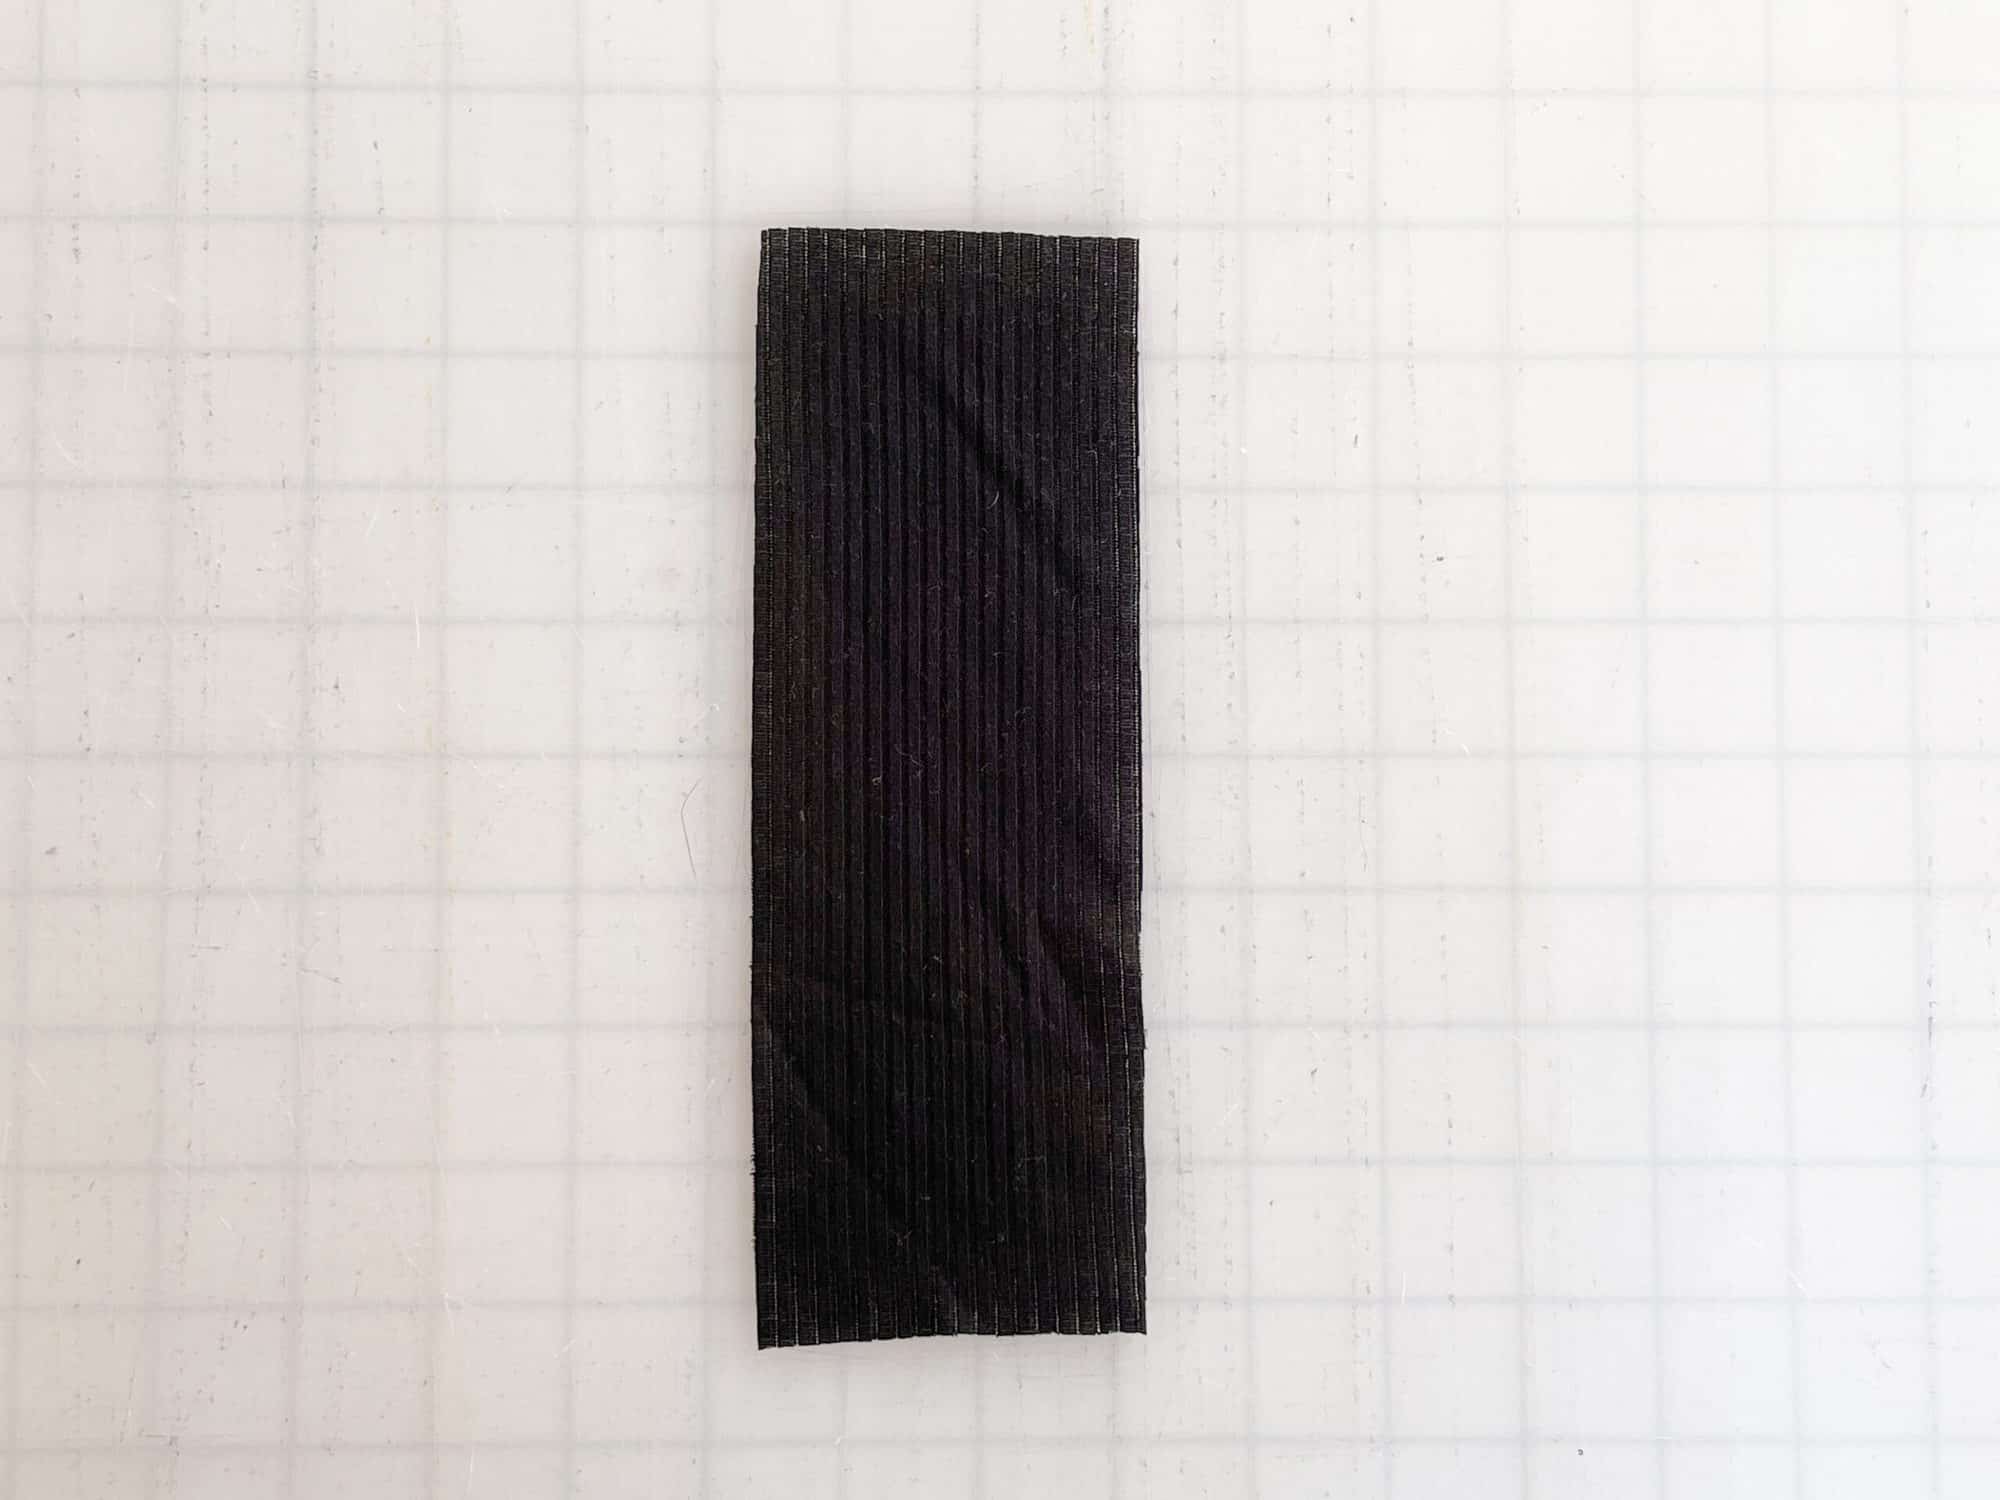
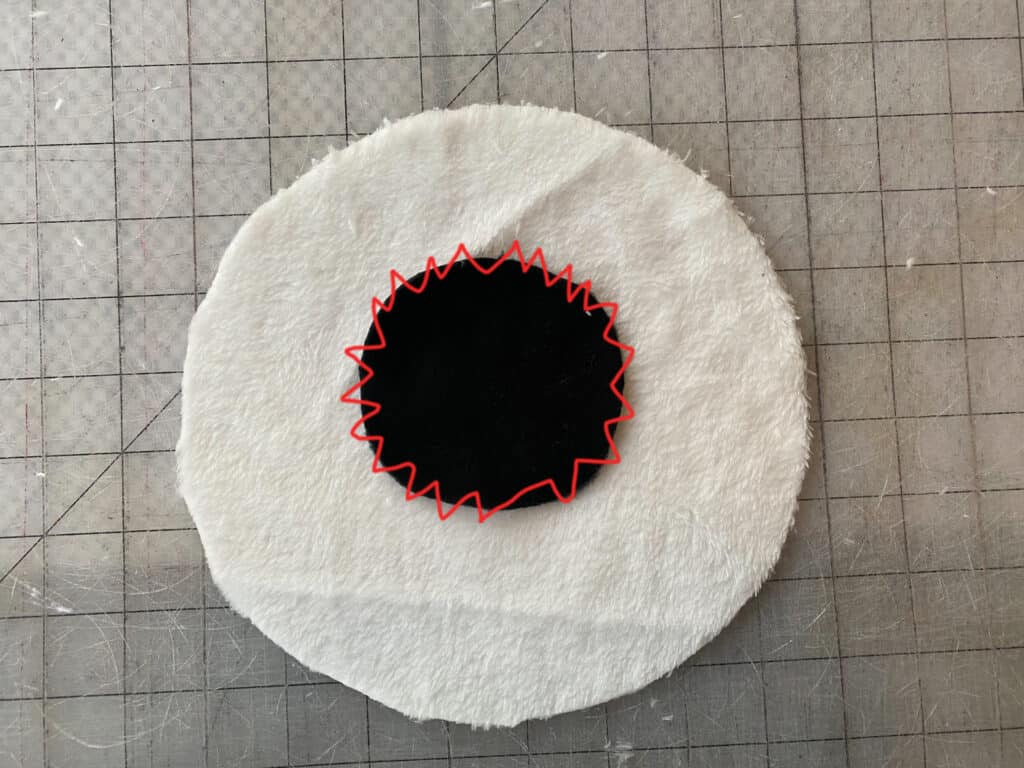
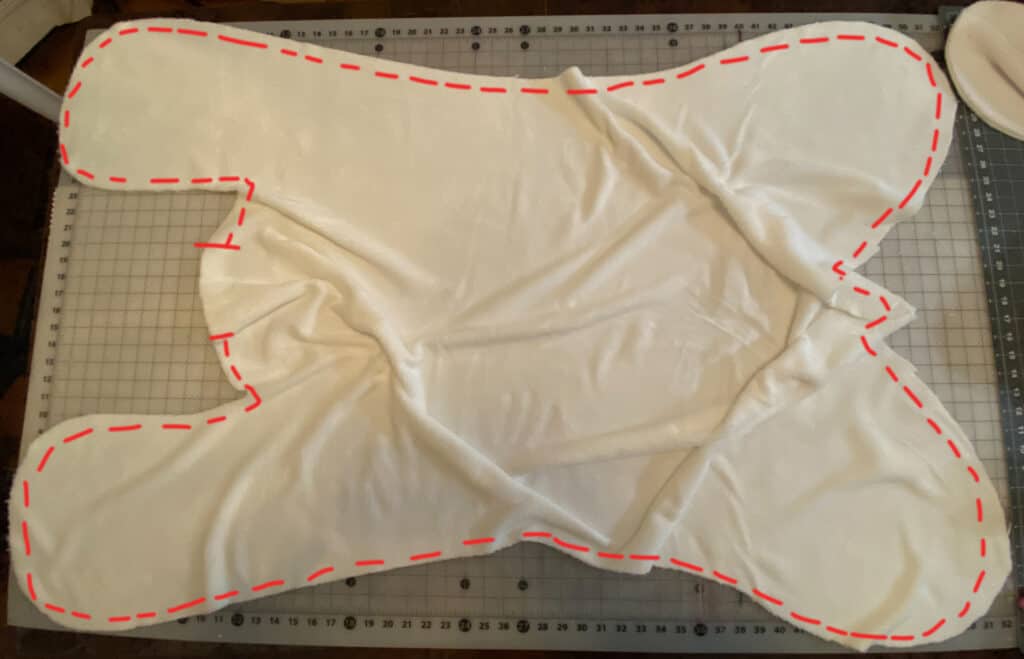
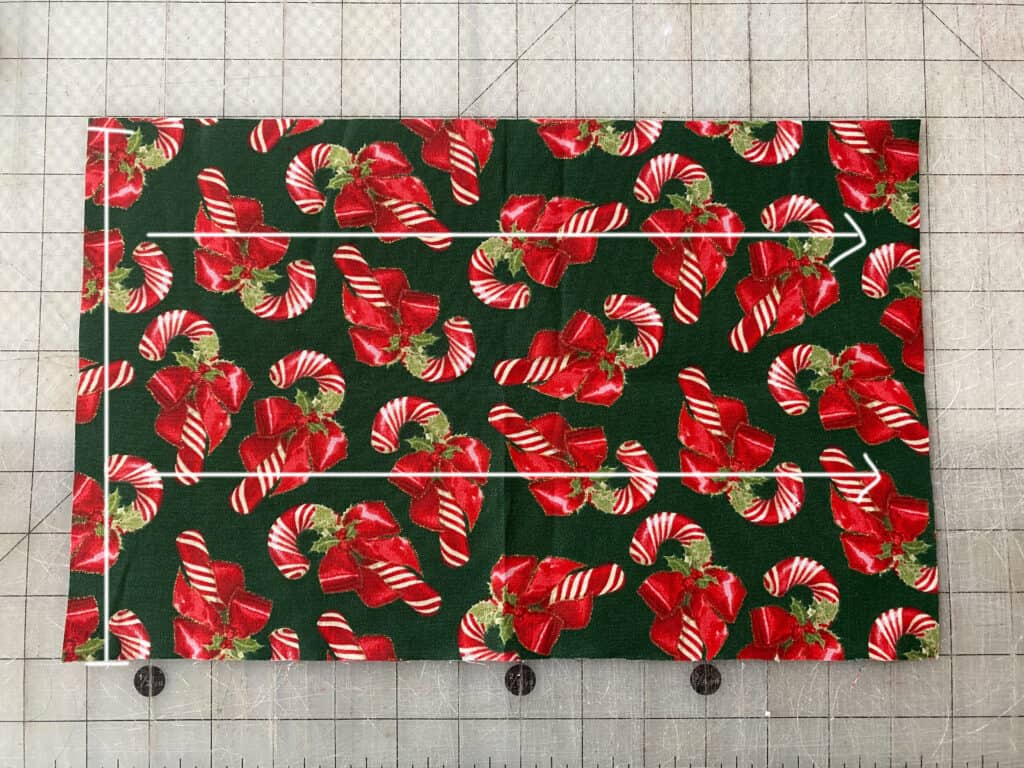
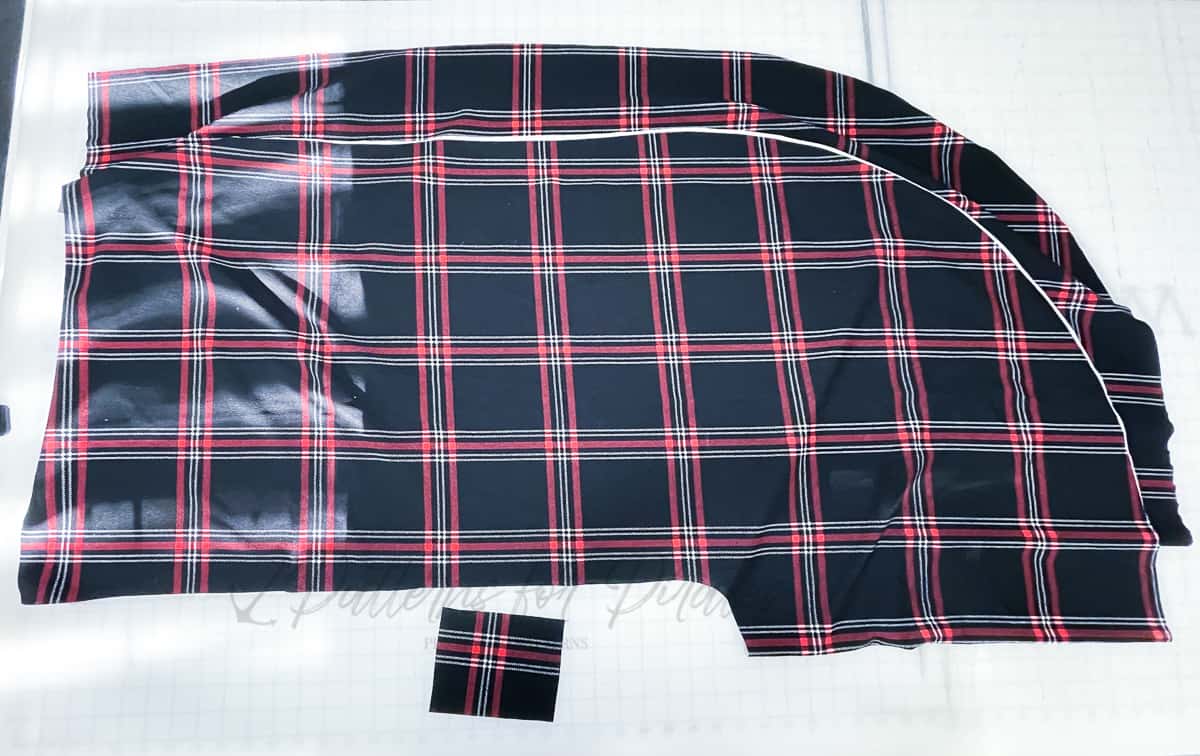
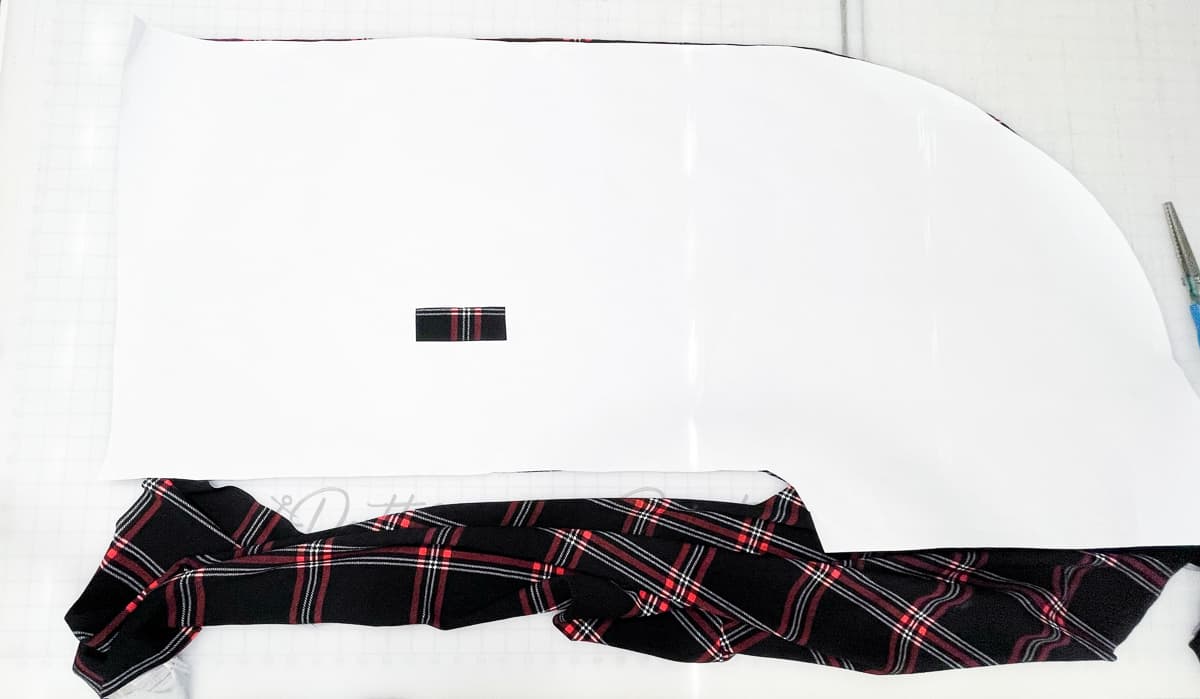
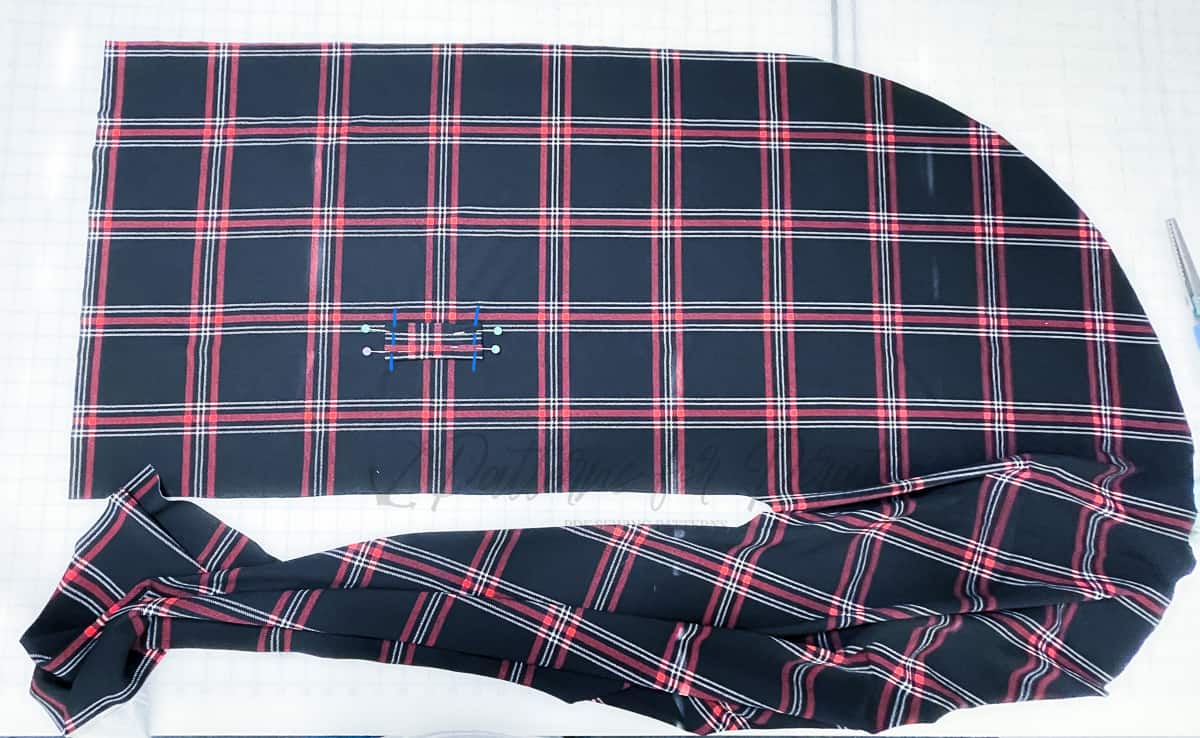
Cut out all of the pieces you’ll need:
– 1 Main + 1 Lining Shawl piece, cut on the fold
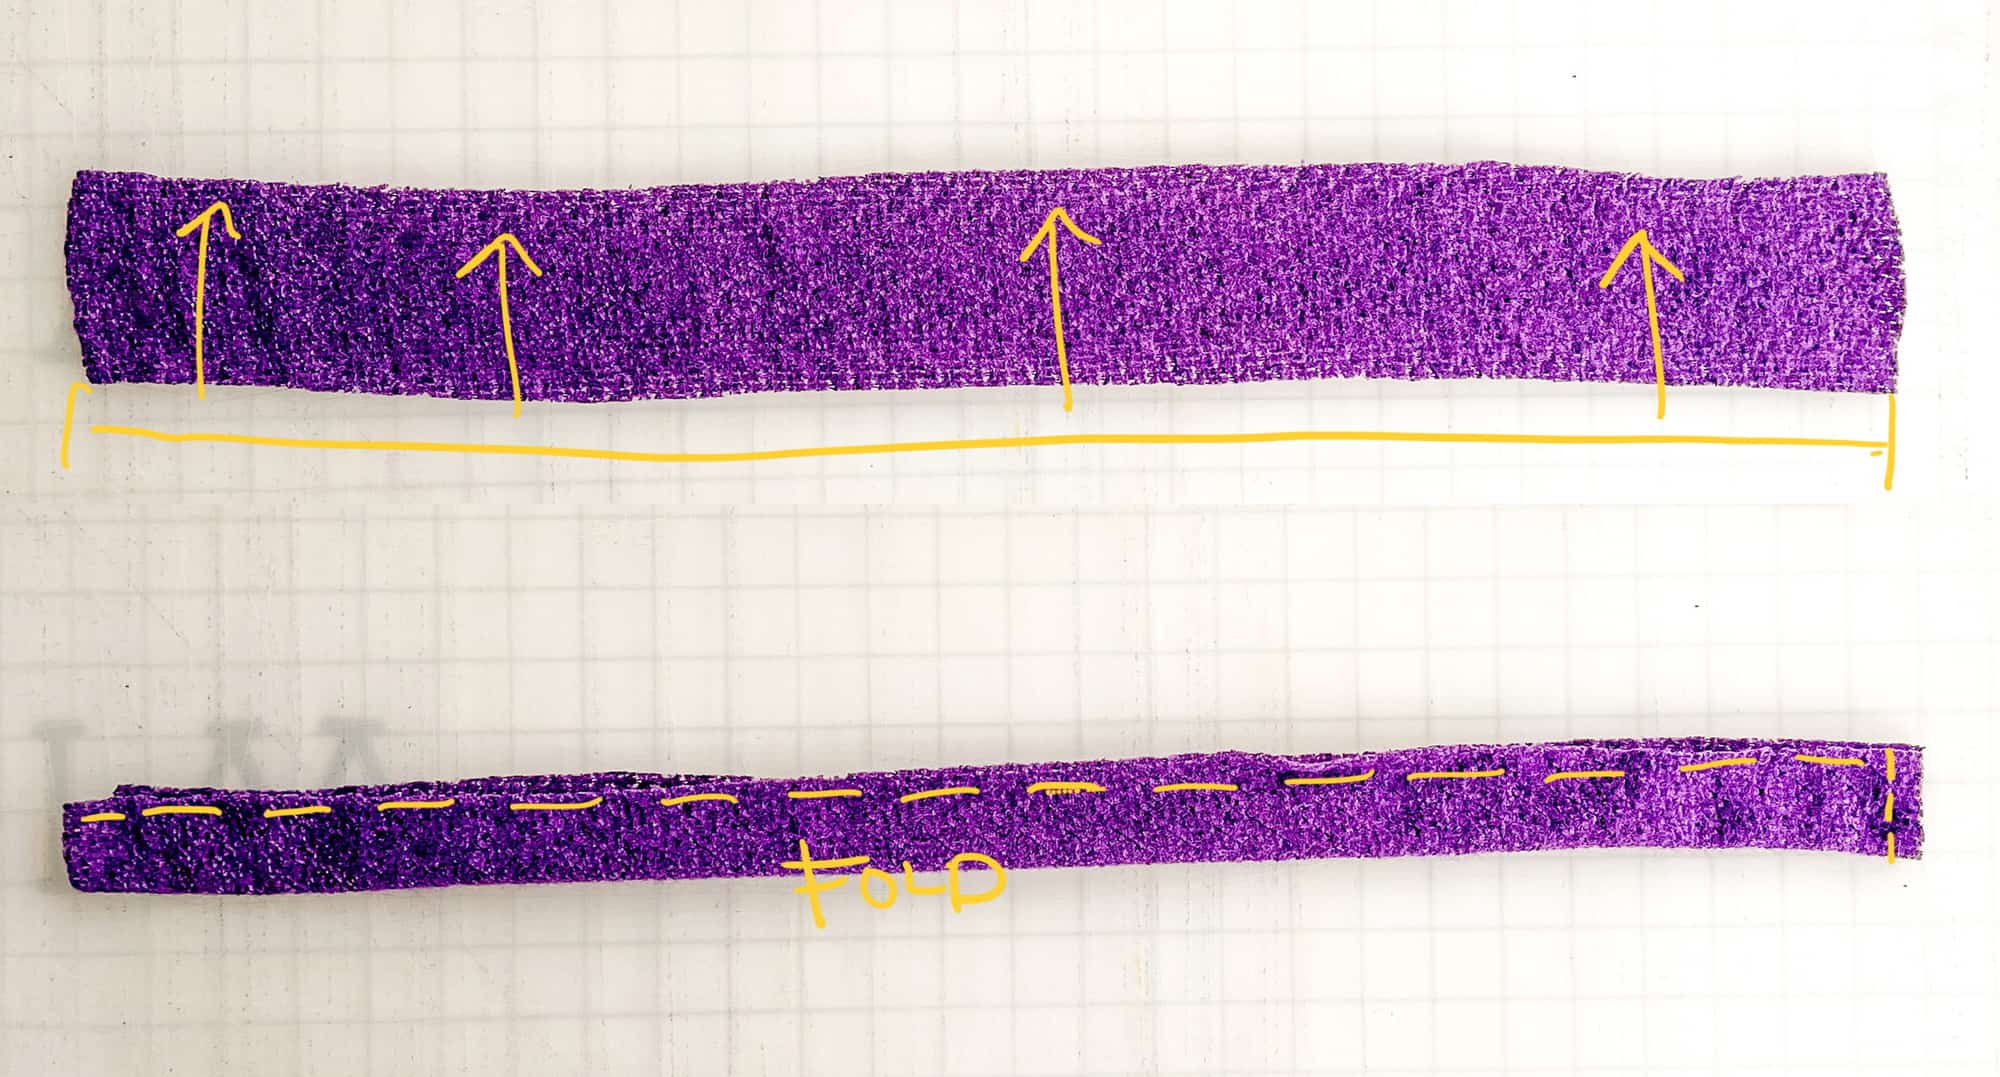
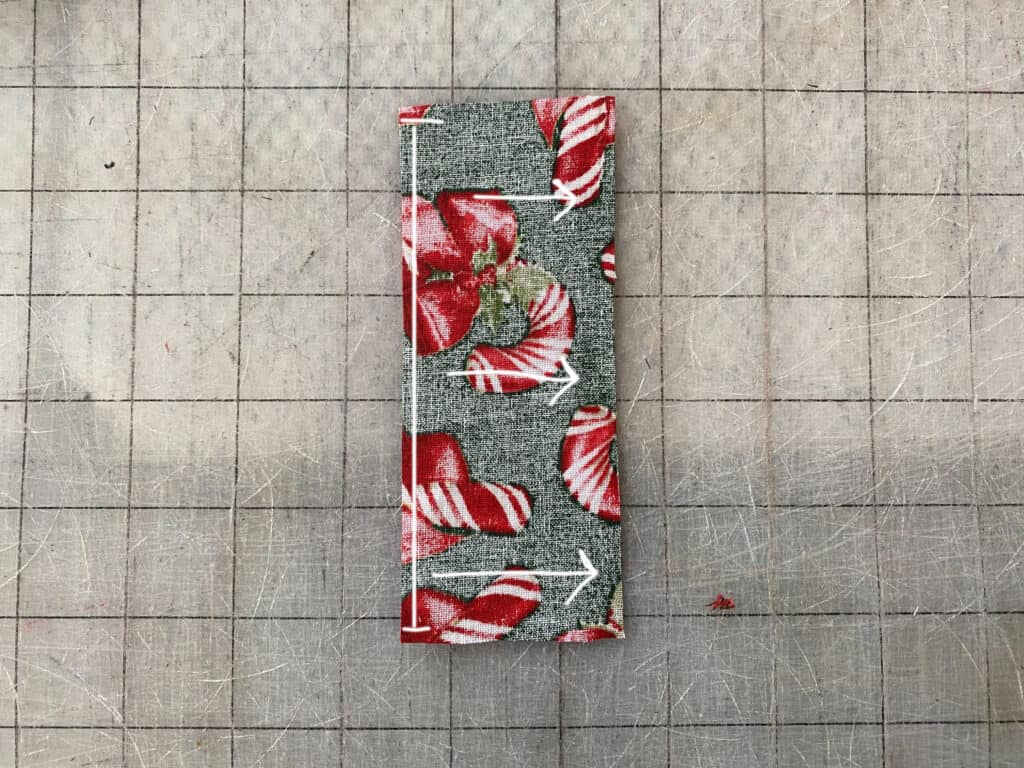
– 1 Slide Tab piece
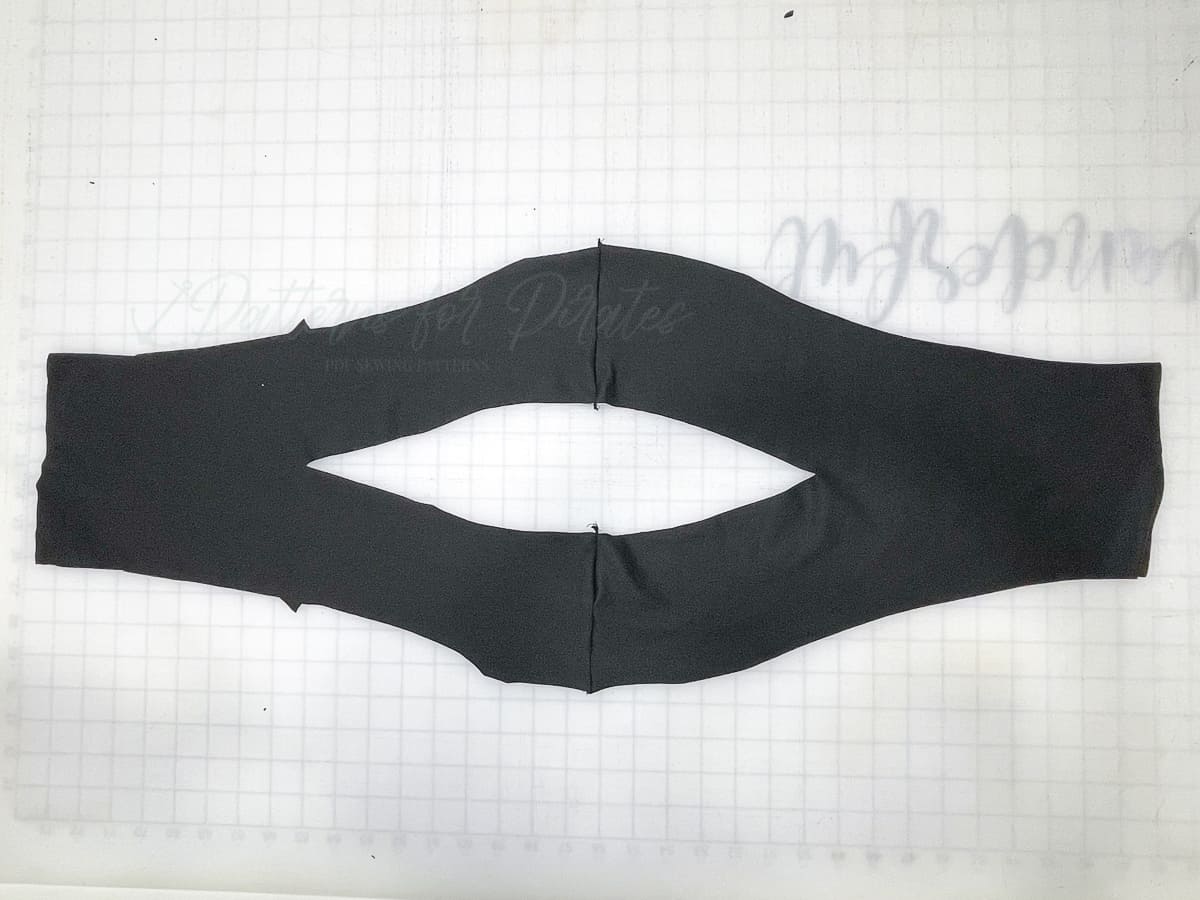
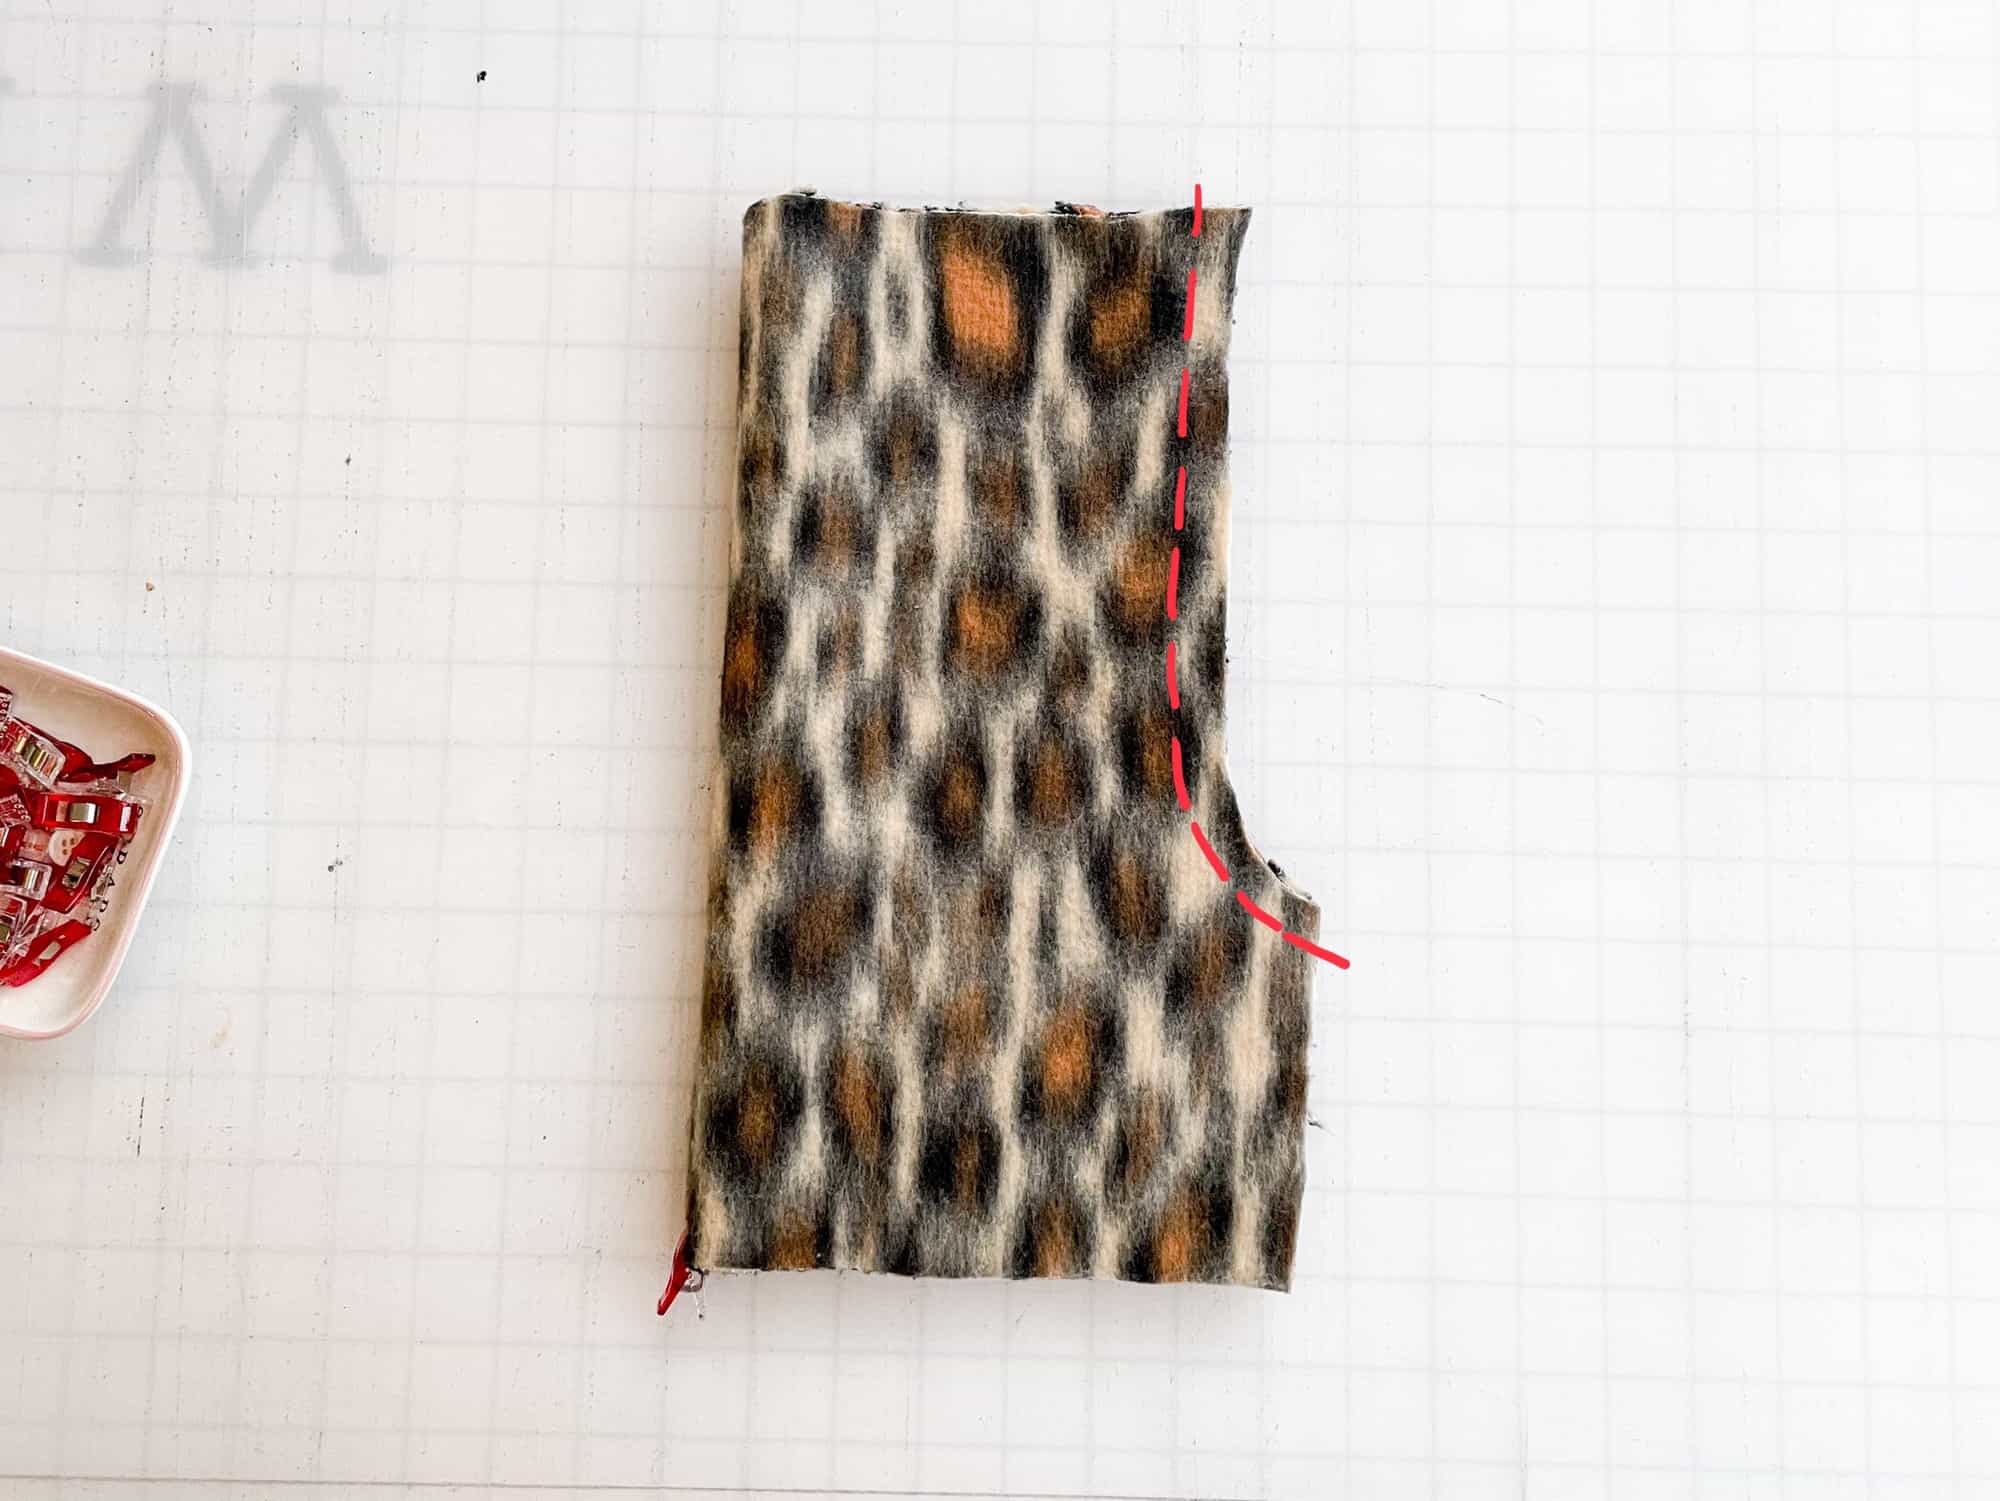
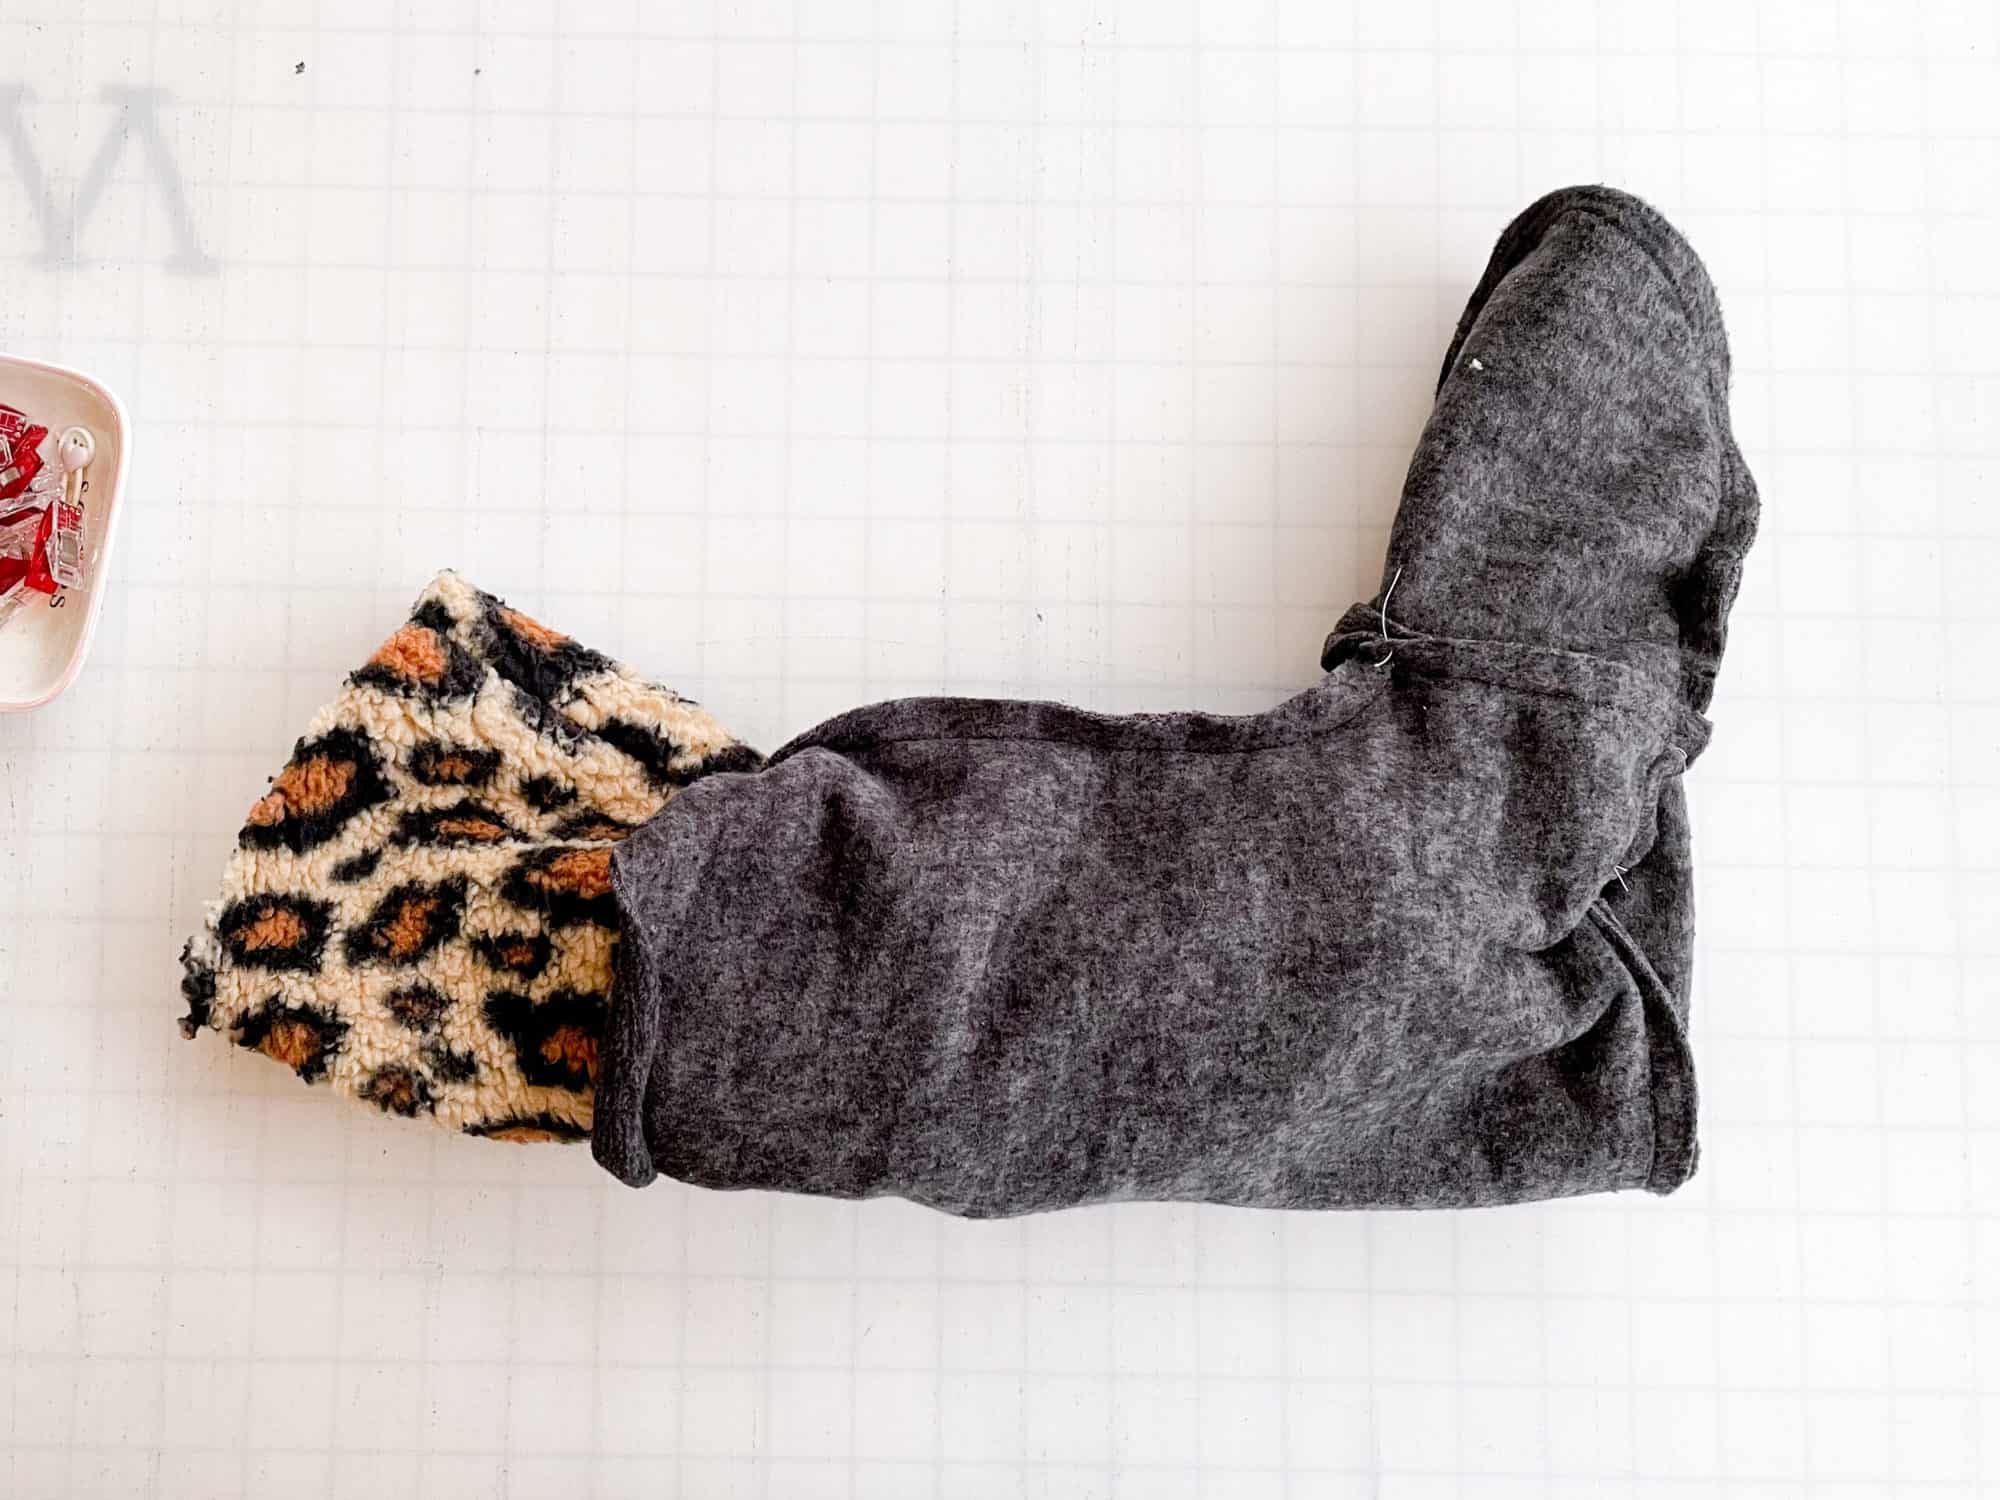
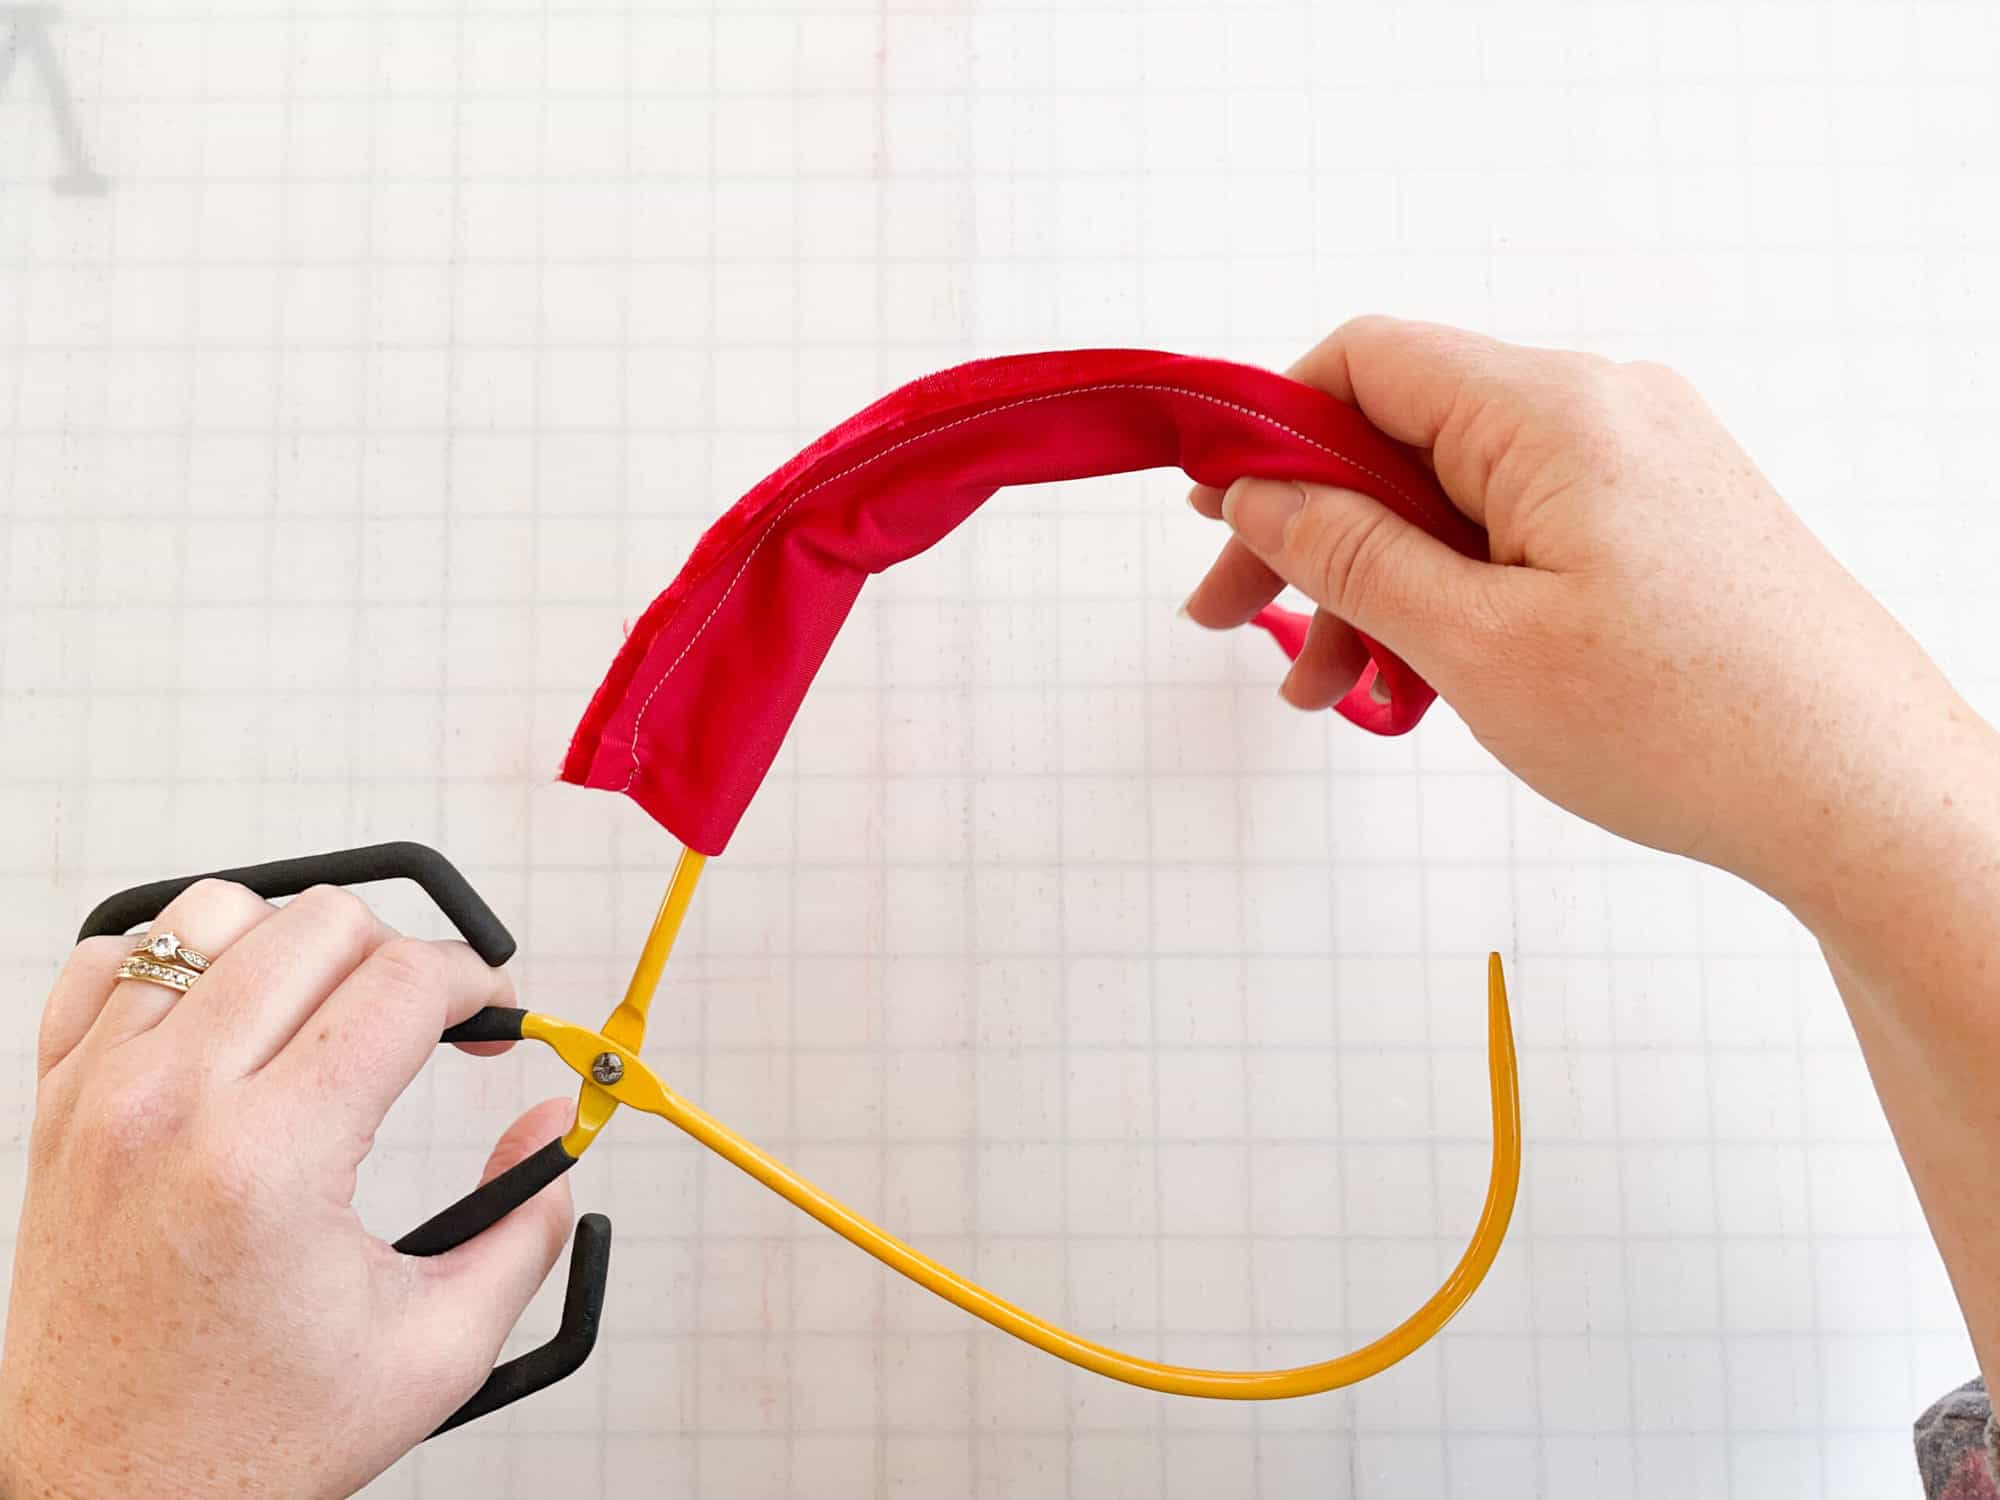
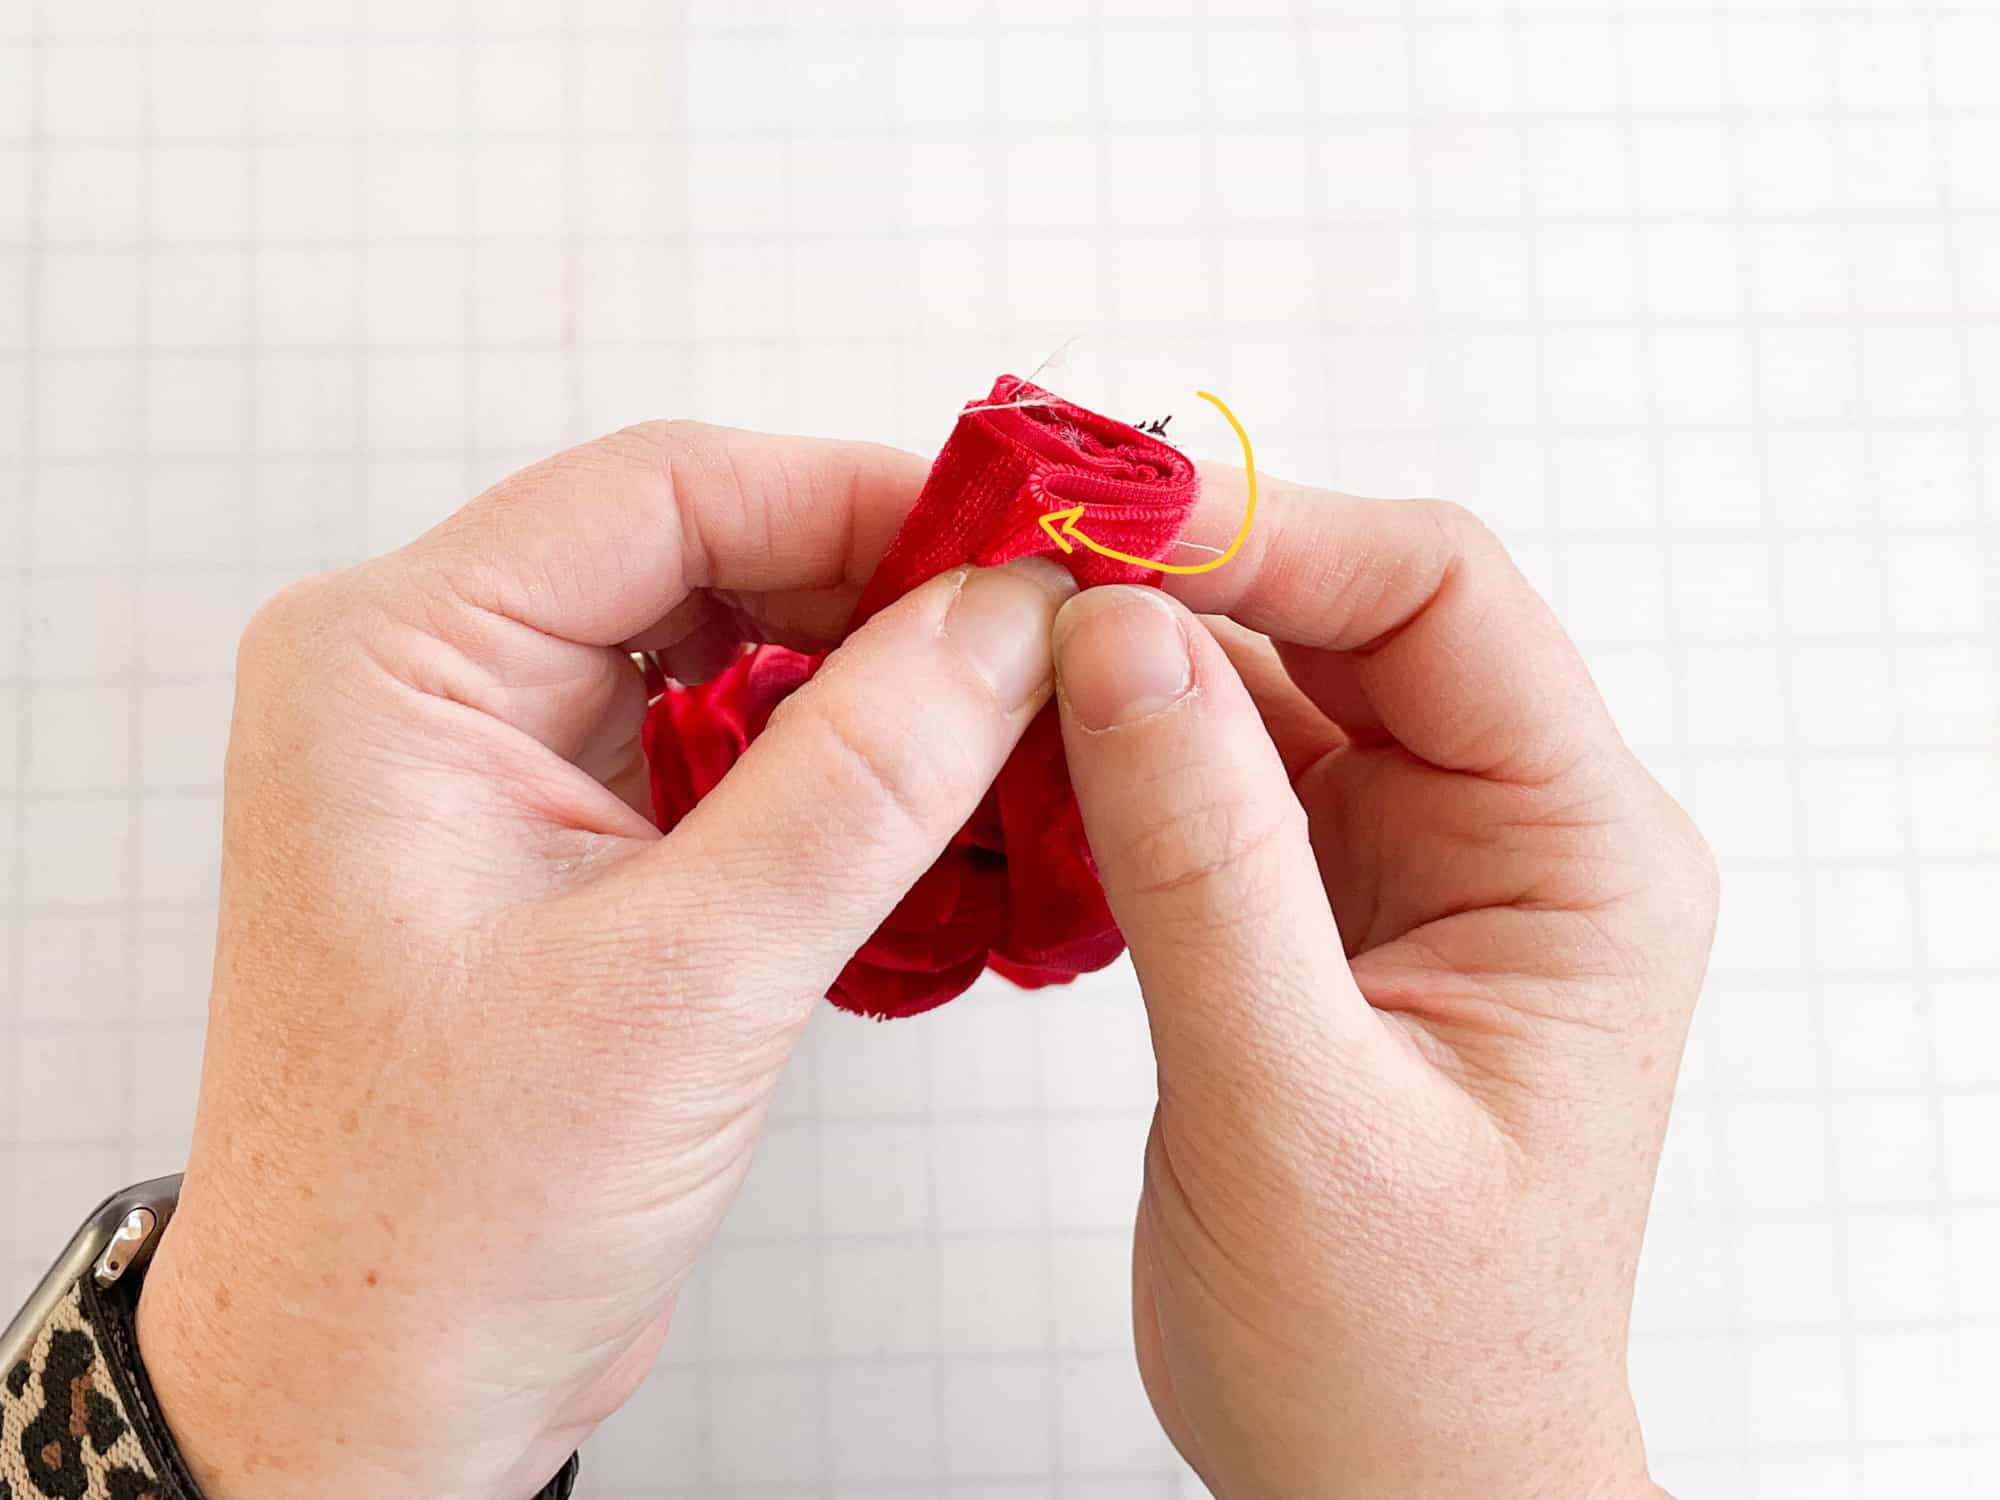
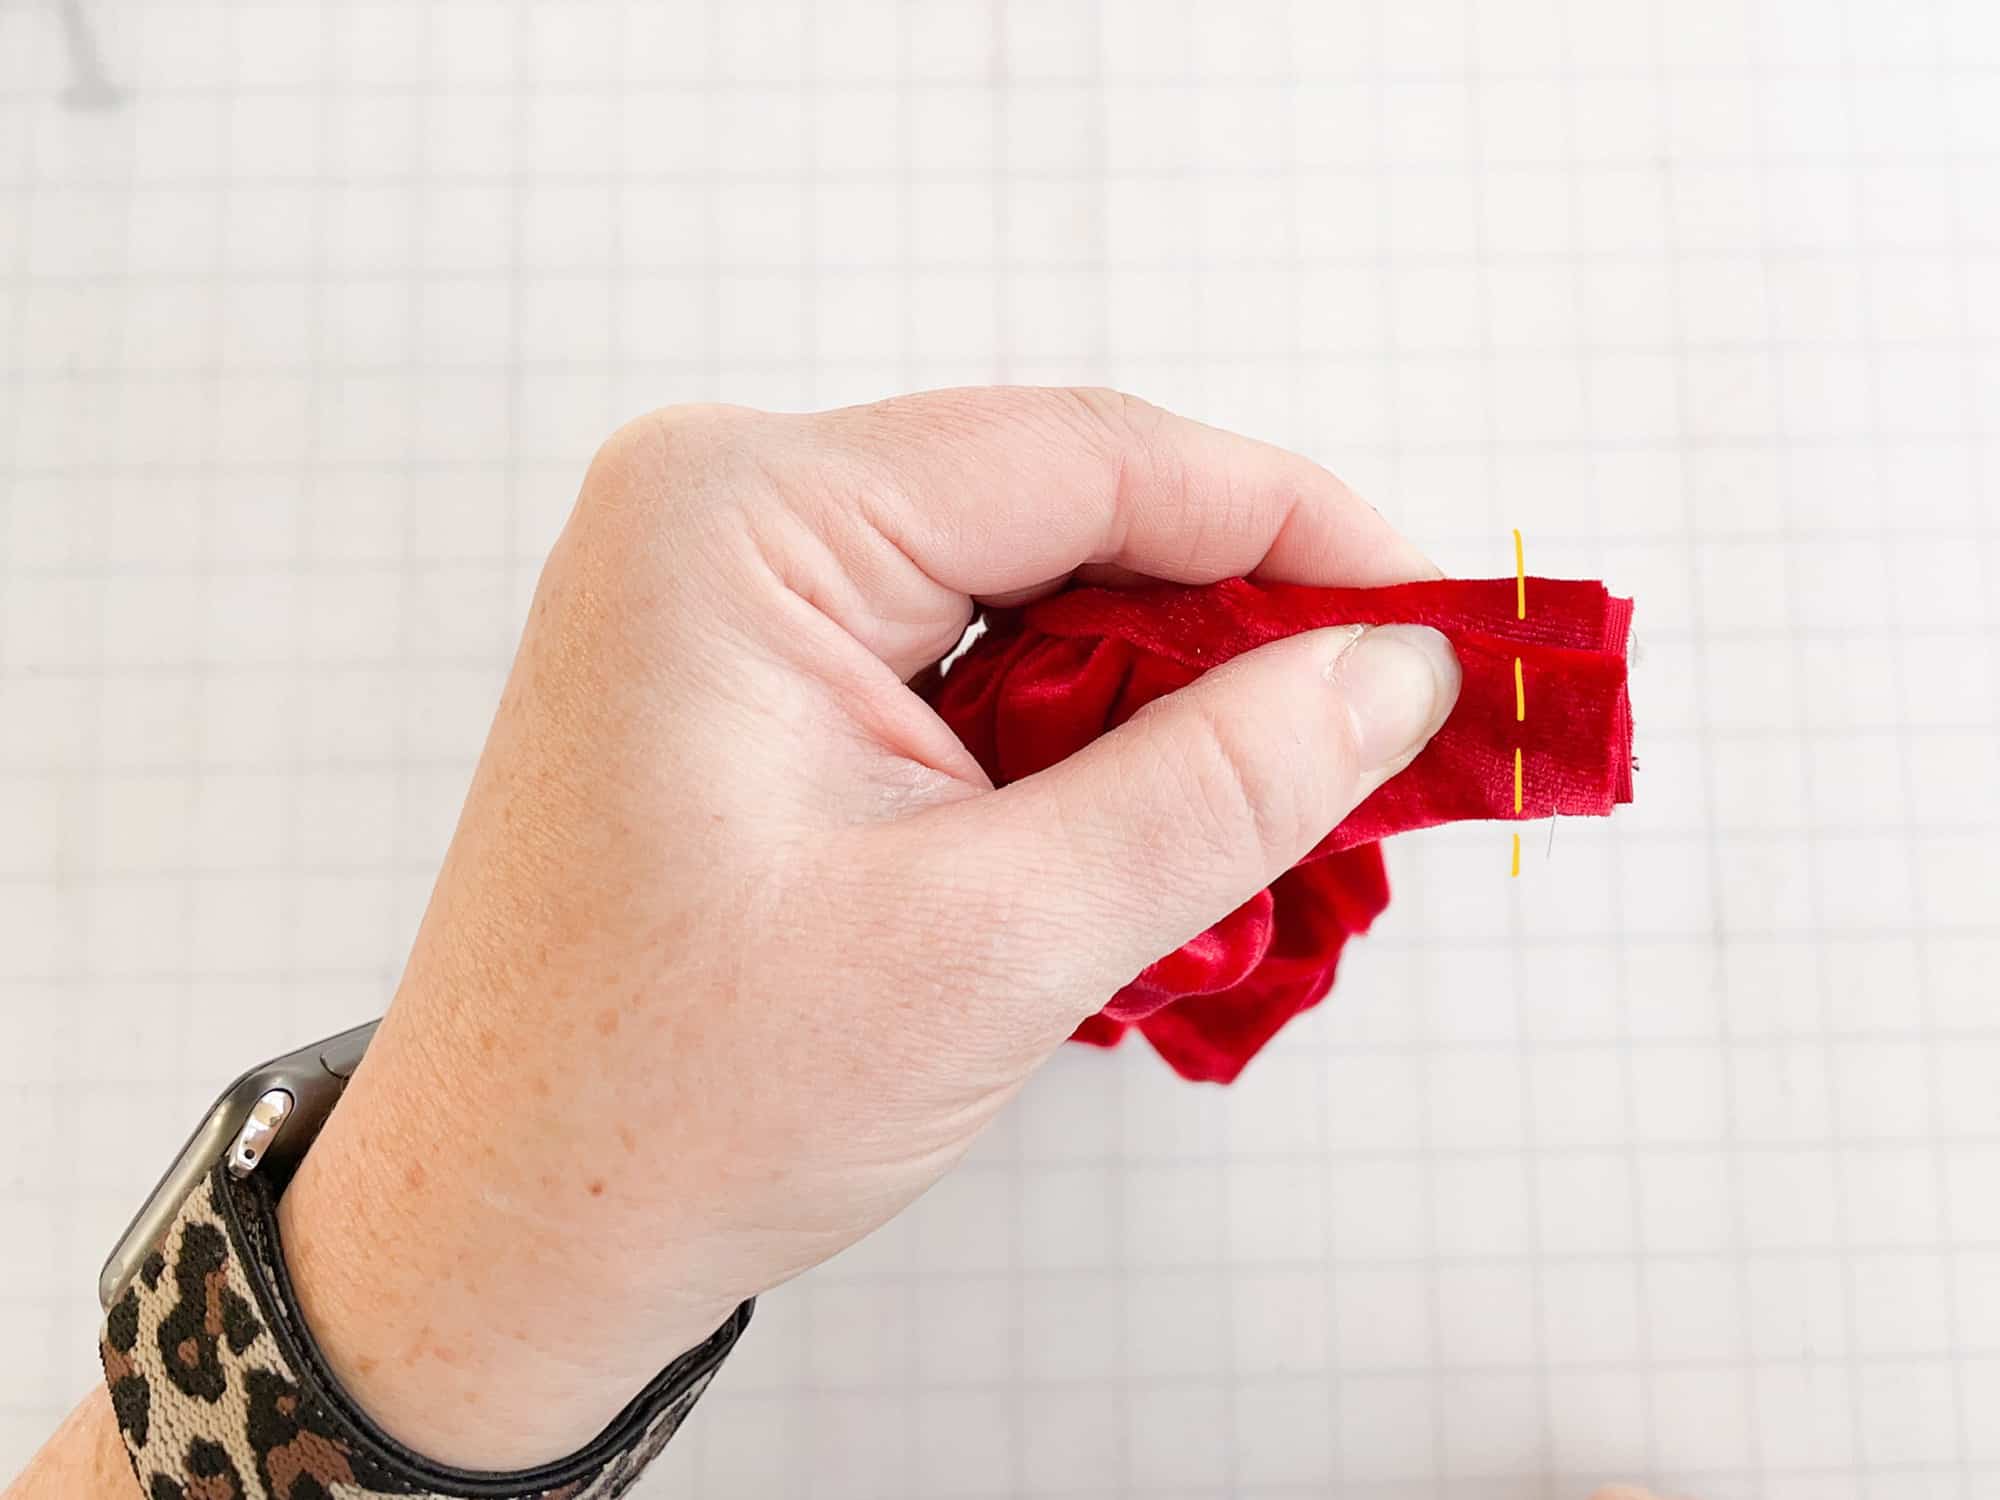
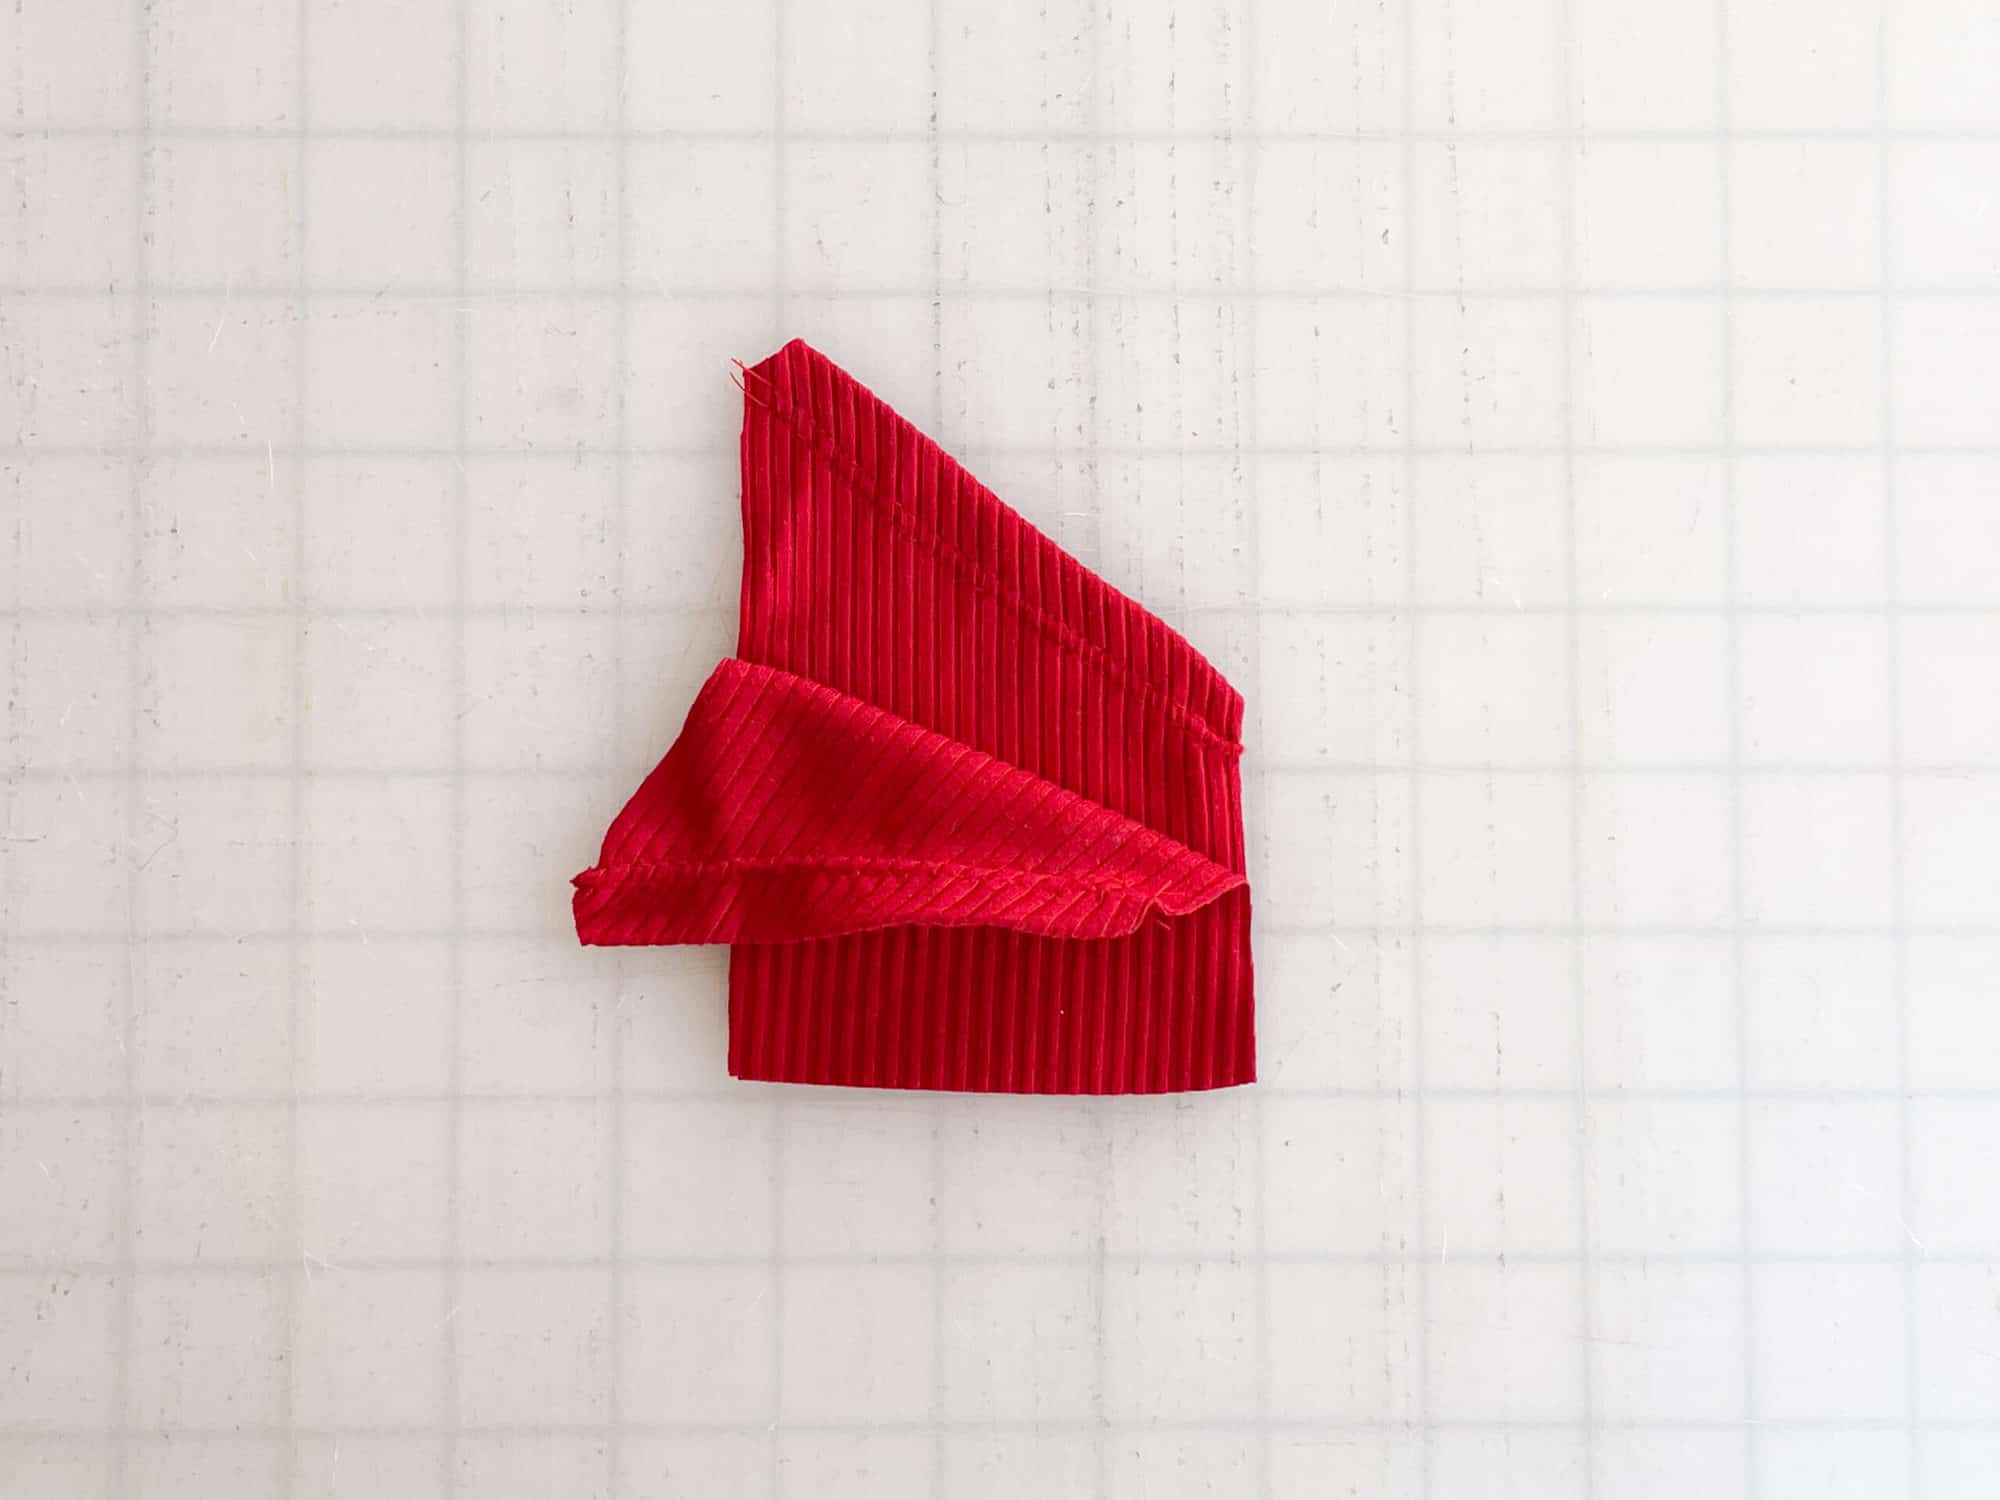
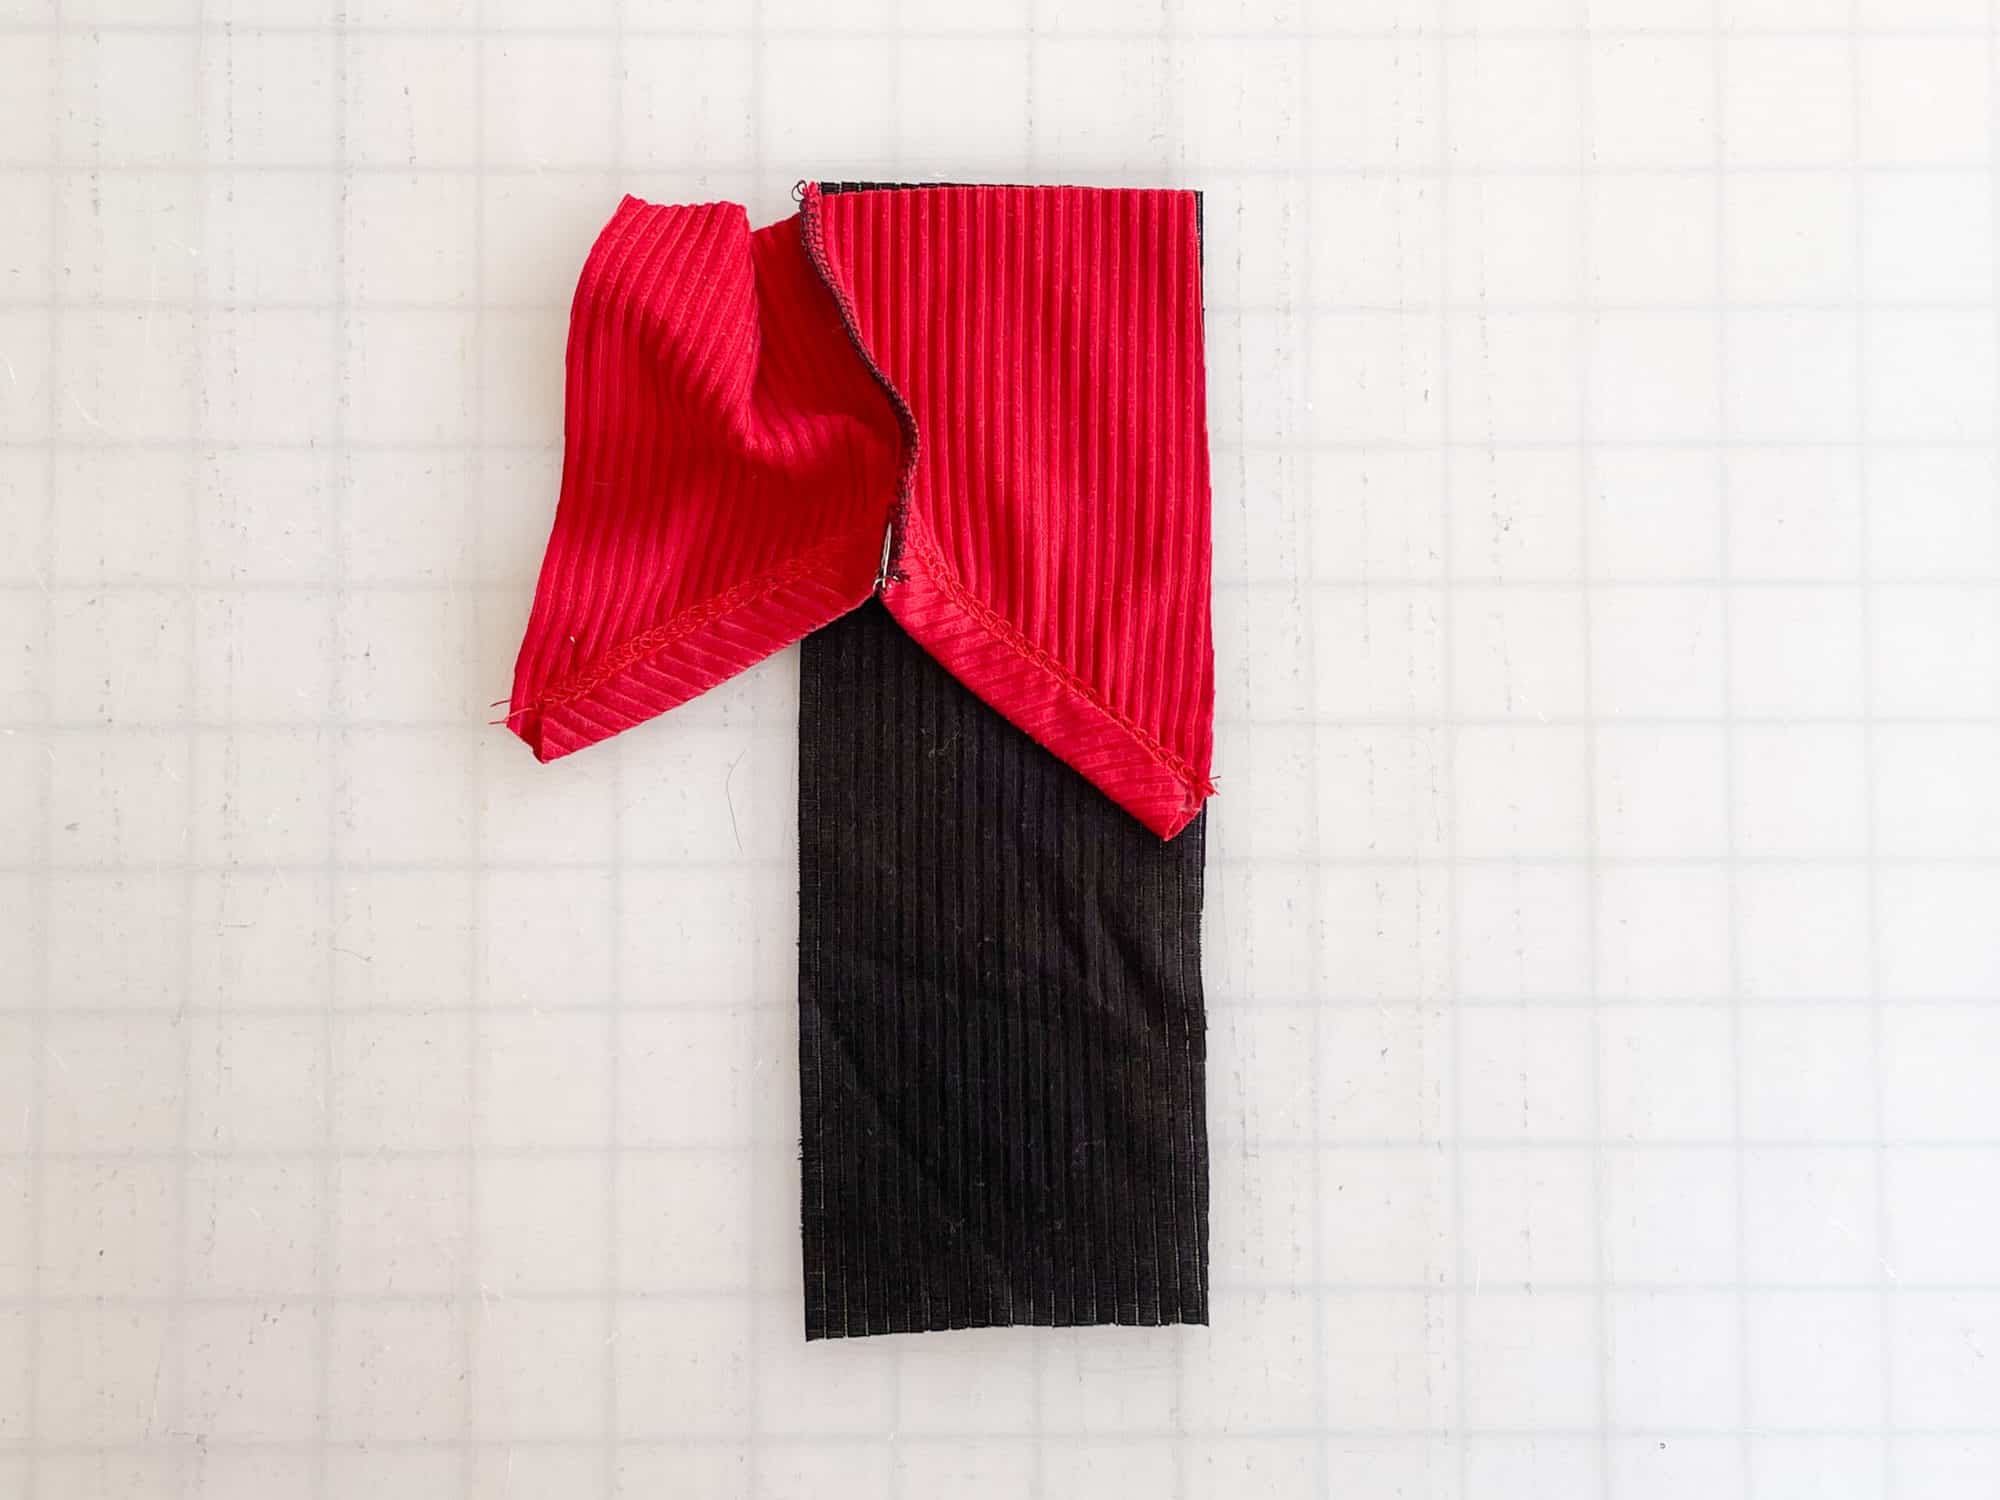
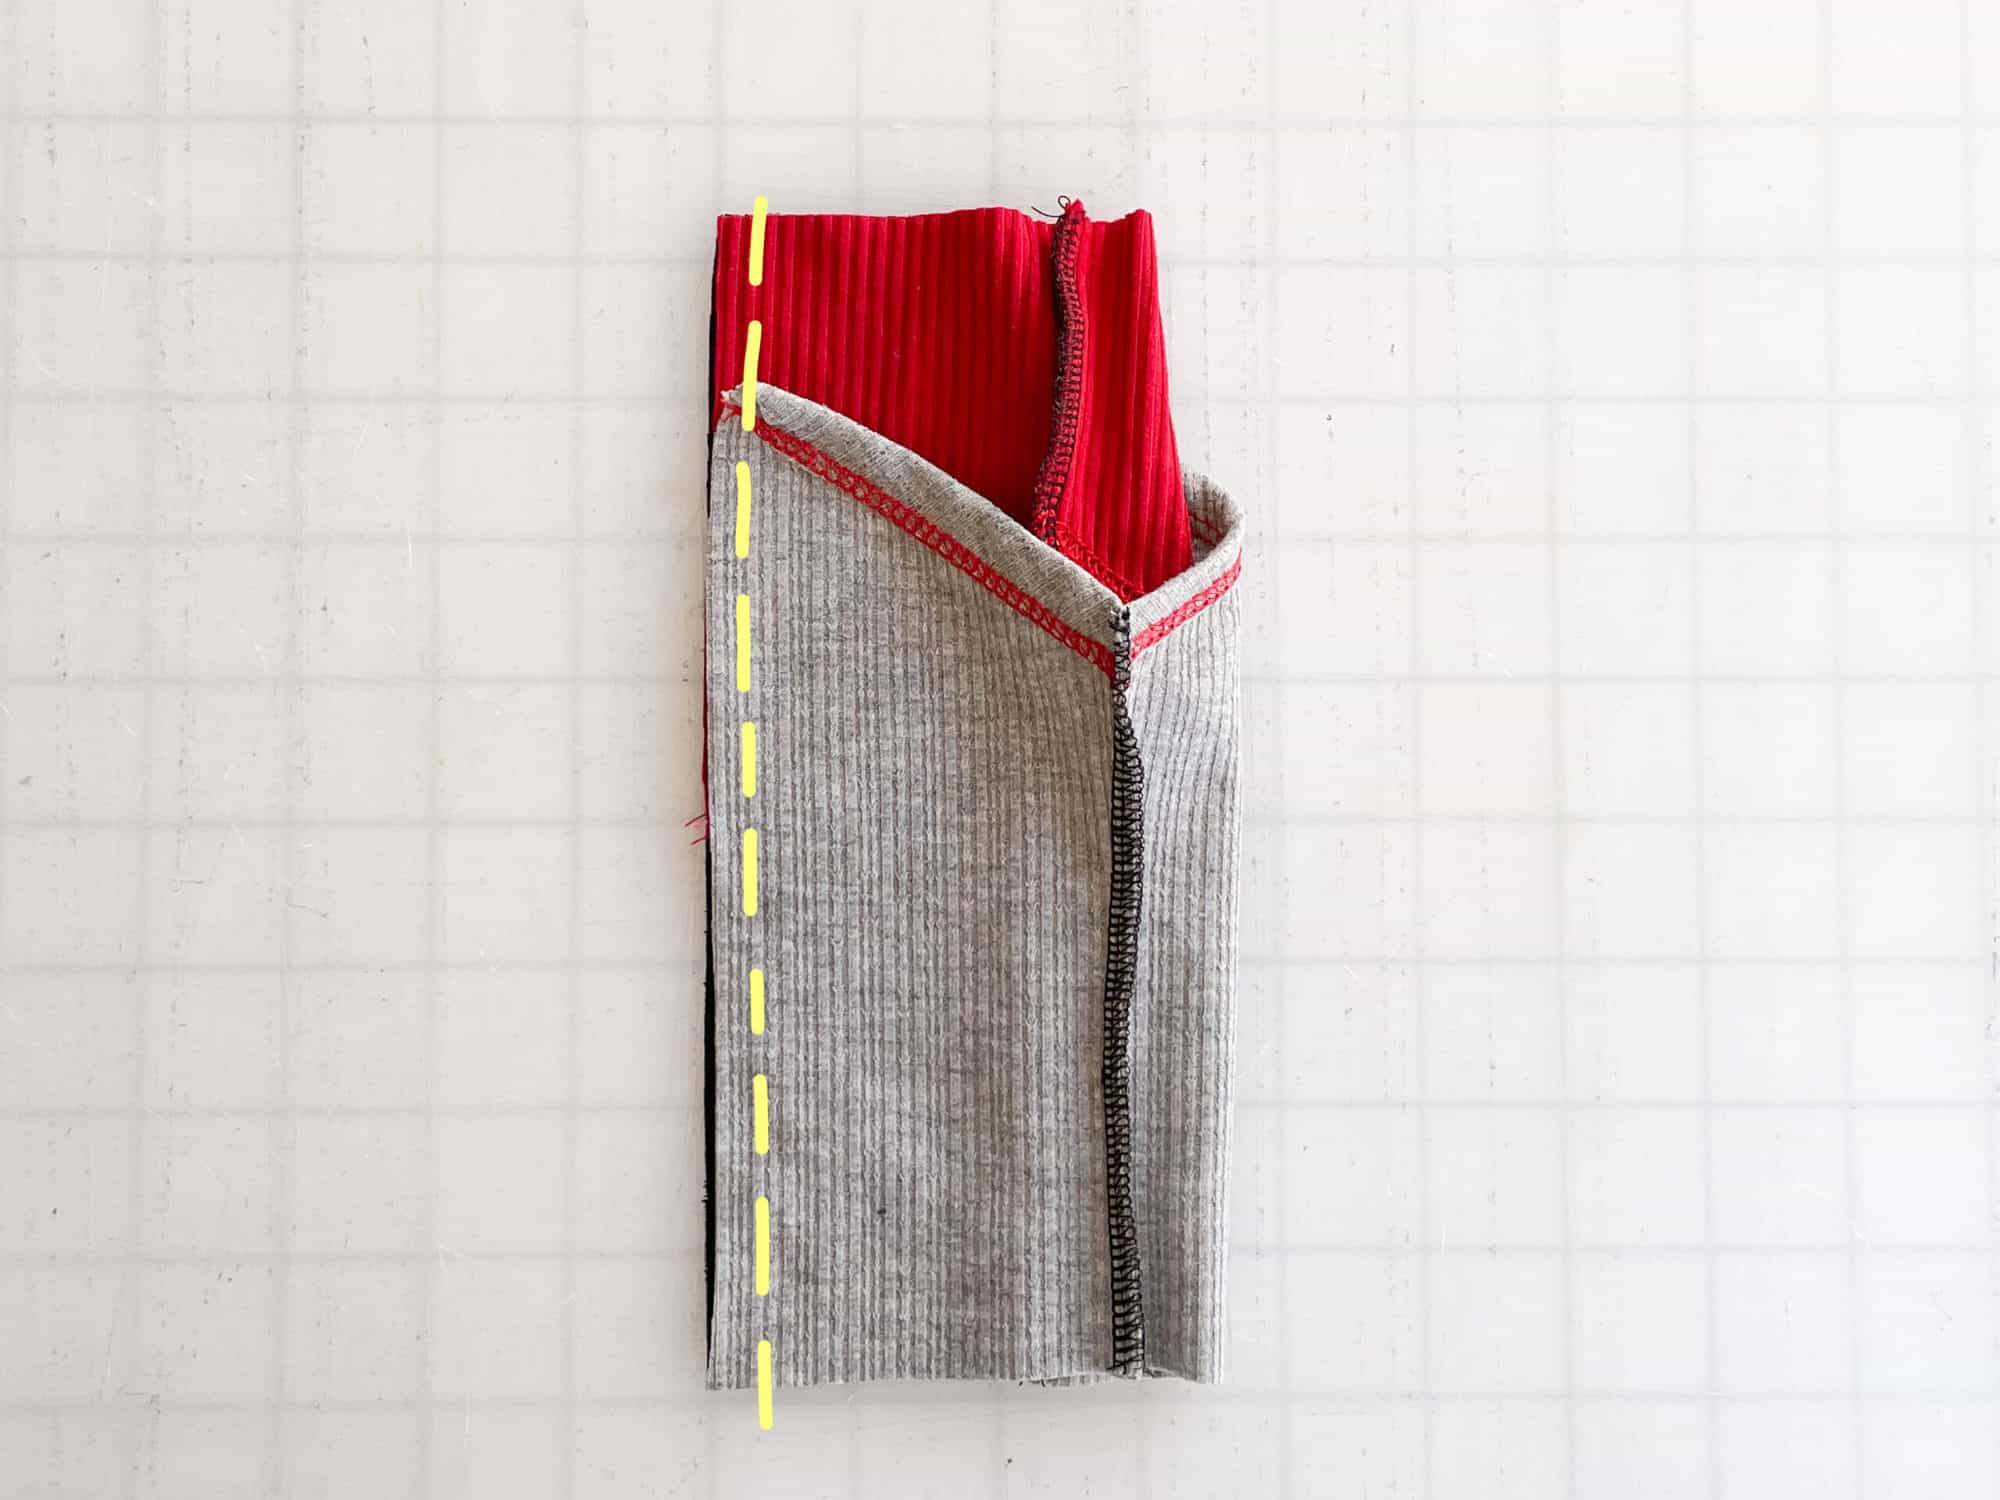
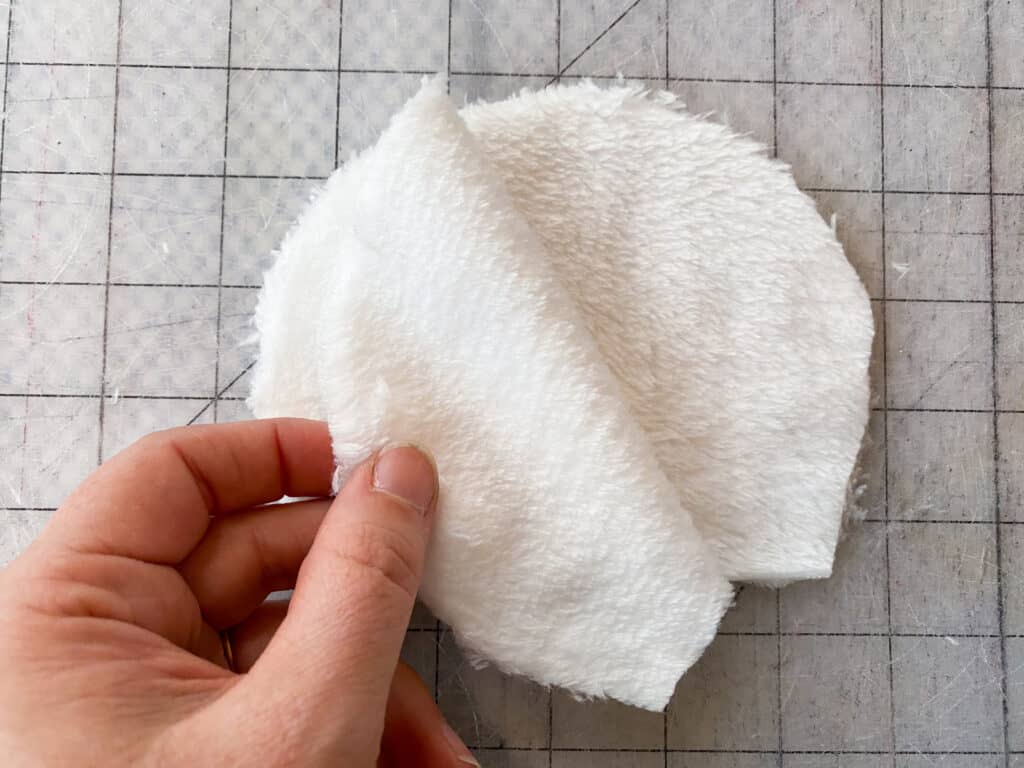
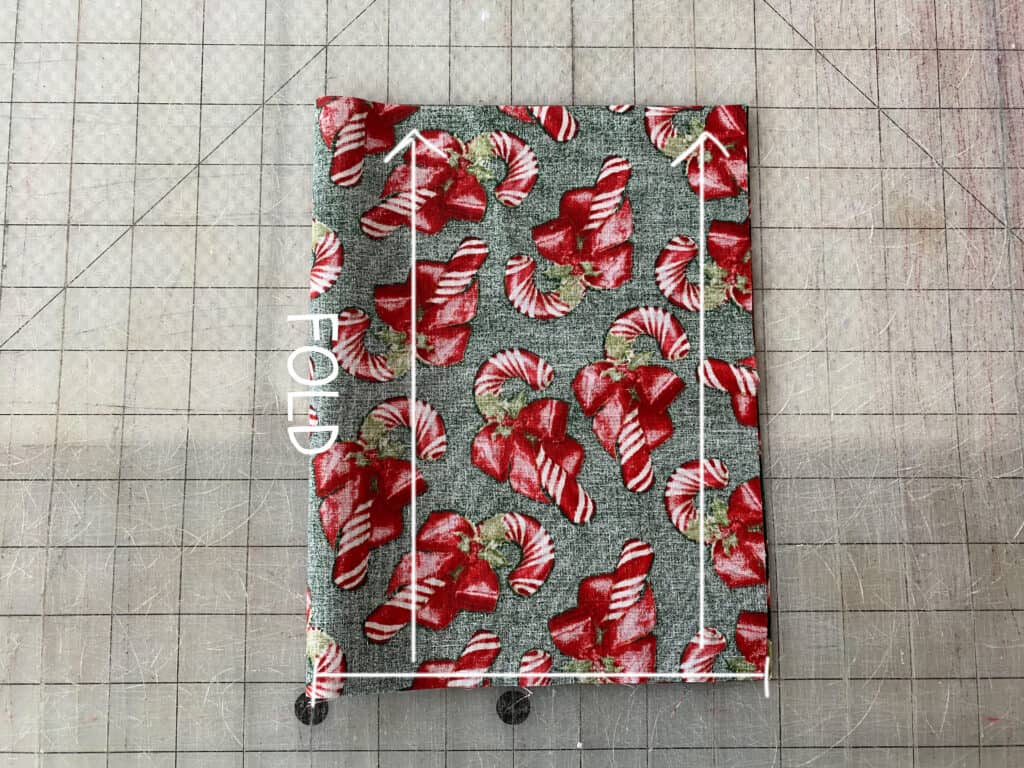
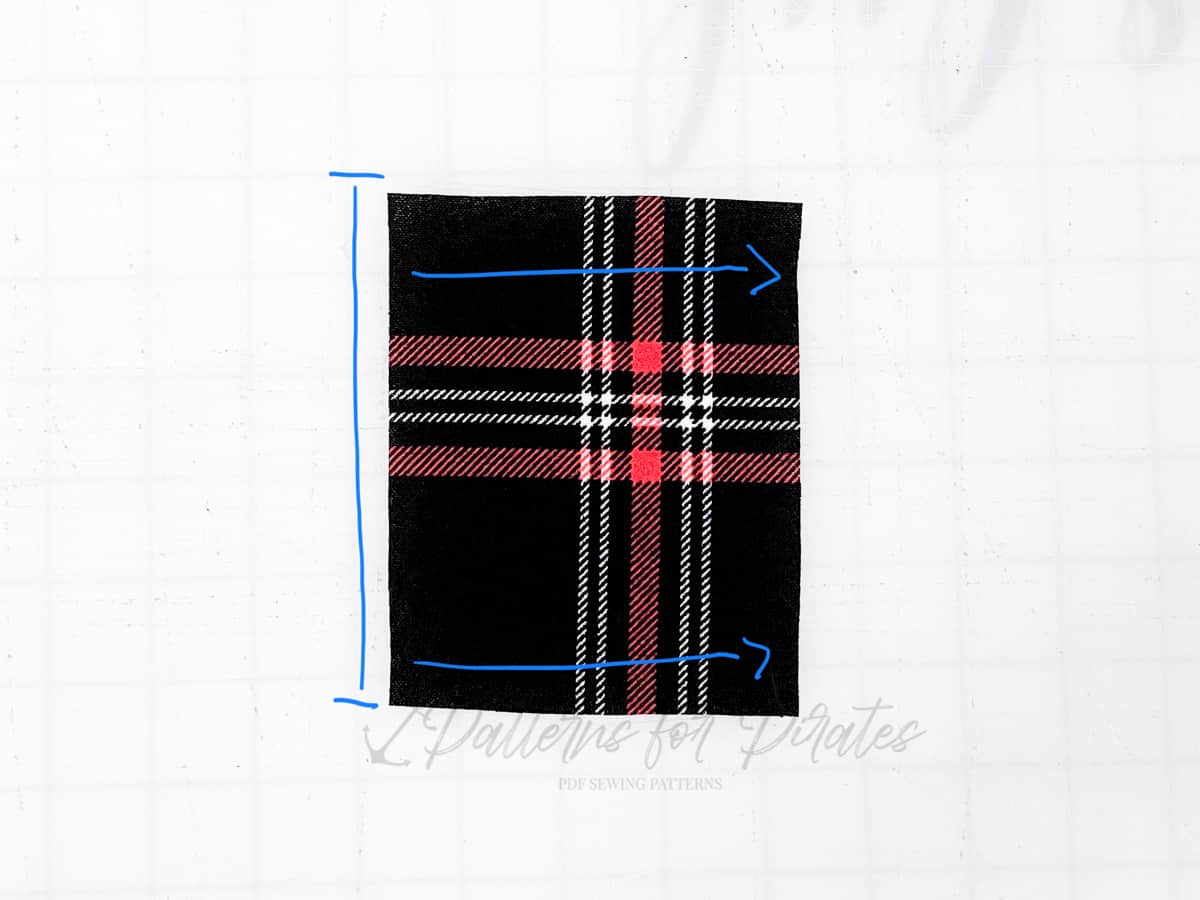
Fold the Slide Tab piece in half, meeting the long edge with right sides together.
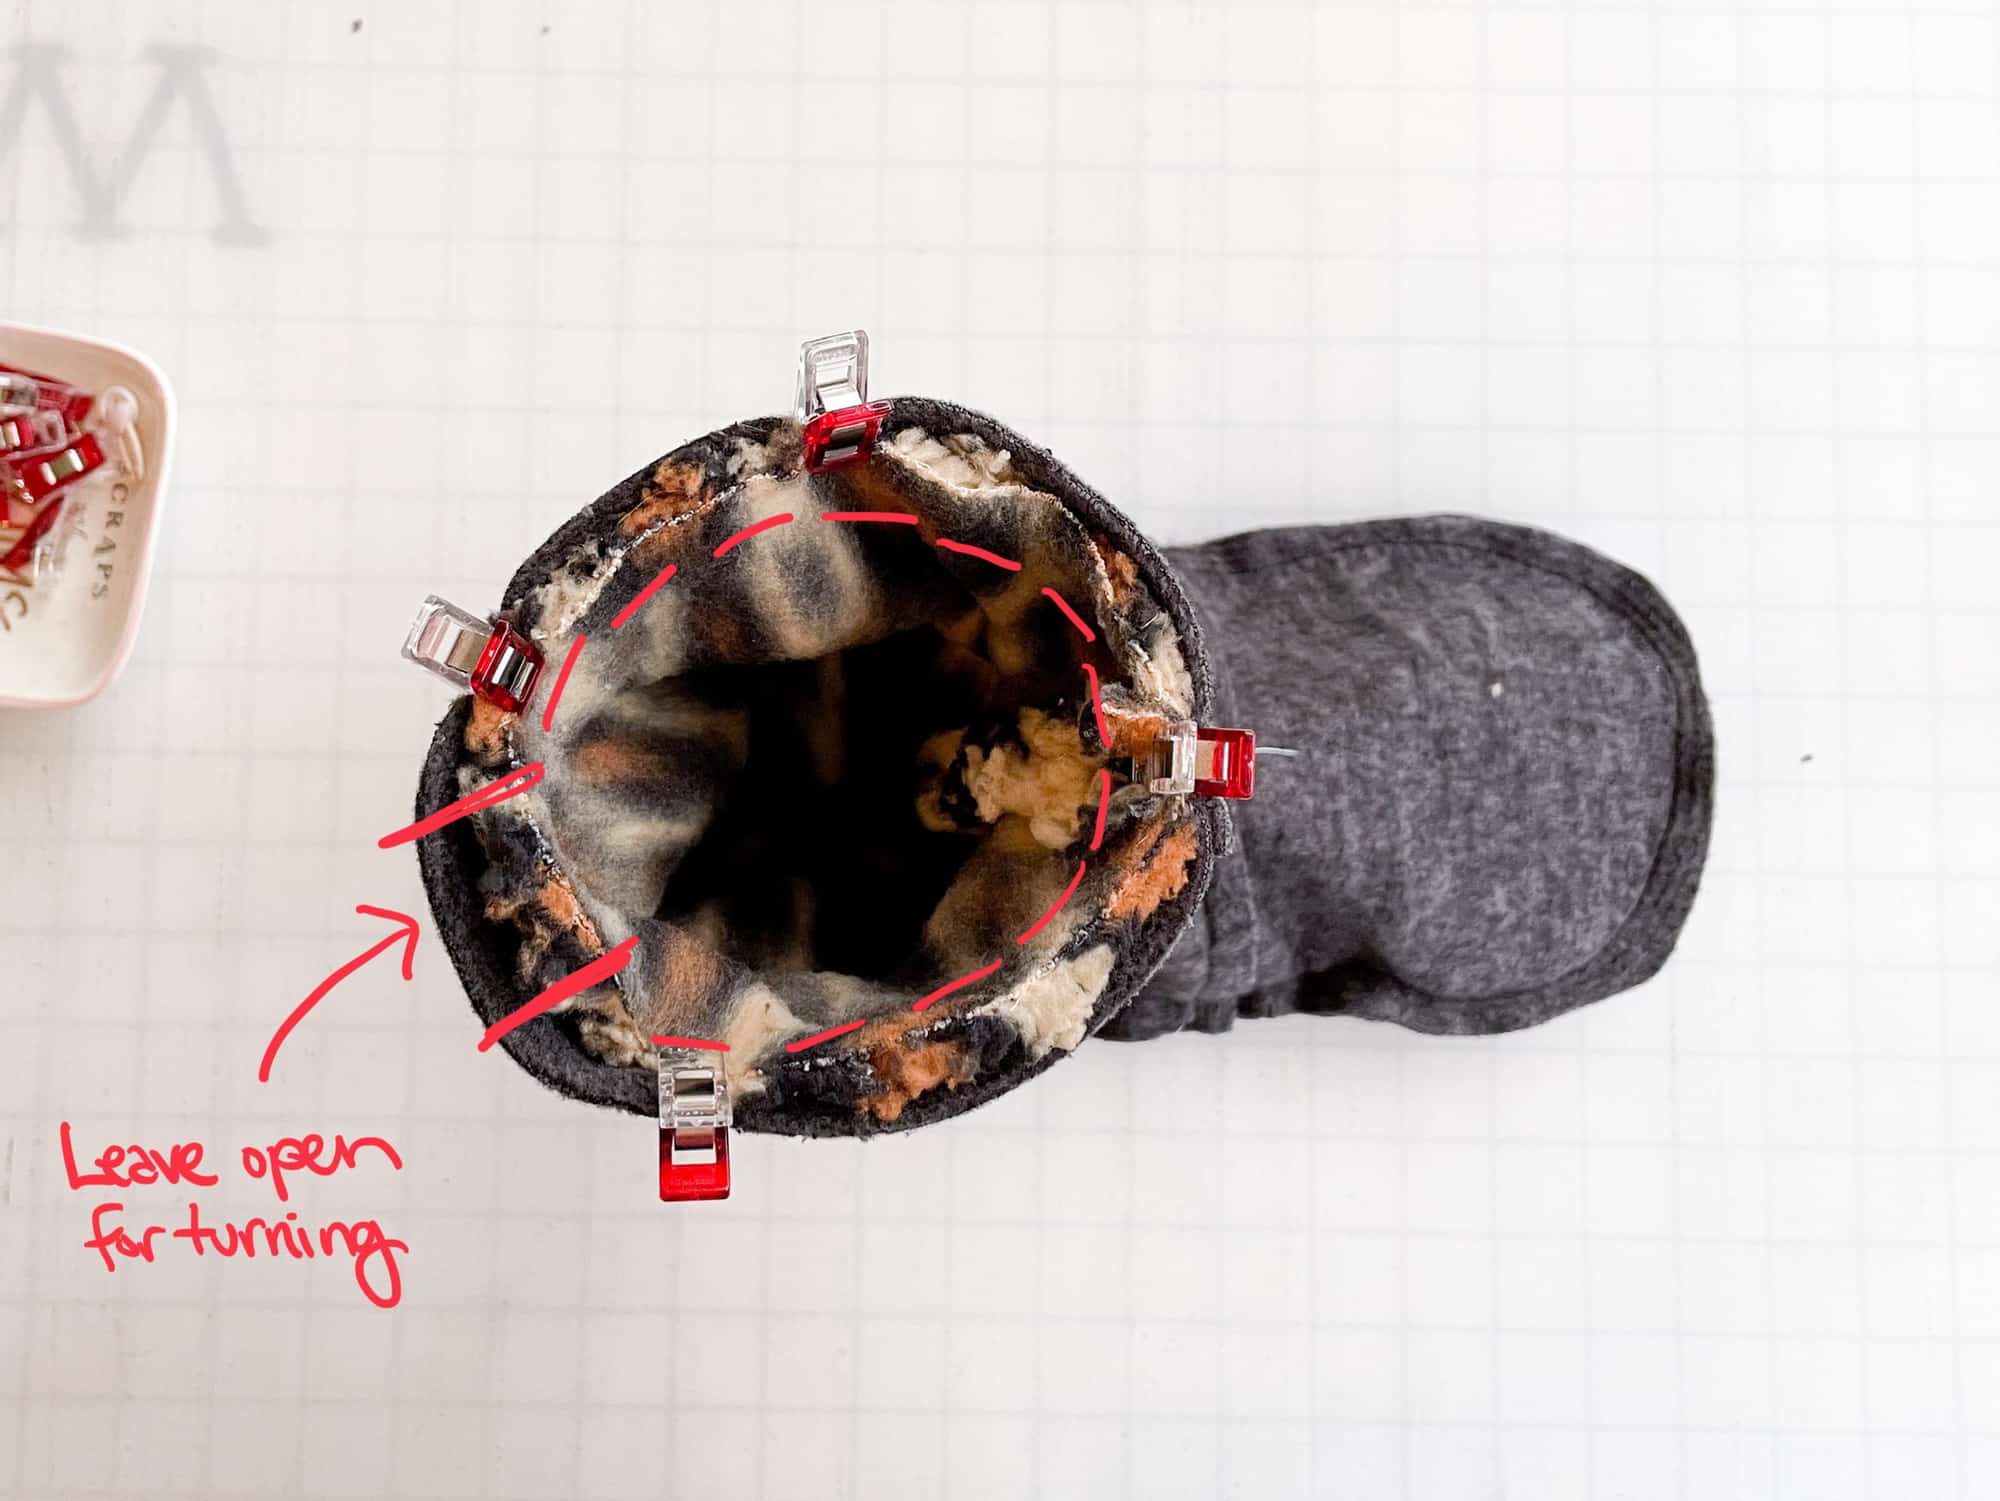
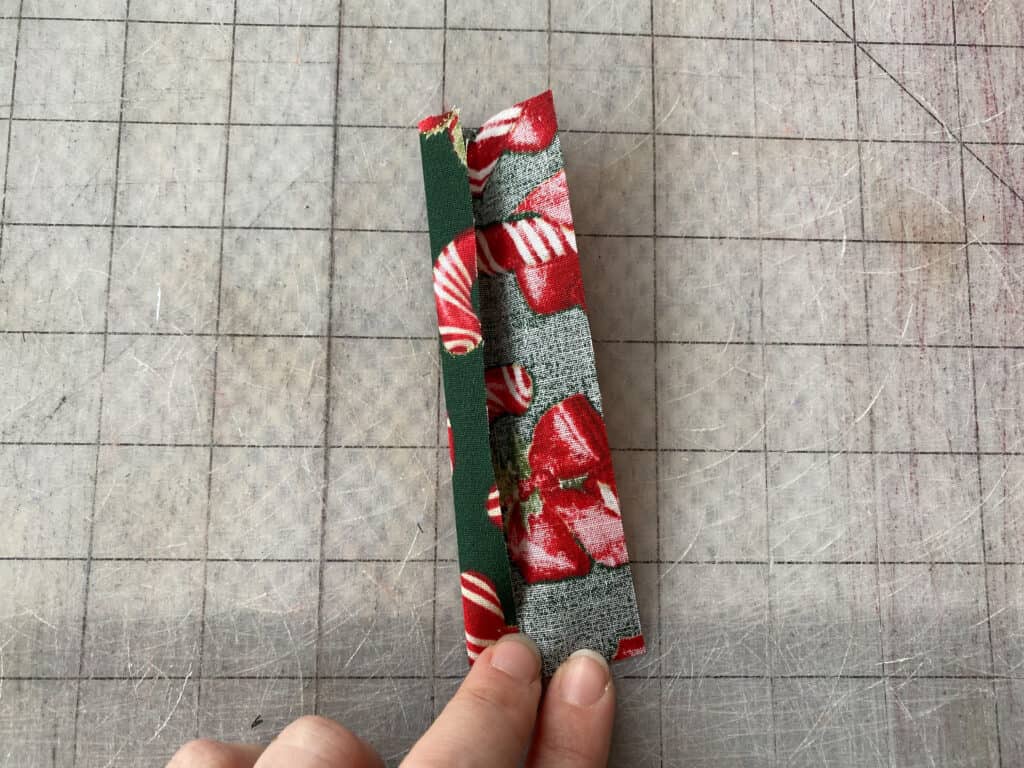
Sew along the three open sides, leaving around an inch or more open for turning purposes.
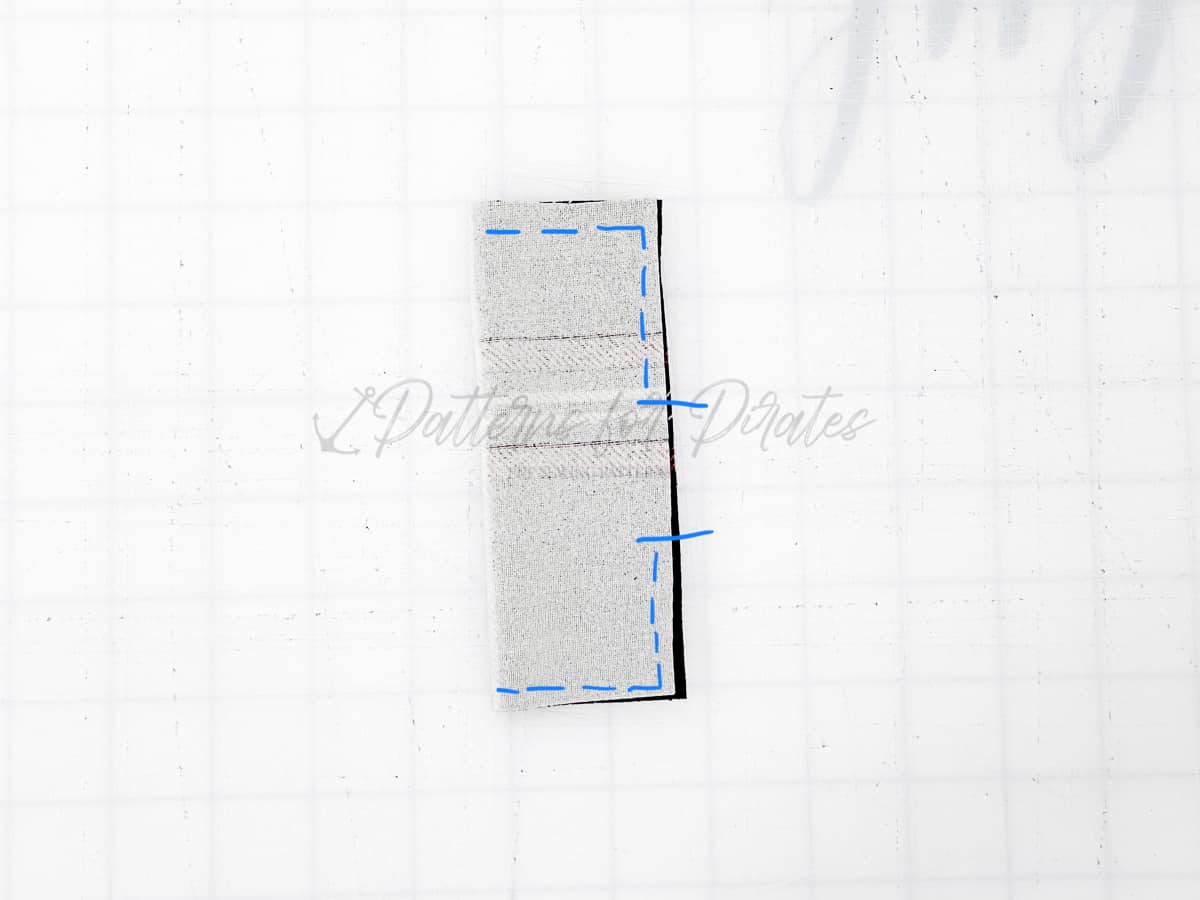
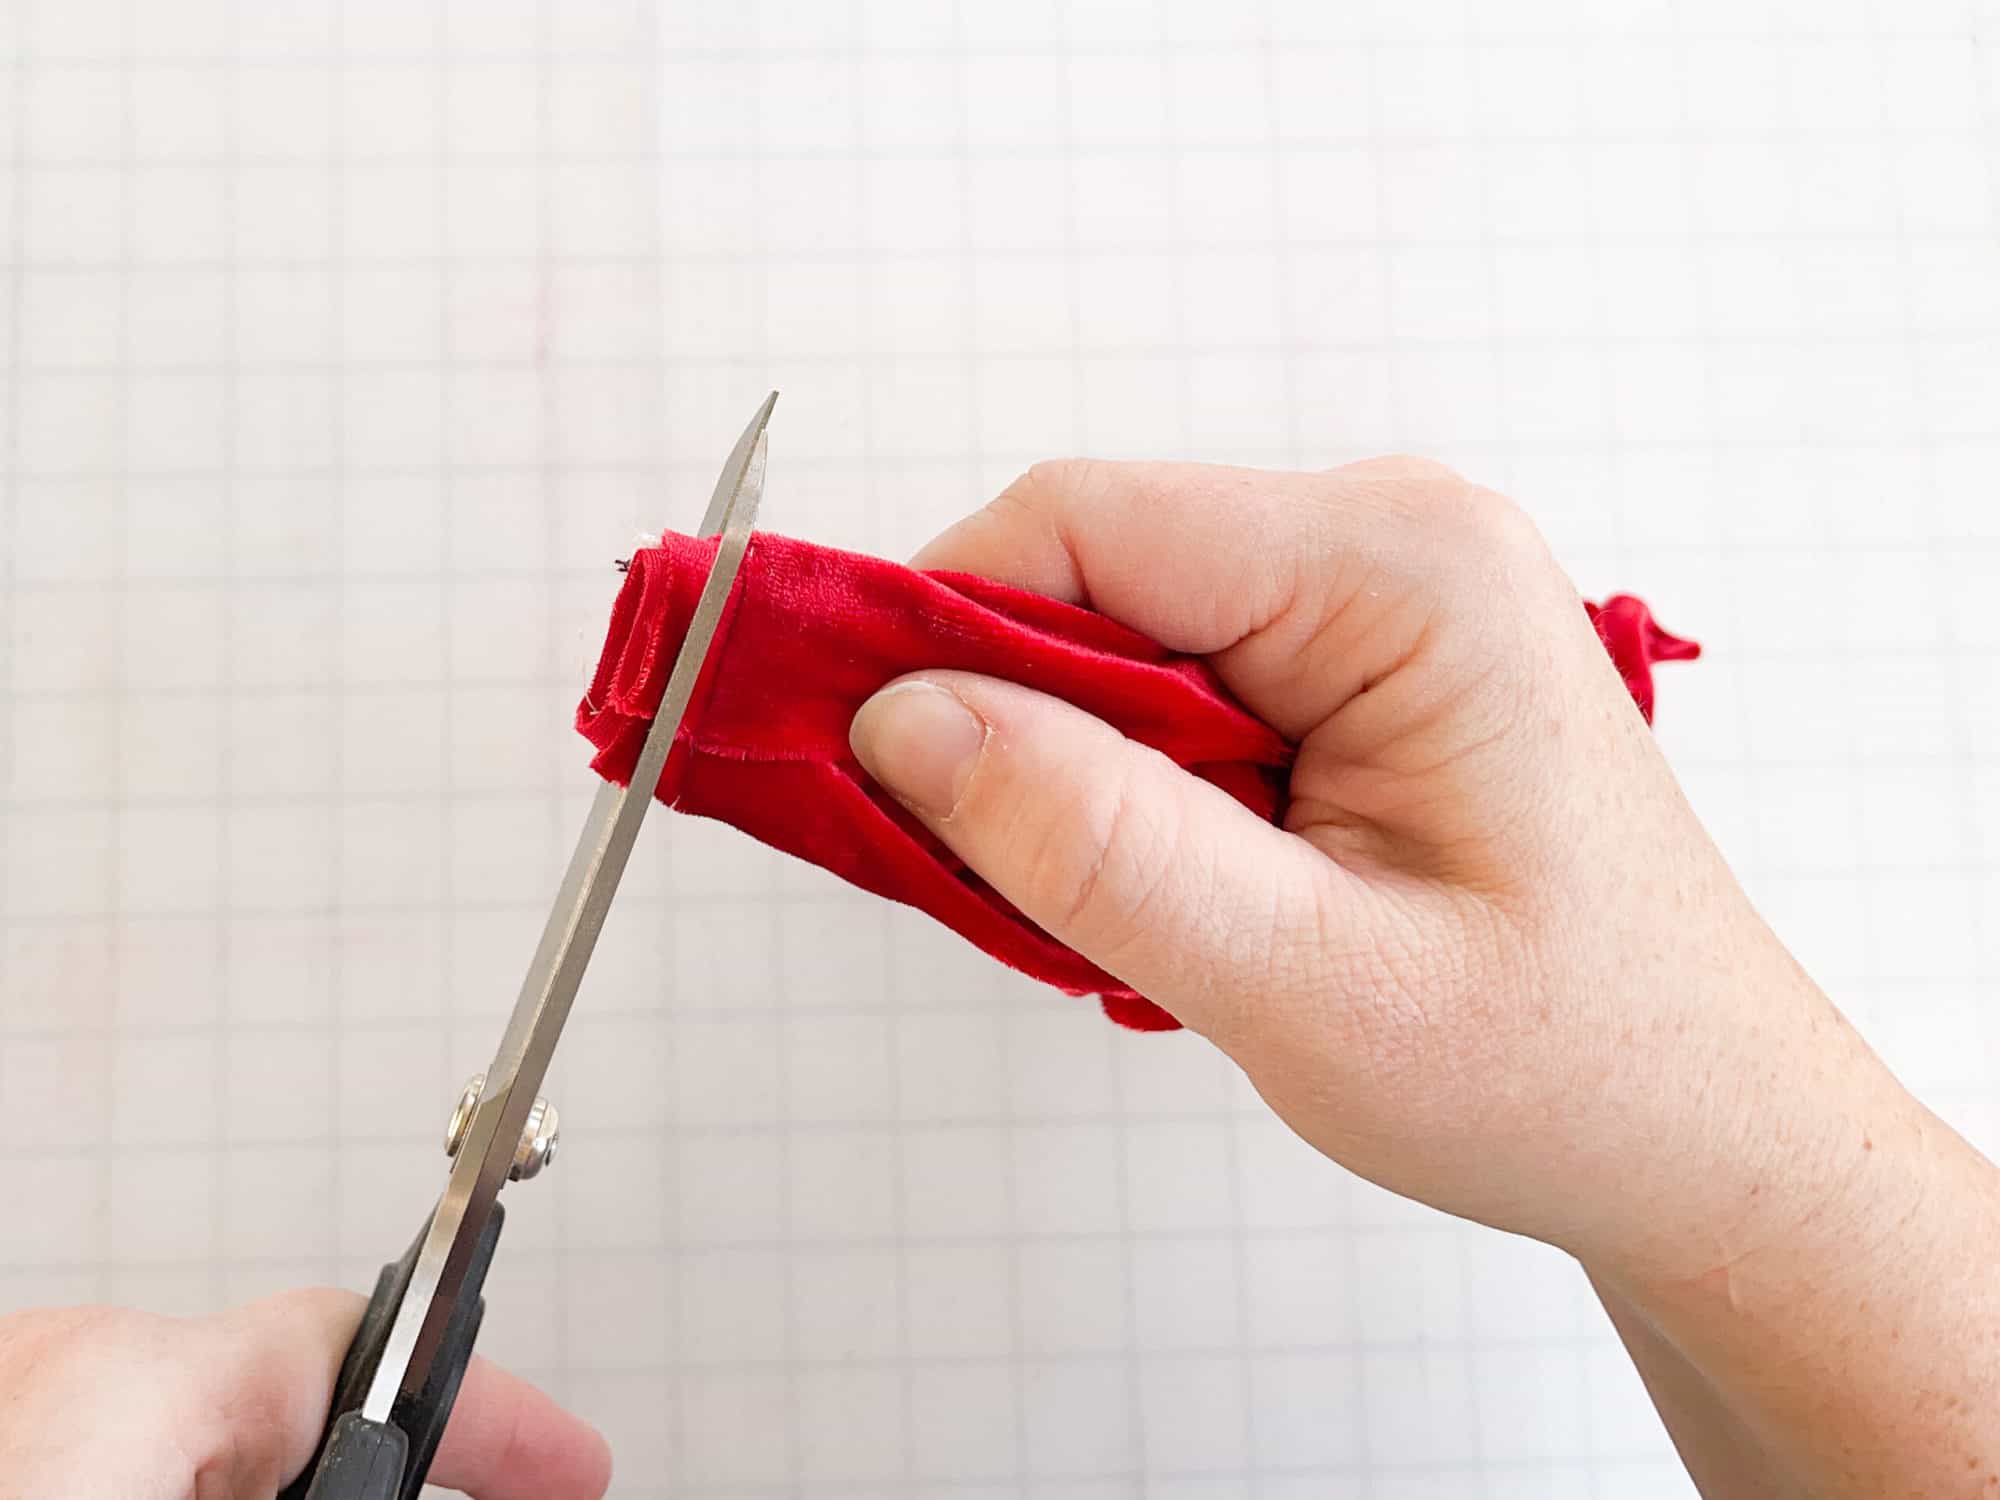
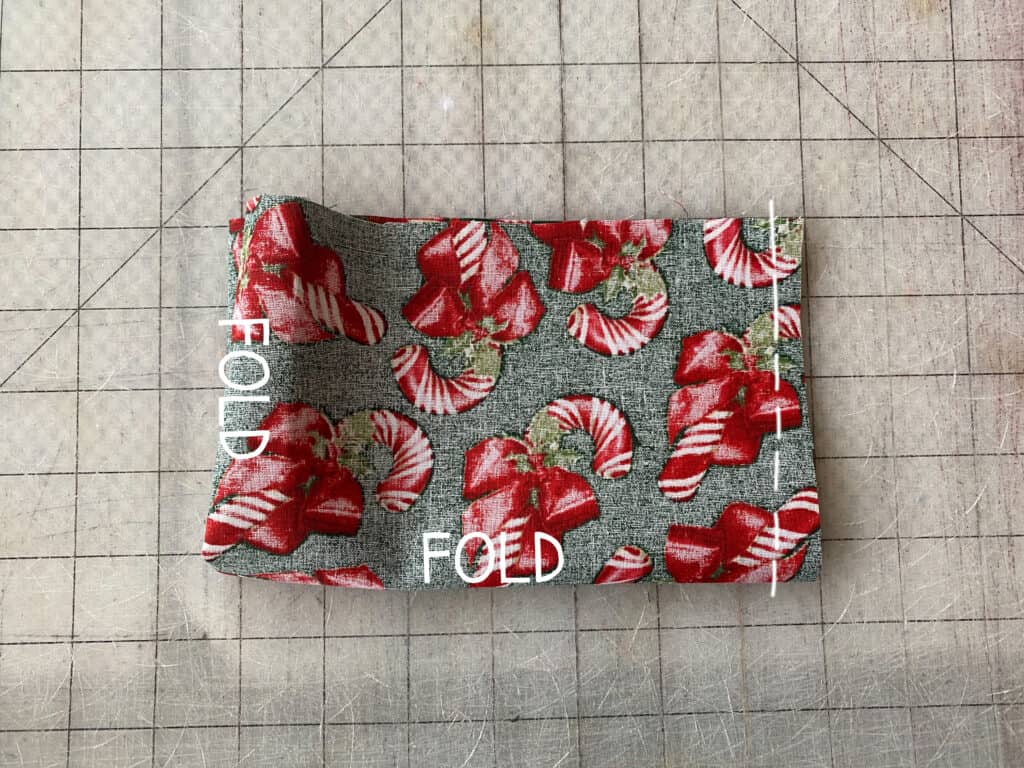
Trim excess fabric and clip corners, being careful not to cut through your stitching.
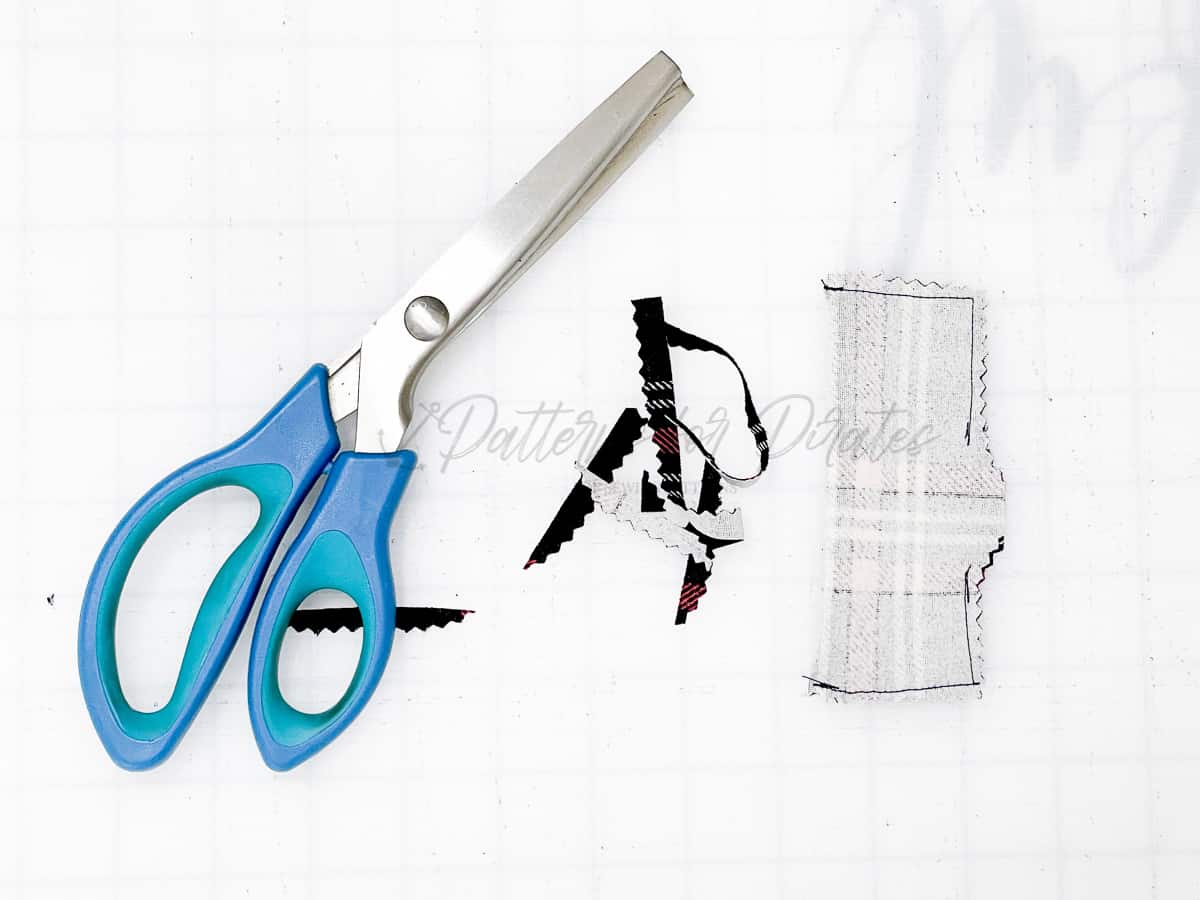
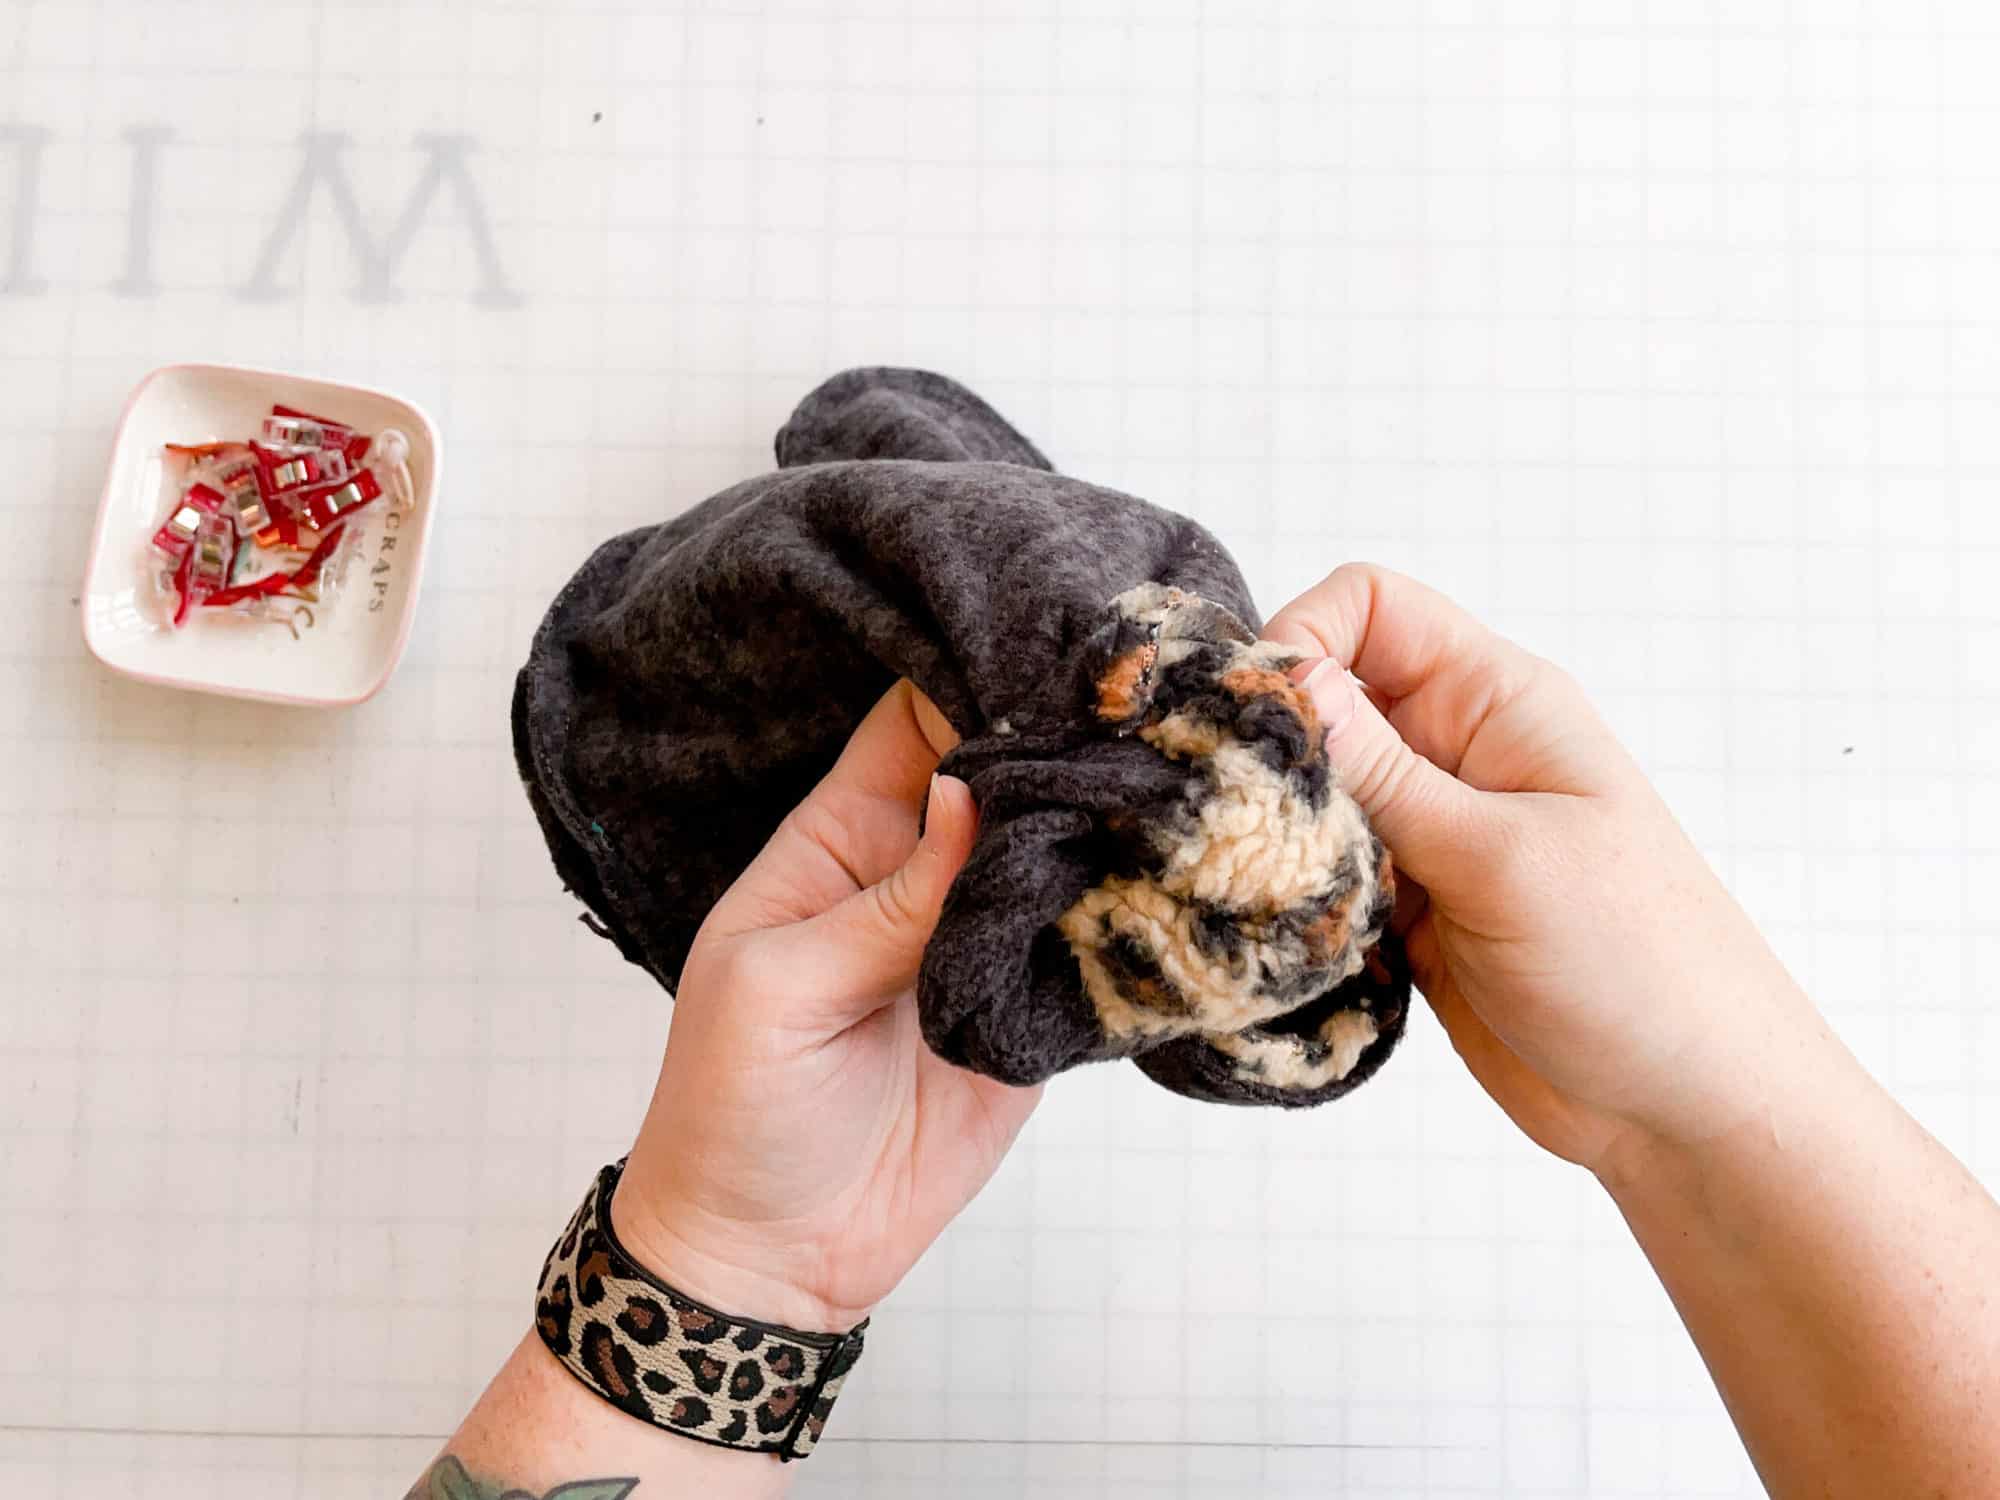
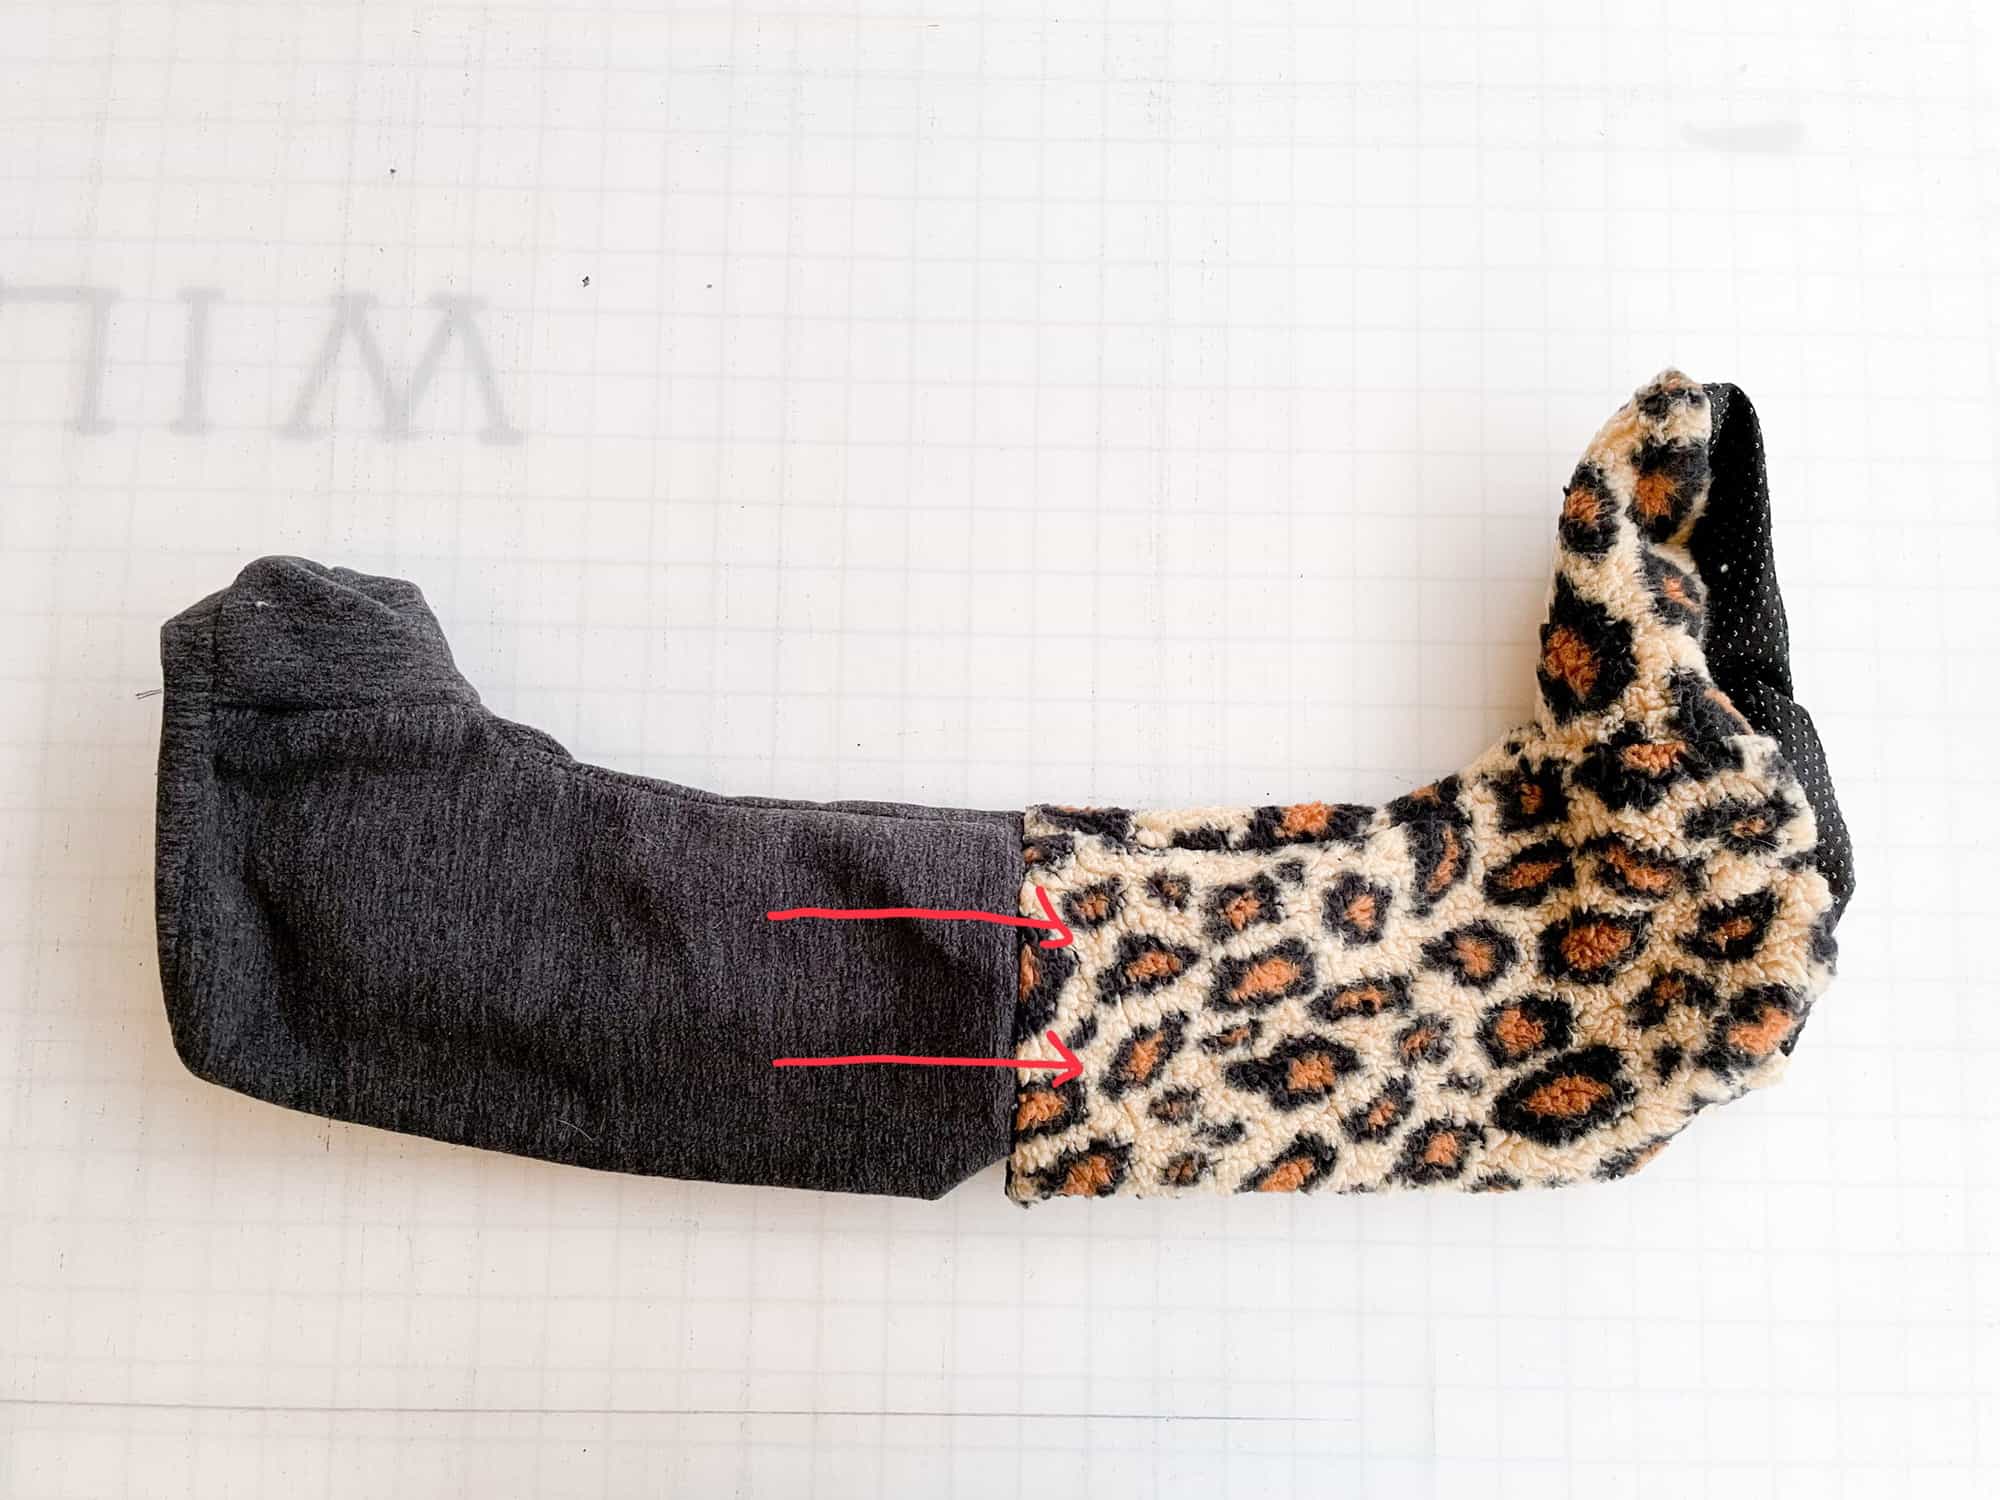
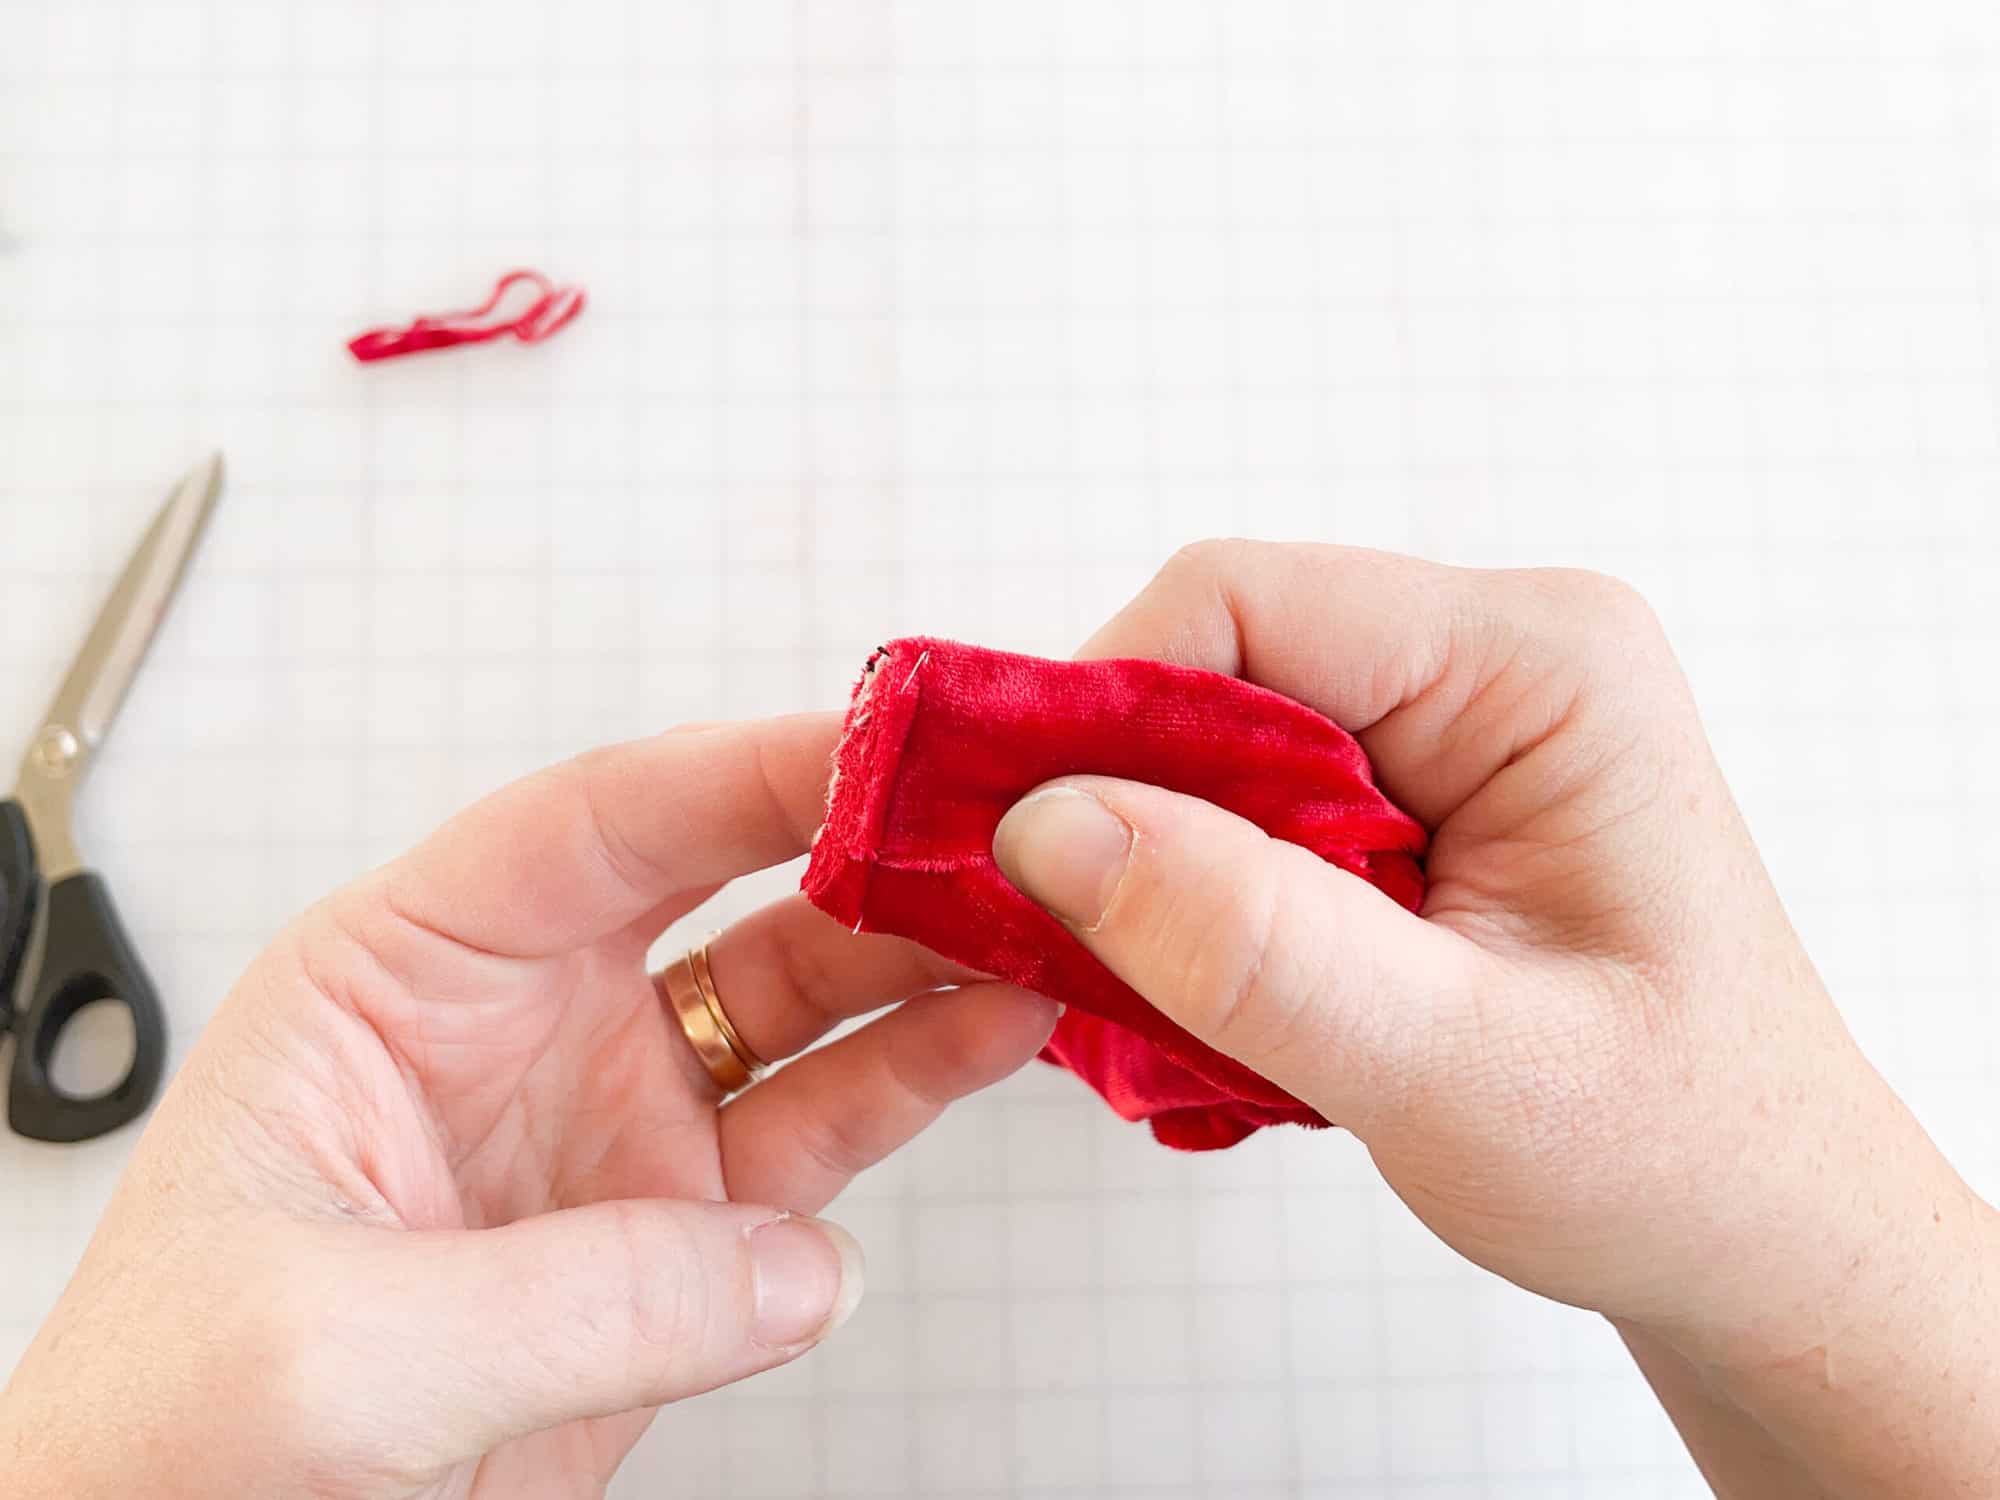
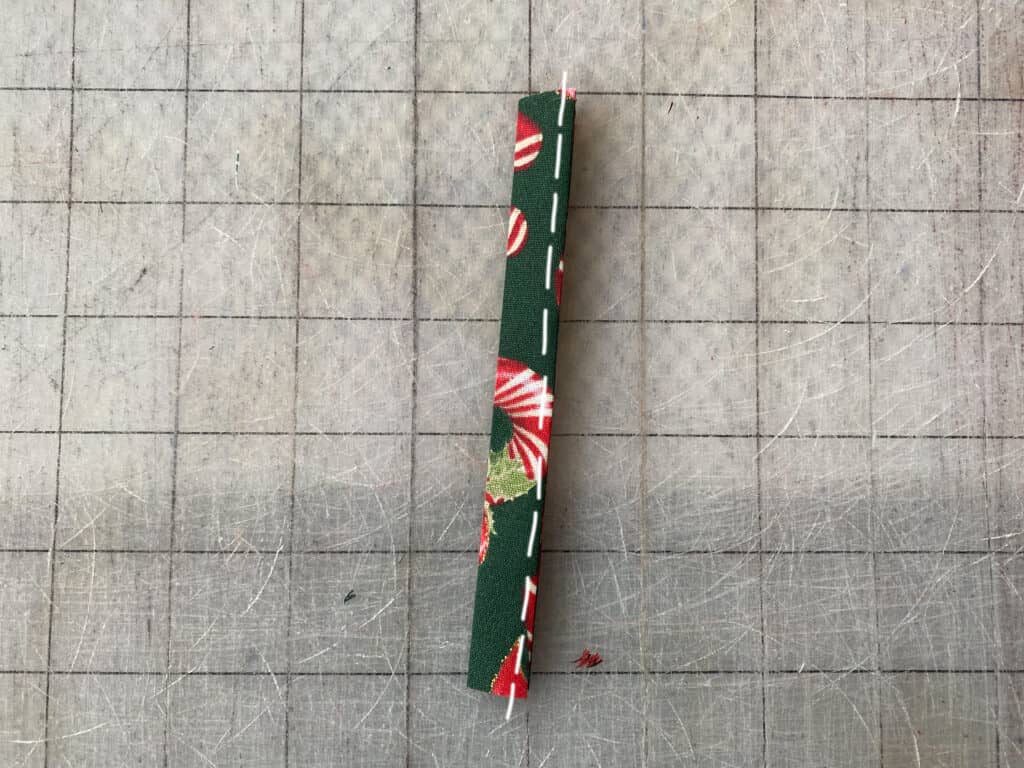
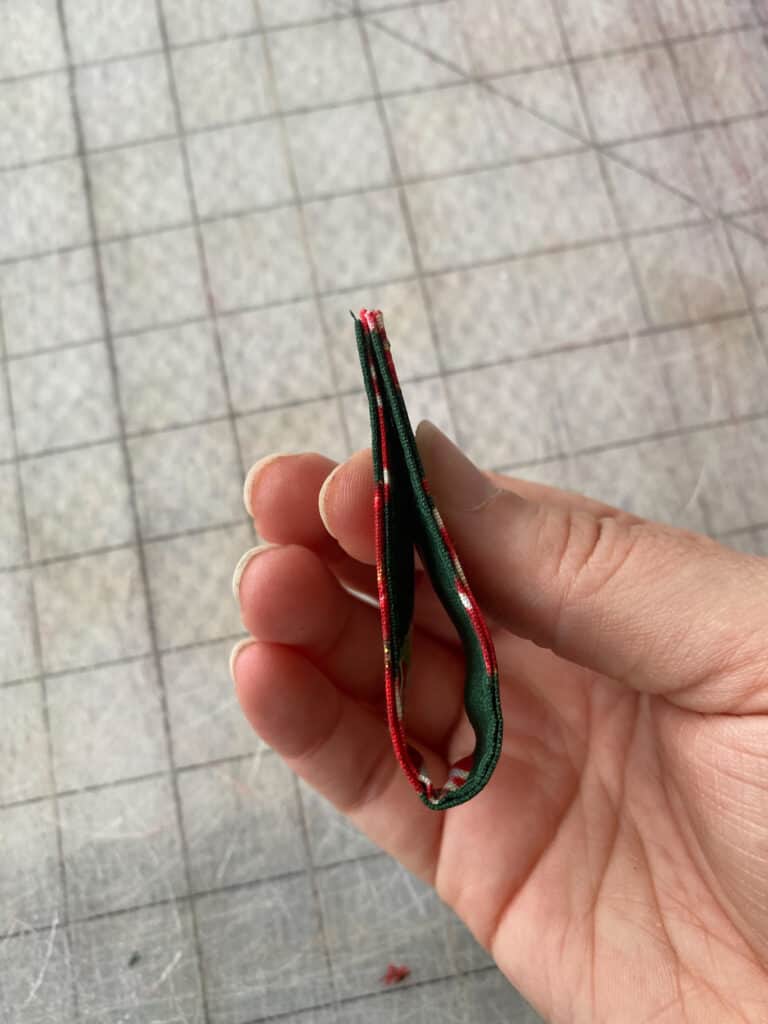
Turn slide tab piece right sides out. Stitch opening closed, using preferred method. (ie: blind stitch, top stitch, etc)
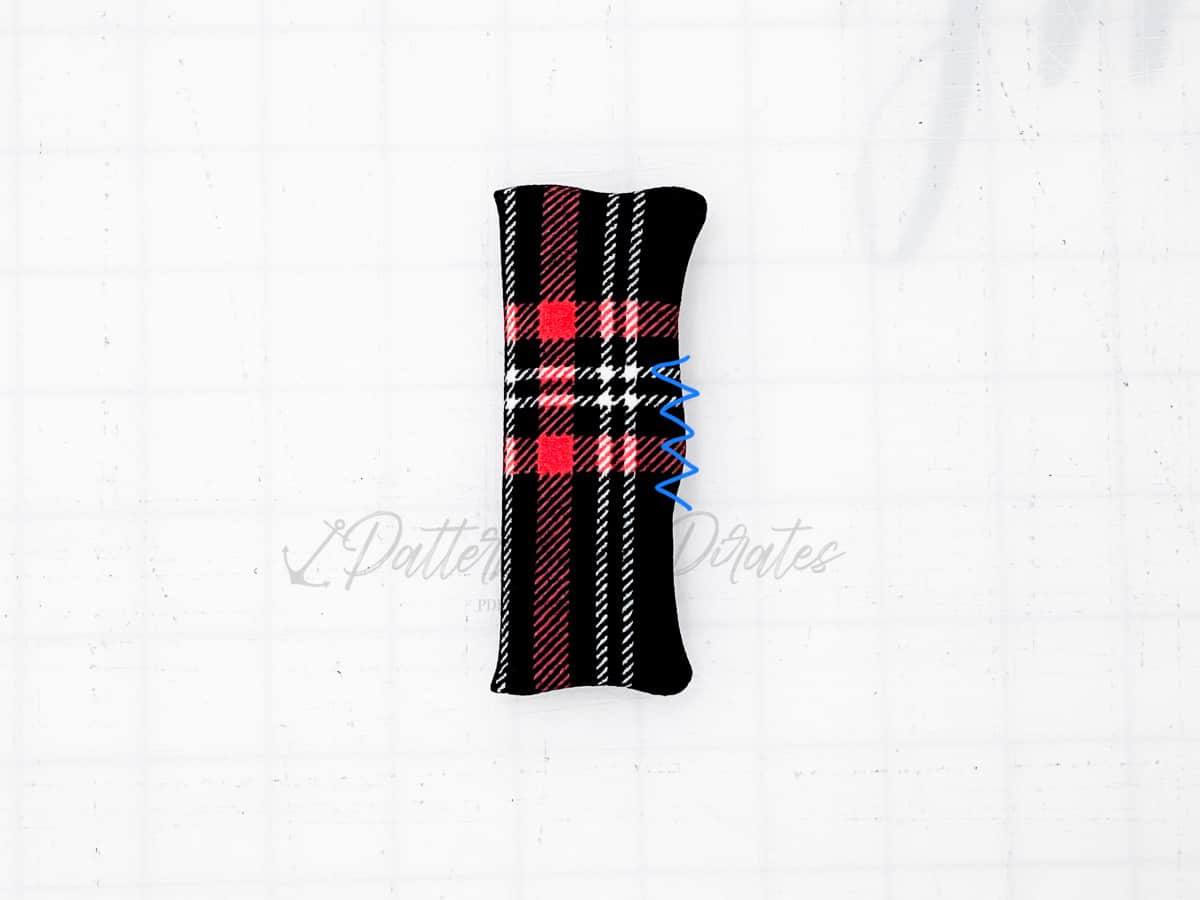
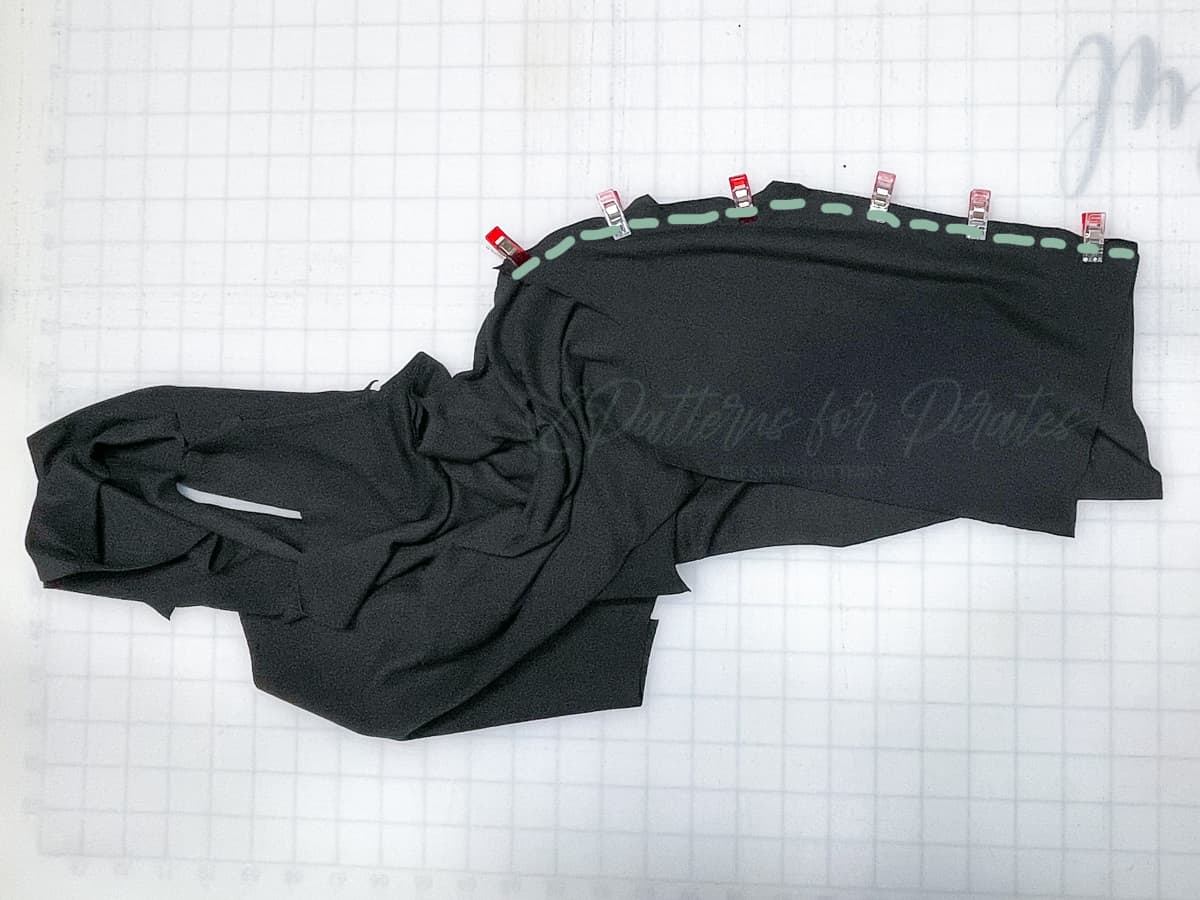
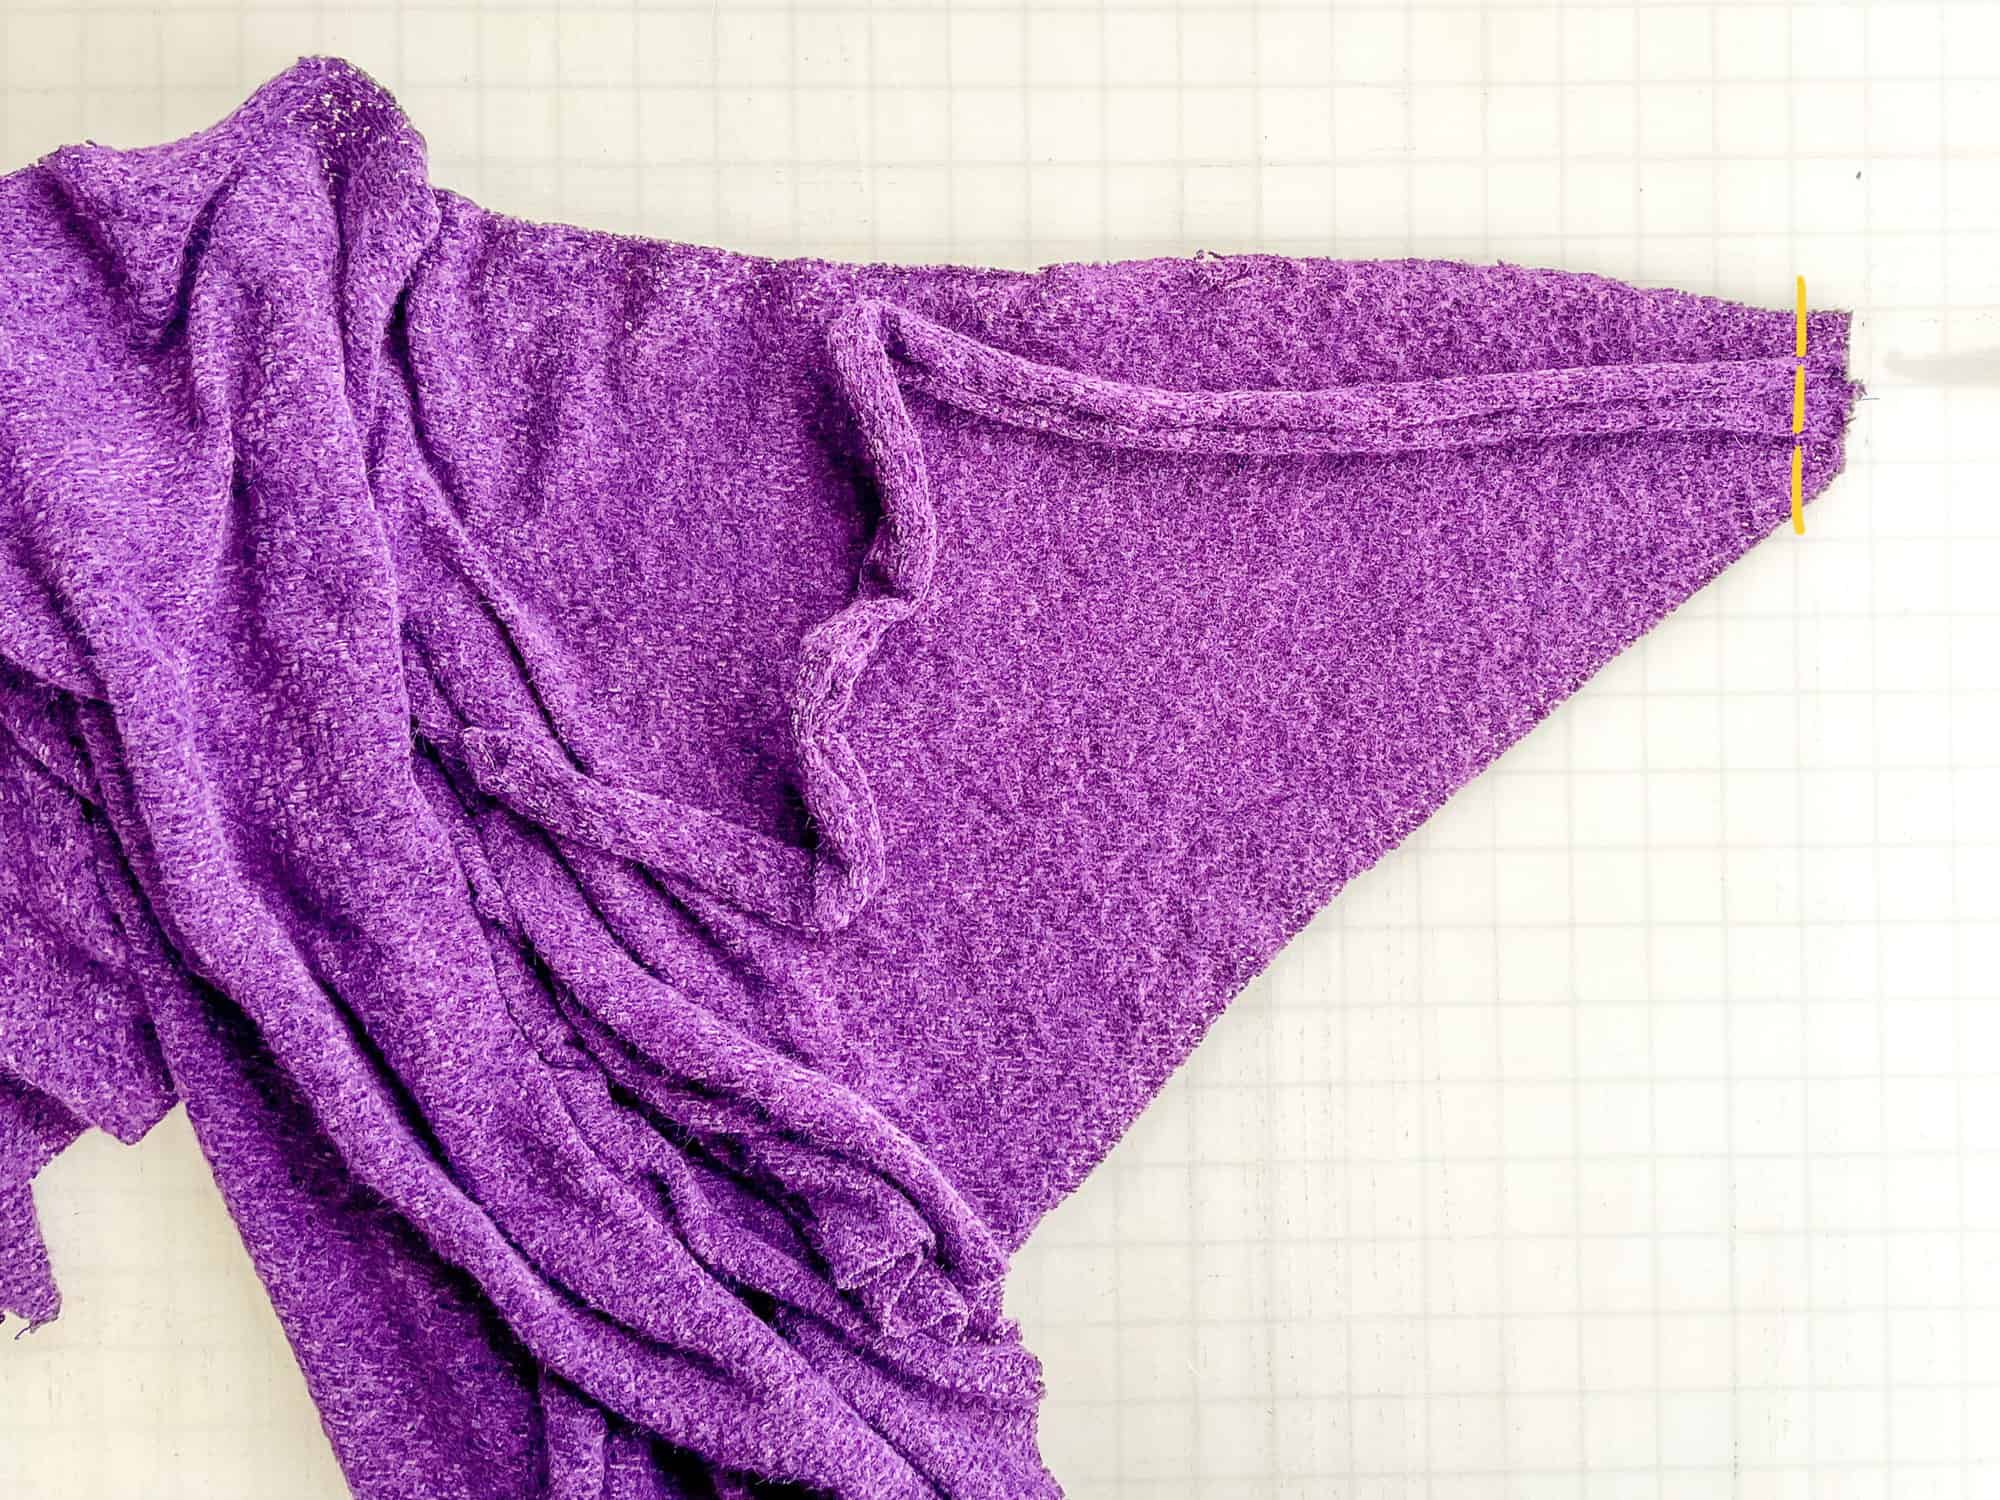
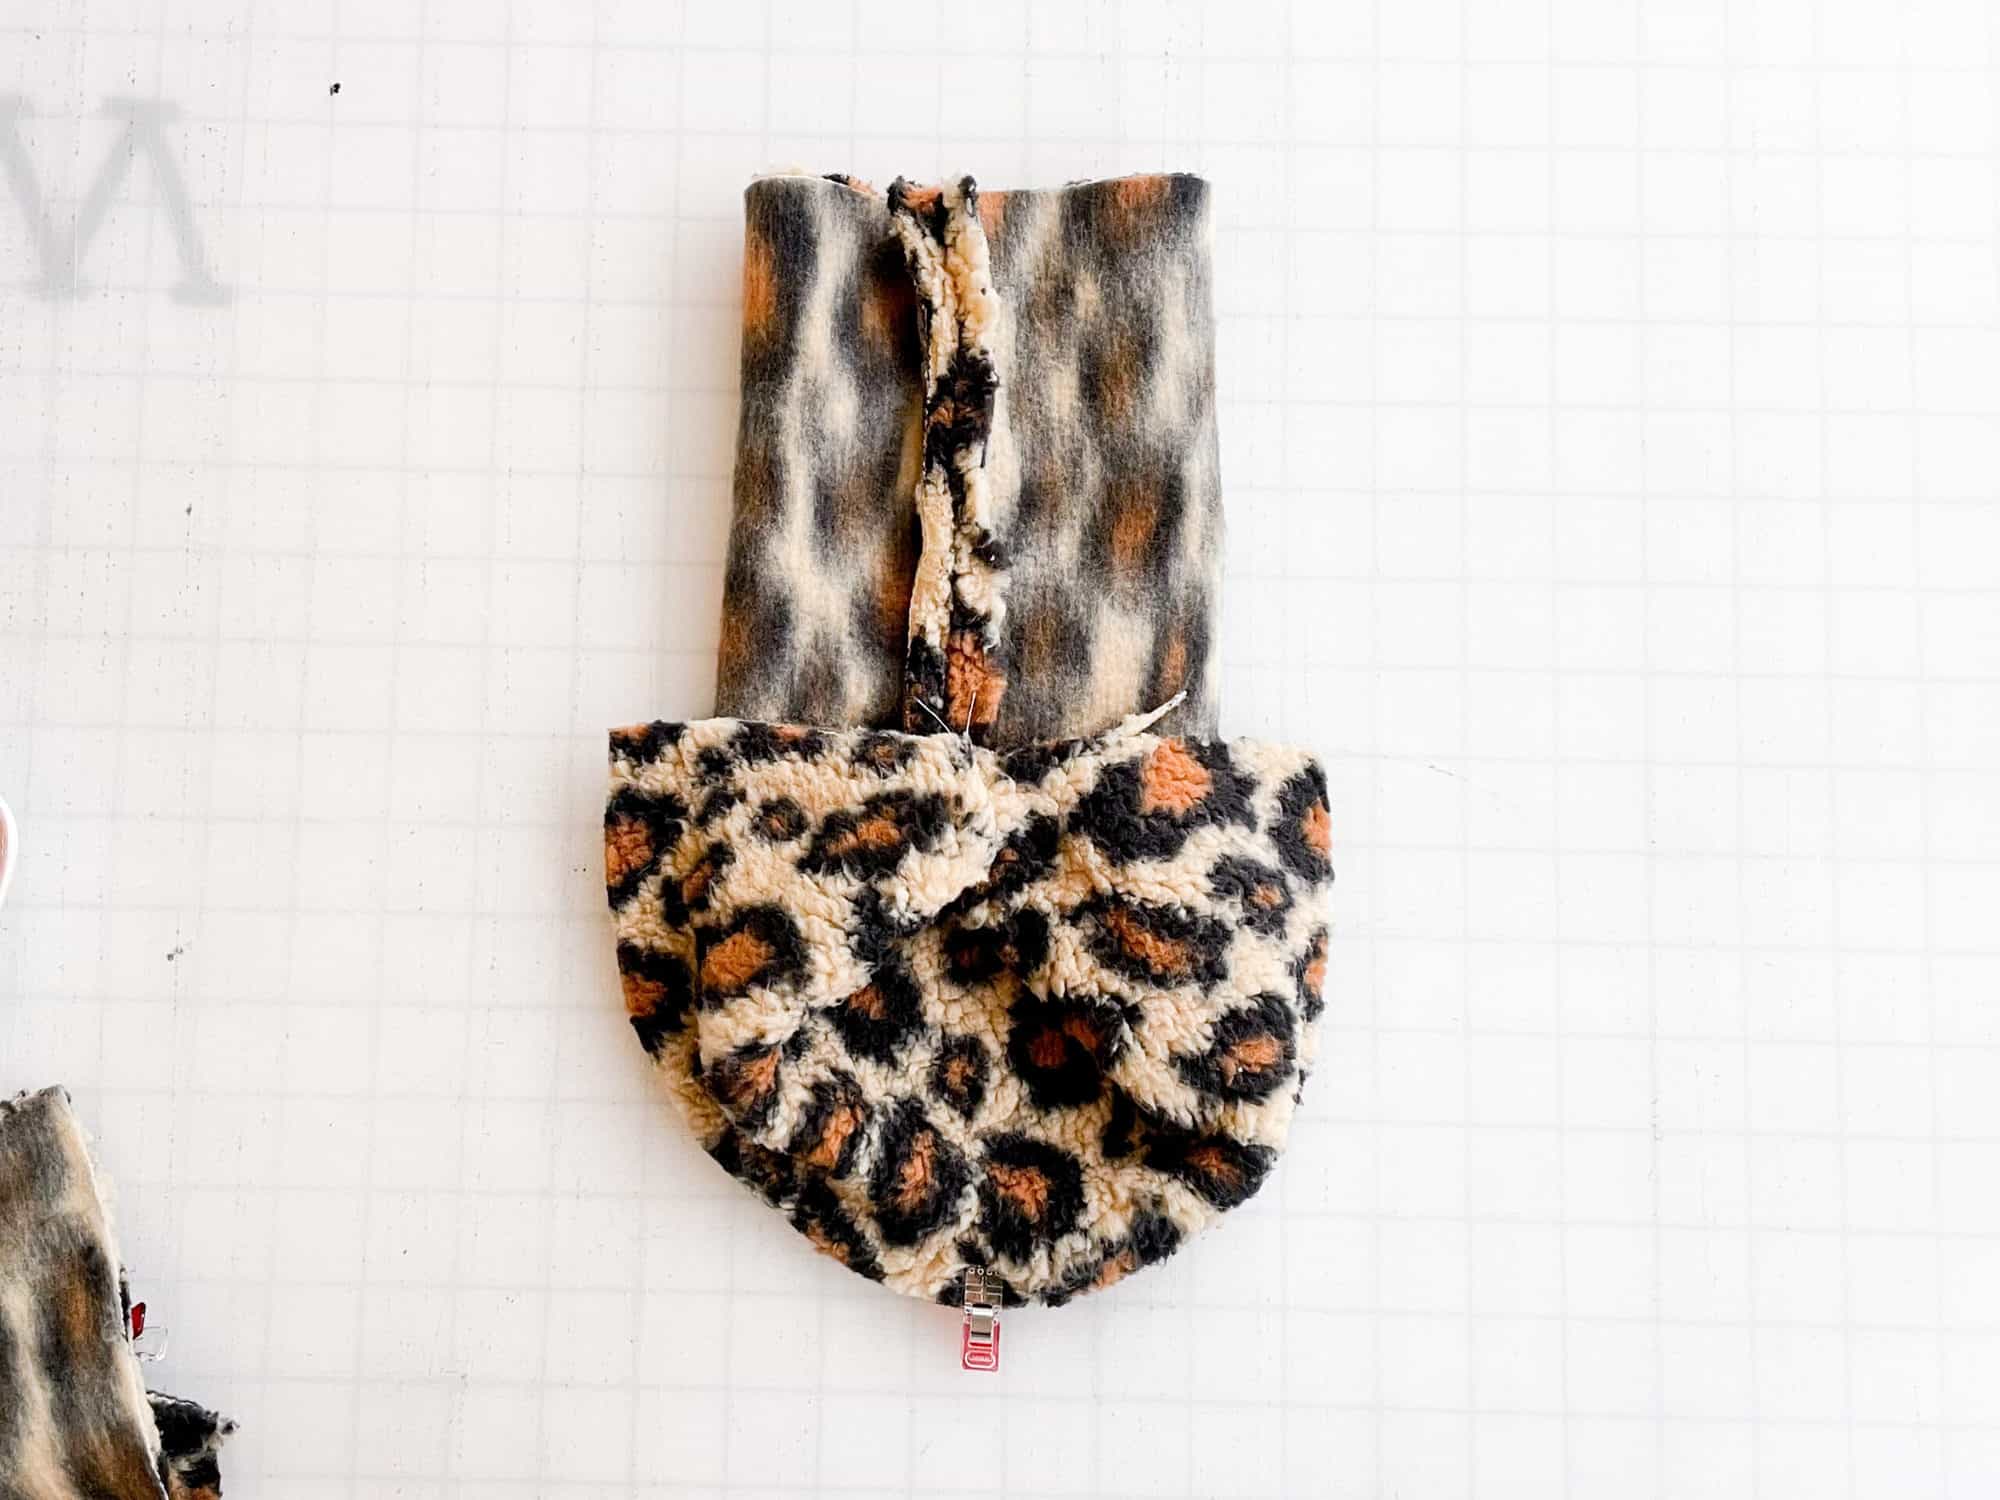
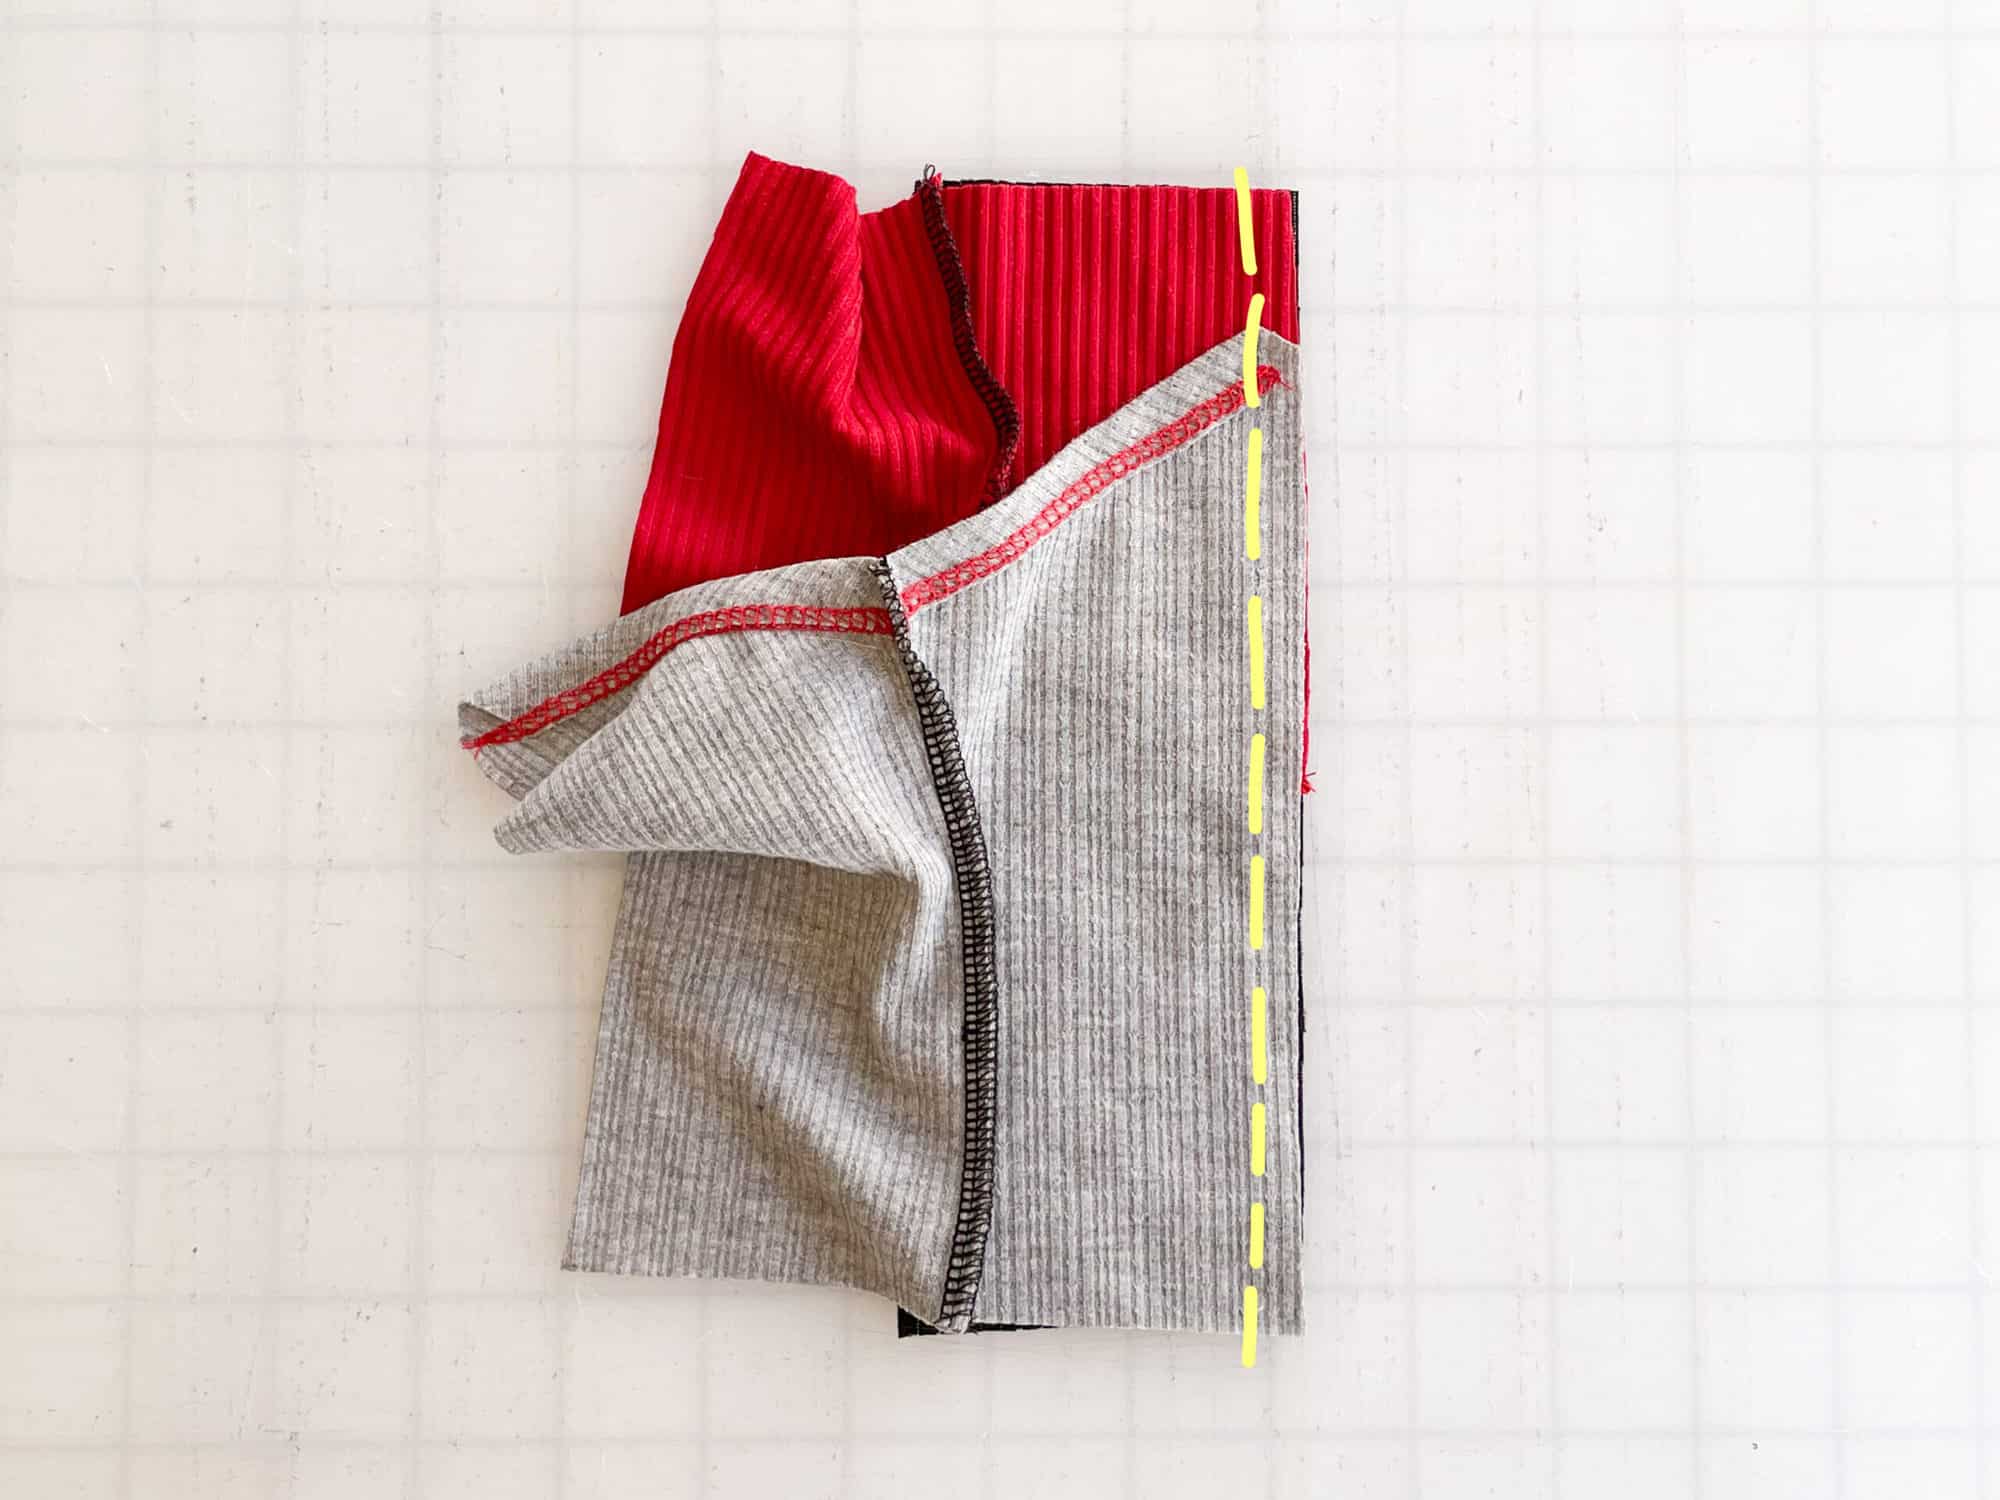
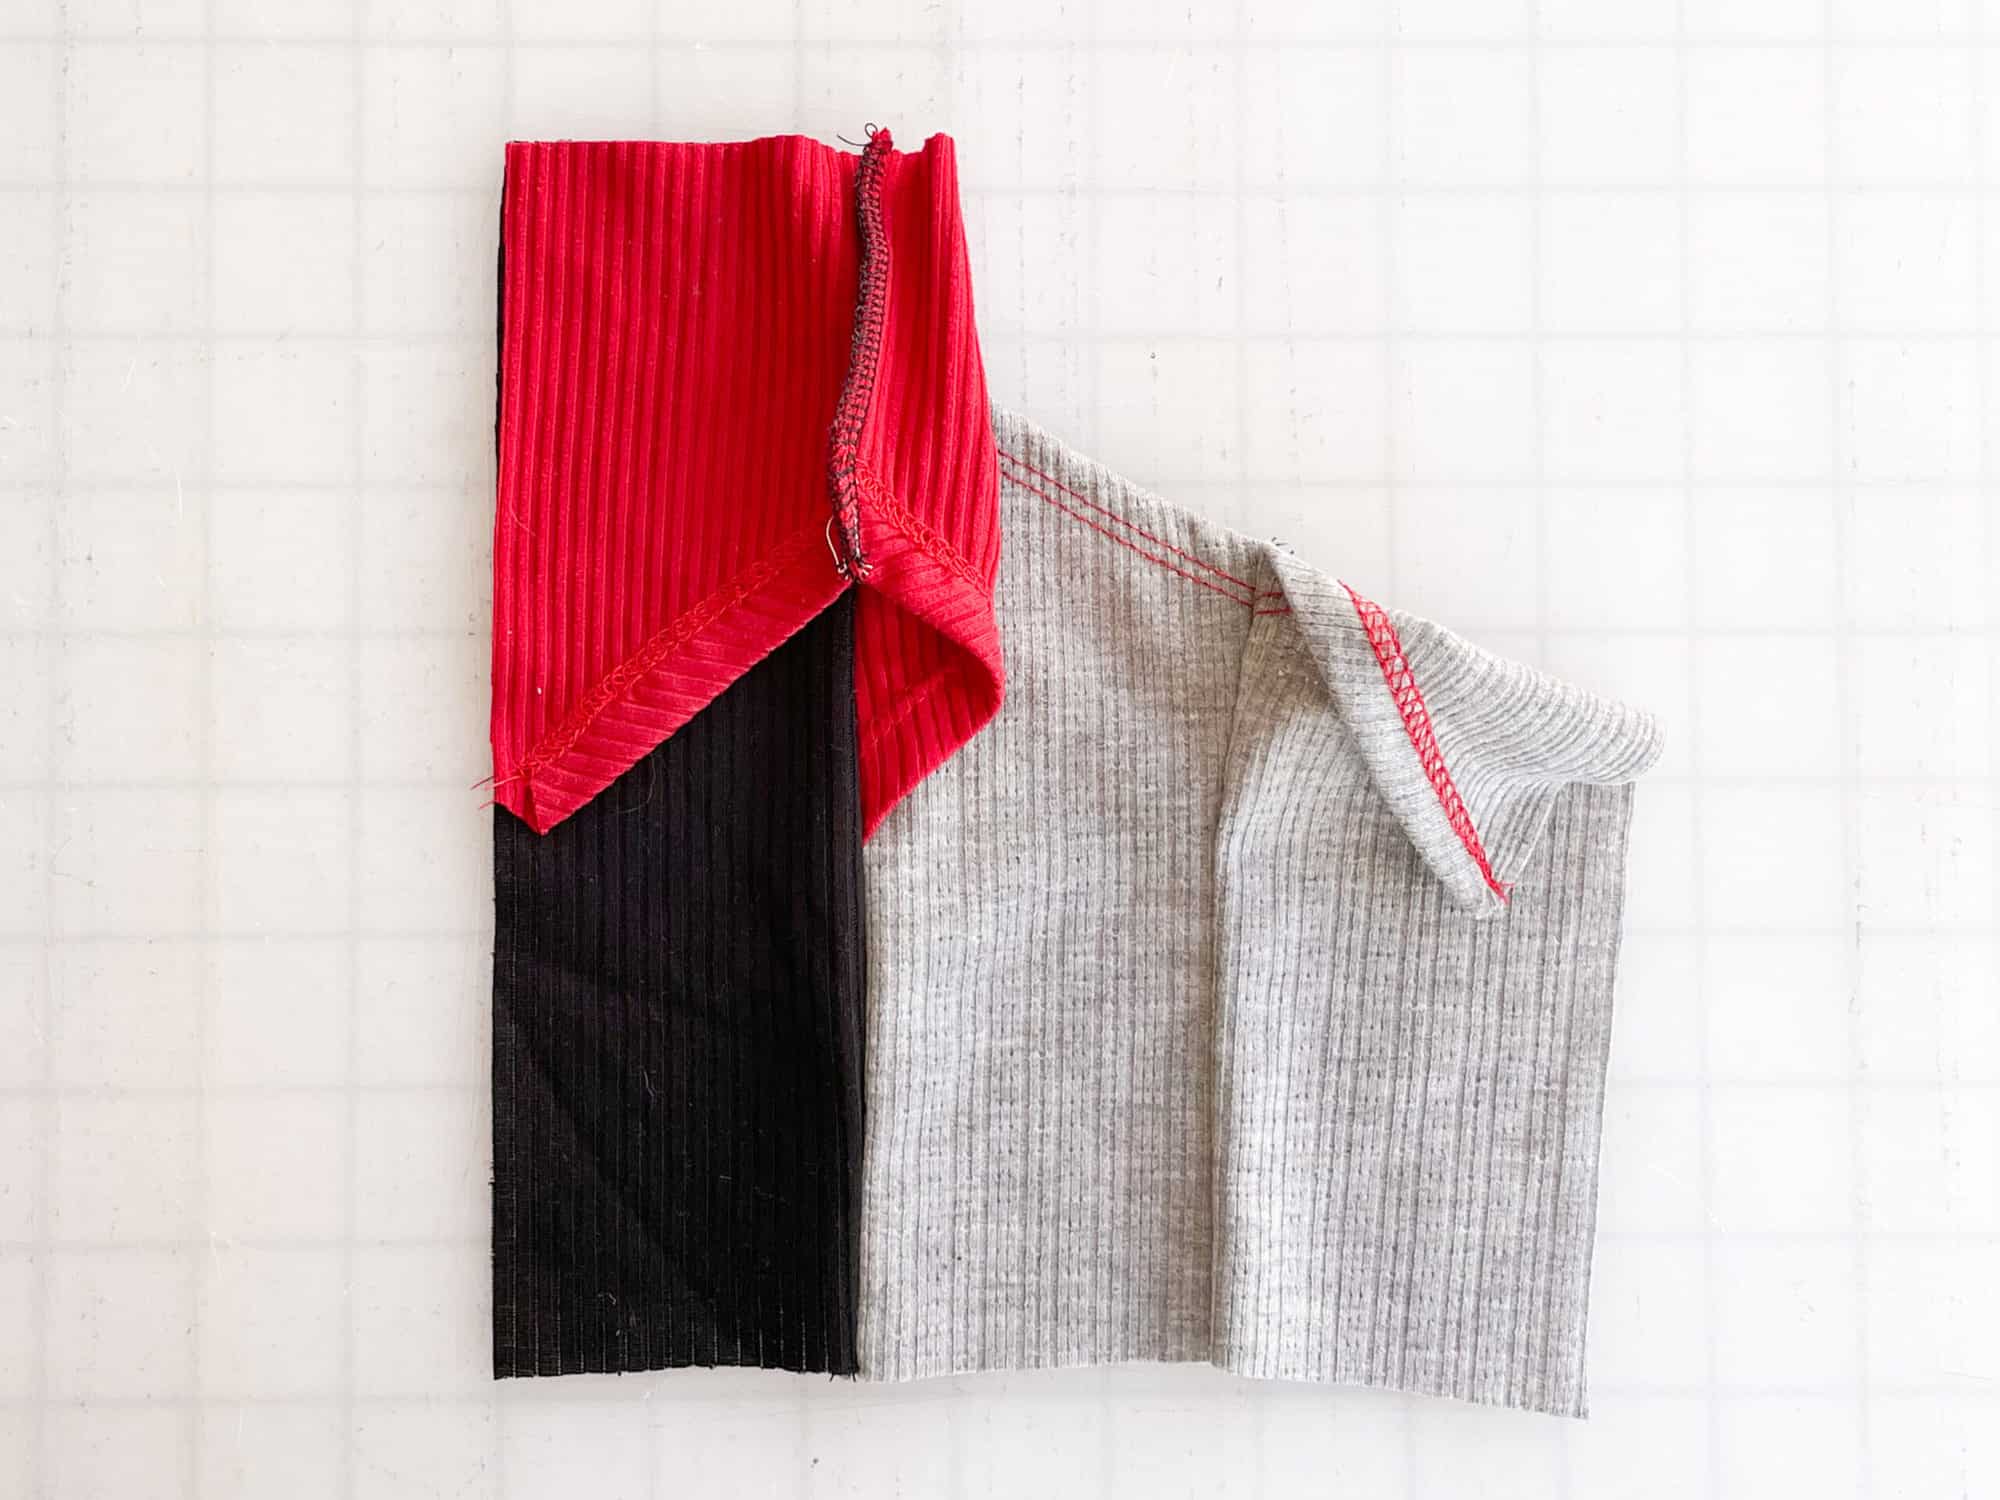
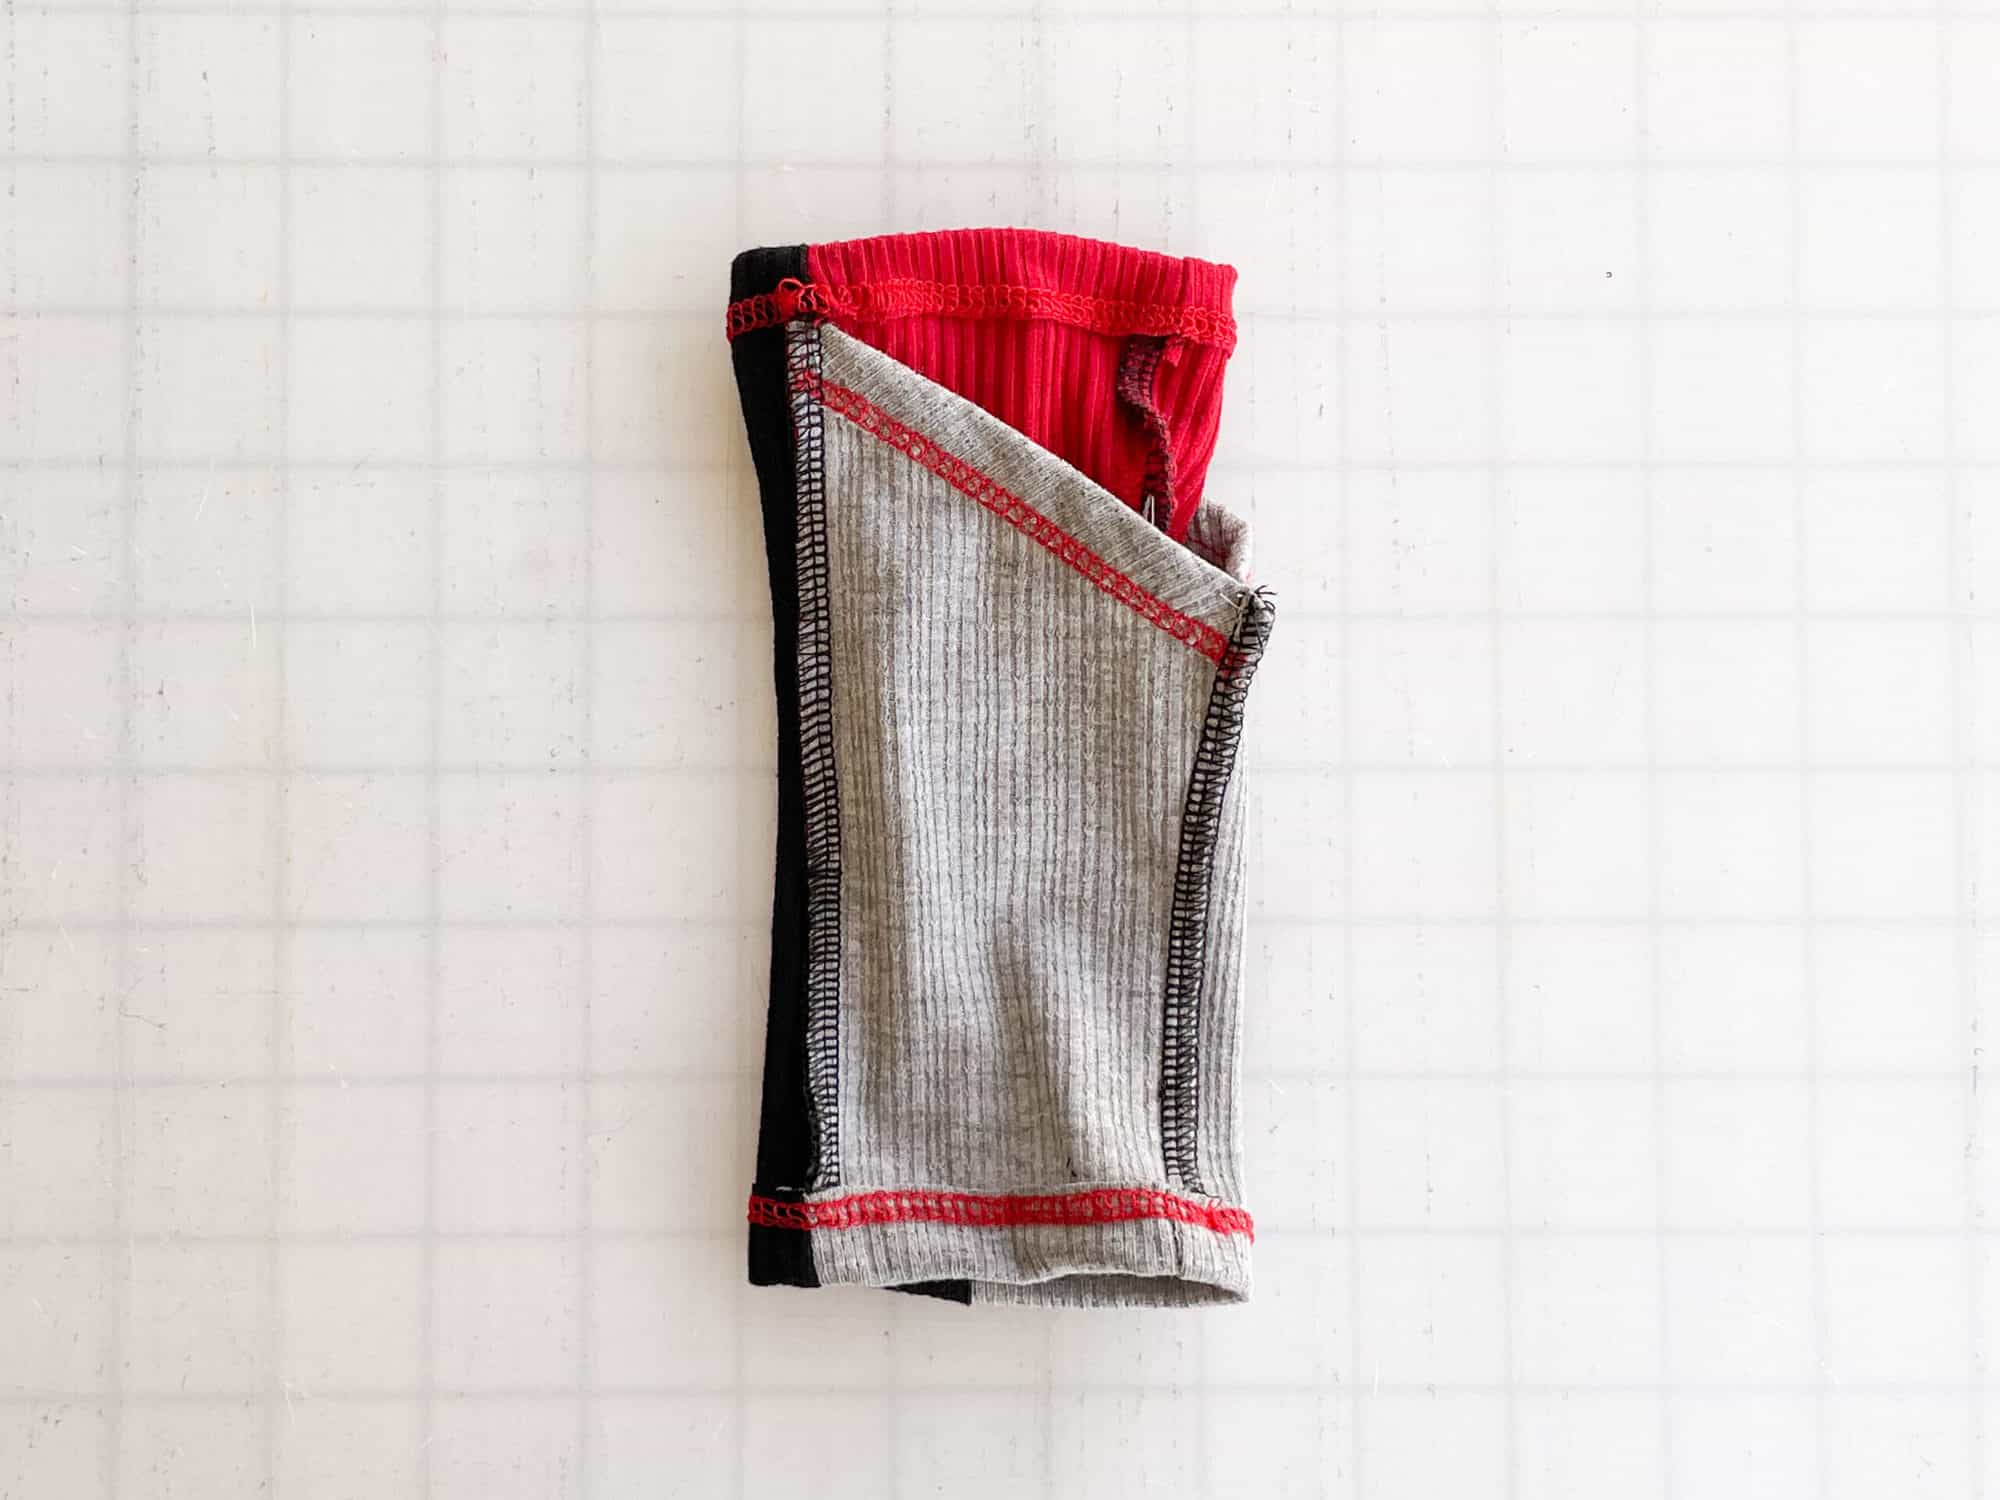
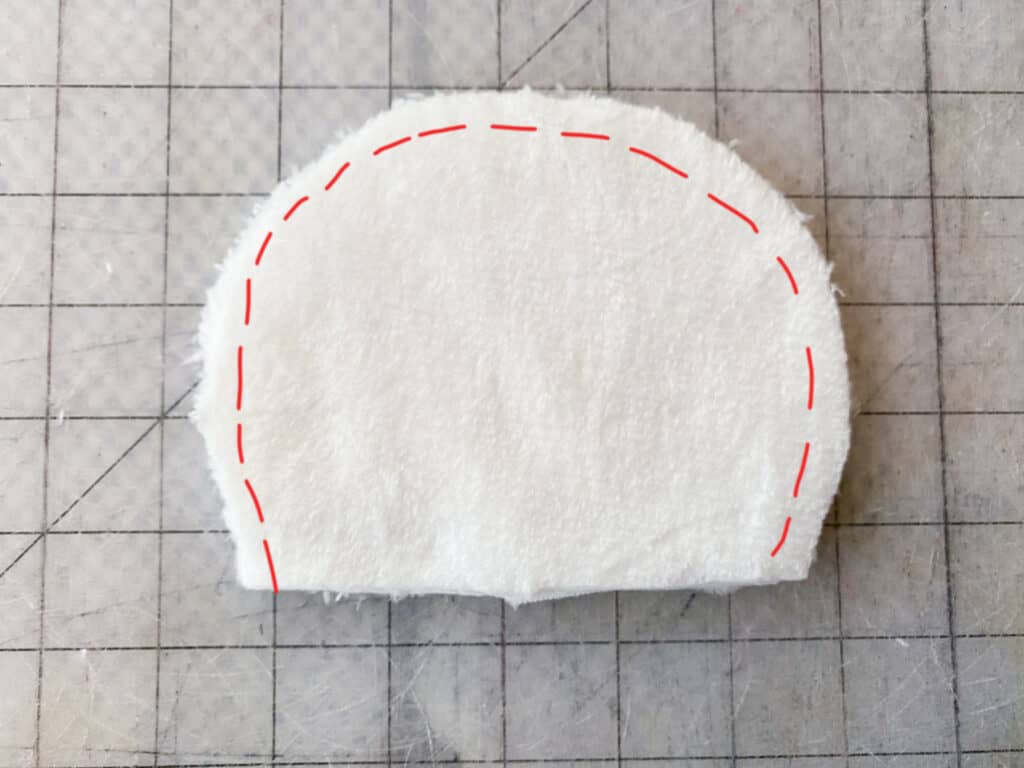
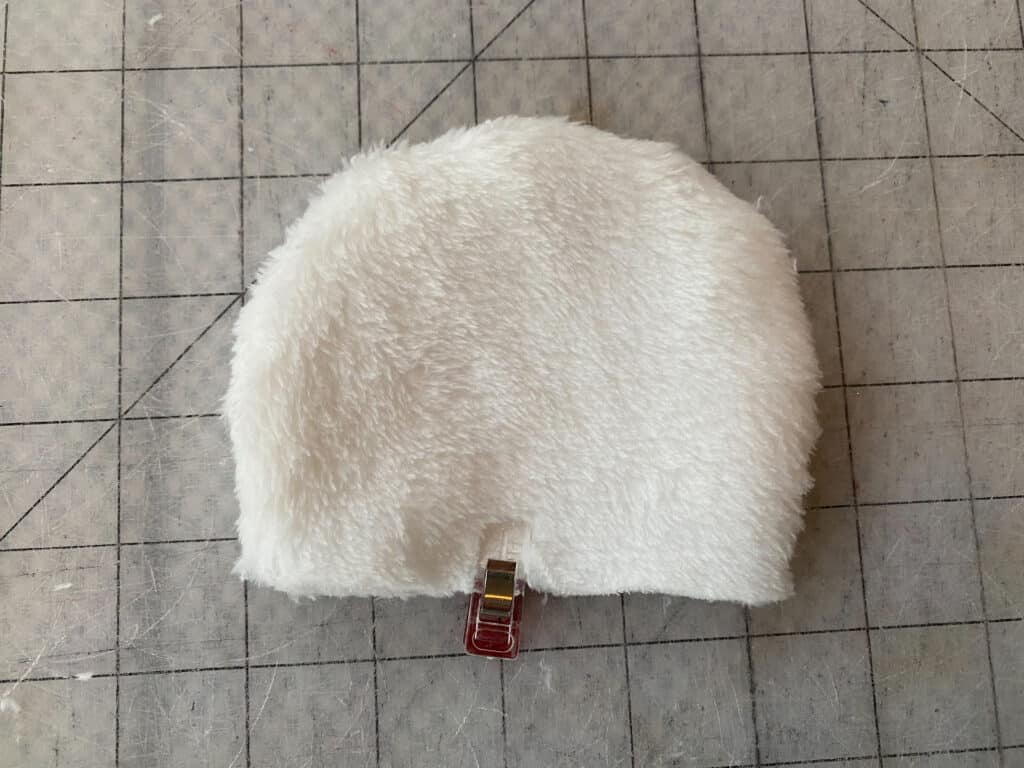
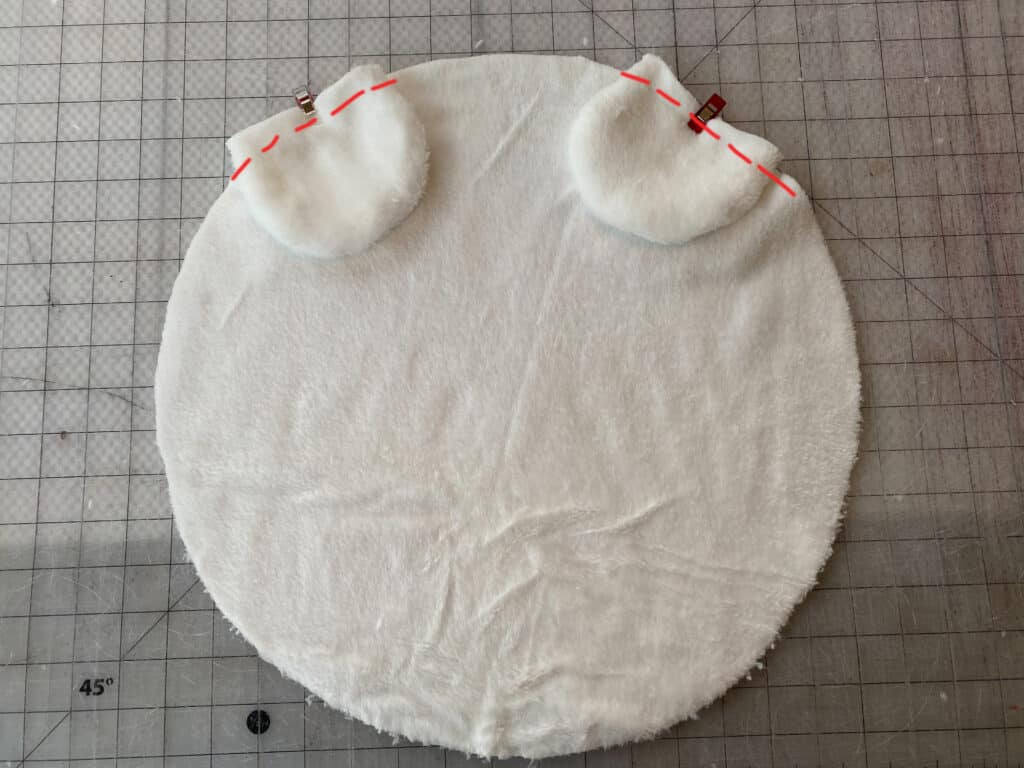
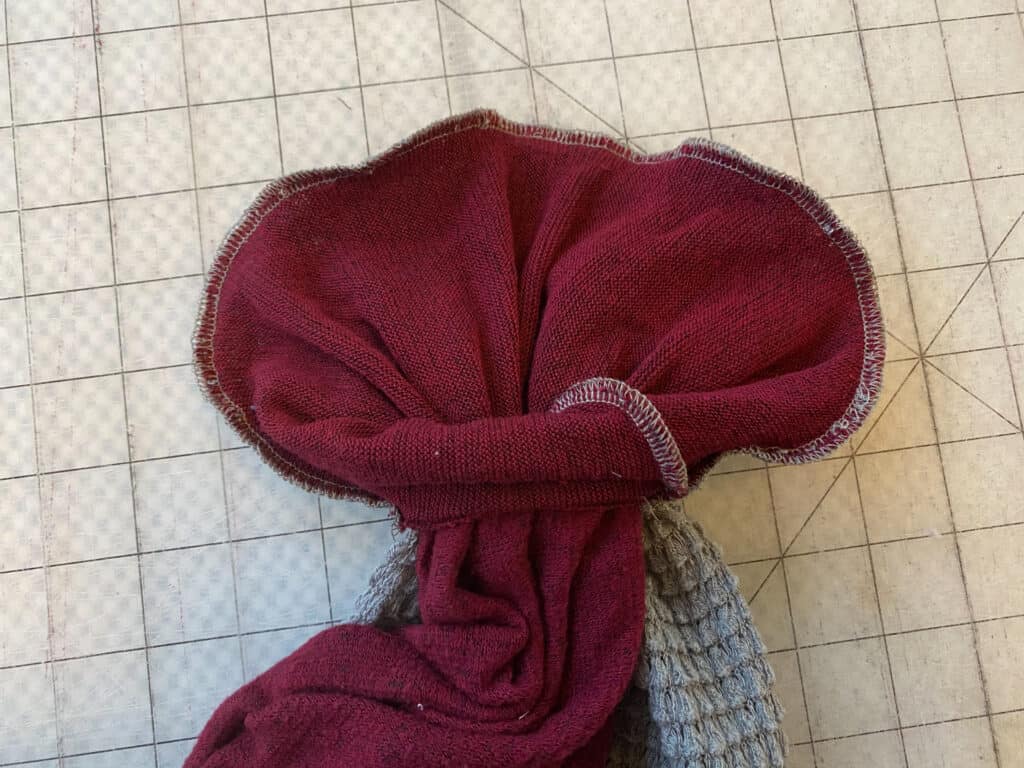
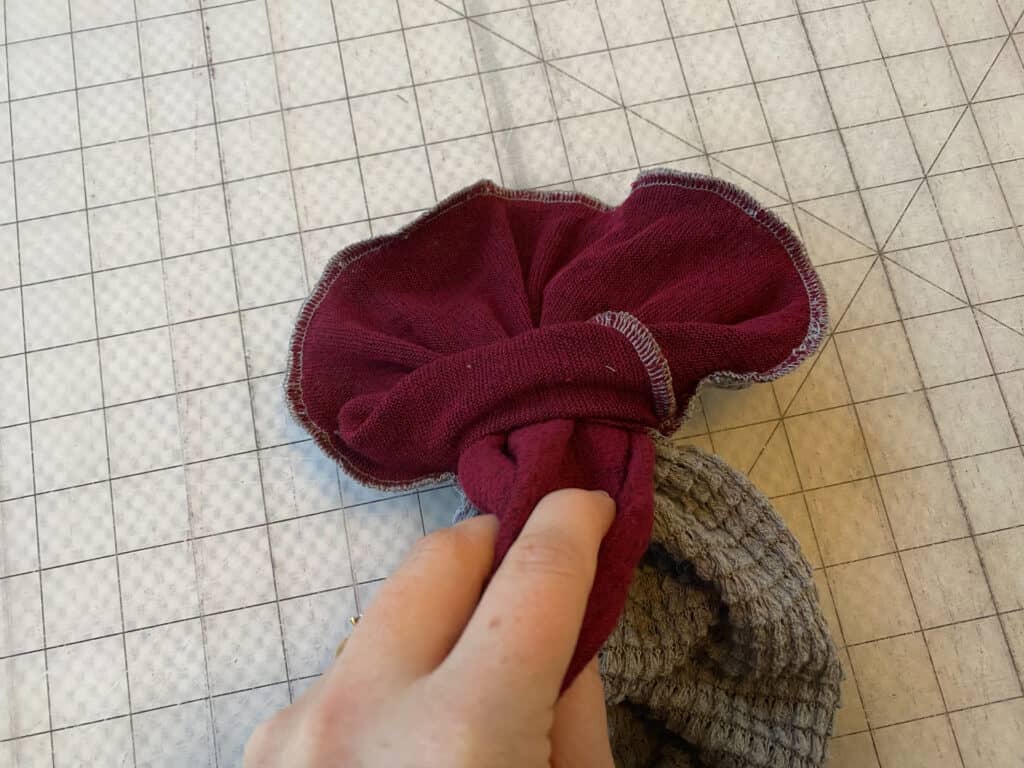
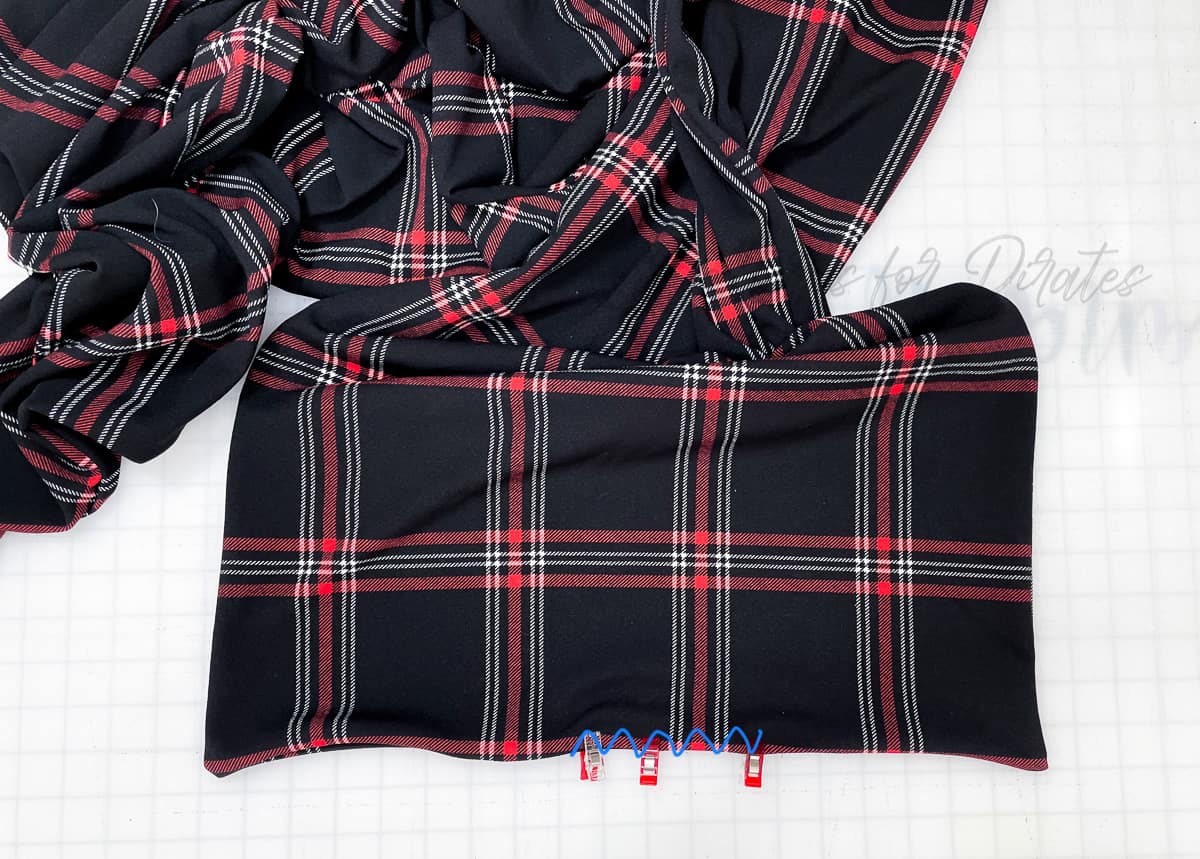
Using the pattern piece for placement guidance, place slide tab piece on main fabric.
Attach slide tab piece by sewing both short ends to main shawl.
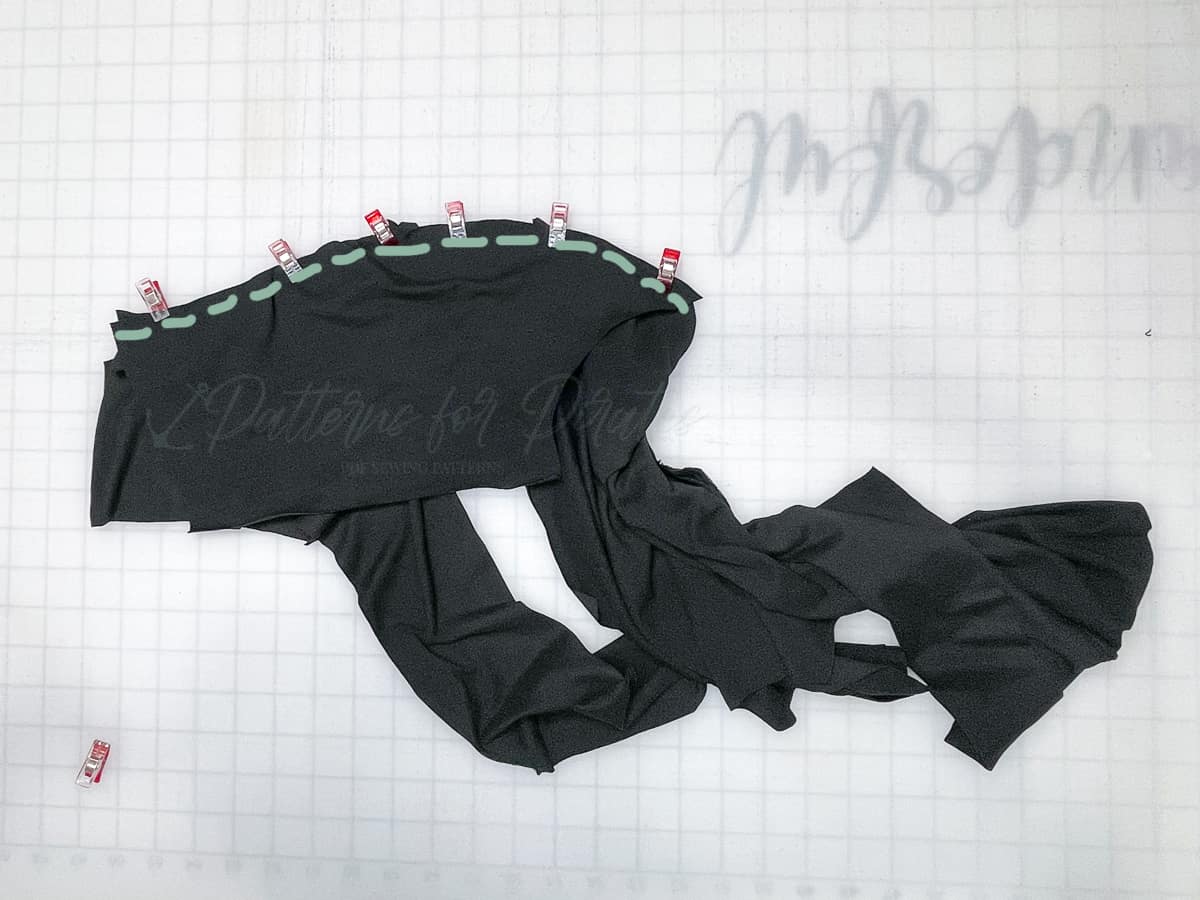
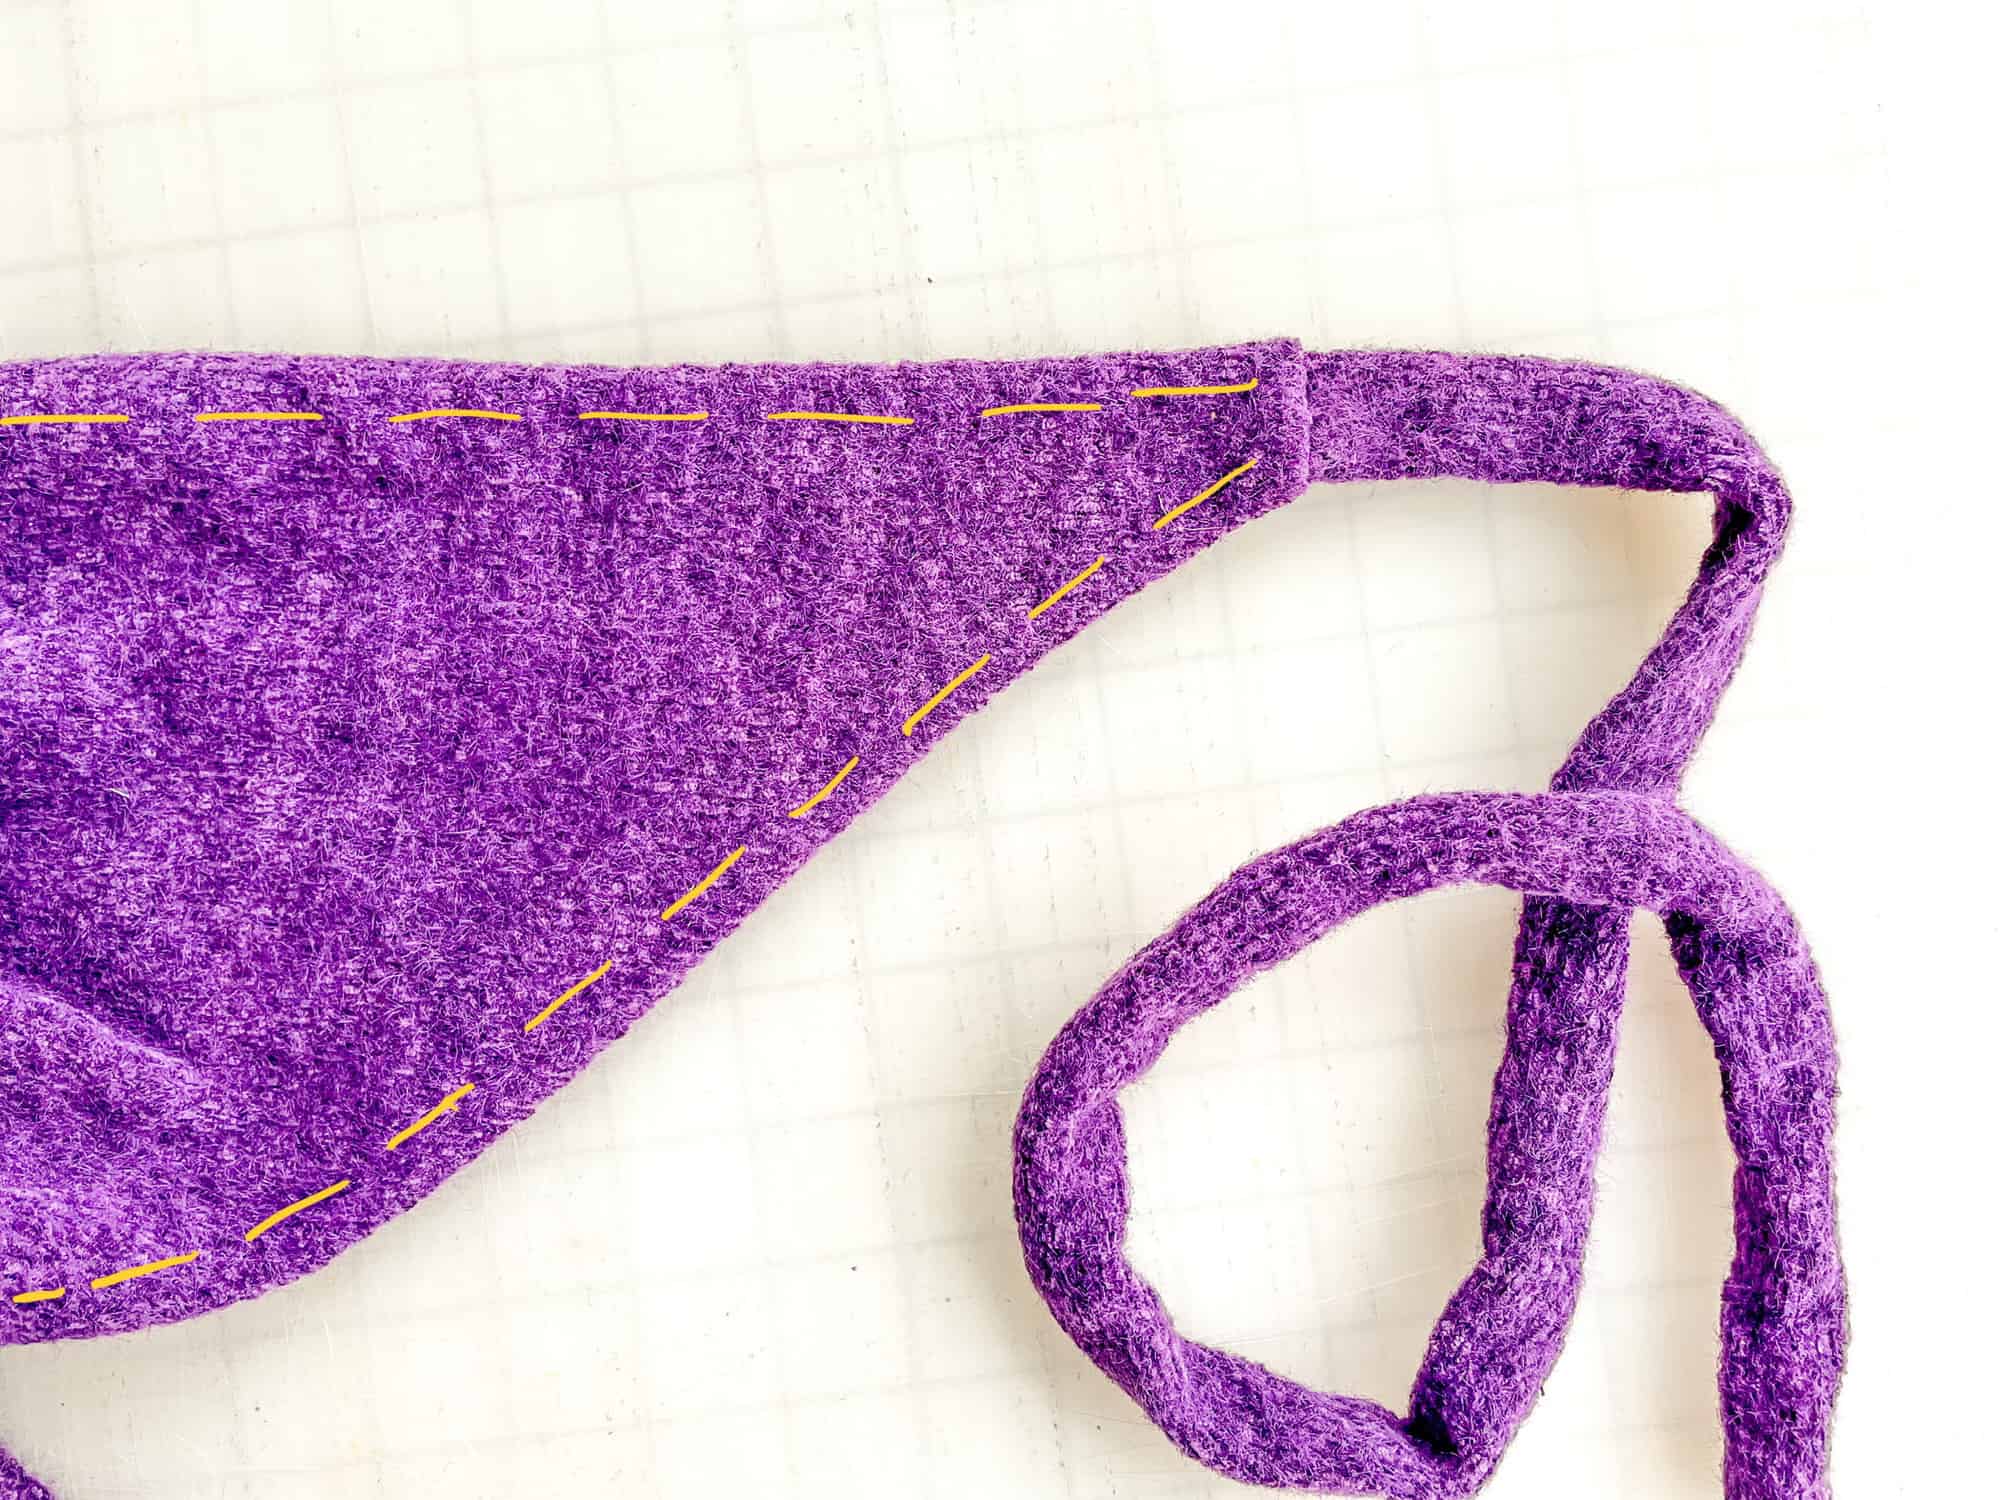
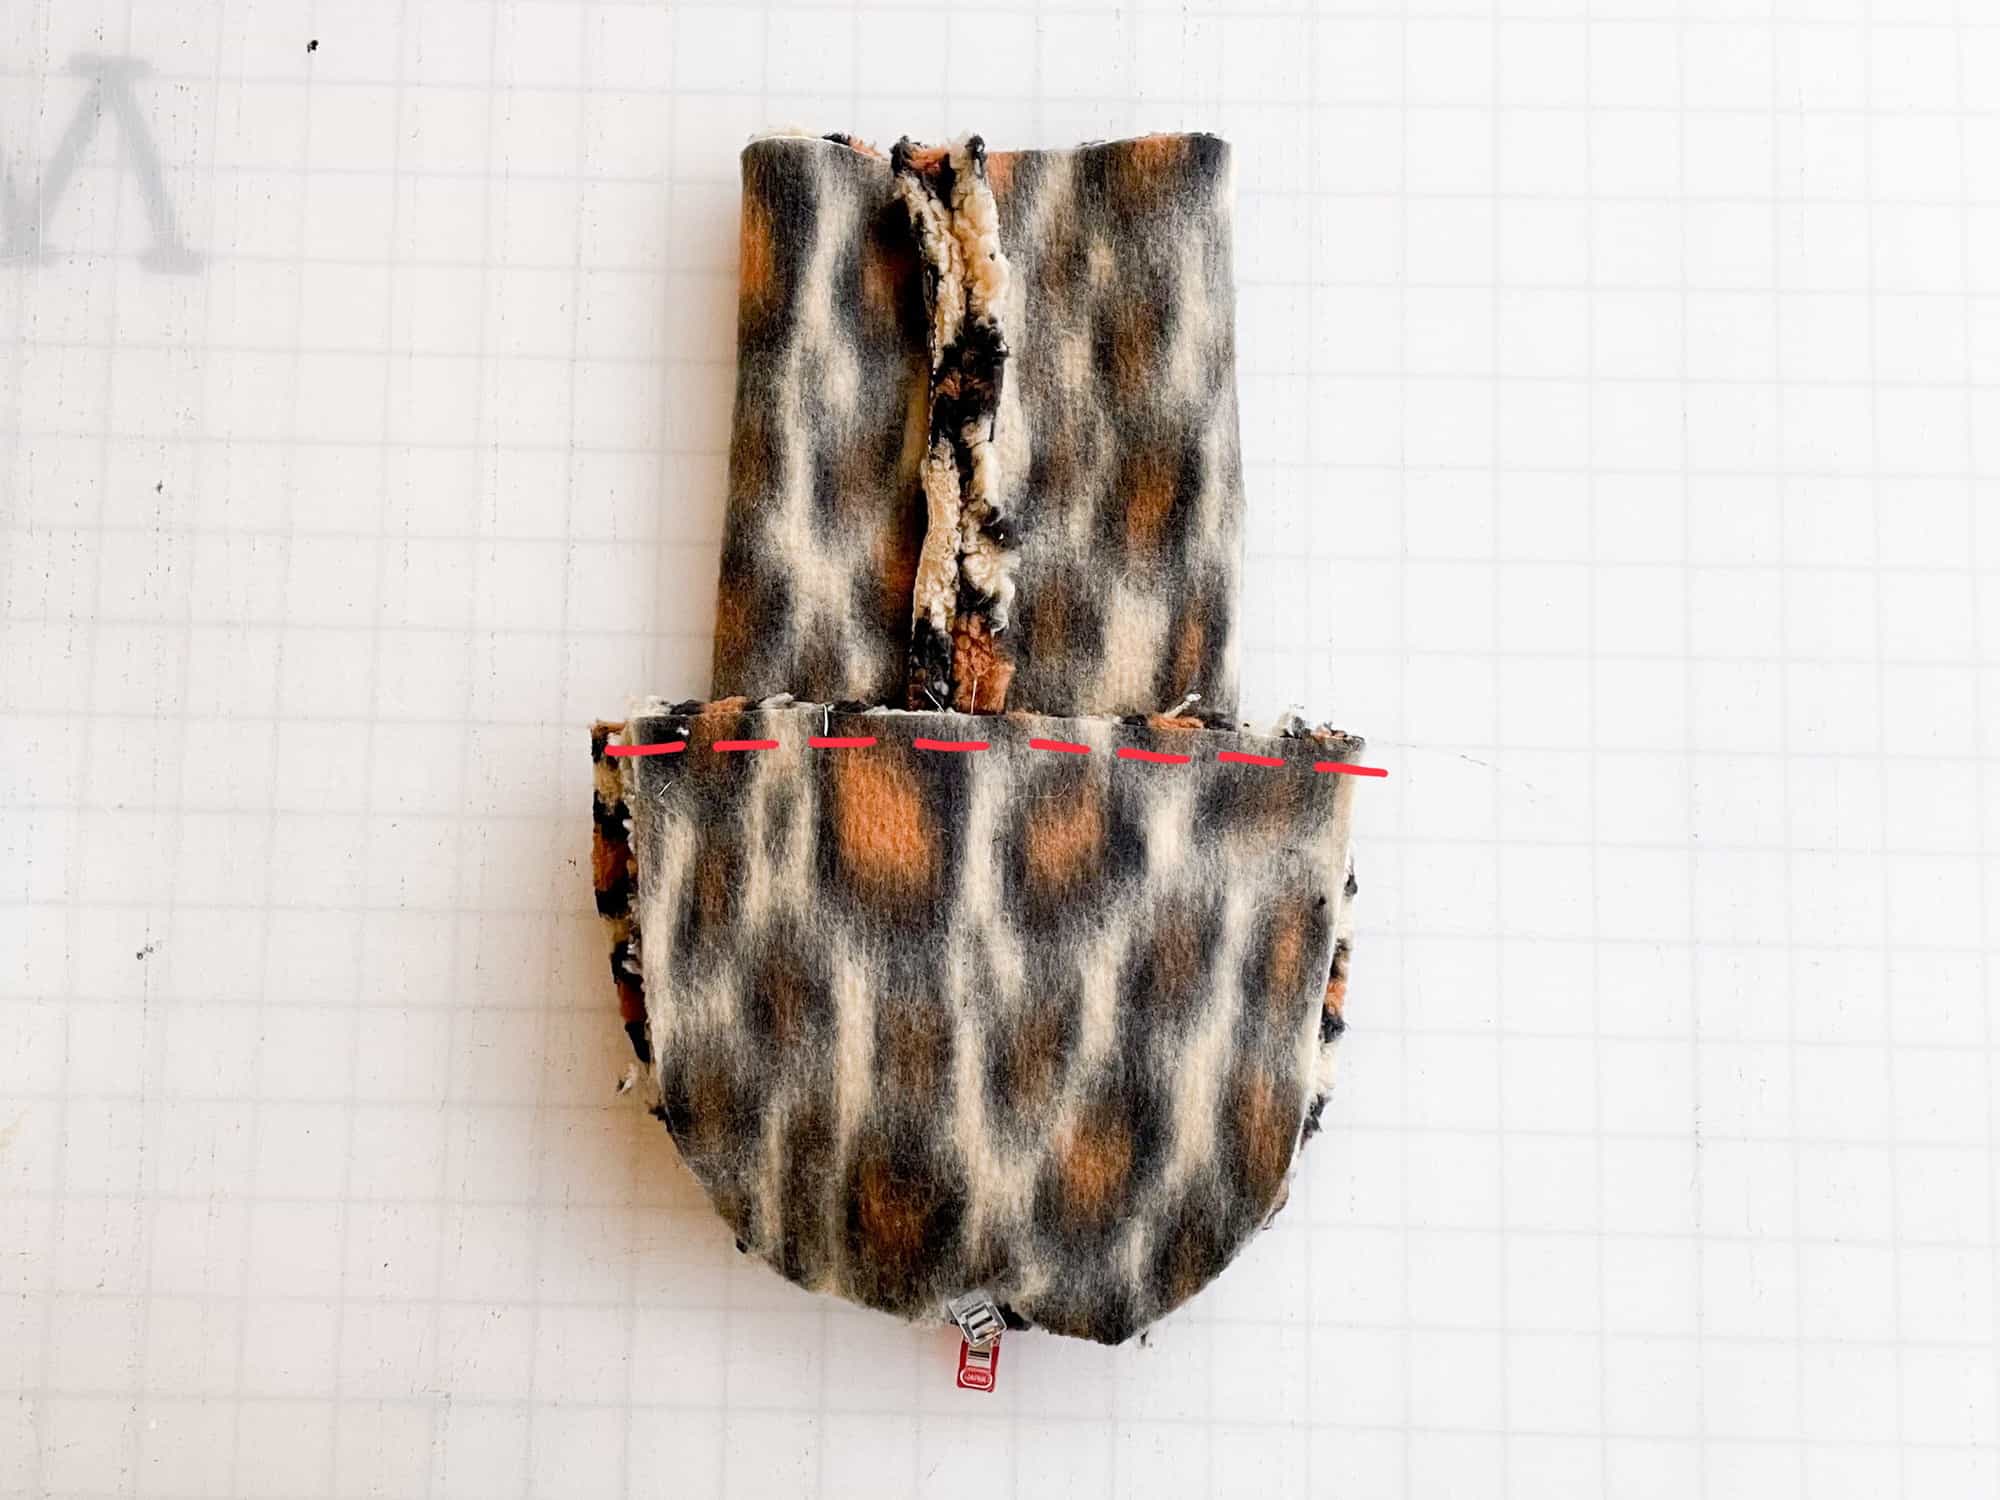
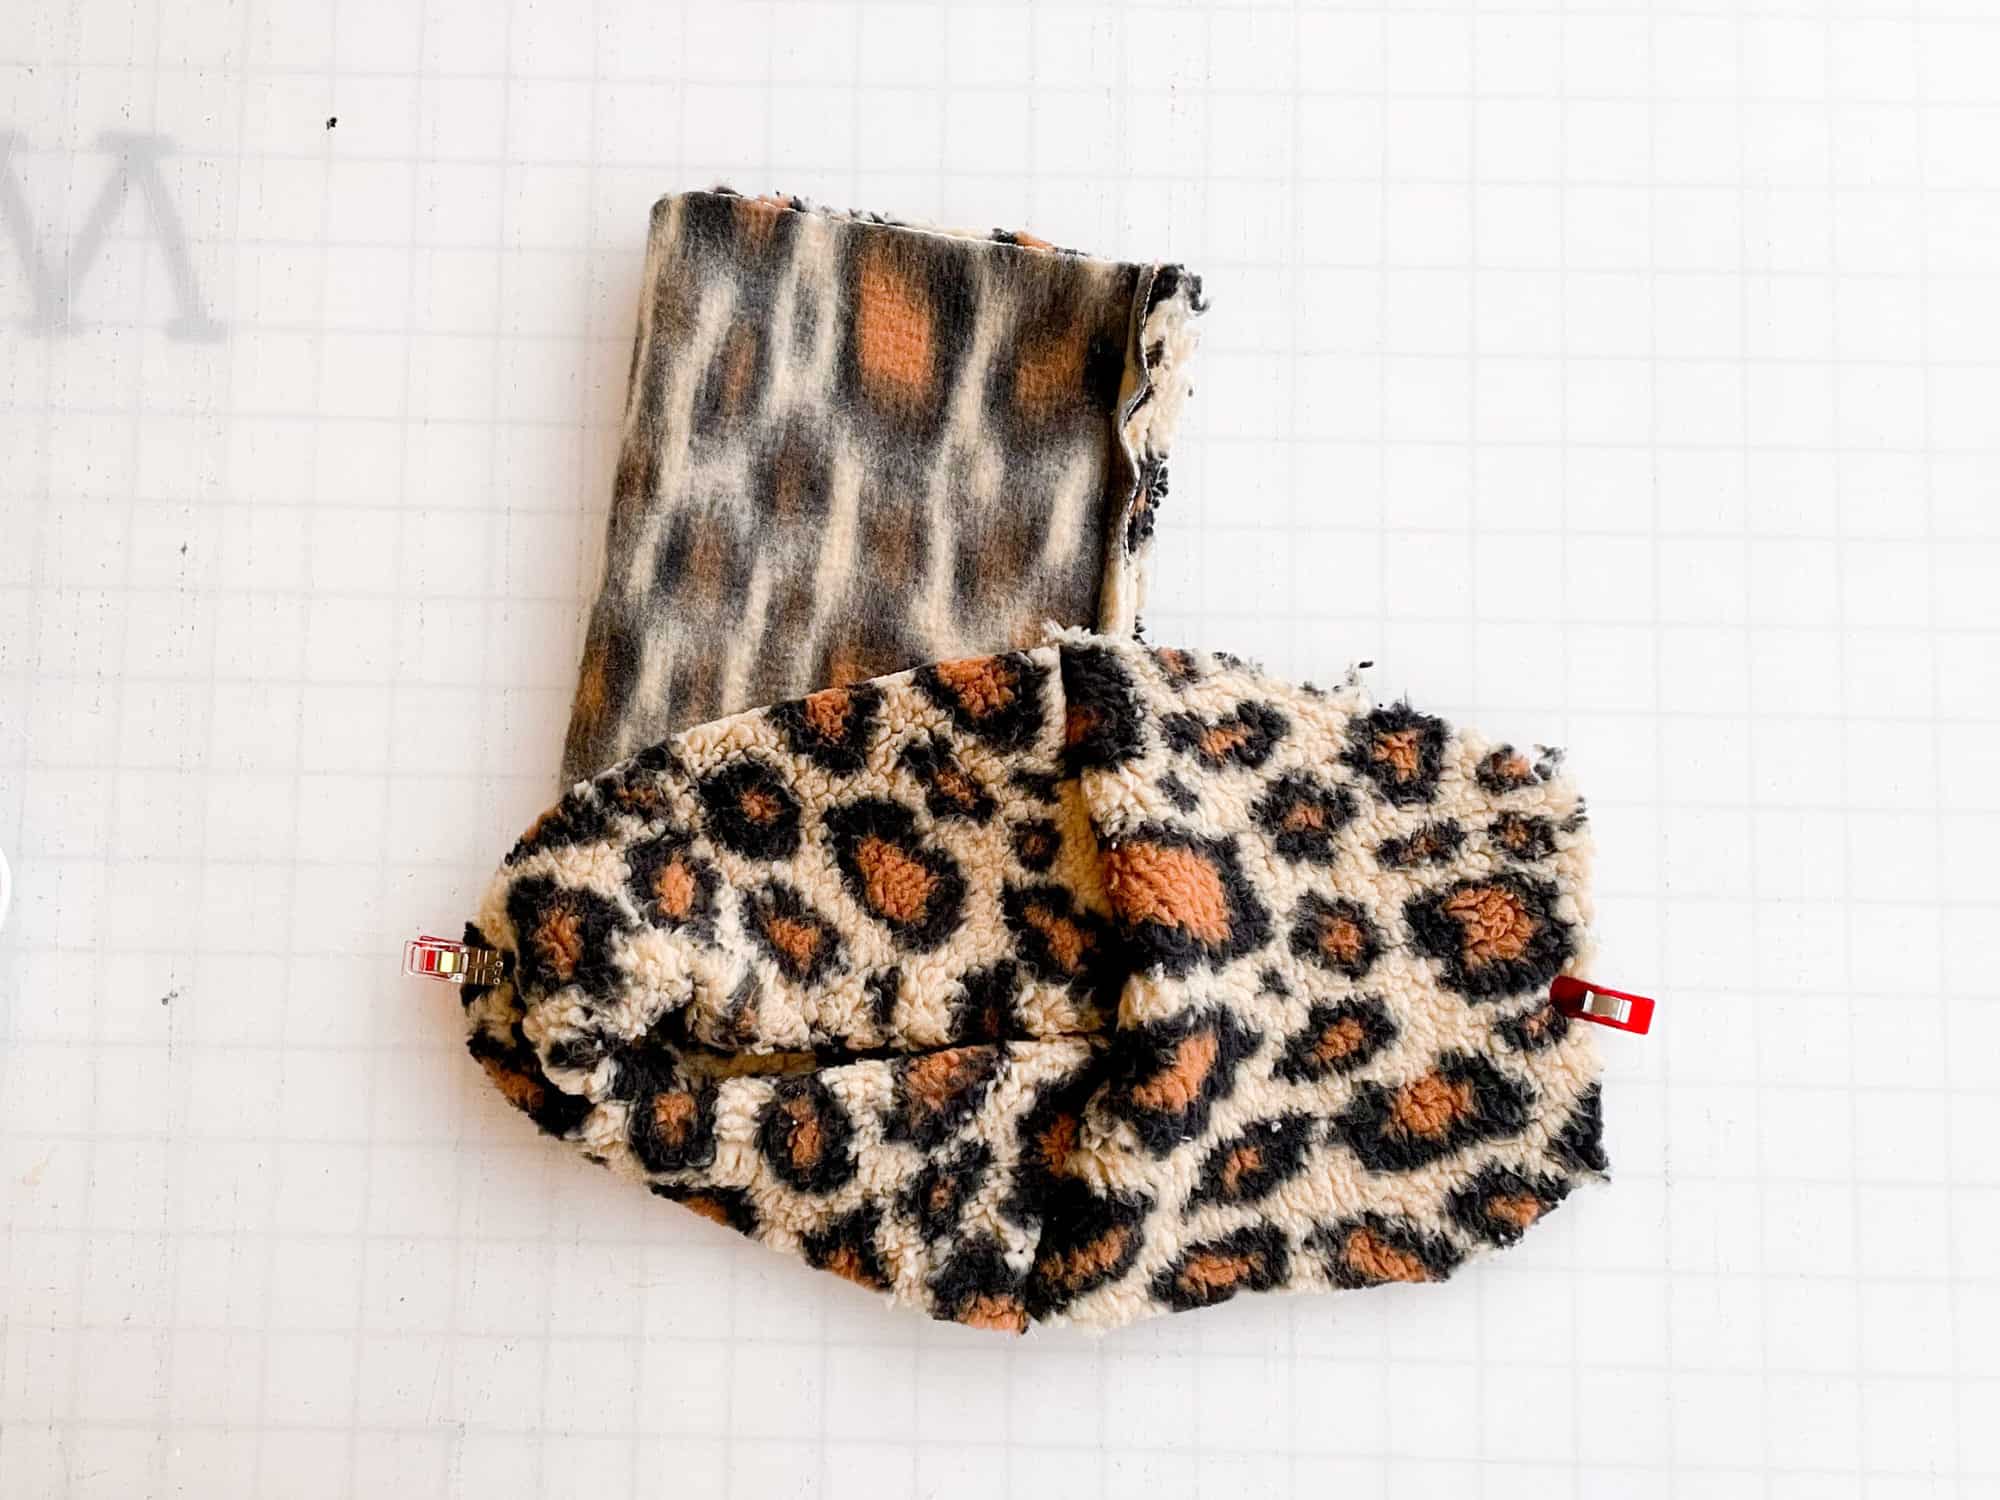
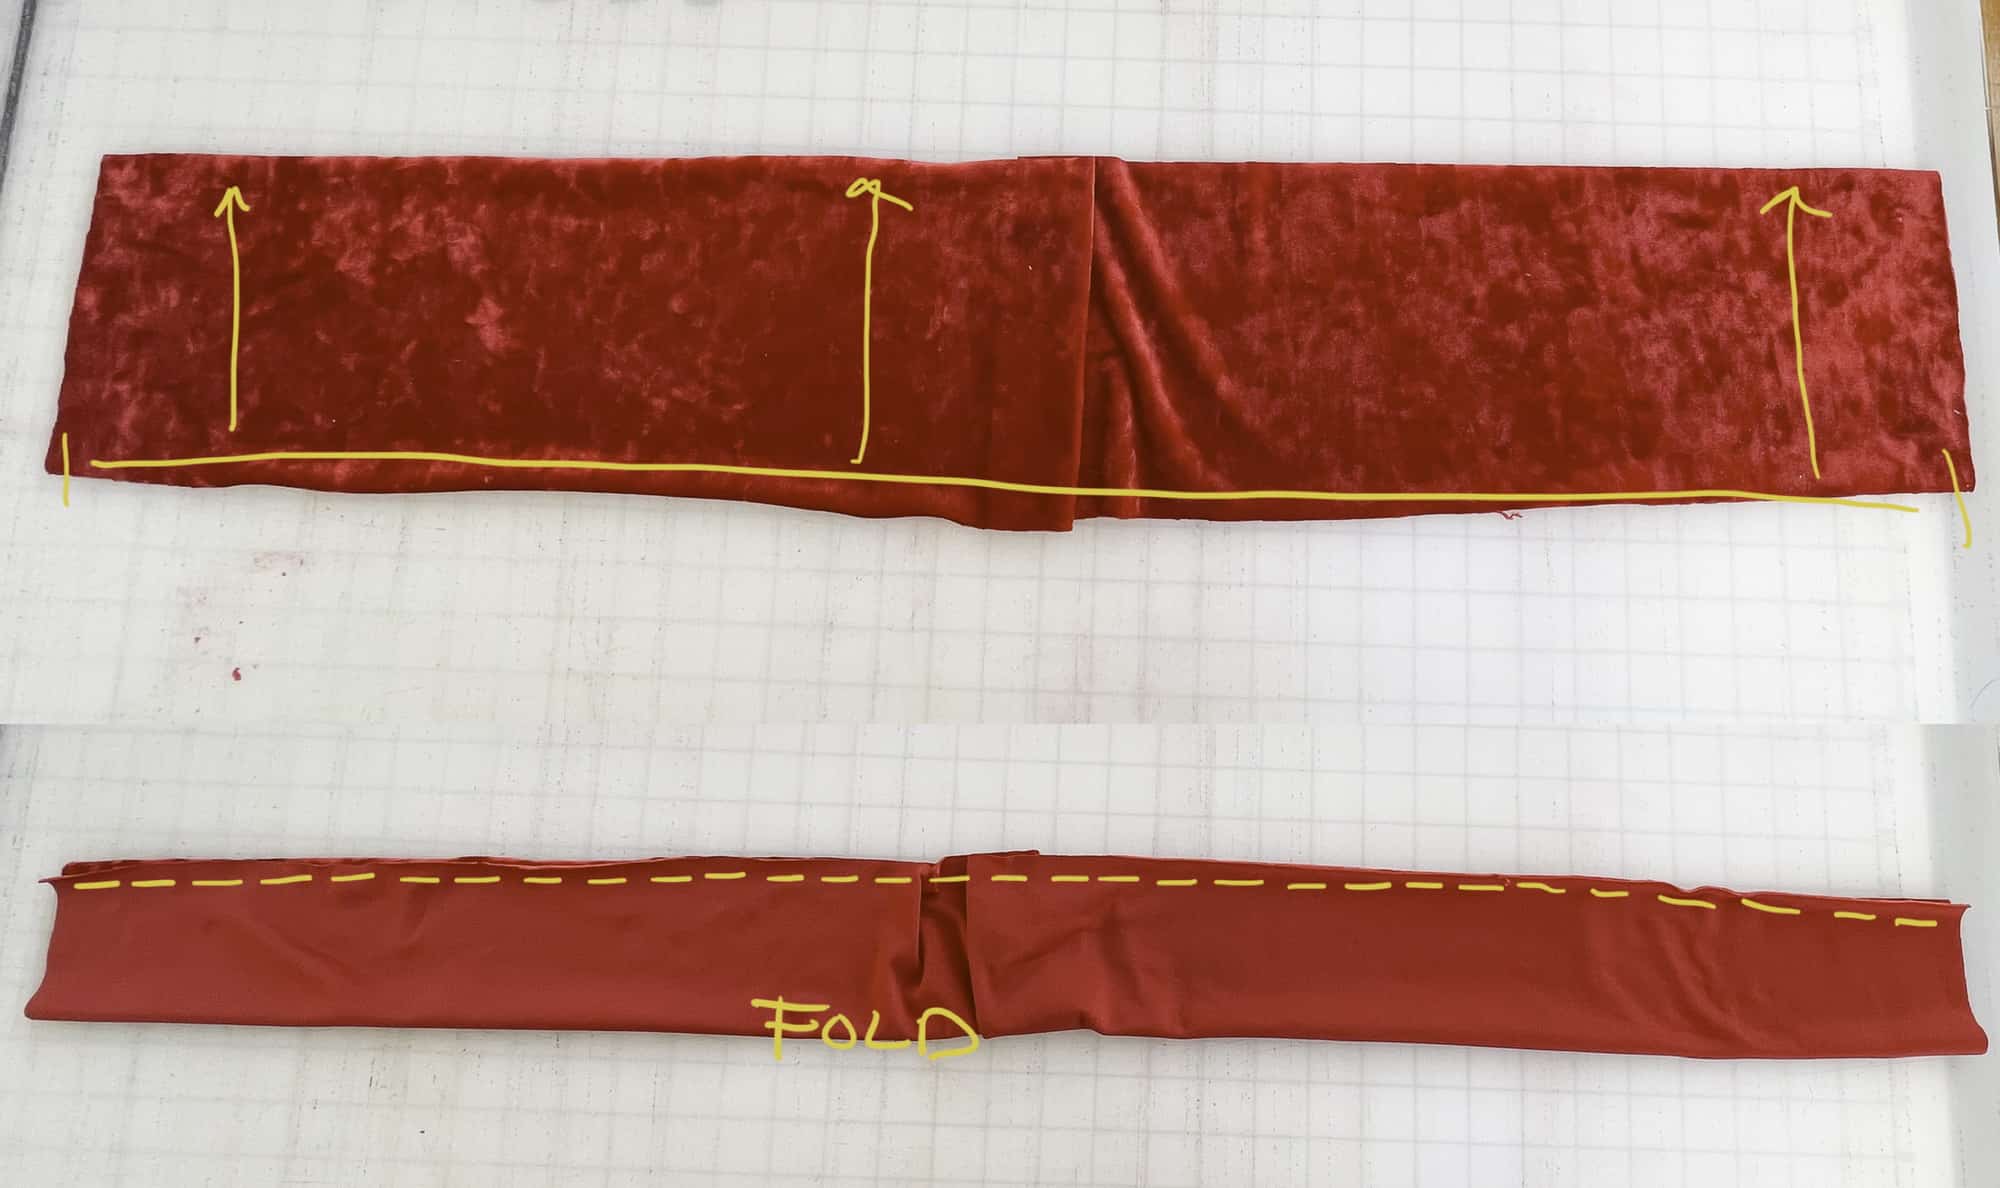
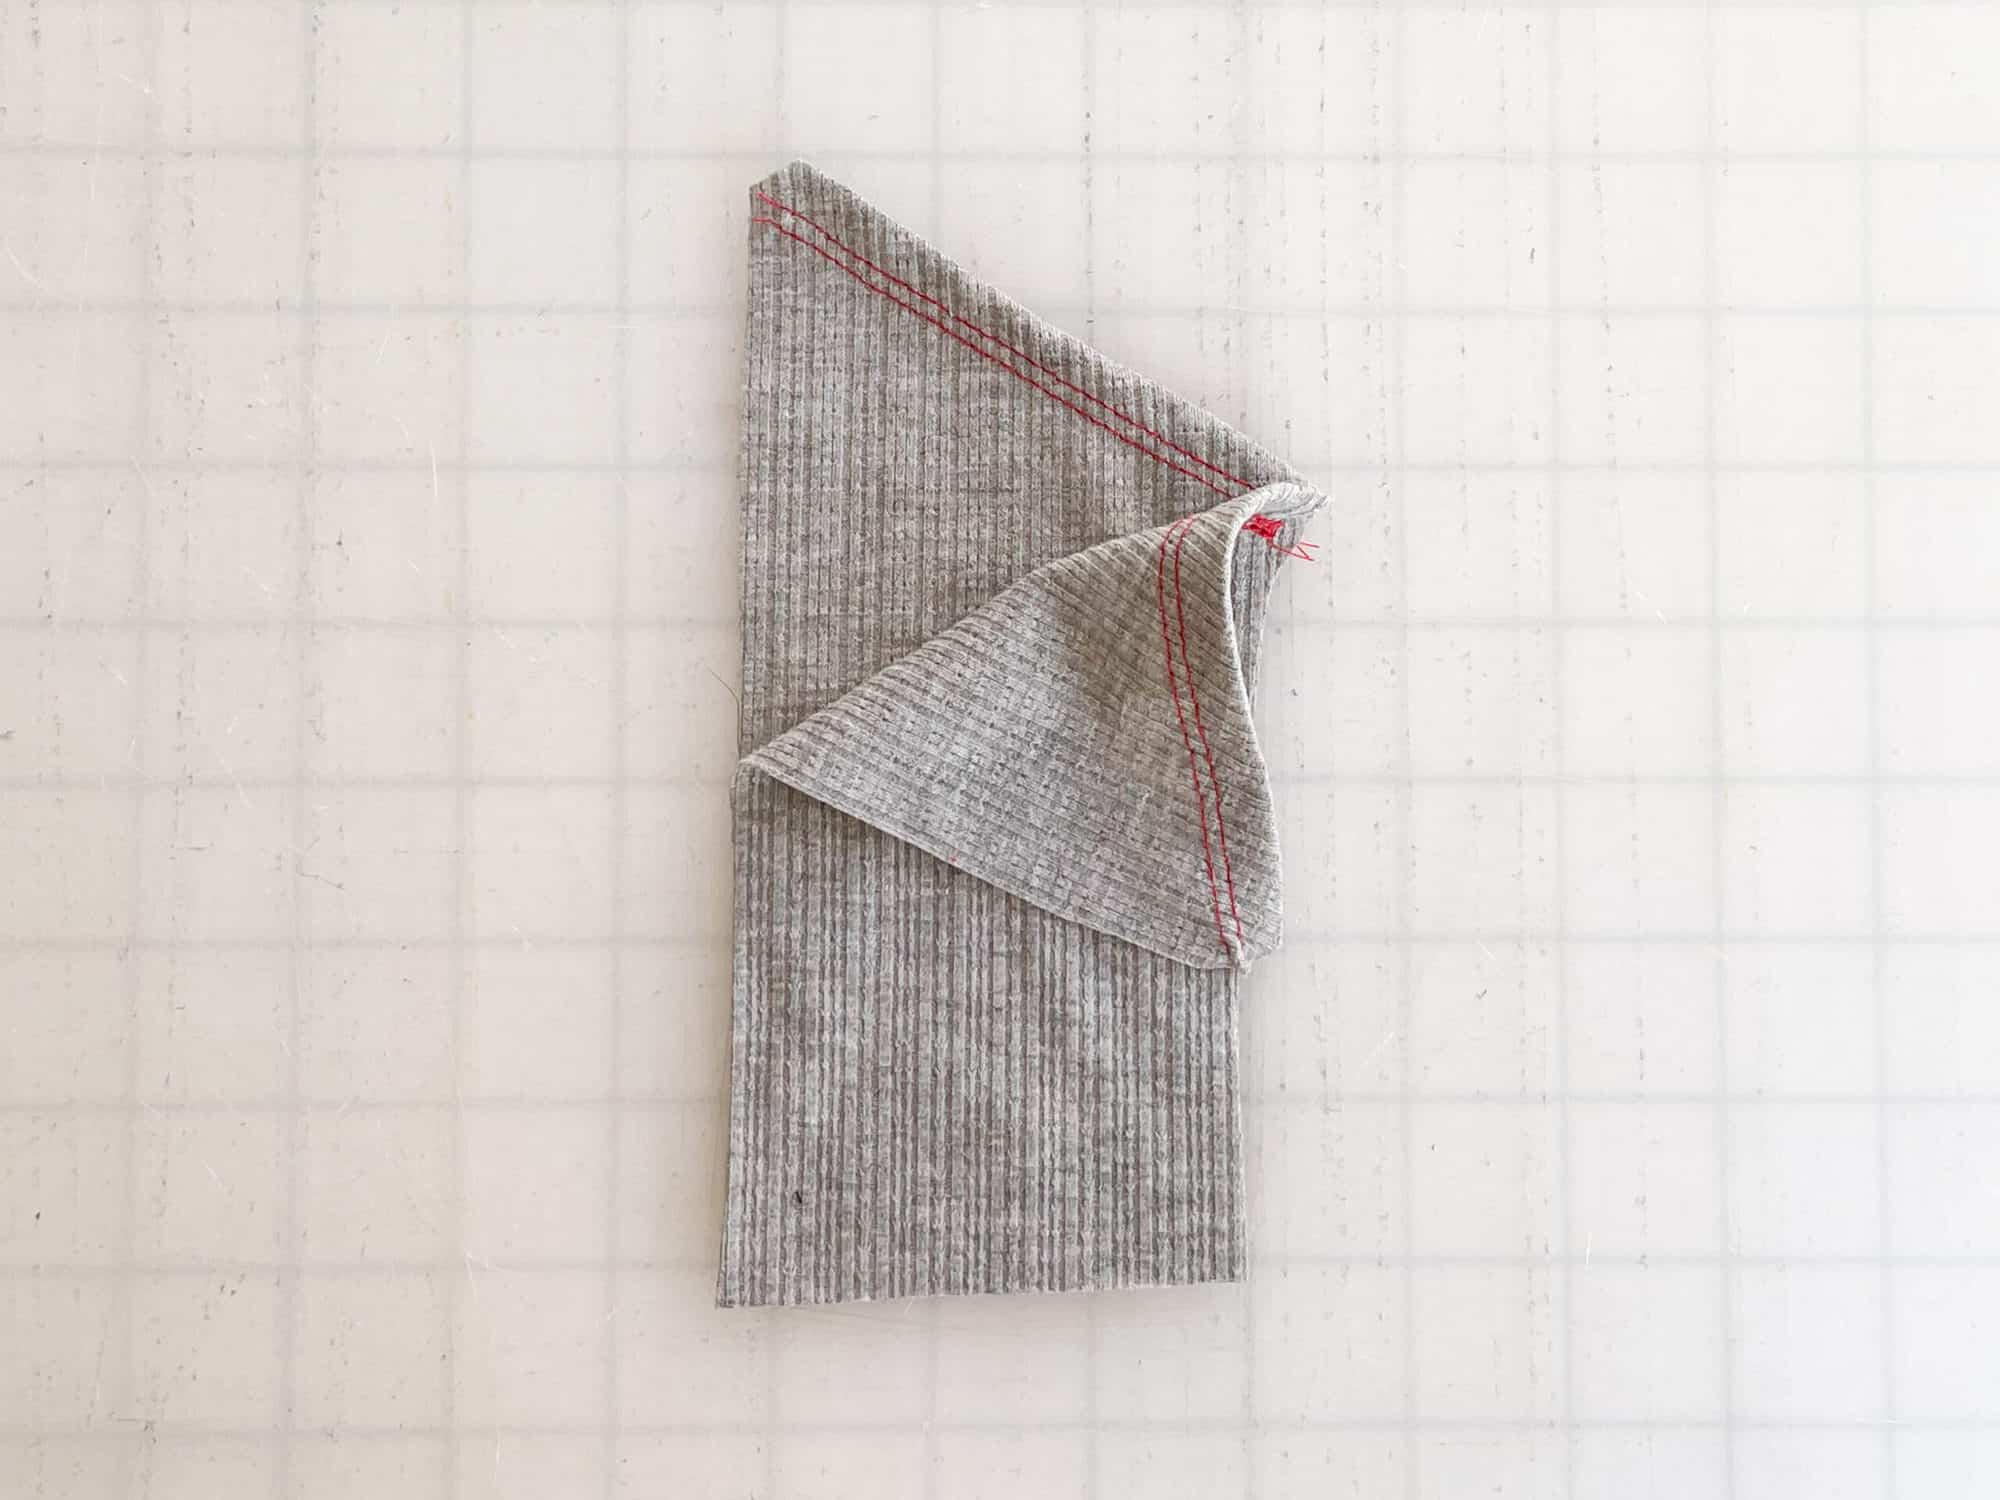
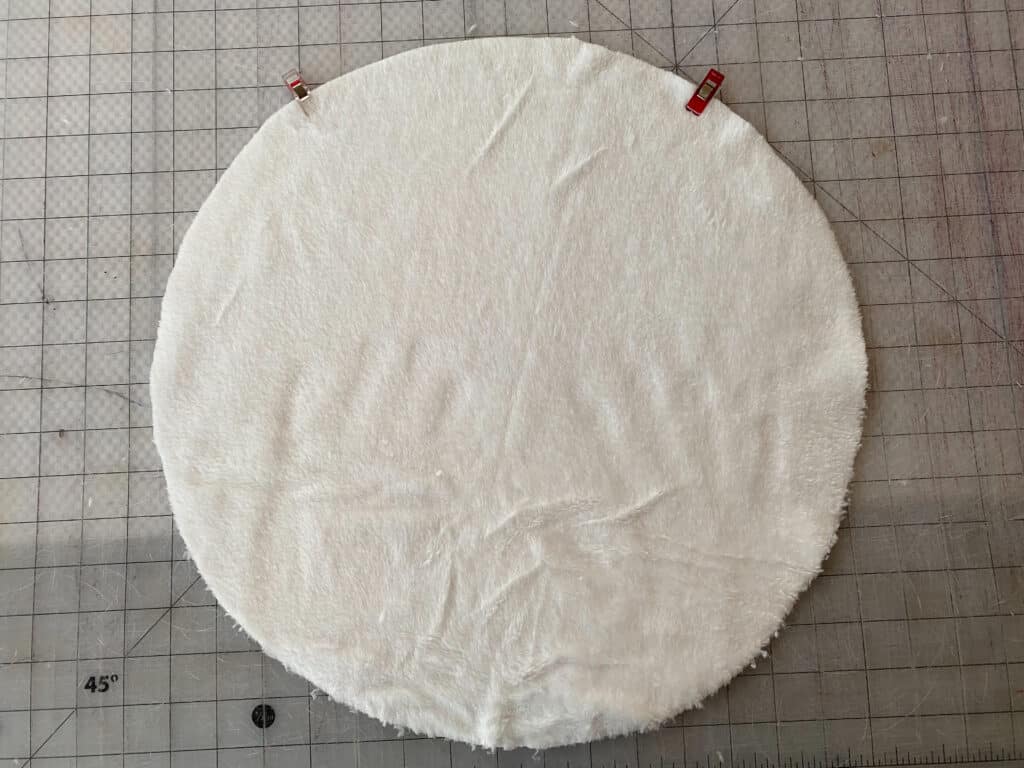
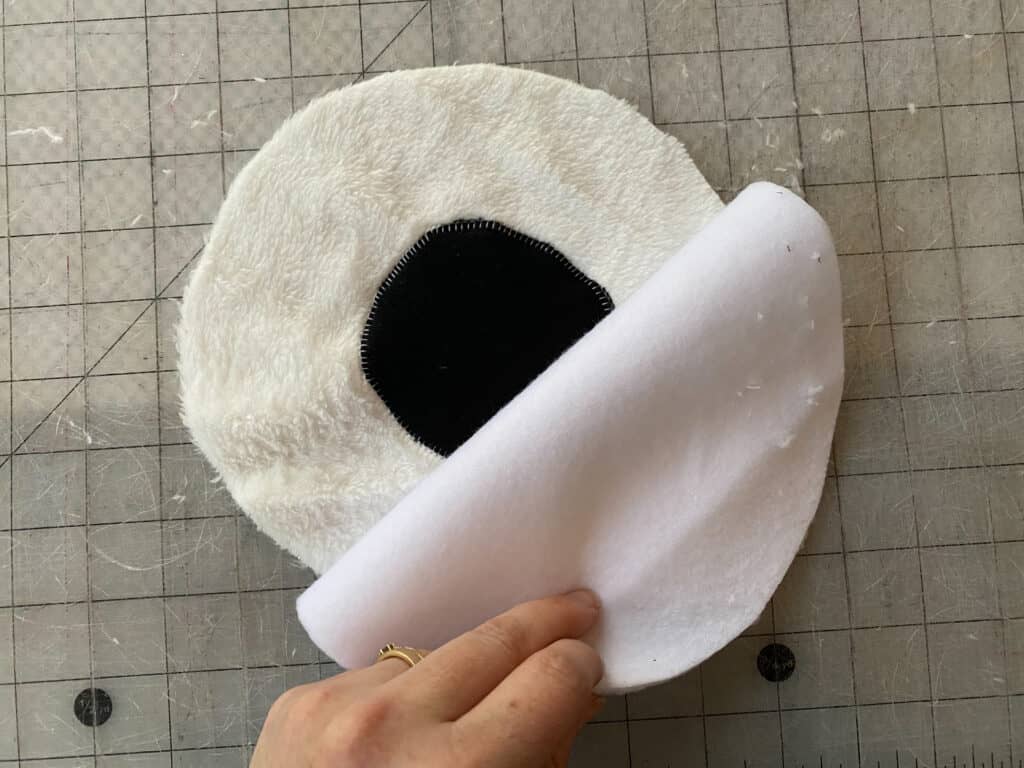
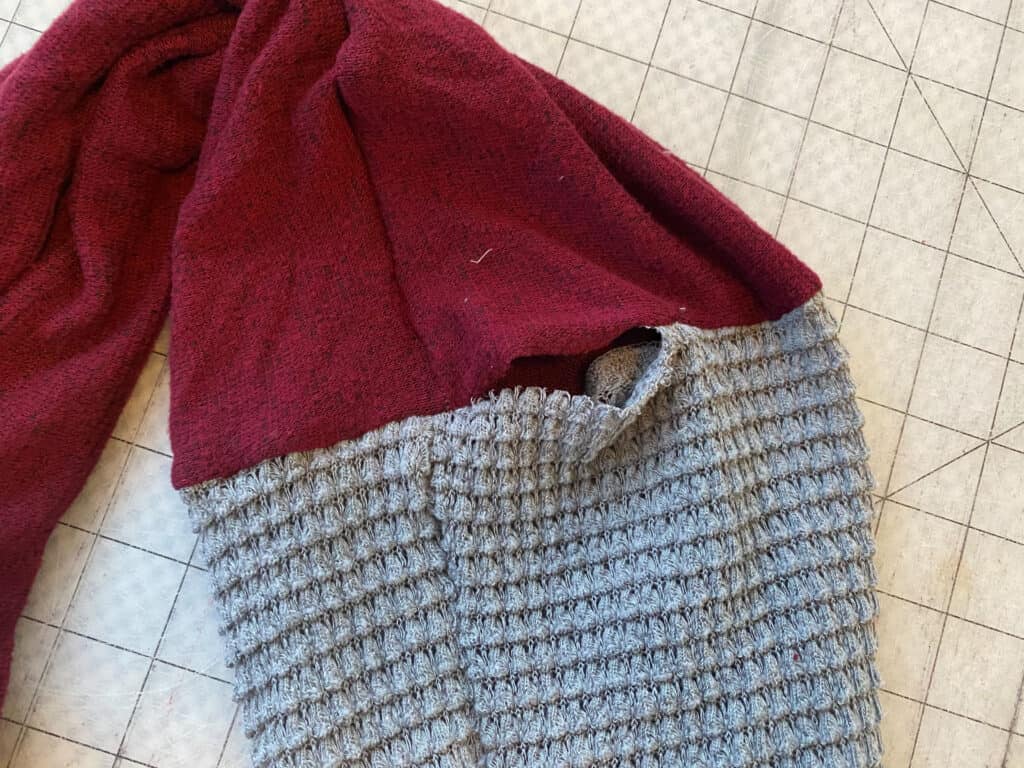
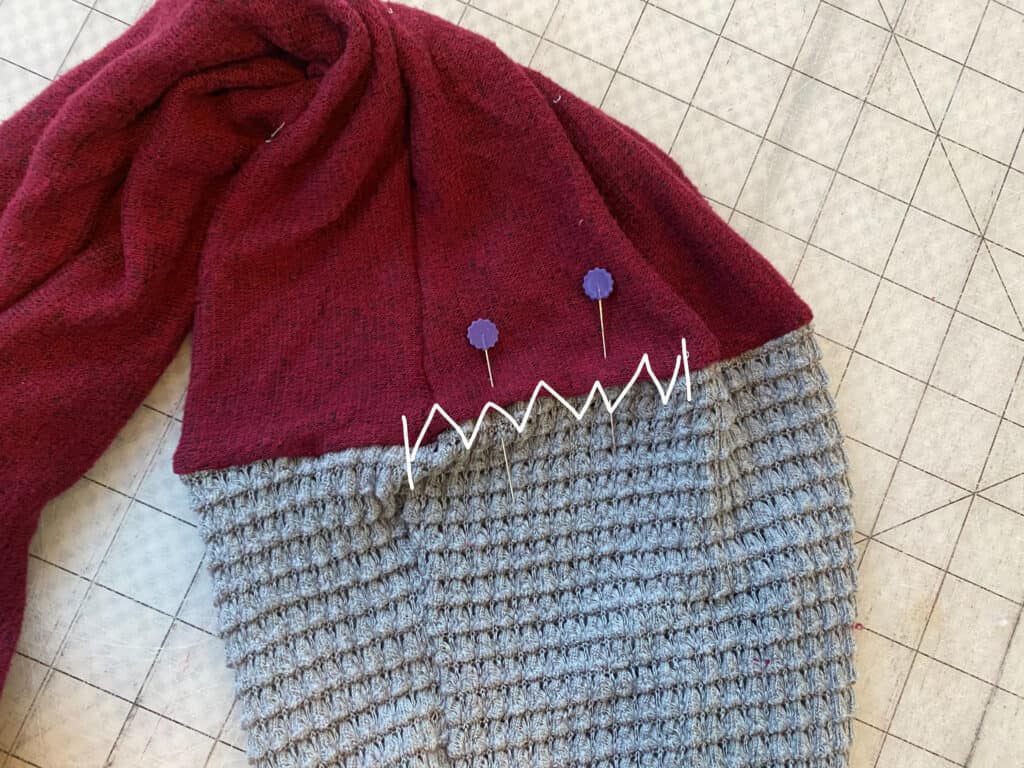
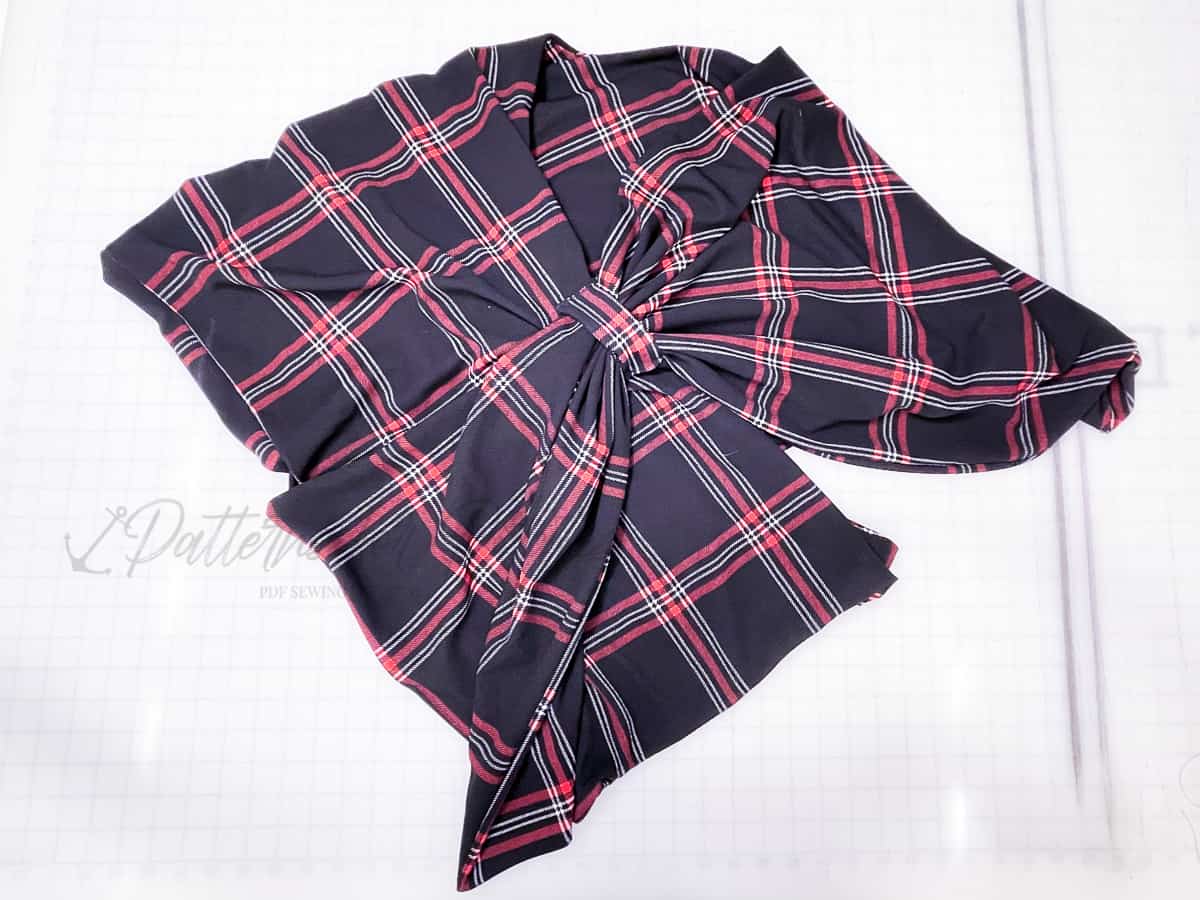
With right sides together, align main and lining shawl pieces on top of one another. Sew along entire outer edges, leaving an opening along one of the bottom edges for turning.
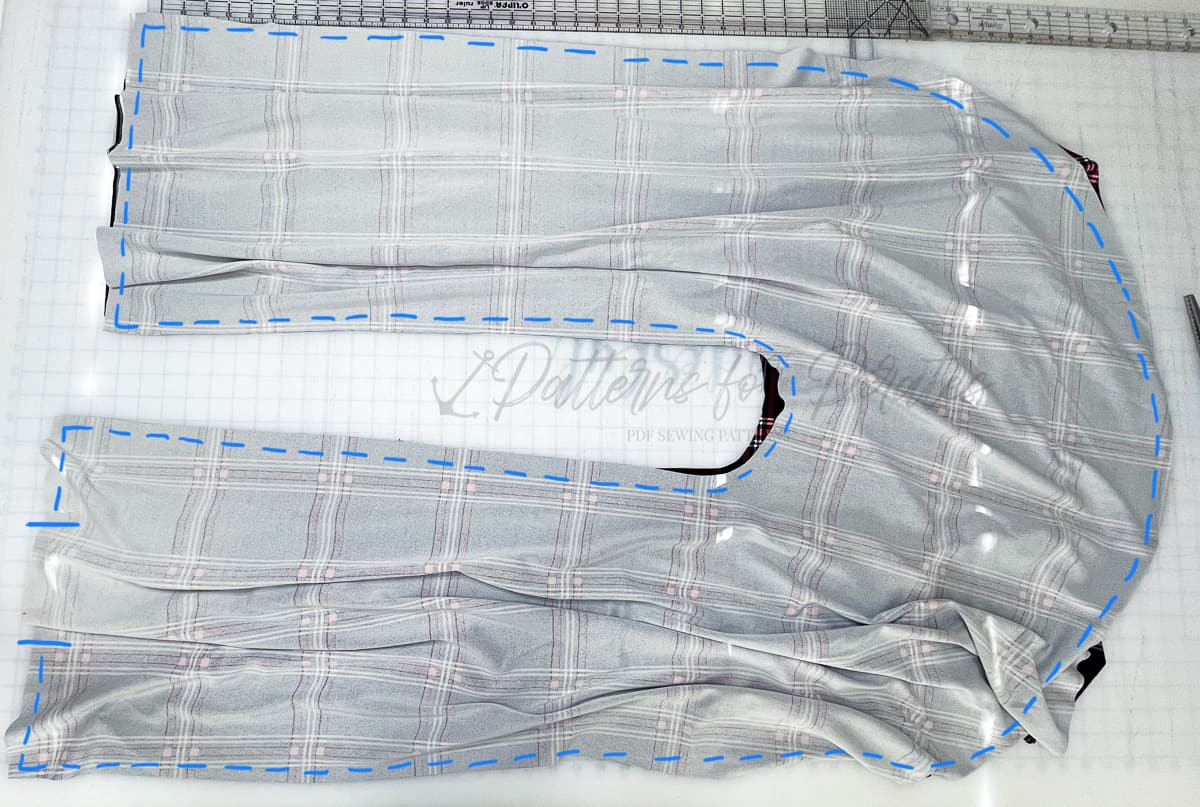
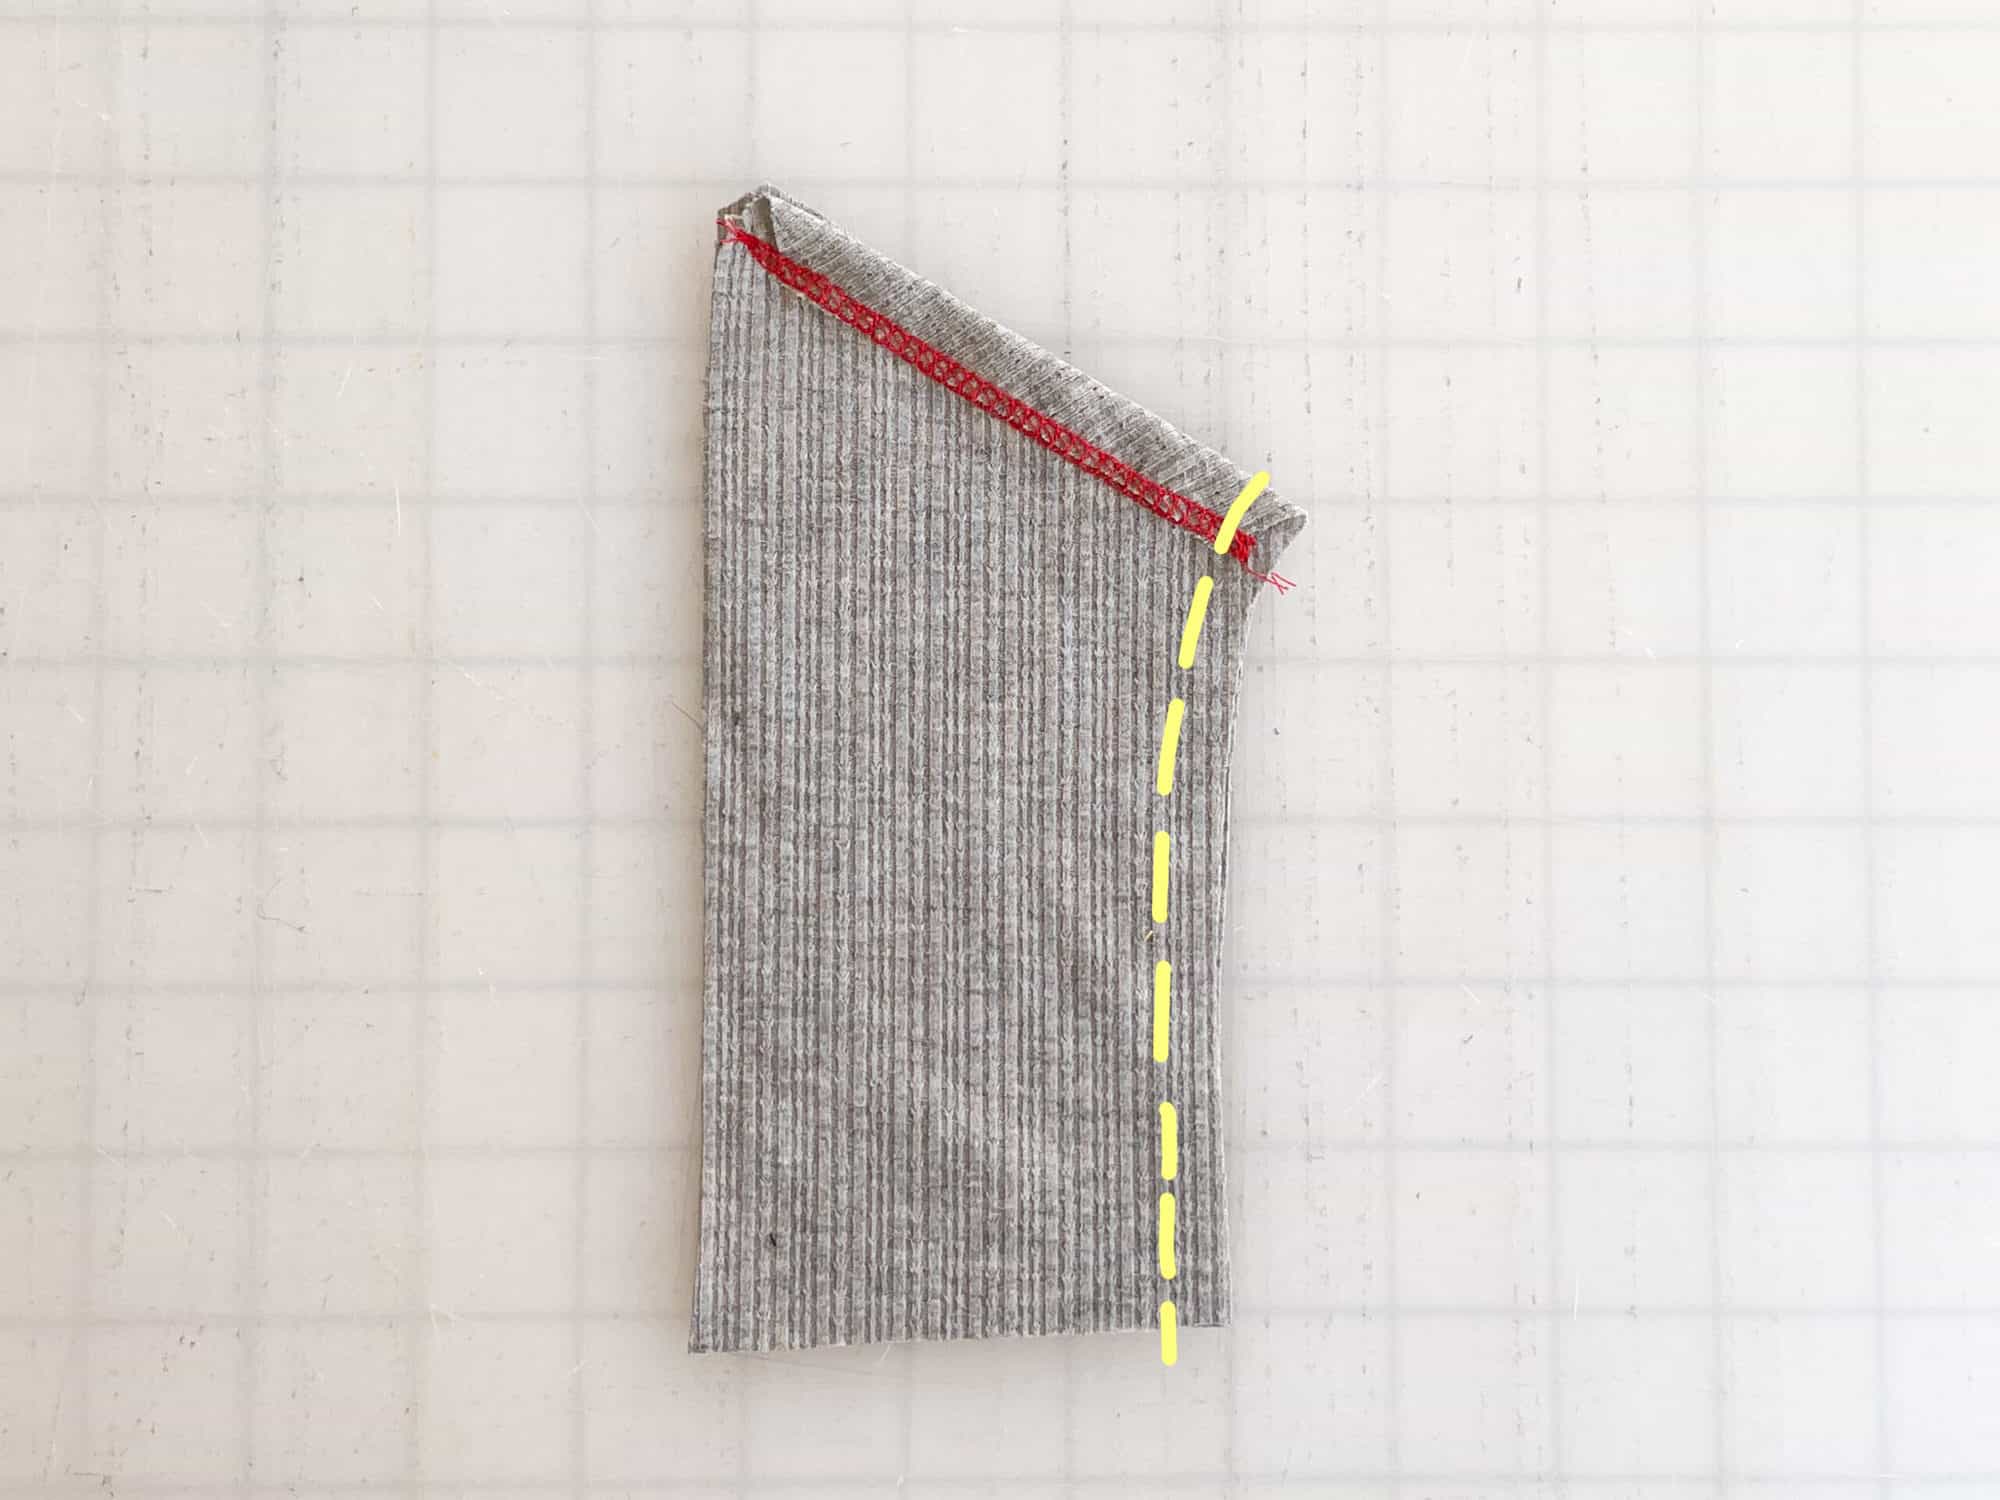
Turn right sides out. Stitch opening closed.
Optional: topstitch along entire outer edge.
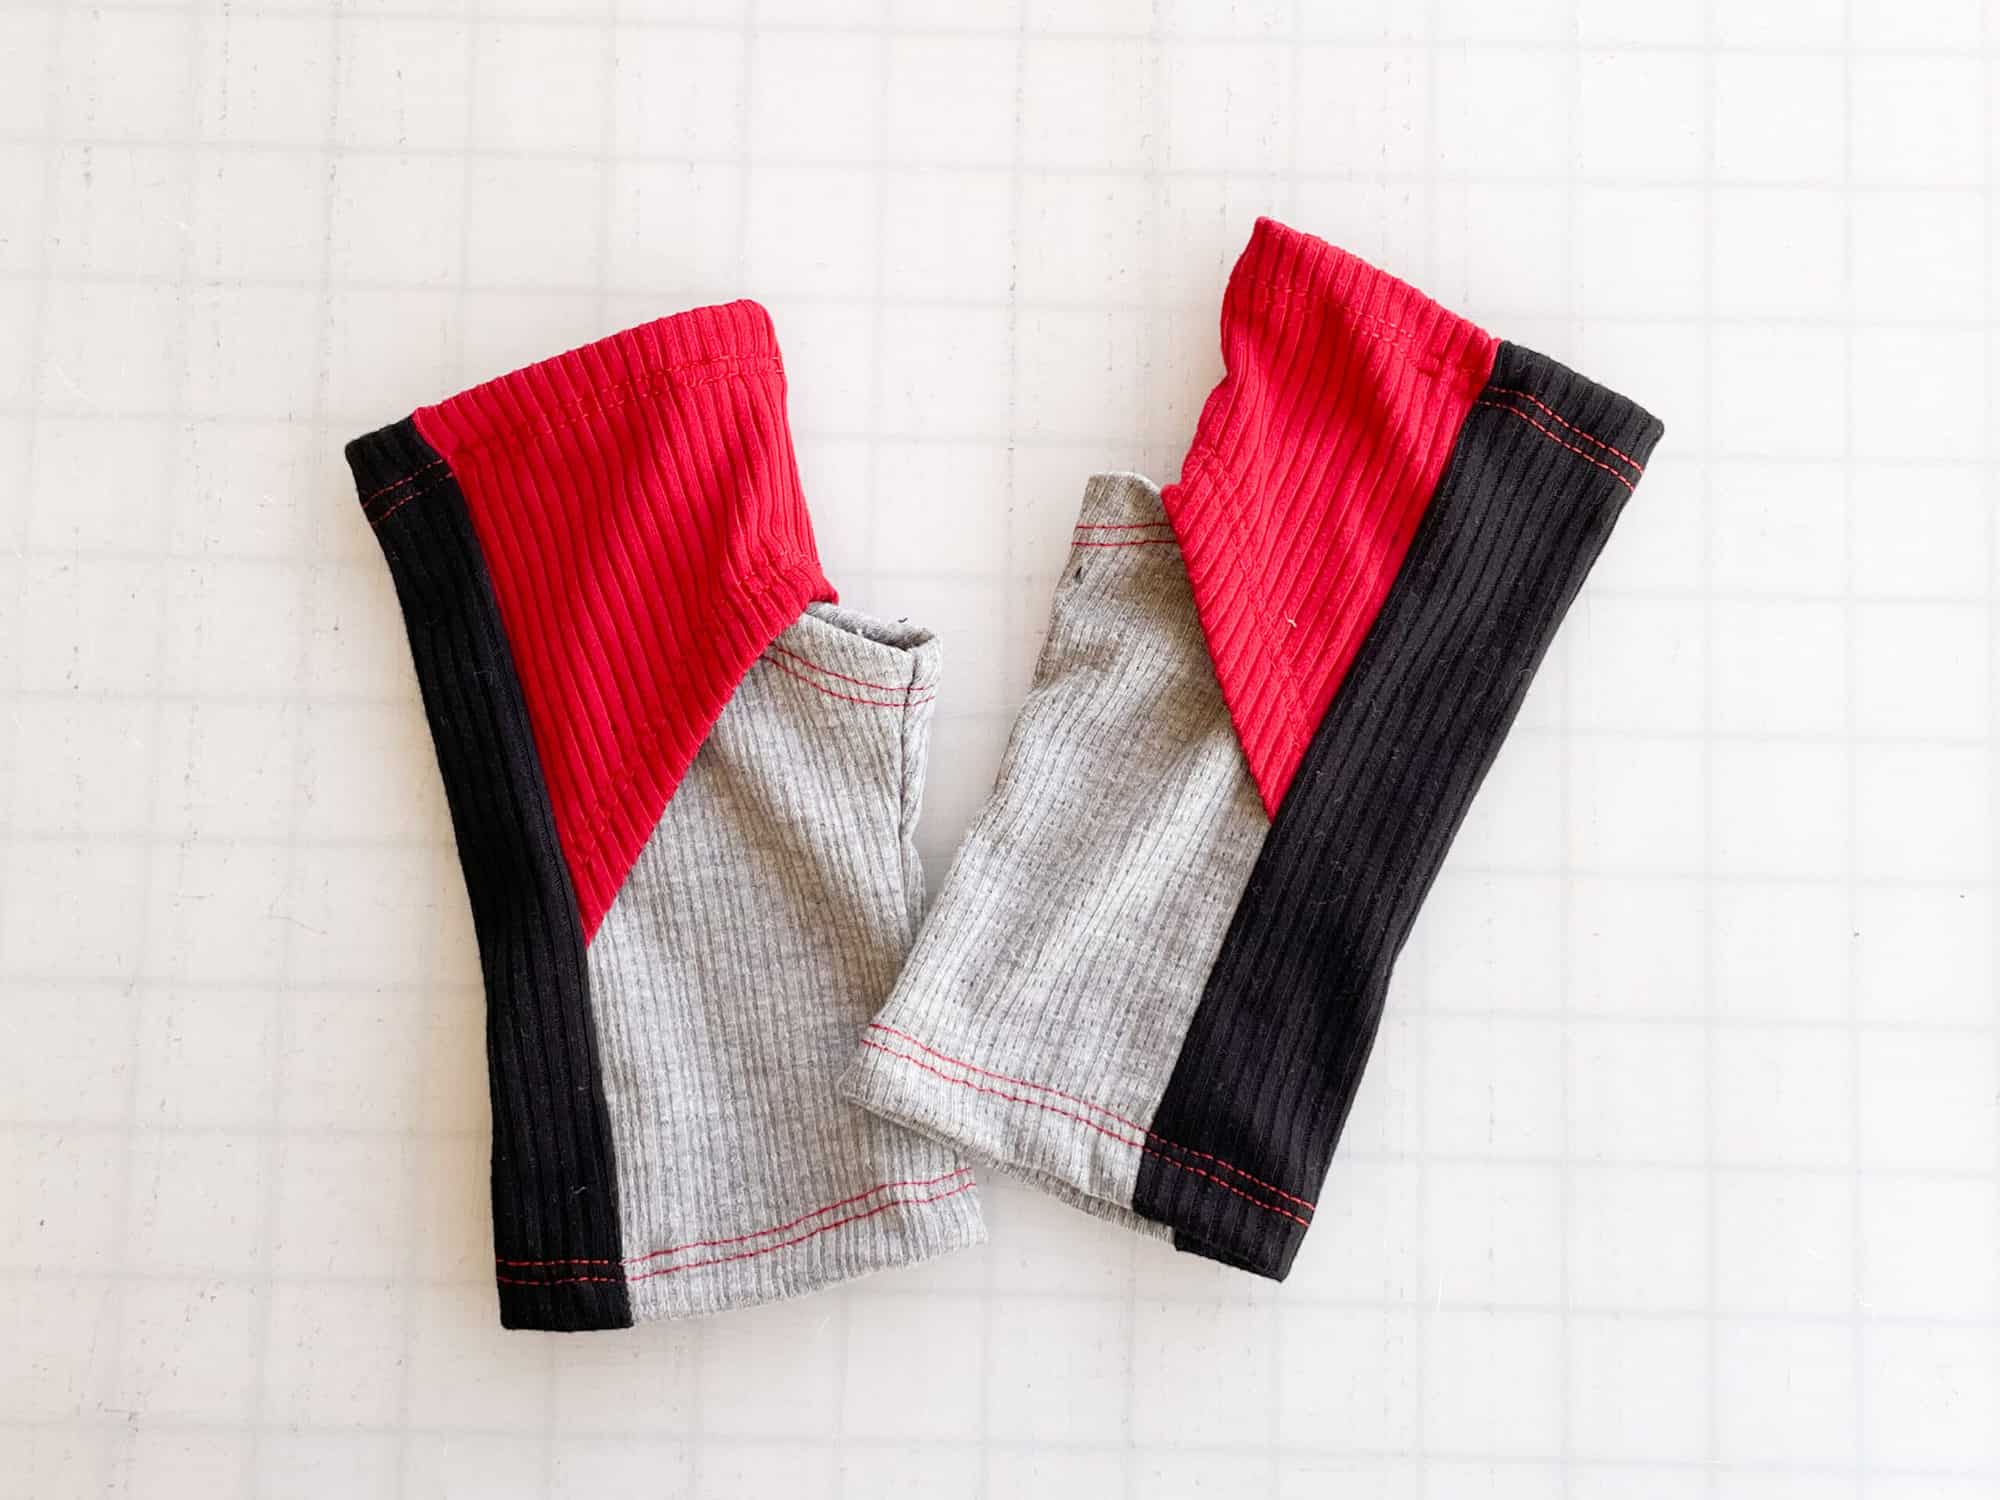
You’re finished! Now go make a million more!
In case you consider yourself a more “visual learner” here’s a video tutorial that walks you through the entire tutorial, start-to-finish.
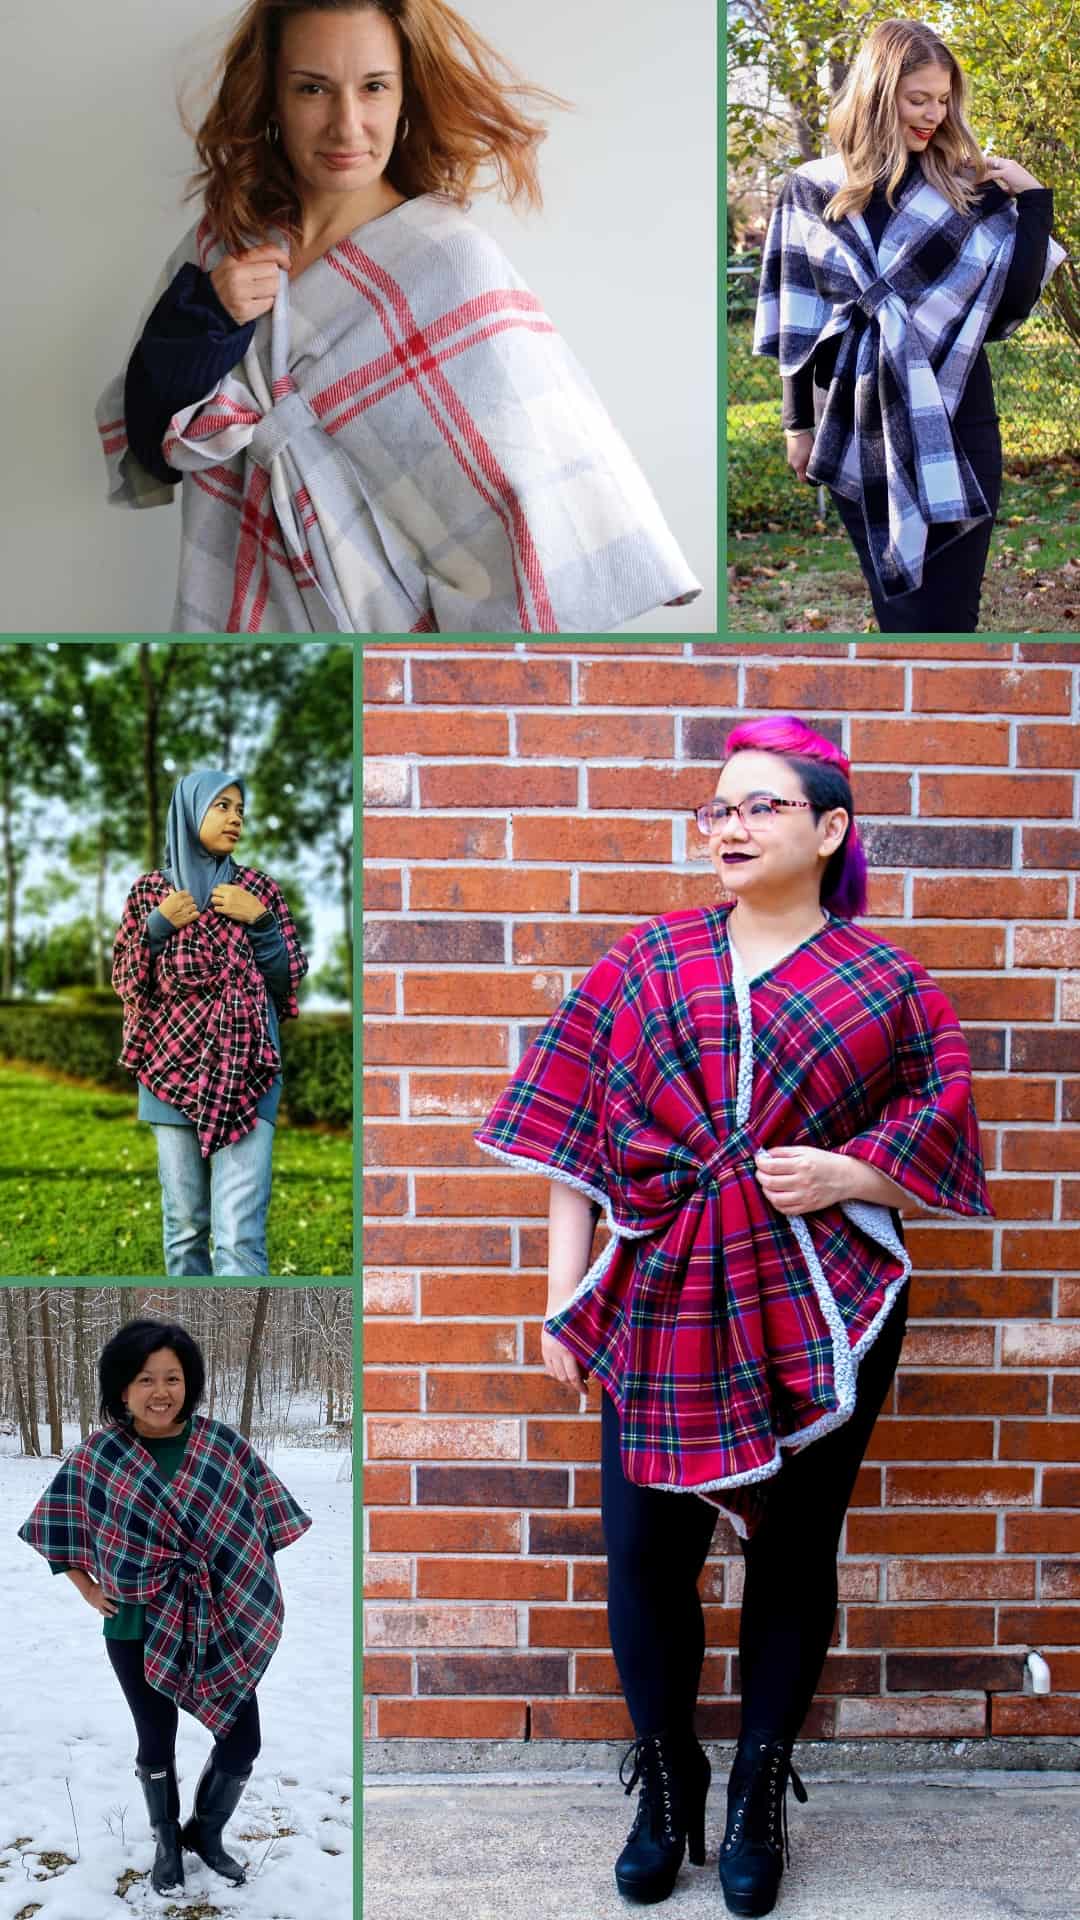
Before you go, take a look at what our ::incredible:: testers made using the Sleigh Ride Shawl pattern!!


I la-la-love when you share your photos with me! Head over to the Patterns for Pirates Facebook Group and show us what you’ve made!
Happy Holidays, Pirates!