Patterns for Pirates

P4P stylish, modern, wearable patterns

  • Home
  • Blog
    • Frequently Asked Questions
    • Pattern Releases
      • Free Patterns
    • P4P University
      • Fitting
      • Sewing with Stretch, Knit Fabrics
      • Sewing with Woven Fabrics
      • Sewing Machines
    • Sew-A-Longs
    • Fabric for Pirates
    • Pattern Hacks
    • Announcement
      • Blog Tours
      • Contest/Giveaway
  • Shop
  • Bundle Discounts
  • Flash Friday
  • Gift Cards
  • My Account
  • Cart

50K Fan Celebration :: PegLegs Update + Re-Release!

April 17, 2017


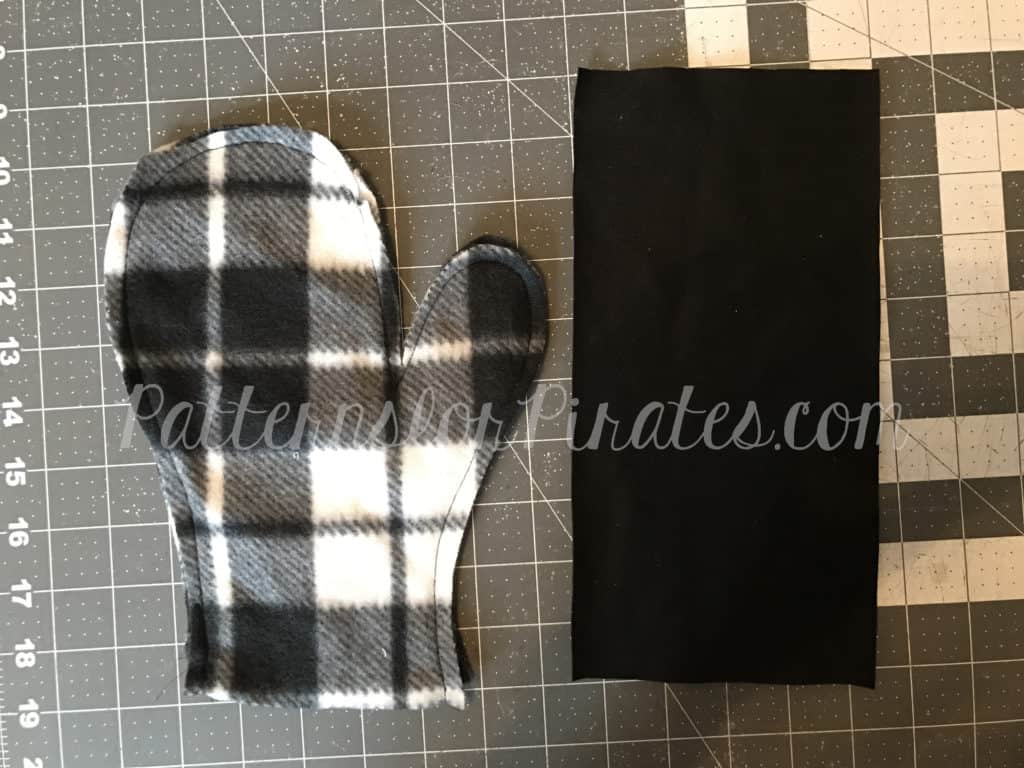
We are celebrating reaching 50K fans in our Facebook group!  To say the least, it is unbelievable that I have added so many ladies into the tiny group it started from.  I’m so honored to help each and every member learn a little more about sewing.  It makes my heart so happy to see posts about first time sews and the community answering questions with nothing but a kind heart.  I love the P4P group so much! So, we tried to think of something AMAZING to say thank you for supporting us!  To make it a party, our beloved PegLegs pattern just got an update AND some new add-ons.

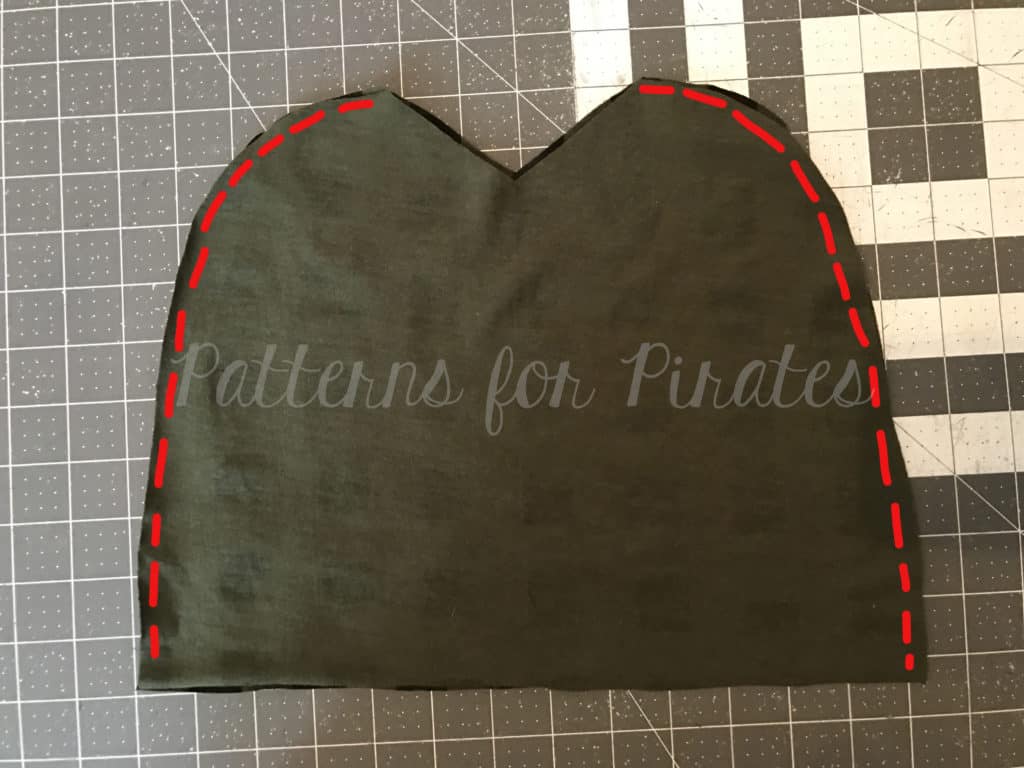
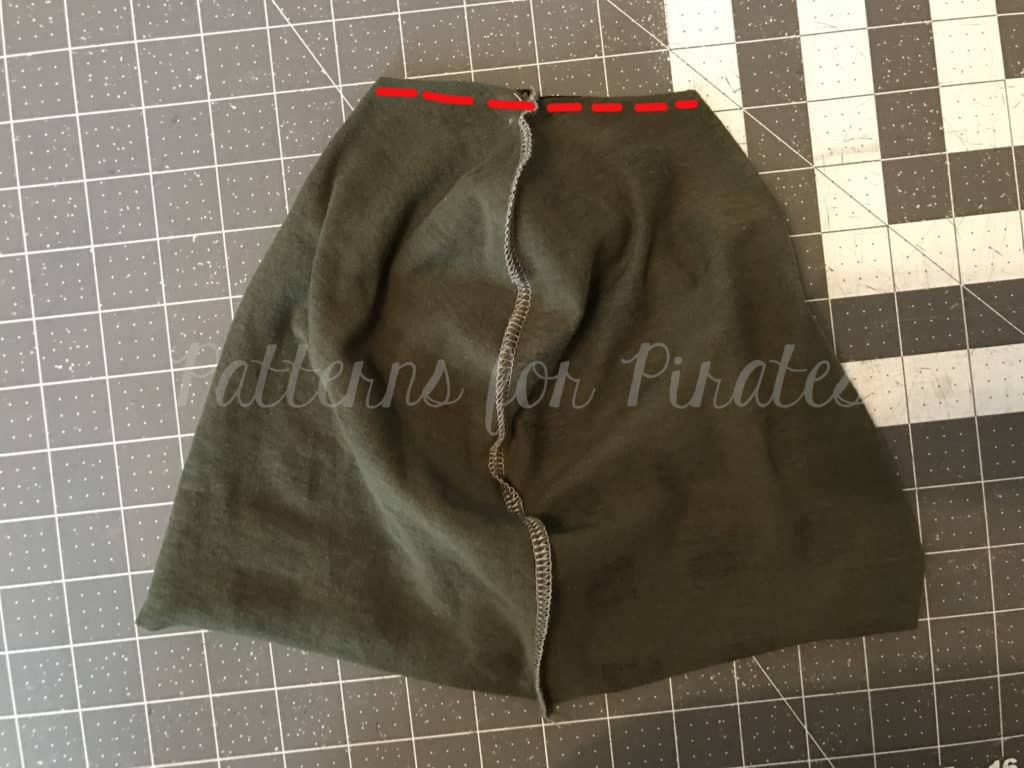
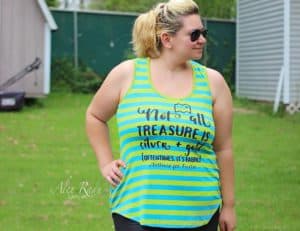
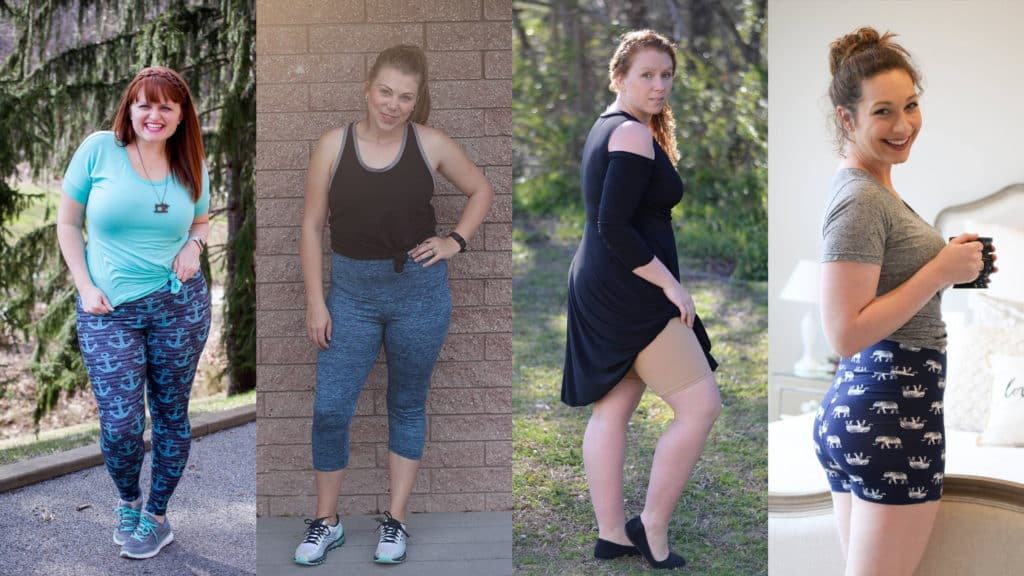
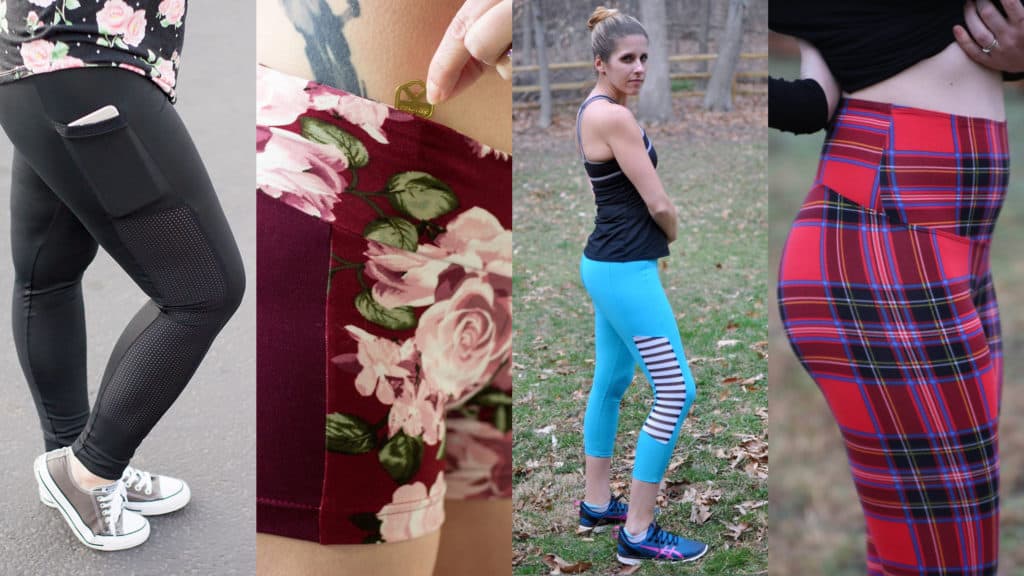
The Peg Legs original pattern has  gotten more reviews and feedback than any other P4P pattern hands down!  So, naturally we took that feedback and tweaked them slightly.  We also updated them to include the newest features P4P offers: layers feature, as well as A0 and International print options.  Just like before, we have four different length options (ankle, capri, bike and shortie).  *If you already have the Peg Legs in your account you will simple need to redownload them to have the new updated files.

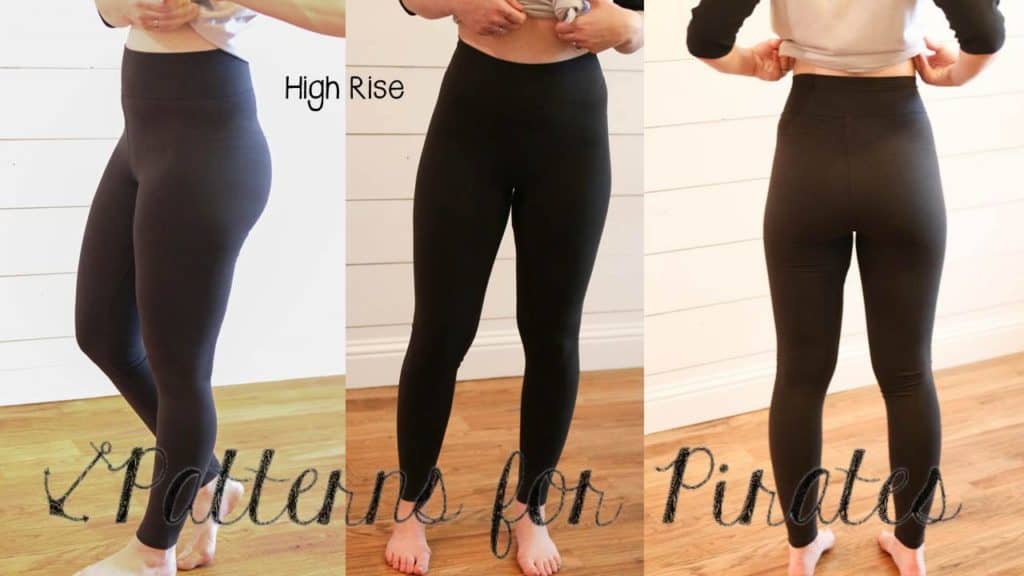
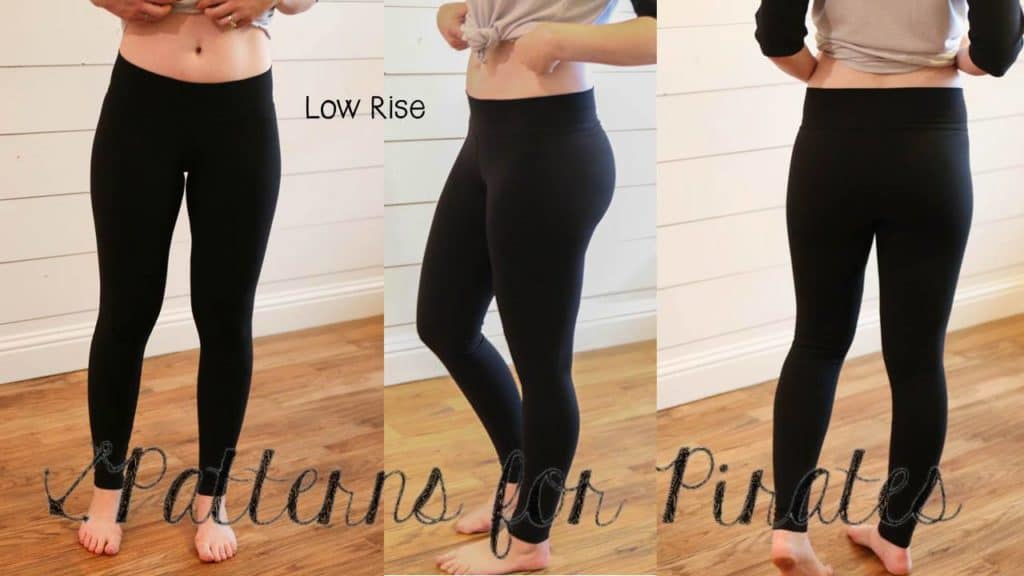
We’ve also added a different rise option, for those of you who like a little higher waist.  You can choose from high AND low/mid rises for your perfect leggings fit. The low/mid rise is the same as the original peg legs.

Now to really bring the celebration up a notch– the Add Ons! But what do the add-ons include?  So many things!
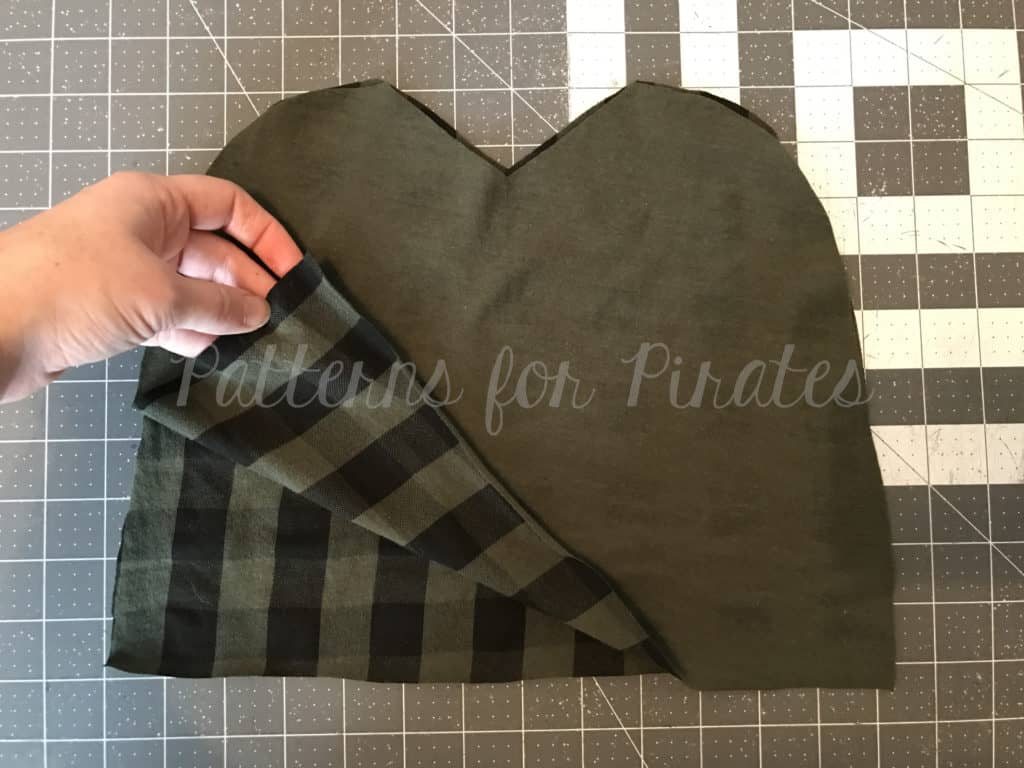
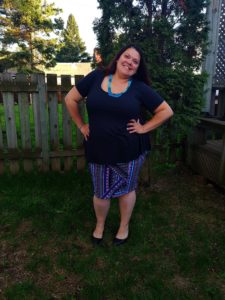
We are giving you color blocking options, pockets (in the waistband AND along the side panel), a contoured high waistband, and a gusset.  All extra options that you can mix-match to your heart’s content.

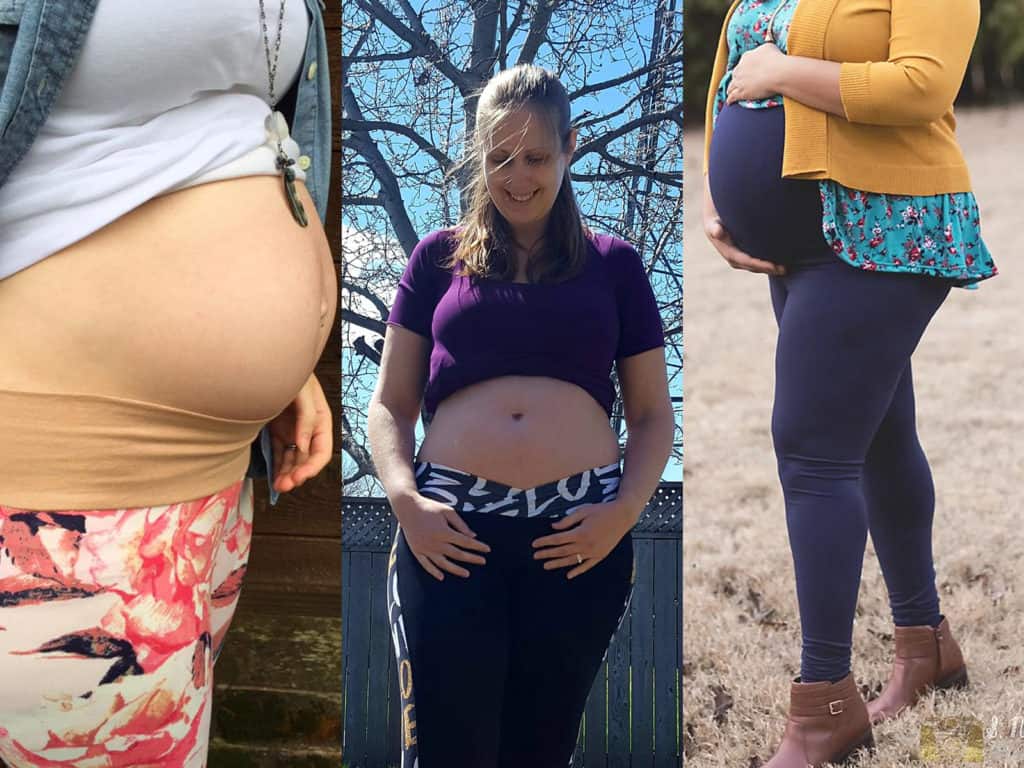
And, for all of you gorgeous pregnant mommas: a maternity add-on!  You can take the basic Peg Legs pattern and add an under belly, under belly v, or an over belly waistband for your new favorite maternity wear.

We also updated all the Freebies to NO CODES NEEDED.  We loved having everyone join the FB group and amazing community it has built, but we want them to be easy for everyone to get their hands on too! So, we hope everyone will still join the support group as well as enjoy the ease of grabbing the freebies with no codes 🙂

Before you go running to your machine to sew up your own leggings, make sure to read our PegLegs 101 blog post.  This way, you’ll have all the the information you’ll need to make the perfect pair before you even cut into your gorgeous fabric.

But wait, there’s more!  After any good party is an after-party.  We are taking it one step further and sharing some easy hacks that’ll bring even more flavor to your favorite leggings pattern!

We hope you check them out, make your new favorite pair of leggings, and know that we appreciate every single one of you amazing sewing guys and gals!

Here are our hacks / tutorials / latest tricks:

*****These will be made live as we post them throughout the next week! *****

Lace Waistband Alternative | Drawstring Waistband Tutorial
Exposed Elastic Waistband | Stirrup Pant Hack
Ruched Ankles Adjustment | Decorative Topstitching Tutorial
Ruched Side Panel Hack

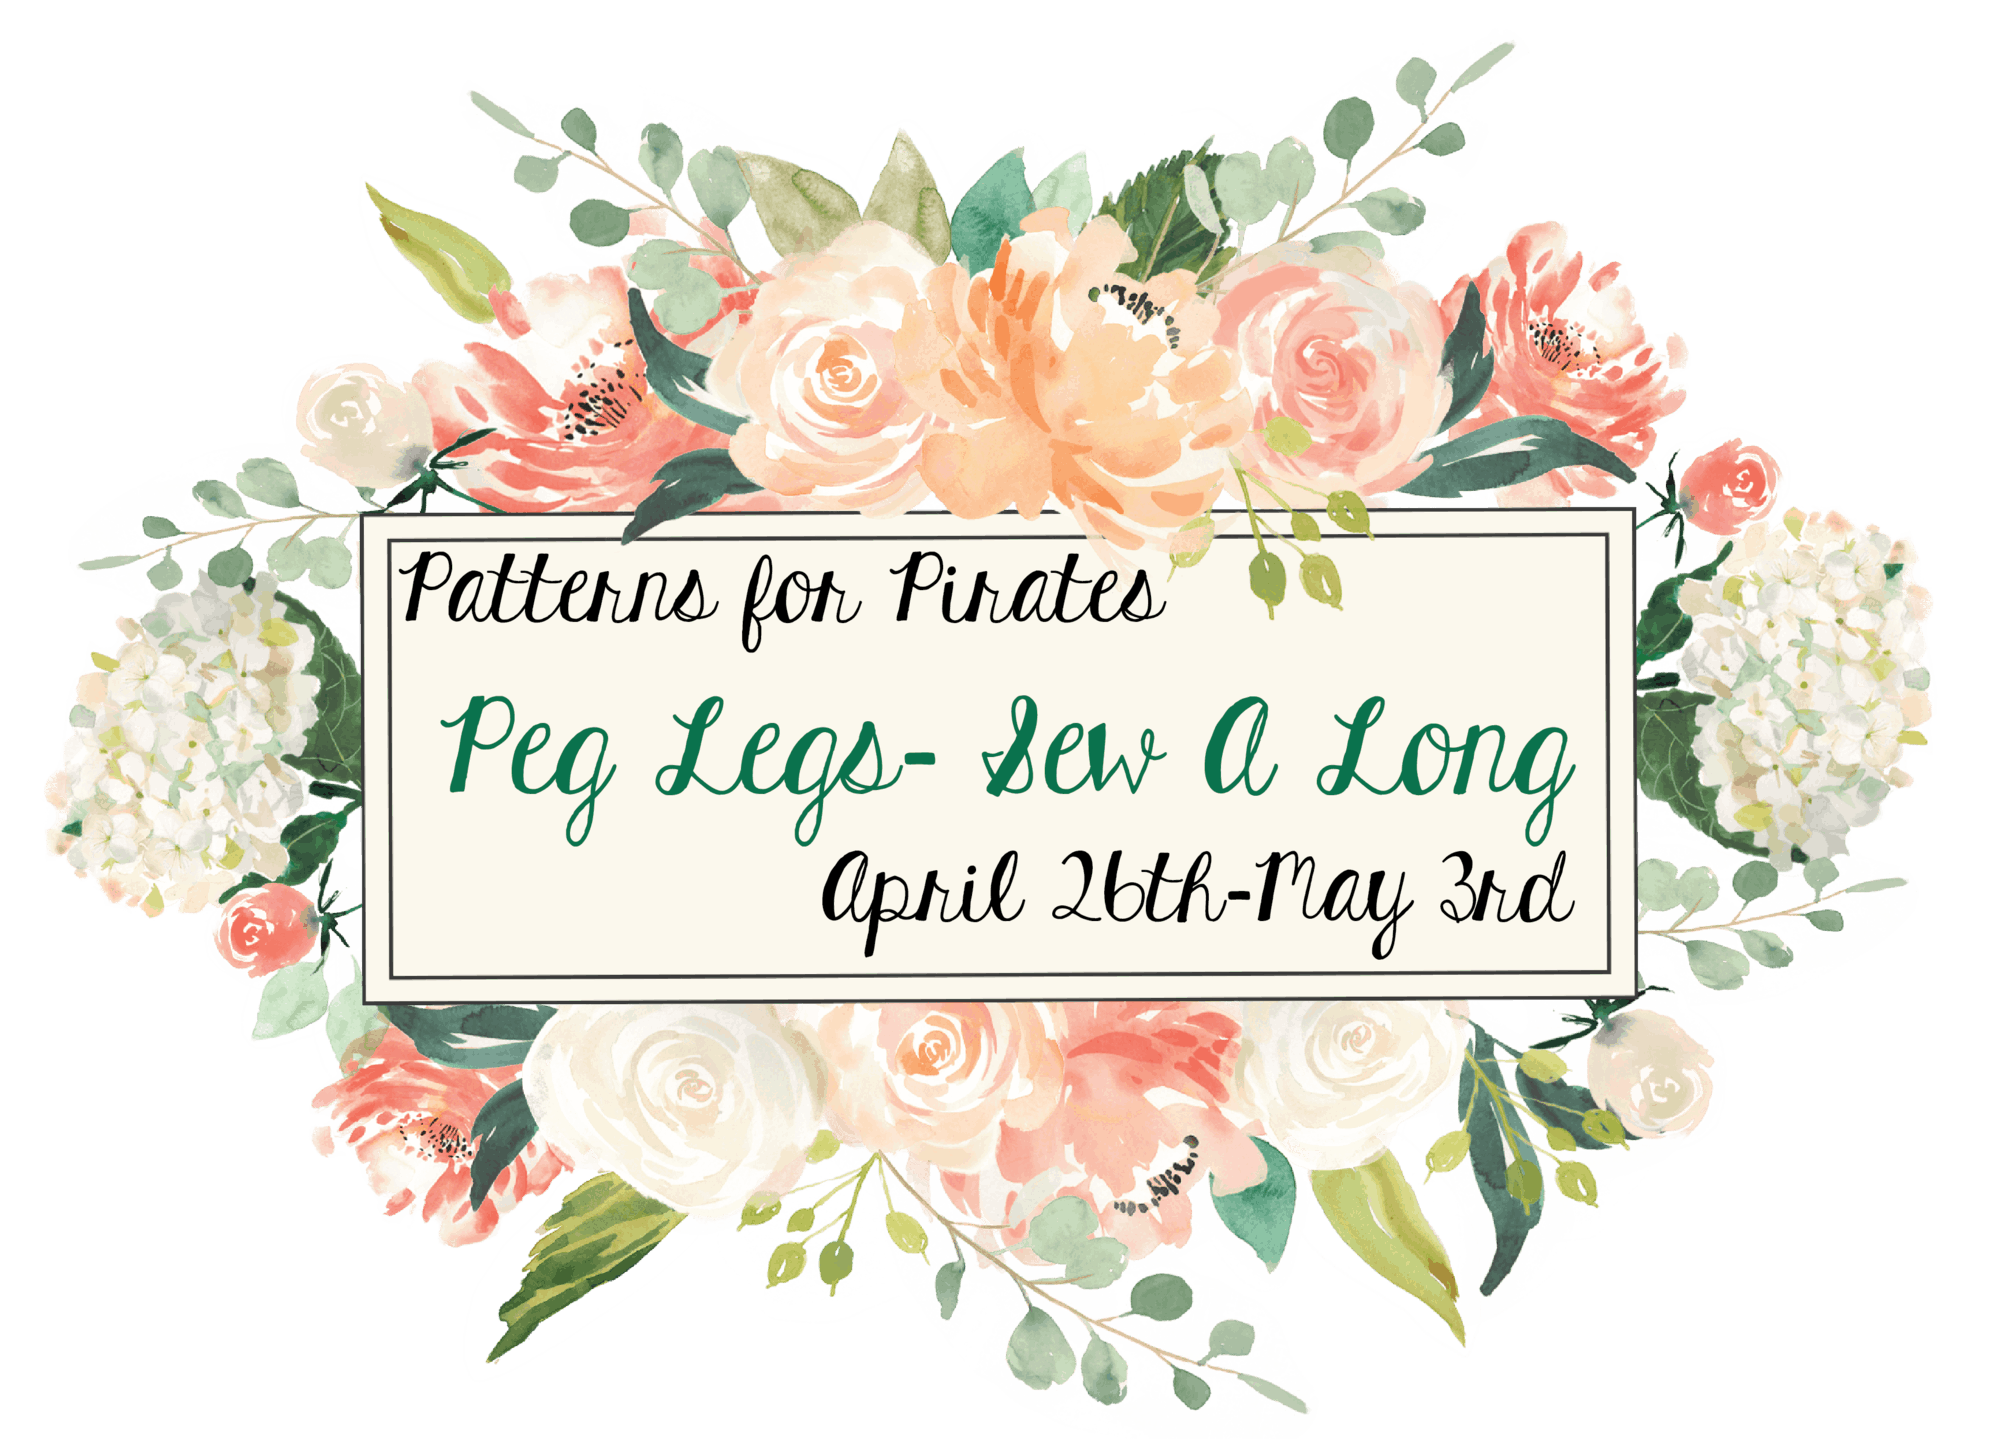
Still want more?!?! Join us for our Peg Legs Sew-A-Long!

And of course one LAST thing to celebrate reaching 50.000 FB members is a SITE WIDE SALE! Enjoy 30%off your total purchase with coupon code: “50ksale” now through April 25th (ends 11:59PM the night of the 25th US Central Time Zone). *Bundle Discounts will not work with site wide sale code.

Thank you for giving this little work from home mama the chance to do what she loves! I hope each and everyone of you enjoys the updated pattern, the add ons, the hacks, the sew-a-long and the site wide sale 🙂

<3 Judy

Filed Under: Announcement, Free Pattern, Pattern Release, Sew-A-Long 18 Comments

Blanket Scarf

December 16, 2016

Have you been following our 2016 Holiday Freebies? You can see our Free Adult Mittens HERE and our Free Adult Slouchie Beanie HERE! Today I’m here to show you how to make a Blanket Scarf!

p4p-blanket-scarf

Blanket scarfs are a great, easy item you can whip up for yourself or others during those colder months!

img_8641 img_8721

You can pair them with a top or dress for a touch of color and finish off your outfit with the perfect trendy touch.

You’ll need:

Flannel- 1.5-2 yards

Scissors

Optional: Sewing Machine and matching thread


You’ll want your scarf anywhere from 1.5-2 yards long.  A few factors that you can consider when deciding on the length are how tall are you? The more petite you are the less you’ll need.  How thick is your flannel? The thicker the fabric the less you’ll need.

I cut mine into a square. Since my flannel was about 56″ wide.  I squared it up at 55″ x 55″.  You don’t have to have a perfect square either, if your fabric is thinner or you’re taller you might want to keep the width and make your length a bit longer (up to about 2 yards).

You can finish the edges anyway you’d like.  You can leave them raw (they will fray with wear and washing).

You can stitch around the edge with a finishing stitch of your choice. (zigzag, overlock, ect.) Pictured here with a zigzag, which will still fray up to the stitch if you’re not right on the edge.

img_0838

You can do a narrow hem, folding 1/4″ and another 1/4″ enclosing the raw edge for a cleaner finish.

img_0839

You can also stitch around the inside where you’d like the fray to stop.  You can fray the edges up to the stitch line by pulling the cross grain threads up to the stitch line.

img_0835

img_0836

Now you’re ready to style it!

***I’m sorry, but my camera man (aka my husband) wasn’t very interested in all the different ways you could style a blanket scarf, and he often cuts my head off! You will also hear my kiddos (you can even catch Little Guy being super naughty…) in the background.  But, hopefully they are helpful still 🙂

You can wear it bandera style by folding it in half at a 45 degree angle creating a large triangle, then wrapping it around the back of your neck and tucking tails under.

You can wear it shawl style.

You can wear it like a traditional scarf wrapped about your neck.

You can to the tie front, wrapping it back around your neck and tying in the front.

You can wear it like an infinity scarf.

Drape it over your shoulders. You can wear a belt over to hold it in place as well.


You can fold in half lengthwise wrap around back of neck and pull ends through the fold.

You can wear it over your head and wrap one end around to the back.

You can wrap around the back and criss cross through the front.


Still with me? 😉 Don’t miss our other 2016 Holiday Freebies here:

Free Fleece Mittens 

and

Free Slouchy Beanie

They all pair perfectly together for some great cozy finishing touches!

img_9040 img_9063

Filed Under: Free Pattern 3 Comments

2016 Holiday Freebies :: Slouchy Hat Pattern (4 Sizes!)

December 13, 2016

Ready for our second holiday present to you this year?  This one is for the entire family!

p4p-slouchy-hatp4p-hat


This slouchy hat pattern comes in four sizes, which should cover the heads of the majority of your family!

XSmall (fits 17″ – 18″ head circumference) – Toddler
Small (fits 19″ – 20″ head circumference) – Child
Medium (fits 21″ – 22″ head circumference) – Teen/Adult
Large (fits 23″ – 24″ head circumference) – Adult

Grab your free pattern pieces here. If you need help putting the pattern together, pop over to the First Time Users Tips page or ask in our facebook group .

Recommended fabrics: Ponte, sweater knits, liverpool, brushed poly, rayon blends, tshirt knits, upcycled sweaters, etc.   Anything with a decent amount of drape to it works best, otherwise the “slouch” won’t happen as well.  I suggest washing your fabric before you begin to pre-shrink & help prevent color bleeding in the future.
Cuff piece: Any knits with at least a 20% stretch.


Supplies needed:

Main Fabric: 1/3 yard
Cuff: less than 1/4 yard required

Step 1: Assemble your pattern and cut your pieces out.  You will need two of the main hat, cut on the fold.  And one cuff piece, cut on the fold.

hat1


Step 2: Lay two mirror images, right sides together.  Using 1/2″ seam allowance, sew around the two outer edges.  Make sure to leave the bottom and the top “v” open.

hat2hat3


Step 3: Open up the hat and fold it (right sides still remaining together) so the “v” lays flat, and the two side seams are meeting in the middle.  Stitch the top opening shut.

hat4

The top of your hat should now look like this.  You’ll have an X of one long seam (going from bottom edge to bottom edge) and one short seam.

hat5

Step 4: Fold your cuff piece, right sides together, meeting the shorter ends together.

mitten7

Step 5: Stitch (using 1/2″ seam allowance) short ends together.

hat6

Step 6: With wrong sides together, fold the raw edges together to meet each other.

hat7

Step 7: On both your hat body and cuff pieces, mark raw edges into halves.  (The hat body will be the two seams.  The cuff will be one seam and the halfway point on the opposite side.)

hat8

Step 8: Slide the cuff over the hat body, aligning the raw edges and matching the half-marked points.  Note: The cuff is slightly smaller than the hat body.  Stretching the cuff only, stitch through all three layers of raw edges.


hat9


Step 13: Flip cuff down.  You’re finished!

hat10


Need some inspiration?  Take a look at the fabulous hats that our gorgeous testers made!


As always, we love when you share what you’ve made with us.  Head over to the Patterns for Pirates Facebook group and show off the fabulous mittens you’ve managed to make from our freebie pattern!

Filed Under: Free Pattern 19 Comments

2016 Holiday Freebies: Fleece Mittens Pattern!

December 8, 2016

The Pirate Crew is here to bring a little more “yo ho ho” into your holiday with some freebies!  Today is the first of three patterns we are releasing, for FREE!  In case you were stumped on Christmas sewing ideas, here is the first of our scrap-busting, super quick, free patterns.

p4p-fleece-mittensp4p-fleece-mittens2 p4p-fleece-mittens3

These mittens are a one-size fits most.  We’ve also provided a cuff and a non-cuff version, so you can mix other fabrics into these easily if you’d like.  The pattern is written for a basic fleece fabric, though some of our testers have had success with sweater knits and other various fabrics.

Grab your free pattern pieces here. If you need help putting the pattern together, pop over to the First Time Users Tips page or ask in our facebook group .

Note: I use my sewing machine for the construction of the mitten body, because the thumb area can be really tricky if you’re using a serger.   When using fleece, it helps to use a walking foot in your machine to help reduce pulling.  It also makes feeding the fleece through your machine a more even process.

Recommended fabrics: Fleece, cuddle/minky, sweatshirt fleece, upcycled sweaters, etc. I suggest washing your fabric before you begin to pre-shrink & help prevent color bleeding in the future.
(Optional cuff) Any knits with at least a 20% stretch.


Supplies needed:

1/3 yard Fleece fabric
(optional cuff) less than 1/4 yard required

Step 1: Assemble your pattern and cut your pieces out.  You will need two sets of mirror images of the main body pieces.

mitten1

Step 2: Lay two mirror images, right sides together.  Using 1/2″ seam allowance, sew around the entire outside of the mitten body.  Make sure to leave the bottom open.

mitten2

Step 3: Clip the corner between the thumb and fingers, making sure not to cut into your stitching, but getting as close as you can to it.  This step is super important, otherwise the mitten will fit really strange in the thumb and it’ll be super uncomfortable.

mitten3

Step 4: [If doing the cuff version, skip to step 6] Turn the opening up 1″ and hem.  (Optional: turn 1/2″ and then another 1/2″ to enclose raw edge.)

mitten4

Step 5: Turn mitten right-side-out.  Repeat with second mitten.

mitten5

Step 6: CUFF VERSION ONLY Complete steps 1-3.  Also cut 2 cuff pieces, one for each mitten.

mitten6

Step 7: Fold your cuff piece, right sides together, meeting the shorter ends together.

mitten7

Step 8: Stitch (using 1/2″ seam allowance) short ends together.

mitten8

Step 9: With wrong sides together, fold the raw edges together to meet each other.

mitten9mitten10

Step 10: On both your mitten body and cuff pieces, mark raw edges into halves.  (The mitten body will be the two seams.  The cuff will be one seam and the halfway point on the opposite side.)

mitten11

Step 11: Slide the cuff over the mitten body, aligning the raw edges and matching the half-marked points.  Note: The cuff is slightly smaller than the mitten body.

mitten12

Step 12: Stretching the cuff only, stitch through all three layers of raw edges.

mitten13

Step 13: Flip cuffs down.  Repeat with other mitten.

mitten14

Step 14: Sit back long enough to admire your handiwork, and then go sew a million more pairs of these comfy mittens!

mitten15


Check out the adorable mittens that our gorgeous testers made!  (And check back with us next week, because we’ve got more freebies coming your way!)


As always, we love when you share what you’ve made with us.  Head over to the Patterns for Pirates Facebook group and show off the fabulous mittens you’ve managed to make from our freebie pattern!

Filed Under: Free Pattern 2 Comments

P4P Raglan Week: Animal Faces

September 21, 2016

raglan-week-day3

I don’t know about anyone else, but my daughter is completely obsessed with animals. Lucky for me, she also loves the Jolly Roger Raglan- so it was a natural choice to put an animal face on a raglan for her. Raglans are an essential piece of her fall wardrobe and such a great style on girls or boys and now with the Add-on pack you have so many more options but it’s still fun to add some character to the front. The shape of the raglan sleeve are perfect for fun details like animal ears so we have created 2 different ear options and 5 animal faces for you- a kitty, panda, fox or deer, and pirate puppy! You can find the face file and ear pieces here.

Here is a quick tutorial on what to do!

First we are going to cut 4 of whatever ear option you are choosing (2 pieces for each ear). You can mix and match as you choose, we had quite the discussion on what ear belongs to which animal and we are still undecided on if a raccoon has rounded or pointed ears so we are going to leave it to you to decide!  I used a fairly heavy weight cotton lycra on my ears but if you are using a thinner knit you may want also want to use interfacing on your ears (if so, cut your interfacing and iron it on now).  Next we are going to take our ears and place right sides together, then sew with a 1/4 inch seam allowance around our ear leaving the bottom straight edge open.  I like to trim my seam allowance down with my pinking shears but you can also make tiny clips around your curve.  Turn your ears right side out and press them well.  You can top stitch your ears if you would like, I chose not to top stitch mine.

img_55721img_55731

img_55741

Next we are going to take our front piece and line up our ears.  I placed the edge of the kitty ear 1.5 inches down from the top of the shoulder on a size 5.  With the rounded ear I would move it farther down just a tad, I placed my panda ear at 1.75.  You may want to move your ear up a bit on the smaller sizes or down a bit on the larger sizes, do whatever you like but be mindful of the 0.5 inch seam allowance on the neckband as you don’t want to place your ear too close to the top and sew it into your neckband.  Once you have your ear placed on your front add your sleeve pin or clip in place and repeat on the other side.  Sew your sleeves into your front piece and continue construction as normal.  TIP: before your attach your neck band iron all your seams, you want your seams where your ears are placed to point towards the shirt and not the sleeve, it makes a huge difference on keeping your ears standing up!  Once you’ve finished your shirt, if your ears are wanting to fall forward just tack them in place on the top of each ear.  I just pinned them in place and did a couple stitches on my machine. Or you could stitch them all the way around onto your sleeve, completely up to you.

img_55761img_55771

Now you just need to iron on your vinyl!  This again, is a personal choice. I like my face fairly high on the shirt but others like it lower. Don’t have a way to cut vinyl, that’s OK! You can cut the pieces out of fabric and applique them on, add buttons for eyes, rick rack for whiskers… just have fun with it!

Go sew a bunch of animal faced raglans and let your inner animal out! Happy sewing and as always post your creations in the Patterns for Pirates Group- we are excited to see what your create! Don’t forget to tag your posts #p4praglanweek

P.S. Another quick tip, the kitty face raglan below is more of a tunic length, but you will see that is not an included option in the pattern.  A quick way to achieve a tunic length for girls is by adding the band to the hemmed length! Quick, easy and gives you one more cute option.

img_56541

img_56491img_55811img_5579114424768_10210631319370302_8079611700312509247_o

14317592_10210631319450304_566160835777953597_n

14124316_10153844301153317_1921540397317453212_o

If you’ve created your very own adorable animal version of the  Jolly Roger during P4P Raglan week, we would love for you to share it with us!  Head over to the Facebook Group or share on Instagram.  And be sure to use the tag #P4PRaglanWeek so we can find you!

Curious about what else has been happening during our raglan-loving week of fun?

Just take a look at our schedule!

Monday, September 19: Jolly Roger Raglan Pattern Update + Jolly Roger Add-On Pack Pattern Release

Tuesday, September 20: JRR Woven Fabric Hack

Wednesday, September 21: JRR Animal Faces Add-On

Thursday, September 22: Contrast Band Hack for Kangaroo Pockets

Friday, September 23: Women’s Keyhole / Scoopback Raglan Hack

Saturday, September 24: Off-The-Shoulder Raglan Hack

Sunday, September 25: Adding Stripes to Your Raglan Sleeves

Filed Under: Free Pattern, Pattern Hacks, Uncategorized 2 Comments

#SewLikeAPirate :: Contest Winners!

June 20, 2016

Presentation1

Remember when we posted the #SewLikeAPirate freebies?  Well, someone (me…Katy) dropped the ball and forgot to announce the winners of our contest!  So here I am, eating crow and announcing the winners a bit late.  Whoops!  Sorry to leave you all hanging in suspense.

 We decided to reward Stephanie T. for being the Speediest Pirate, and sharing her adorable rainbow sleeved shirt!

Stephanie Troemel

Our randomly selected winner was Becca N. with this darling mother/daughter combo!

Becca Neuharth

And thanks to all of our Pirate Friends for sewing along with us, and using our P4P designs for your own makes.  They were all AMAZING!  (Want to get your hands on these free designs?  Head right HERE to get your very own copy!)


Filed Under: Contest/Giveaway, Free Pattern Leave a Comment

20K Celebration : A Pirate Pencil Skirt!

May 25, 2016

Is today the best day ever or what?  The Patterns for Pirates Facebook Group just hit TWENTY THOUSAND fans!  That’s 20K women (and men!) who are learning, supporting, and sewing along with each other on a daily basis.  That’s so amazing!

13256412_10102686577129783_6823916064658558011_n

To celebrate, and to thank you all for being the best pirate seamstresses ever, we are releasing a new pattern.  AND (hint hint) if you’re a member of the Facebook group, there is a special discount code just for you for this pattern. (Please remember this is a thank you to group members.  So if you would like to share, please direct them to joining the group and not share the code 🙂 )

Now let’s talk about the new pattern: The Pirate Pencil Skirt.  It’s so fast, easy, and flattering on all body types that you’ll be sewing up a ton of them for yourself before summer is over.  Trust us.

Slide1

The pattern is drafted for sizes XXS – Plus 3X.  There are three lengths and two waist rises included in the pattern, as well as the new PDF layers feature for printing.  Want to learn more about how to measure yourself for this pattern?  We’ve got you covered with an in-depth blog HERE.

listing pictures

Pick up your copy of the Pirate Pencil Skirt: HERE (And don’t forget to head to the group for the discount code! We keep ALL current sale and promo codes in the COMMENTS of the PINNED POST! 🙂 )

Here are a few images from our fabulous testers for the Pirate Pencil Skirt.  Take a peek through for some styling inspiration!  Need more?  Head over to the Facebook album to see the rest!


Filed Under: Free Pattern, Pattern Release 14 Comments

#SewLikeAPirate :: Freebies and a Contest!

May 23, 2016

Who doesn’t love a good graphic tee?  We sure do!
P4P girl Katy has created four FREE designs to help transition you into a full blown pirate sewist.  Are you ready?

noevil 13268127_10102683251304763_664552423215925727_osewlikeawind in sails

You can go pick up your copy of these designs right HERE.

Don’t own a die cutting machine like a Silhouette or Cricut?  No sweat!  We have included two extra file types (PNG and PDF) that will allow you to work with the designs however you’d like.

— Go old school and use an iron on transfer paper and your at-home printer.
— Use Heat Transfer Vinyl and your die cutter.
— Try your hand at Freezer Paper Stenciling.  (Dana from Made Everyday has a great tutorial HERE.)

But wait, there’s more!  We wanted to create a friendly pirate-y competition with this new release.

Between today and Saturday, June 4, sew up a Patterns for Pirates shirt and apply one of these fab new designs.  Share your photo with us on Instagram or in our Facebook group and use the tag #SewLikeAPirate We will pick our favorite and the winner will win a free P4P pattern of choice AND be featured on this blog.

What are you waiting for?  Get to sewing!

Filed Under: Contest/Giveaway, Free Pattern 6 Comments

  • « Previous Page
  • 1
  • …
  • 6
  • 7
  • 8

Featured Patterns

  • Loosey Goosey Loosey Goosey $12.00
  • Loosey Goosey- Youth Loosey Goosey- Youth $10.00
  • Loosey Goosey - Bundle Loosey Goosey - Bundle $20.00
  • Everyday Shirt Everyday Shirt $12.00
  • Everyday Shirt- Youth Everyday Shirt- Youth $10.00
  • Privacy Policy
  • Refund Policy
  • Affliliate Program
  • Contact Us
  • About

Copyright © 2025 Patterns for Pirates

Copyright © 2025 · Genesis Framework · WordPress · Log in