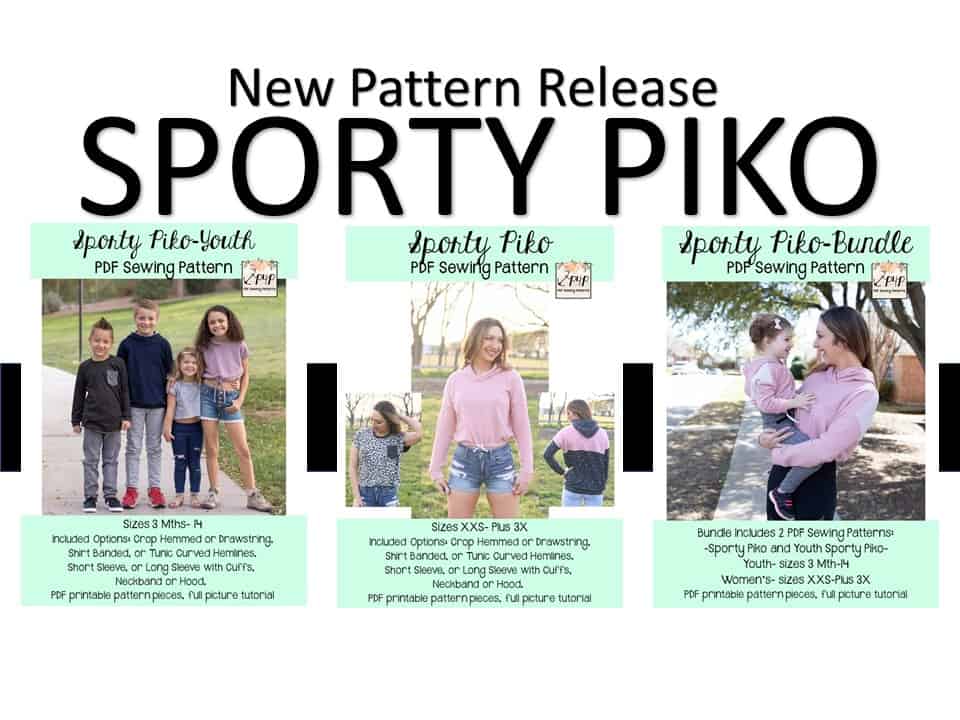
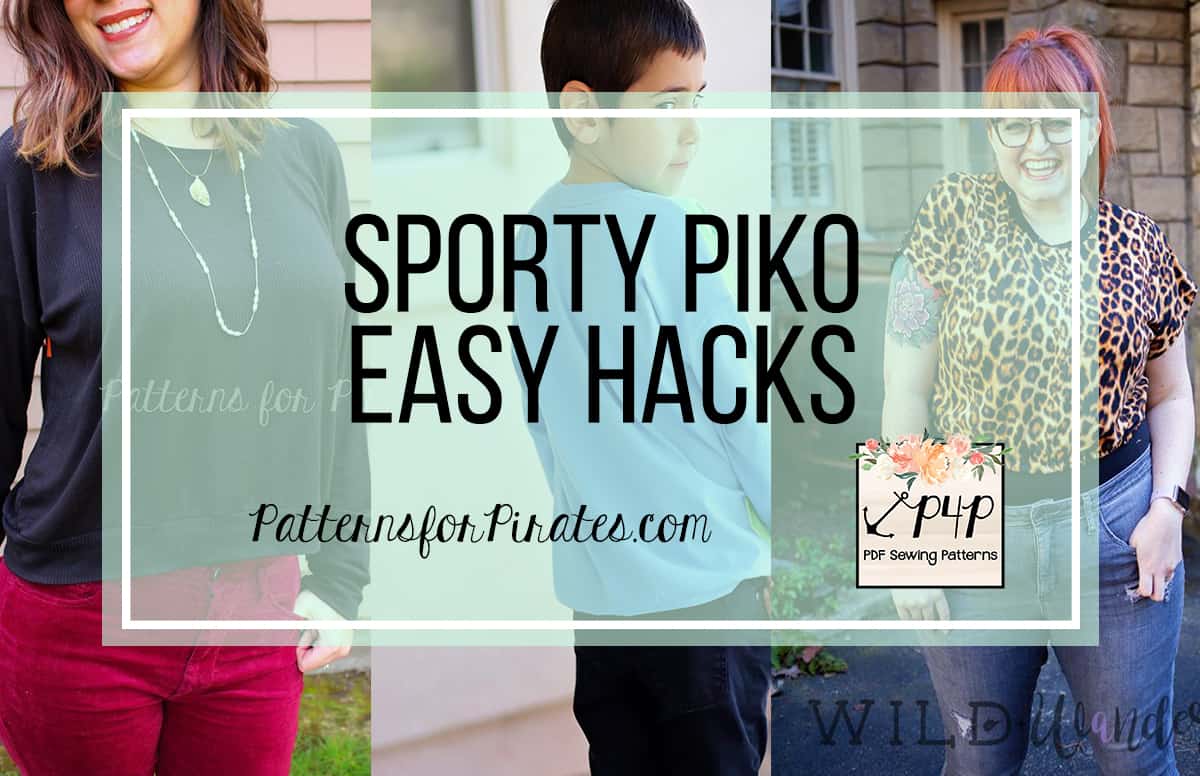
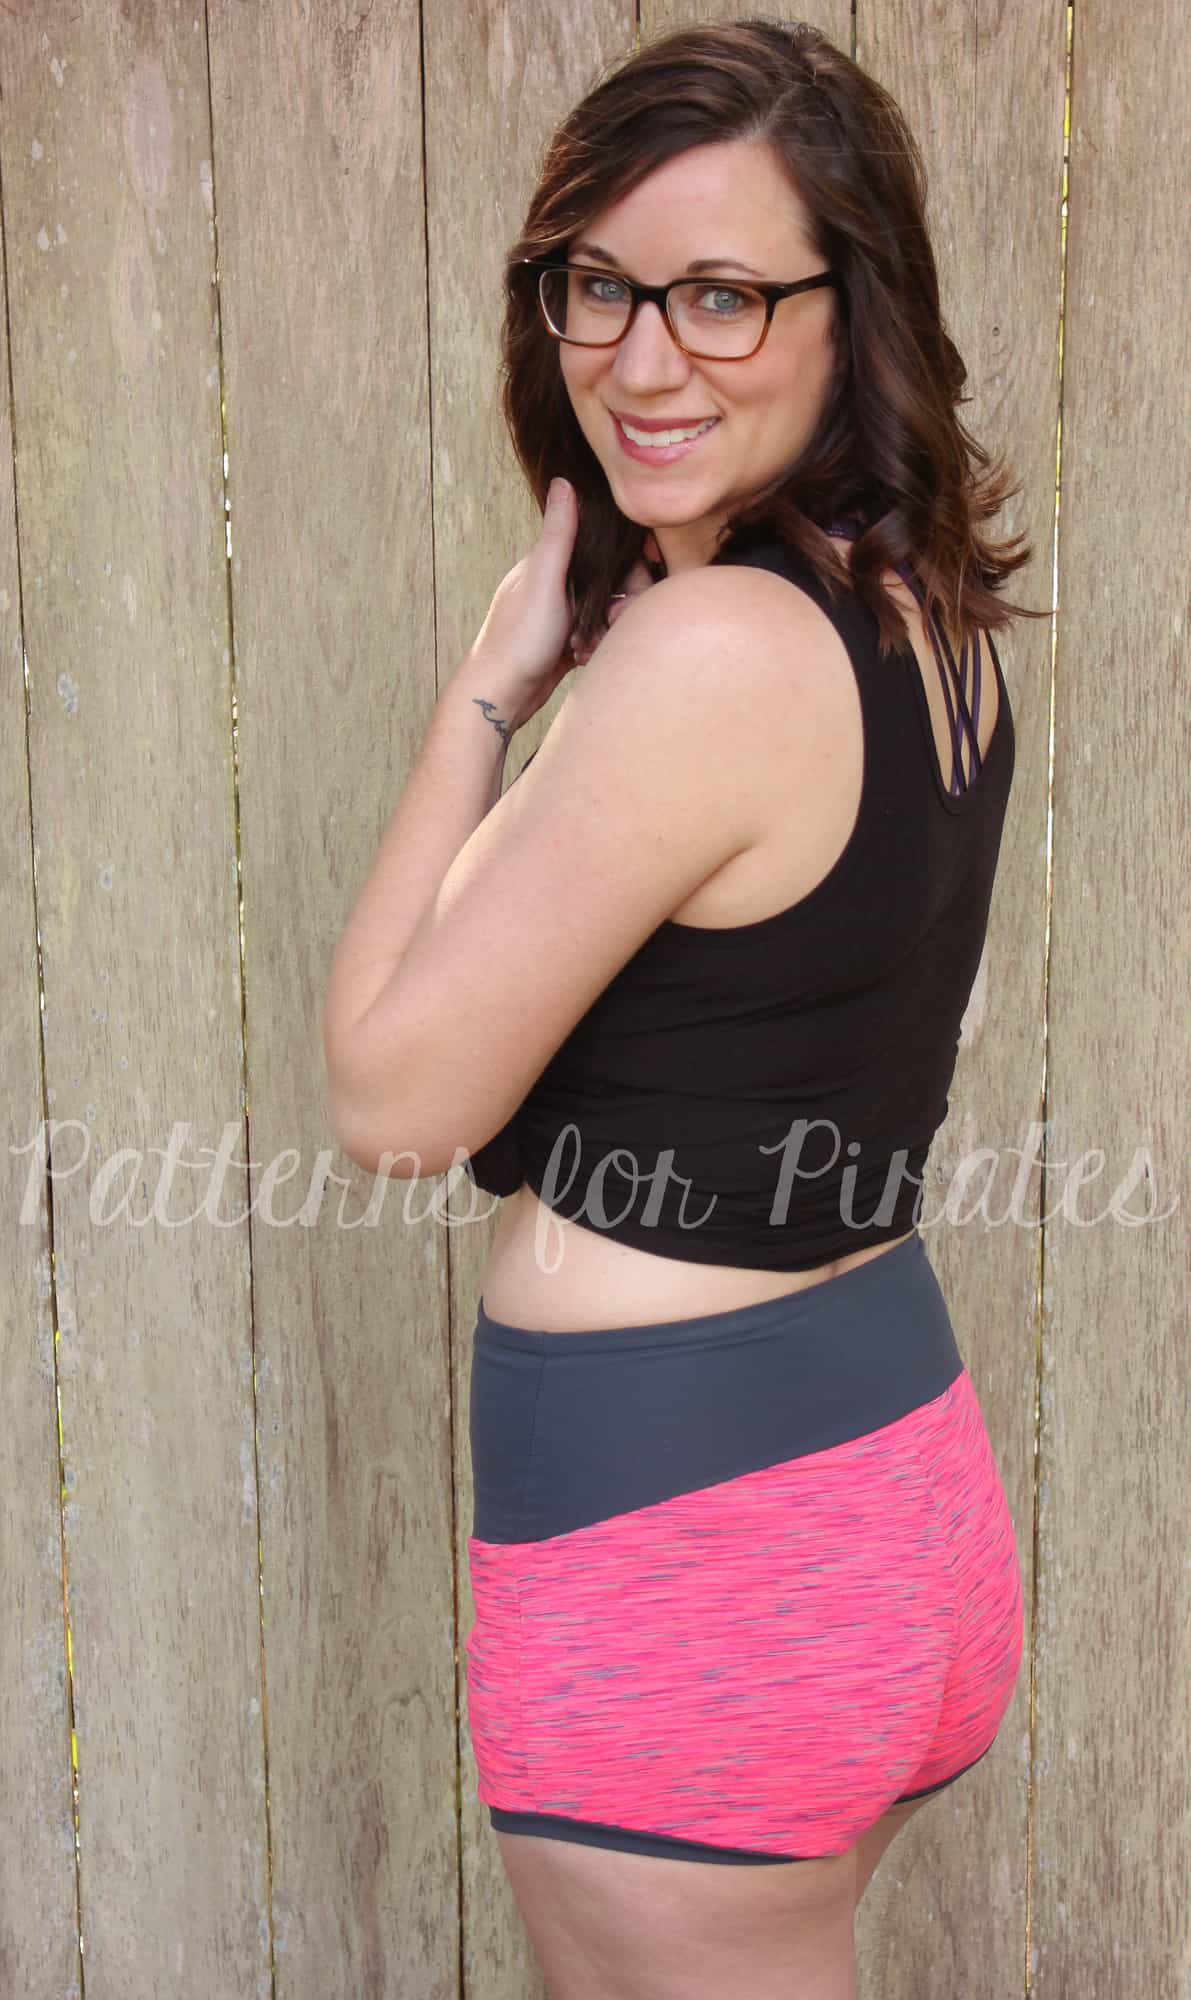
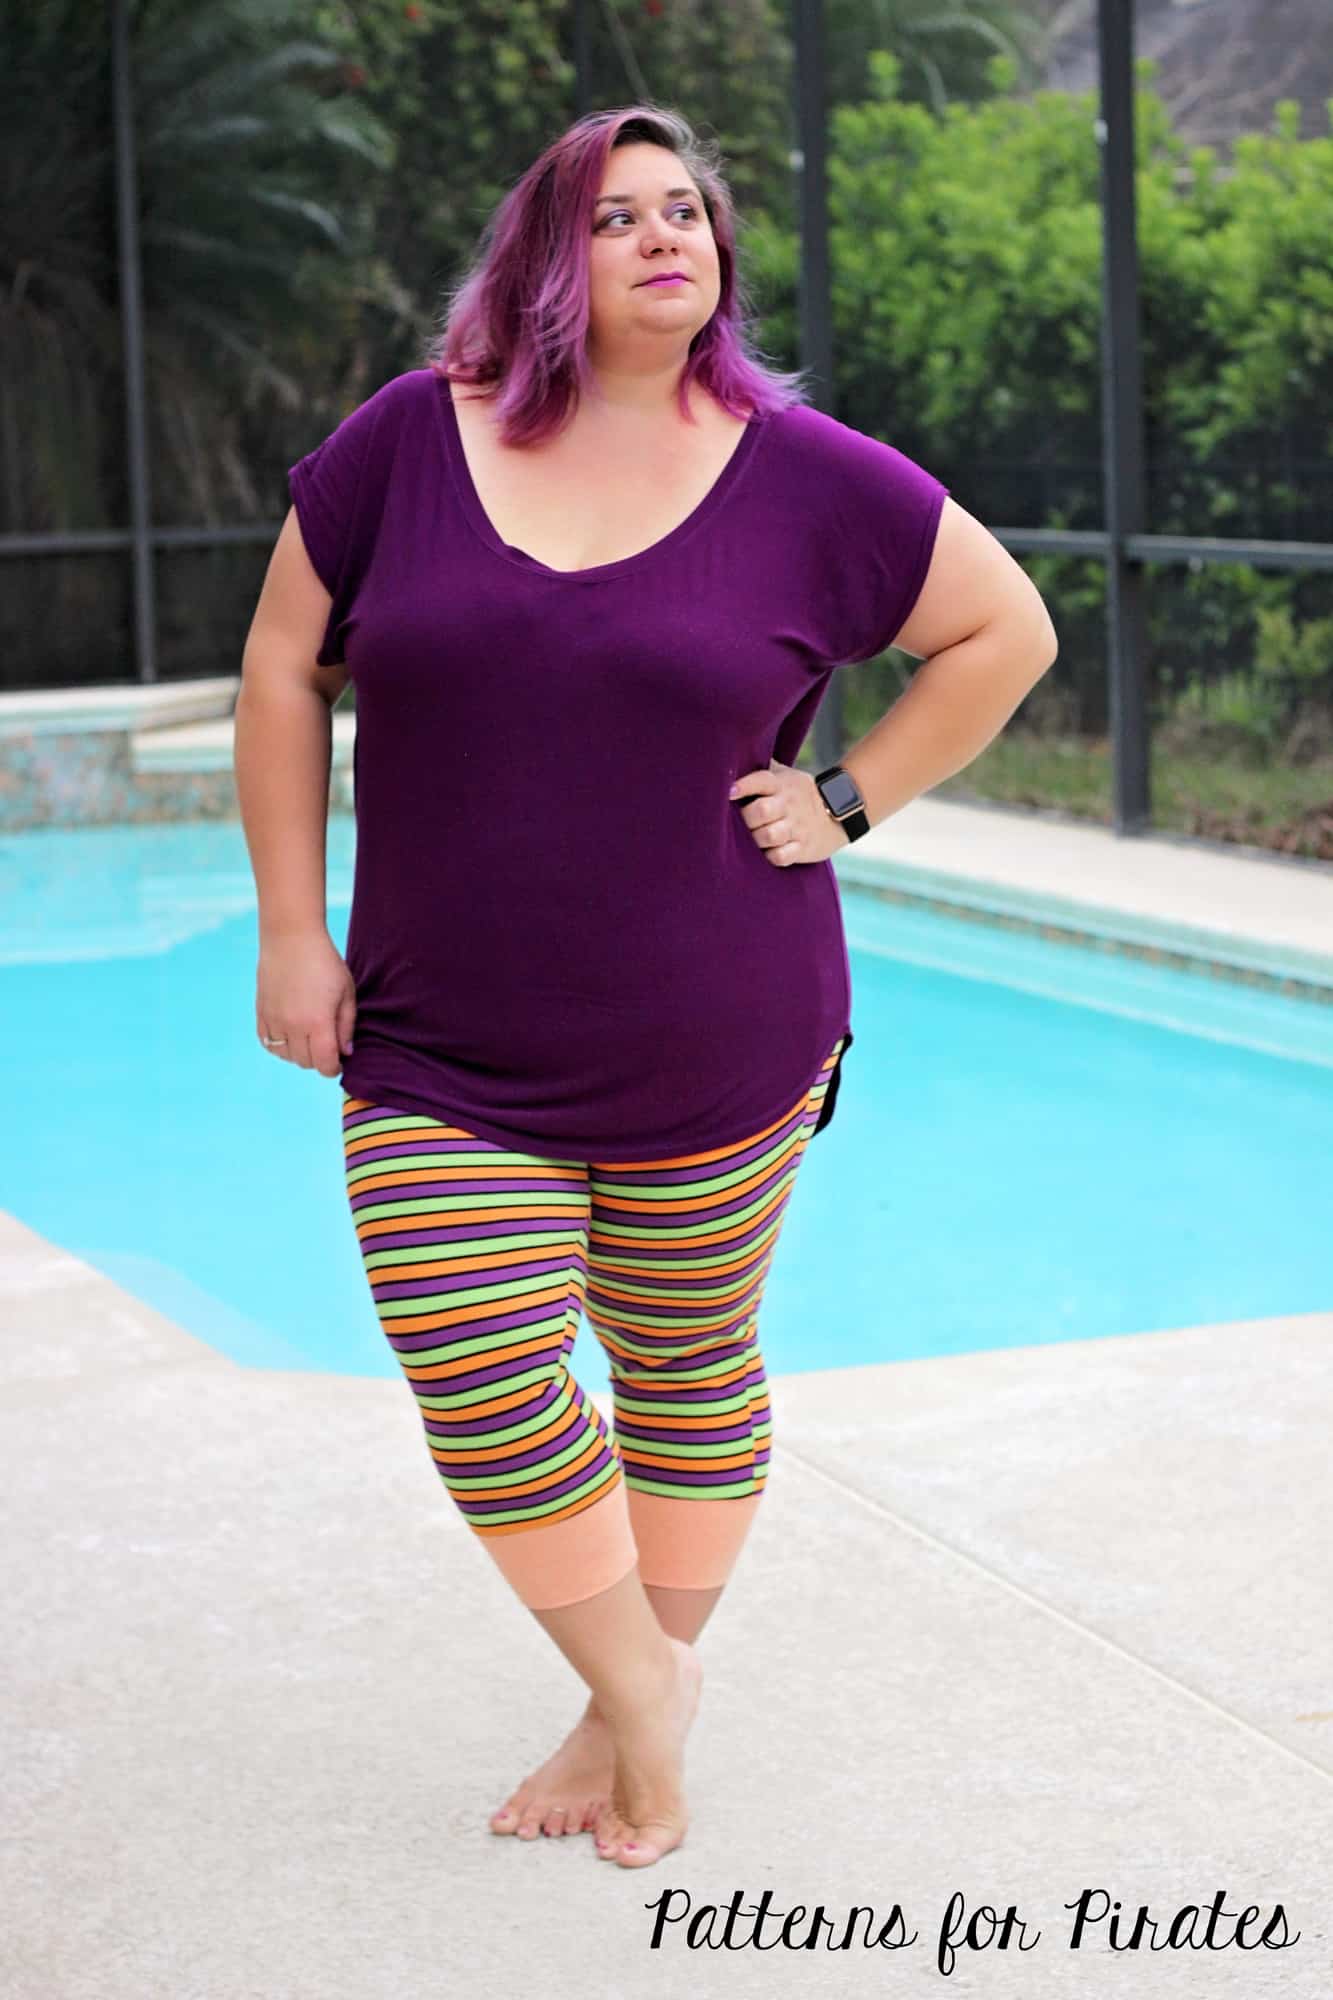
I’m so excited to share our new releases with you today! The Sporty Piko has quickly been filling up my closet! You can get such a great variety of looks with this pattern <3
You wont believe all these looks can come from just one pattern! The Sporty Piko and Sporty Piko- Youth will have you asking, “How many Sporty Pikos is TOO MANY?” 😉
These patterns are drafted for a stretch knit fabric, but you are open to so many different types depending on what look you’re going for. Want an everyday tee? A hemmed option paired with drapey jersey will give you that look. Or are you going for a sweatshirt feel? Try a french terry paired with the hood, drawstring or banded option for that more sporty style.
-

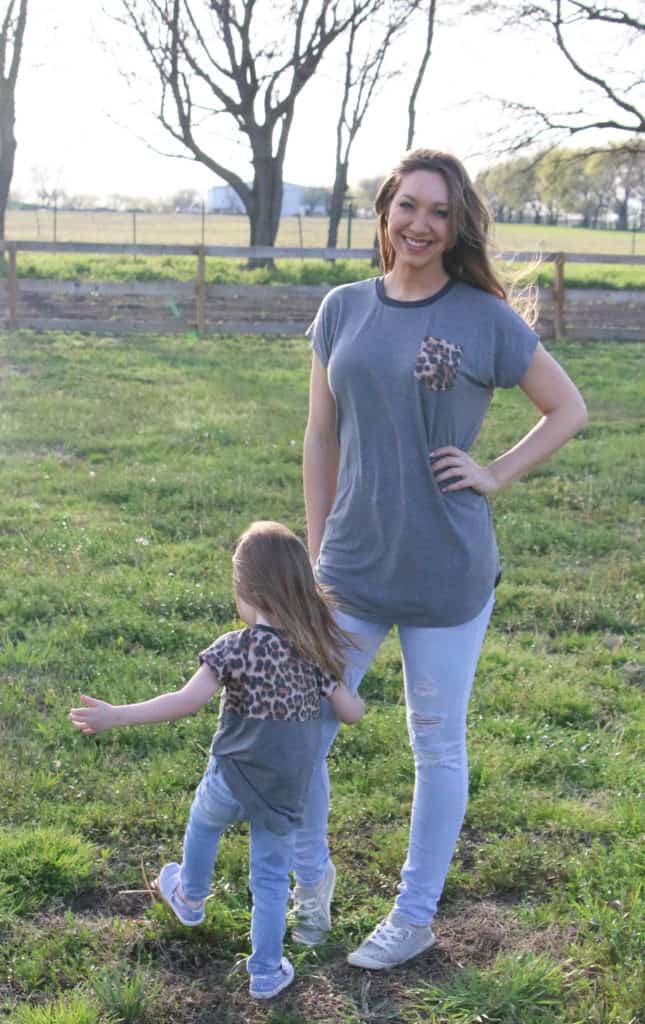
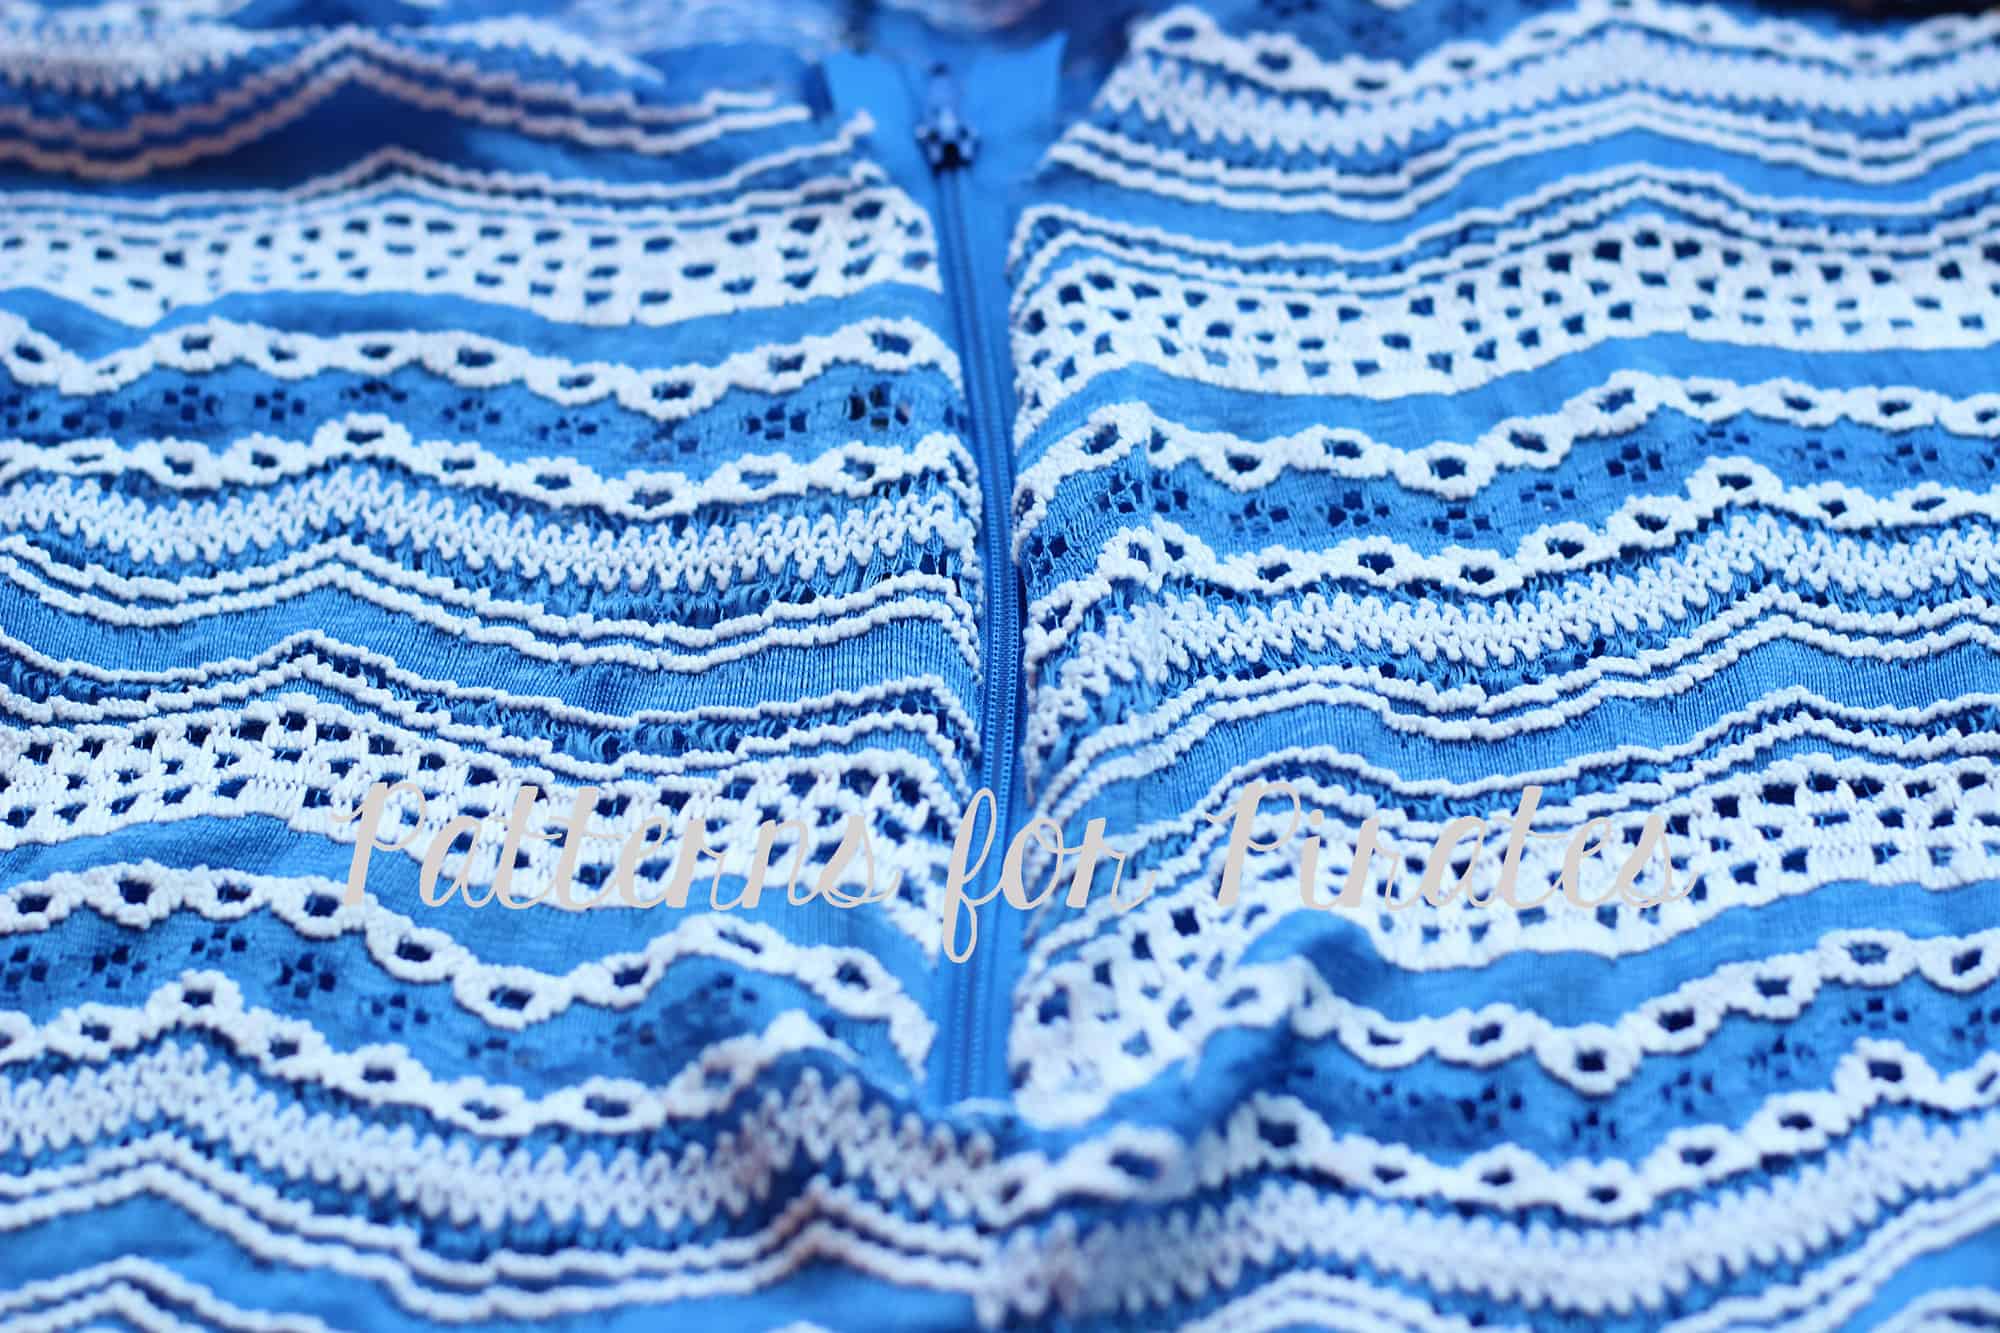
- Sporty Piko in a jersey with soft drape
-

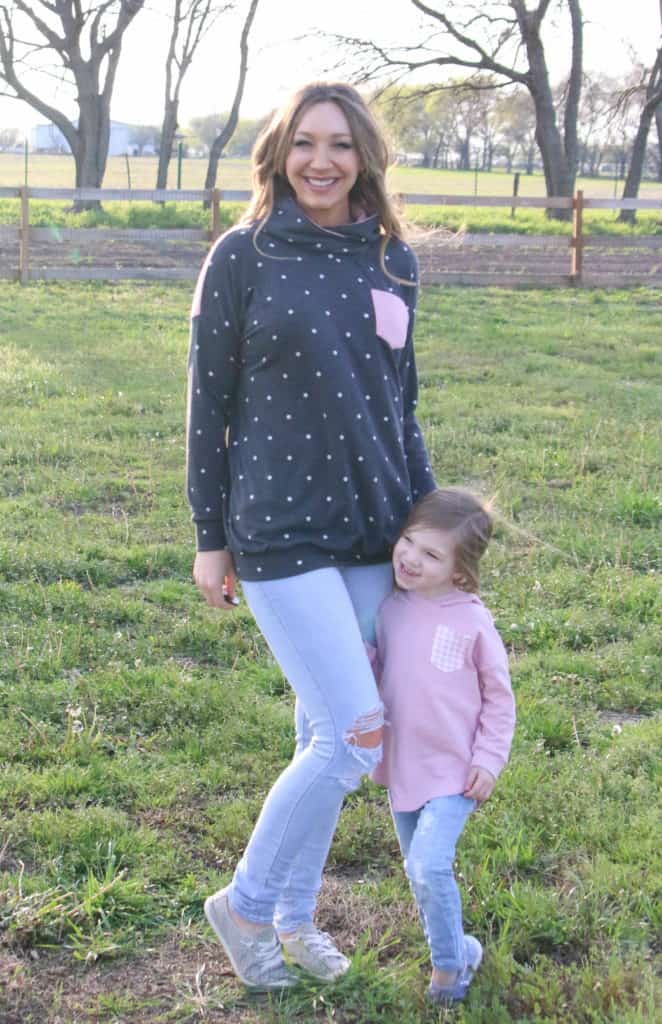
- Sporty Piko in a french terry
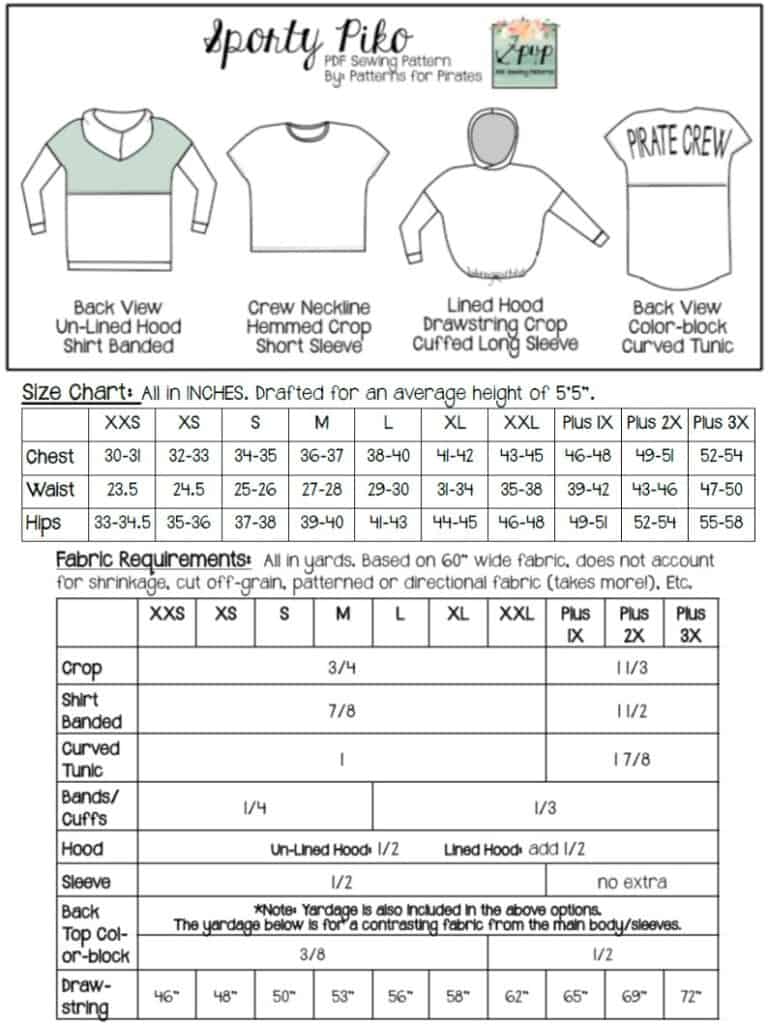
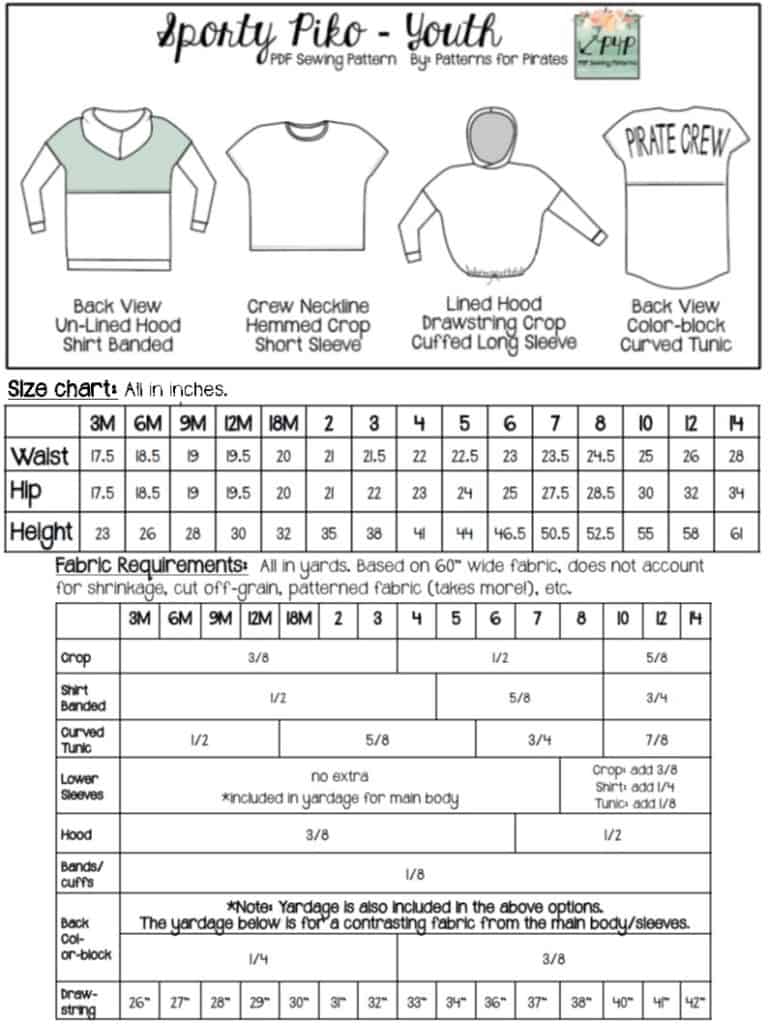
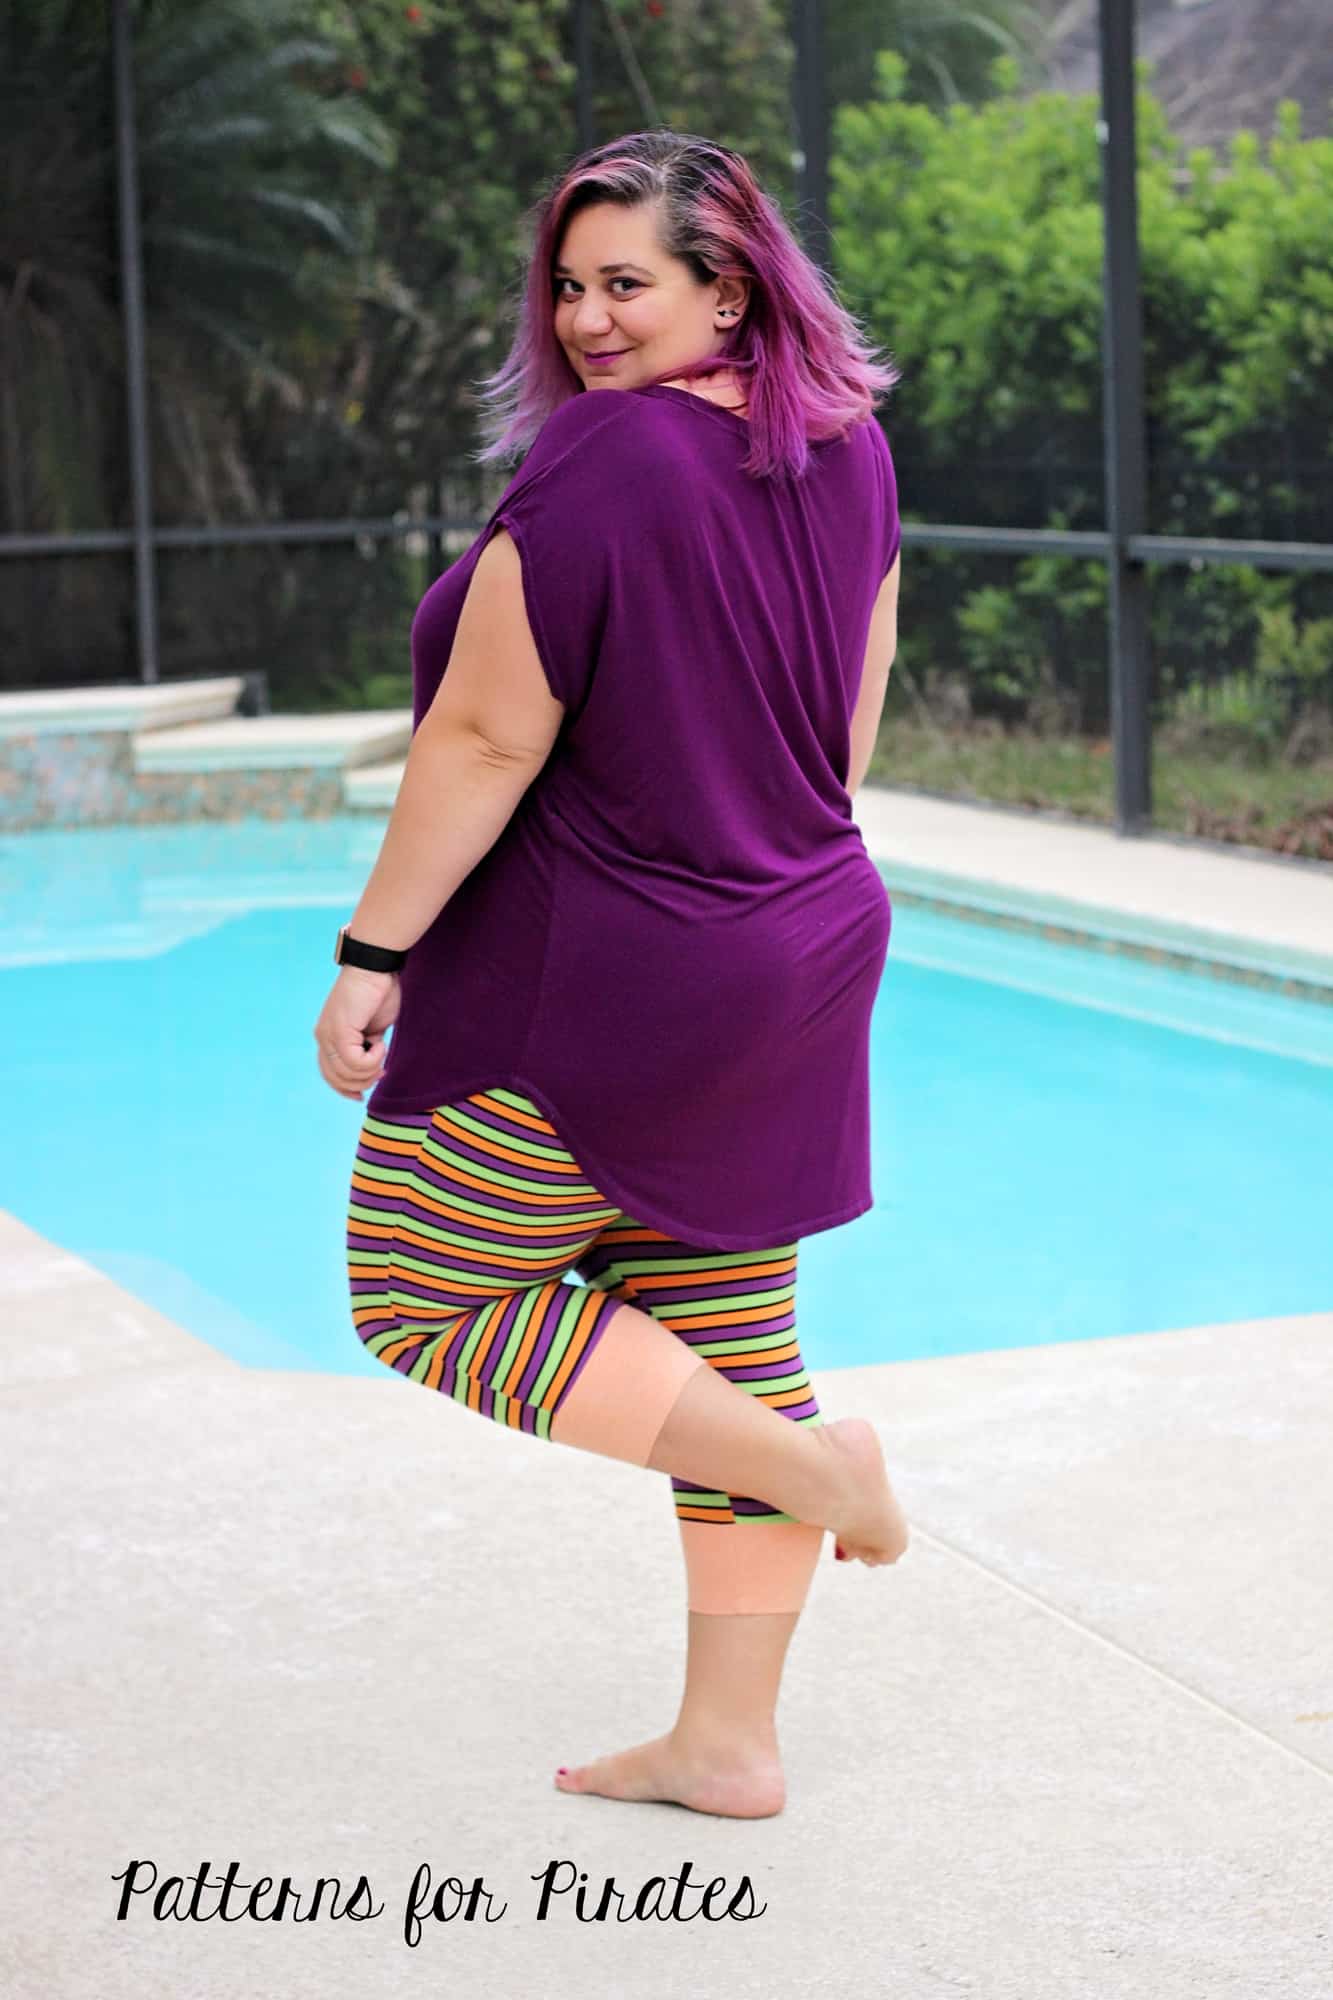
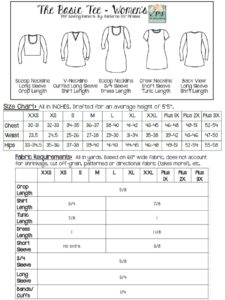
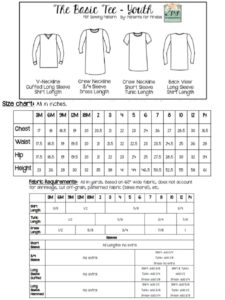
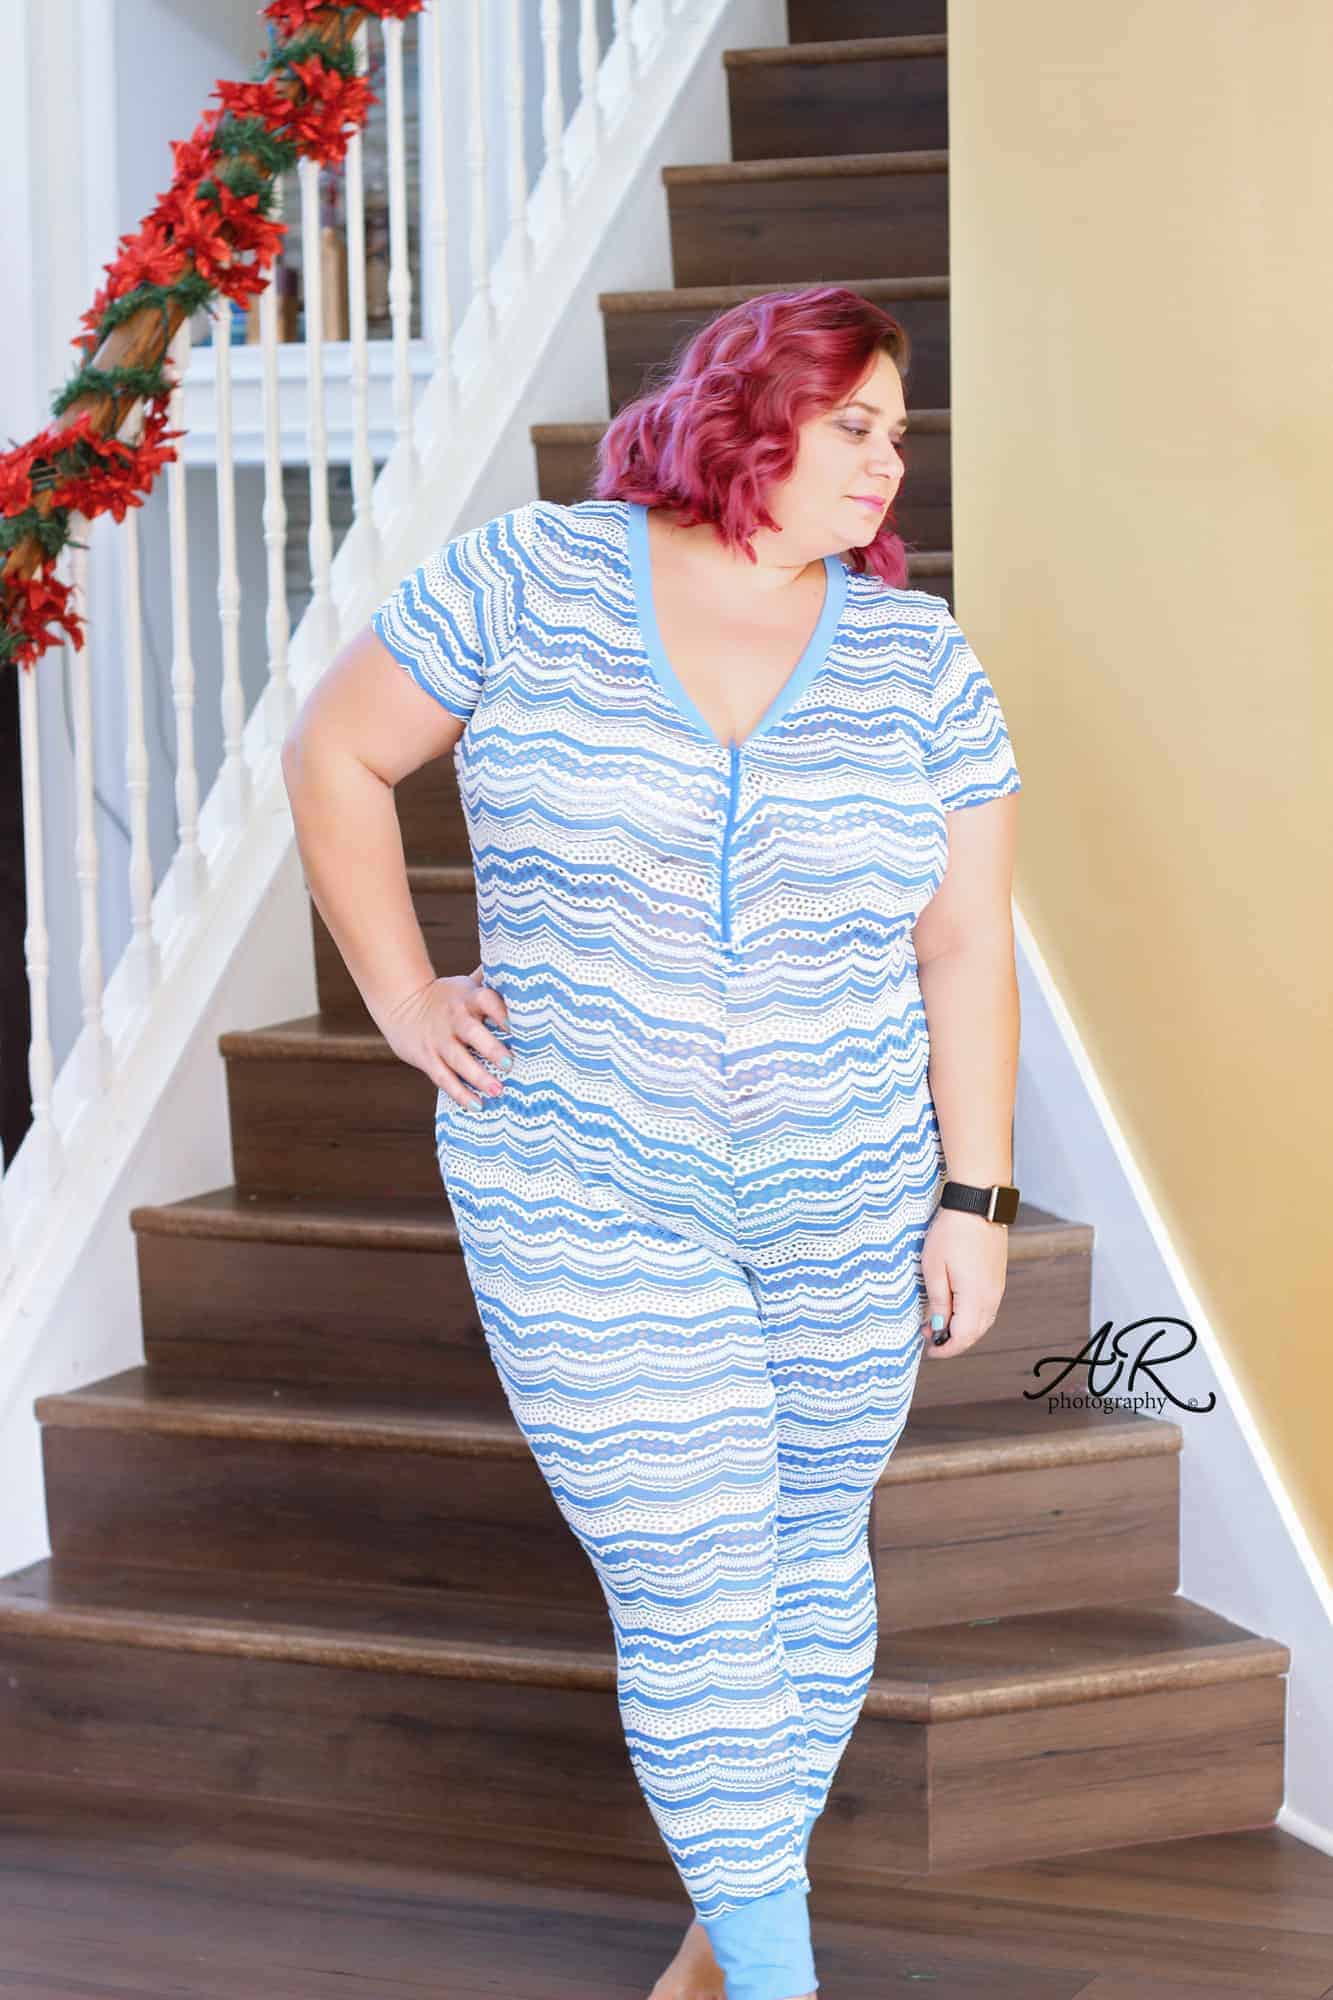
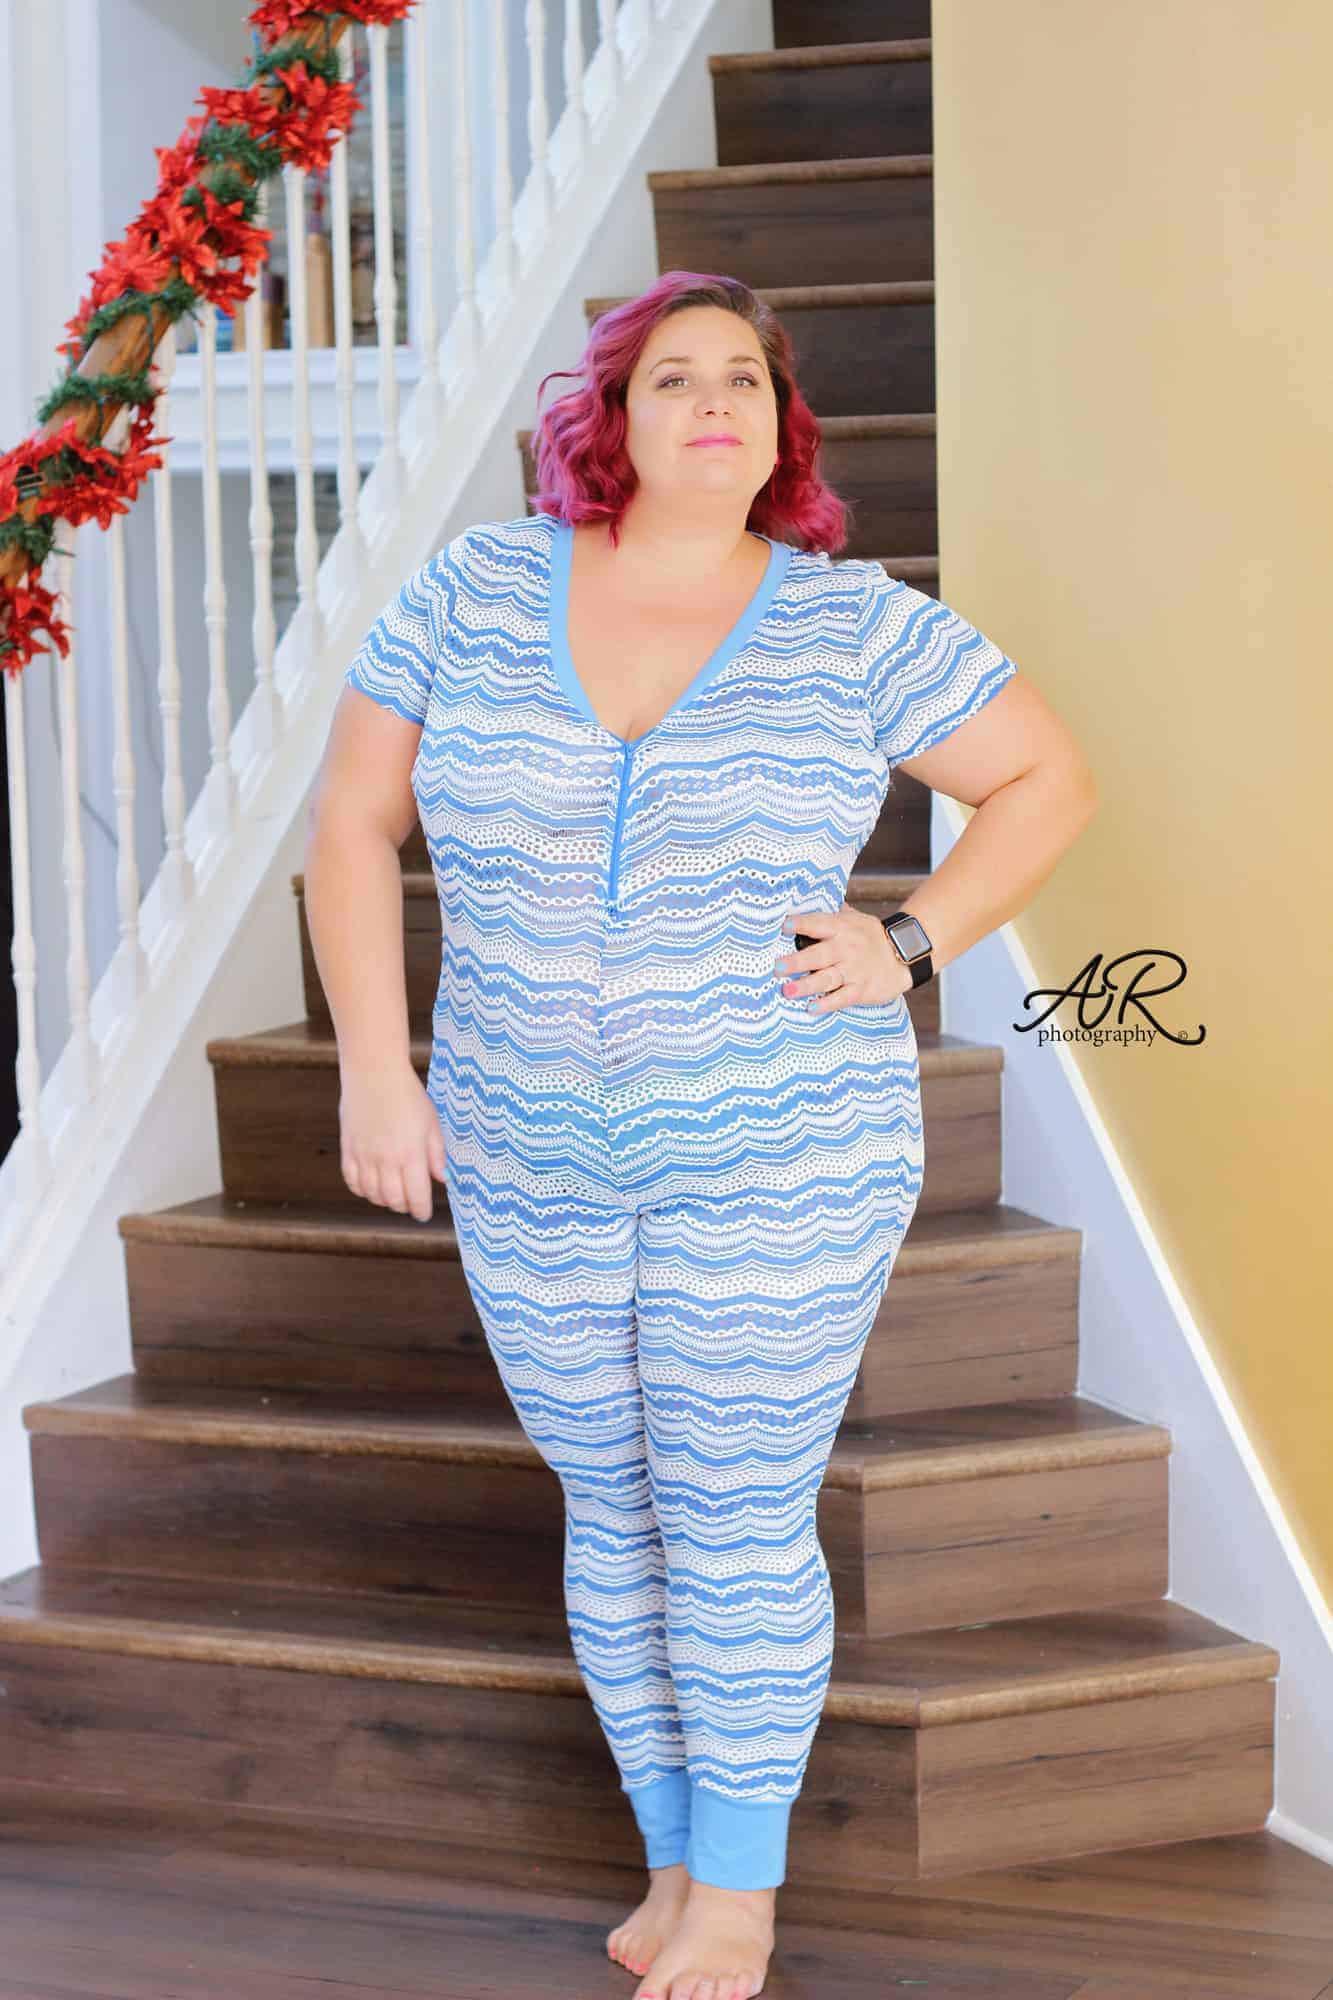
Both the adult and youth versions have a very loose, relaxed, even oversized fit. They are drafted with two sleeve lengths (short and long sleeve with cuffs), a large size range (XXS – Plus 3X in women’s and 3M – 14 in youth), have multiple length options (crop hemmed, crop with drawstring, shirt banded and curved tunic), two choices to finish off the neckline (traditional neckband and a hood) as well as a fun, optional front chest pocket. The back has a yoke at the top you can play up or down depending on fabric choices.
The Sporty Piko can make a great athletic top or a basic everyday tee too. They’re so quick and simple to sew up you will have a stack in no time!
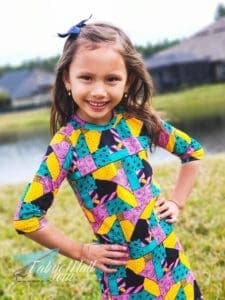
-

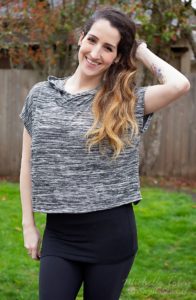
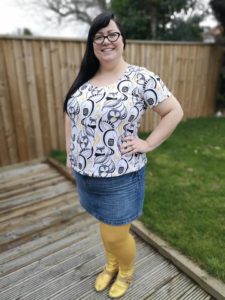
- Sporty Look Sporty Piko
-
- Sporty Look Sporty Piko
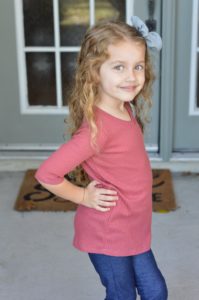
-

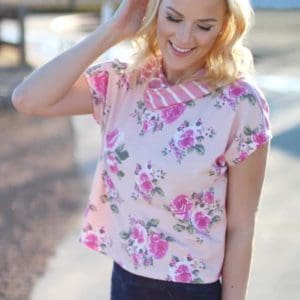
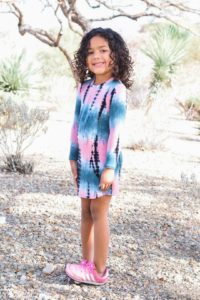
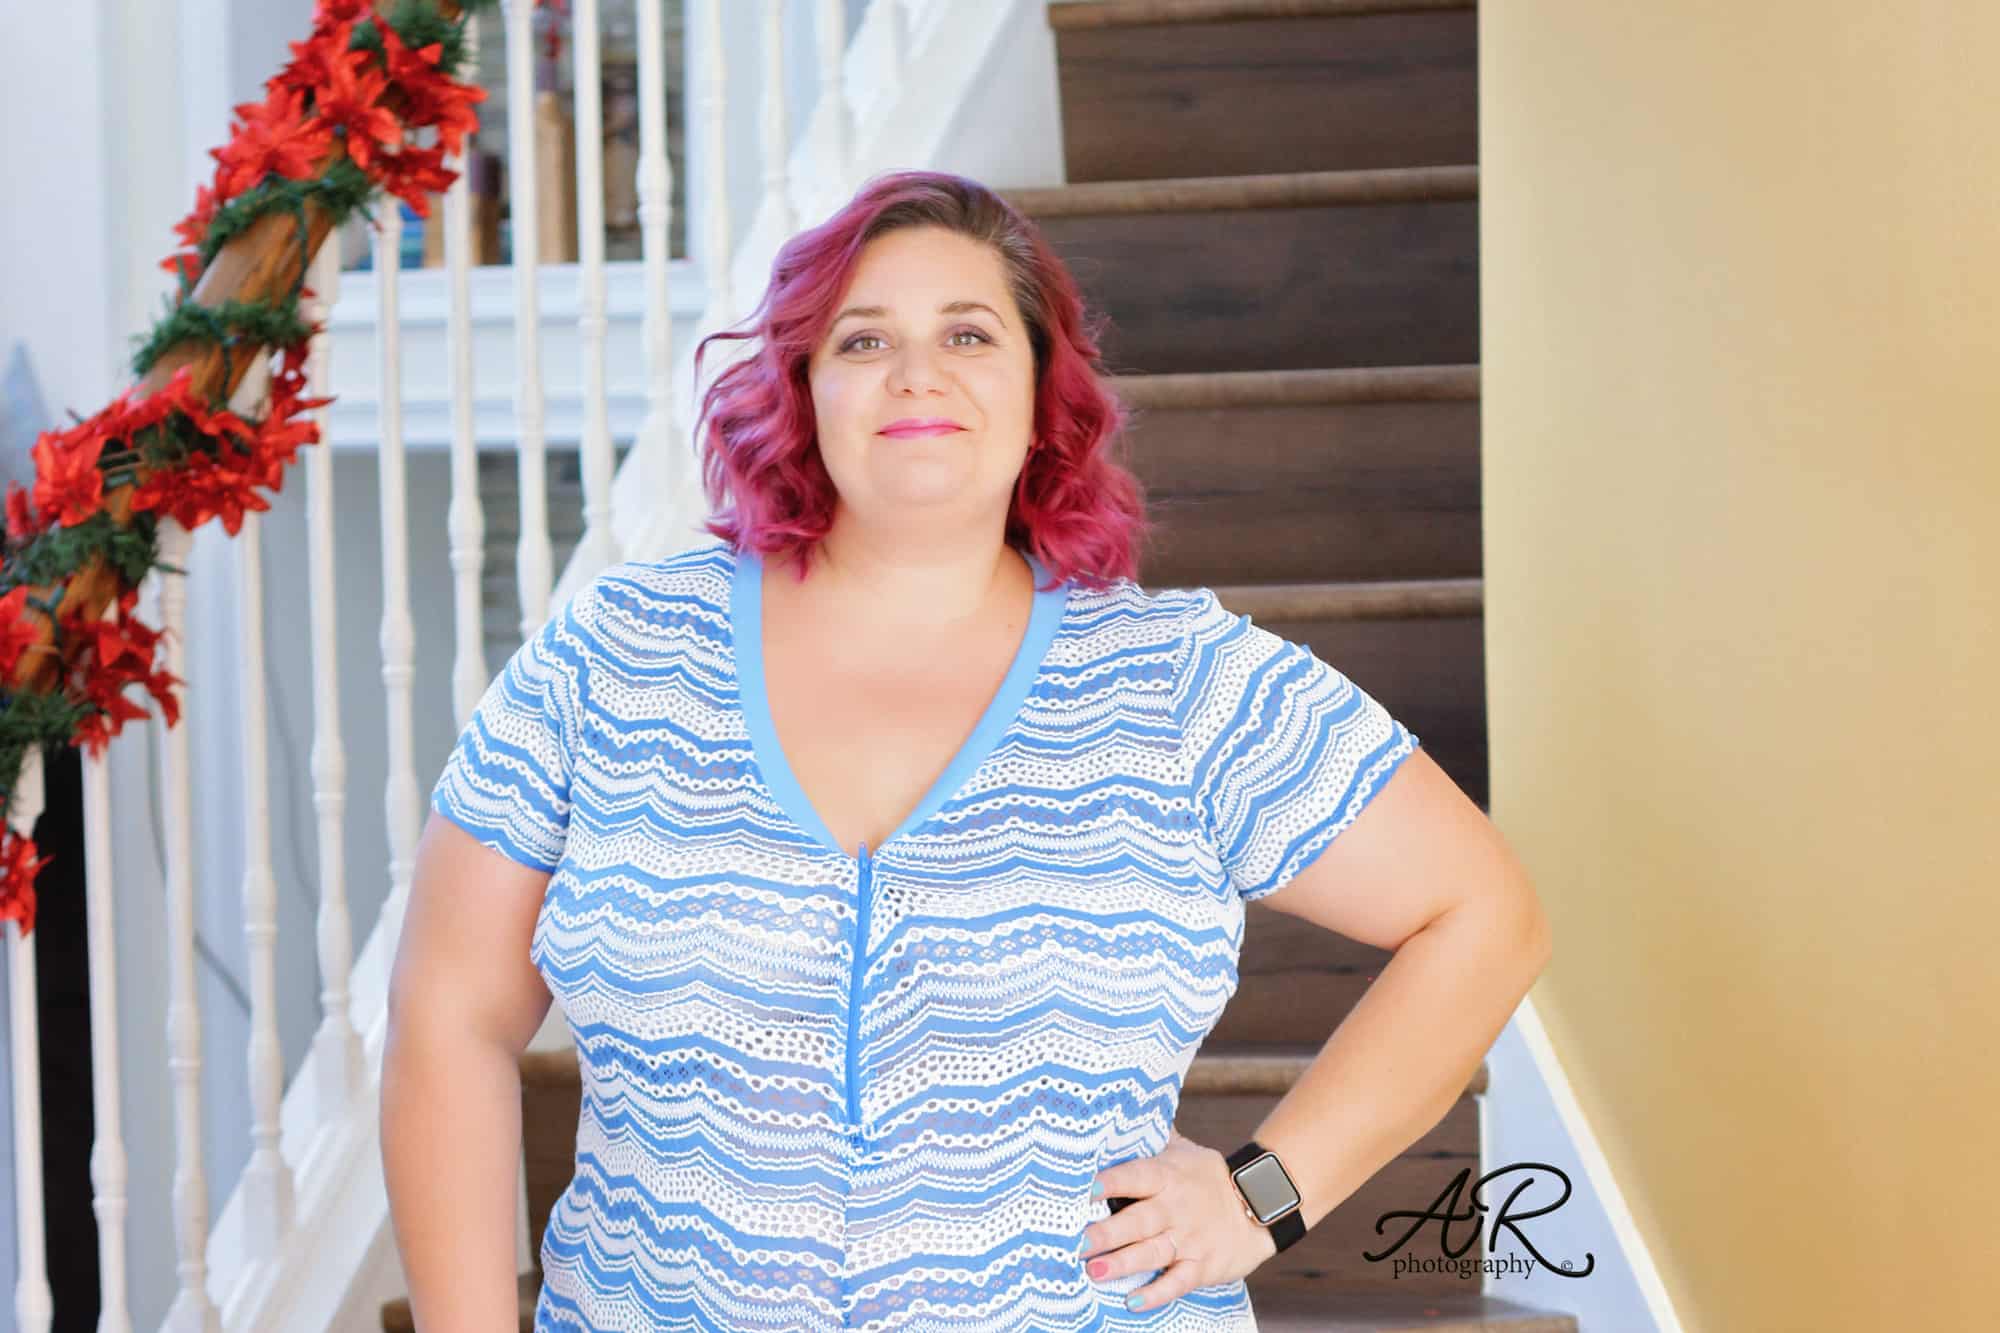
- Everyday Tee Look Sporty Piko

-
- Everyday Tee Look Sporty Piko
**Want to learn more about how to measure yourself for this pattern? We’ve got you covered with an in-depth blog HERE. And in case you’re new to Patterns for Pirates and PDF patterns in general, we have a great blog full of new user tips HERE to help you get started! As with all of our current releases and updates, the pdfs now include our layers feature and can be found in Letter, A4 and A0 sizes. And for even more helpful fun, we have a *free* printable that you can use to help record your measurements as you take them.
Let’s take a quick look at the different options!
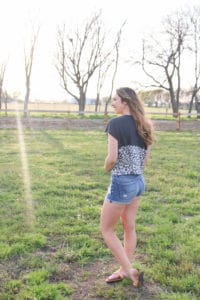
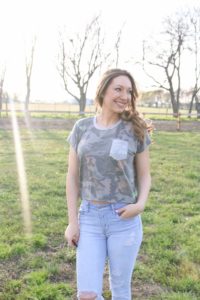
SHORT SLEEVE
-

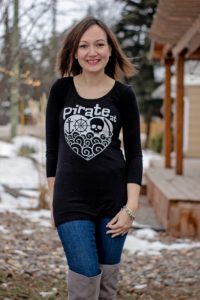
- Short Sleeve Sporty Piko
-

- Short Sleeve Option Sporty Piko
-
- Short Sleeve Sporty Piko

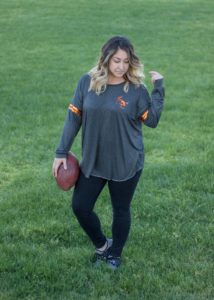
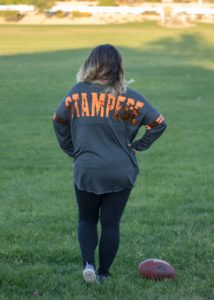
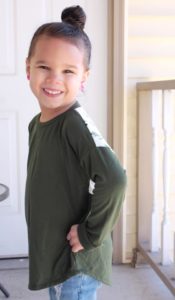
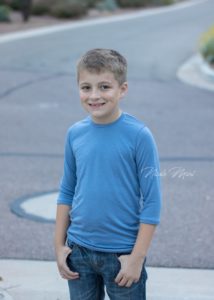
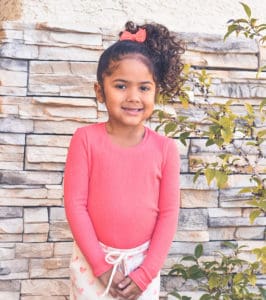
LONG SLEEVE WITH CUFF
-

- Long Sleeve Sporty Piko

-
- Long Sleeve Sporty Piko

-
- Long Sleeve Sporty Piko

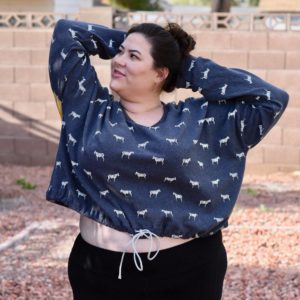
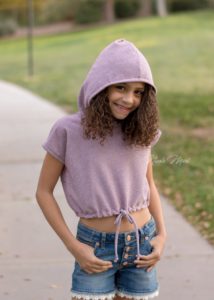
CROP HEMMED OR DRAWSTRING
-

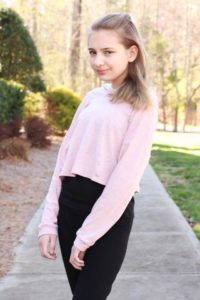
- Cropped Hemmed Sporty Piko

-
- Cropped Hemmed Sporty Piko
-
- Cropped Drawstring Sporty Piko

-
- Cropped Drawstring Sporty Piko

-
- Cropped Hemmed Sporty Piko

-

- Cropped Hemmed Sporty Piko
-
- Crop Drawstring Sporty Piko
-
- Crop Drawstring Sporty Piko

SHIRT BANDED OR CURVED TUNIC
-
- Curved Tunic Sporty Piko
-

- Curved Tunic Sporty Piko
-
- Shirt Banded Sporty Piko
-
- Shirt Banded Sporty Piko

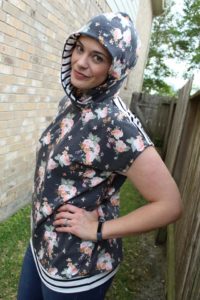
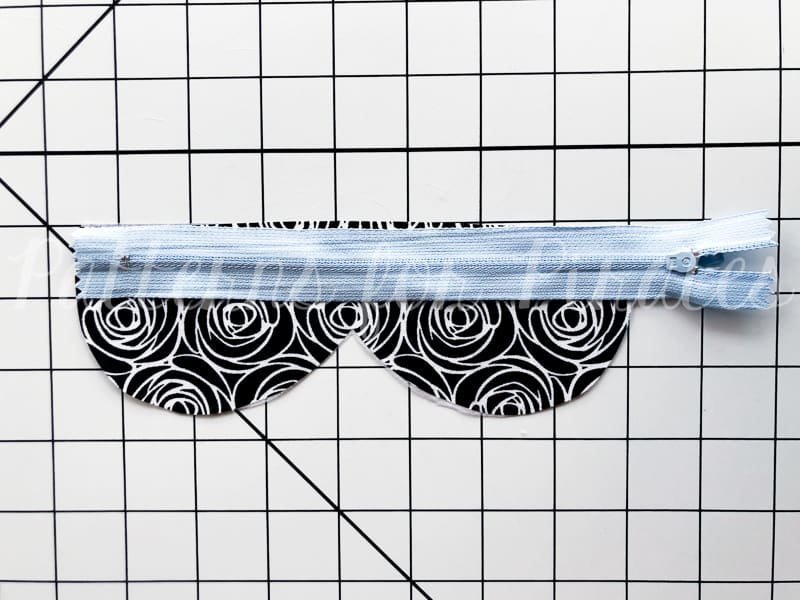
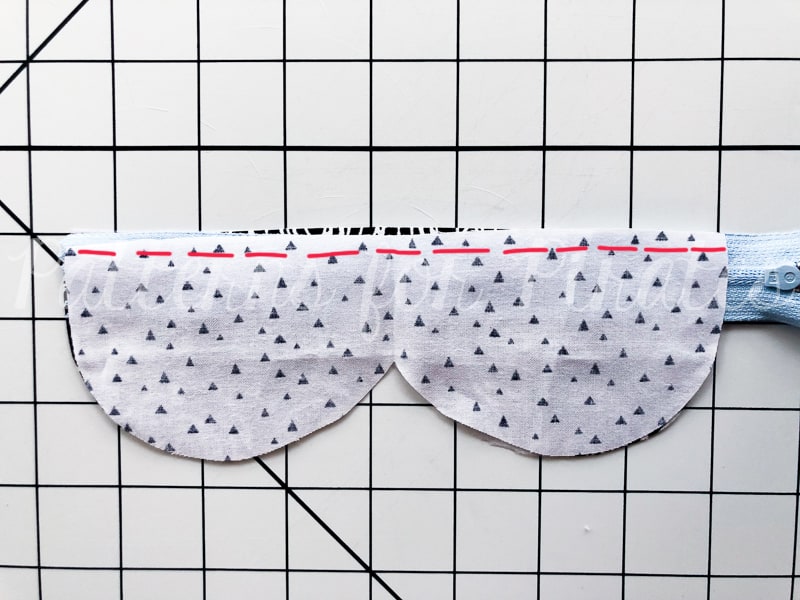
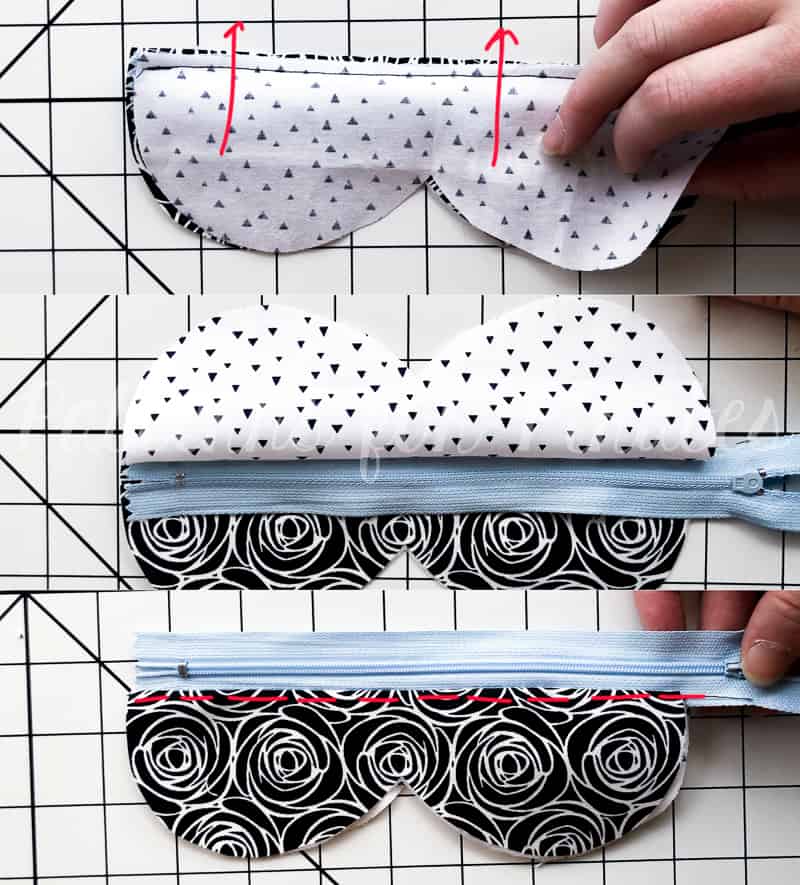
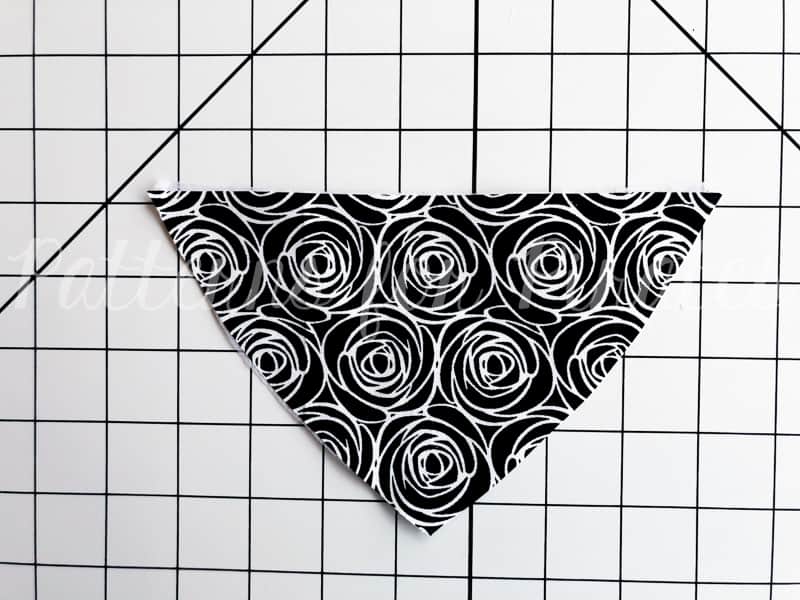
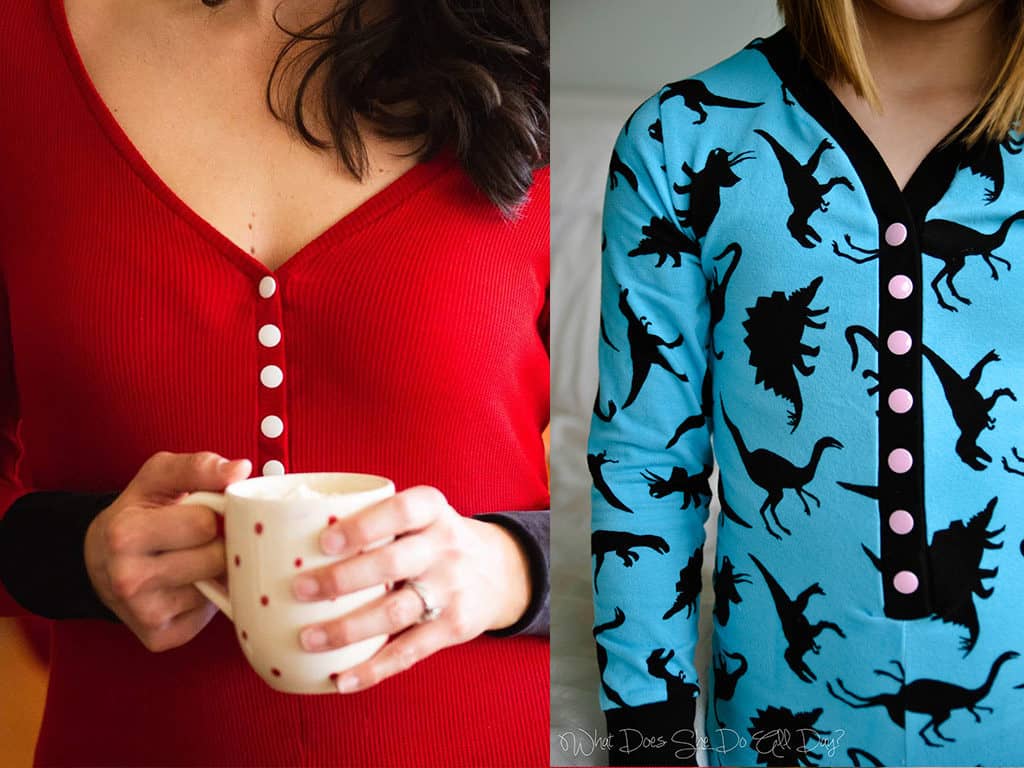
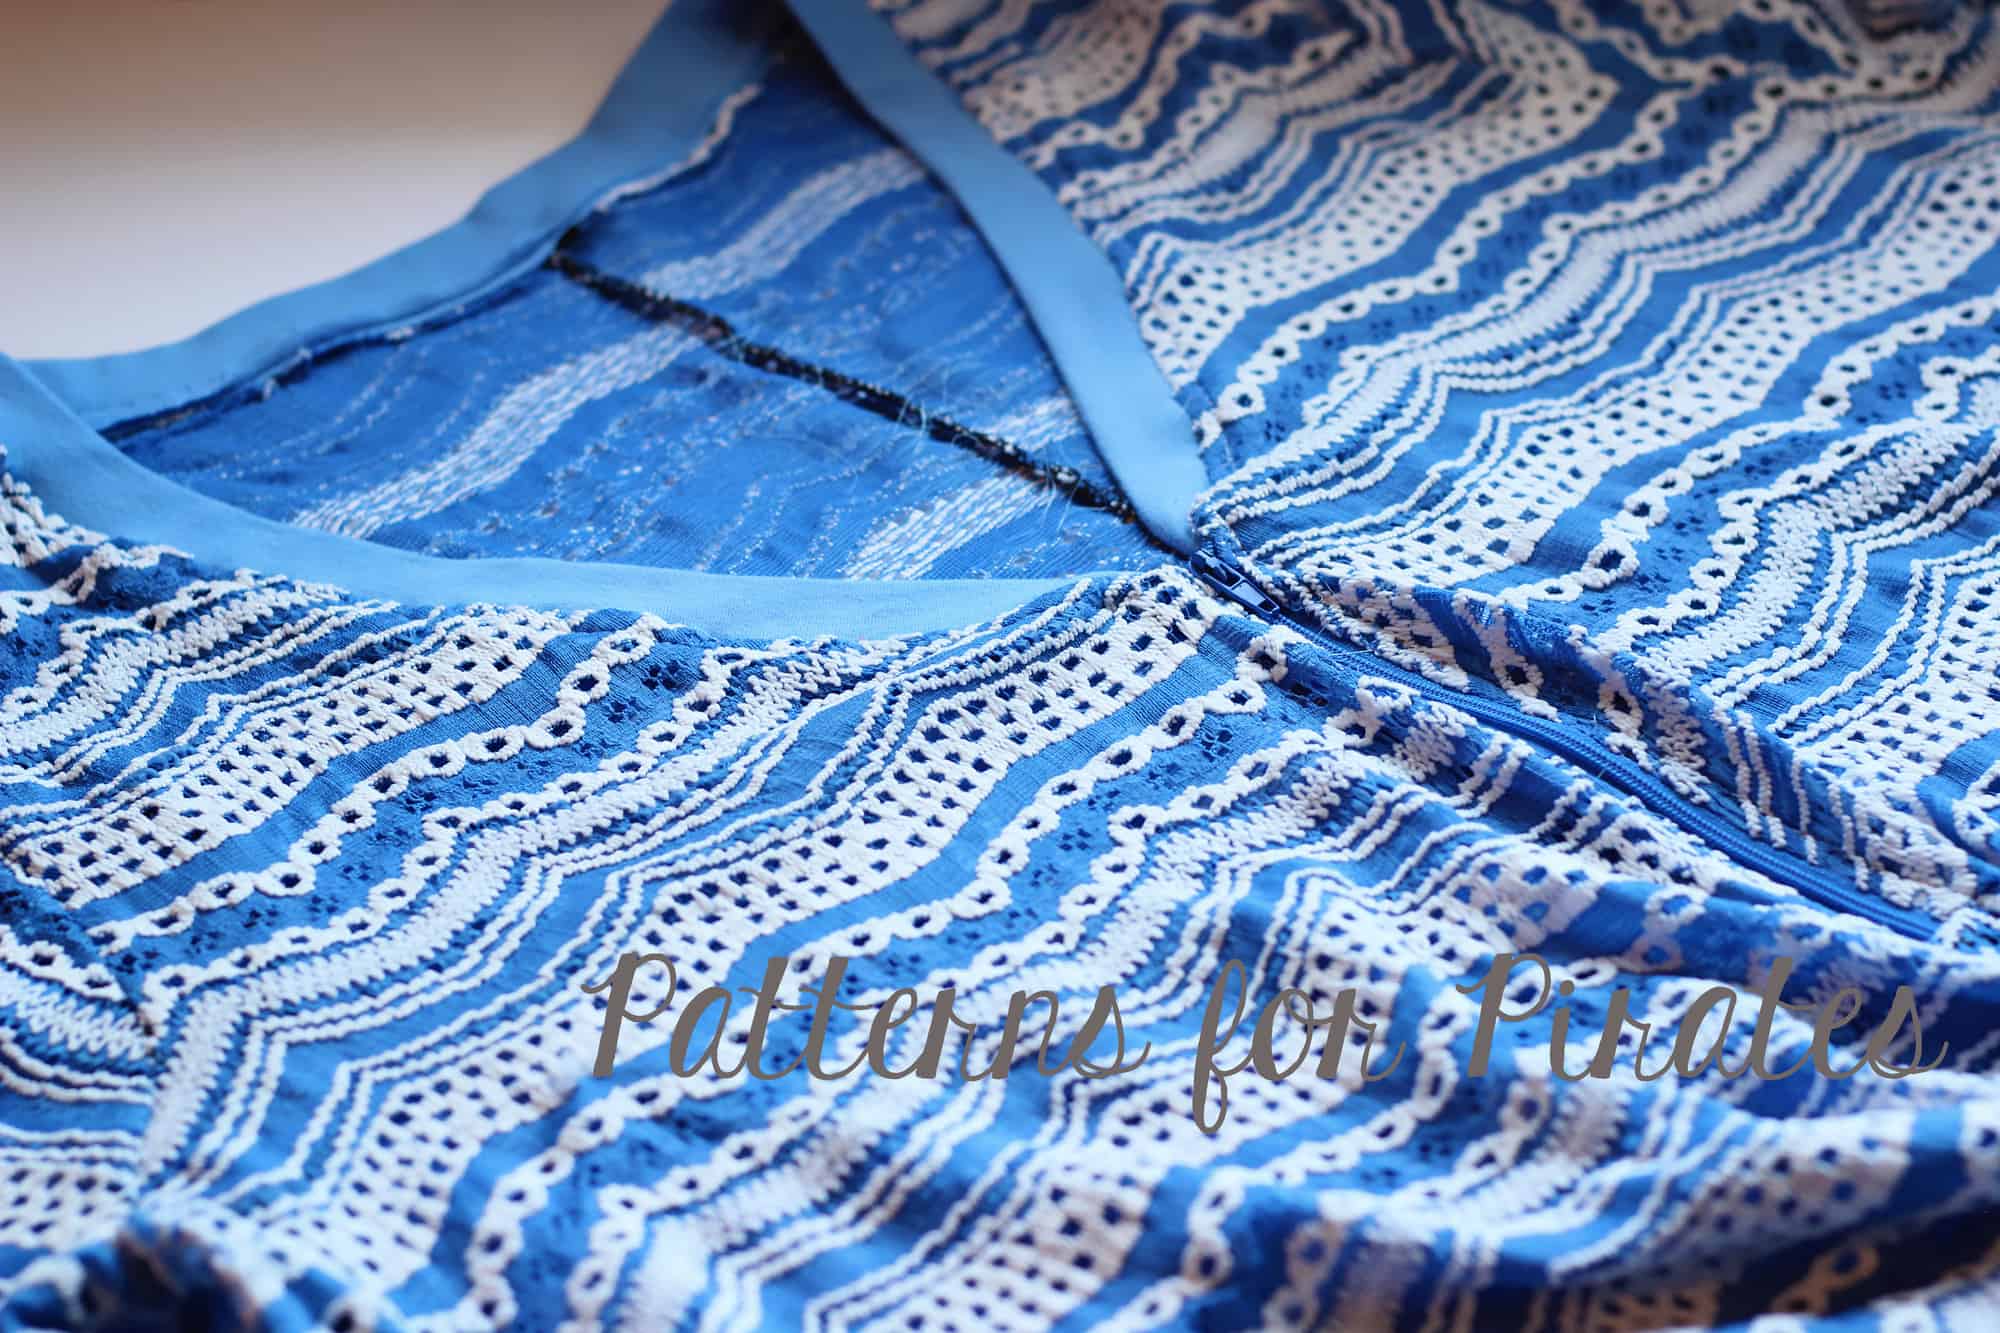
NECKBAND OR HOOD
-
- Neckband Sporty Piko

-
- Neckband Sporty Piko

-
- Hood Sporty Piko
-
- Hood Sporty Piko
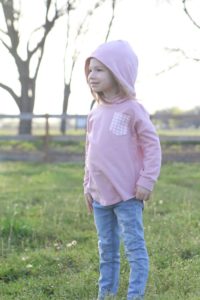
FRONT CHEST POCKET
-
- Front Chest Pocket Sporty Piko
-
- Front Chest Pocket Sporty Piko
-
- Front Chest Pocket Sporty Piko

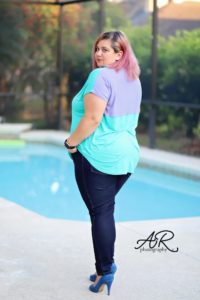
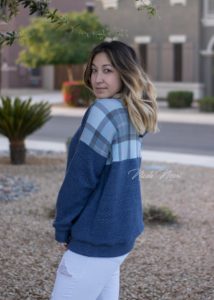
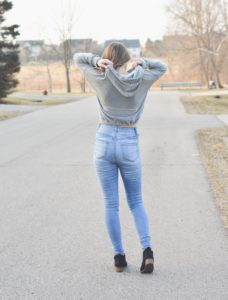
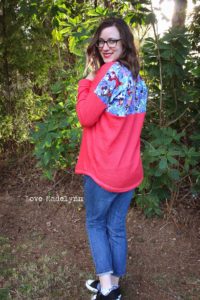
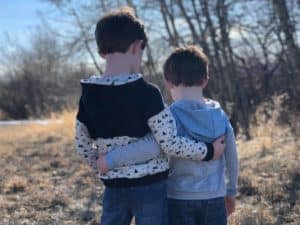
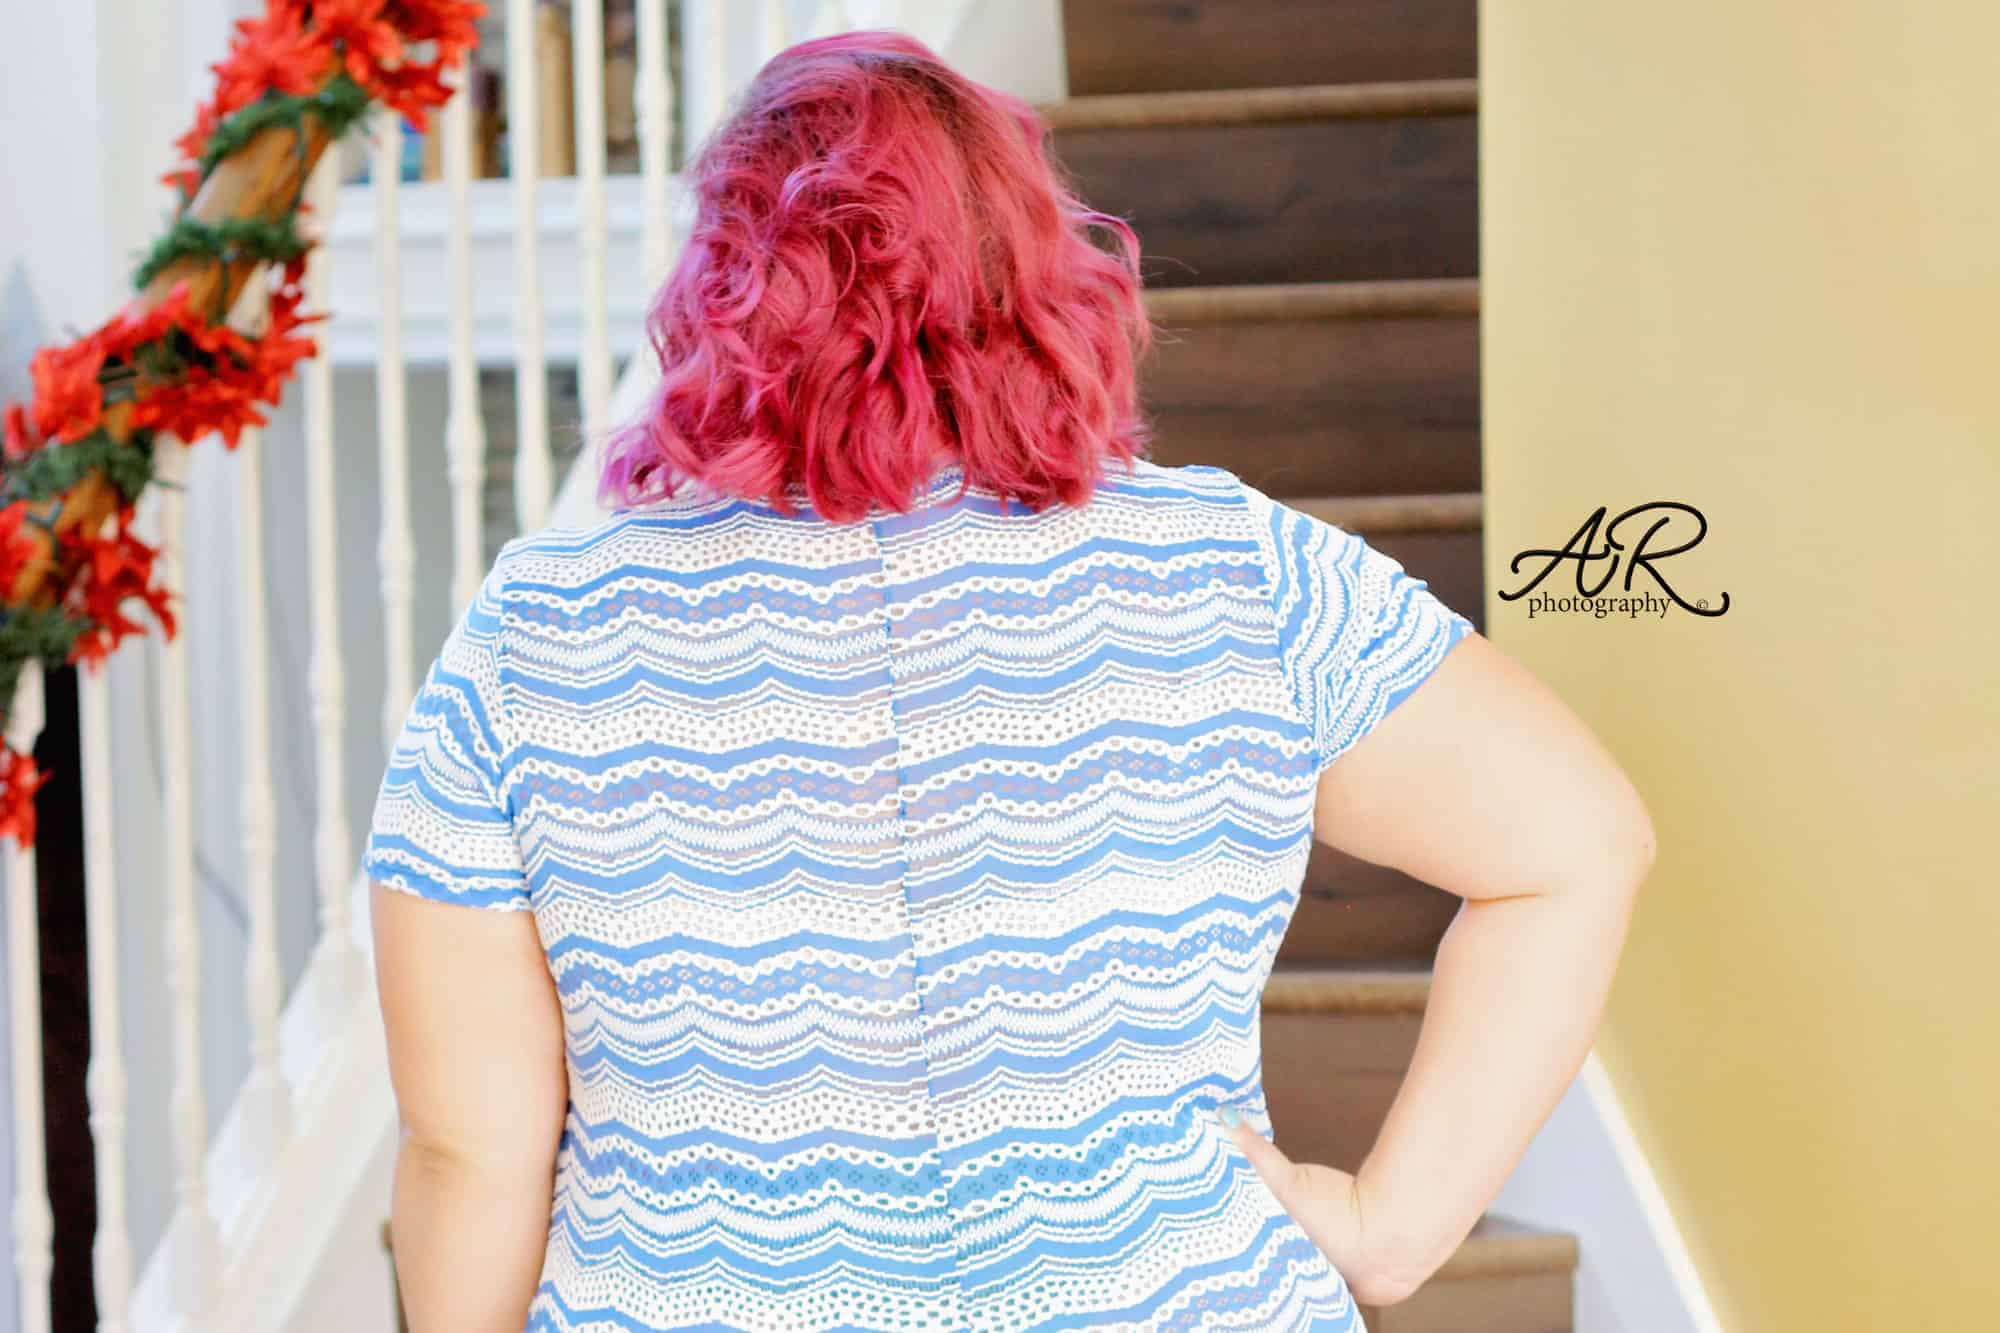
BACK VIEW
-

- Back View Sporty Piko

-

- Back View Sporty Piko
-
- Back View Sporty Piko
-

- Back View Sporty Piko
The most difficult thing will be to decide what option to sew up first! Go grab your pattern(s) now and go ahead and plan one of each!
SPORTY PIKO | SPORTY PIKO YOUTH | SPORTY PIKO BUNDLE
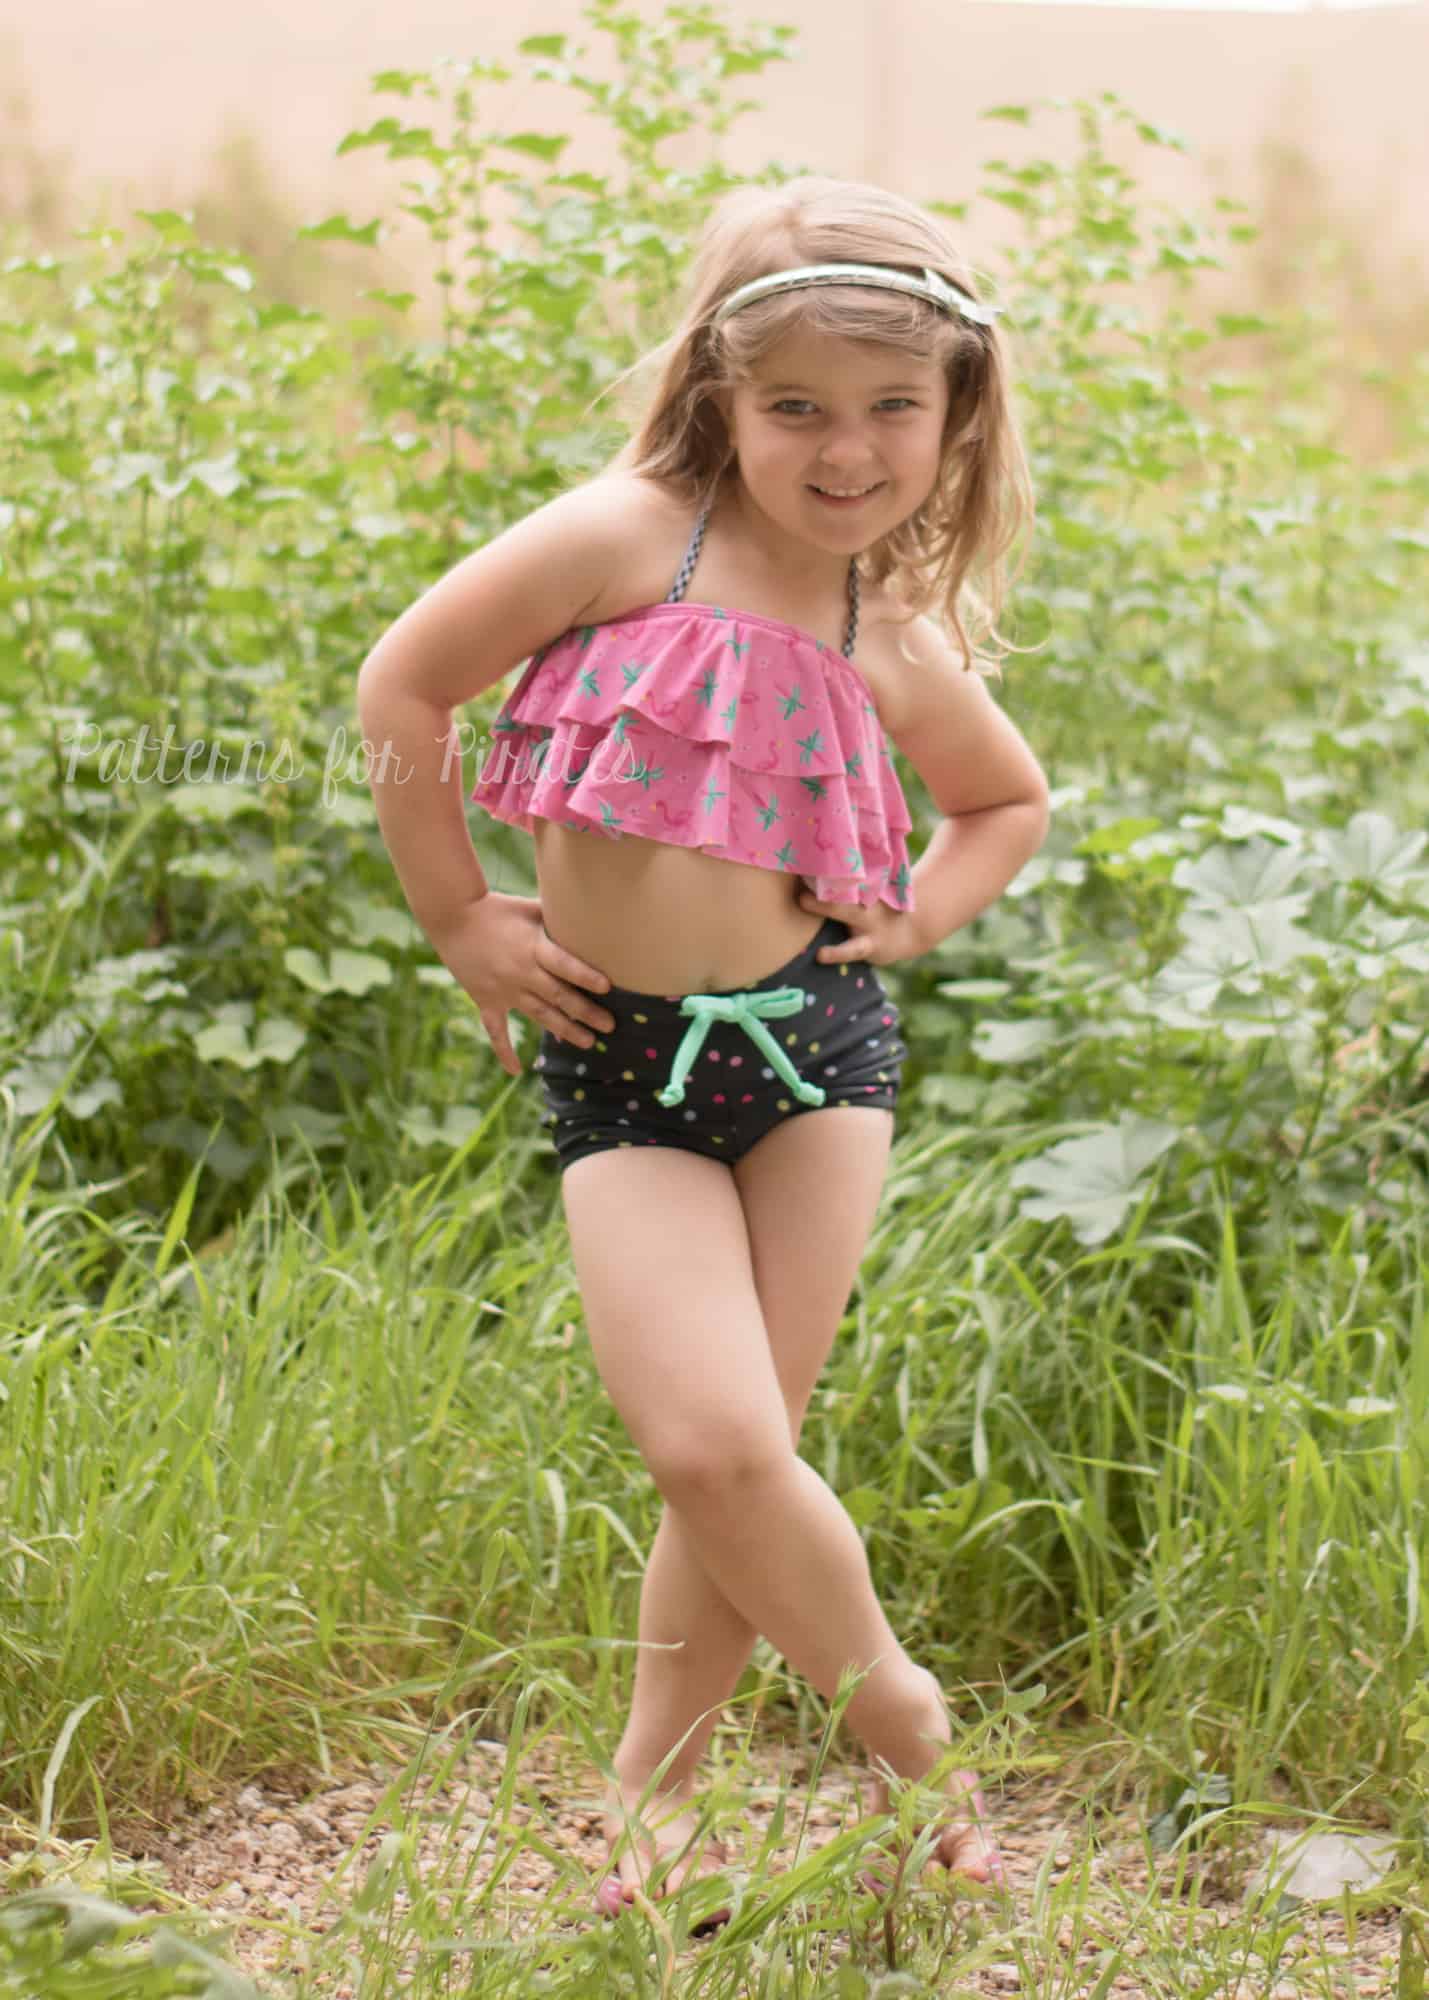
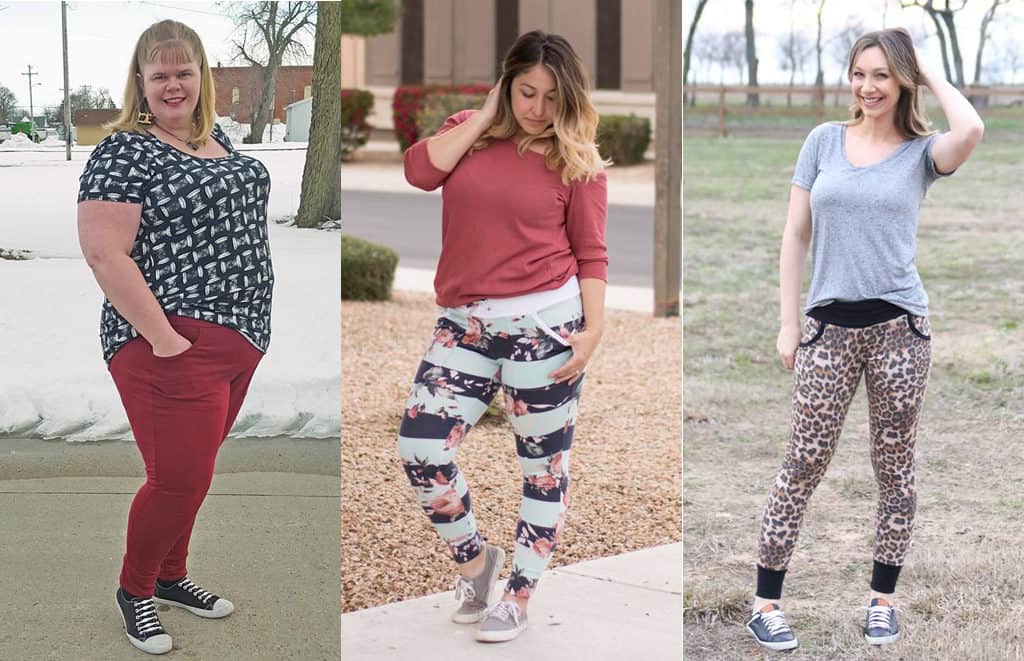
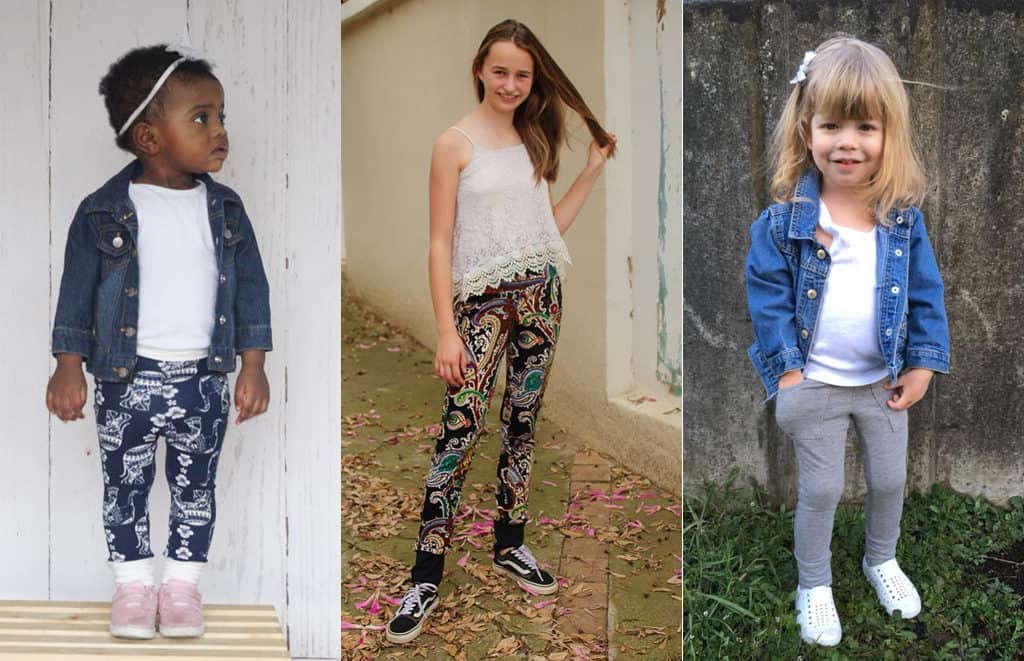
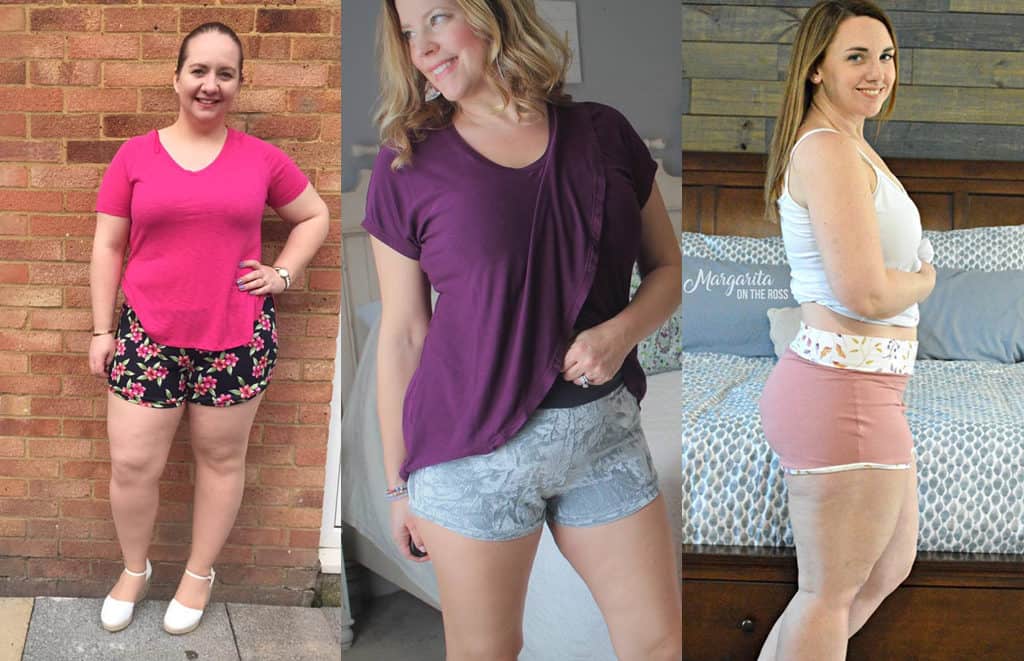
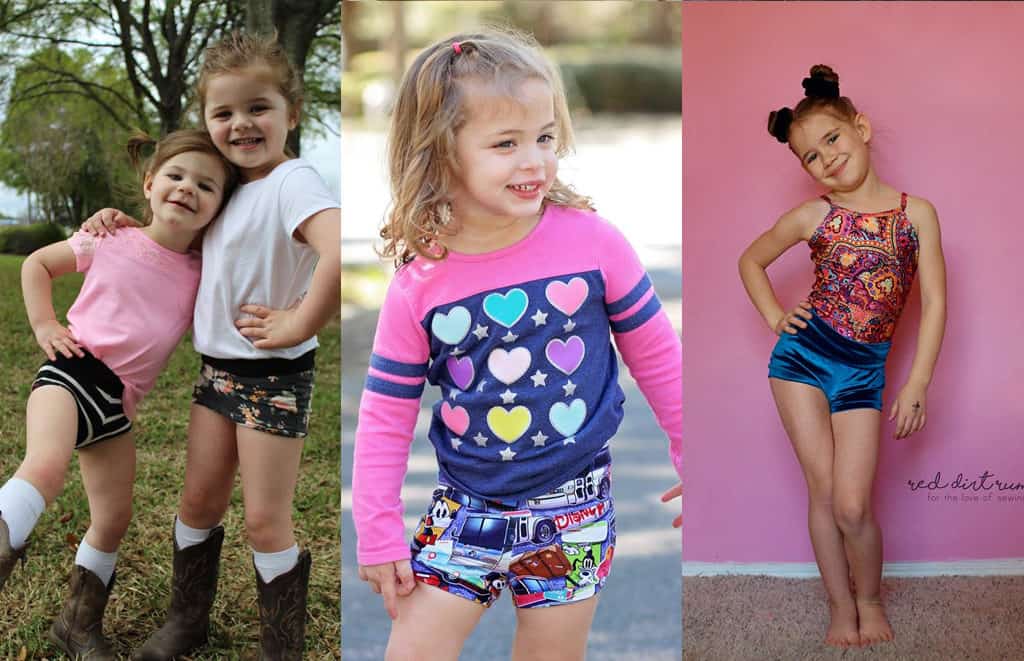
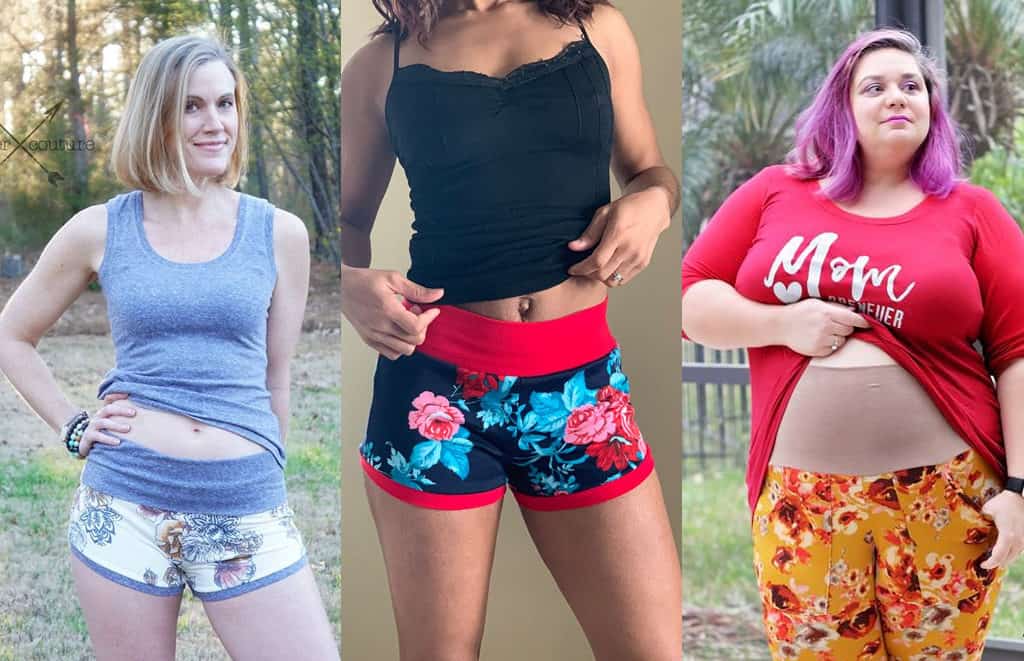
Need more convincing? Just take a look at this pattern on all of the amazing shapes and sizes of our testers, and get a look at more examples of all the options in our albums in the P4P Facebook group! Sporty Piko Album | Sporty Piko-Youth Album
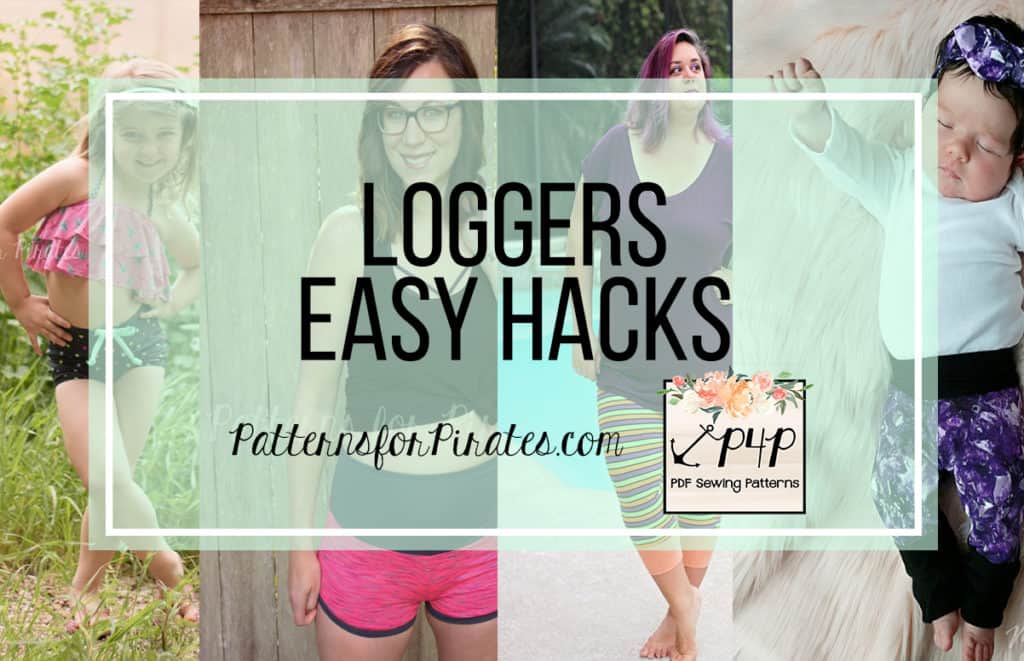
And if that didn’t give you enough options, make sure to check out the hacks post to help take your patterns even further.
The release sale (no code needed) will be through Saturday, April 6, 2019 (11:59PM US Central Time Zone).
Happy Sewing, pirates!

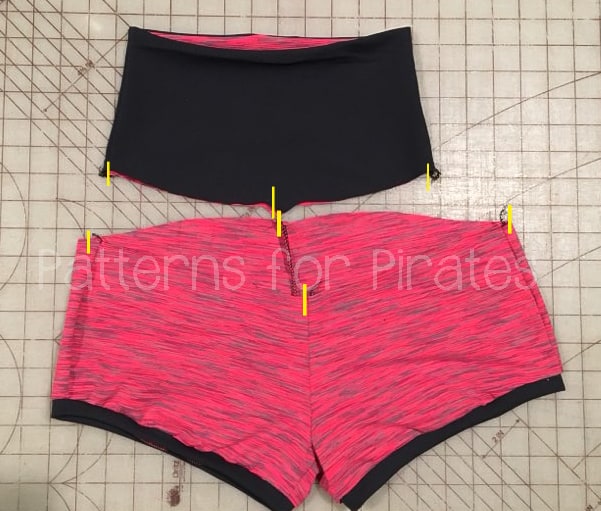
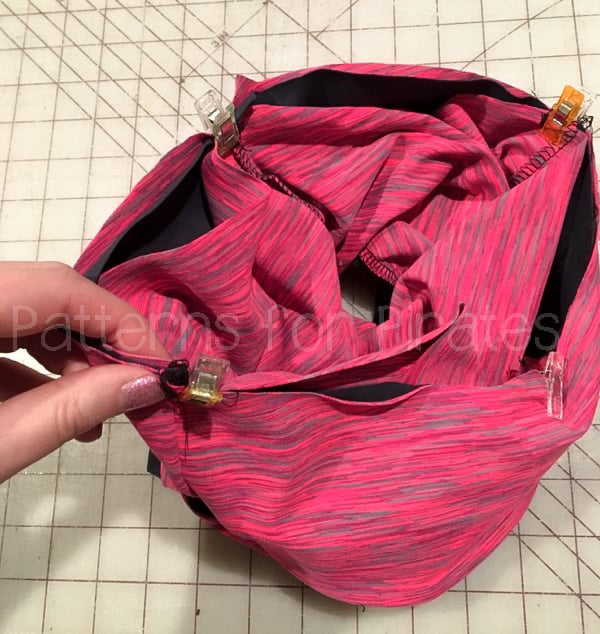
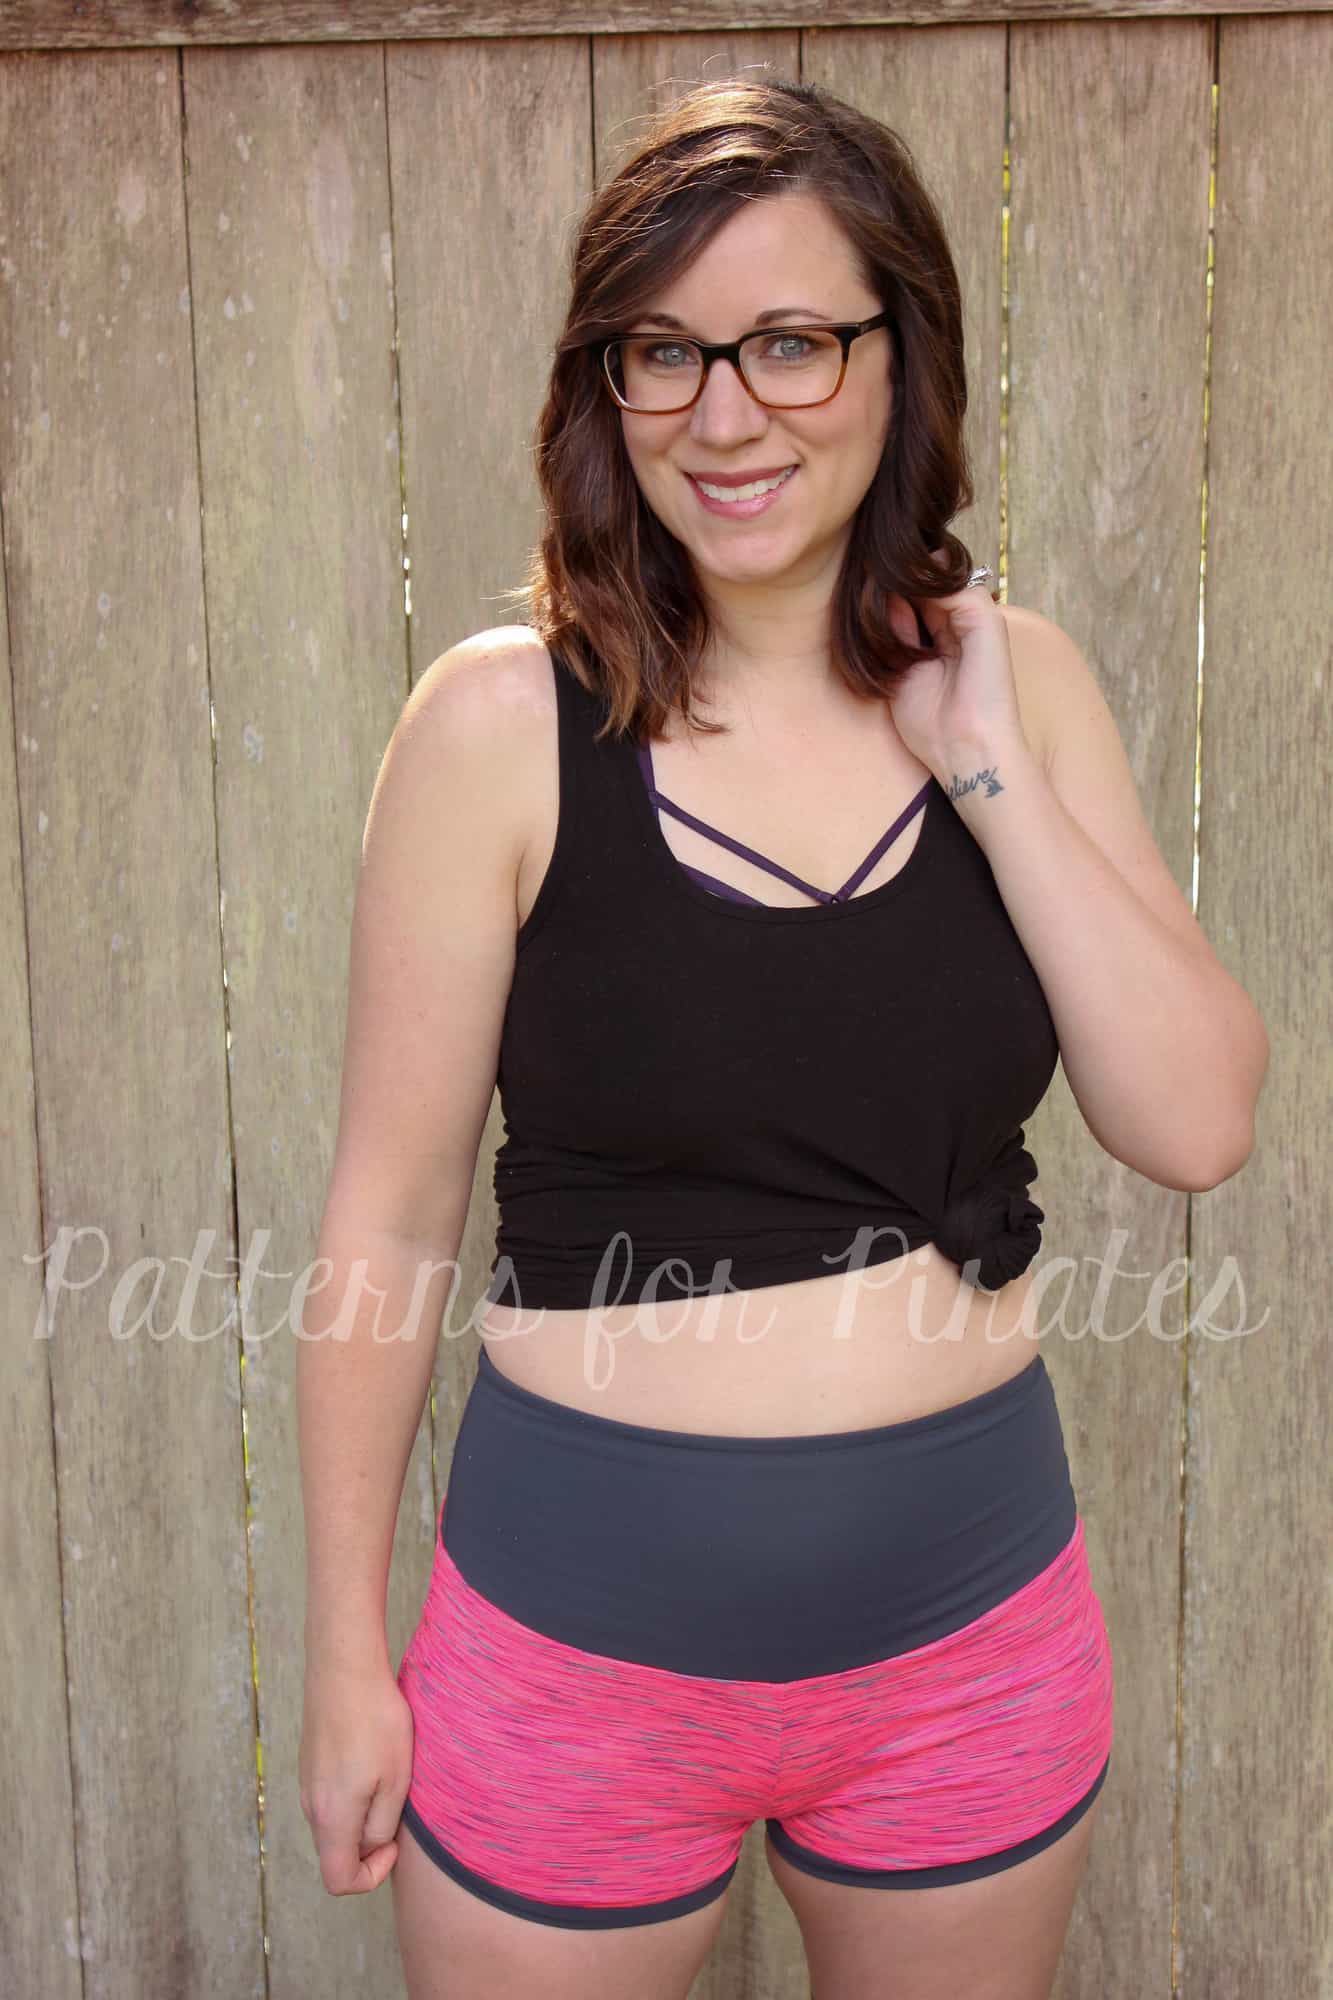

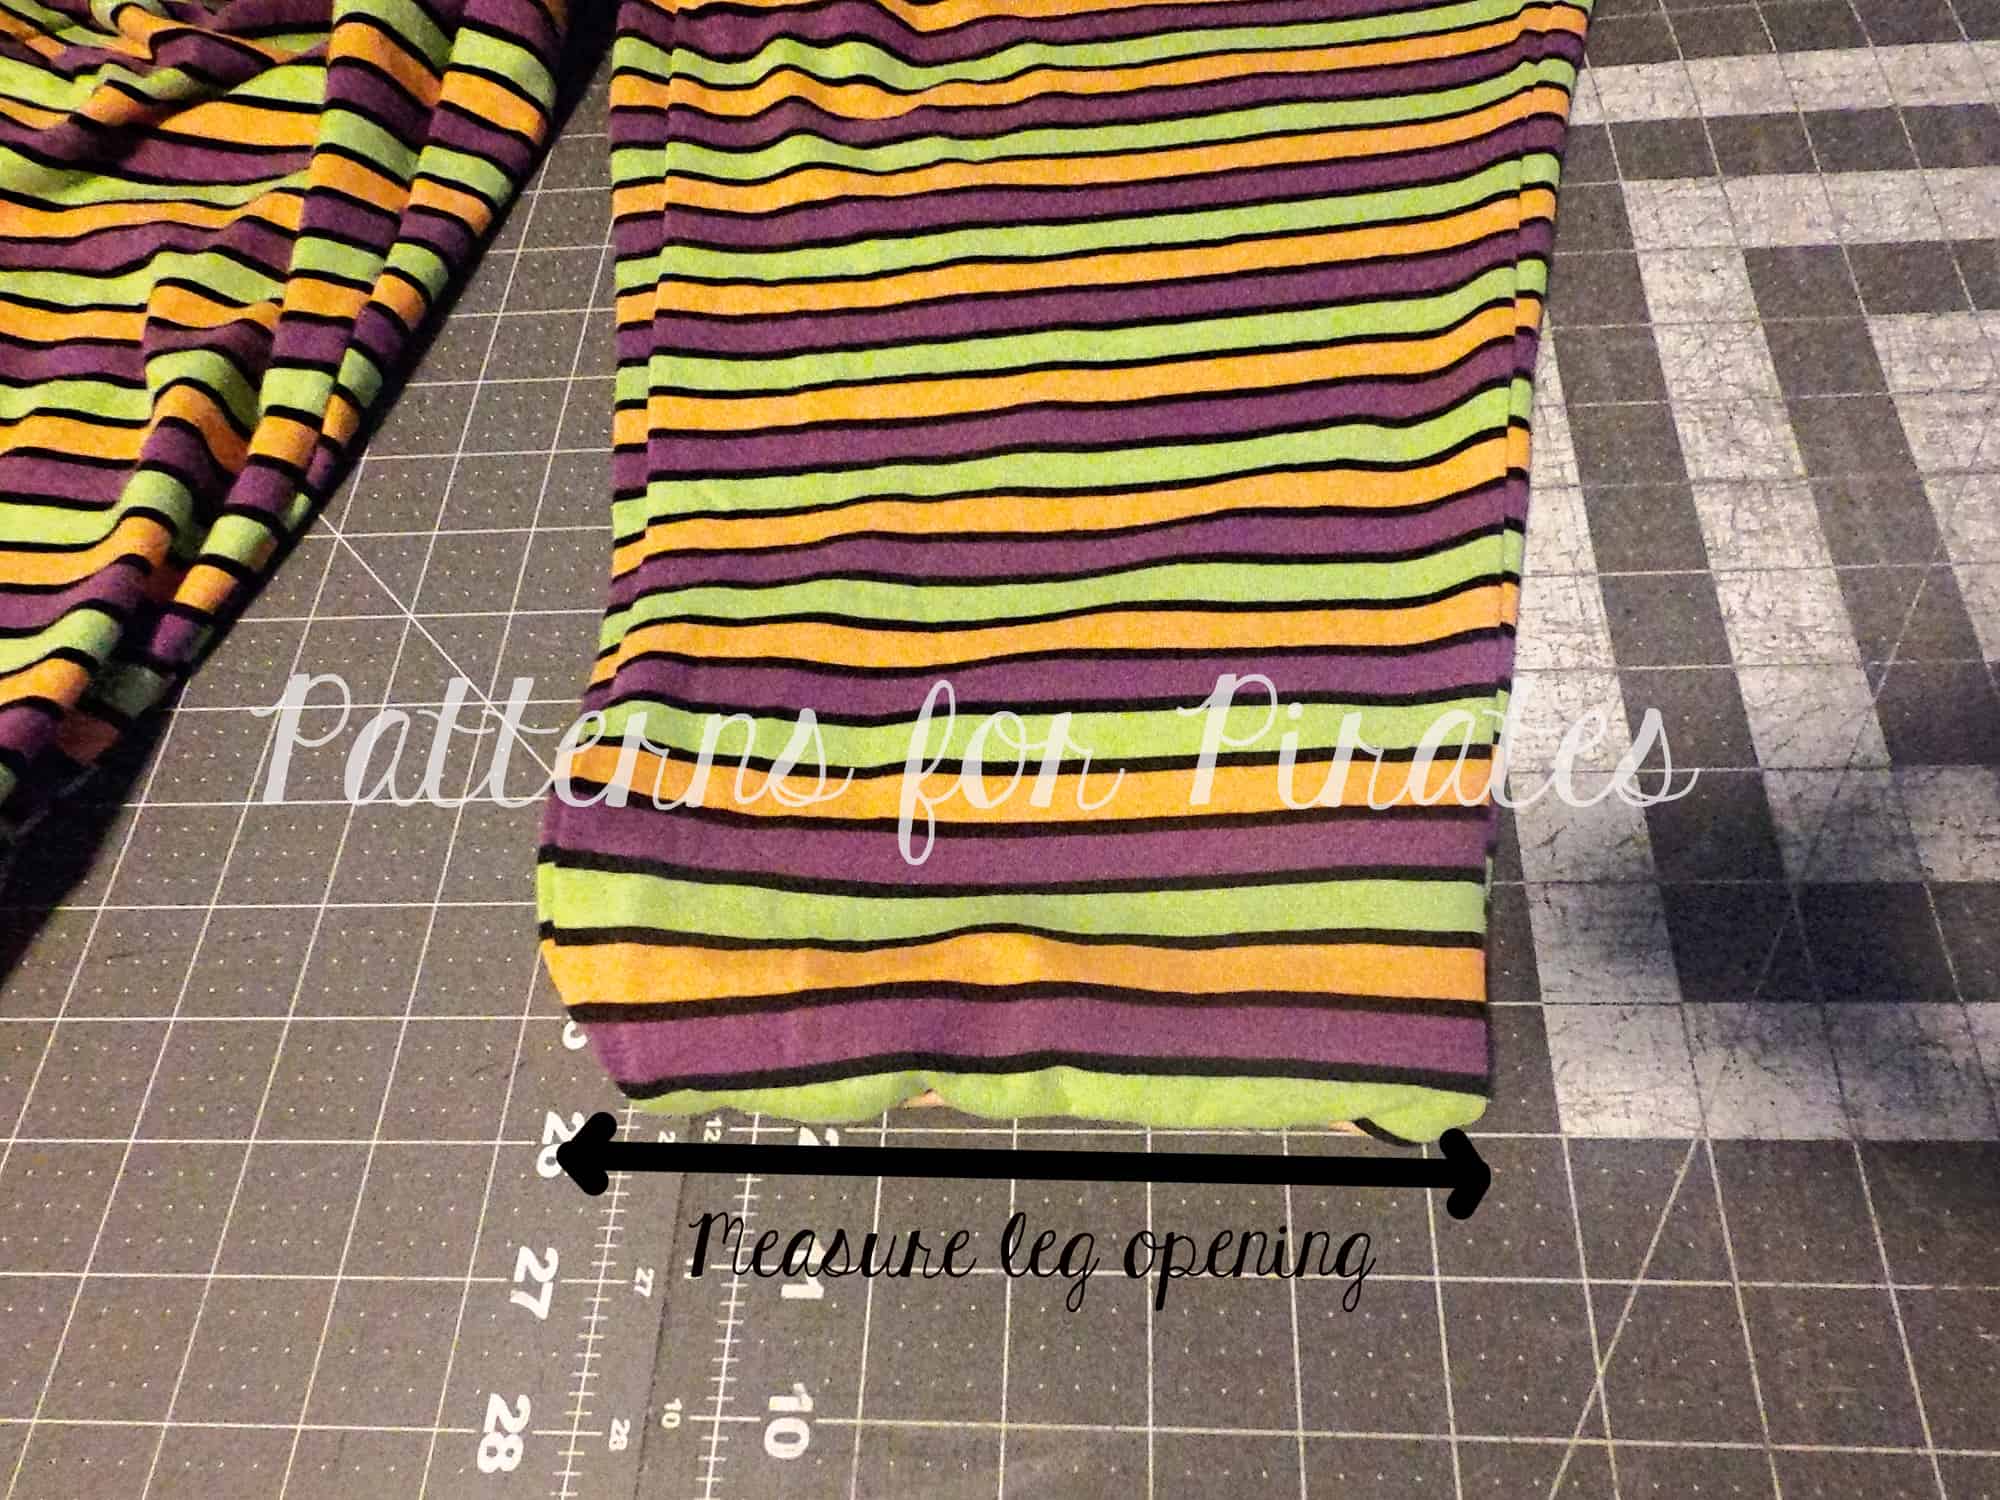
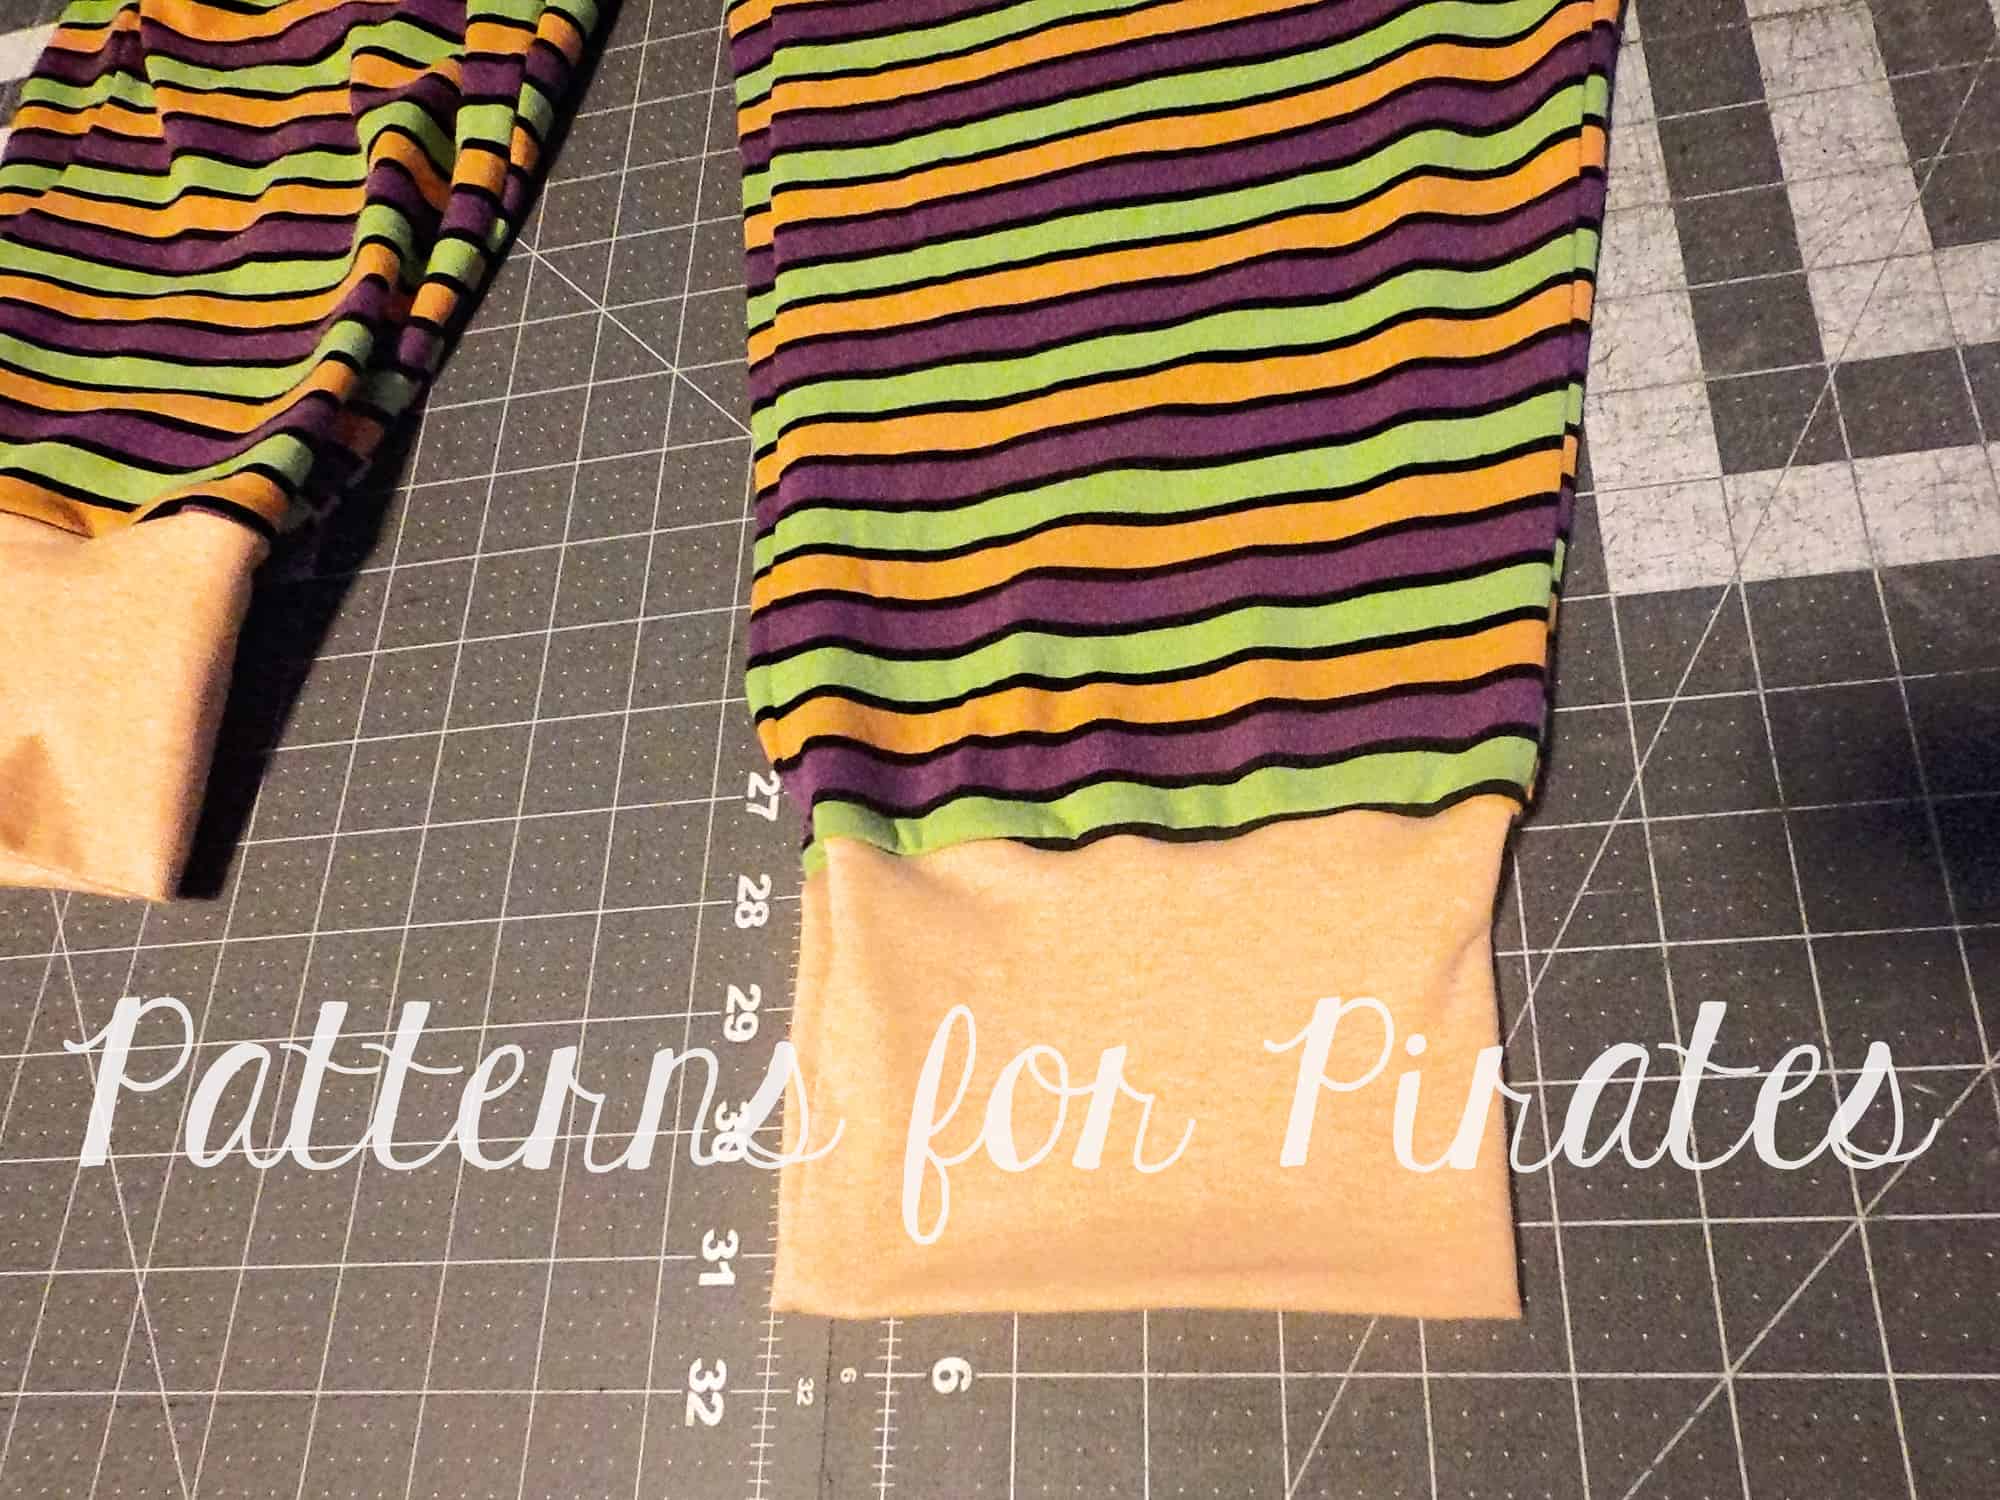

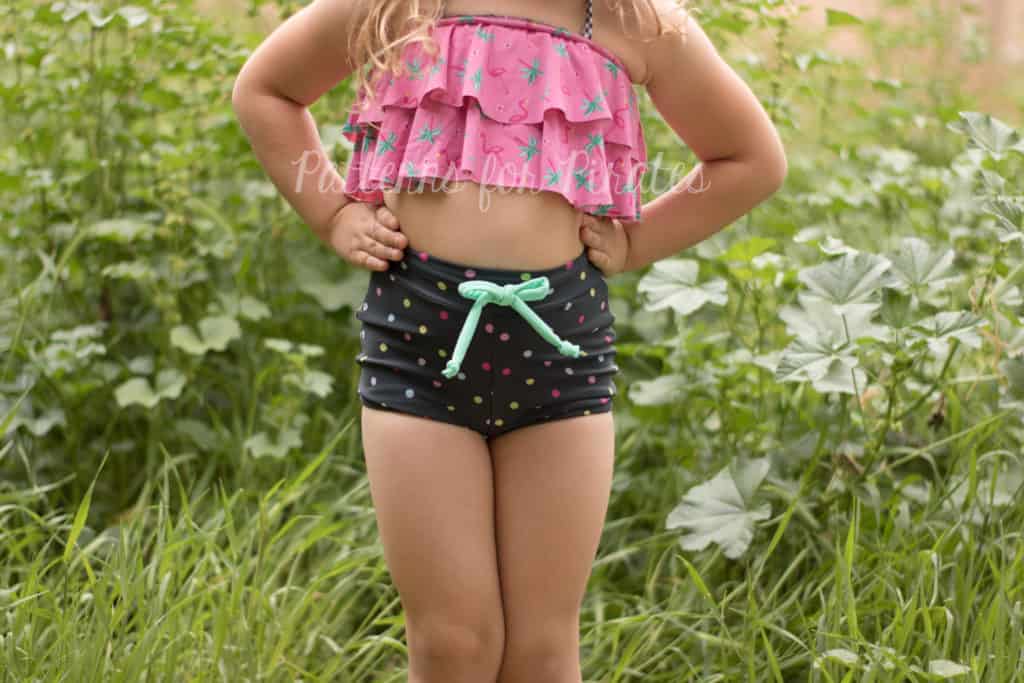
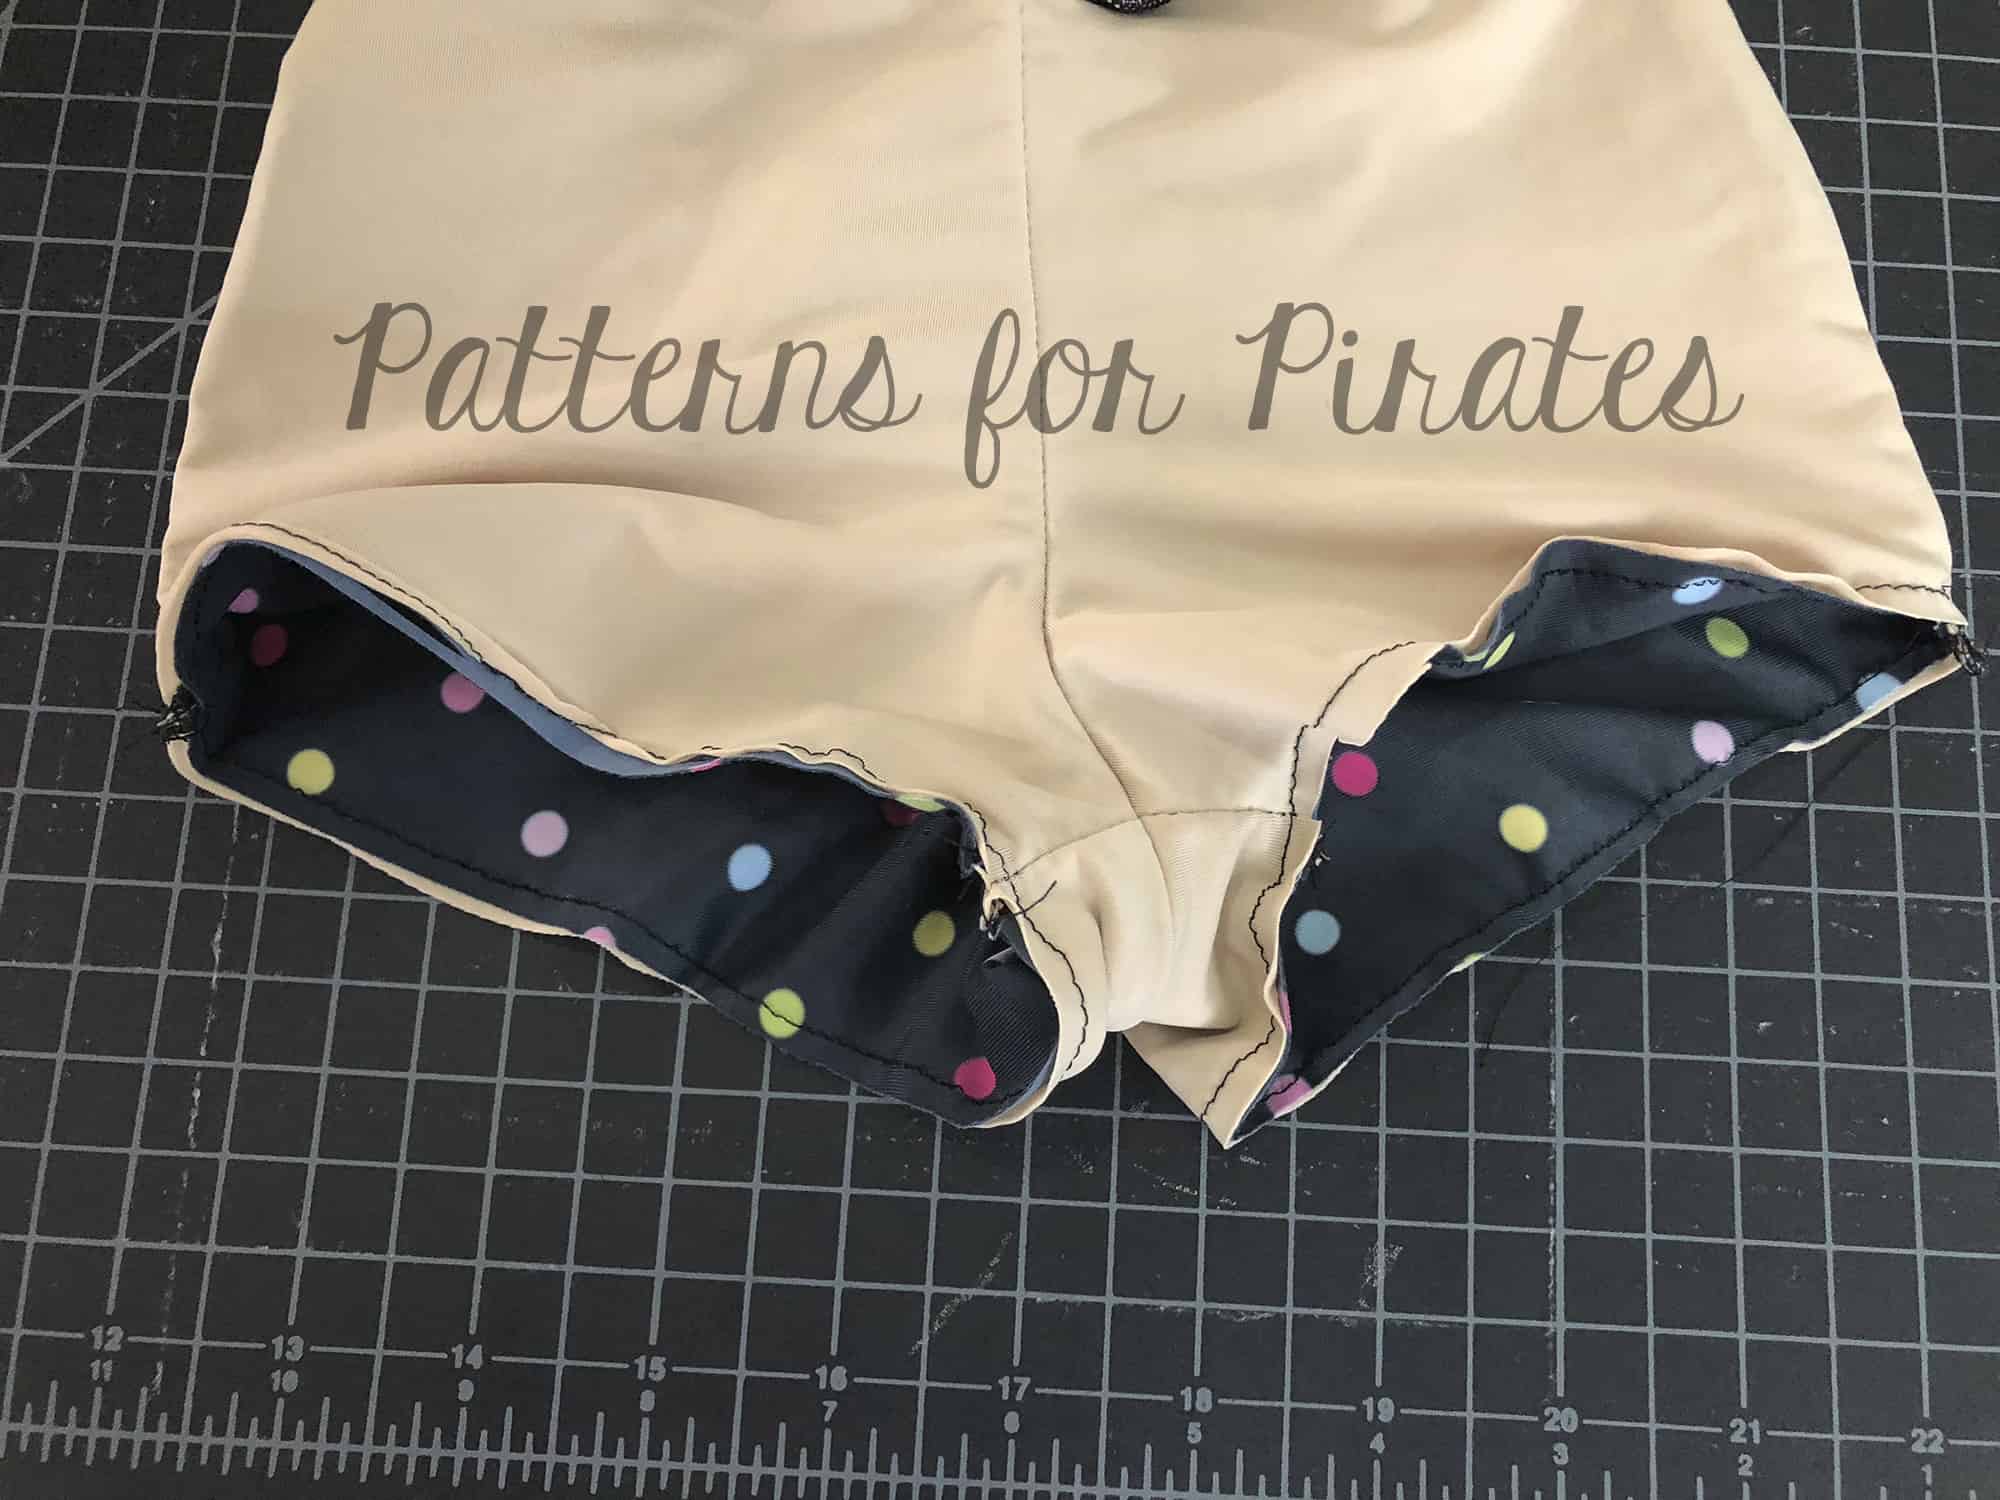
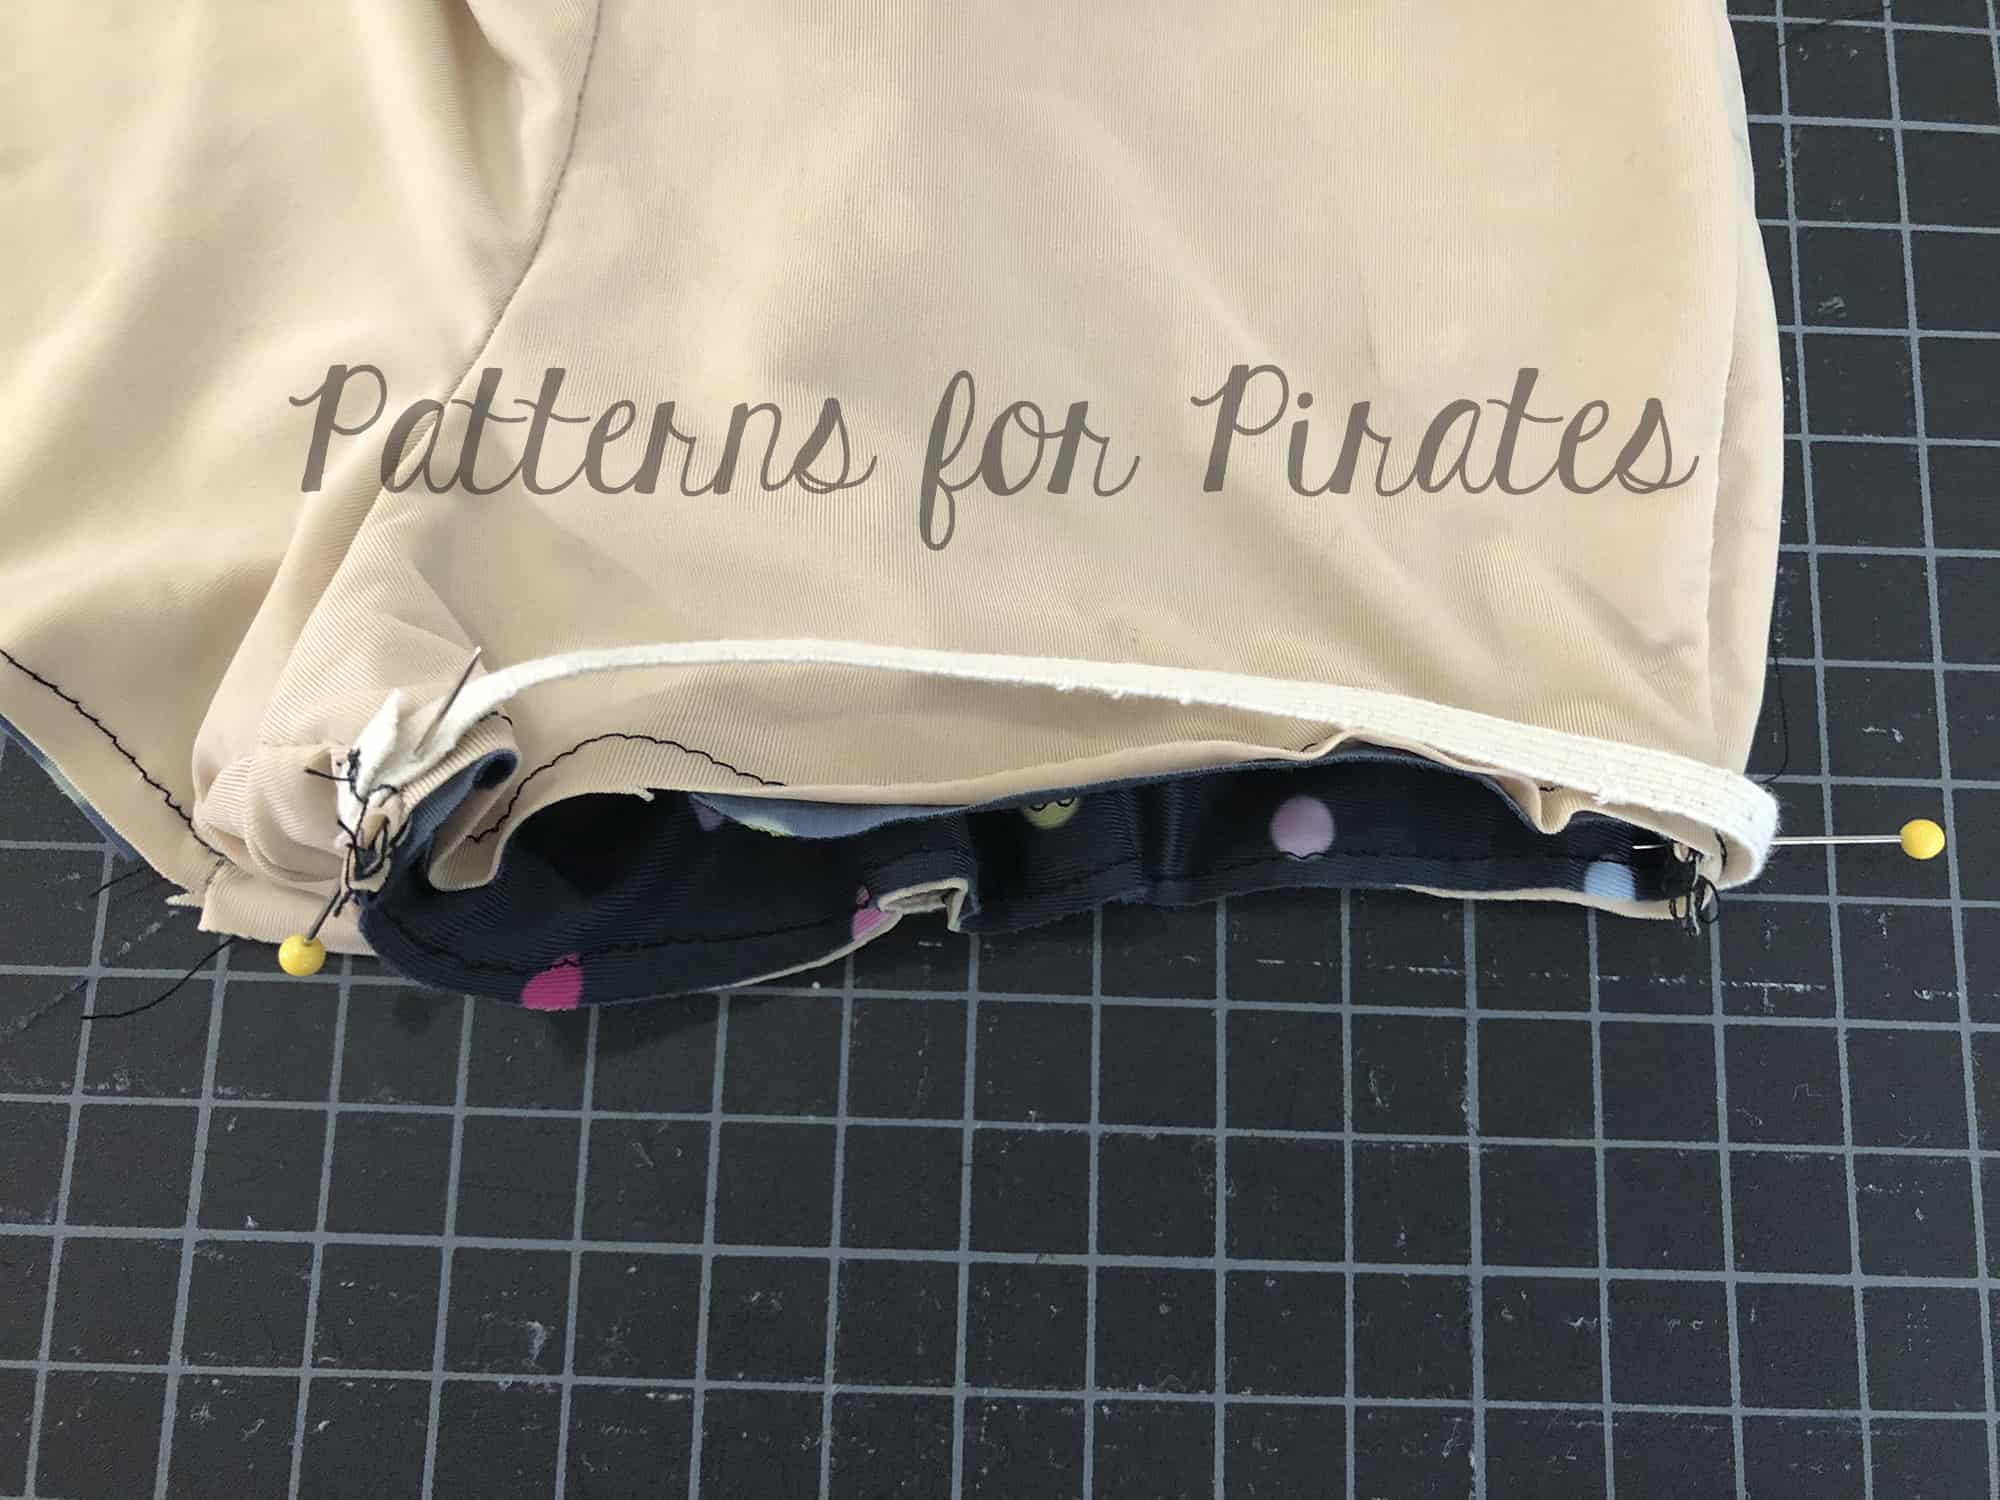

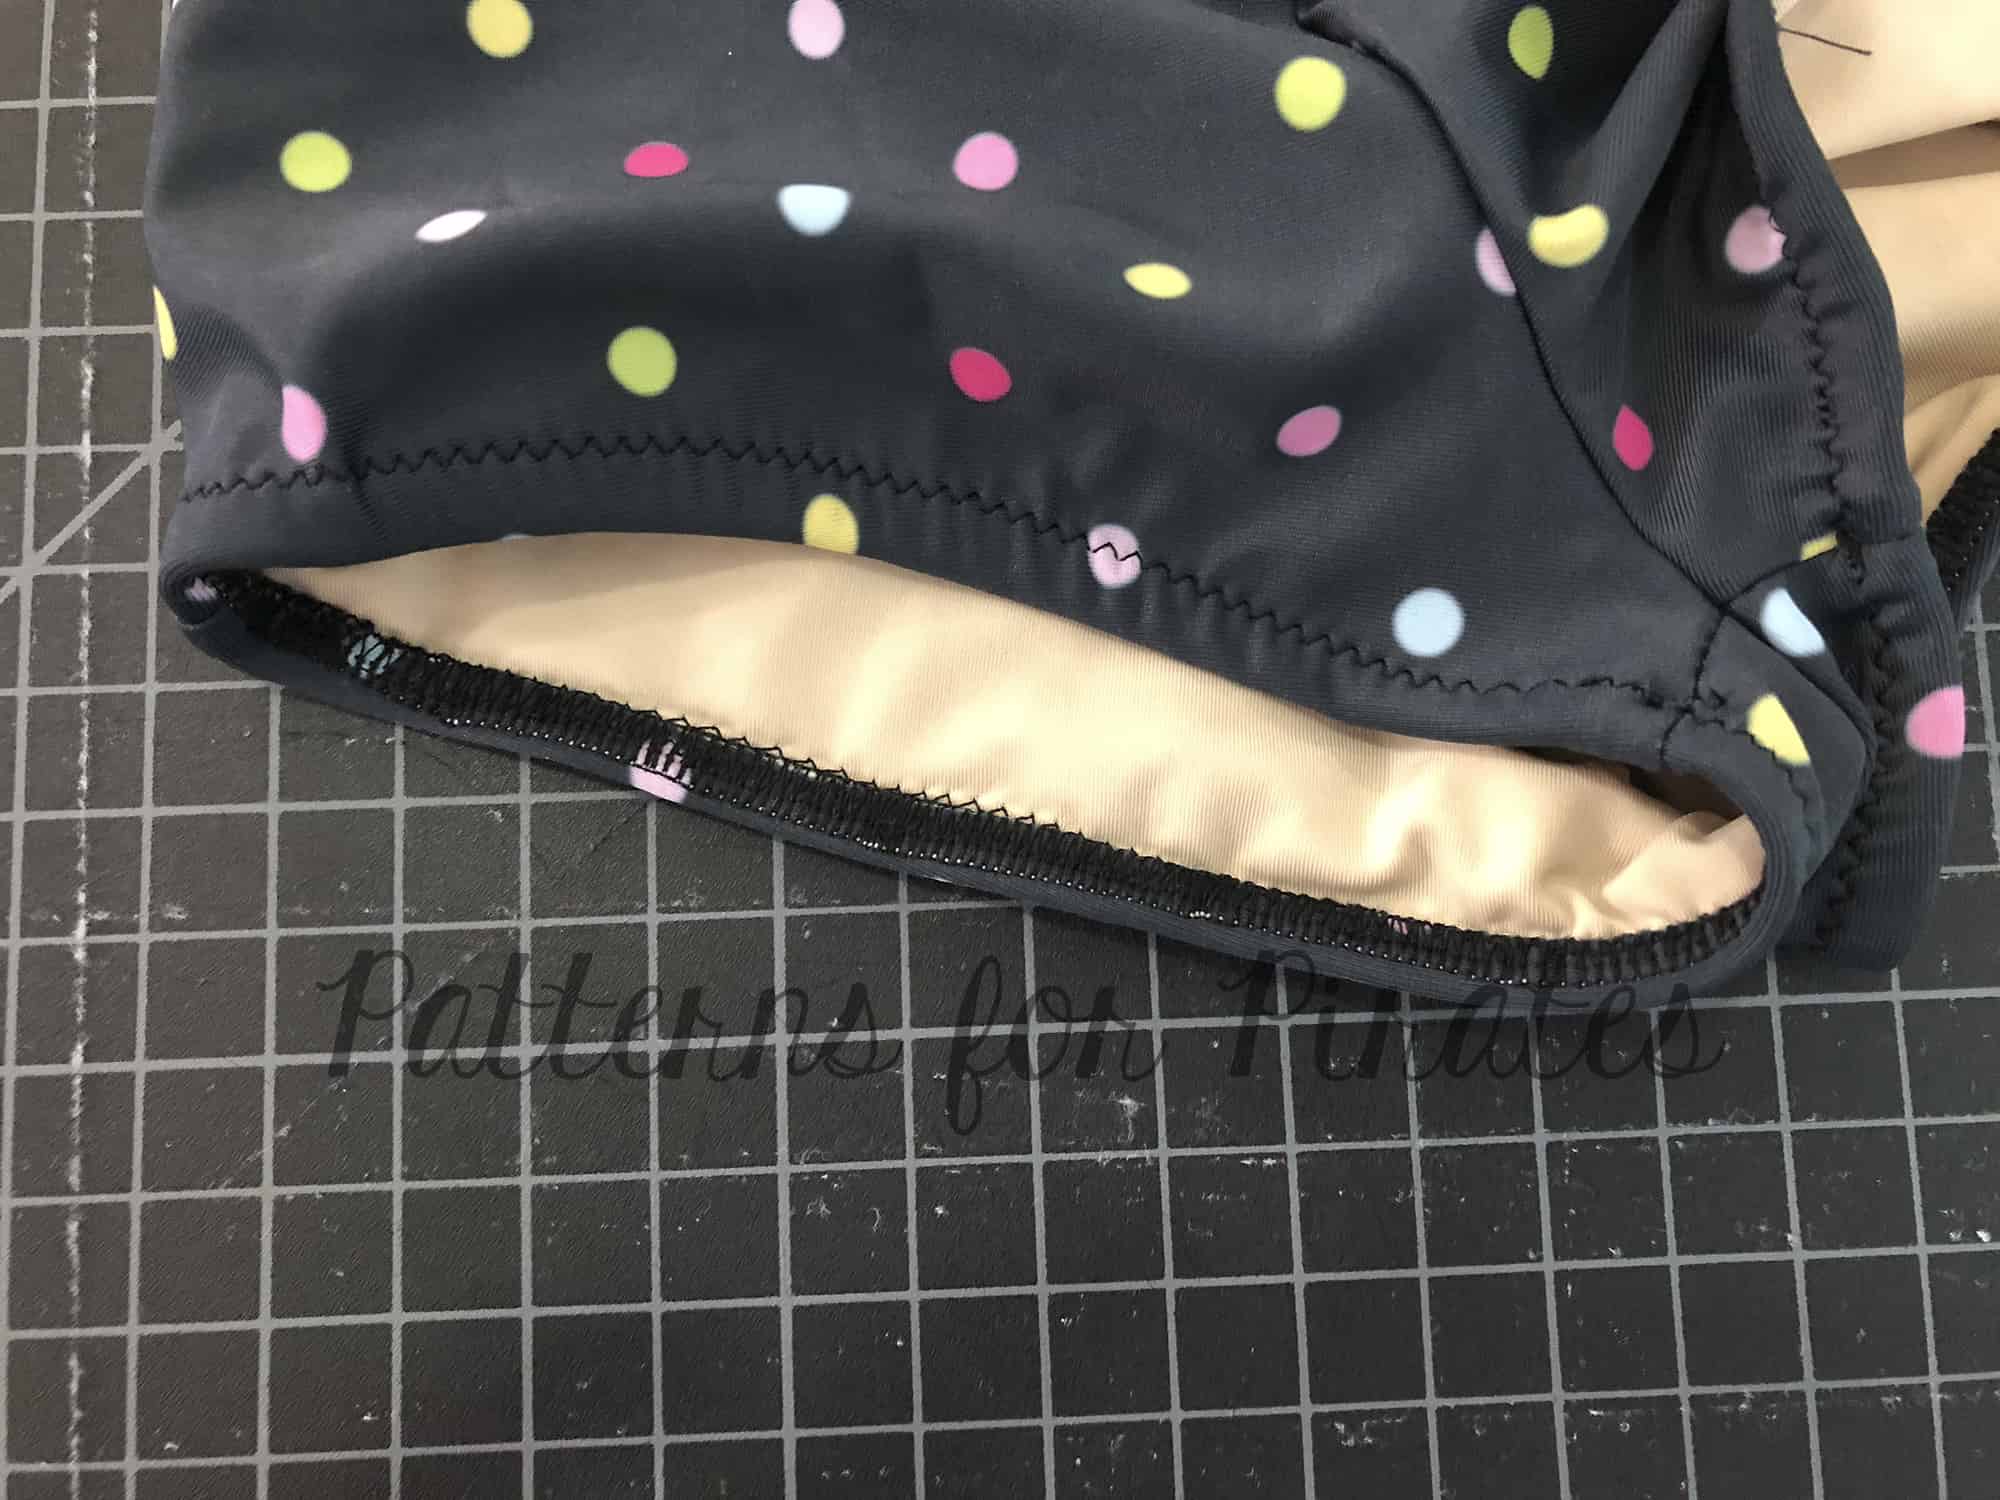
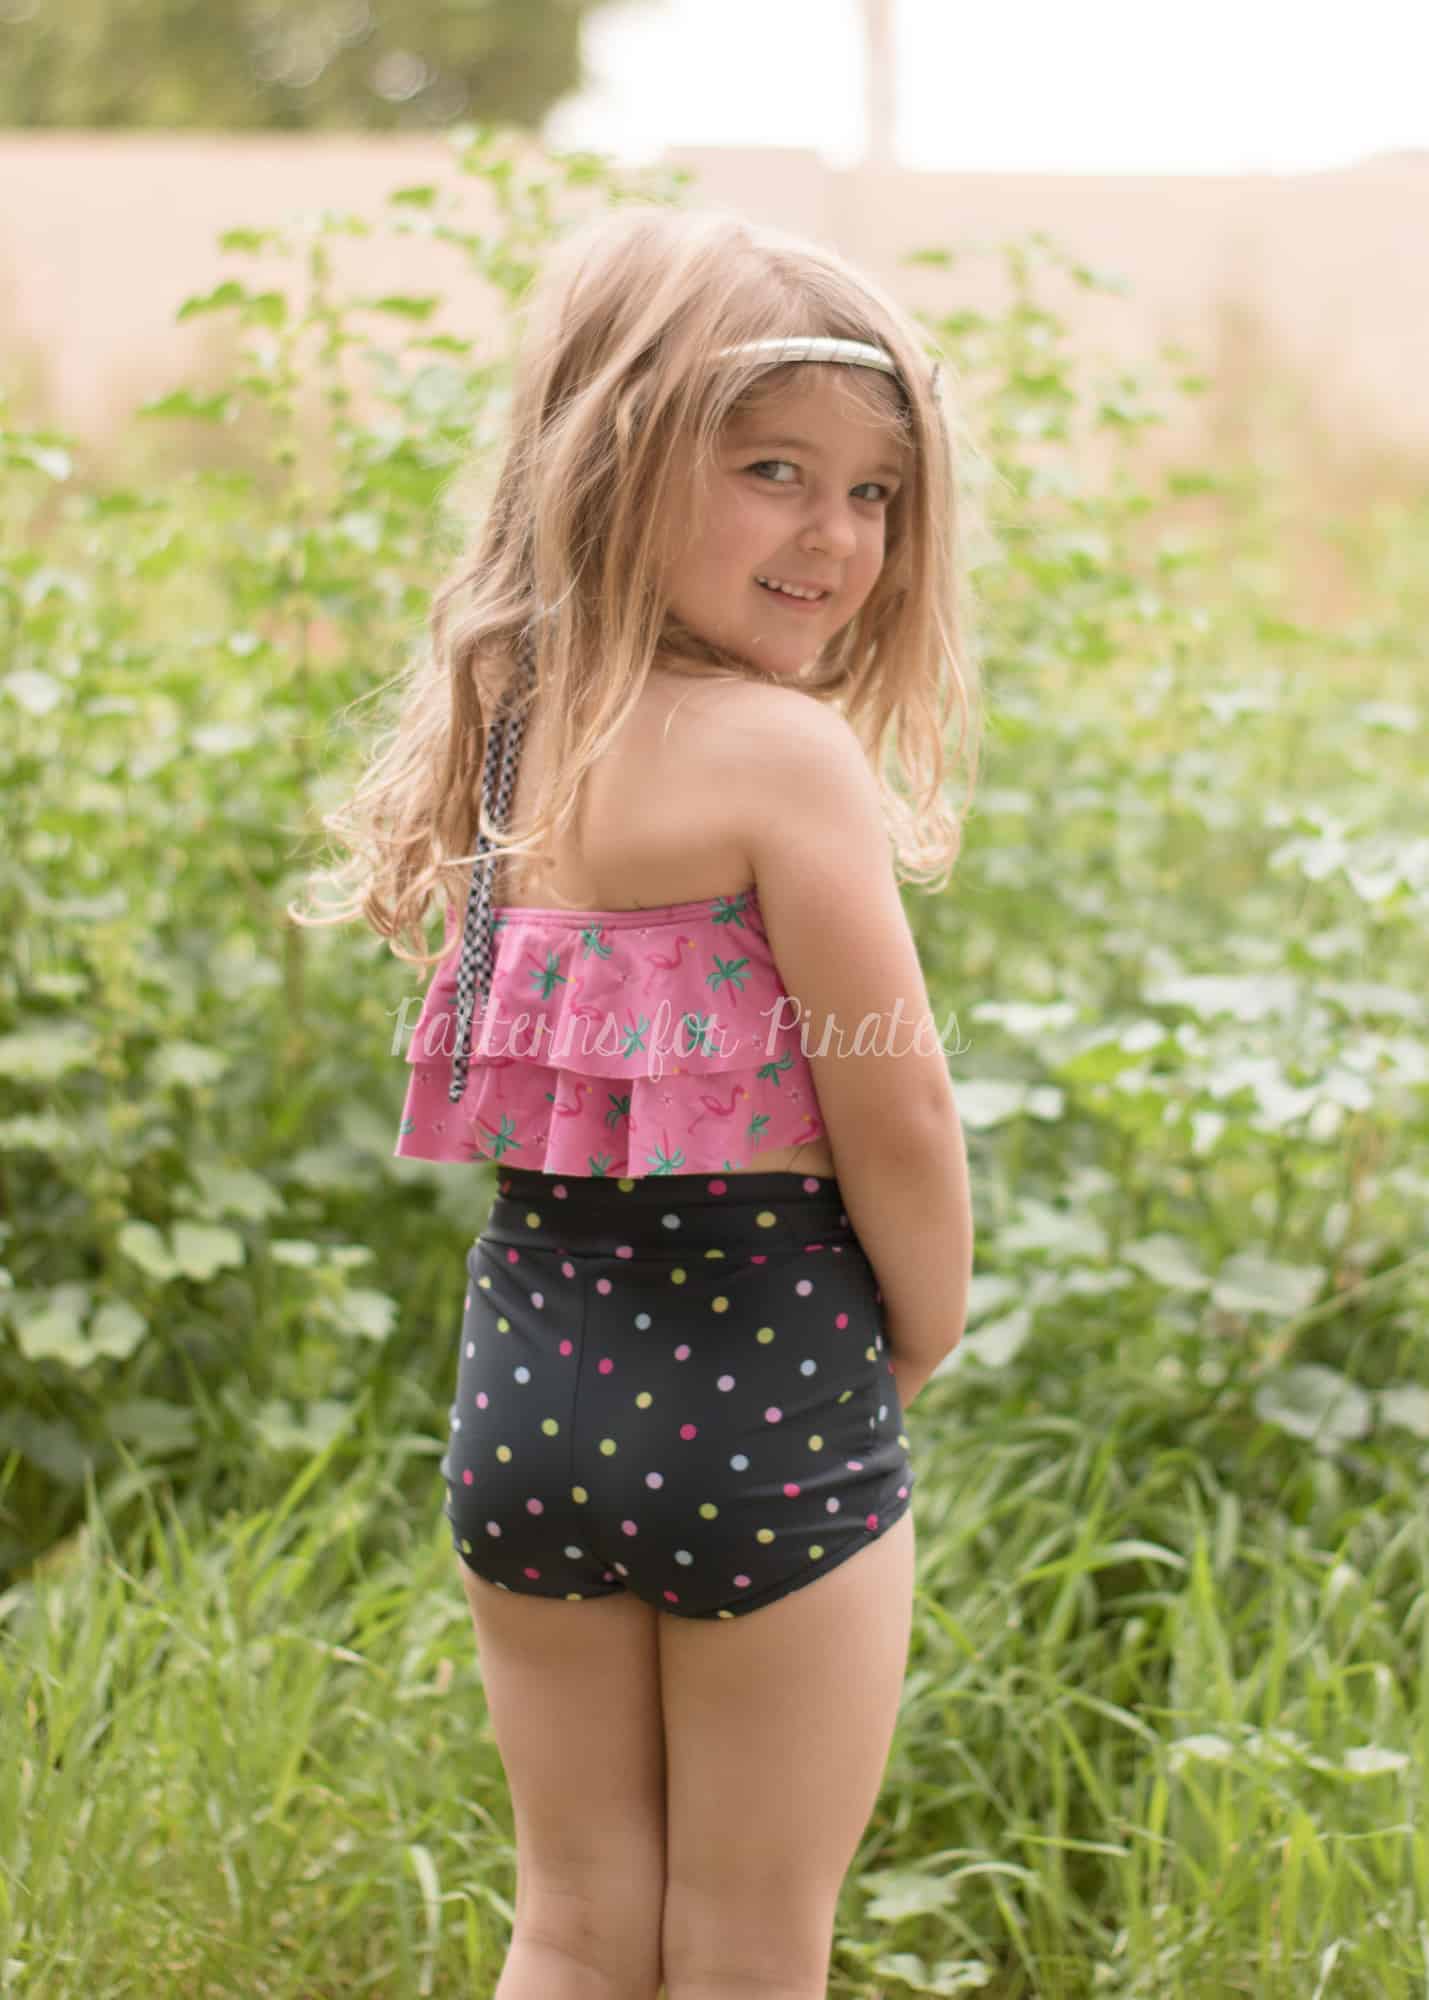
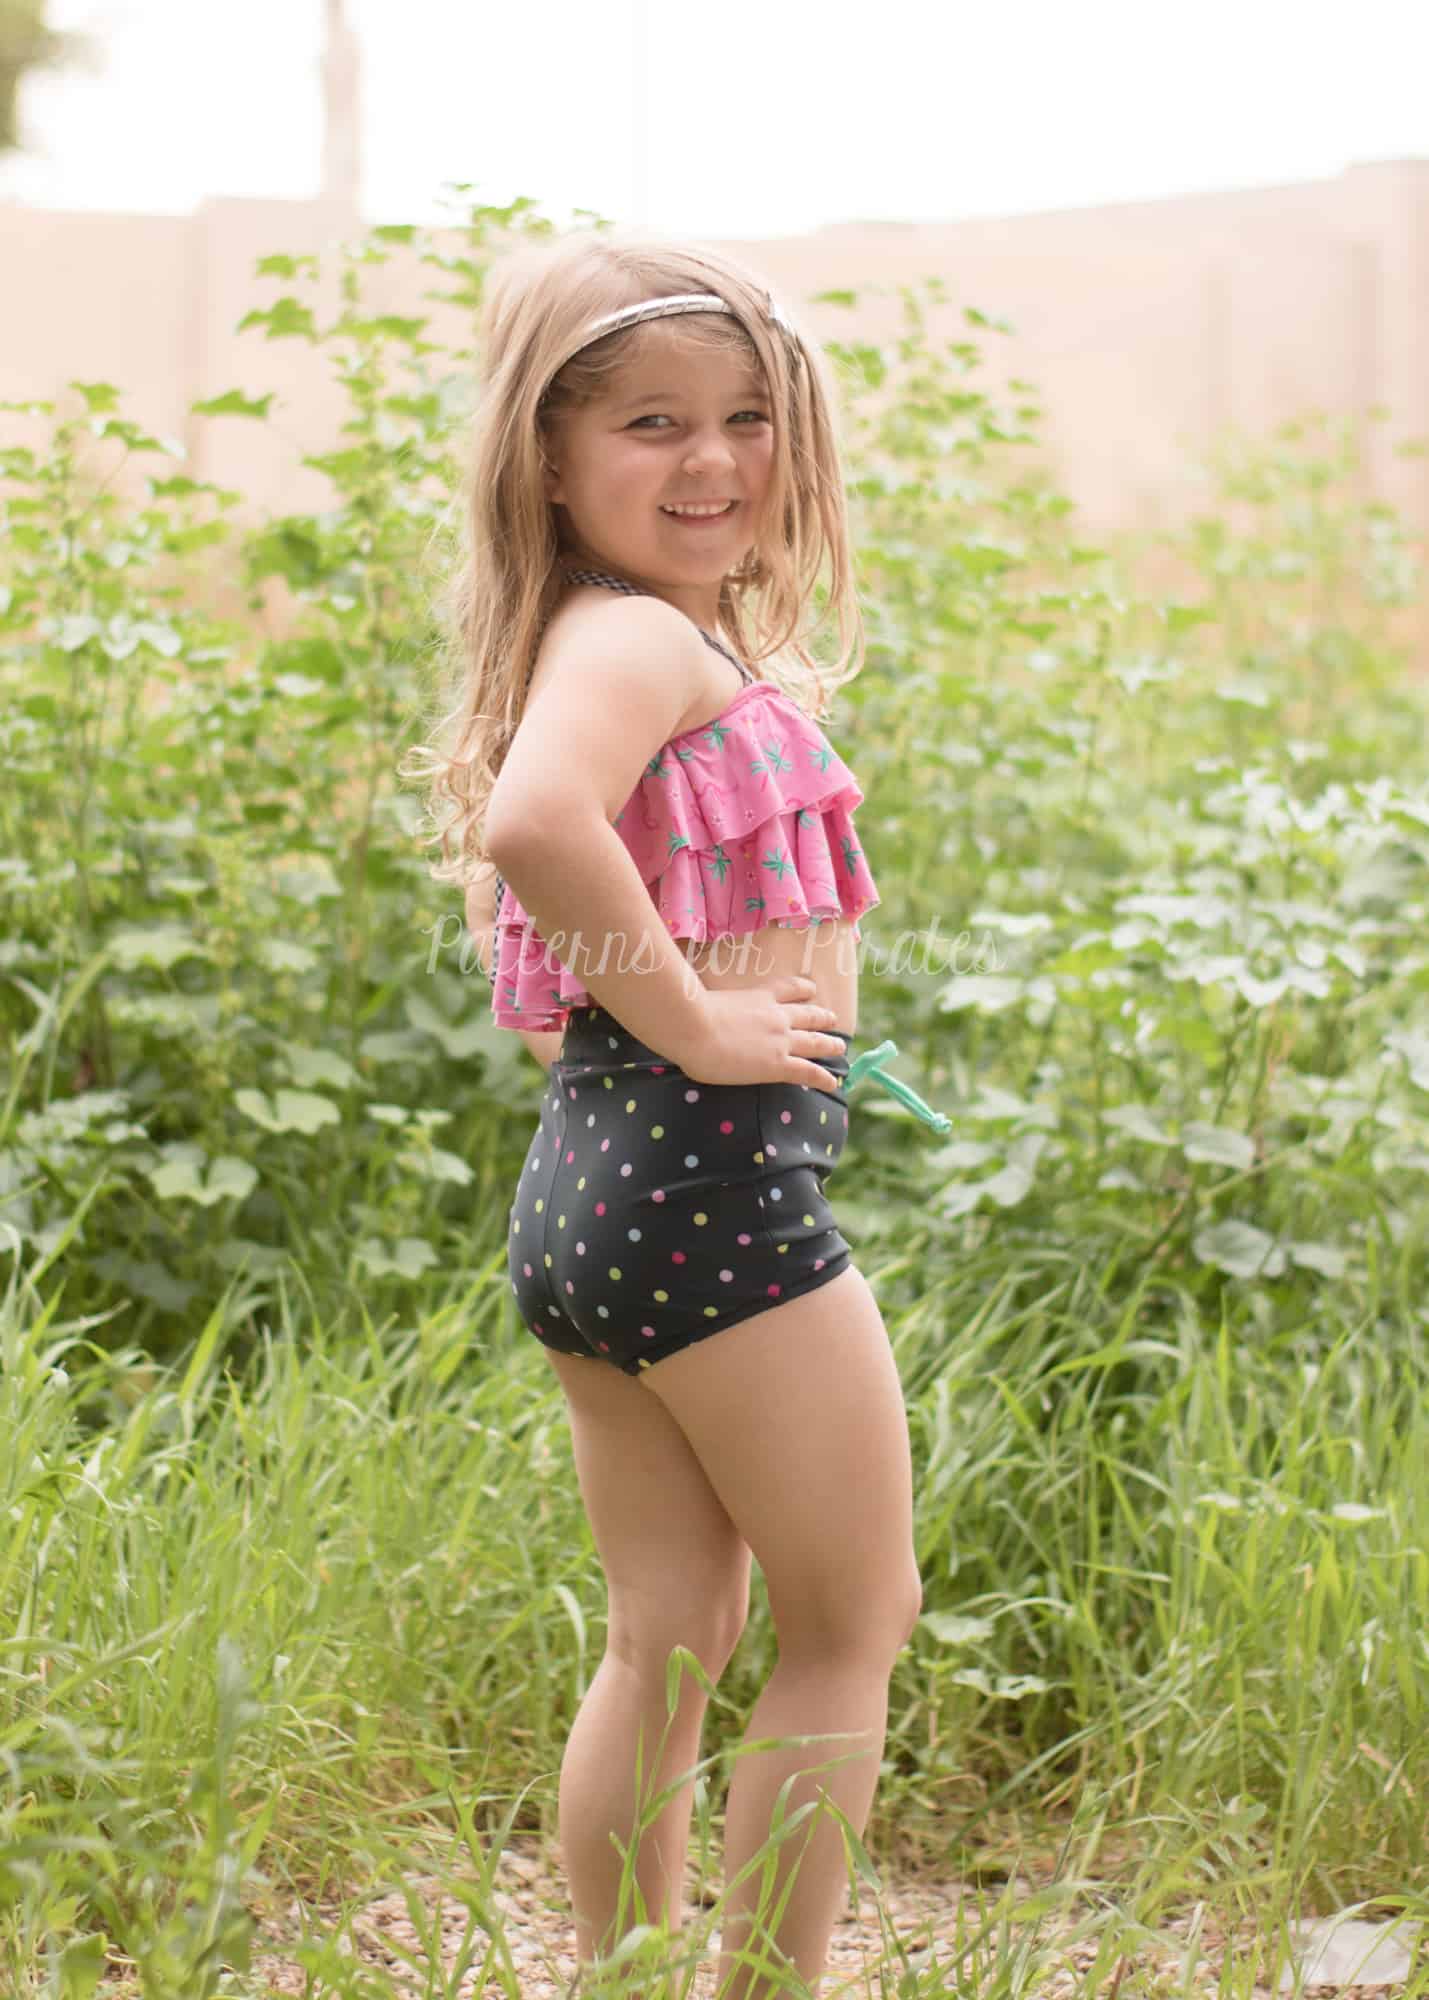
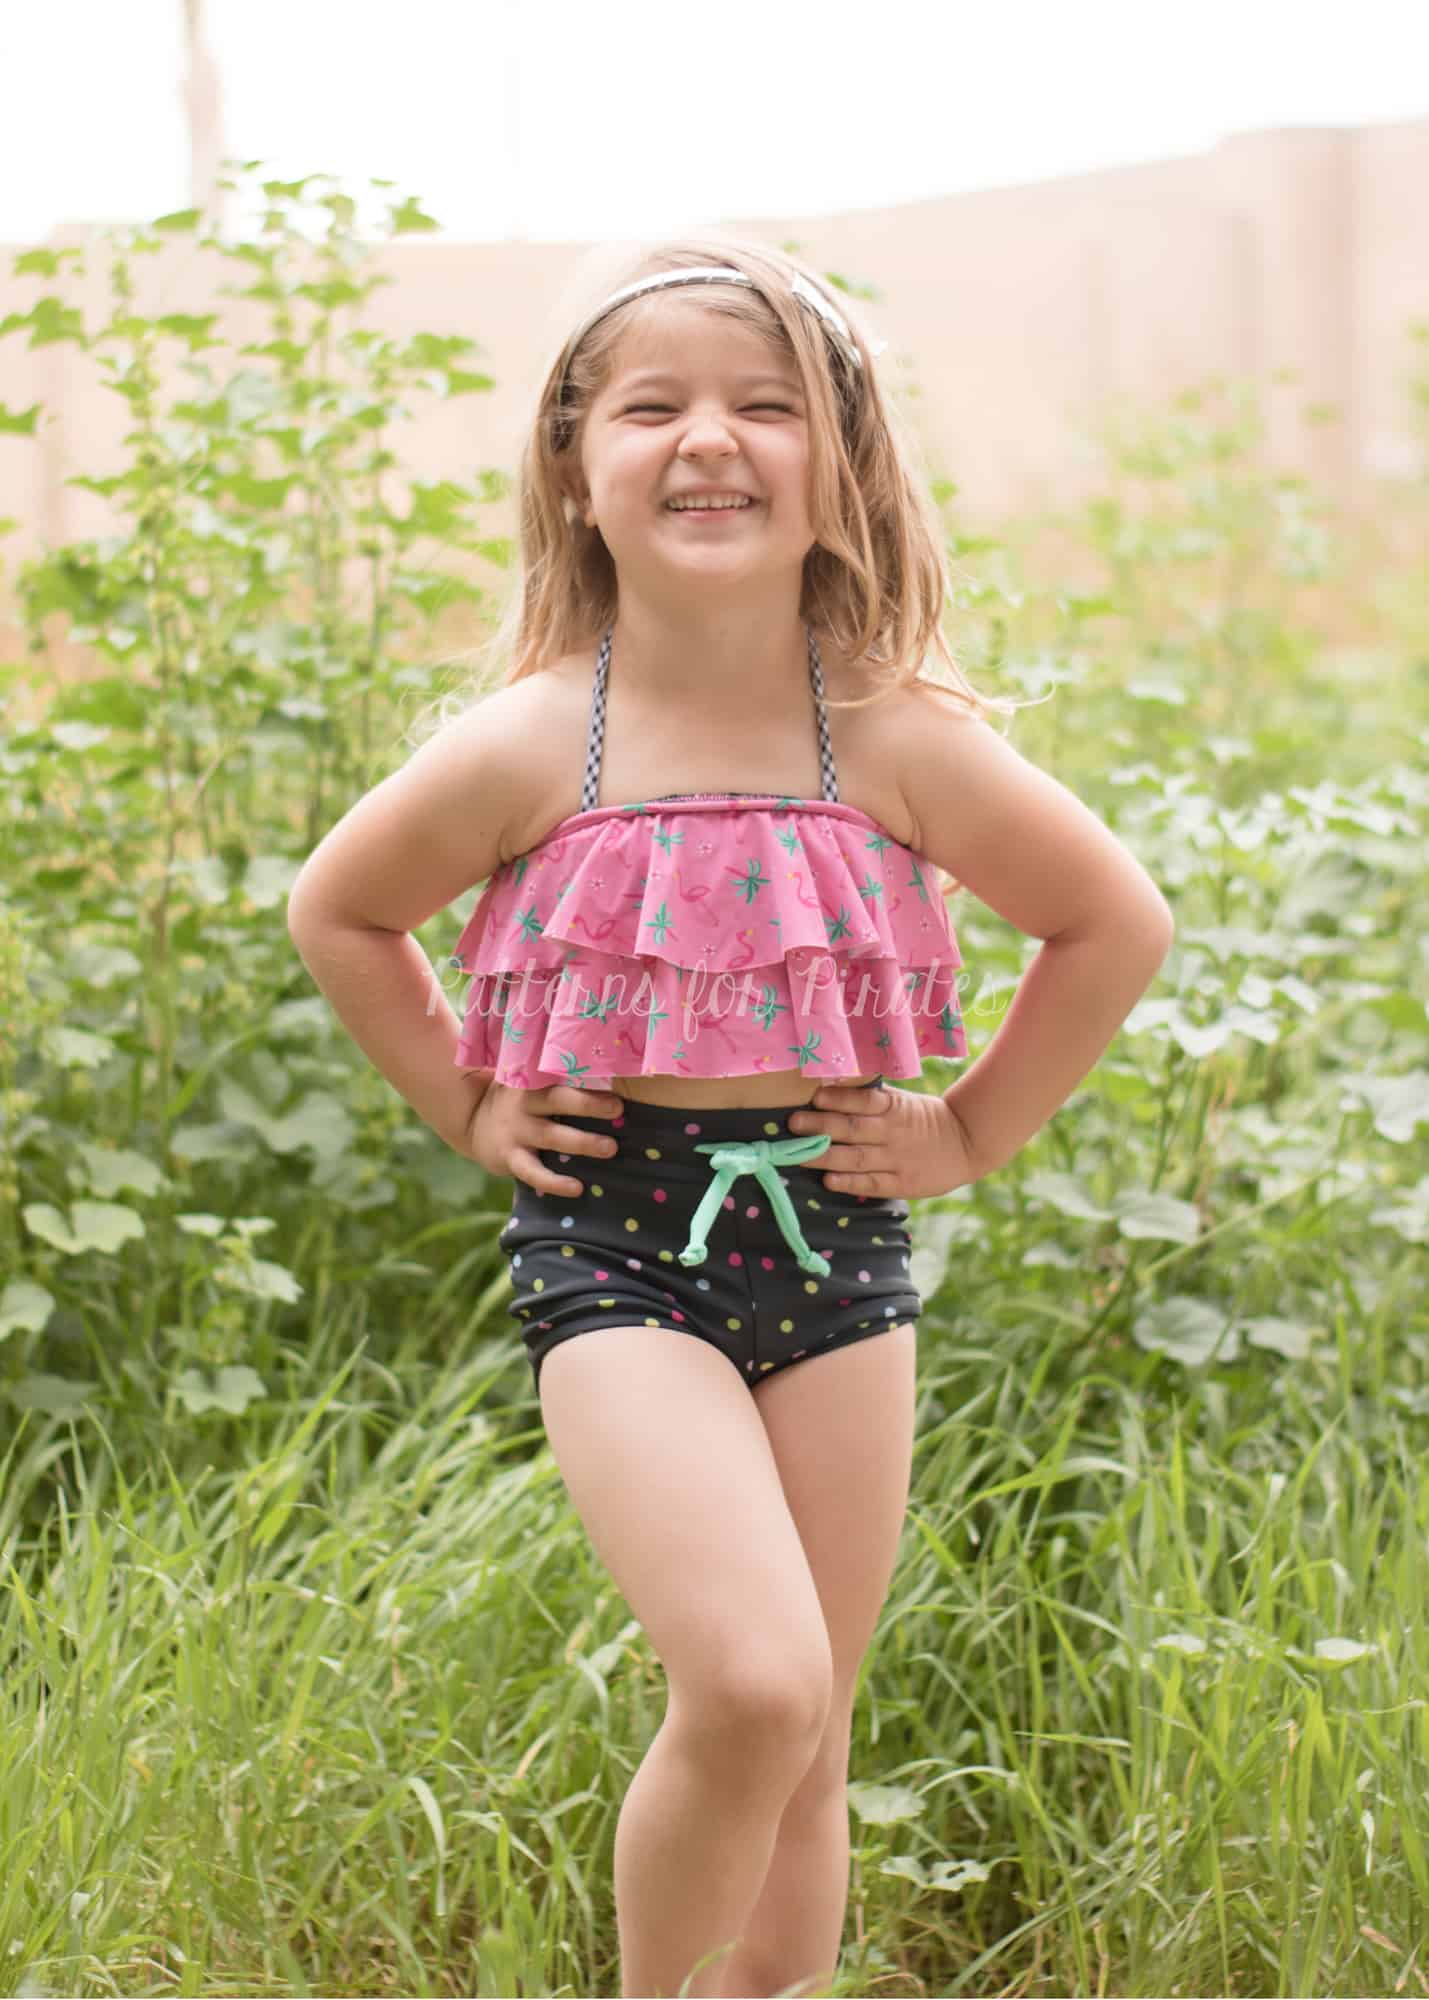


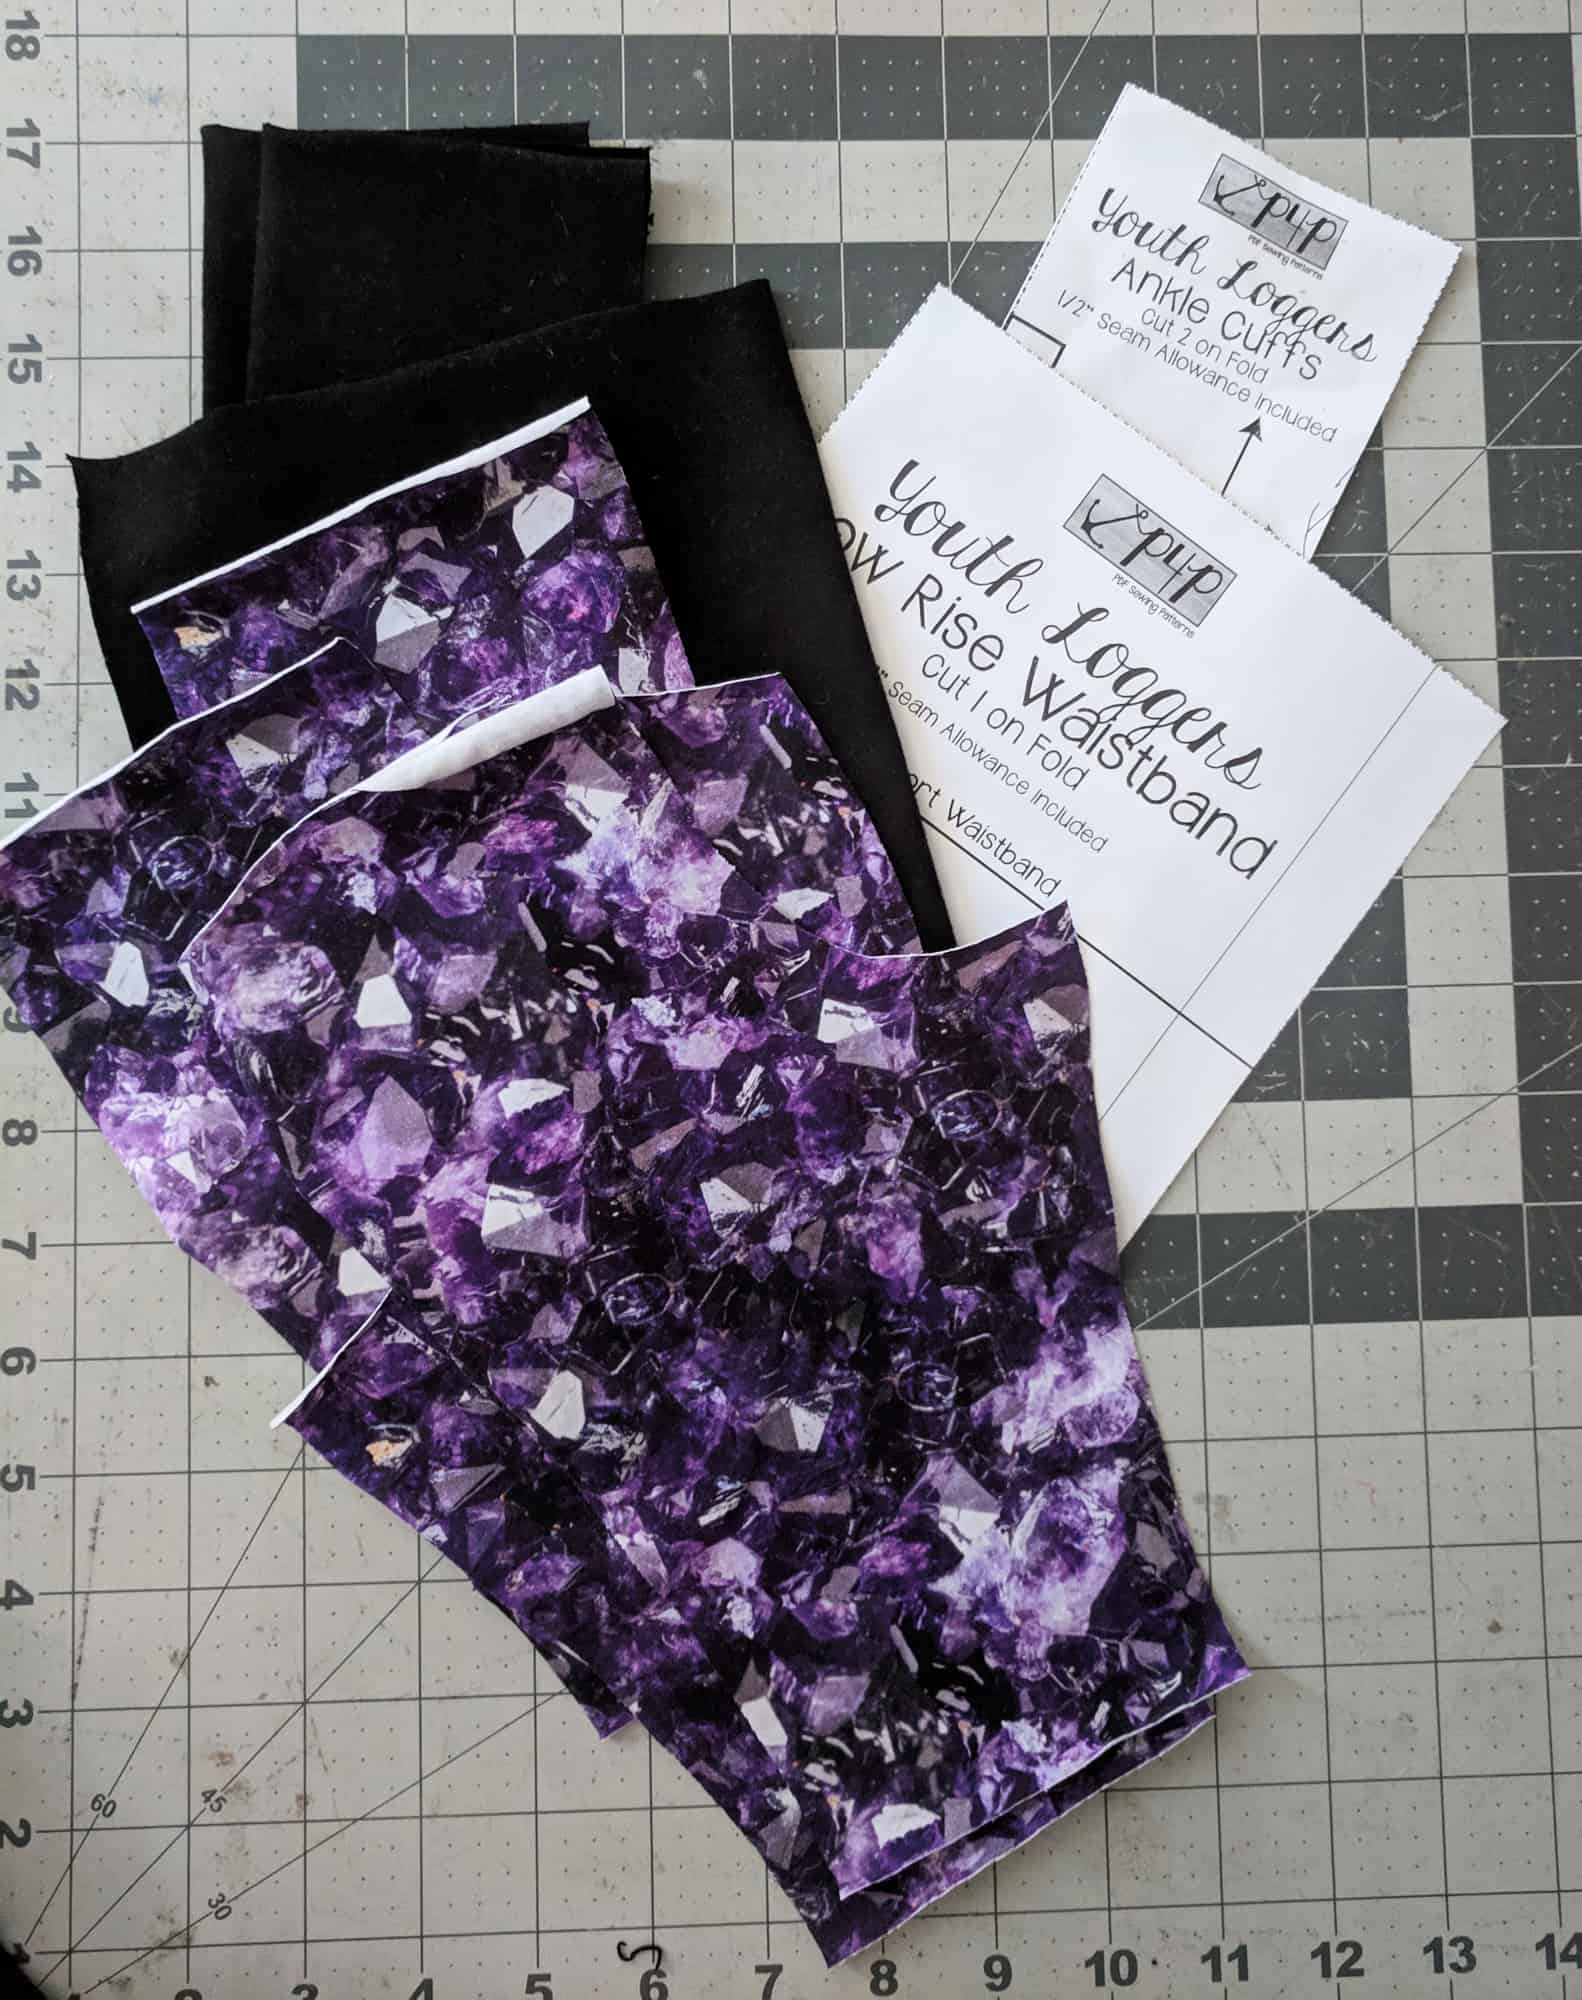

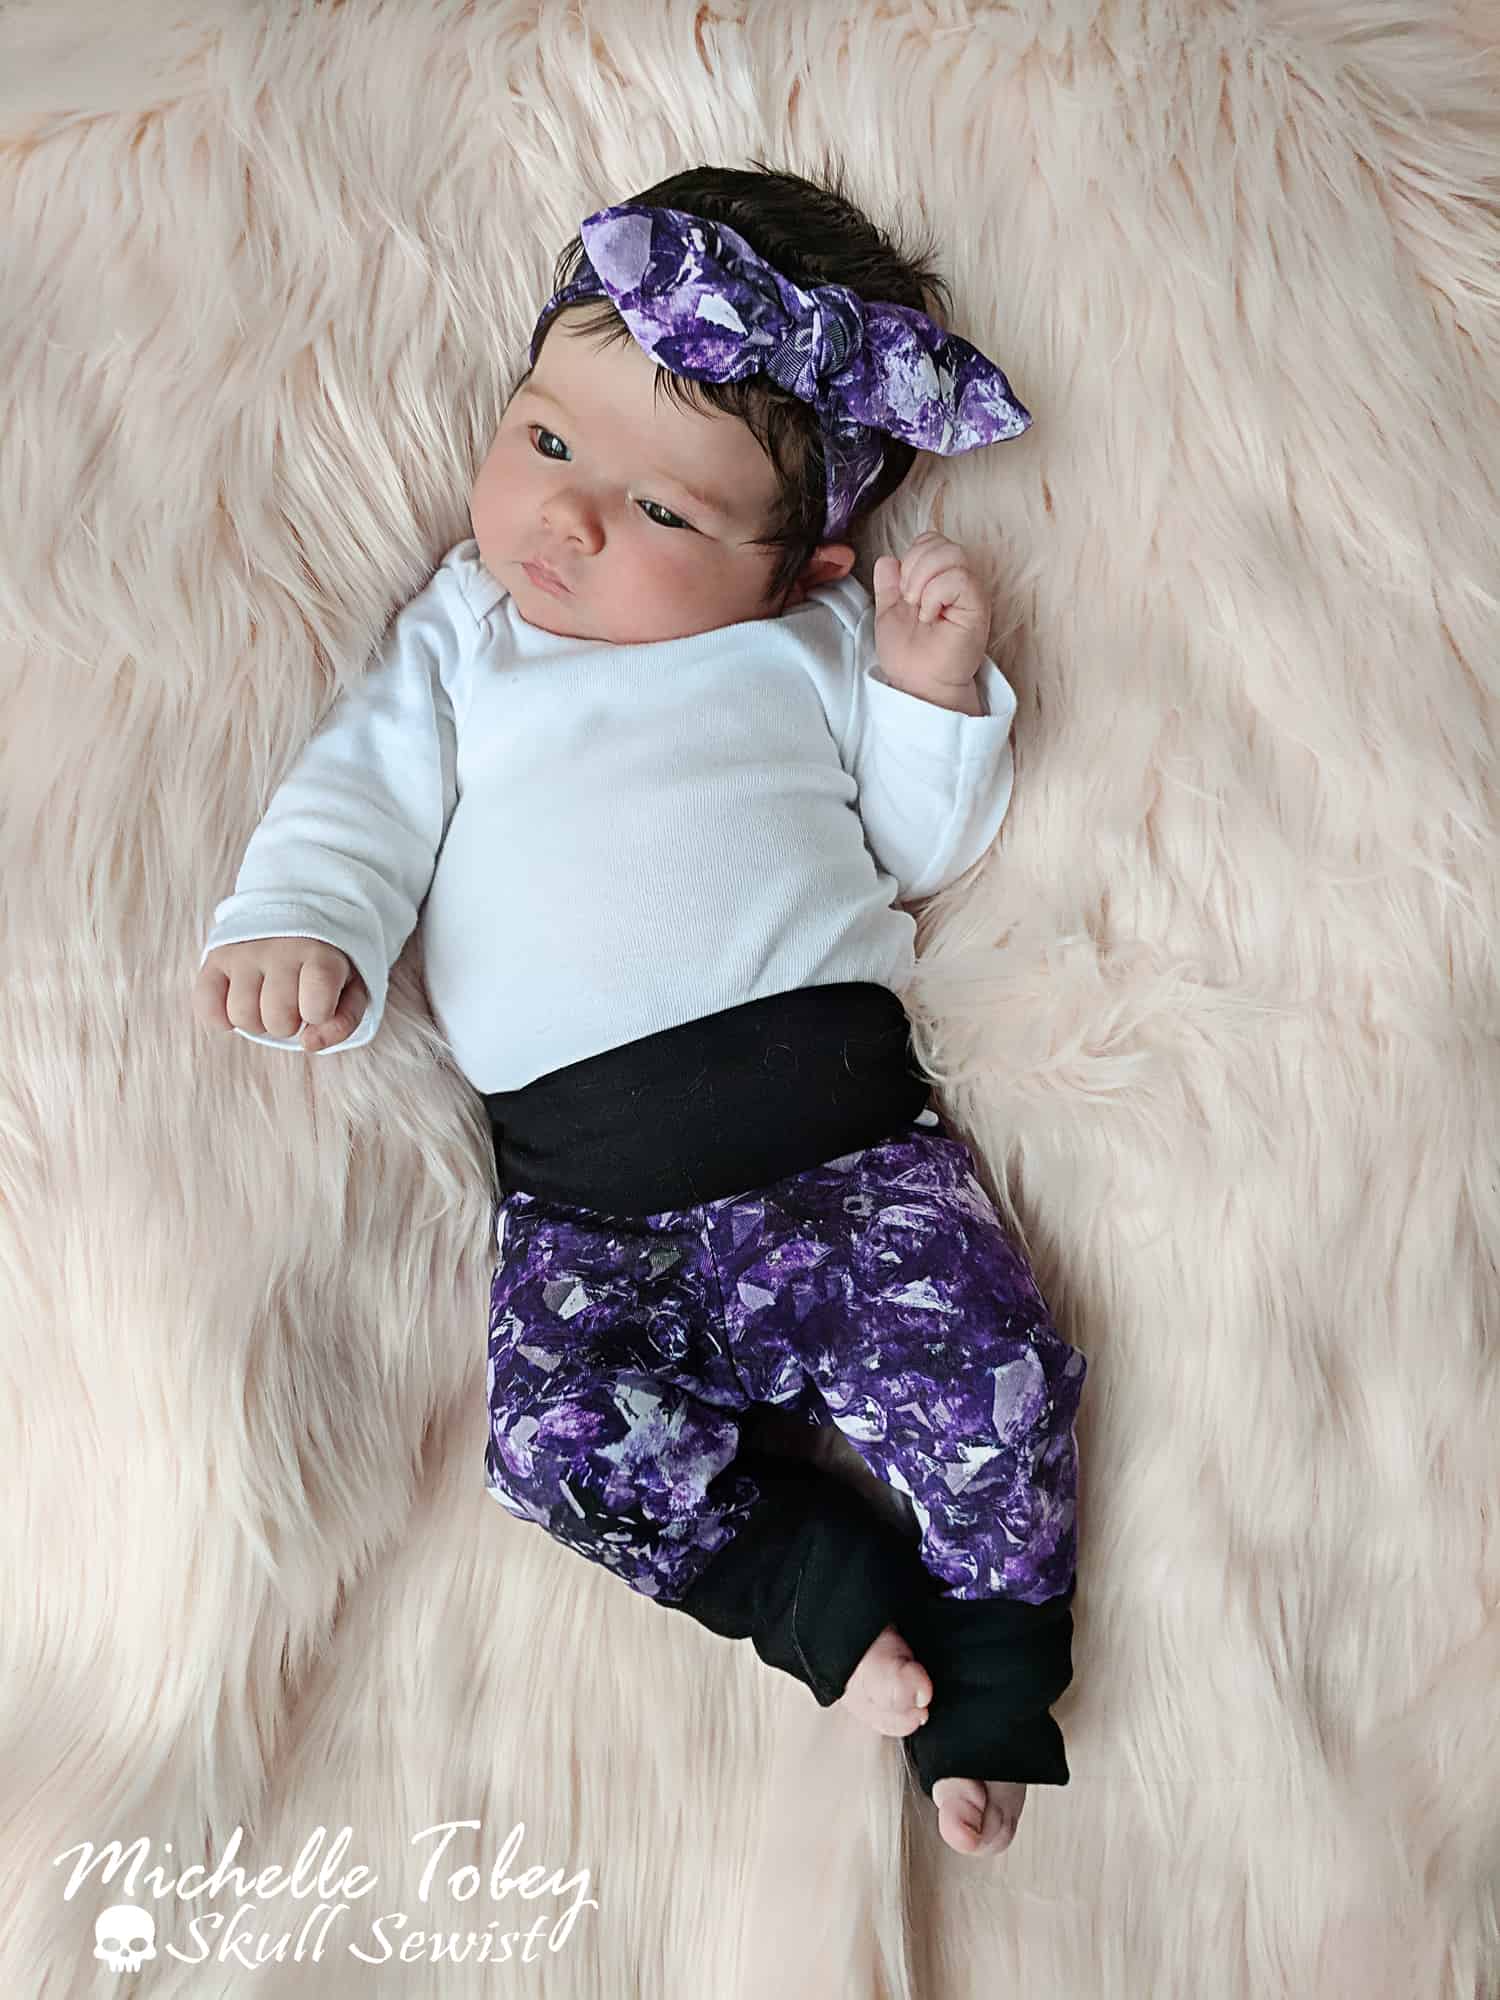
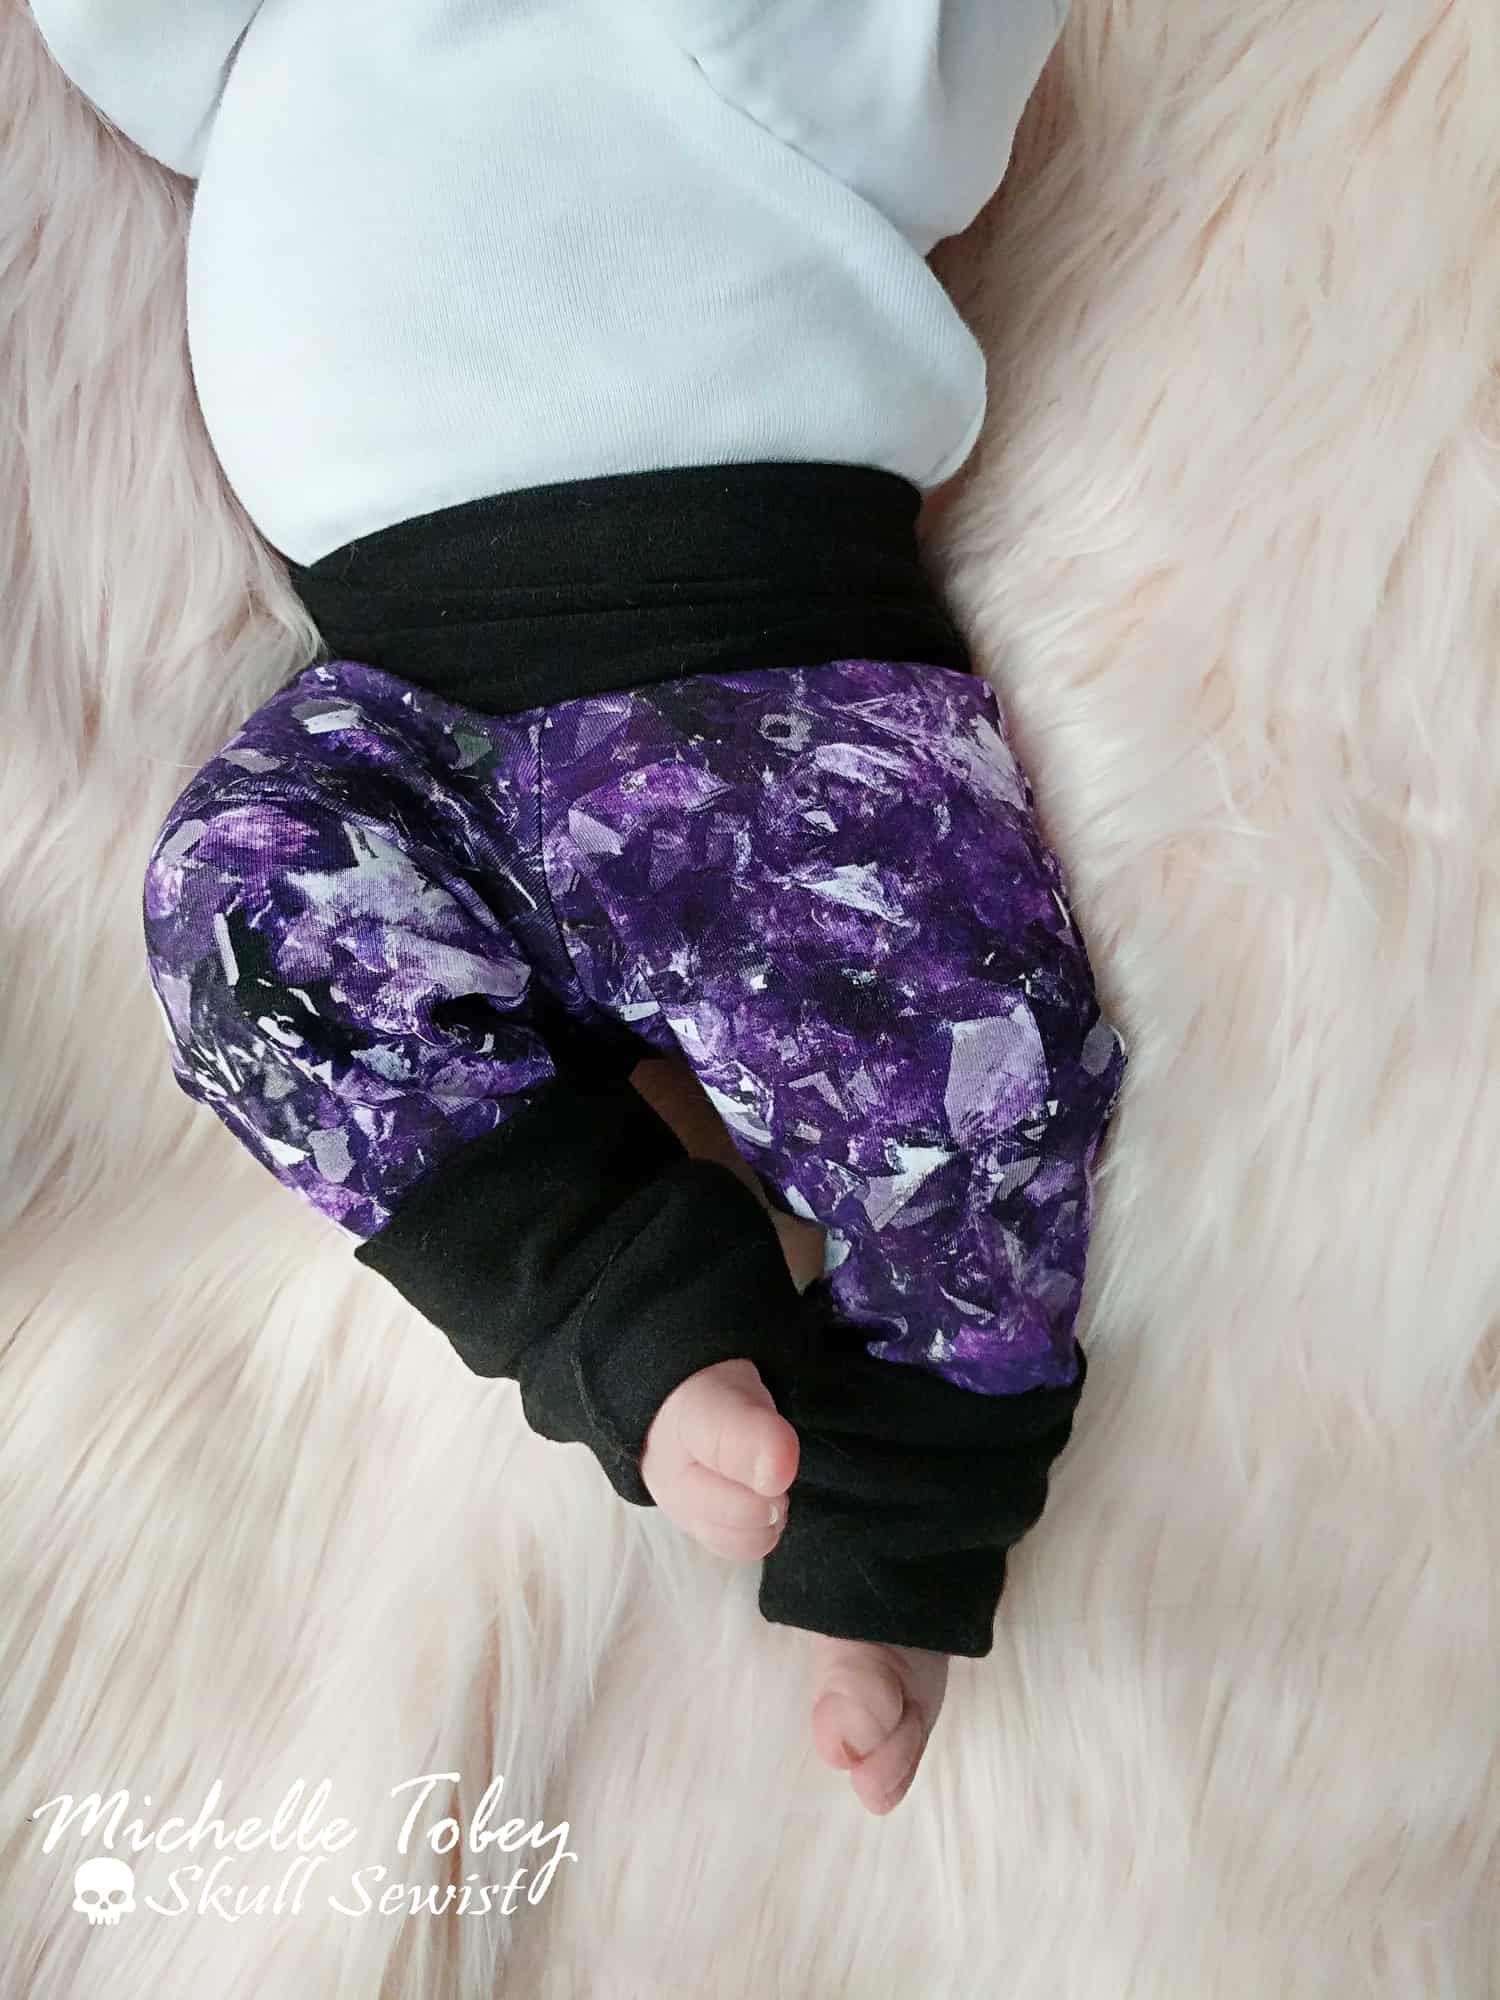
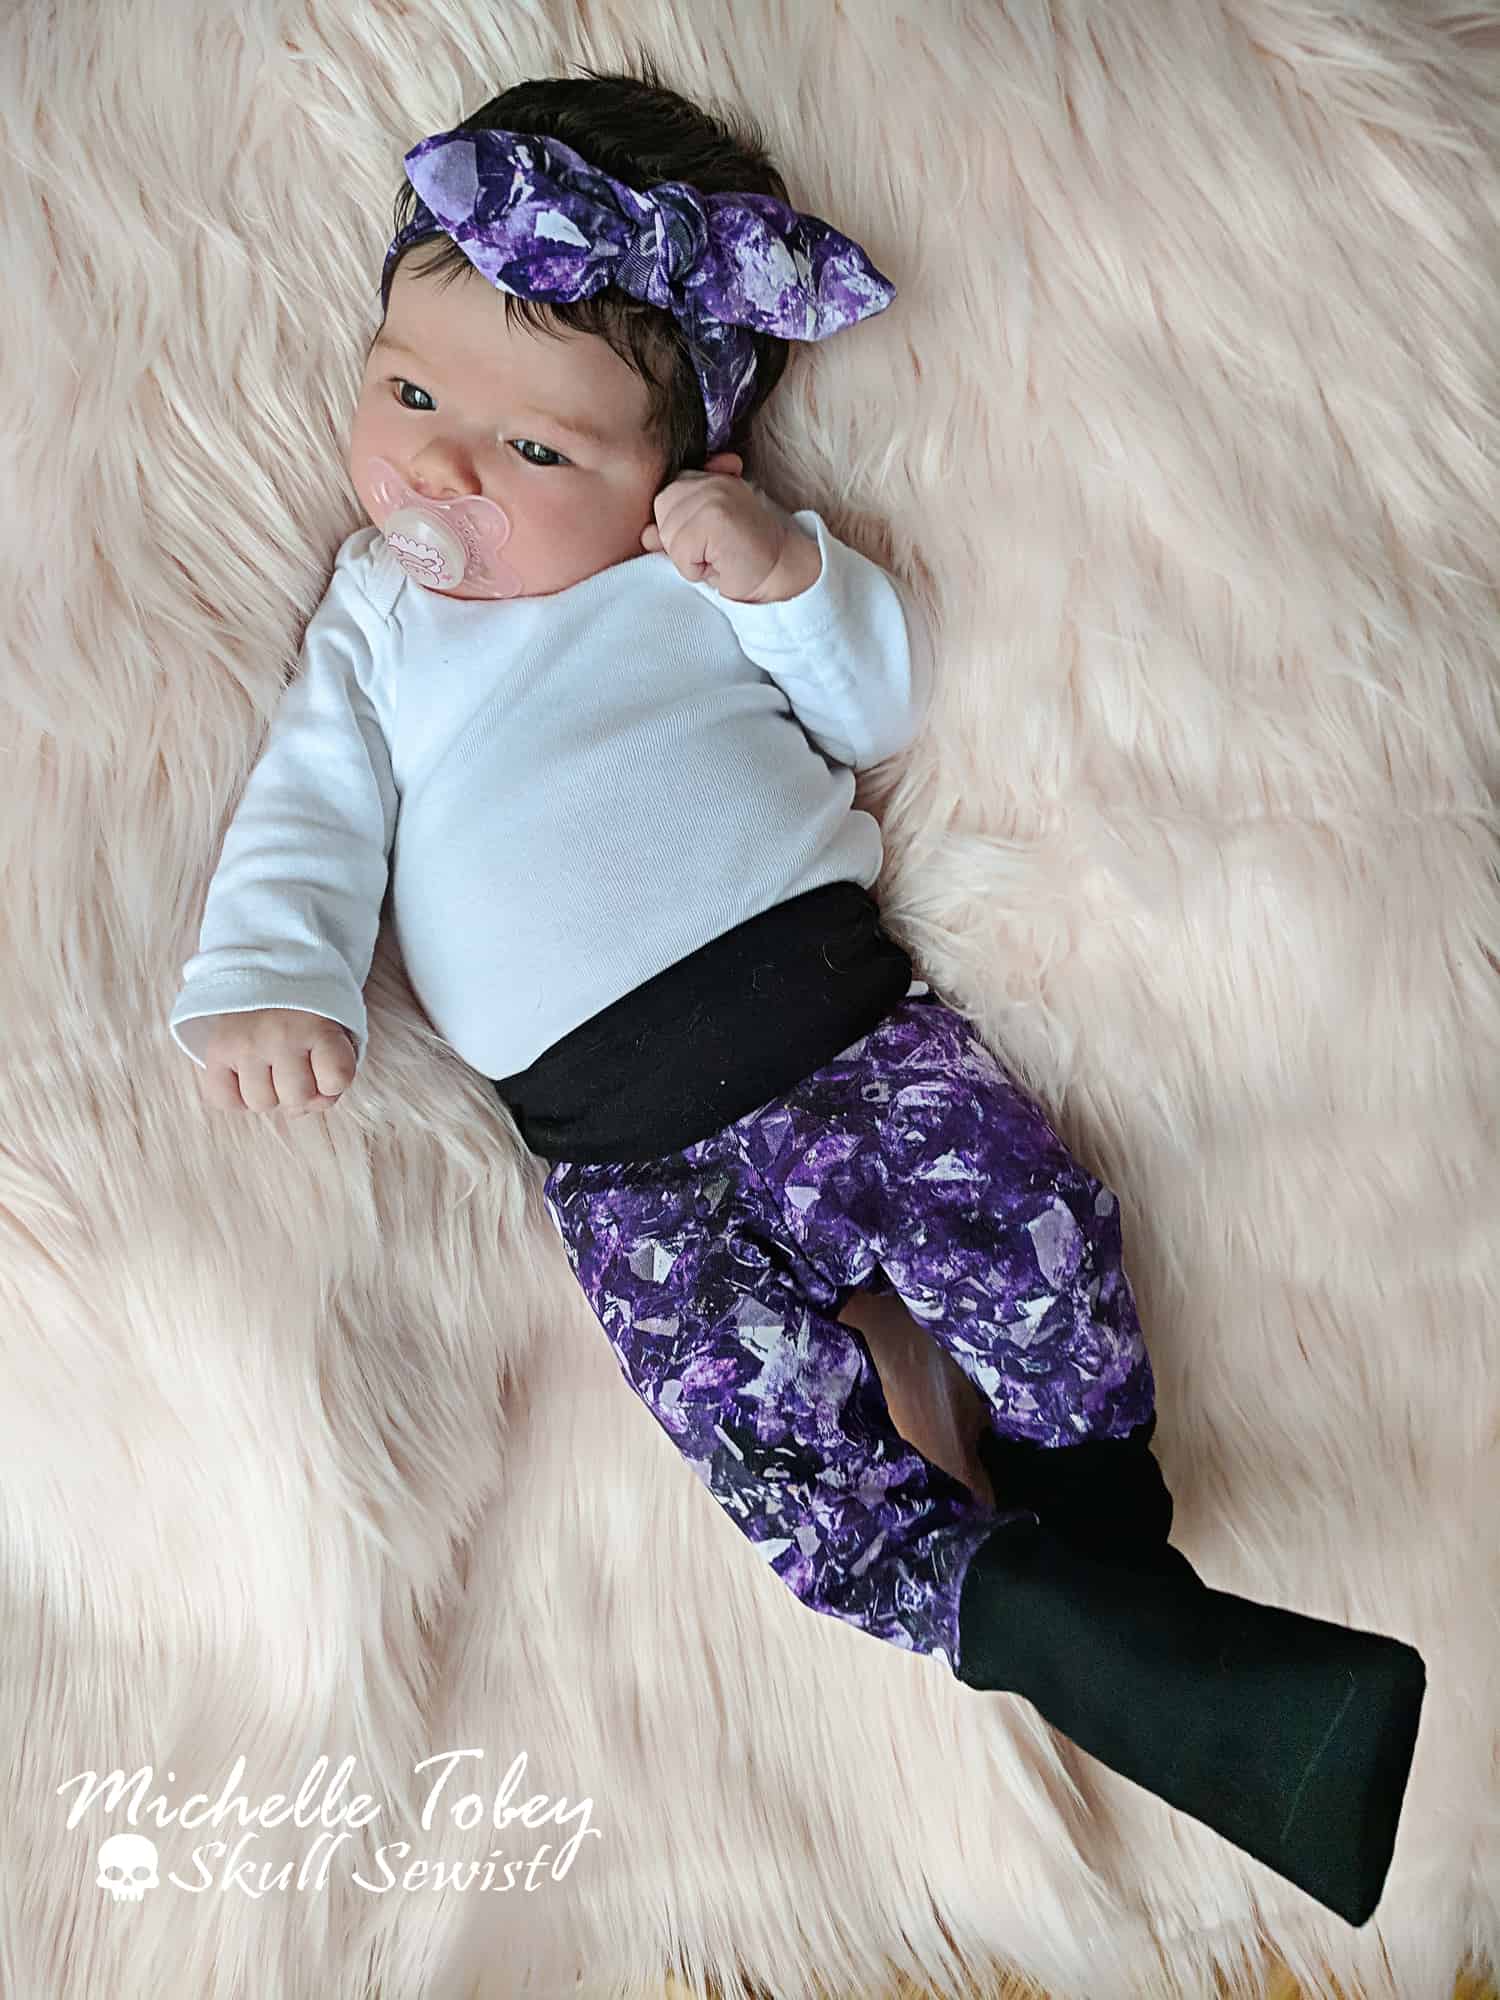
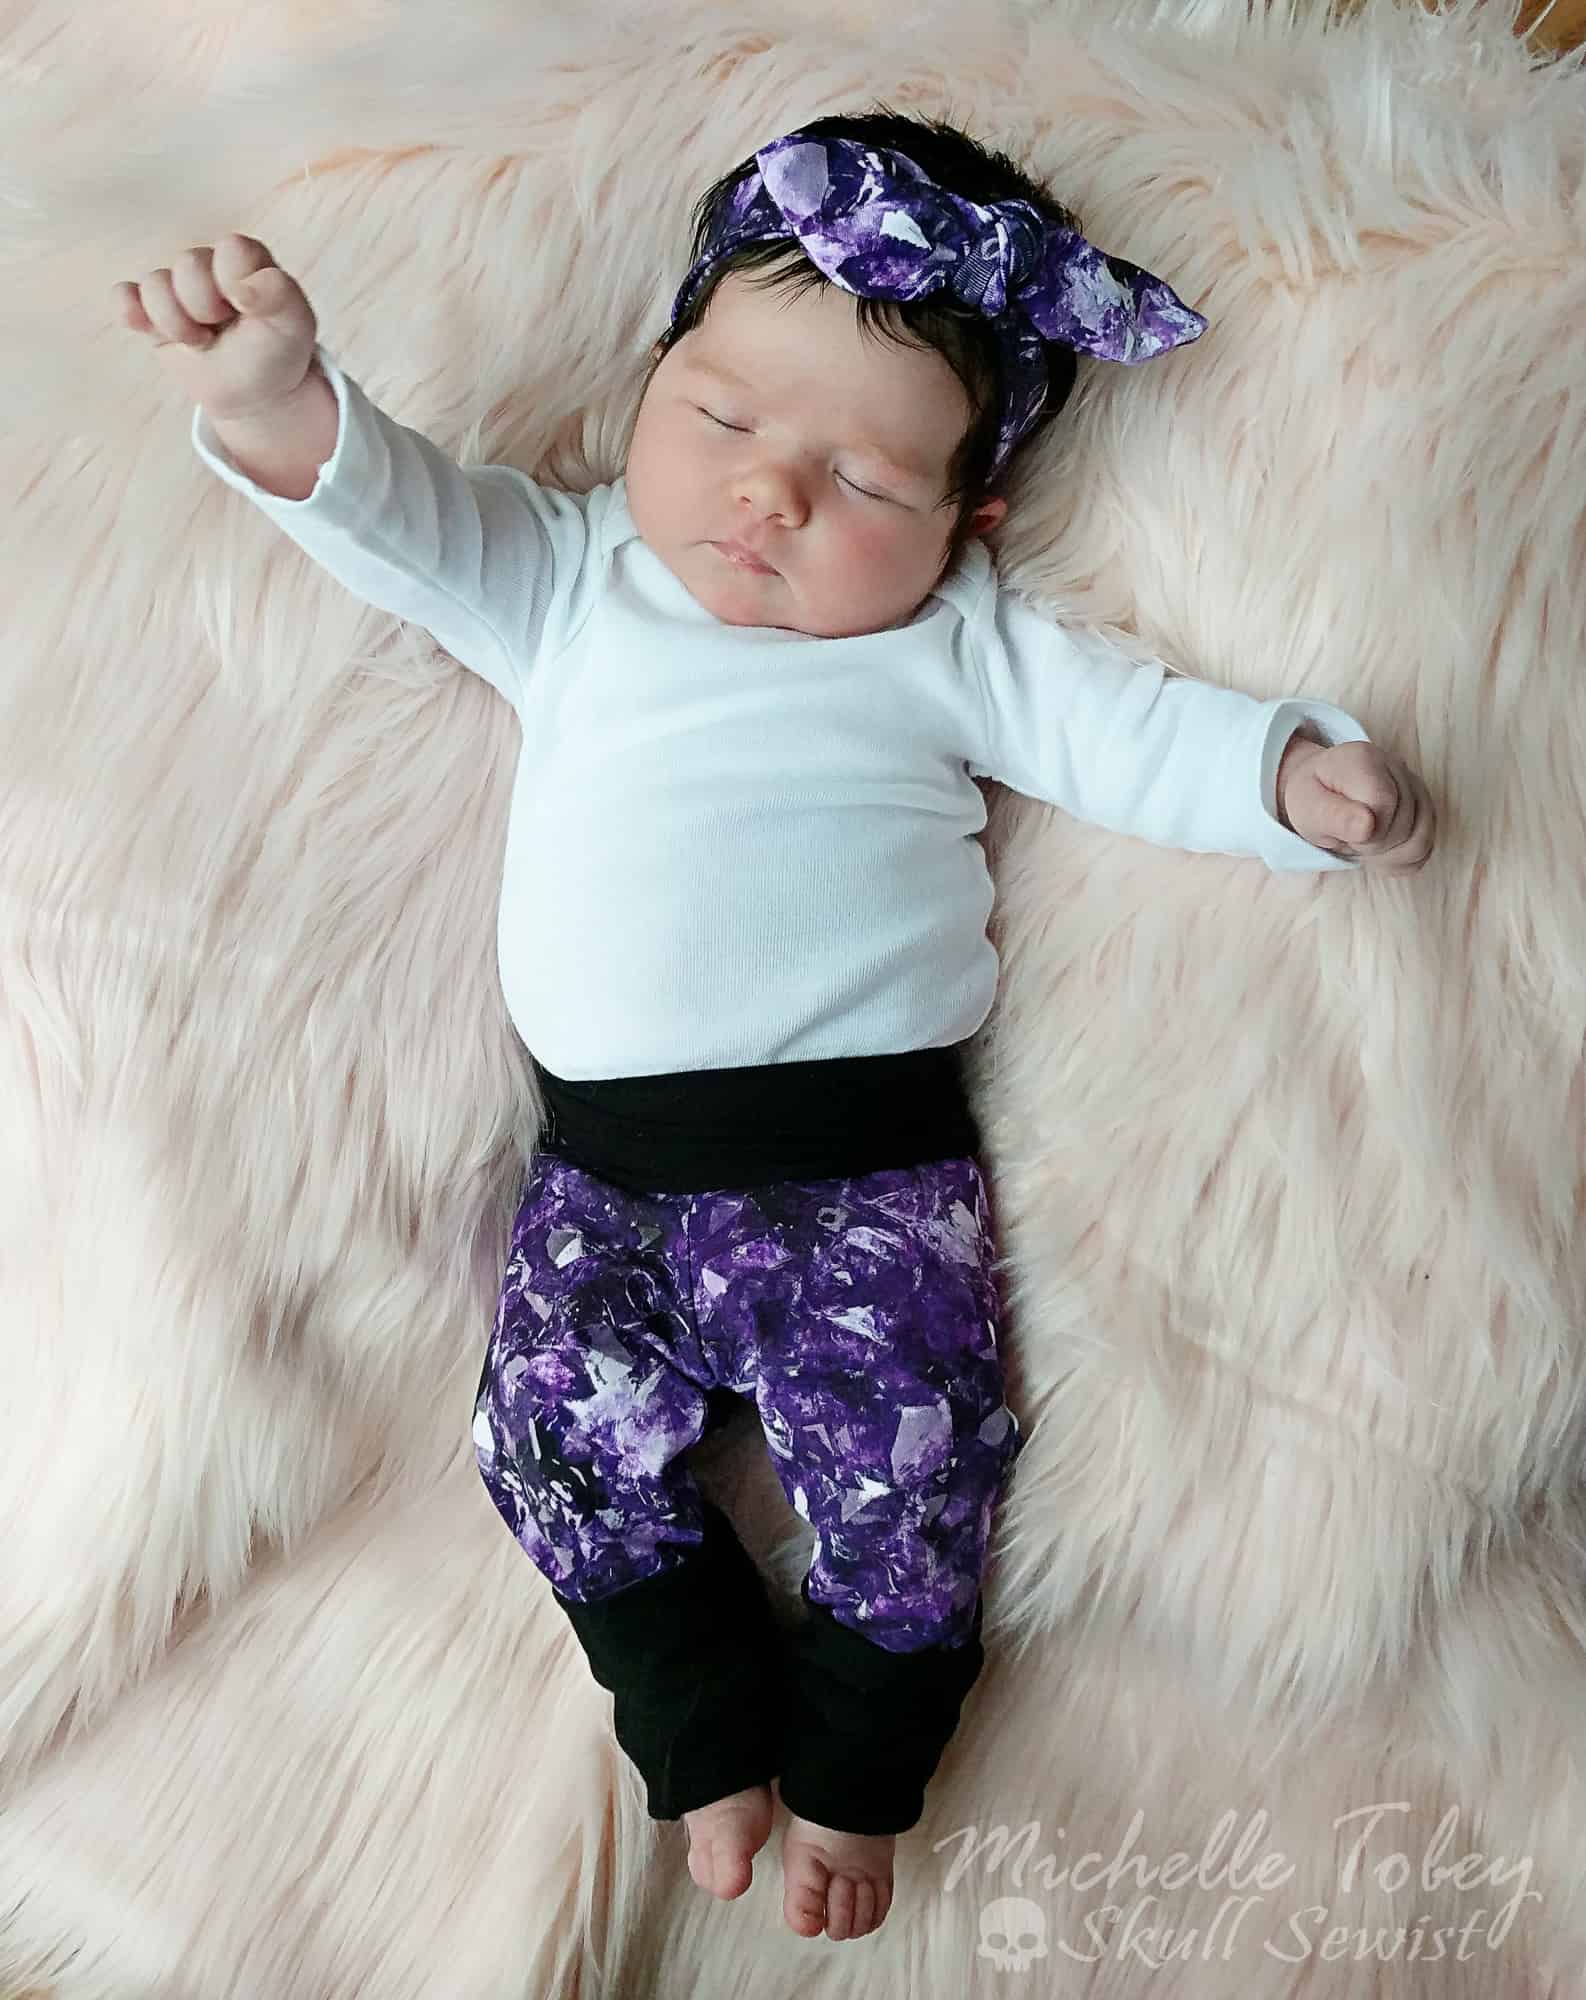
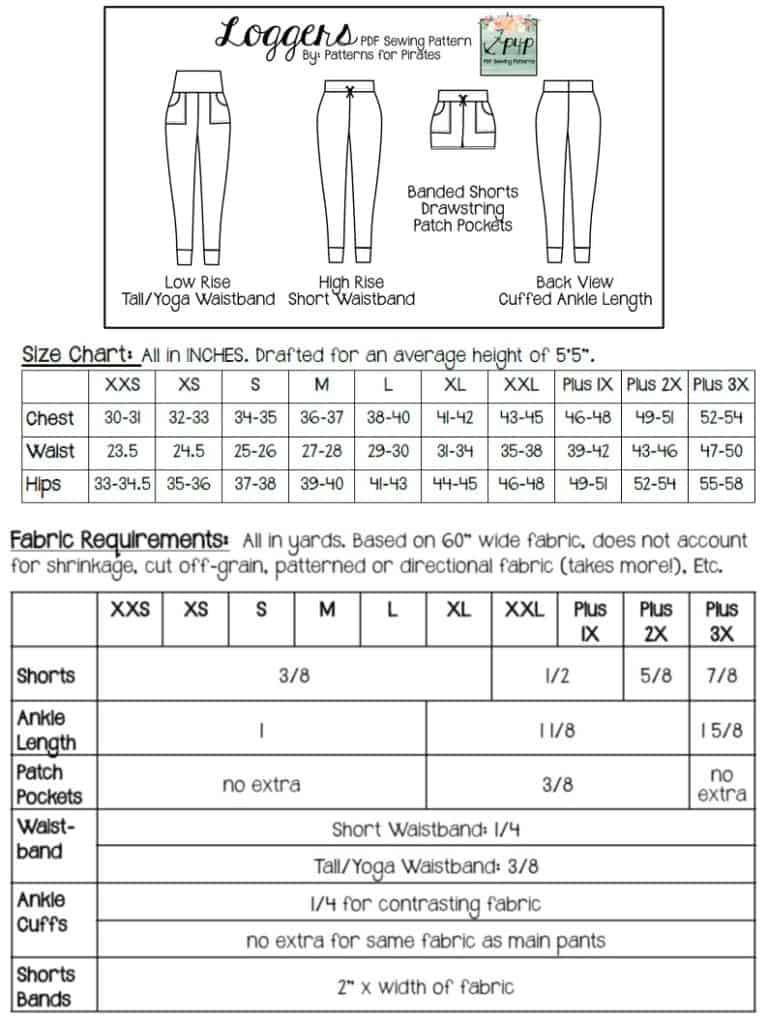
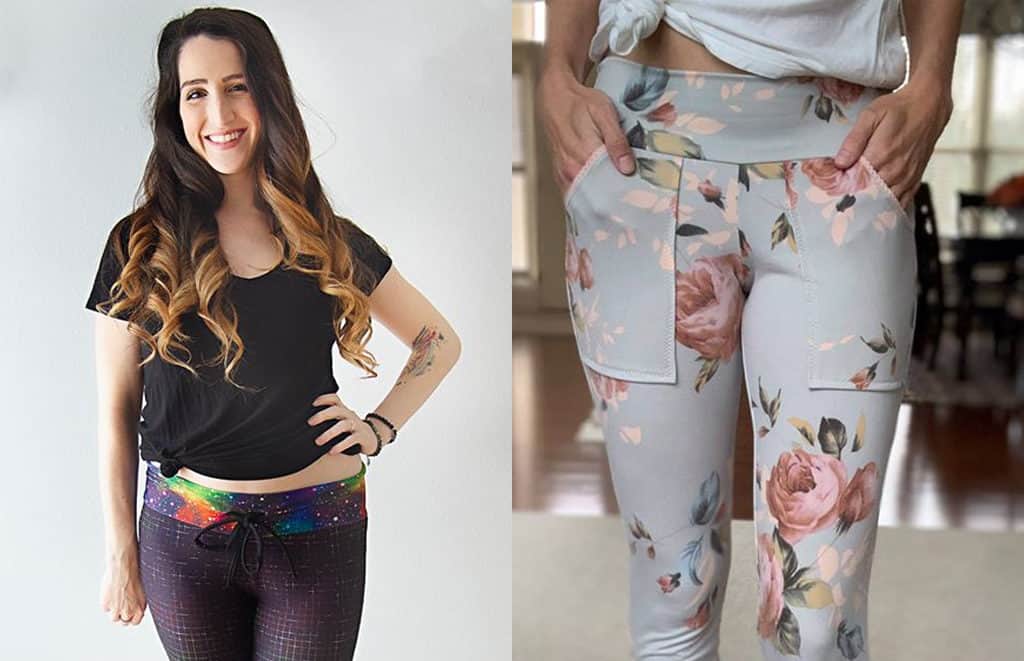
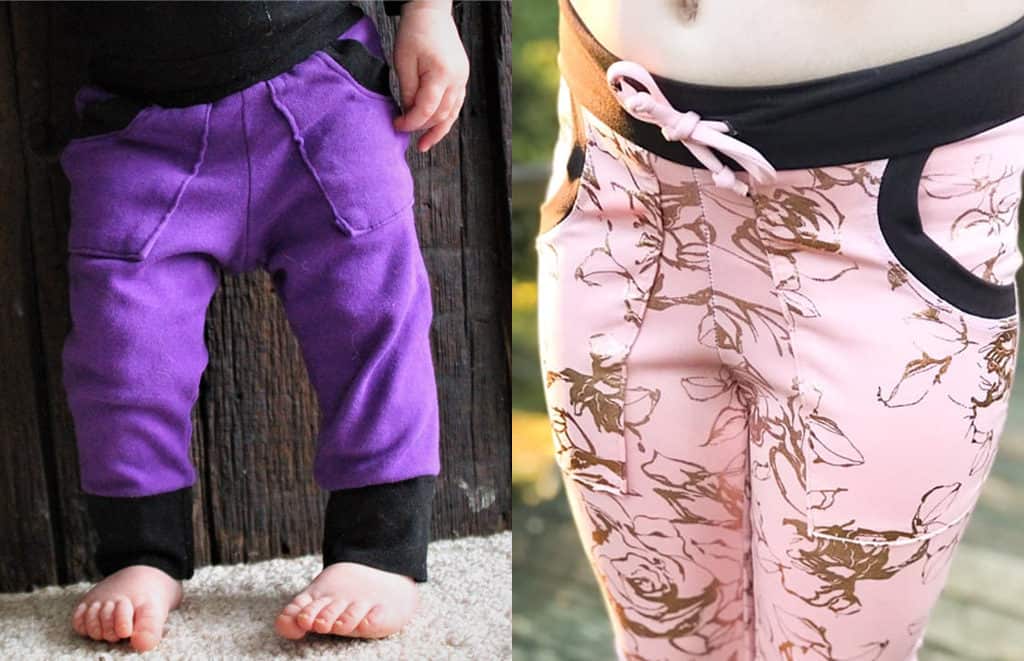
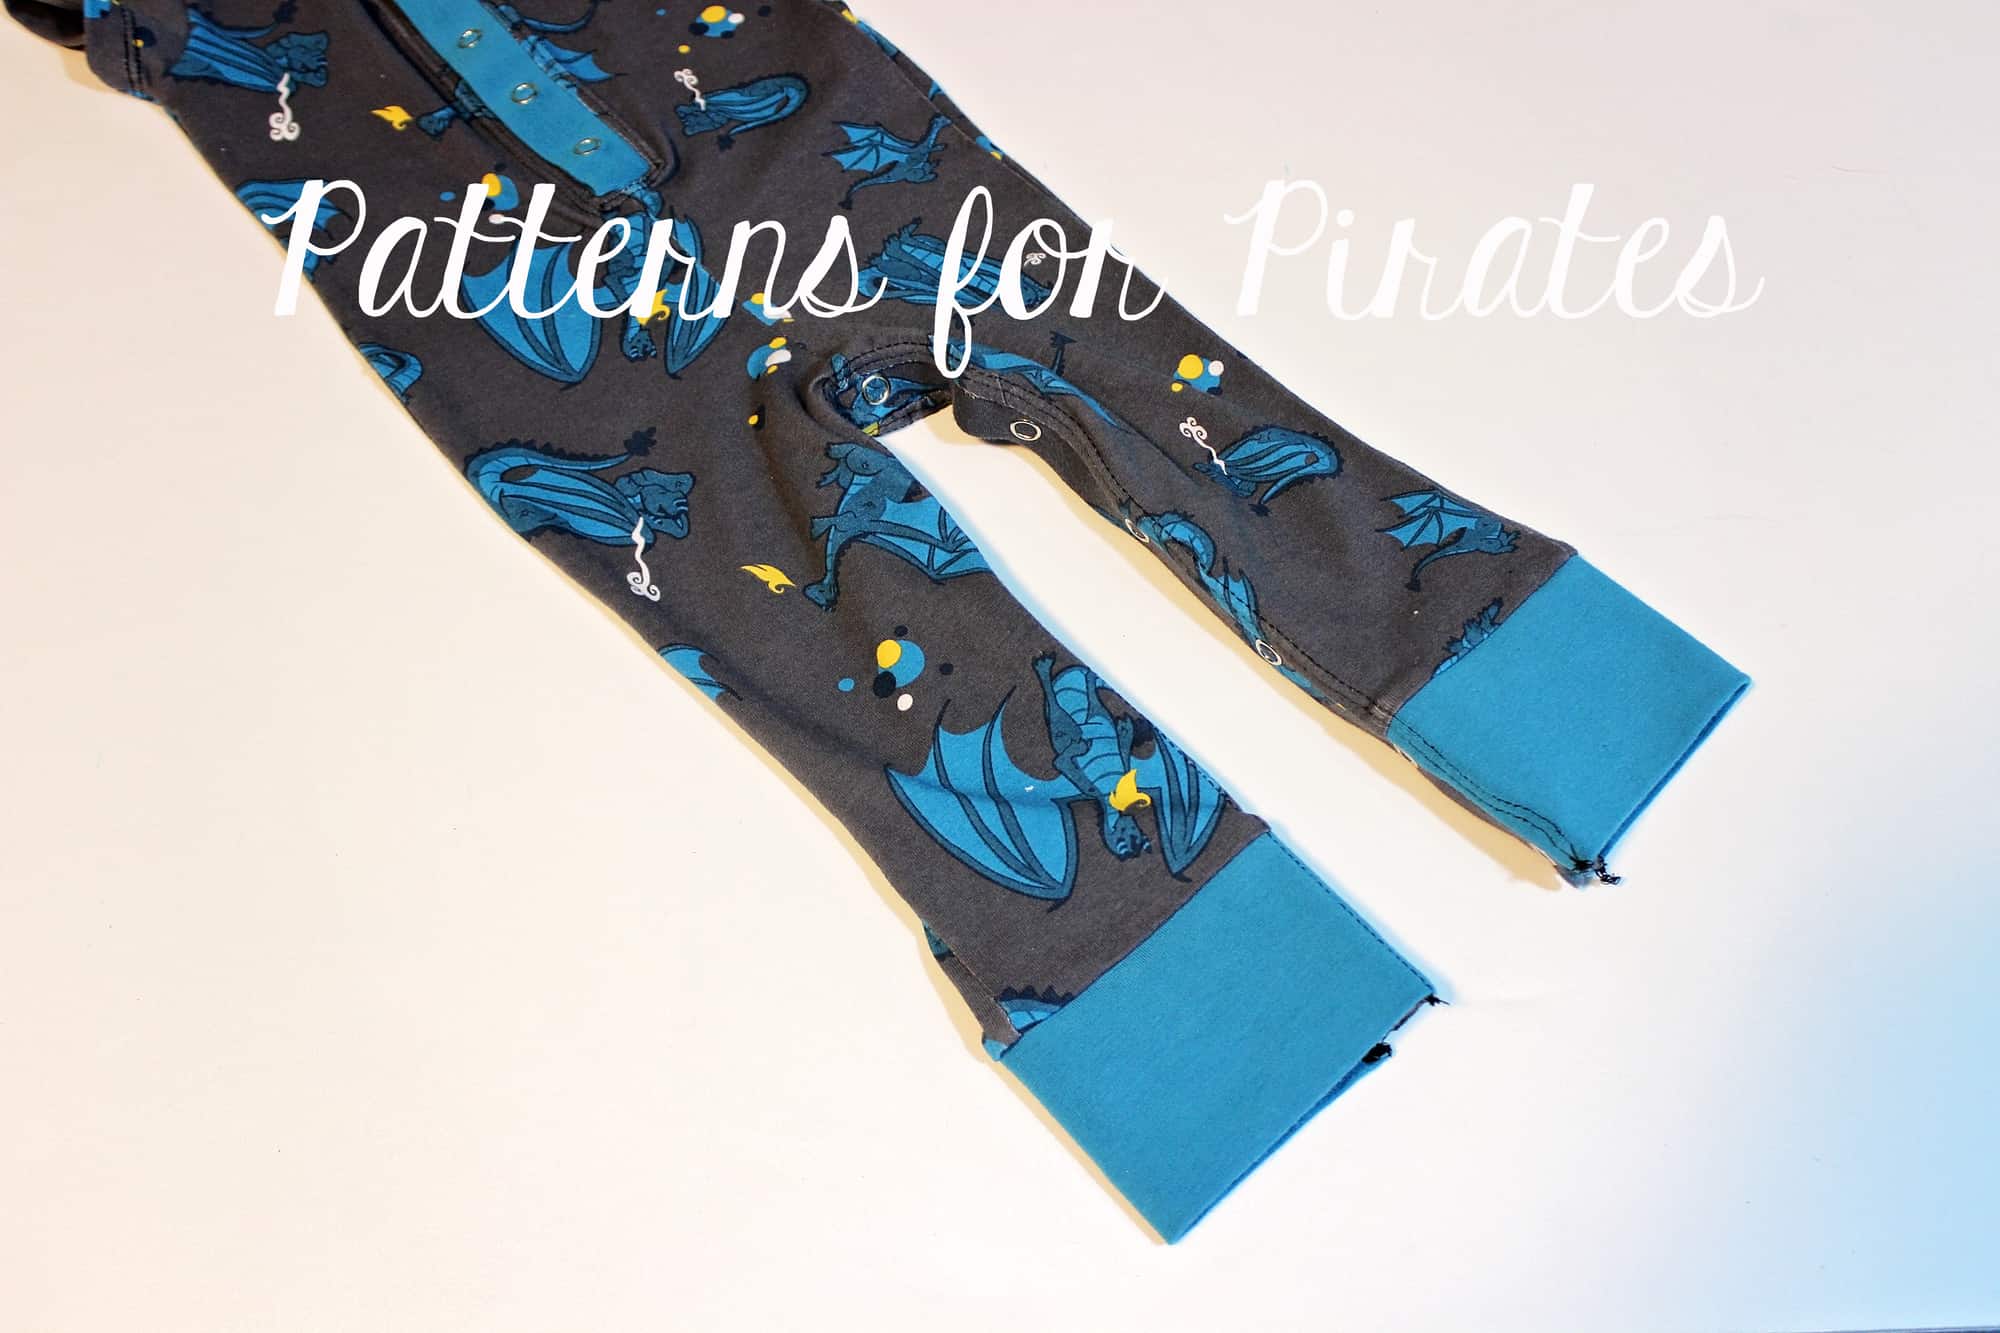
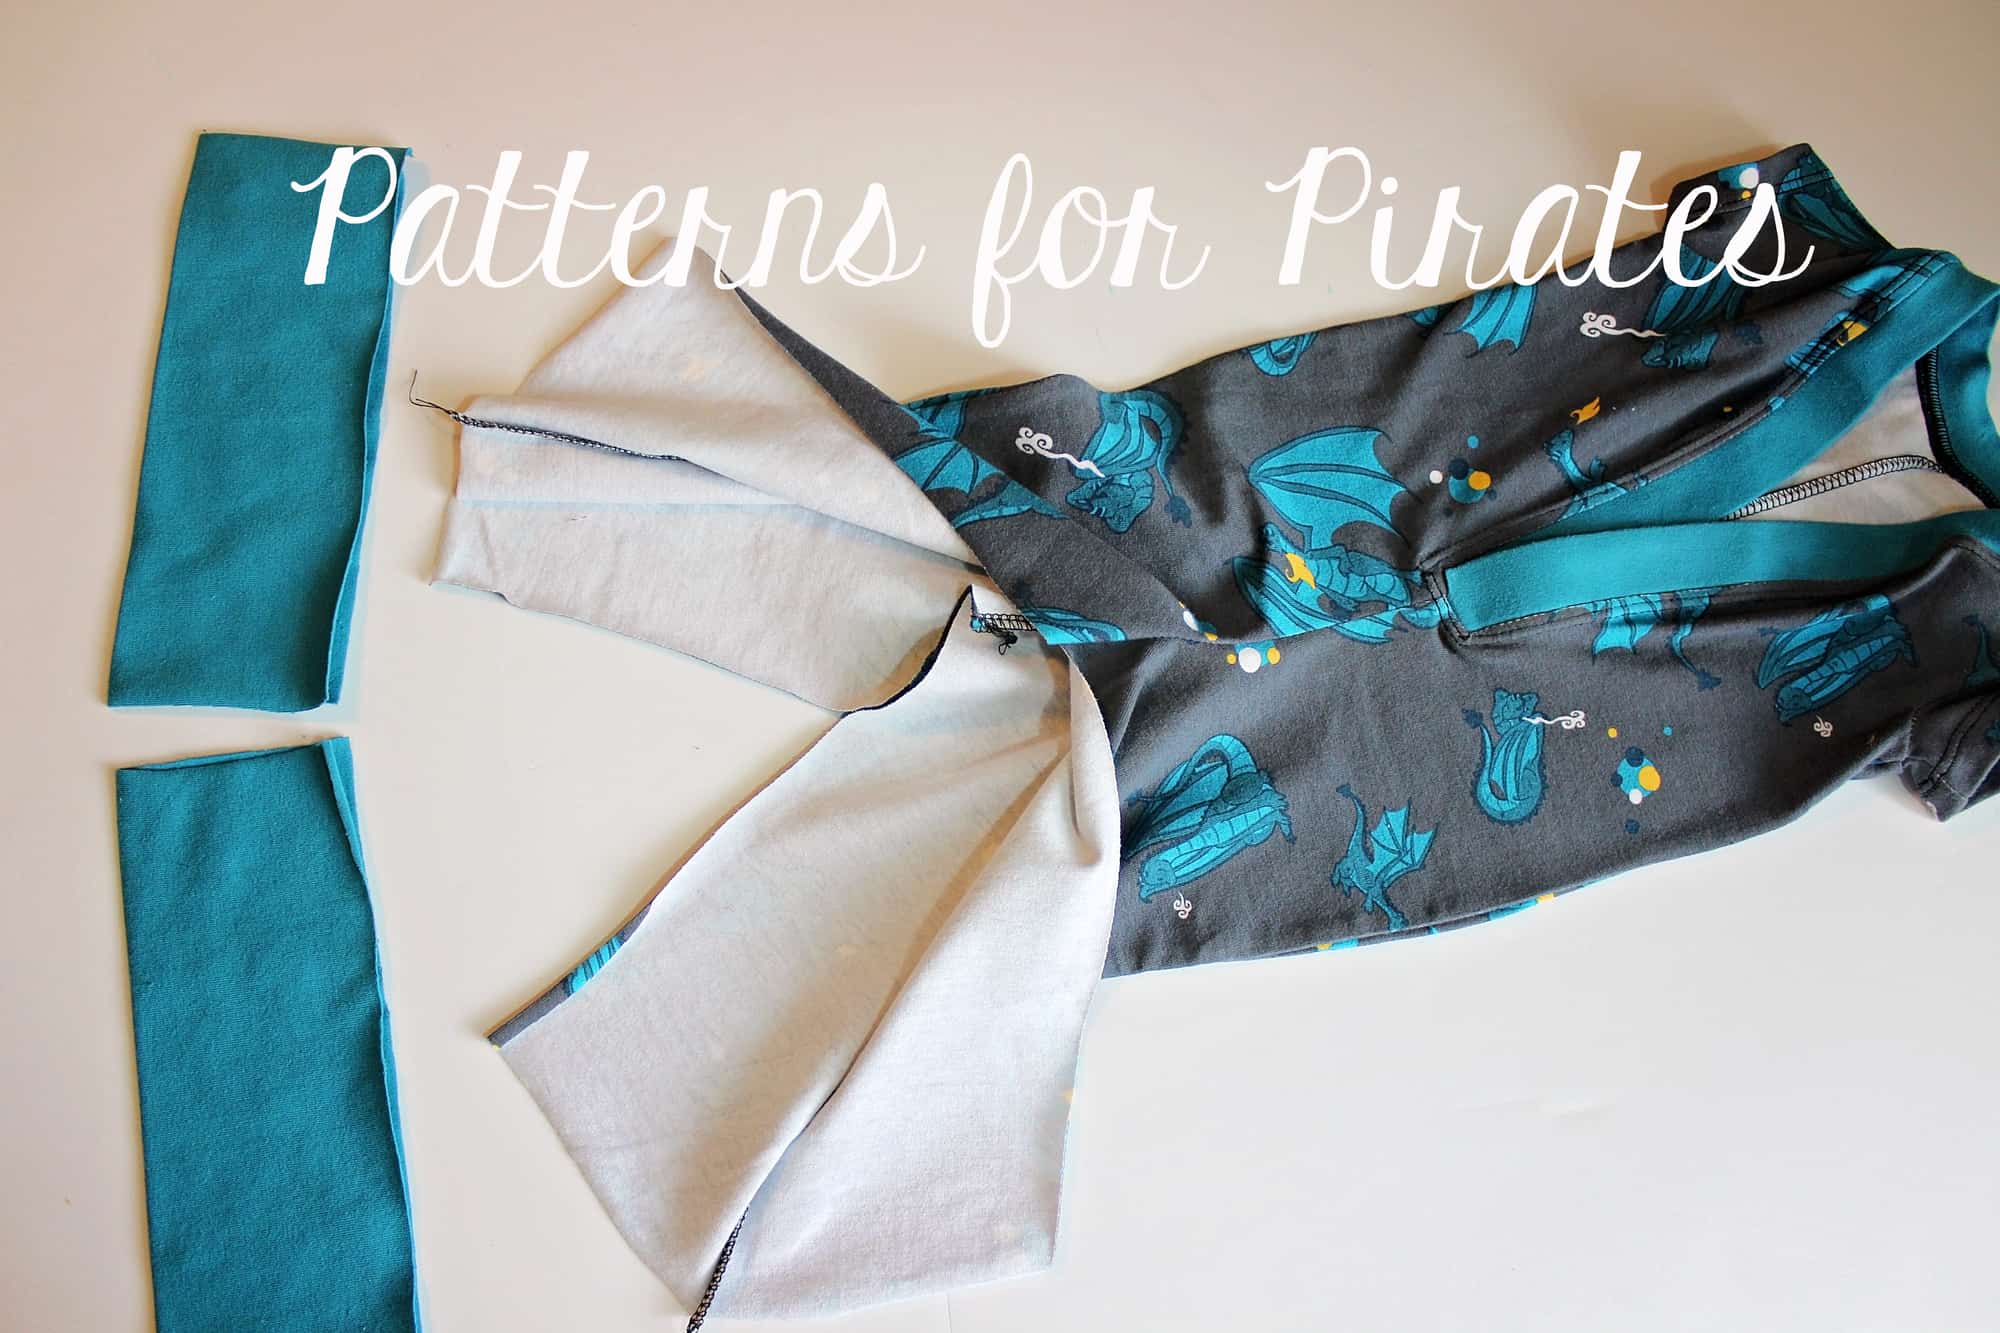
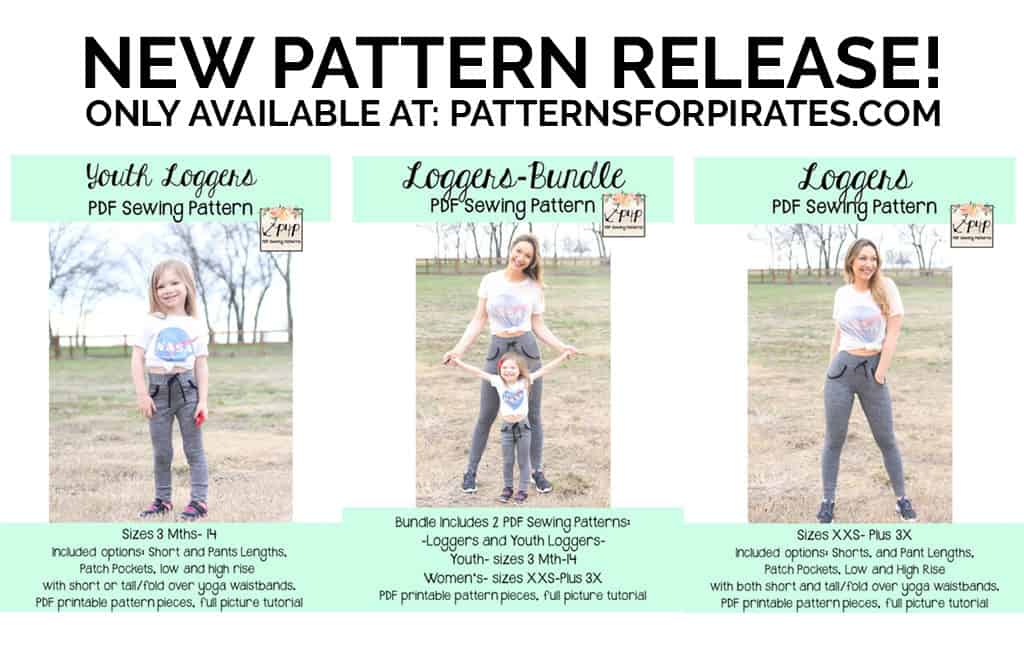 These patterns are drafted for a stretch knit fabric with a 40-50% horizontal stretch, and you will want some vertical stretch for wearing comfort. Both the adult and youth versions feature a tighter pant with cuffs and optional pockets on the pant length. They are drafted in two lengths (shorts and pants), a large size range (XXS – Plus 3X in women’s and 3M – 14 in youth), have two rises (high and low), two waistbands (short or tall/fold over yoga) as well as an optional drawstring.
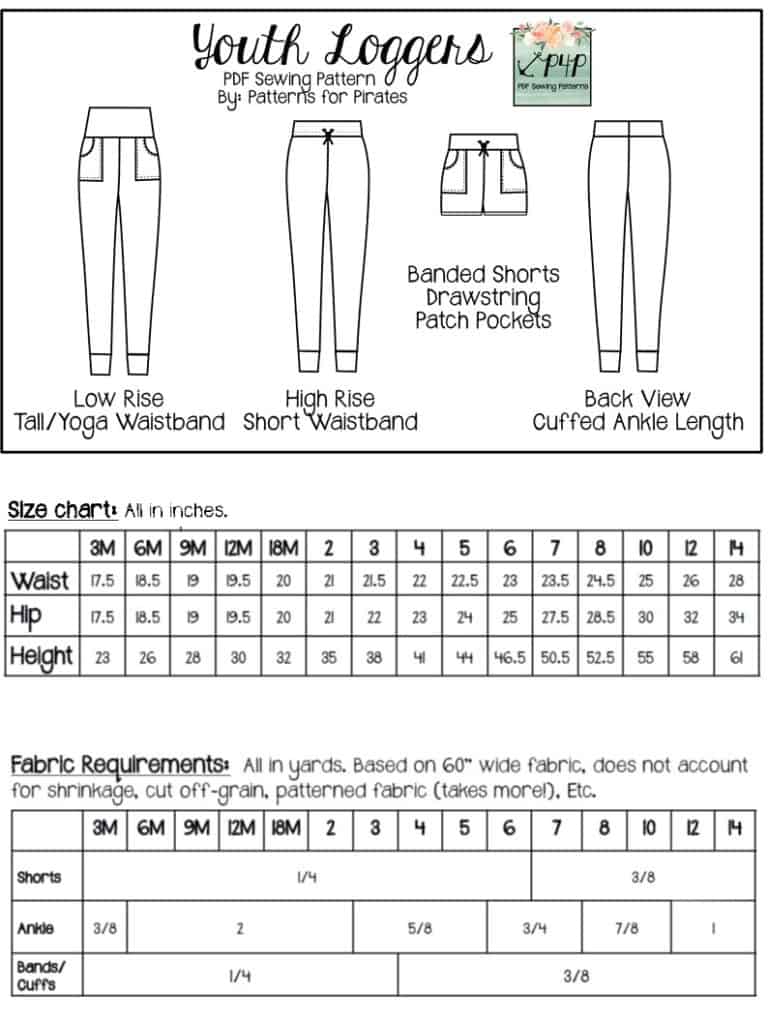

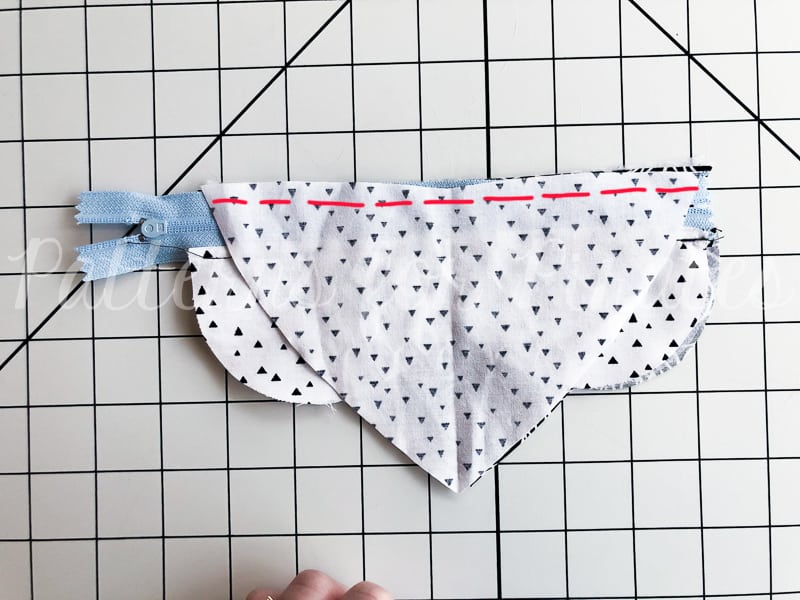
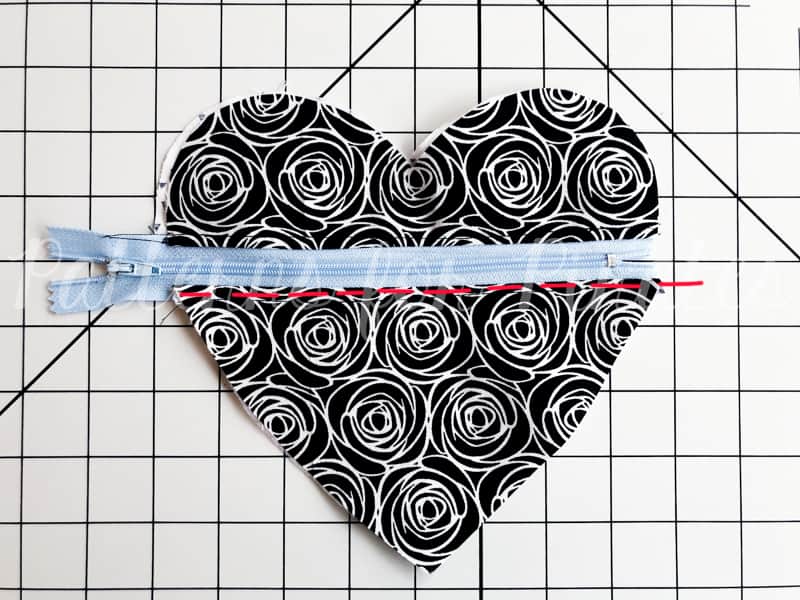


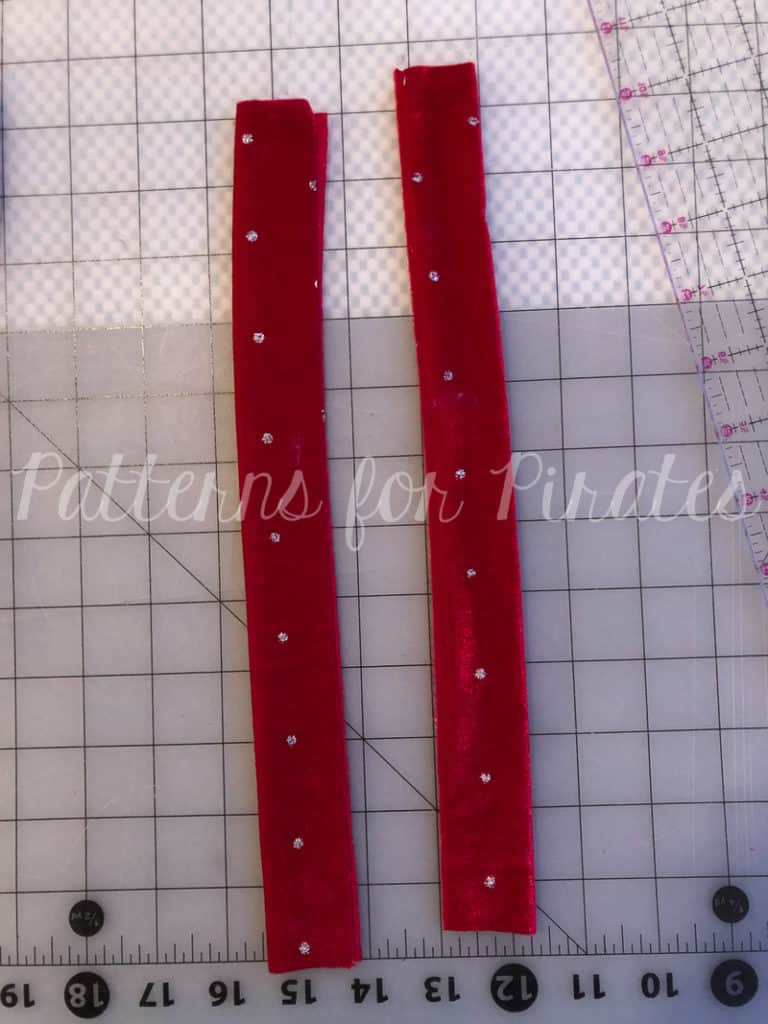

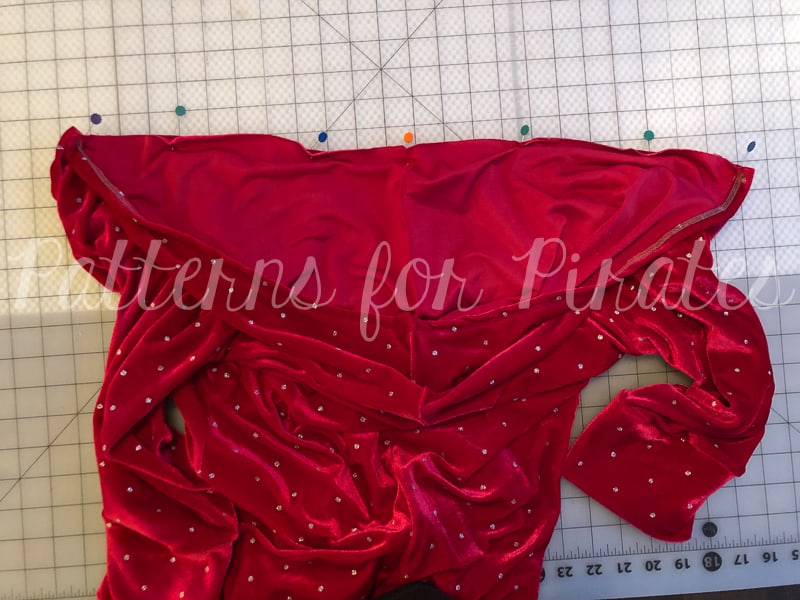


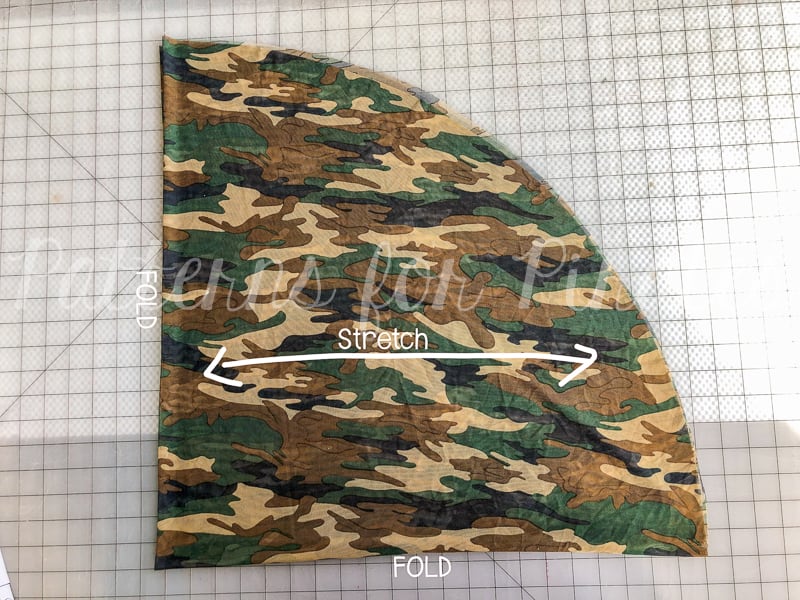
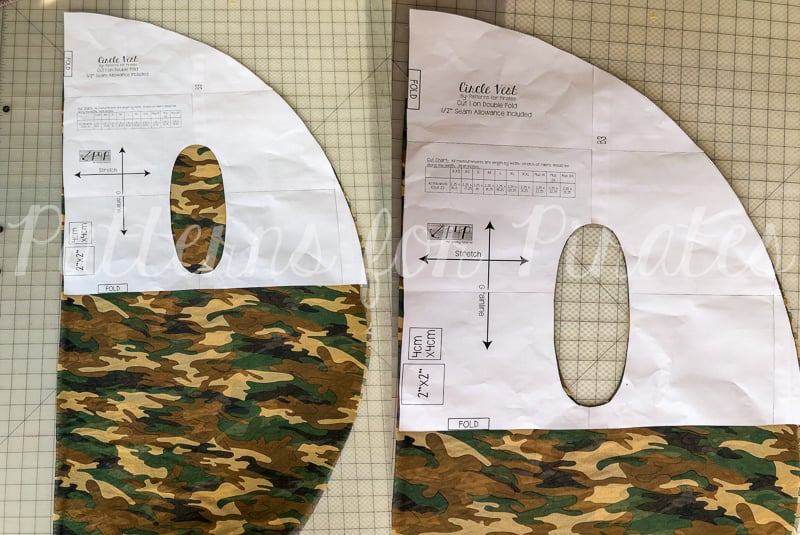
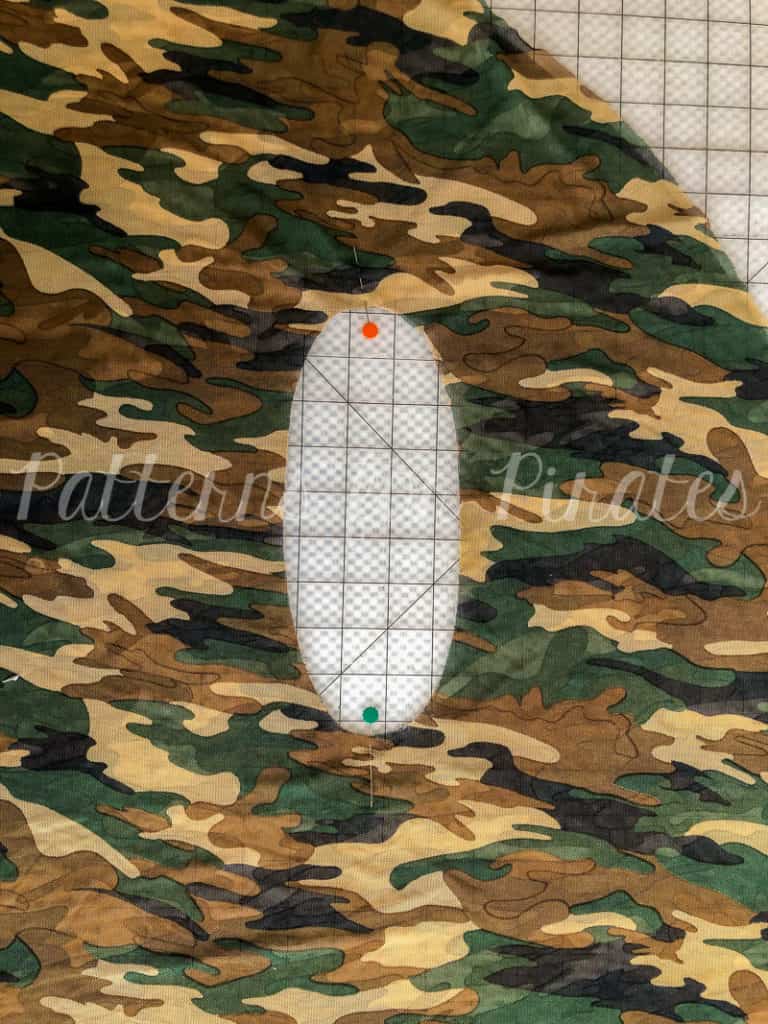
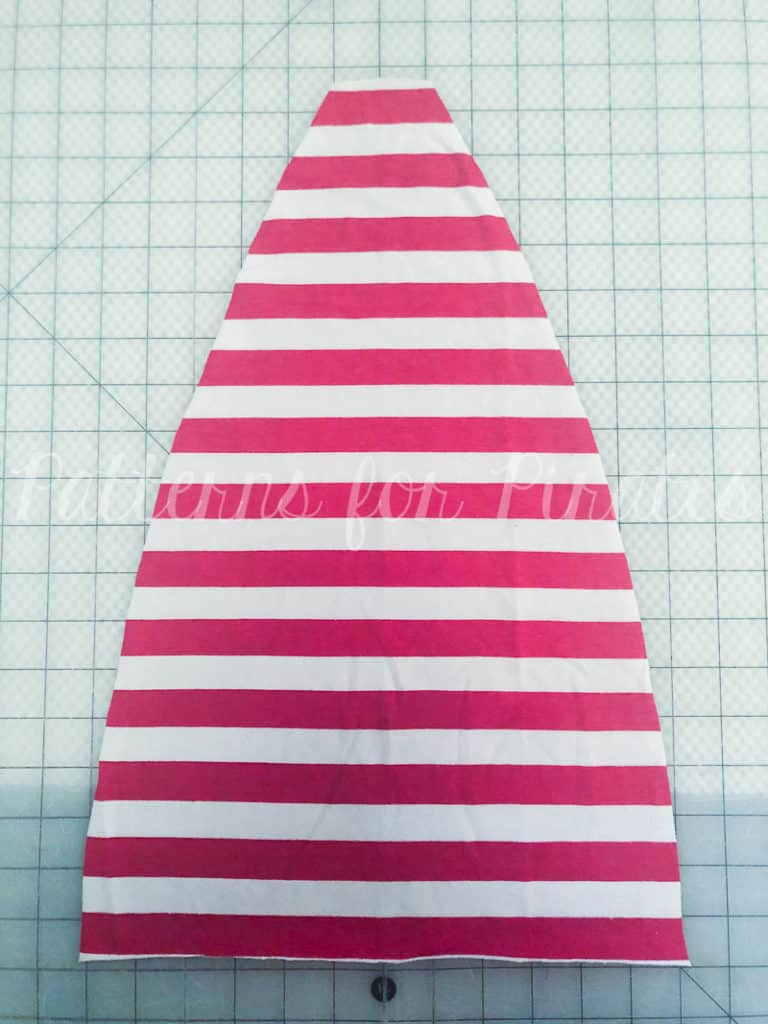
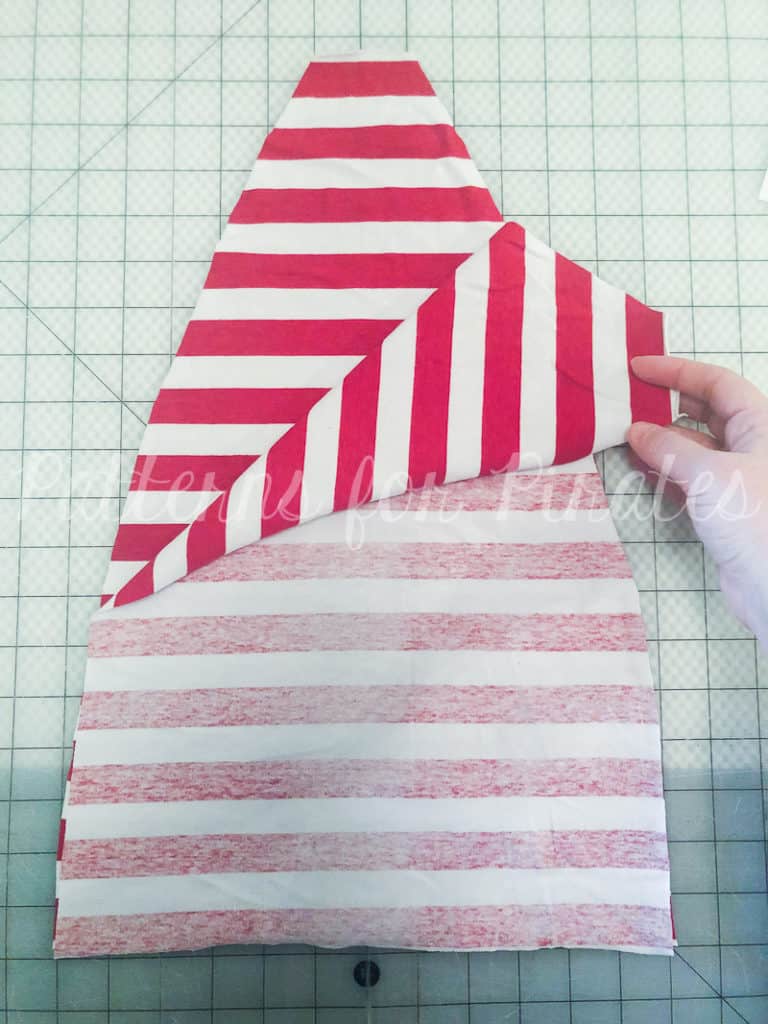
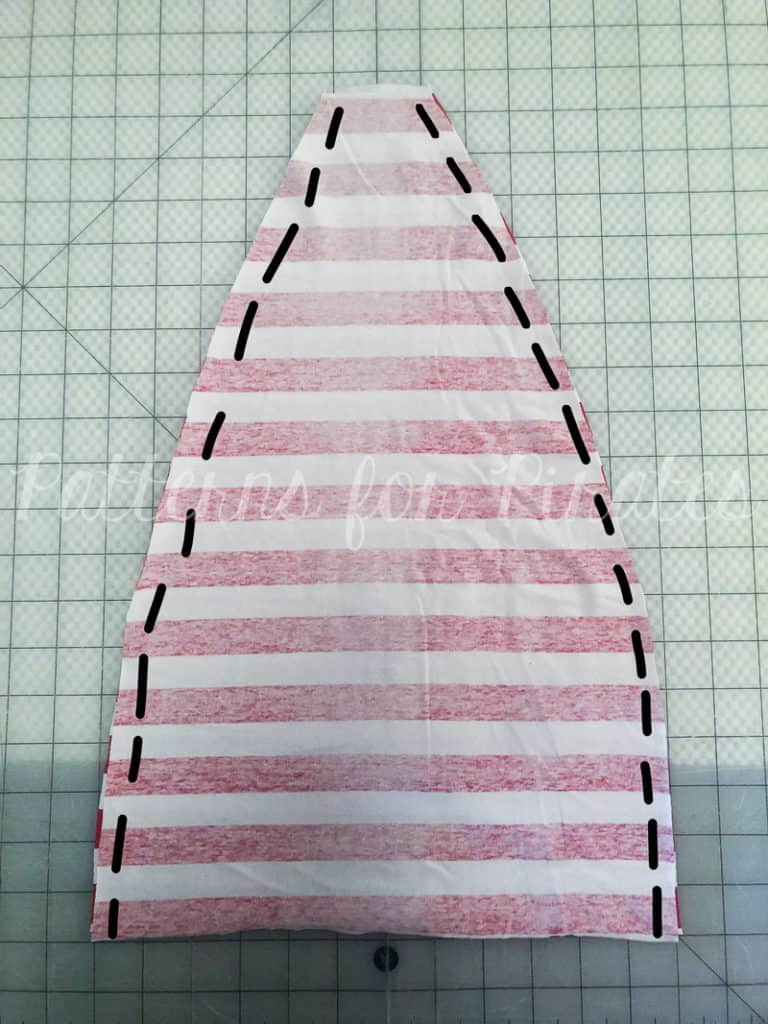
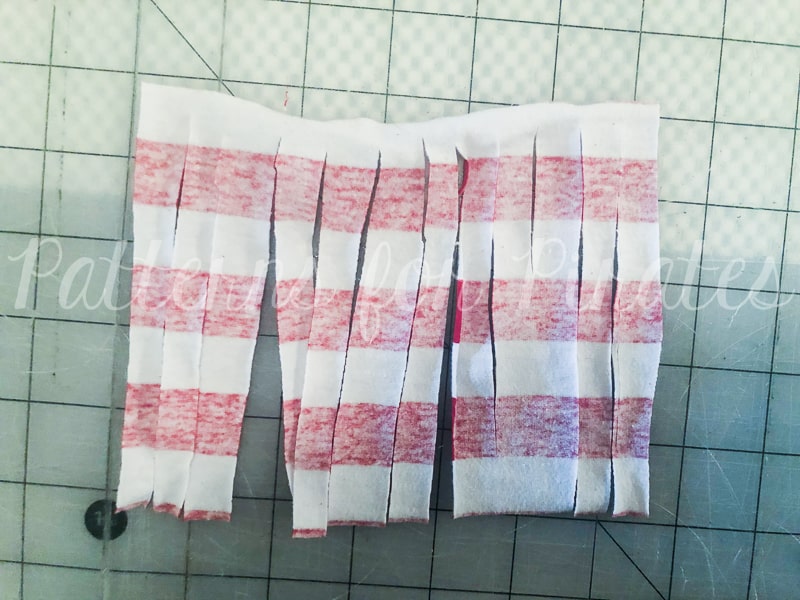
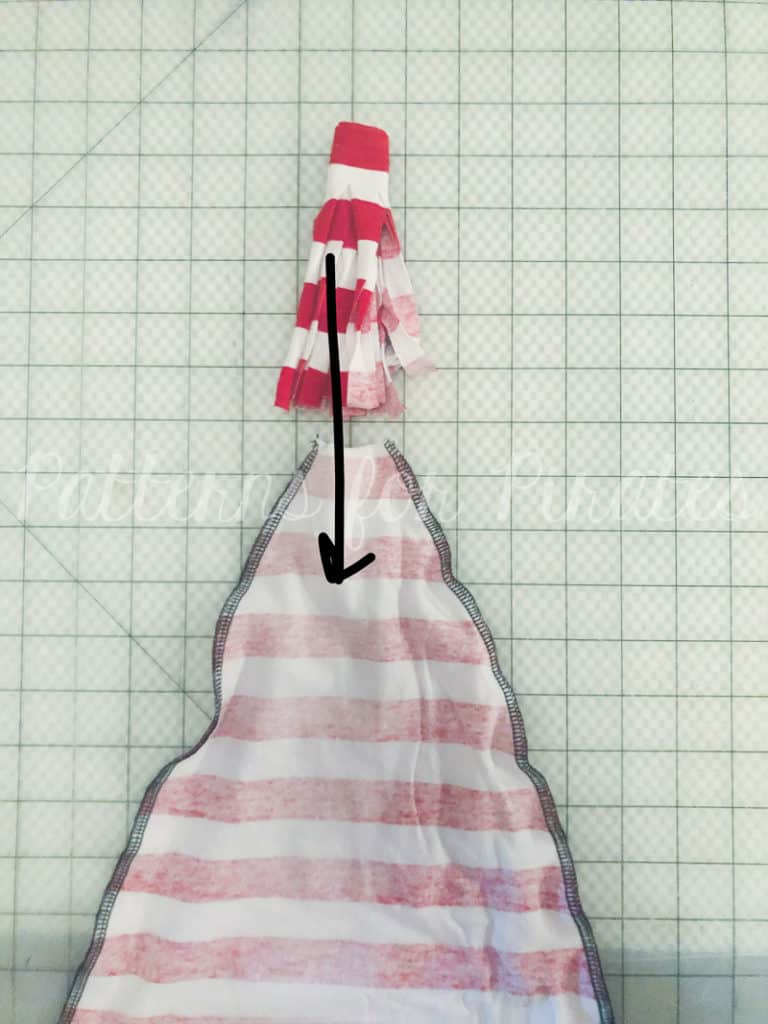
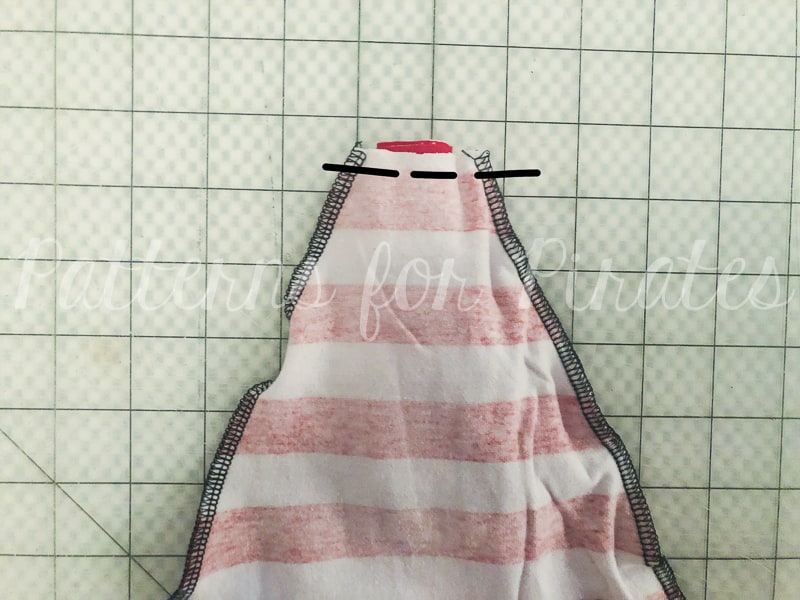
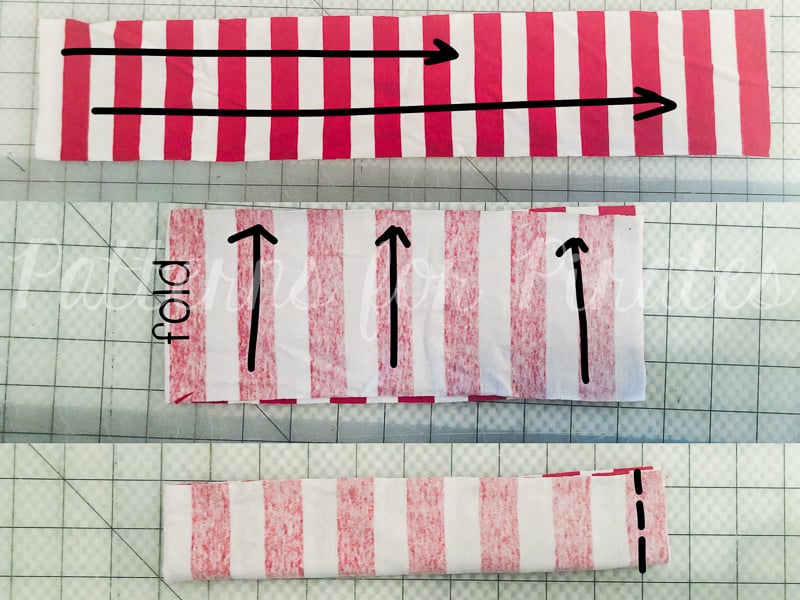
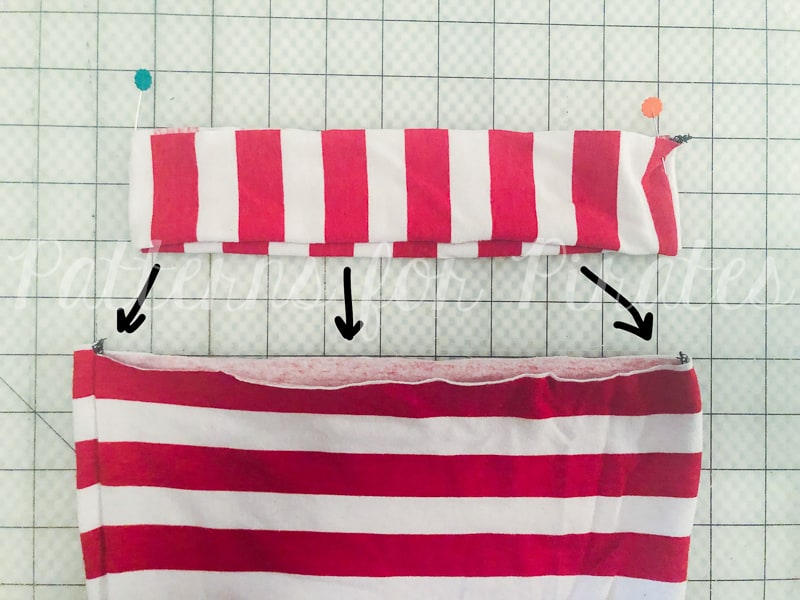
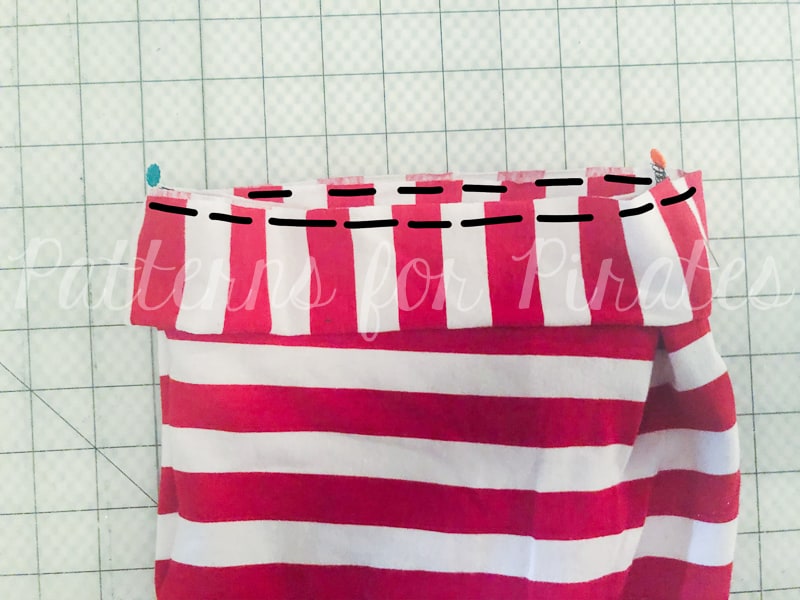
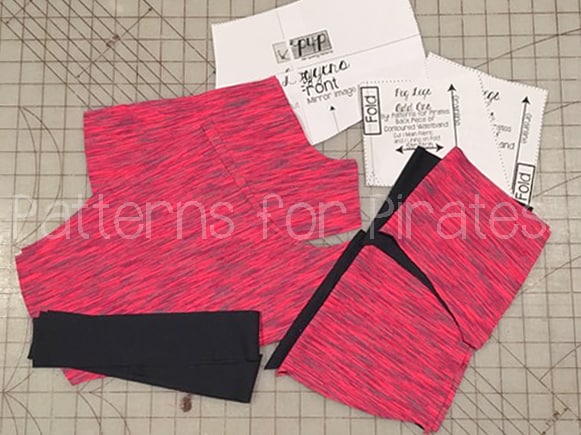
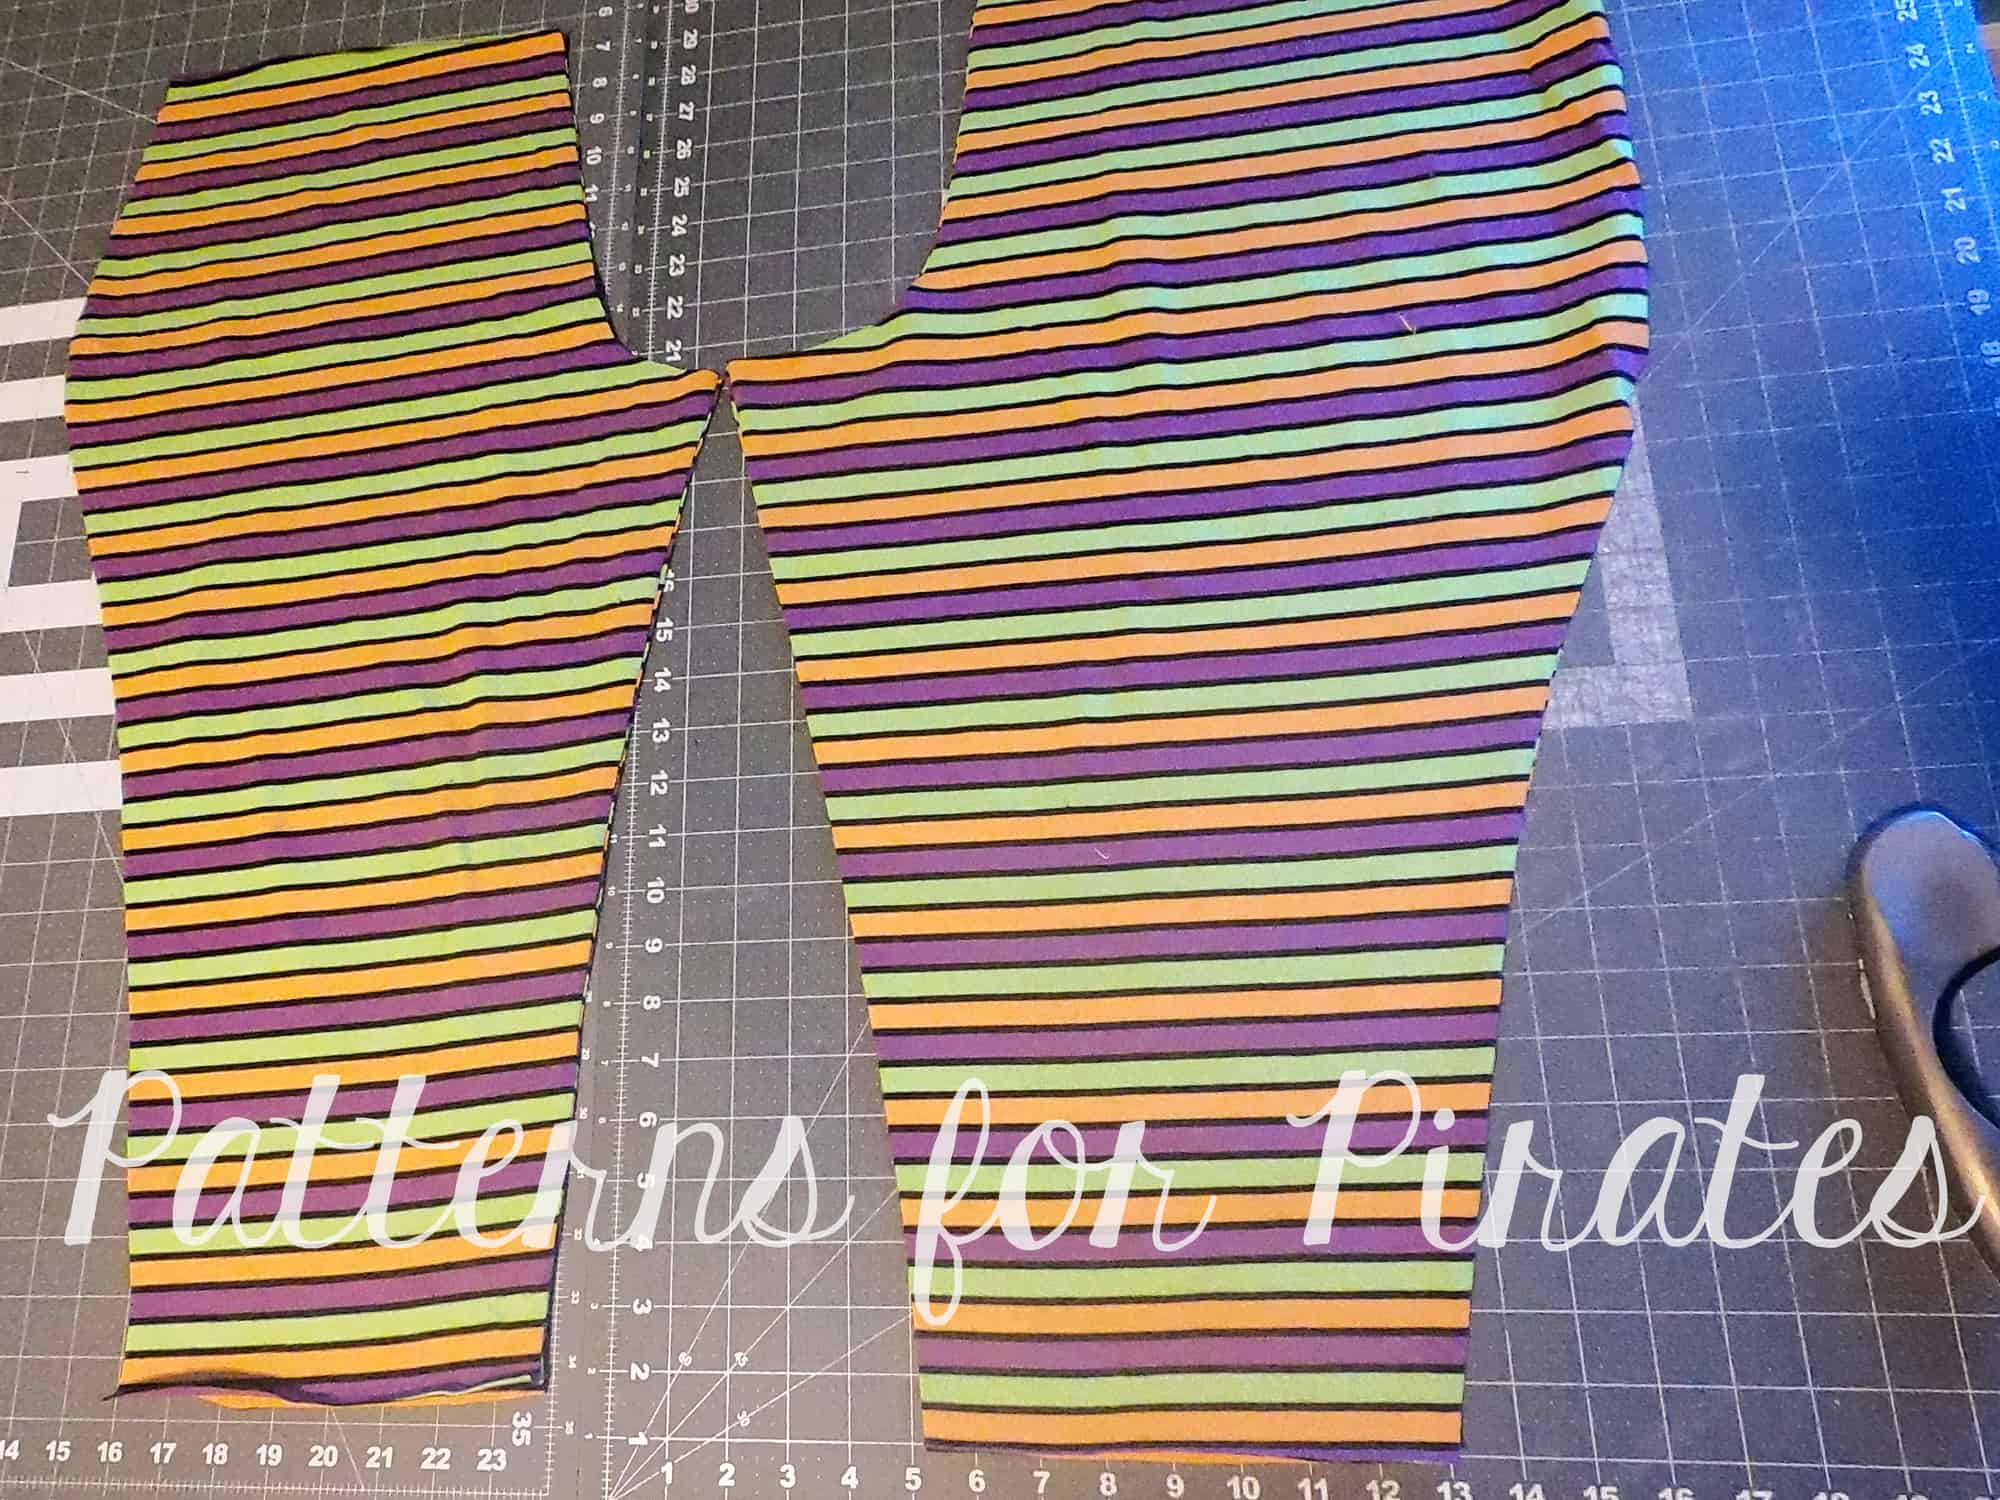
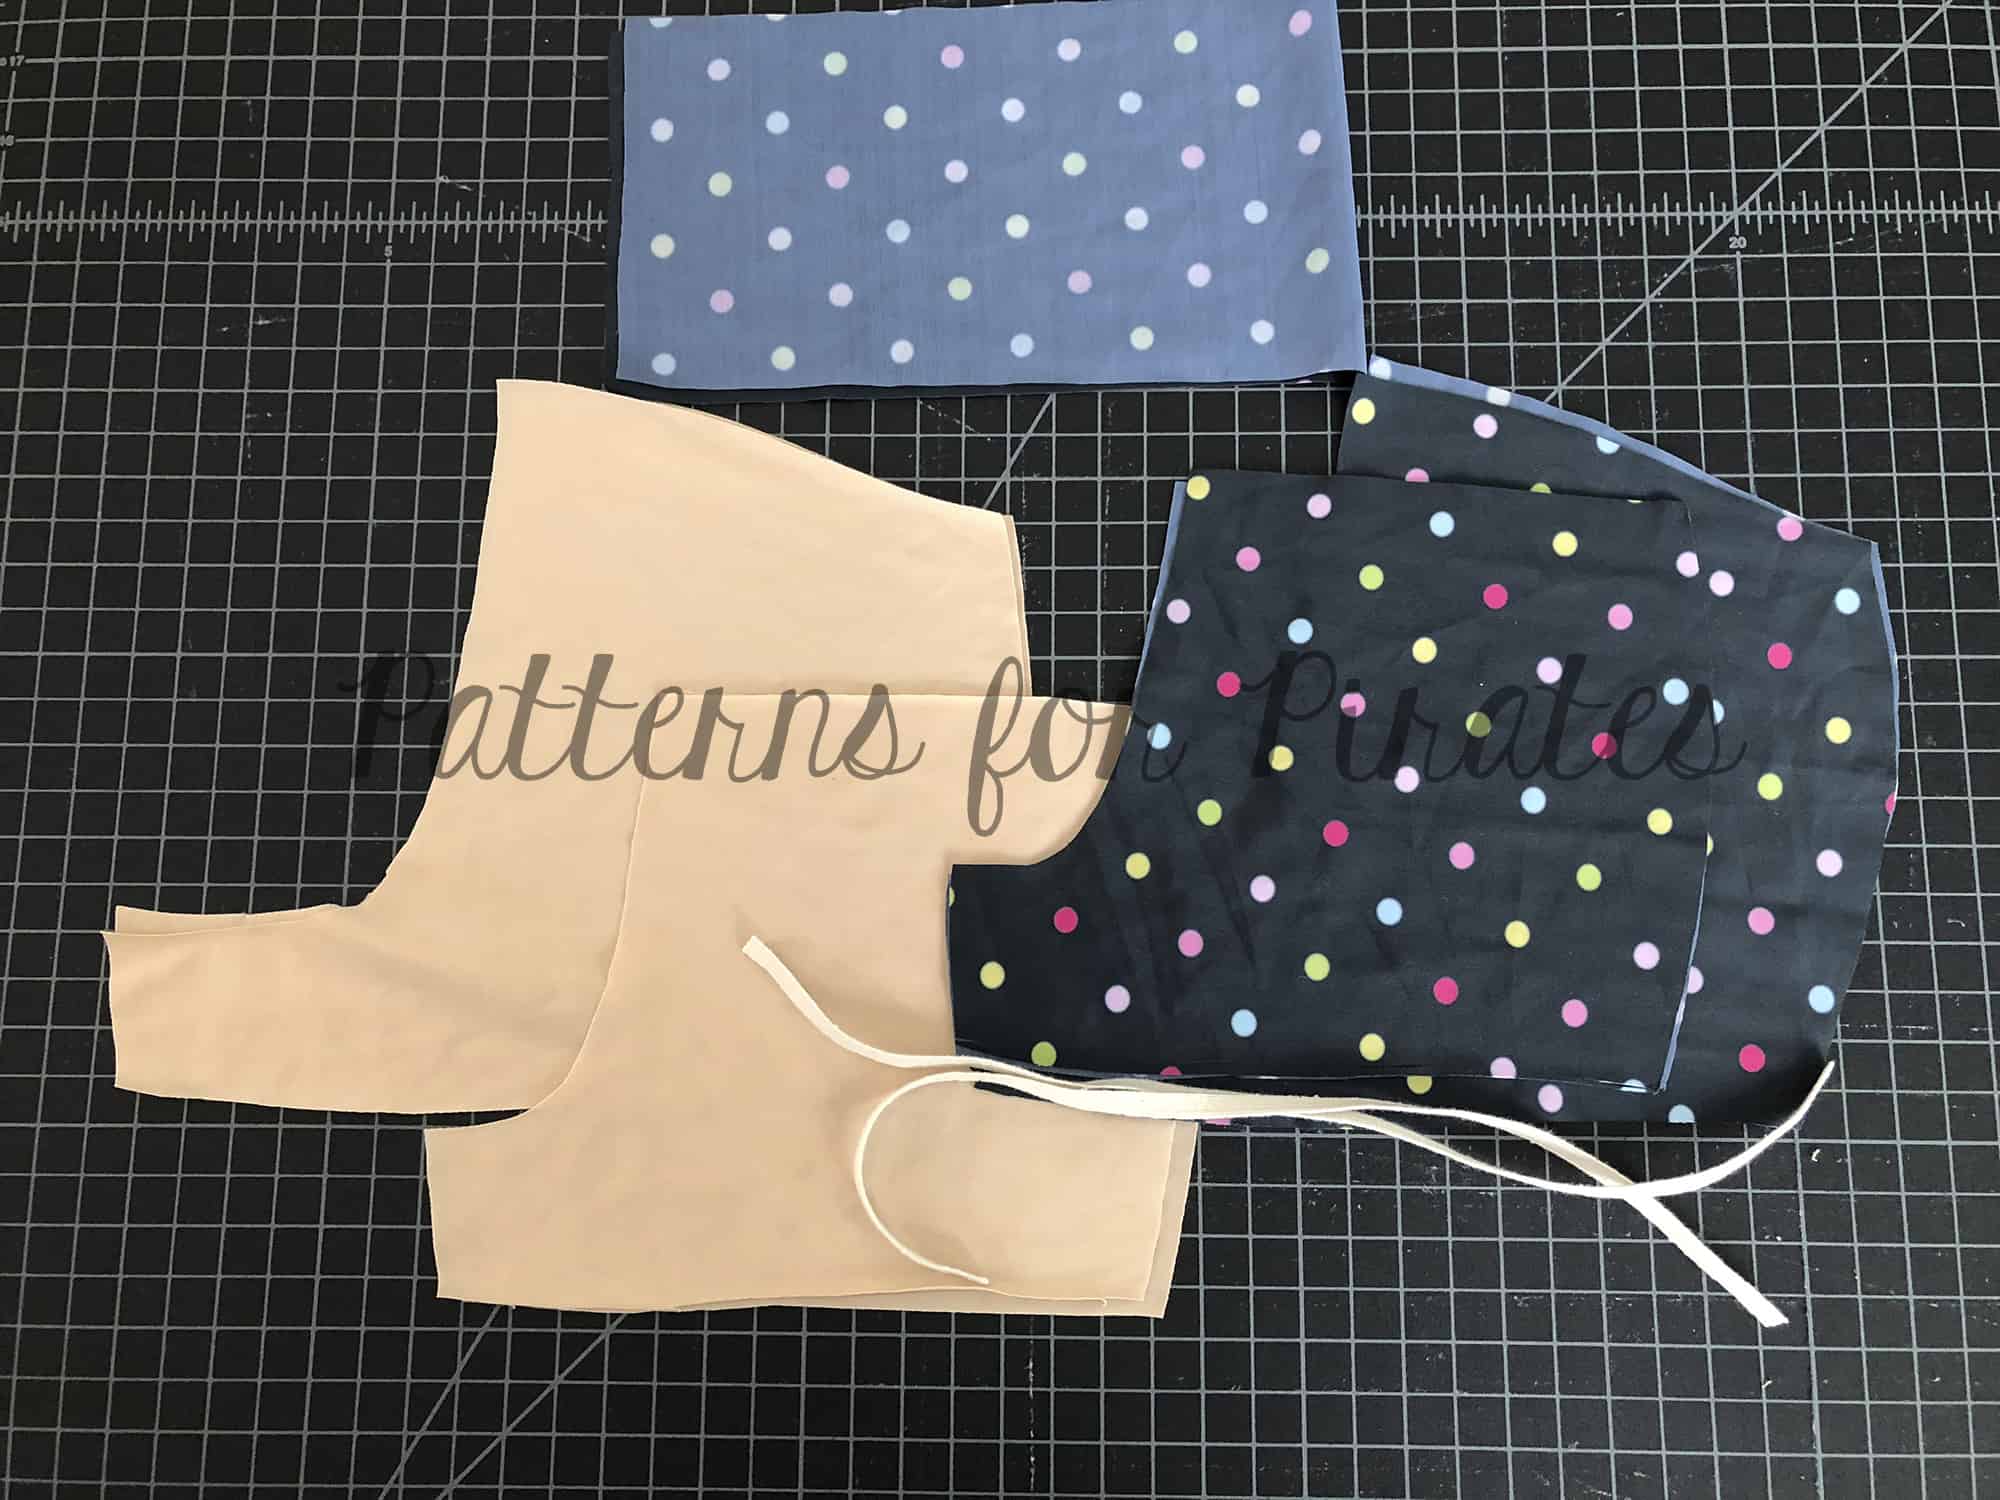
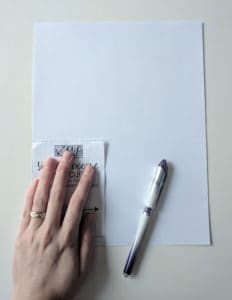
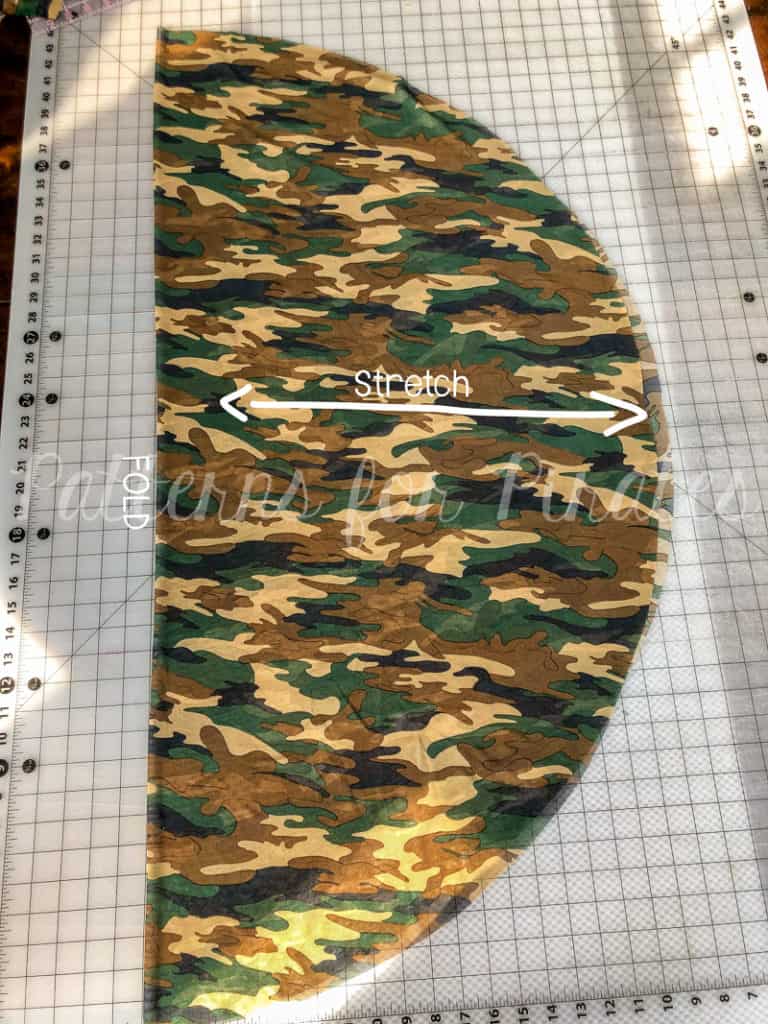 Grab your pattern piece, realign it along the top, and cut our your arm openings.